


![1918 Spring Offensive Wargame | Full Rules Overview with John & Gerry (WW1 Tabletop Game) [7 Days Early Access]](https://images.beastsofwar.com/2026/03/unboxing-warfulcrum-games-1918-spring-offensive-review-coverimage1-225-127.jpeg)


Oldhammer 40K


Recommendations: 146
About the Project
Watch as I continue to fail to finish painting my warhammer 40k models from 30 years ago.
Related Game: Warhammer 40,000
Related Company: Games Workshop
Related Genre: Science Fiction
Related Contest: Spring Clean Hobby Challenge 2025
This Project is Active
Naturally the Genestealers are done!
The varnish has dried and looks good. I’m happy with the flat look and I don’t think I need to add any glossy bits. Since genestealers are meant to be creeping through space hulks and underhives, my mind canon is that they have evolved away from glossy/shiny parts that would reflect in those dark environments. Also the bases are still black because my college friend and I always prefered the game piece look of a solid color base instead of fiddly basing (plus we were lazy). Maybe in 30 more years I’ll be inspired to use more complex basing.
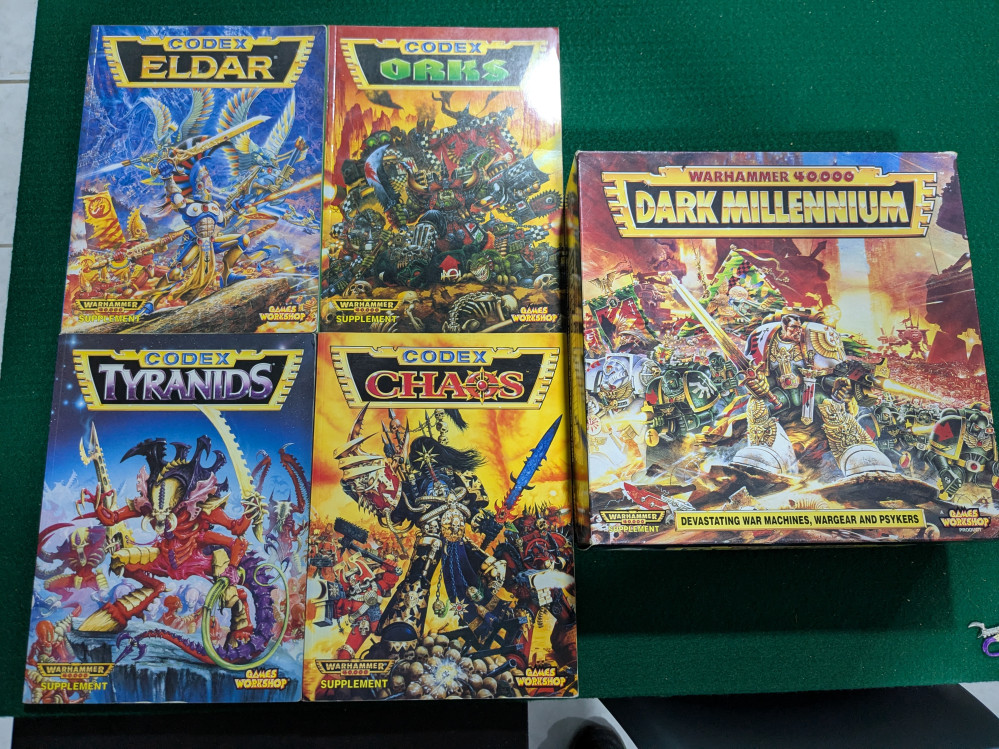
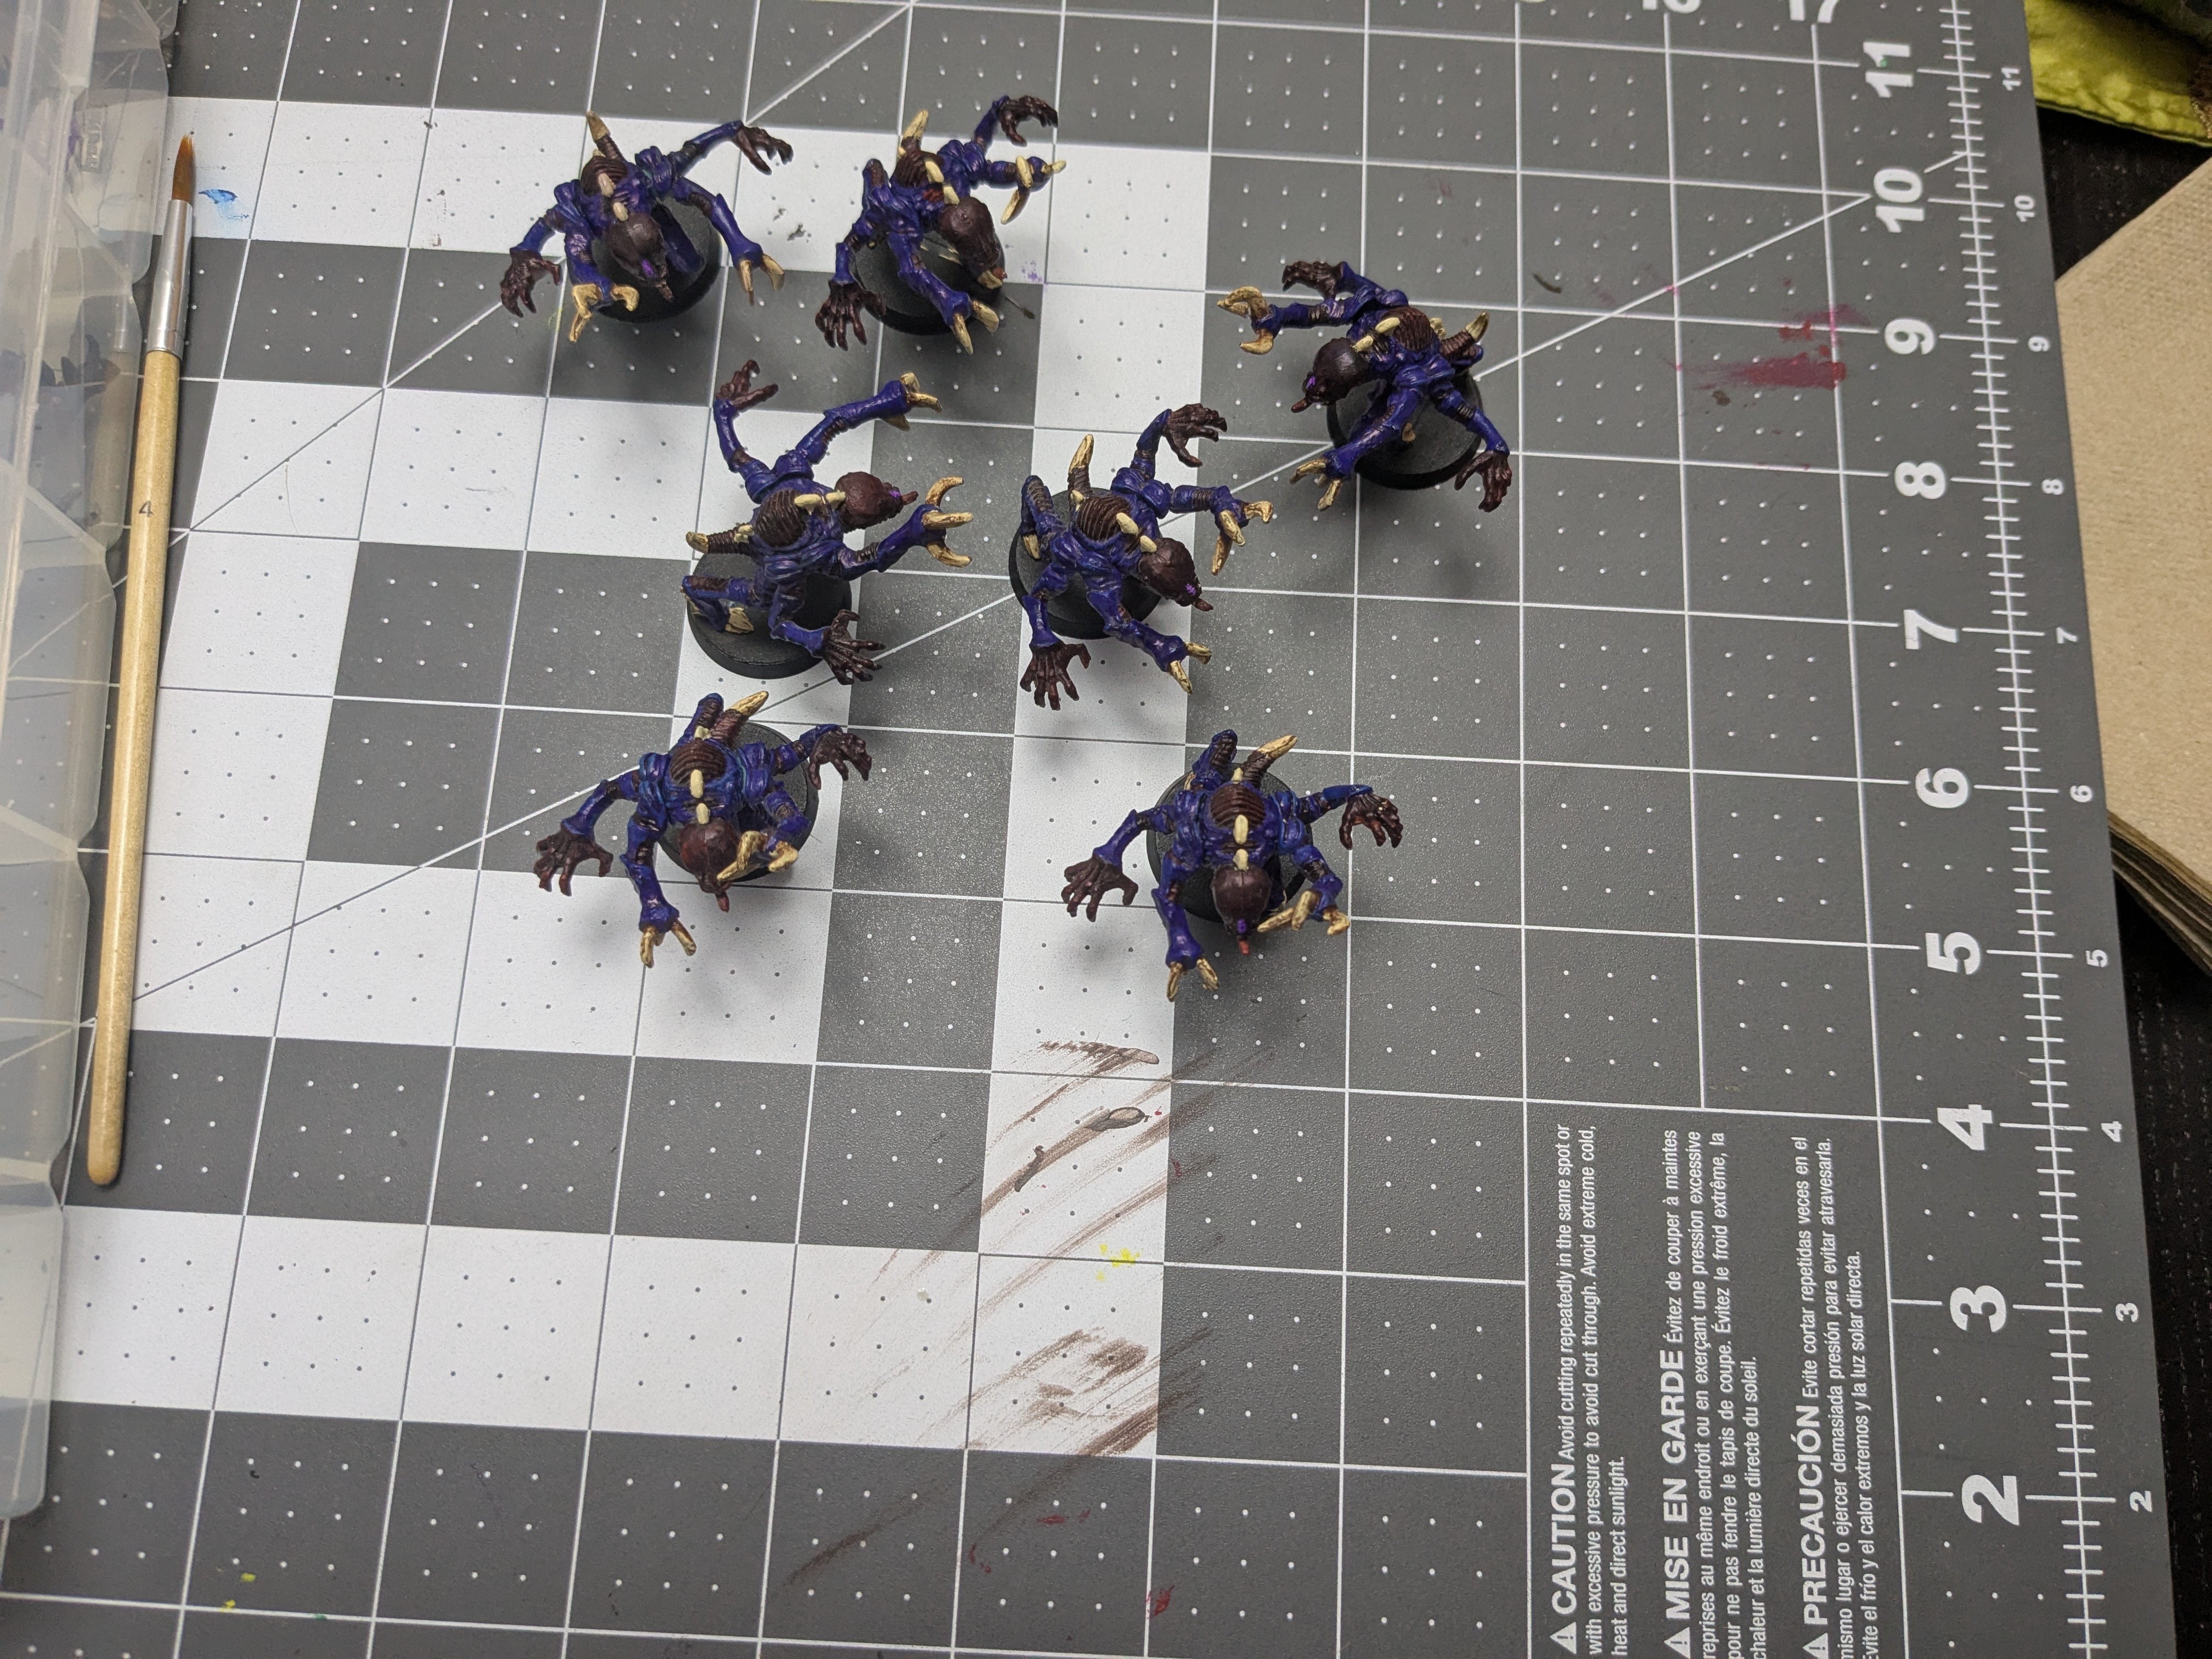
Here are my finished genestealers playing outside in nature (shameless pandering for the contest)
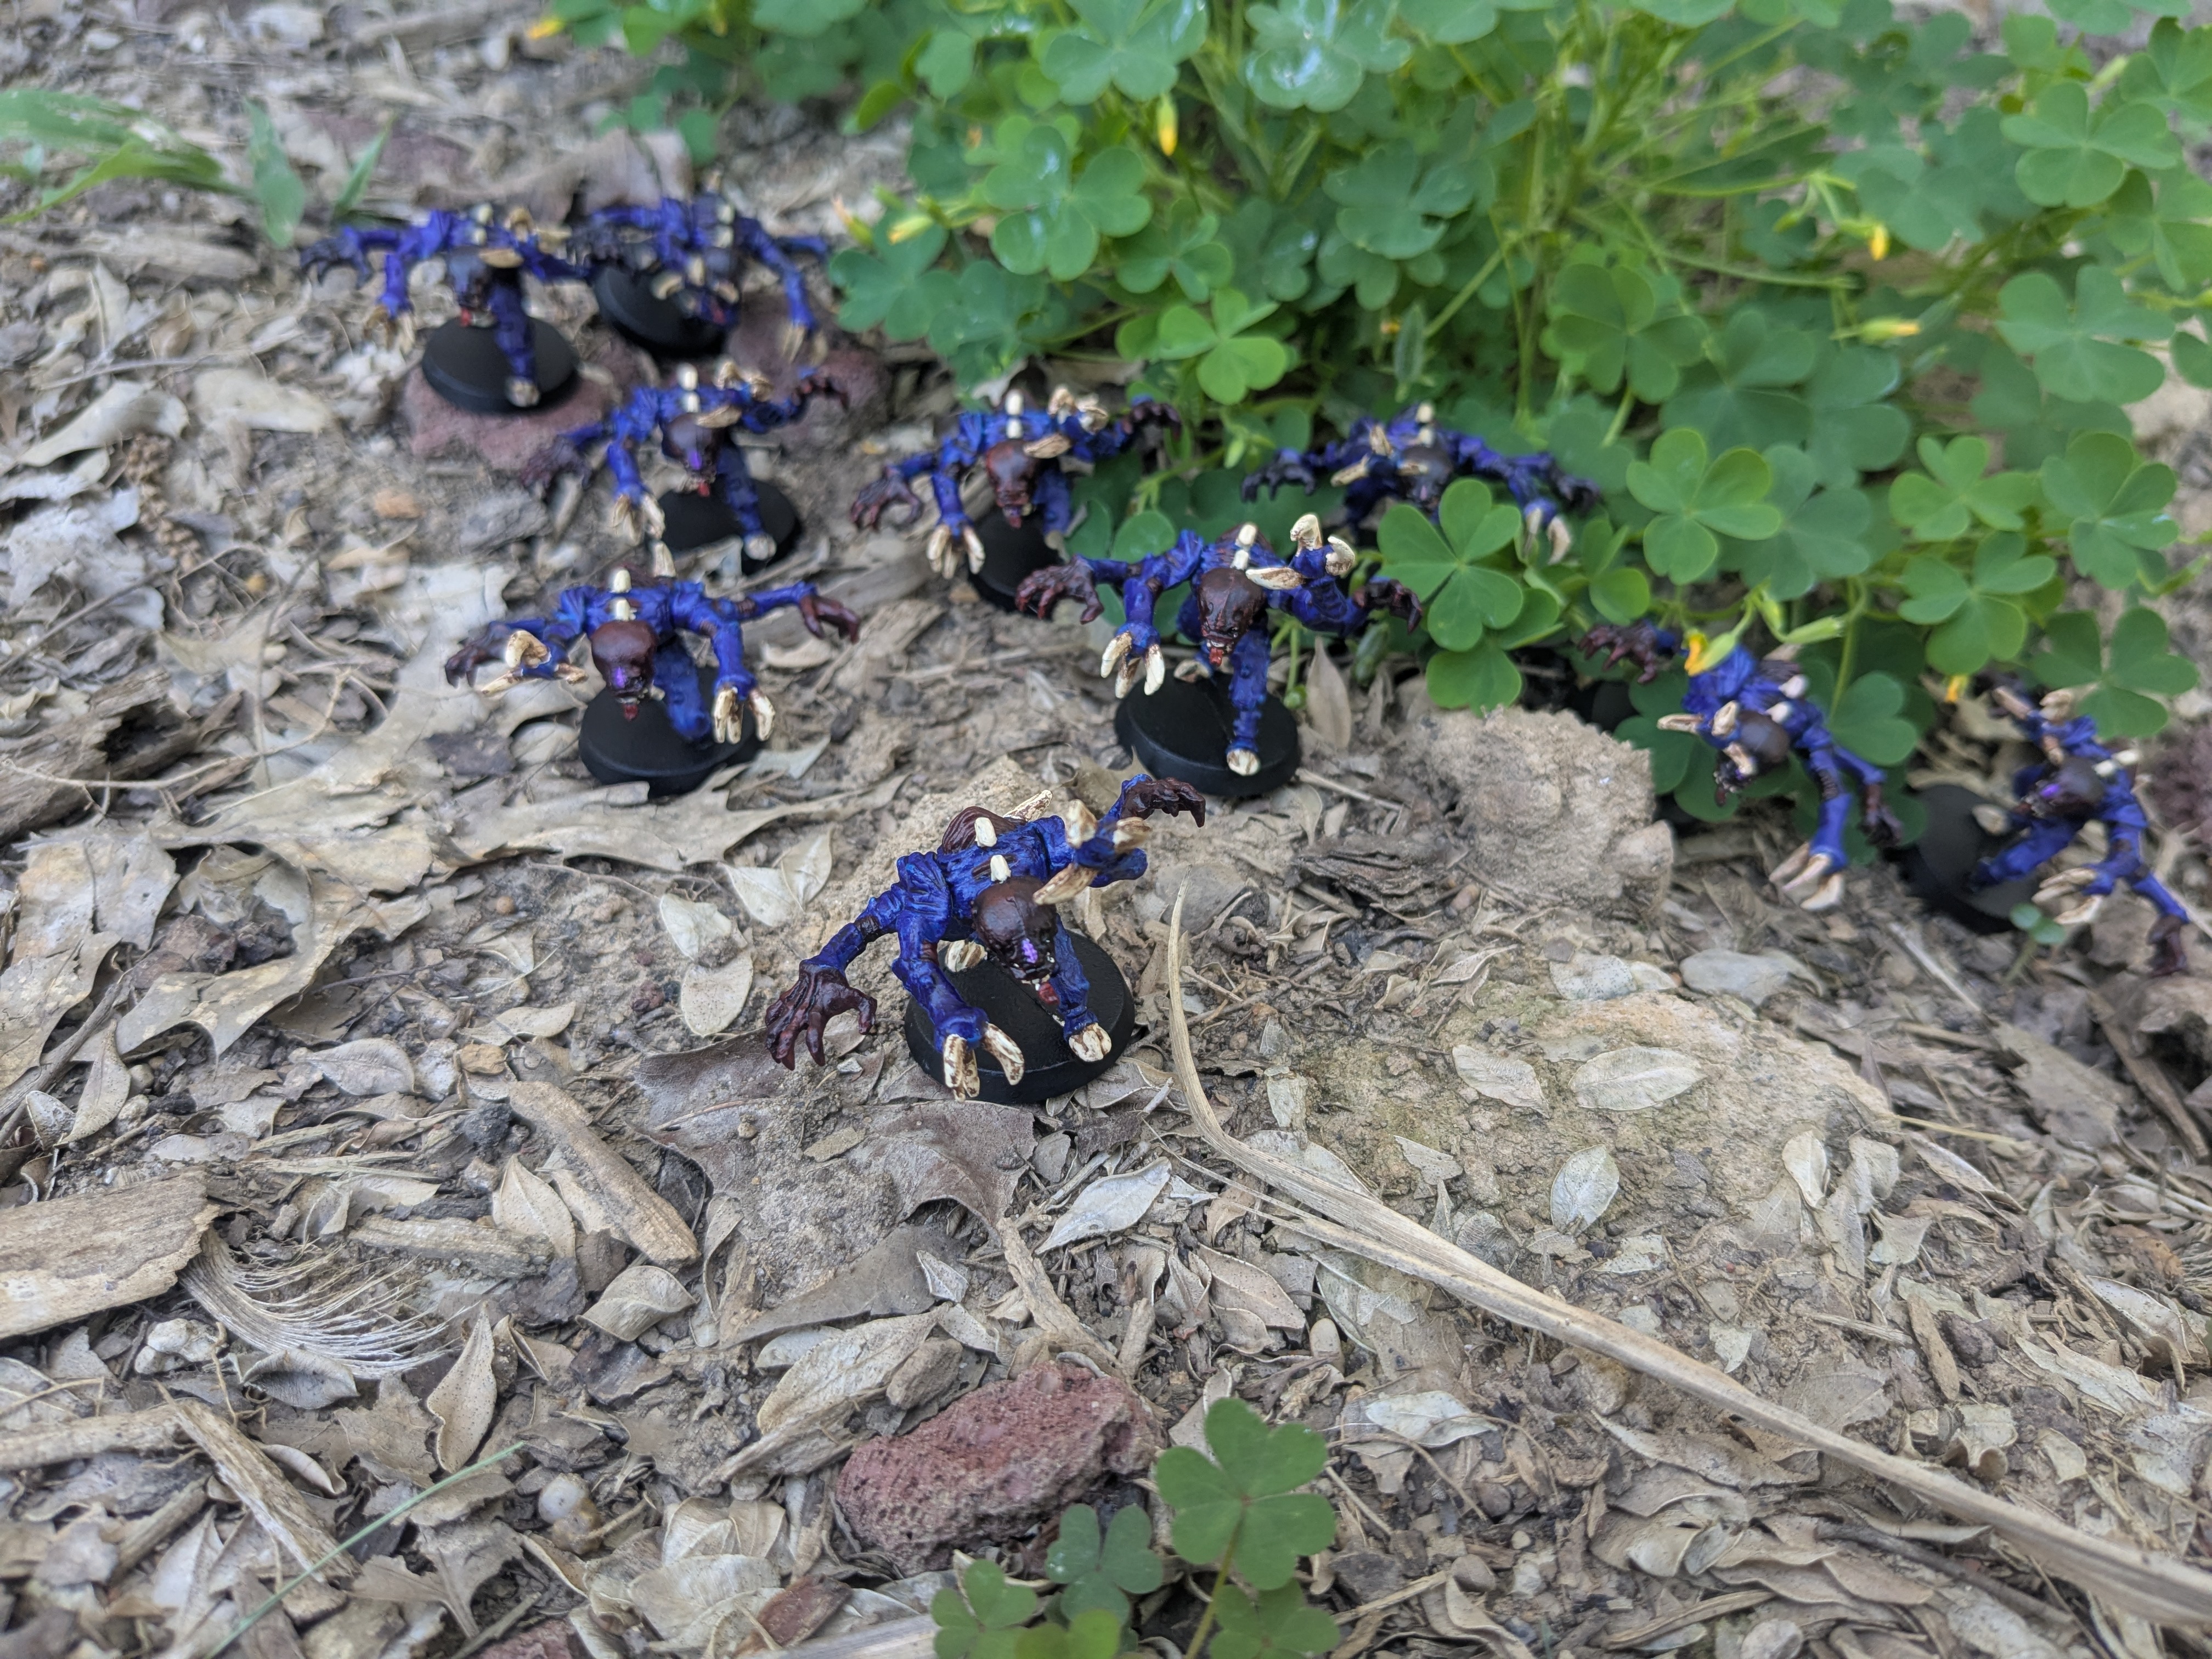 Emerging from the foliage for the attack
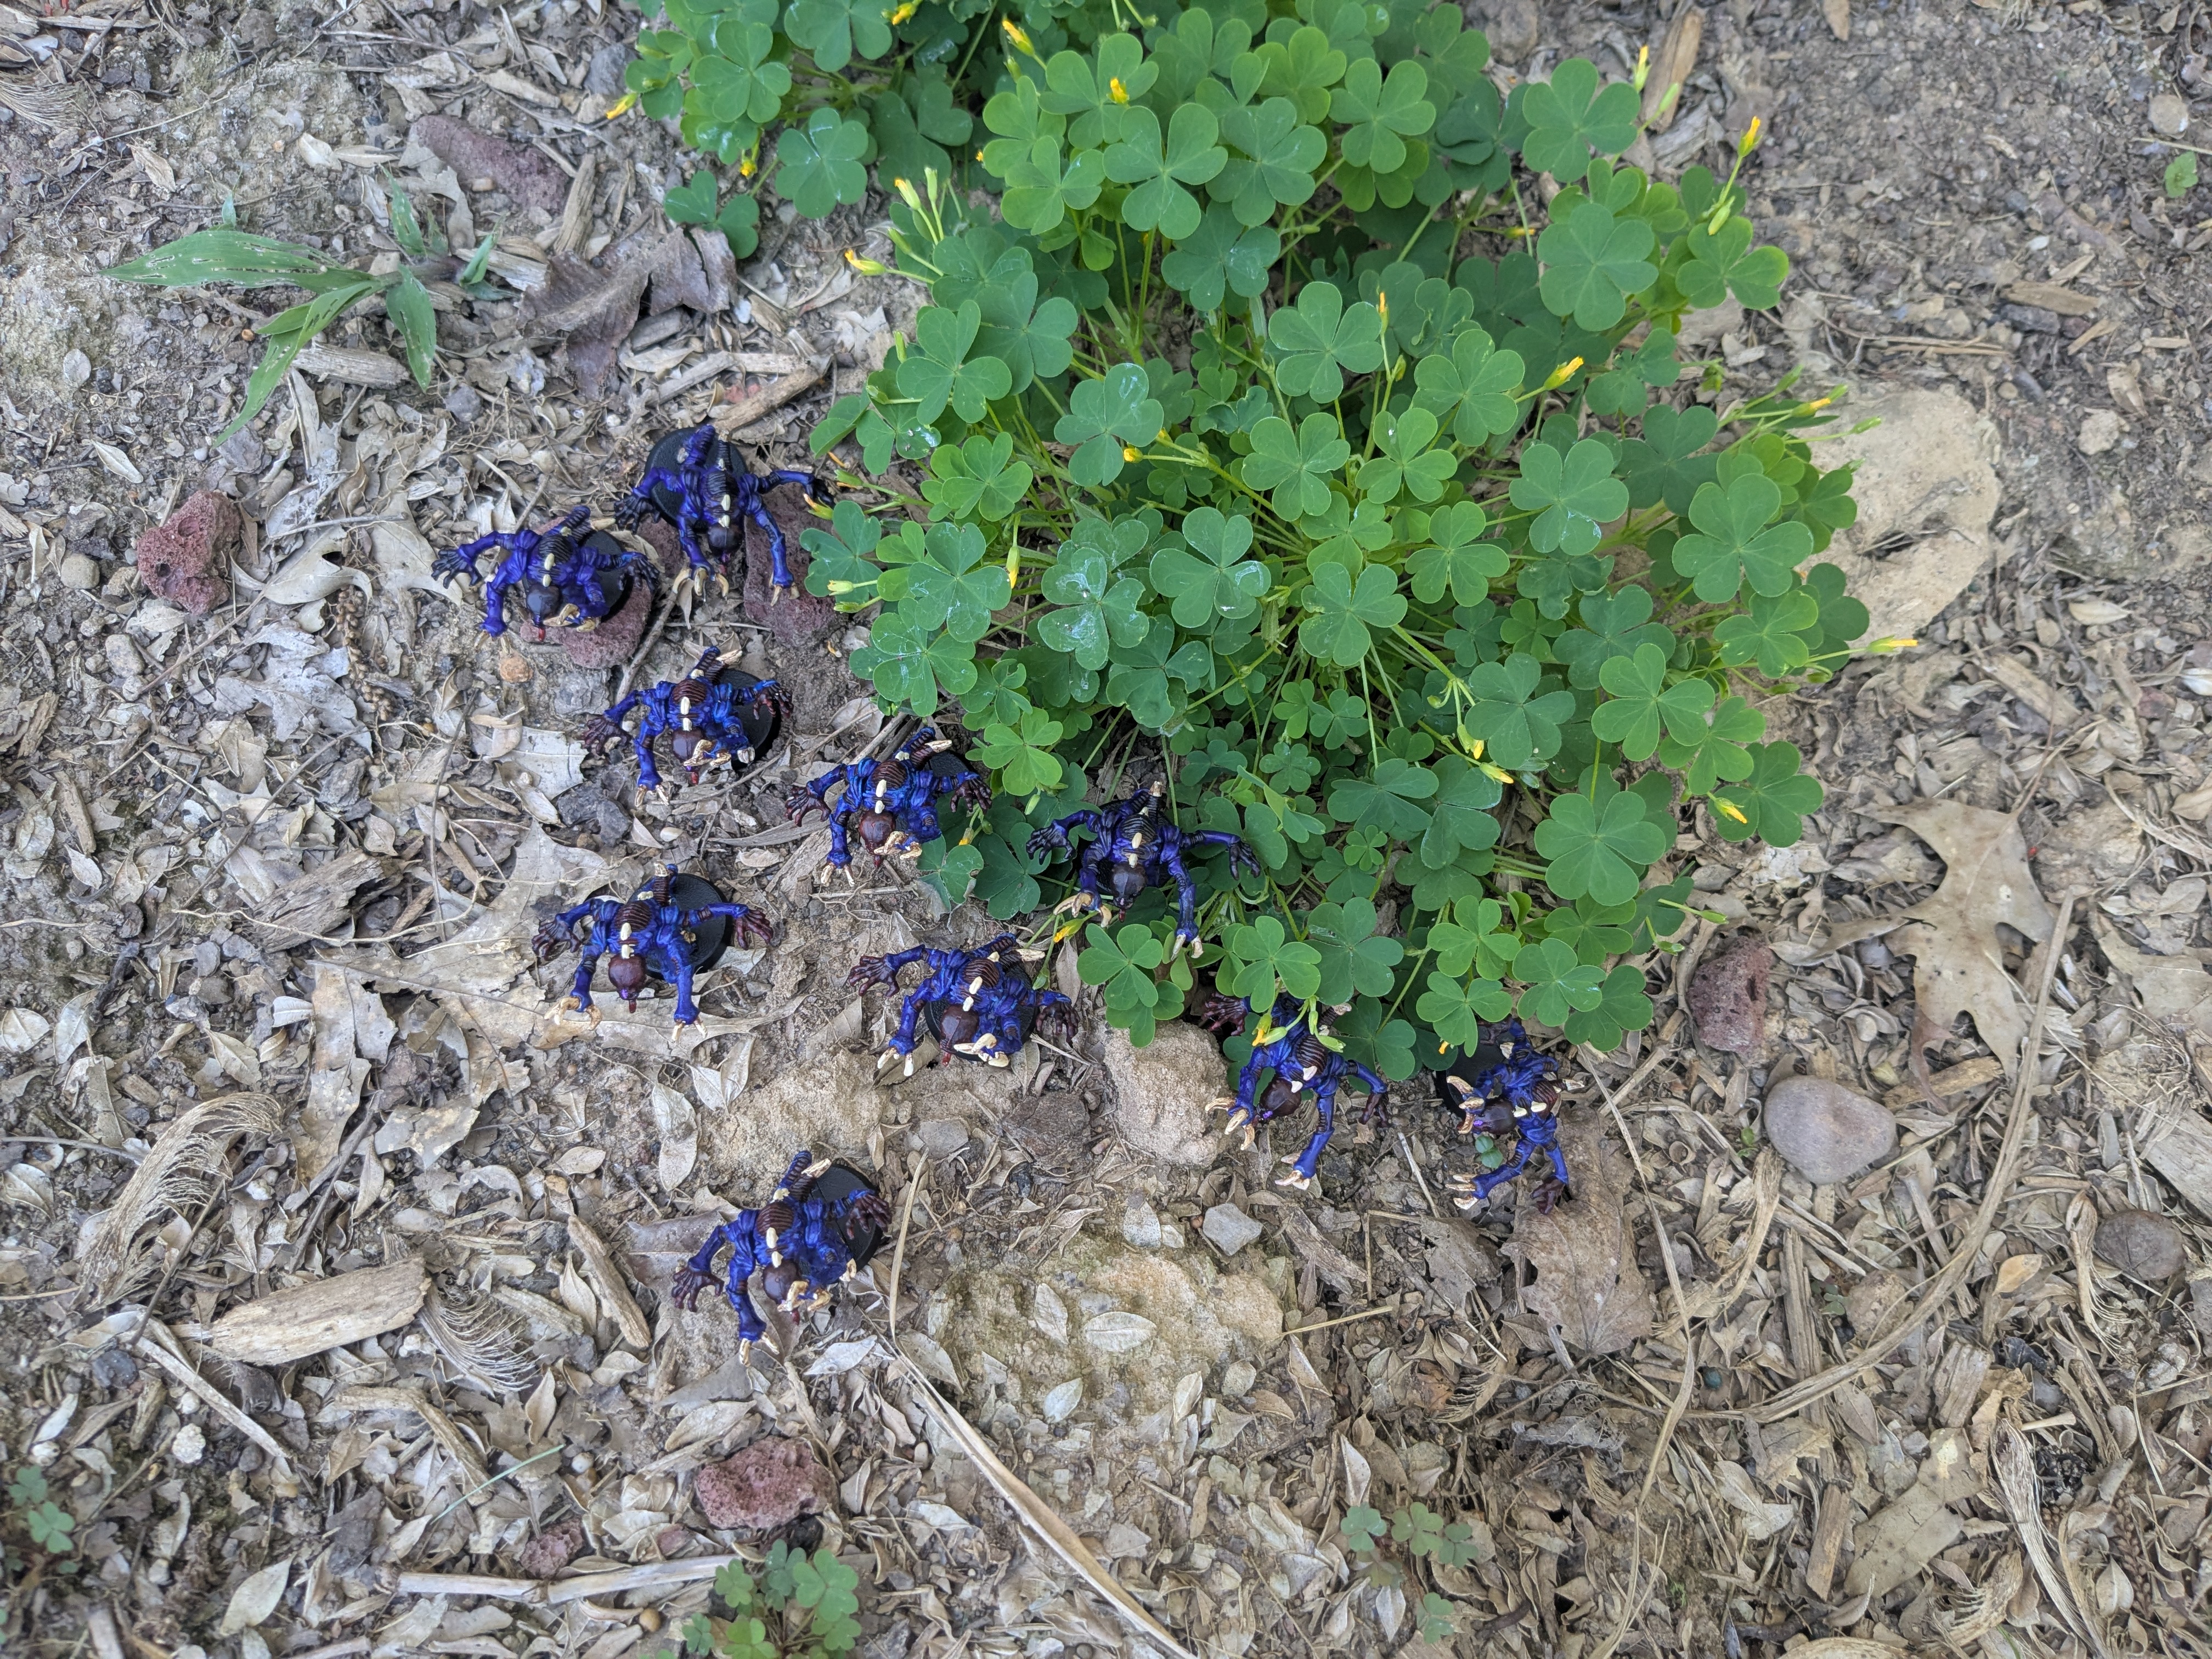 Unit Coherence is maintained
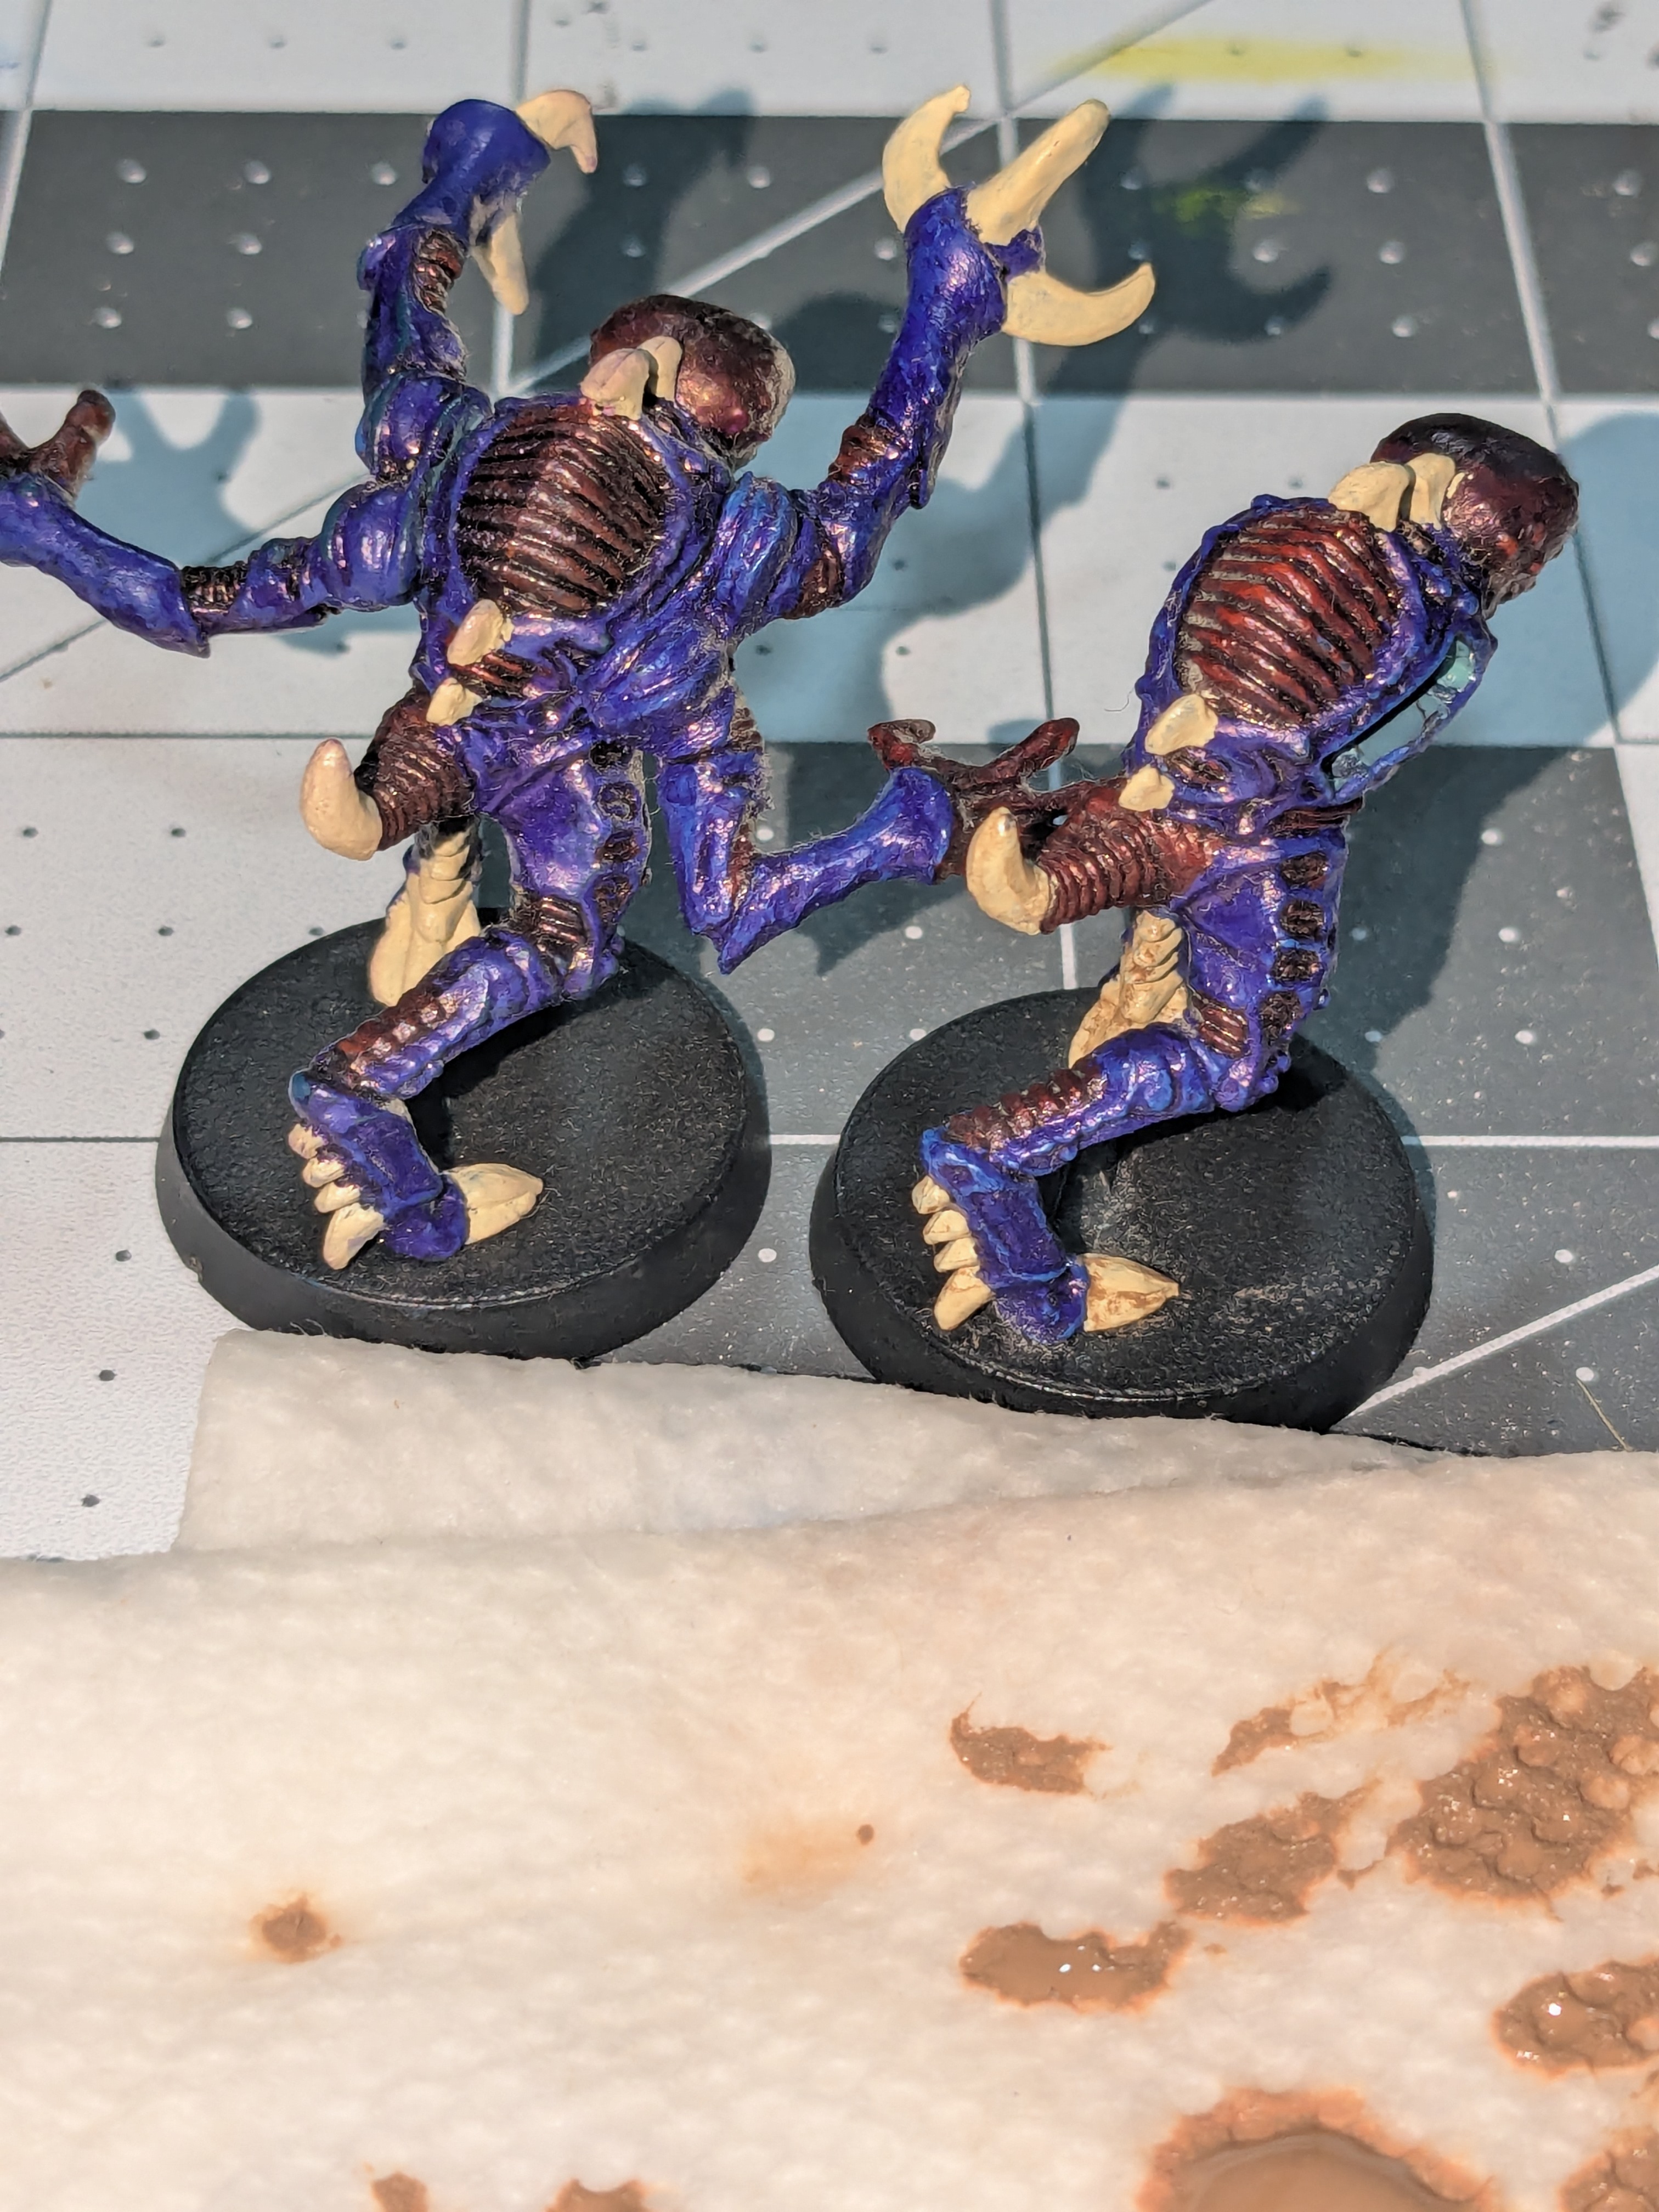
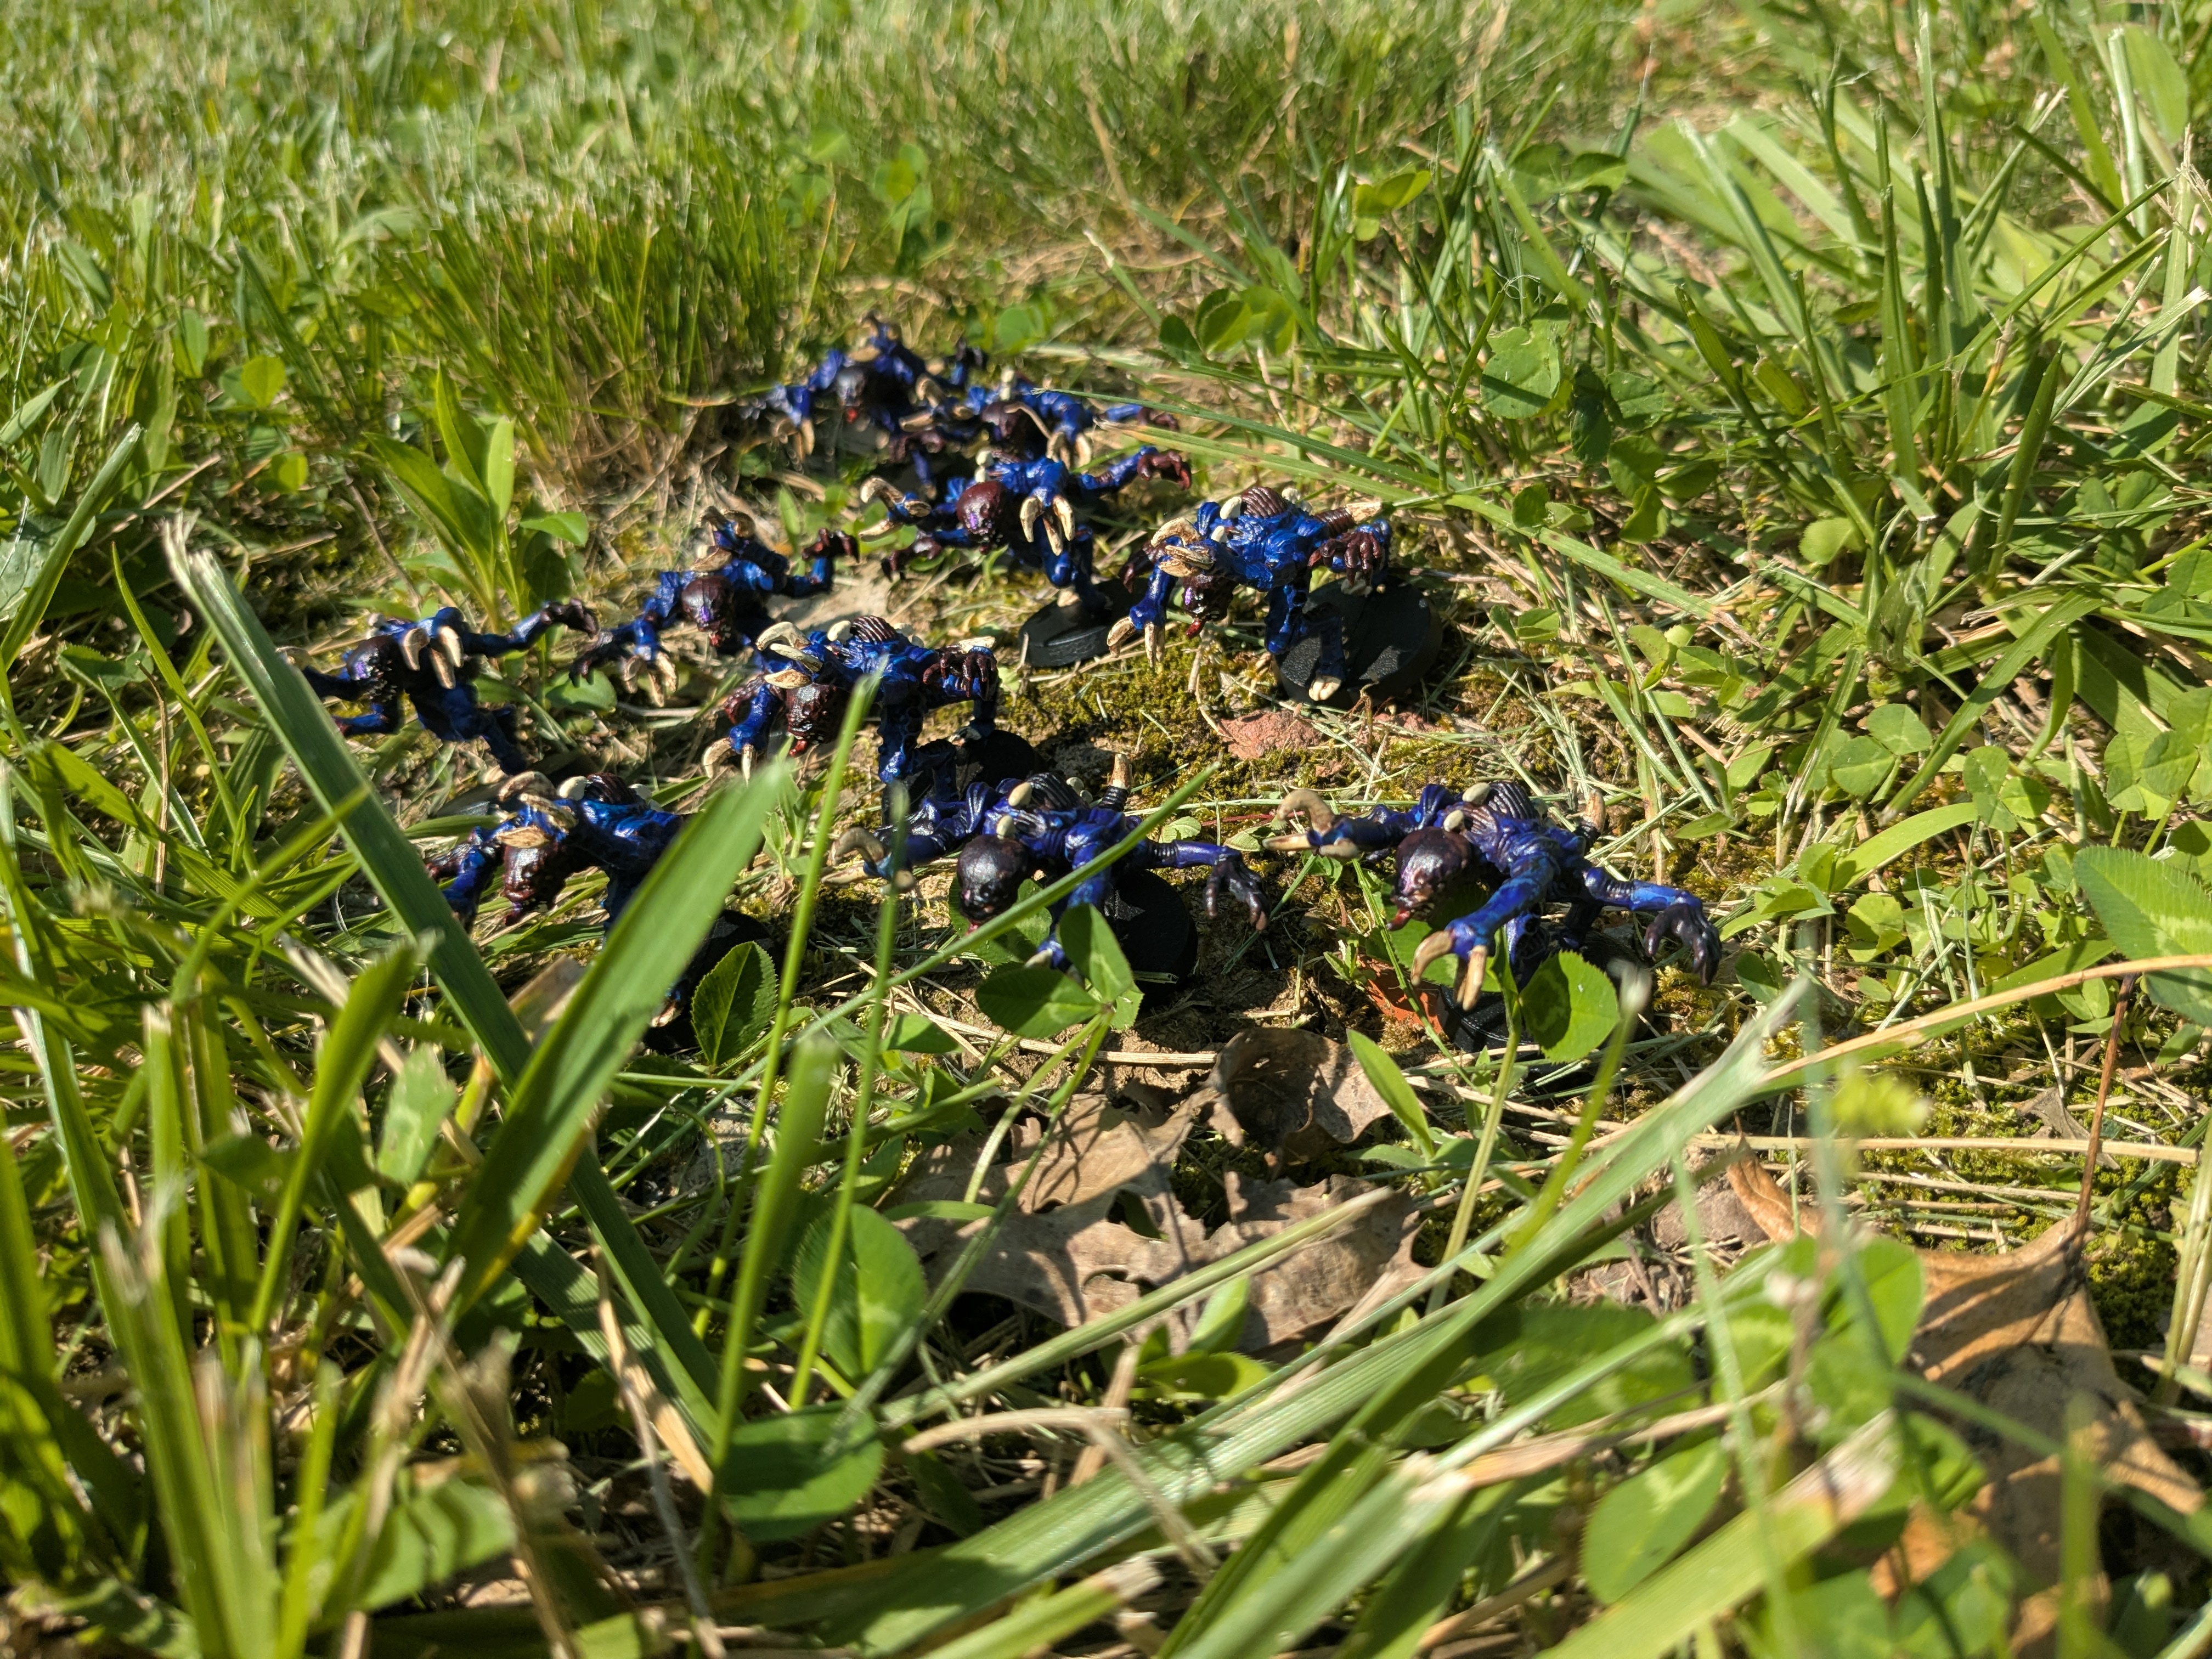 Direct sunlight makes the new vs old more obvious - the old has redder brown
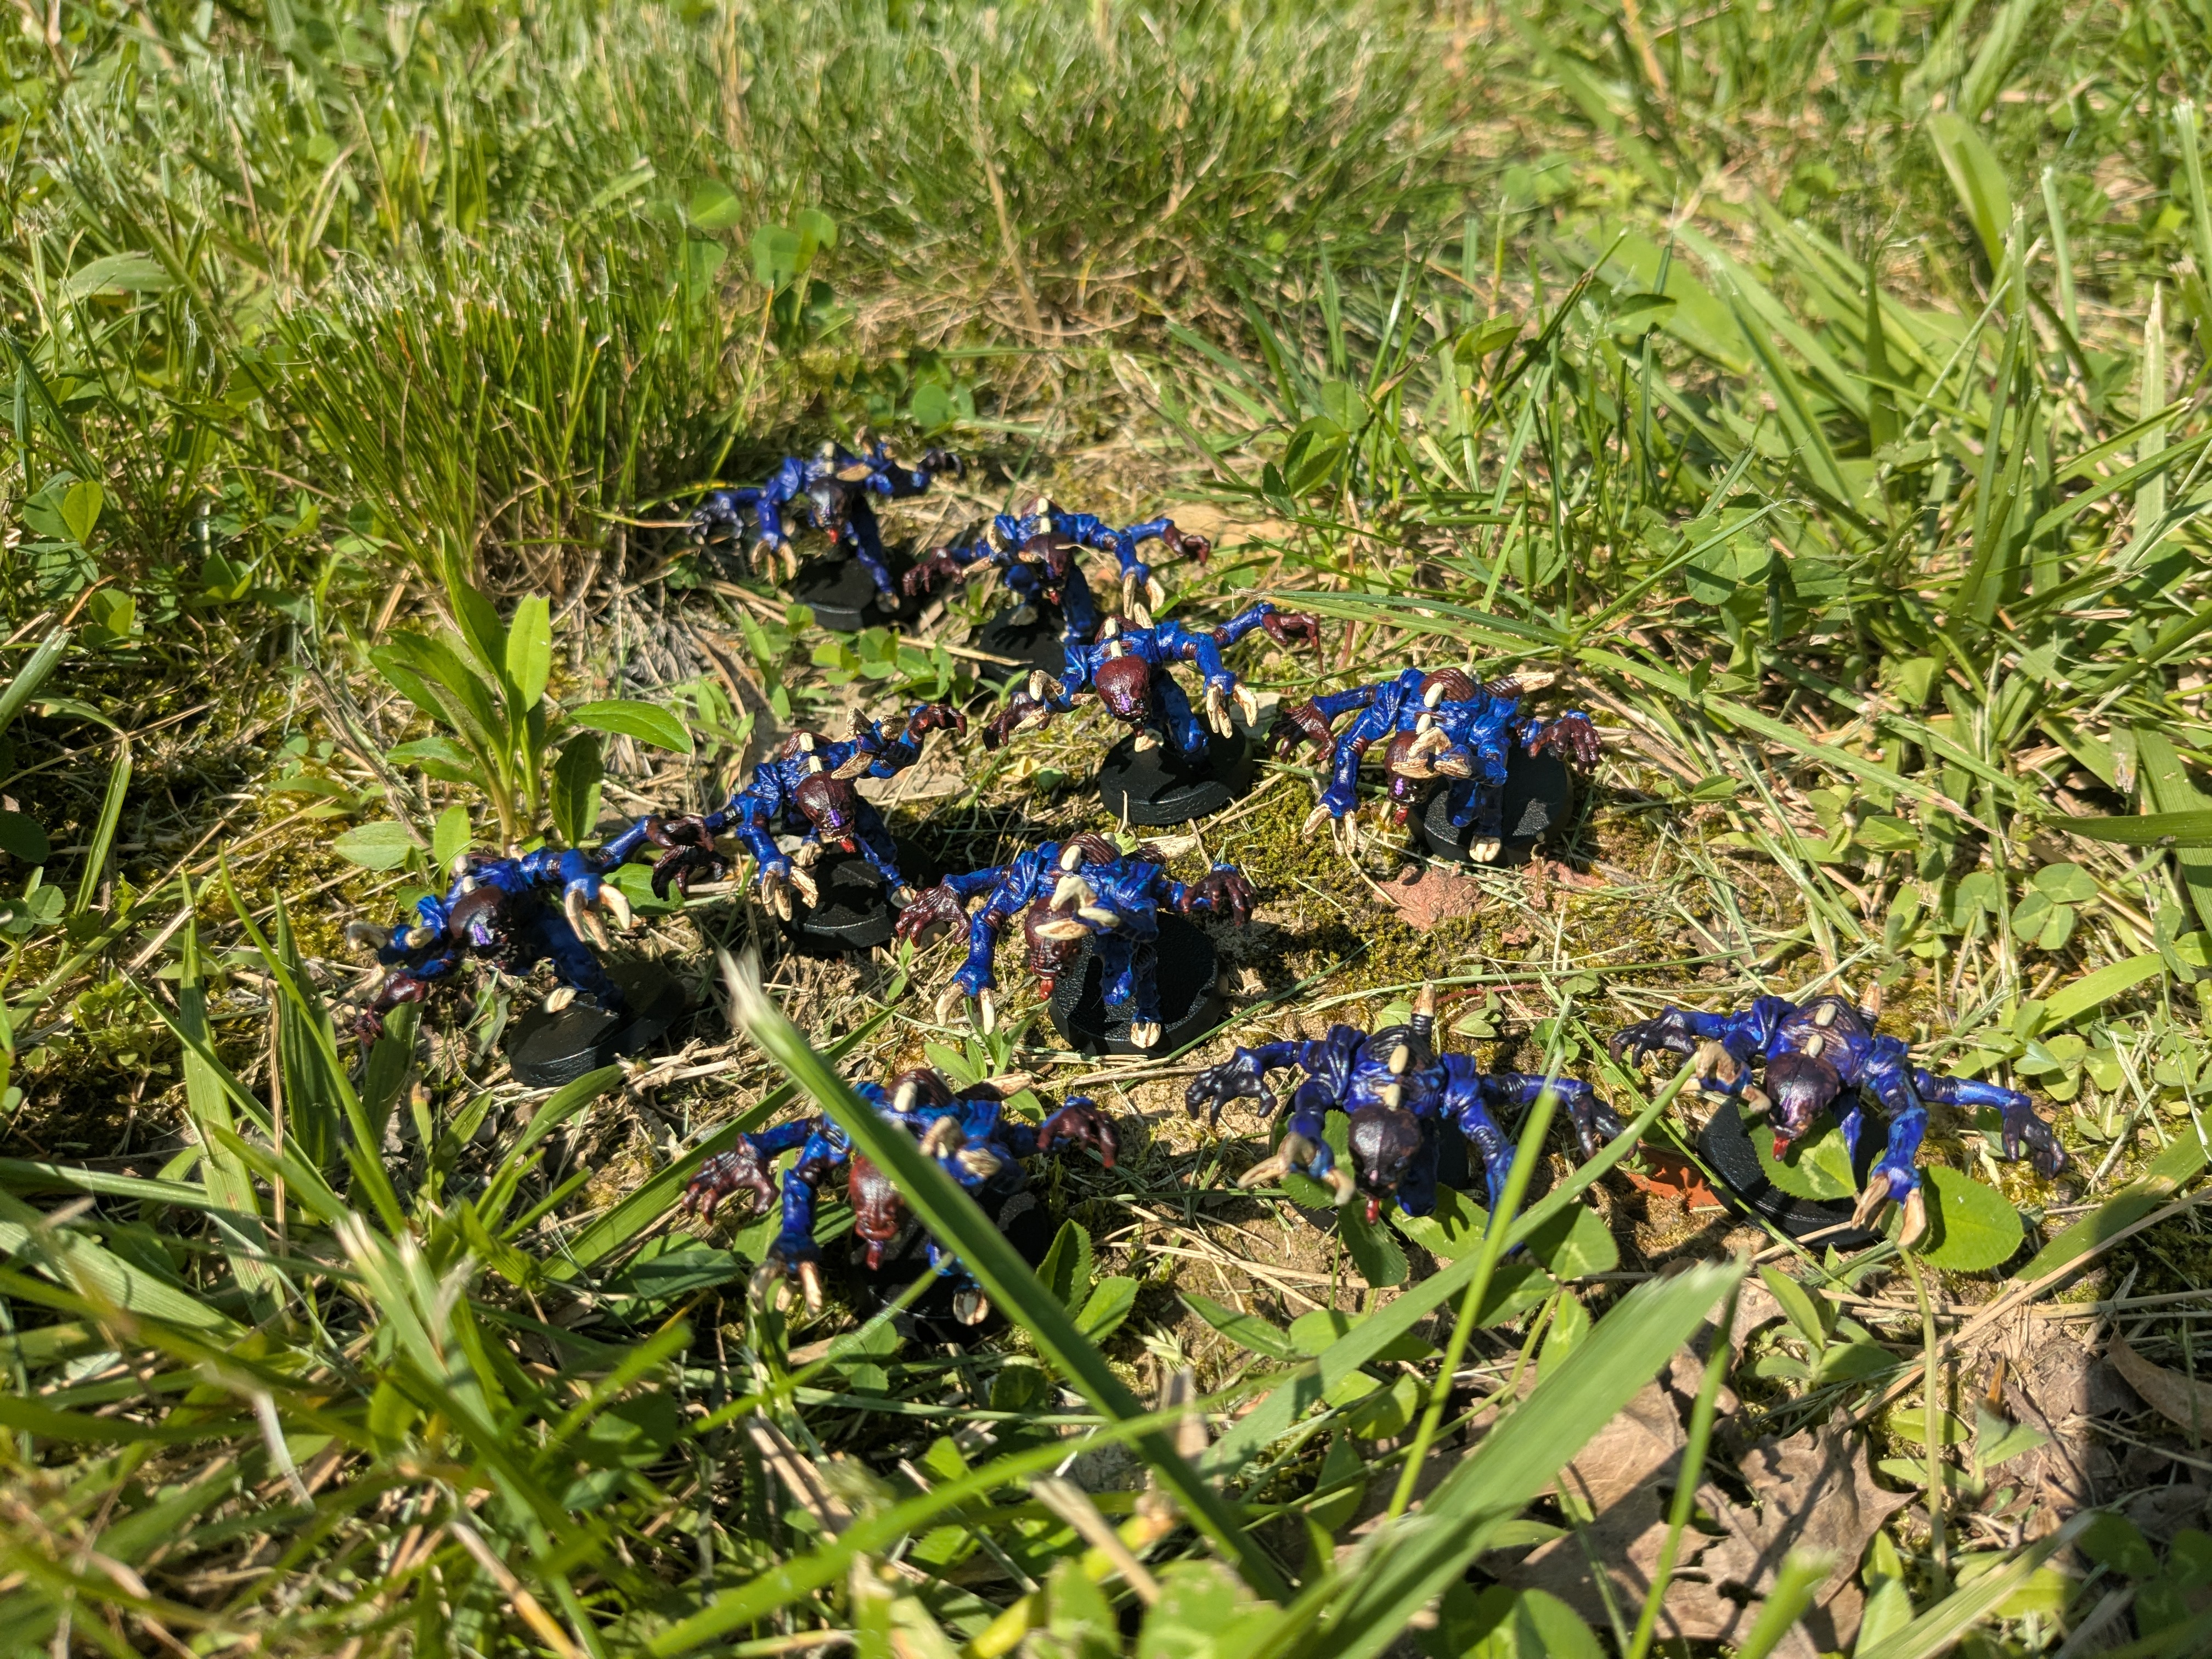 My wife says the colors pop in this one
Do a little jig
Finally got back to the genestealers after a few busy days. I went to the local home improvement store and got a spray can/rattle can of clear matte varnish. I’ve read that using varnish spray when it is very humid can lead to a hazy finish instead of clear and it has been raining quite a bit here the last few days. Today it was finally sunny again and the humidity wasn’t too horrible, so the genestealers are matte varnished now. I’m letting them dry and I’ll try to get a good final picture tomorrow.
For today’s update, I want to talk about my spray painting jig. I grabbed a spare 2×4 and drilled twenty 1/2 inch holes through it. I took a small piece of luaun/thin plywood and nailed it onto the bottom of the 2×4 to close off one side of the holes. I got a 1/2 inch dowel rod and chopped it into twenty 3 inch pieces. I then use whatever kind of mounting putty that I have around (Blu-tack, Fun-Tak, whatever version of tak gorilla glue makes, etc) and stick a model on each dowel. This way I can spray the major areas on all the models in one go, and then I can pick up each dowel and model if I need to do more spraying at different/odd angles.
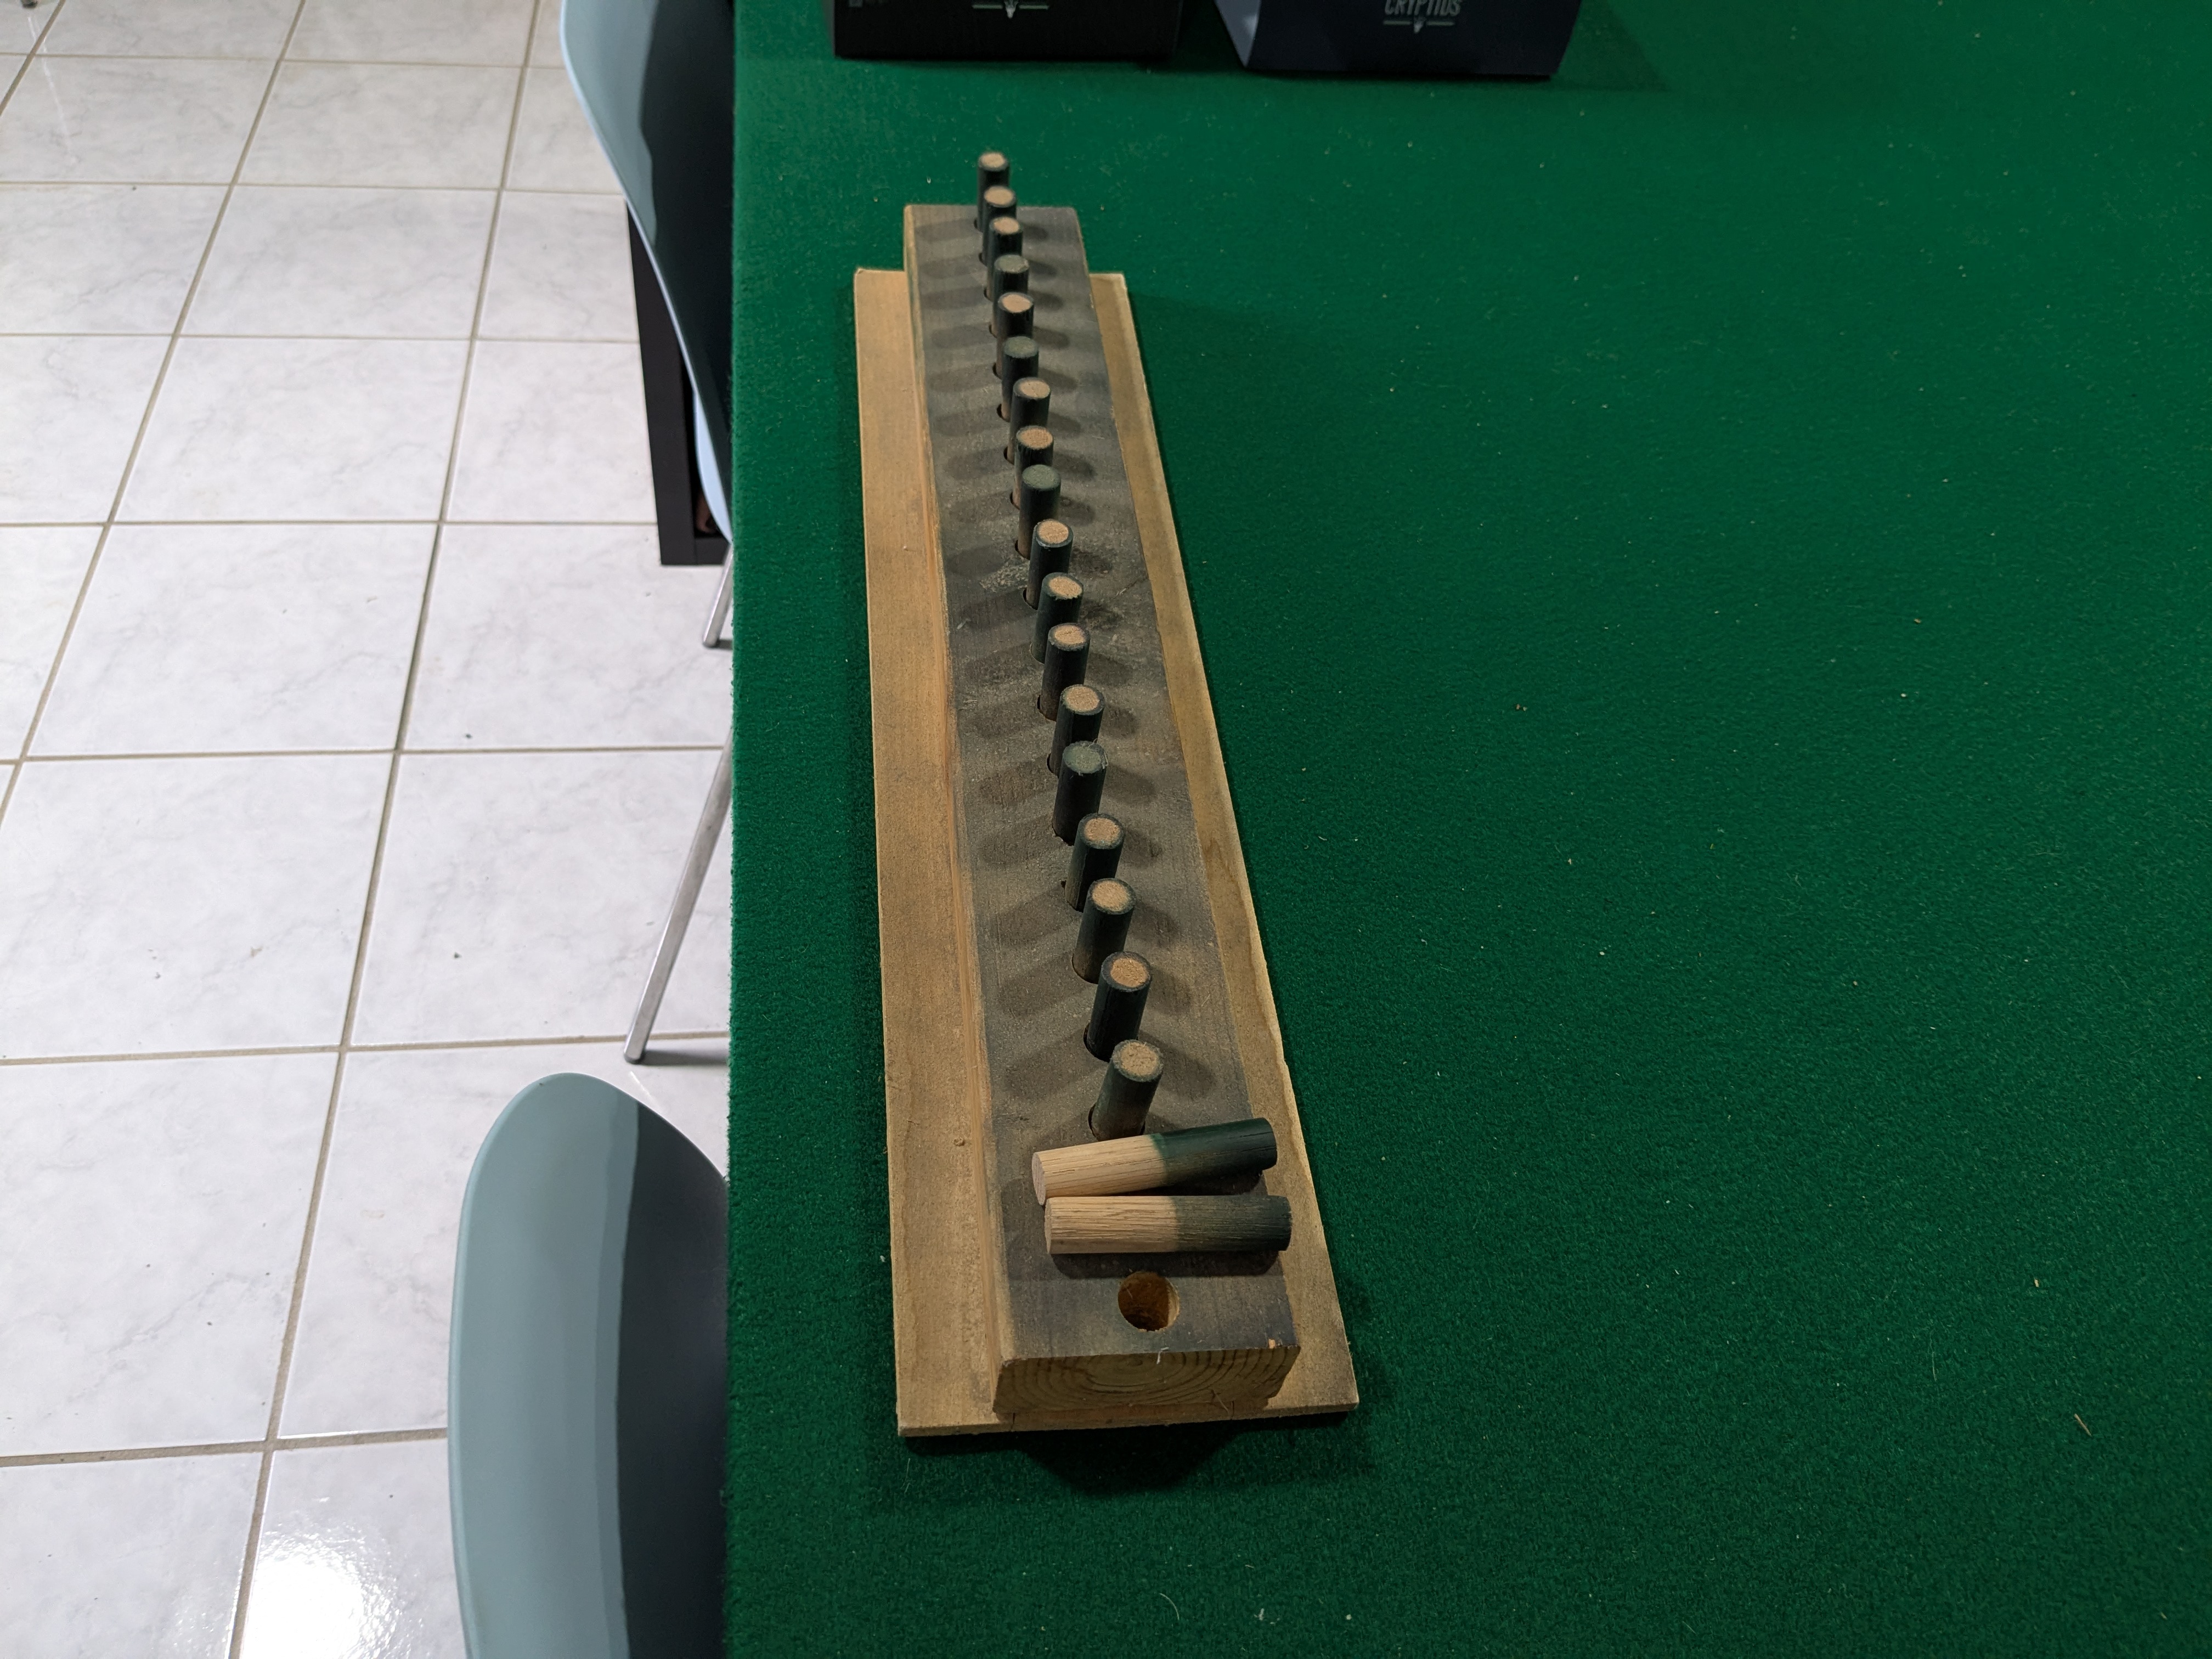 Painting Jig with some dowels removed
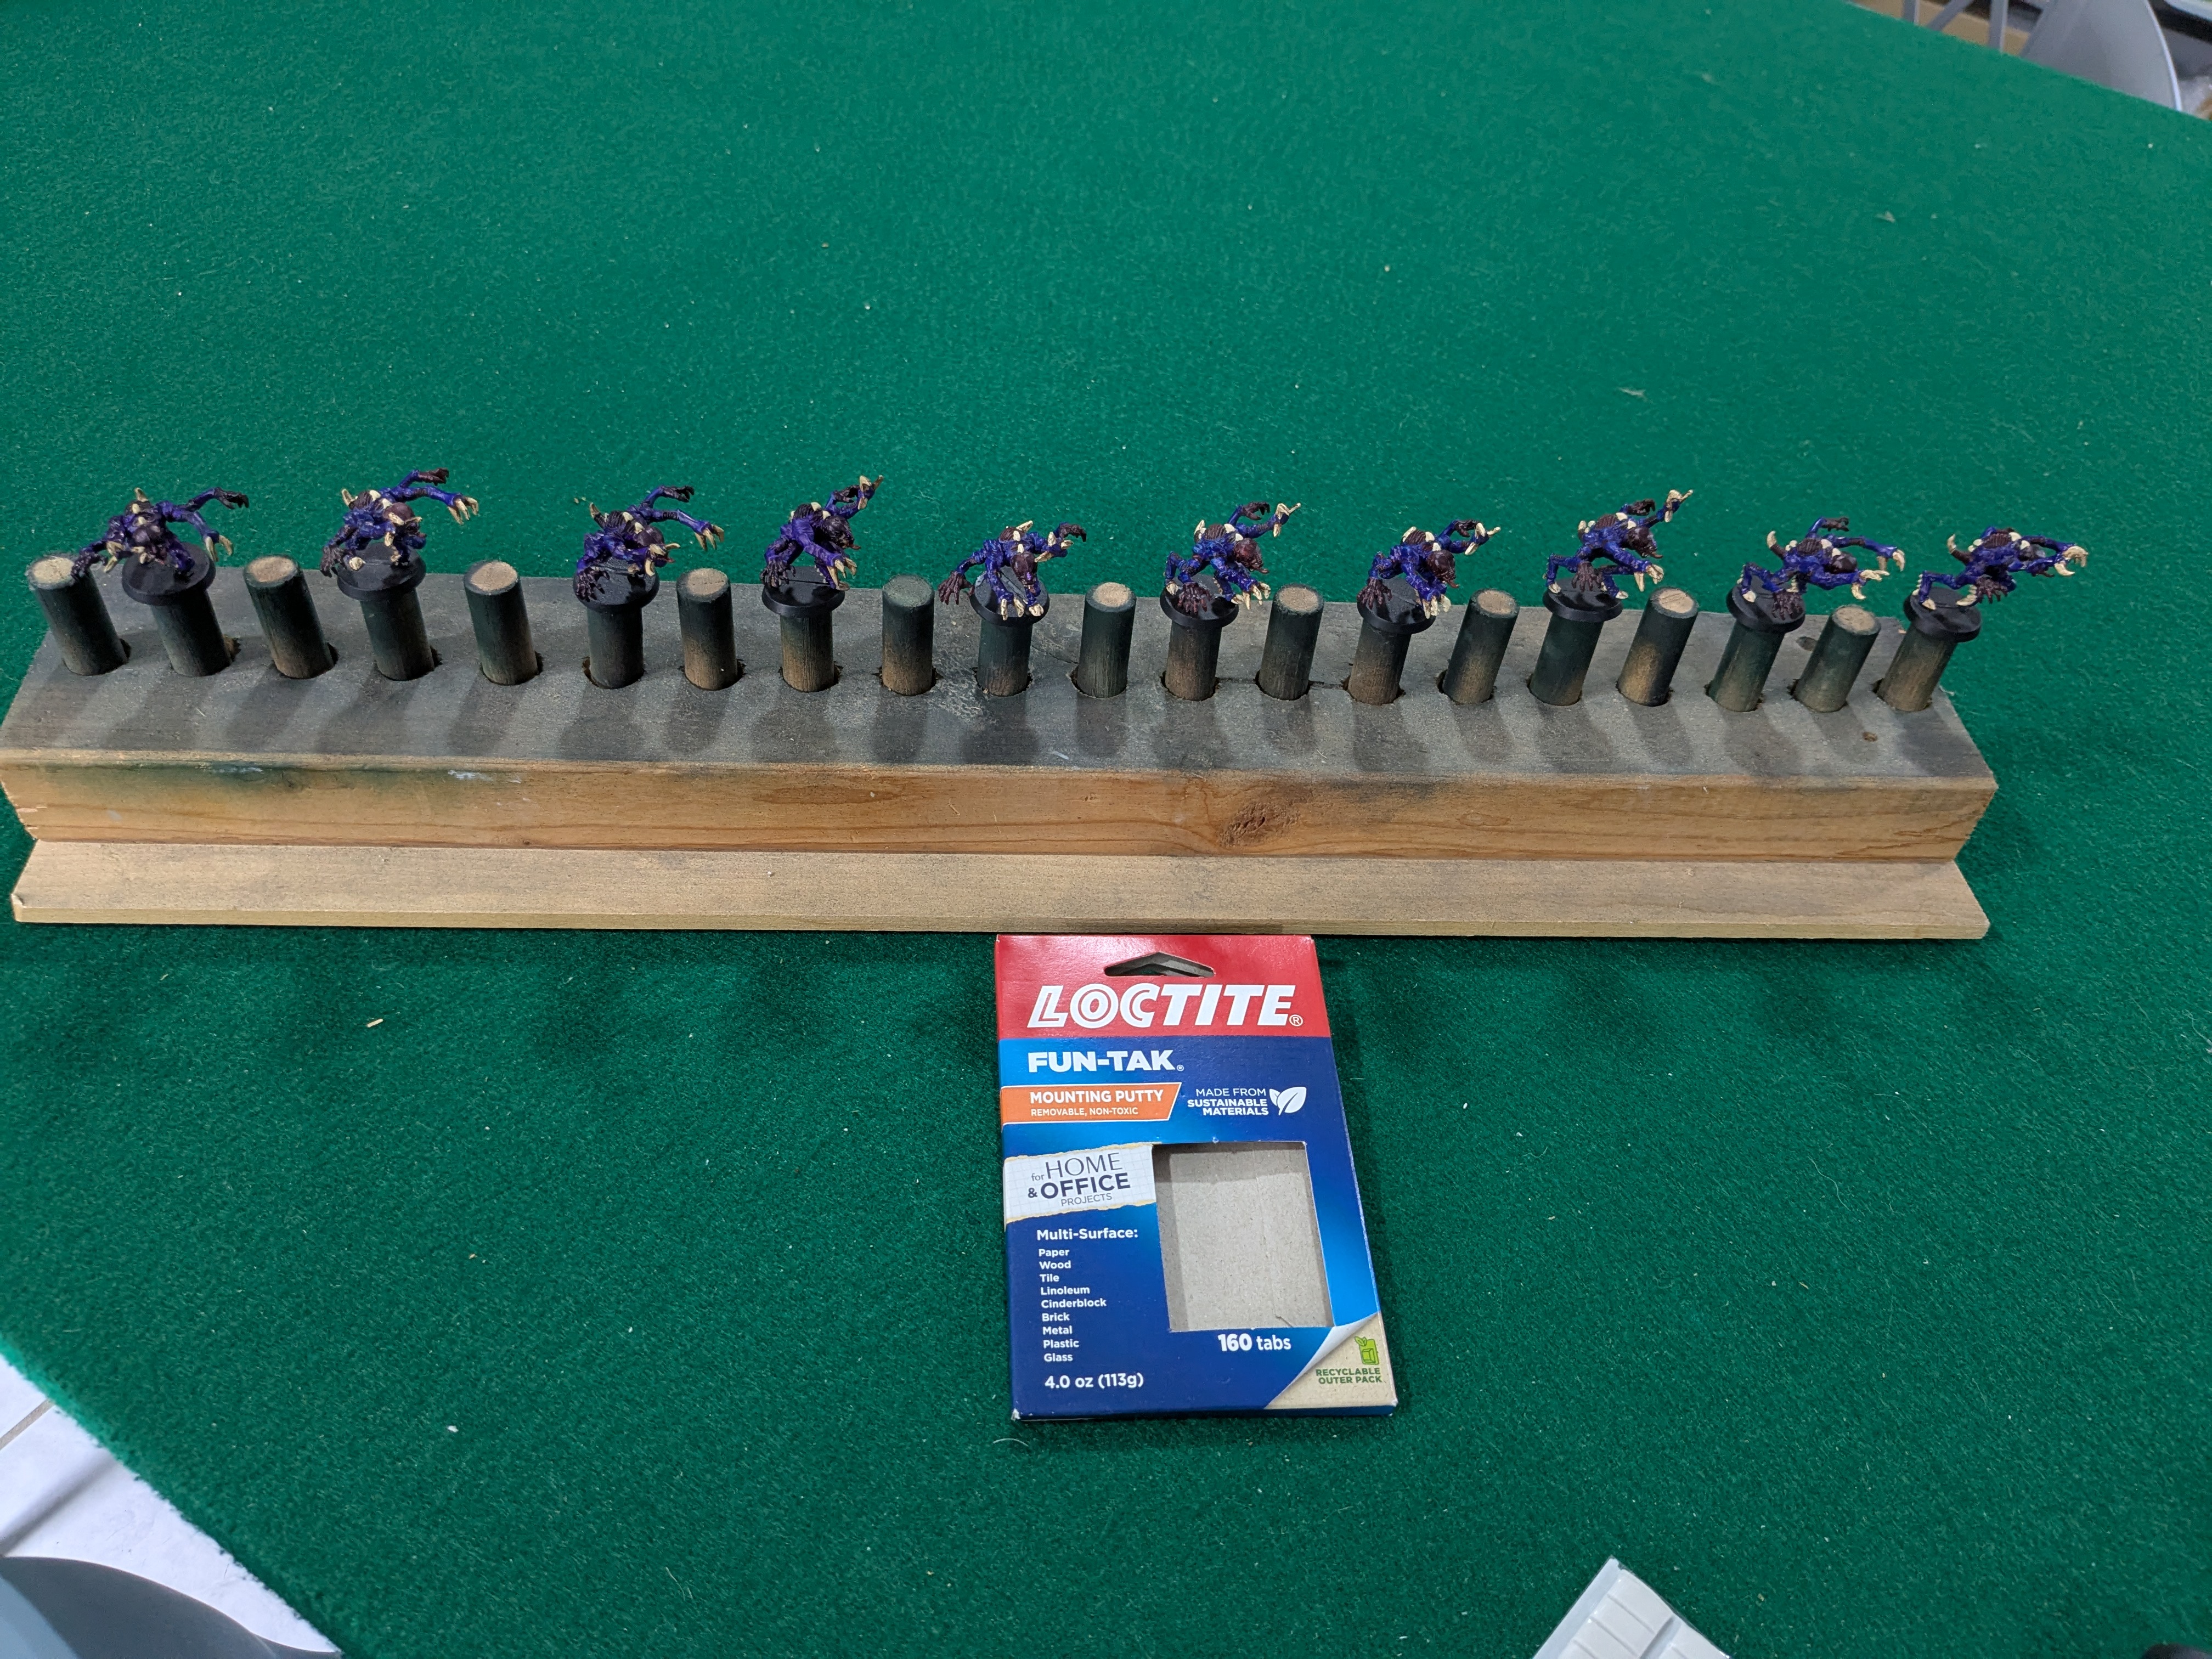 Genestealers ready for spraying
And then there were 10...
After lots of sweating, swearing, squinting, and slopping paint around, I’ve gotten the teeth and eyes picked out with white, put red on the ovipositors, aged the claws, and then did final assembly. And there are 10 genestealers painted now!!
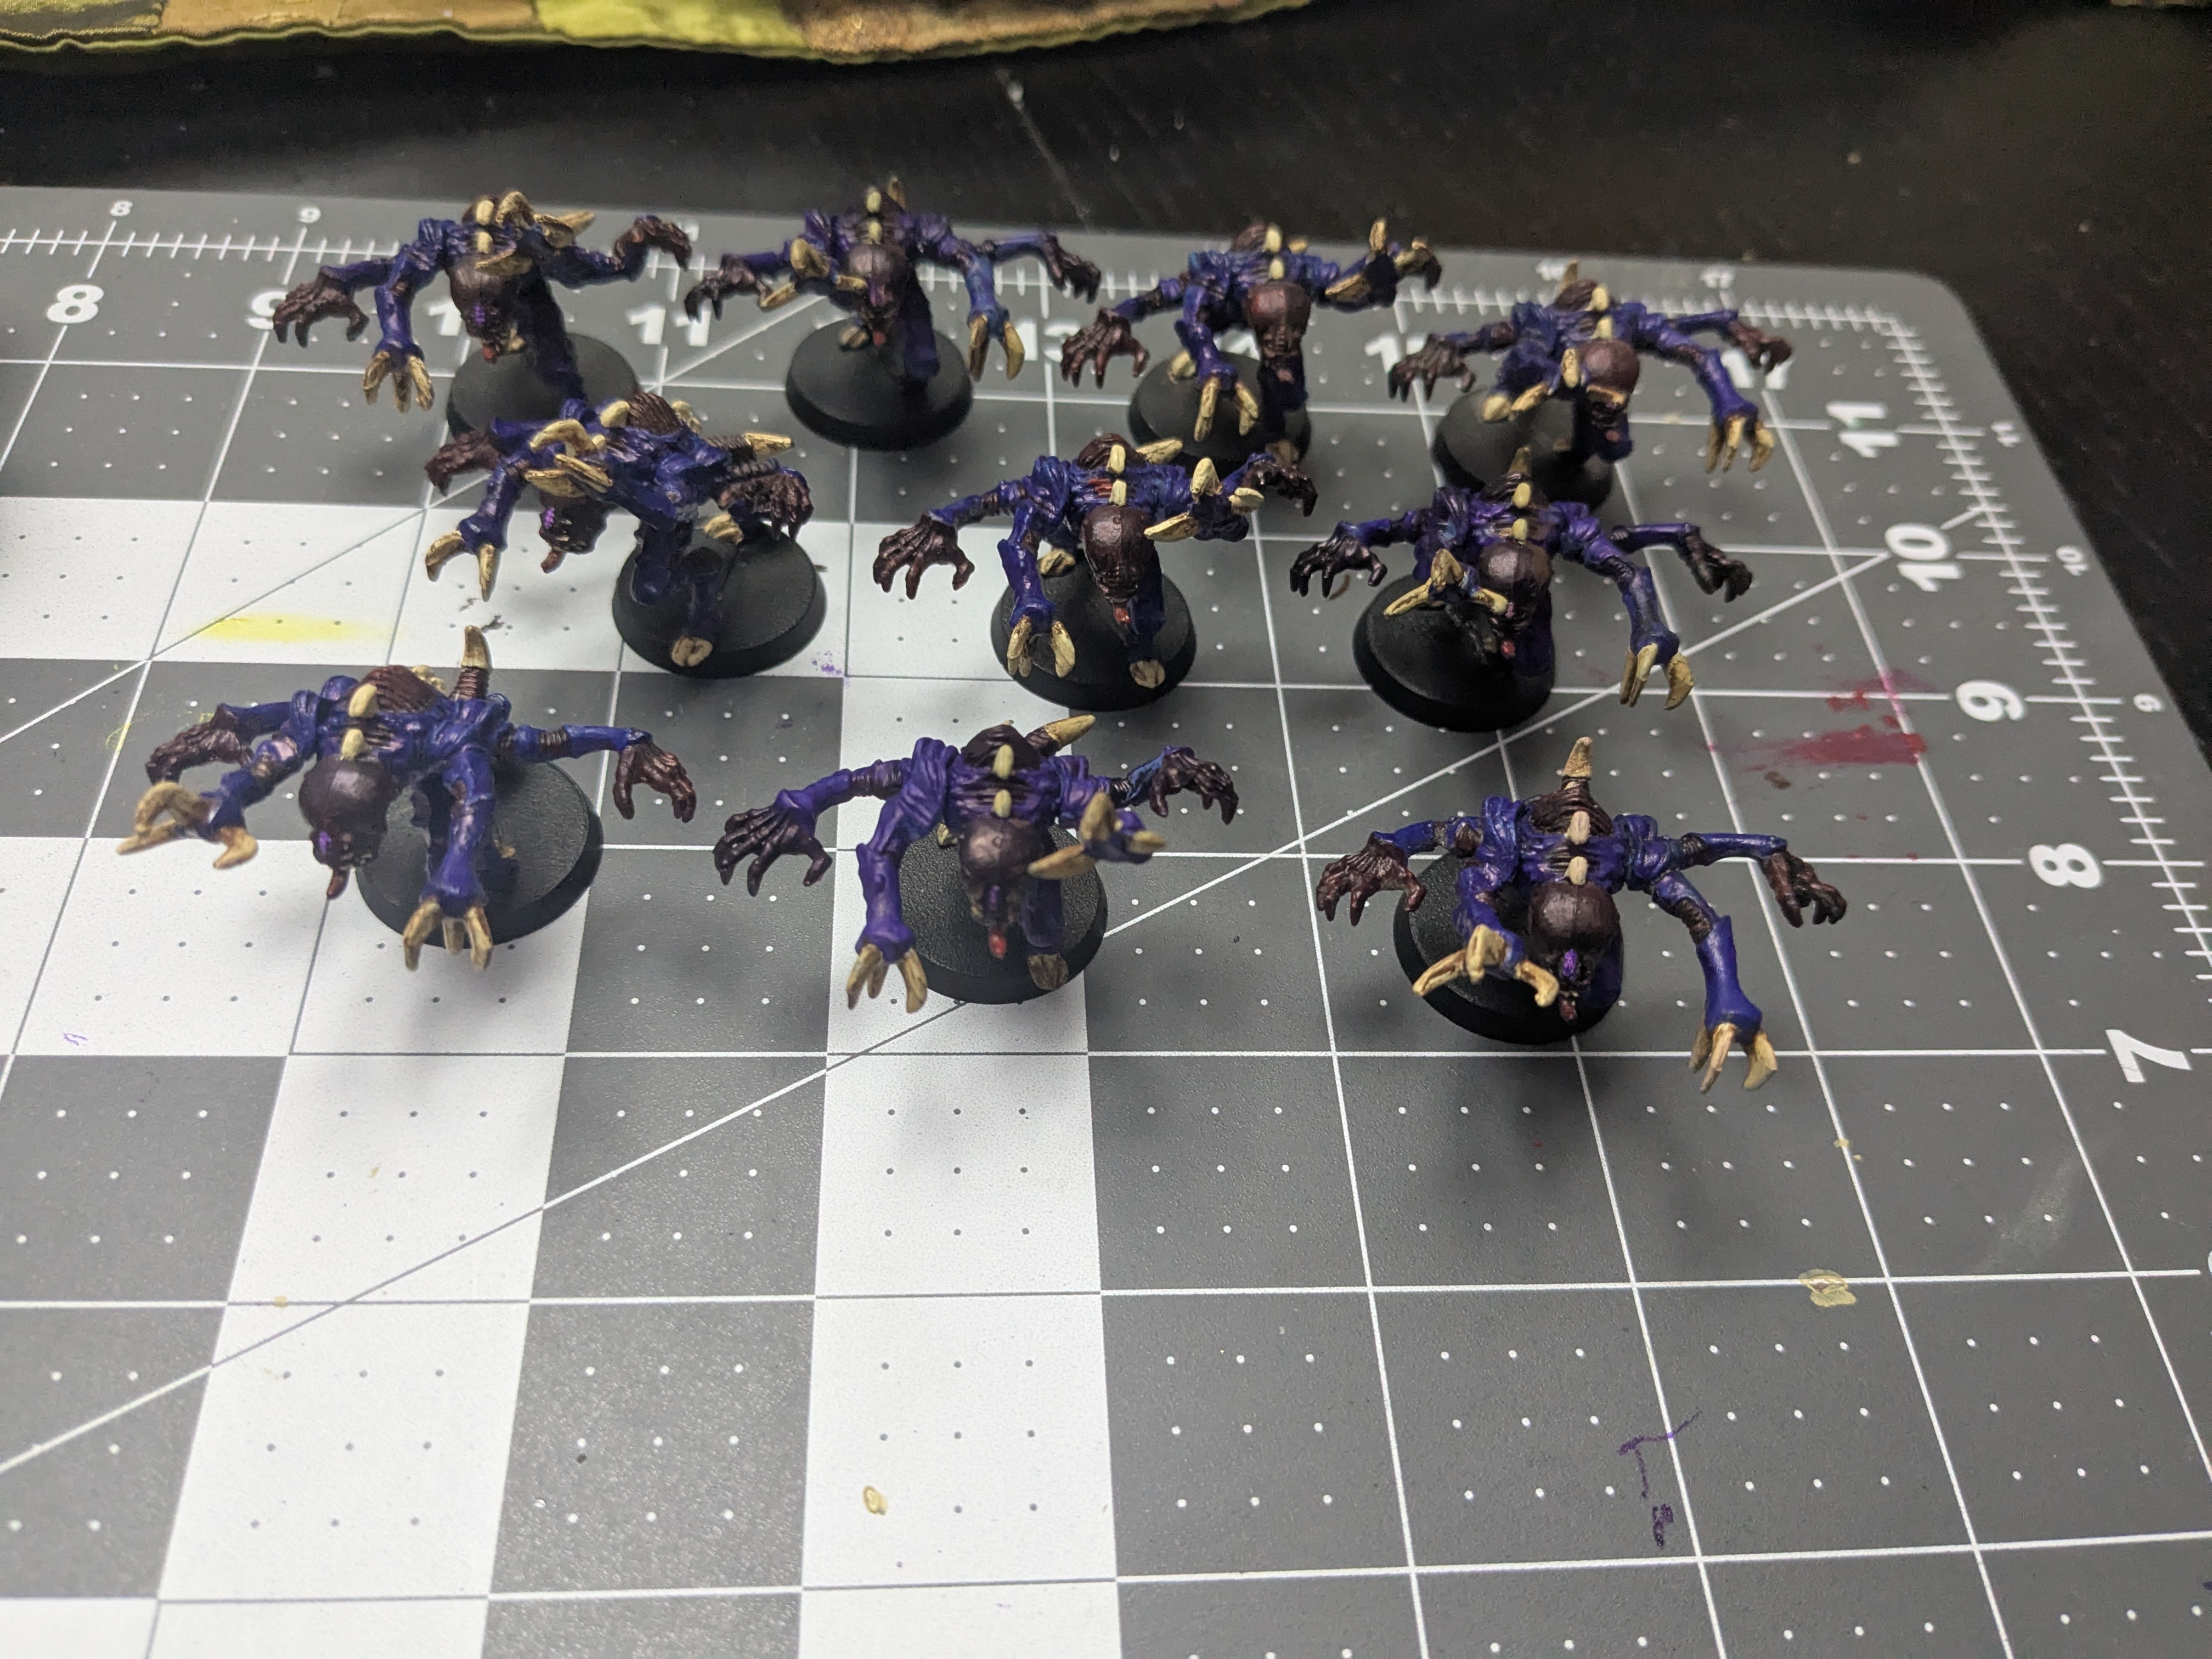 See if you can find the three freshly painted models in amongst the 30 year olds
Some notes:
-Don’t be too scared of the tiny details. Even if you slop the paint around (which I did quite a bit), it still is usually easier then to go back with your other colors and touch up around those small details to make them not stand out as much. Had to do that with at least 4 out of the 6 eyes.
-If your paint seems to be too thin to cover correctly, make sure to shake it more and get another drop, I had to reshake once or twice to get more pigment mixed in so it wasn’t as watery on the brush.
-There is no shame in getting a little light up magnifying device – I have a larger one as well, but I need to find the power cord for that one after moving. It is tricky to paint under it, but it is handy for seeing where you should be putting the paint or seeing if there are other areas that need touching up.
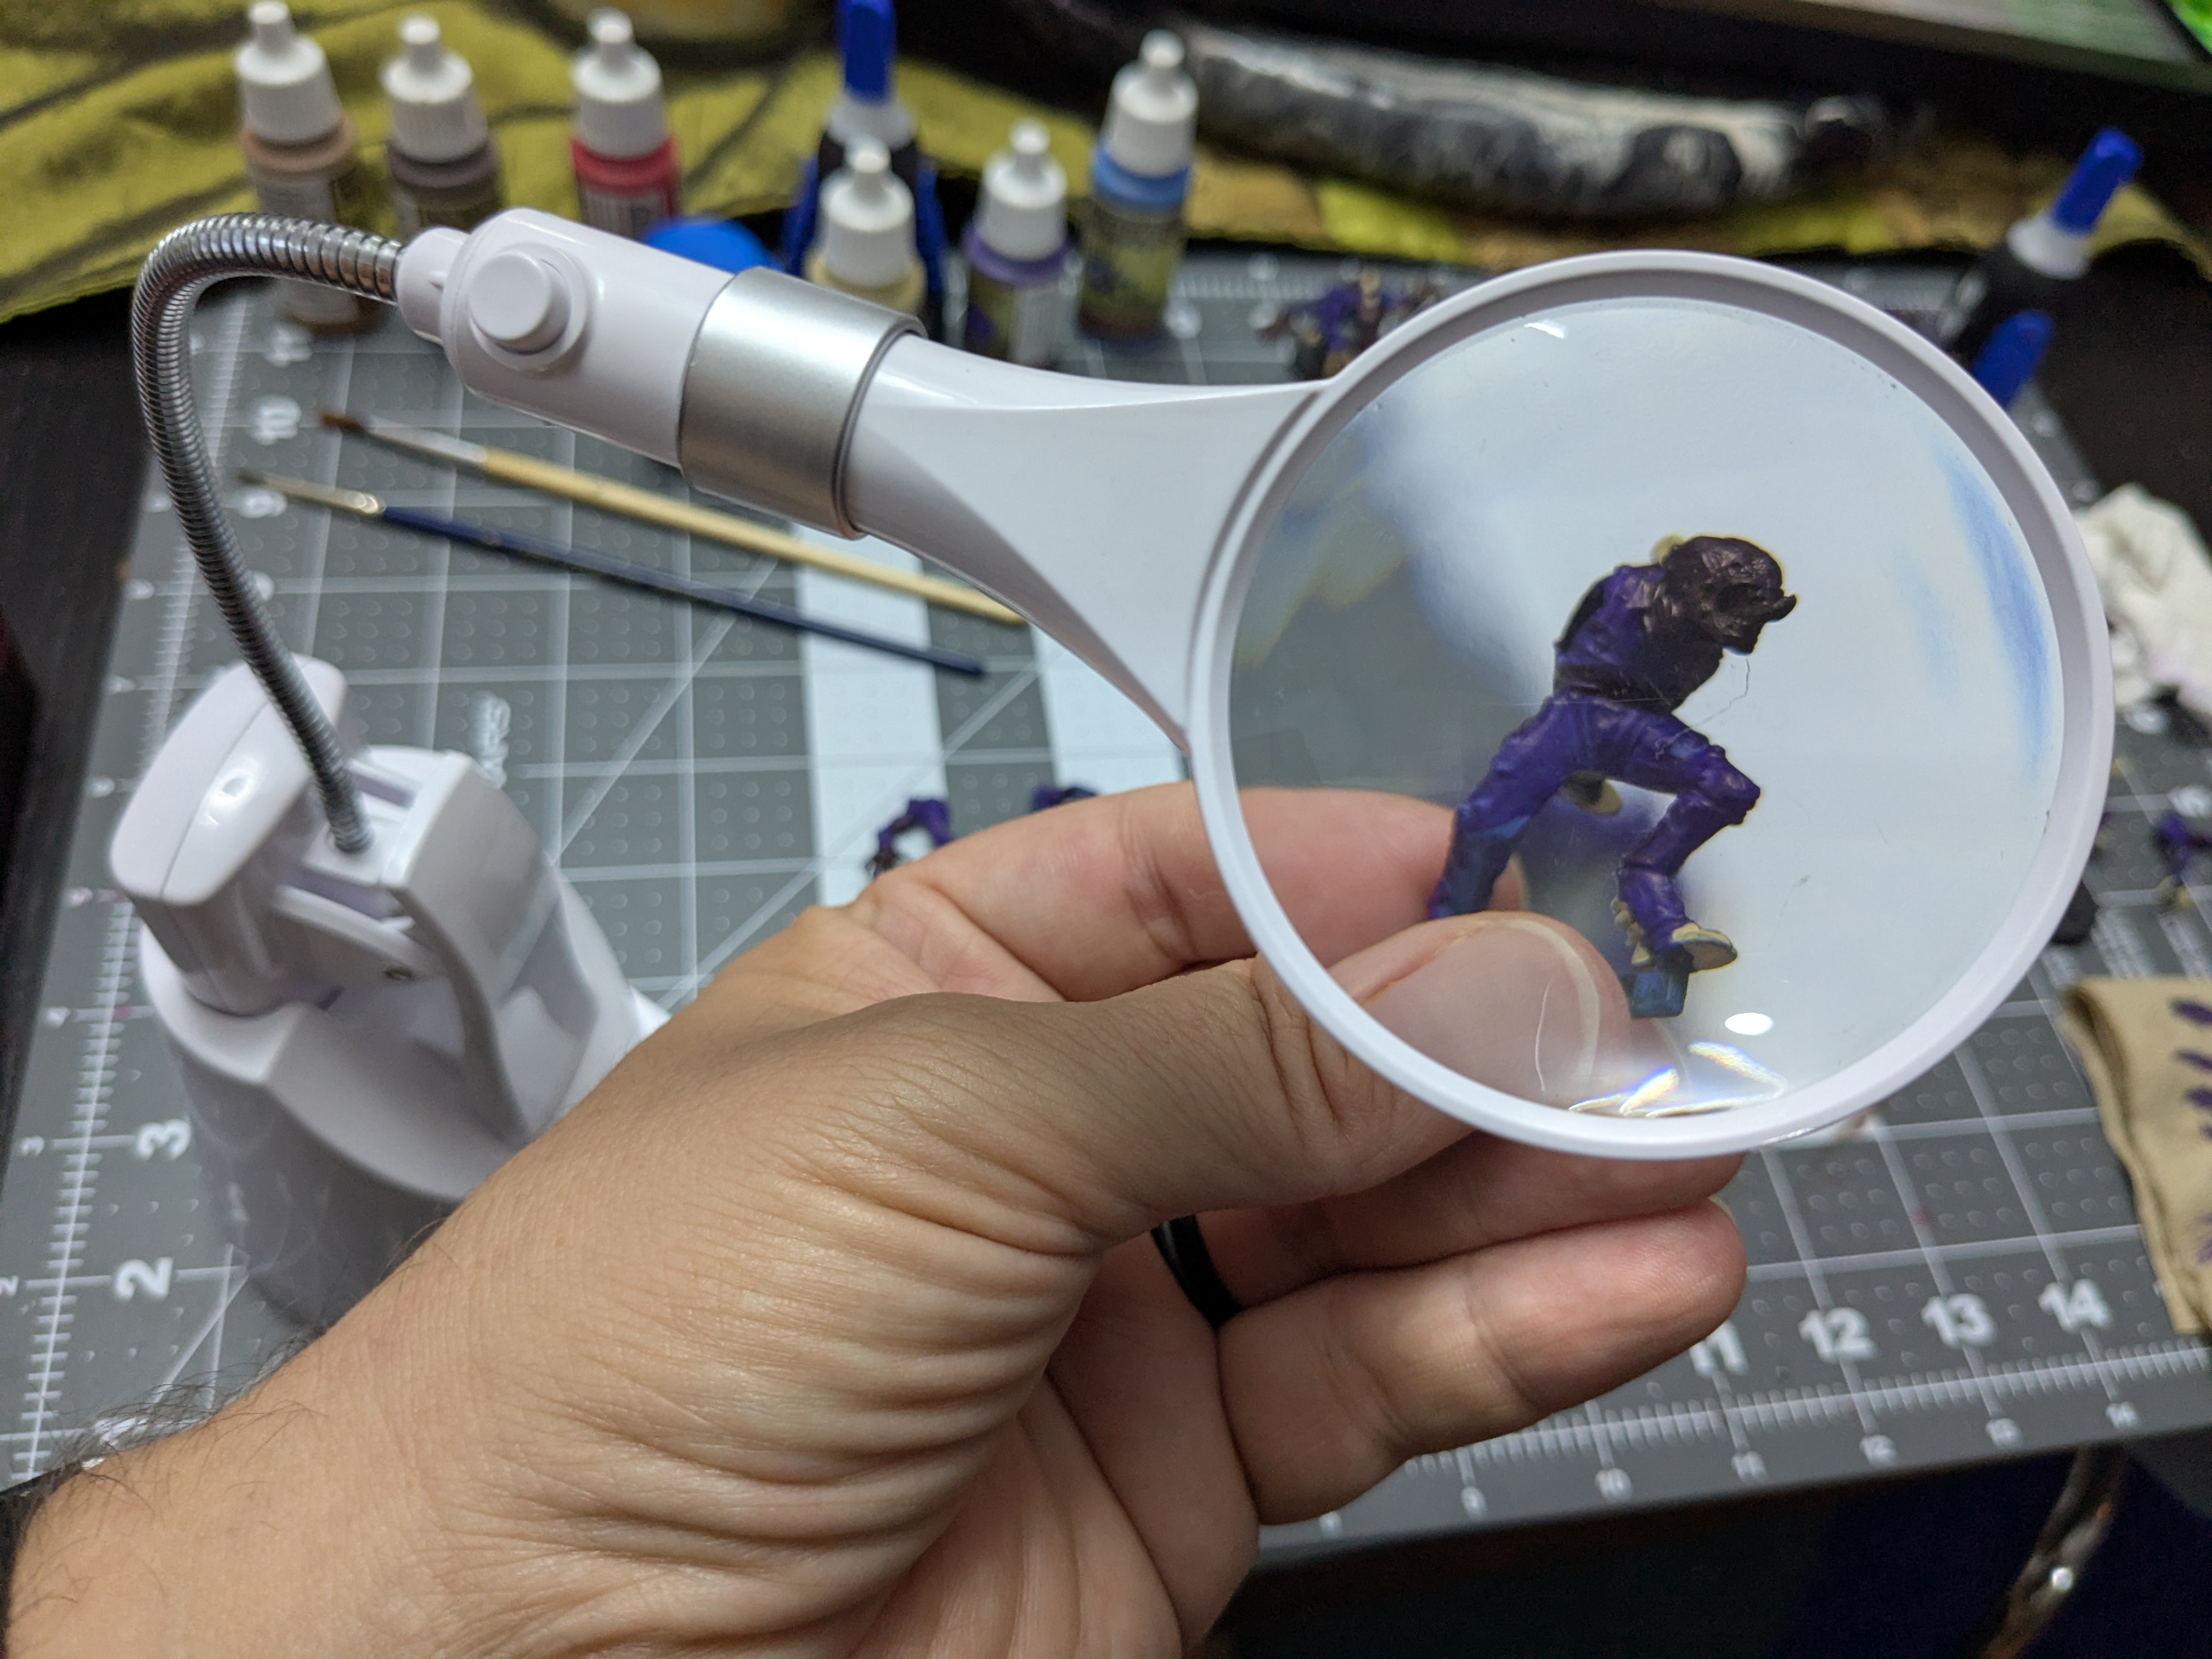 Was I ever able to see this much detail when I looked at minis??
I need to do a final go around of little touchups on all the models and then I will varnish them up to protect the paint jobs. I need to decide if I want to go all matte (no shine) or if I want to add in some gloss varnish to make shiny bits. I did that mix with some Dreadball Nameless models. You can see in the picture here that the shell and claws were done with gloss varnish and then the green armor on the arms is covered with matte varnish to make it flat instead. I’m not sure yet which bits would be shiny and which wouldn’t on a genestealer, so I think I’m going to do all flat to start and then see if I feel like anything should be shiny after that.
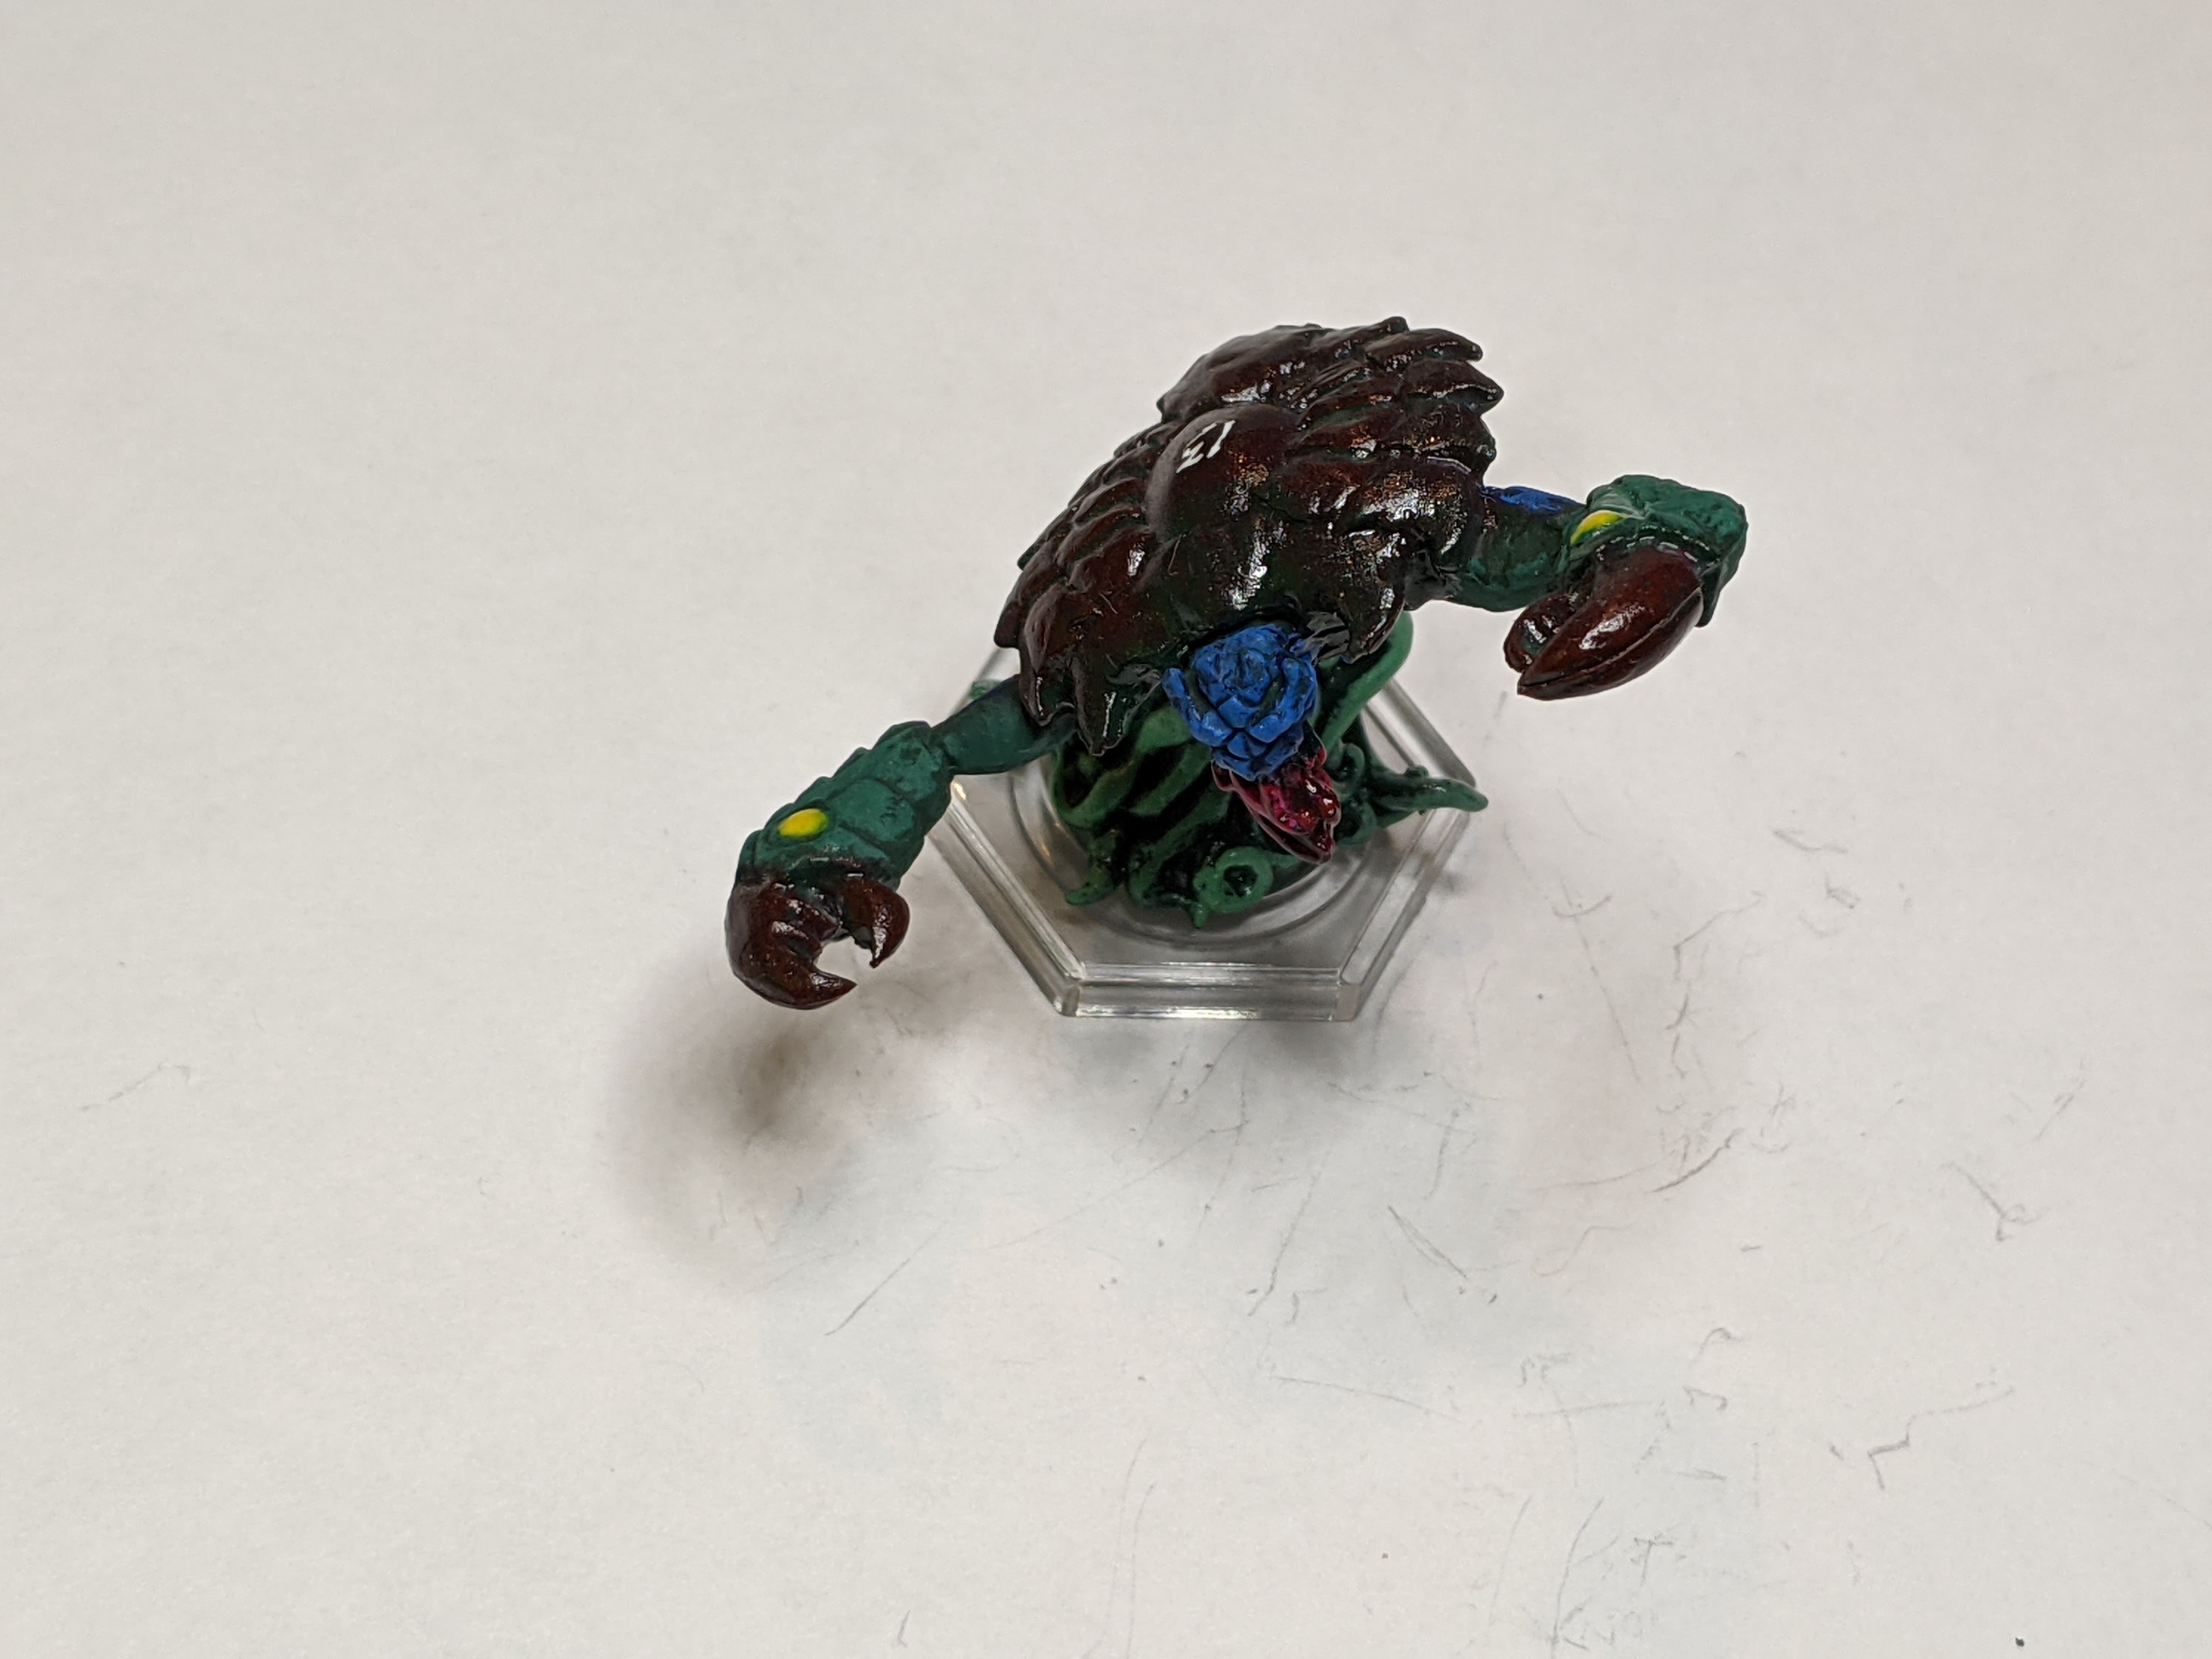 Since every project should involve Dreadball
Getting Closer
Just a quick update on progress. The purple was still a bit more purple than the older models, but I think it is close enough to work. I finished purple washing the bodies as well. I grabbed my Army Painter Skeleton Bone as the close color to the Bleached Bone from the Tyranids paint set and painted all the bony bits. I’ll have to do a little touching up since I blurbed in a few spots and then I’ll have to age the white. After that though, I’ll have gotten these last 3 models to the same state as the old models and I can varnish them to finish up the unit!
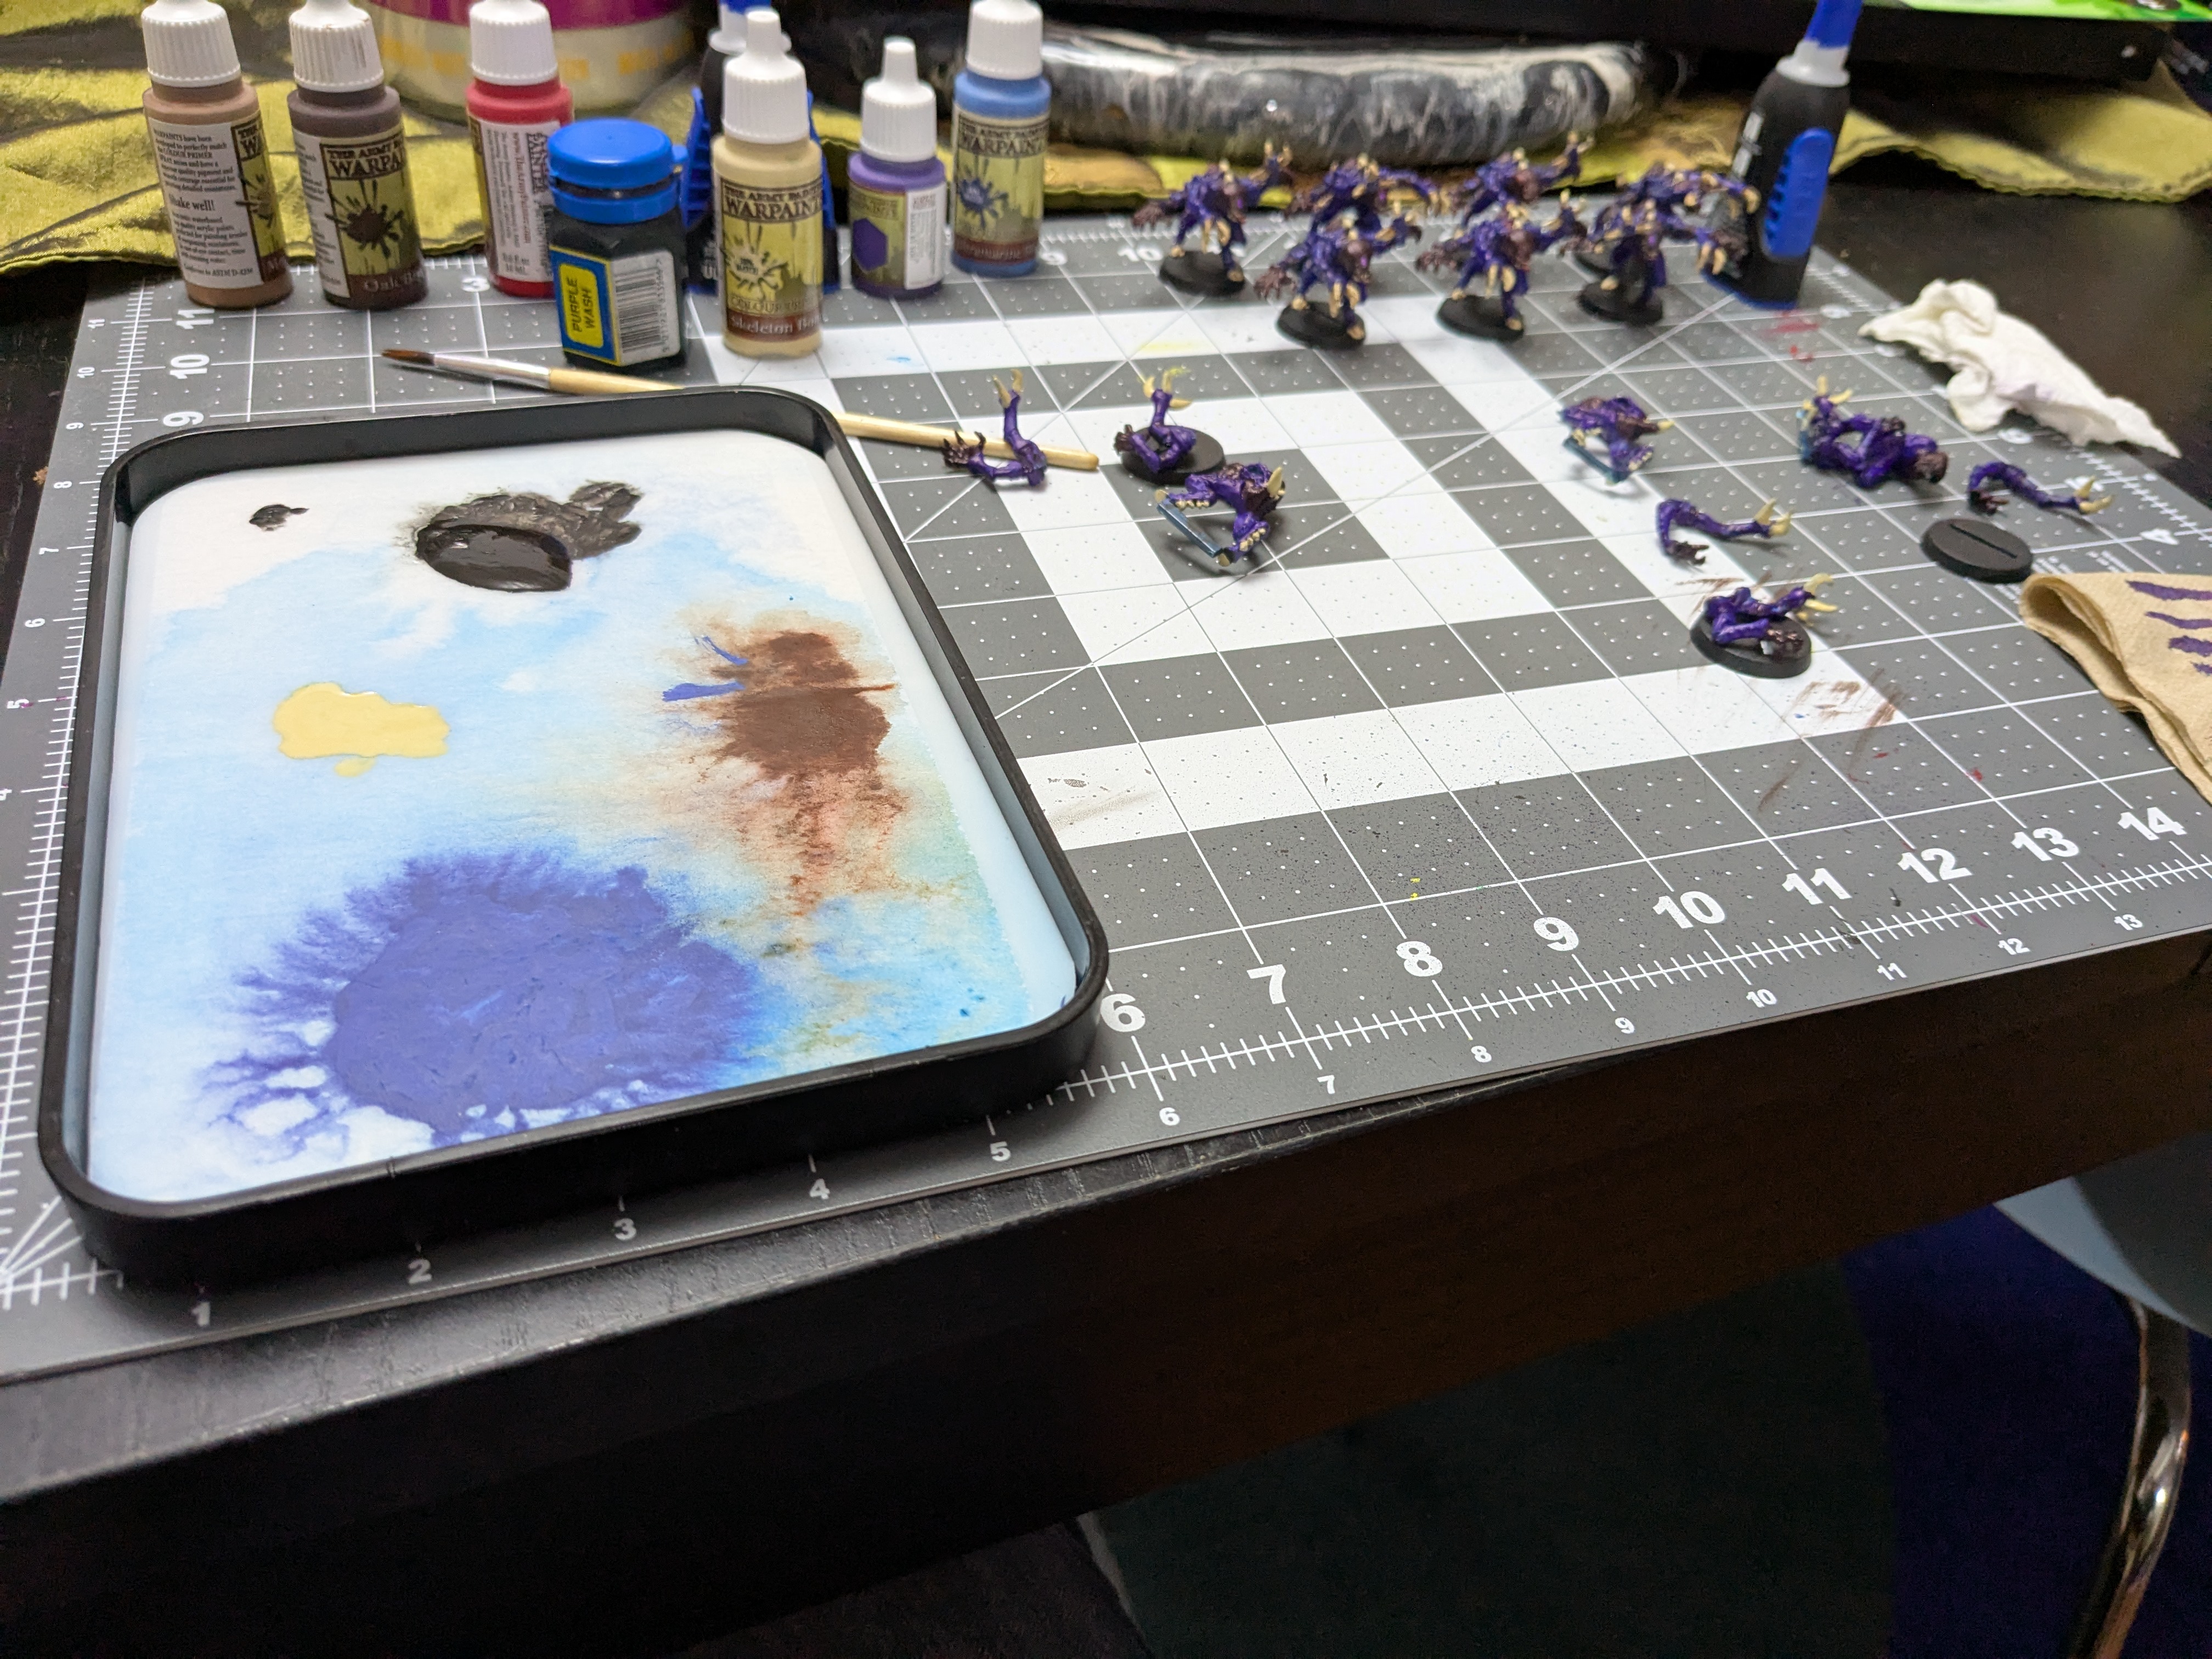 Wet palette, paint bottles, and models
Purple Haze
I basecoated the last genestealer and painted the blue parts as well. This means the last three models are now all at the same point.
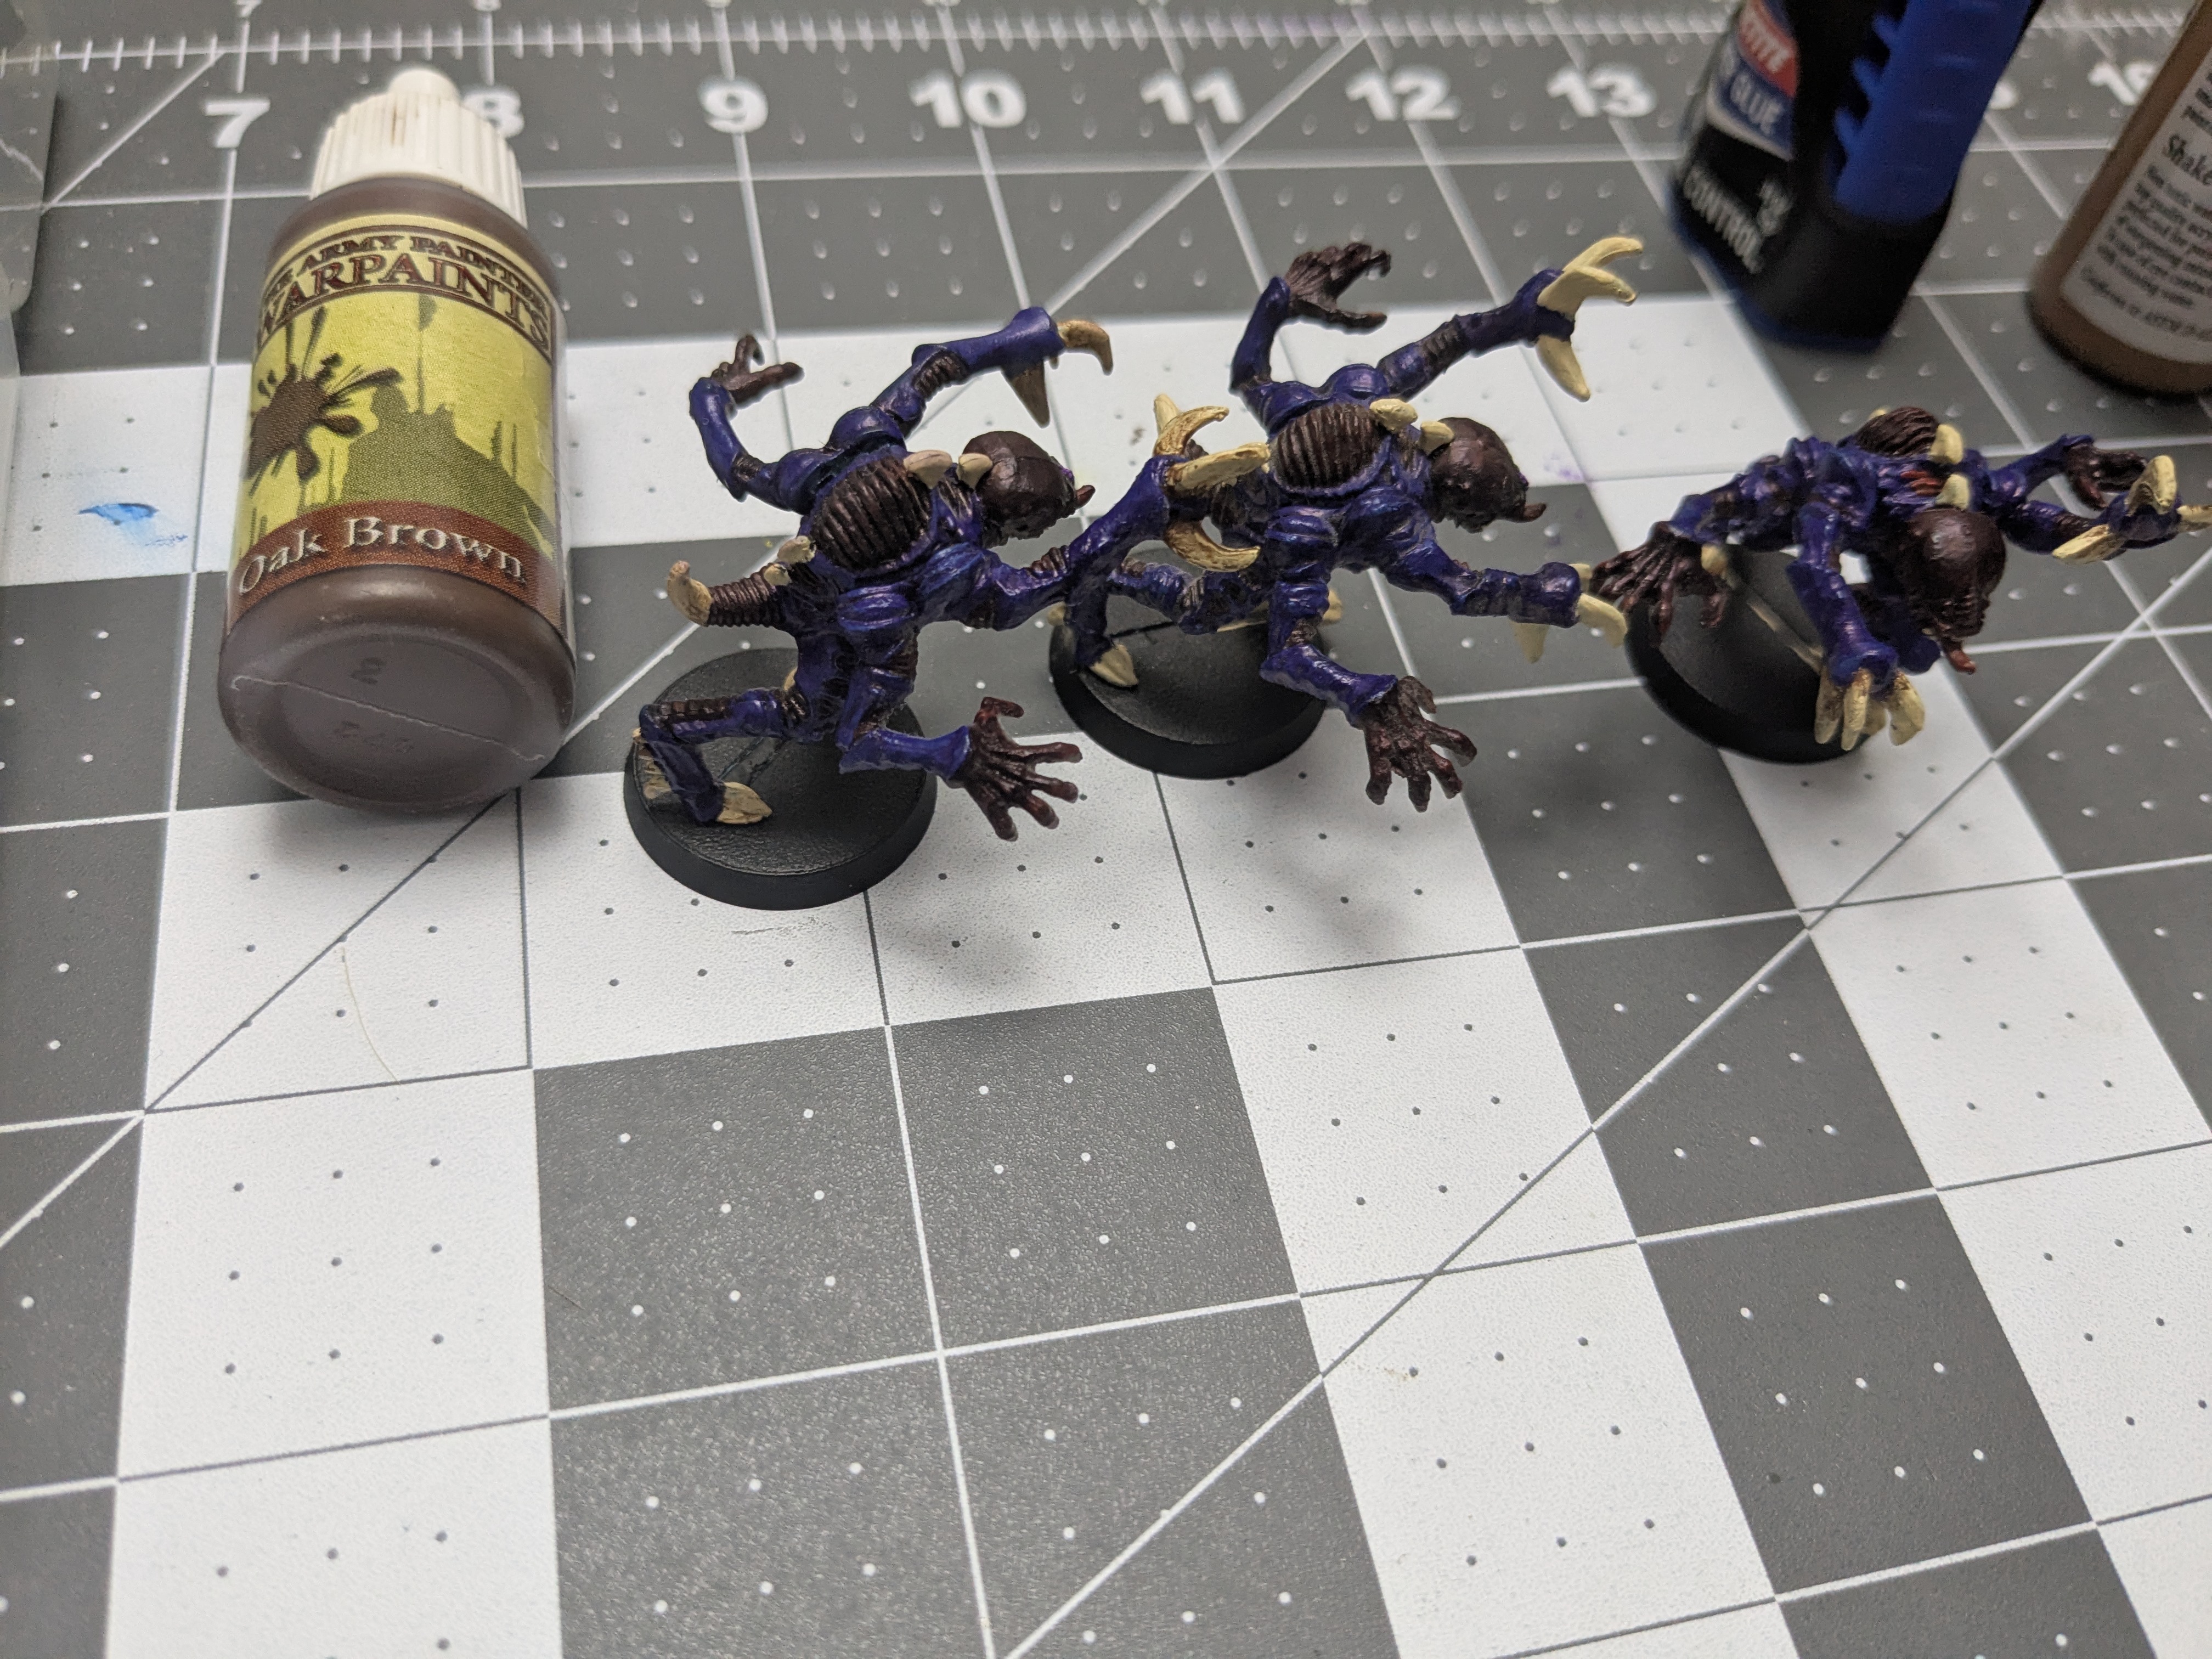
Time to figure out the brown I used. Honestly, looking at the brown that I used for aging/dirtying the claws – it is close to the color that I mixed years ago, just without the red. I put two drops of the Oak Brown on my wet palette and then added one drop of Army Painter Pure Red. That is looking close on the wet palette, so I painted the head of one of the models with it. It compares nicely with the existing models, so I went ahead and painted all the brown parts on all three models.
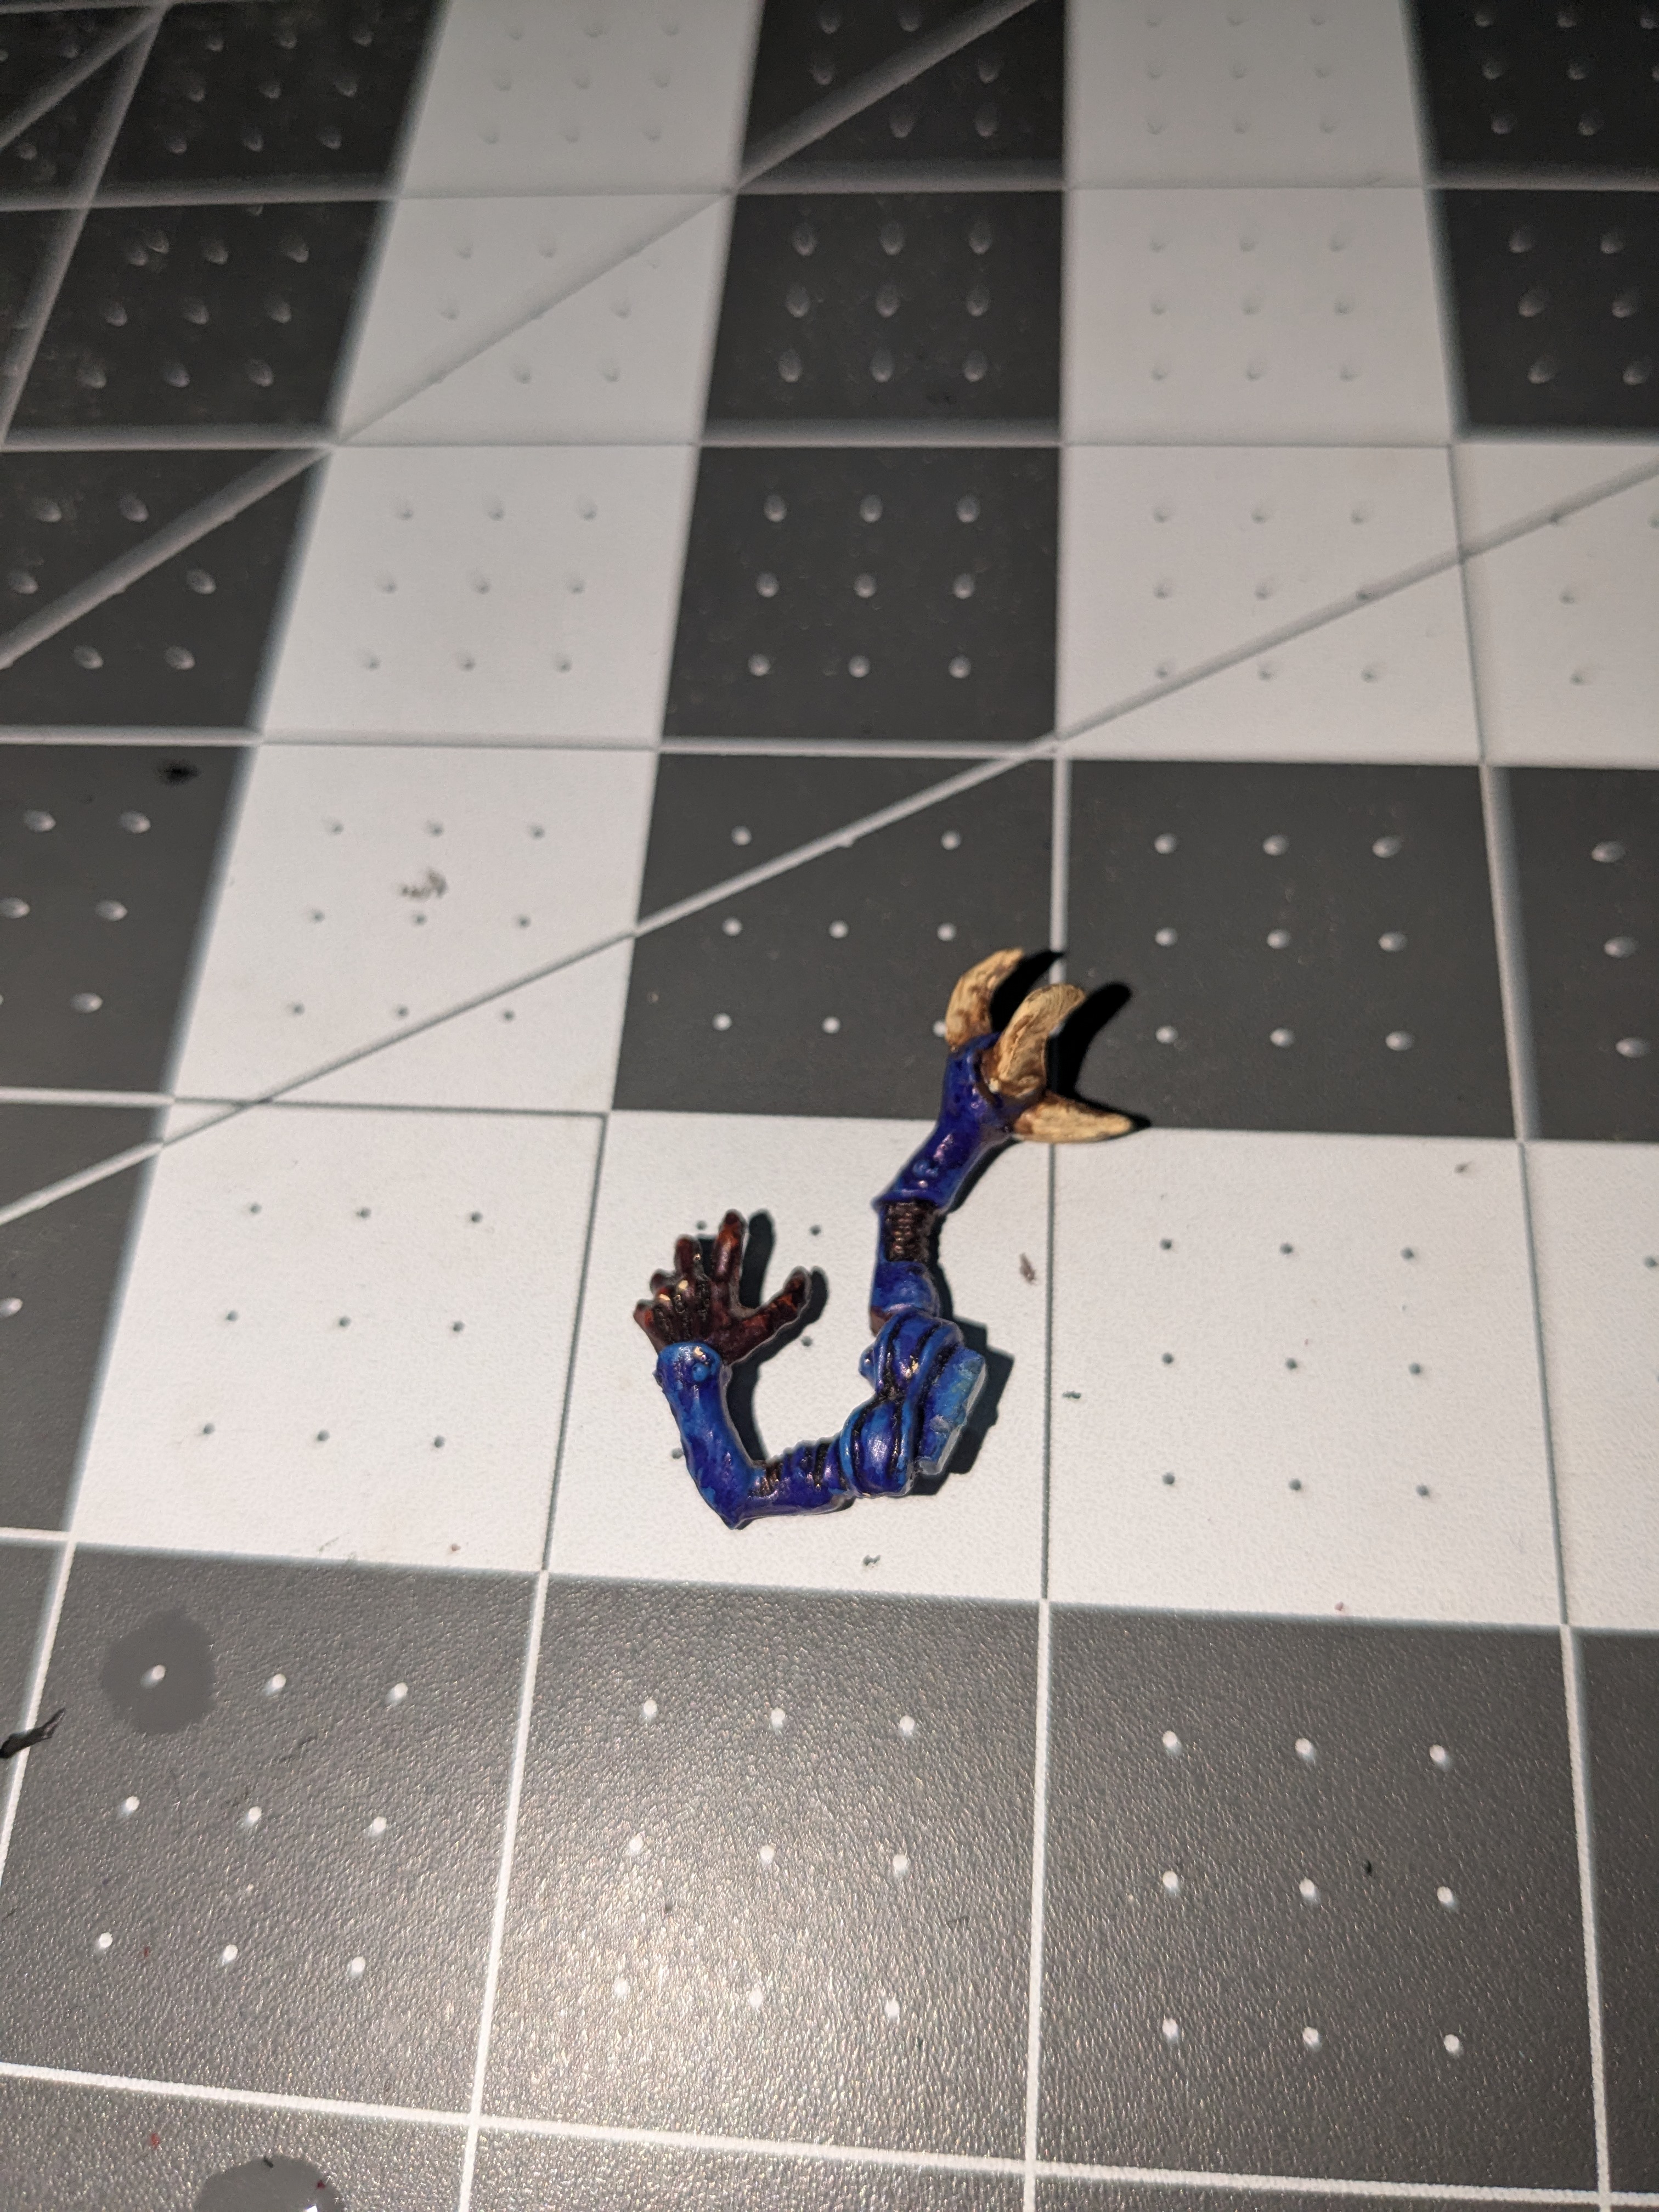
With the blue and brown done, it is time to try the purple wash. So does 30 year old purple wash still work? Turns out that yes, it does still work! I shook the wash for a while and it is perfectly fine. Let’s do all the arms for now to see how they turn out.
 It's an arms race
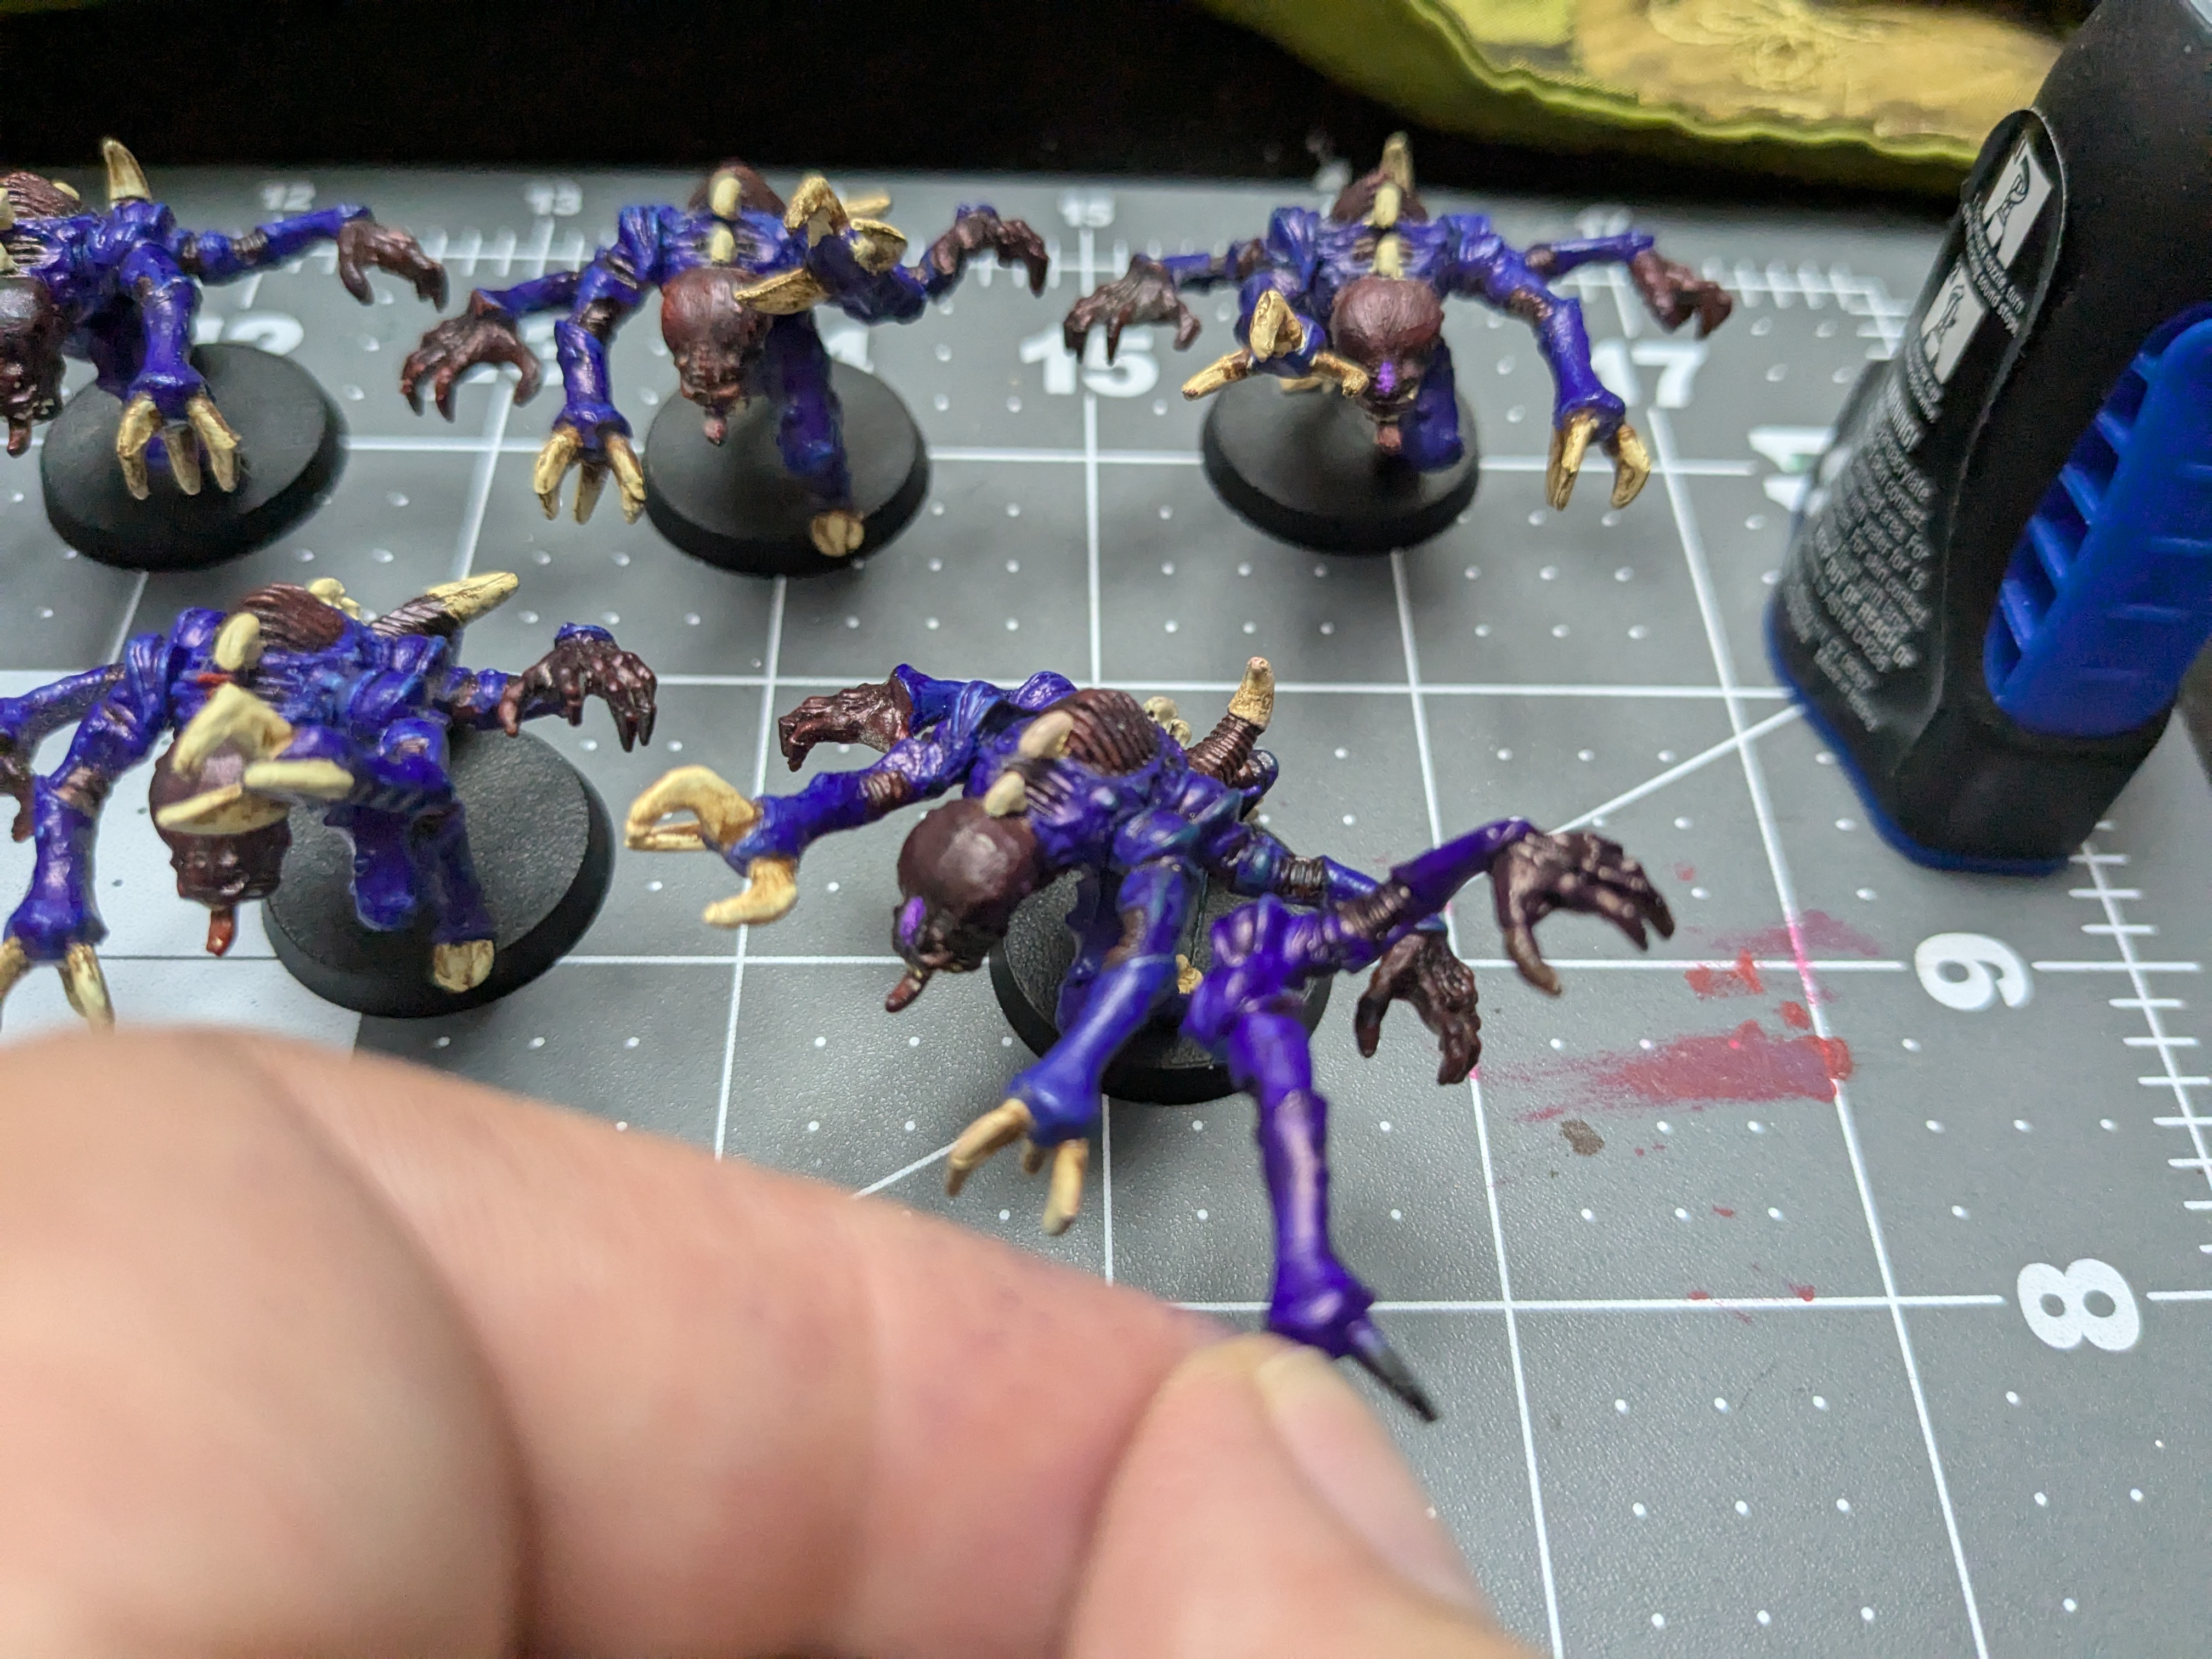 New Arm color vs Old Model
If I hold an arm next to an existing model, the new one looks more purple than the older ones. I’m going to let them dry overnight and see if the color shifts a bit more as it dries. But this seems like it will still be close enough to work! Getting closer to a complete unit of genestealers. I need to wash the bodies, paint all the white bits, and then age/dirty the white bits. Time to see if my eyesight still works enough for detail work – fortunately my eyesight may be bad enough that the paintjob will look good to me even if I’m a bit all over the place.
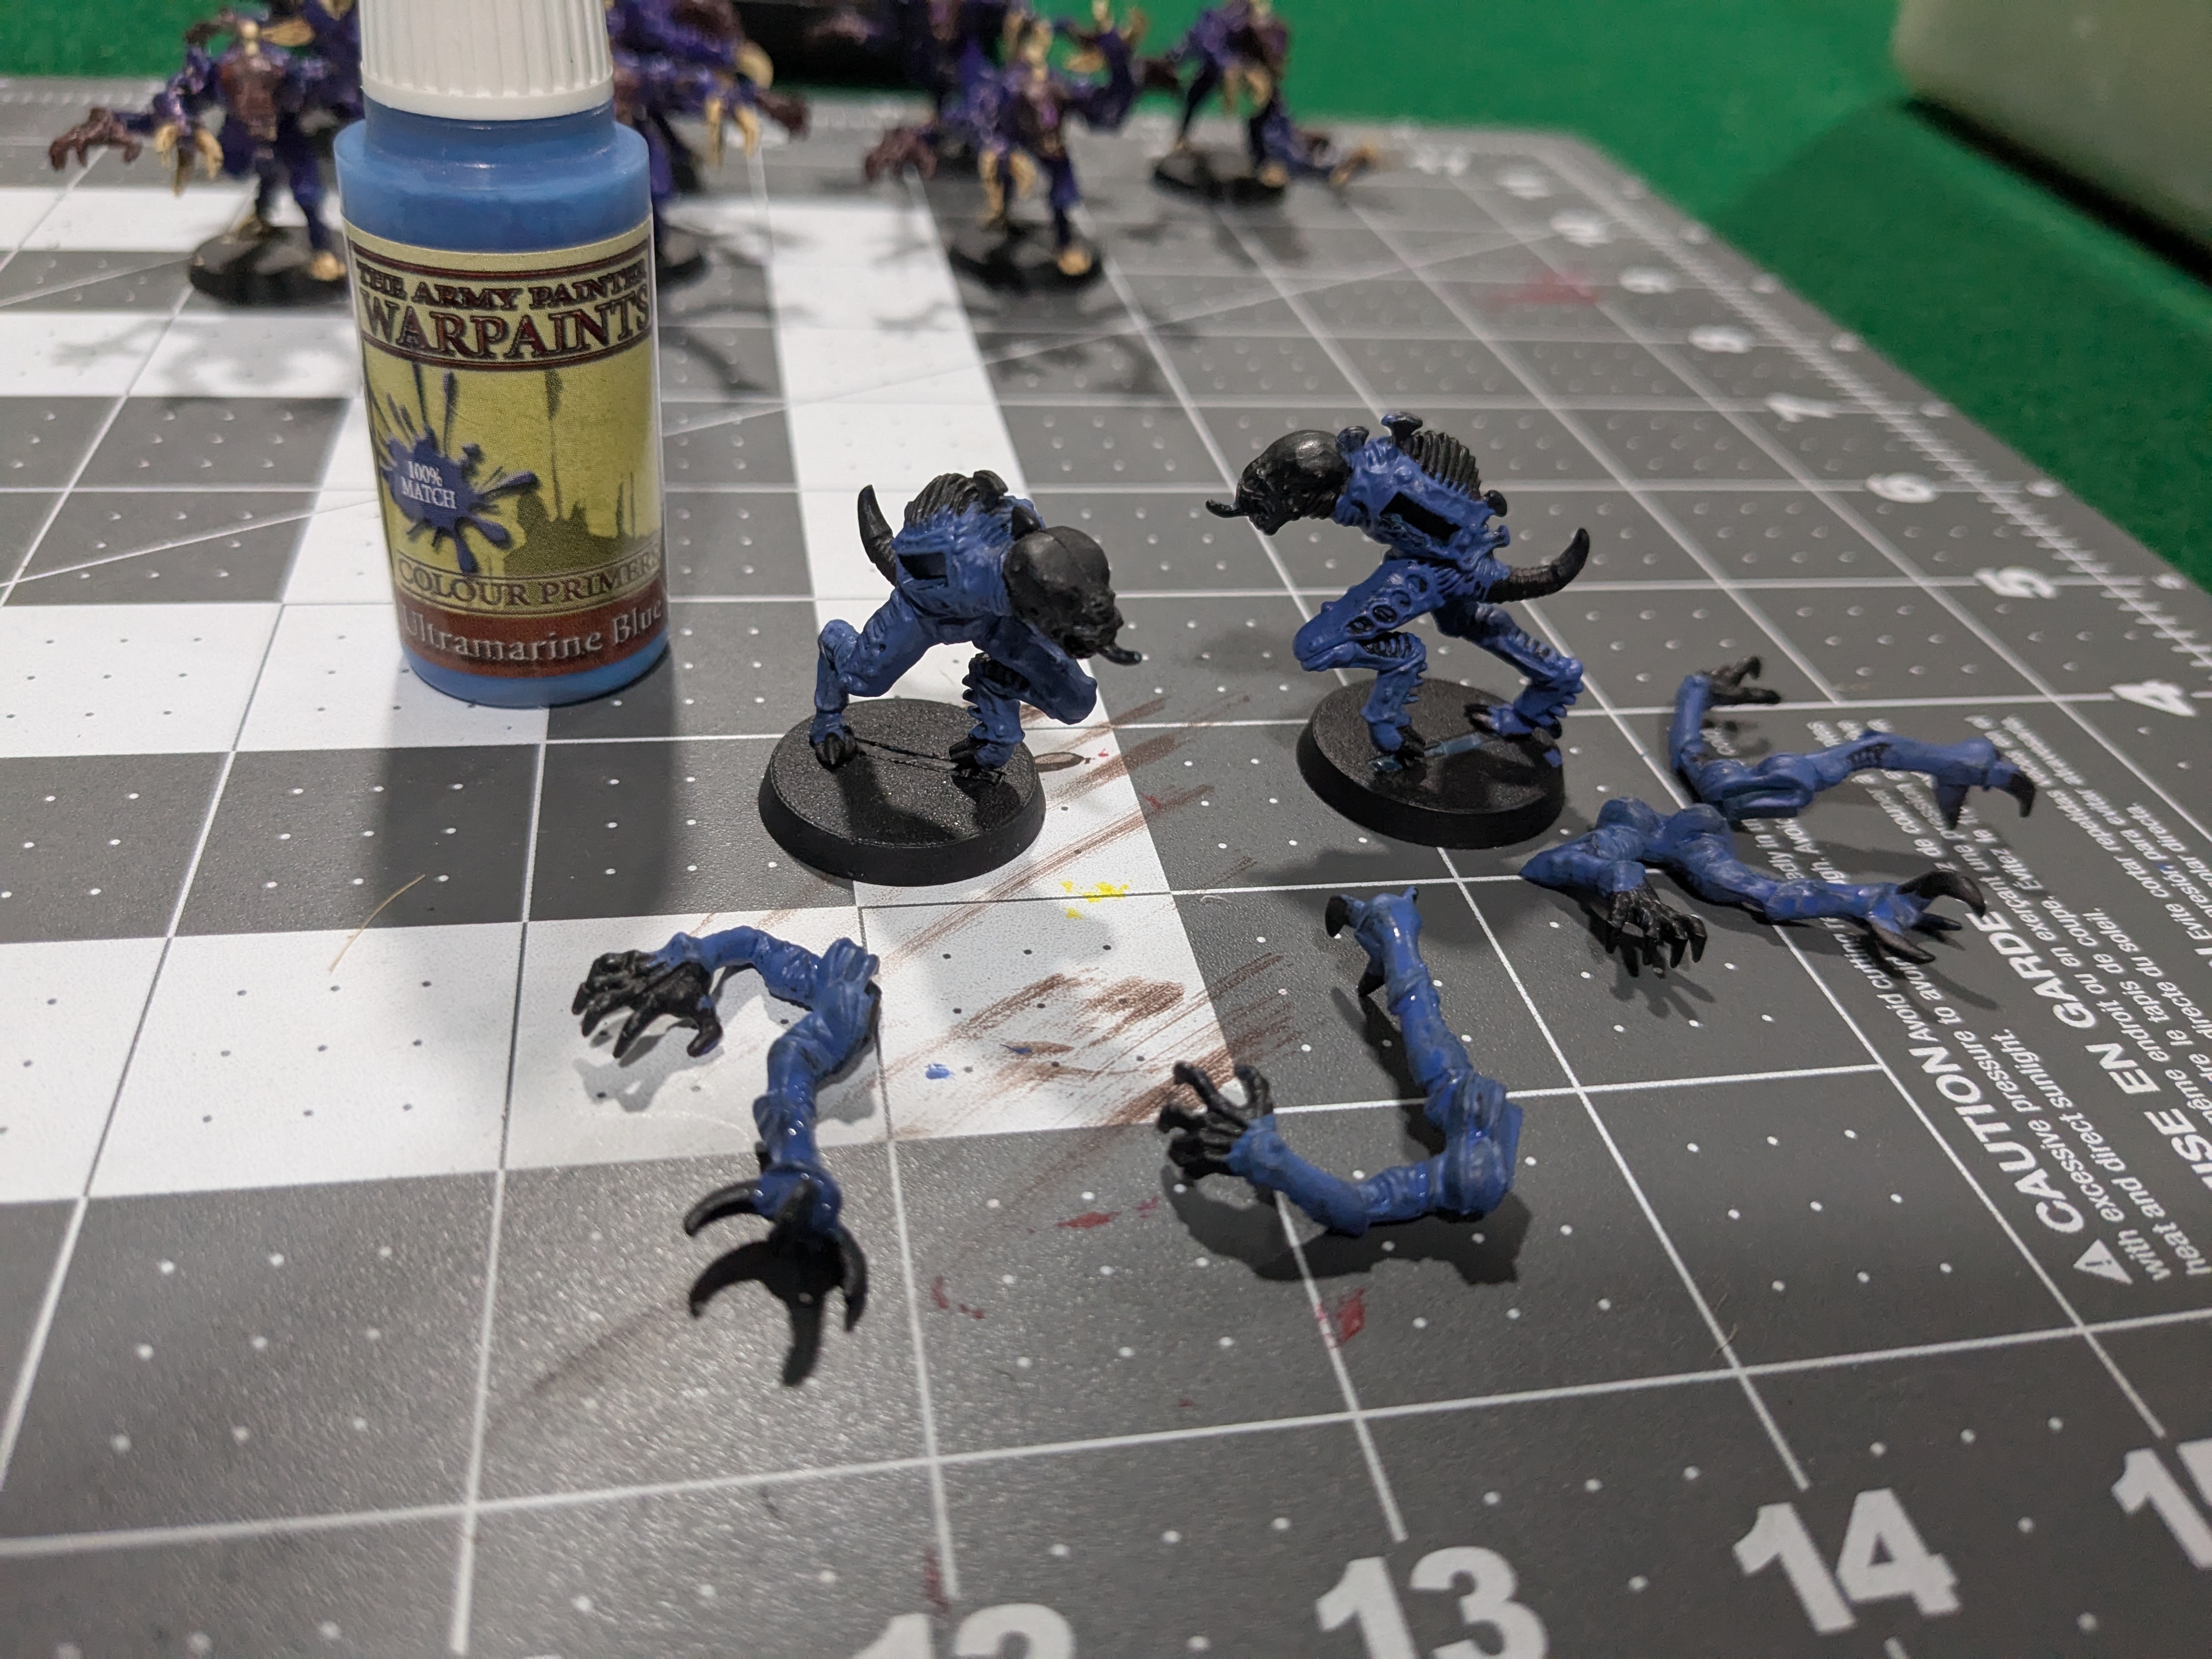
Ladies and Gentlemen - The Blues Brothers
I’ve got two genestealers that I basecoated in black years ago, it’s finally time to add some color to them. I’m going to do the blue first since it is the major color on the model. I need to figure out the blue to use though. Looking closely at the painted models, I can see the blue color on some of the higher edges since the purple wash flowed off of them into the details. Comparing to my old paint pots, that seems to be the lighter blue – Hideous Blue. I don’t have a new pot of that and I’m too cheap to go buy some now, but I do have Army Painter Ultramarine Blue which looks very close when I compare the bottles. This time we’ll even bust out the wet palette.
 Look at the top of the shoulders
I can be sloppy with the blue to make sure I get it in all the areas that need it. Since it is a brighter color than the basecoat, it can also make details easier to see when I go to paint the other colors on those details. While I say sloppy, I mean not being worried about “staying in the lines”. Sloppy is not a thick layer of paint. The wet palette helps with a bit of thinning with the water, and also keeps the paint liquid rather than glooping and drying rapidly.
 They blue themselves
I’m going to let these dry and see if there are any areas that need a little more blue. I should prime the final one in black and add the blue to it as well. Then I can figure out the brown color again. I know that was a mix with the paints that I had in the set, and I can see that it is a reddish brown, so I know I need the red at least, but I don’t remember the other colors and amounts that I added.
De-whitening experiment #2
I looked through my paints and decided if the tannish-brown was too subtle for my taste, let’s try a darker brown. This time I grabbed Army Painter Oak Brown. I put out a drop of paint, ran my brush through it, wiped the brush twice on a paper towel to get off the excess, put it all over one side of a claw, and then very gently rubbed it off with my finger. I tried to float my finger over it rather than just a hard press and wipe. The idea was to leave some paint streaks behind to make it look like dirt and grooves and growth patterns on the claw.
 Two touched up models vs original in the middle
Now comes the decision point – is this good enough to call it better and get to done, or do I keep trying to improve it and get to perfection? At this point and having so many models left to go, I’ll be happier with good enough and done instead of closer to perfect and still working. Let’s do the same method to all of the painted genestealers and then I can move on to the 3 models that aren’t painted yet.
 All the painted ones are touched up
The next steps – do some small touchups on the painted models, somehow paint the last 3 models in a way that color matches the models painted 30 years ago, and then use gloss and matt varnish to protect them and make some parts shine and take the shine off other parts.
De-whitening experiment #1
Again, I like the way my painted genestealers look, but the white parts are too uniform. My first thought is to bust out my can of Army Painter Strong Dip. I used the strong dip on a Dreadball Ork with a white shoulder pad. That came out pretty well with the strong dip – it dirtied it up enough to look used and more “real”.
I shook up the can and dipped one of the large claw hands. I then took a cheap brush and ran it from the cuticle out to the tip of each claw to smooth out the dip. It makes a very slight difference that is barely noticible unless I put the claw next to an undipped one.
Time to try a paint solution instead. I grabbed a bottle of Army Painter Monster Brown (a light tan brown color) and put a drop on a damp paper towel (I didn’t want to bust out the wet palette just for this test). I got a dab on my brush and then wiped it once on the paper towel. I then painted over the white part and IMMEDIATELY (learned this when I tried to do more than one or two small areas at a time) wiped off most of the brown with my finger. I again wiped from the cuticle out towards the tip of the claws.
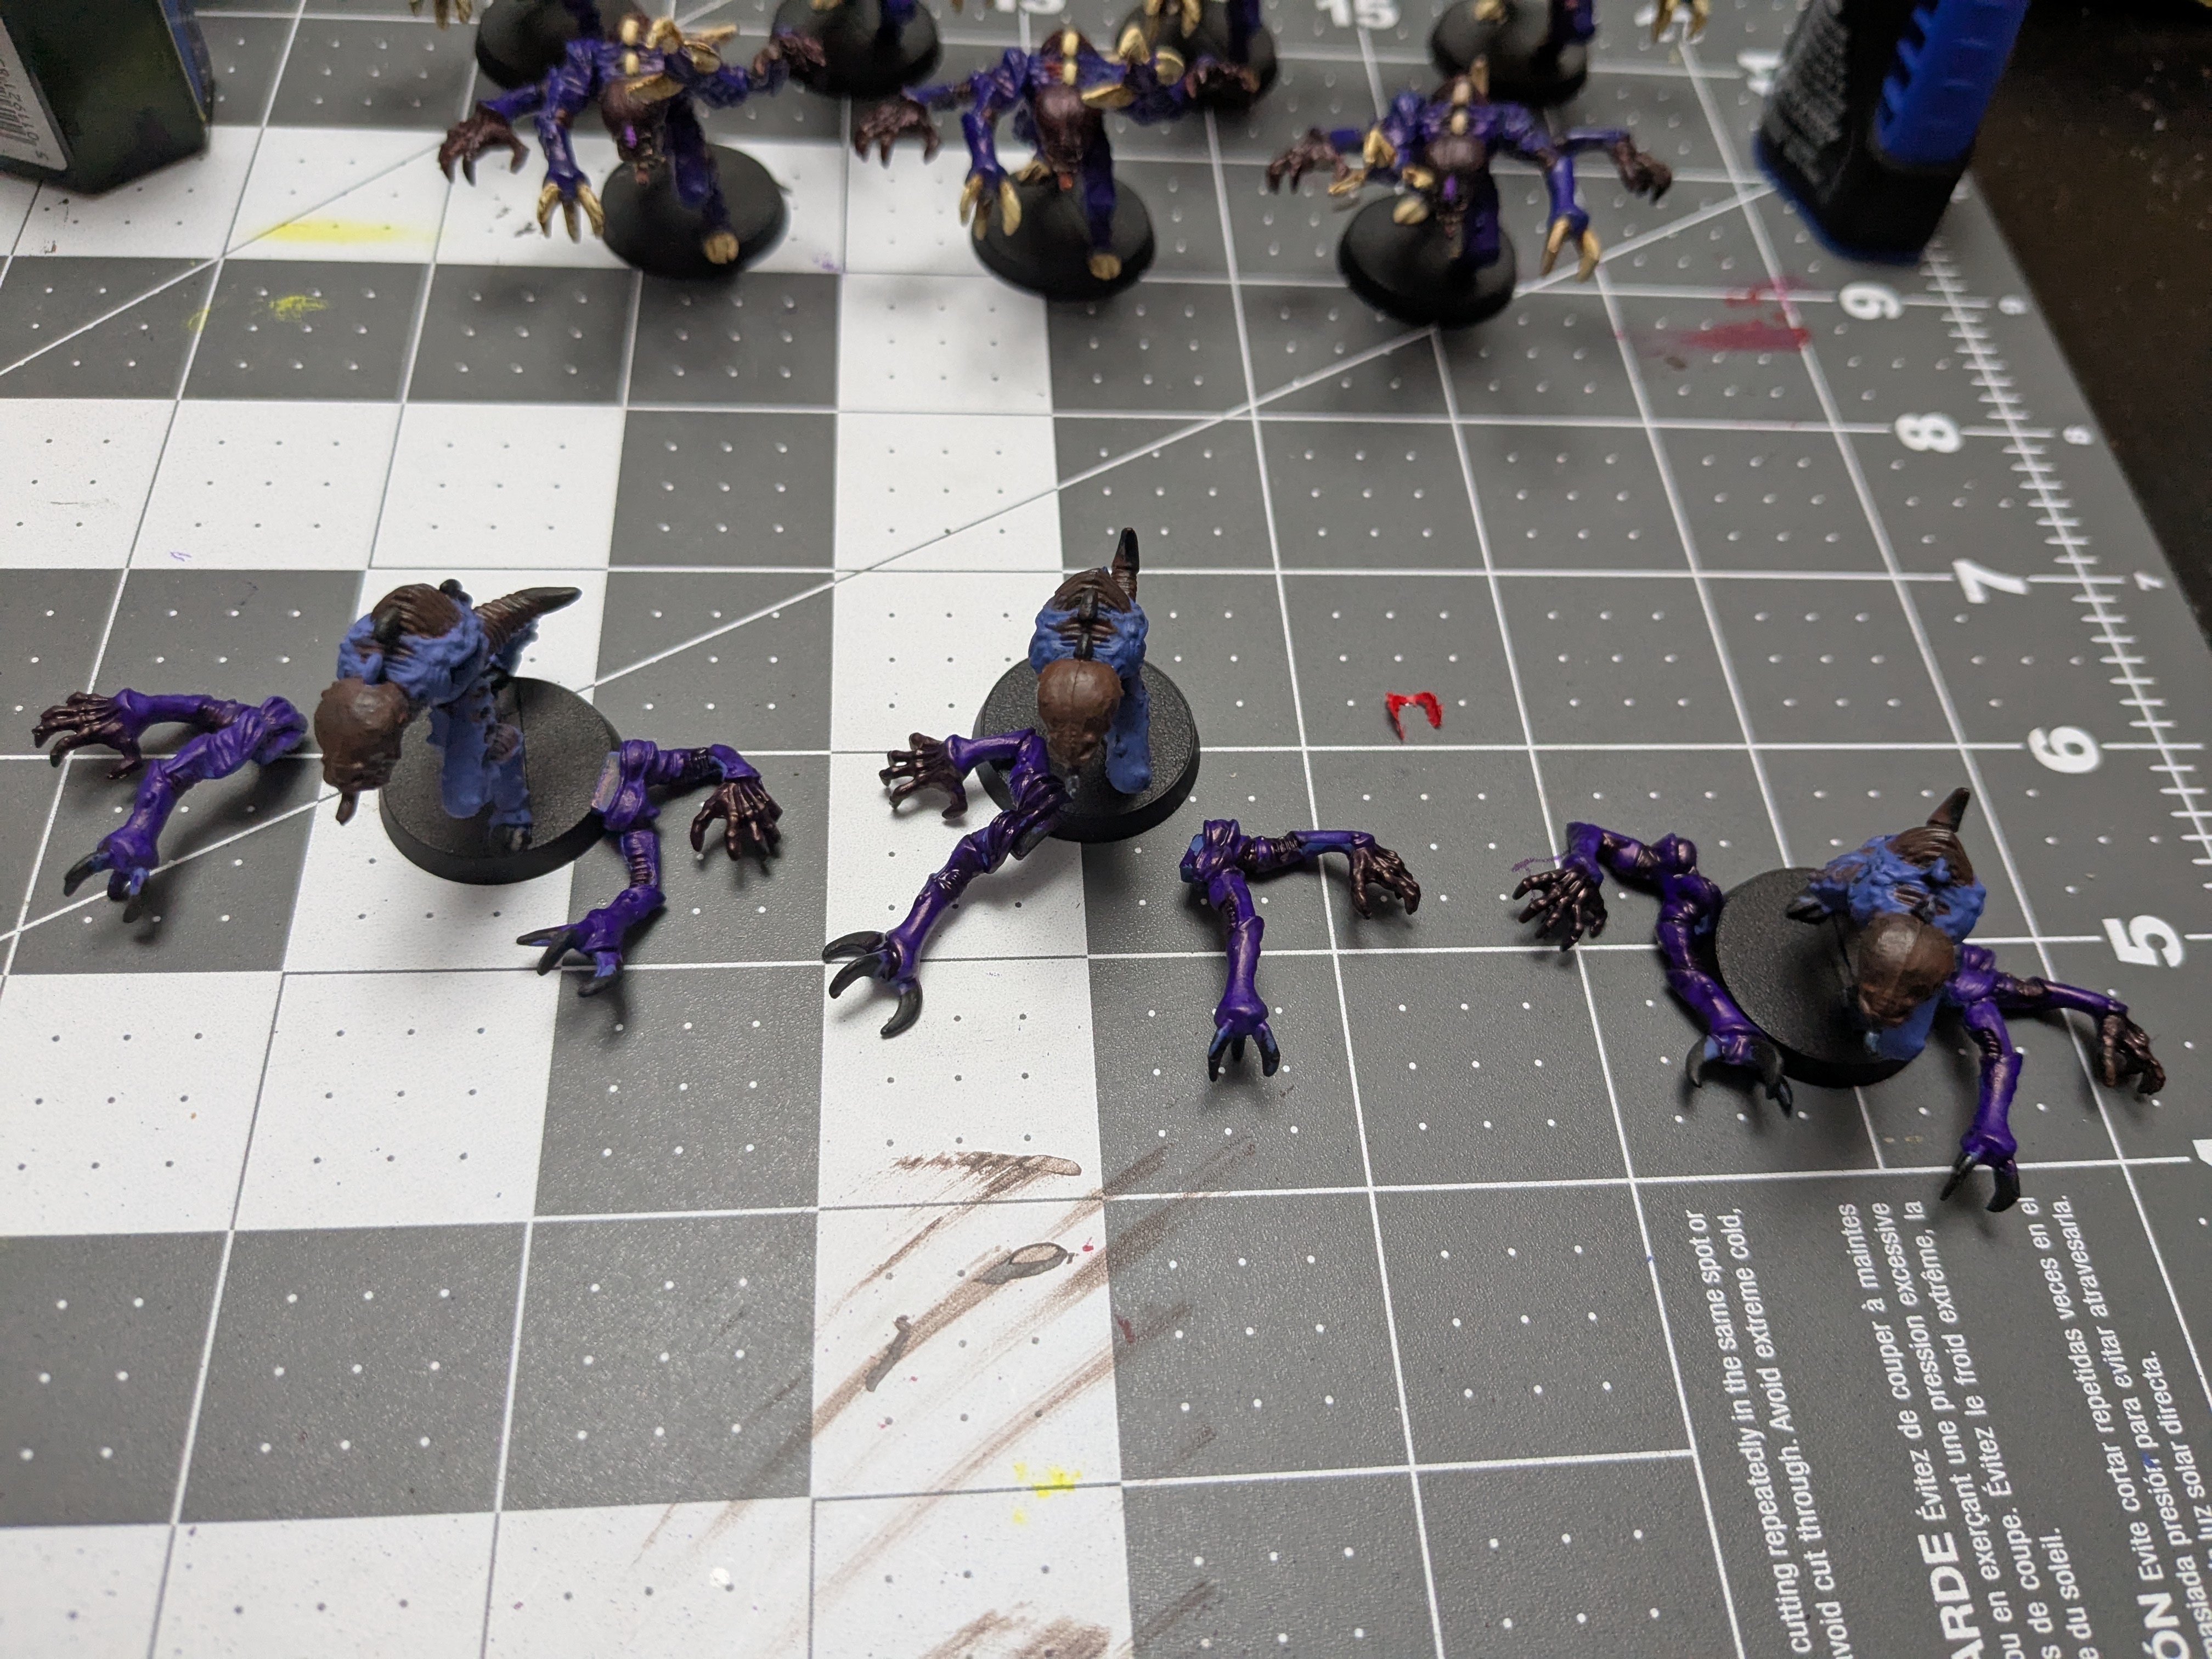
This made a good improvement to the toe claws where a detail was “hidden” by having the same white all over it – it acts like a dip/wash/speed paint and fills in the detail. You can see some of the difference when I zoom way in on the large claw hands. After letting it all dry overnight, I’m happy with the toes, but it still feels like too subtle a difference on the large claws. I need to try something else with them. I still want something quick though since I’m going to have to do this on 9 more models…
 Look at the feet
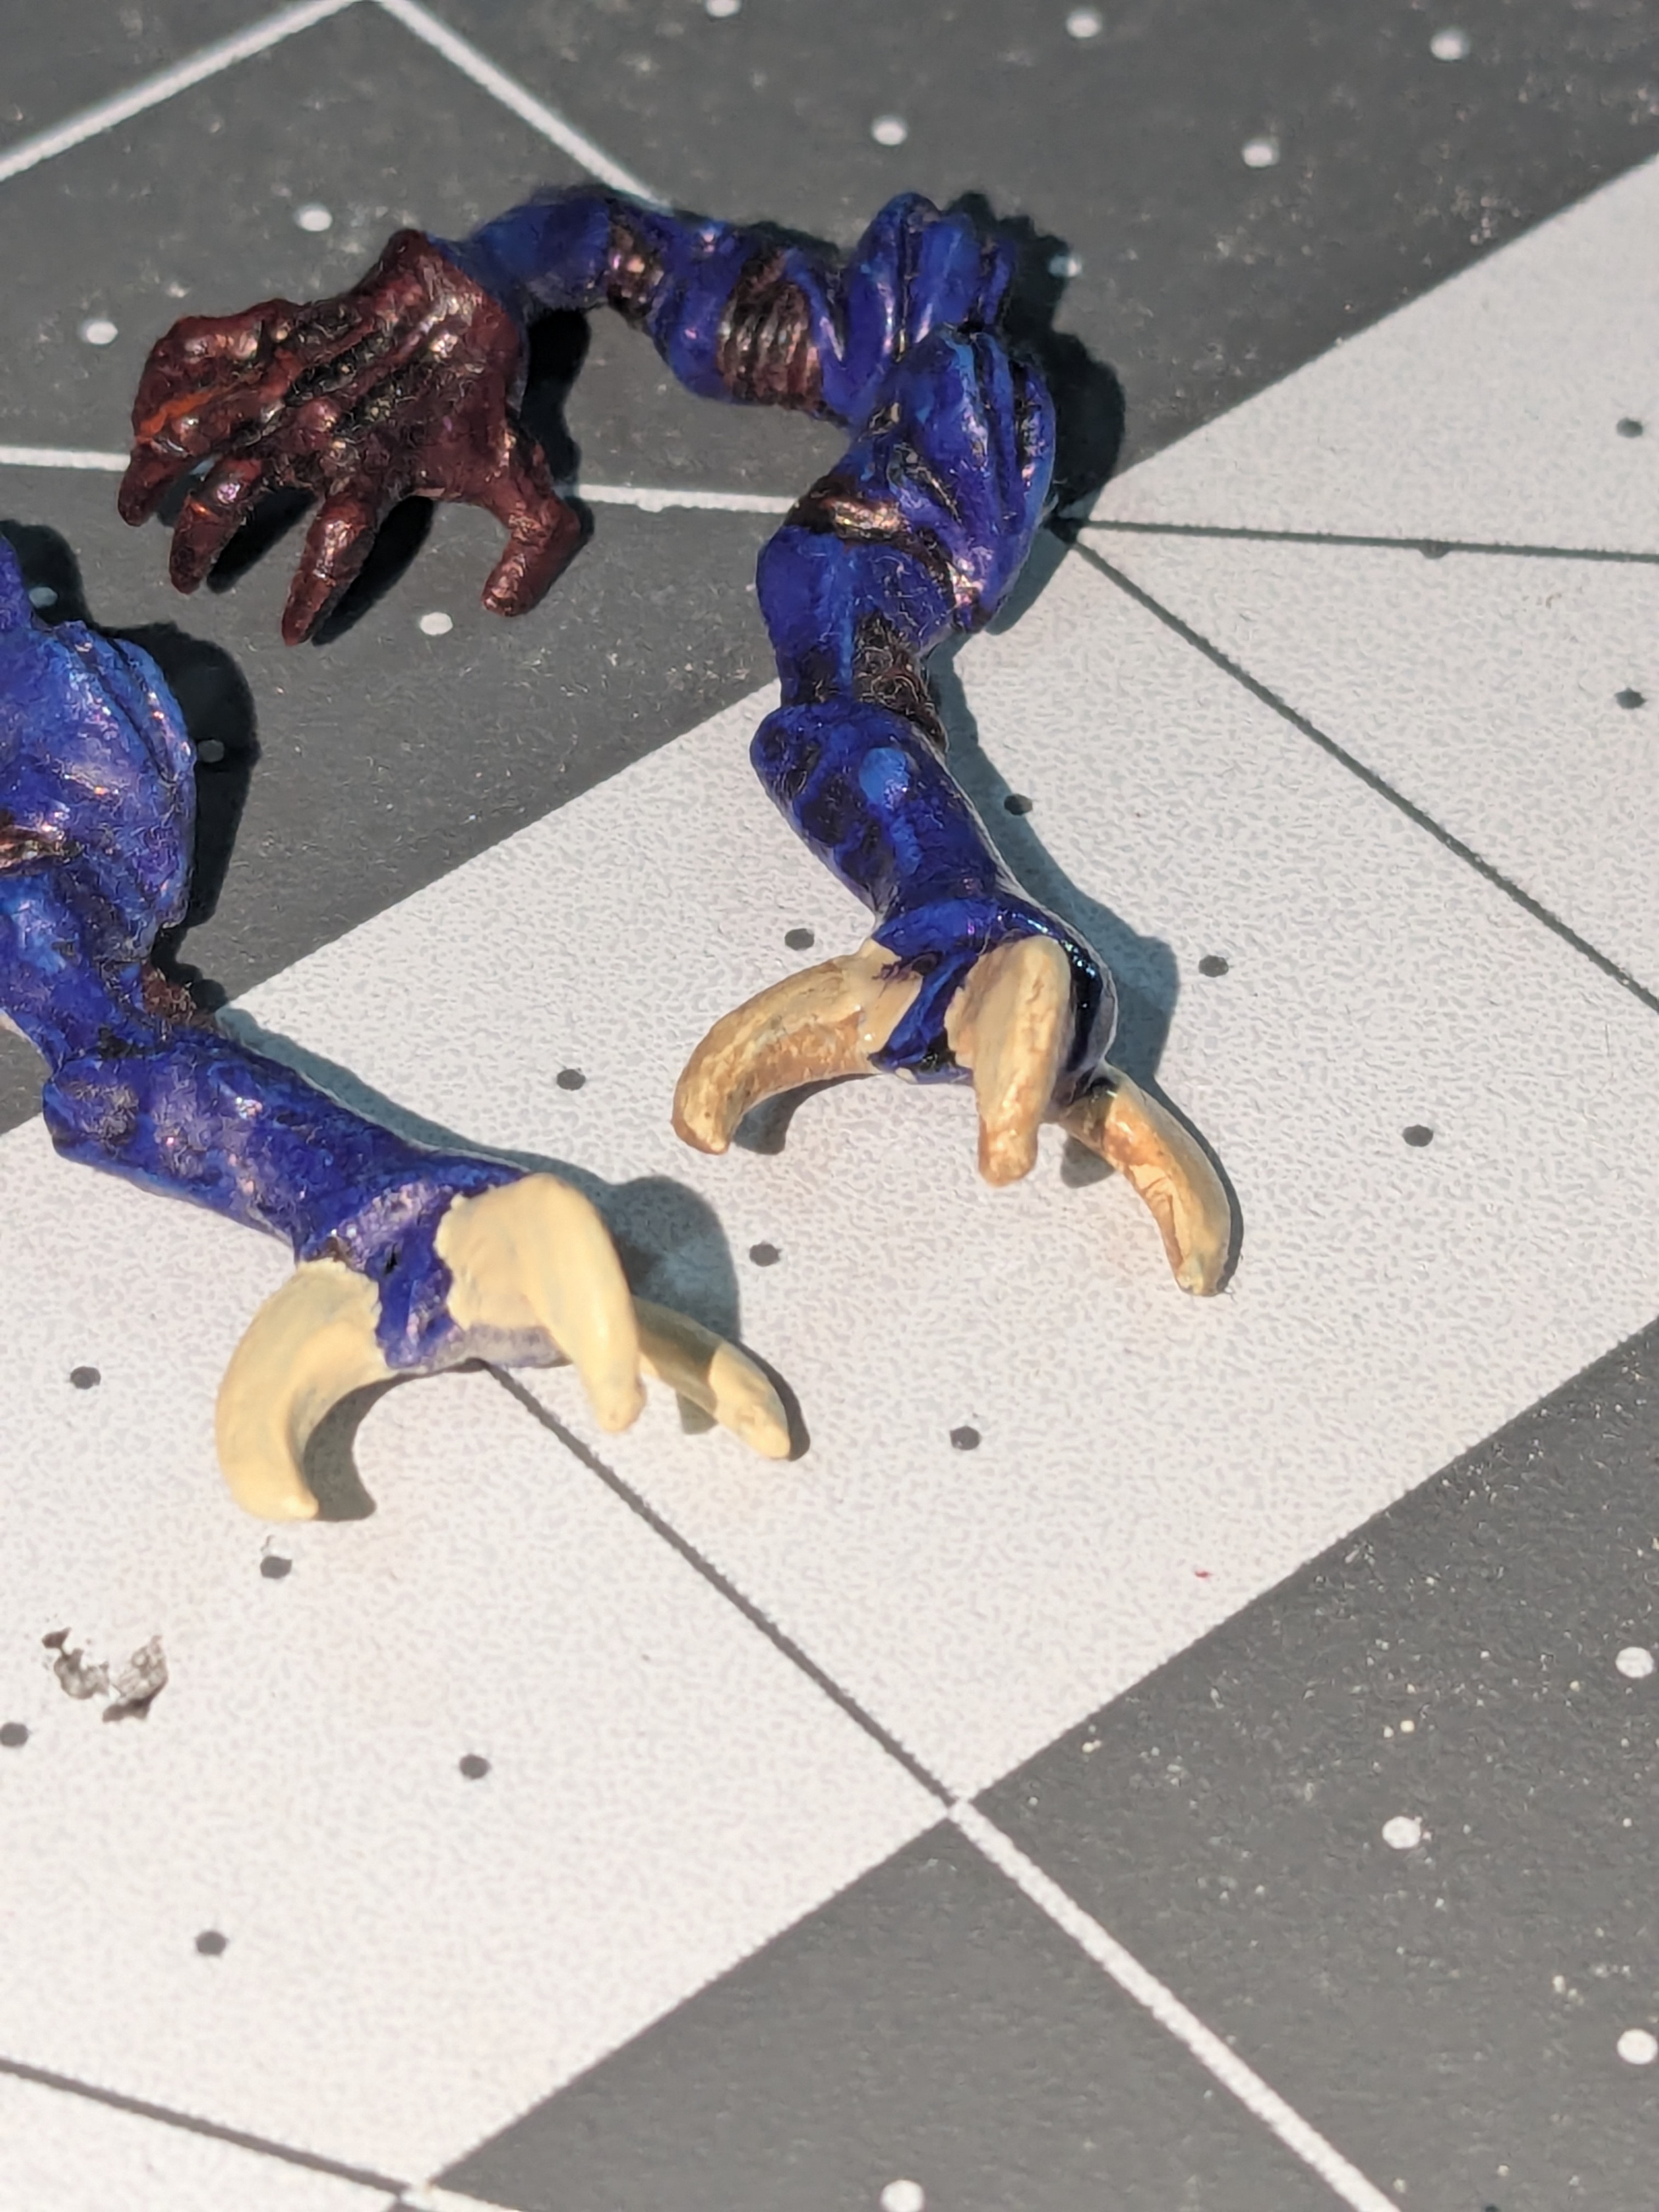 Spot the differences
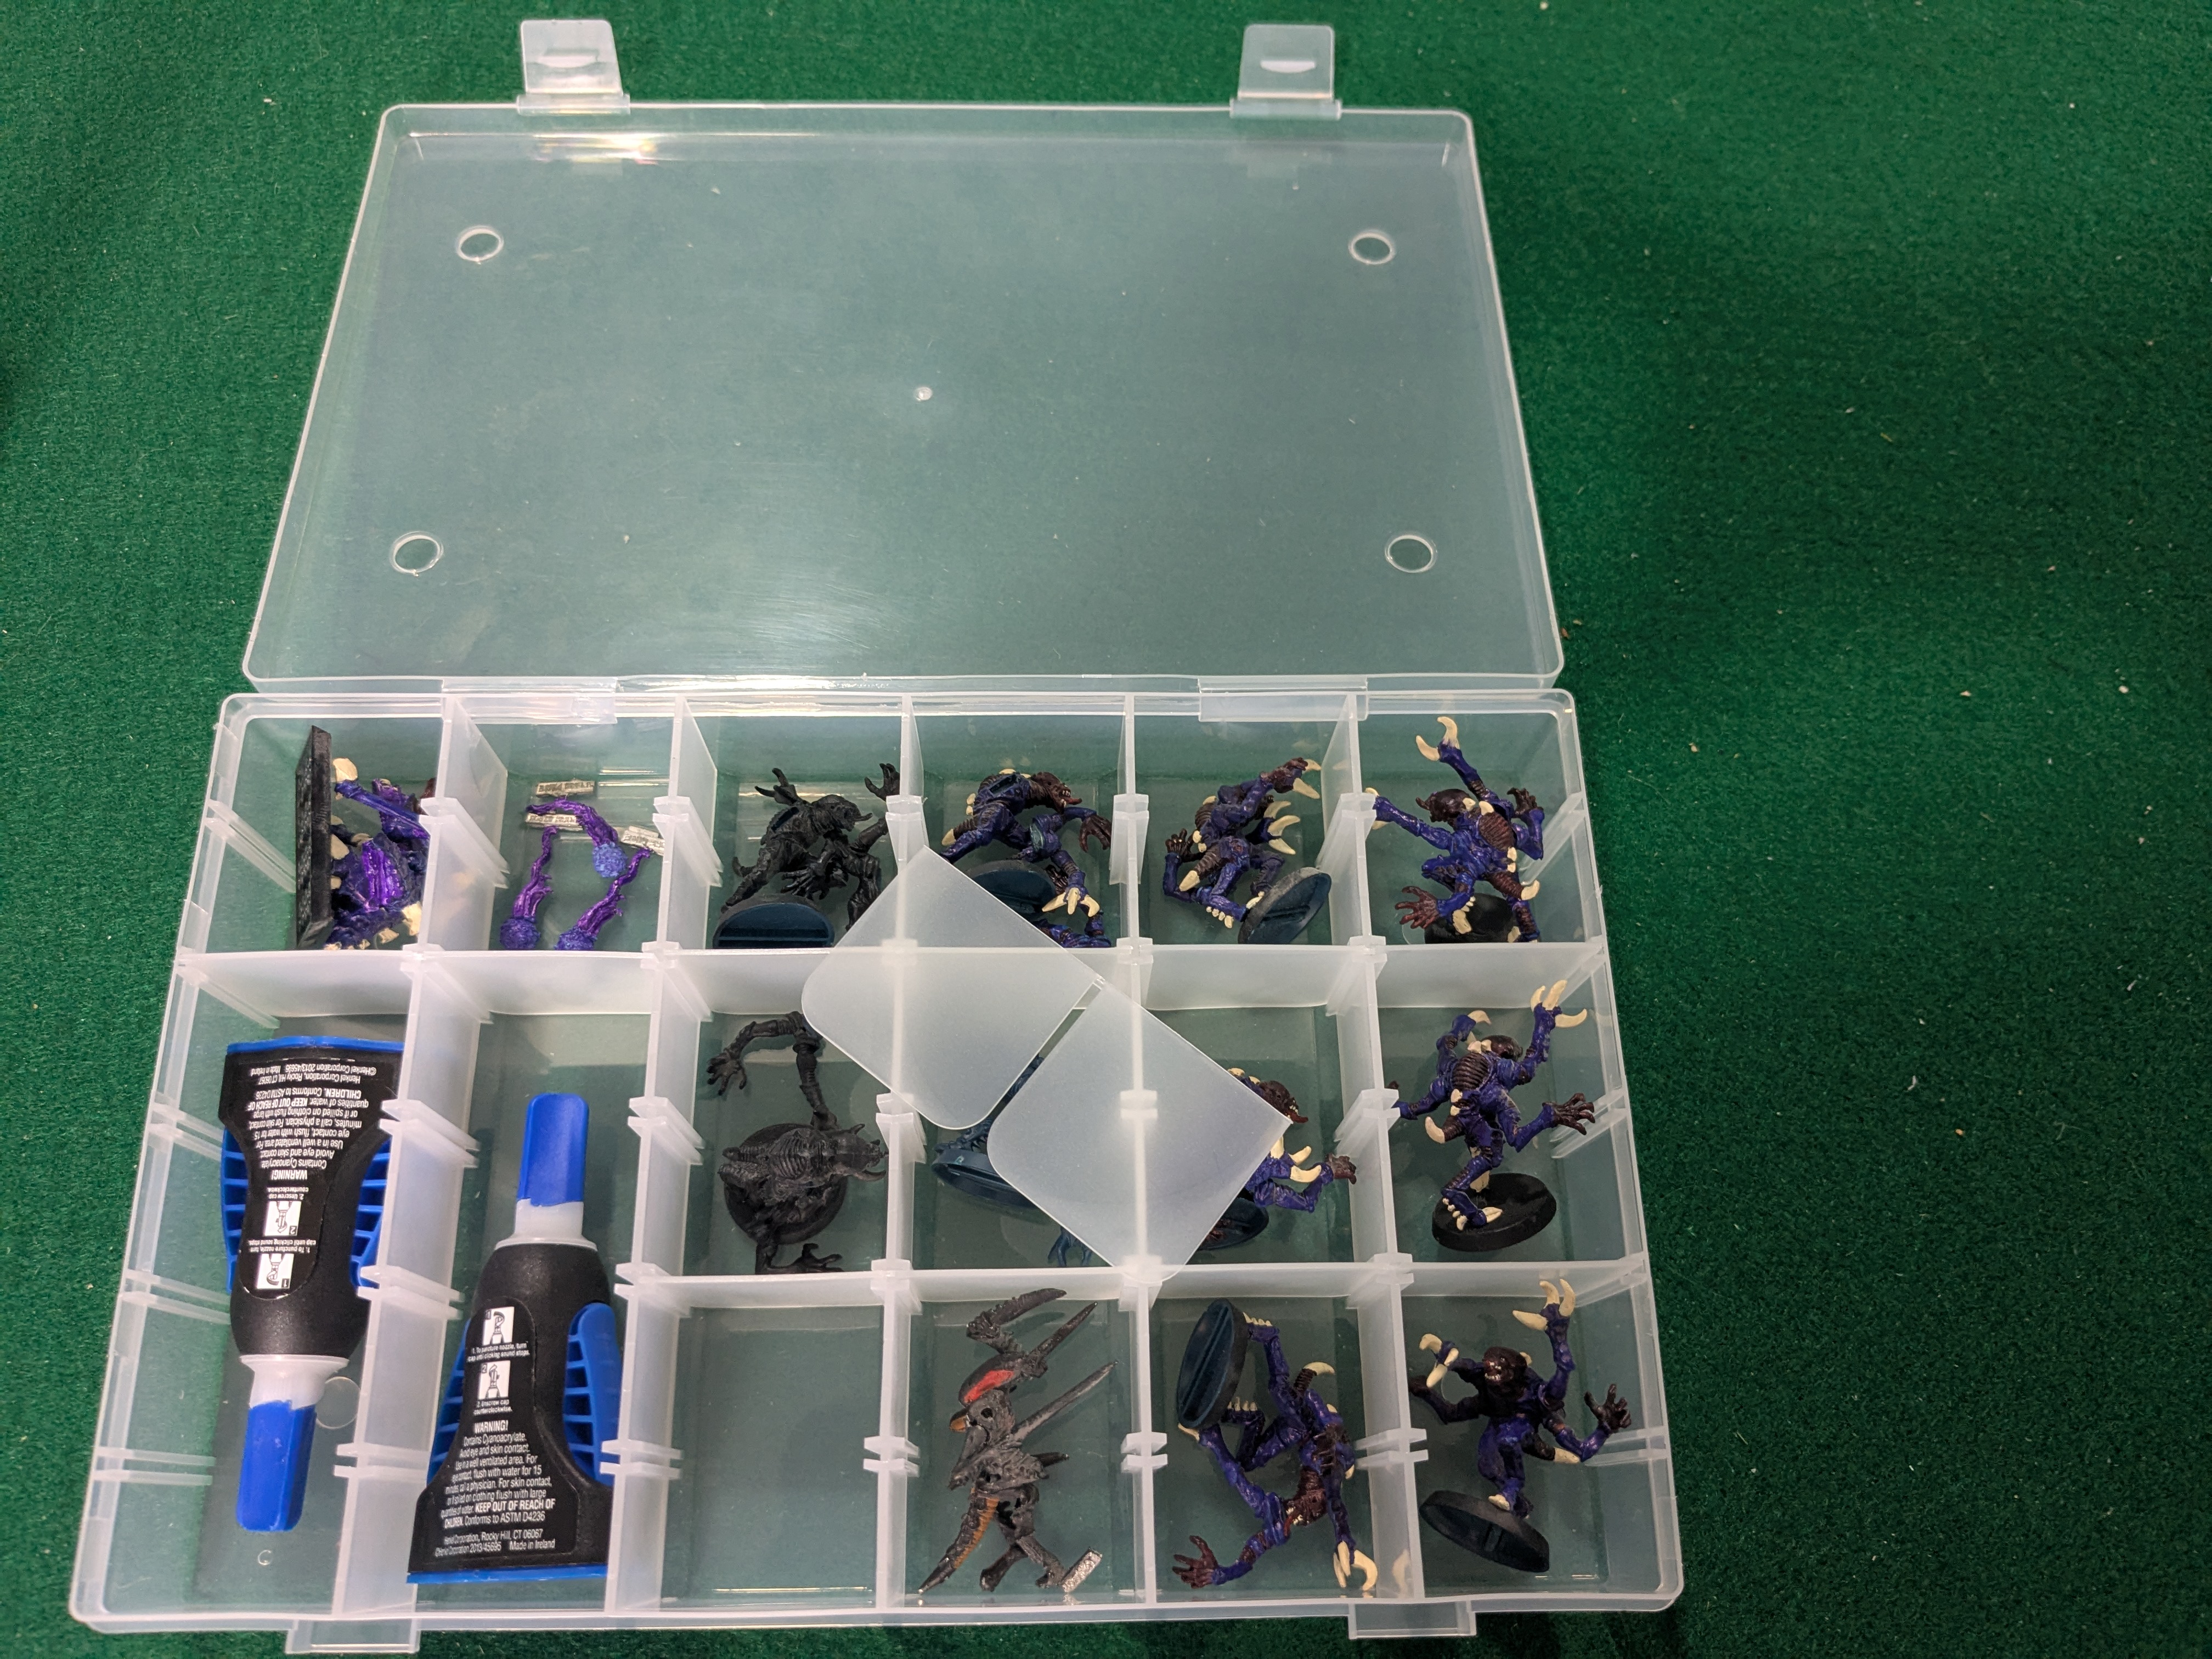
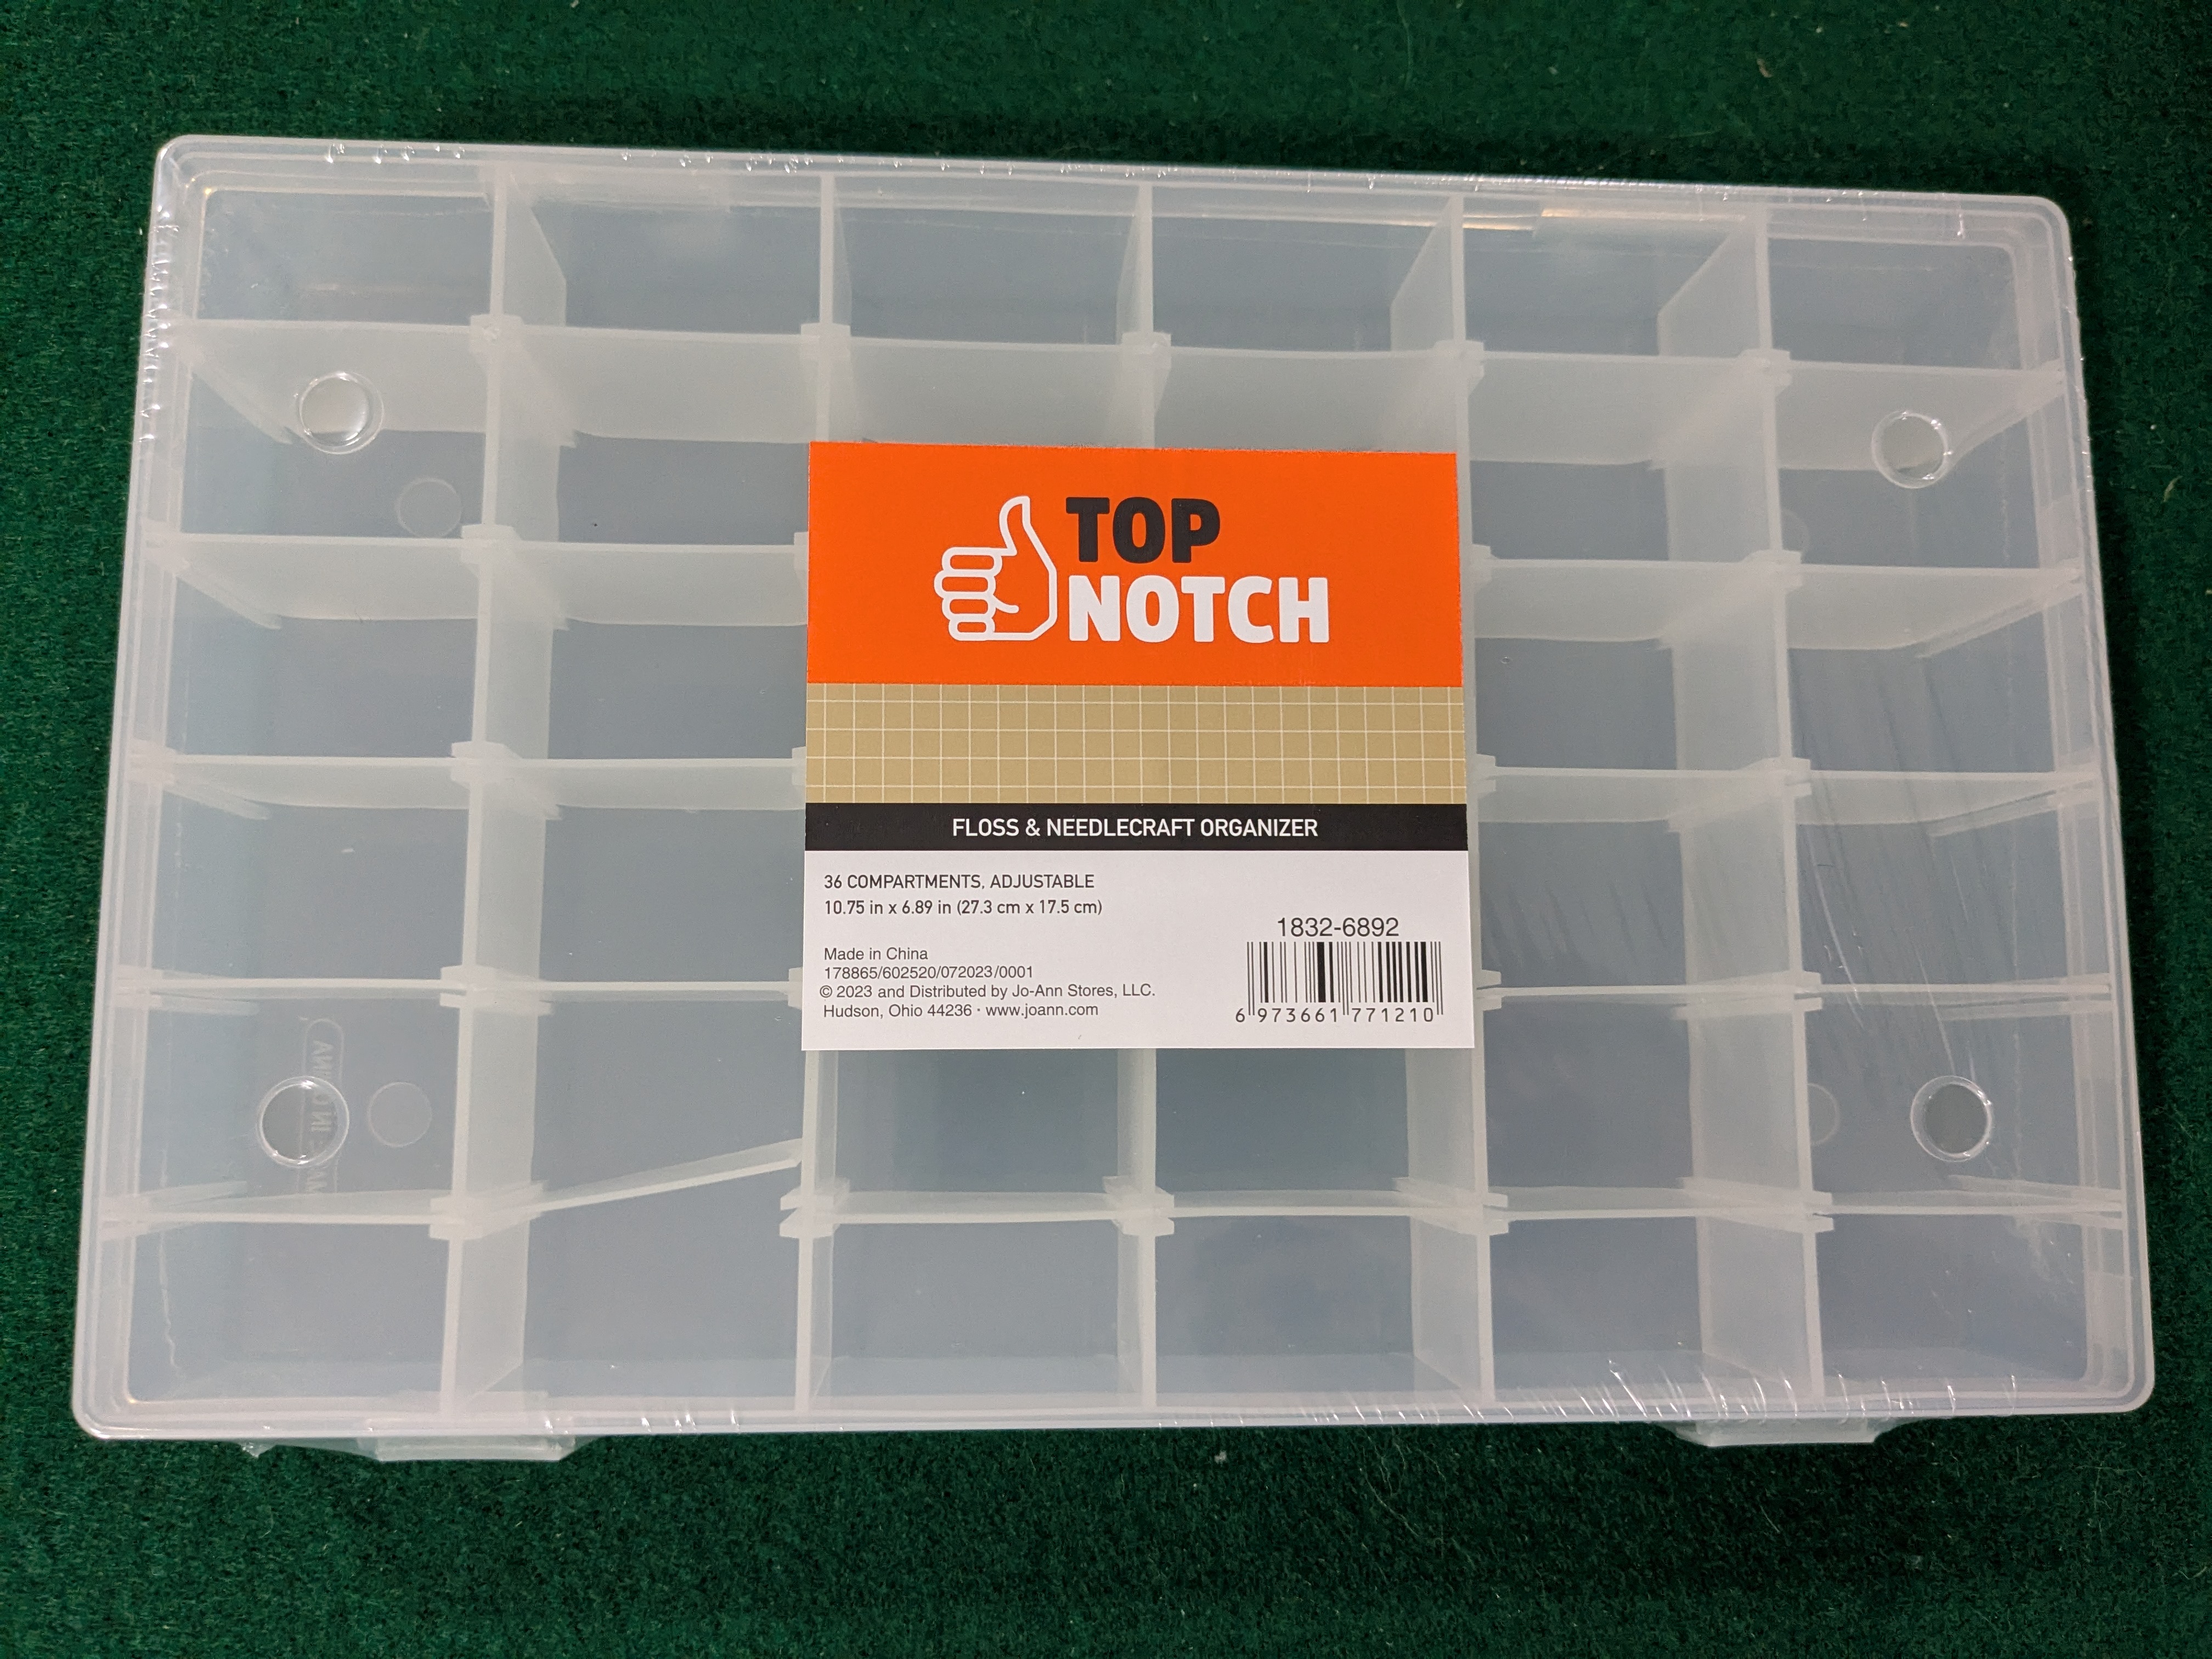
Bonus tip: We have a sewing/craft store called Joanne’s that is going out of business here in the US. I was able to pick up several adjustable thread/needle cases and these are handy to carry these minis around while I’m working on them. I just had to remove some of the dividers and I can fit in all ten models, the biovore, spore mines, and some supplies


![StarCraft Tabletop Miniatures Game Pre-Orders Live Now [Updated]](https://images.beastsofwar.com/2026/03/starcraft-tmg-news-cover-600-338.jpg)


![Mounted US Cavalry On Kickstarter For Dead Man’s Hand! [Updated]](https://images.beastsofwar.com/2026/03/us-cavalry-main-600-338.jpg)


