![NO Weekender Or Cult Of Games XLBS This Weekend [Updated]](https://images.beastsofwar.com/2026/03/No_Weekender_and_XLBS_this_Weekend-225-127.jpg)


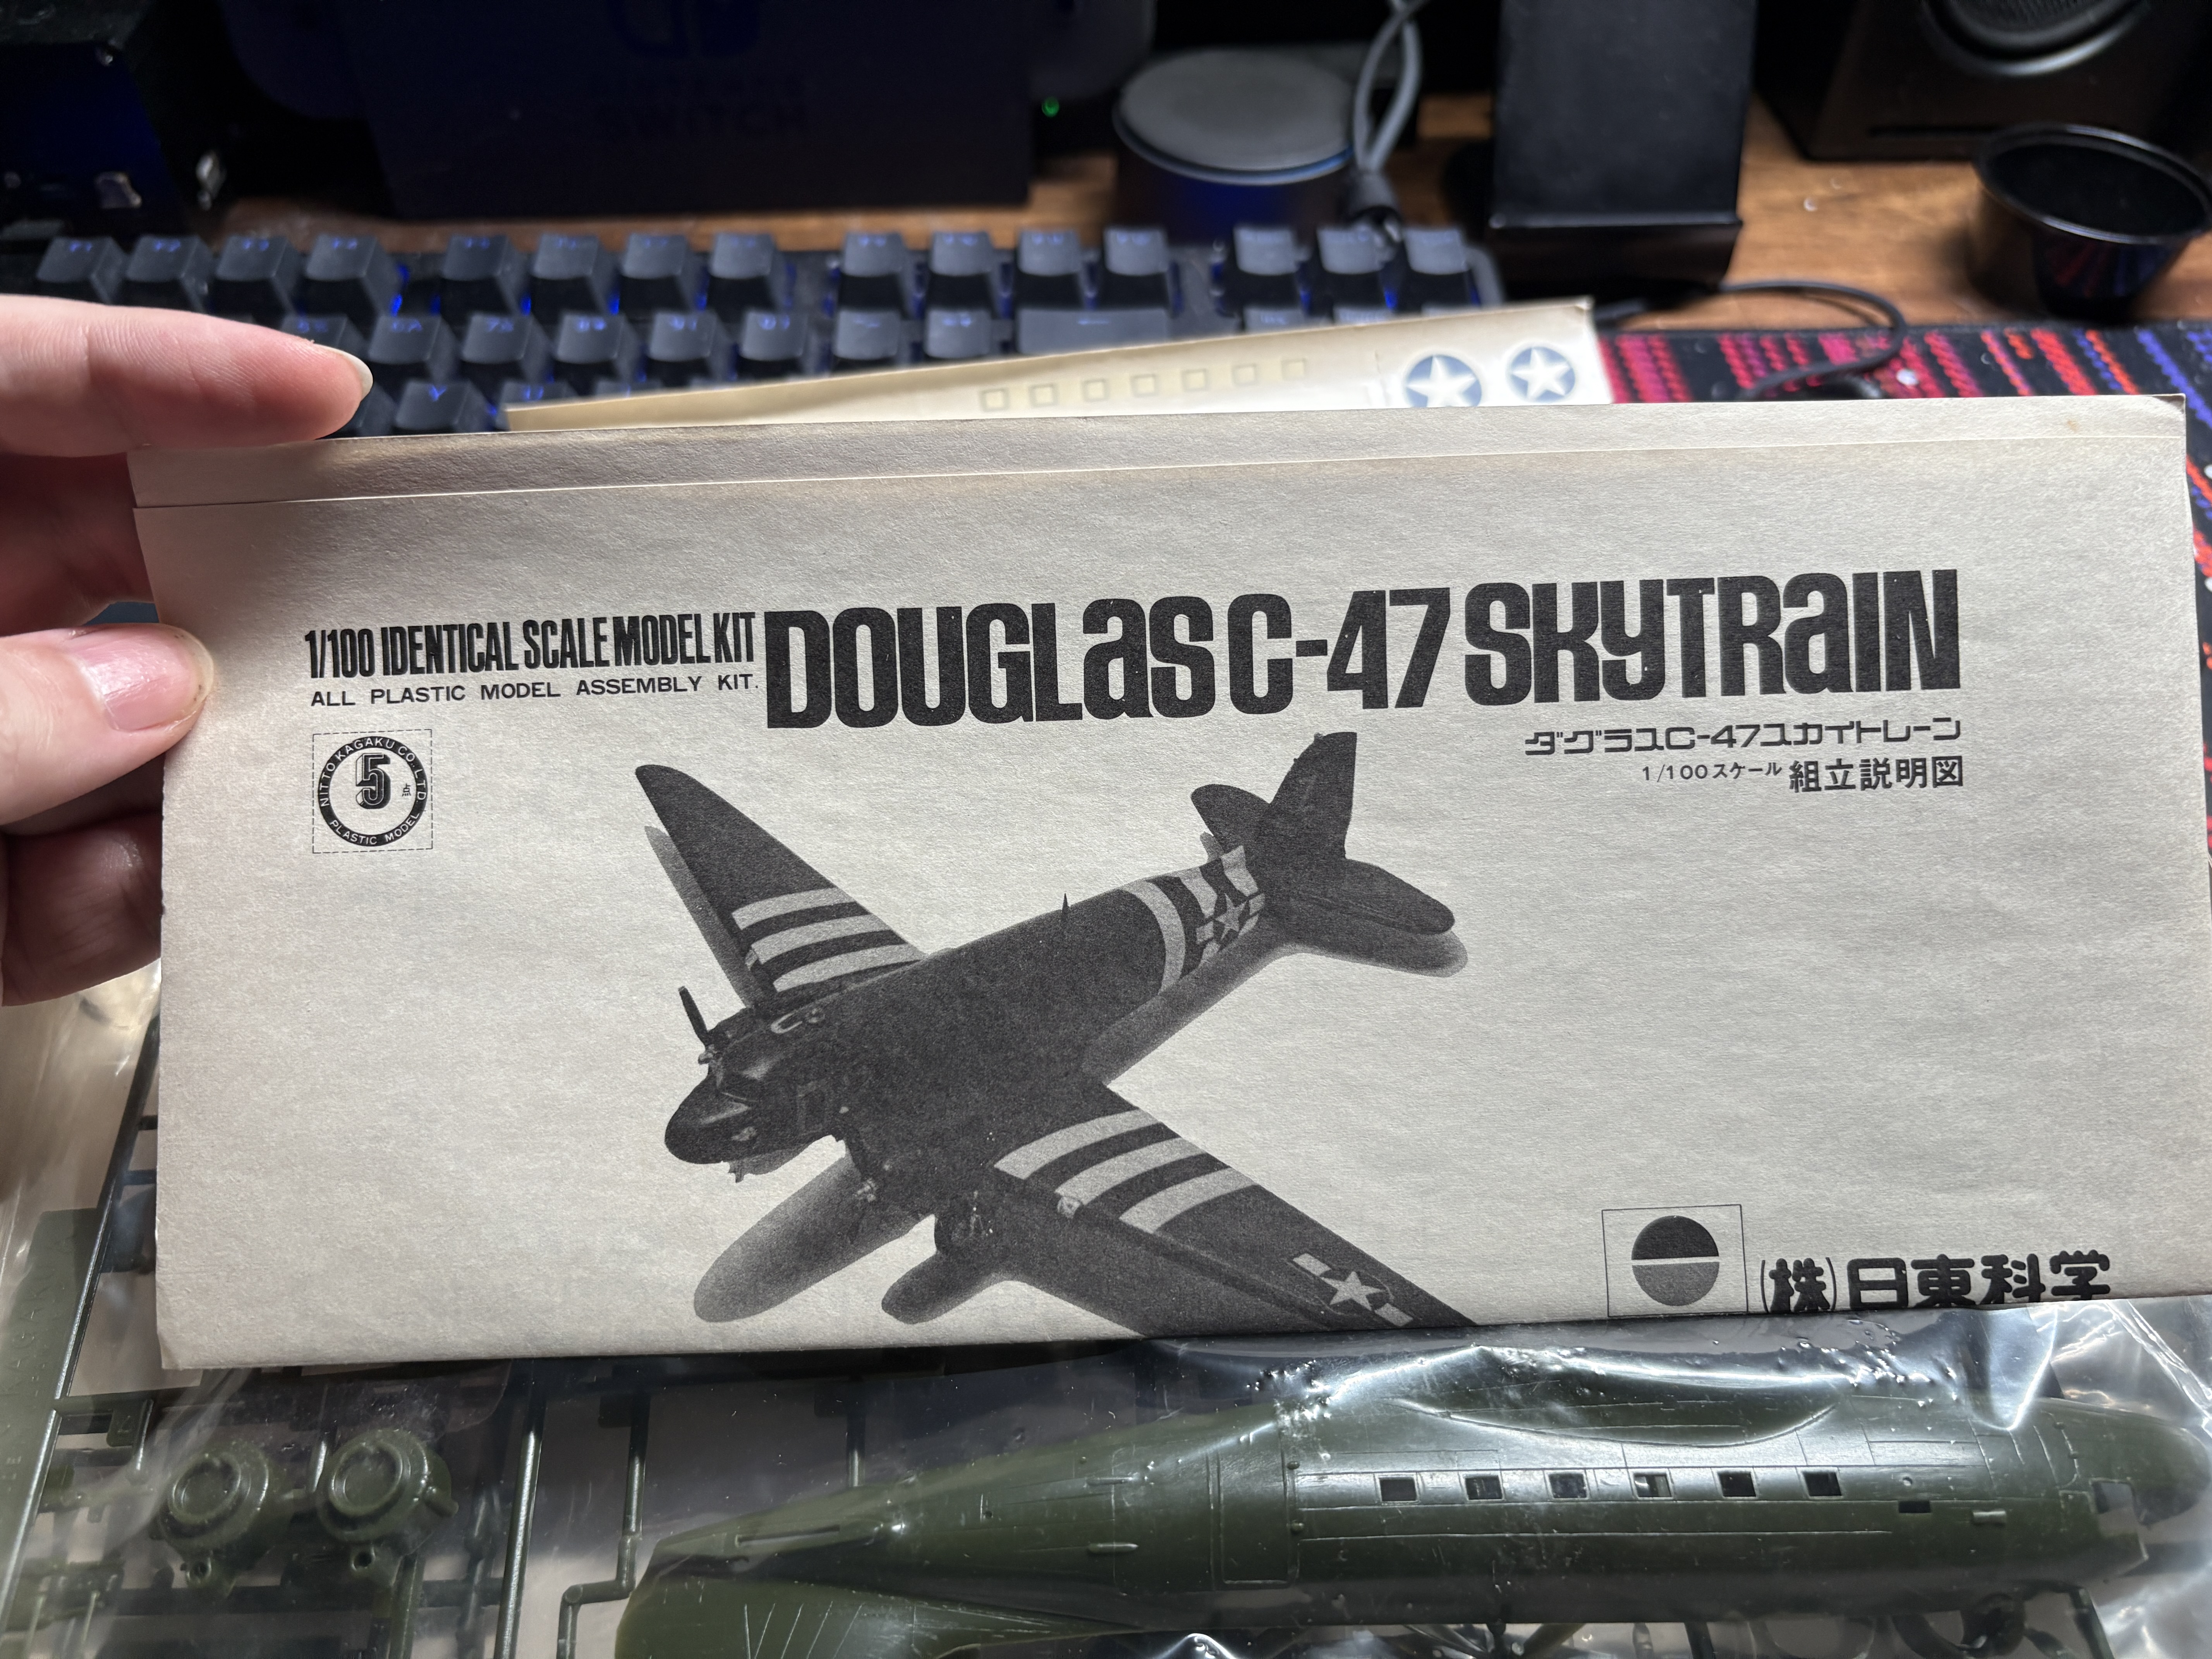
C-47 Douglas Skytrain for Flames of War Airborne


Recommendations: 29
About the Project
I wanted to make a nice display piece for my Flames of War Airborne army so found a 1:100 model kit of the plane they used for air drops. The model is older than I am. Then I sat on the model in storage for a few years. Time to break it out for Spring Cleaning Challenge 2025!
Related Game: Flames of War: The World War II Miniatures Game
Related Genre: Historical
Related Contest: Spring Clean Hobby Challenge 2025
This Project is Completed
Assembly and Painting
A new year and another Spring Cleaning challenge. This year I want to take on a smaller project that I can finish in the contest time. Time to look at my shelves and see what I can take down and use.
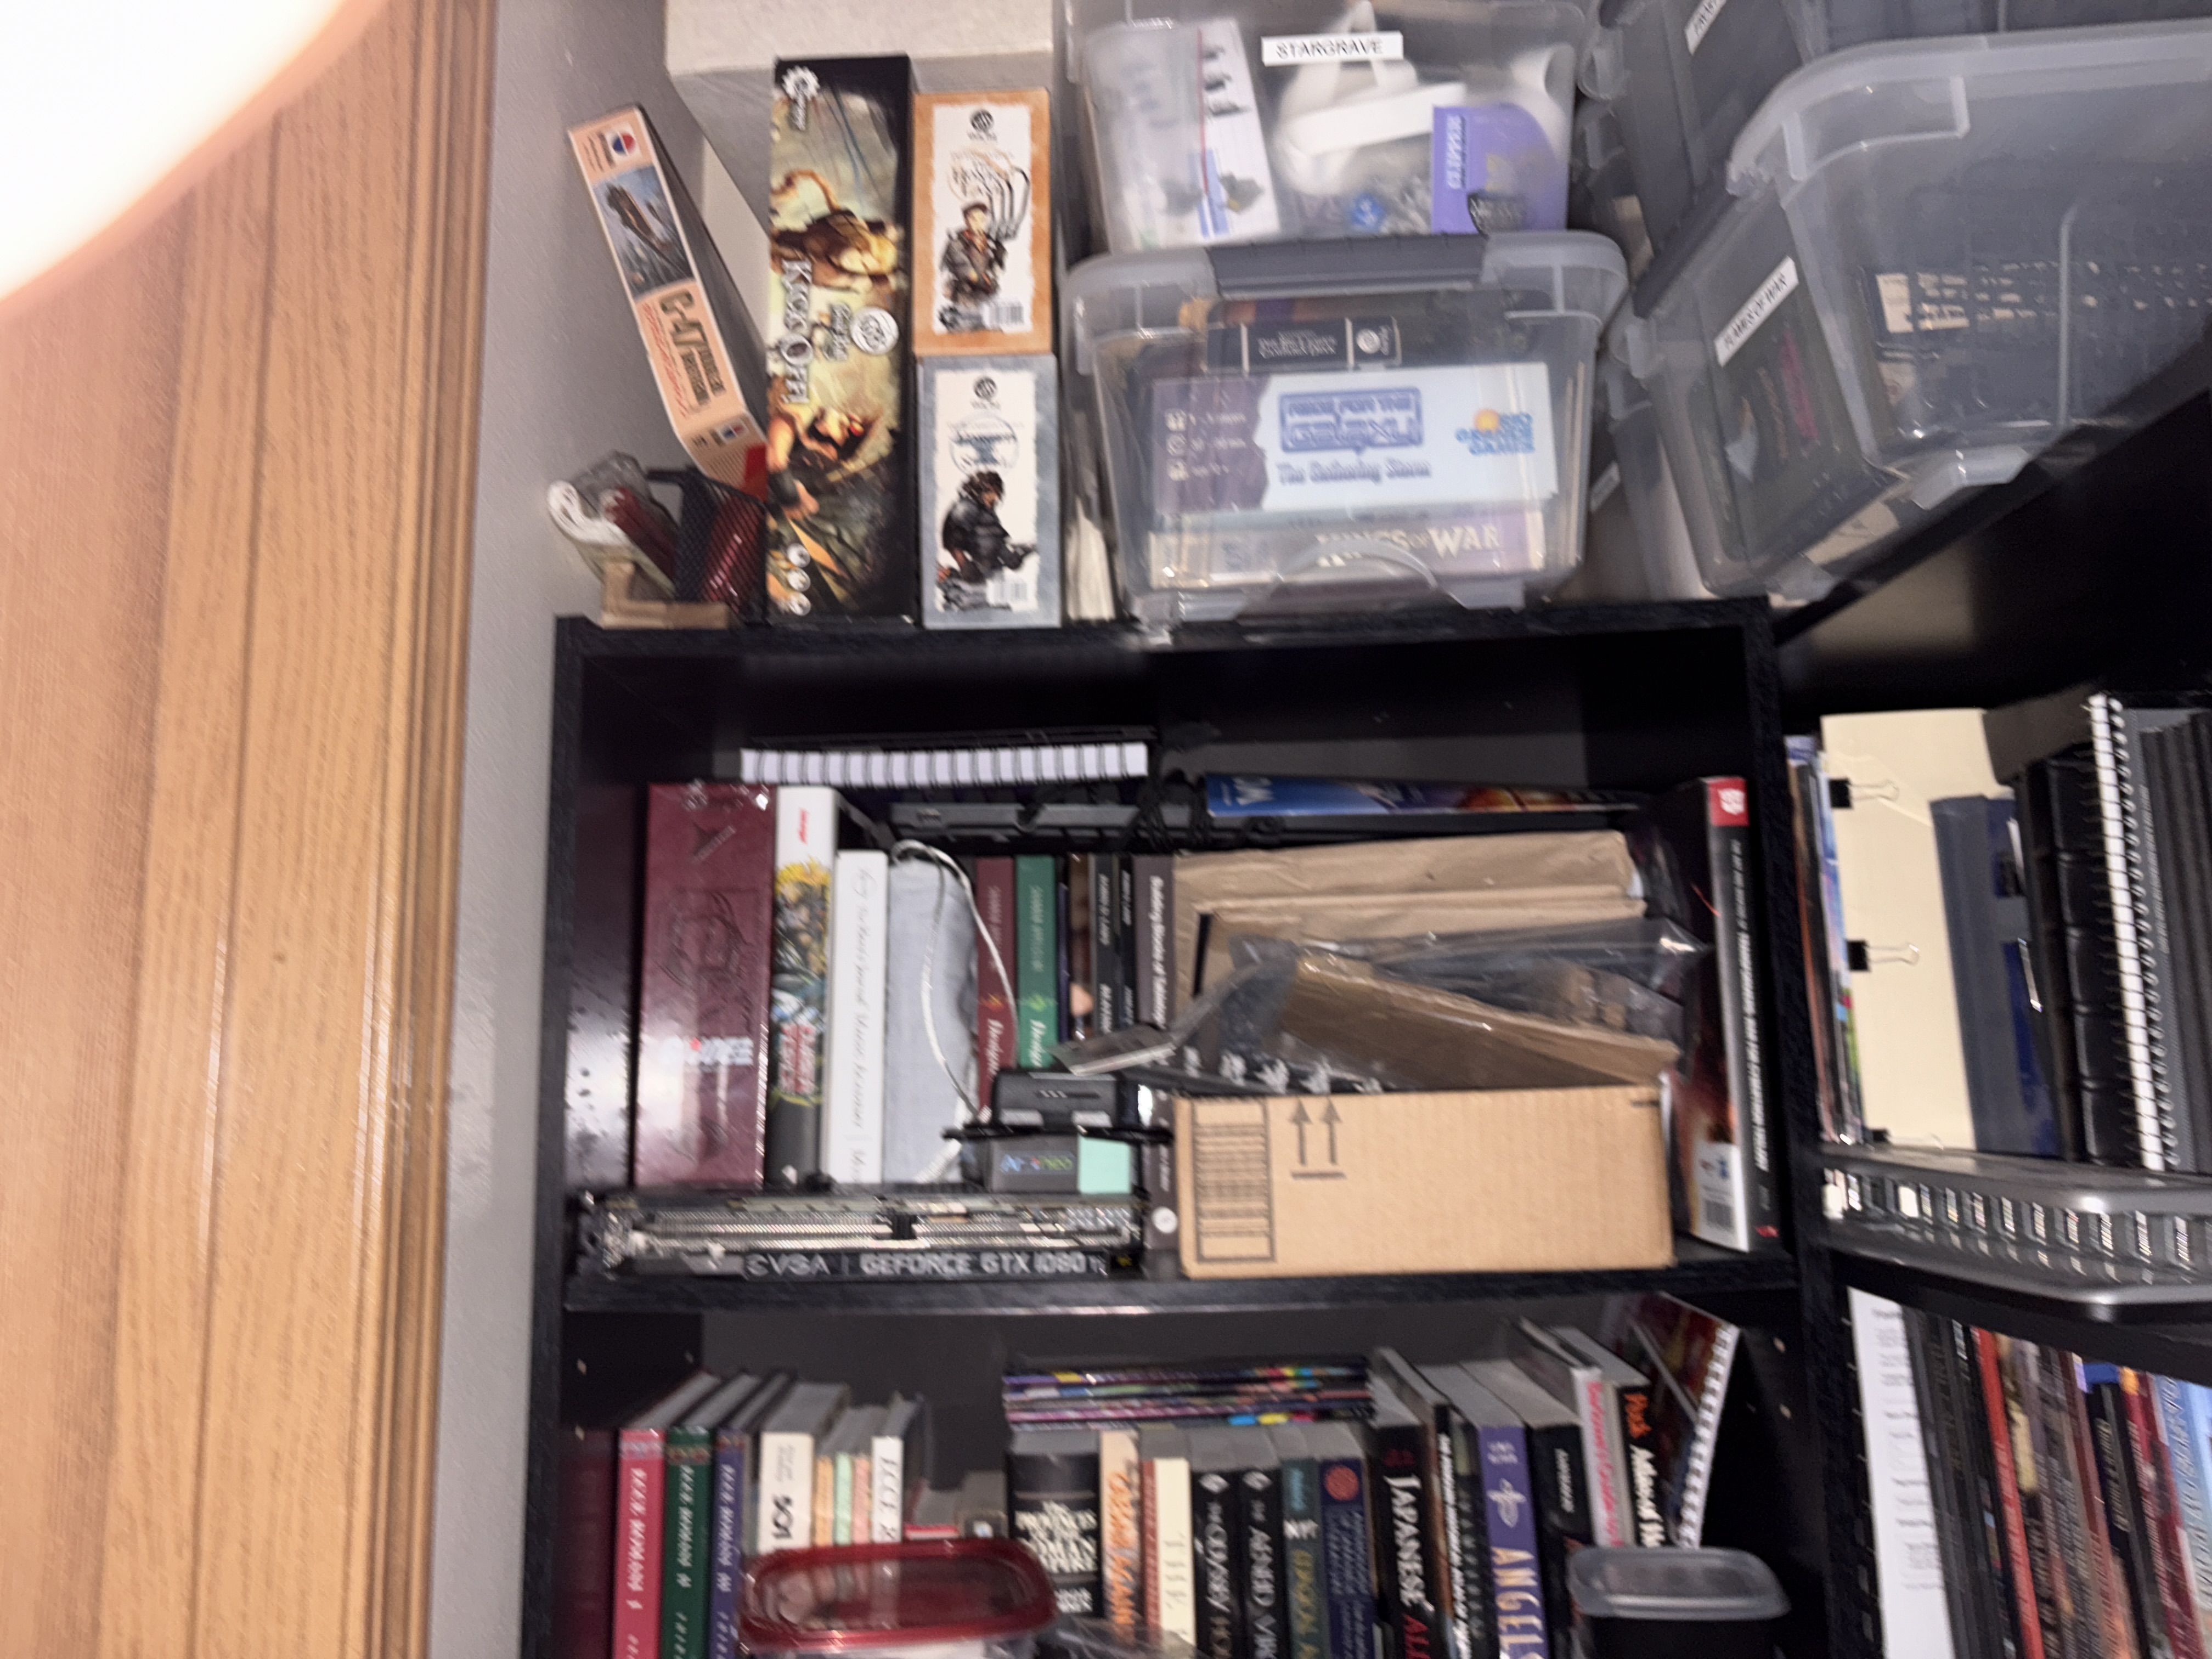
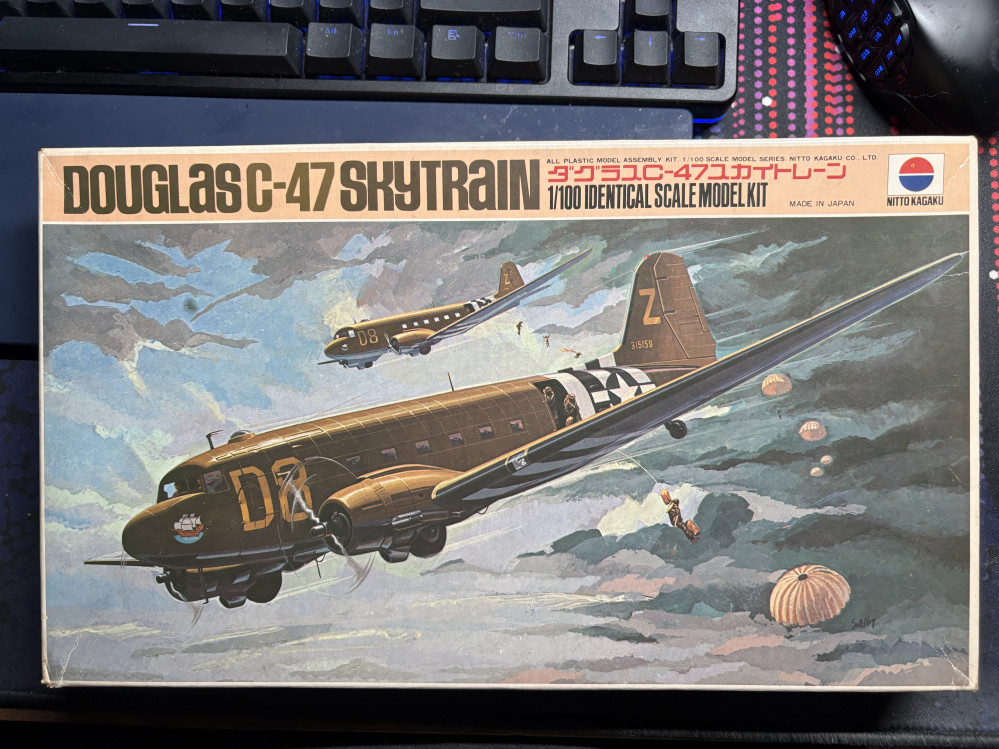
Ah this model plane will do nicely! Looking up the model it was made back in 1975 so it is older than I am. But it is in 1:100 scale so will fit in with my 15mm Flames of War Airborne. I bought this model on a whim from eBay one night like one does and I put it up on that shelf with the best of intentions to build it. Several years later…

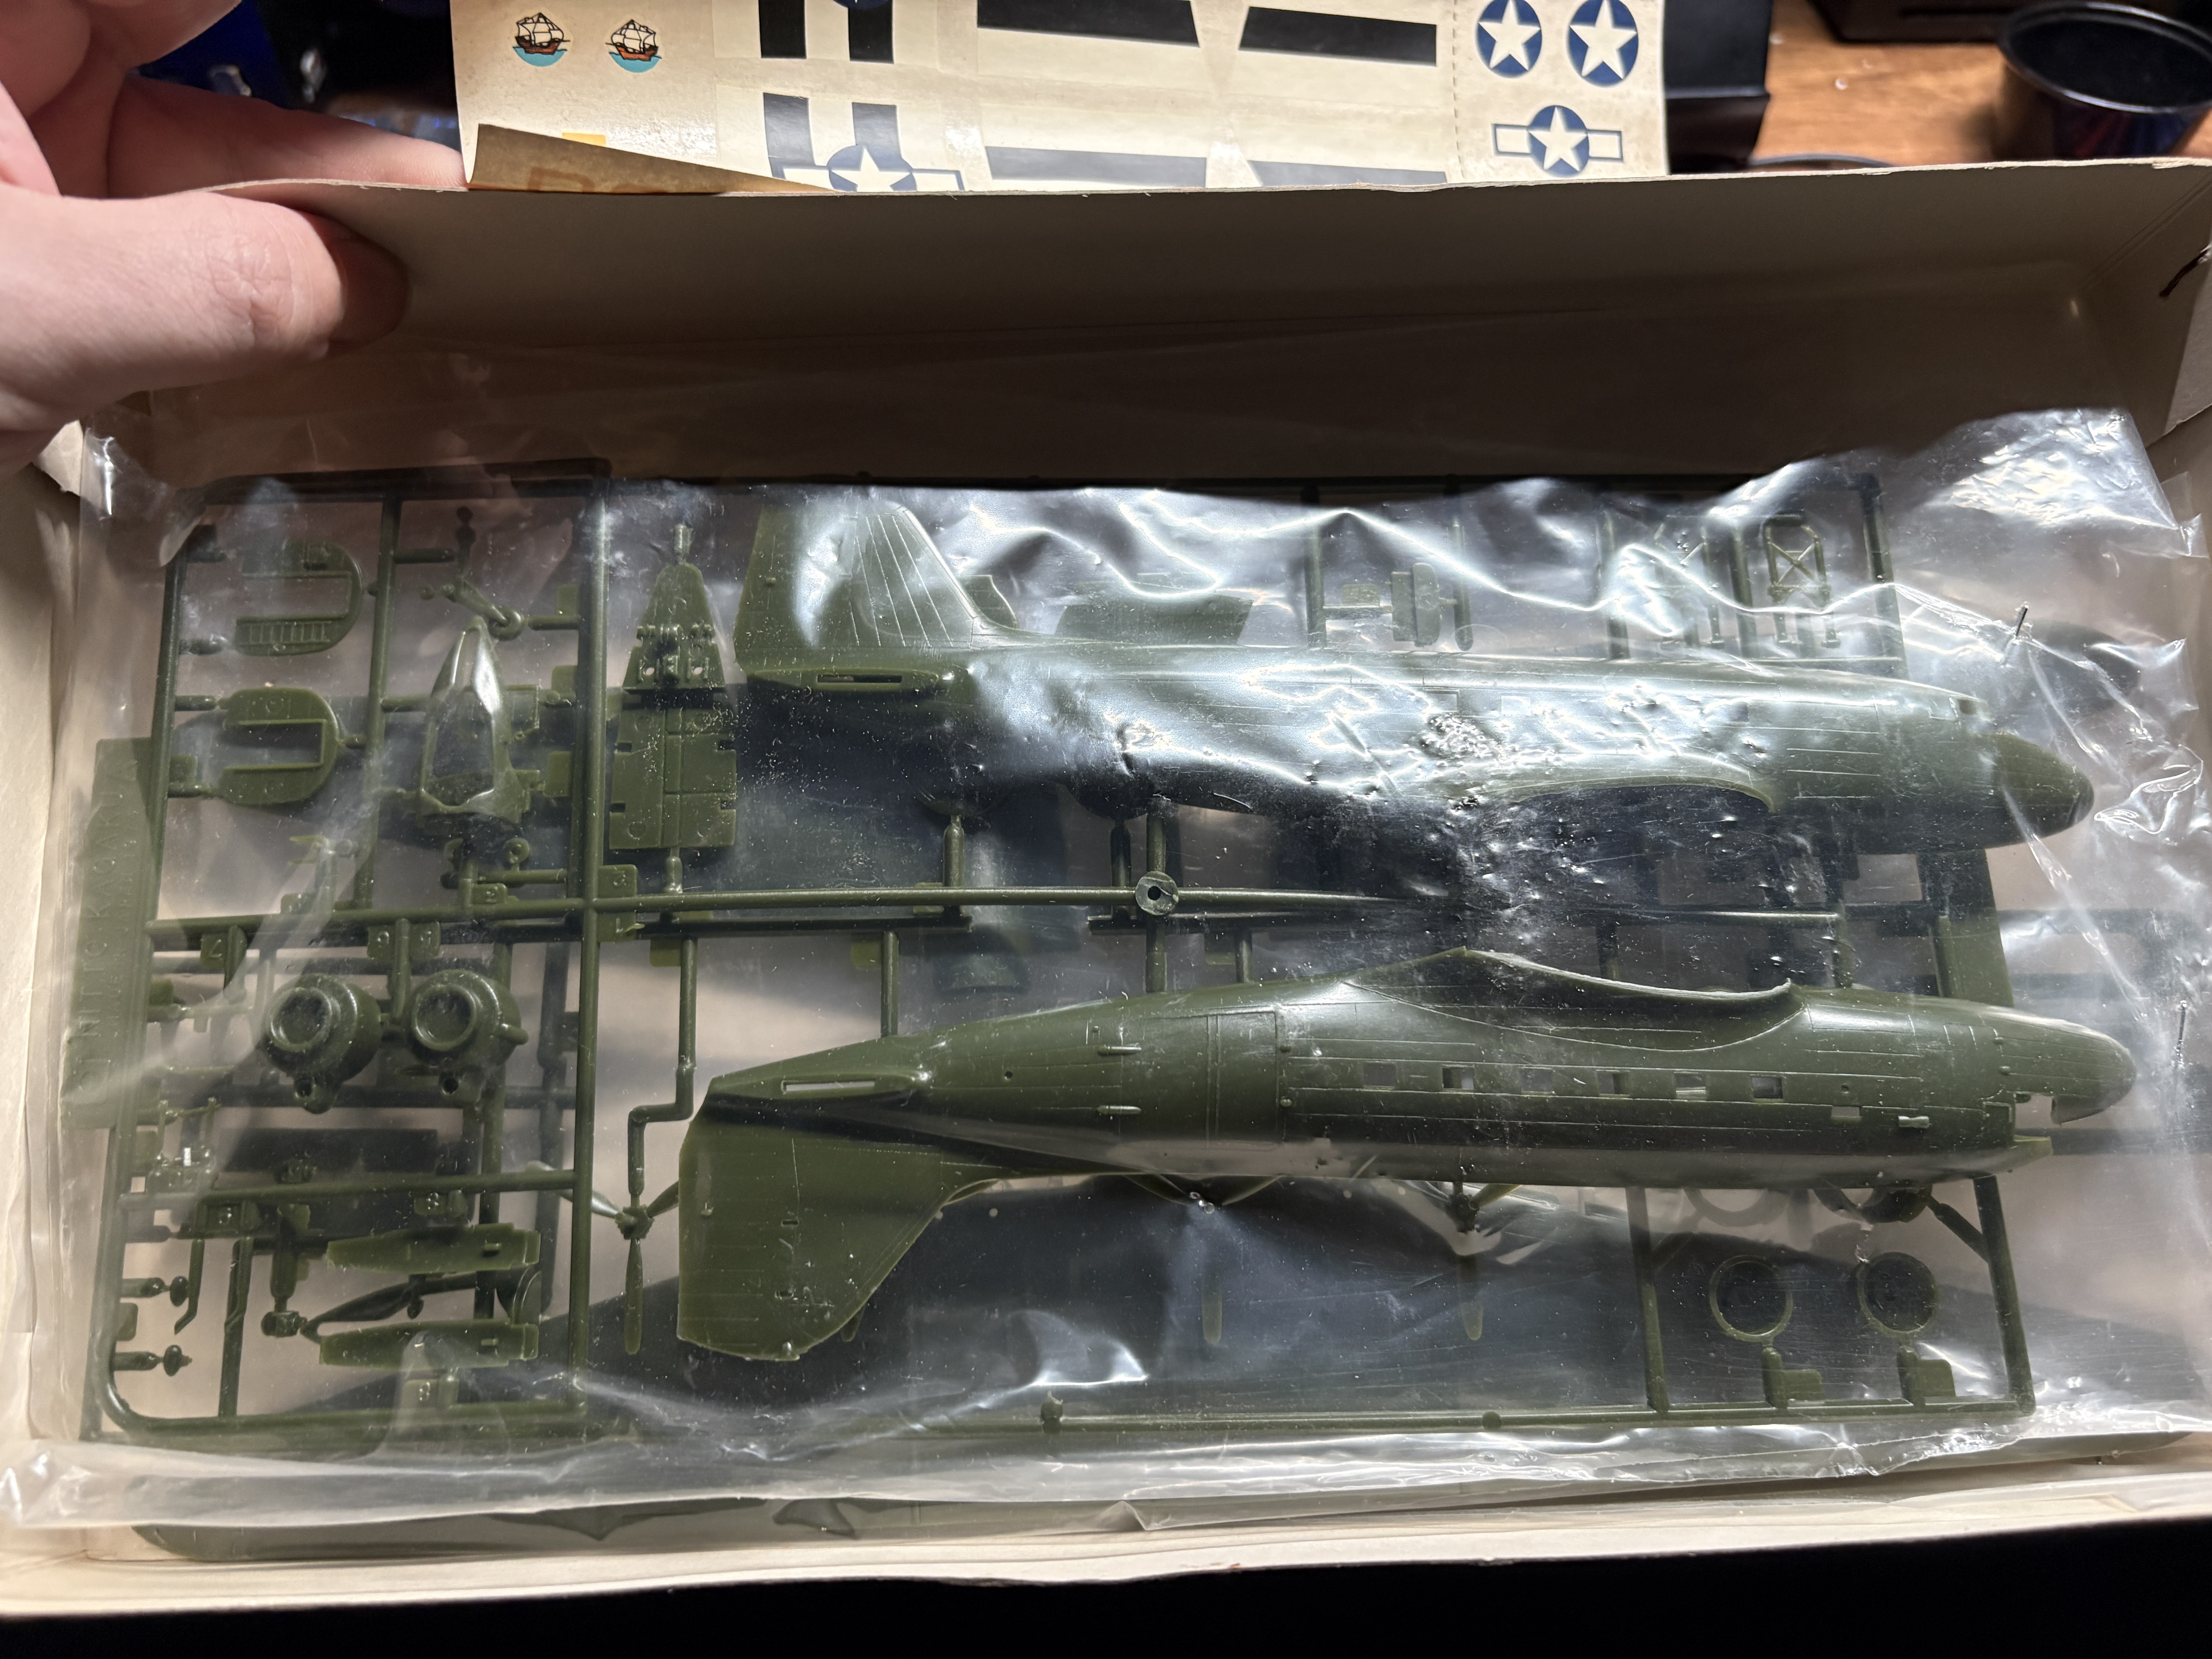
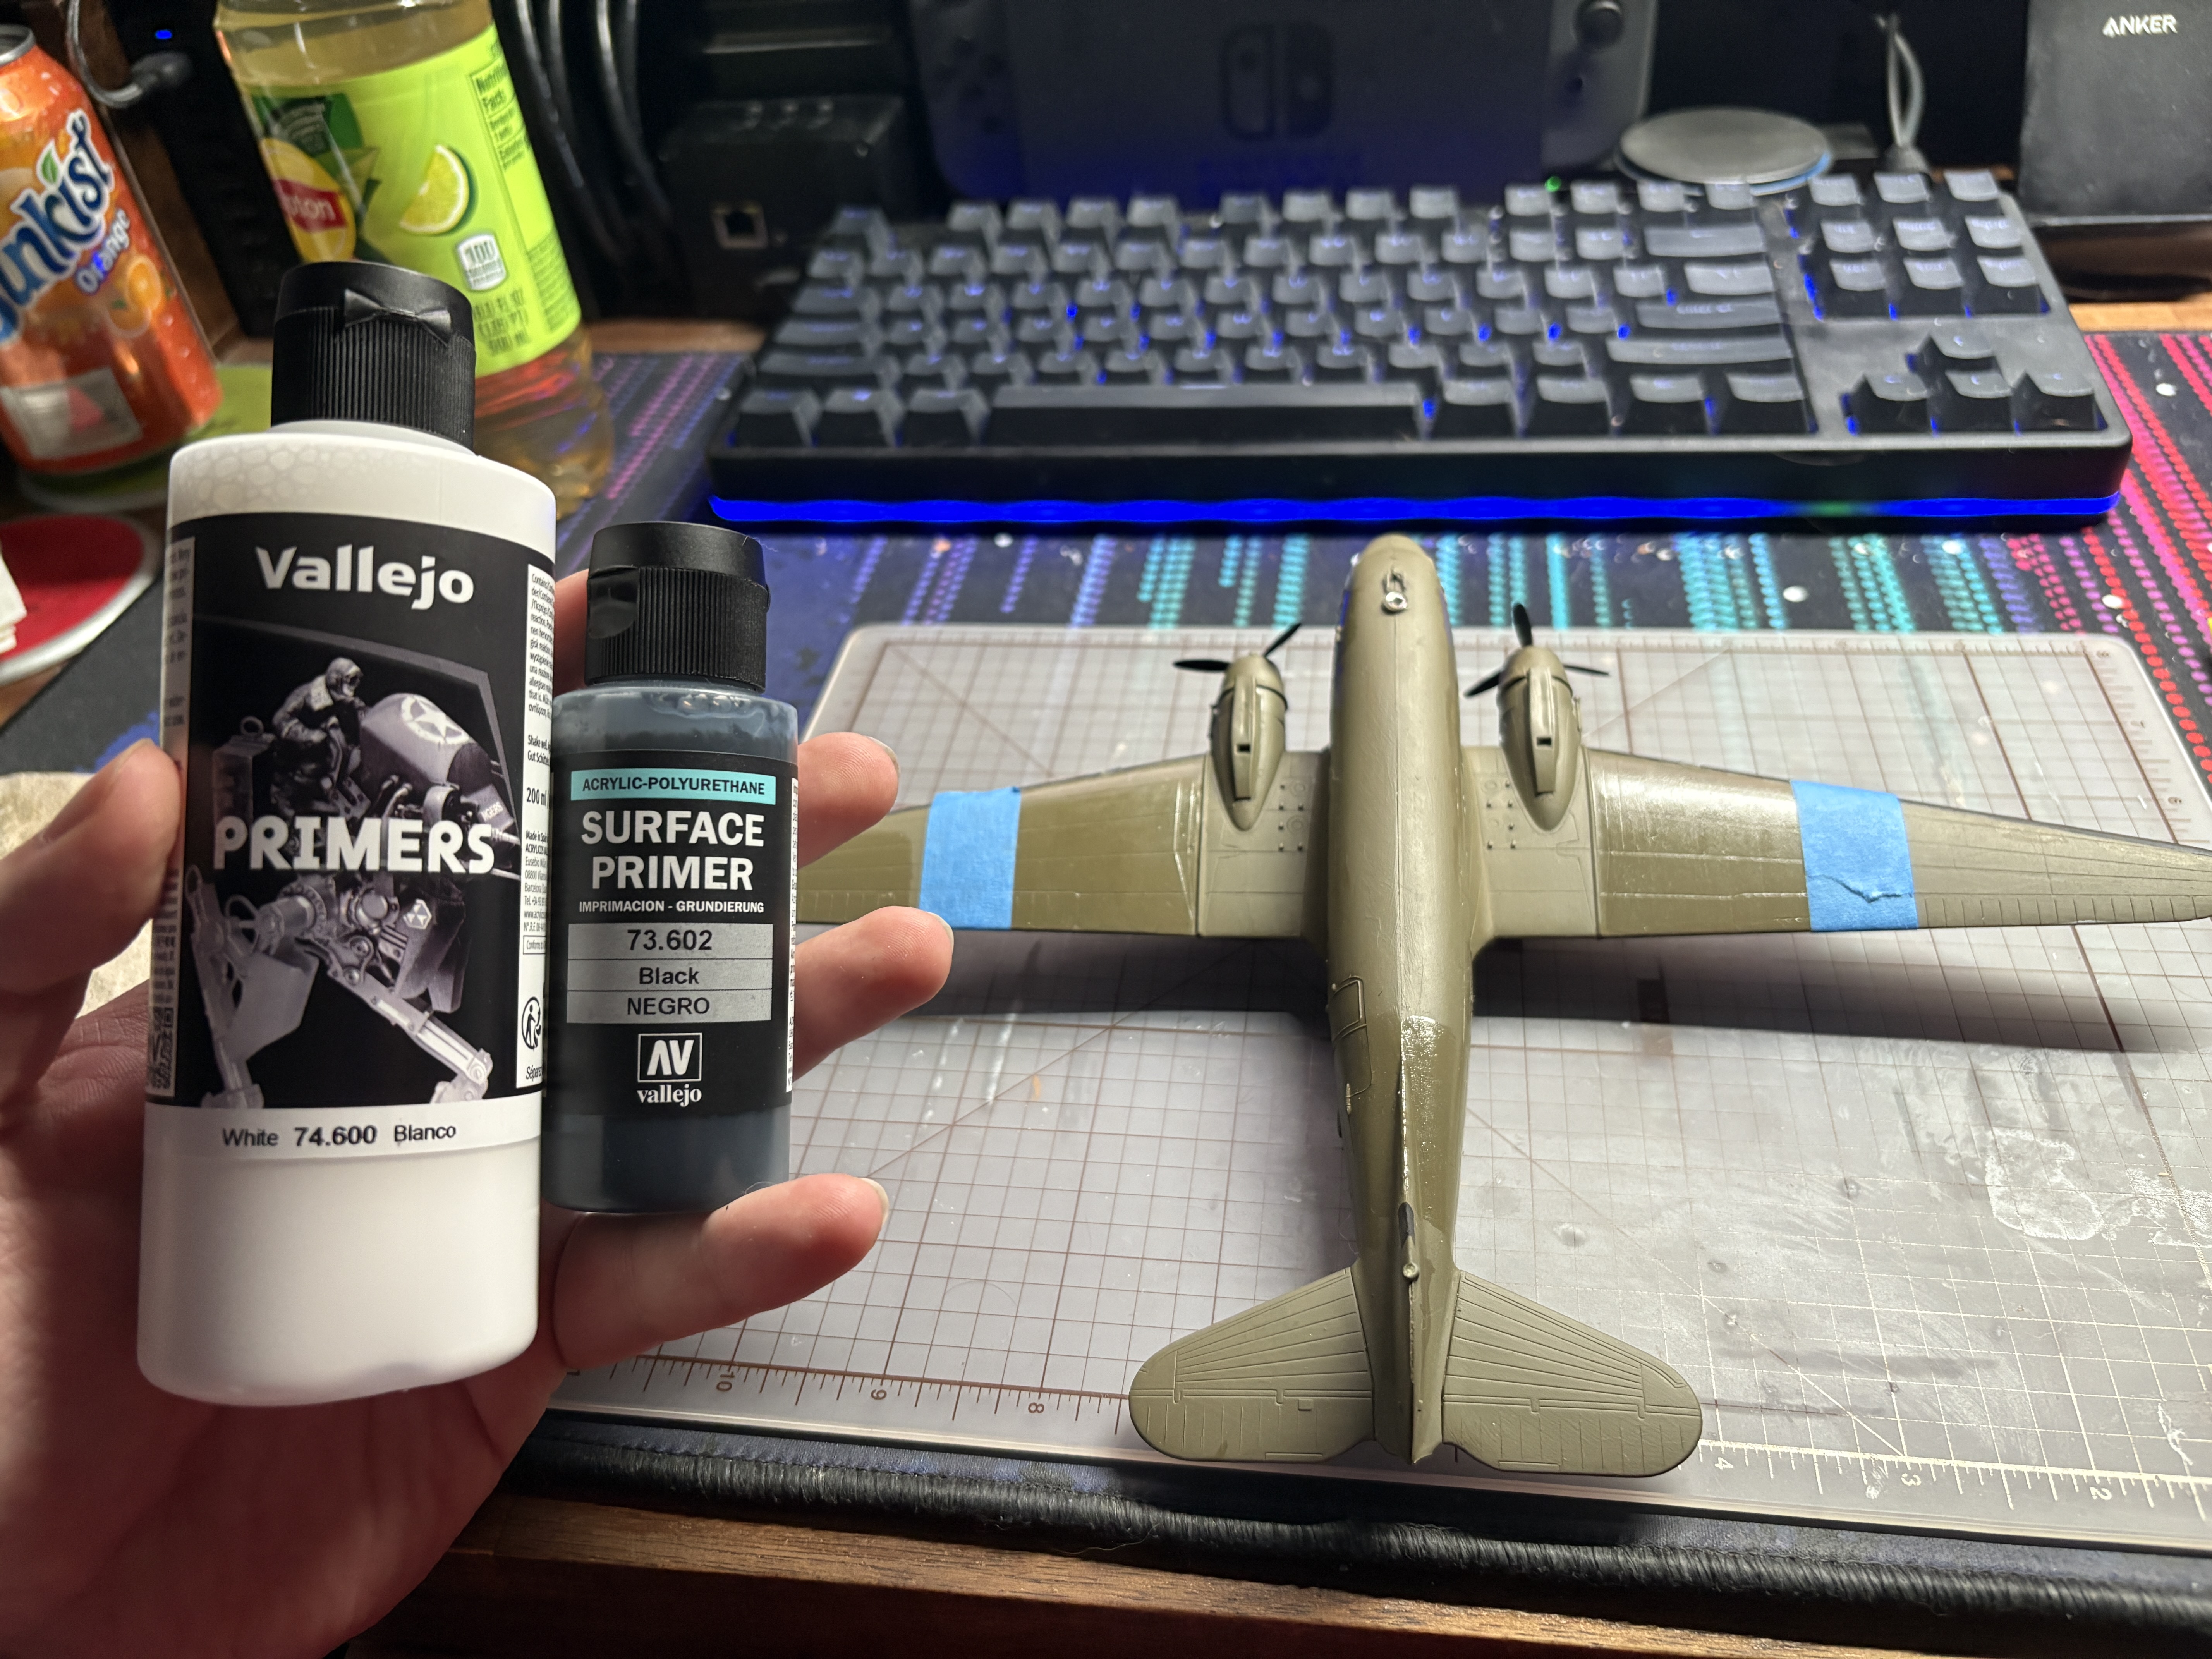
Given the age of the model all of the components are still in great shape. I question if the decals will still work but I’m going to give them a shot anyway. I didn’t take pictures of the assembly process as since this is a model plane first there are a lot of small detail pieces like a cockpit you can’t see from inside the plane with individual seats. You can’t see them but I assure you they are there. I primed the pieces while they were on the frame still with Vallejo Olive Drab spray primer. It left a very coarse texture but that should mean paint will stick to it better. After that I put all the bits together and this was the end result.
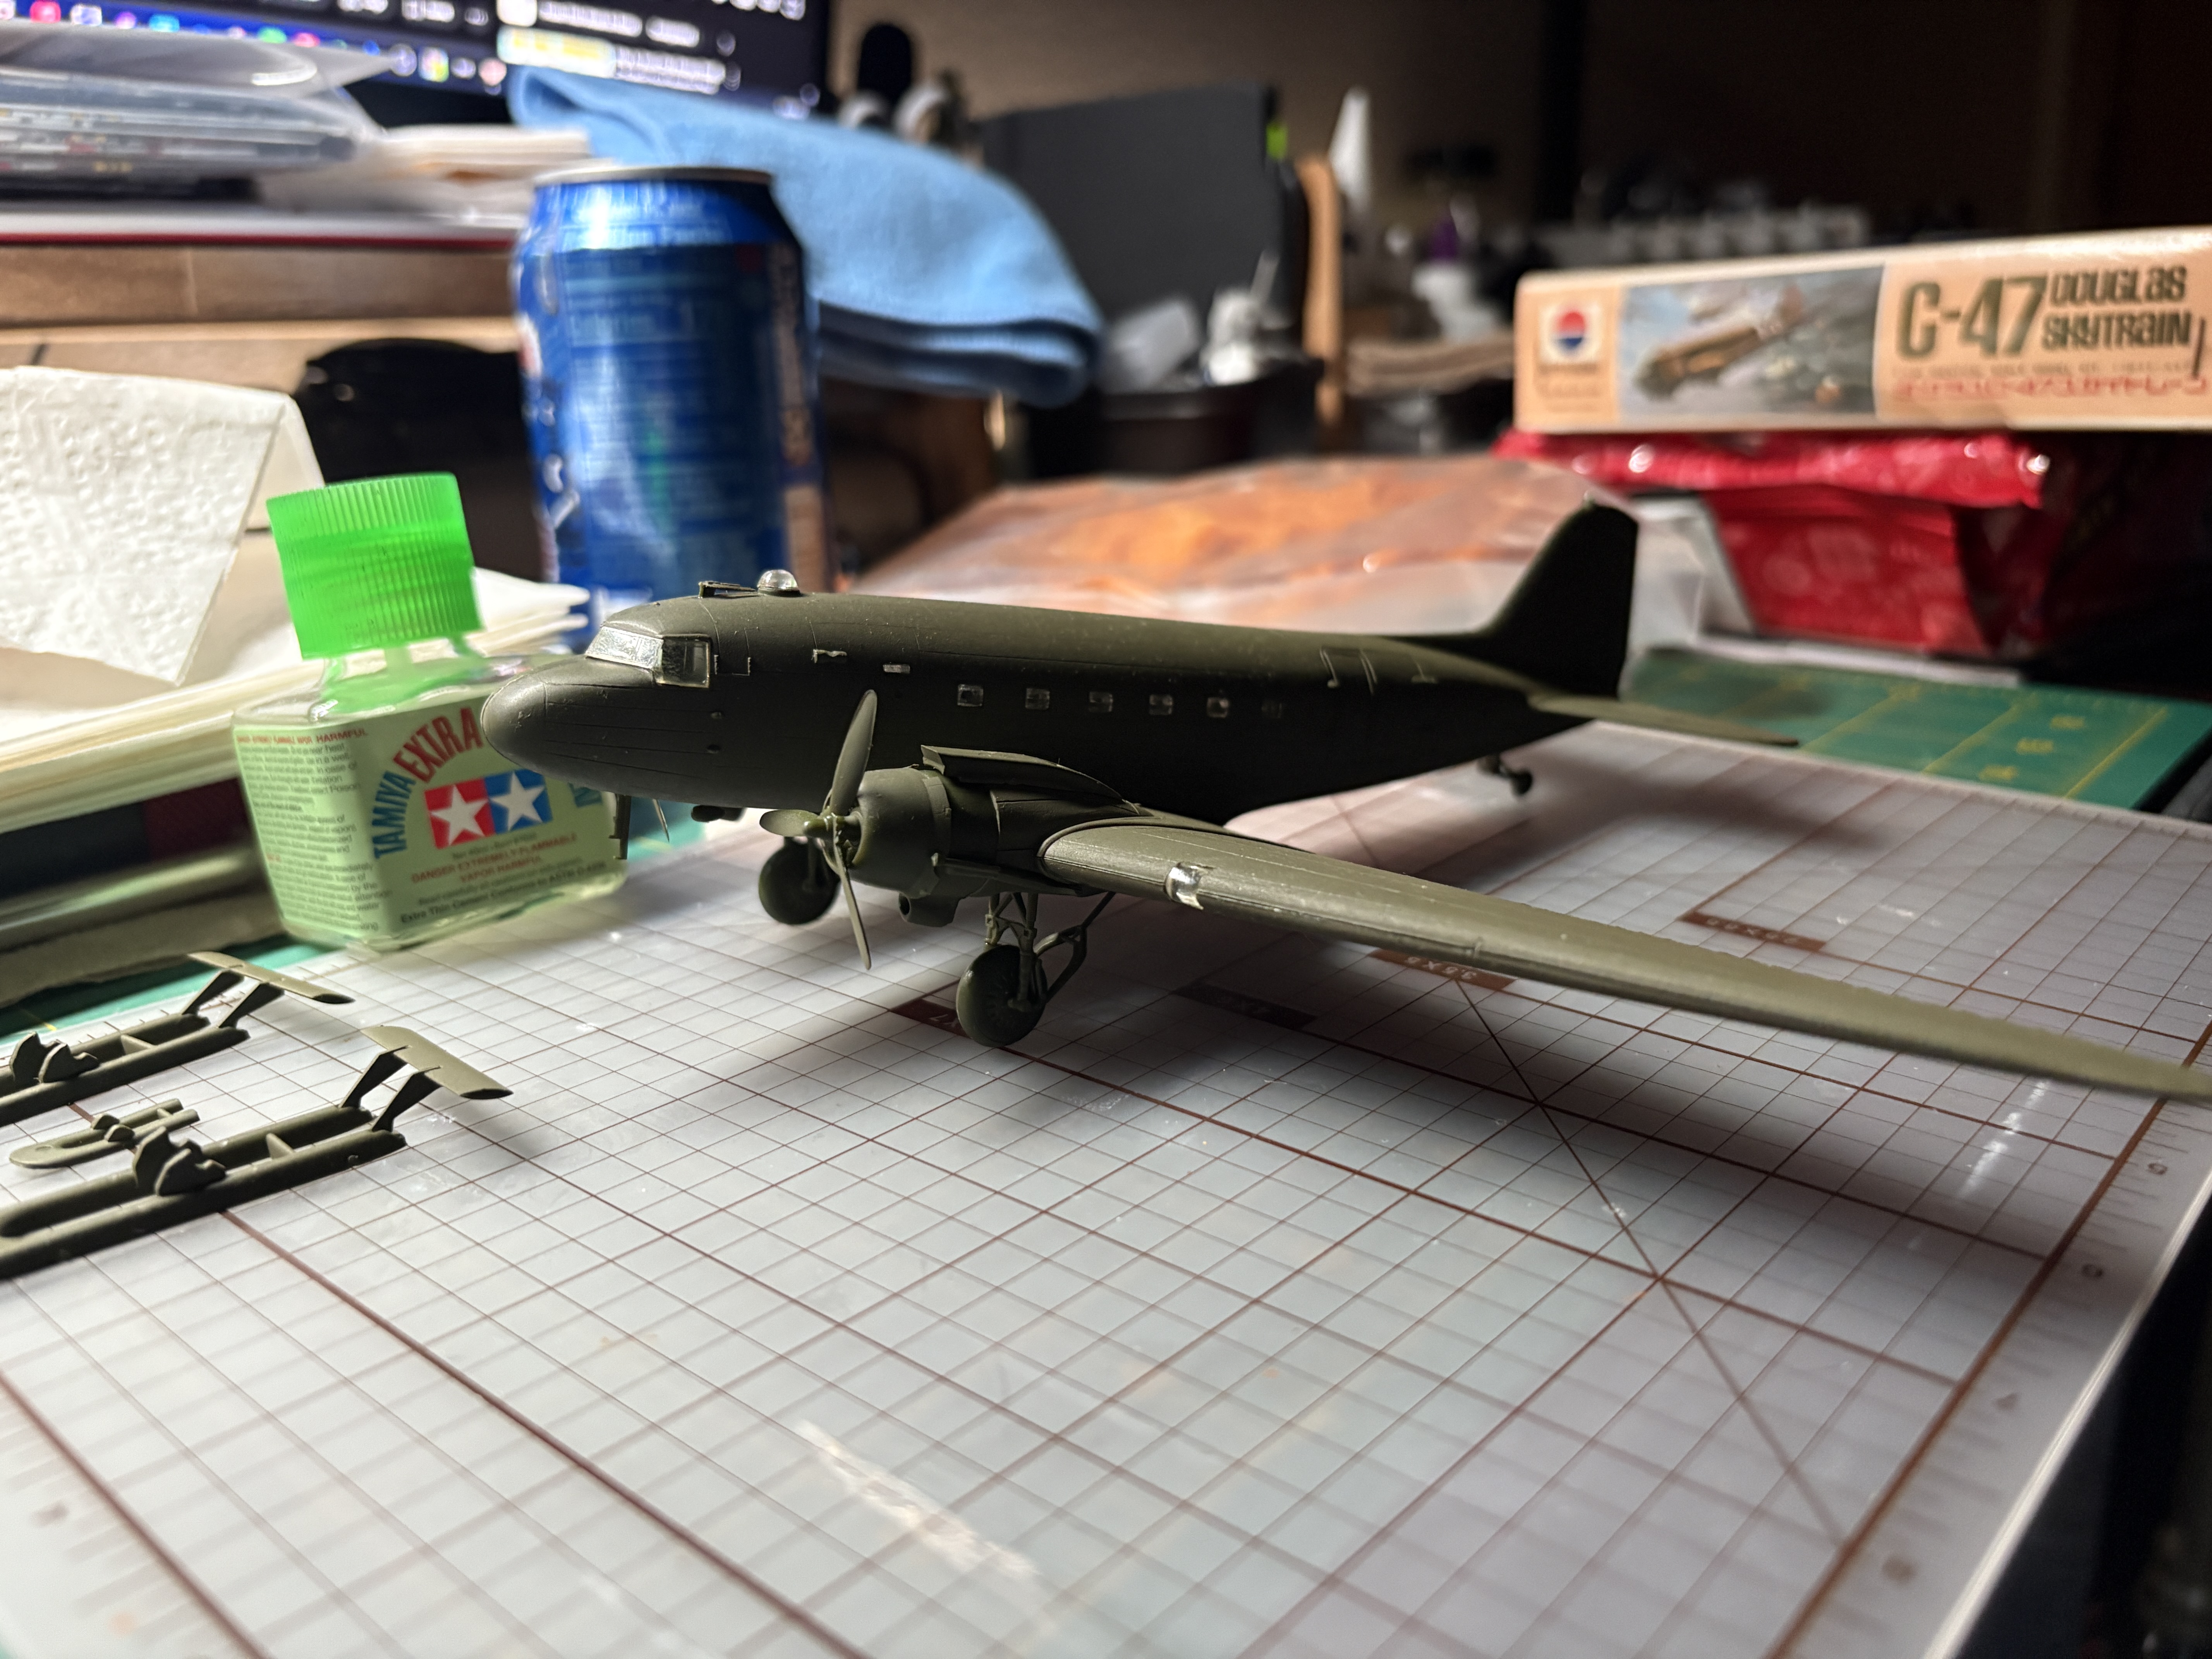
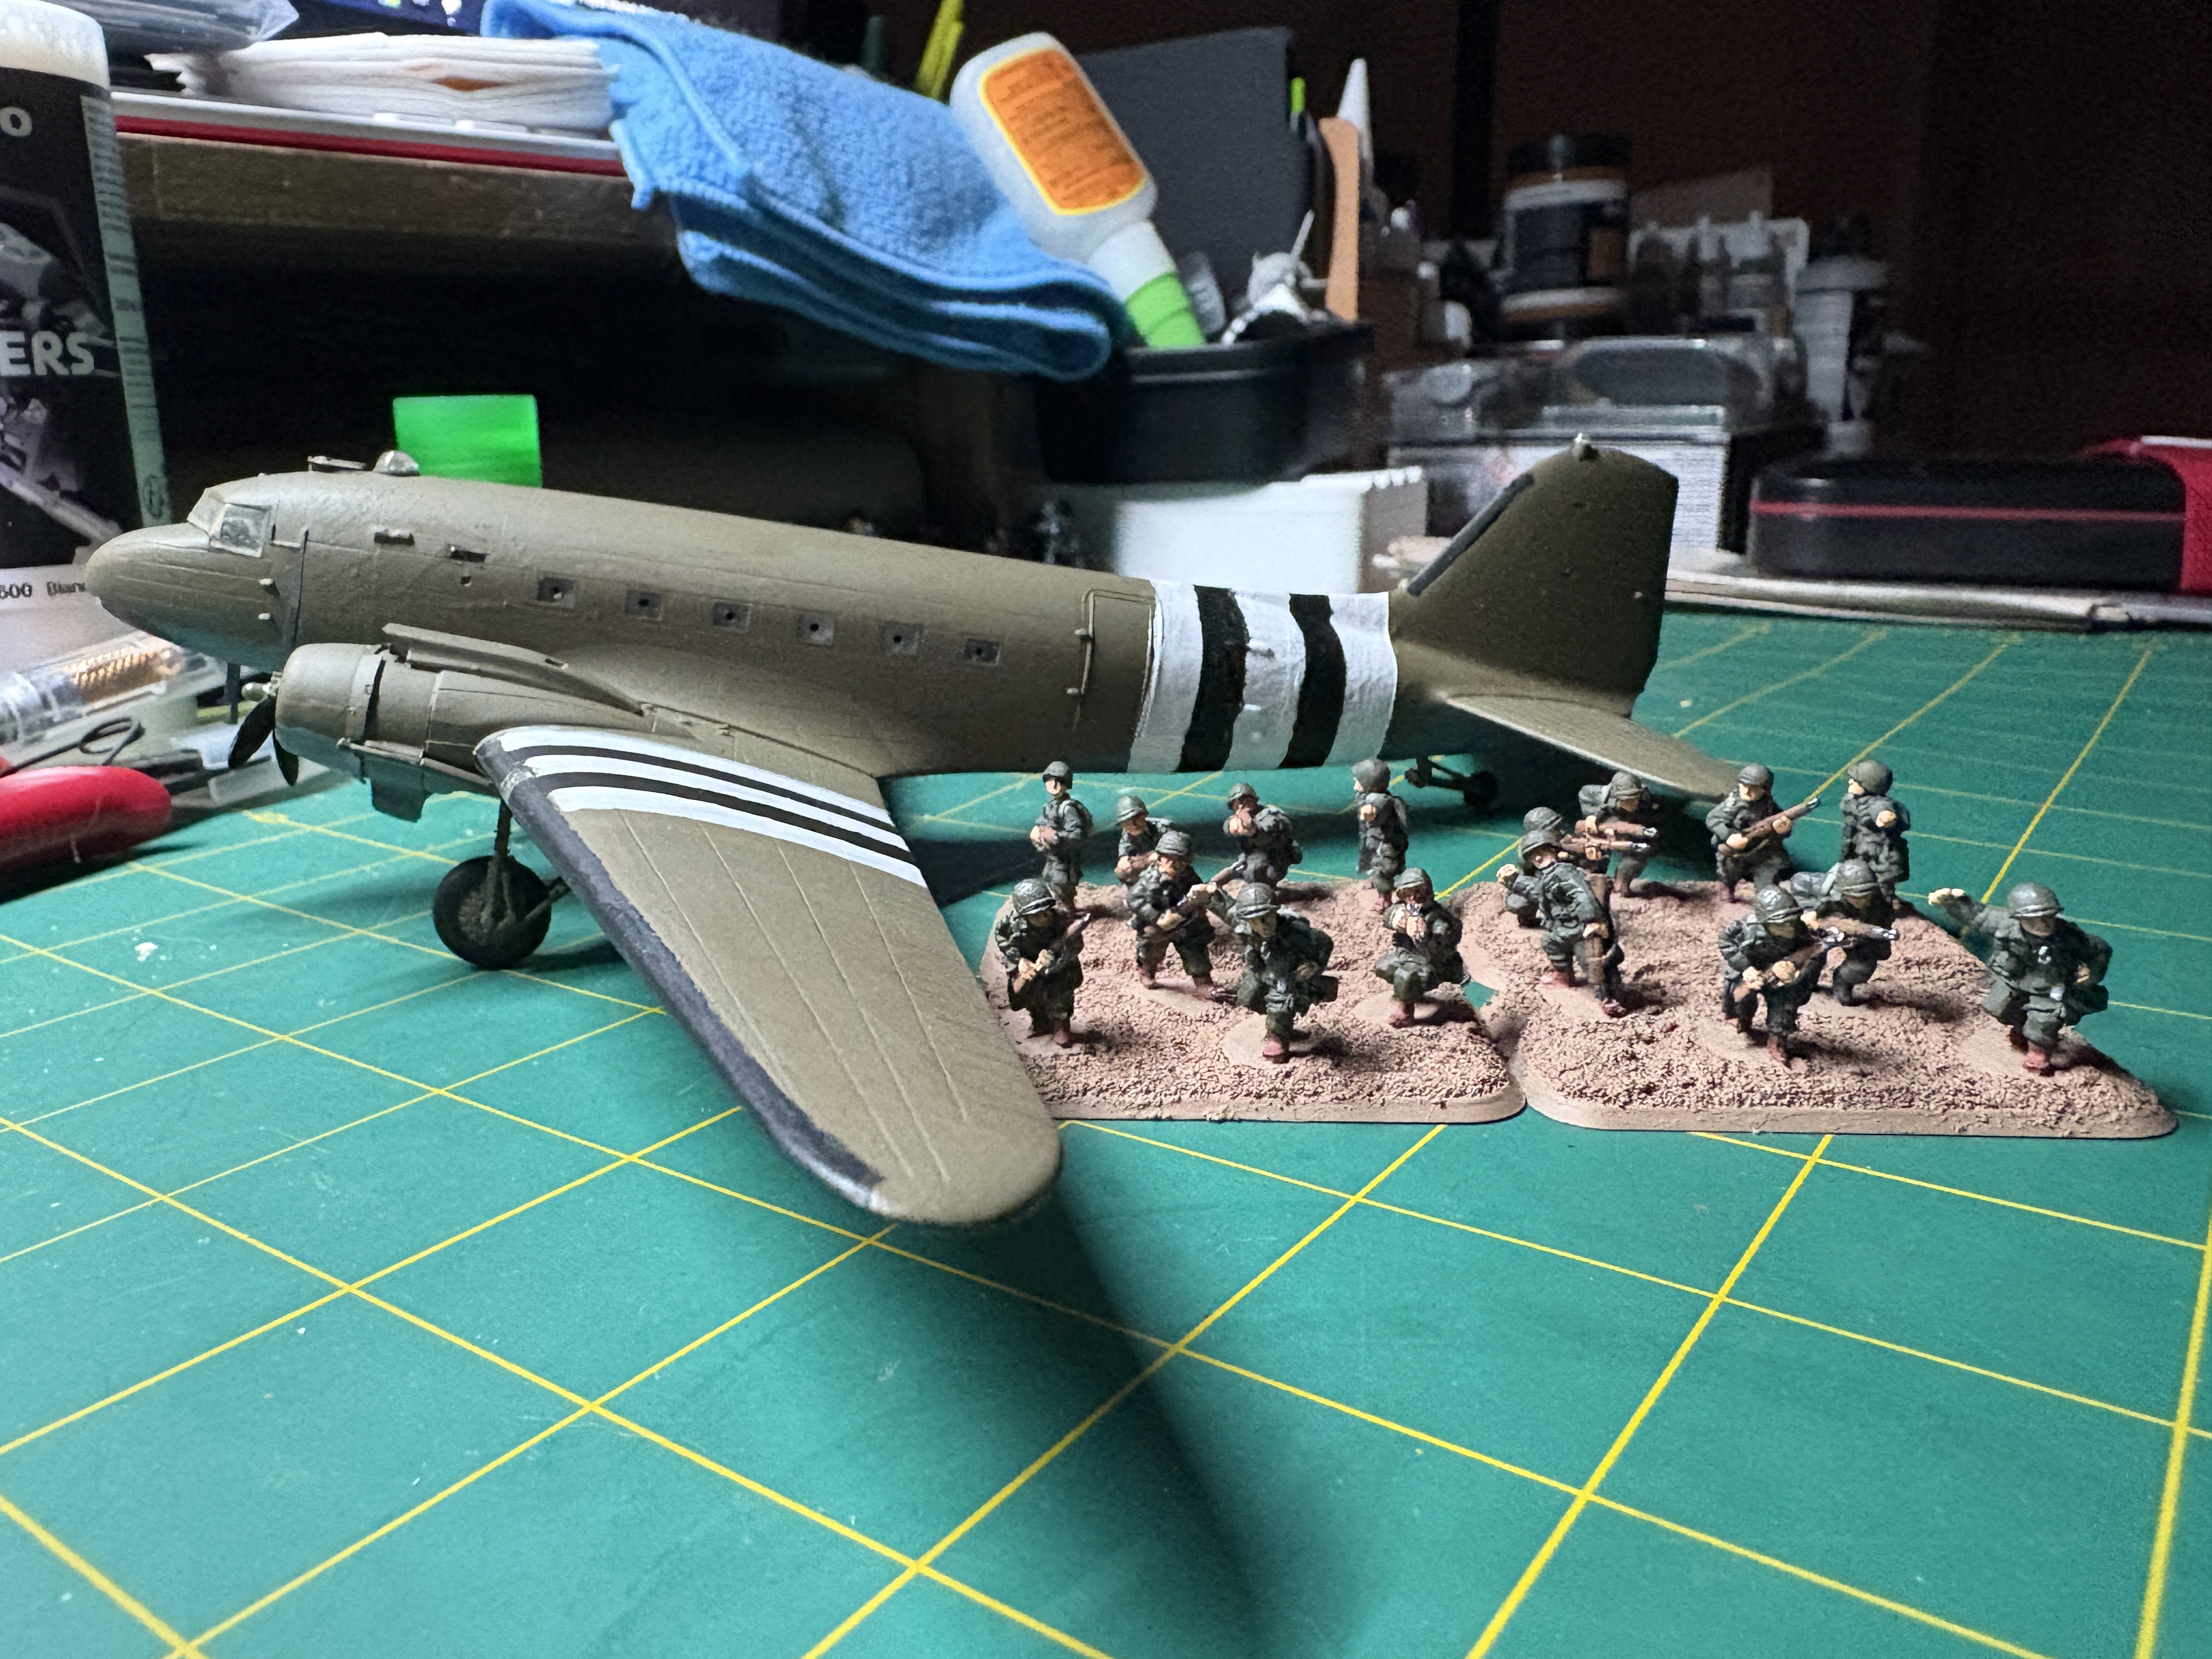
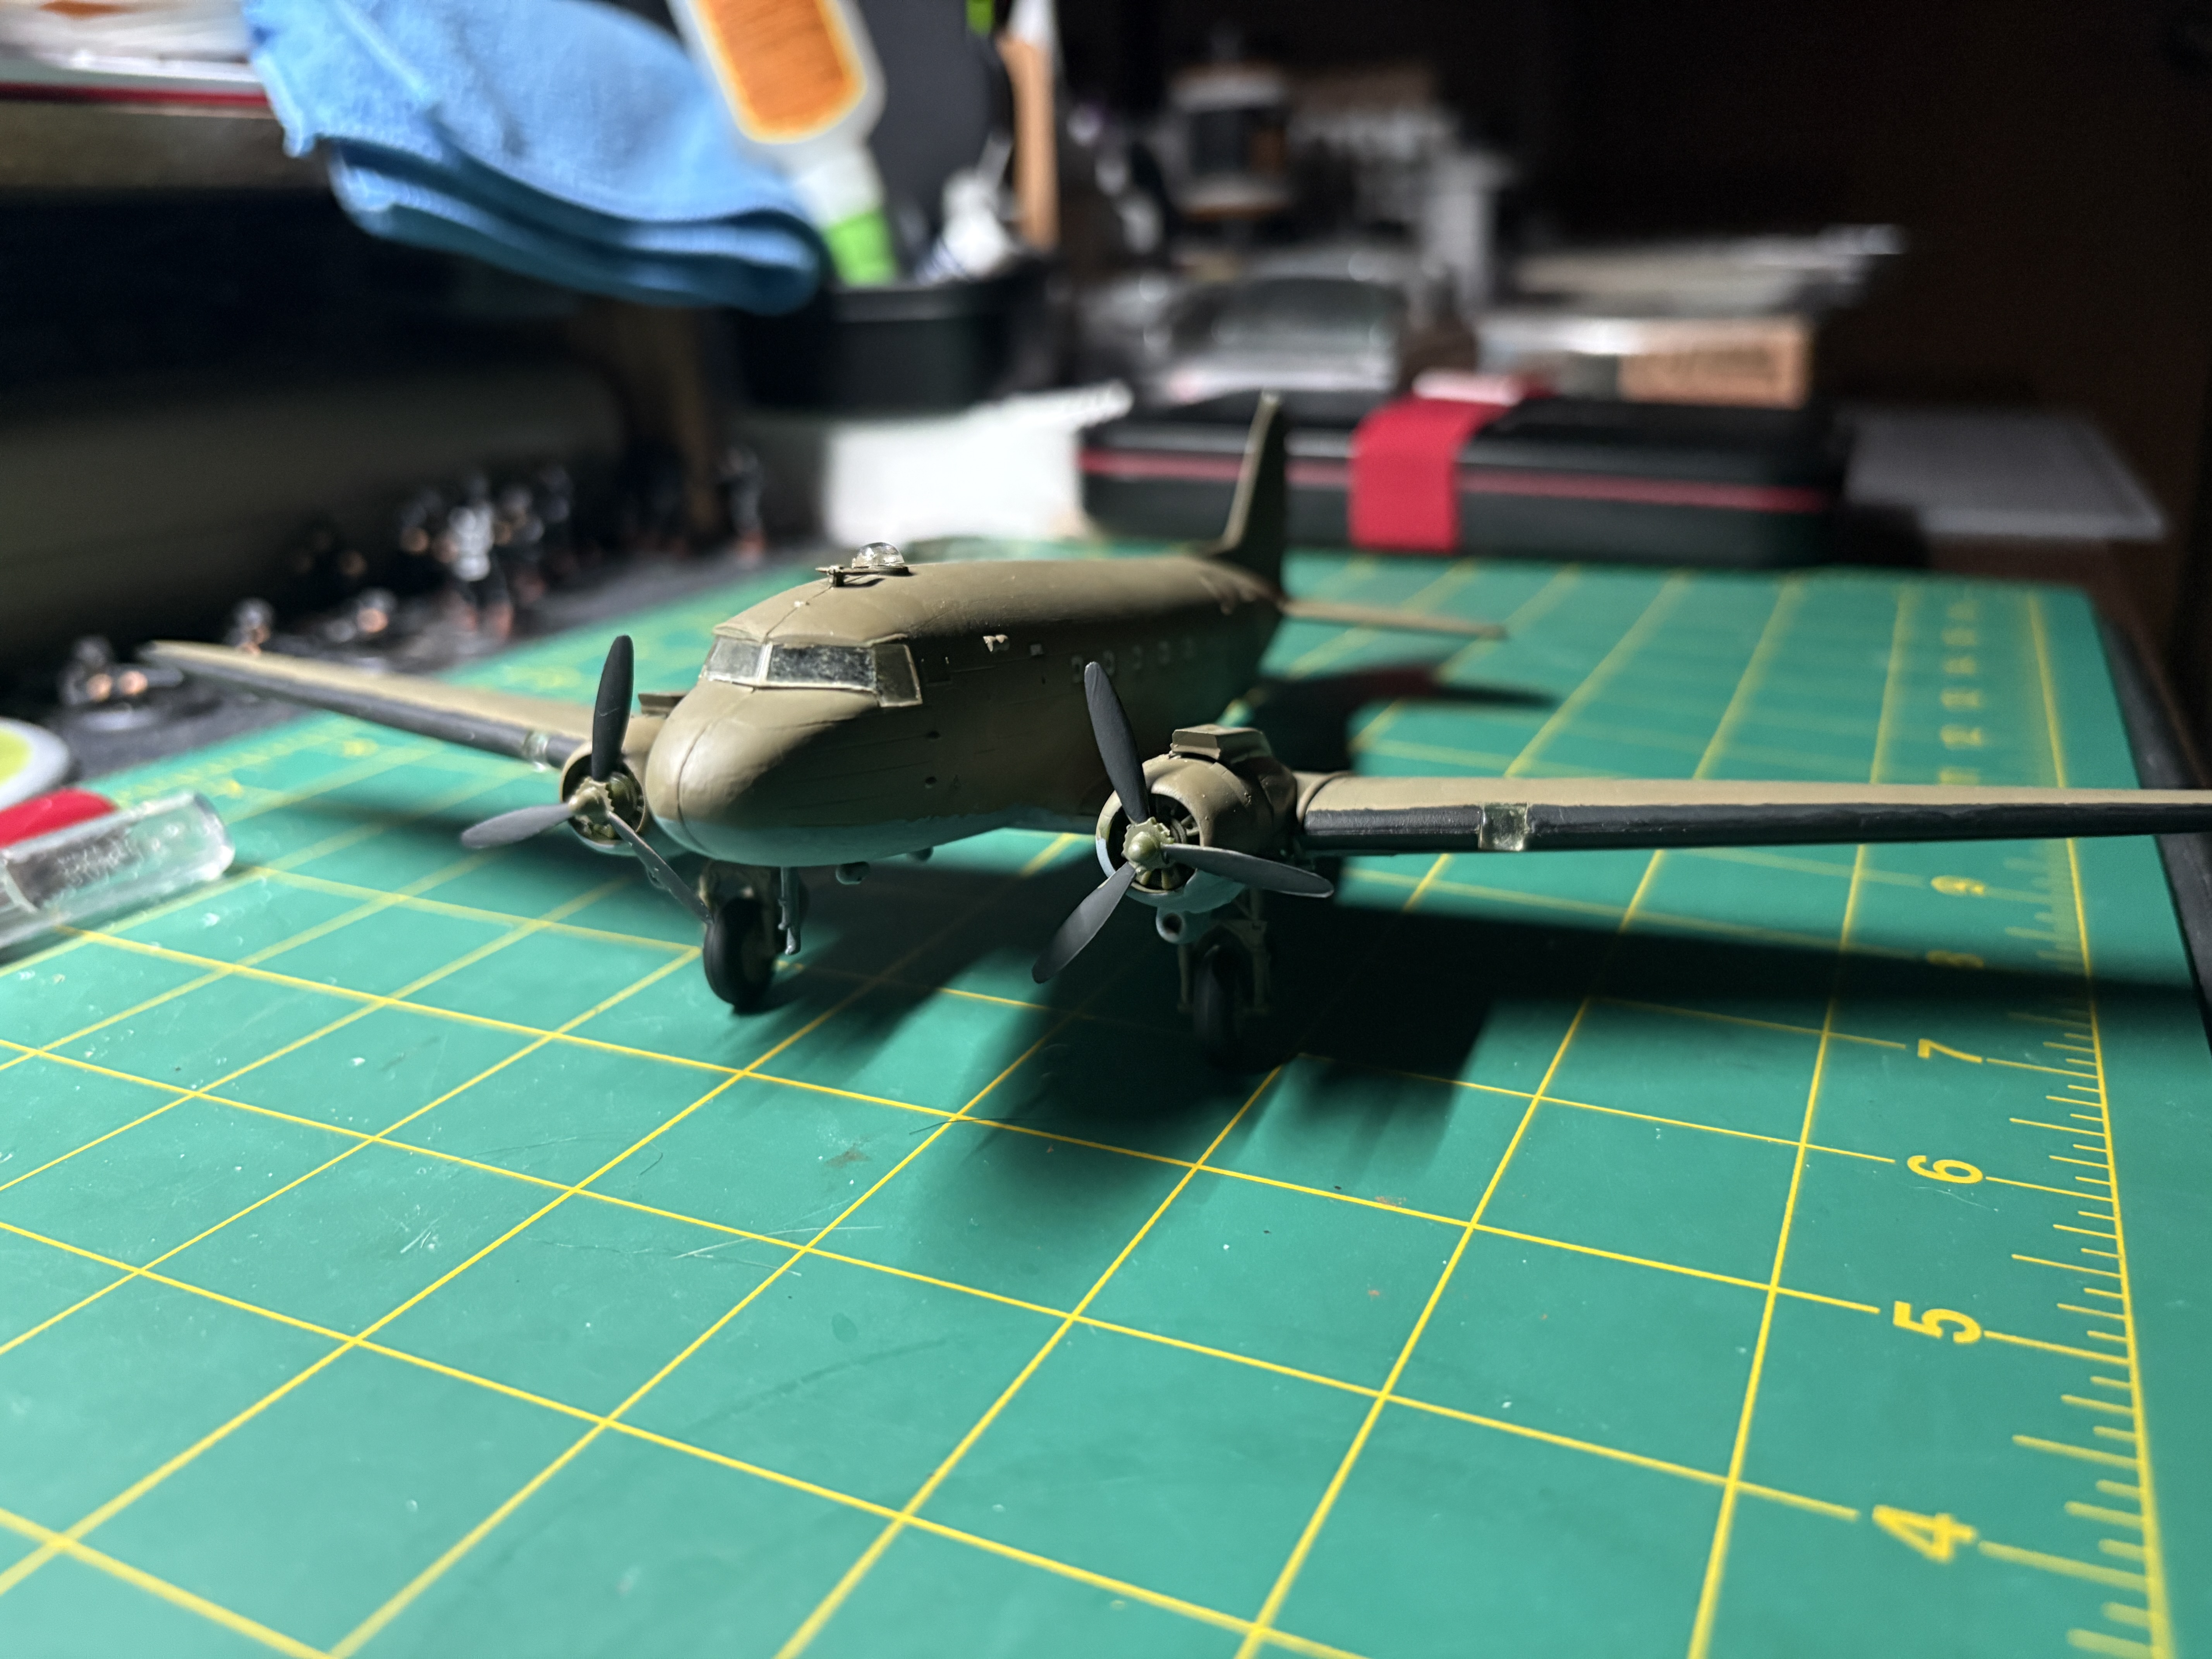
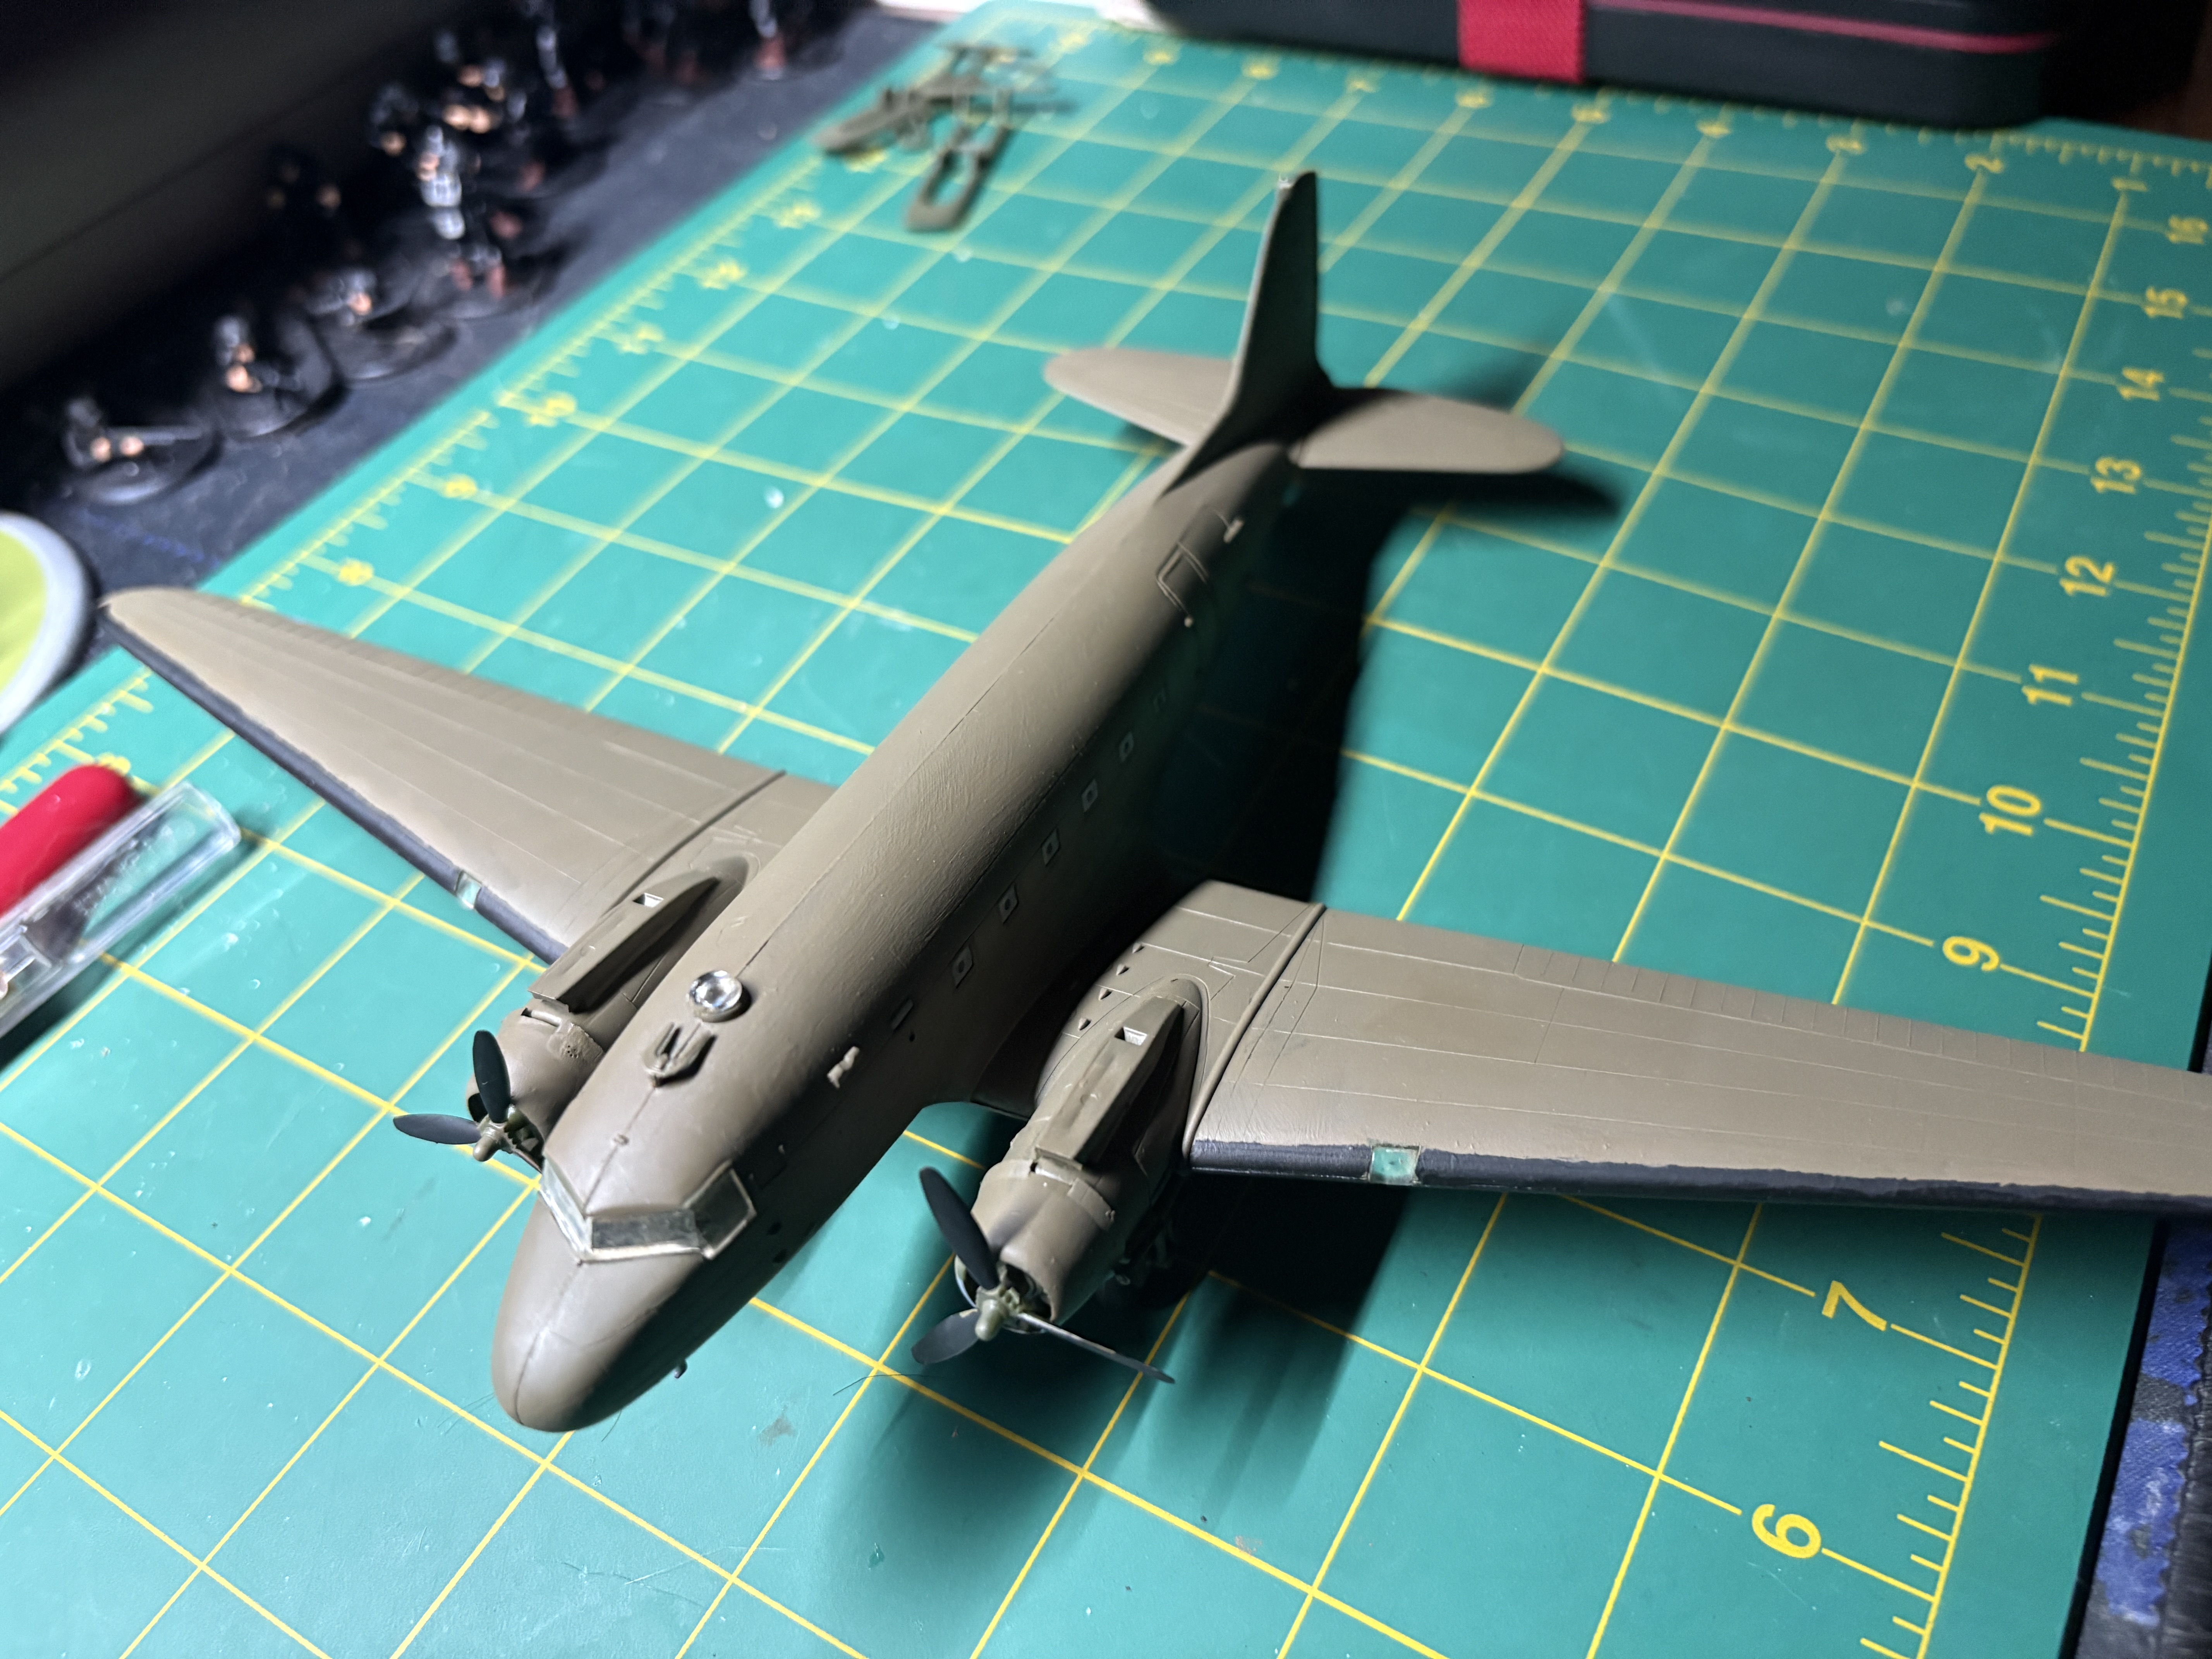
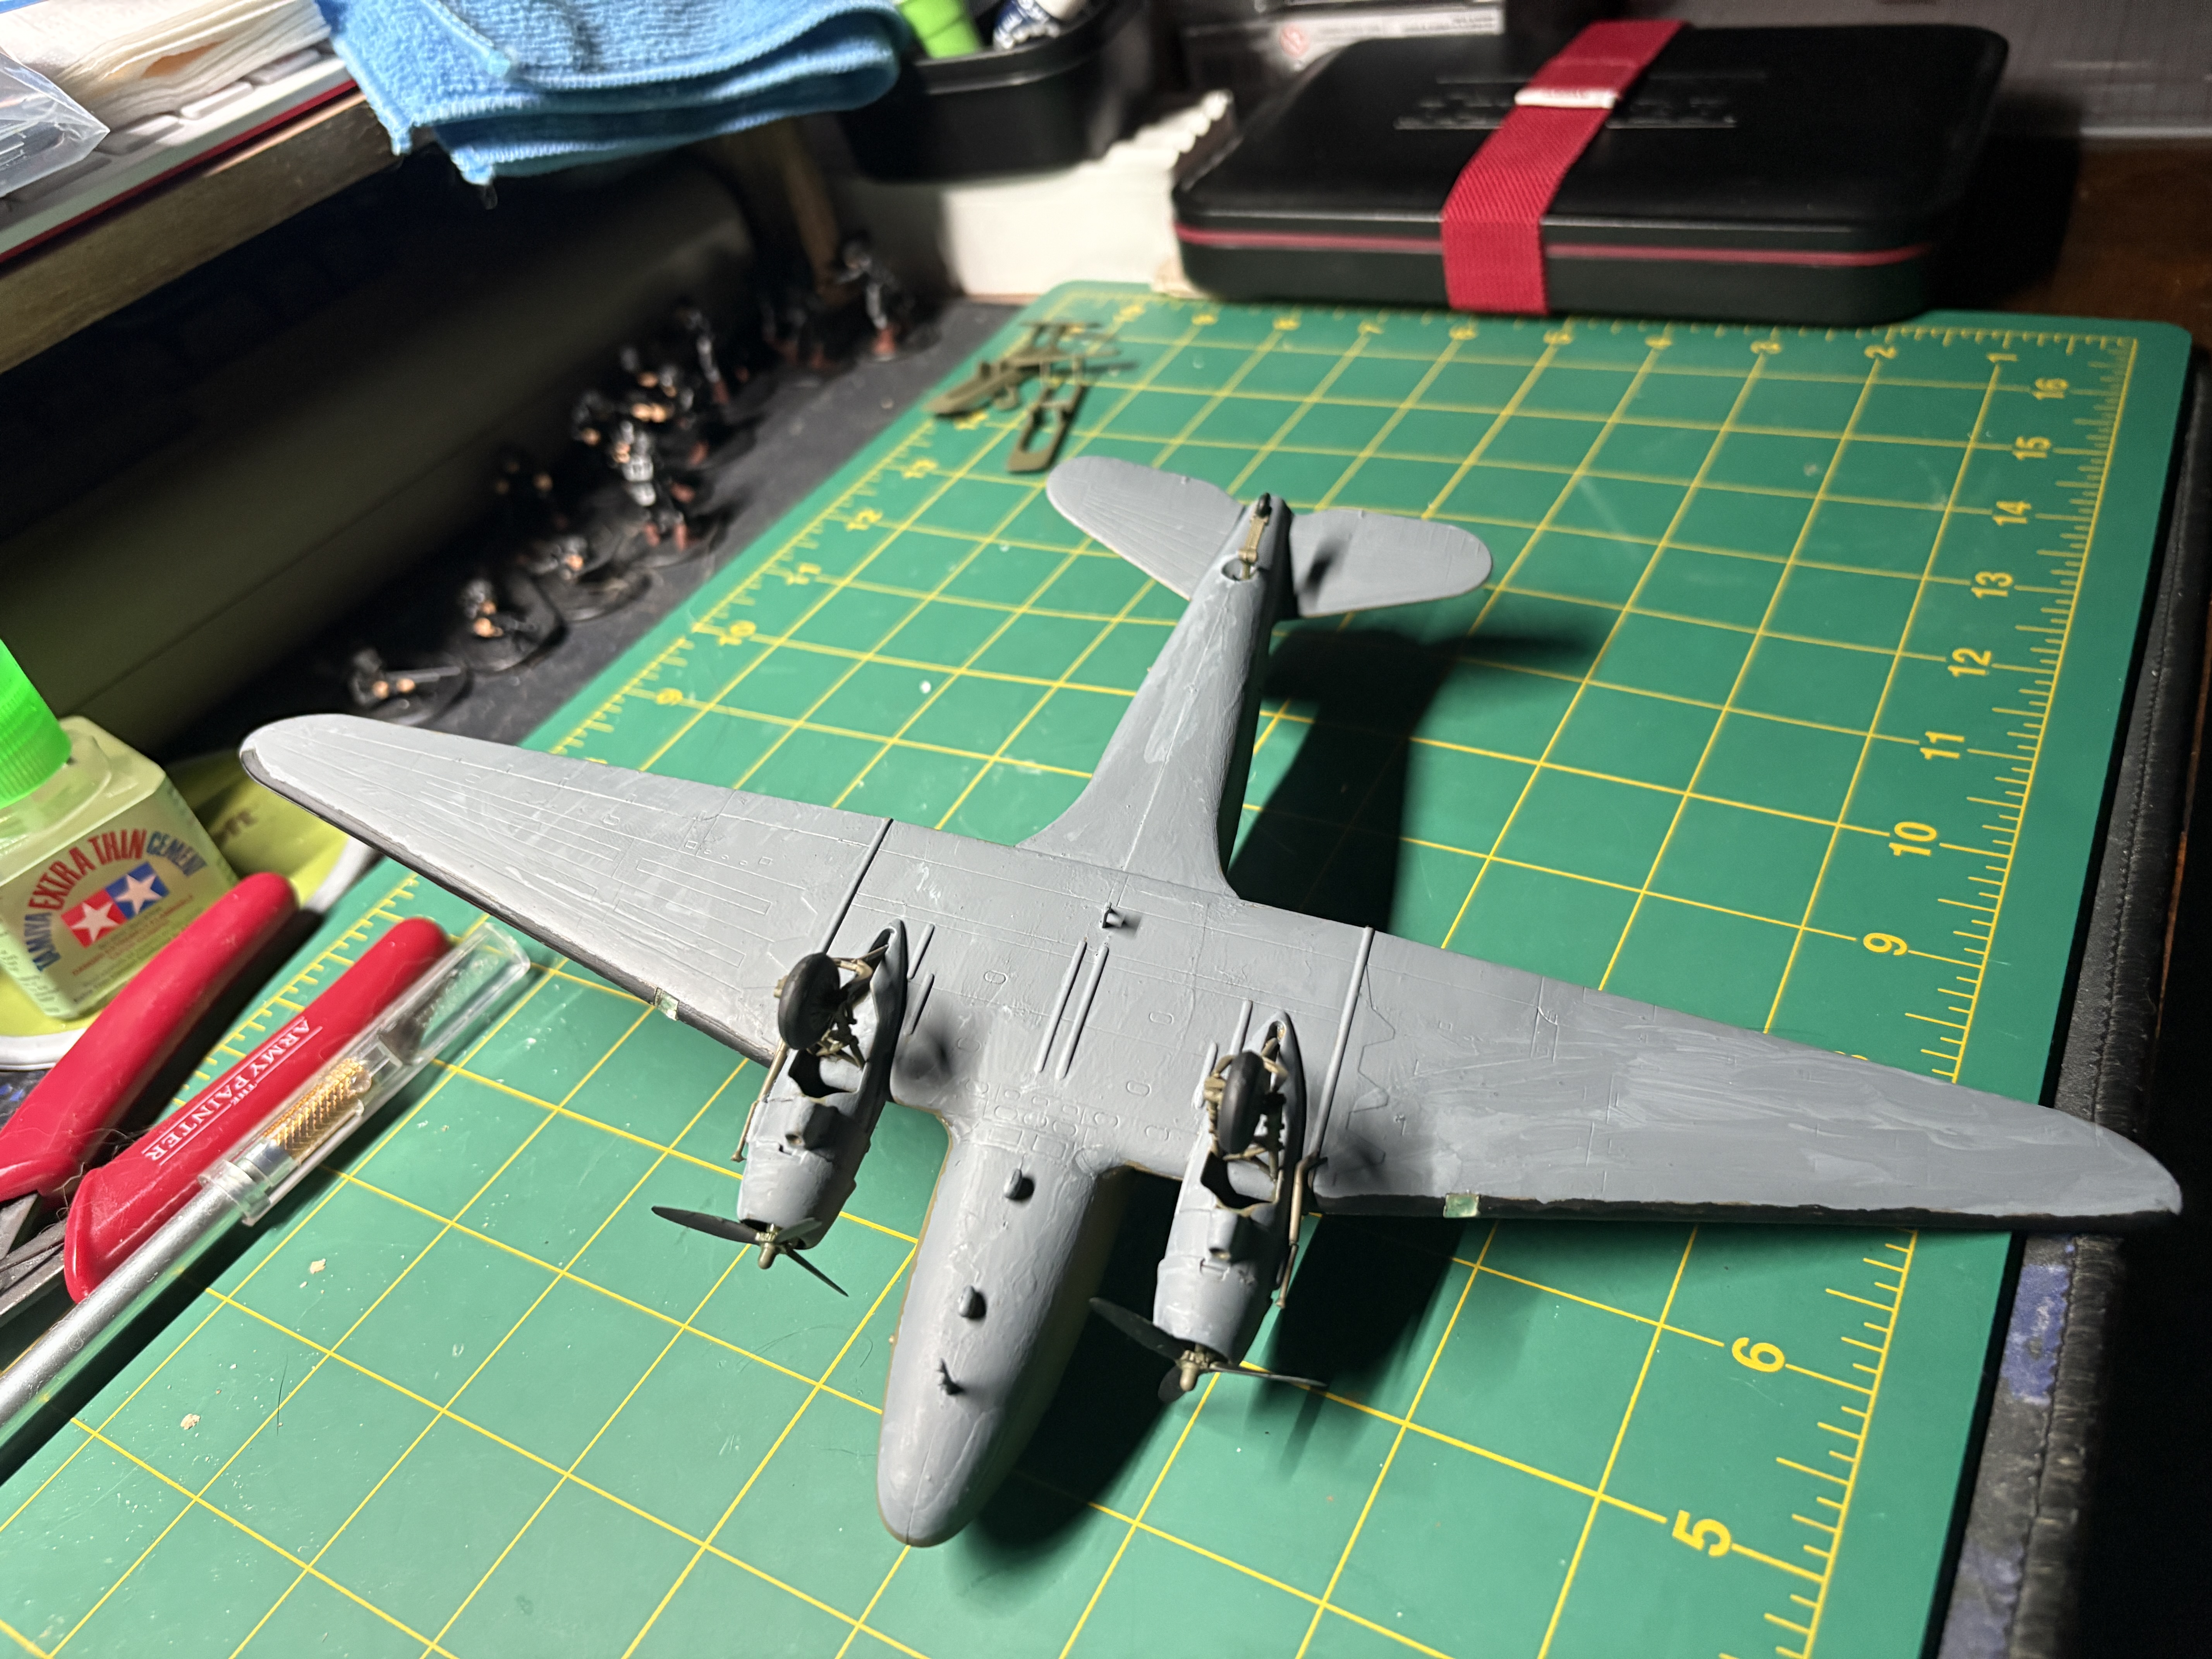
Even though the primer was already Olive Drab I went ahead and put another coat of Olive Drab this time by brush. The ending texture is smooth as expected this time. Some Black is used for the propellers, wing trim, and tires. Lastly I needed to pick up some Vallejo Neutral Grey for the underside of the plane. Looking it up I found out they painted the undersides grey to help mask the planes from anti aircraft fire. I applied this to the bottom and had to do this in two coats as the initial one wasn’t uniform but it is looking much better now.
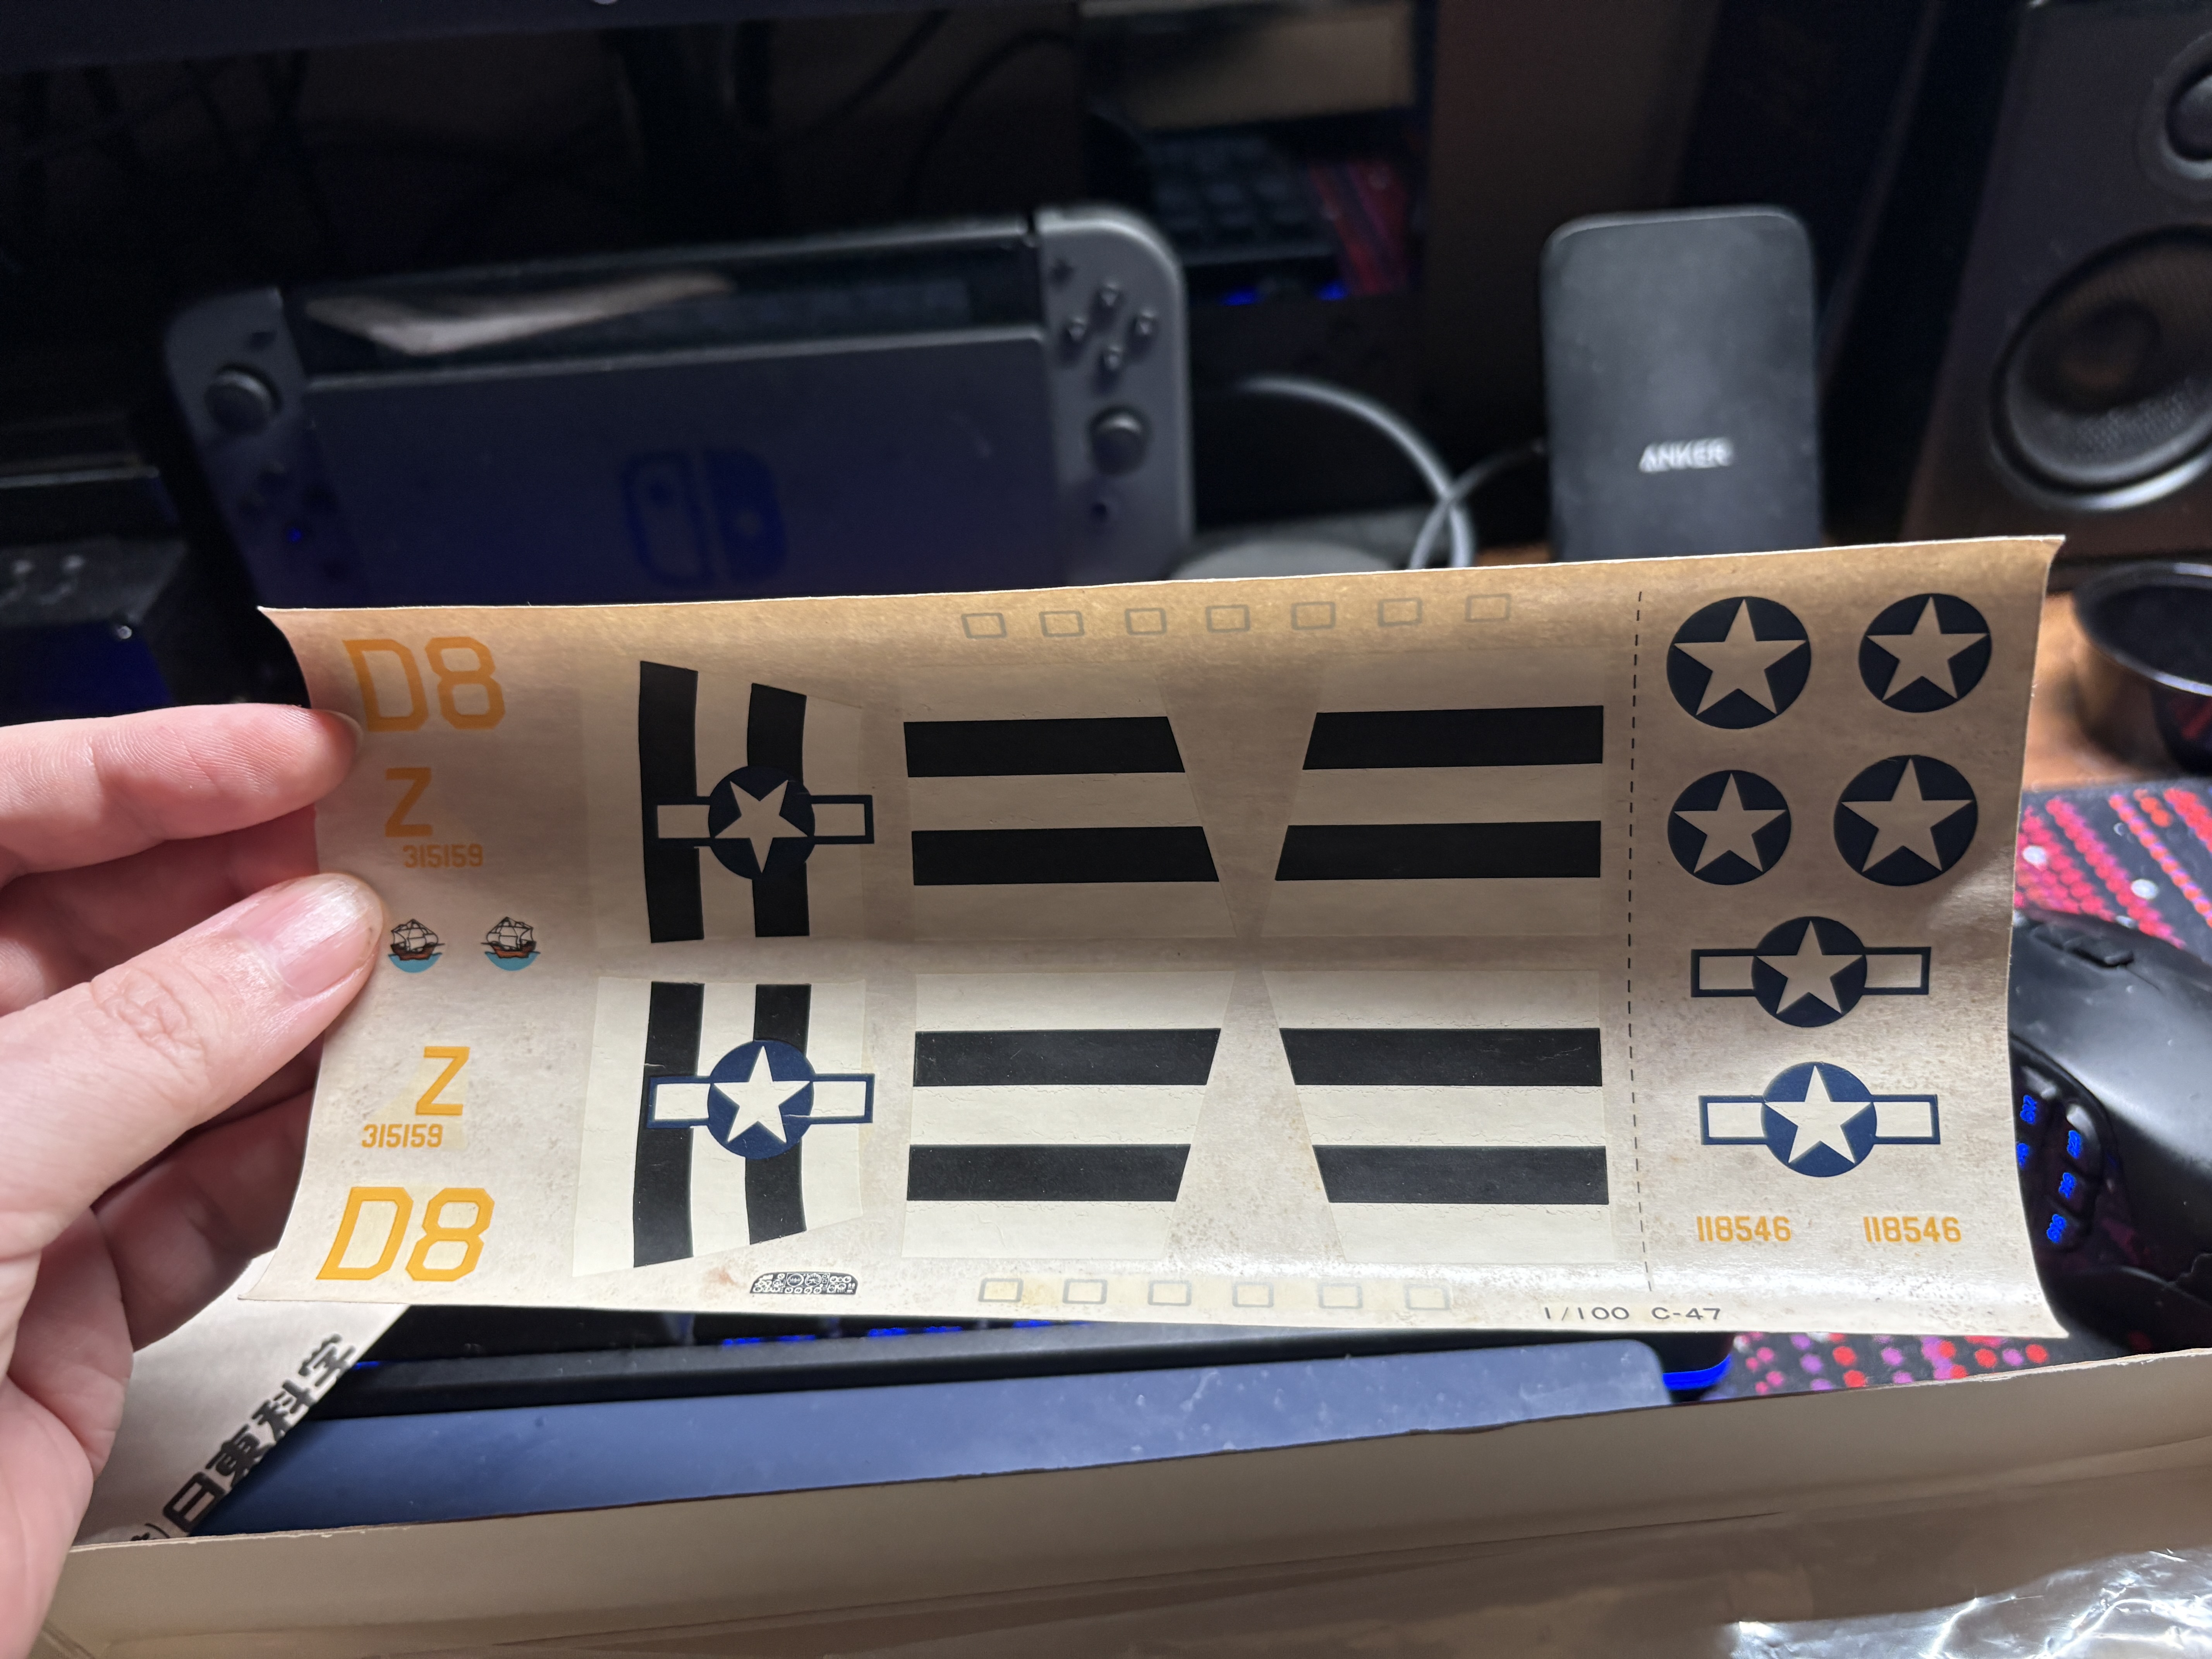
Now time for the decals and I have to admit I’m a bit intimidated. They should be easy but due to their age I worry about them tearing. I looked it up and there was a Gerry Can on decals and I learned a few things about masking the silvering or shine that can happen when using decals. I don’t have any Gloss Varnish so had to order a supply drop of some more paints. Since there was room in the order I picked up some decal fix and softener to try out. I asked on the Discord if they were needed and sounds like not but might as well give it a try in case the decals are stubborn. Now hurry up postman the decals are the last bits I need to finish this off. If I’m feeling especially adventurous I might try some weathering techniques. I think that might be a project update for the future.
The devil's in the decals
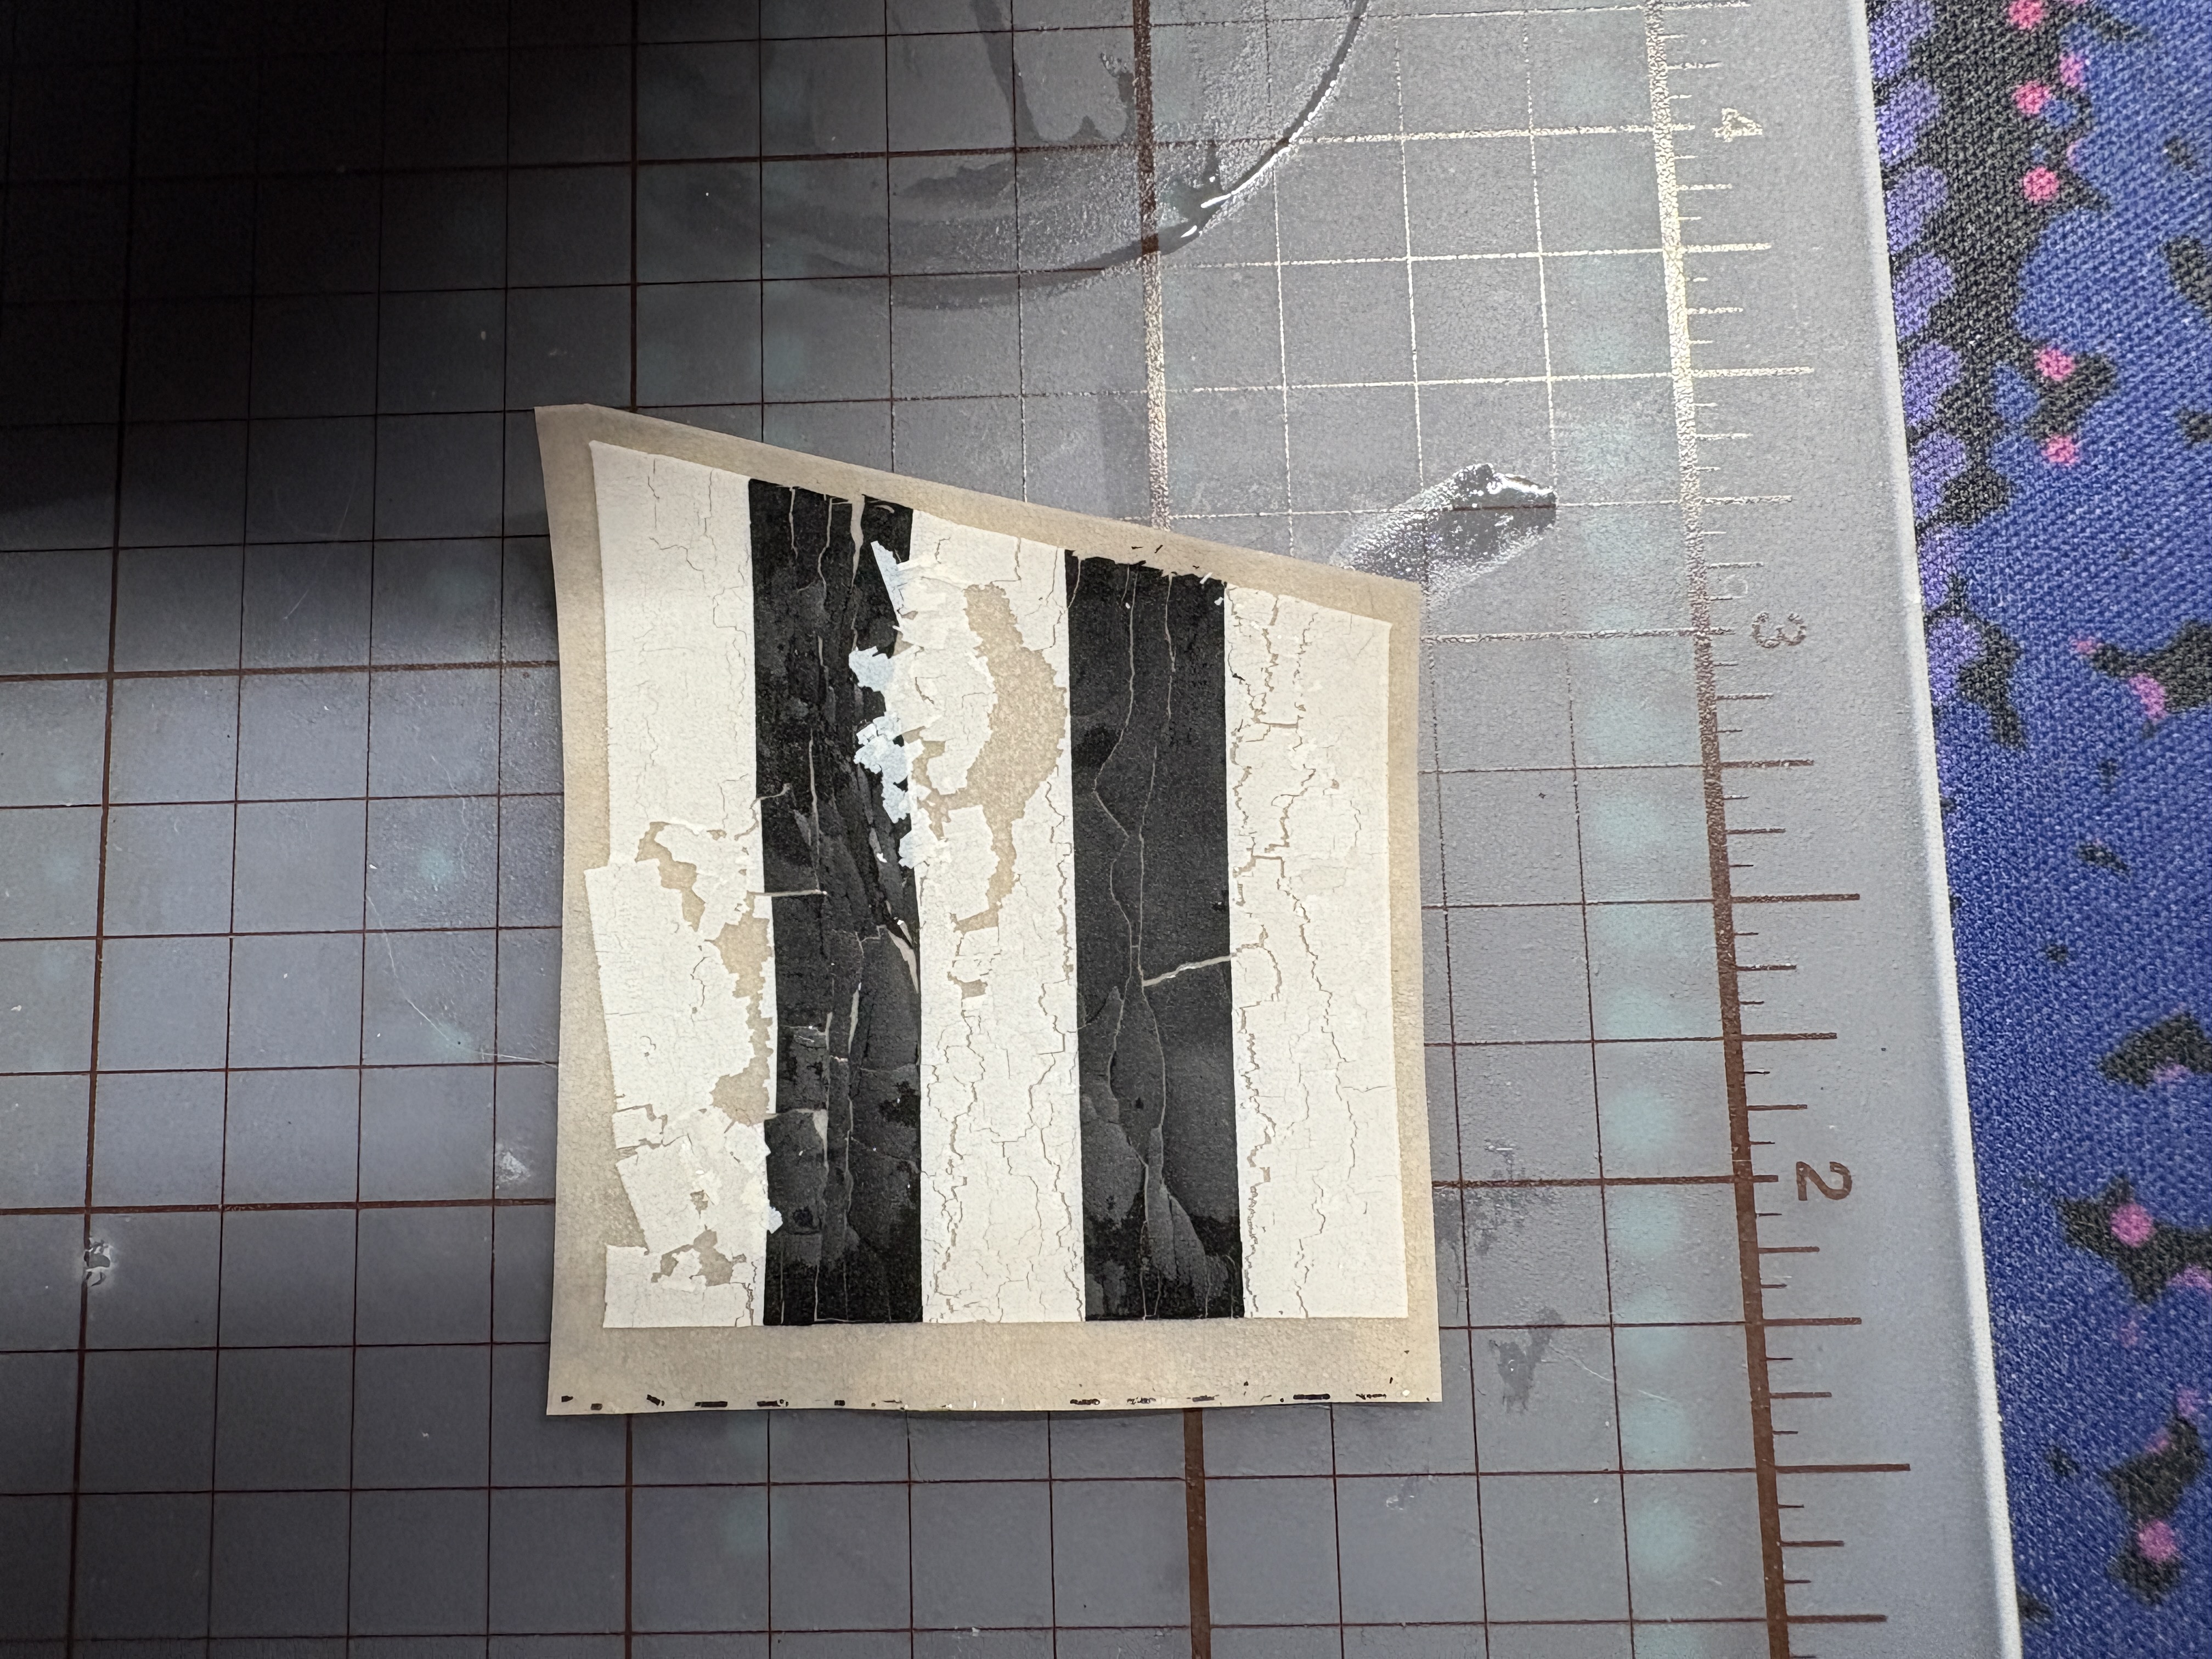
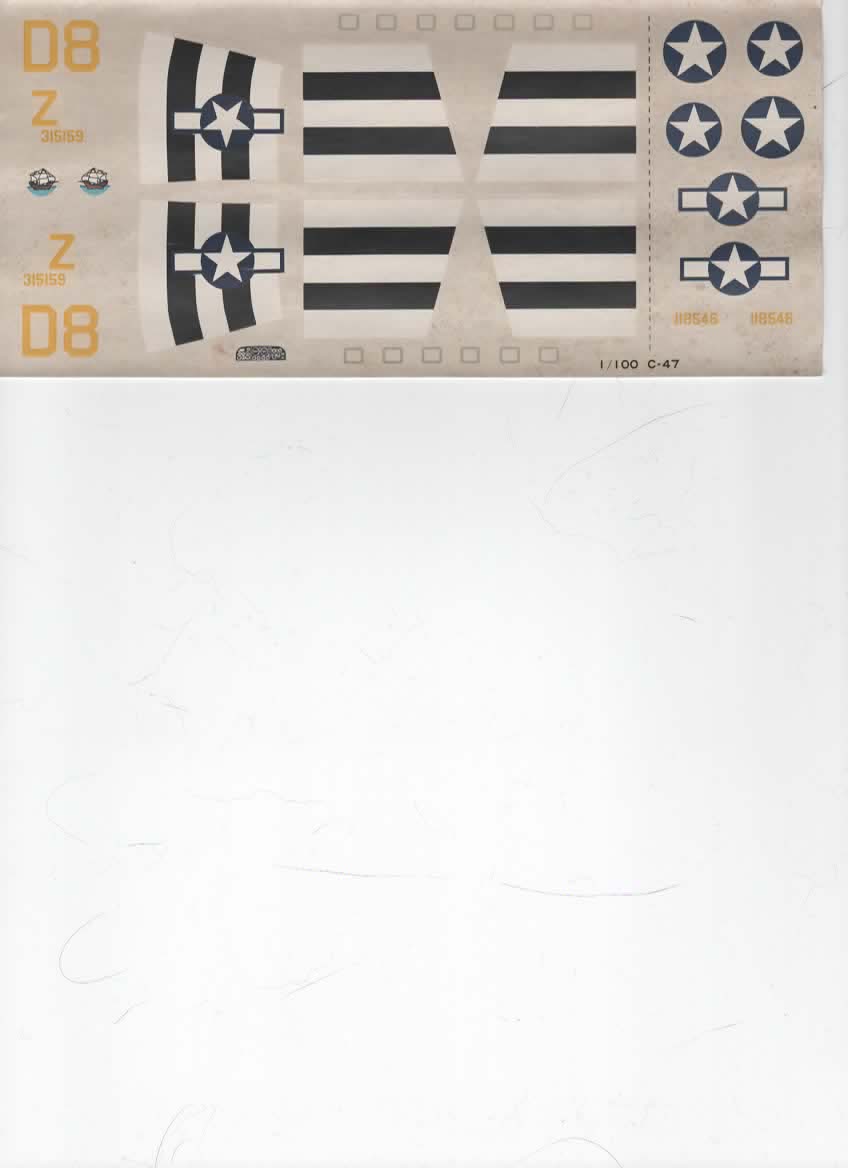
Well that isn’t what I wanted to see but not surprised with 50 year old decals. That is after a 30 second soak and uncurling the paper. I took a safety scan of the sheet before cutting but I’m not sure I’m going to easily reproduce them I was looking at buying some inkjet decals but I don’t think my scan is clean enough to get the results I want. The paper is so yellowed I’m afraid that will come over to the new decals.
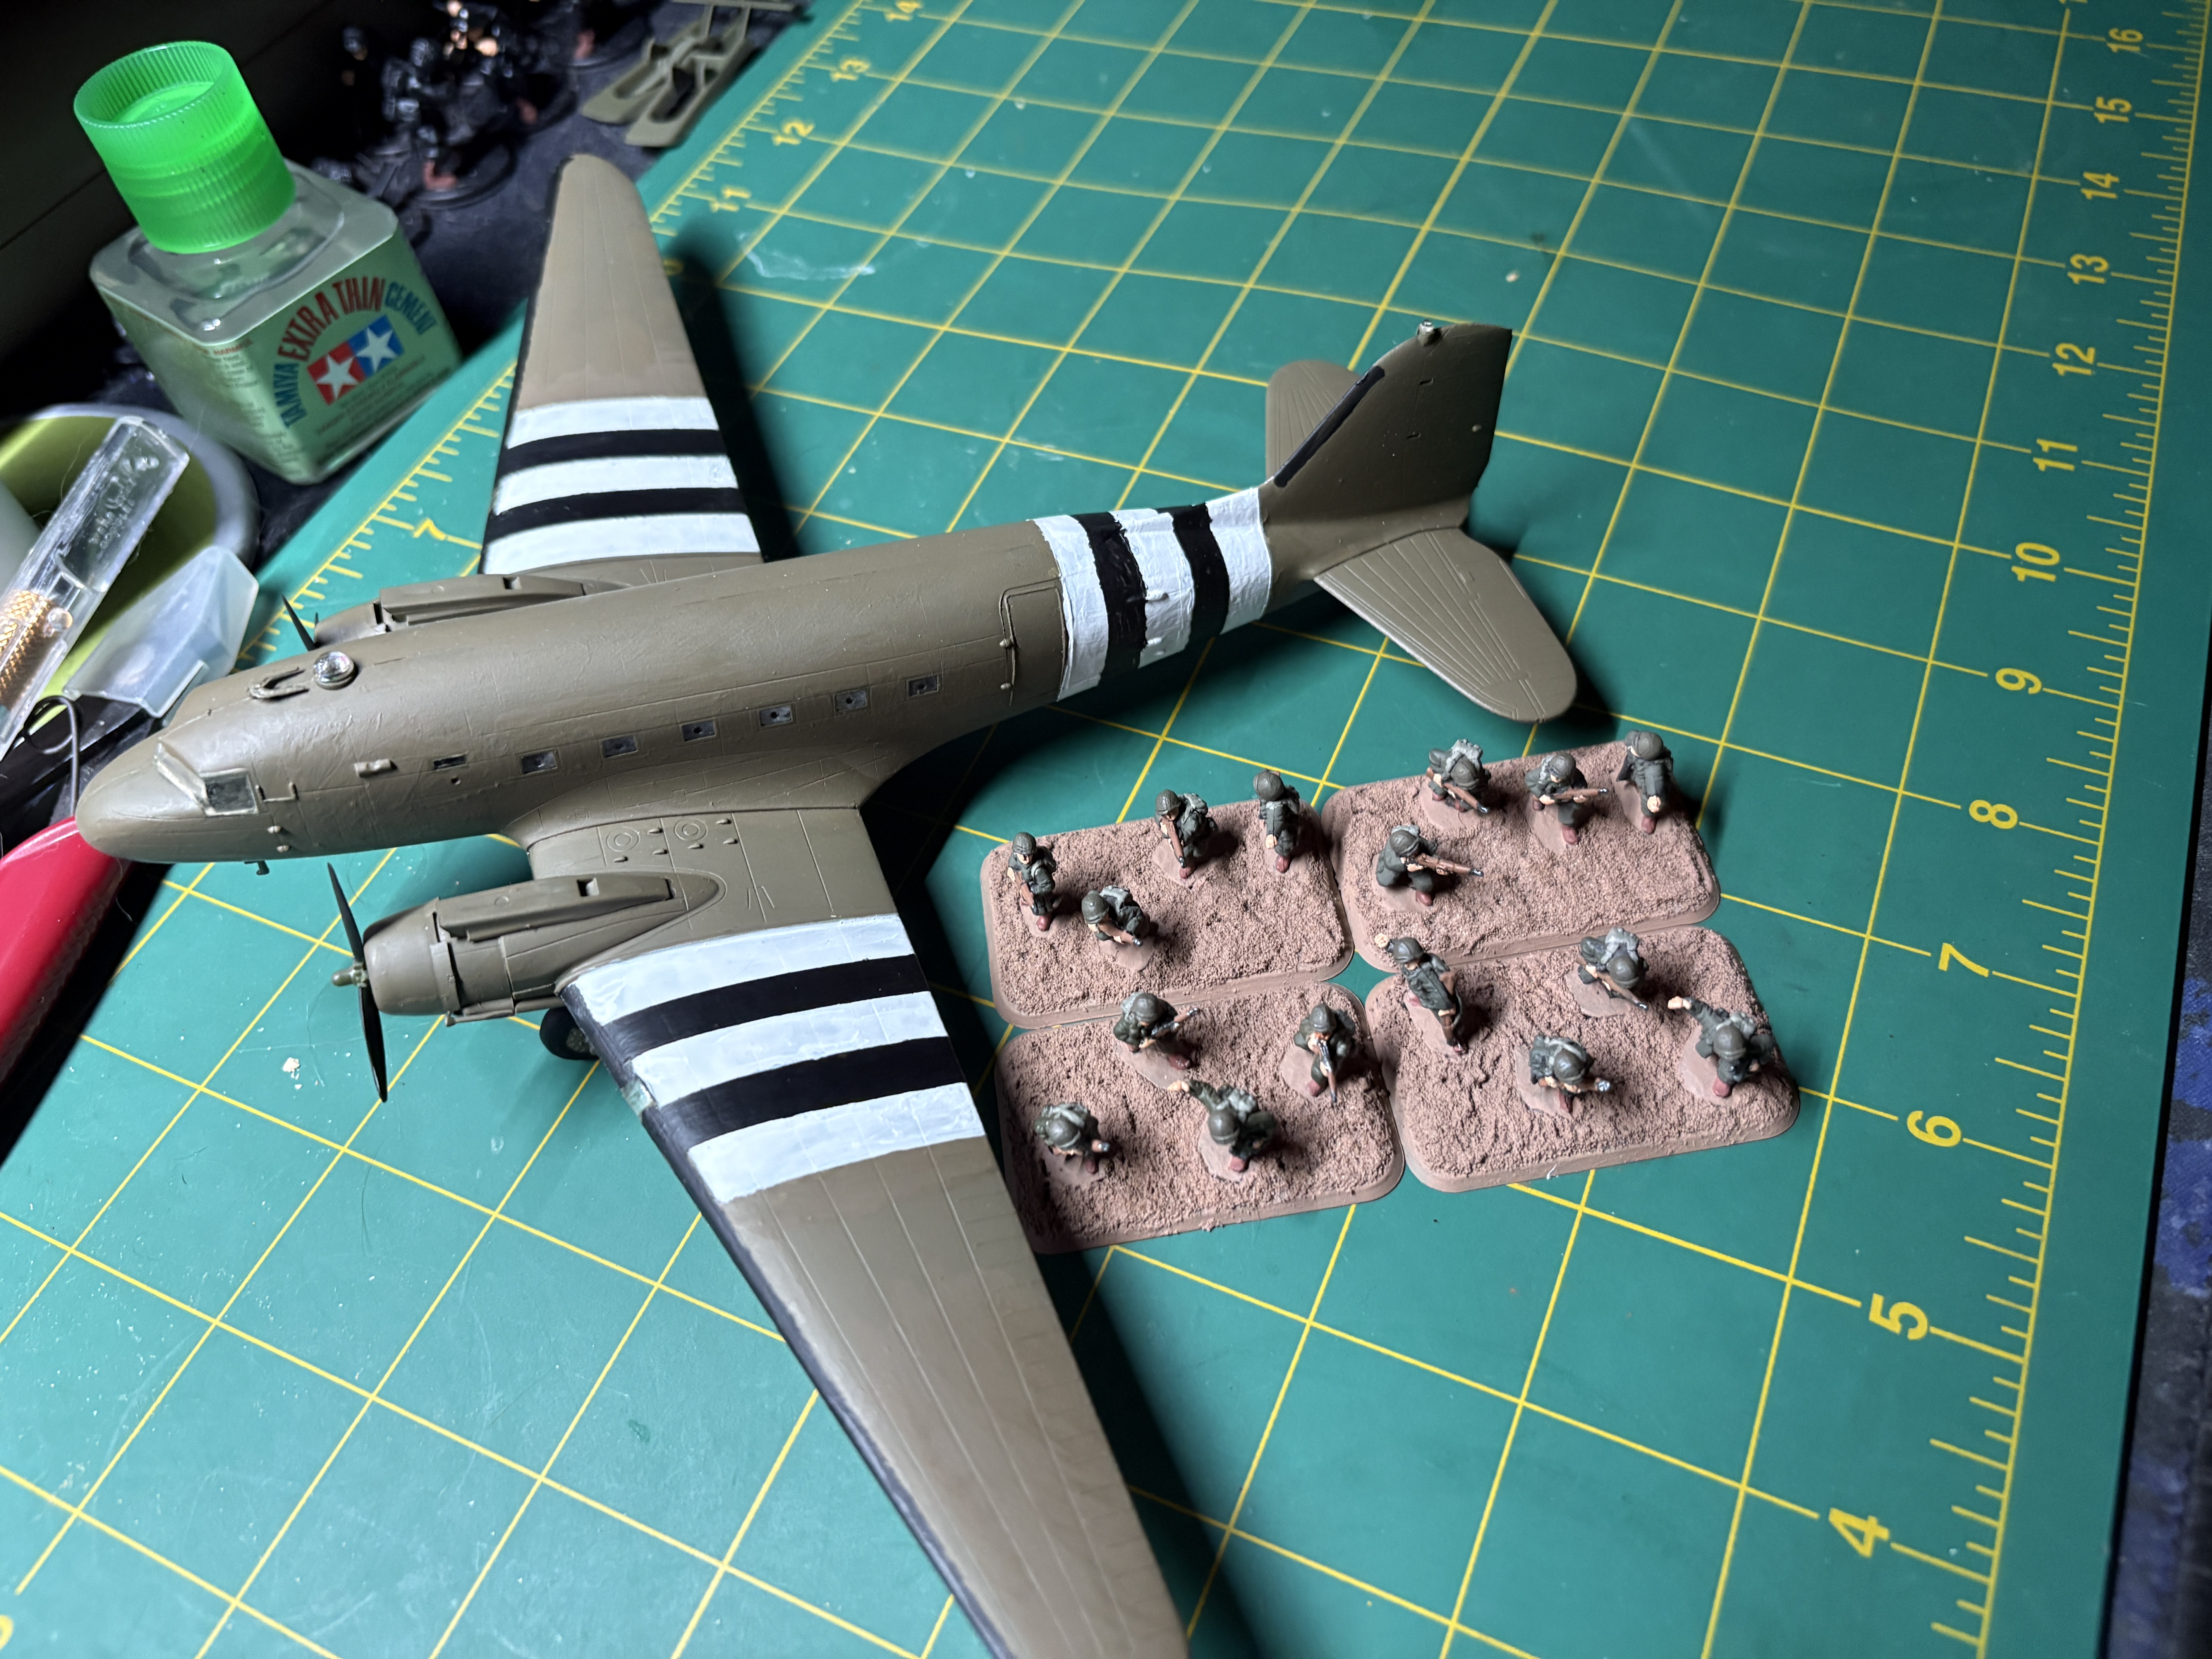
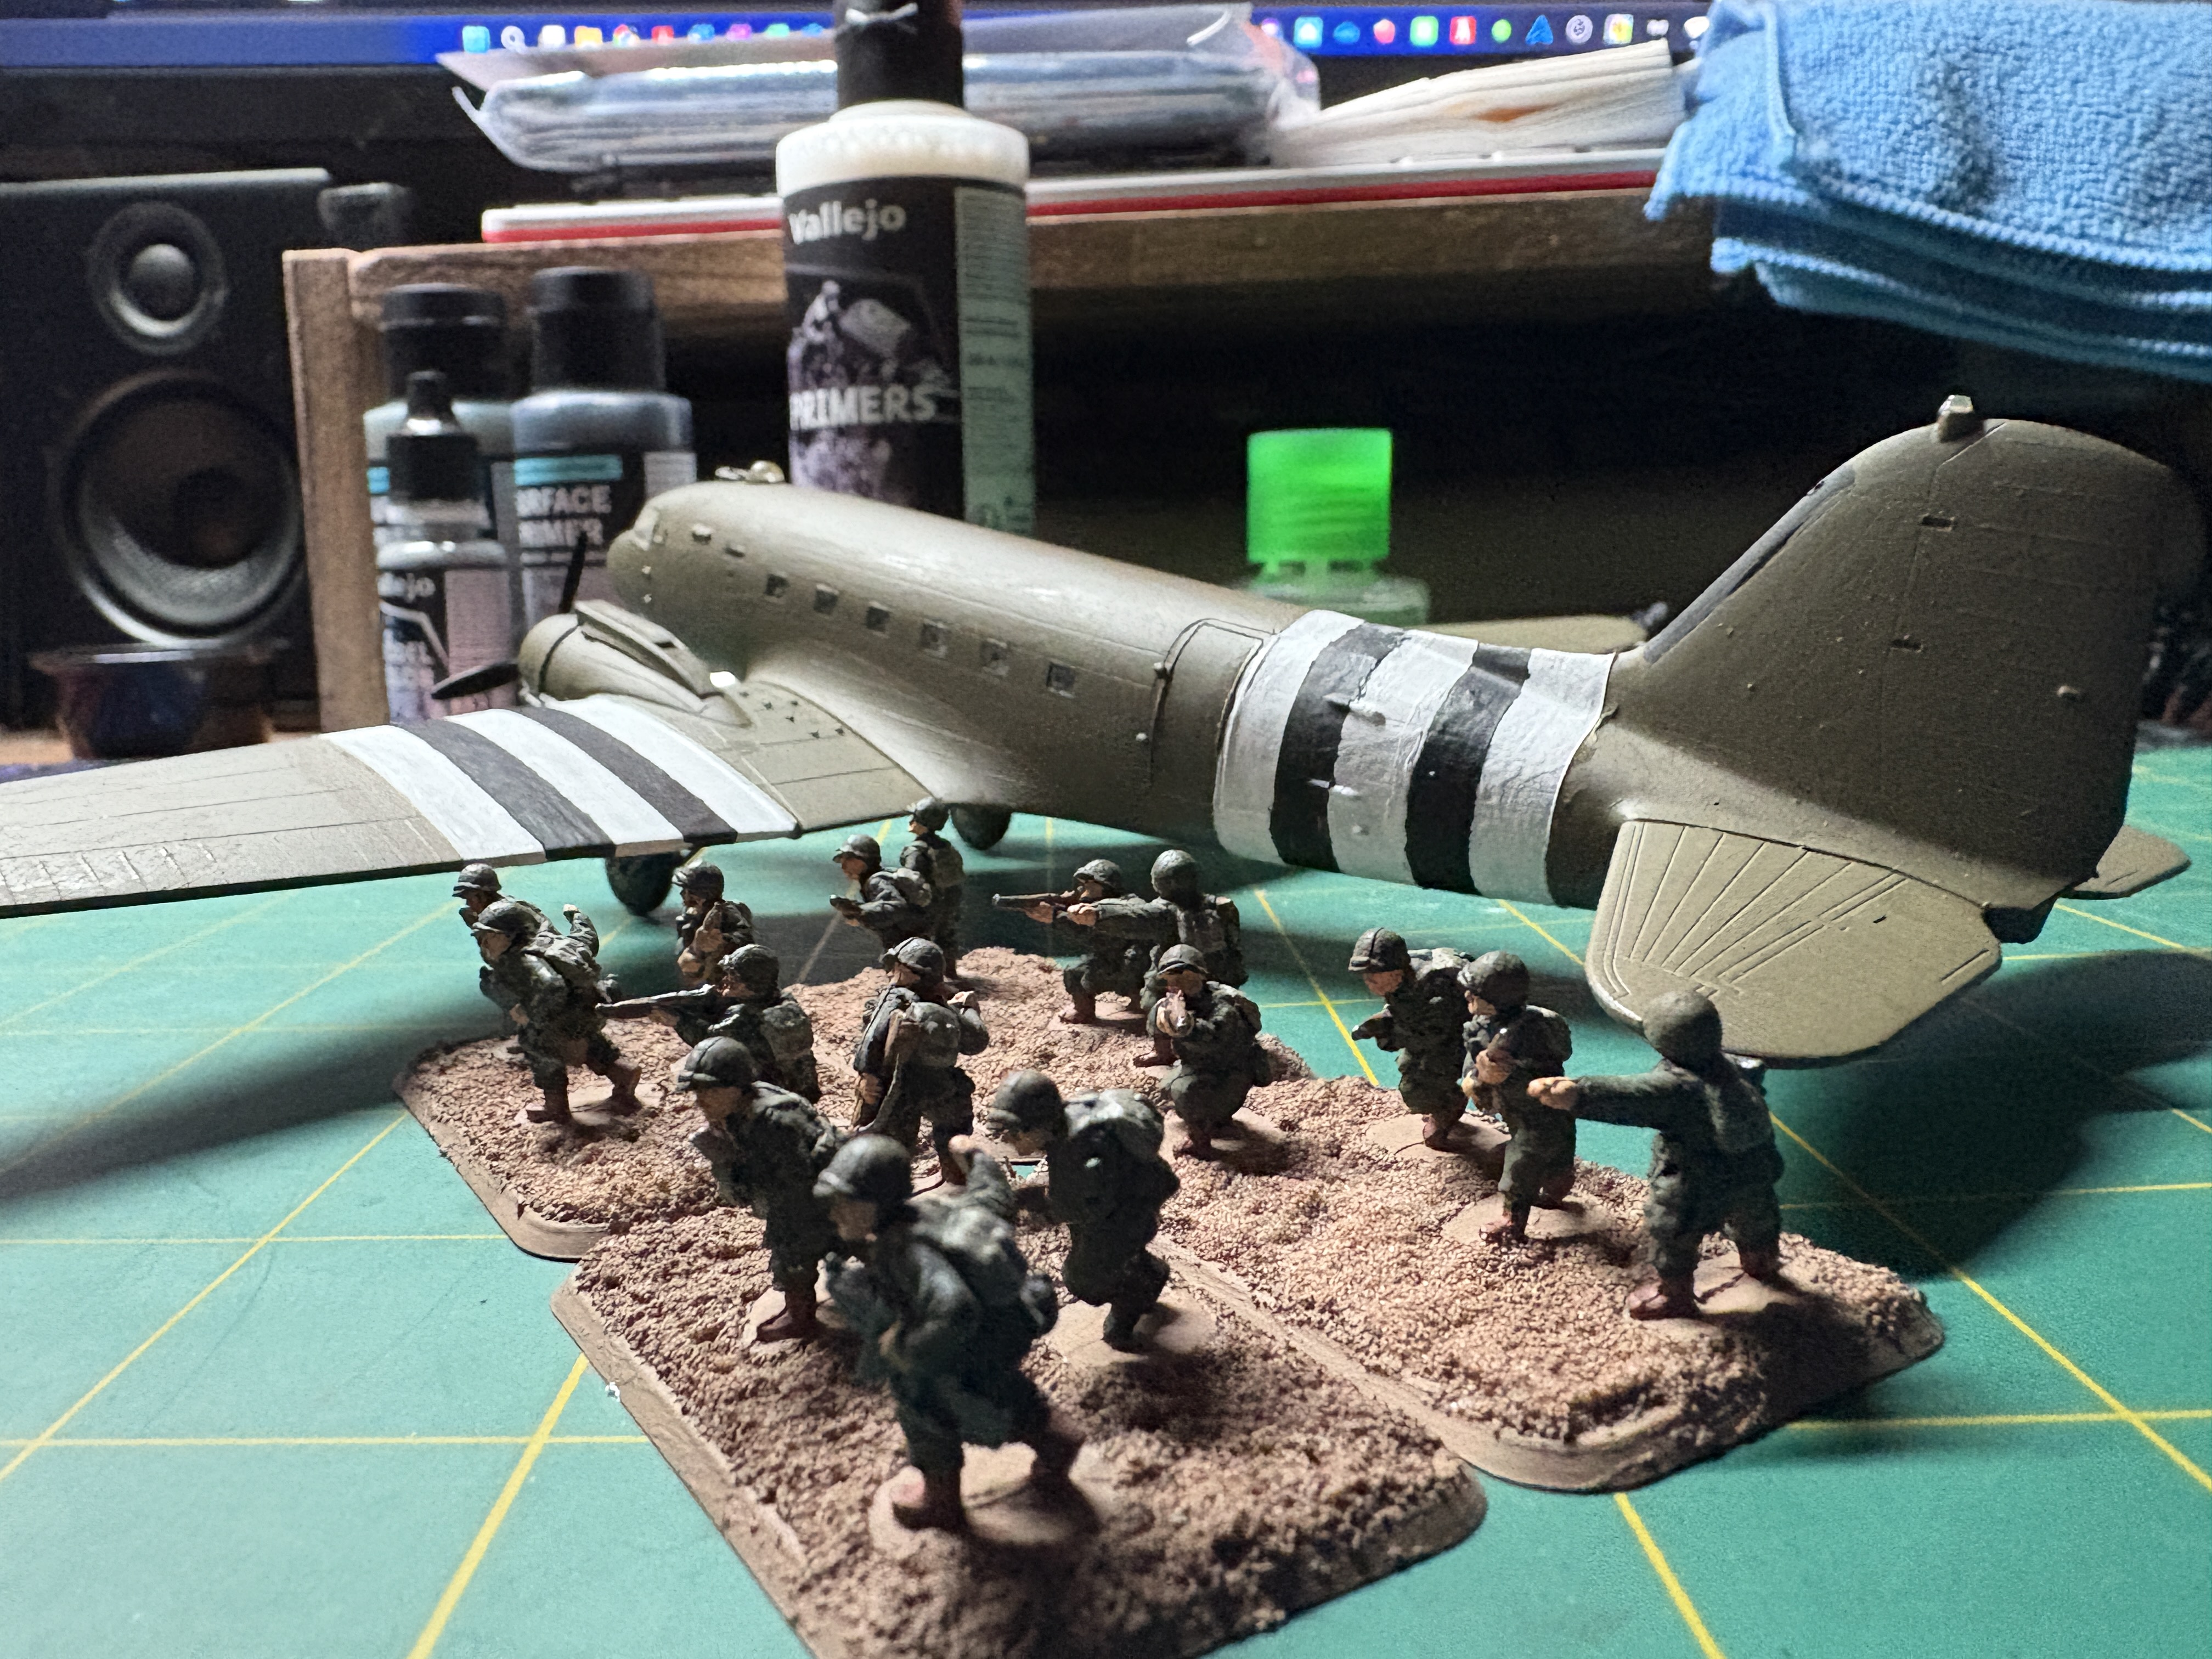
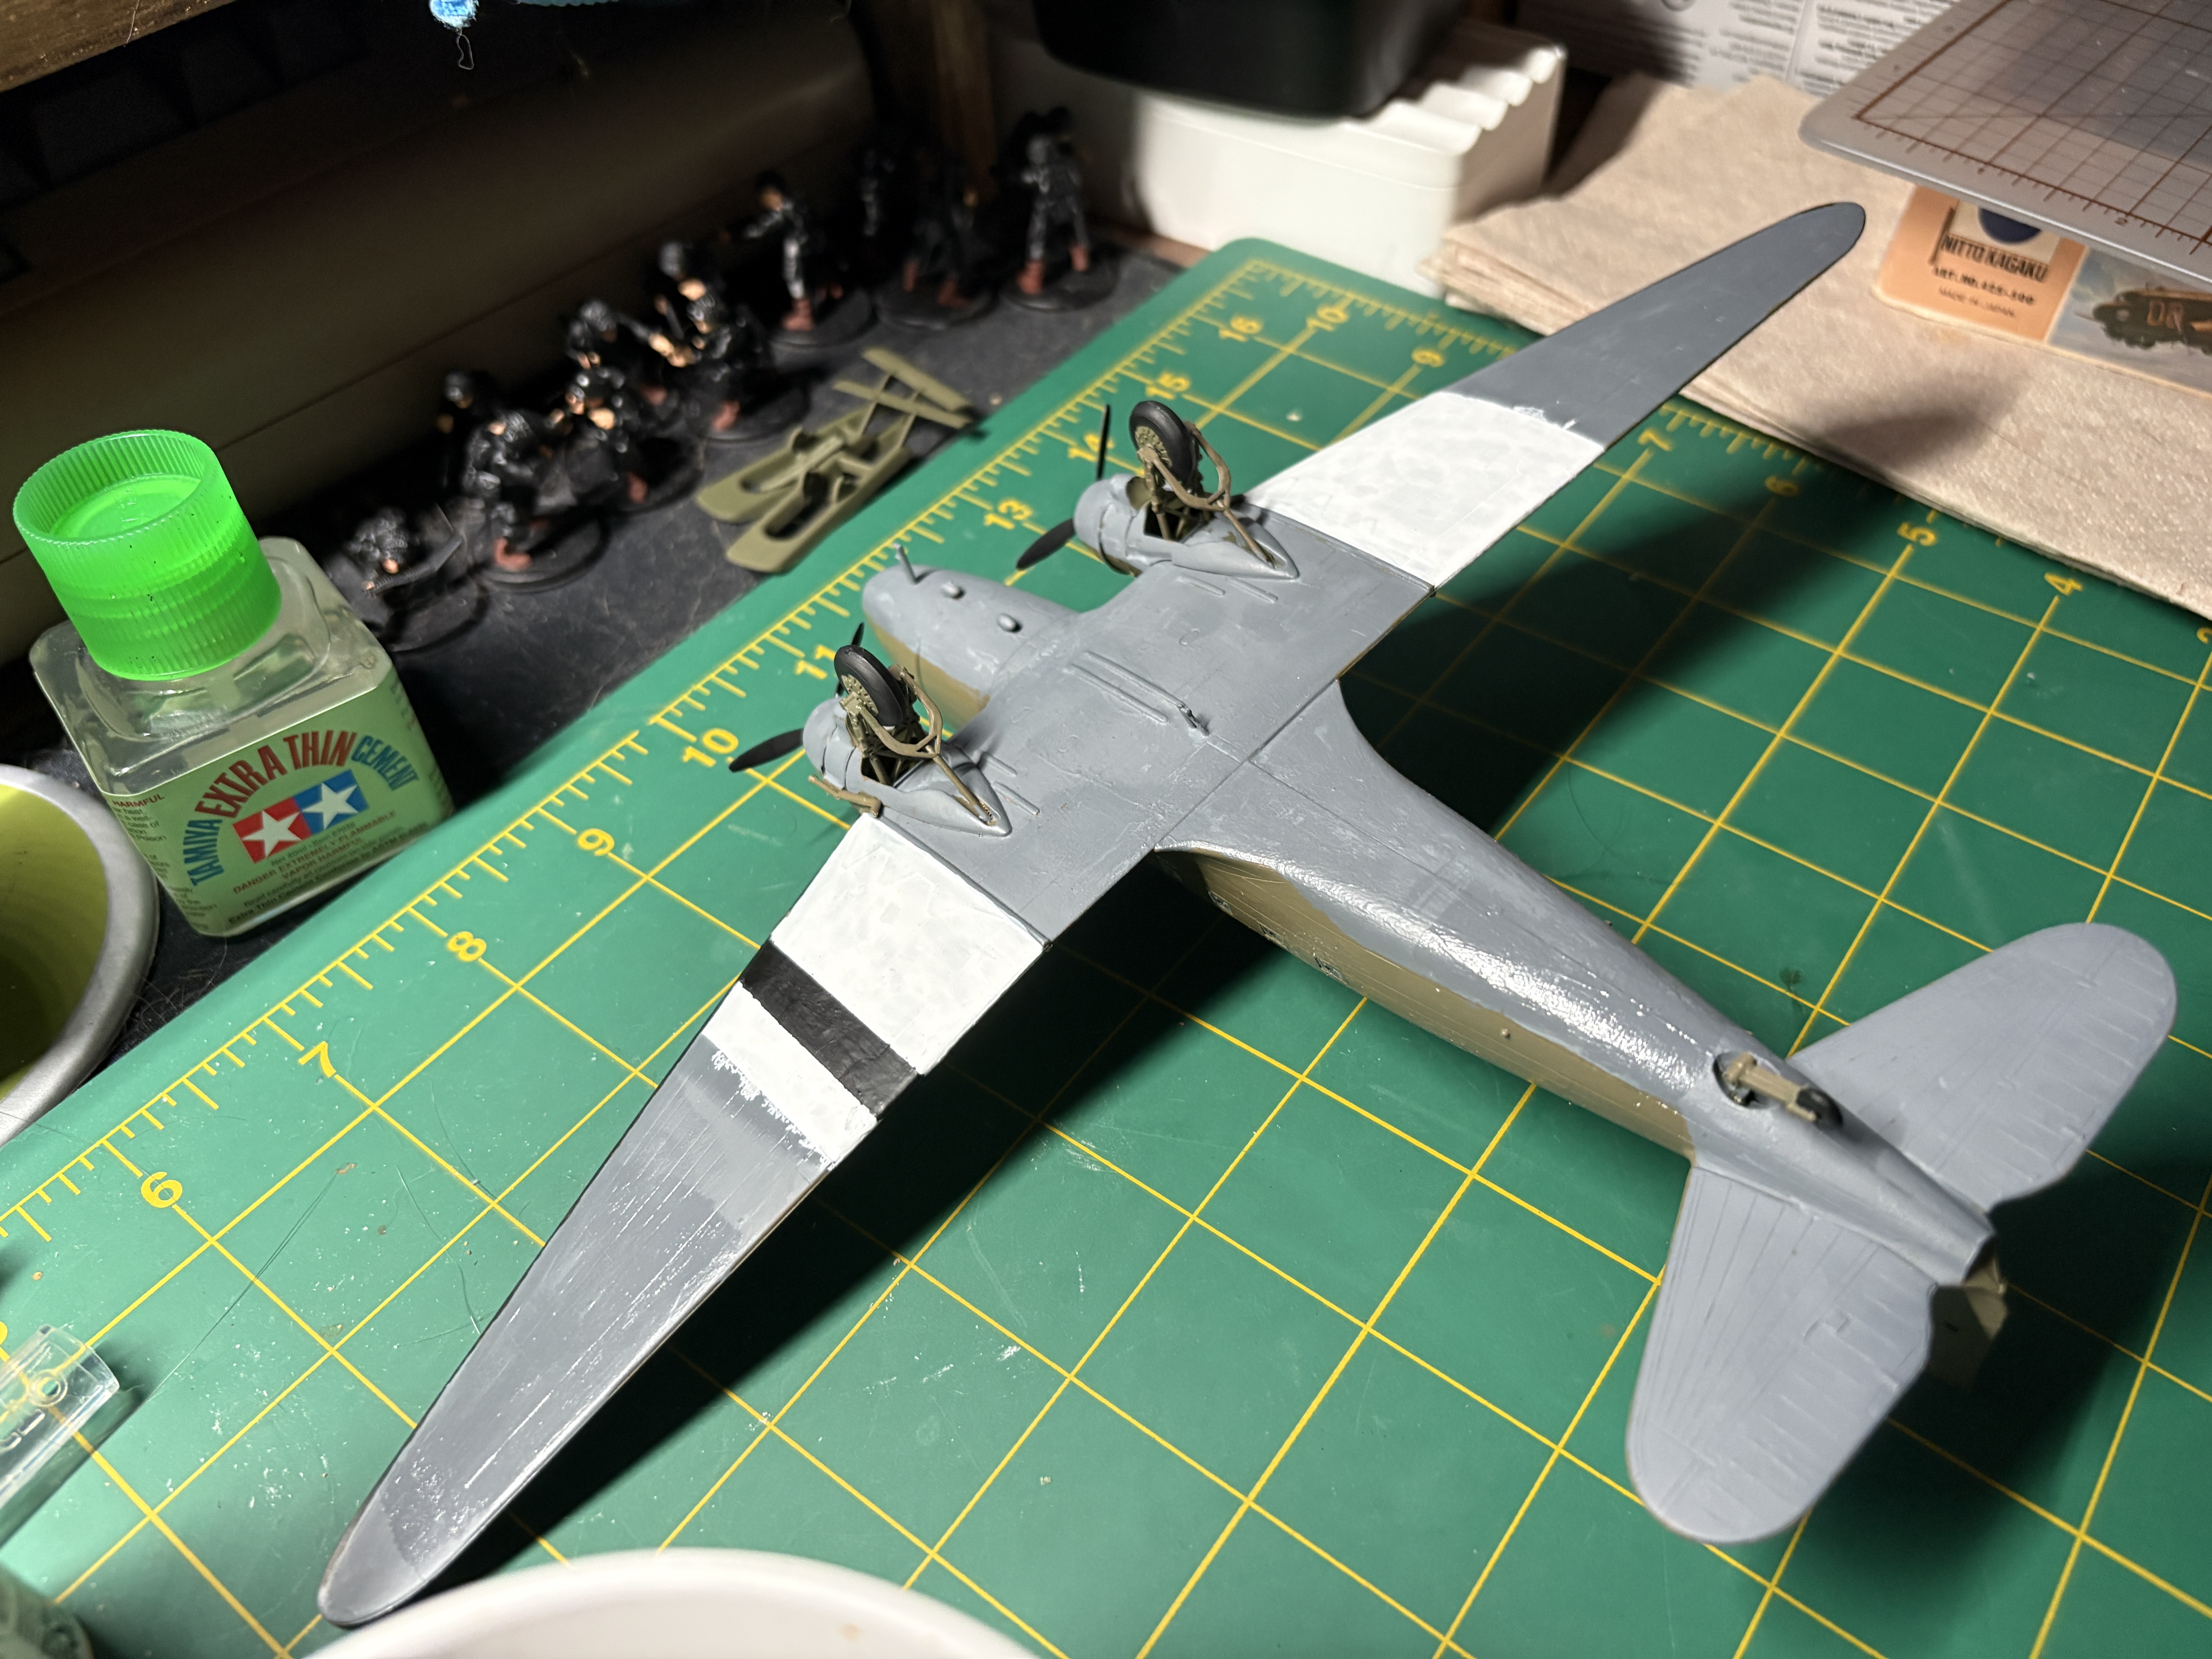
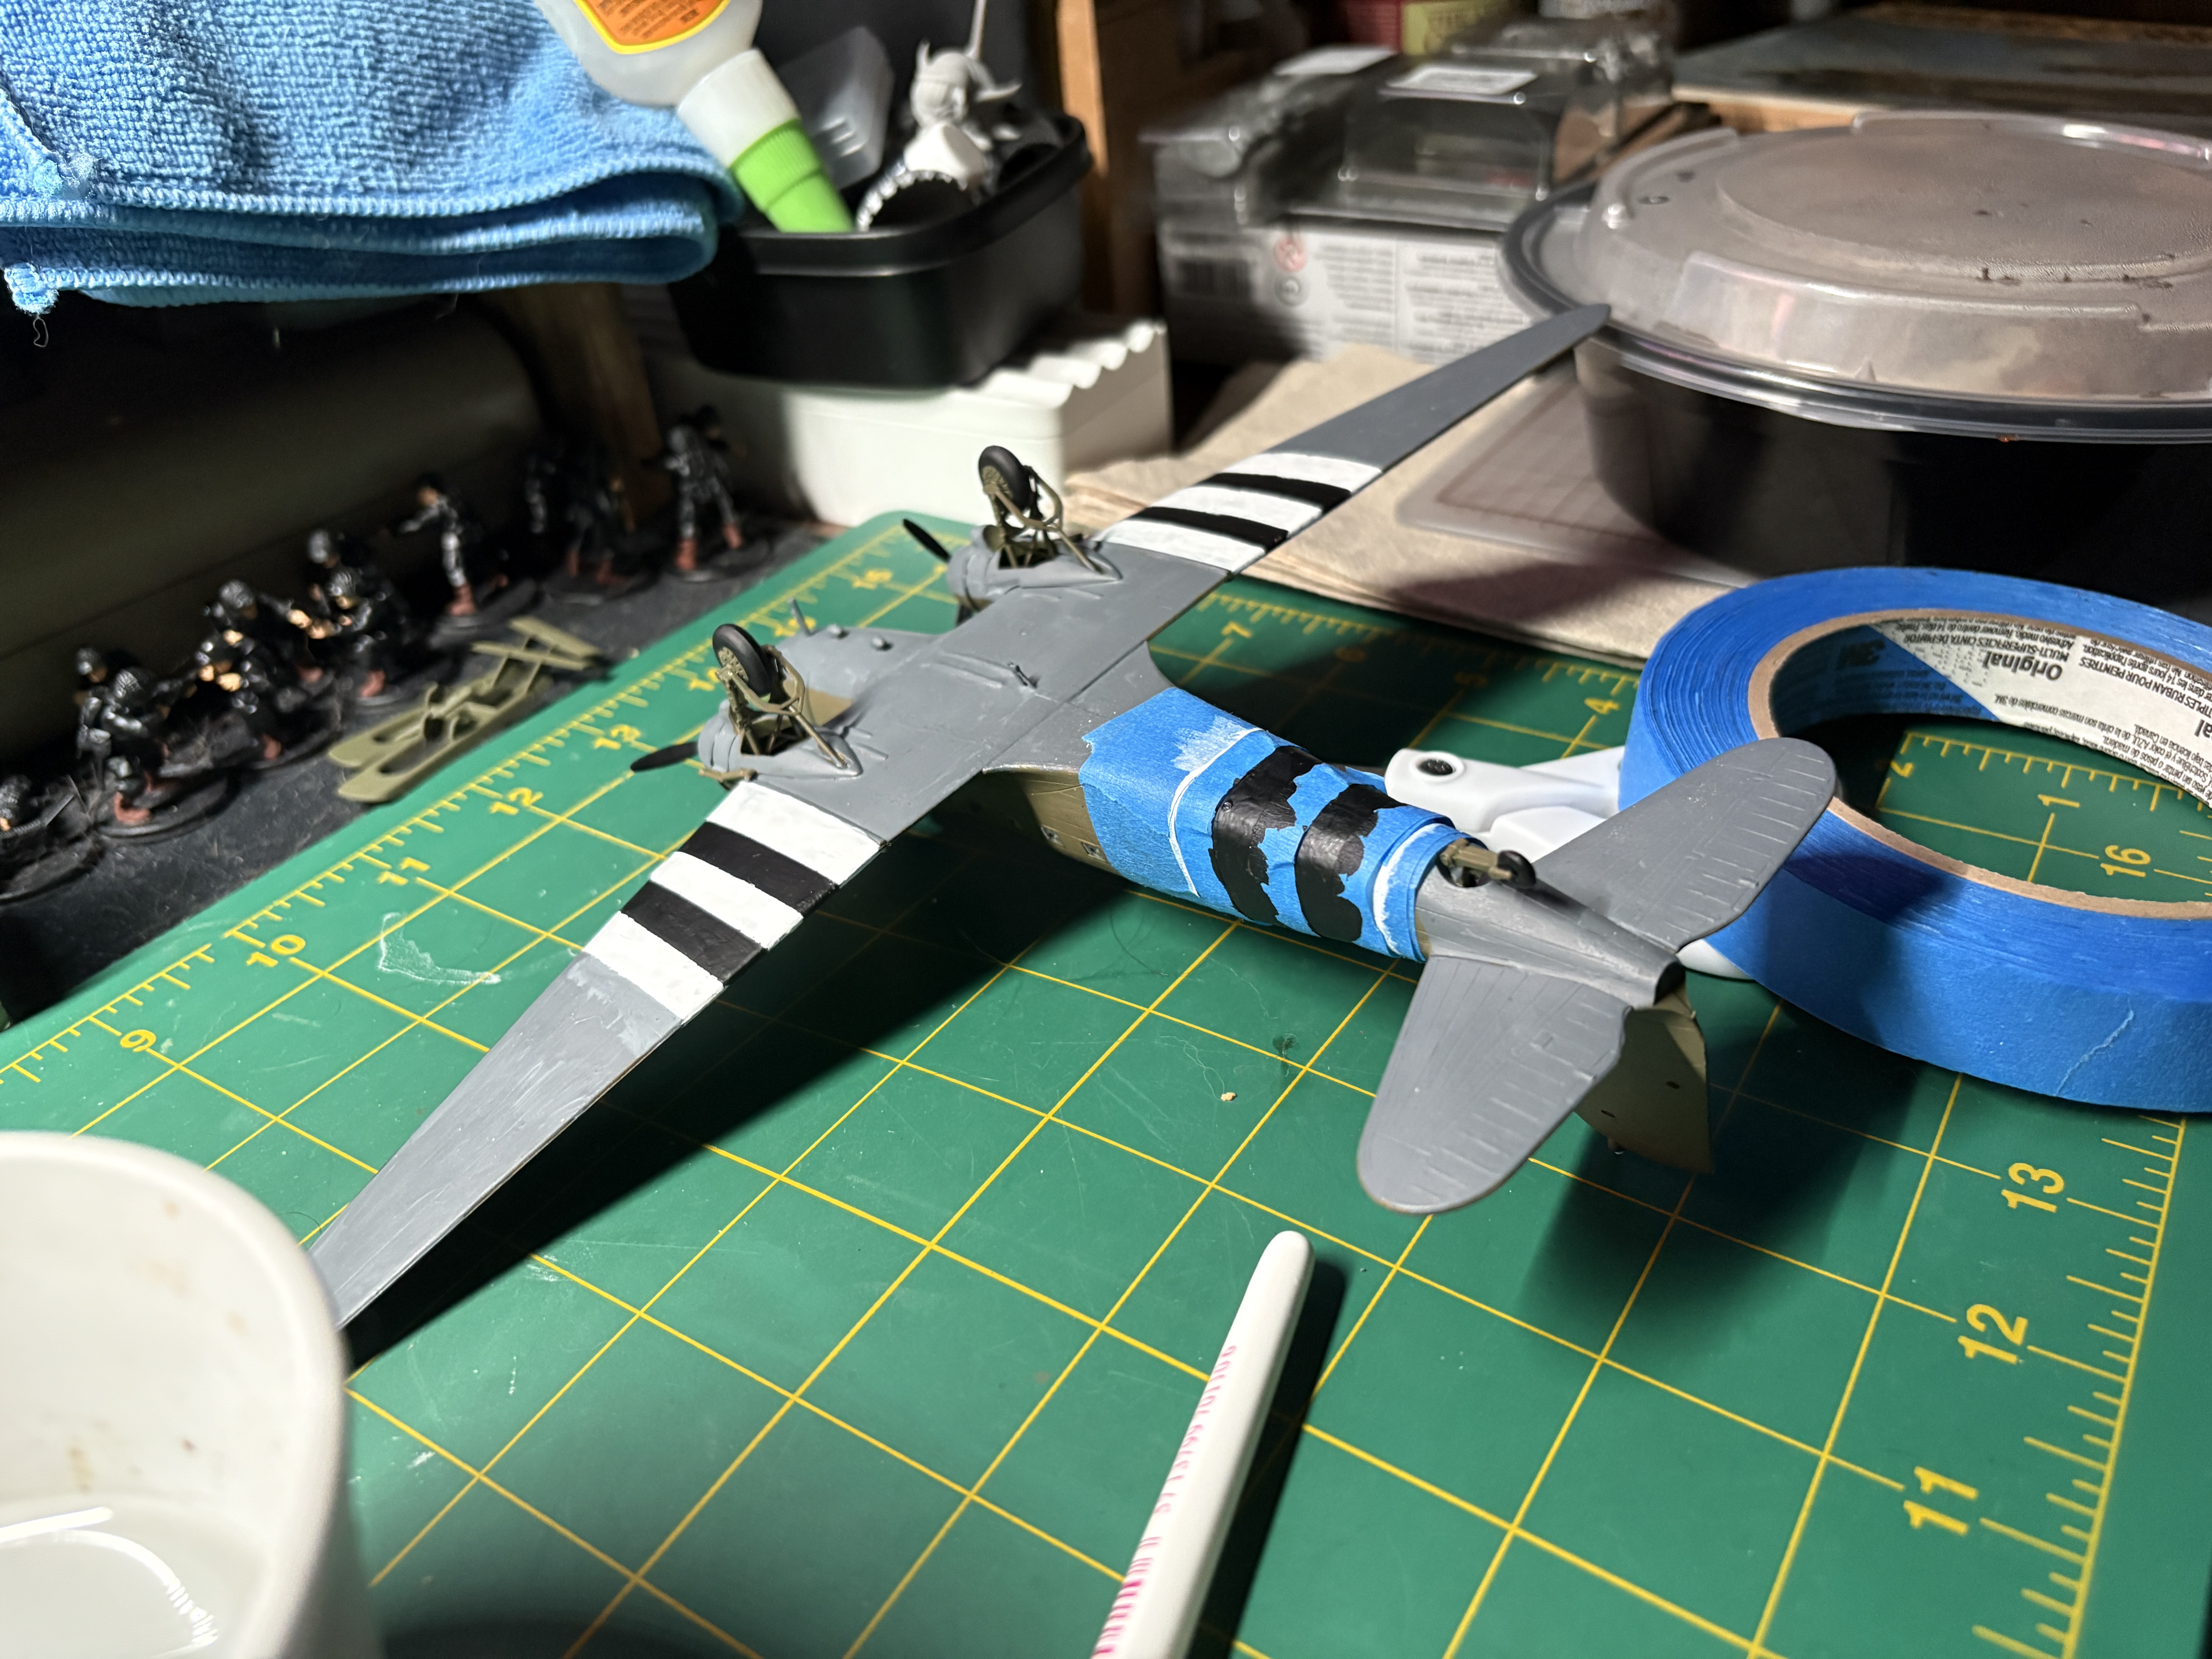
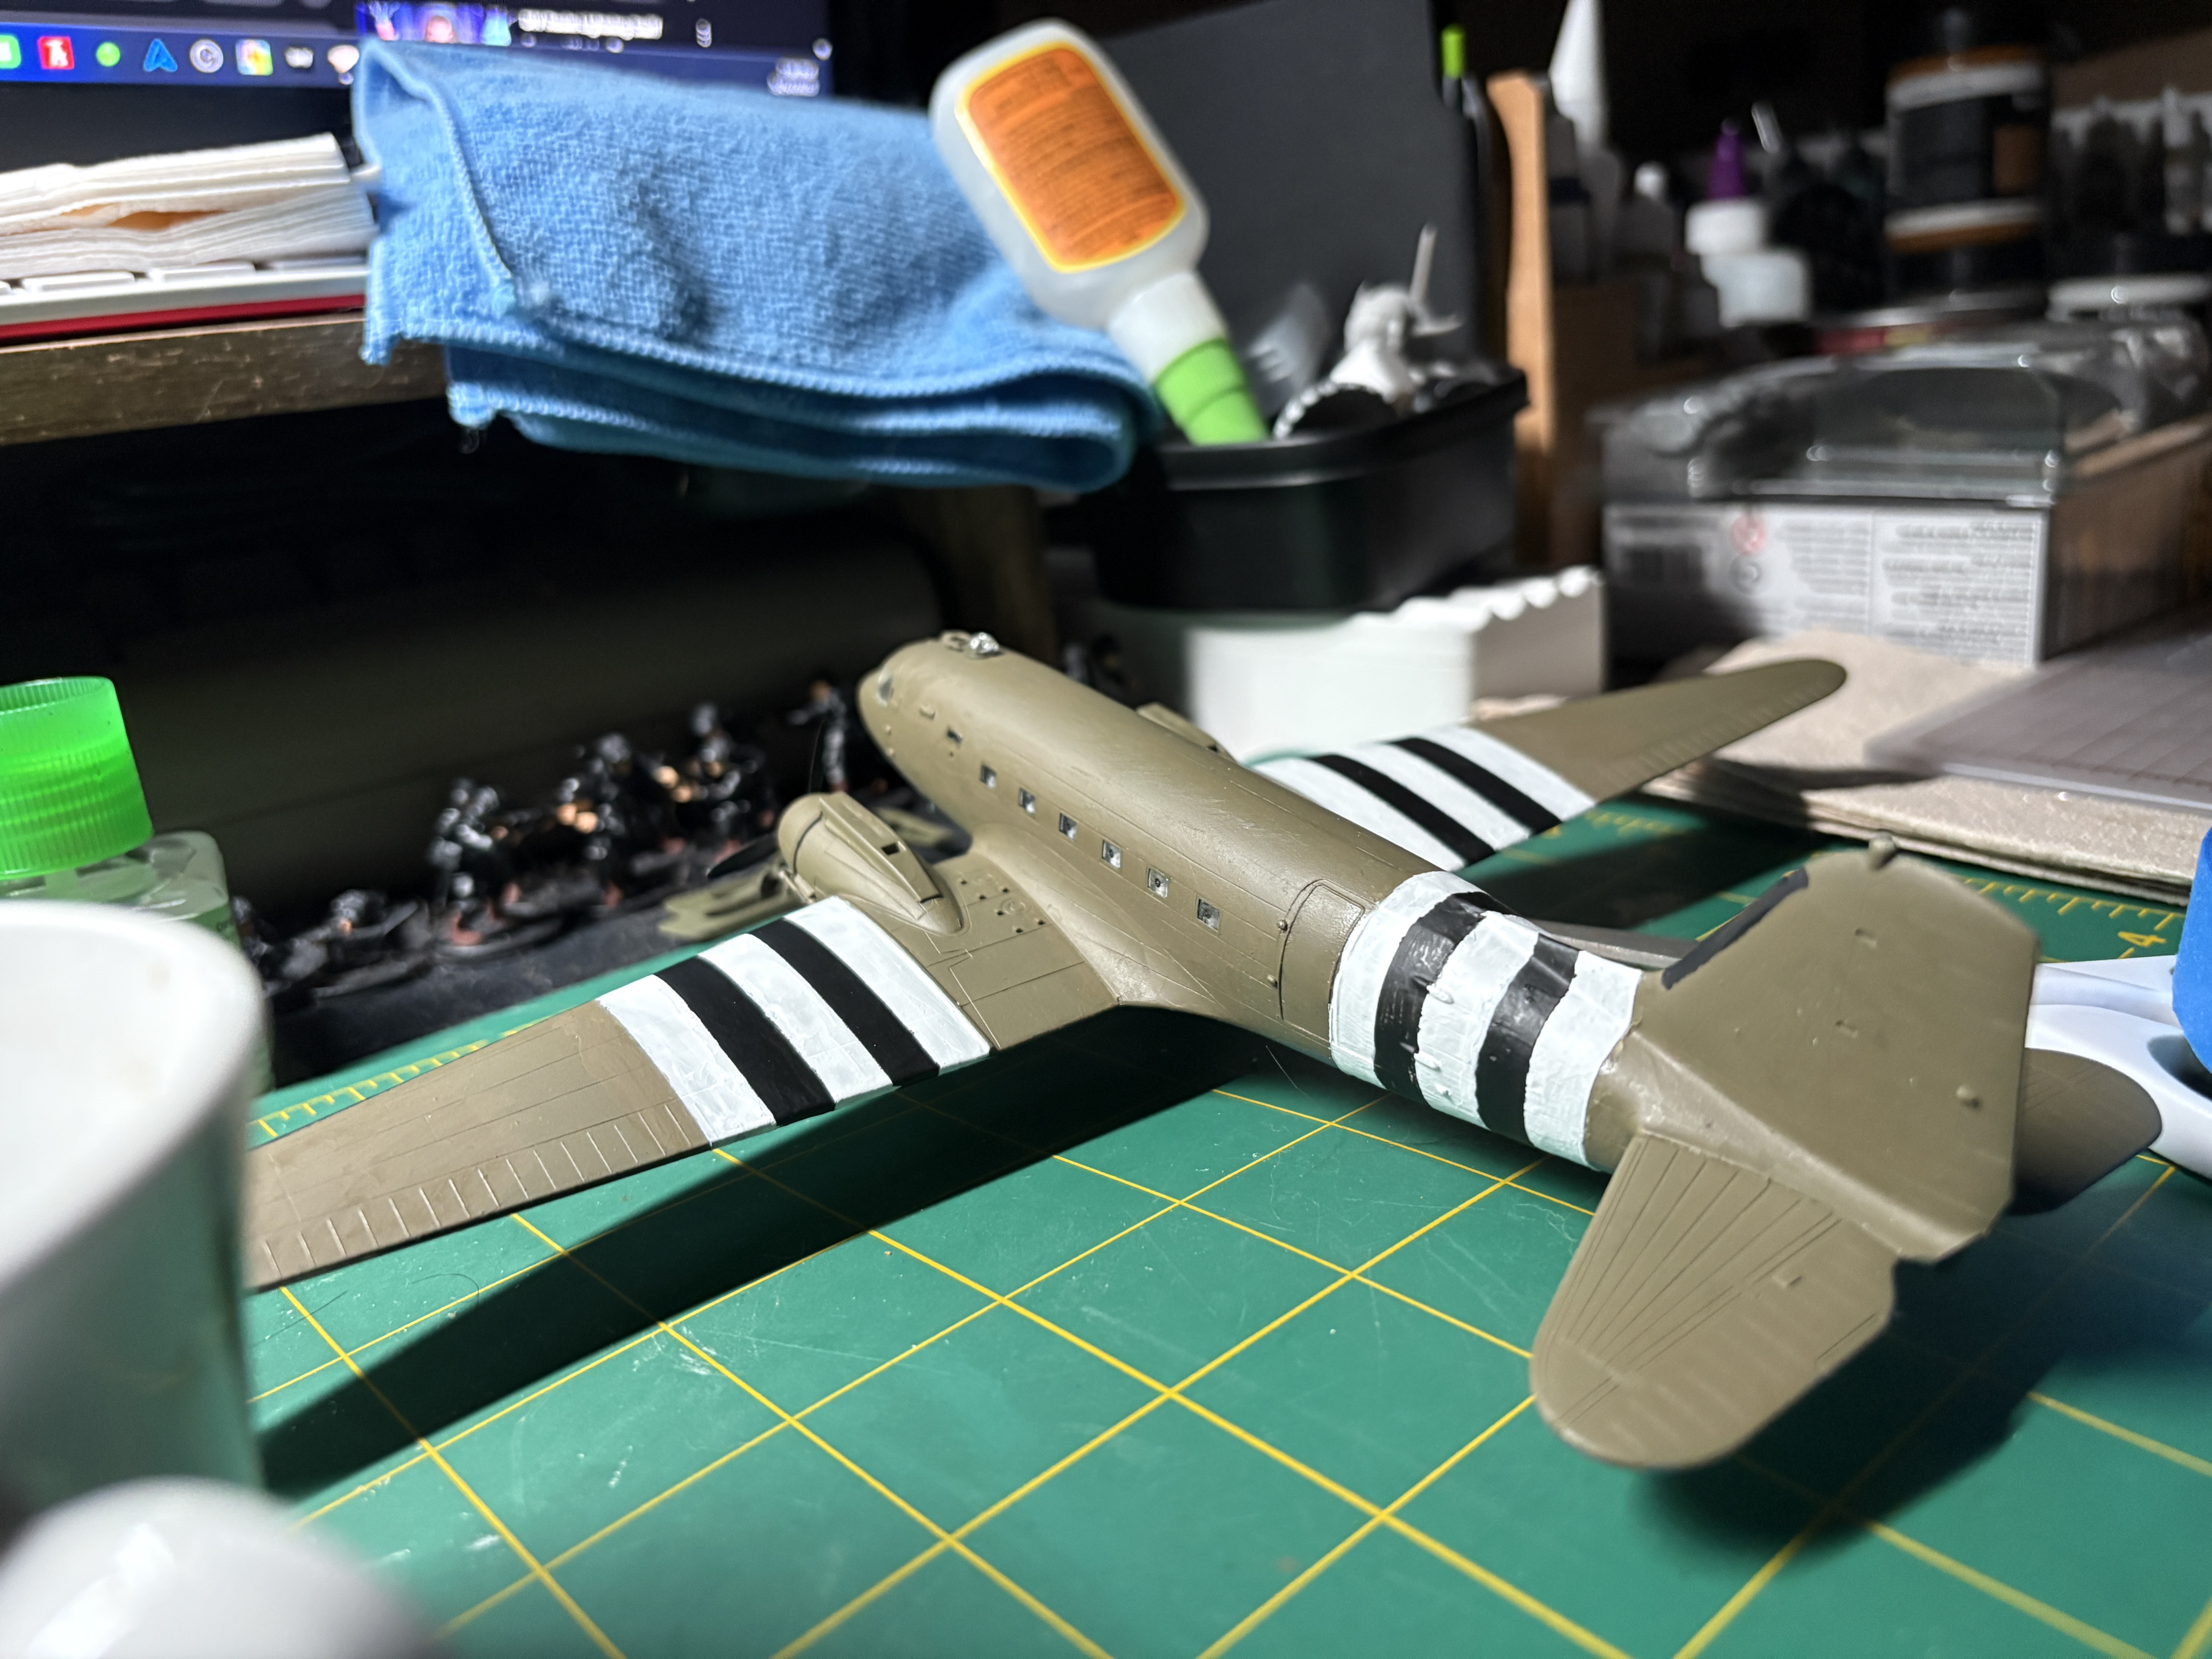
Time to fall back on blue tape and a steady hand. I cut one of the remaining decals to shape and make some pencil marks on the plane to see where I need to start masking. I mask up the edges and paint white over the whole section. Several coats of white later I finally got the look I was after. Upon the paint drying I masked off again for the black stripes.
The wings were certainly the easier parts, the tail section took a lot more work to get looking right. The application is a bit thicker than I’d have liked but it still works. It seems odd to me that part of the door is painted over but looking at reference pictures it was how some of them looked.
What I can’t freehand yet is the call signs and nose art and stars. I’m going to experiment with the Decal fix a bit to see if I can strengthen the decal and perhaps then I’ll have better luck. I’ve found some replacement decals but non are in the 1/100 scale that I need. I’m going to be satisfied with what I’ve got for now and do some more decal research. First time using them and it didn’t go to plan. I’m sure the age of the decals is at fault.
But look at how great the plane is with some Flames of War Airborne next to them. Perhaps one day I’ll make a display board for them. I also want to put some vegetation on the bases but that is for a future project this one is done for now.