![NO Weekender Or Cult Of Games XLBS This Weekend [Updated]](https://images.beastsofwar.com/2026/03/No_Weekender_and_XLBS_this_Weekend-225-127.jpg)


ANZACS and the return of ‘Them’, ( & Cthulu Kong, Goldylocks etc!))


Recommendations: 349
About the Project
One of those ideas that comes from re watching 'Kong Skull.Island'.
Related Game: Black Sun
Related Company: Rubicon Models
Related Genre: Movies
This Project is Active
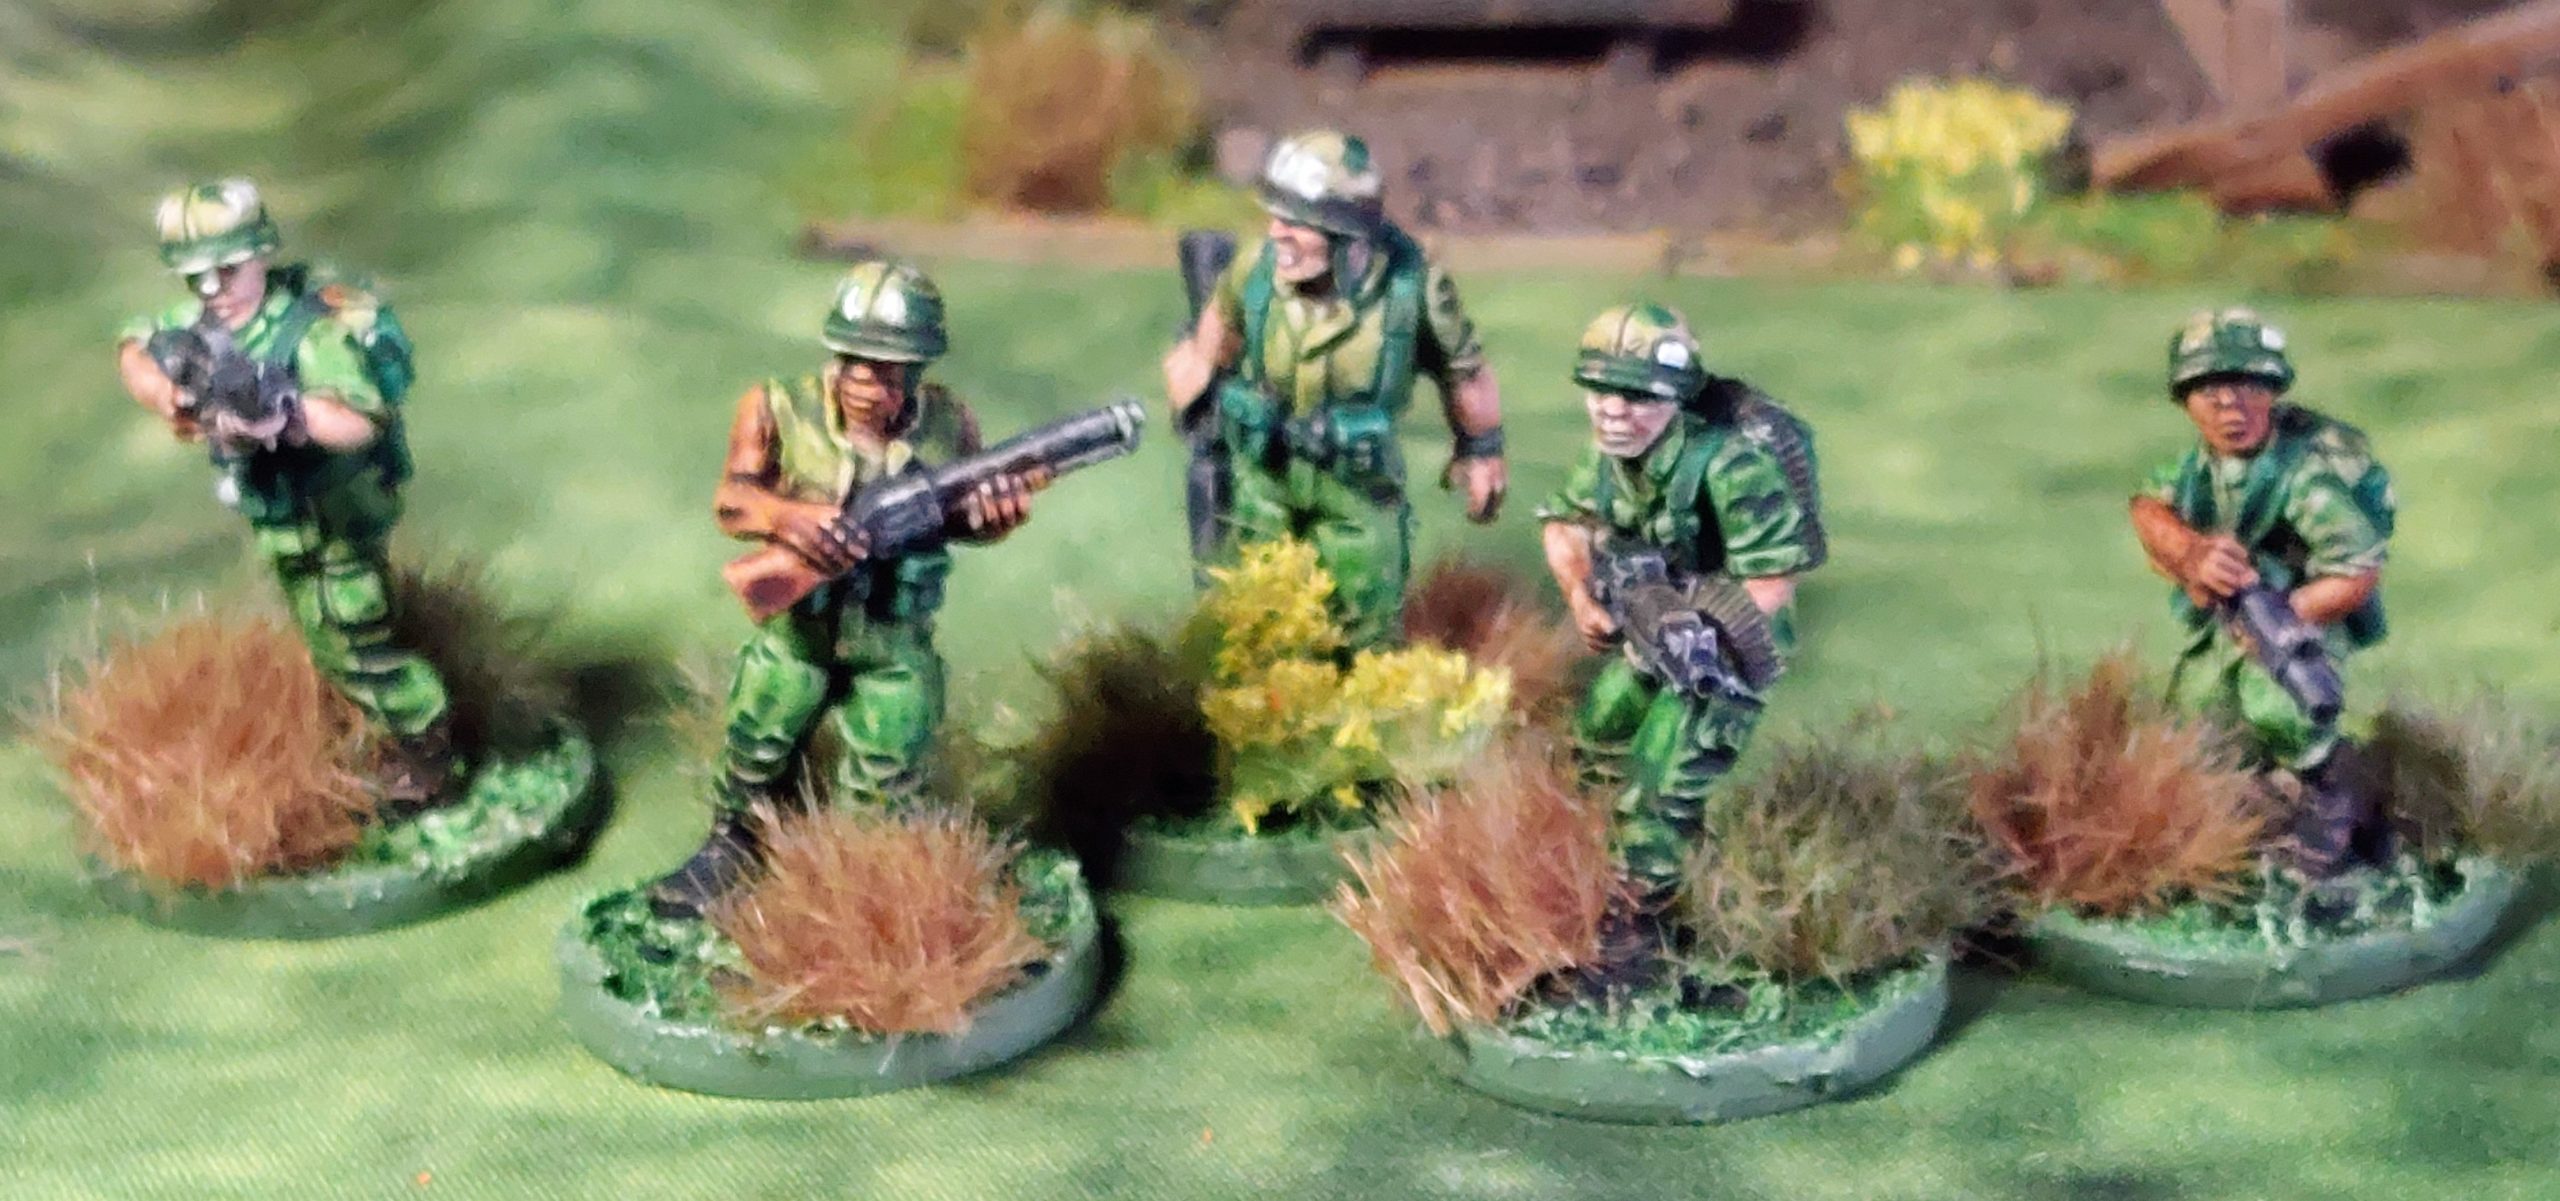
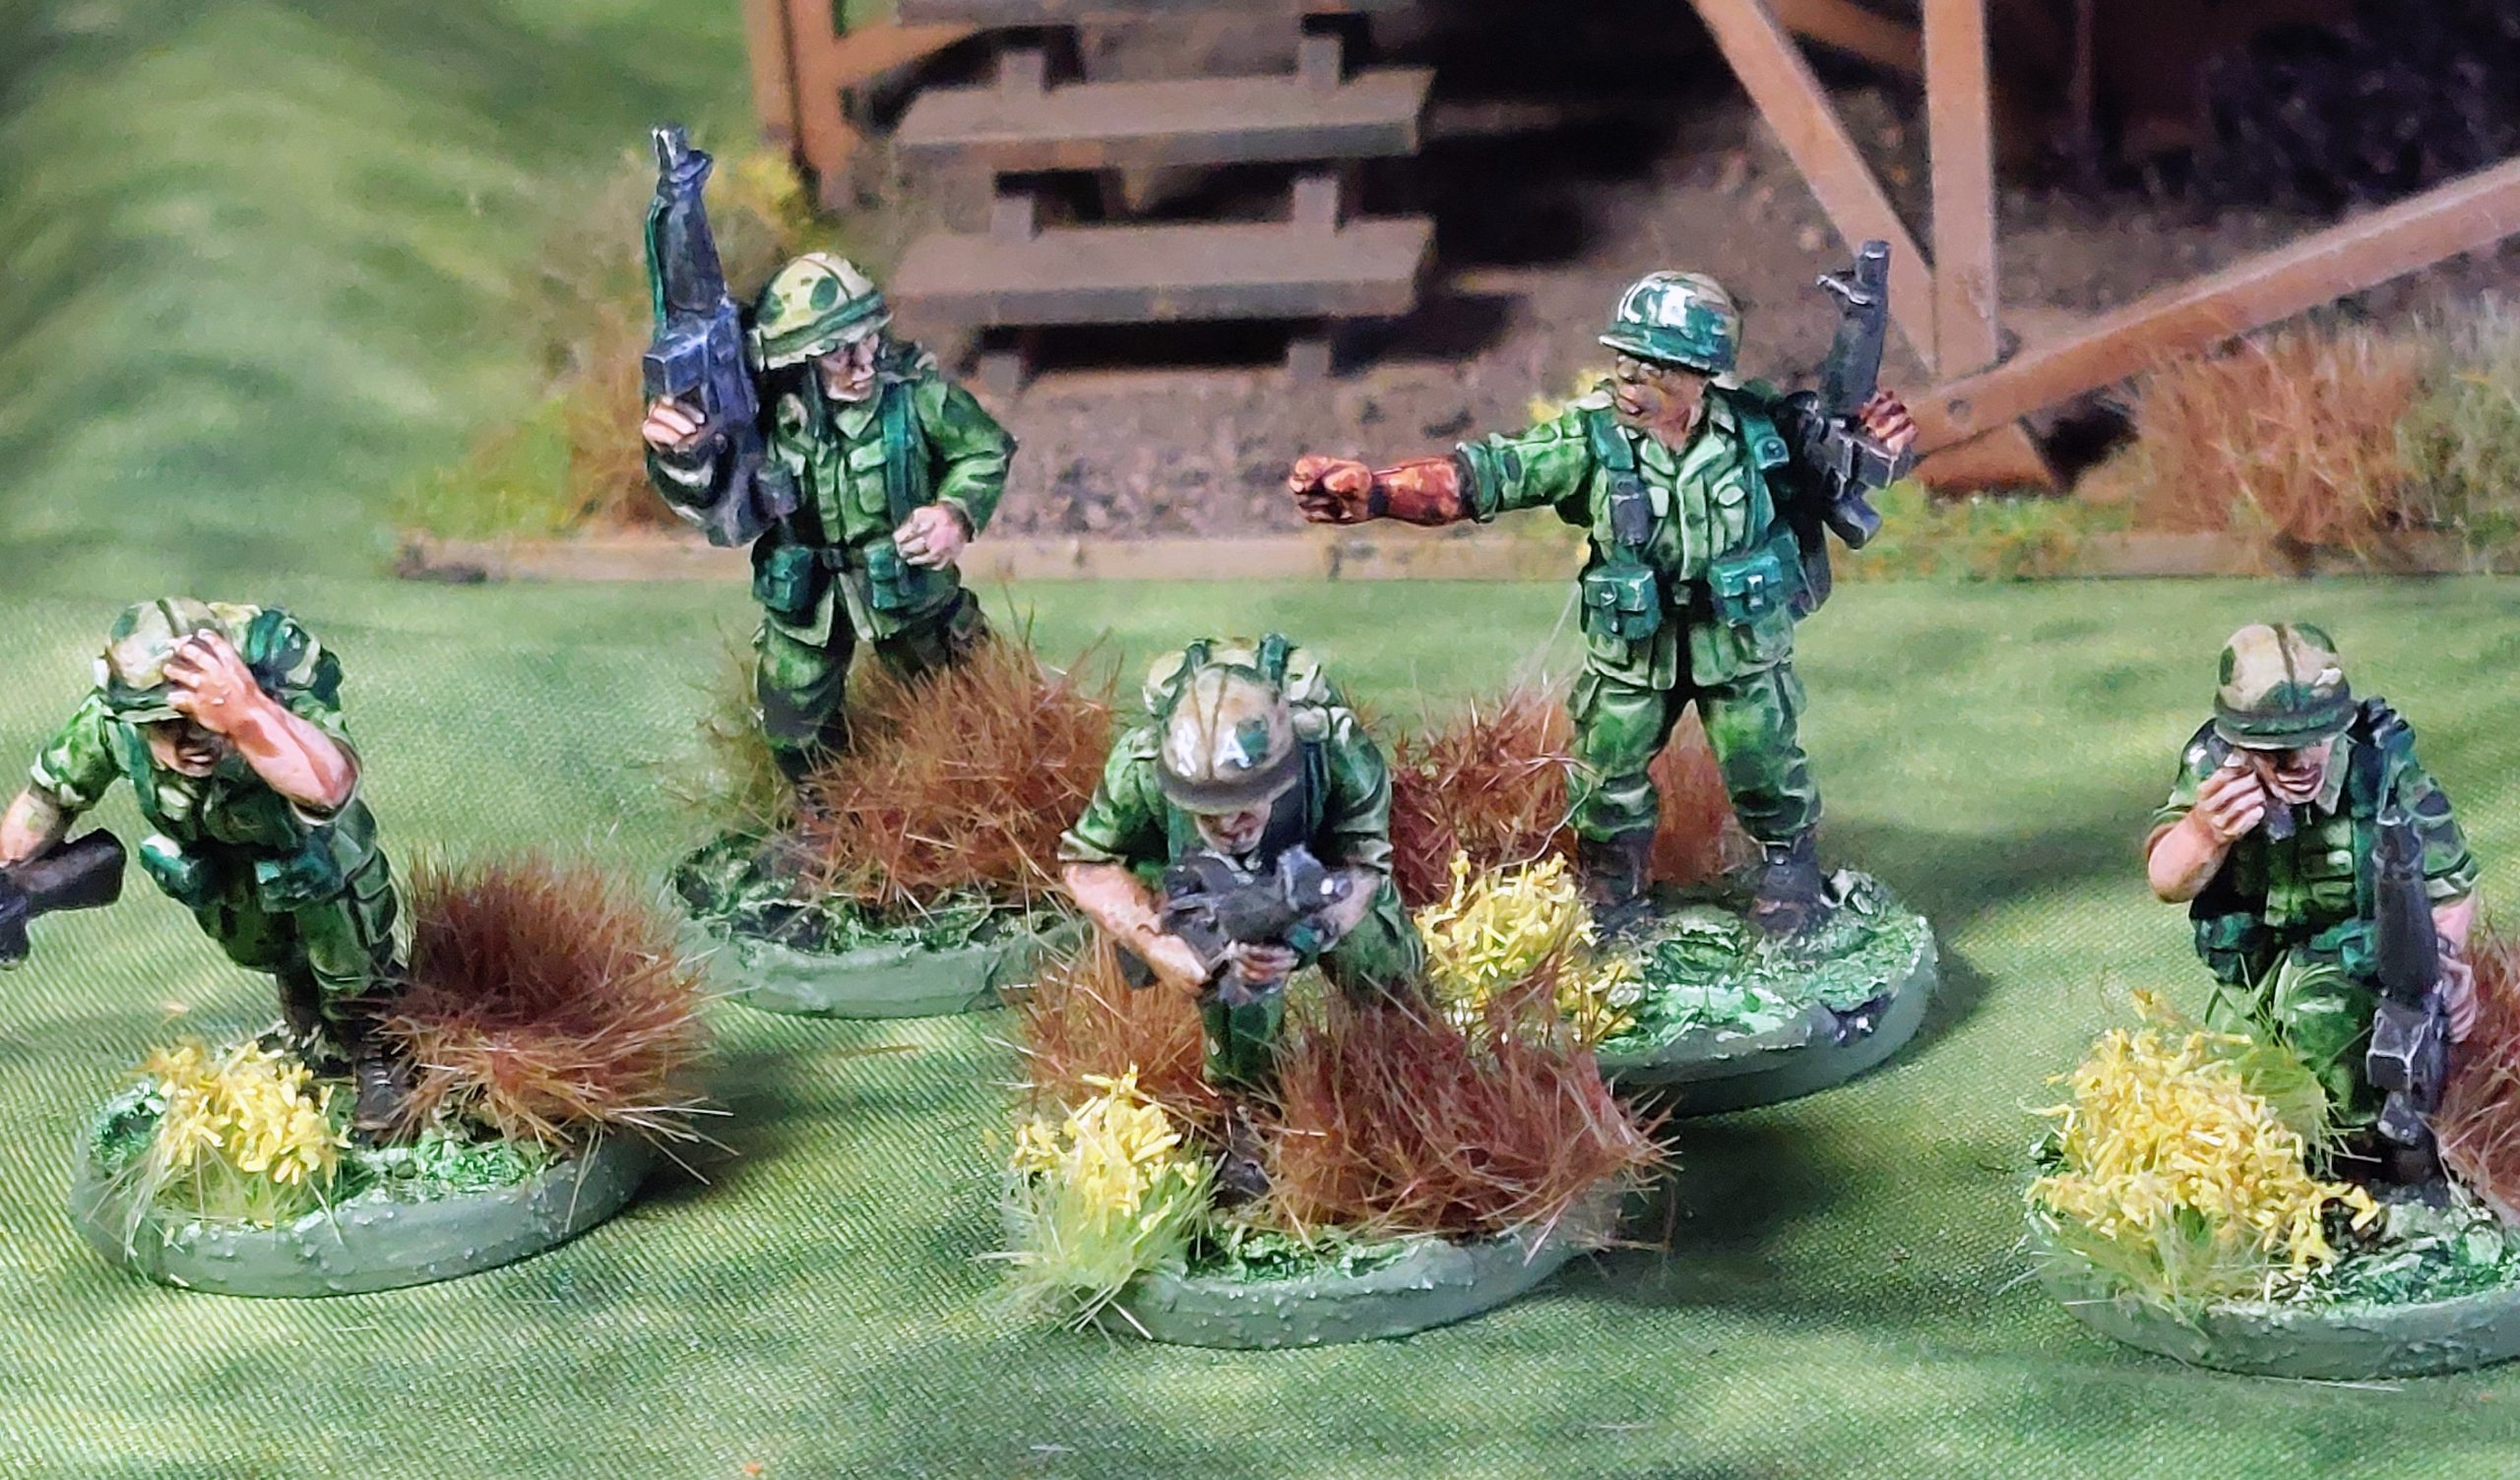
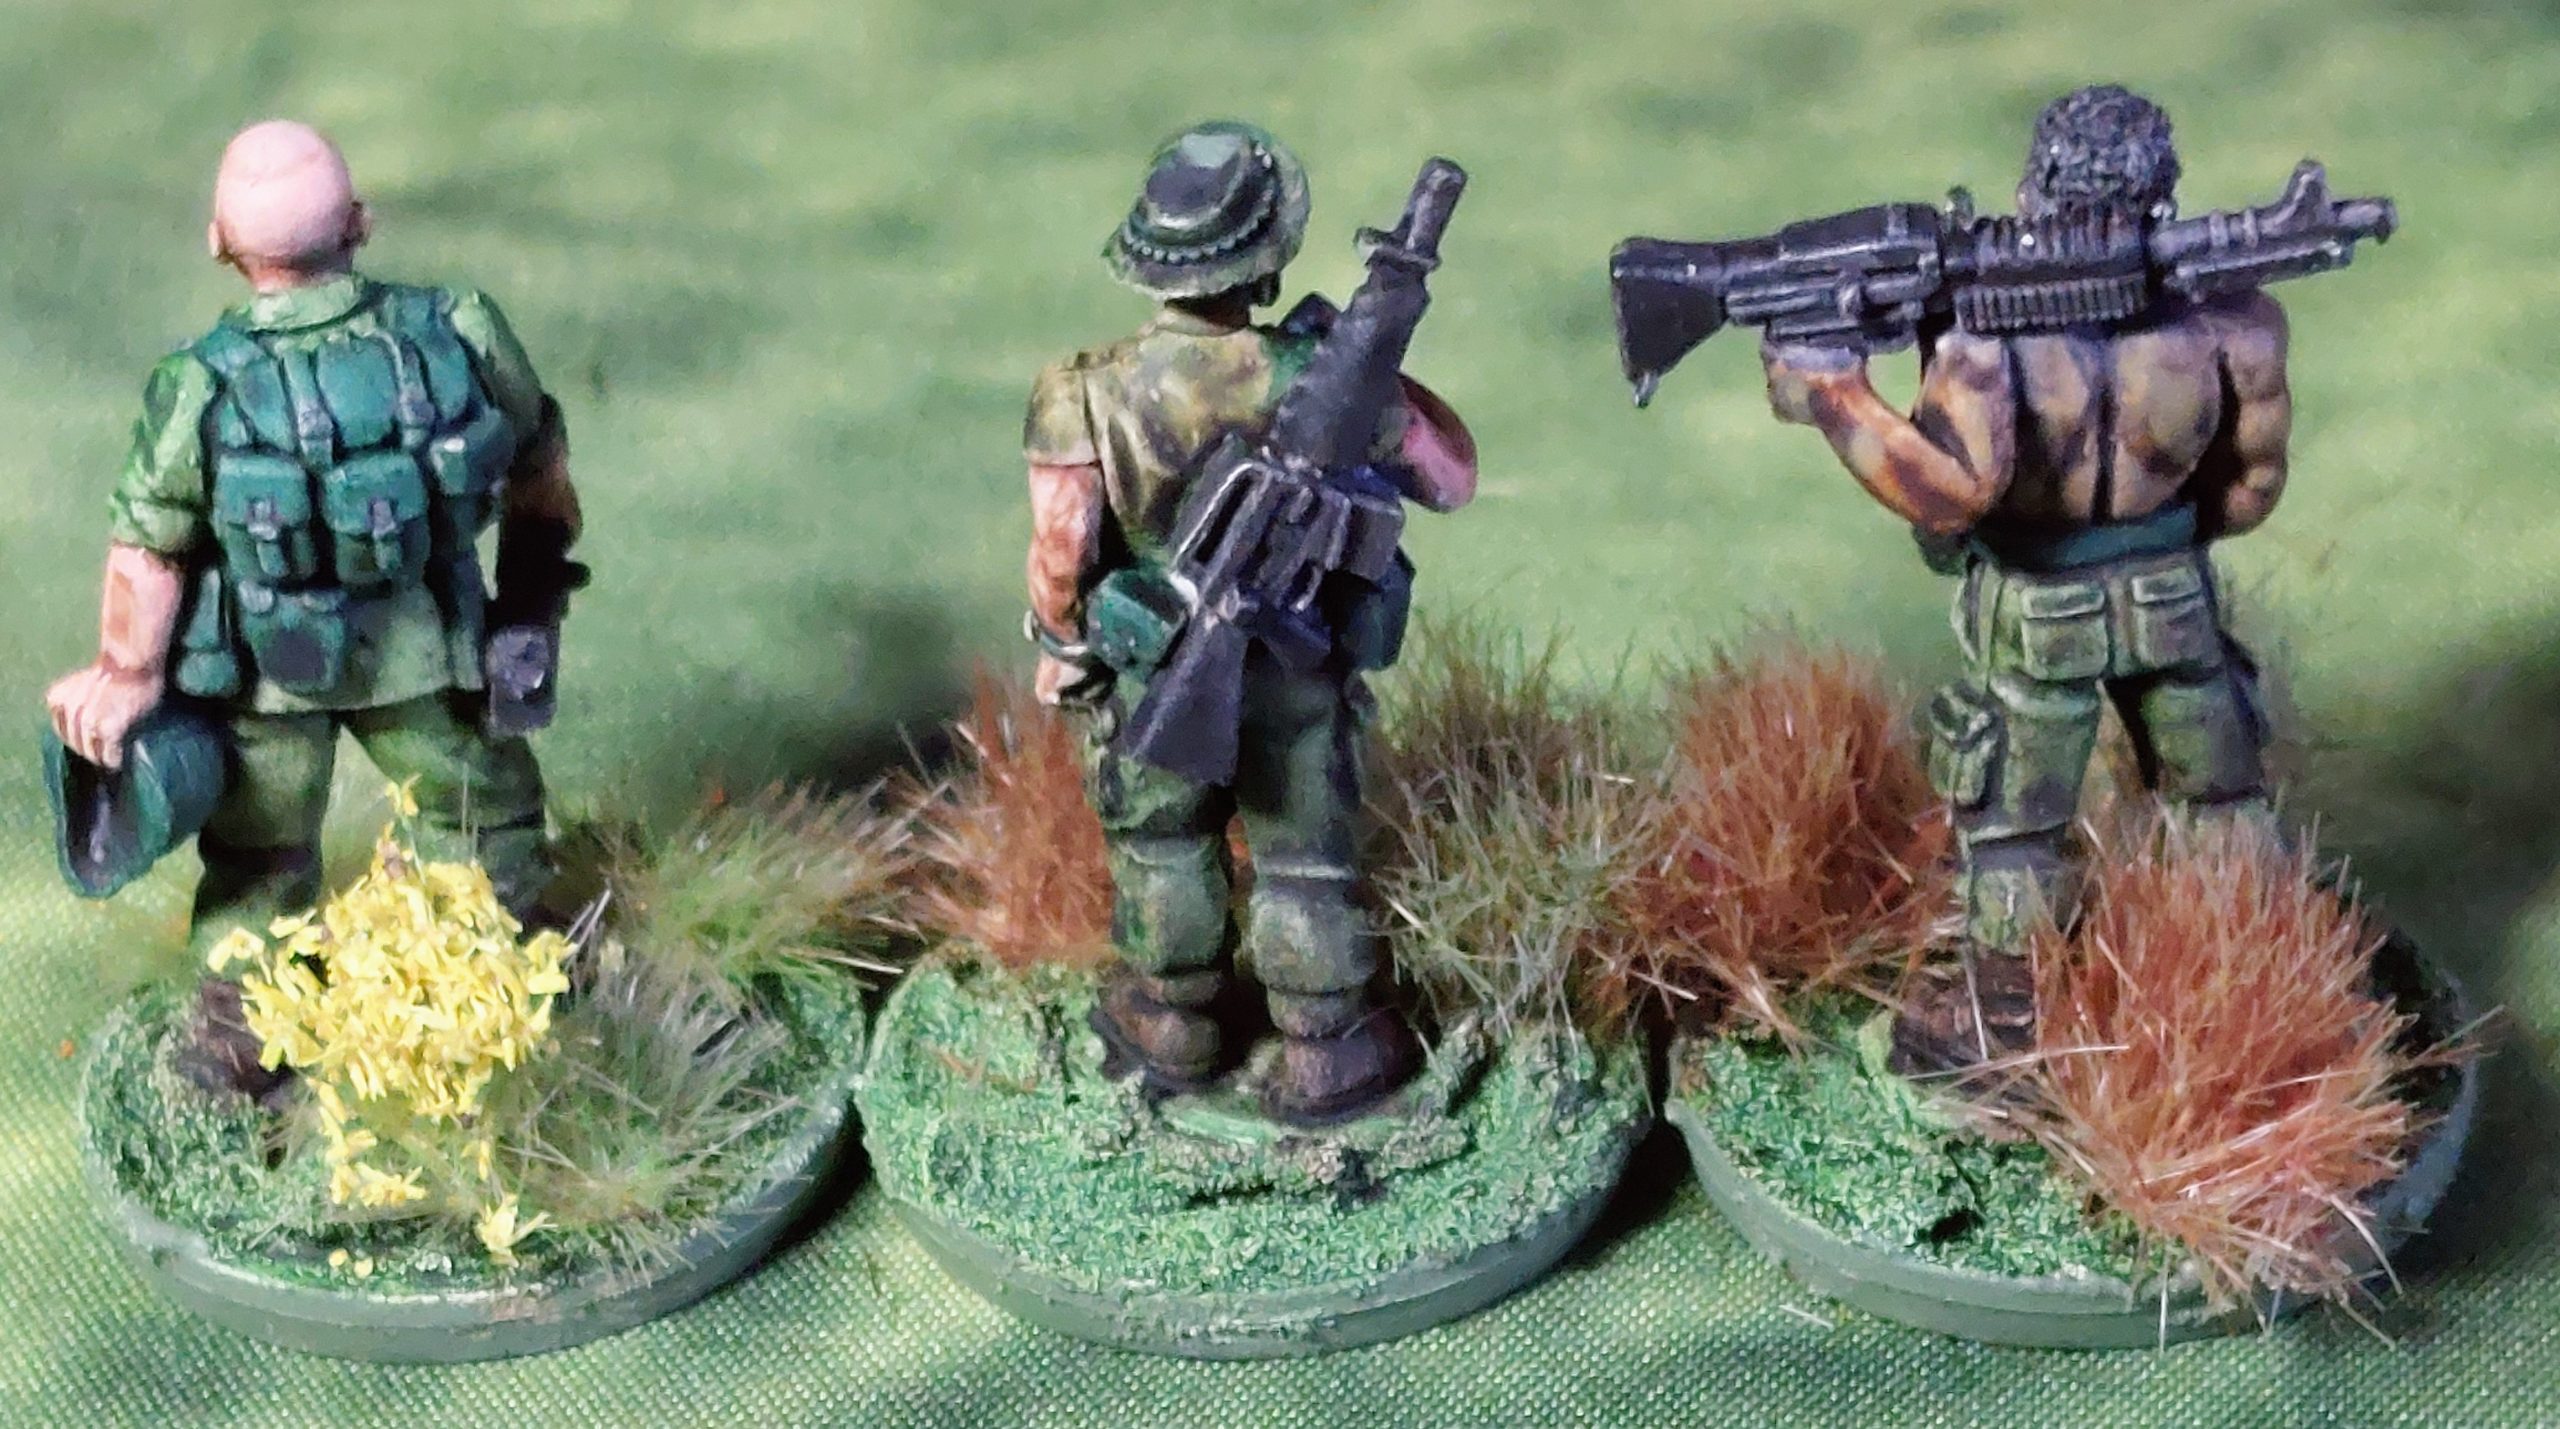
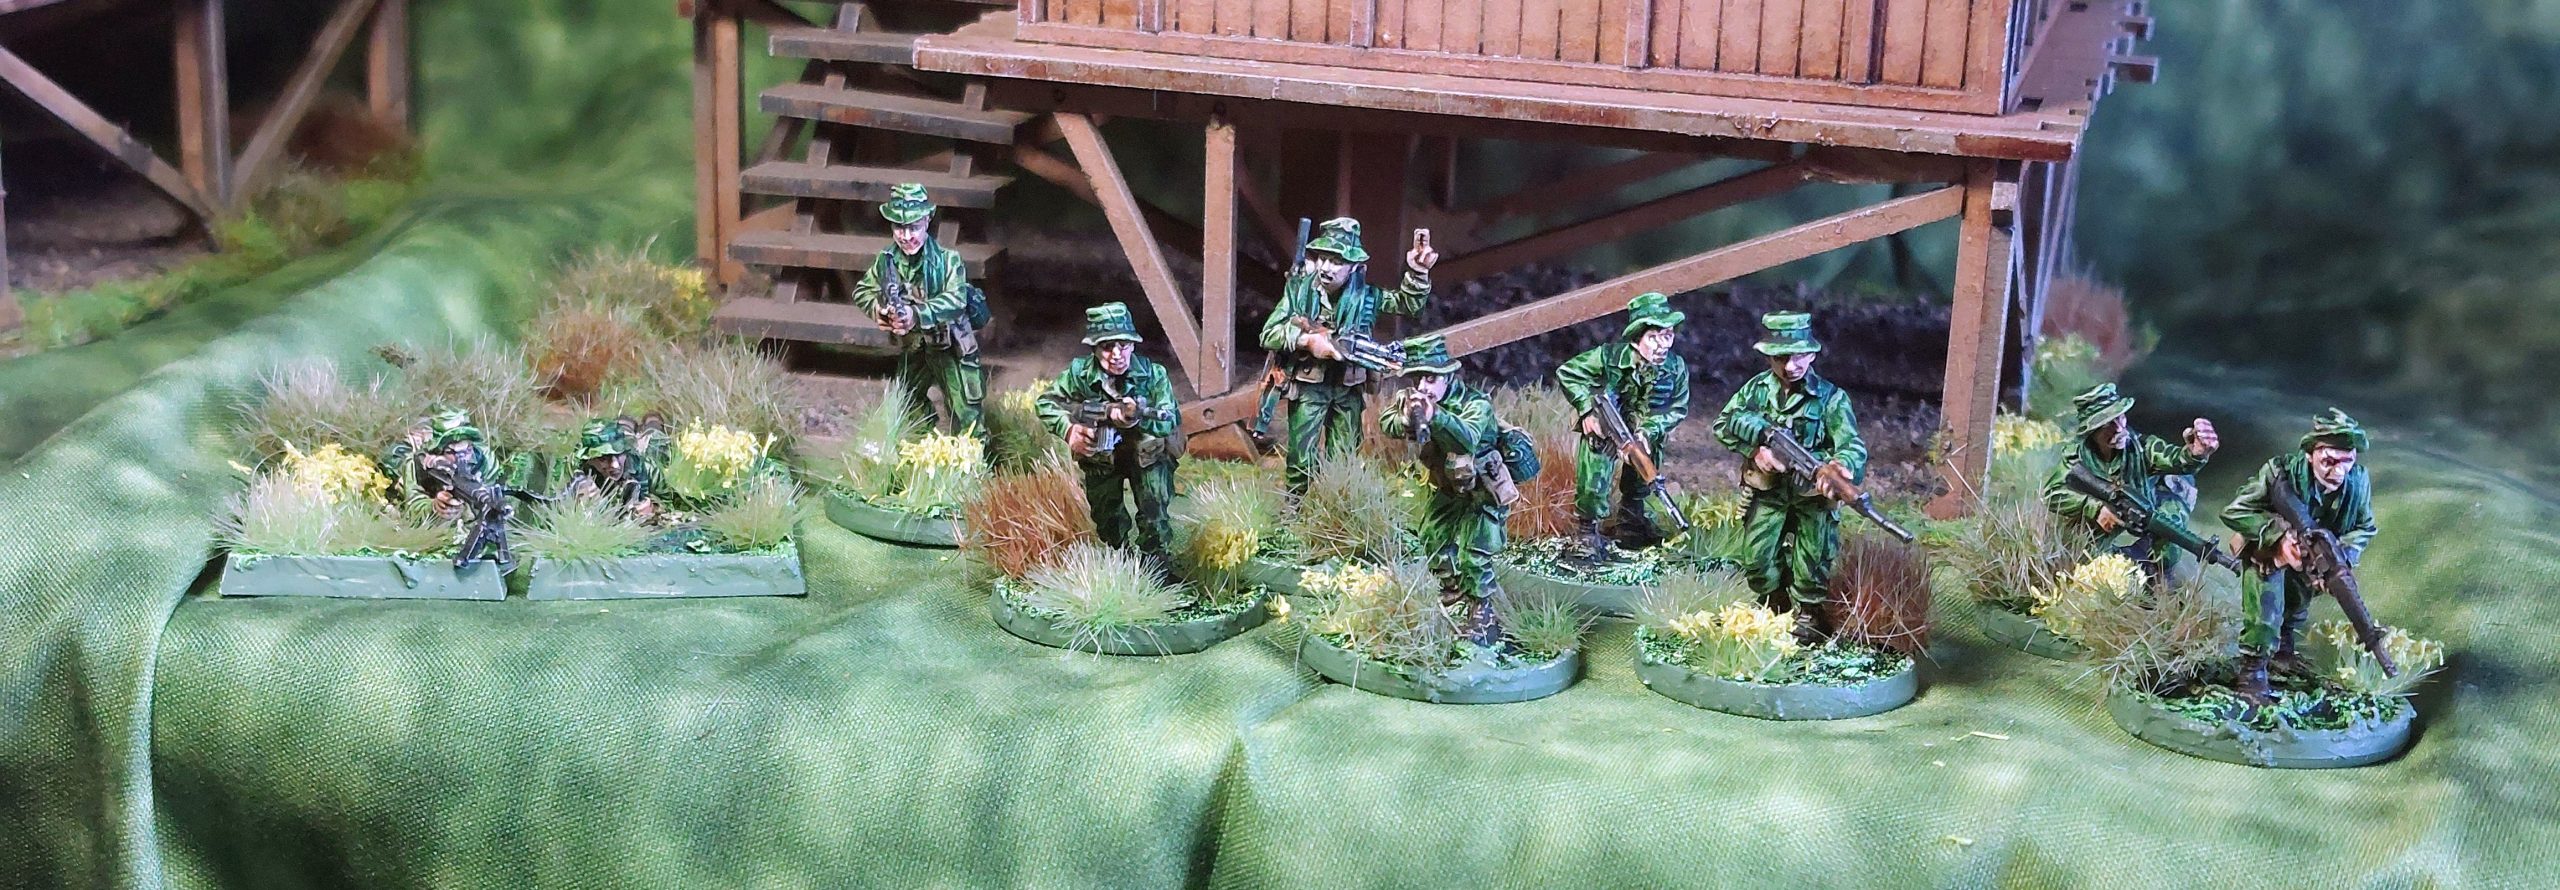
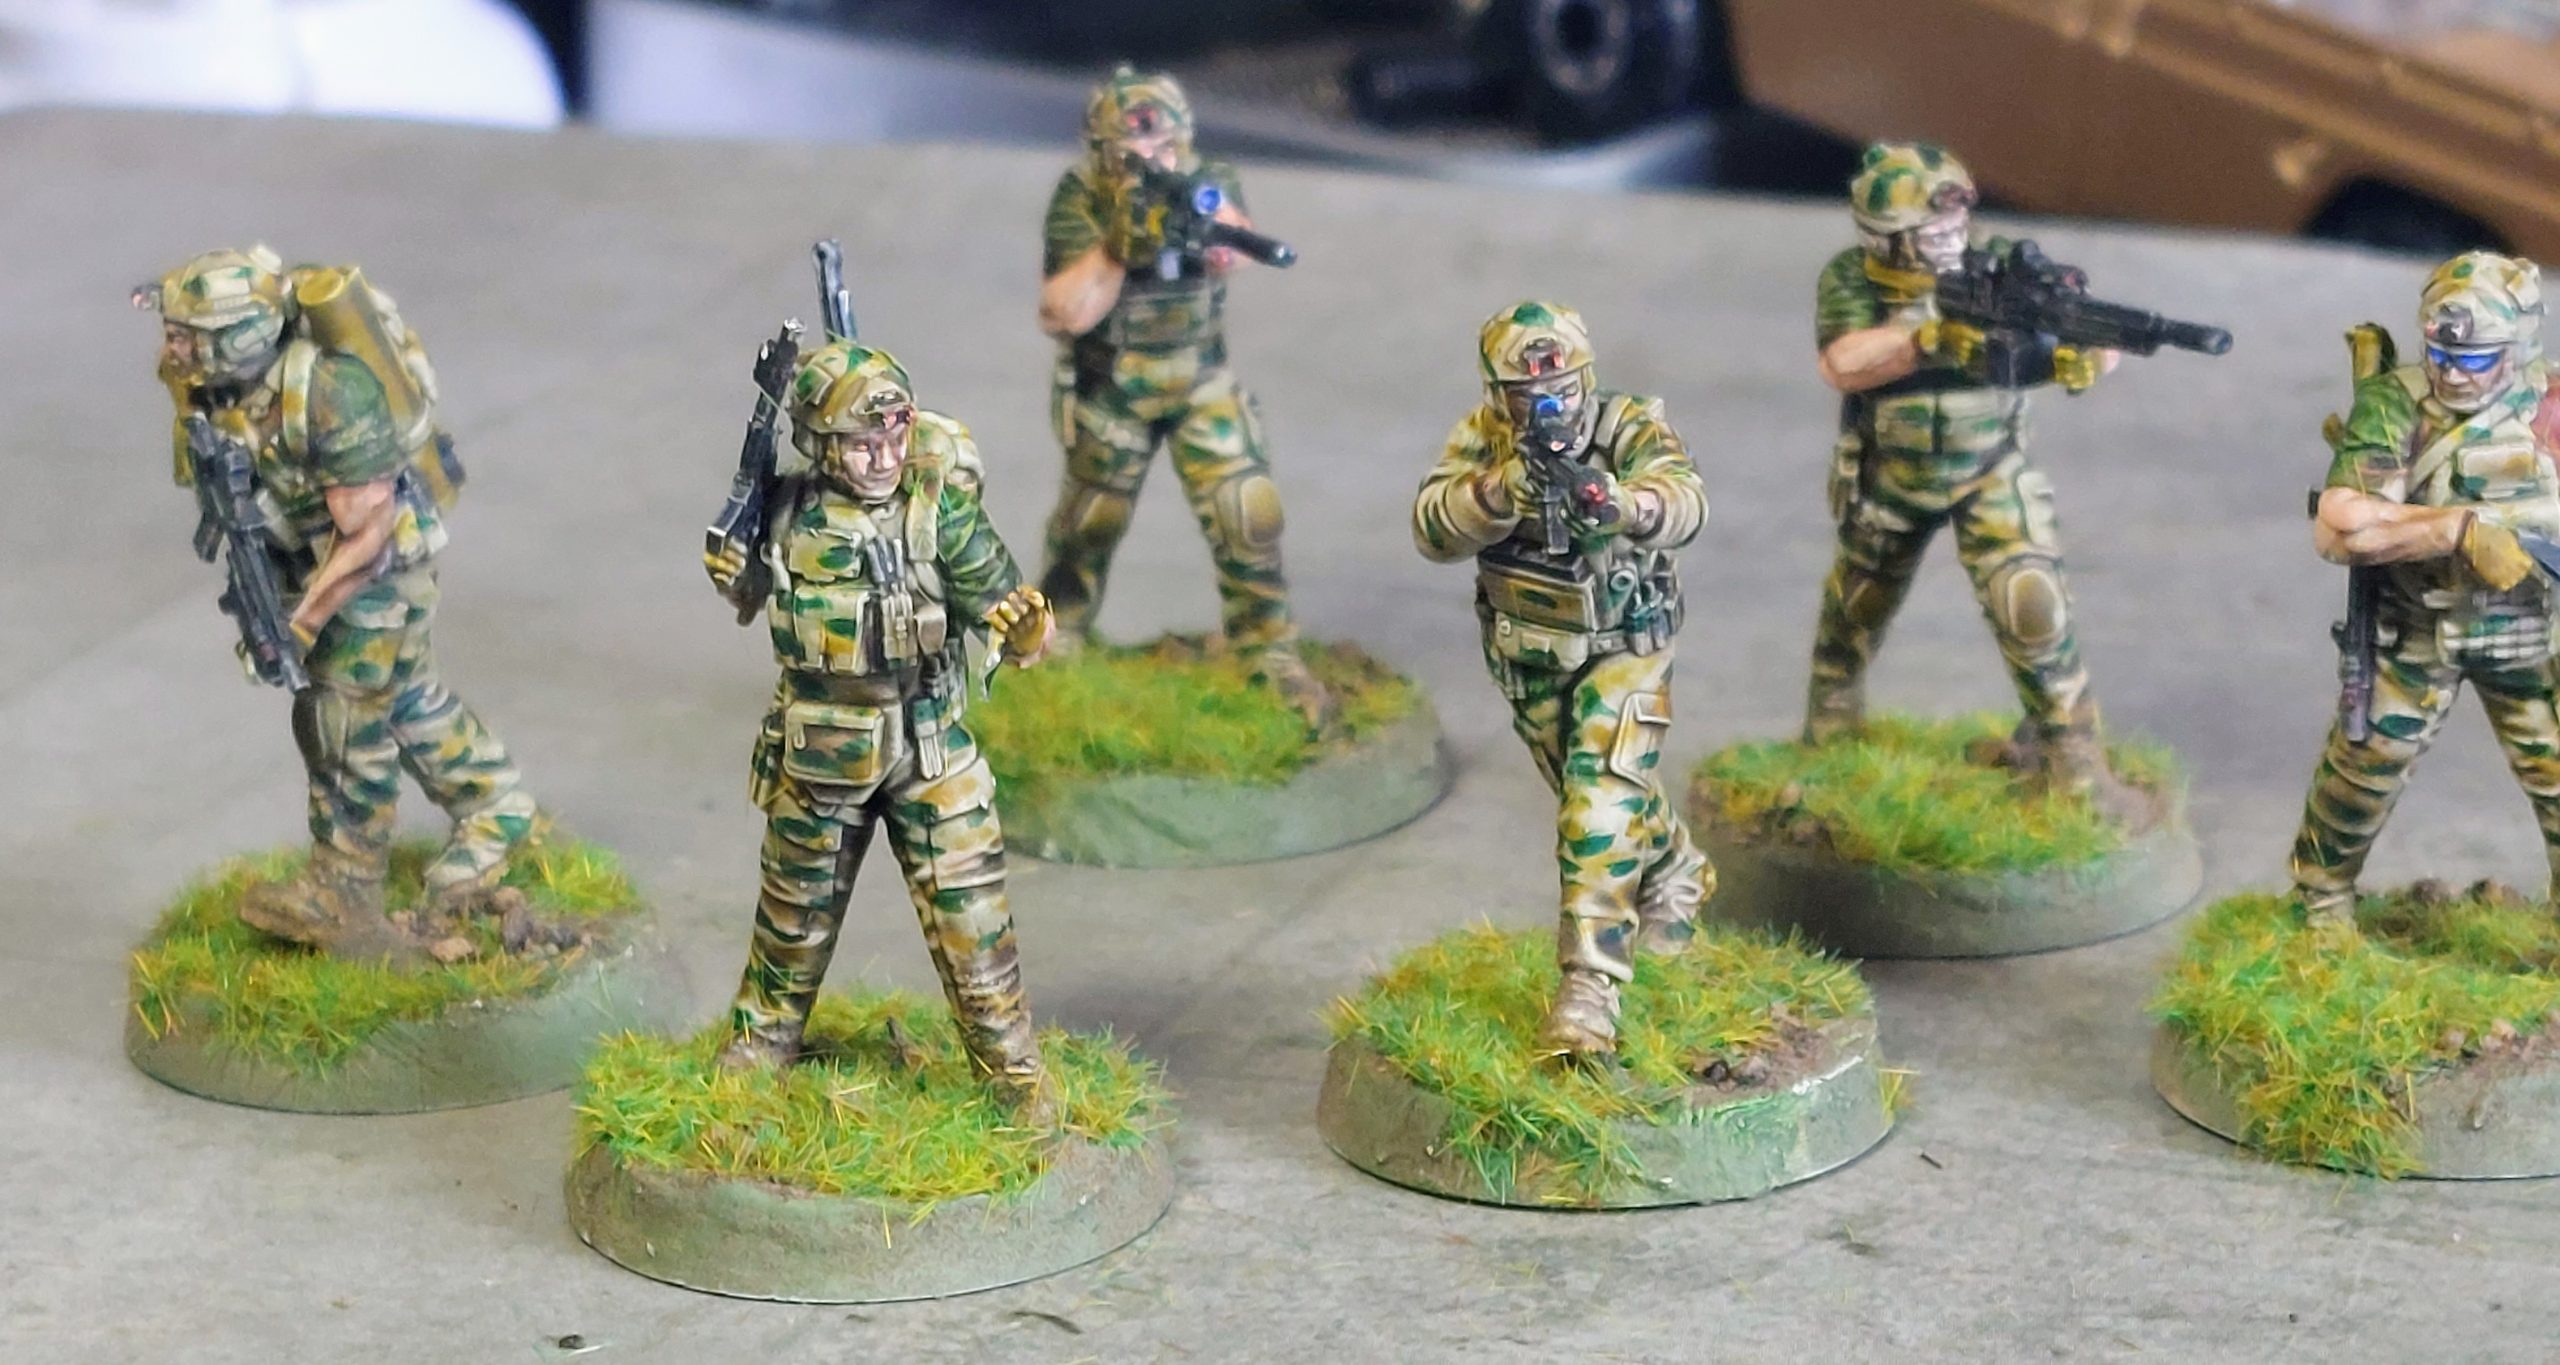
USMC Heroes, and and US infantry
Having done my ANZAC’S, I decided to knuckle down and do some more U.S forces .
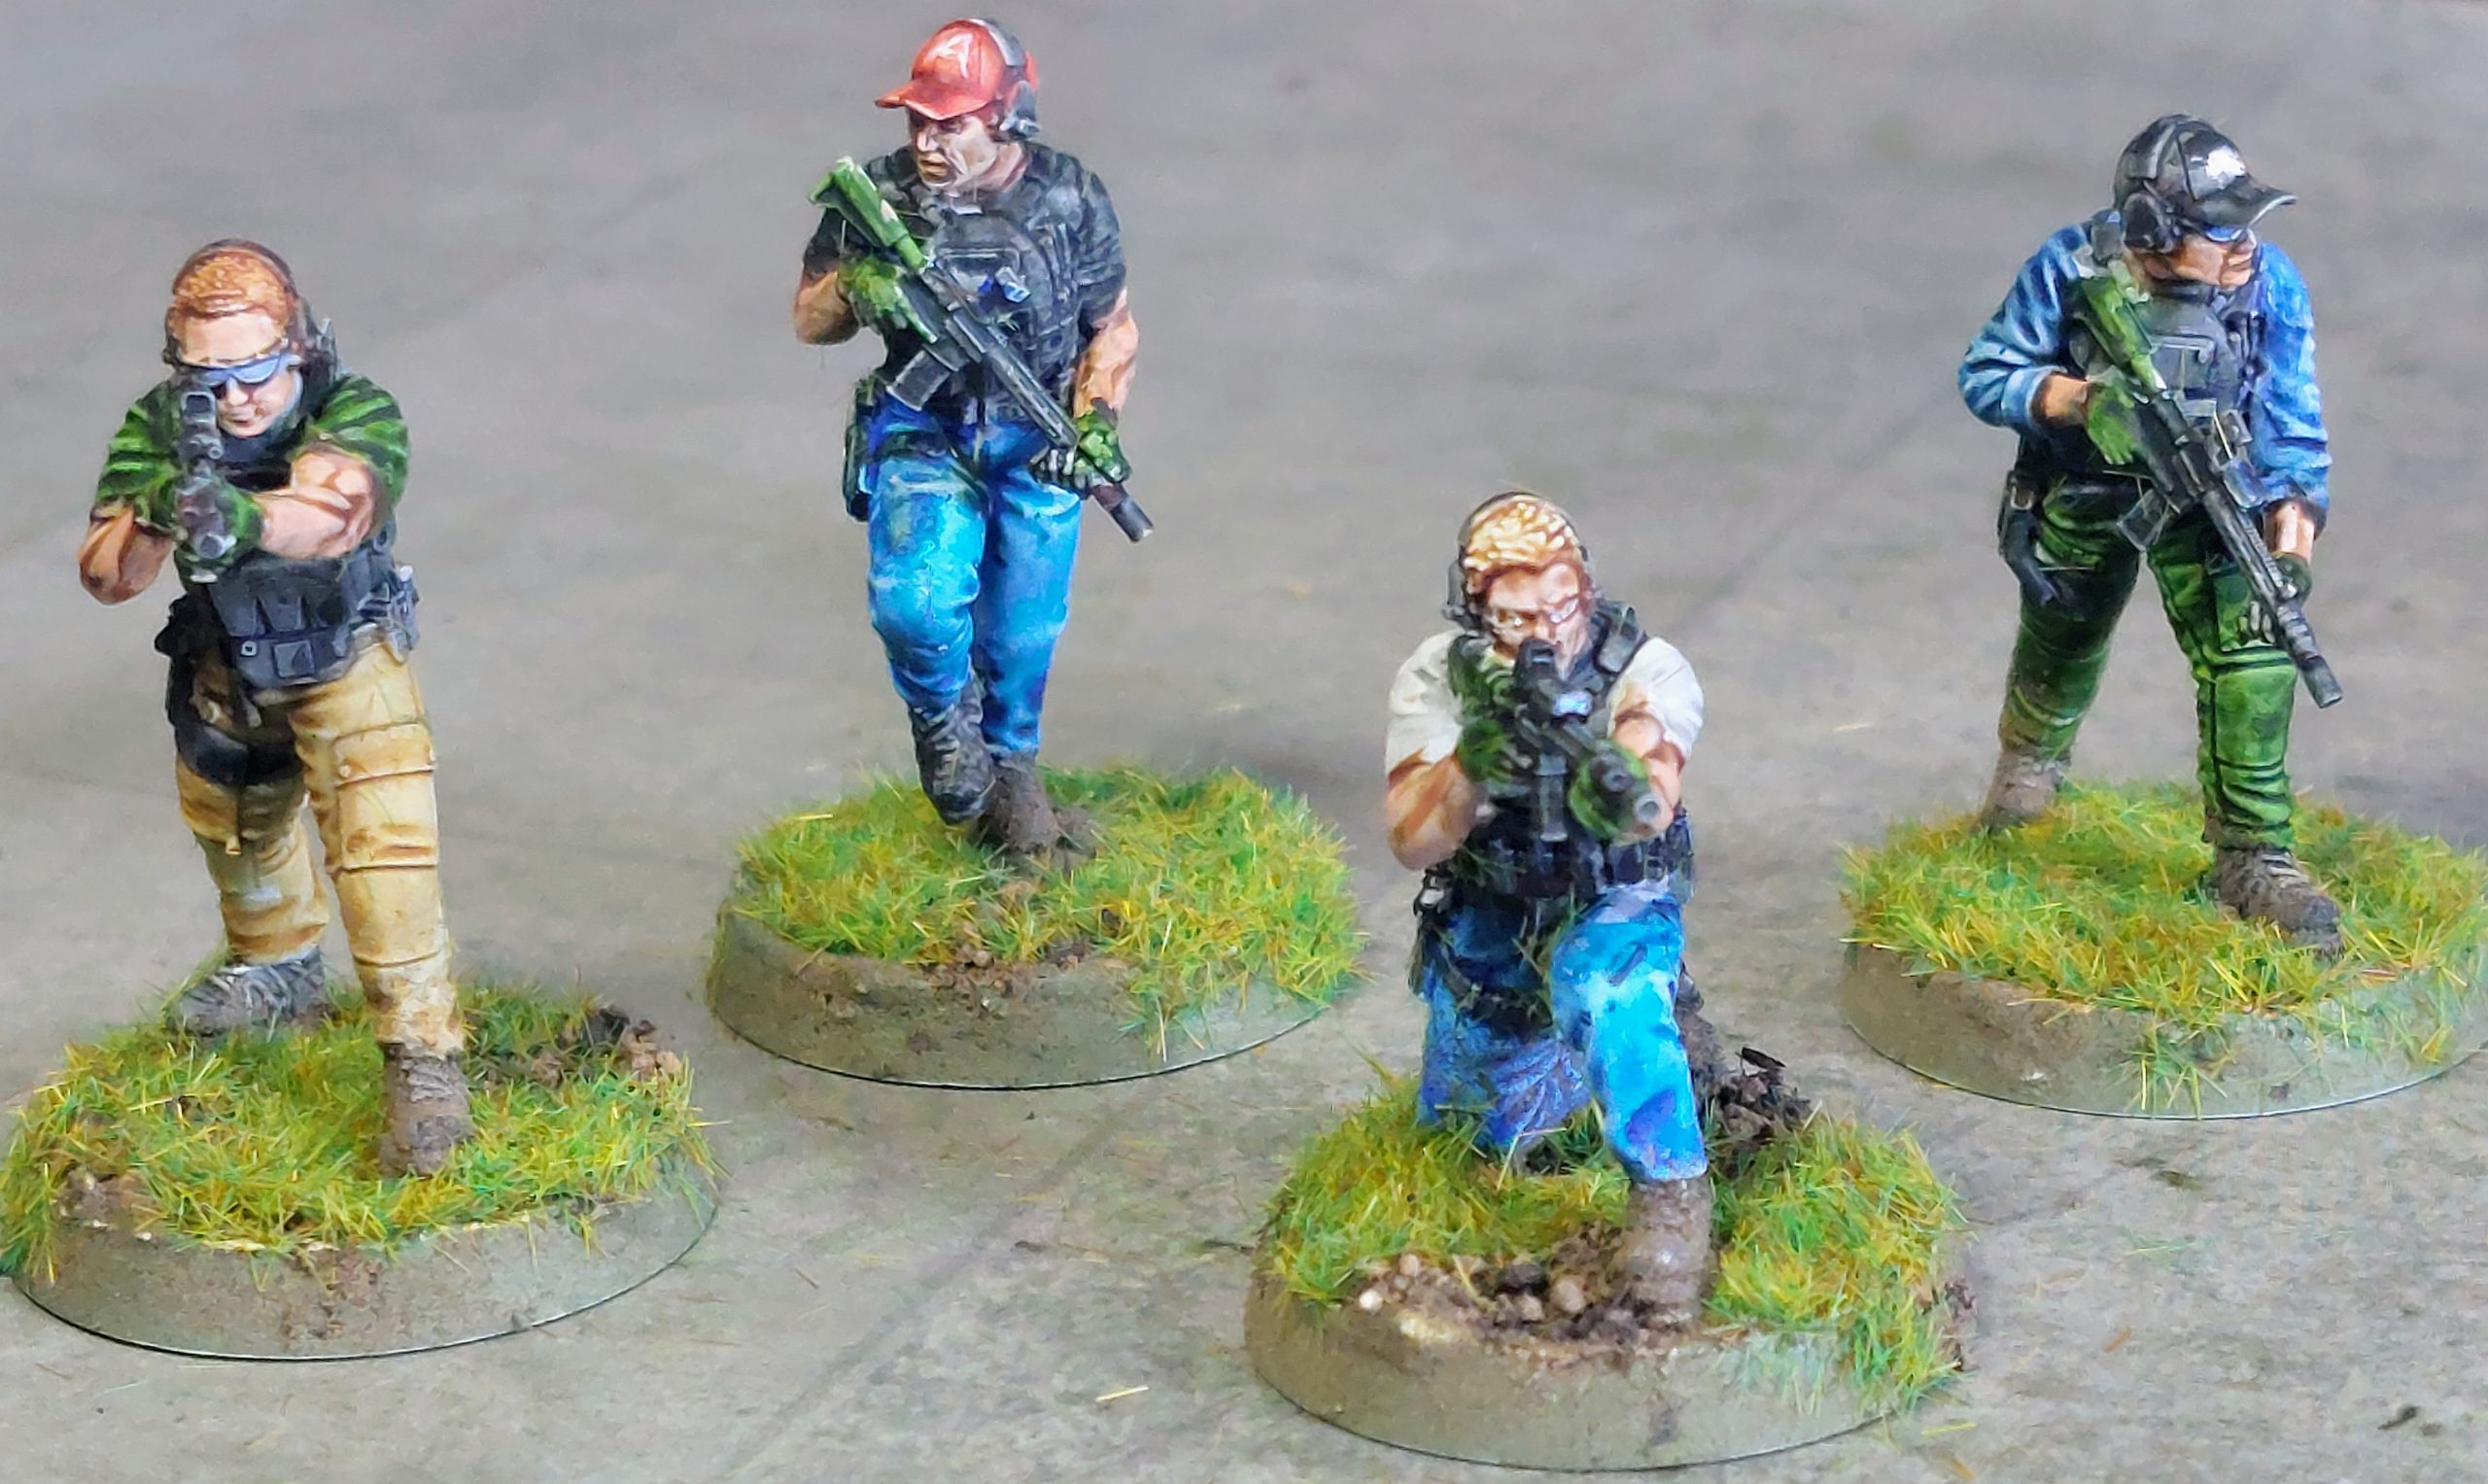
So I started with 4 U.S. Marine heroes from Full Metal Jacket, a special set from Empress Miniatures.
 Cowboy, 8 Ball, Animal Mother and Joker
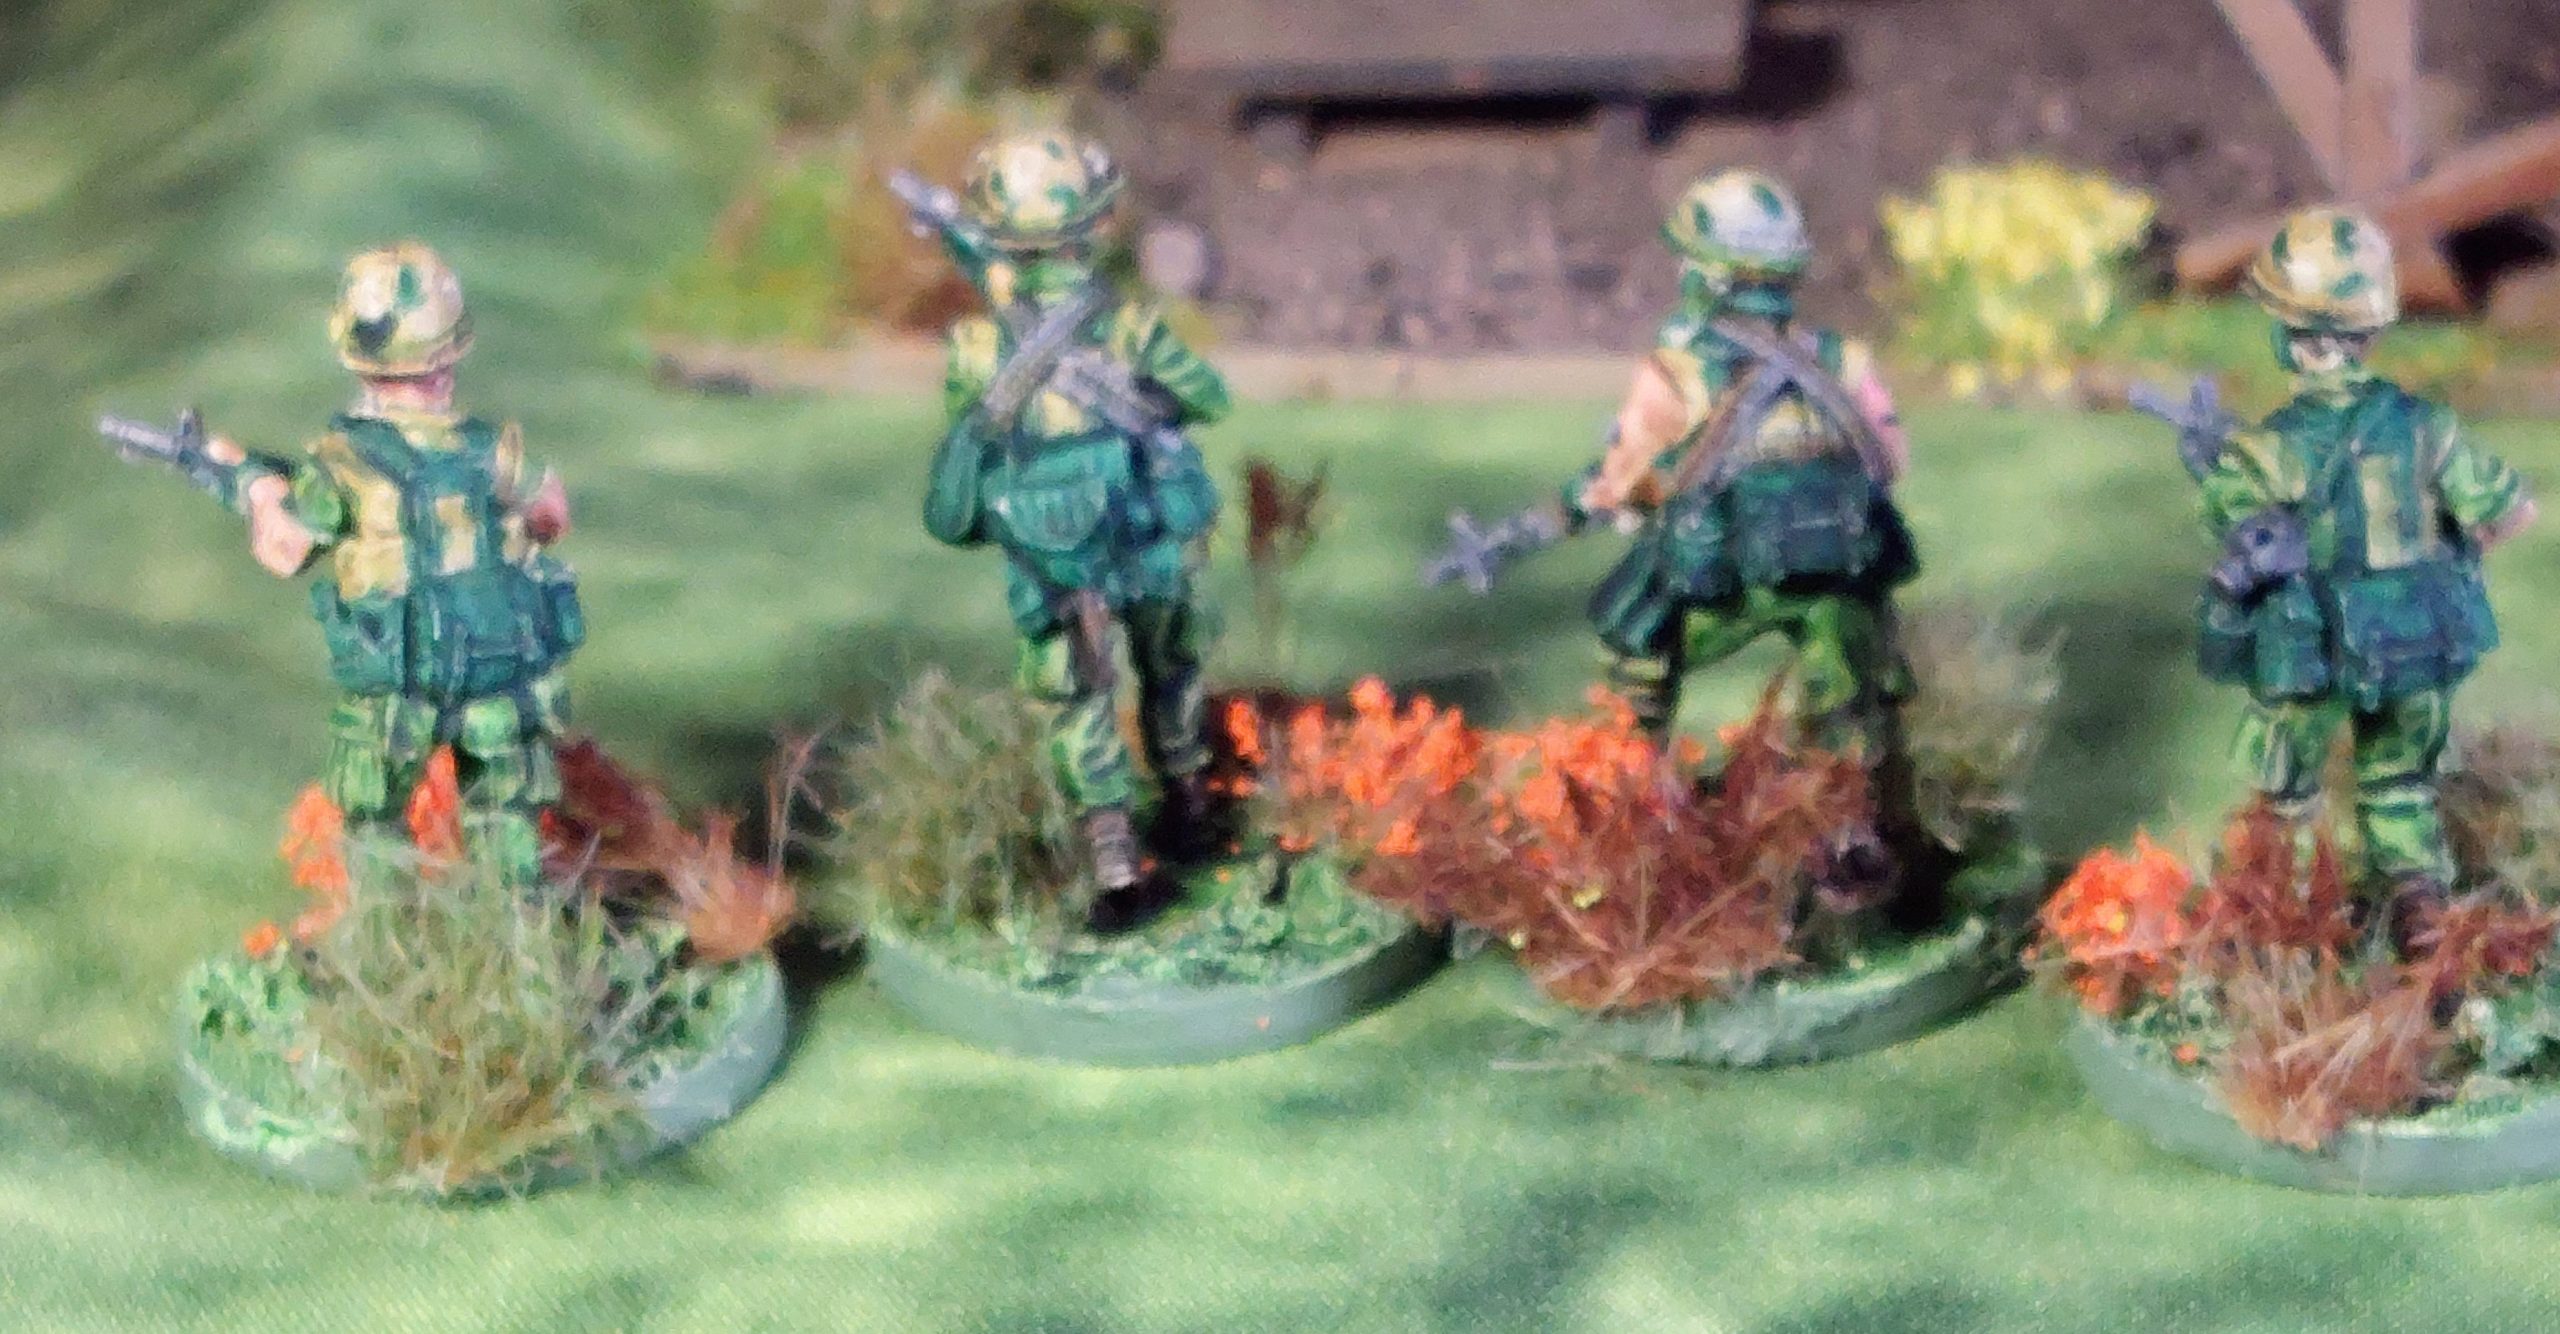
I finally decided to buy Crucible Crushs American Infantry sculpted by Pulp Minatures.
I don’t generally need much to buy from Pulp Minatures
So I brought all 3 packs of U.S. Infantry.
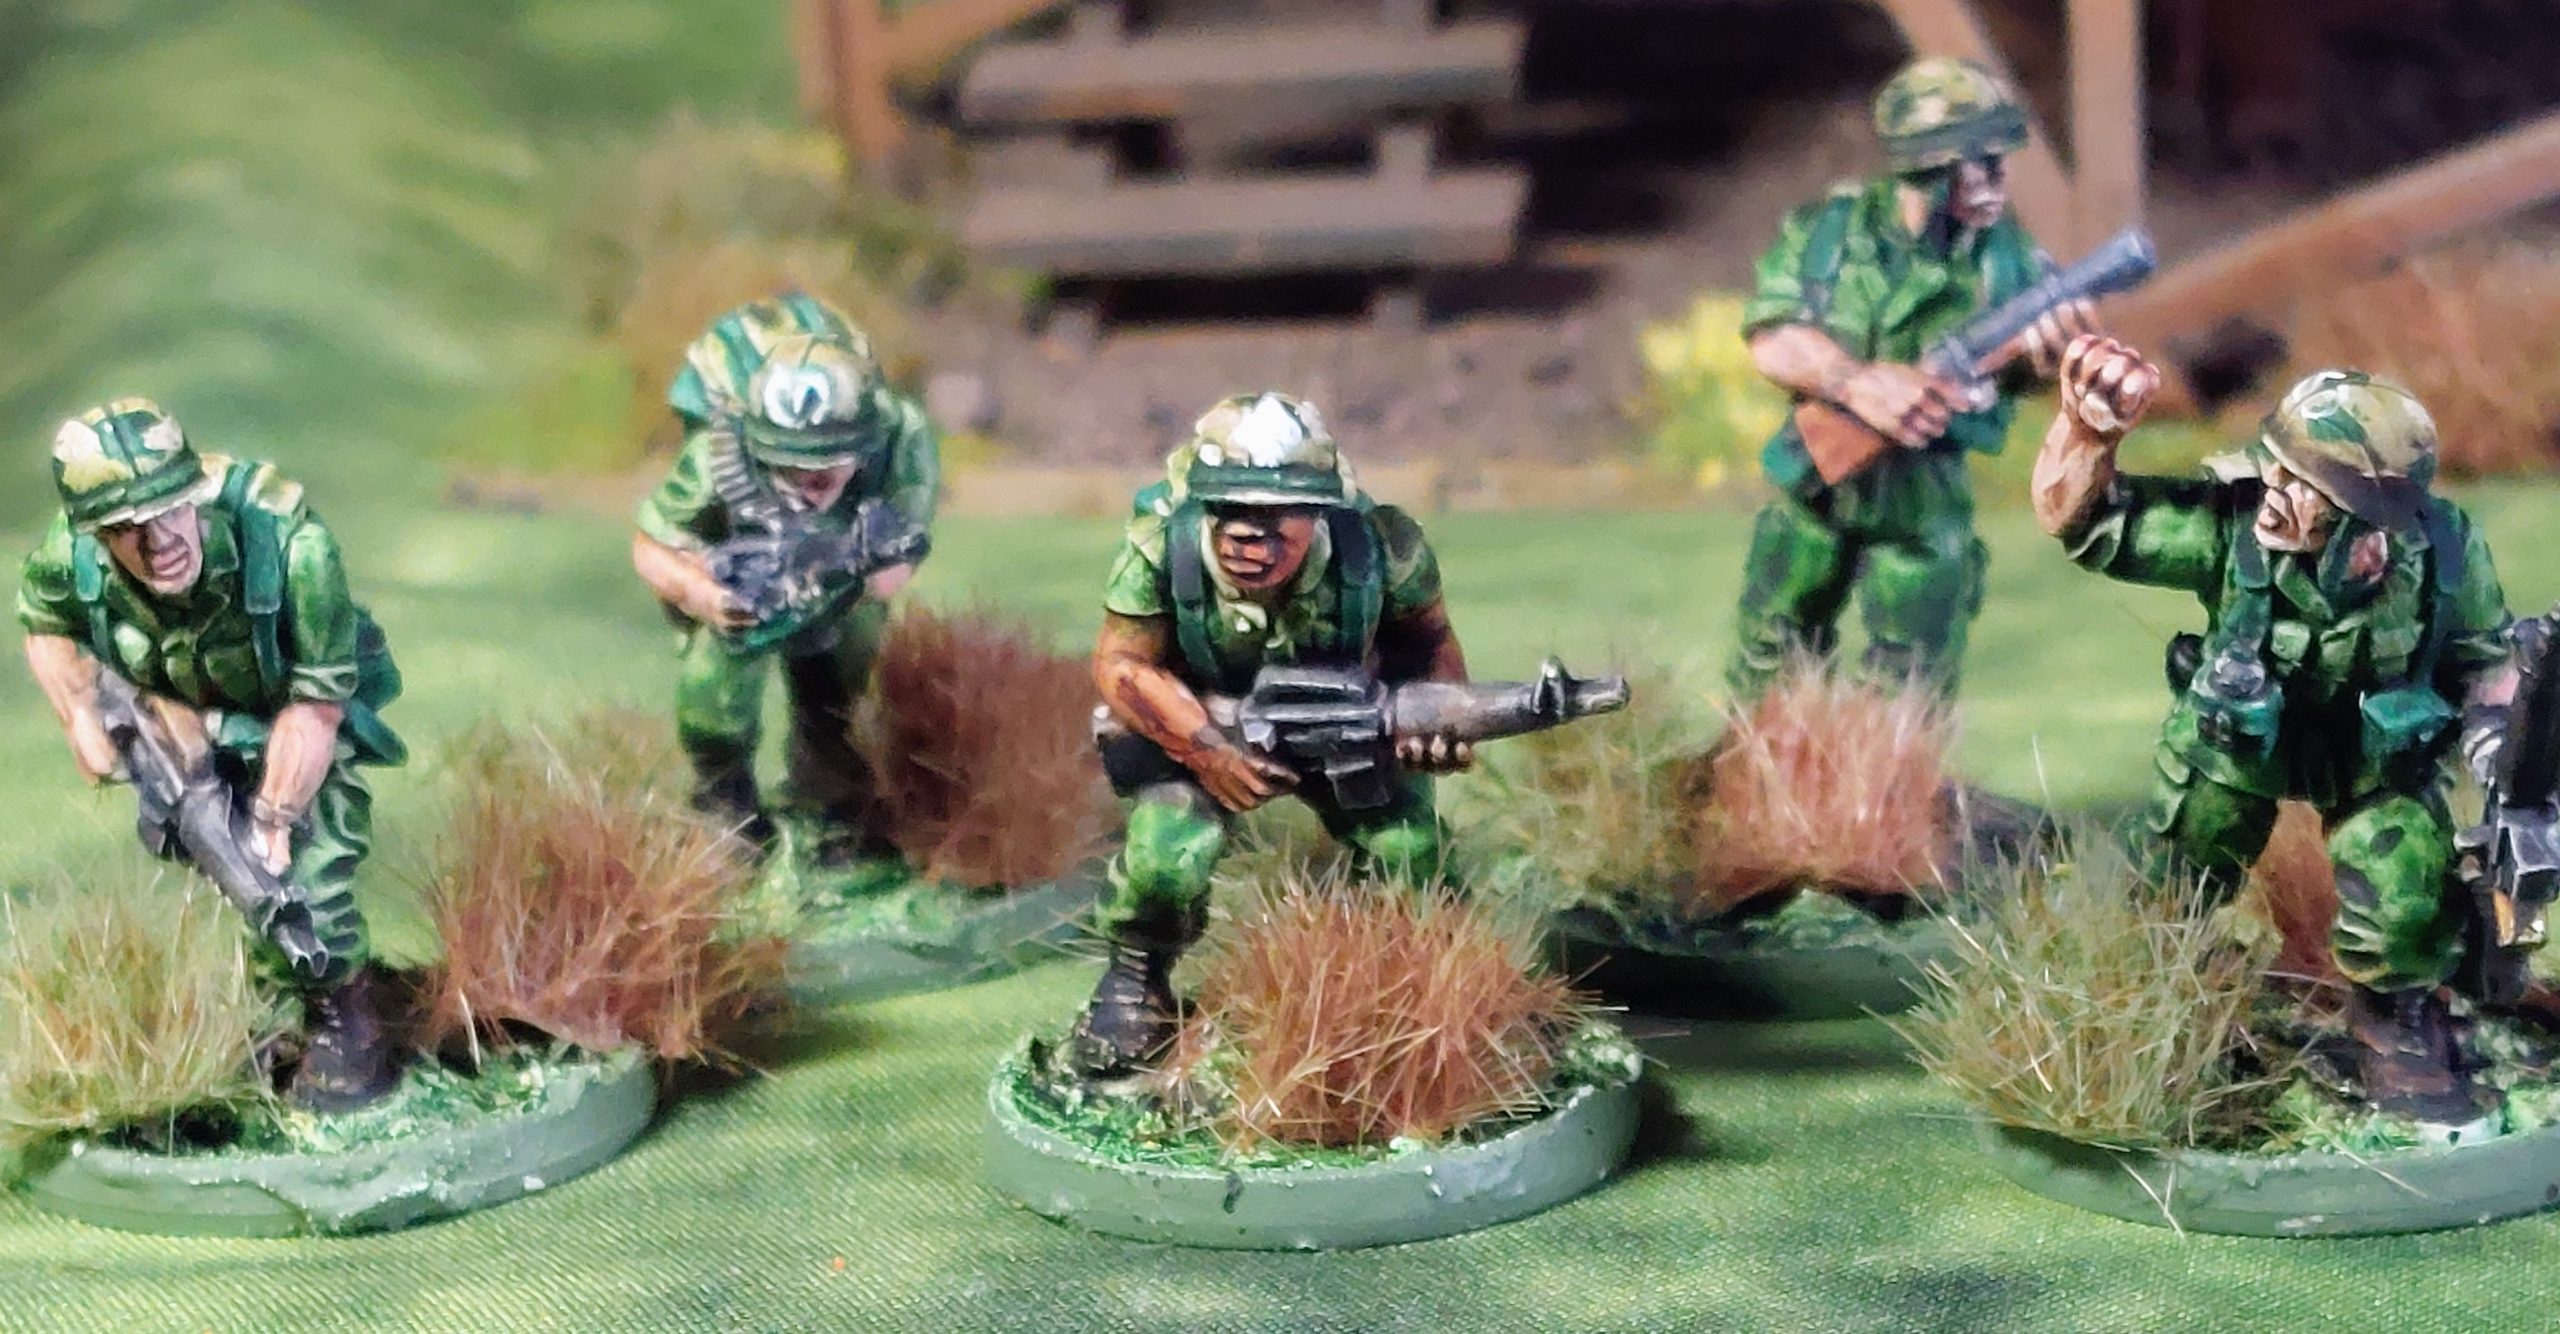
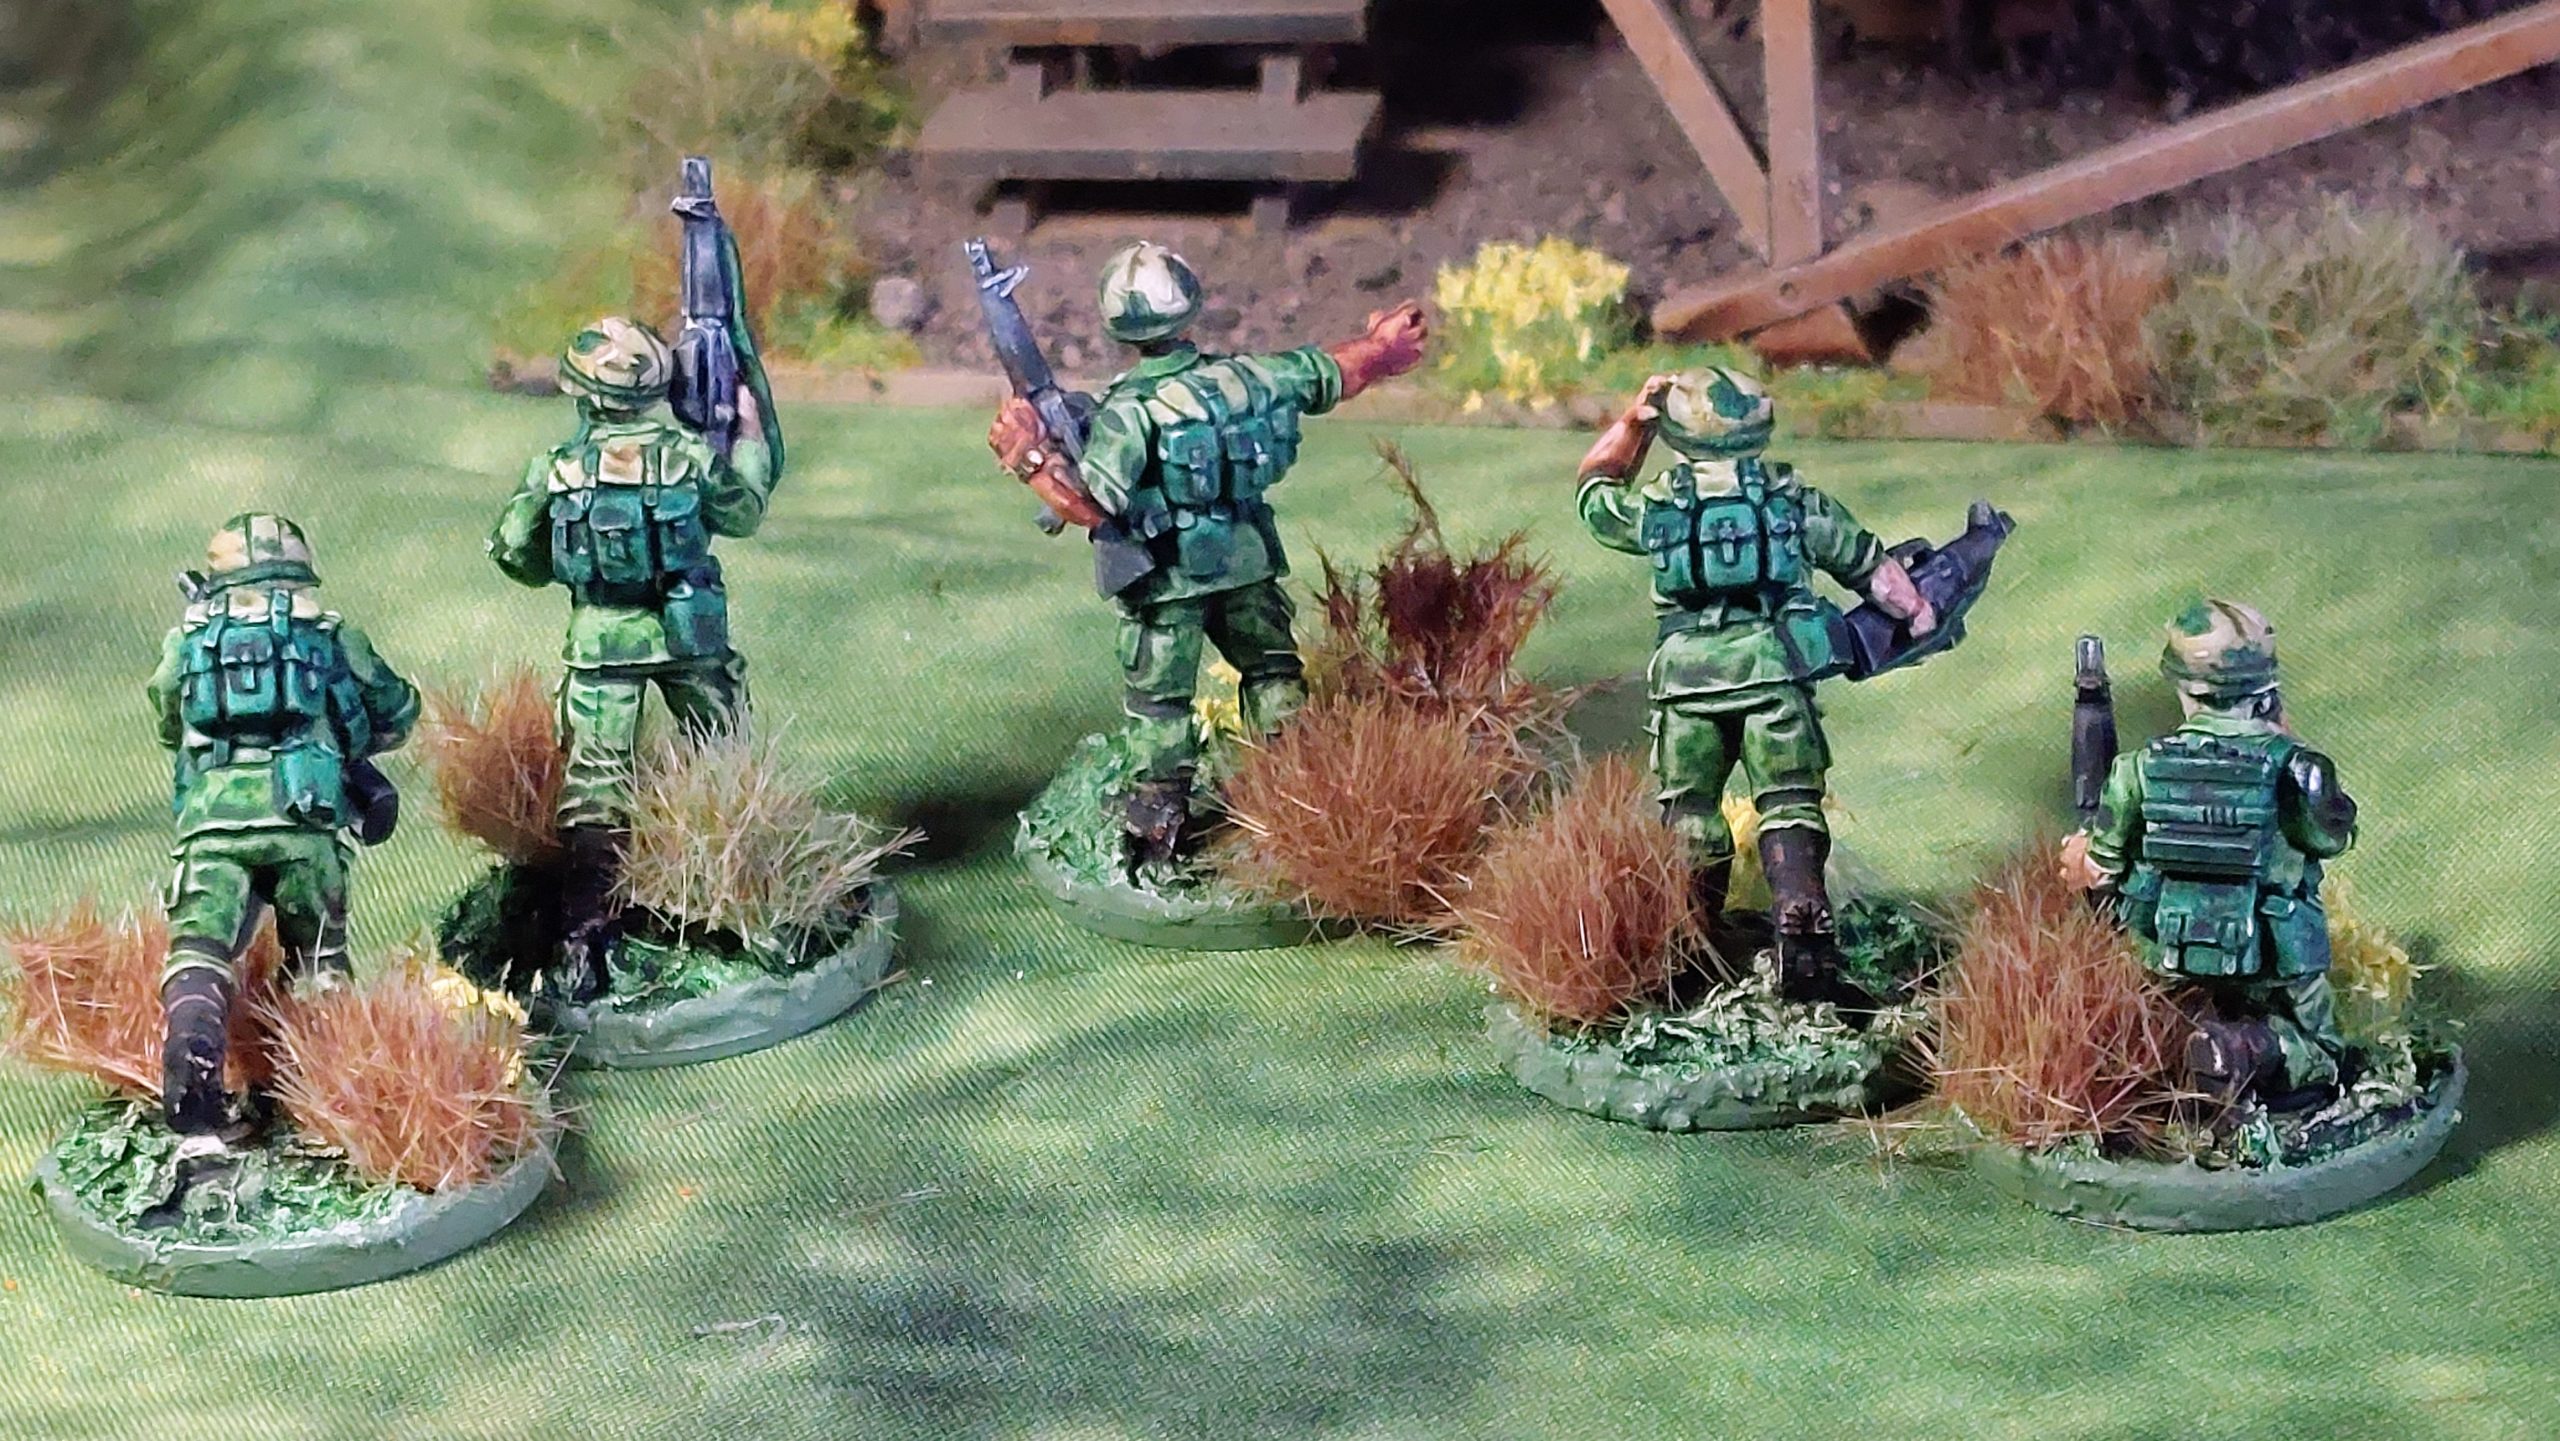
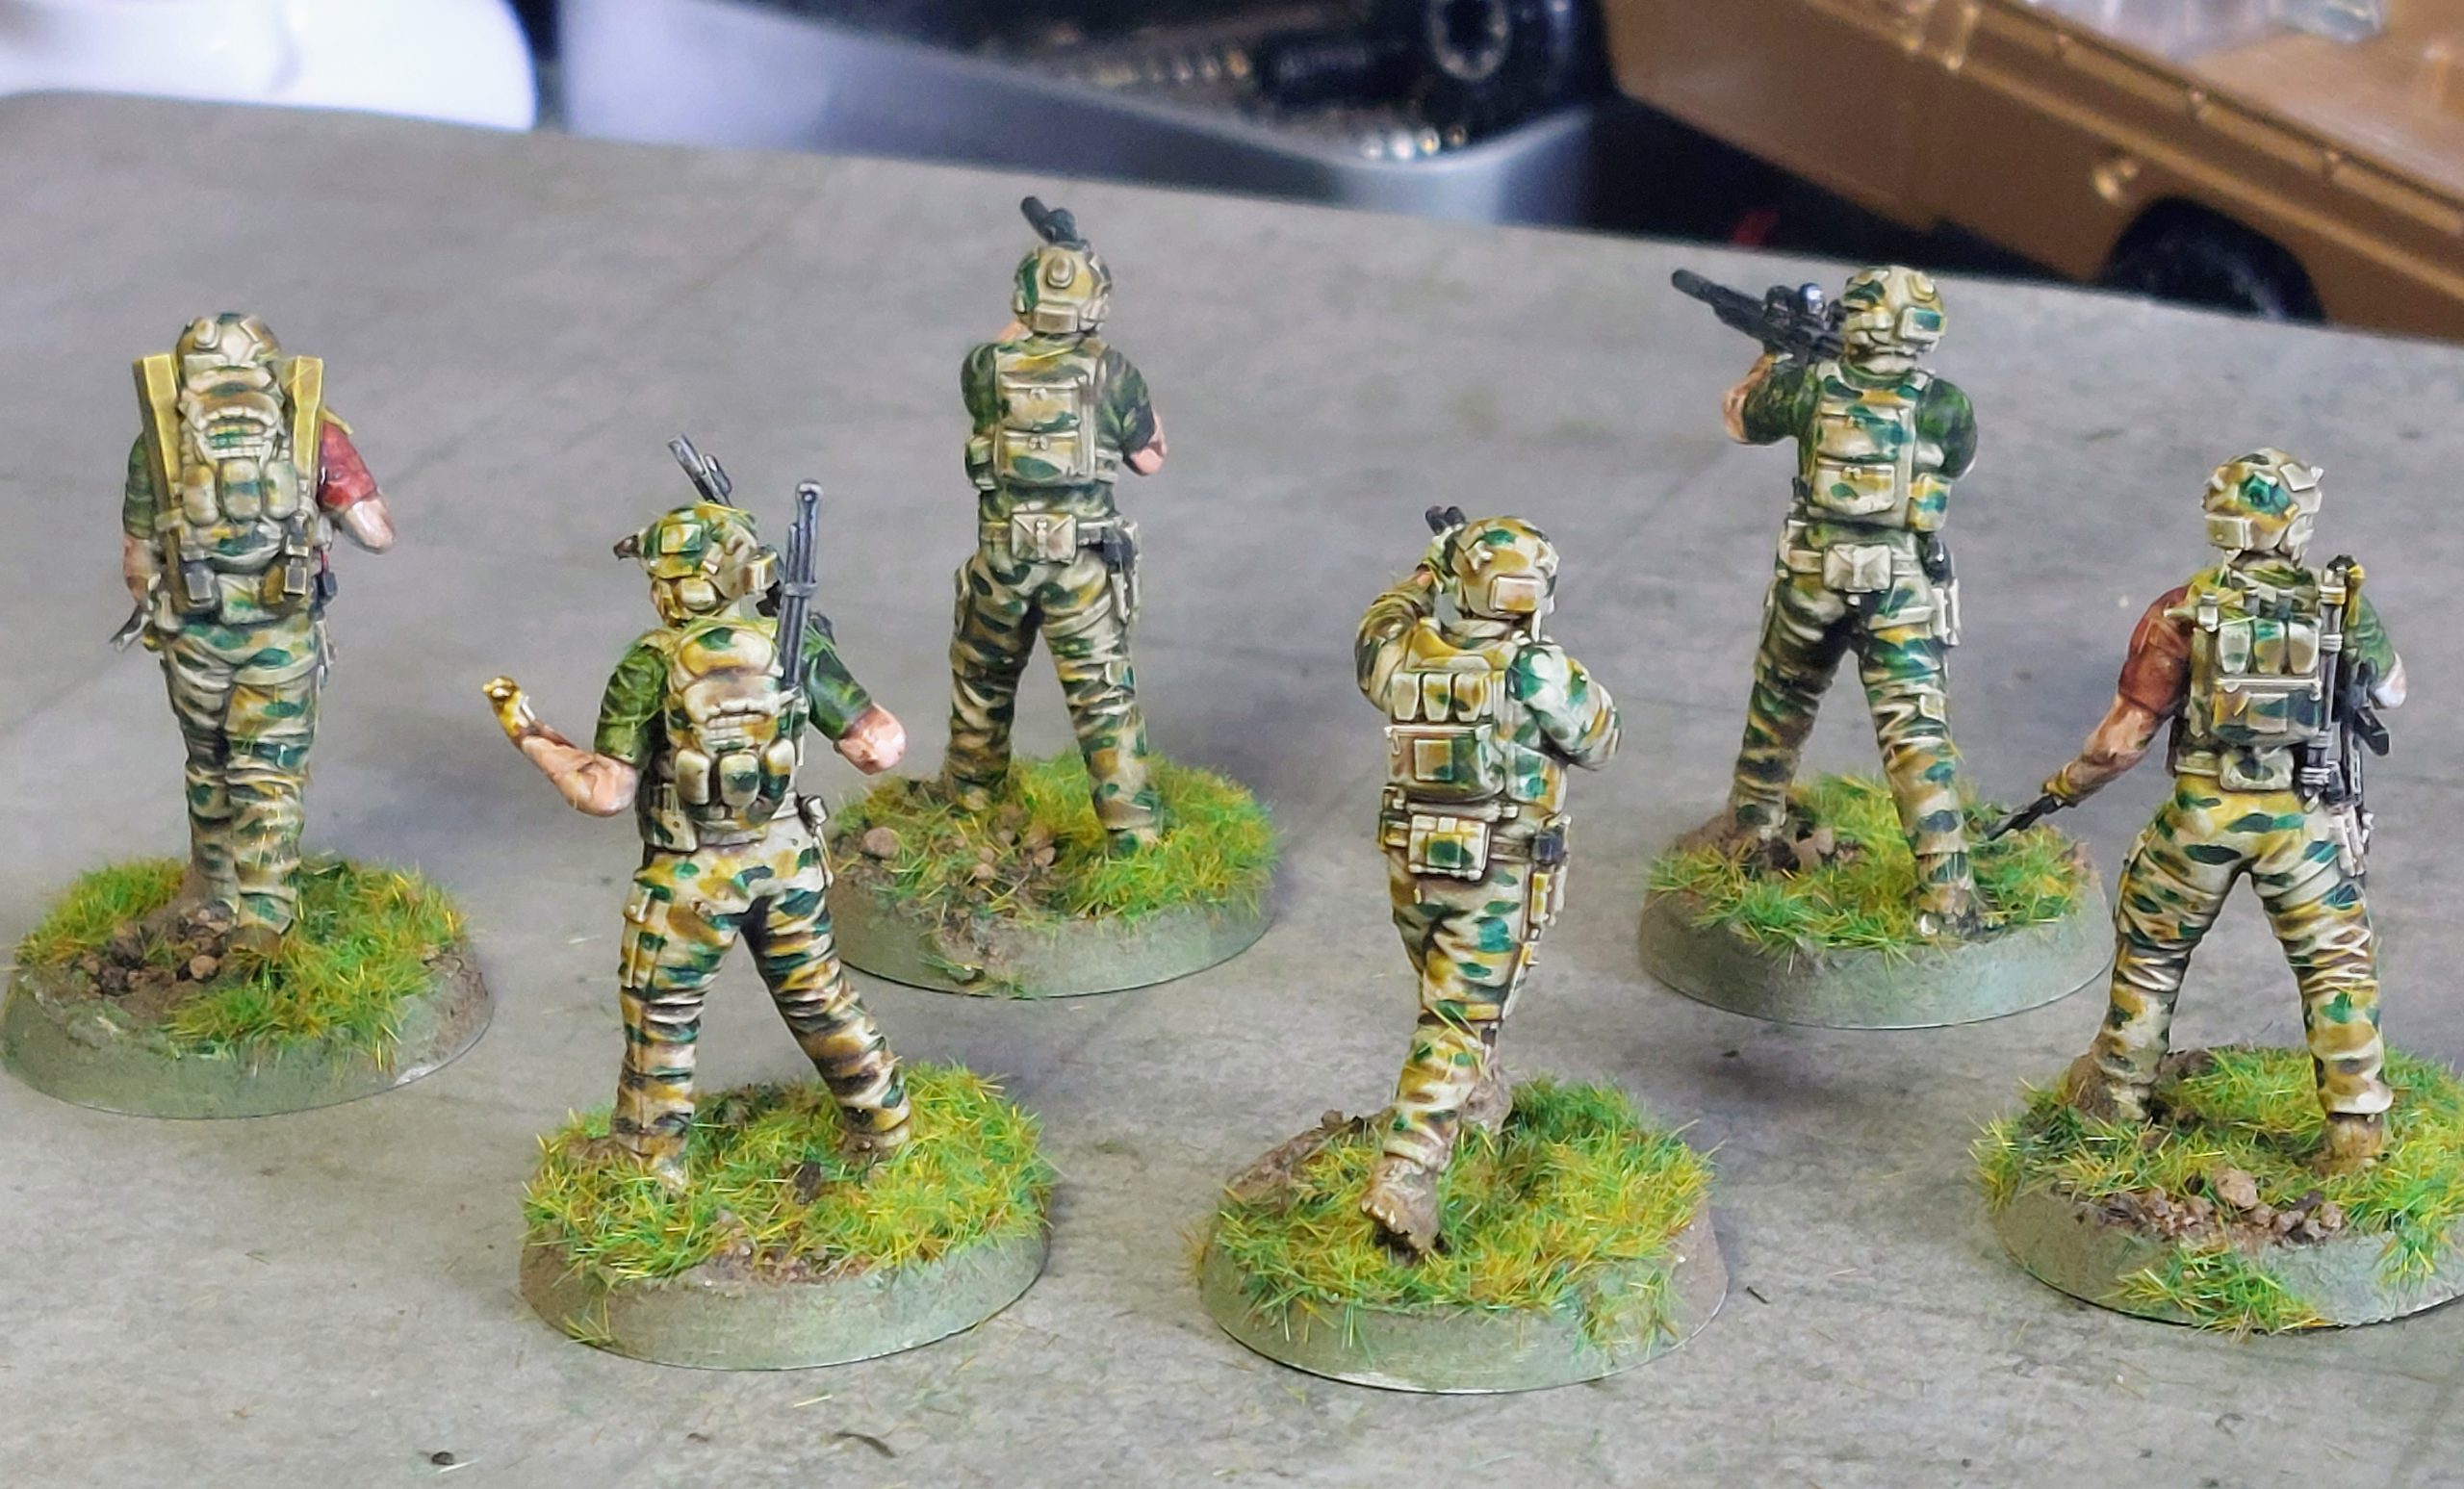
And I then finished off 3 odd figures left over from one of Crucible Crush’s U.S. Characters, t2 are obviously from Apcalypse Now. Not sure on 3rd but could be the the Colonel played by Marlon Brando.
And back to were it all Began.
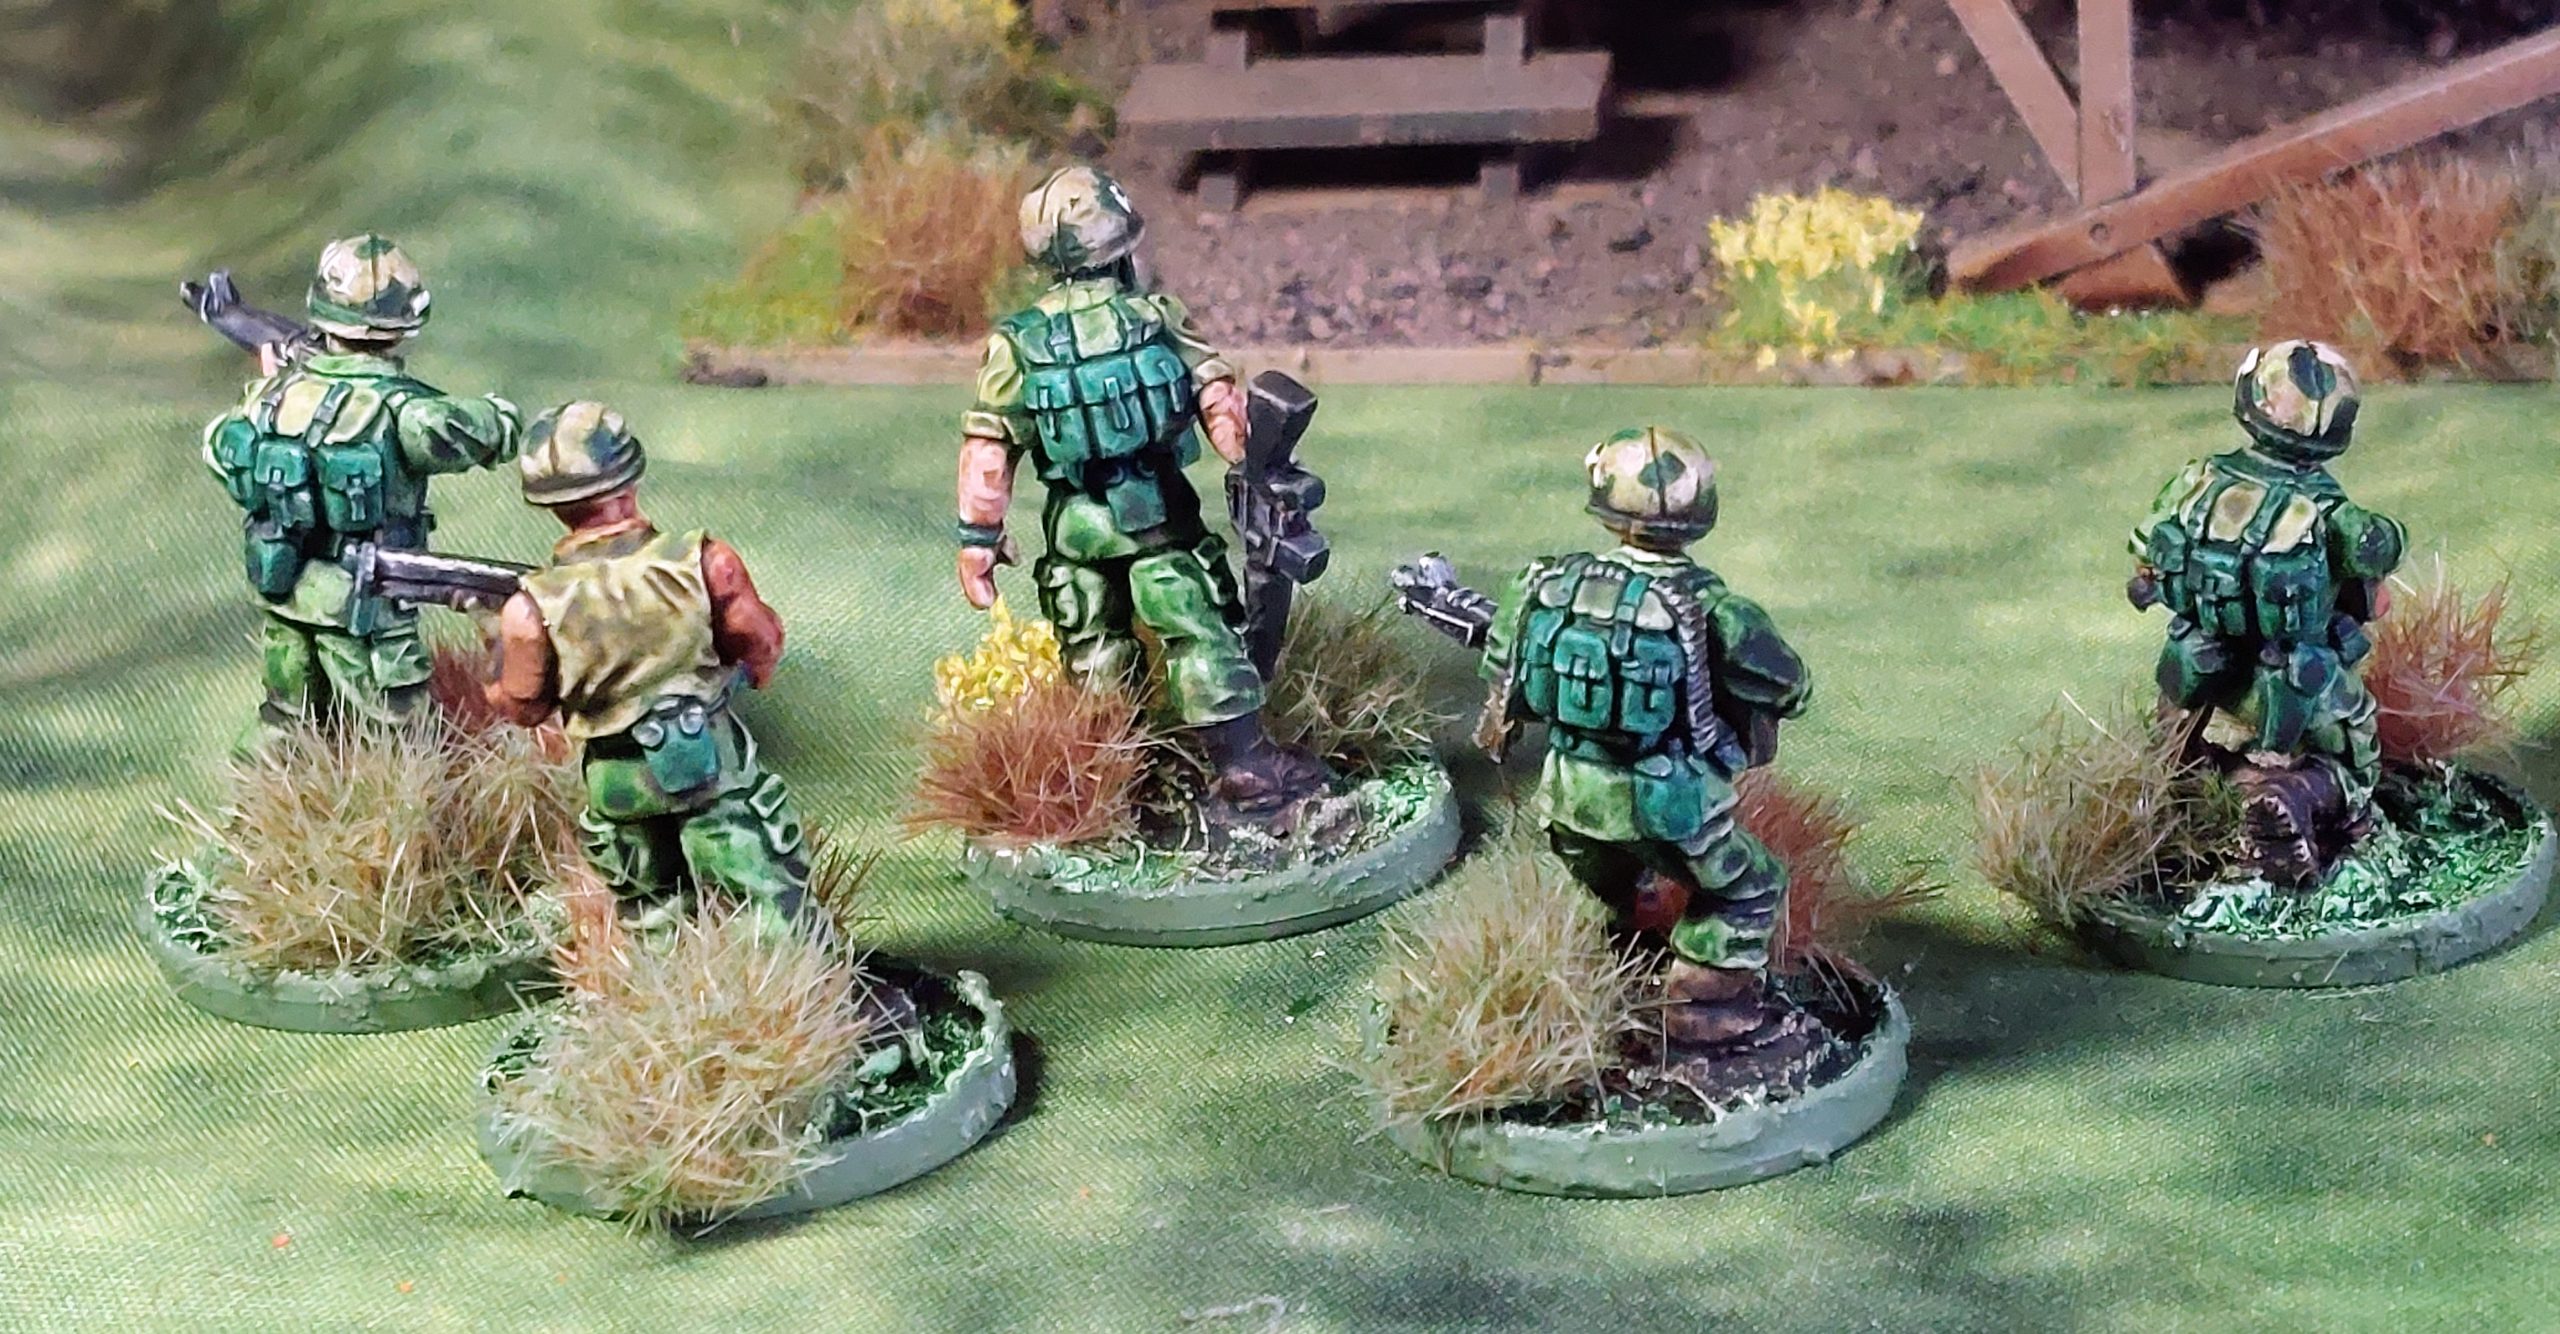
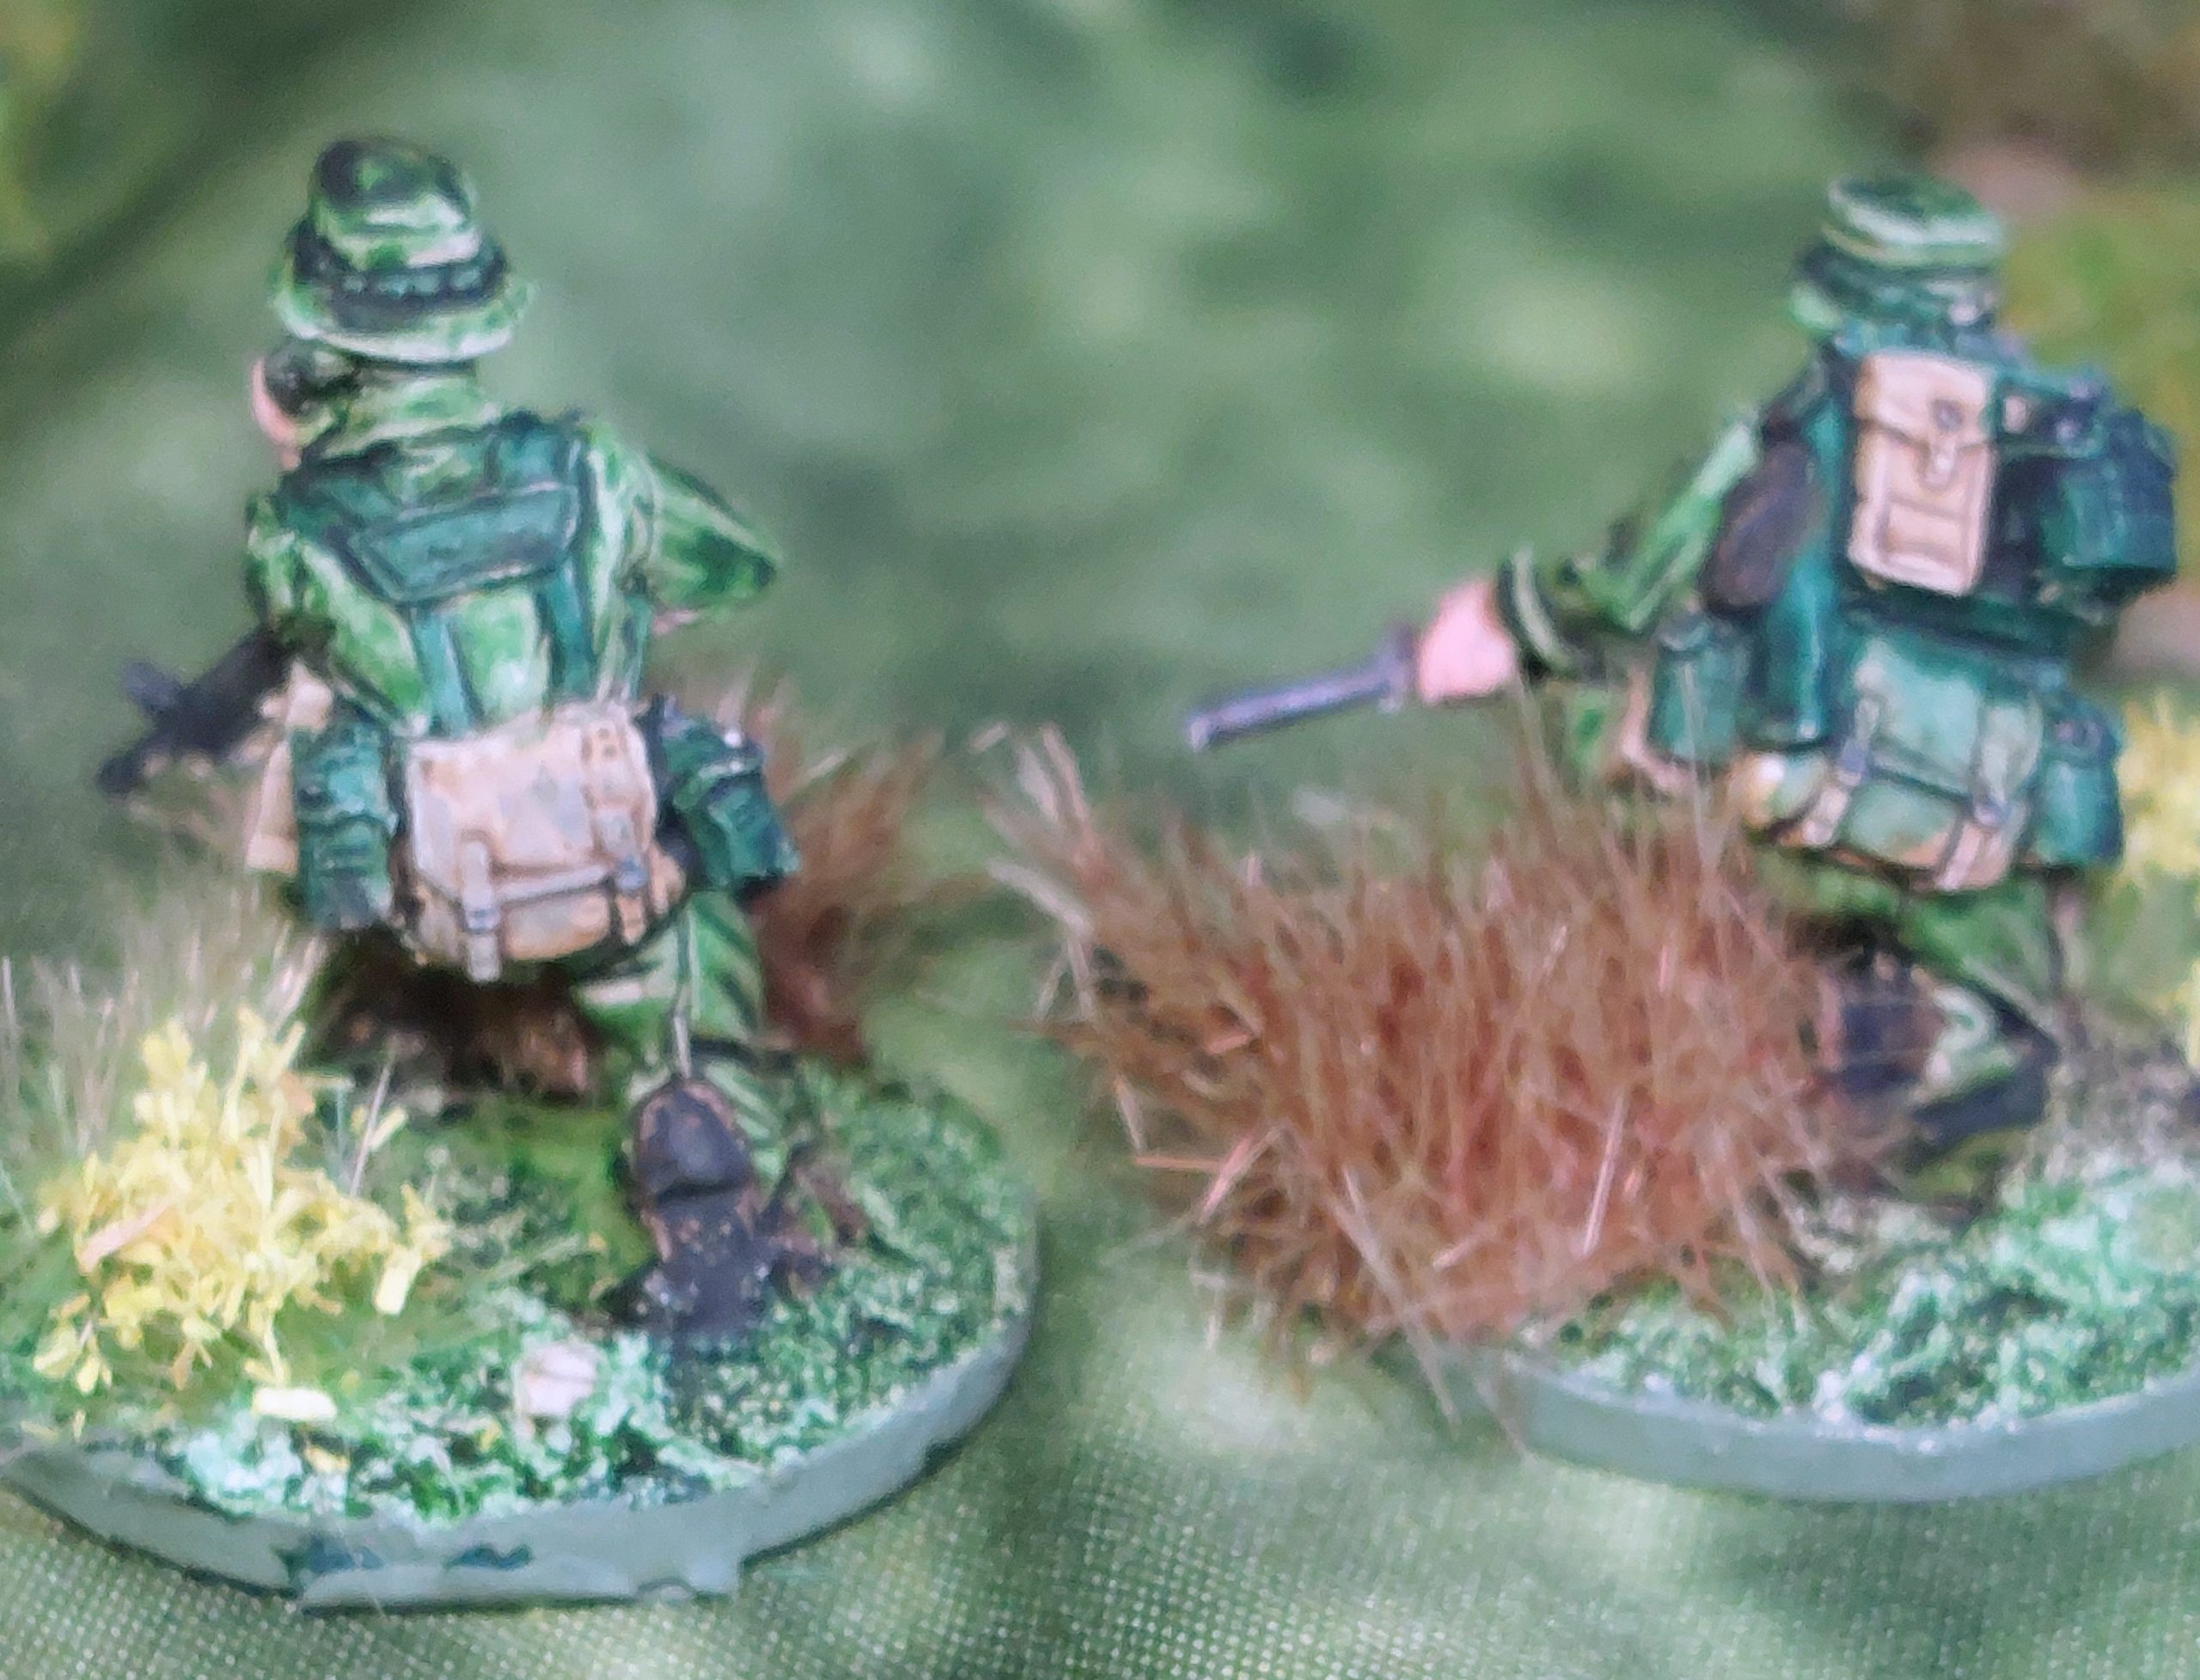
Yup nearly old song titles, but with all the rabbit holes completed for noe, plus all the Vietnam vehicles I could finally concentrate on what had started it all ANZAC’S for Black Suns. I had actually built a 2nd Squad of Rubicon’s figures, and completed half of it, so I next completed the squad.
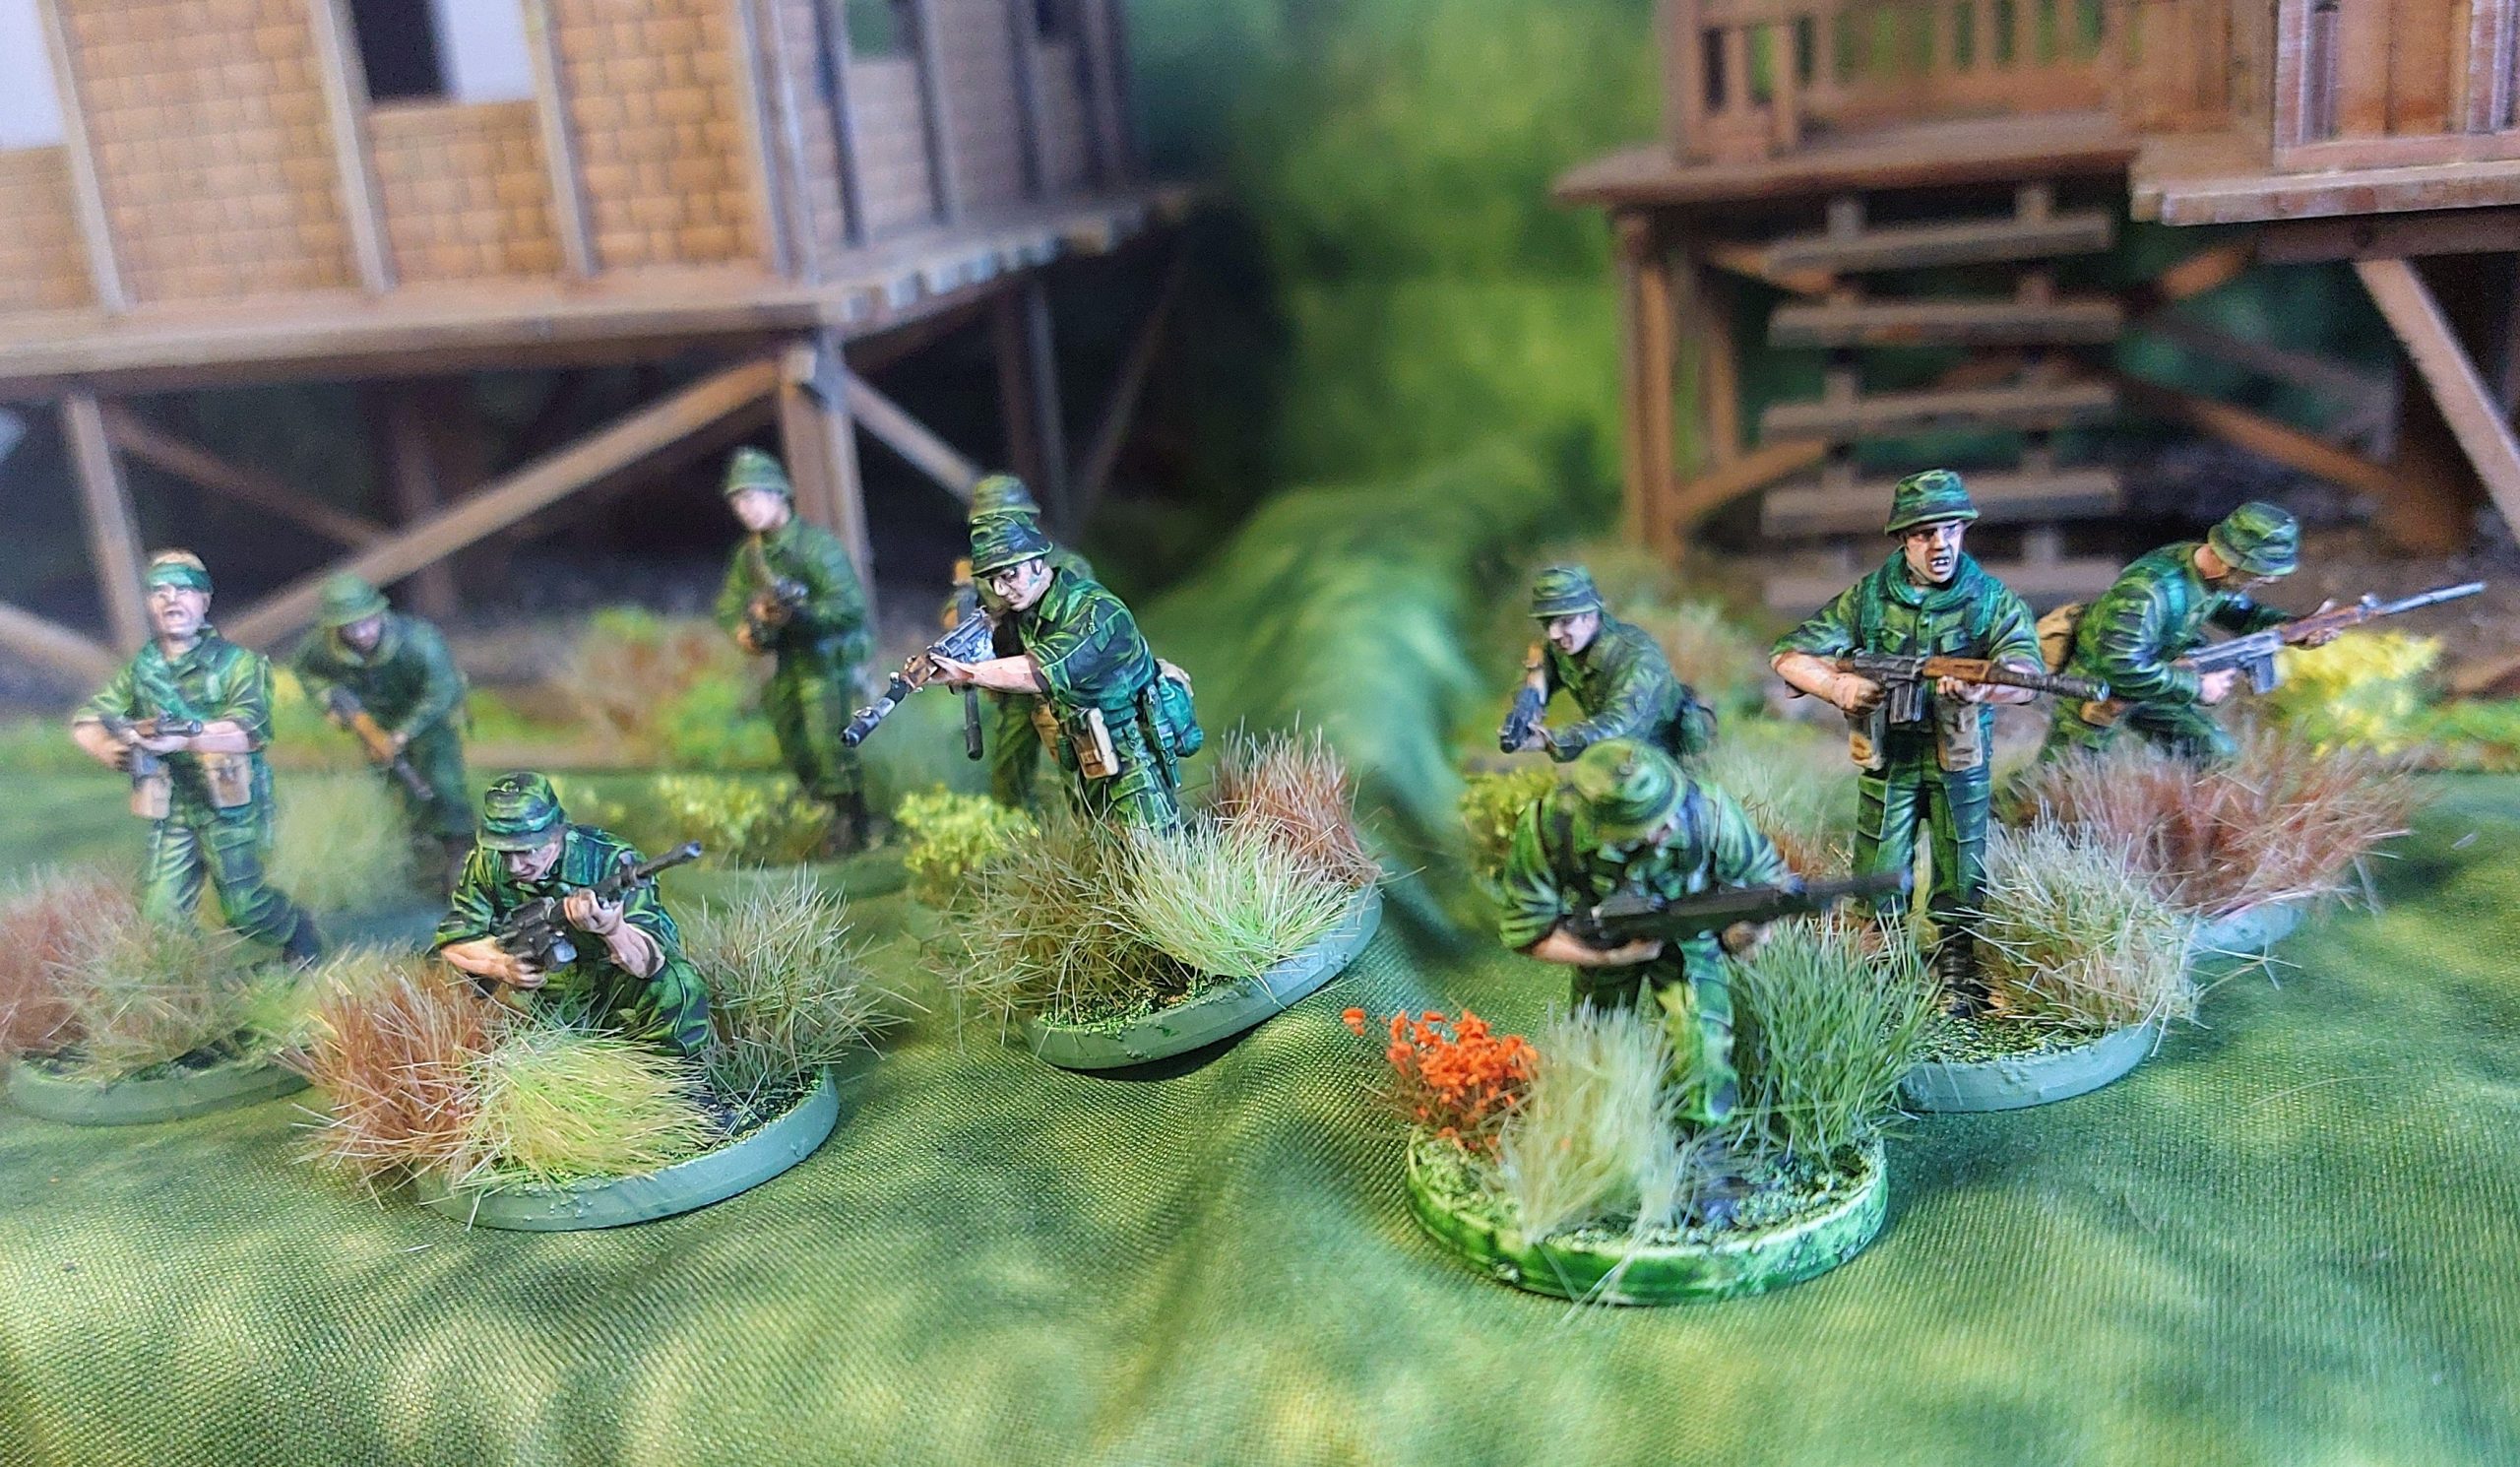
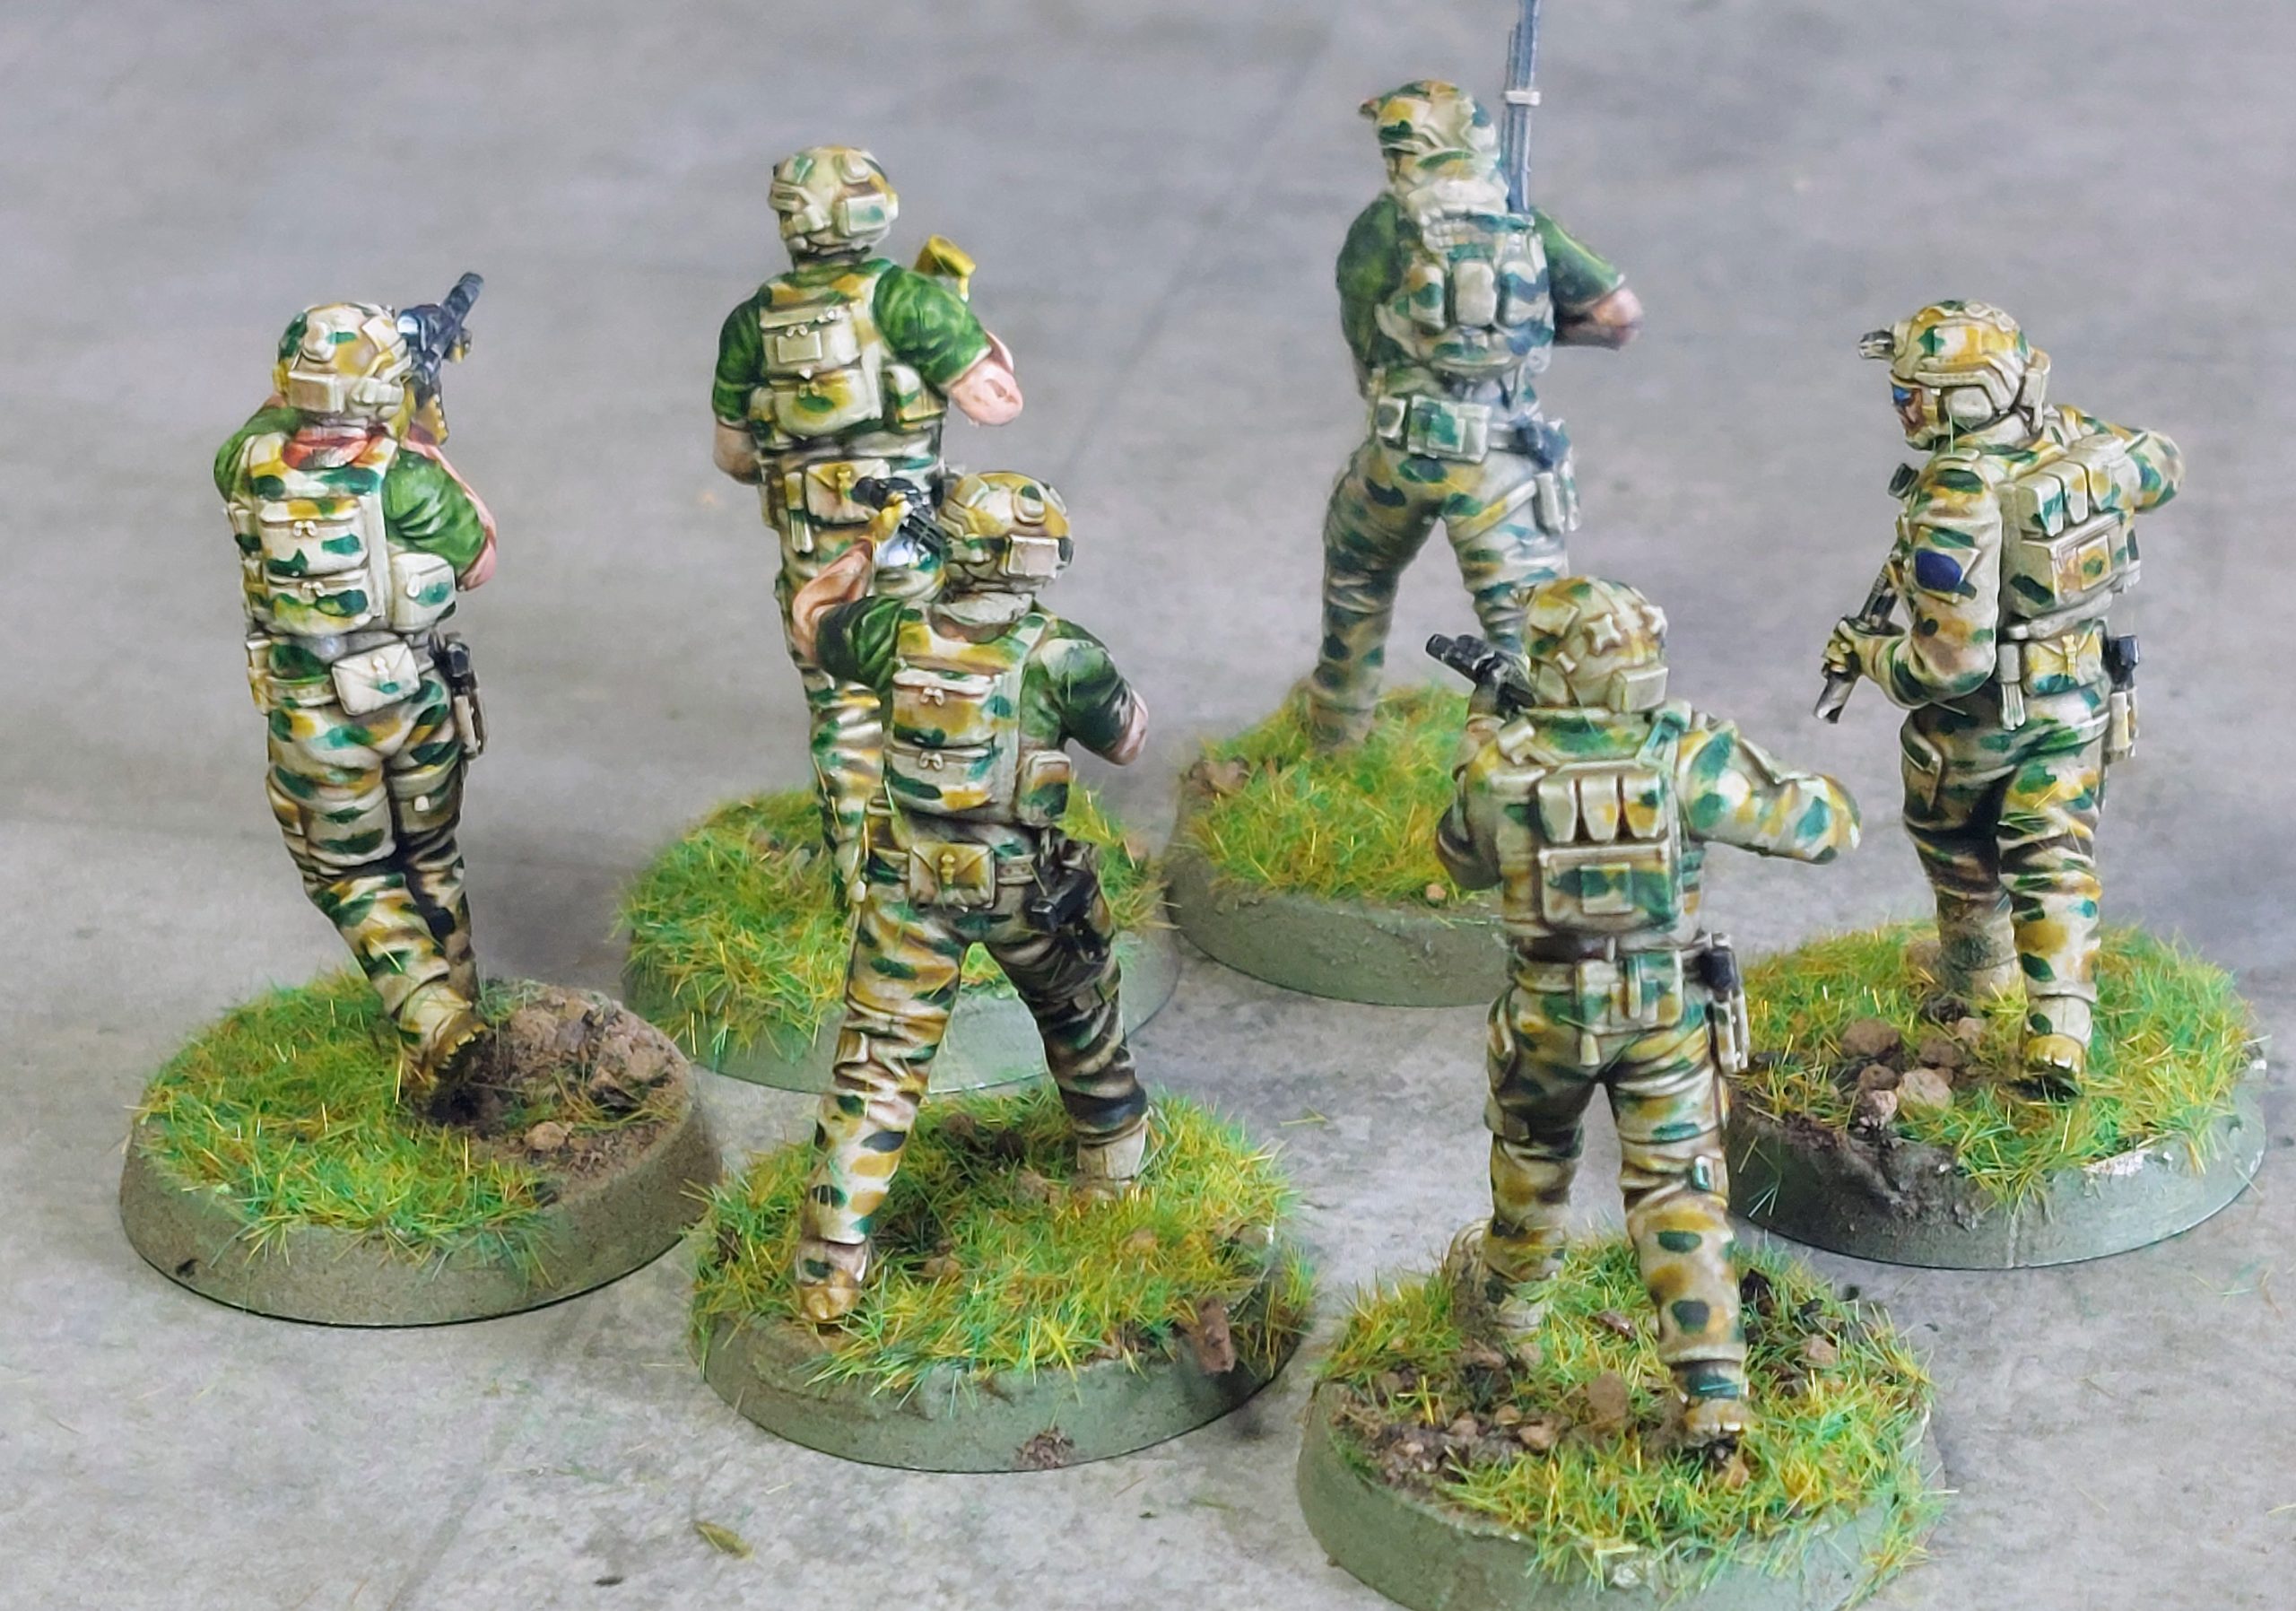
I had brought a couple of packs of Empress Minatures ANZAC’S, for I thought was going to be a command squad, but turns out the 2nd pack of Rifleman was too many, as platoon command was just officer and Radioman.
Despite this I painted up the 6 and really liked the figures, for the sharper detail they gave over Rubicon’s. So it was decided that I would buy 4 more packs of Empress to give me a reinforced Platoon with 2 x Rubicon’s squads and 2x Empress for big games, but for smaller skirmishs use the Empress. The spare Rubicon figures could then be used for gun crew for the 105mm gun I have yet to build.
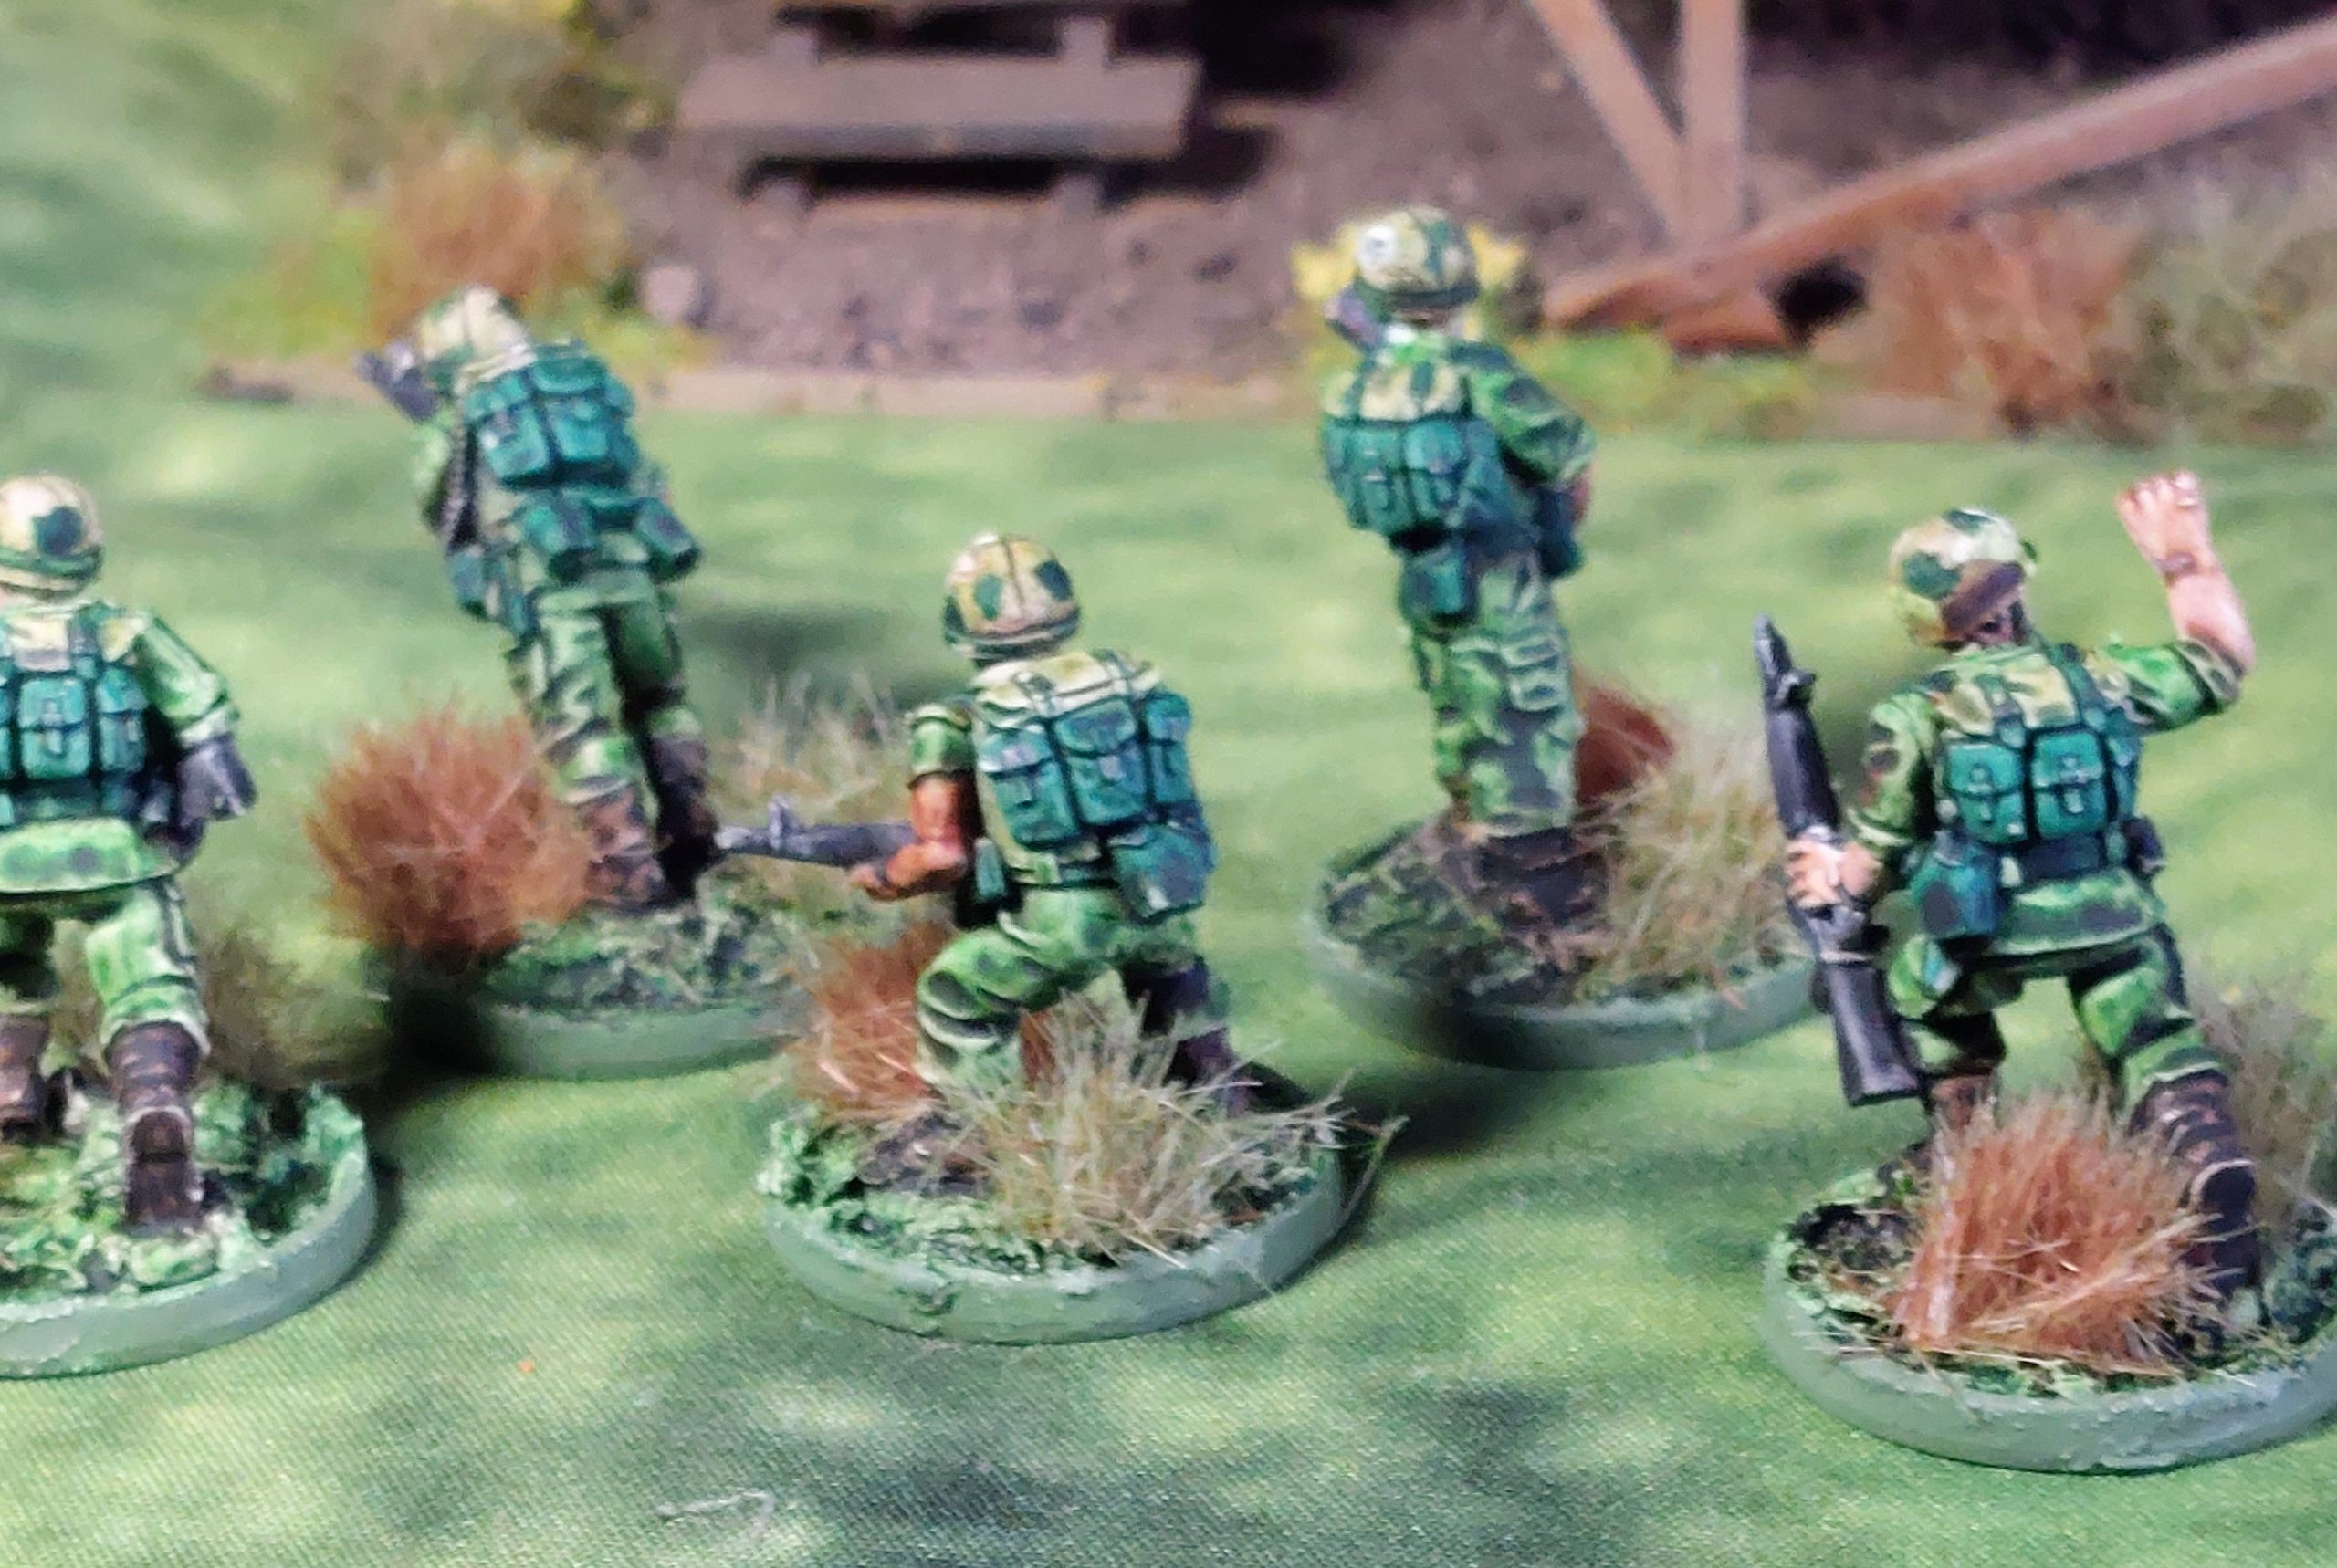
So now I have Command Element.
 1sr squad 10th Platoon Delta Company 6thr RAR
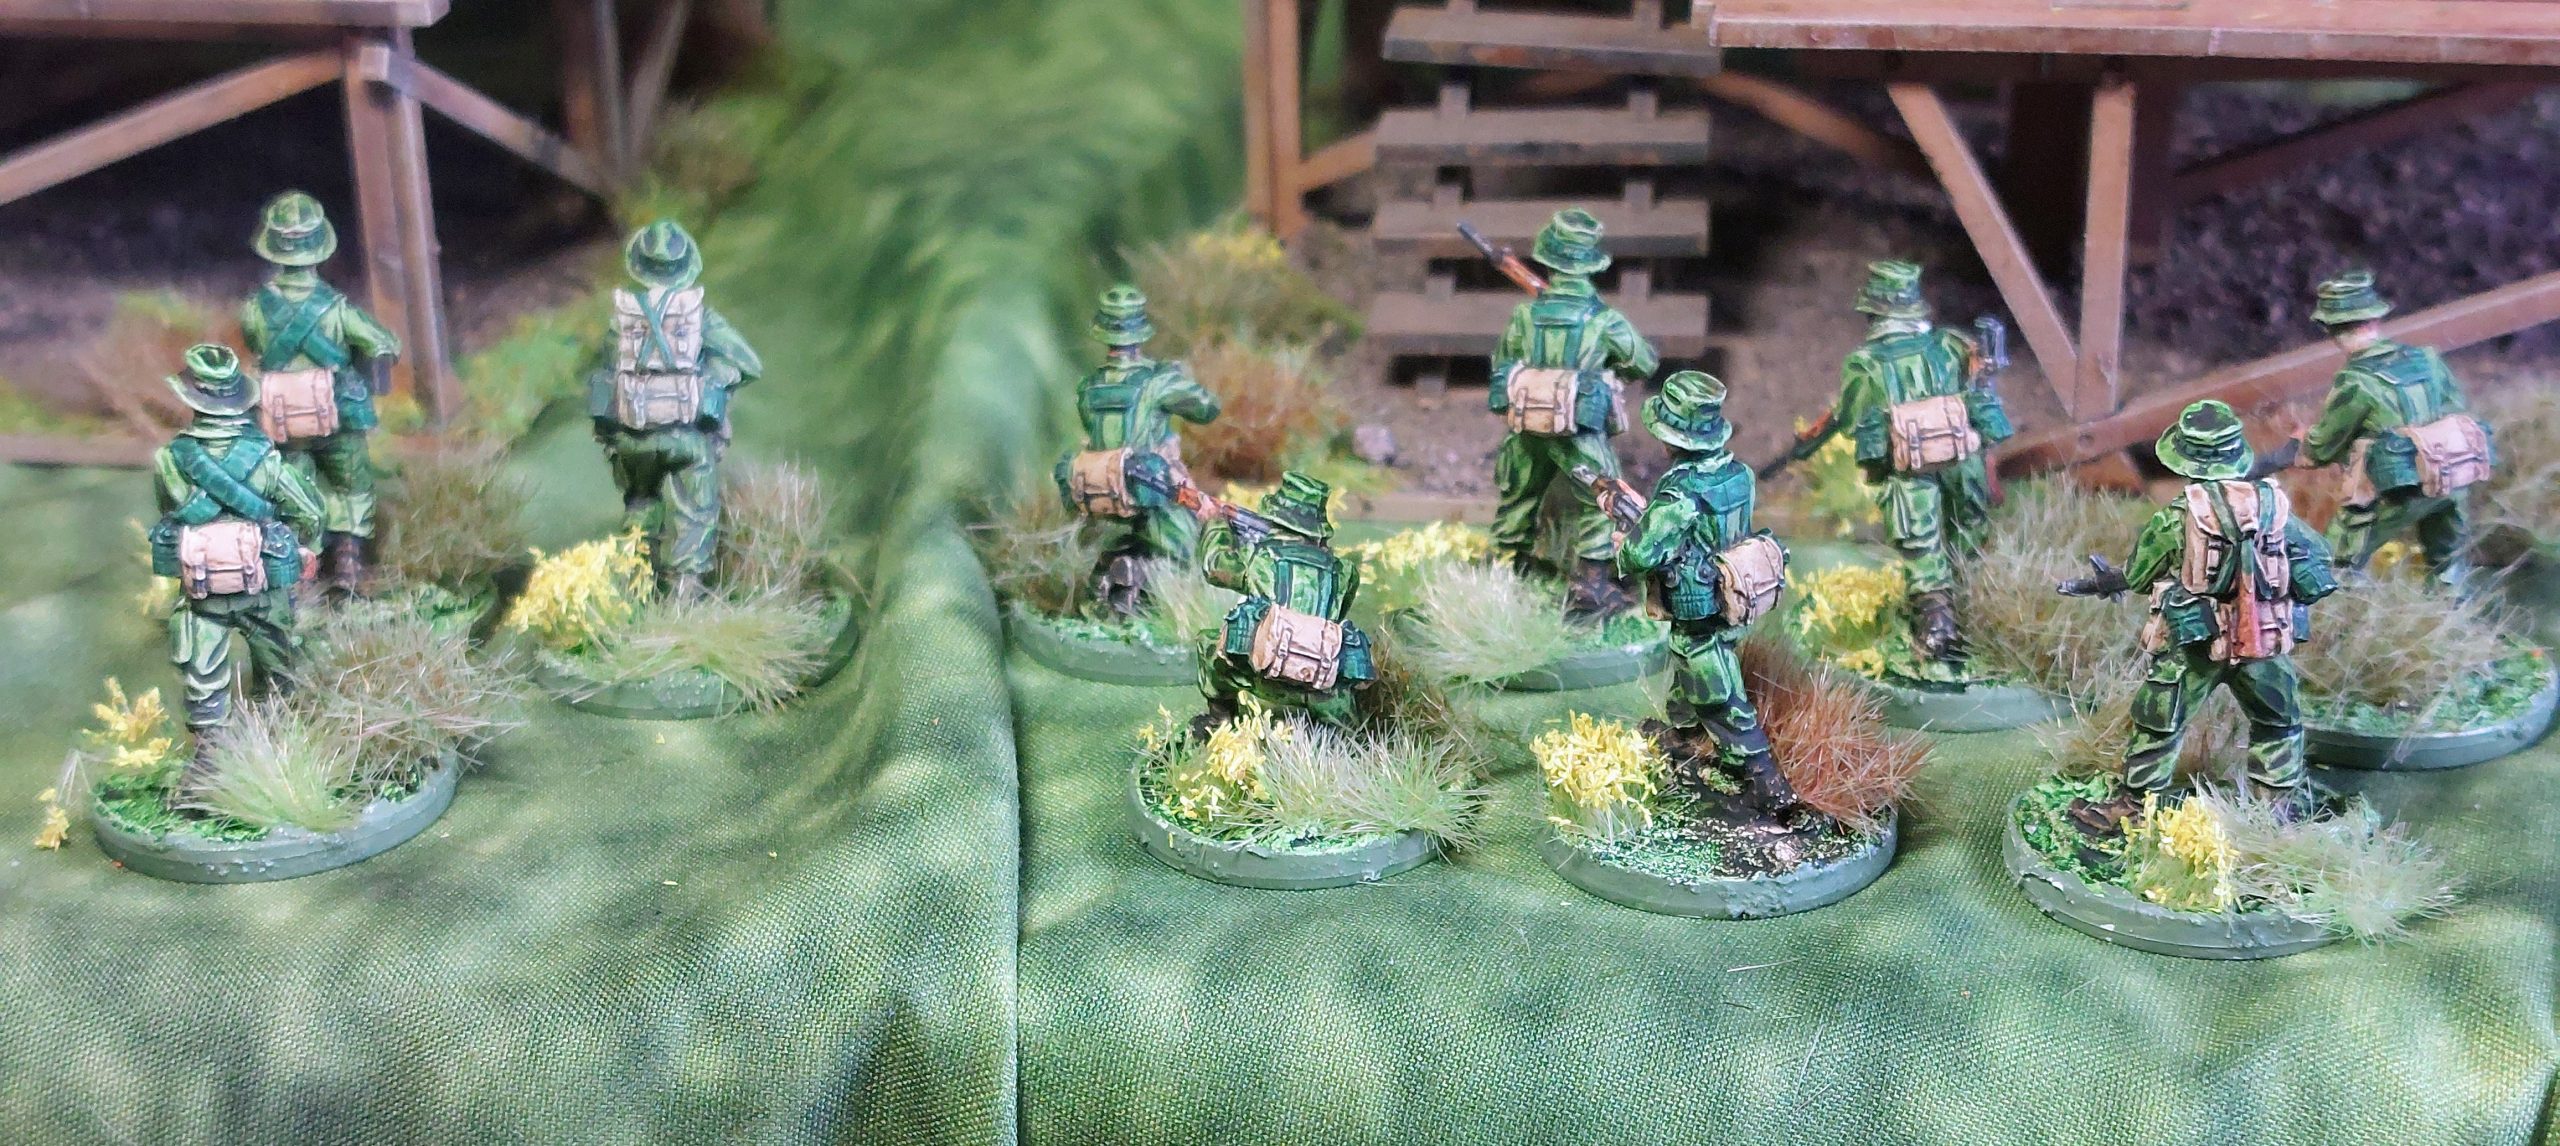
 Squad 2 +1
For anyone noticing squad 1 has 9 figures and squad 2 11, one of squad 1’s Rifleman got missed for photo.
So I have now Finished the ANZA’CS Infantry + Goal for this project!
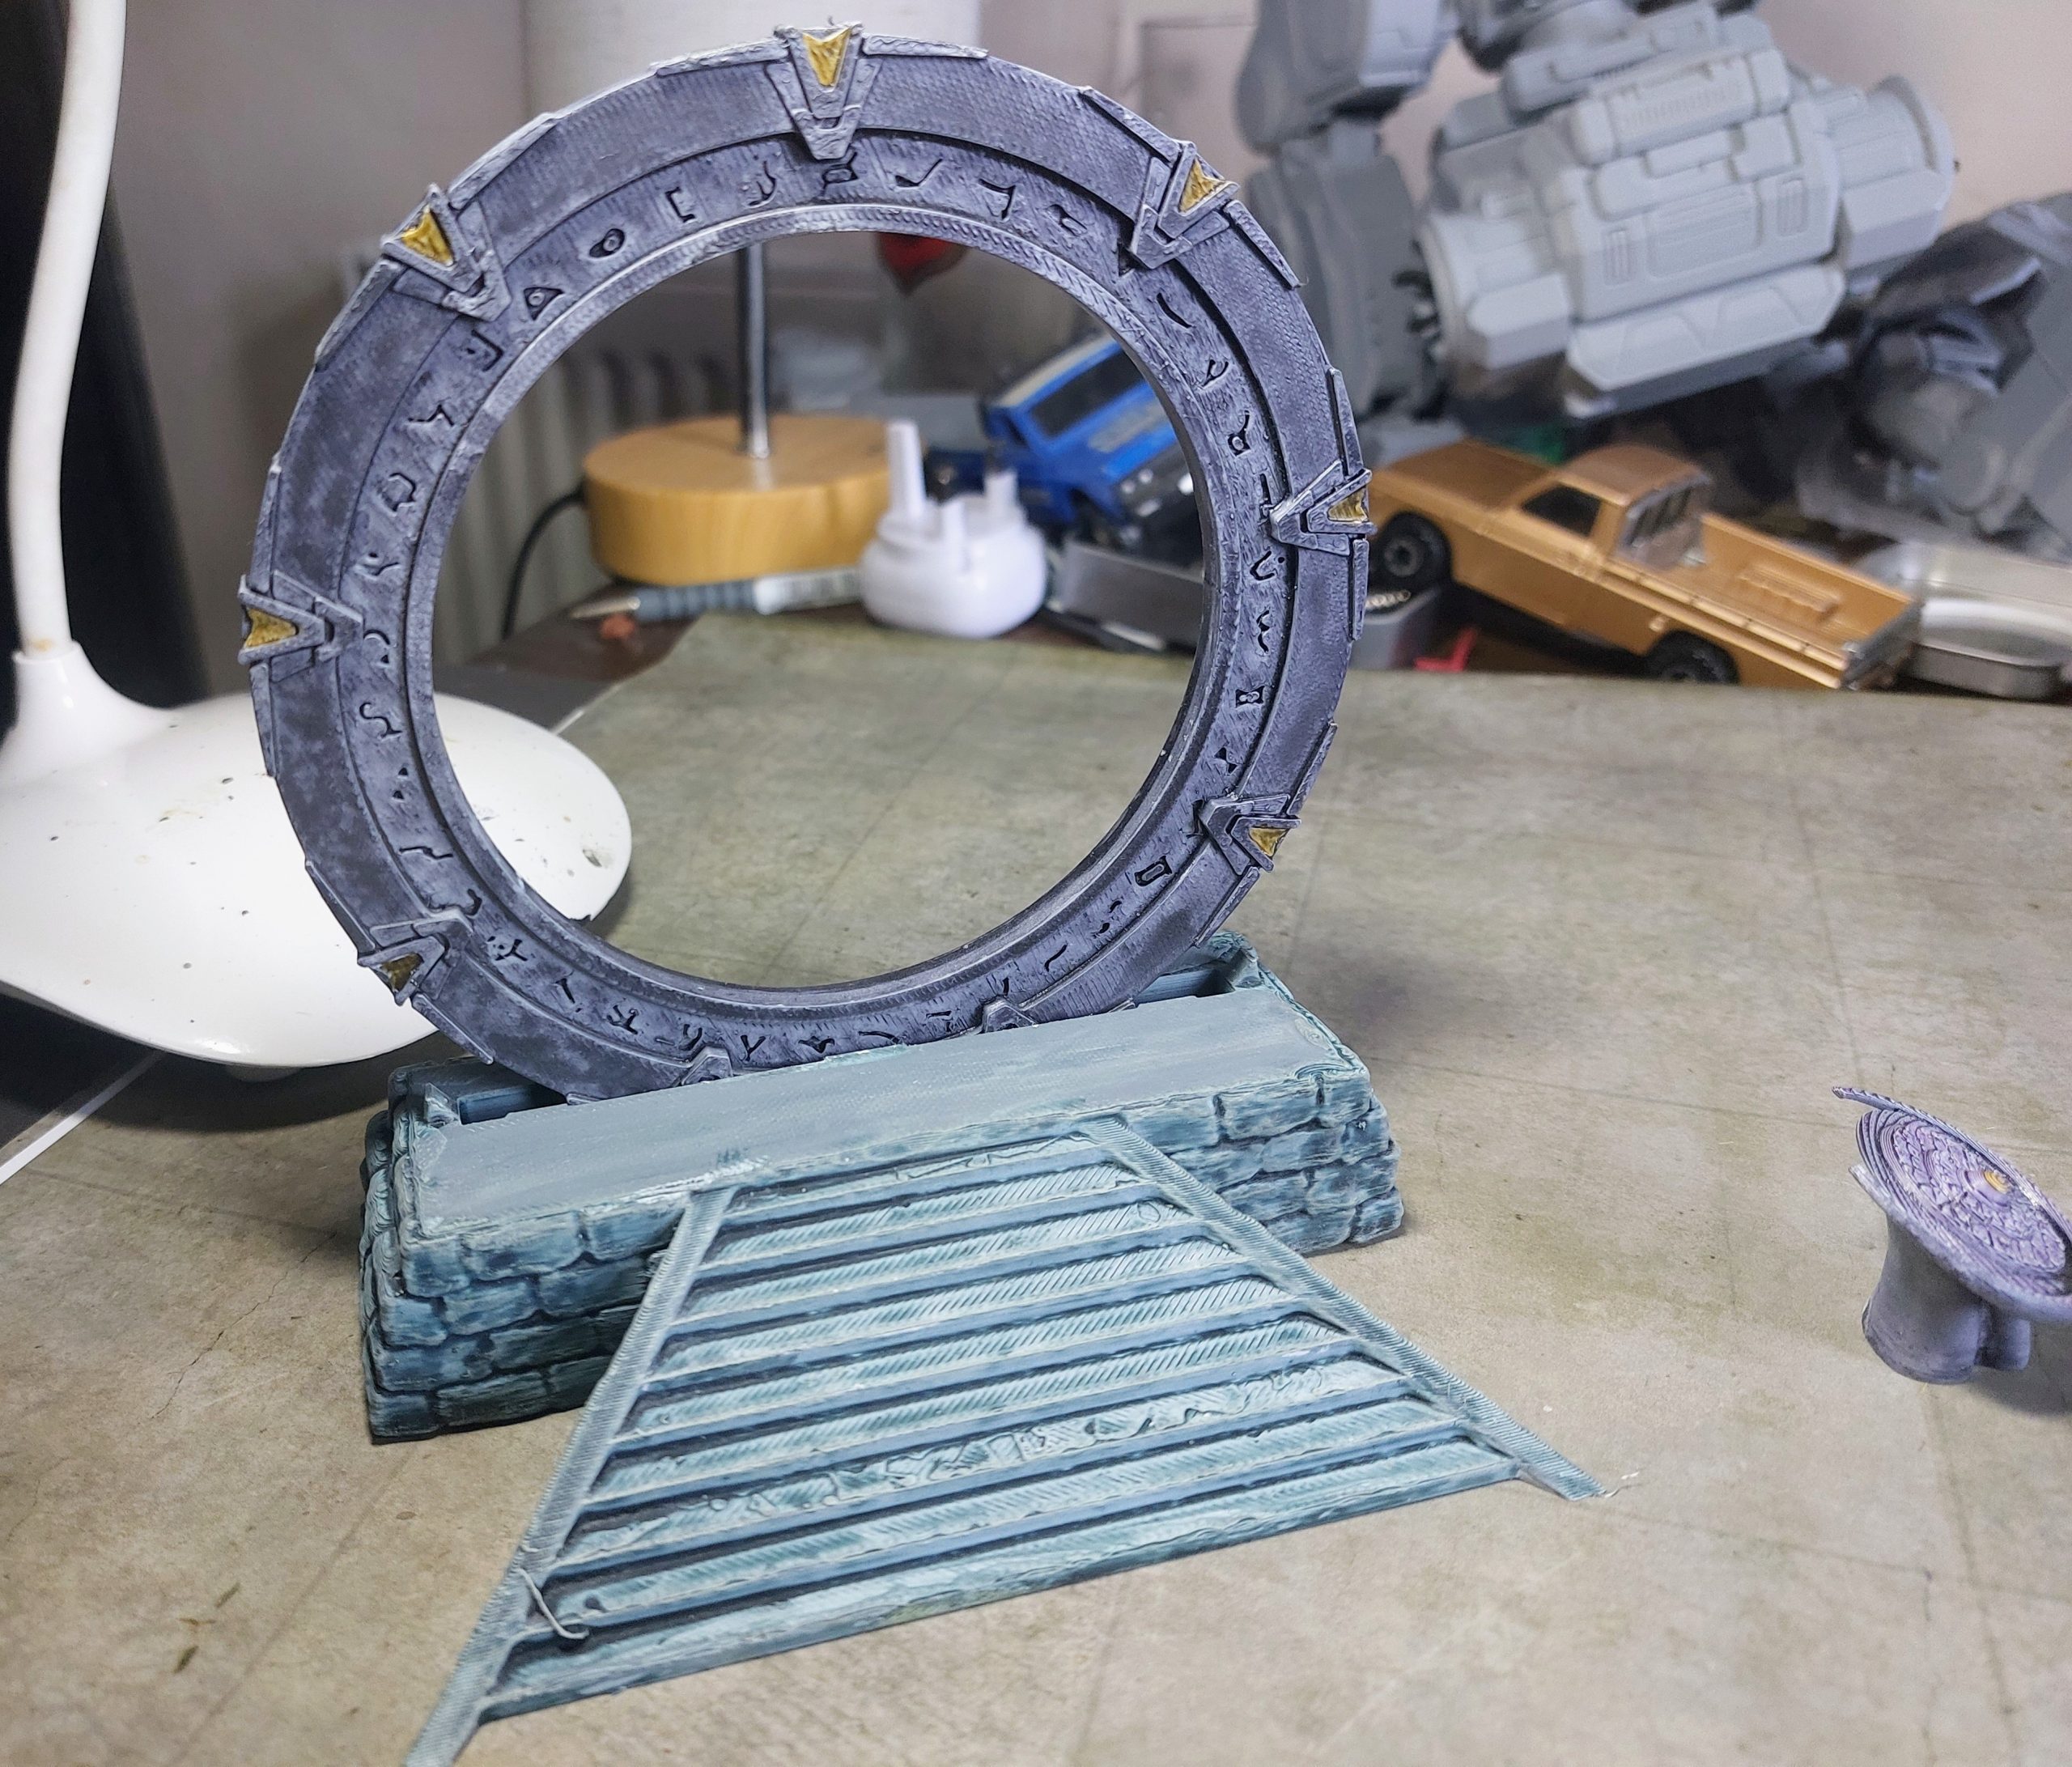
For Gerry A Stargate!
Something I’ve been meaning to get for sometime is finally finished. Another of those models I brought ( of ebay) before xmas and gas been languishing in hobby room for weeks .
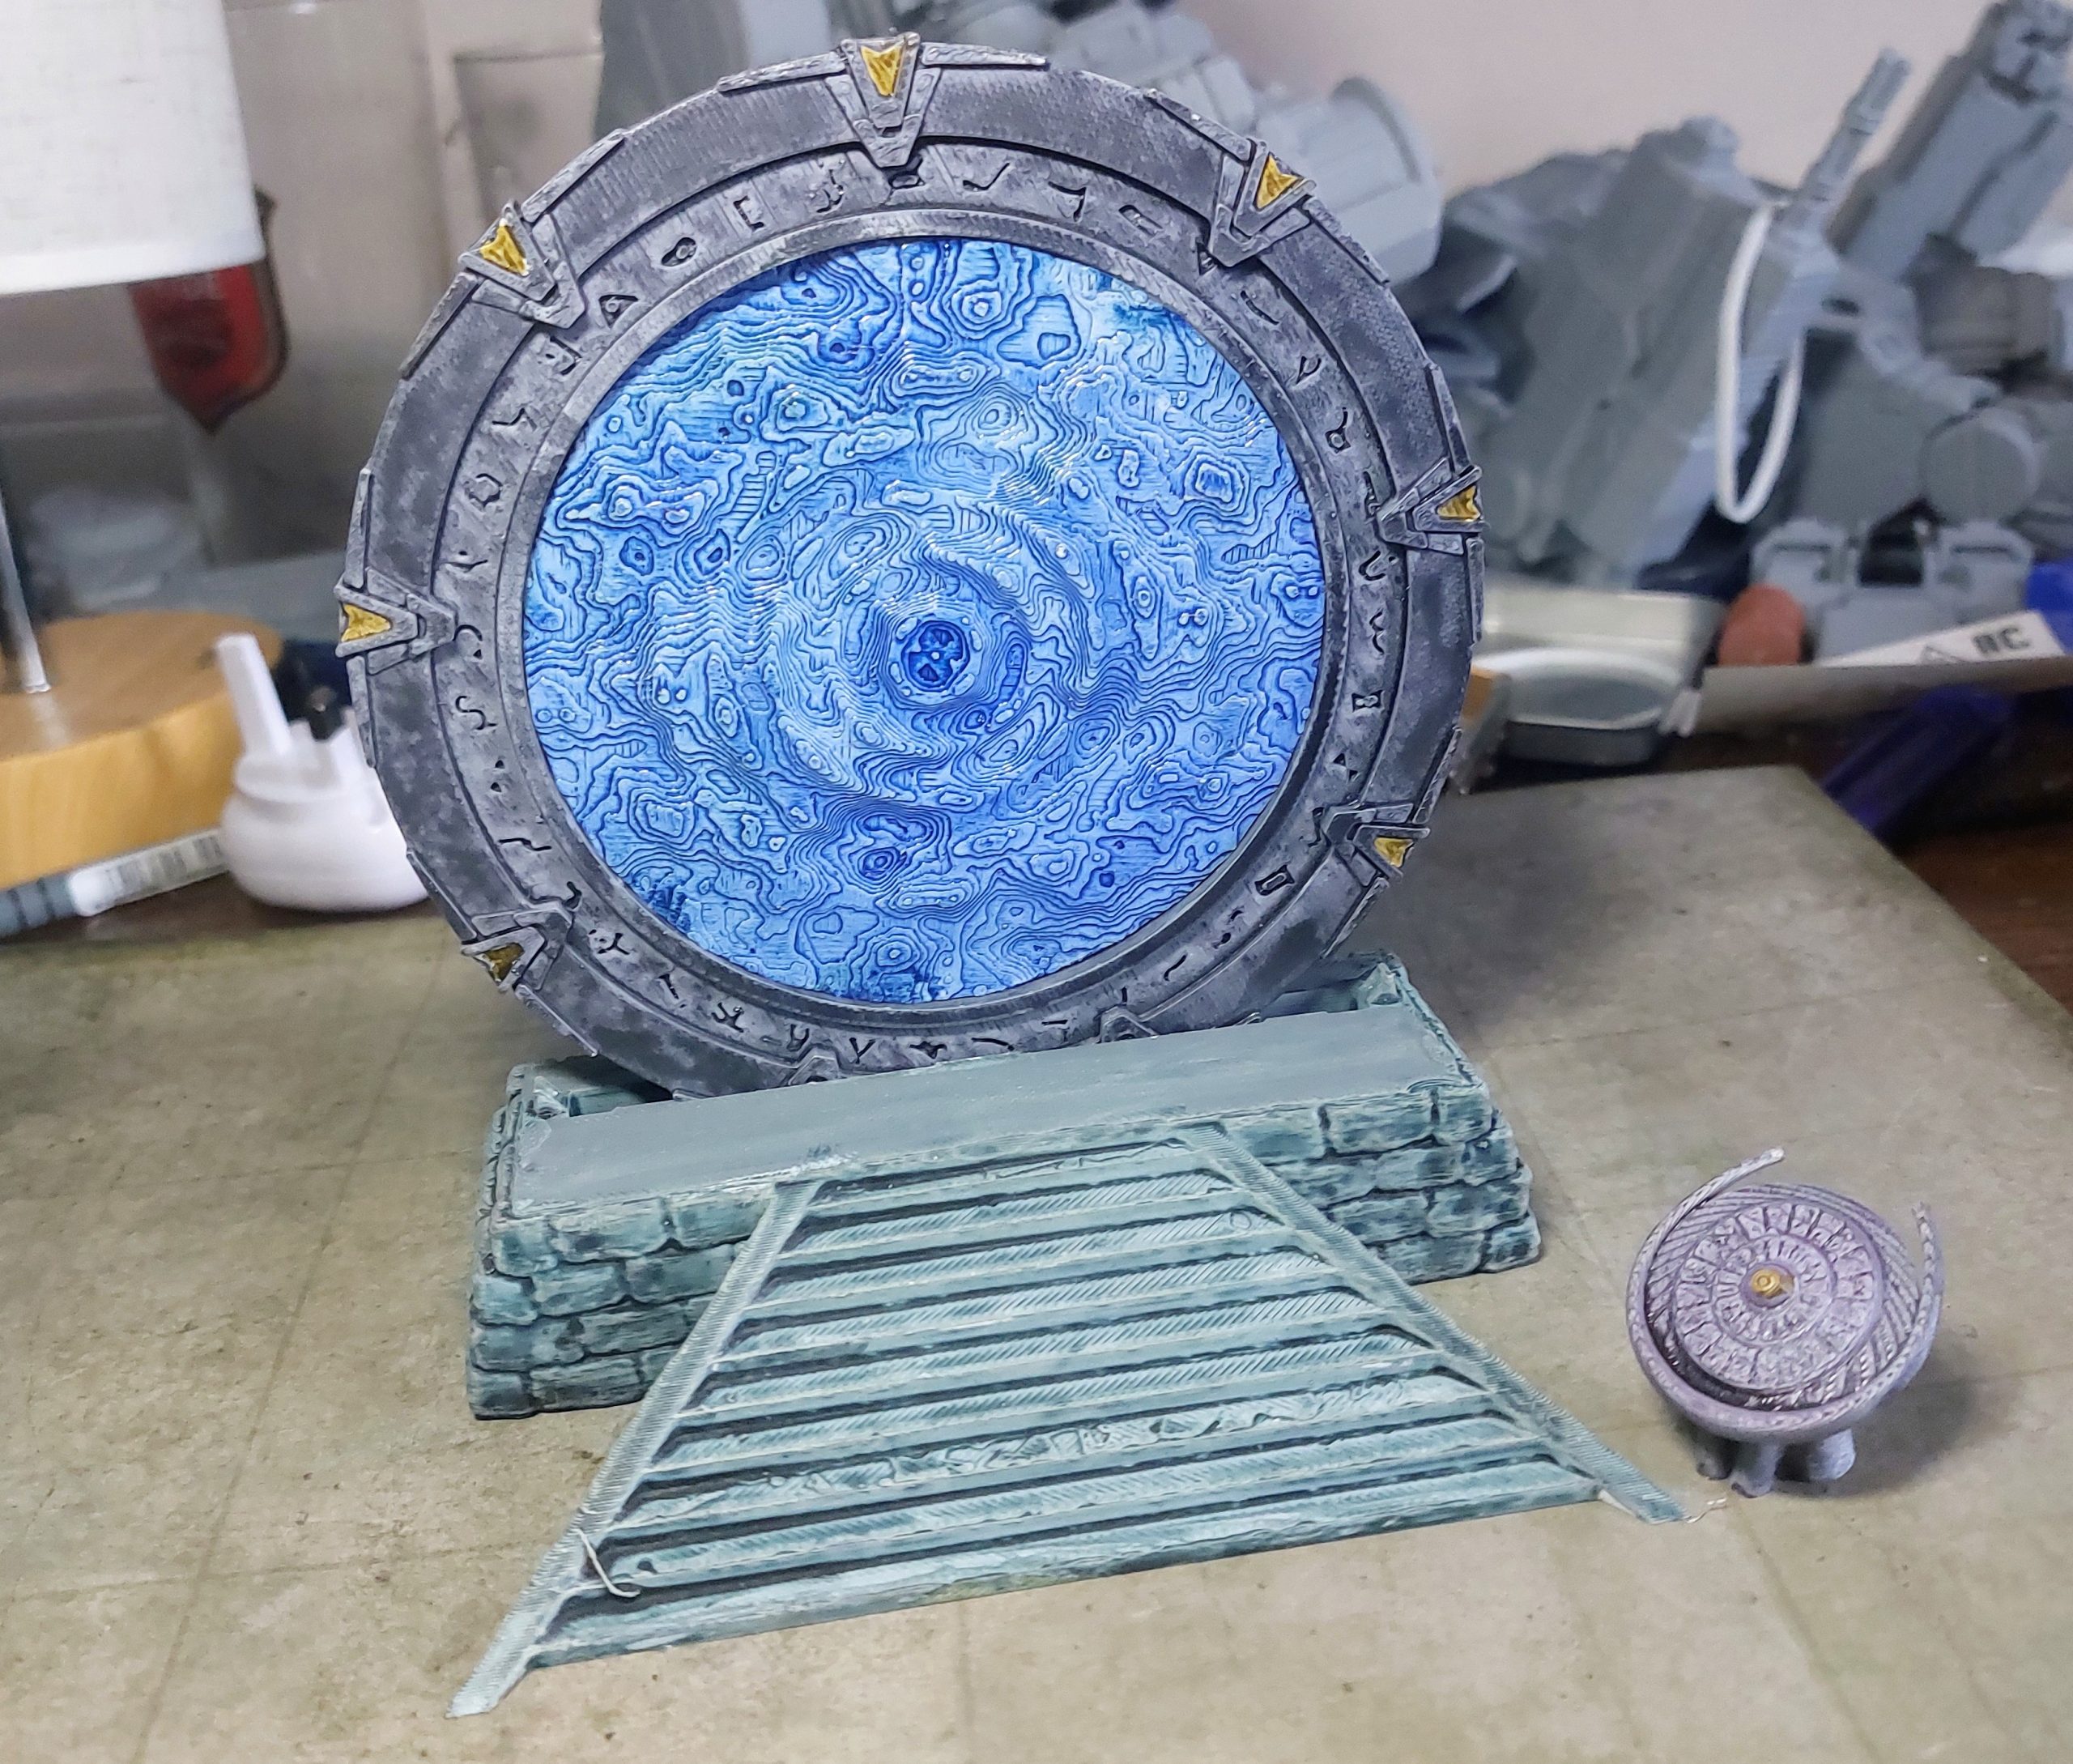
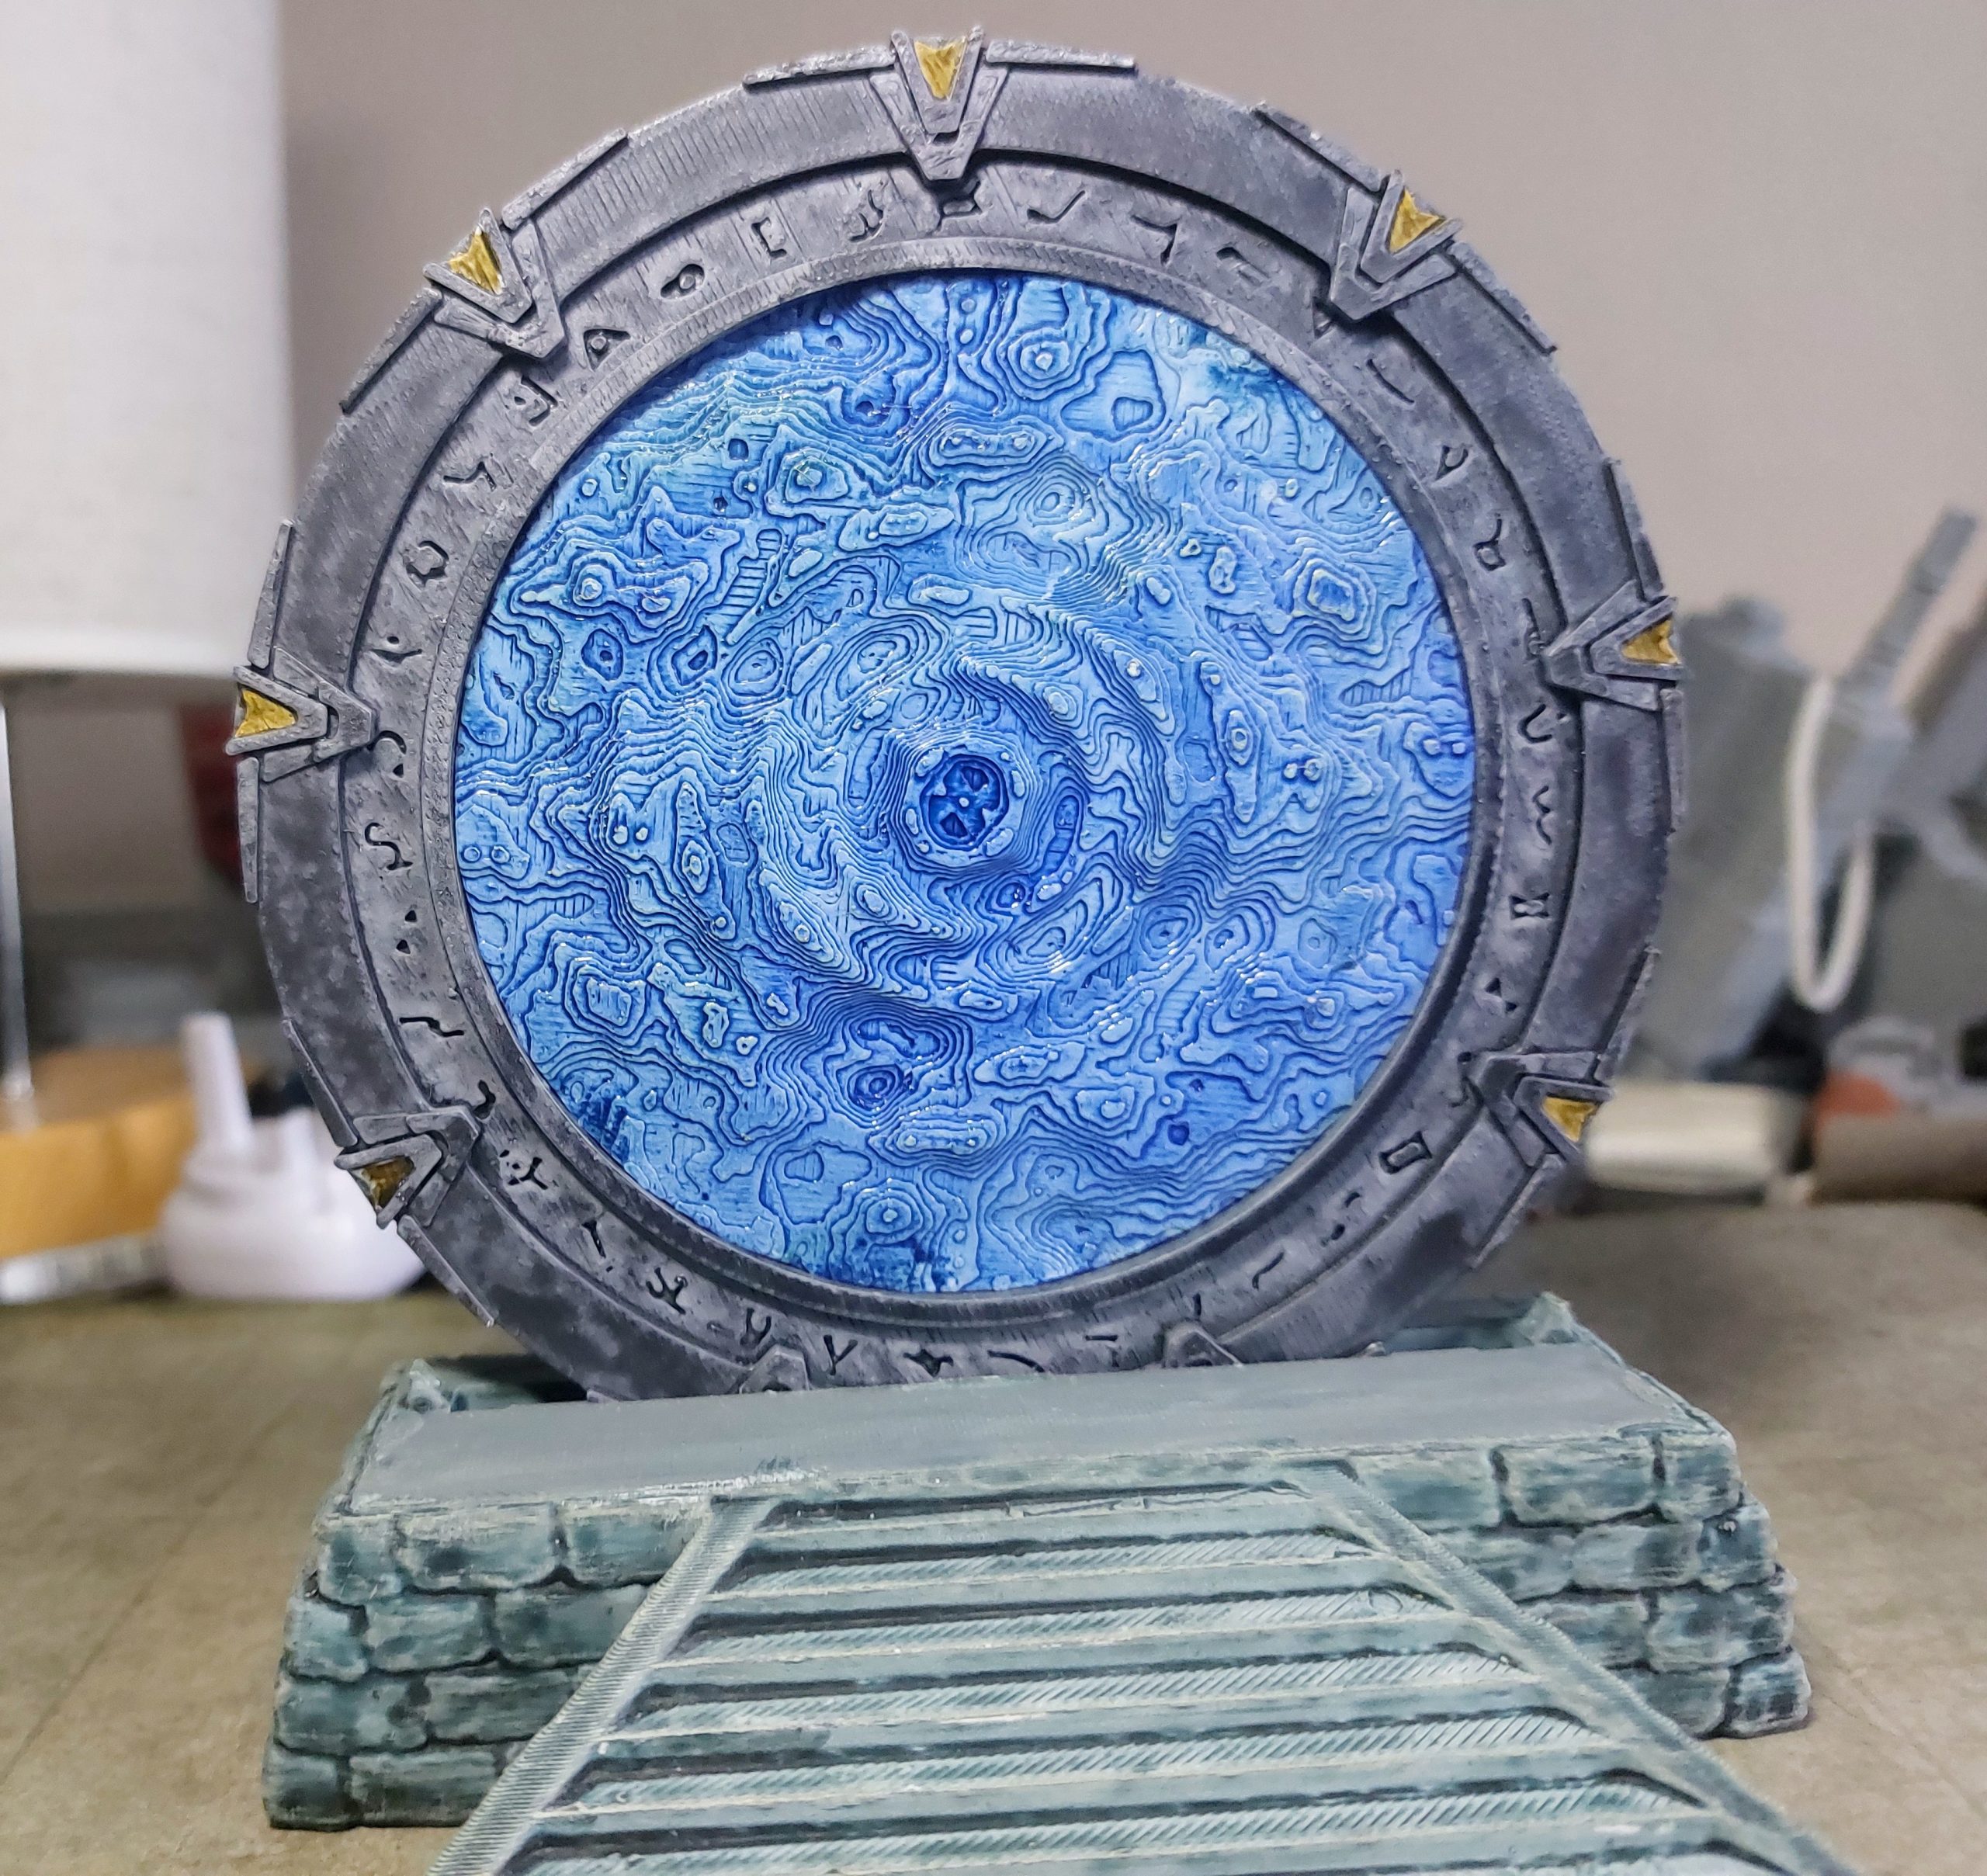
Simple paint job, the base was undercoated white, then 2 coats of GW Grey Seer contrast paint.
The Gate and DHD were done in Speedpaint Speedpaints Broadsword Silver with a couple of gabs of Speedpaint Purple Swarm.
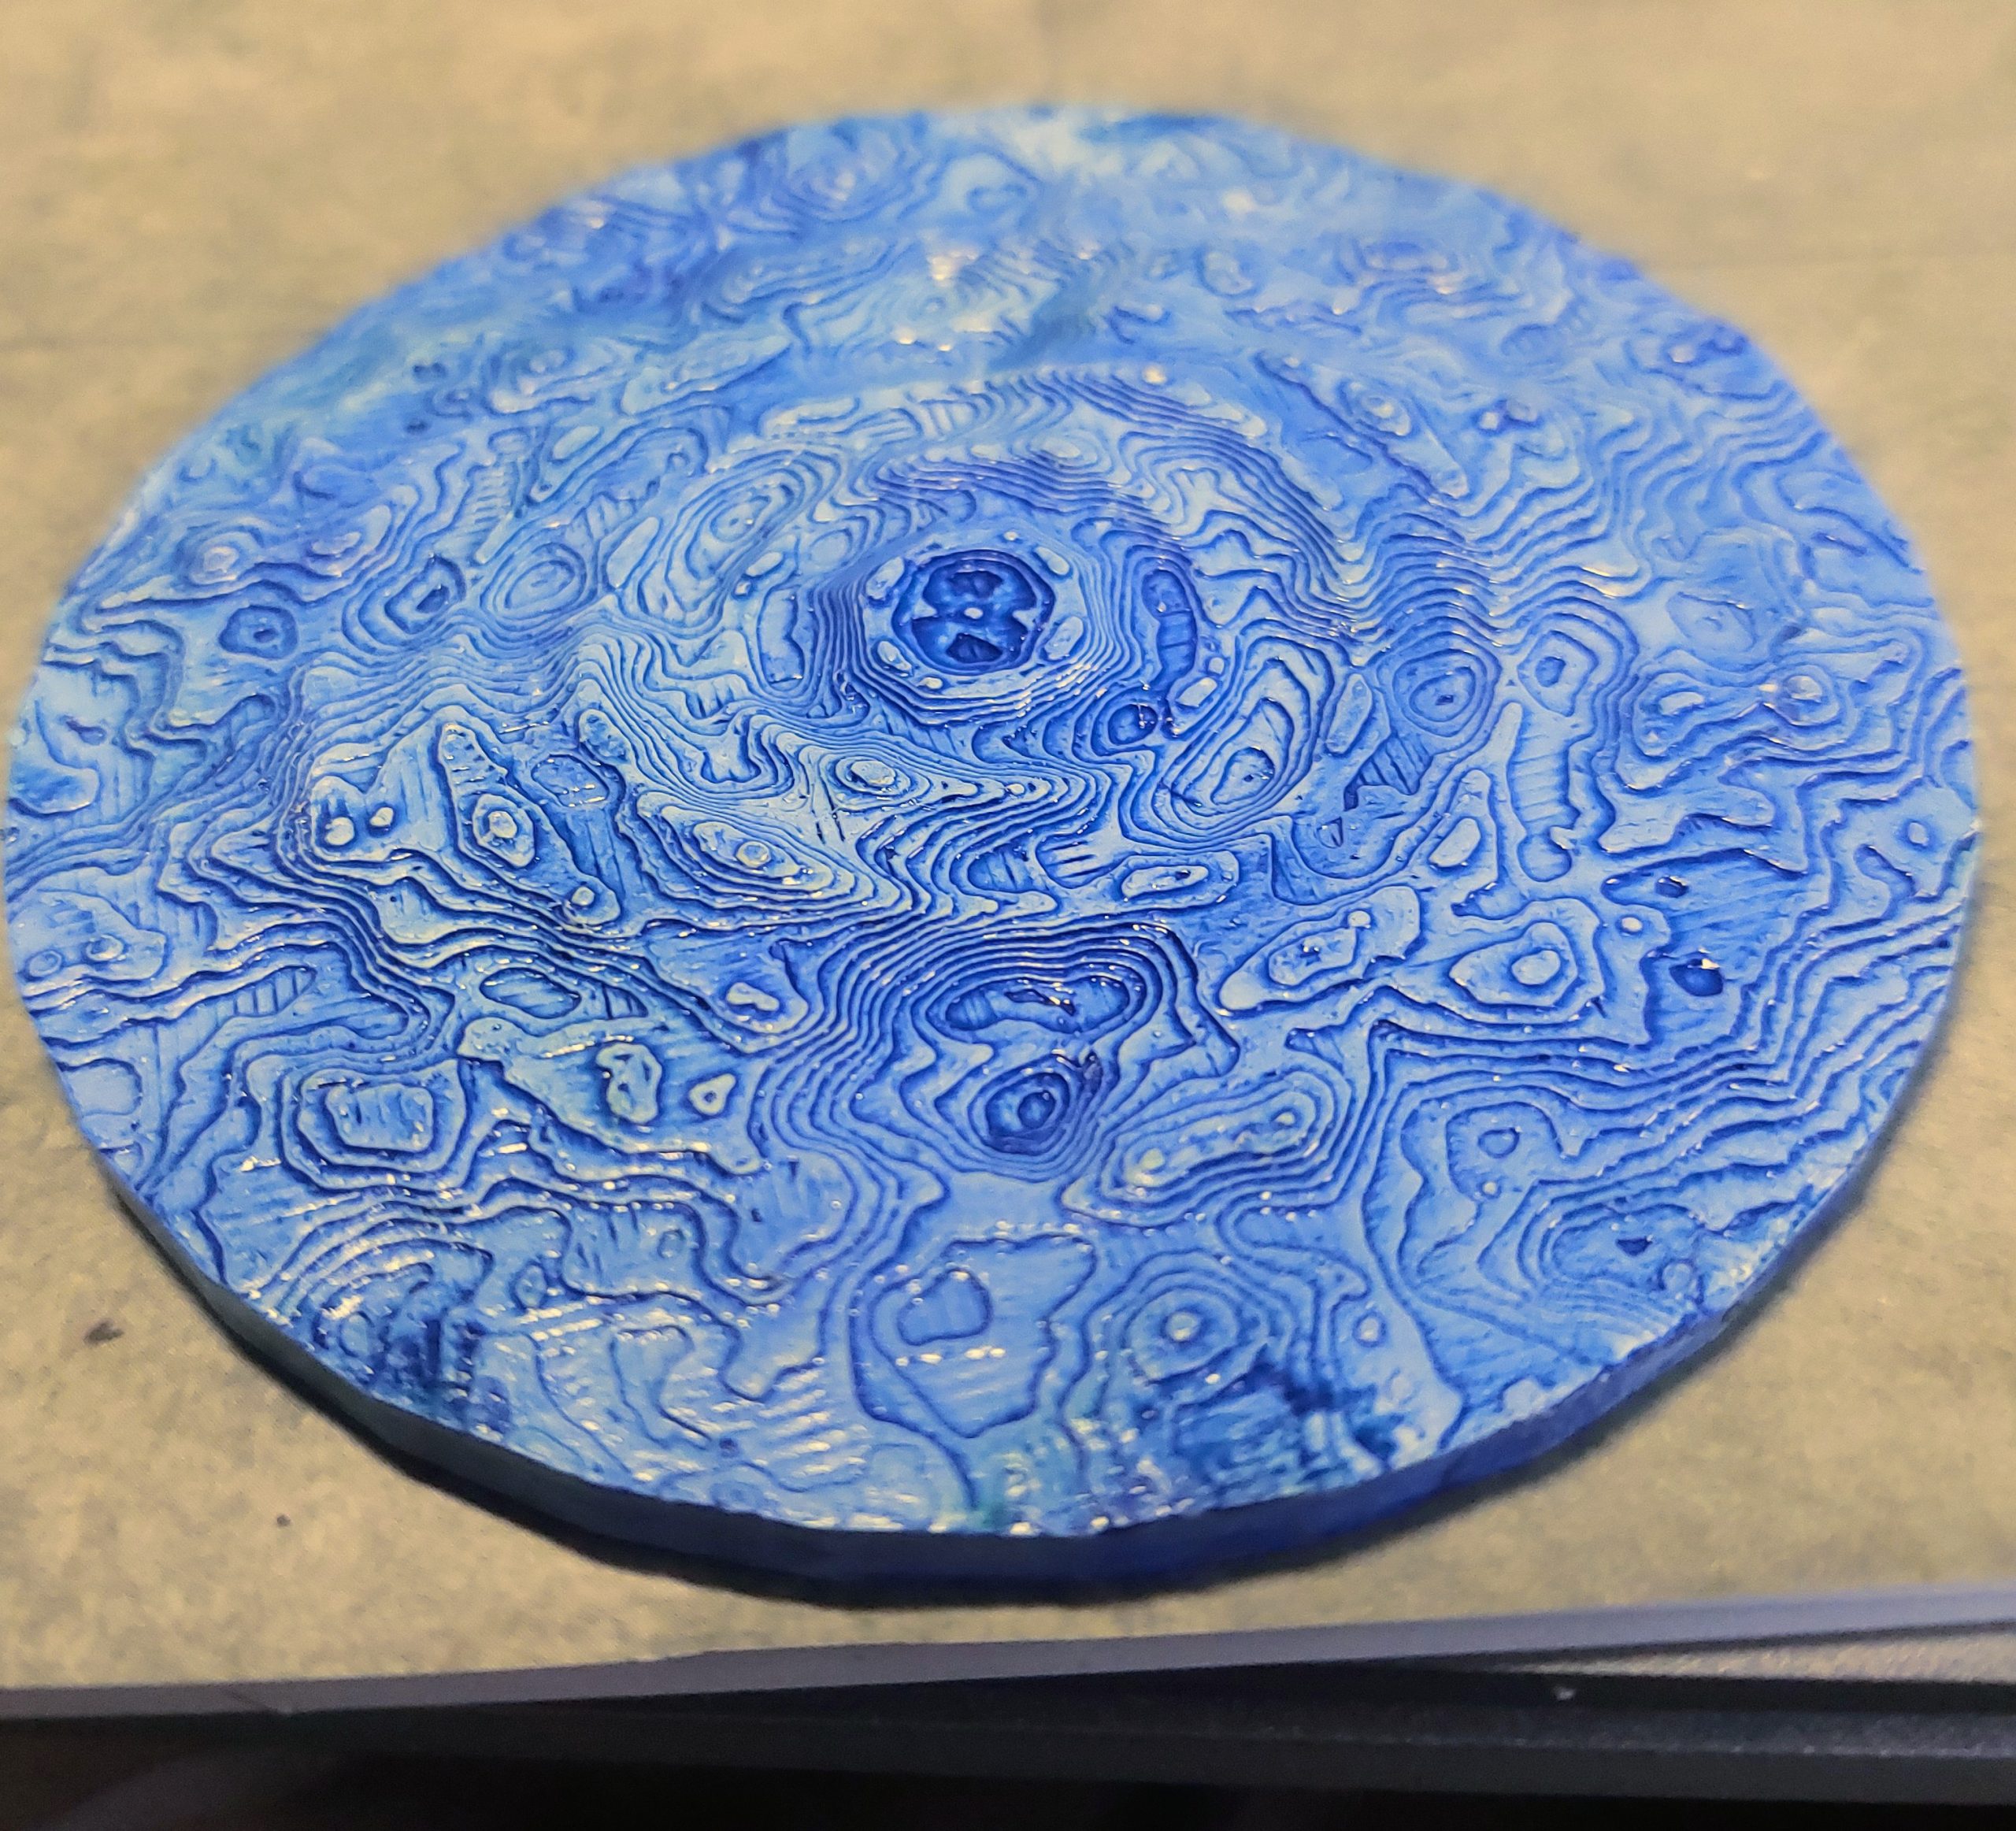
The removable puddles was again base coated white, given a coat of Sped Paints Blue Azure , then a light dry brush of white. Then two coats of gloss varnish.
This brings me currently up to date with this projects progress.
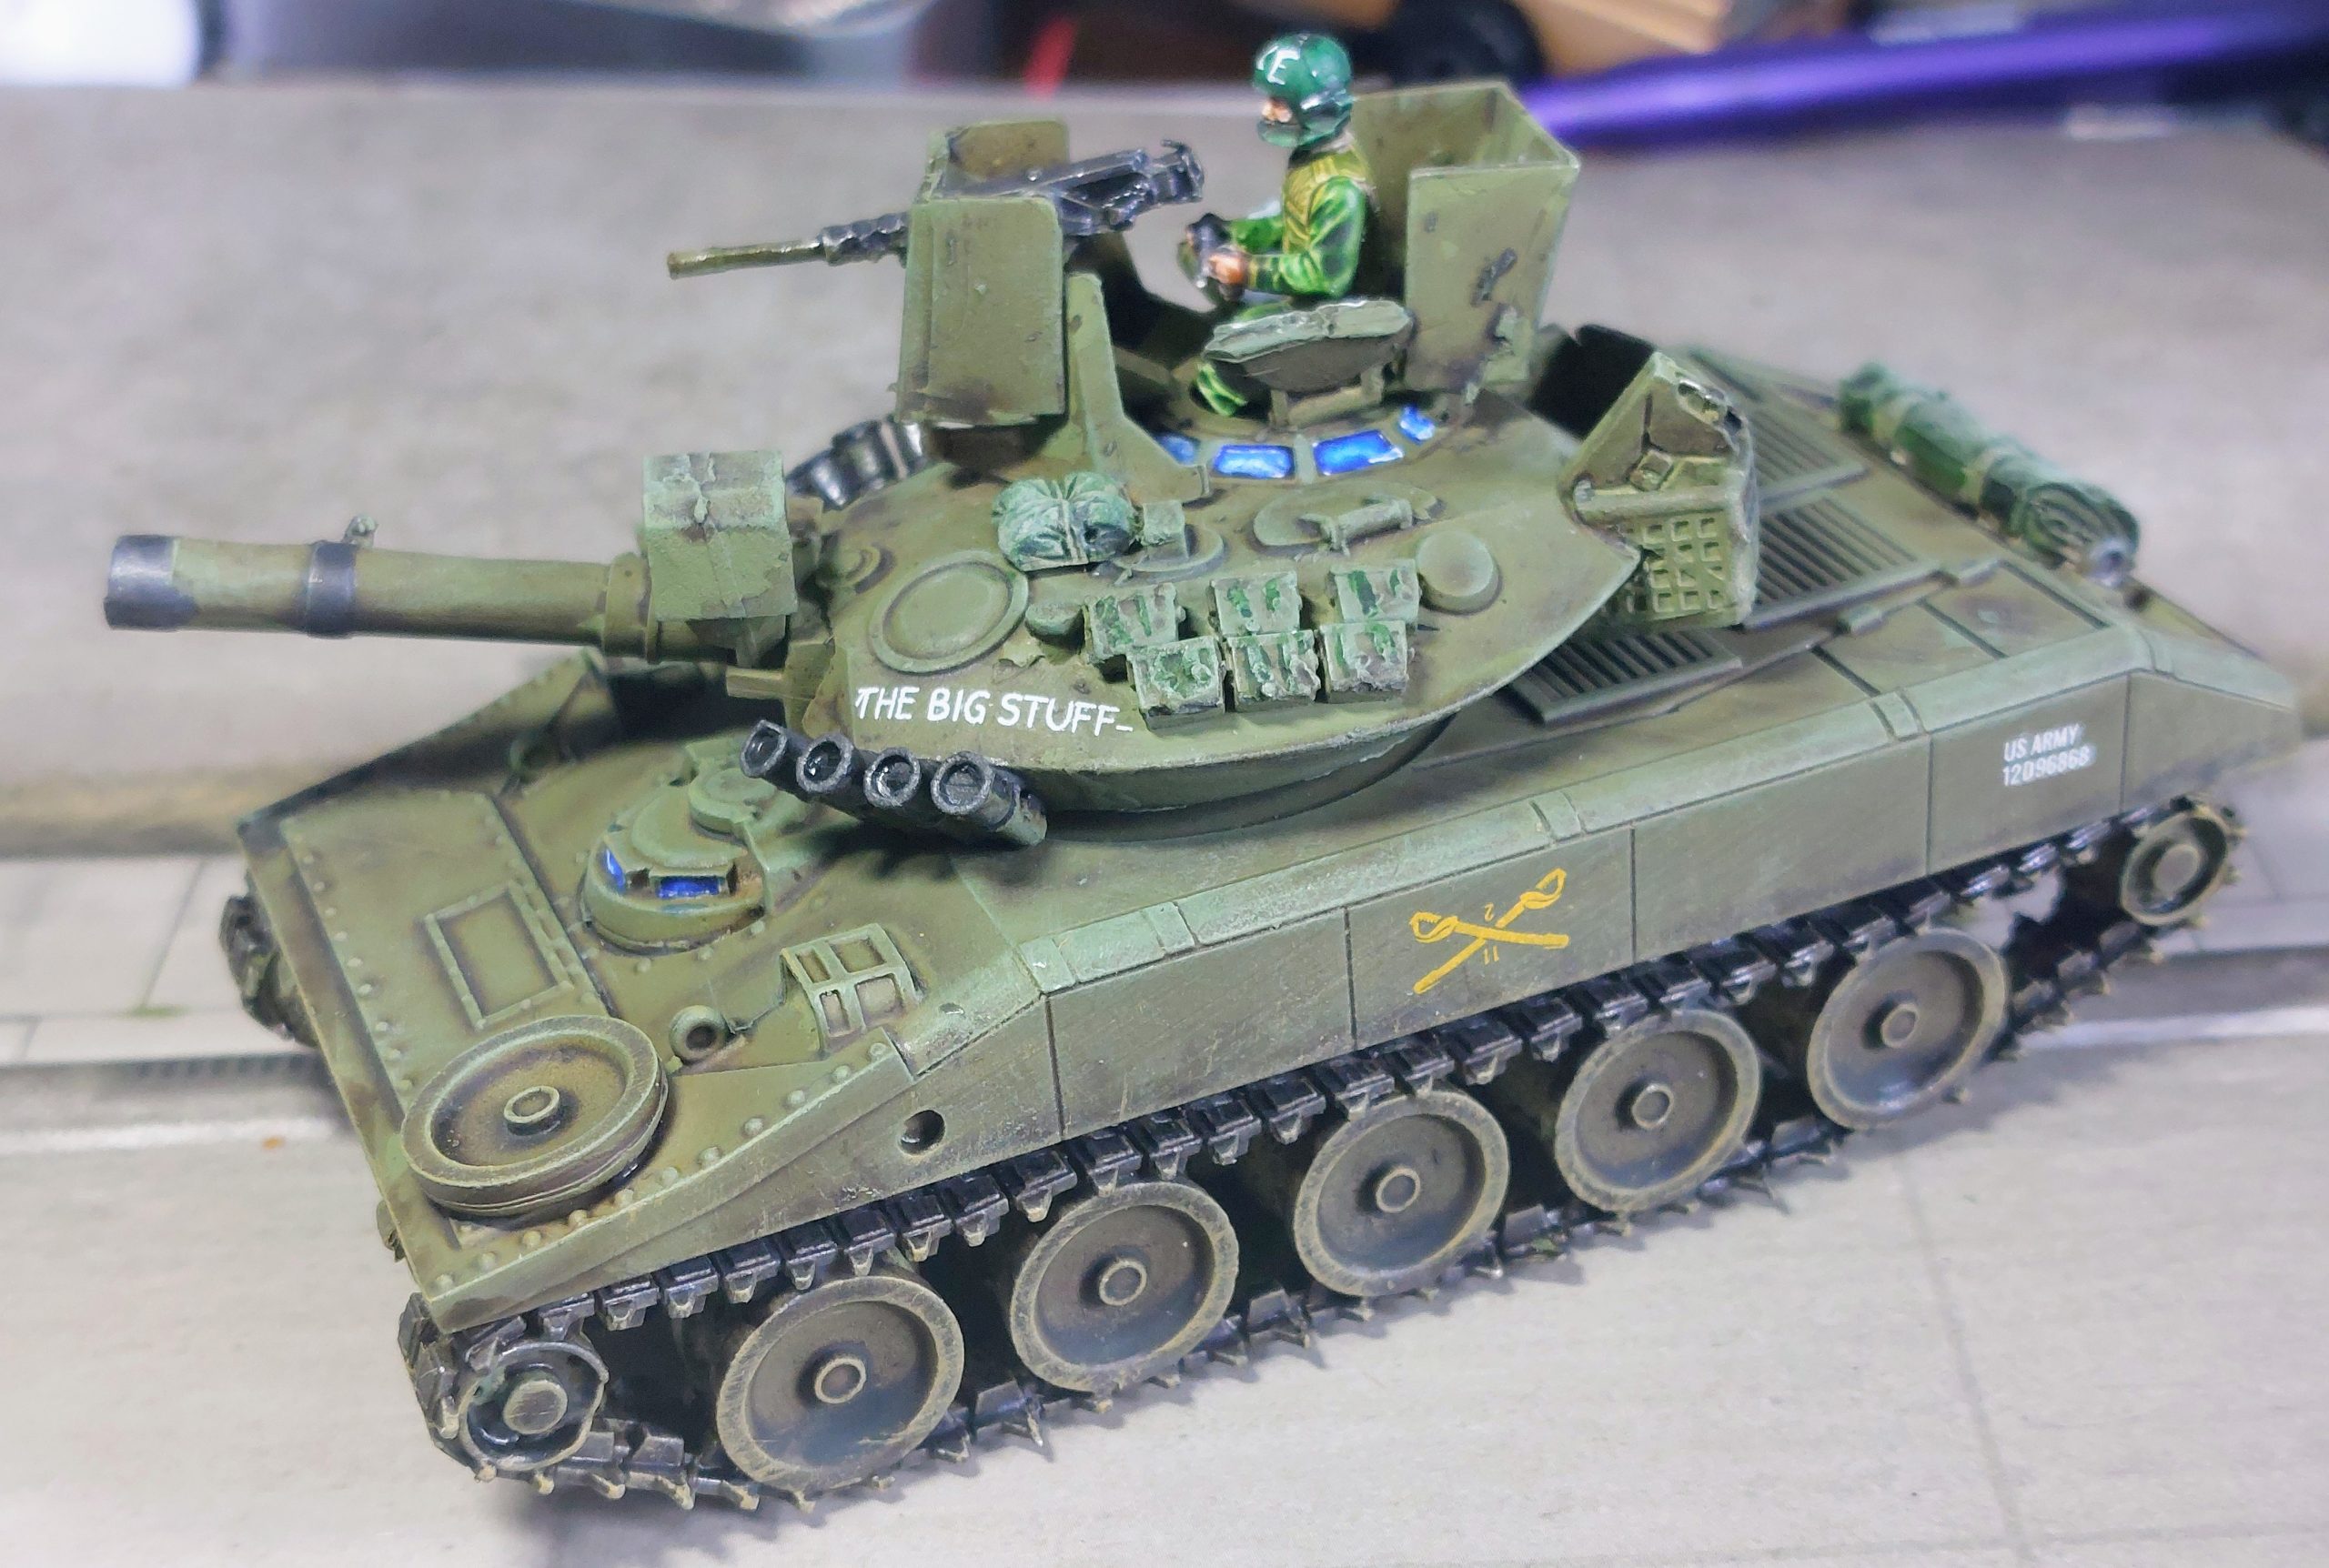
Black Suns Armour Part 3 The M42 Duster
I left this model as a separate entry for a couple of reasons other than just update space. One I felt rather pleased on how it turned out as for sone reason I thought it would be fiddly to paint ( it wasn’t).
Secondly I had watched an interesting little You tube video on
O00It describes how this supposedly obsolete anti aircraft vehicle got retrieved from the scrapheap, finding a whole new purpse in Vietnam.
Also it was a model O was never able to represent back in the day as no one did one on 20mm and it was way beyond my cratch building or conversion skills.
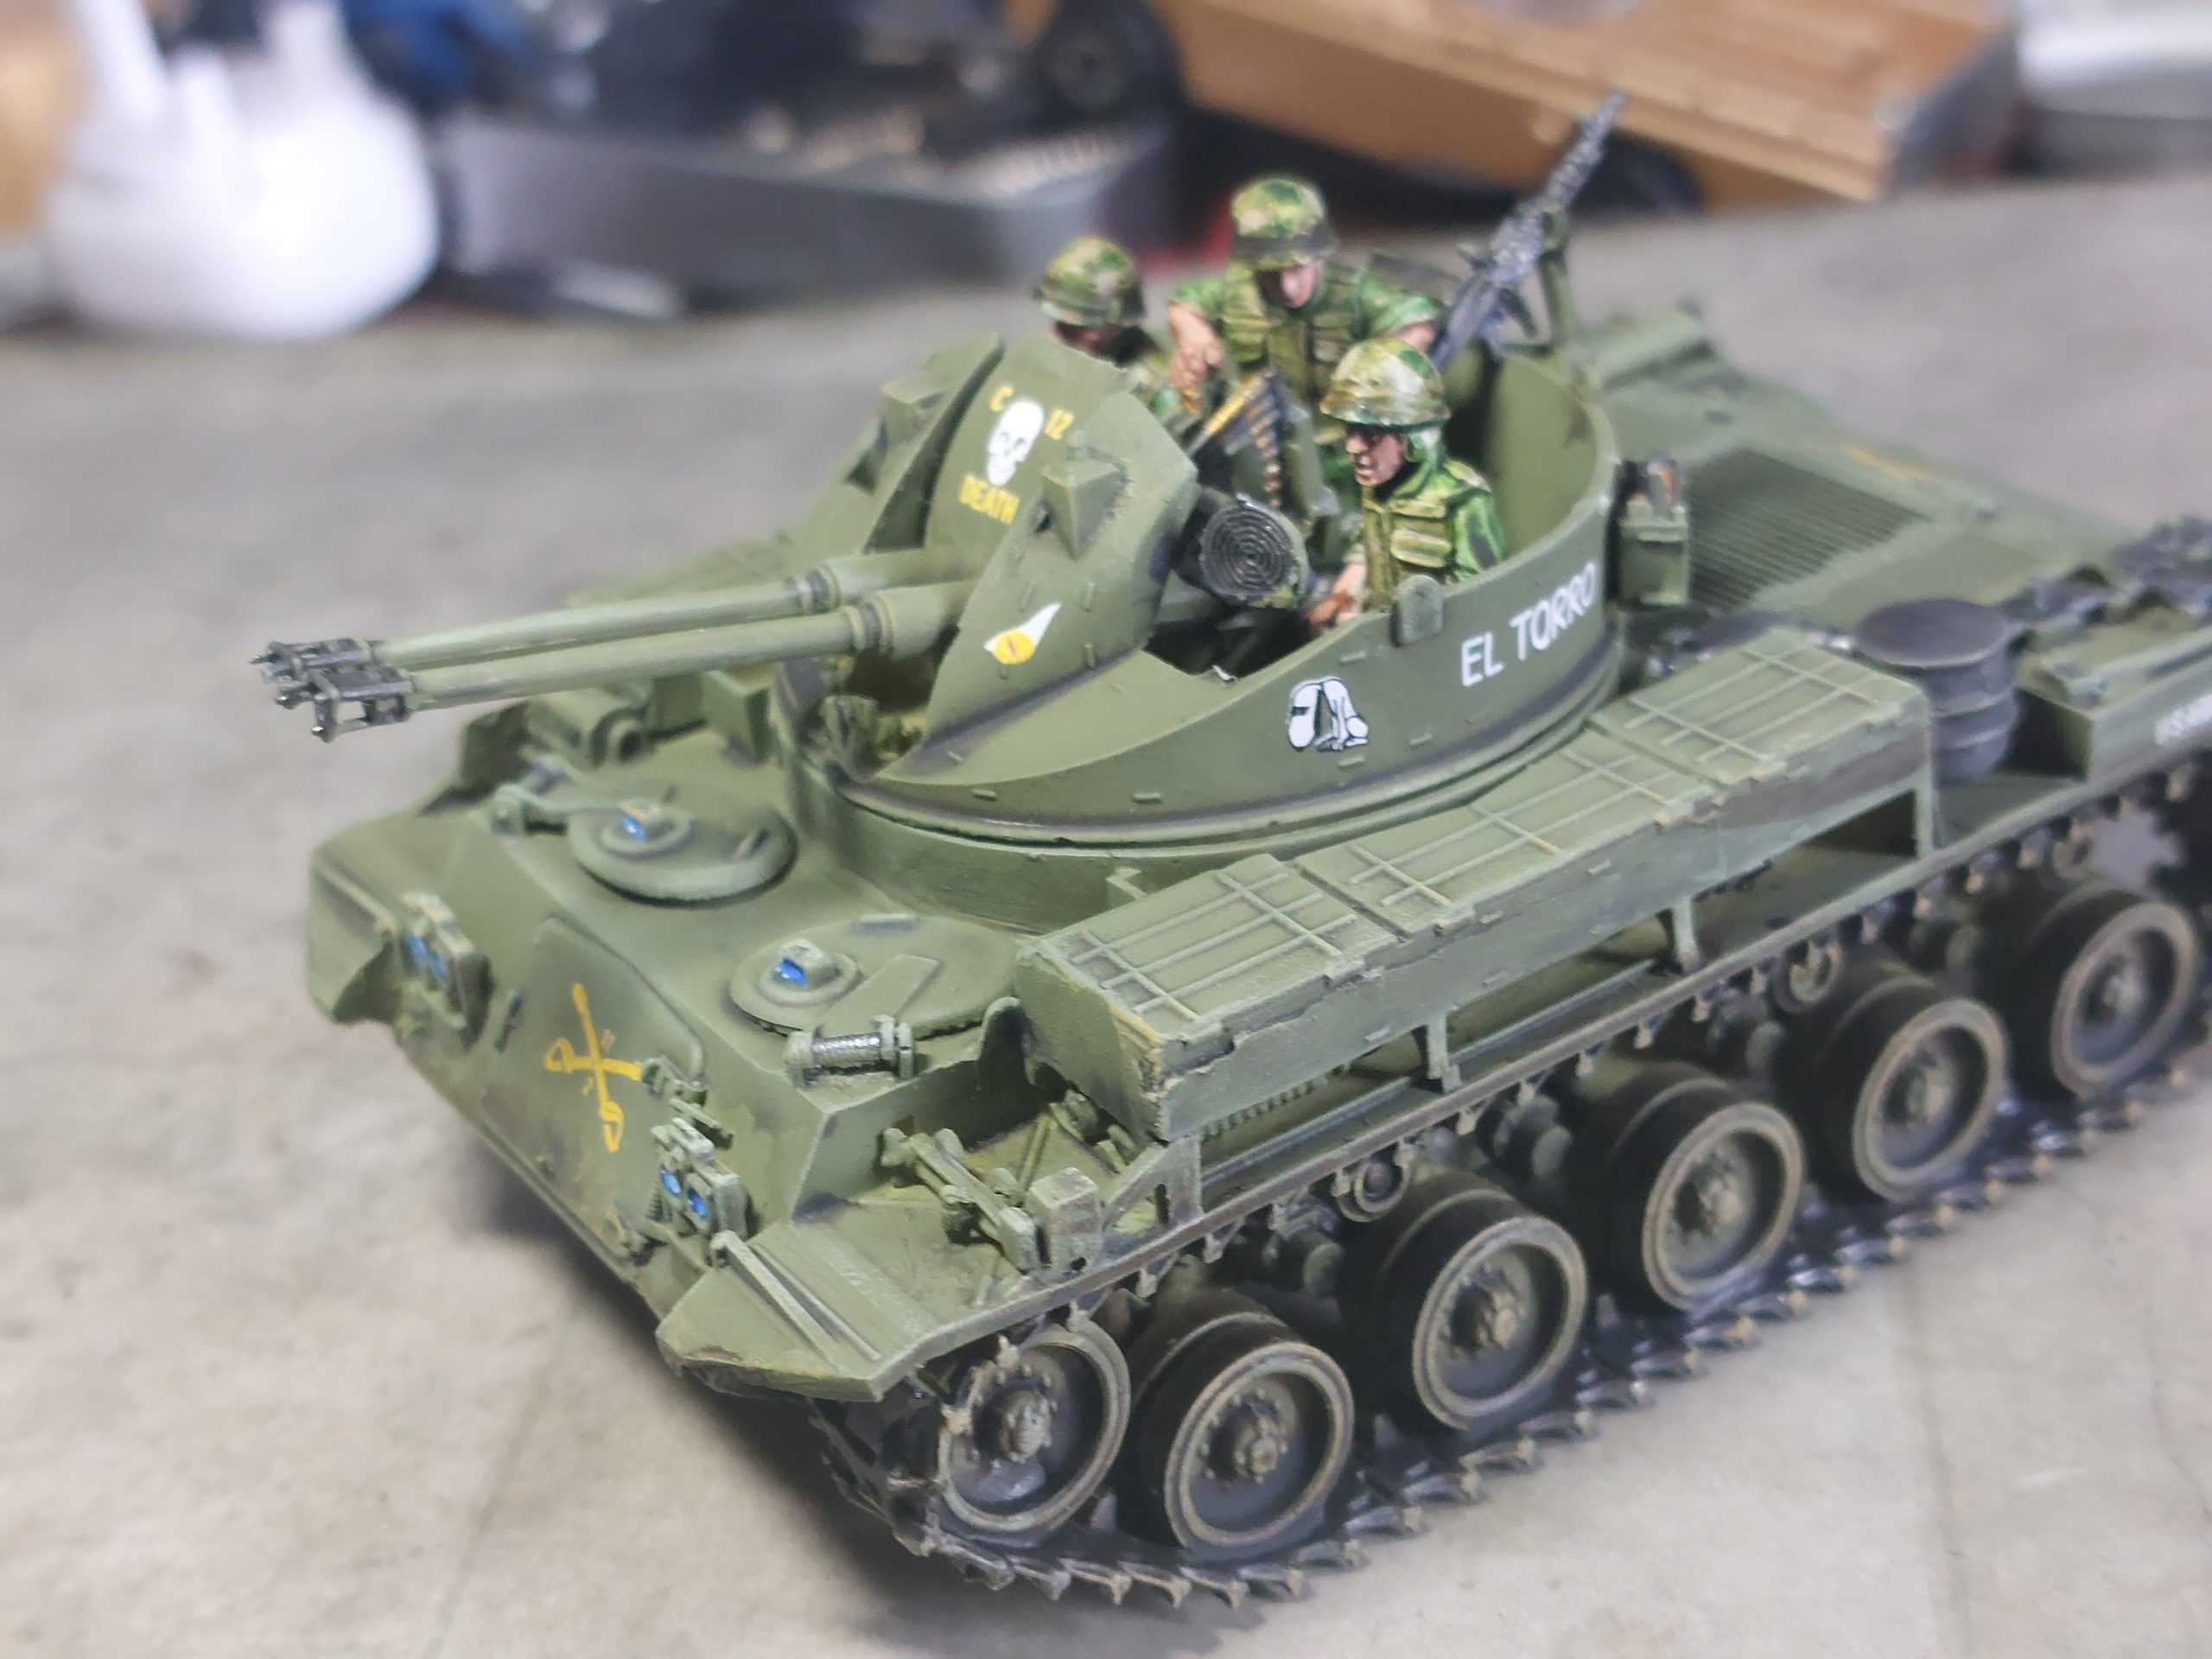
Decals are a mixture of spare M48 decals, with the Cavalry swords from the M113’s both from Rubicon.
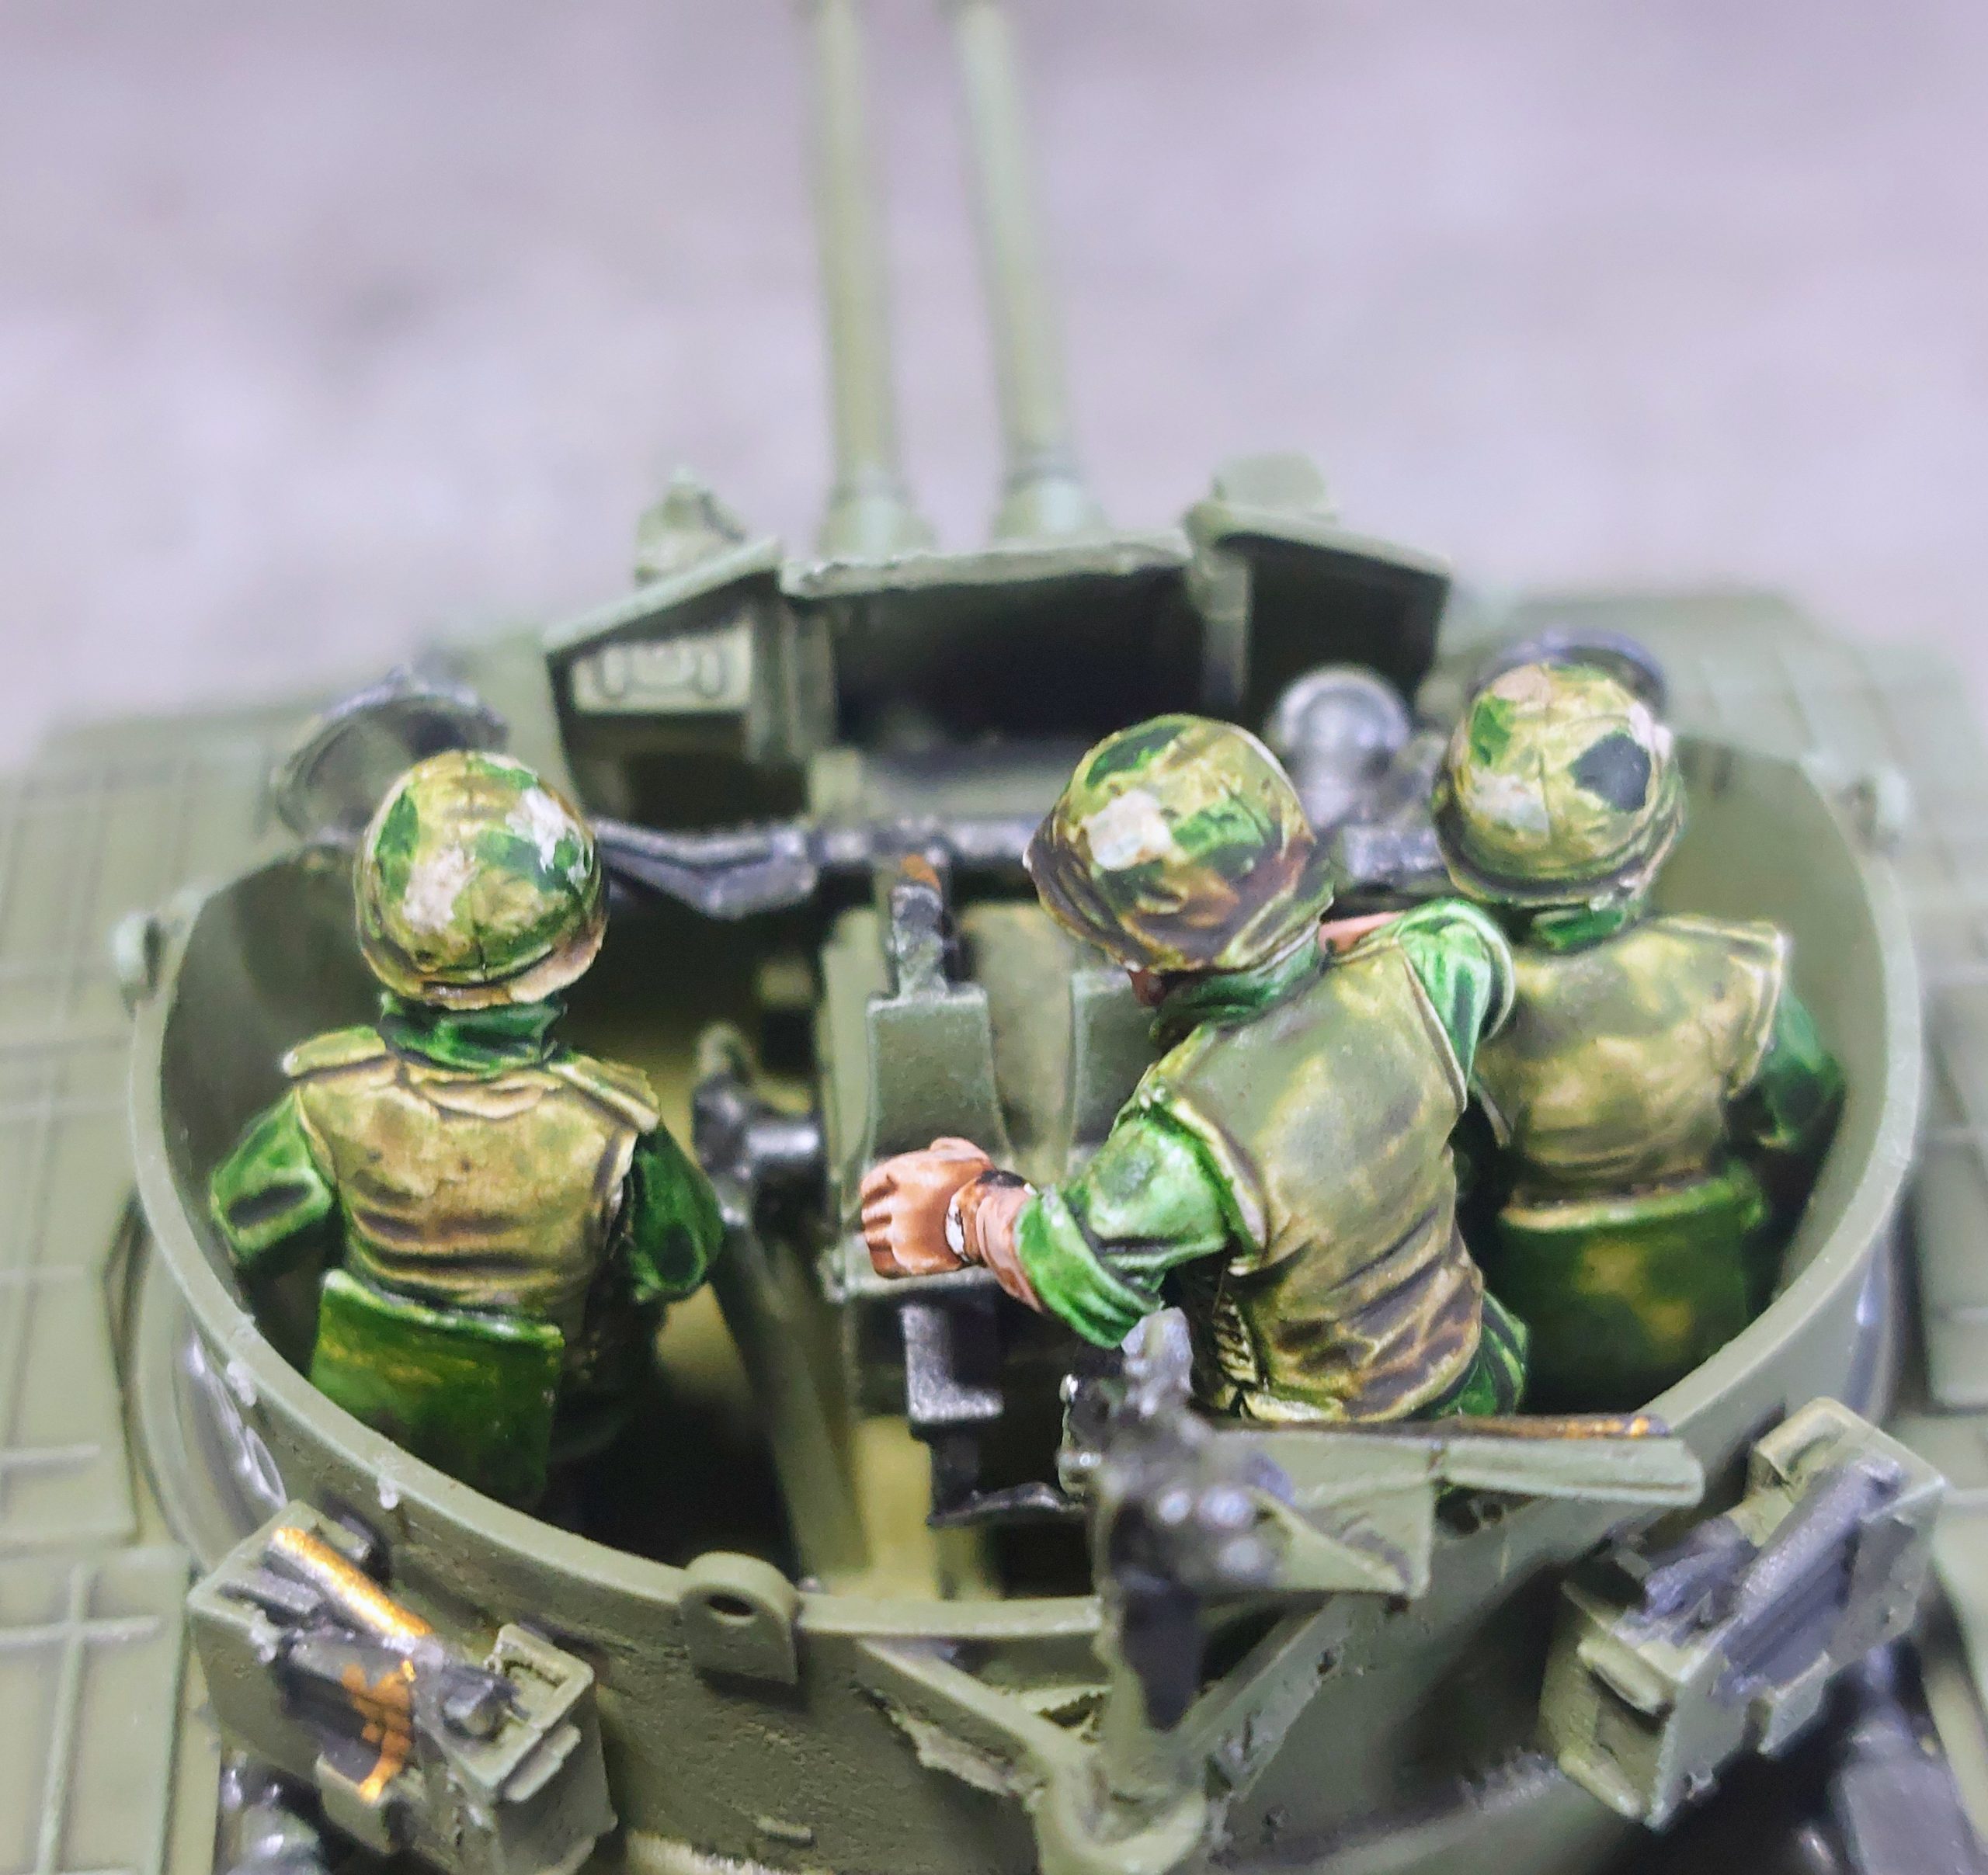
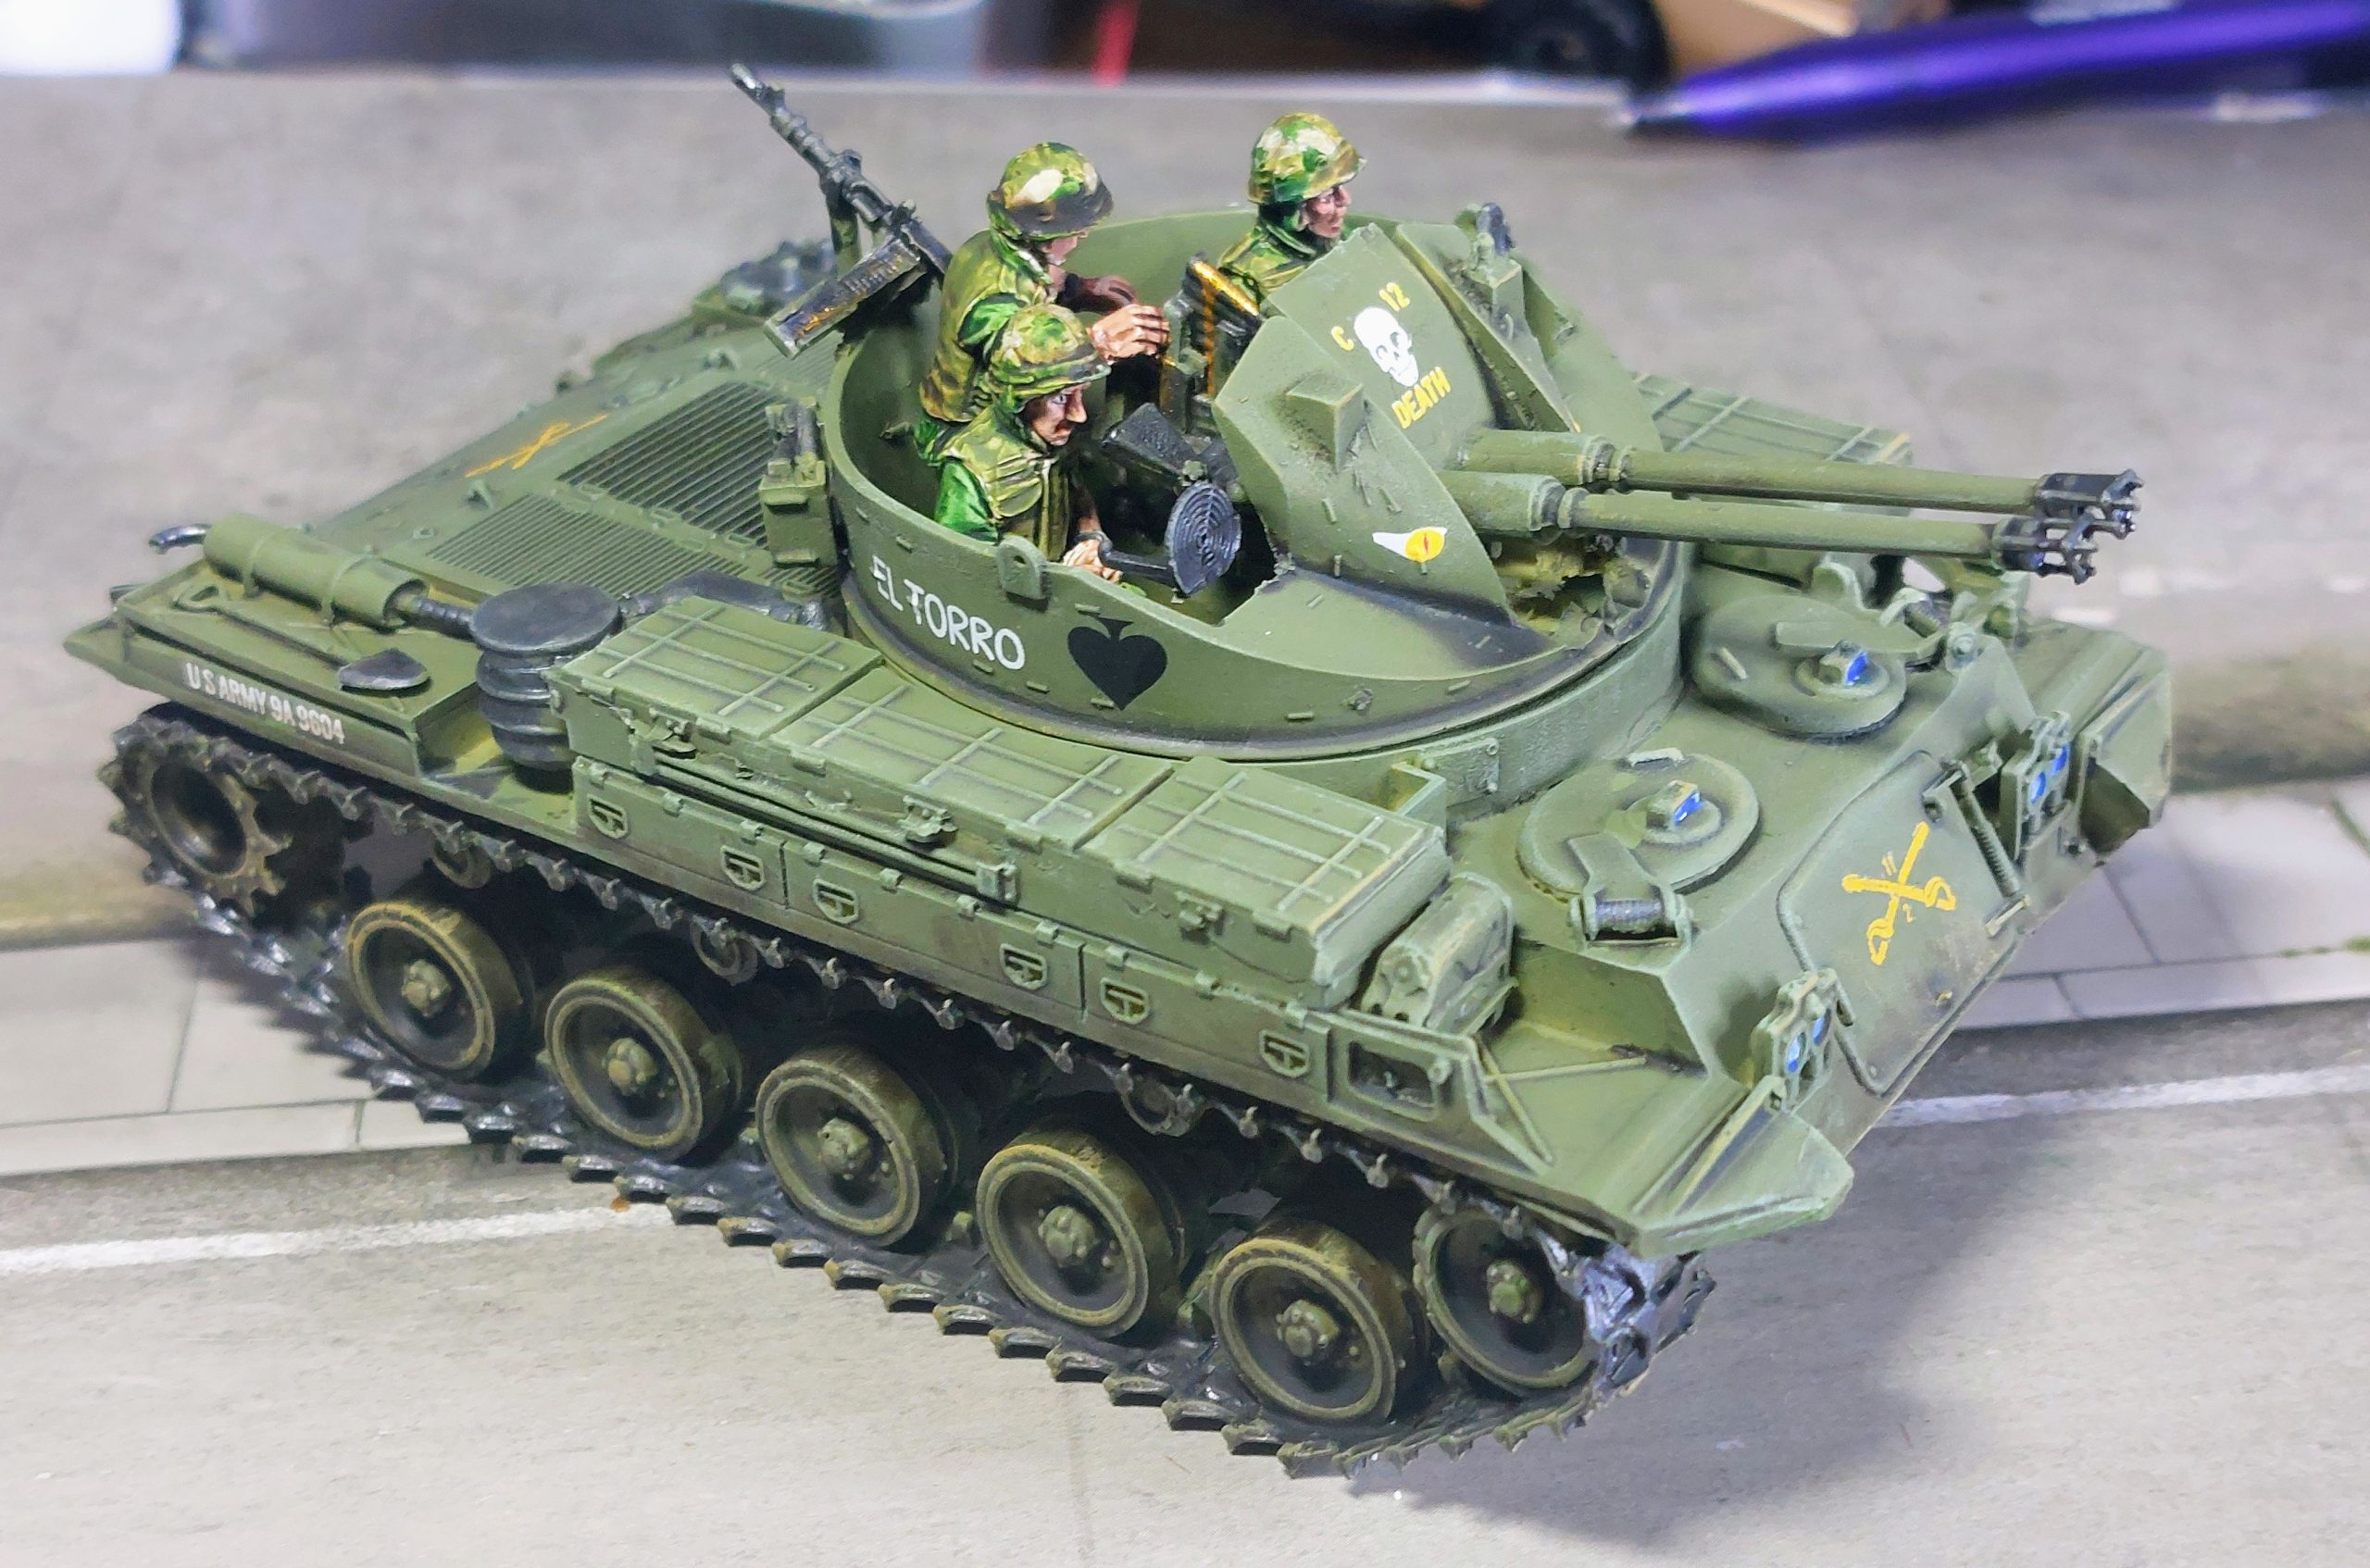
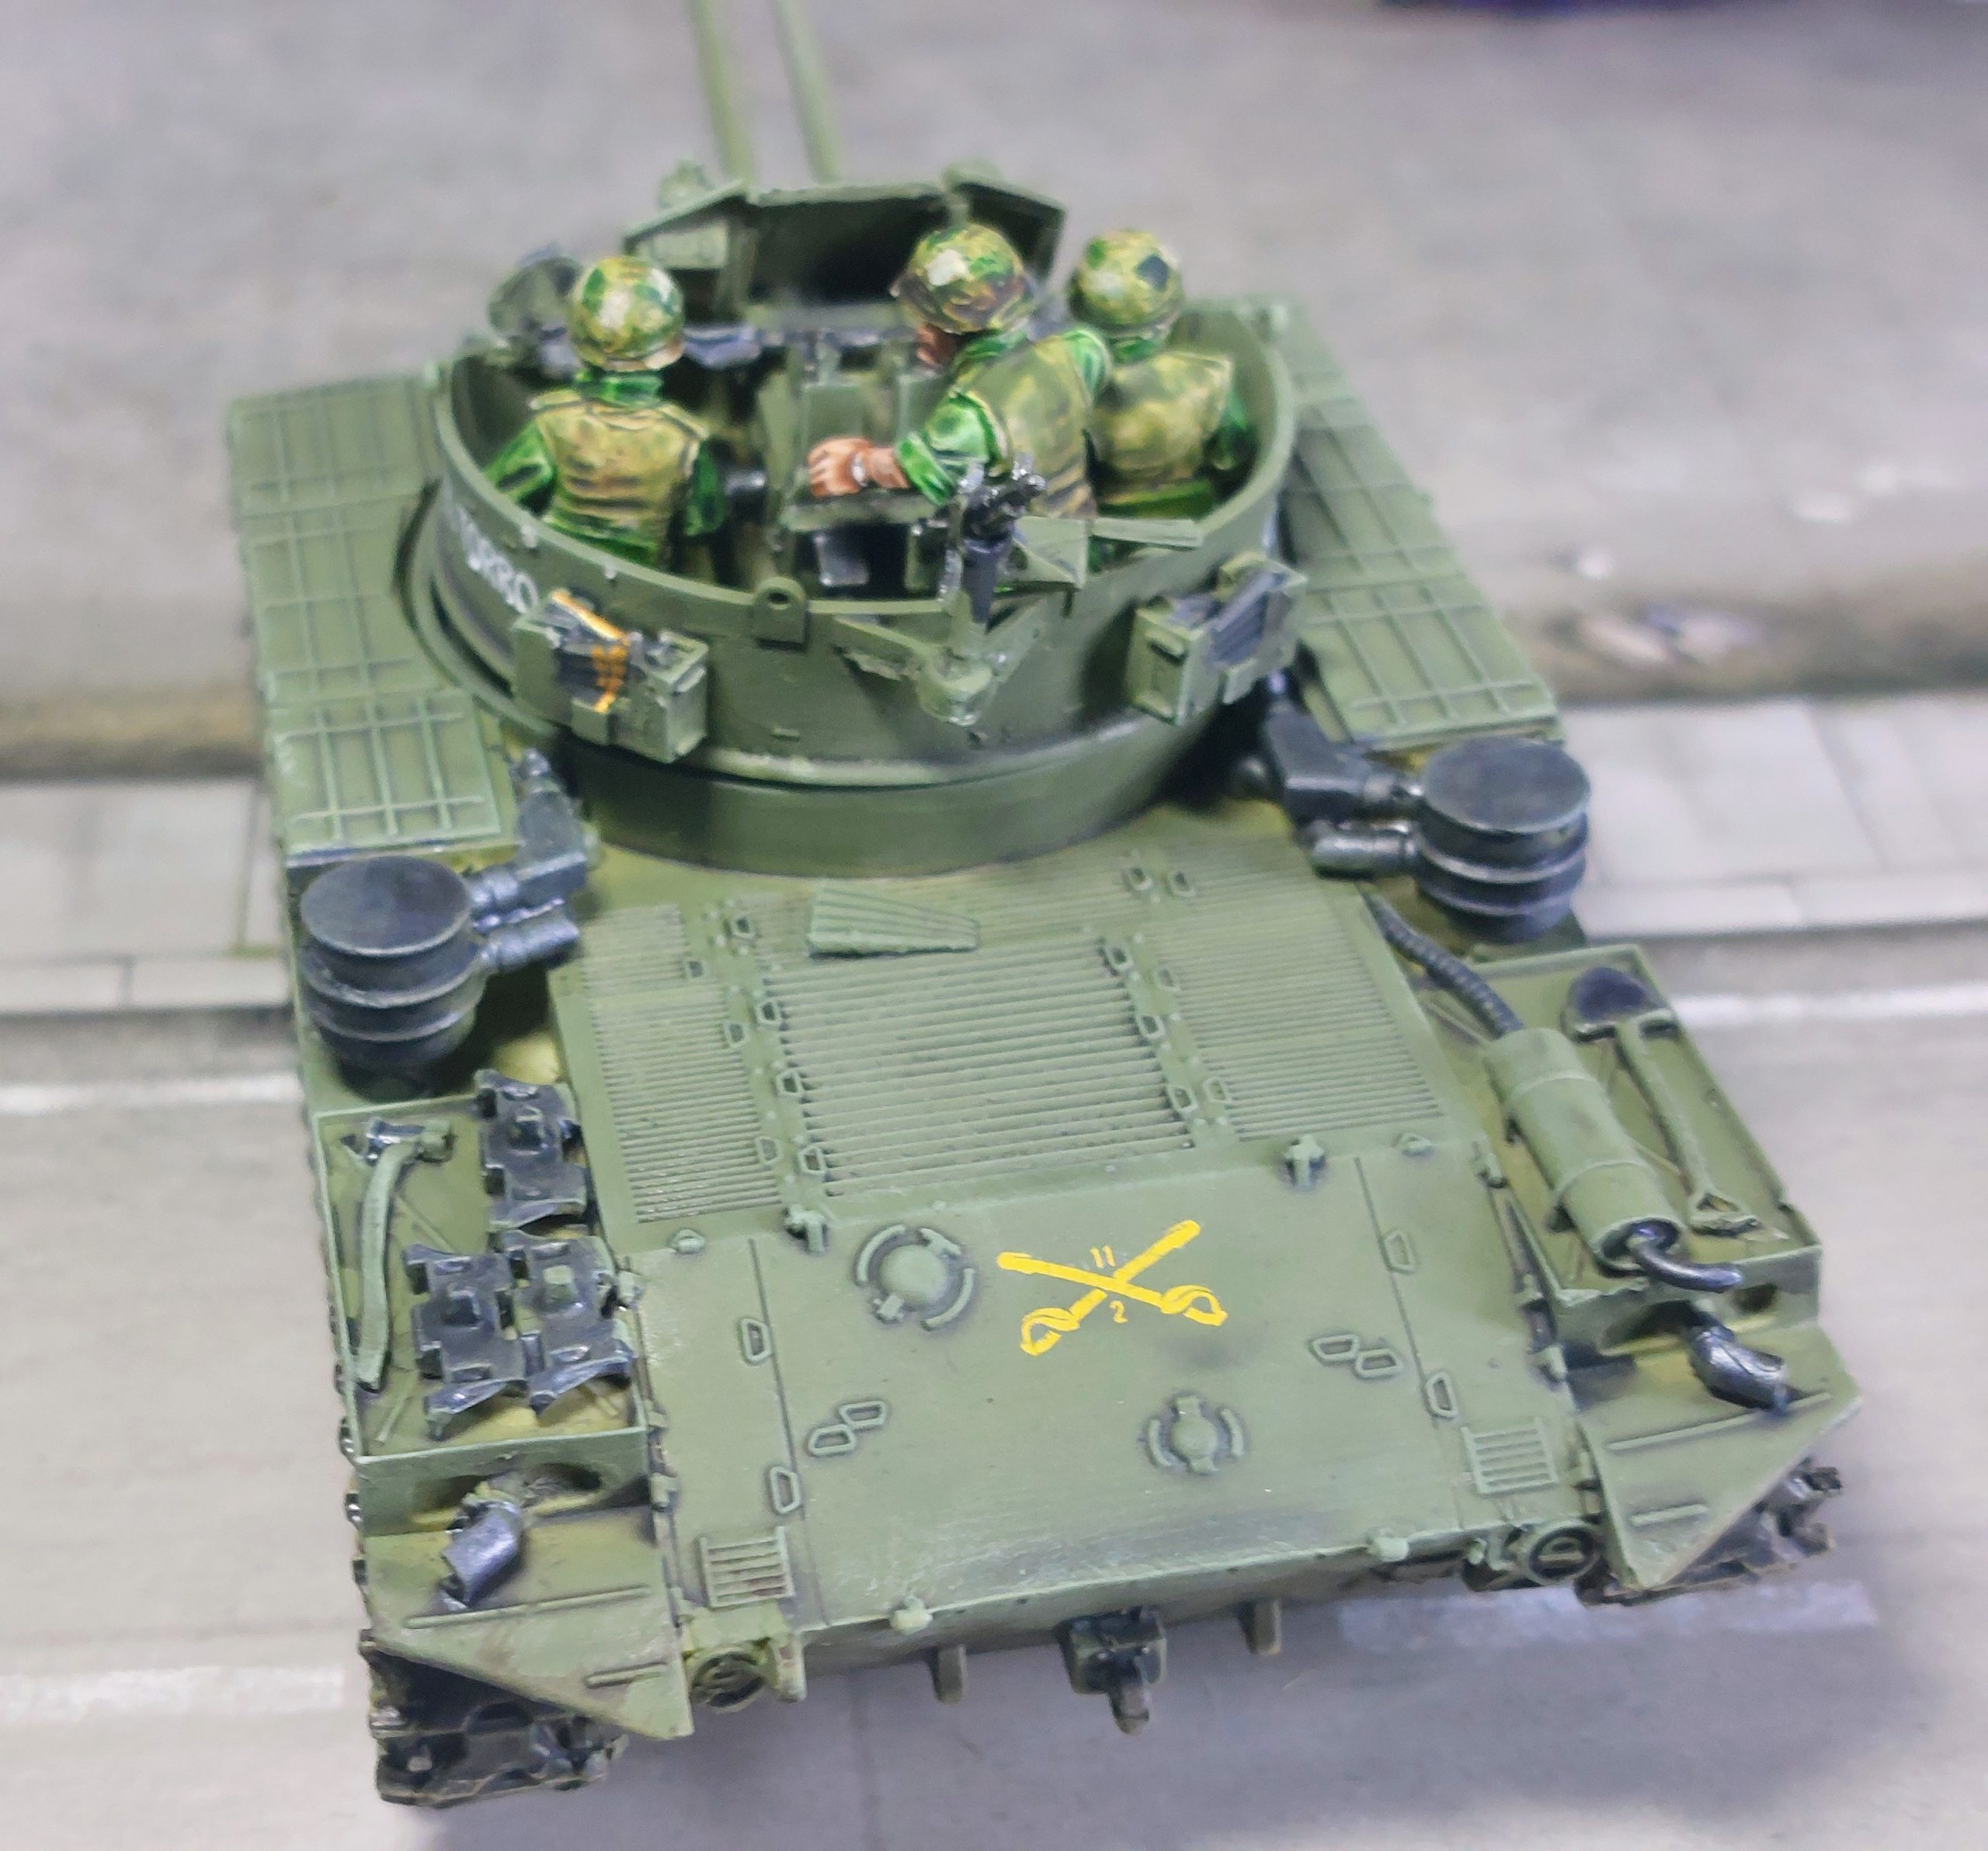
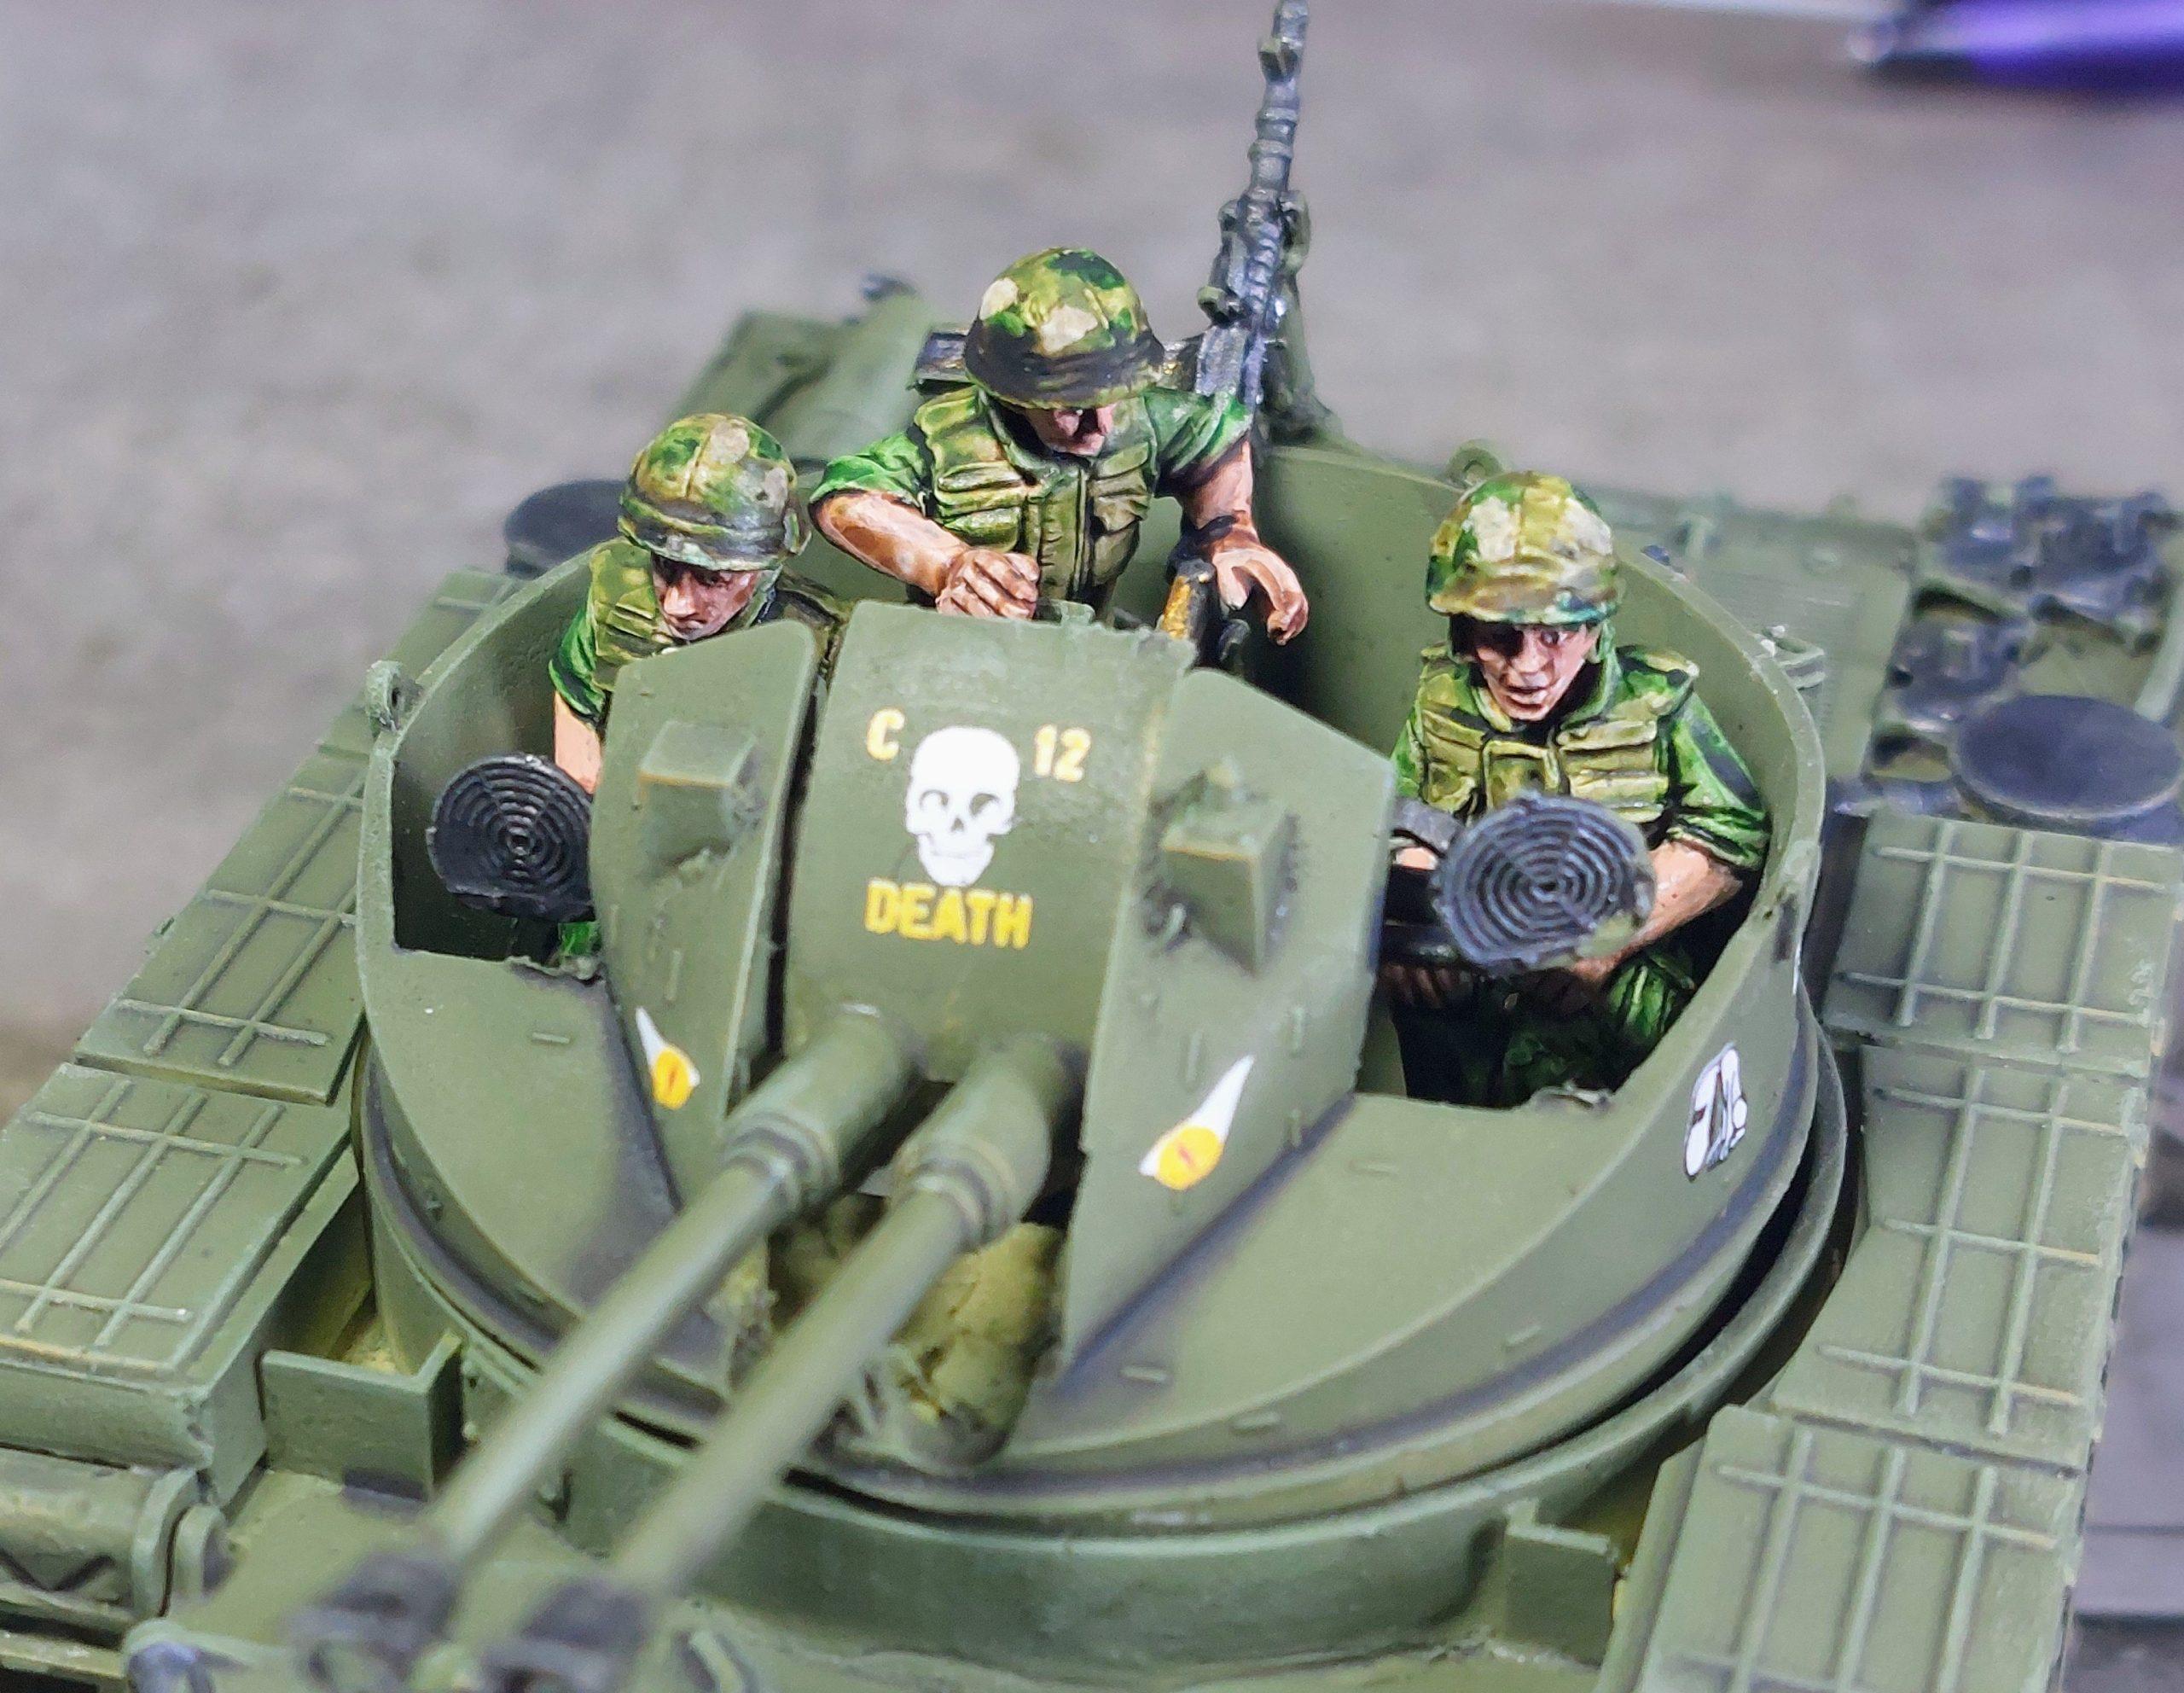
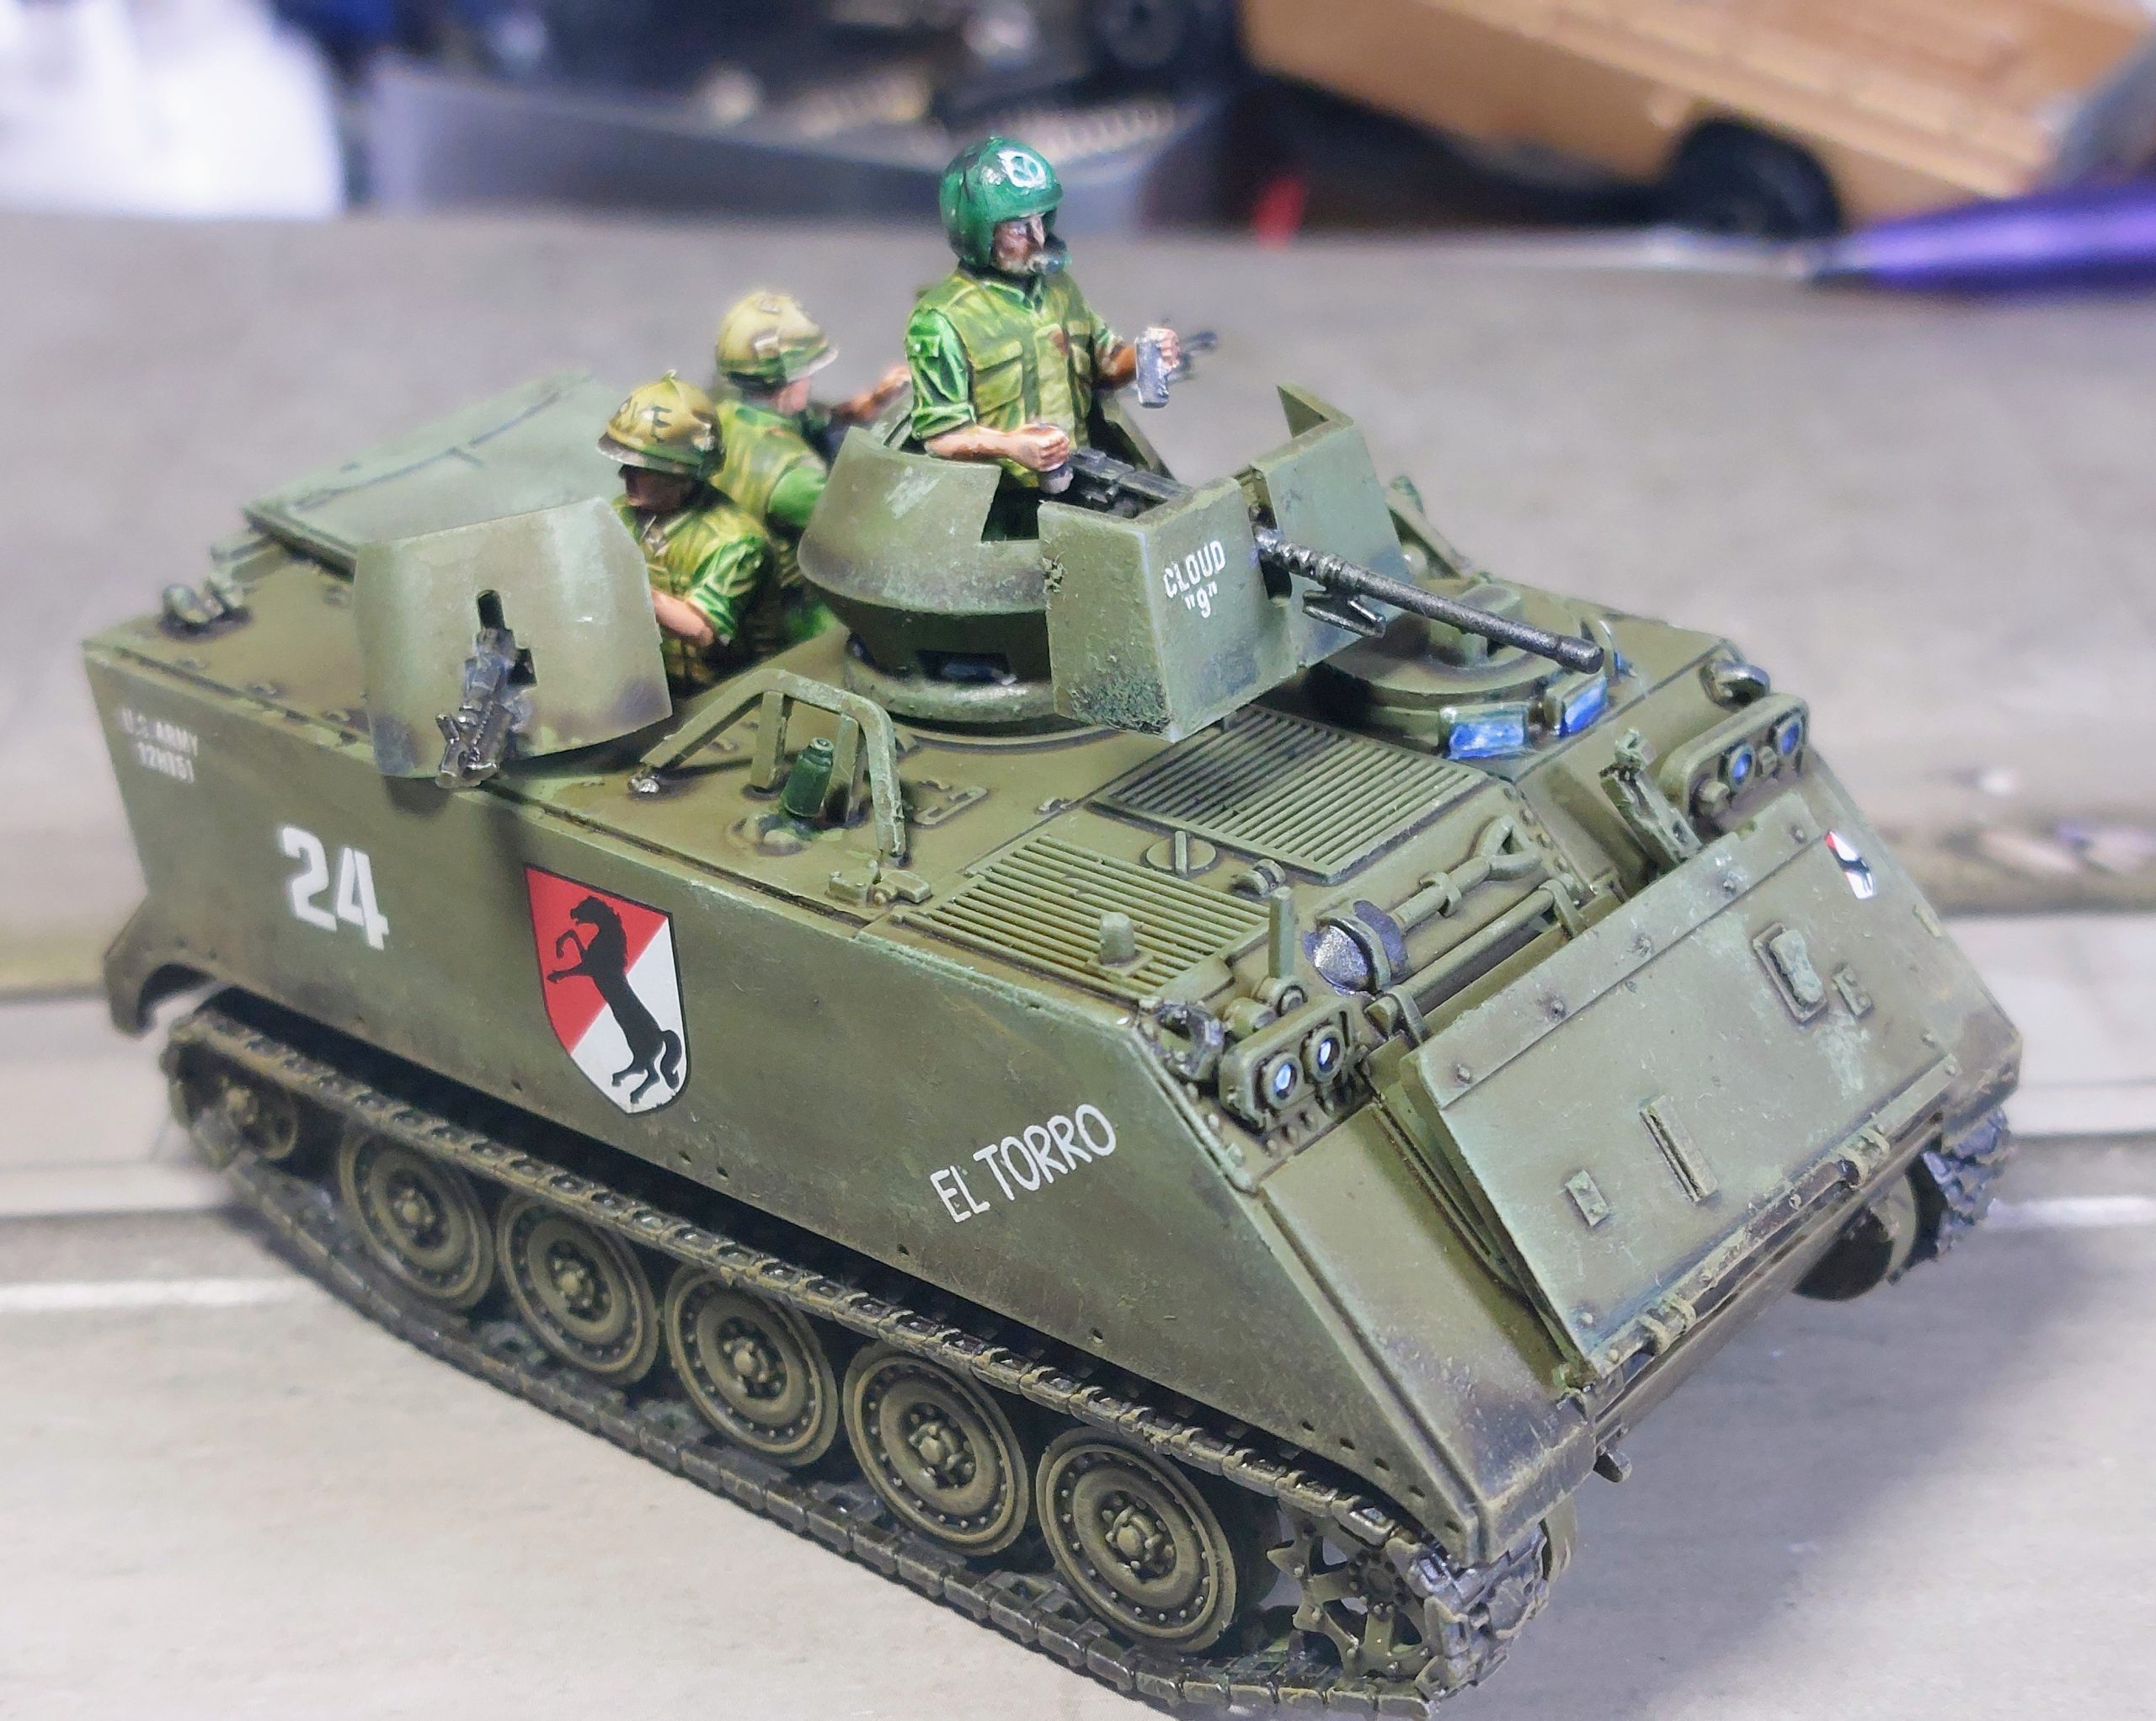
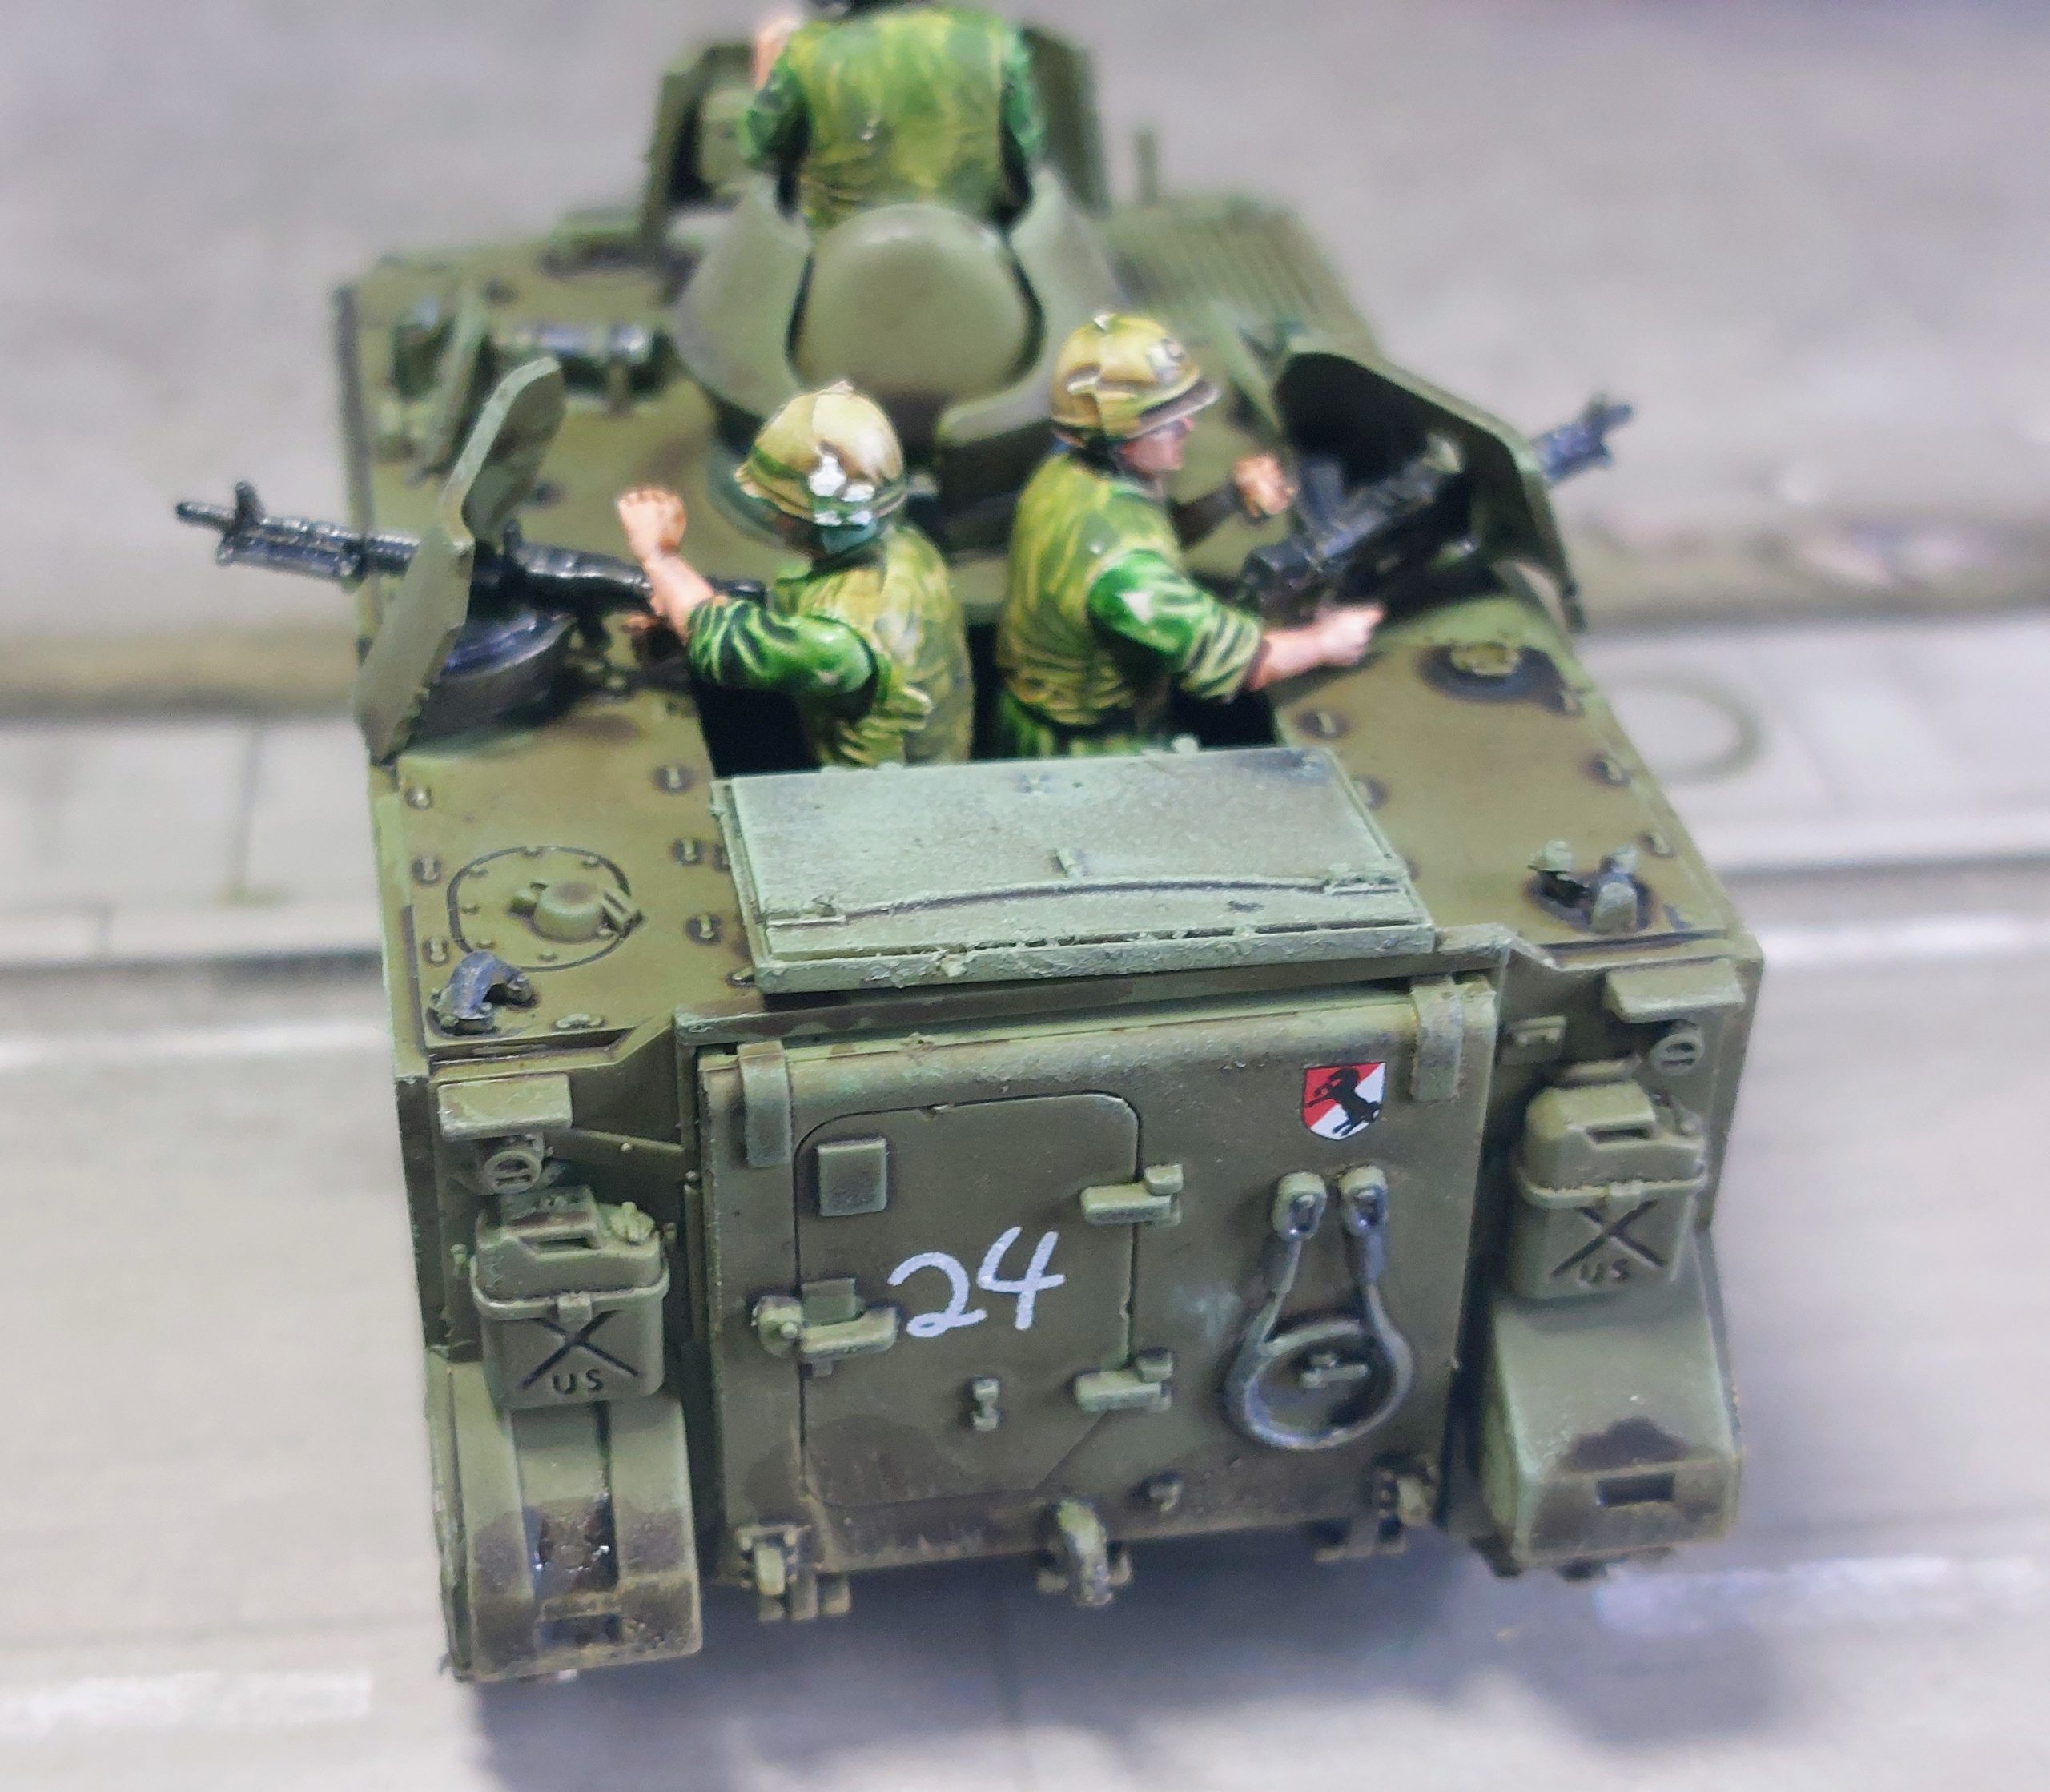
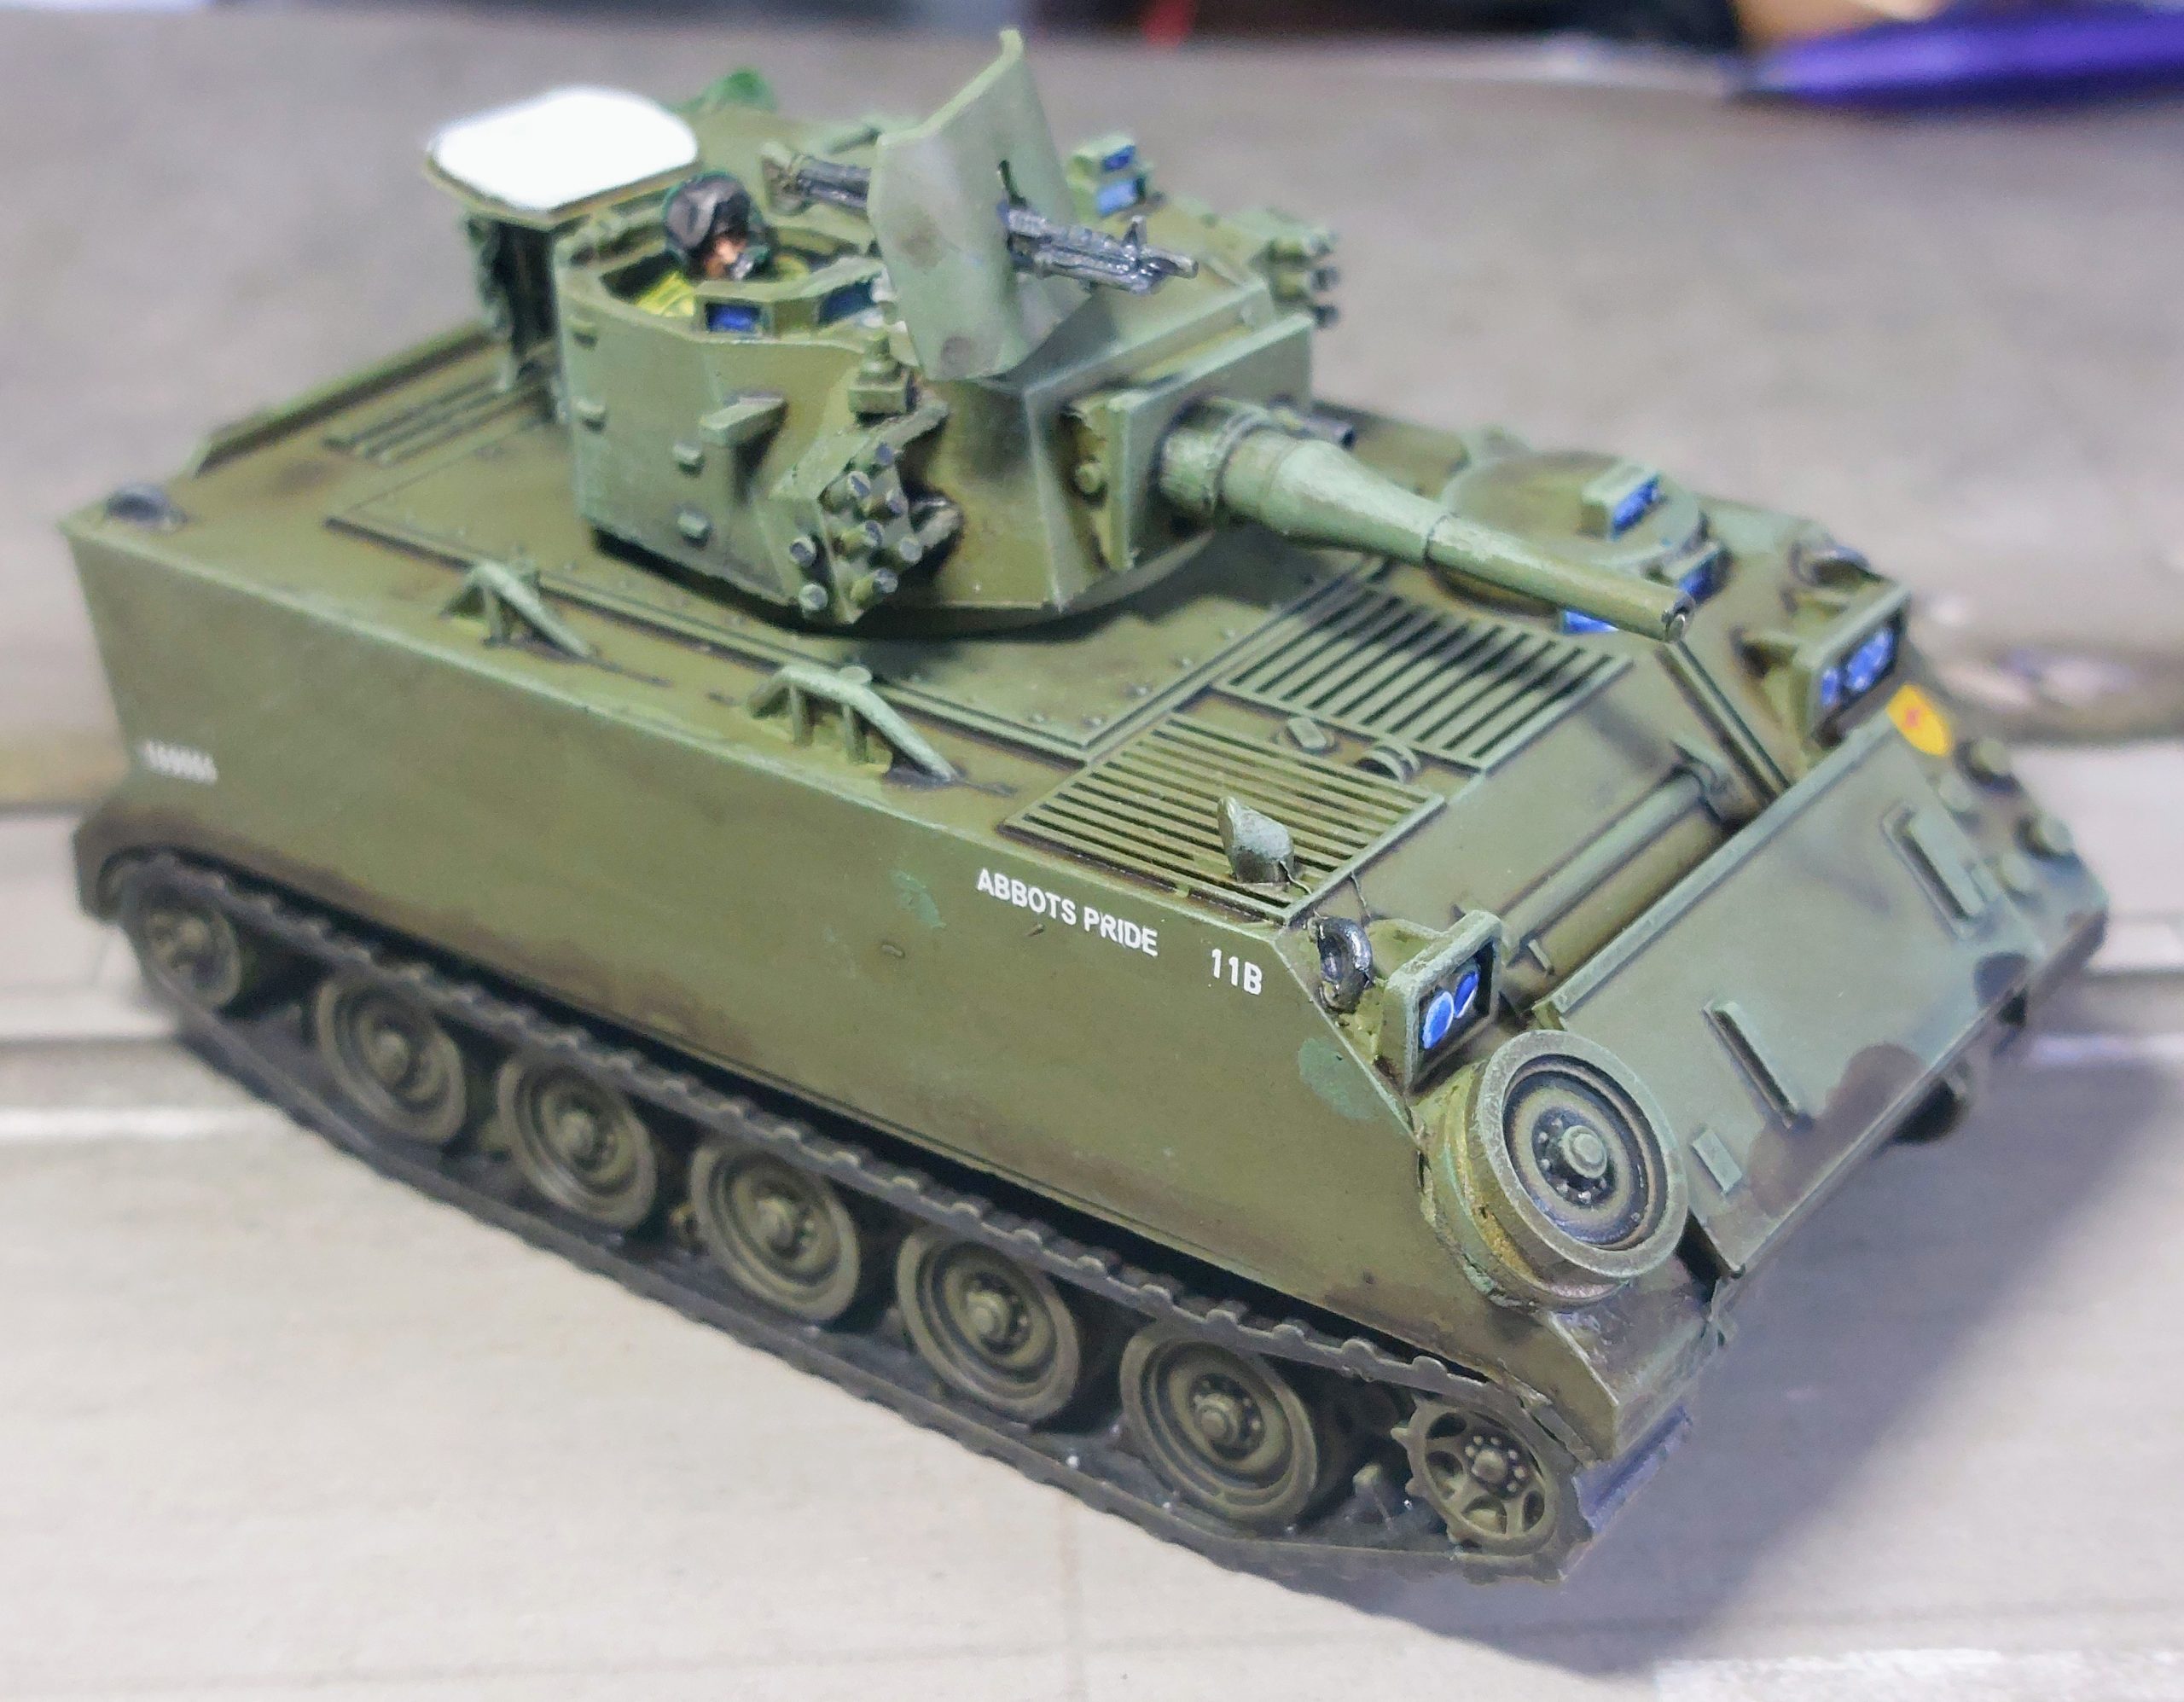
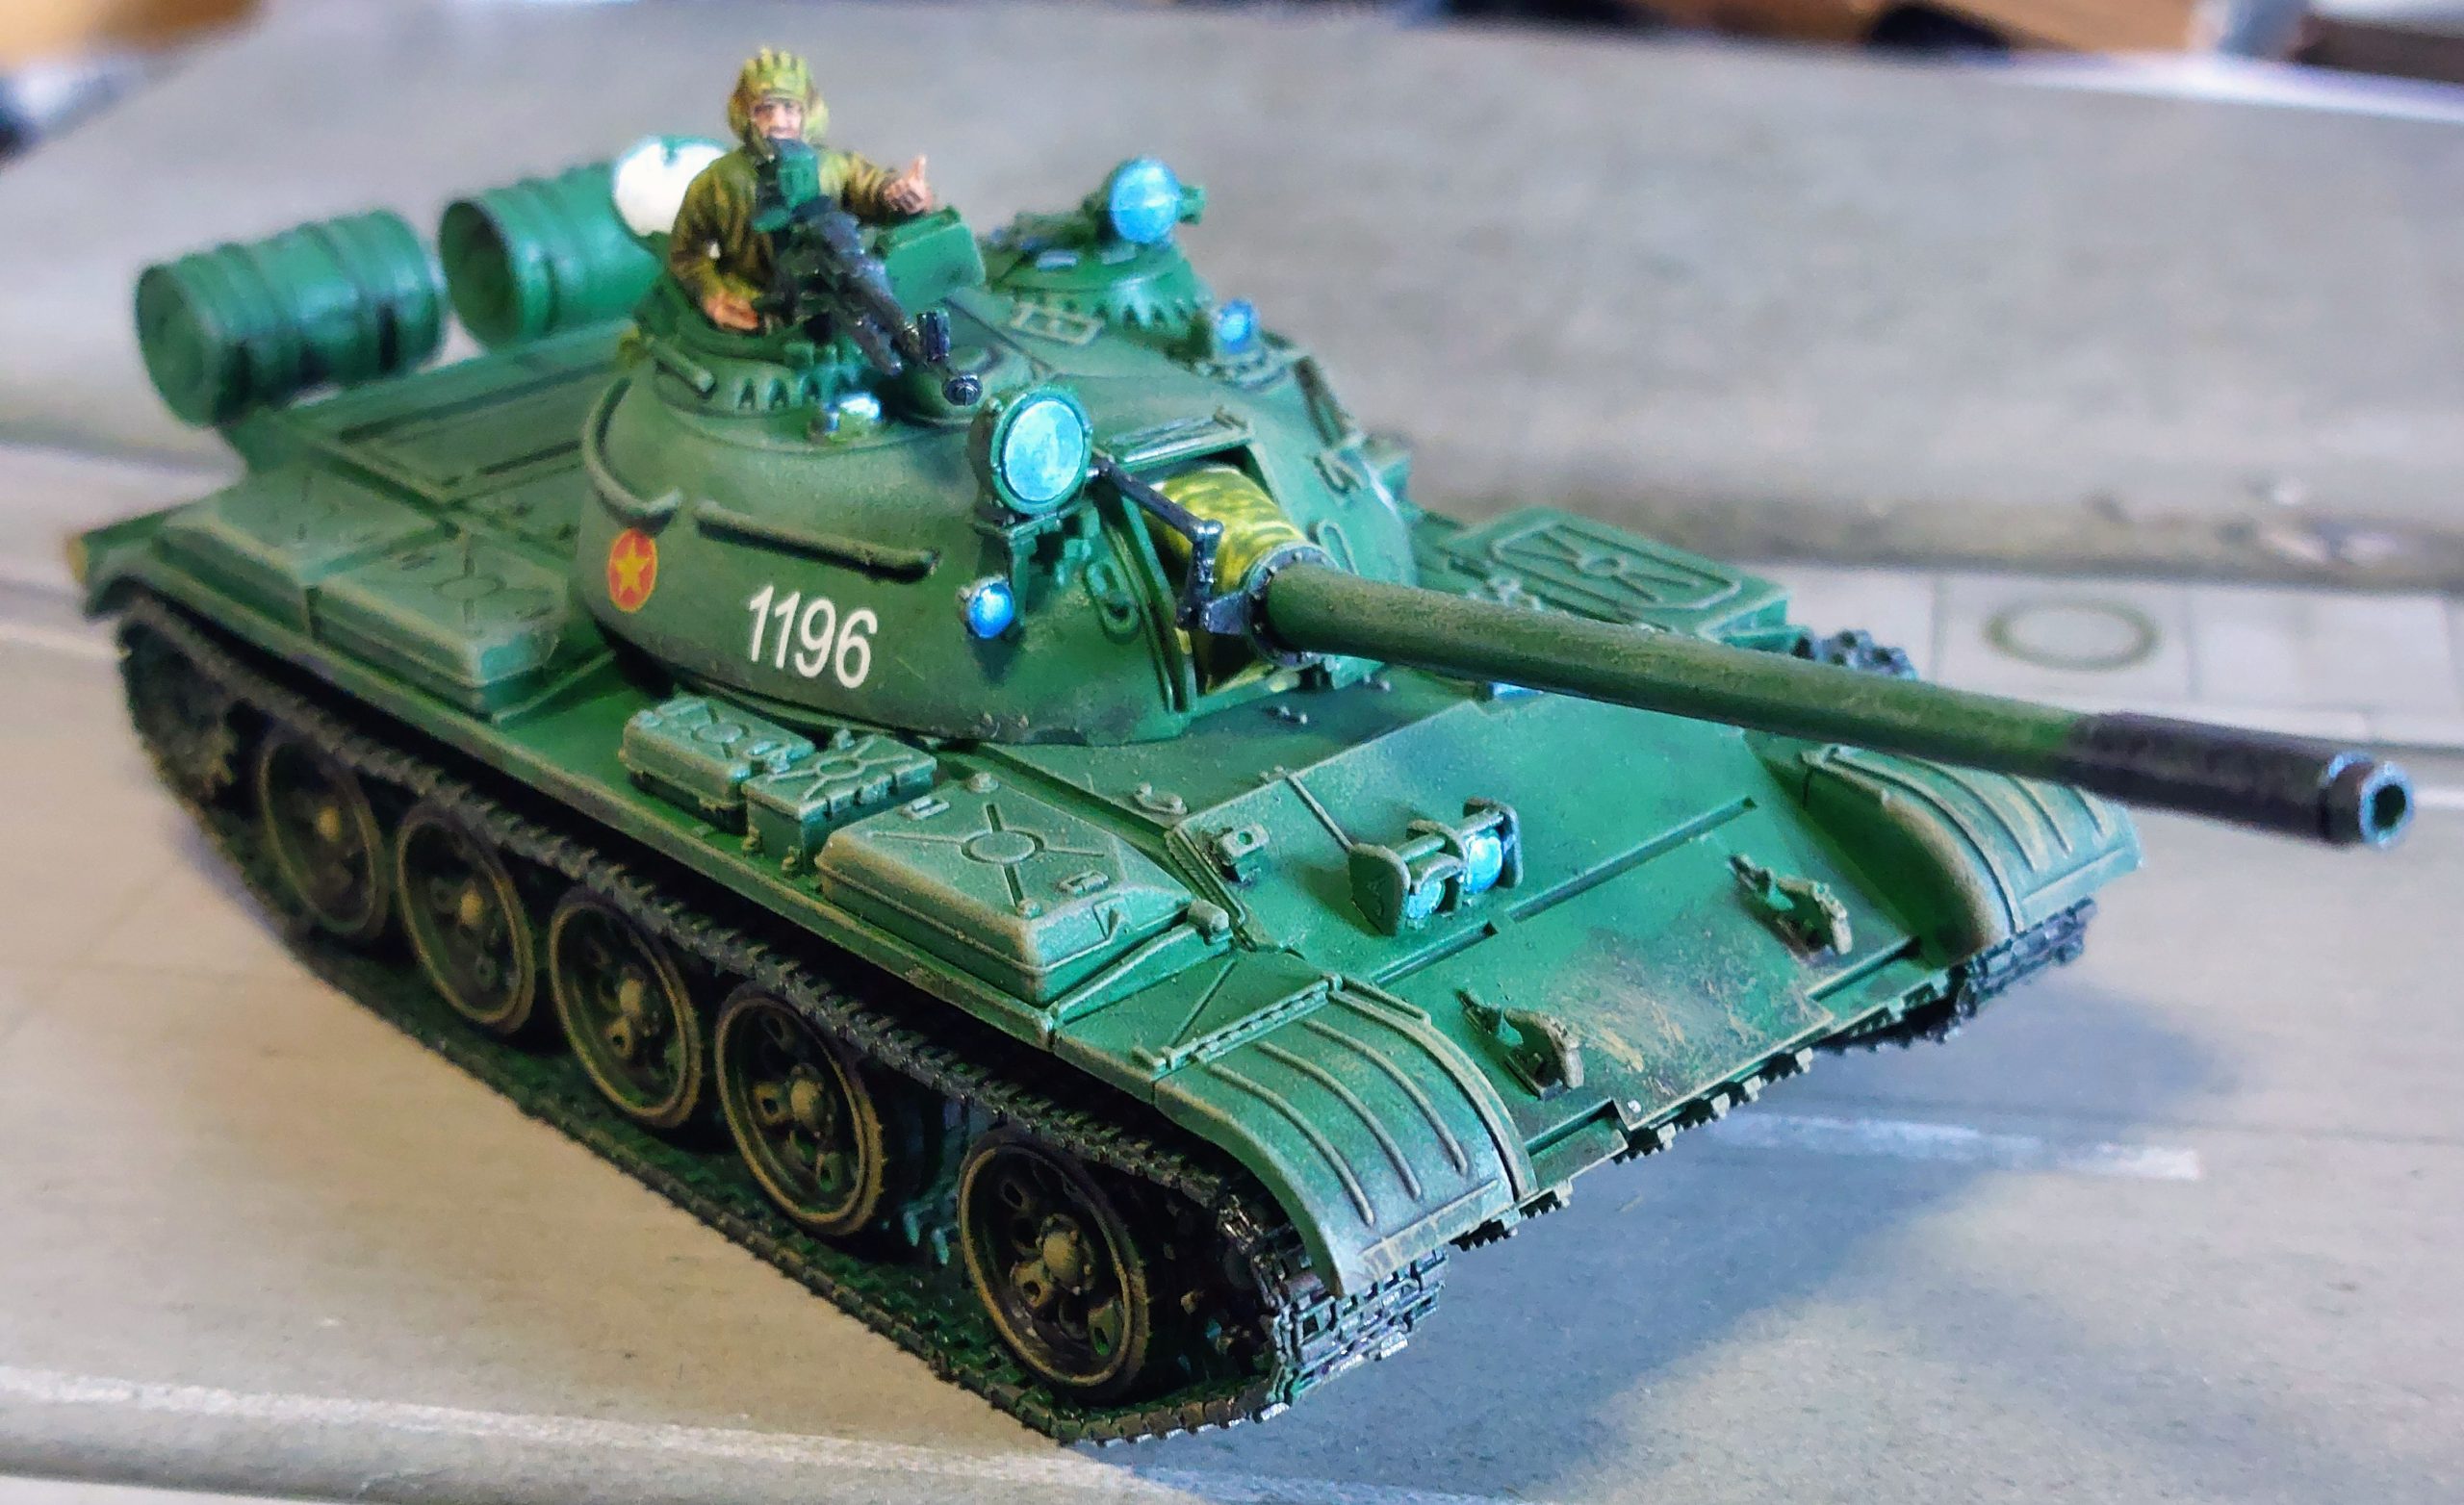
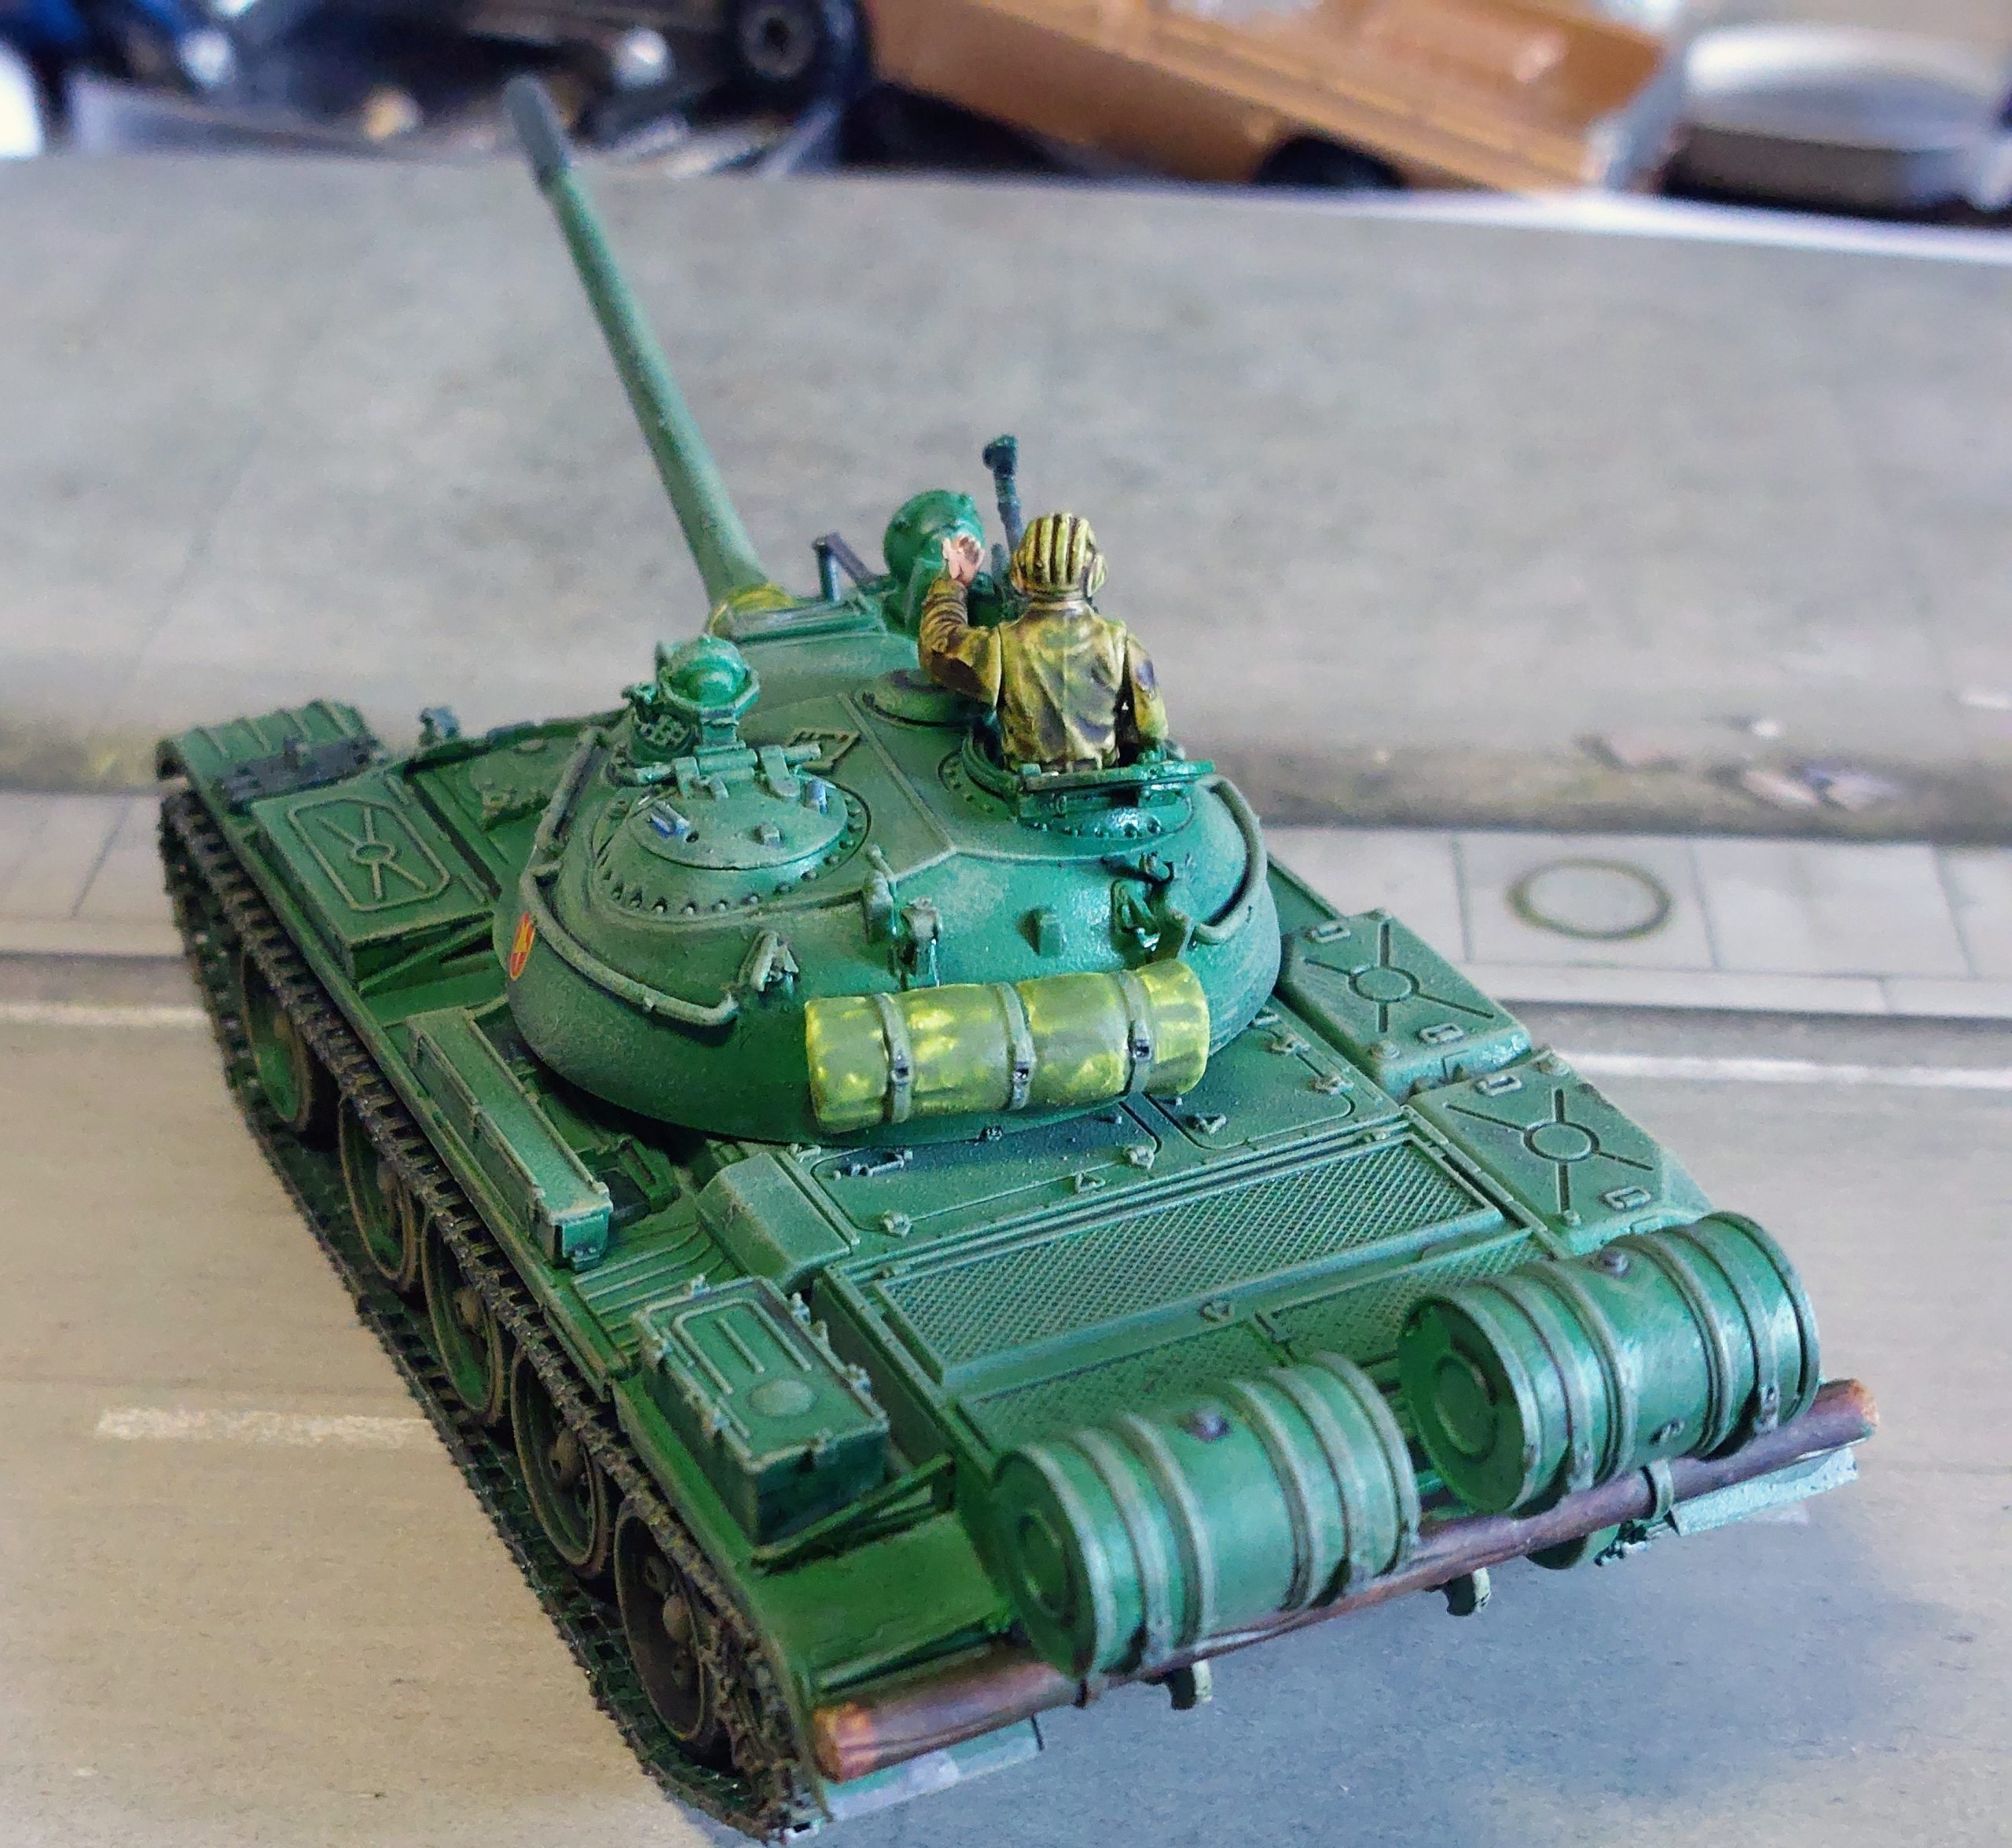
Black Suns Armour Part 2 Americans.
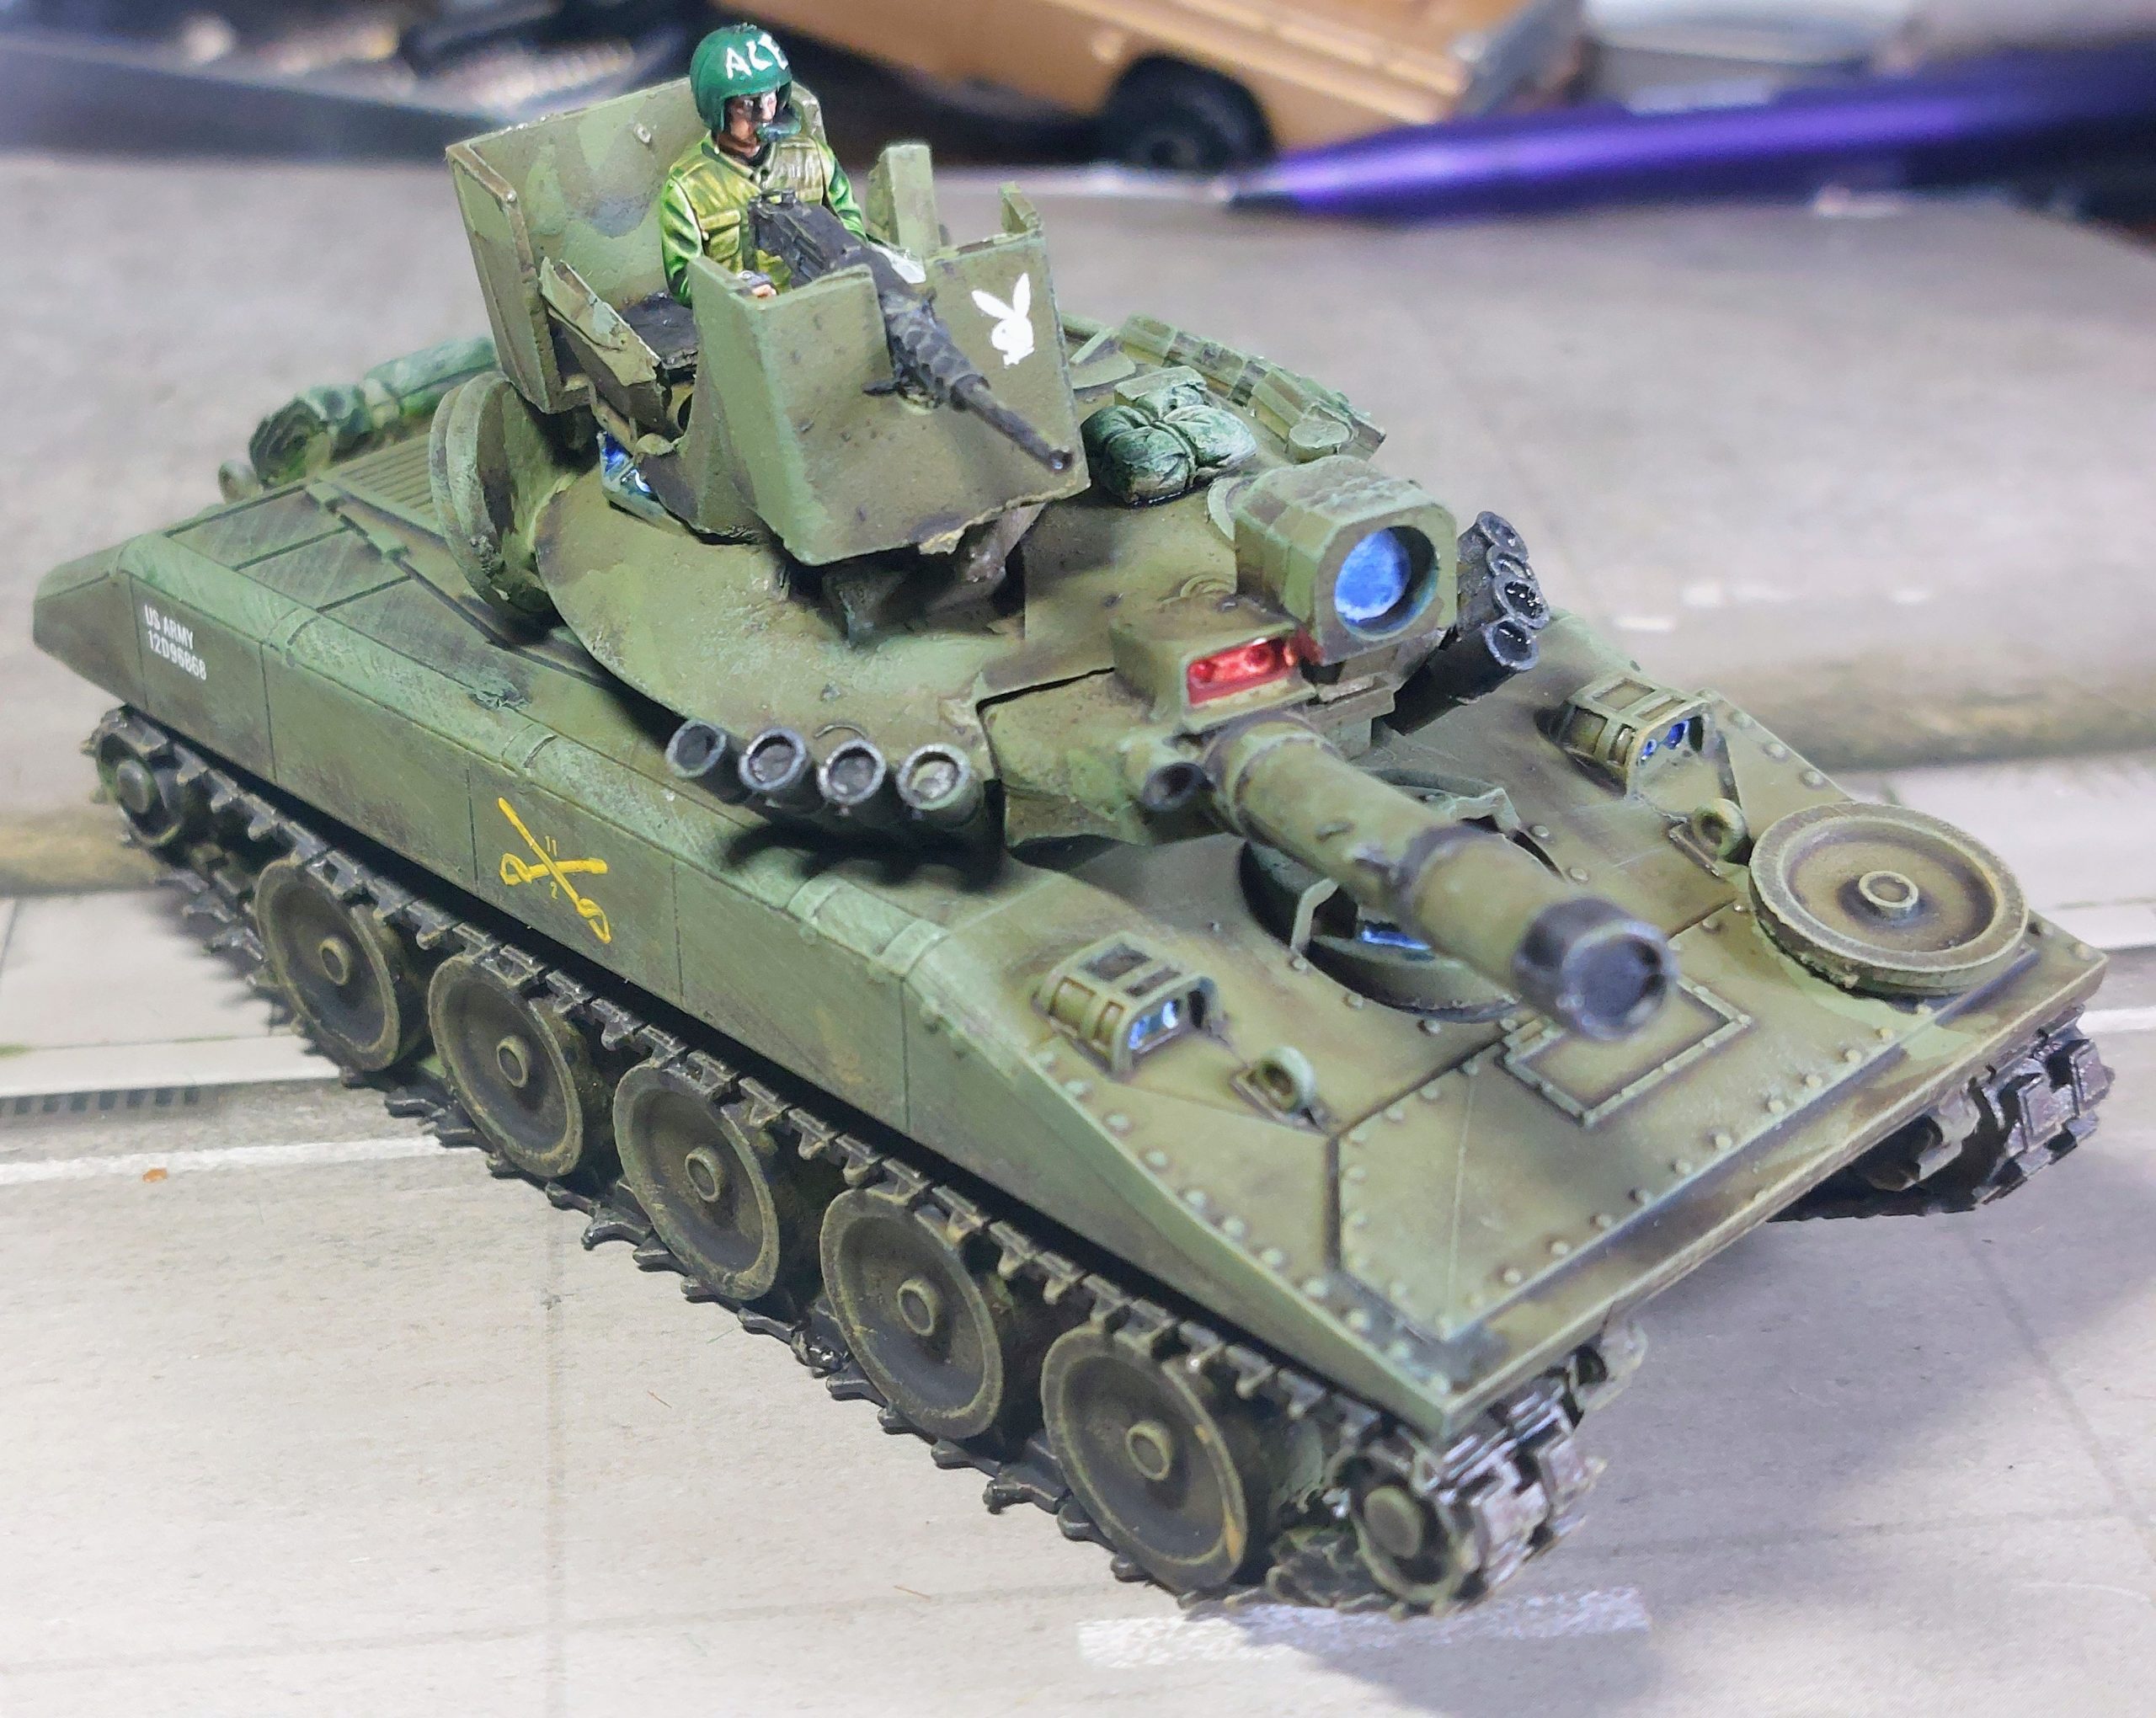
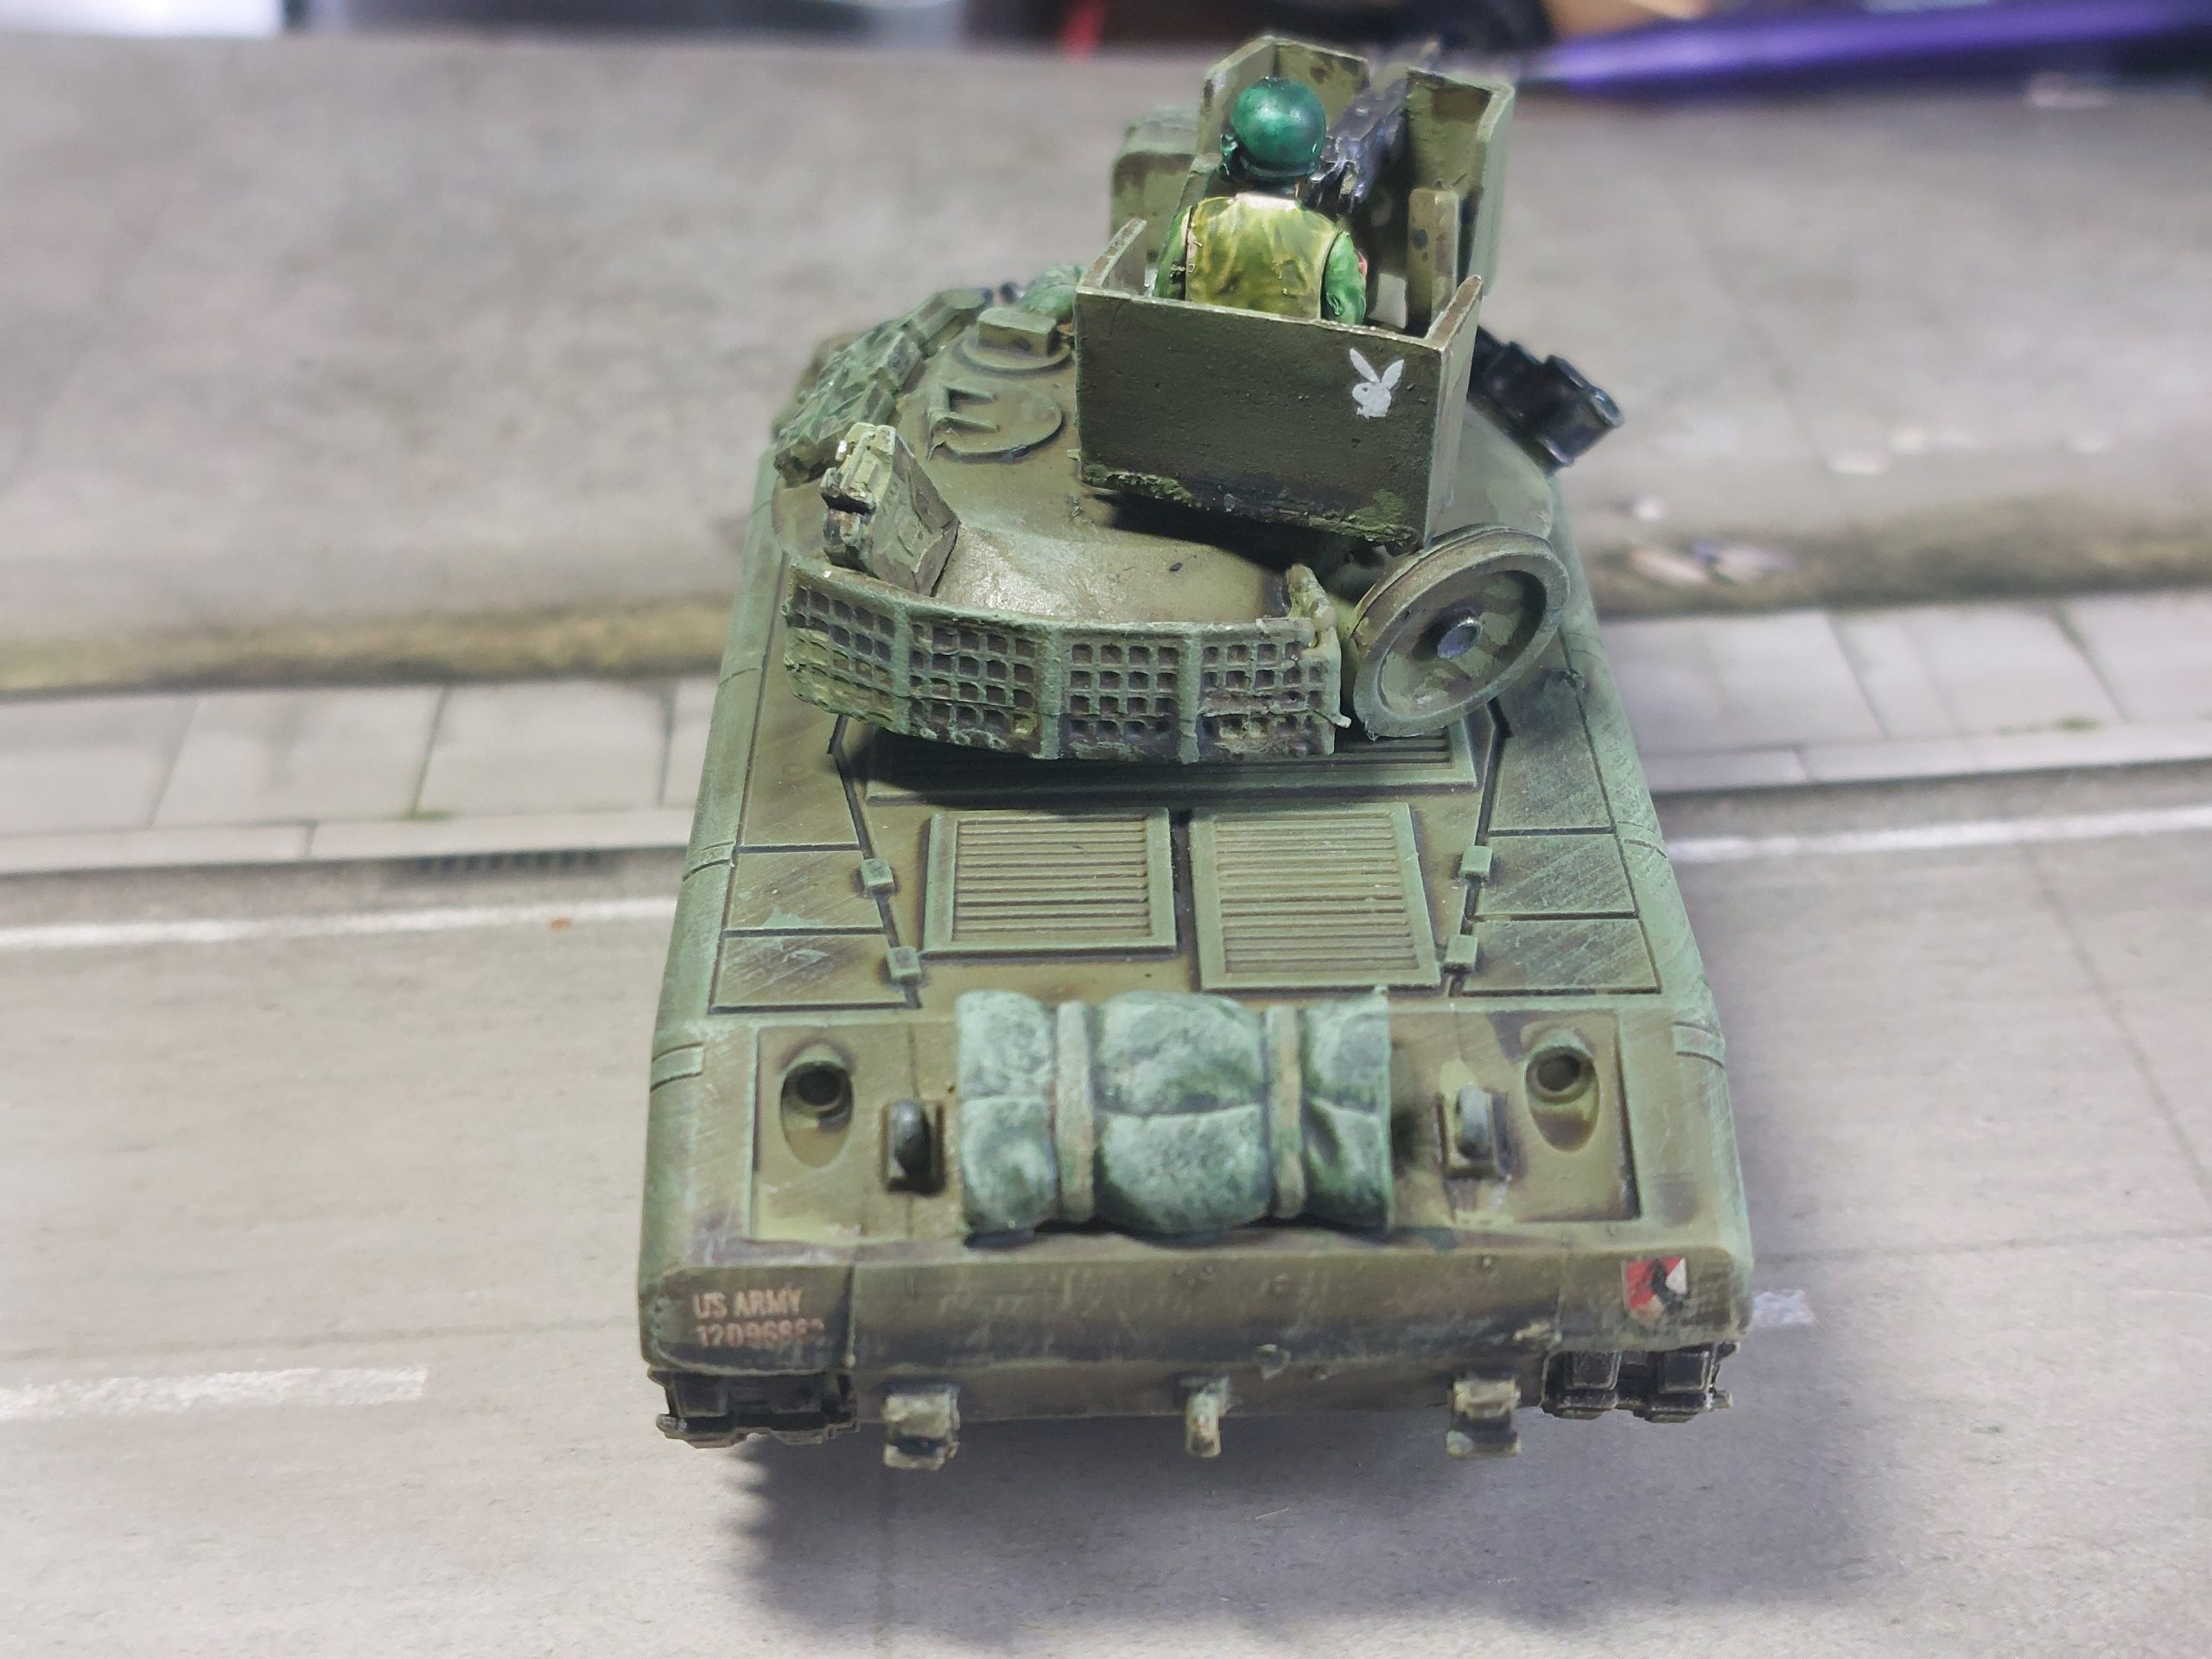
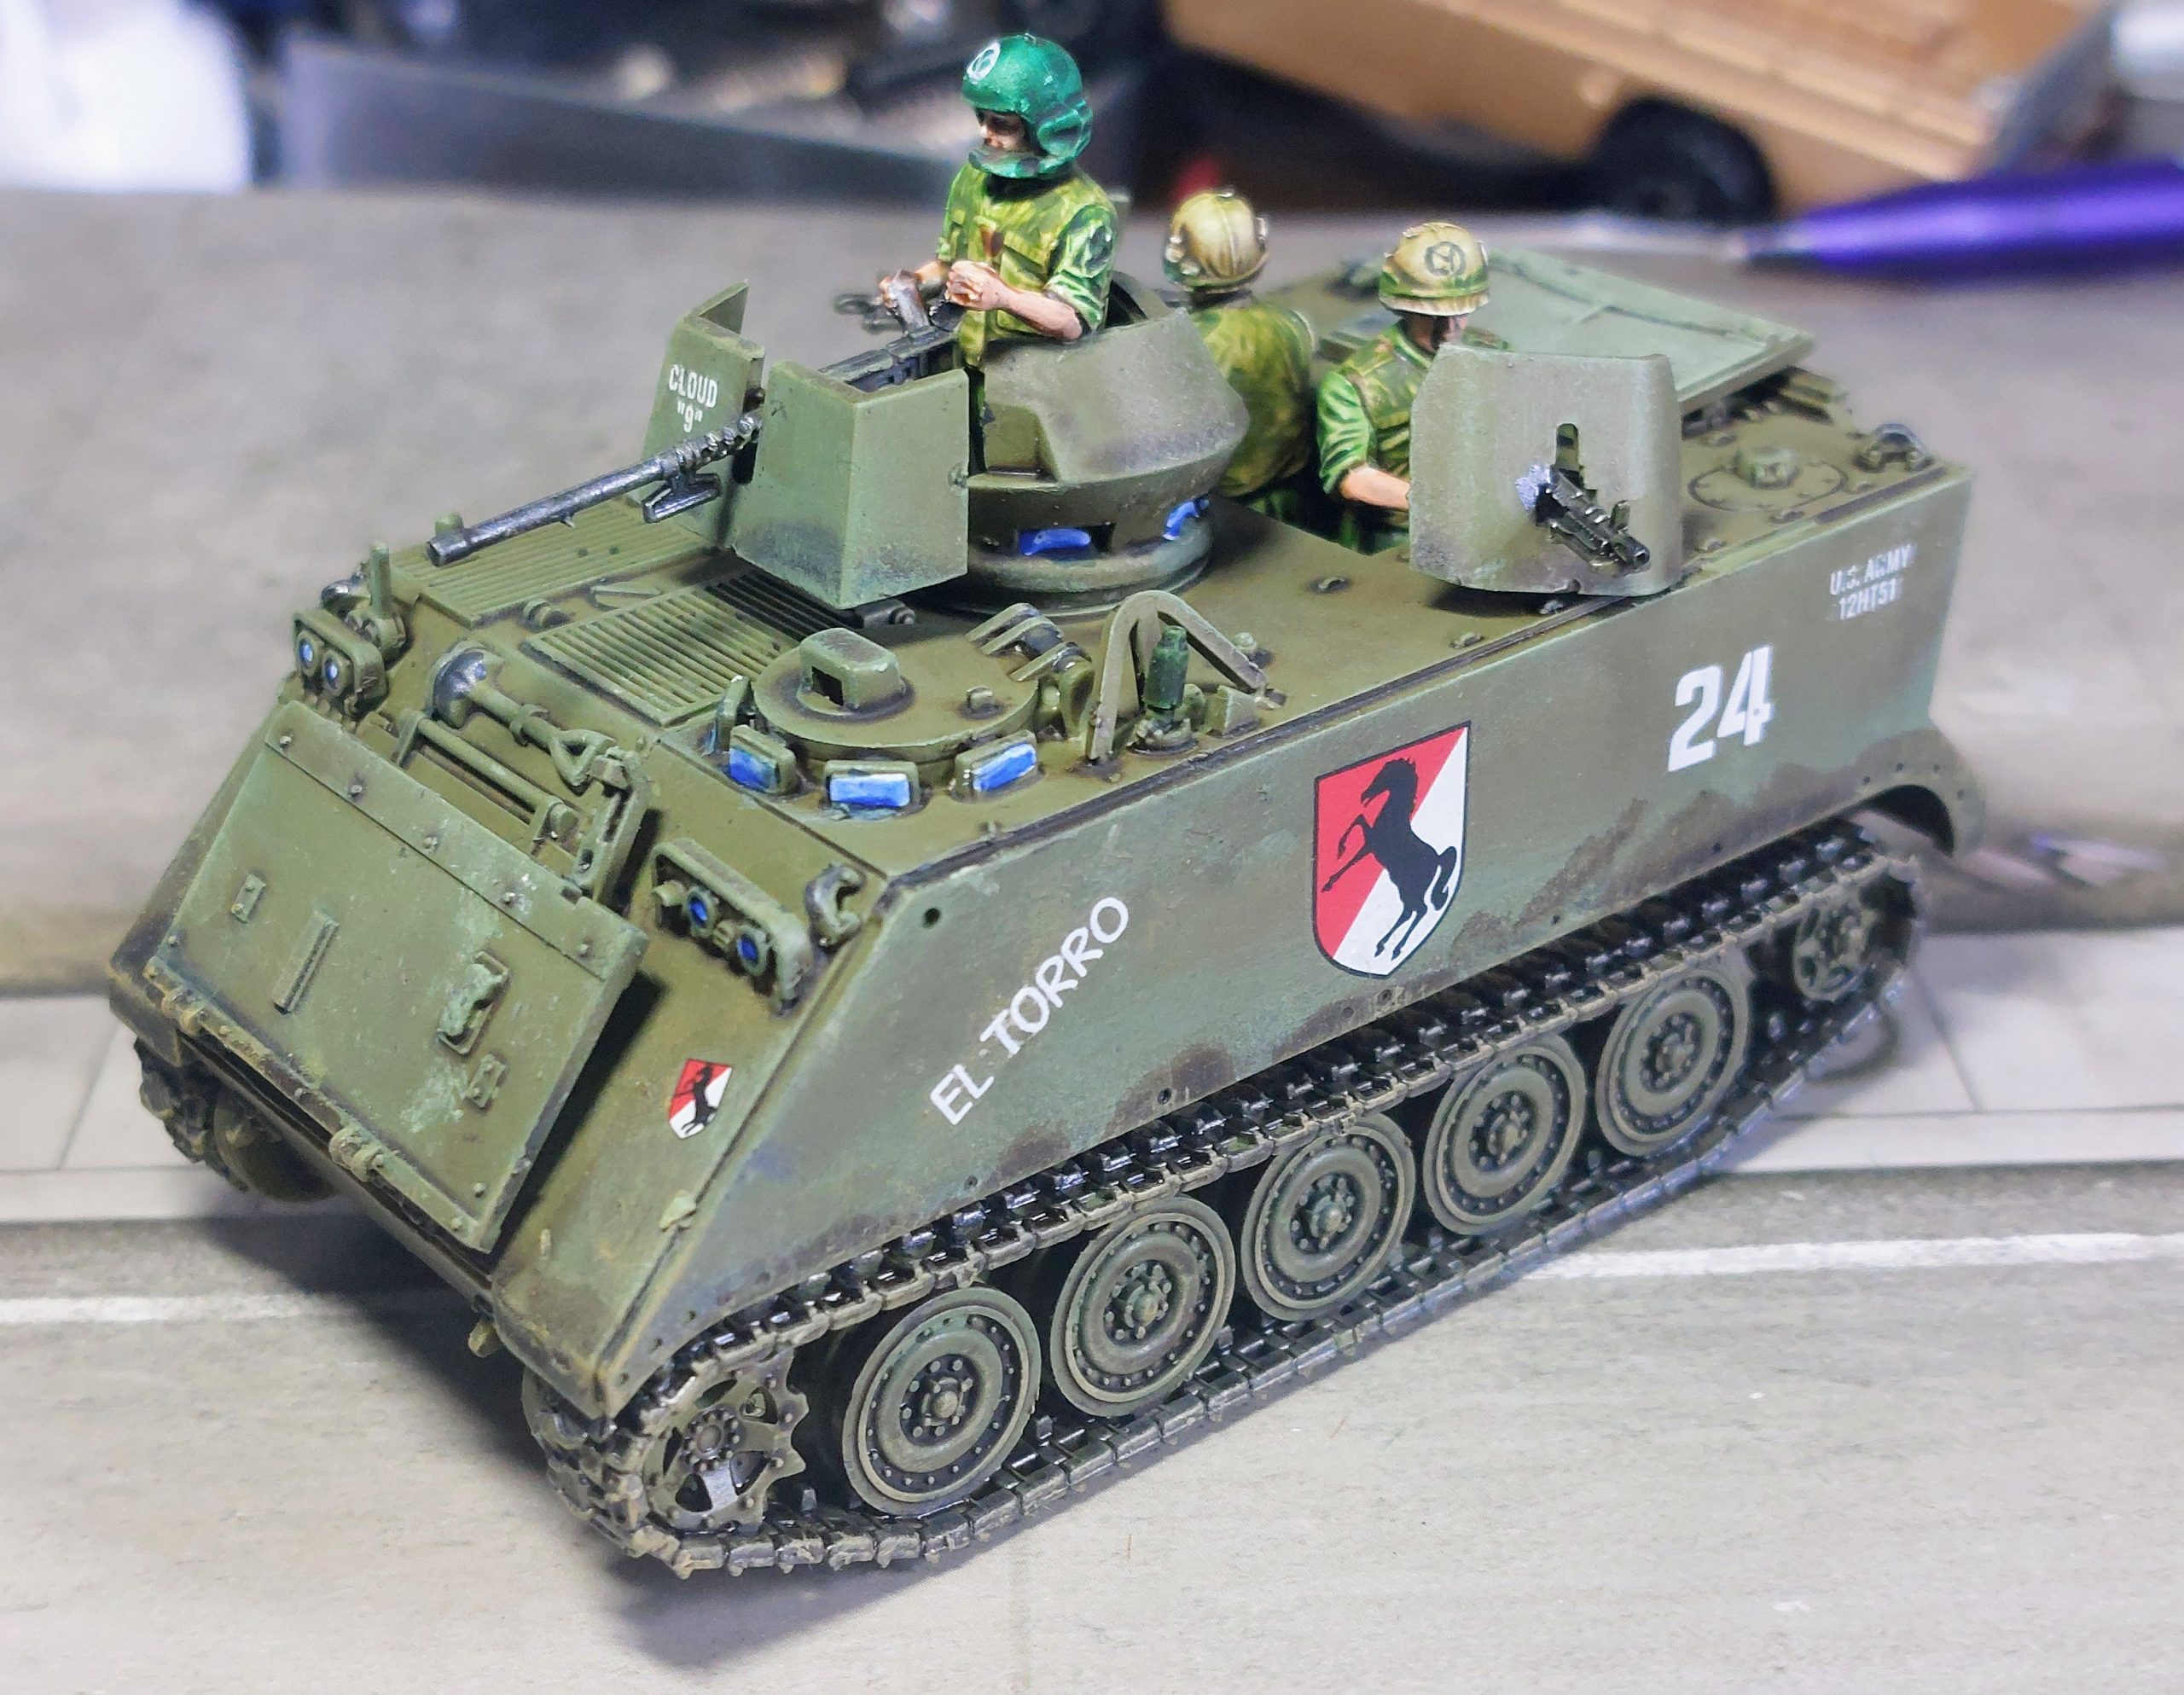
My final American armour completions were a mix of pre Xmas builds and base coated I the Form of a 2nd M48 ( of course I did) and an M42 Duster ( I’ll.leave that till.last) the recently built M113 ACAV and a the newly Purchased M551 Sheridan.
Now I had been holding out for the Rubicon resin kit, but it’s been out of stock for ages so went for the Full Metal models version.
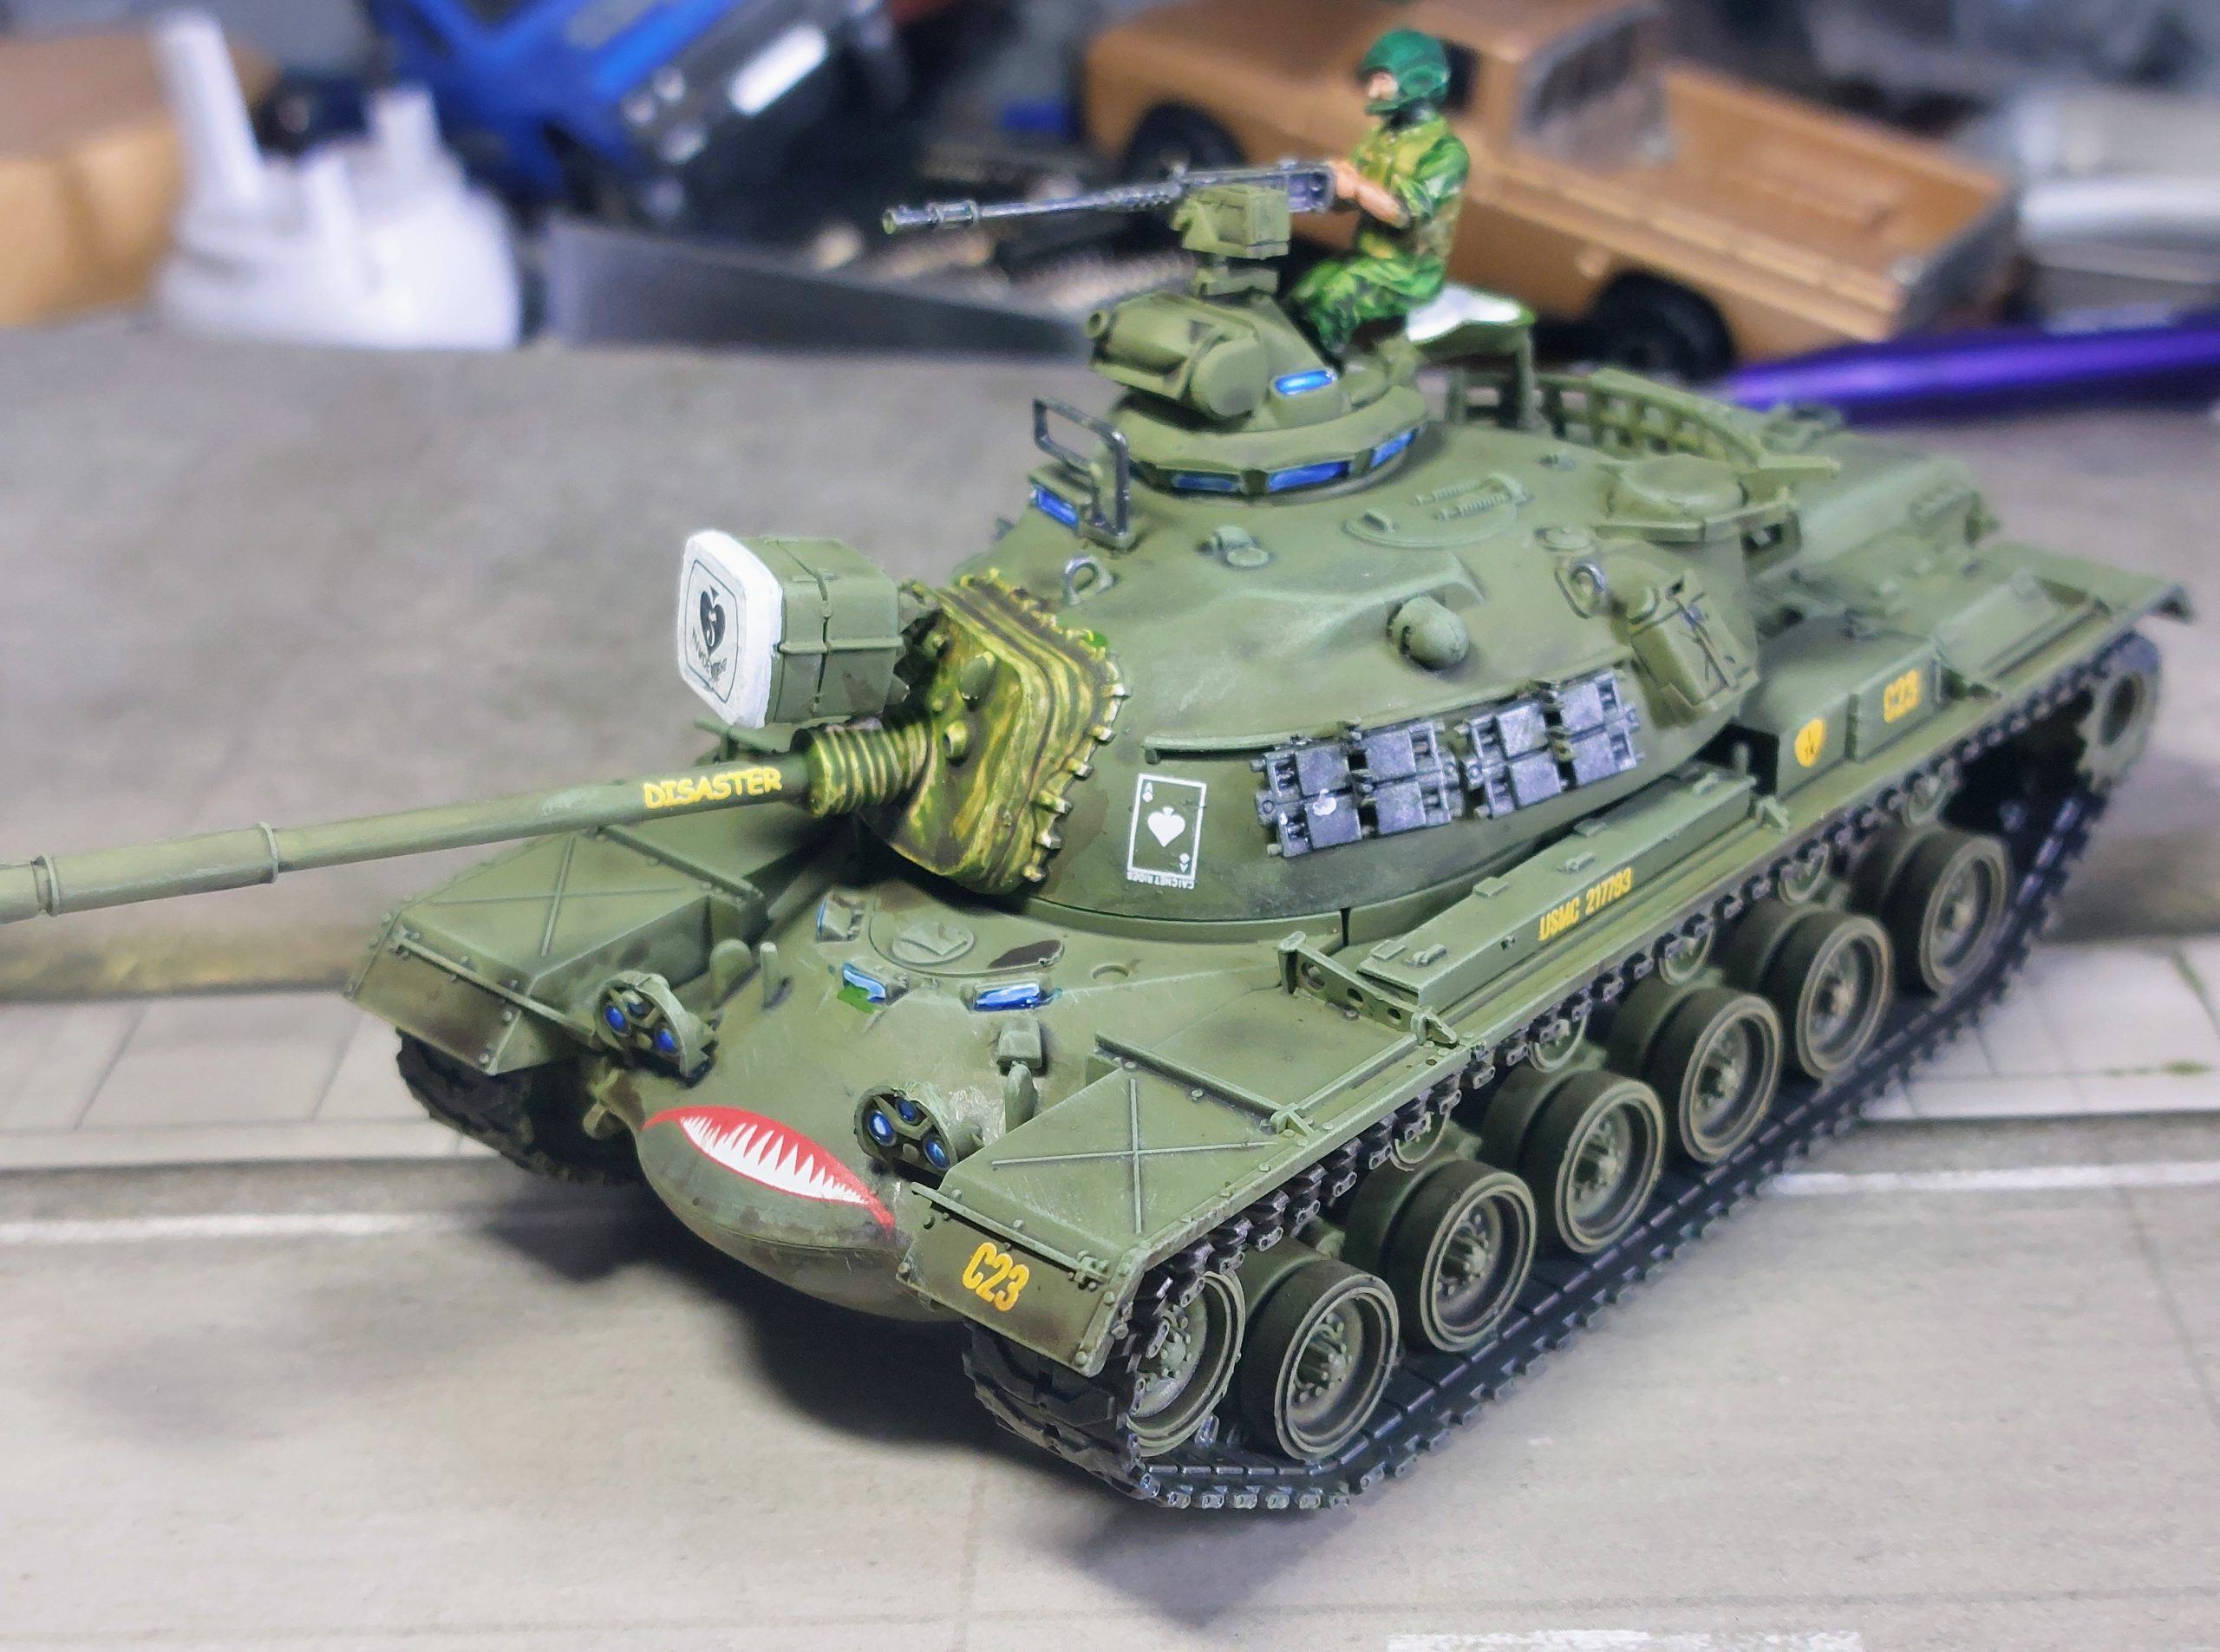
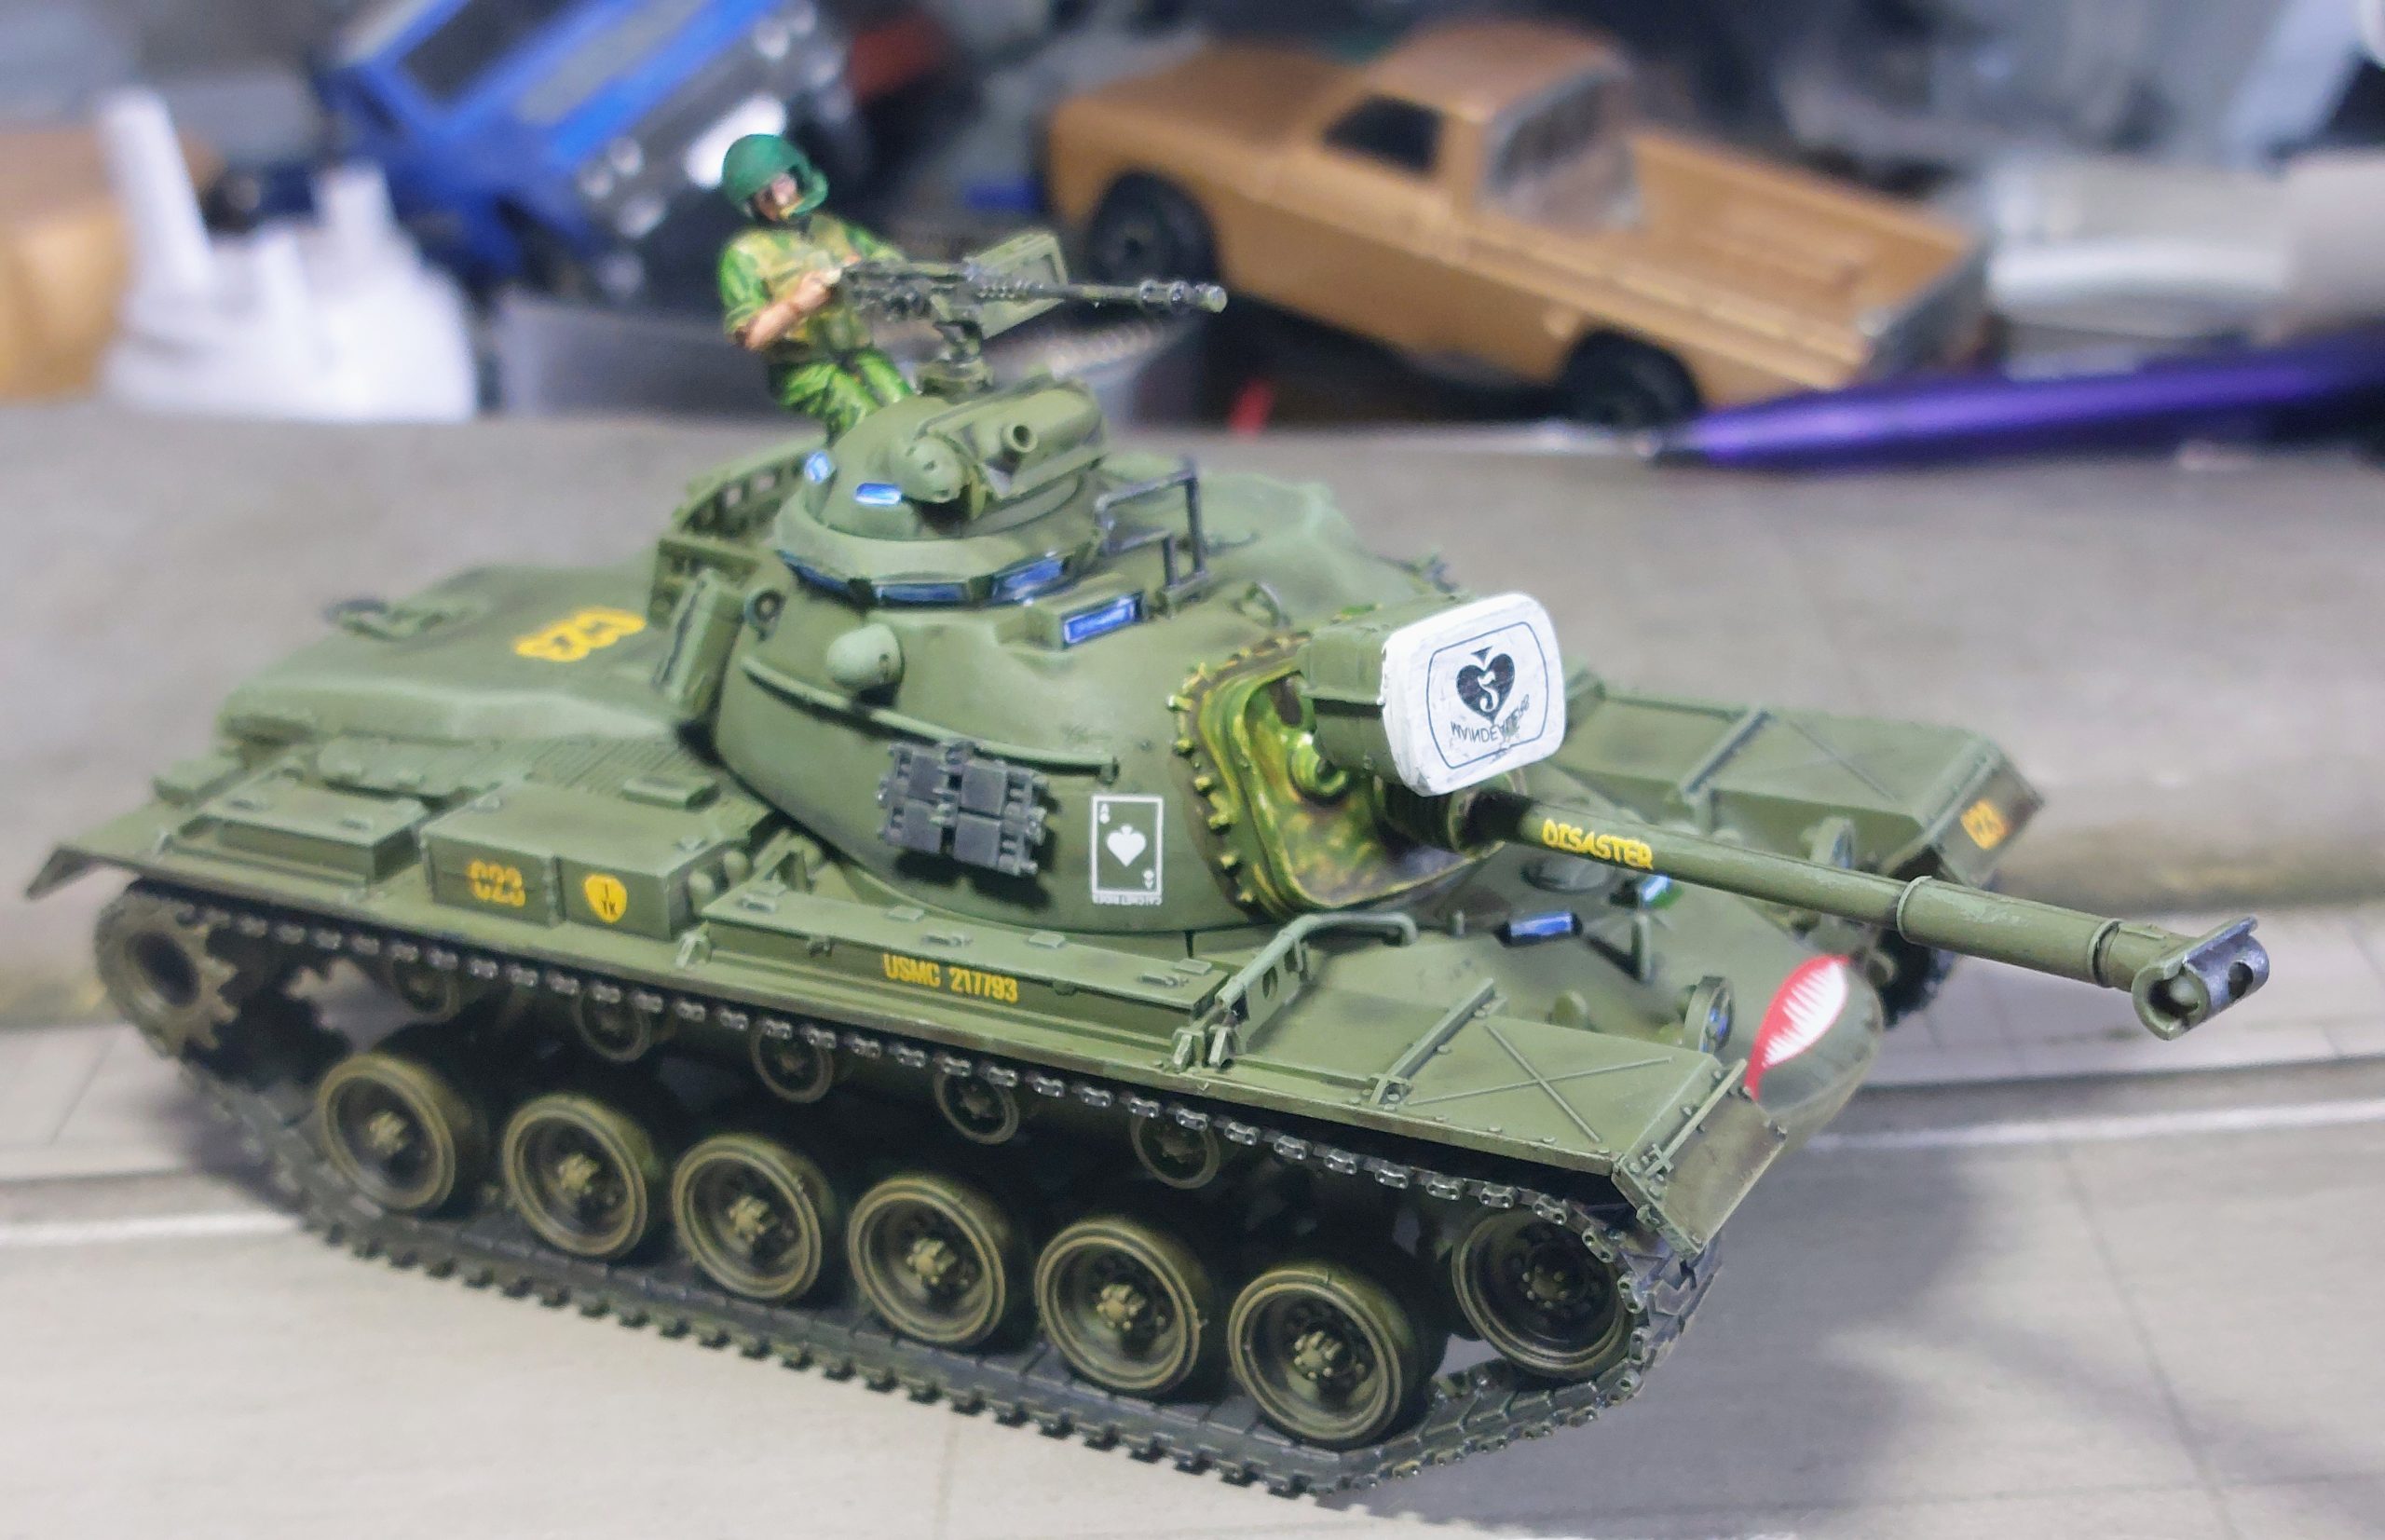
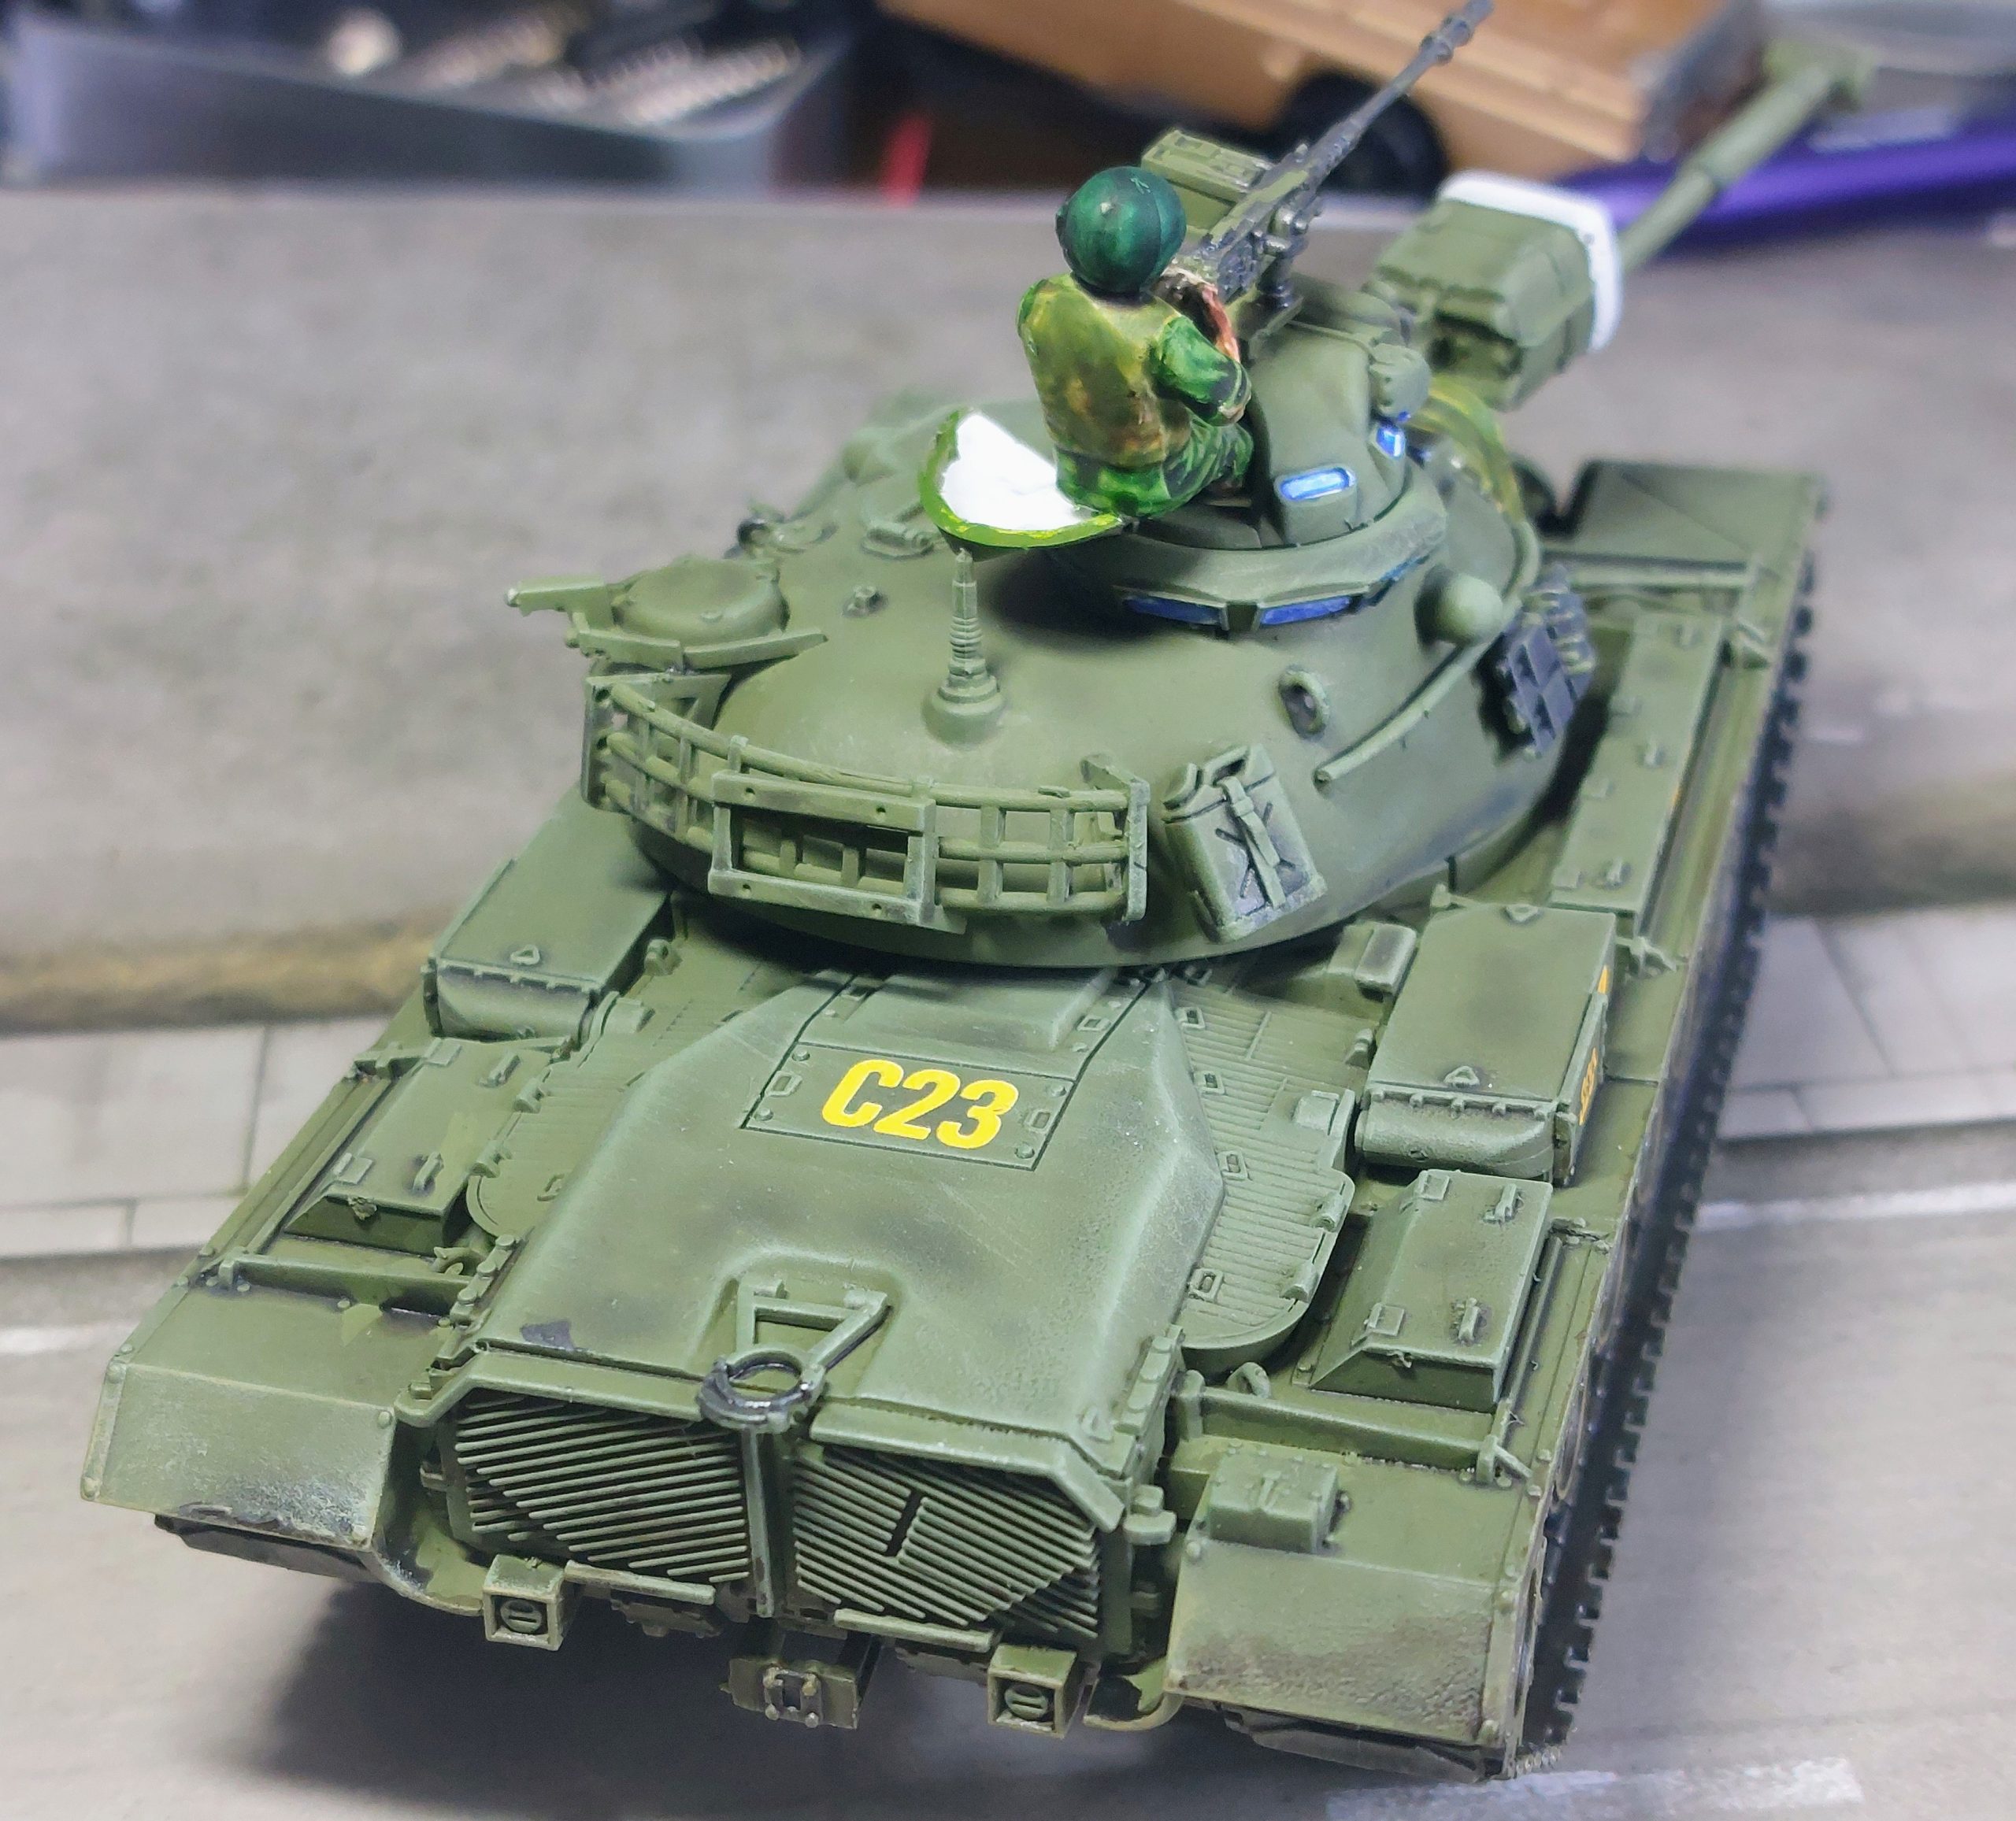
The above is done as an U.S.Marines M48 there are enough decals on Rubicon sheet for 2 different Marin vehicles.
With the M551 I’m not sure if I got the extra armour around the Commanders Copula right as I only had some not particularly detailed pictures either from the model illustrations or real life period photos to work on. The Commander figure is one of the many spare figures from Rubicon kit. This and the subsequent M113 ACAV have been done as members of the 1th Armouted Cavalry Regiment or famed Black Horse Regiment , partly done as there was a nice collection of decals for them stacking up from all the Rubicon M113’S, but also as a tribute to the late David Drake, Author of the Hammers Slammers series of Sci fi books who served as Intelligence officer in that Regiment.
2nd Milestone I 2 weeks Black Suns Armour Done.
Having done the 1st Milestone of this extended project, in finishing my Moderns, as I said in previous update I knuckled down this week and Finished all the Armour I had for Black Suns.
Way more than I really need but this project started off as an homage to my long gone 20mm Vietnam project back in the 1980’s.
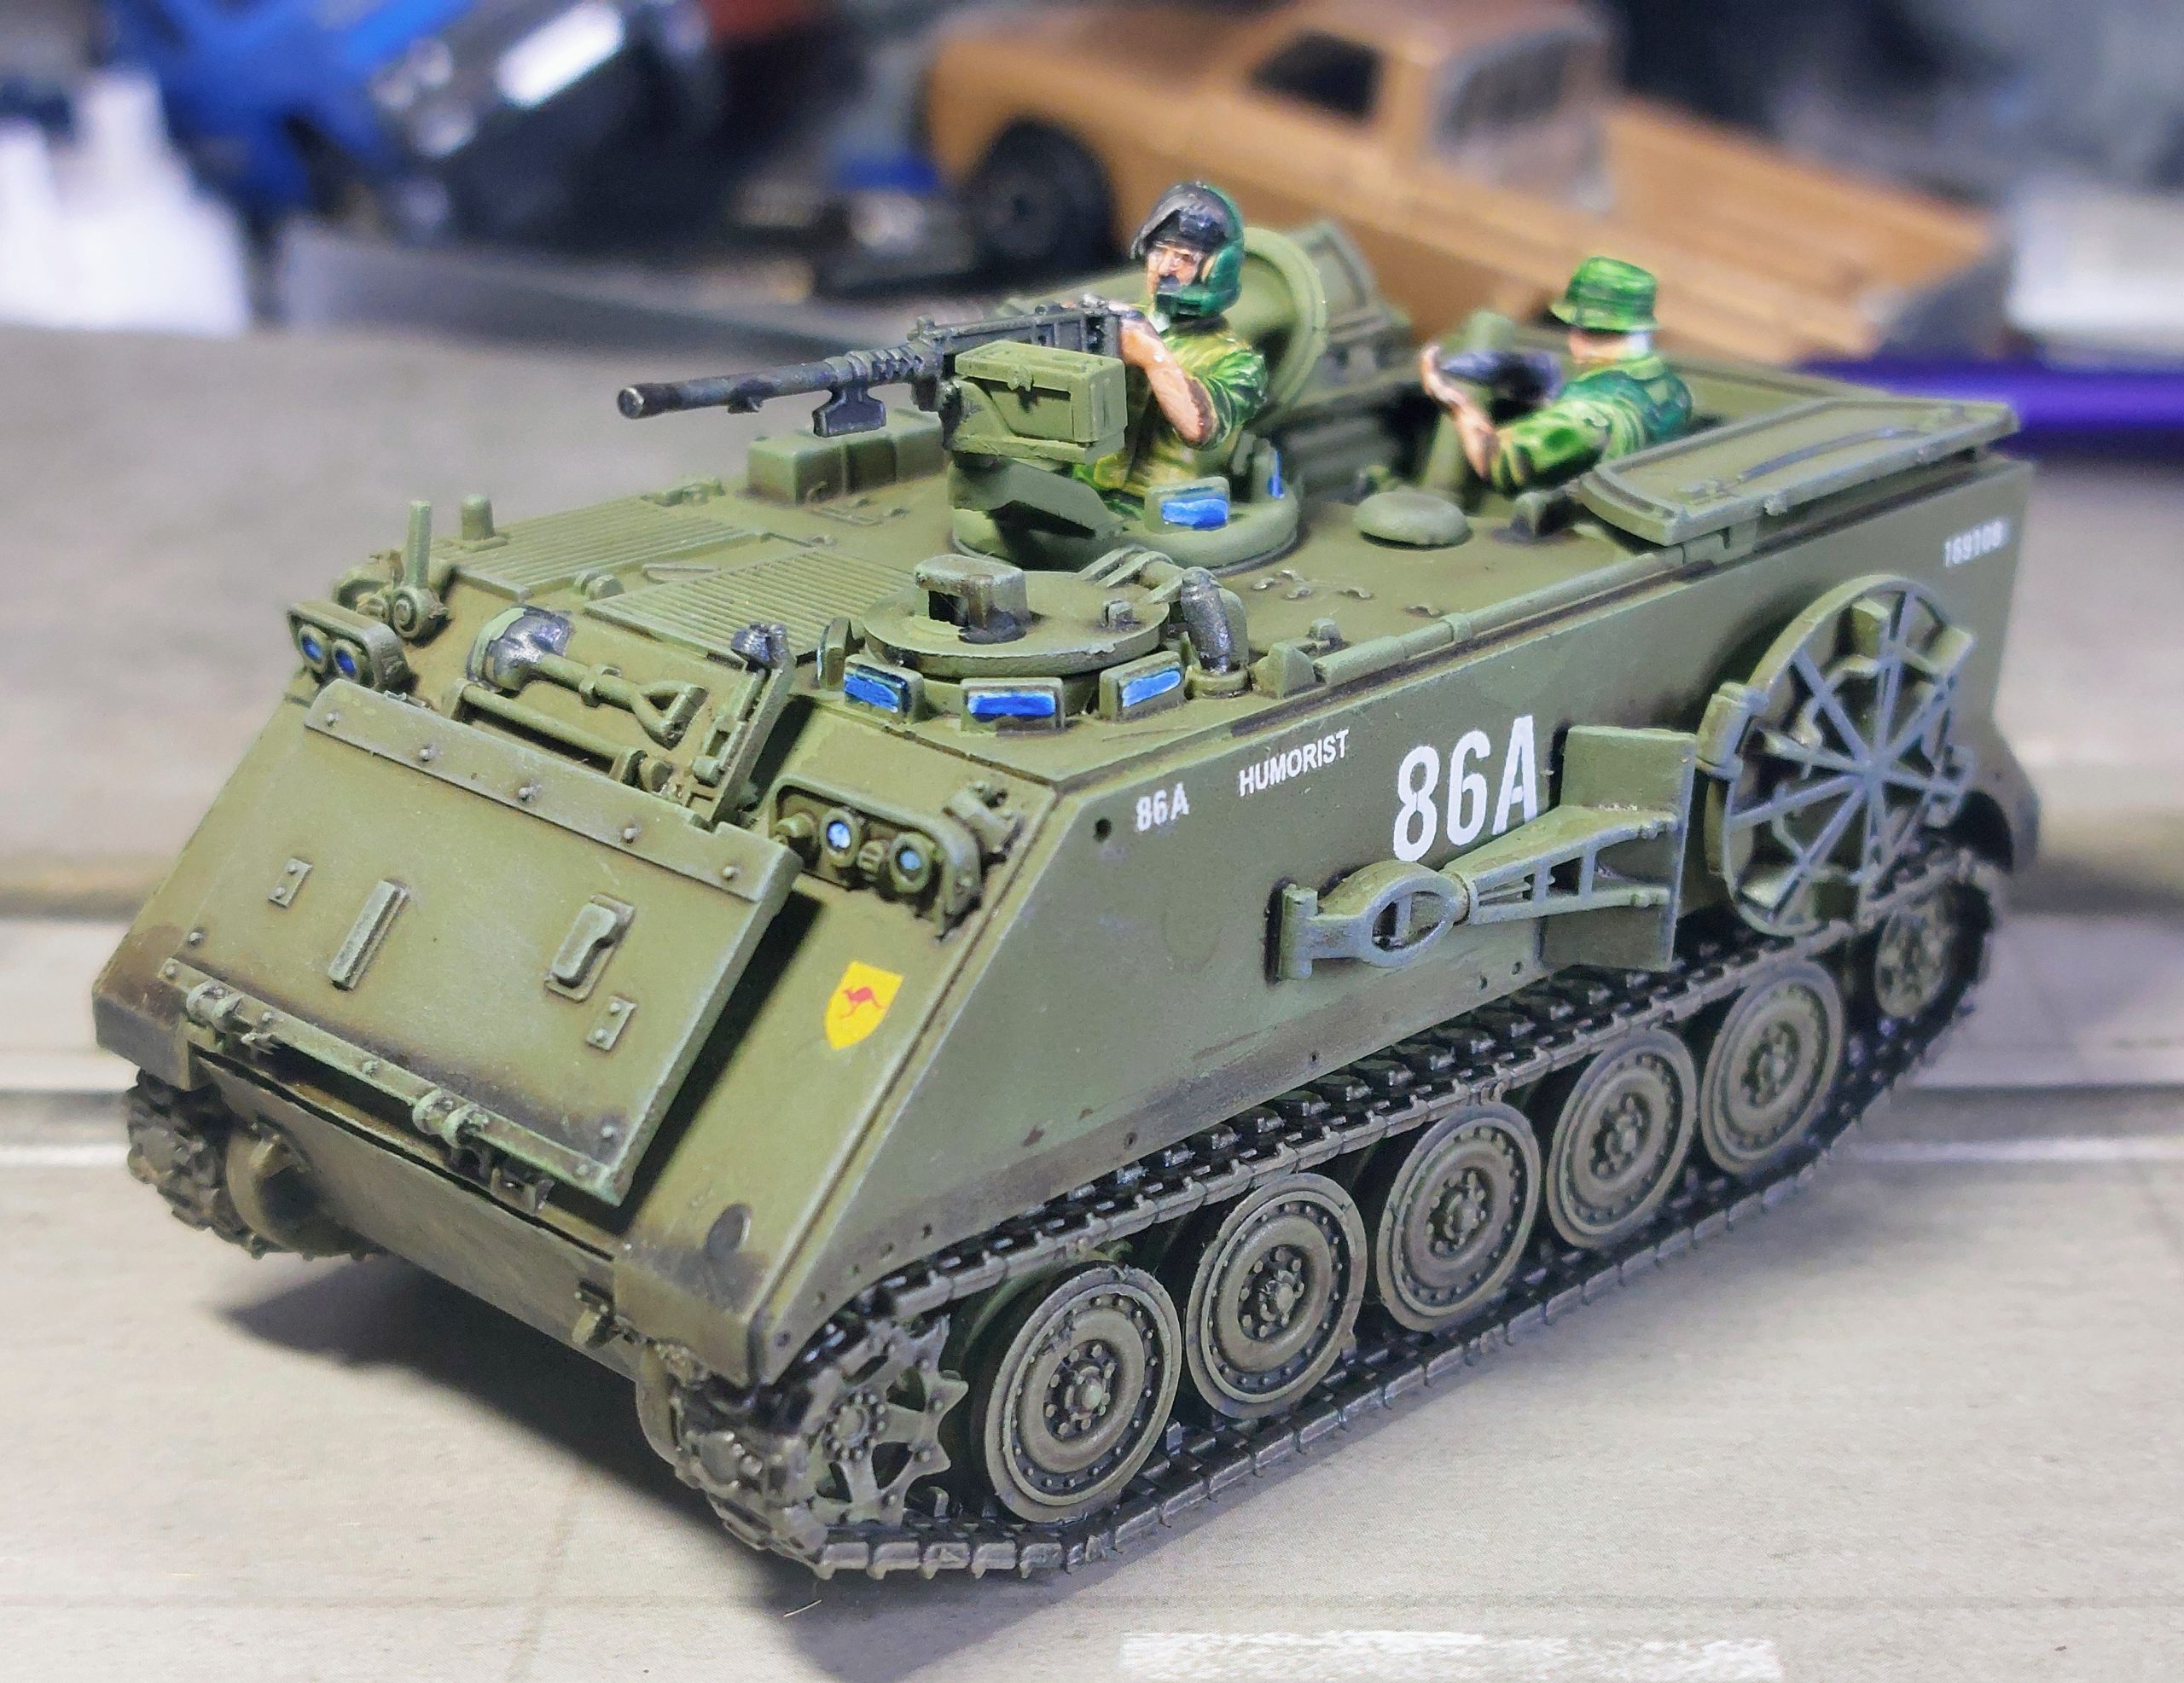
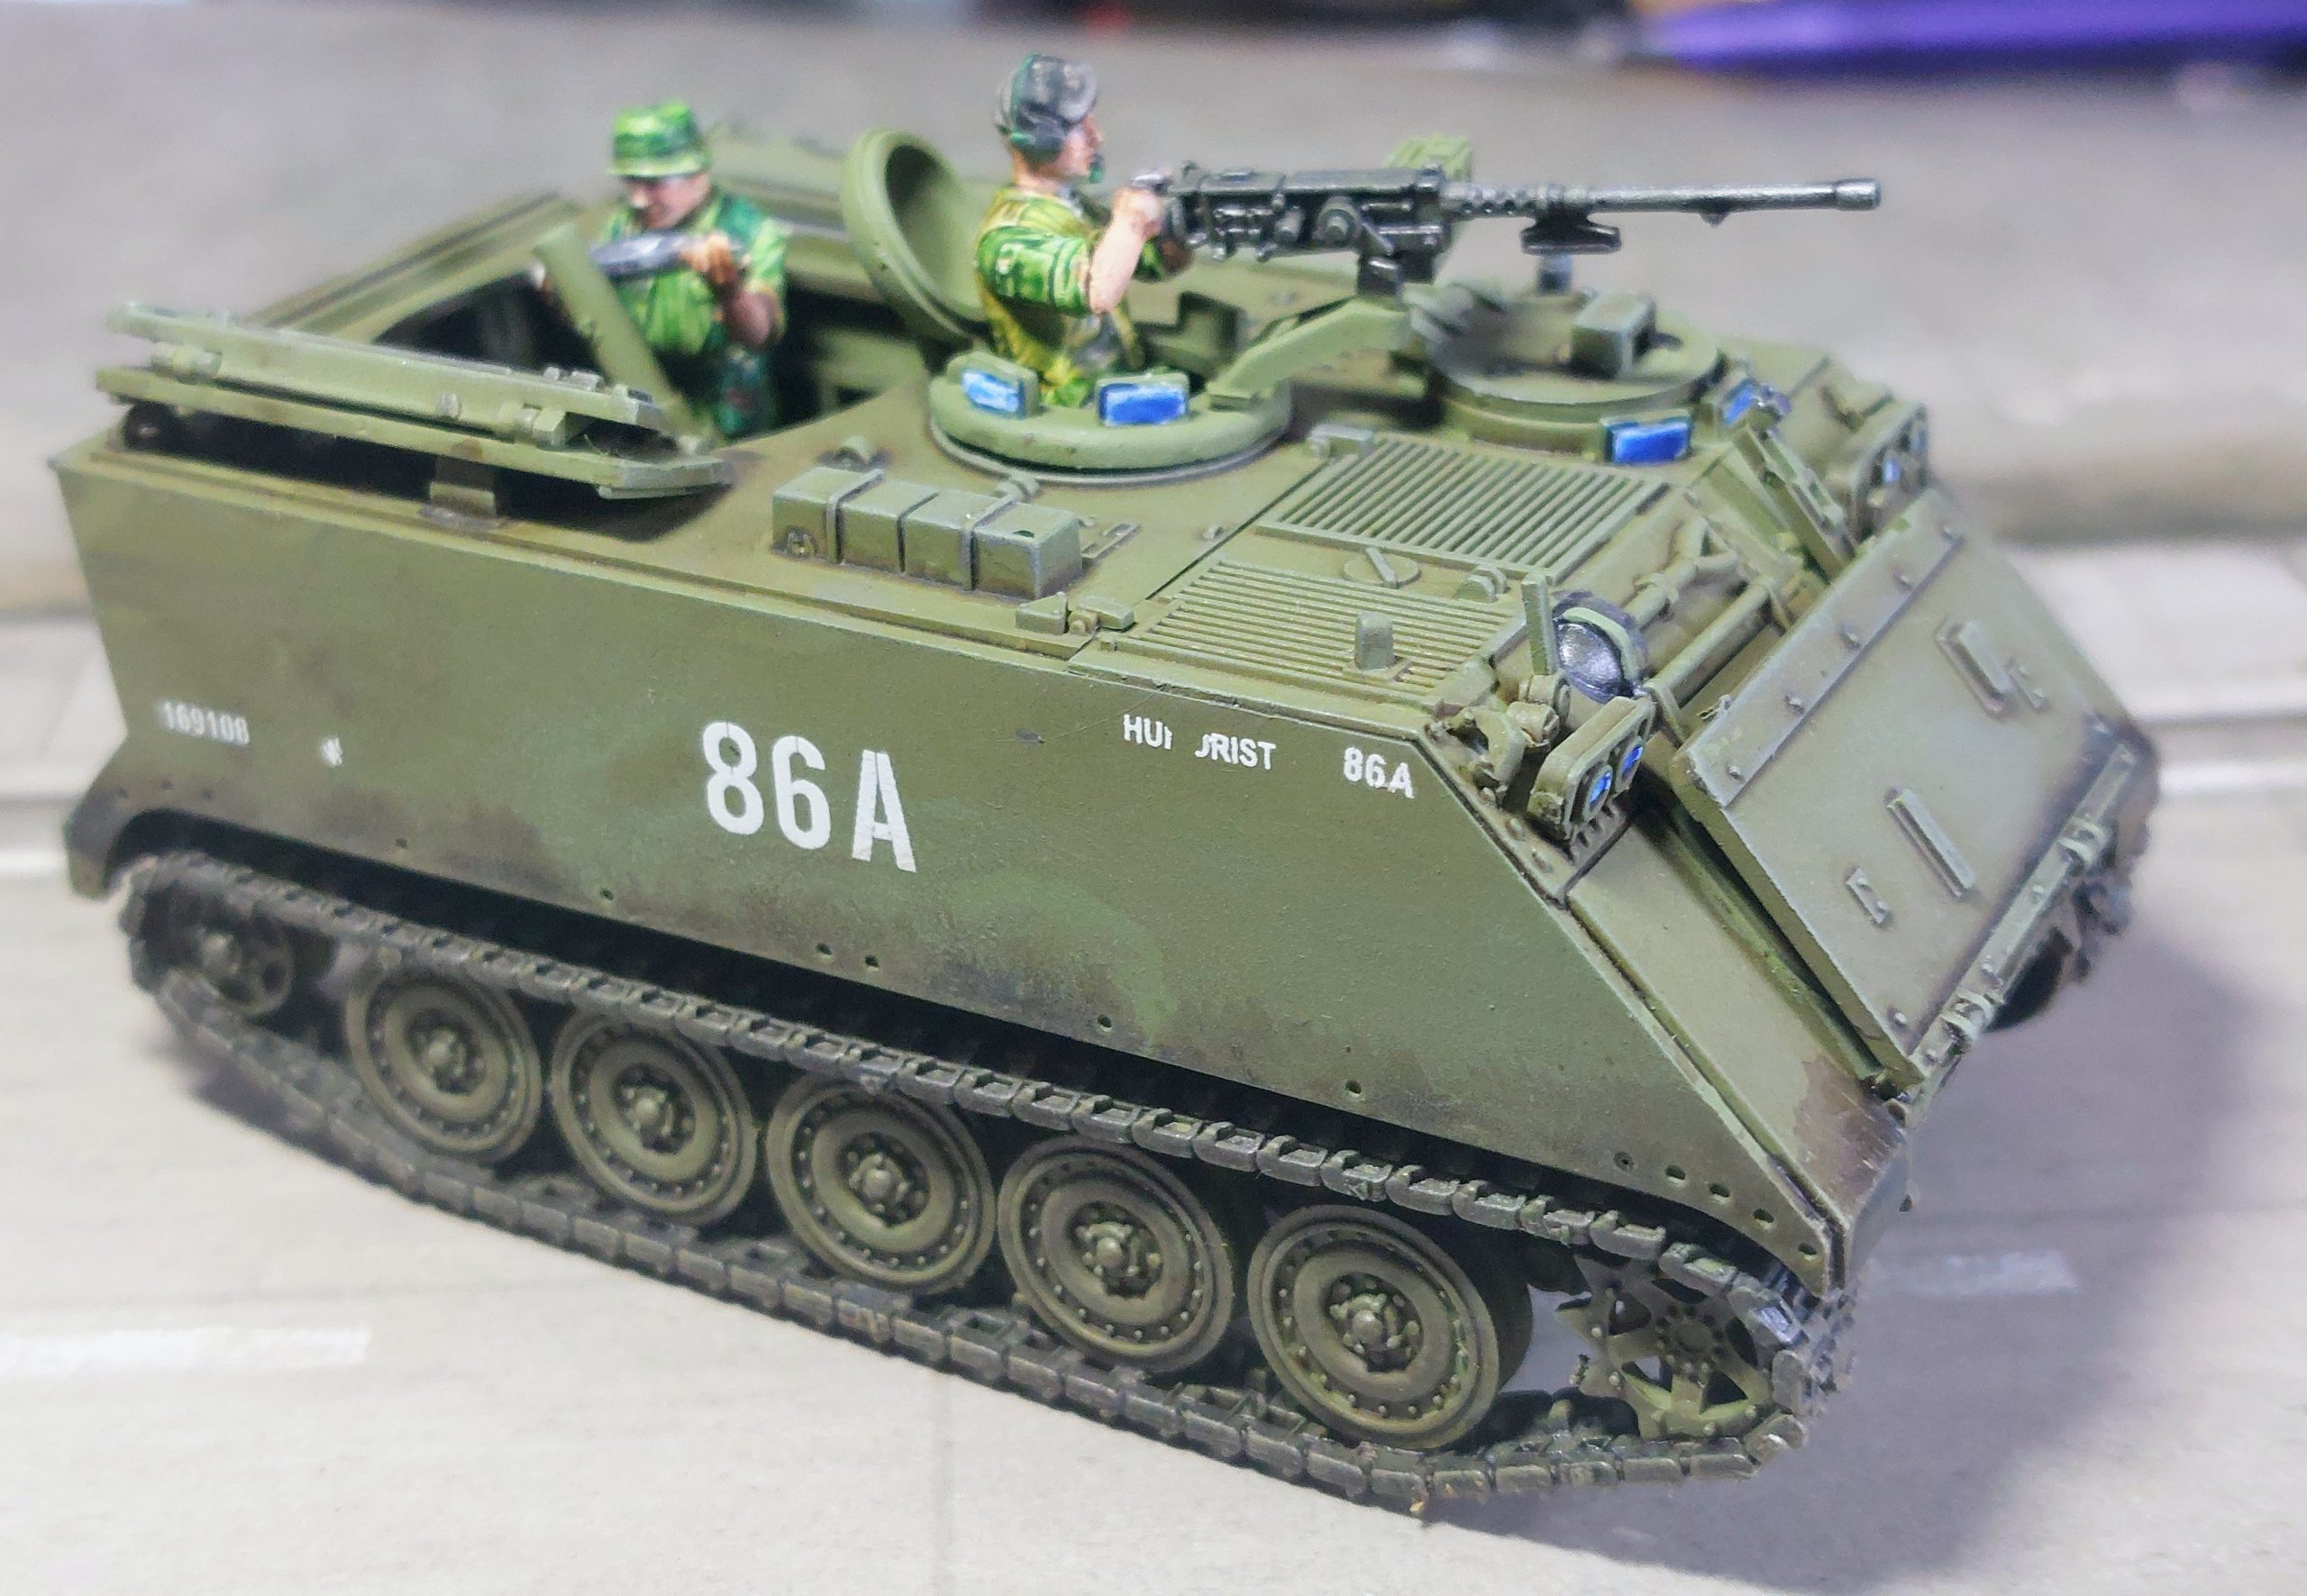
Now the push to completion was promoted by me watching a review of the Cavalier show in Feb on YouTube. The blogger did a video view of the traders and one ‘Full Metal Minatures’ caught my eye ( found on https://www.fullmetalminiatures.com/) , particularly the model of an Australian Fire Support M113 with the Saladin Turret, so one order later with an additional Sheridan Tank.
Now I had a slight bit of trepidation in how big it would be when compared to my Rubicon M113’S, but can happily confirm it is a perfect match.
So This week was let’s finish all the vehicles that were sitting in various stages of completion.
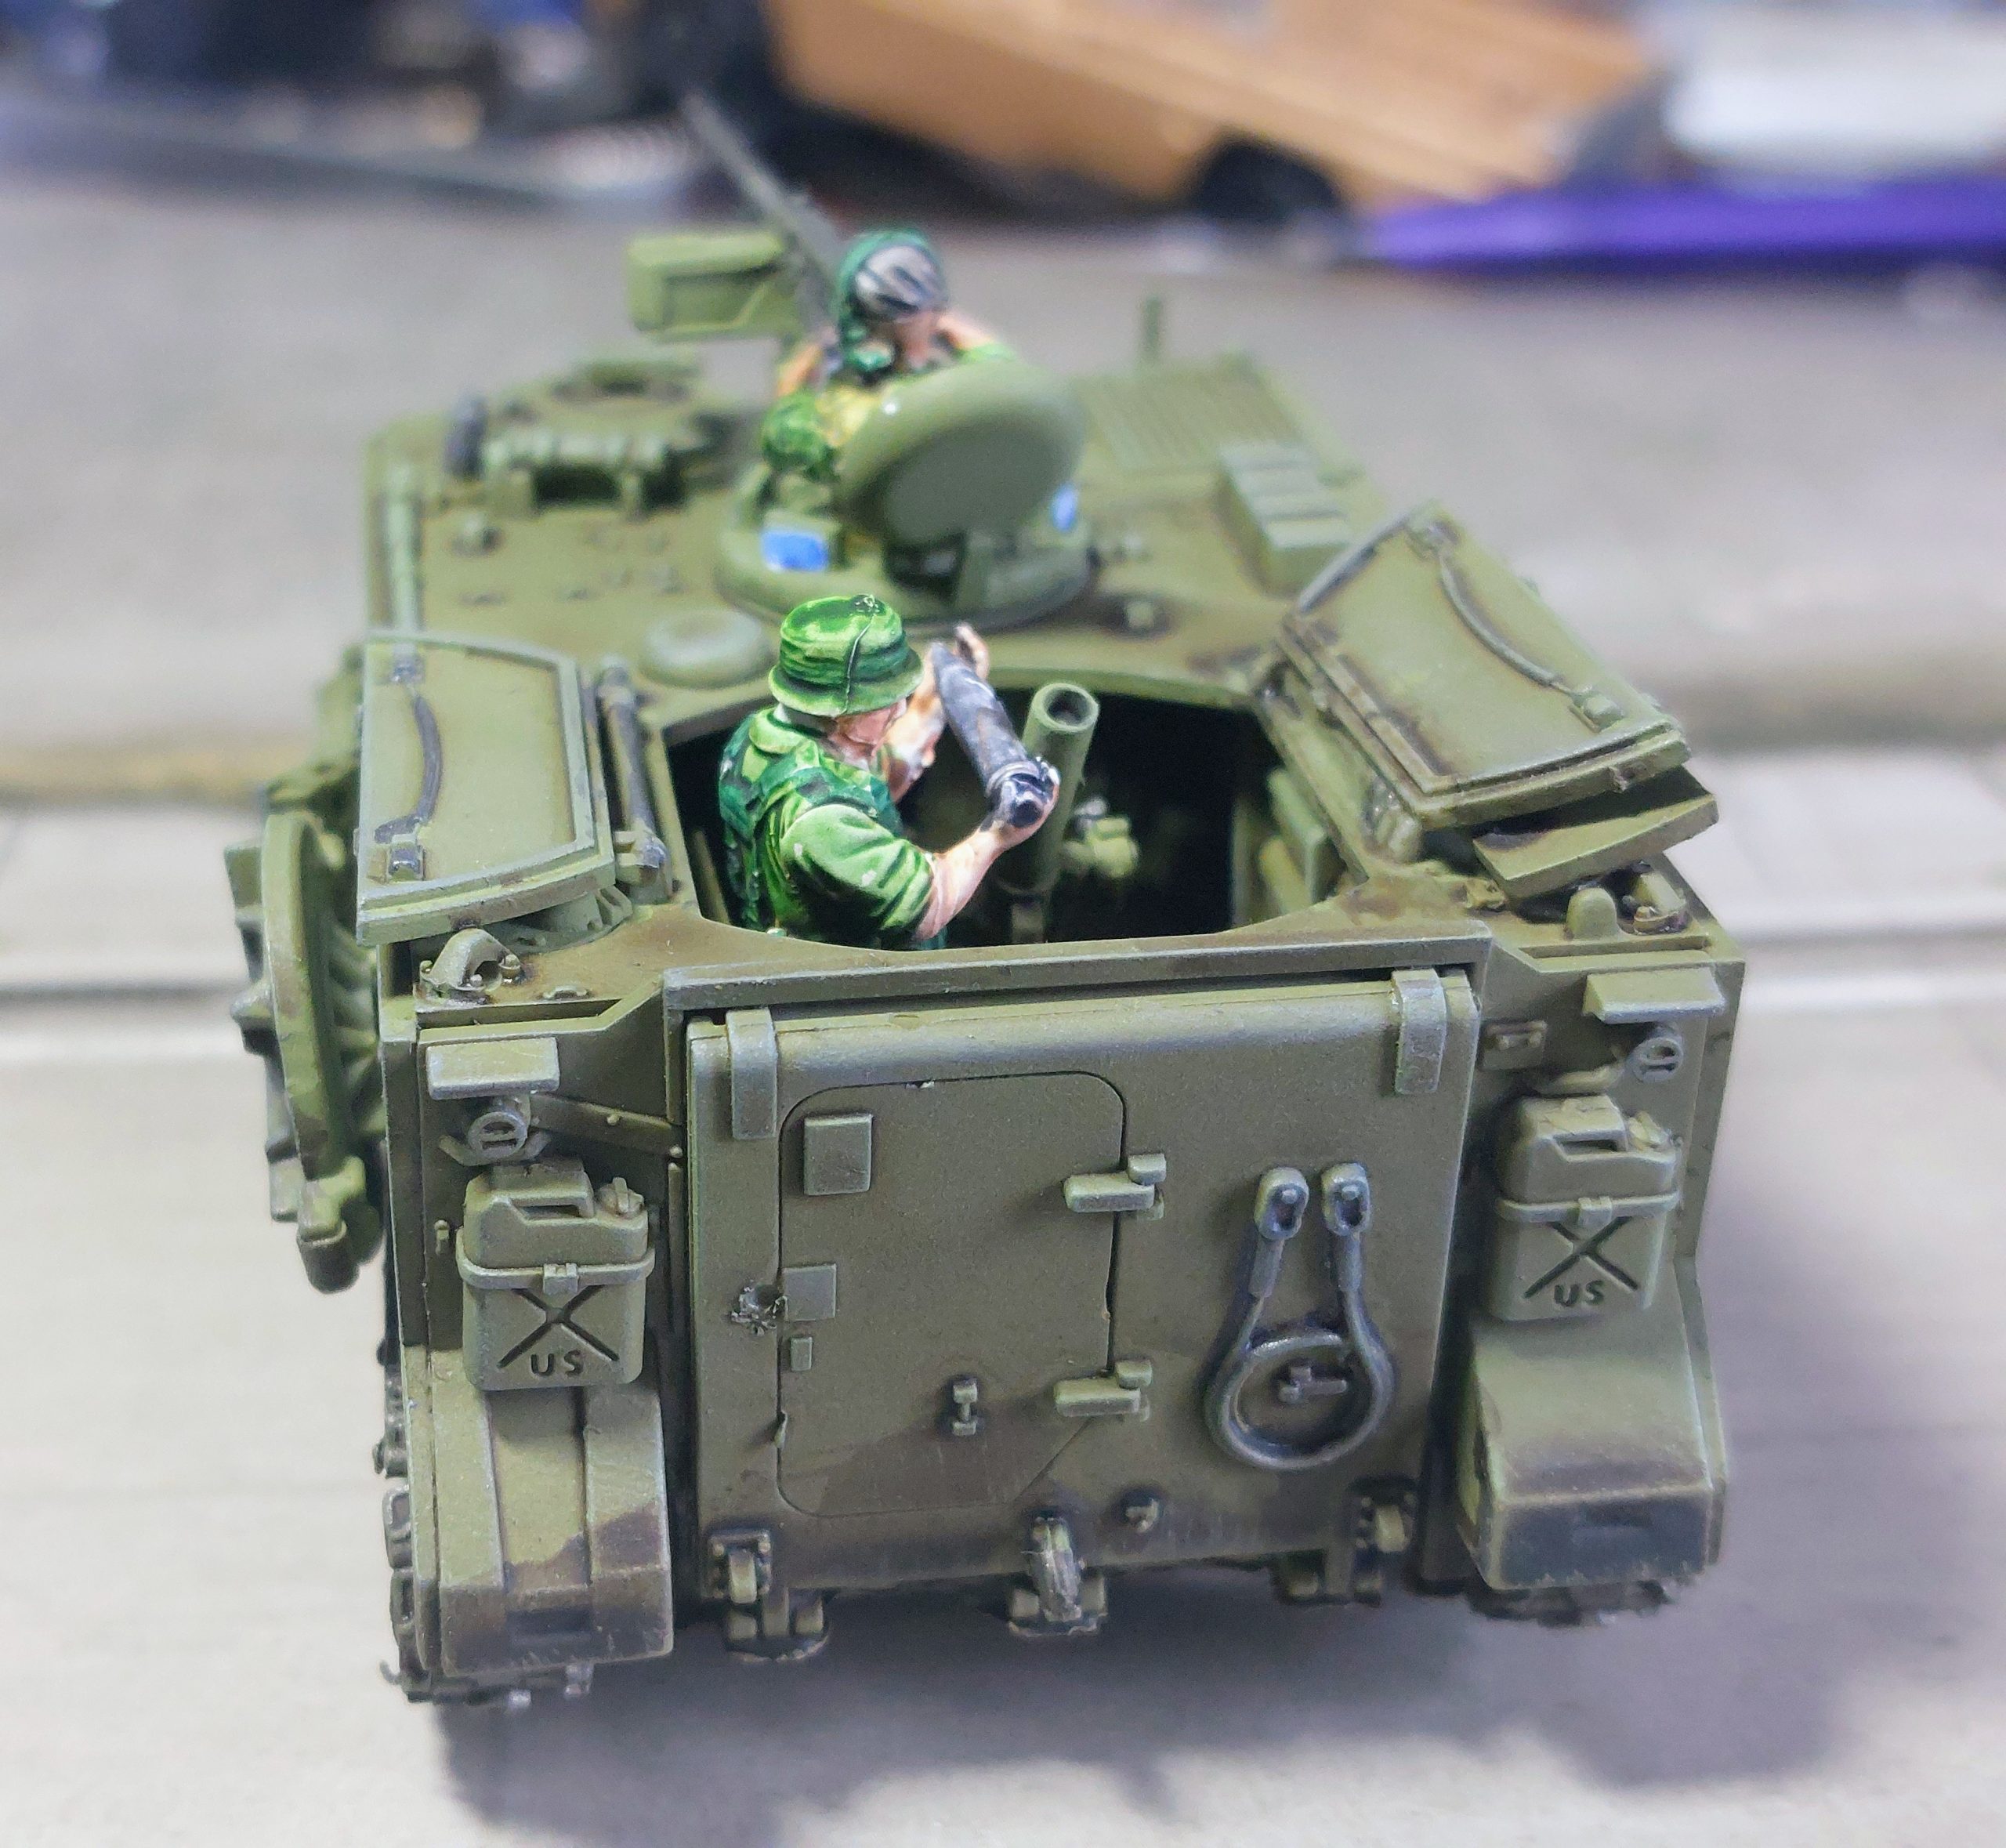
I have previously shown that I finally completed my NVA armour, So now I quickly built the FSV and the Sheridan, plus I finally got round to building my final Rubicon M113 ( back in stock) which I did as the ACAV variant.
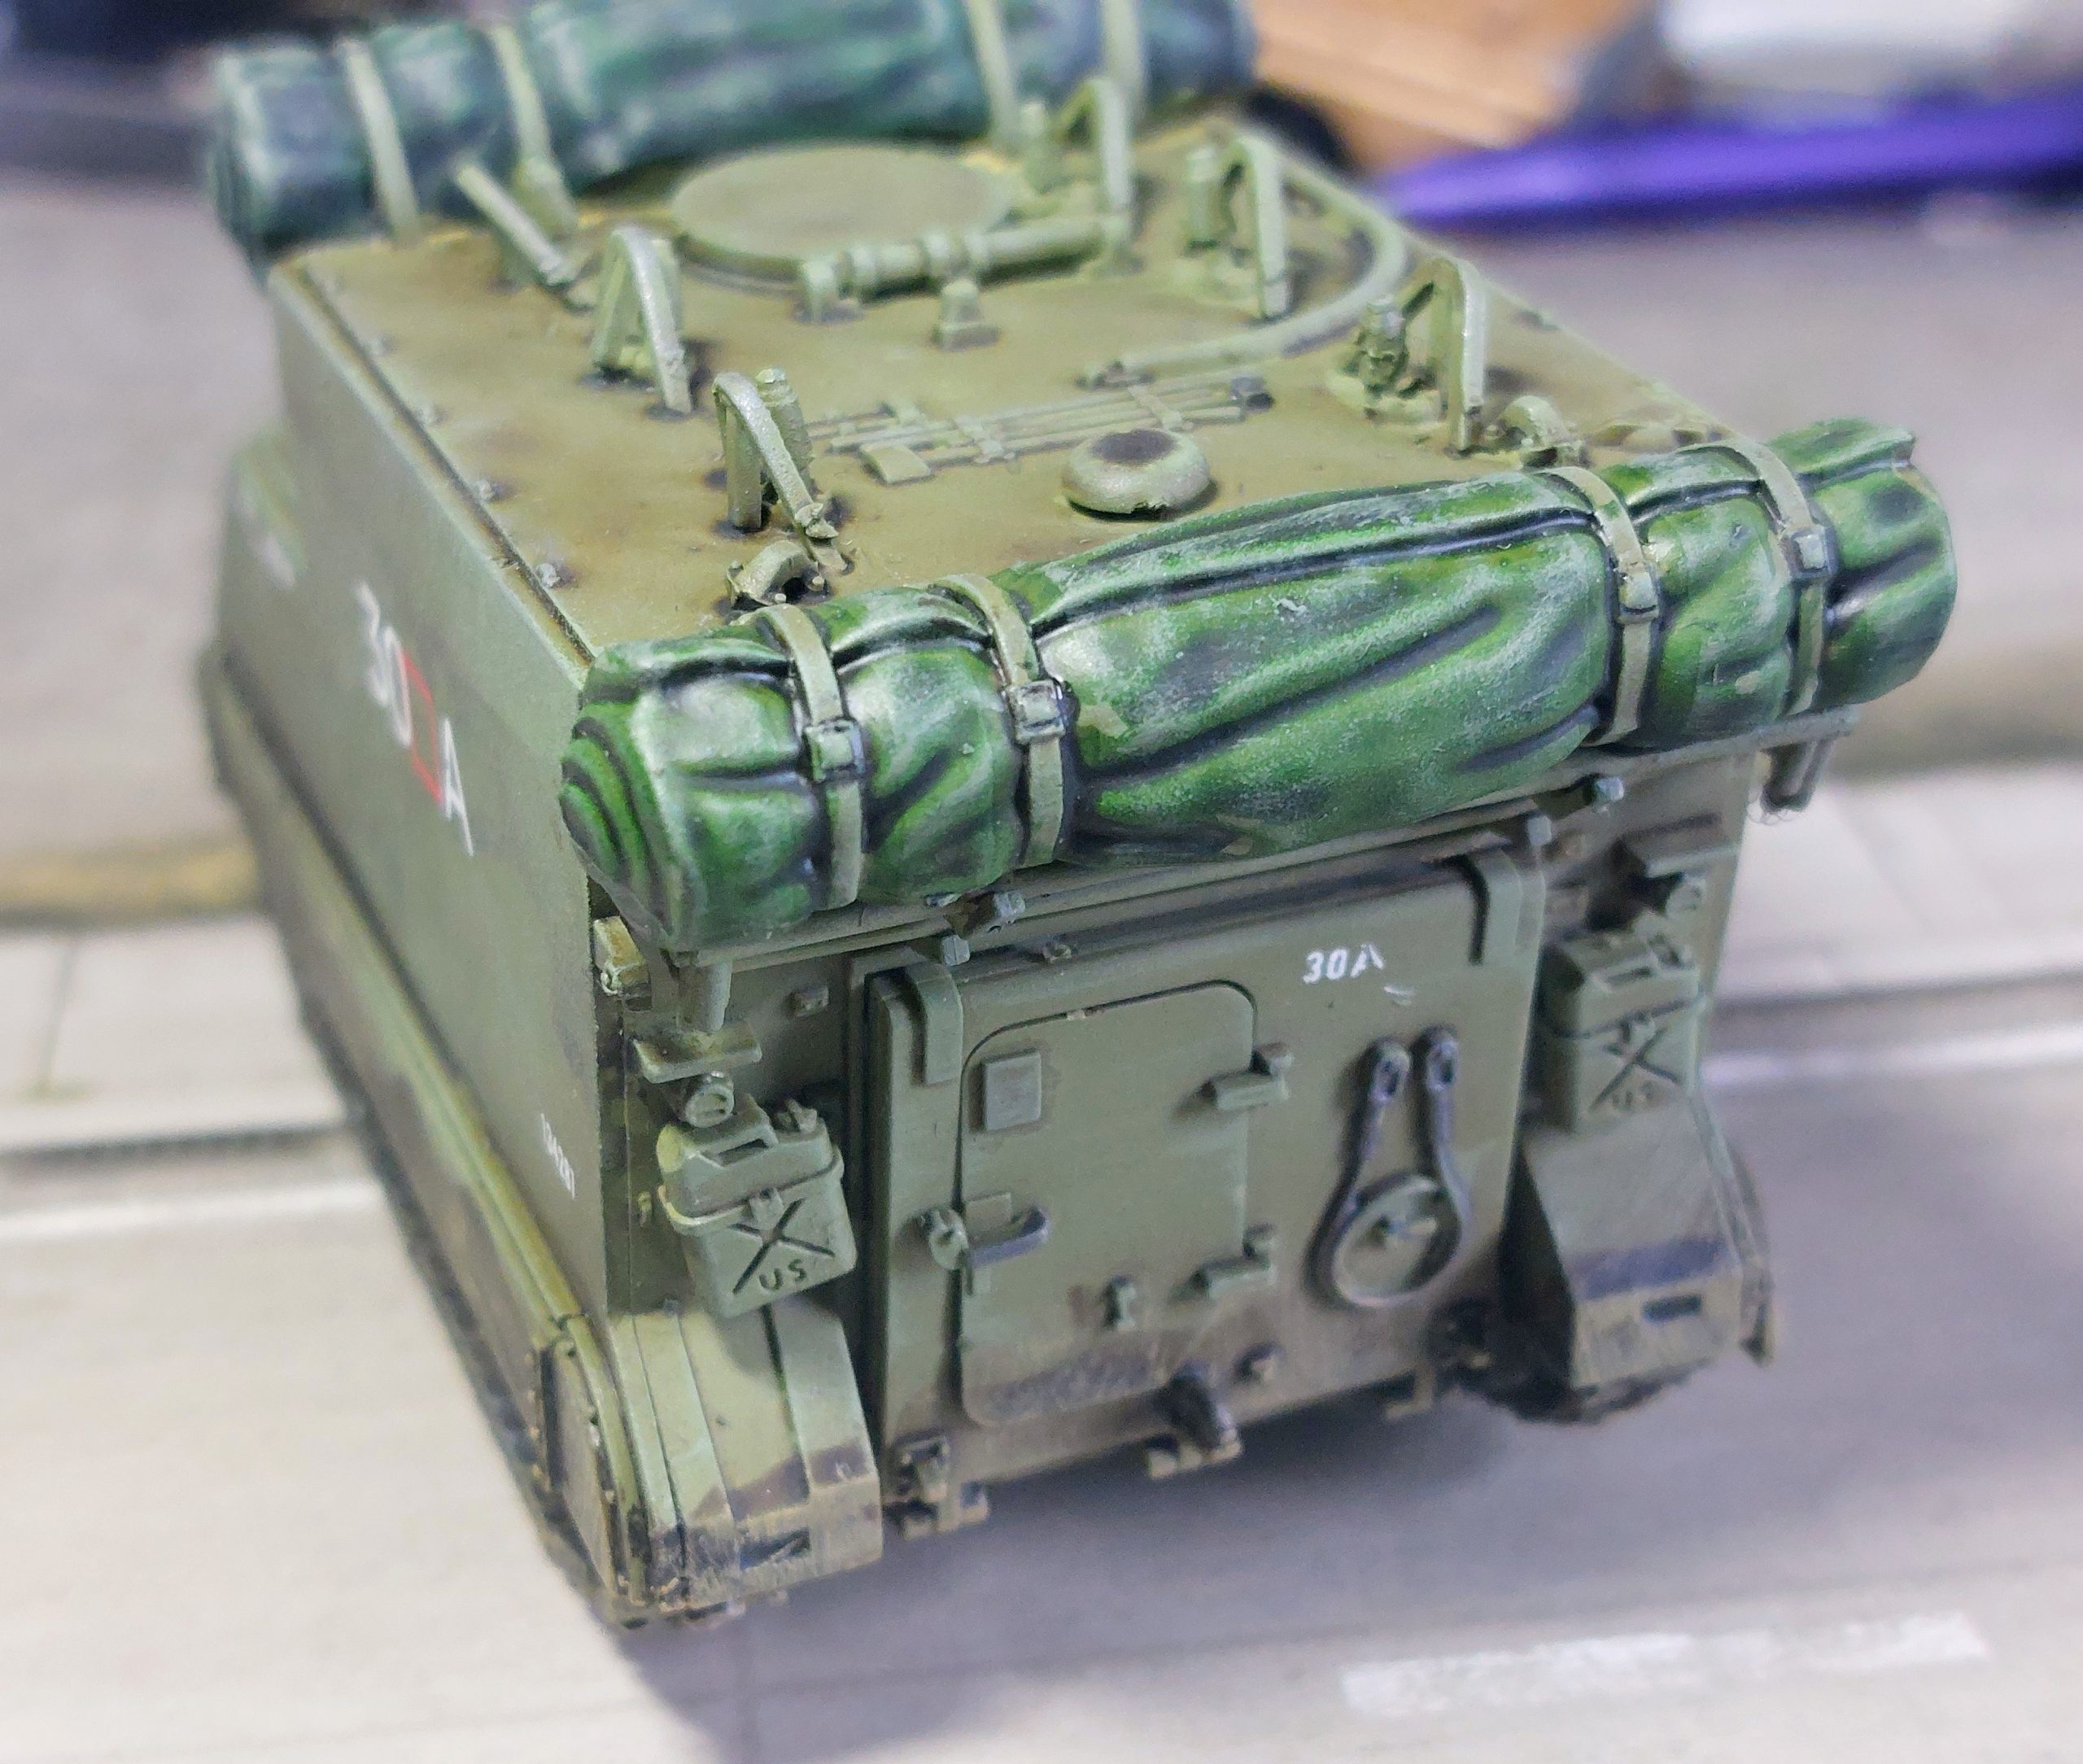
Initially I concentrated on completing the Australian’s armour, which consisted of the M113 FSV, an M106 Mortar Carrier and an M577 command variant M113.
This was mainly as it would involve less crew figur painting than would later American armour.
Now an a side on the M106, this is a well supplied kit in that you get enough bits and crew to have a vehicle mounted Motar and one dismounted. In theory there is only enough crew for one, but unless you intend to show the Interior there is only enough room to show one in vehicle, so the other 2 got based for the deployed Mortar( to be painted later).
All the decals mainly come from the Rubicon M133 sheets which do have Australian sets amongst them, vehicle names are from the Rubicon Centurions which contains a nice selection of names in different styles.
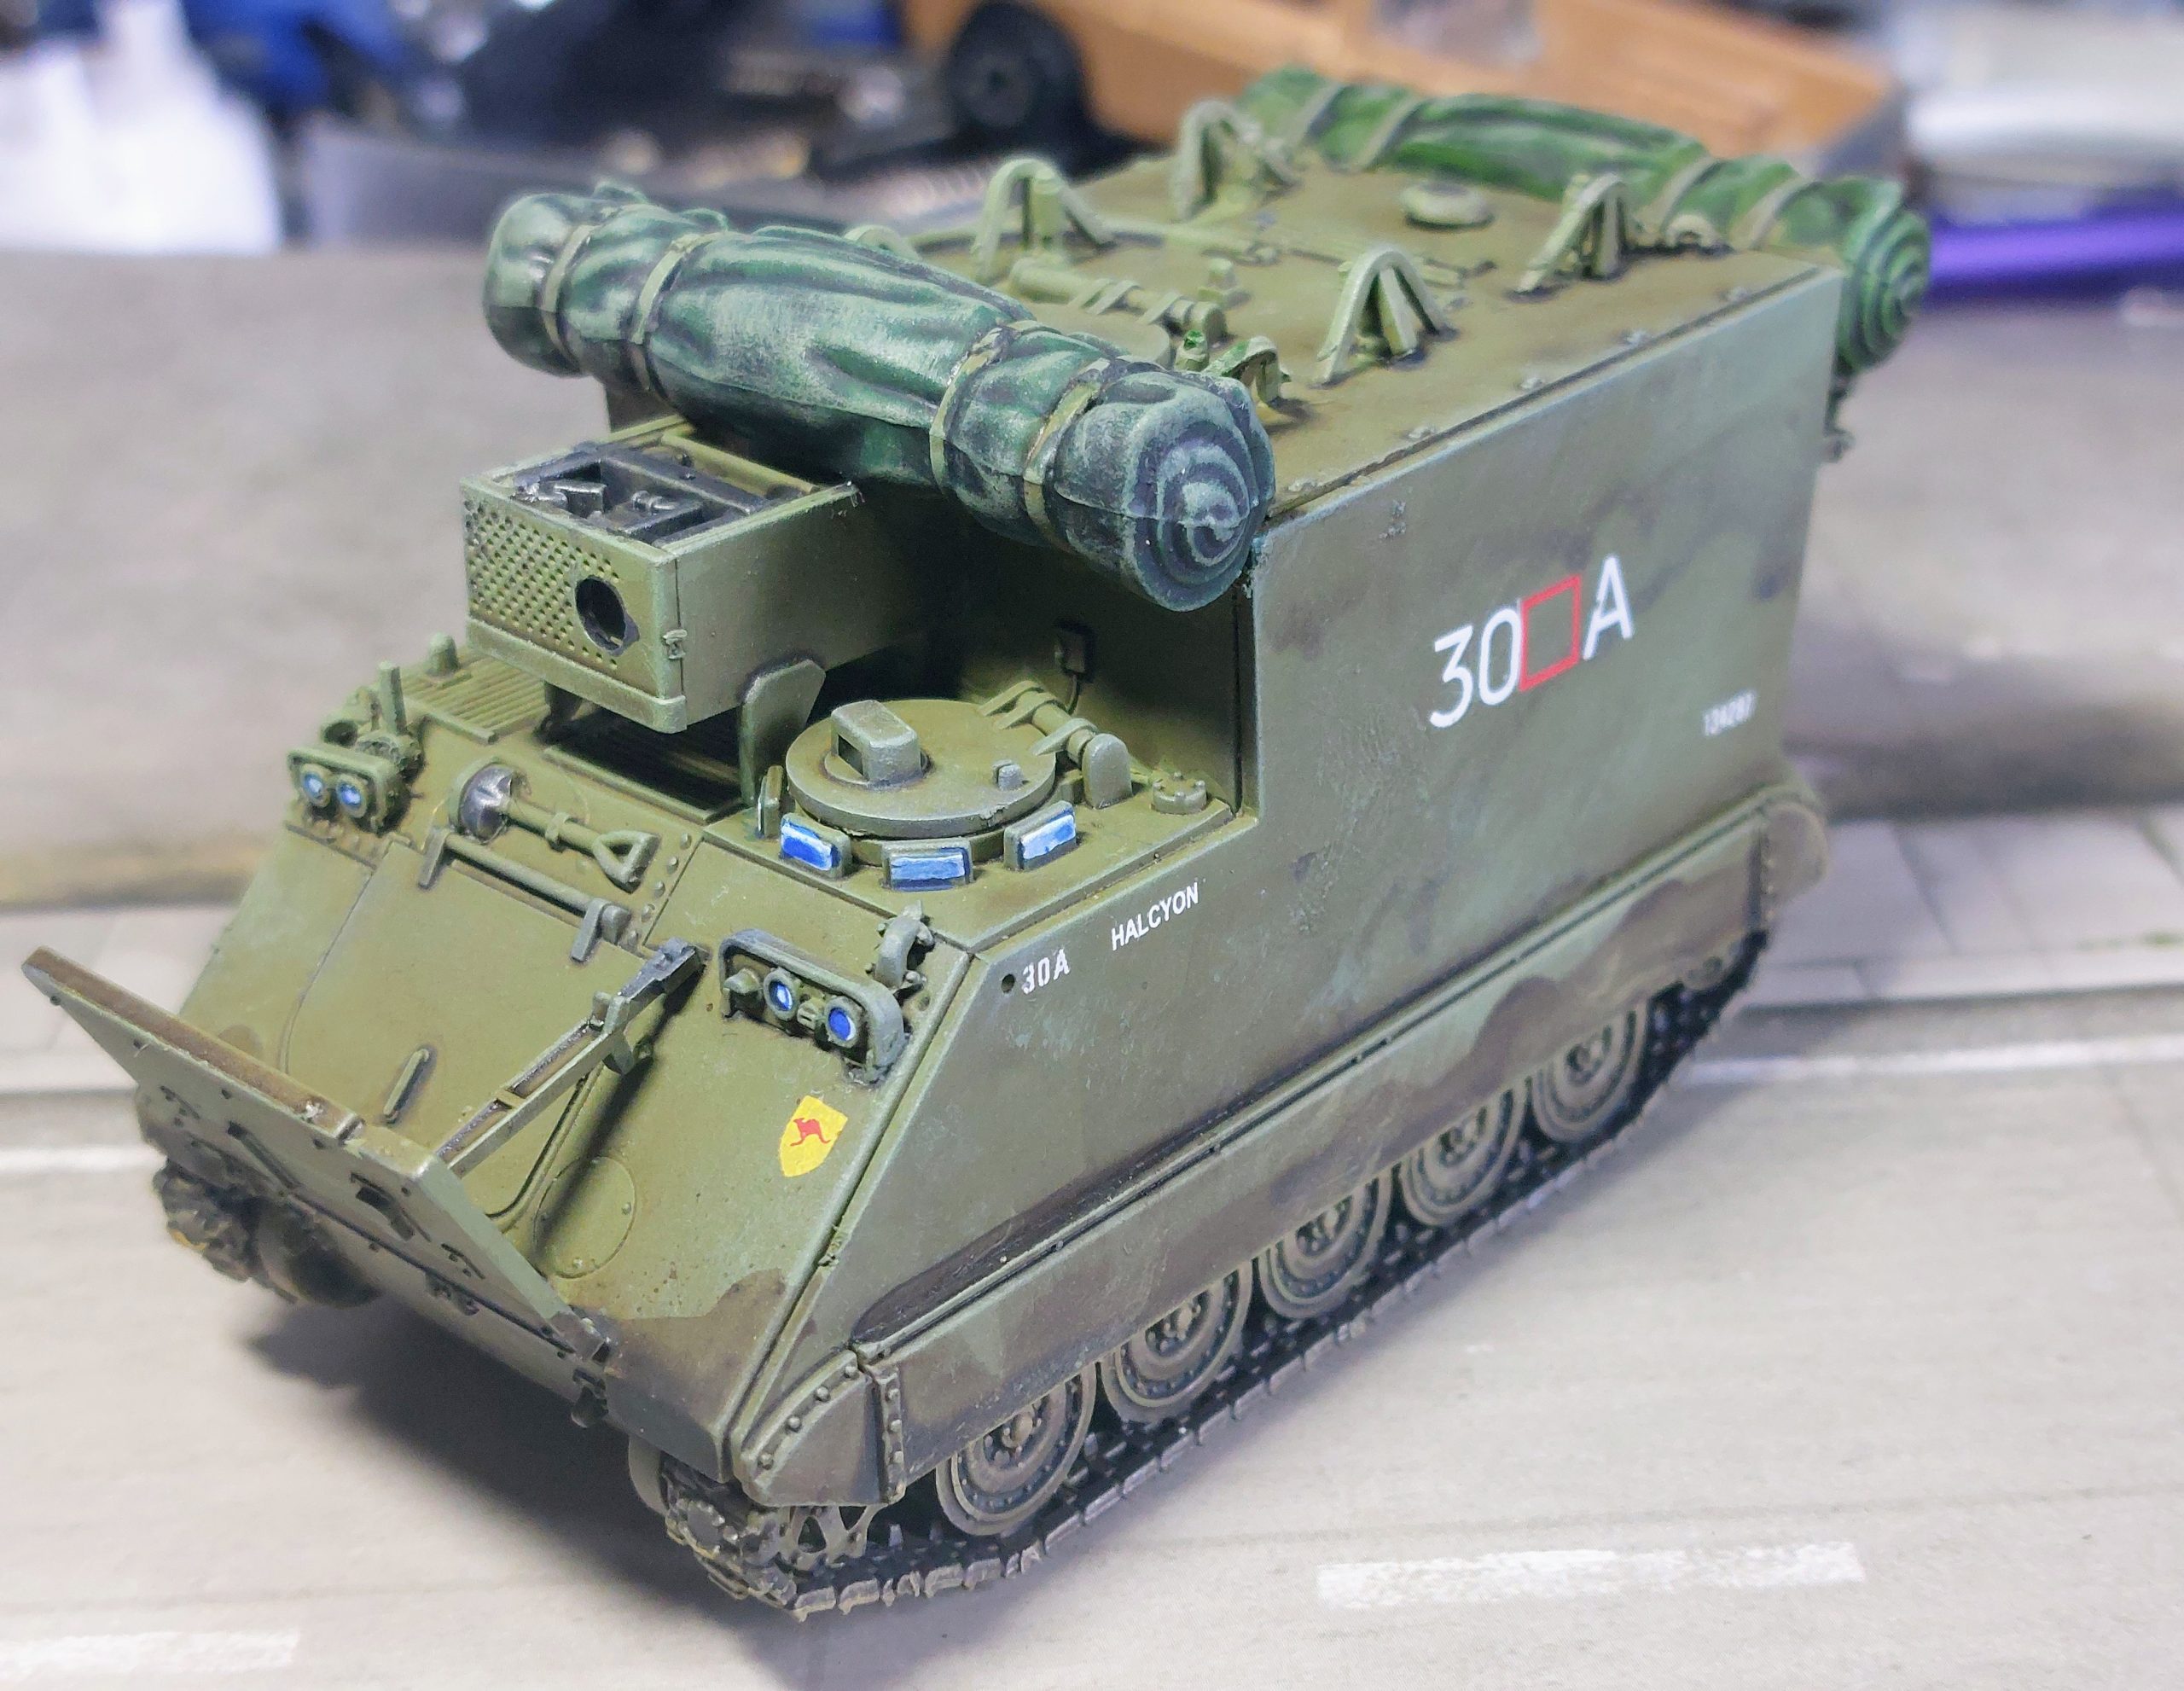 M577
M577 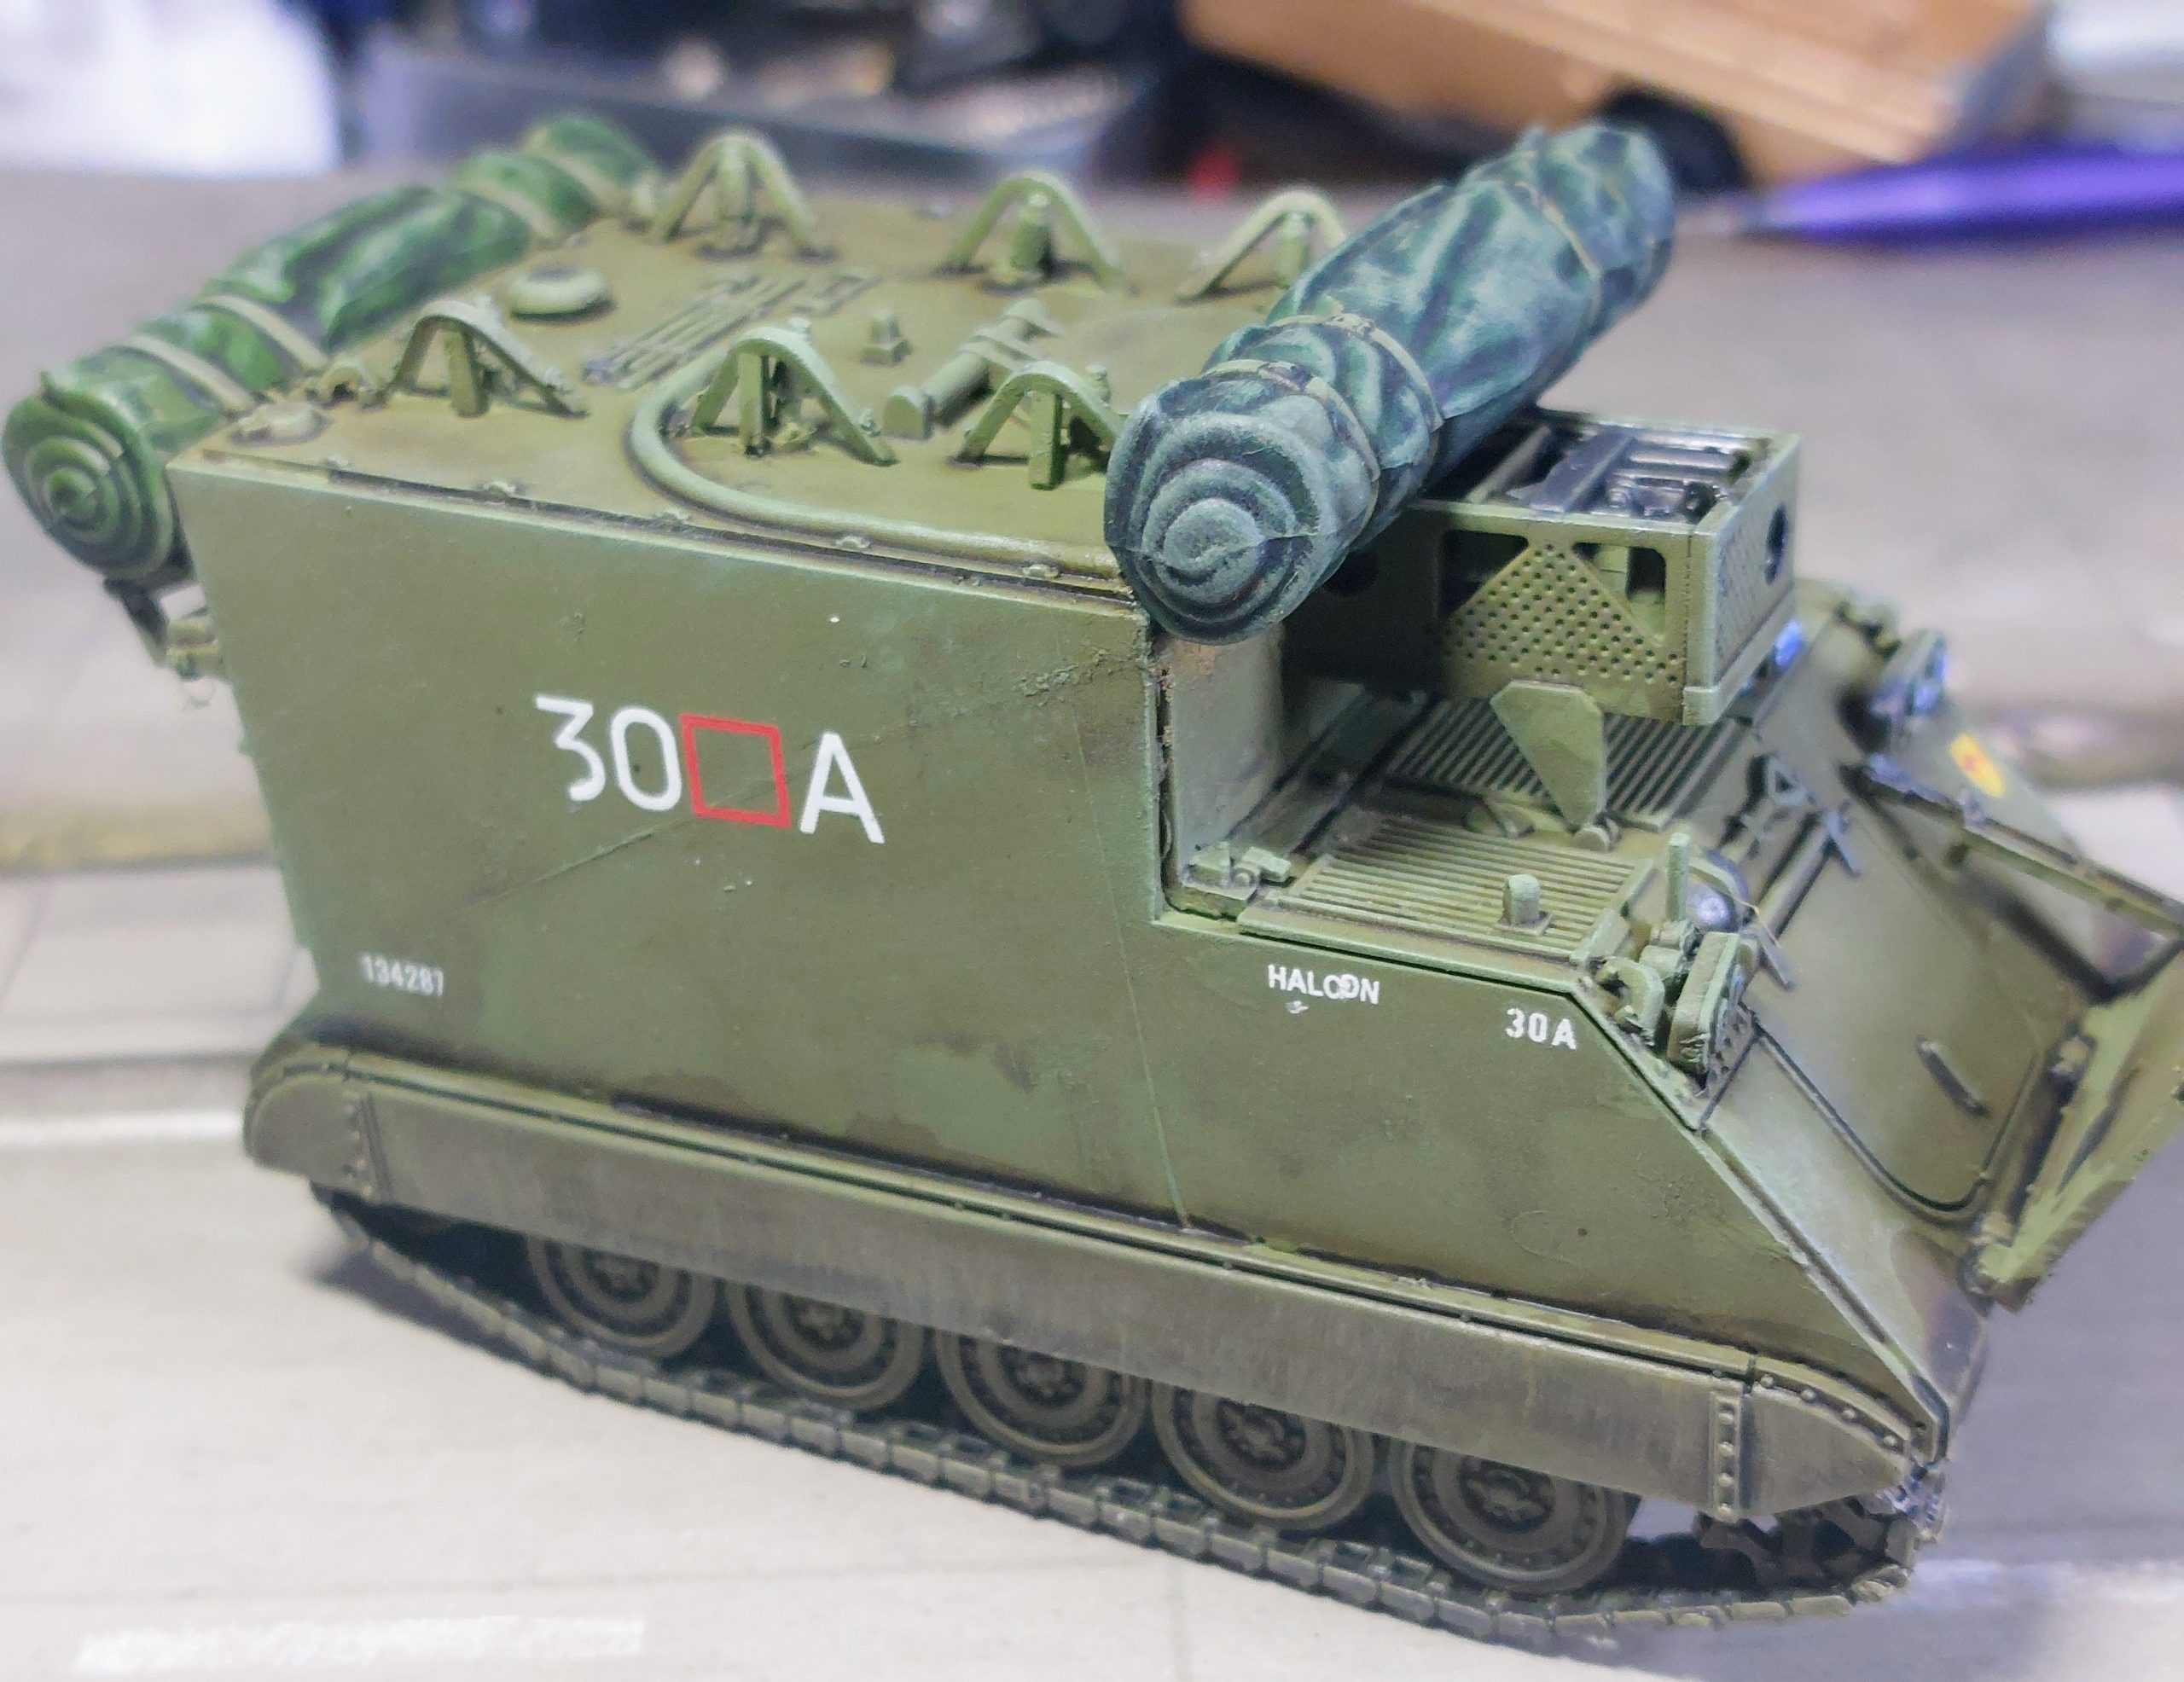
Finally we have for this update the M113 FSV , I have added a ‘borrowed ‘, ACAV M60 with Sheild , photos show a hatch mounted .30 cal, but as with my Centurions, decided , in Ltd supply in Black Suns they would want to keep the.30 ammo for the co.ax, and use the more numerous M60 ammo for the hatch gun.


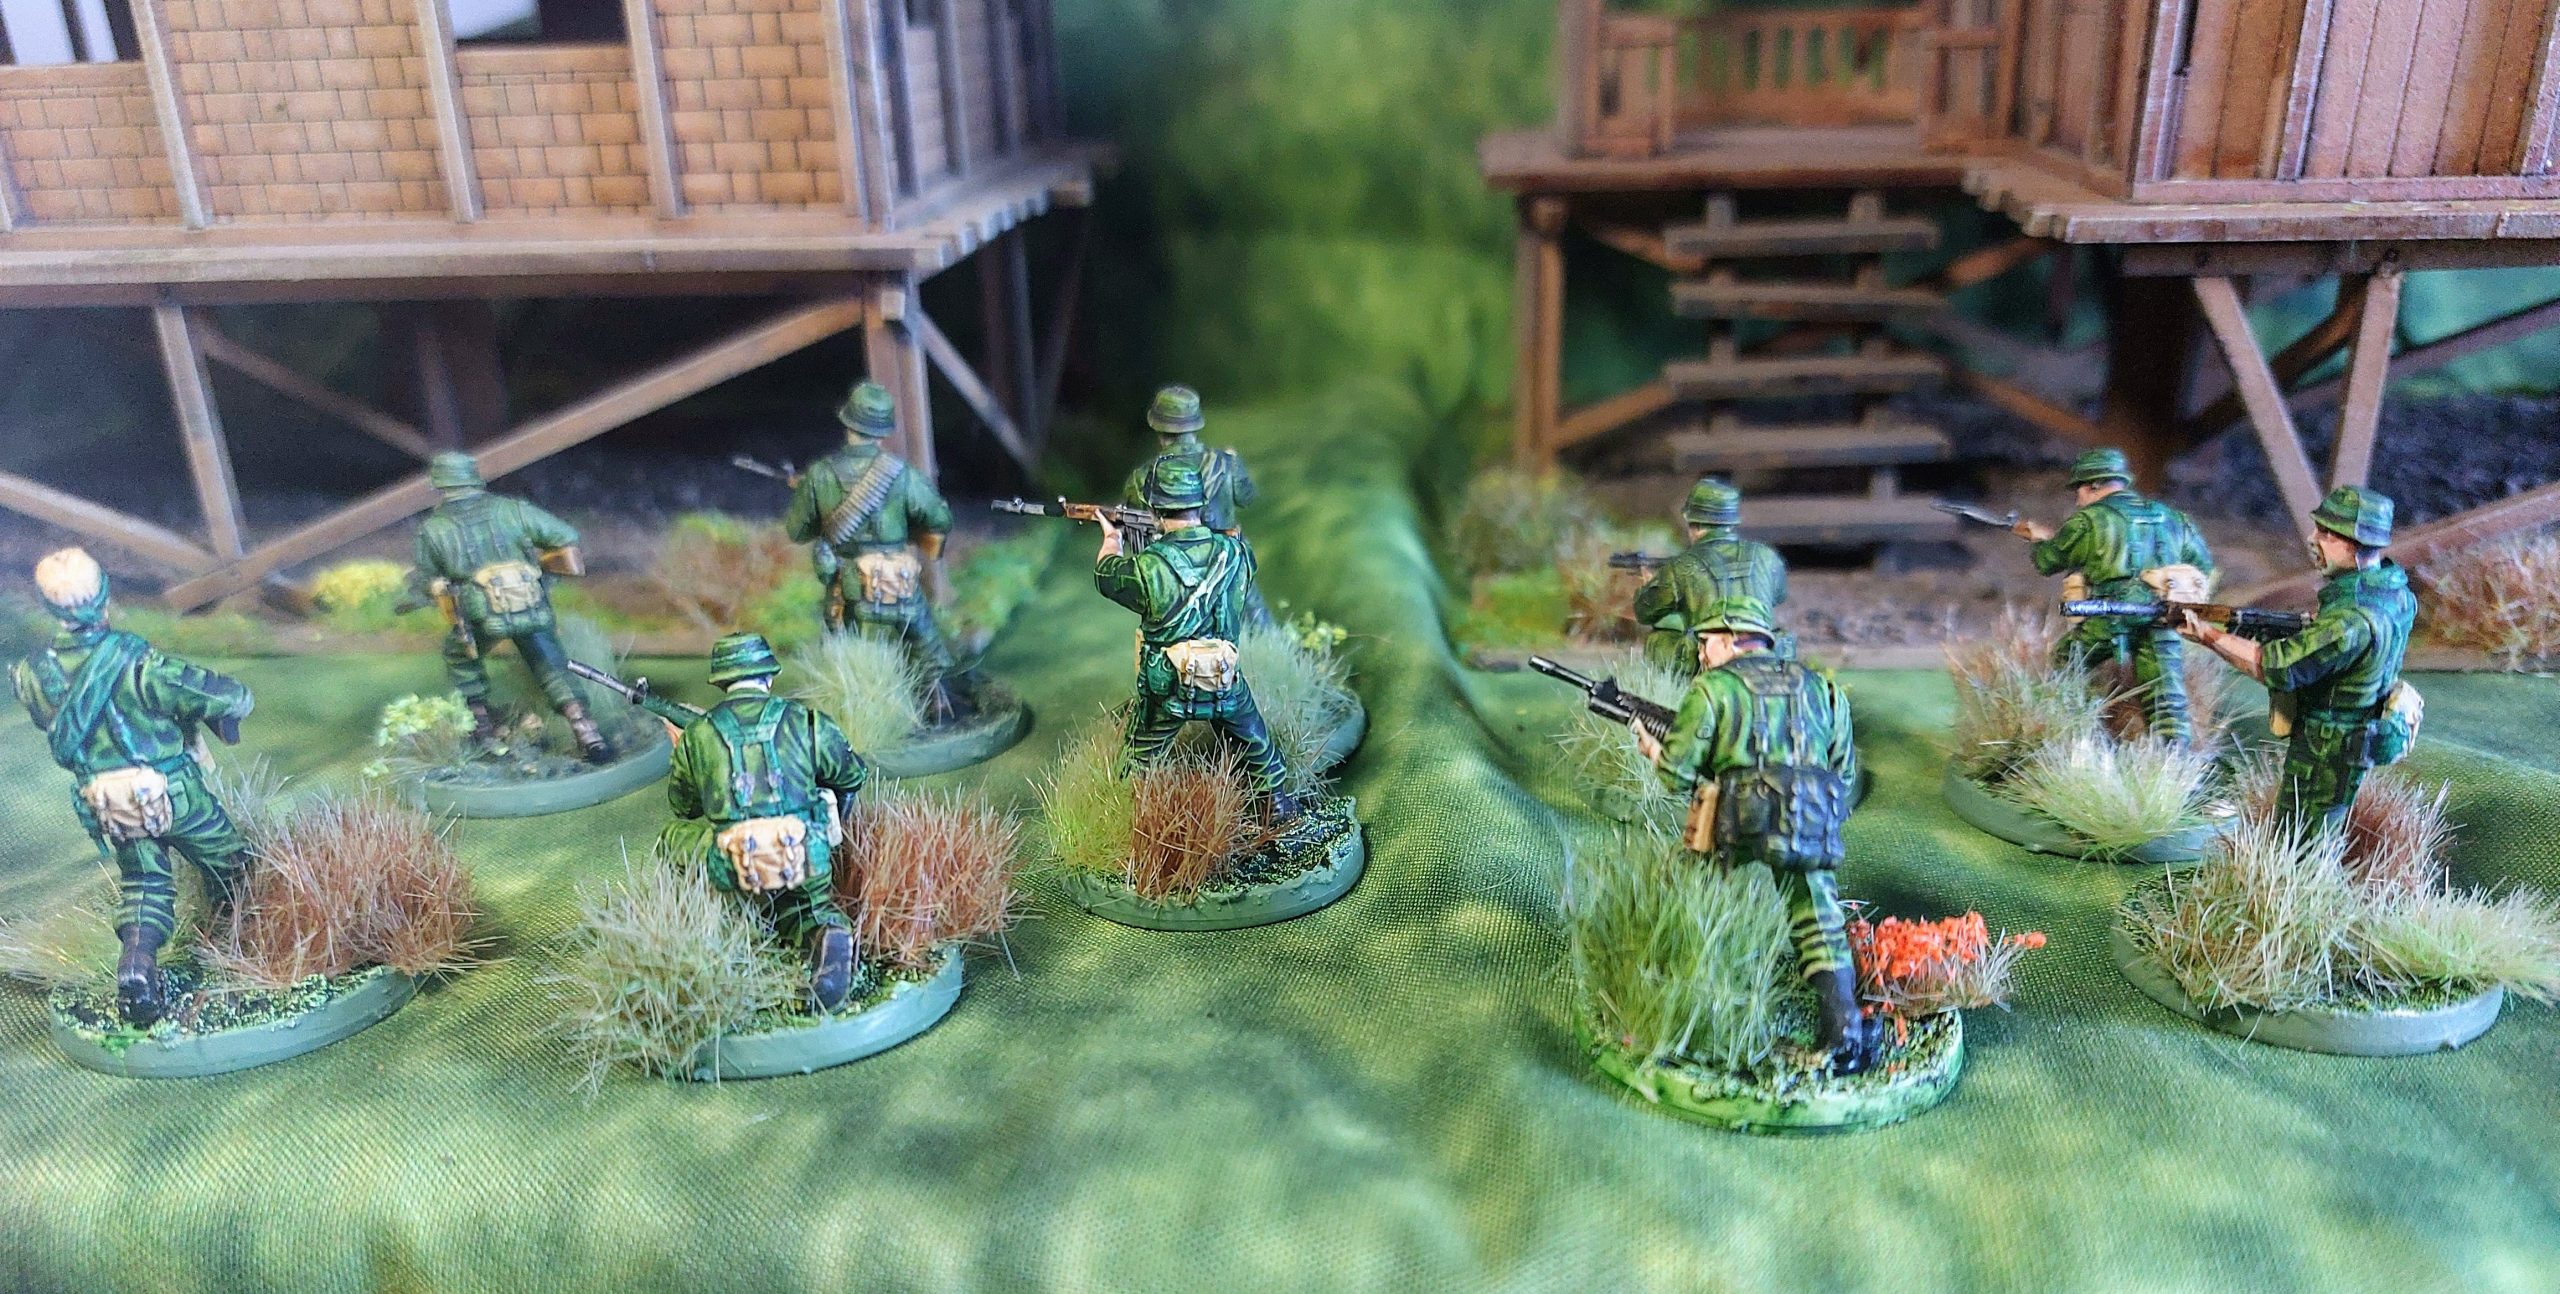
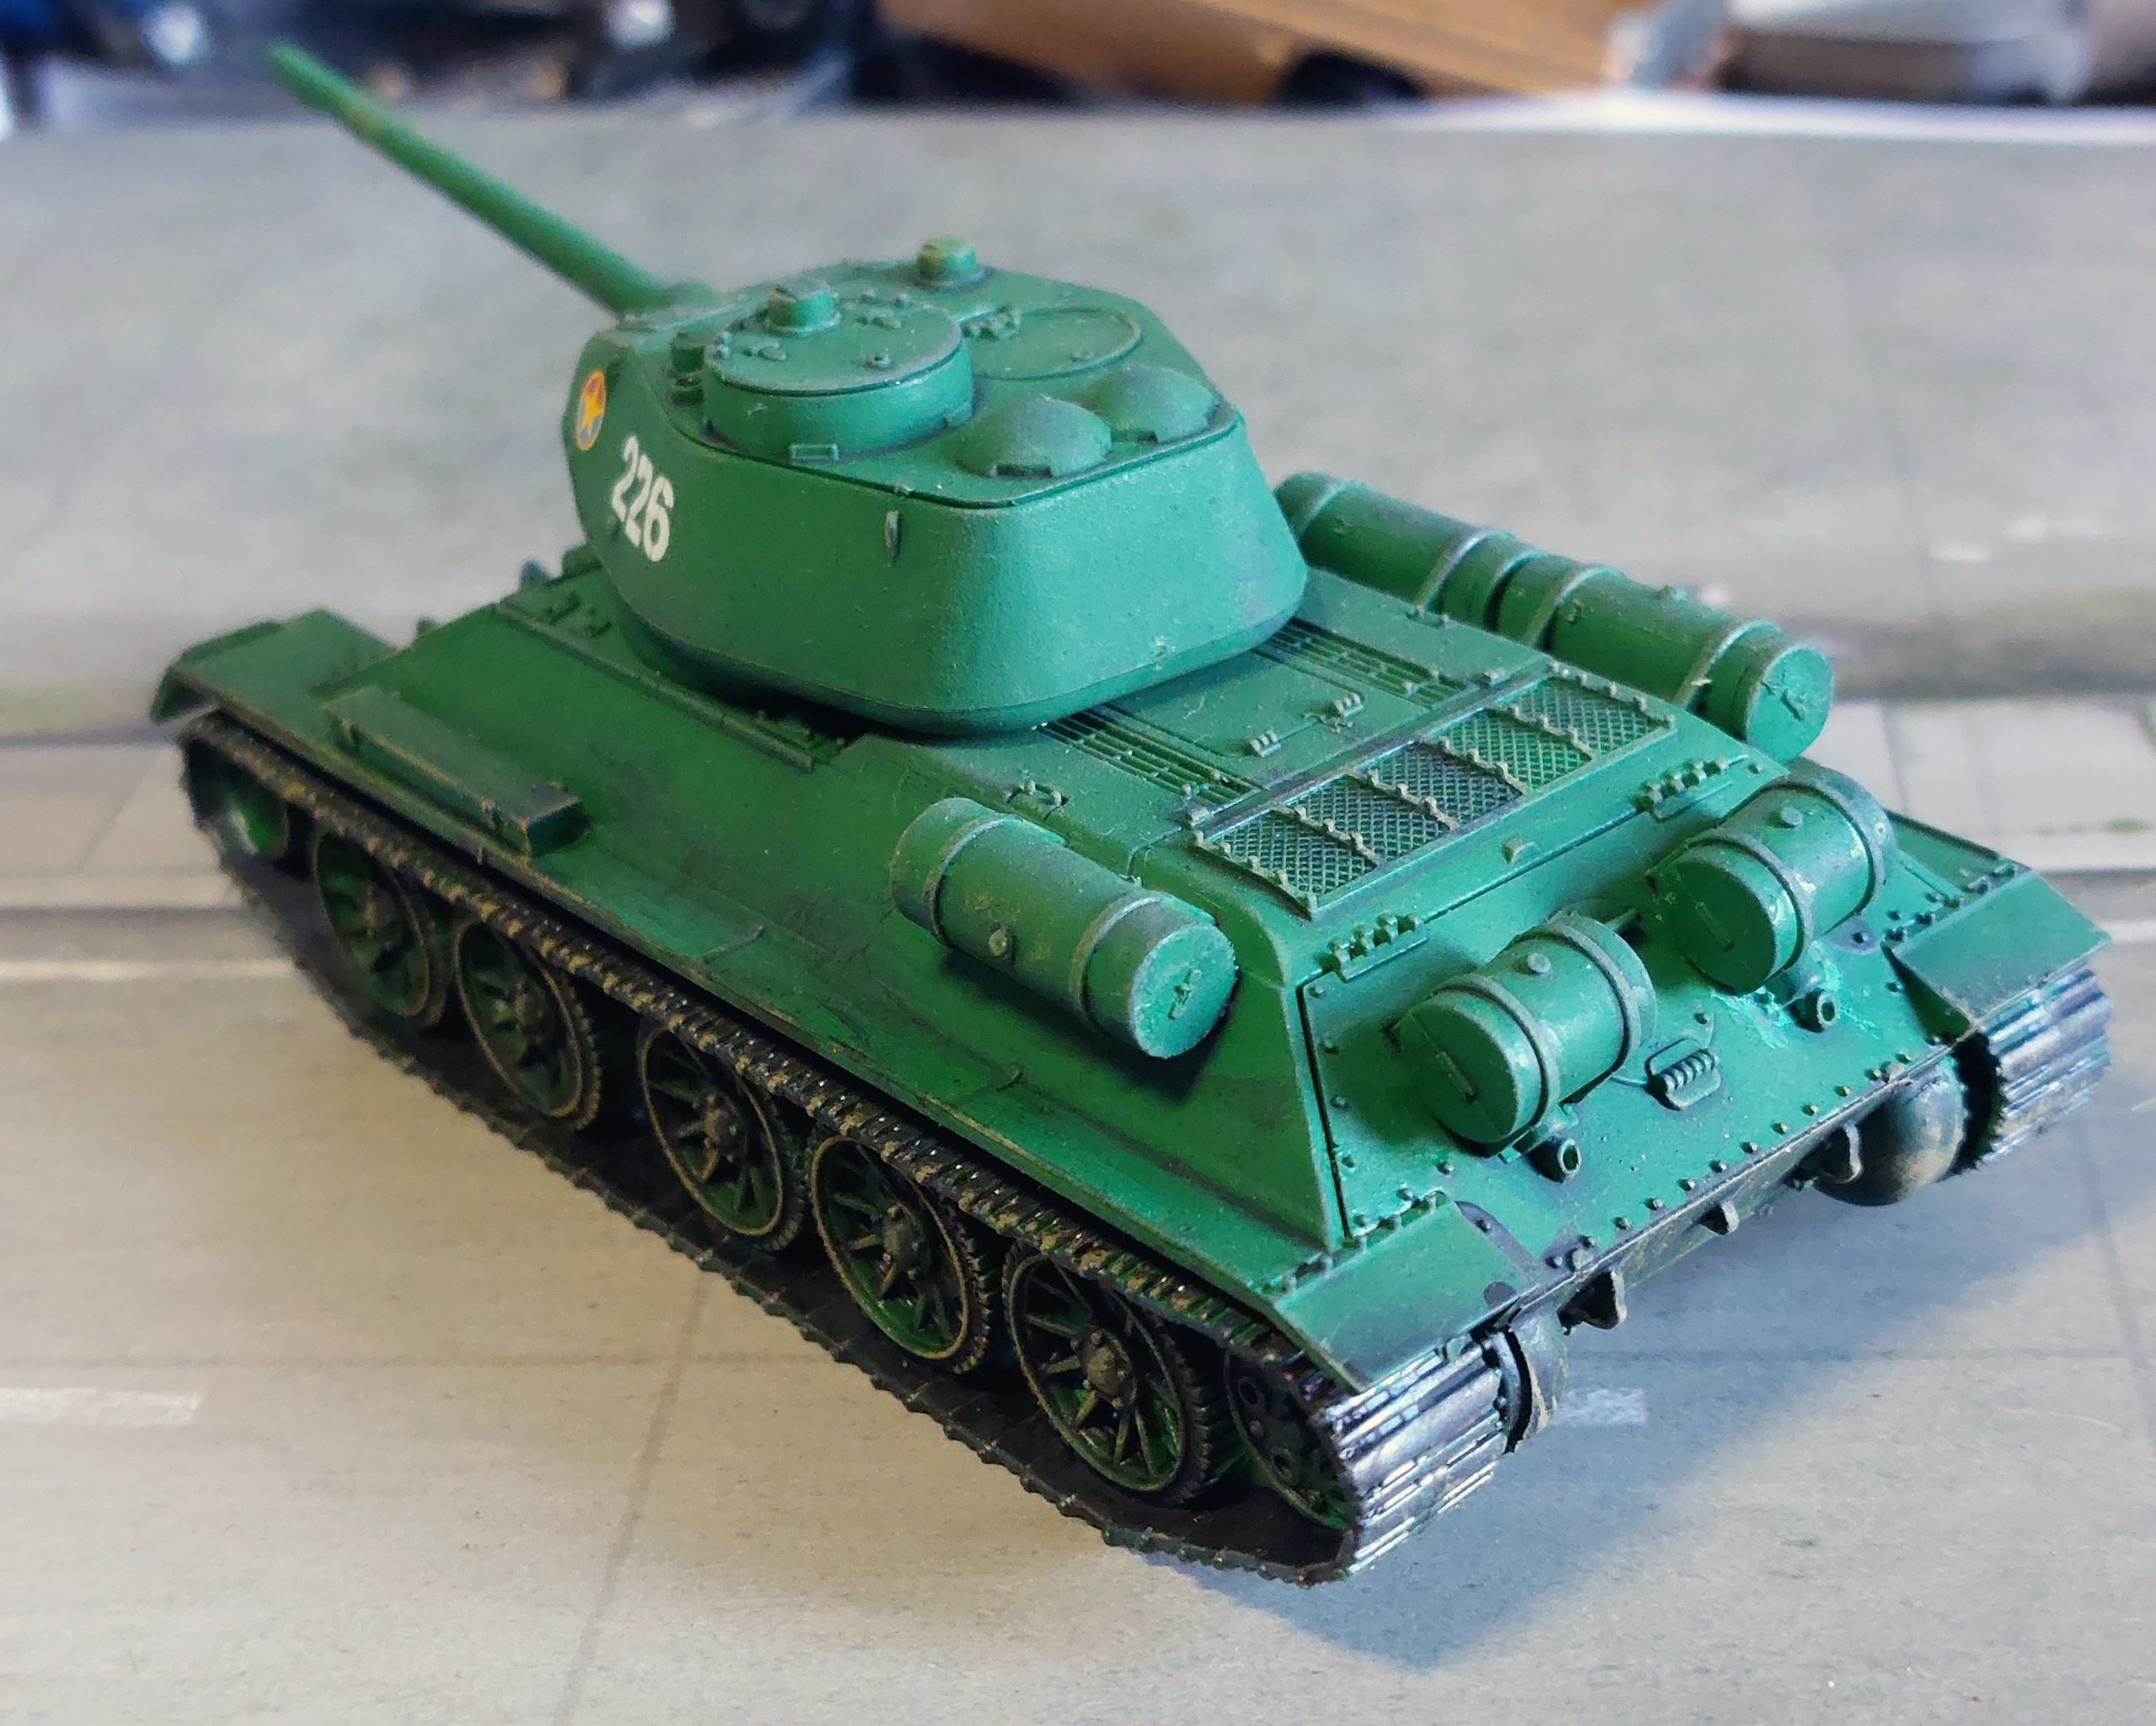
Back to Vietnam and Black Suns, NVA armour.
Whilst going moderns and the opponent Fantasy Orc Army, my Vietnam vehicle collection was sitting in various stages of completion. Particularly my little collection of NVA armour, which had two completed, but needed crew figures and one sitting with just a case colour.
So this week I thought lets buckle down and complete all my Vietnam armour, starting with the NVA, who had really been pushed to side recently.
So firstly we have an old T34, a model originally brought for a never started 1946 ww2 project.

Next is a PT76, now for those interested the base colour spray was Army Paimter Goblin Green, with a Nuln Oil diluted wash.
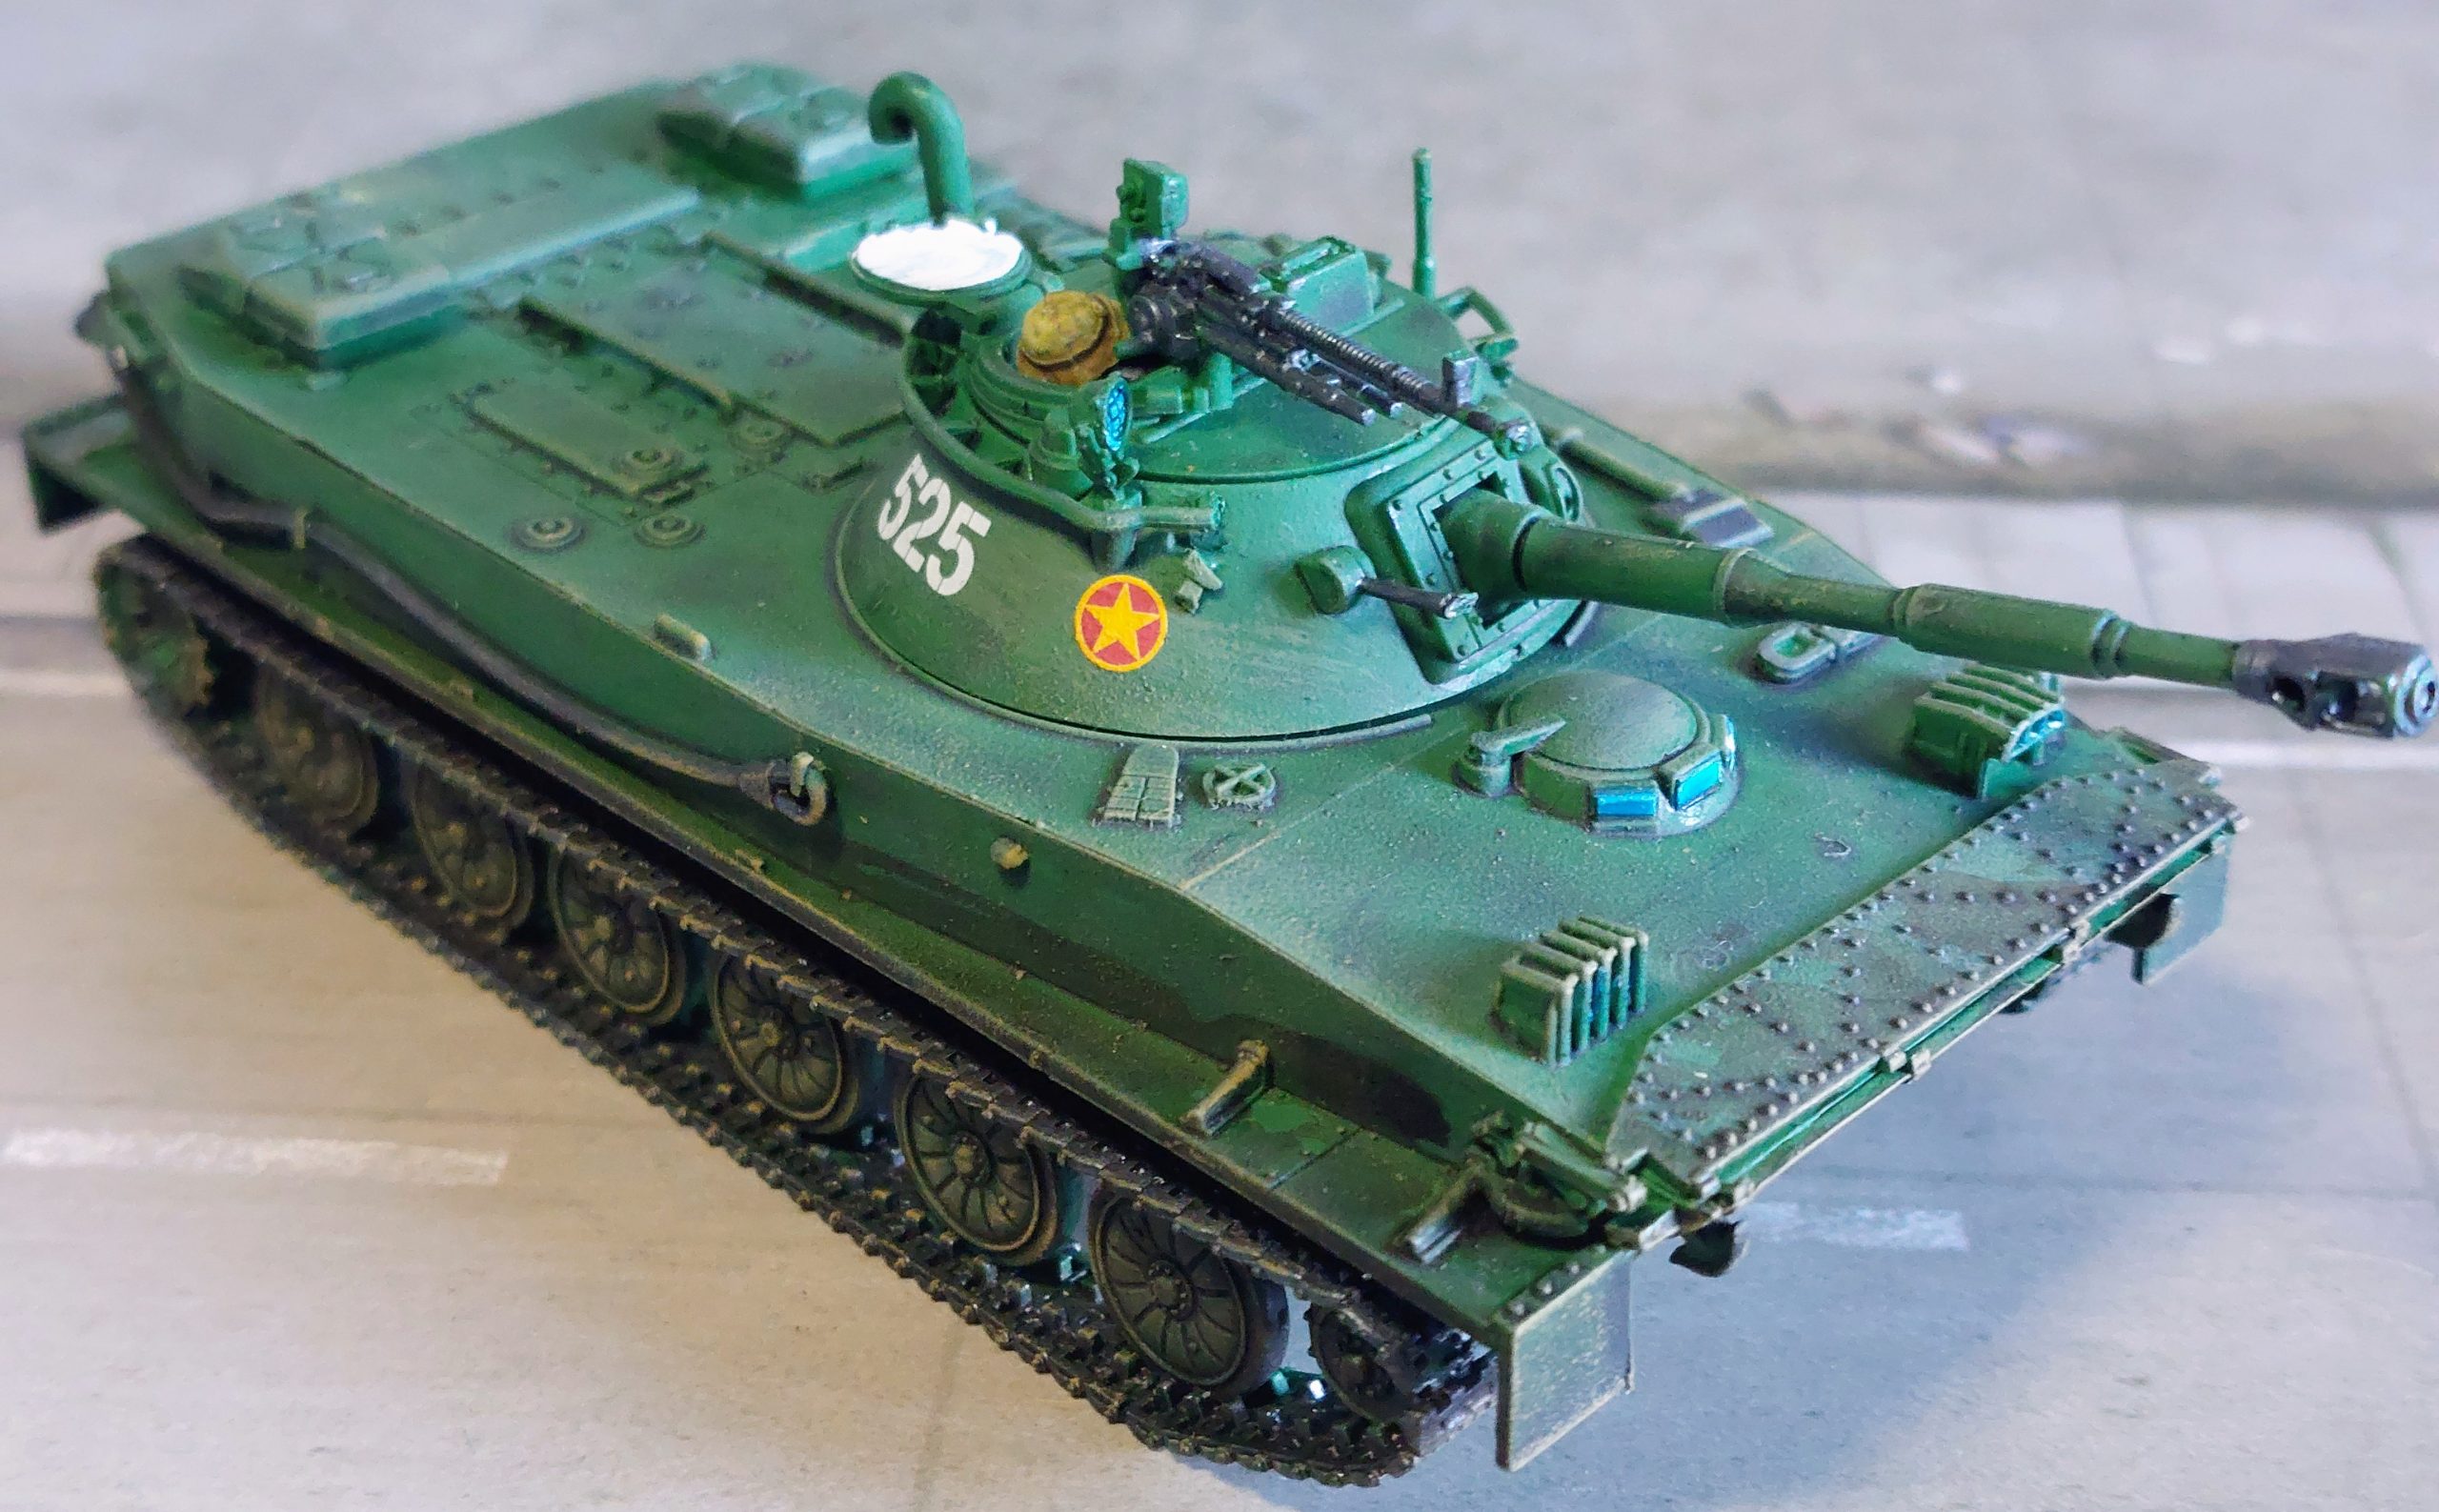
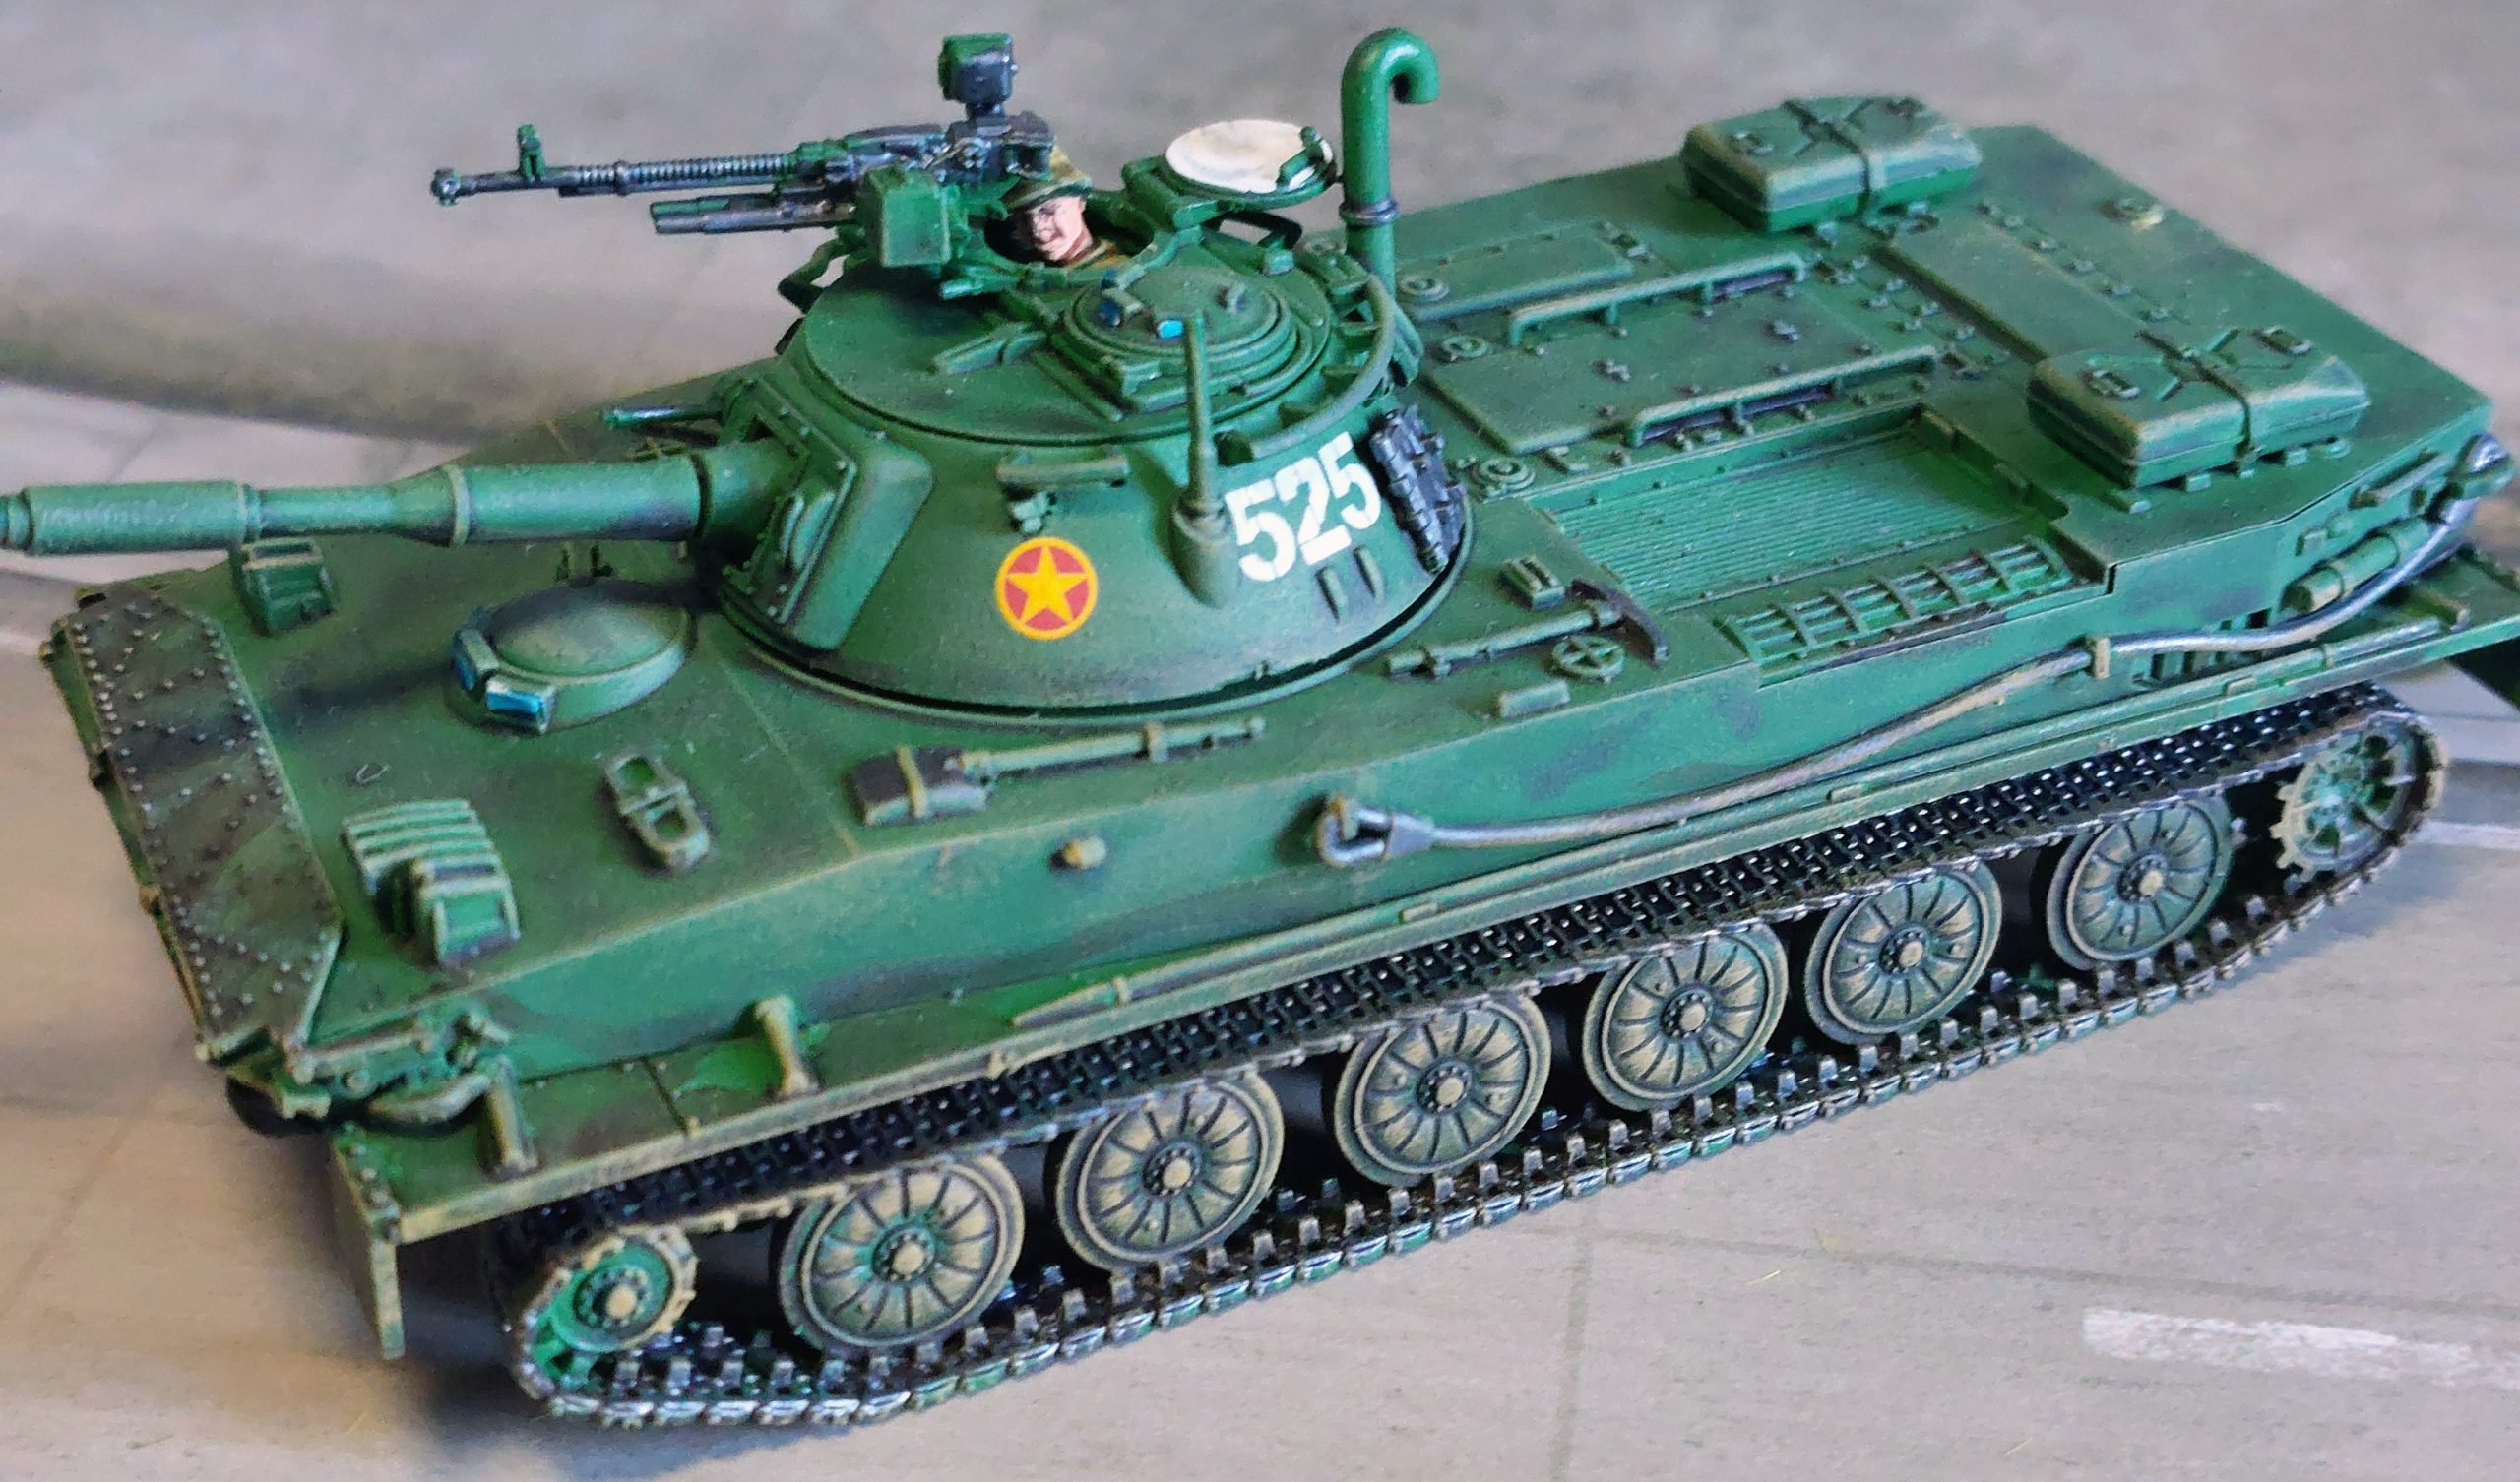
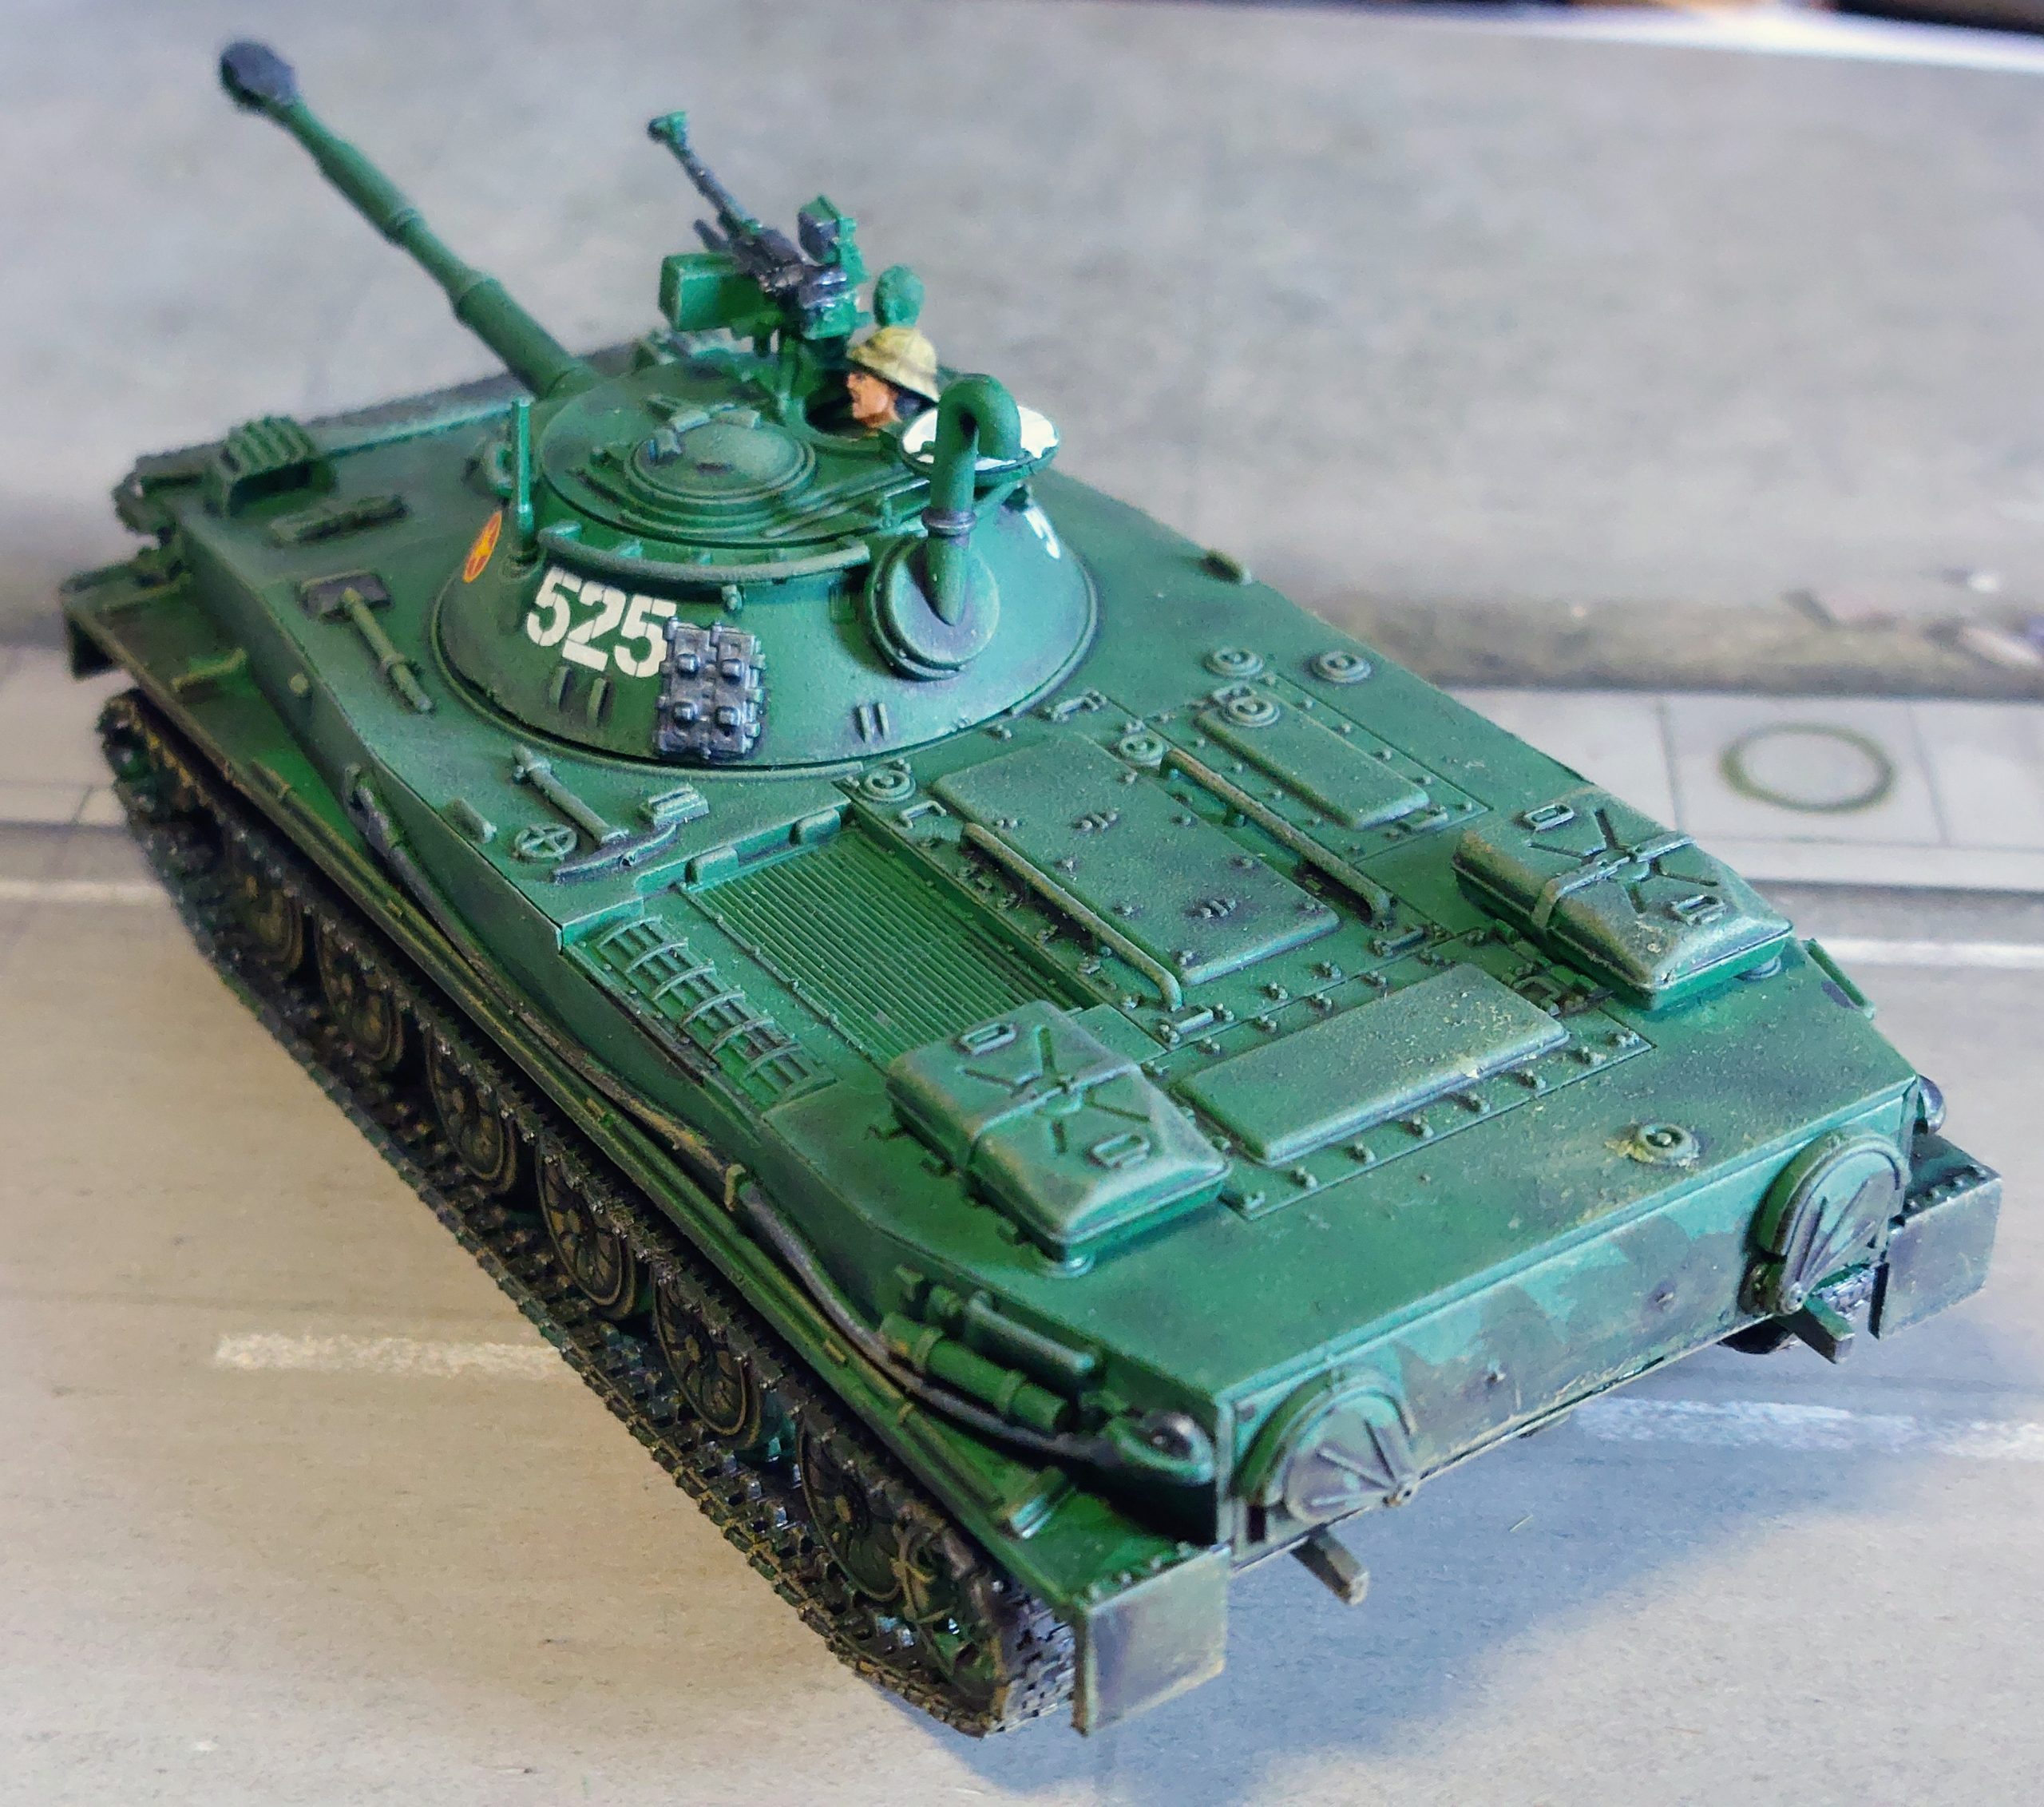
And finally a T54, both the two latter kis were nice kits to build providing few problems.

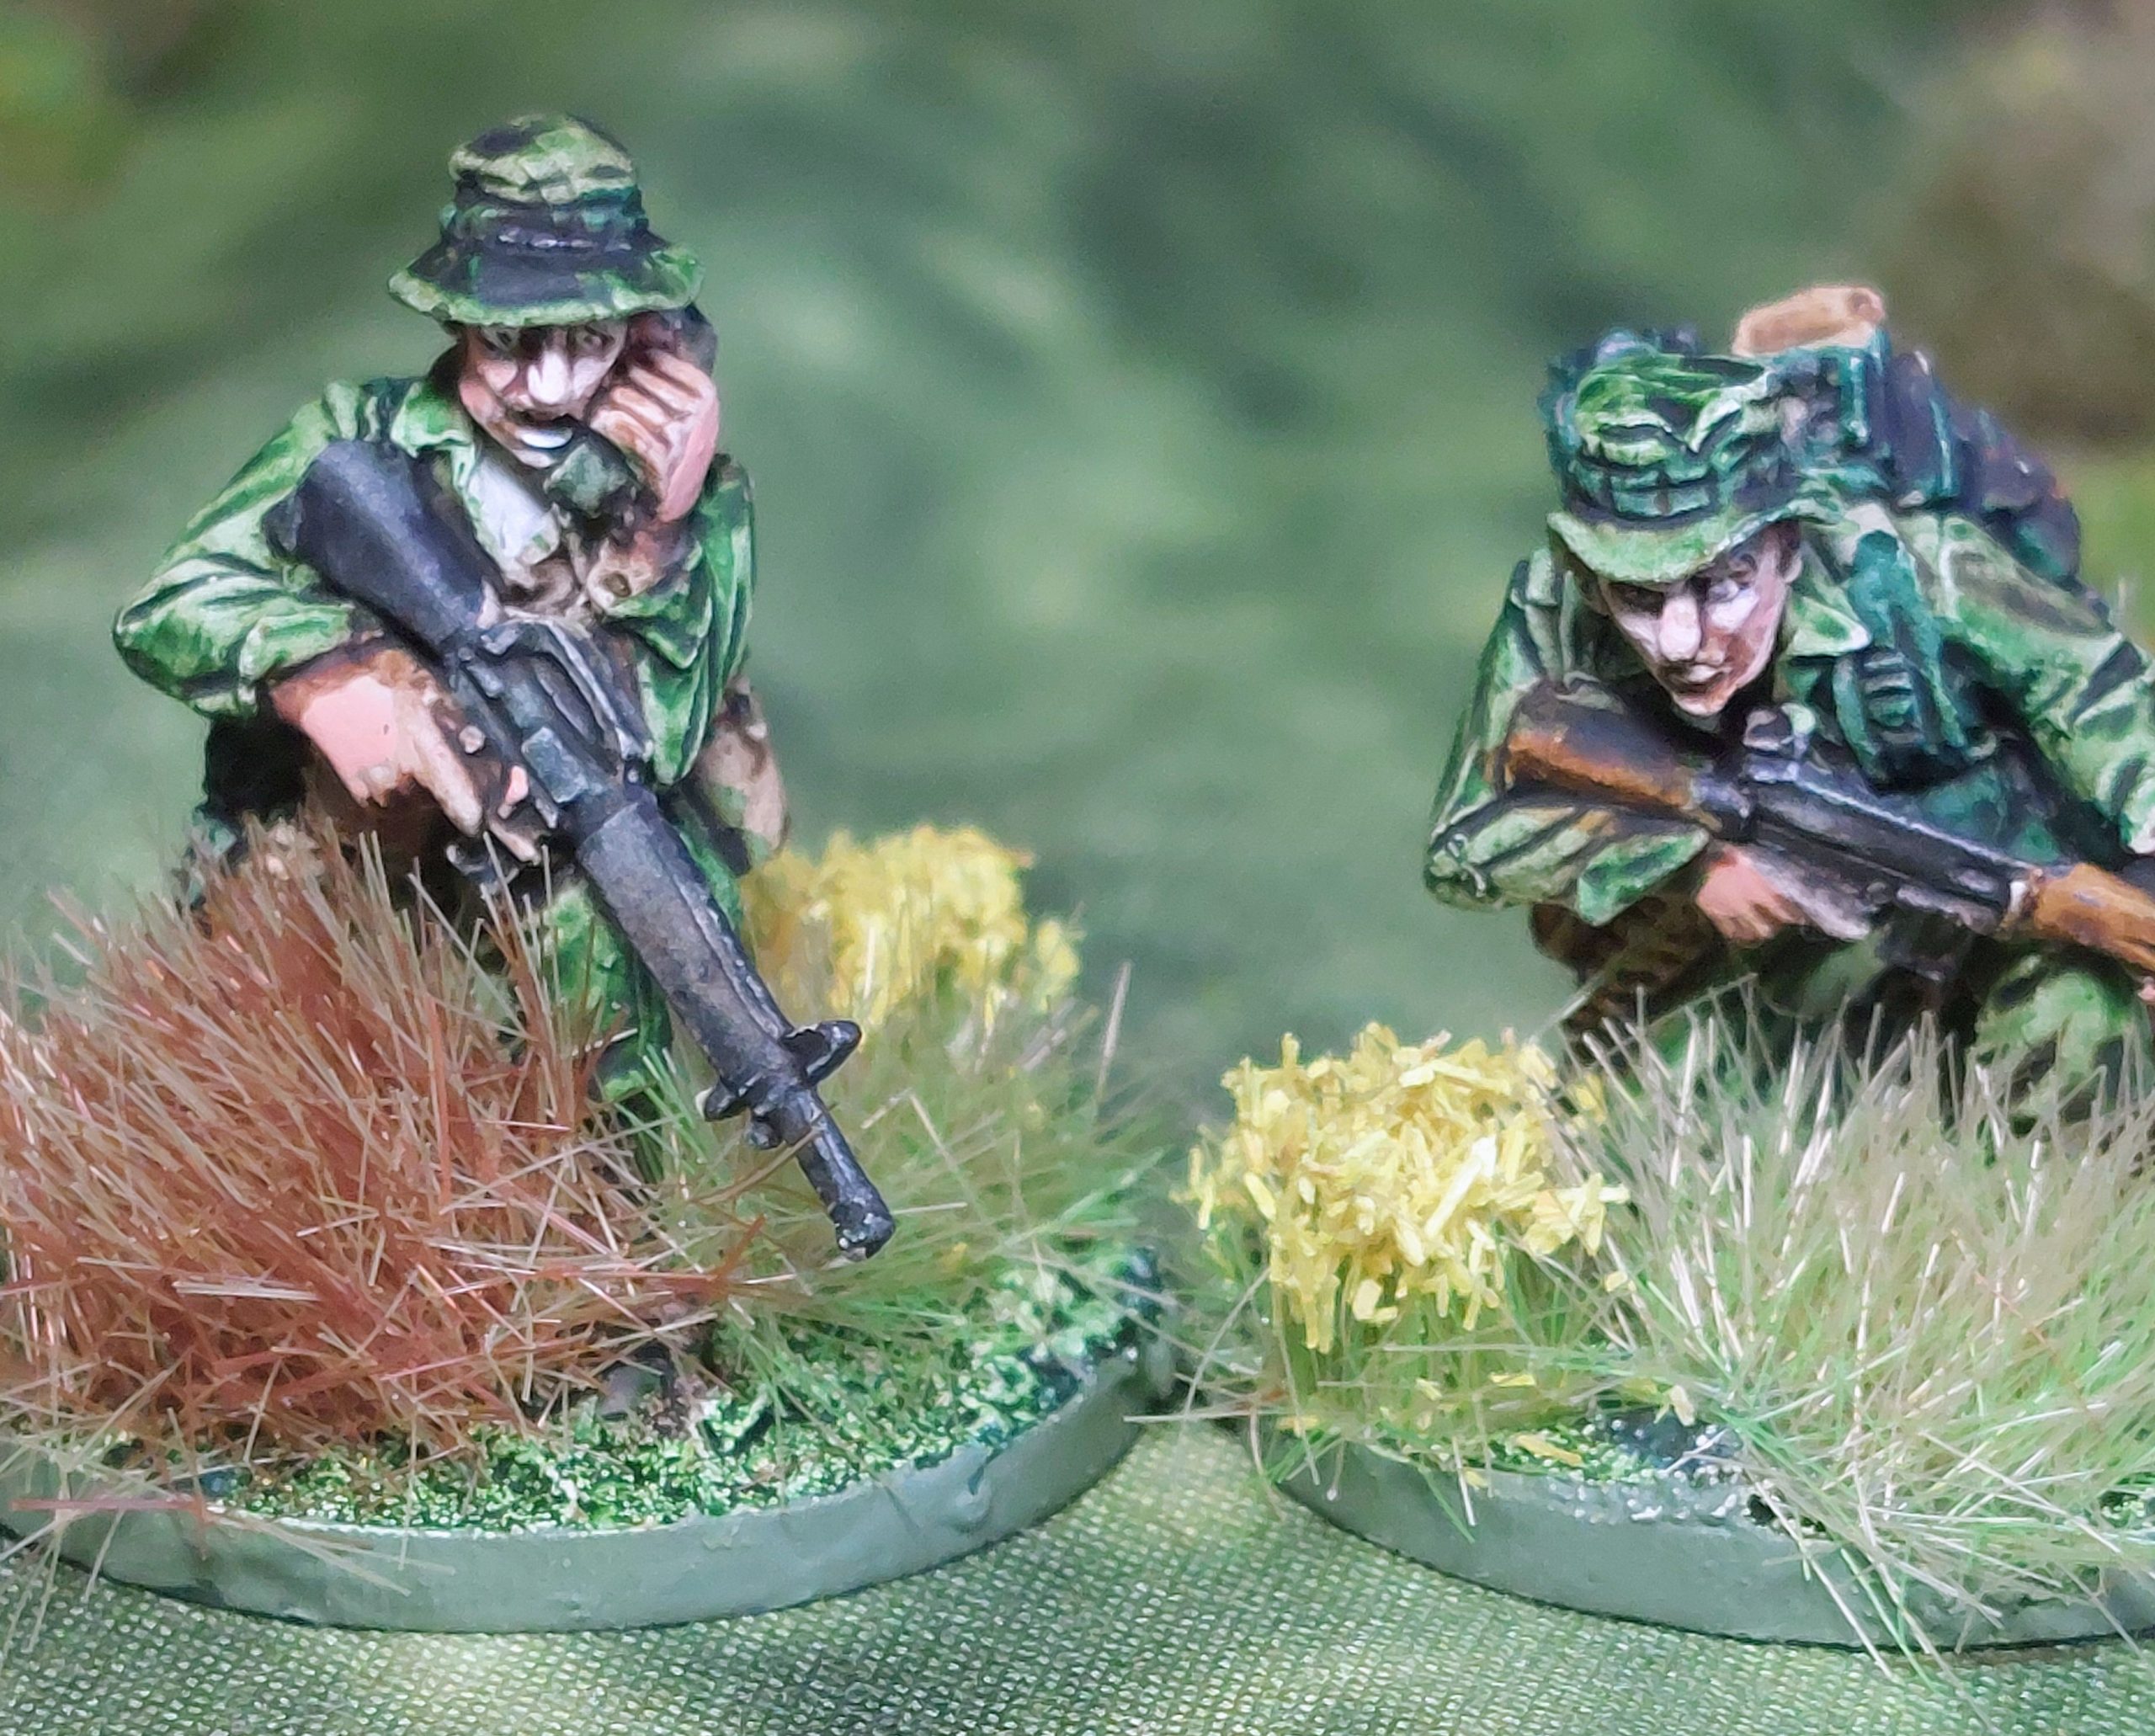
SAS , Boxers the Final Moderns.
I have finally finished the rabbit hole on moderns and Forgotten ruins that tangented off Black Suns.
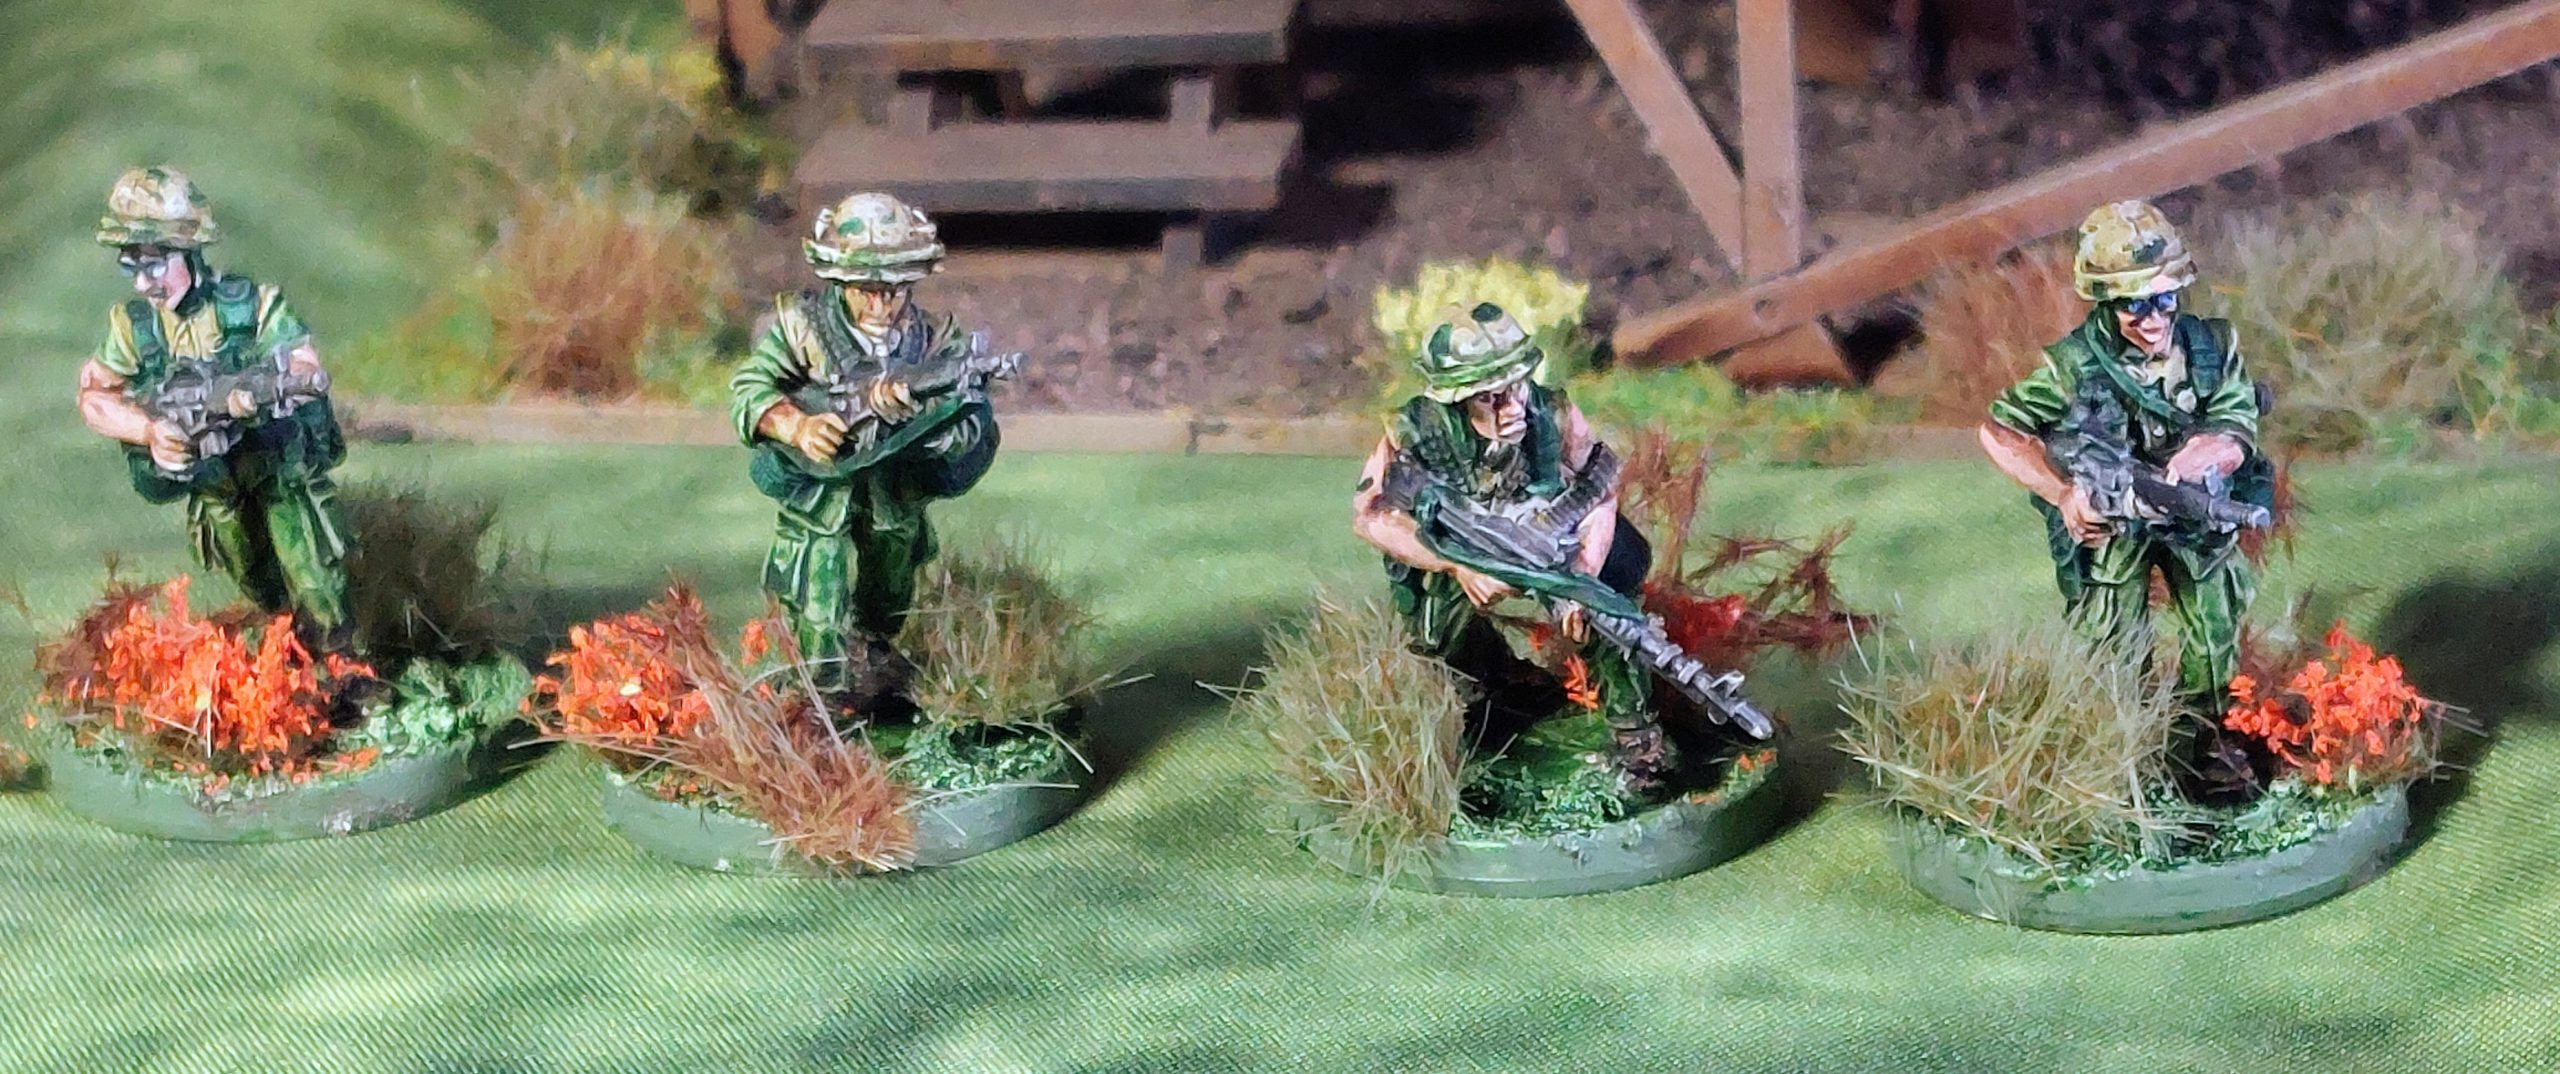
I had painted up Spec Minatures Task Force figures, and was going to use them for SAS, then Ben in one of his reviews of their latest releases .mentioned dedicated SAS, so one order later!
Now I was initially undecided whether to paint them for night Ops and all in Black, to avoid doing multi cammo… but wanted a more generic scheme so back to Multi Cammo.
I had done both the British Squaddies and Task Force this way, but felt the base colour was a bit to green, when looking at the cammo on line photos.
Therefore this time my base colour was GW Apothecary Grey with a dab of Green to give a pale green base.
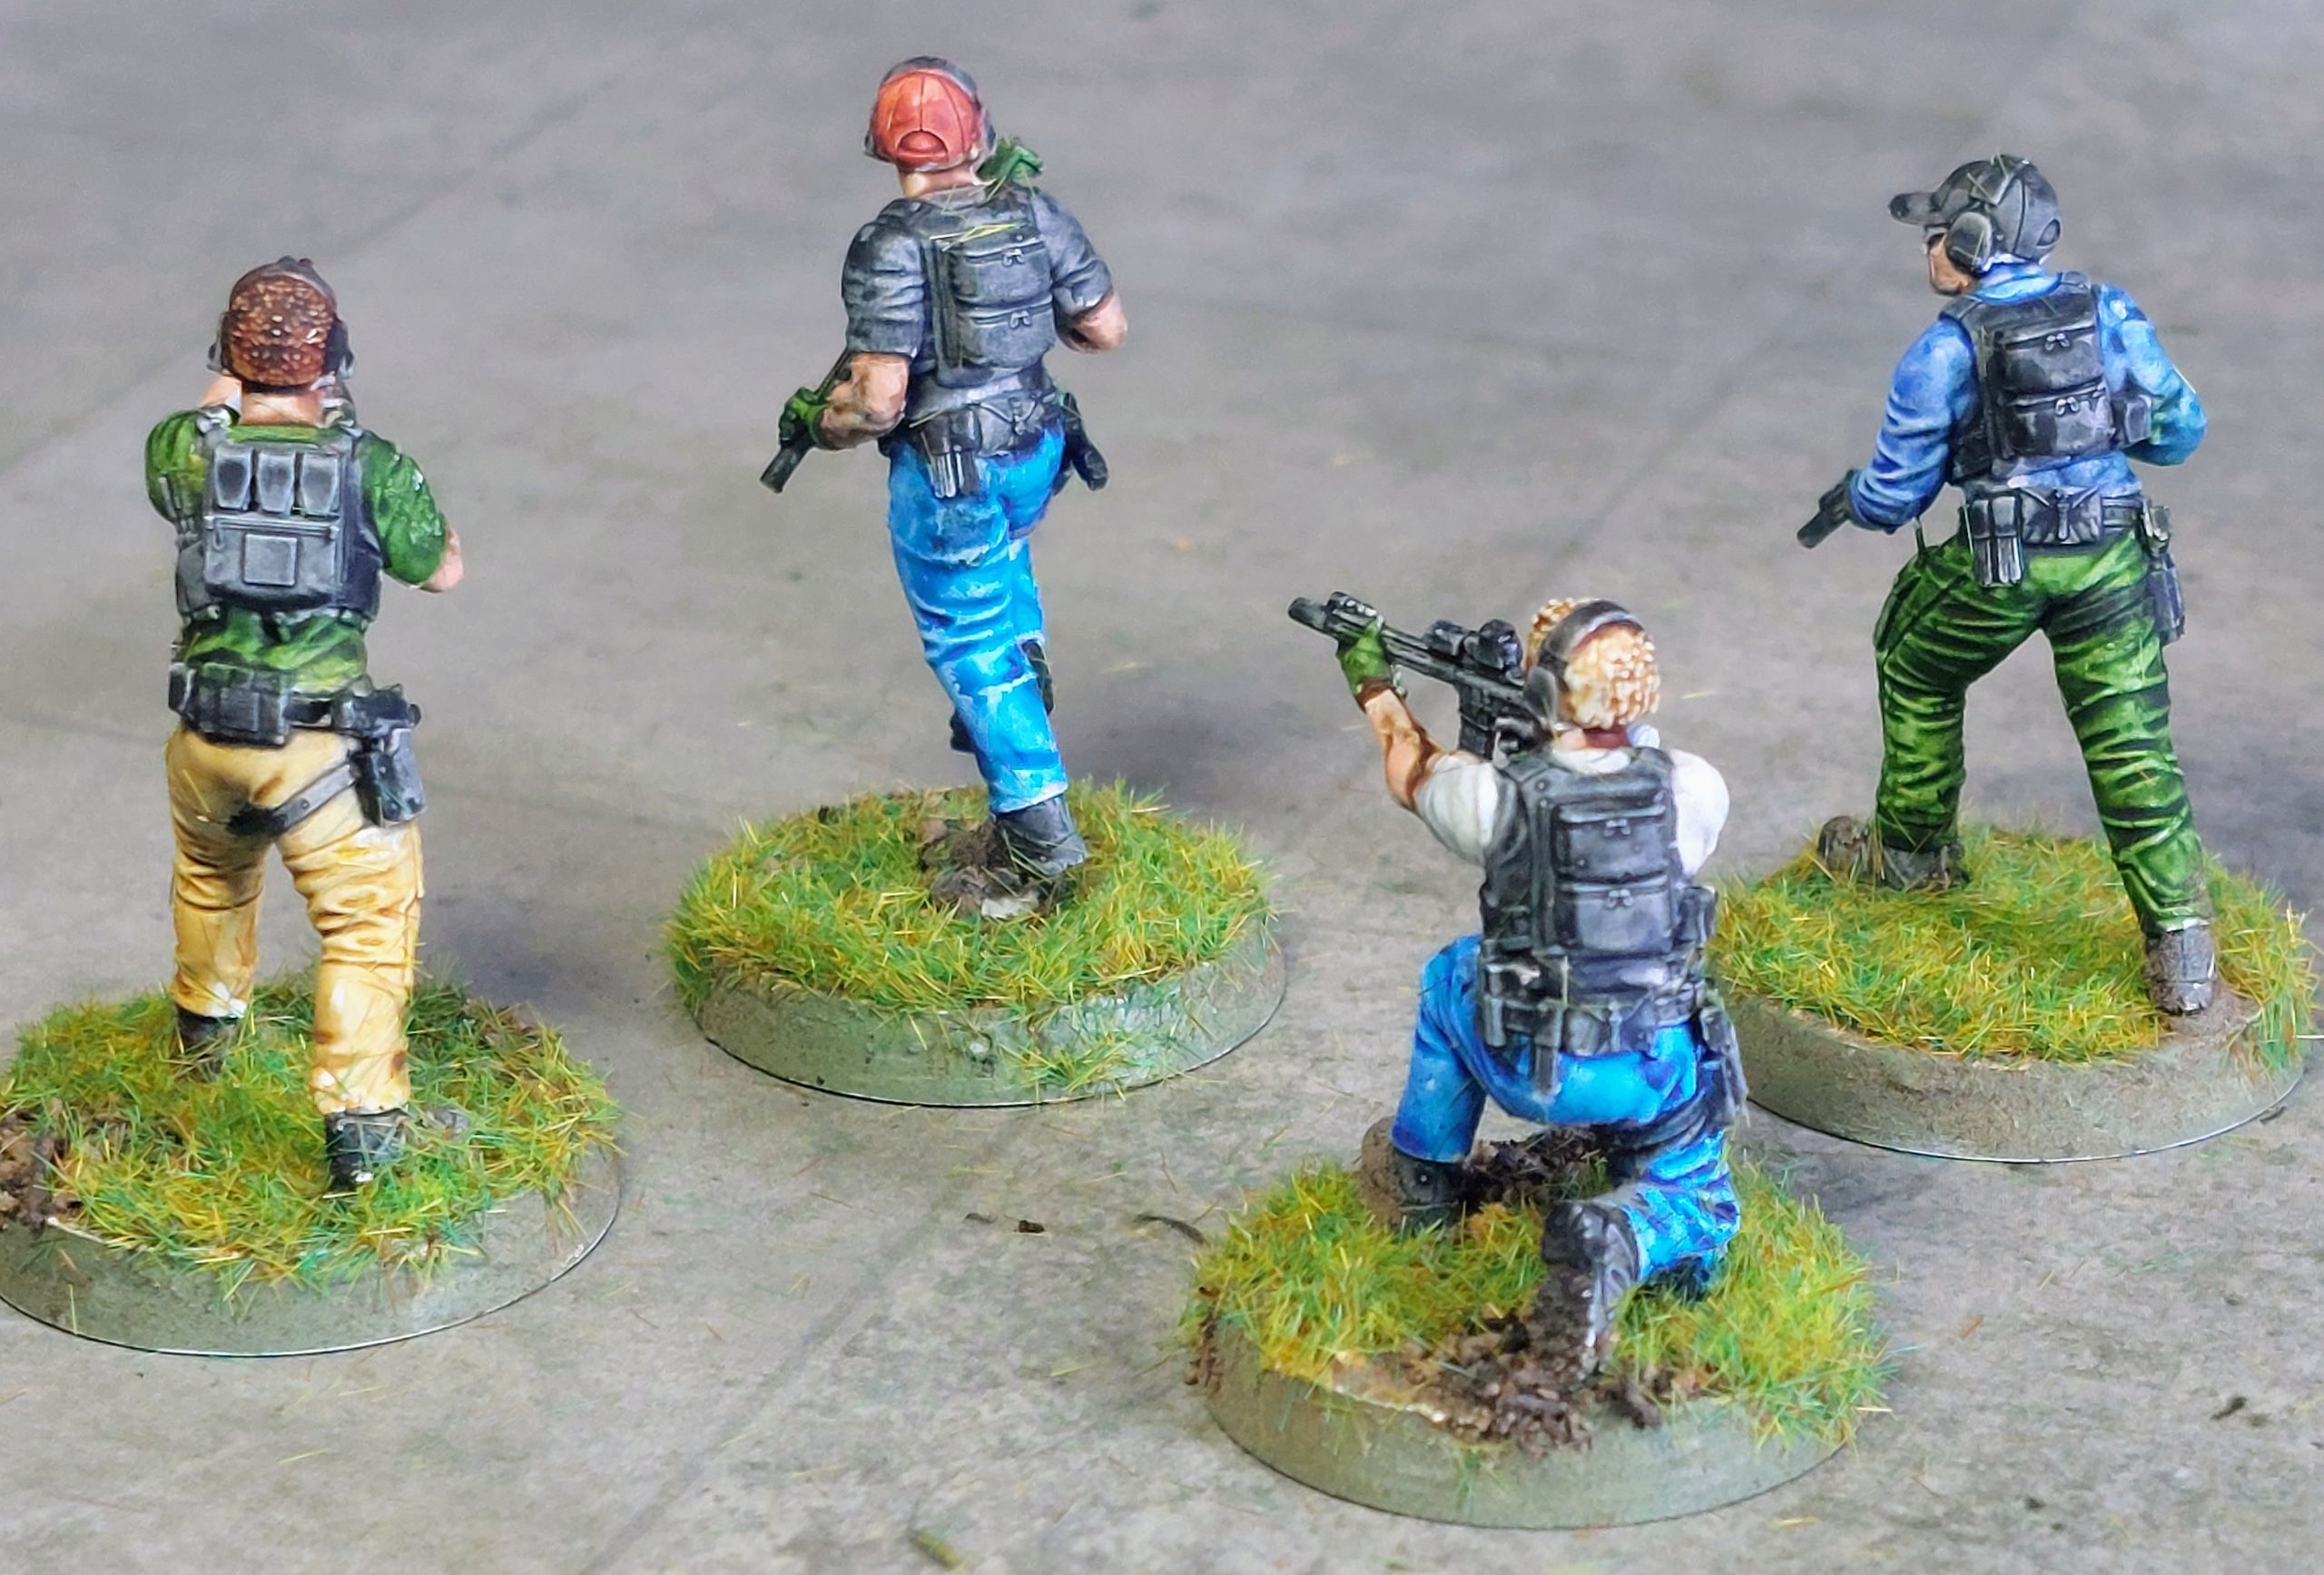
I also brought the SAS in mufti Civilian kit, to add one more team to the Empress miniatures team I had. All a relaxing set of base Speedpaints and Contrast Colours, particularly as I opted for using Speed Paints Grim Black for Tactical vests and kit.
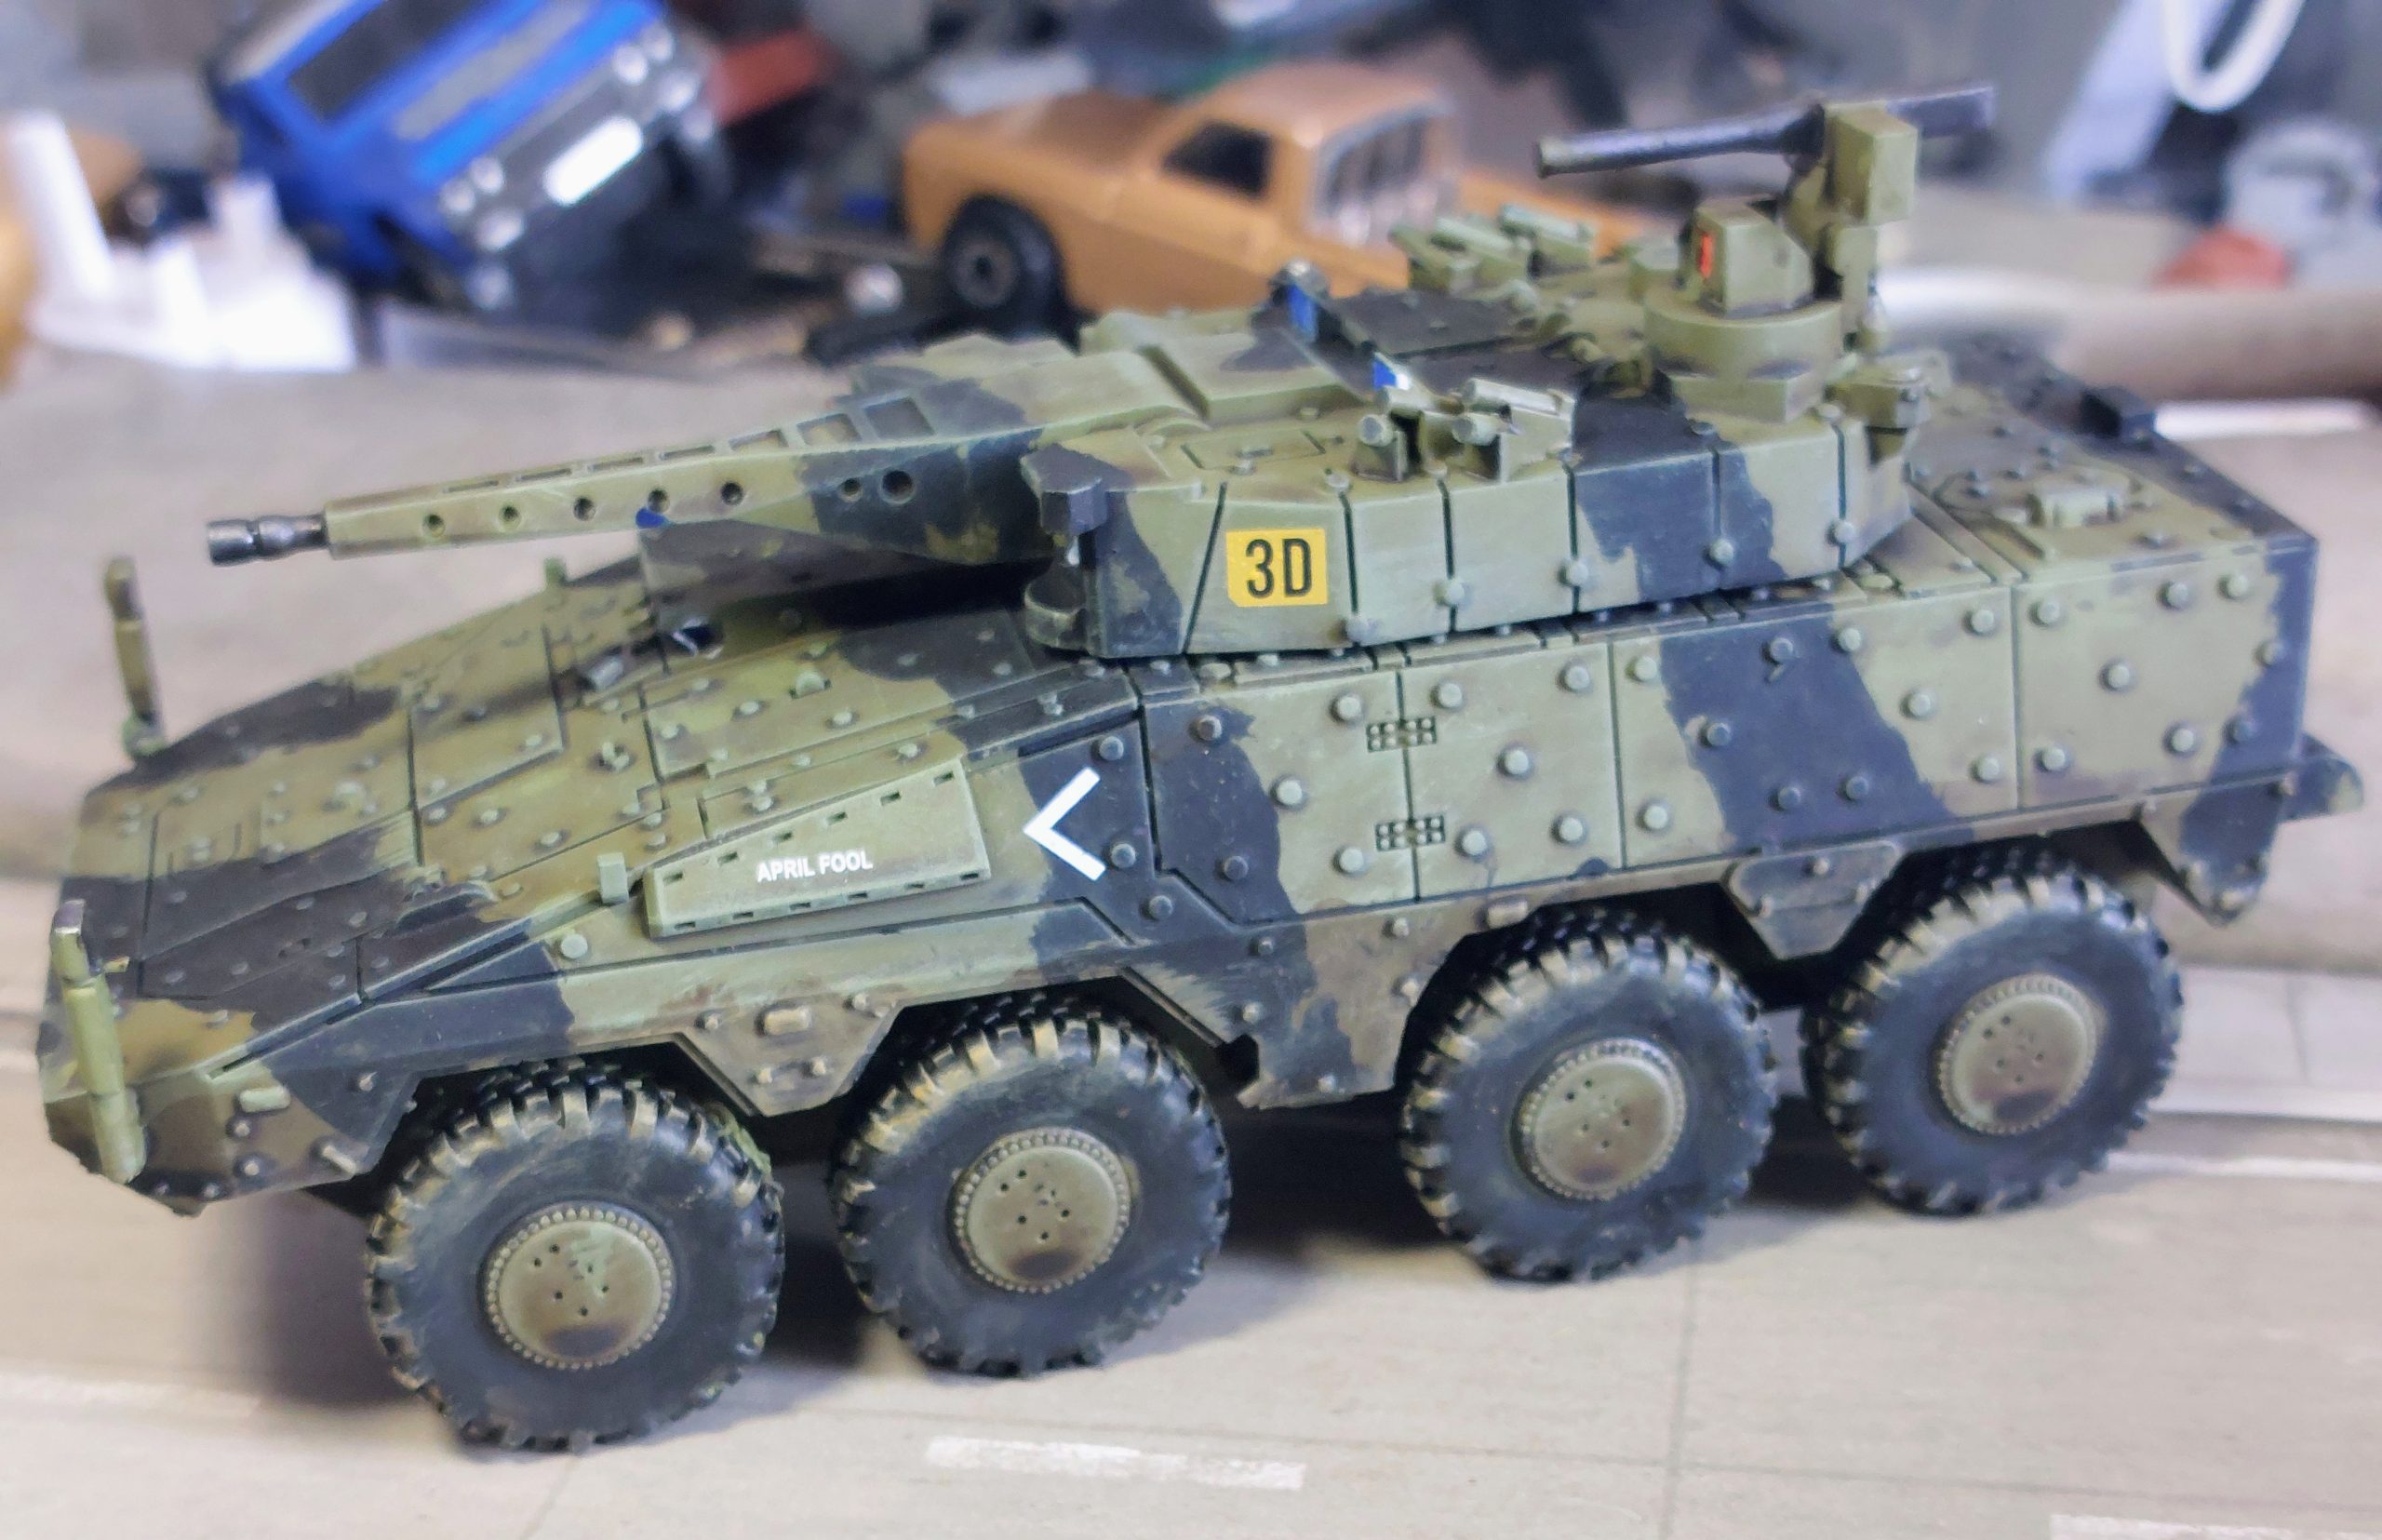
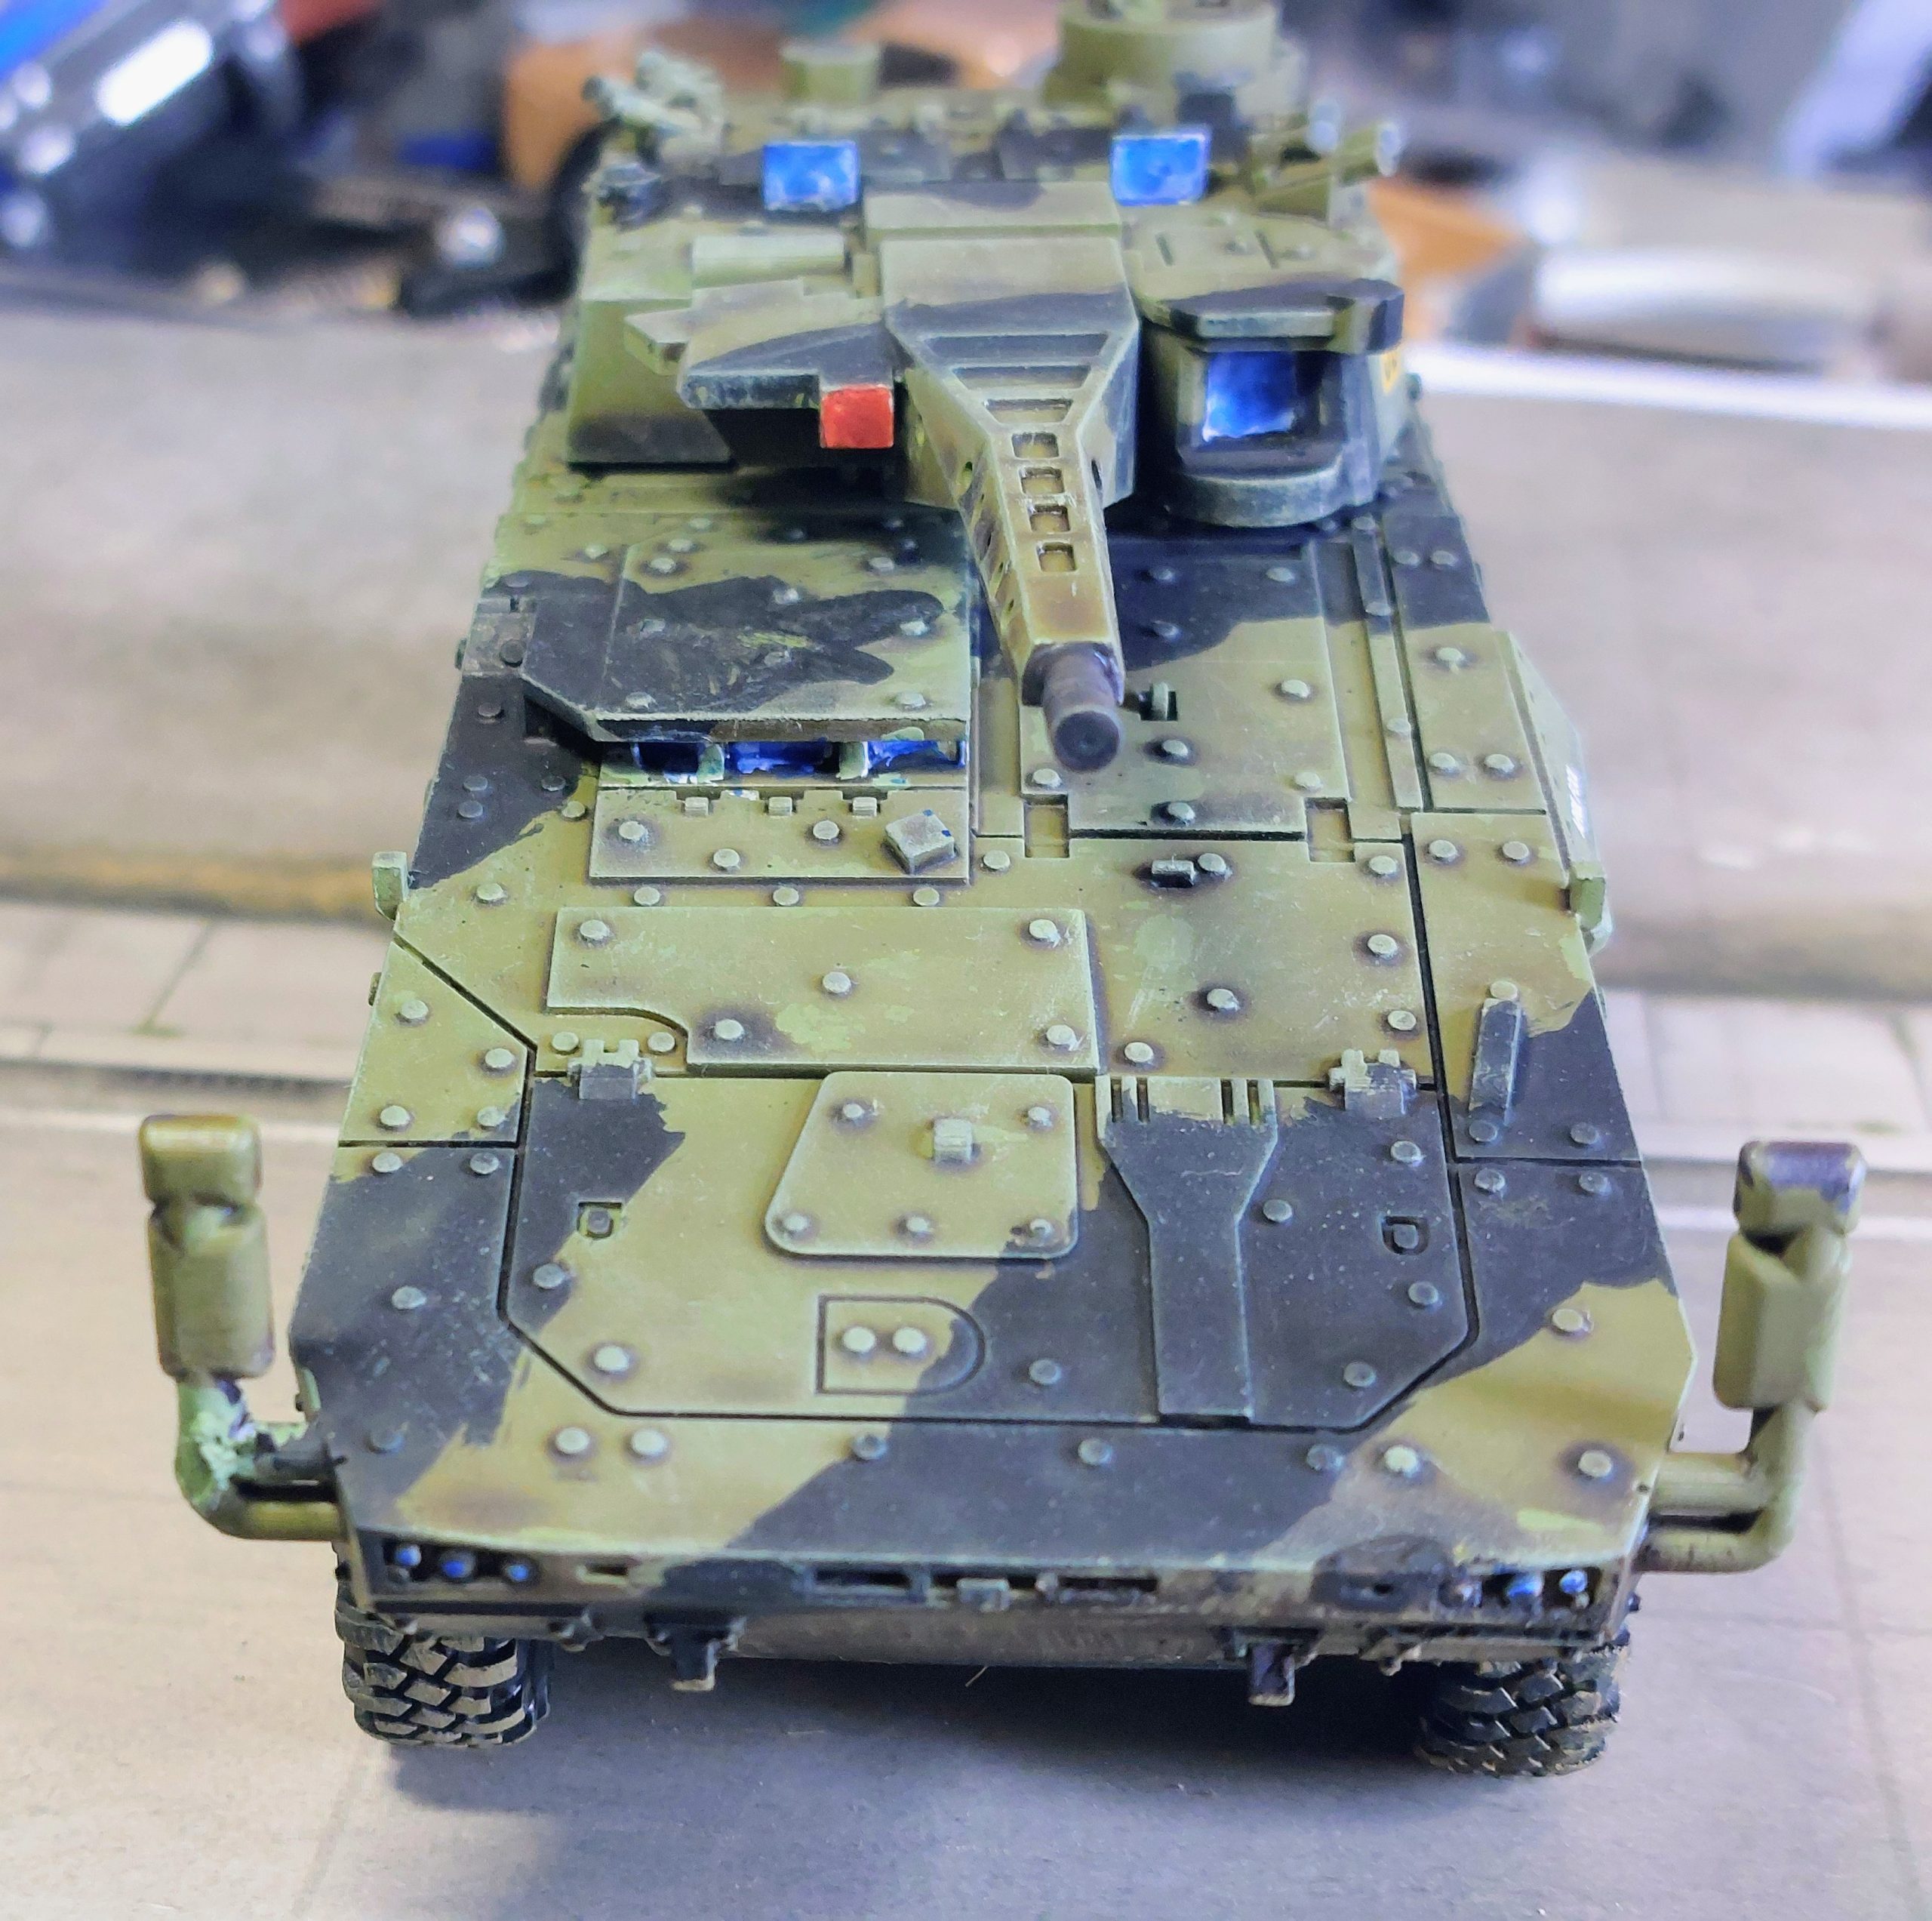
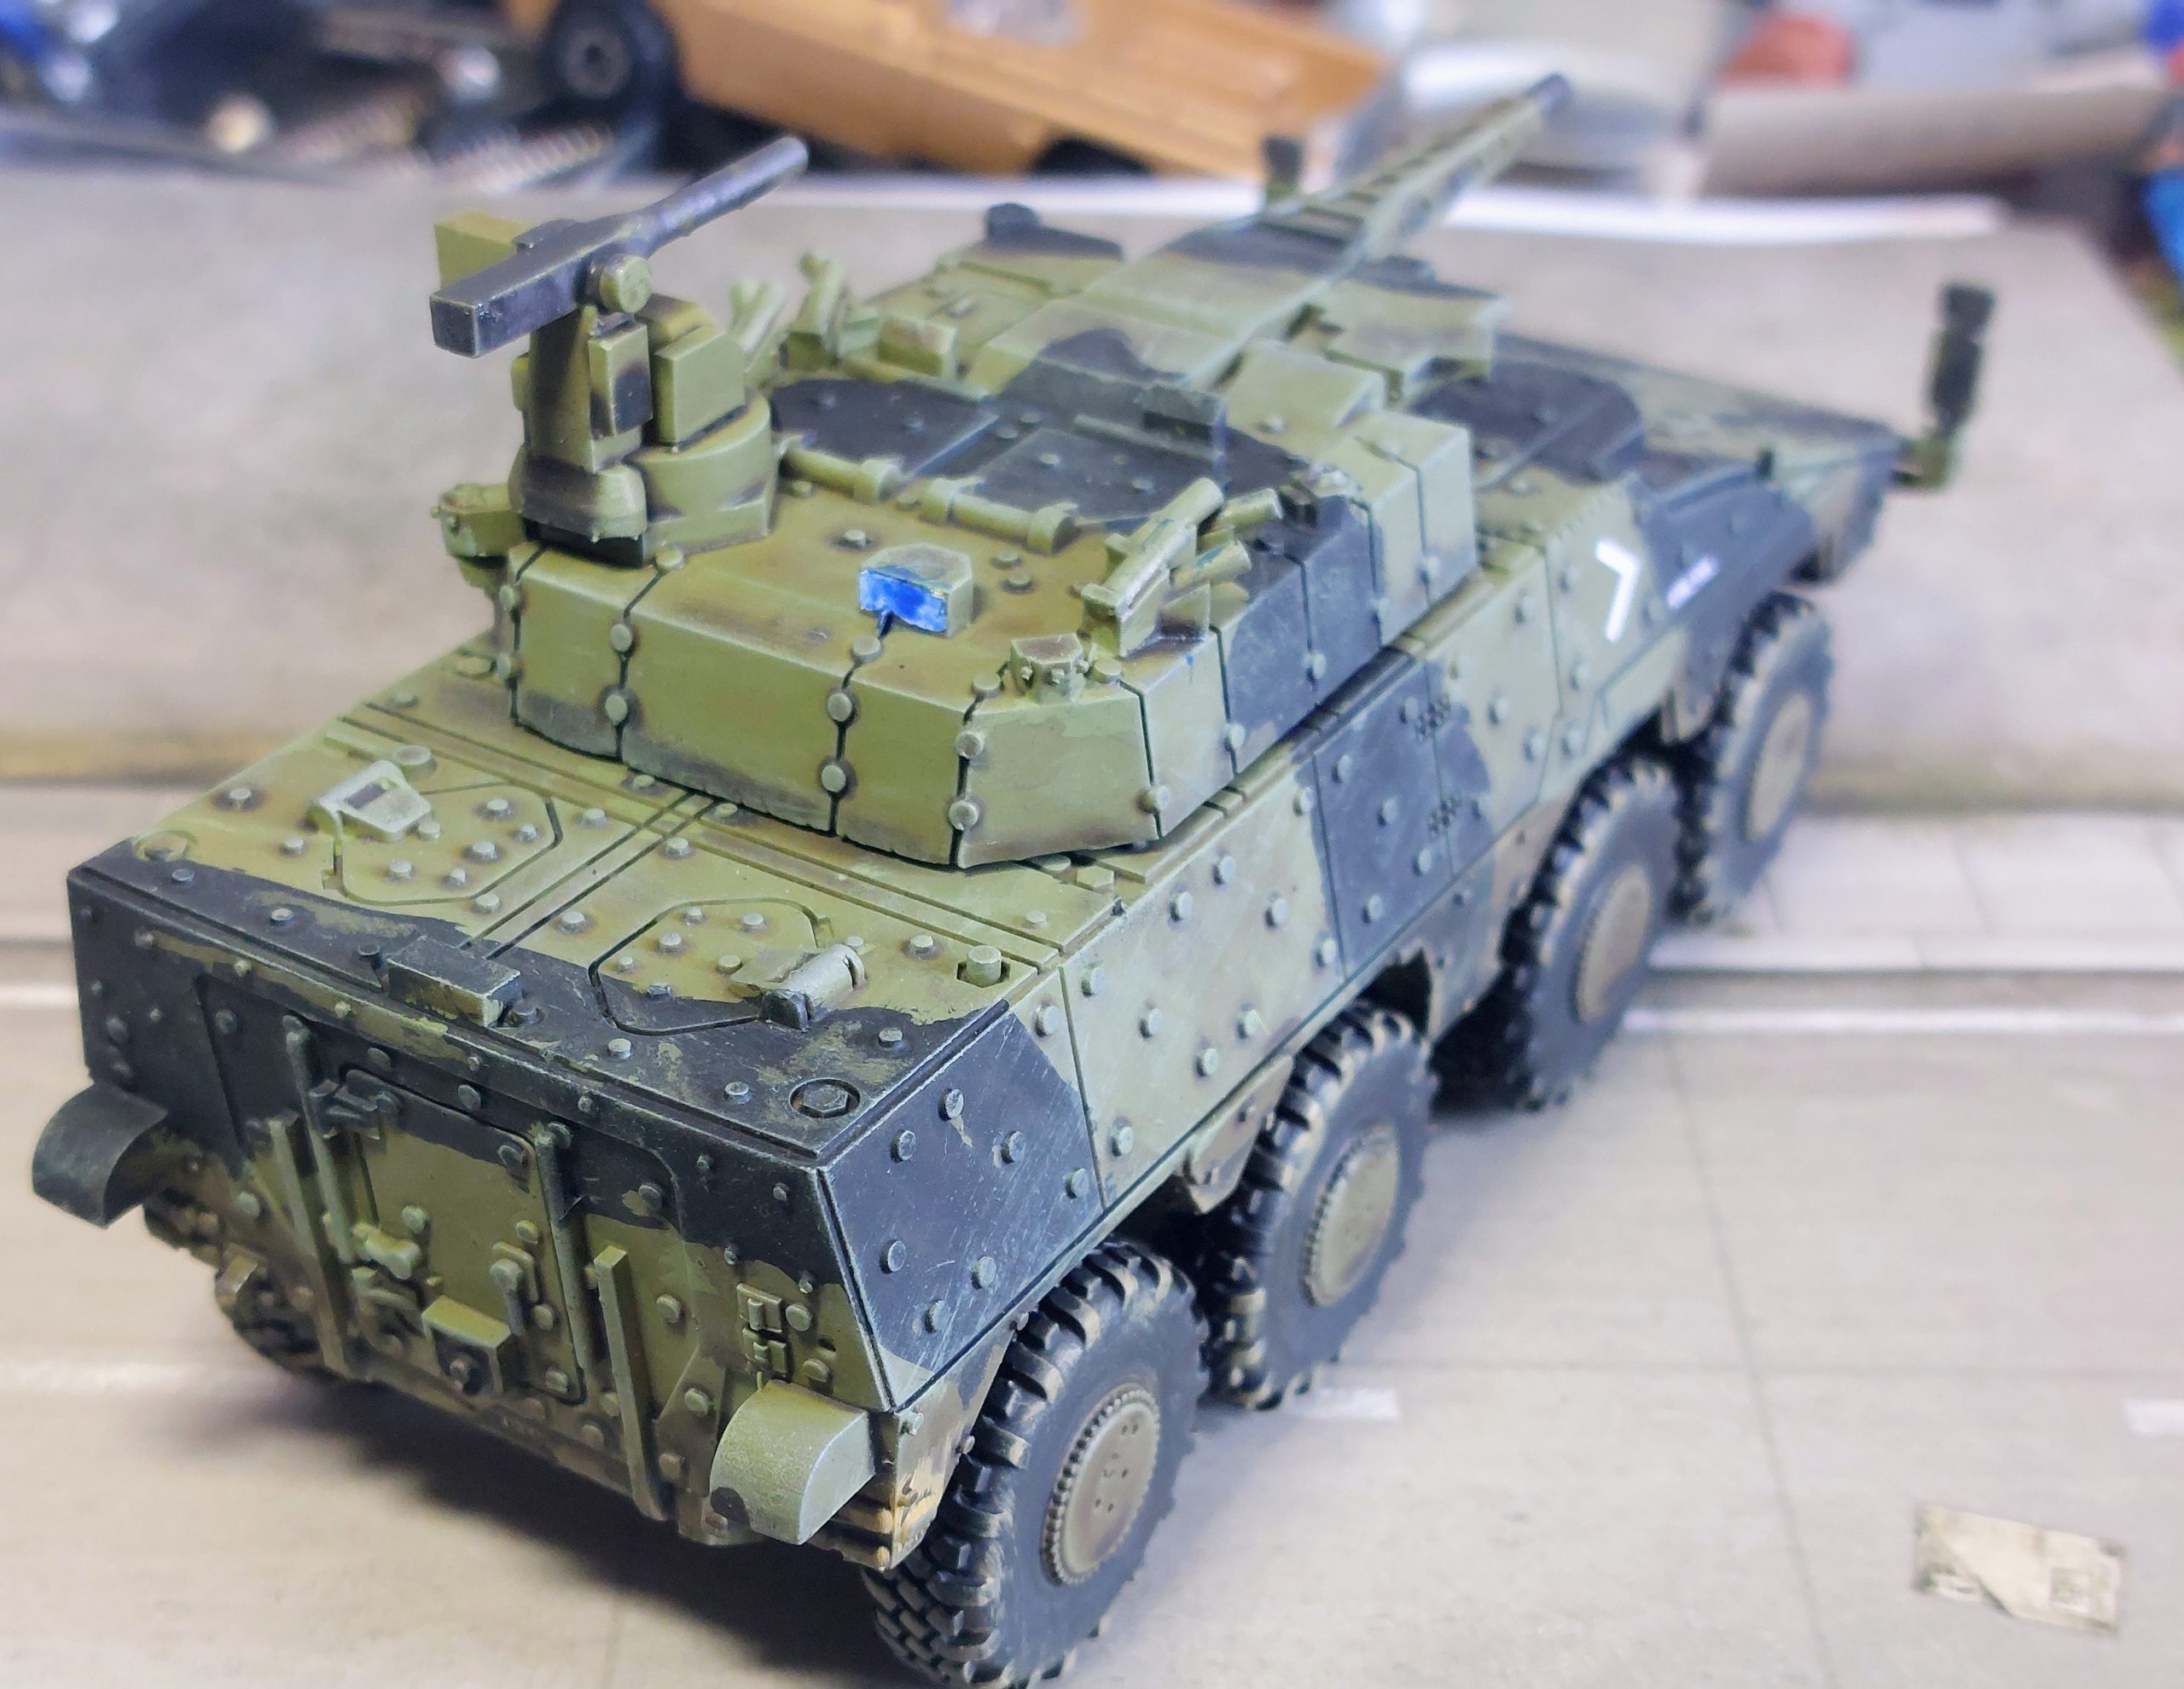
I had decided I needed another vehicle for my Modern British, and looked around, as didn’t fancy another Warrior. I was considering a FV432, but whilst looking at options on ebay found someone doing a Boxer and went for that even though the British Army hasn’t got any yet!
Now I know this gives me a spread of vehicles that in theory shouldn’t be serving together, but I work on theory the British Army has a habit of digging old bits of kit if needed from armouries in times of dire need.
So anyway that is the Moderns Interlude, done so back to the main menu.