


![1918 Spring Offensive Wargame | Full Rules Overview with John & Gerry (WW1 Tabletop Game) [7 Days Early Access]](https://images.beastsofwar.com/2026/03/unboxing-warfulcrum-games-1918-spring-offensive-review-coverimage1-225-127.jpeg)


Terrain Basics – Forests and Rivers


Recommendations: 48
About the Project
This is something I have wanted to do for quite a long time and I have spent the last few months preparing for the launch of Terrainfest 2025. Over the years I have invested quite a lot in scenery, but it's always buildings, whether fantasy villages or sci-fi industry (mostly Battle Systems card scenery - I love the stuff). I noticed that when youput those things down on a table, they still look quite lifeless and that's because they have no "background", that's where this project comes in. My aim is to fill a 4'x4' playing area with trees and rivers, the kind of terrain that you can place around the buildings to bring the table to life. I have made a couple of test pieces already to get a feel for how the materials I plan to use will work, all I need to do now is roll my sleevs up and get started
Related Genre: General
Related Contest: TerrainFest 2025
This Project is Active
No. More. Spoons
I have sadly run out of steam. I had a phenomenonally shit Christmas break, which I spent mostly on my own and which culminatied in splitting up with my partner of 8 years on New Year’s Eve – and yes, the reason Christmas was shit was entirely related to that.
I have loads of photographs of stuff that was completed before Christmas, including photos for a tutorial on how to make the forest bases. I got a couple of river sections made but I haven’t taken any photos. I wanted to post some entries over Christmas but just couldn’t bring myself to do so. And I still don’t have the motivation to write up the articles as I have too many other things to sort out and process.
I am sure this project will be resurrected in future. But my head isn’t in the right space to do projects.
November Progress
So. A little progress.
It’s been a few weeks and although I haven’t posted, I have not been idle. It’s been a little bit busy at work and also with my other hobby – dancing. With it being end of year, lots of deadlines at work and a few display dances that require practice. Couple that with preparing for Christmas and something had to give – and it was the writing of blog posts that suffered. As you can see from the title – November Progress – I am a wee bit behind writing the articles.
Anyway. What have I produced since the last update?
I have produced a further 3 forest bases, with another 4 in various states of completion. I have figured out that I can produce 1-2 of these per week, the limiting factors being space and time. Because I am using sculptamold, they need to be left to cure for a few days and I don’t have a lot of space so I am limited to 2. I have started a sort of production line to try and workaround that. On any given week I will make one or two new bases and leave them to dry, then I will take the two from the previous week and finish them off; painting, flocking, detailing and adding the trees.
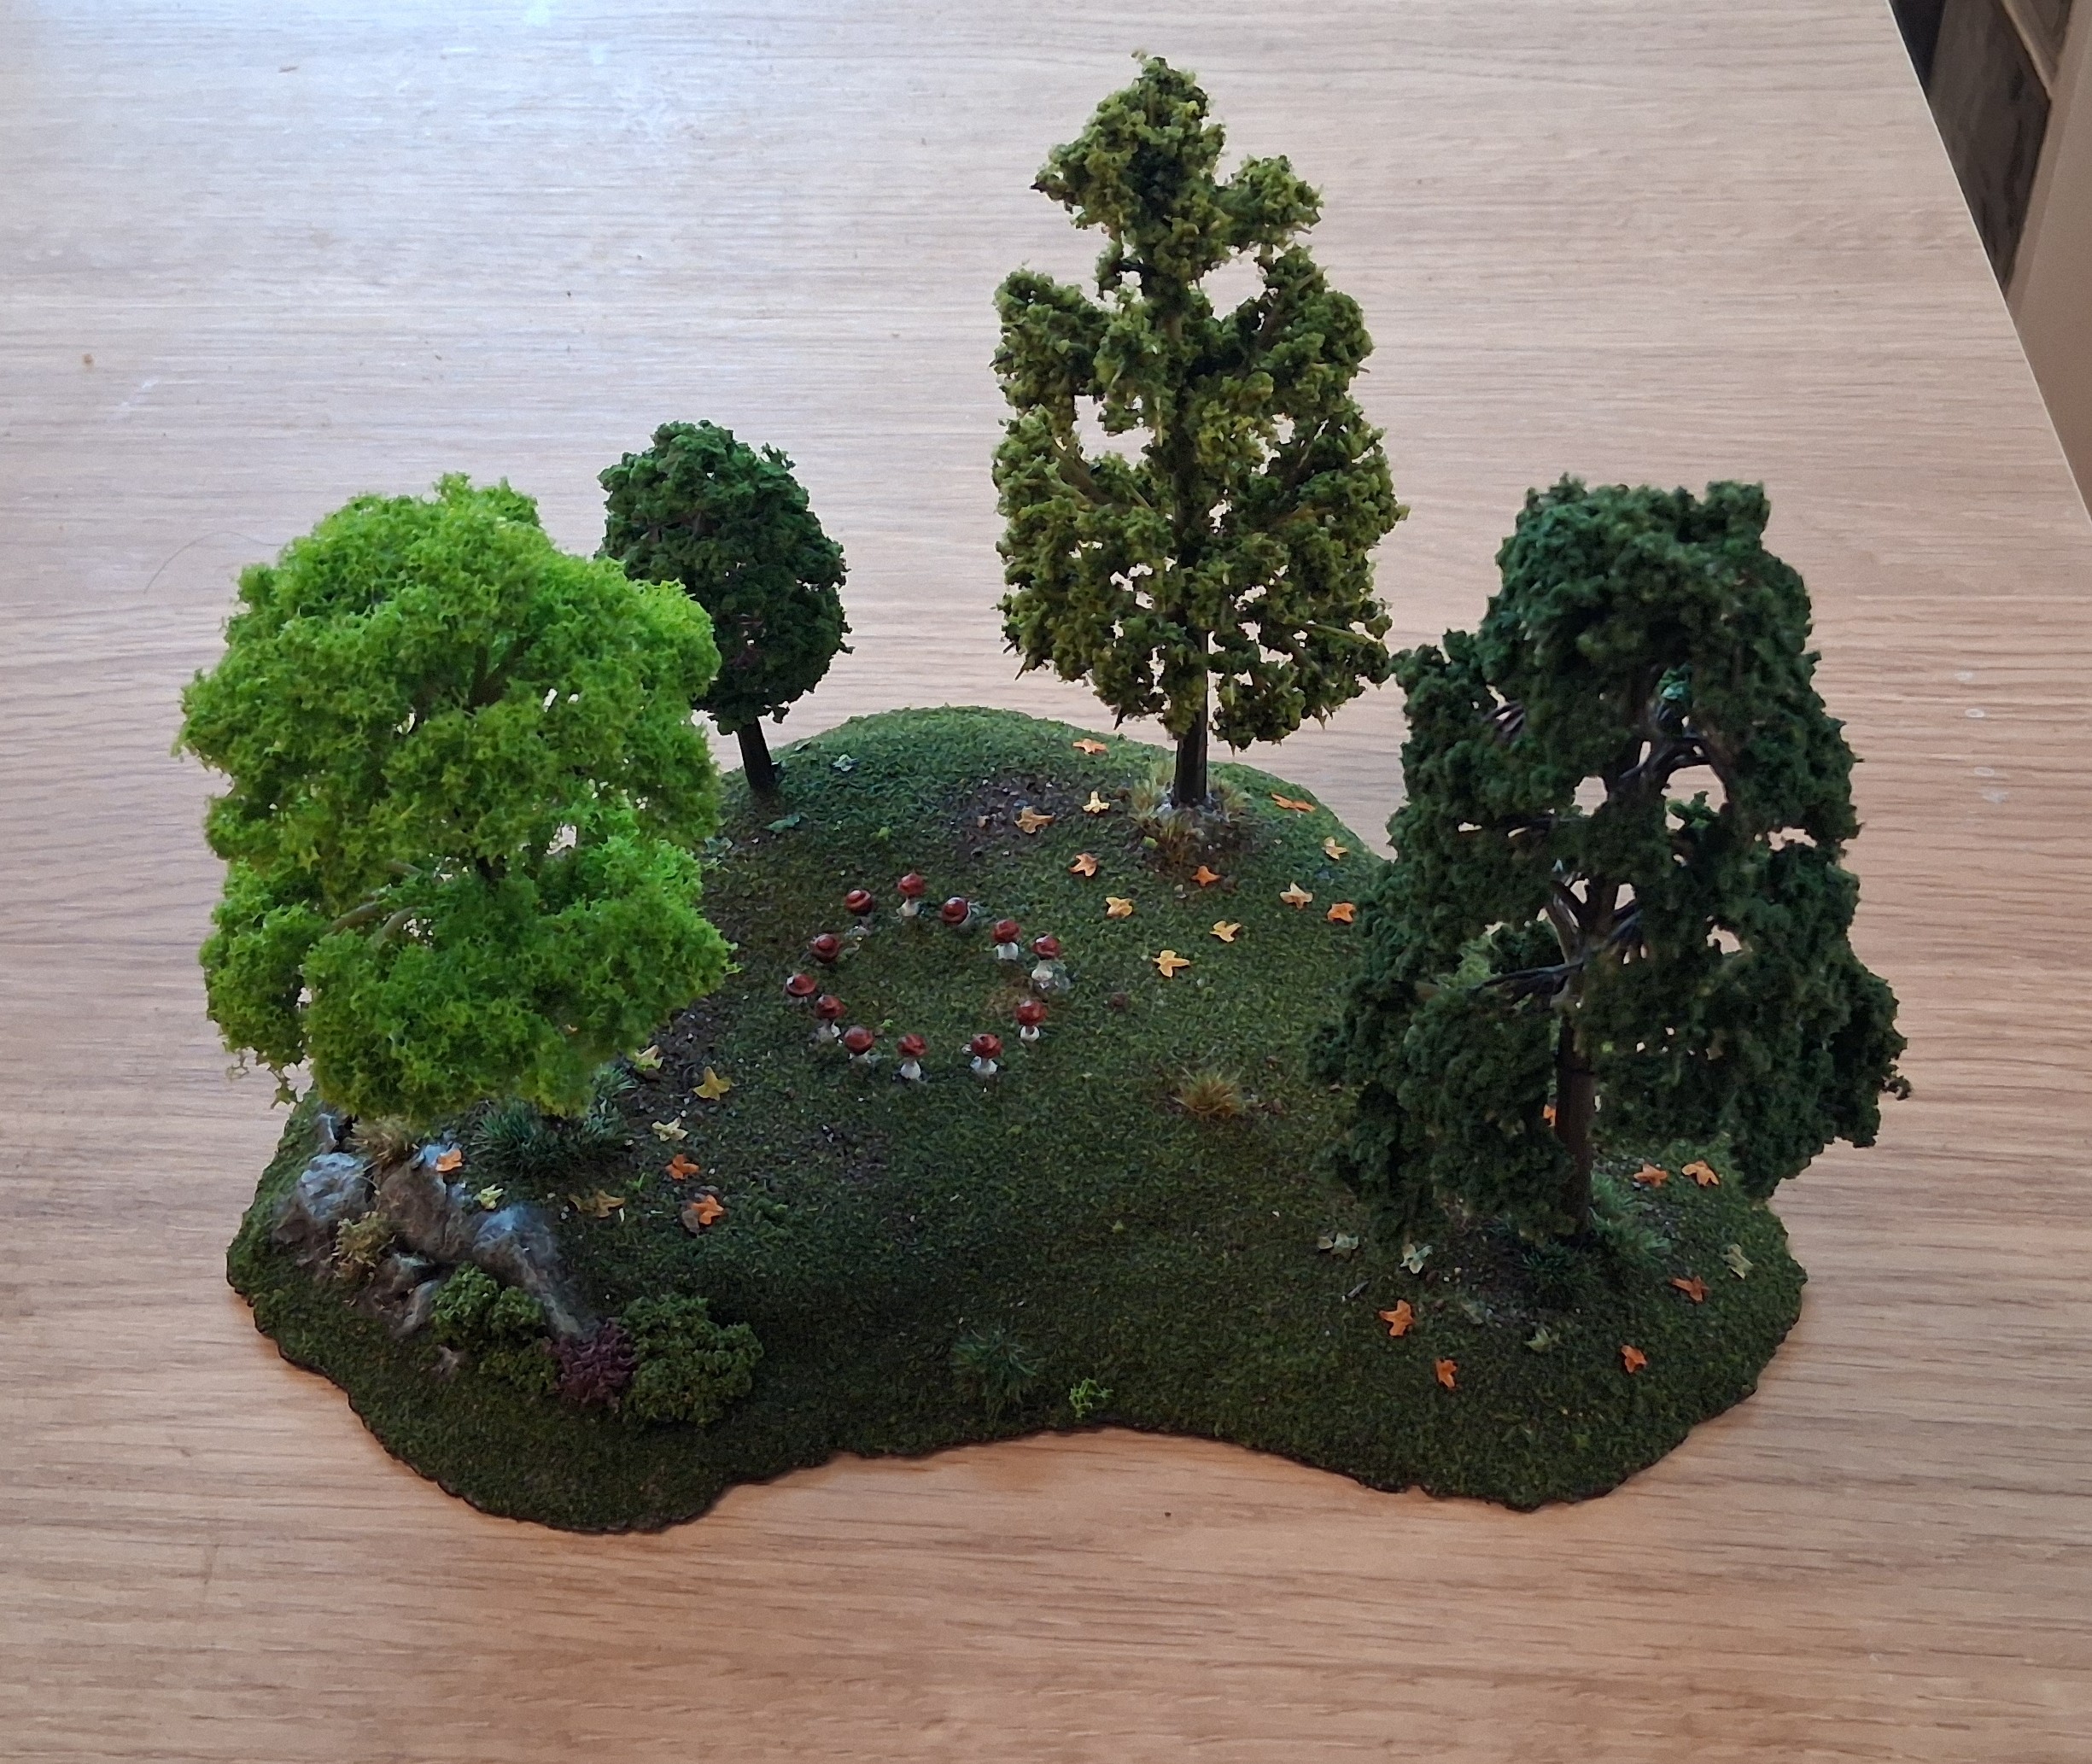
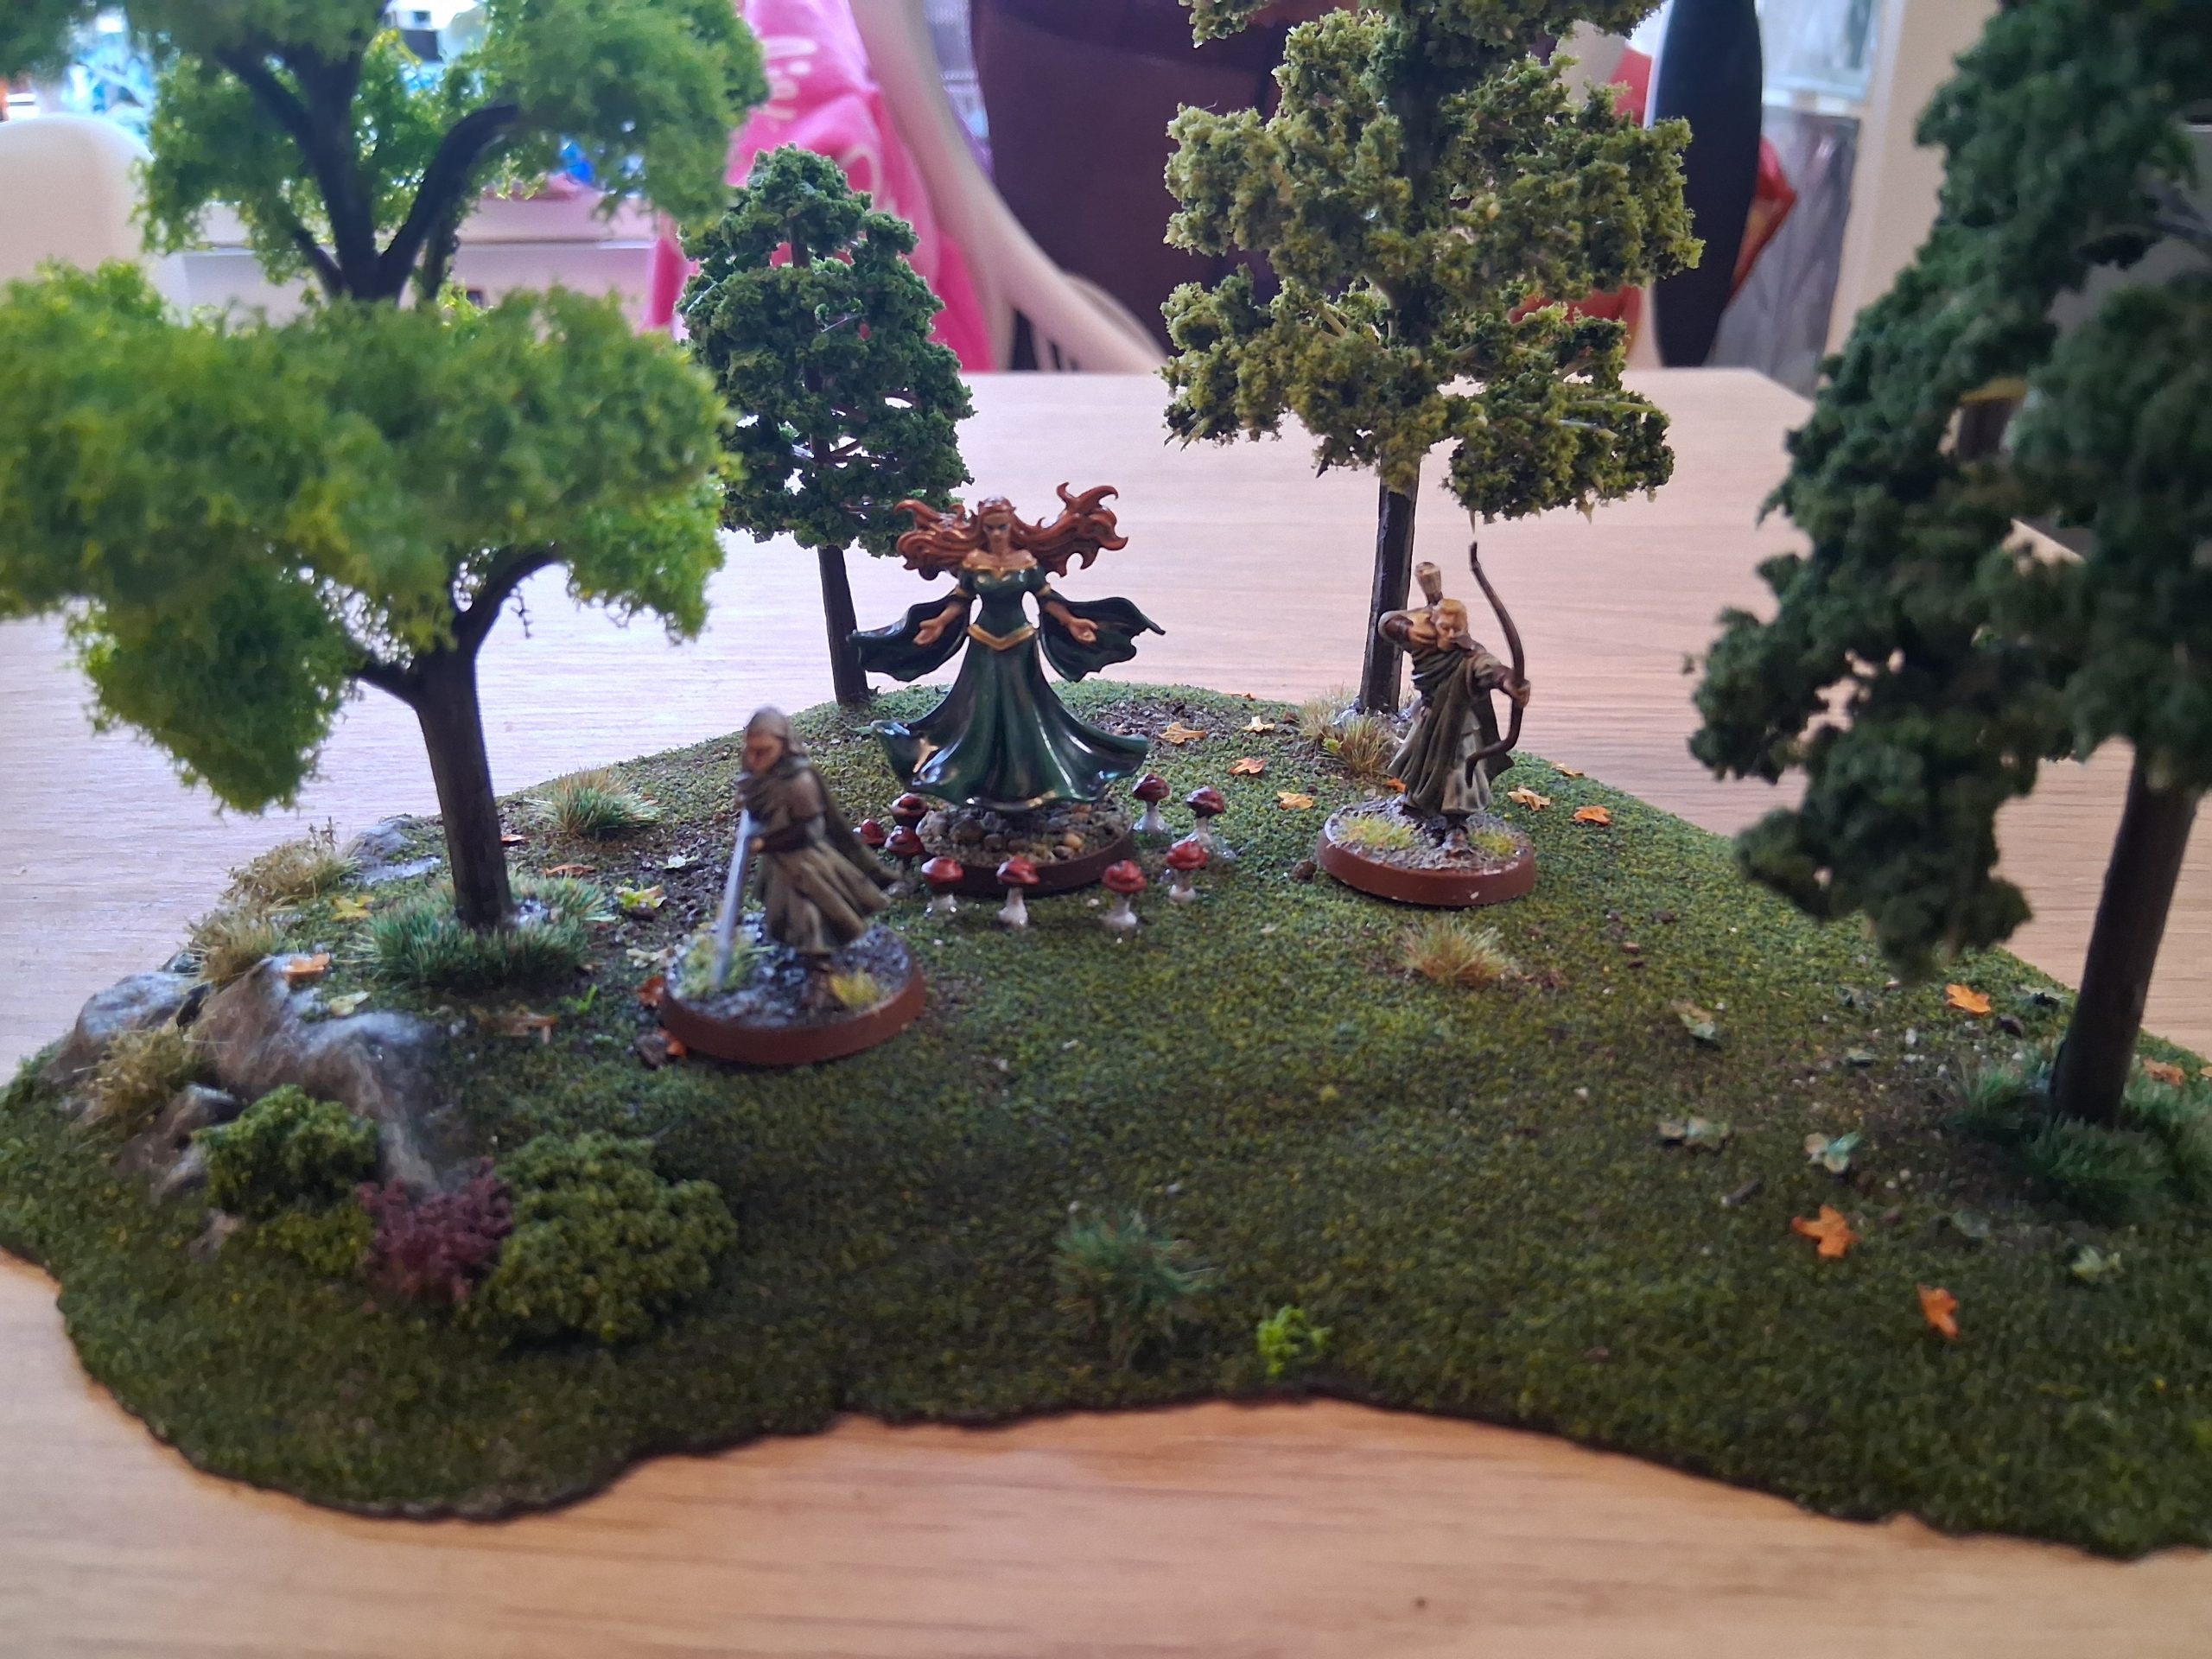
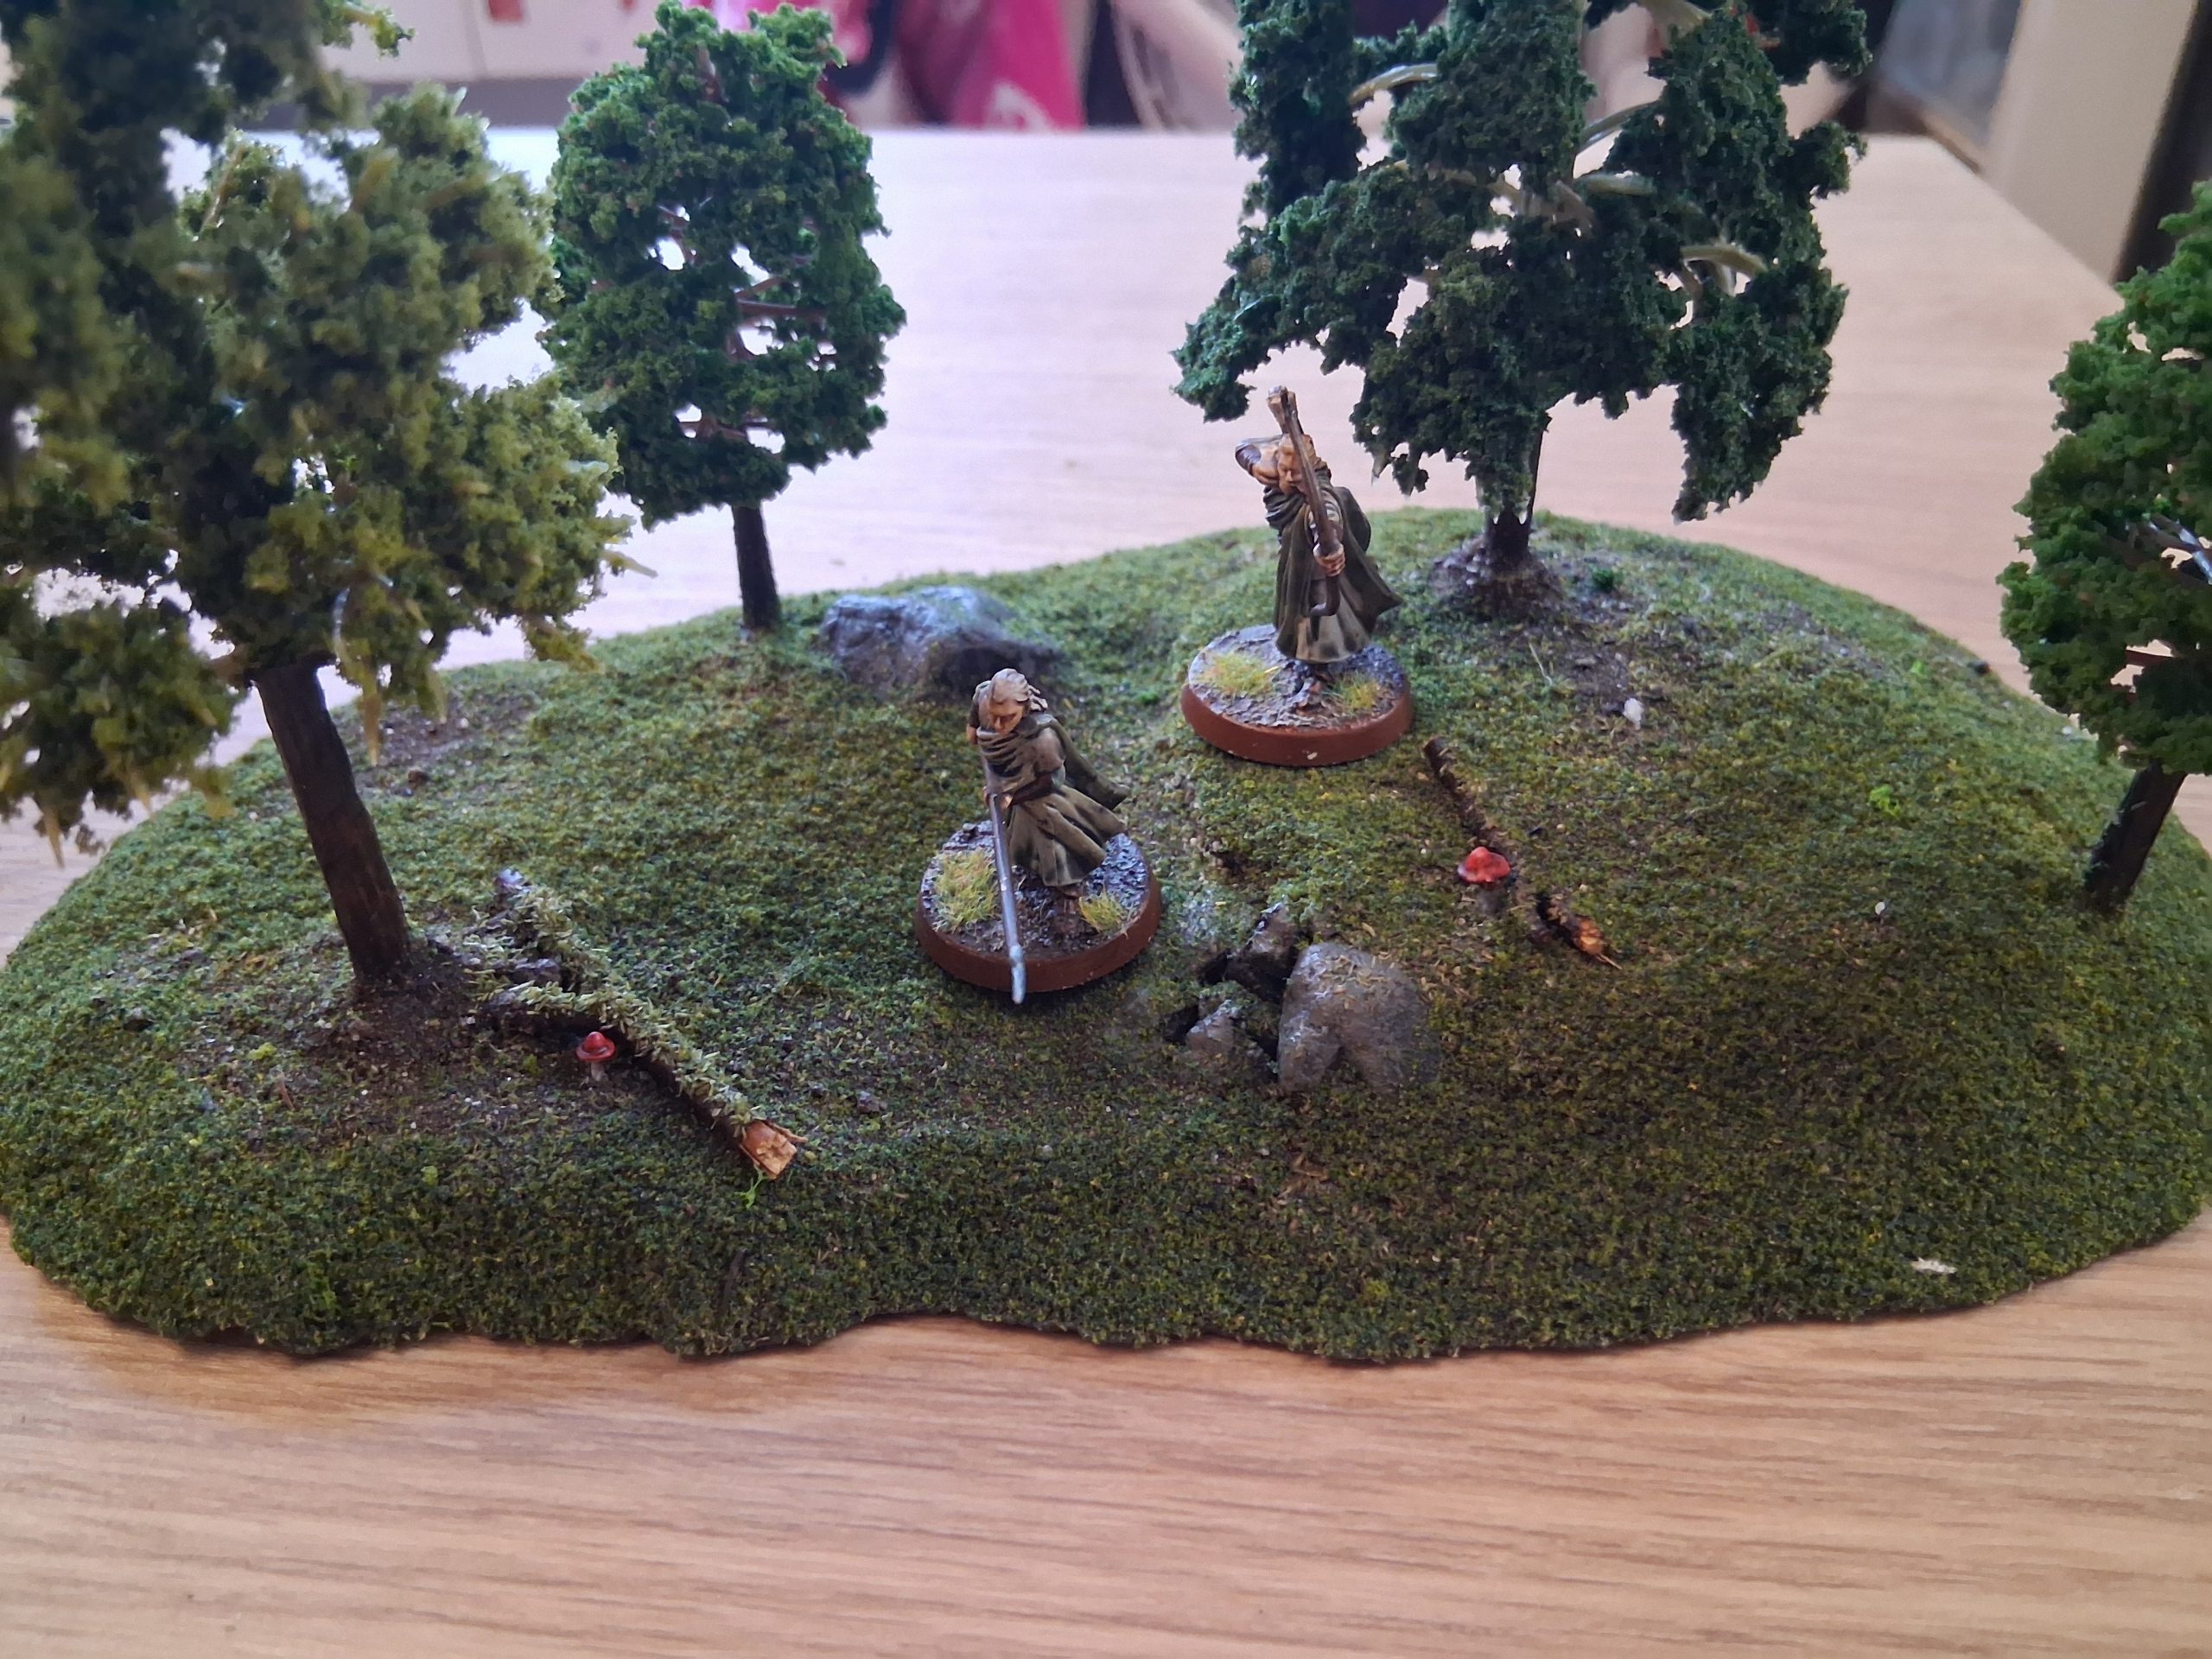
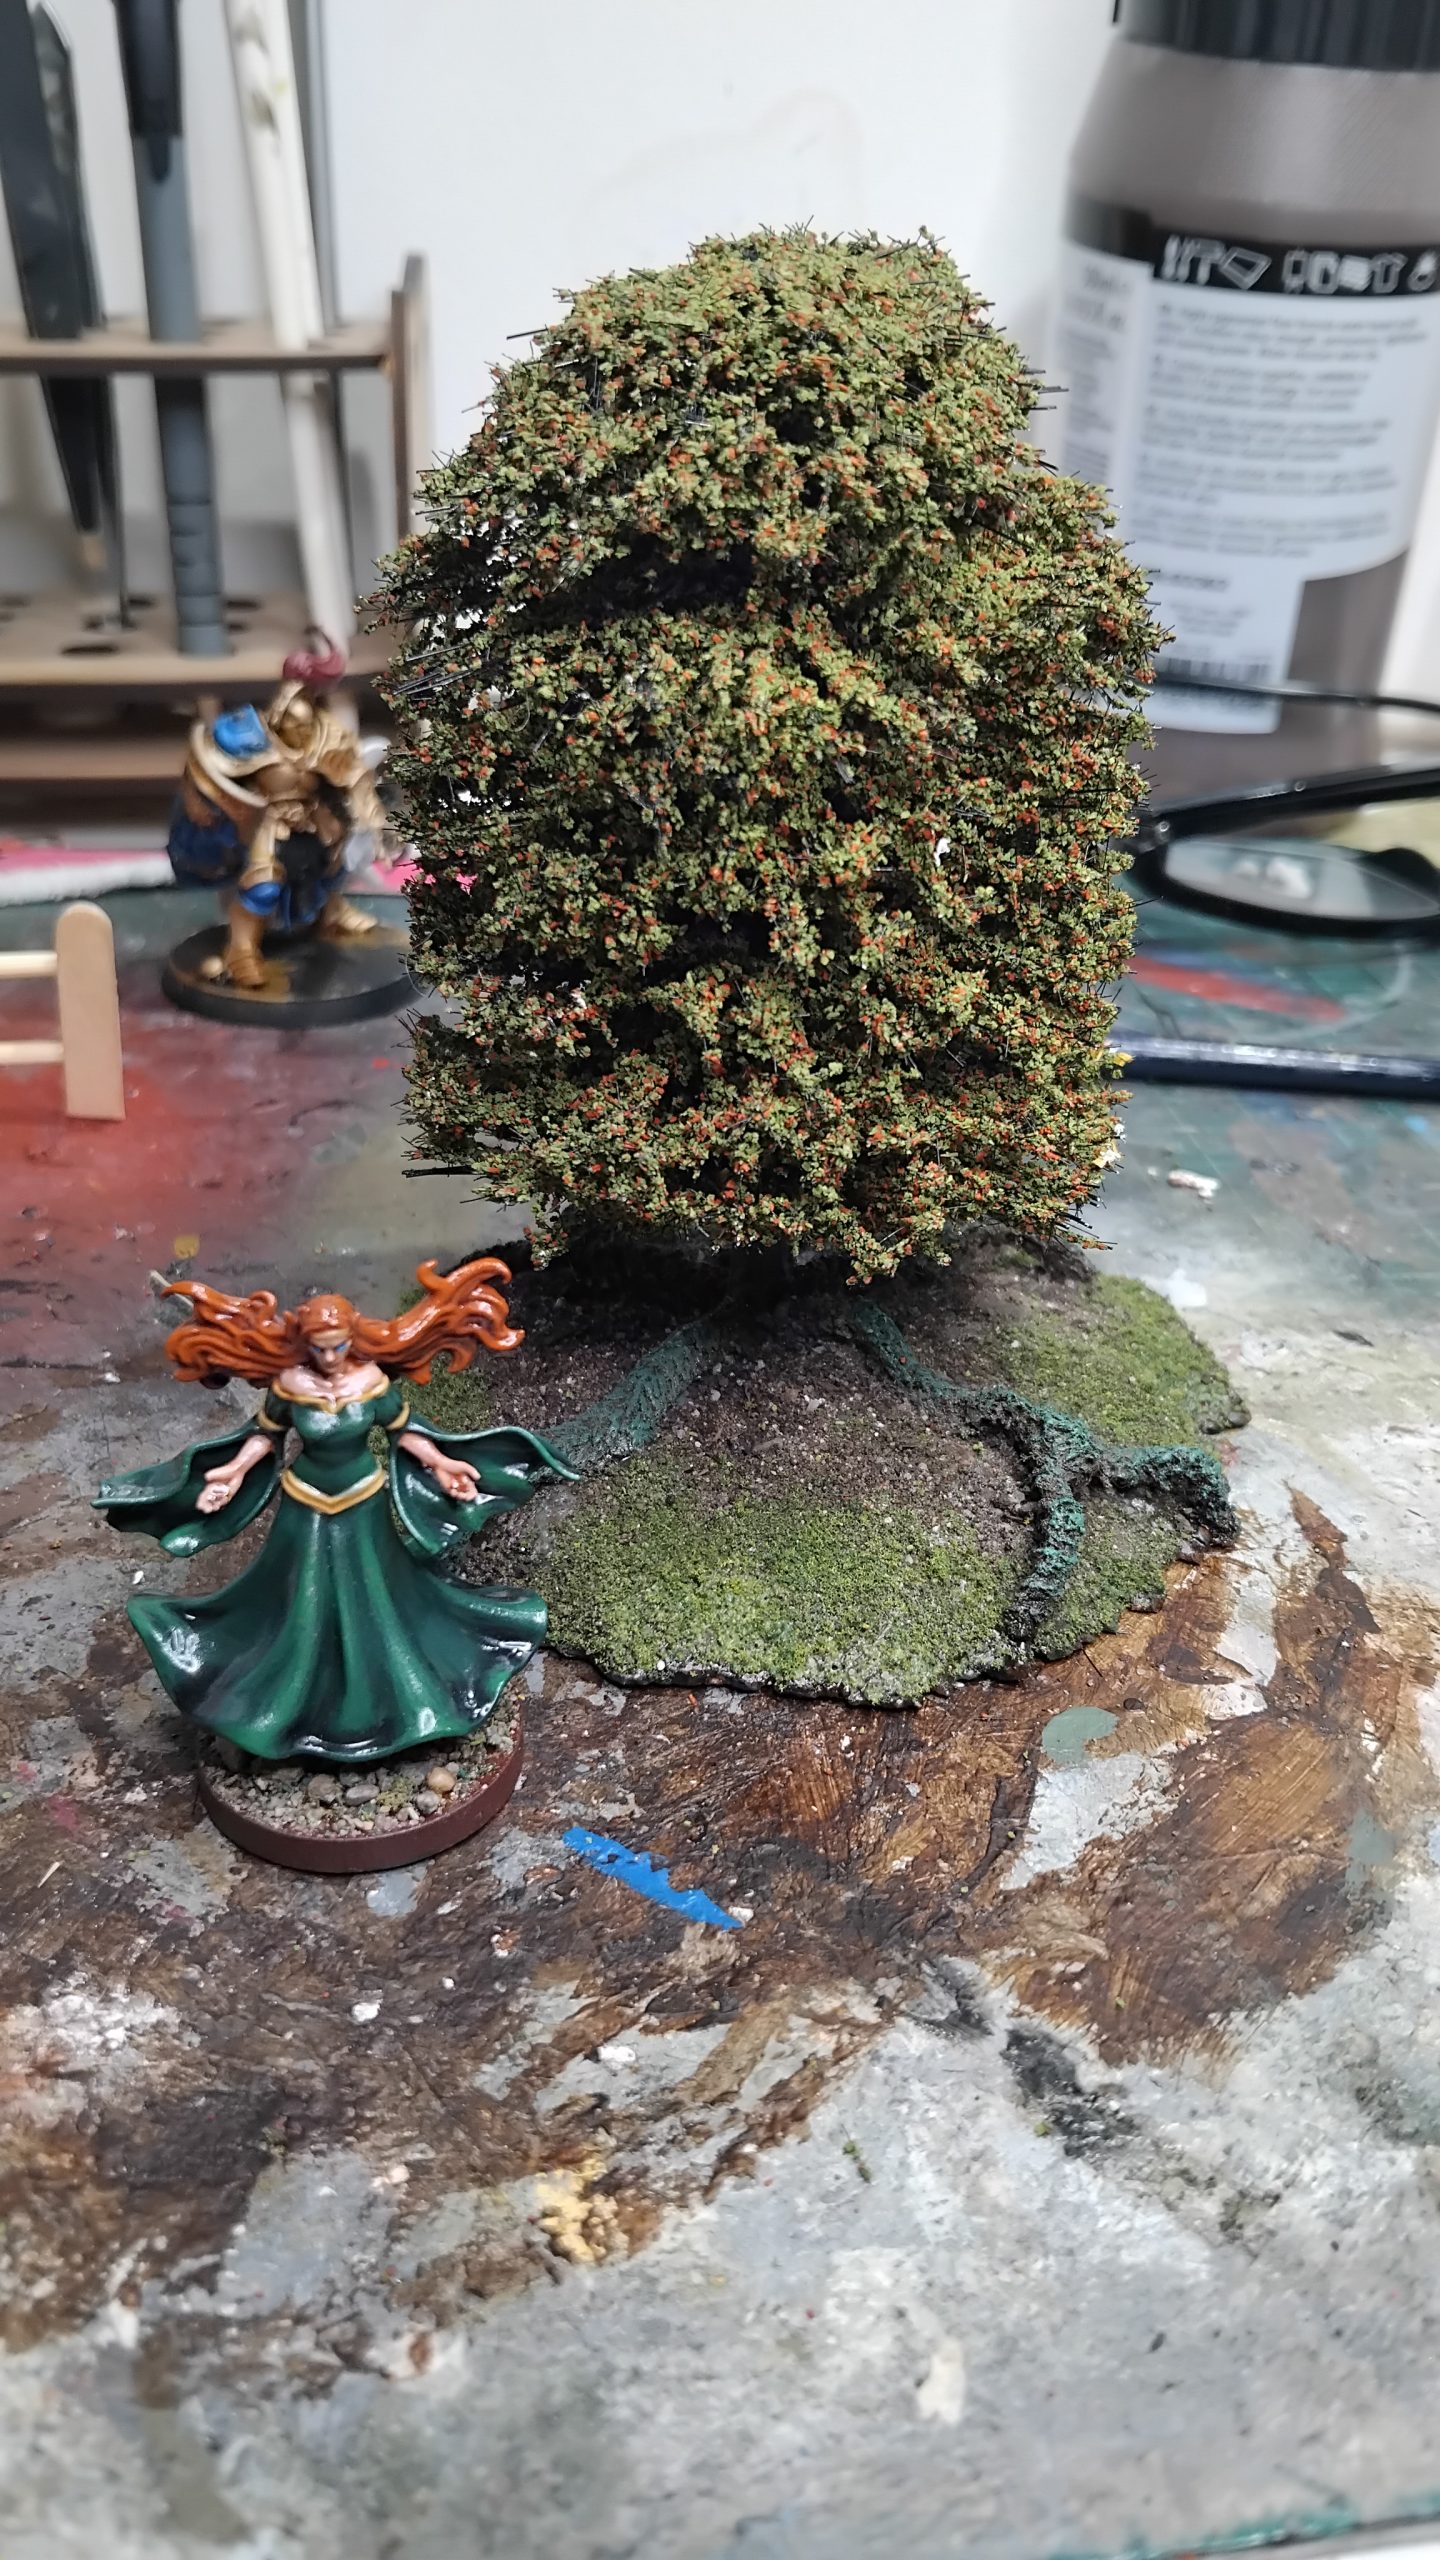
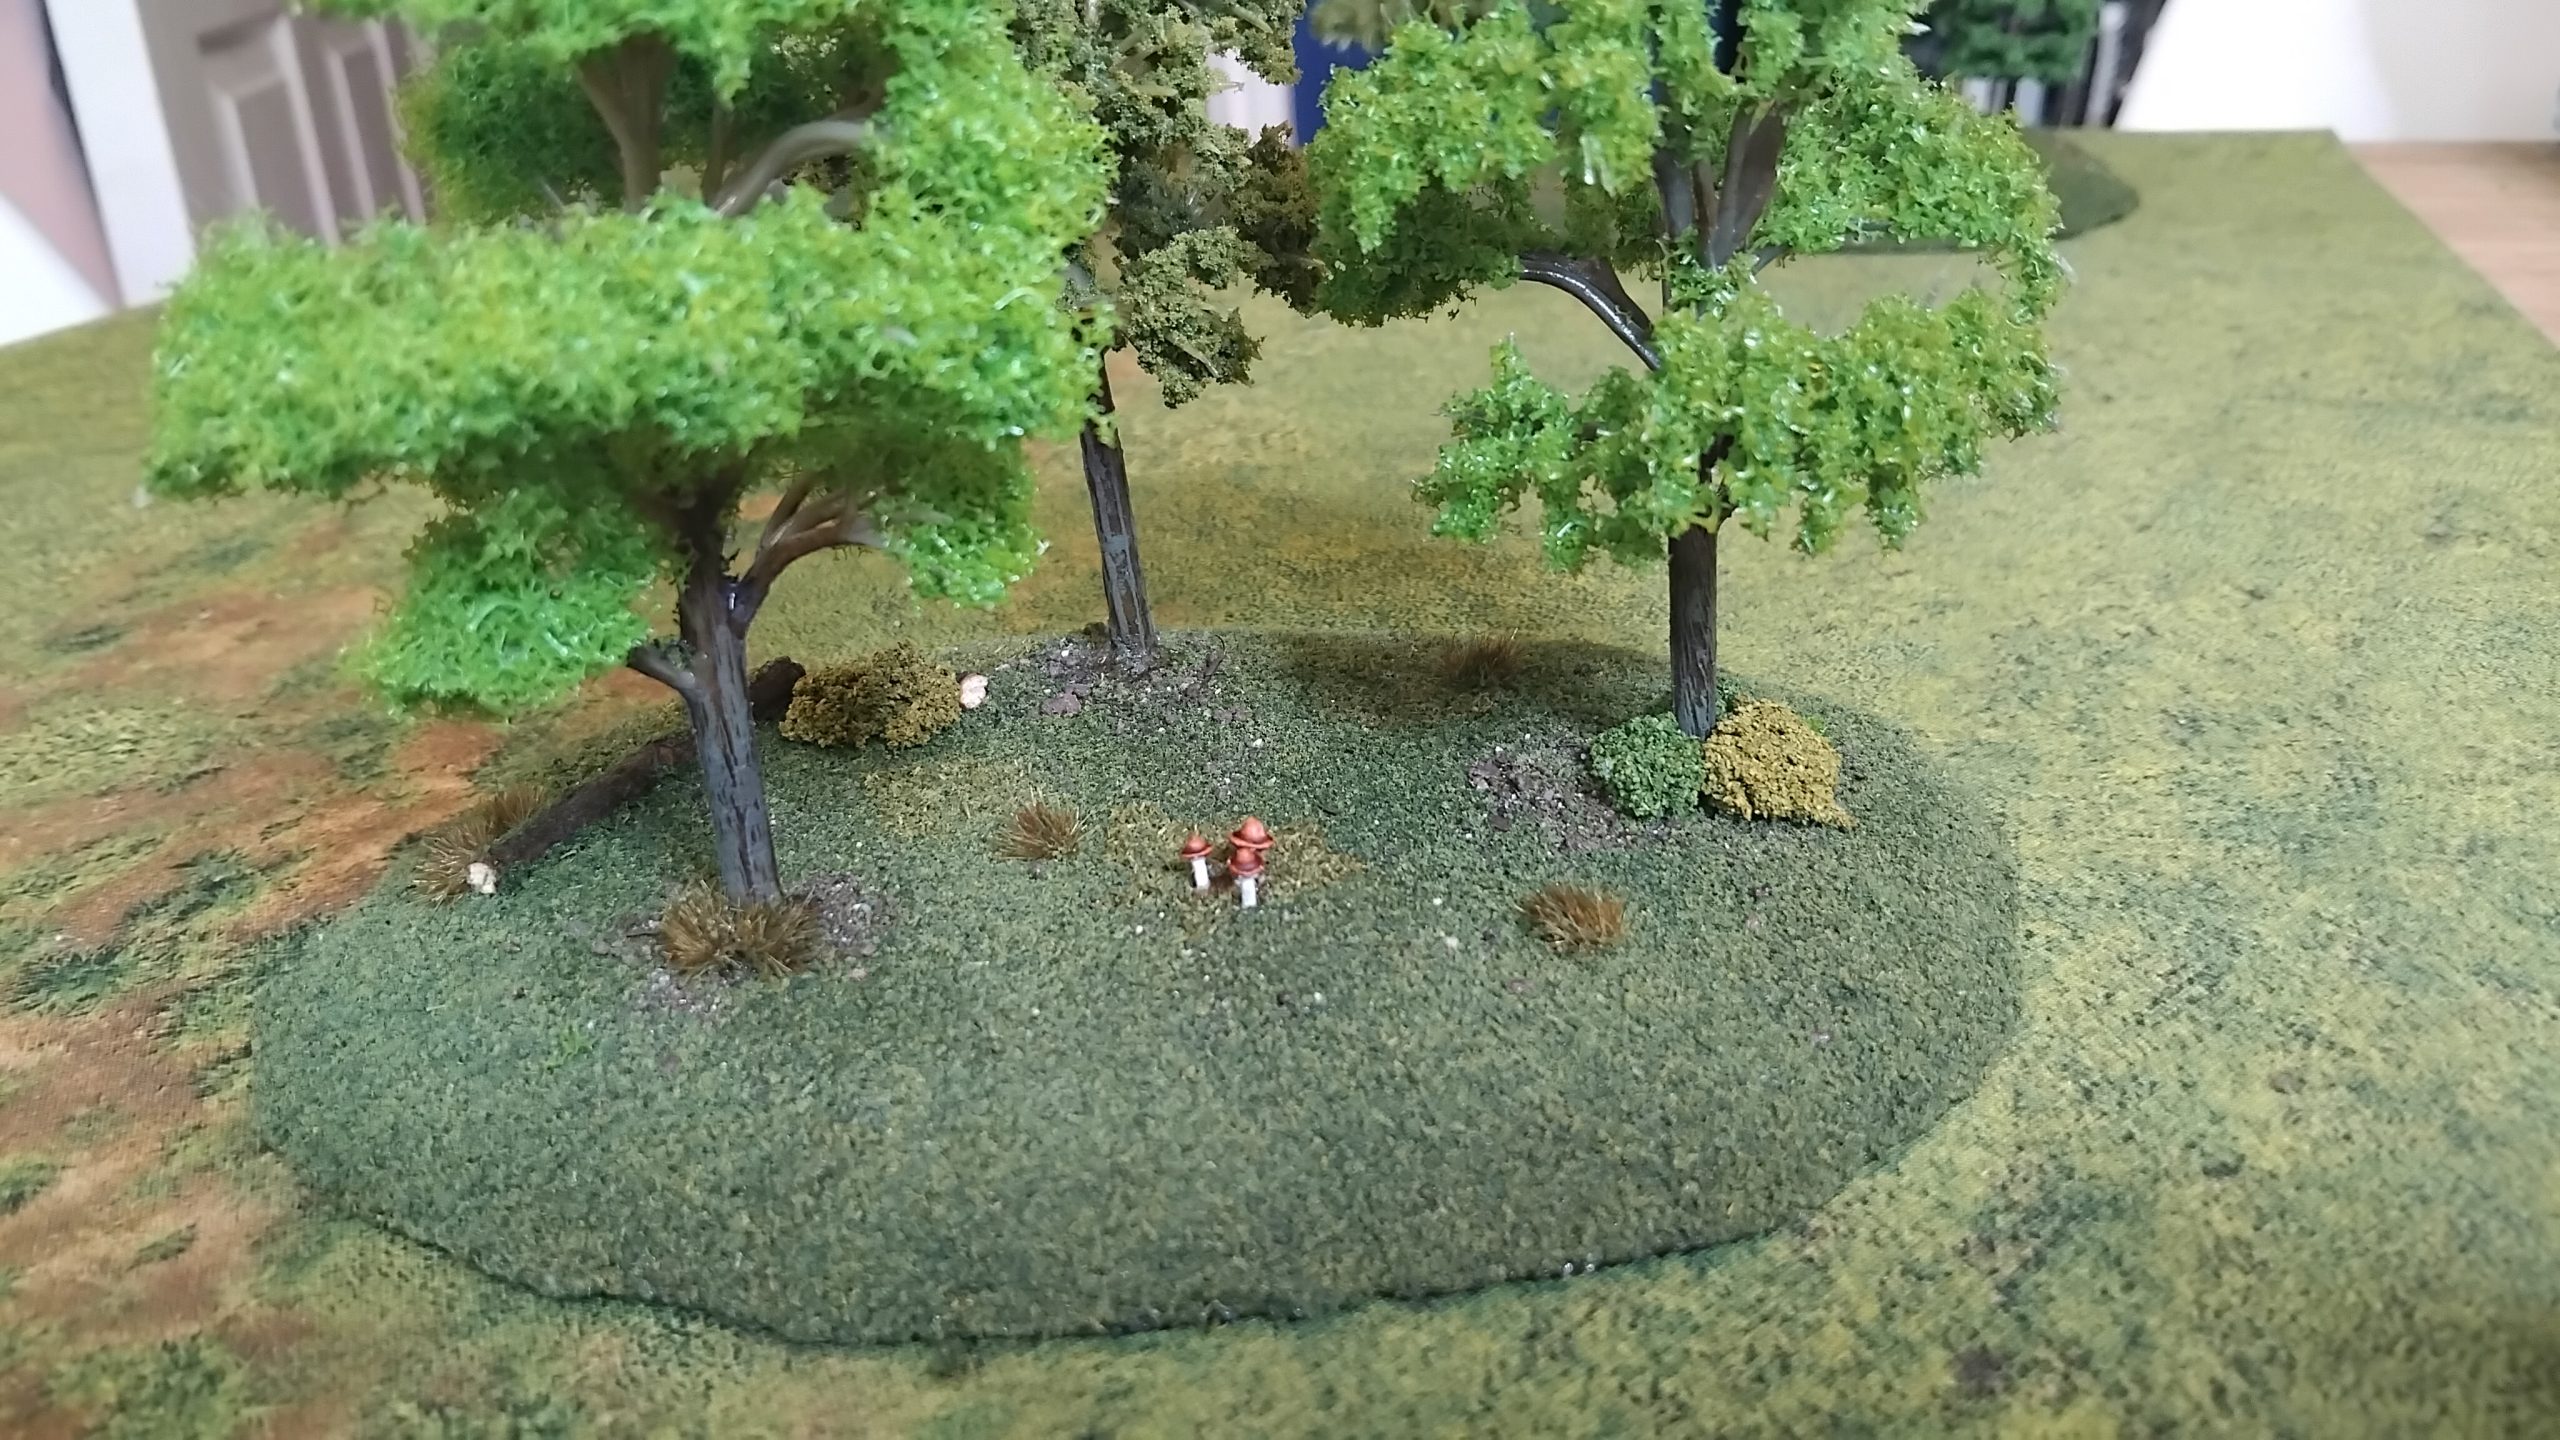
The first one is just a basic stand of trees, similar to the test piece. However I did decide to add a little fairy circle, or rather my daughter told me I had to add one. Either way it looks pretty good, and shown below being fittingly modelled by some middle earth wood elves
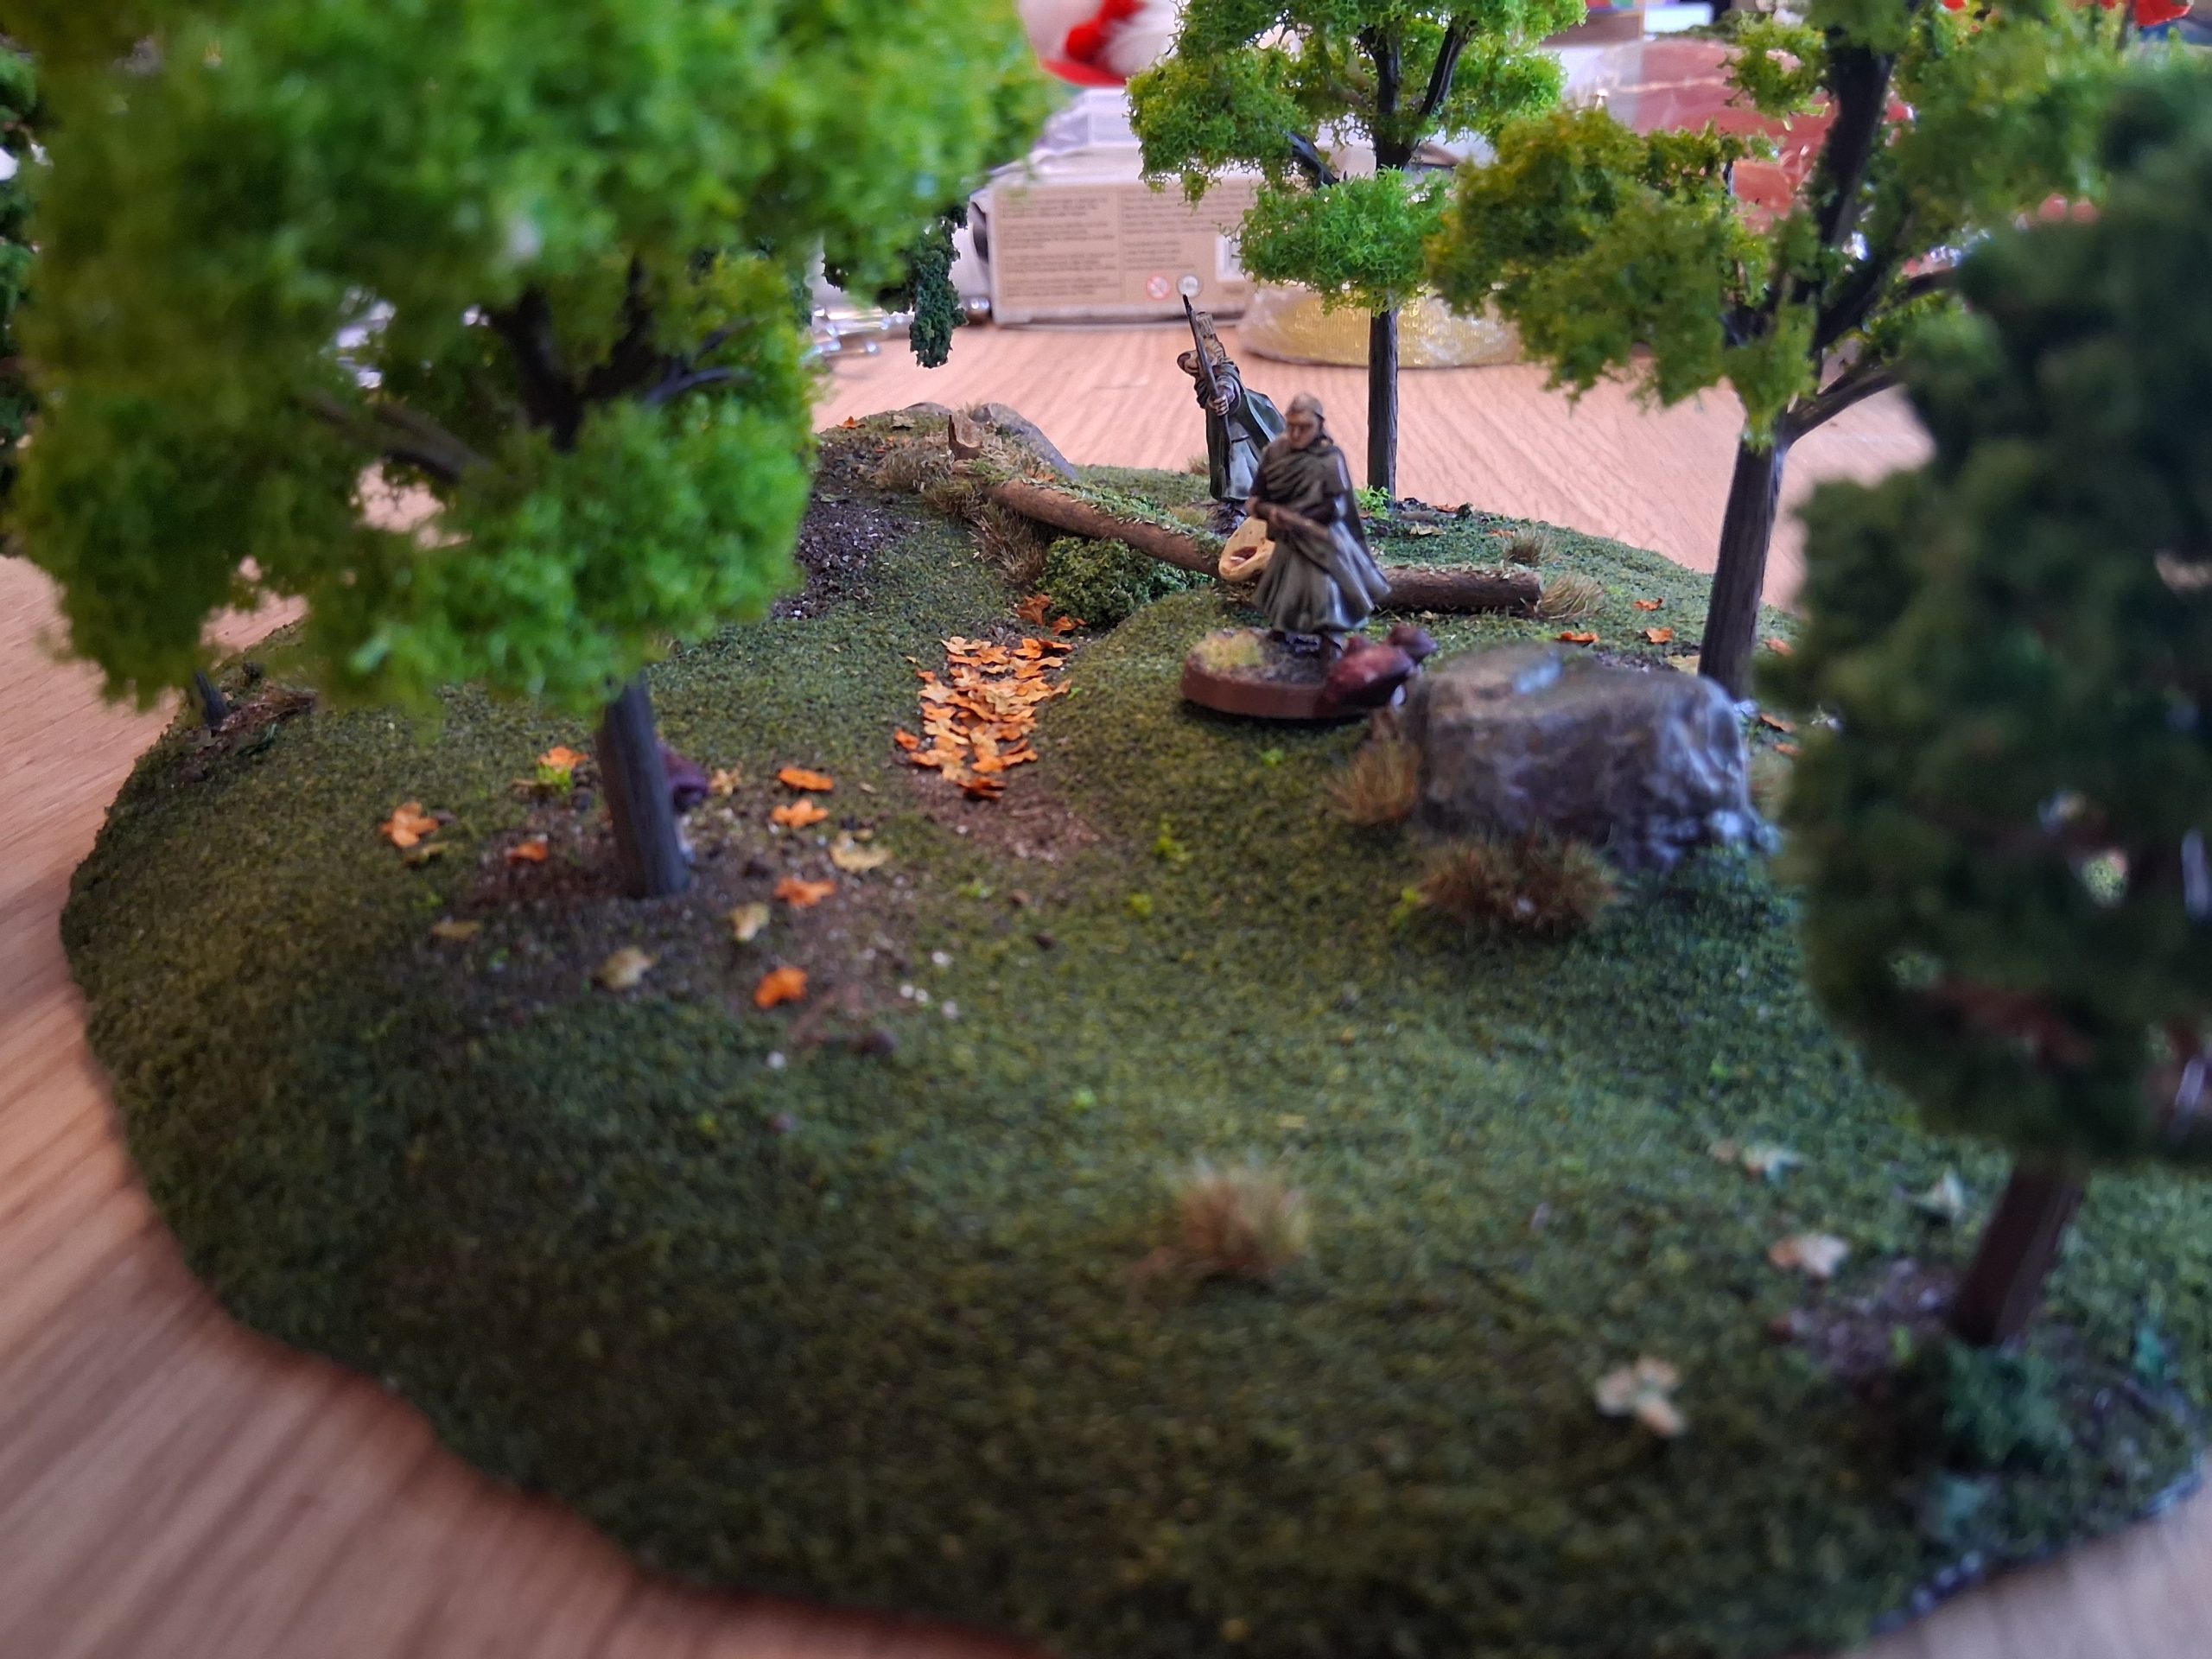
The next one I did I experimented a bit with relief, making one end of the base higher than the other and adding a small ledge. I also added a fallen log using an old twig, which I baked in the oven for 20 minutes to kill off any bacteria. I glued flock to the top of the log to look like moss and added some fallen leaves around the base of each tree. As with the test piece I added a couple of strategic Mushrooms.
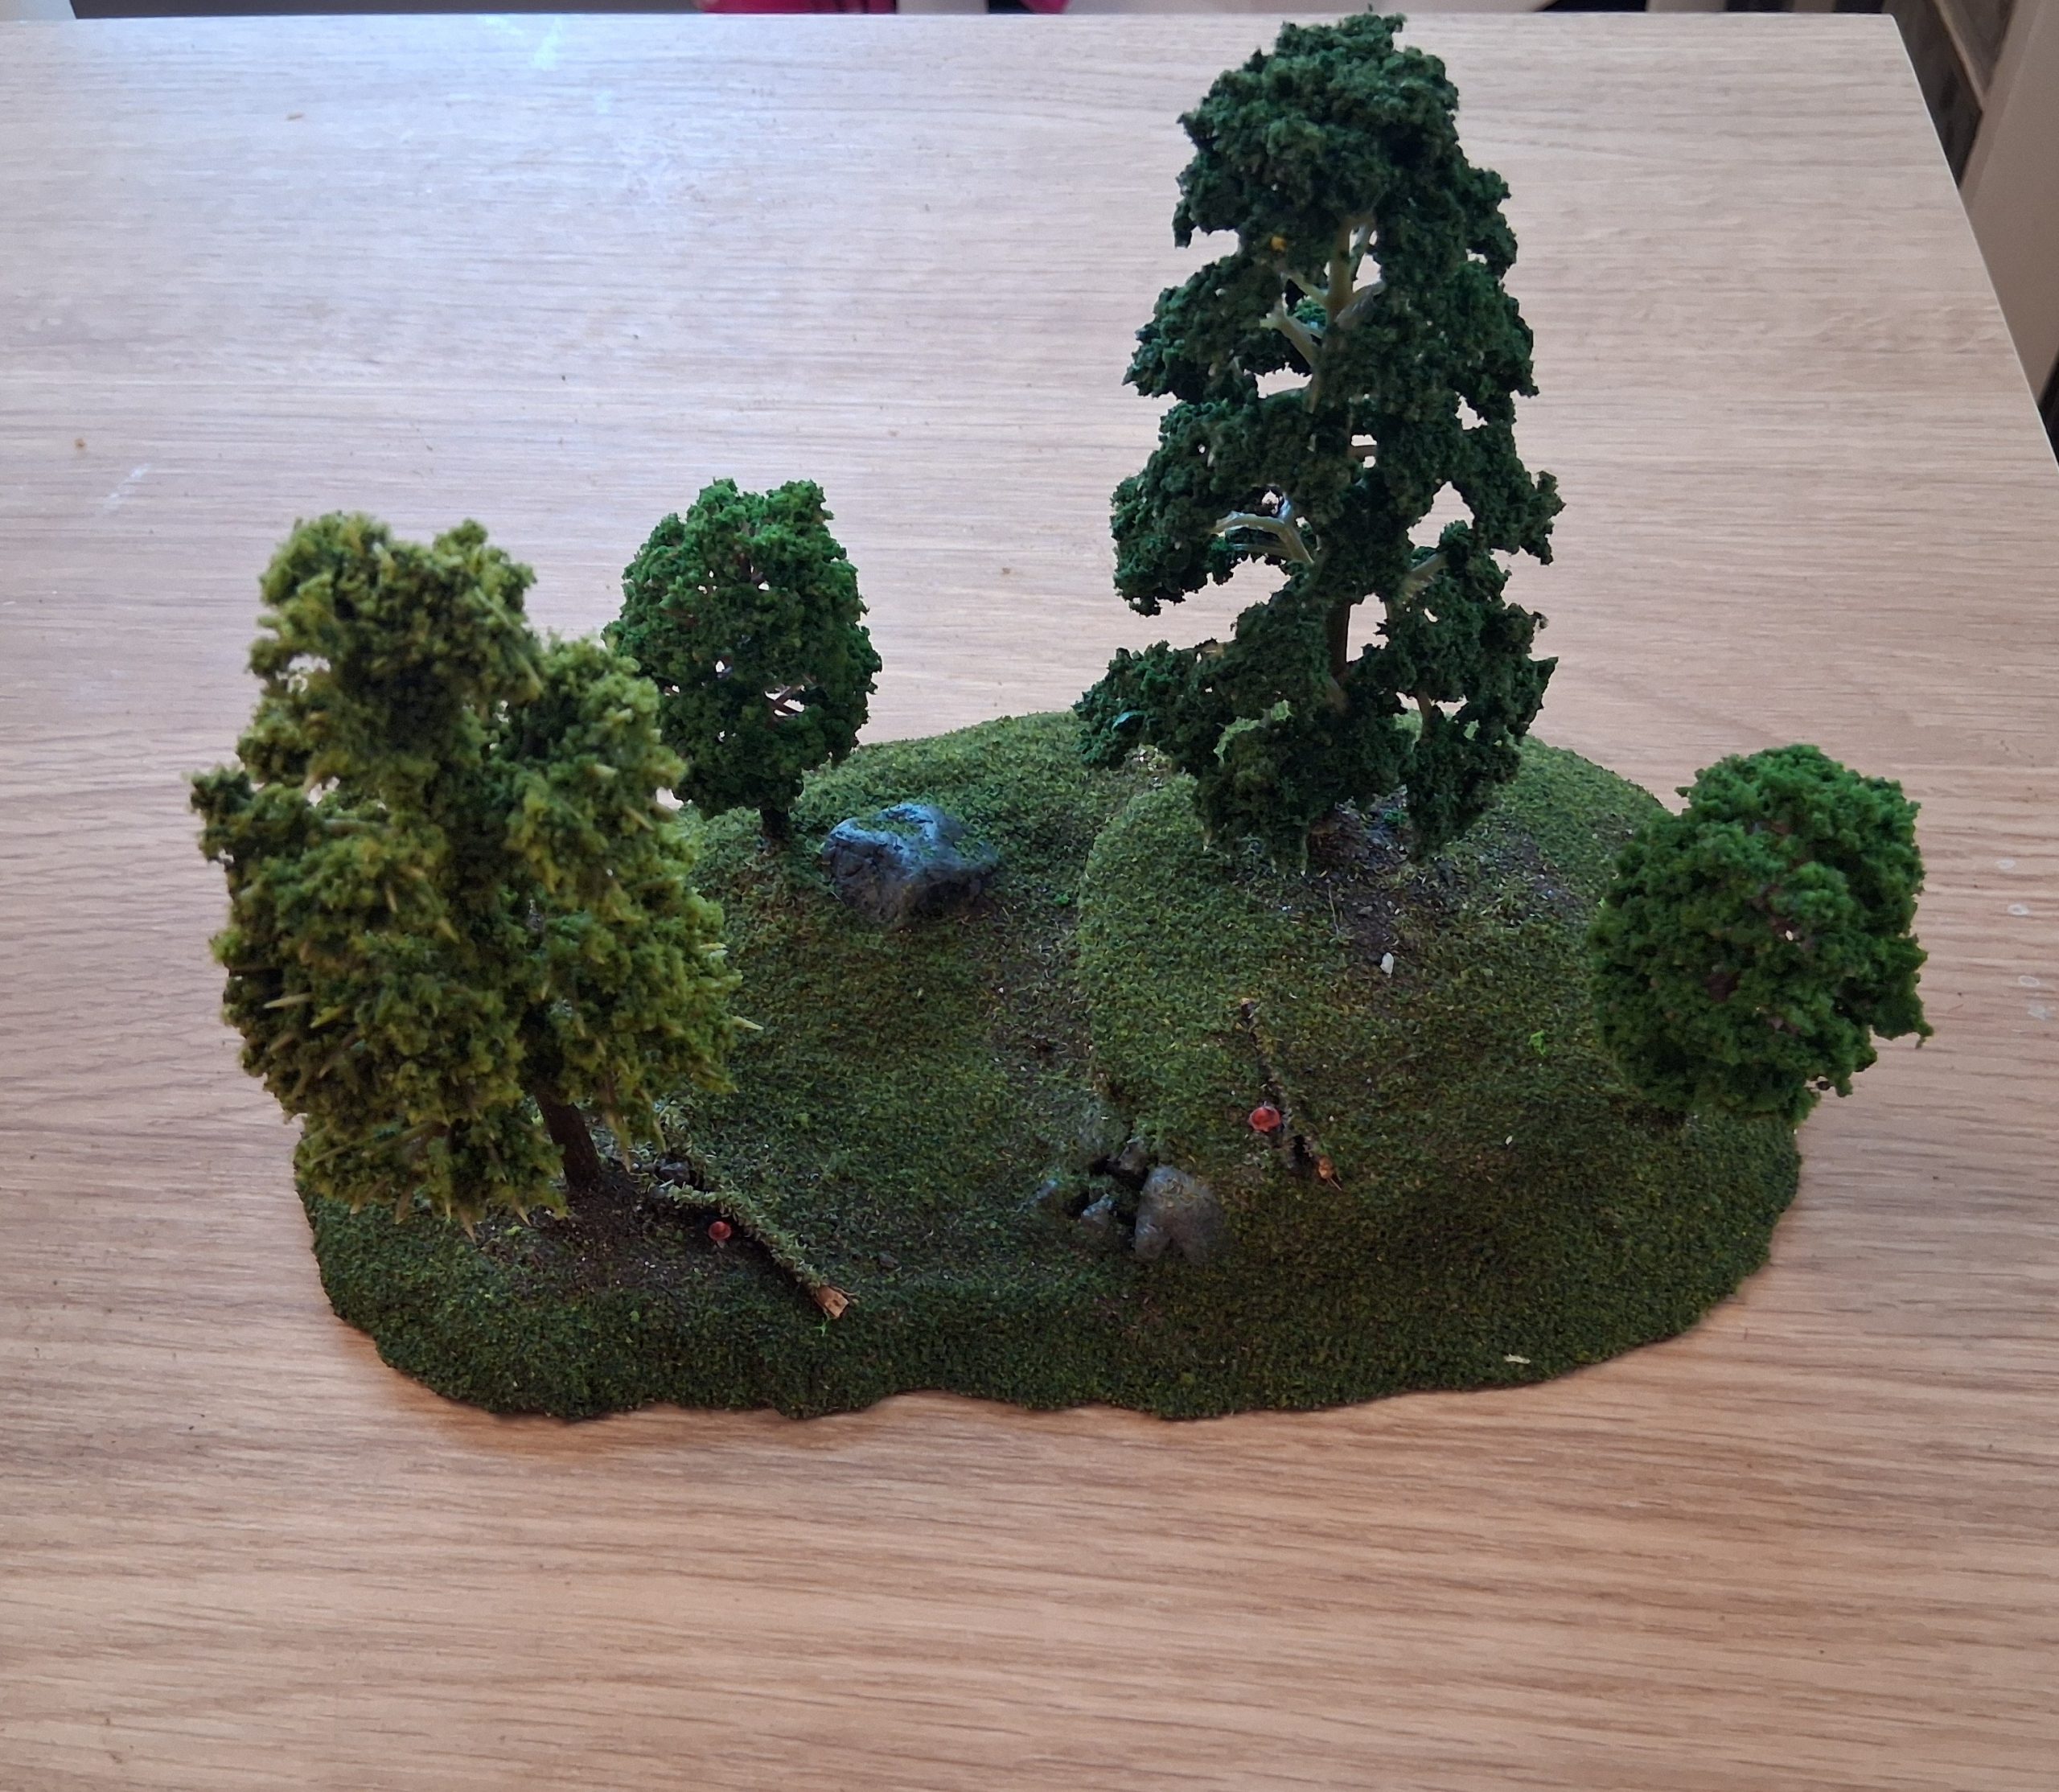
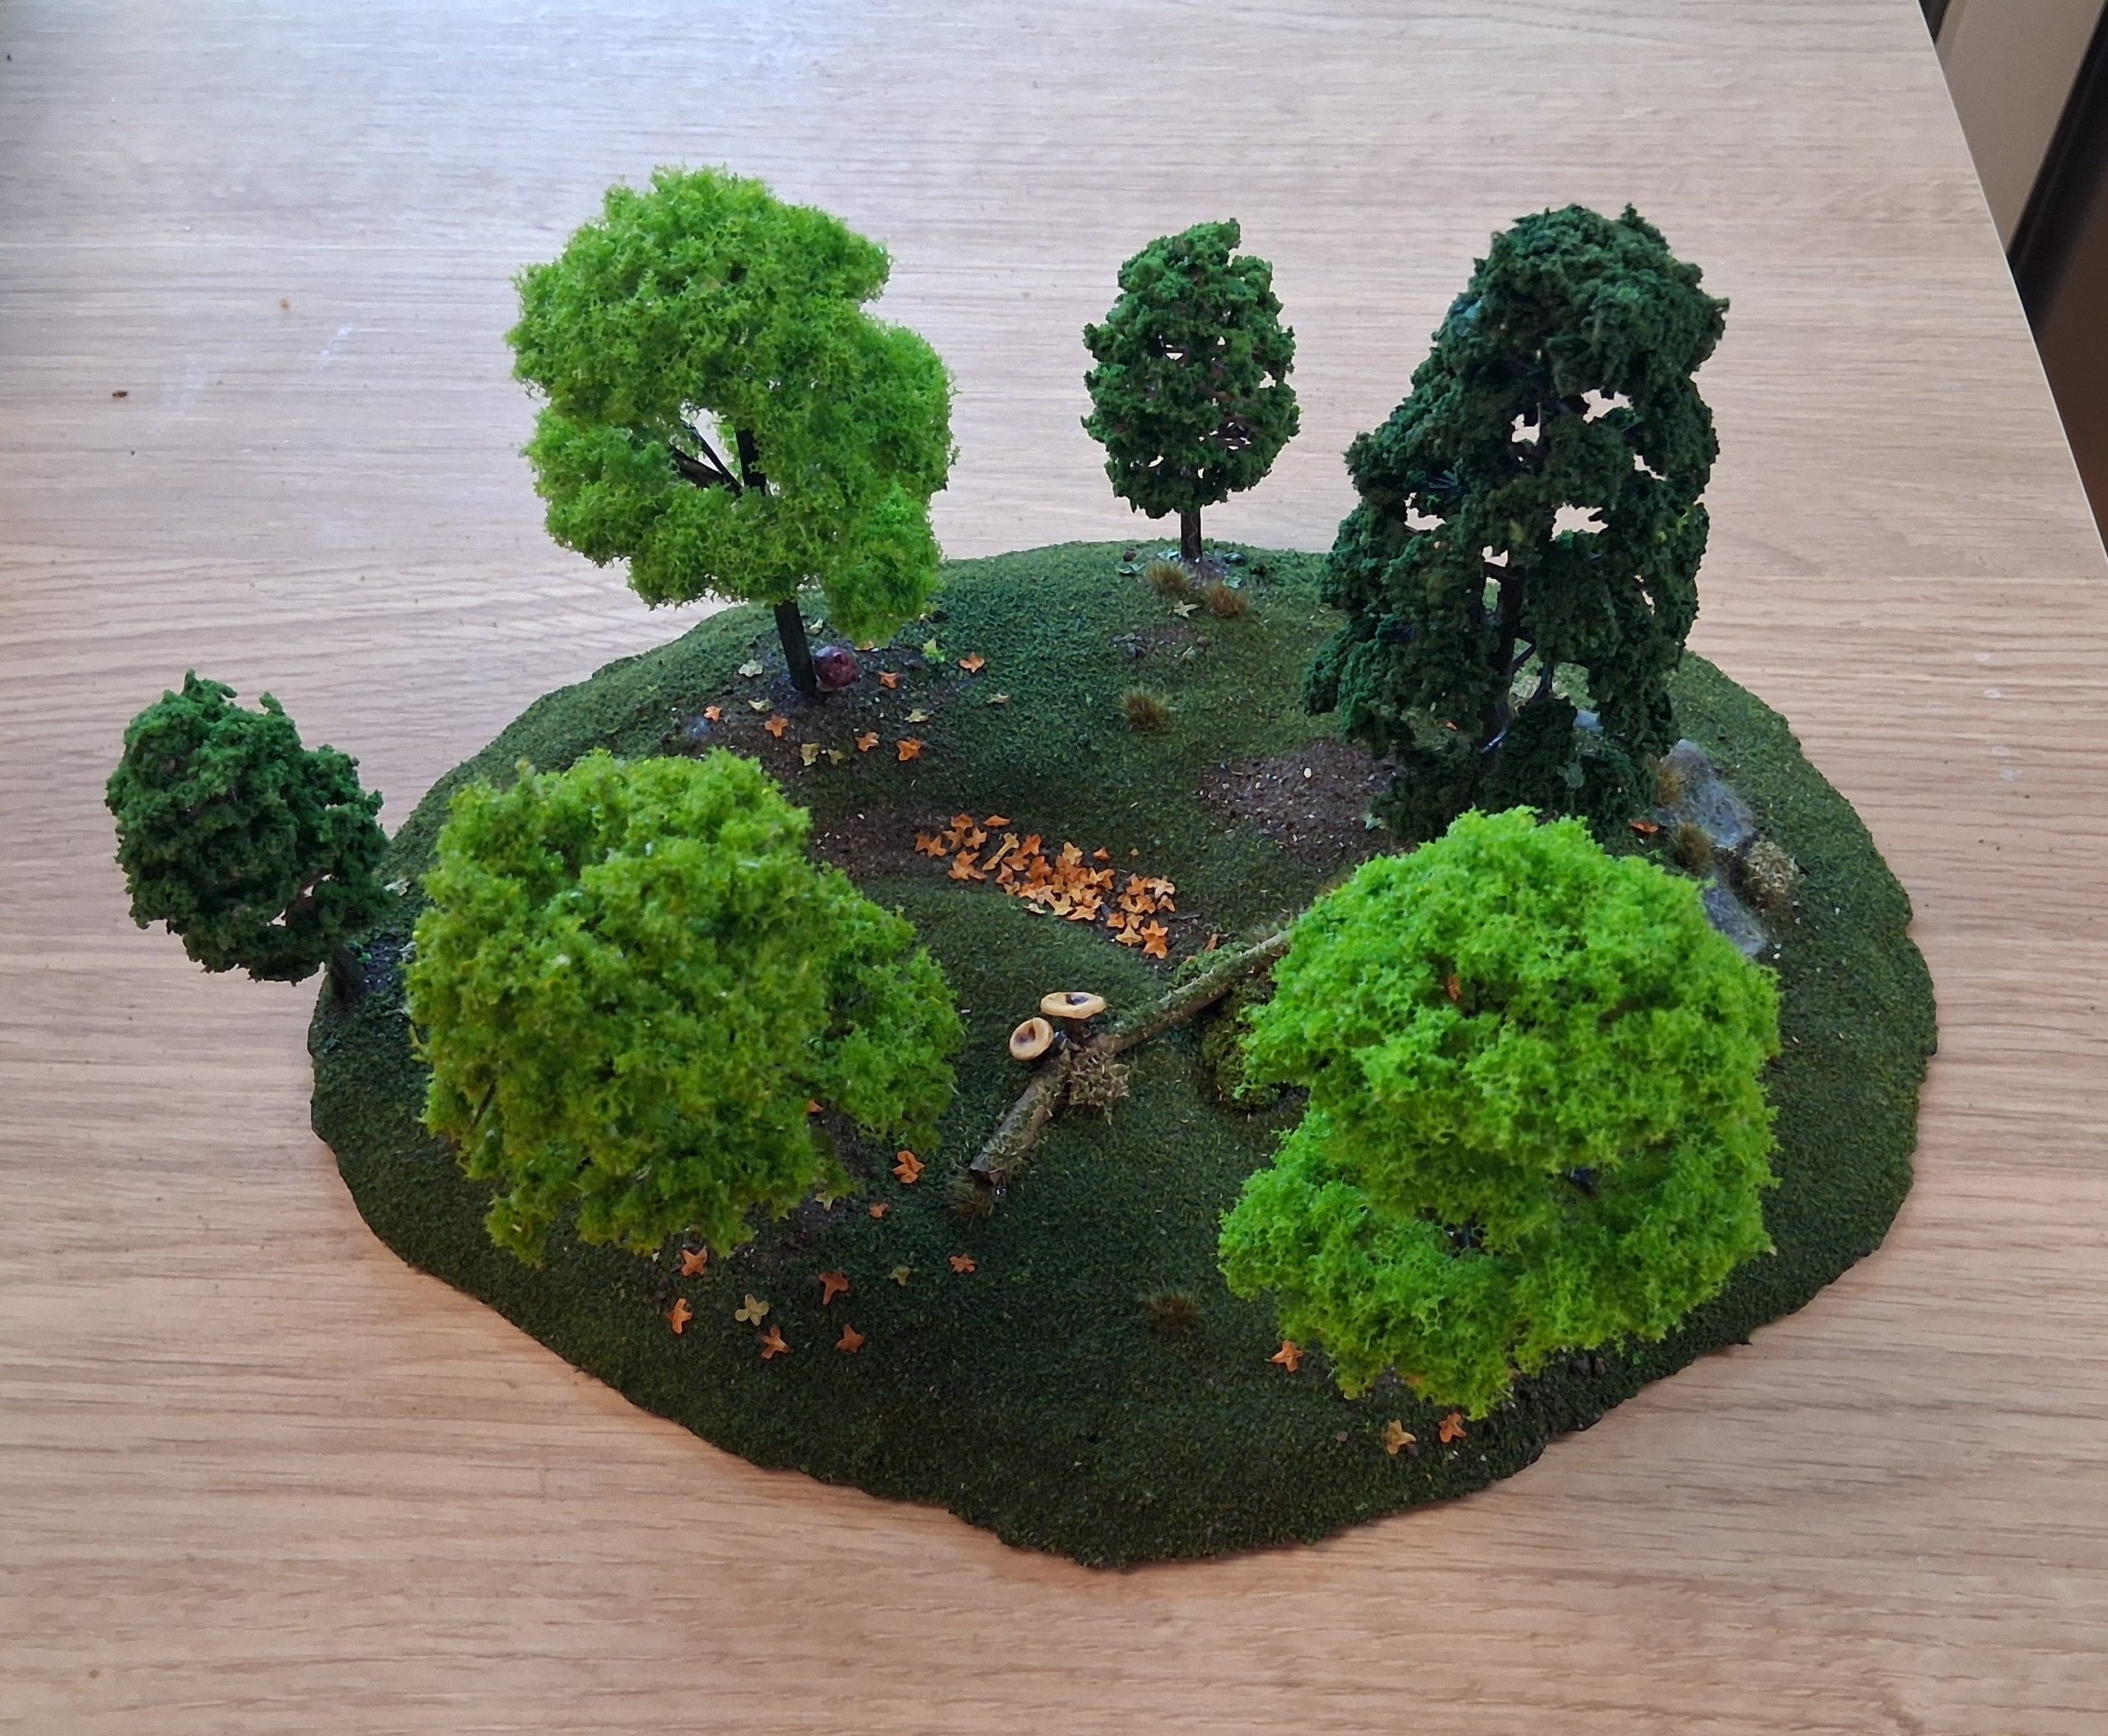
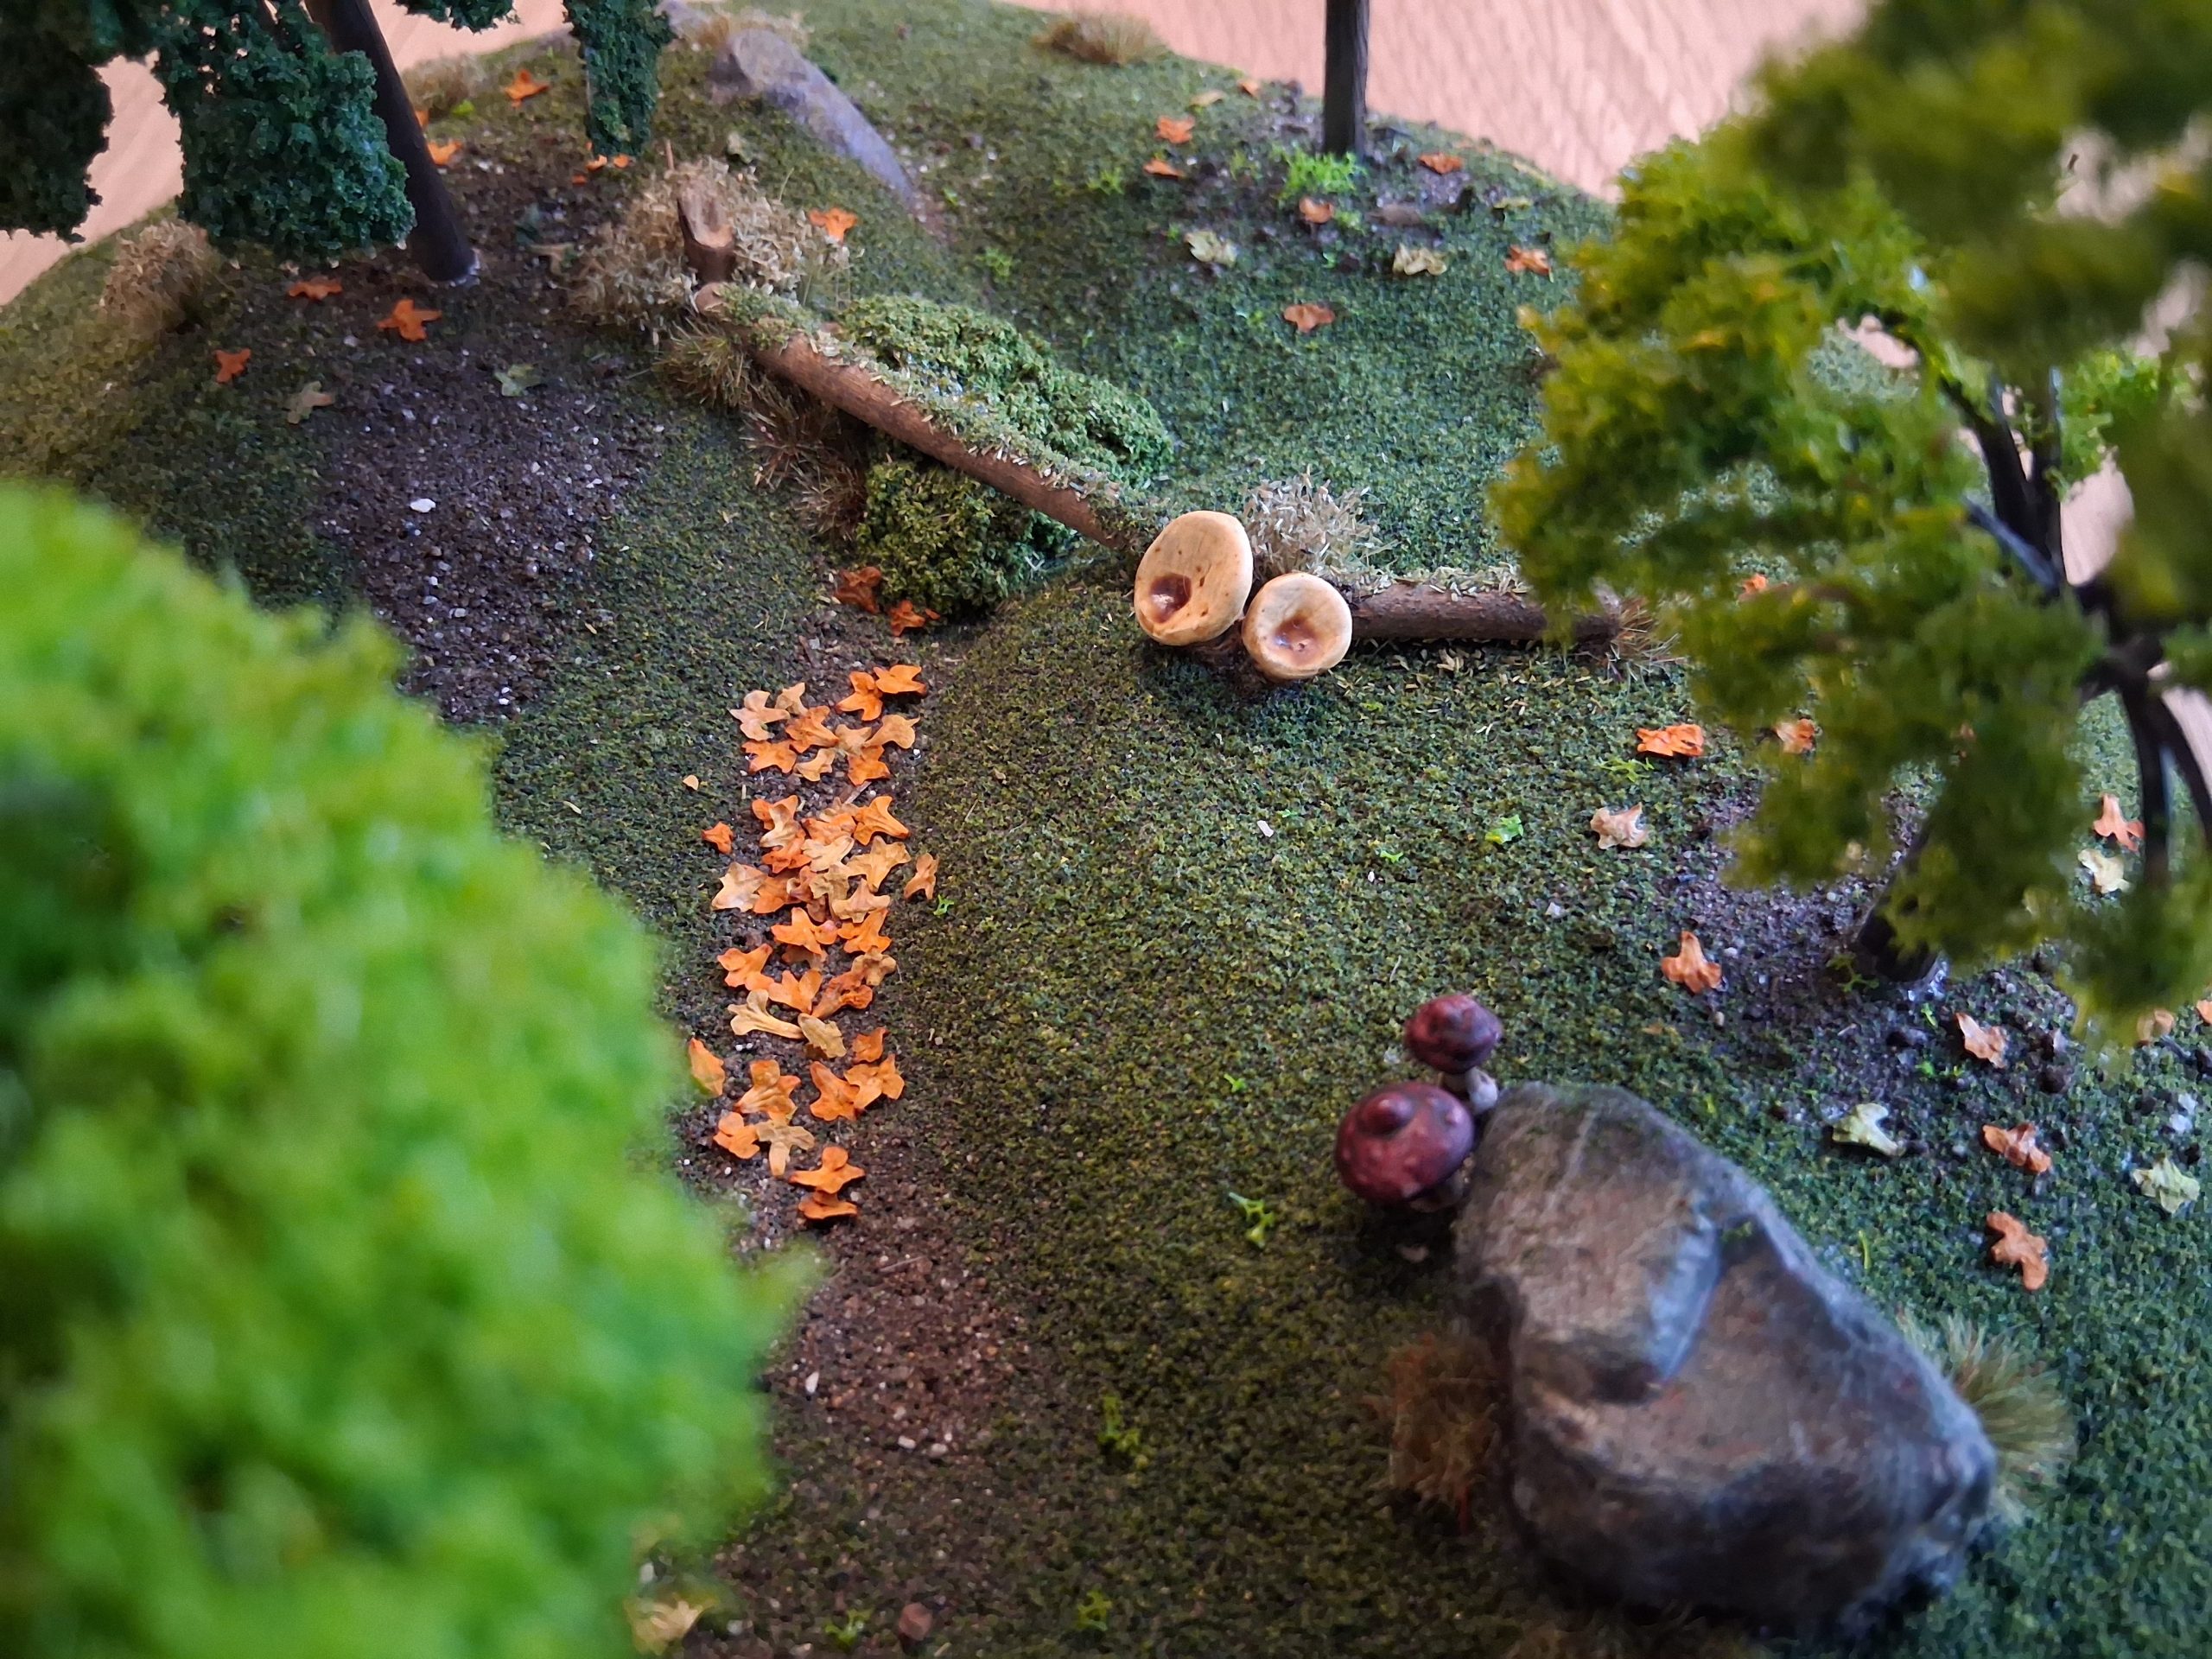
The last one to be completed was a much larger piece, almost twice as big as the others. For this, I wanted to create the impression of deeper forest, the larger footprint allows more trees. I raised the topography at each end of the stand and created a gully down the middle, across which I added a fallen tree. The gully I filled with dead leaves and I also added some flat topped mushrooms. One of the things I like about the 3d printable mushrooms over the GW resin ones, apart from the fact that they can be scaled to more reasonable proportions, is that there are some more interesting varieties.
In addition to the completed items, I have a number of pieces in production. I have found that I can do a sort of production line of these and can produce 1-2 per week, depending on the size of the pieces and the level of detail I want to go into. I am limited by time and space when making these. Time because I am using sculptamold which really requires several days for it to set and dry fully and space because I don’t have a lot of it to leave things lying around to dry.
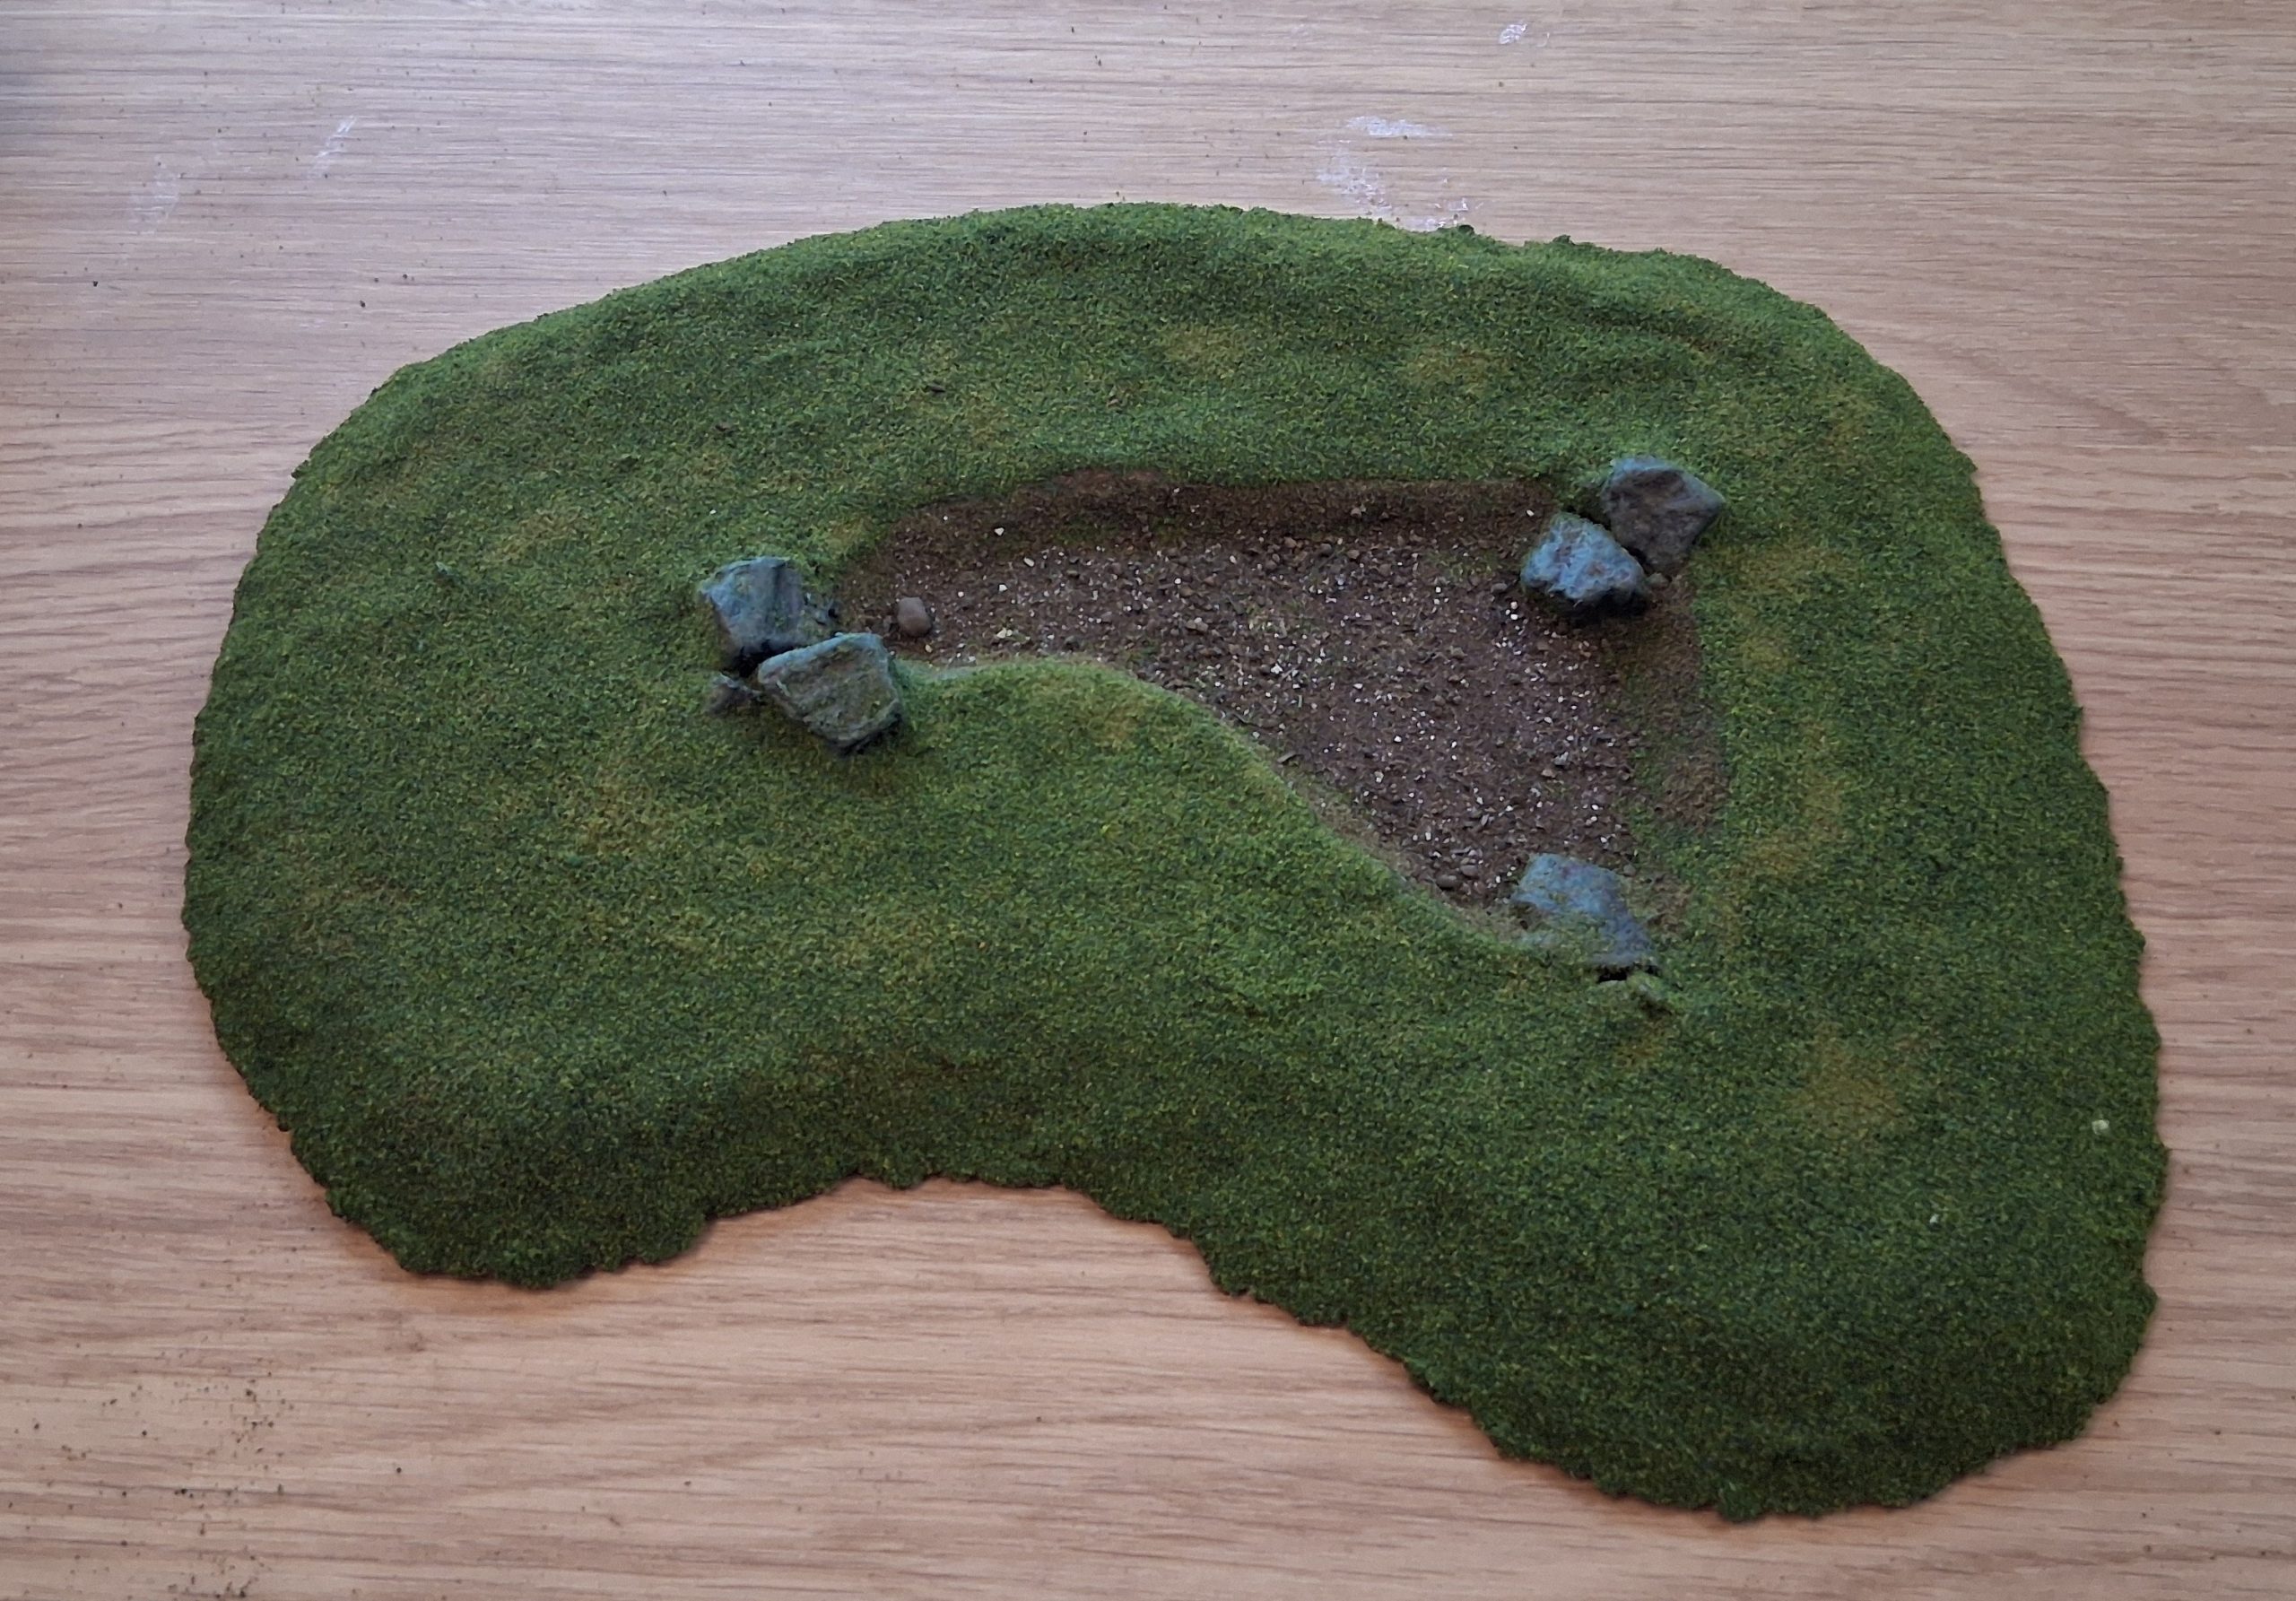
At present I have two reasonably large pieces that have been flocked and are ready to have trees etc. added to them. One of them will also have a small pond in the middle, so that will take some time to do with the water effects. The other has a much higher level of elevation than the others and has a small cliff face at one end and what will eventually become a hidden shrine at the end of a pathway that leads through the forest.

In addition, not pictured below, I have another two small stands that I am making. These are being photographed at every stage of the process with a view to making a tutorial, although my next article will likely be showing of the two in-progress pieces when they are finished and also looking at how much of a 4′ x 6′ gaming area I can currently cover with what I have made so far, hopefully that will be done before Christmas
Solitary Trees
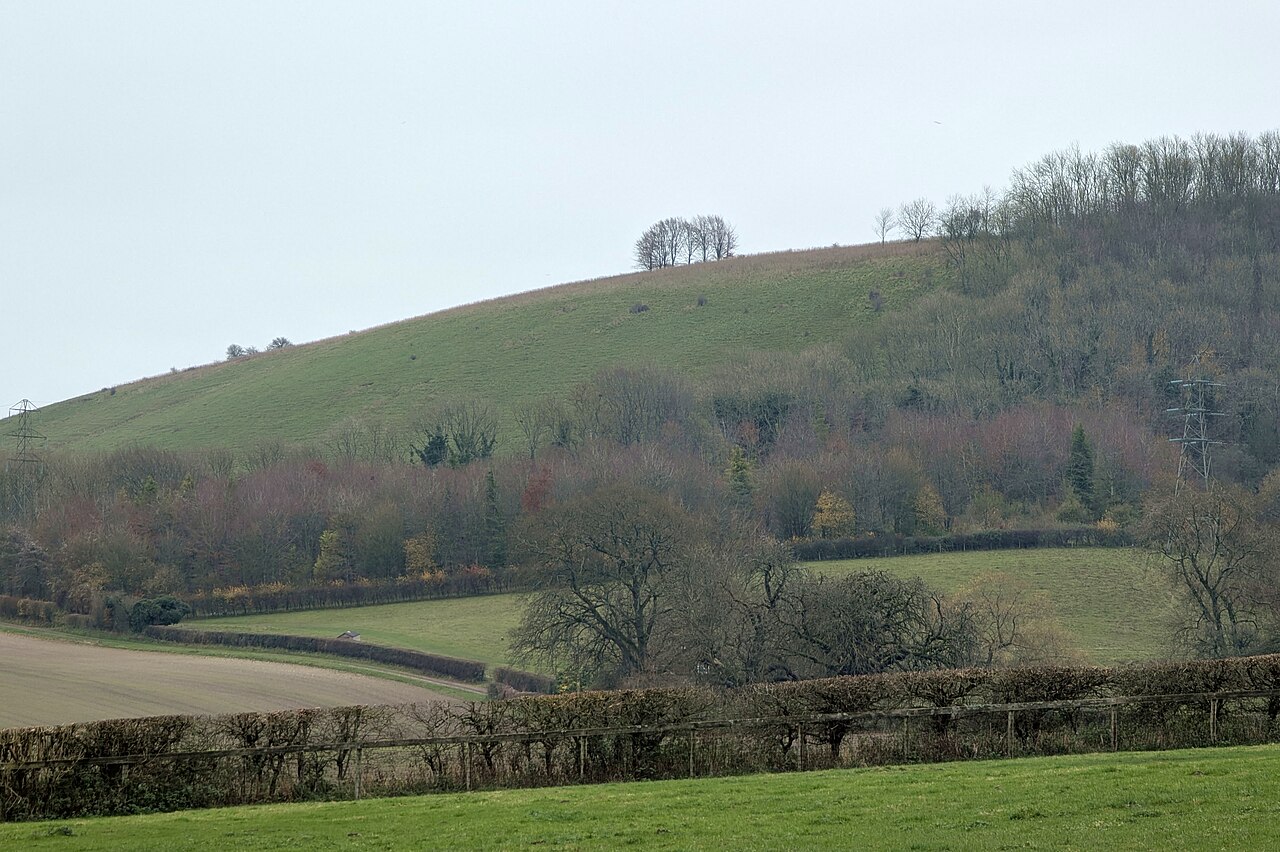
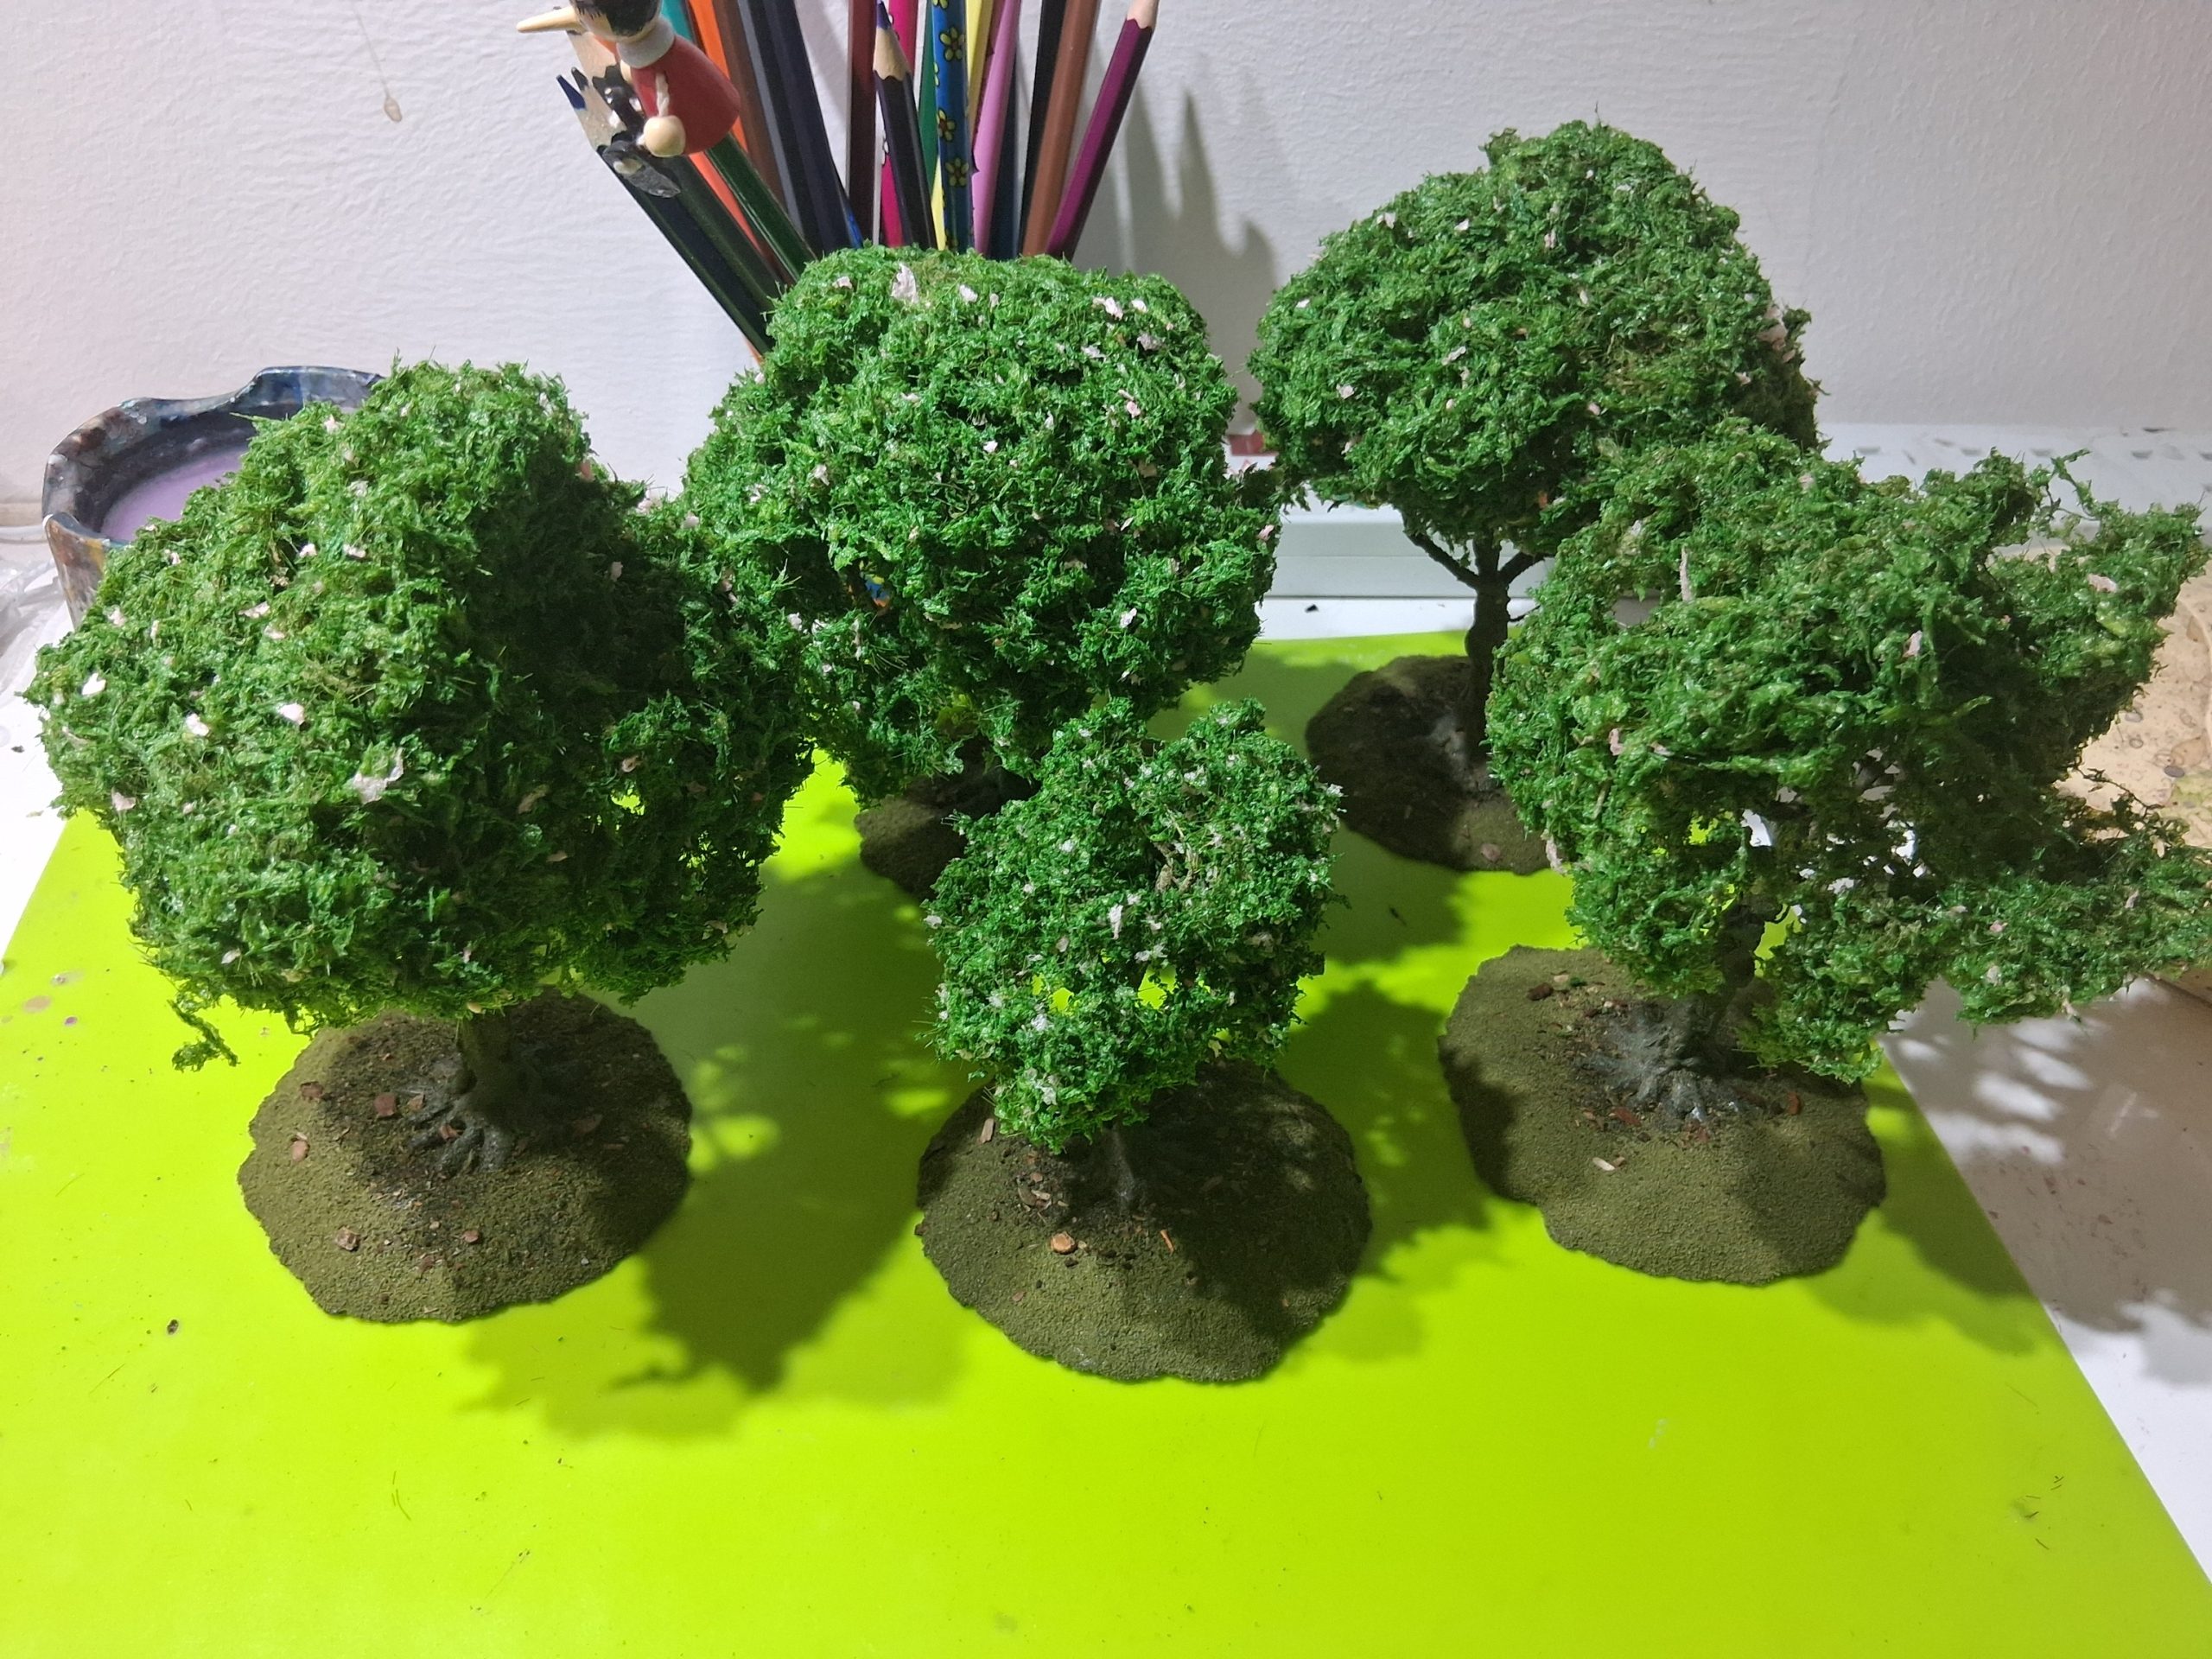
As I was salvaging the old trees, I also discovered that Temu also sell model railway trees, much like Wish, but they had some very different items on offer. These were a little more expensive than the bags of trees I will be using for the forest base, ranging between £3 and £5 each, however due to some very strange promotions on the Temu app, I only paid for about 2 of them and the others got sent as freebies (I have no idea how that app works or makes any money, but I wasn’t going to look a gift horse in the mouth). The idea behind these is to make some of those solitary trees you quite often see in rural England (such as those atop Watership Down)
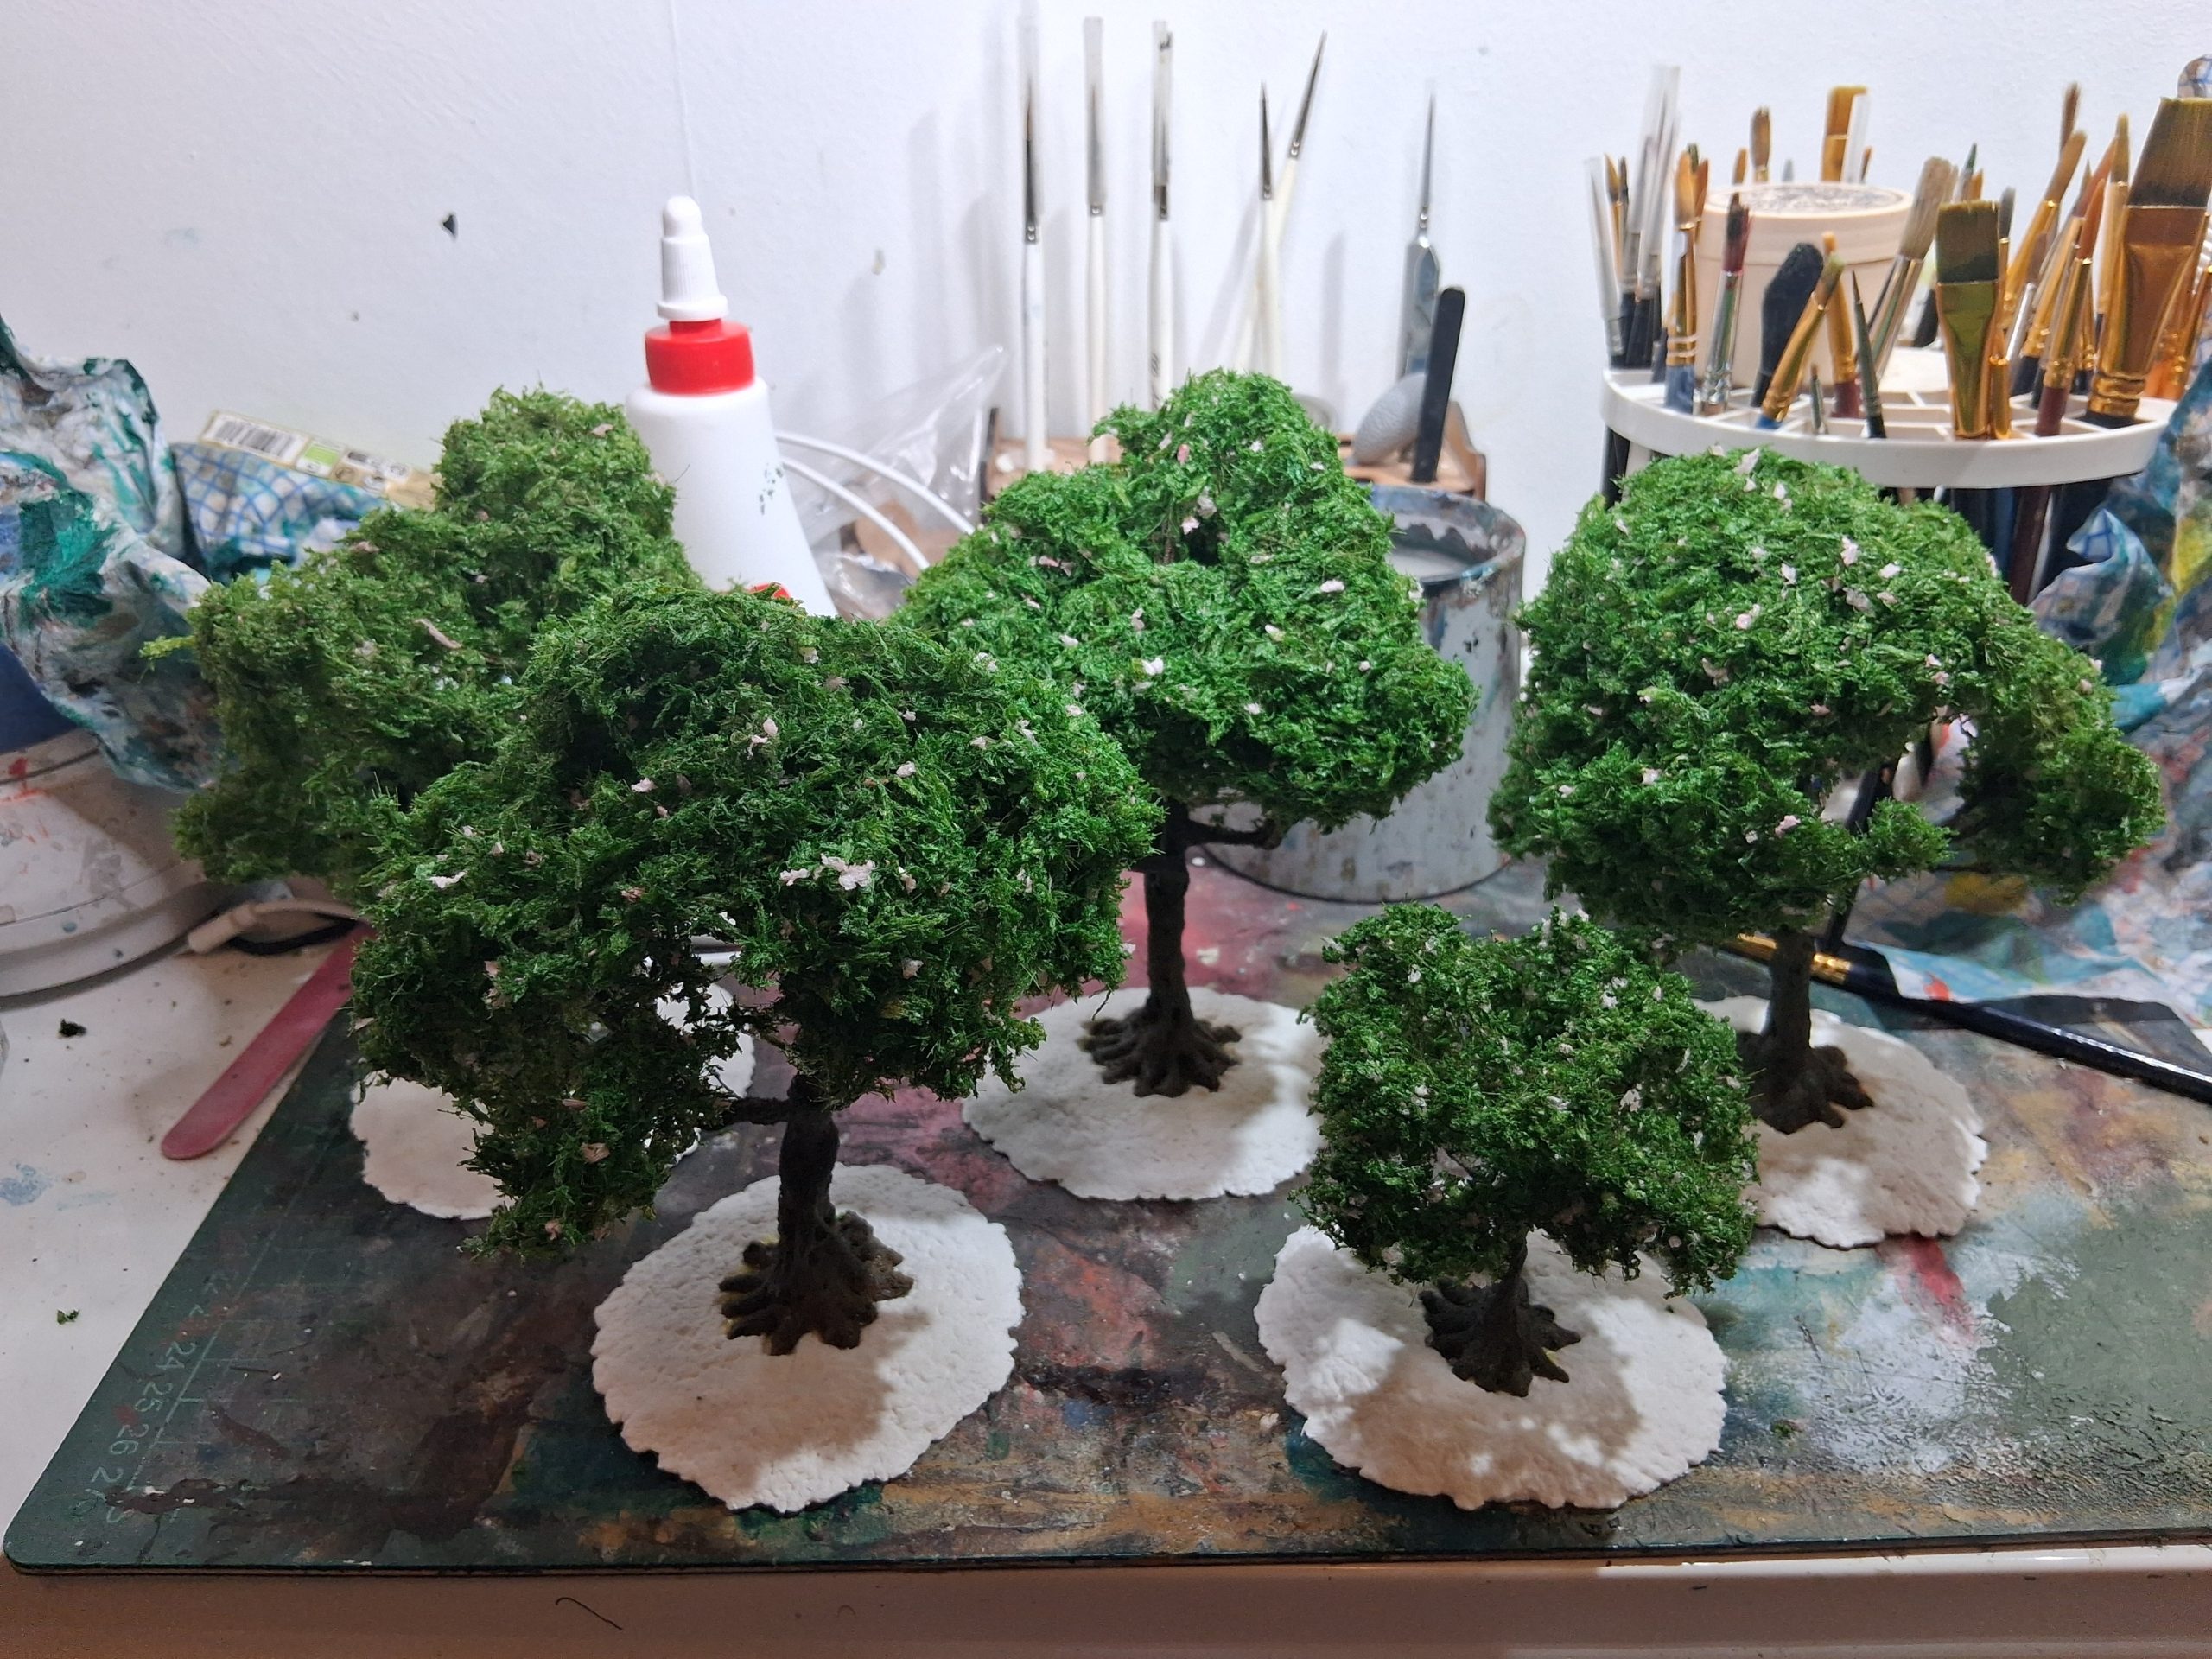
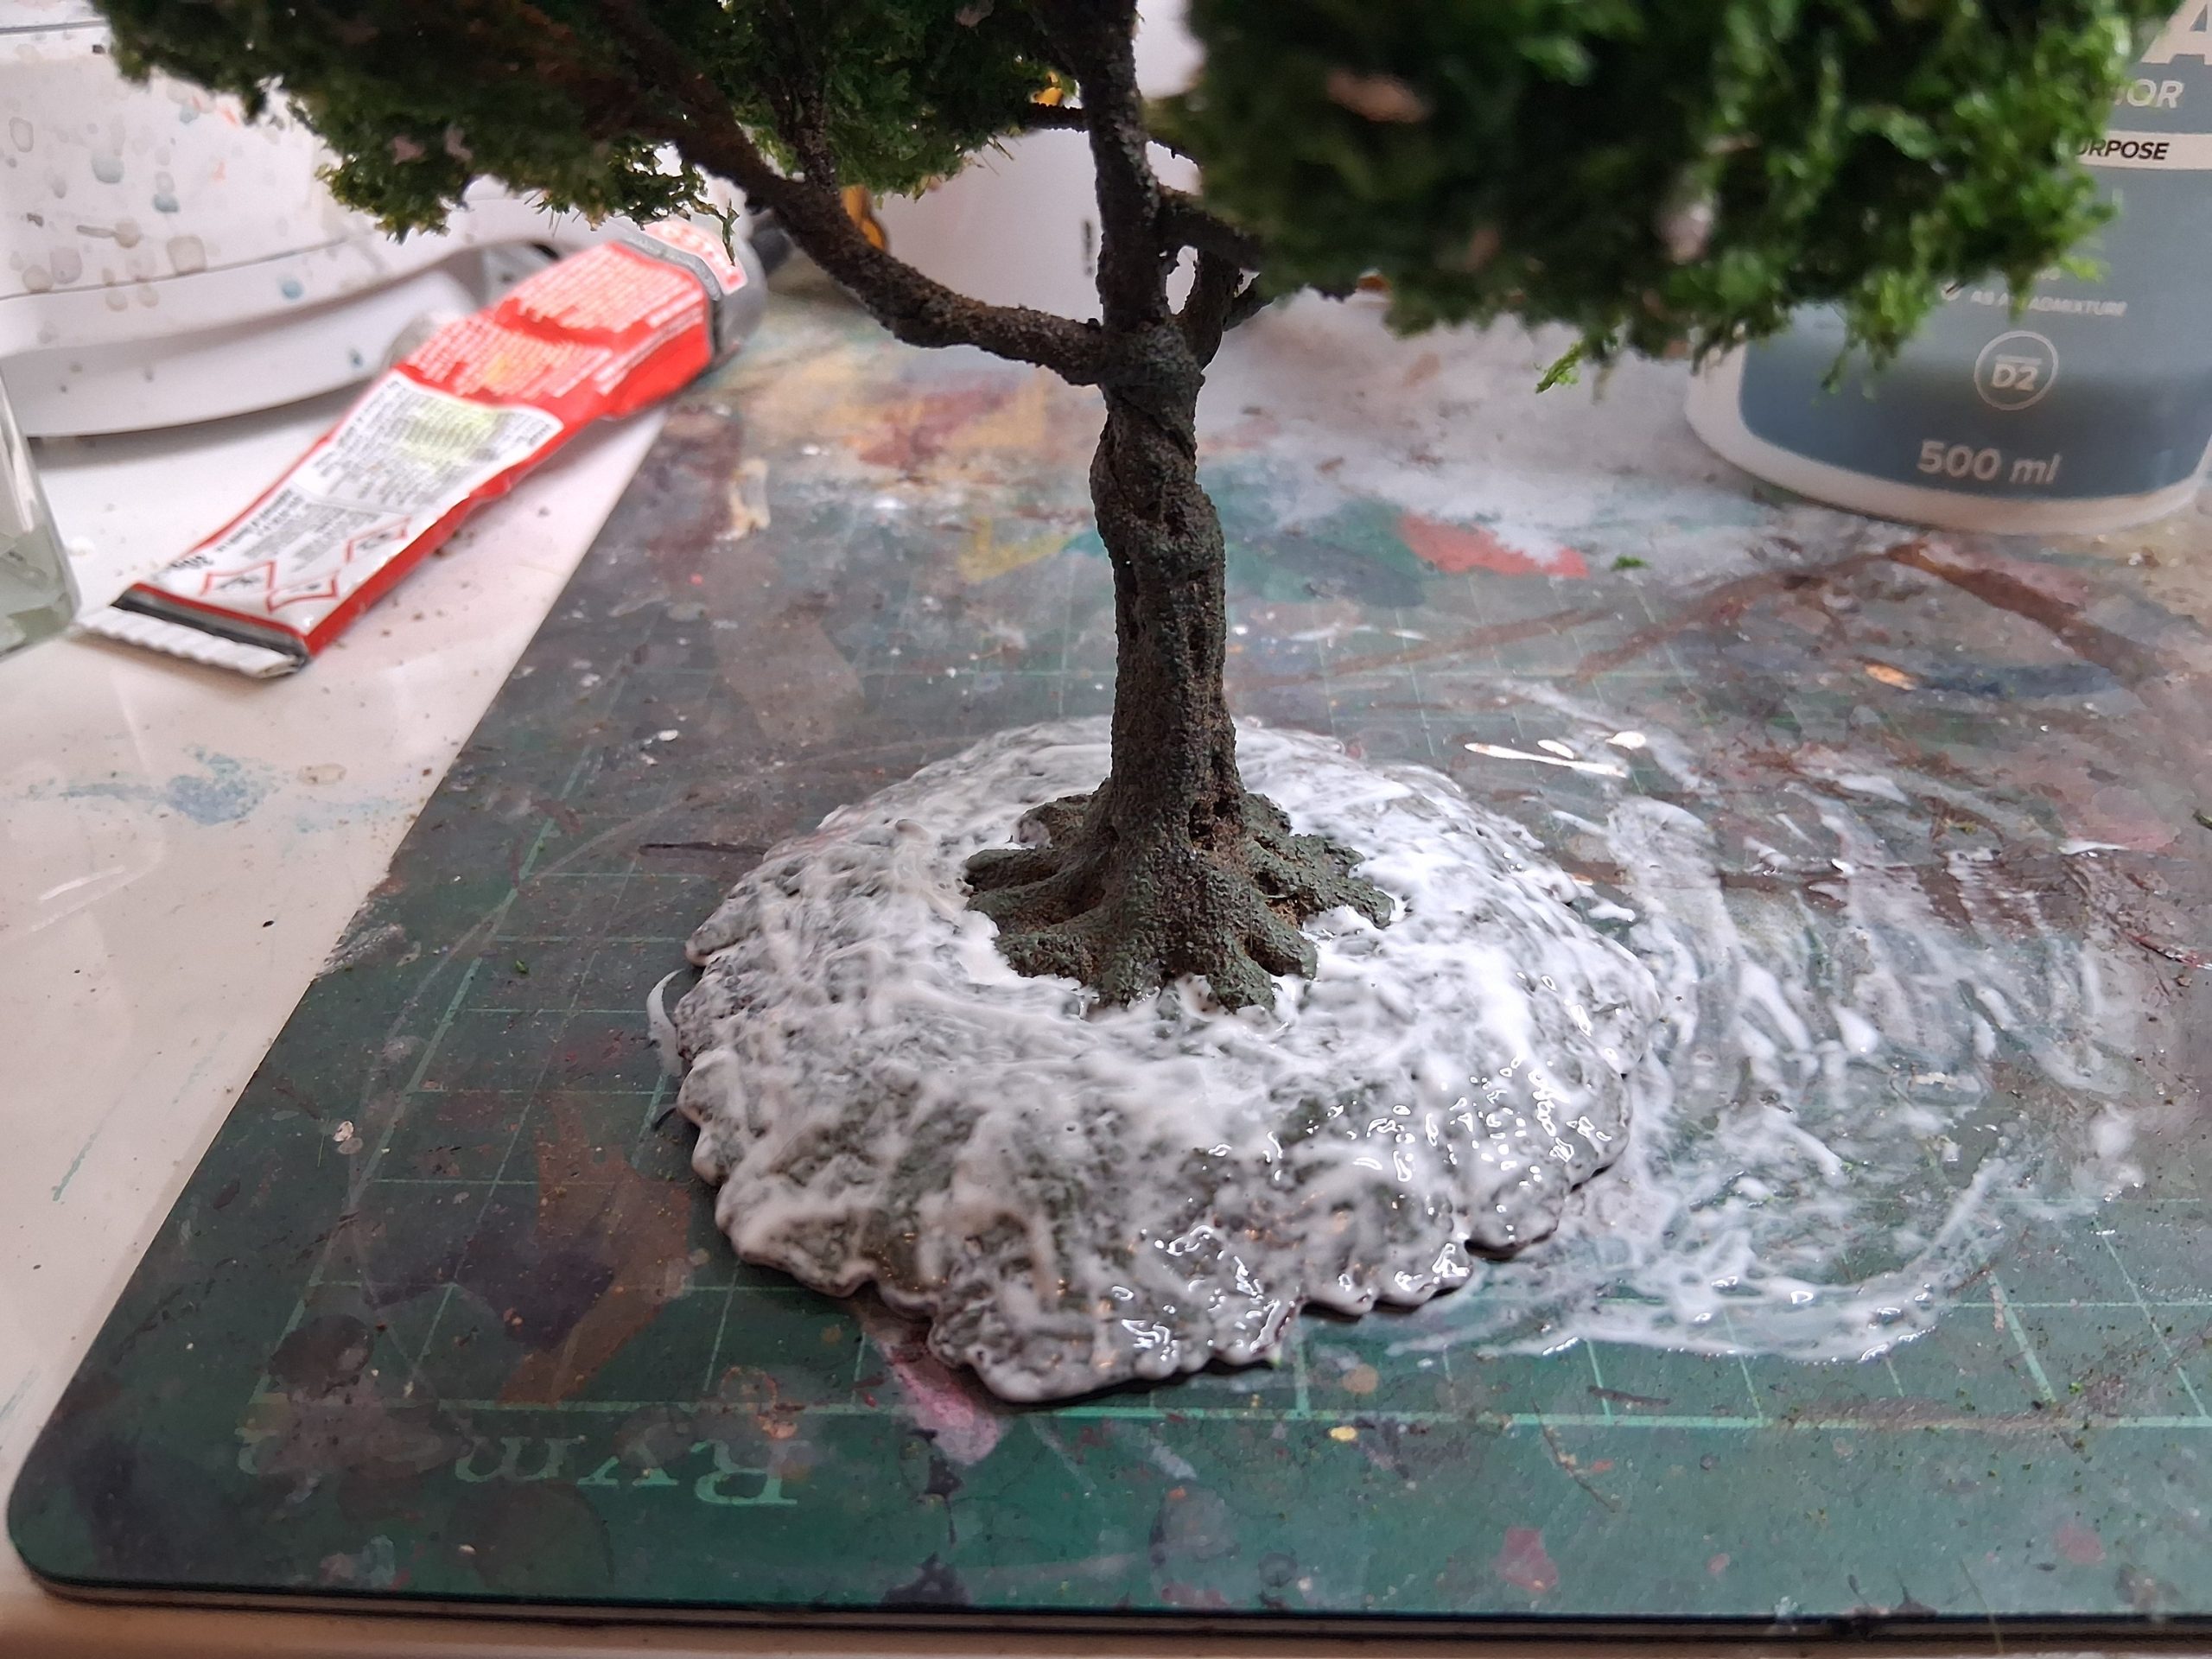
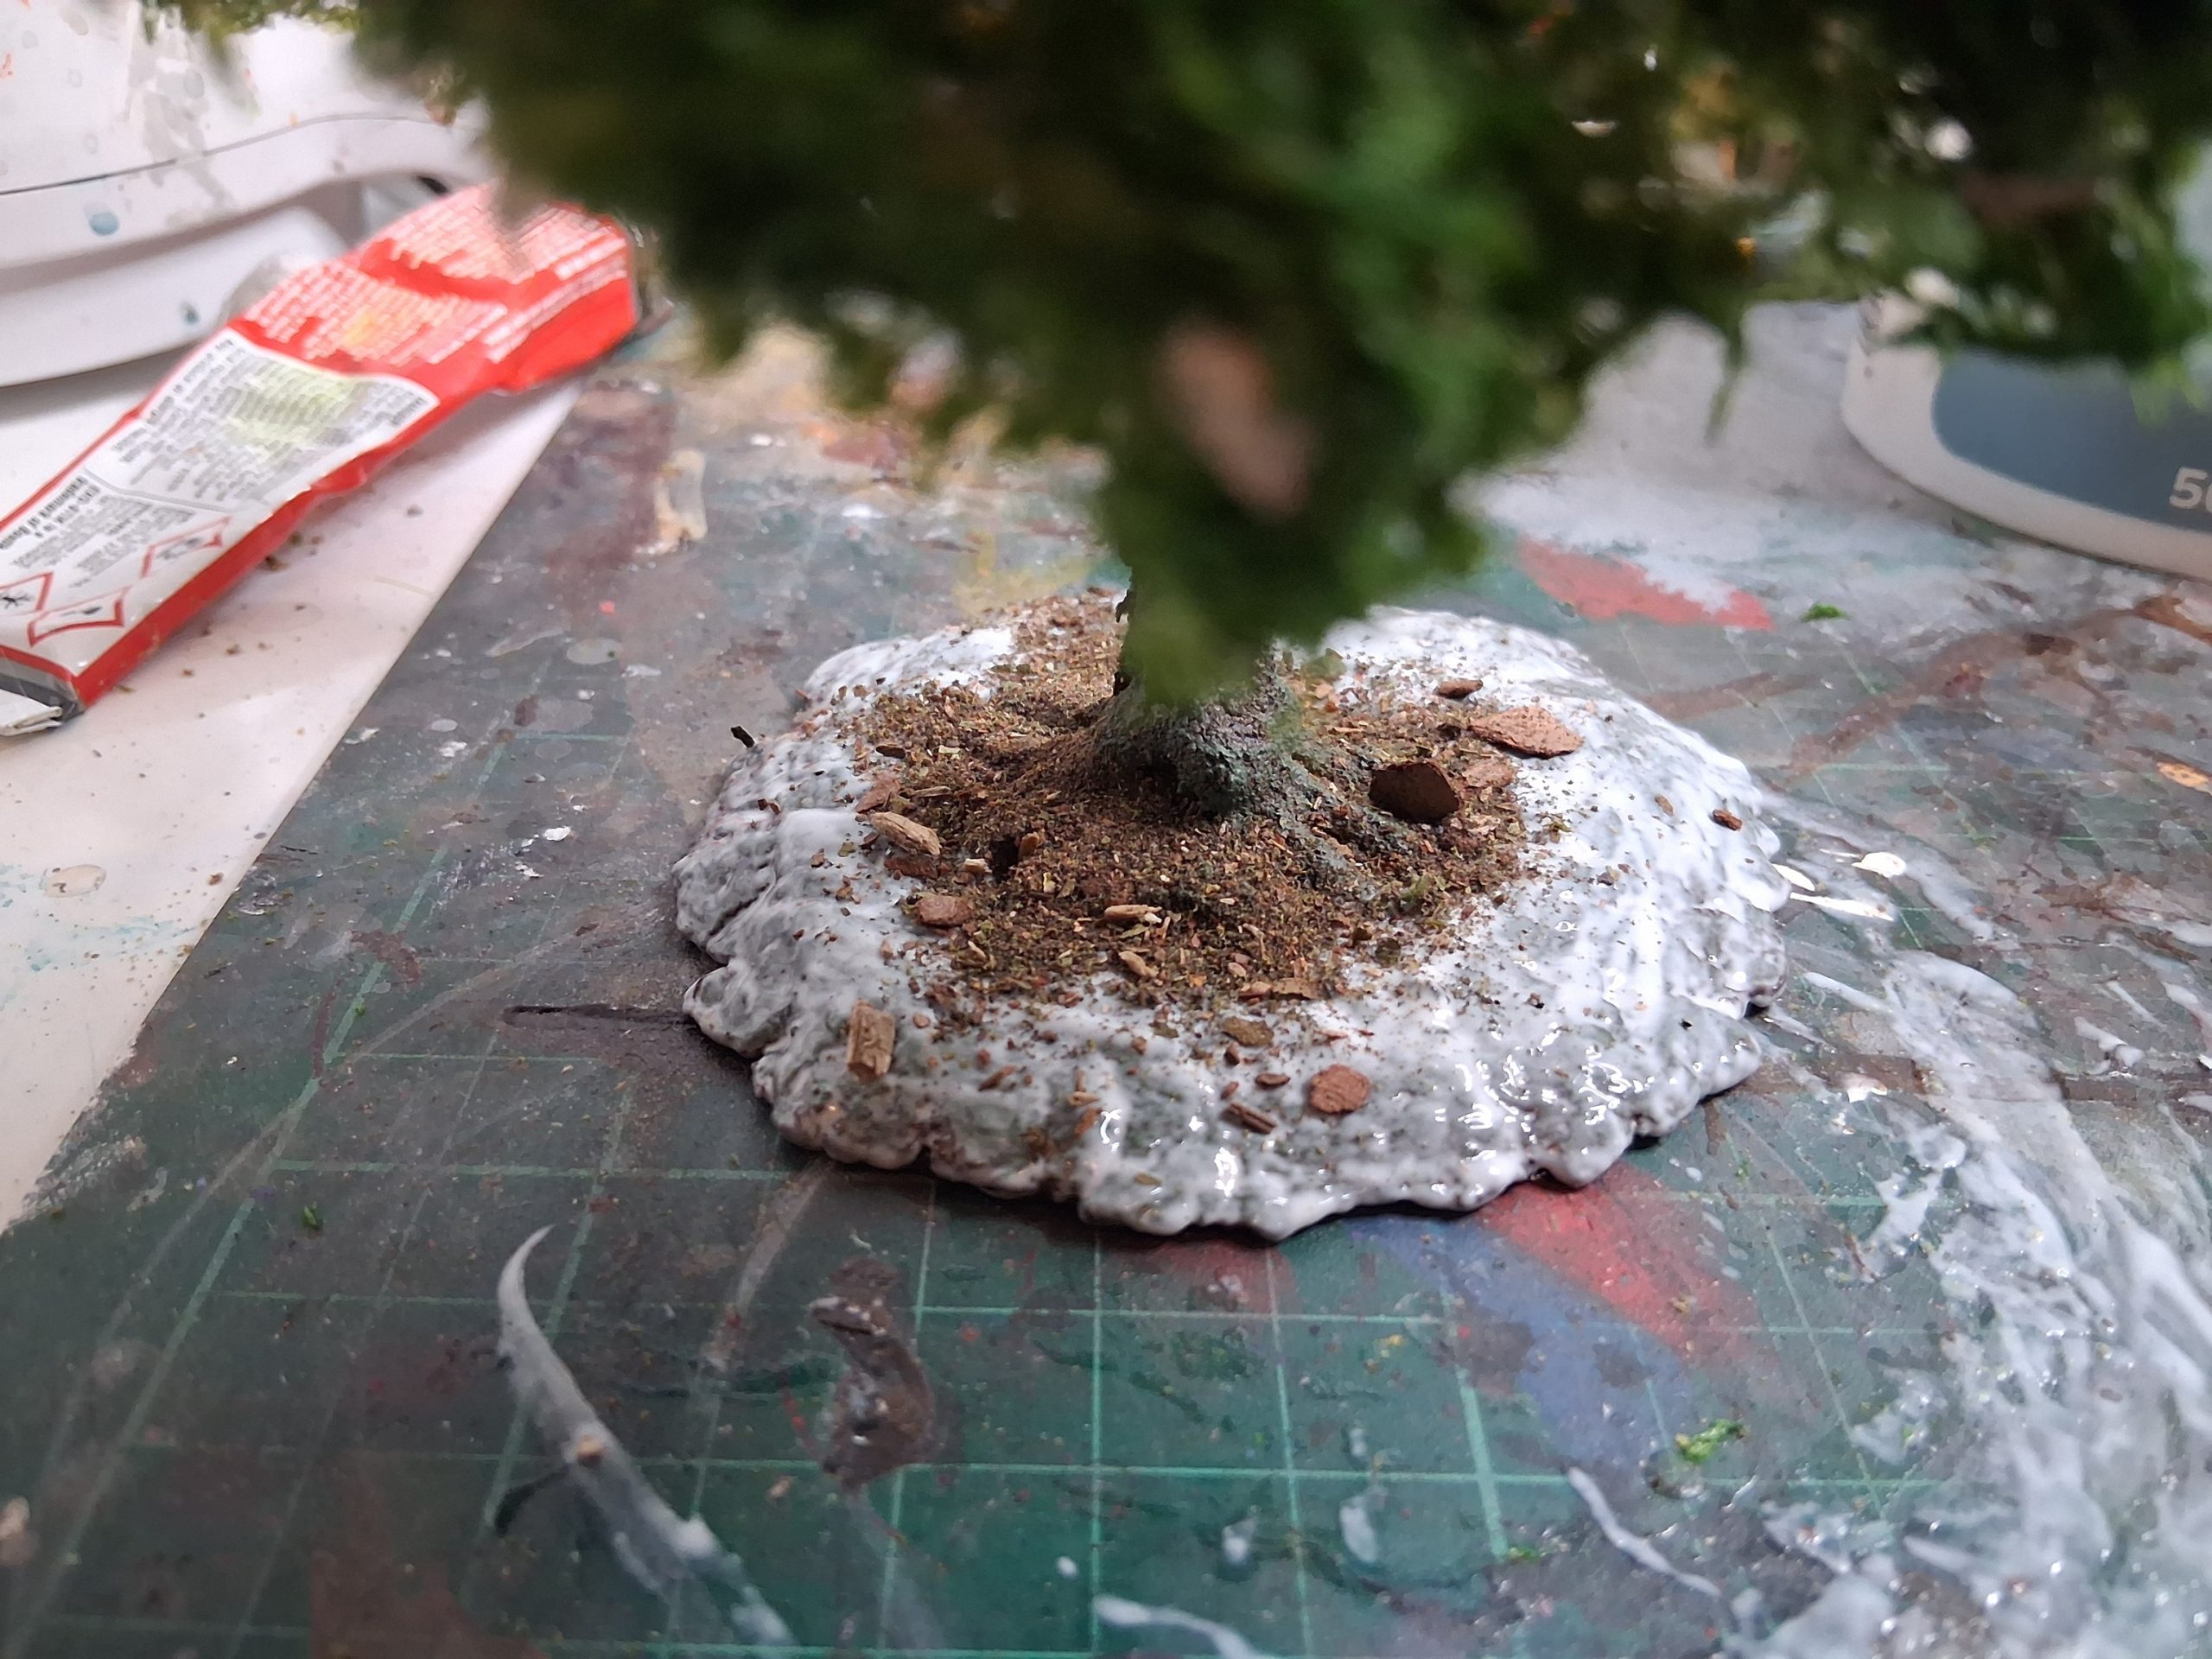
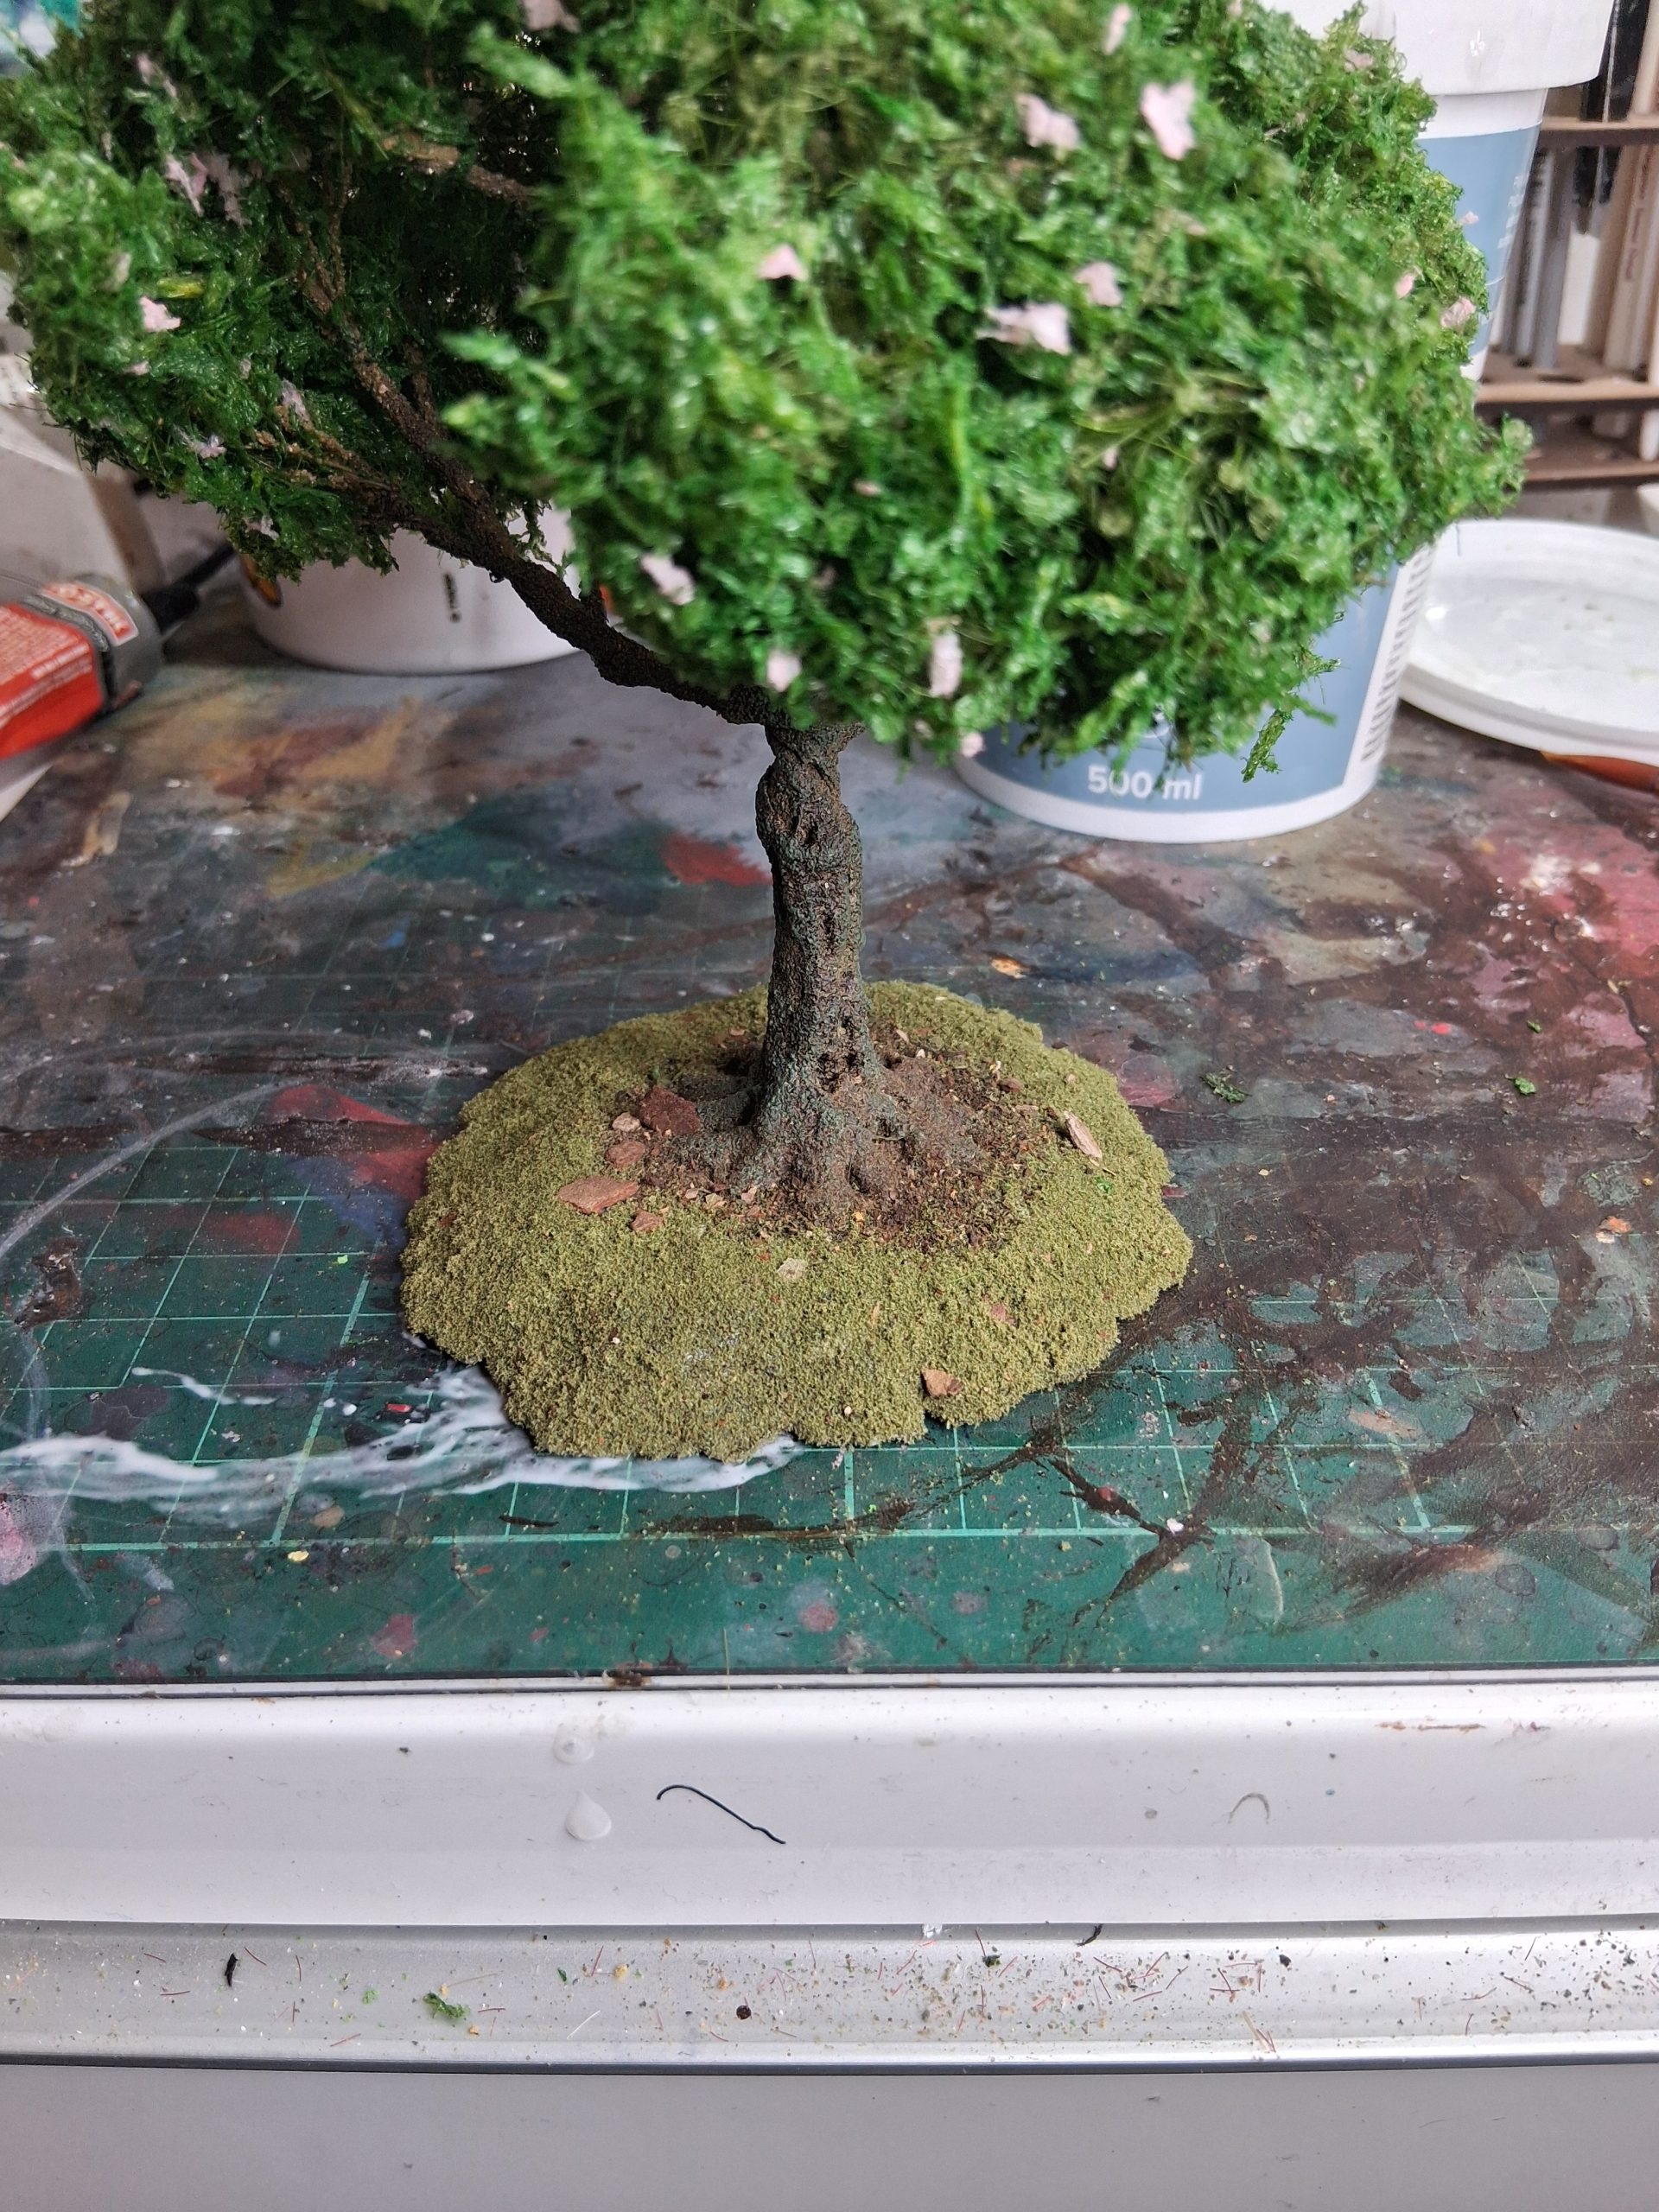
The same principles were used here as were used previously, however I used fine turf rather than flock. Also, because of their larger trunk, I added a bit more detail around the base. I applied an area of dark brown turf around the base of the trunk, which I made myself by blitzing a load of dead leaves and flakes of dried bark through a blender. If you look at trees in the wild, you quite often get patches of bare earth around their base as they block the light out making it harder for other plants to grow in their shade. I then added the green turf to the edges, where there would be more light available. Overall, I don’t think these look too bad, certainly not for the money I paid for them, though they are a very different style of tree to what was available during the 90s. The only work I had to do on these trees was to give the trunk a brown wash, which it took really well without any need for priming or undercoating. So again, for £5, I don’t think there can be much complaint
Save the Trees!
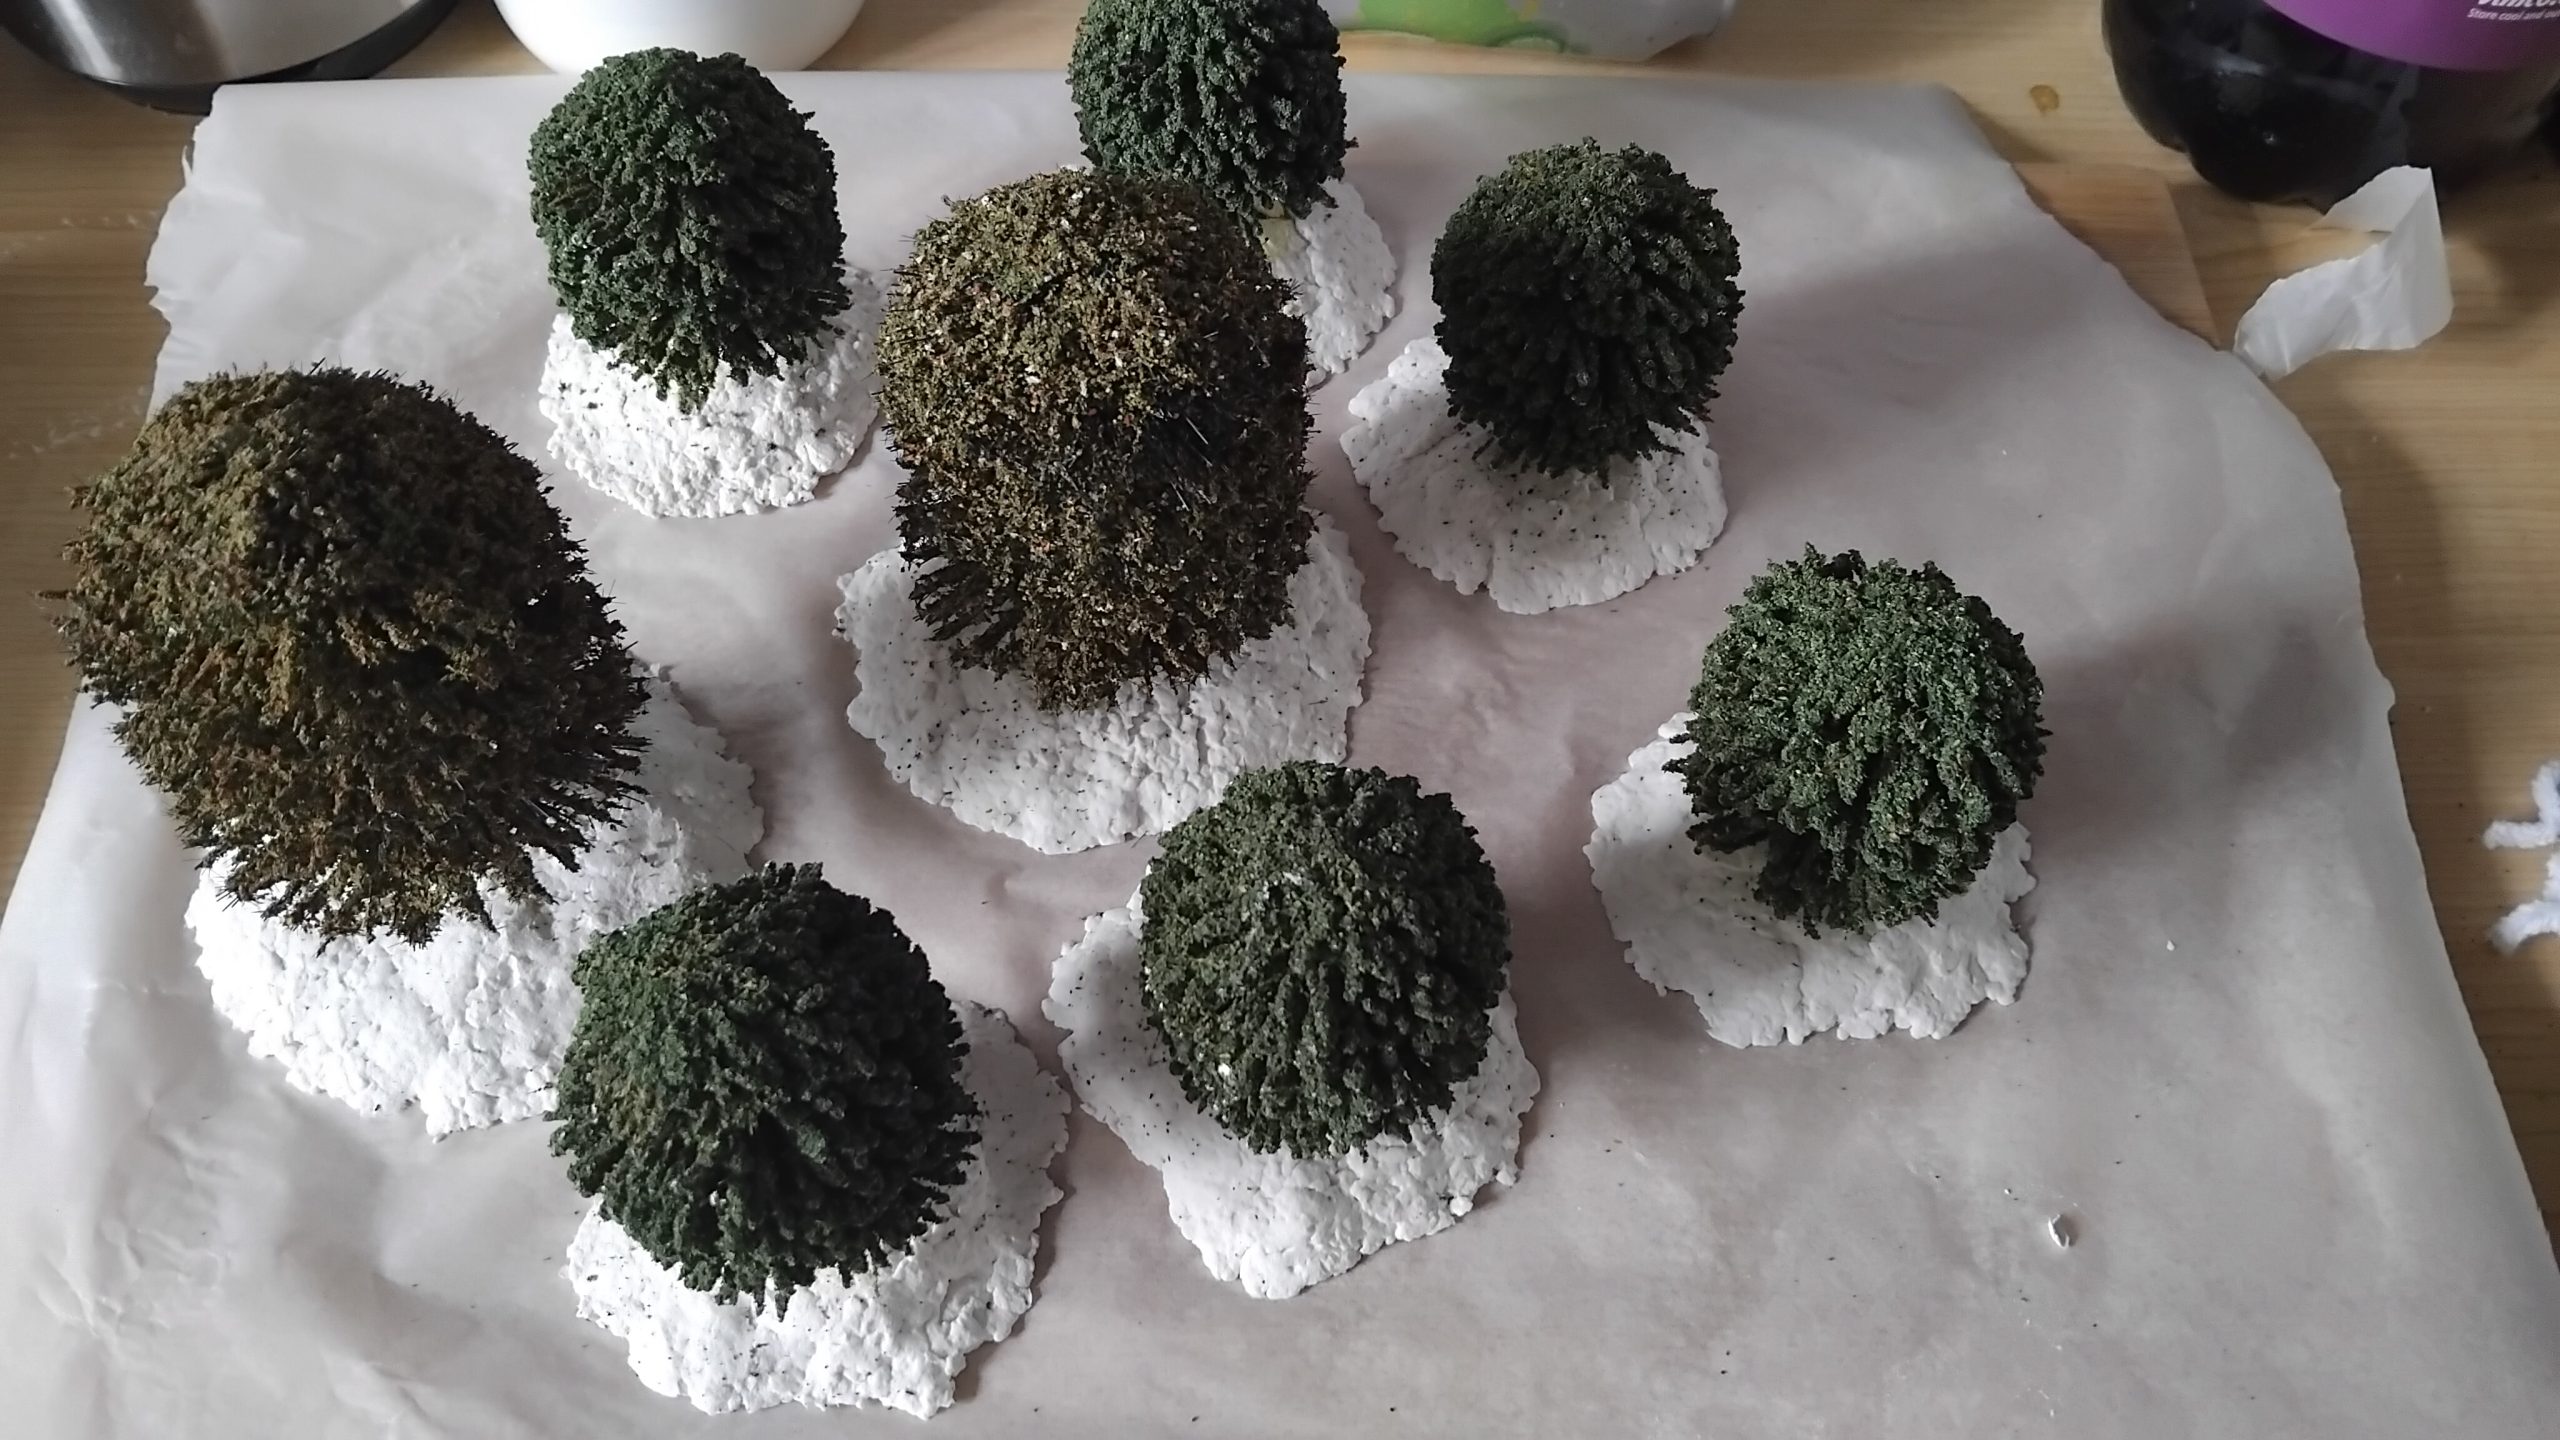
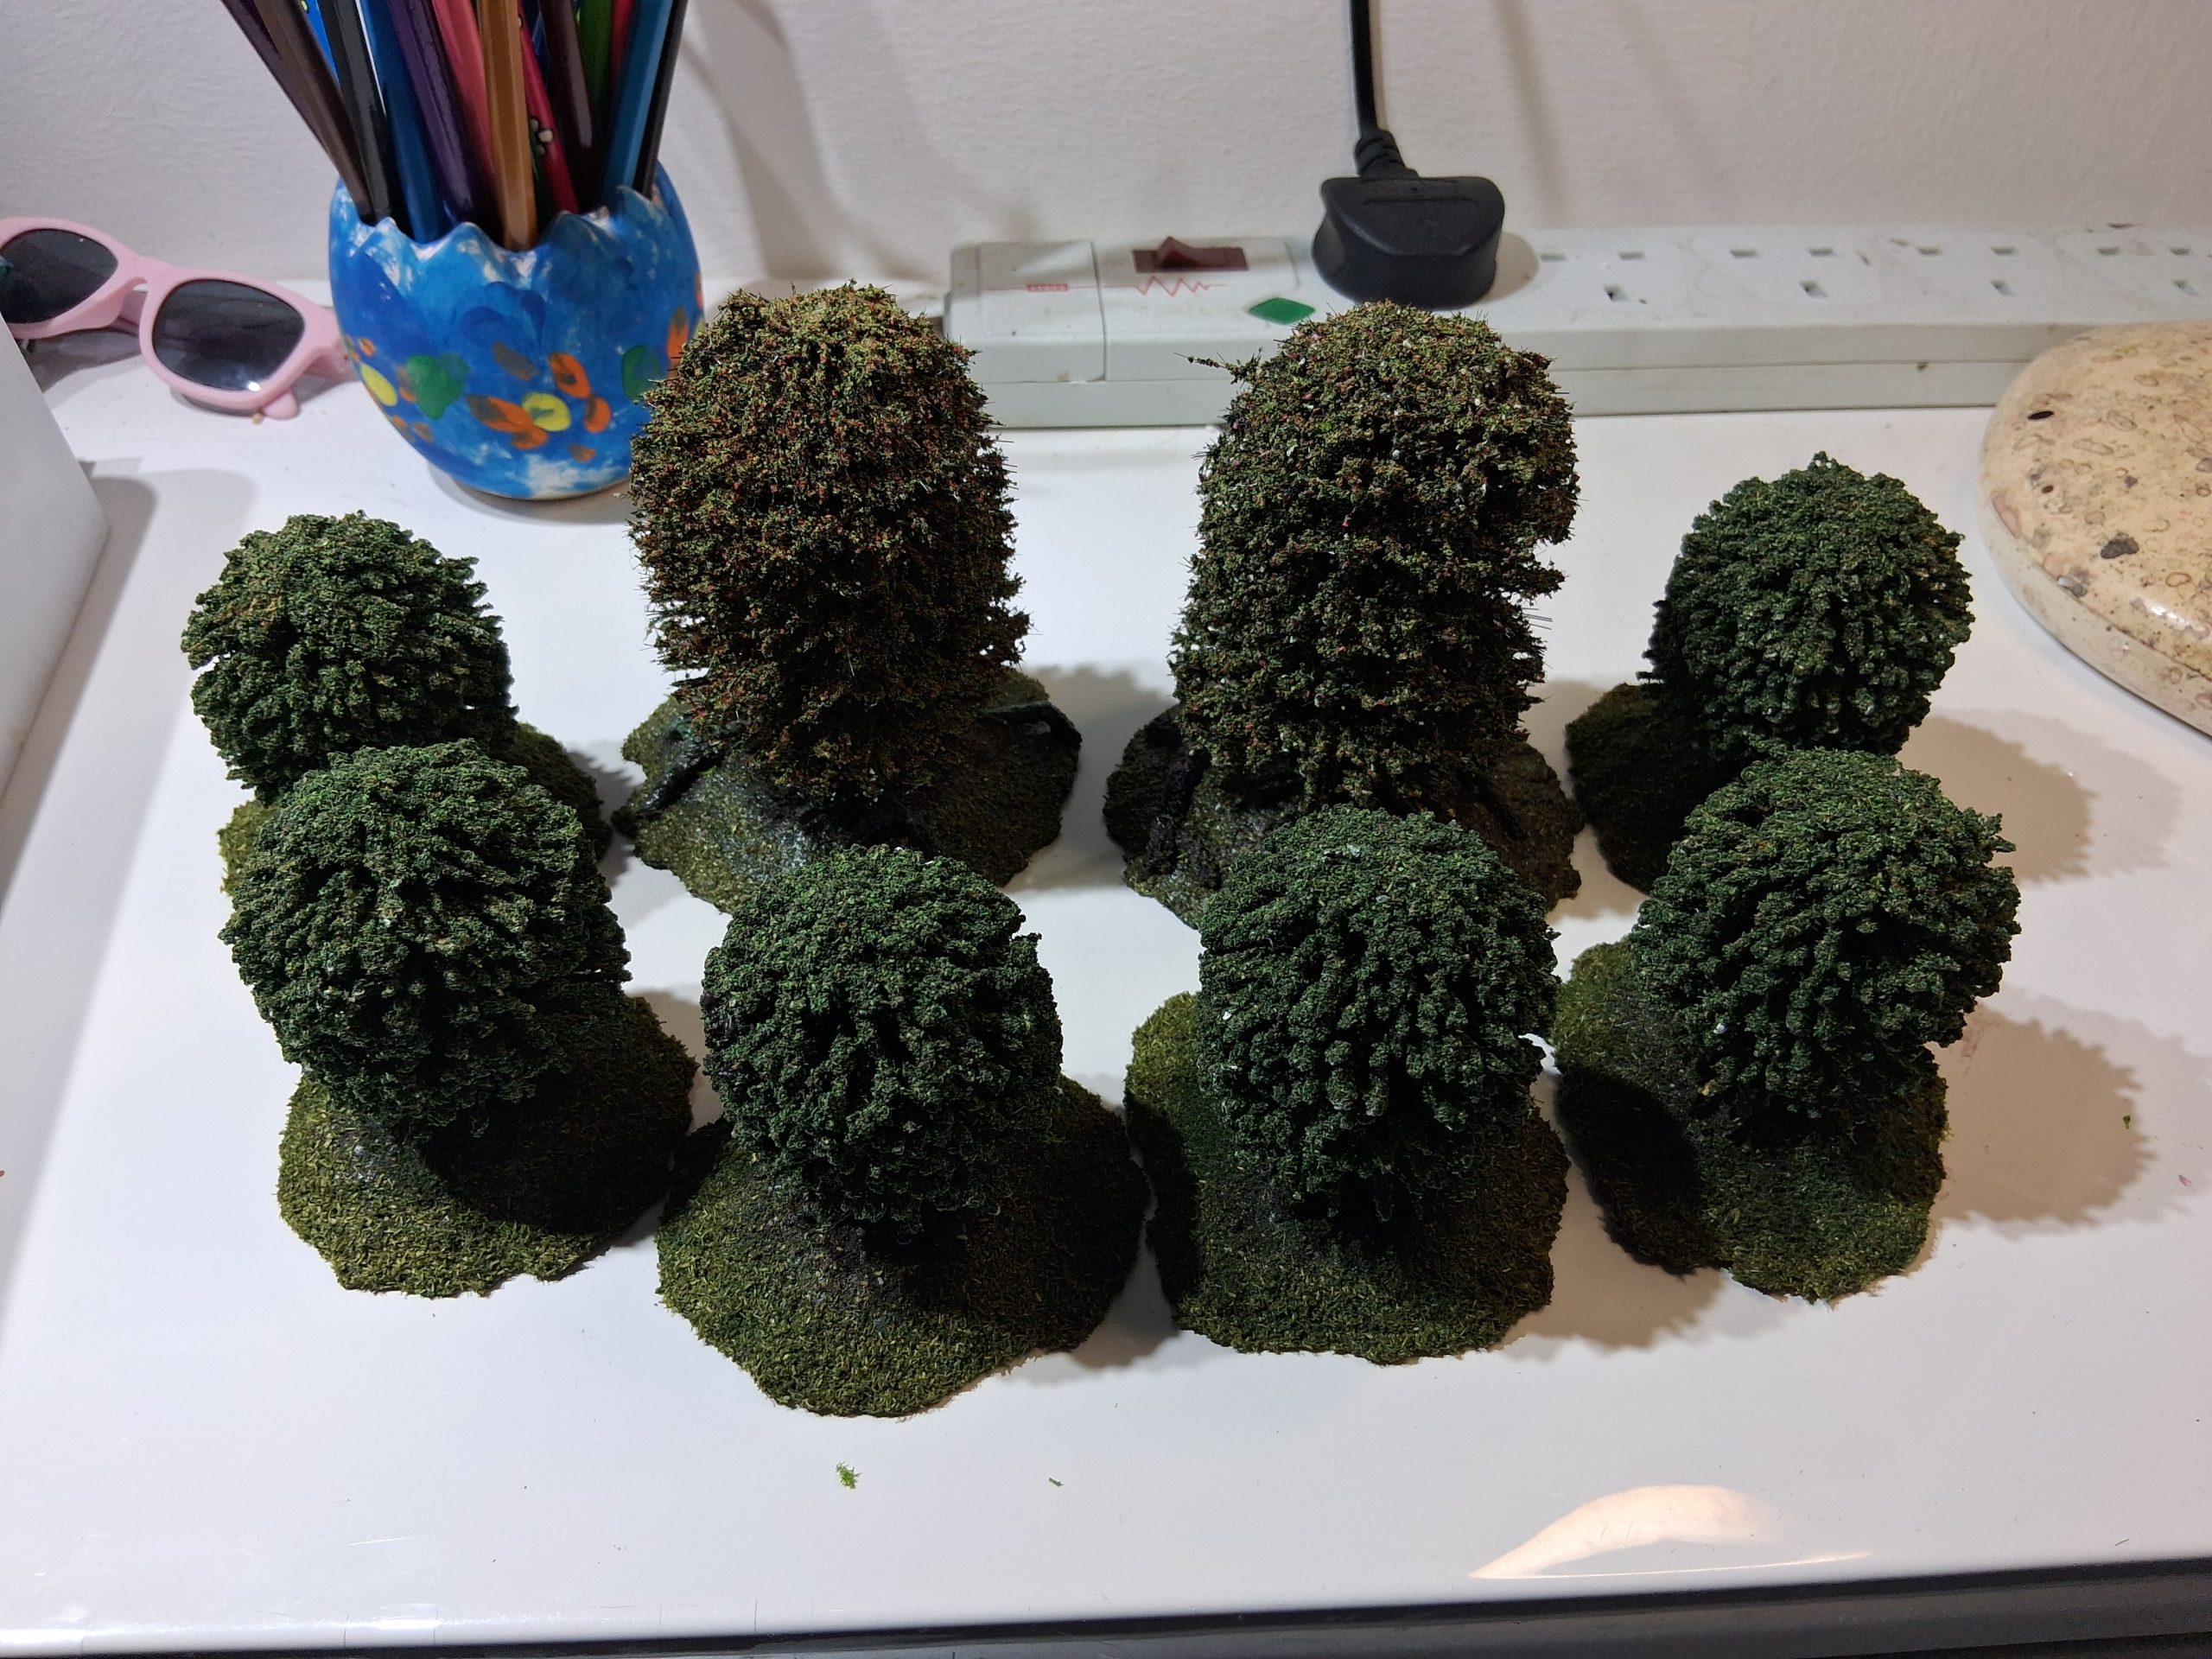
This post could almost be a “Spring Clean Challenge”. I found some really old trees that I purchase way back in the 90s. Some of them were beyond repair and had to be thrown away, however I did manage to salvage 8 of them – two large and six small. As they don’t really look like the other trees that I bought from Wish, I decided to make these into freestanding trees, rather than being part of a larger forest base.
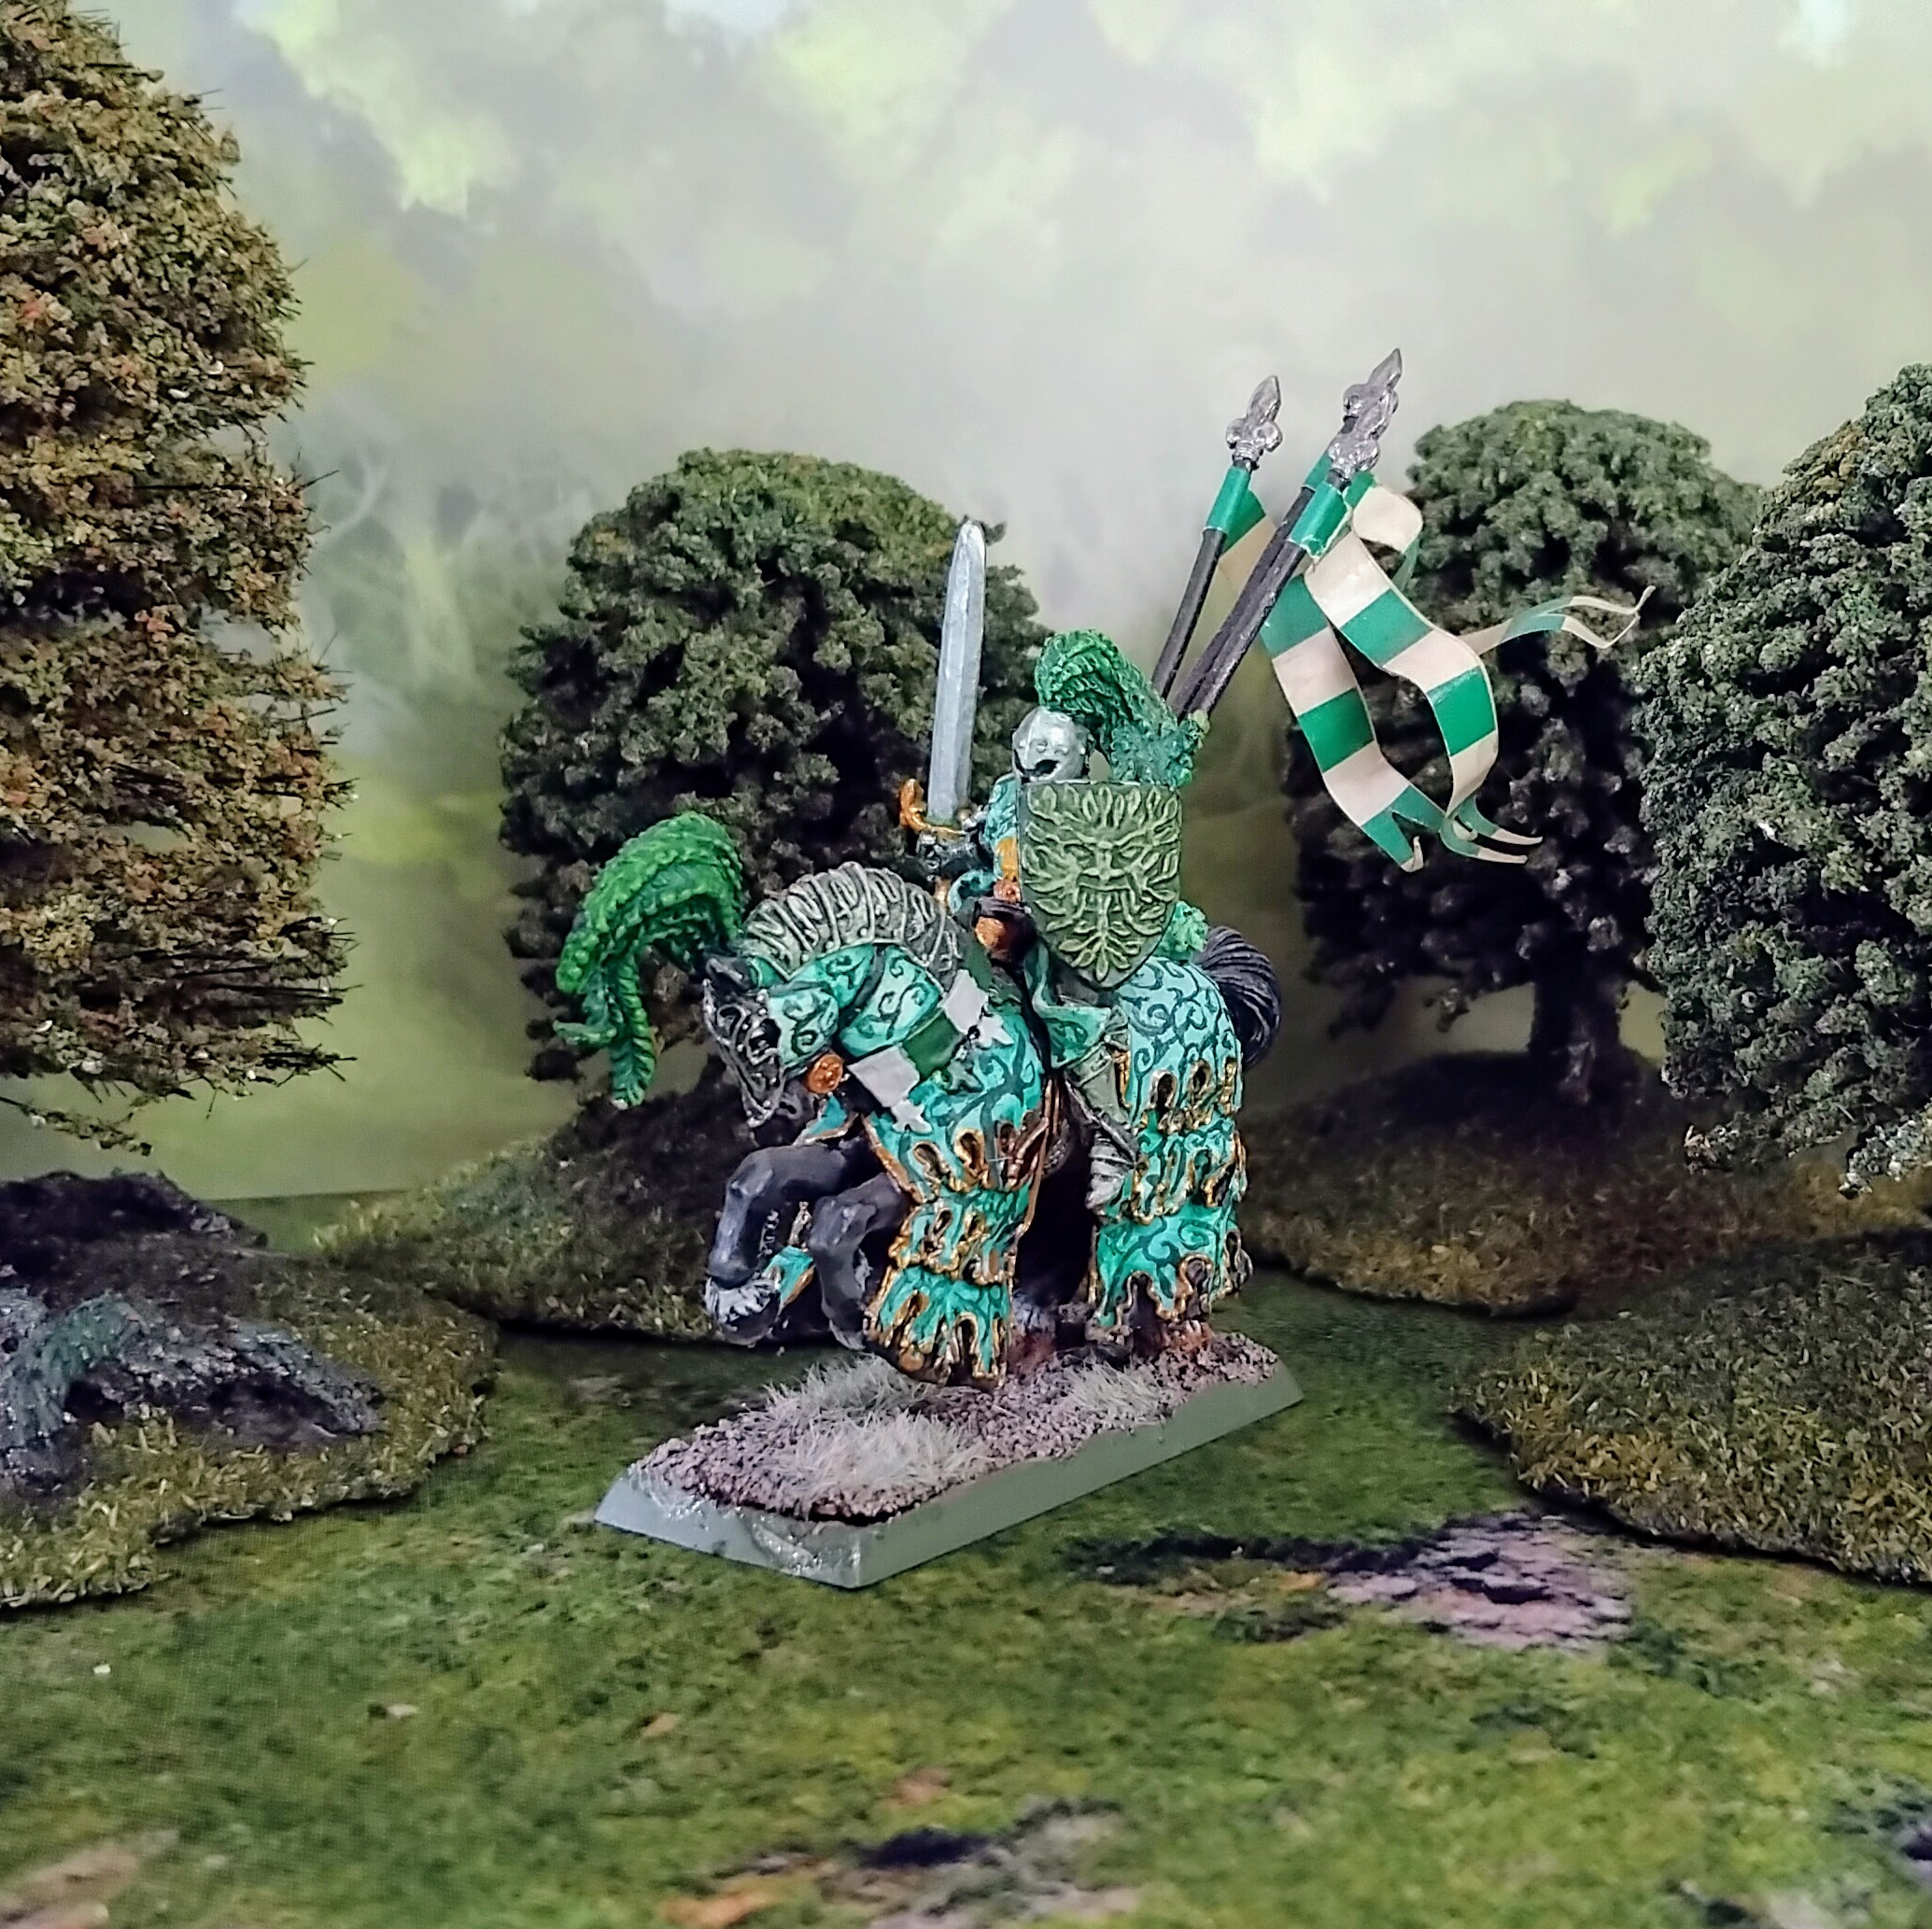
They were previously stuck to plastic miniature bases but I decided to make them look a bit more interesting. I made new bases for them using sculptamold which, when it was dry, was then painted dark brown and drybrushed with green. This really helps when you put the flock over the top, giving it a much more natural undertone and making any gaps in the flock less obvious. For the two larger trees I also made some roots out of pipecleaners that I soaked in watered down brown paint and PVA glue. I then gave them a dark brown wash and a green drybrush, after they had been stuck to the base. As you can see from the pictures, I used flock rather than the fine turf I now use. These were very much a first attempt and my personal opinion is that the flock looks to coarse, each individual grain seems to look to big and the end result looks a bit spikey. I do like these trees, they have a real old-school charm to them – I remember the pages of White Dwarf would be filled with pictures of battles that were full of things like this. I took the opportunity to photograph my very old, original metal Green Knight miniature among some trees. Because why not?
Gathering Materials
The first thing I will do is go through the basic materials that I will be using in the project. As it progresses, I might find additional things I need to use for detailing (grass tufts, that sort of things), but this represents the main items that will be used for making most of the pieces.

In the image, you can see the following items:
- XPS Foam Sheets. Show in the image are 5mm sheets, but I have a number of different thicknesses, I just couldn’t fit them all in the photo
- PVS Glue. Nothing special about this, it’s just a pot of PVS glue from my local DIY store.
- Fine Turf. You can use flock instead but i have found that fine turf produces a much nicer finish
- Epoxy Glue. Because I am using XPS foam as the base material, you can’t use superglue or contact adhesive because the melt the foam. Epoxy is the safest bet as it won’t damage the foam but it will give you an incredibly strong bond
- Bog Roll. Might seem like an odd choice, but it’s used to make the water on the rivers
- “Cheap” paint. These paints aren’t cheap, they’re professsional artists paint from Daler Rowney. However, when compared to miniature paints, these pots (which are about £15 each) provide you with a lot more paint than you would get if you spent £15 buying pots of GW paints. They also give a good finish with good coverage and they don’t reactivate when you start applying PVA glue over the top
- Scluptamold modelling compound. You can use wall filler instead but I find that modelling compounds give a nicer, smoother finish which is easier to then go an add details to. Wall filler will not be as smooth and will likely need quite a lot of sanding afterwards.
- Mod Podge Gloss. Honestly you can use any gloss varnish for this, I just like the mod-podge stuff.
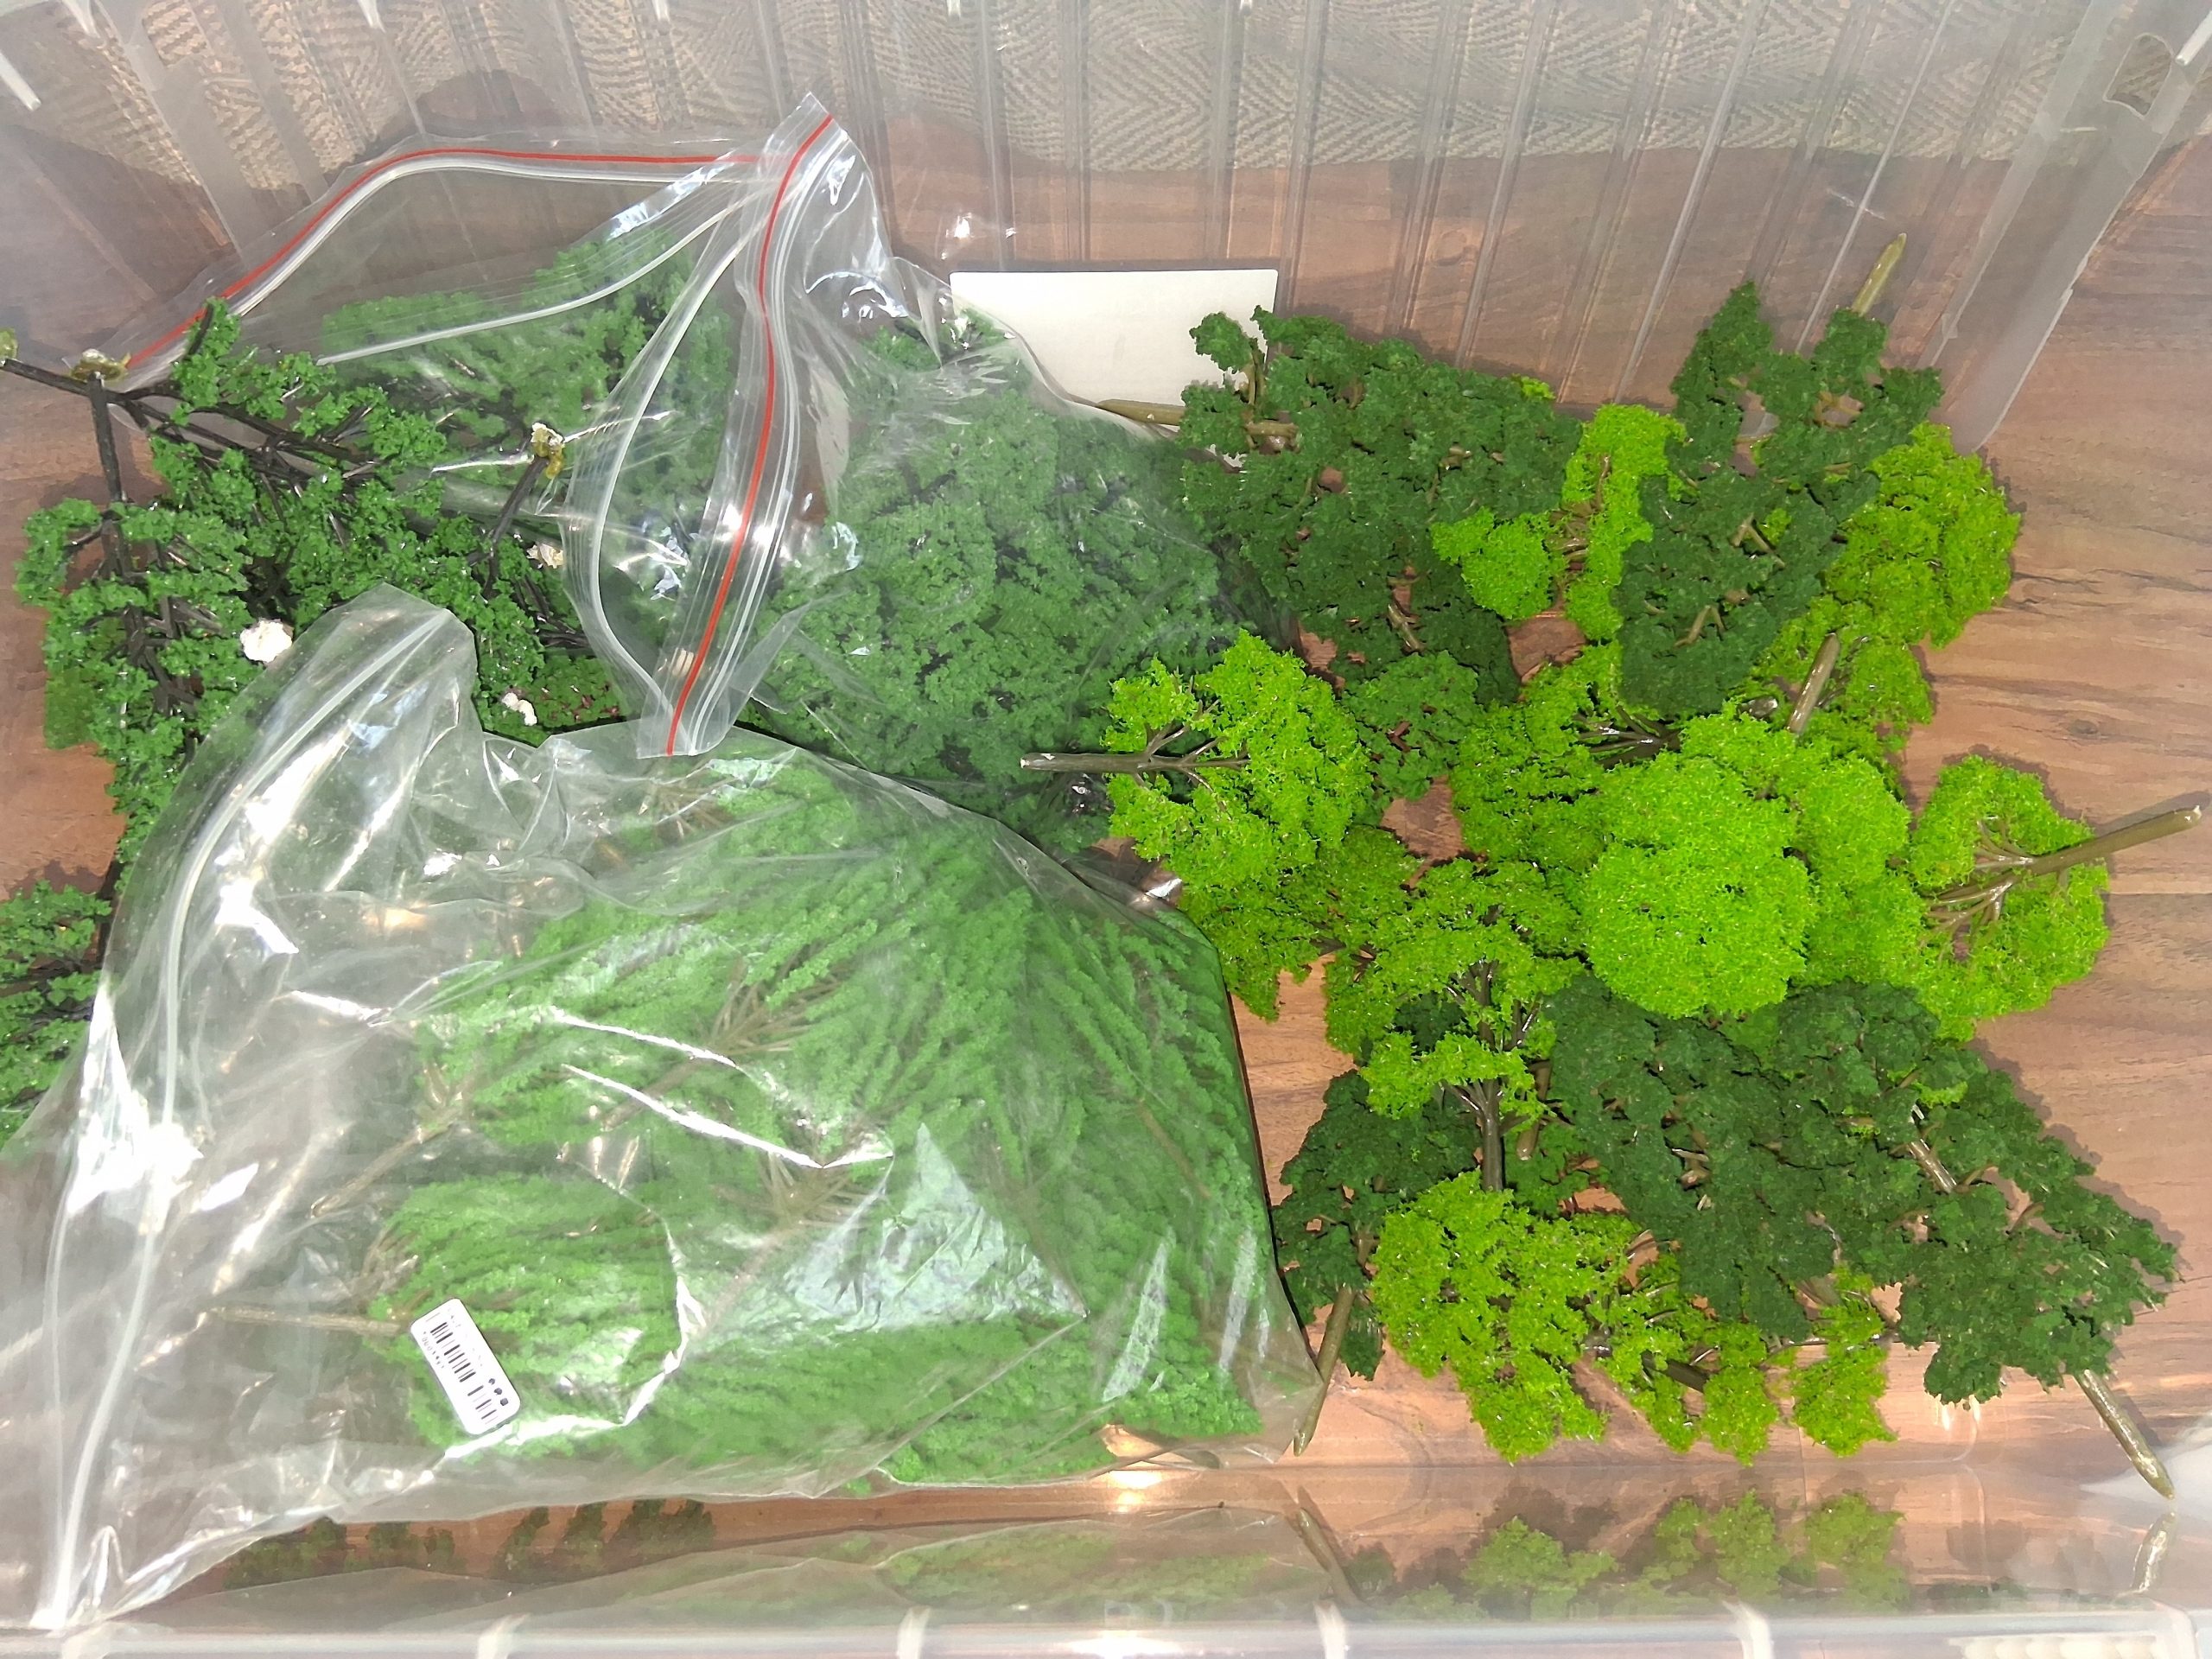
As well as the material shown, I am also going to need some trees. Lots of trees. I know that you can make these on your own but I have discovered that you can actually buy bags full of model railway trees from Wish and Temu and they work out at about £1 per tree. You will have to do a bit of work to some of them – notably spraying them with a PVA sealer to stop the foliage falling off – but you can’t really complain for the price. I currently have a large selection of trees for making both “temperate” (Northern Europe) forests as well as some more mediterranean looking trees. I will be making forest stands for both themes
This is the bulk of what I will be using. I have made a couple of test pieces already which you can see below, but over the next few months I will be posting some tutorials – step by step guides – for making forests and for making rivers.
The first test piece is a simple forest base. I am going to aim for roughly 3 trees per base (unless I make some larger bases) leaving enough space for some miniatures in the middle. I will also be looking to add little details to make each base unique. On this one I just added a few toadstools, which I 3d printed, nothing too extravagant, but then agian this was just my test piece.

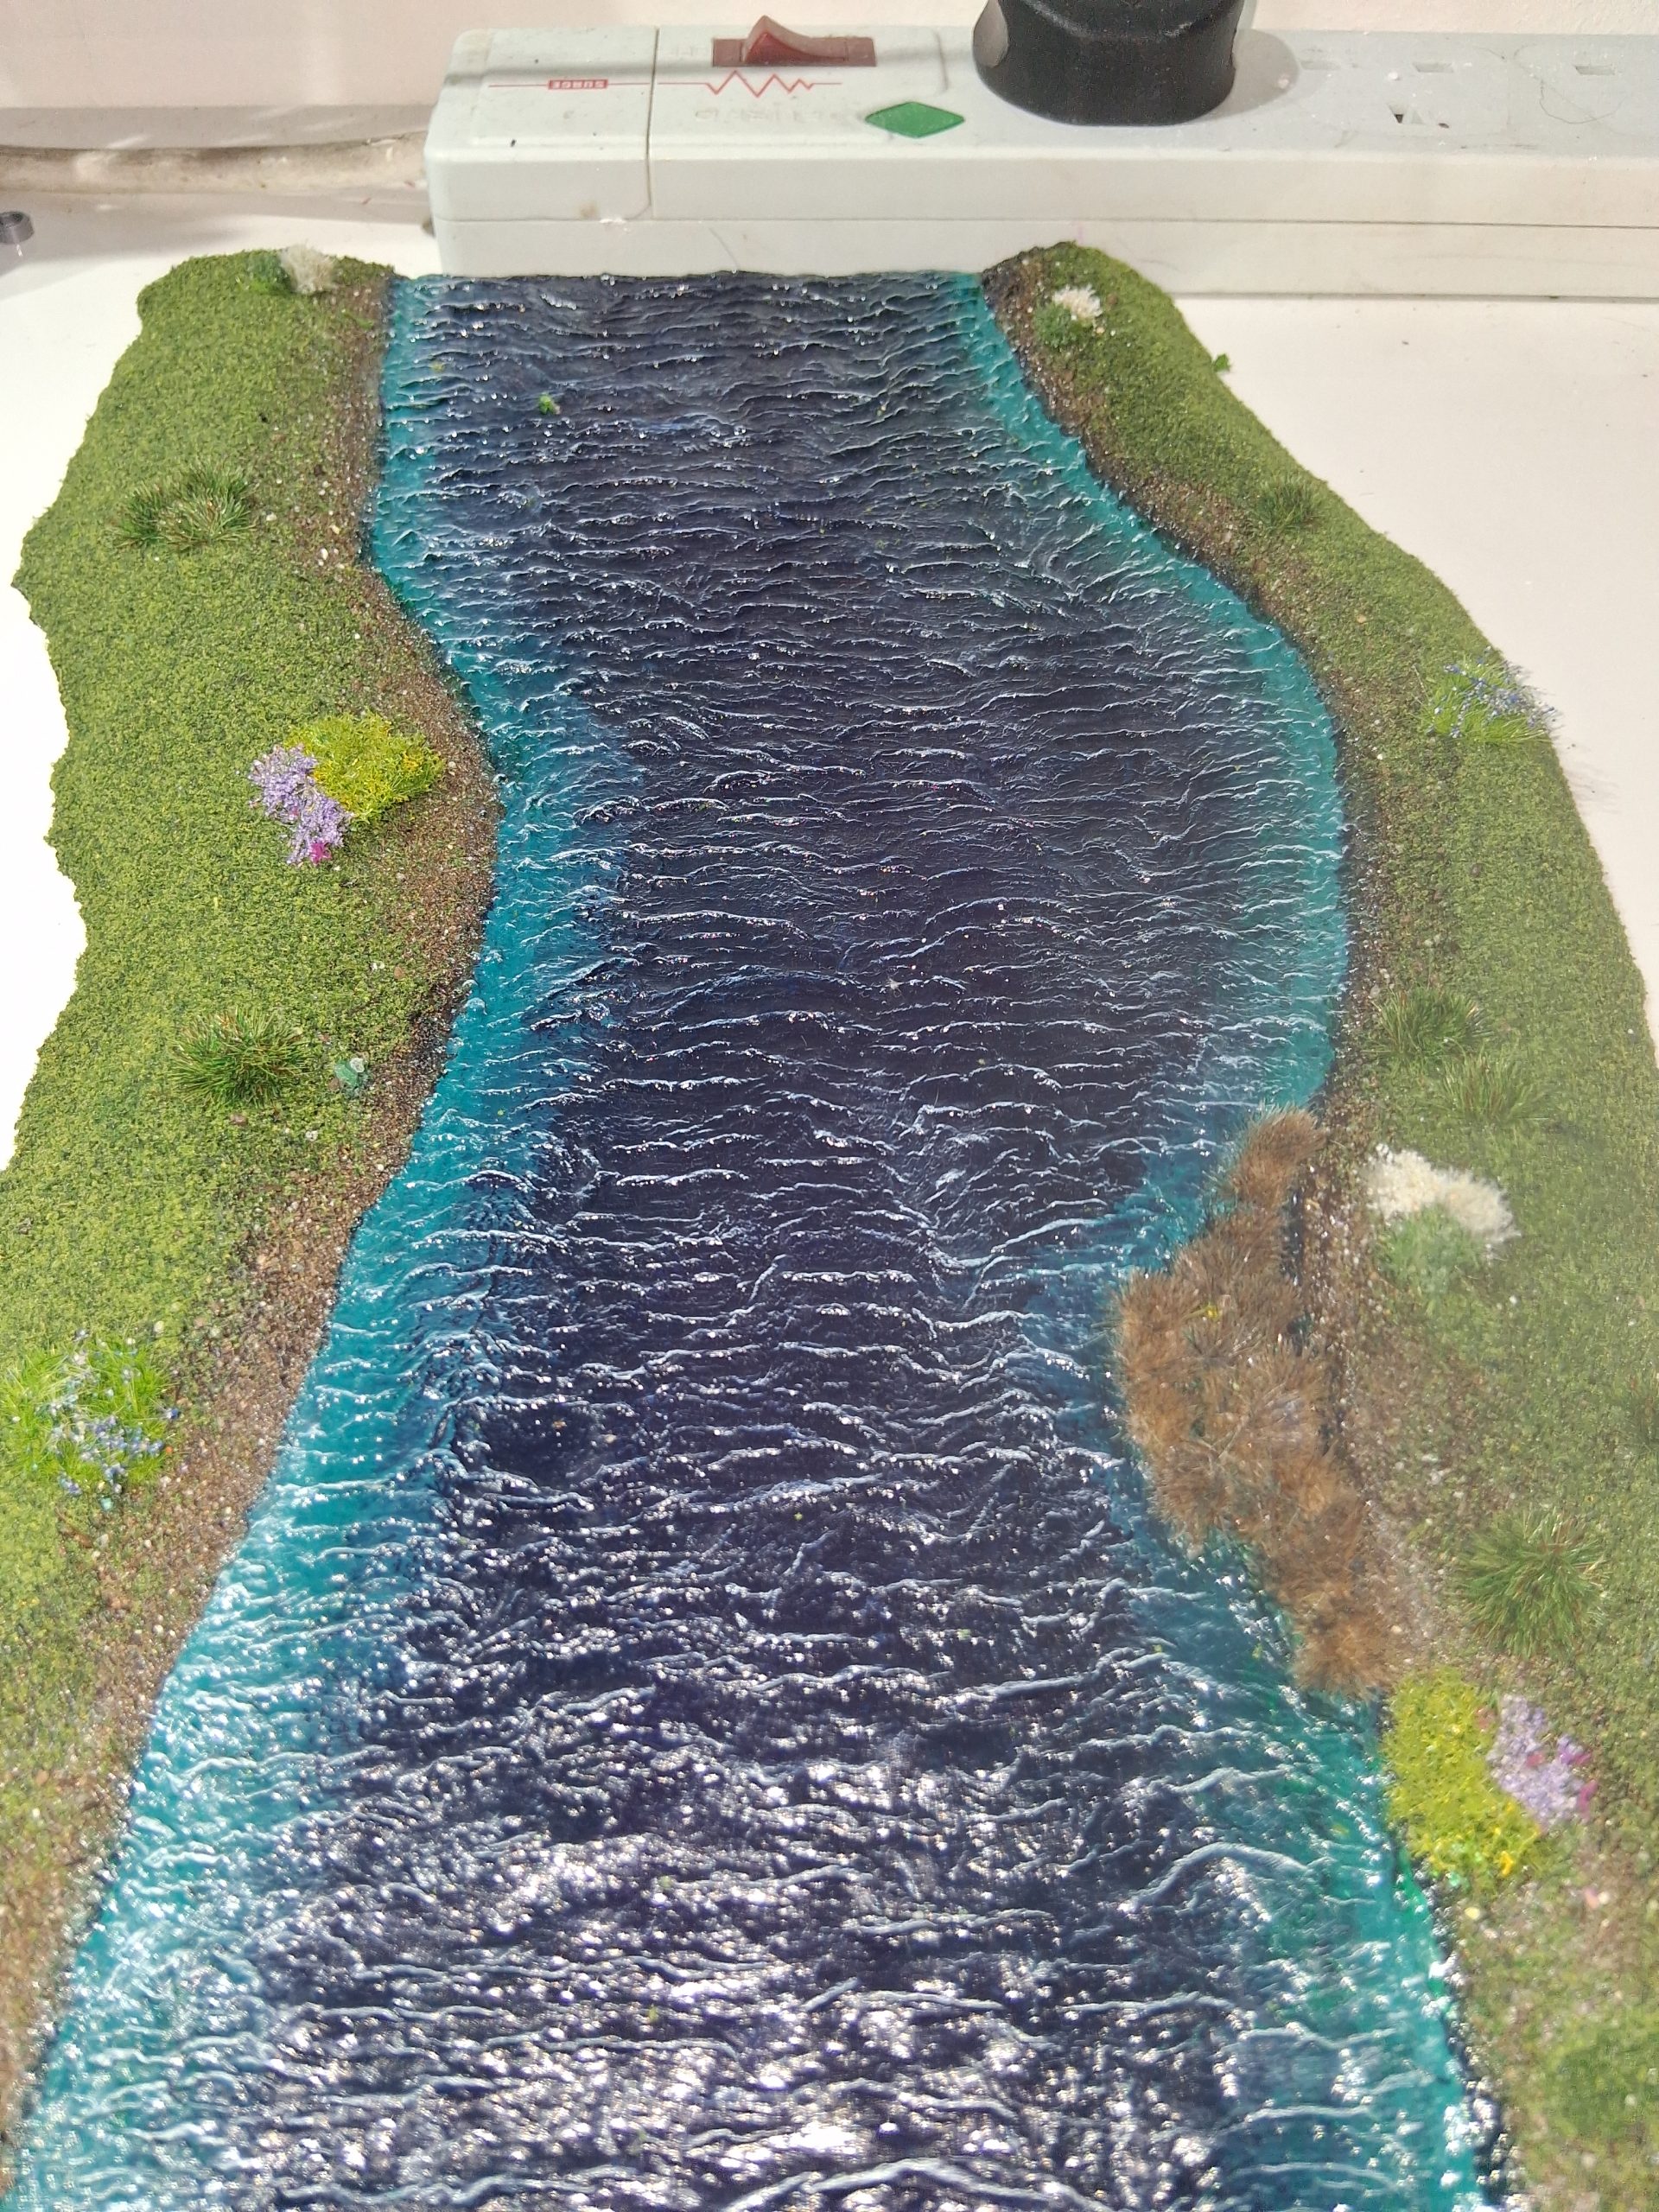
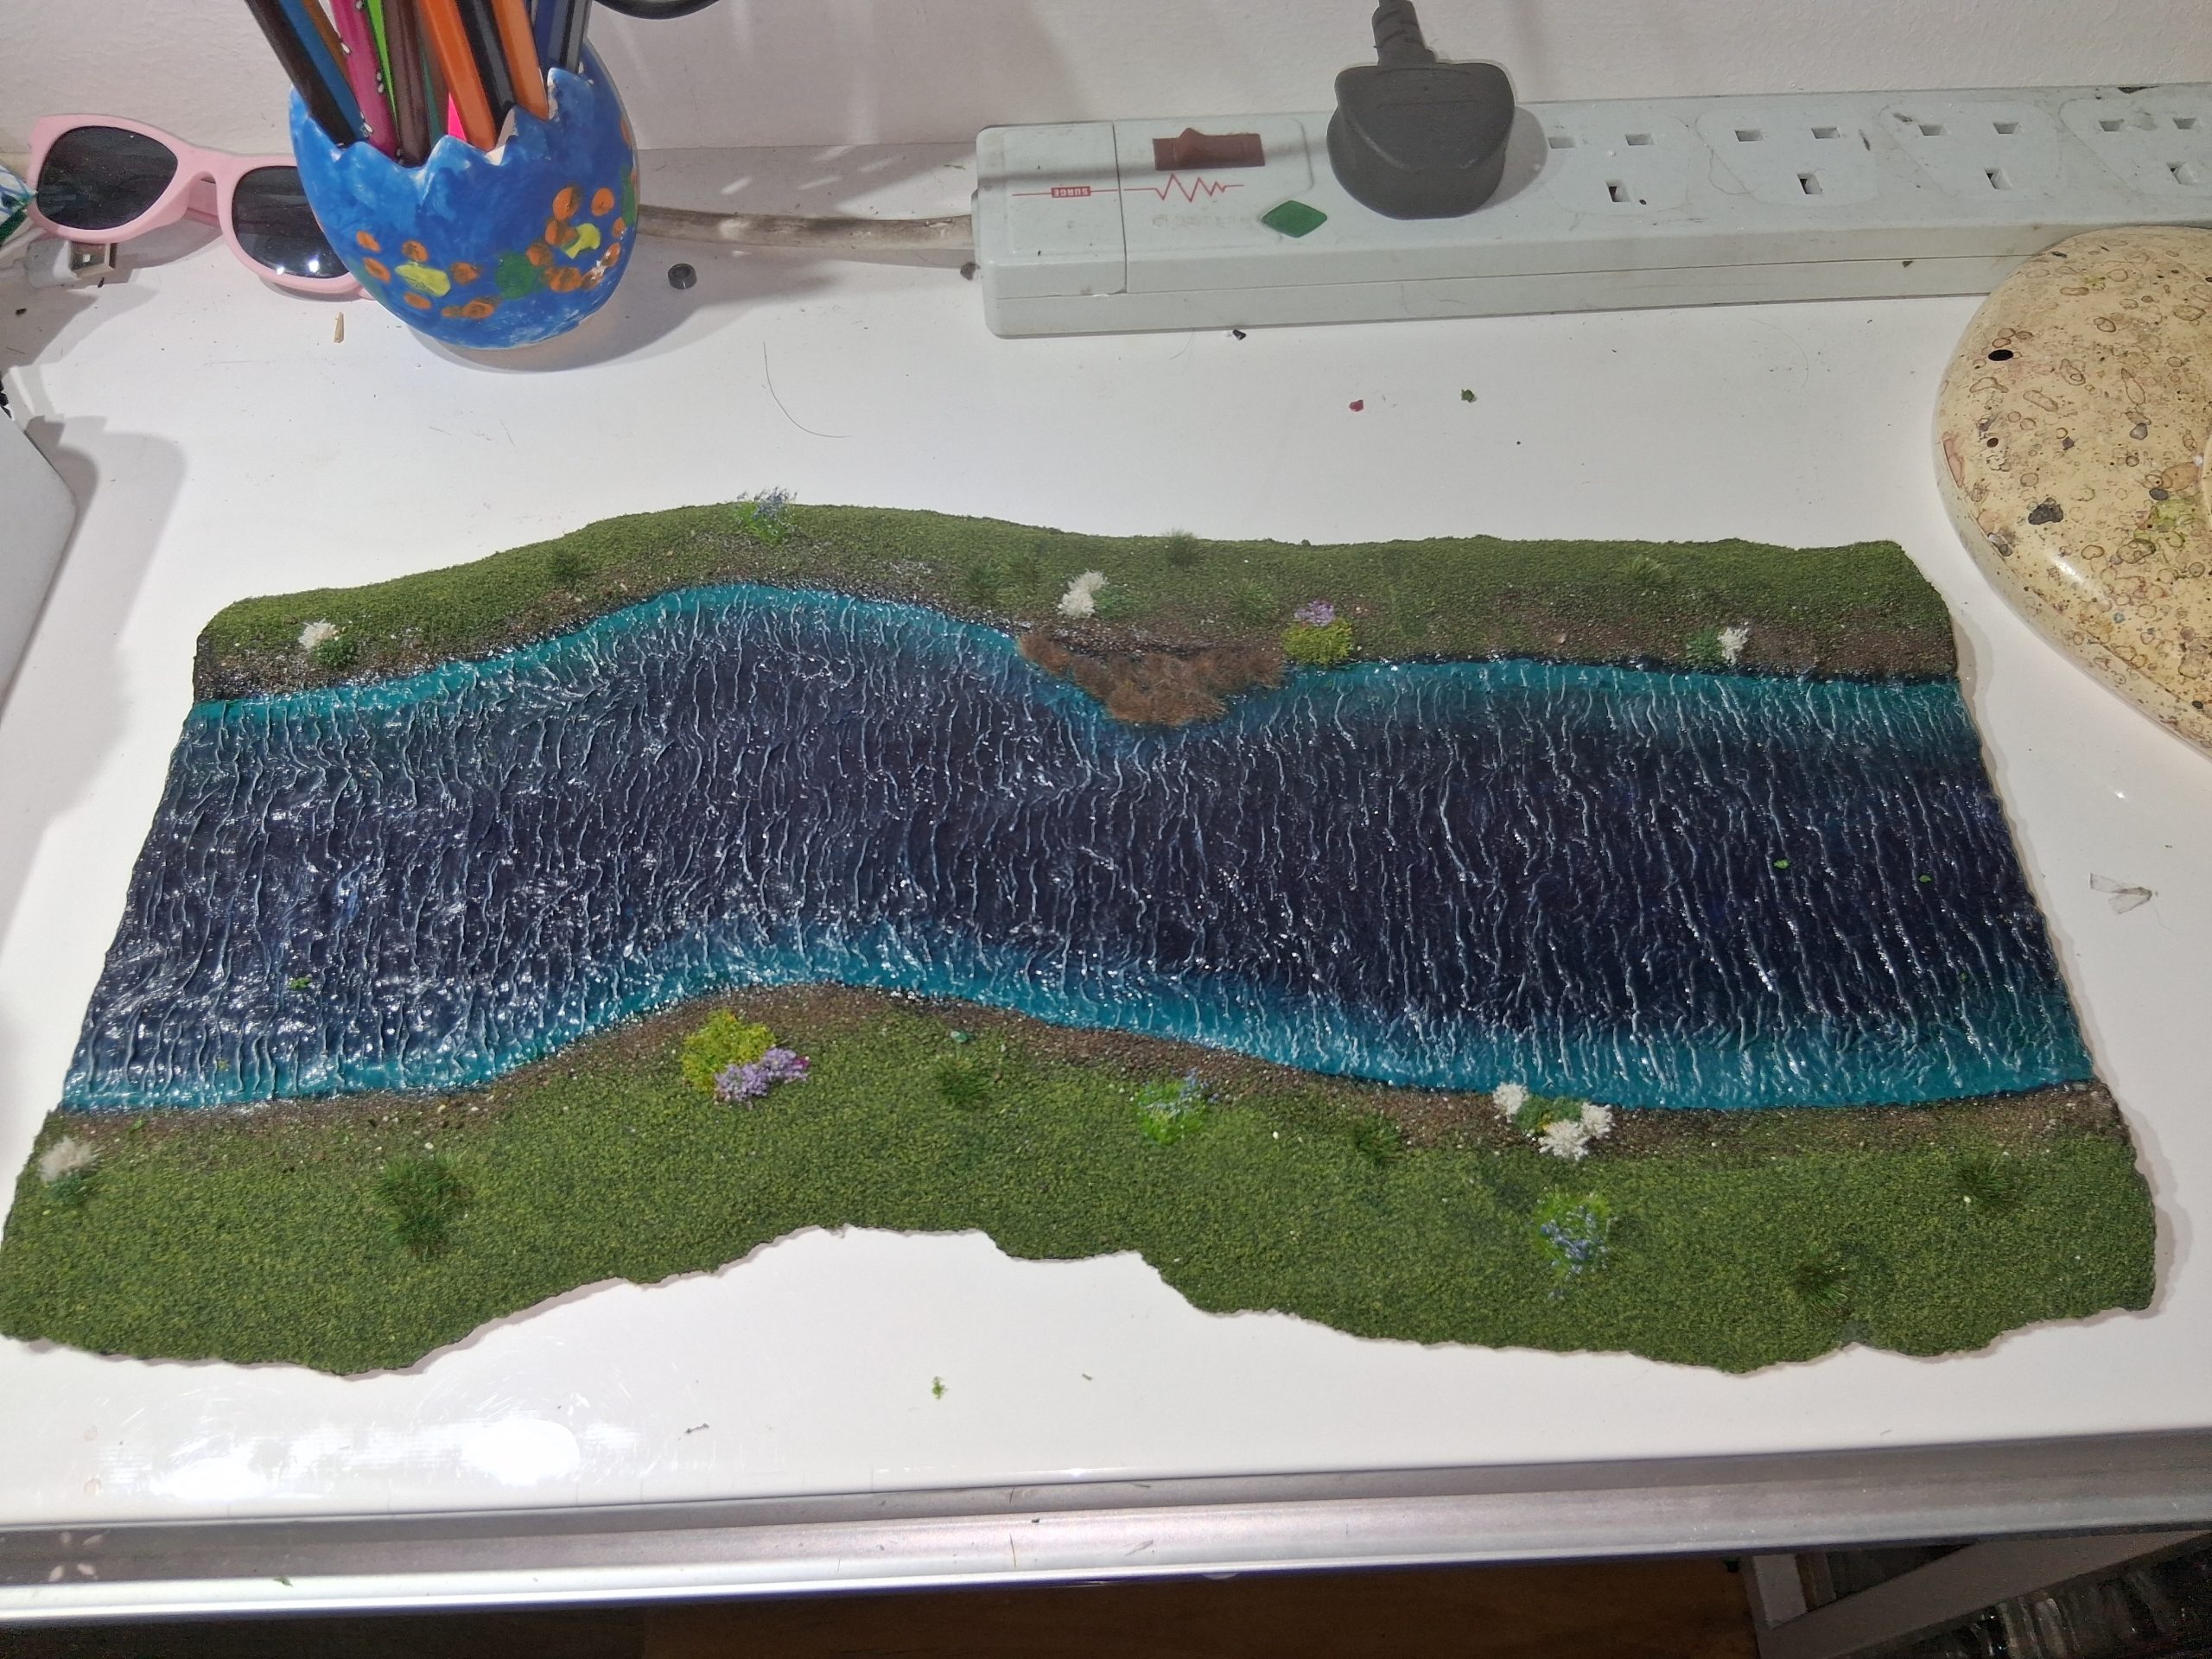
And the other test piece is a simple river section, which I think turned out really well. In hindsight, the section is too long and straight, so I will be making future pieces much shorter and with more shape to the river banks. But otherwise I think the concept is sound.


![StarCraft Tabletop Miniatures Game Pre-Orders Live Now [Updated]](https://images.beastsofwar.com/2026/03/starcraft-tmg-news-cover-600-338.jpg)


![Mounted US Cavalry On Kickstarter For Dead Man’s Hand! [Updated]](https://images.beastsofwar.com/2026/03/us-cavalry-main-600-338.jpg)


