![NO Weekender Or Cult Of Games XLBS This Weekend [Updated]](https://images.beastsofwar.com/2026/03/No_Weekender_and_XLBS_this_Weekend-225-127.jpg)


Terrainfest 2025 – BigGrim returns to Necromunda!


Recommendations: 103
About the Project
I played Necromunda back in the dark days of the 90s. I've been meaning to return to the new version for many years. This year, with 40K no longer holding my attention, I finally decided to do so. I have broken out my TTCombat Iron Labyrinth Ultima Complex and Death Quadrant Complex sets. This, however, is just the start!
Related Game: Necromunda
Related Company: Games Workshop
Related Genre: Science Fiction
Related Contest: TerrainFest 2025
This Project is Active
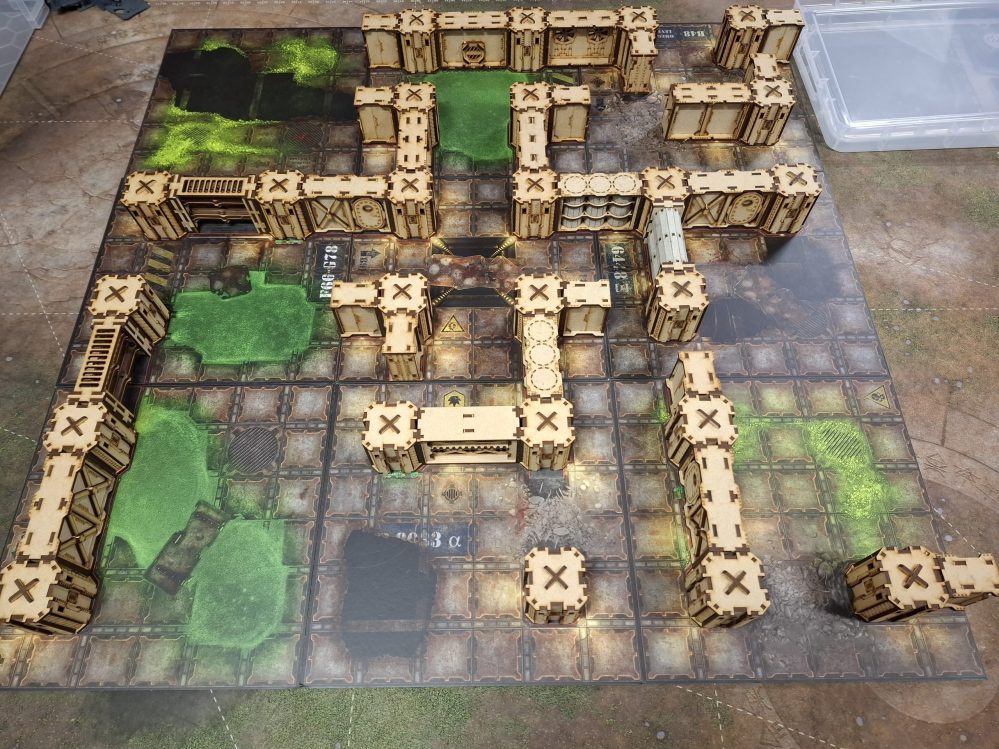
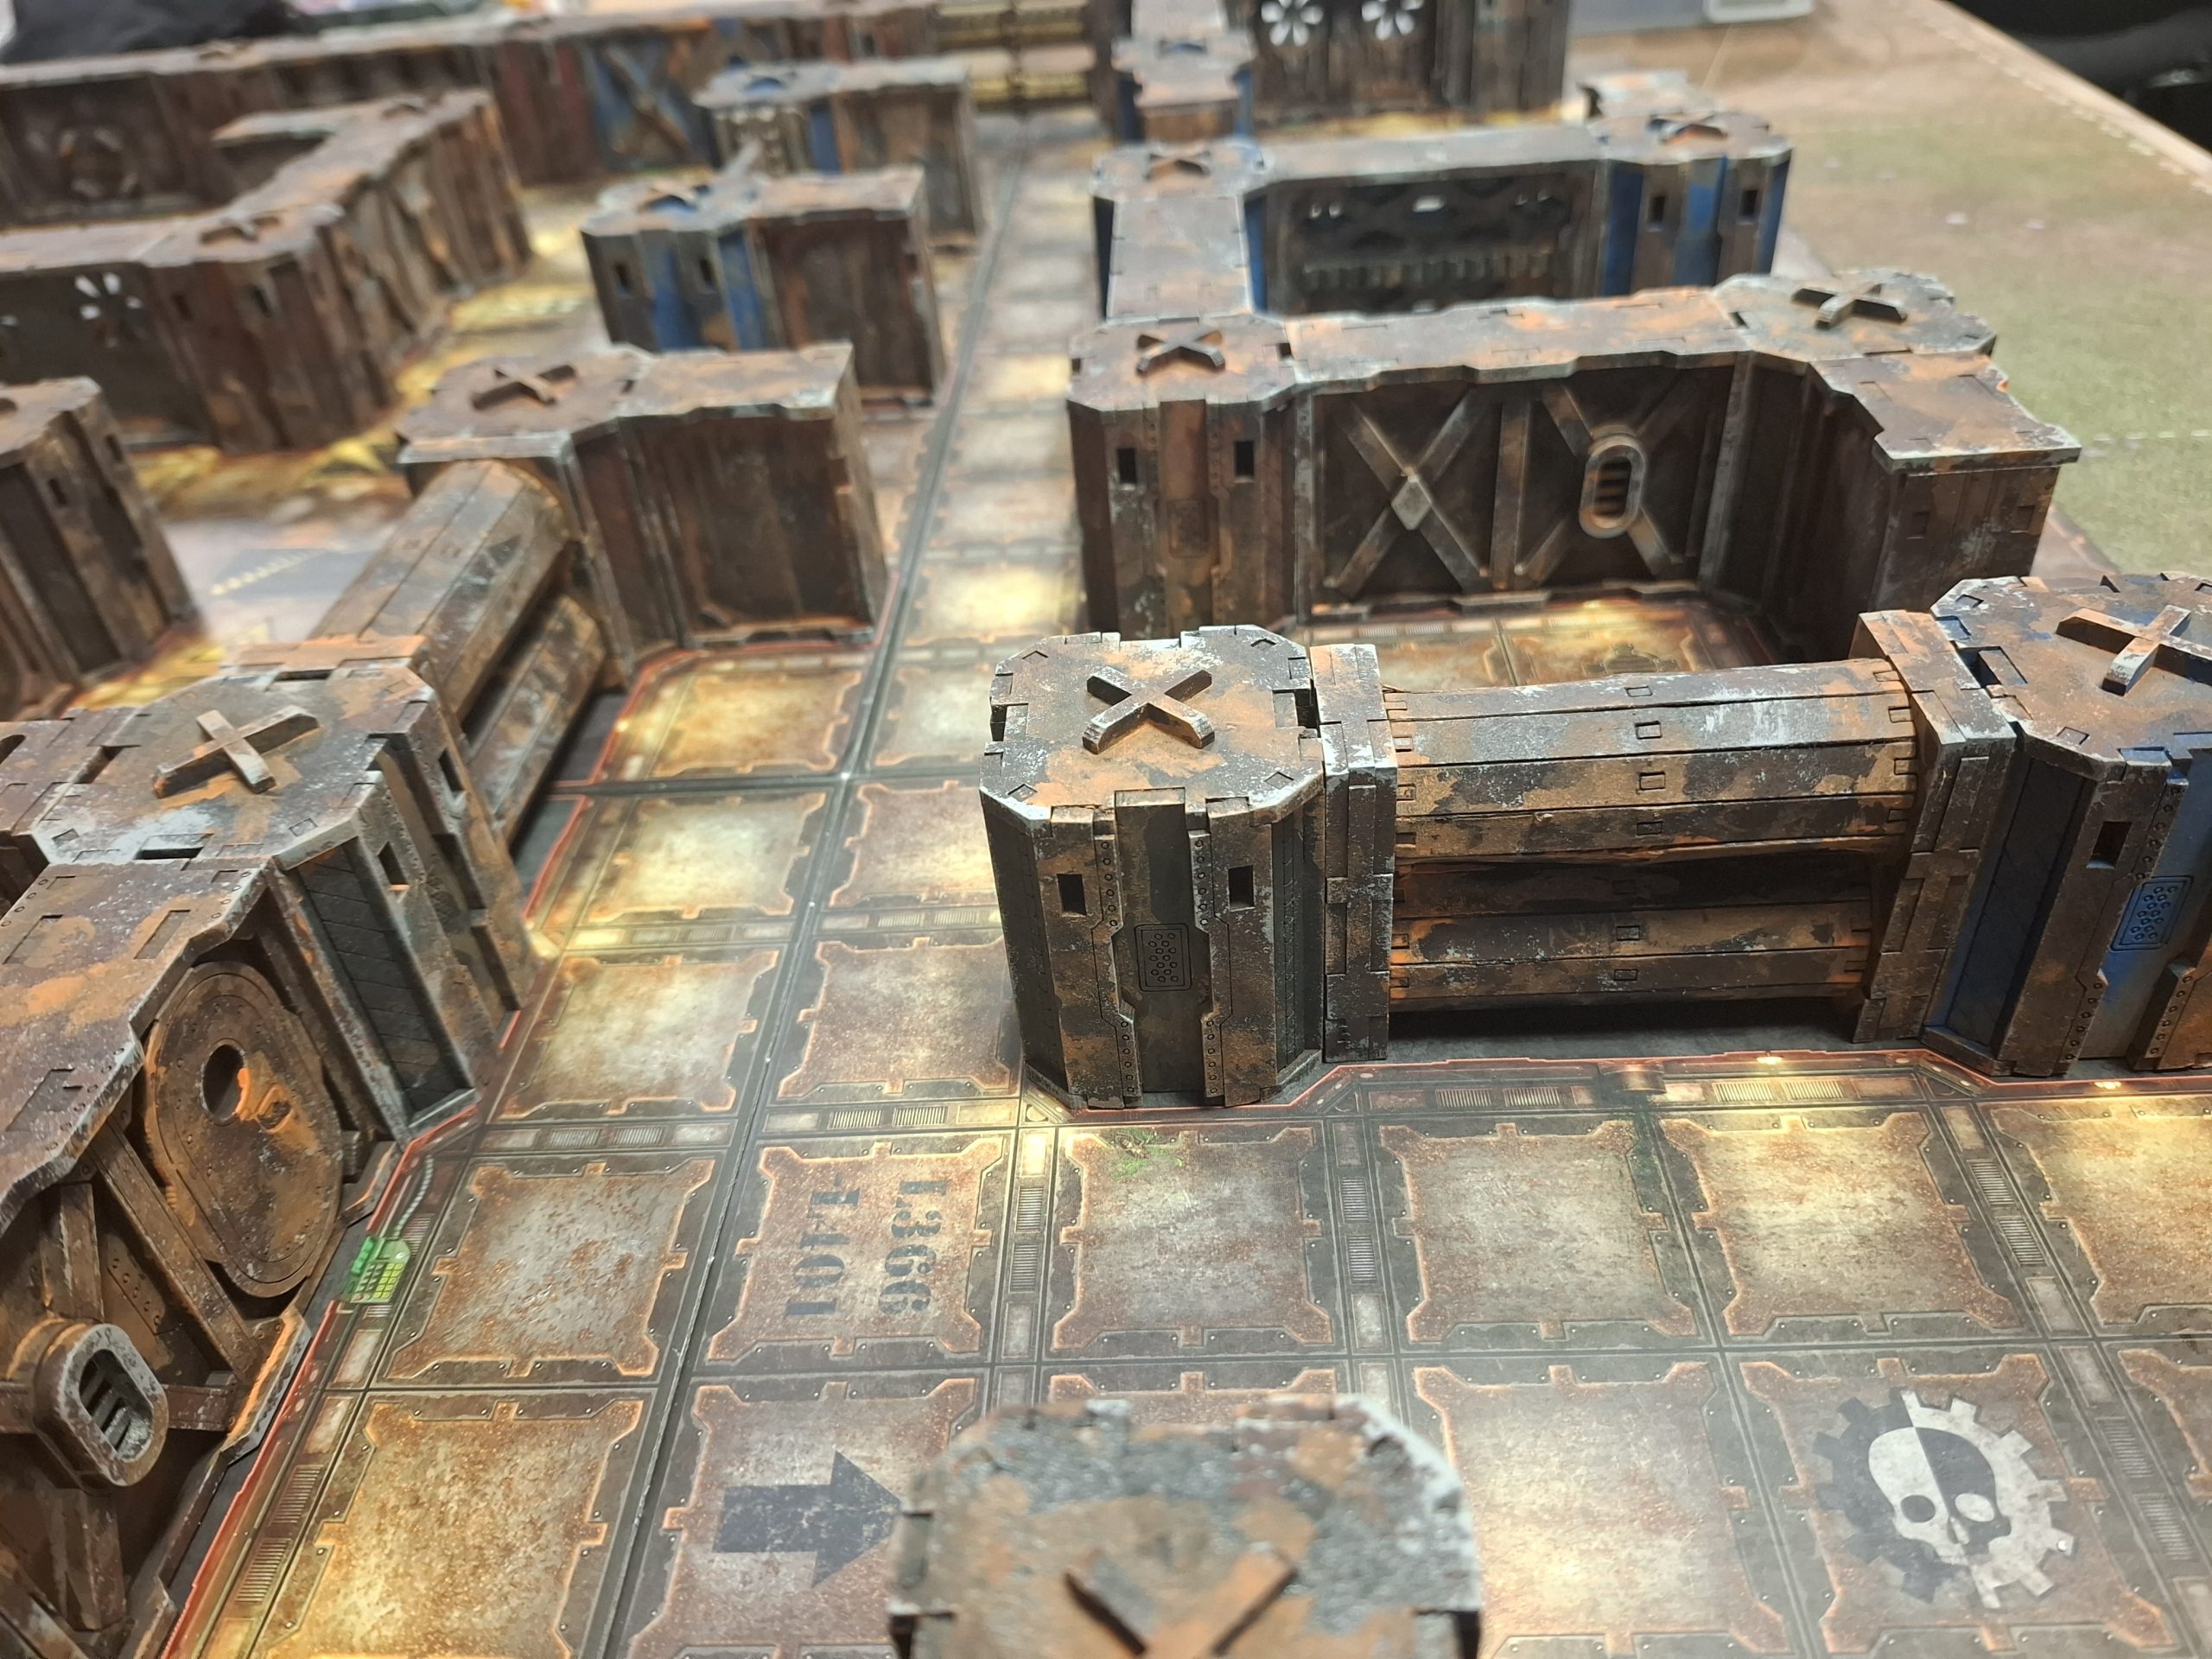
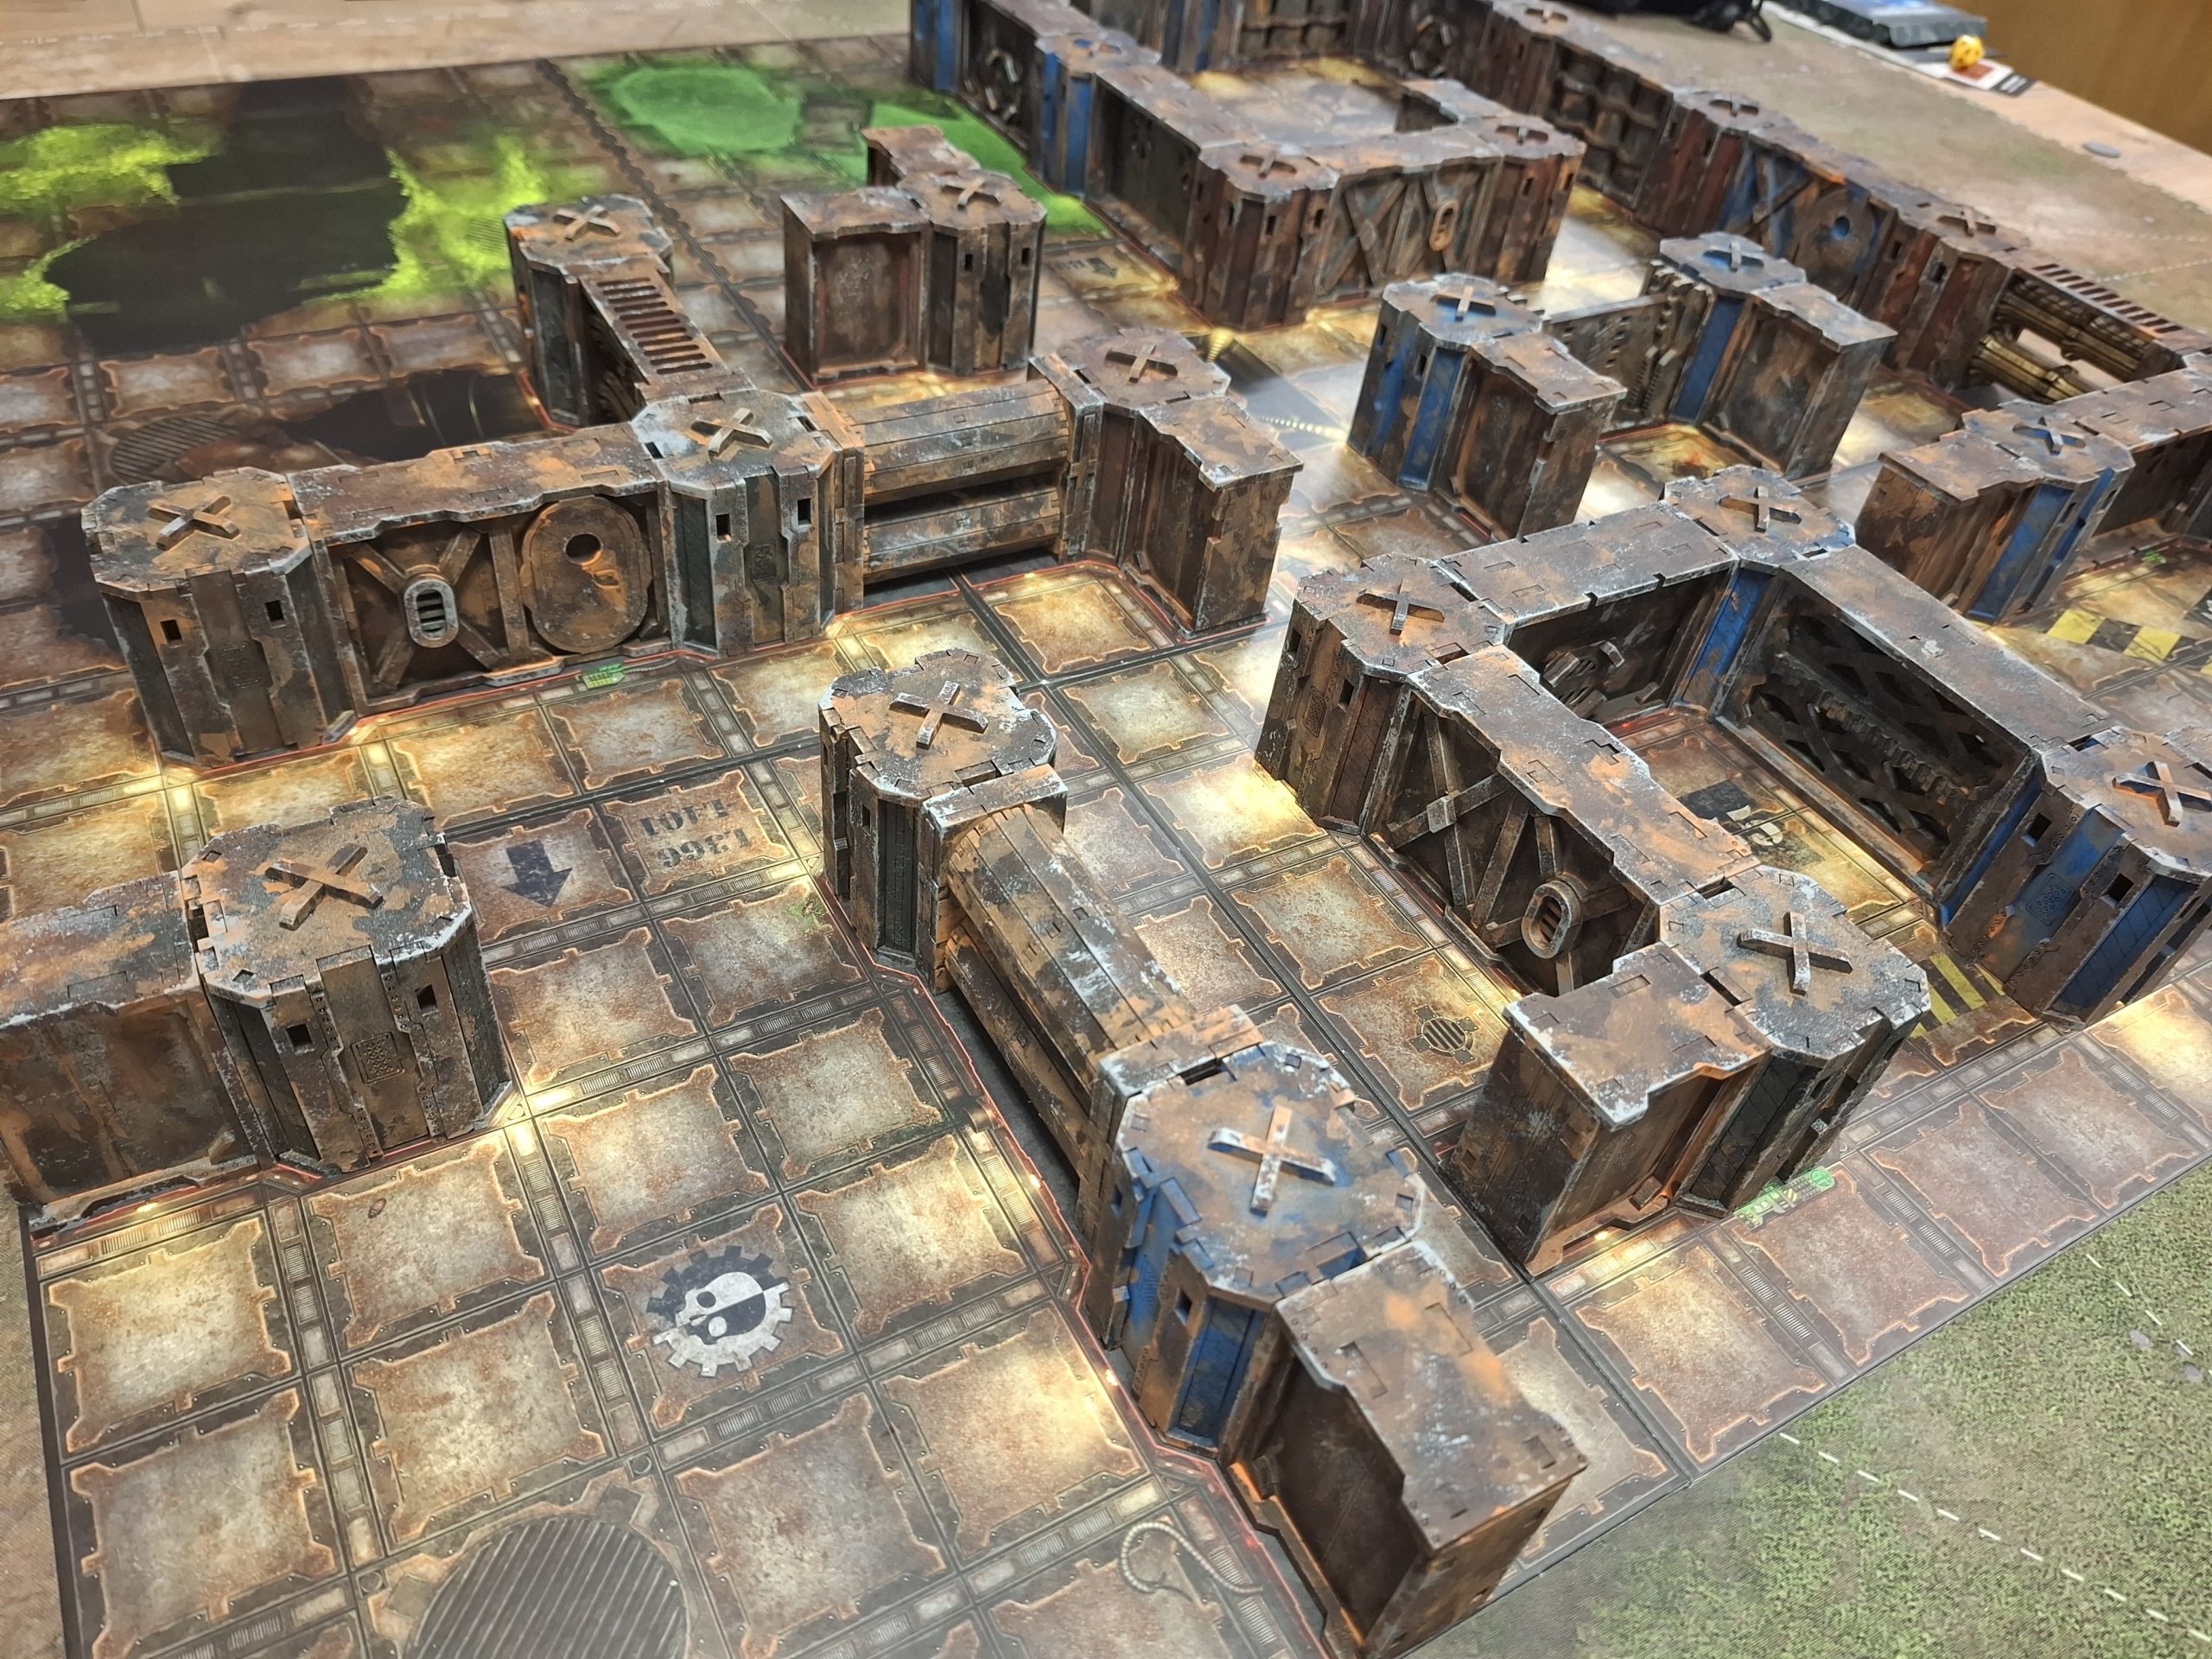
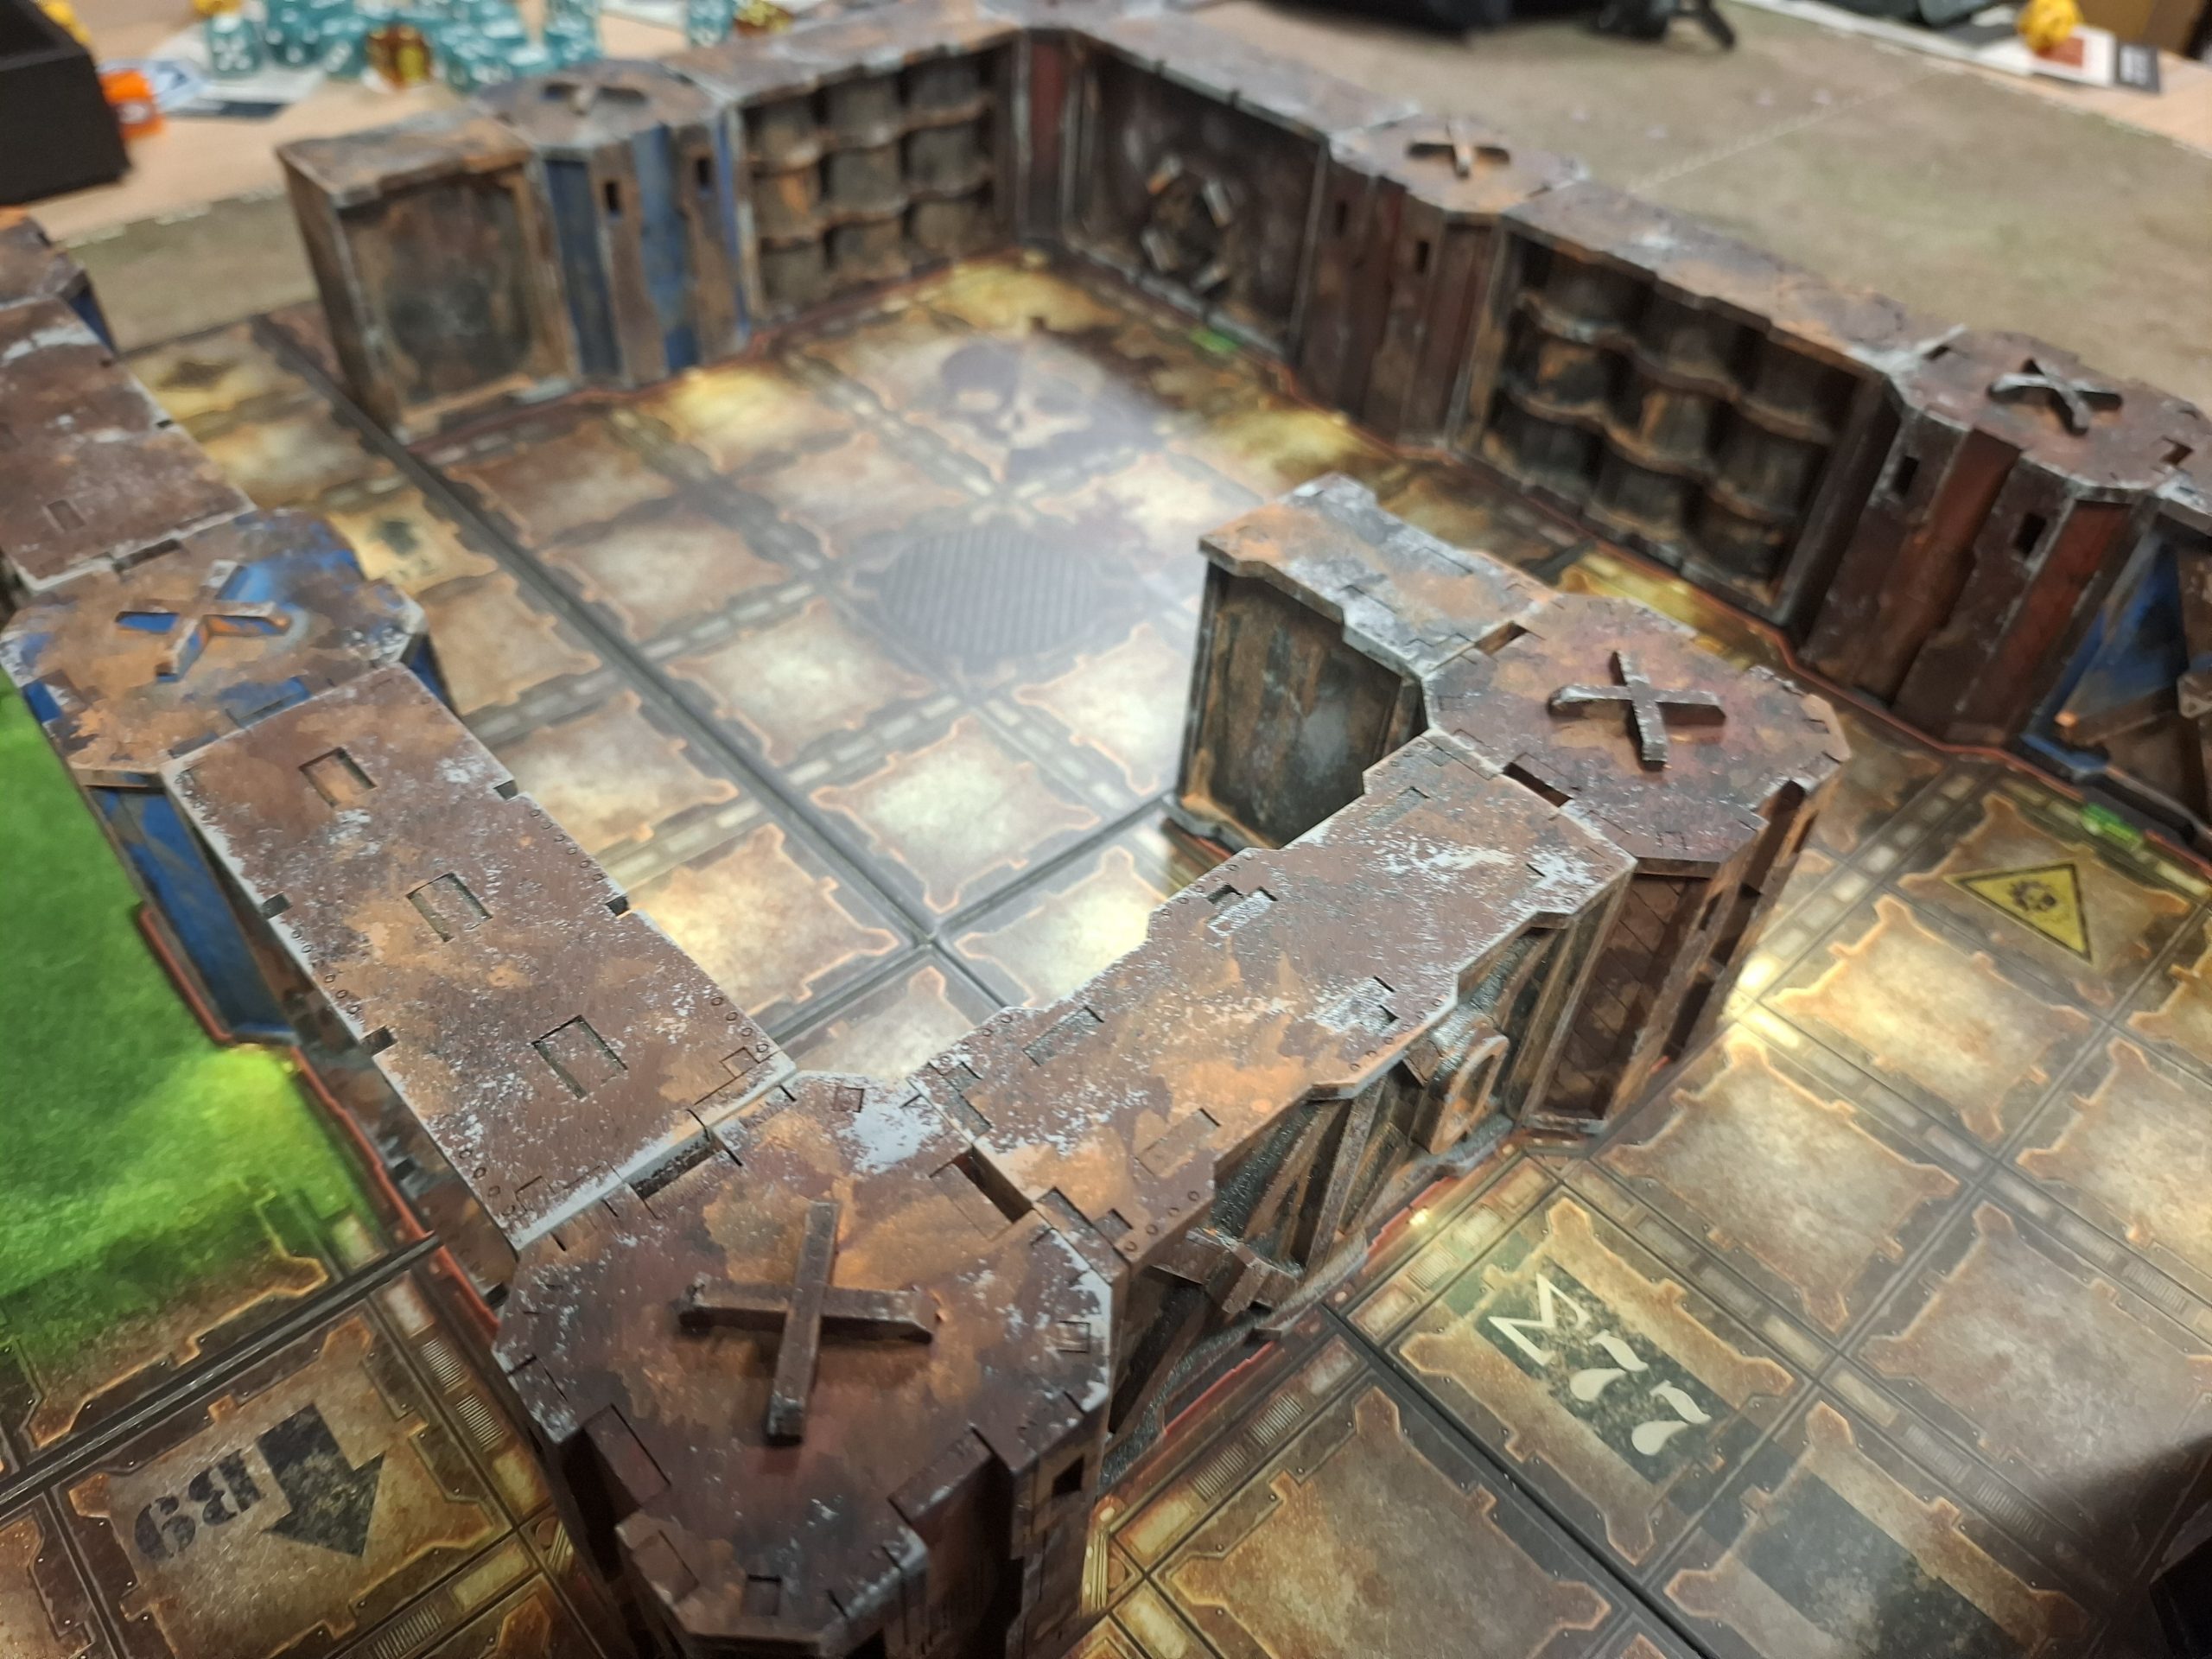
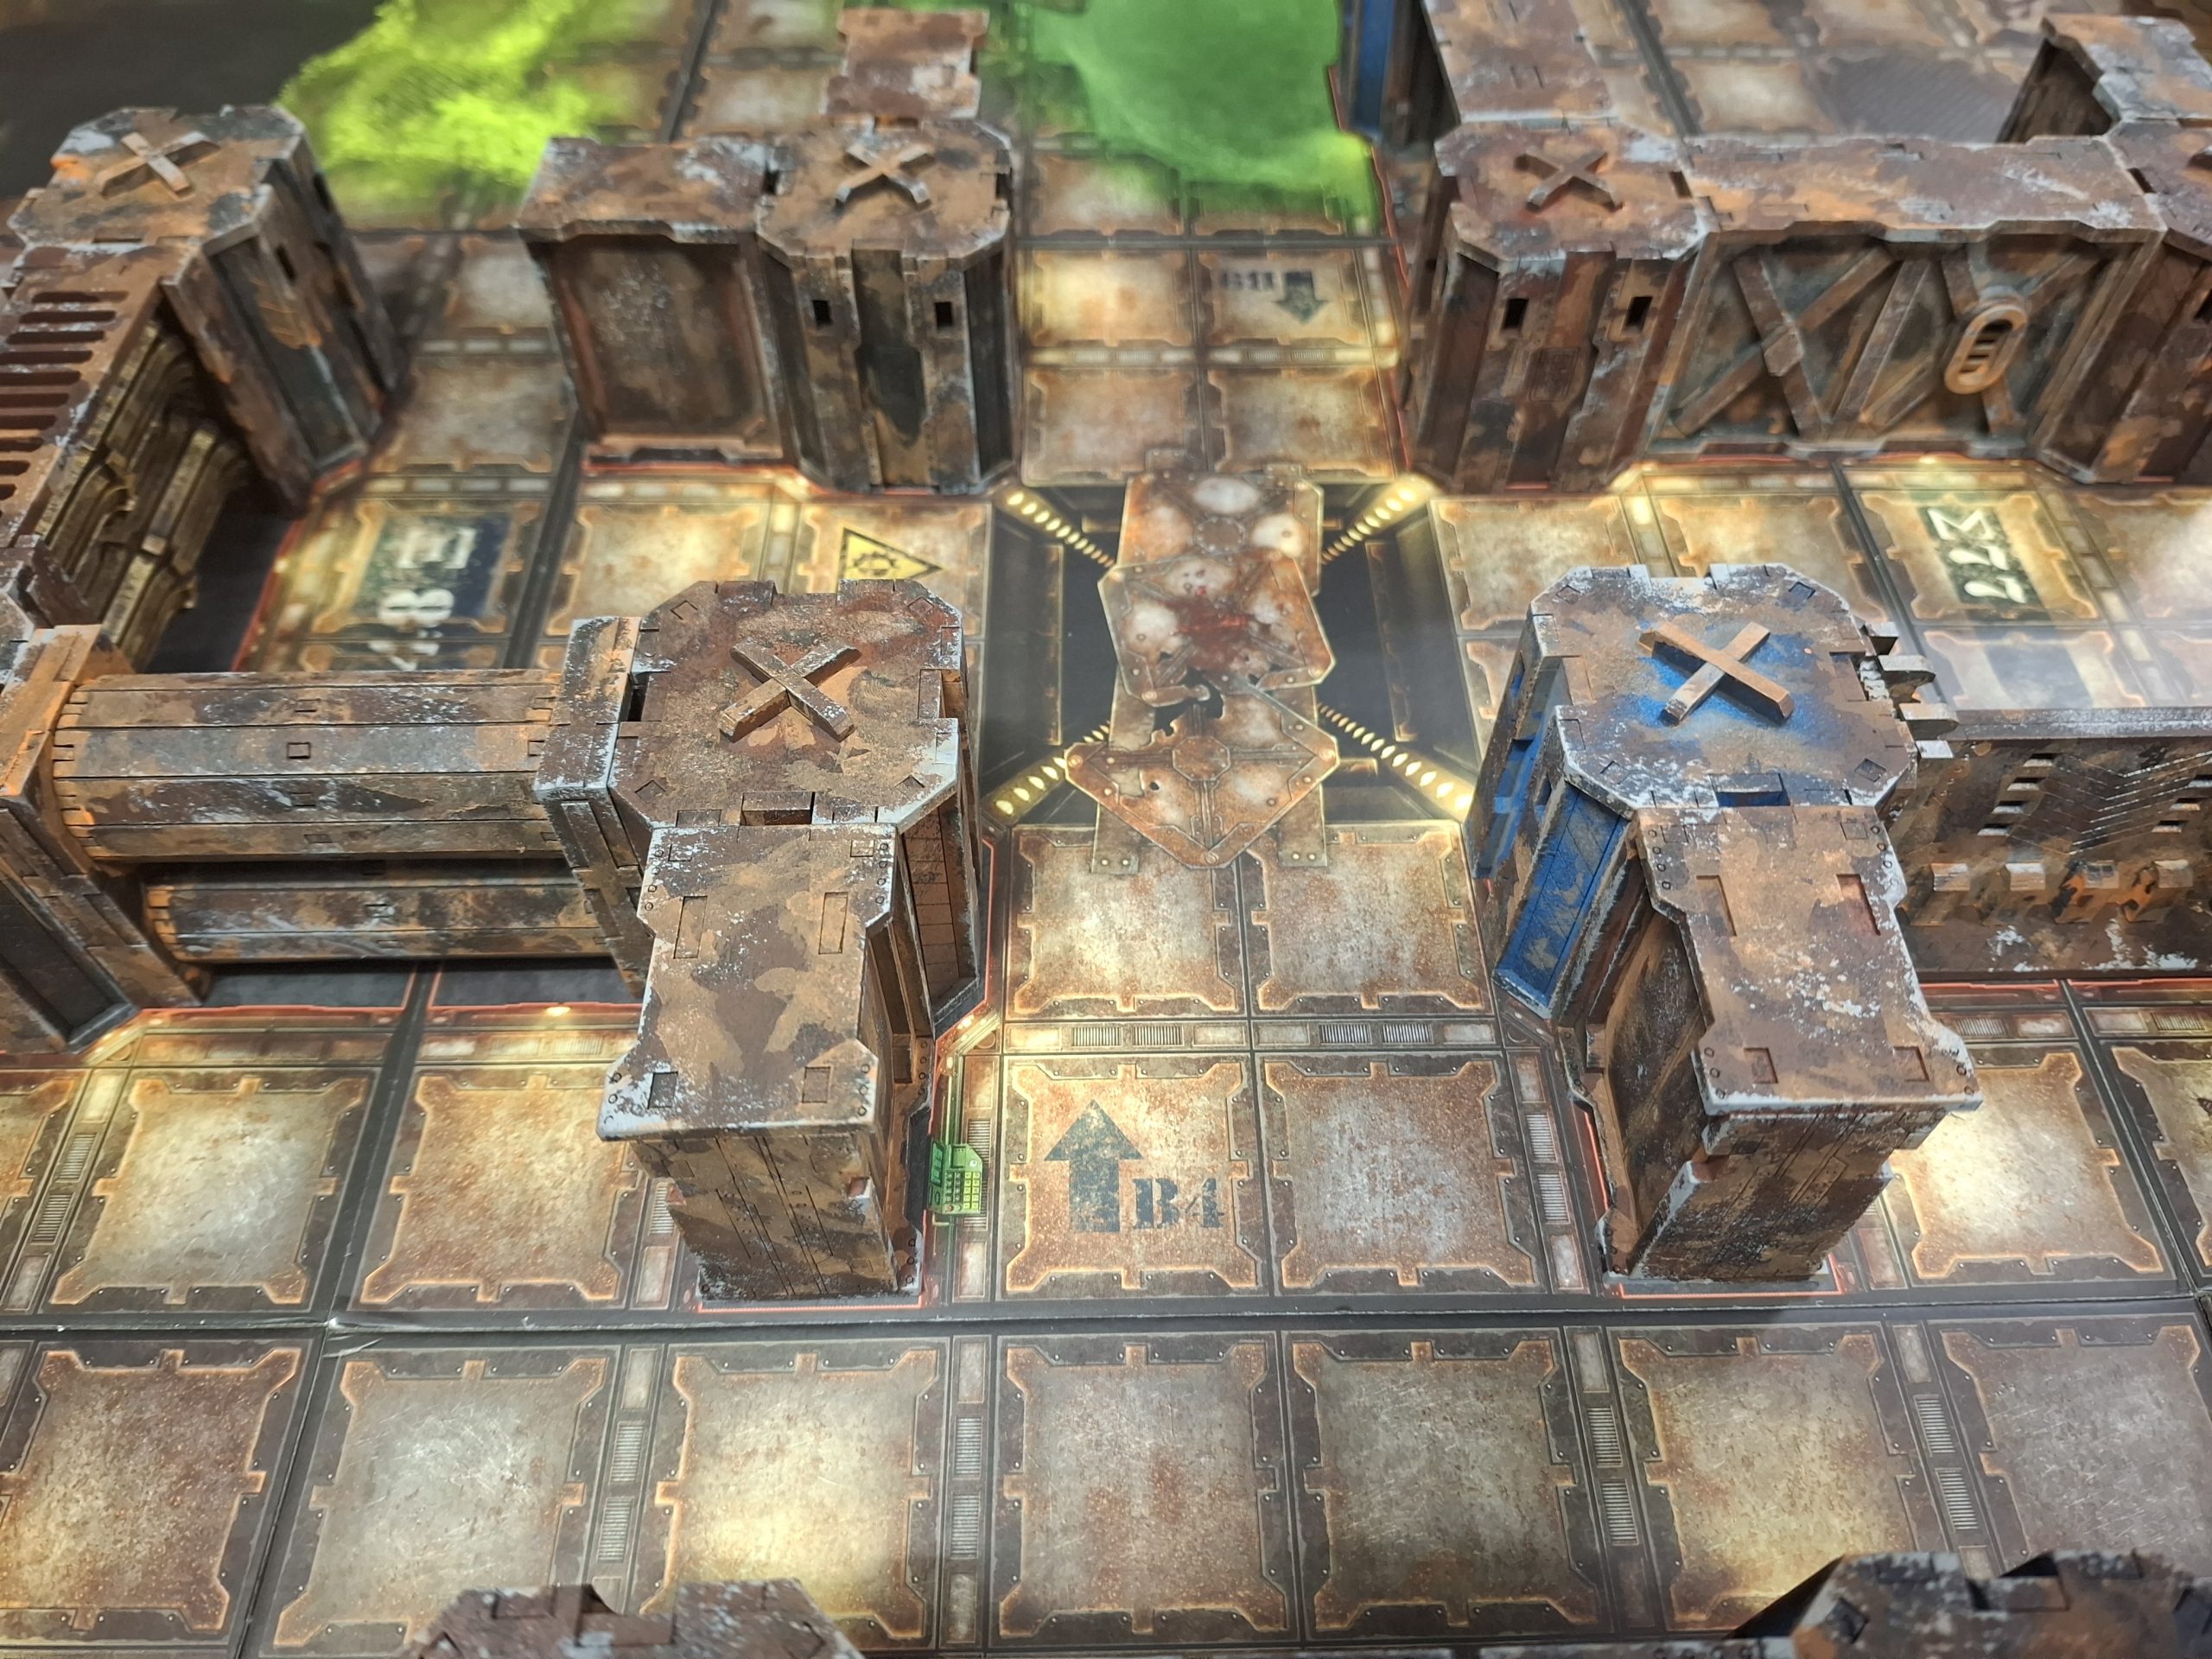
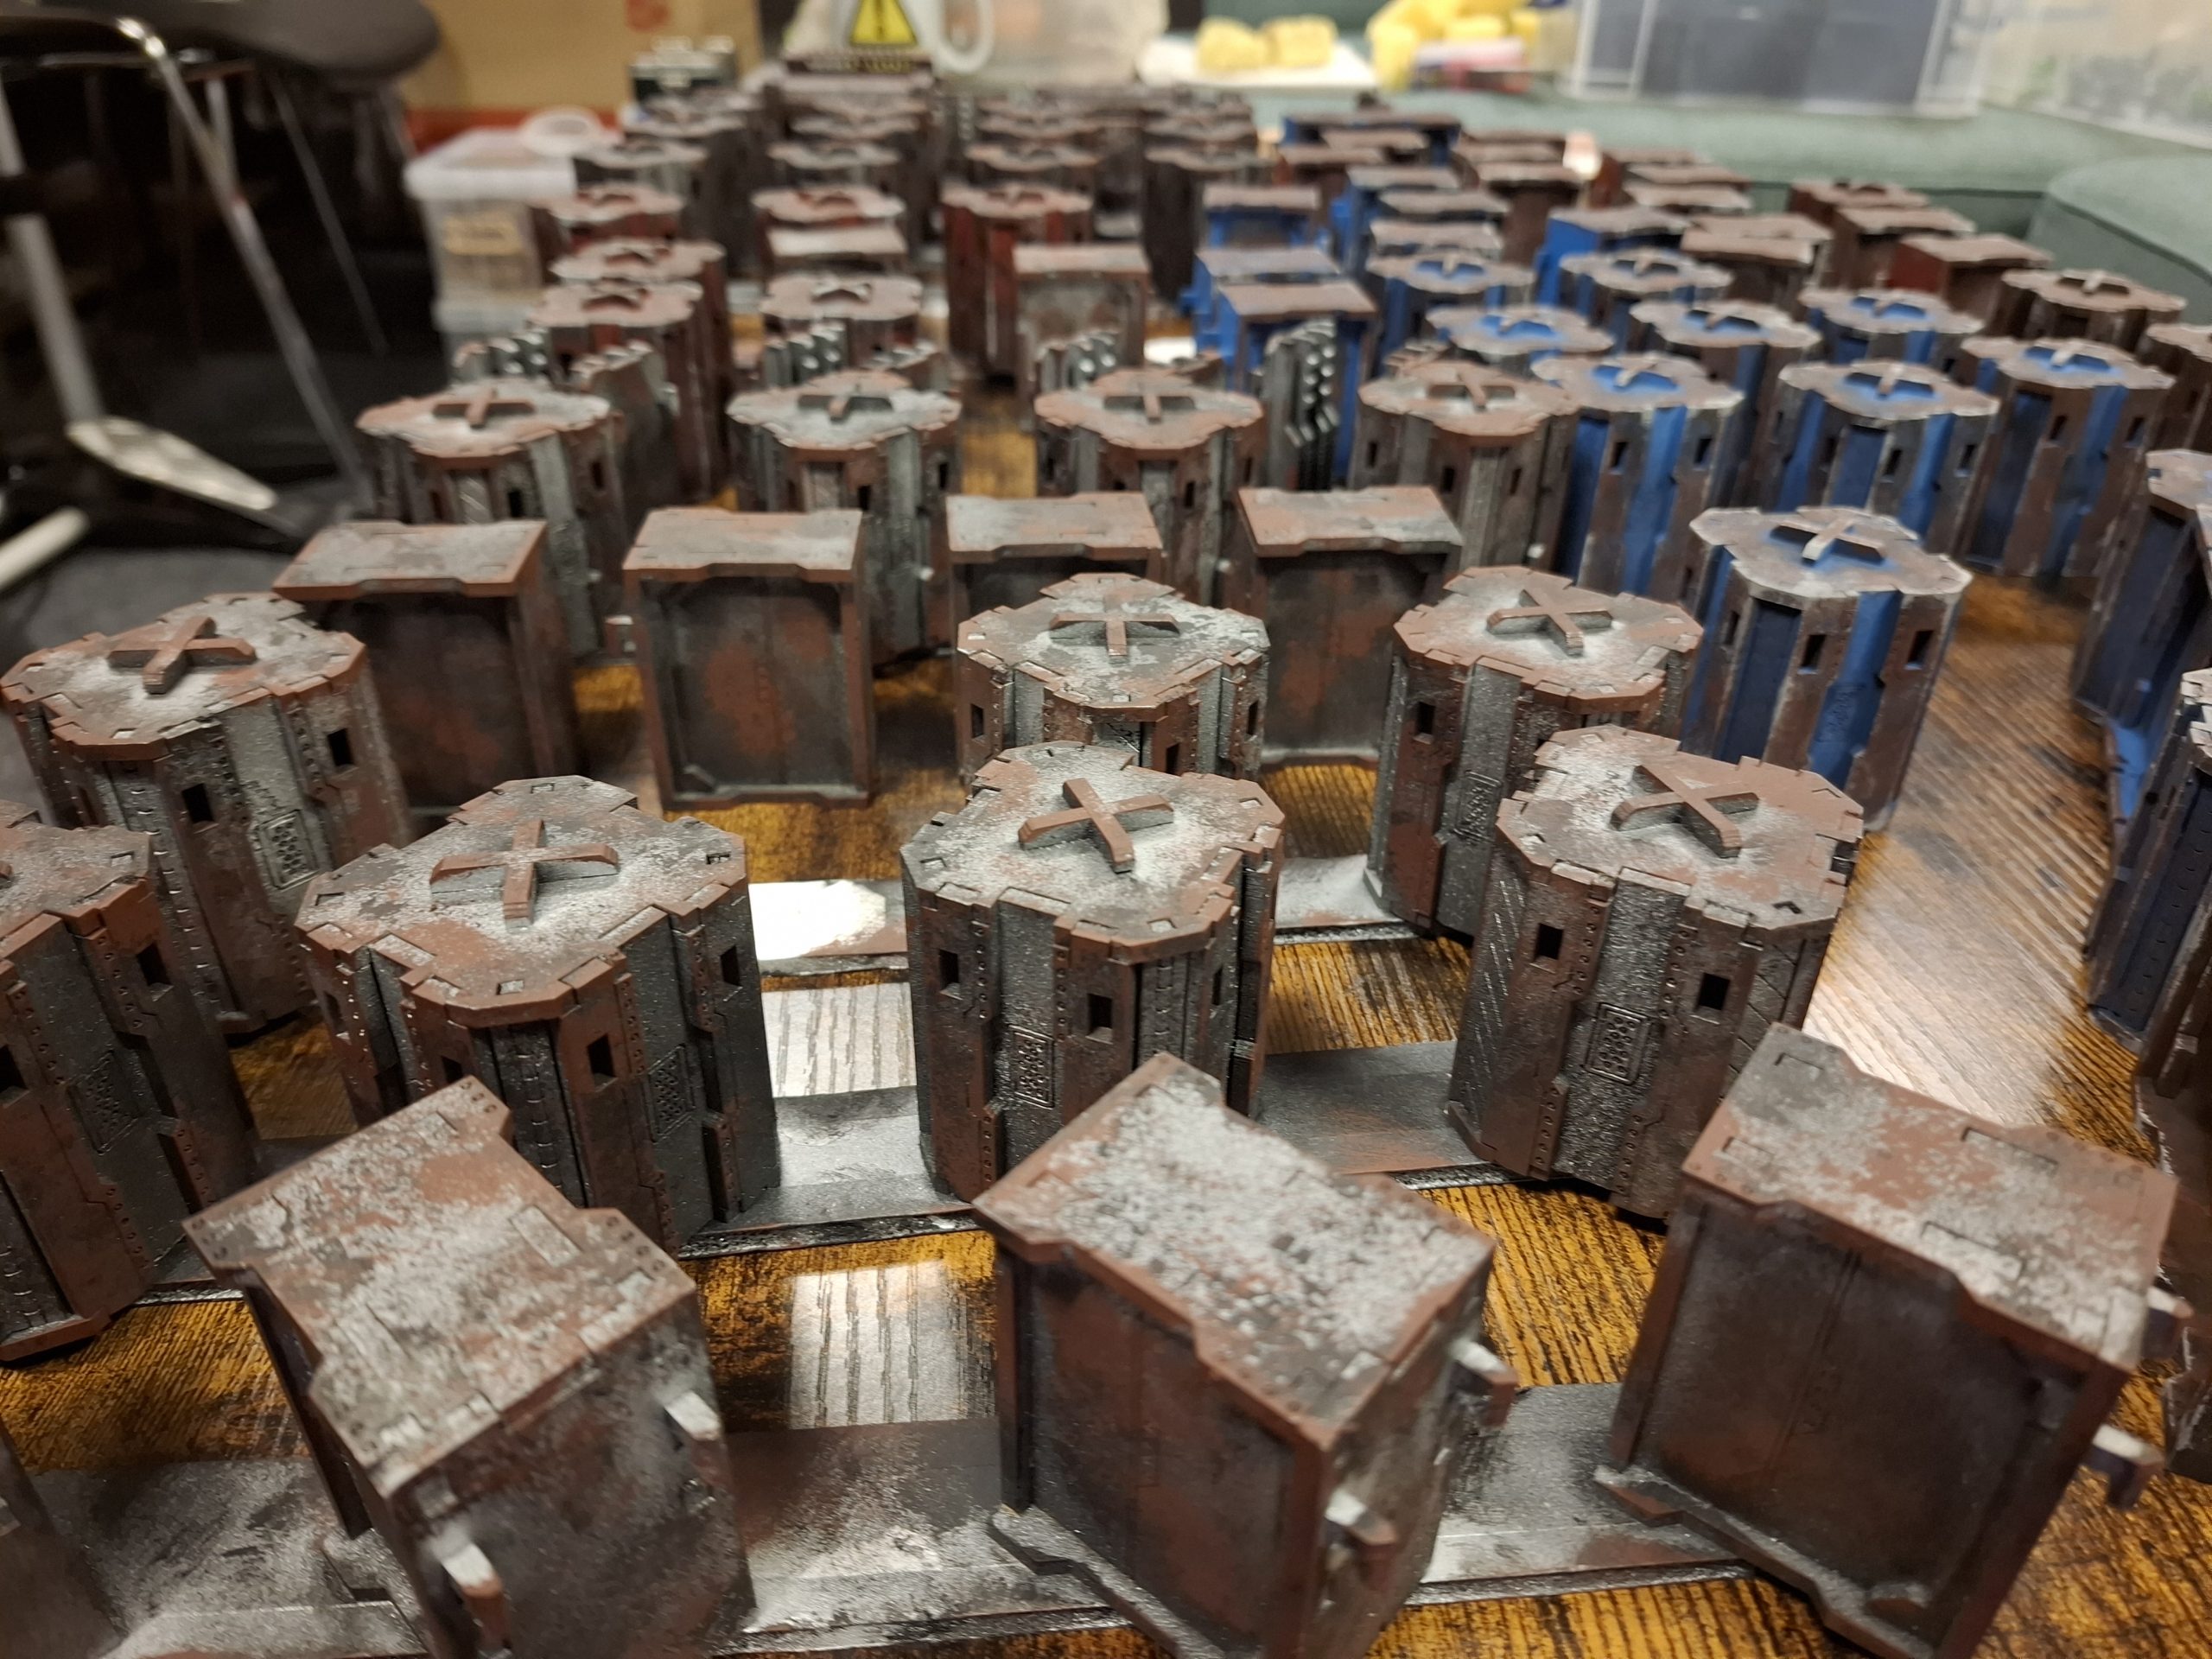
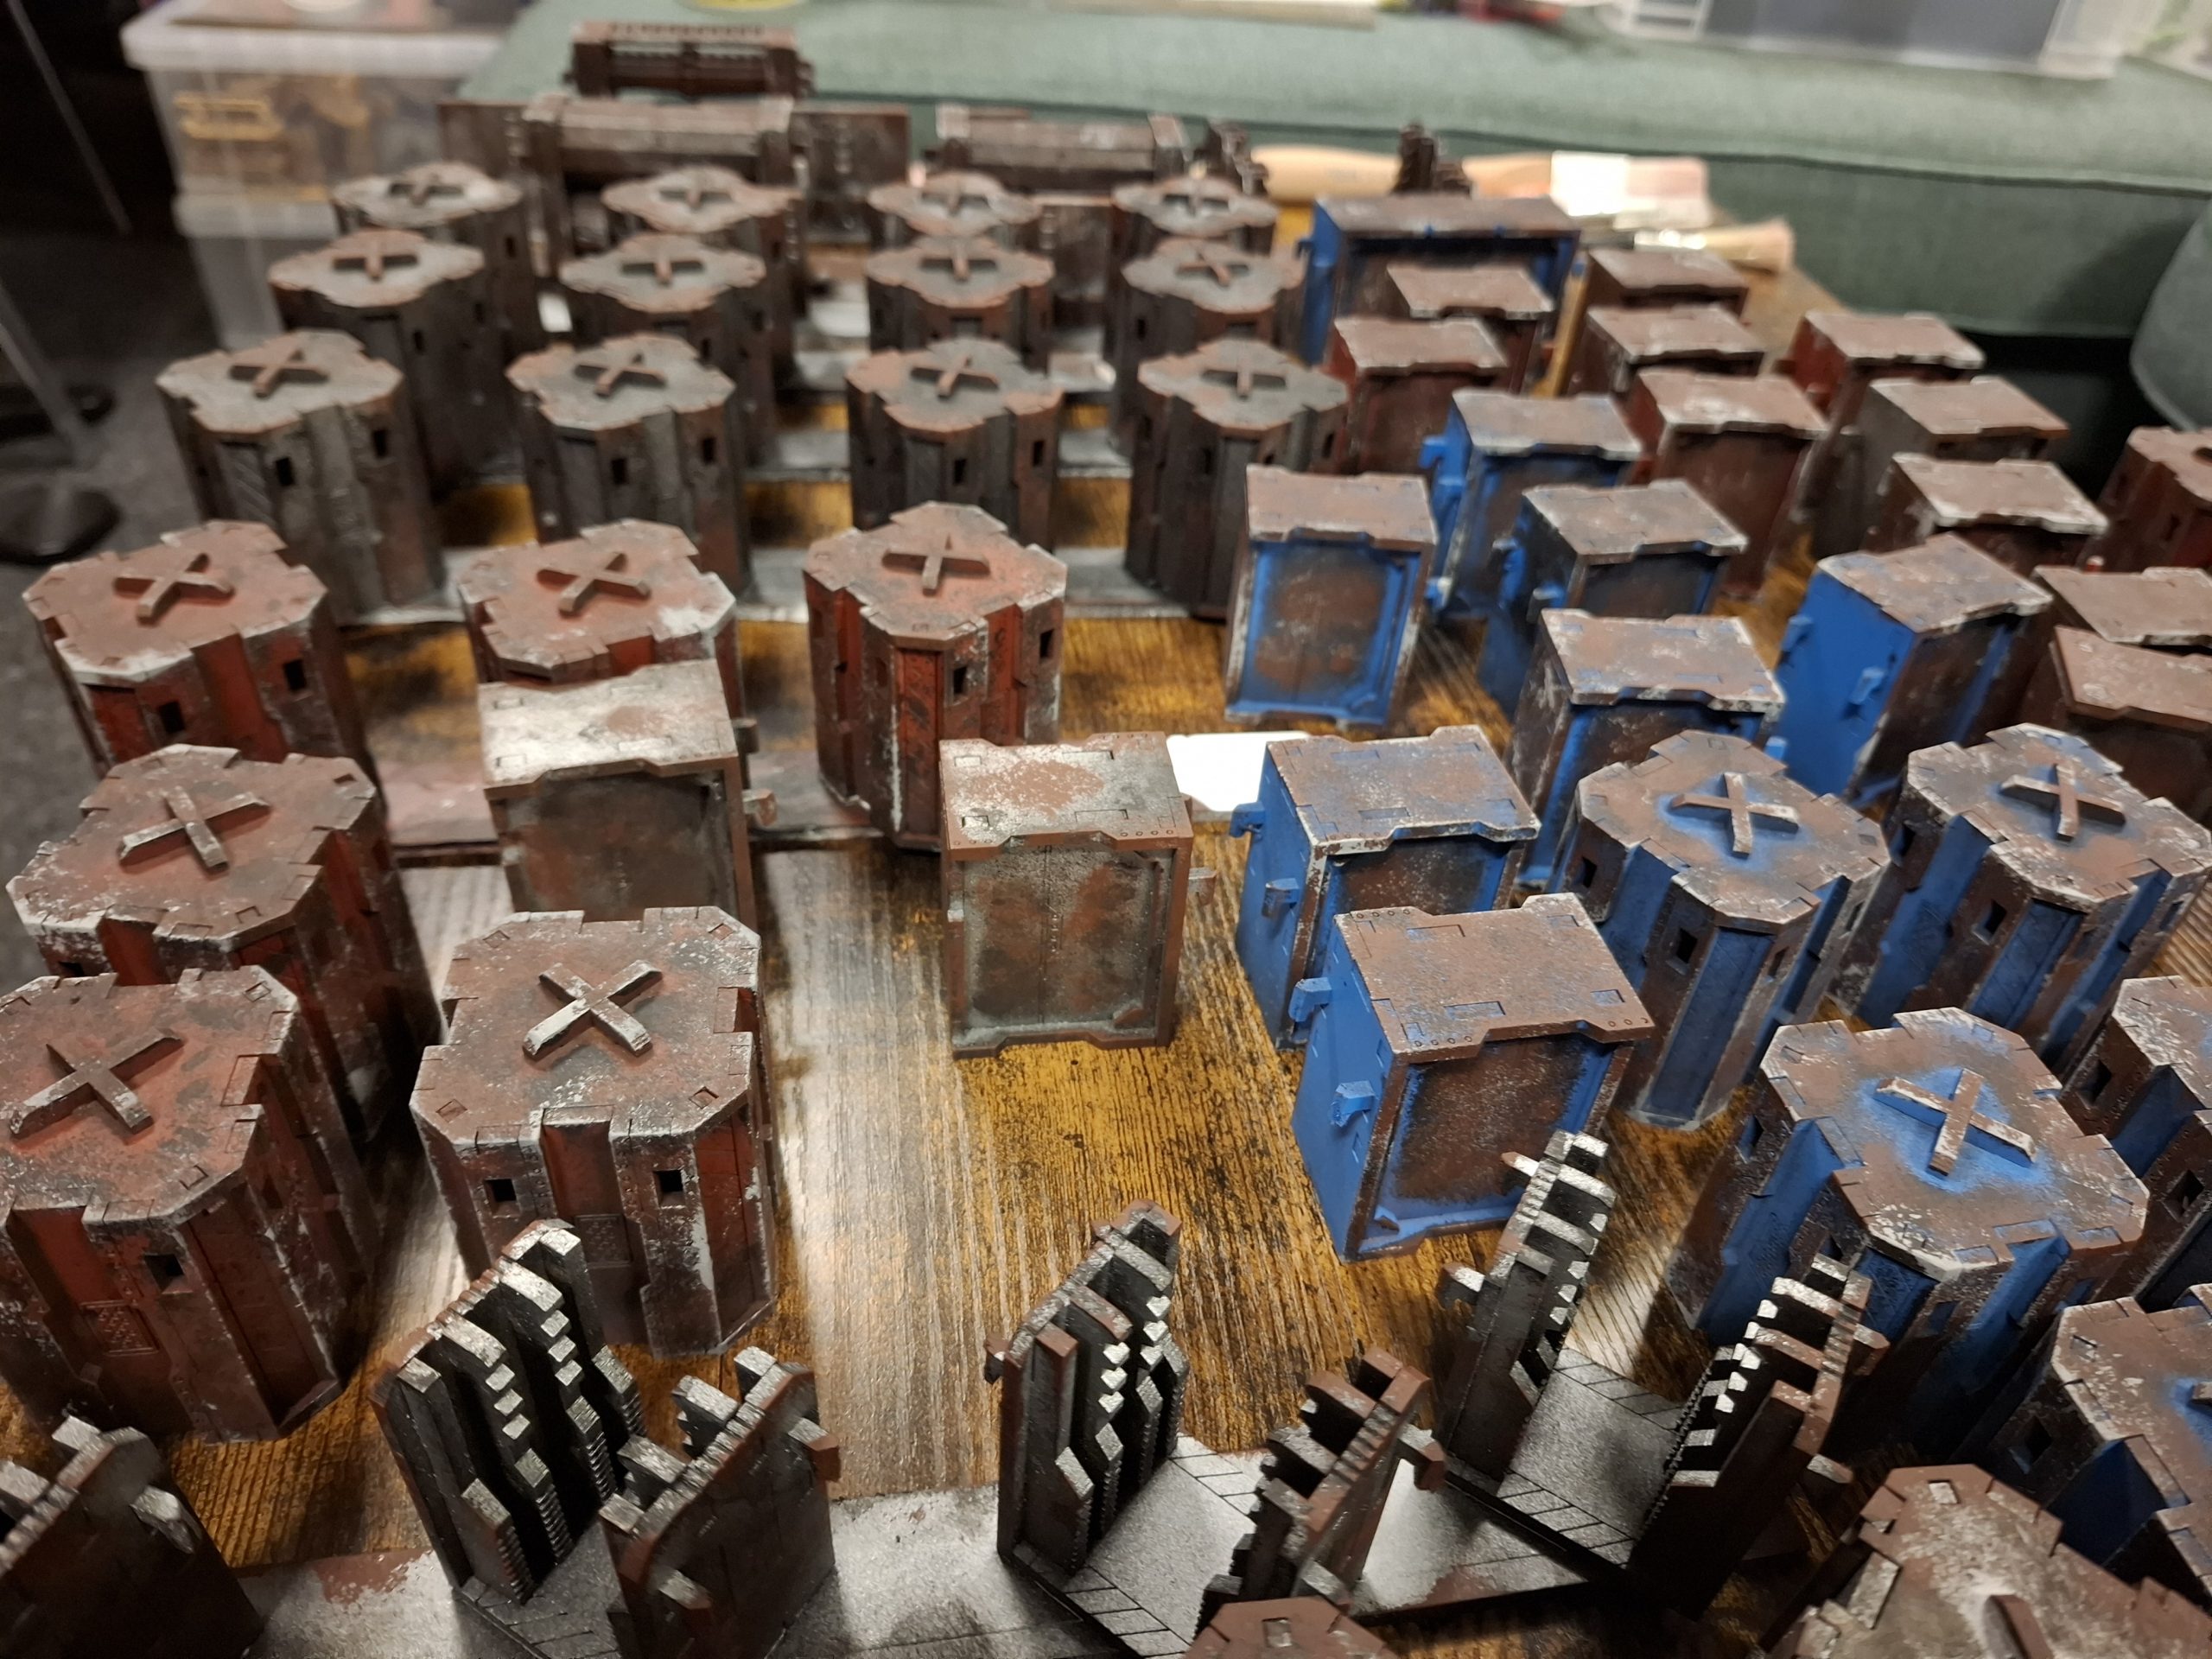
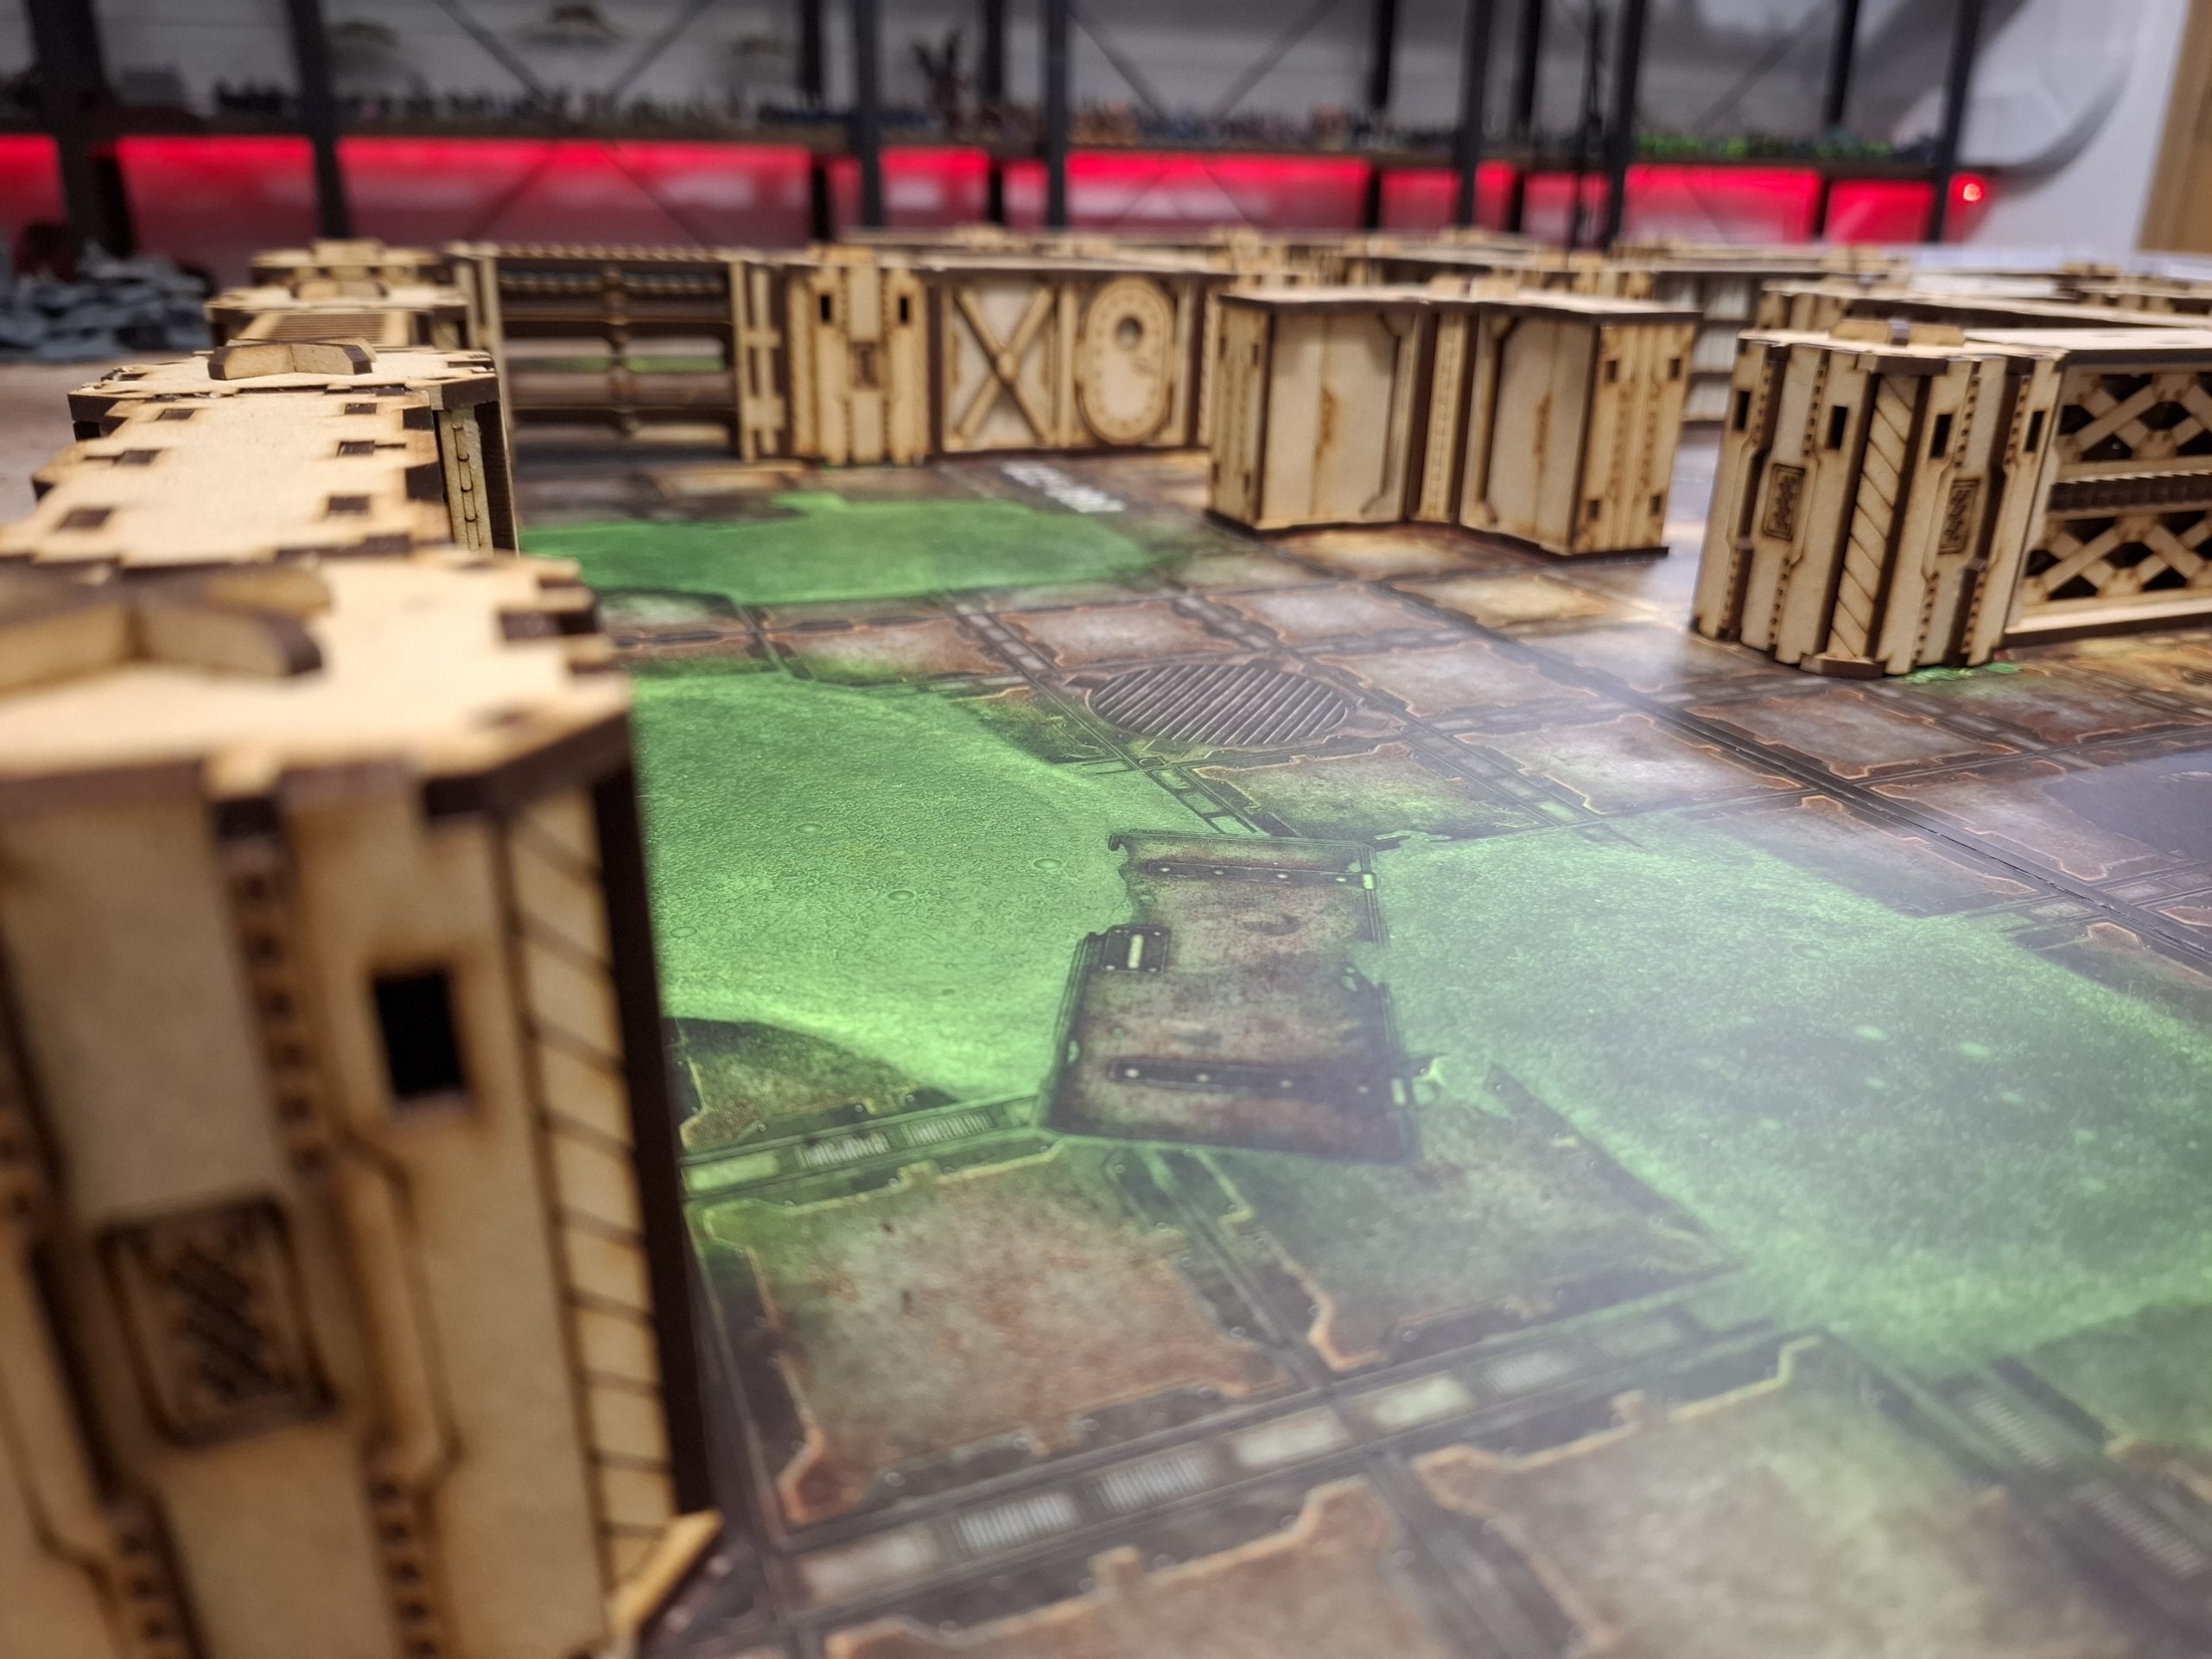
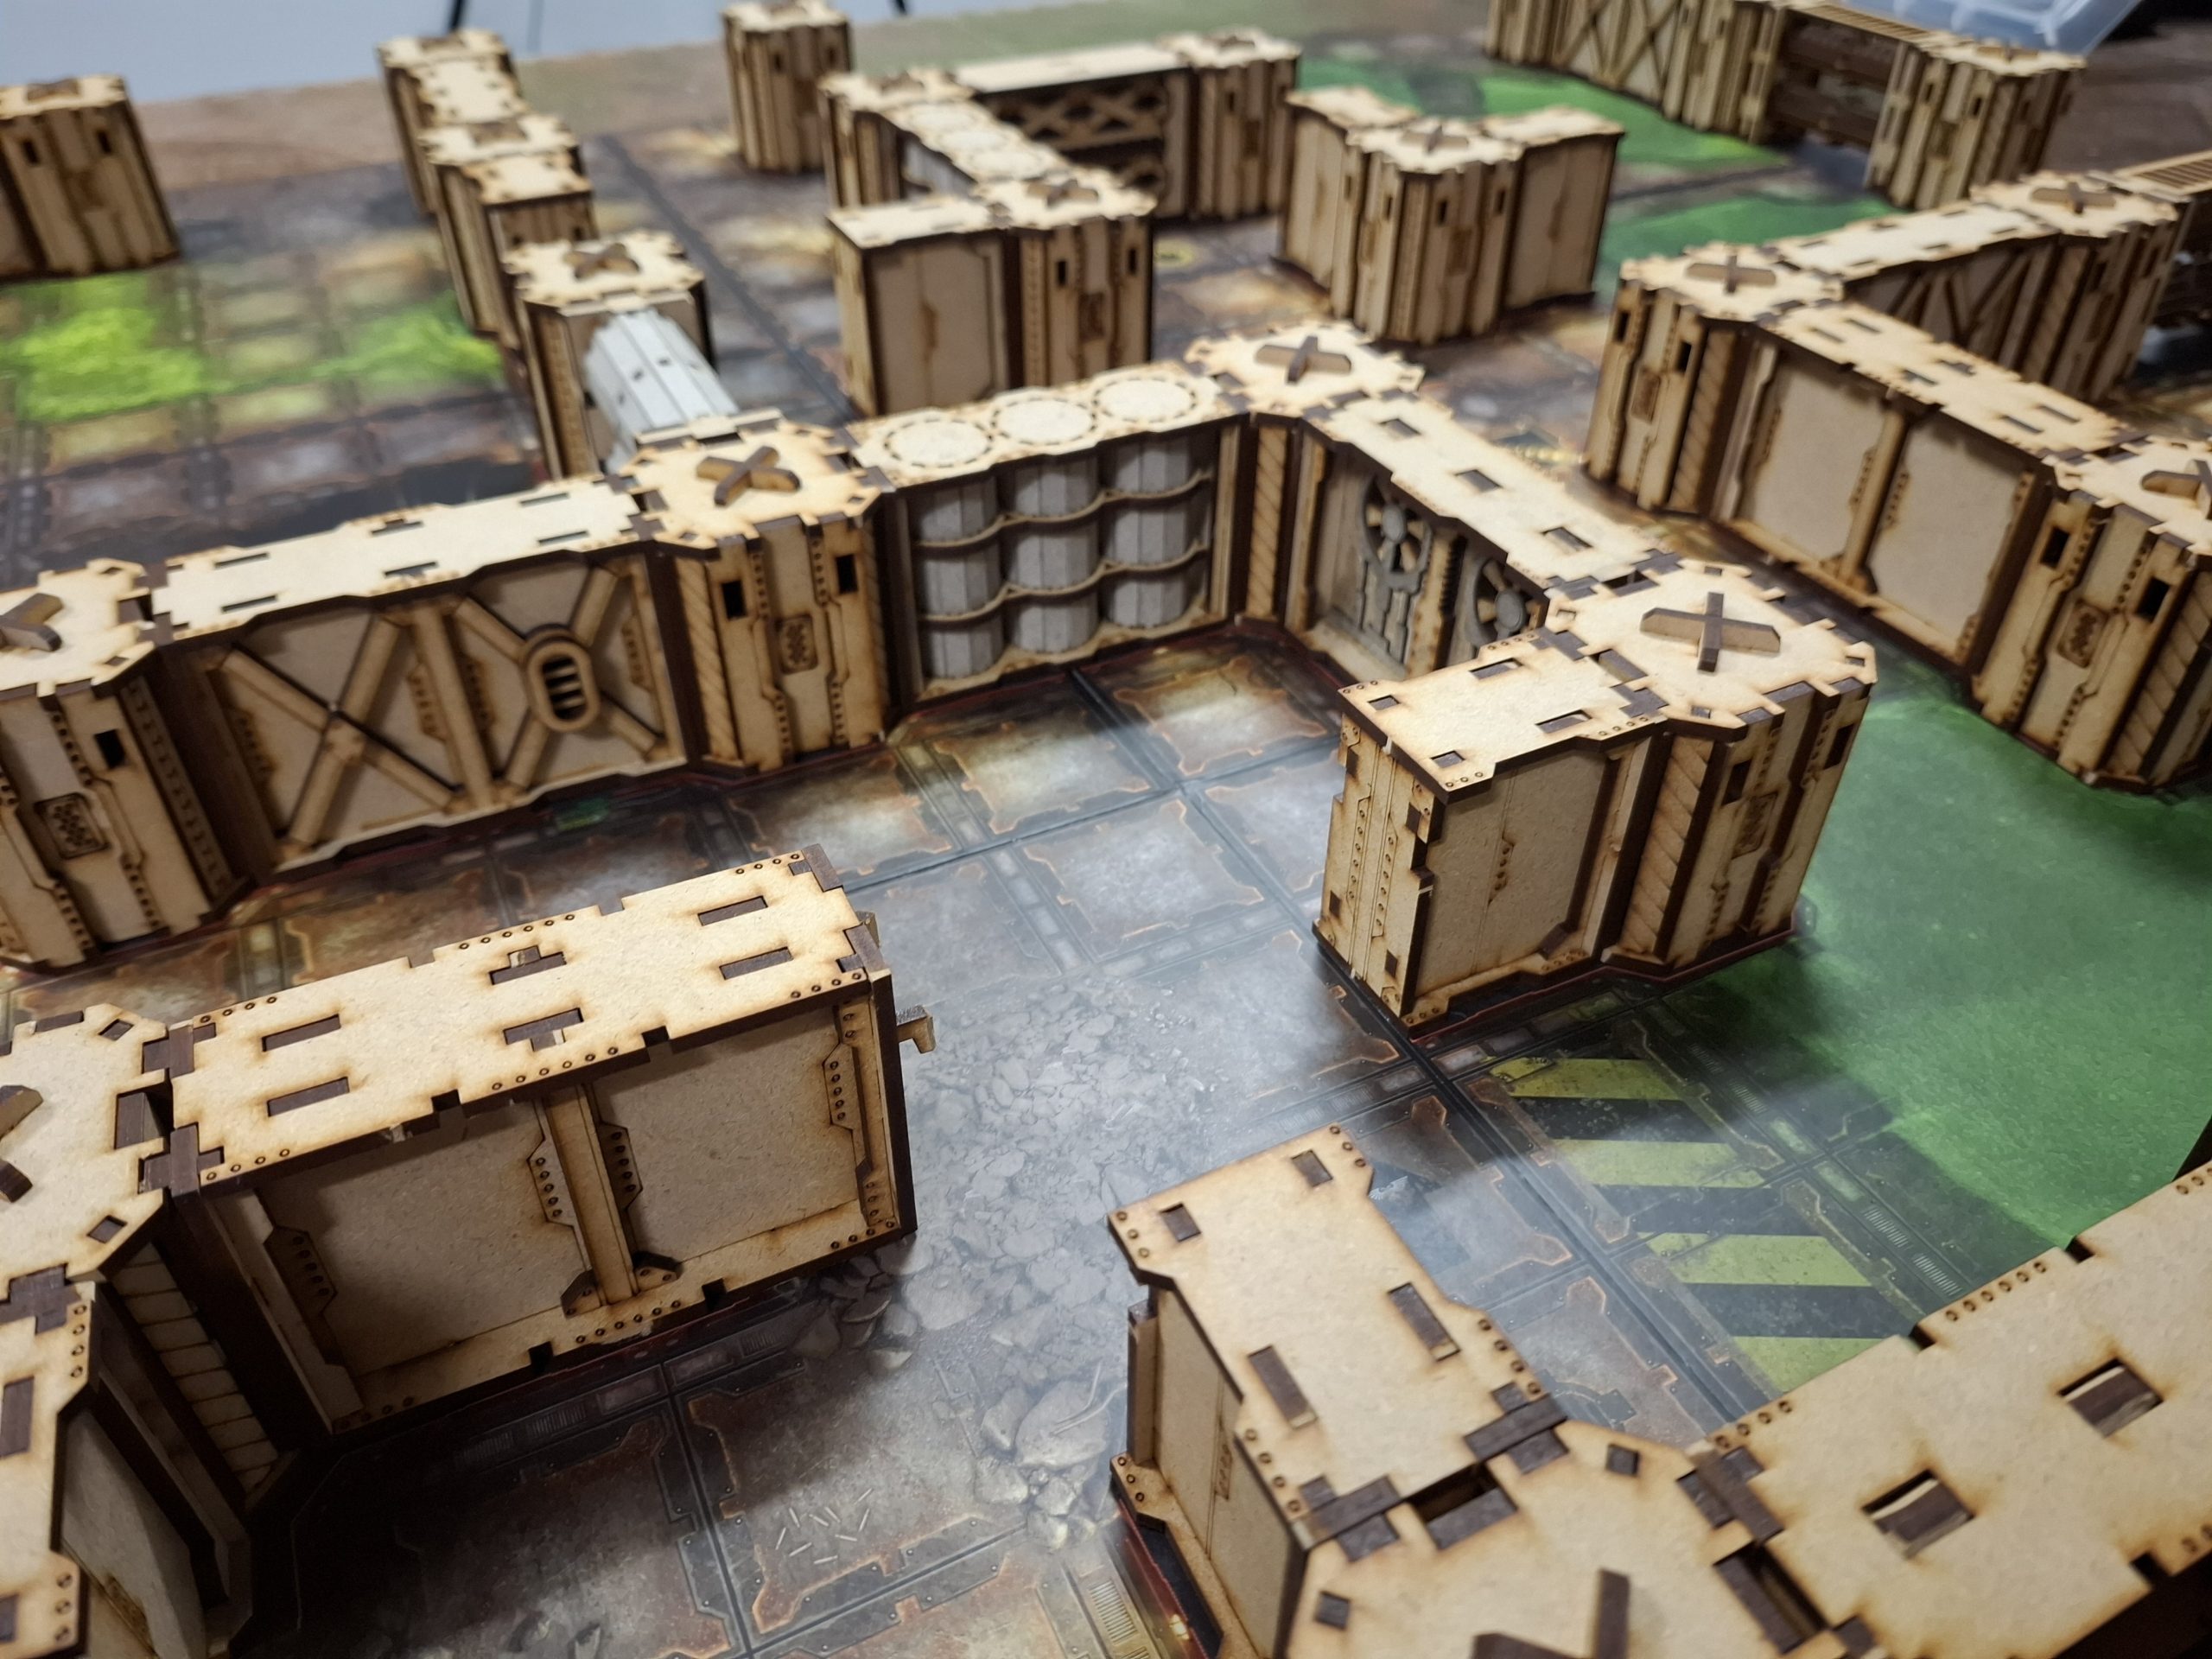
Layout examples.
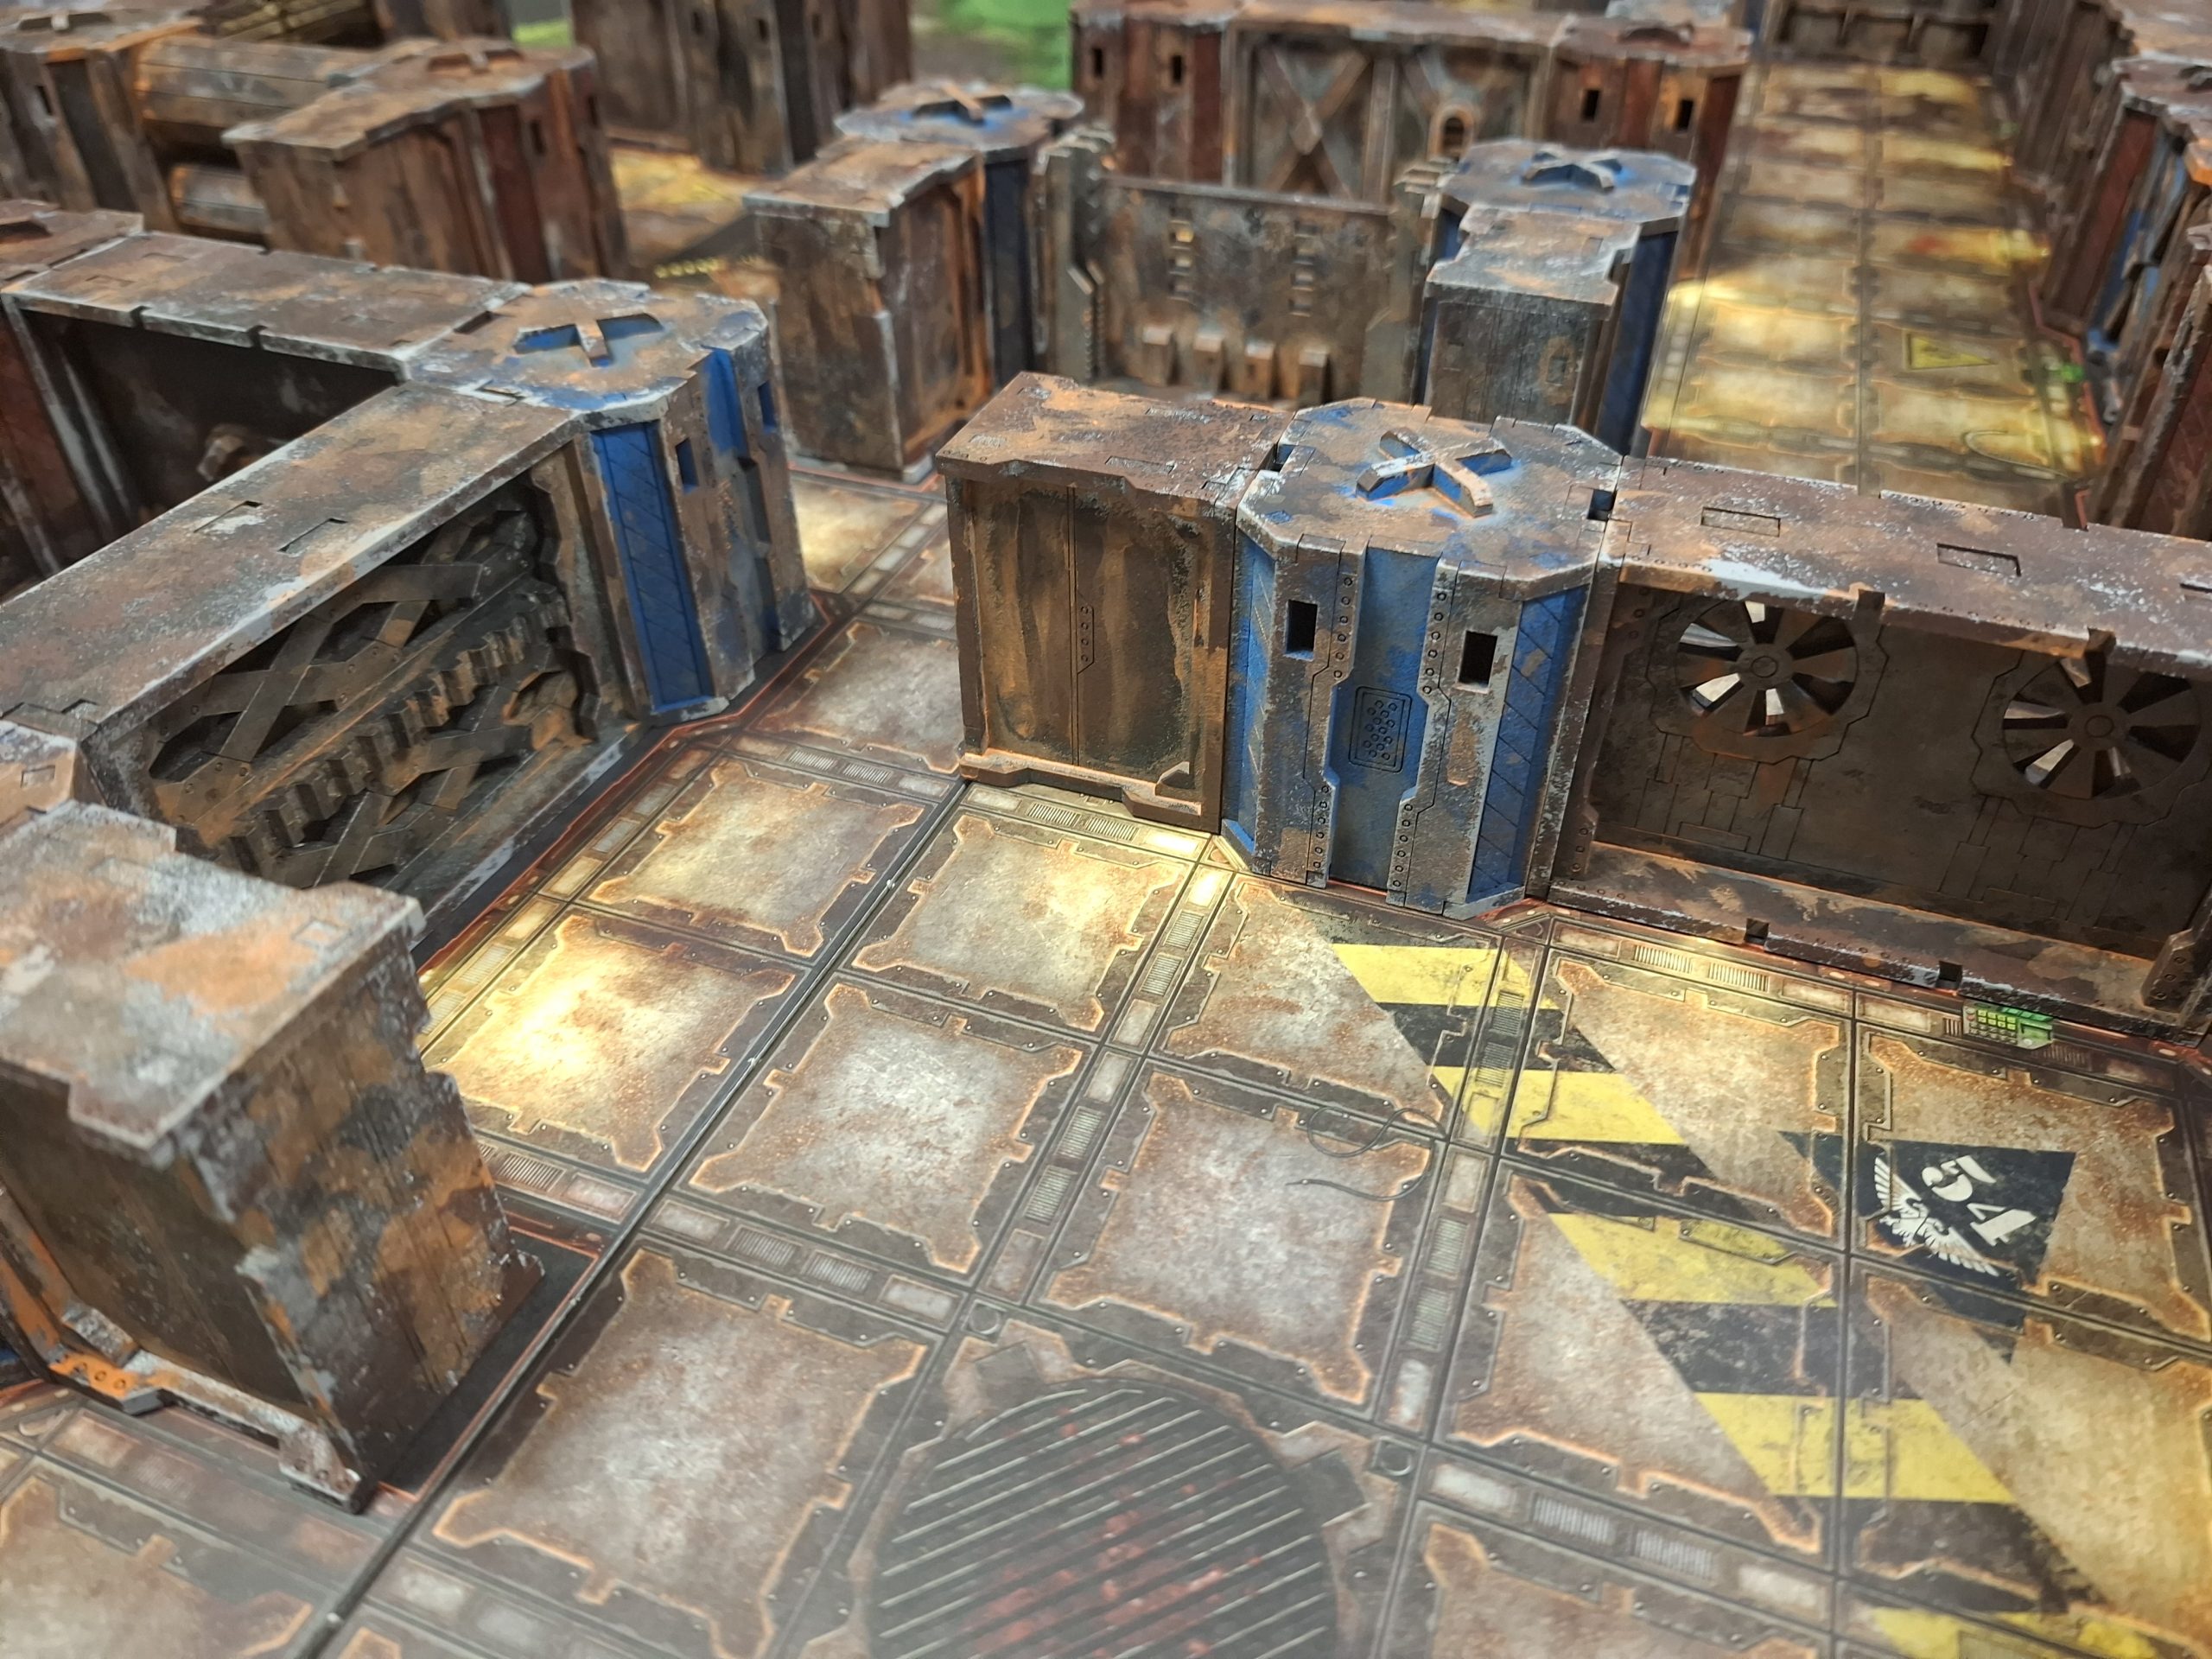
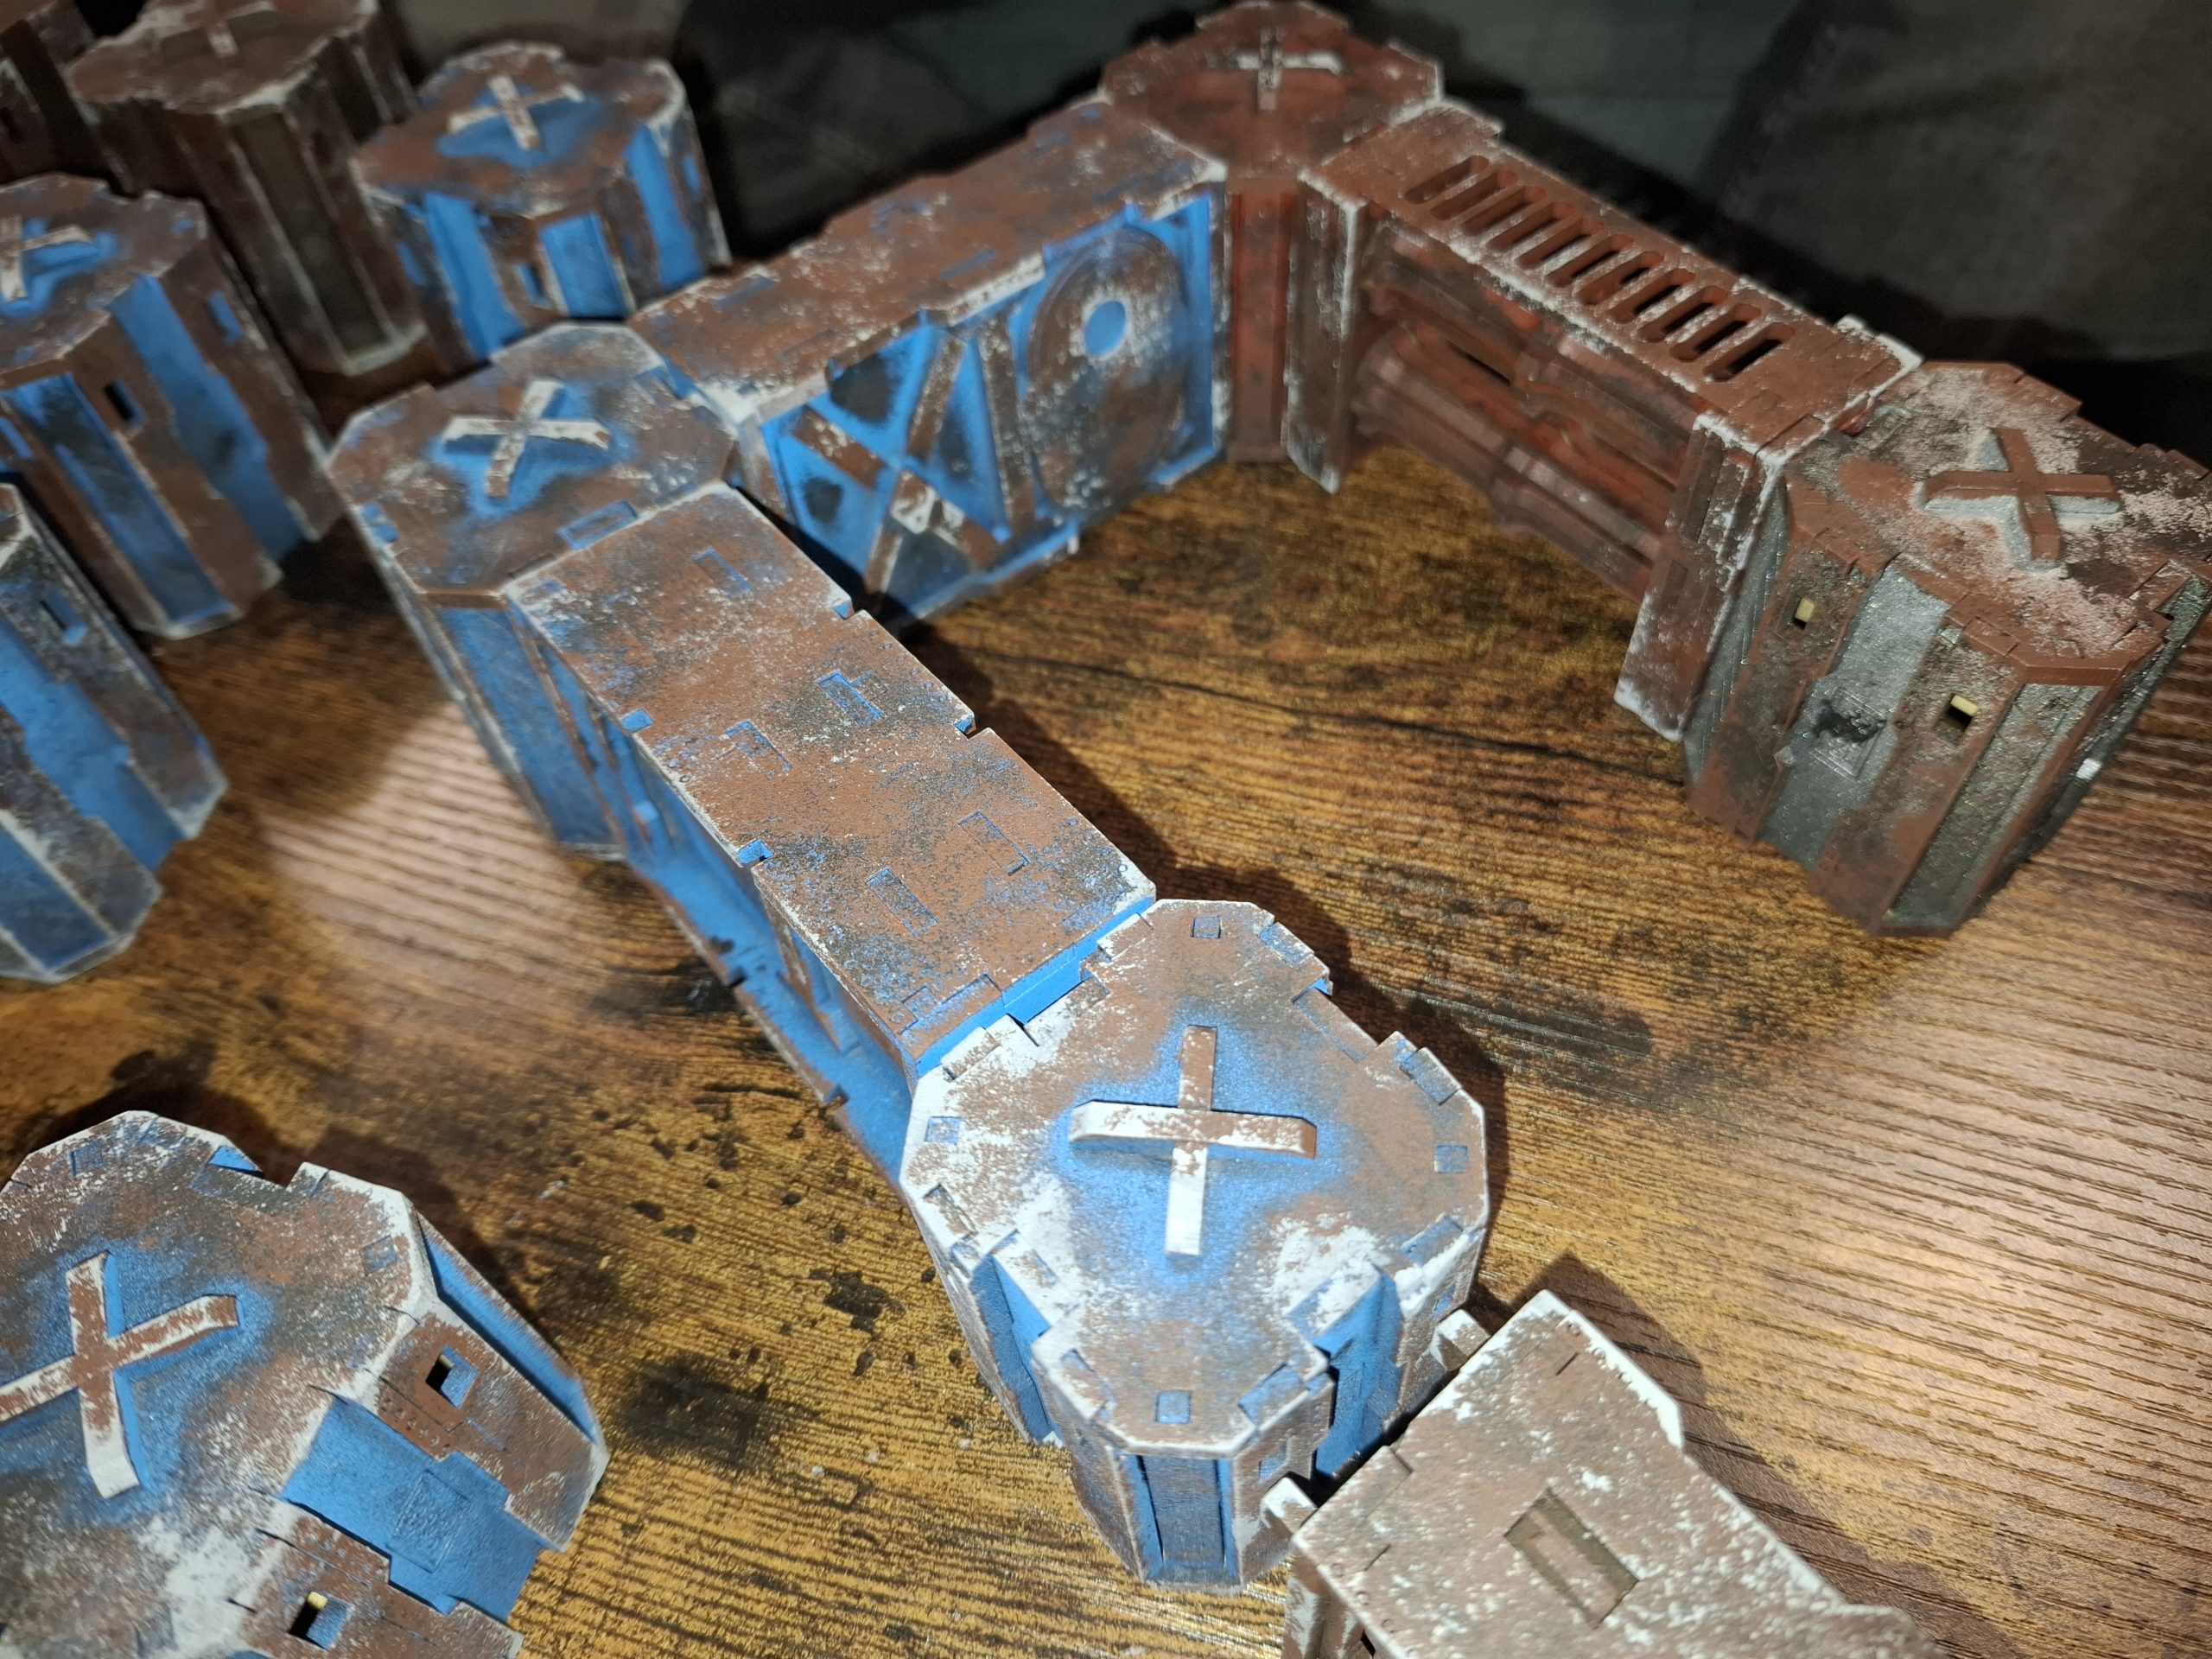
With this done, I couldn’t help but try the terrain out on the Necromunda boards that come in the original core box. I hope you enjoy them!
Here are smaller examples.
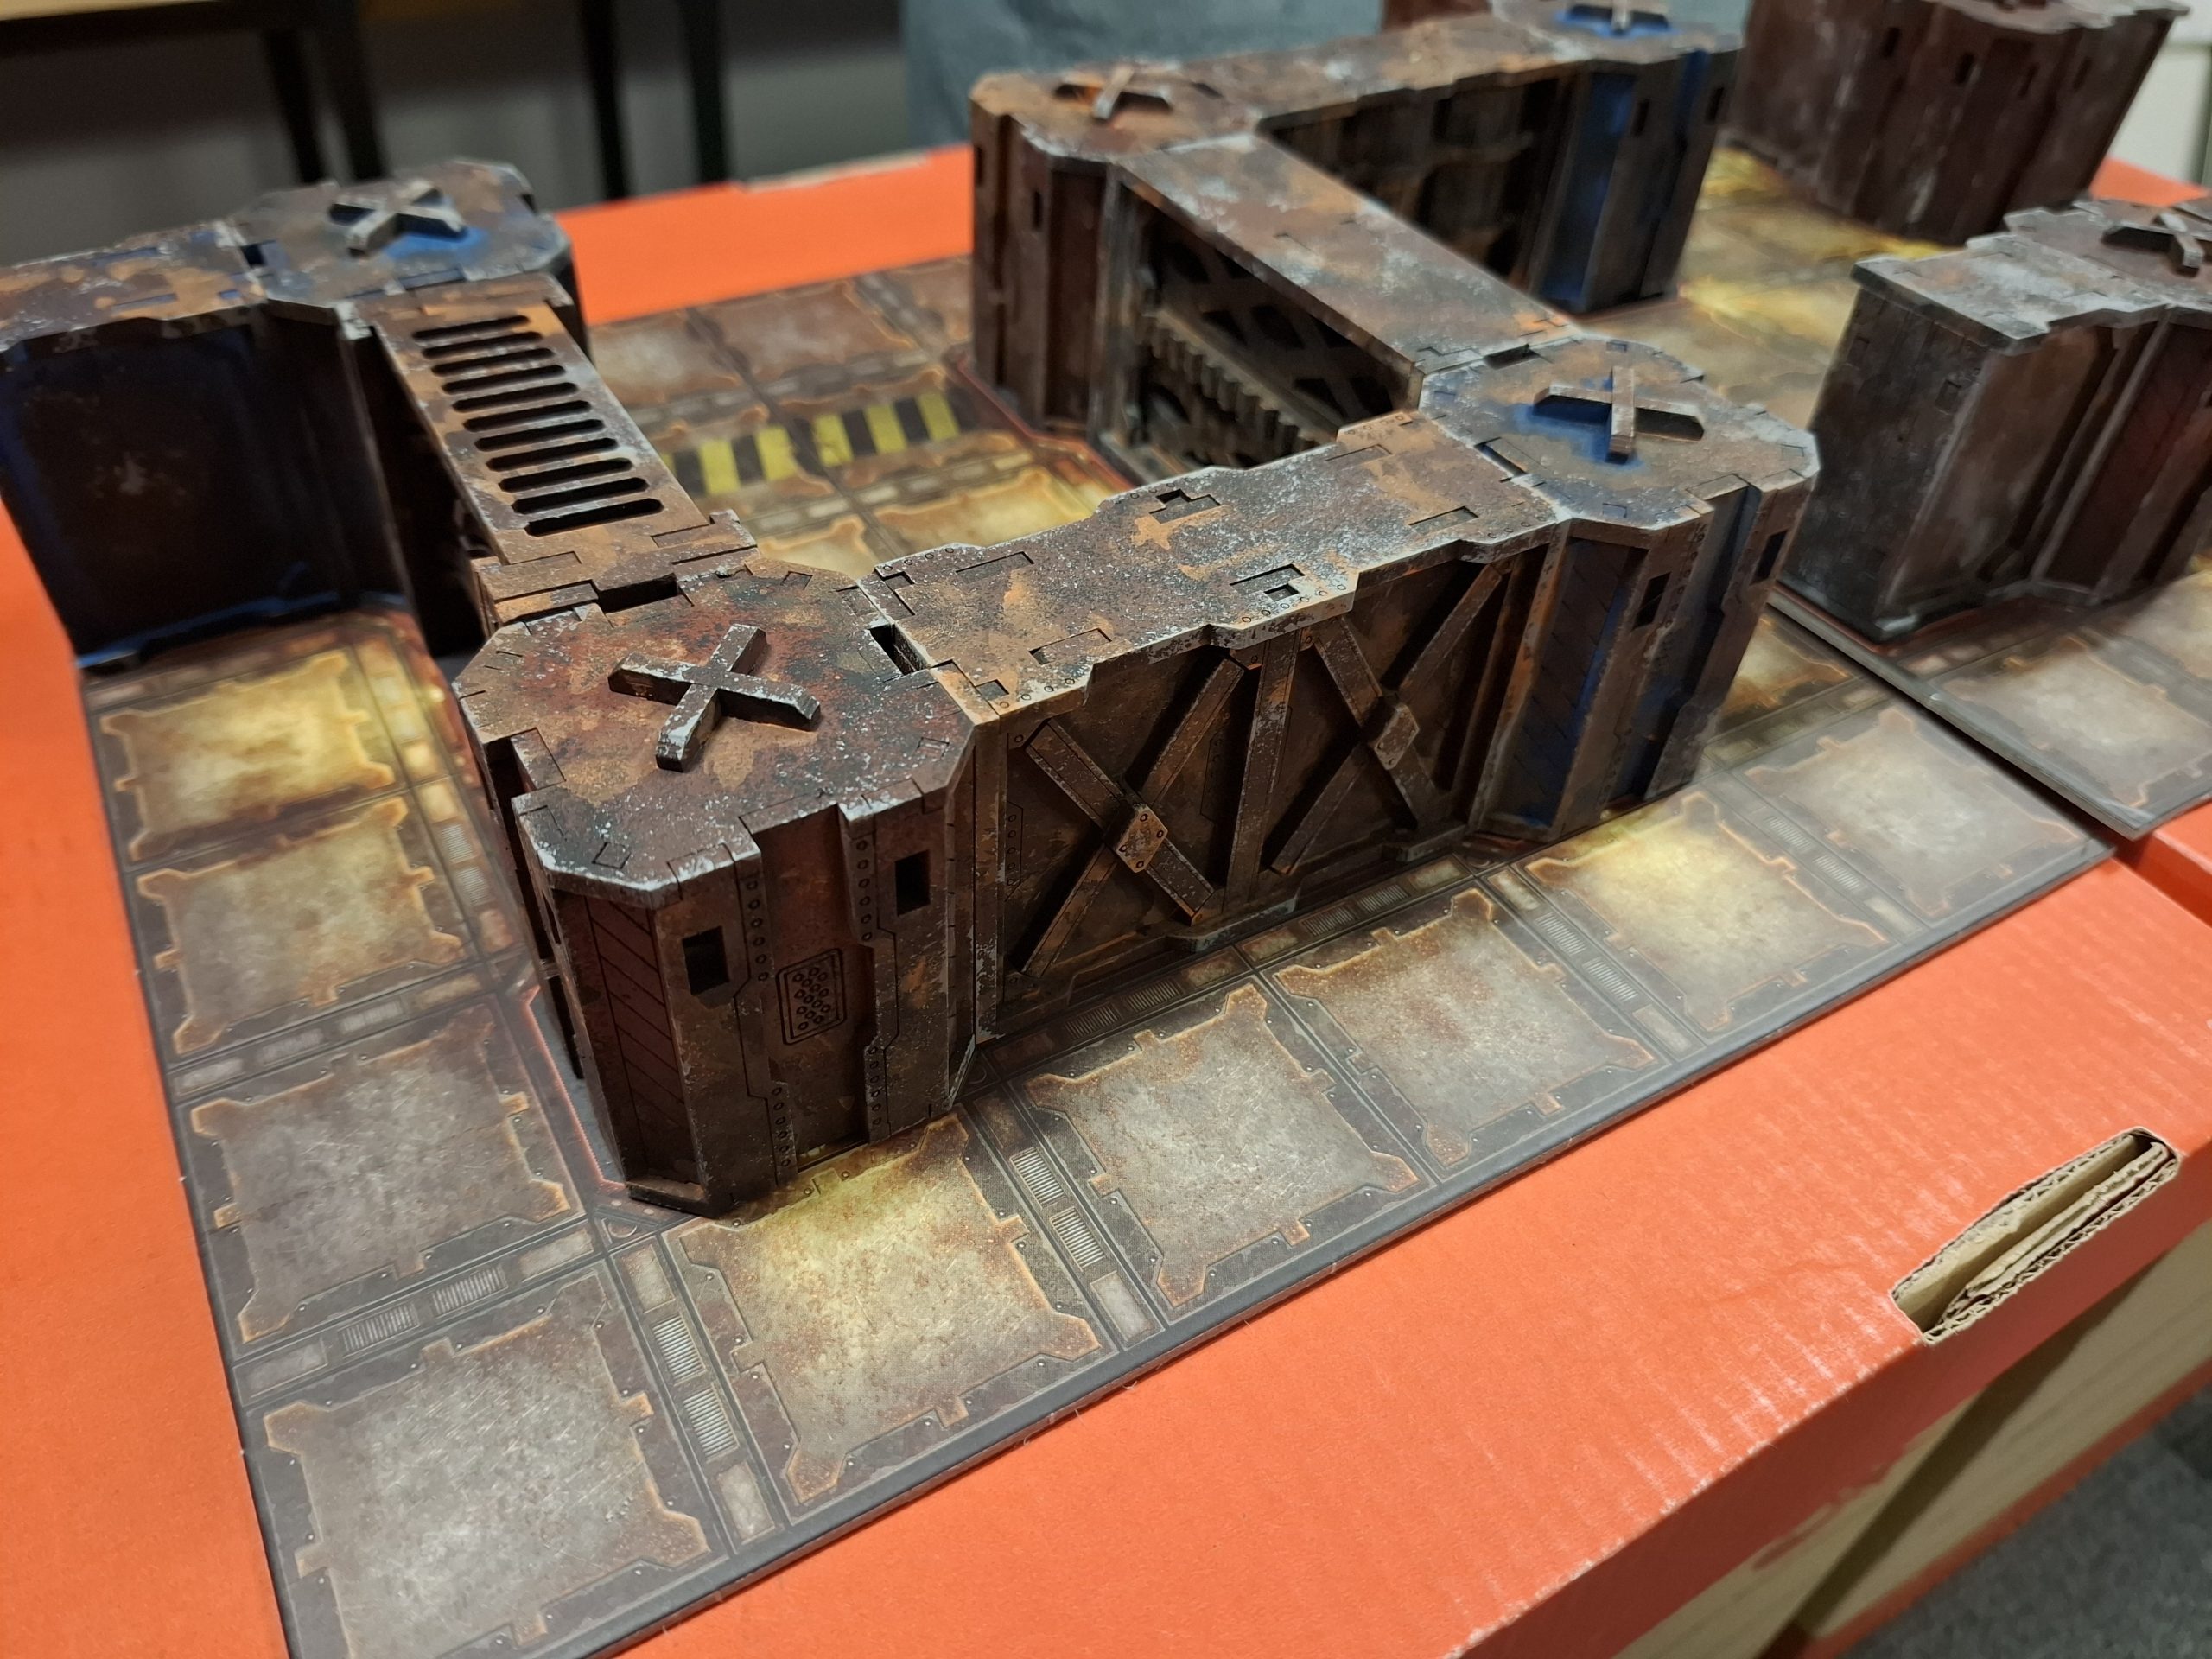
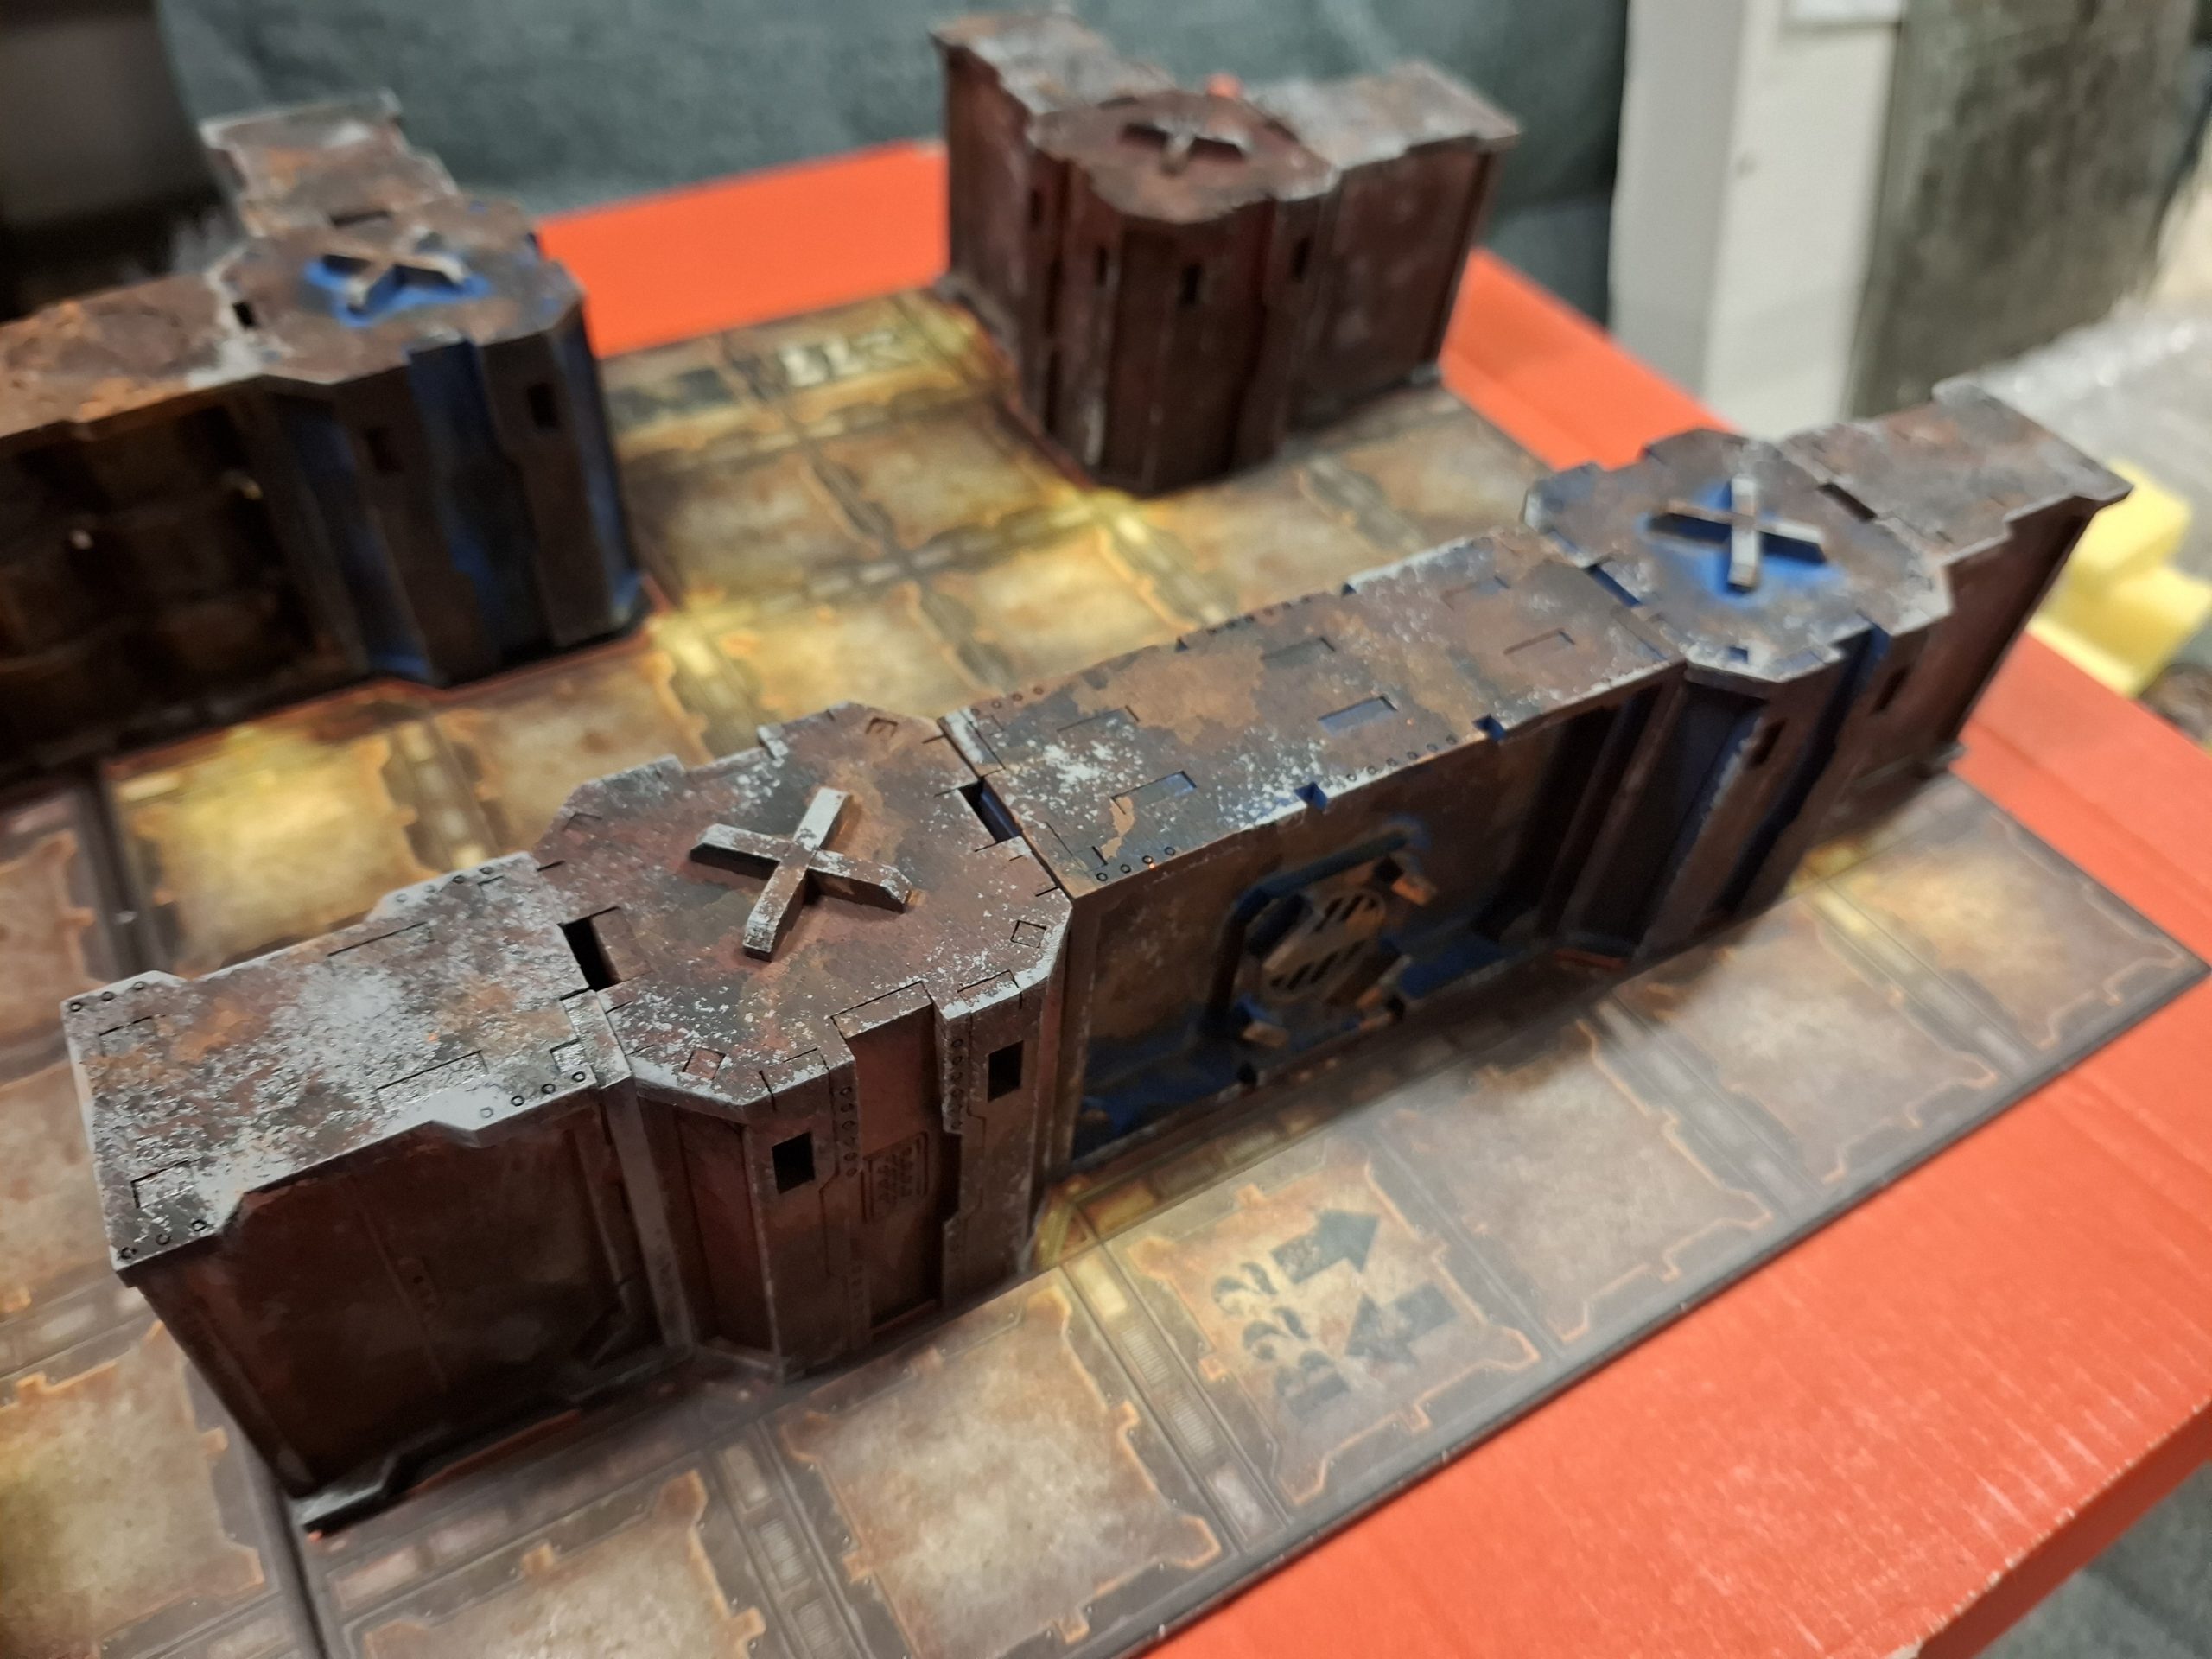

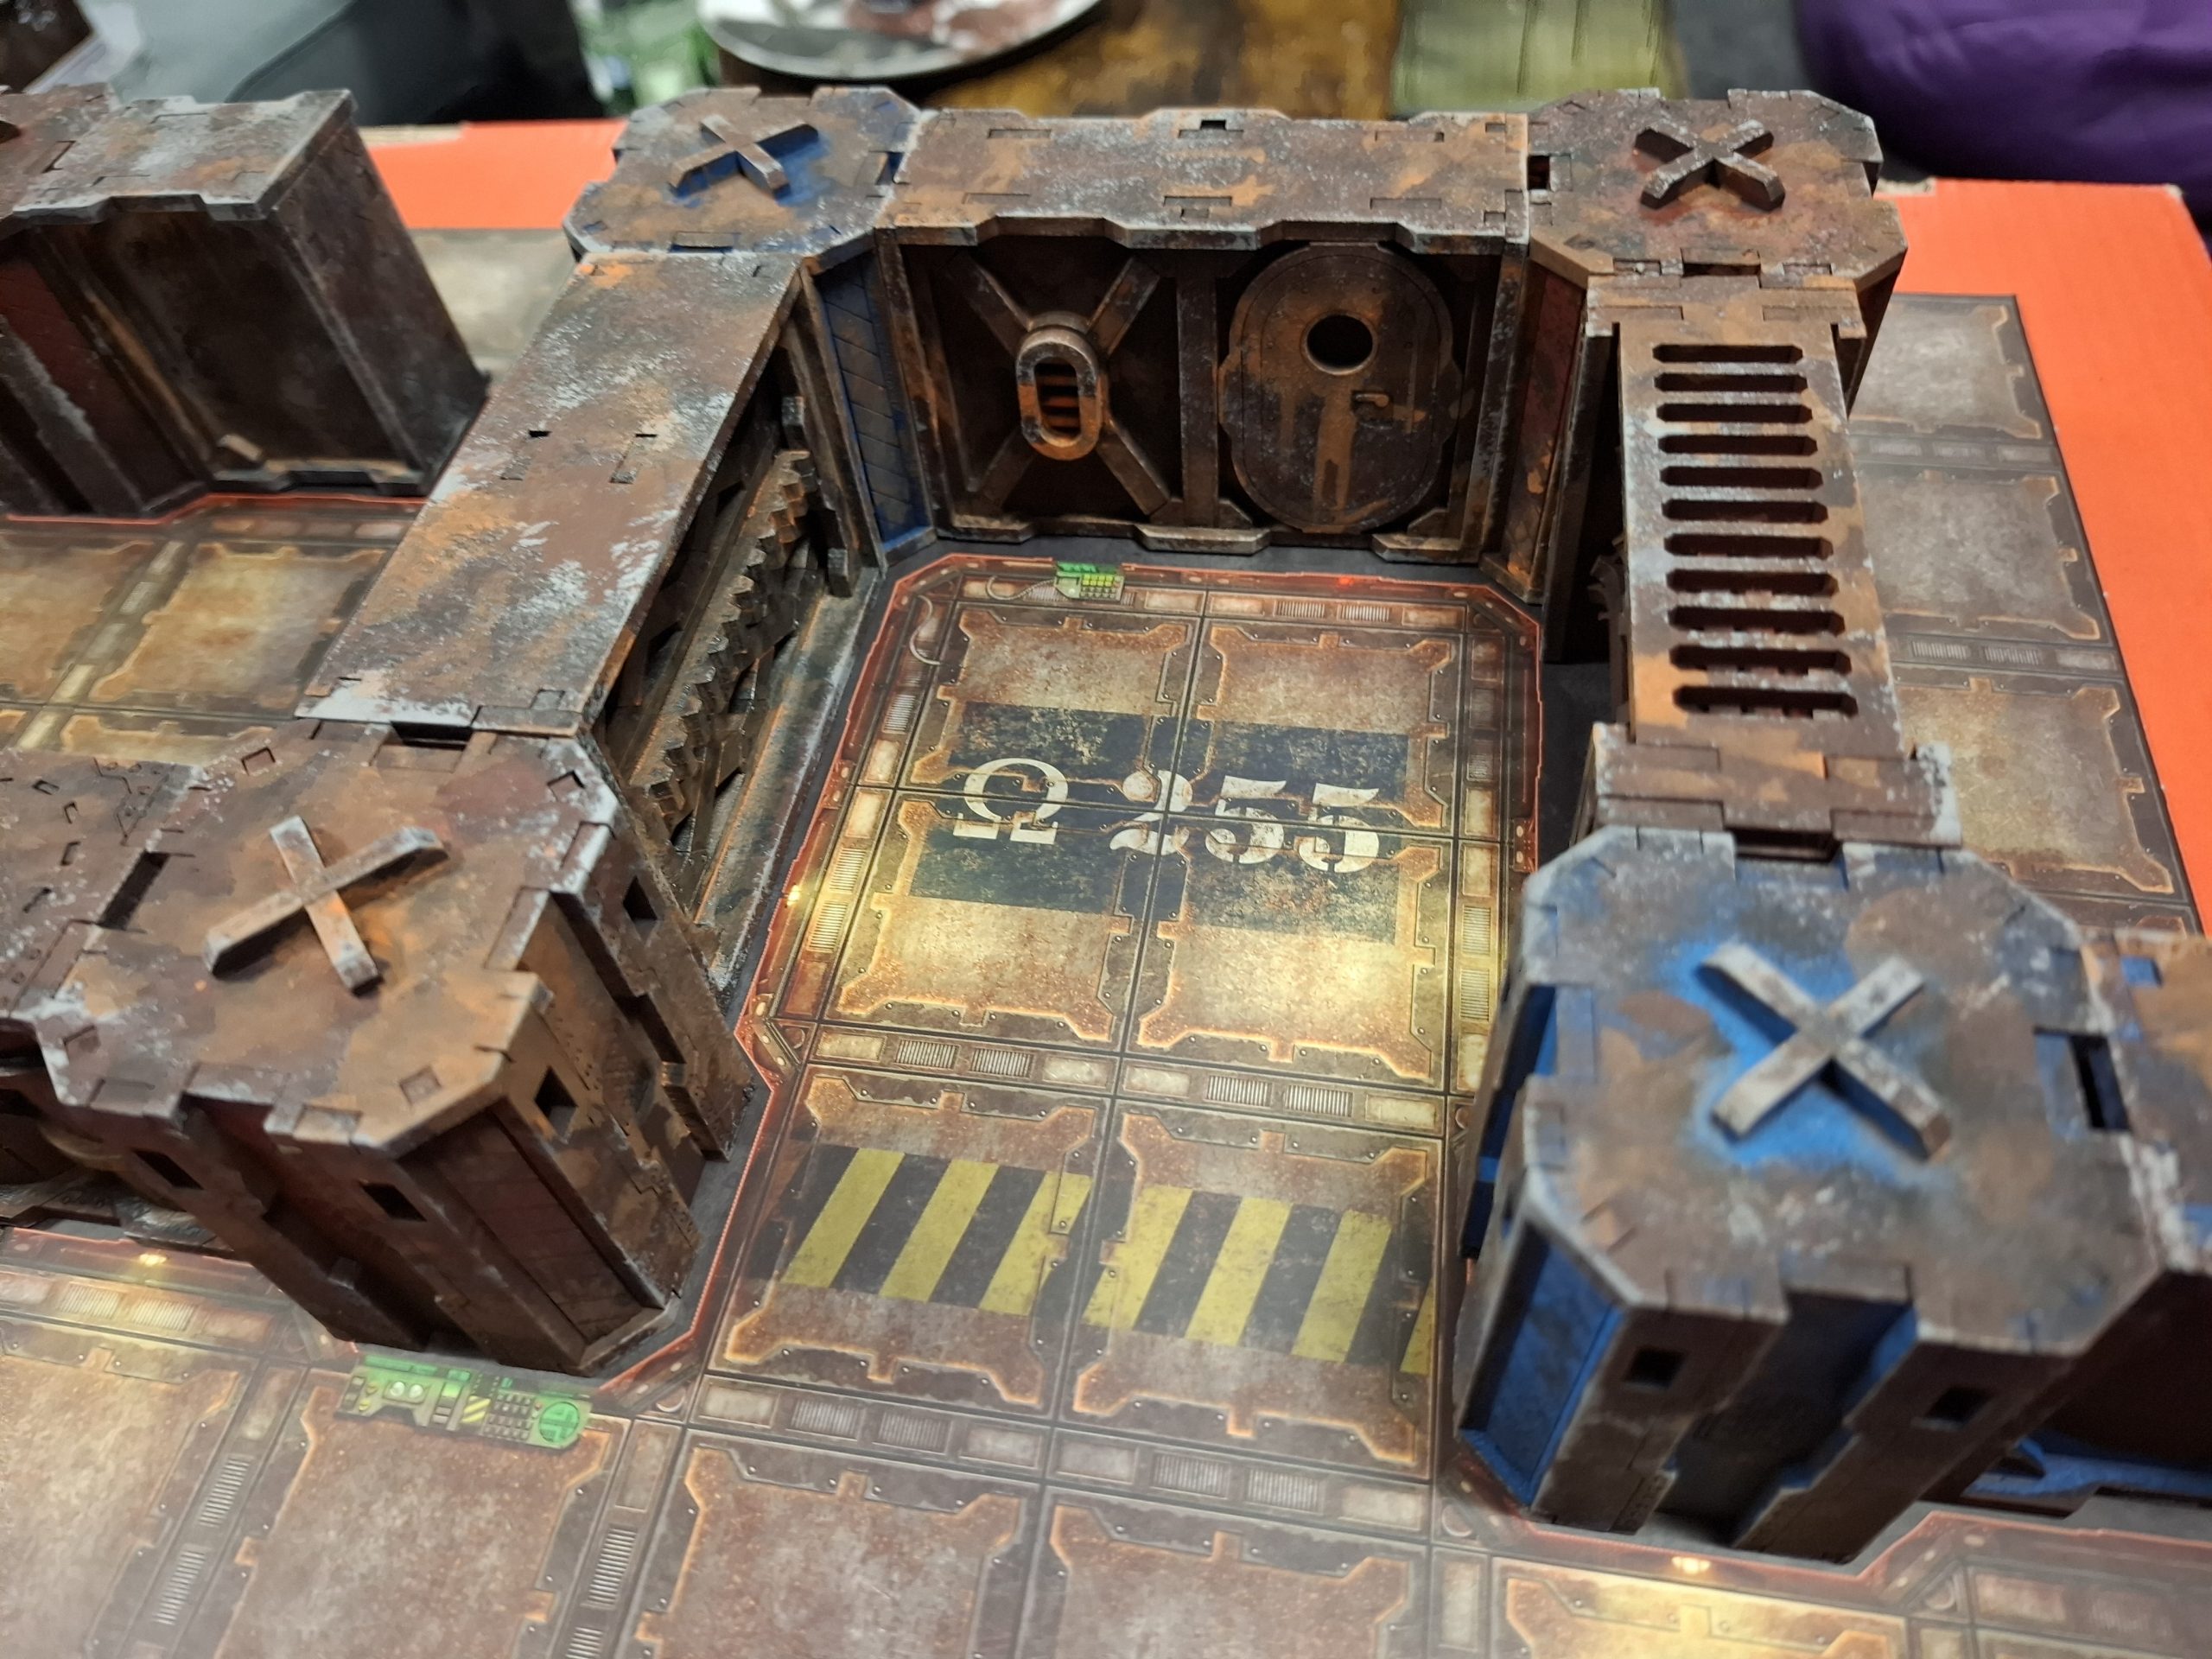

And here are large examples. 3×3 tiles.
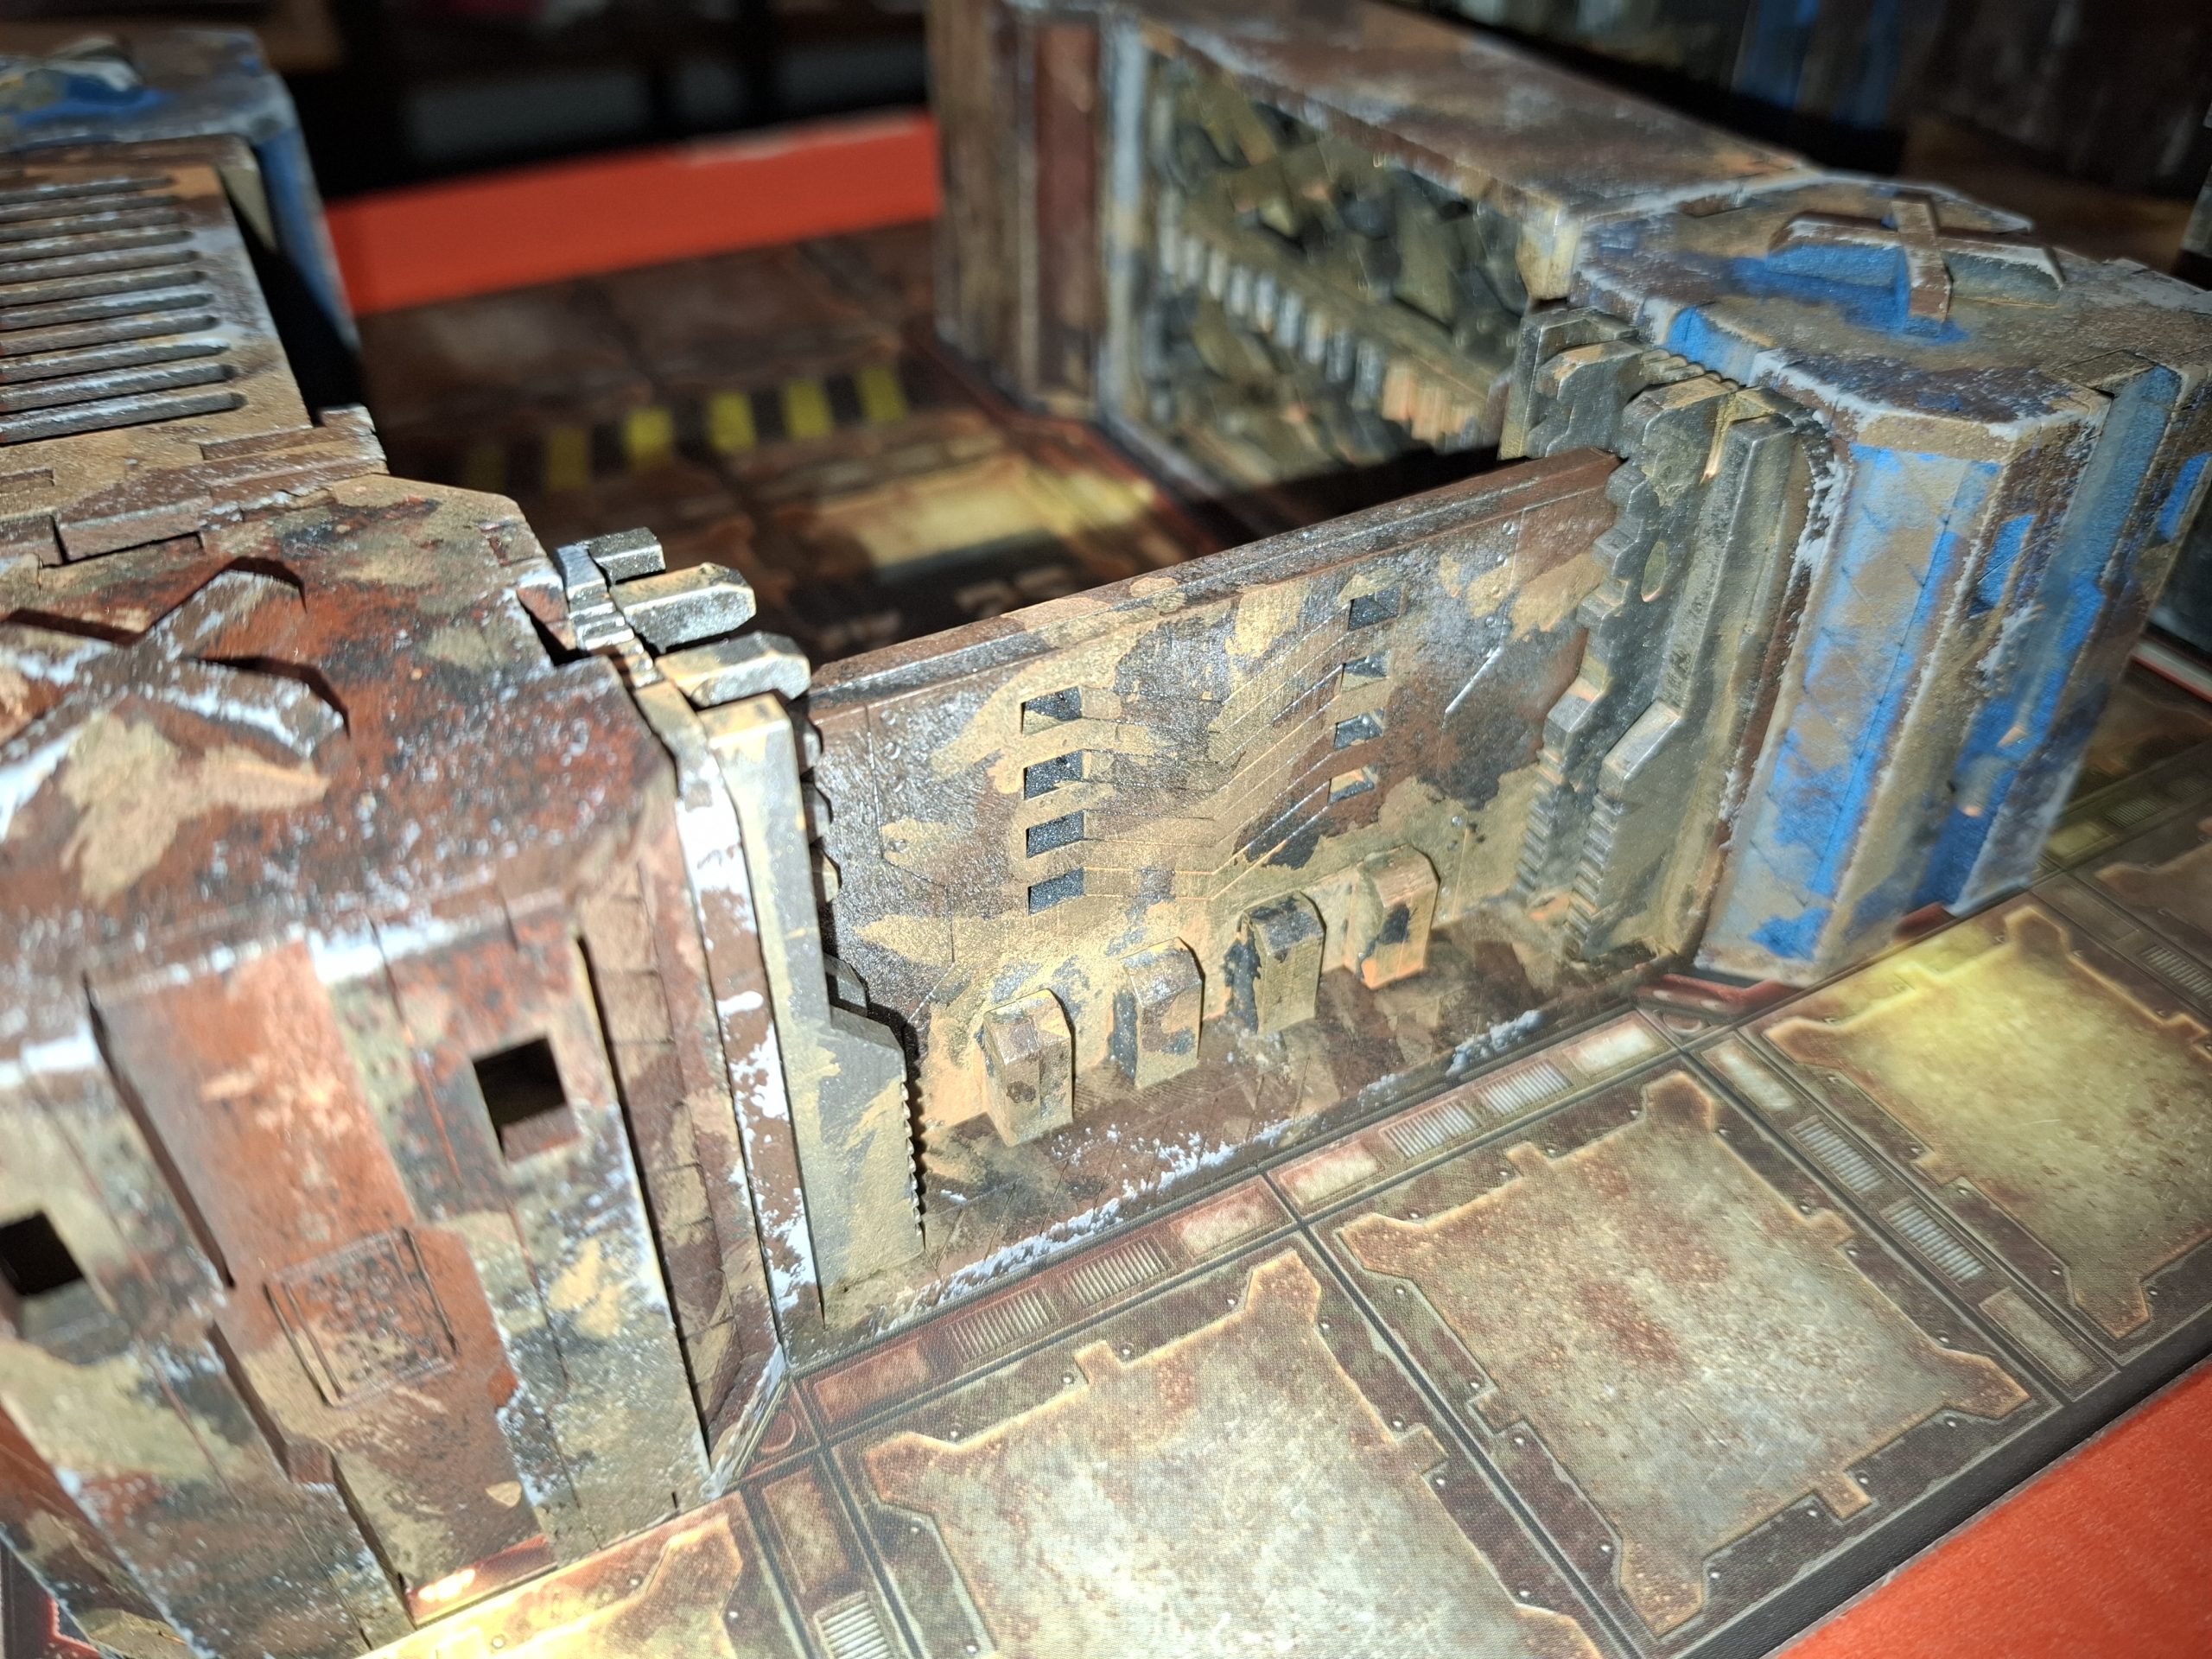
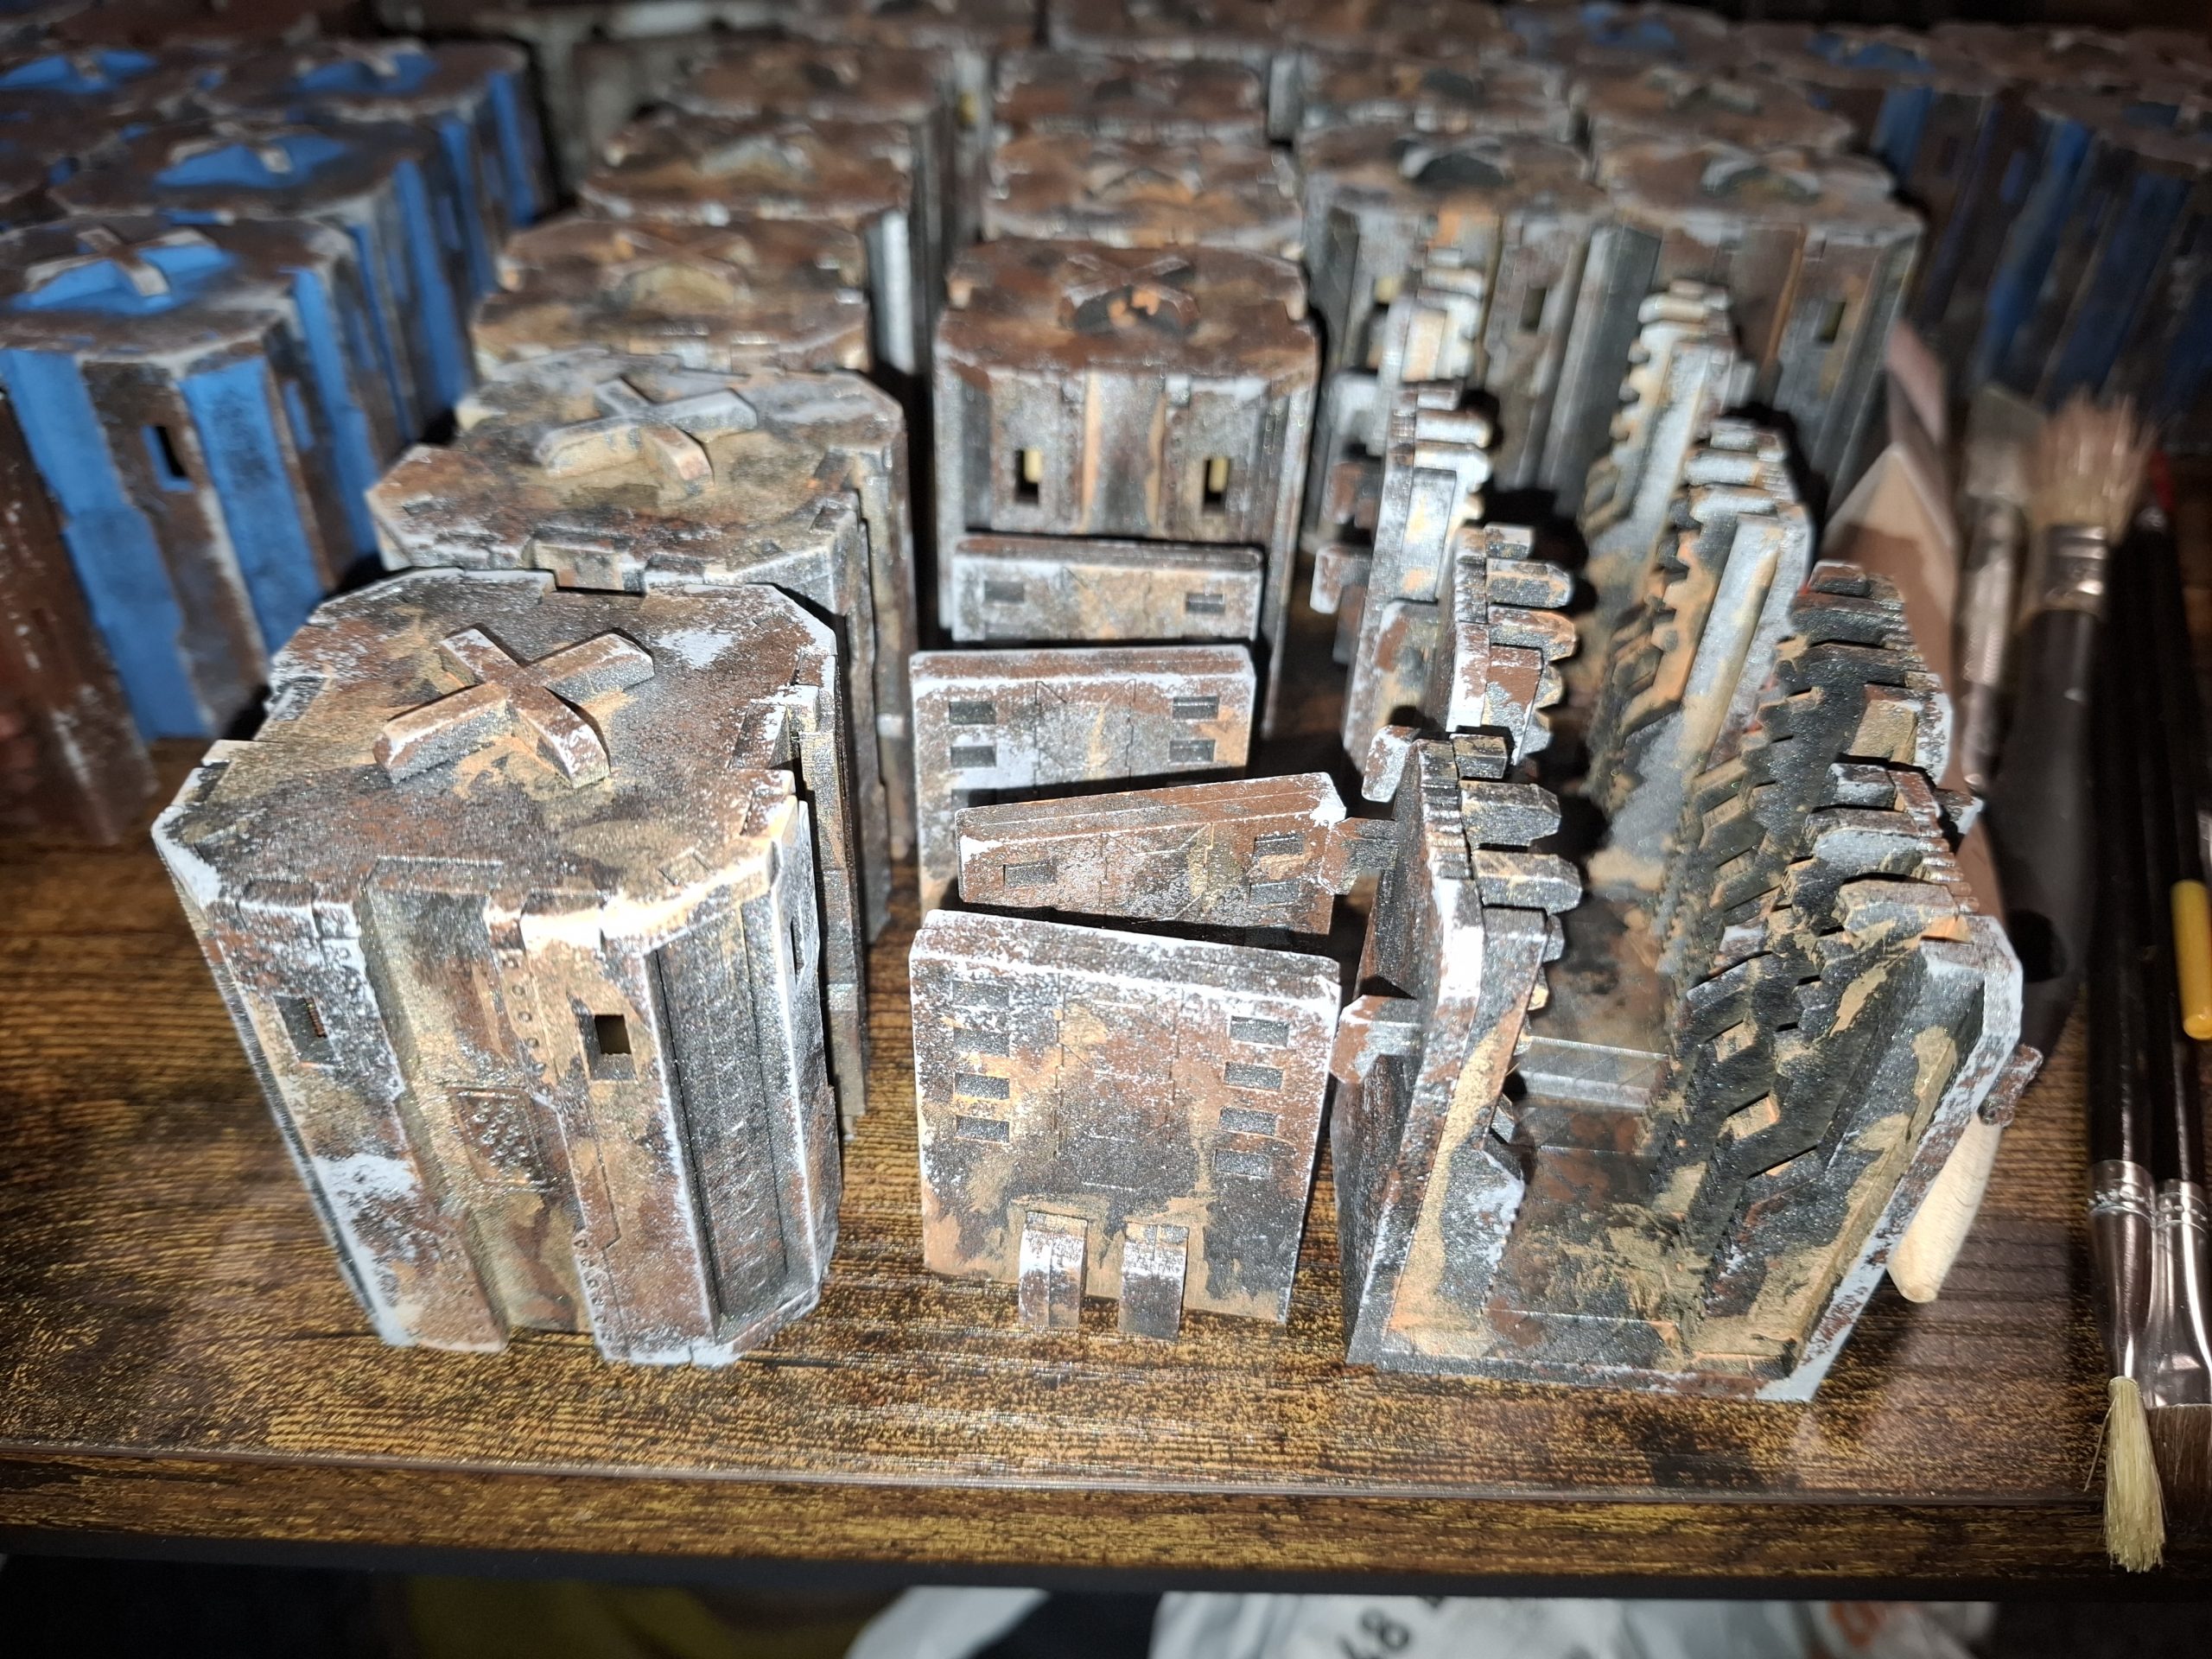
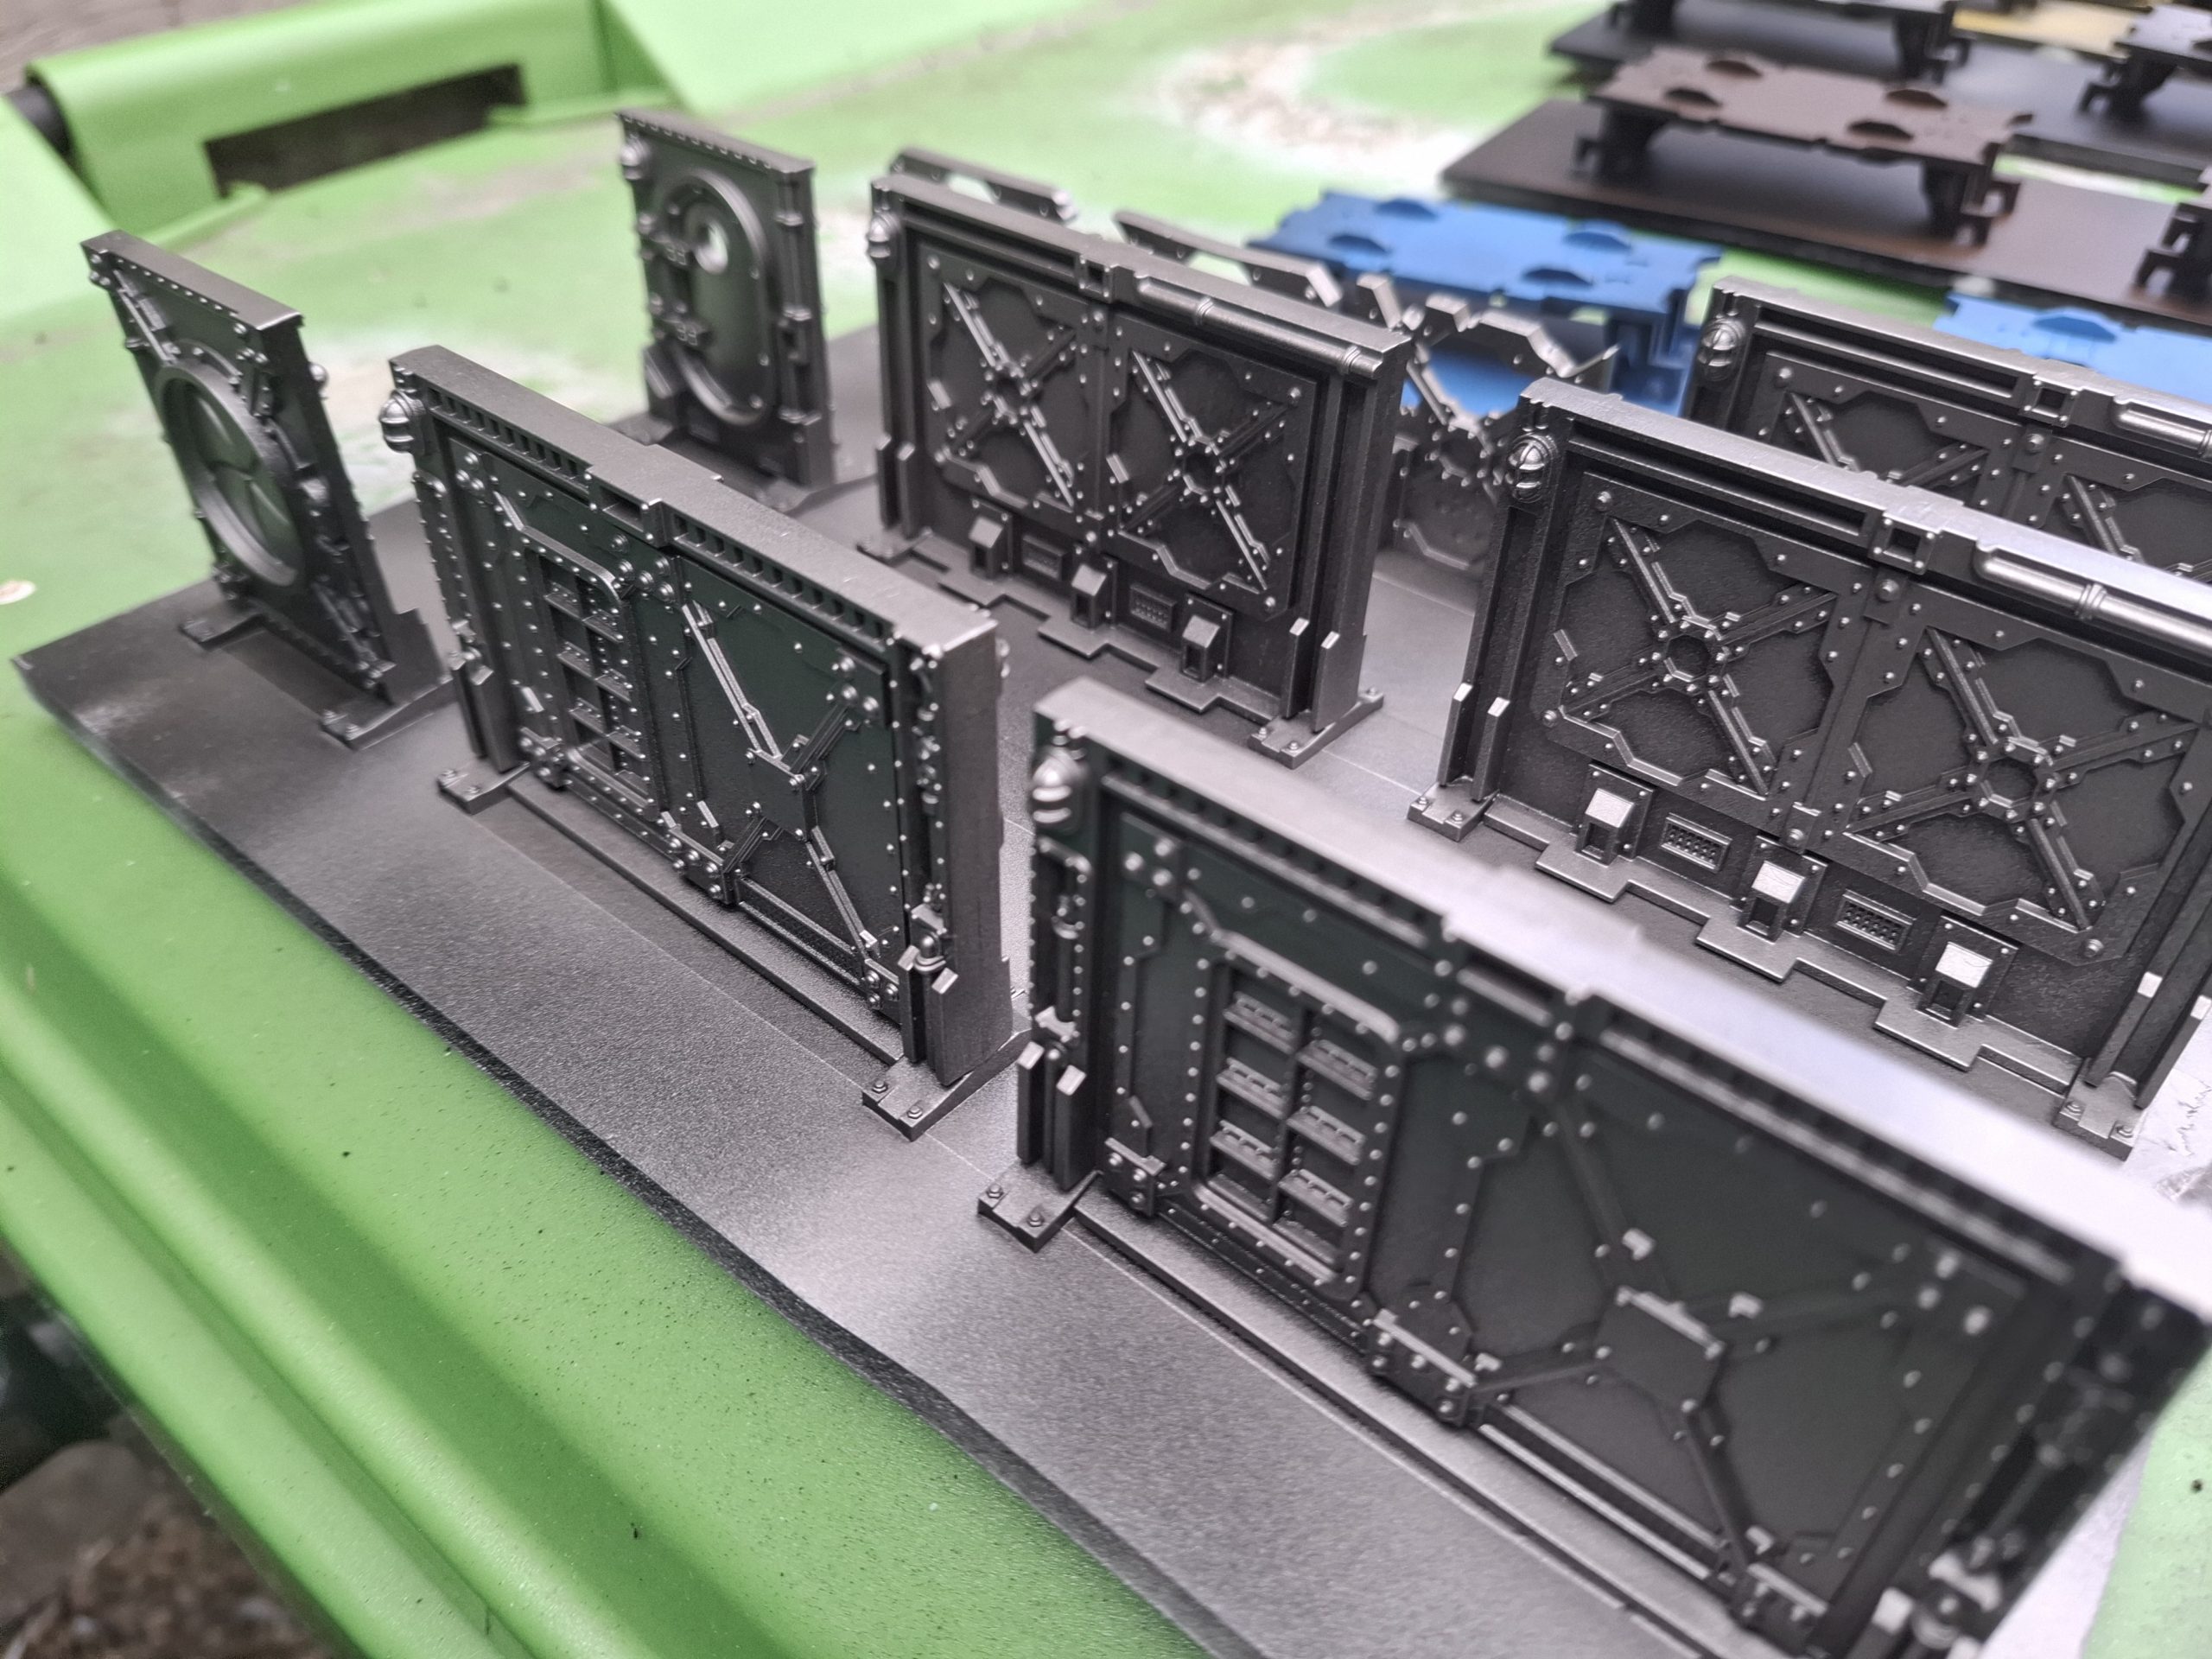
Rust!
Finally, Brett thinned down some Crawford & Black orange acrylic paint with water. This was liberally applied to look like rust. At this time, this has been applied to nearly all the walls, though walkways, stairs, ladders, barricades and the plastic walls and doors still need this final detailing. Still, this entire process took us 2 and a half nights. We’re pretty happy!
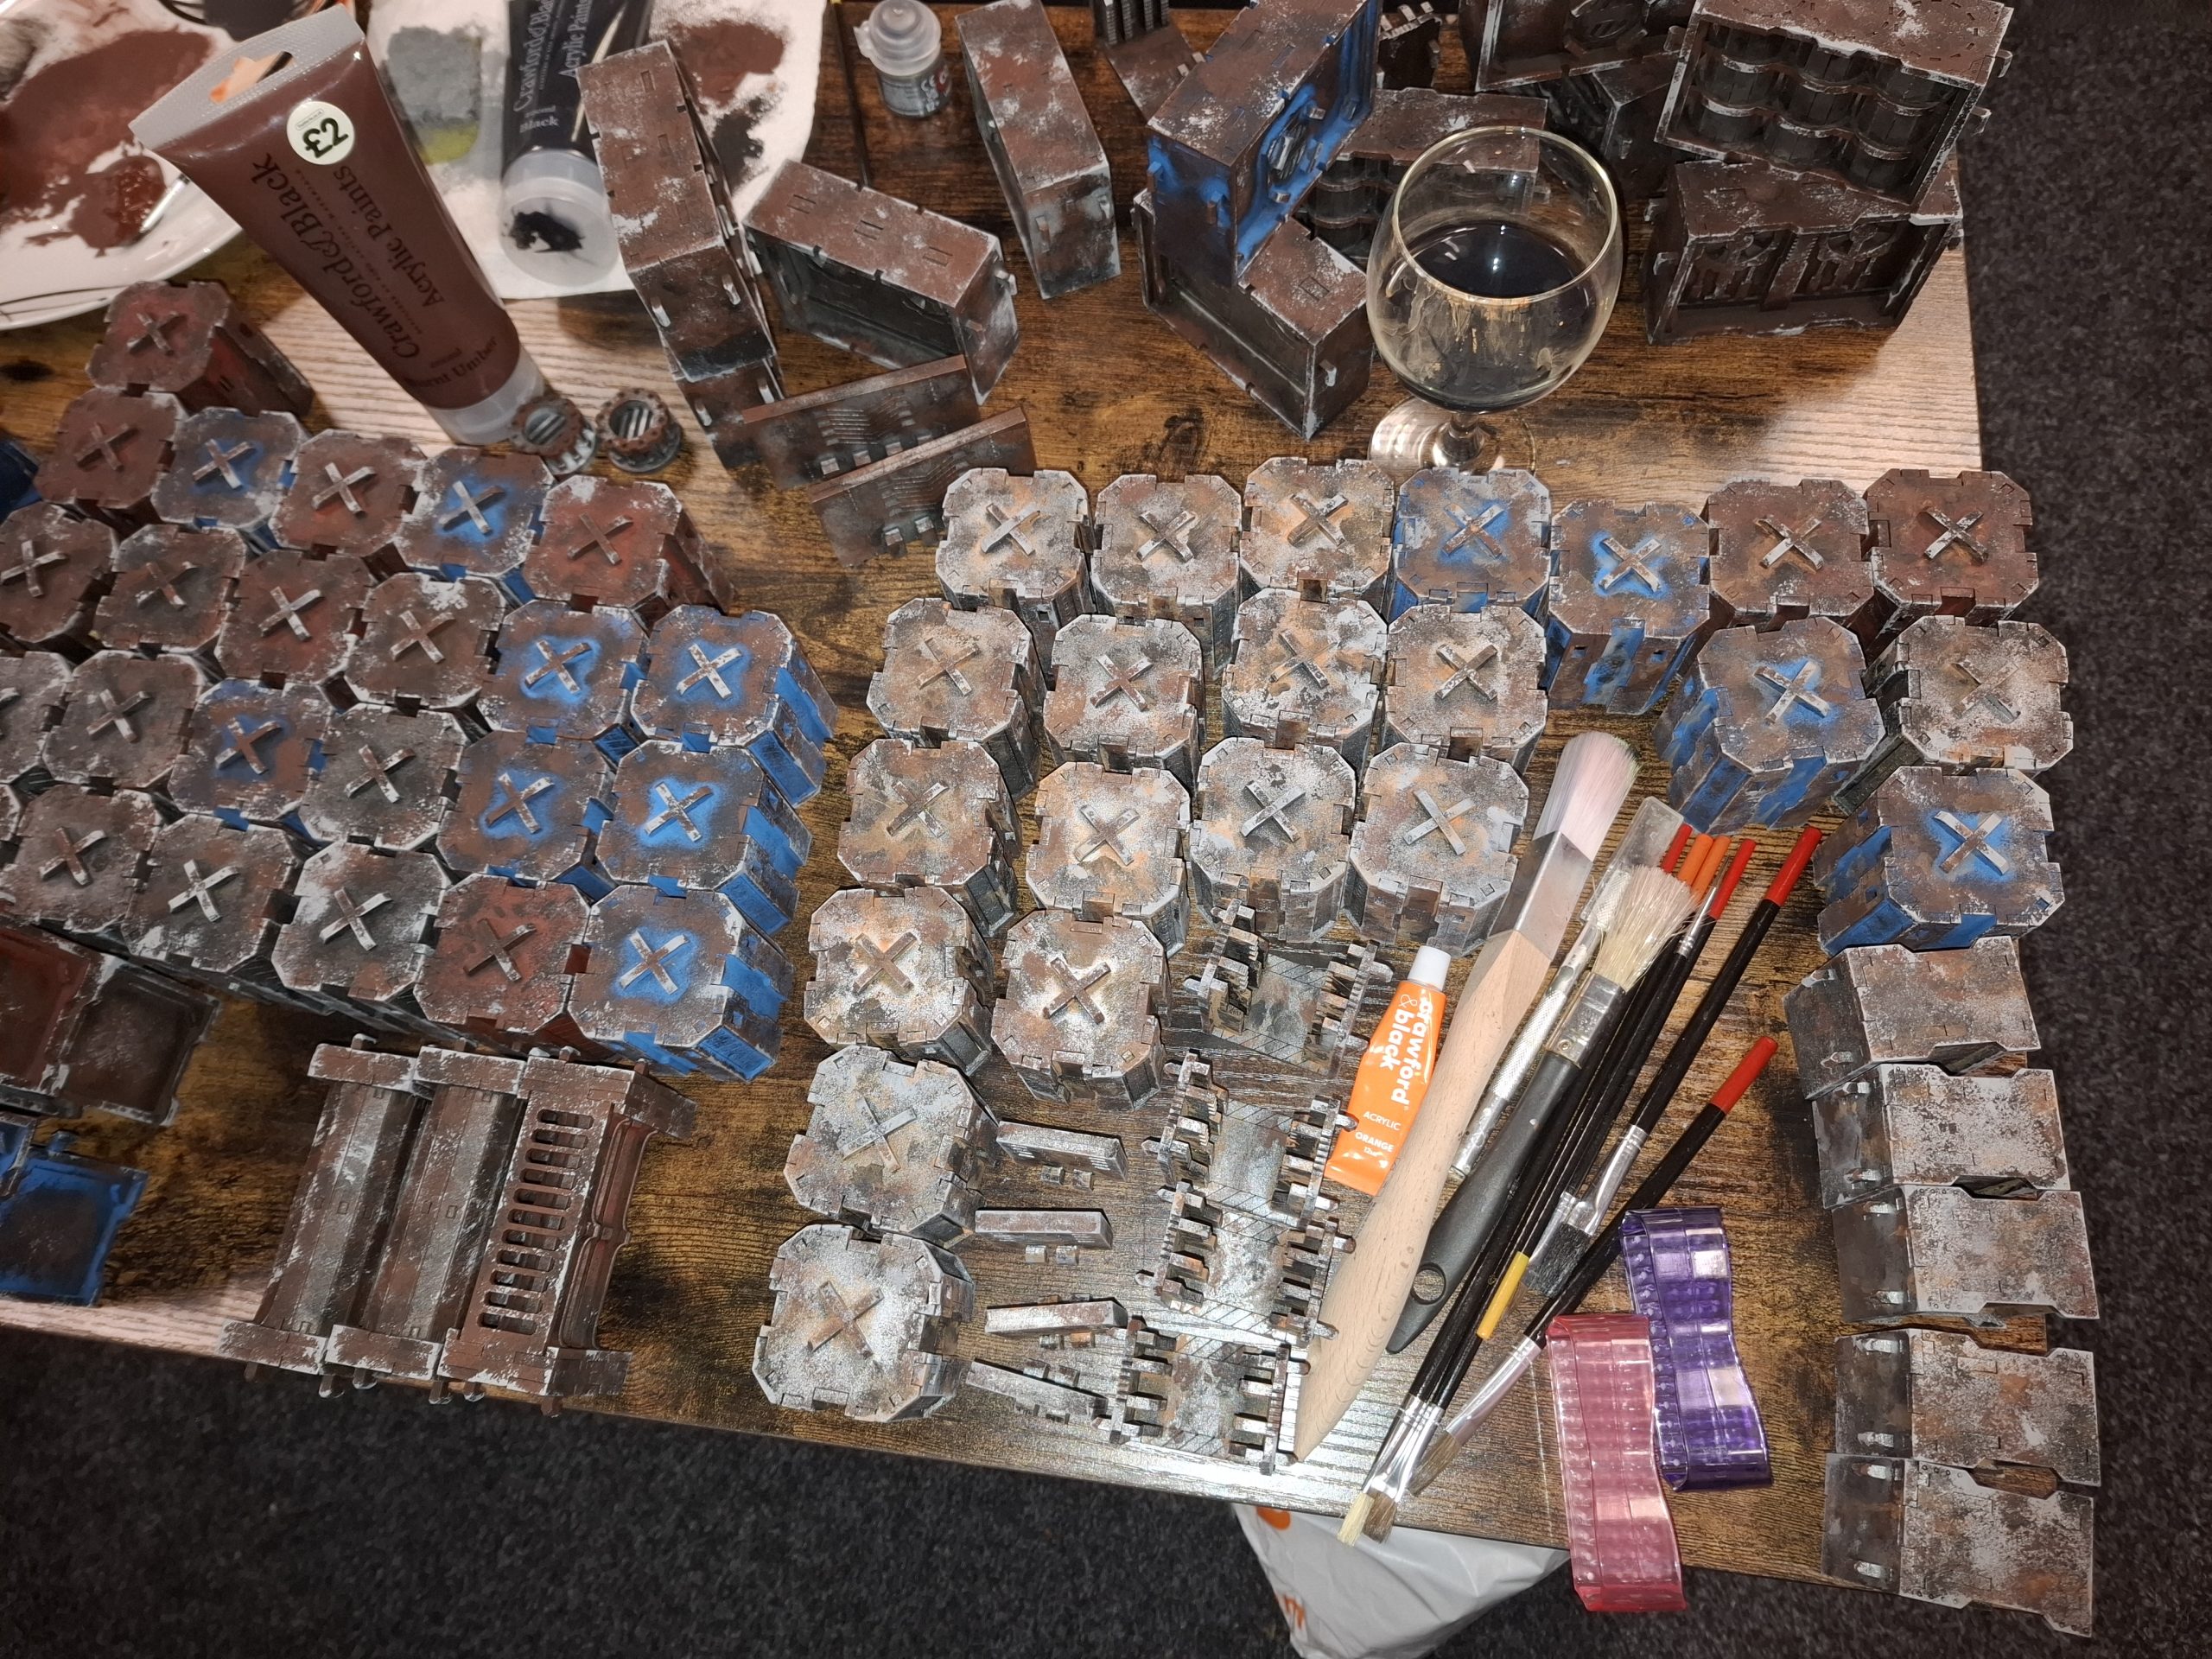
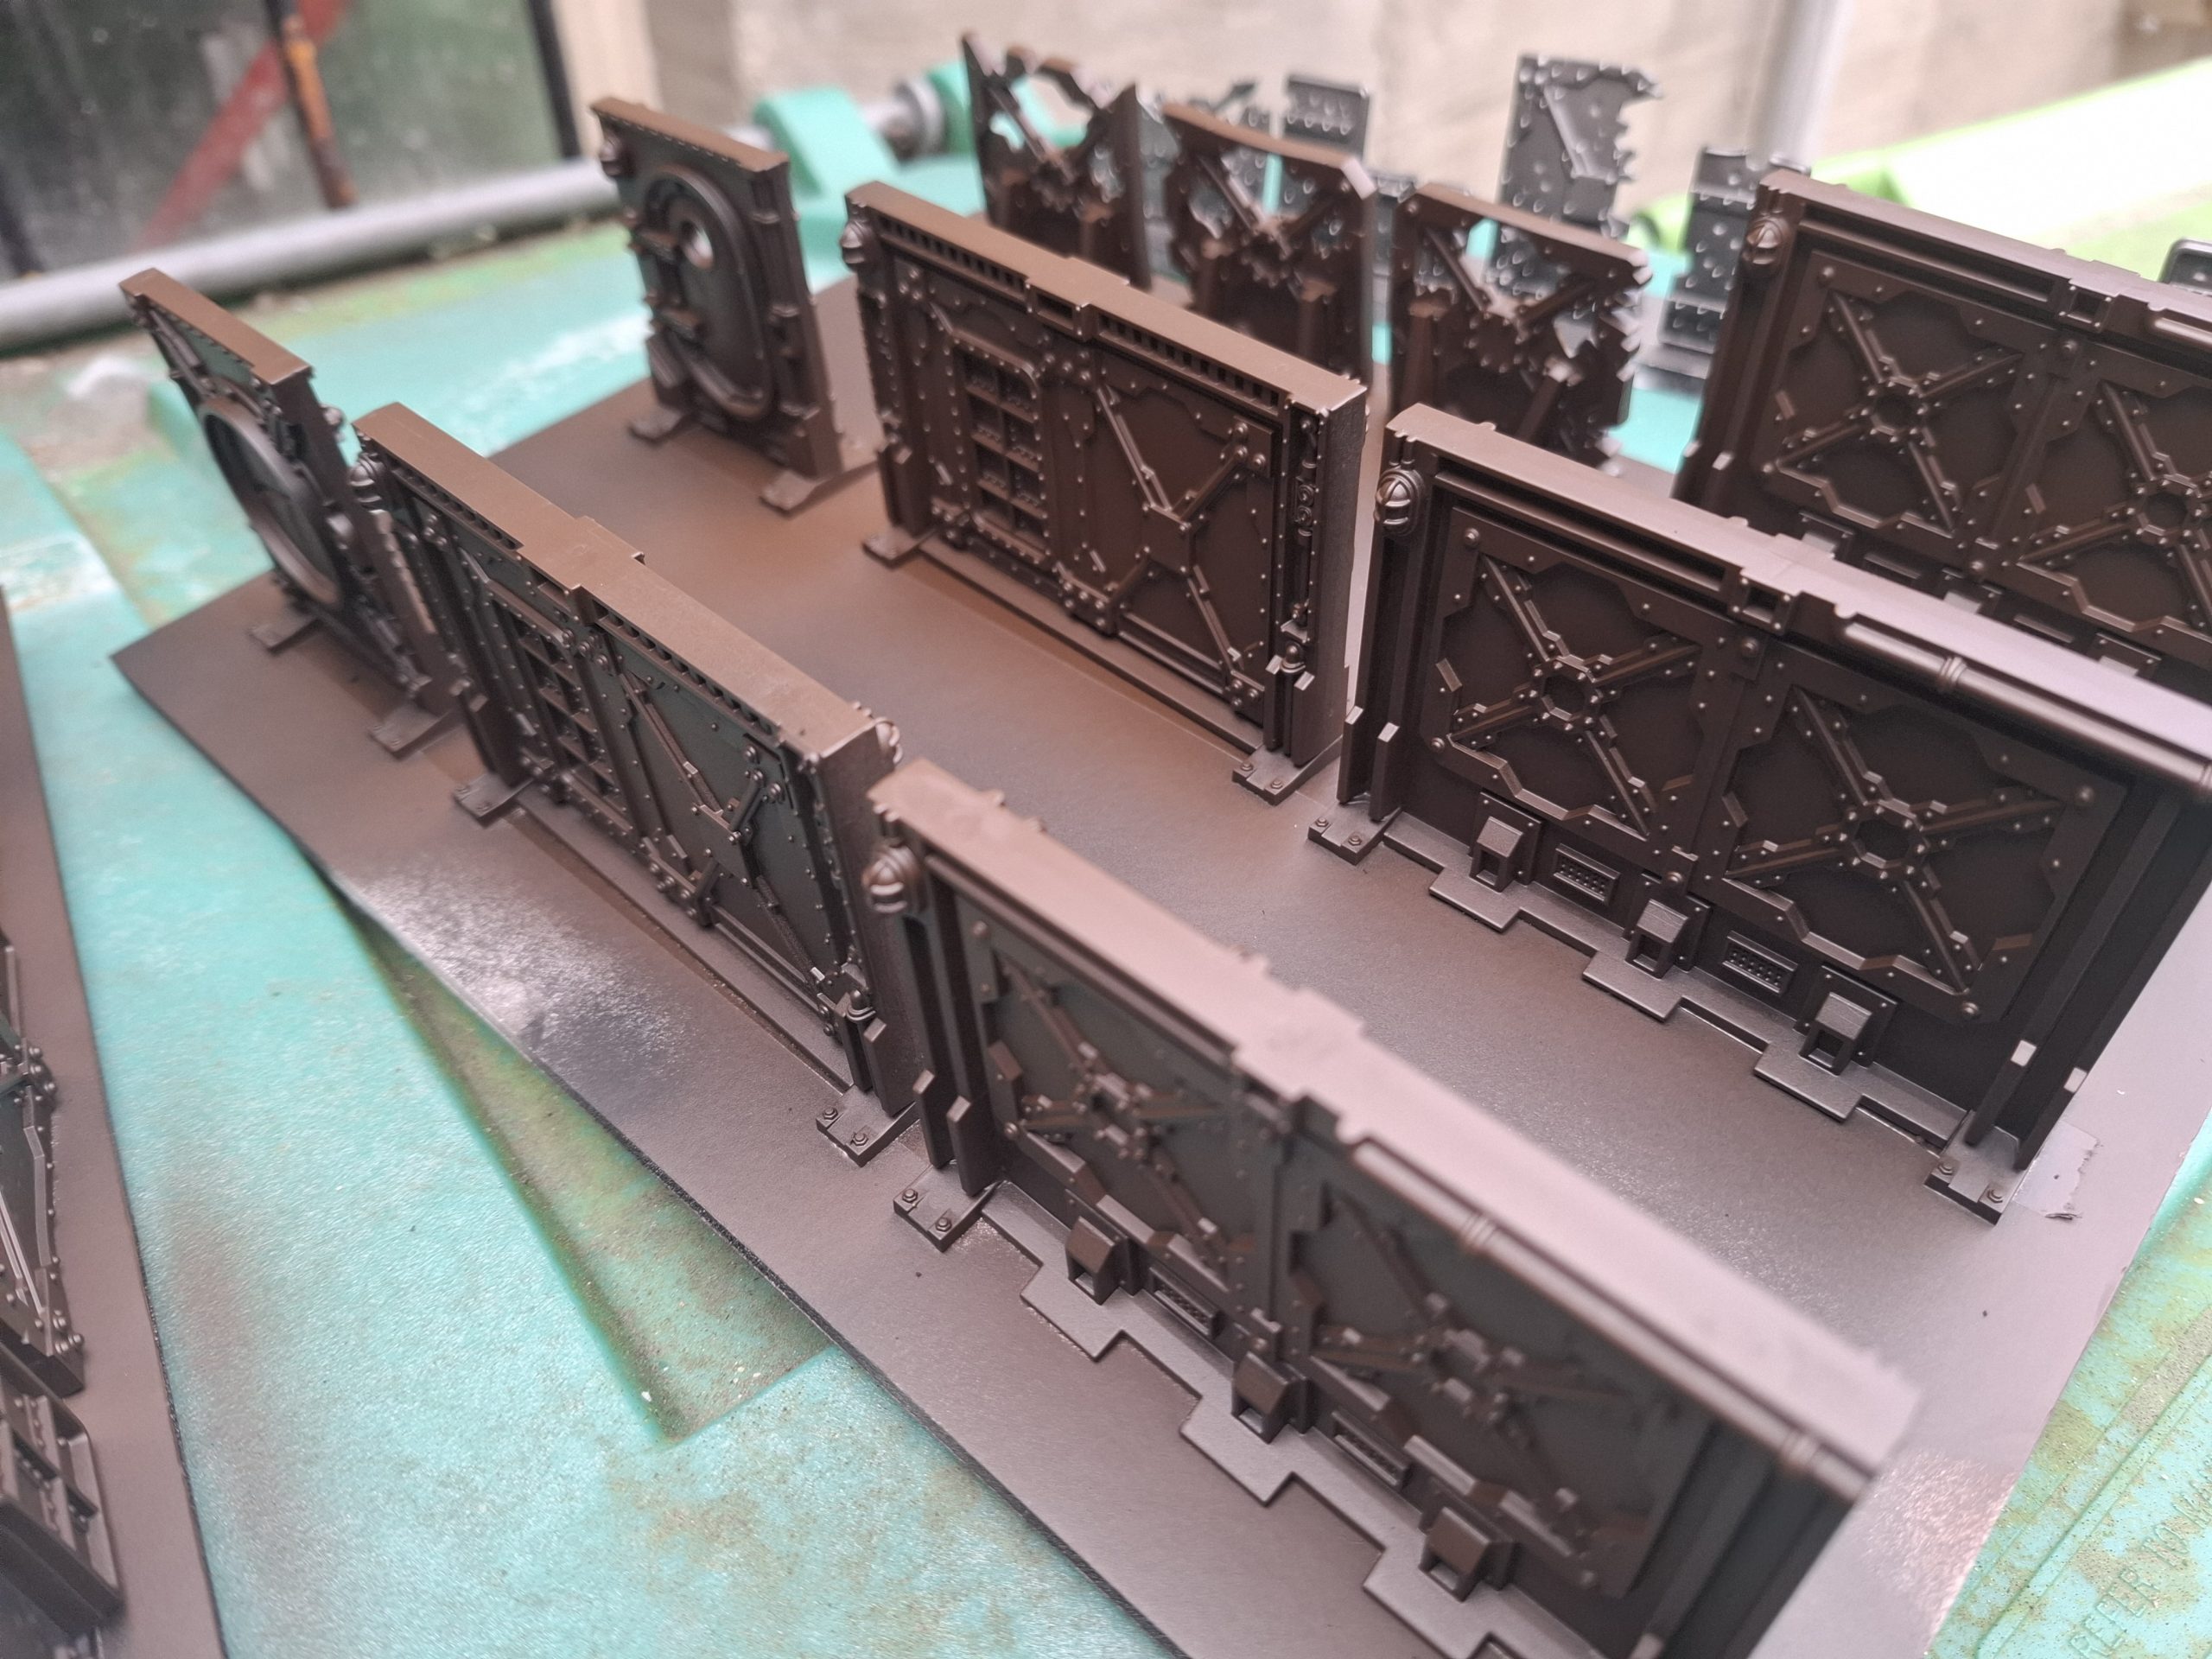
Sponging!
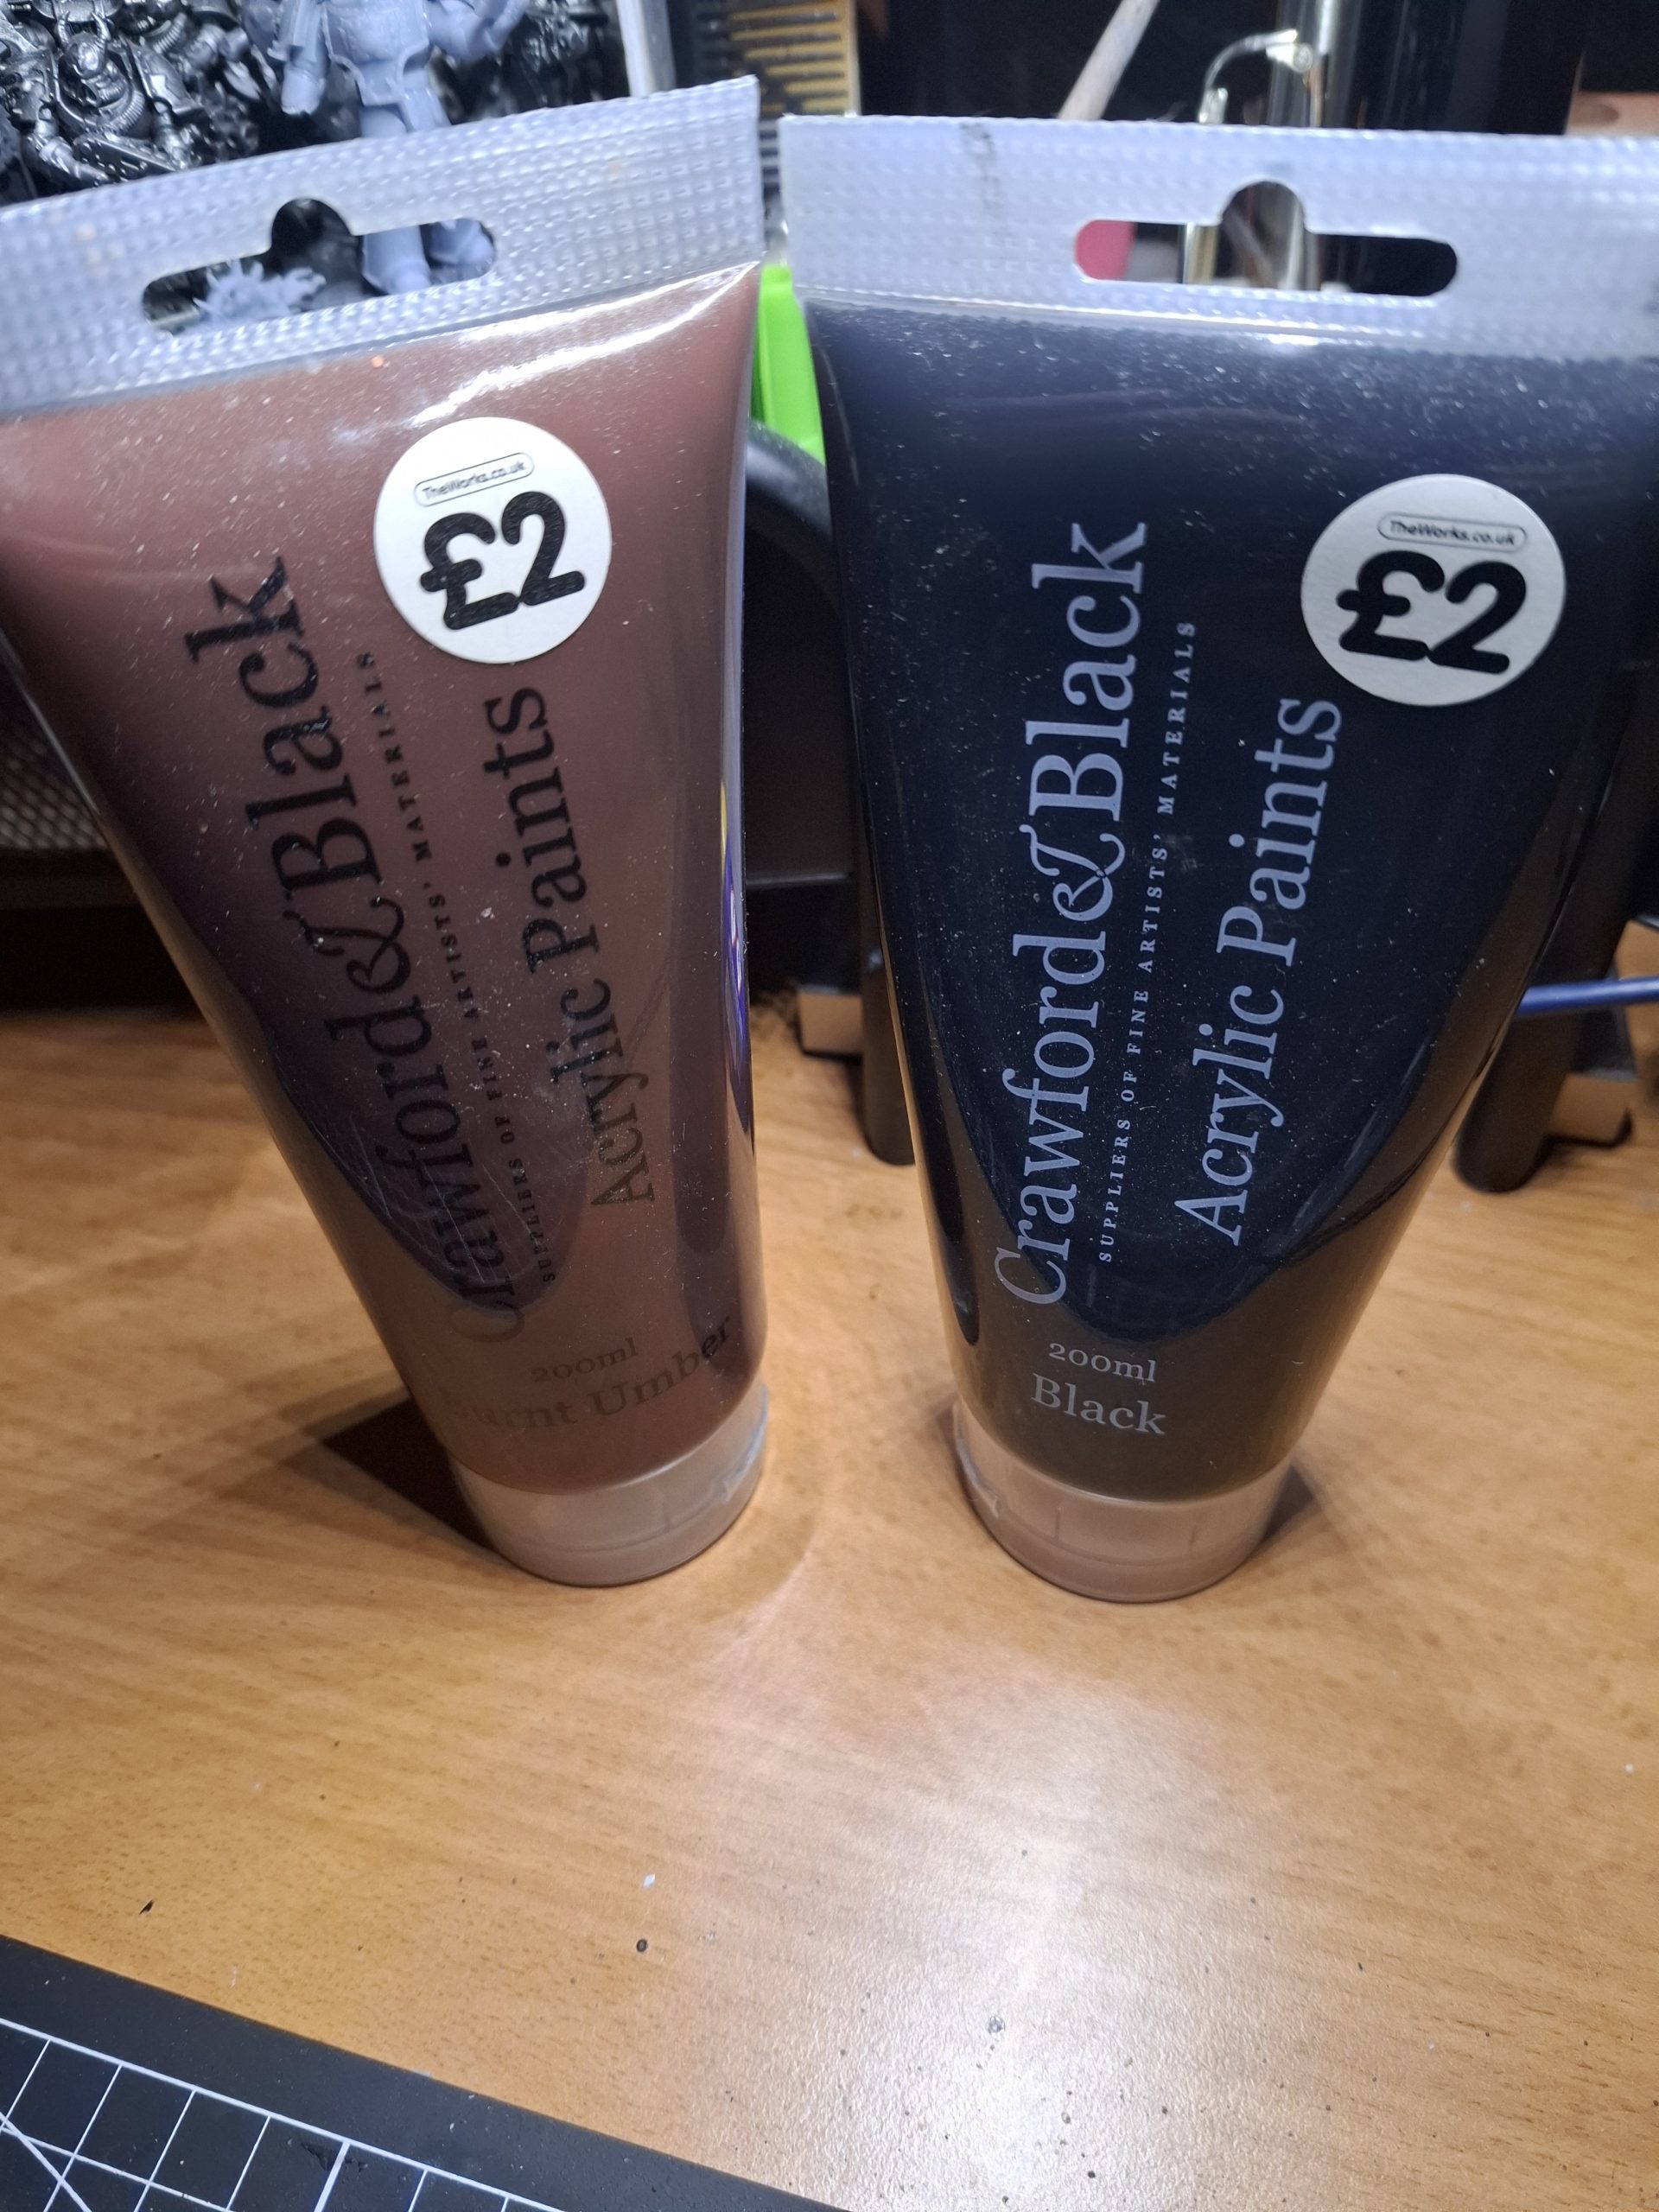
With the zenithal dry, we took a car sponge and tore it to pieces. Lots of odd, jagged shapes. Next, we splodged some Crawford & Black acrylic paints (black and burnt umber) onto a plate. Dipping the sponge into the black first, we worked it into the sponge, then patted the excess off. I used a latex glove on the hand holding the wall or pillar. I would pat the sponge off on the back of my hand.
We’d then pat this over the terrain piece, coating a lot of it in black. We did this in a production line. Once we were done with all of it, we went back over it with the burnt umber. This went on with a lighter touch. Halfway through, Brett switched to a light grey paint and sponged lightly onto the edges. He did that as I continued with the umber.
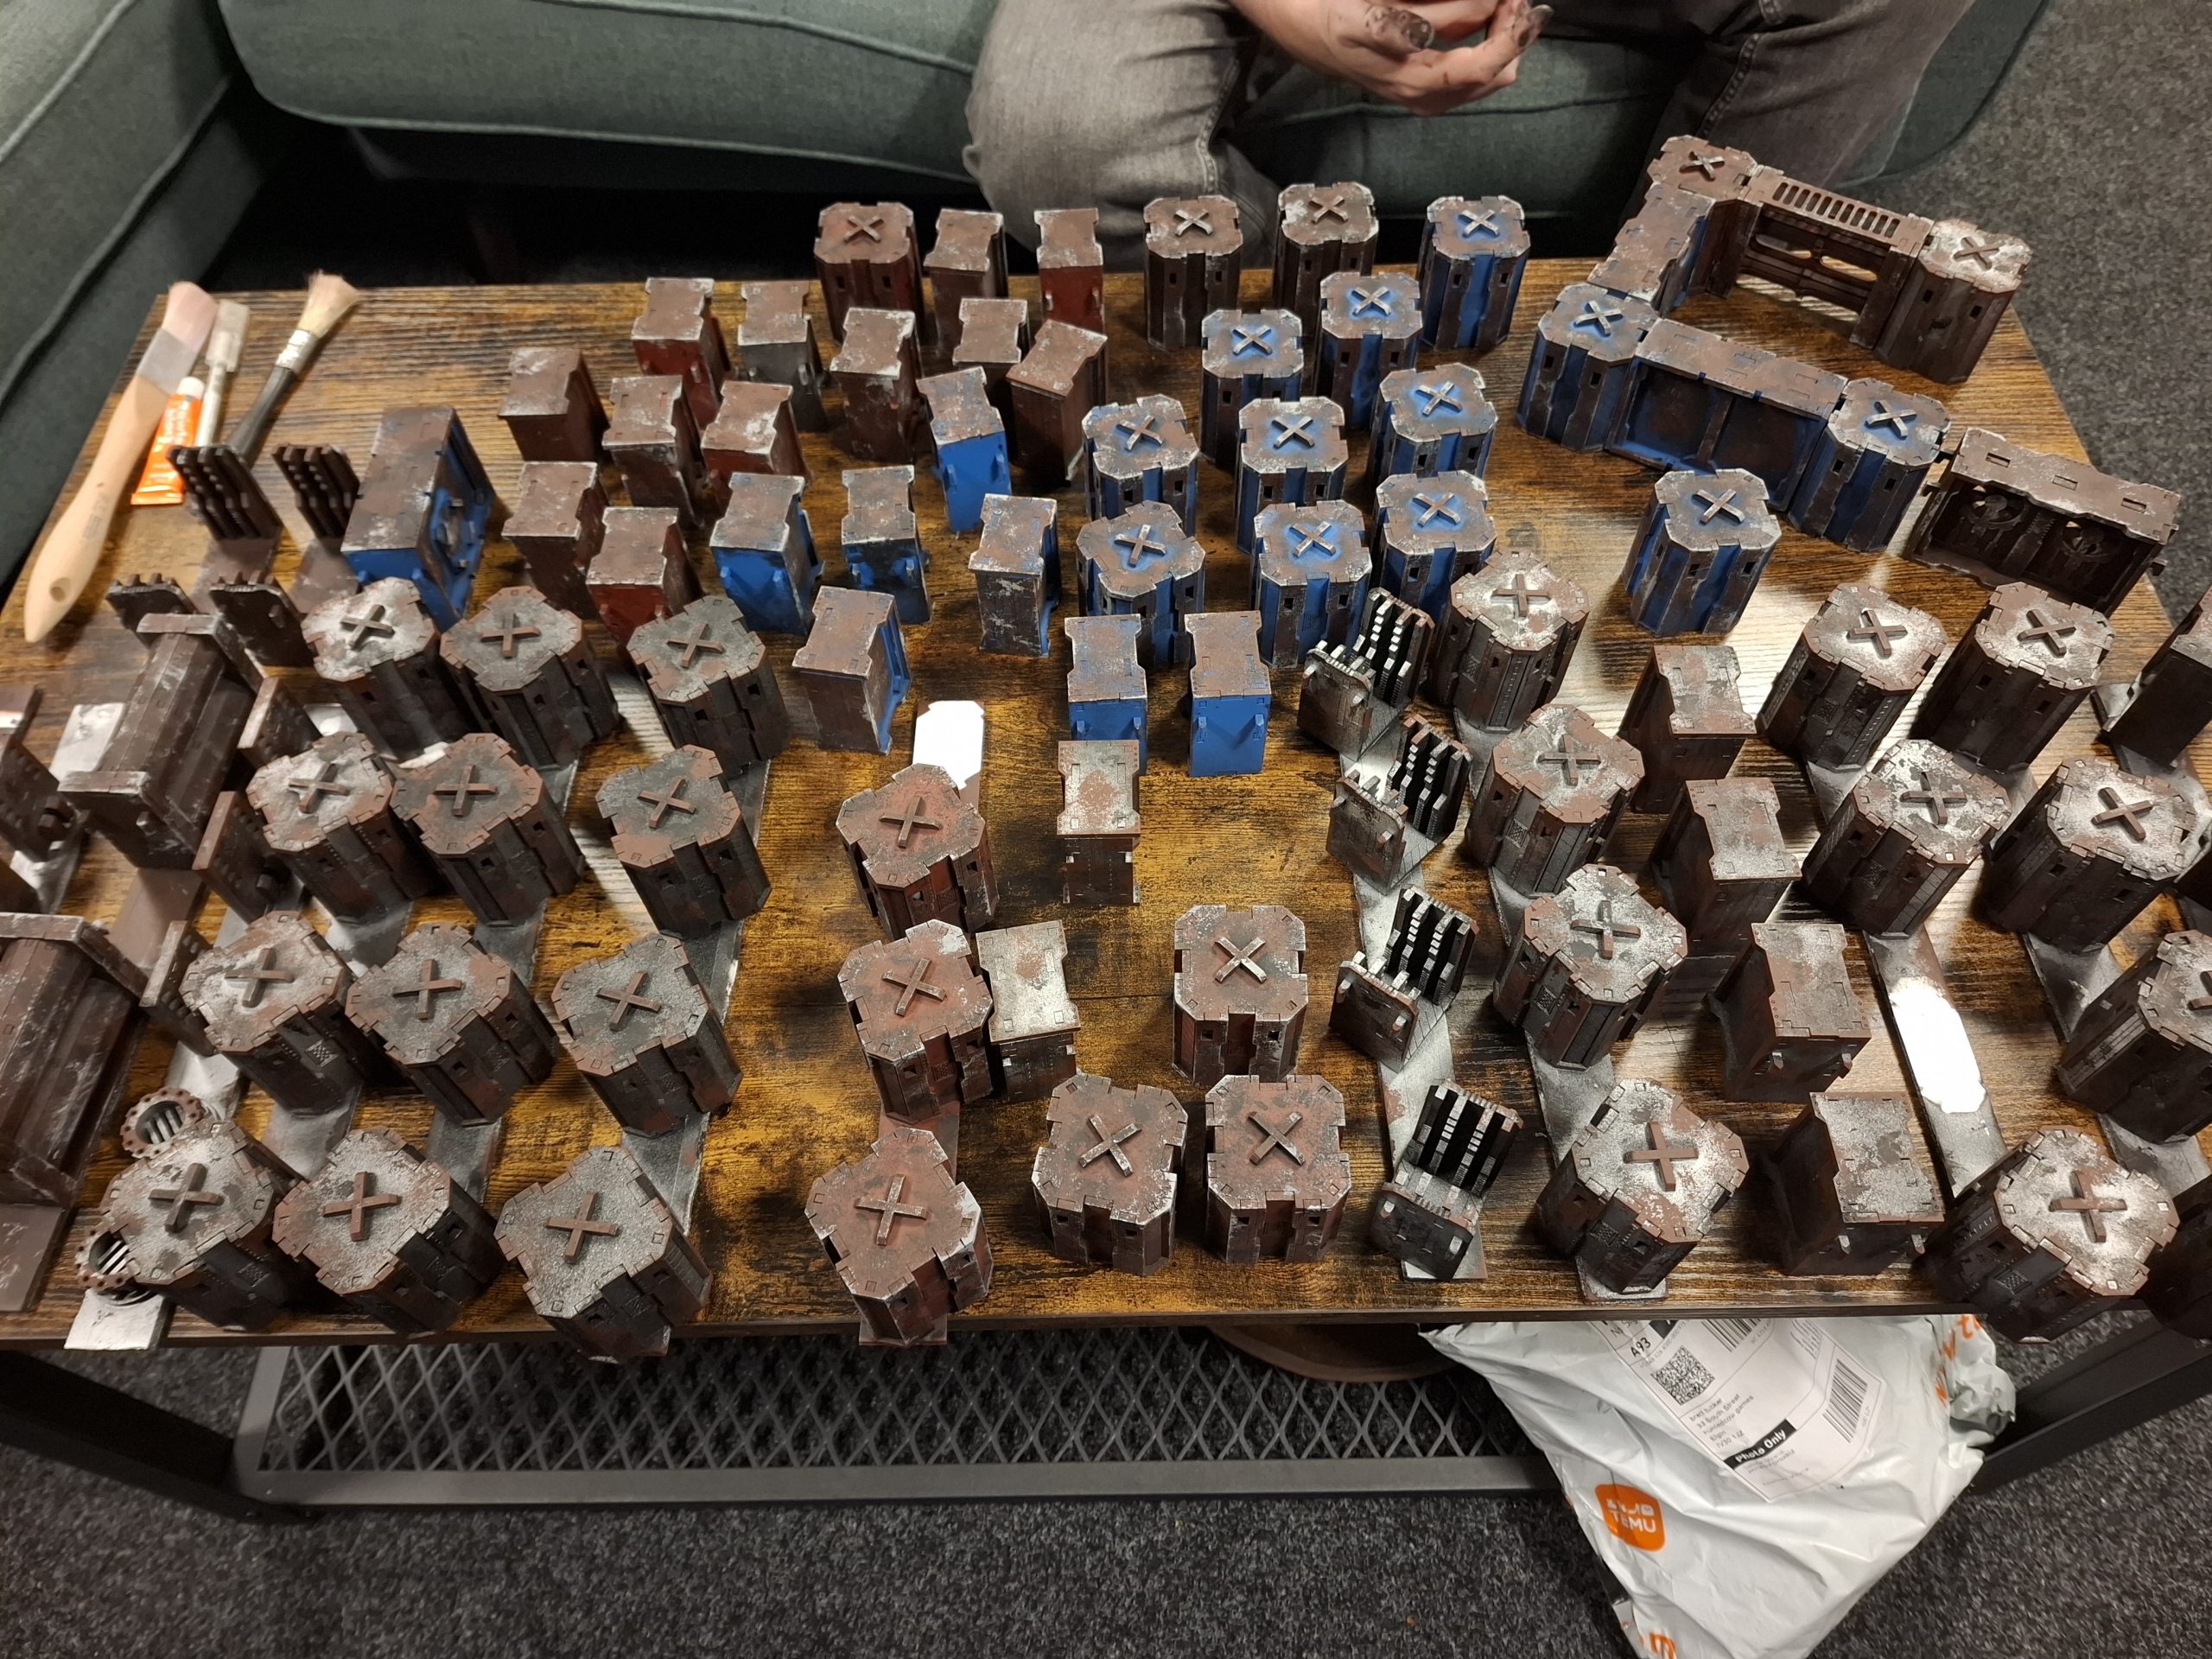
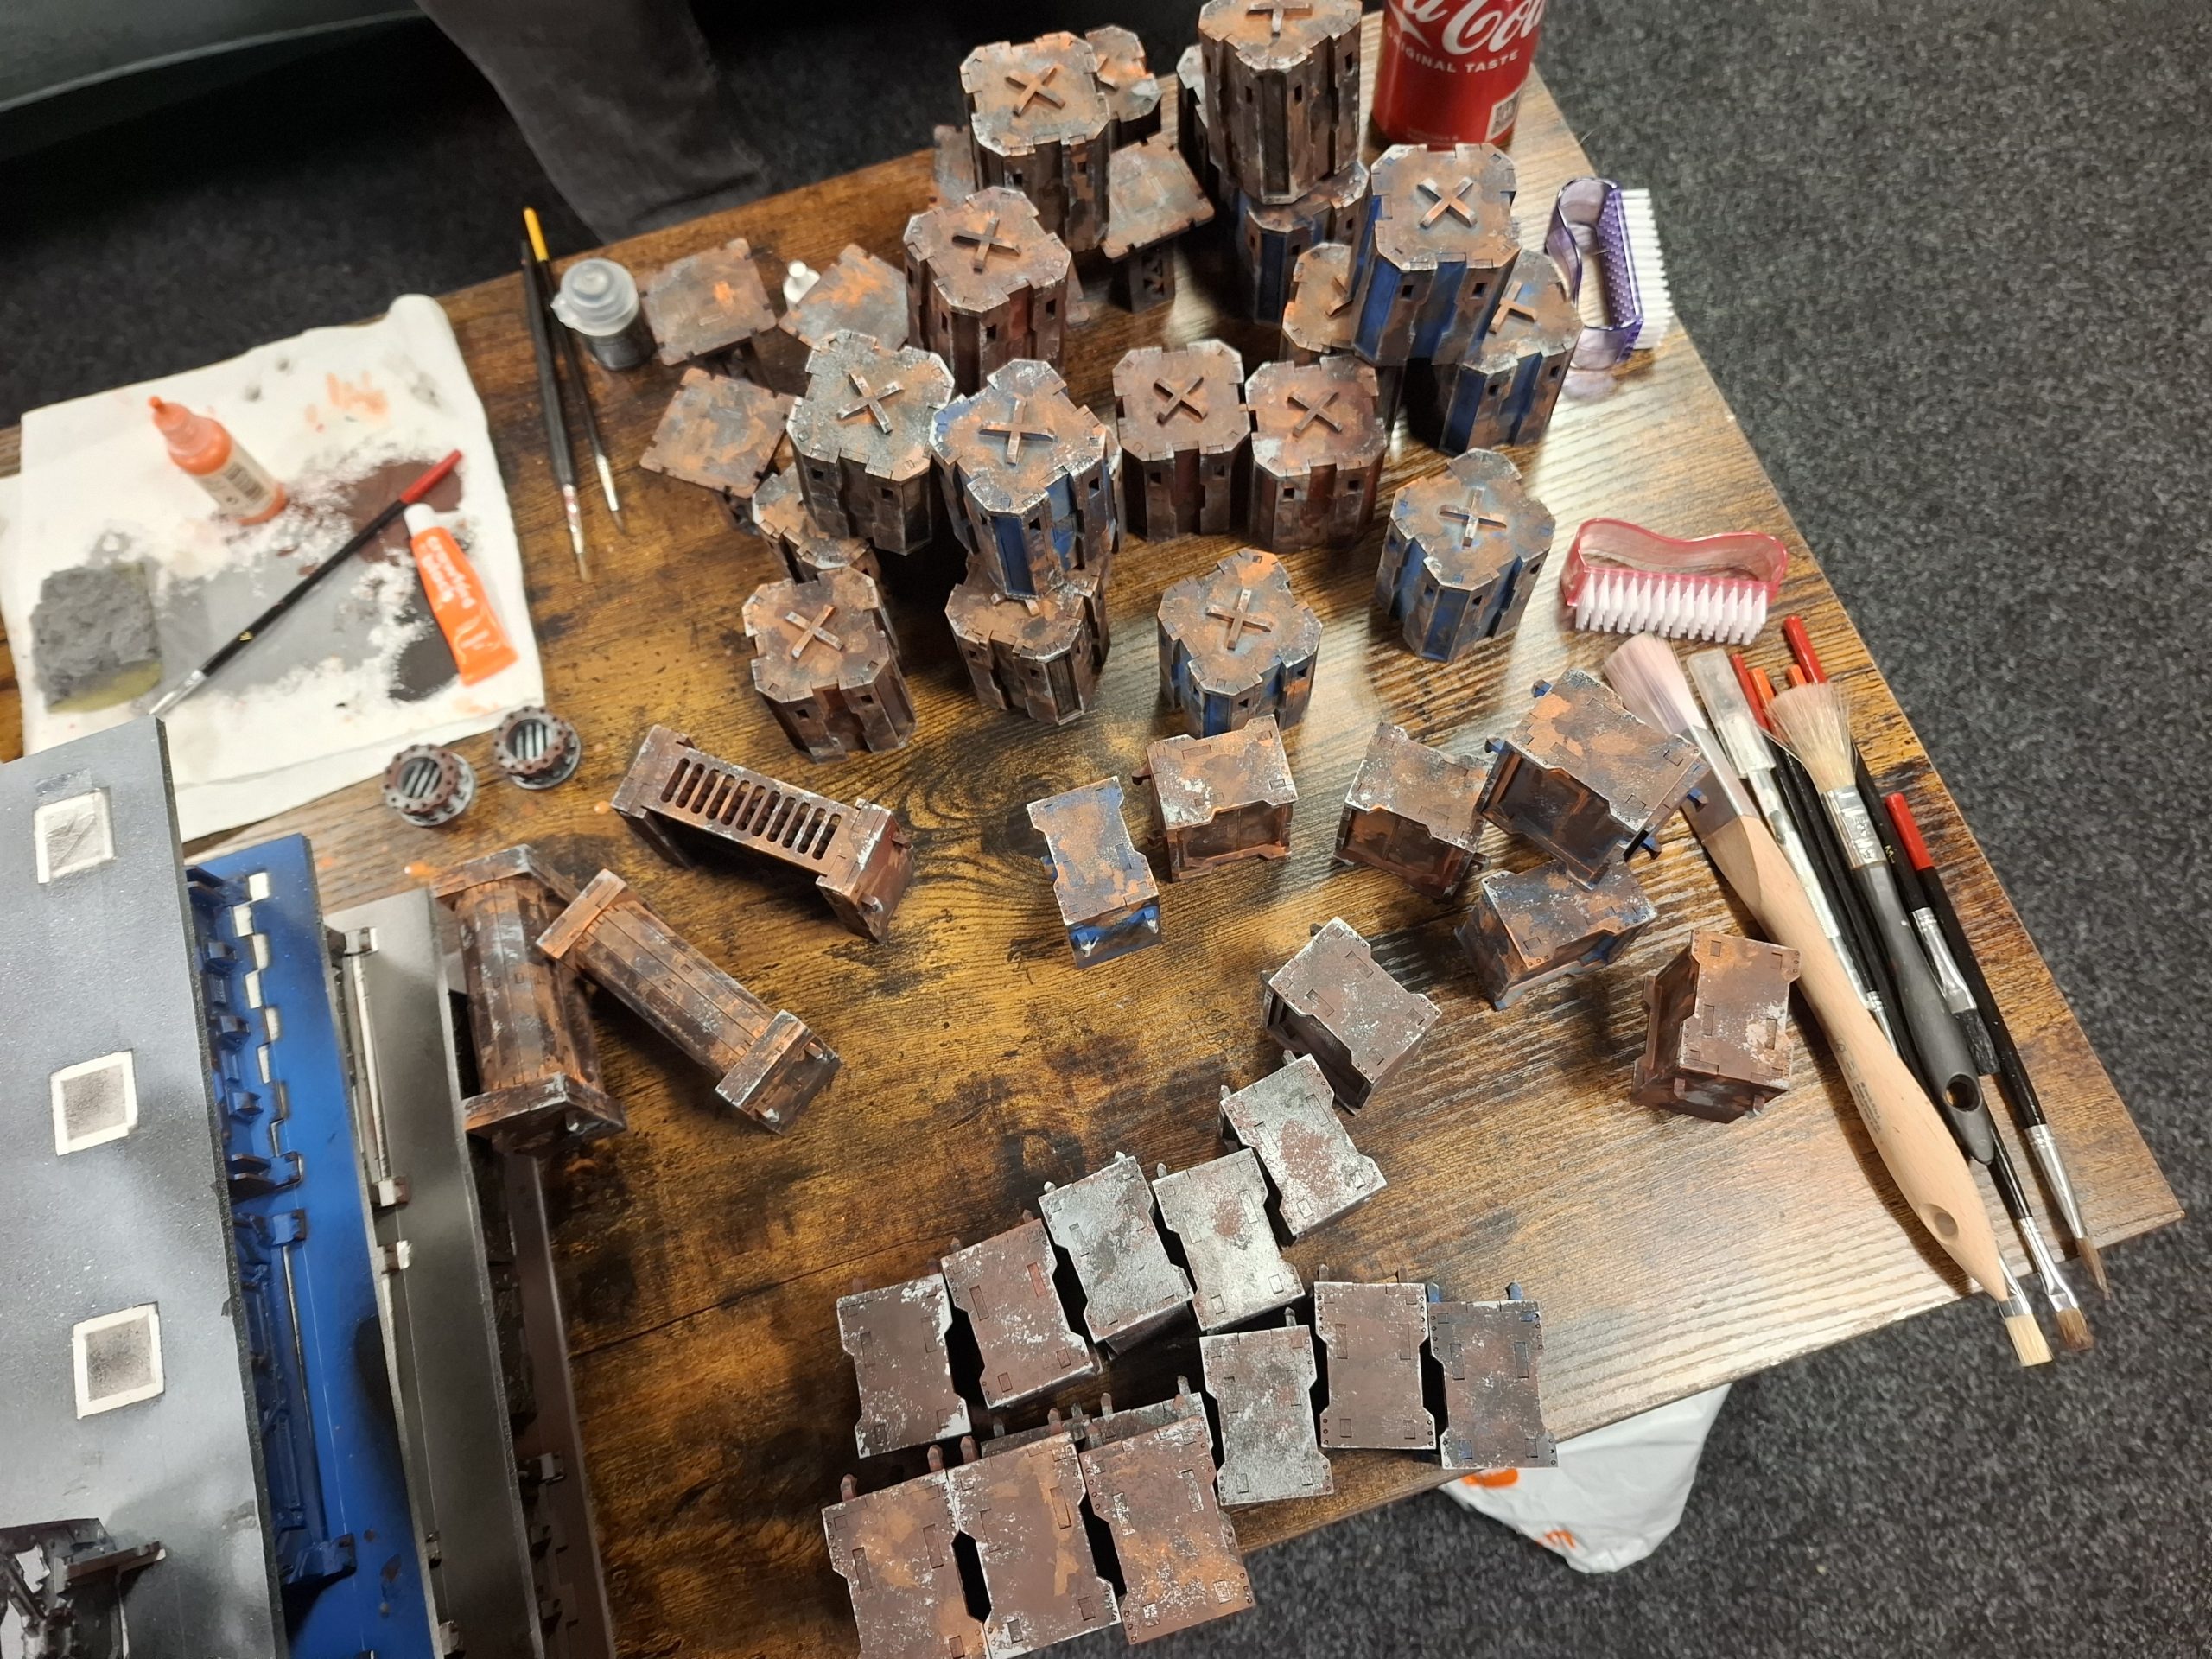
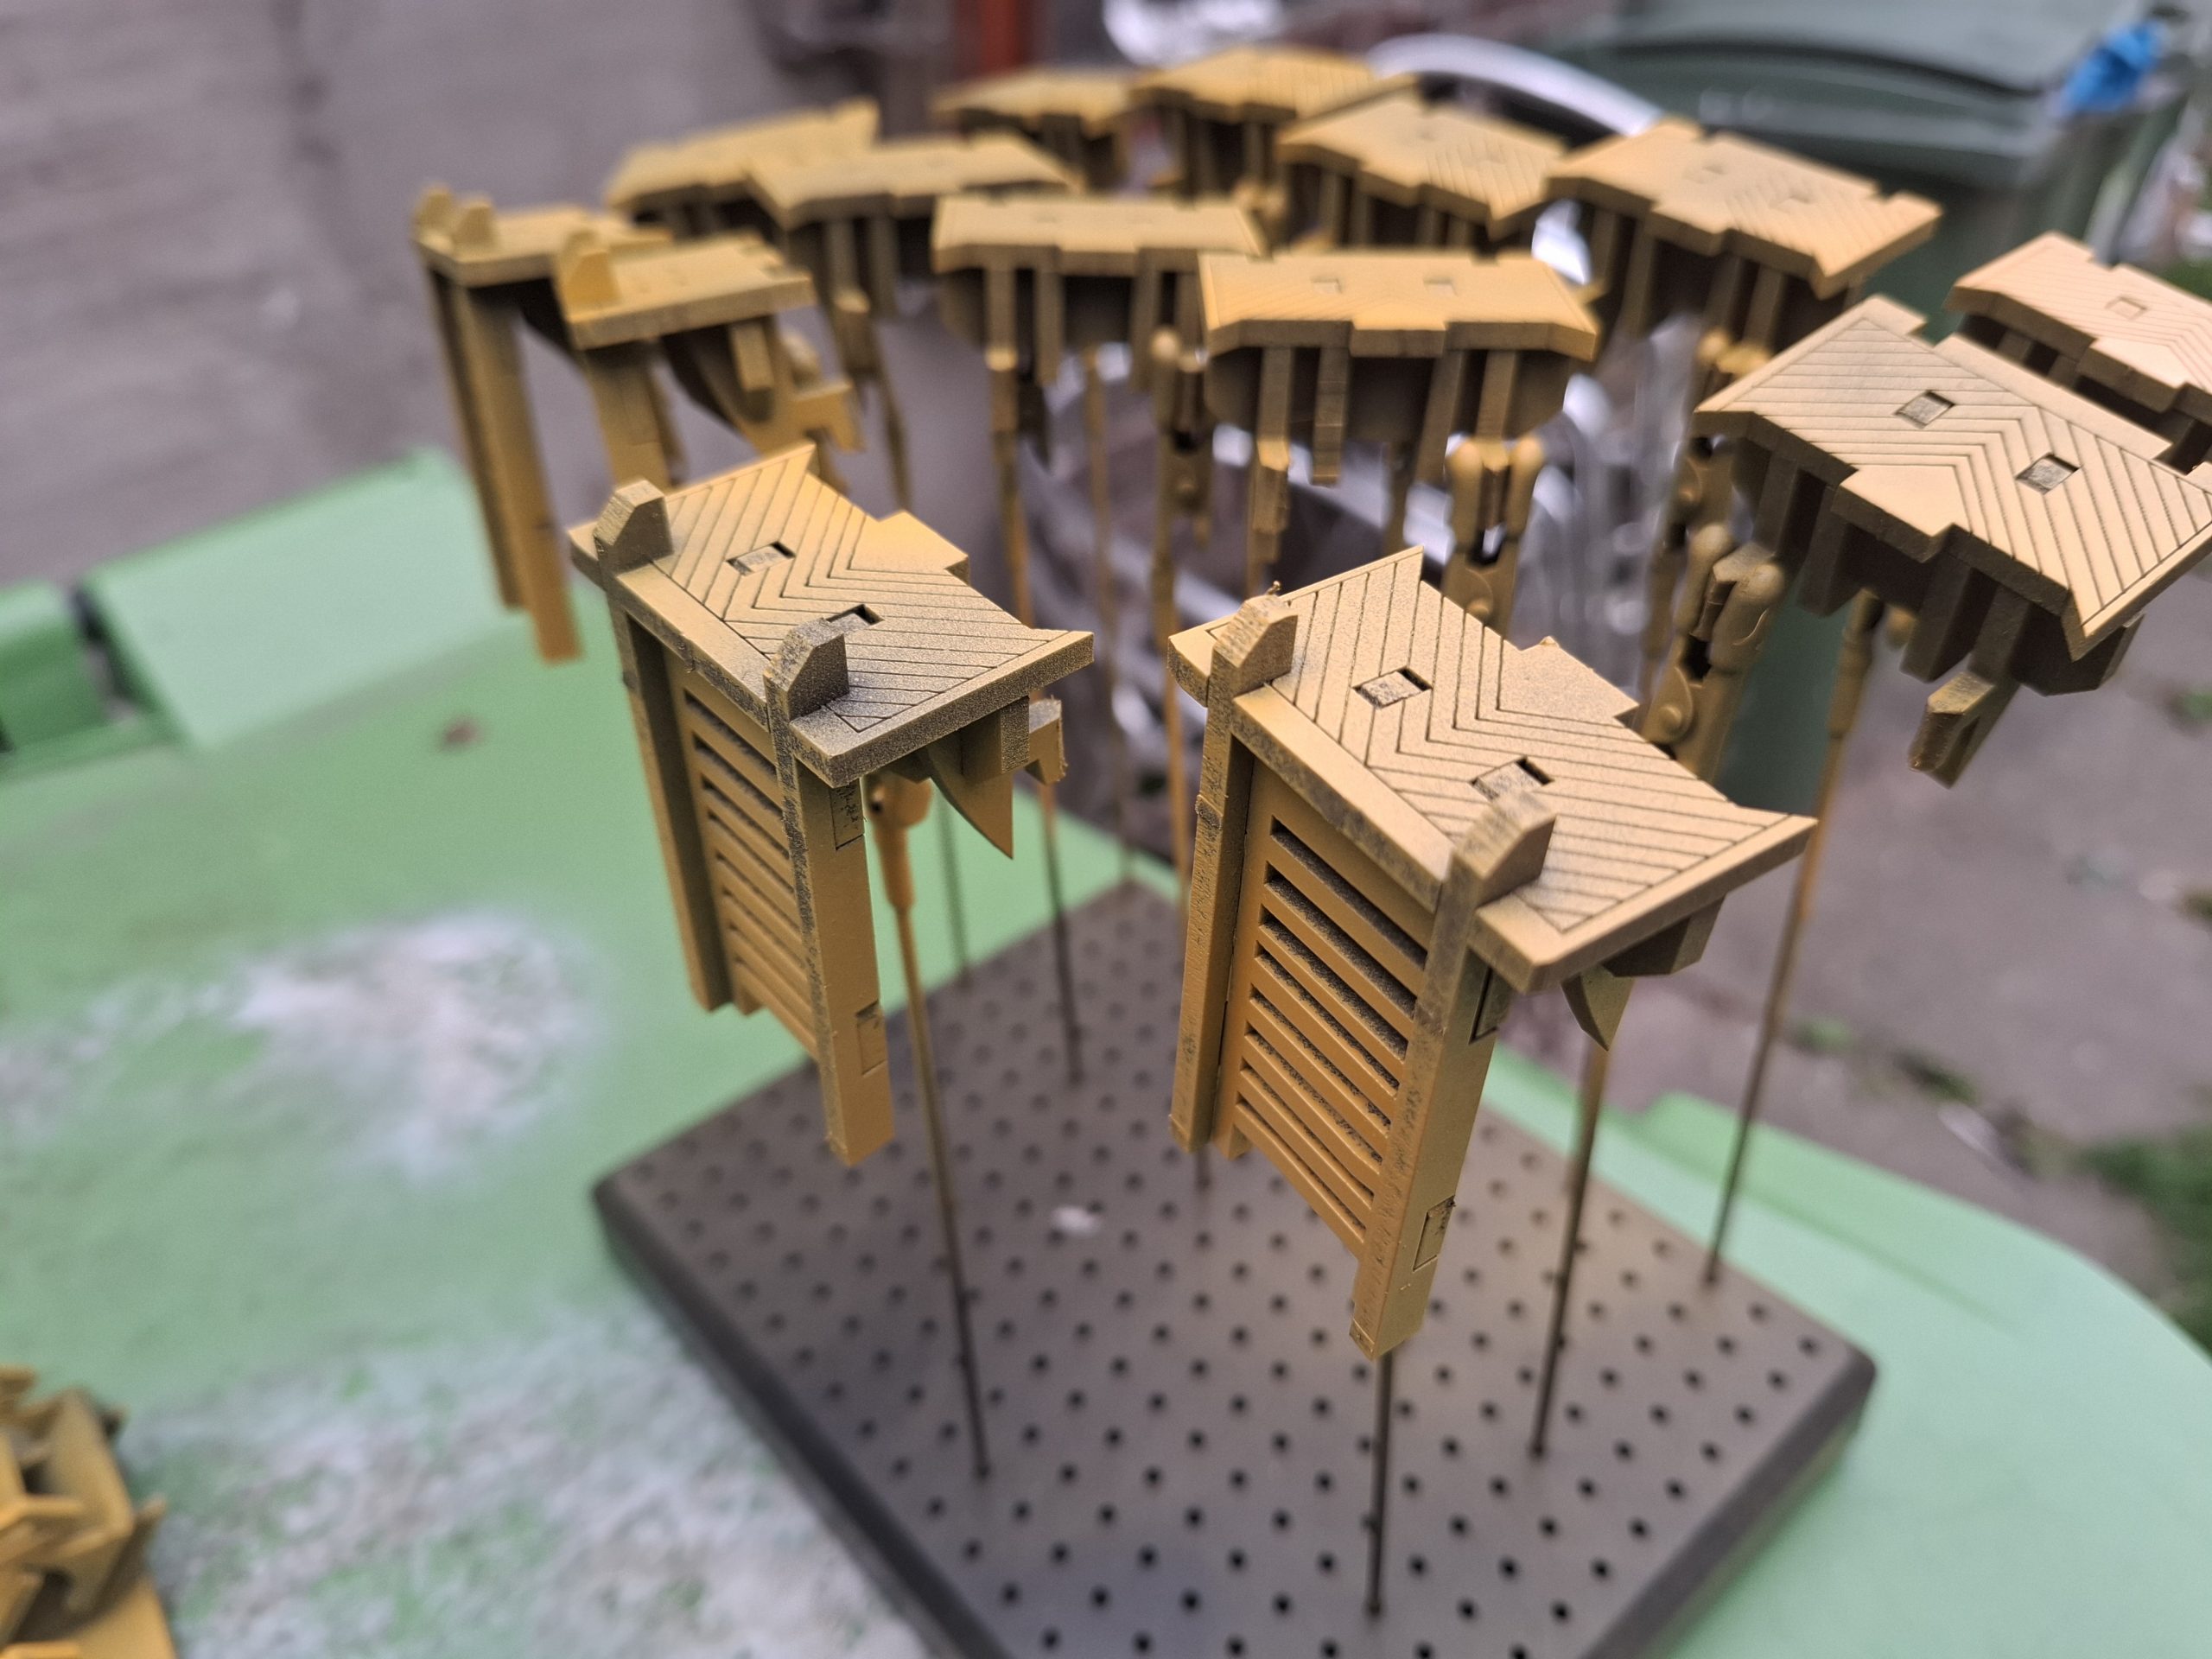
Priming!
Right! Priming!
Colour Forge Spray: Sunset Yellow
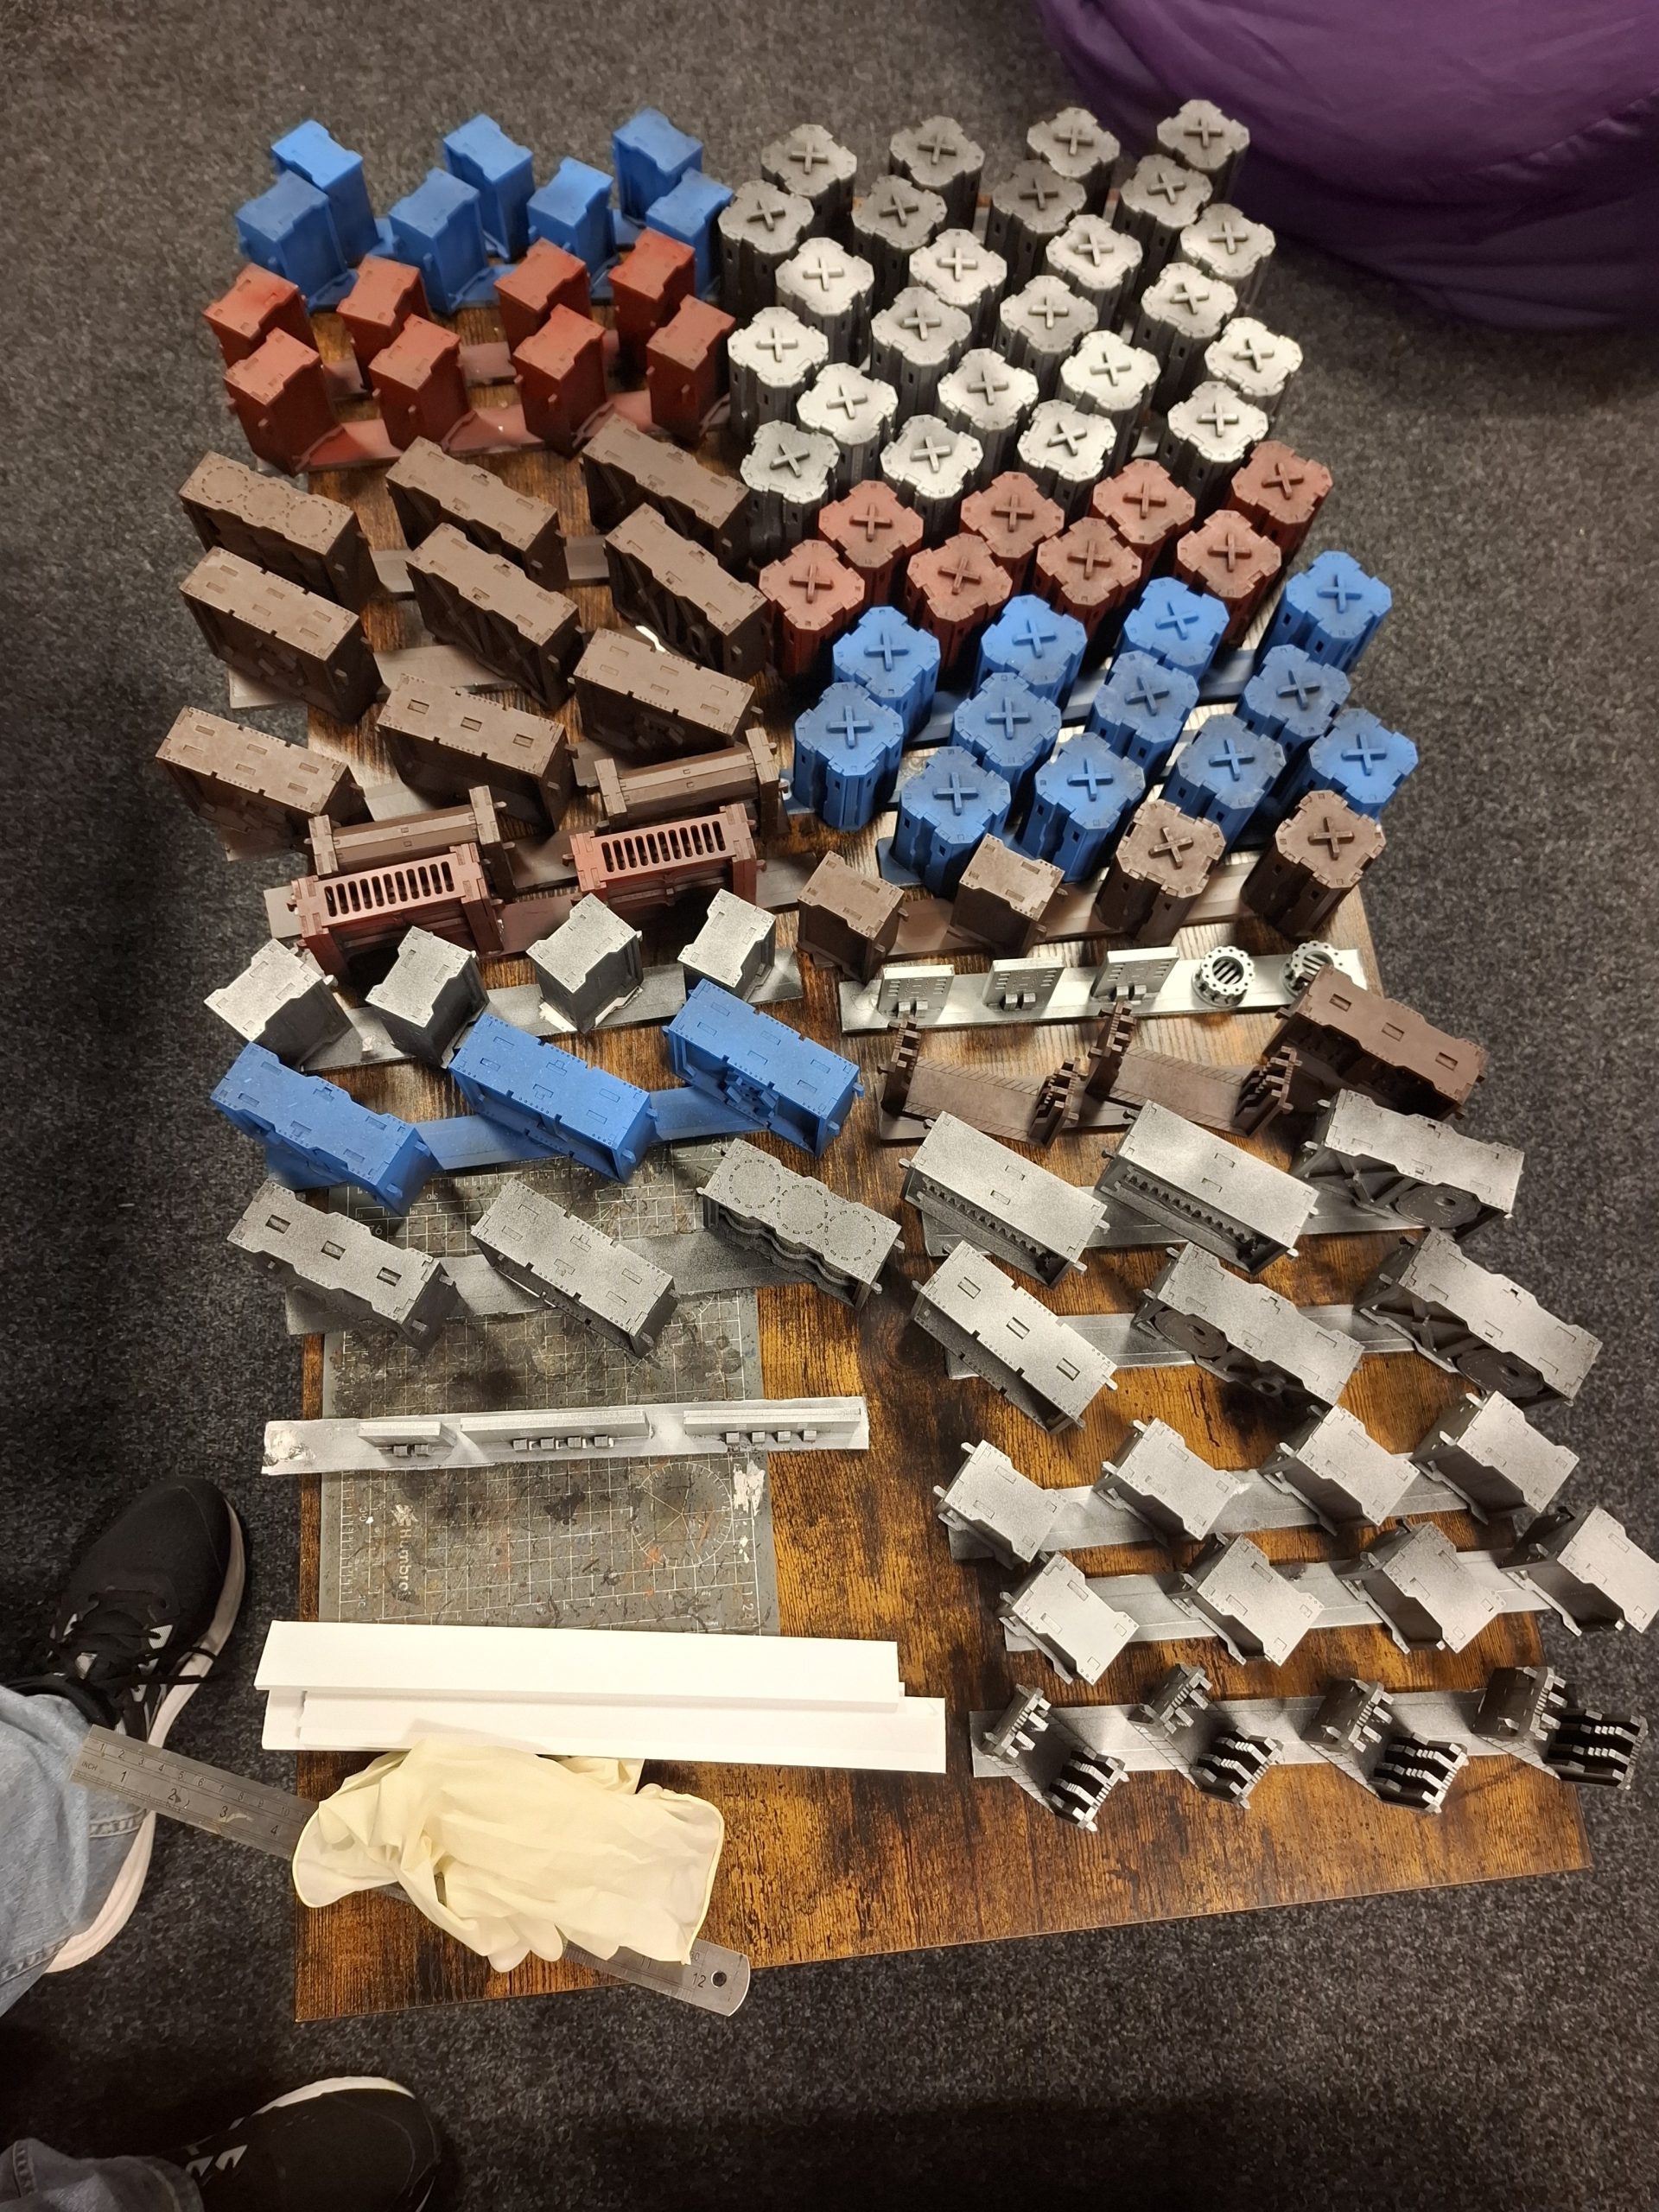
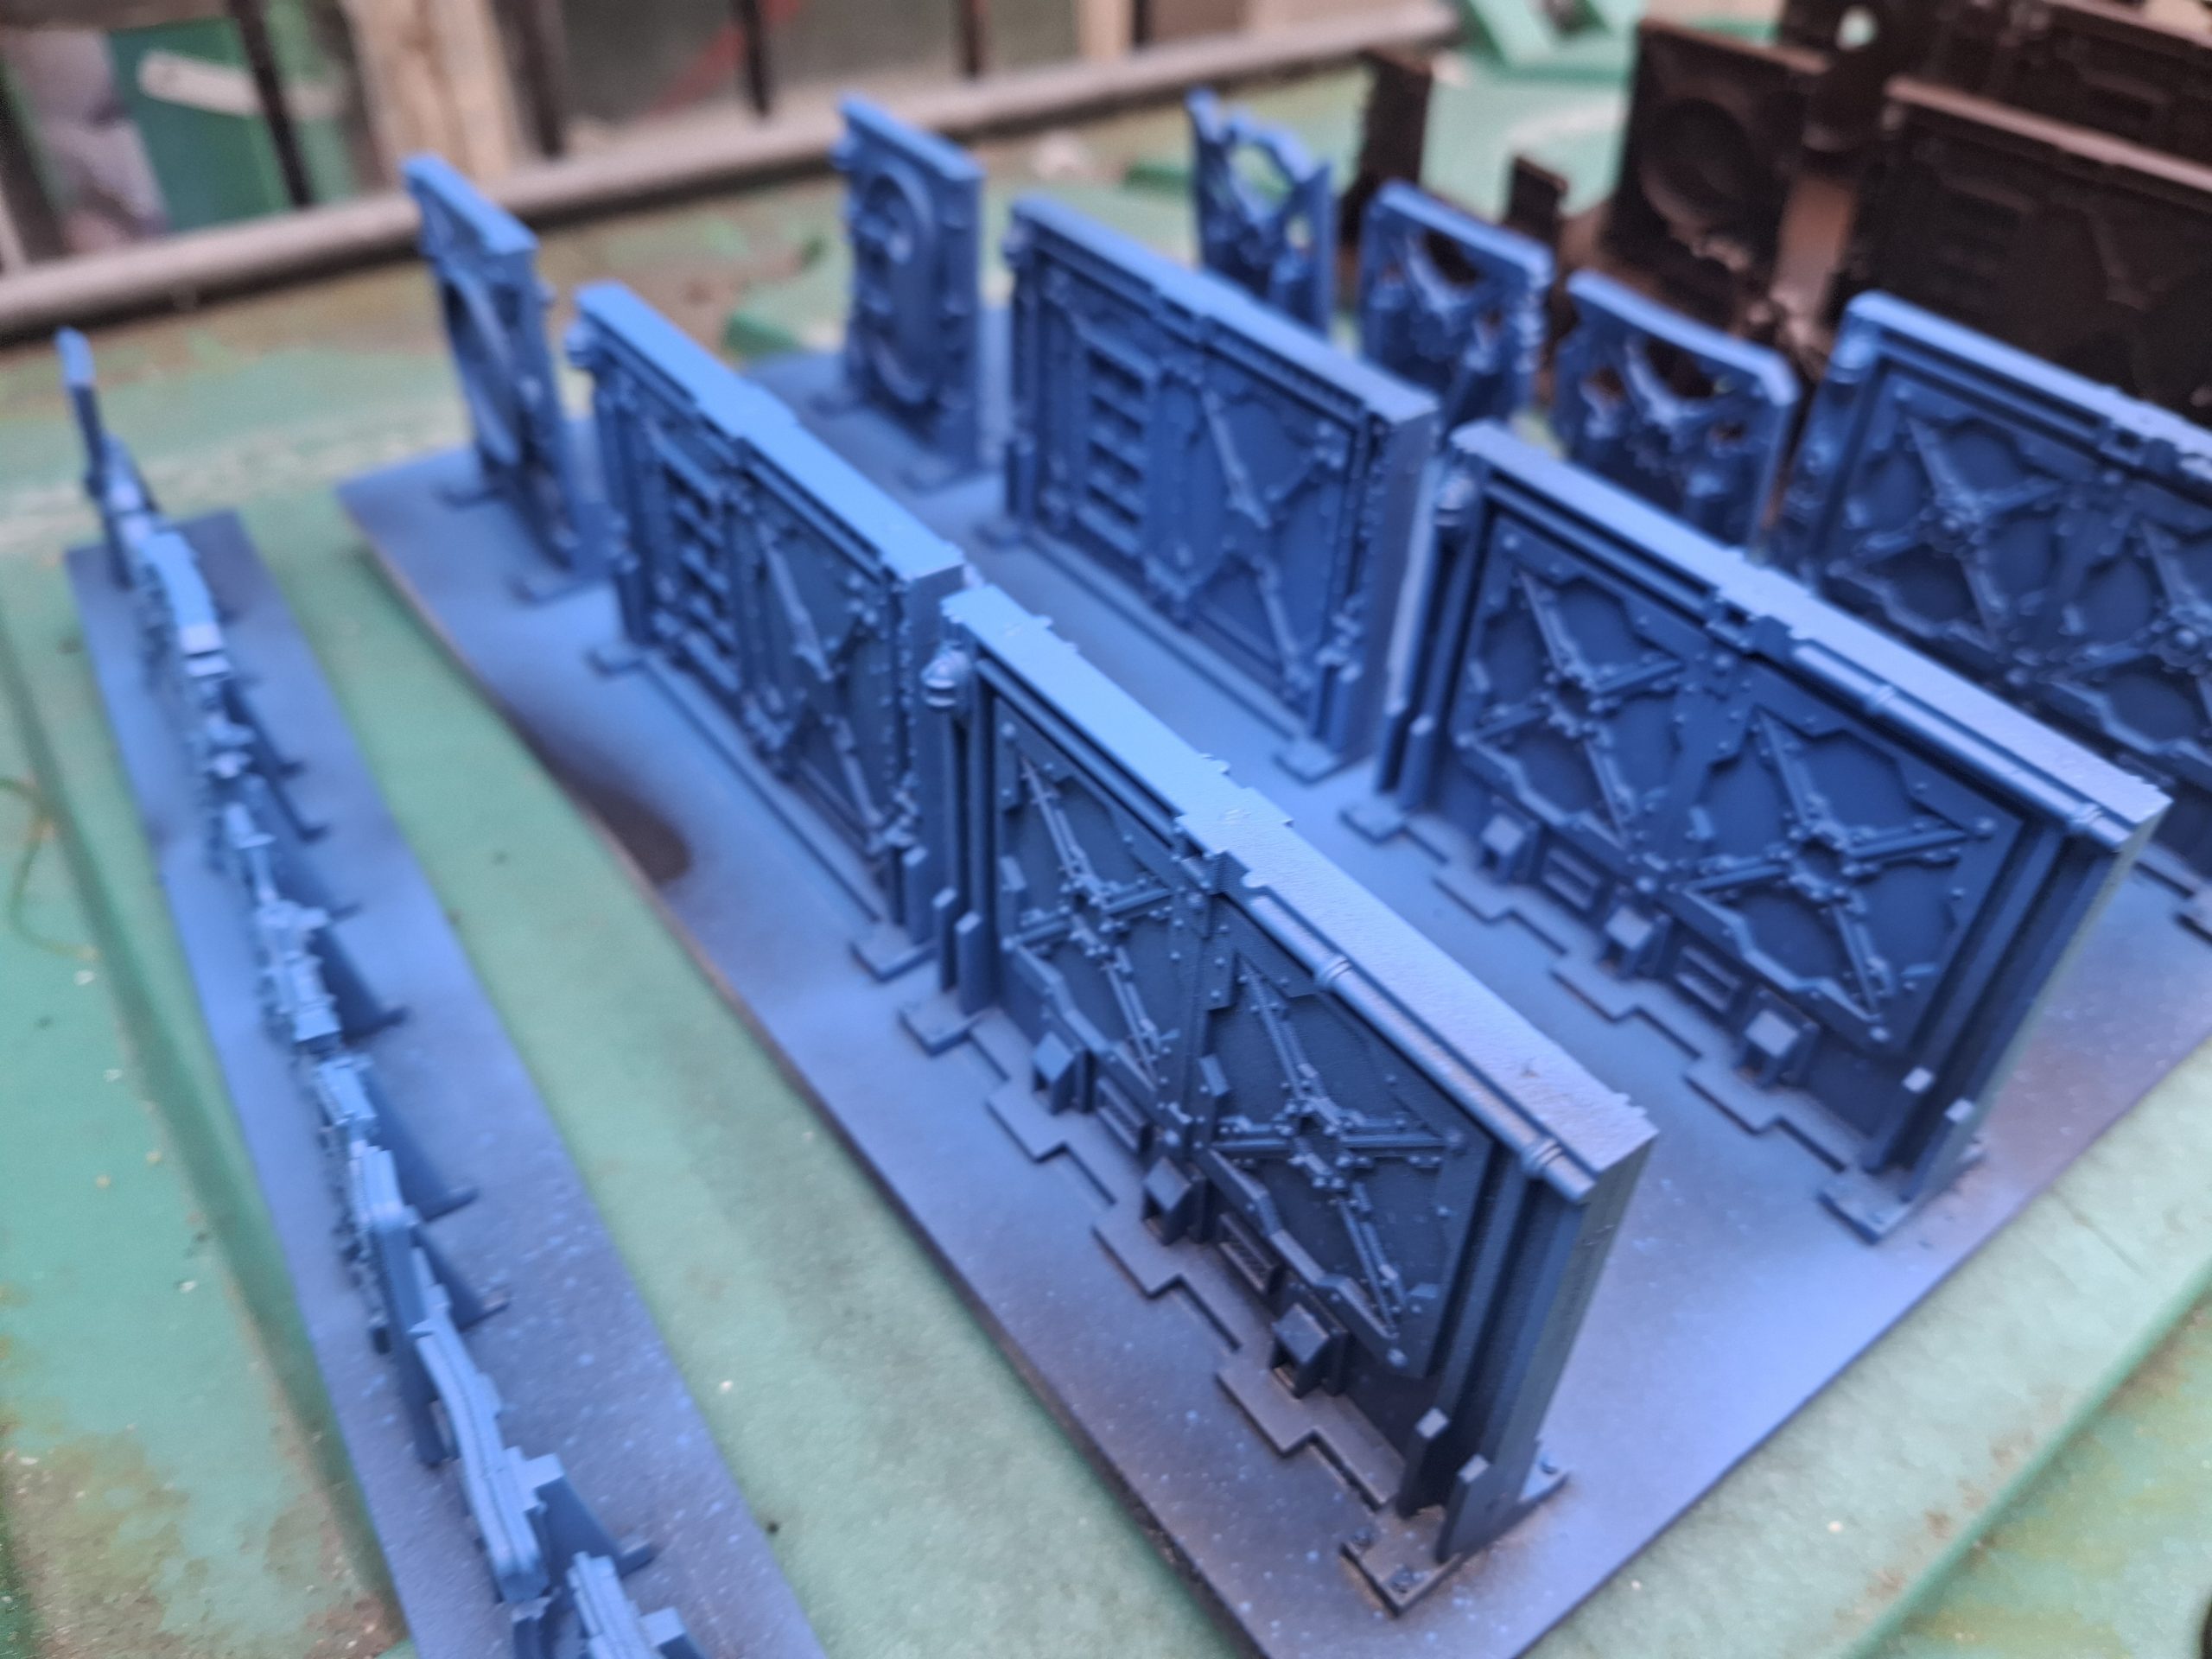
Brett and I gathered the above colours. I primed ALL the walls, pillers, stairs and barricades with Halfords Matt Black Primer.
Once I had a strip primed, Brett immediately took them up and hit them with zenithal sprays. I joined him once everything was primed black. We used silver, brown, red, blue, yellow and grey. We left these to dry. The next day, I did the same thing with the plastic walls and barricades.
Test Layout and priming prep!
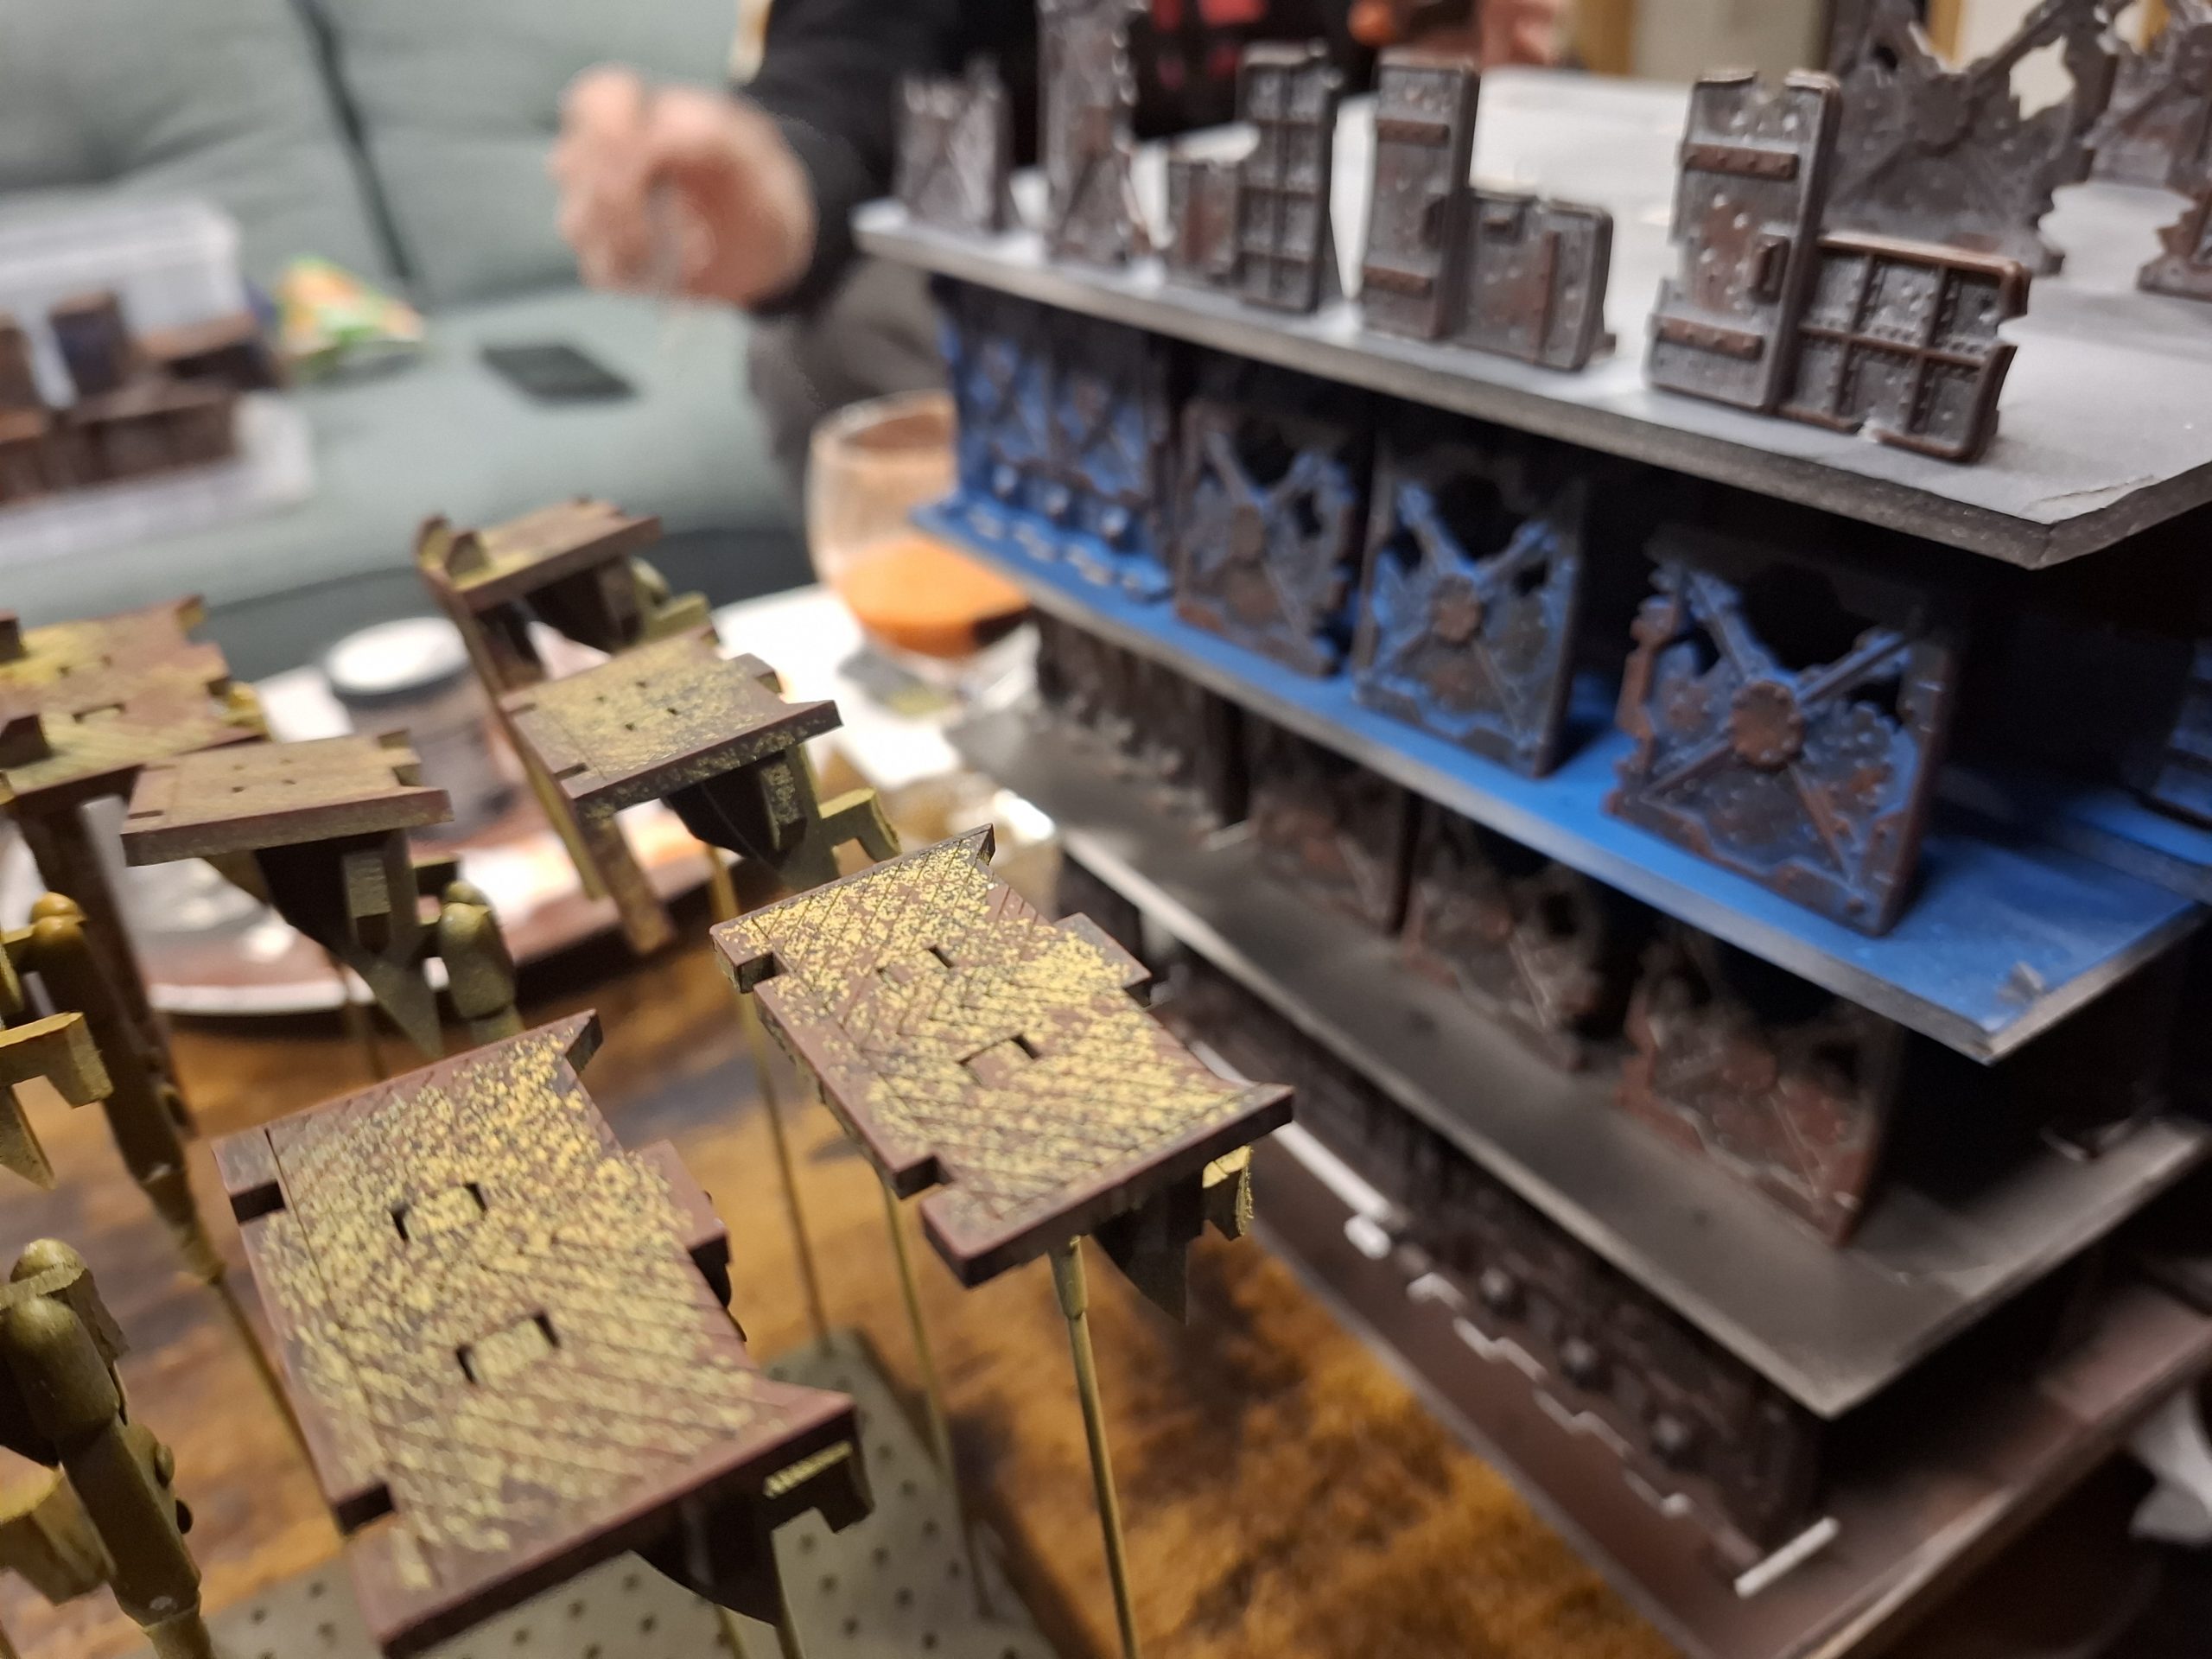
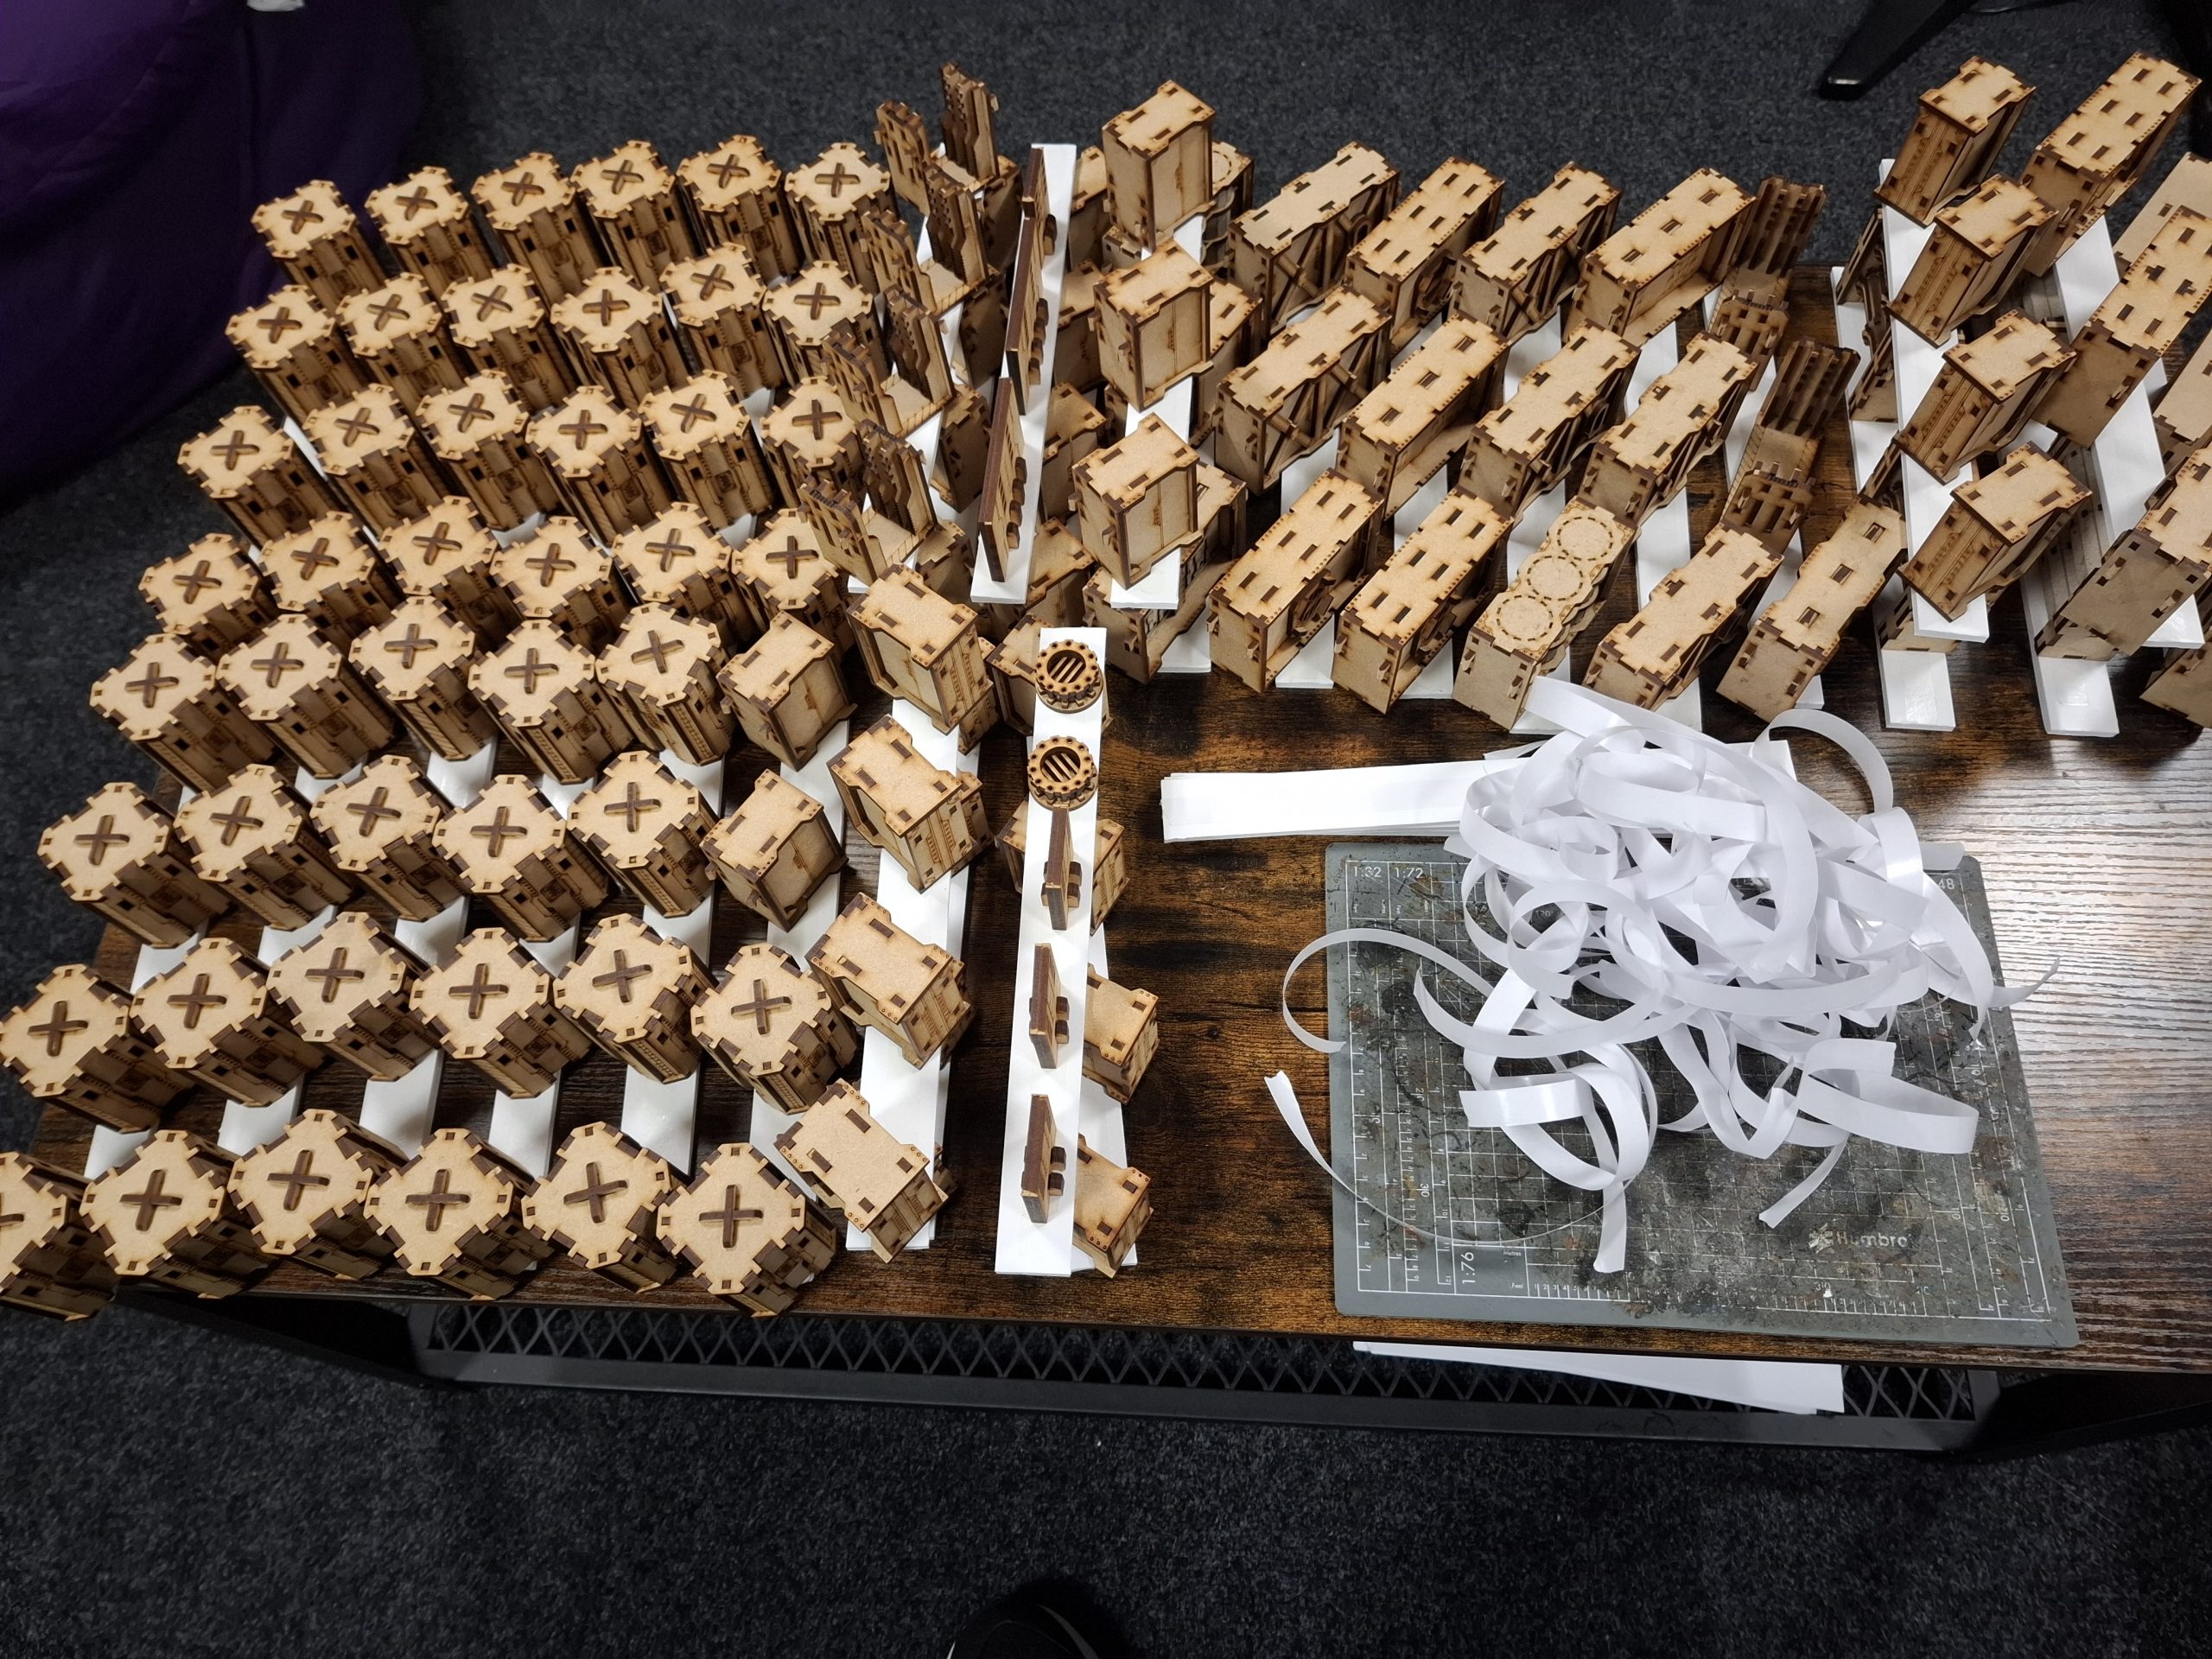
With these three packs built, I assembled everything and created a test layout to see how it looked. I gotta admit, it looks pretty swish! Seeing it like this really galvanised Brett and I.
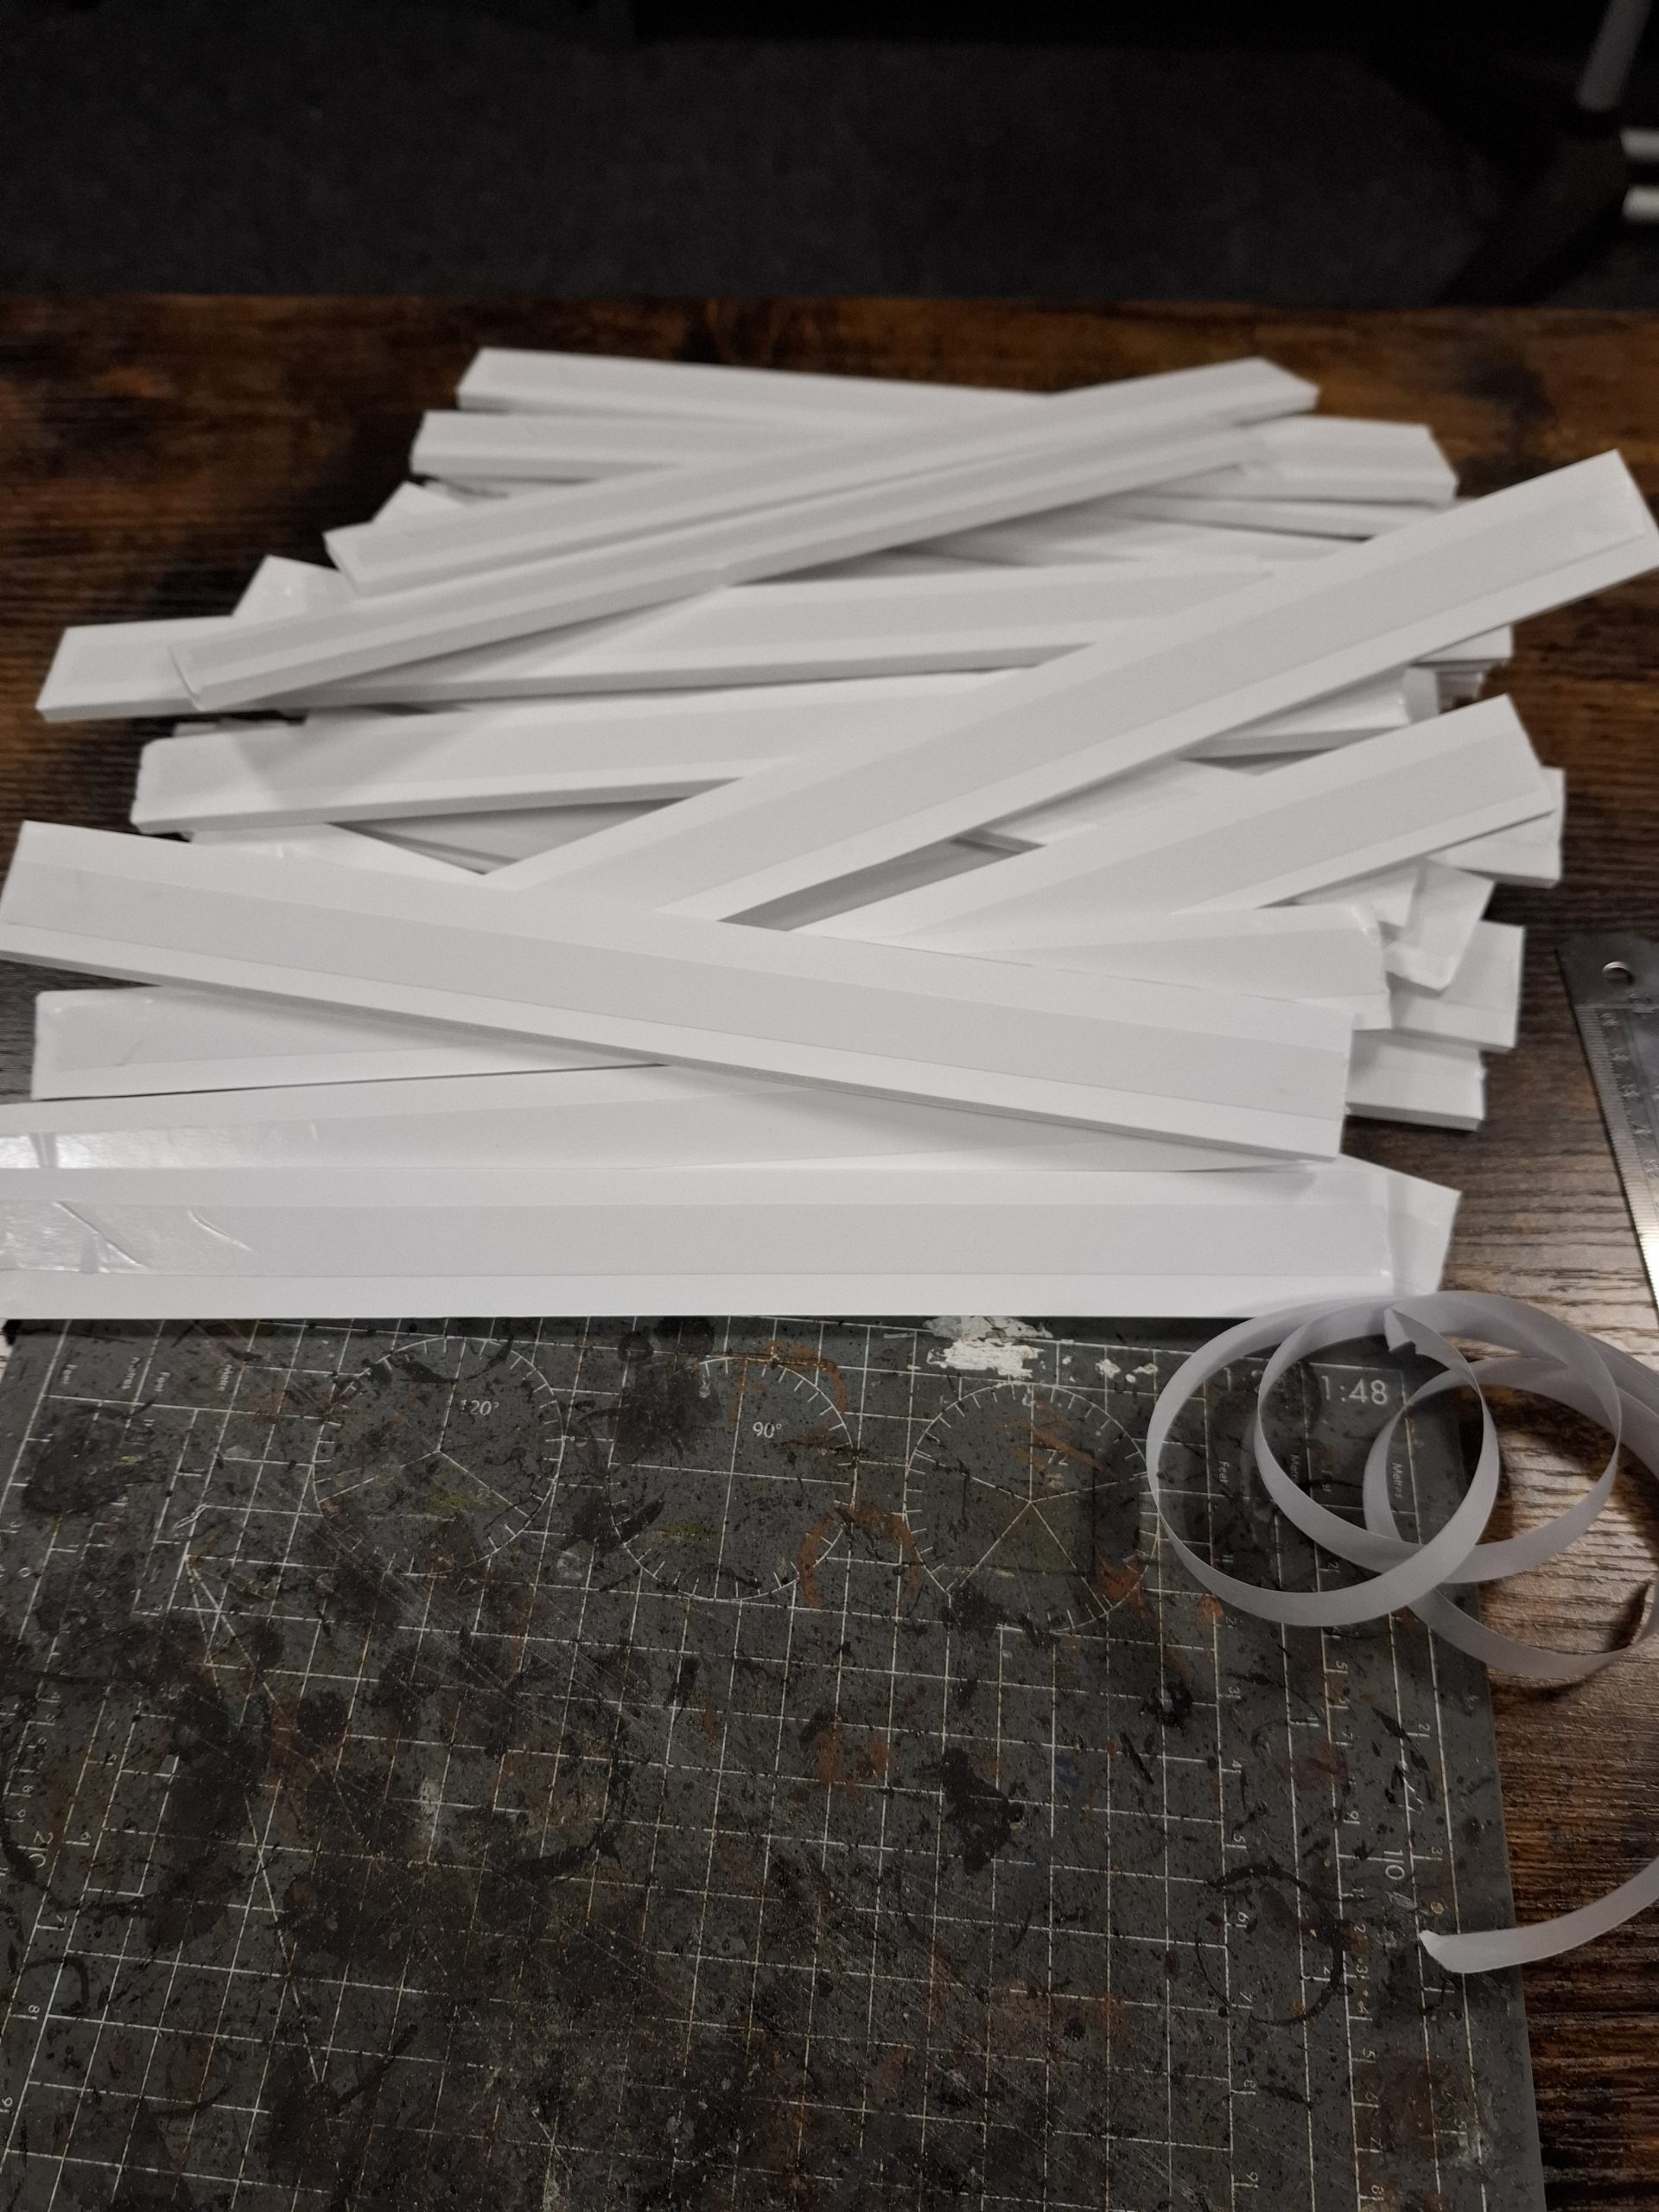
As with my Boarding Actions project, foamcore came into its own here. I cut A4 sheets into multiple strips and, with double-sided tape, I secured the pillars and walls, in preparation for priming!


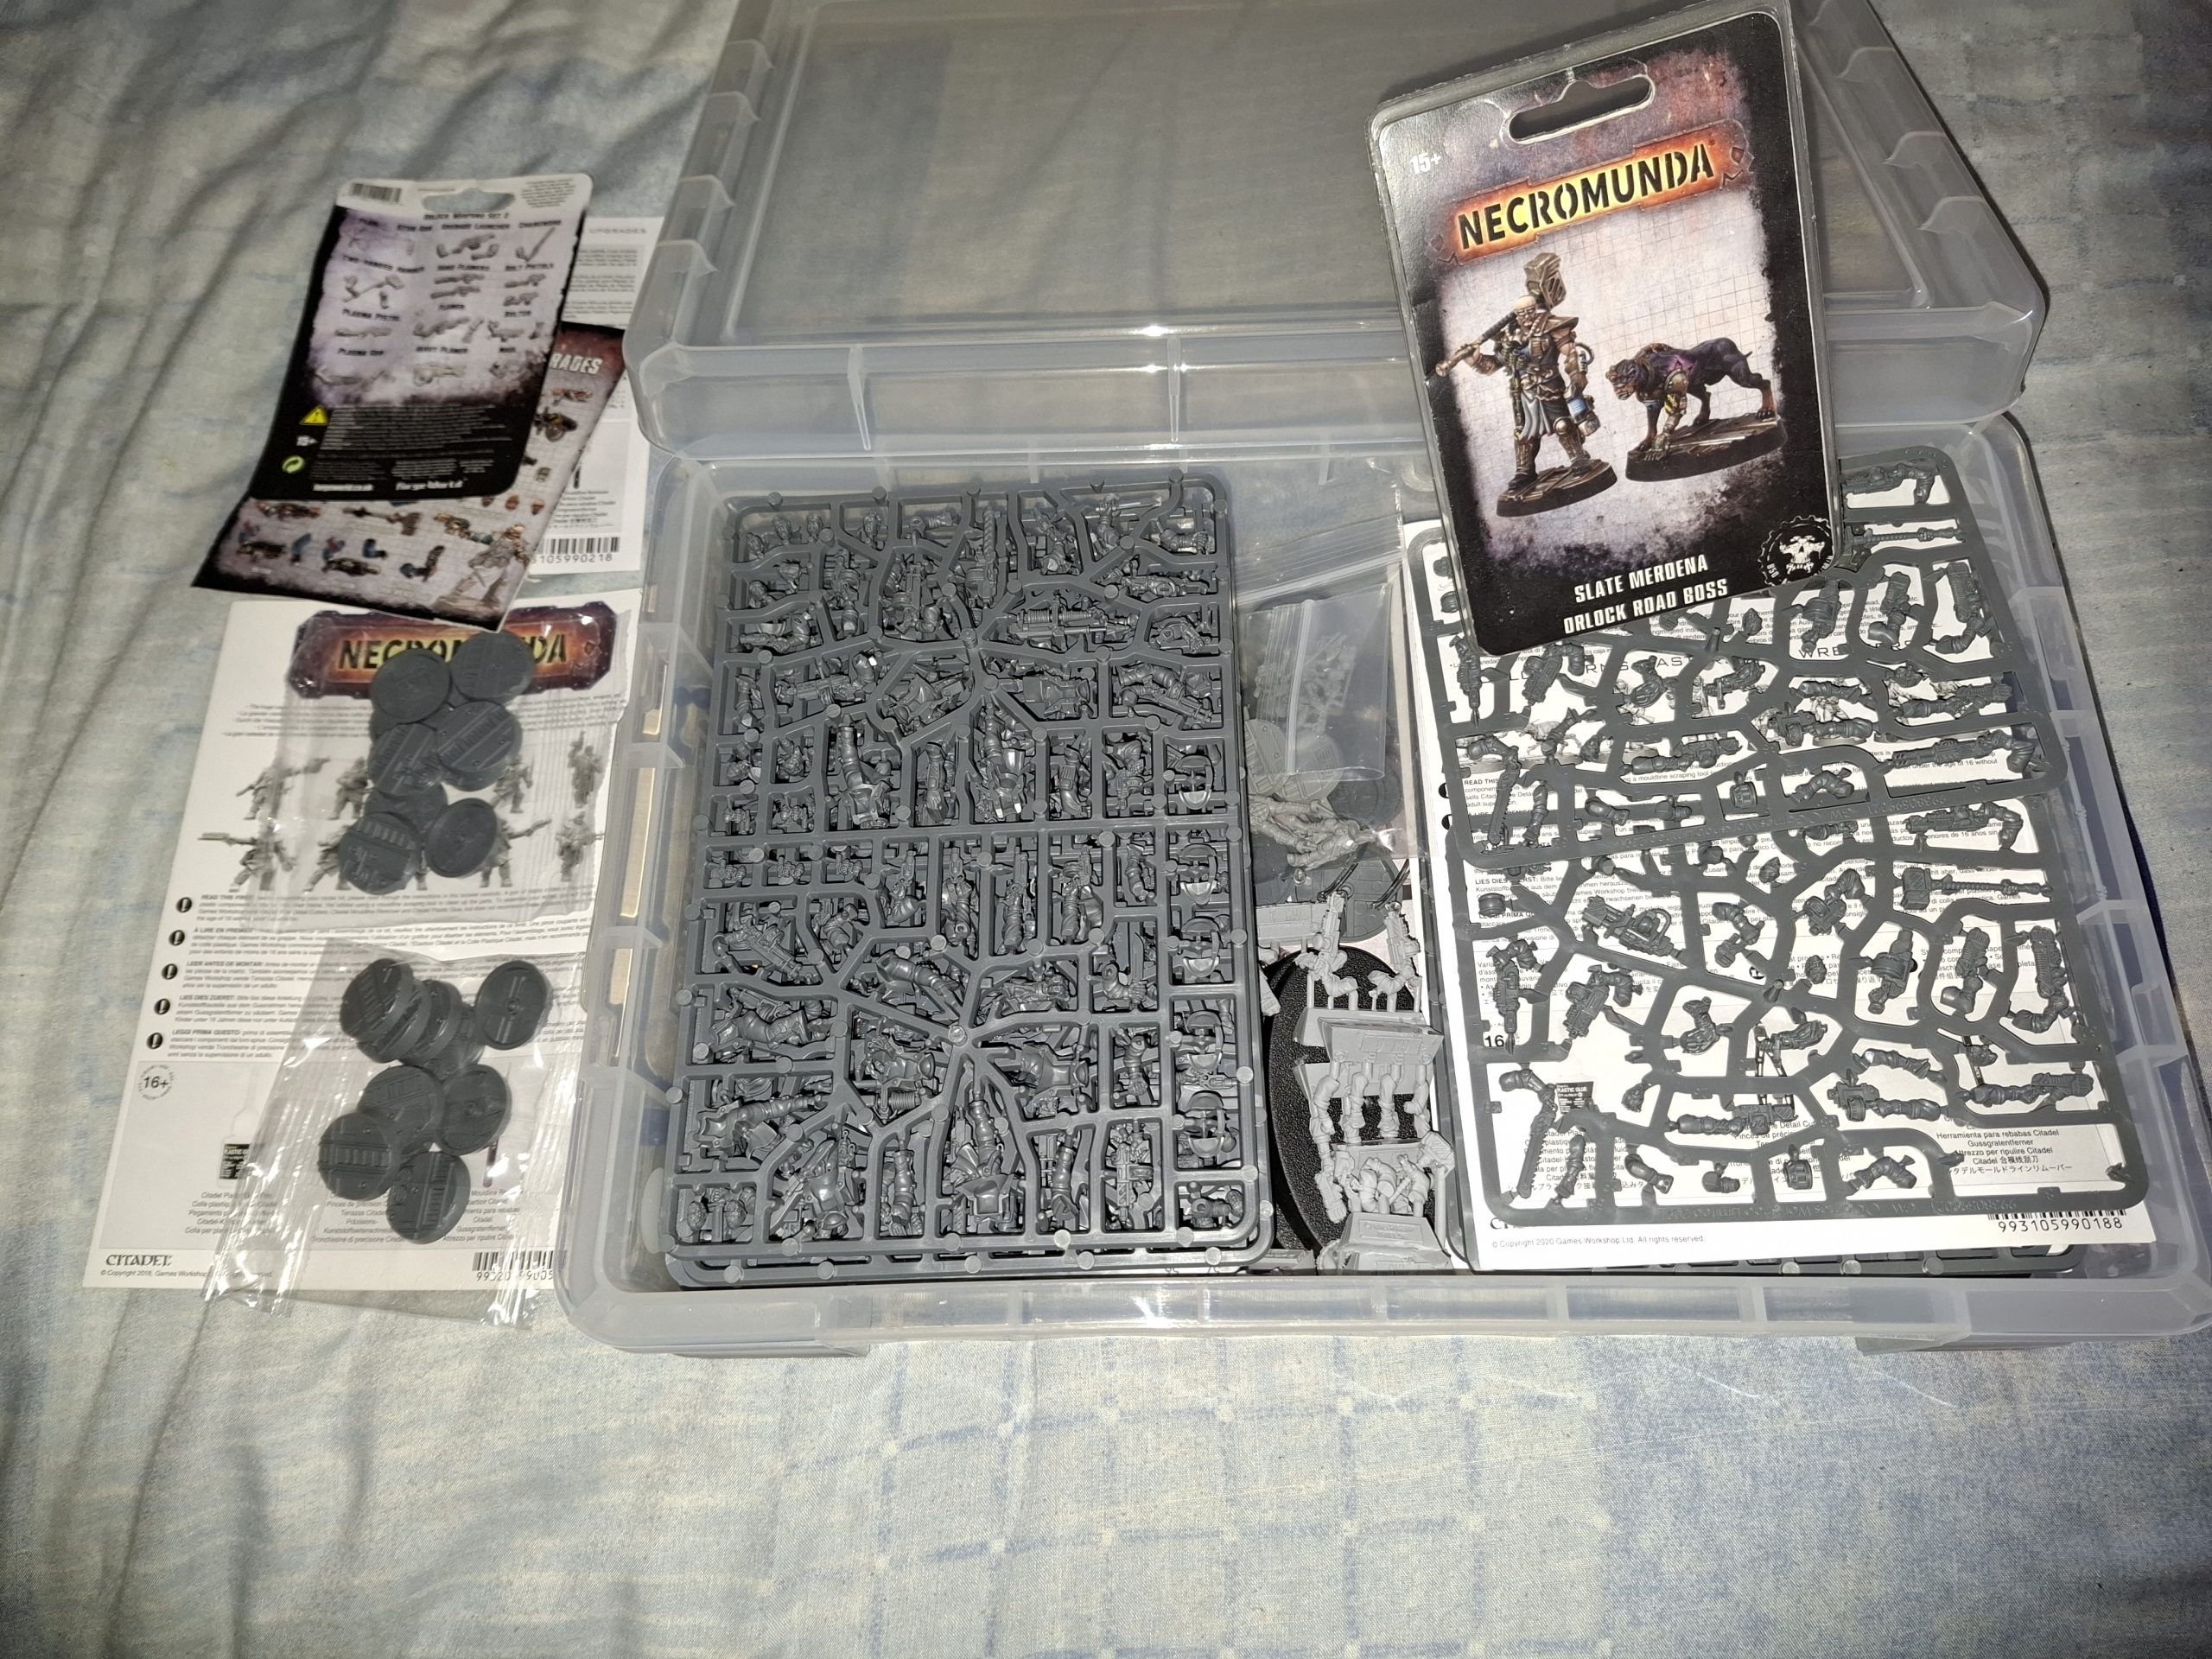
Plastic walls, Storage and Orlocks!
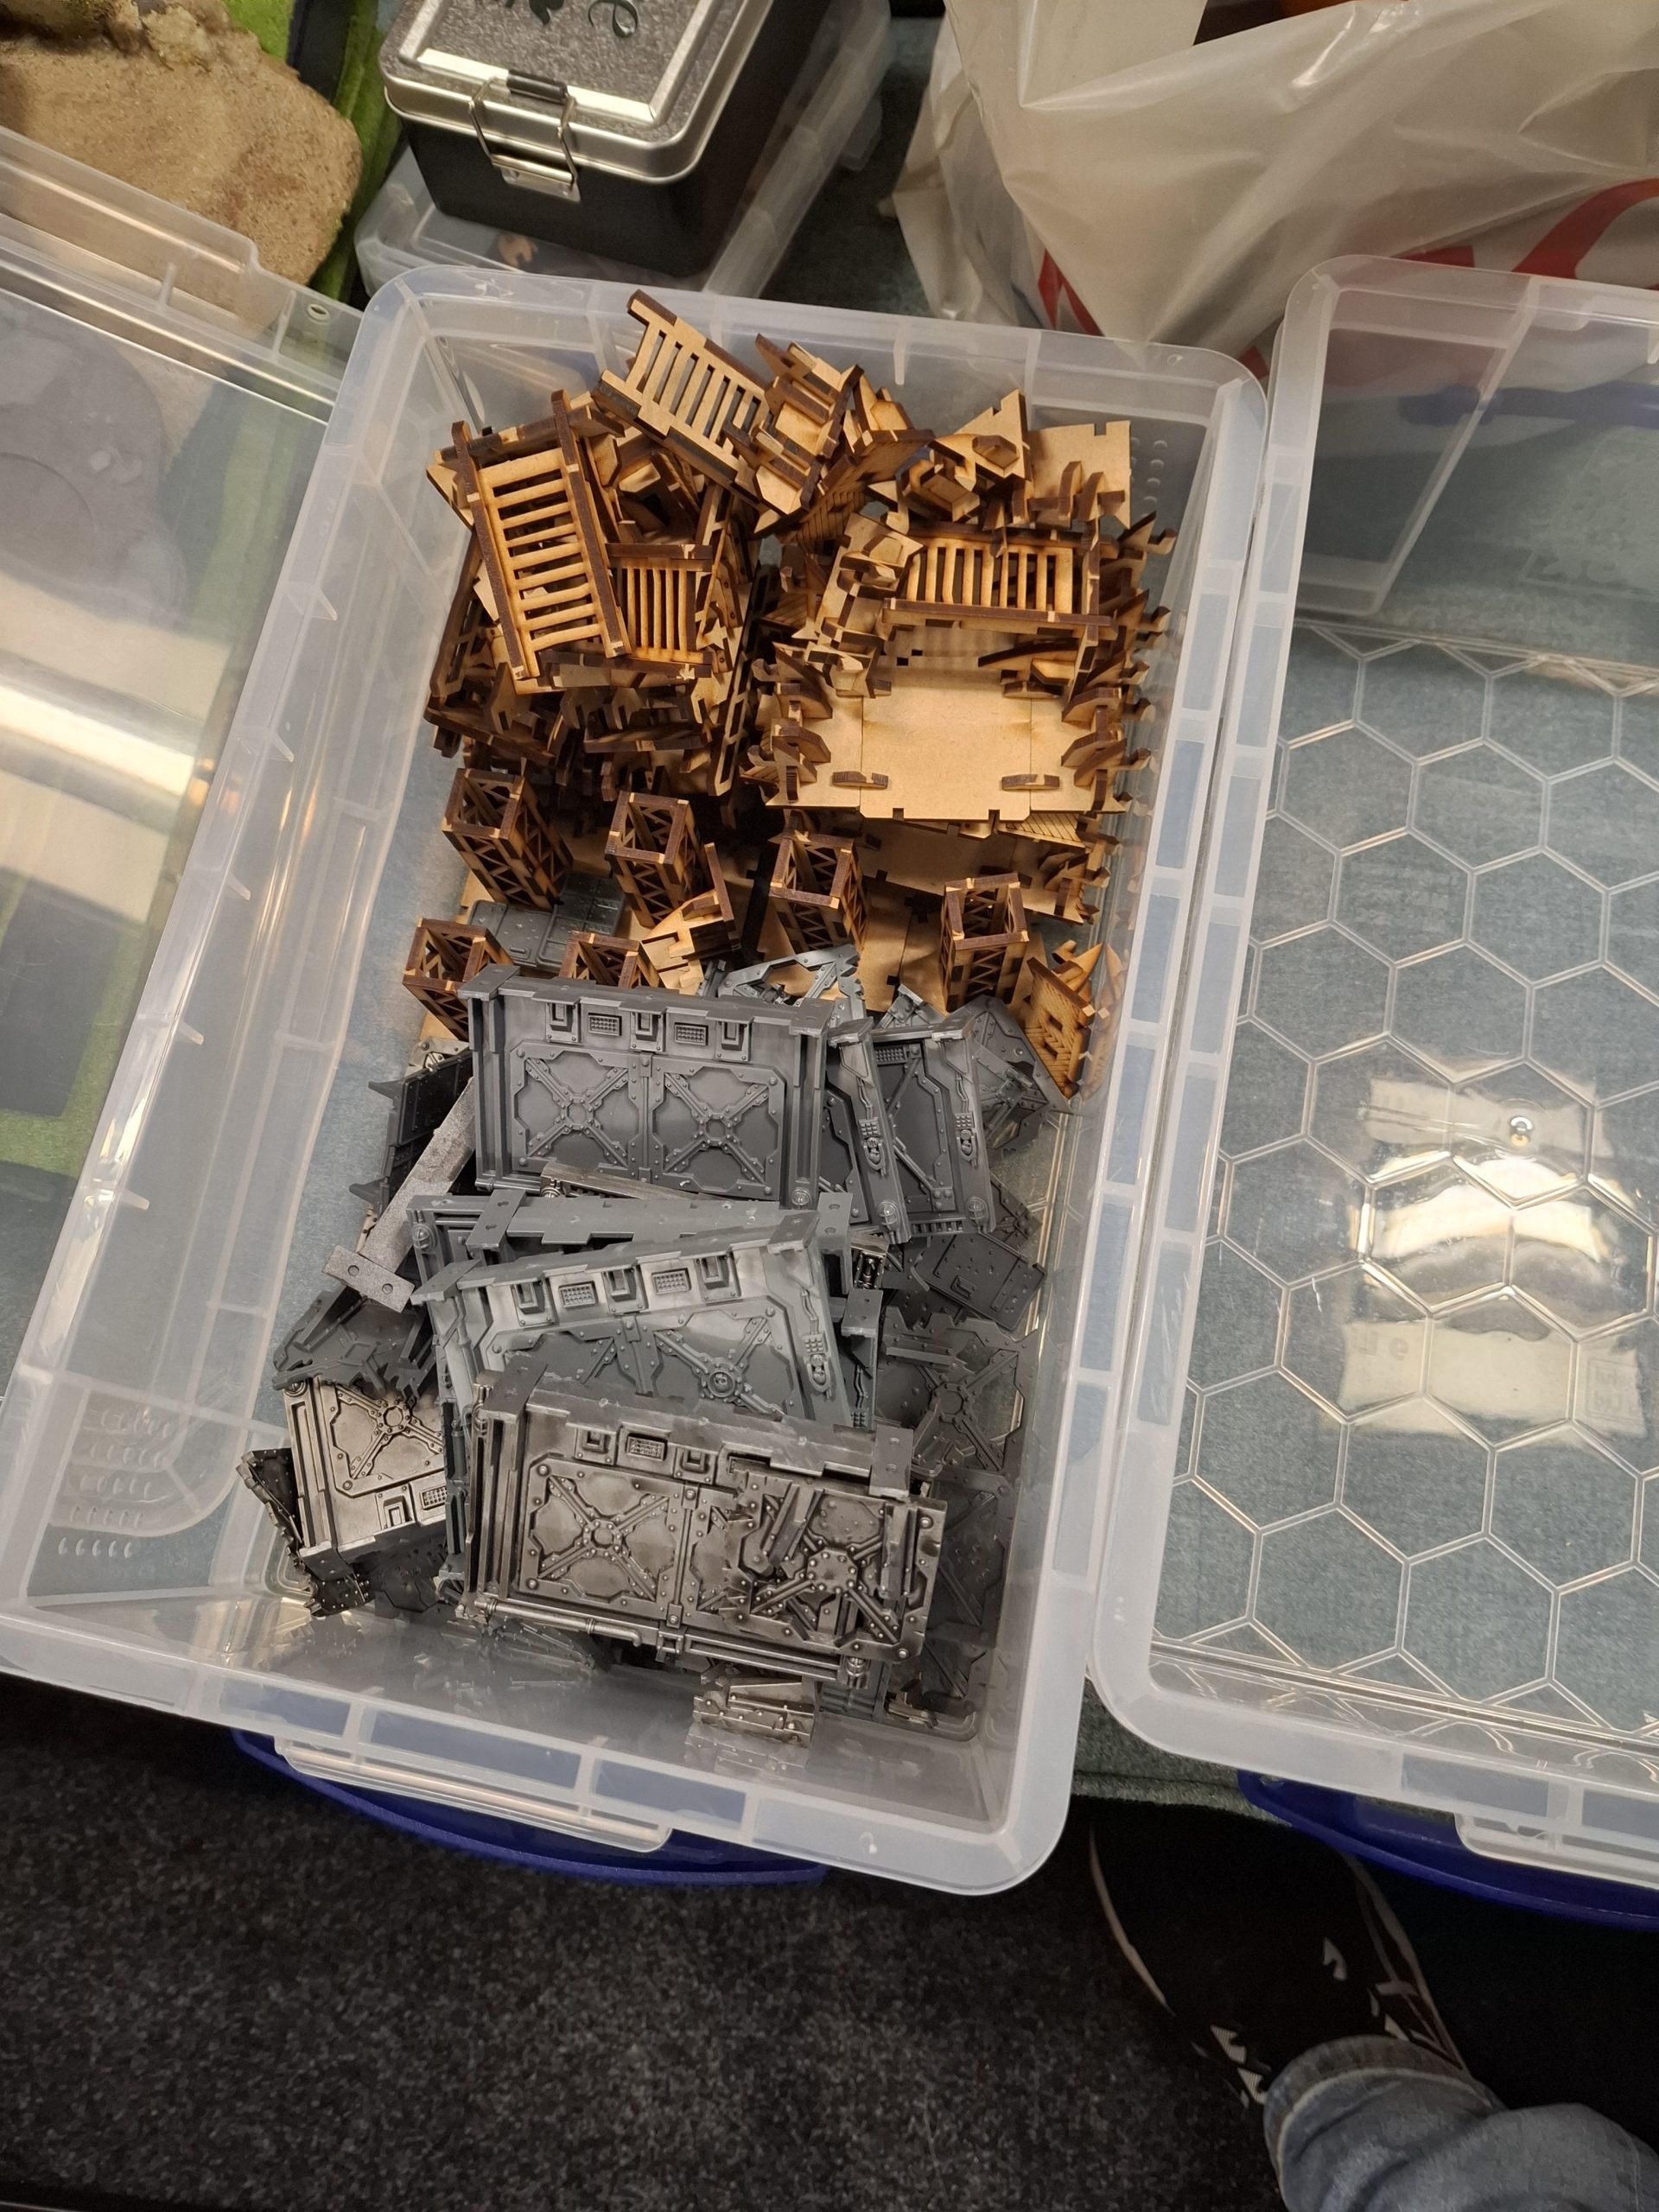
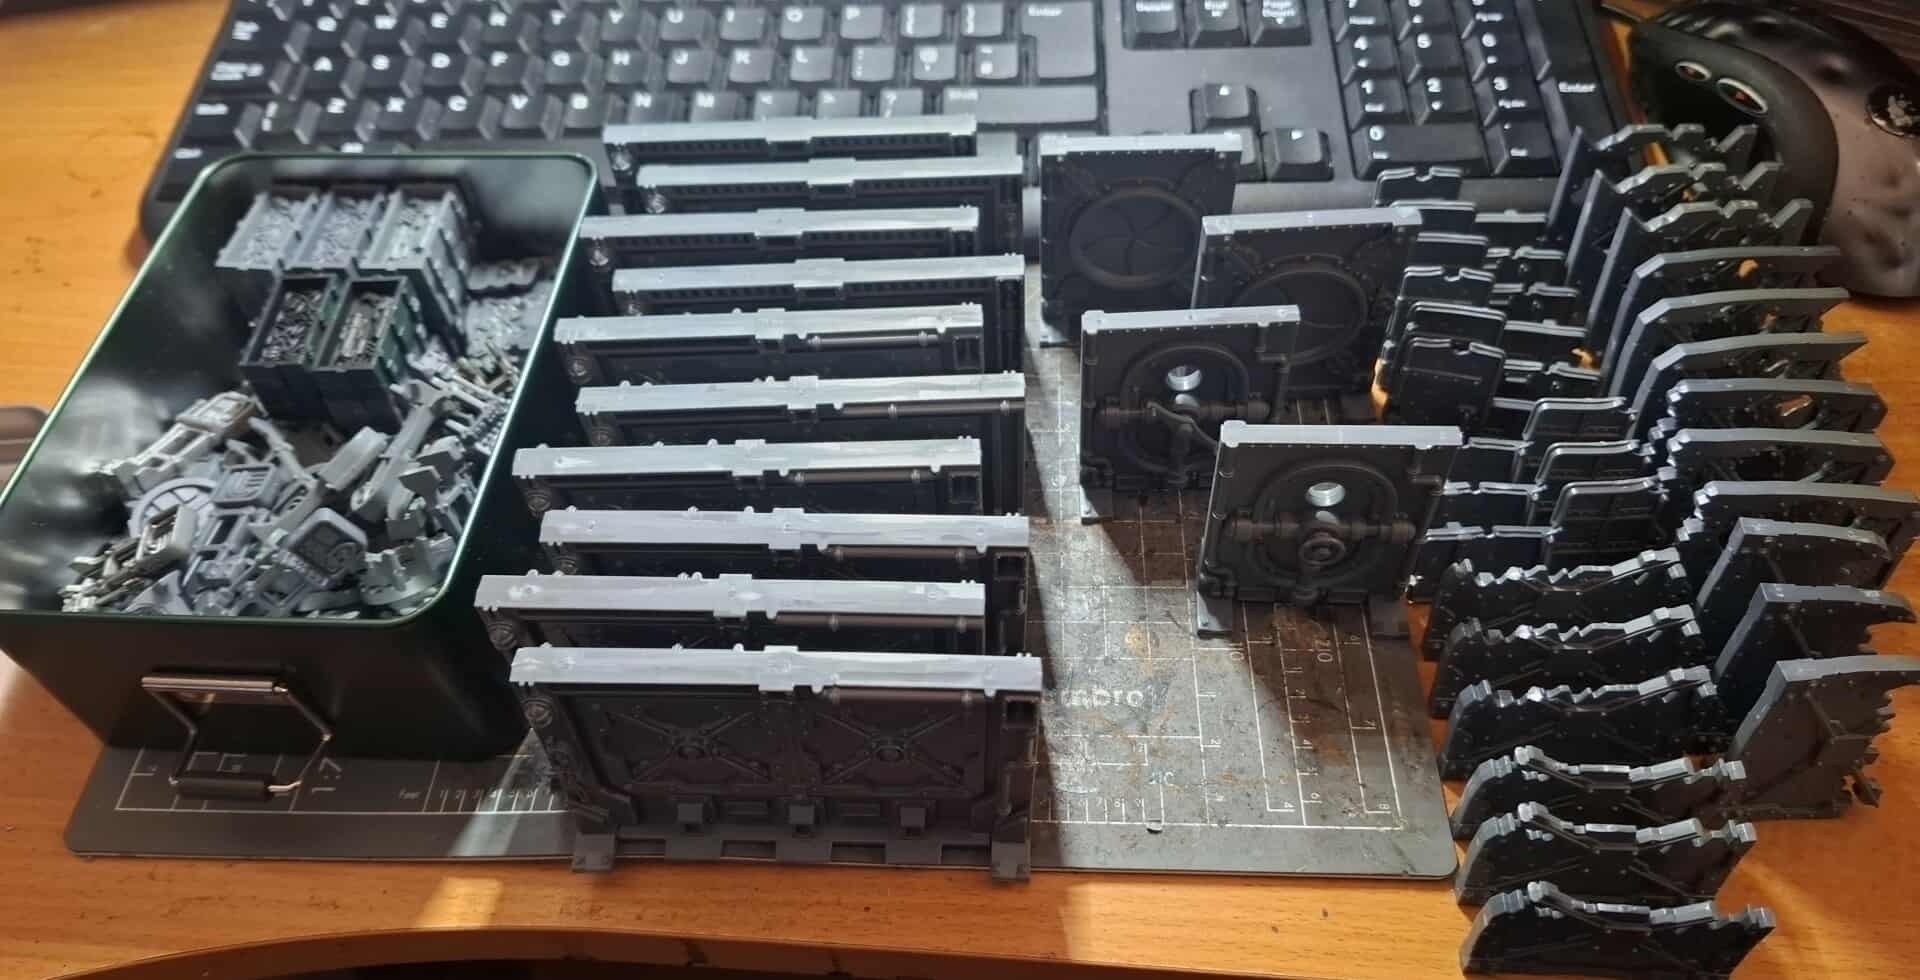
With all 3 MDF kits for the Zone Mortalis style of gameplay build and dry, I looked to cleaning multiple copies of the walls and doors from the Necromunda core box as well as the crates, tentacles and other odds and sods.
This is the typical kinda work. Clip from the sprue and clean the mould lines from these VERY thick pieces of GW plastic.
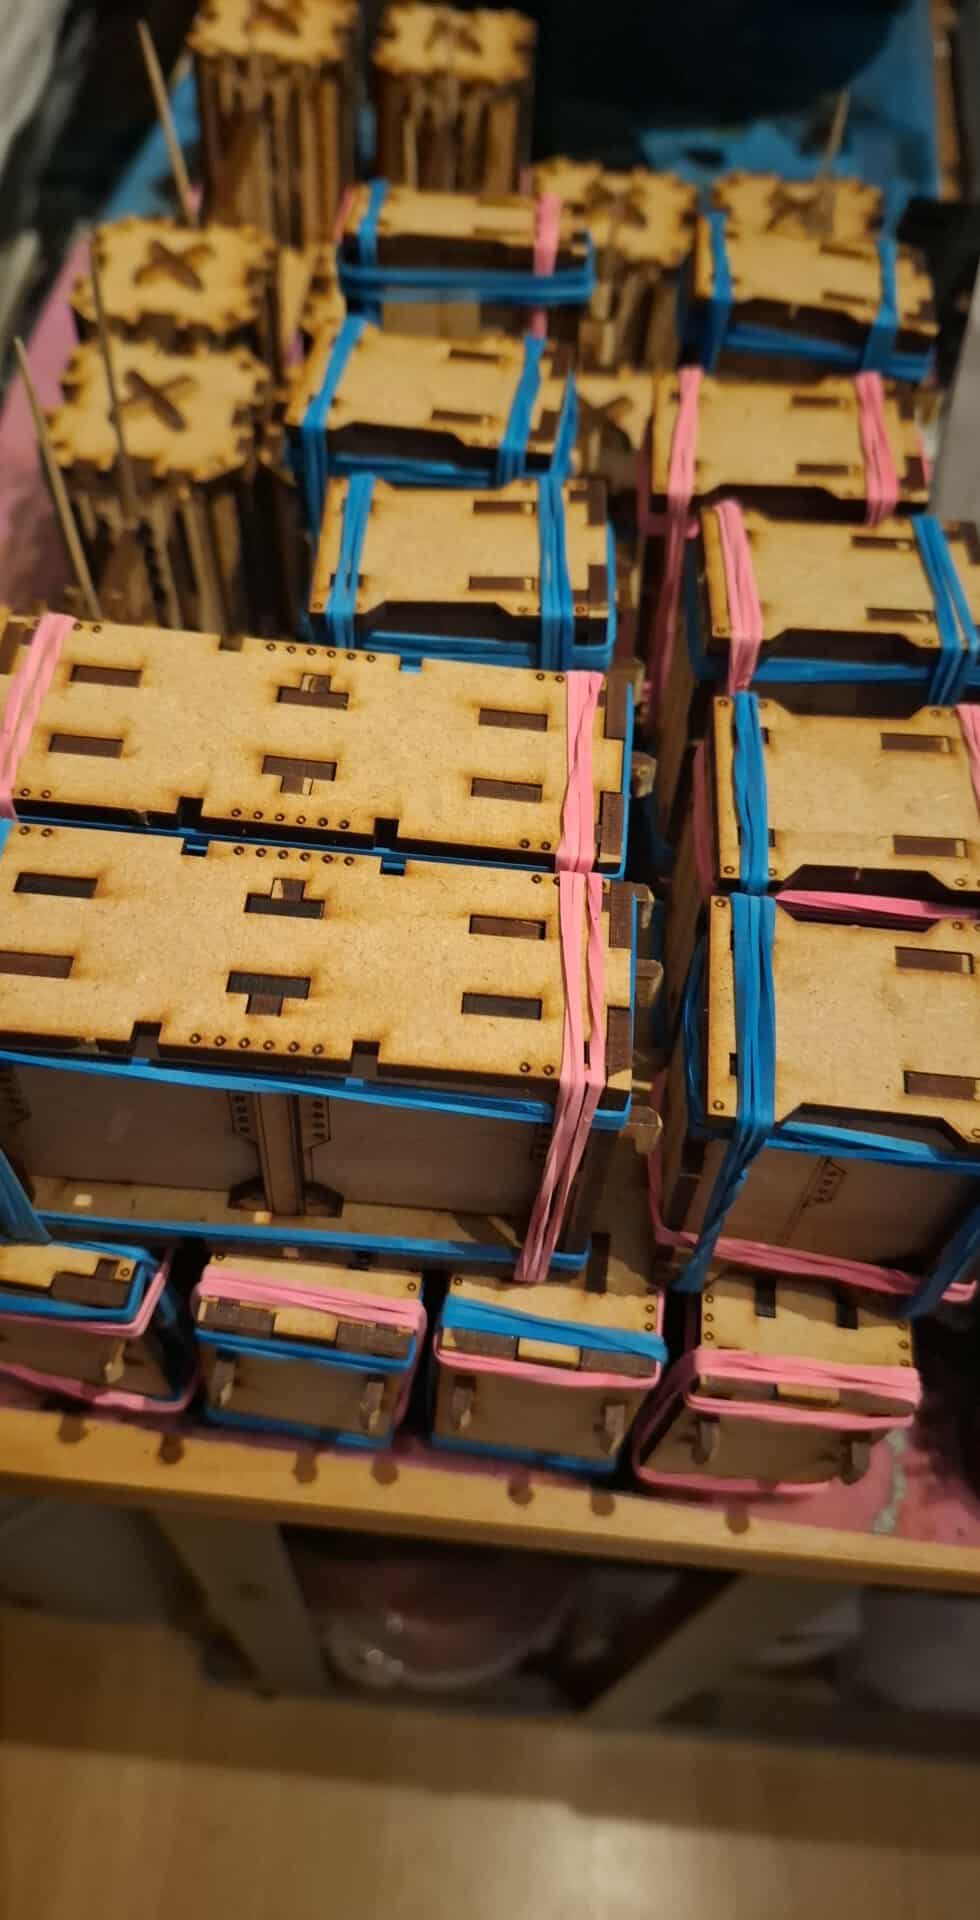
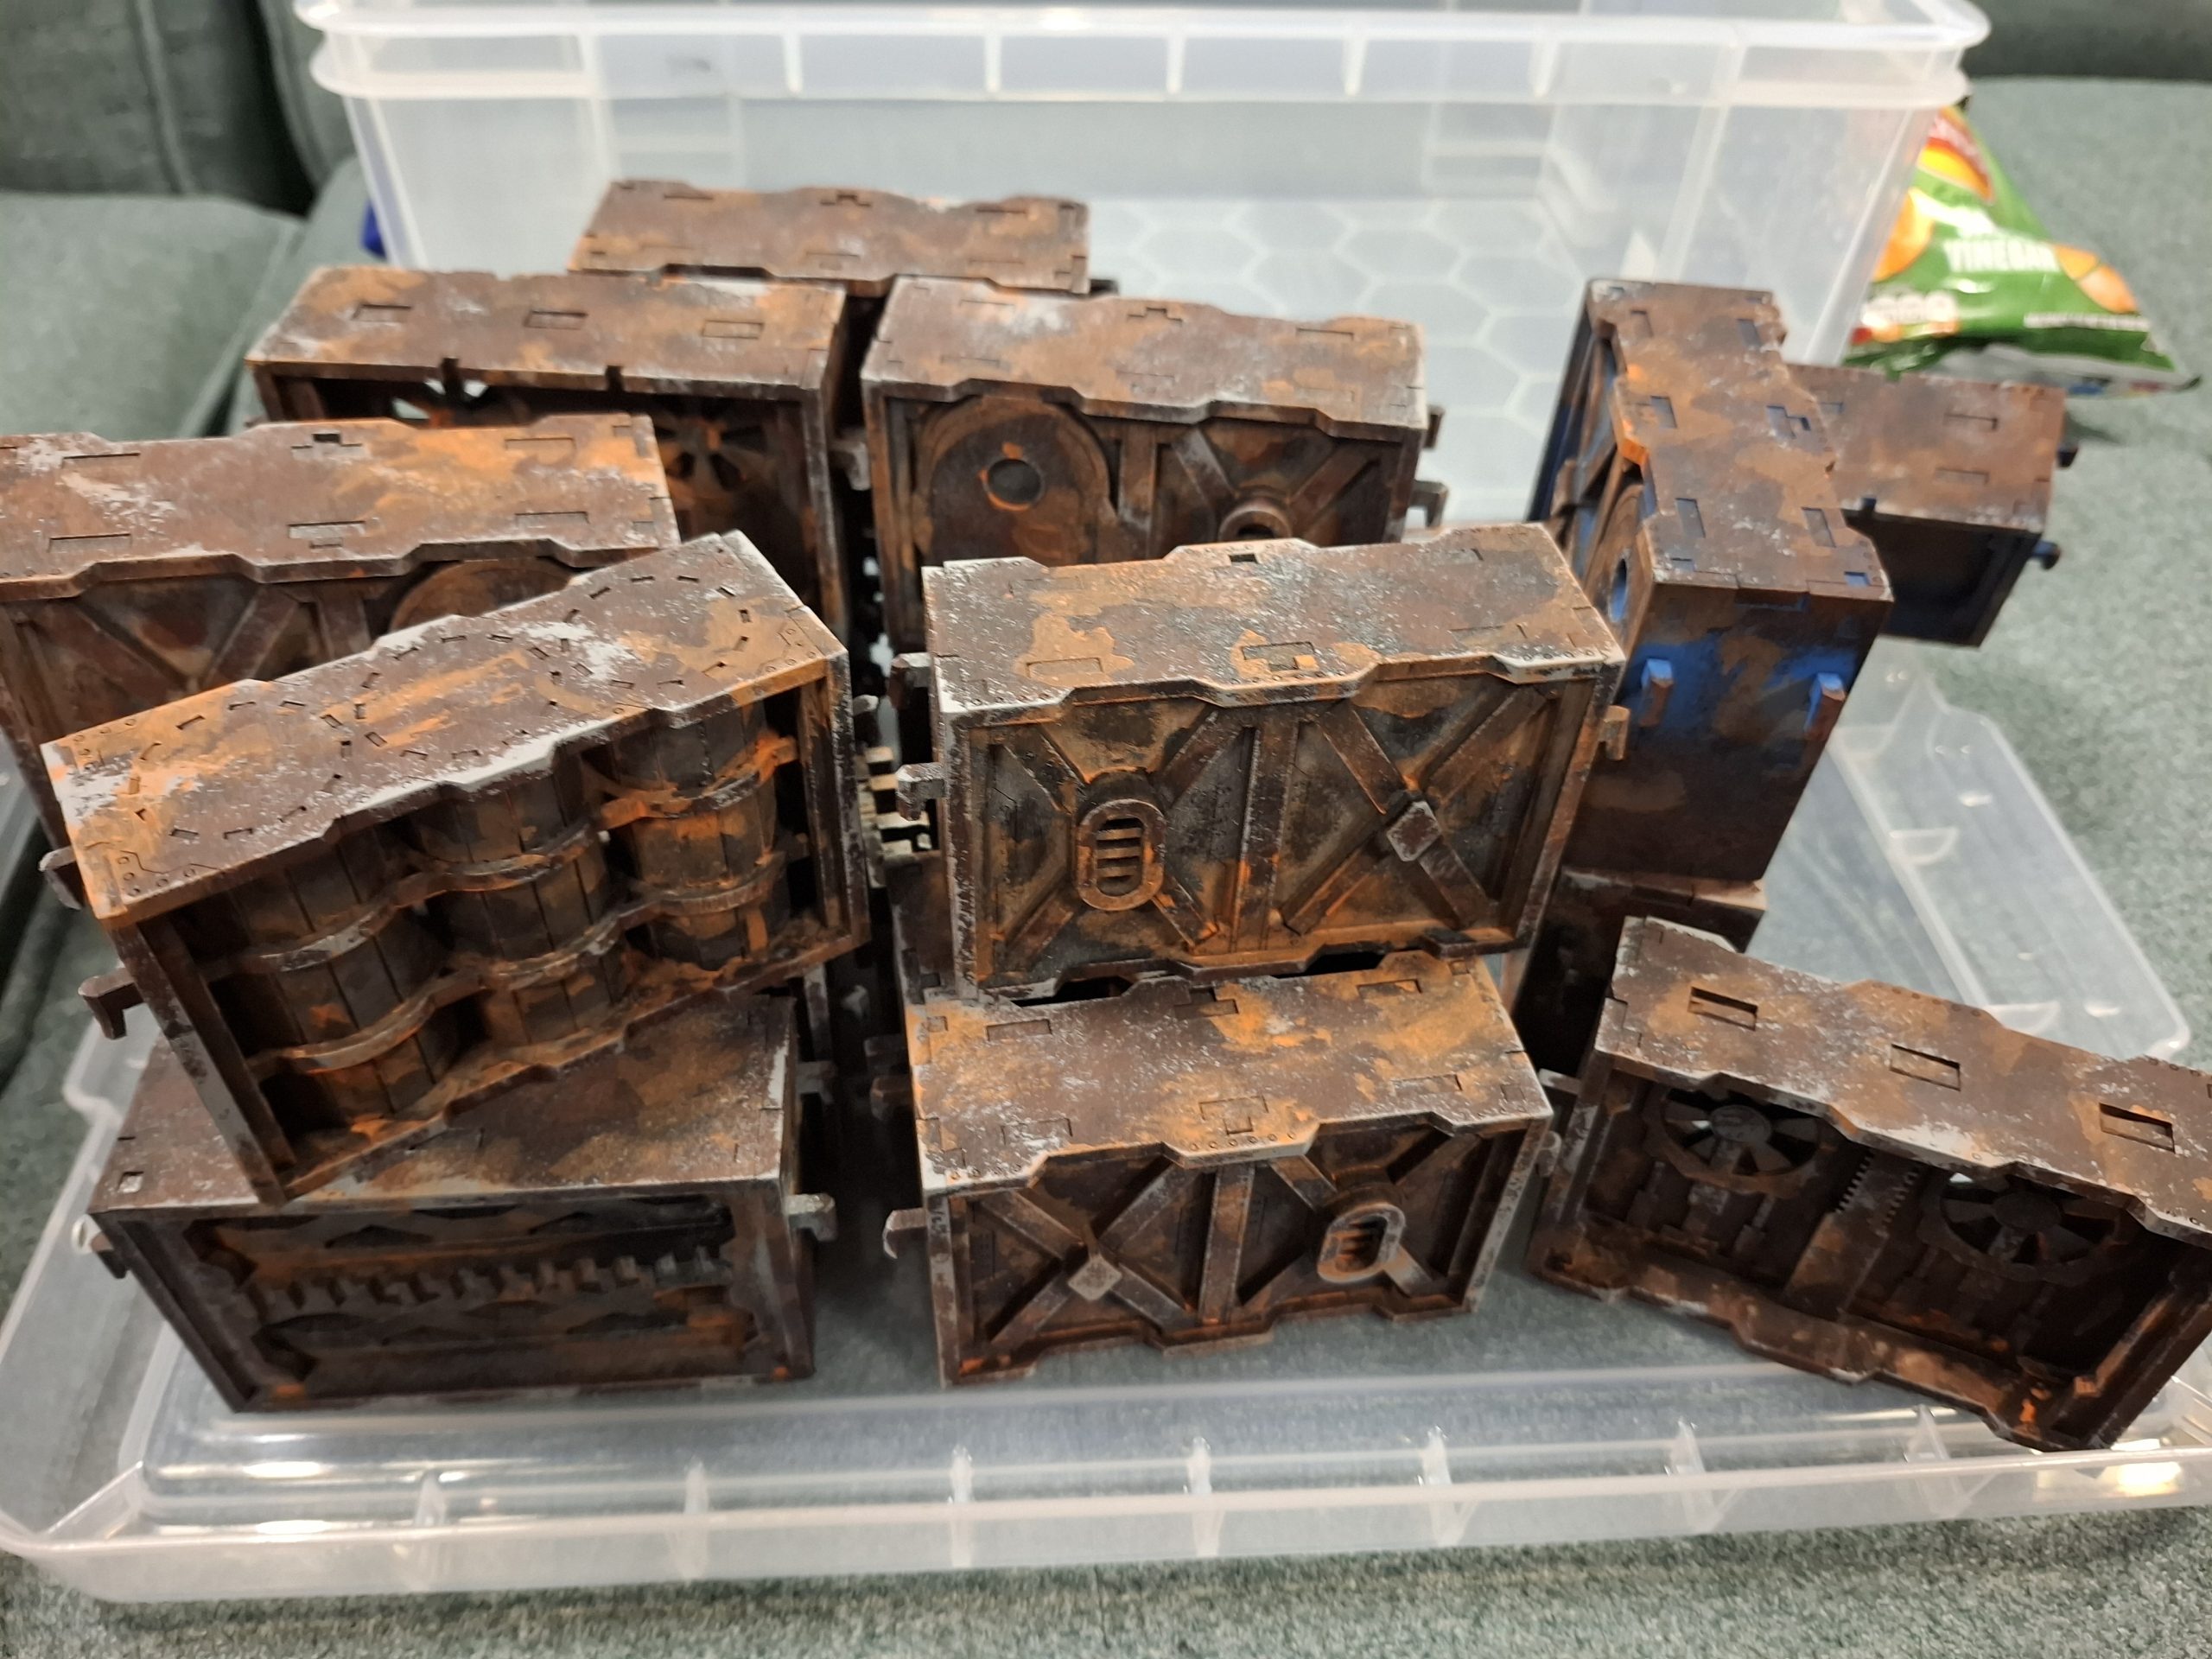
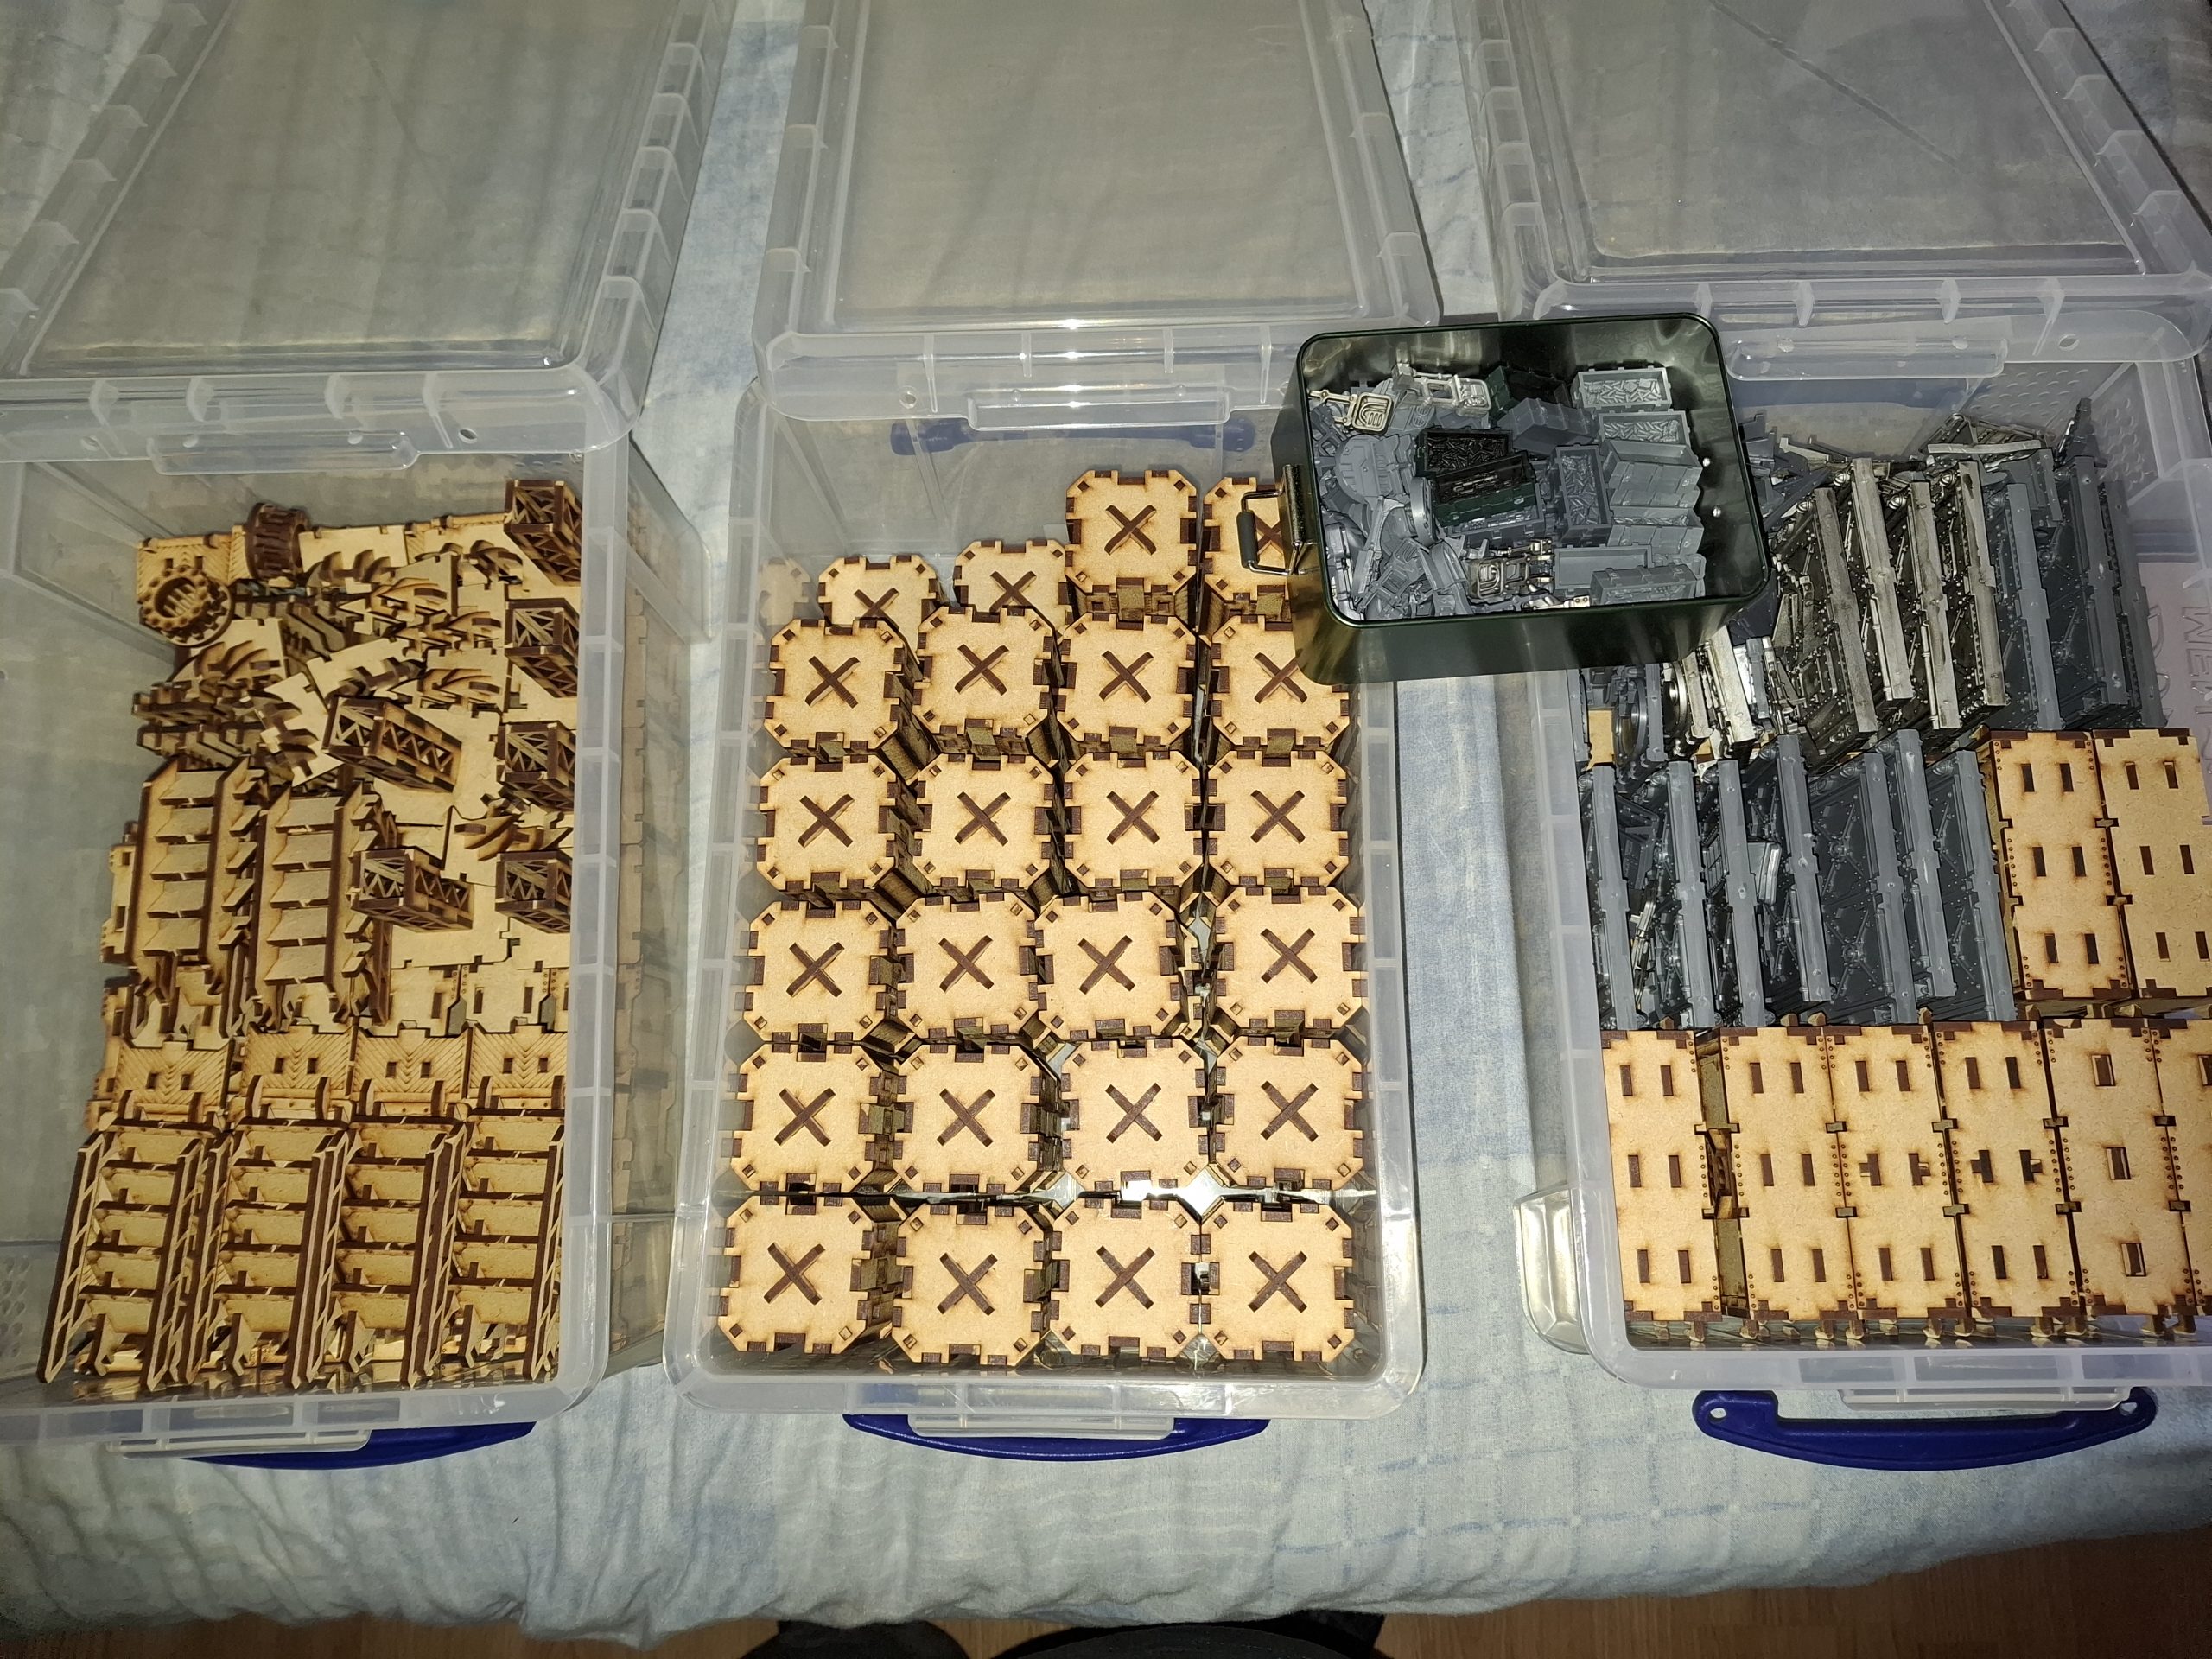
The big thing has been filling three 9-litre Really Useful Boxes with all the mdf terrain. The Necromunda wall and door sections also fit.
The crates and other game pieces go into a handy clipped tin.
A 4-litre Really Useful Box has been filled with all my Orlock sets. 2 full Ganger boxes, 1 Champion and Wreaker box, a set of Quads, a couple of weapon sets, the resin Champion sets and a pair of Ambots.

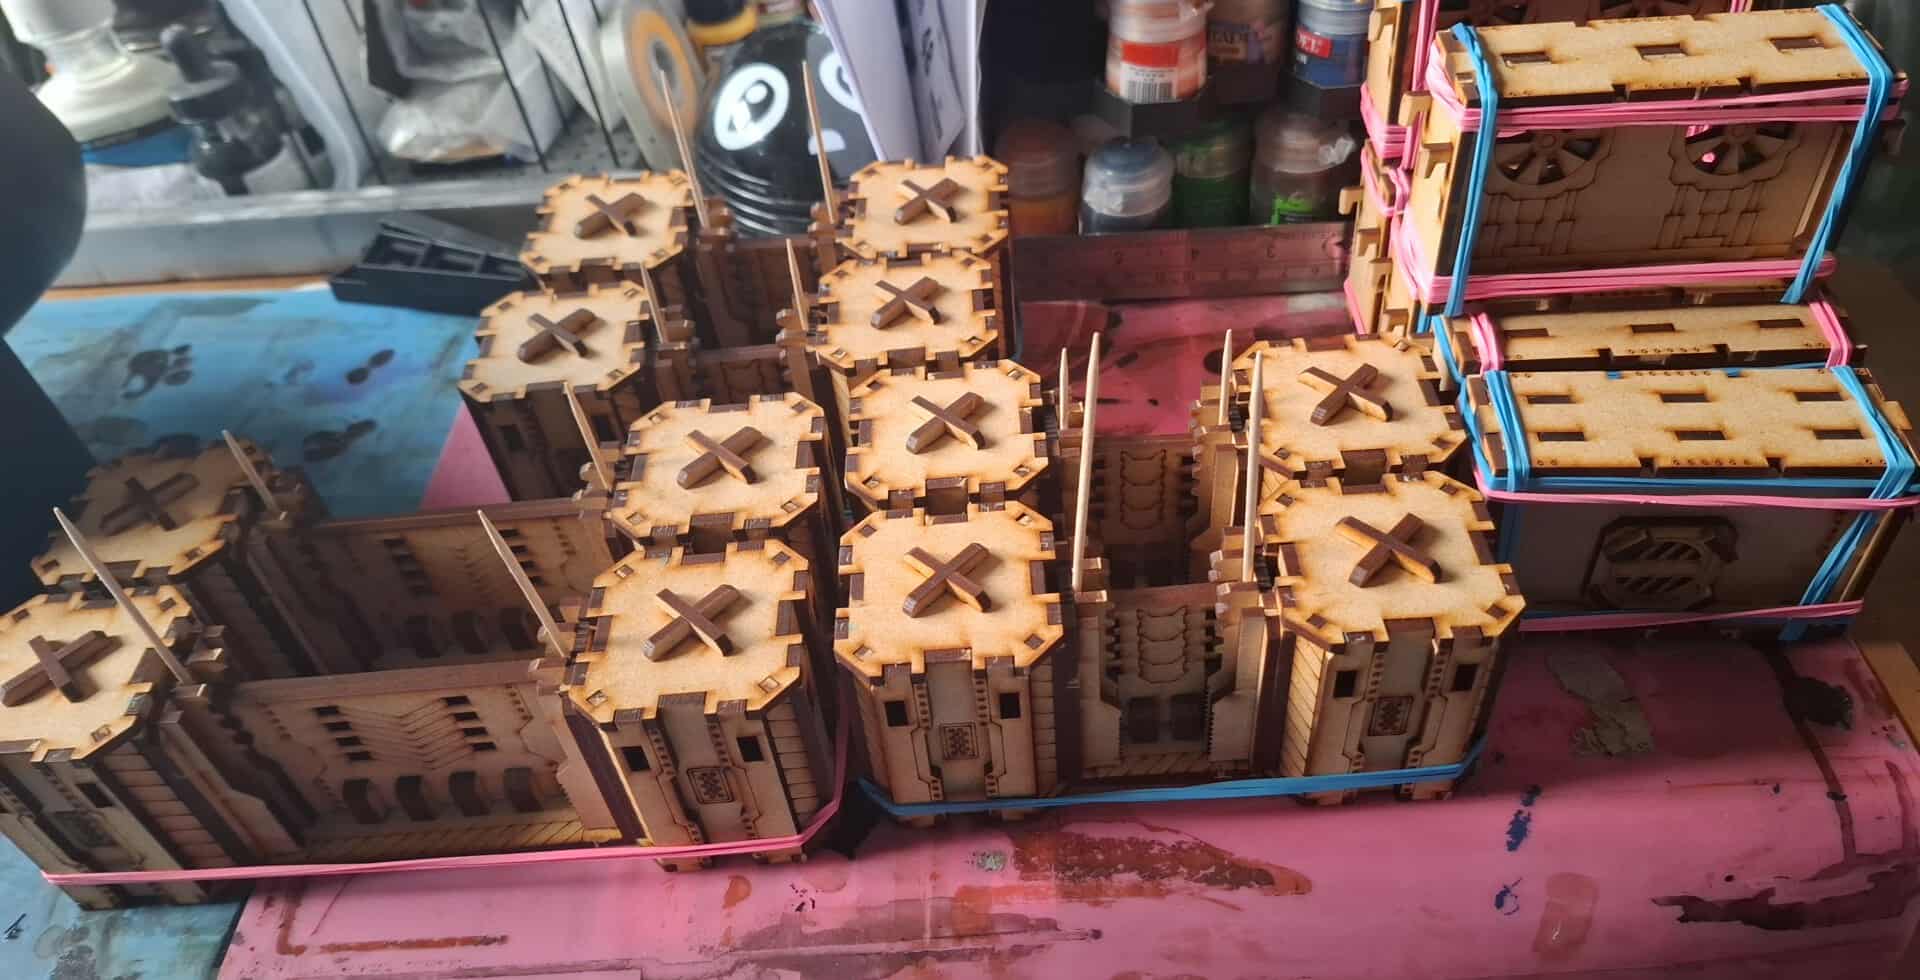
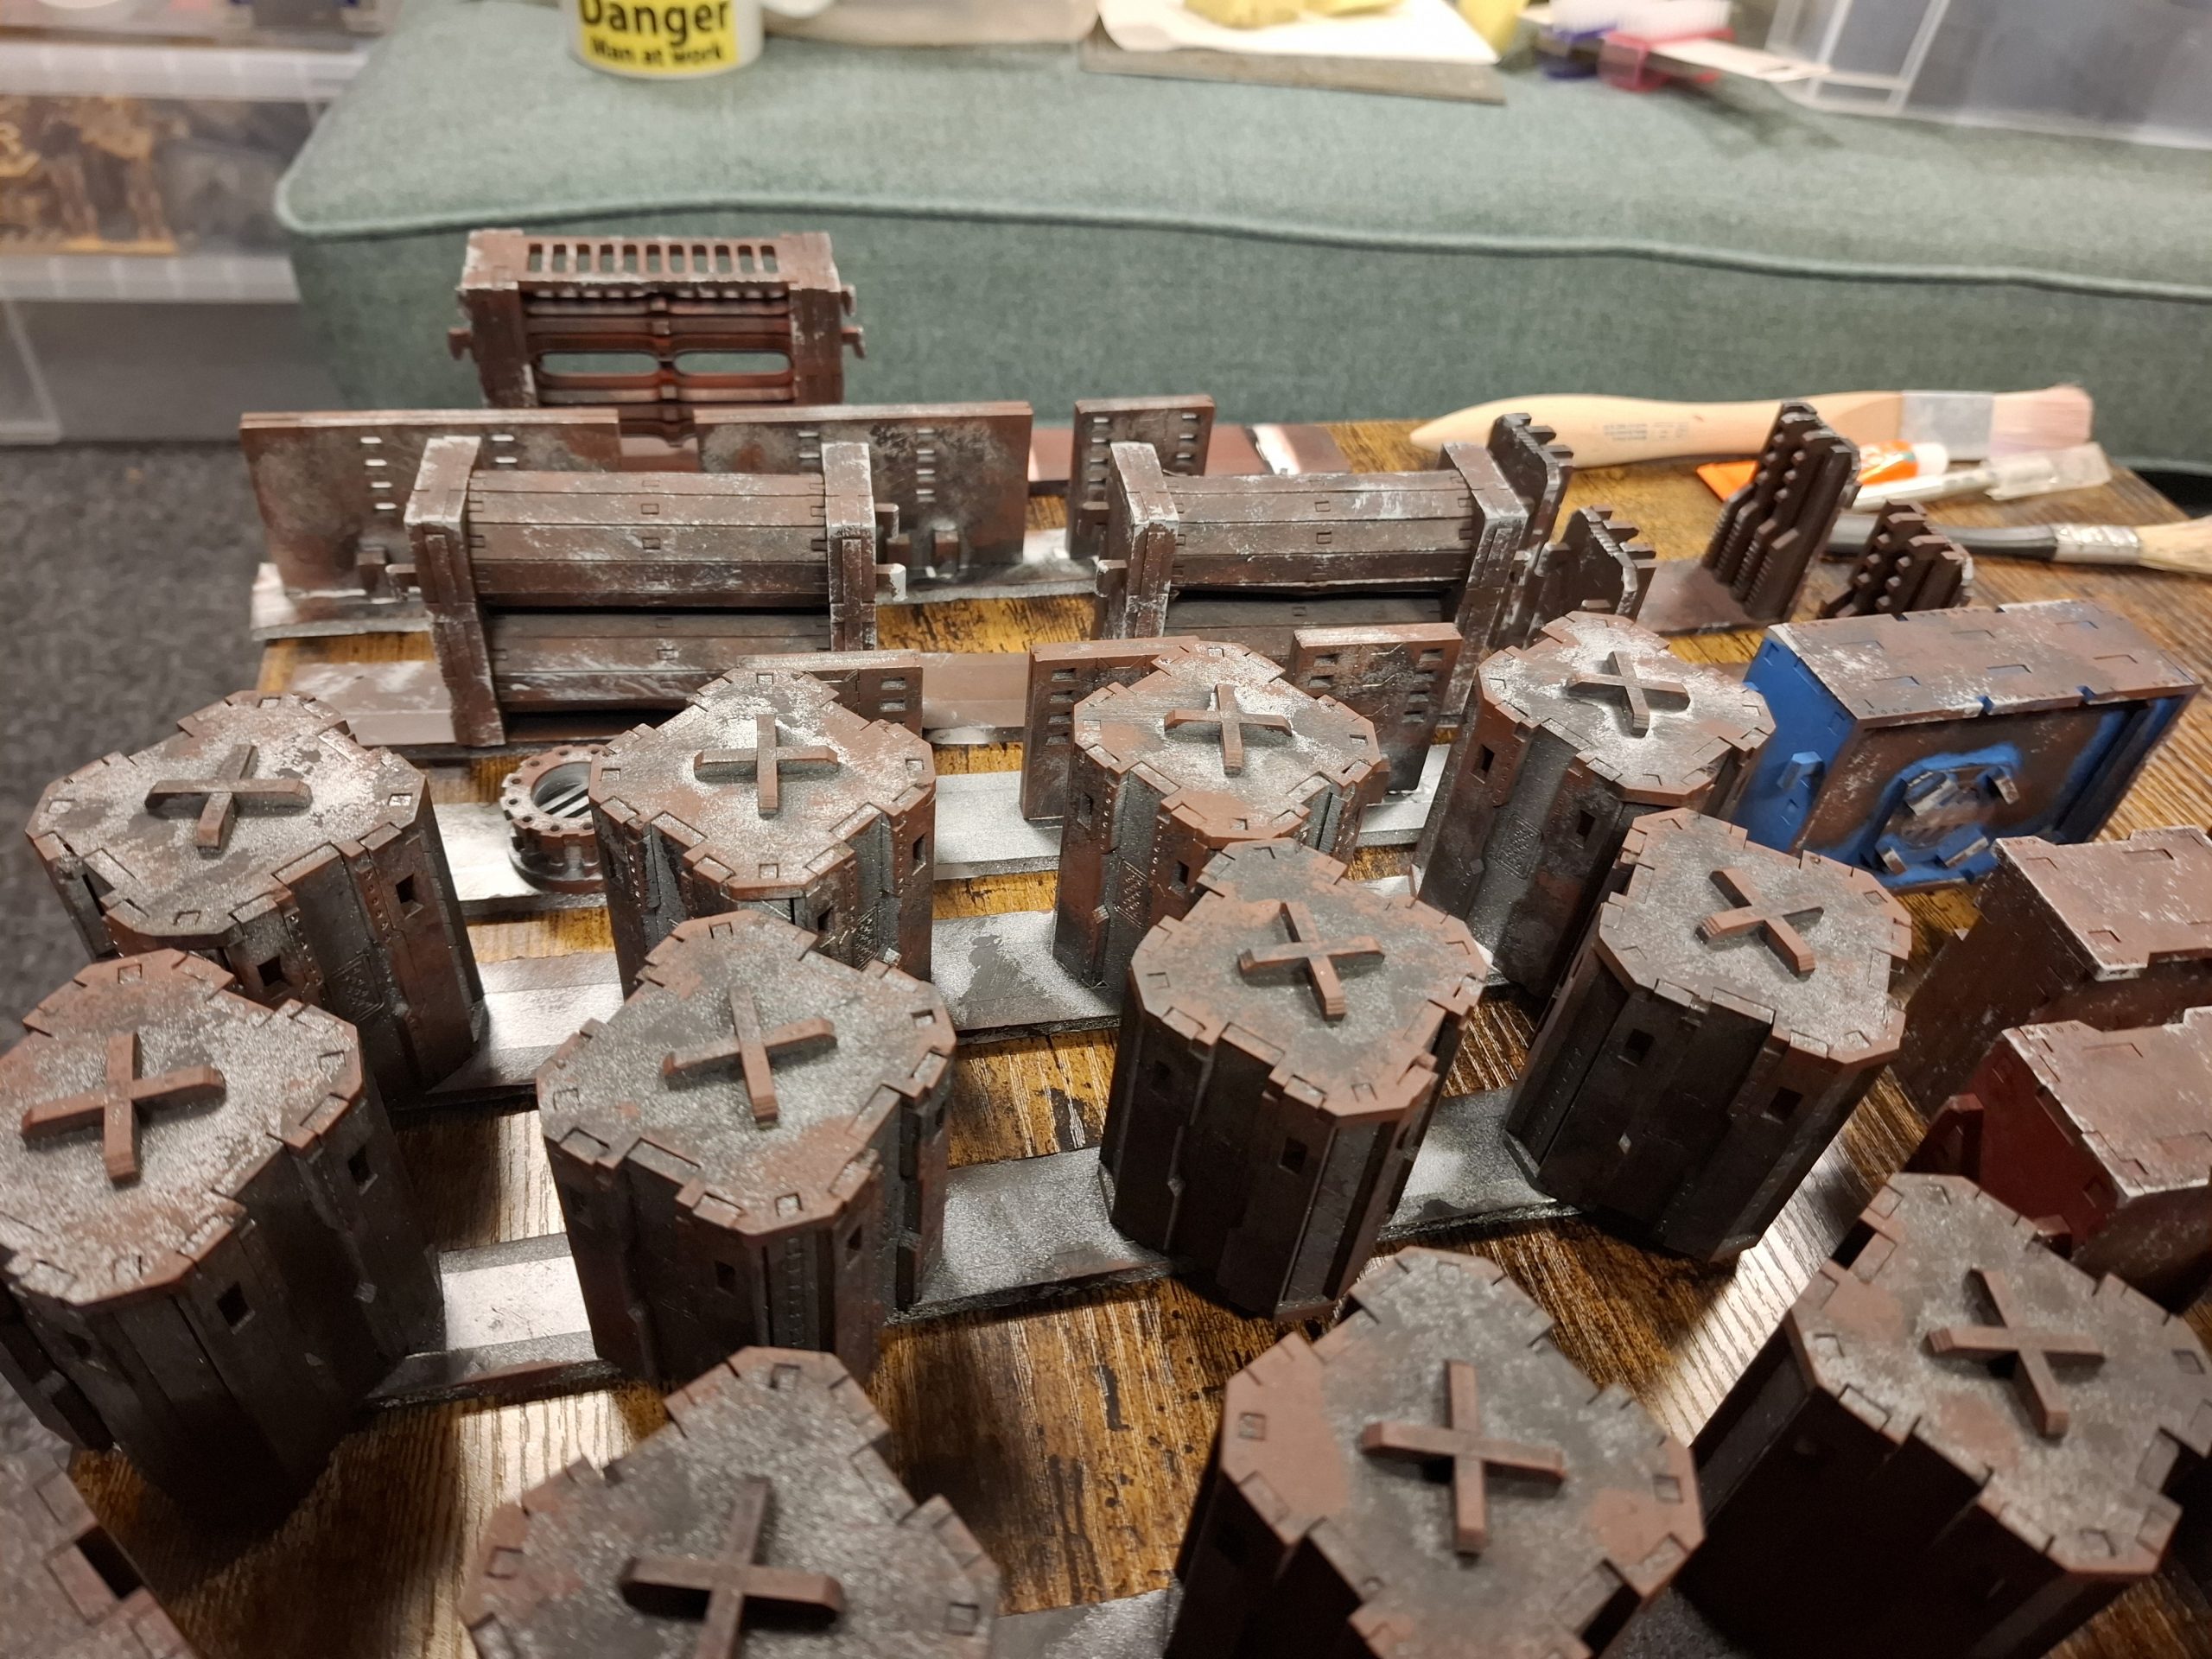
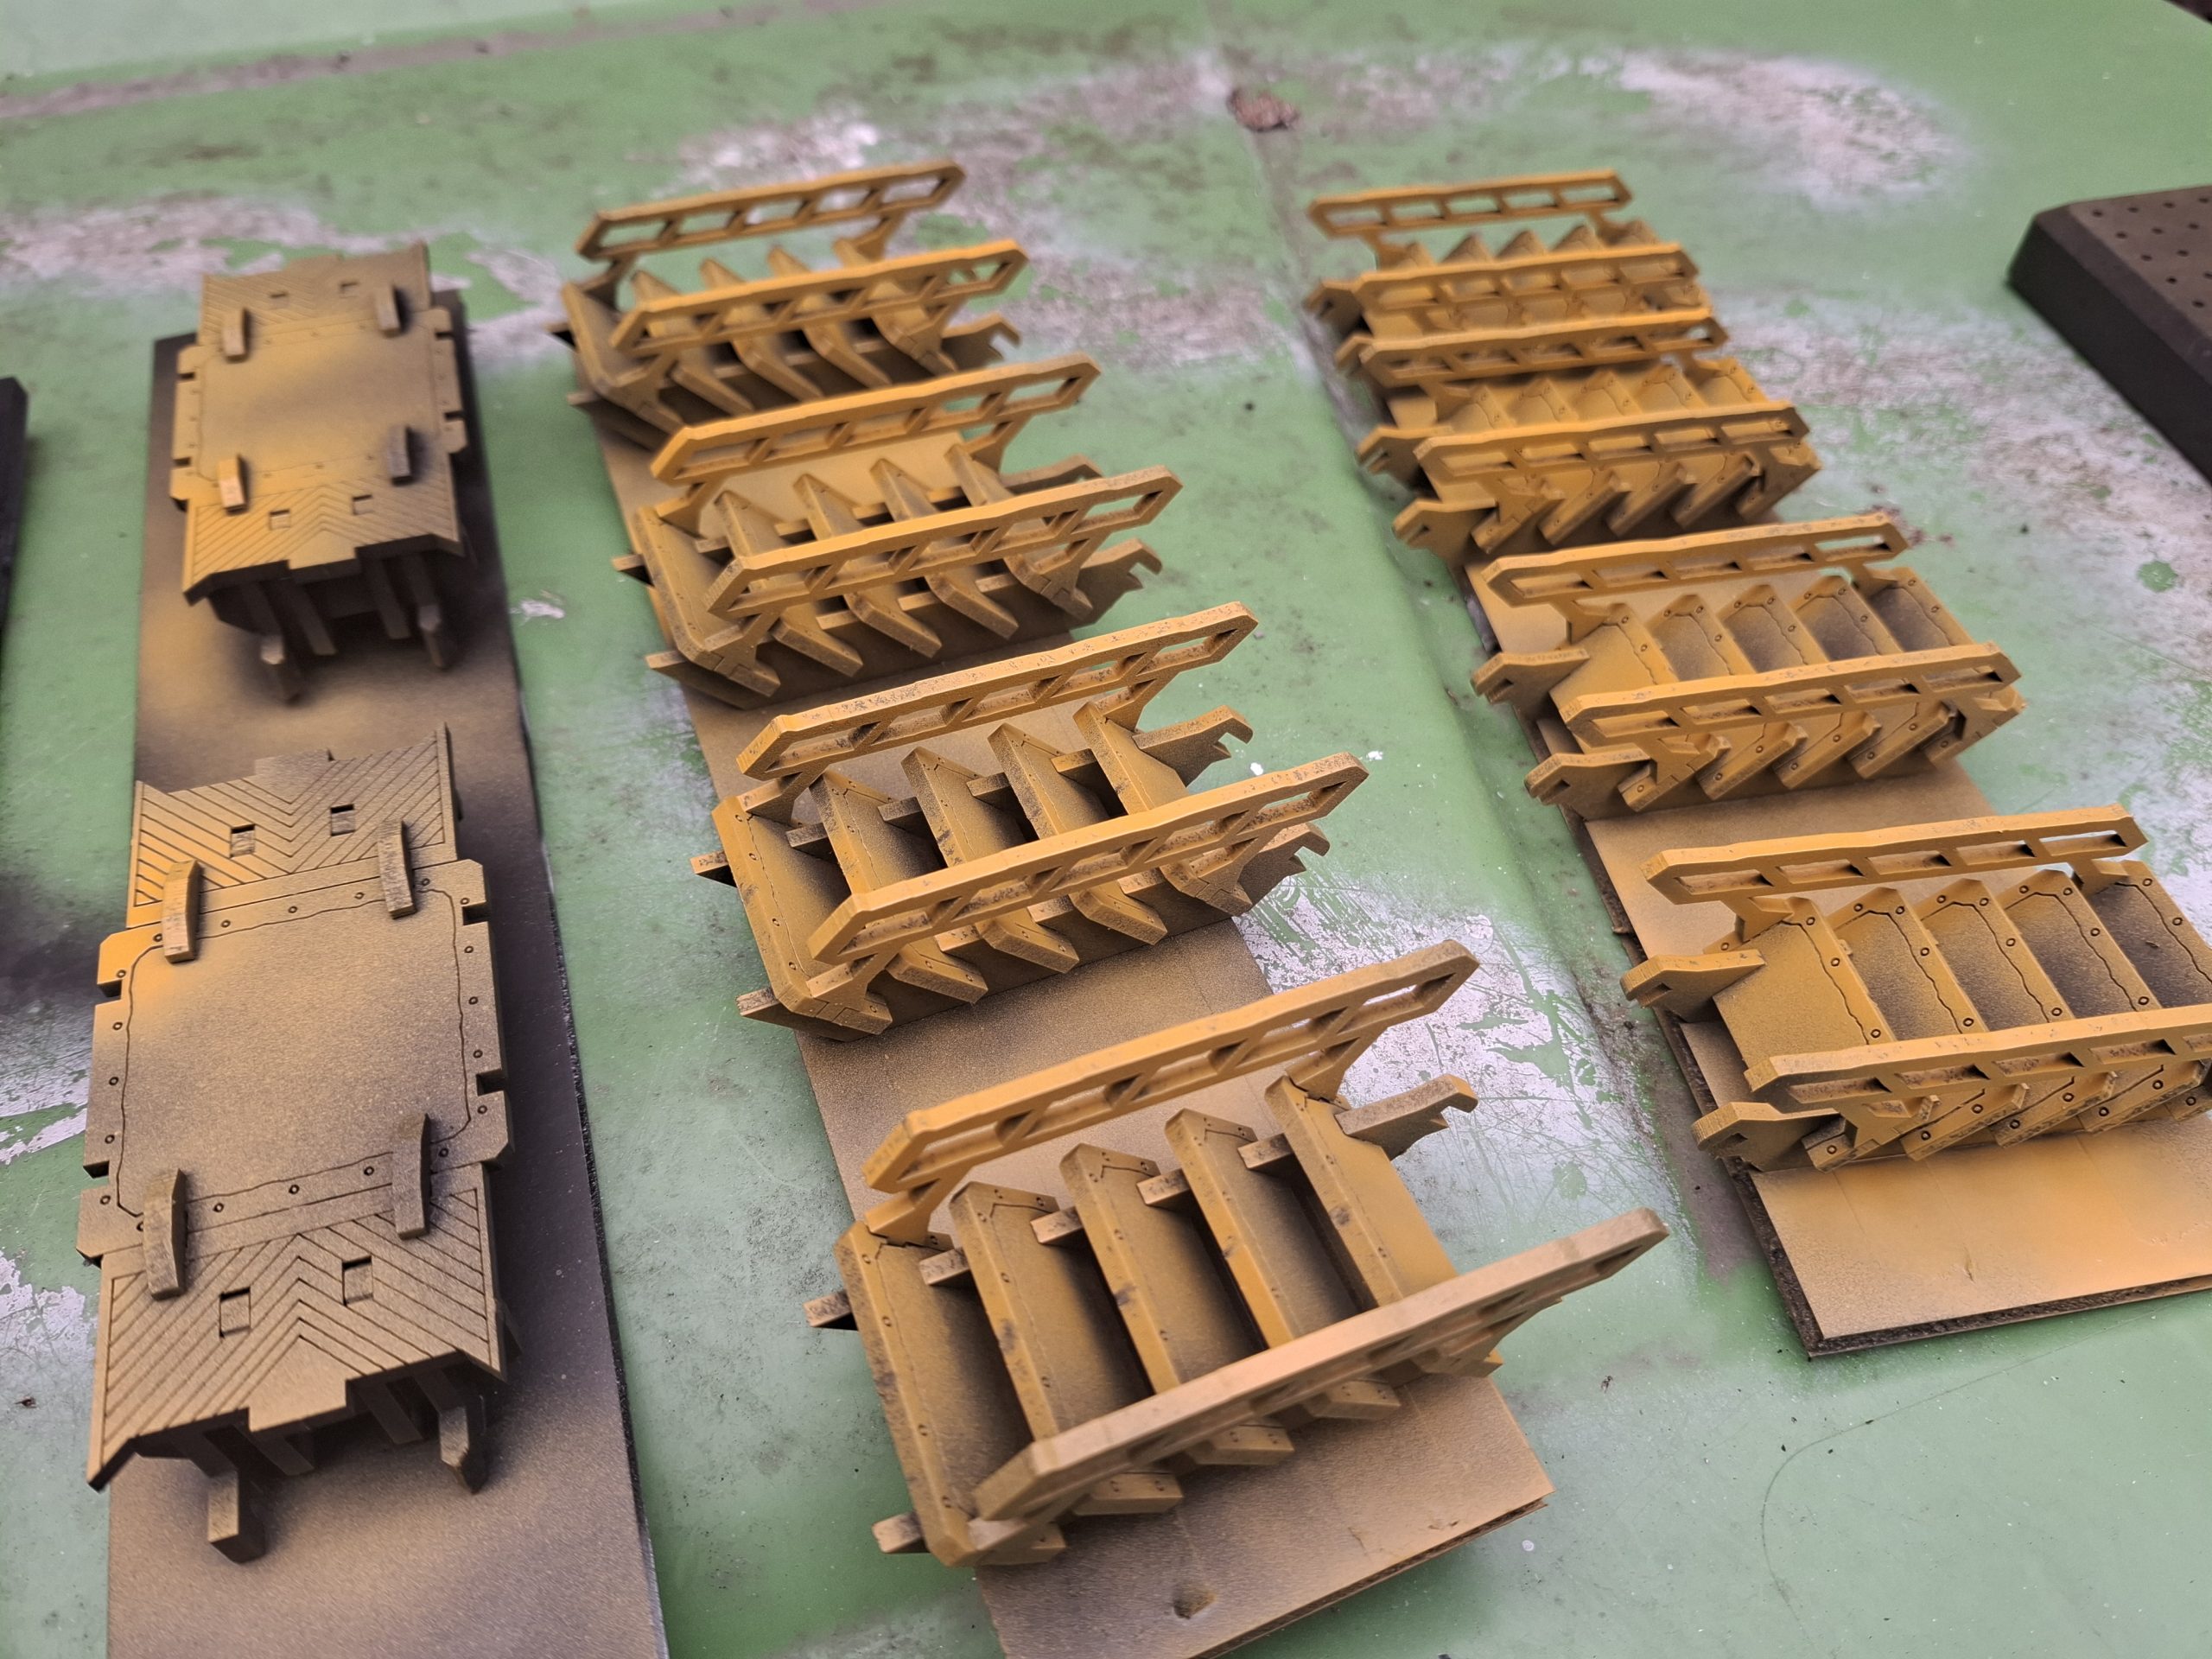
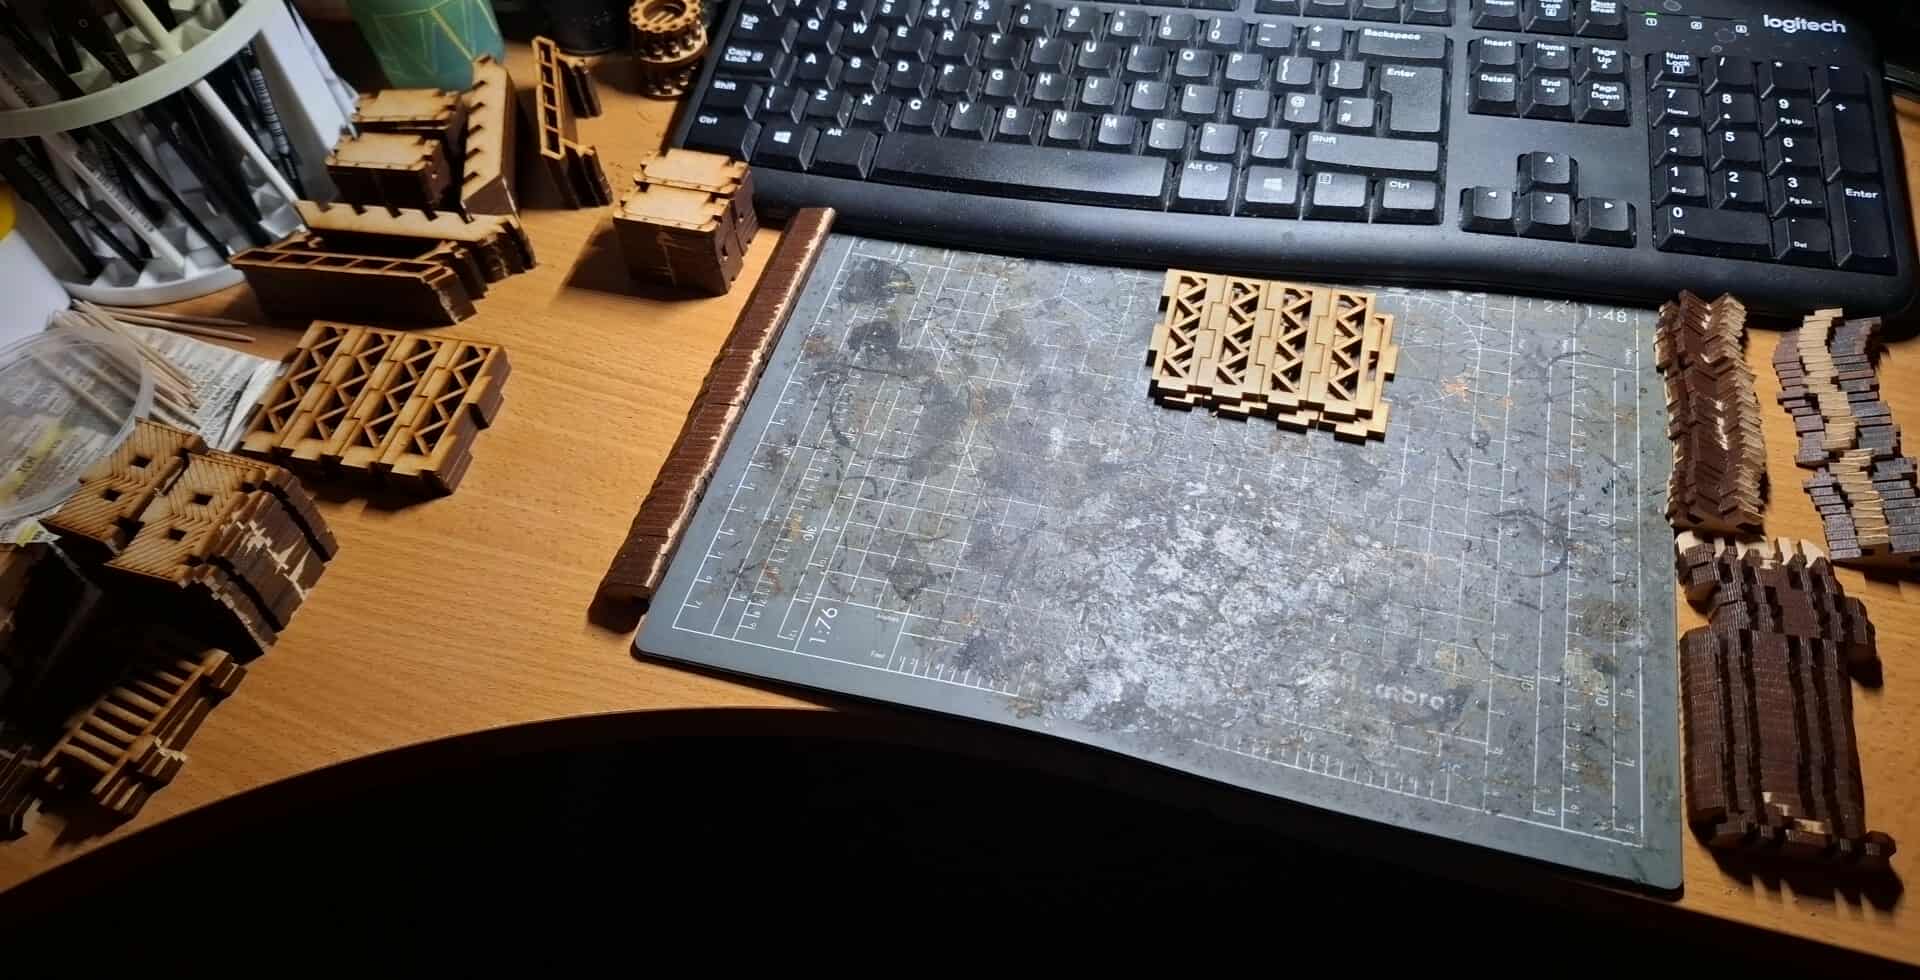
Death Quadrant continues!
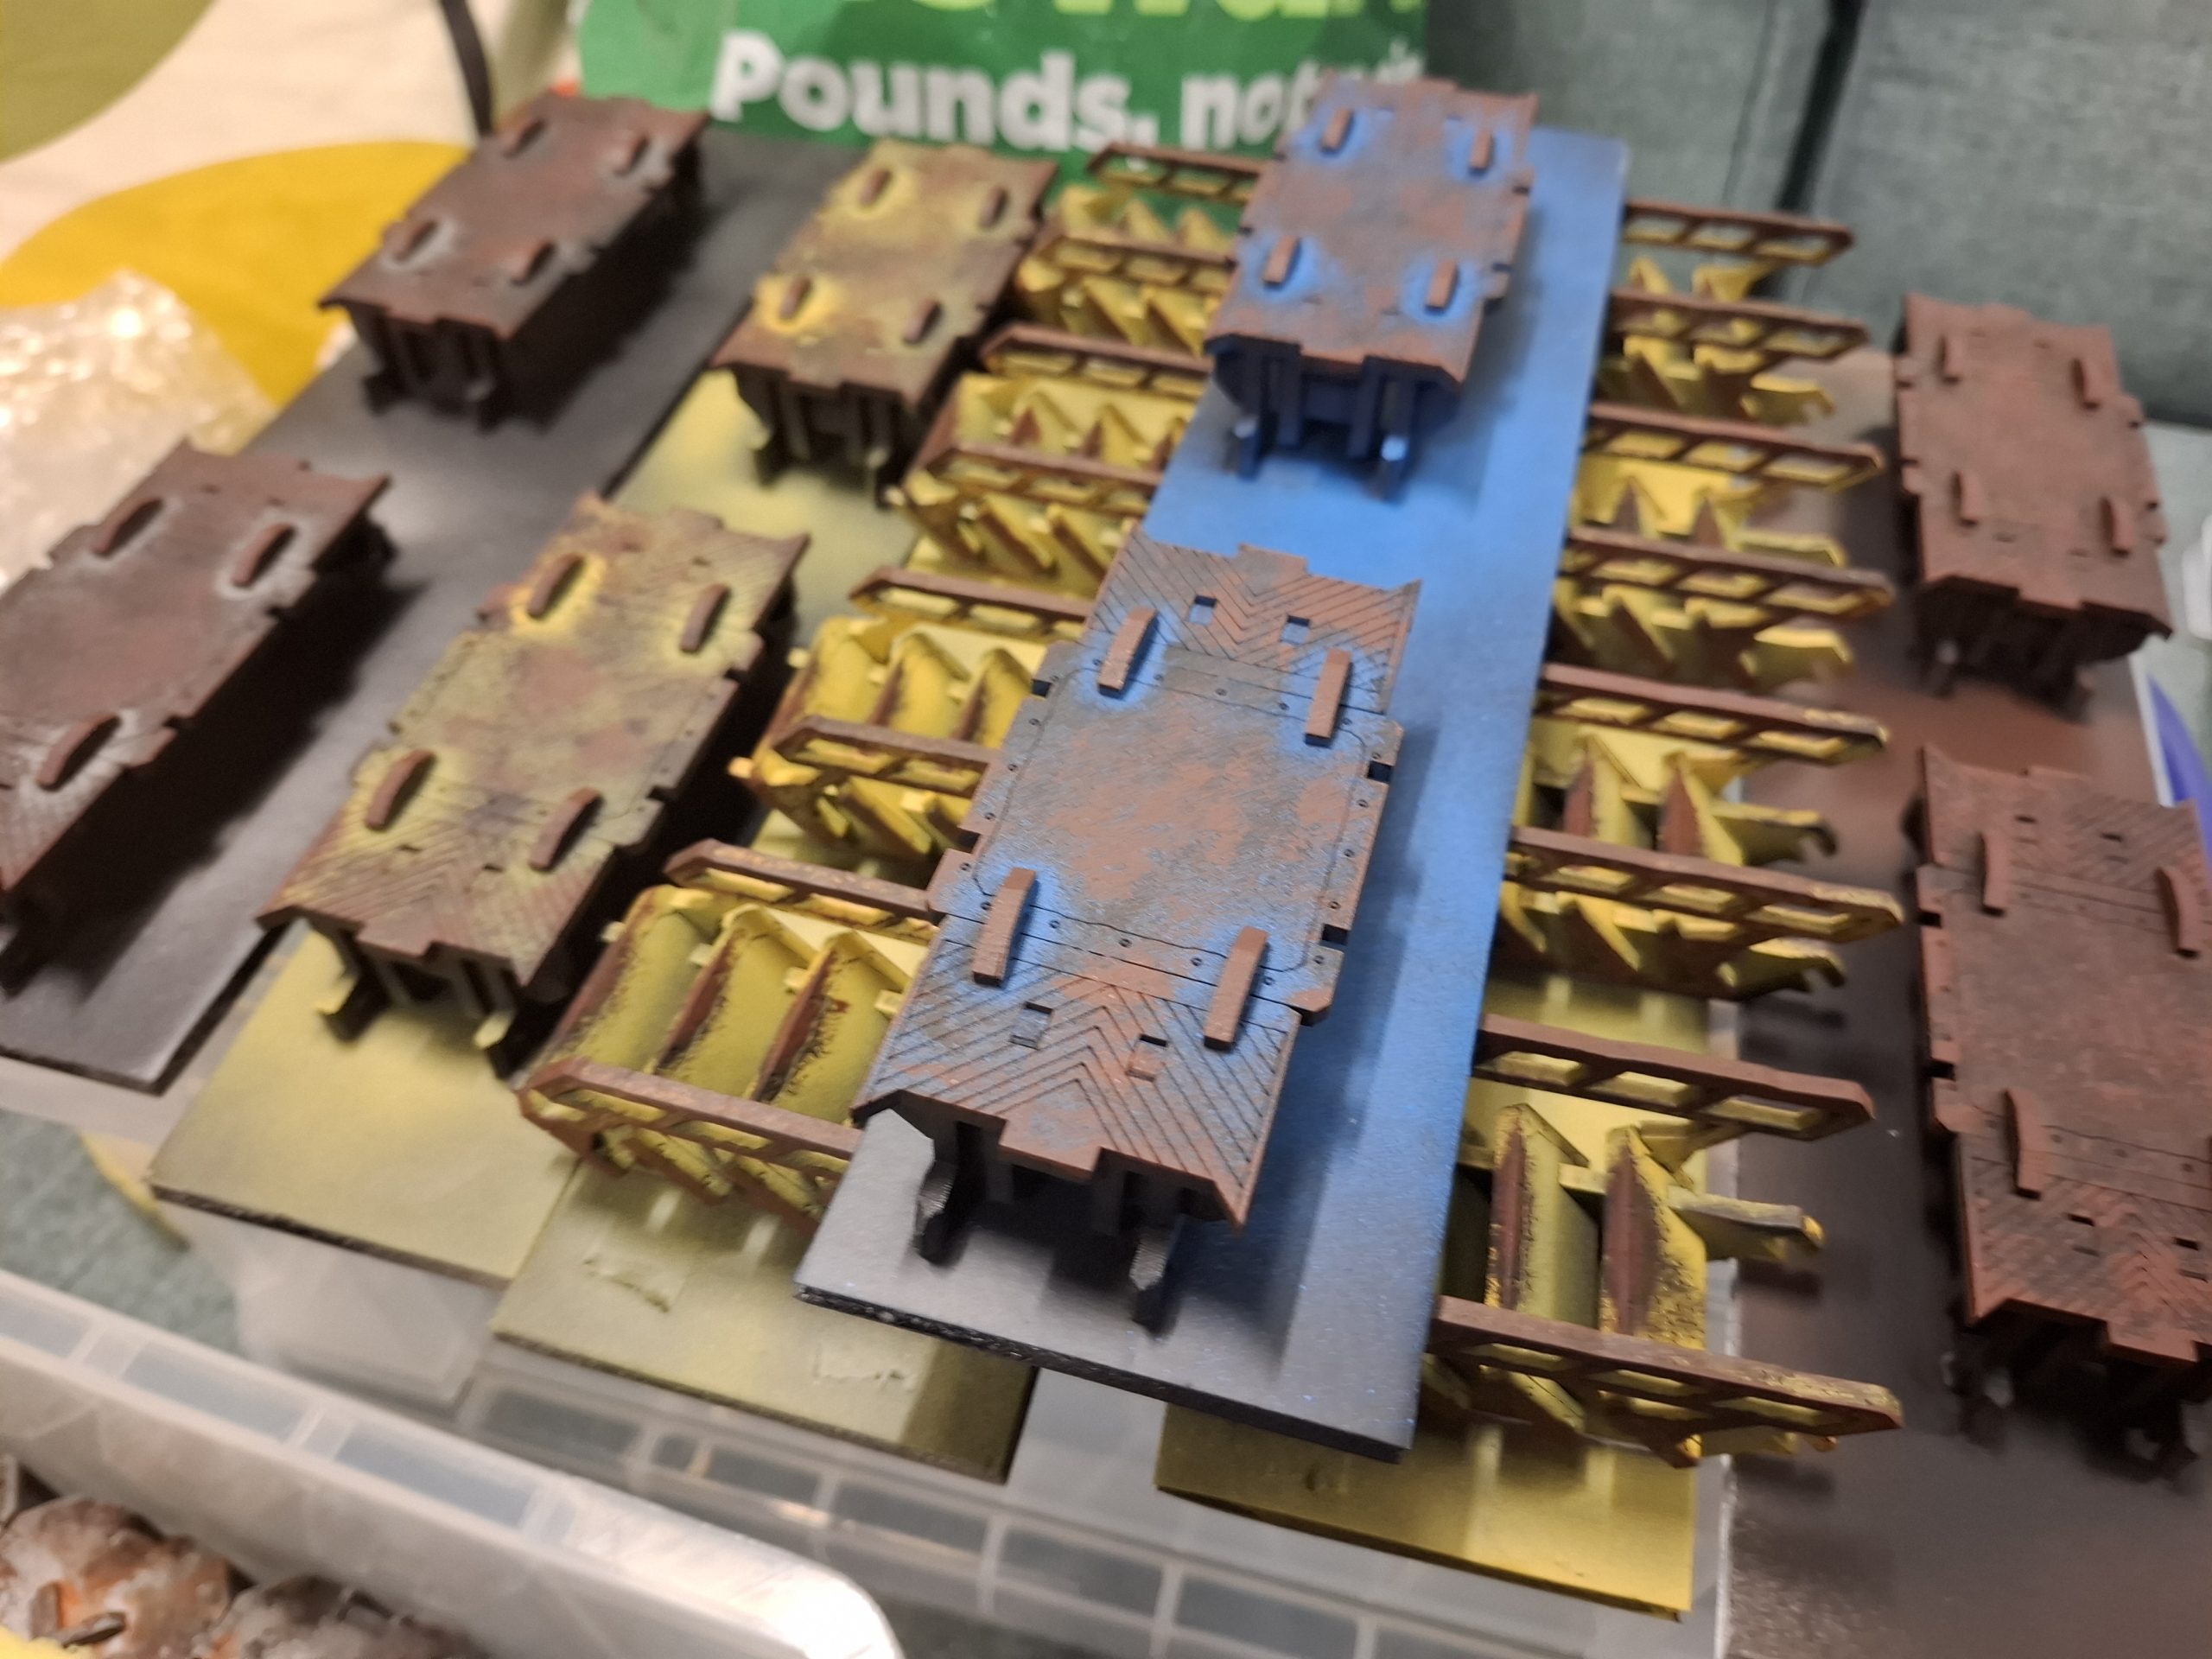
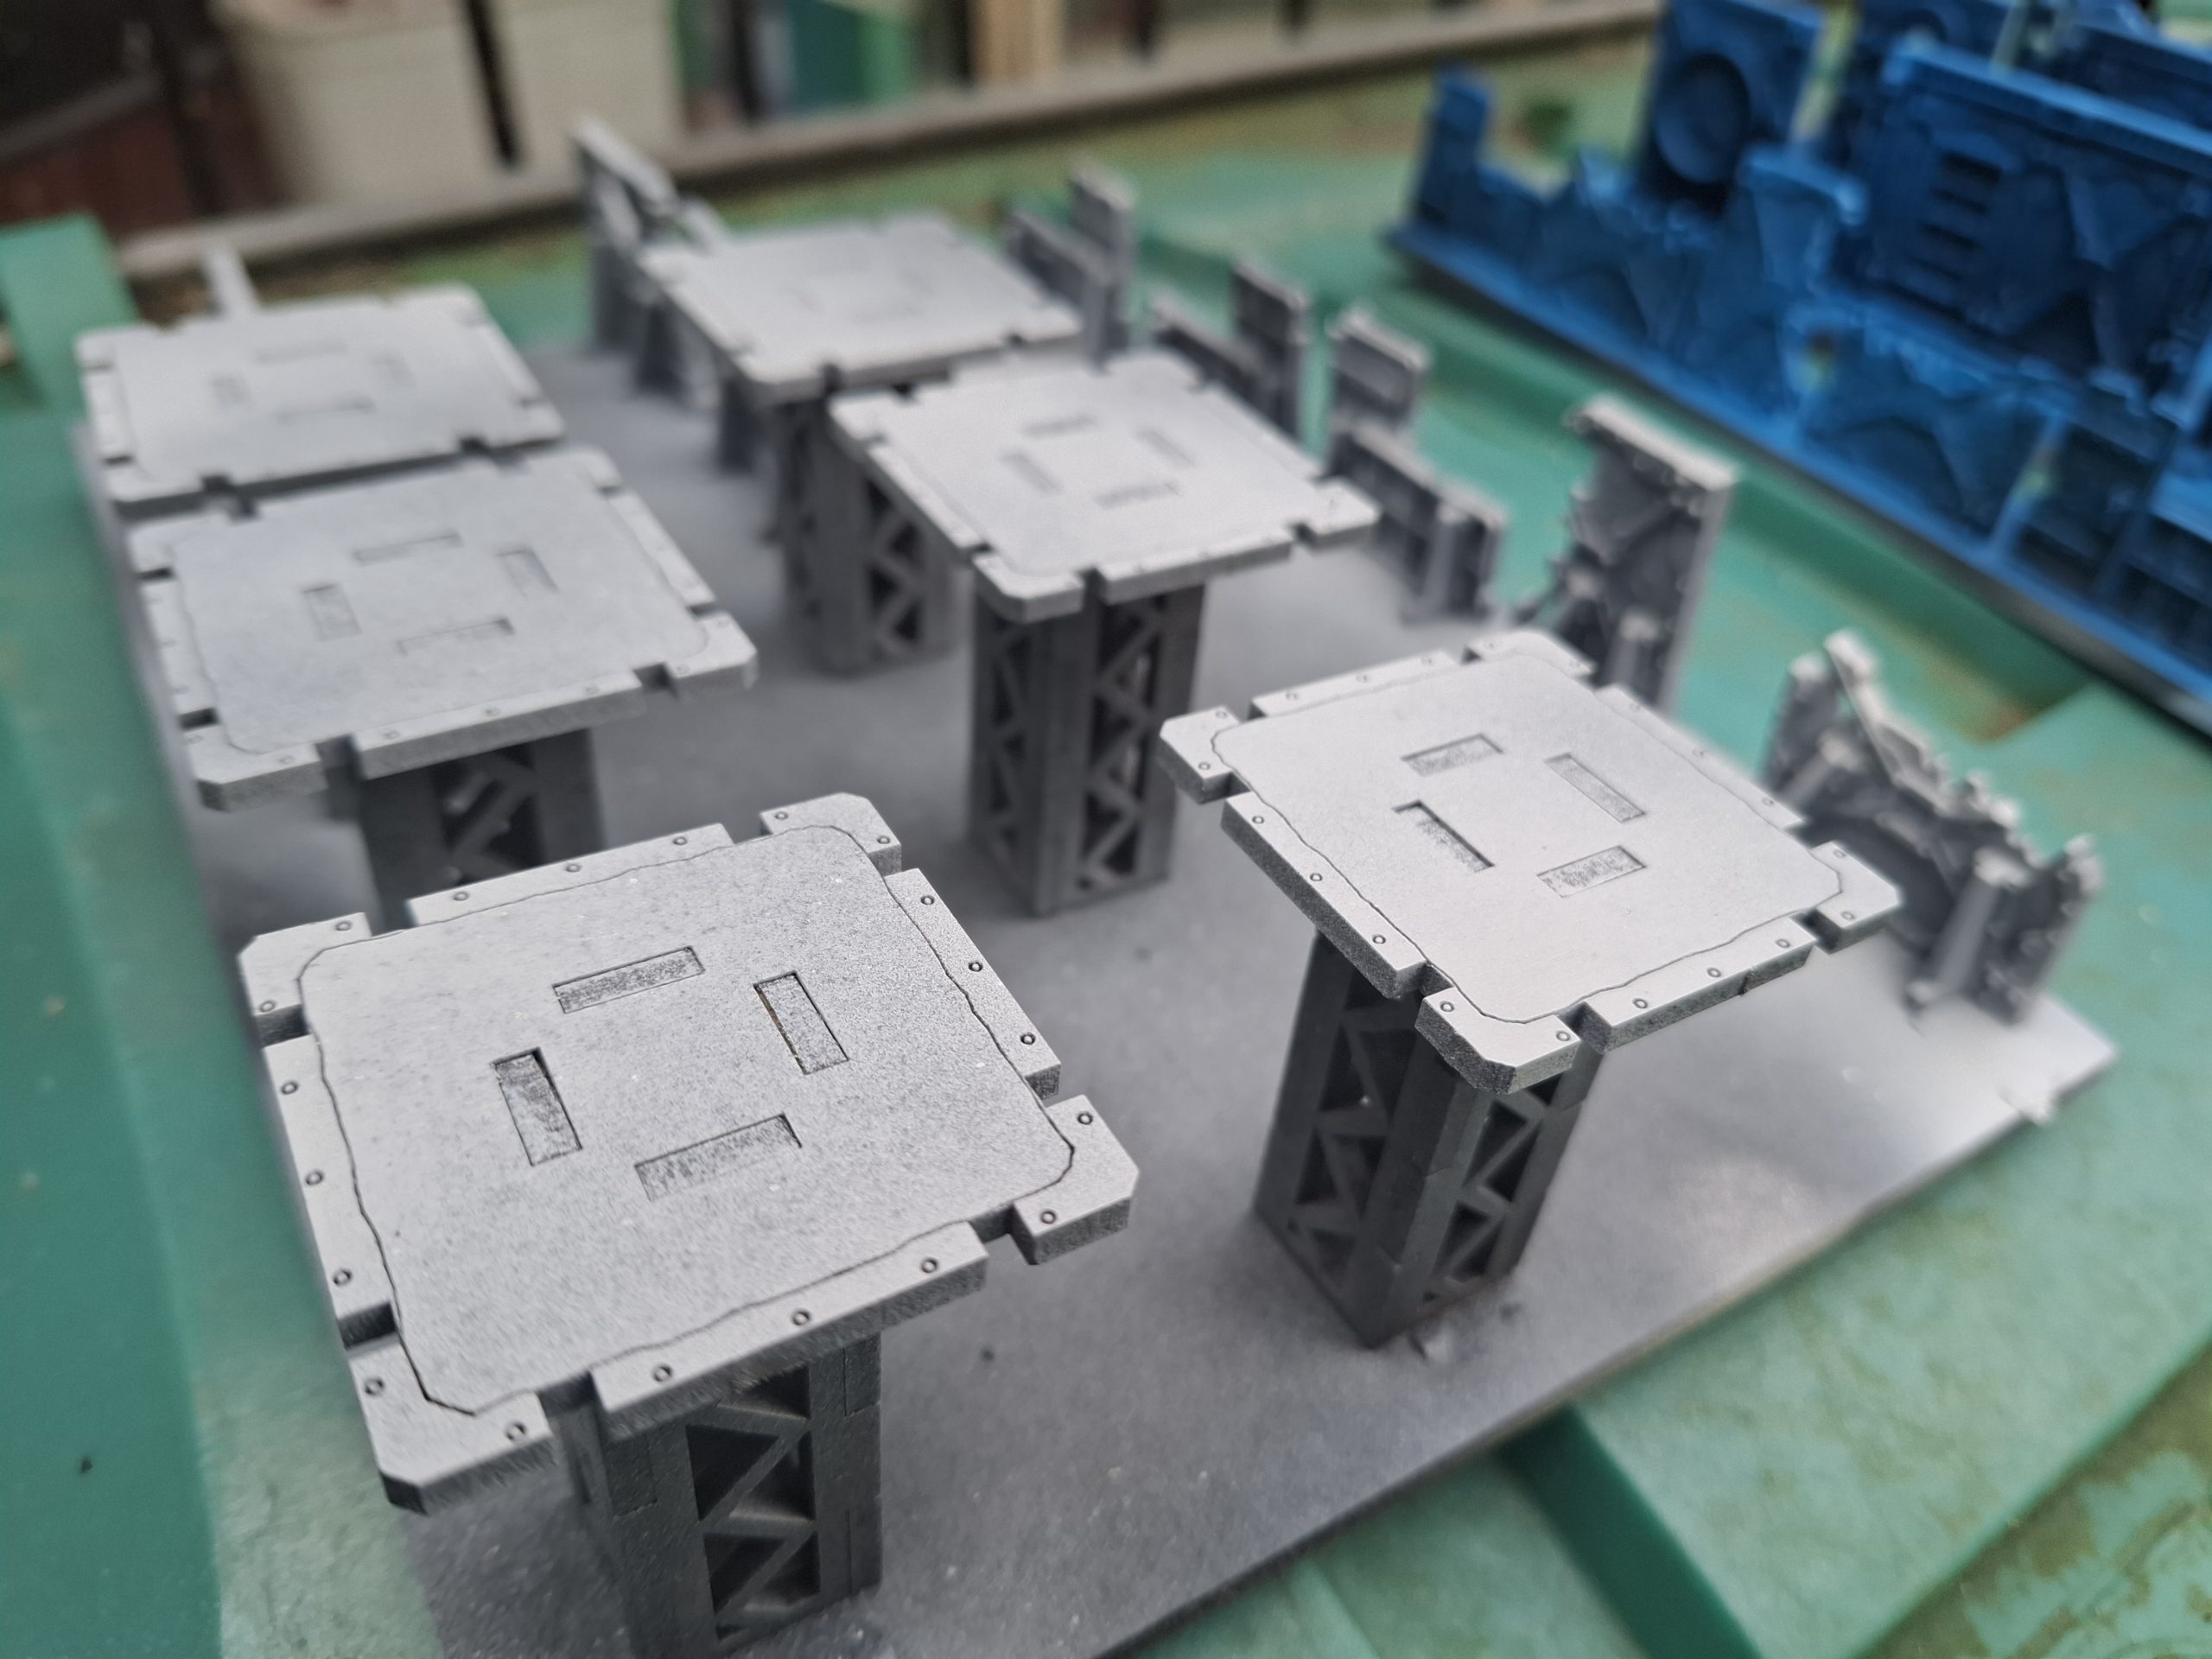
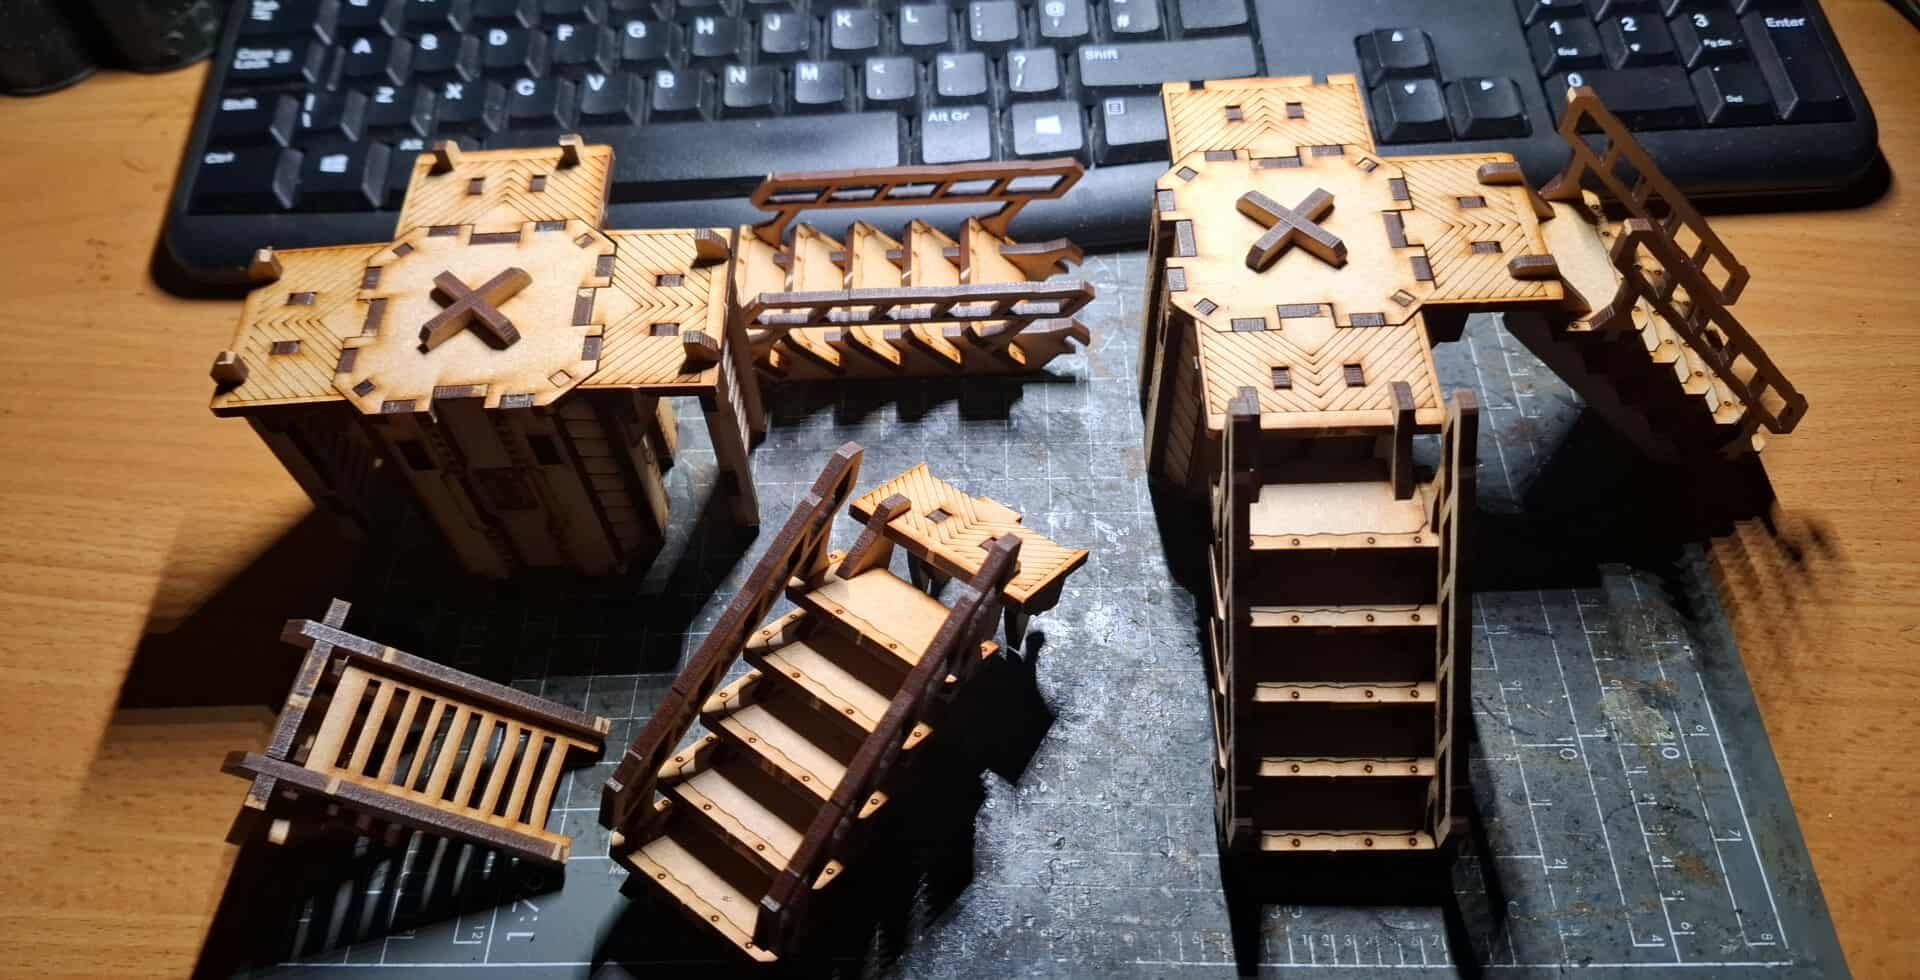
The Death Quadrant sets also have some rather splendid walkways, ladders and stairs.
I do like having each set cut from the frame, laid out properly, and cleaned off. I did this with all the work I’ve done up to this point, though I didn’t take pictures of the core set.
As I built the walkways, ladder and stairways, I attached them to pillars to dry and cure properly and in good form. These are REALLY nice. The stairways in particular are spaced so that a minis base can slide between them, showing that the ganger is up the stairs! Brilliant!
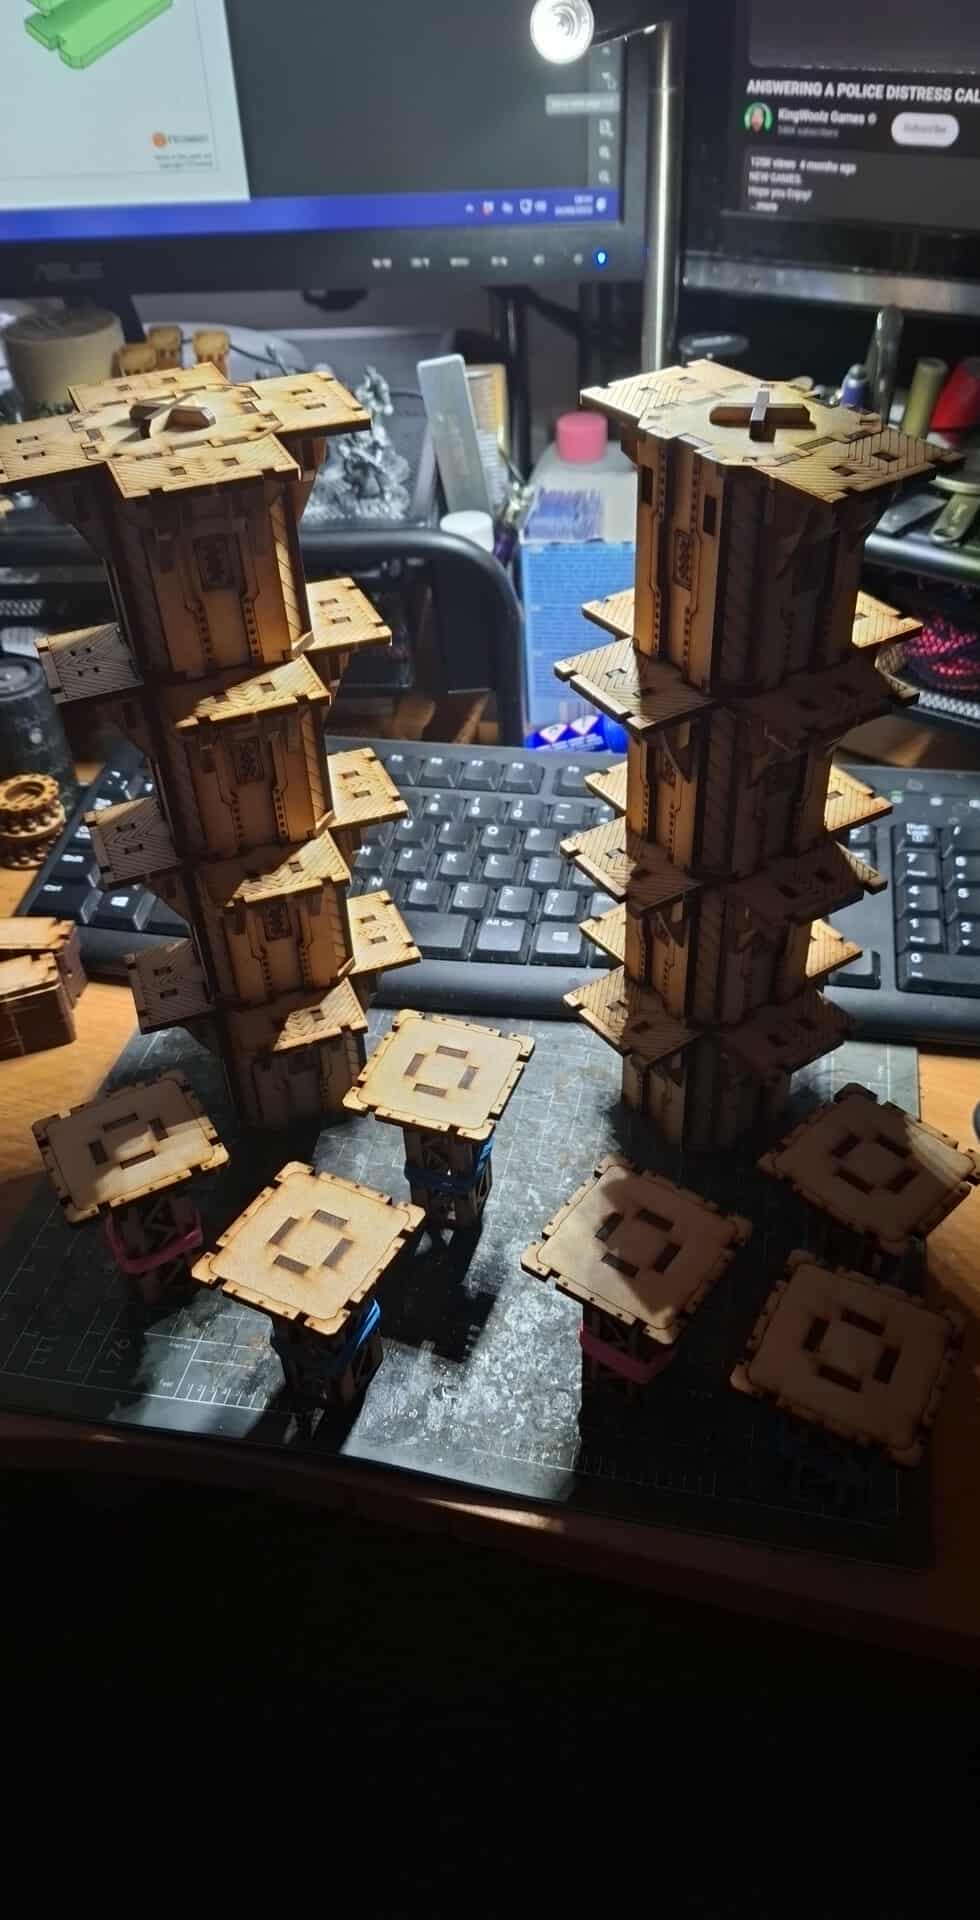
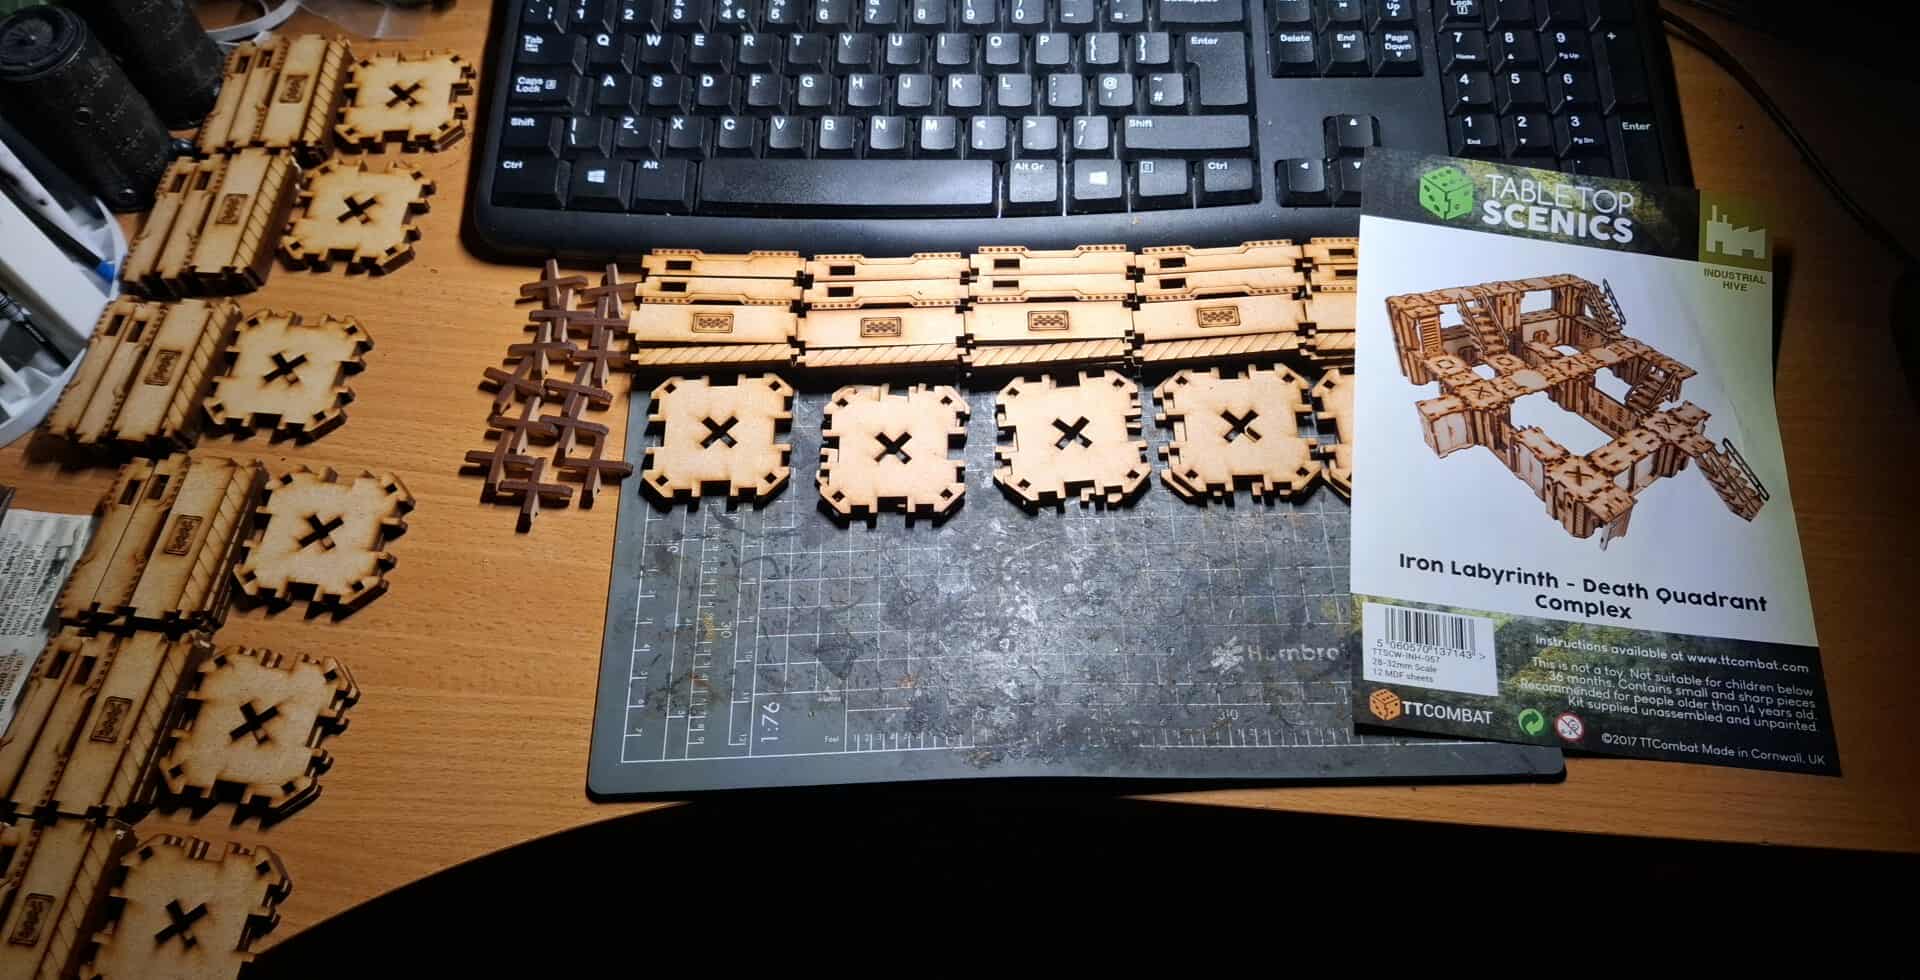
Building the Death Quadrant packs.
With the primary set built, I discovered that the way I’d banded the pillars together had made the slots slightly off kilter. As I did the two Death Quadrant packs, I banded the pillars differently. I banded them vertically, as shown in the photos. This worked MUCH better! As a result, the walls and pillars slide together smoothly, instead of being a bit of a struggle, as with the original pack. Lesson learned!
Death Quadrant Complex:
Iron Labyrinth – Death Quadrant Complex
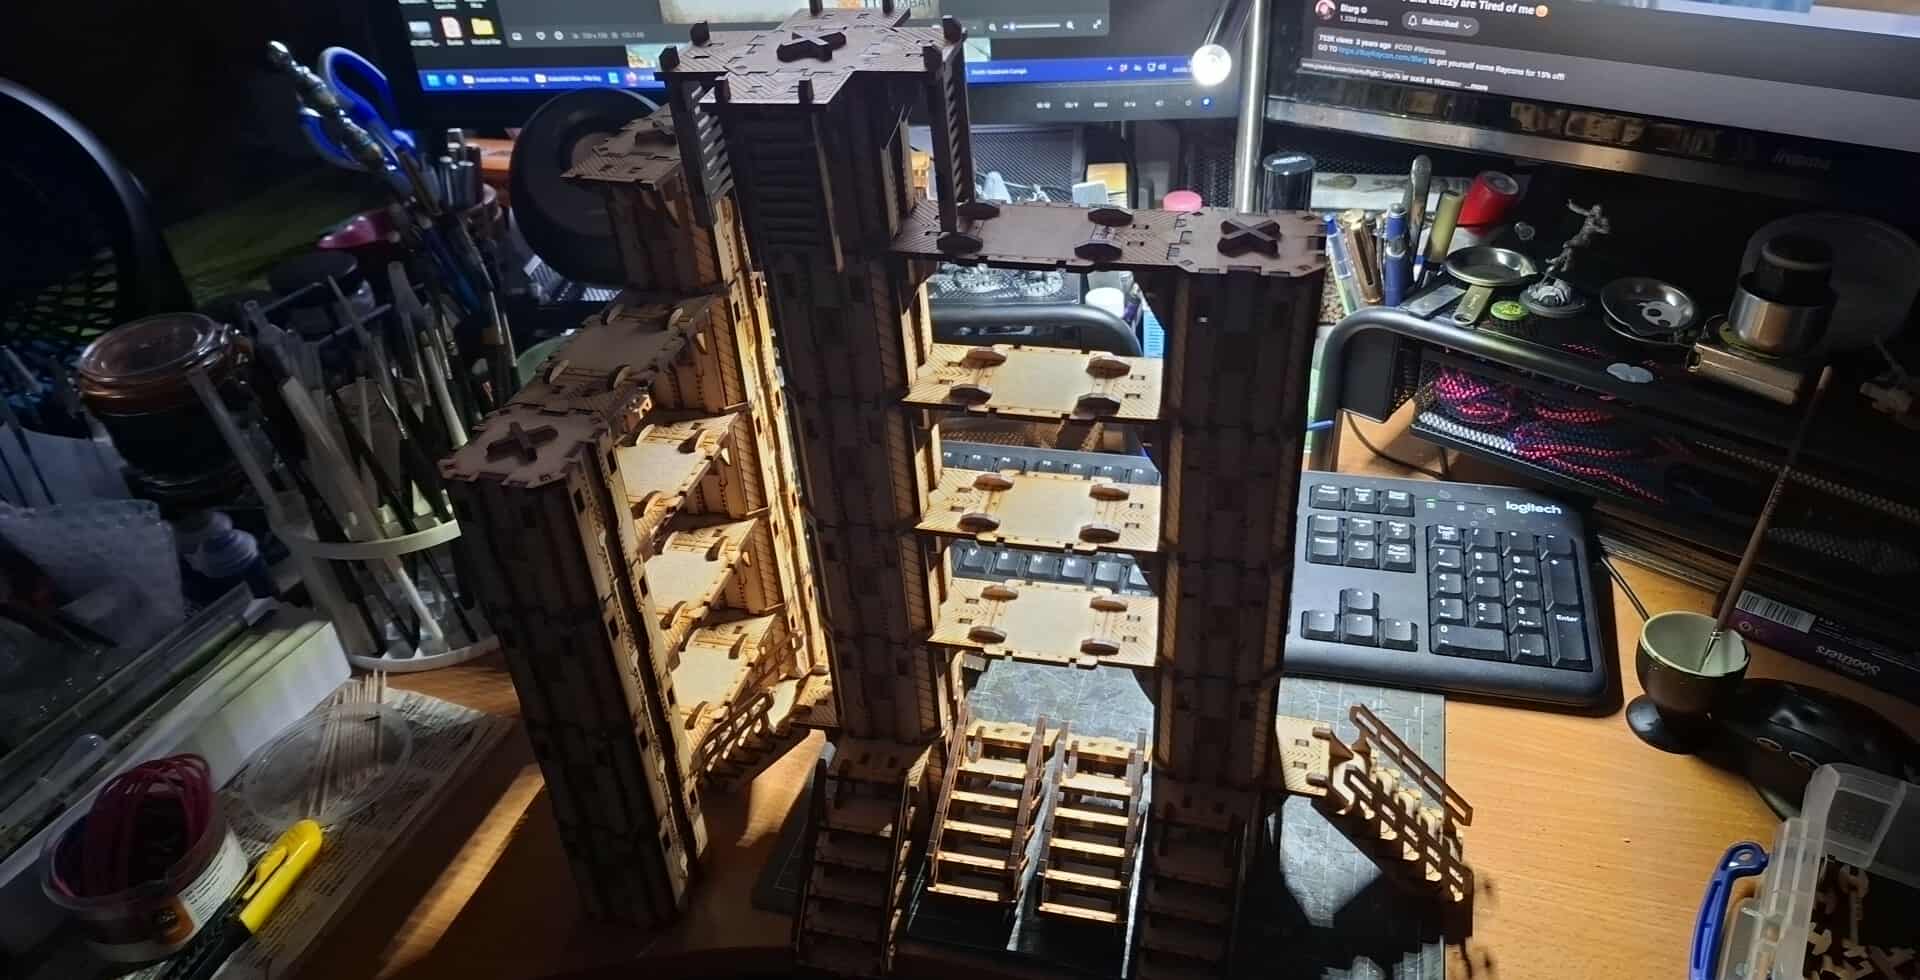
I also built the walls, which went together easily enough and banded the same as before. Finally, the walls and gates went together. With the gates, I secured them to pillars, inserted the doors into the spaces, and slid toothpicks between the gate and wall sections. This allowed them to glue in a good position. I left them like this for 2 days to cure properly.