Gorram Tracy Island


Recommendations: 369
About the Project
Making my first ever convention game board to go to a couple of events in 2026. I apologise for how a) British and b) 90s this project is.
Related Genre: Science Fiction
Related Contest: TerrainFest 2025
This Project is Active
Part ten - Saturday part b
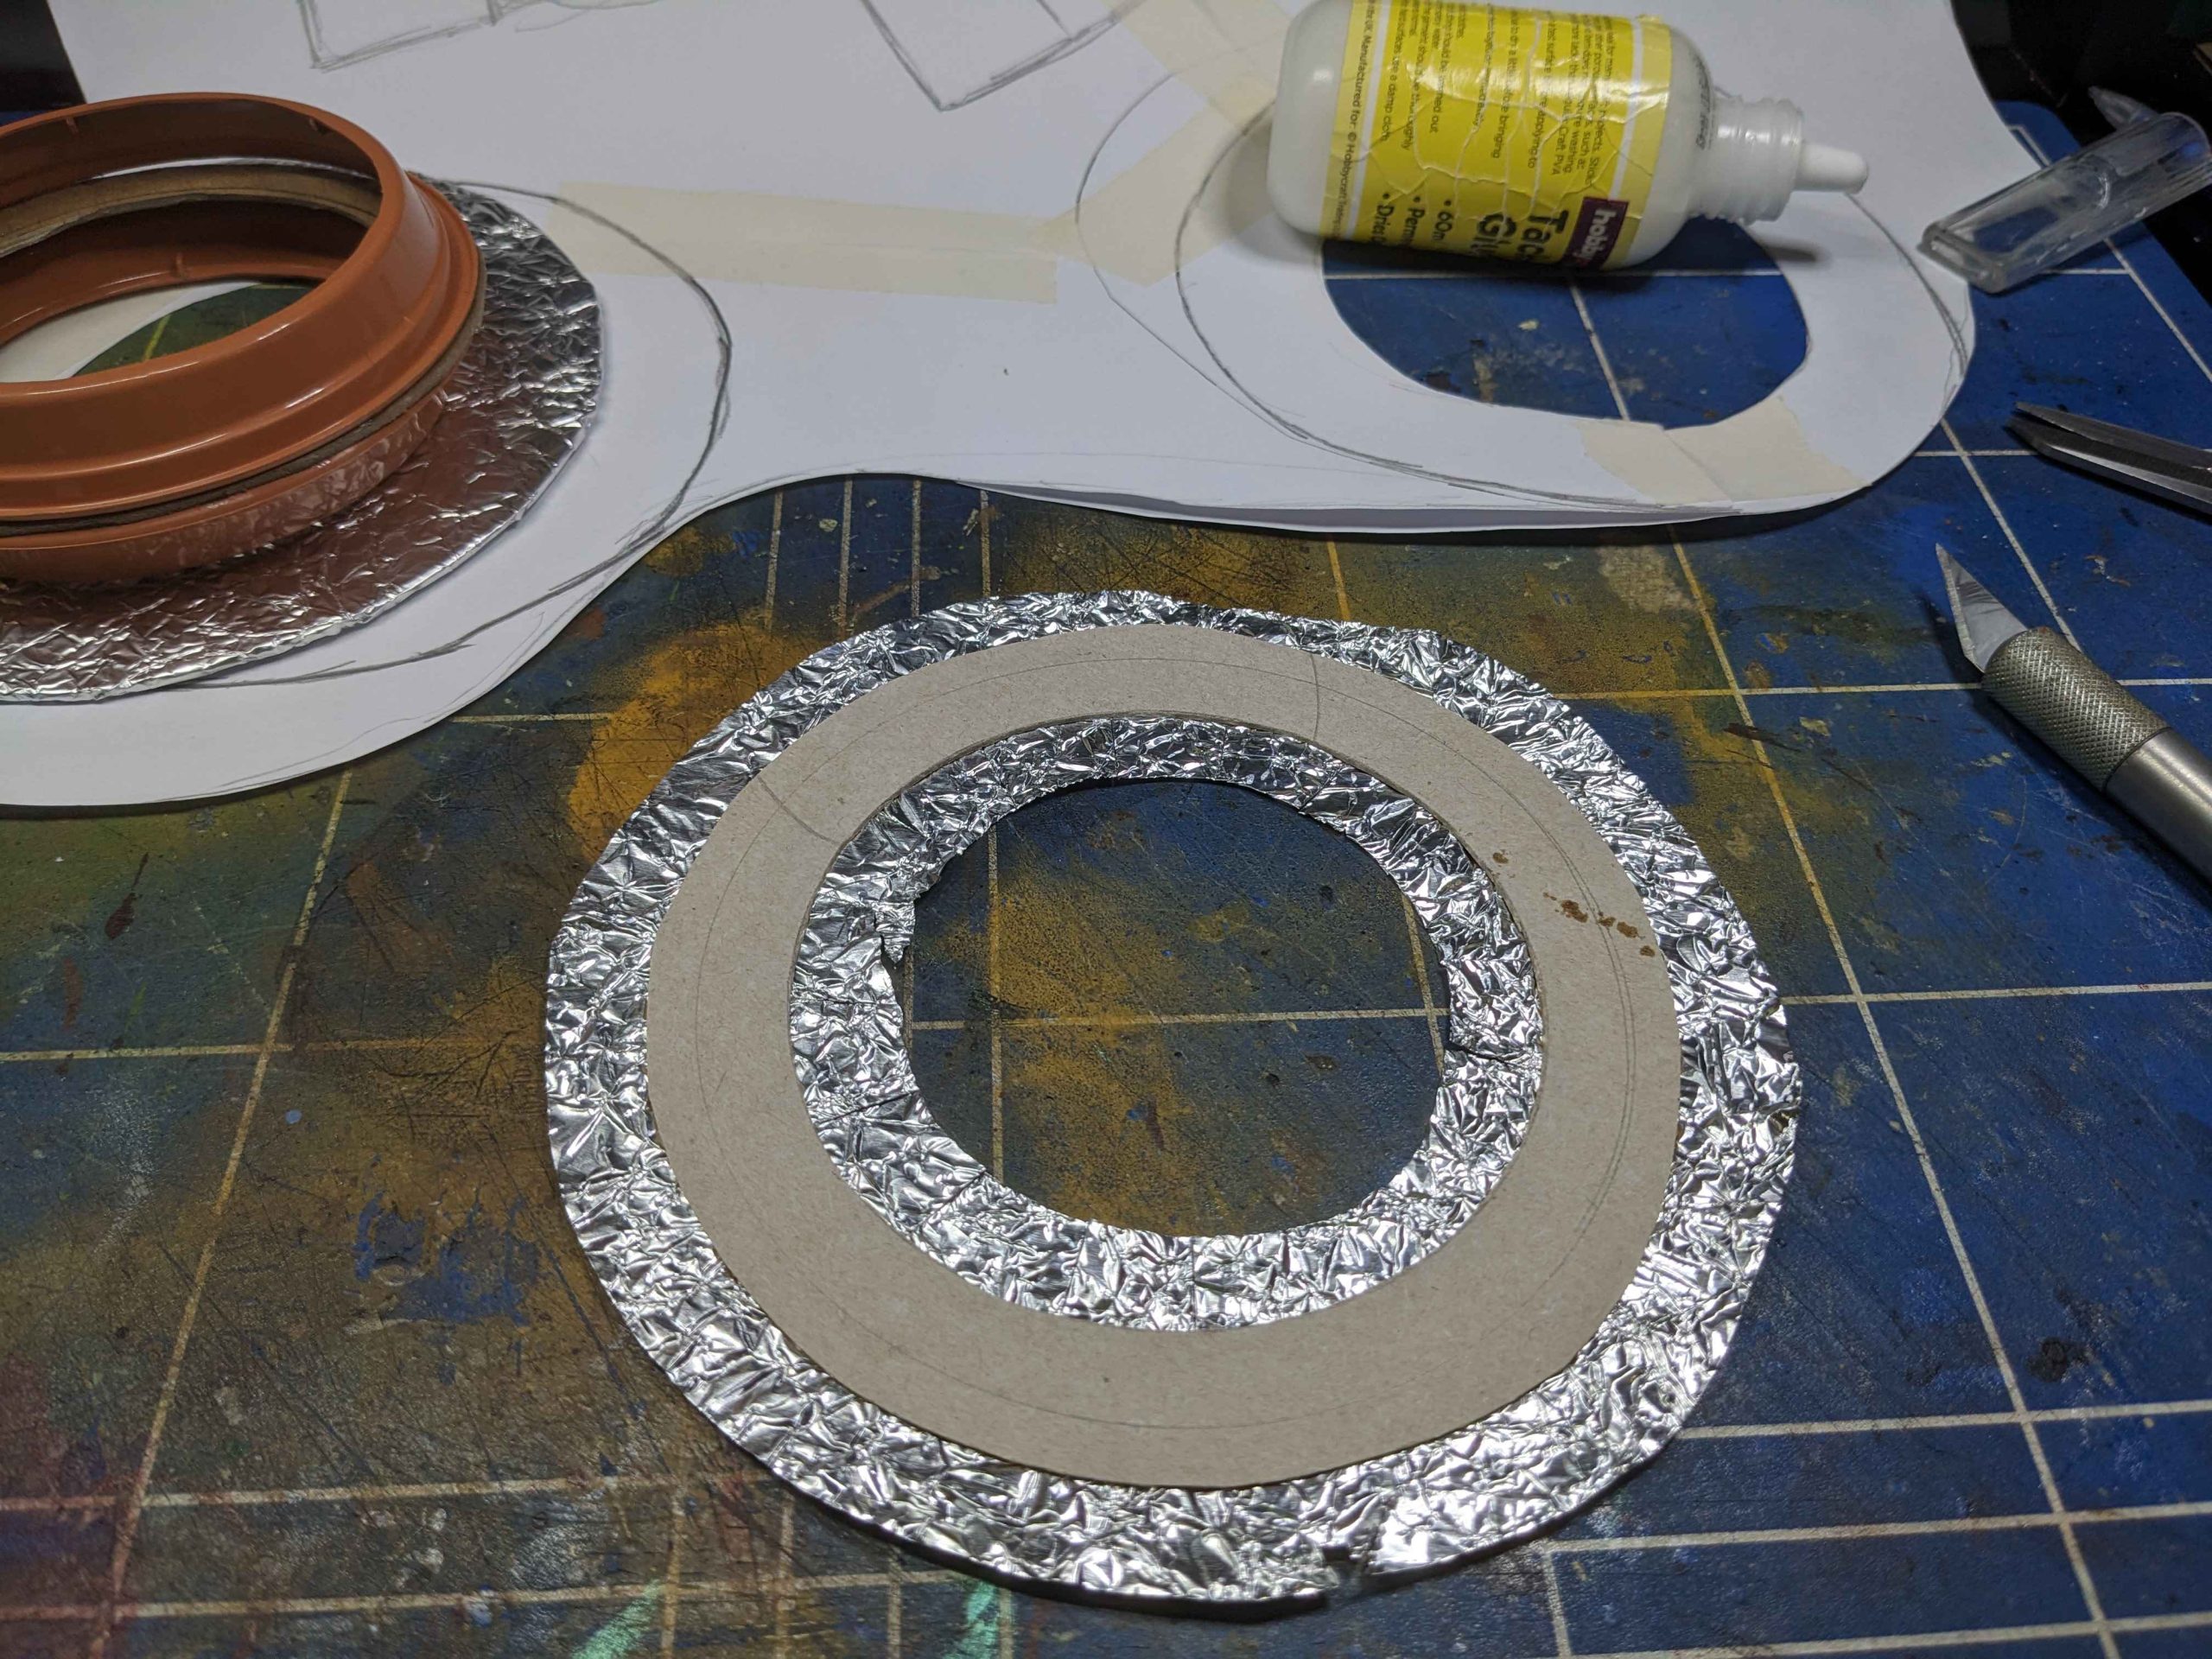
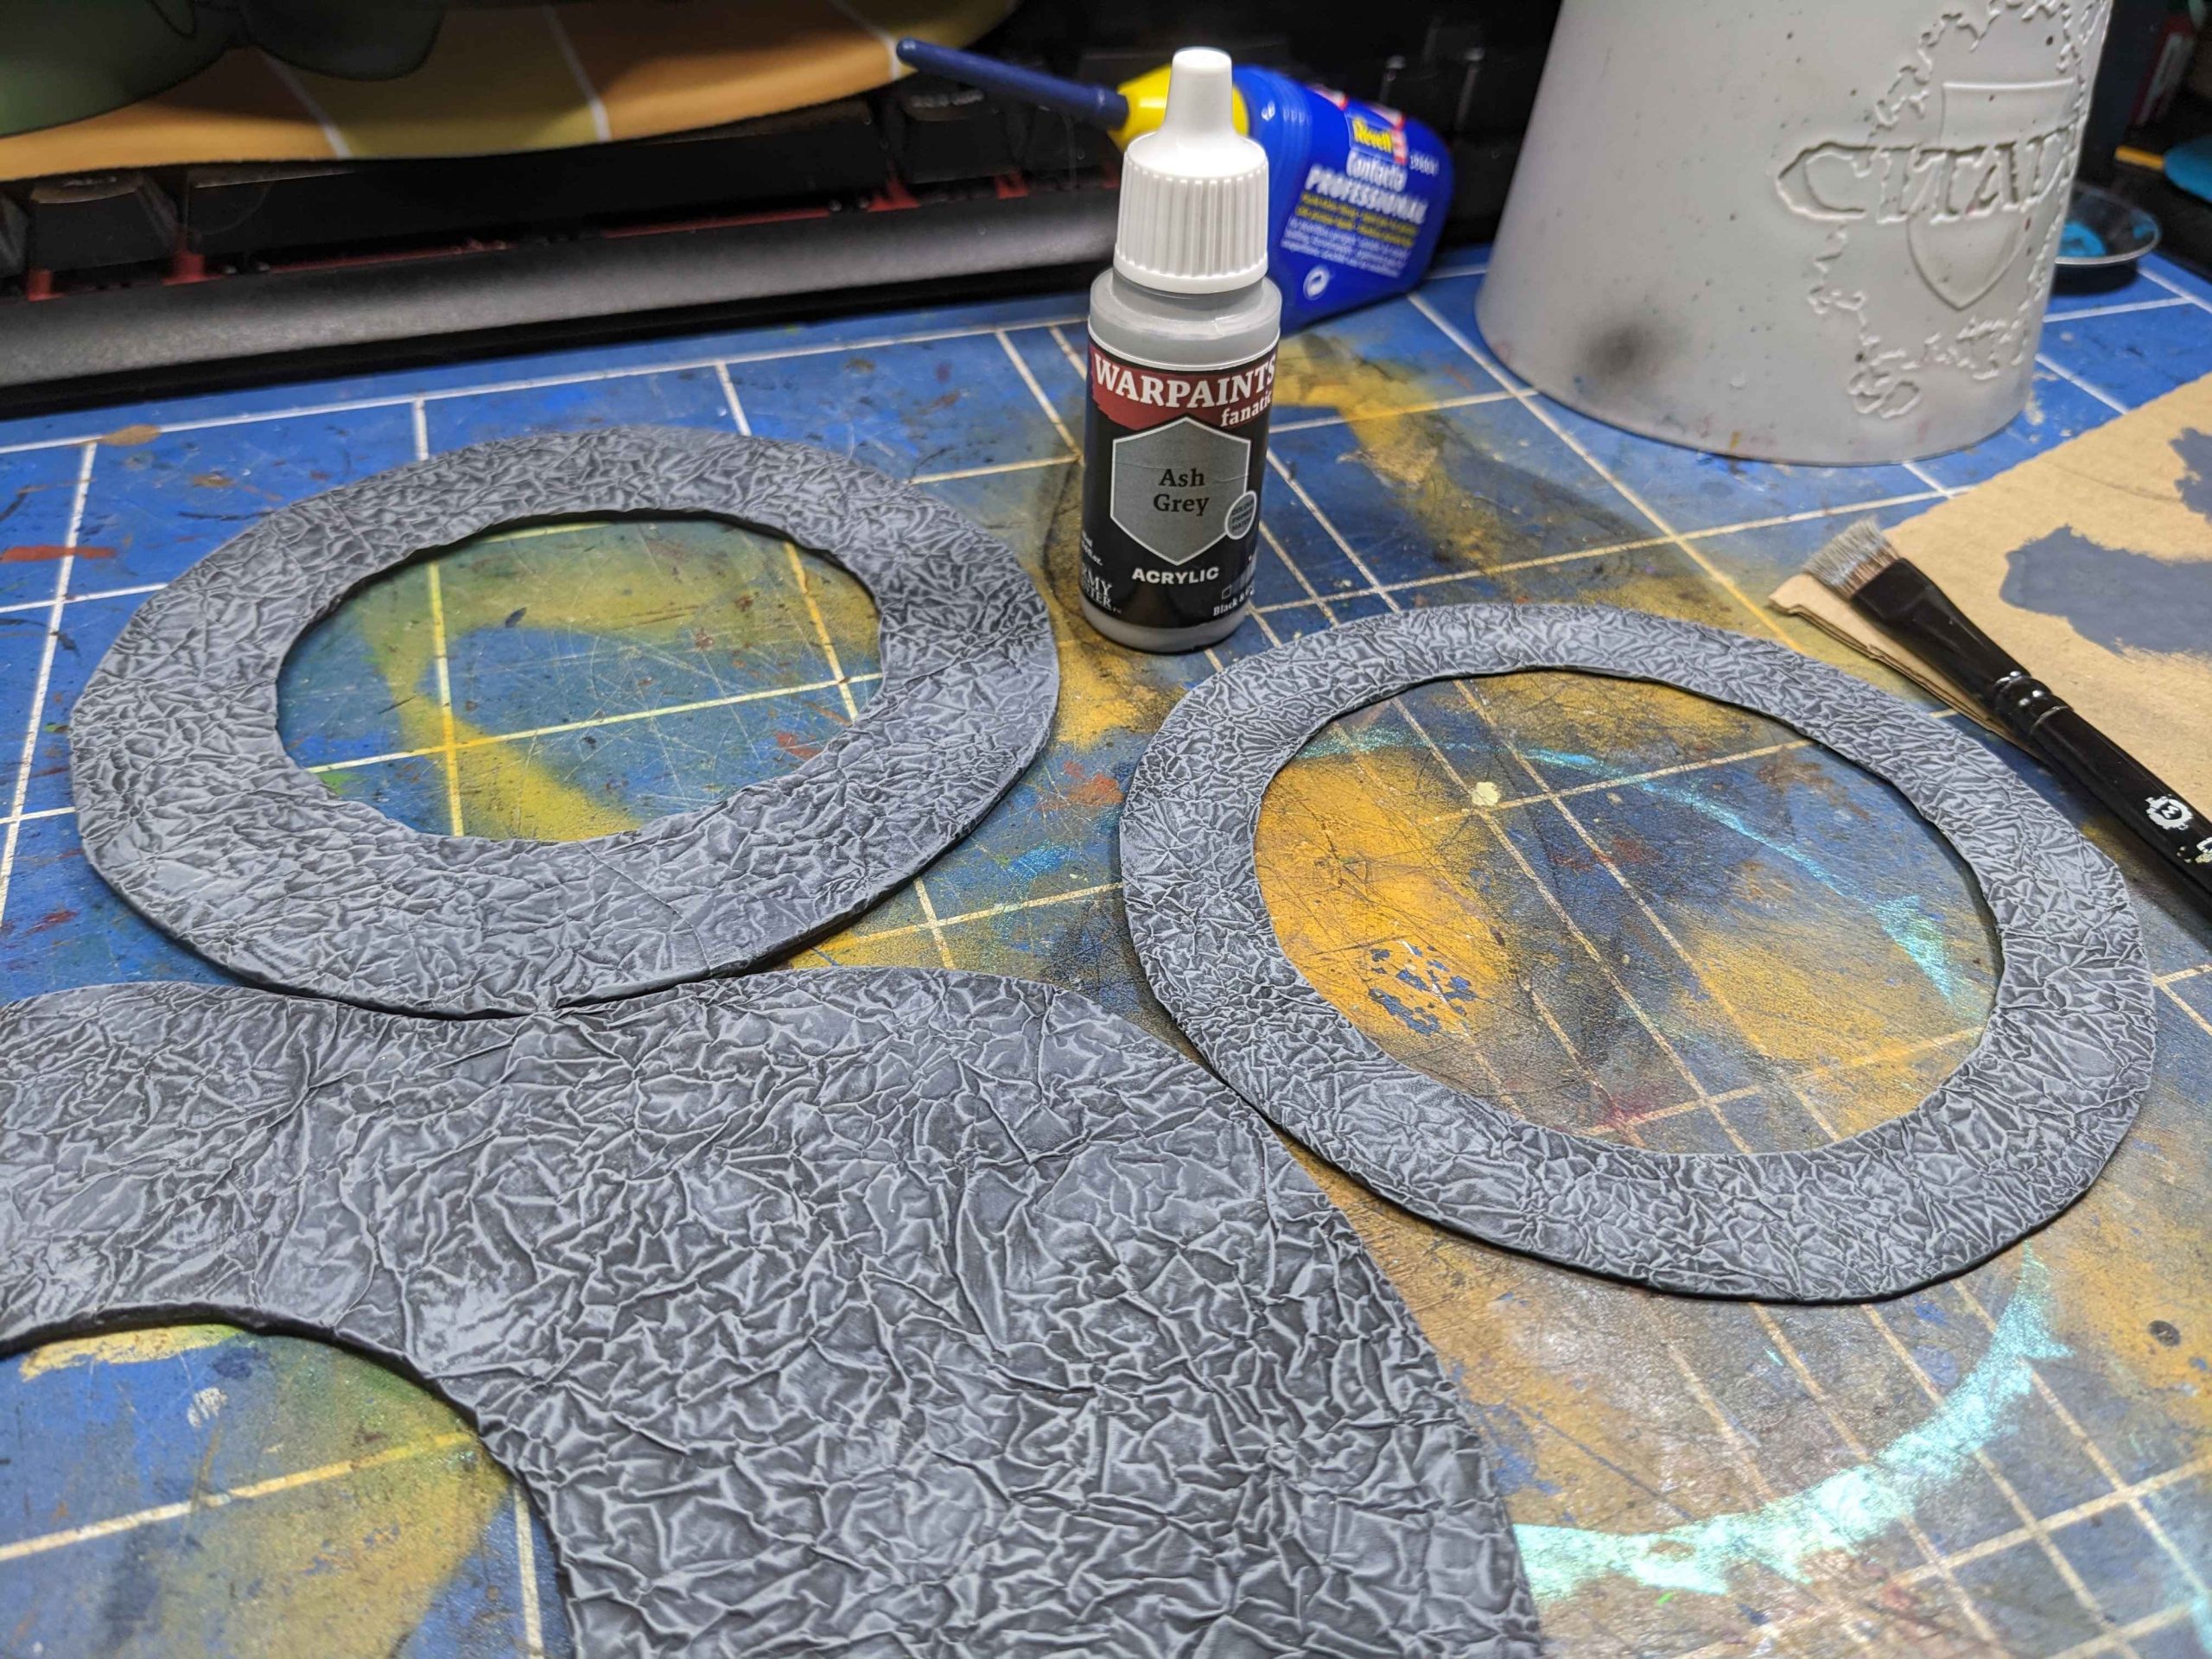
While paint dried, I set to the next part of the building structures. There are surrounds for the Round House and the swimming pool which are made in the same way:
- Cut shapes out of thick card
- Scrumple up some tin foil and then (gently!) flatten it back out again
- Glue card to foil and wrap it round onto the underside
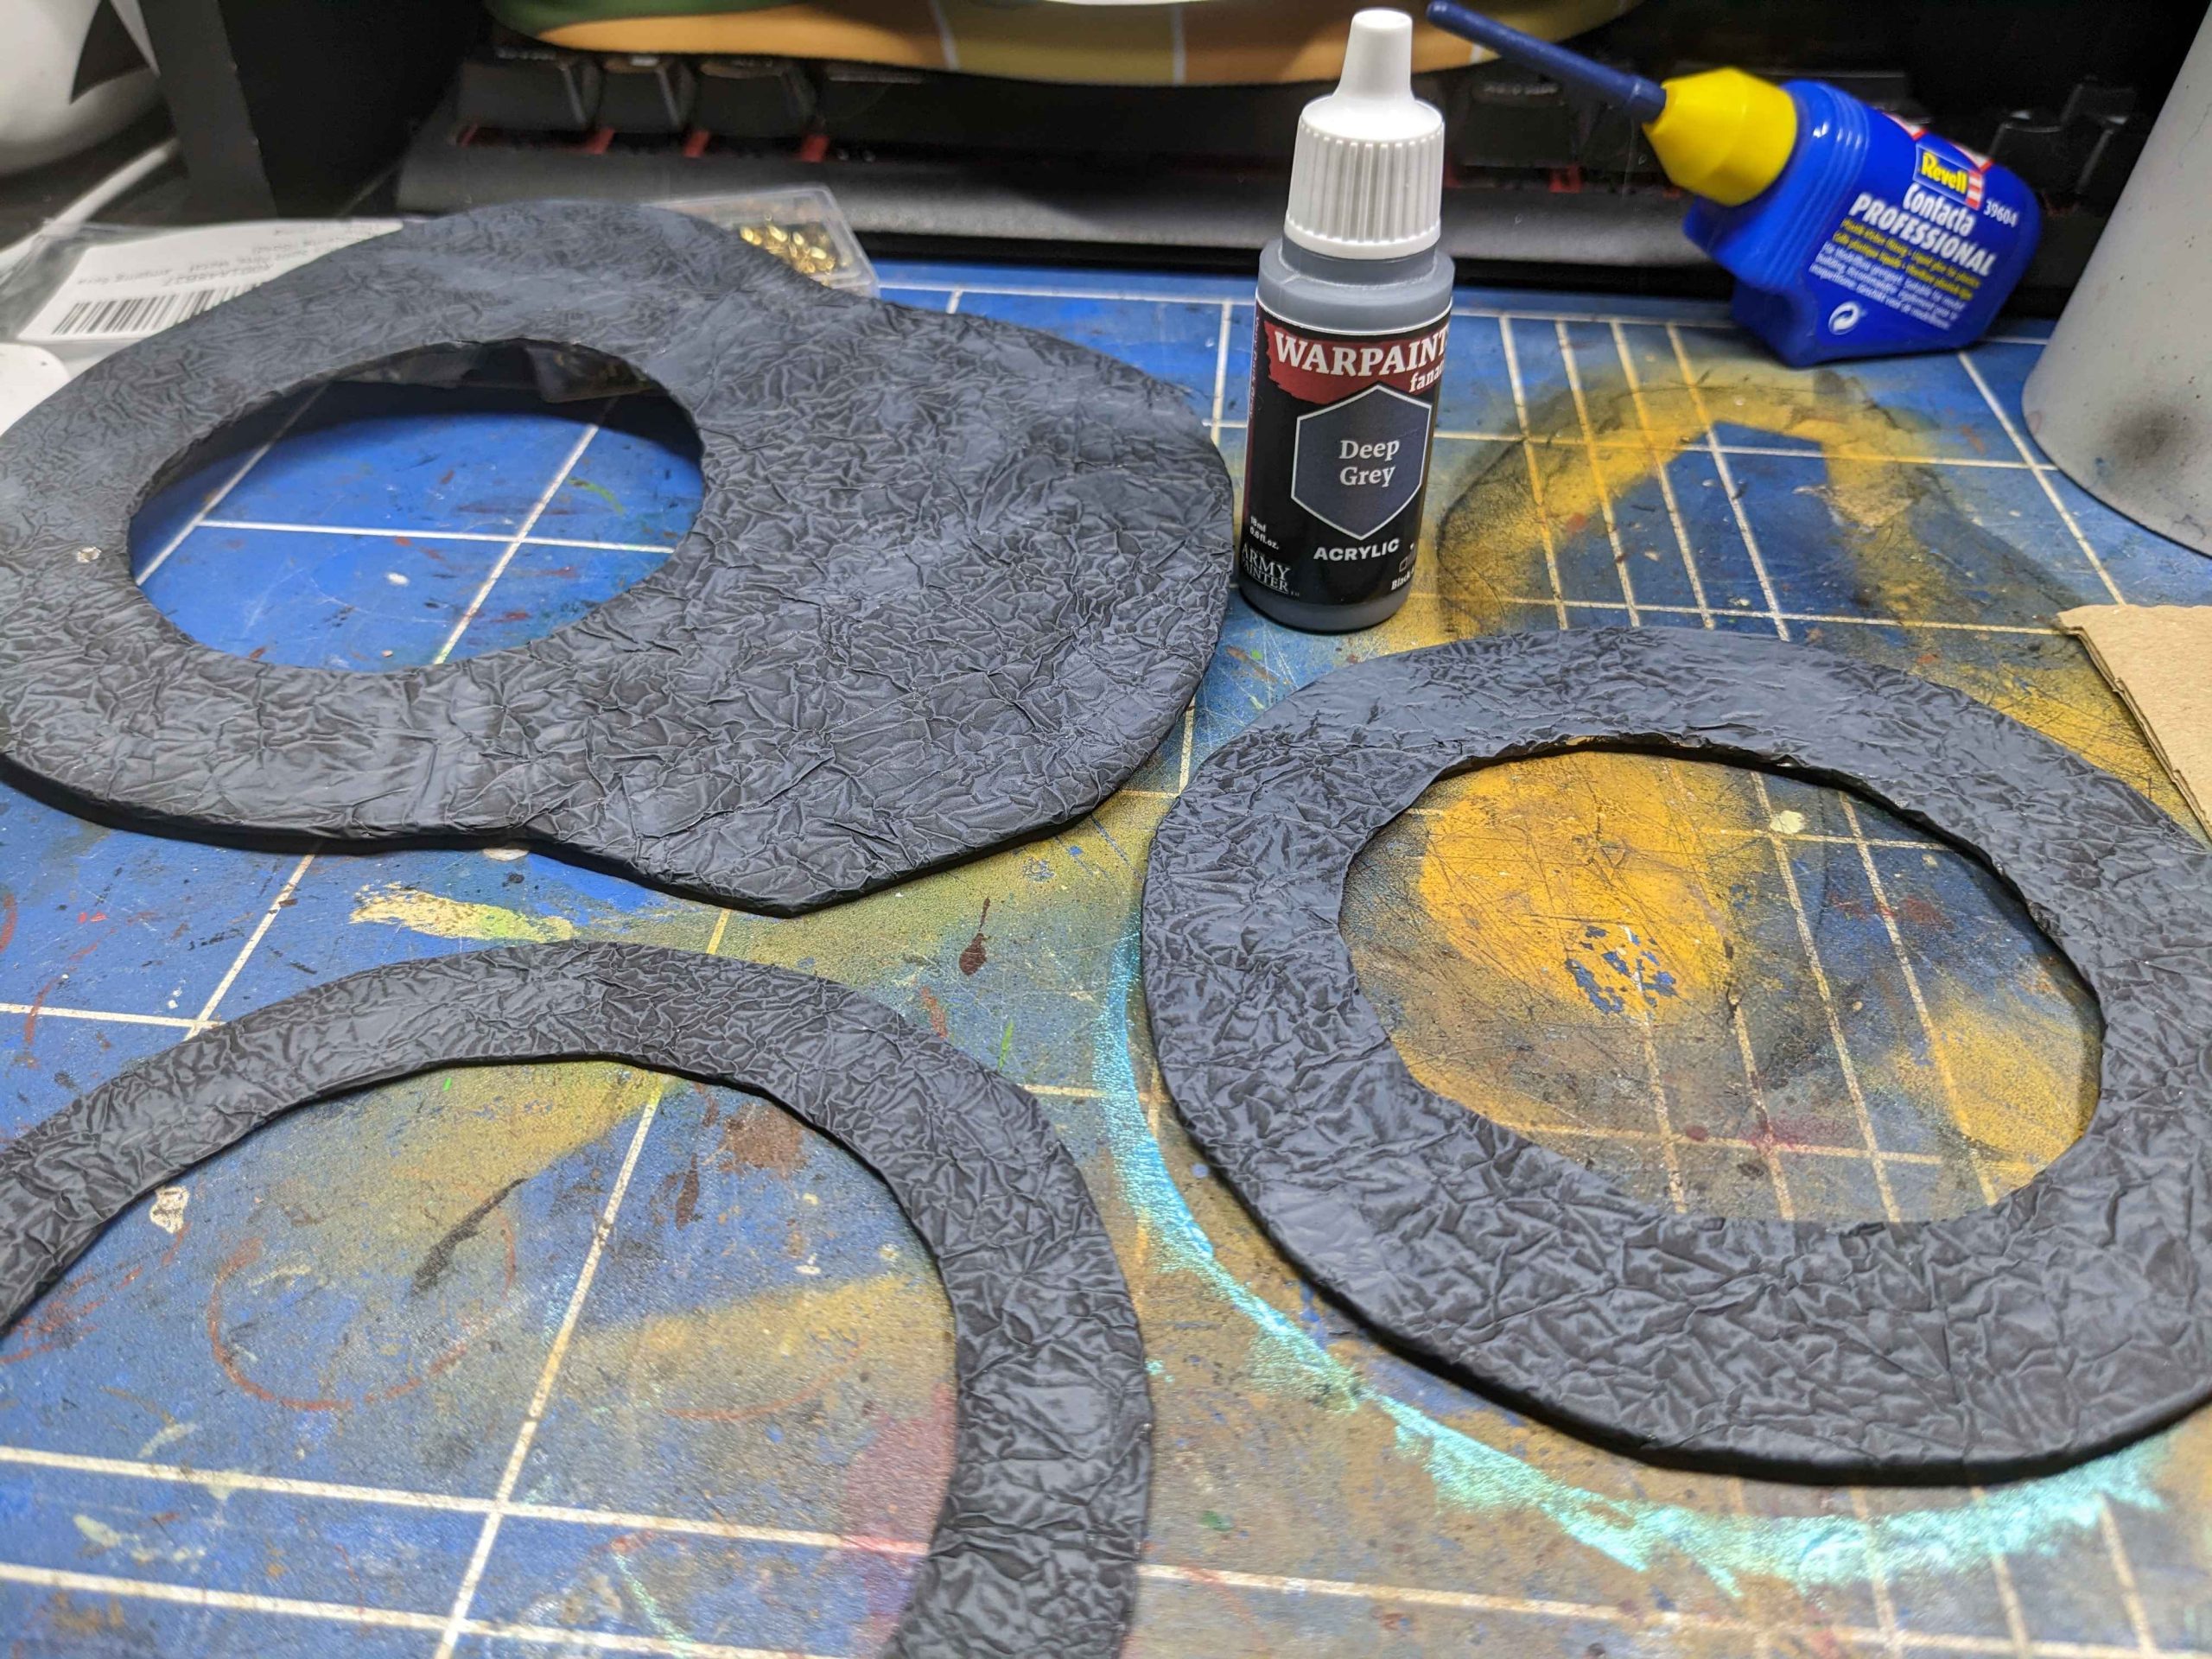
- (Break from the original instructions for quickness/durability) prime with black spray primer
- Drybrush with Deep Grey and then Ash Grey from the Army Painter Fanatics range.
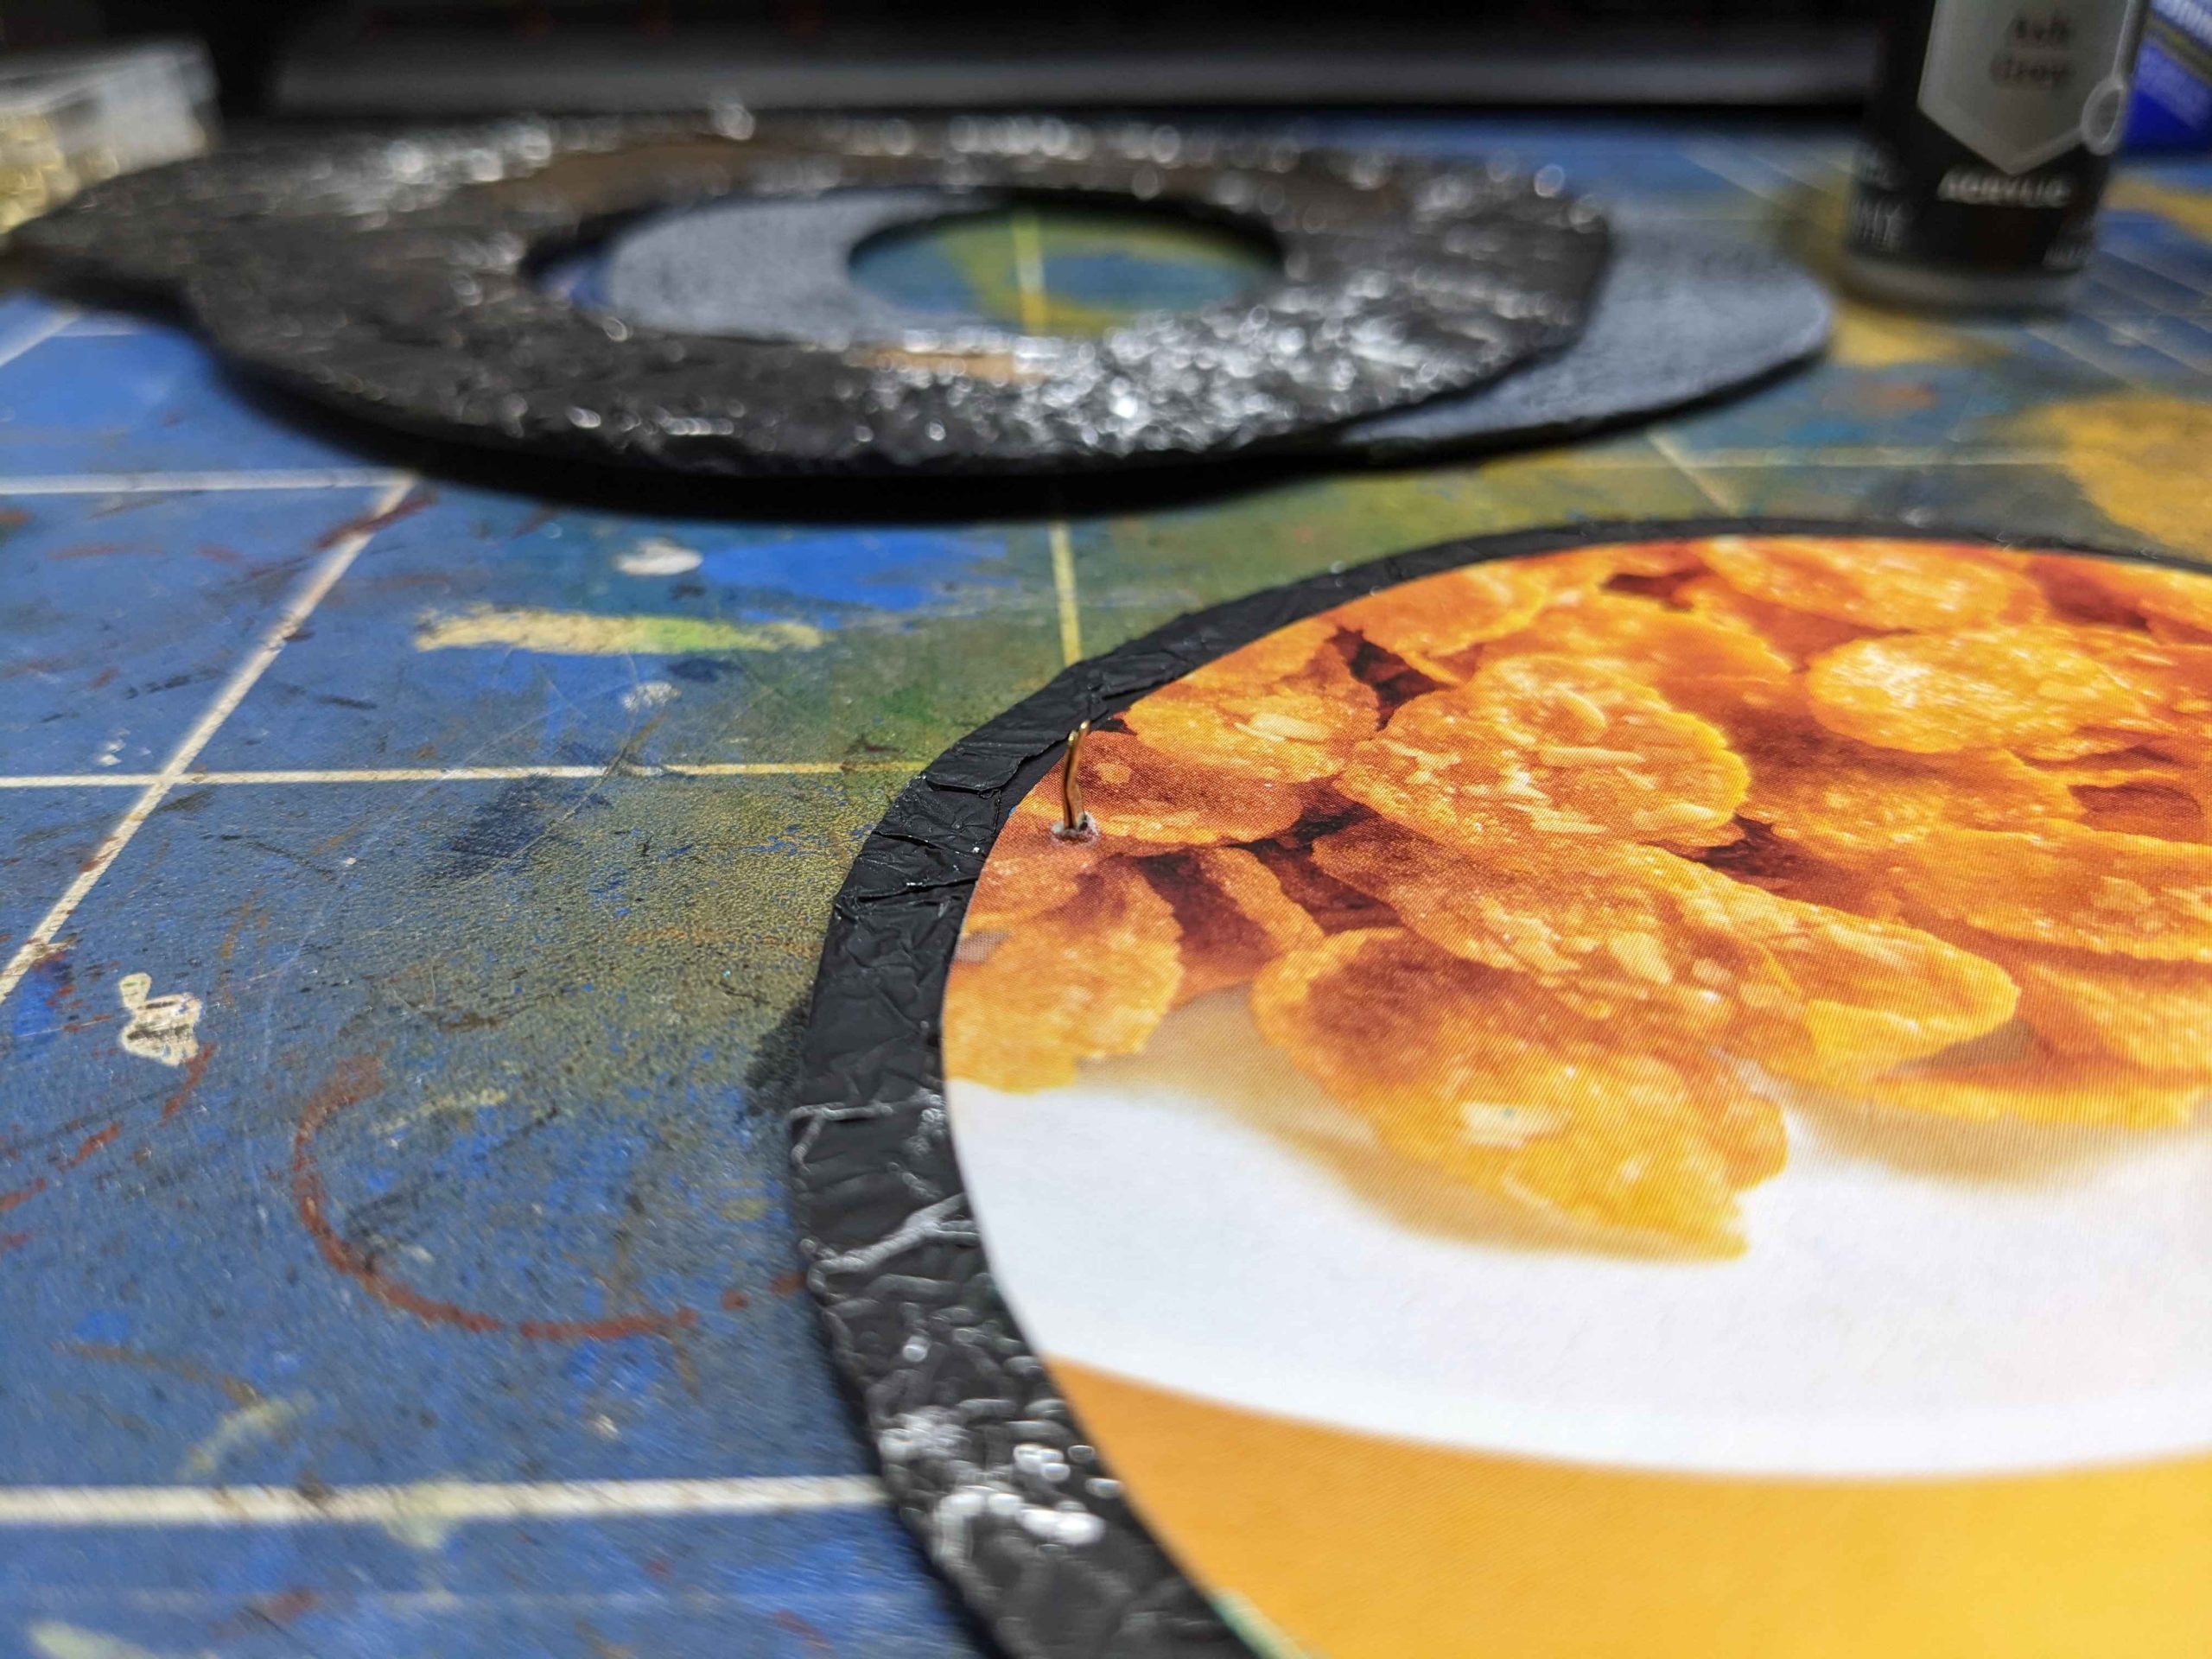
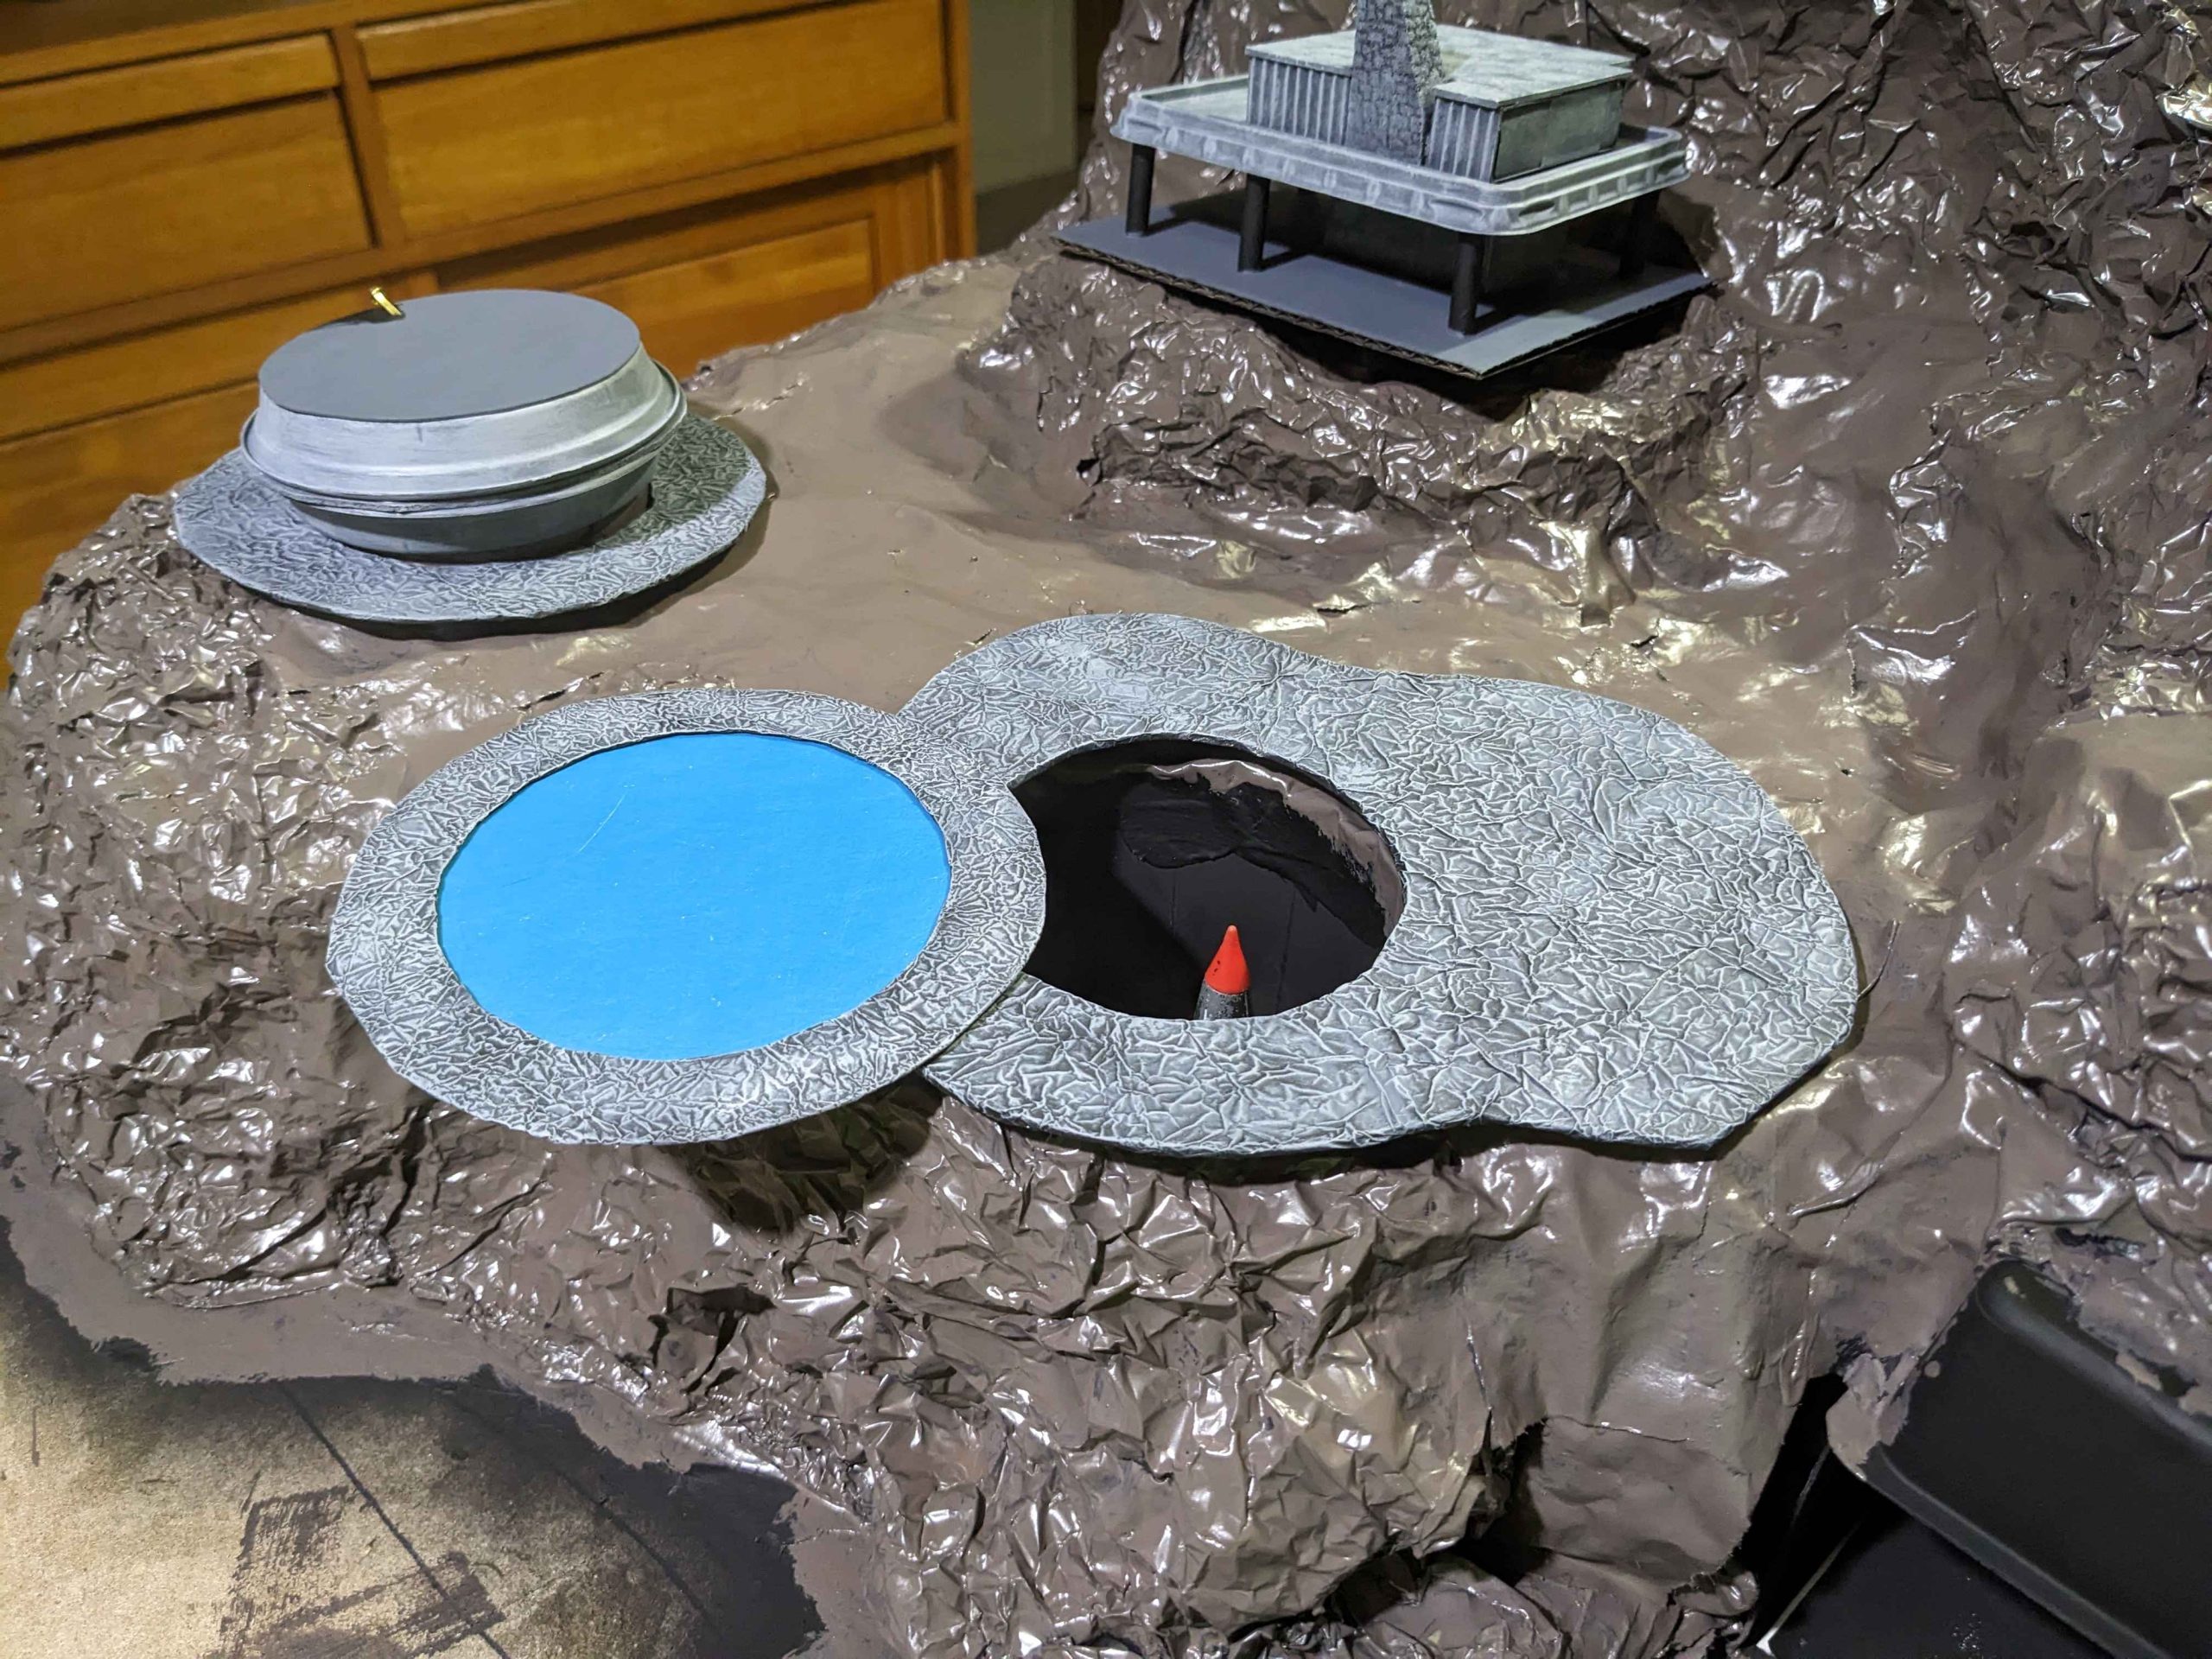
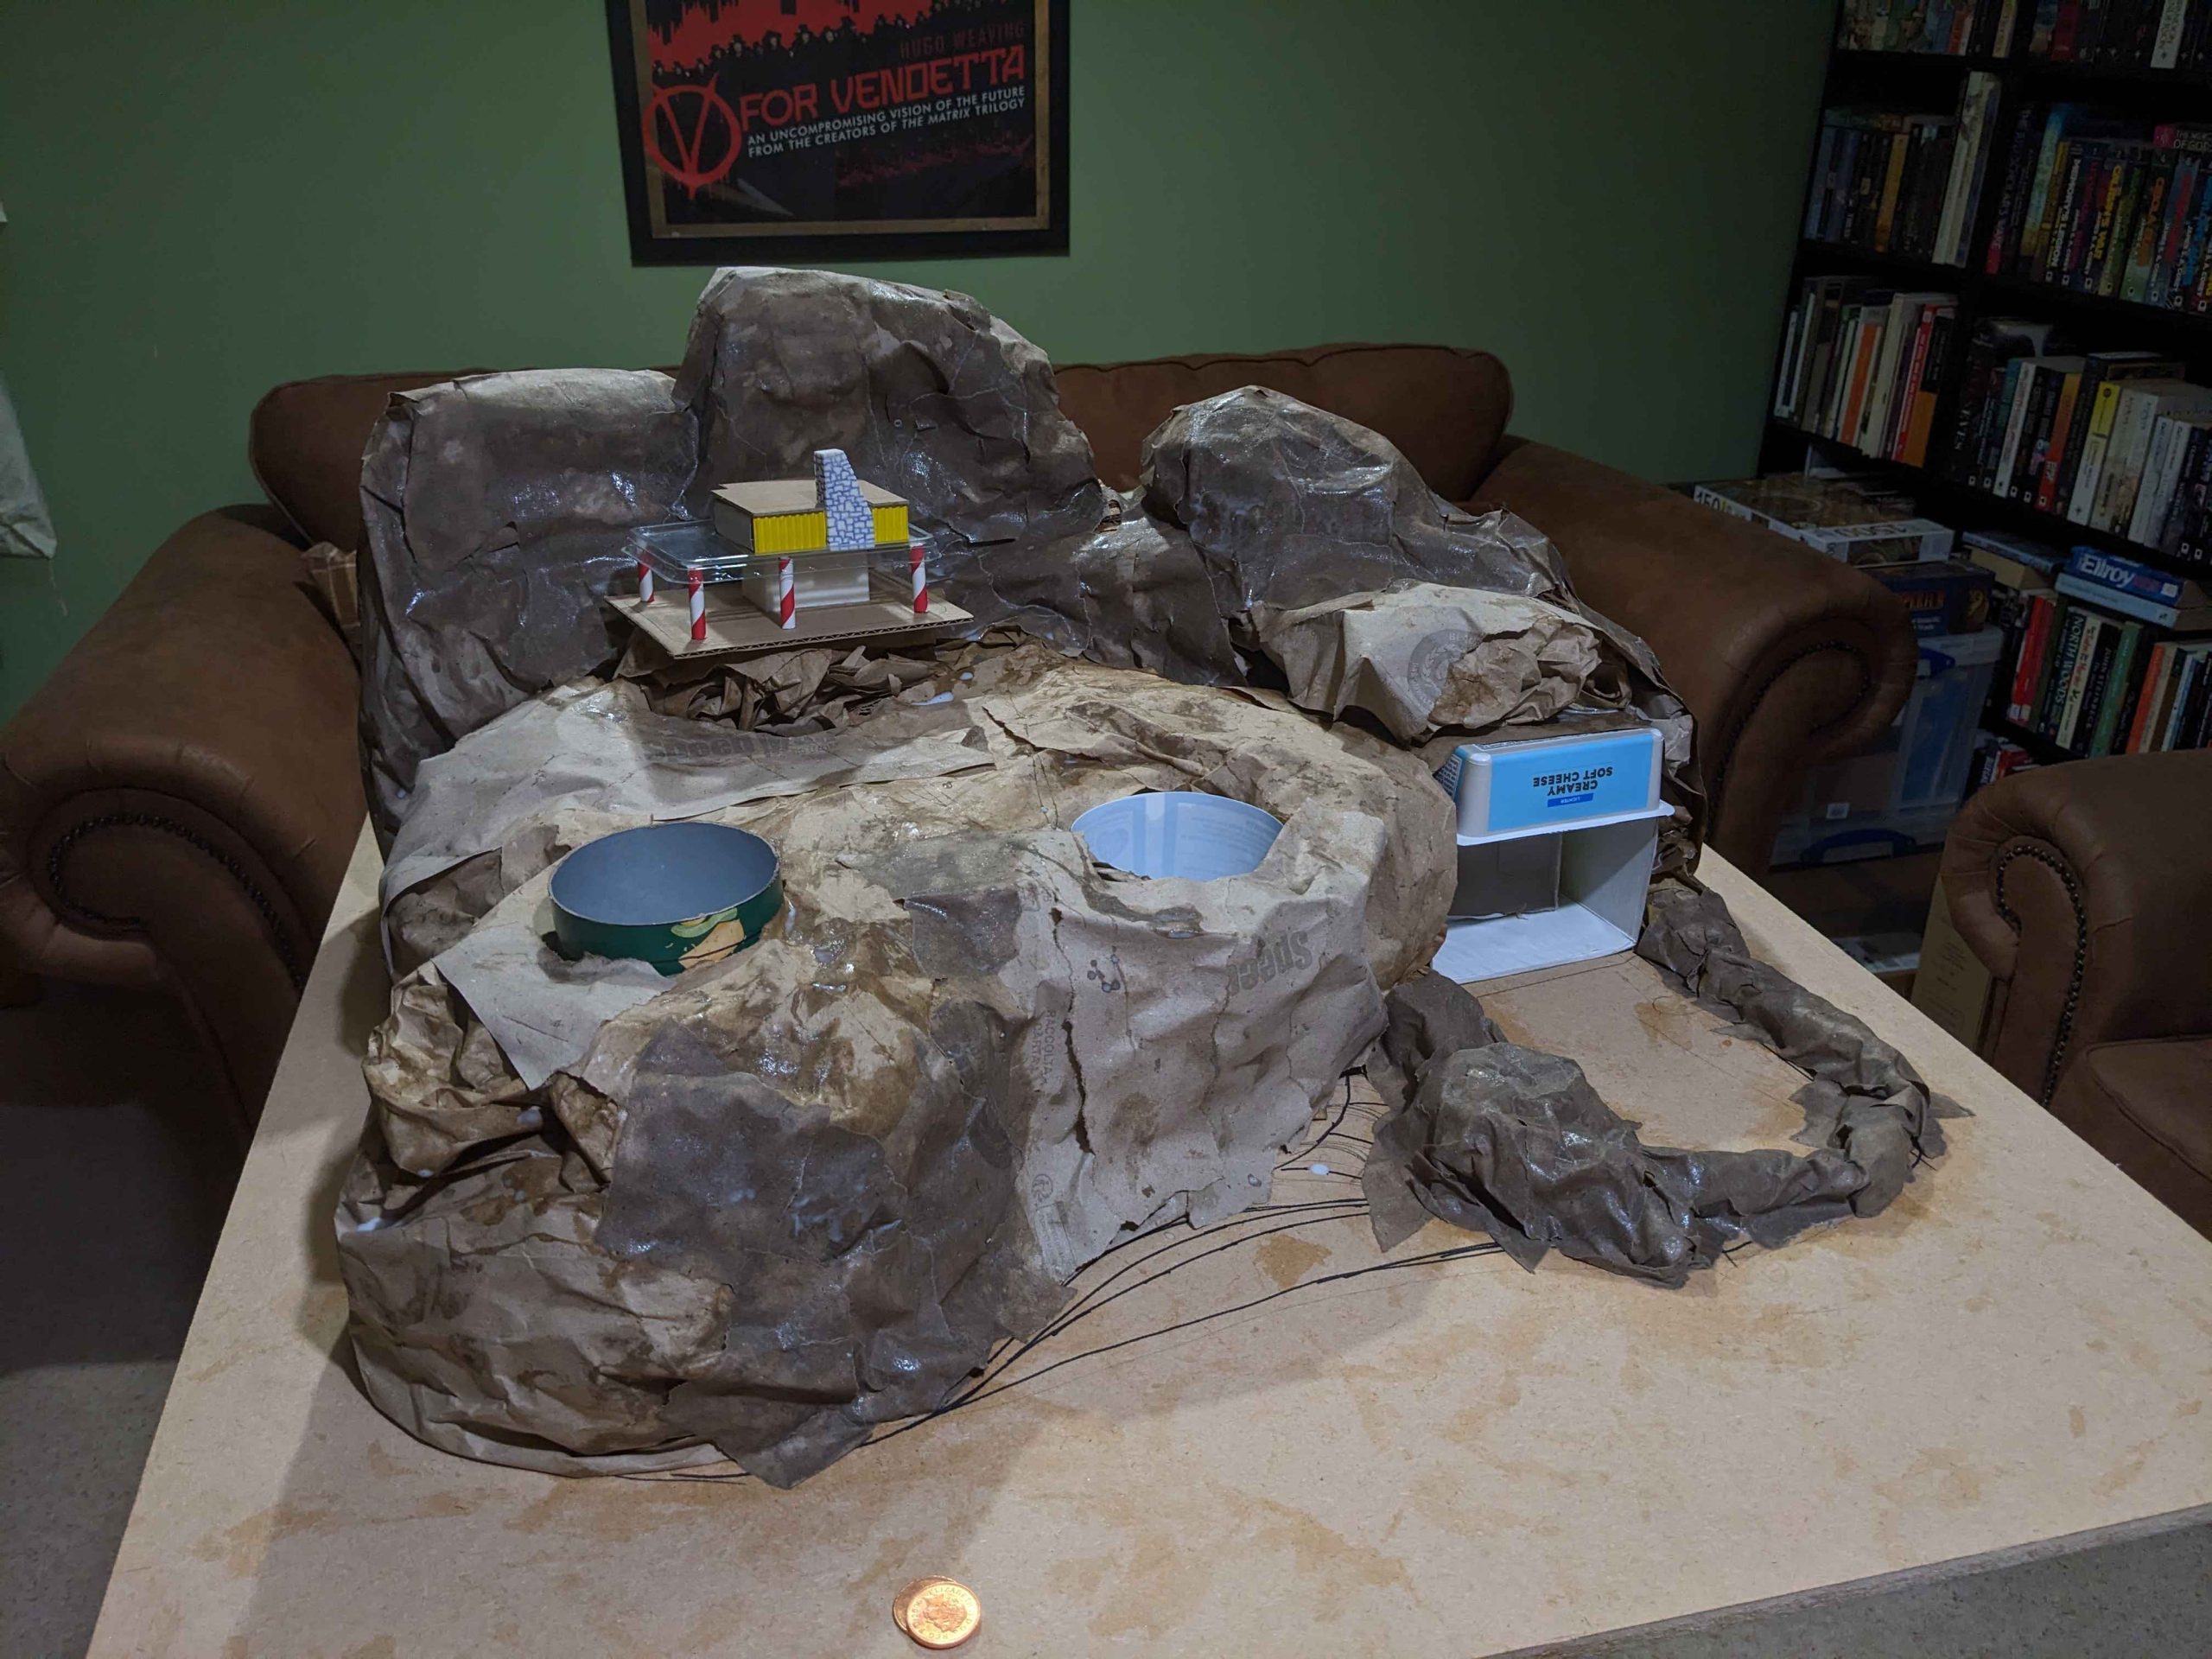
The swimming pool has an extra wee trick to it. There is a round bit of cereal box card that covers over the yoghurt pot hangar completely. This was meant to be made out of blue card but I just painted it instead. Originally I was going to use hobby paint but then I remembered I had this iridescent blue paint which, after four or five coats, gives a really nice shine that doesn’t really pick up in the photos.
Once dry, this circle is attached to the lower bit of cardboard using a paper fastener/split pin. This has been my only real problem today; I couldn’t find split pins anywhere locally yesterday so ended up paying over the odds to get some sent from Amazon. Big mistake, or should that be tiny mistake? They are half the size of a normal split pin and can’t go through all the layers of card they are meant to! I’ve put one through the water layer and the base layer instead of all three layers. I glued the third layer (swimming pool edge) on top, making sure to keep the glue well clear of the pin head. It is nice it is hidden but I’m not sure how strong it will be longer term.
The buildings got the same two layers of drybrush over a black prime. The wargamer in me wants to keep going and add in extra colours with washes etc but I’ve decided to wait and see how the rest of it comes together first. It is easy enough to go back in afterwards but I’m concerned that too much detailing on them will be incongruous with the rest of the terrain.
Part nine - Saturday part one
Perfectly normal naming conventions are in effect today.
This weekend I have no plans other than some housework so most of my time can be spent on Tracy Island.
I’ve knackered my back the last couple of weeks somehow so I’ve been working with a completely safe modified table. The island is getting its base coats of house paint today but I’ll photograph that when the second coat is dry. Just know that the first step today was the first coat of brown.

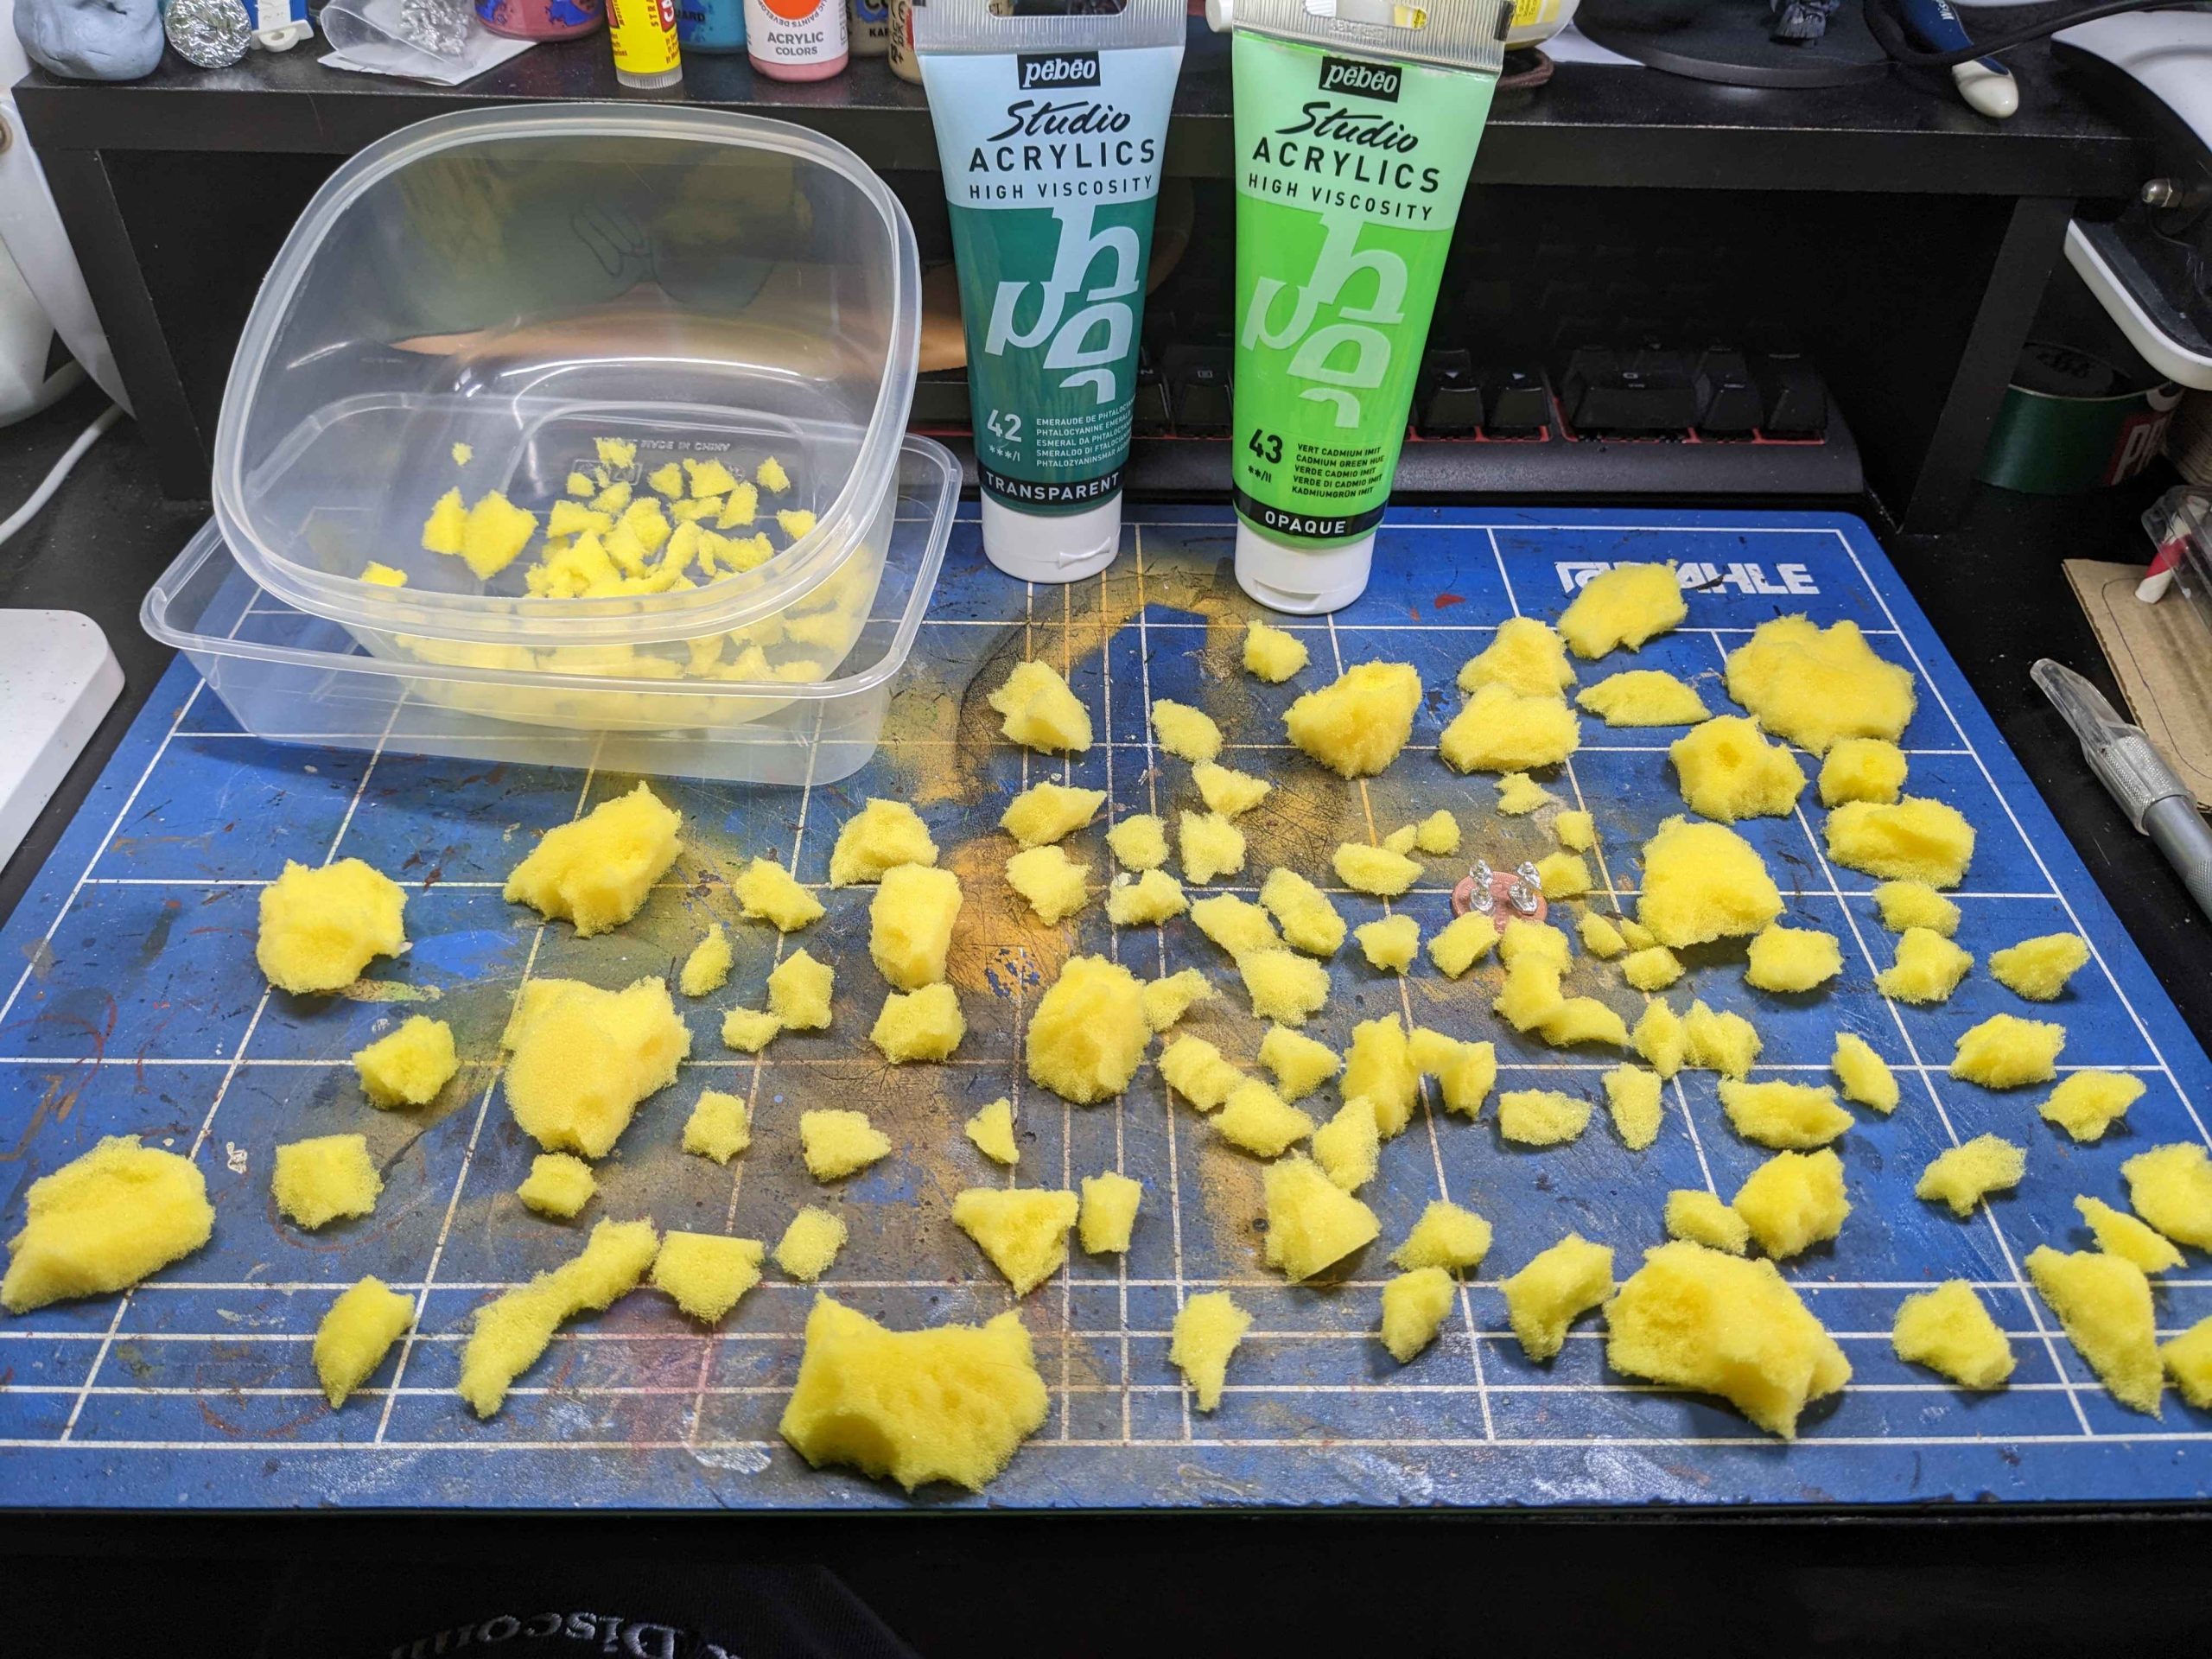
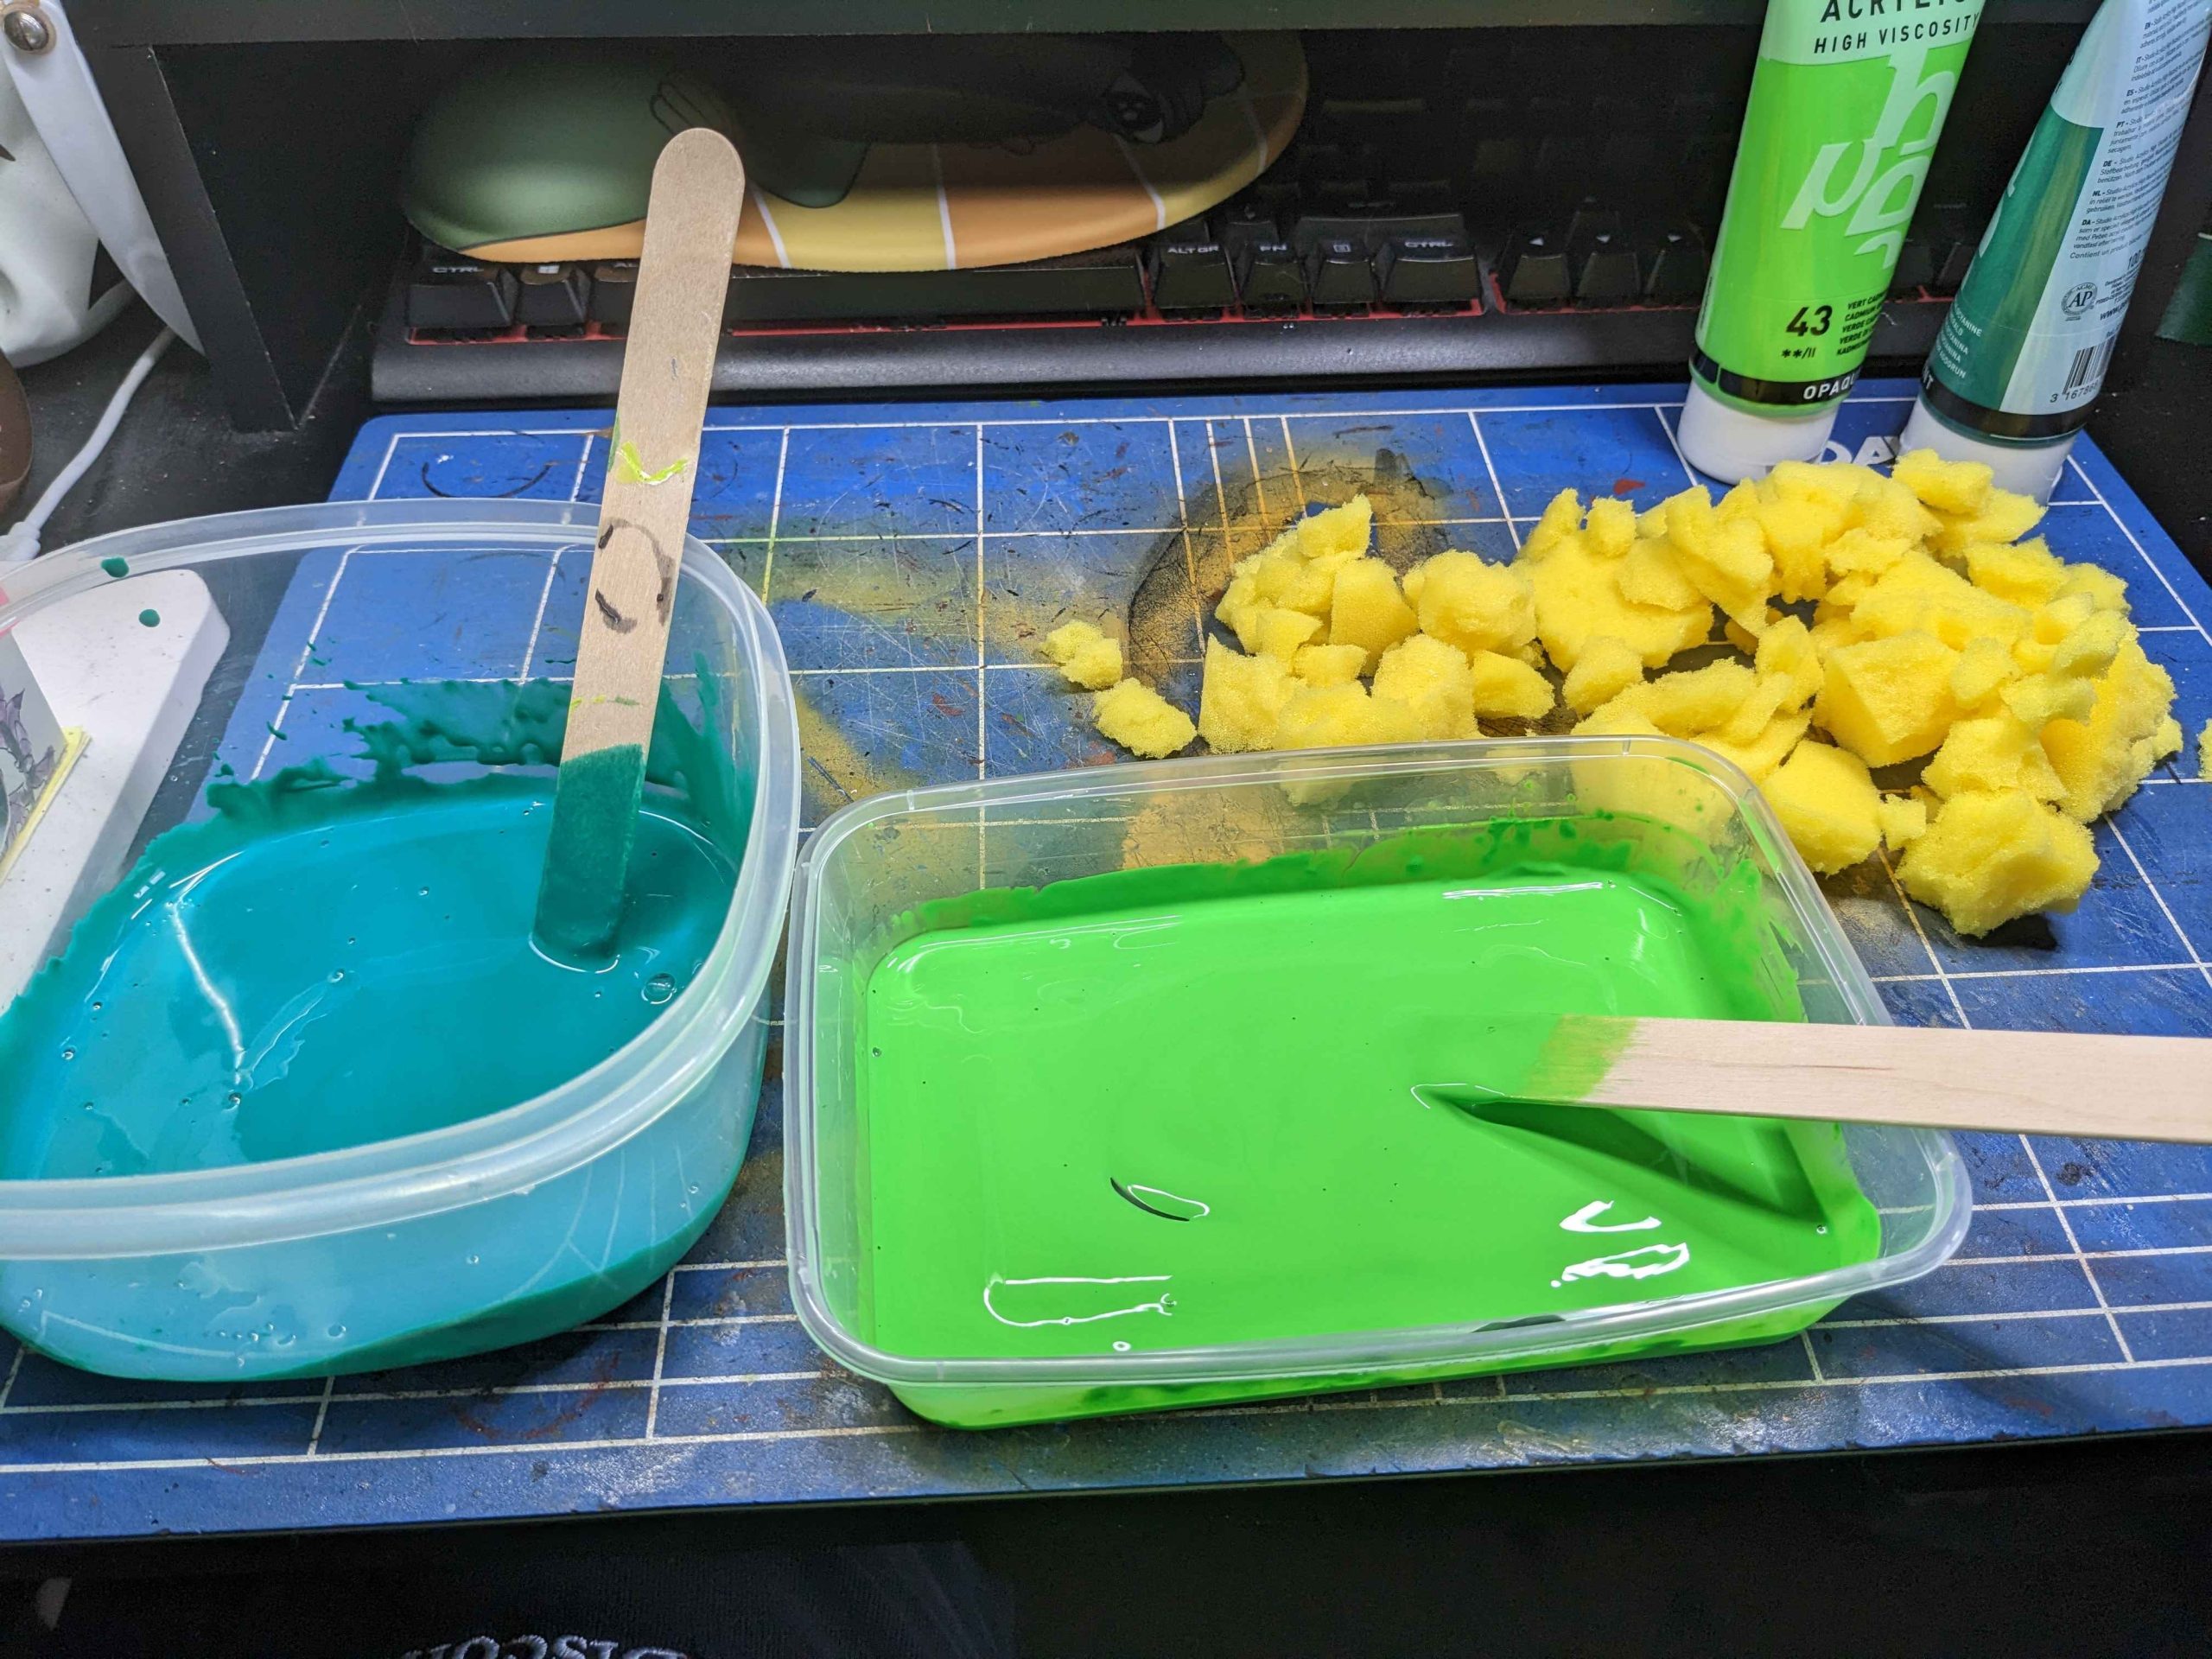
Next up is some sponge bushes. These are made from a cheap sponge from a hardware store, torn into little chunks. I used the 10mm models to give an idea of size to begin with but I quickly gave up because it was tedious as all get out to tear sponge that small.
Once they had been torn, the bushes then got soaked in water so they will take the paint better (a trick I learned from a painter and decorator years ago when it comes to rollers but works well in numerous situations).
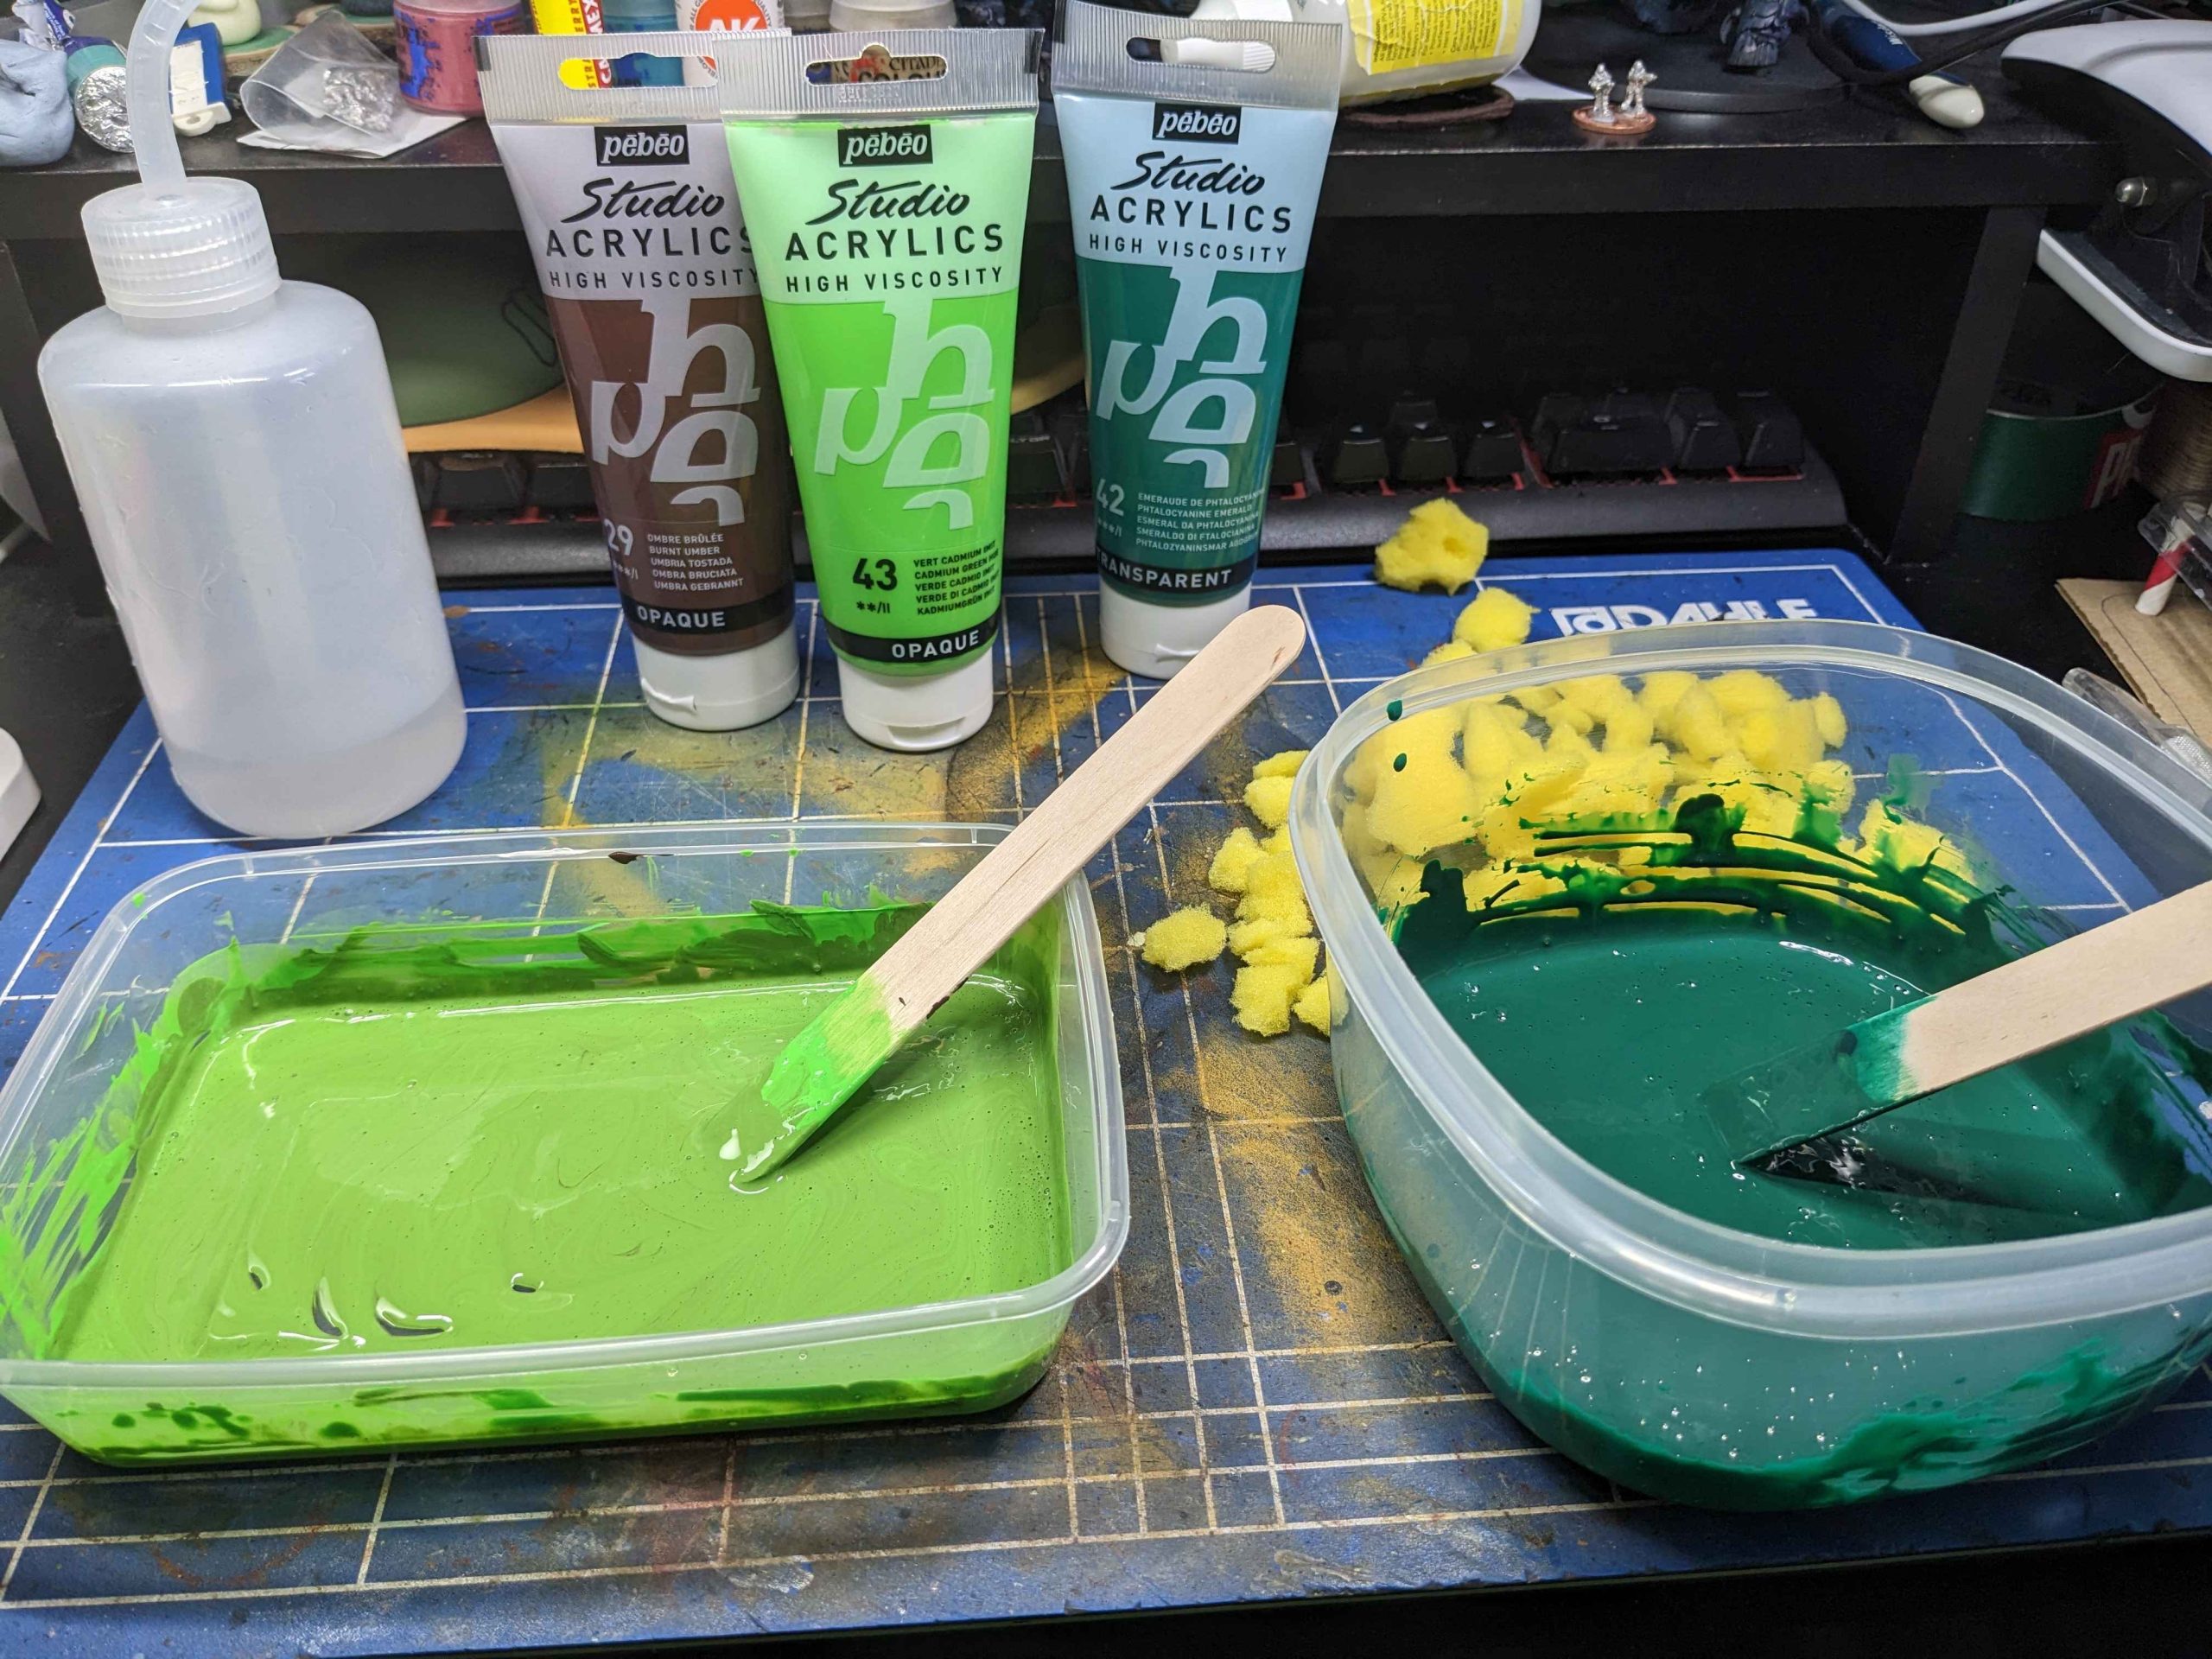
Now the original video talks about using different shades of green paint so you have different bushes. I went to my cheap crafting paint and pulled out these two to begin with. Watered down a little less than one to one ratio, the sponge bits got tossed in and I used tongue depressors to squish the paint into them and some tweezers to take them out and onto something to dry out.
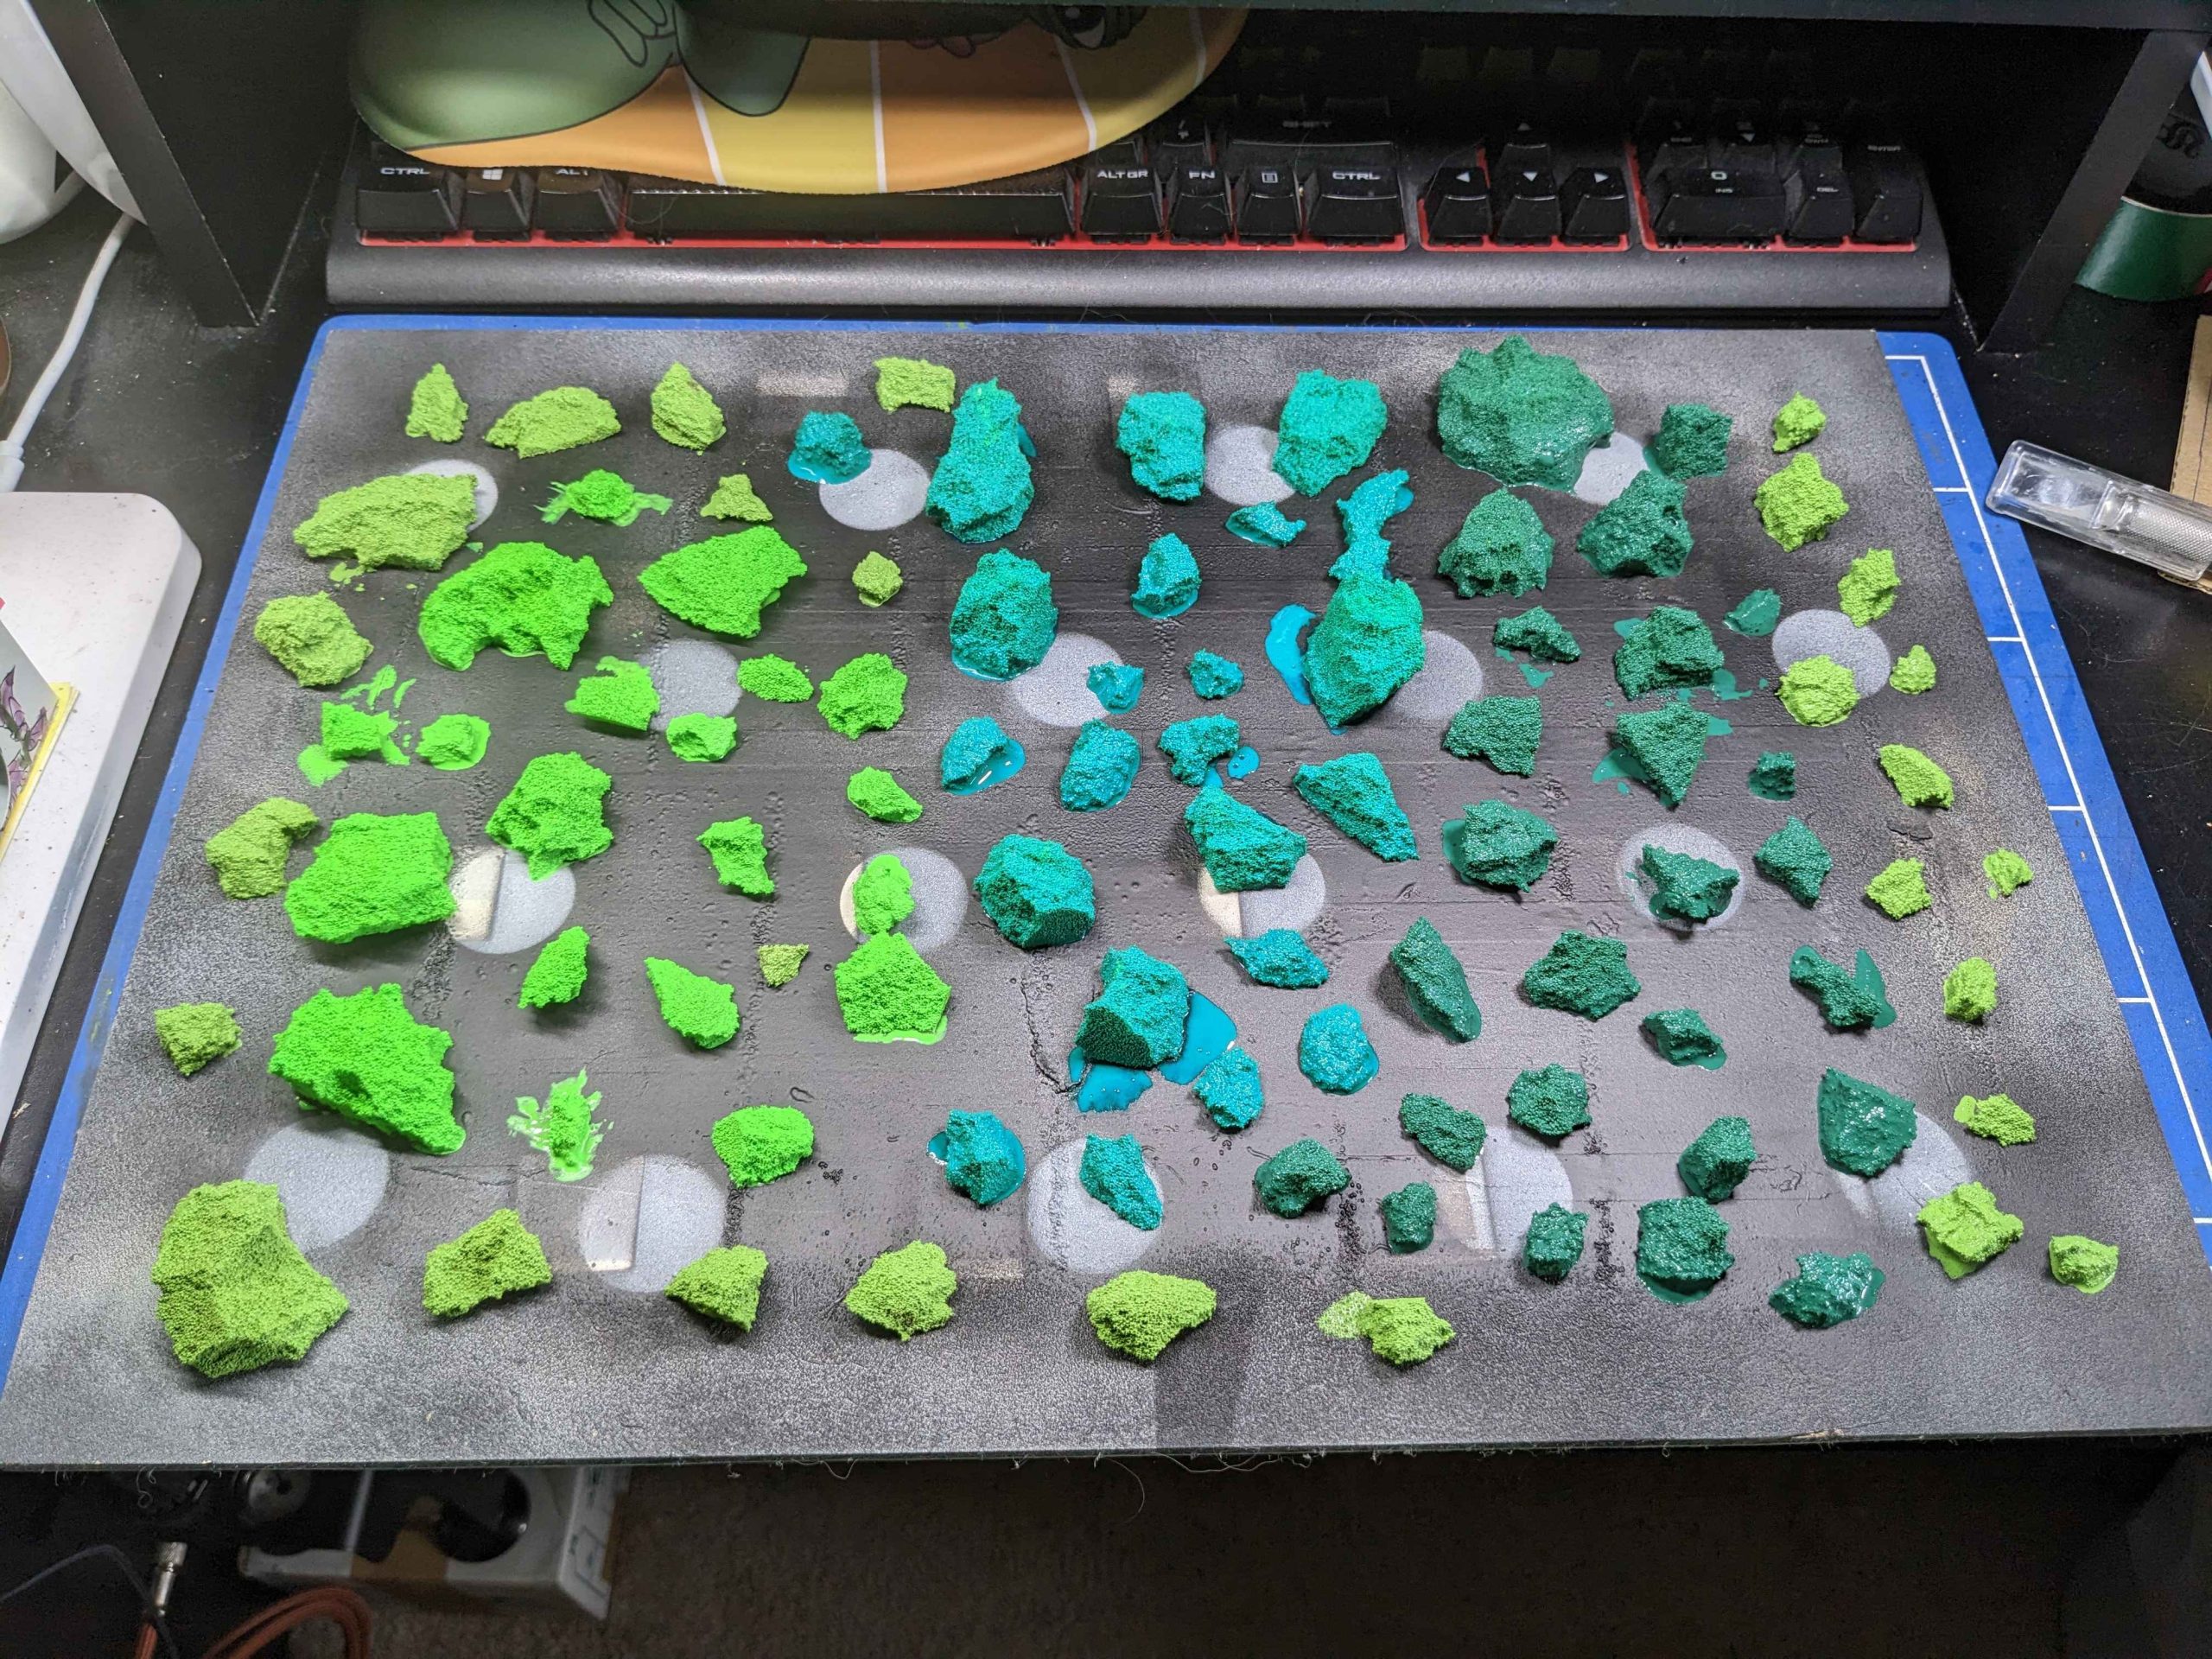
I then added a little brown to each tub so there will be four different colours of bushes altogether. I like the bright ones but really felt like the more muted ones are going to help a lot with the final look.
This lot is now all drying and it is on to the next thing.
Part eight - Thursday’s child has catching up to do!
Tuesday and Wednesday got away from me with work but I did make it to Hobbycraft for the pipe cleaners and crepe paper I’m going to need and B&Q for some house paint.
Tonight I managed to get home from work at a reasonable time and got a few hours for the next stage.
The instructions call for covering the cliffs with scrunched up tin foil. It says to use a little PVA in the middle and at the edges to get it to stick and then press it into the papier-mâché to give a good rock texture. I also used some to build out areas that felt a little weak after the last step dried, especially around the main house platform.
It sort of worked. The rock texture is good but getting the foil to stick was much harder. Any areas where the foil had to overlap just wouldn’t reliably stick down. This was clearly going to be a problem, especially at the painting stage next. Normally I’d just take some stronger grab adhesive and use that but as I’m problem solving like an eight year old, I decided to make a slurry of the PVA and flour and to use more paper over the cracks. I think it should do the job but we’ll need to wait and see once it is all dry. I have a feeling that the texture difference is going to be more noticeable when it is dry but that’s a future painting me problem.
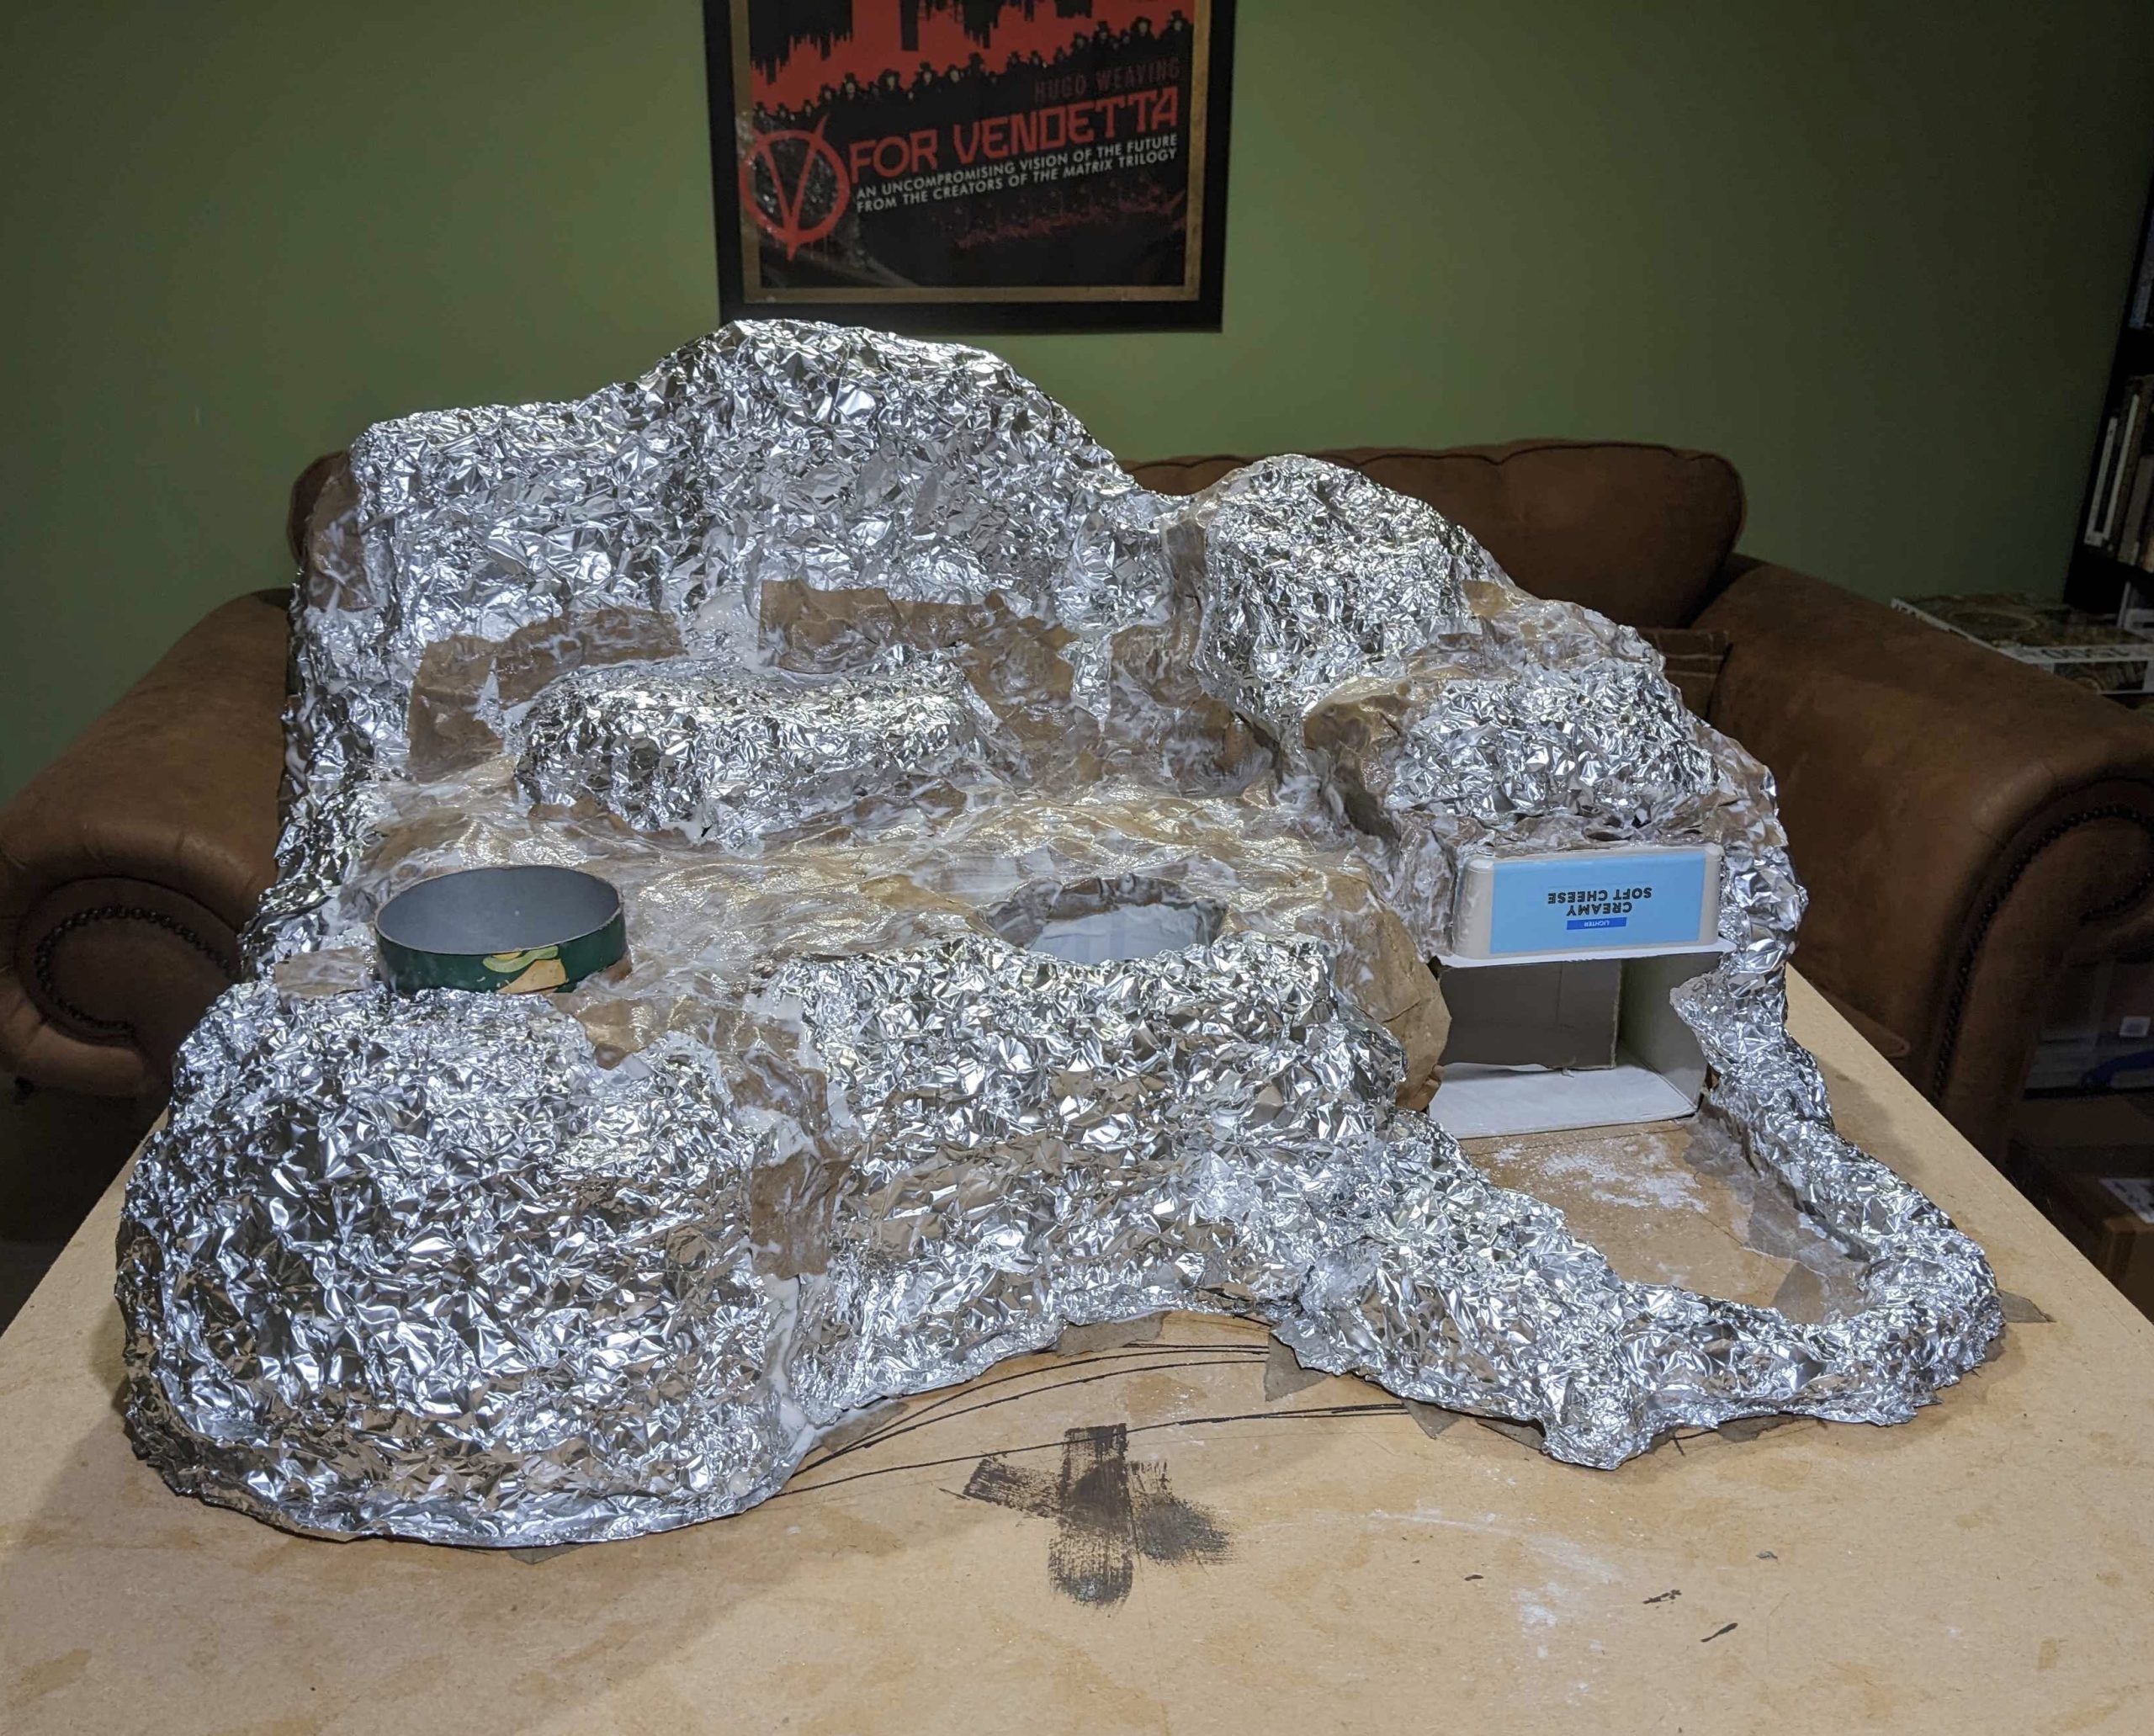
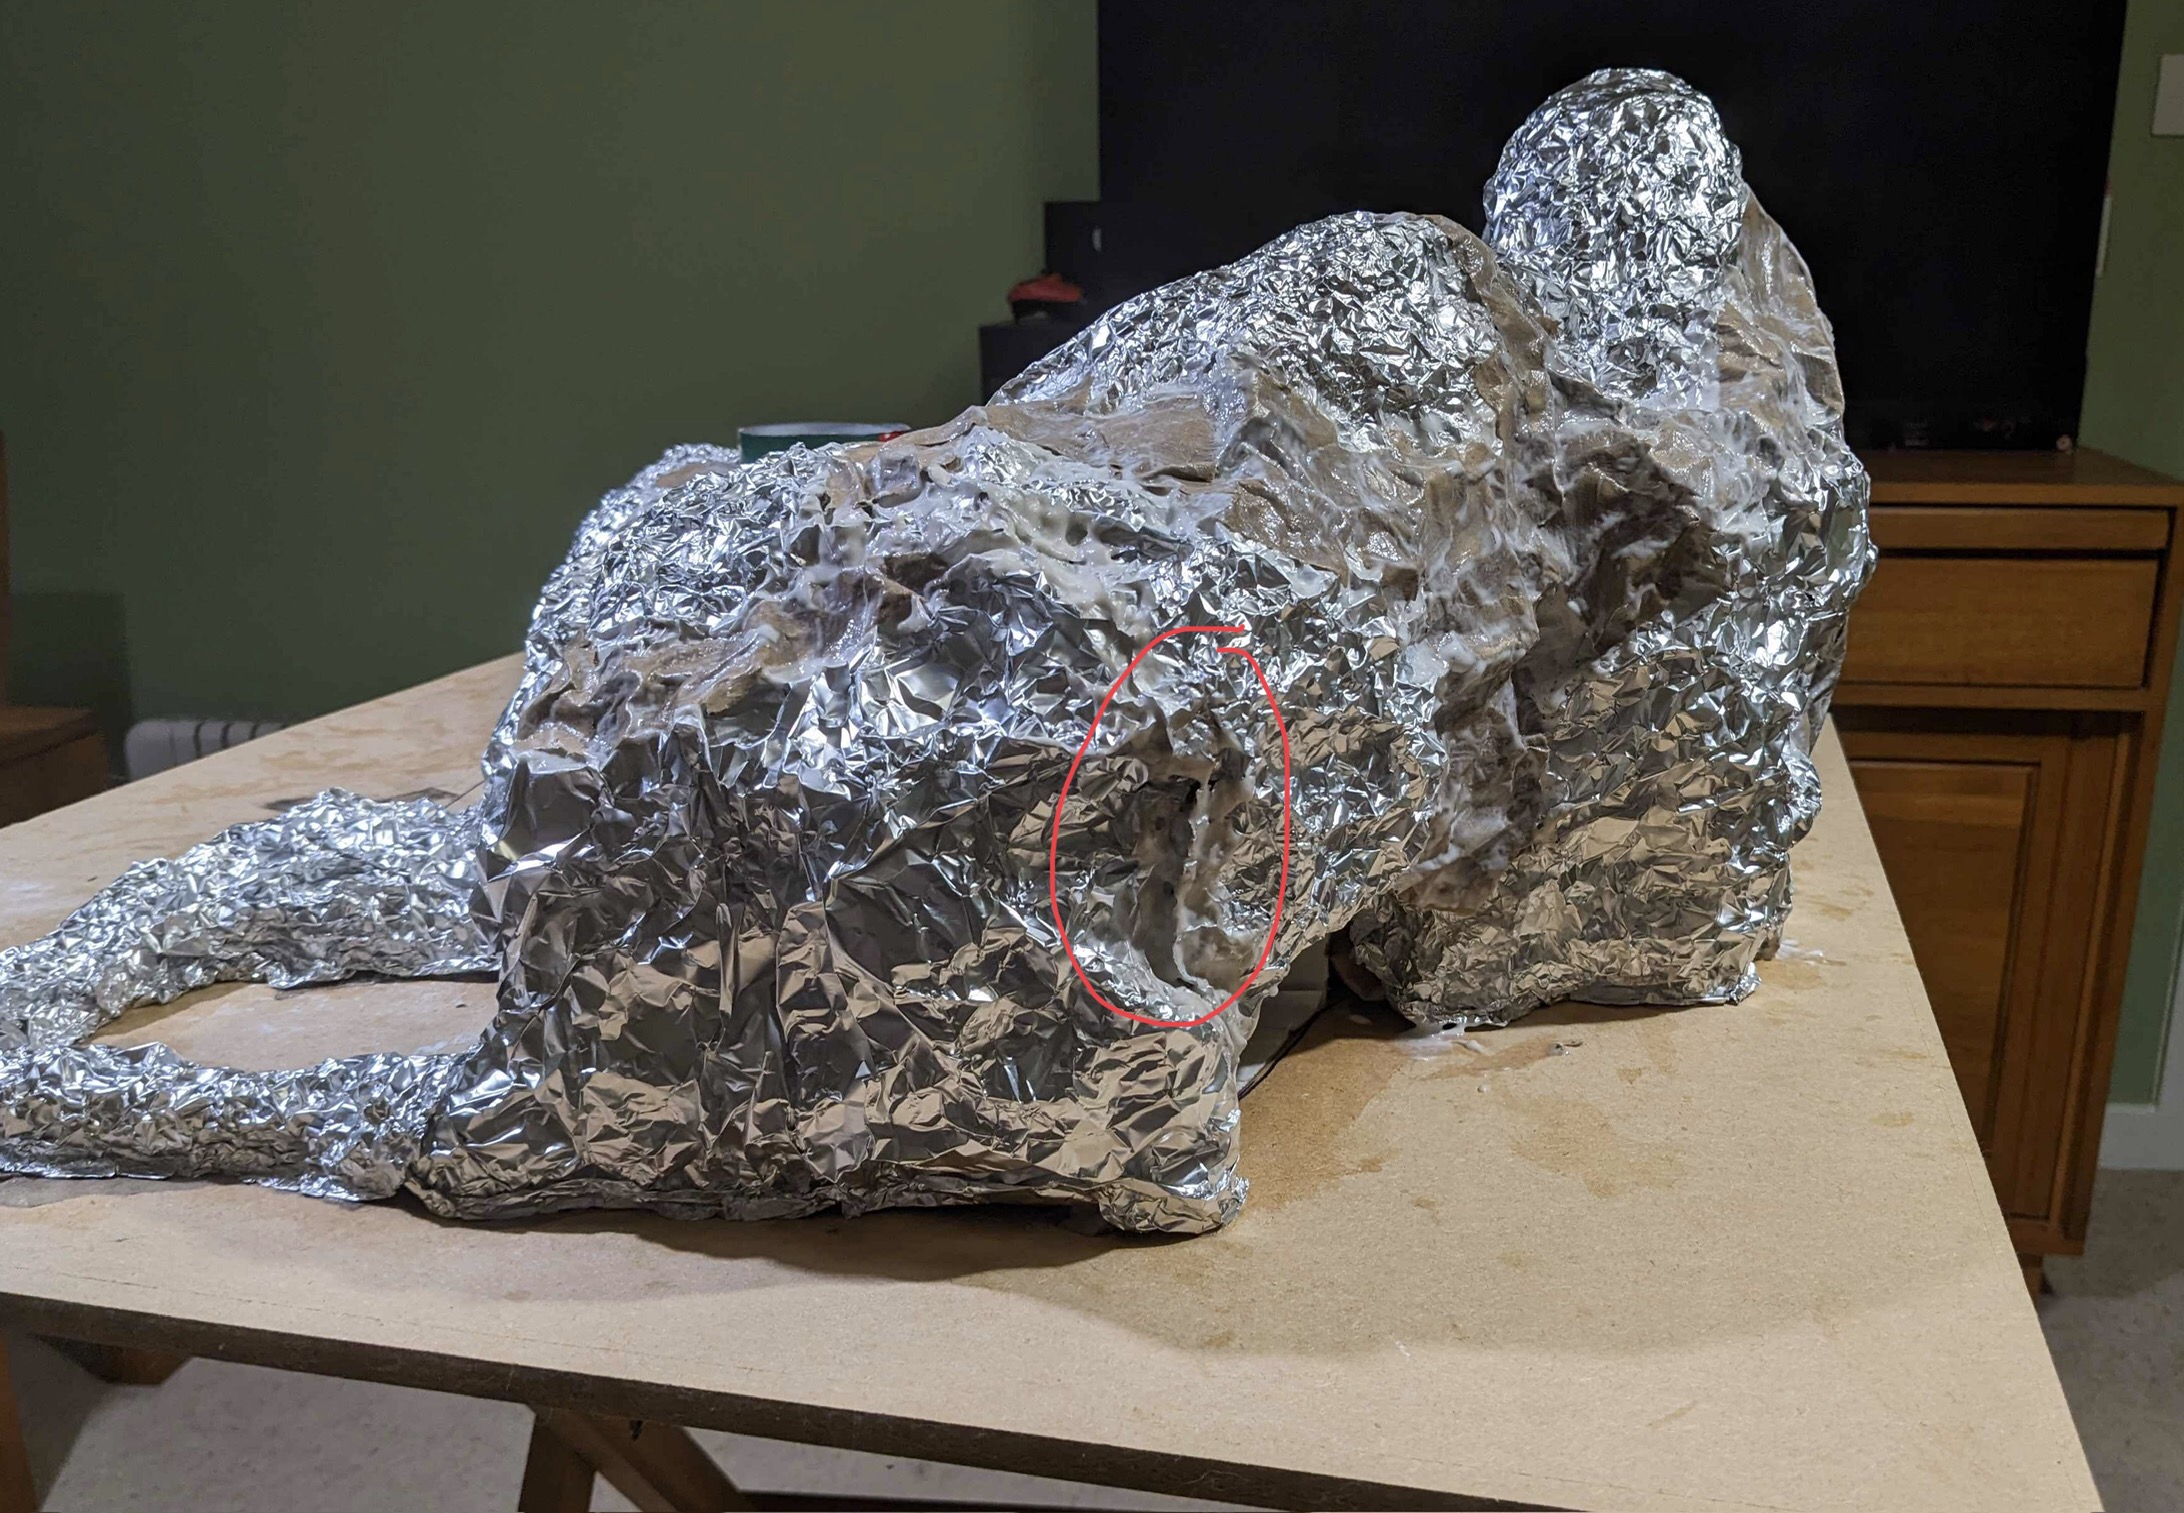 I forgot to take photos of the gaps so this is the last one I haven’t finished covering yet XD
Part seven - Monday’s child hates circles
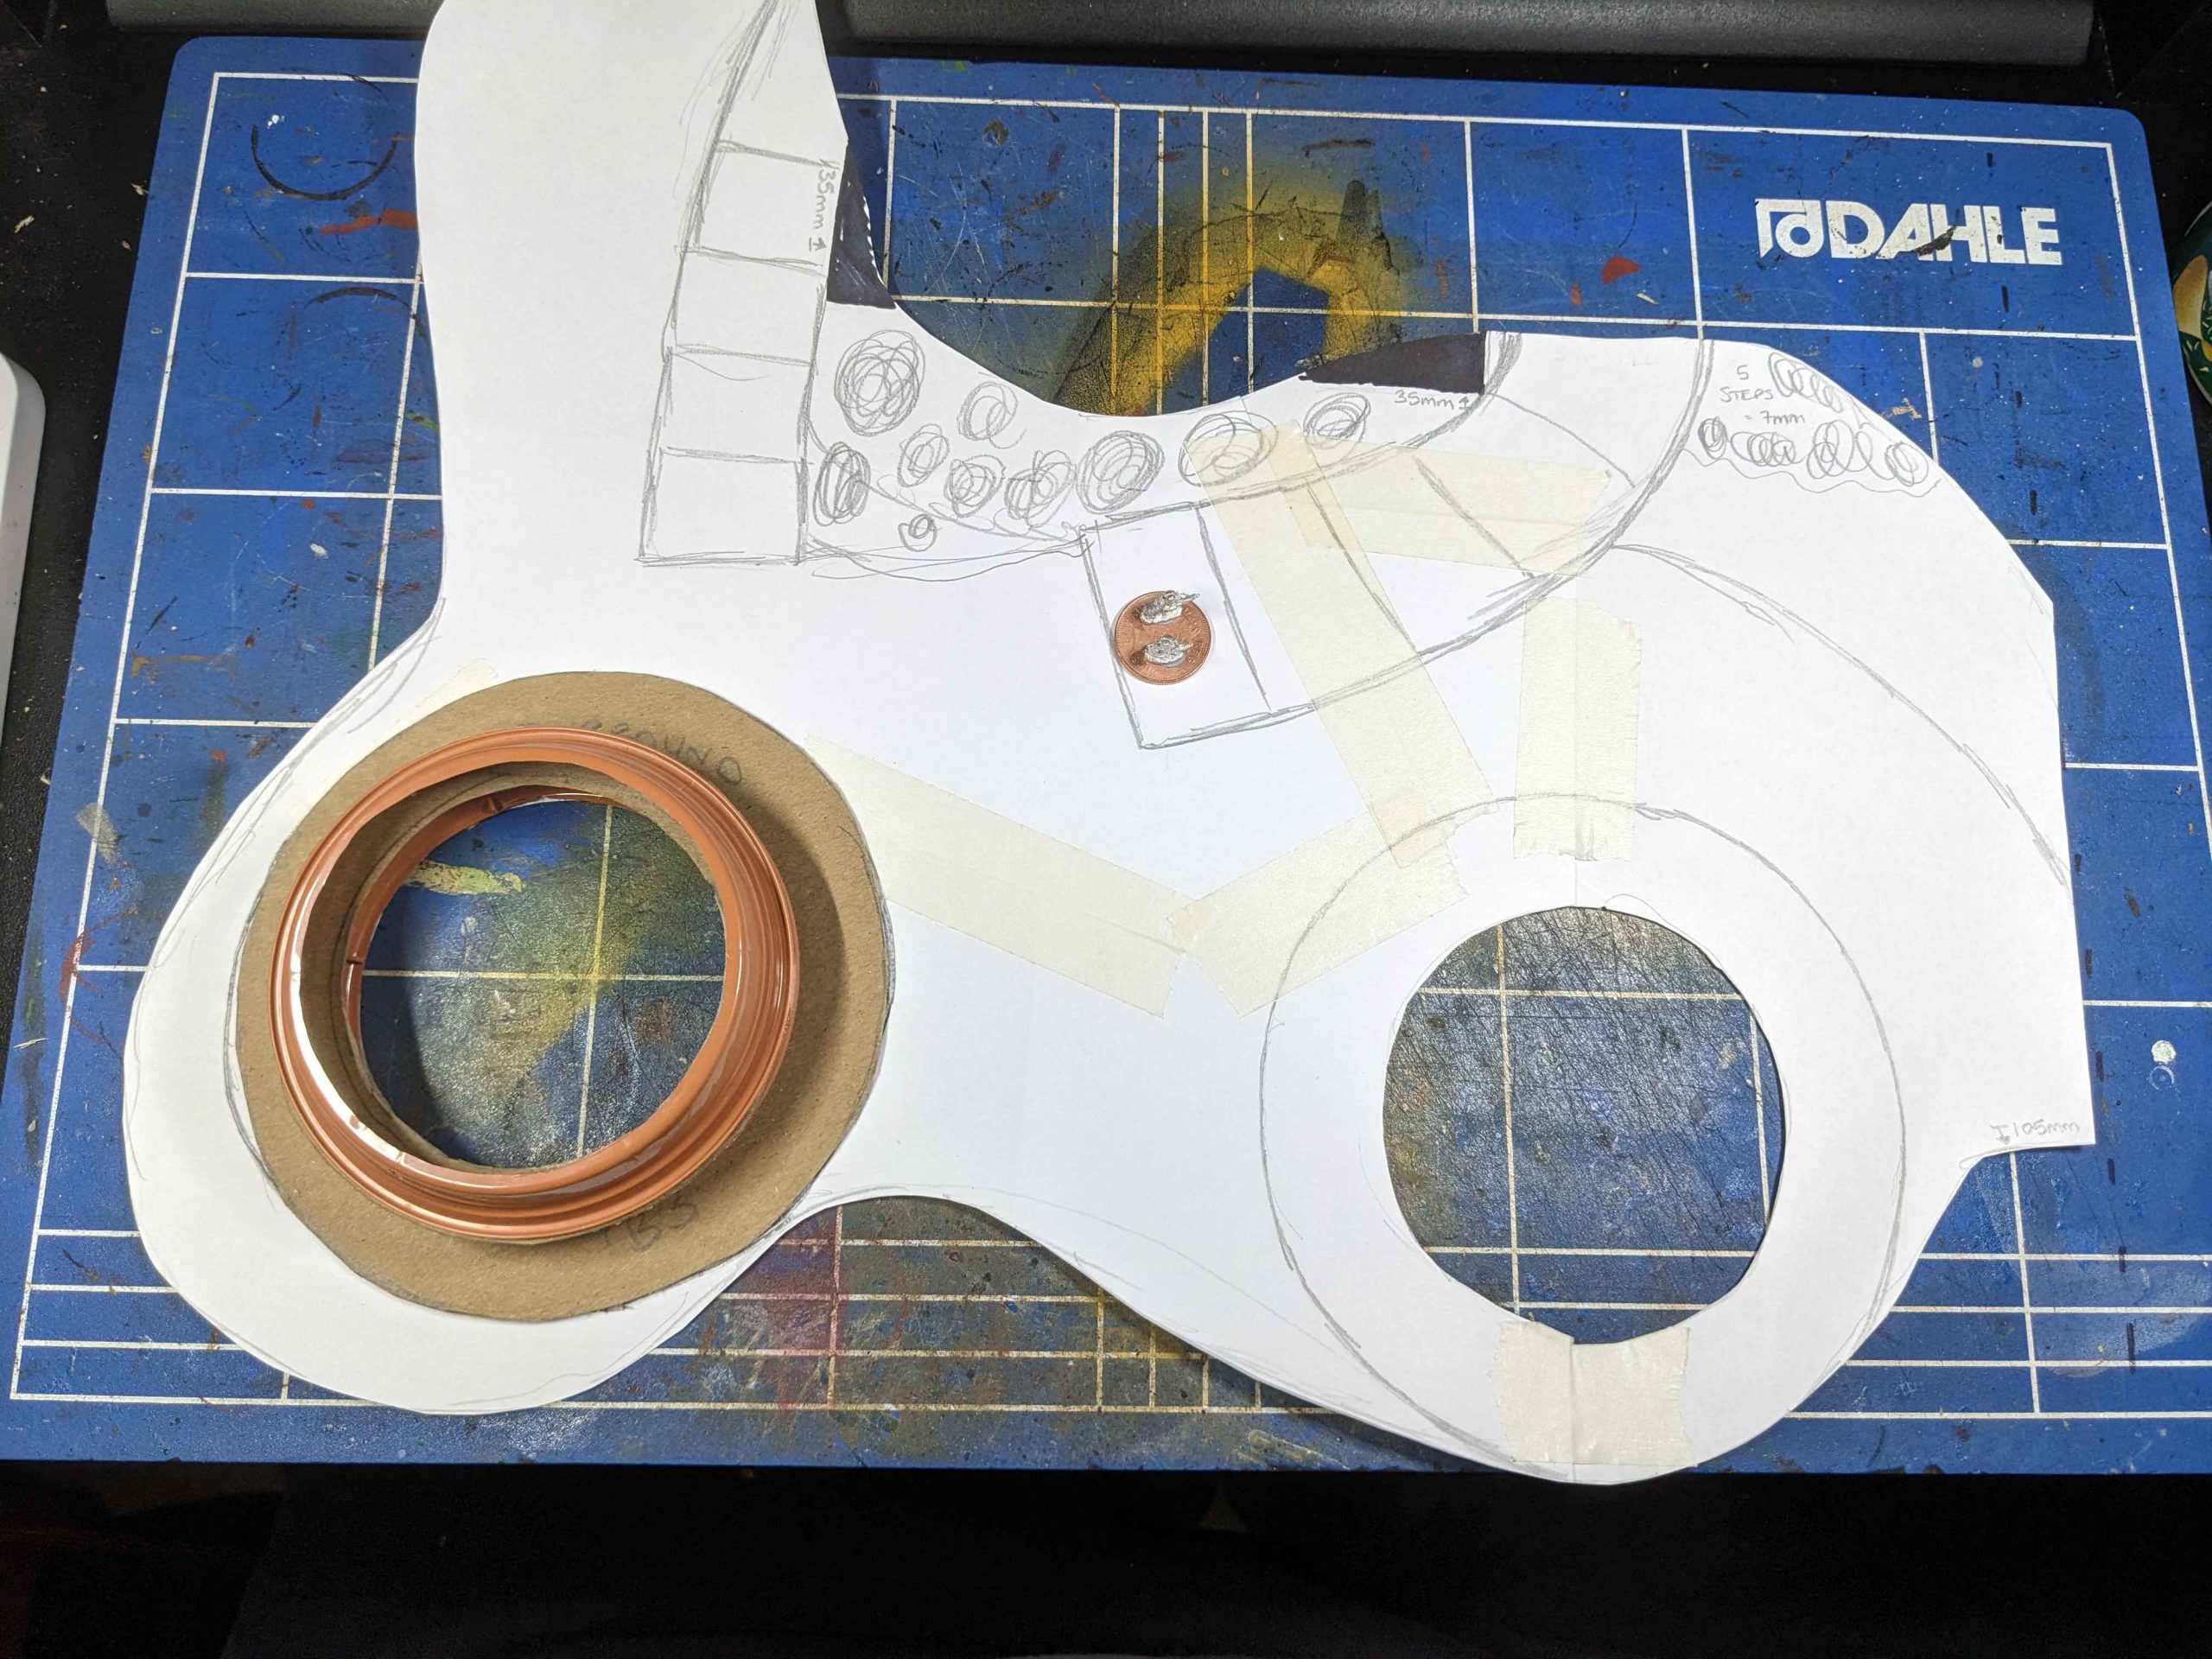
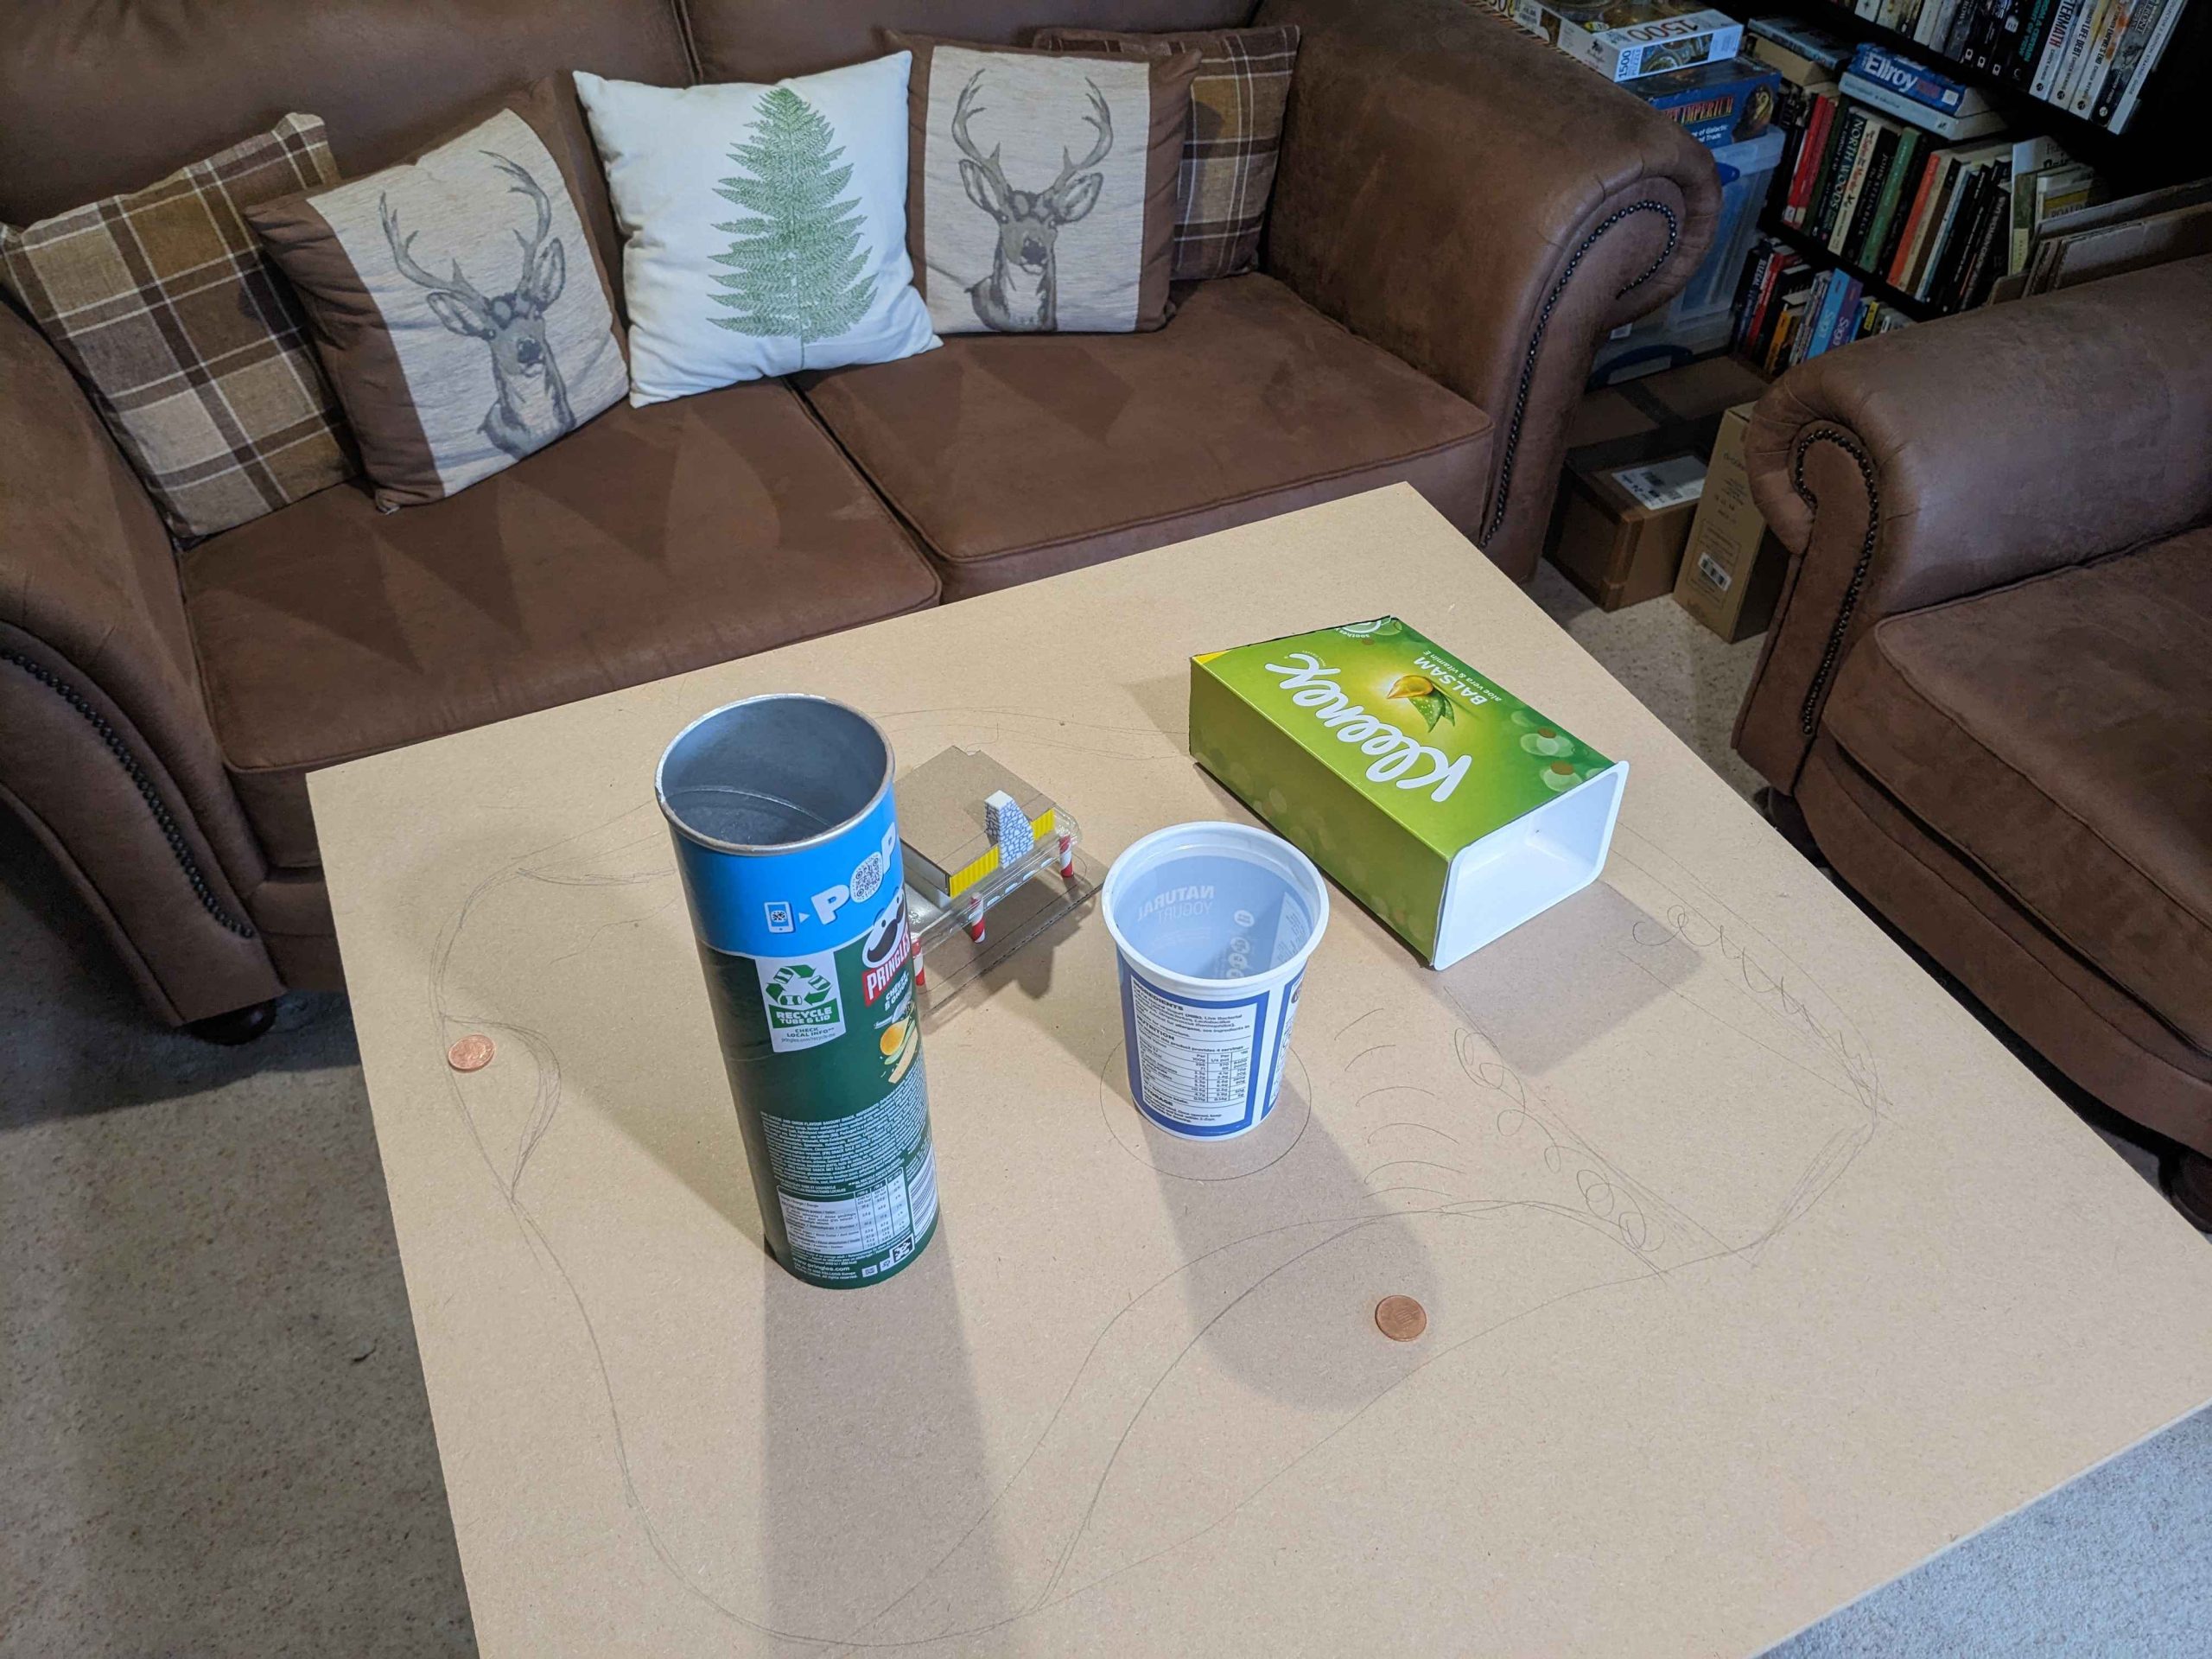
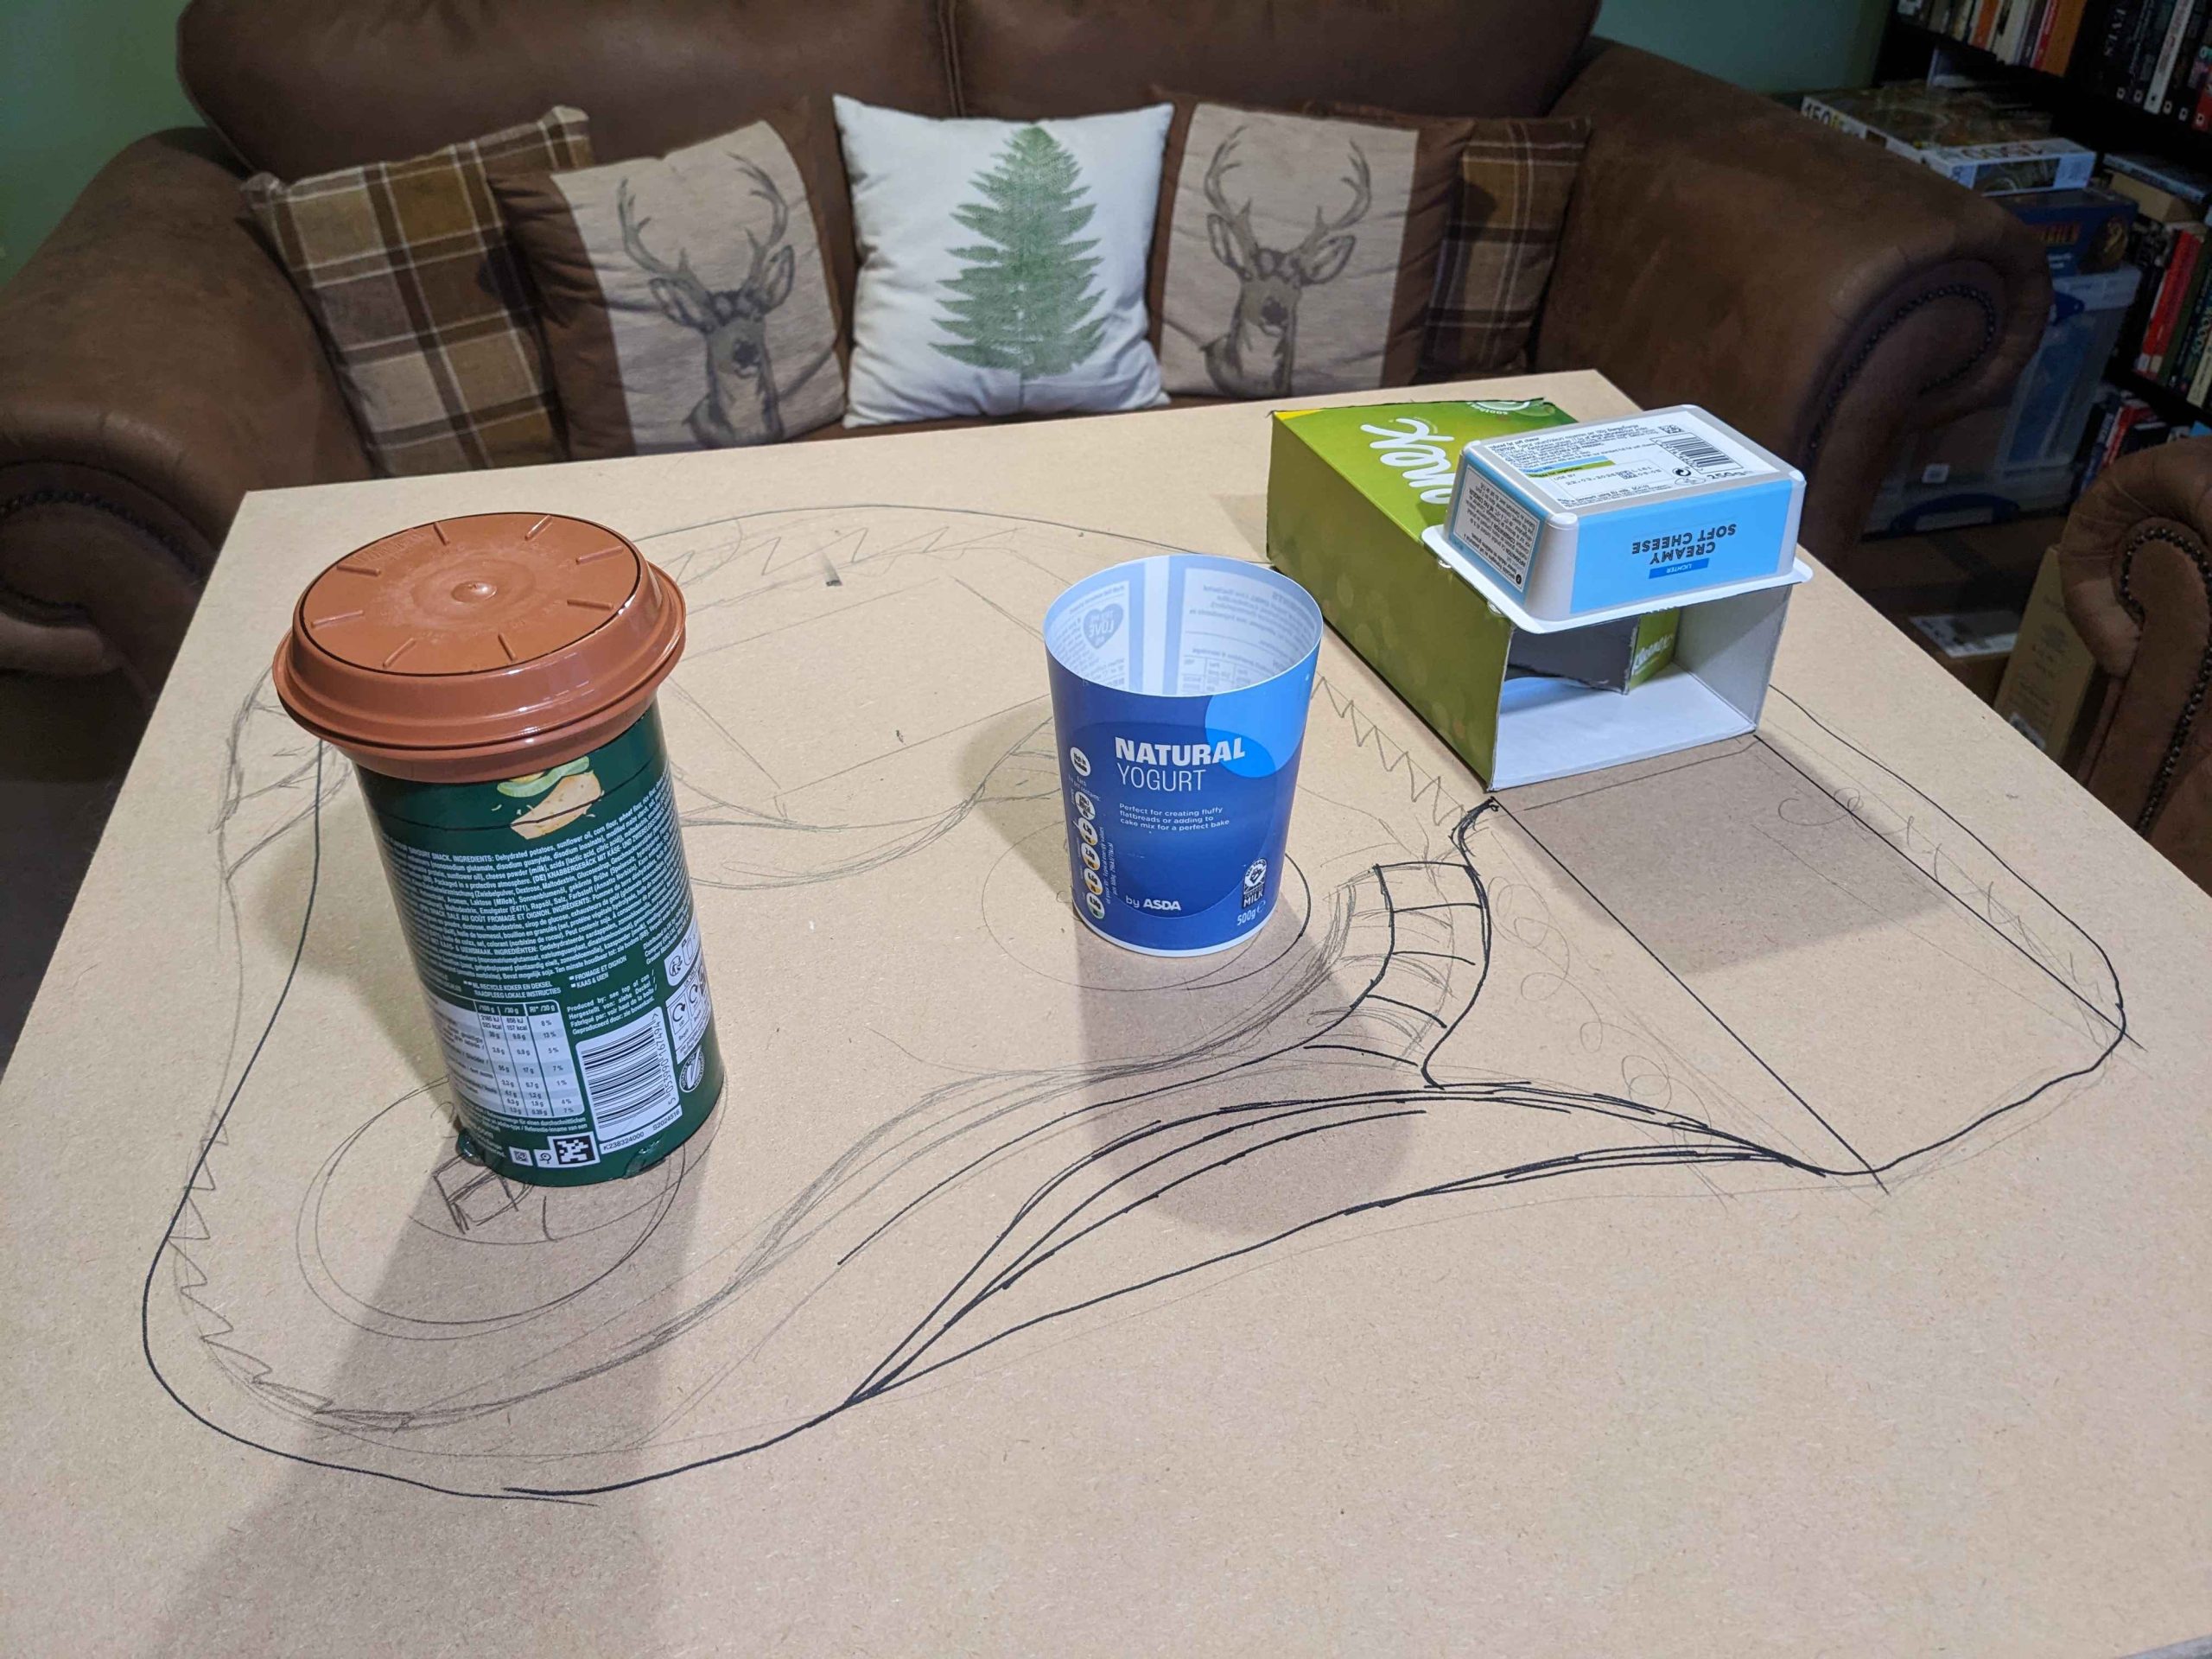
The island is still drying from the papier-mâché but I don’t have time to wait so I grabbed some paper today and roughly traced out the main ground area. This lets me work on the swimming pool for Thunderbird 1 and the Round House for Thunderbird 3. It also lets me start to work out the measurements for the staircases I’ll need. They are going to be a bit of artistic license in favour of gameplay but that’s for another day.
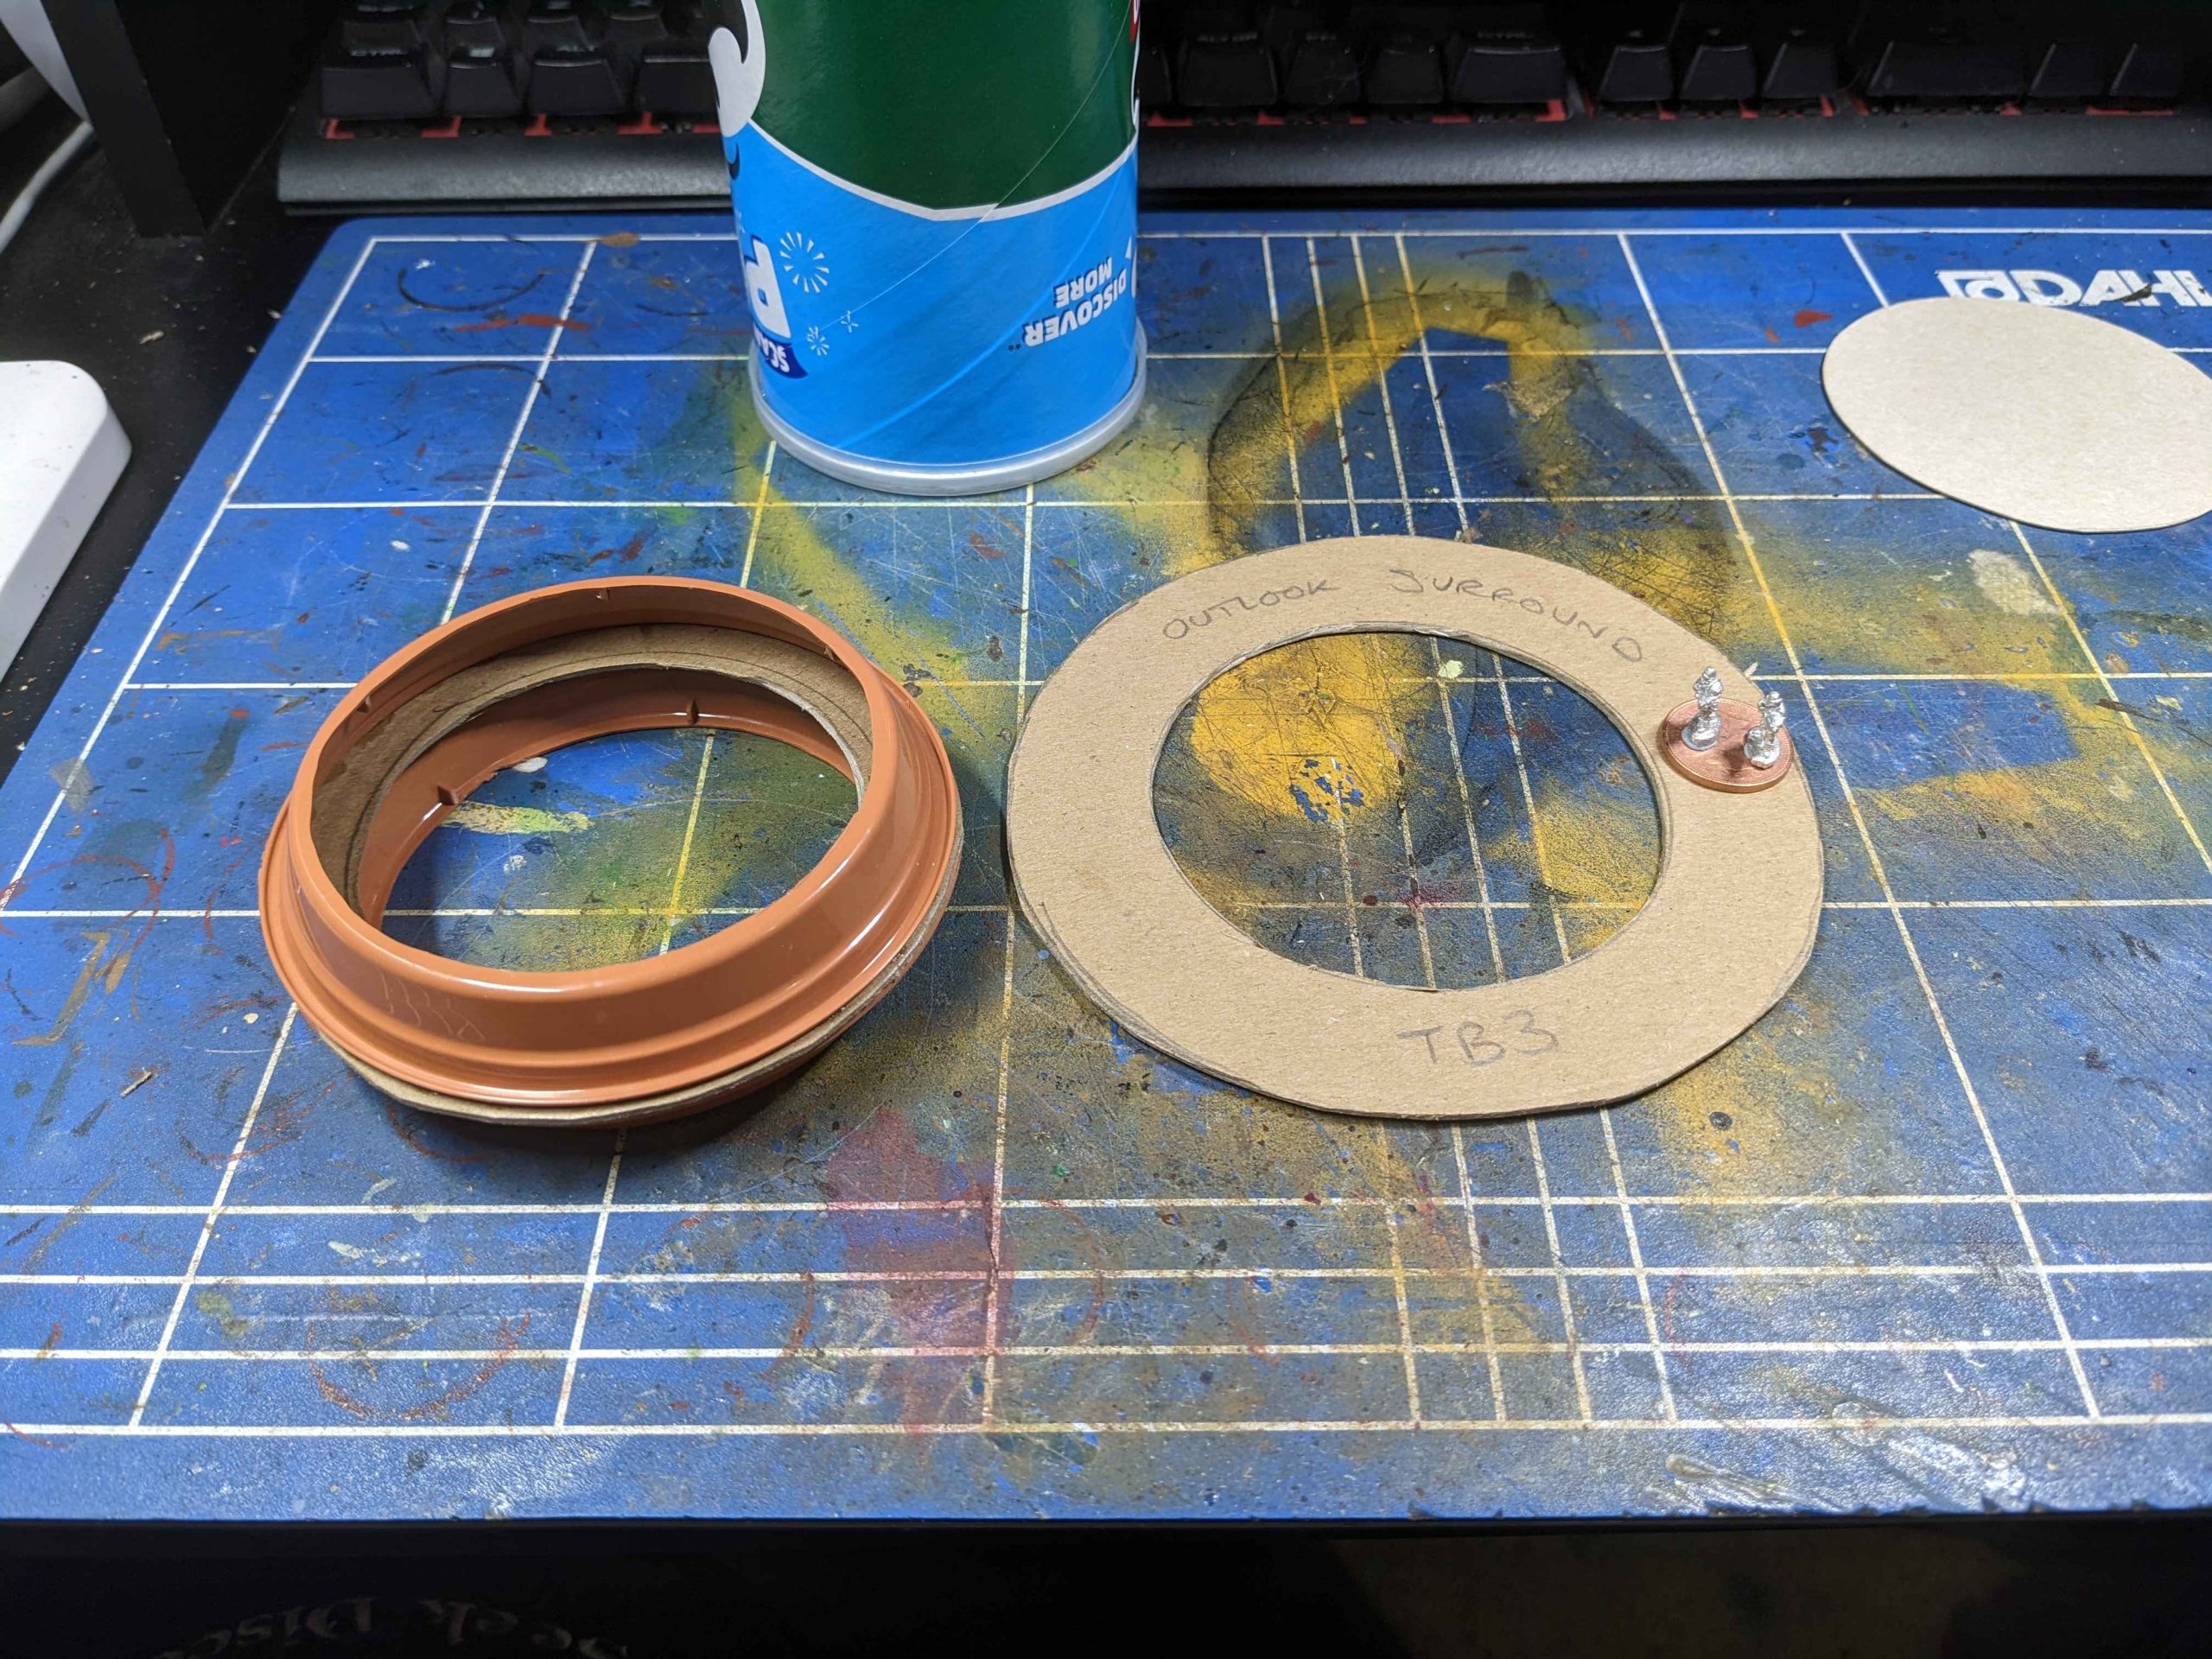
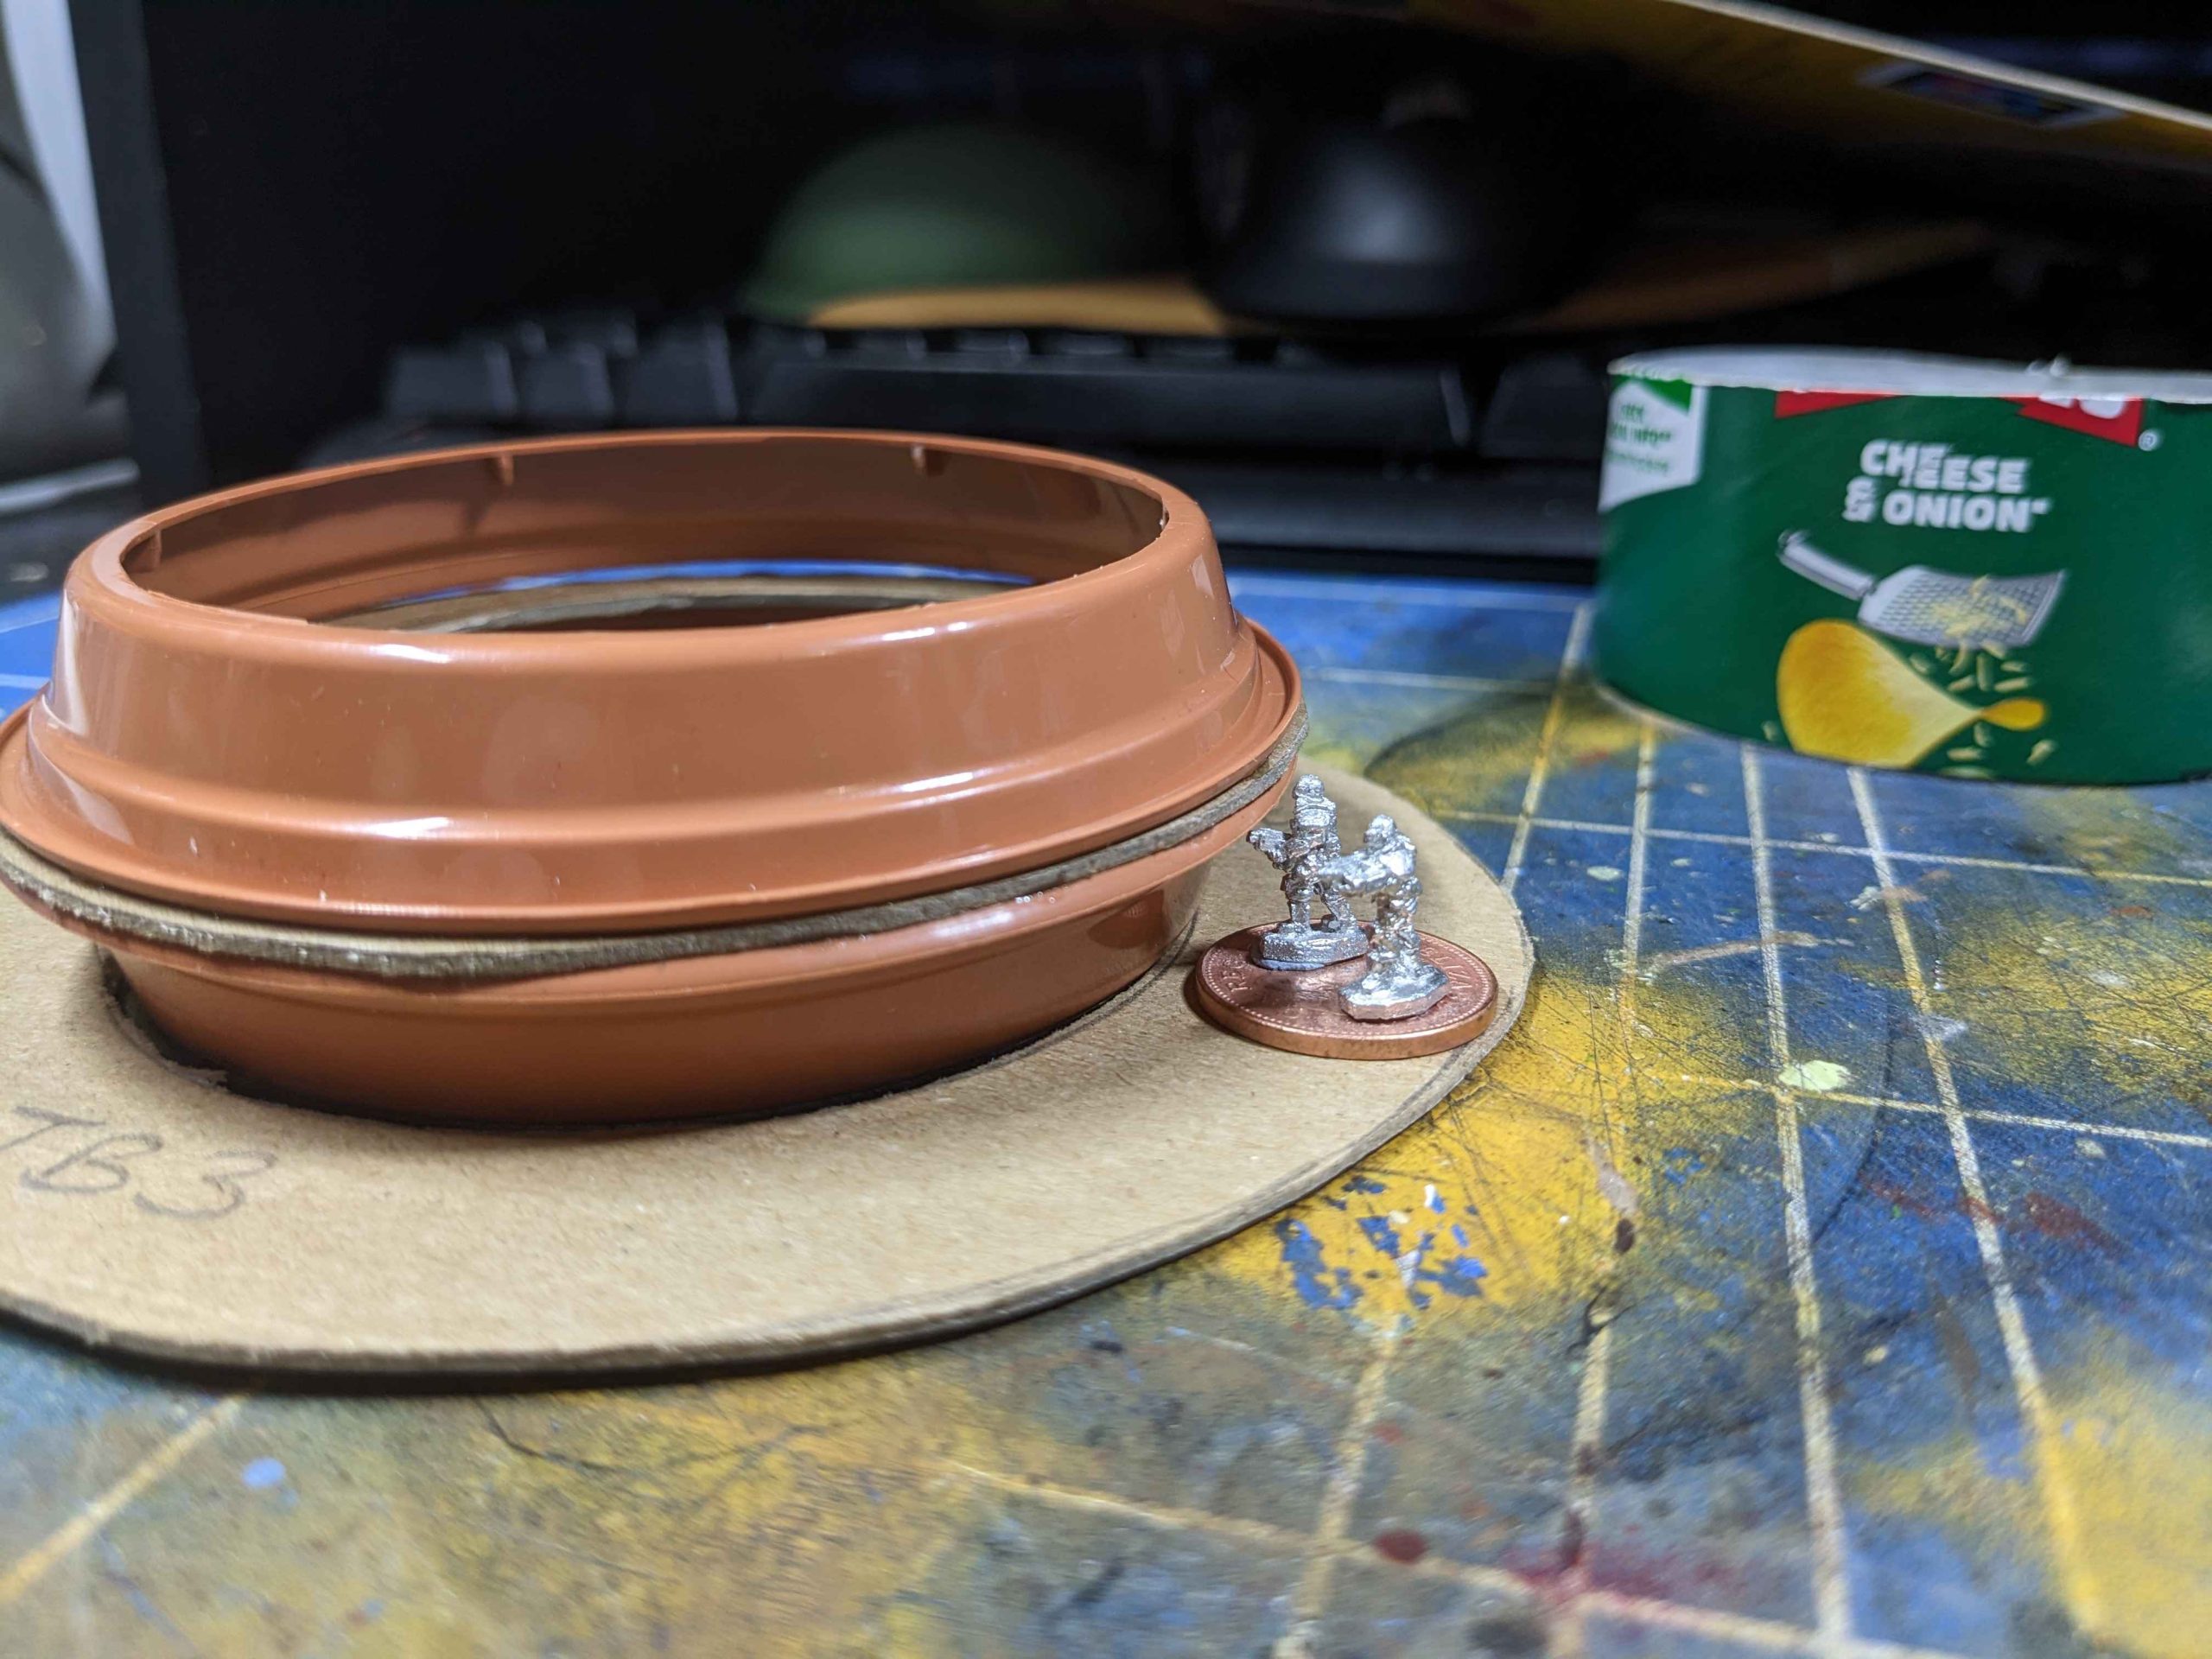
The Round House is made from plant pot saucers and some cardboard. The plastic of the saucers was a pain in the hole to cut without cracking because it is cheap plastic but in the end the basic structure is sound. The BPTI leaves the top open but I’m not 100% I’ll stick with that. The lid for the Pringles tube fit perfectly so I might paint that up at the same time and just sit it on top.
I found my sample base of minis (ie a penny with two 10mm soldiers on it) and brought out my dad’s old compass set to get a reasonable circle. By which I mean the drawn circle was perfect but my cutting out was not! I’ve used slightly thicker card than the cereal box they specified but that’s mostly because I have more of it to hand but it is more difficult to get very precise cuts.

Part six - definitely not panicking
Sitting watching The Weekender on Friday I had an “oh bugger” moment when Gerry mentioned the TerrainFest was coming to a close soon. I’ve been going through a fair bit of stress at work so far this year and so have lost all sense of time which, it turns out is bad and good. Bad because I’ve not worked on Tracy Island since November. Good because I forgot how weeks work and actually have an extra one before my 40k game day which means if I push really hard, I can do both.
So, let’s make the world in seven days shall we? Or at least a fictional island.
Sunday
- I needed the base board. I’ve had this piece of MDF for a few years now and it has been used a fair bit for a solo skirmish table top. The thing is, I bought it for a different table build but haven’t got round to that so technically it is freely available to use for this project. It is 700mm x 700mm because that was the biggest it could be before shipping jumped in price and I’m a cheapskate. It is 10mm thick and has foam furniture pads on the bottom of it to protect tables from scratching.
- Next I needed to cut my Thunderbird hangars to size:
- Thunderbird 1 The yoghurt pot was pretty straight forward as you just measure the height of the toy and cut a little above it. The top of this is the ground level for the main part of the playable island
- Thunderbird 2 The tissue box was easy enough and I shoved the off-cut inside the box to give it a bit of rigidity for the papier-mâché stage.
- Thunderbird 3 I decided to go with the Pringles pot over the toilet roll inner just for accessibility for adult hands. The height of it needed to be a bit higher than ground level as it becomes part of the building which hides the entrance. This was largely just eyeballed.
- Before sticking anything down, I drew out some plans to get a better idea of making a more playable space; even trying my best, this is going to be a very small table size. Ho-hum, it’ll have to do. I used pennies as stand ins for bases to work out path widths and staircases.
- Then things got messy! After sticking down the hangars and using my earlier house building to keep me right, I set about papier-mâché the landform. We don’t get newspapers in the library anymore so I’ve been saving the brown paper that companies use in packages for months. I was so confident that I had enough but in the end, I went through pretty much all of it. After a couple of hours I had the basics in and a layer of smoother paper over the top to form a skin. There is another layer of tin foil to go over top of everything to the paper skin was more a way to remind me as I was working that I was happy with an area and to leave it alone. Now we leave it to dry…
This was a really fun afternoon. It was my six day week at work this week and so tiredness combined with the aforementioned stress meant that just switching off all internet and putting on some music for an afternoon of playing round with paper and glue was perfect.
By restricting myself to only the materials used in the original Blue Peter craft, it has been weirdly freeing. Every time I started to overthink problems and look around for other solutions to hand, I just reminded myself that this was what I had and I just need to make do. If left to my own devices I would have built a much more stable (and I suspect durable) island but it would also have taken me twice as long because I would have gone raking through cupboards and tinkering to get the best materials for the job.
Instead, this is what we have. For better or for worse.
Part five - Ass backwards
For obvious reasons, the BPTI was built from the base up but for making a wargaming table, I’m going to go about things a little backwards. I need certain parts of the island to look like they have been built in rather than precariously sitting on top so I figure making them first makes sense.
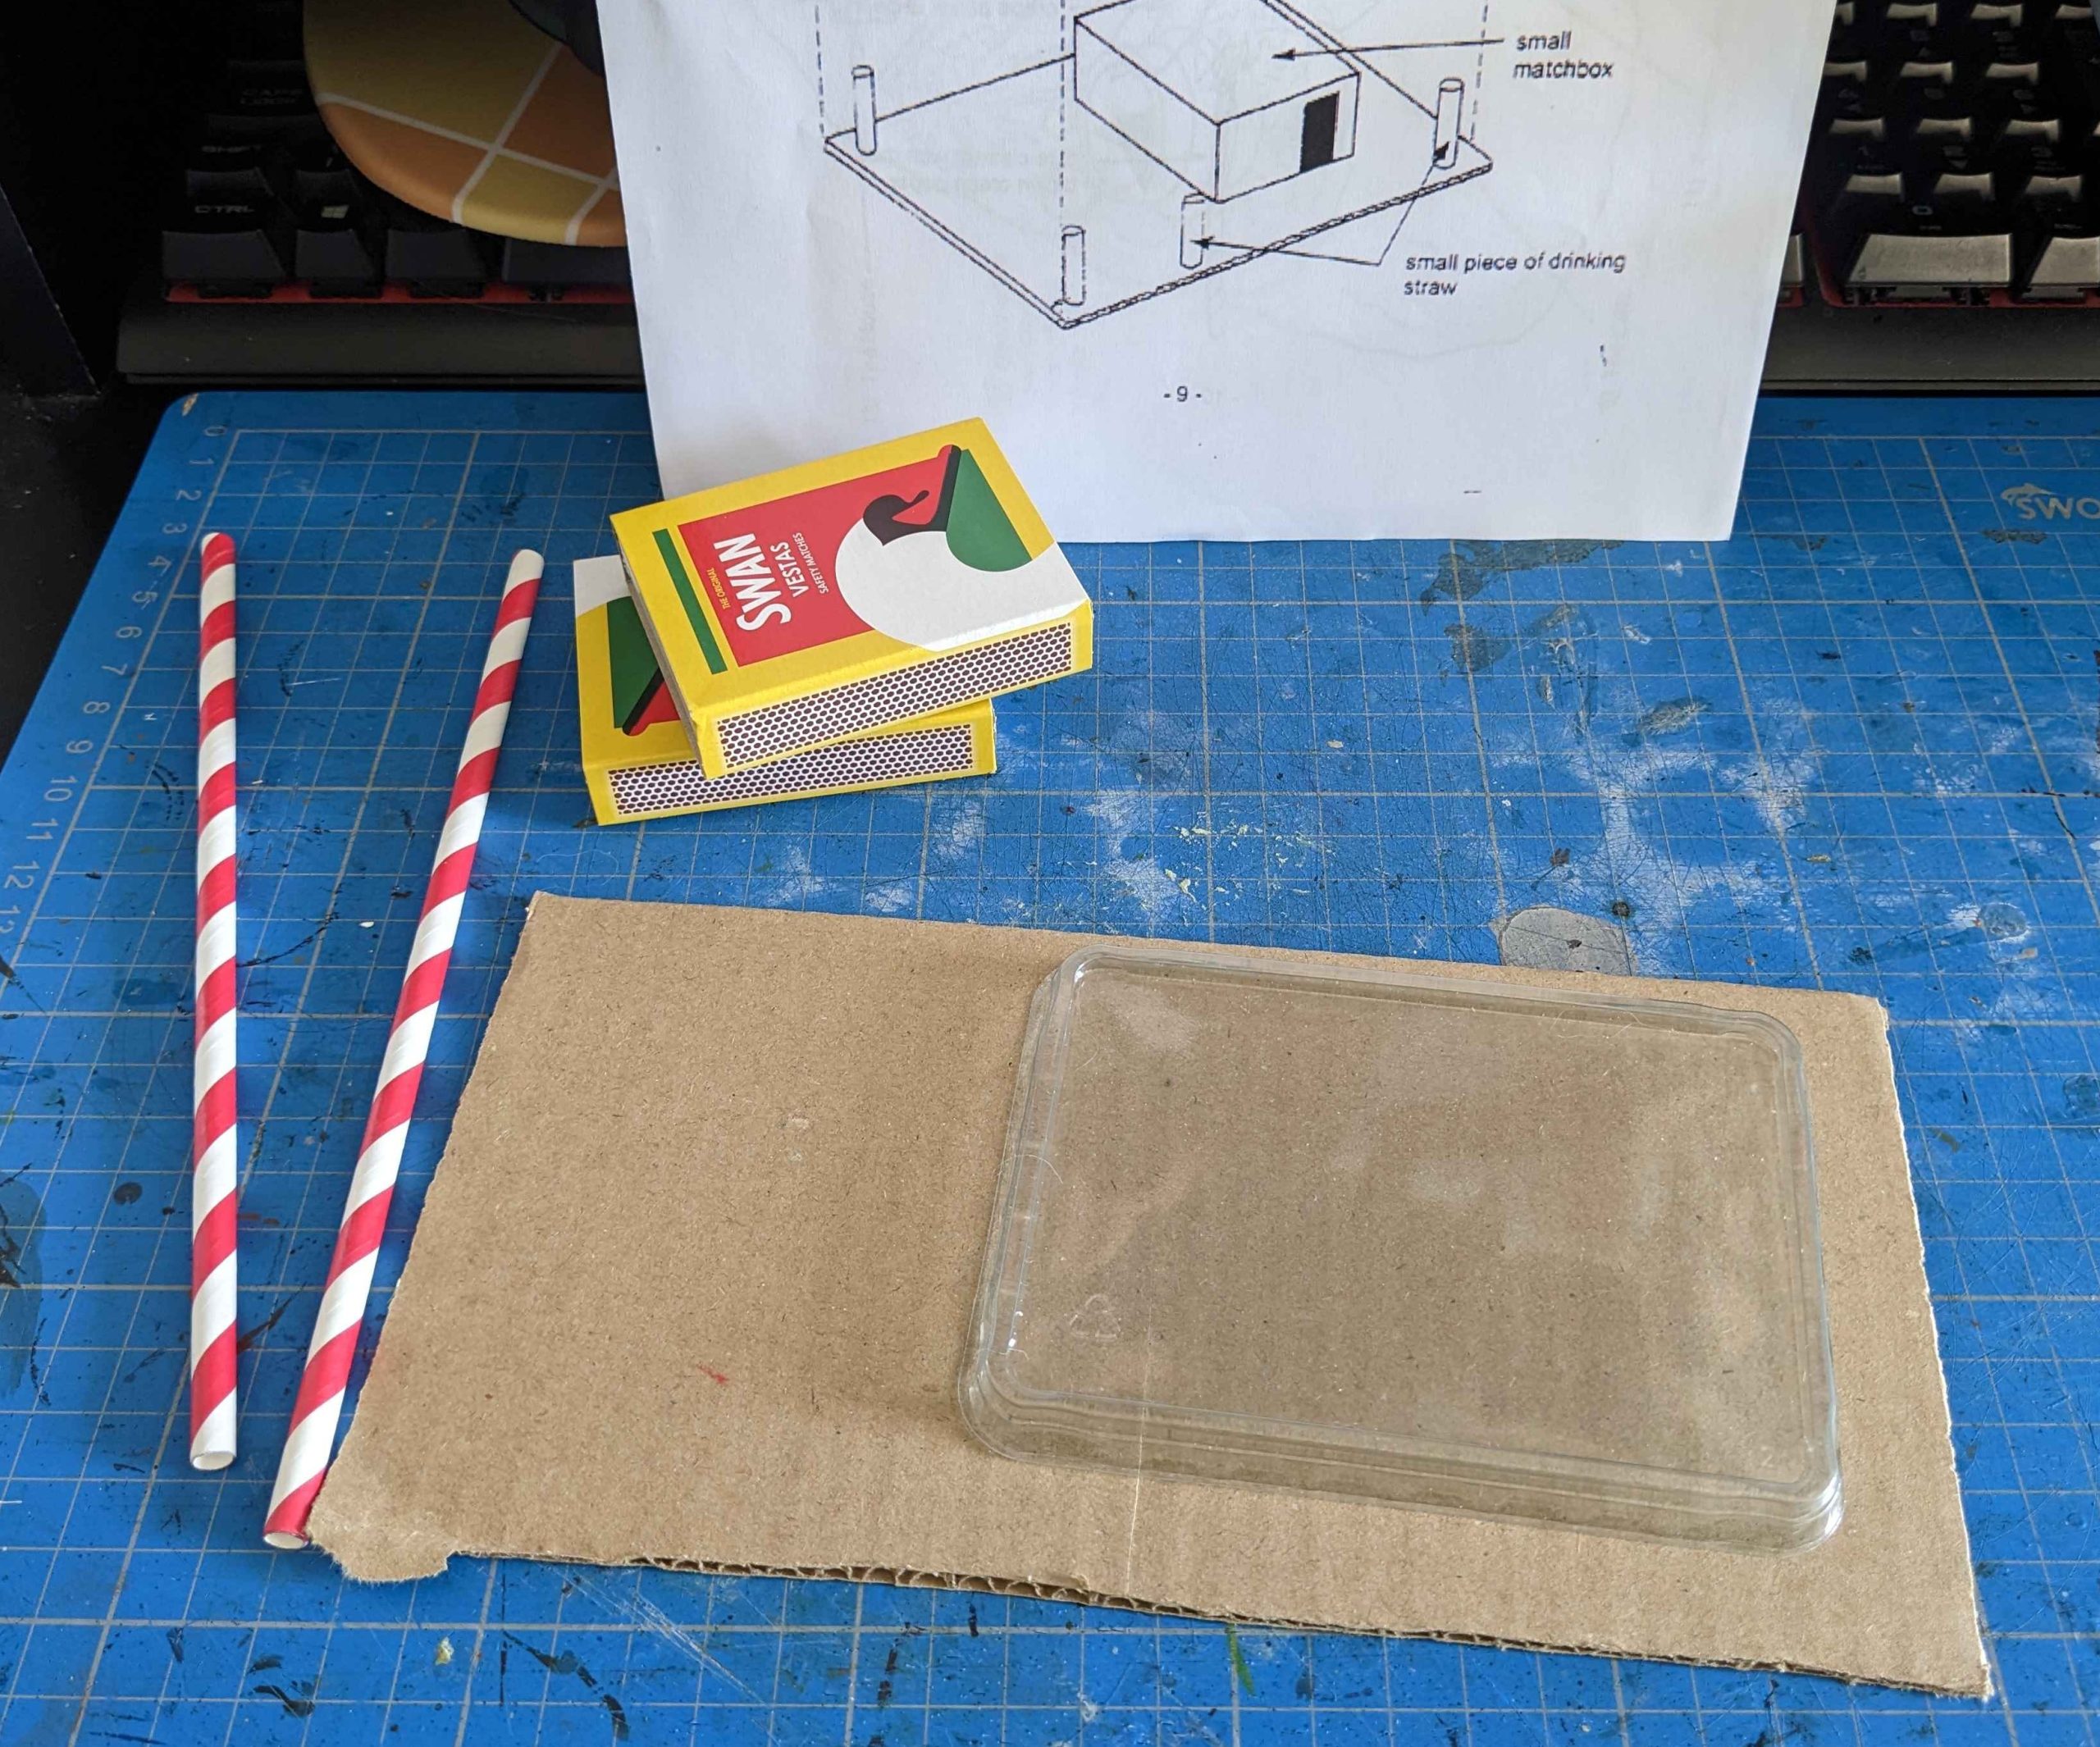
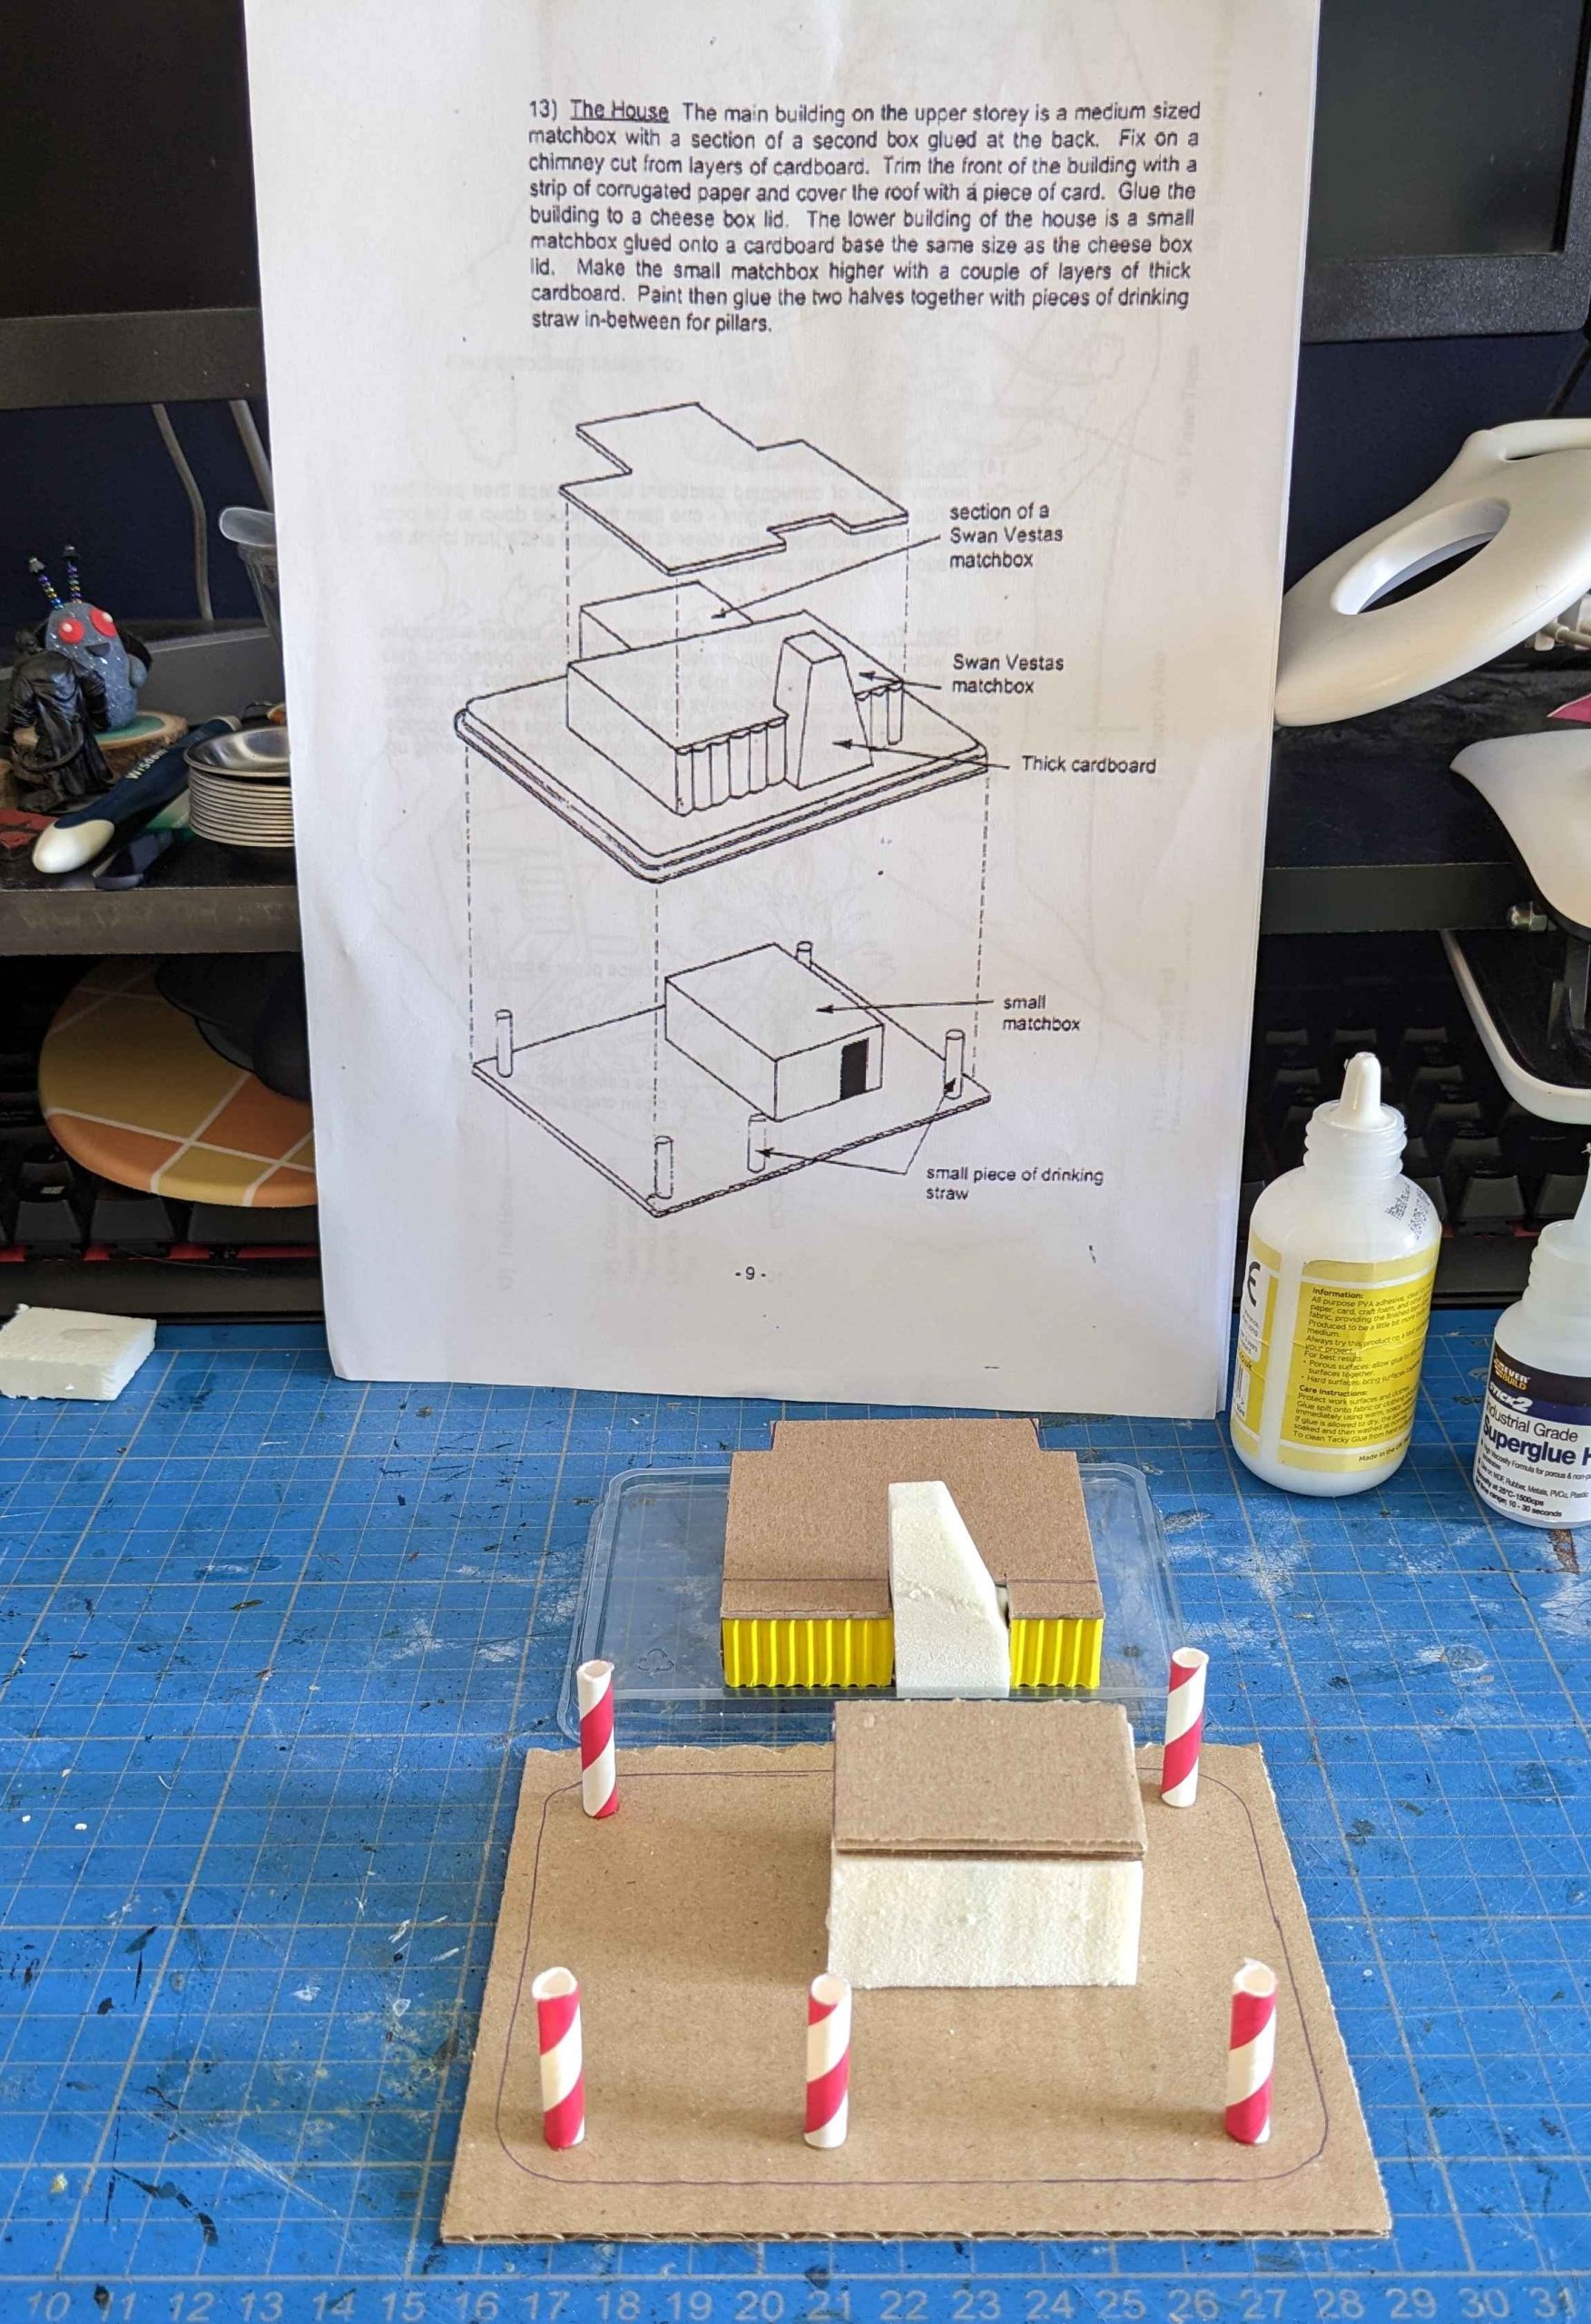
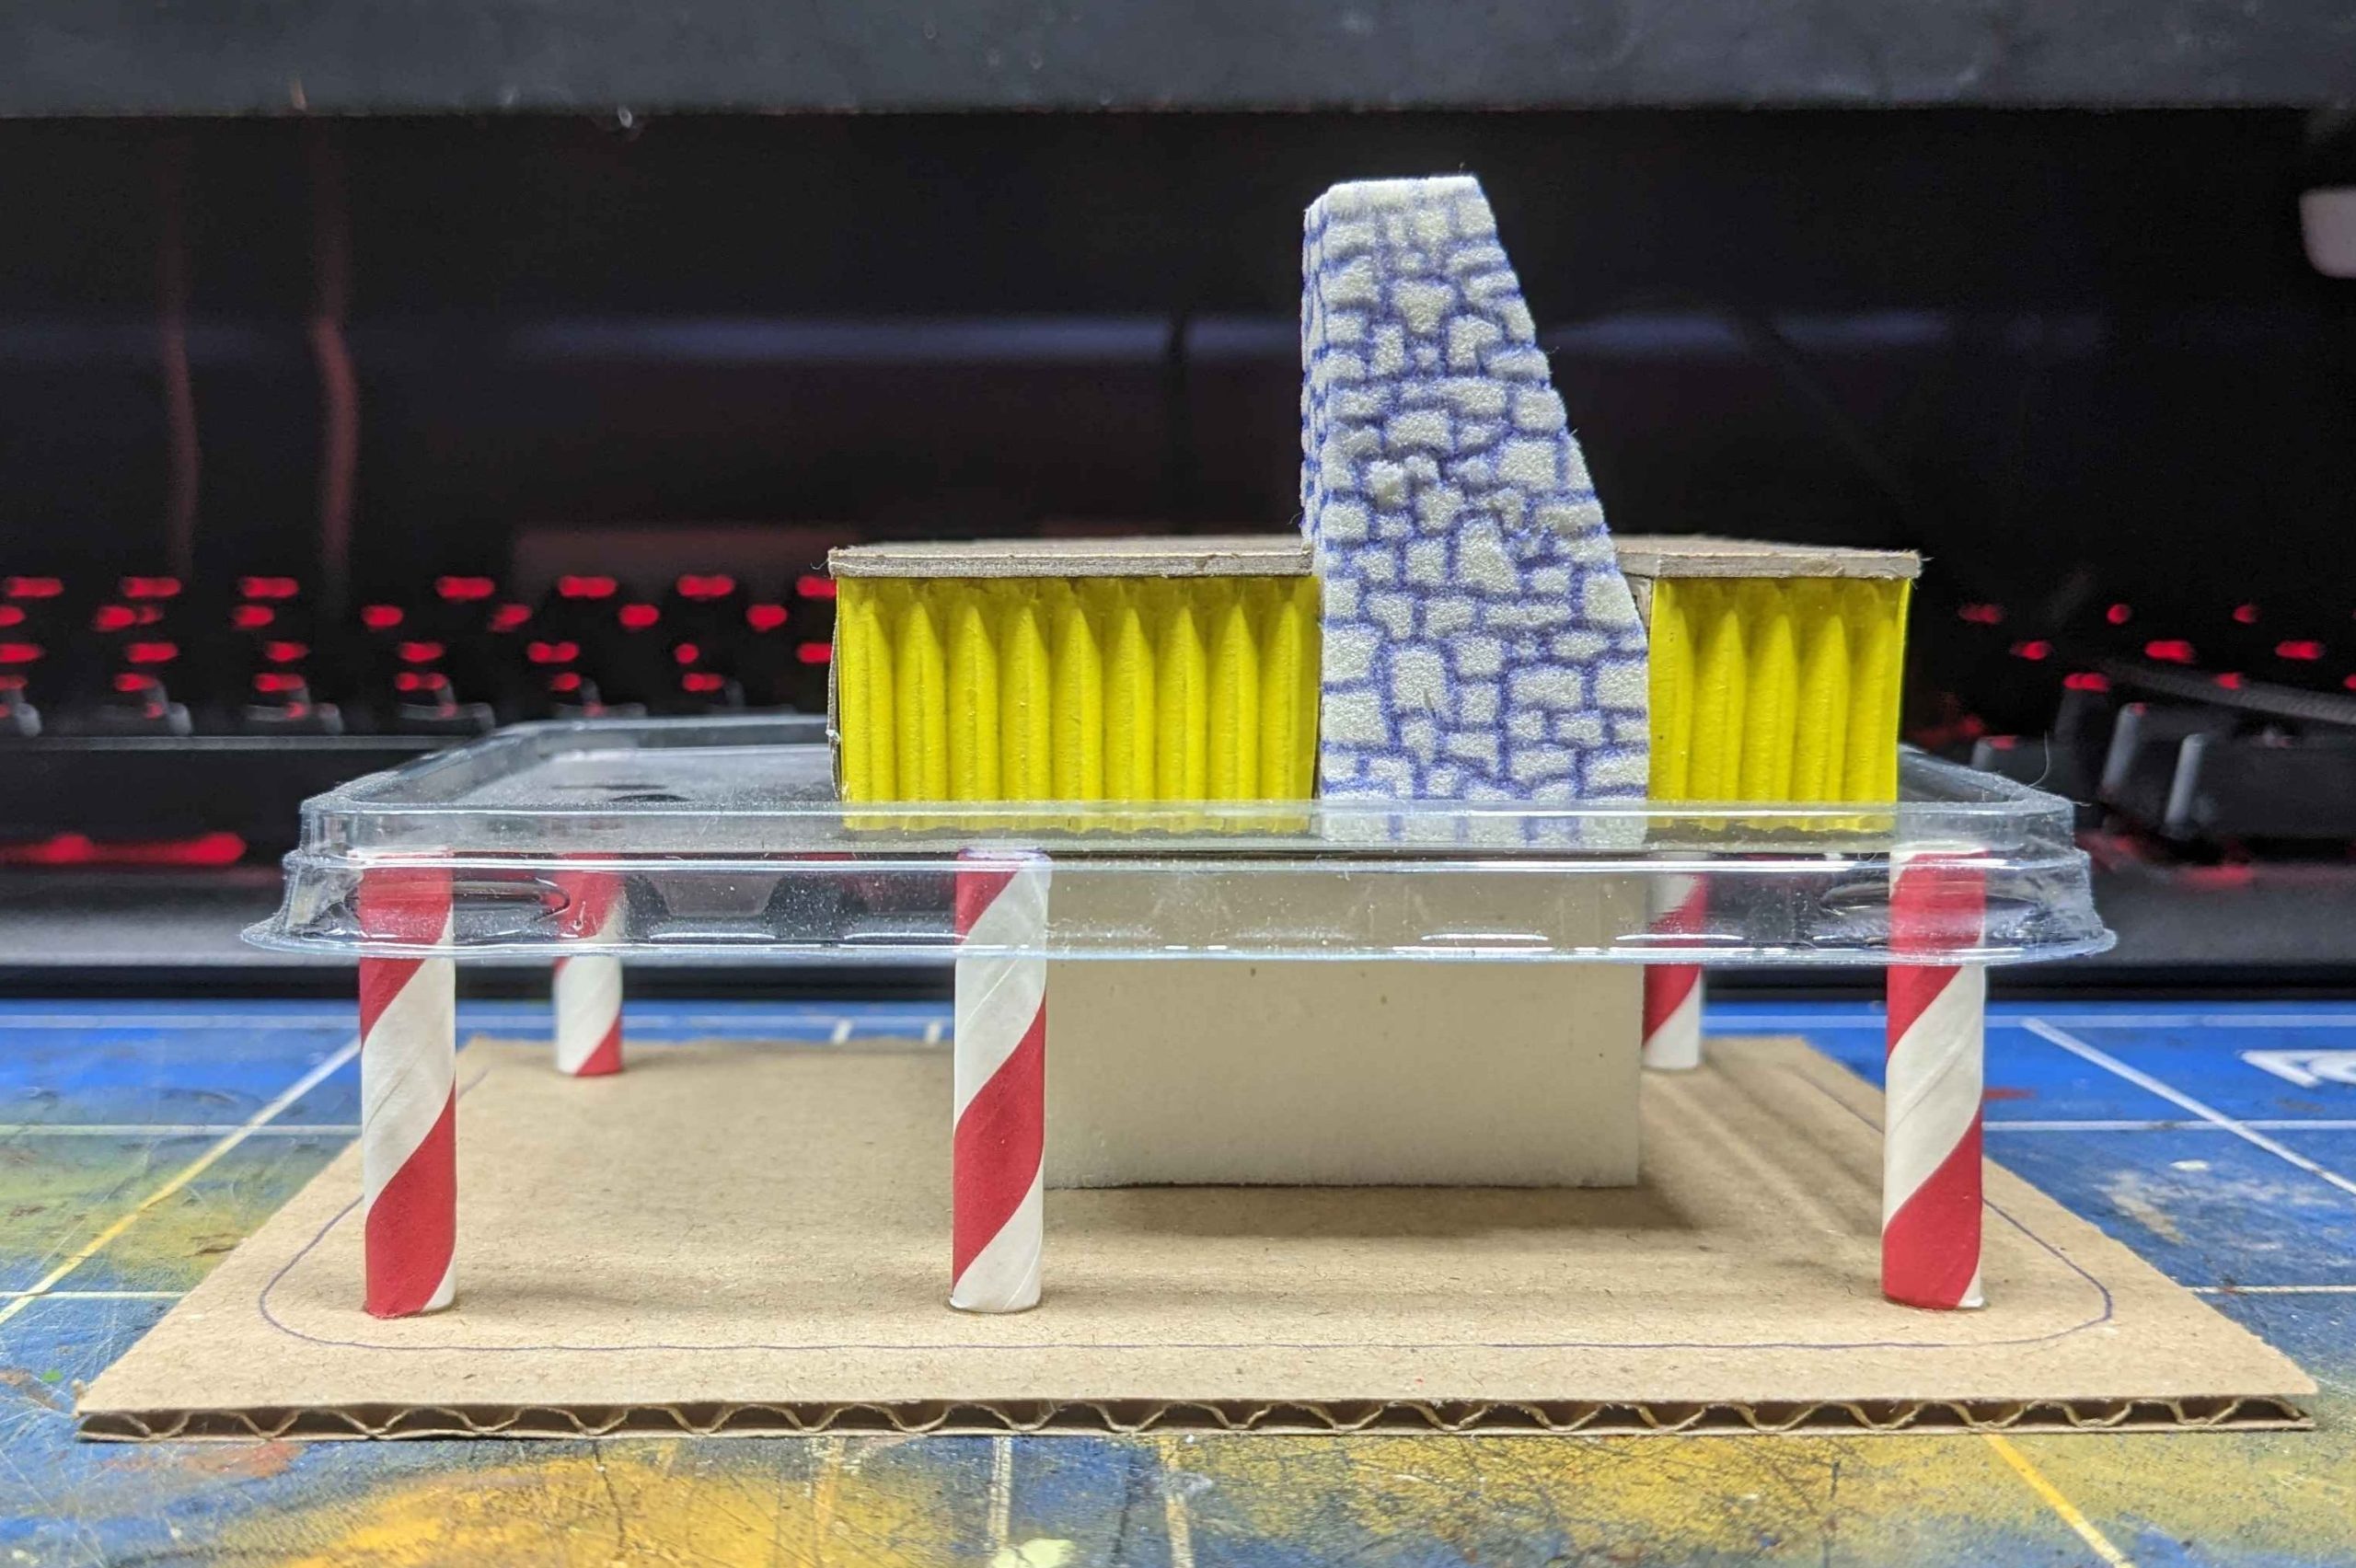
First up then is the house. This is a weird part of the fact sheet because they actually do use a brand name. The main house is make of one small matchbox and two Swan Vestas matchboxes (bigger than a normal box but smaller than the extra-long ones).
I’m not going to go into the steps/details because I just followed the fact sheet and video instructions… it feels a bit weird to take credit for other people’s work.

Part four - Accuracy
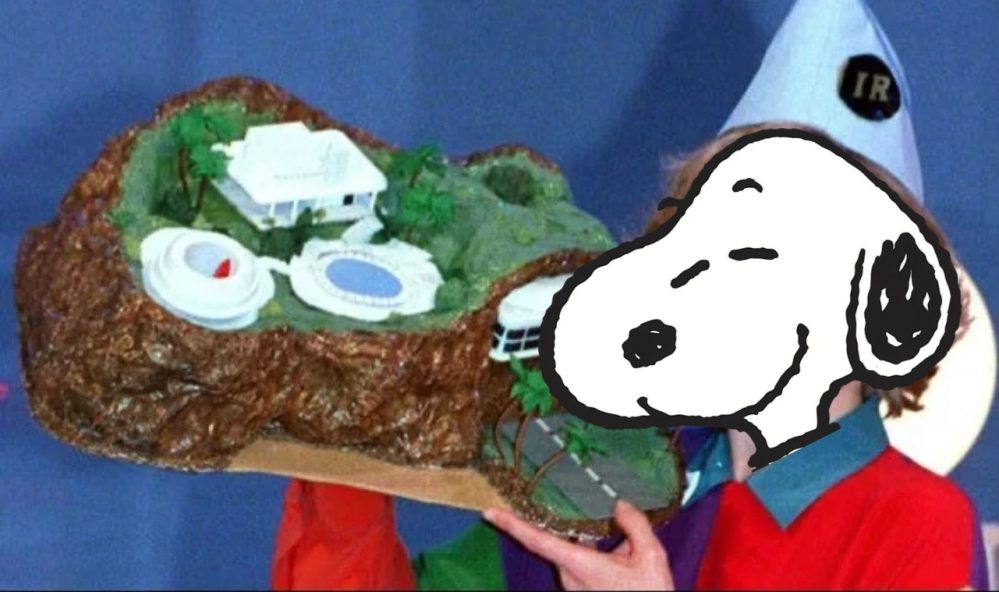
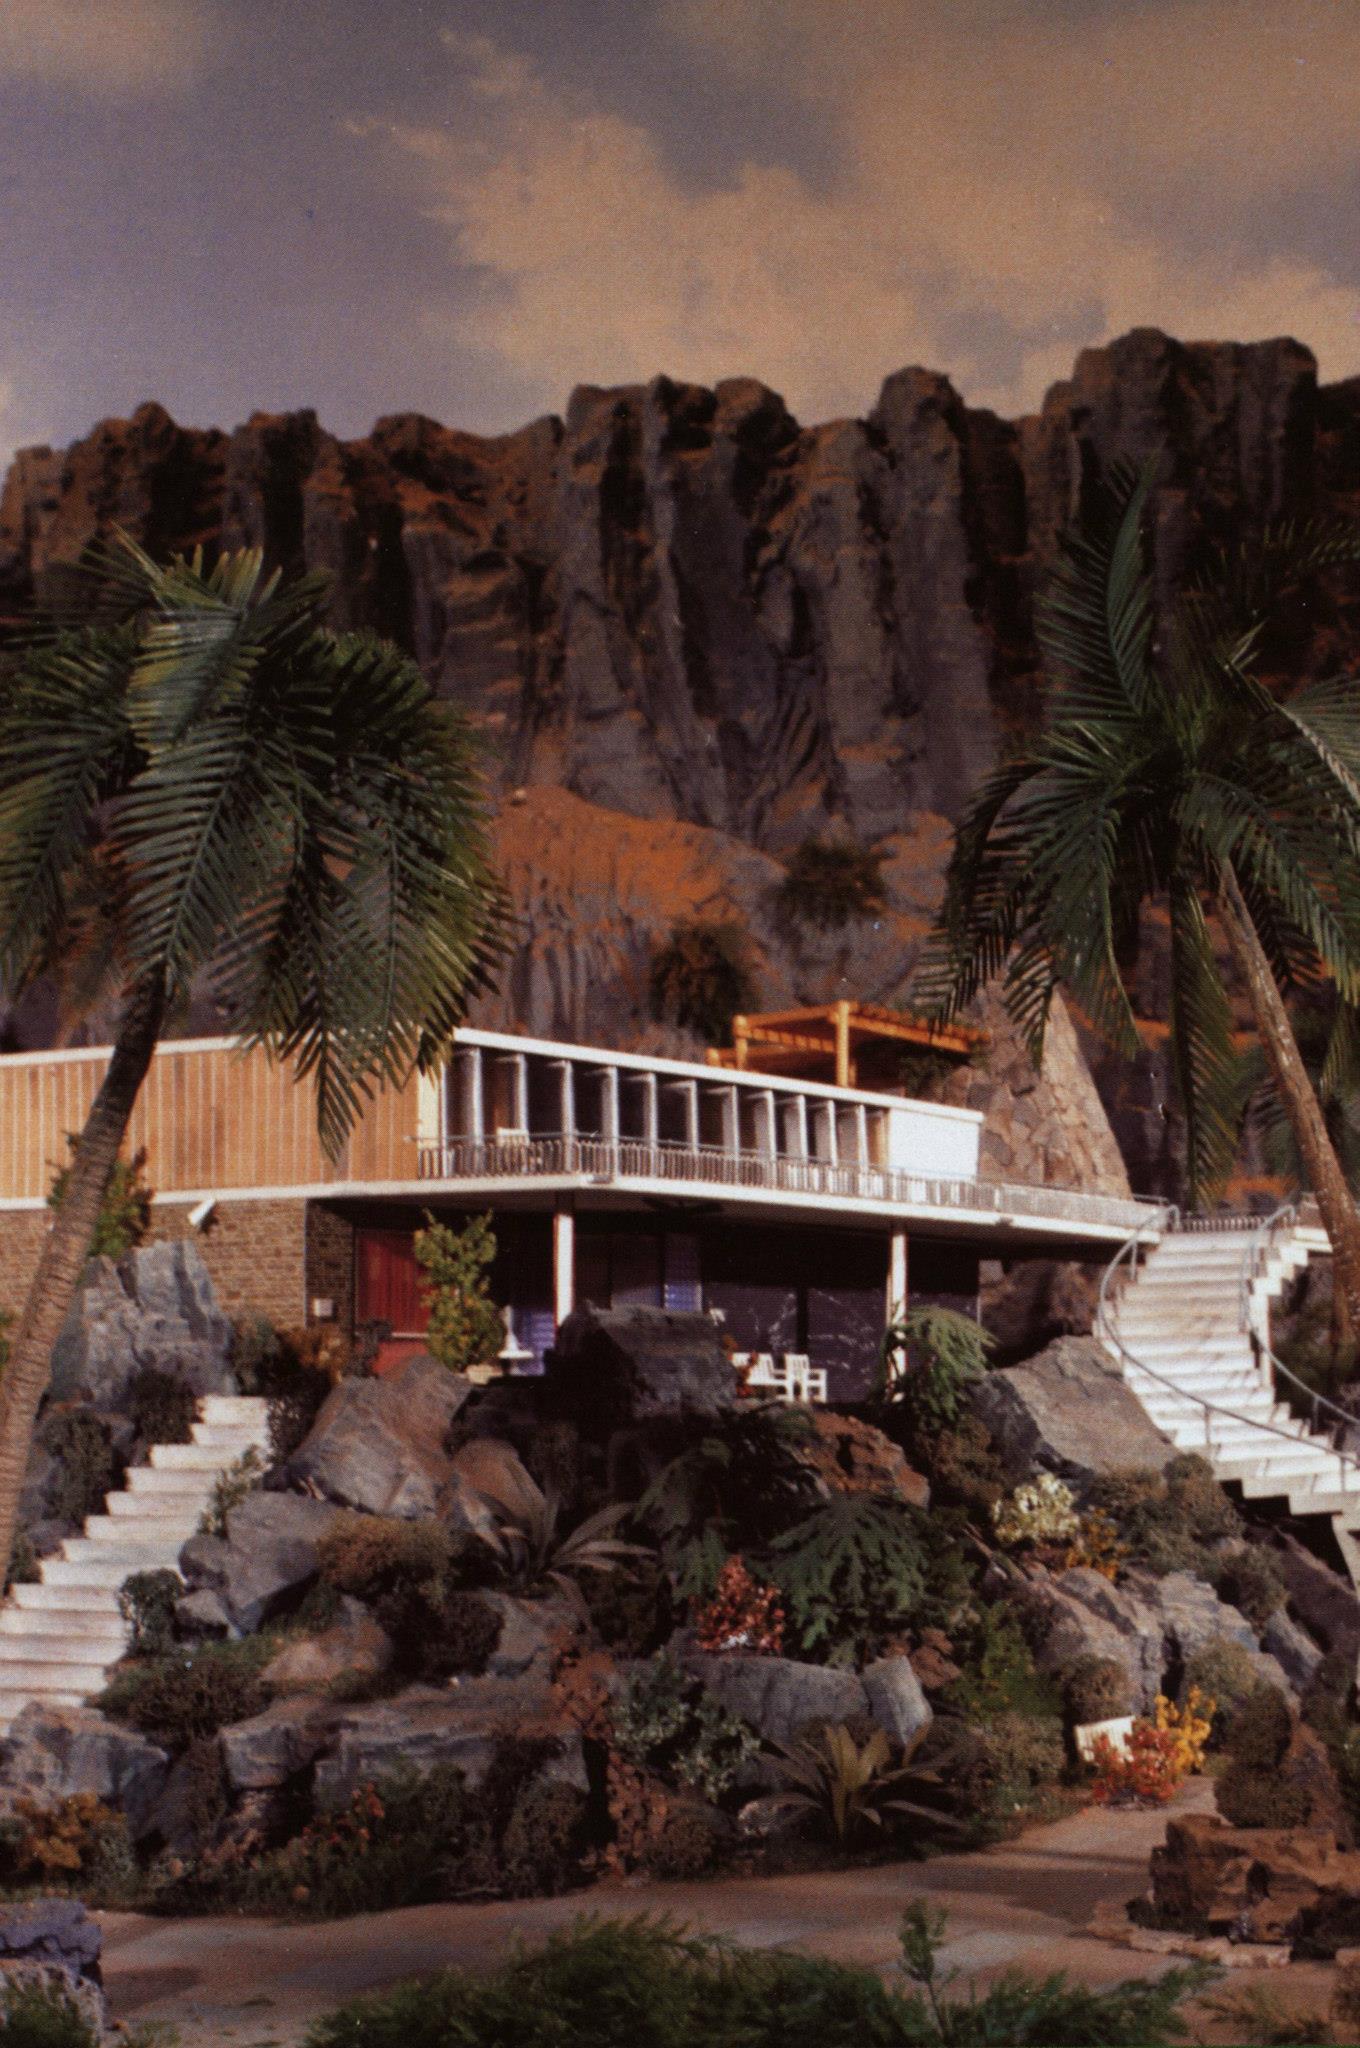
Ref Images from the original 1965 show

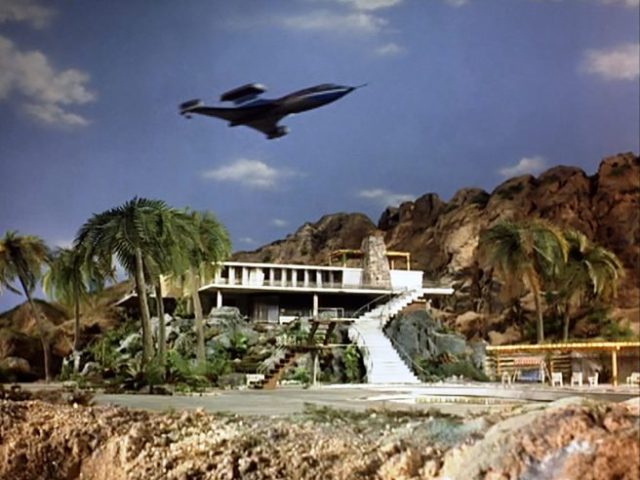

The BPTI was meant to replicate a toy rather than the original Thunderbirds tv show island. It is quite small in footprint and for wargaming will offer limited playable space. I’ve decided then to make it bigger, scaled to 10mm minis being on pennies. The caveat is that I can only use things they used in the original BPTI.
Anyone who has read my project logs for things in the past might notice that I’m a bit of a stickler for details. Watching the original video back again and comparing notes with what is actually in the fact sheet there are some differences in materials. It is silly things like instead of a yogurt pot, use a washing up liquid bottle. Rather than a toilet roll inner, they say to use a “potato crisp tube”. It turns out this is because the fact sheet on the website is a new(er/ish) version from 2000.
Aside: This also gives out international community members an insight into something that we all take for granted here – the BBC were not allowed to mention brand names back then. Still largely aren’t though it is more lax than it was when I was a wain. It can be covered by saying “other brands are available” but on kids tv they were much stricter. That’s why you’ll hear an entire nation use the term sticky backed plastic instead of Sellotape. Blue Peter lives on in all of us. So not a Pringles can, potato crisp tube.
The question is do I go for the screen accurate or fact sheet functionality. In almost every case the fact sheet is for a slightly larger, easier to get your hands into option. As this is meant to be for conventions though, the TV version is what people will remember. I am perfectly aware that these are the kinds of things that don’t bother other people but I have brain goblins and this is just how they roll.
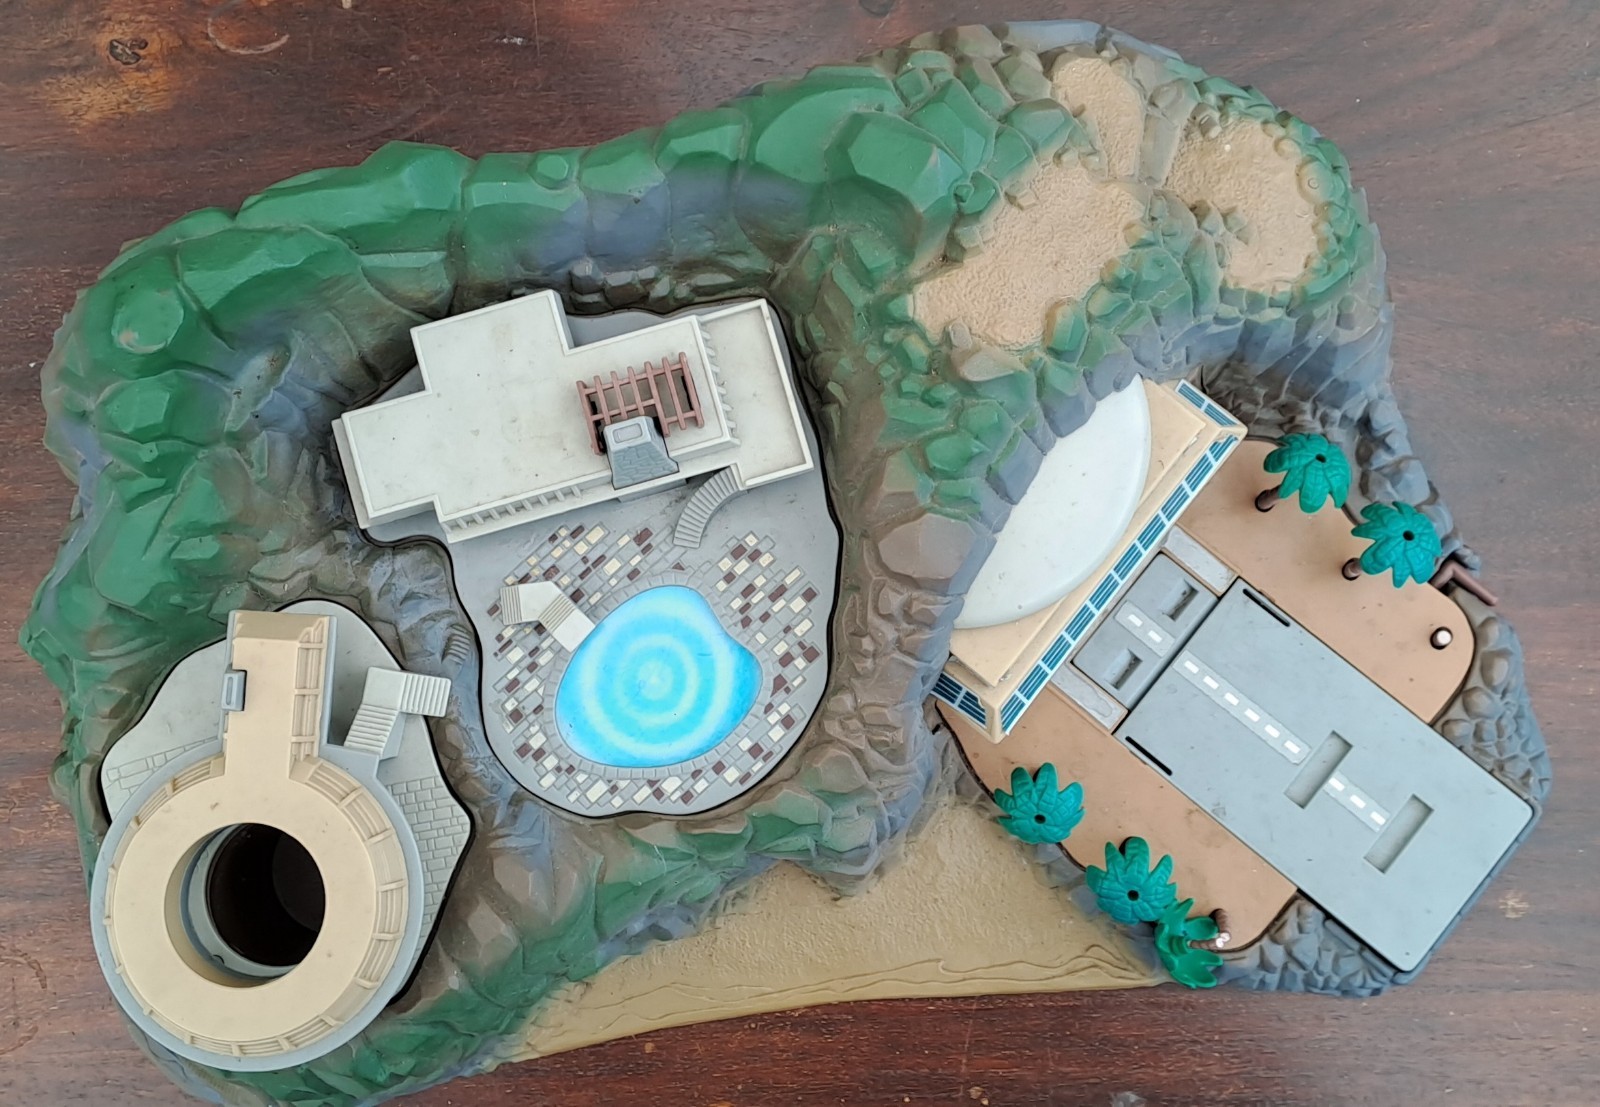
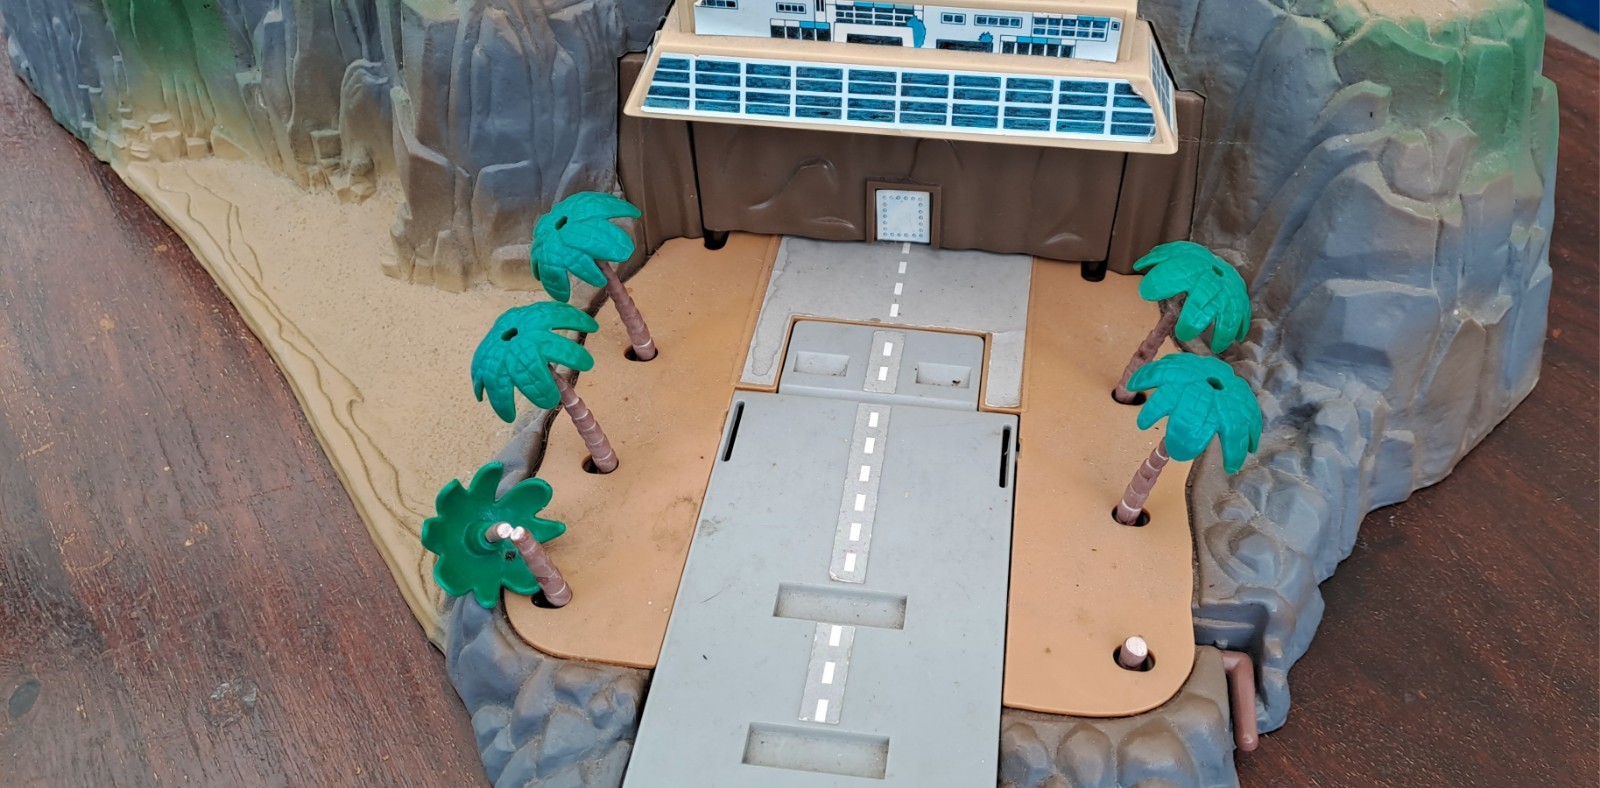
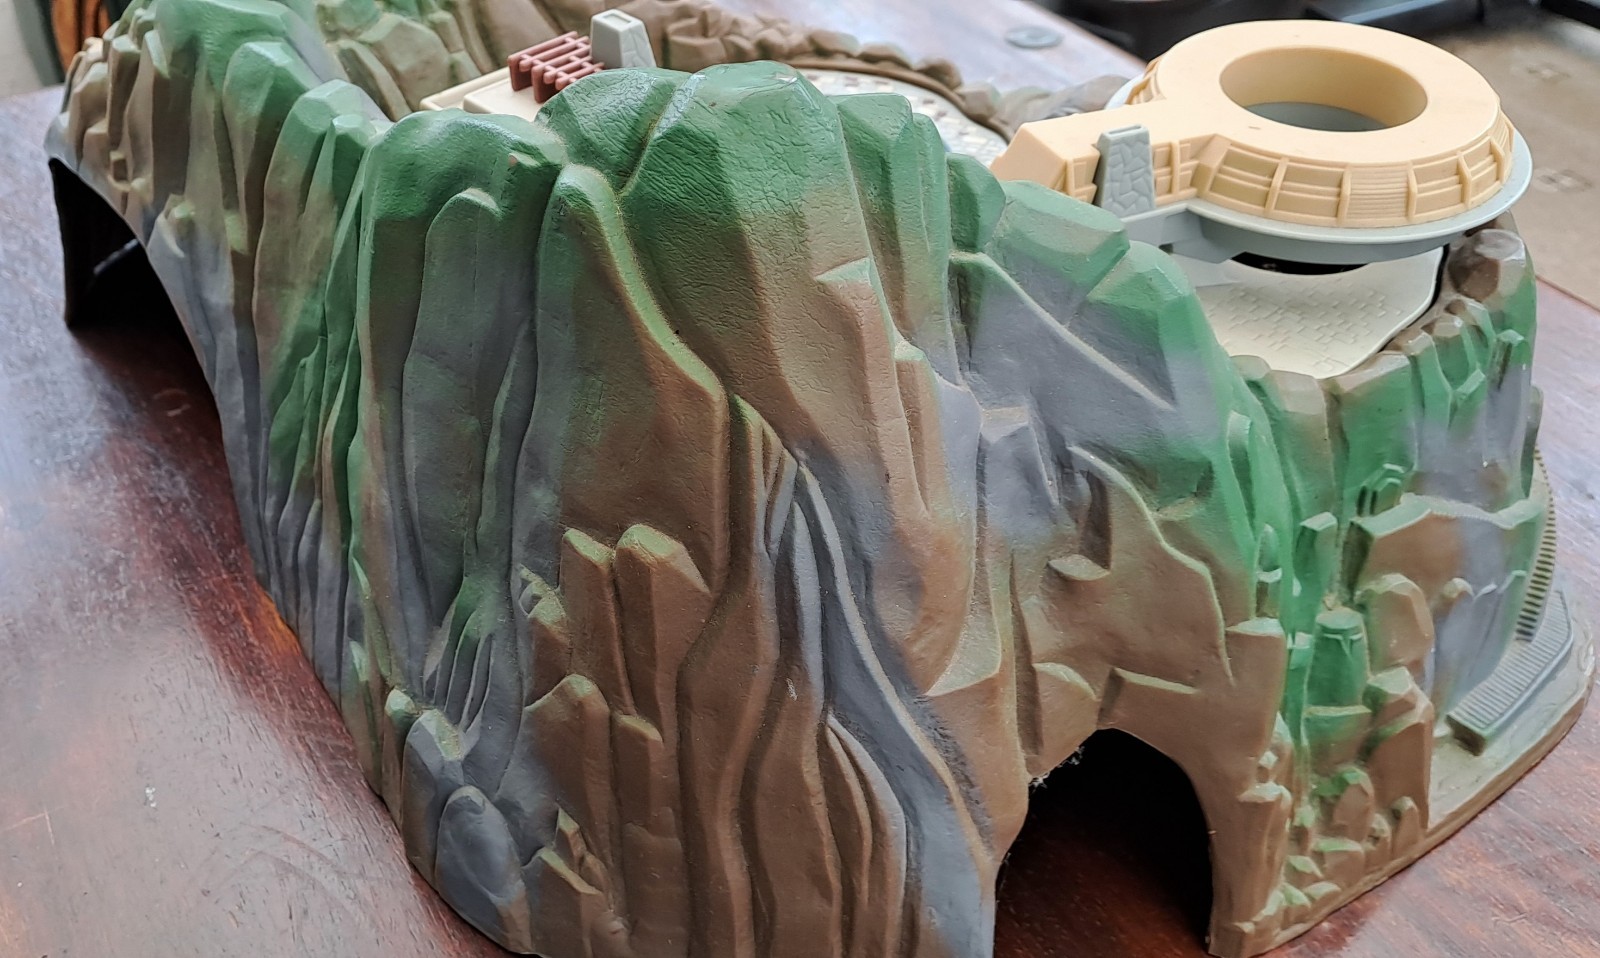
Ref Images from the 90s toy version
Part three - To eBay!
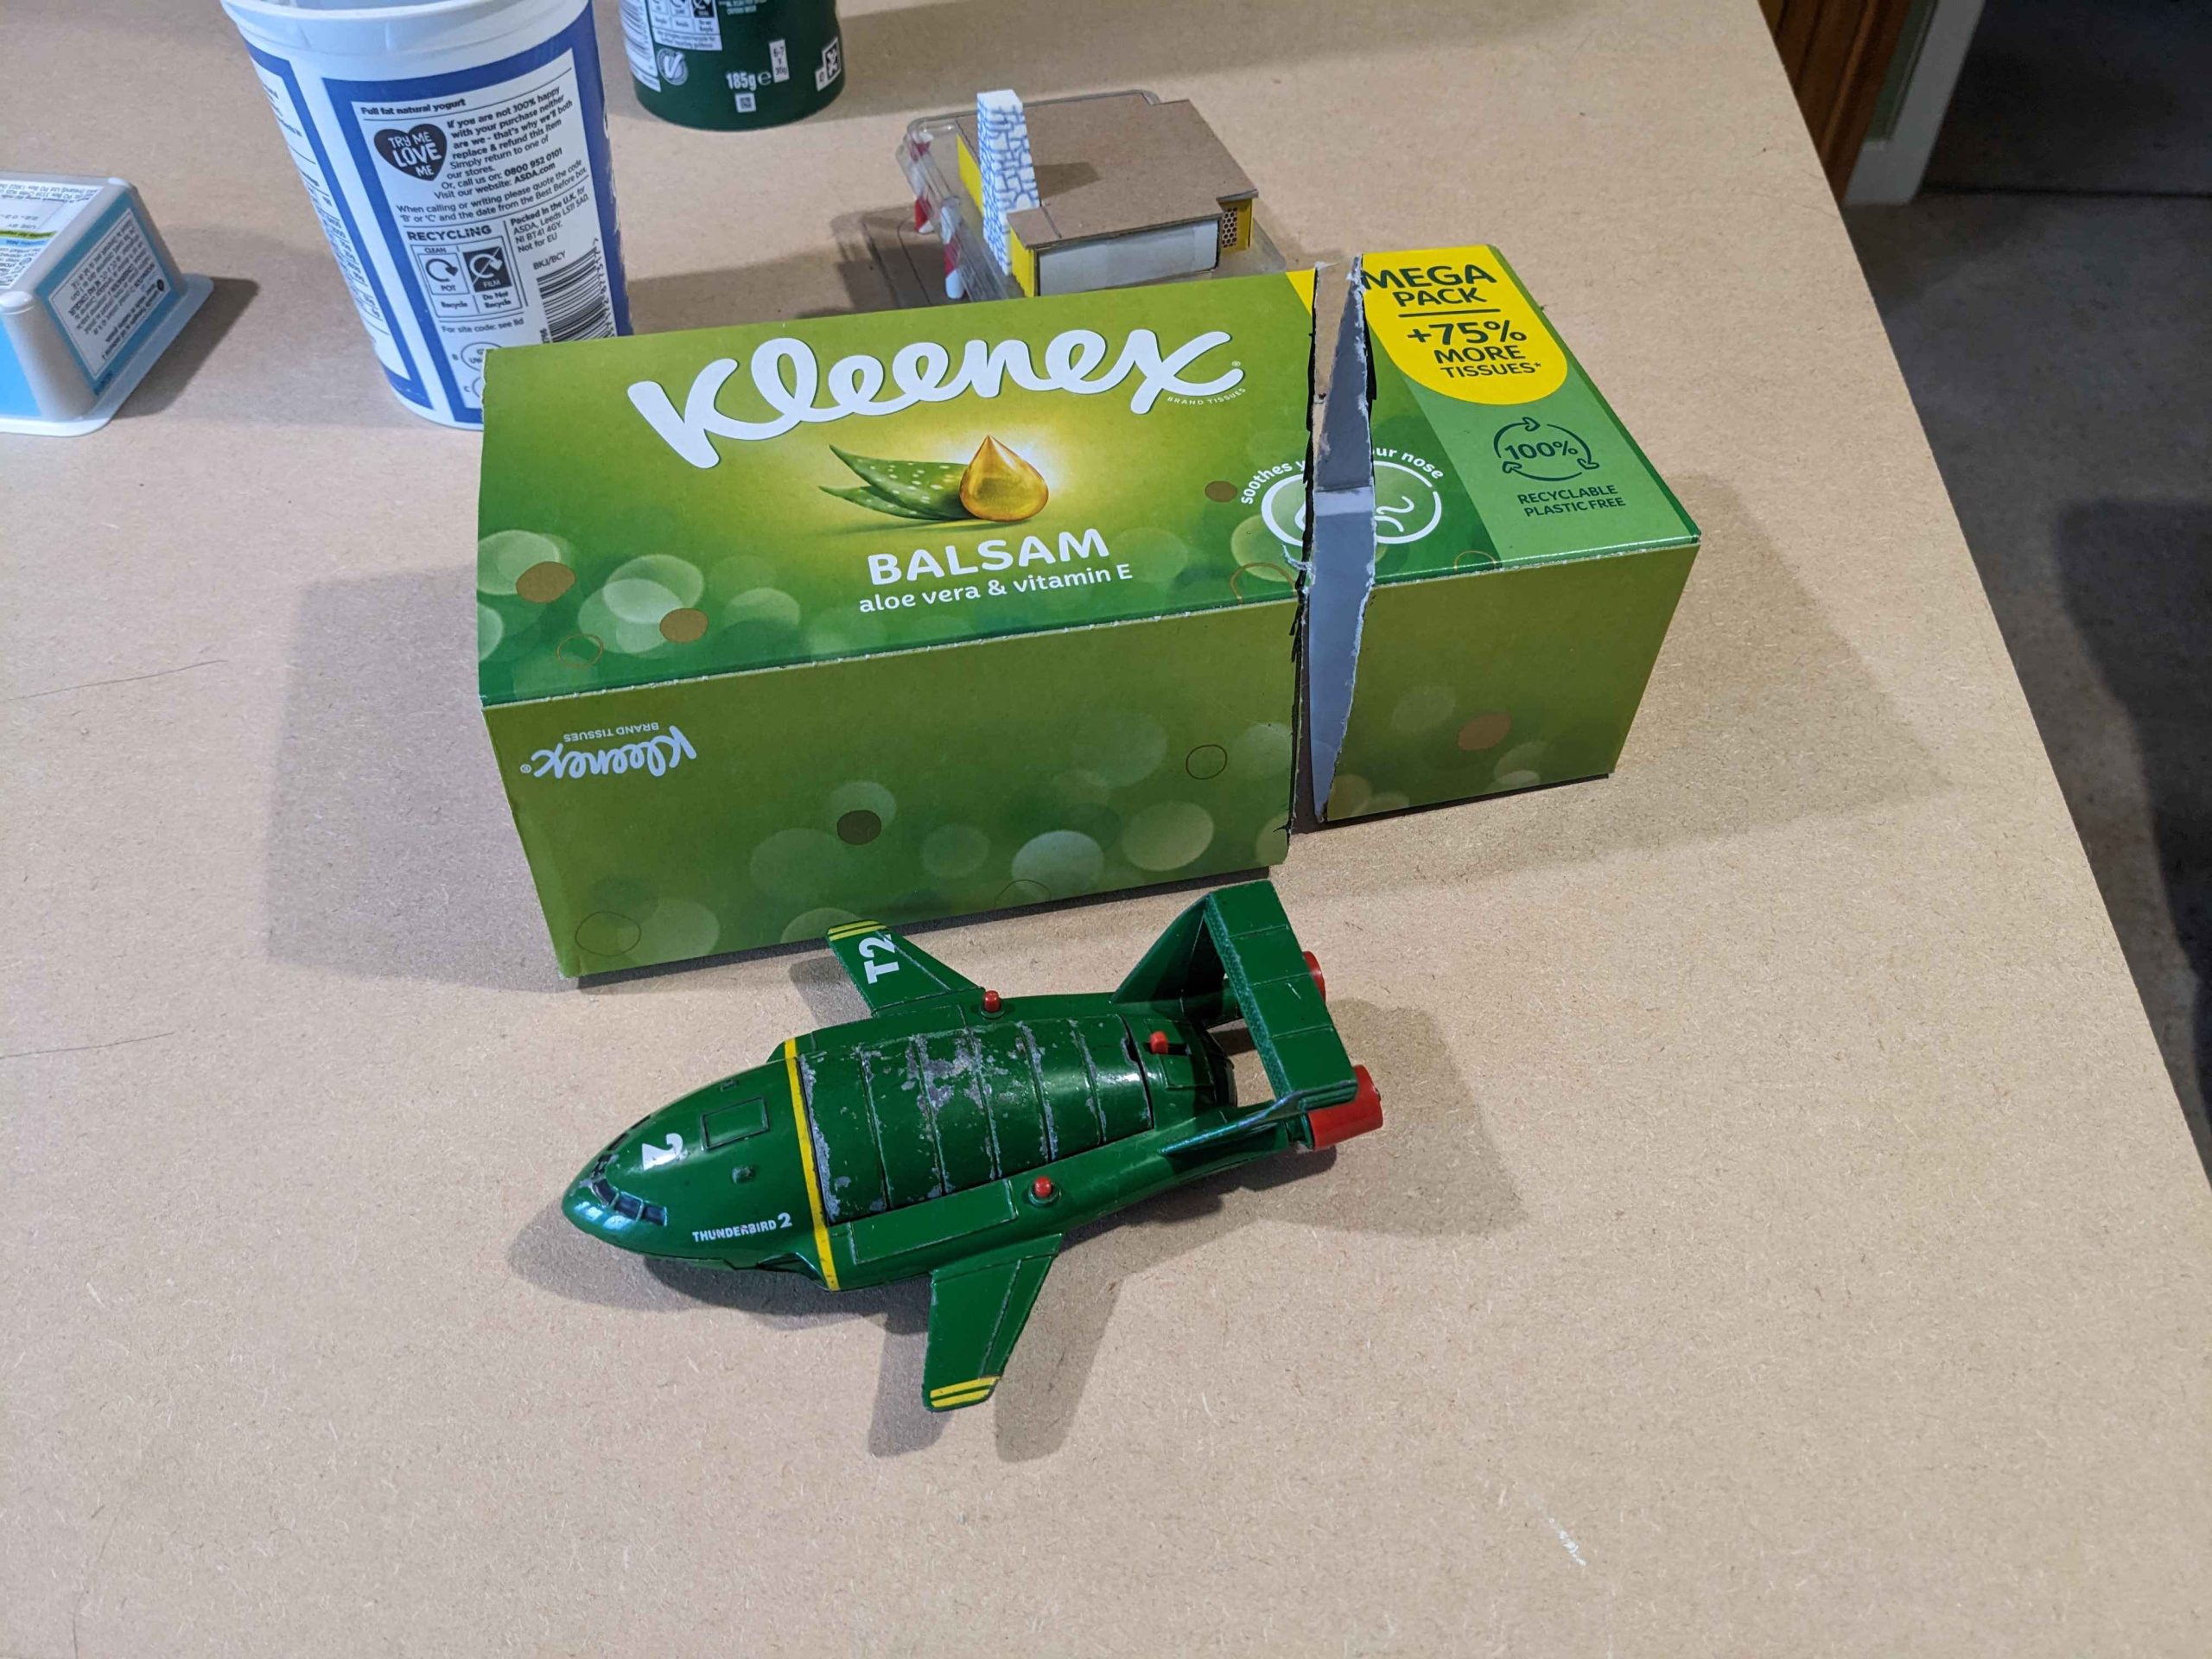
For the last few weeks I’ve been watching eBay to pick up the original 1992 metal toys that the Blue Peter Tracy Island was built around (from this point on referred to as BPTI for ease). Anything older than this century is of course now referred to as vintage and costs more than I’m willing to spend on this dumb project so it took a lot of looking to find this bundle of well loved, badly chipped and possibly chewed upon Thunderbird 1,2 and 3 for £16 including postage. I’m in two minds about painting them but that is not something I’ll be taking a decision on any time soon.
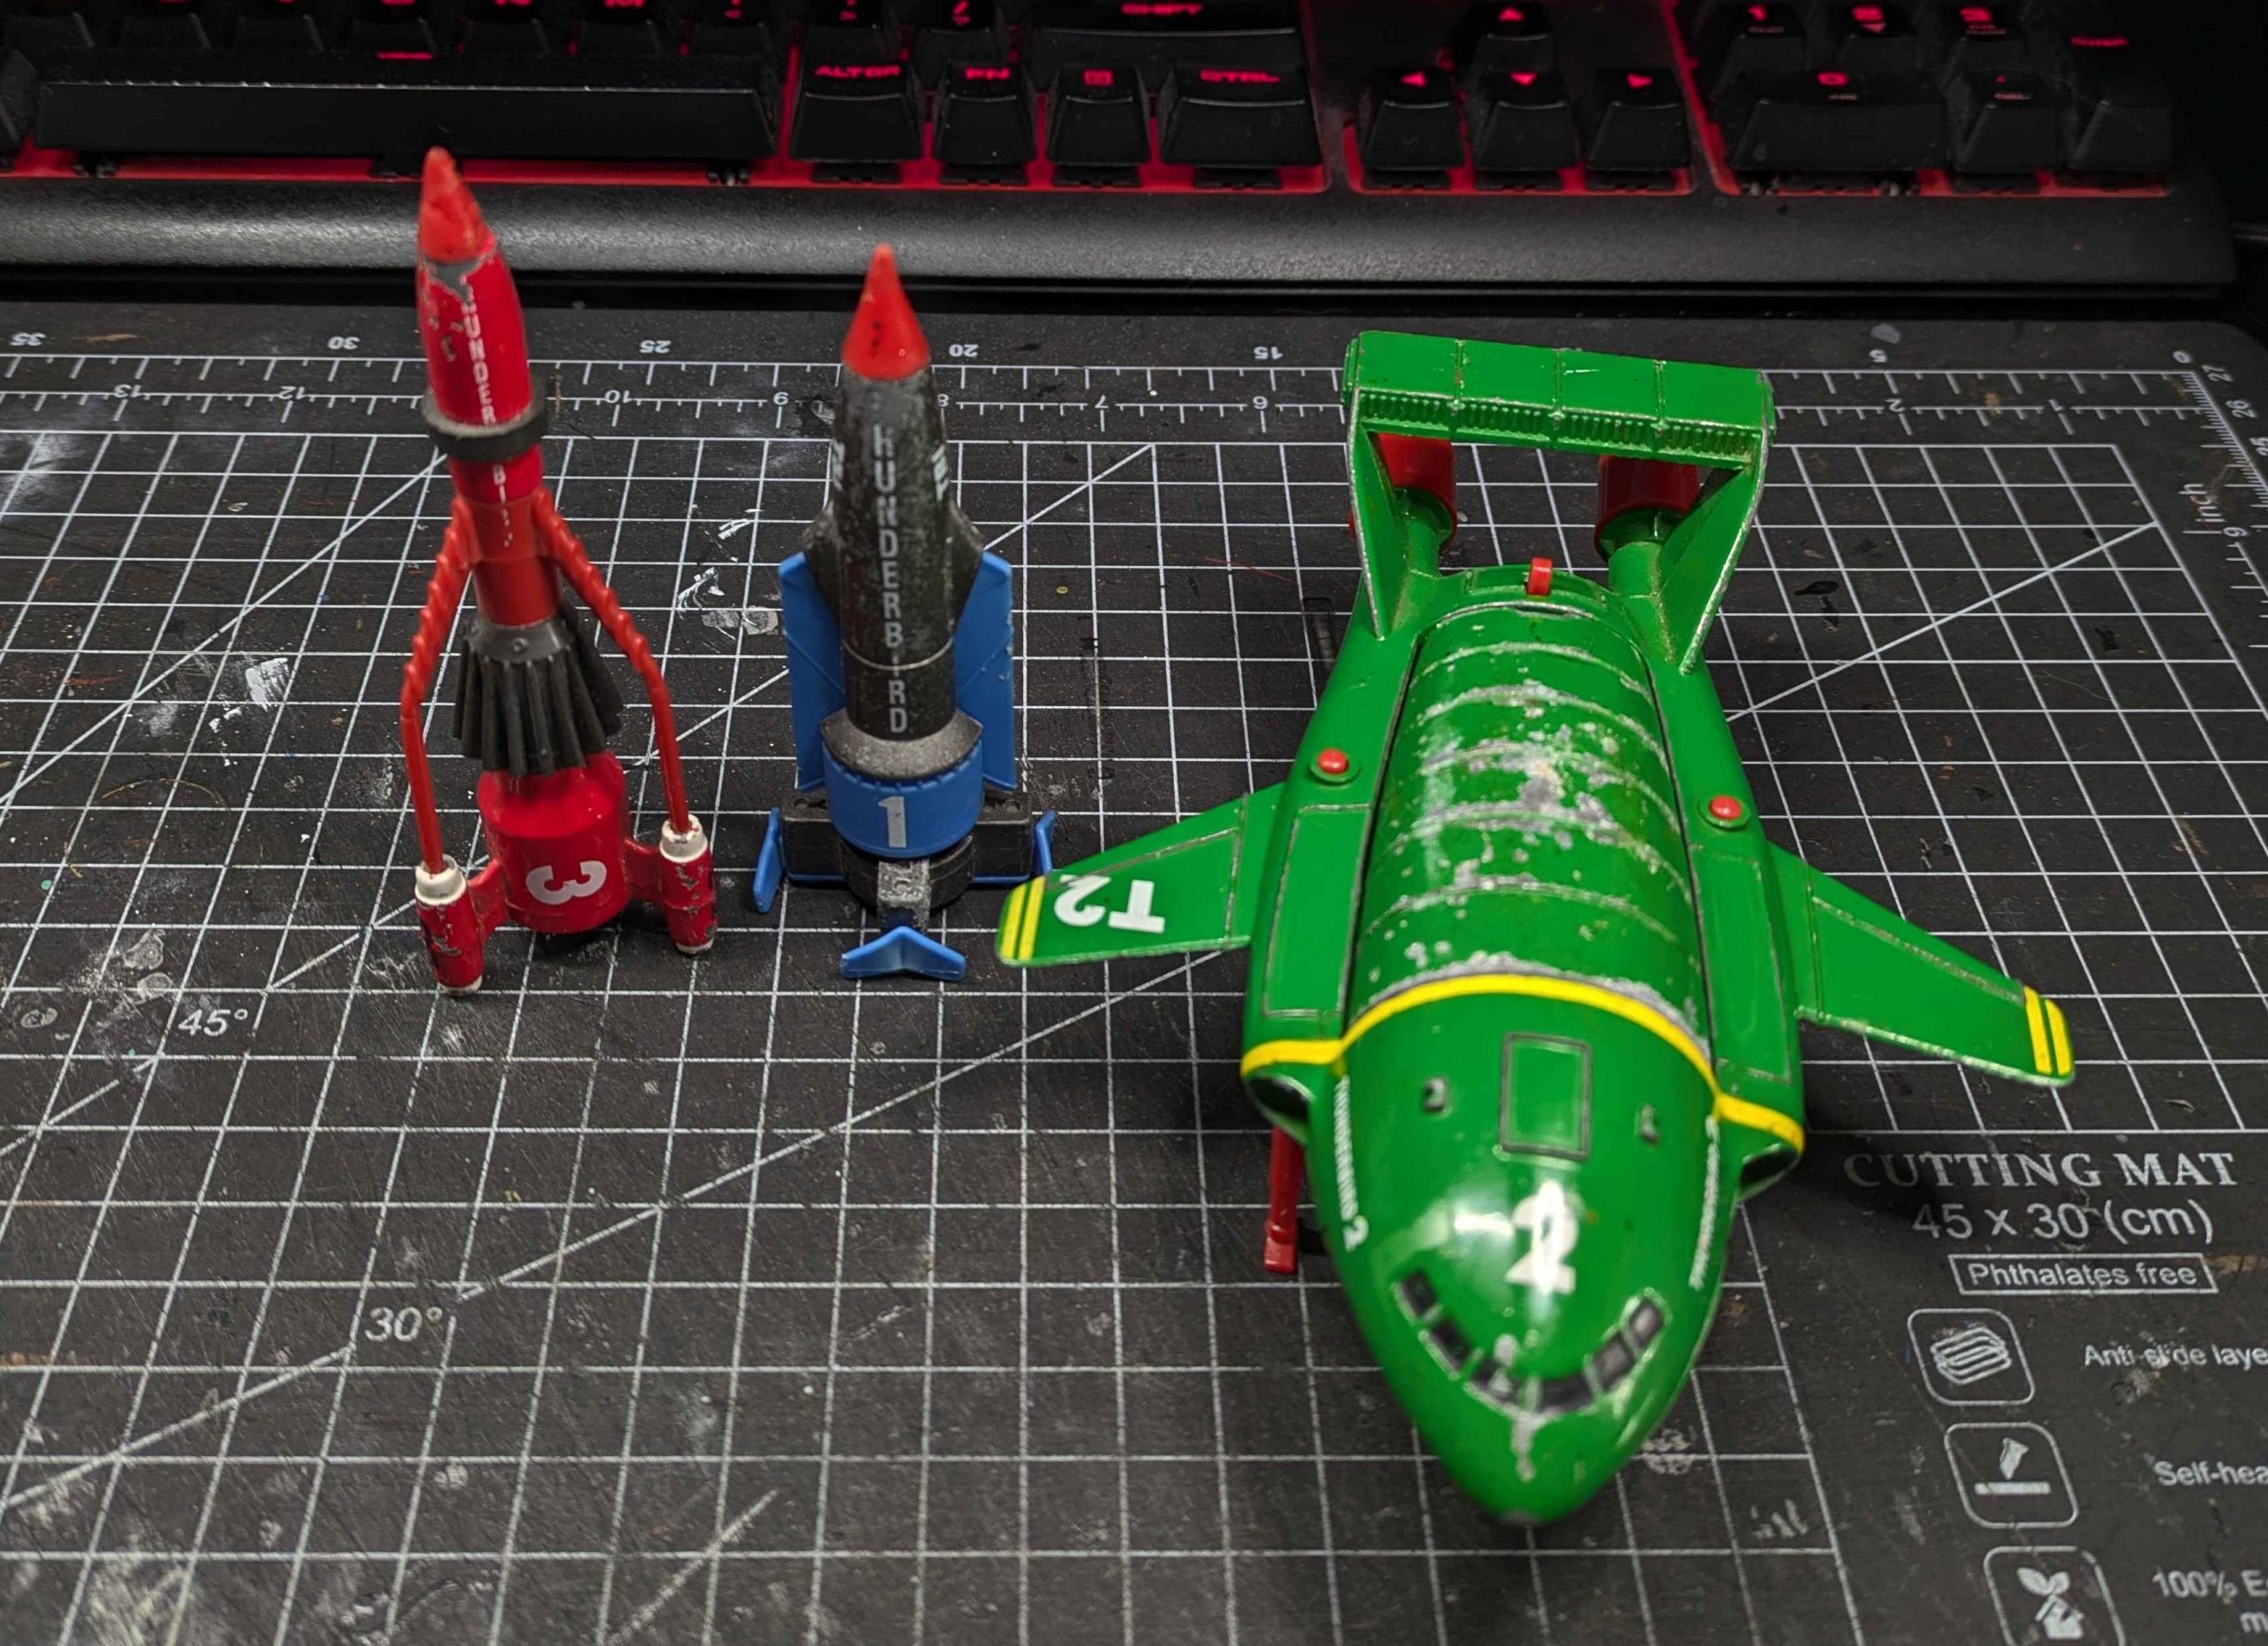
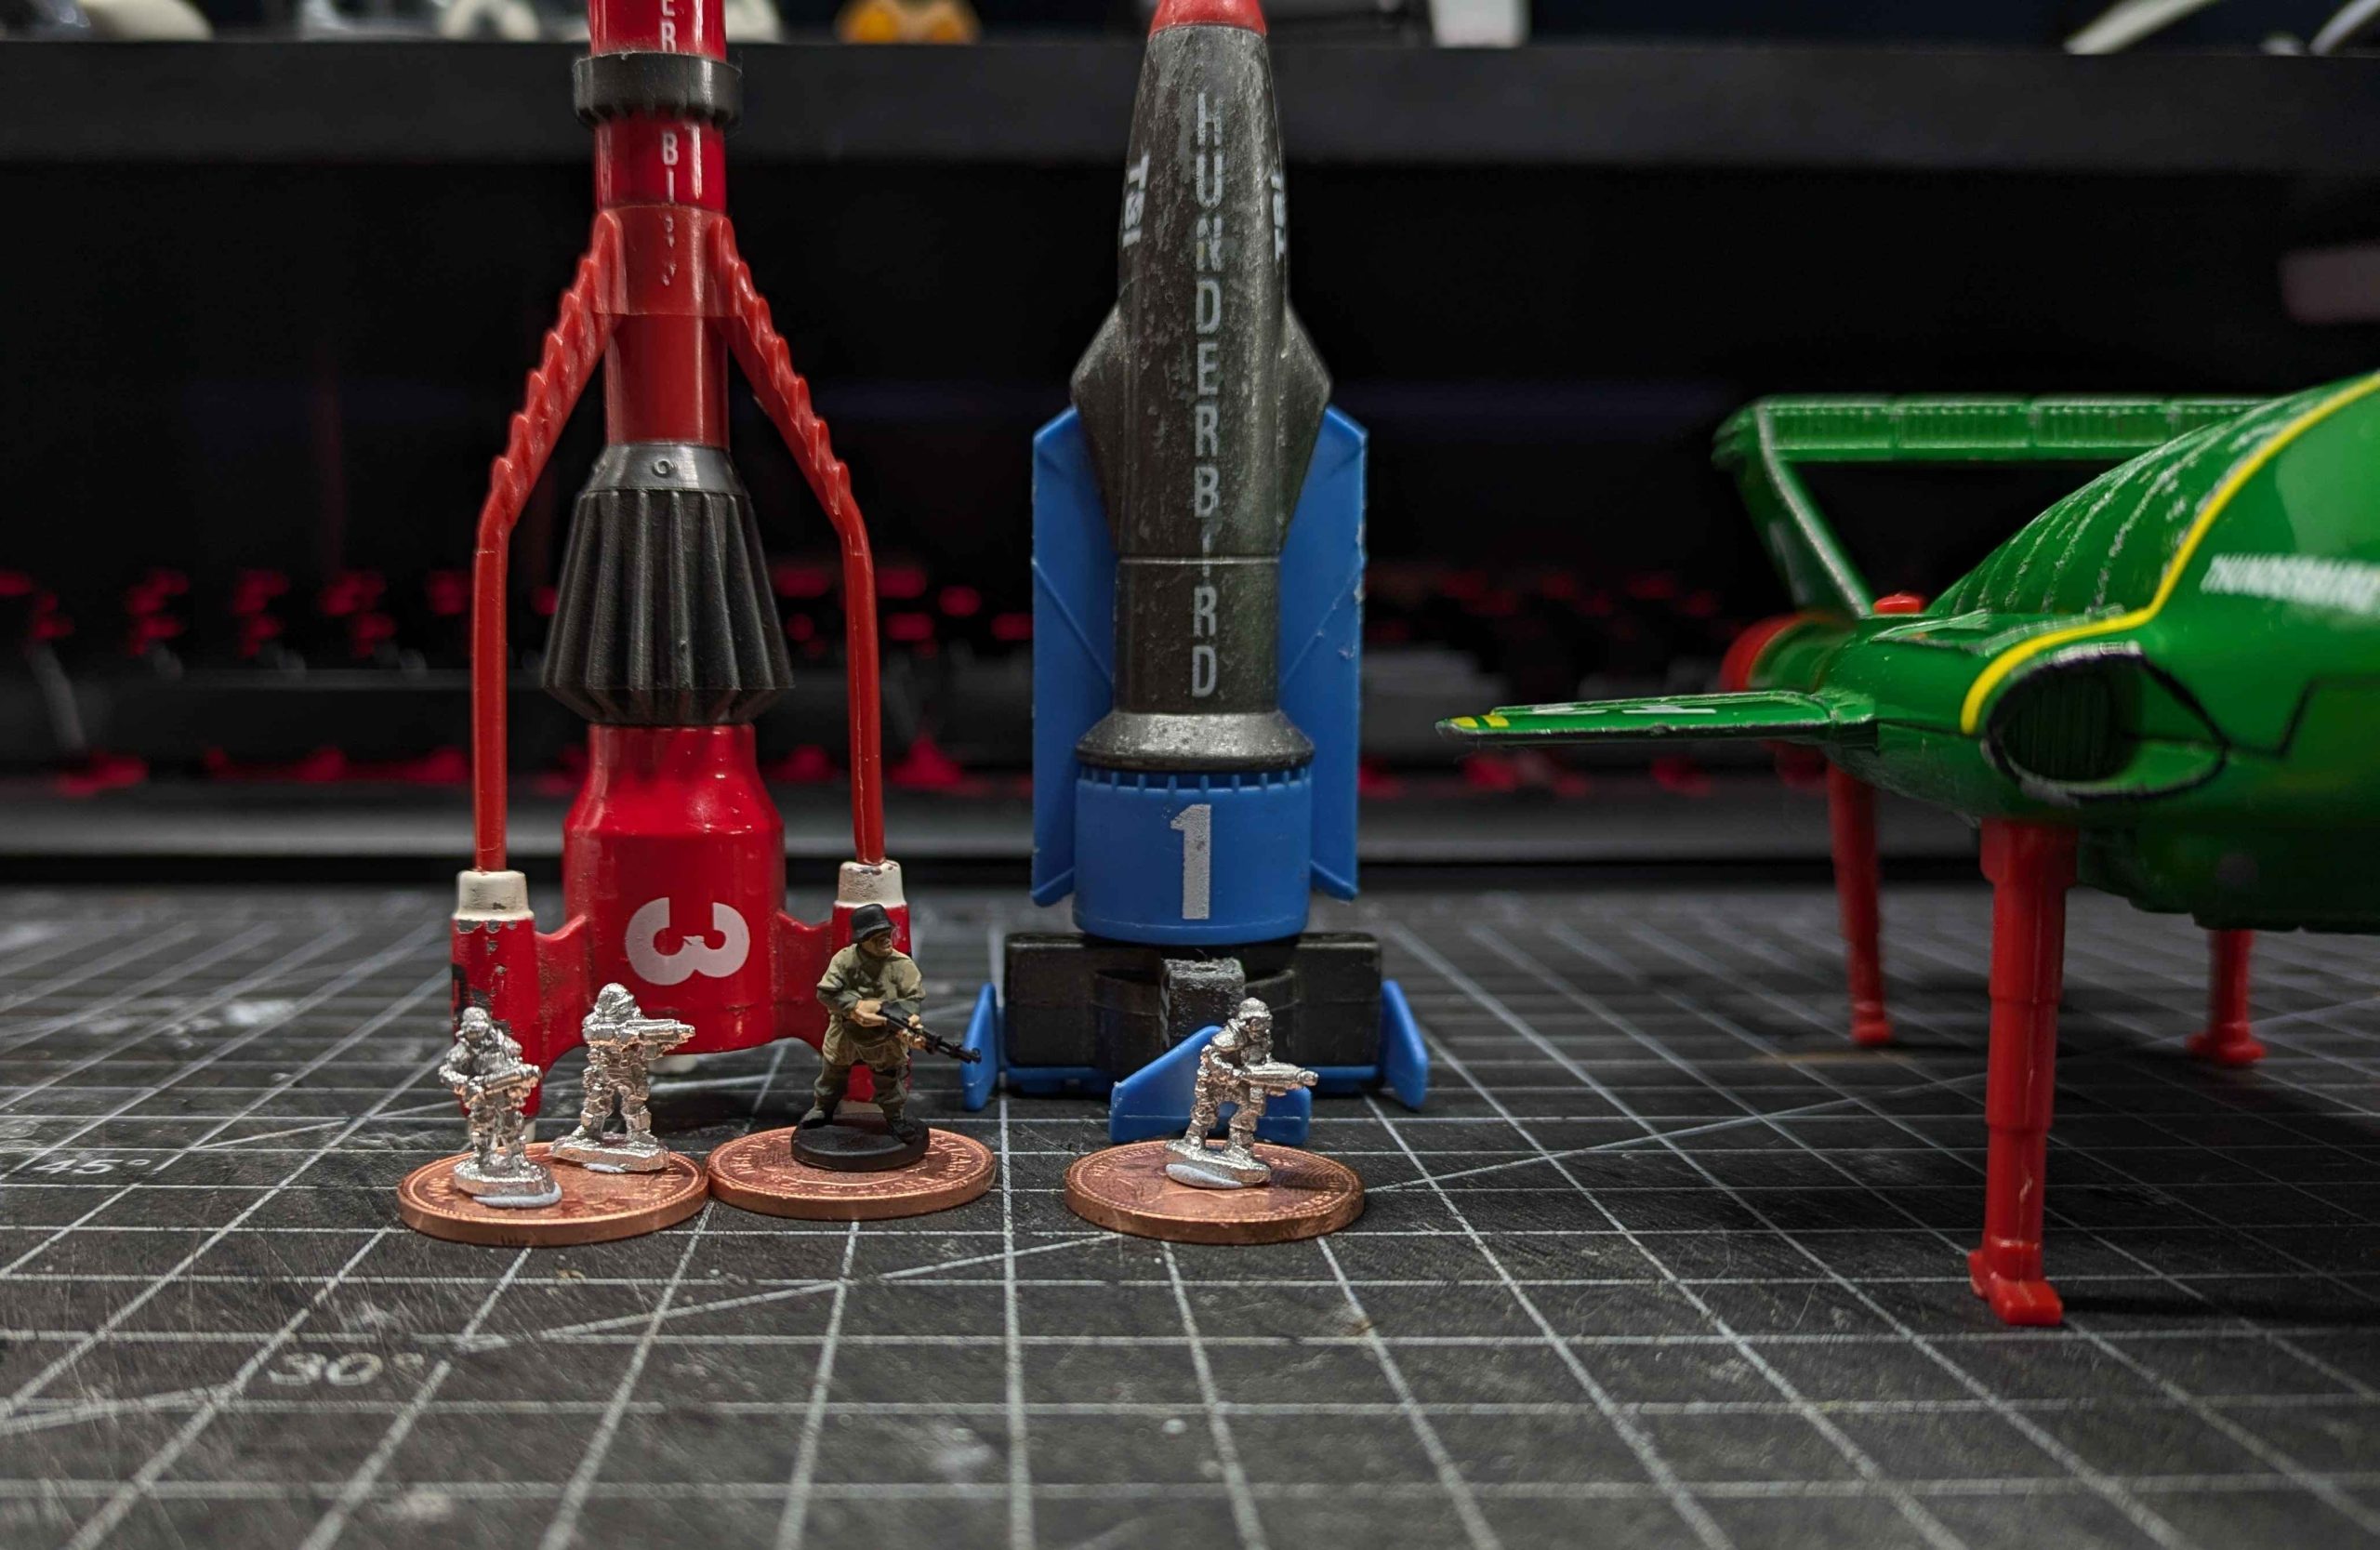
The main reason for picking them up right now is every wargamers favourite BS topic, scale. I wanted to figure out what size of miniatures I’ll need for the game and then from there I can work on how big the table will be.
I was hoping to run the game in 15mm but seeing the toys in person, 10mm really does look better next to them. If we’re getting very technical they should actually be 6mm to scale next to the toys but that doesn’t feel right for a beer and pretzels game.