TerrainFest 2025….. The Sum Of Many Parts.


Recommendations: 17
About the Project
My intention is to create a sizeable selection of terrain so I can play through all the missions in the Battlespace book, then go on to play Forgotten Ruin as they share a similar theme ( modern combat soldiers) I’ve never strayed far from Sci-Fi and Fantasy so the modern setting is something new to me. No 3D printing involved on the project just a few Mdf buildings to serve as a base from which to work, the rest good old scratch building. My build list so far contains : Mixed Buildings, Palm trees, Rocky outcrops, Telegraph poles, Barriers, Walls(both dry stone and reinforced) Tarp covered Crates, Shipping Containers, Scatter debris ( corrugated sheets, timber etc), Wooden walkways, Ladders,
Related Game: Battlespace: Ultra Modern Solo Skirmish Game
Related Company: Modiphius Entertainment
Related Genre: Historical
Related Contest: TerrainFest 2025
This Project is Completed
The Sum Of Many Parts.
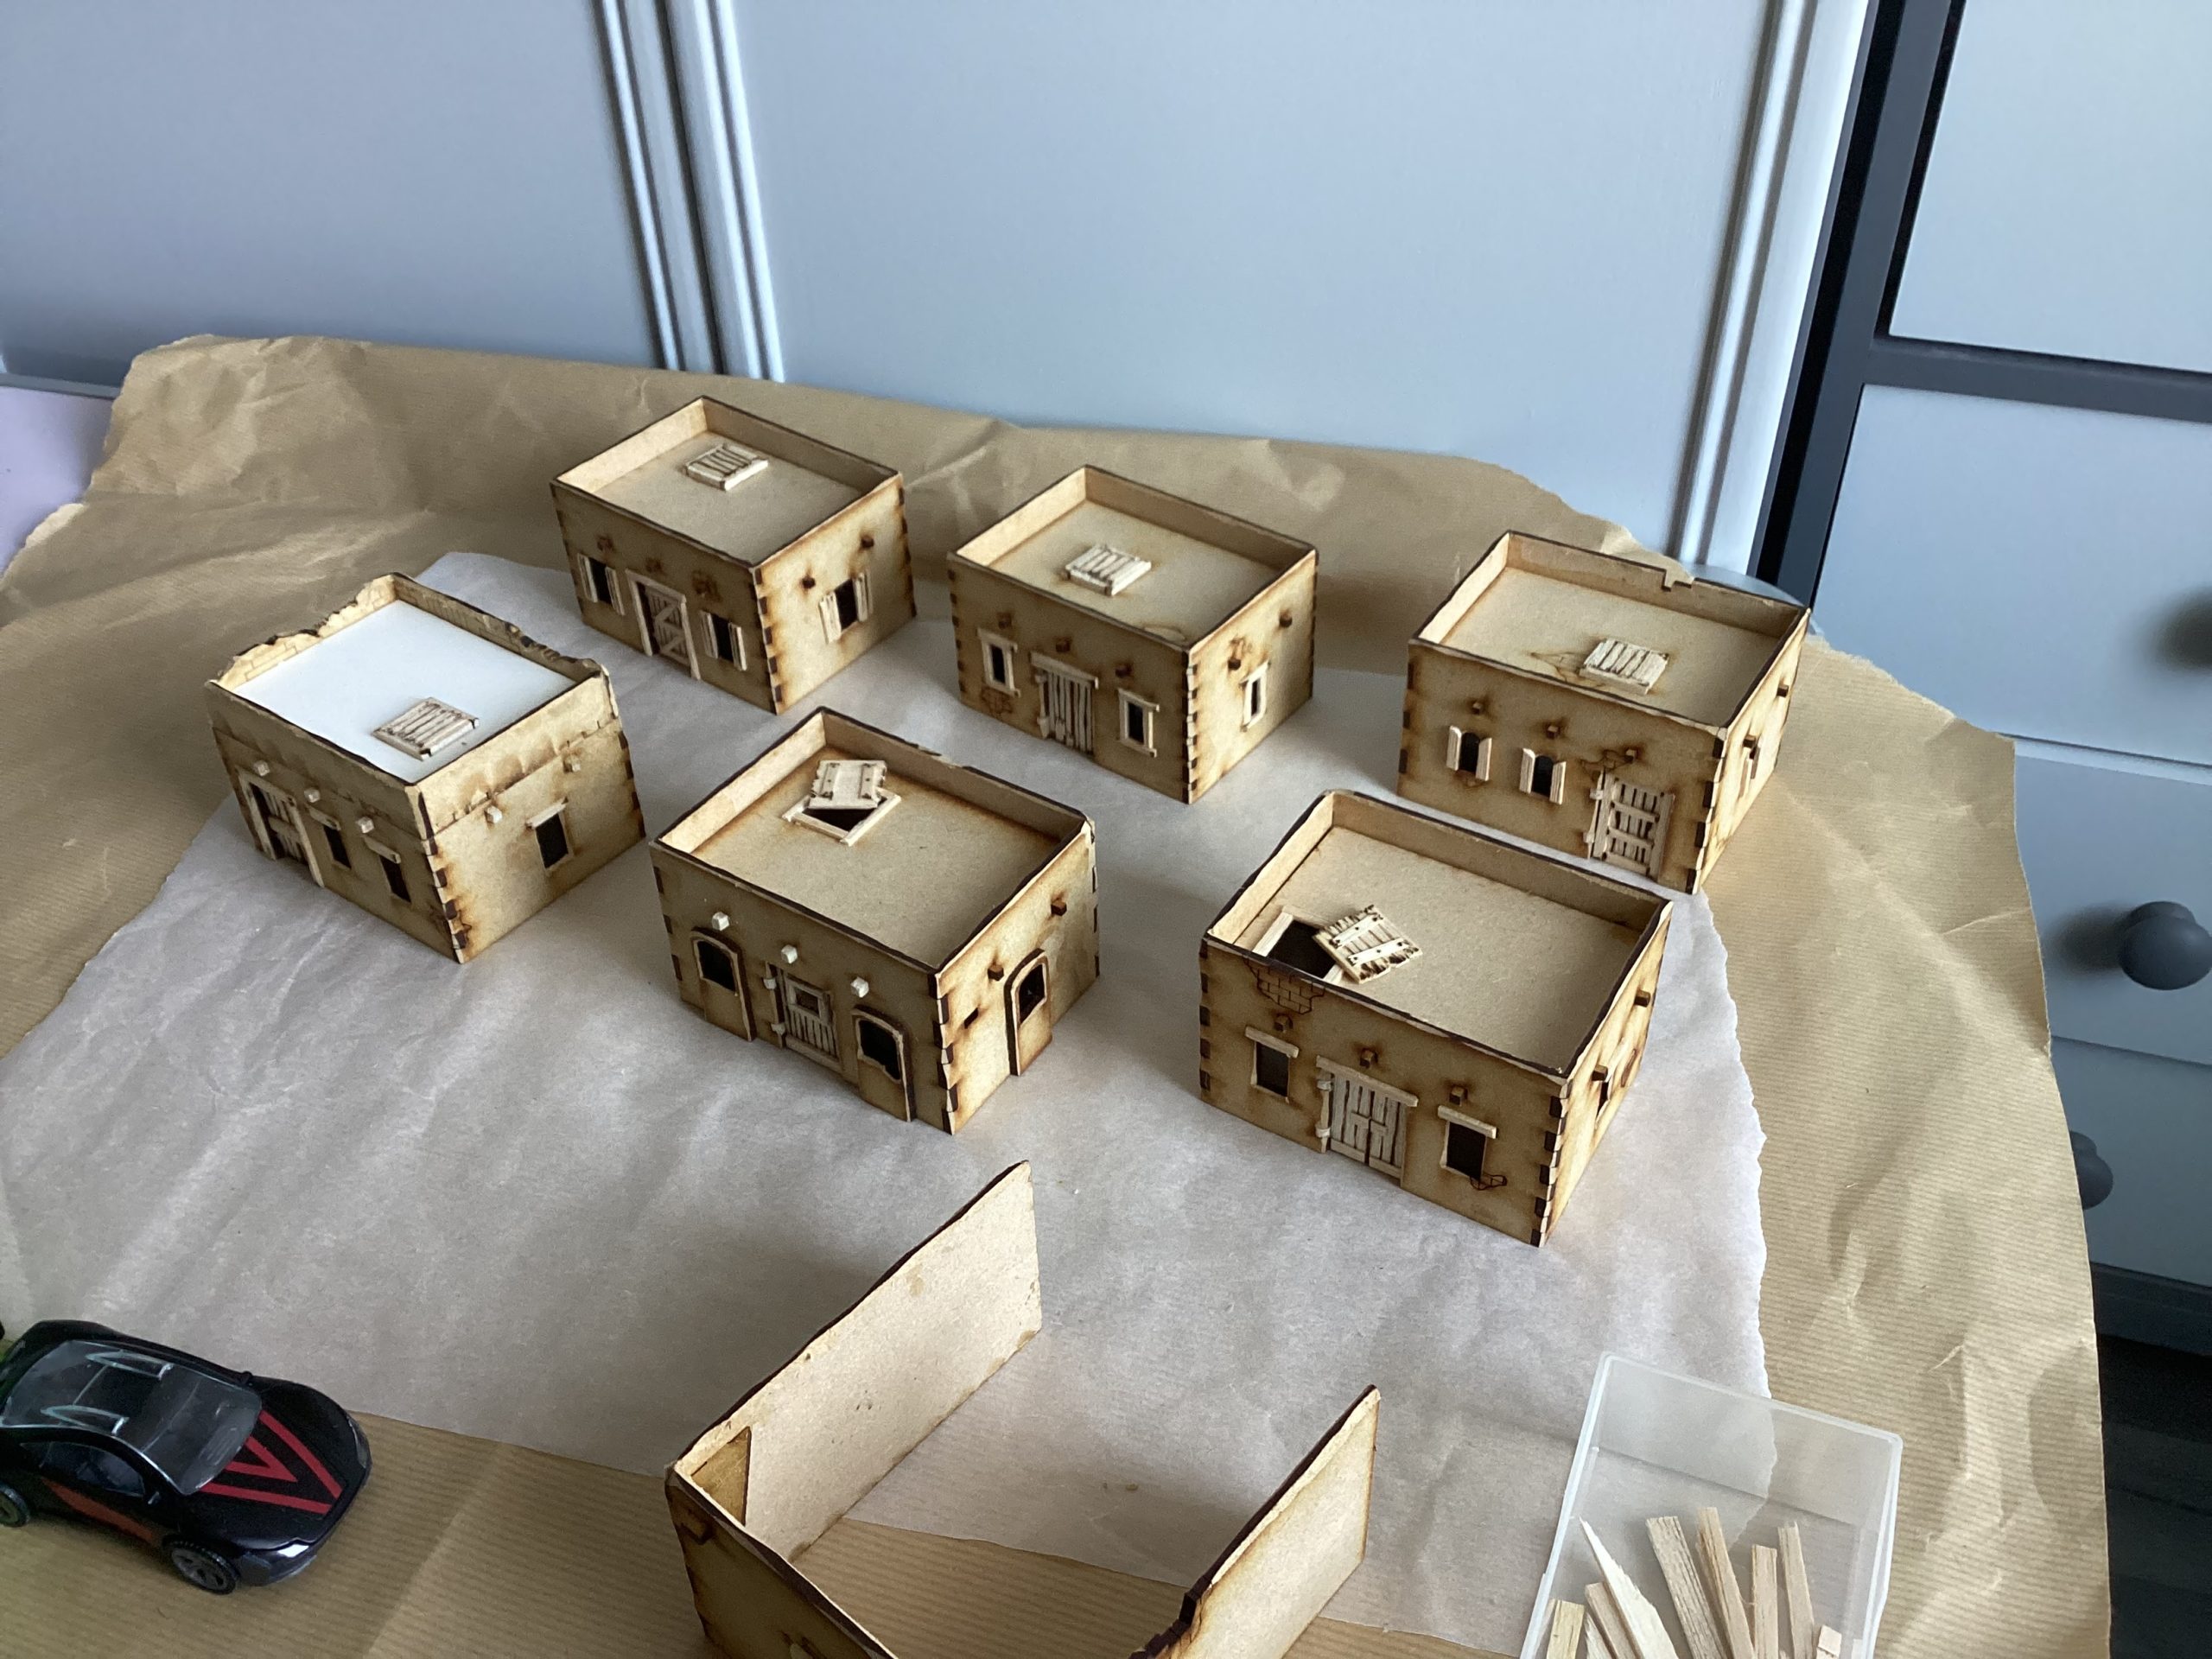
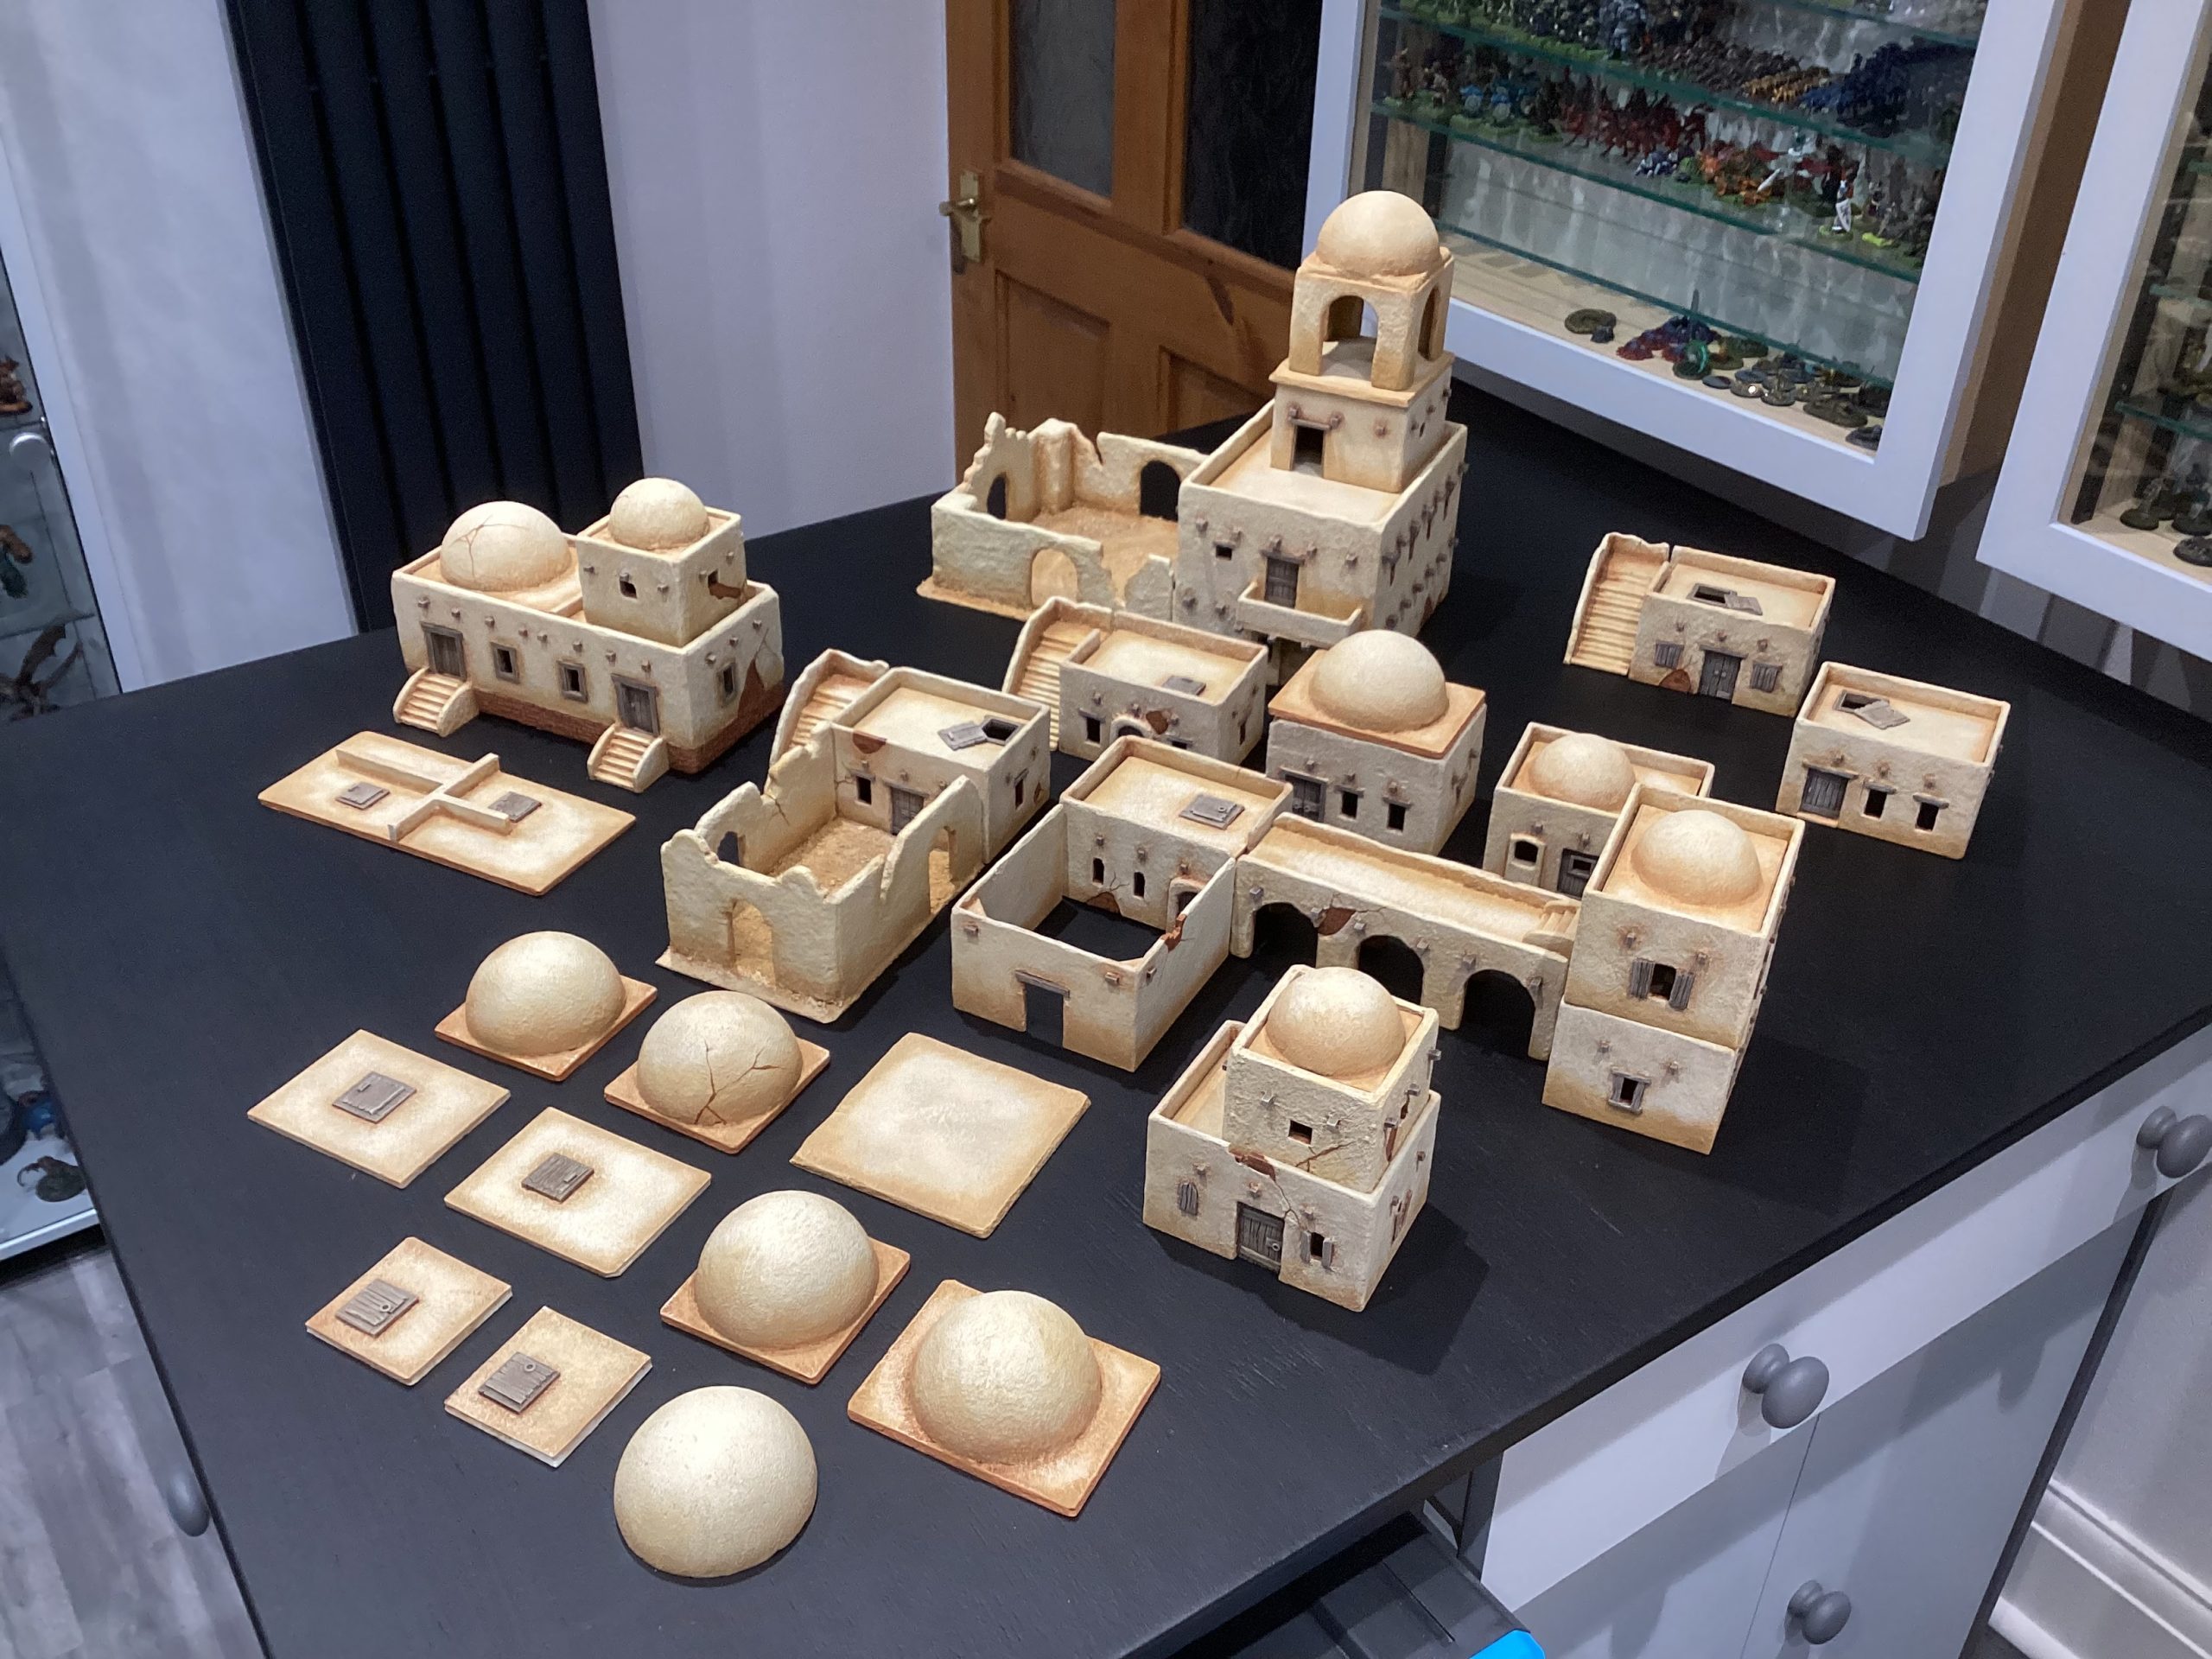
This brings my Desert Terrain project to a close, a cluster of modular buildings and scatter terrain that hold many small fun details on close inspection.
Made to play out the Battlespace miniatures game and to fill out many gaps in my terrain collection.
I started on the 16/11/25 and have worked relay fashion with many parts on the go at the same time. Today it’s 27/1/26 so it’s been head down for the best part of two and a half months which includes all the miniatures required for Battlespace. 5 operators and 18 Insurgents. ( kit bashed)
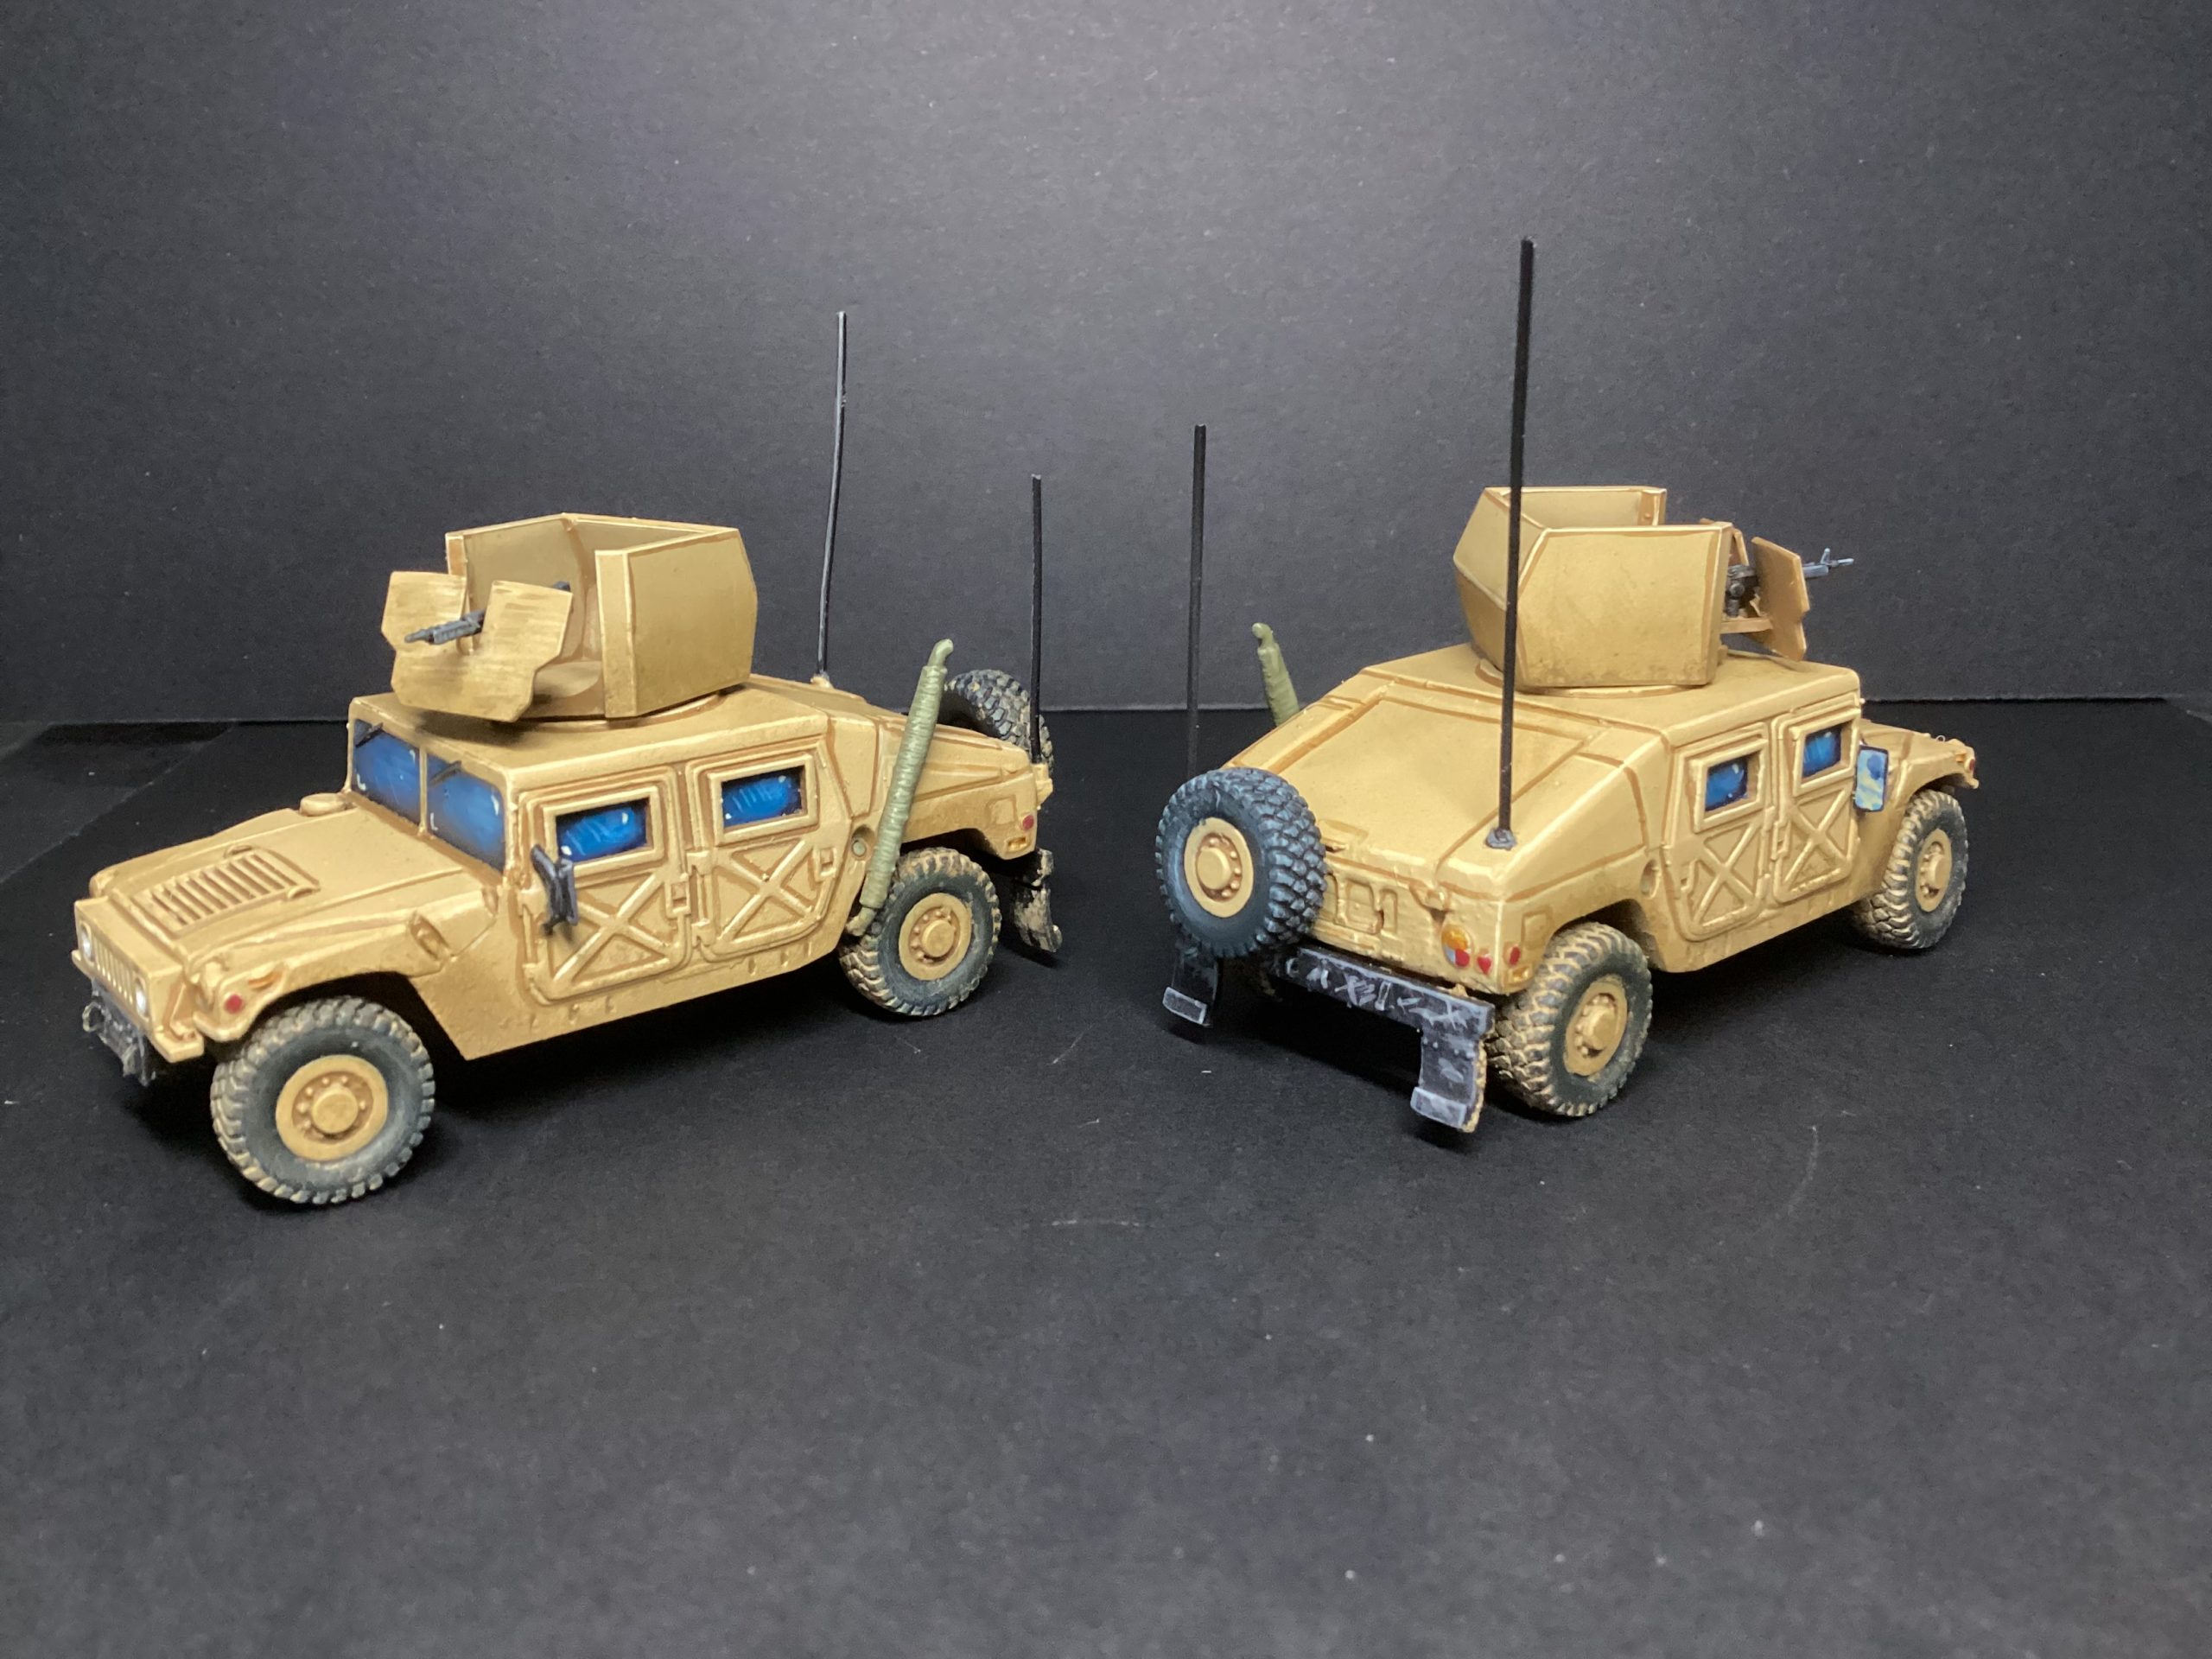
Apart from some small MDF buildings used as a skeleton to work from, some plastic trees and a few model railway barrels/crates etc it’s all scratch built, the only 3D prints …are the 2 Humvee Vehicles as a last moment addition ( Pictured lower down). It’s mostly balsa wood, cardboard, filler and pink poly foam.
The end result has far exceeded my expectations considering each grouping doesn’t look very exciting on their own but when it all comes together …..”.WOW!
I’m beyond happy with what is in front of me… what a great hobby🤩
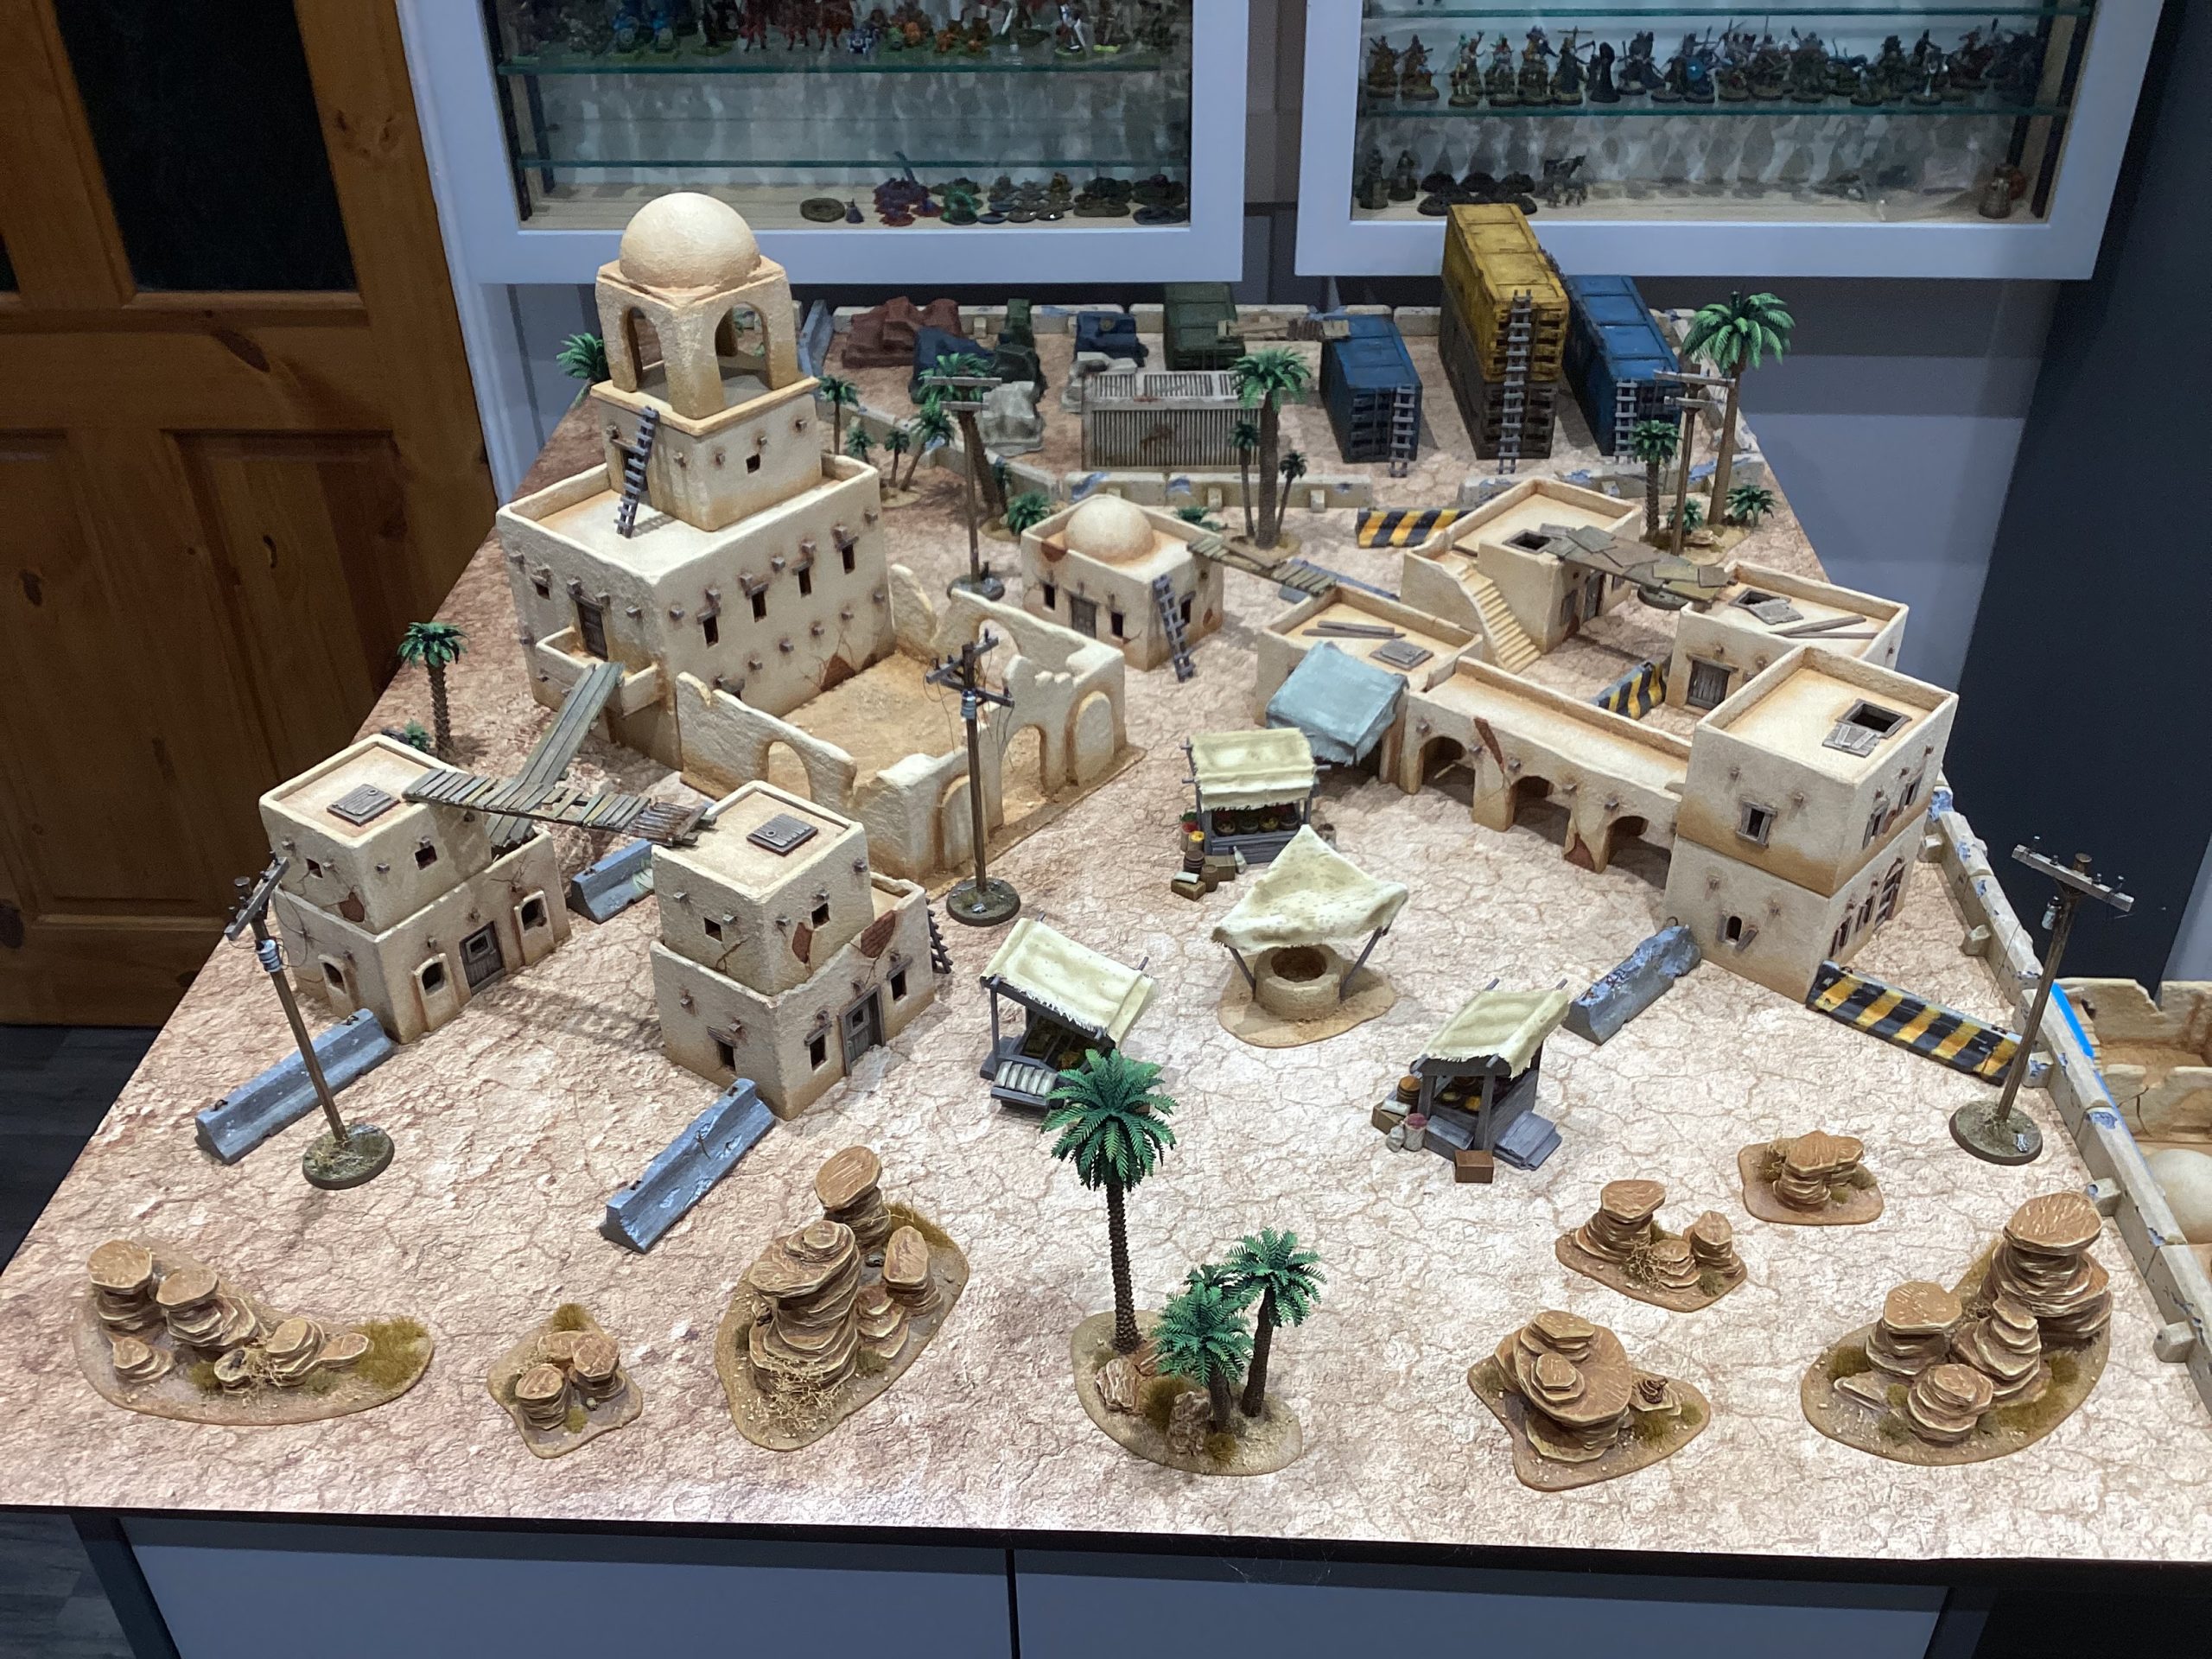
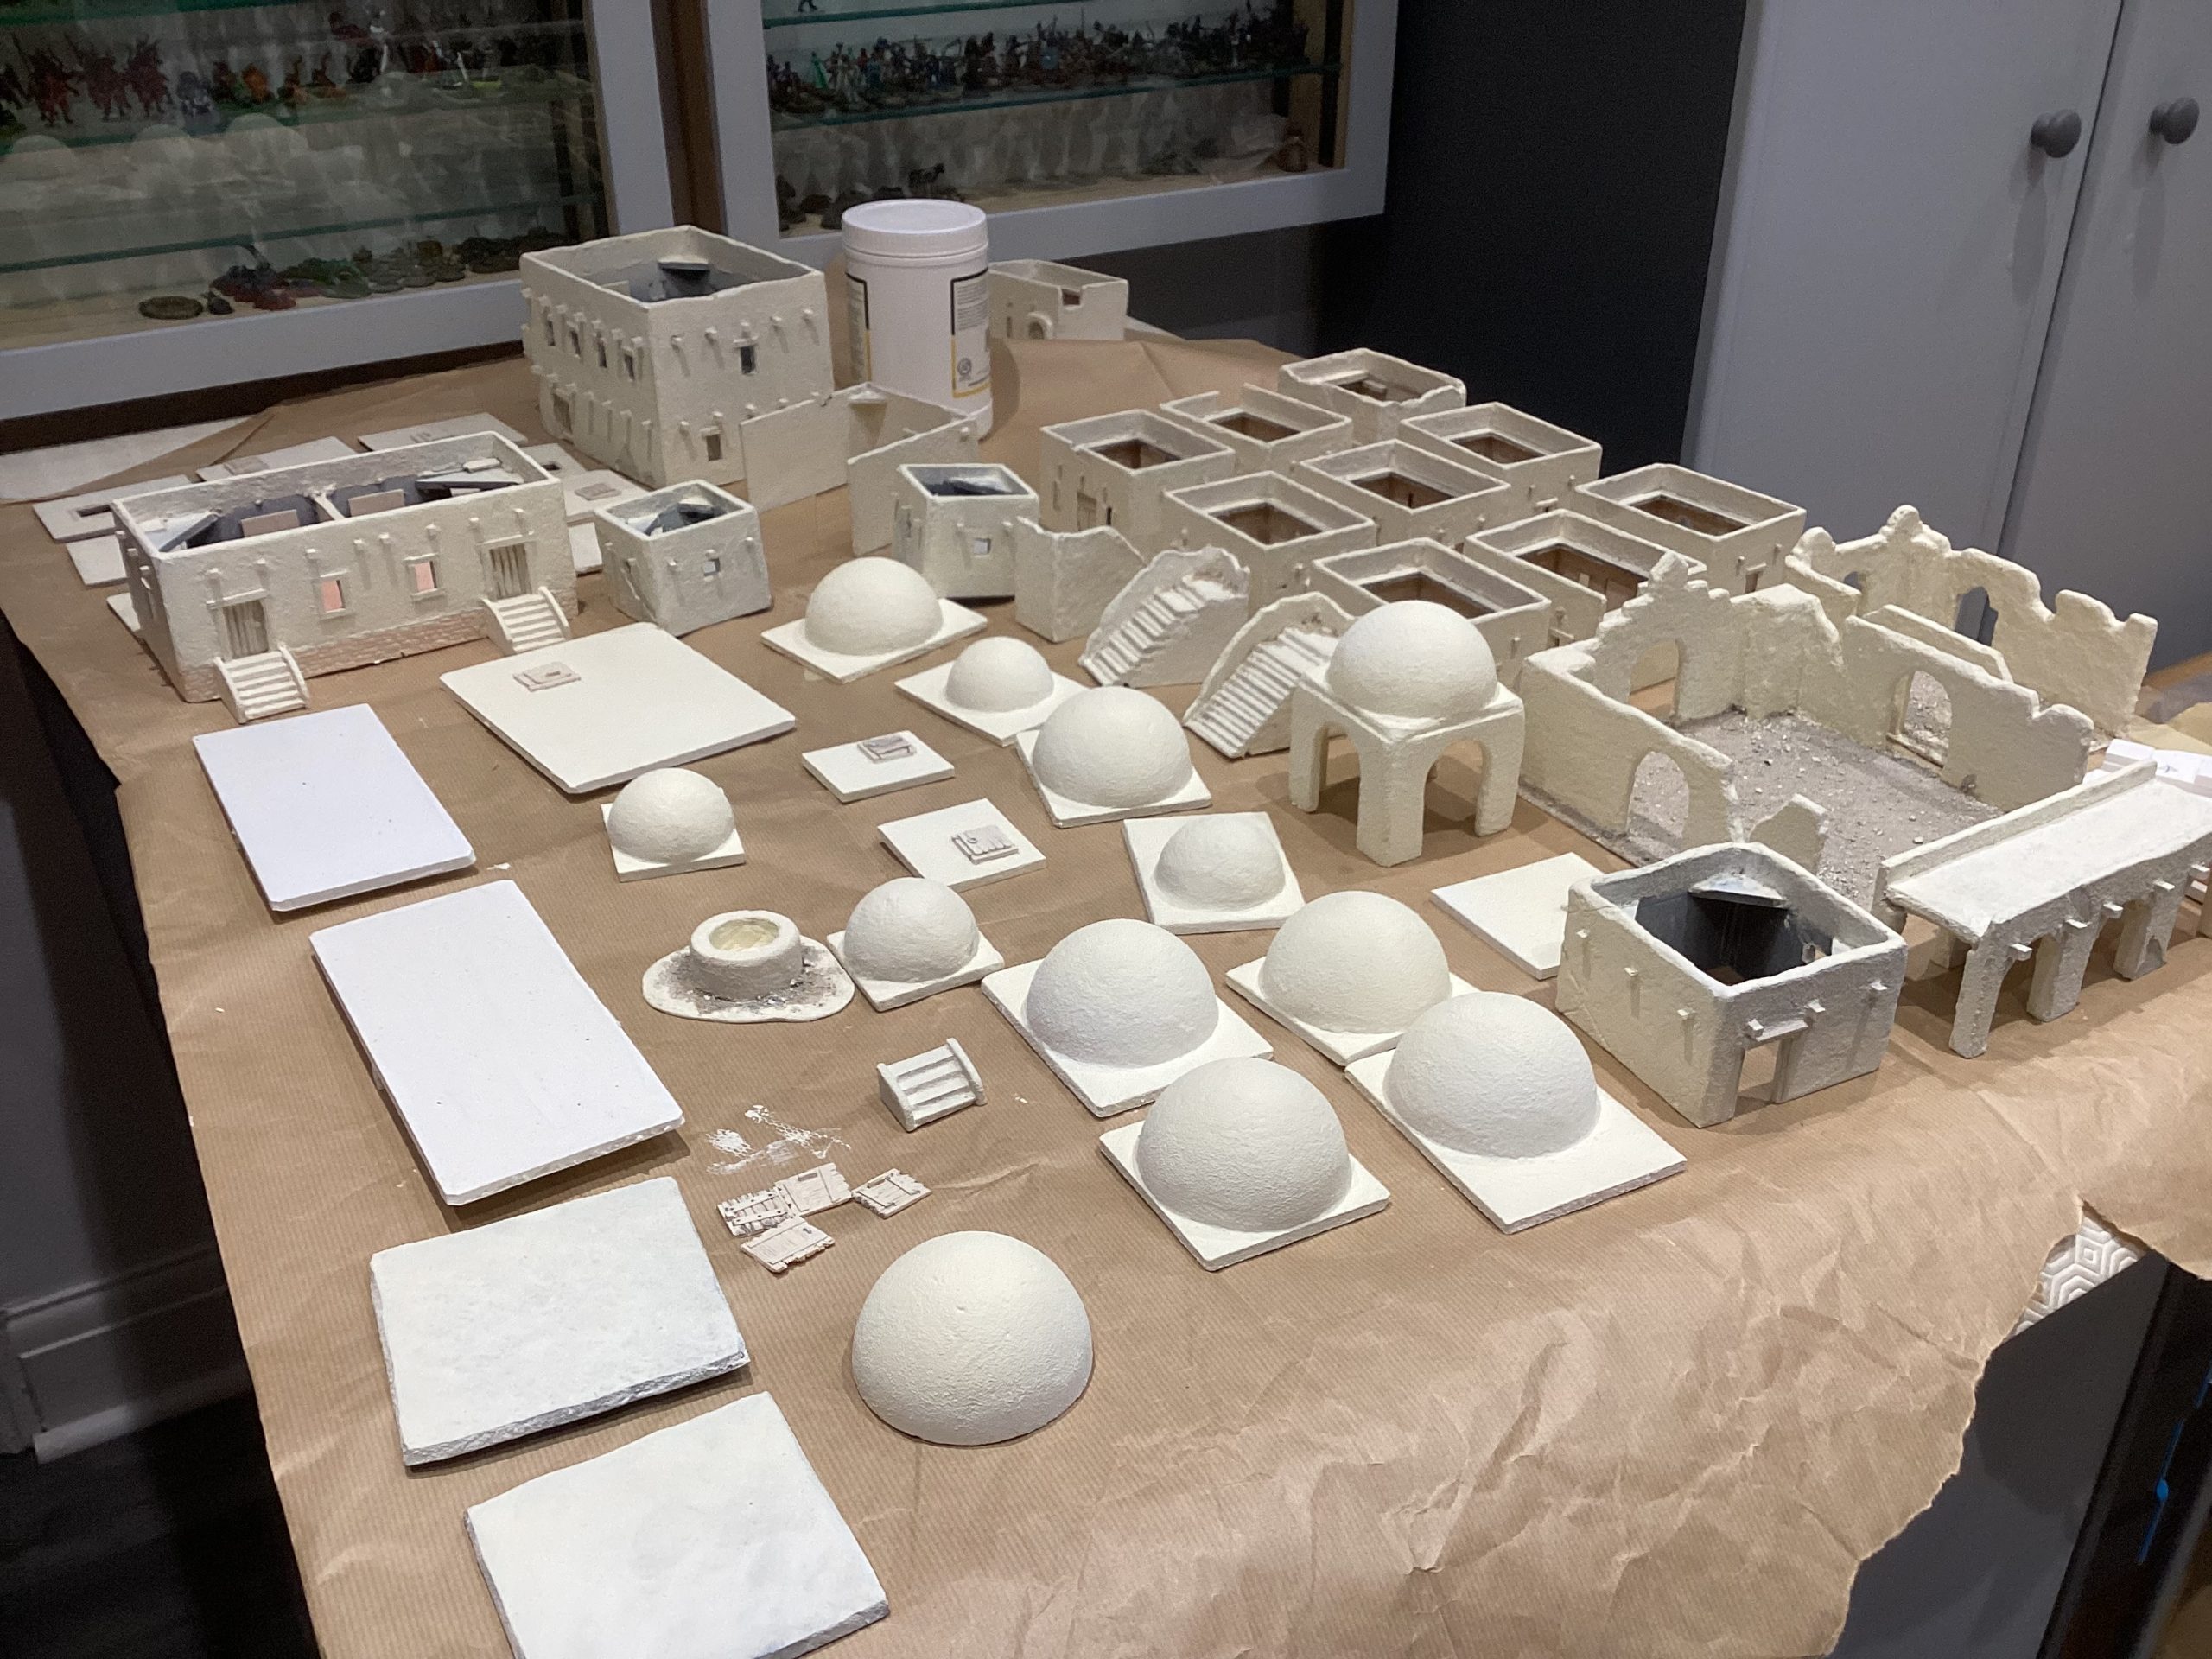
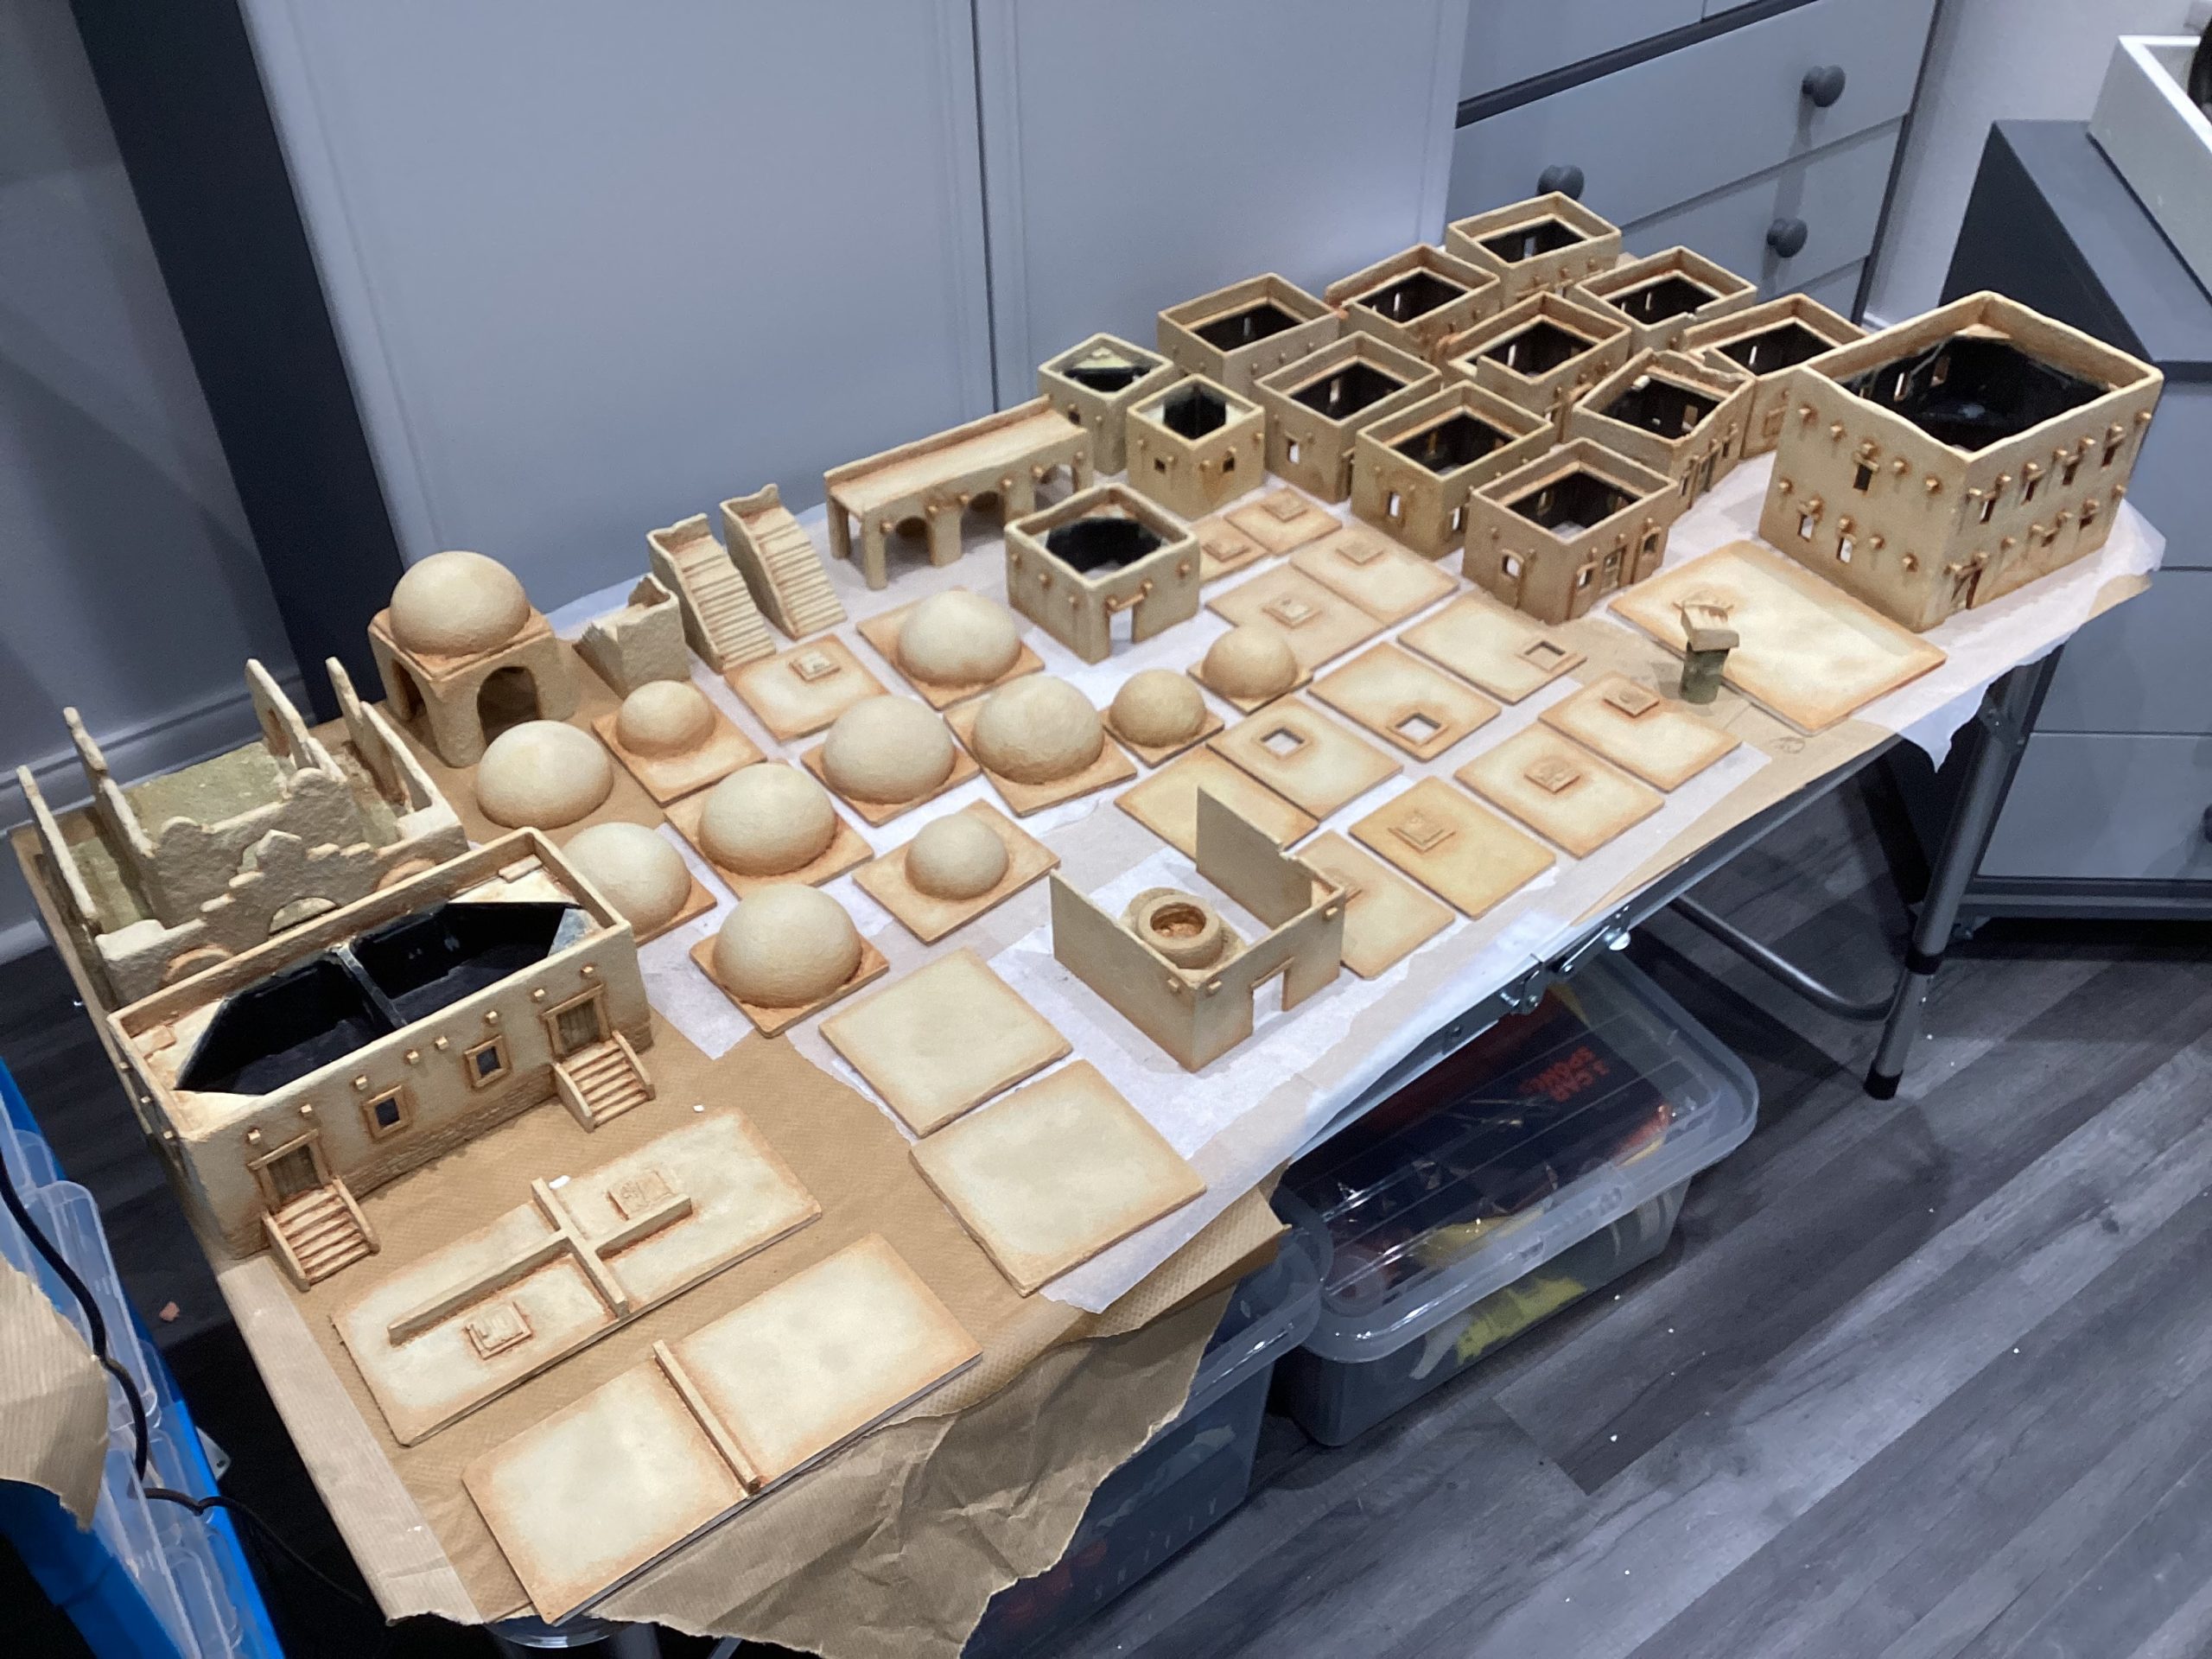
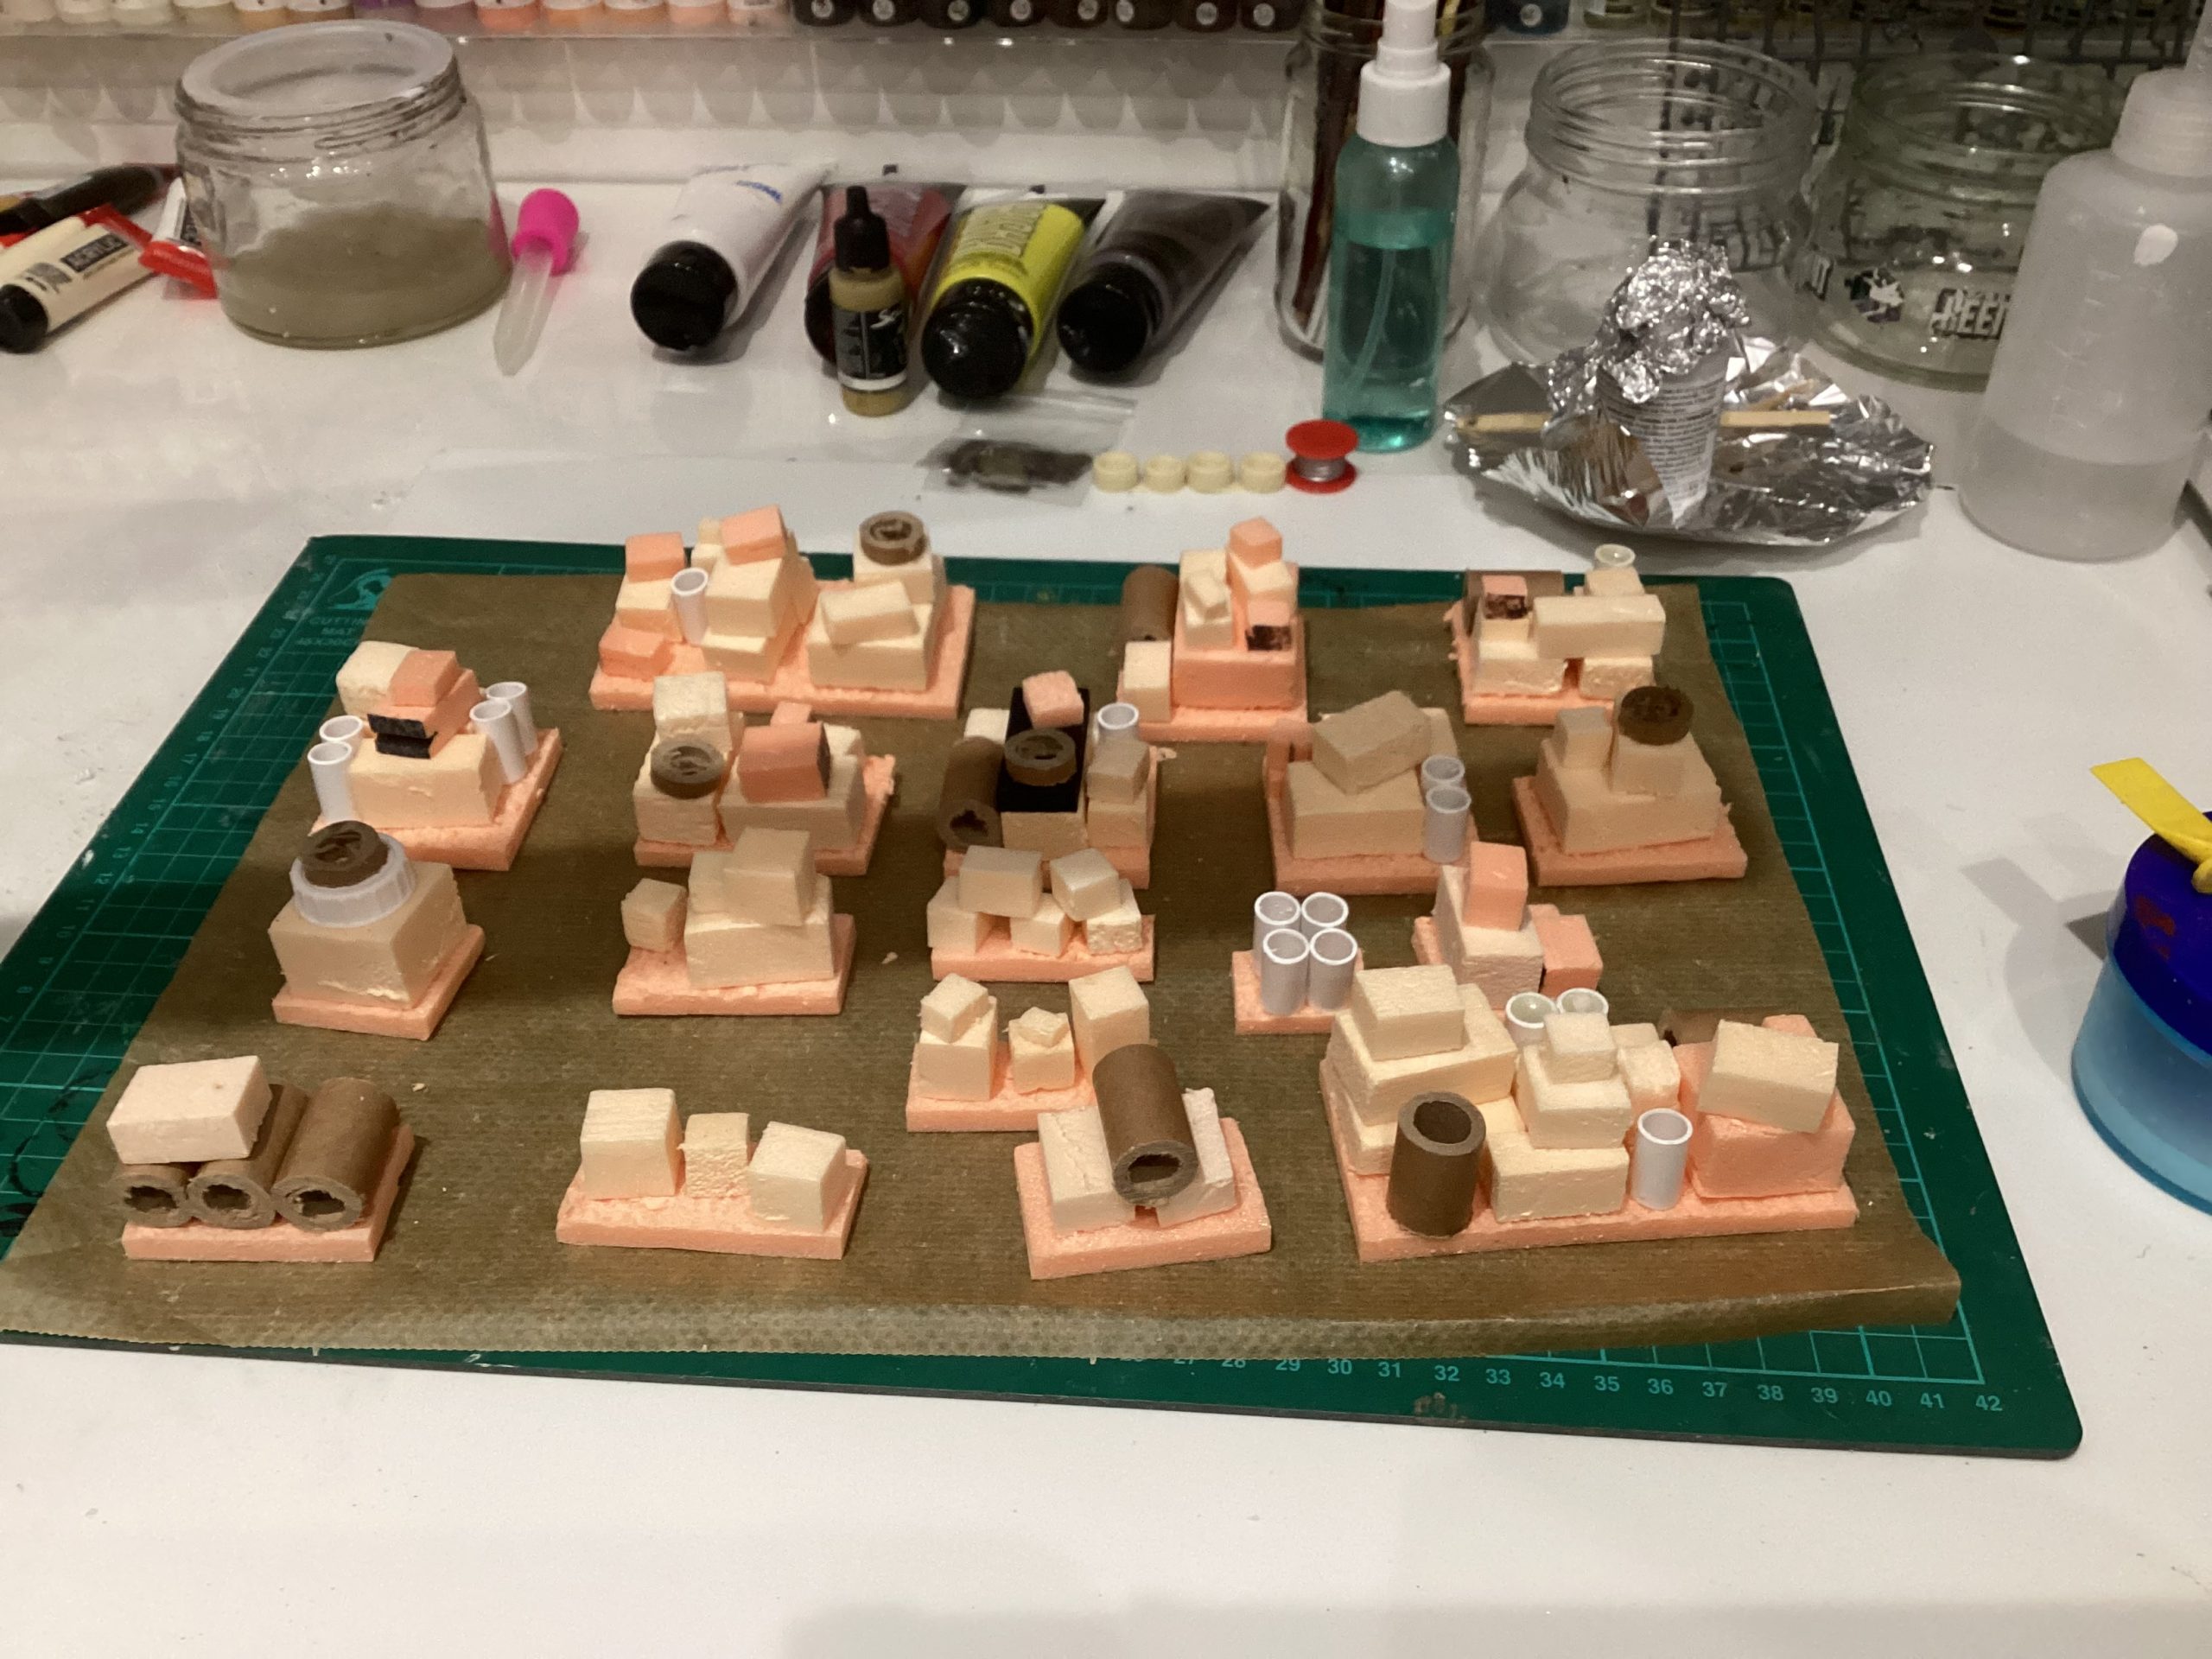
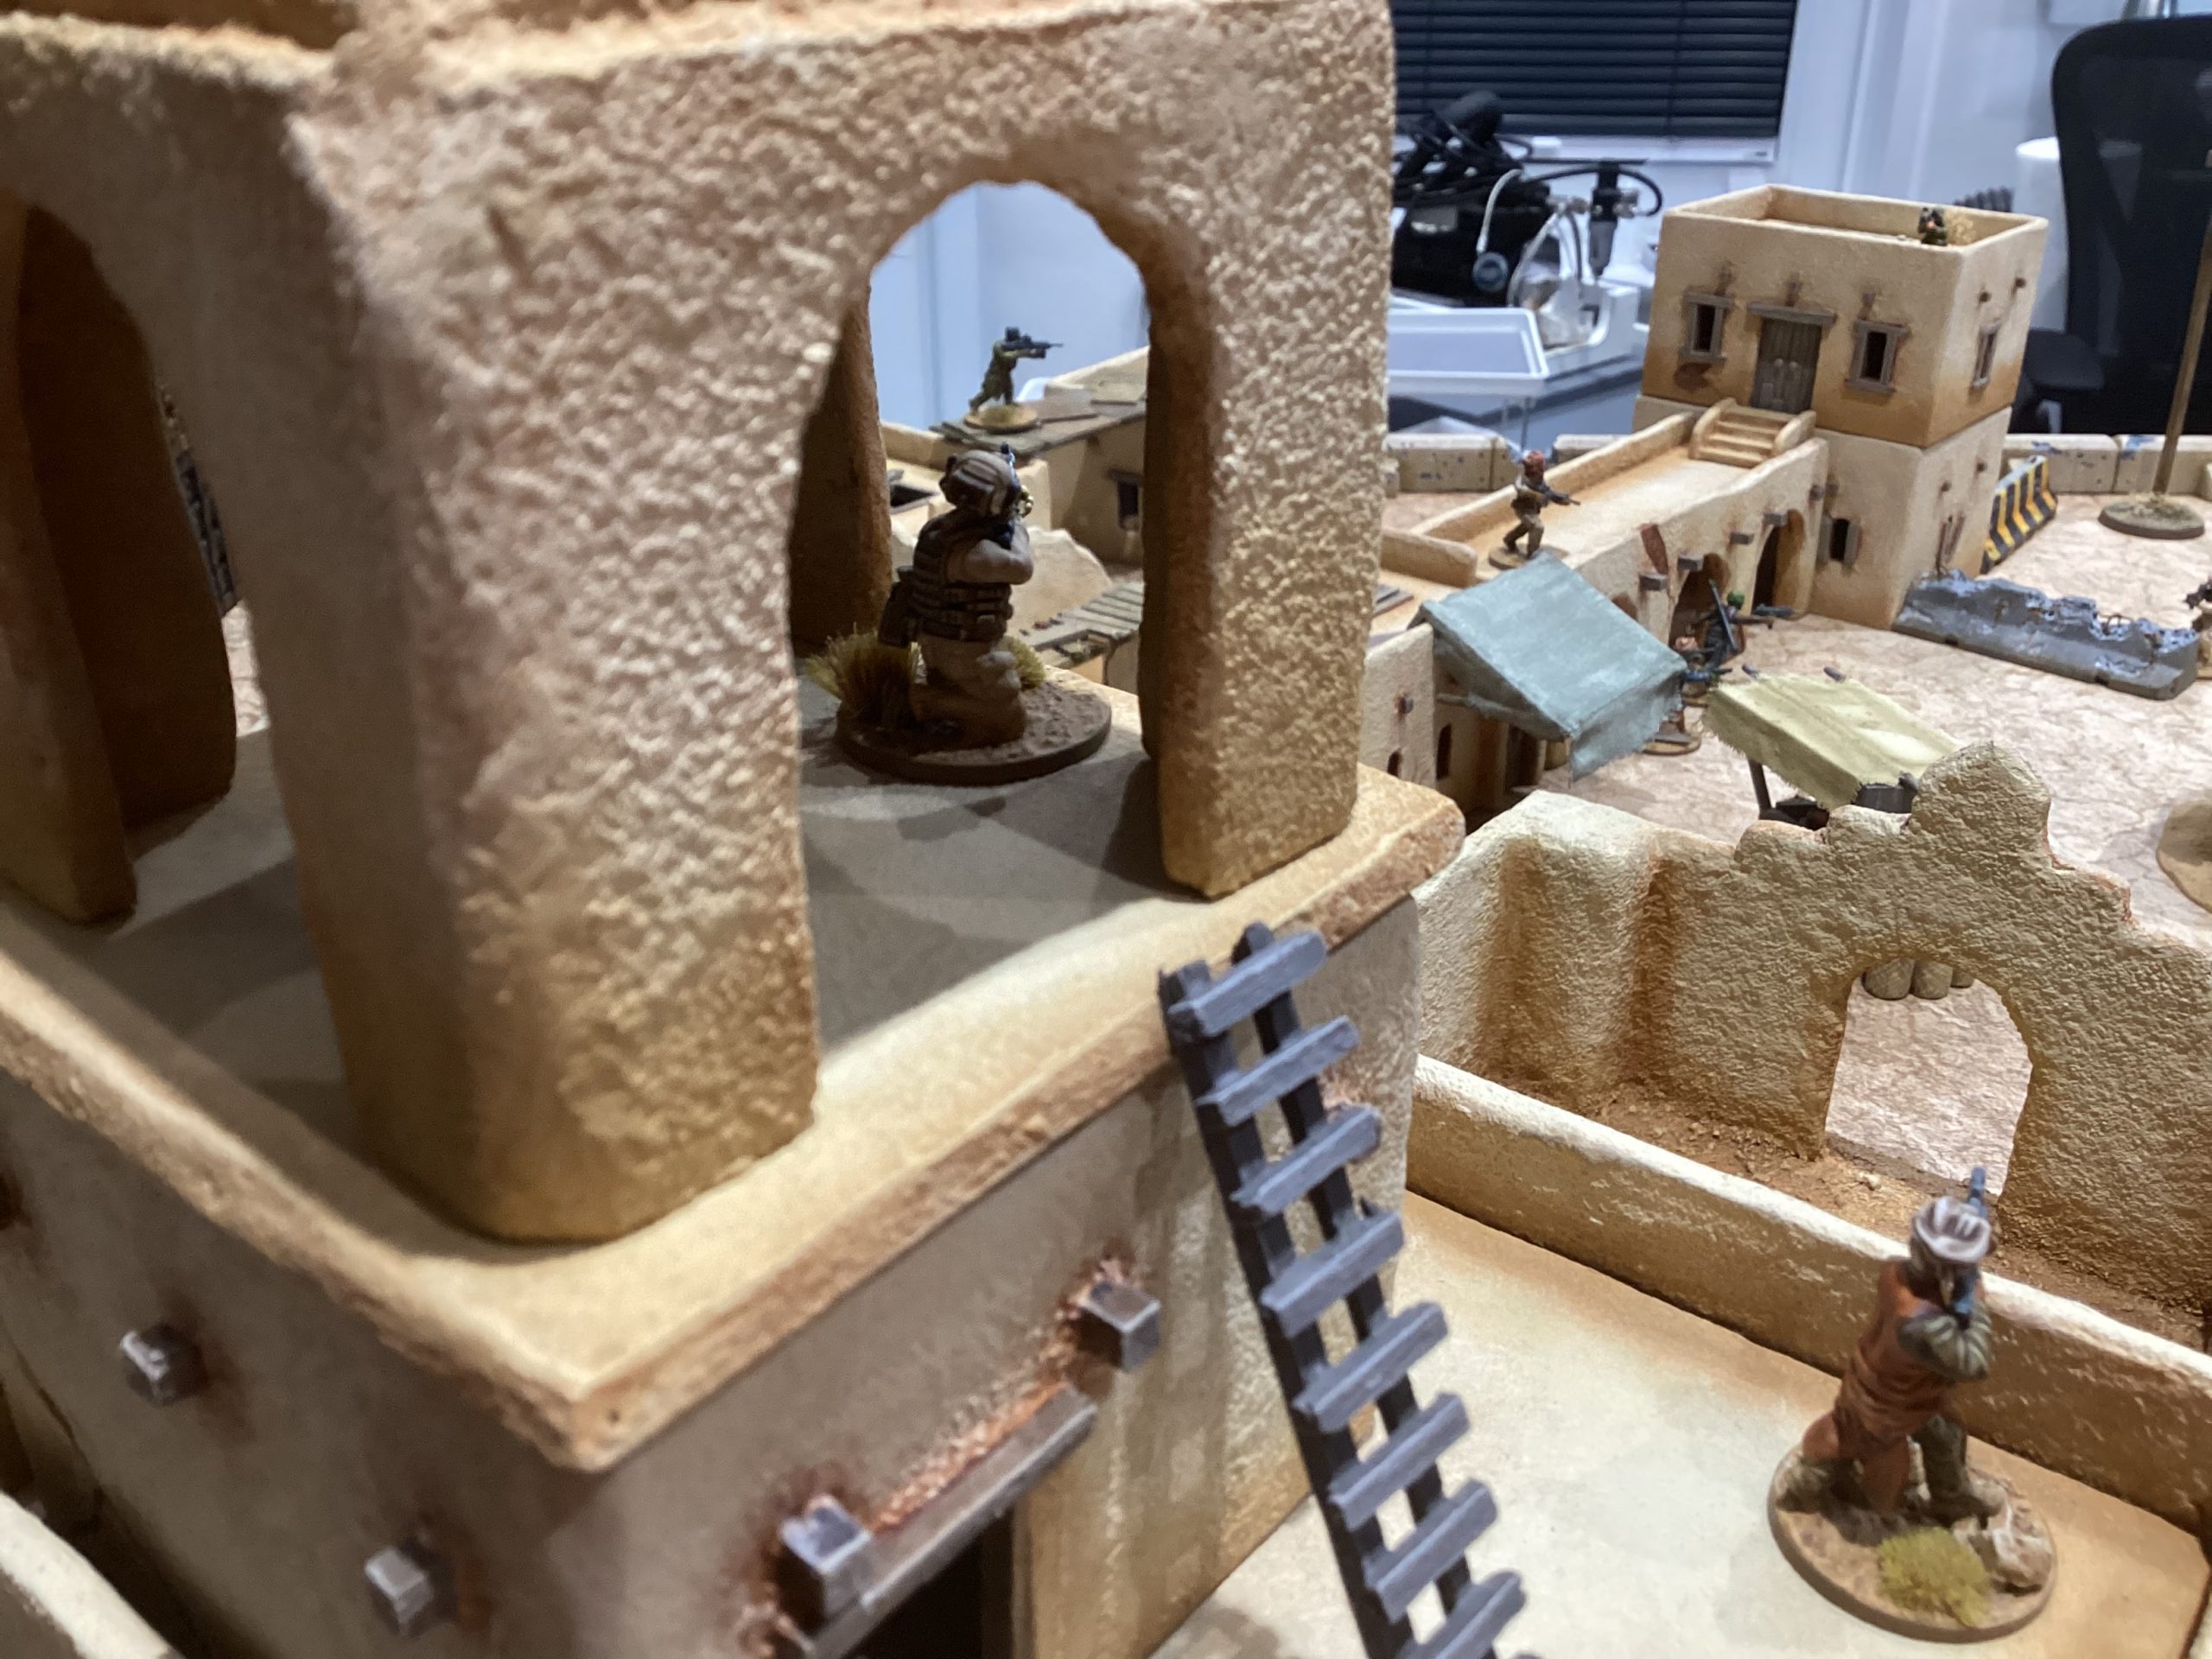
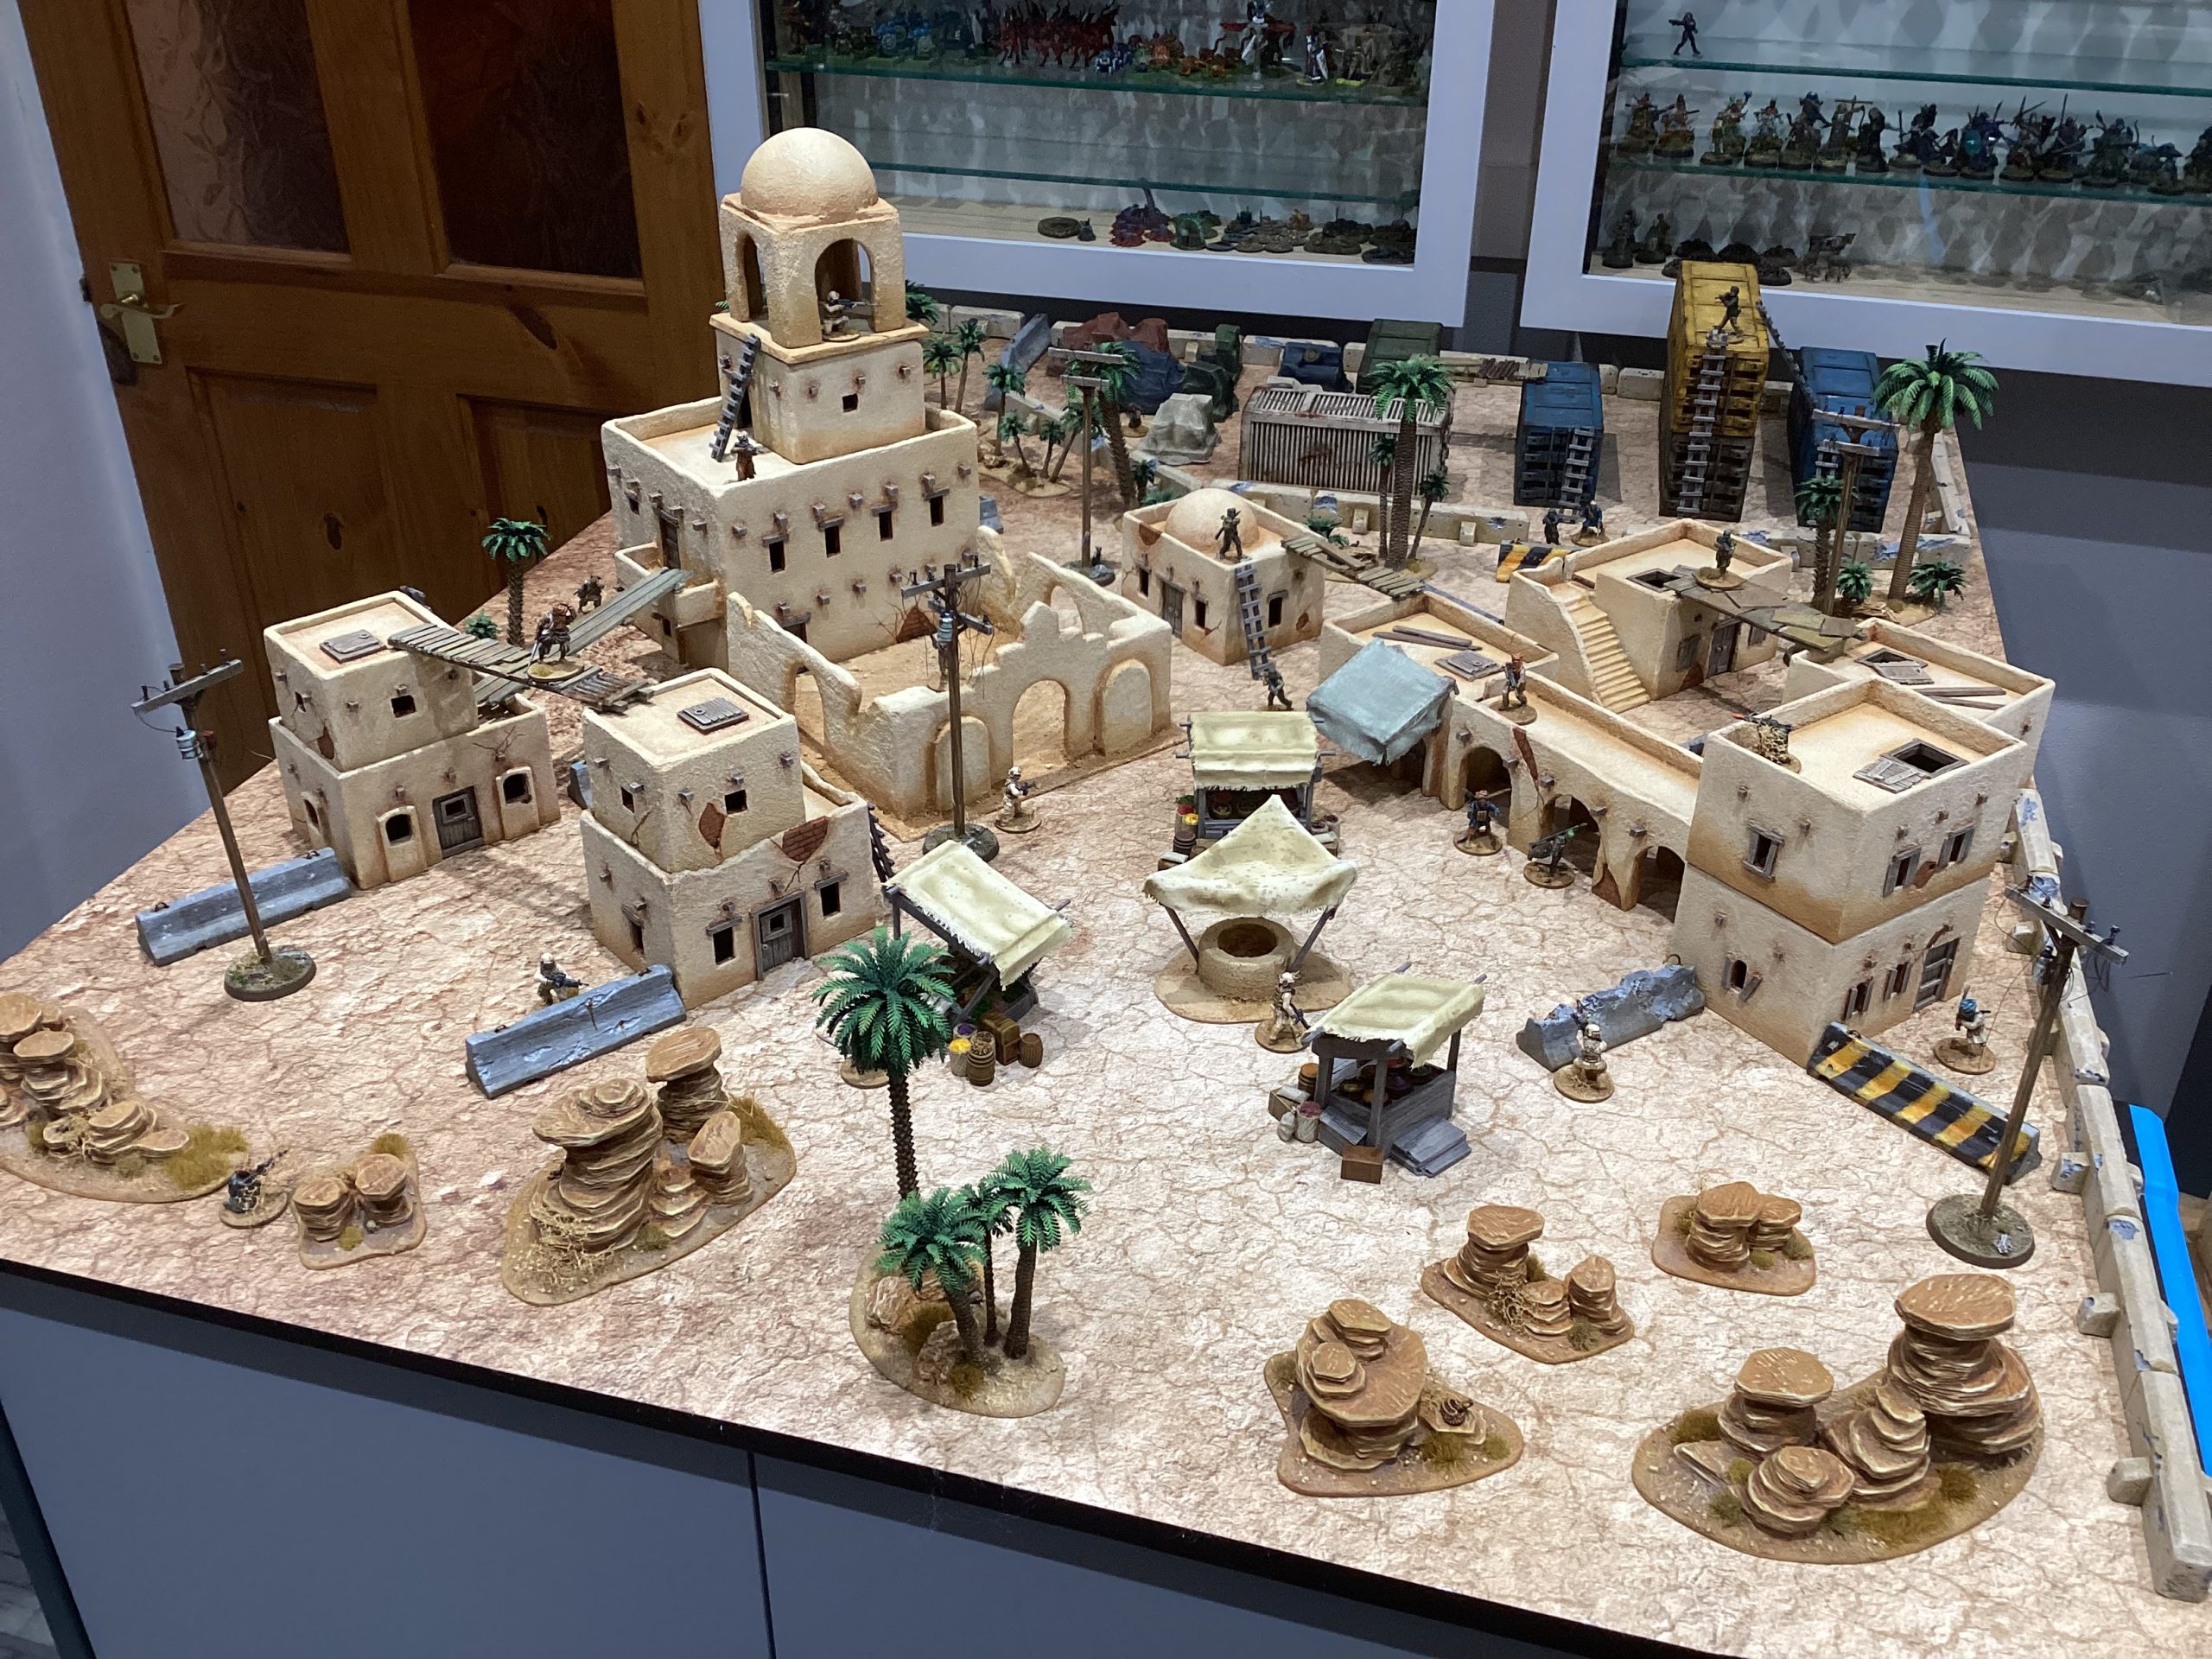
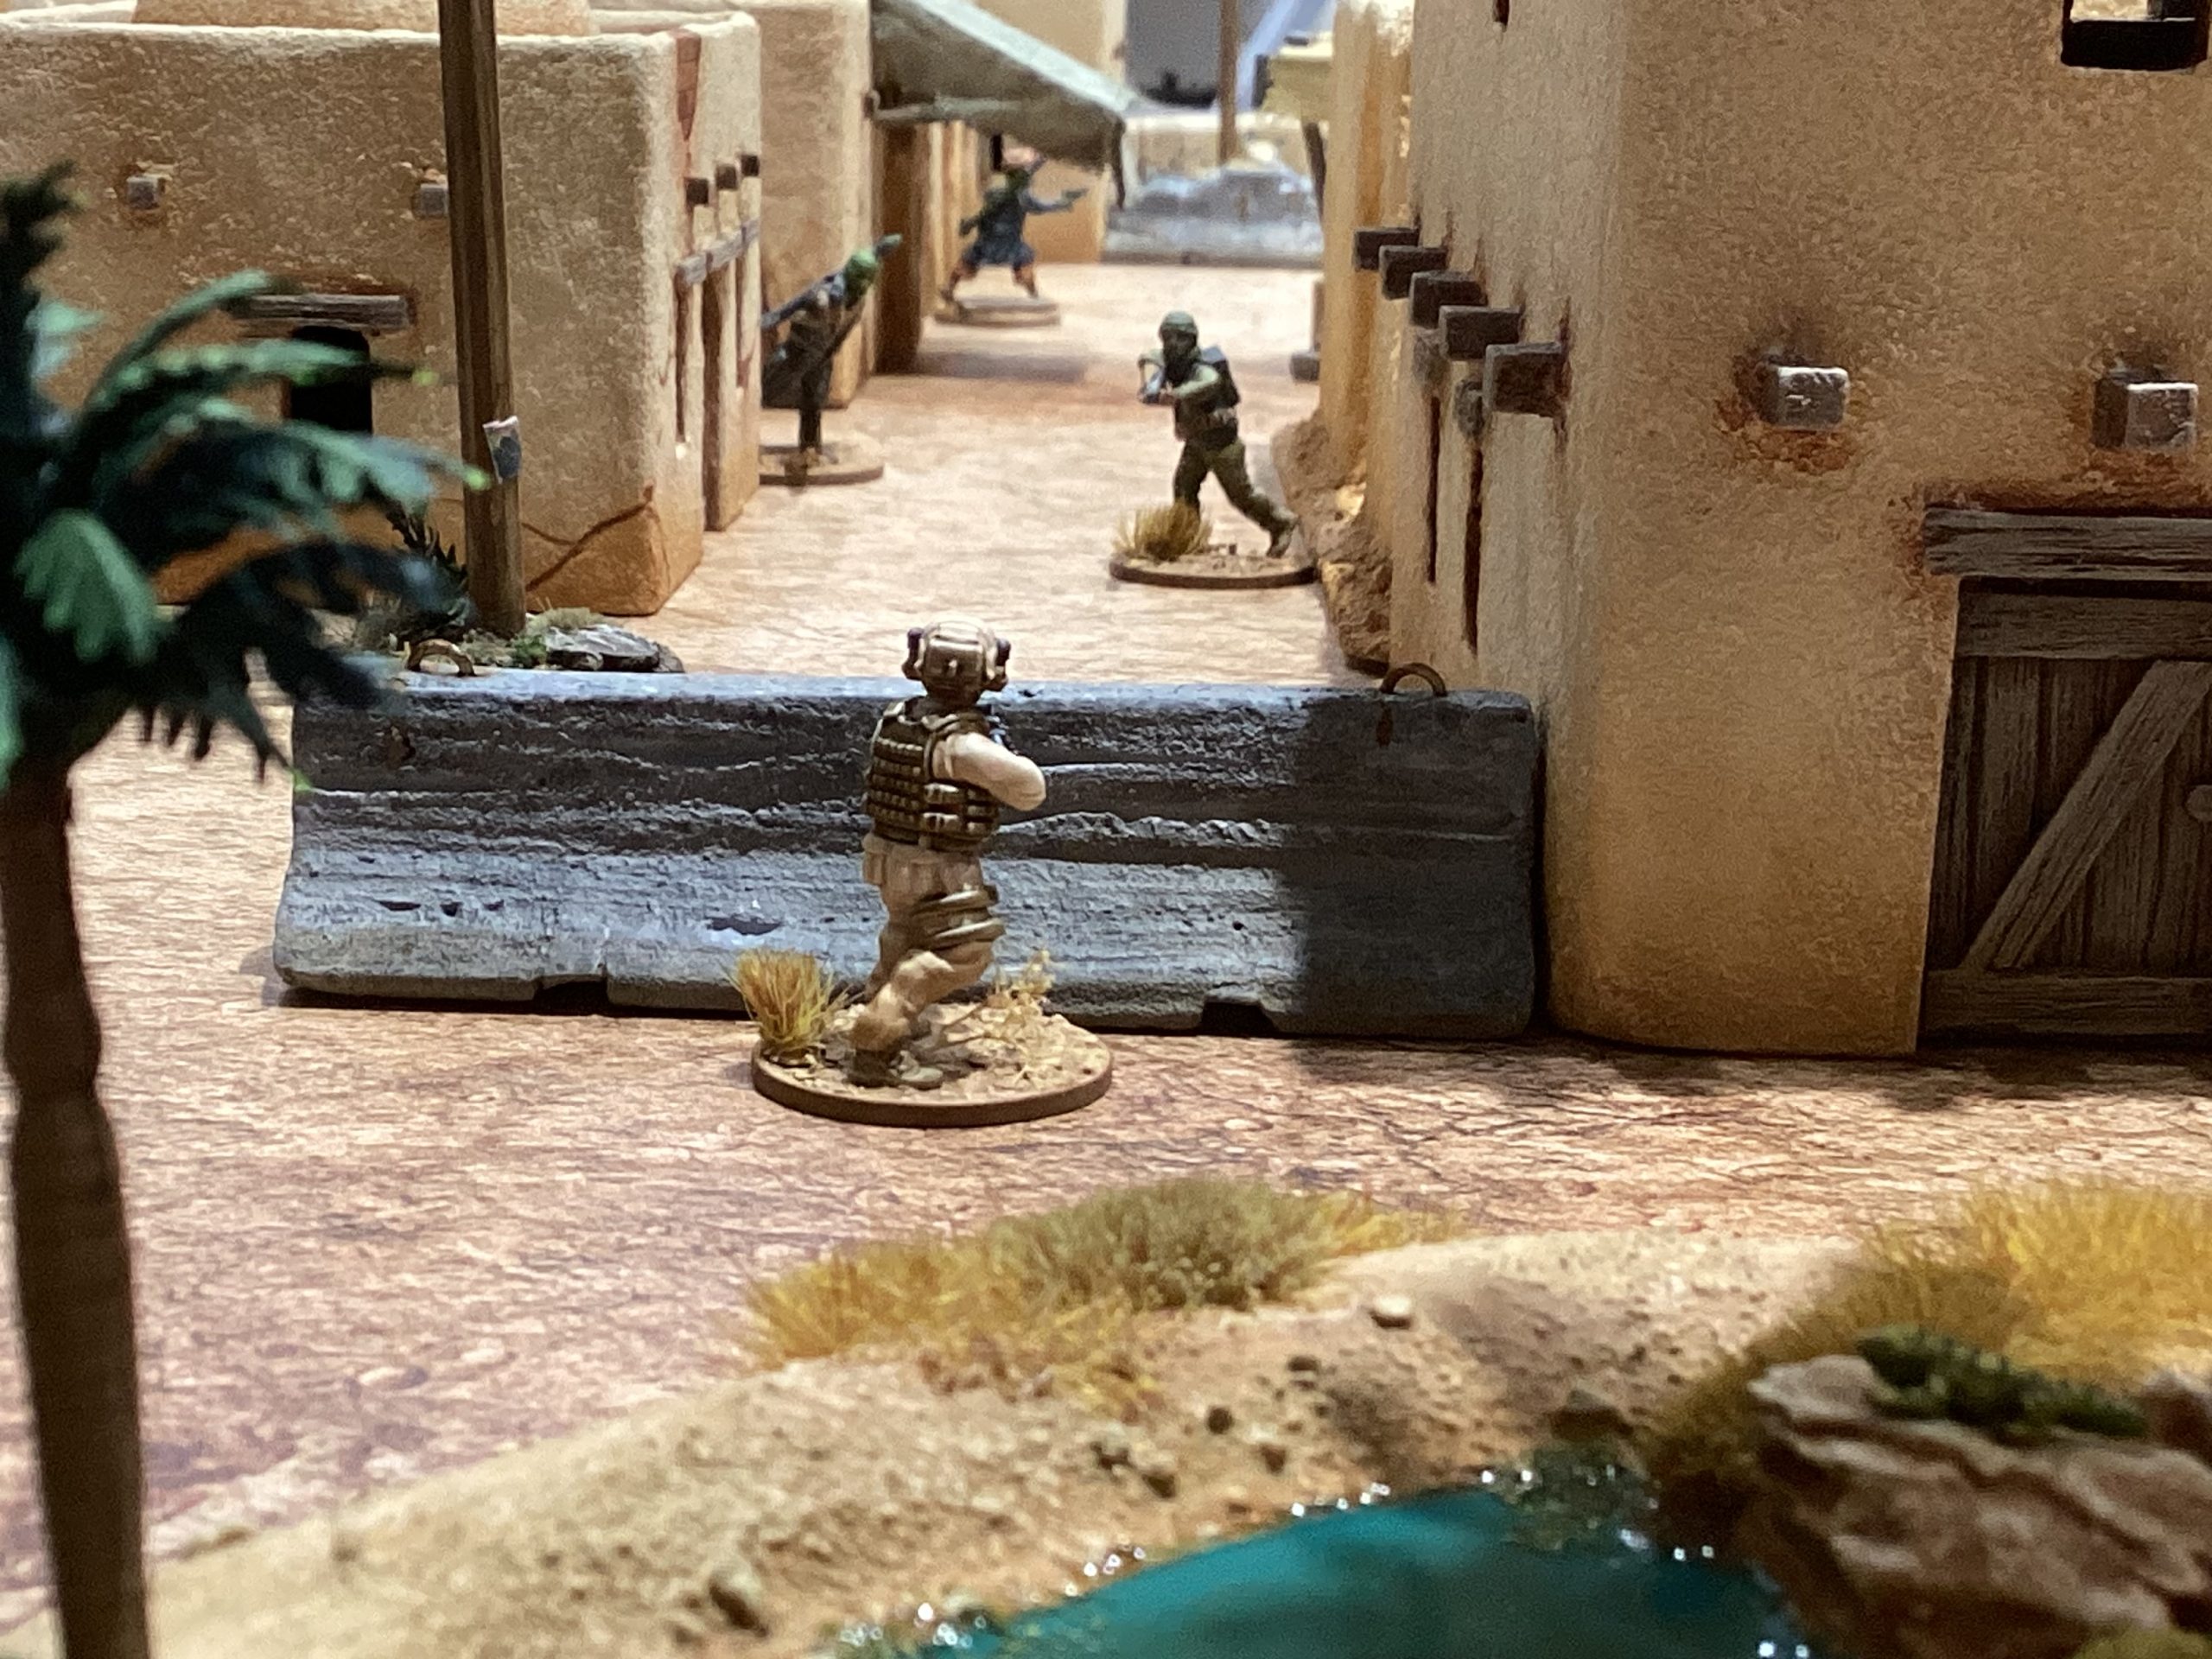
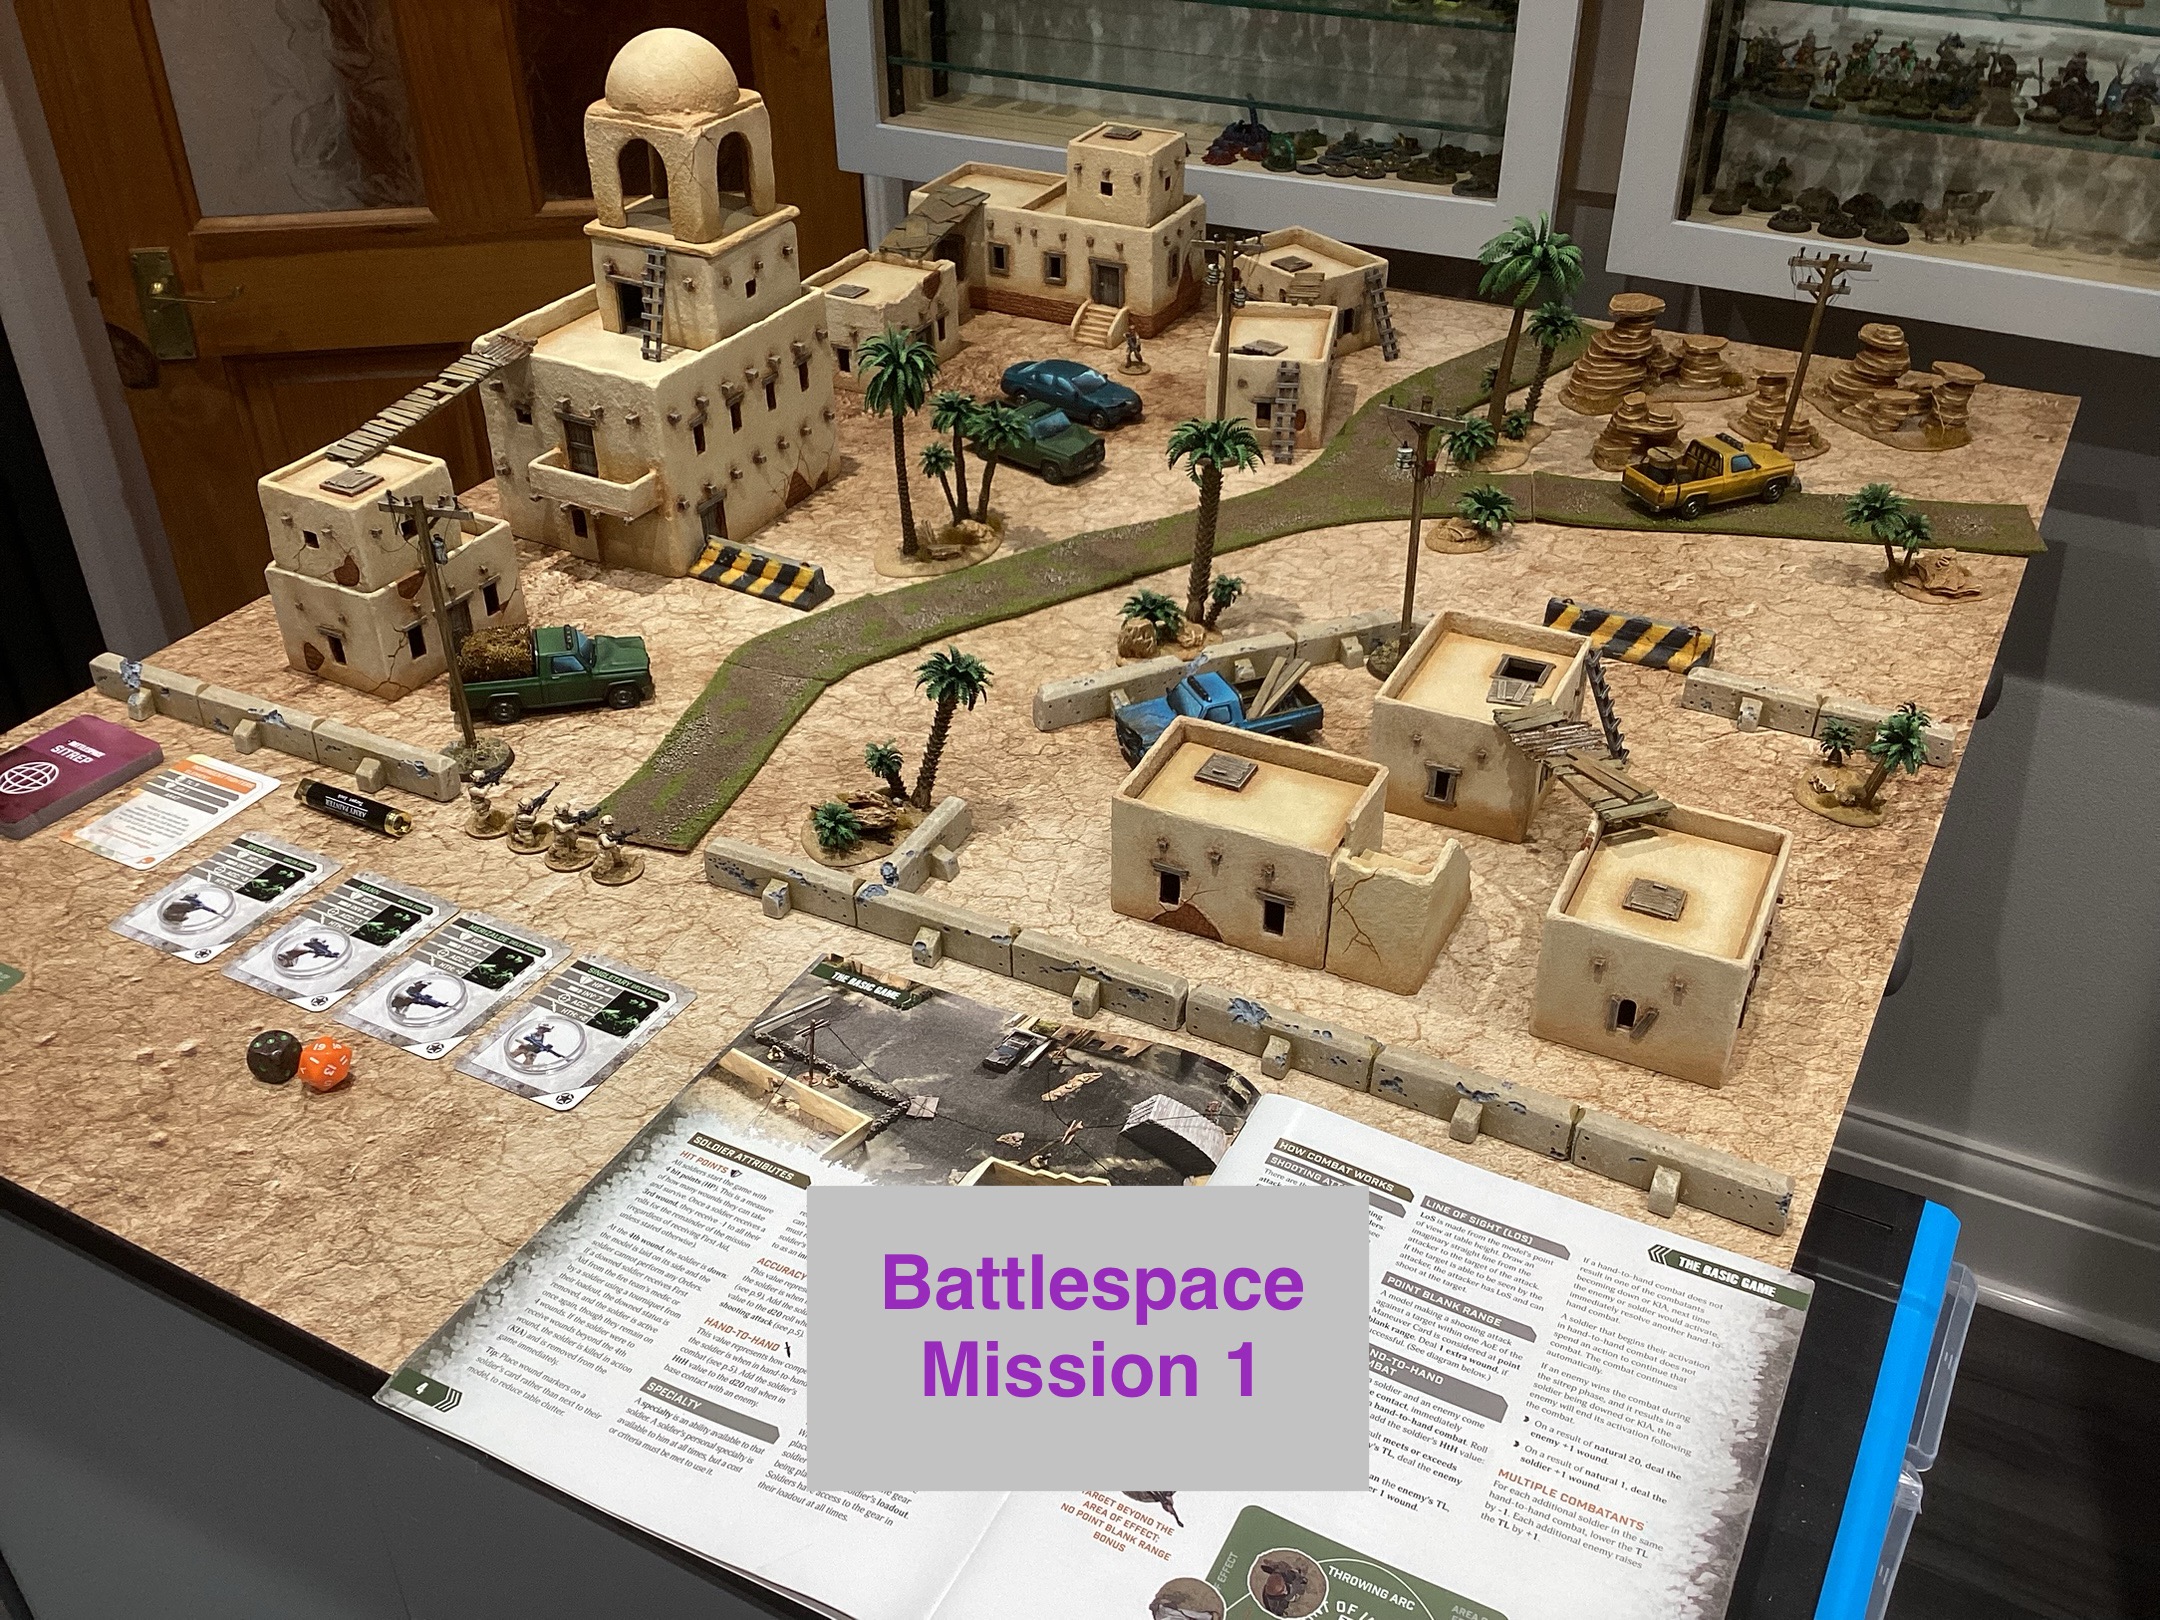
Below are some work in progress pictures from the project along with some details for each grouping. My main picture shows an example of a typical game set up using just the elements created. Way down at the bottom pictured….. a scene revealed through a rocky outcrop of a small village overrun with insurgents. A deserted market depicted as residents flee for cover, in the background a supply compound being raided….. Time for the Special Forces to go in, take back the town and get the job done!
The number of layout combinations with just this lot will keep me going for some time. With the buildings being so modular it will make for an interesting table mission to mission. Plenty of scope for elevated features which play a key role in some missions.
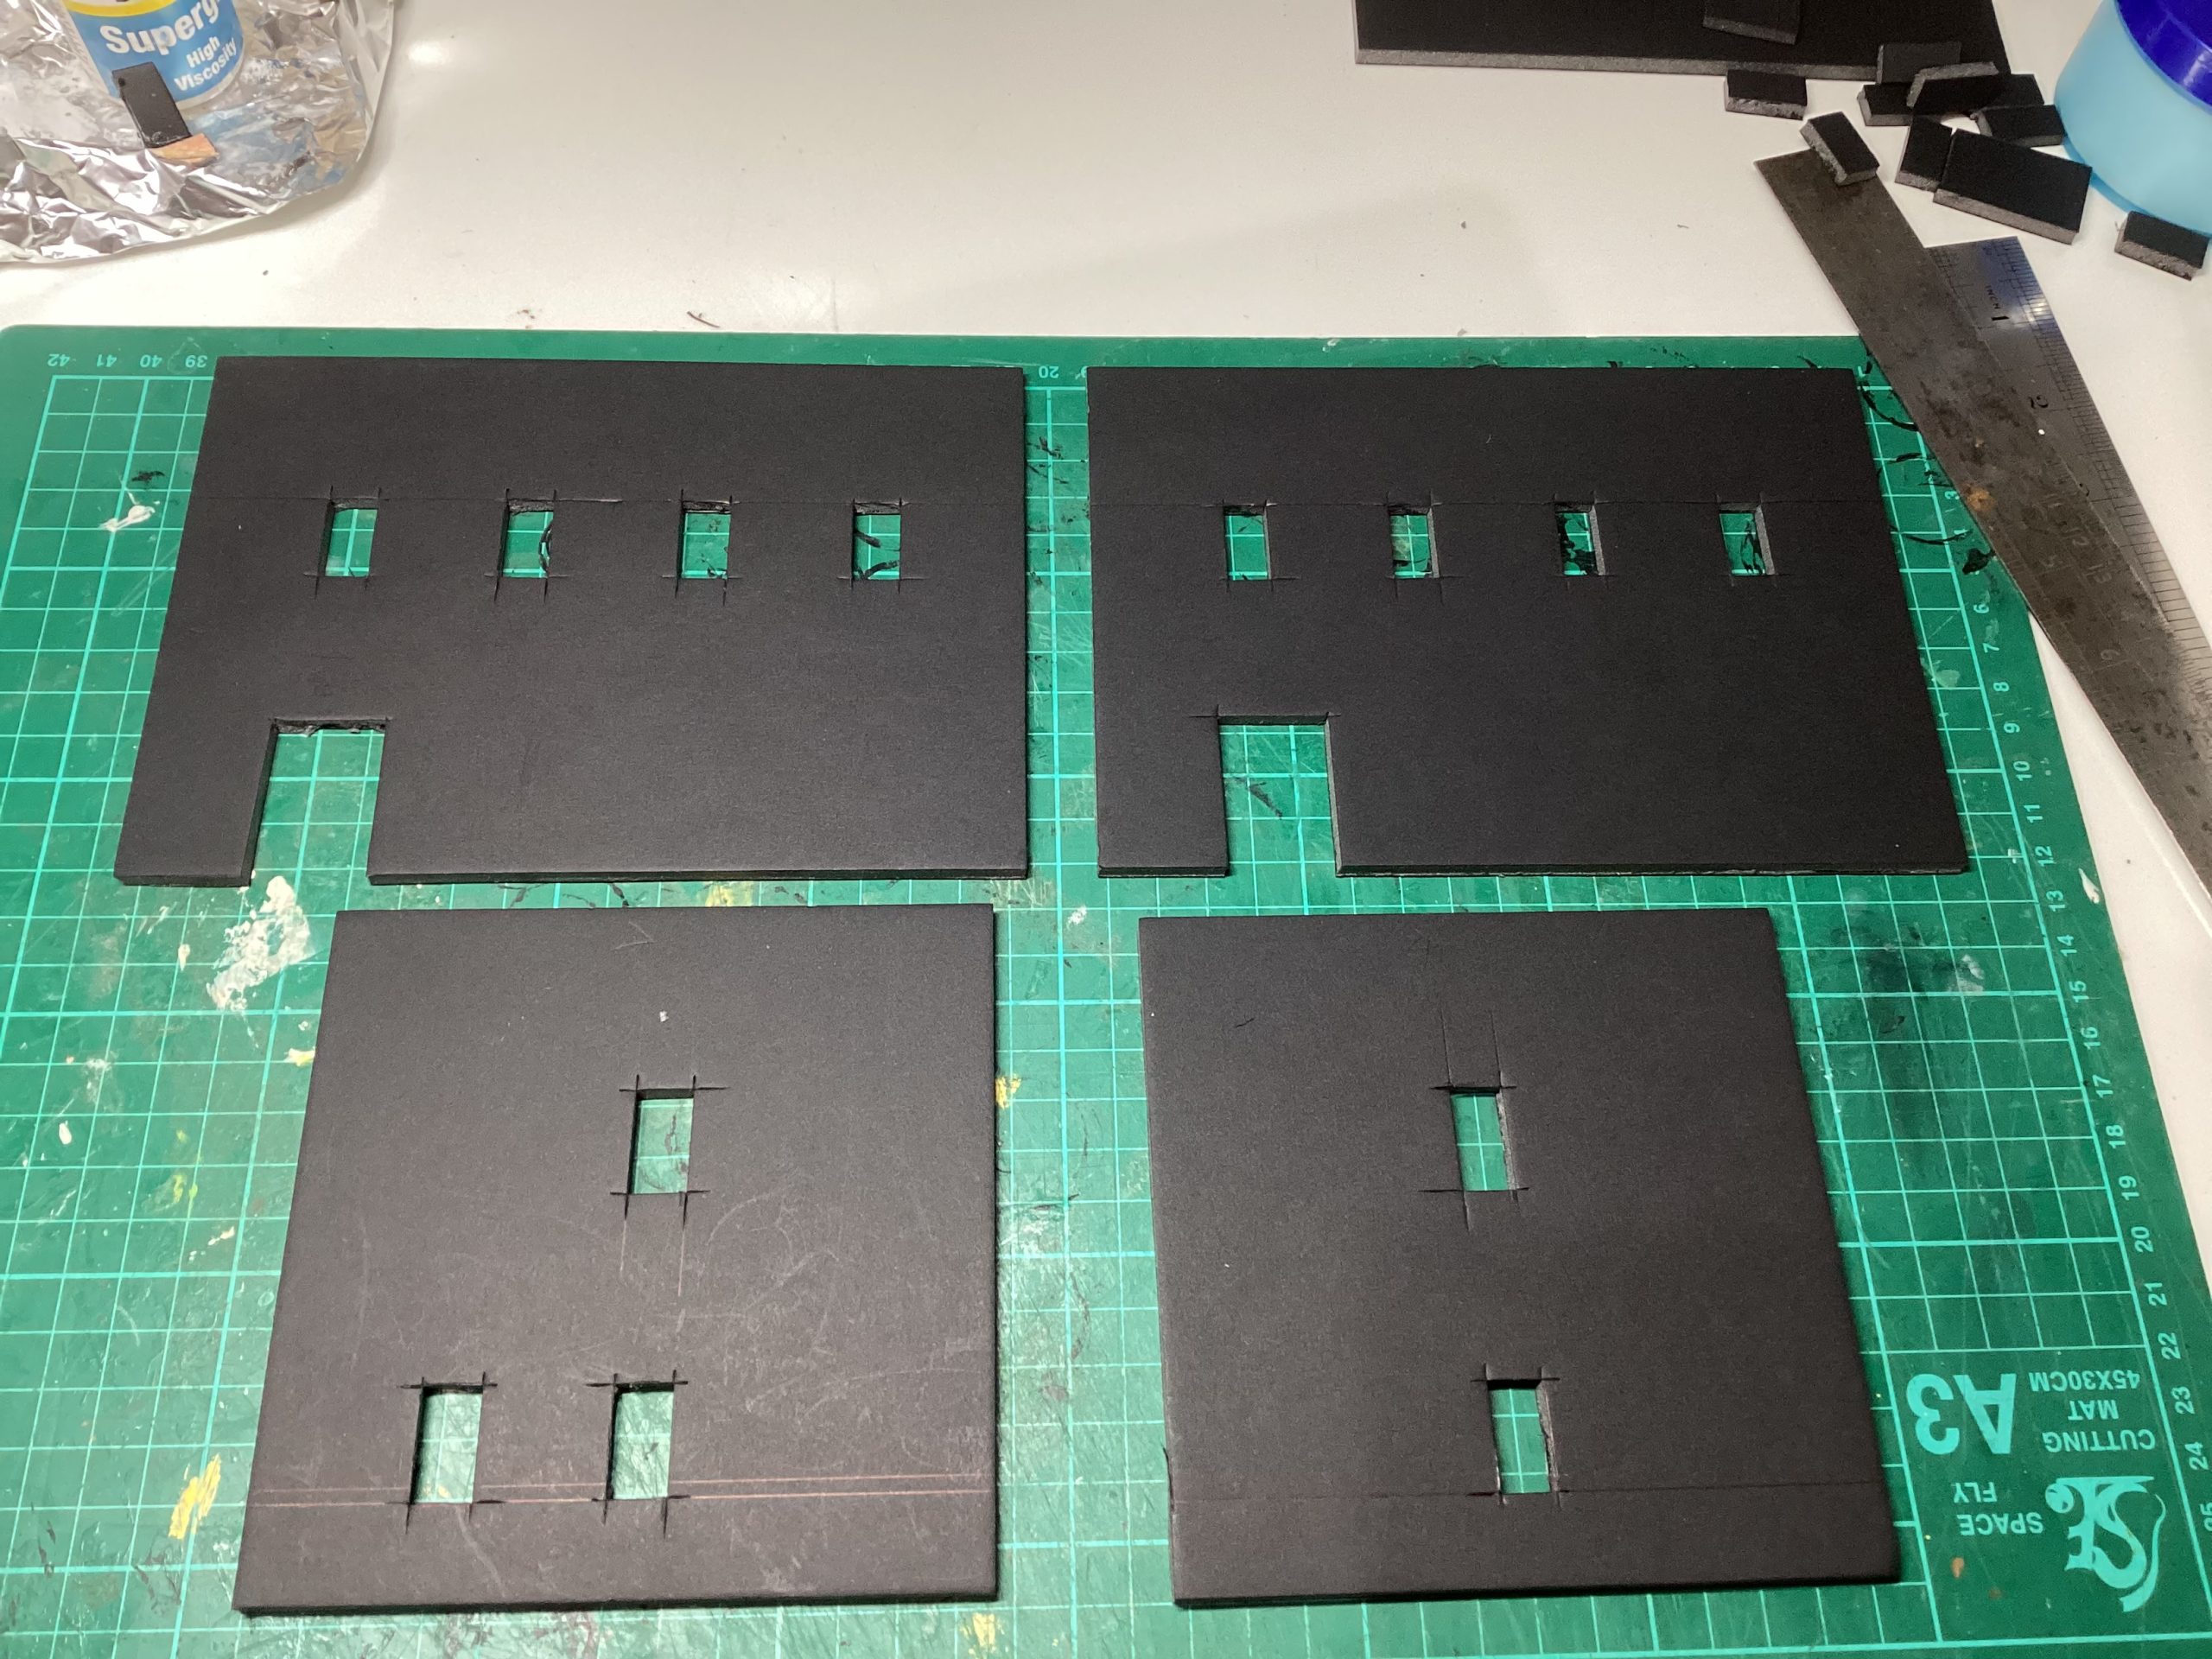
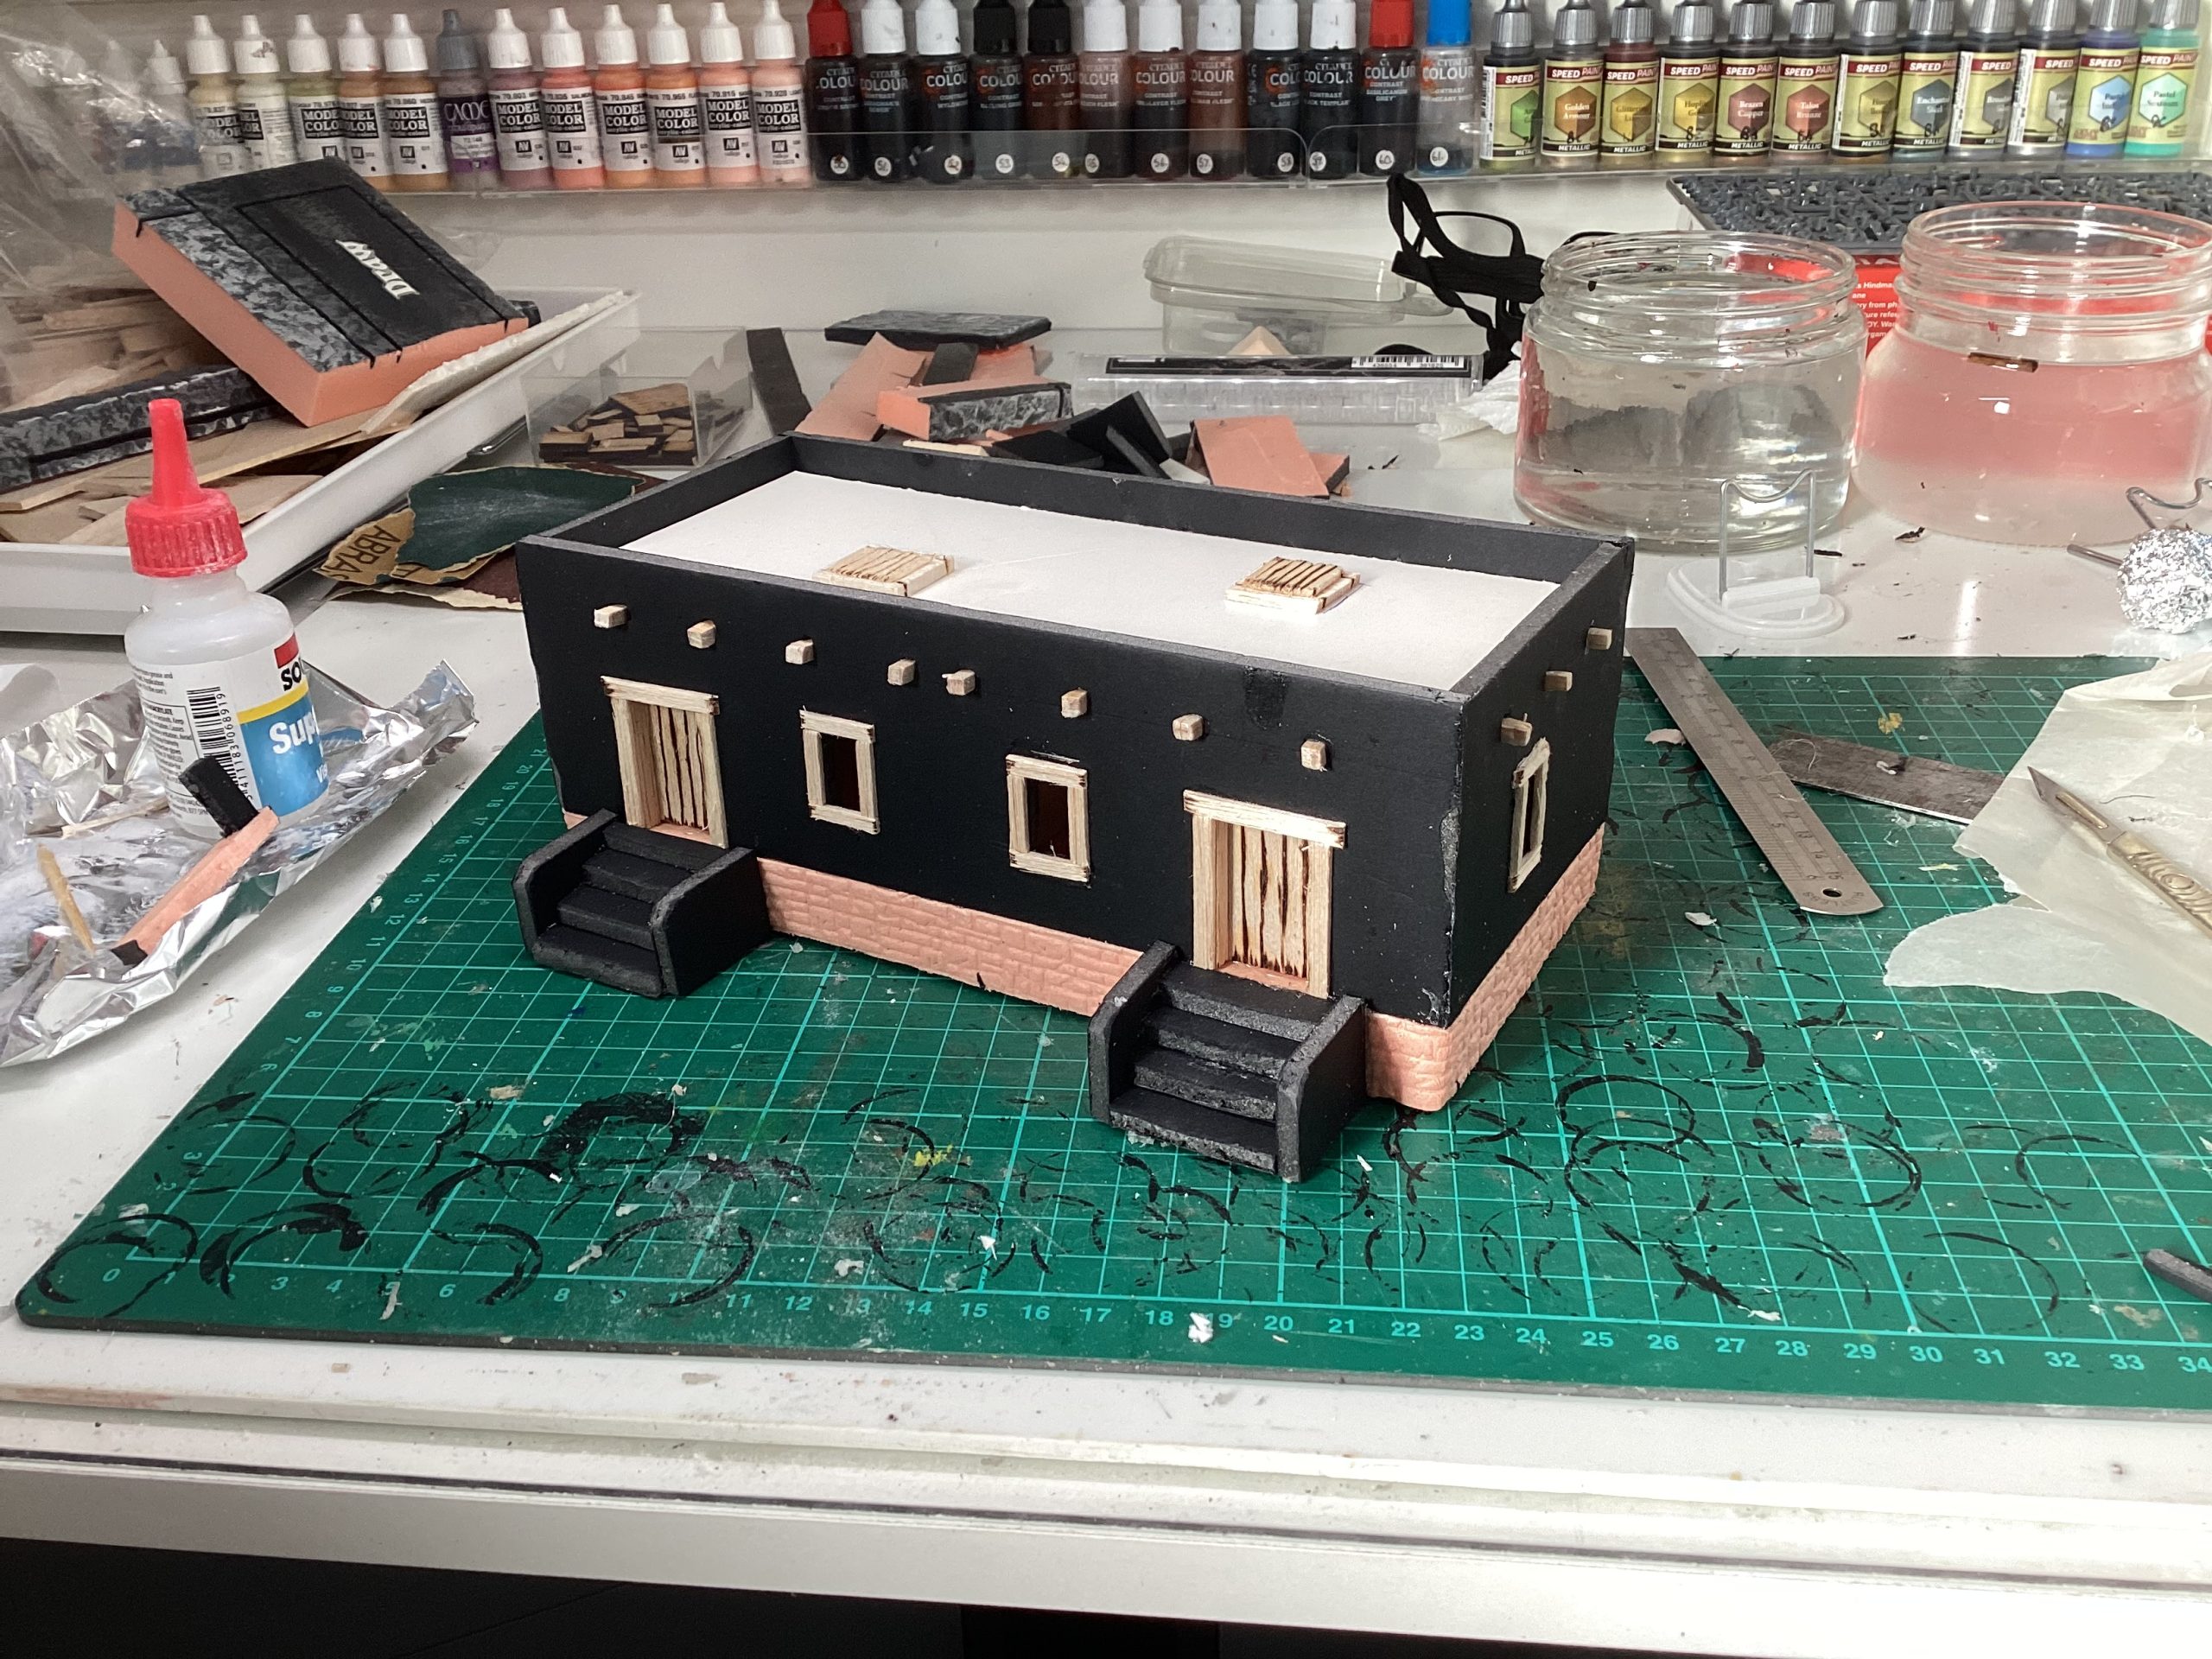
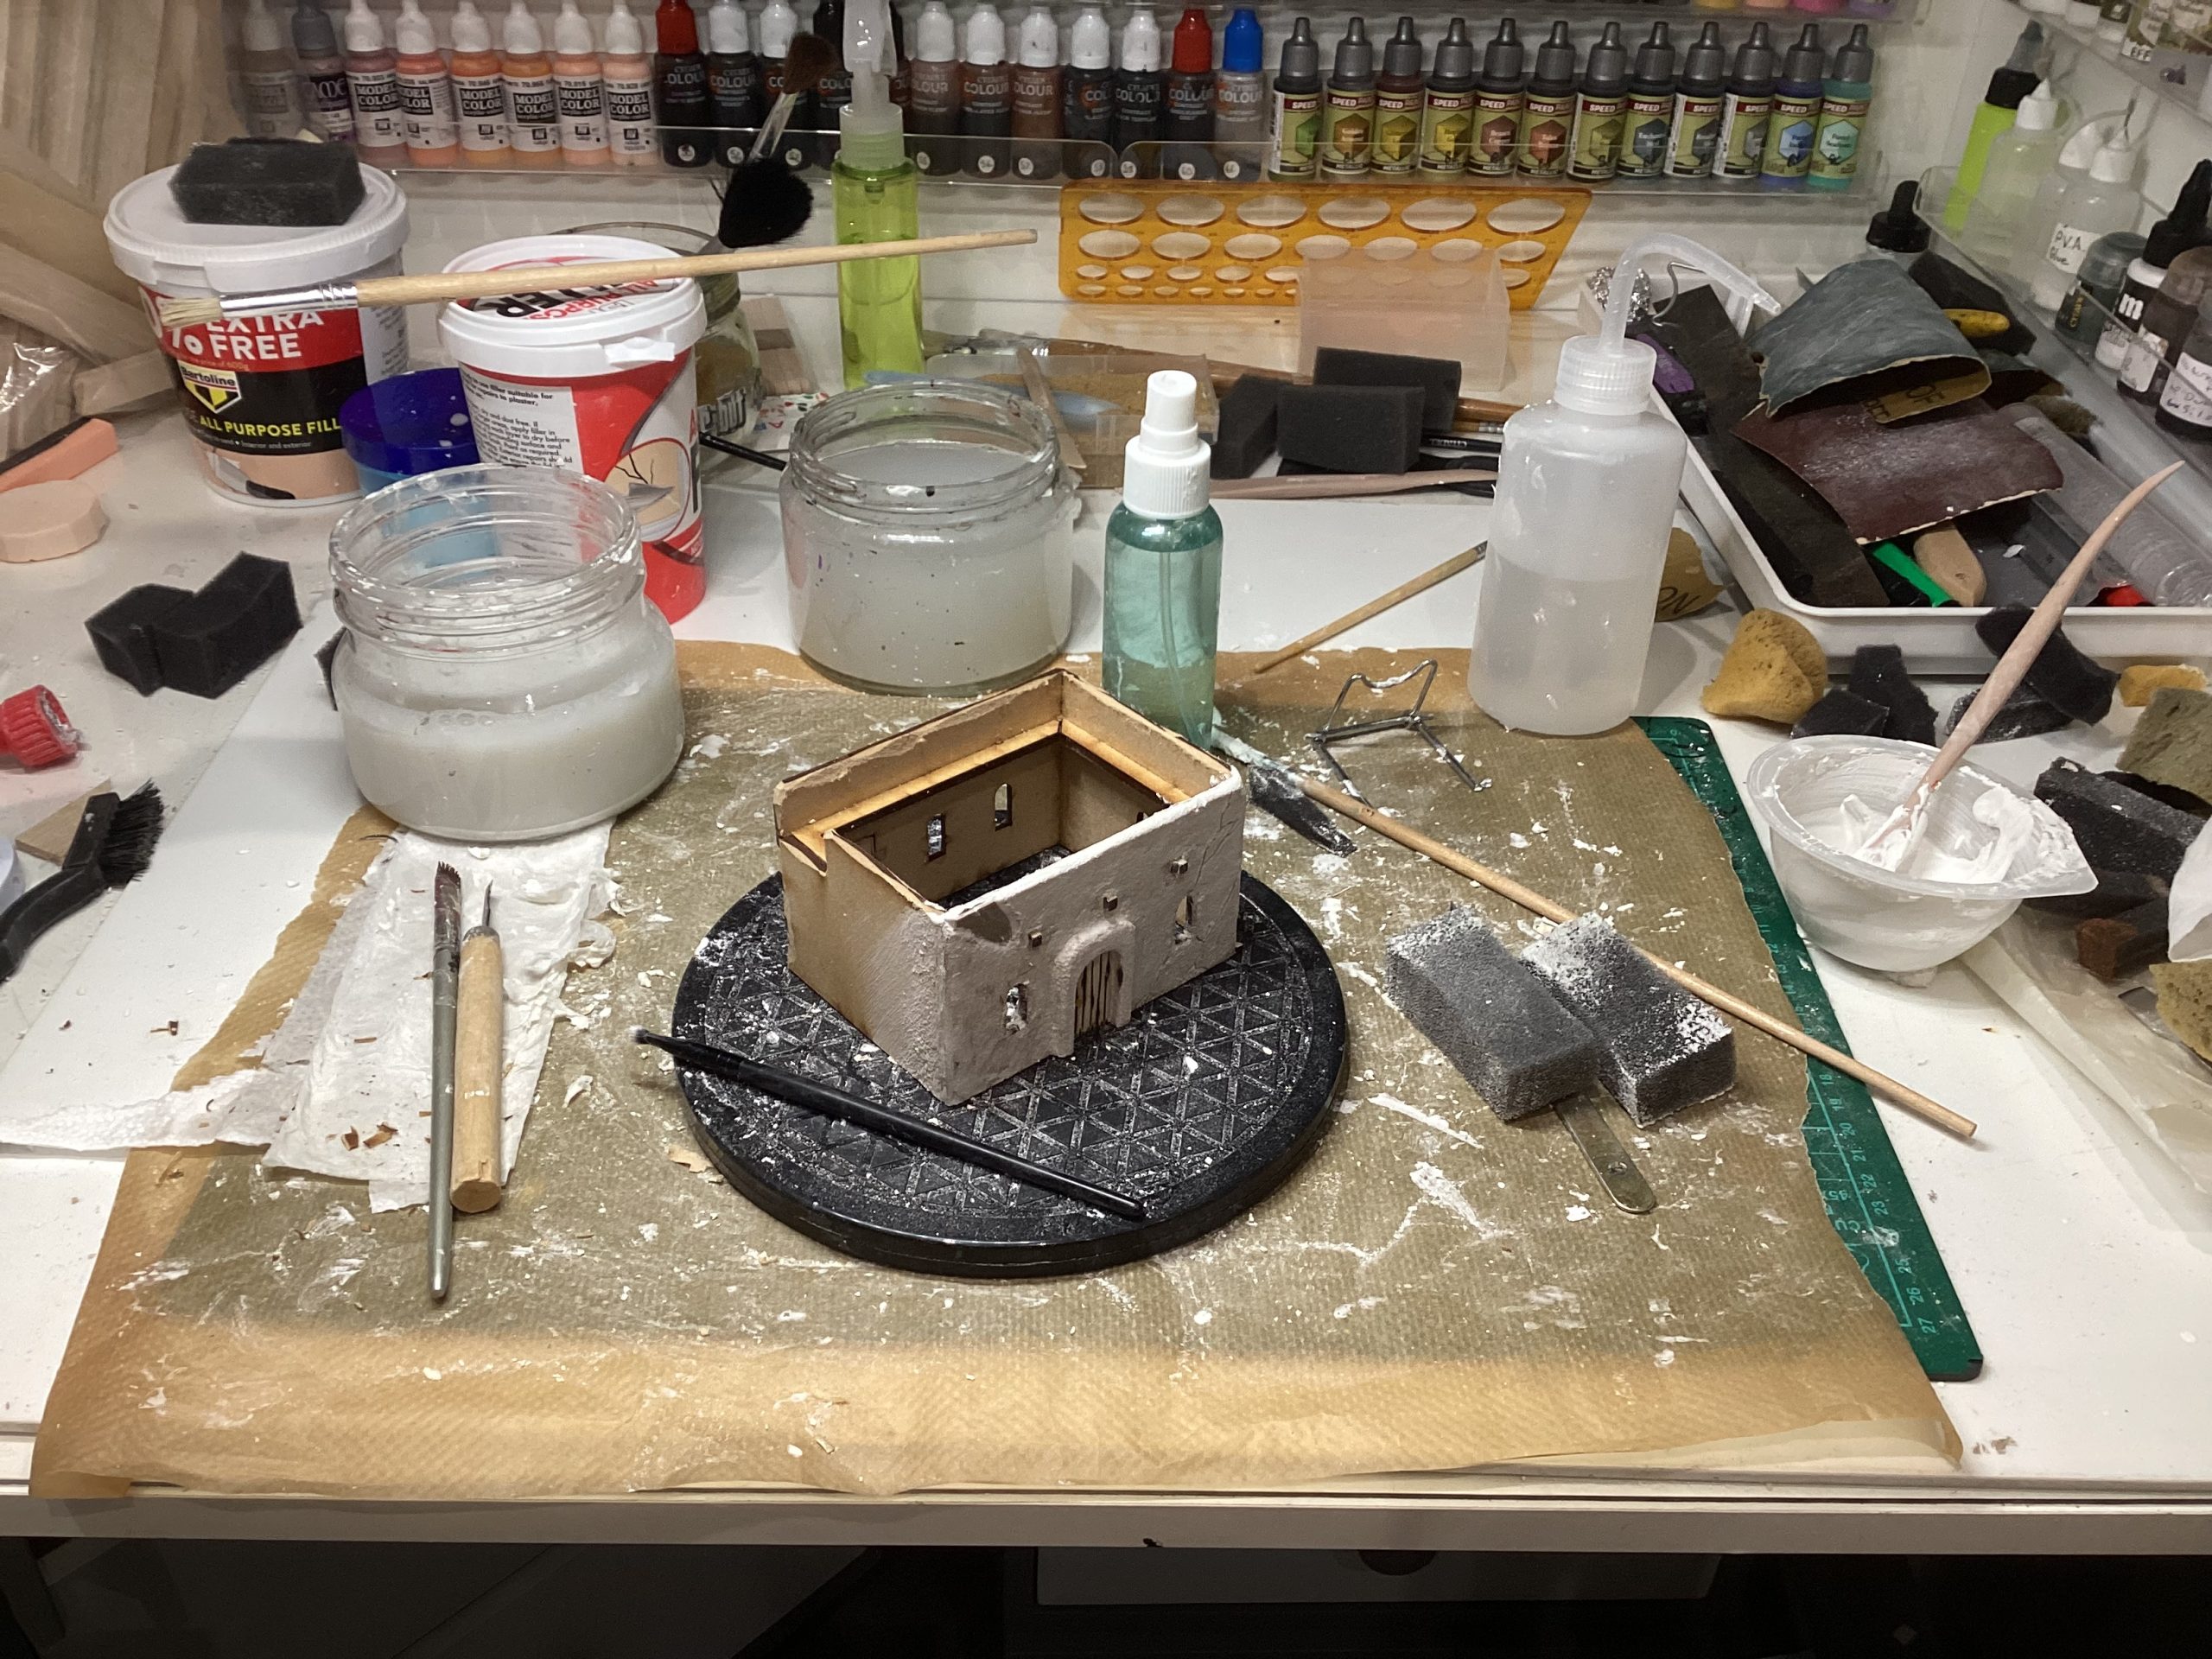
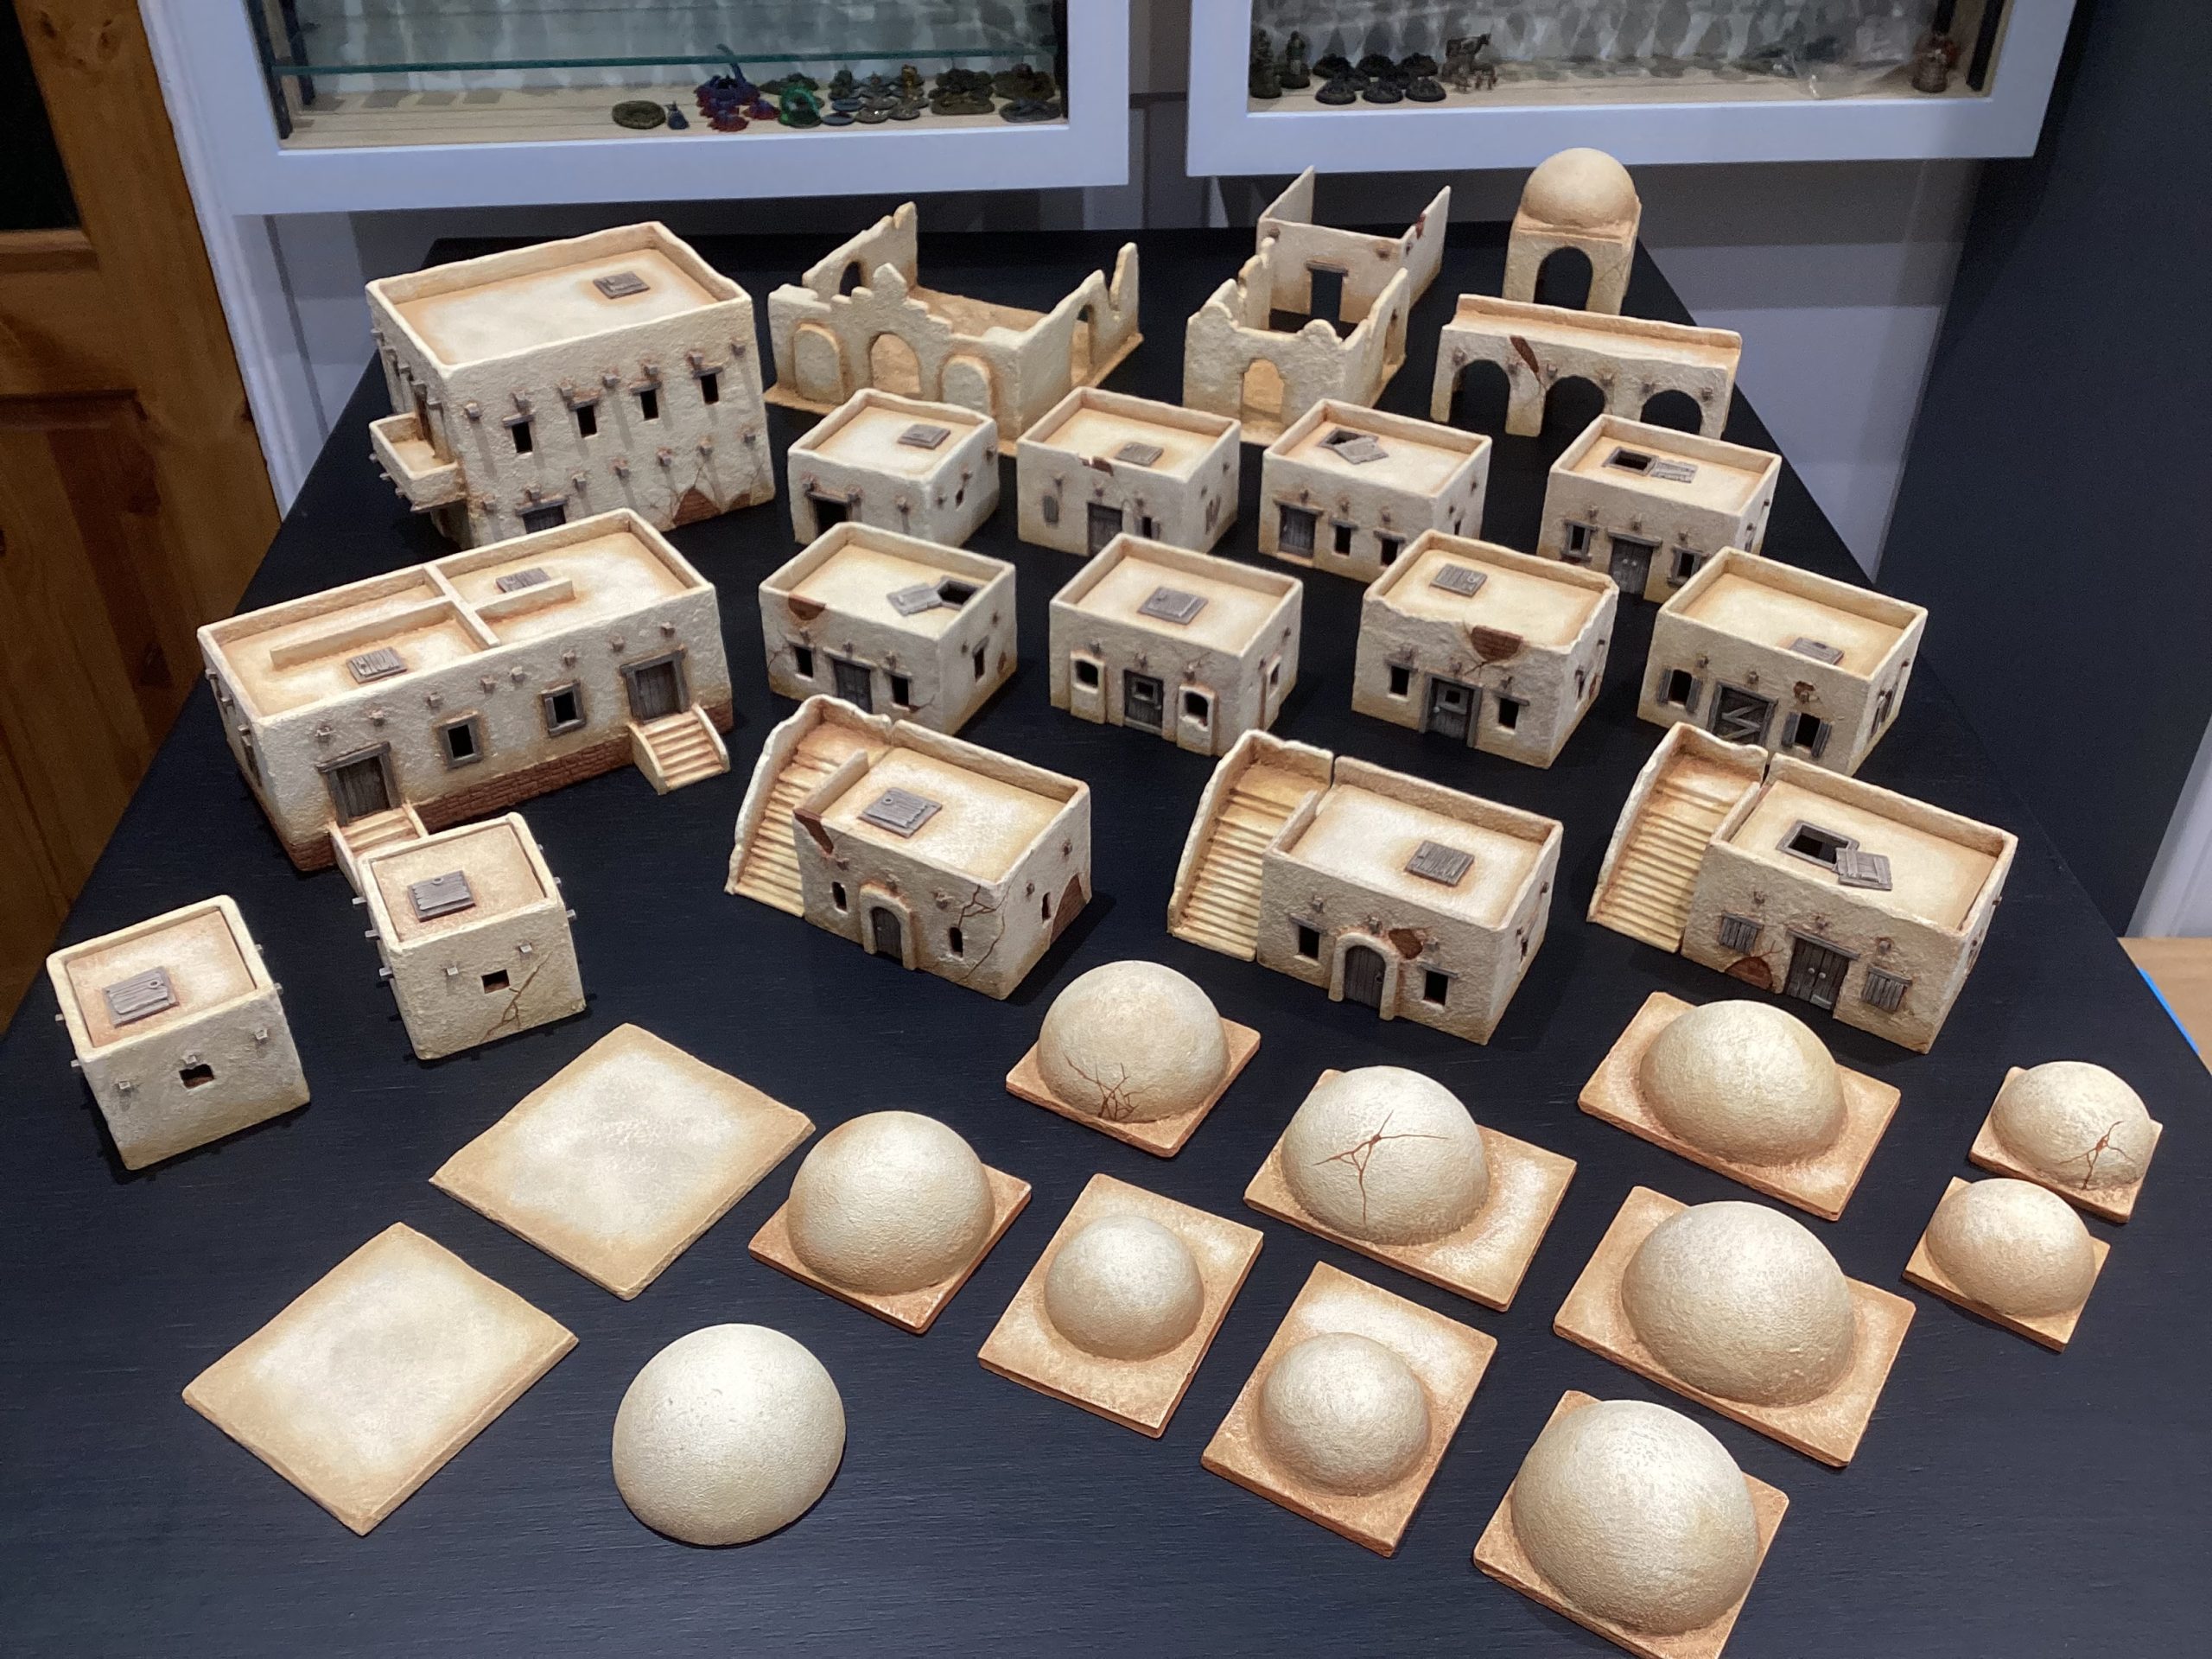
Buildings: The MDF buildings were used as a skeleton for speed. All the doors and window surrounds etc were added using balsa wood for greater detail. The buildings then textured with 151 all purpose filler with a little PVA added, this mixture was brushed on then stippled with a sponge until it looked fine enough. I found water in a small fine Atomiser spray bottle a very helpful when doing this to blend any dry edges back in and allow the texture to reactivate allowing more work time. Cracks and Damage were then scribed in. The remaining buildings were scratch built from foam core board and textured in the same way. Everything was mostly painted with Liquitex basics acrylic. The wood effect from a light grey base coat dry brushed with secret weapon weathered wood. Washed with speed paint Dark Wood thinned with water 50/50. Then again drybrushed just to pick out detail. The walls very trial and error, my mistake not doing a test piece. I painted them 3 times and wasn’t happy with any result’s, with perseverance the 4th go went much better. Washed and sponged multiple times in various mixed yellows/browns, light desert tones, drybrushed in various off whites. Damp weathering powders ( Vallejo Natural Sienna) used to add that stained look at ground level and all the joints to add form and interest. (A big relief when these were done, I lost a bit of confidence and a little sanity during their journey 😅)
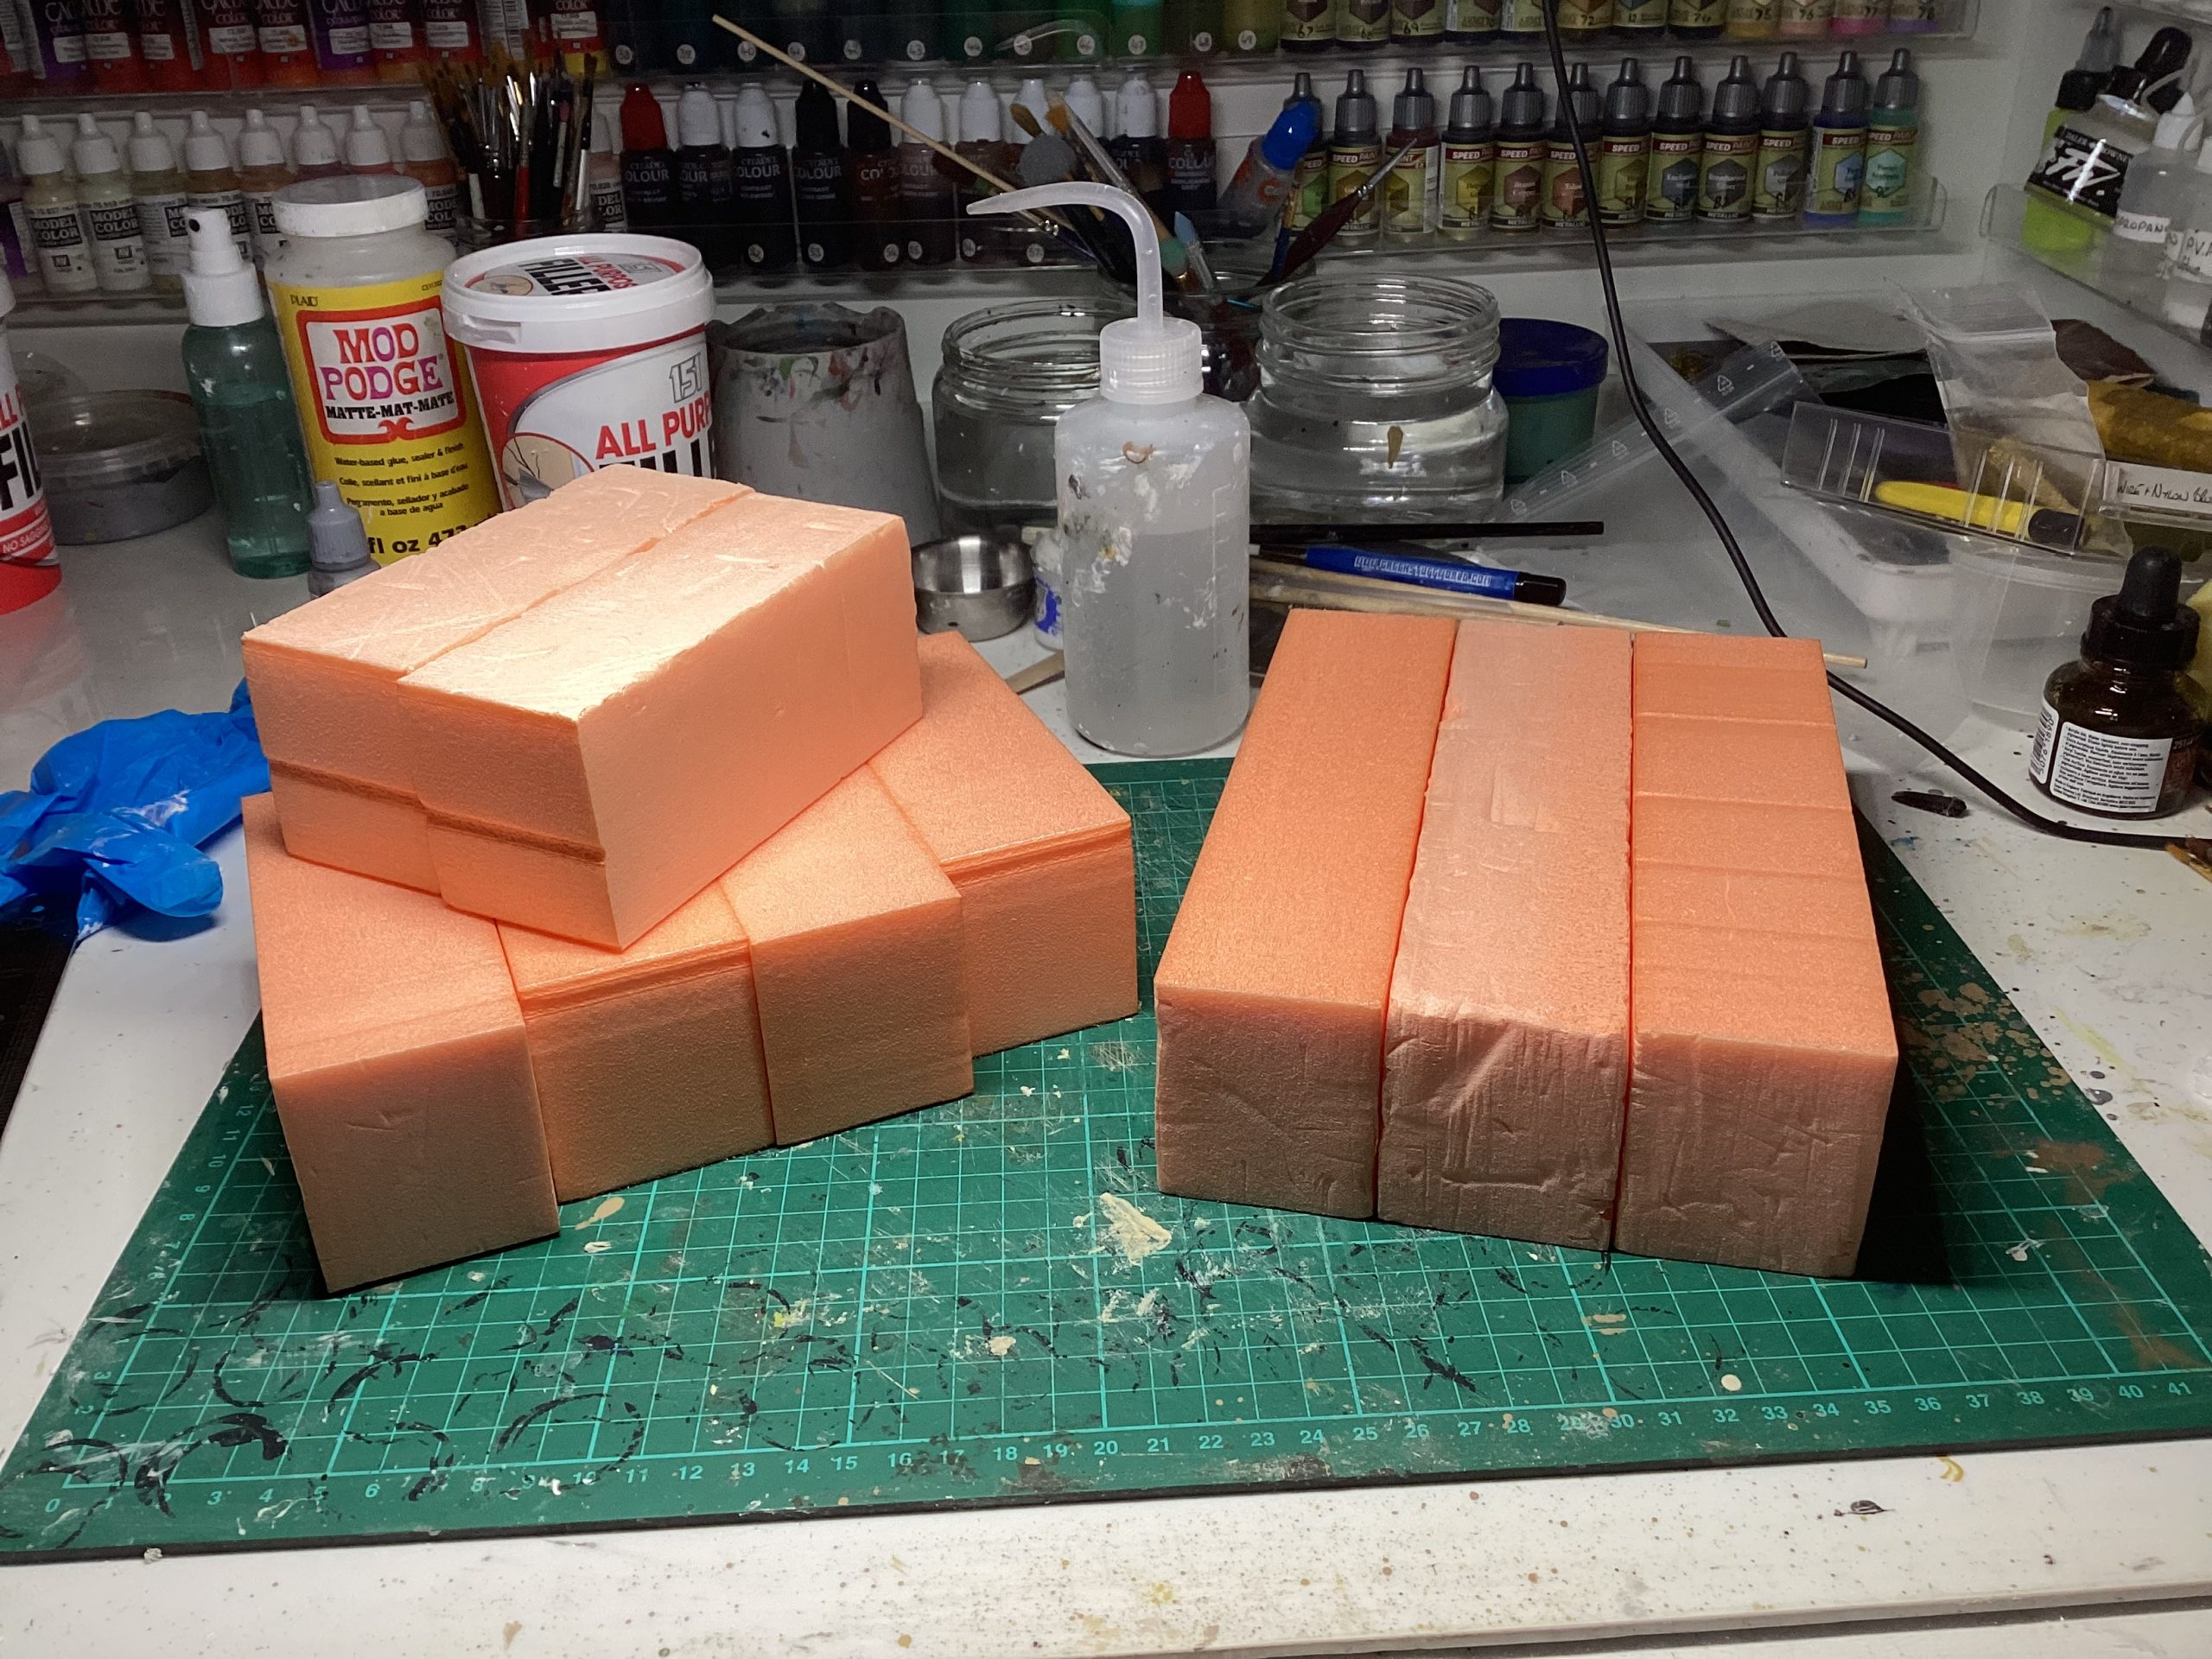
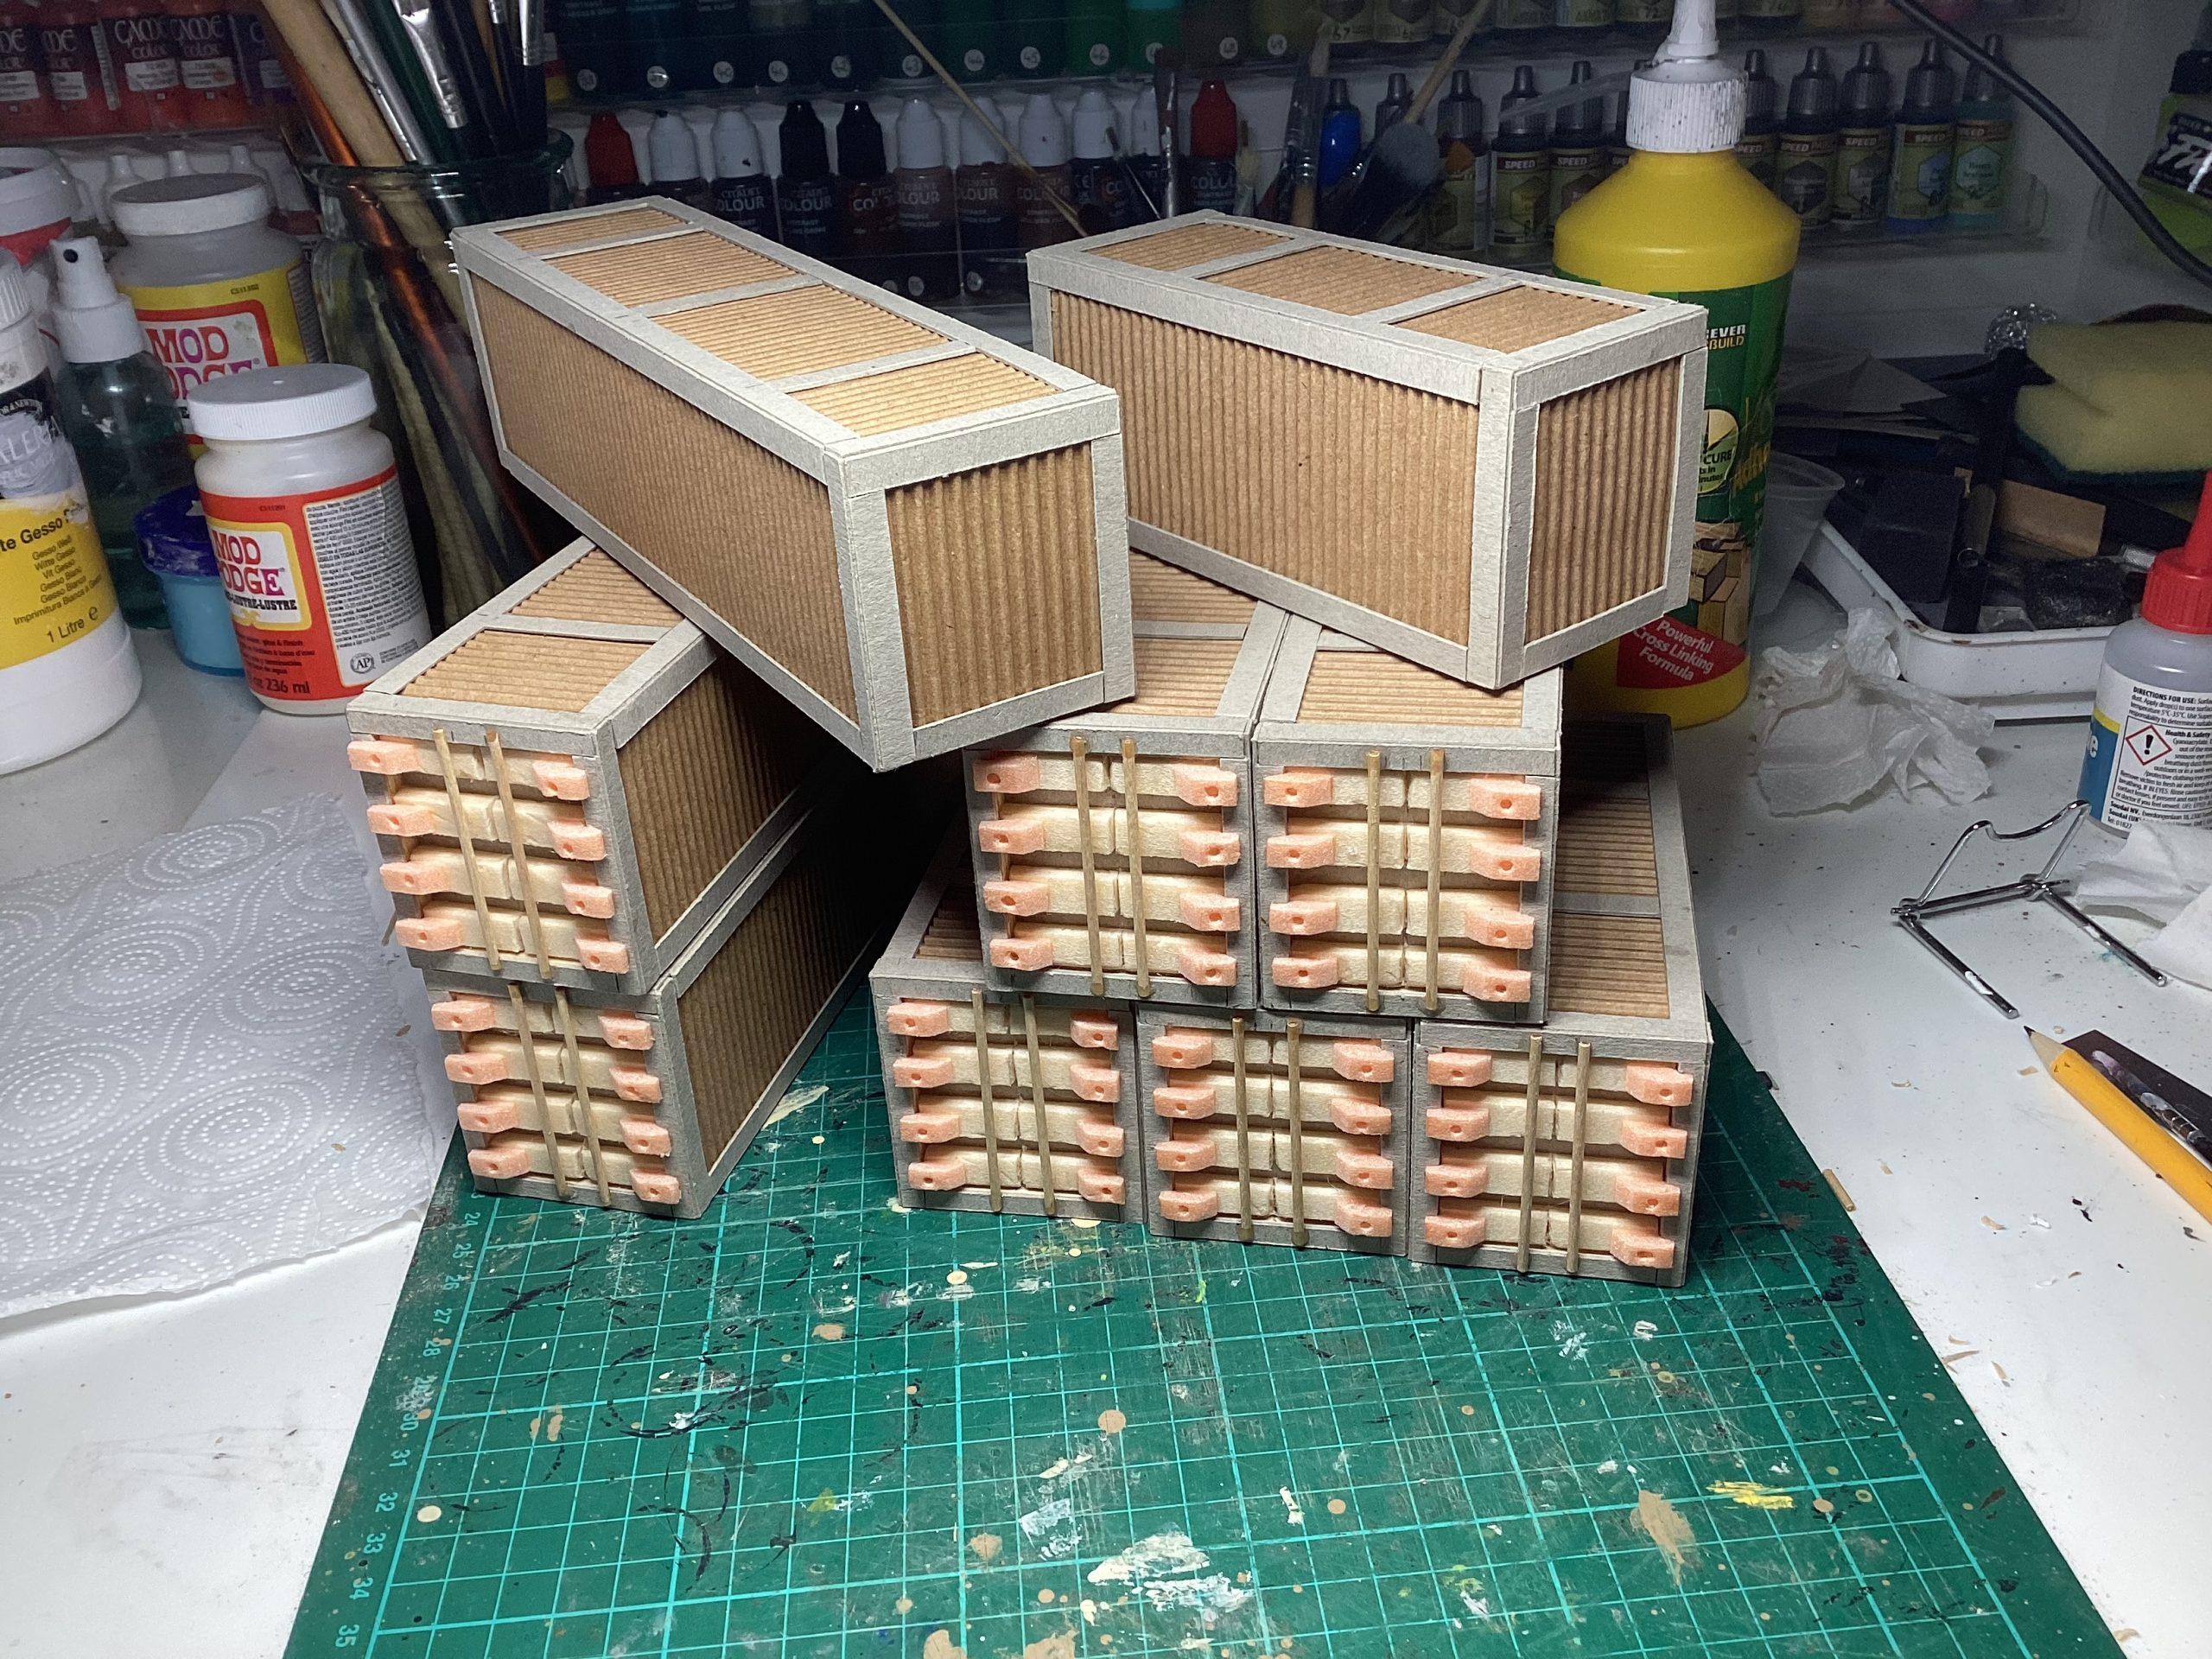
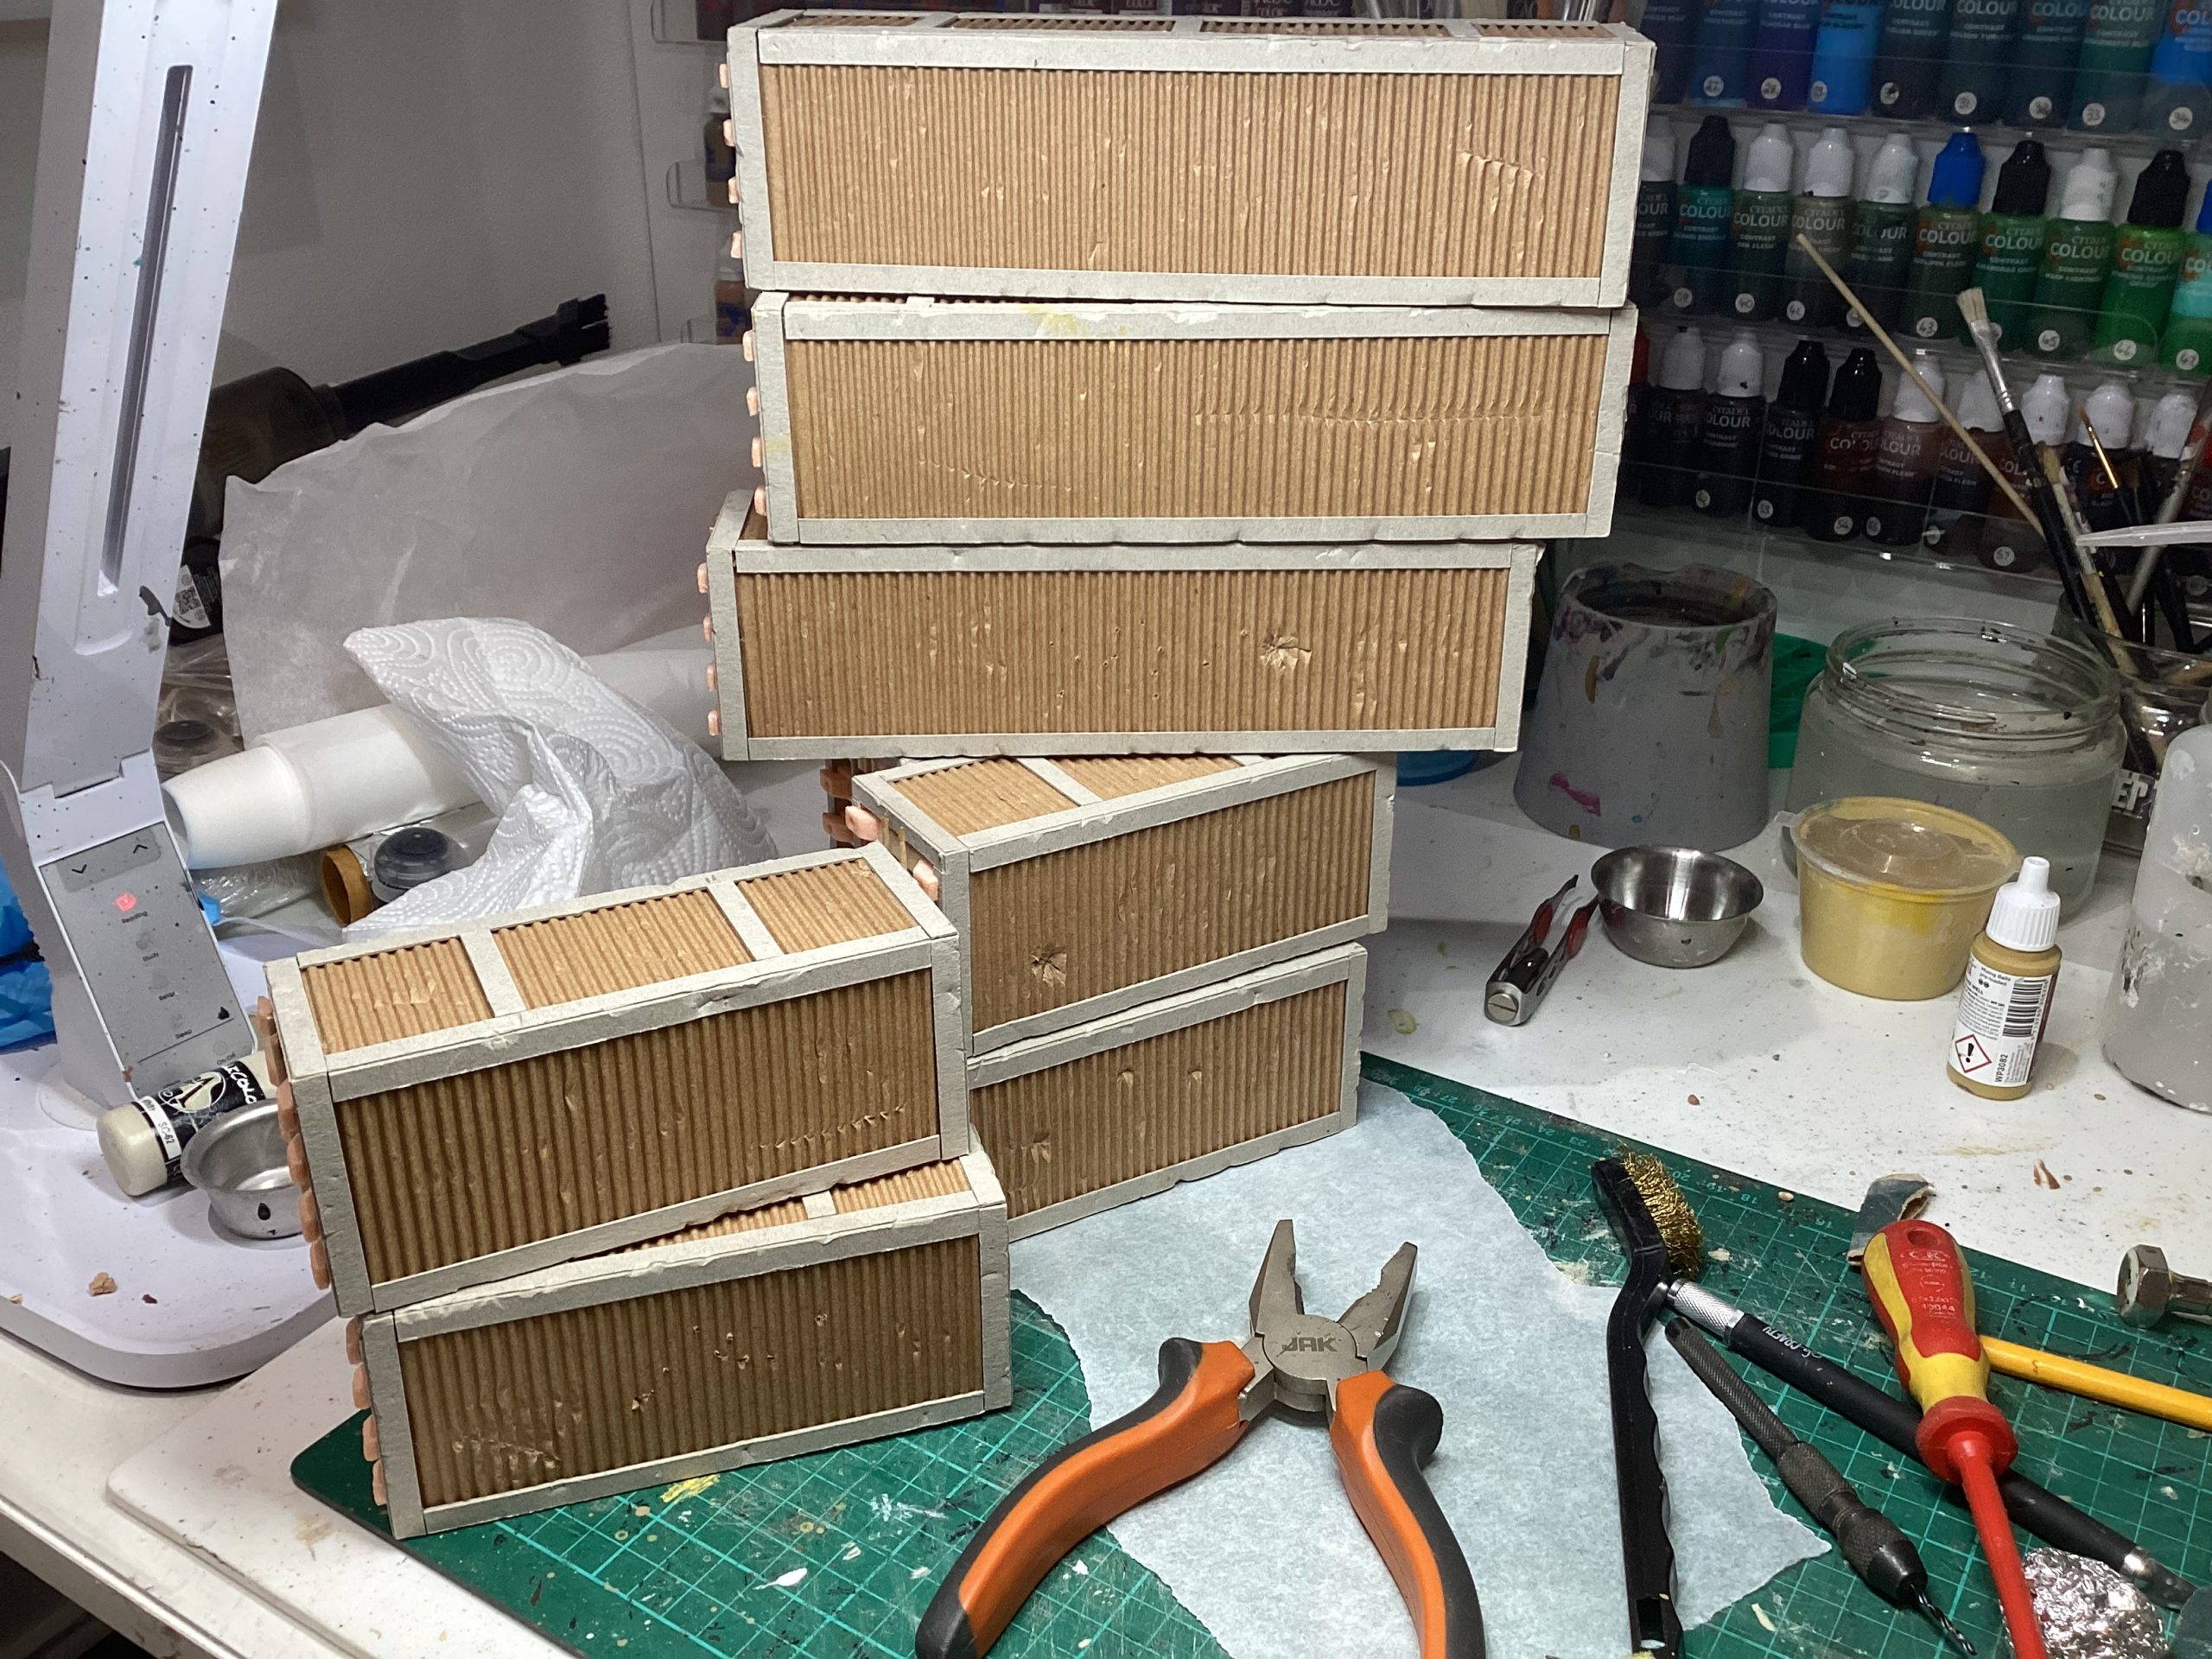
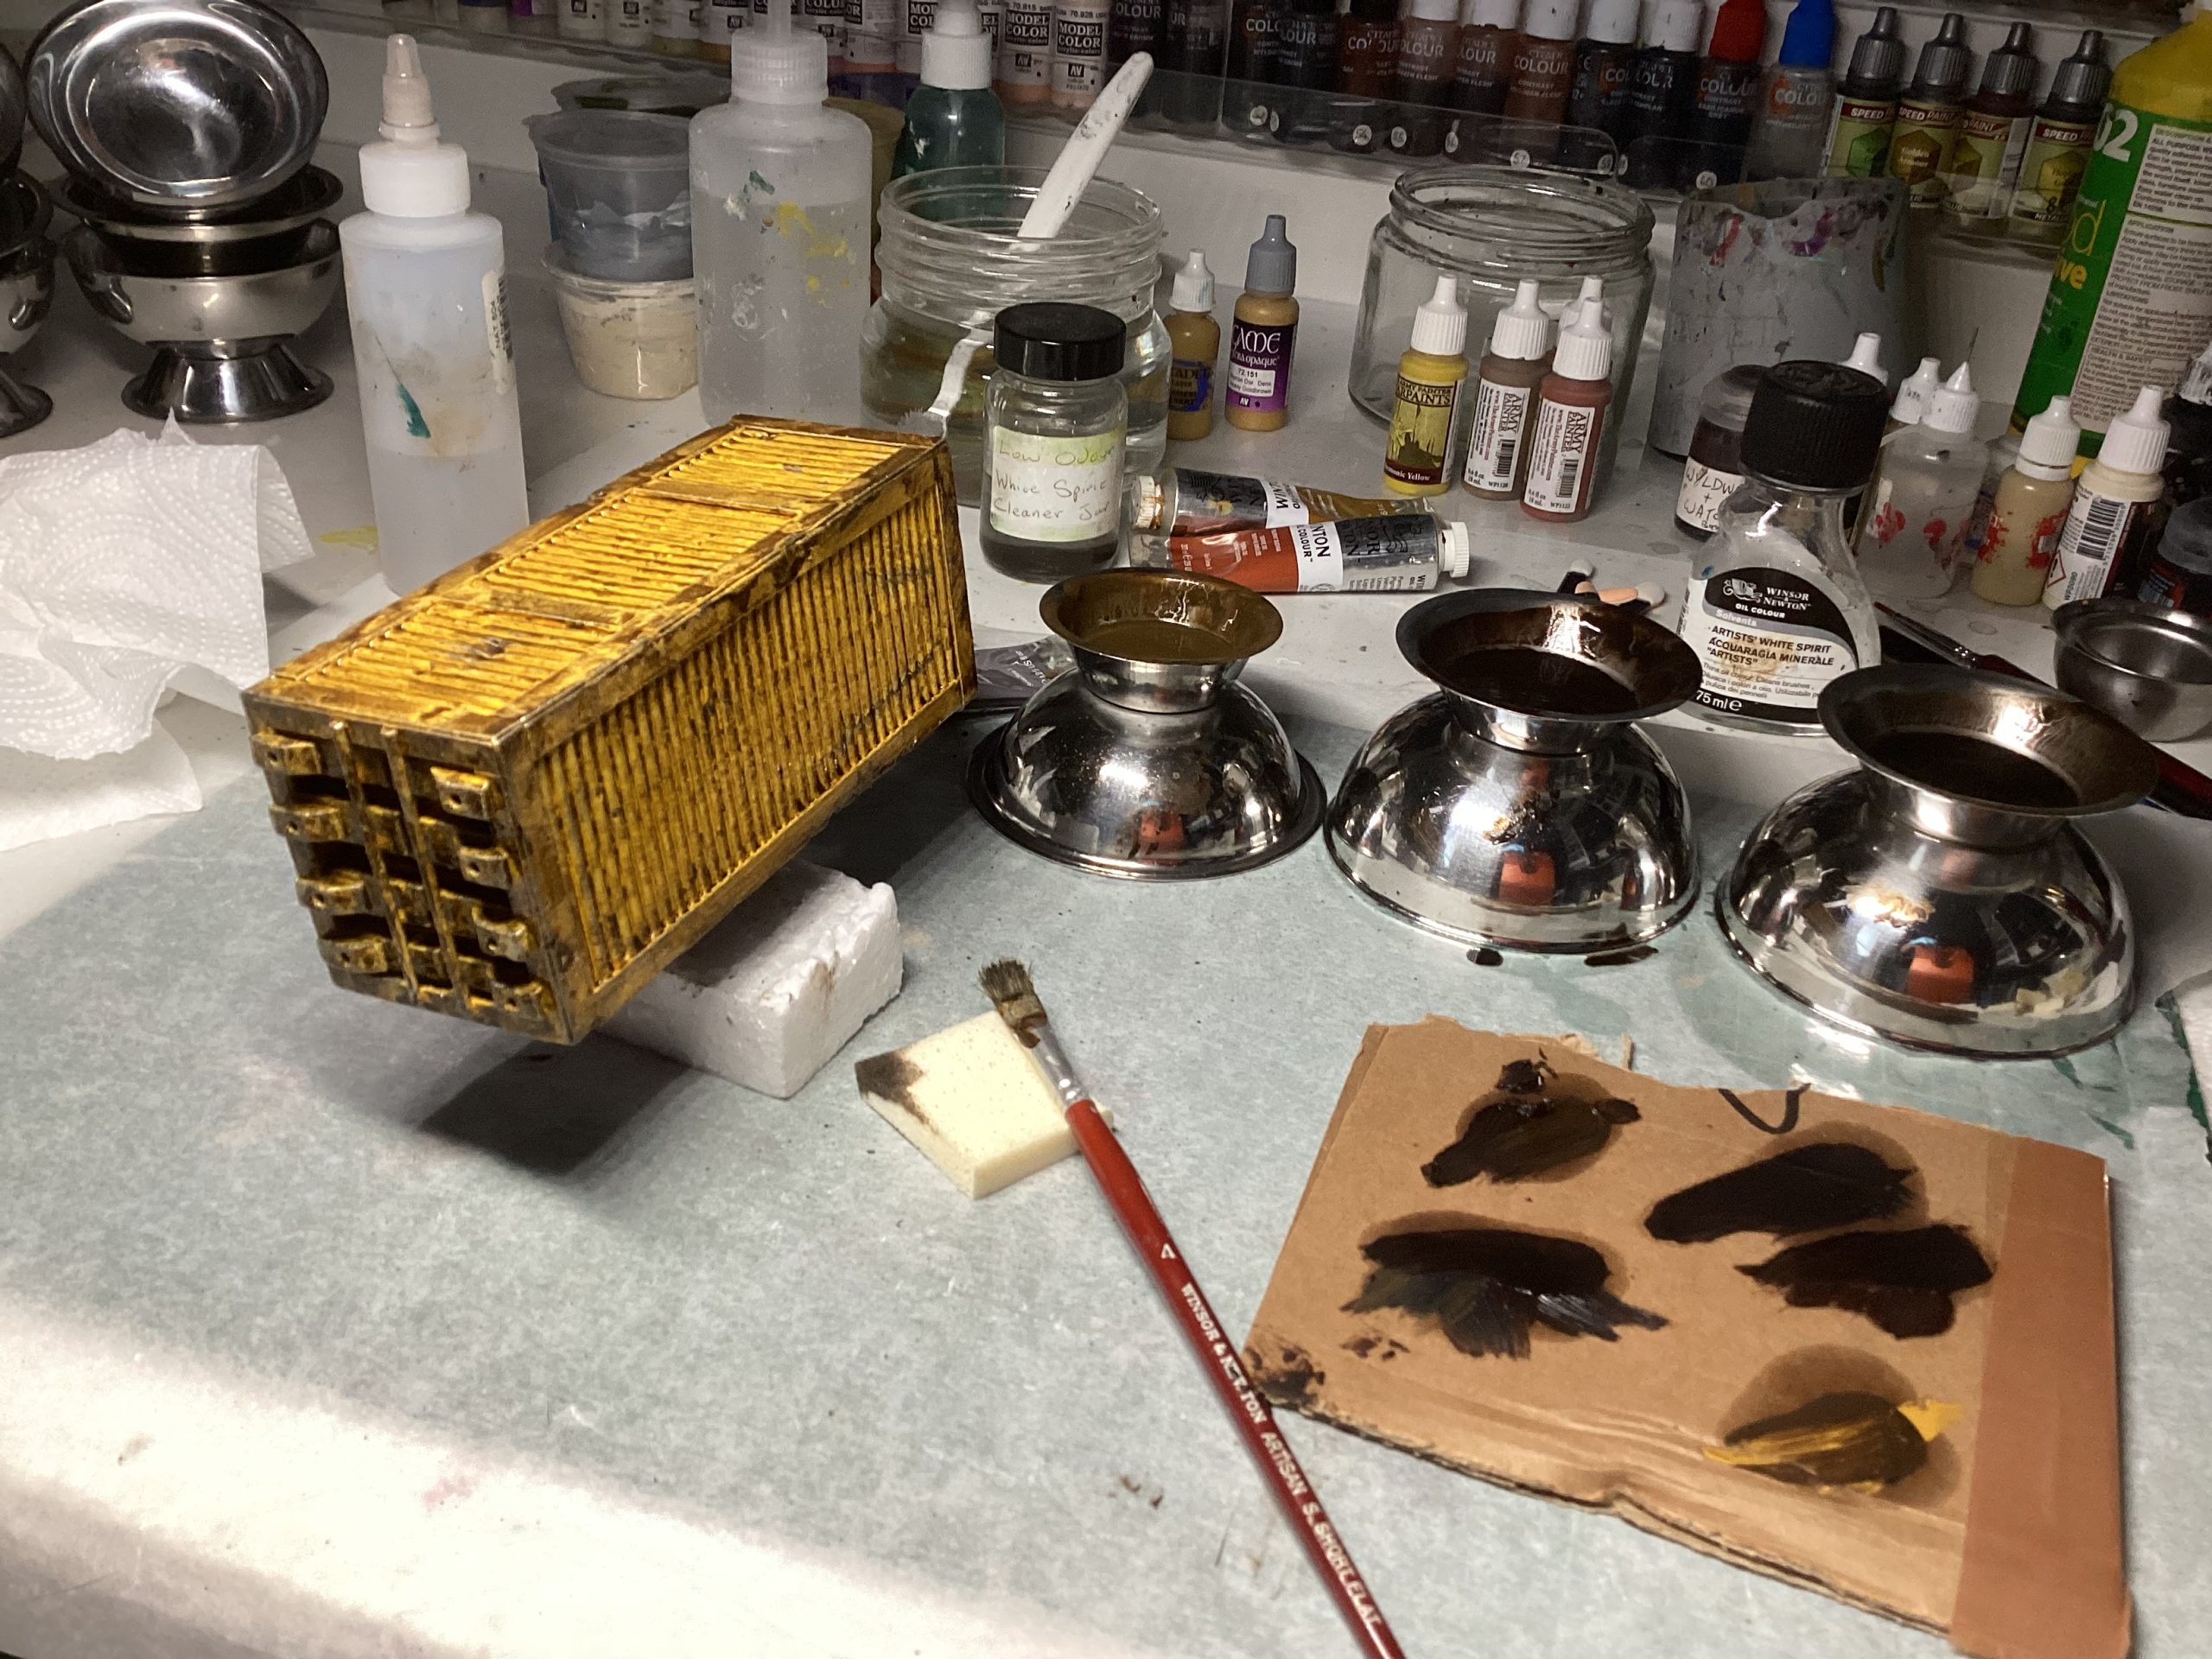
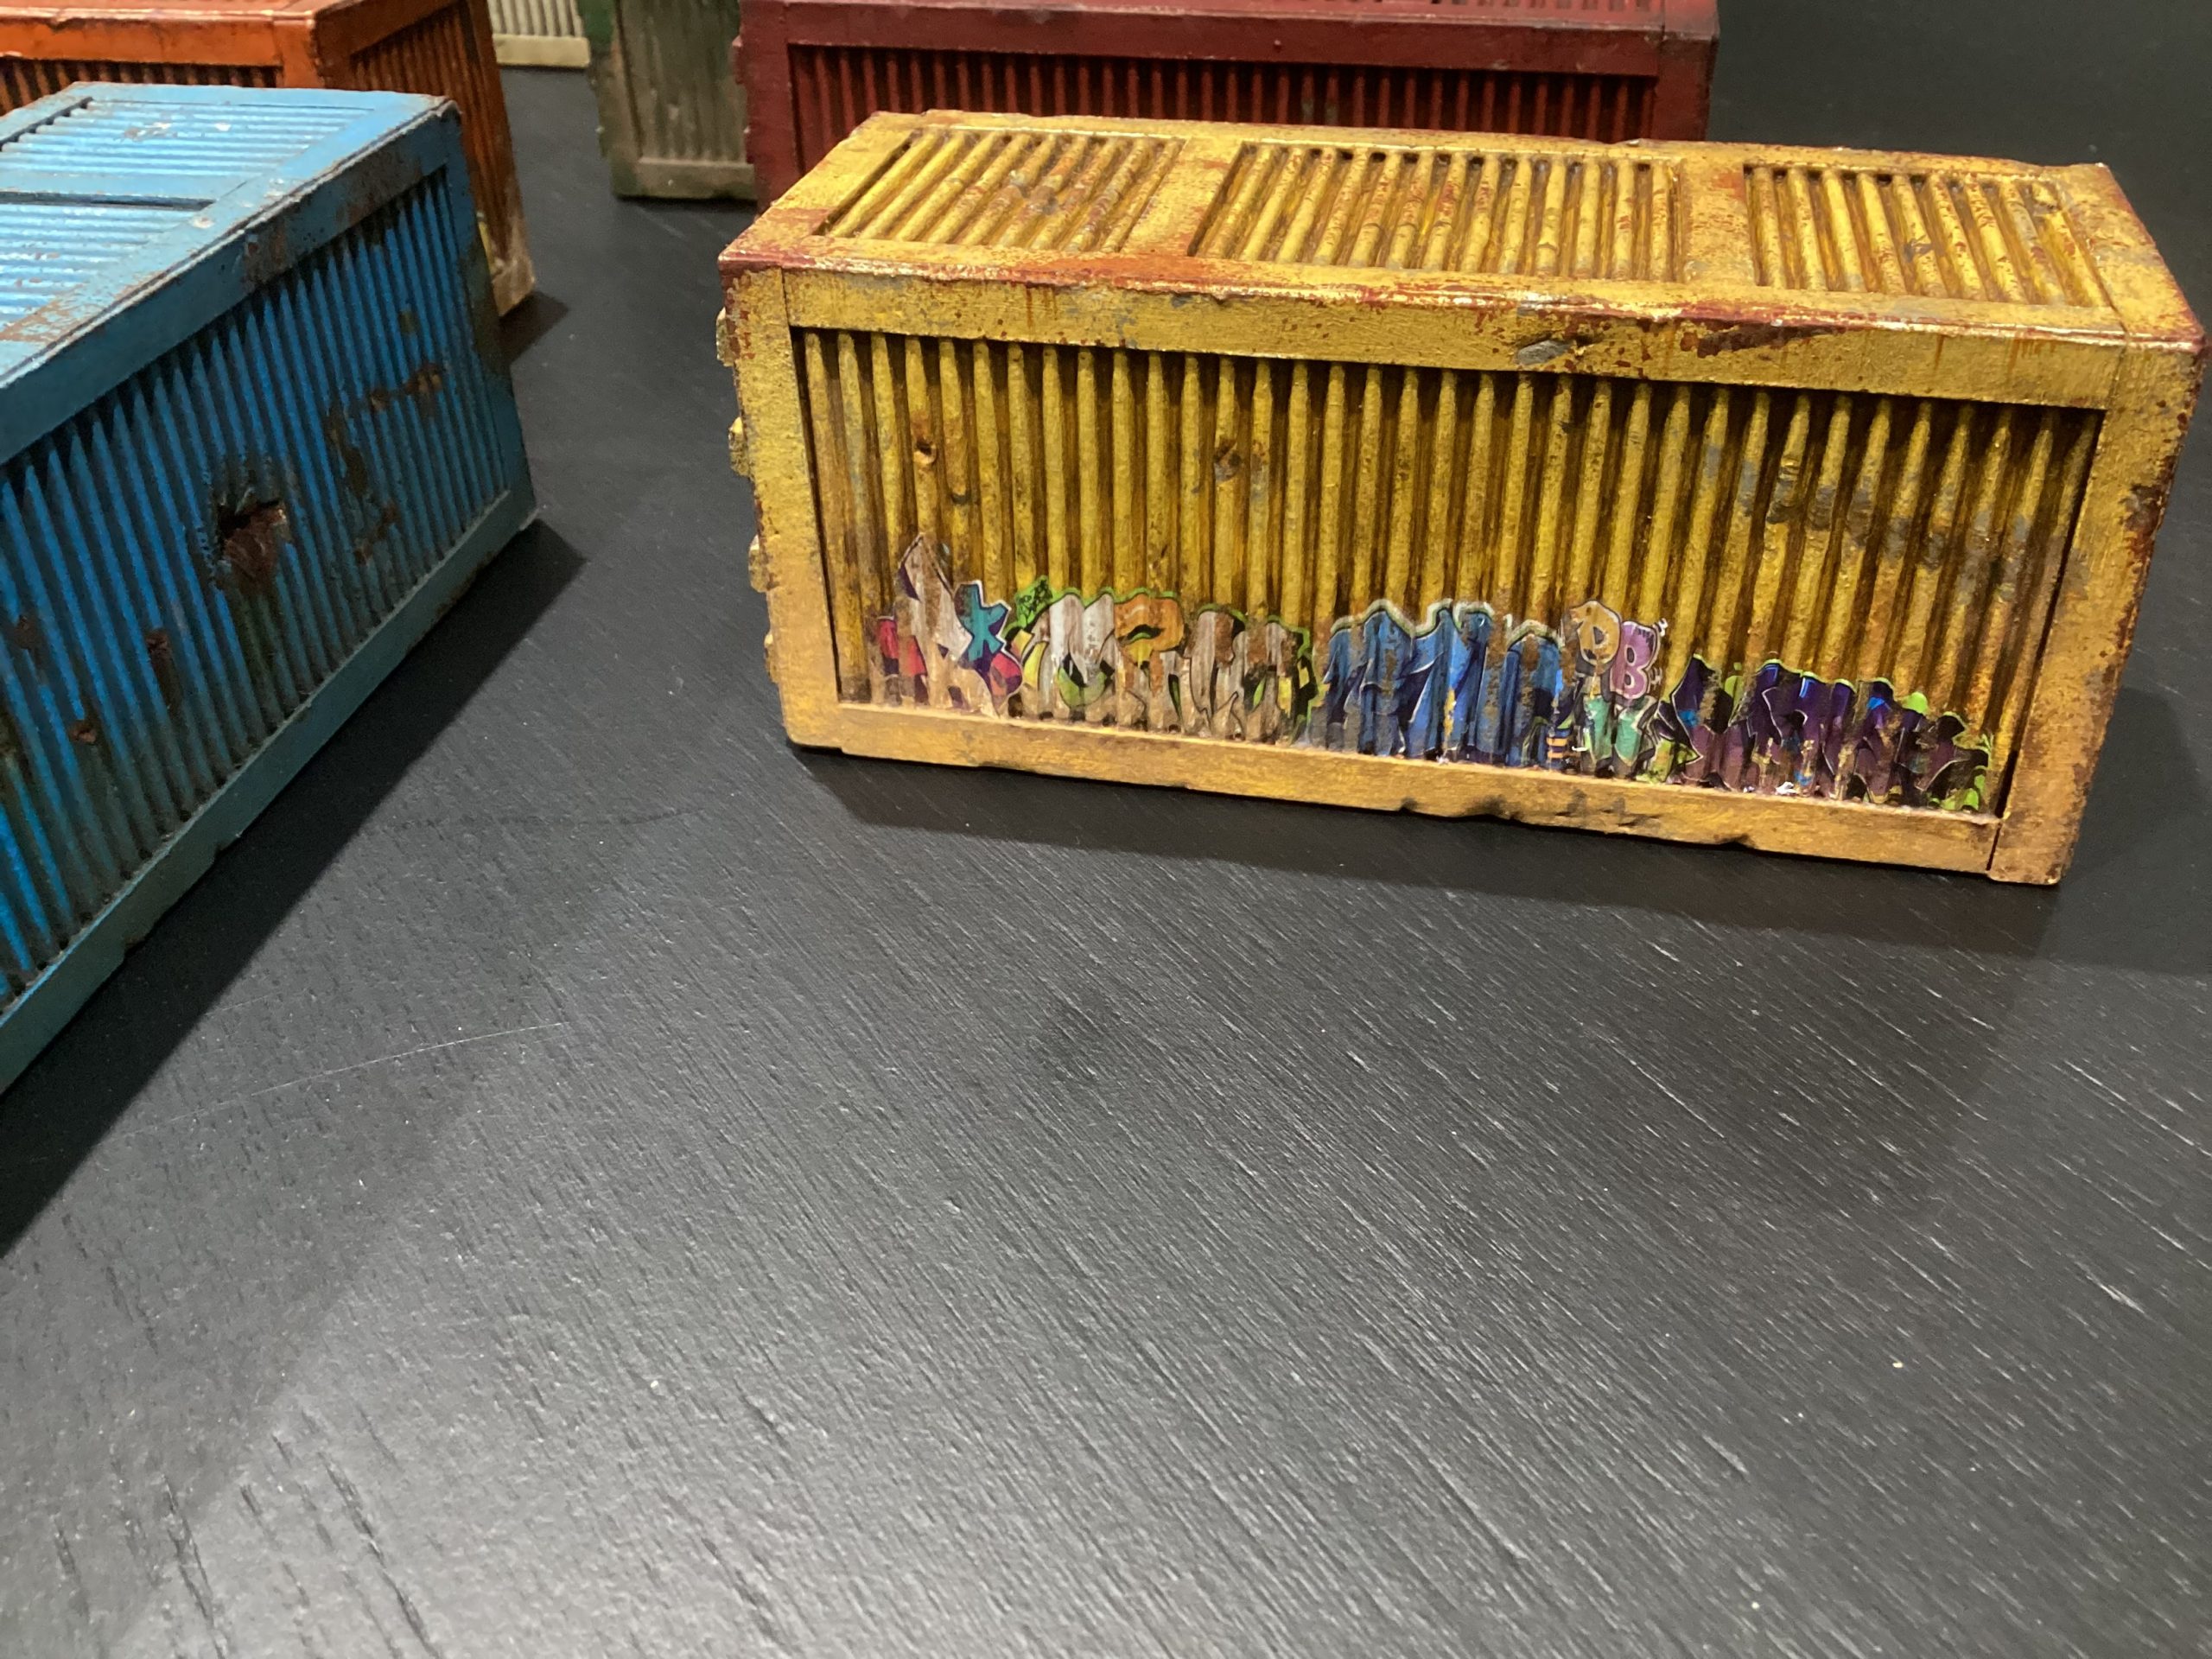
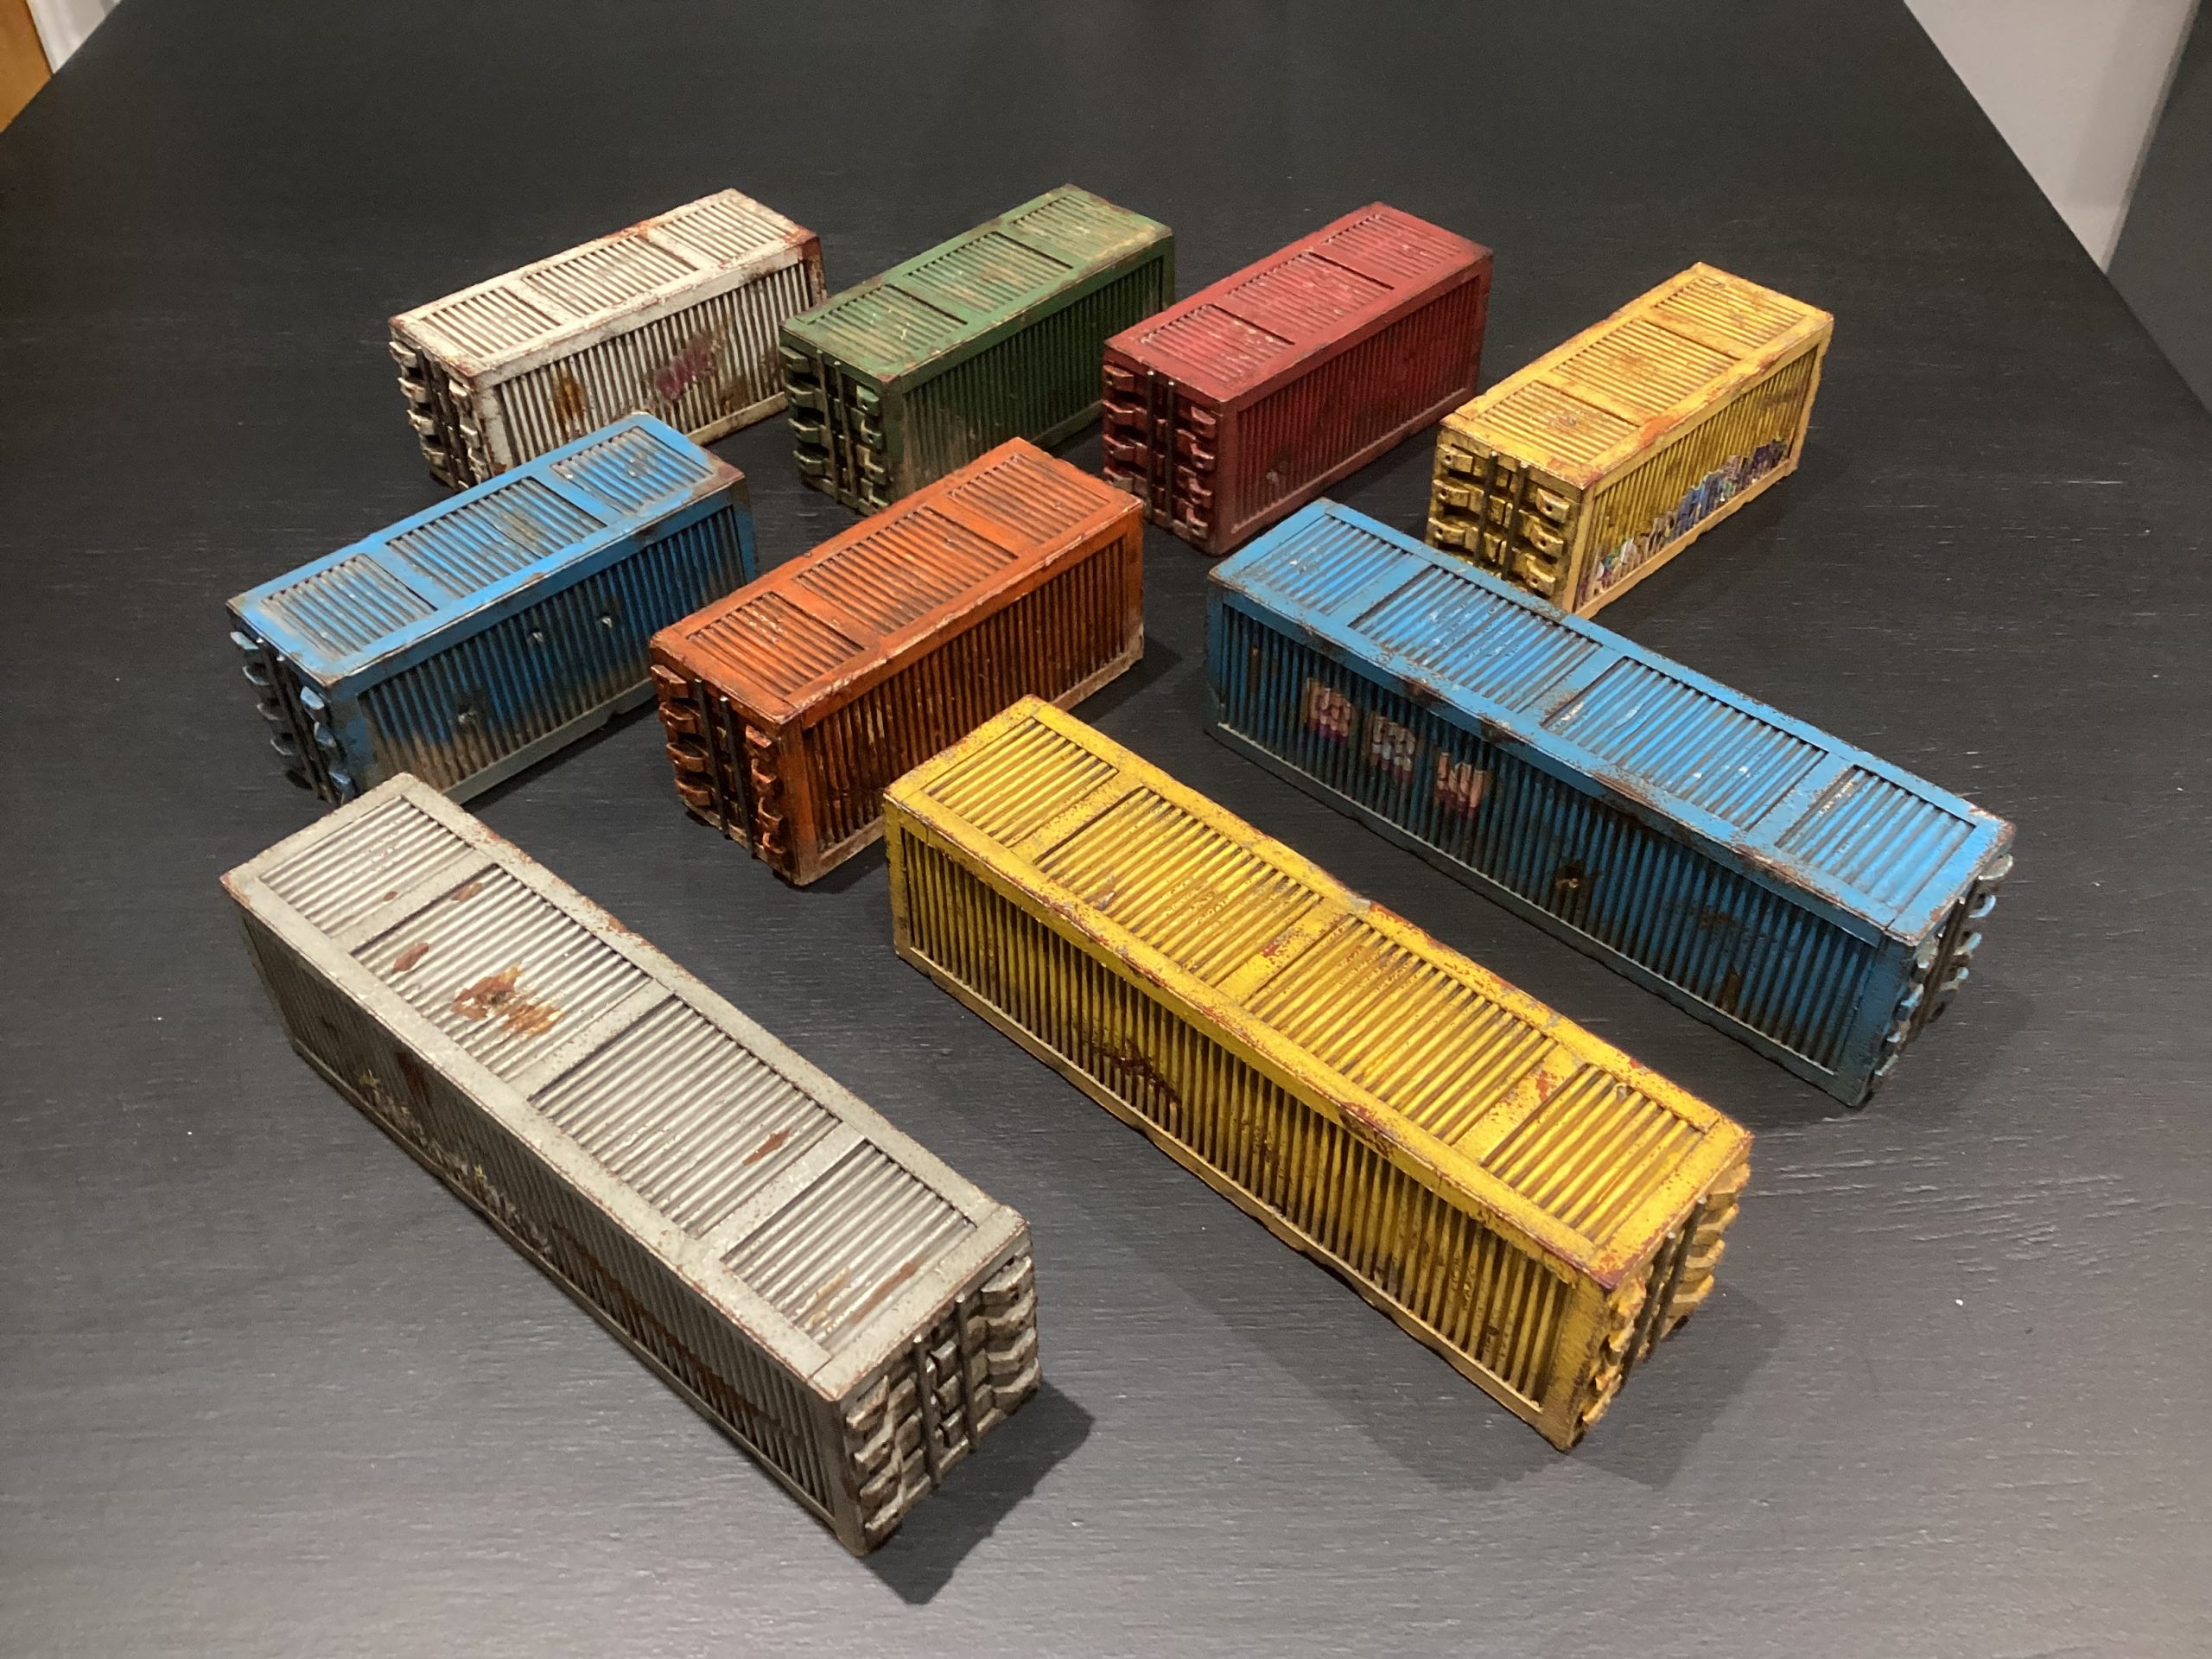
Shipping Containers: made from pink insulation foam and cardboard. Bashed and dinged with a pair of pliers to add wear and tear. Base coated with liquitex craft acrylics then weathered with oils, rust and weathering powders. Graffiti decals added and weathered for detail.
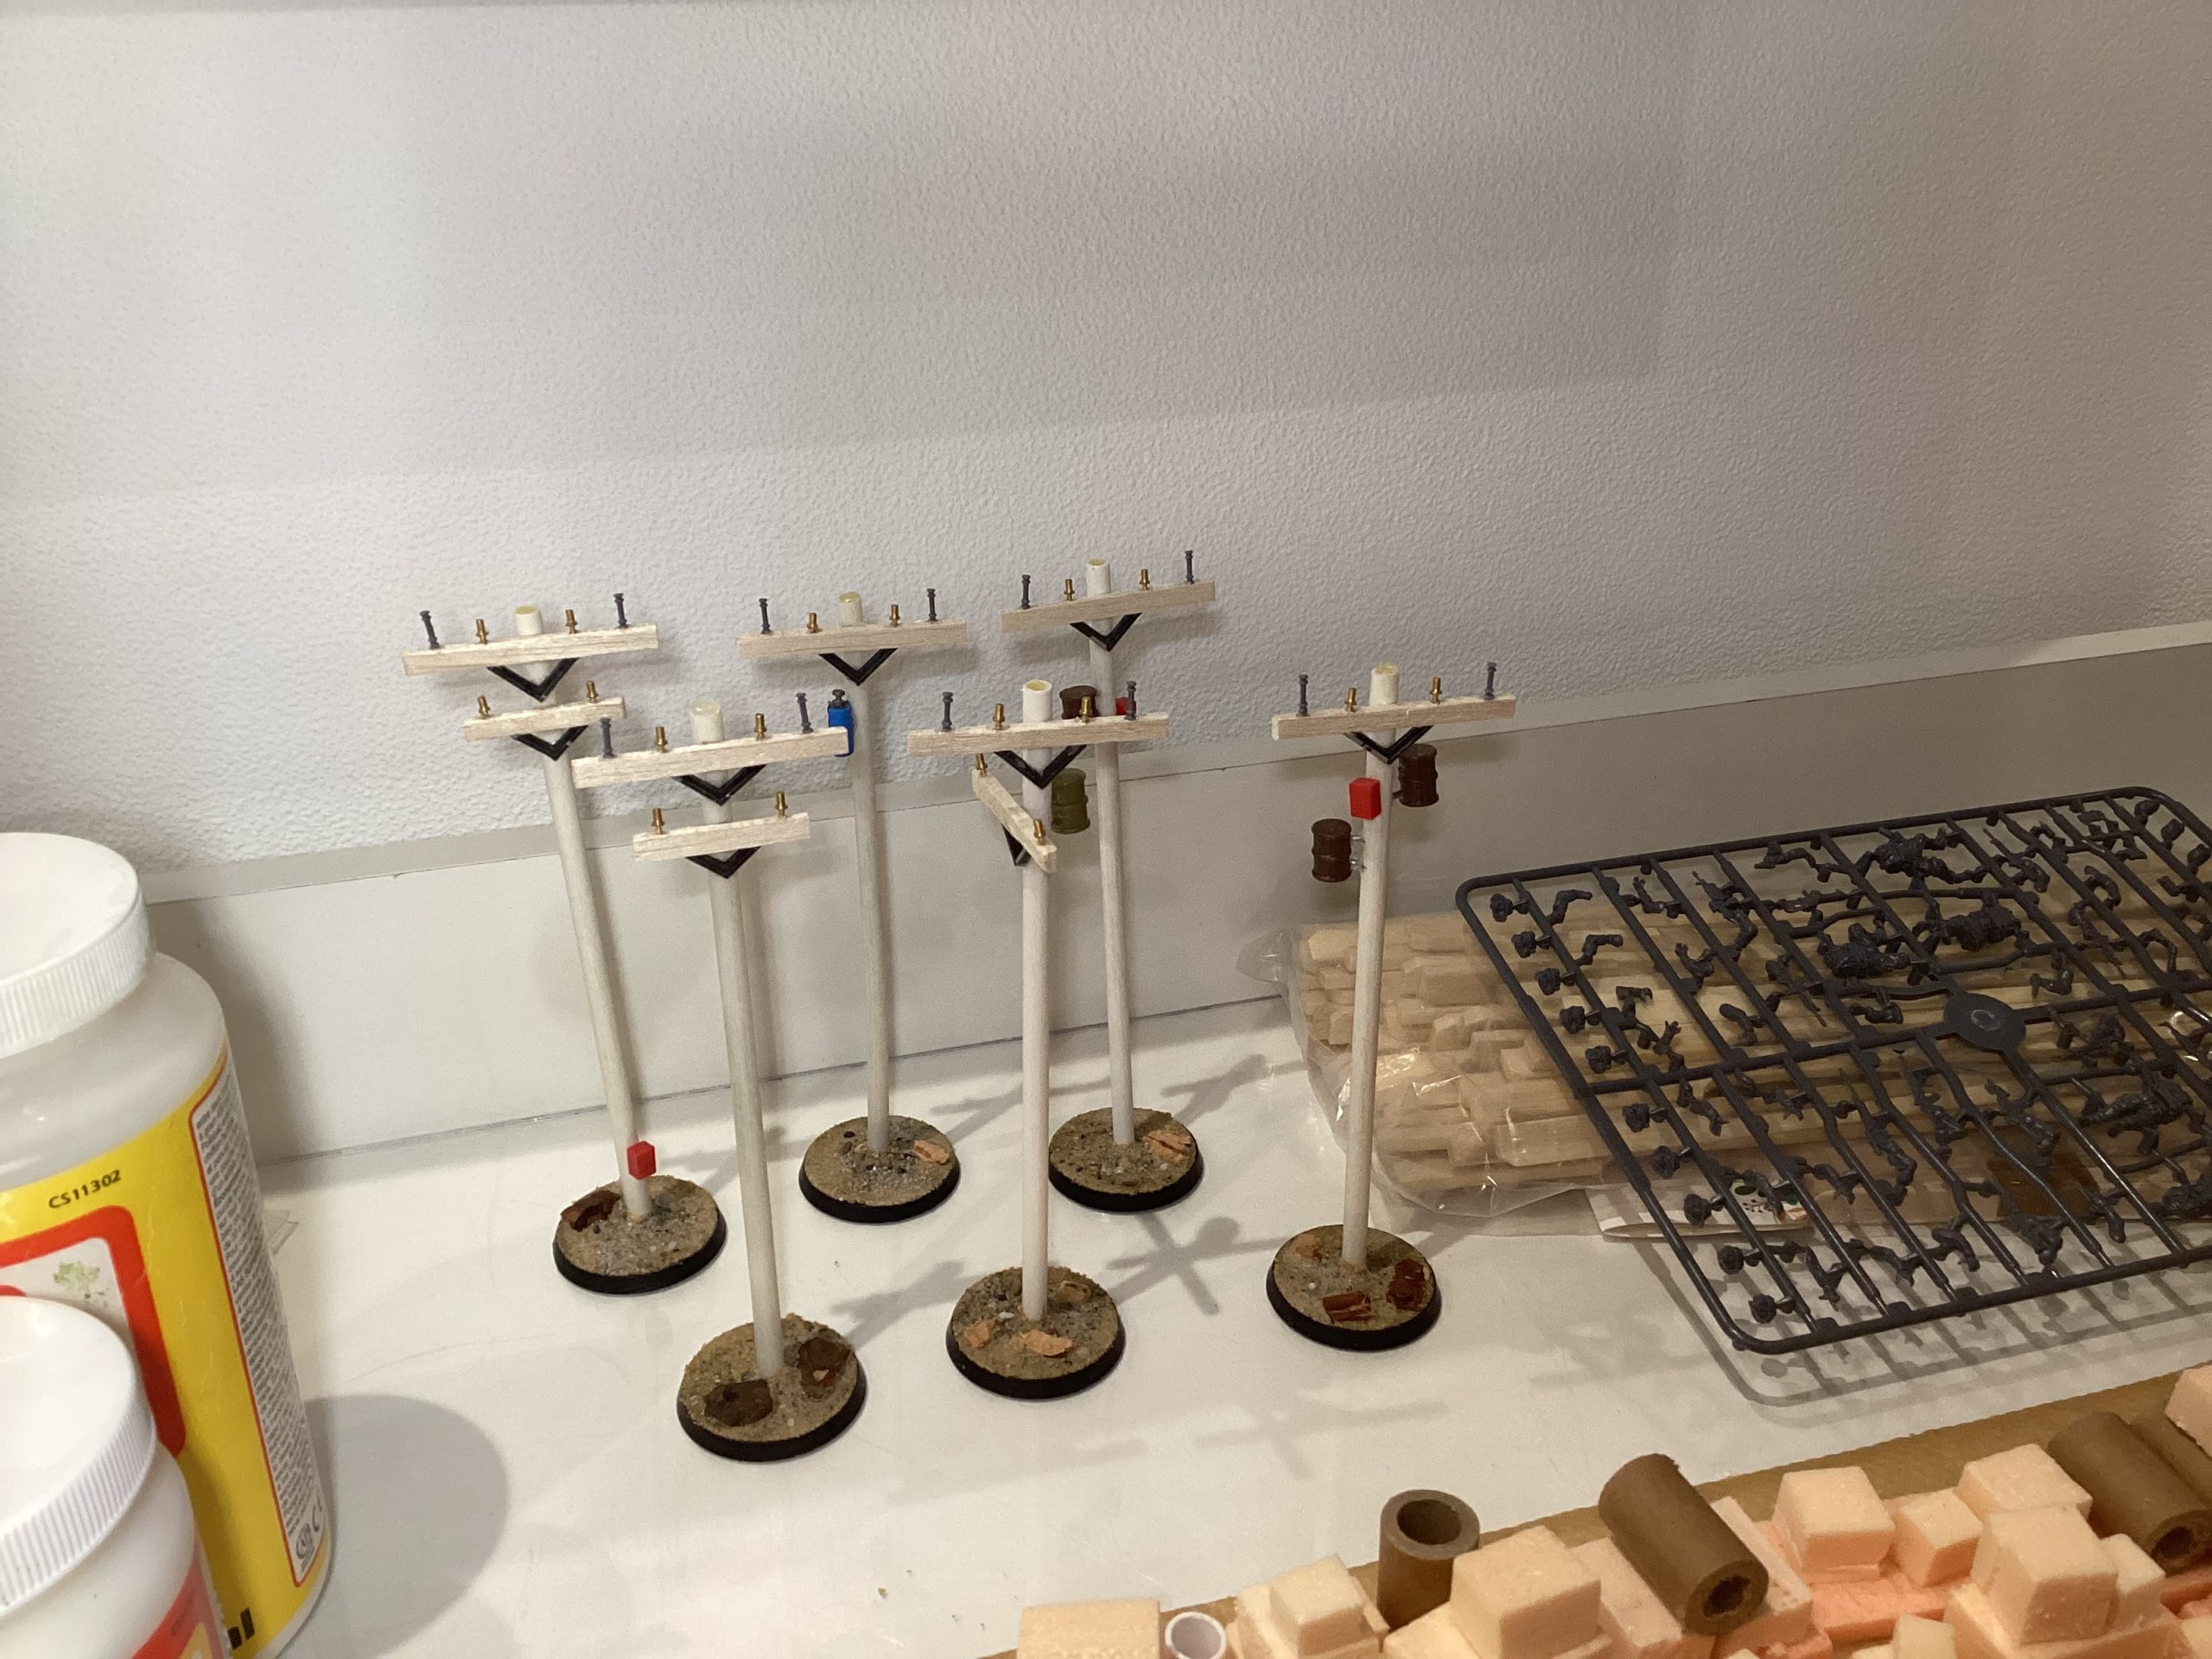
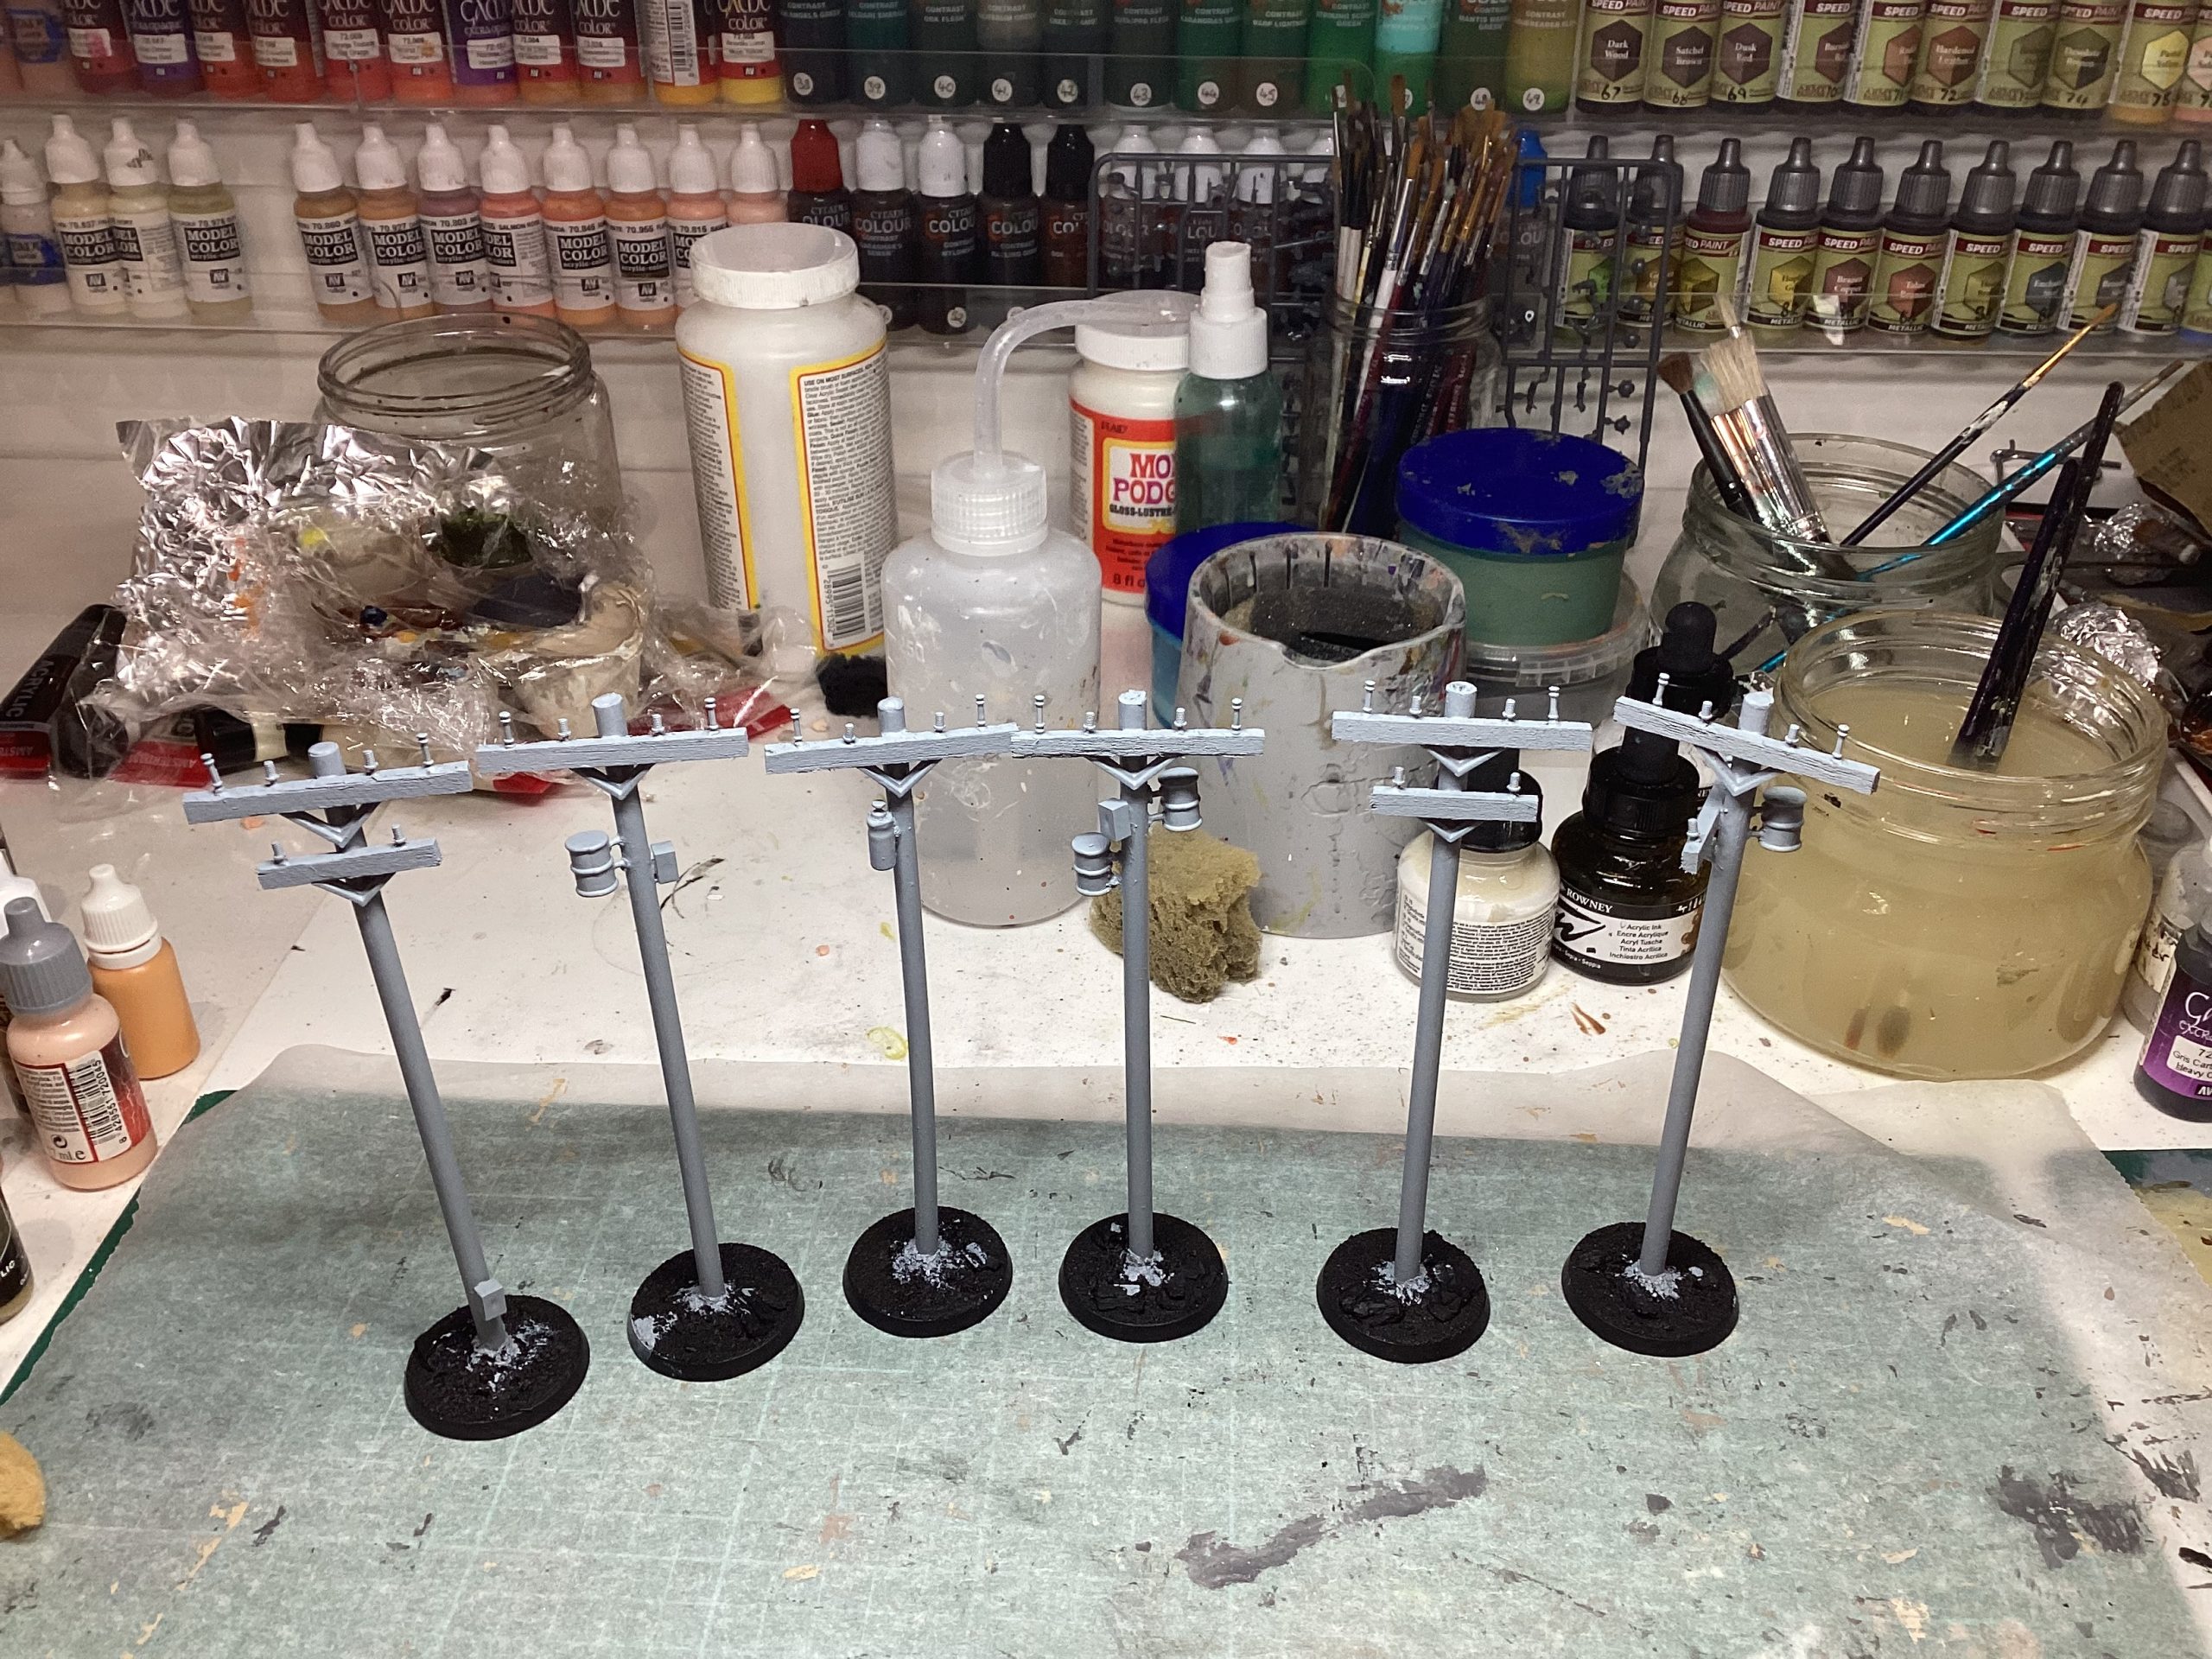
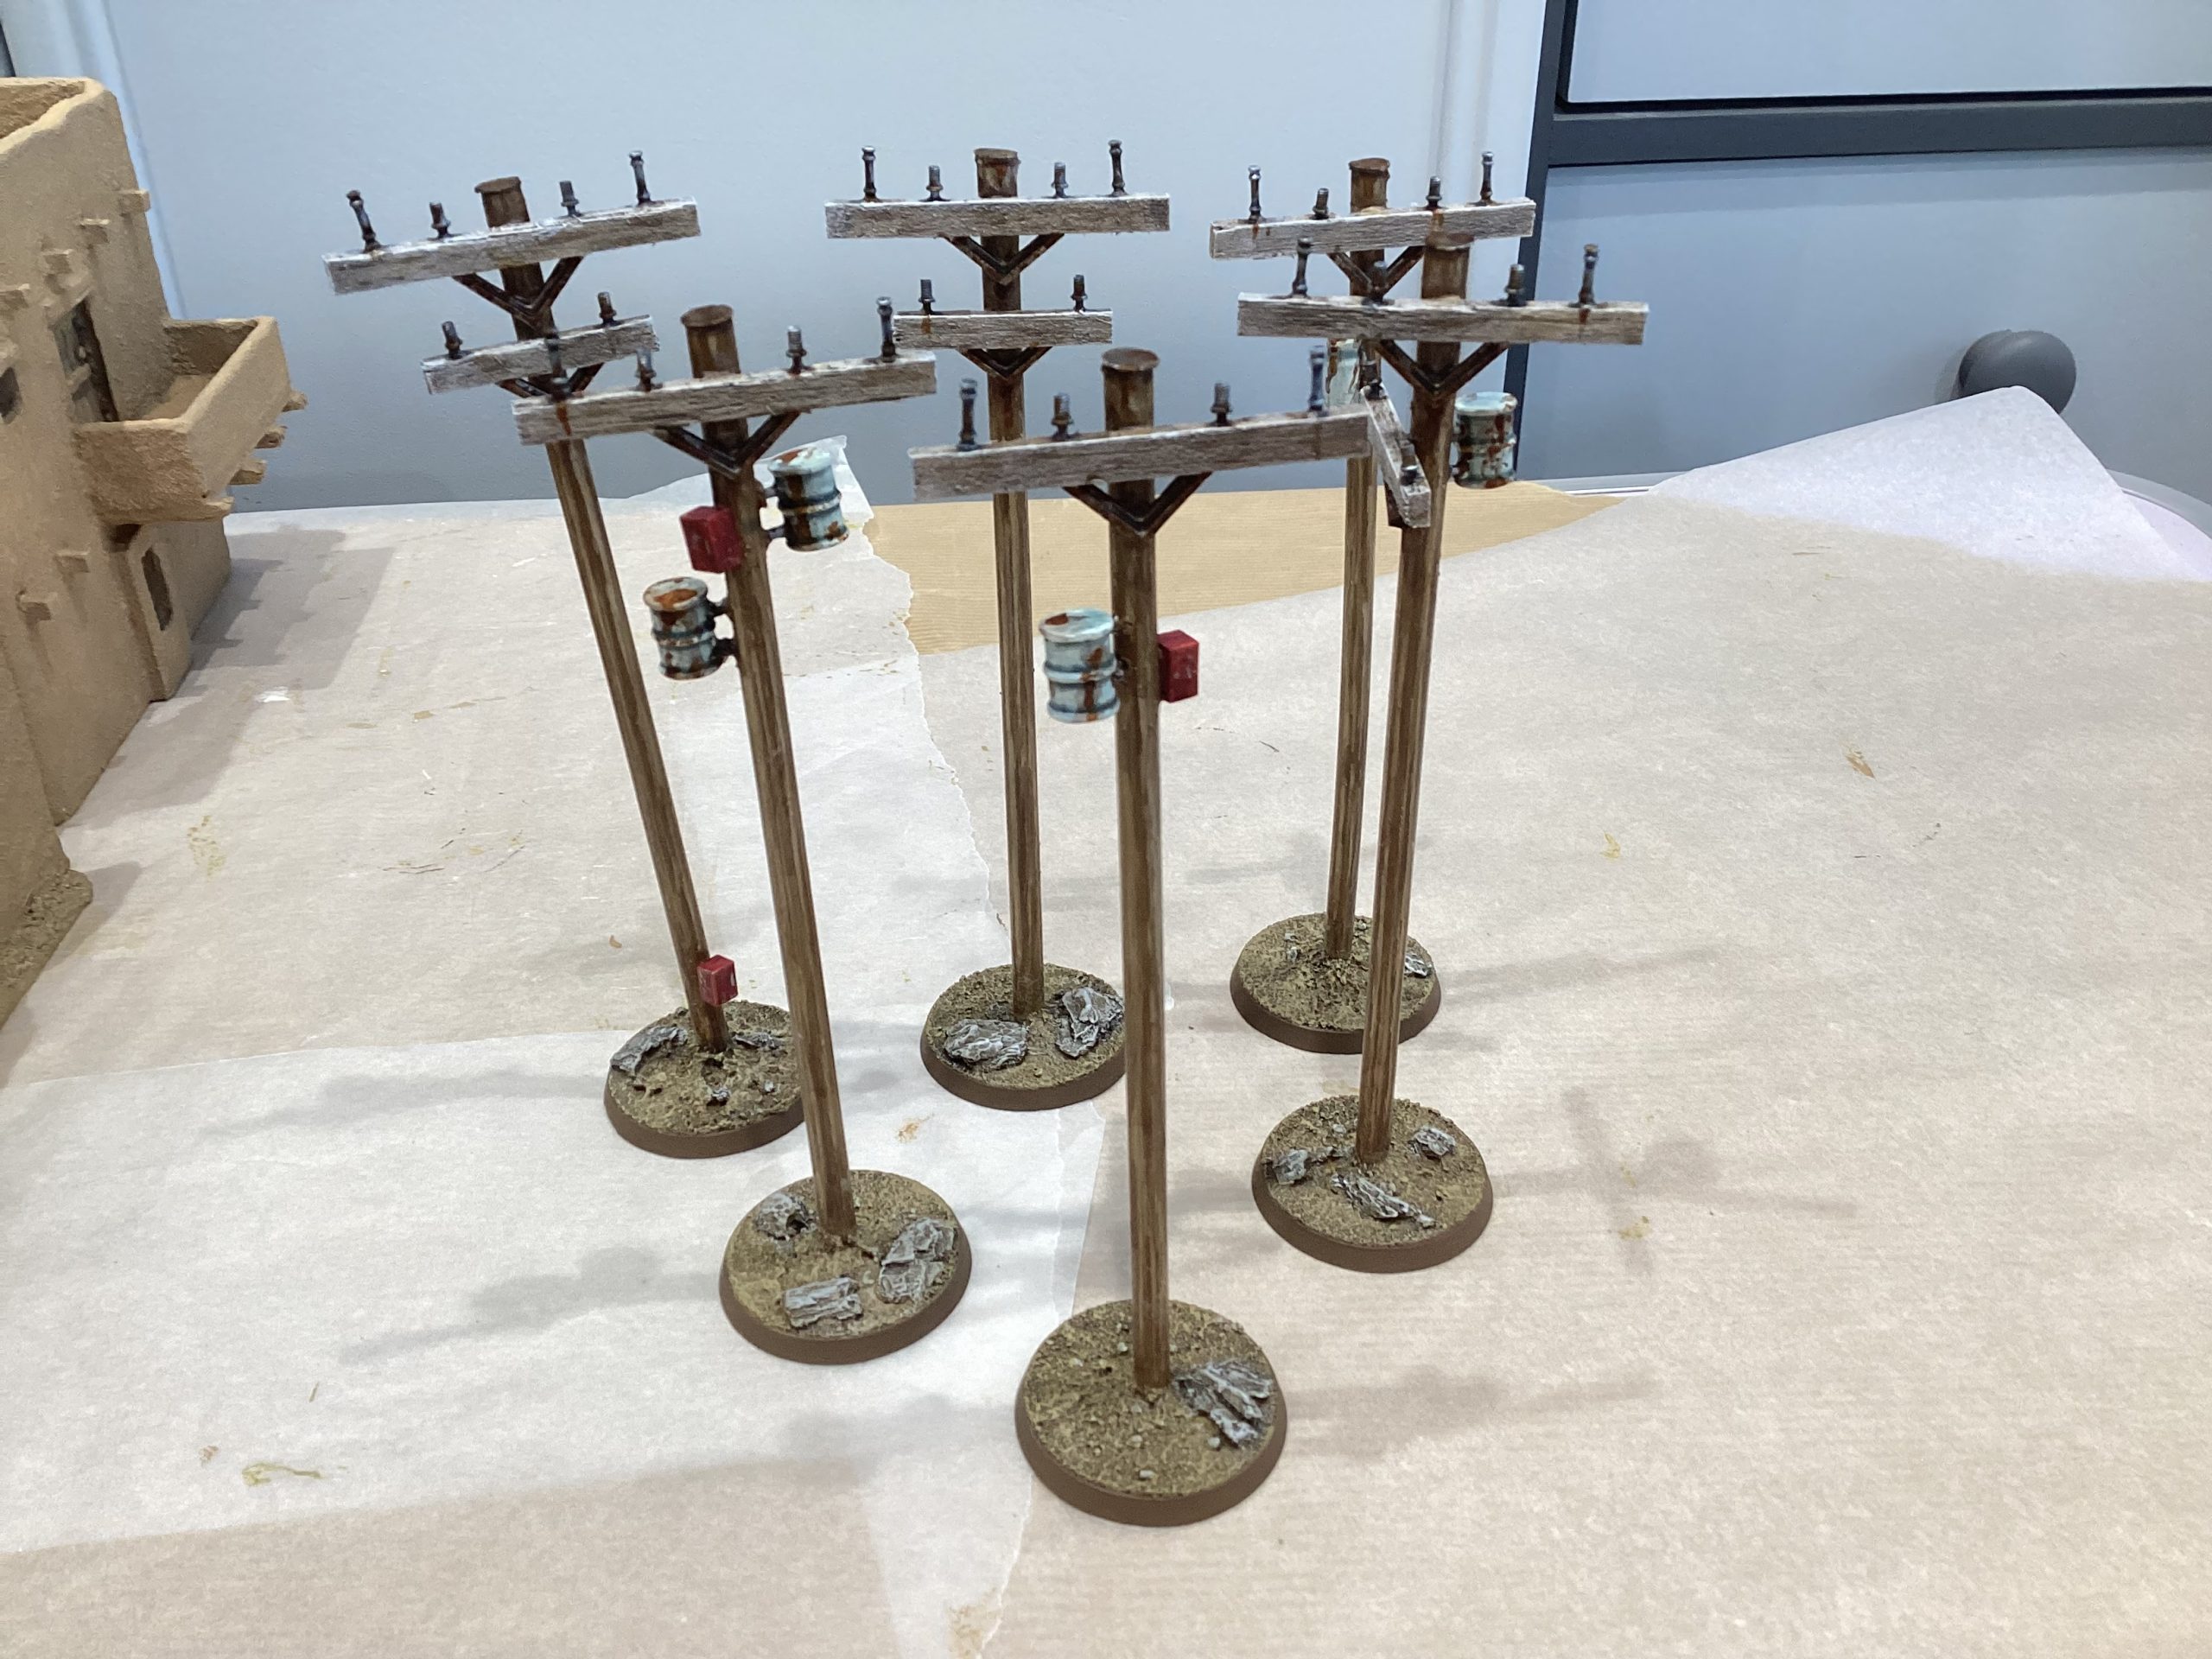
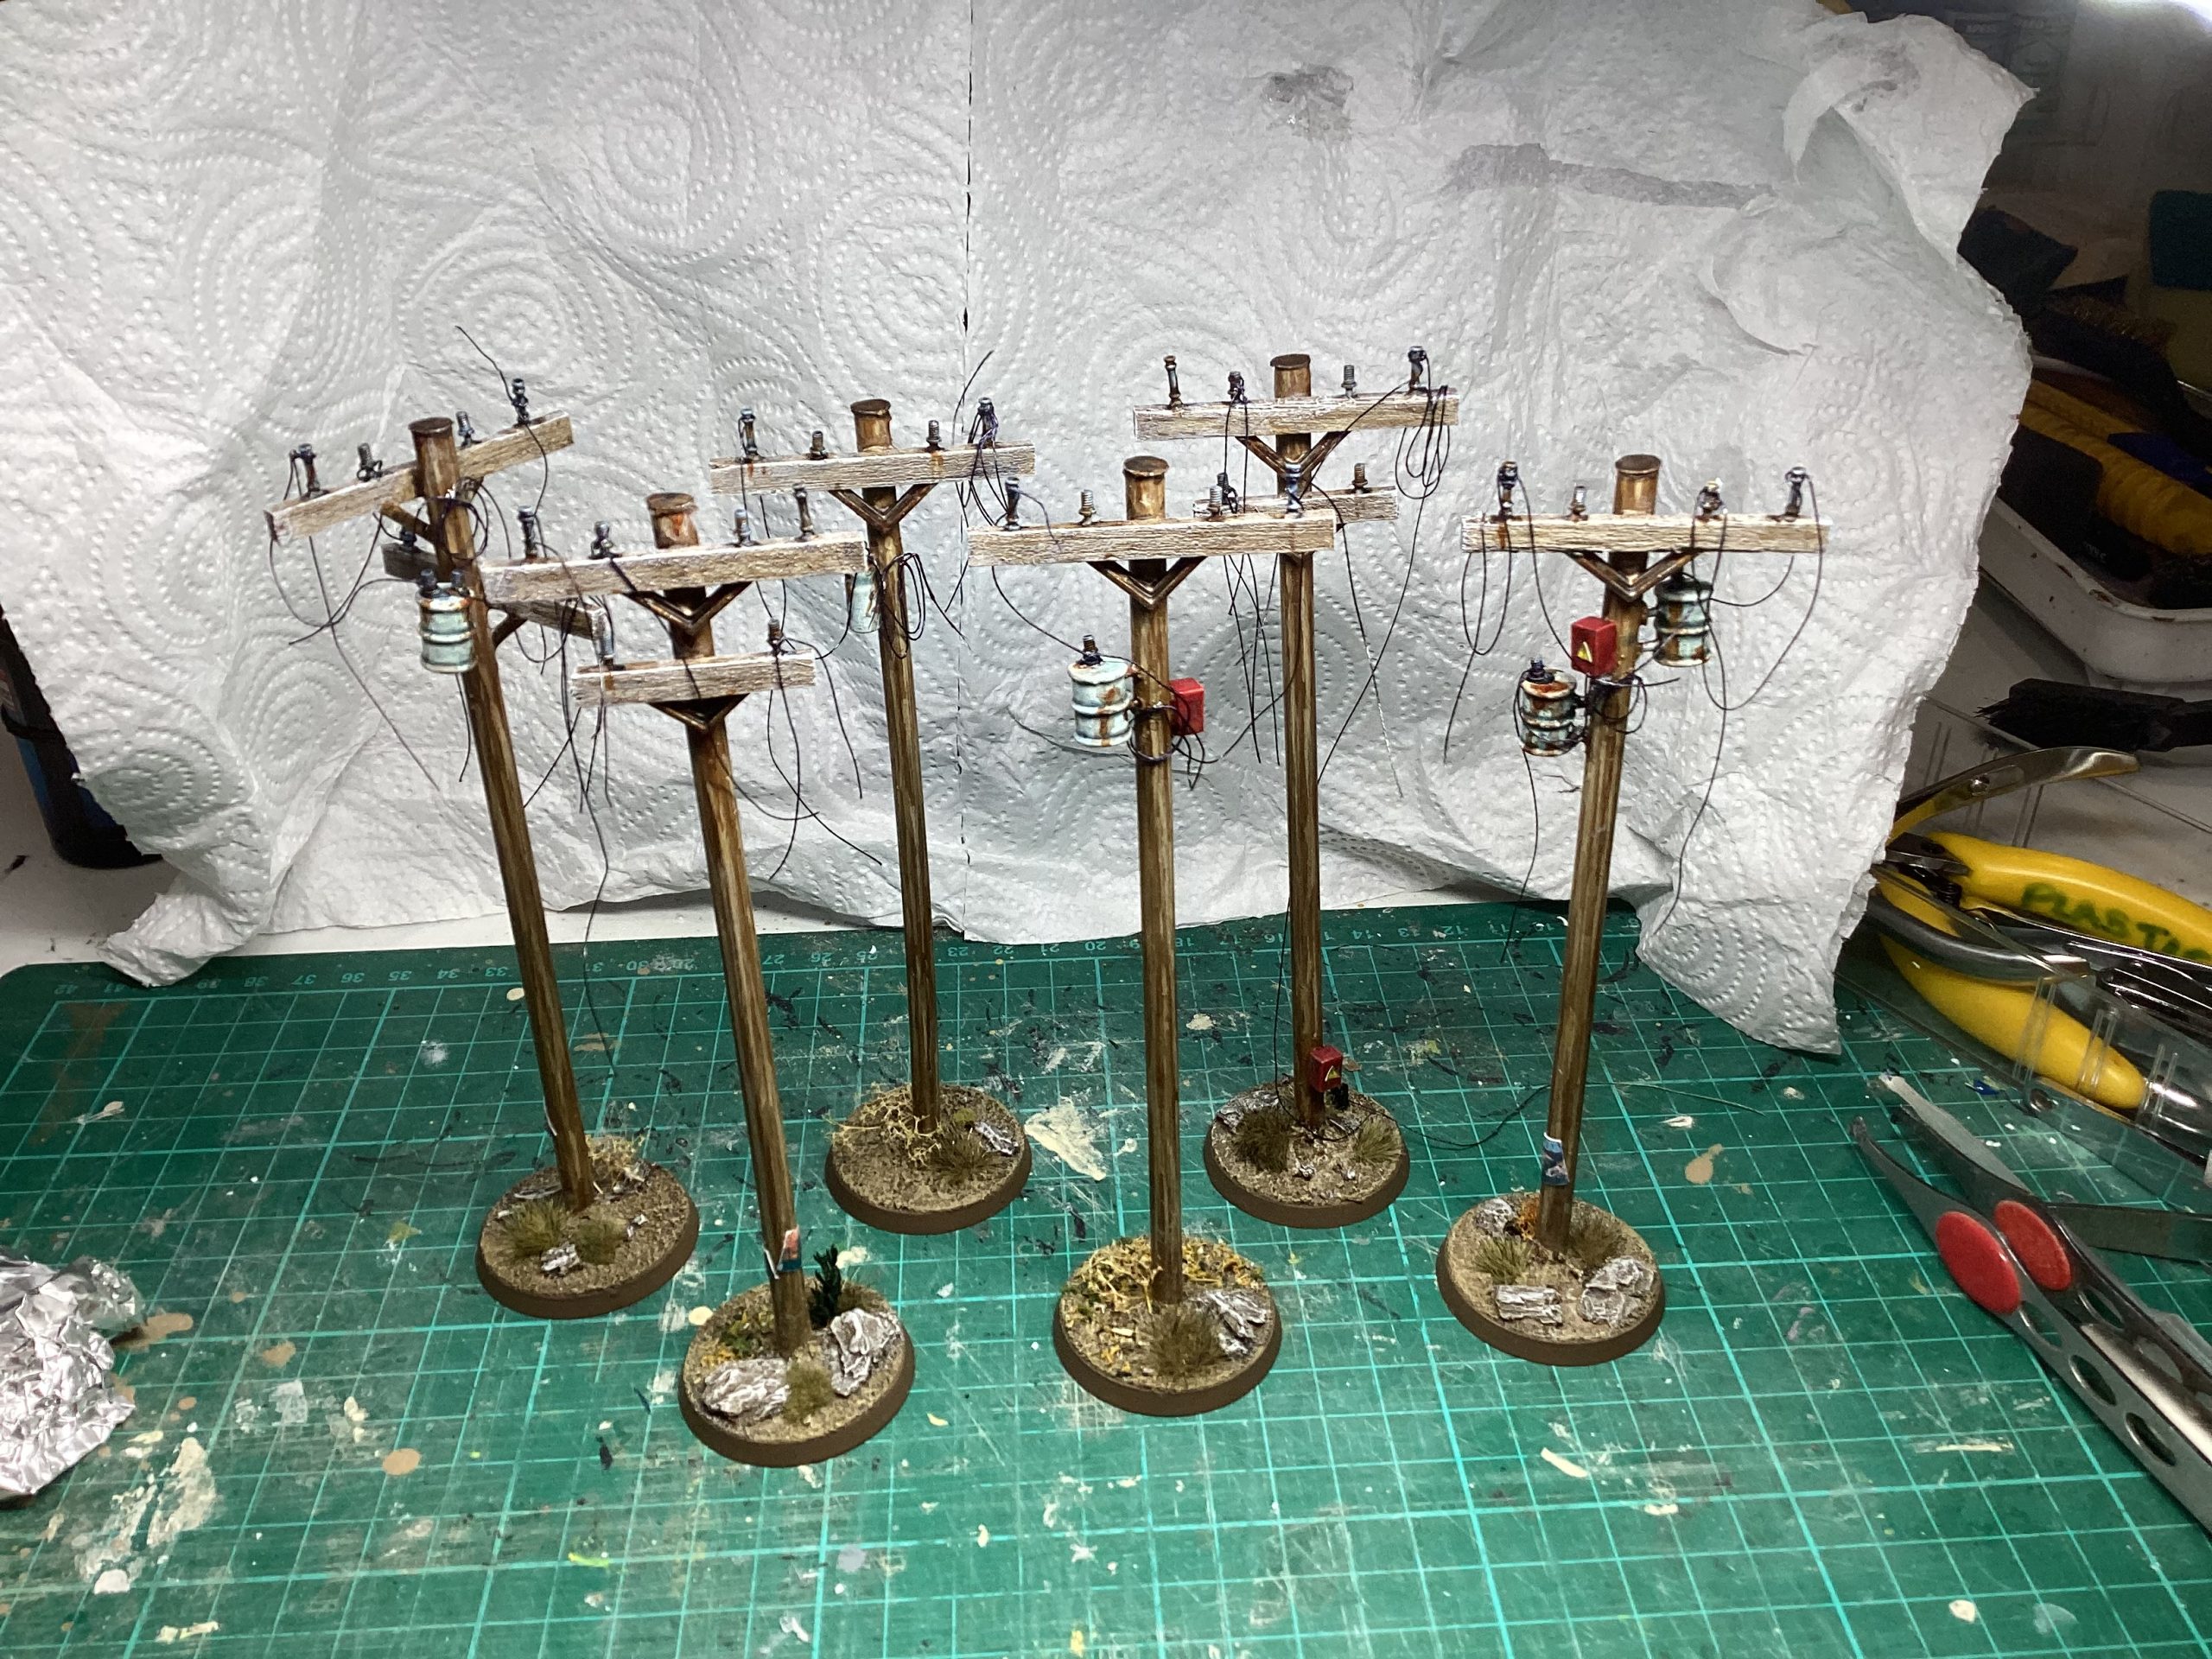
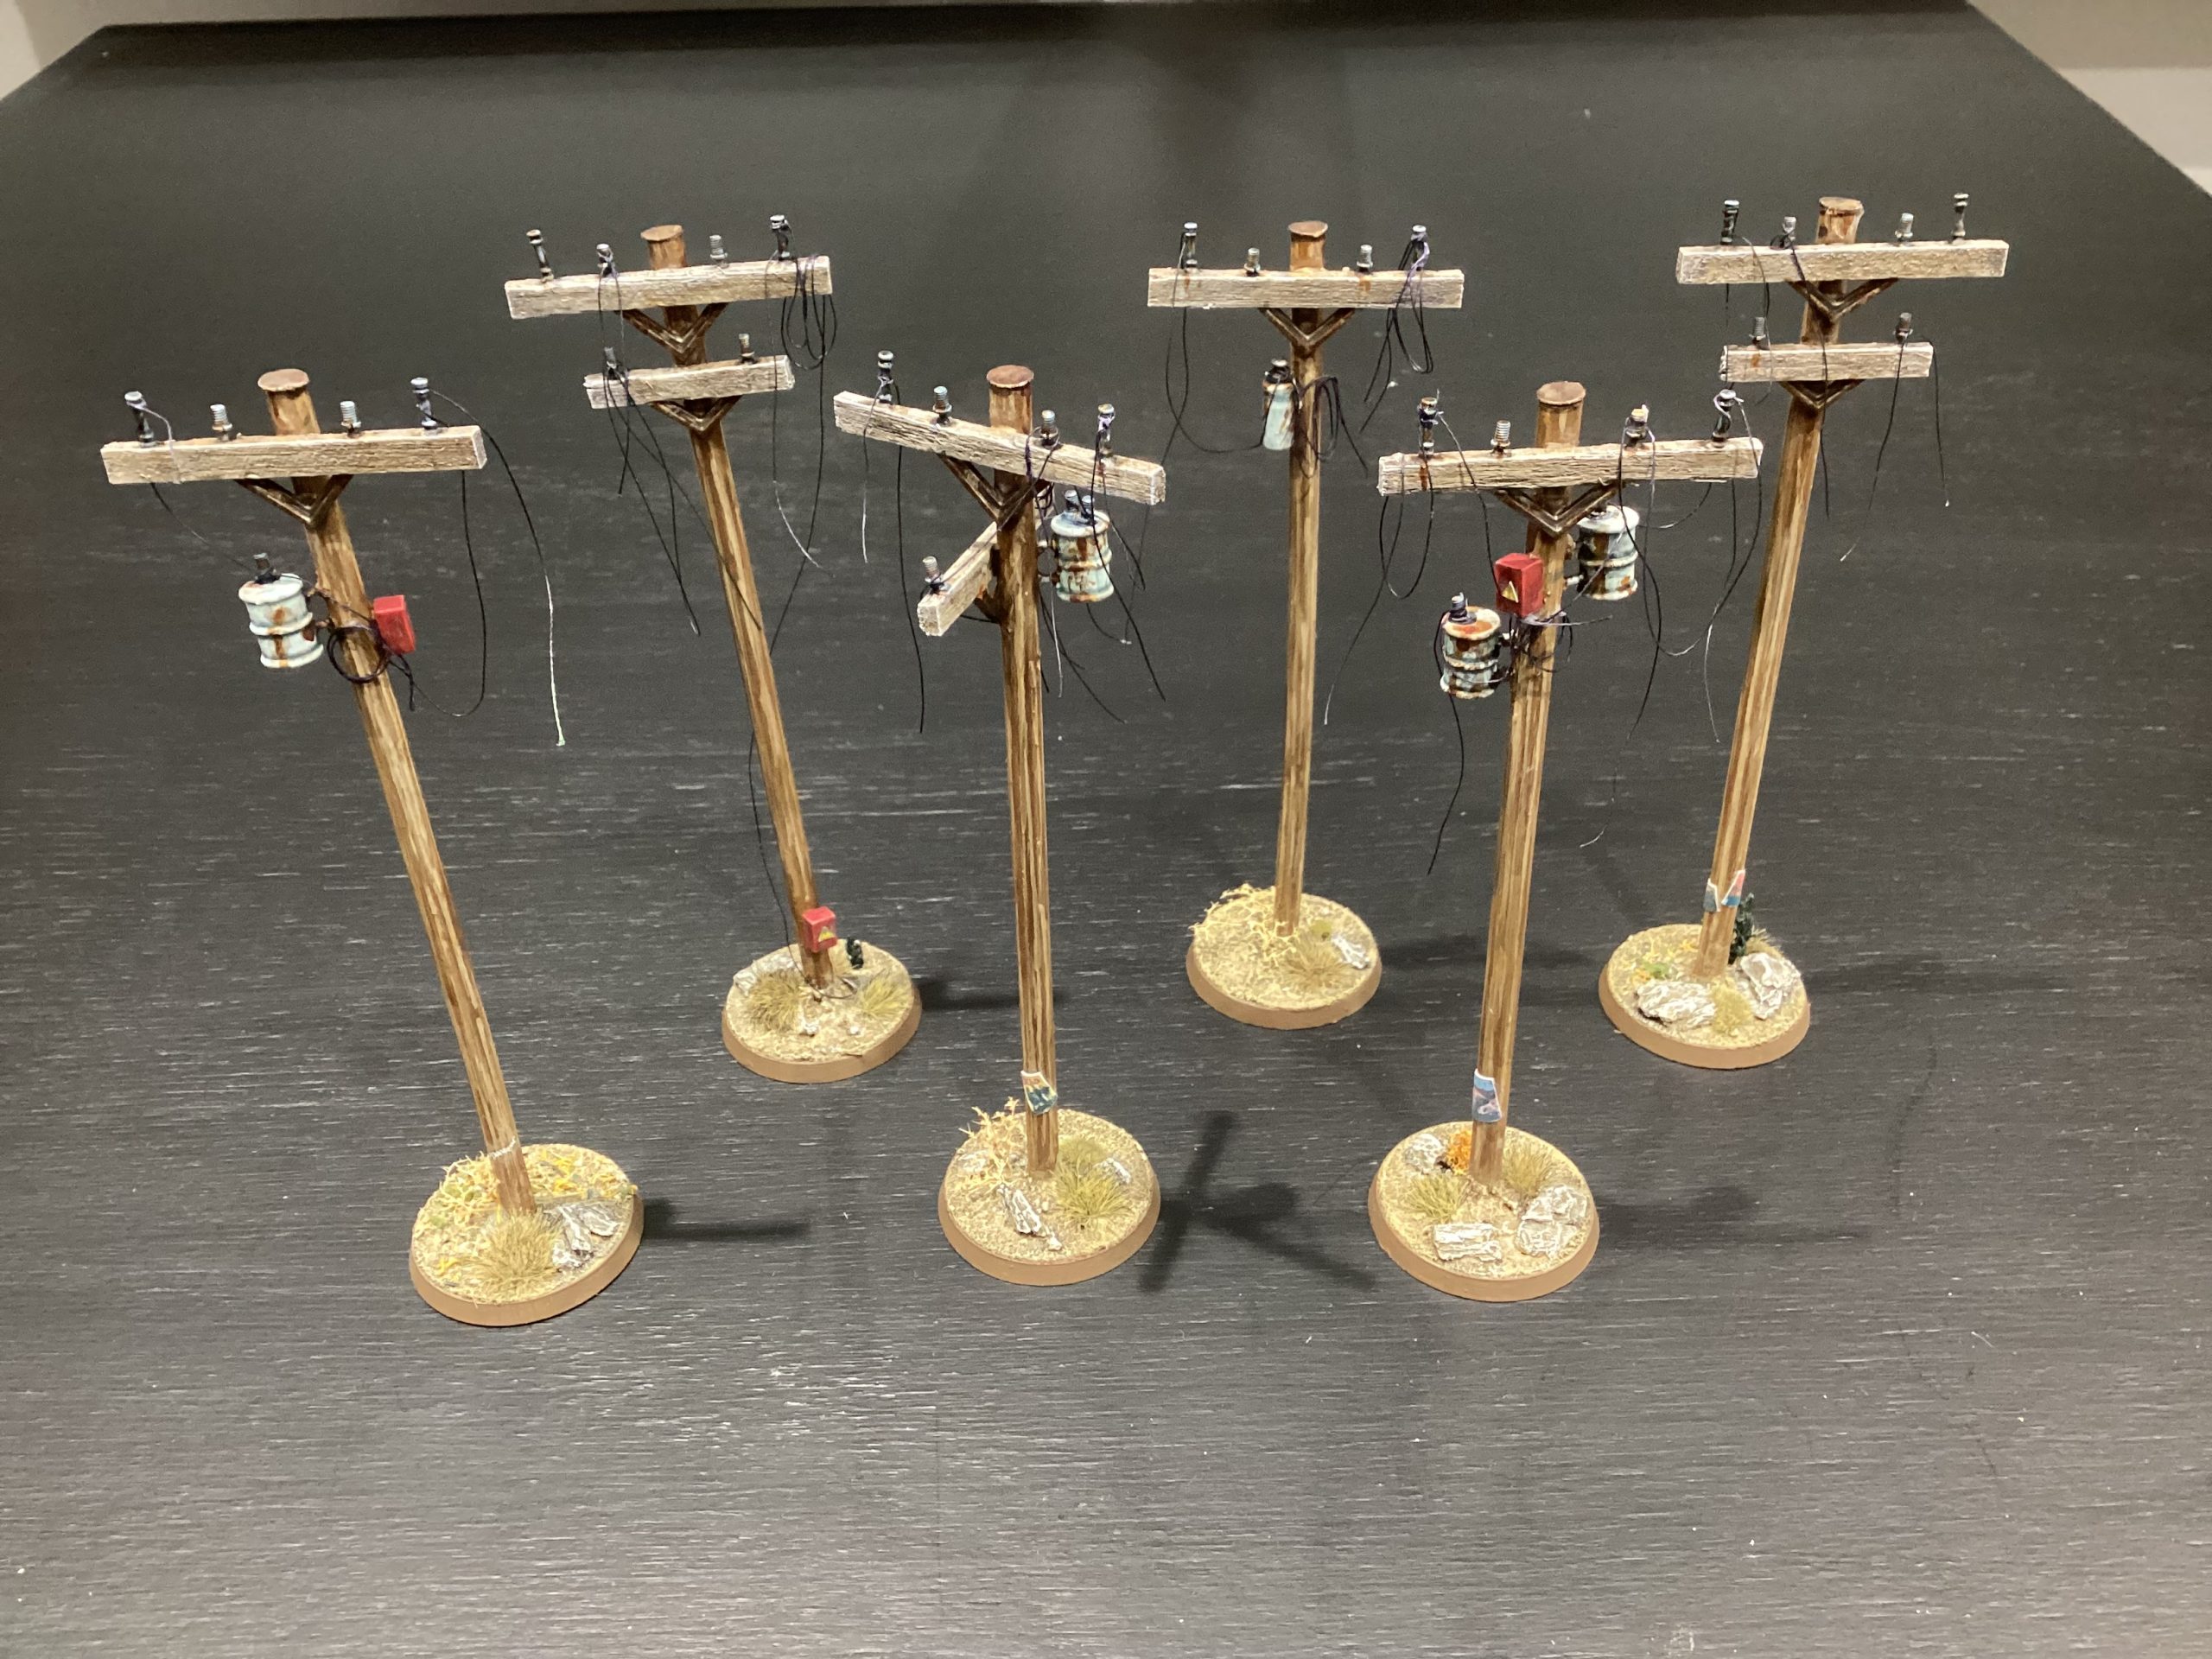
Electric poles: Made from plastic tube and Balsa wood screwed to a 40mm base. The broken lines made from Fishing braid. Details added from my bits box. Graffiti and posters added for detail.
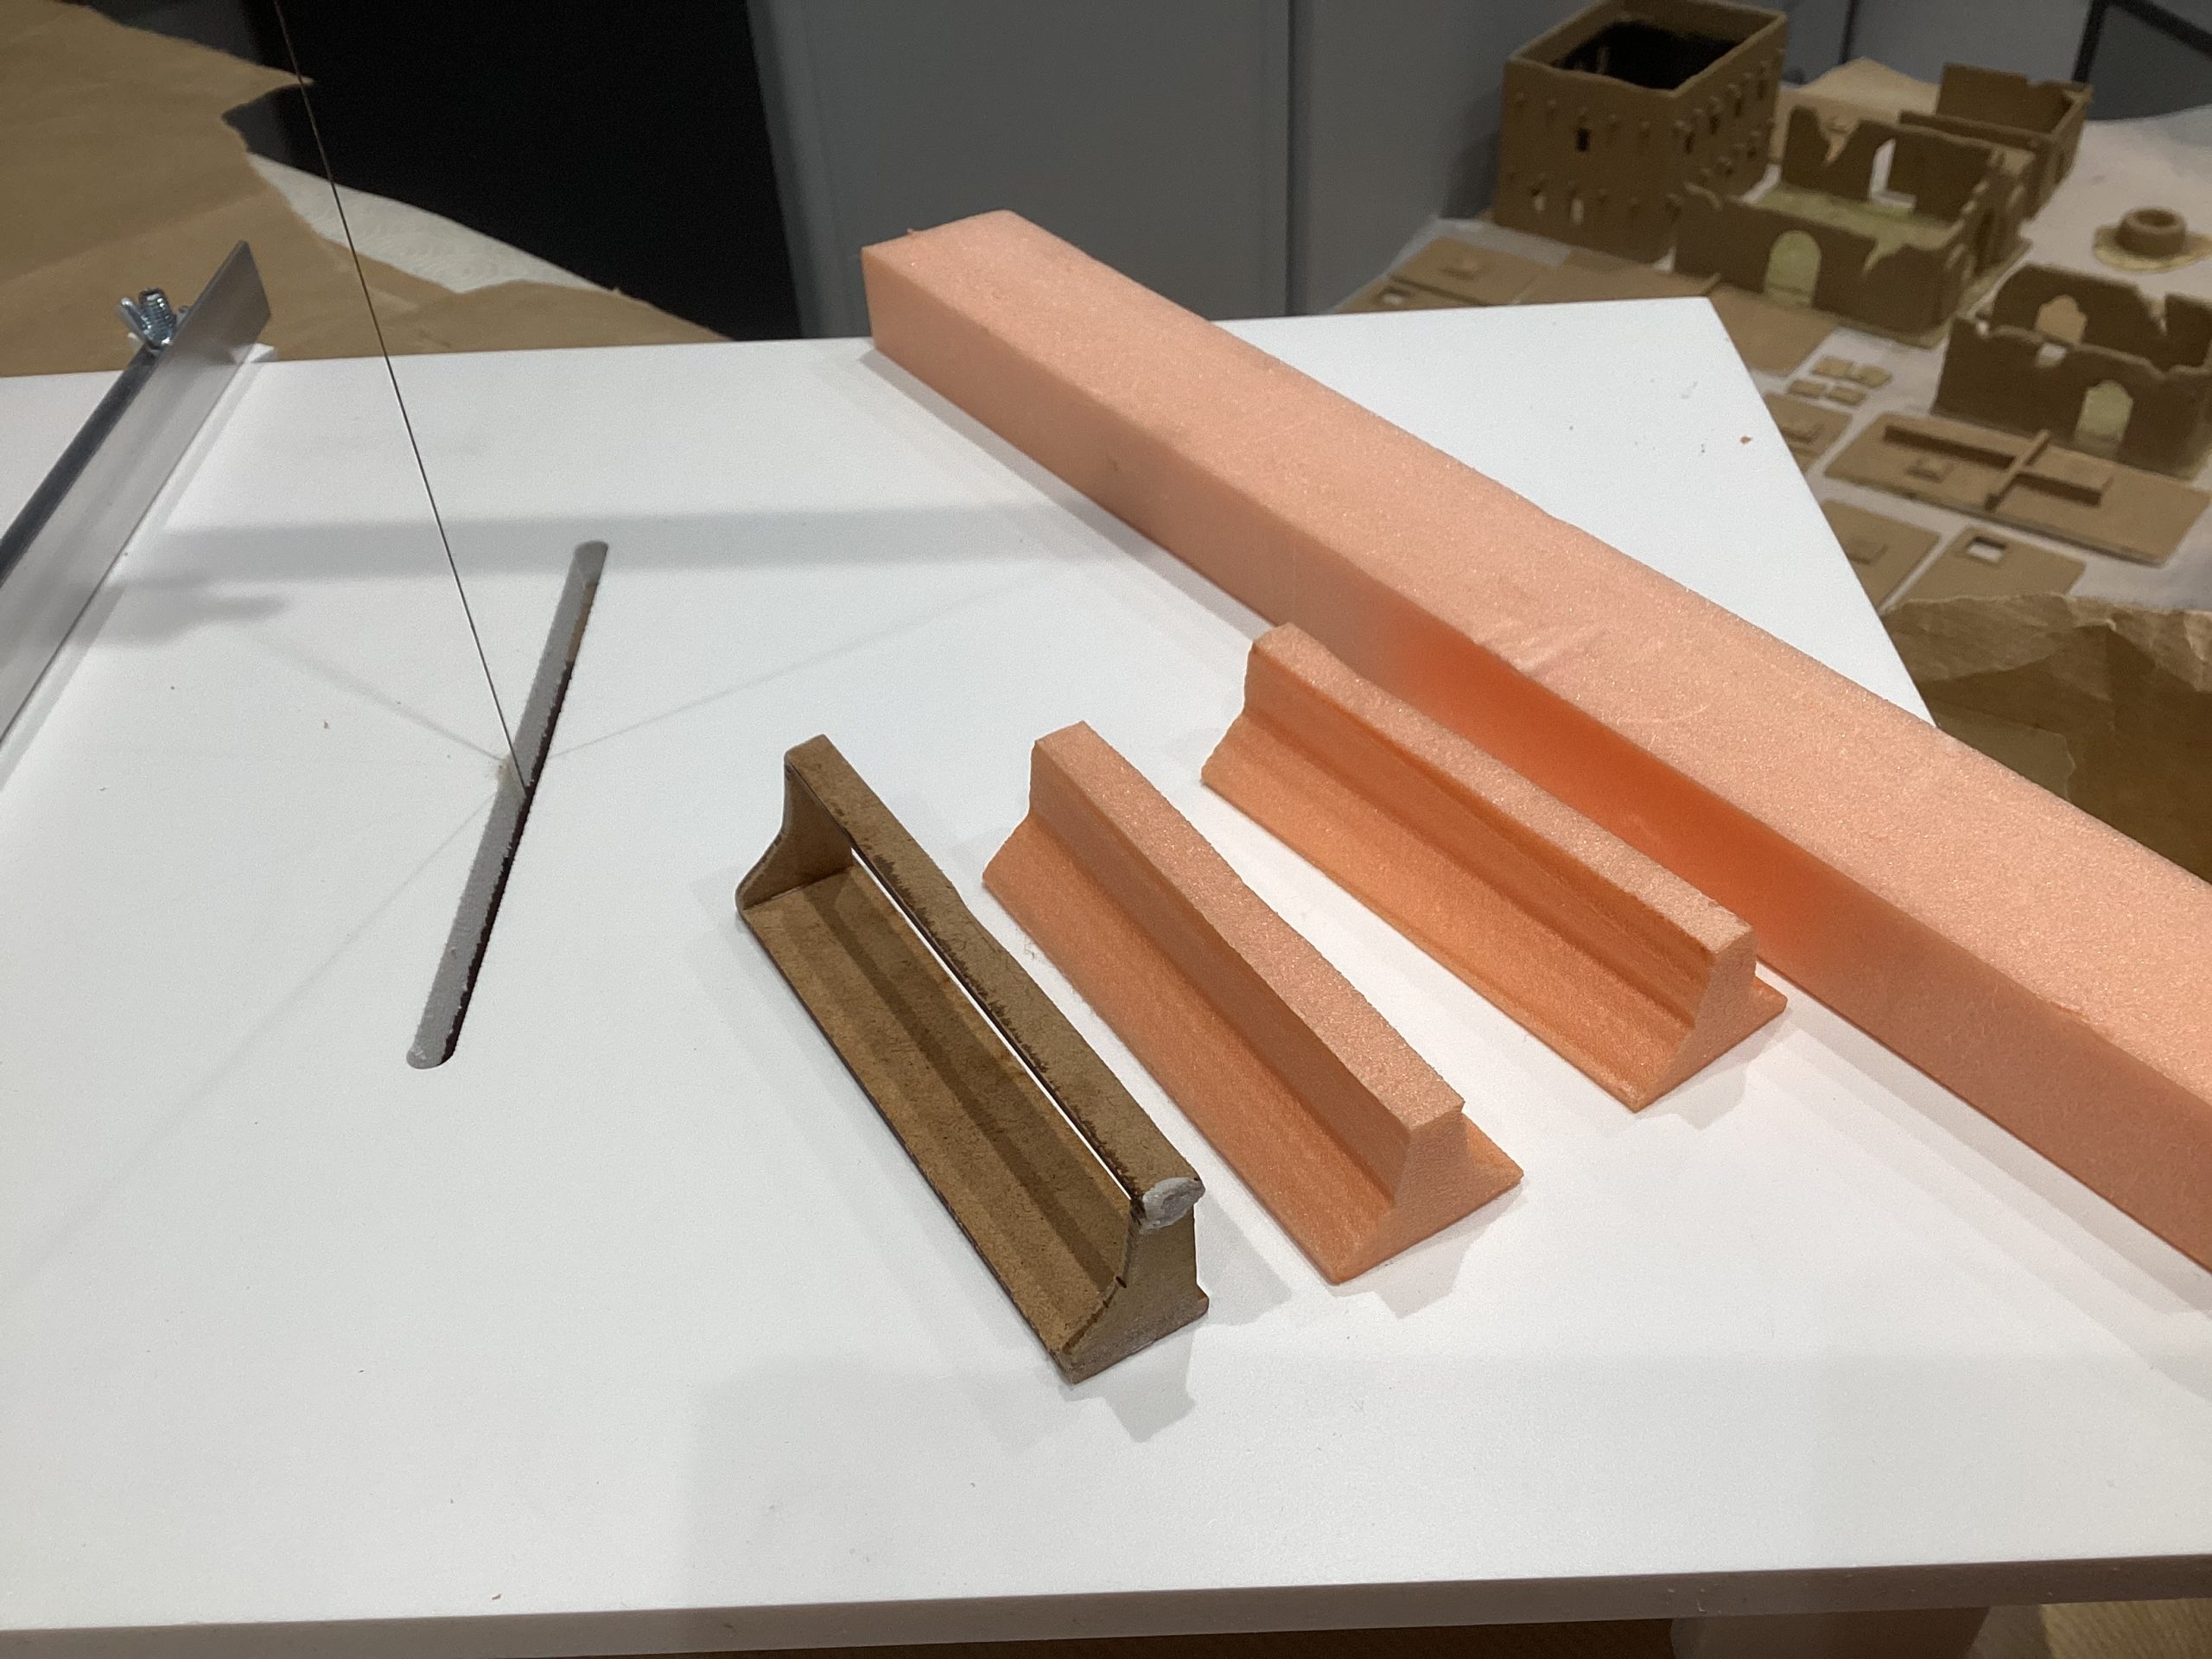
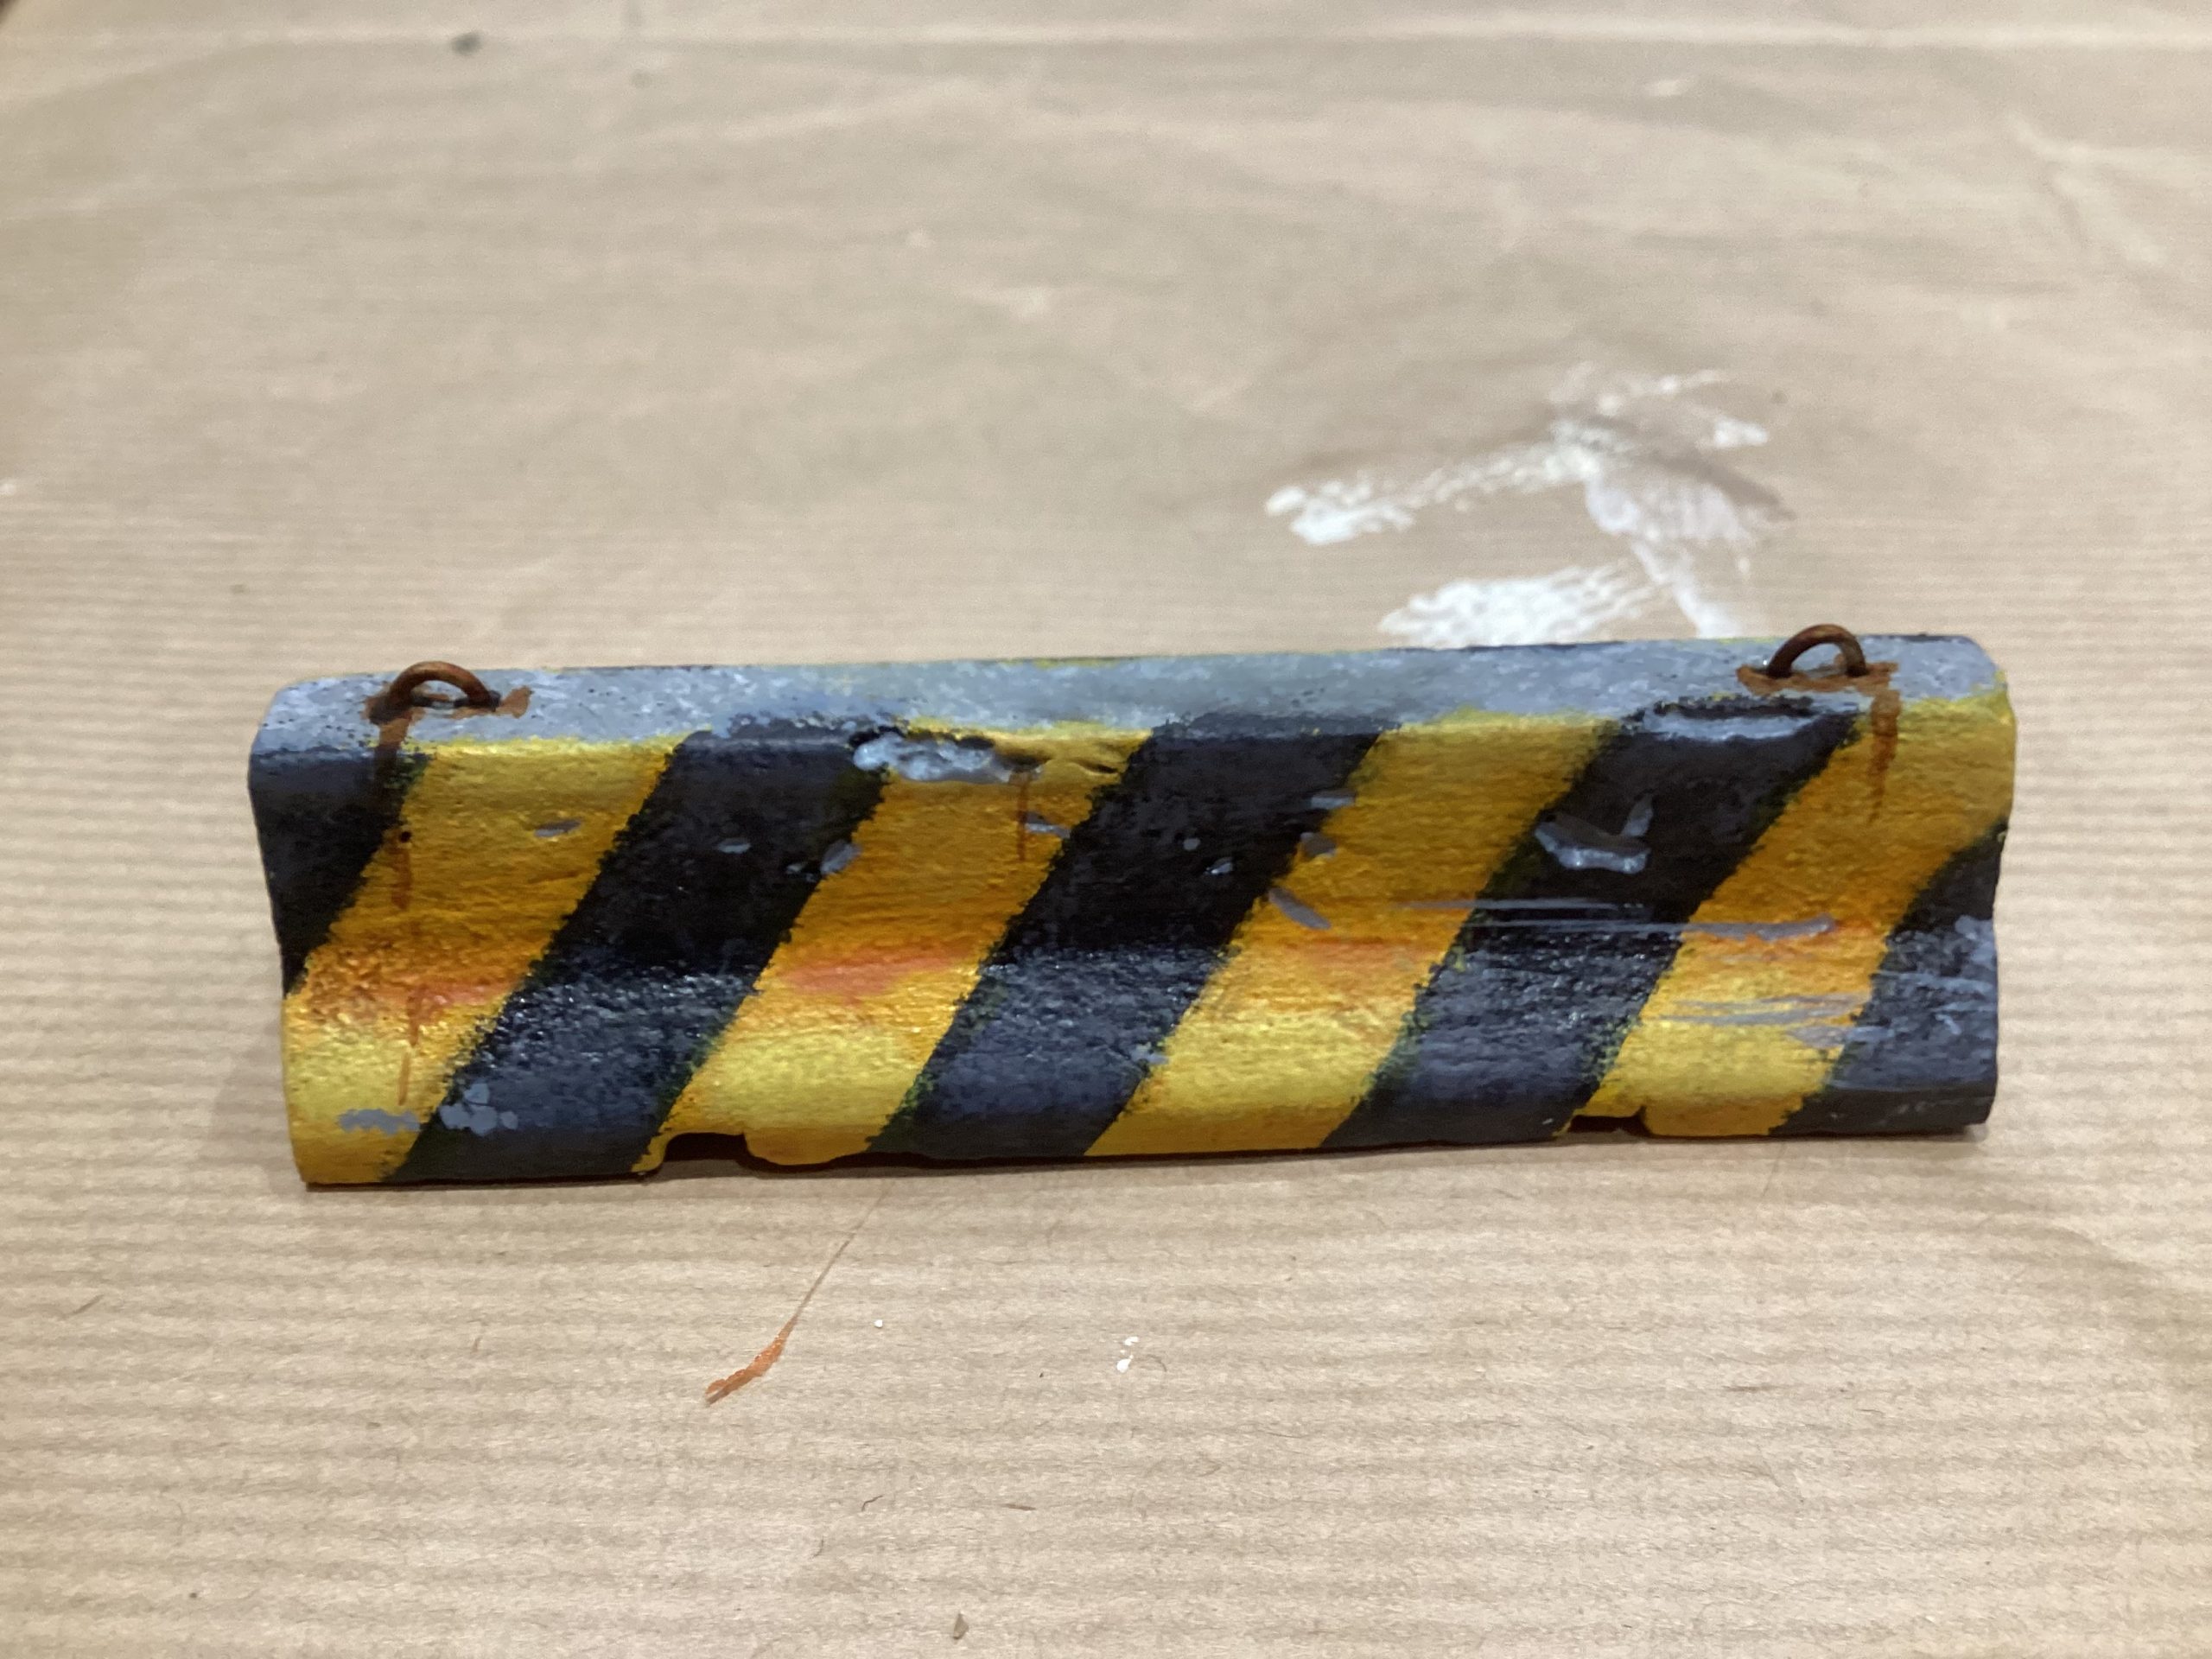
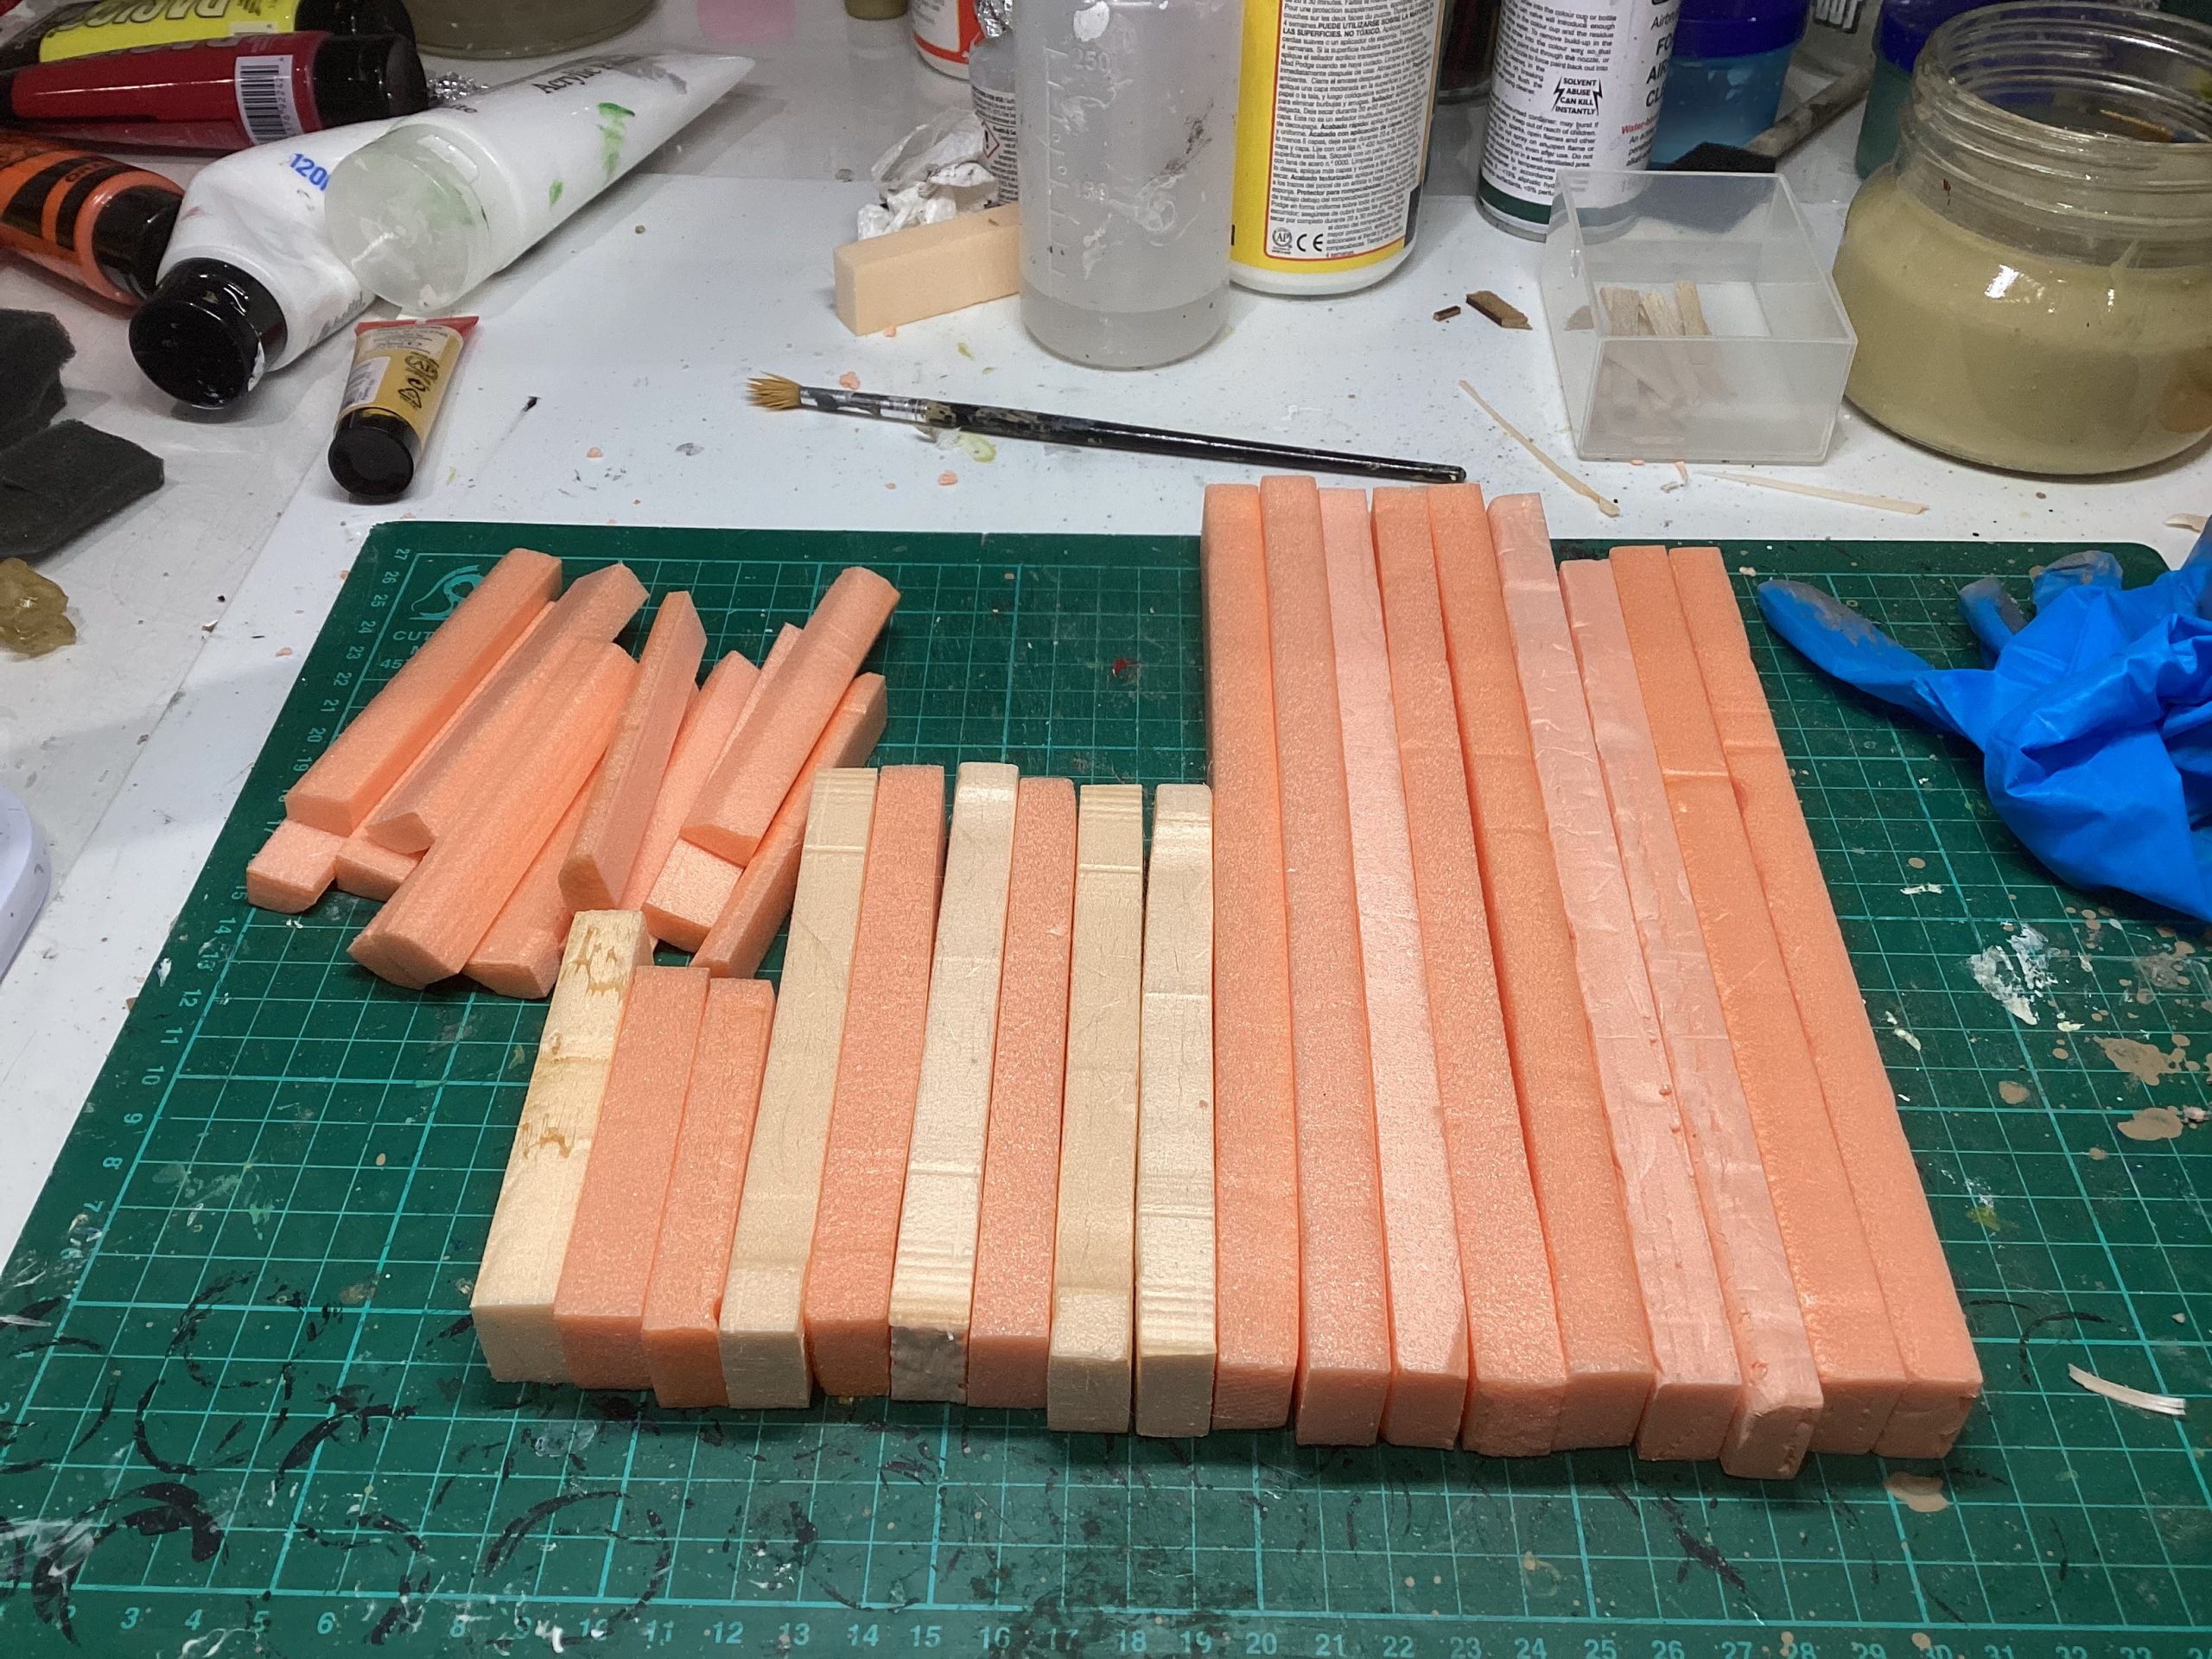
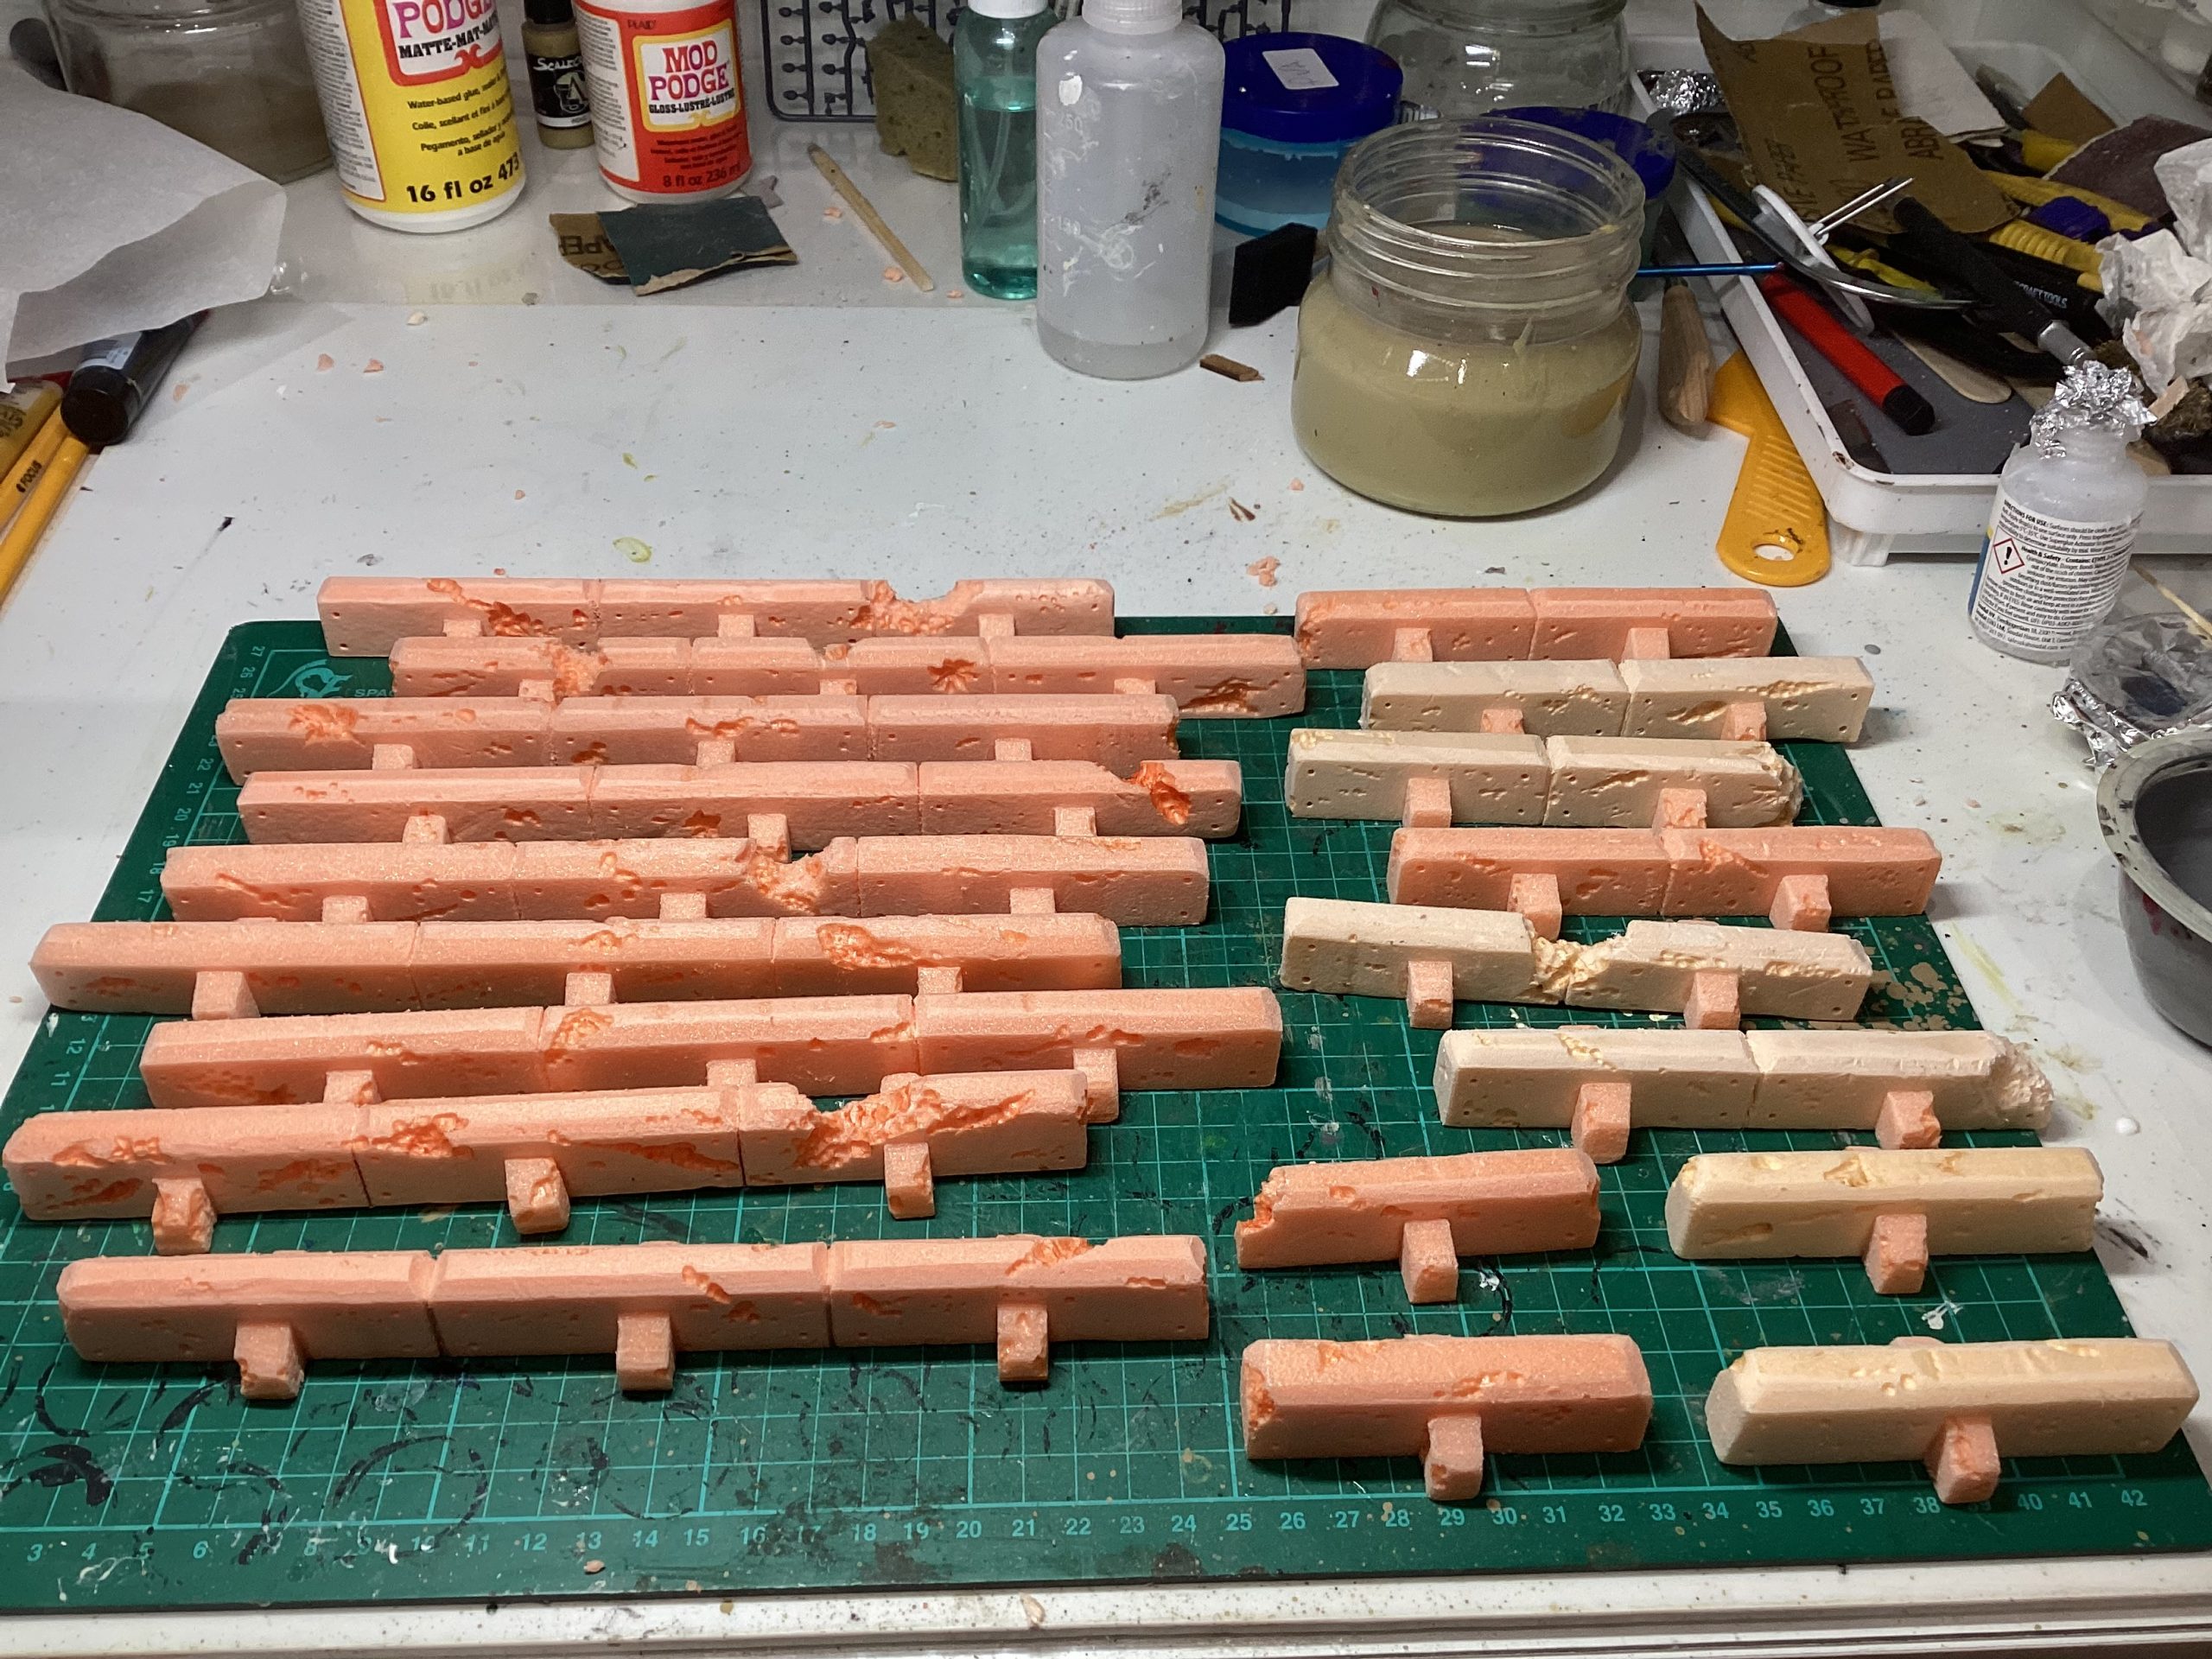
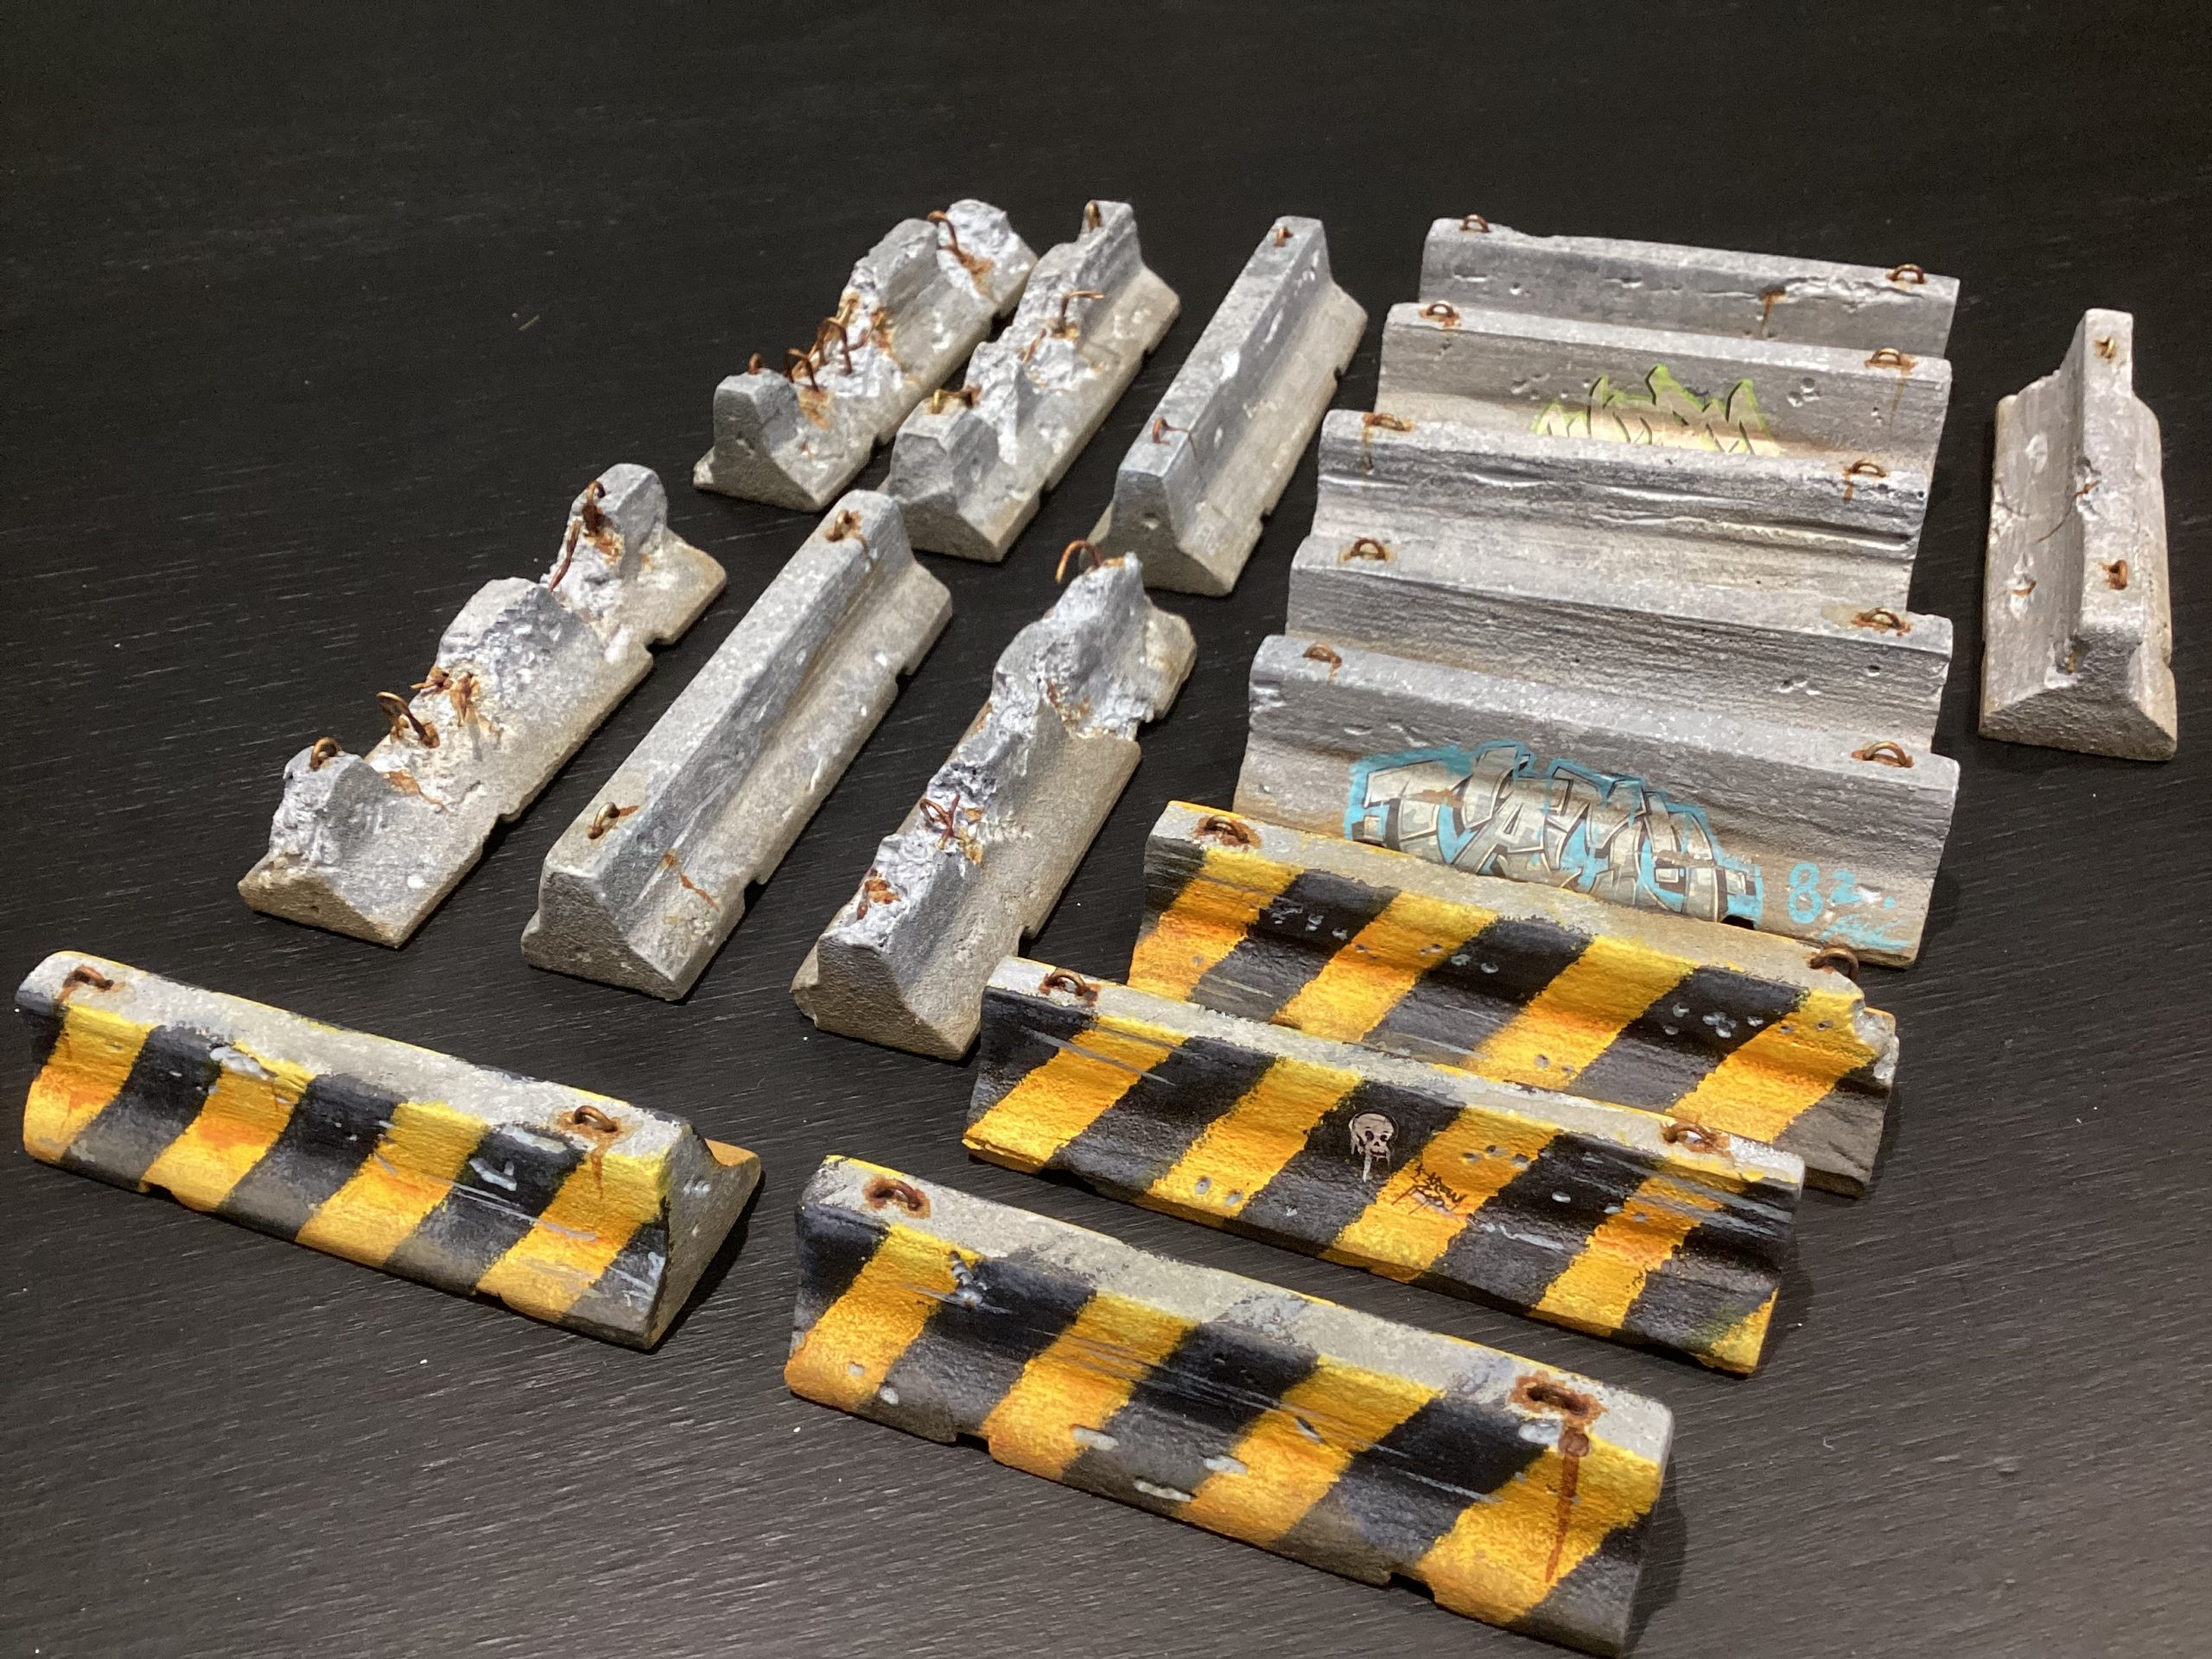
Jersey Barriers: Made from pink insulation foam. I made a small jig that gave me the shape when run through the hot wire cutter vertically (first time using one ….very impressed)
Scratched and dented with a wood burning tool. Painted using various greys to white with a sponge. Weathered with various very thin washes to tint then pigment powder to finish. Wires added as reed bar. Graffiti and chevrons added for interest….love these, they really look like concrete but weigh nothing it’s so confusing 😂)
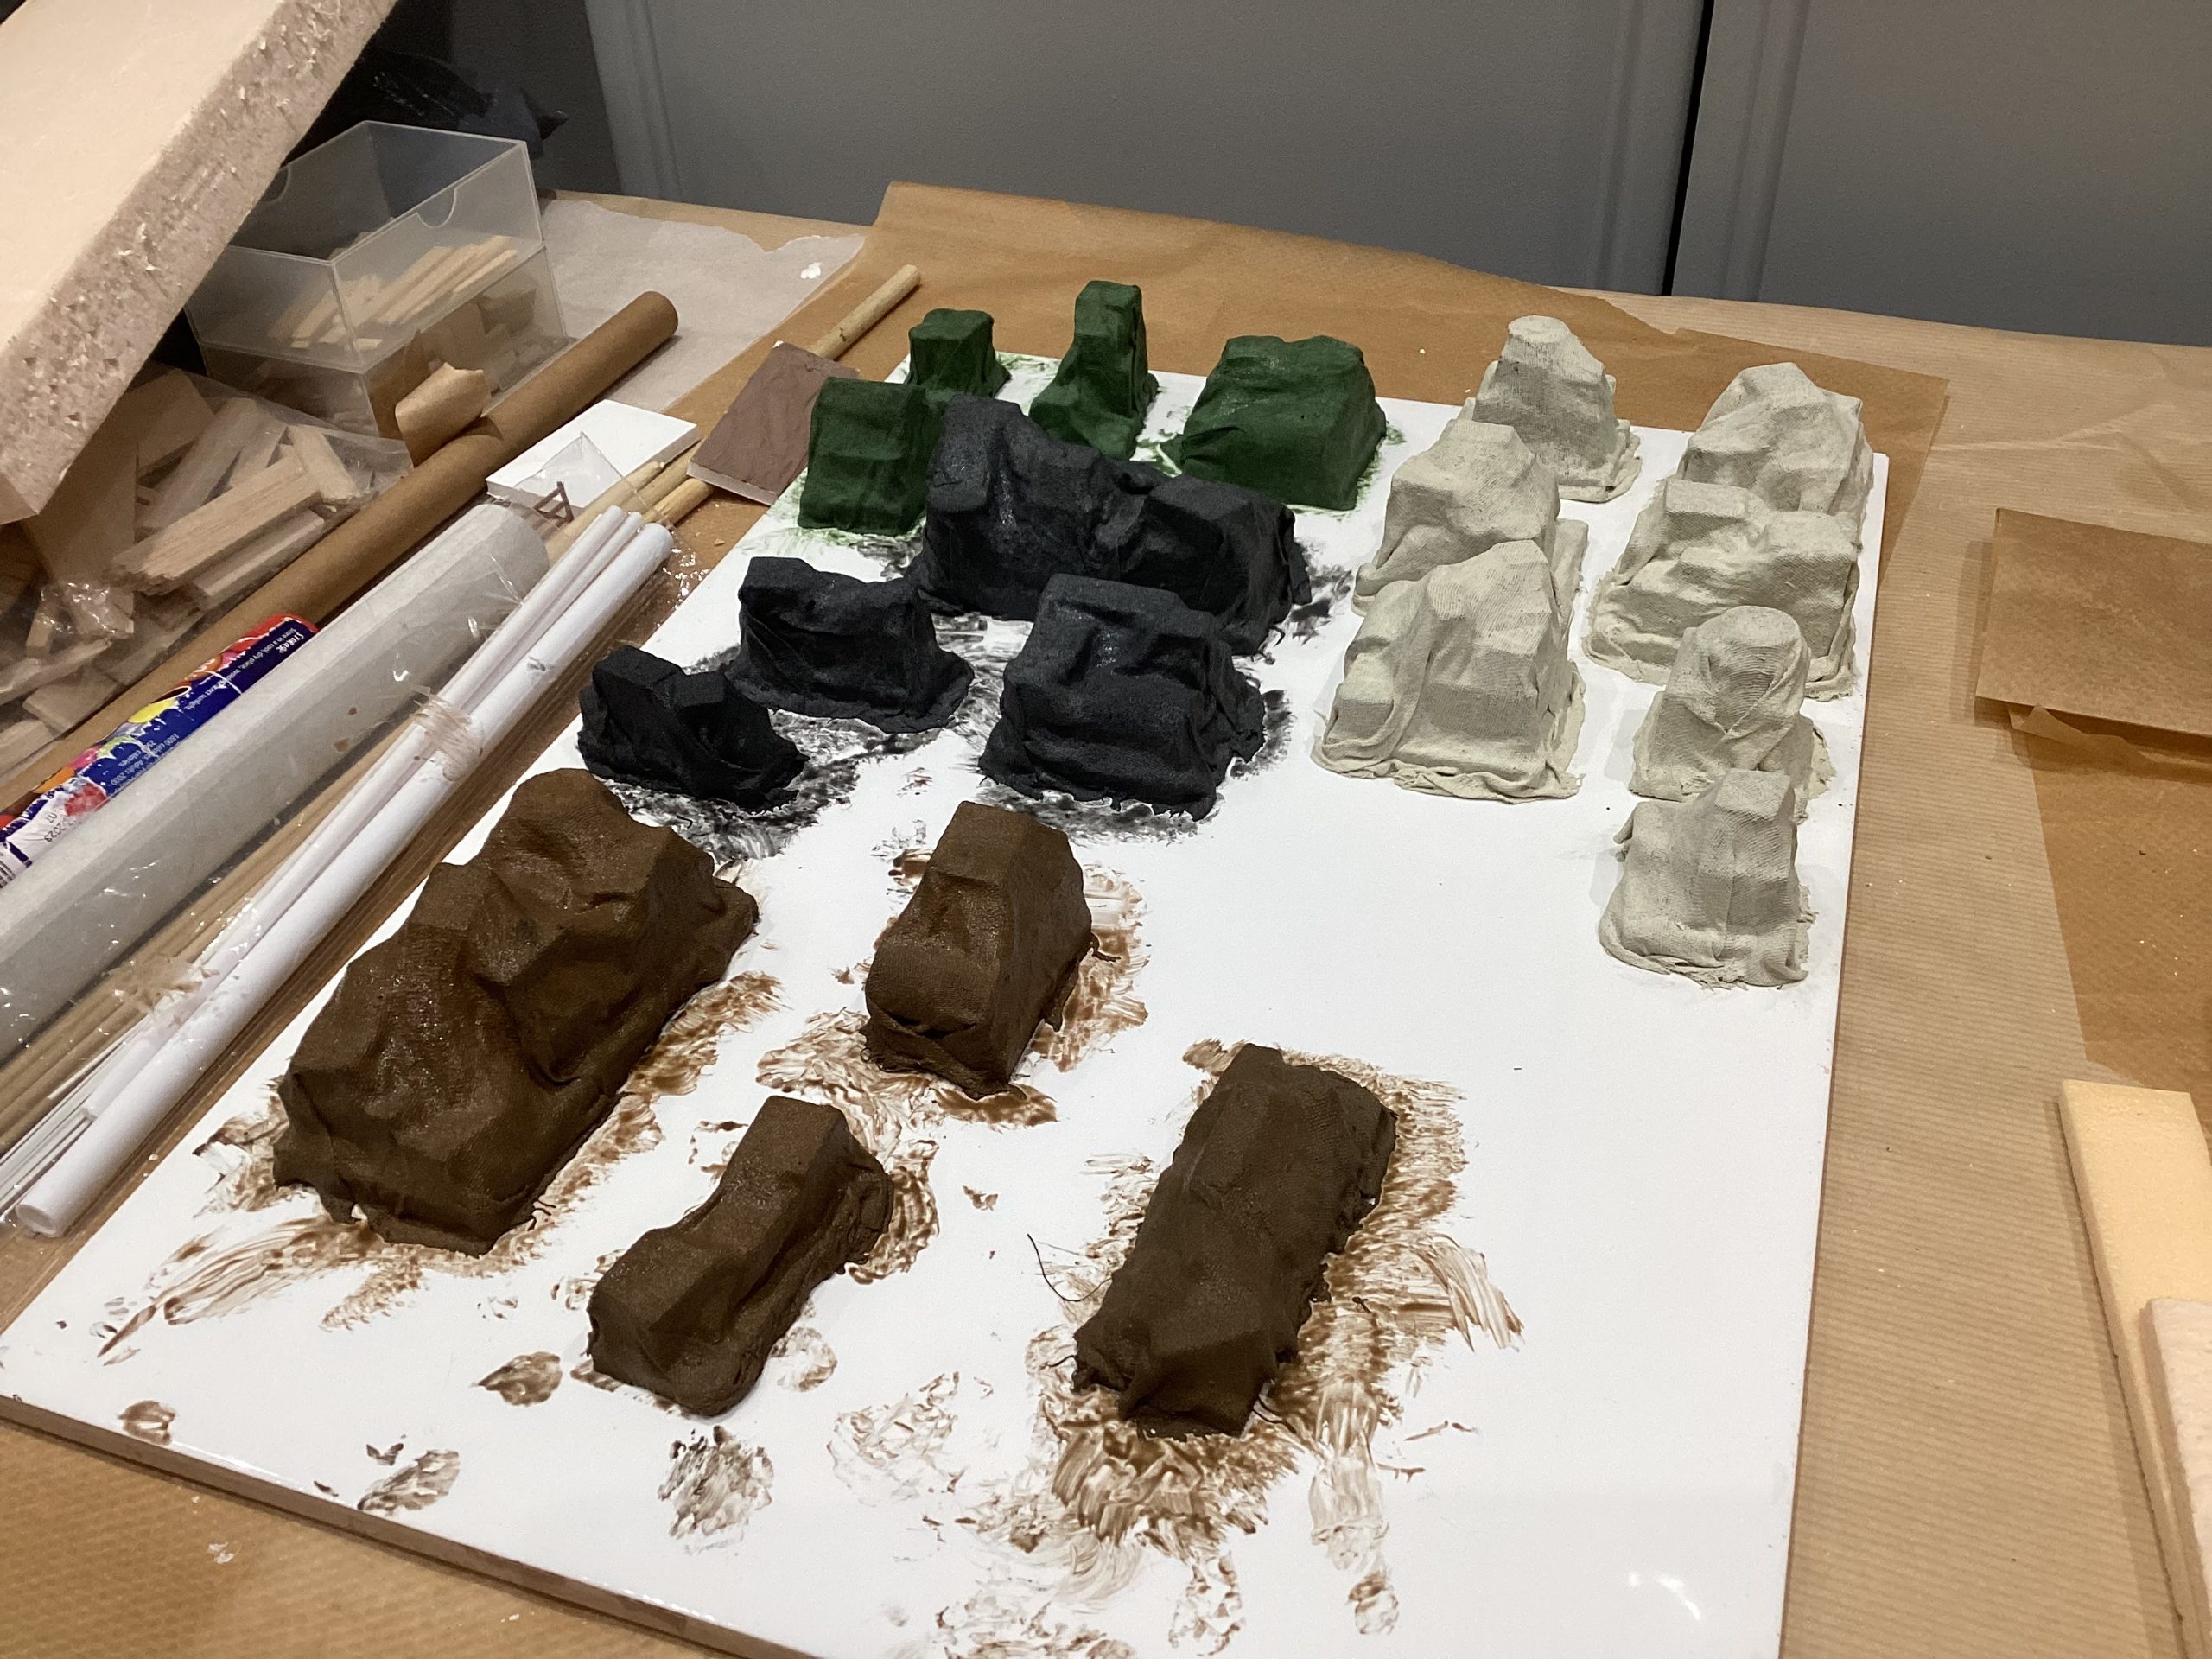
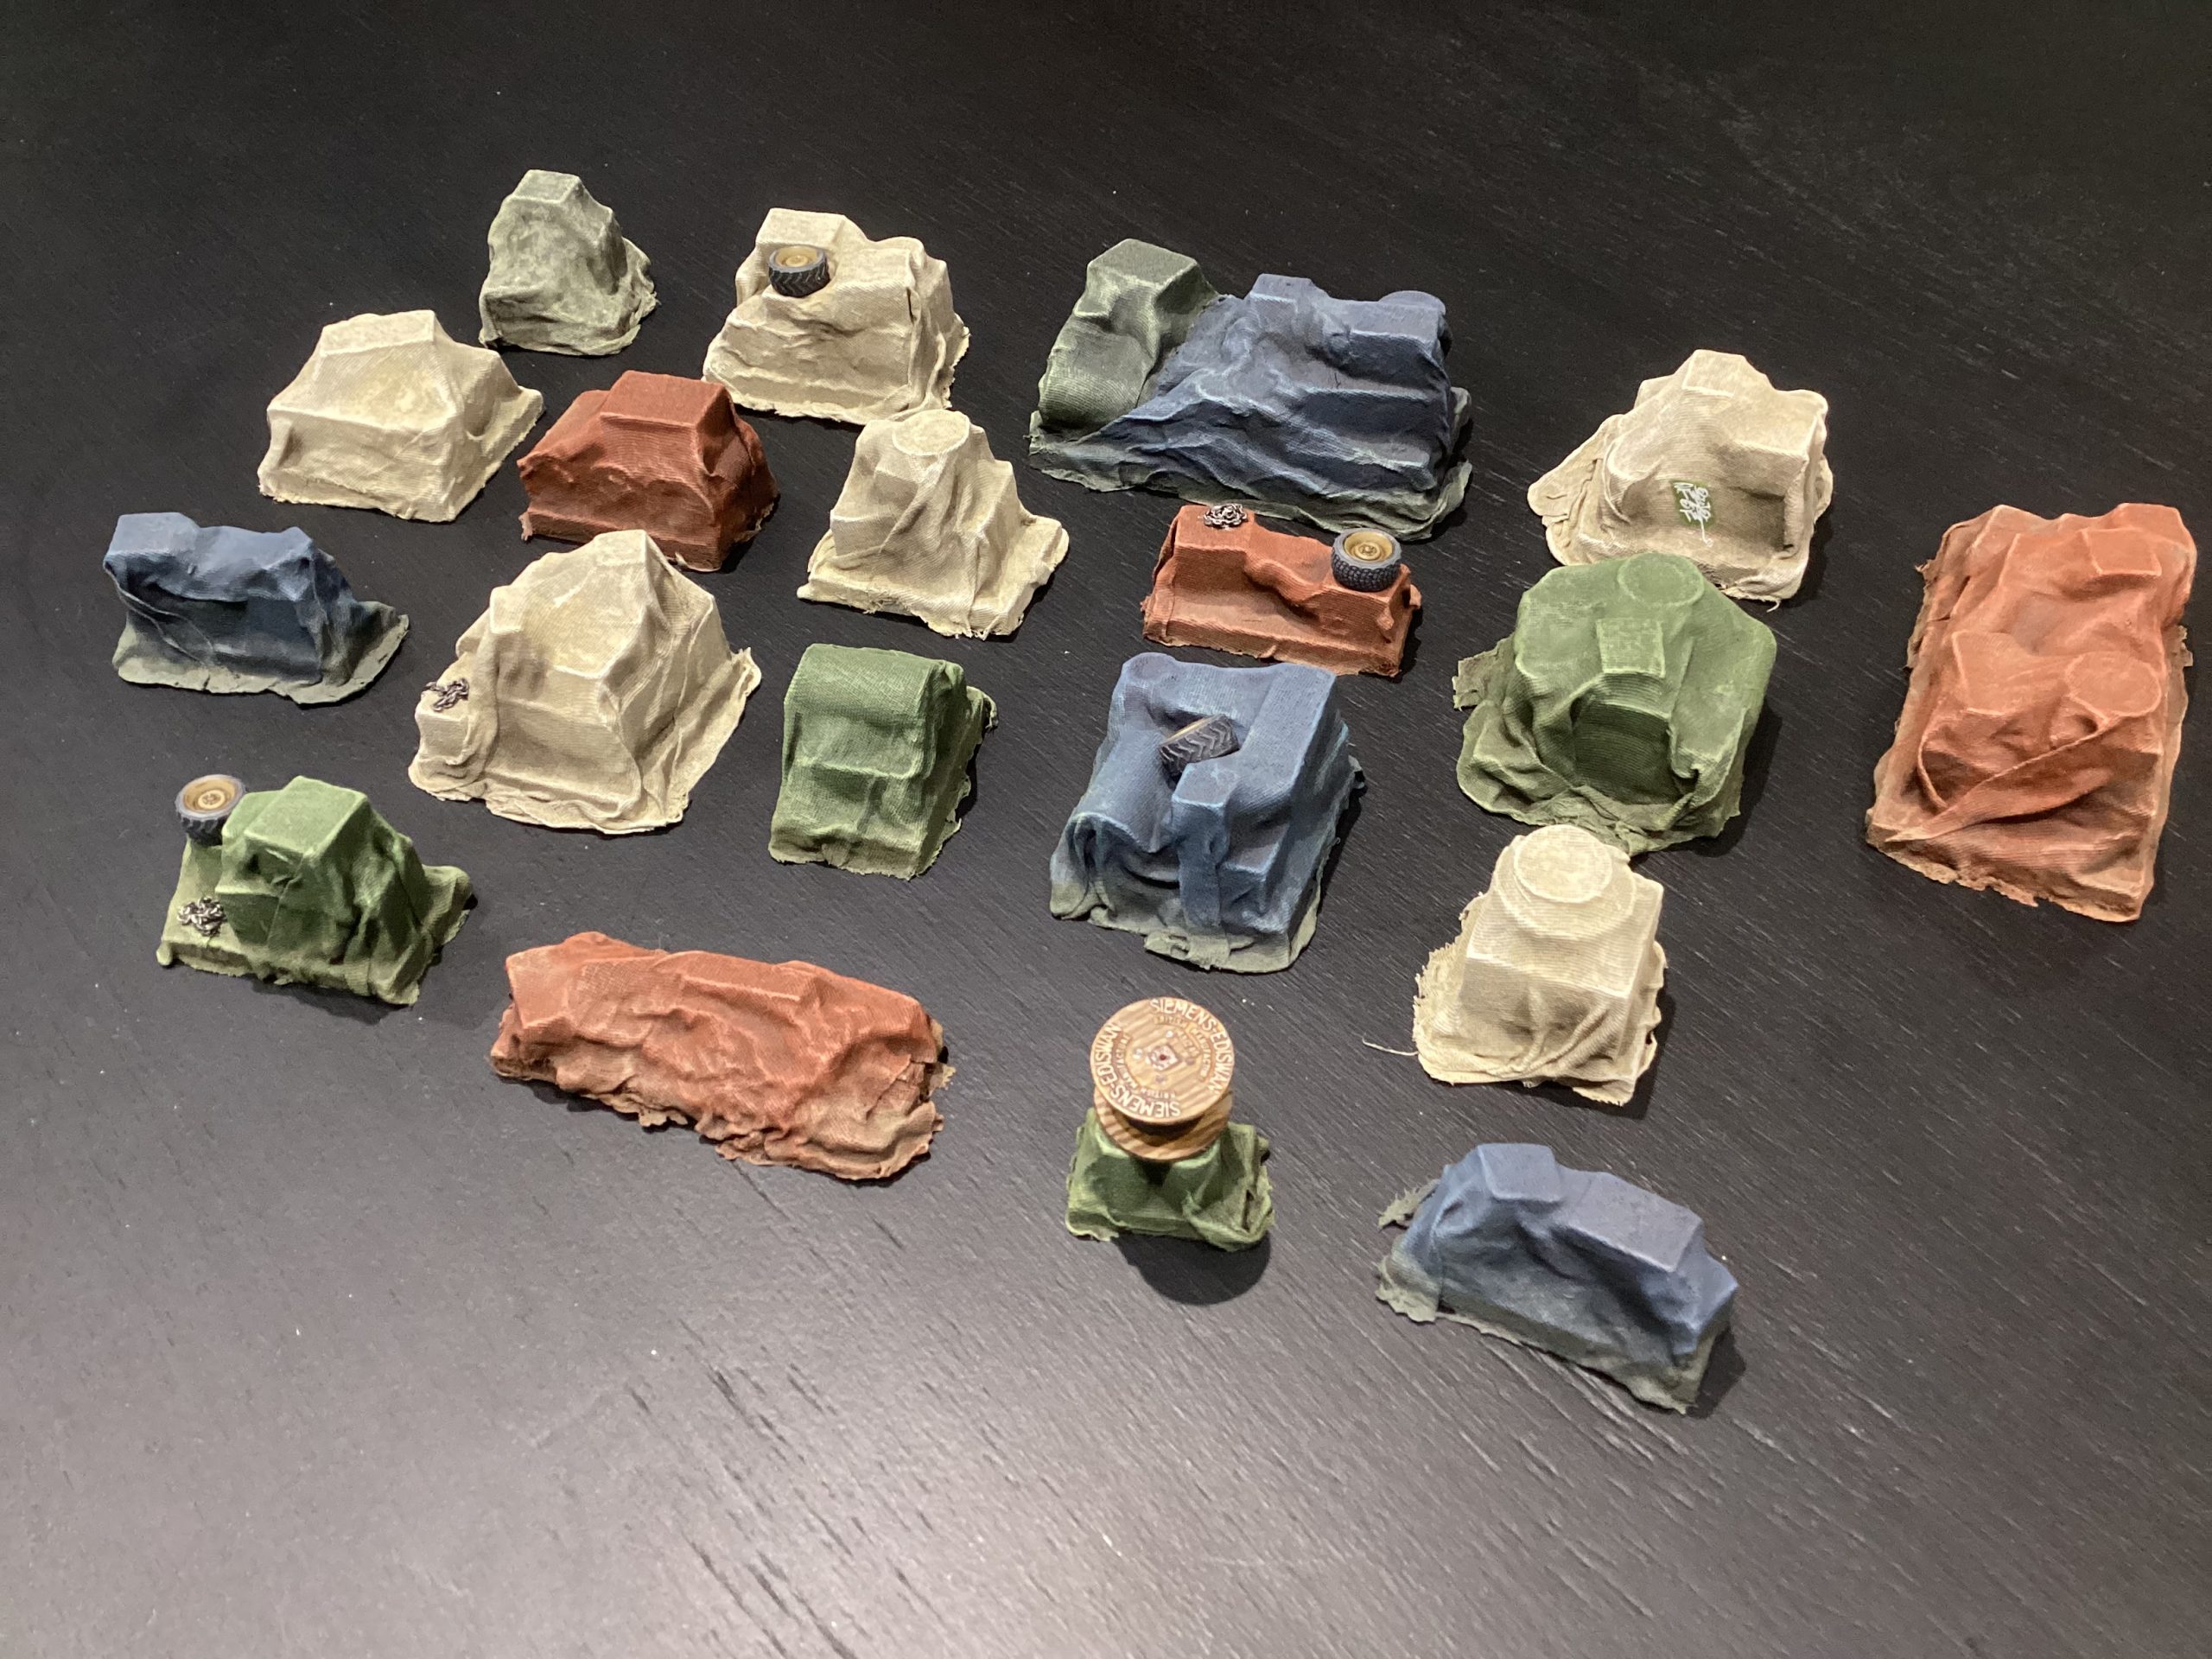
Tarp covered goods: The goods made from pink insulation foam and bits of plastic arranged in interesting shapes. Painted in black Gesso so the pink didn’t show through then Covered in cheese cloth soaked in PVA mixed with acrylic. This was then shaped and trimmed to fit with a pair of scissors. painted using liquitex basics acrylic weathered with brown washes and shaded using the airbrush. A few chains and tyres added for interest.
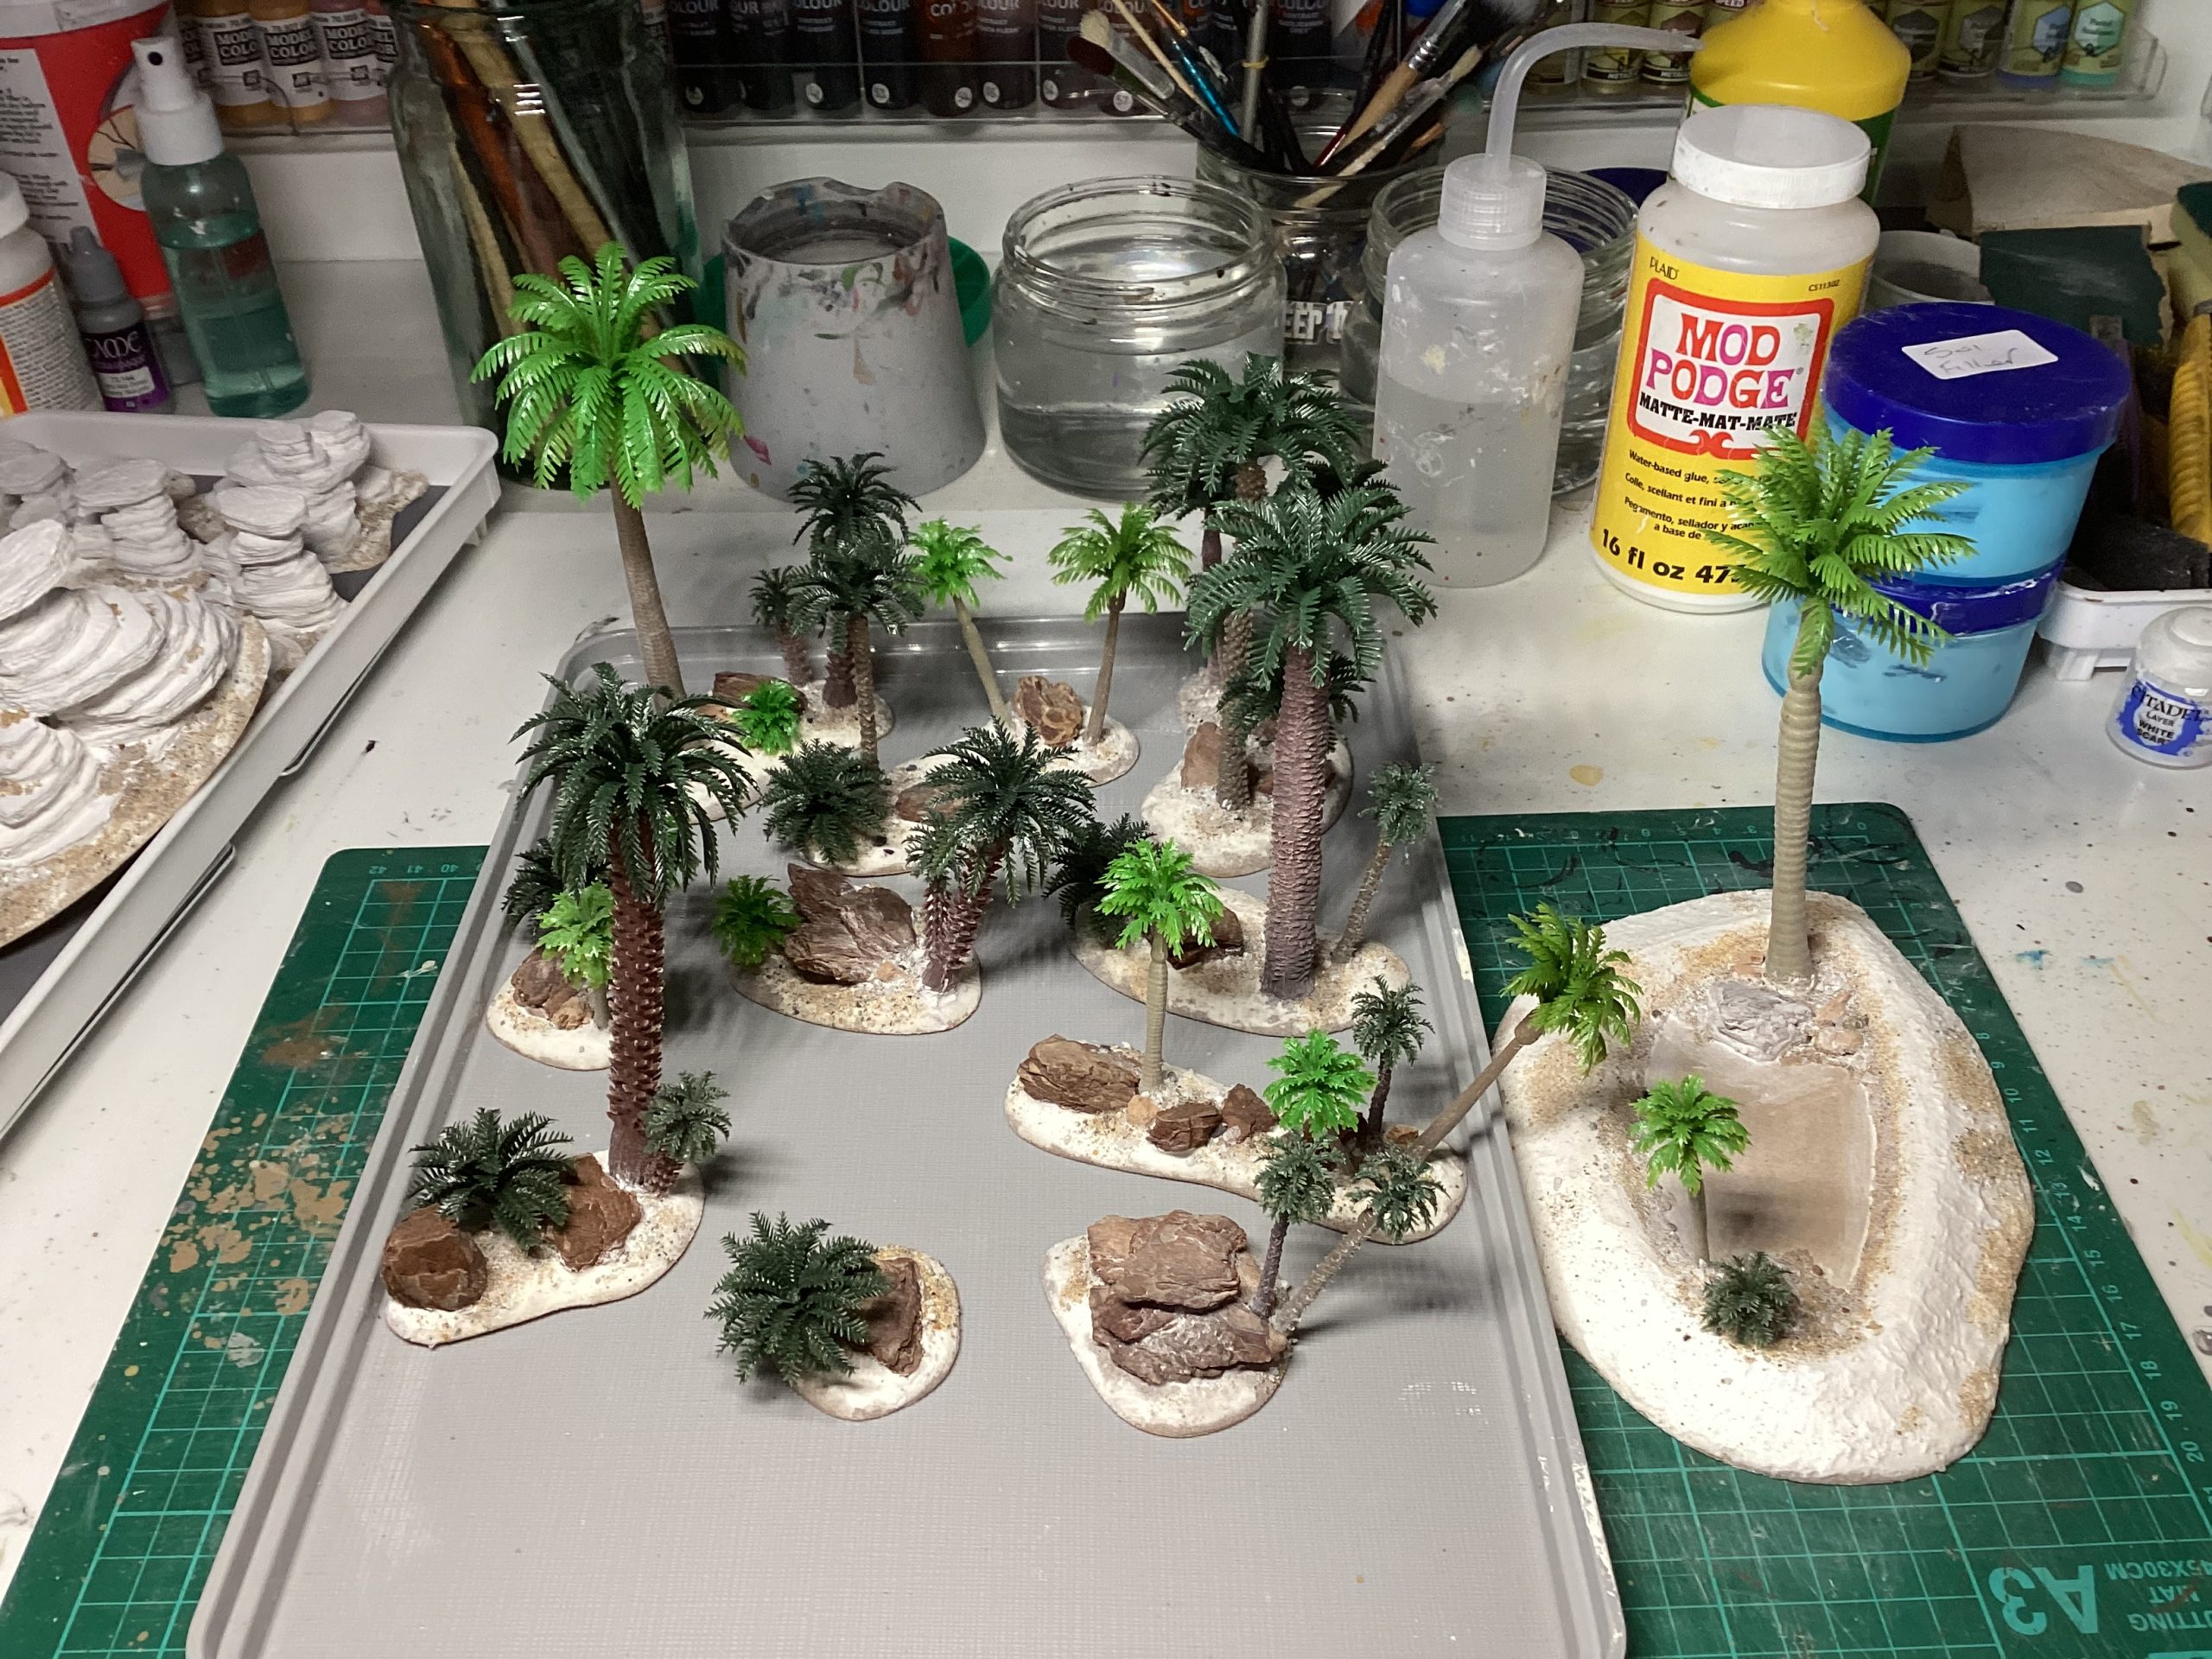
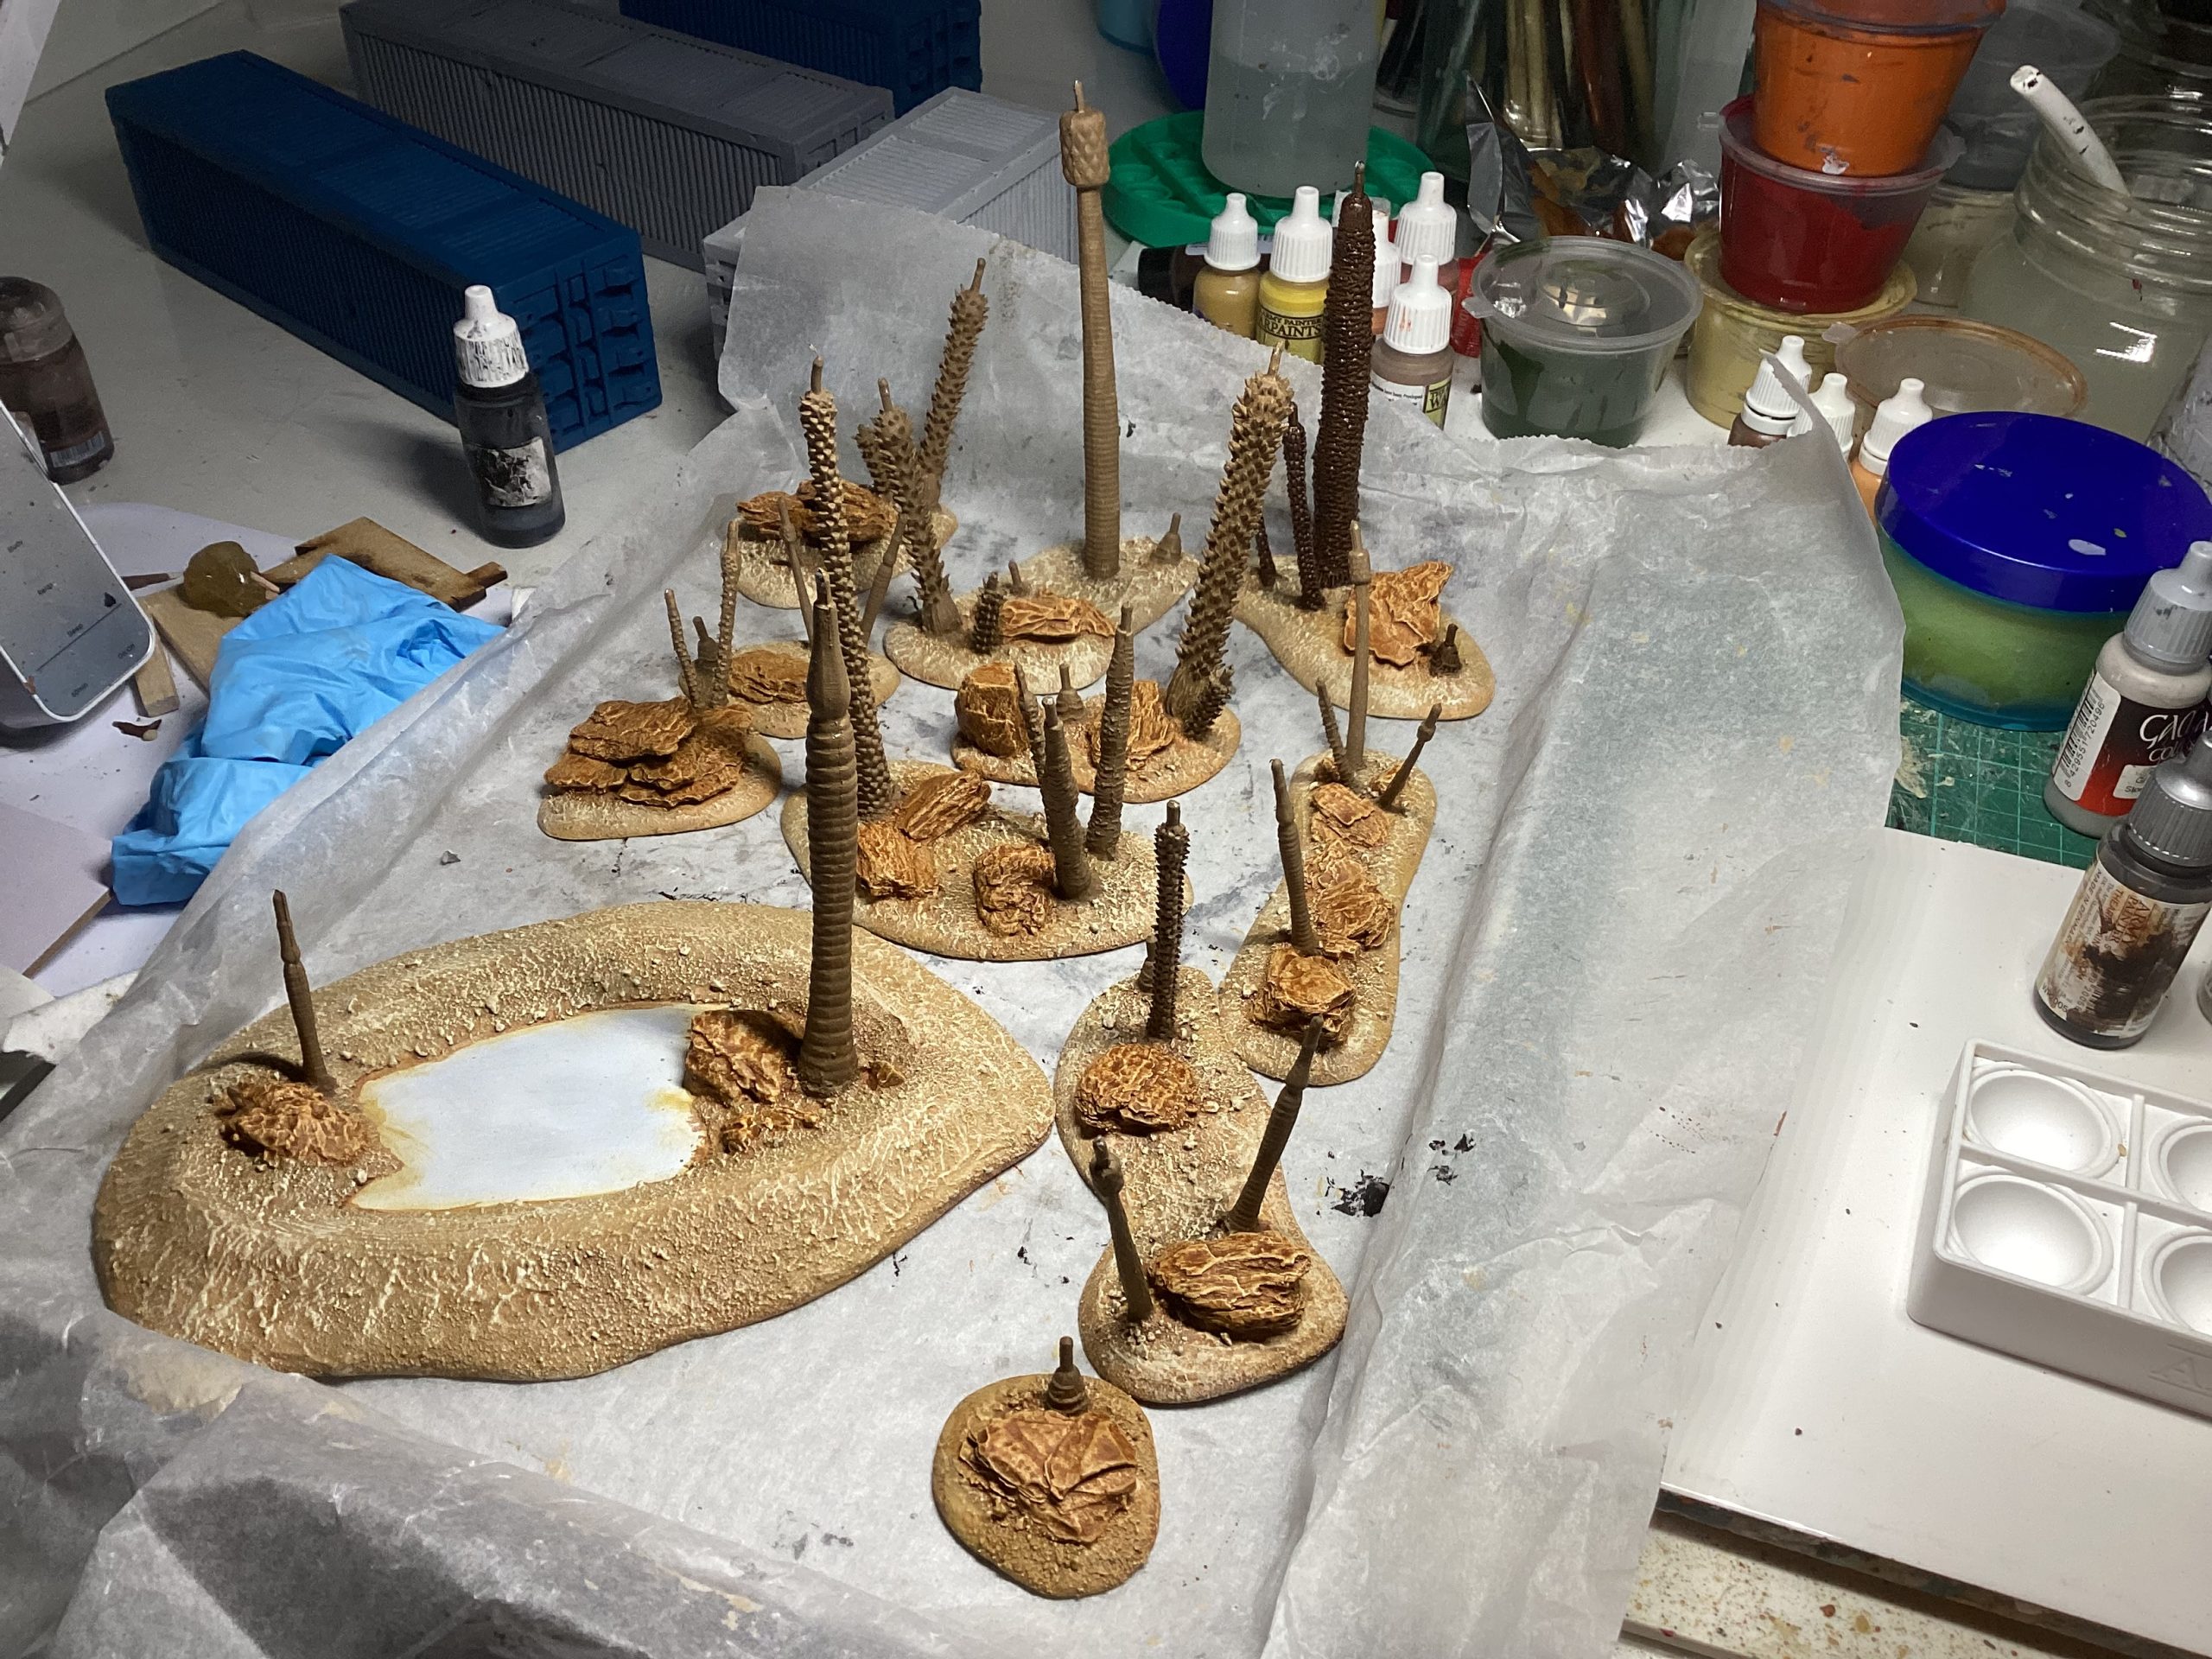
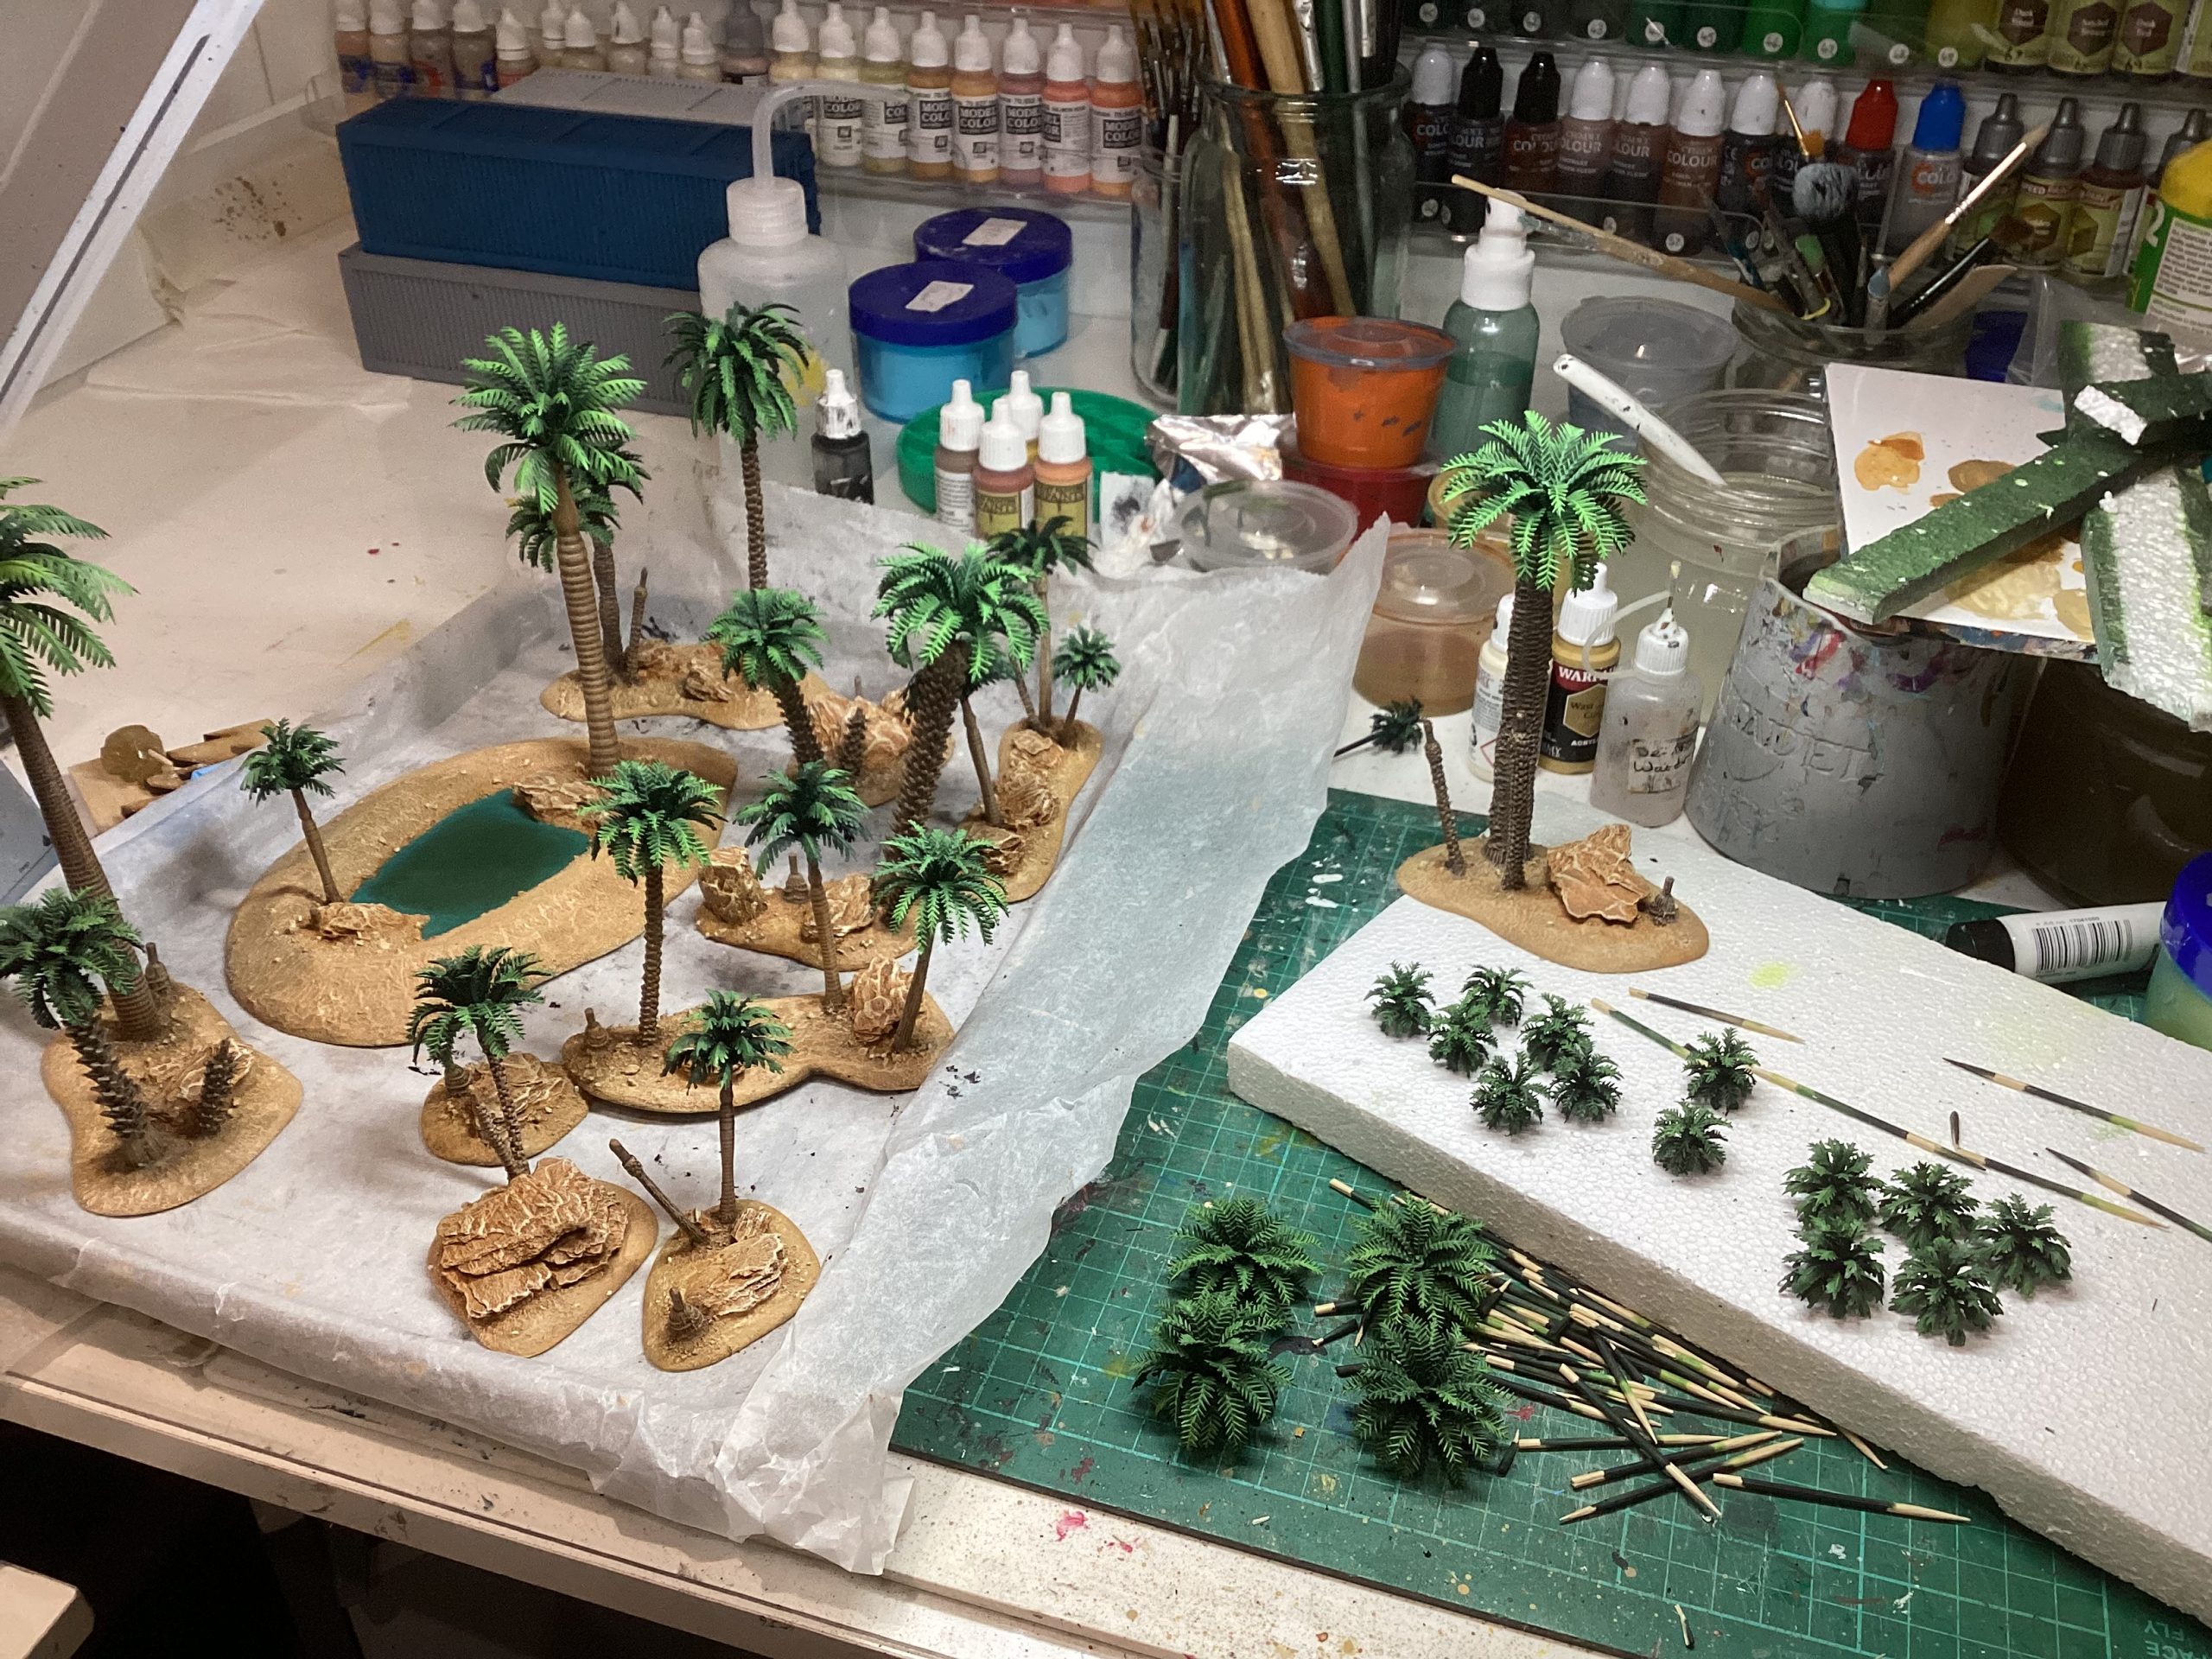
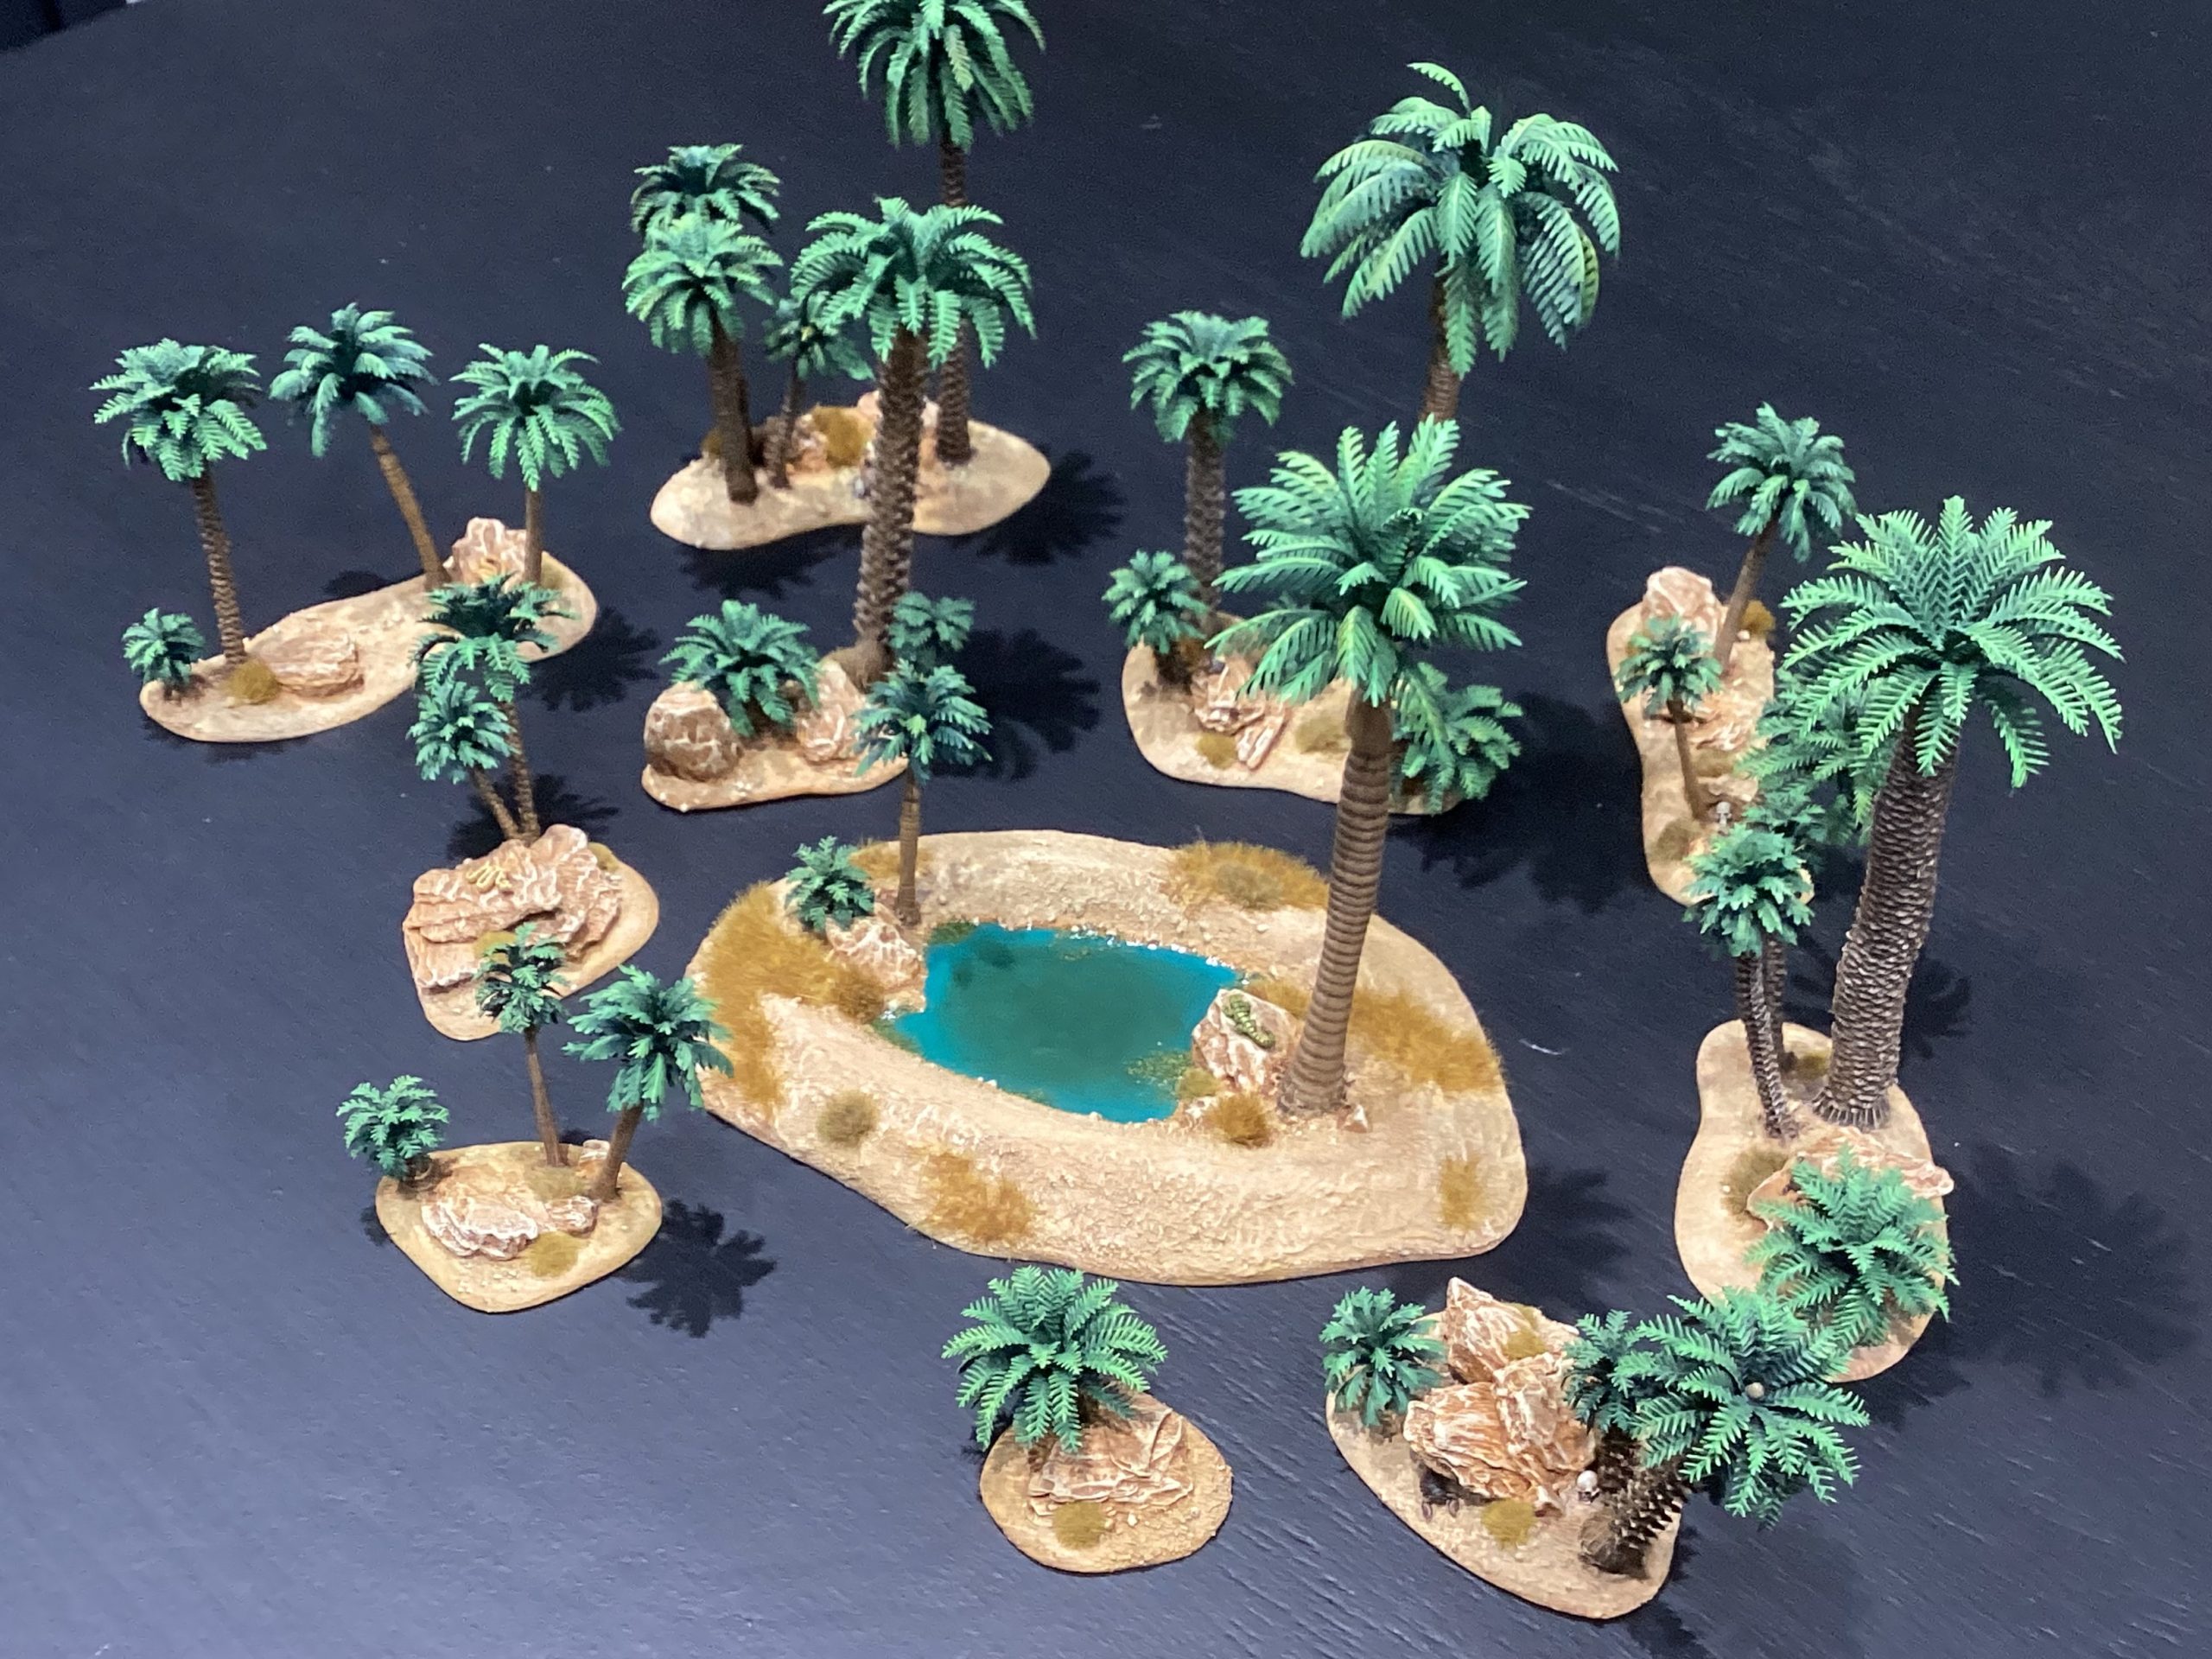
Palm Trees: I found a very cheap collection of palm trees on Amazon which were amazing for the price. These were dismantled all washed in soapy water then based on hard board shapes and hot glued in place, the larger trunks screwed from underneath. Bases decorated using orchid bark, cork chips, small particles and 151 all-purpose filler. Everything primed with colourforge Raven Black primer. The foliage painted with the airbrush using various greens and browns. The trunks base coated in light brown and washed with various speed paint then lightly dry brushed, various washes added to tint for variation. Fun details added: snakes scorpions, skulls and lizards.
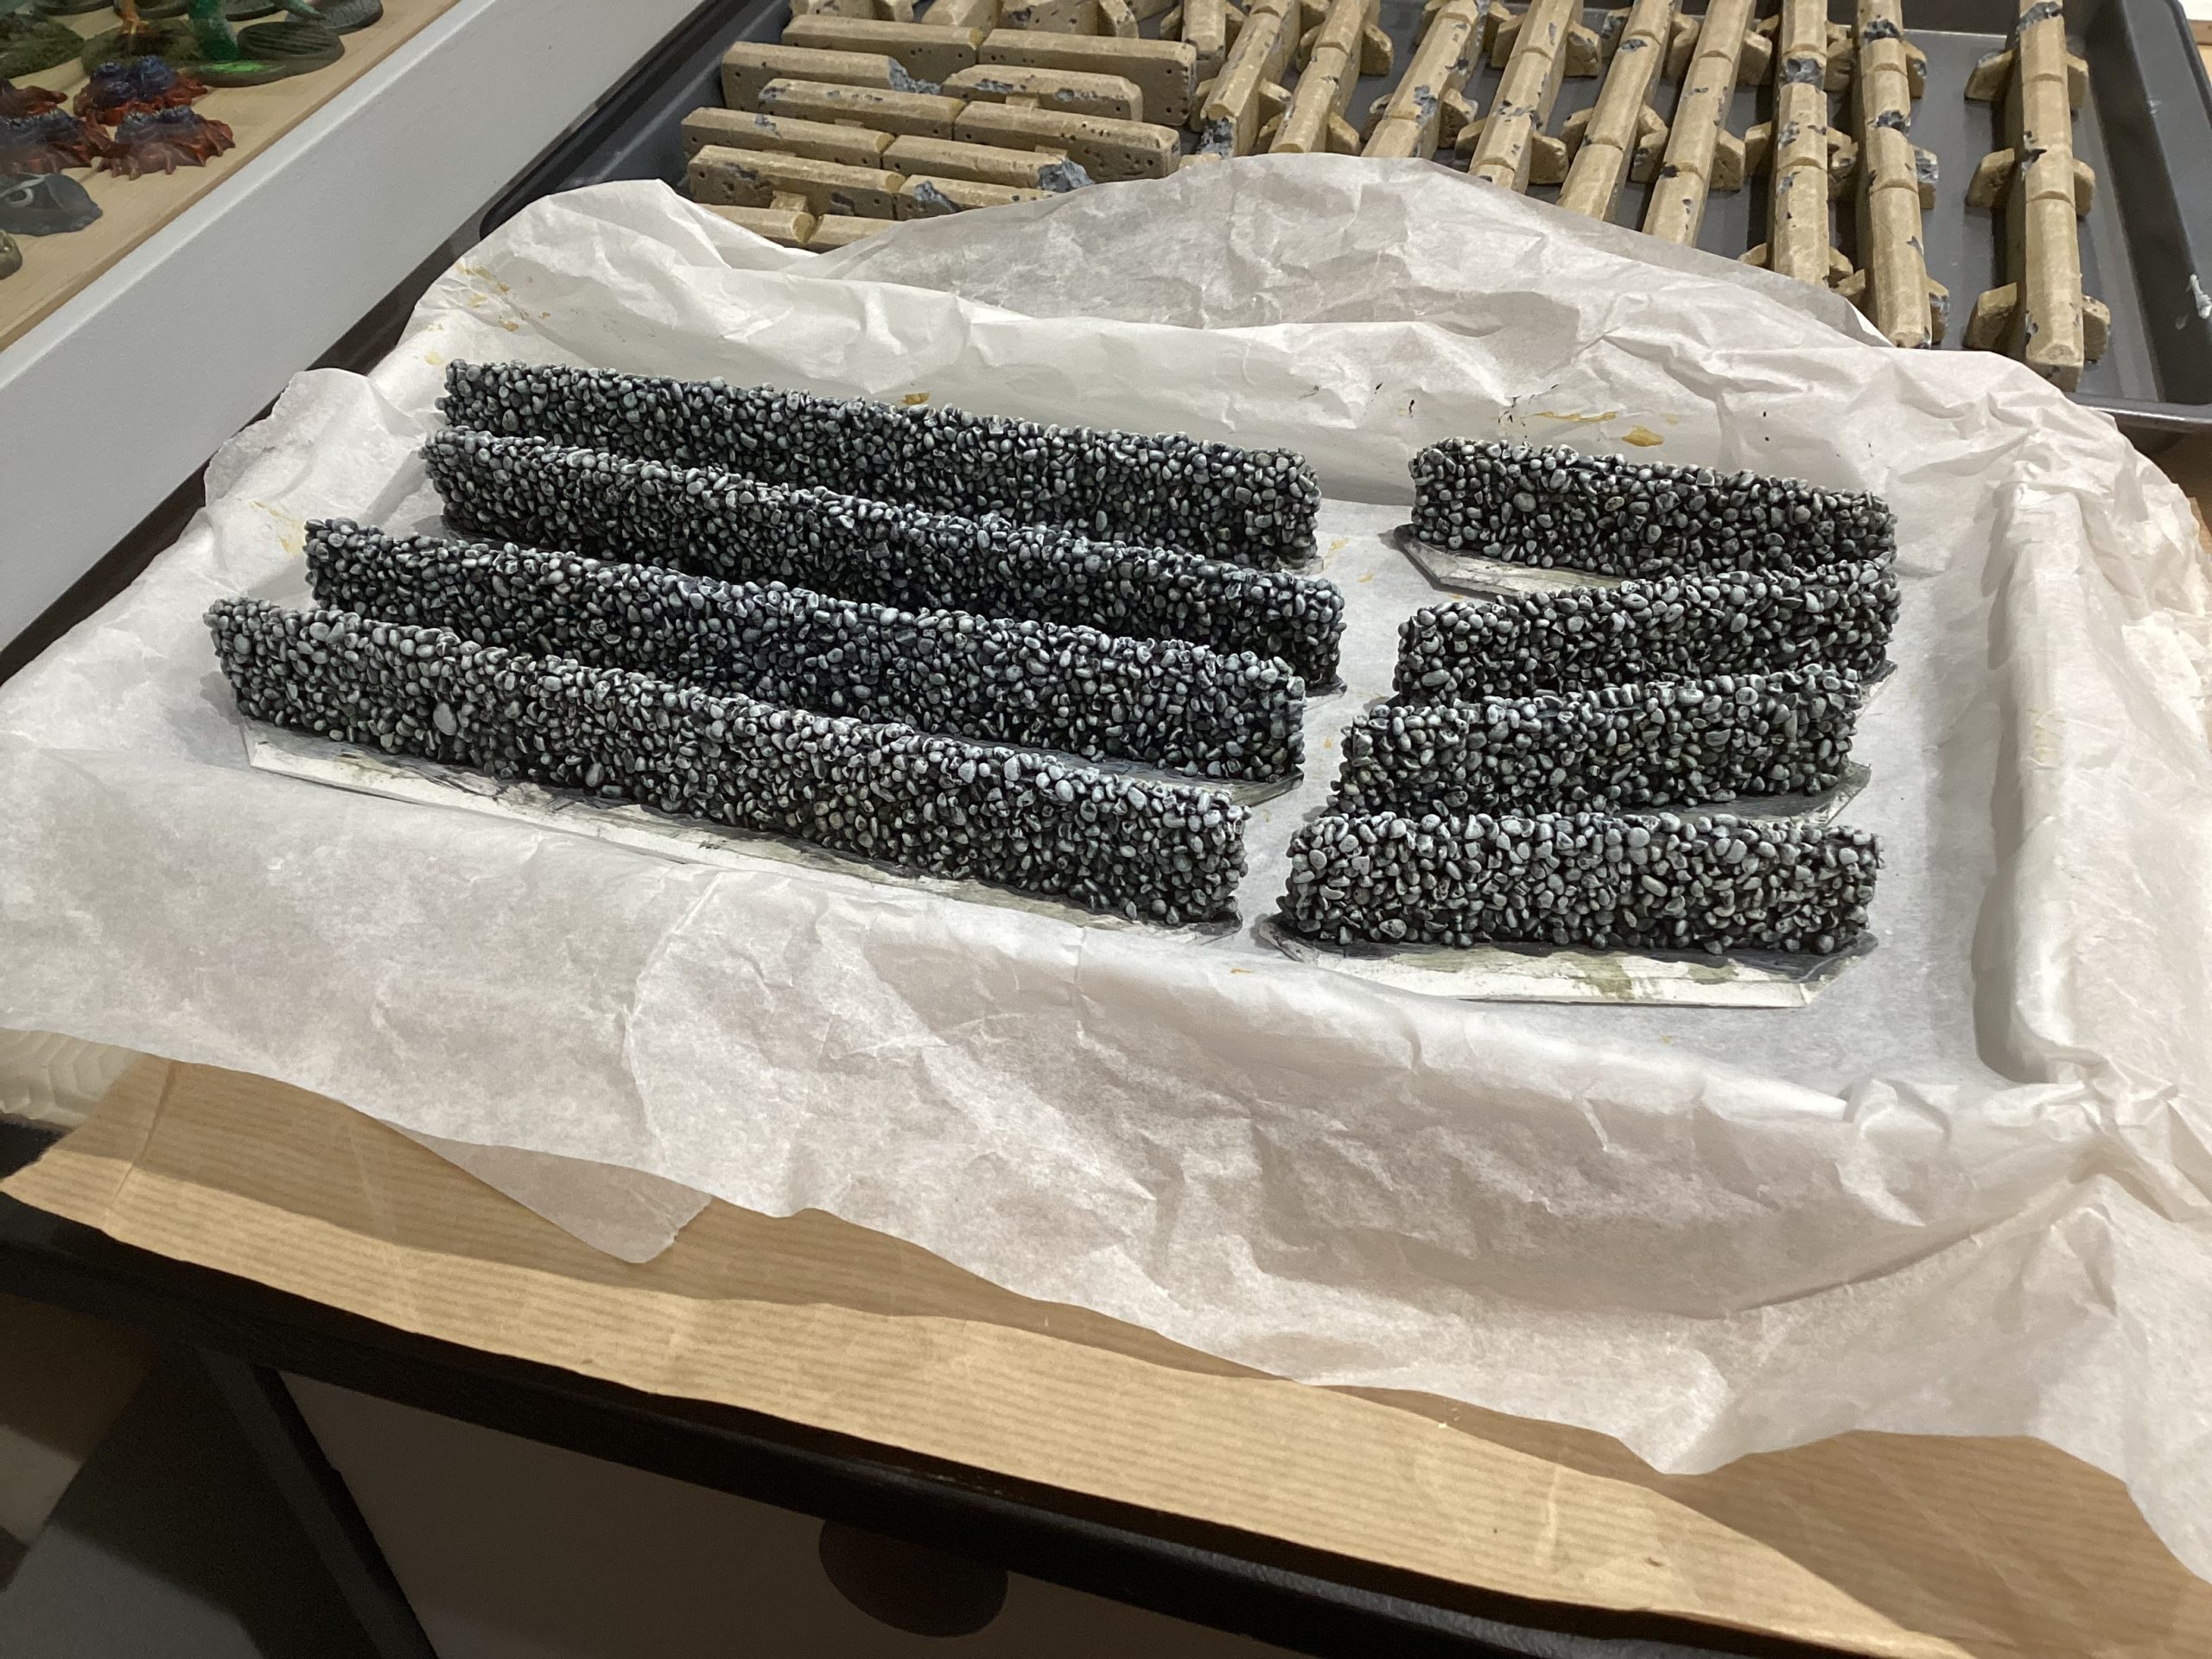
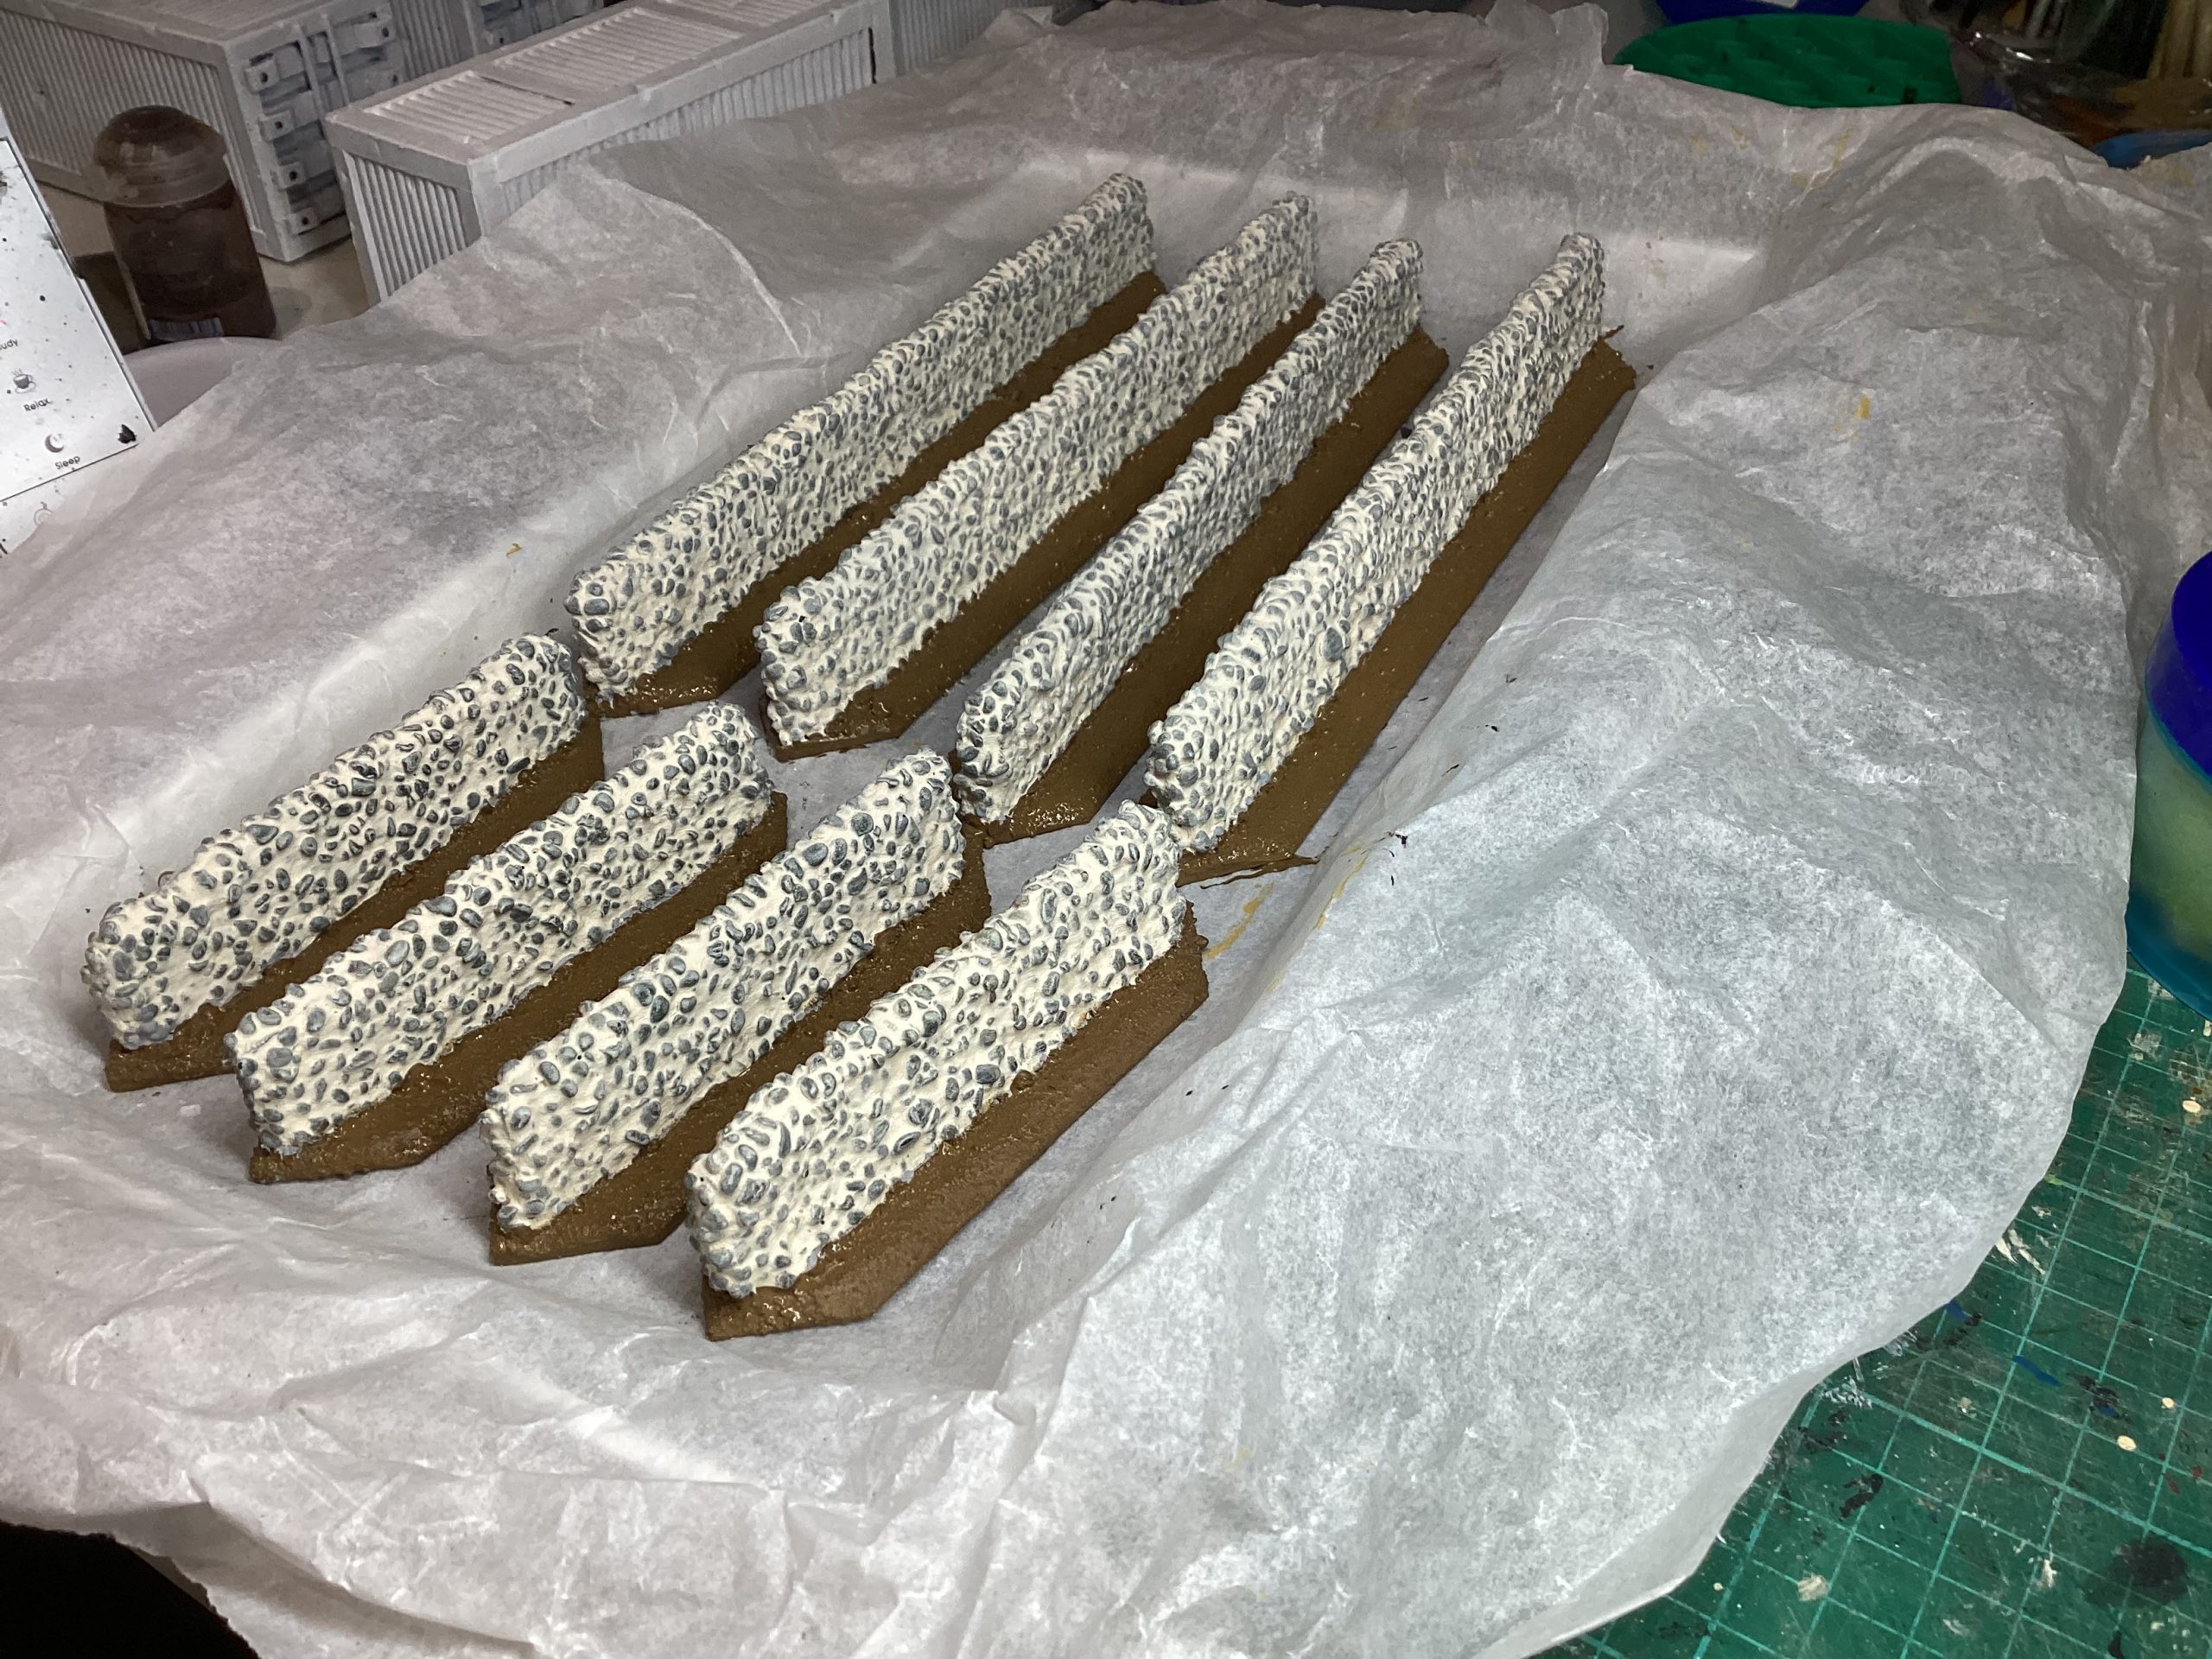
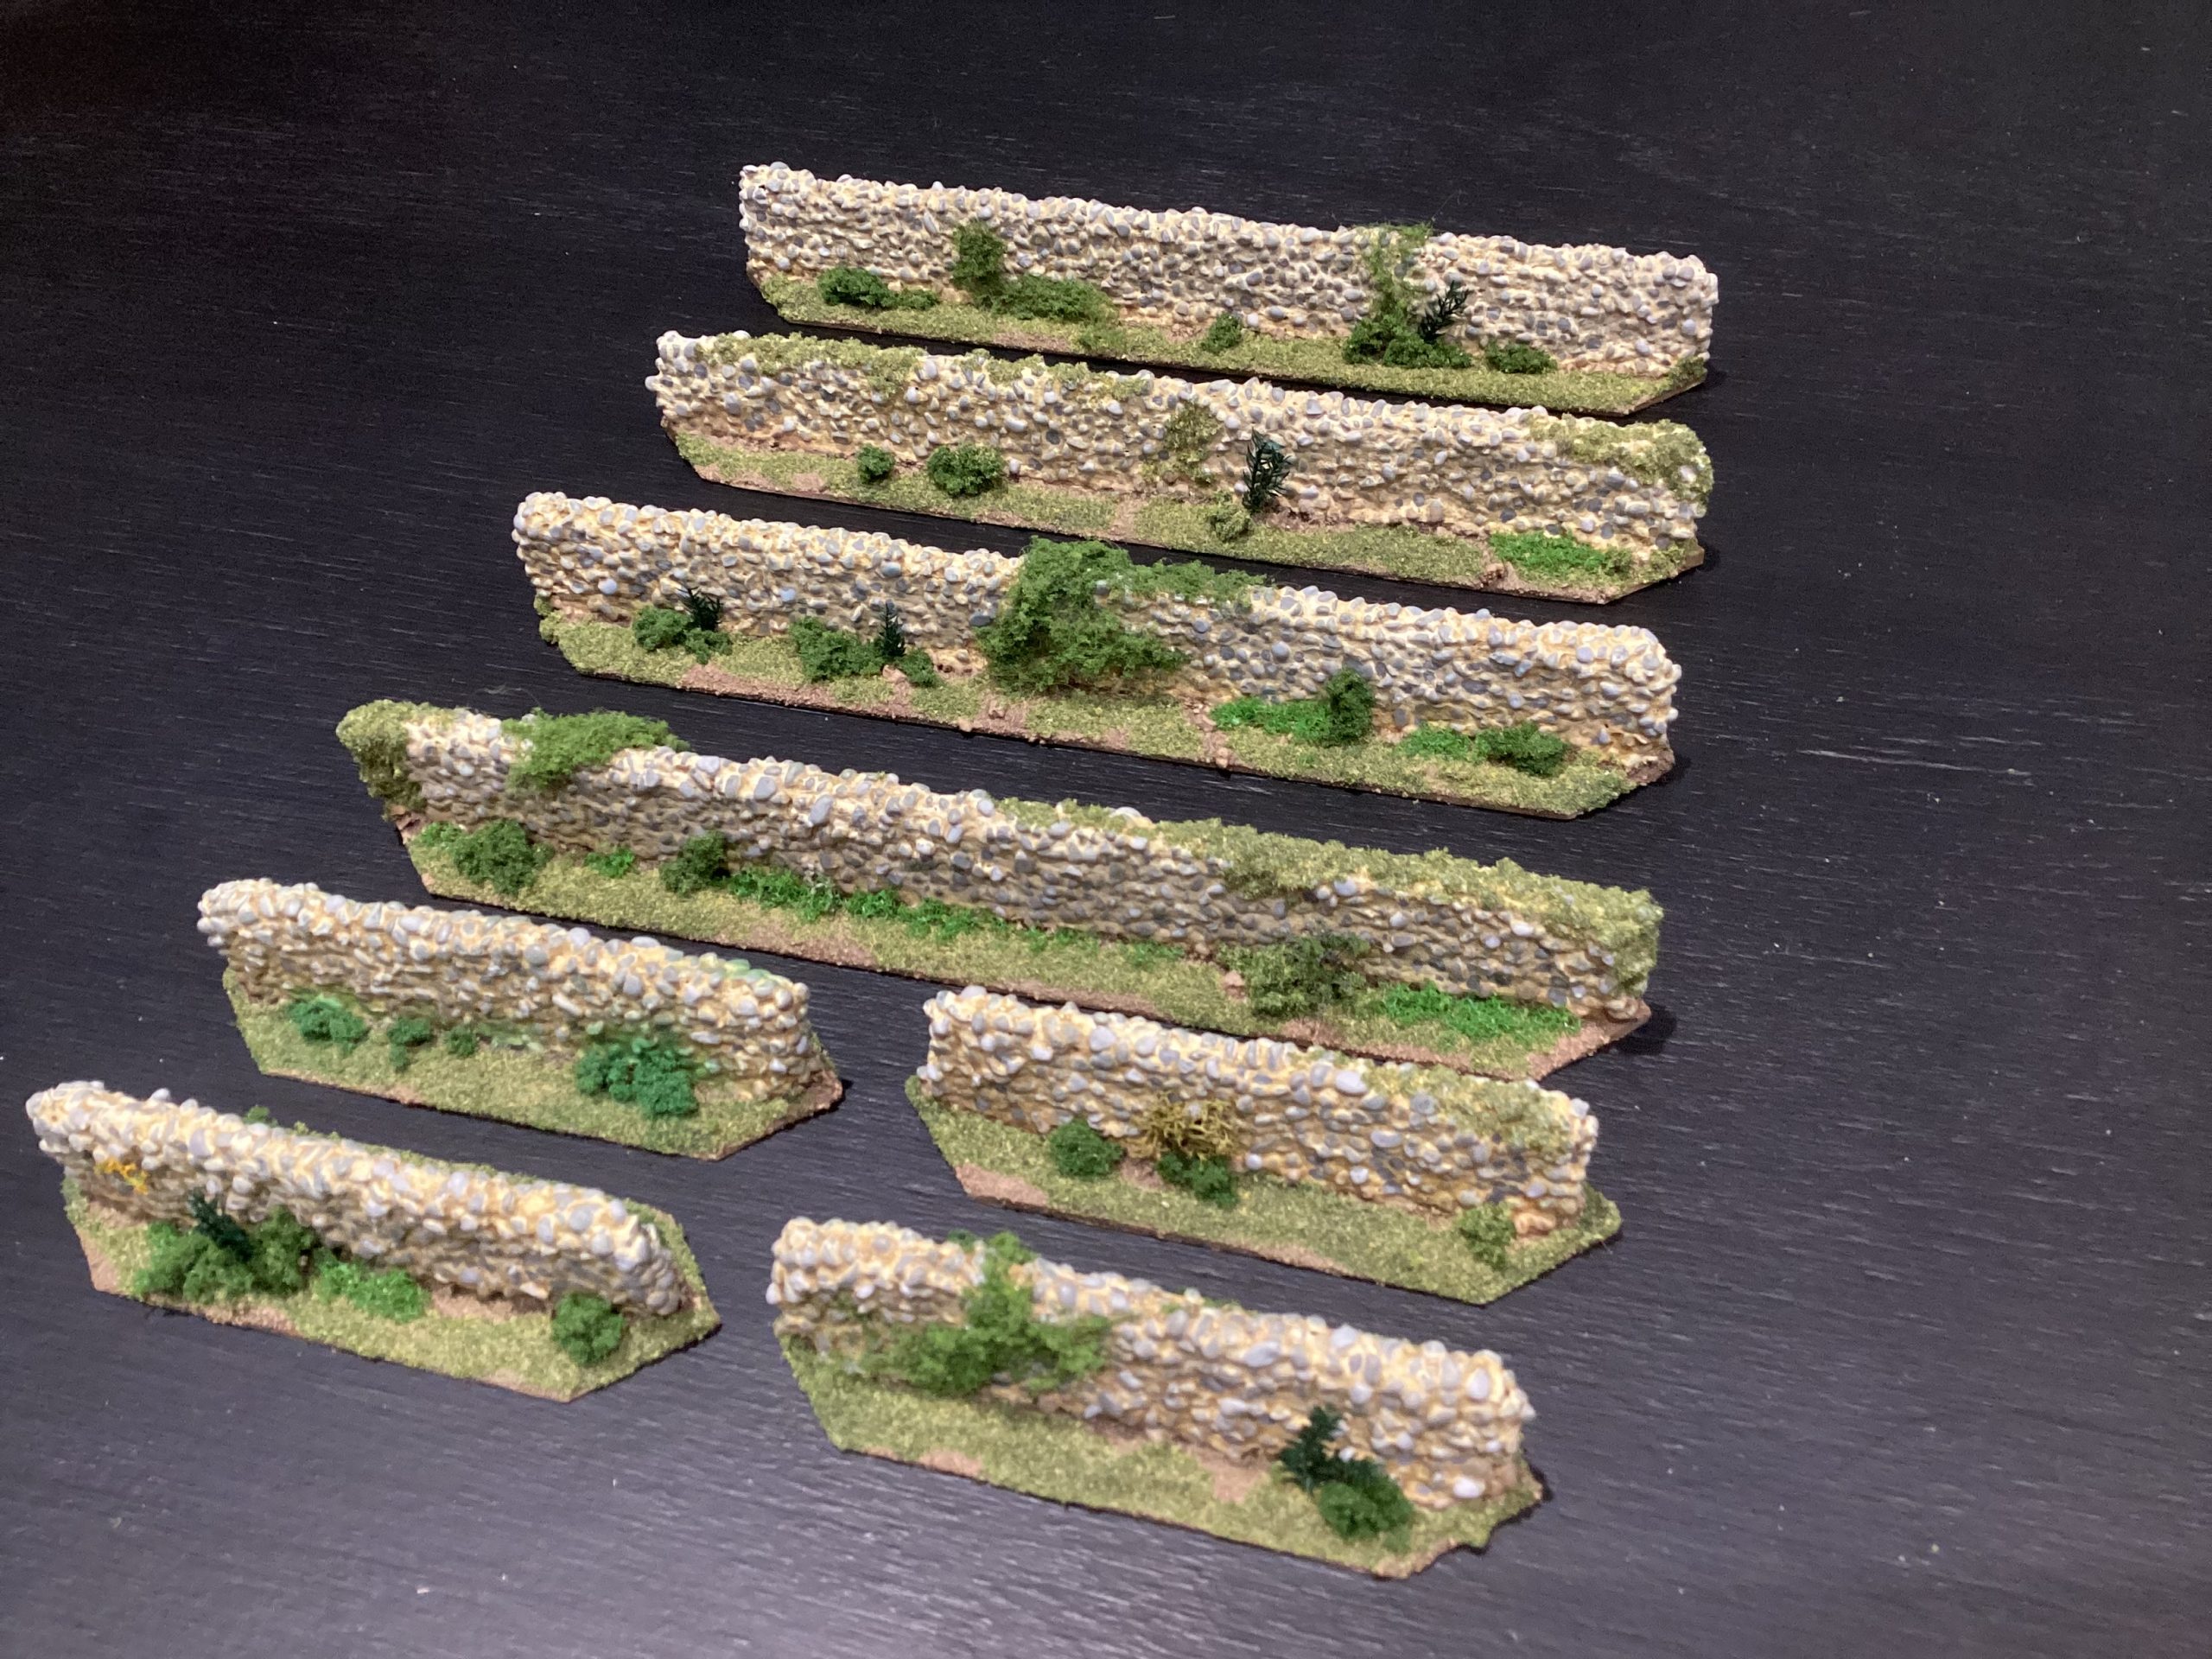
Dry stone wall: for these I hot glued some MDF strips to ABS plastic this was then coated in PVA and sprinkled with small stones. These were levelled to some degree with a spatula, once dry they were grouted which was then gently wiped with a sponge revealing the stones beneath. Mixed particles over PVA used for the bases. Primed in white gesso. Washed with thin yellowish mixed speed paints for the mortar joints. Dry brushed in various Greys with stones being painted in to fill any large gaps in the stonework, Foliage added for interest.
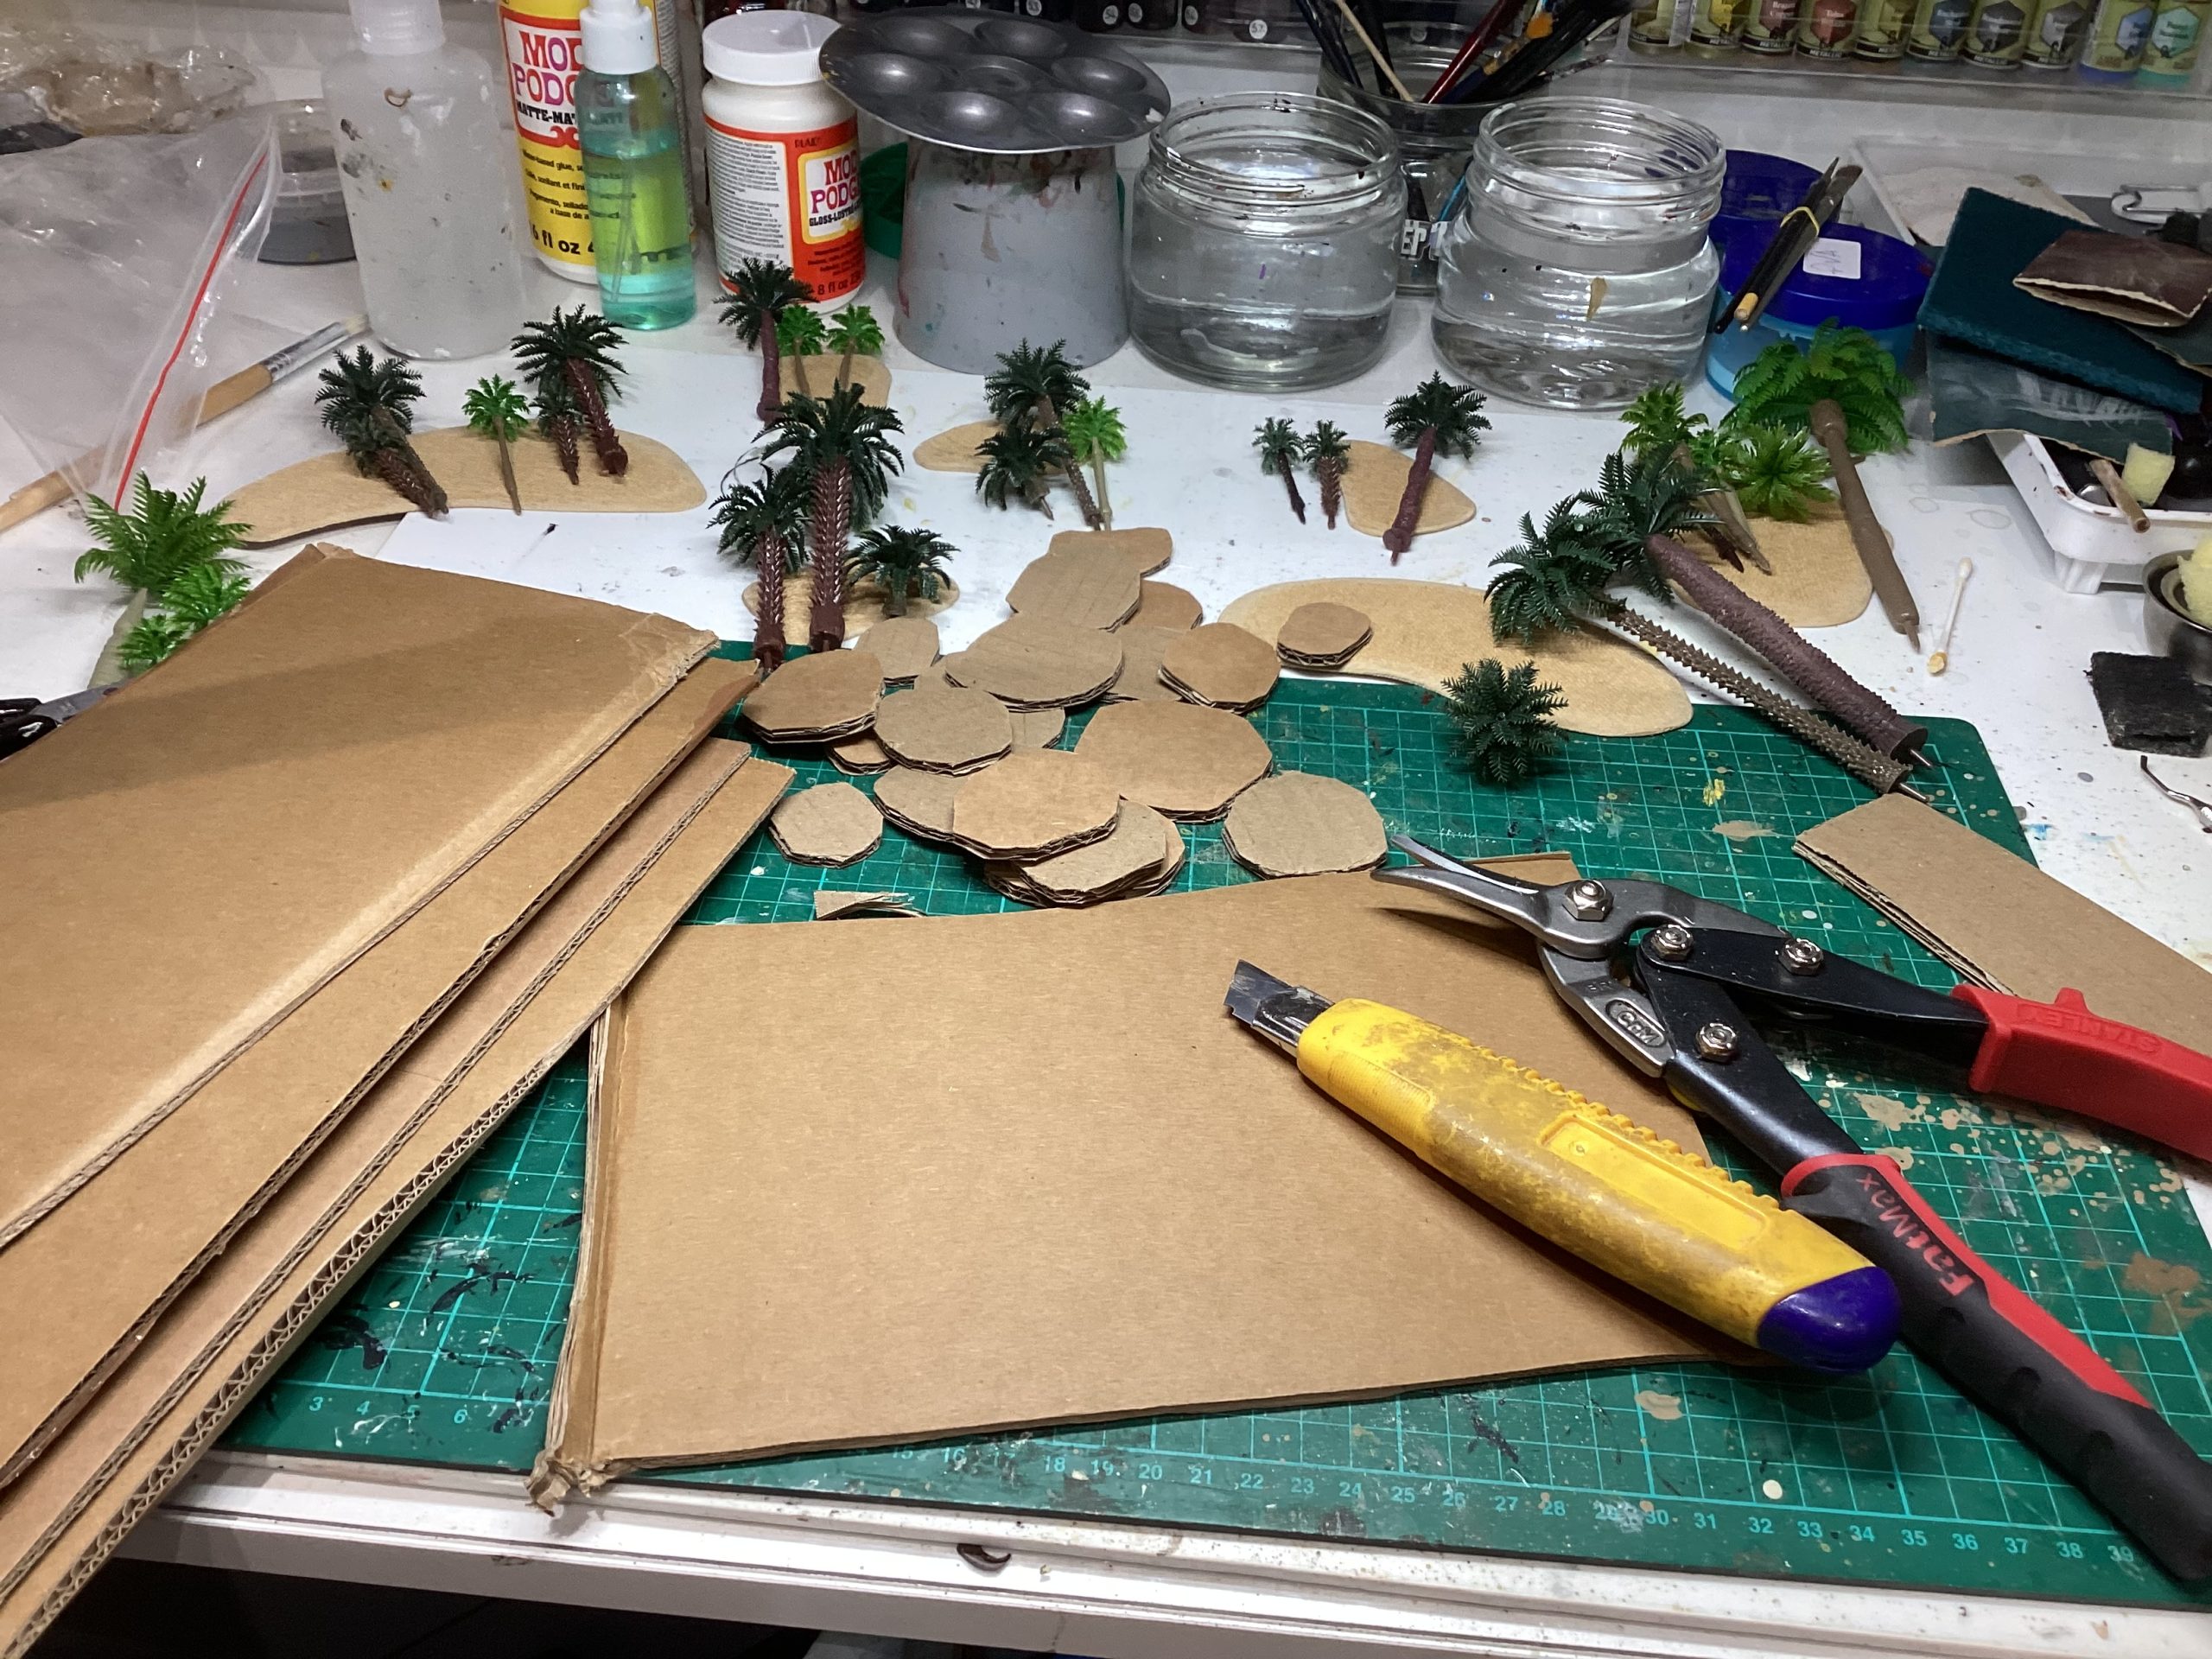
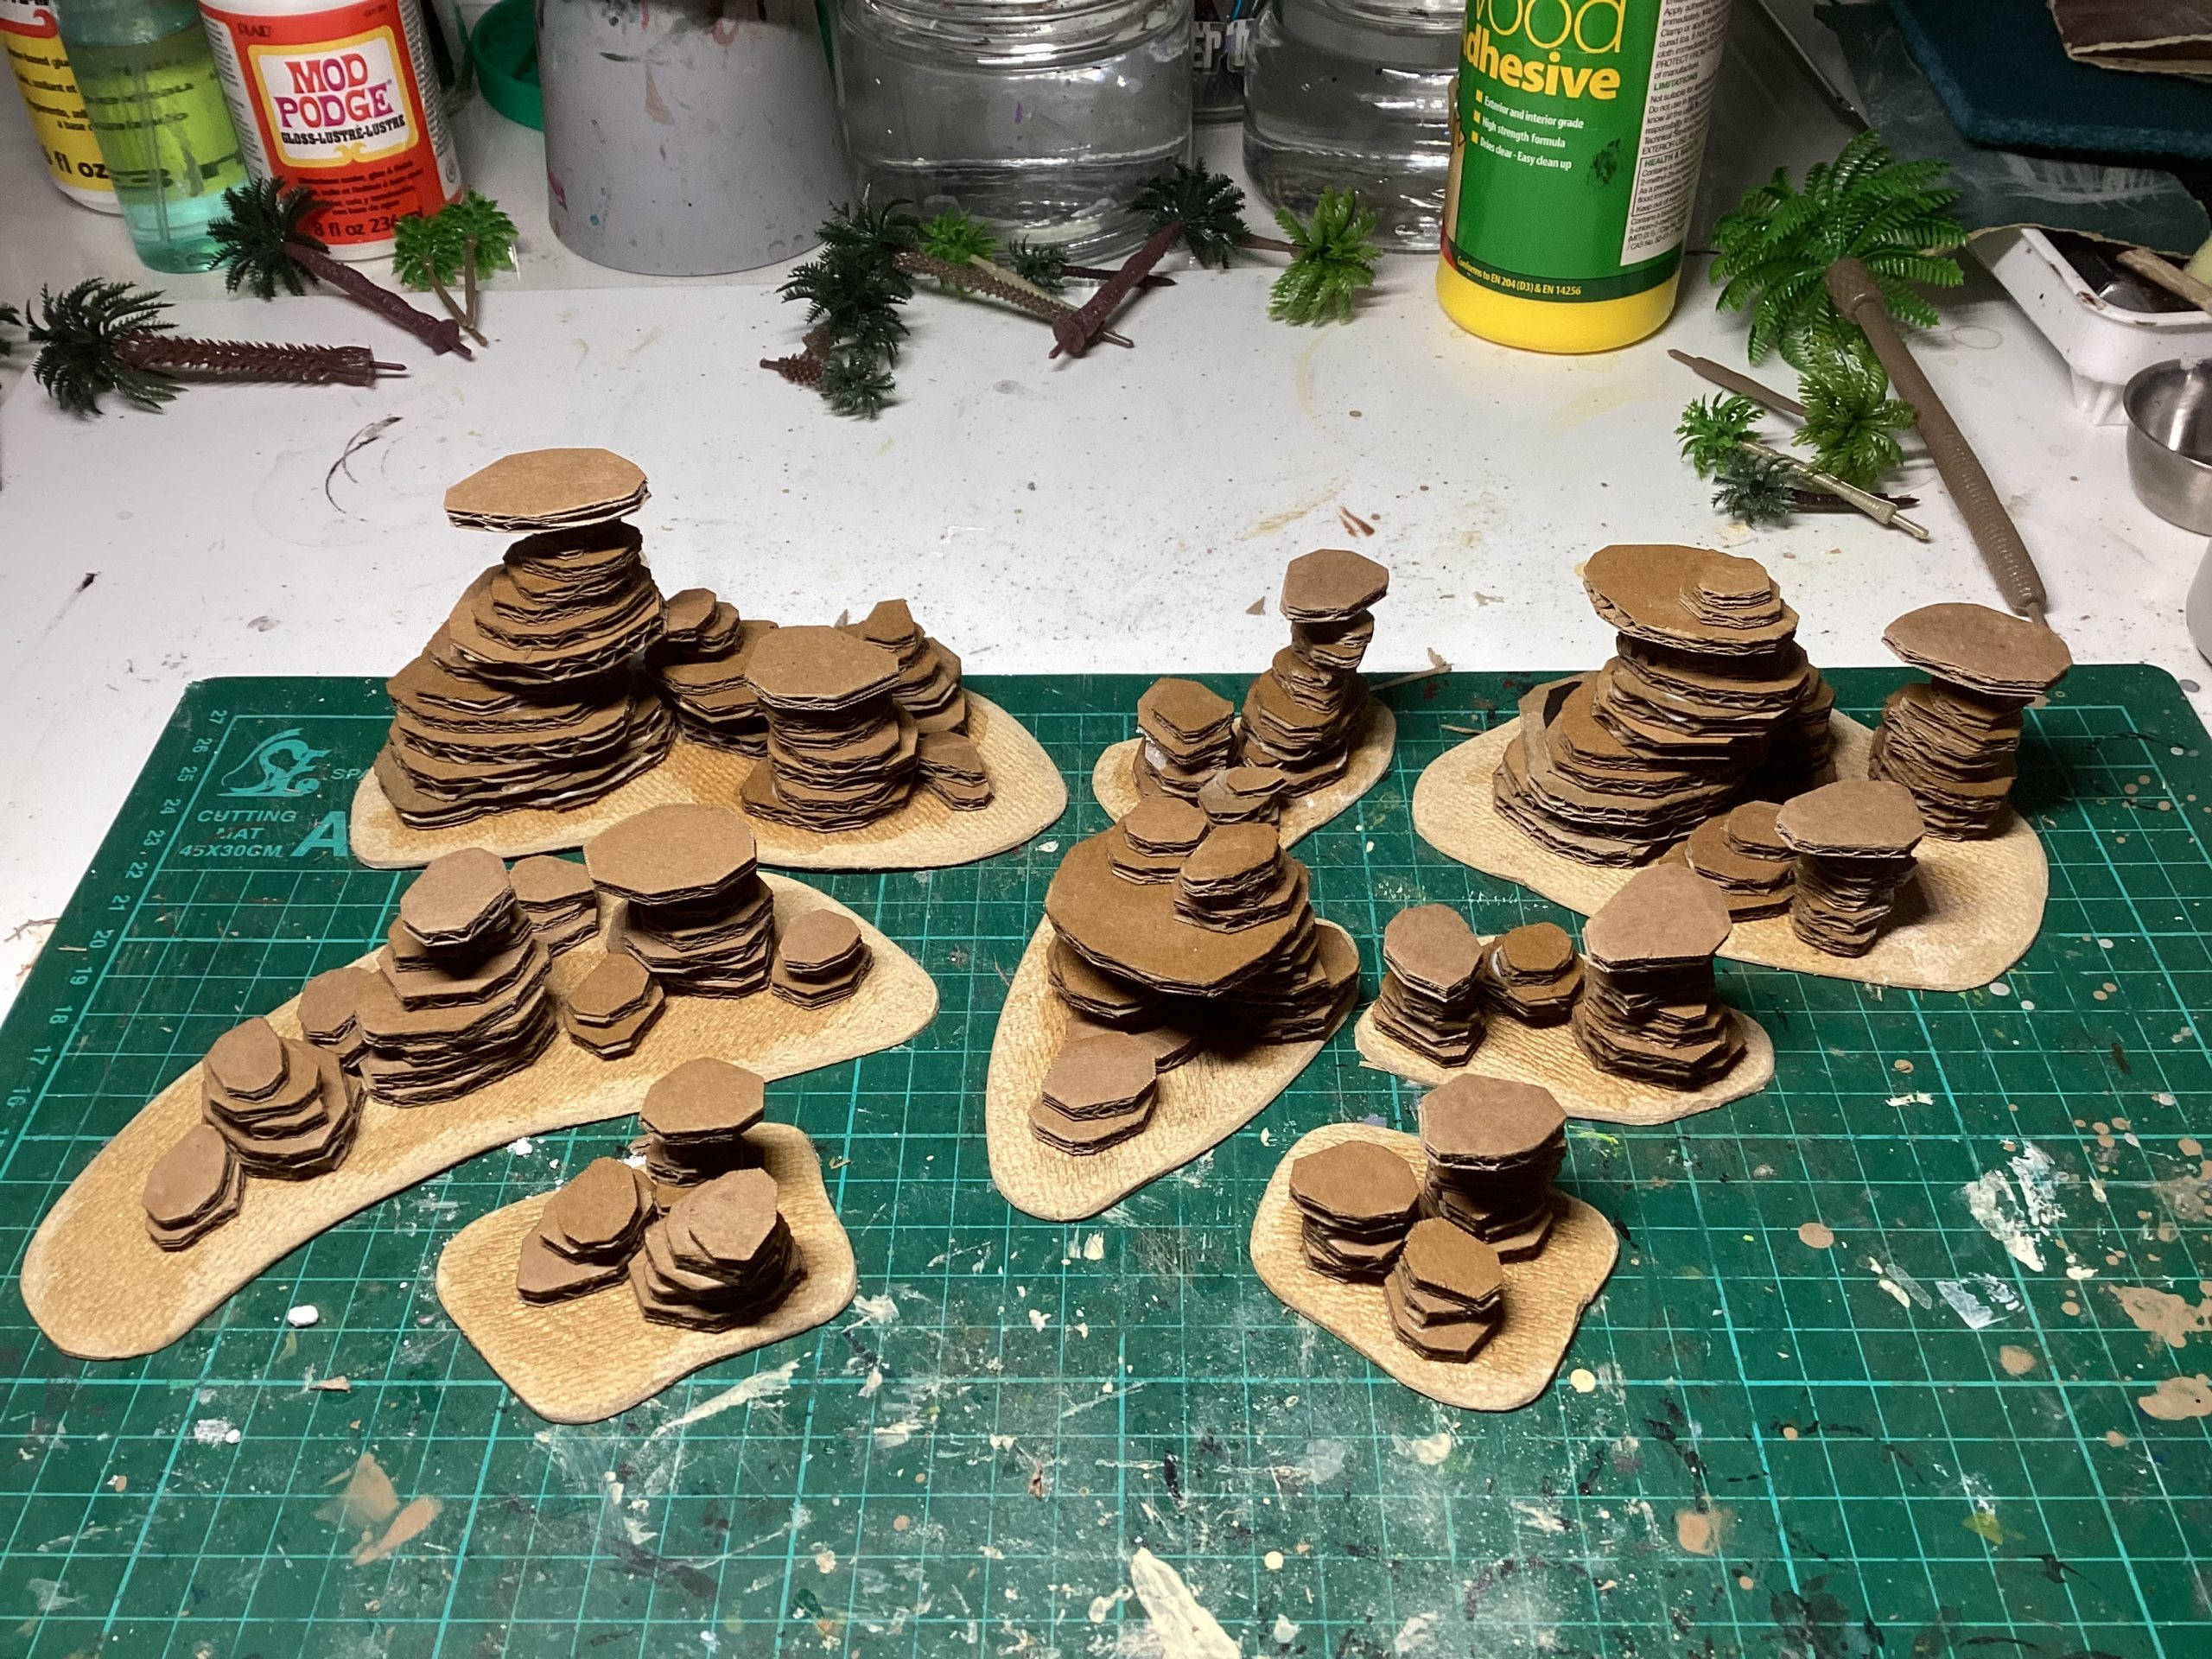
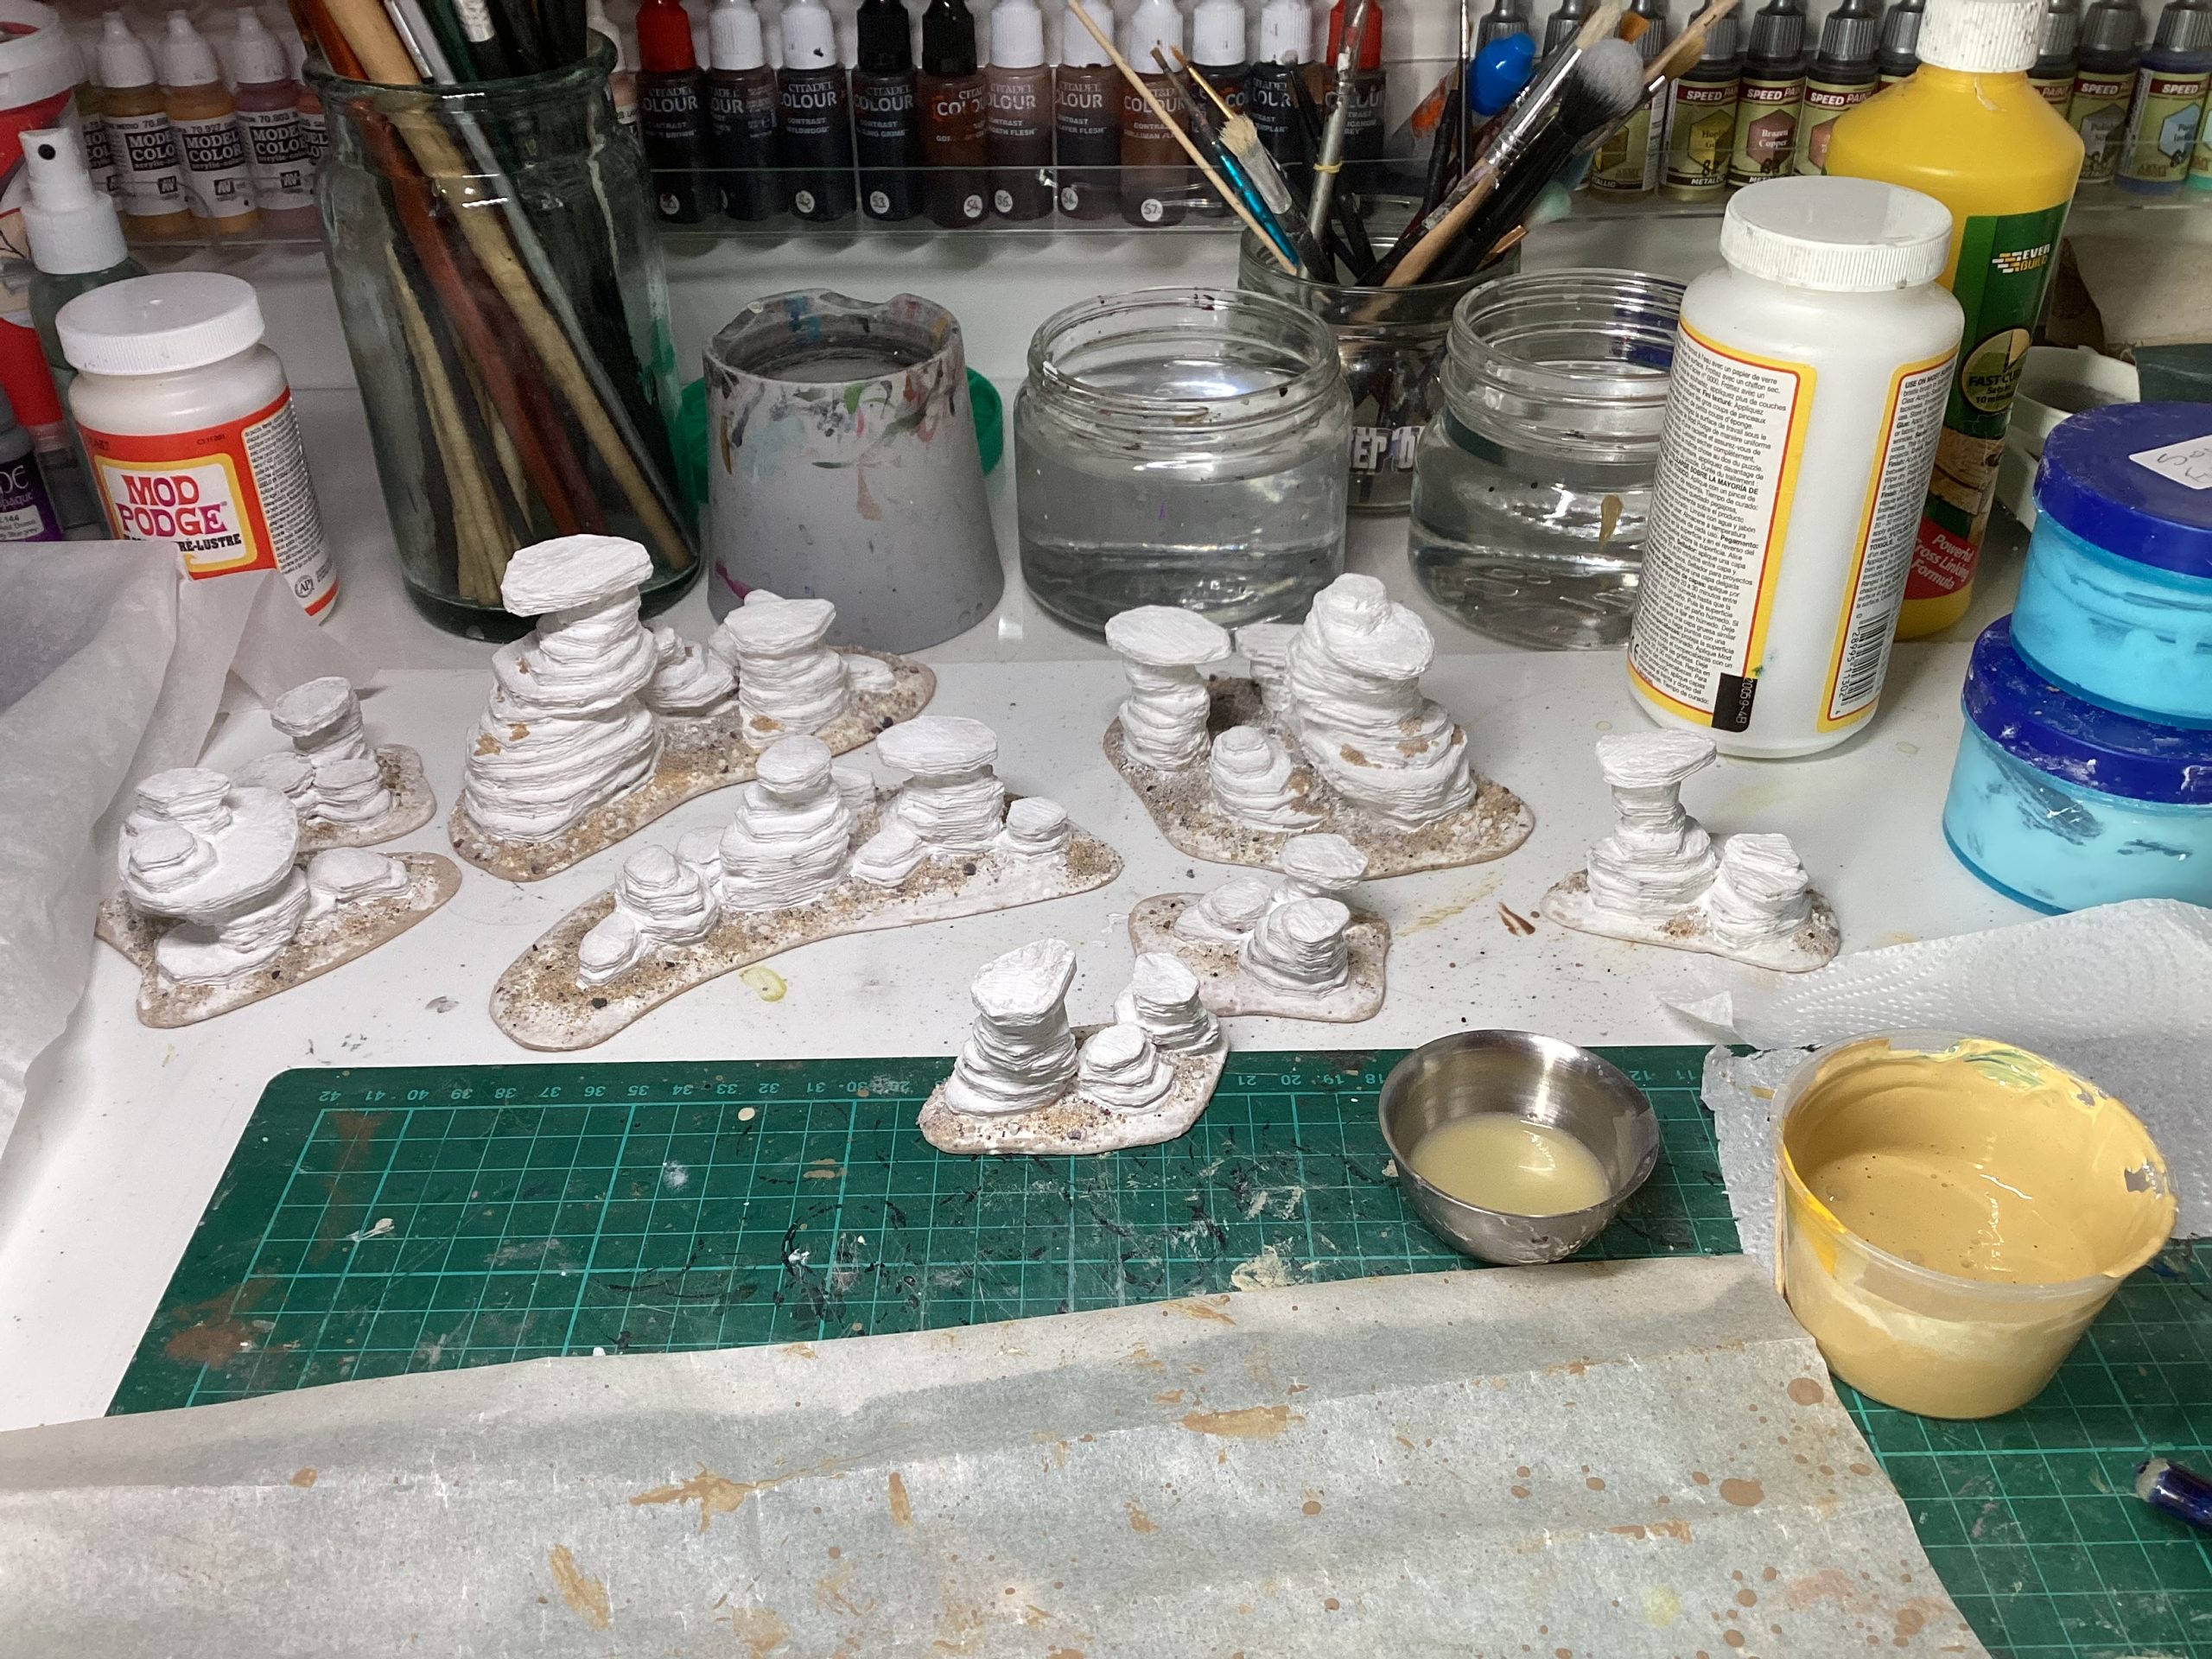
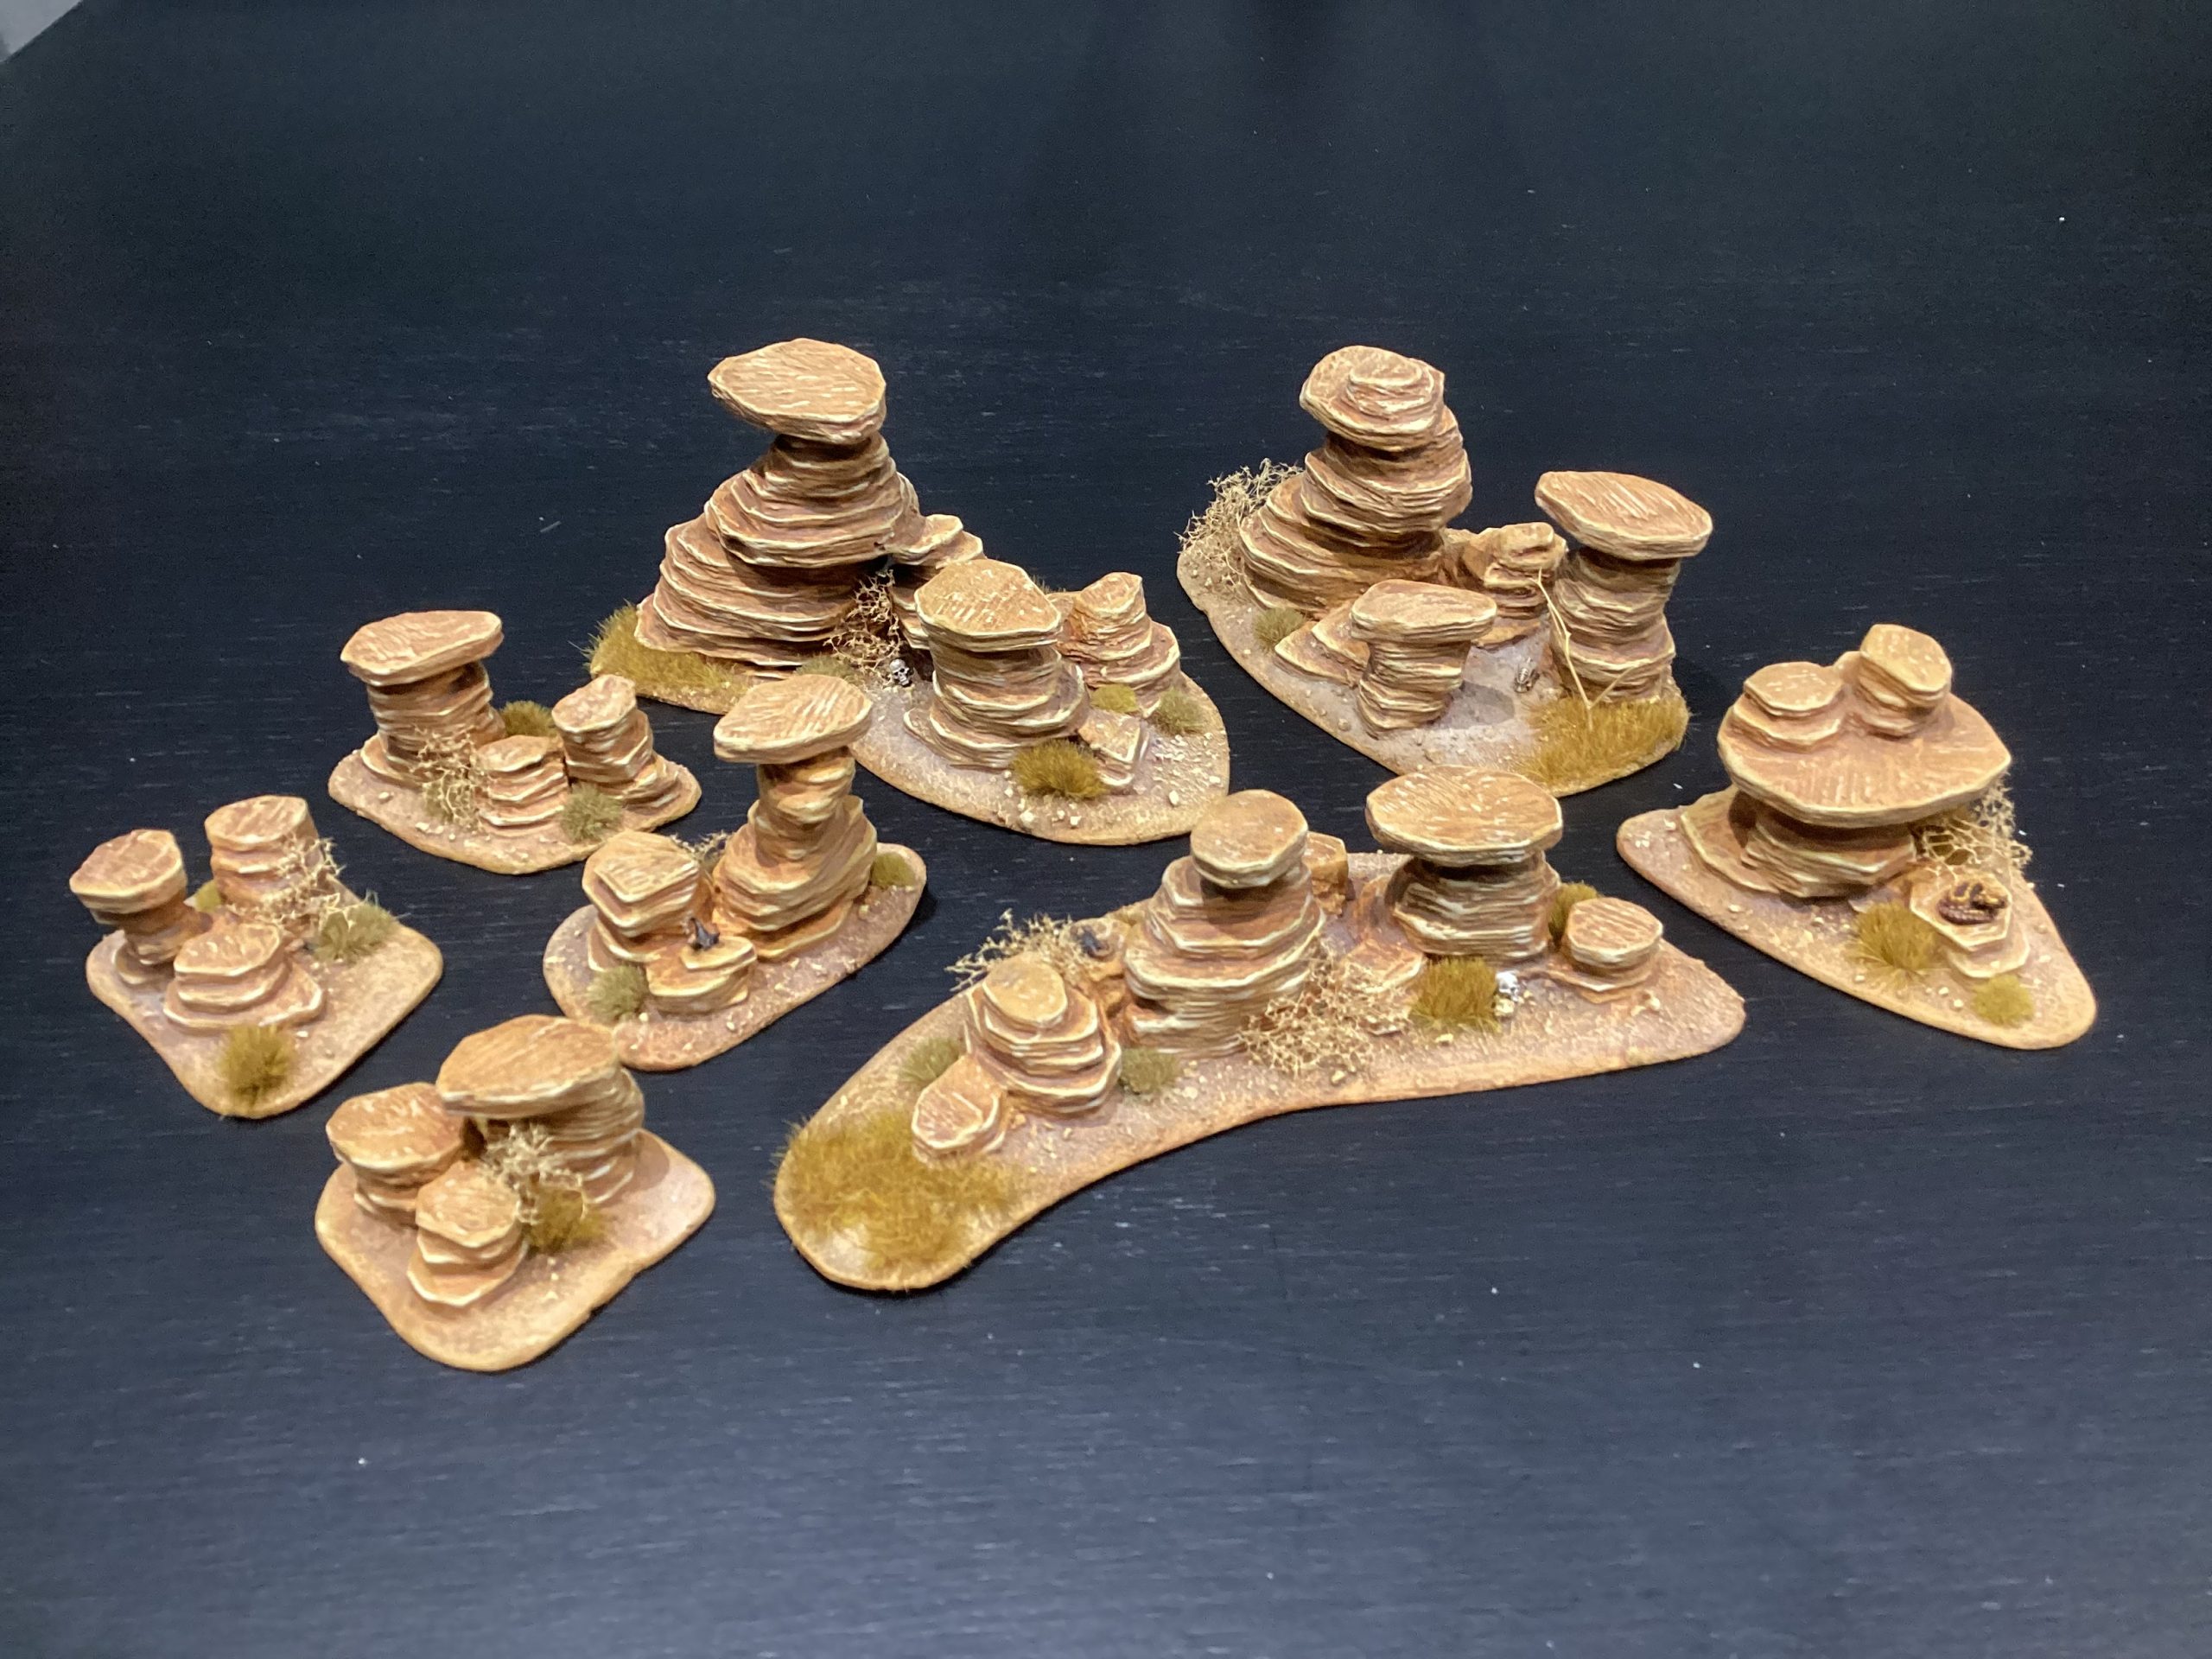
Rocky outcrops: Made from cardboard cut into random circular shapes using wire cutters, which snipped the cardboard beautifully with a satisfying crisp sound without any squashing. Glued together with PVA using reference photos to get the formations something like. Textured with 151 all purpose filler with a small piece of plastic Combe pushed into a piece of tubing to rake in layer lines and hide the cardboard edges. This was time consuming but well worth the results. Painted in a yellow custard colour then washed using browns, yellows and orange mixtures. Details picked out with Vallejo pale sand to highlight edges and layer lines. More snakes, scorpions, skulls etc for interest (a mysterious alien skull tucked away to discover…….. a scenario objective maybe.)
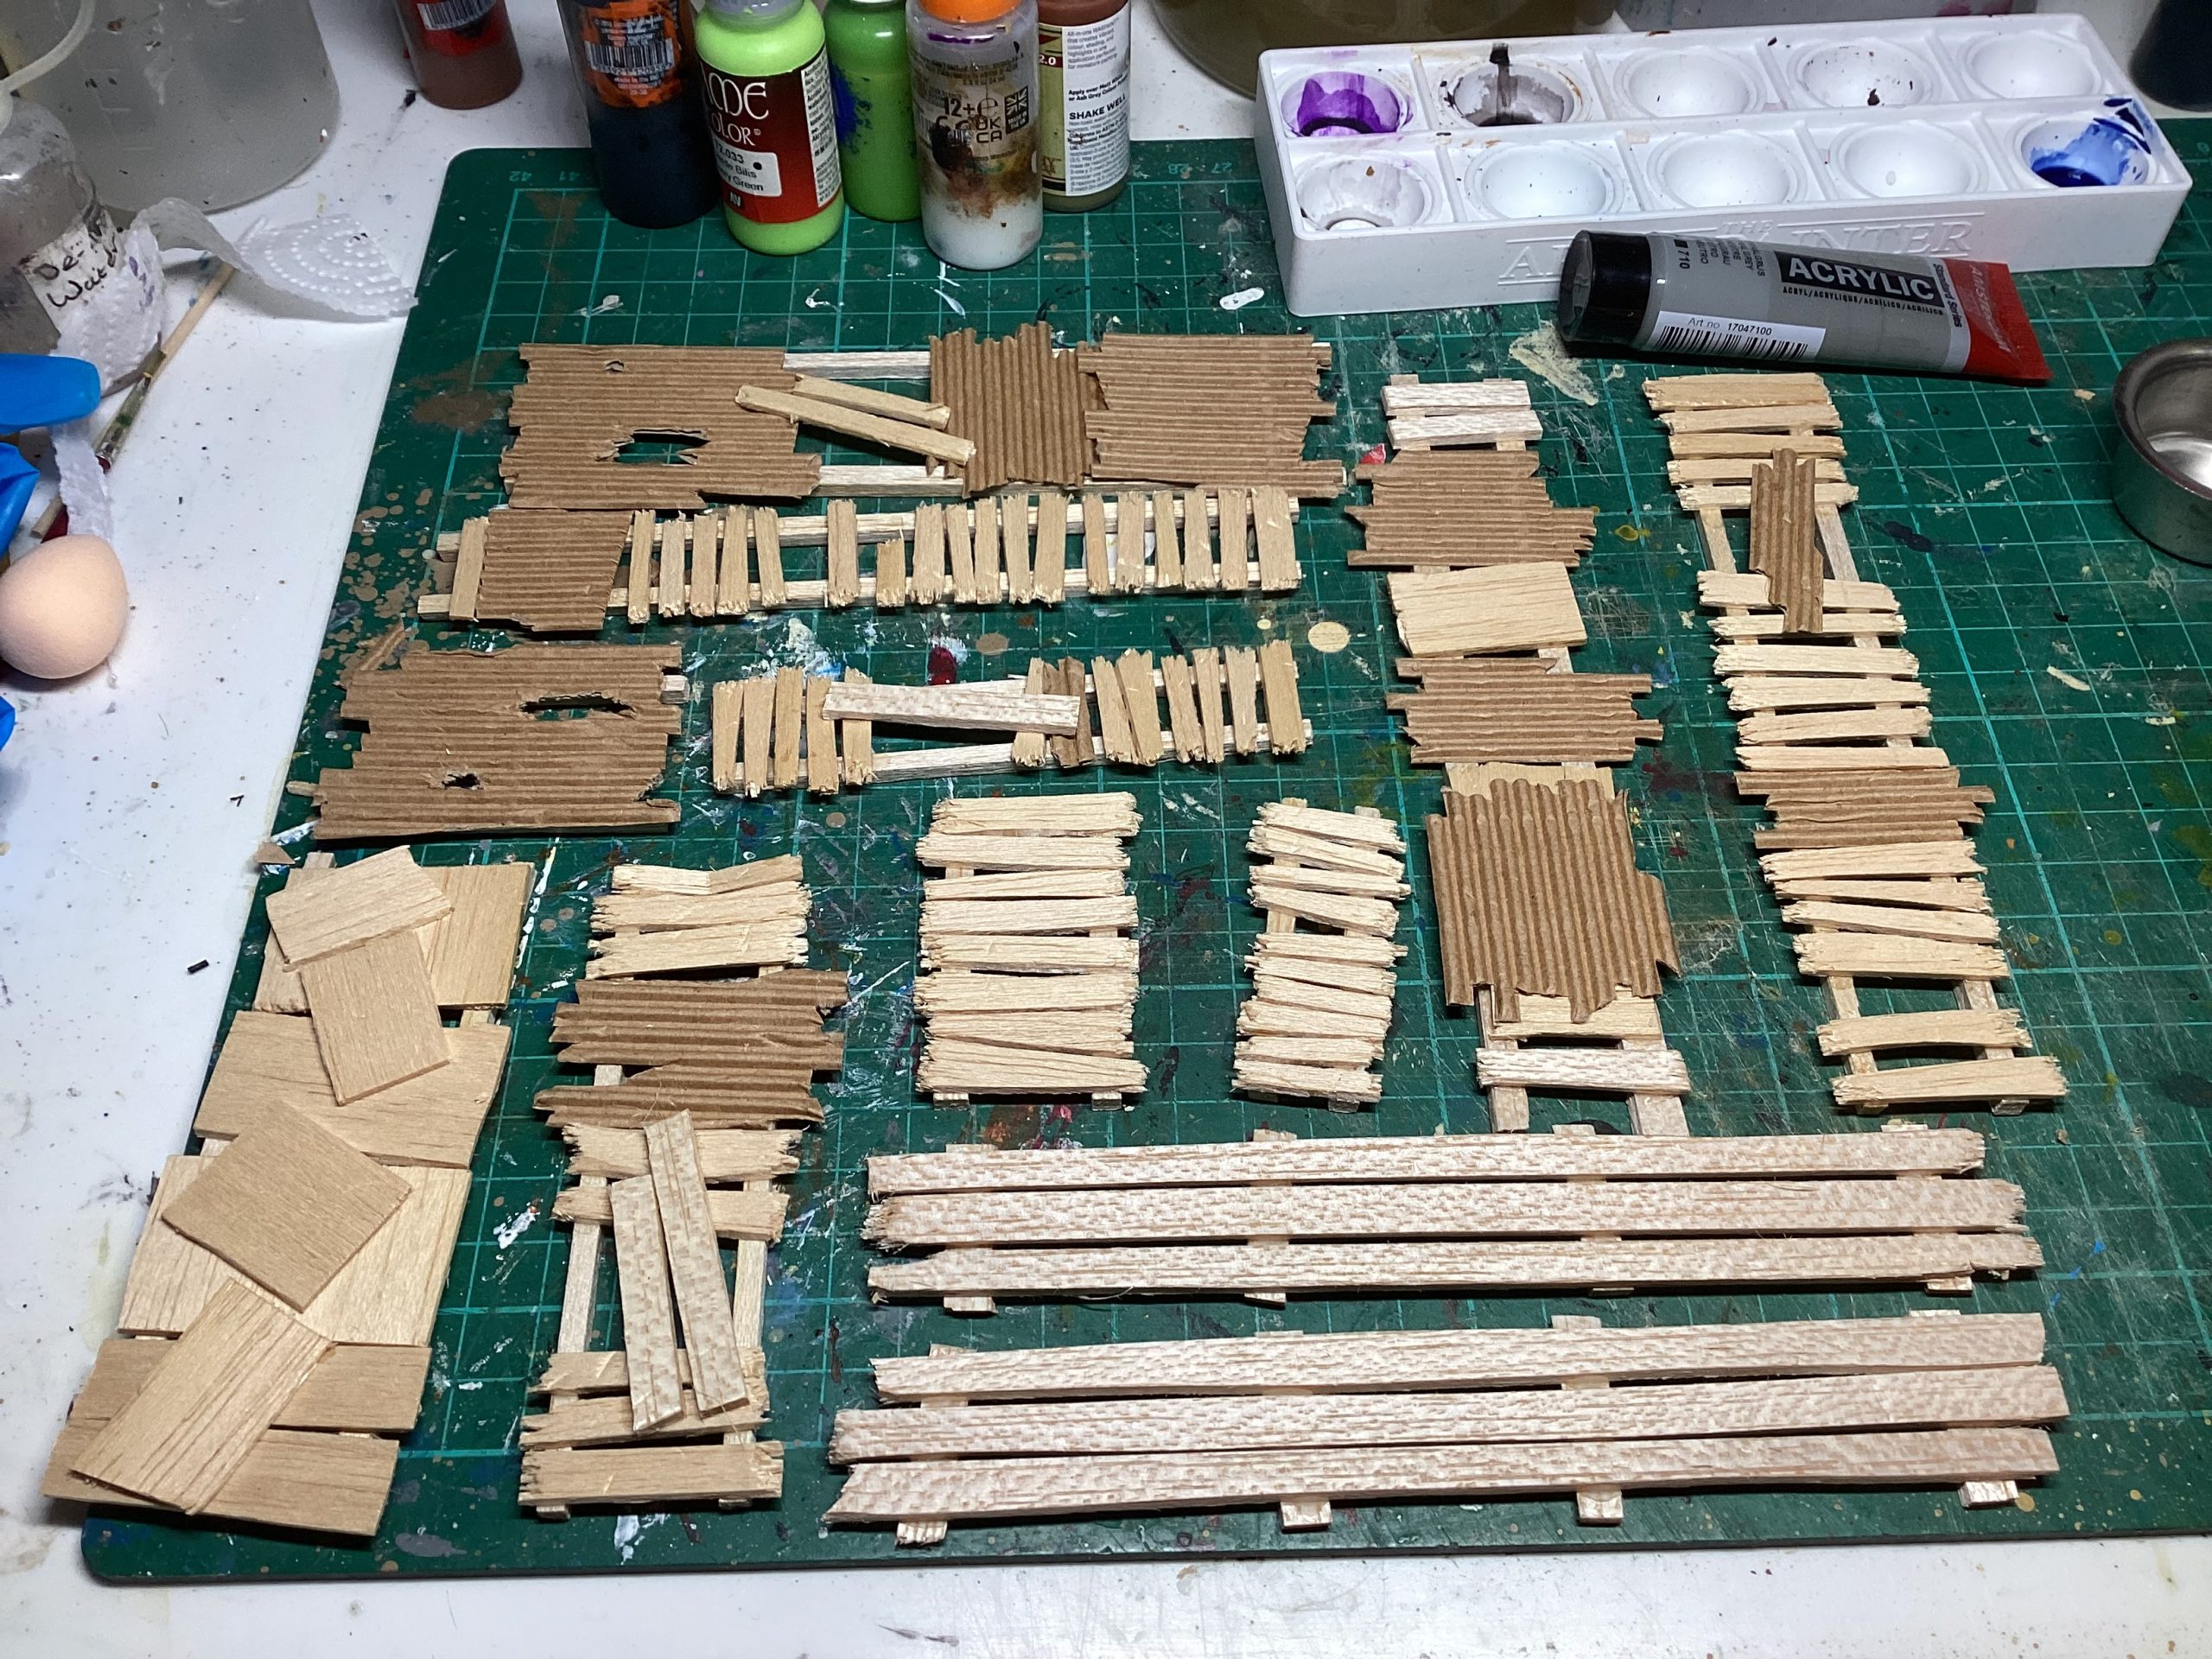
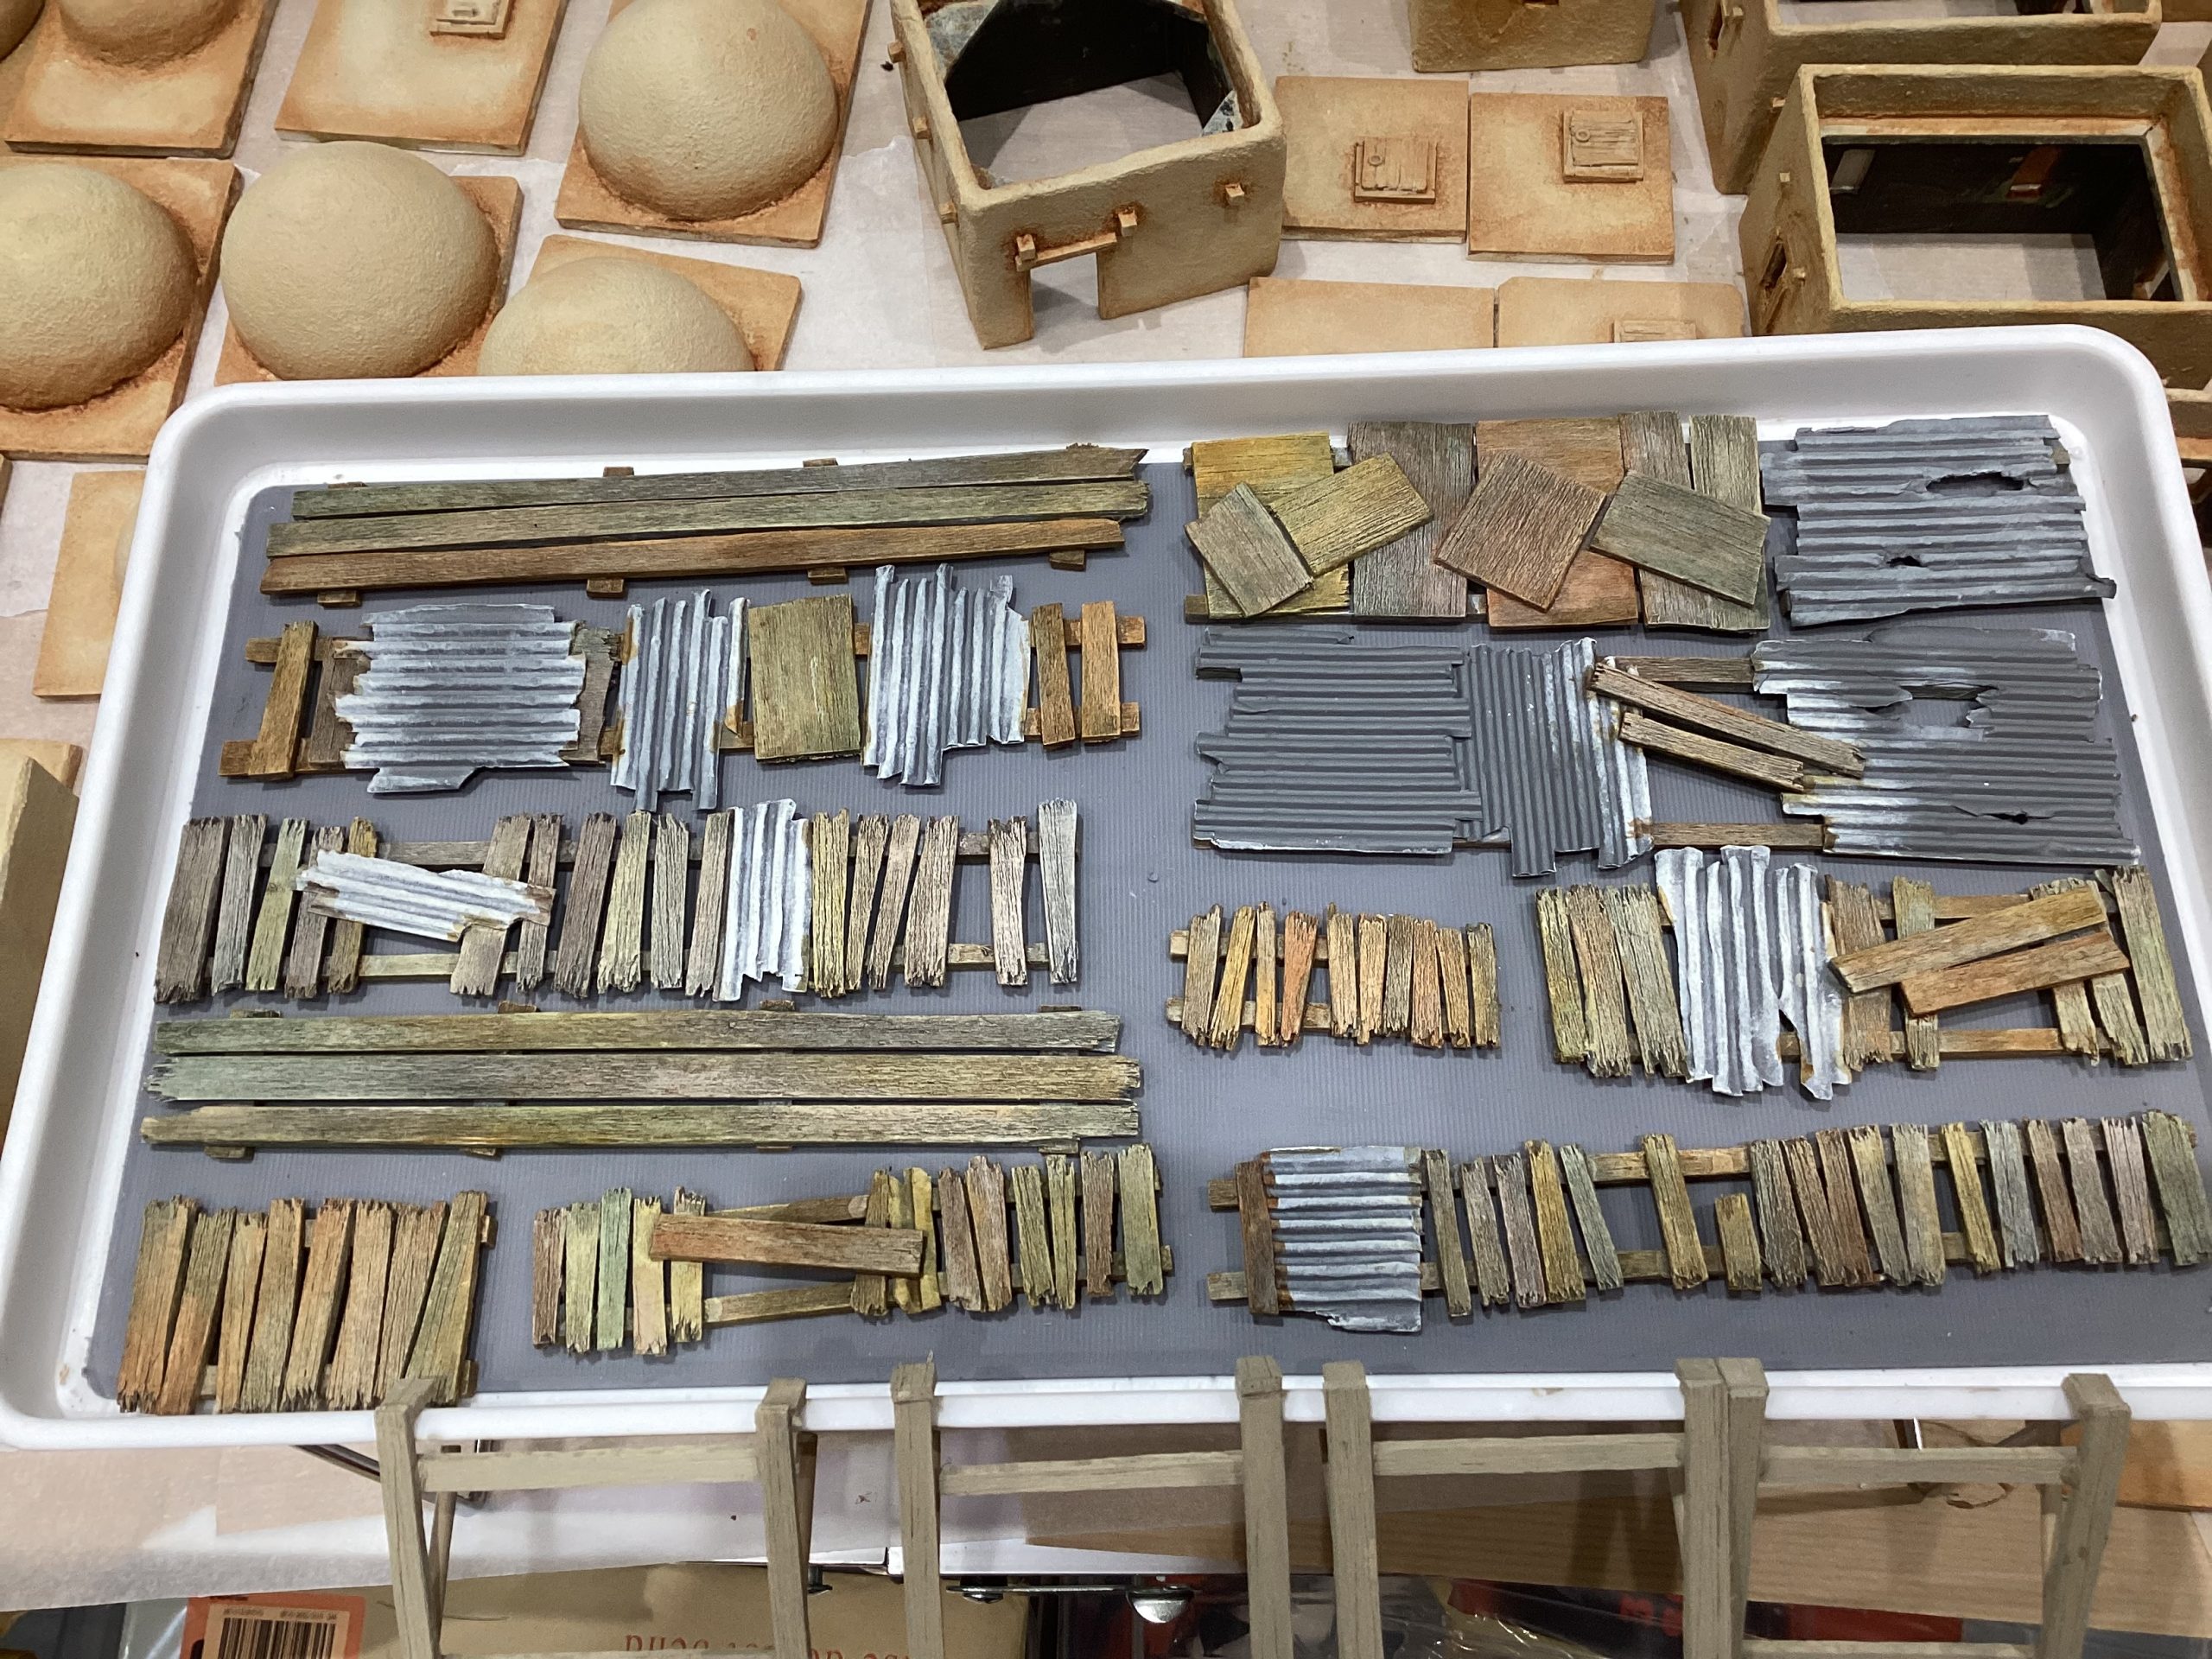
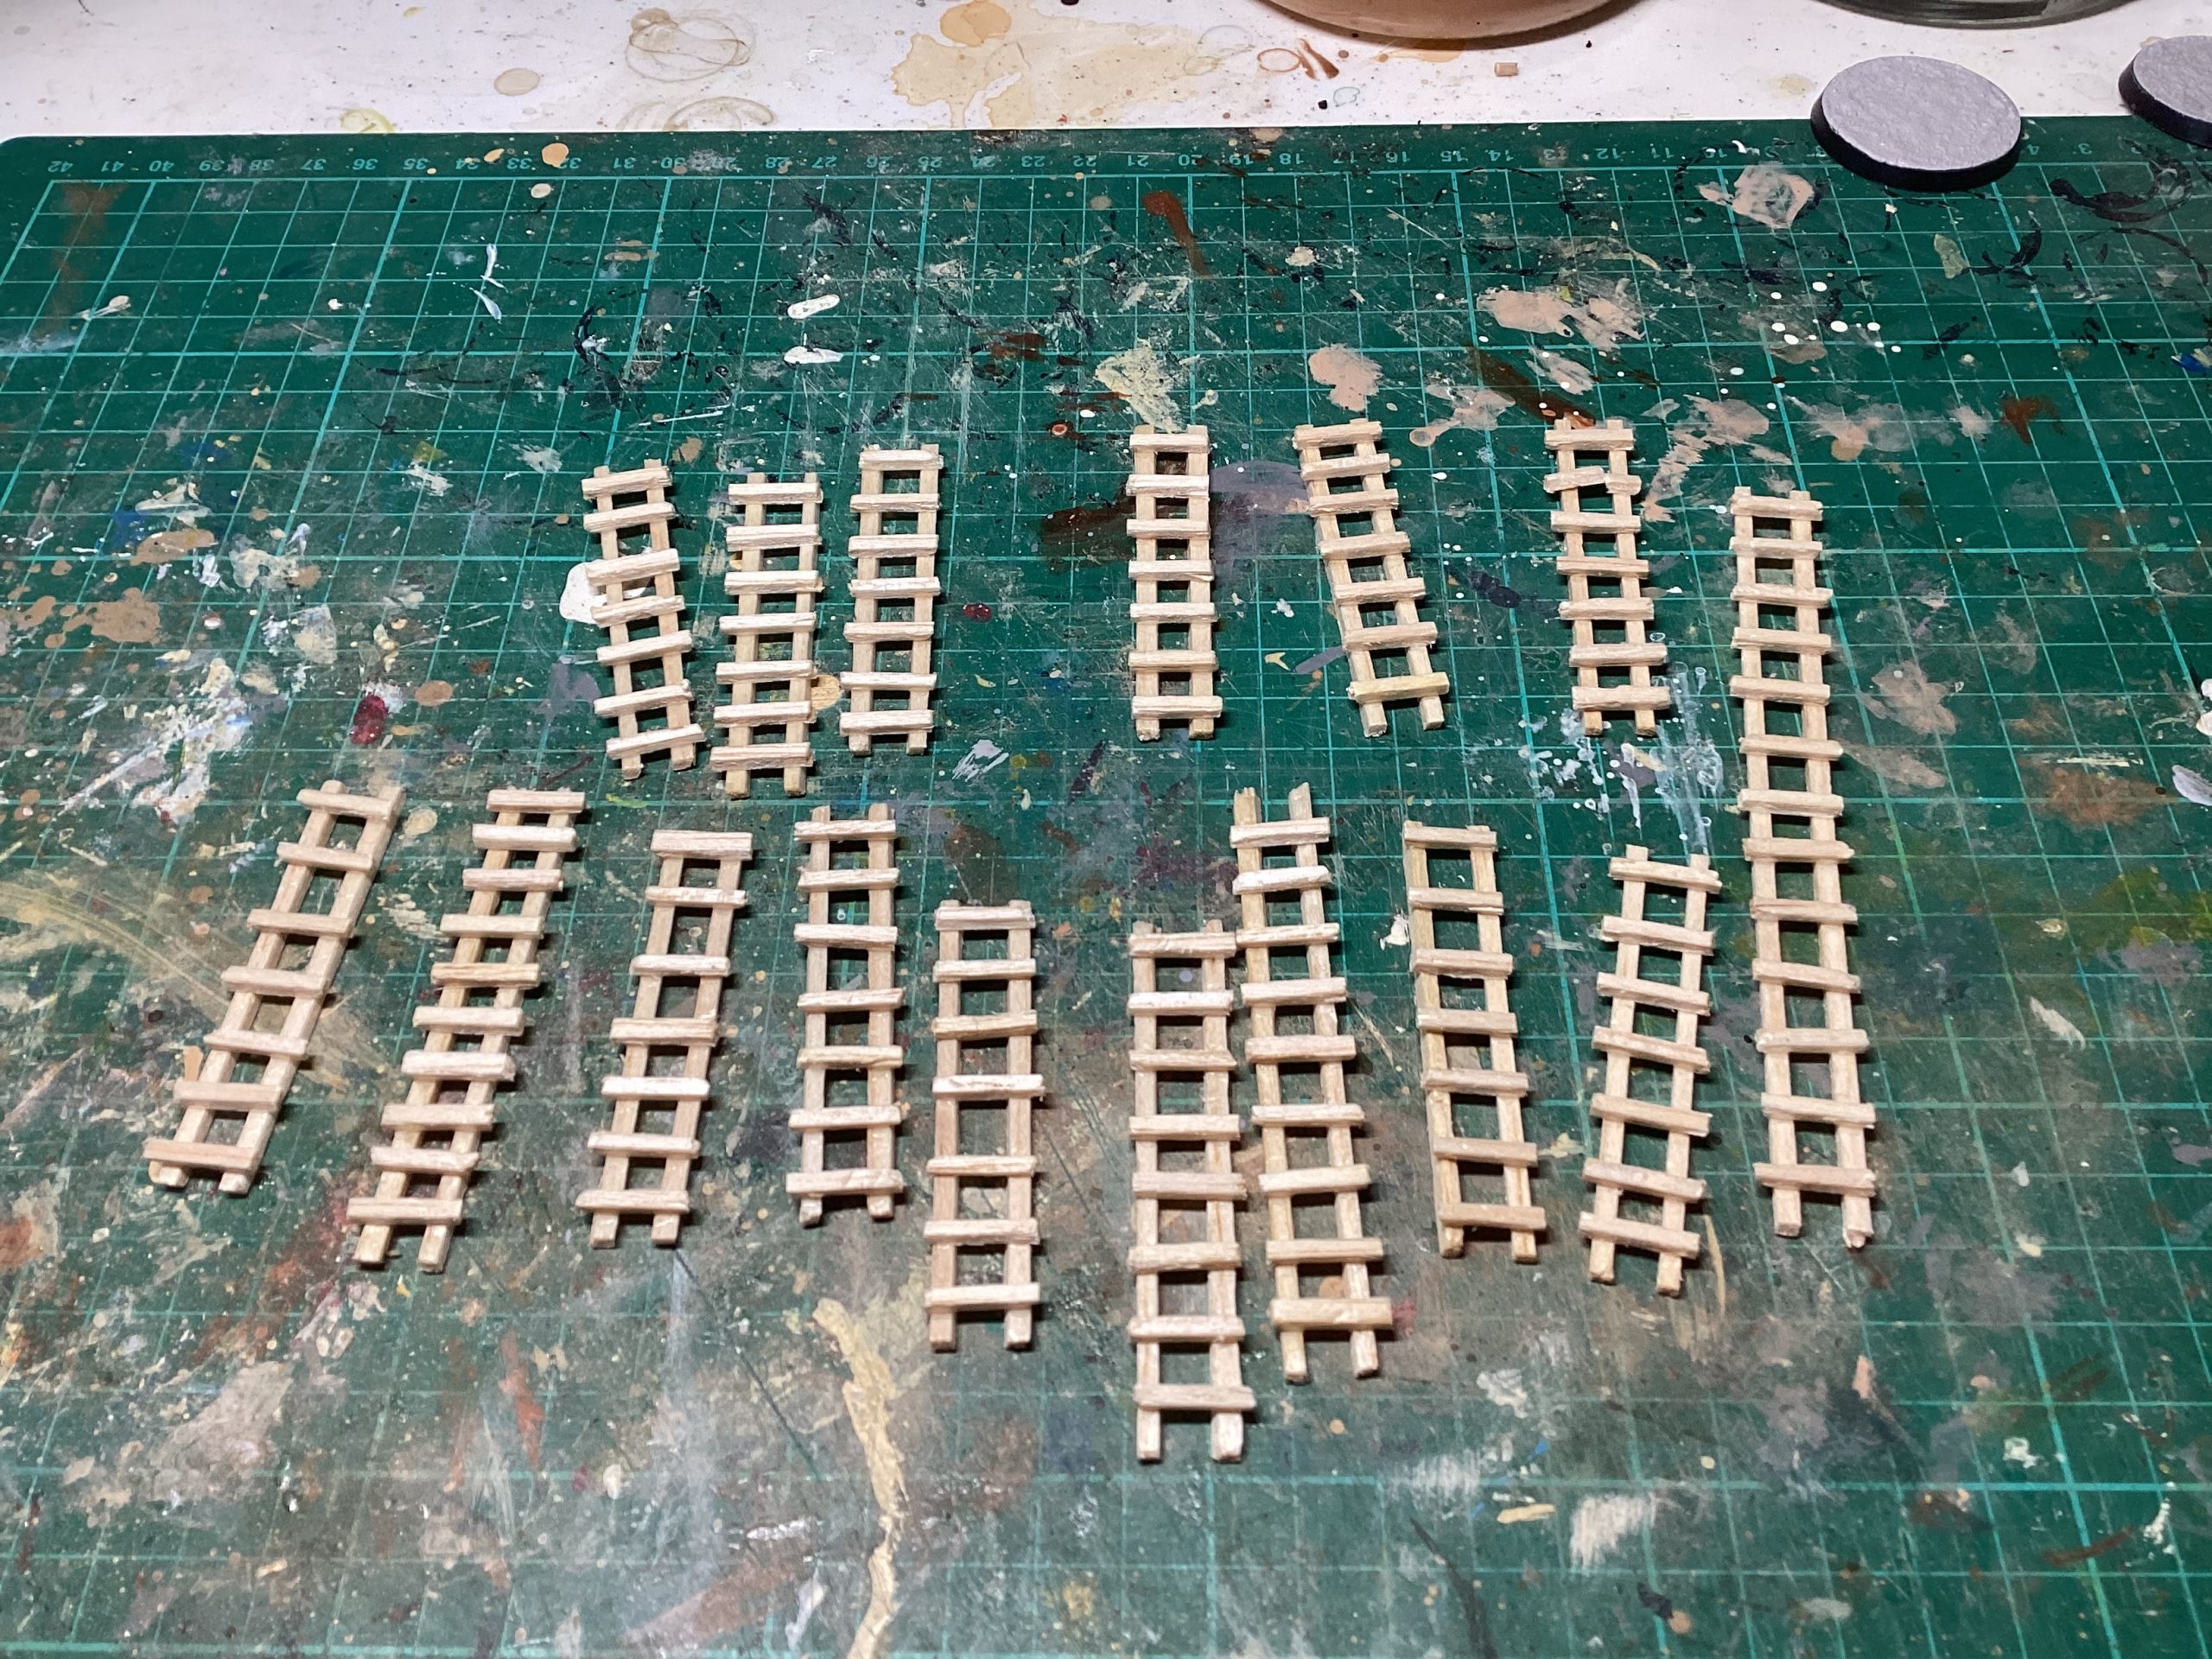
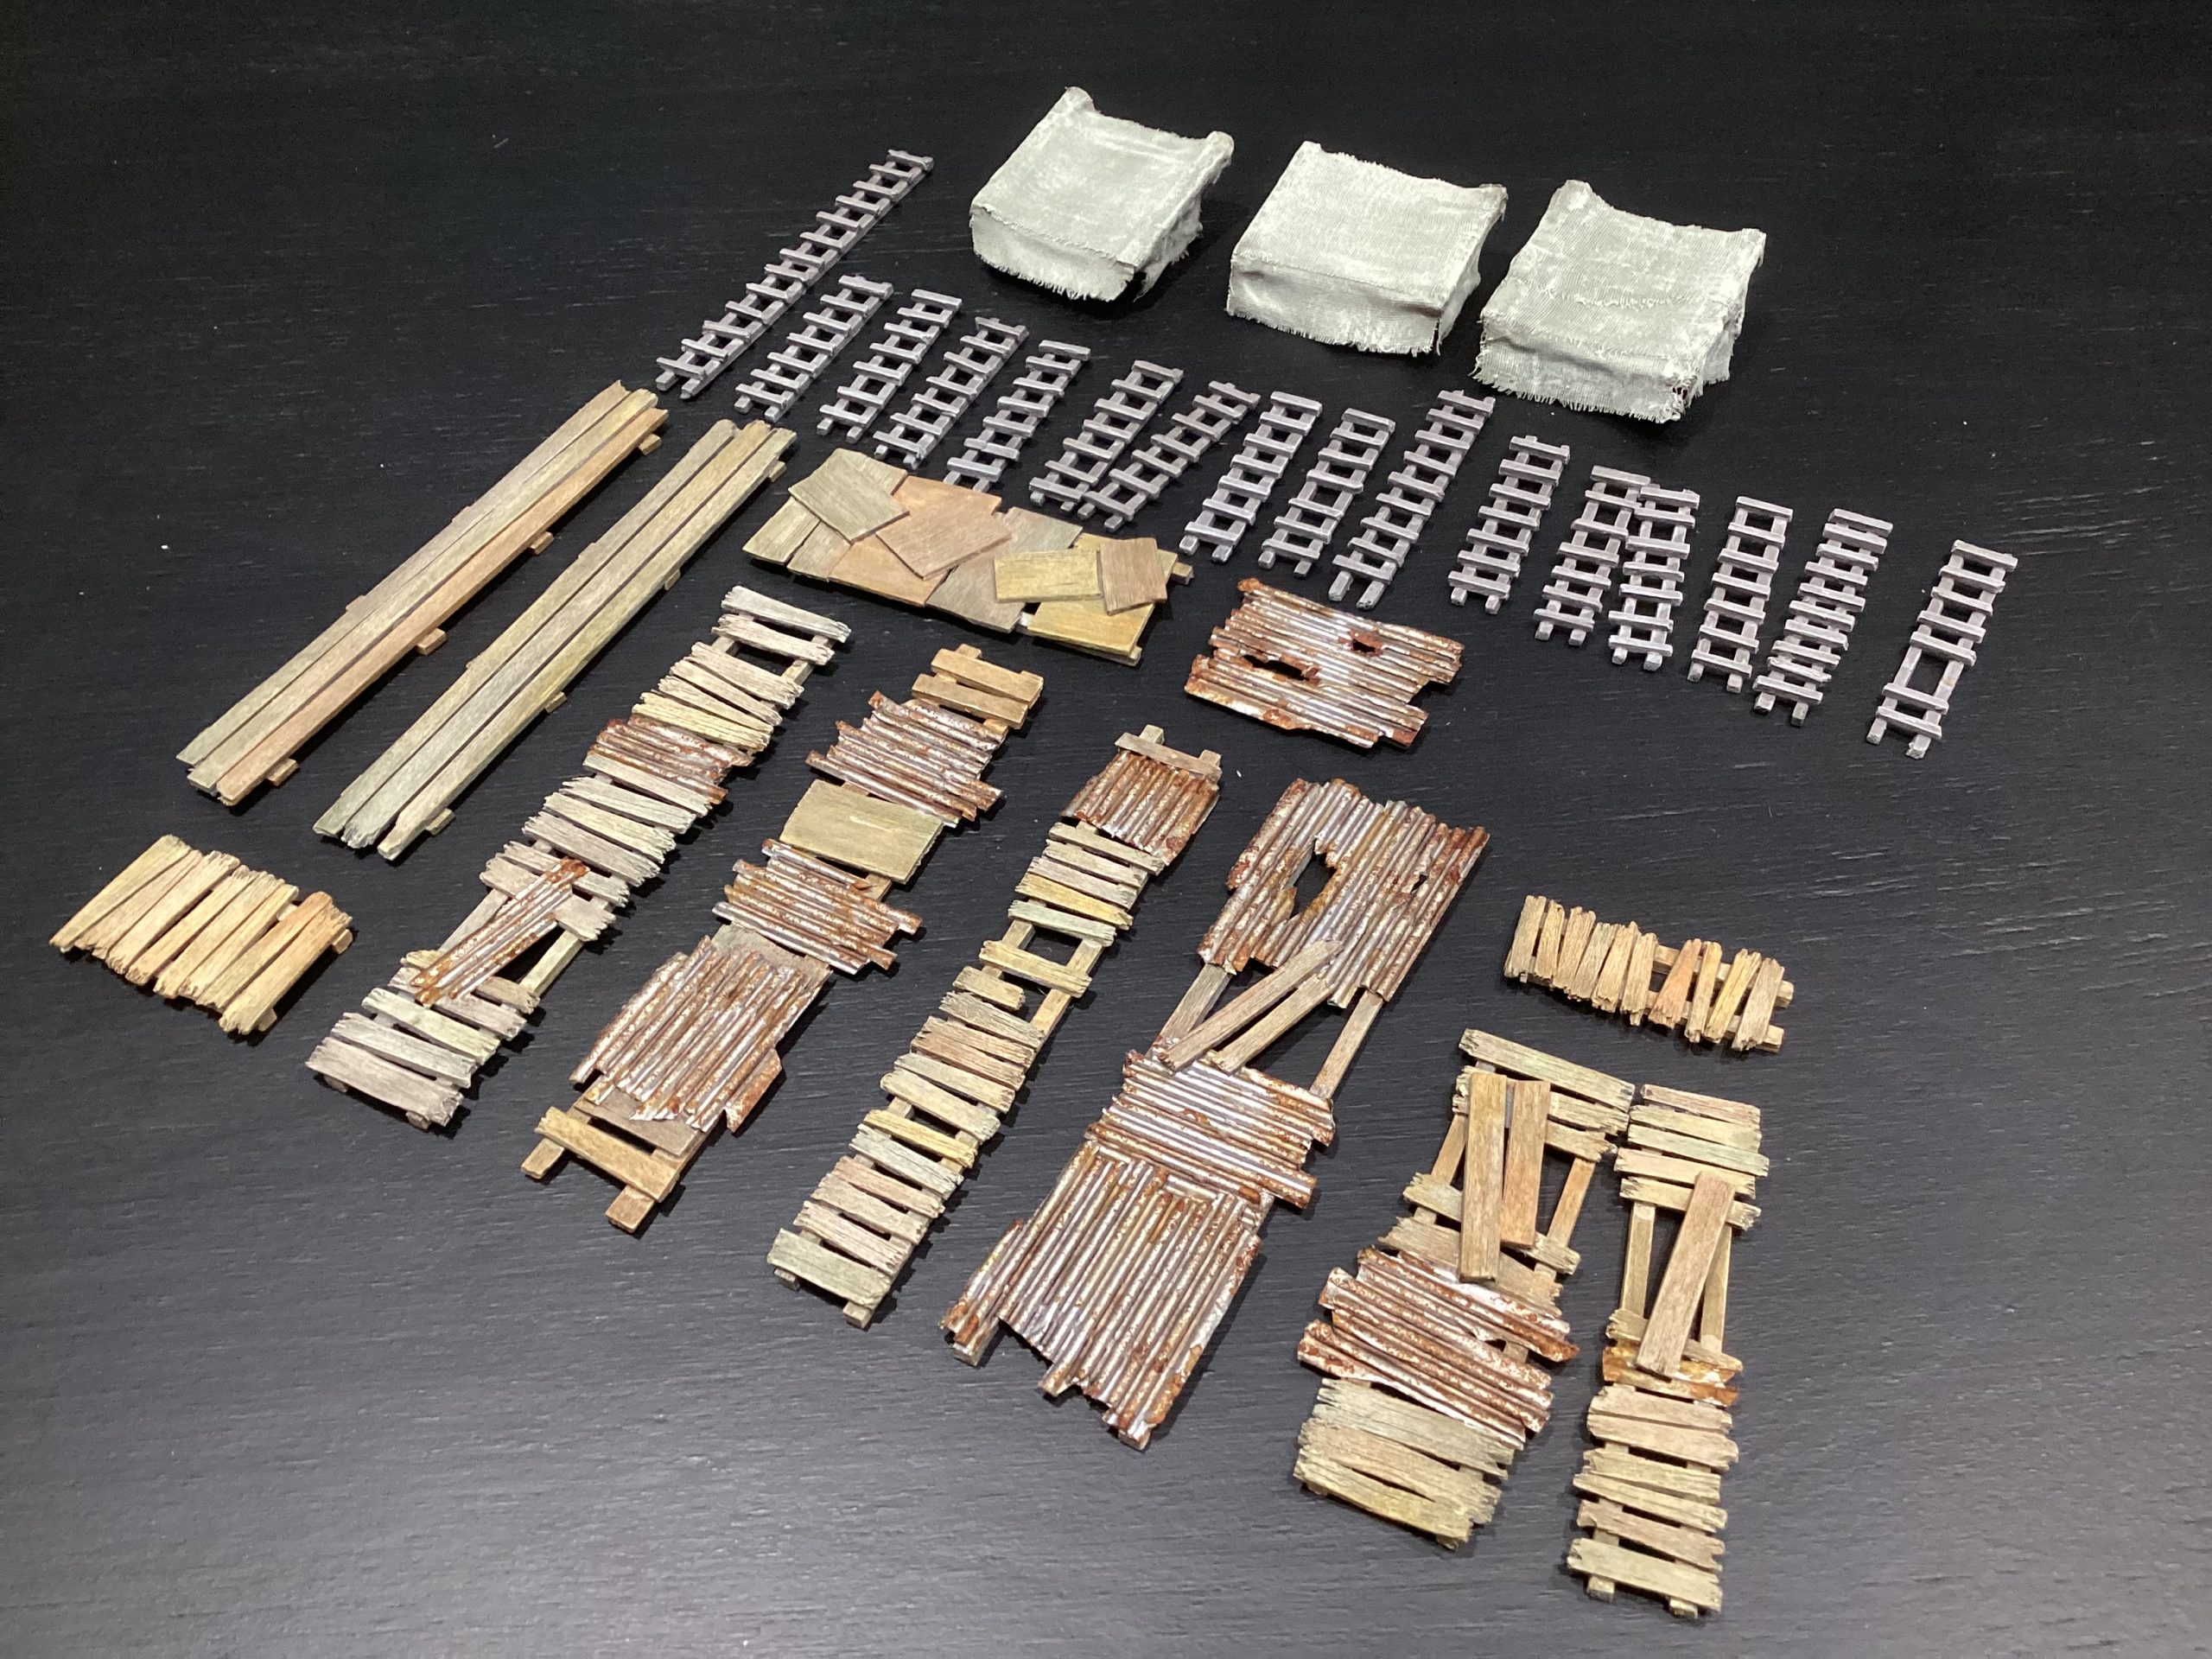
Ladders, Canopy’s, walkways: Made from Balsa Wood and corrugated cardboard. The long runs held in place with double sided sticky tape, allowing boards to be added without everything moving around. Base coated in light grey, drybrushed in weathered wood then various speed paints heavily thinned with water to tint and add interest. Dirty down rust used to weather the metal looking corrugated sheeting.
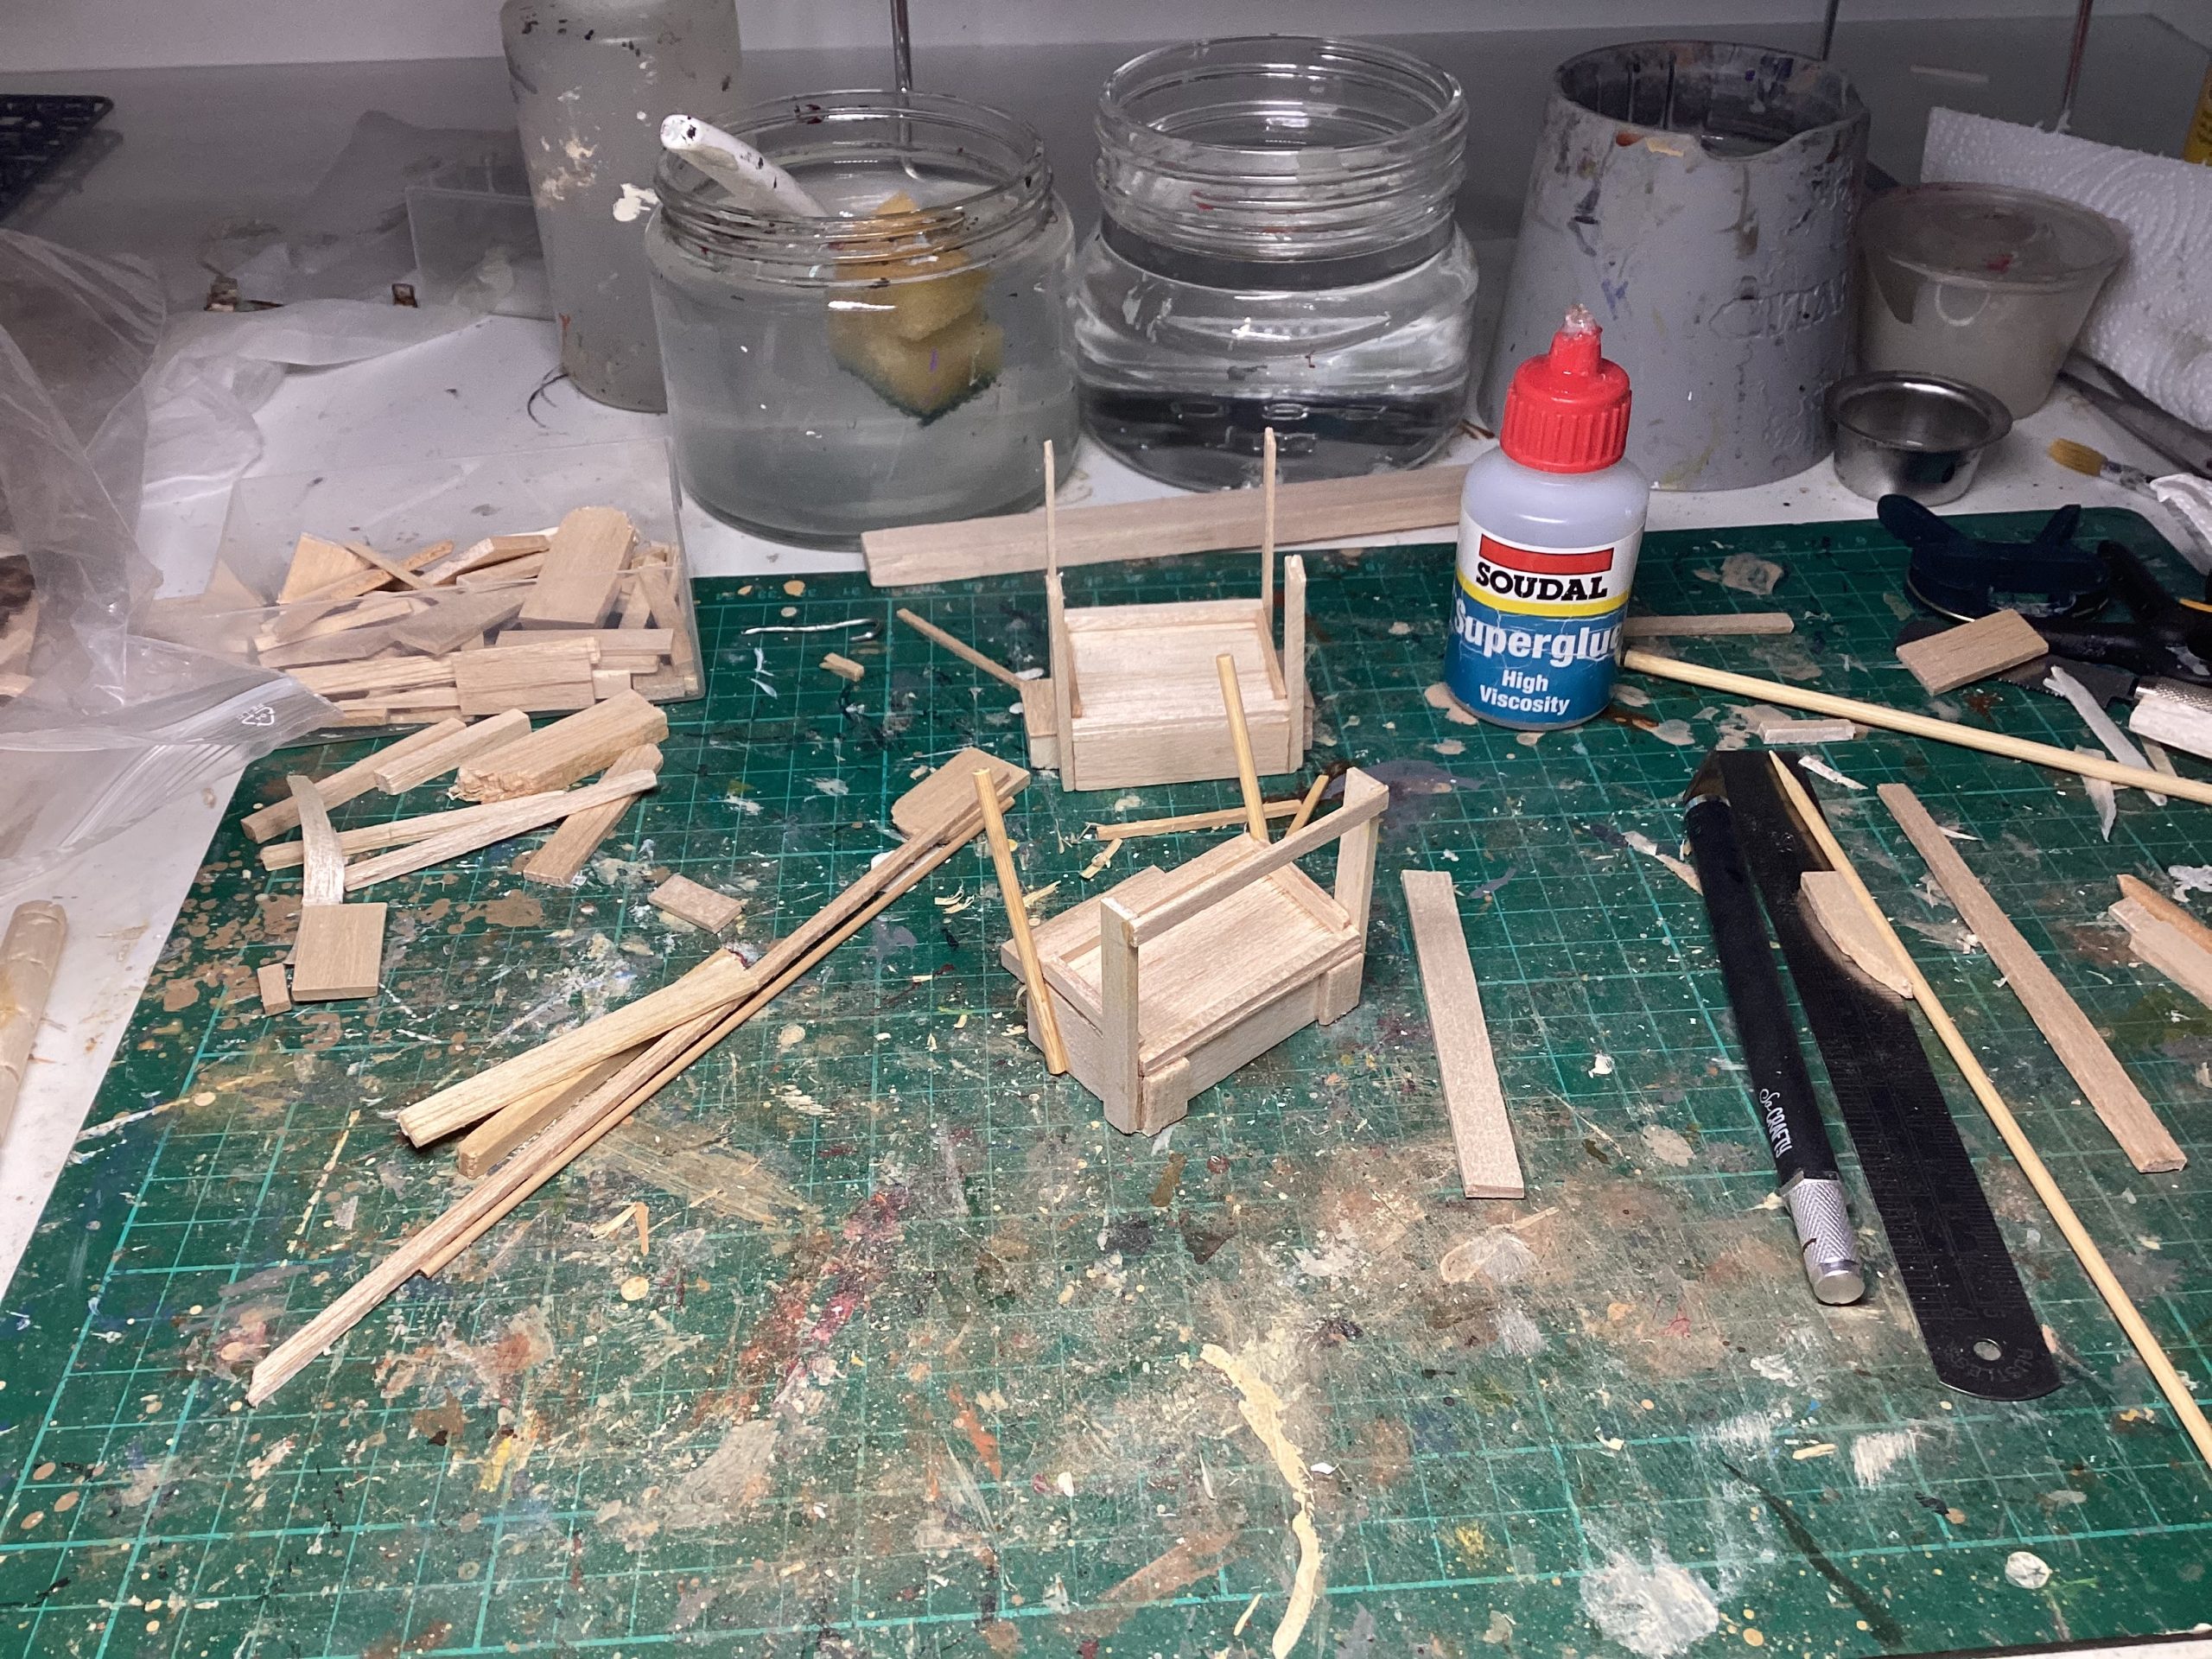
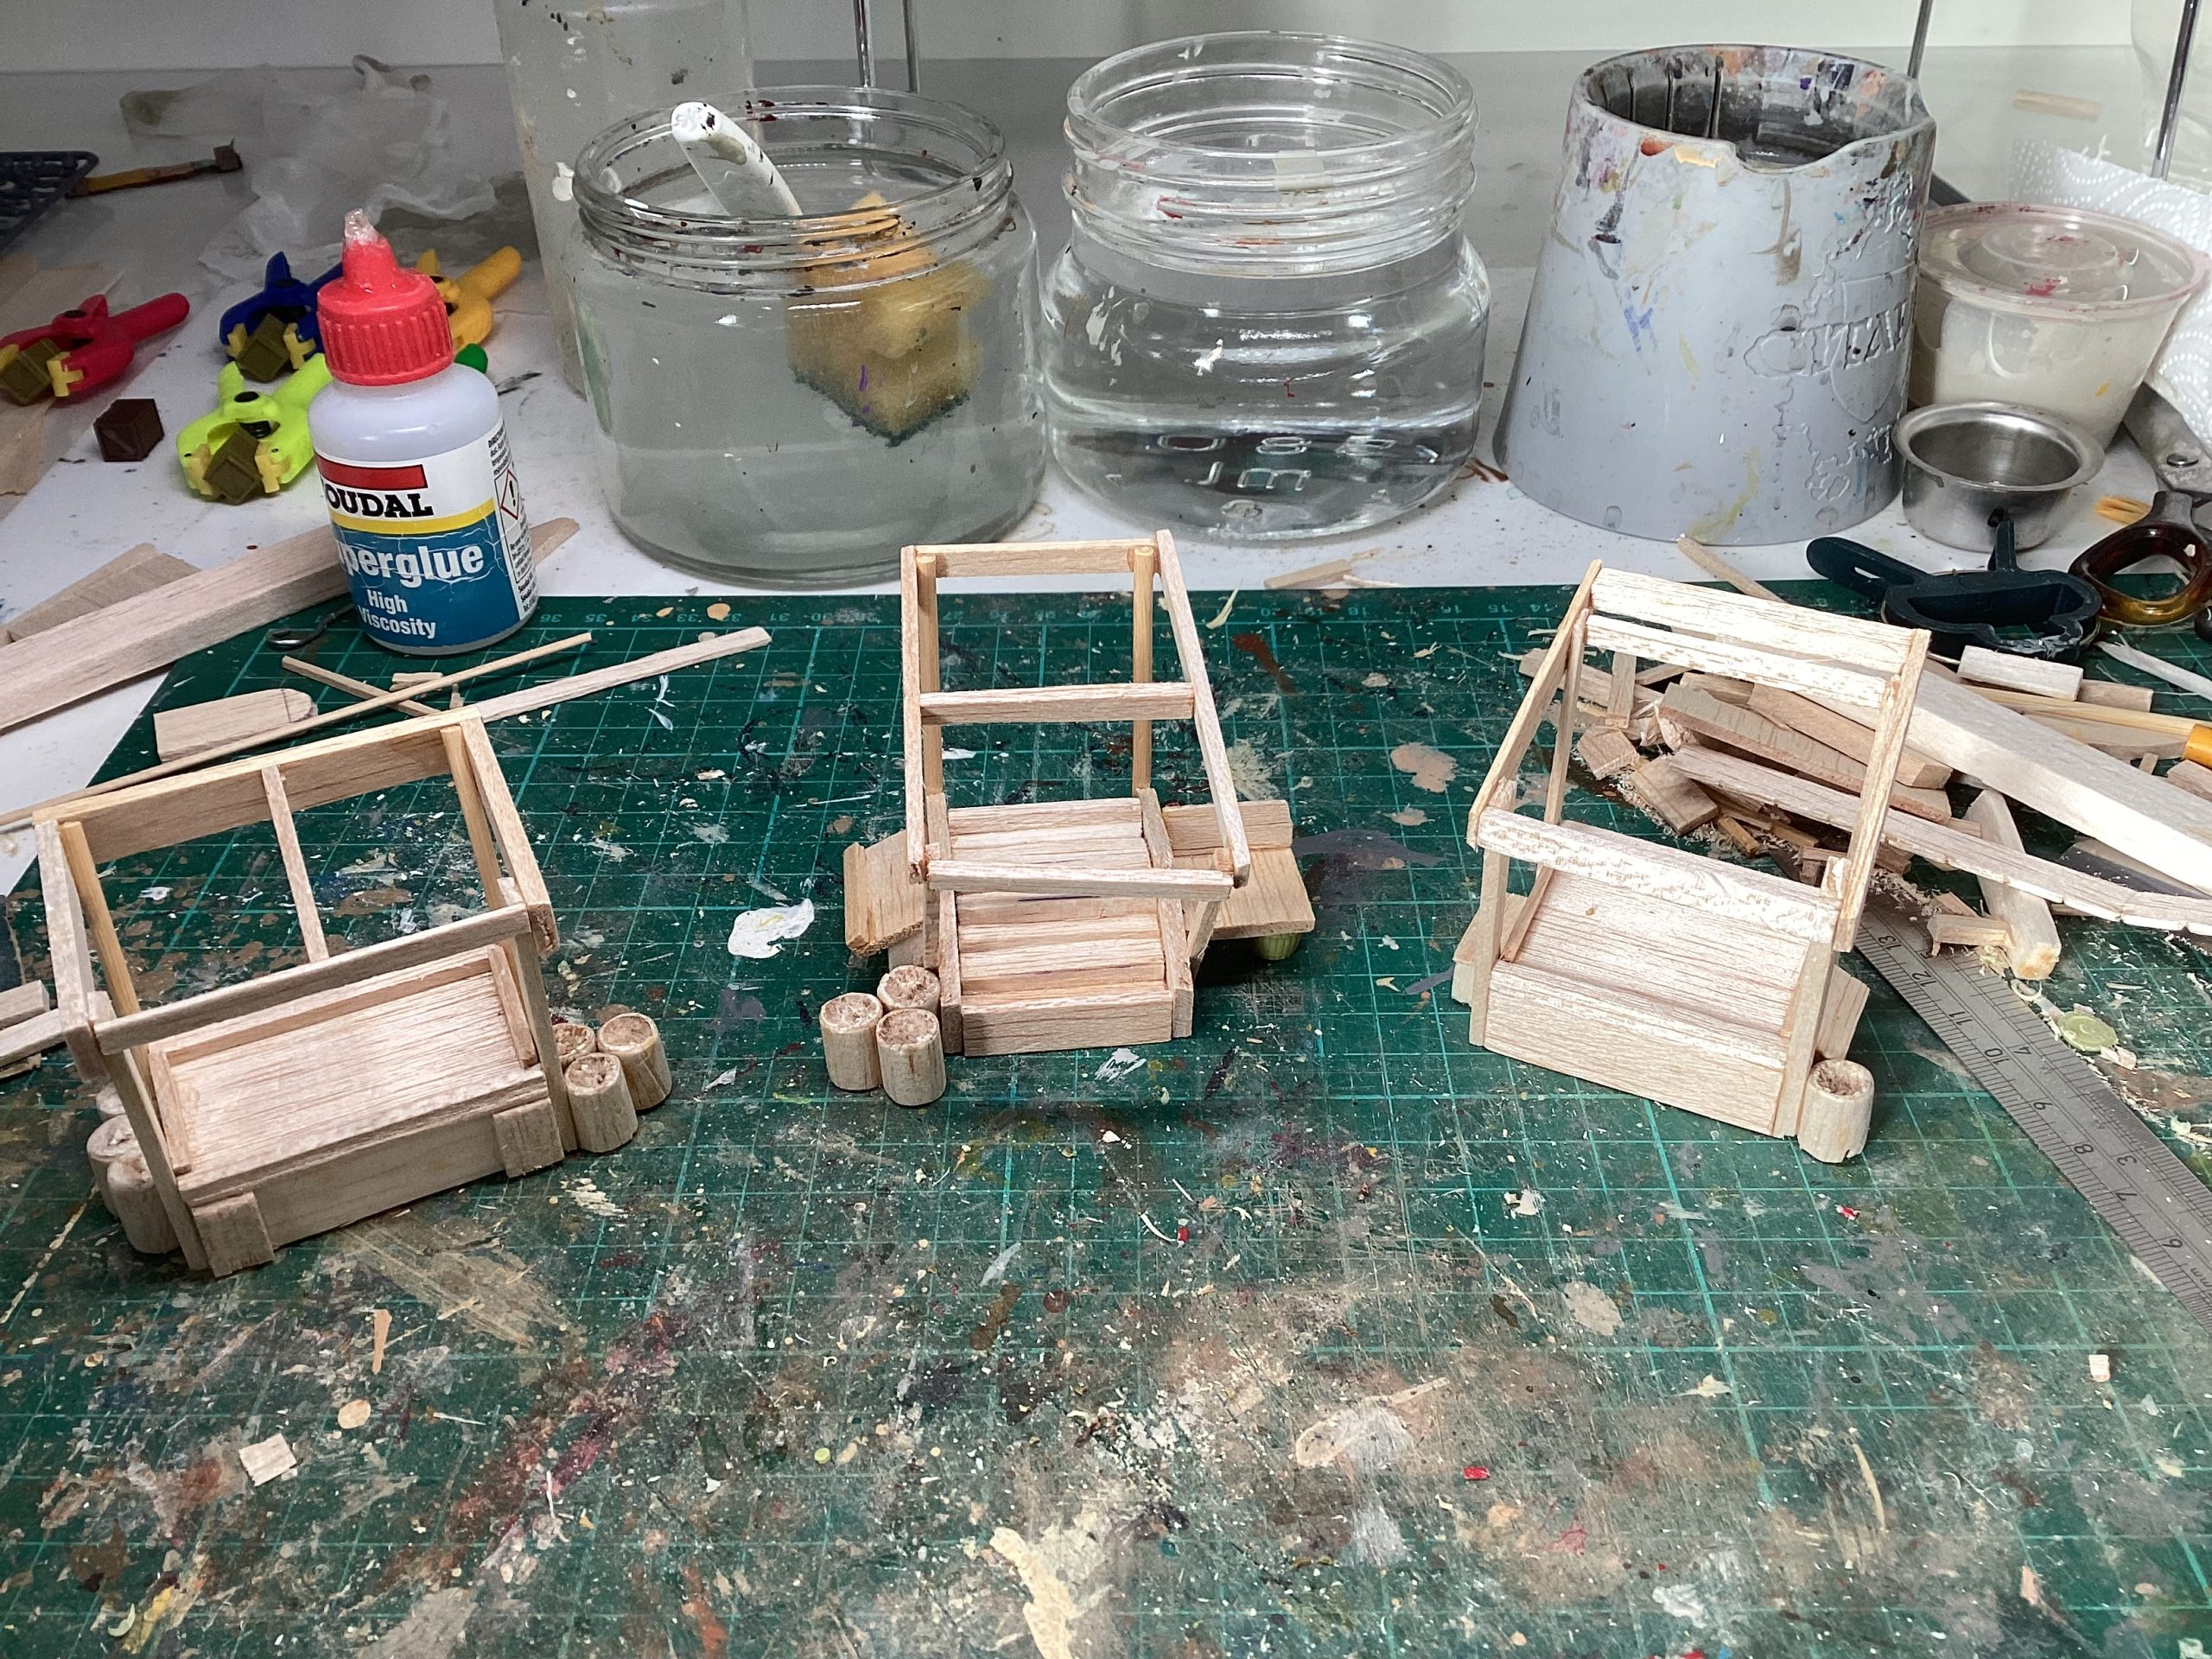
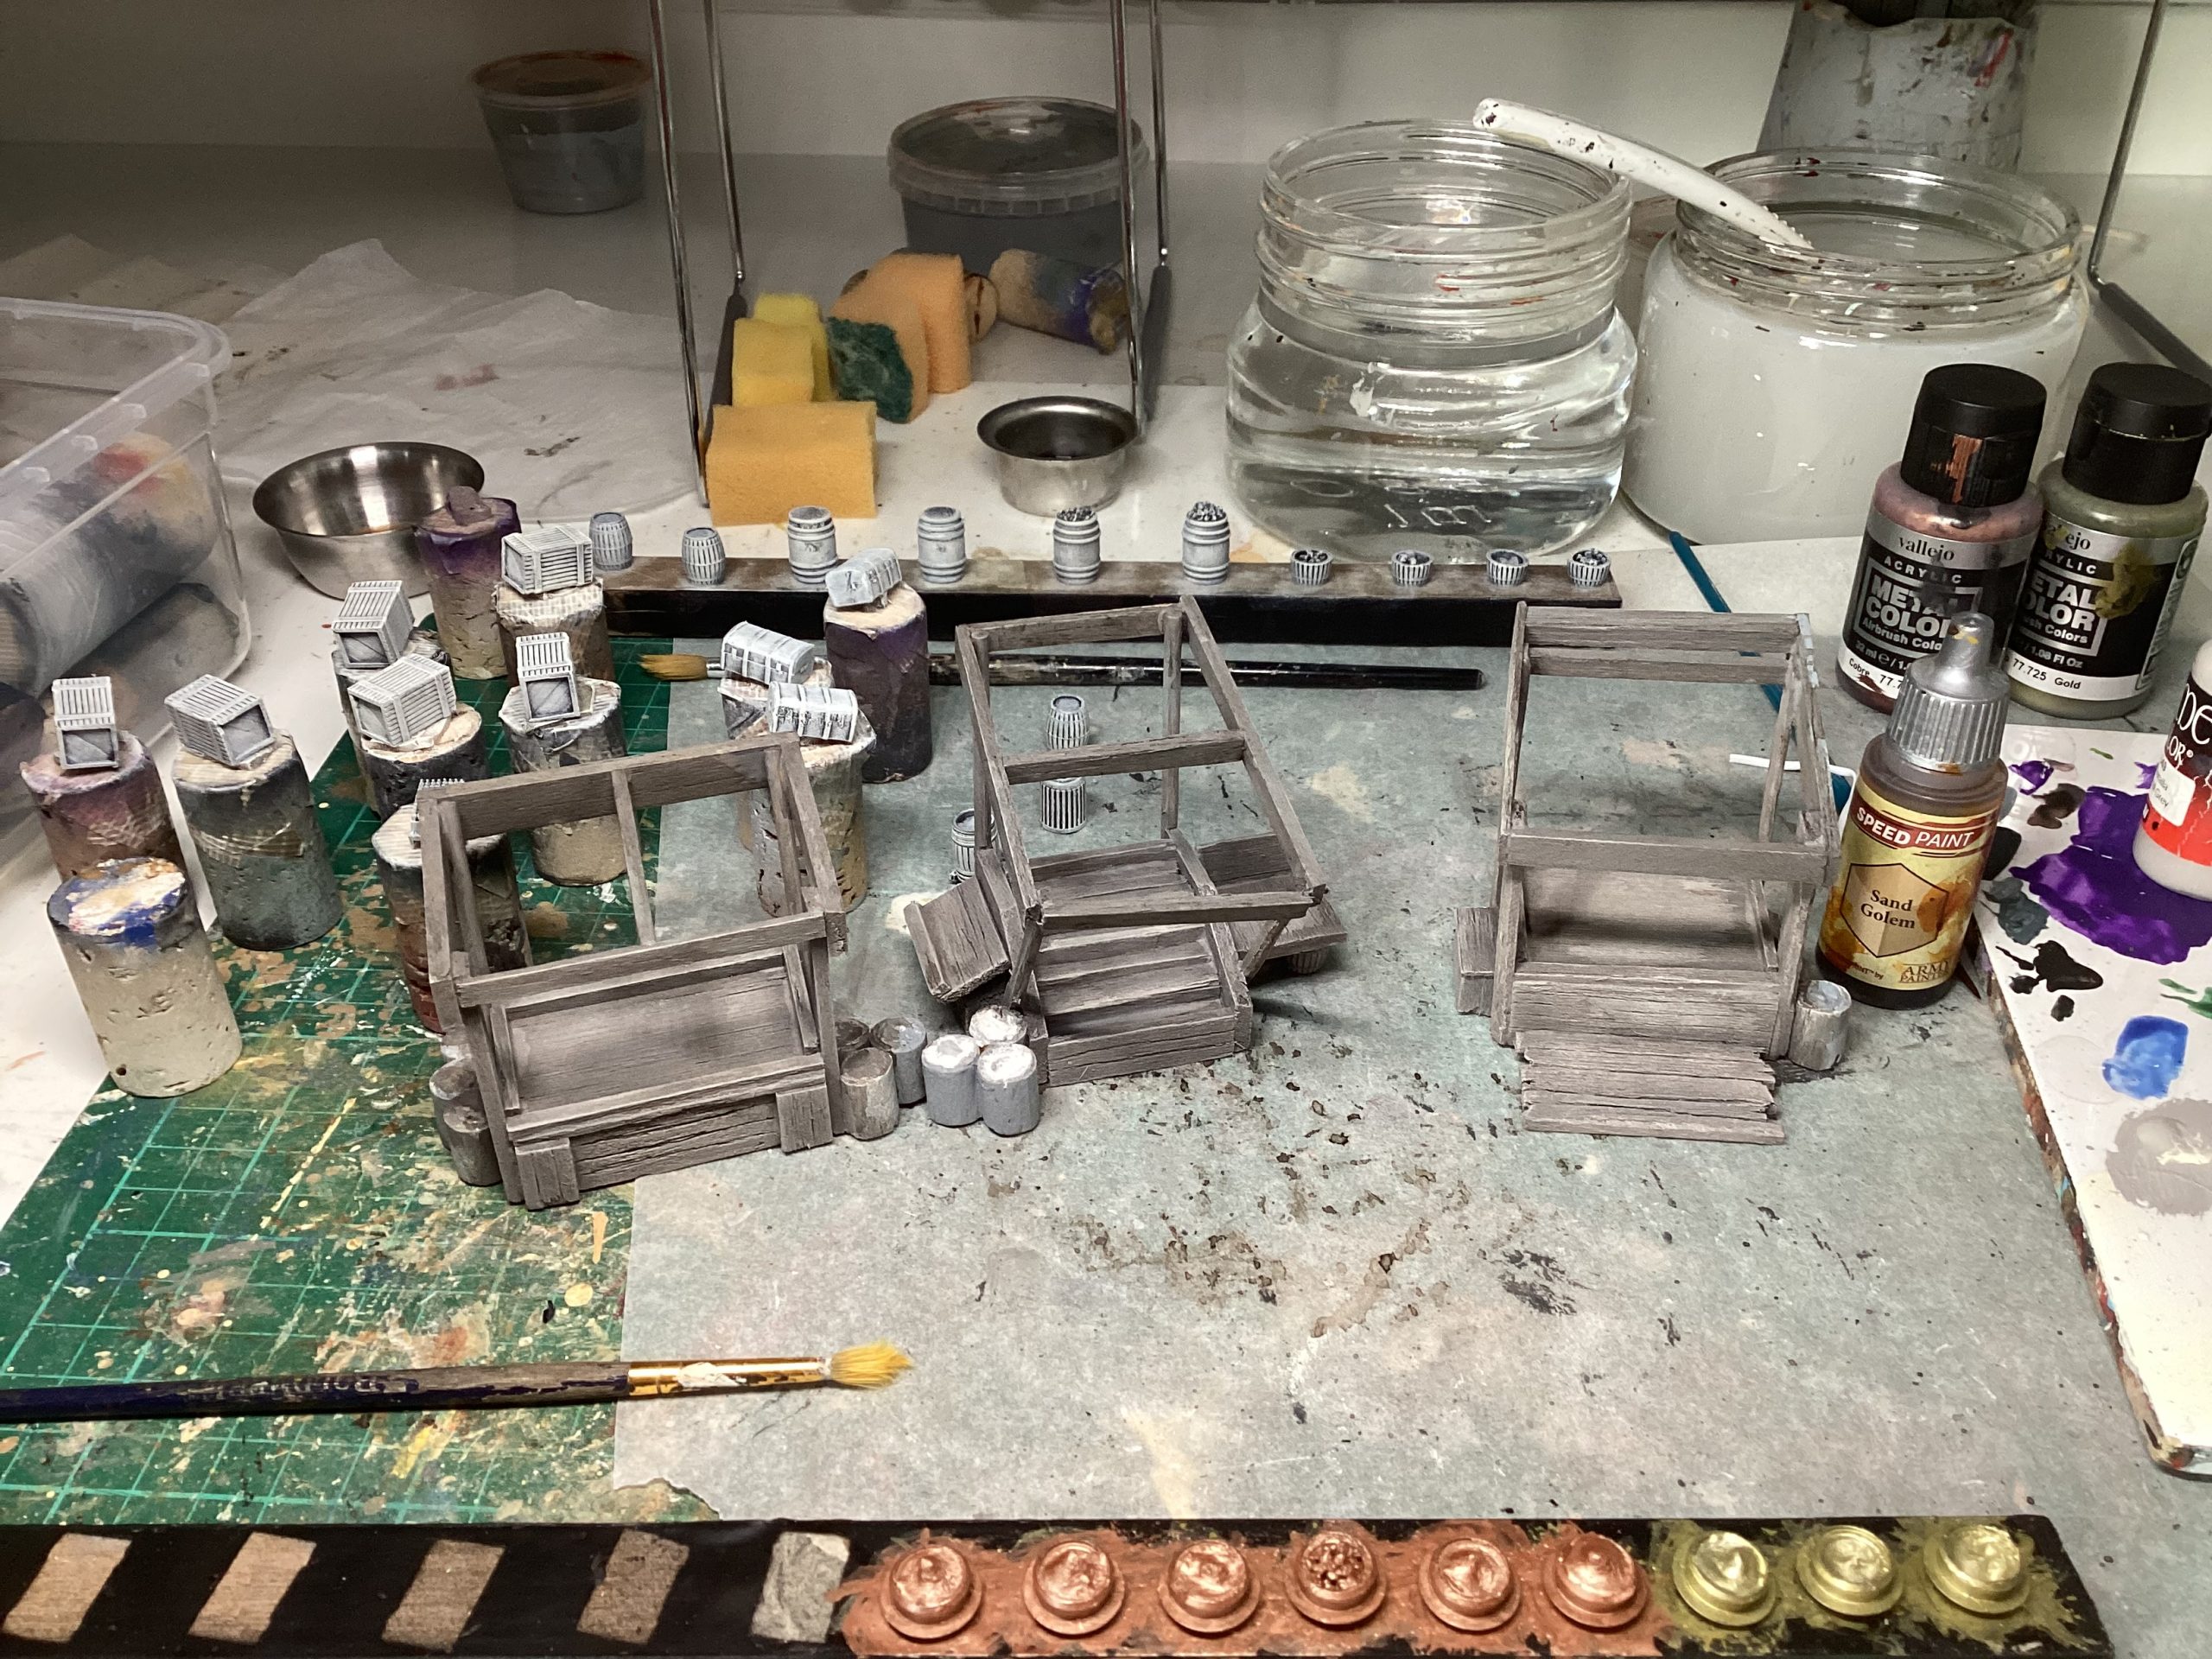
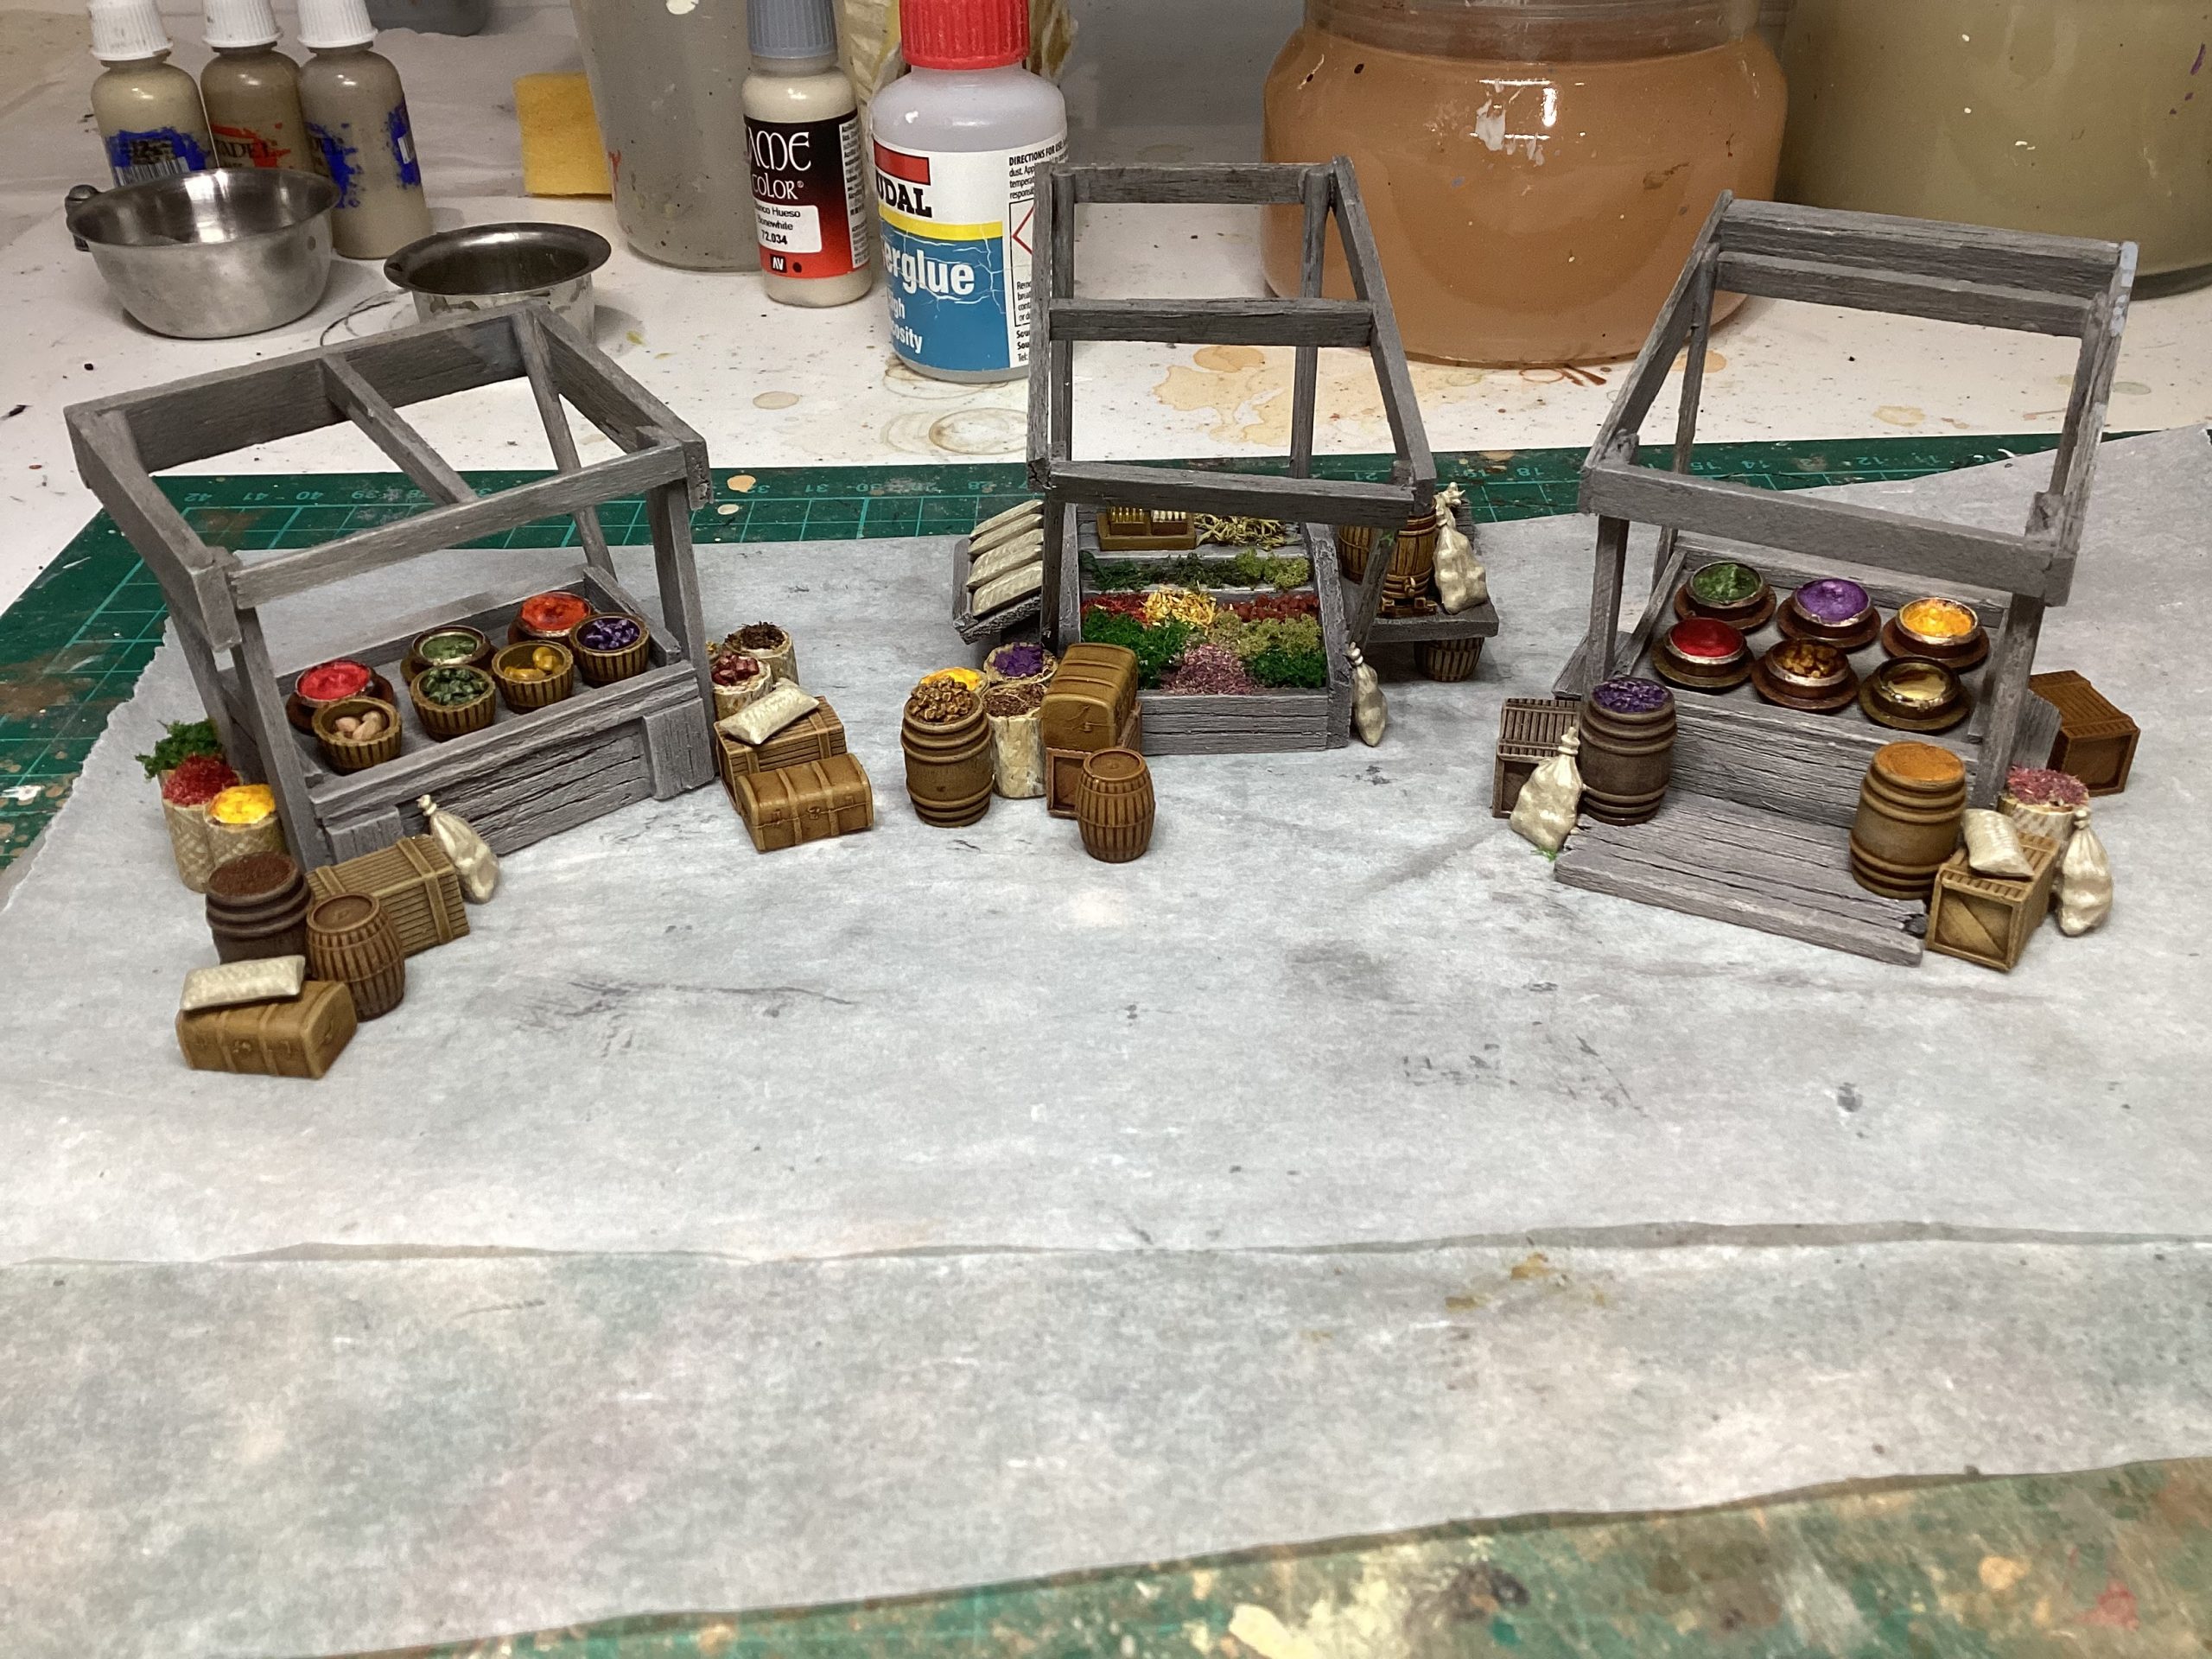
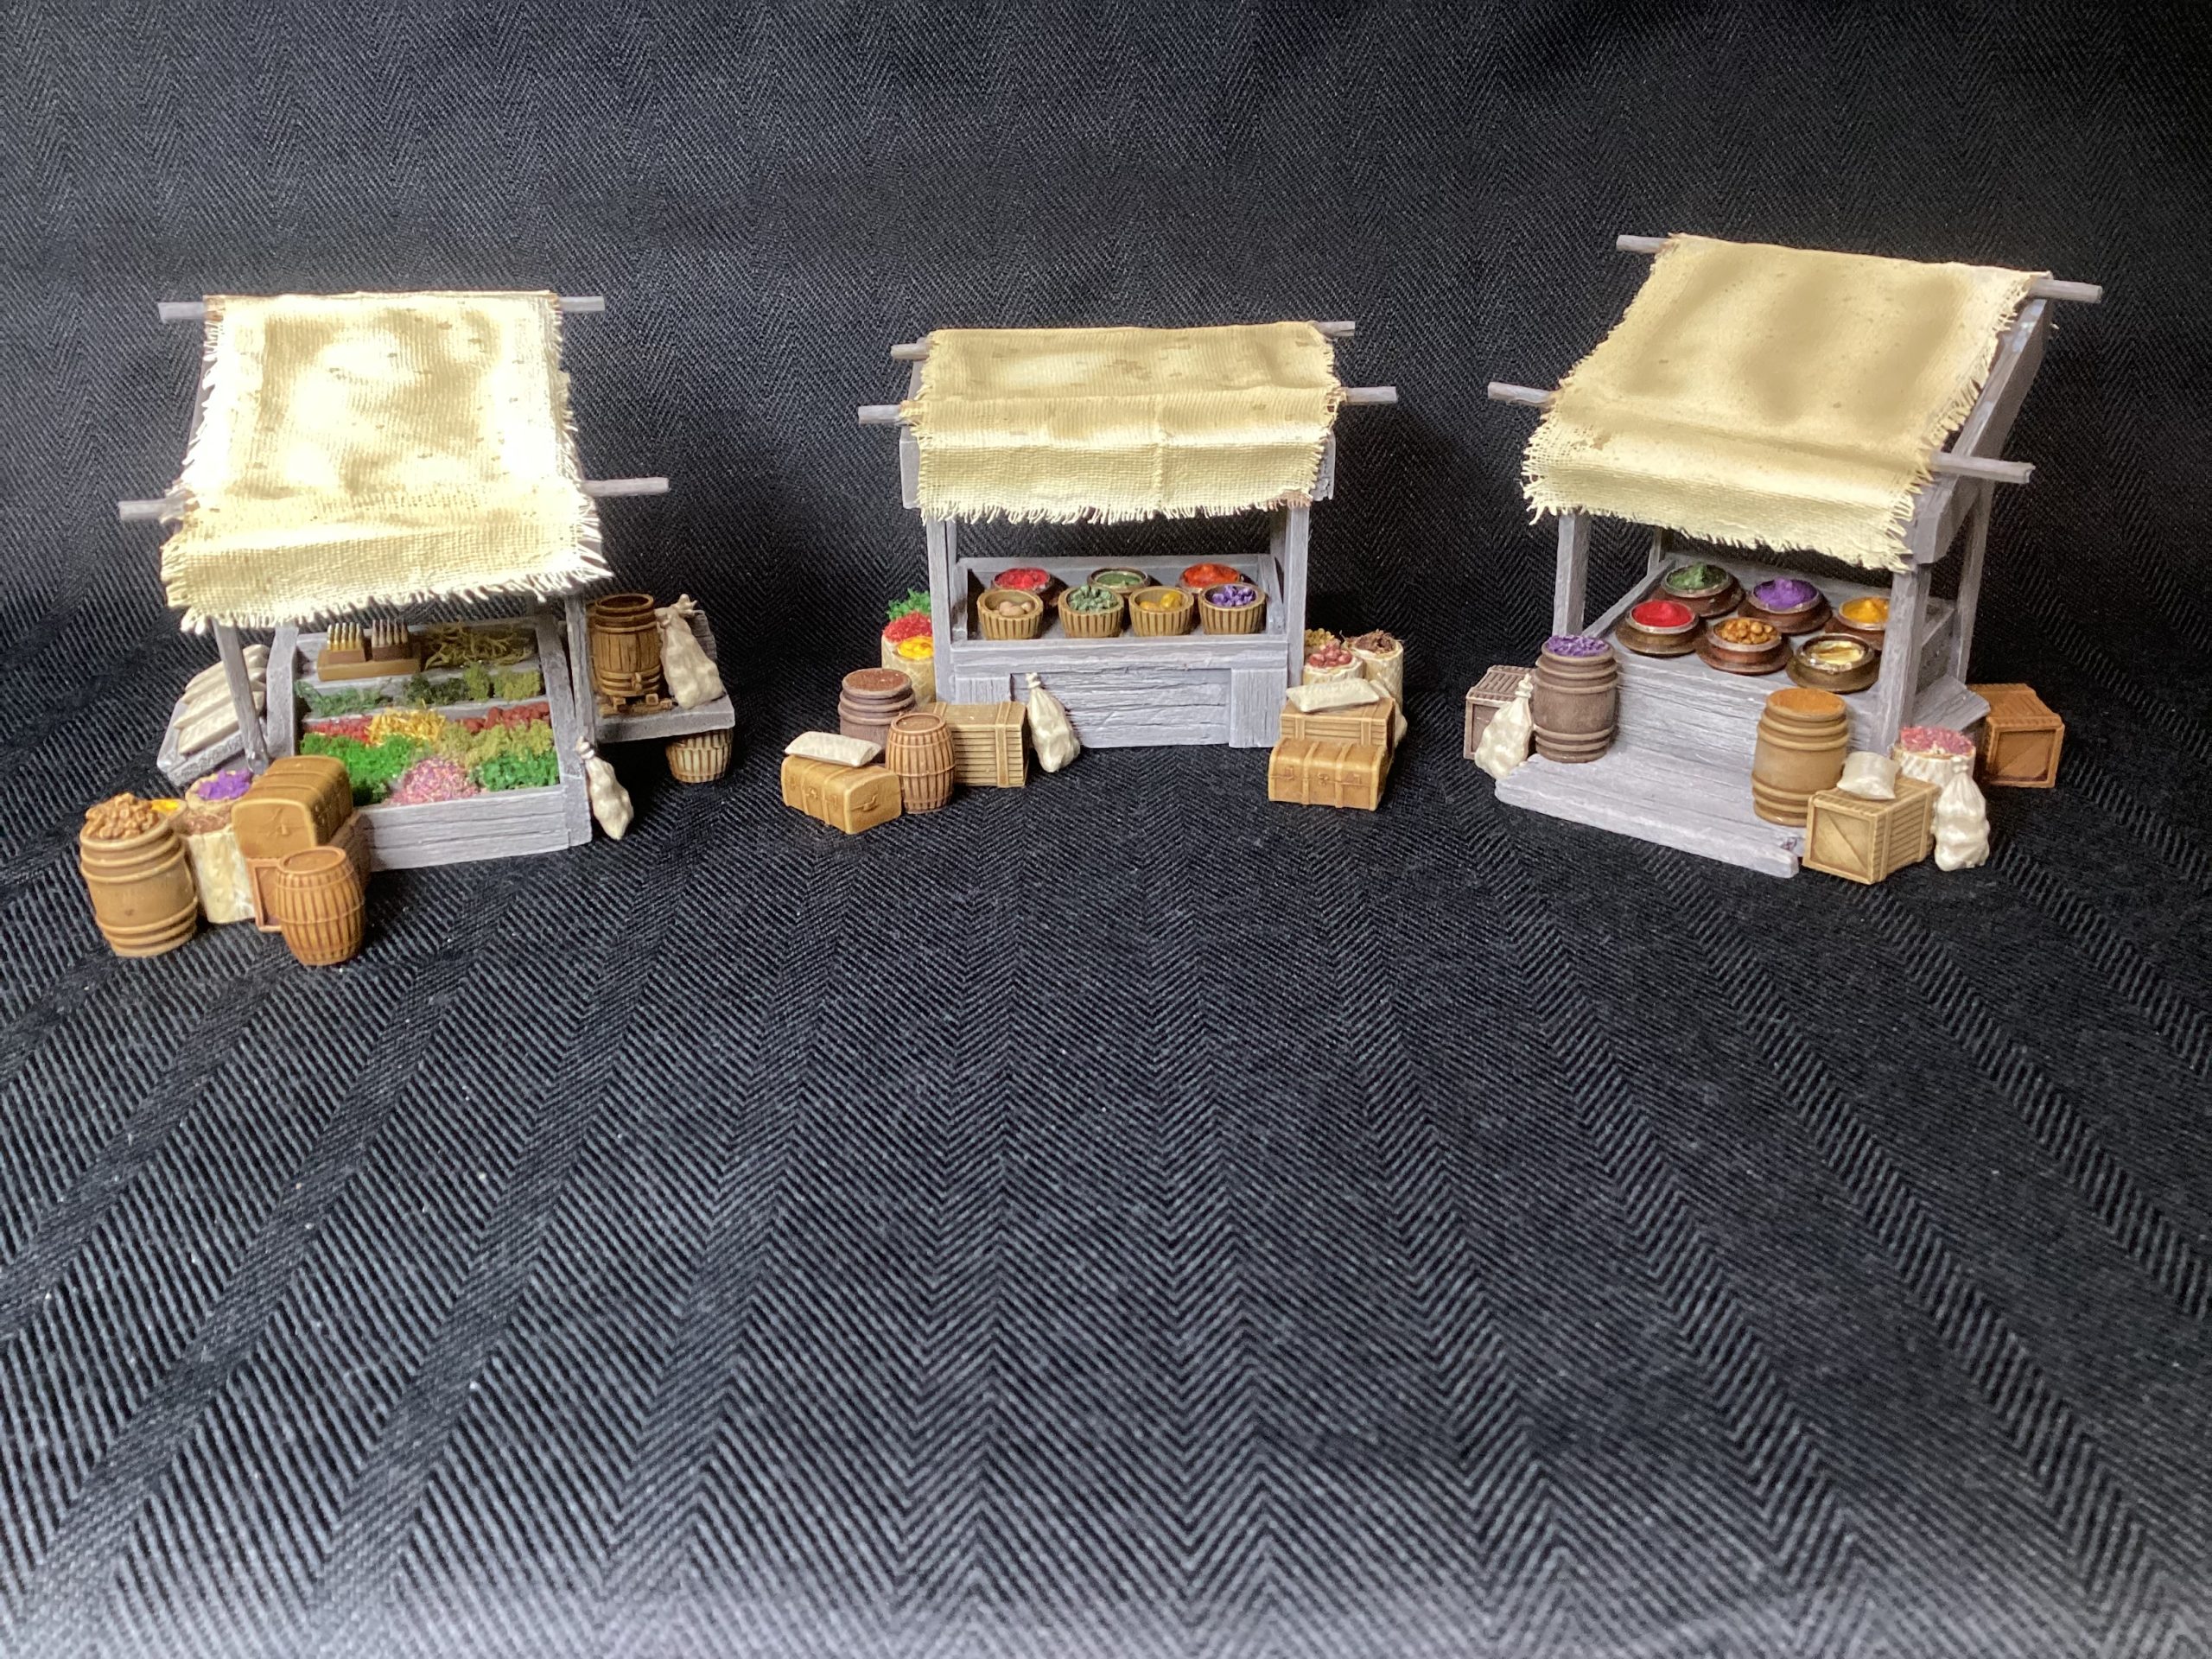
Market stalls: made from Balsa Wood The wood once again painted in a light grey base coat, dry brushed with secret weapon weathered wood. Washed with speed paint dark wood thinned with water 50/50. Then a drybrush of weathered wood again just to pick out detail. All the goods and details added from my bits boxes some model railway crates barrels, sacks etc. The large spice bowls on saucers are screw cap covers. Their contents made from various small stones flock and filler.
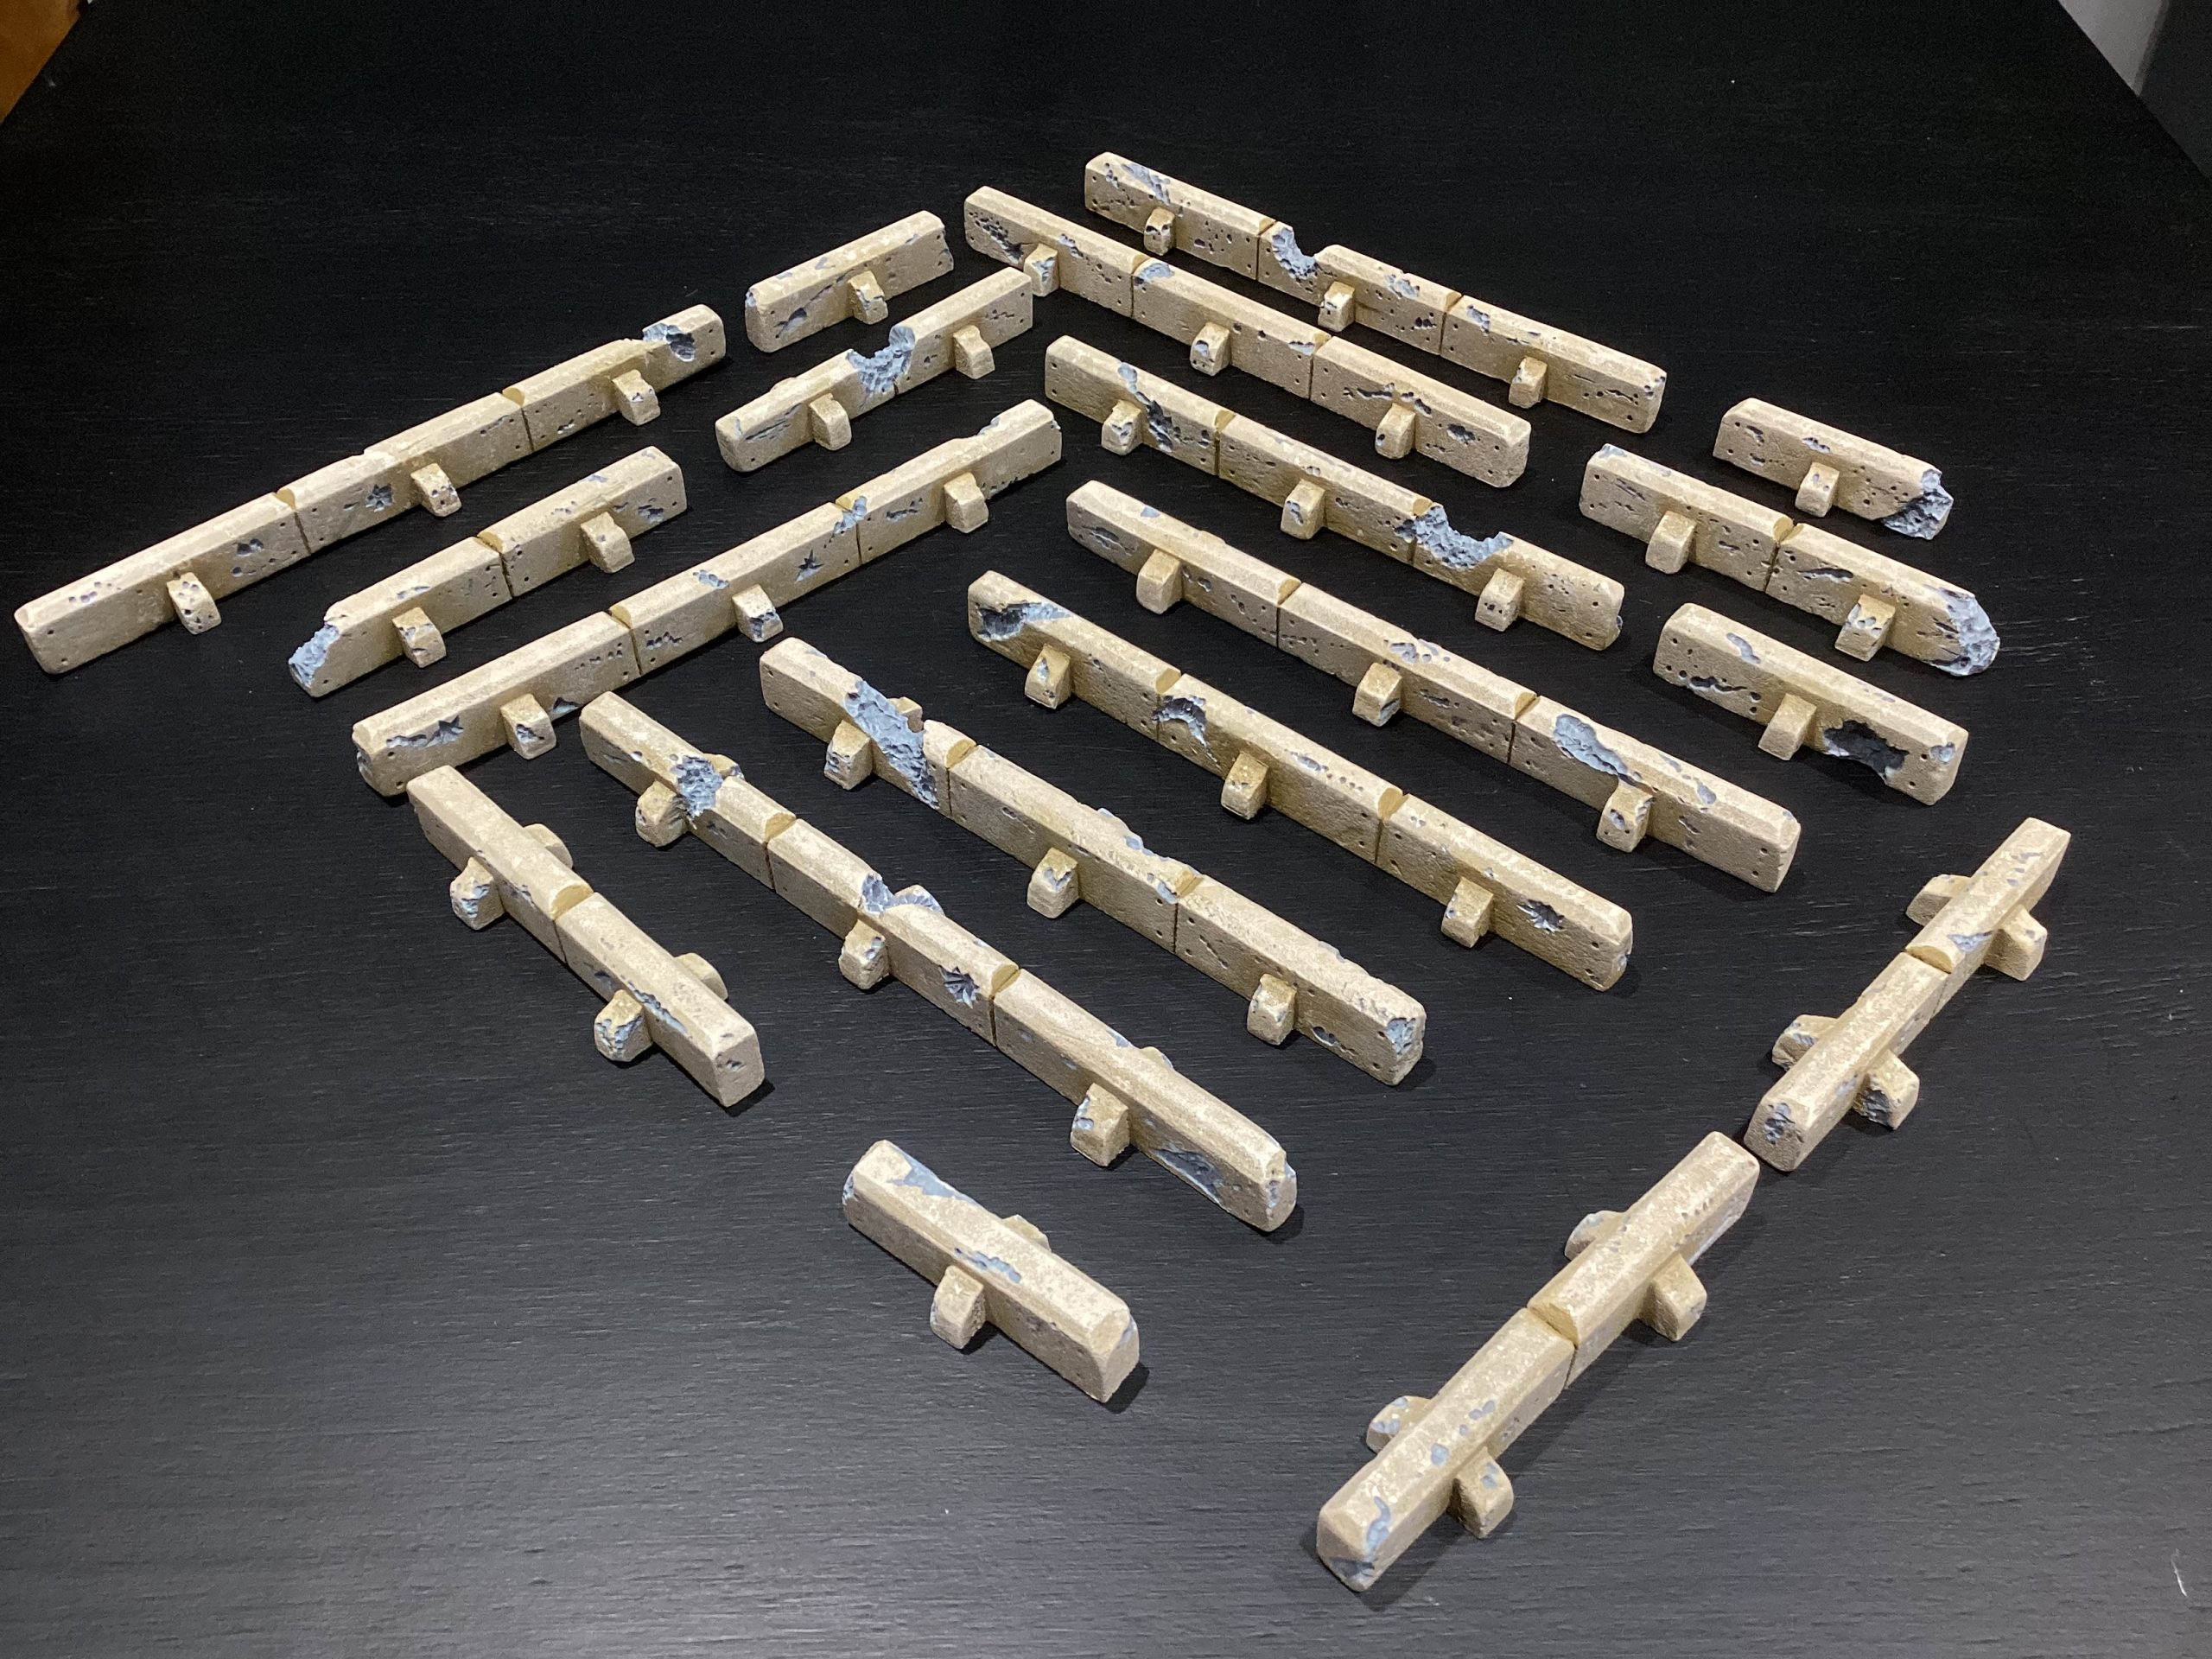
Reenforced walls: Made from pink insulation foam, damage added with a wood burning tool. primed in grey gesso with some filler added for texture. Coloured with mixed liquitex basics yellow/brown acrylic then some lighter drybrushing. All the grey damage was painstakingly painted in for a nice contrast, not overly realistic but I thought effective. Weathering powder used to add shading and interest.
Humvee Vehicles. These were added to my project last moment as I didn’t think they would arrive in time with over a month wait for them to arrive. I’m not a big fan of 3D prints, the small bobbles just cover the surfaces the wing mirrors were completely gone, the back ends were not formed very well, pit marks all over the place ( so many) give me plastic any day….with that said they came out fairly well with my limited experience painting vehicles ( I’ve only ever done the plastic cars from the walking dead game.) I made the mirrors from some plastic airplane kit bit, you would never know. The aerials I made from bits of wire. Adding a bit of weathering powder brought them to life.