


![1918 Spring Offensive Wargame | Full Rules Overview with John & Gerry (WW1 Tabletop Game) [7 Days Early Access]](https://images.beastsofwar.com/2026/03/unboxing-warfulcrum-games-1918-spring-offensive-review-coverimage1-225-127.jpeg)


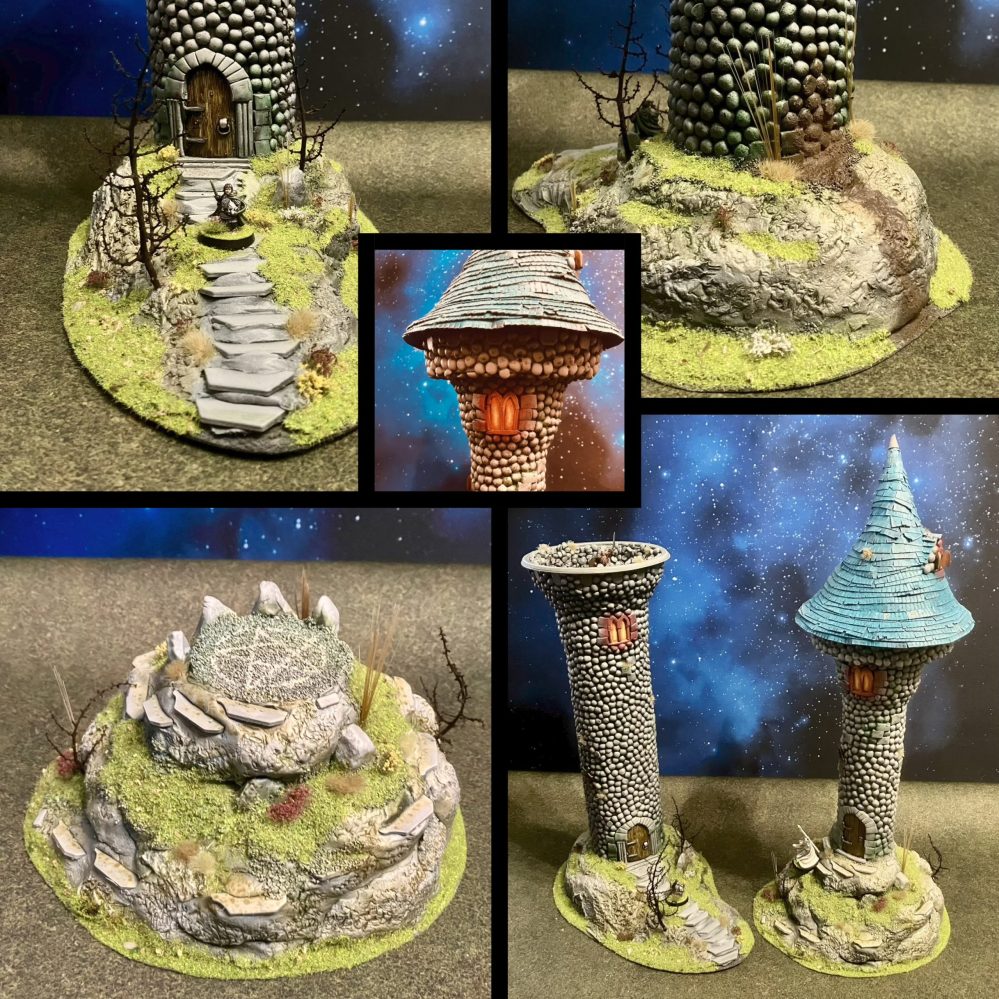
The Tower of Prin’gl


Recommendations: 371
About the Project
Recording a project I completed in October to build a terrain piece using entirely scratch built elements - no kits or pre-formed parts of any kind.
Related Genre: Fantasy
This Project is Completed
The rules
The rules for this project are:
- must be terrain
- must be entirely scratch built
- cannot use any kits or pre-formed parts
- cannot use any pieces from miniatures.
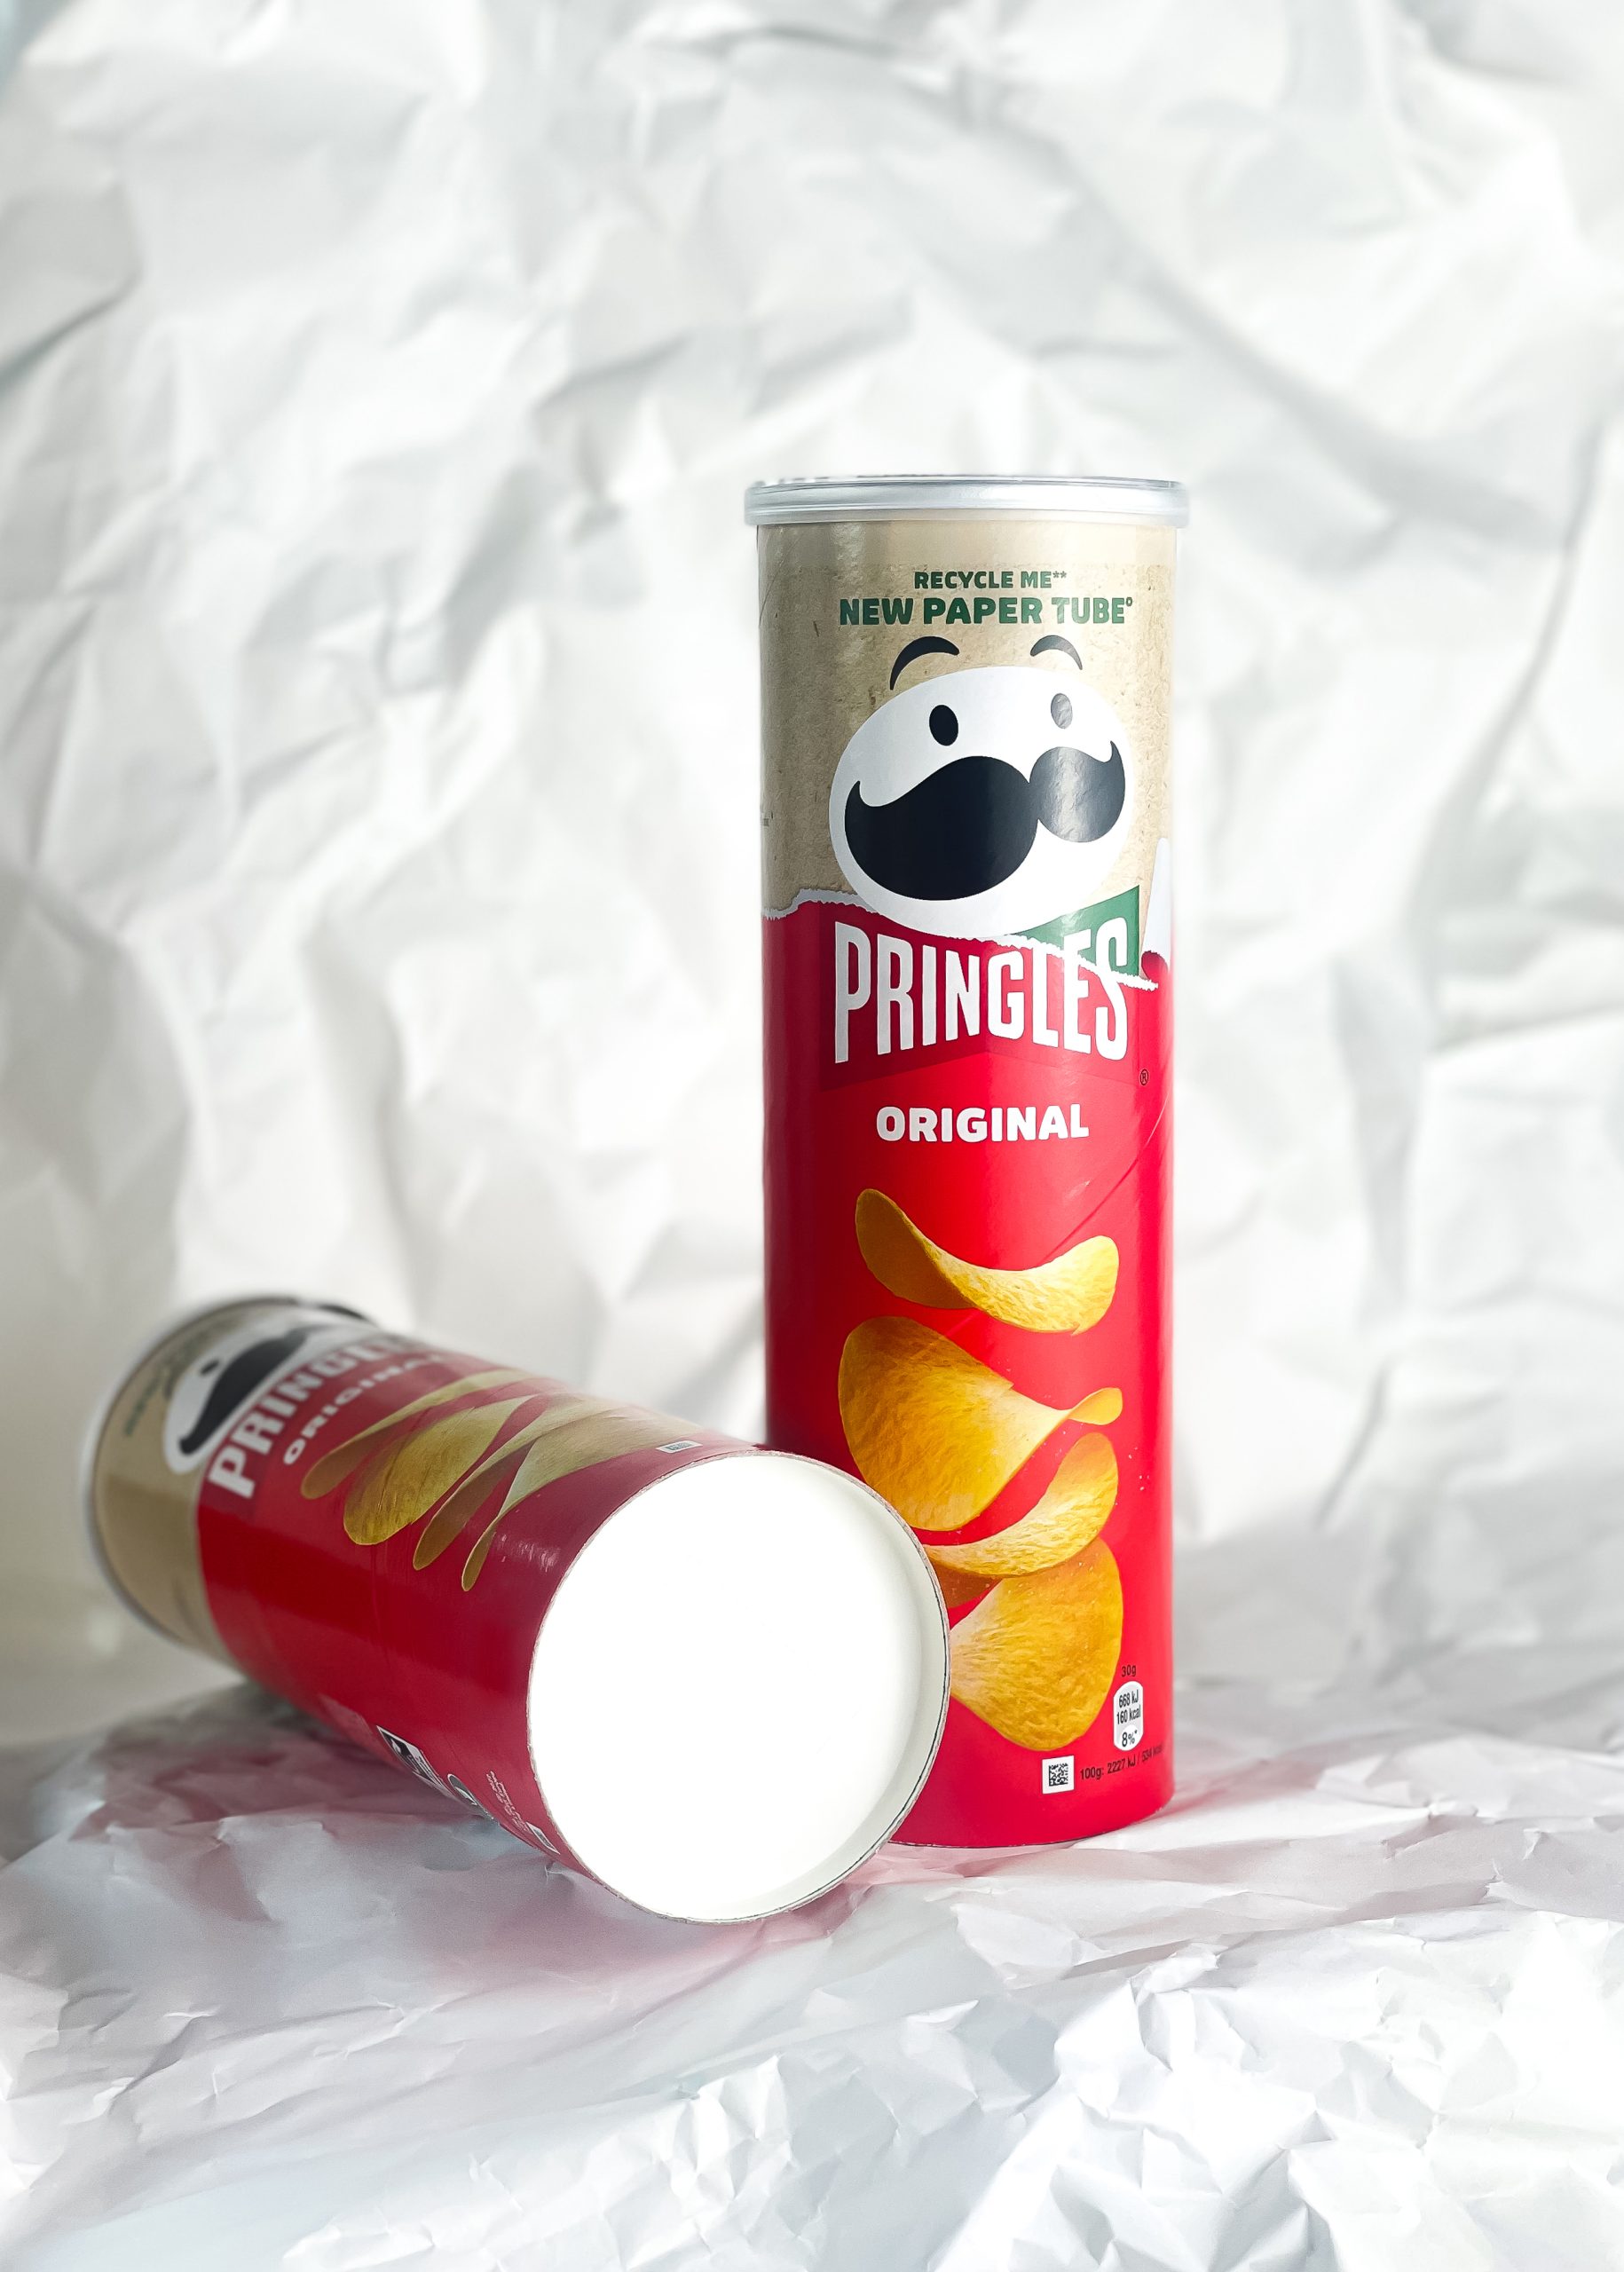 Pringles tubes
I’ve always wanted to make a Pringles tower, so this feels like the ideal project to try that out.
Dry run
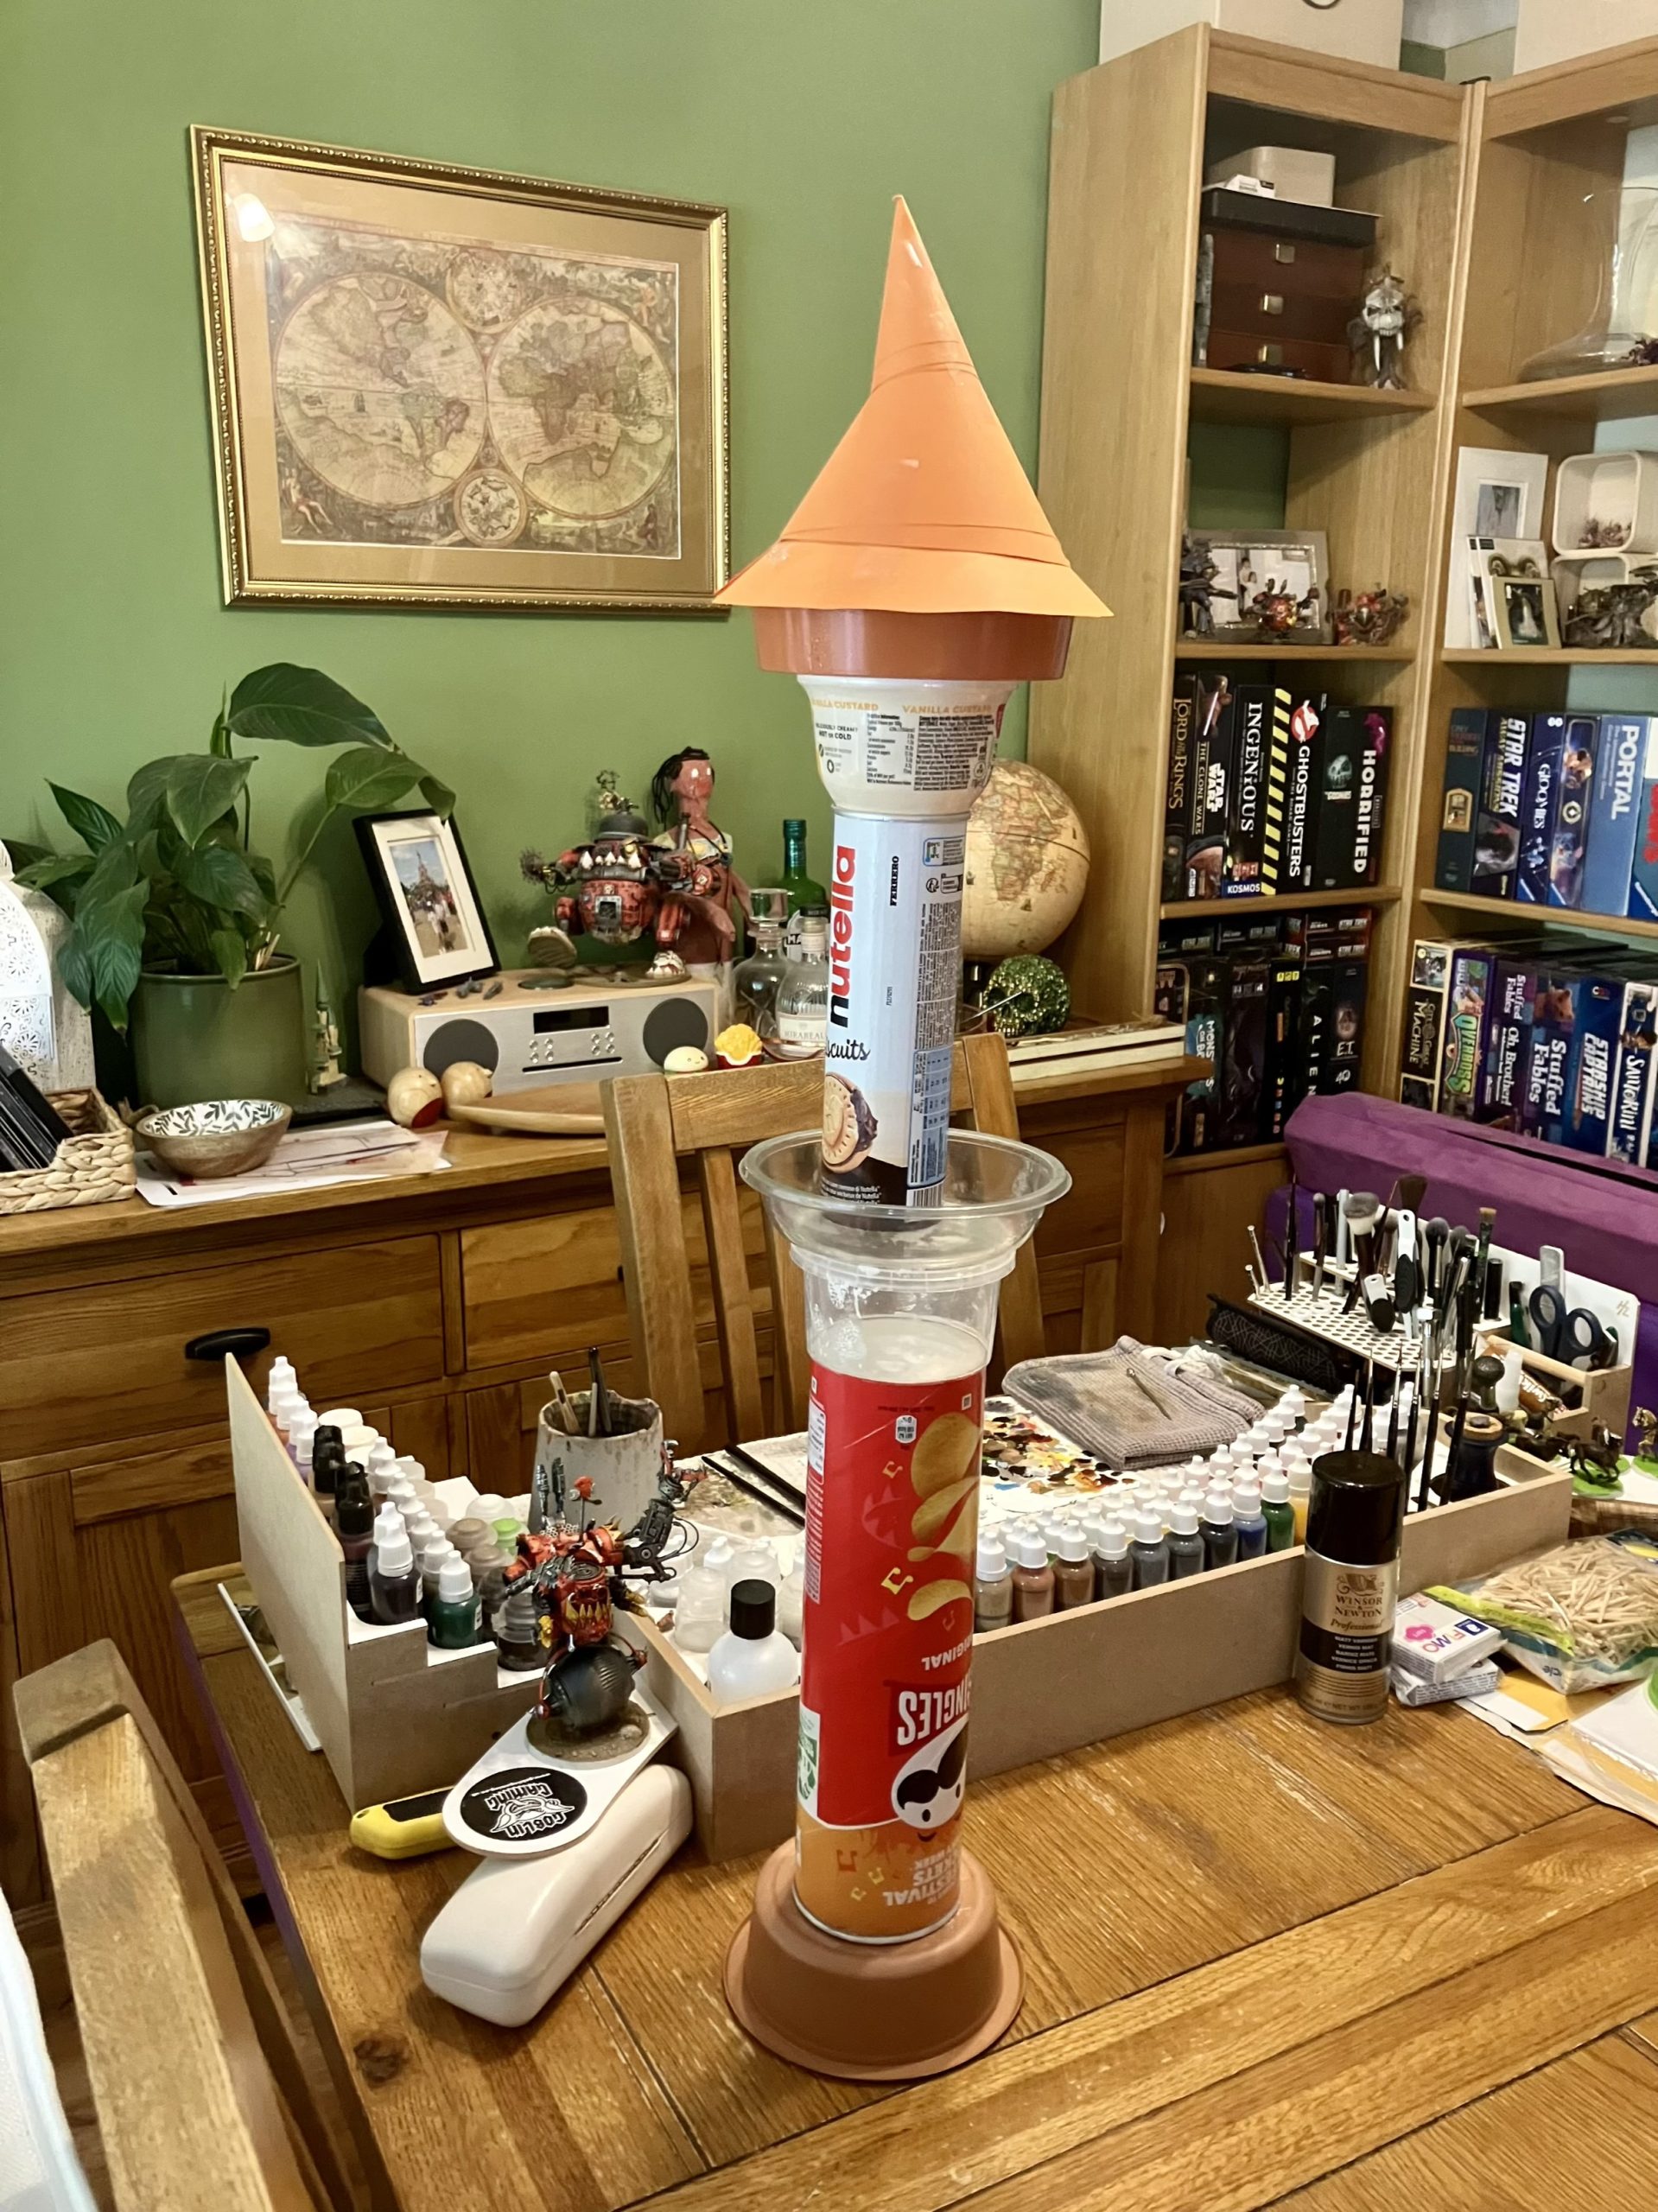
Taking a Pringles tube, some other plastic tubs (hummus, Dahl etc) and a Nutella biscuits tube which also looked good, I start by stacking stuff to see if I can make some good profiles.
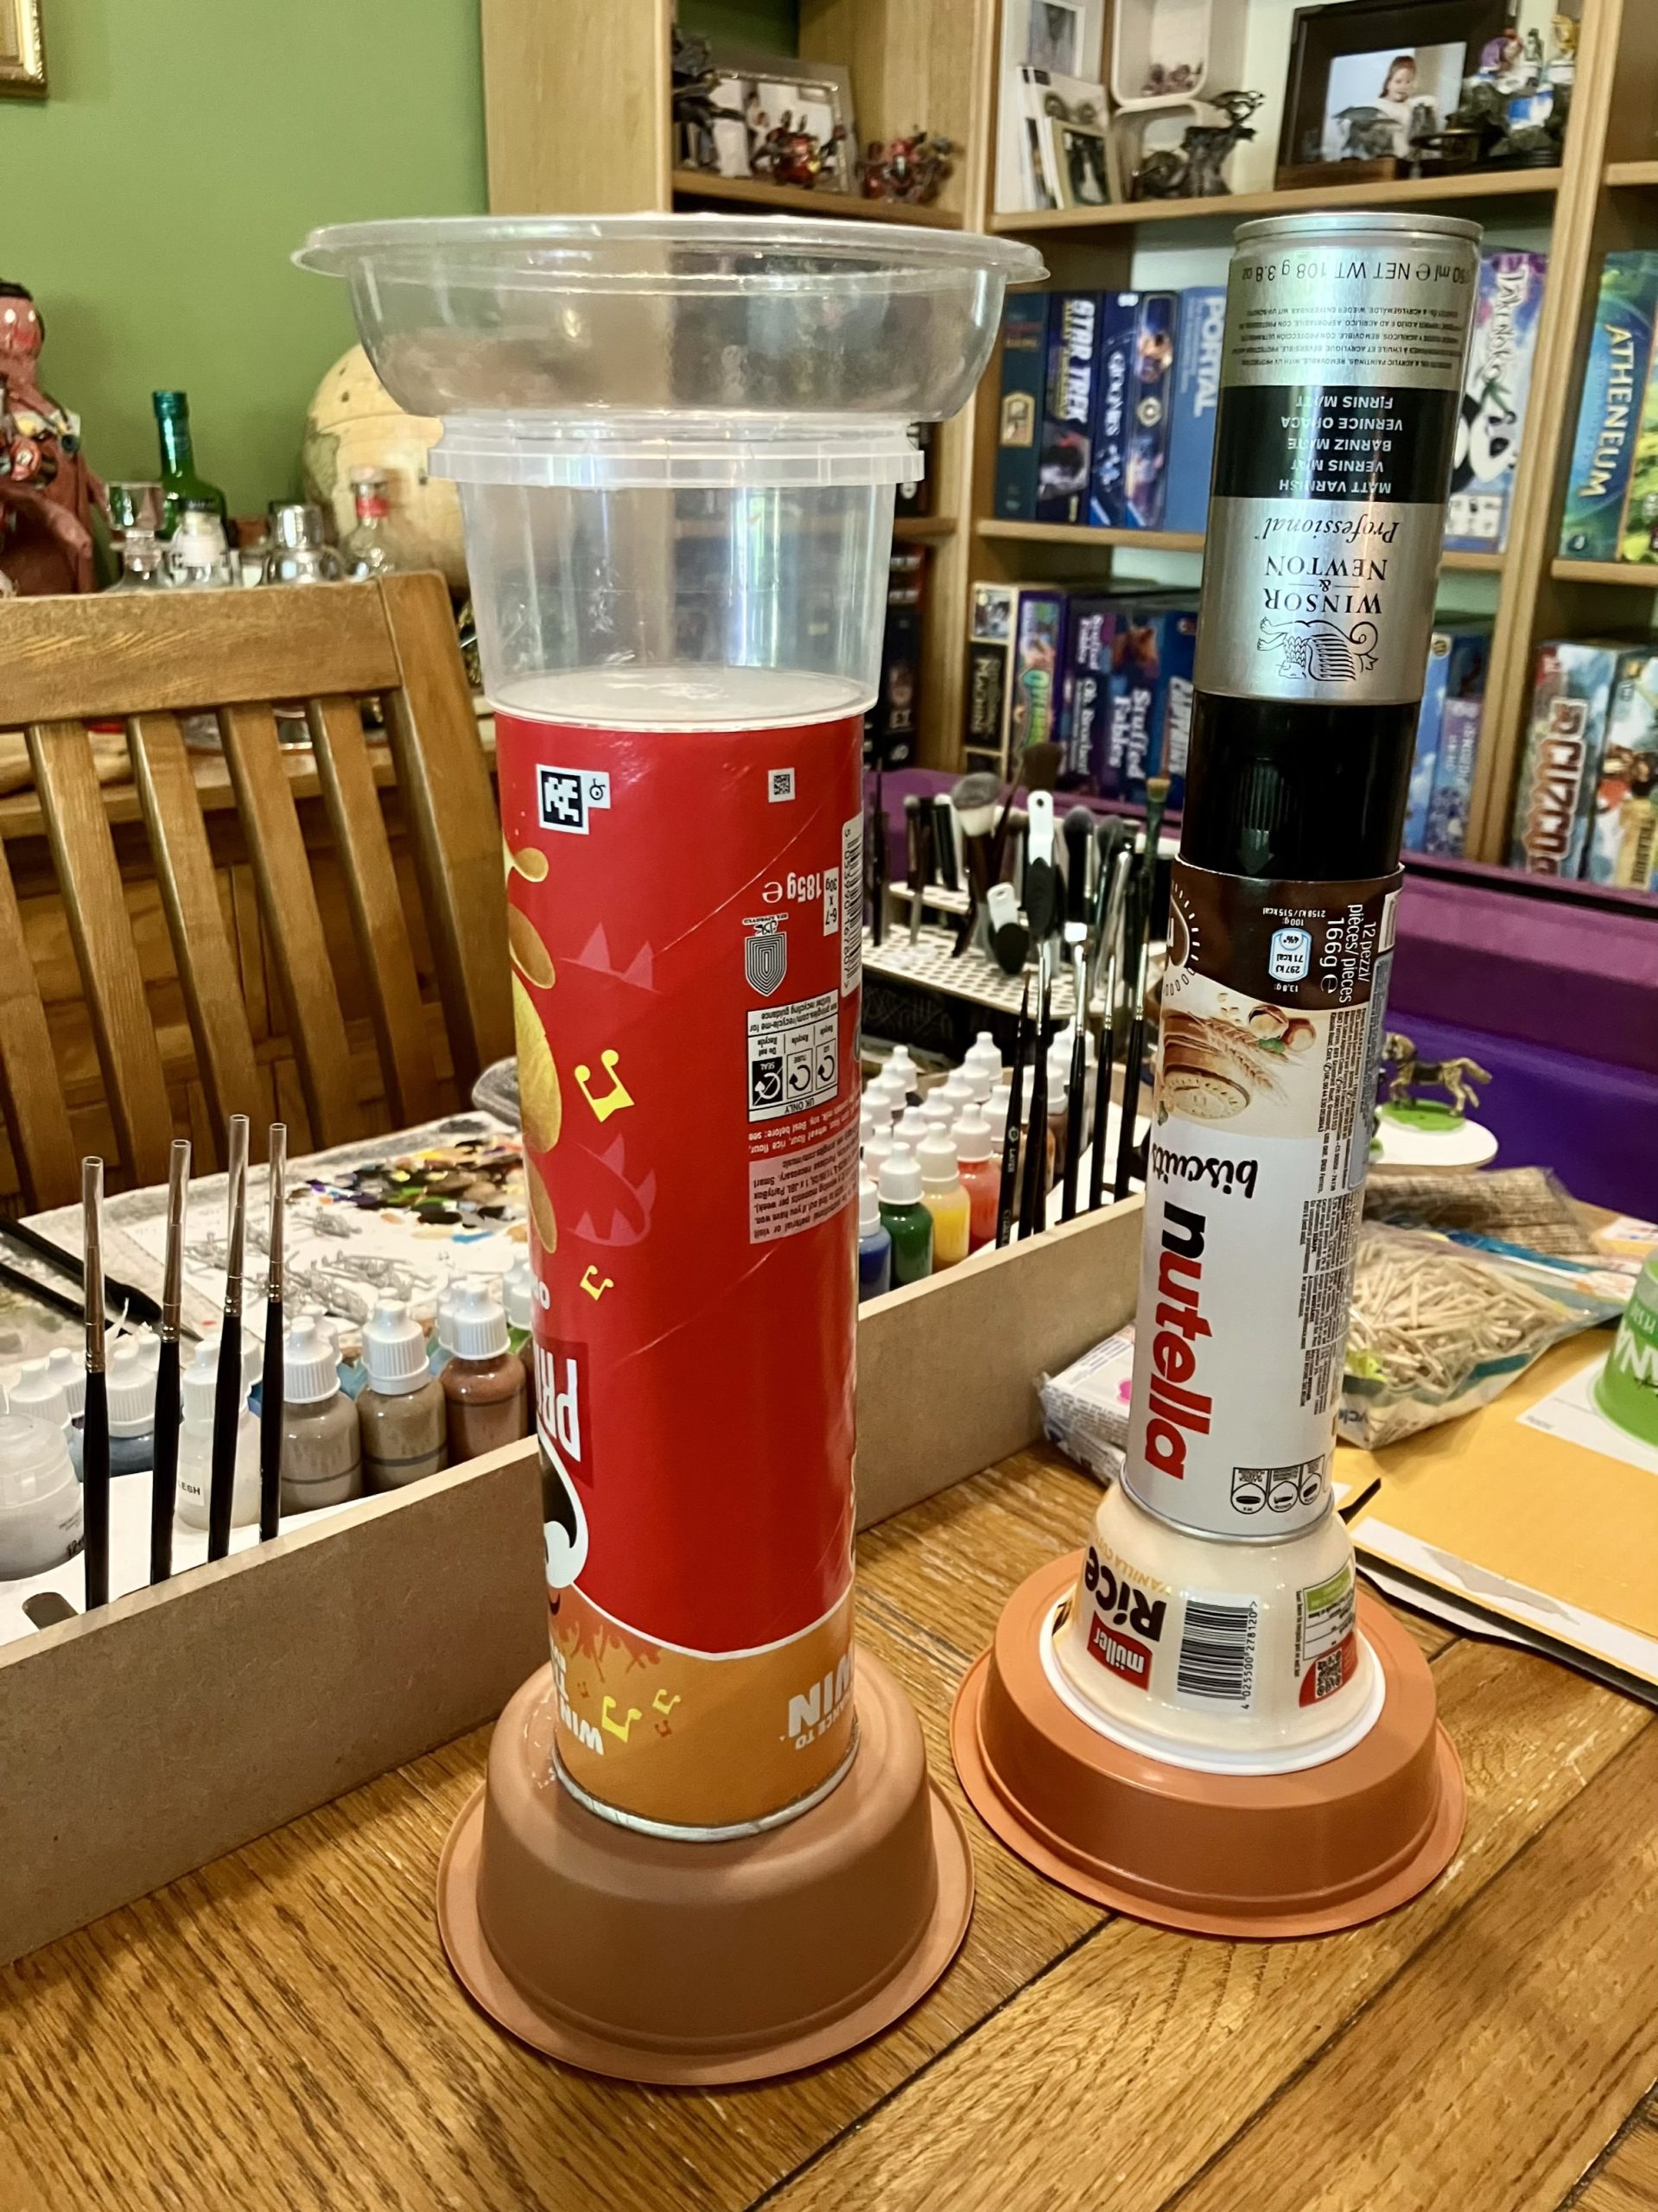 Stacked junk, the varnish can is just to weigh things down while glue dries
These look pretty good, so I use Impact Adhesive to glue them all together.
They’ll all be stuck together to make a super tall tower with a mid-height balcony.
Shaping up
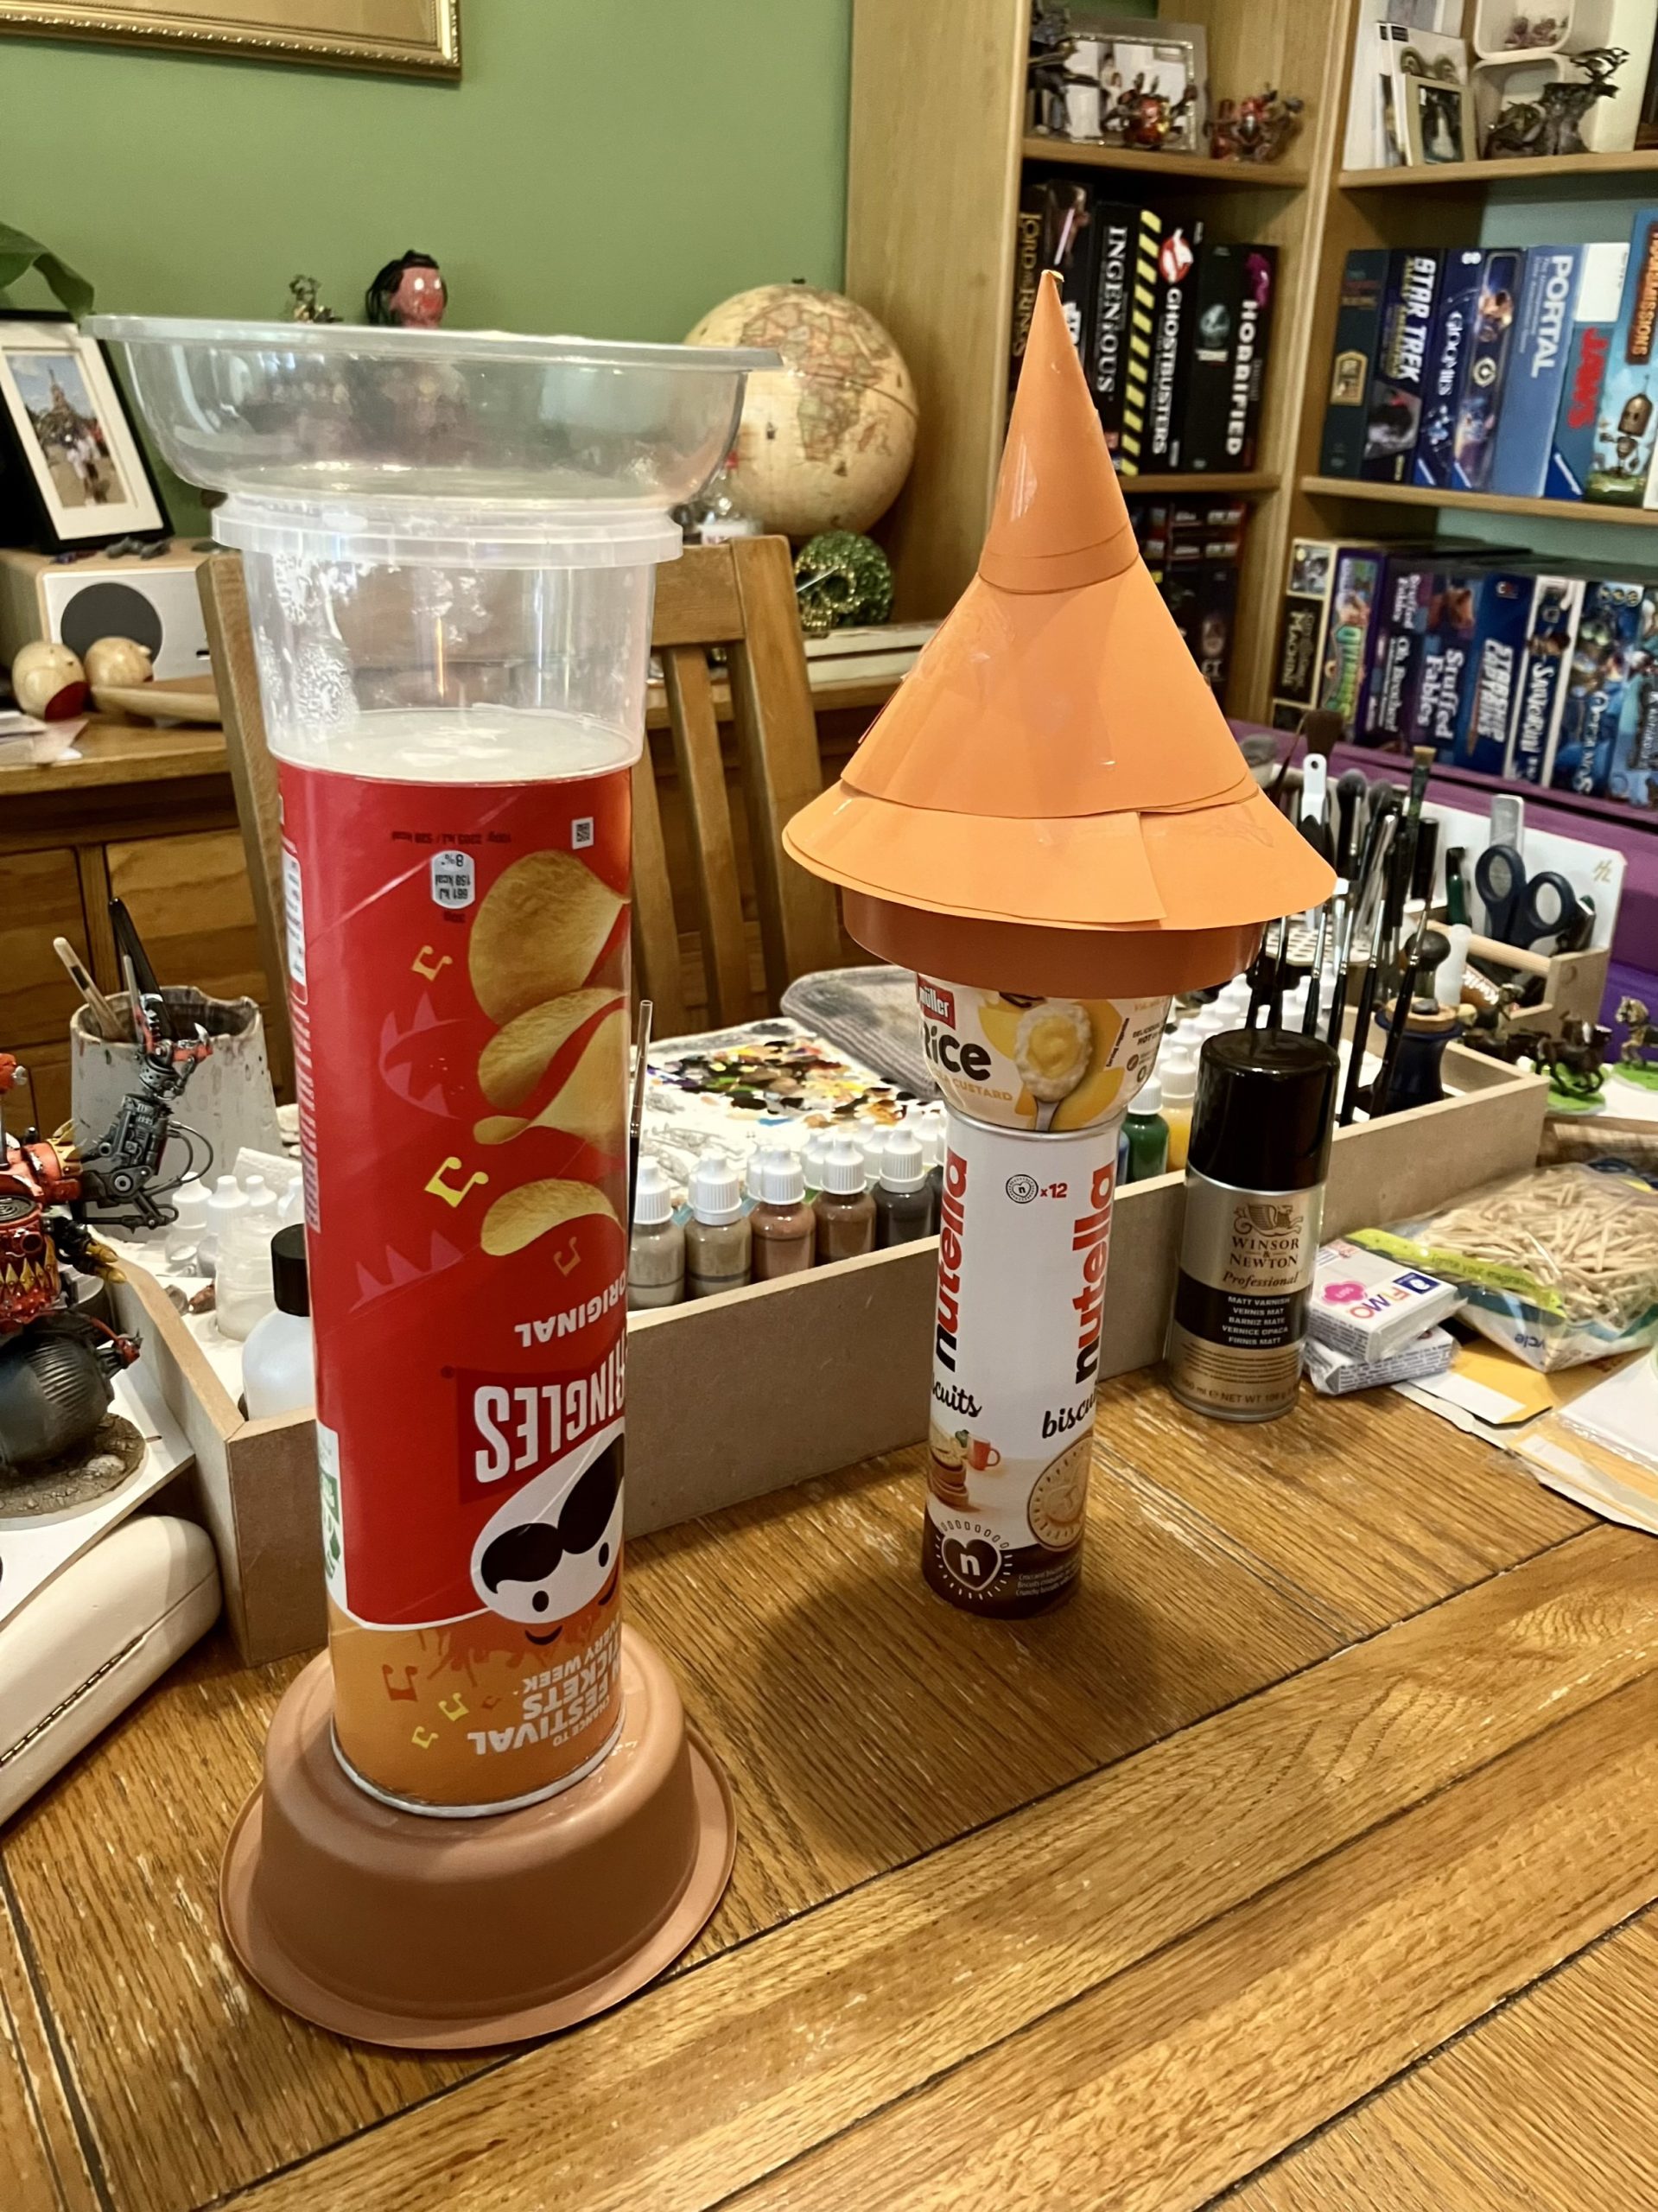 The tower sections, one now has a pointy roof!
With the two tower sections glued together, I needed to tackle the roof.
As this is a traditional wizards tower, it of course has to have a very pointy roof.
I cut a series of differently sized cones from card and shaped them into different proportions. Stuck together, they have a suitably rickety look that will hopefully still show through when tiled and painted.
Starting on details
No MDF or resin bits for me on this one, but I need to be starting on details such as windows and doors.
The curved surfaces of the two tubes make things a little tricky, so that kinda rules out card and wood (it doesn’t, but I didn’t think of a better way until after I’d finished this project !)
As I’m not great at sculpting, I turned to FIMO as I can spend time tidying it and then bake it to set it hard.
Using Affinity Studio, I quickly drew up a template for windows and doors that I could use when cutting rolled out FIMO.
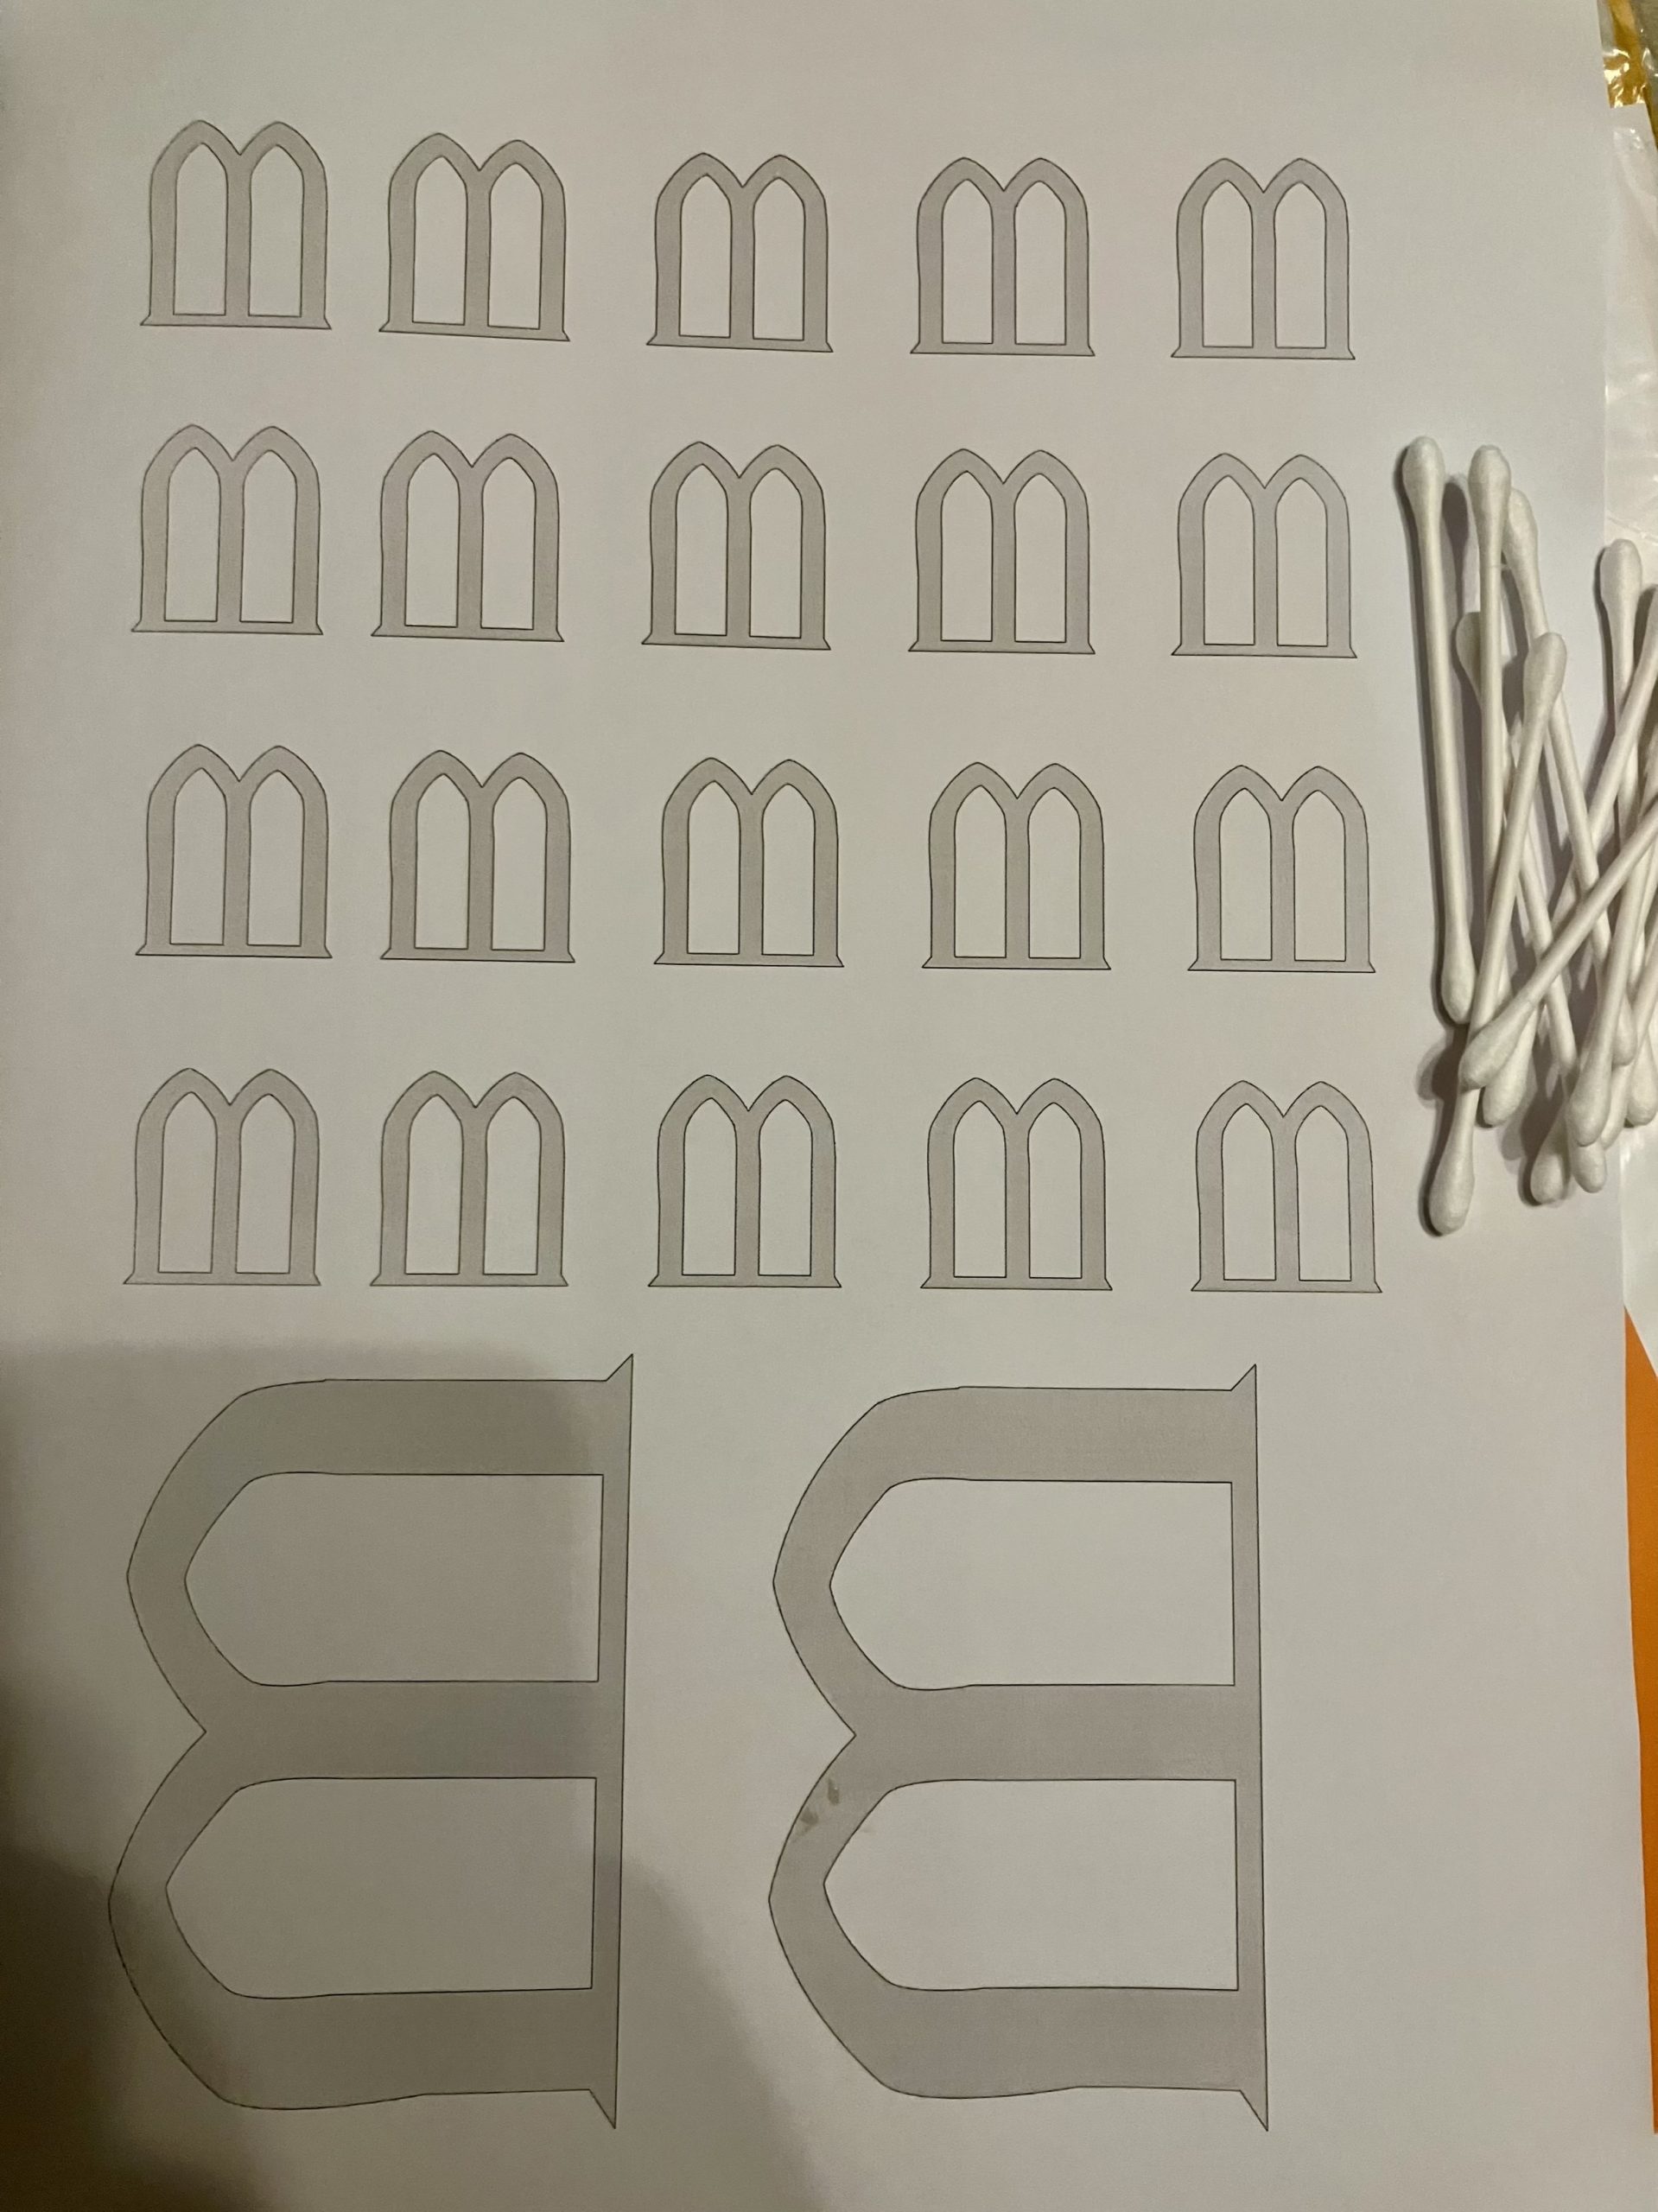 Paper template
I then had a go at rolling and cutting:
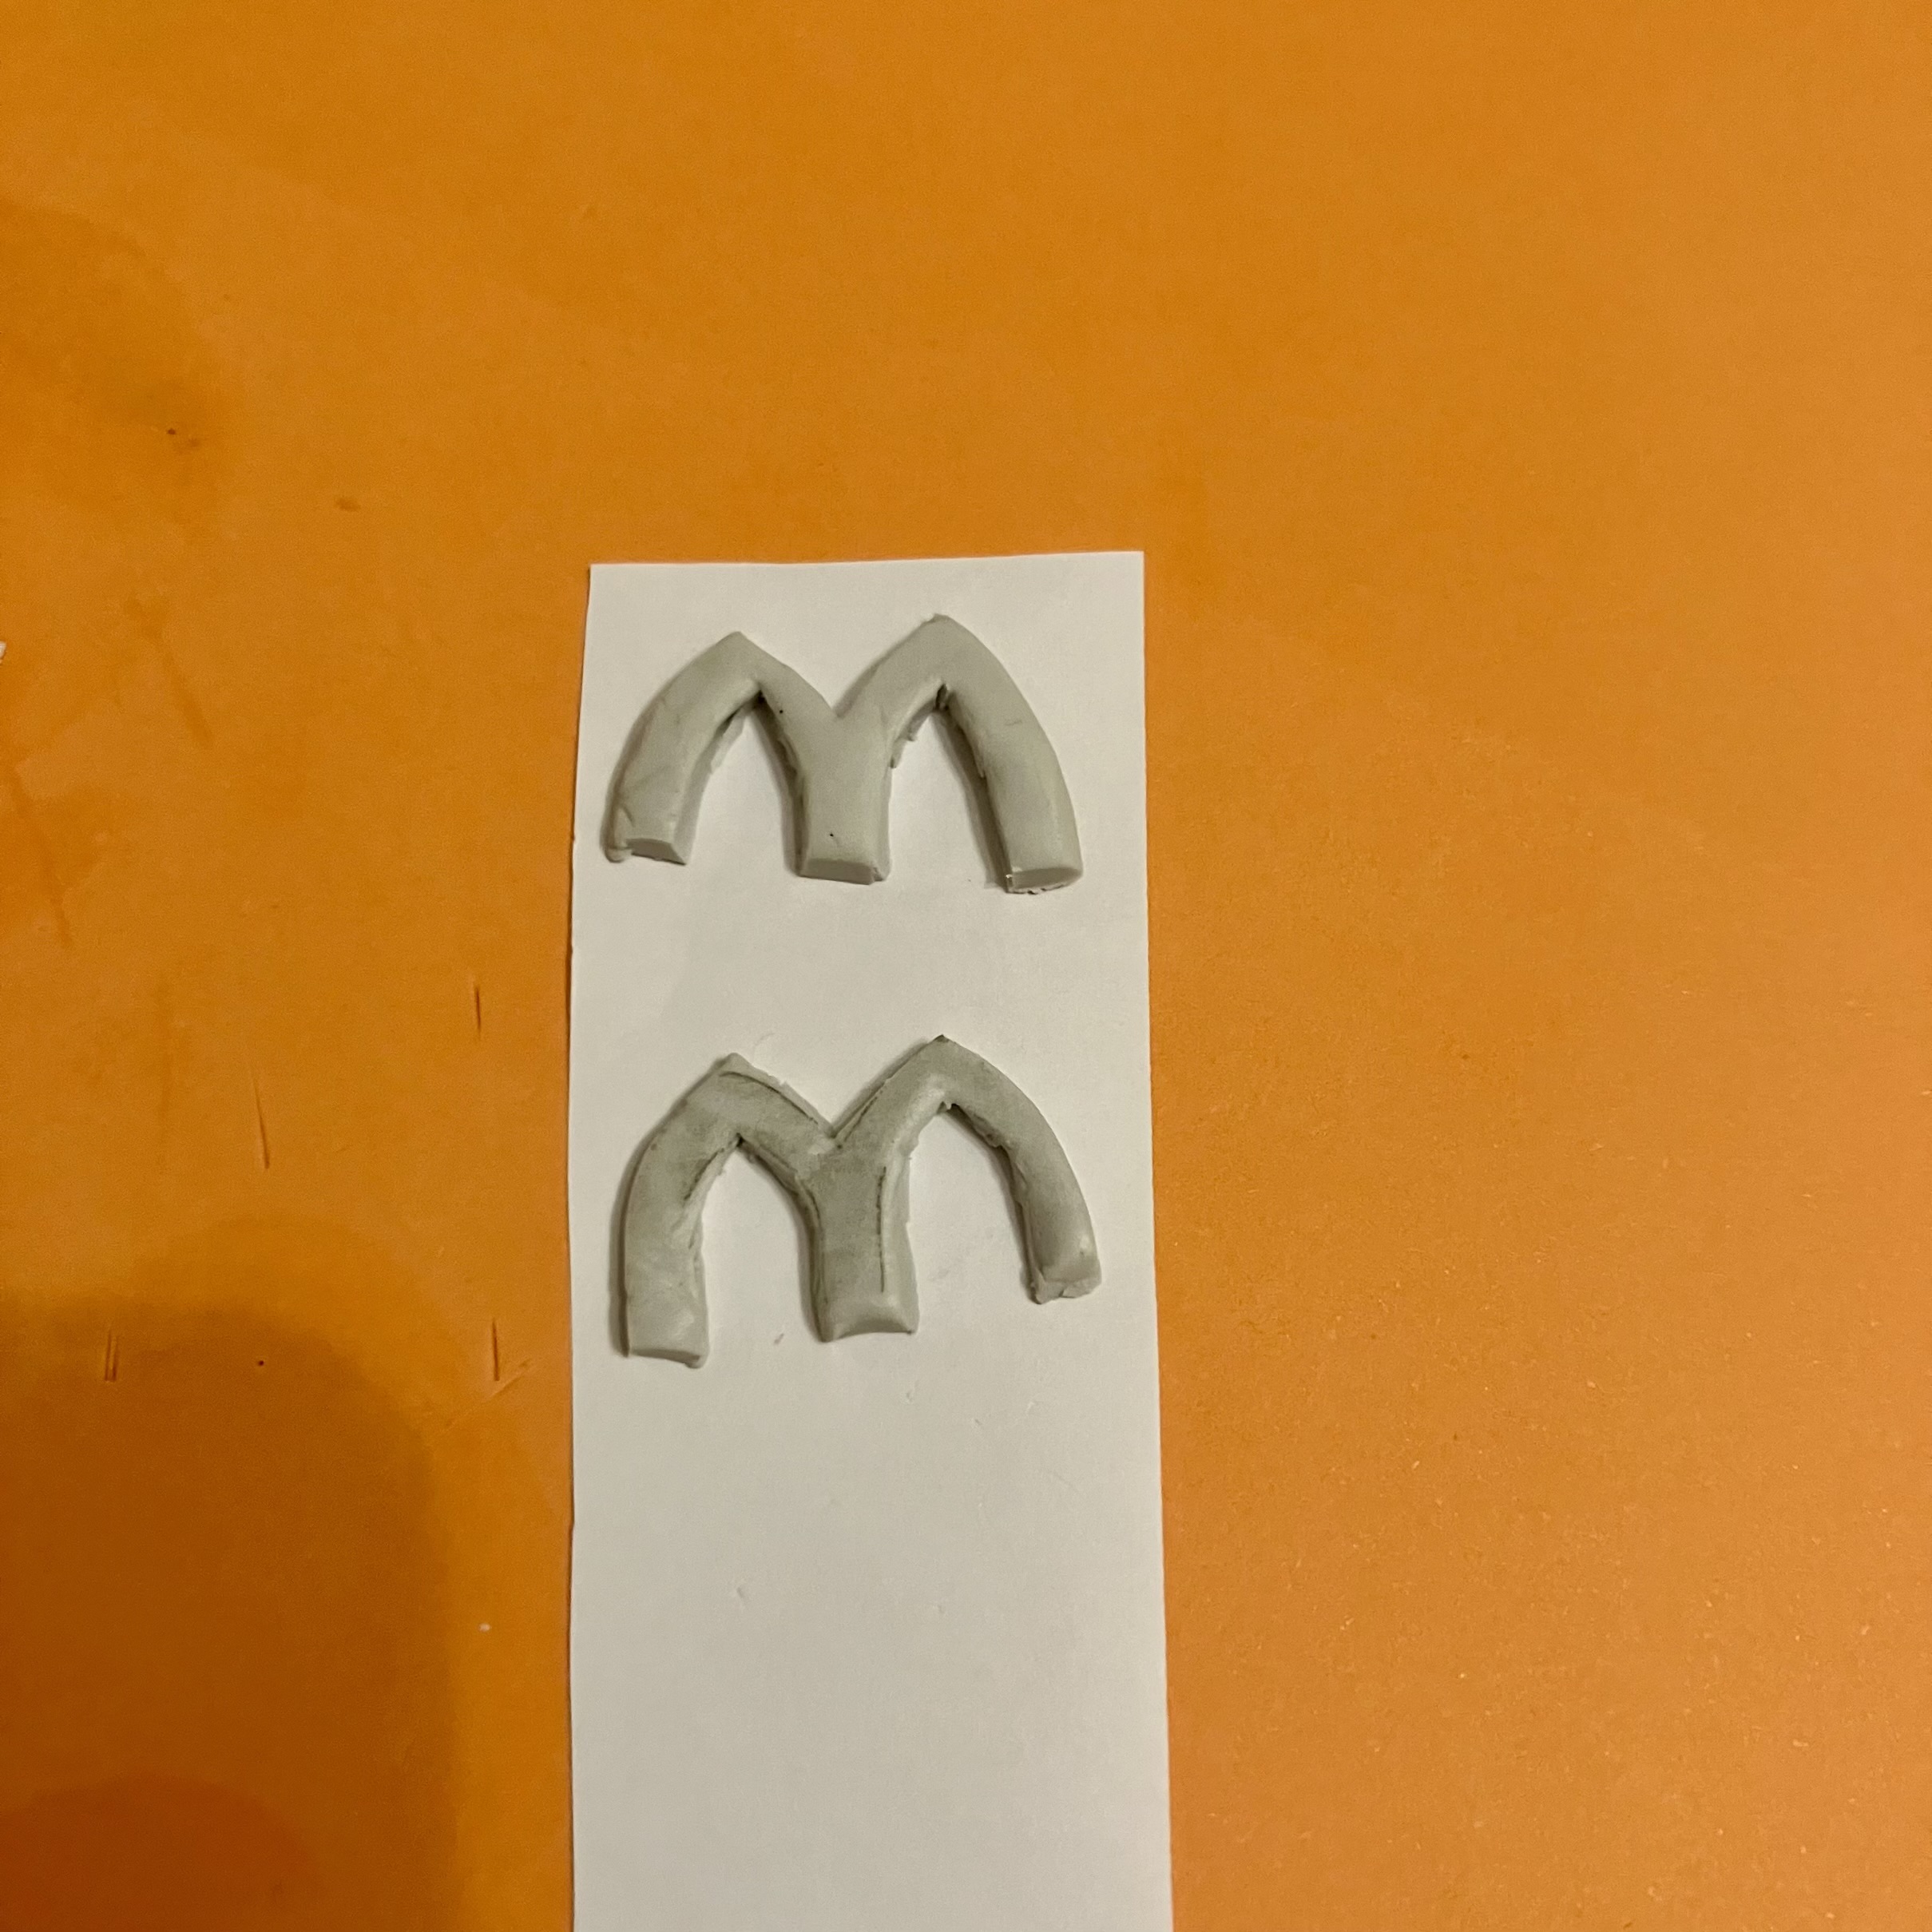 Wobbly windows!
No problem, we’ll fix it in post!
I draped these around a mug so that they would bake with a curve on them, and FIMO baked at such a low temperature I wasn’t worried about the mug.
At the moment, these do look very rough, so am hoping that the finished result looks better!
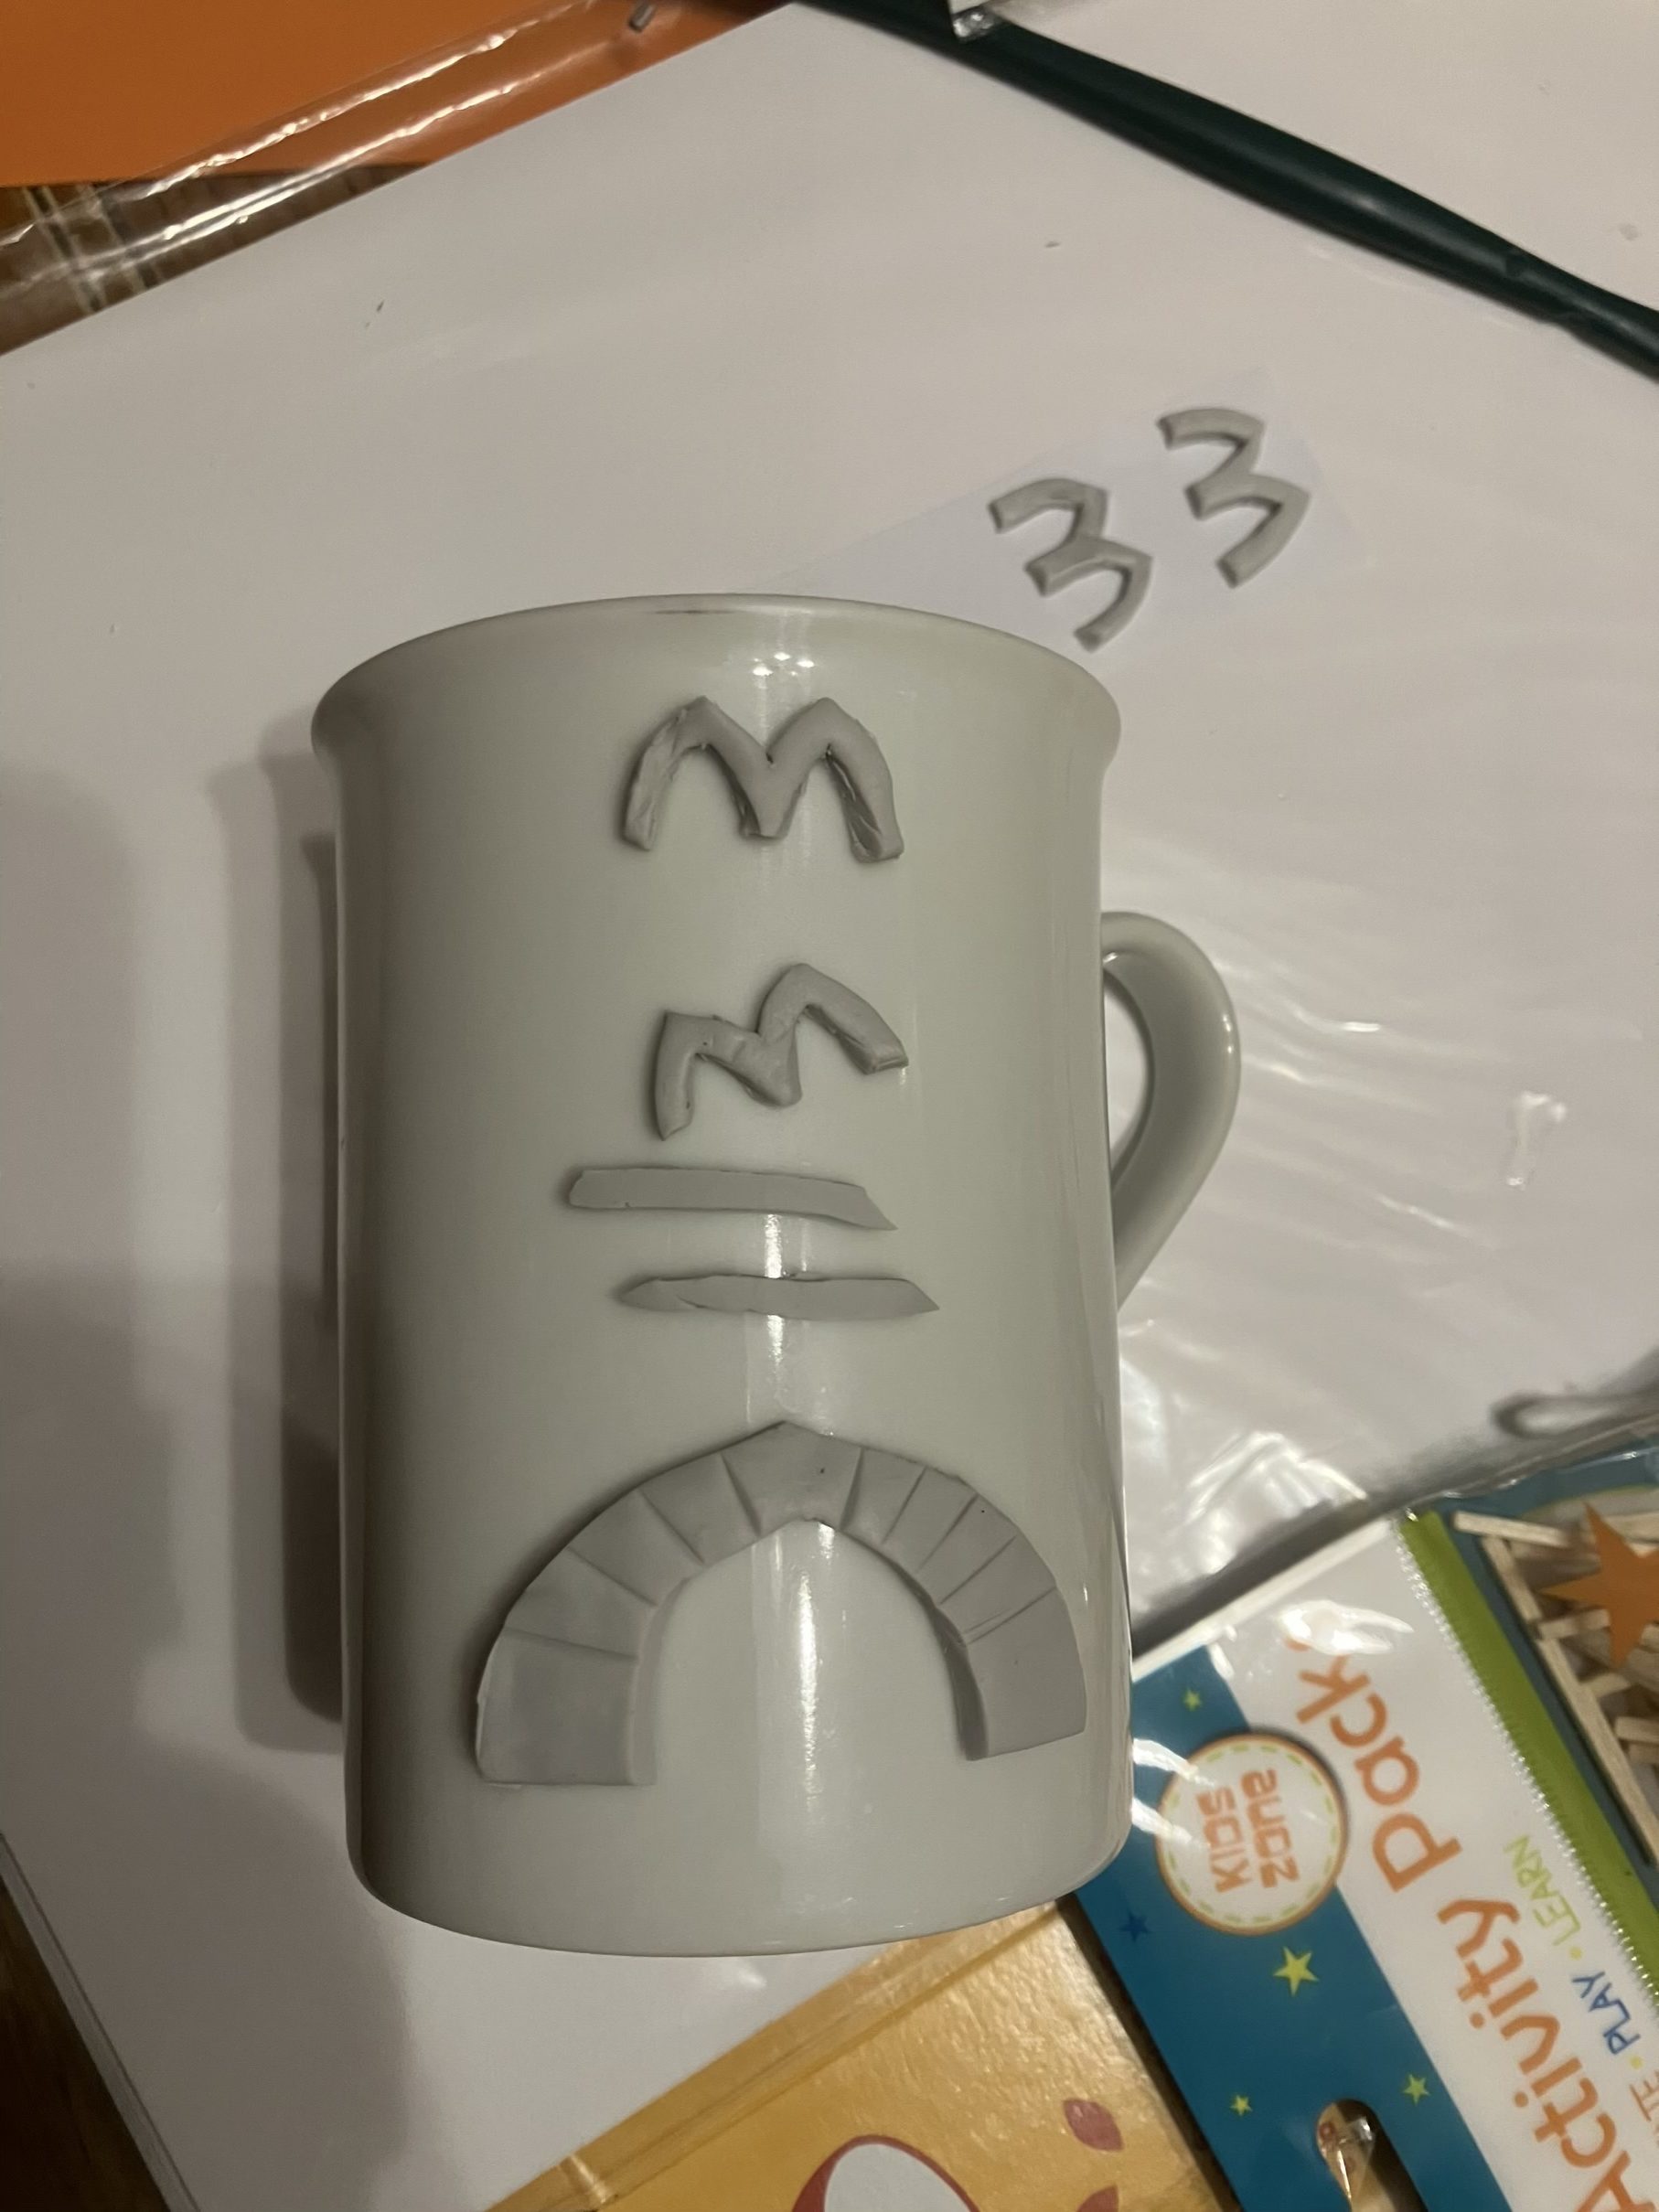 So ropey!
Considering more details
My next challenge was to figure out how to cover the walls with a stone texture. I could cut out lots of bricks or stones from FIMO, but instead came up with an idea that is either genius or very, very daft.
Enter the split pea.
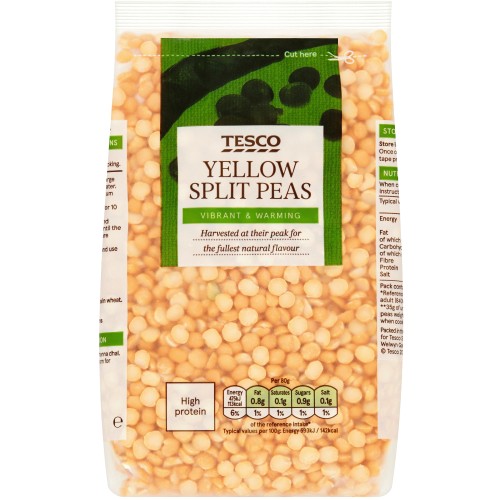 A bag of yellow split peas.
Because they have a curved side and a flat side, I thought I could just glue them and they might give a good cobbled effect, like Portchester Castle or something.
So that’s what I did.
 This could take some time…
Windows and doors
With the FIMO elements baked, I looked at what other materials I could use to add more details.
I did cut some bricks from FIMO, to mainly be used around windows and doors, and in some areas to break up the cobblestone – like it’s been repaired or made with repurposed stone.
I also used trimmed cotton bud (q-tip) wands as window supports and detailing around the main door.
And of course, you can’t do a scratch build without some obligatory coffee stirrers!
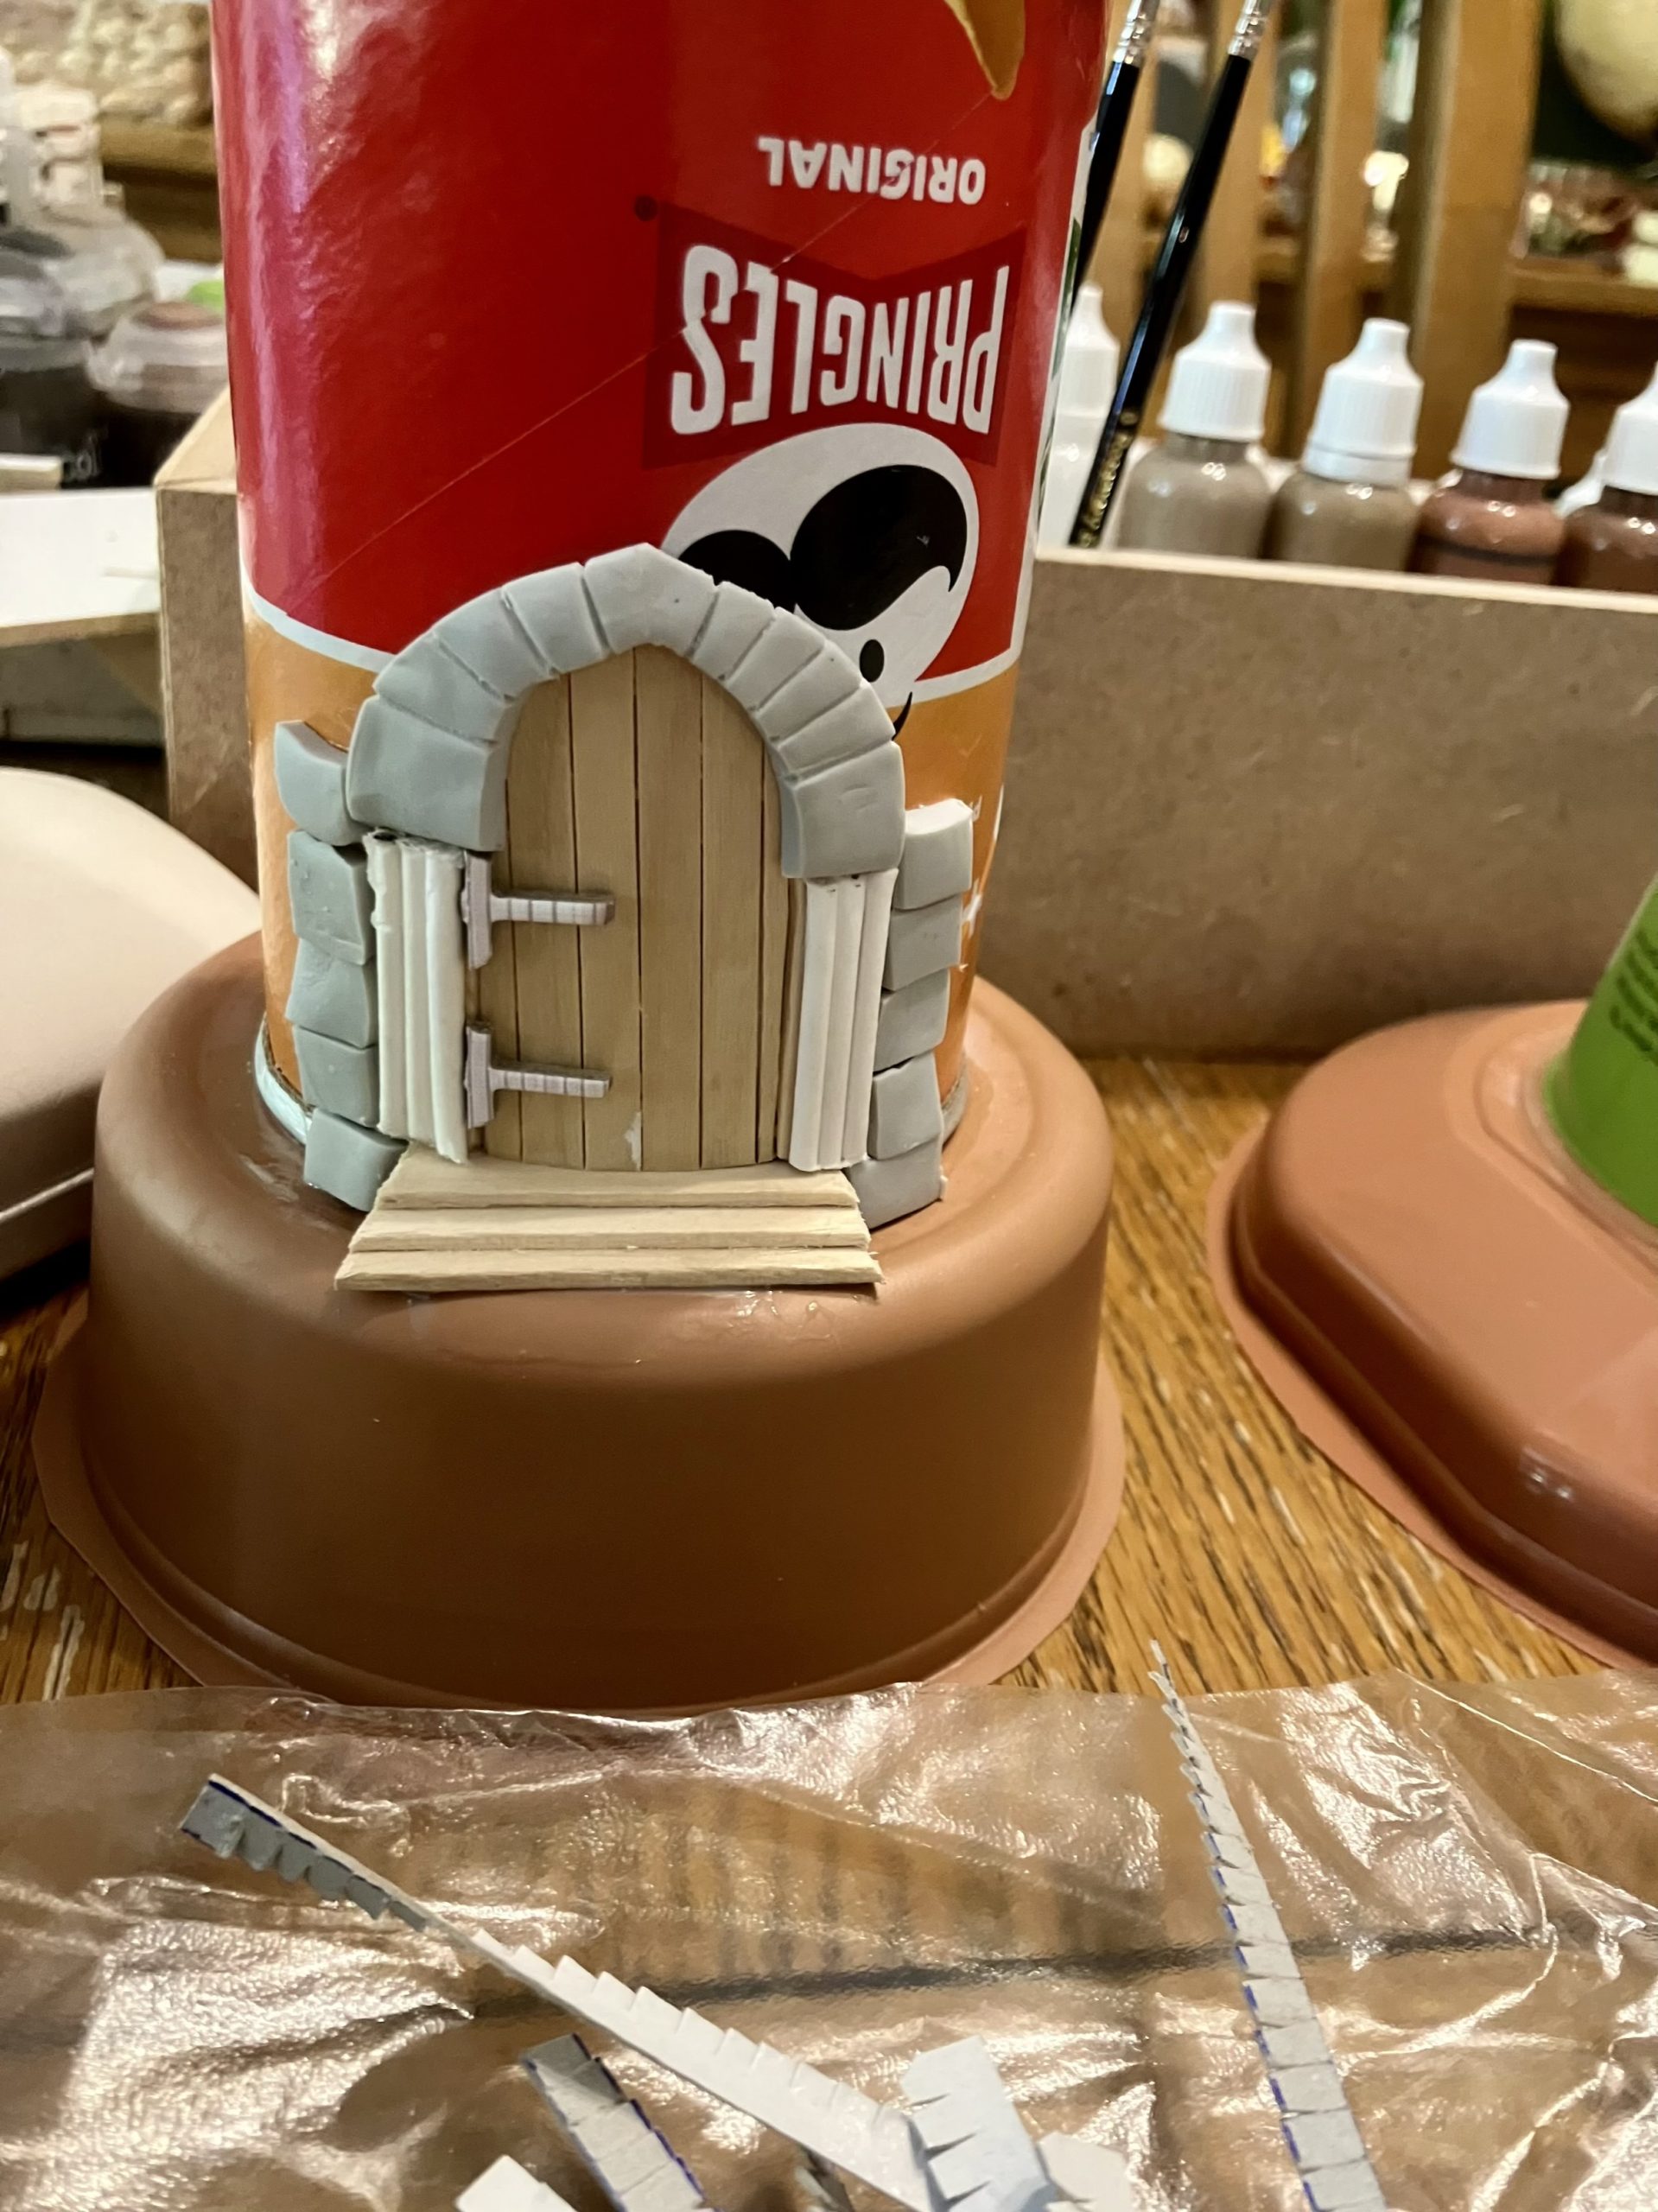 The main door made from coffee stirrers, FIMO and cotton buds
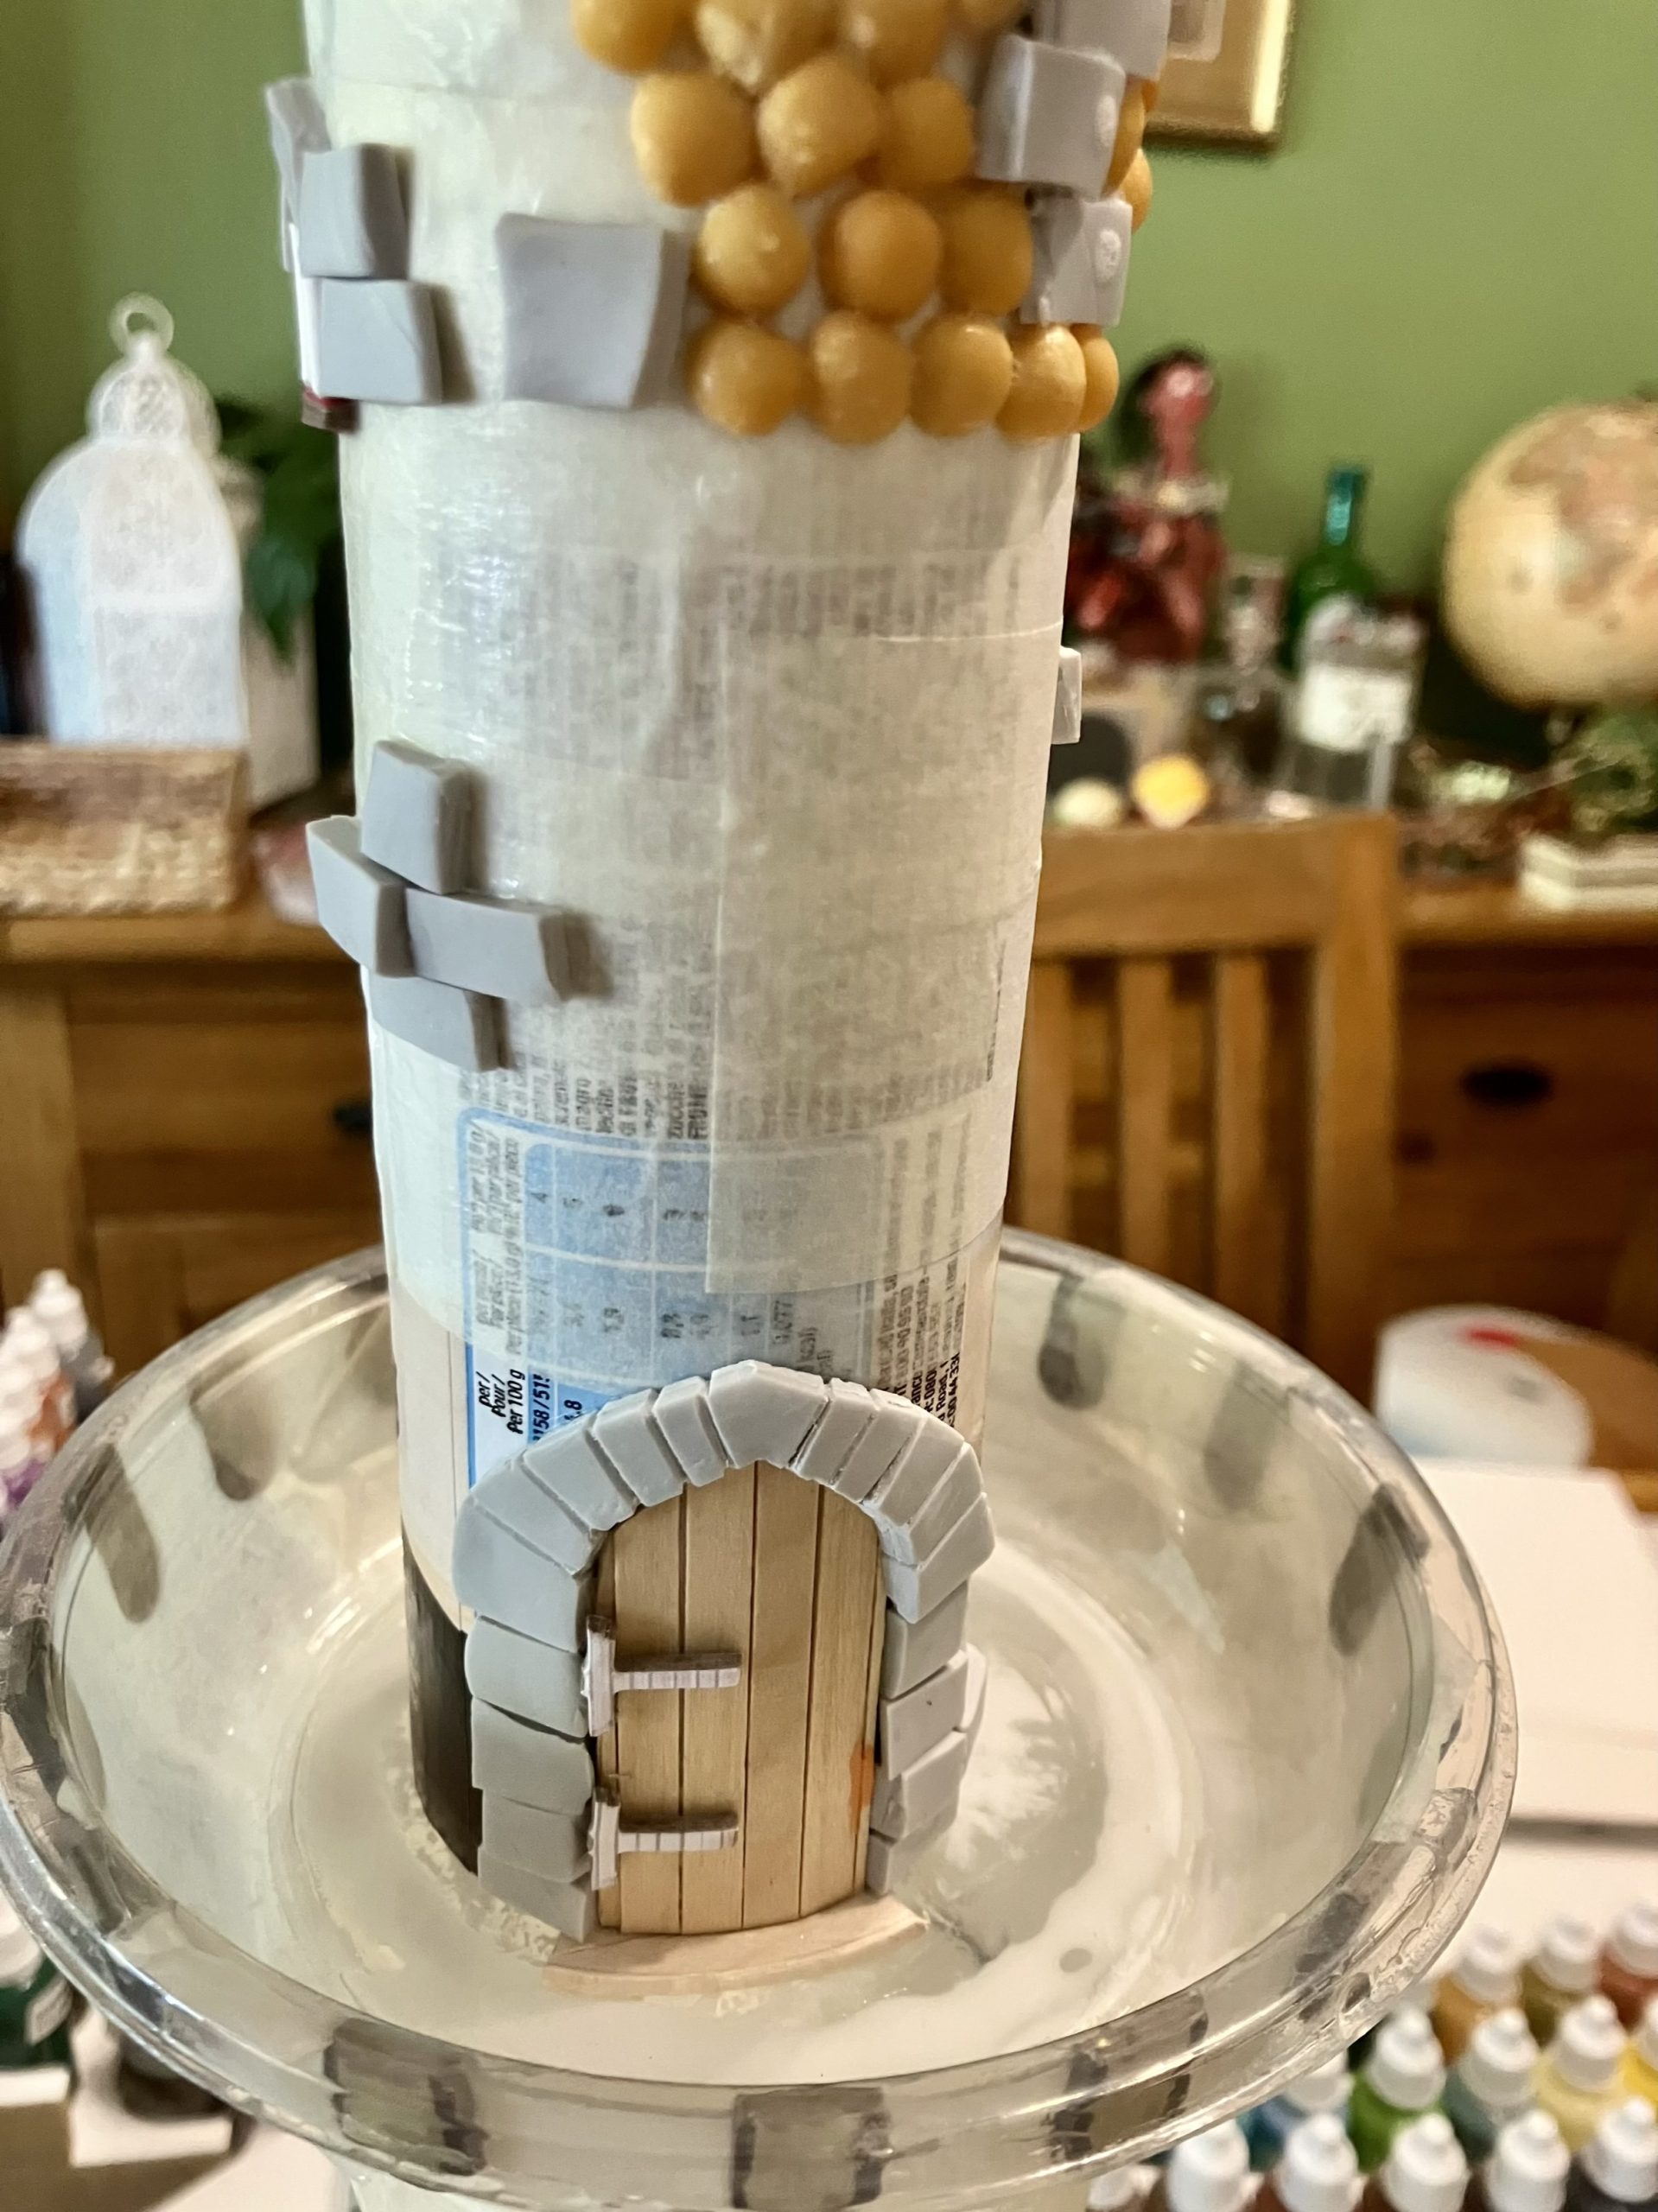 Upper tower door, again made from coffee stirrers and FIMO.
Peas are good, peas are good
Ah ah, they’re Ebeneezer Good.
This is what the towers end up looking like when fully pea-d. I’ve got a little tub of cardboard bits from punching out board games and these little cardboard crosses look like those reinforcing bracers that really old buildings sometimes have. Painted up in metal, they’ll look pretty good I reckon.
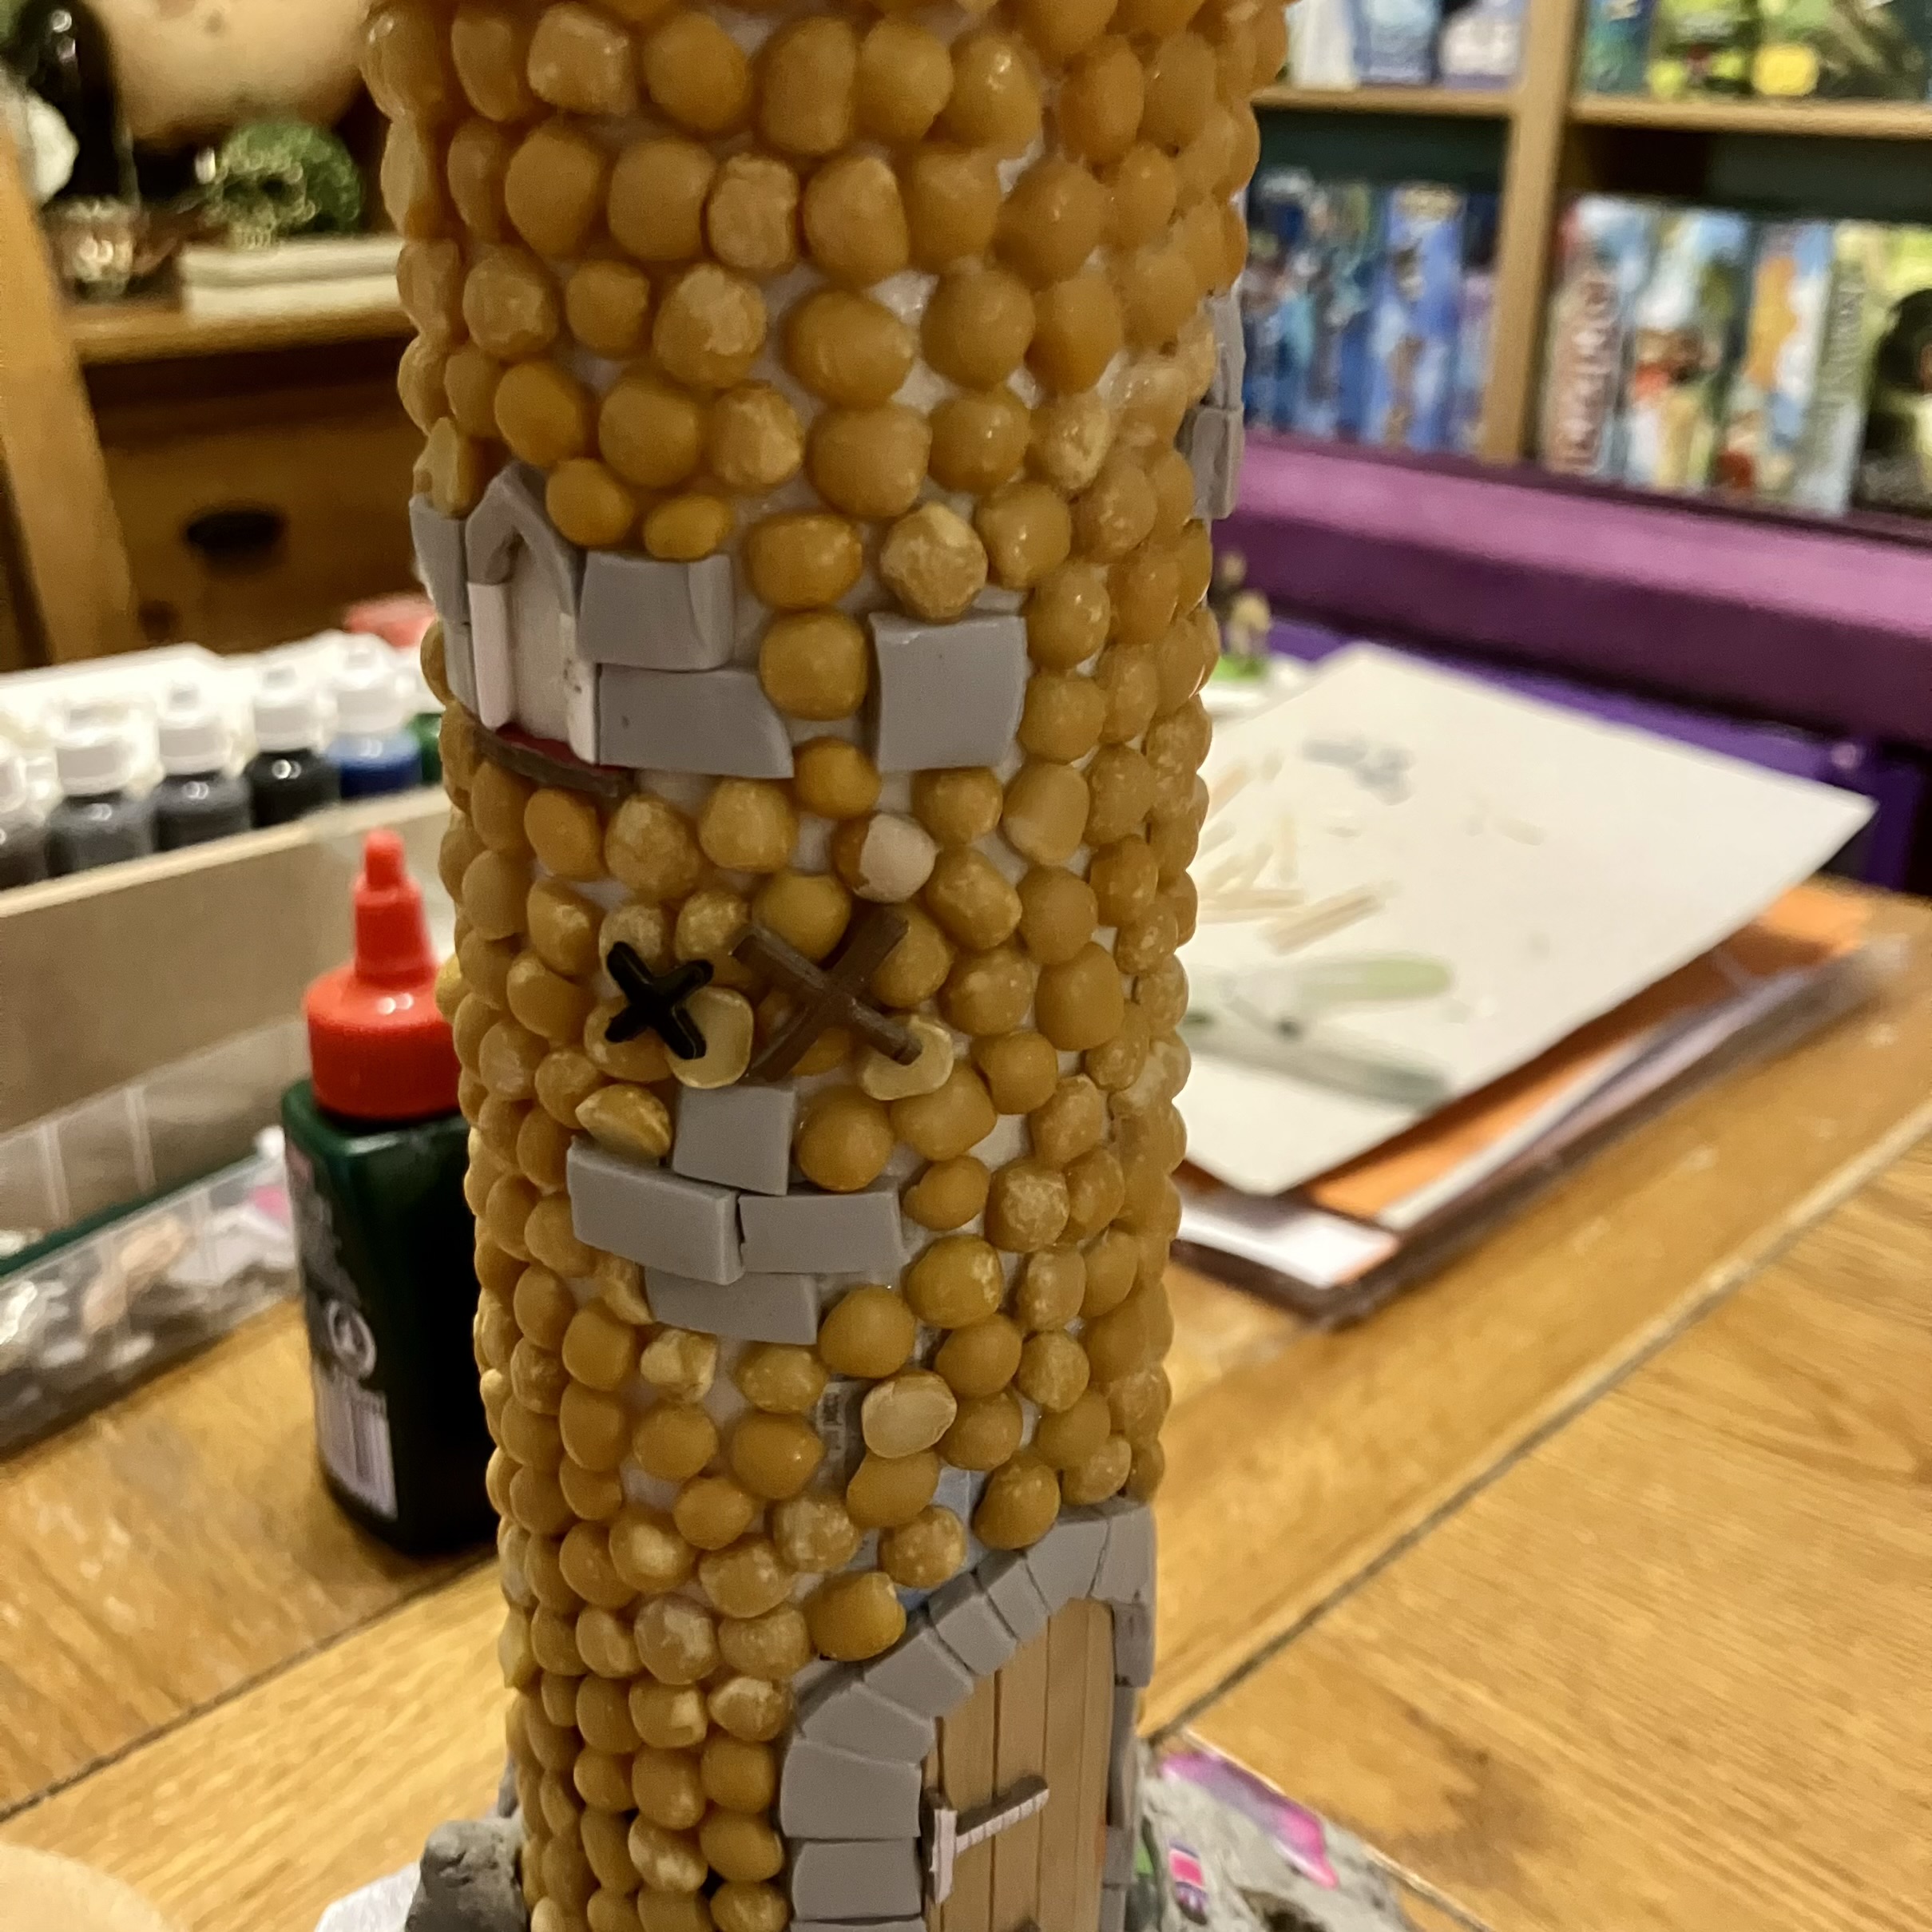 A fully pea-d up tower.
Going modular
I’m building the tower in two parts for ease of handling – with the intention of gluing them together towards the end. But then it struck me – why not go modular?
It’ll make it easier to store and give me more options for how to use them on the table.
 This will be tall!
This means I’ll need a base for the smaller tower to stand on when not seated atop the other tower.
using some trusty ready meal containers (Bombay potatoes and Coleslaw I think) I made a stack on an MDF base.
Then, crumpled foil added bulk and made it more organic, before having a liberal application of DAS modelling clay. I pushed some small rocks, bits of card for steps and then pressed foil and stone texture into it.
It looks terrible!
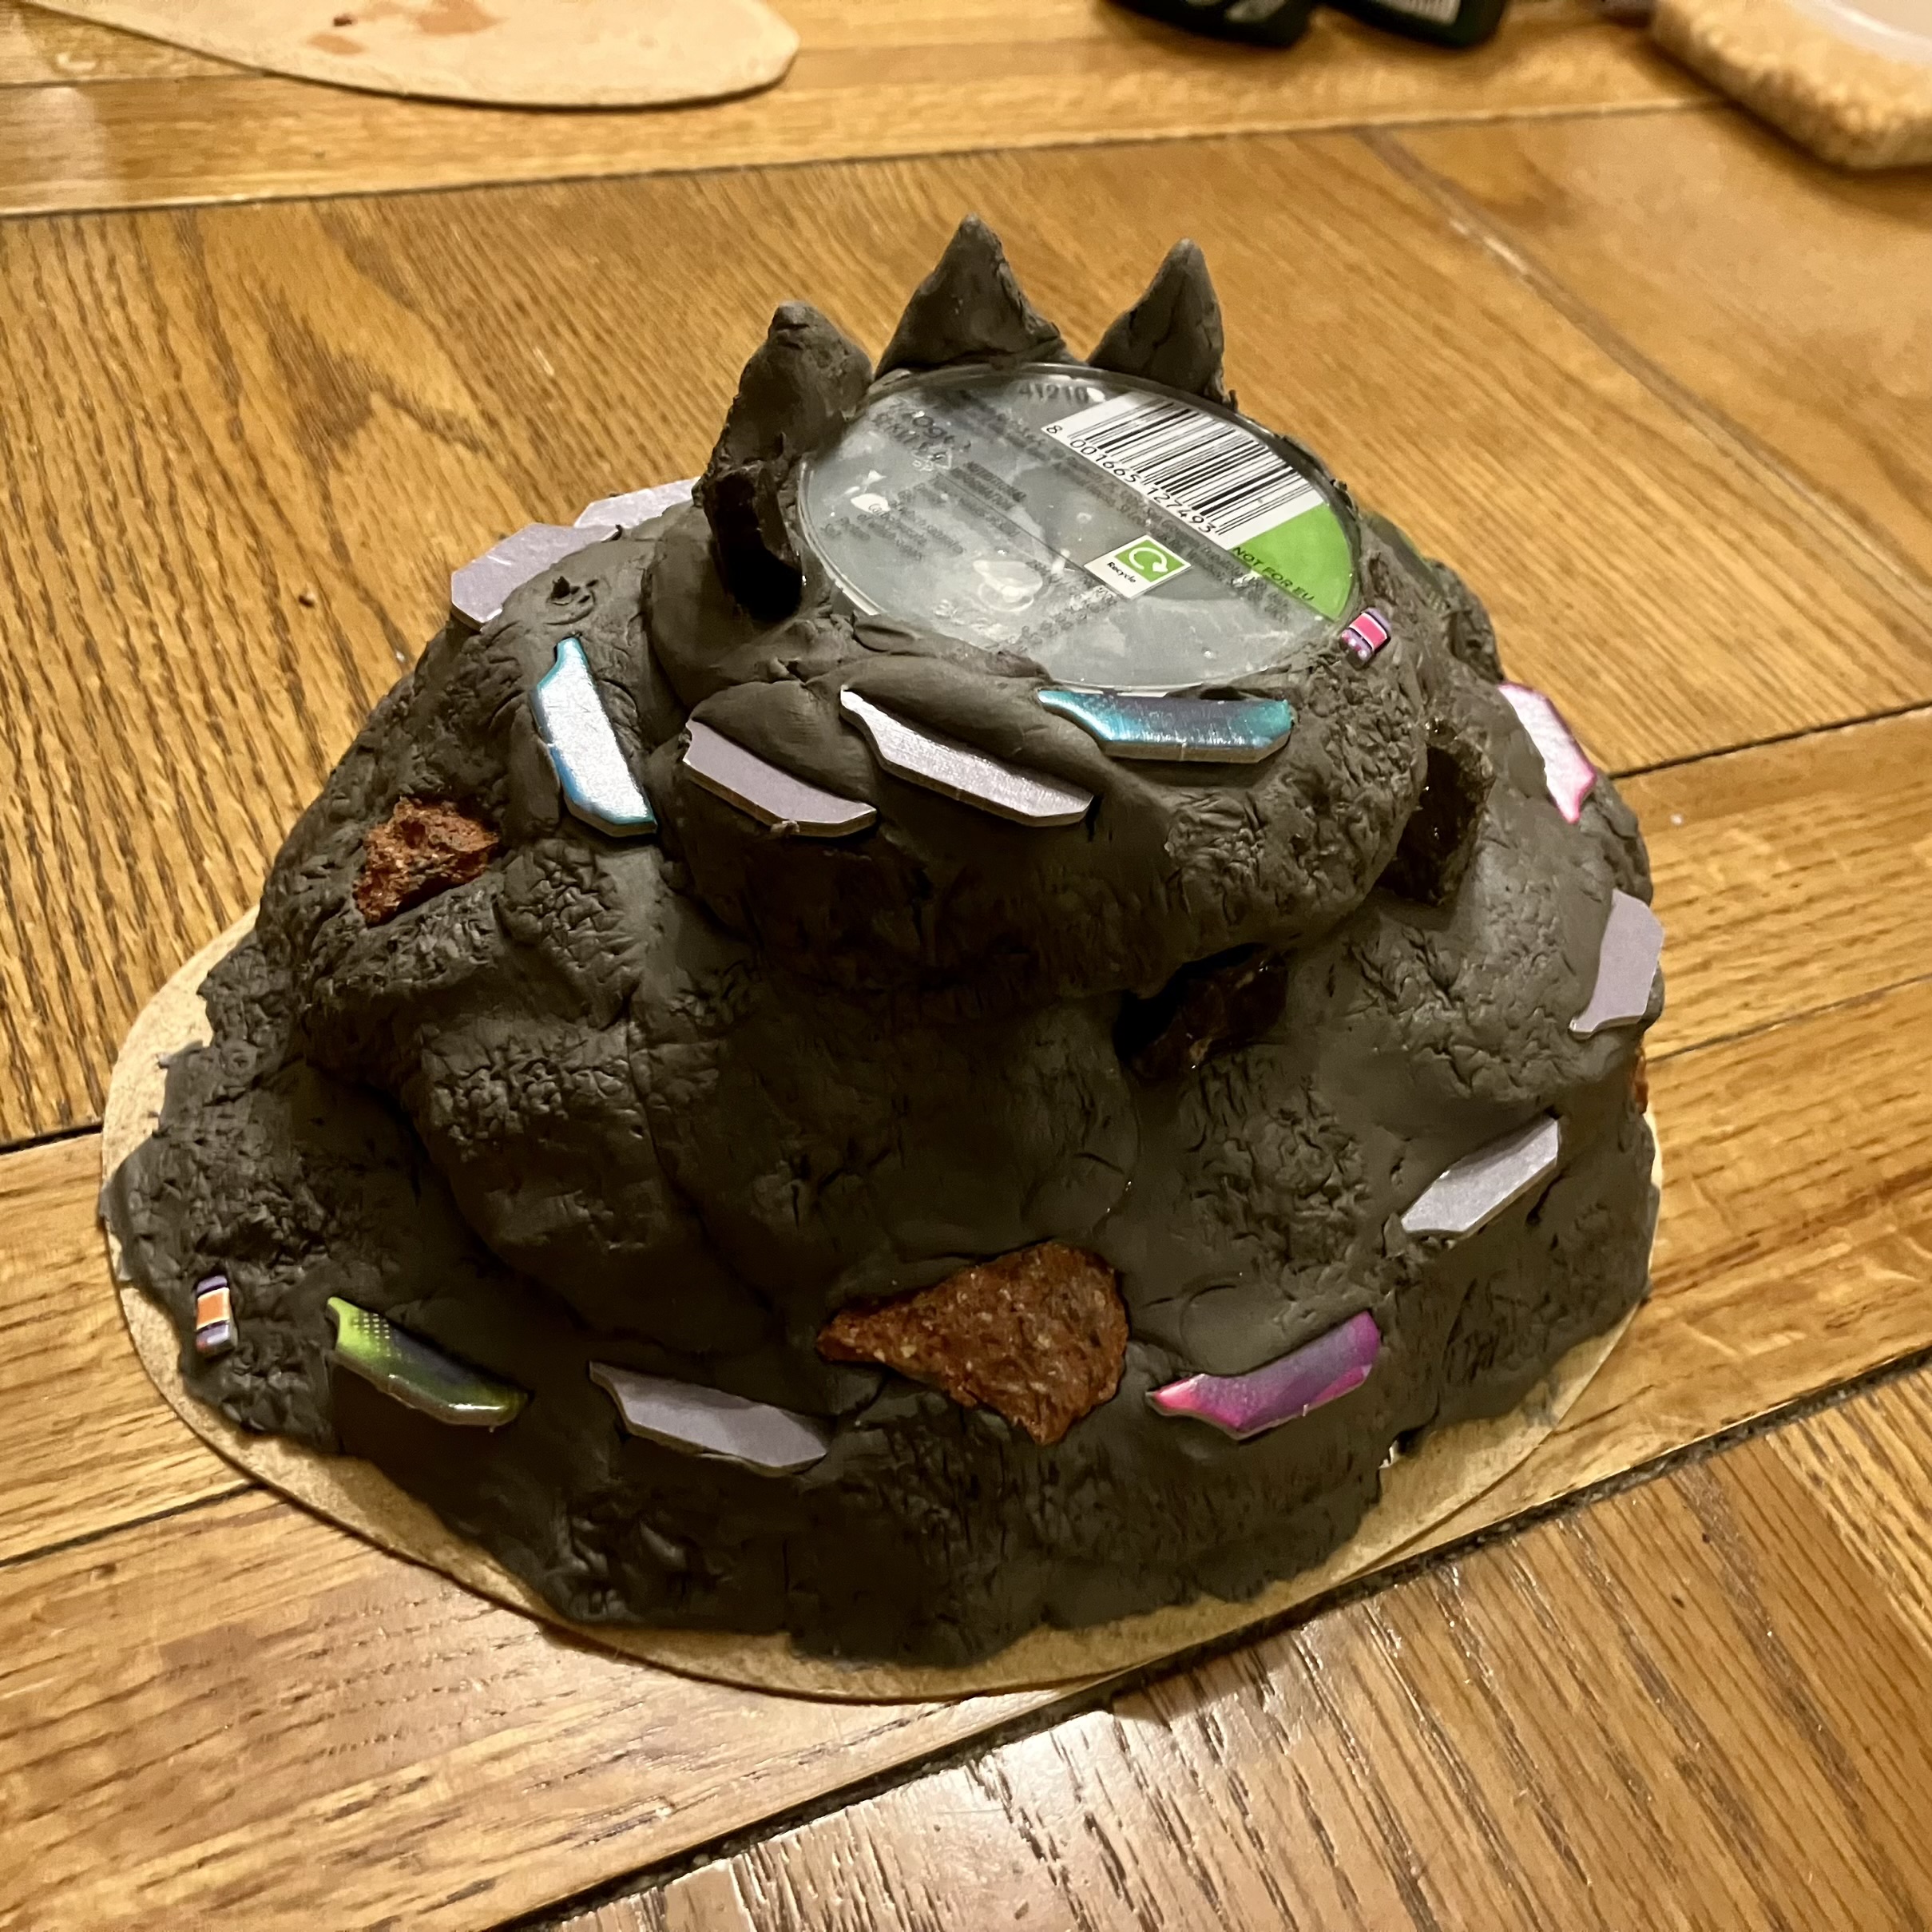 Oh my!


![StarCraft Tabletop Miniatures Game Pre-Orders Live Now [Updated]](https://images.beastsofwar.com/2026/03/starcraft-tmg-news-cover-600-338.jpg)


