


Foehammer’s Konflikted Painting Table


Recommendations: 293
About the Project
Documenting my Konflikt 47 projects, as well as my numerous other distractions and tangents.
Related Game: Bolt Action
Related Company: Warlord Games
Related Genre: Pulp
Related Contest: Bolt Action: Western Desert Boot Camp
This Project is Active
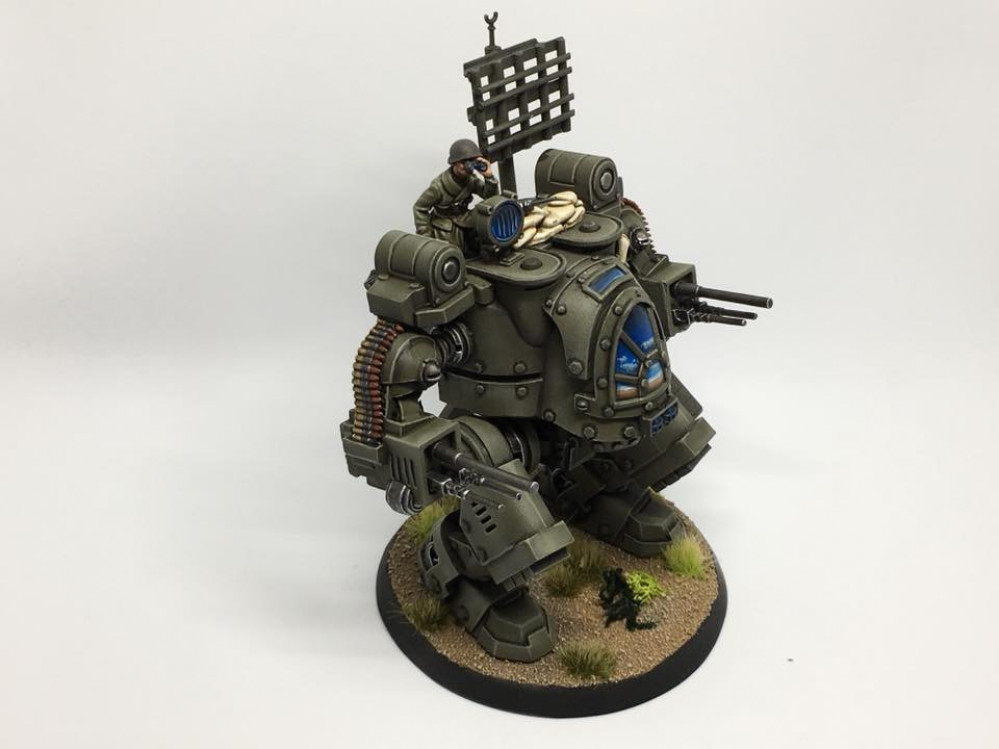
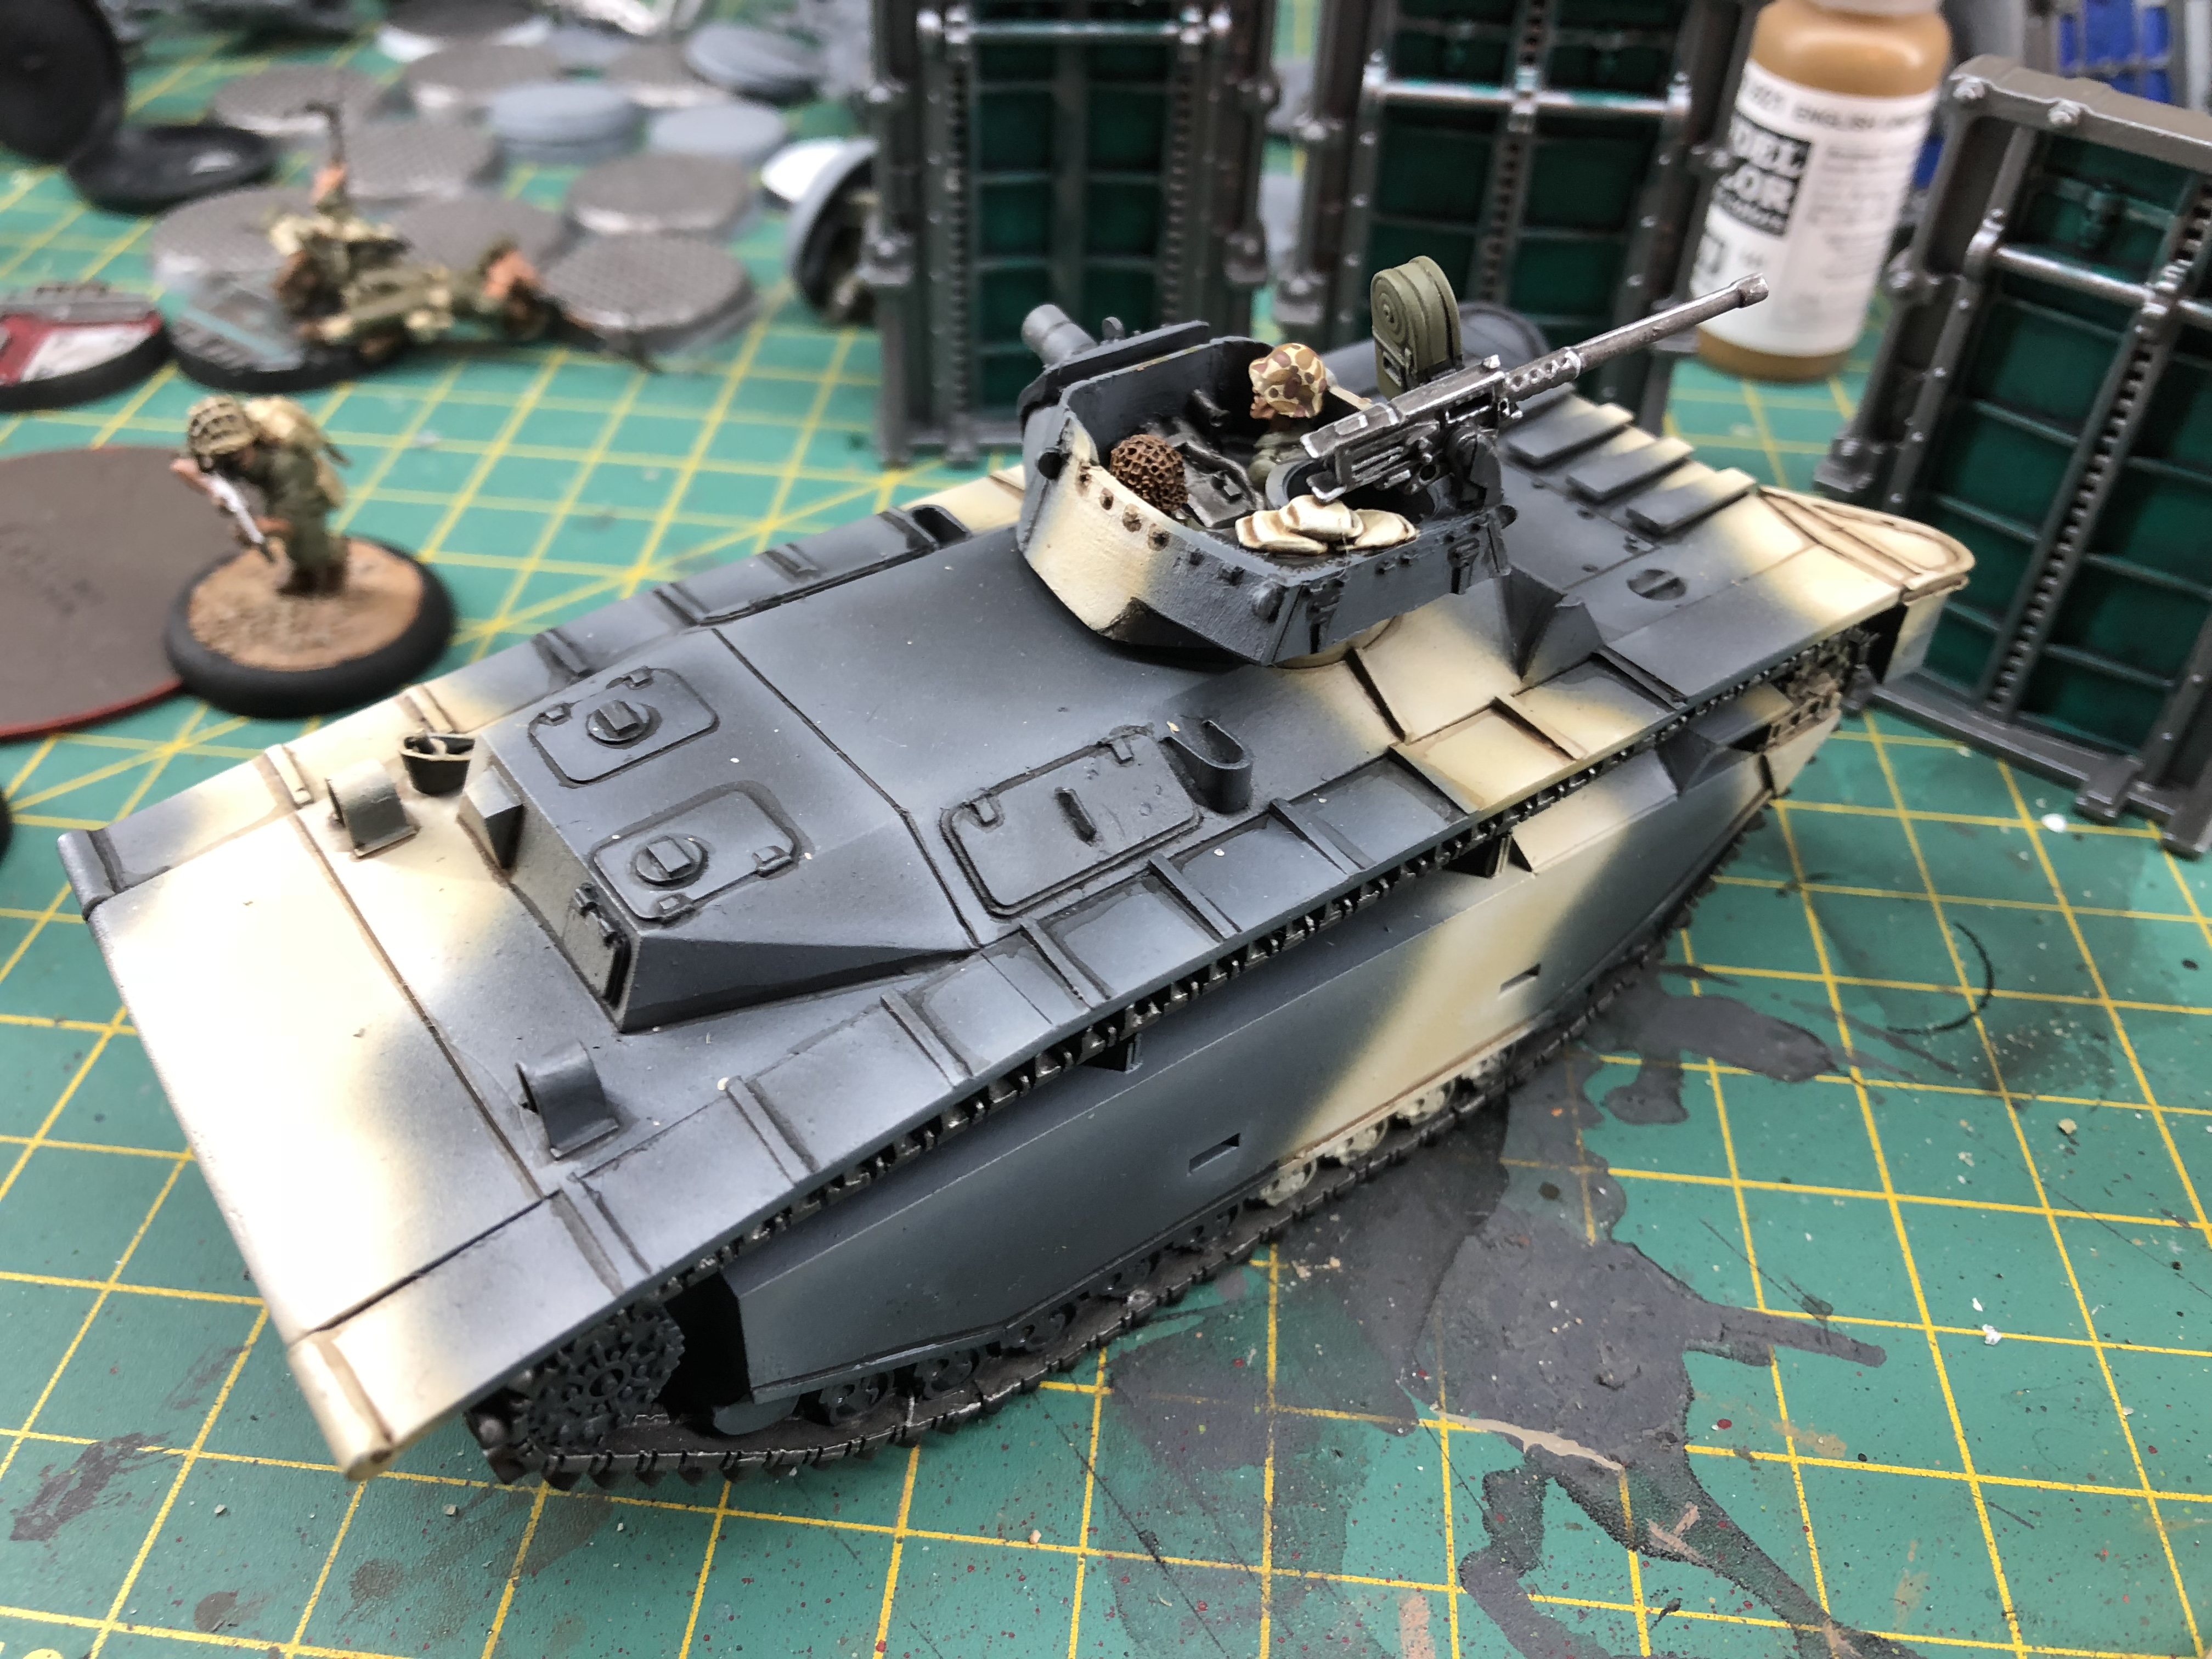
It’s Amphibious
WIP of my new LVT-A4 thanks to Defiance. The most imposing unimpressive tank model in my collection. It dwarfs my Shermans, but packs a whopping damage 7 and a light howitzer.
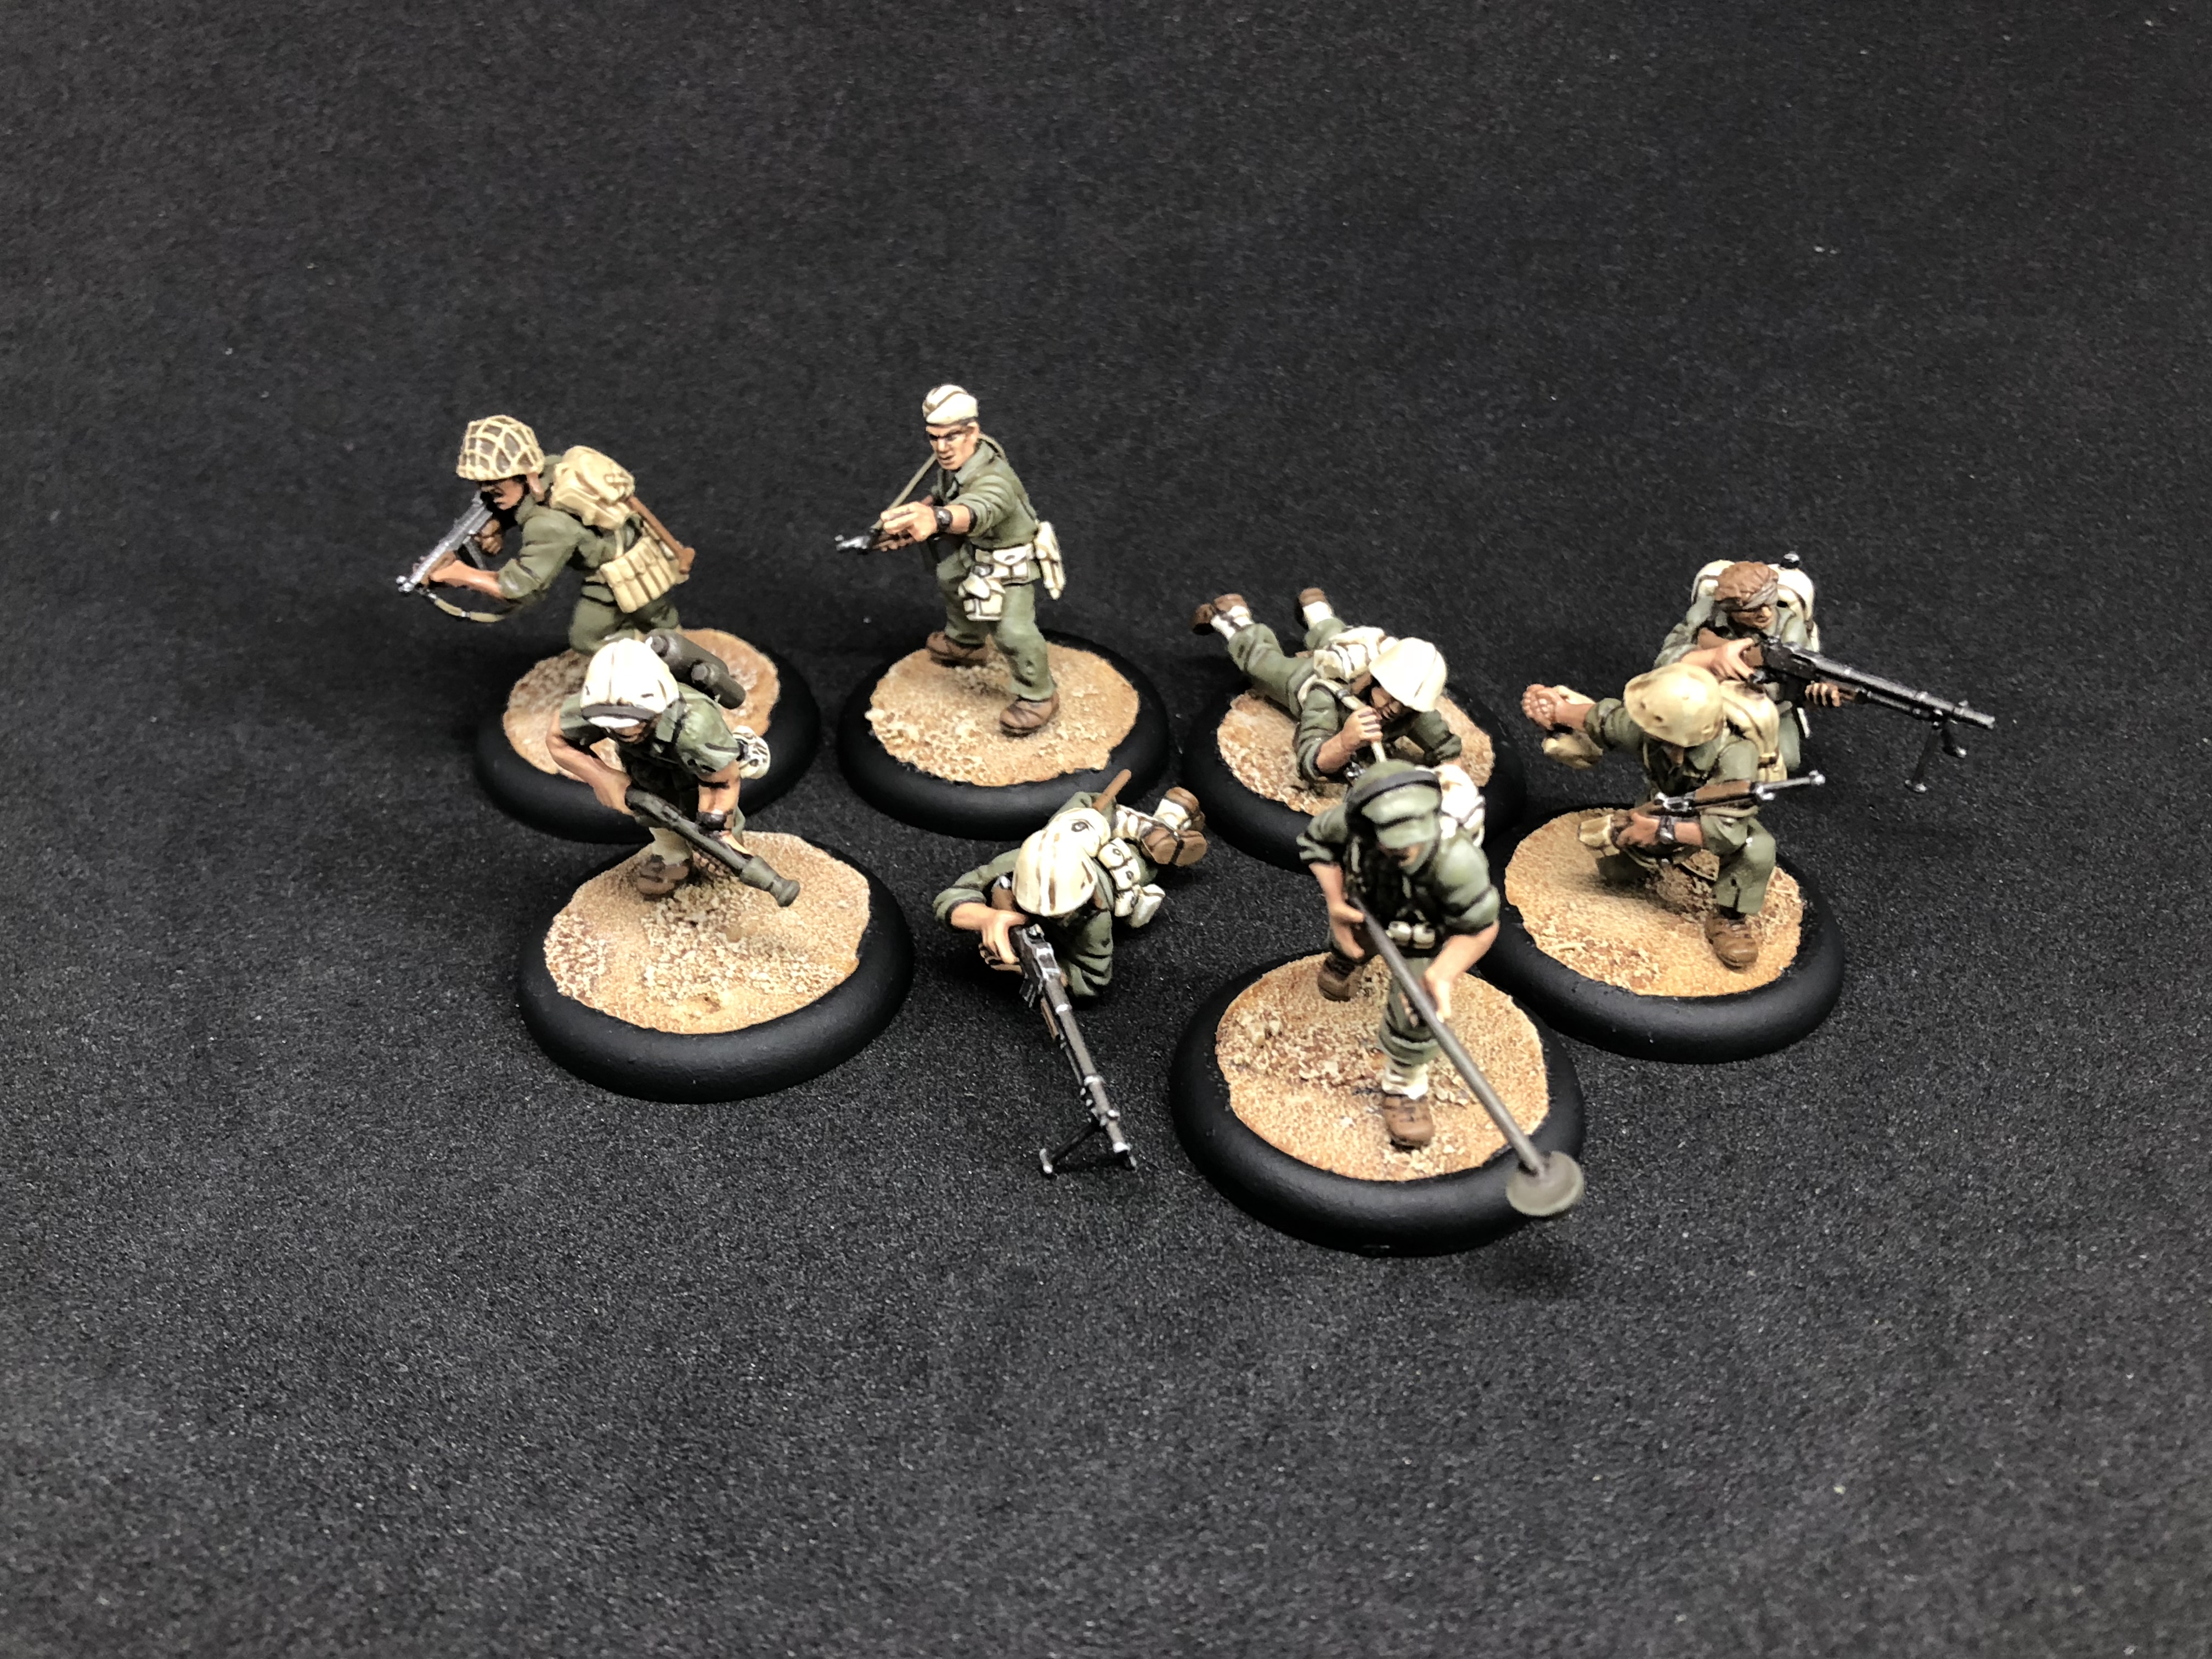
Also working on some magnetic multi-bases to help move my guys around during games.
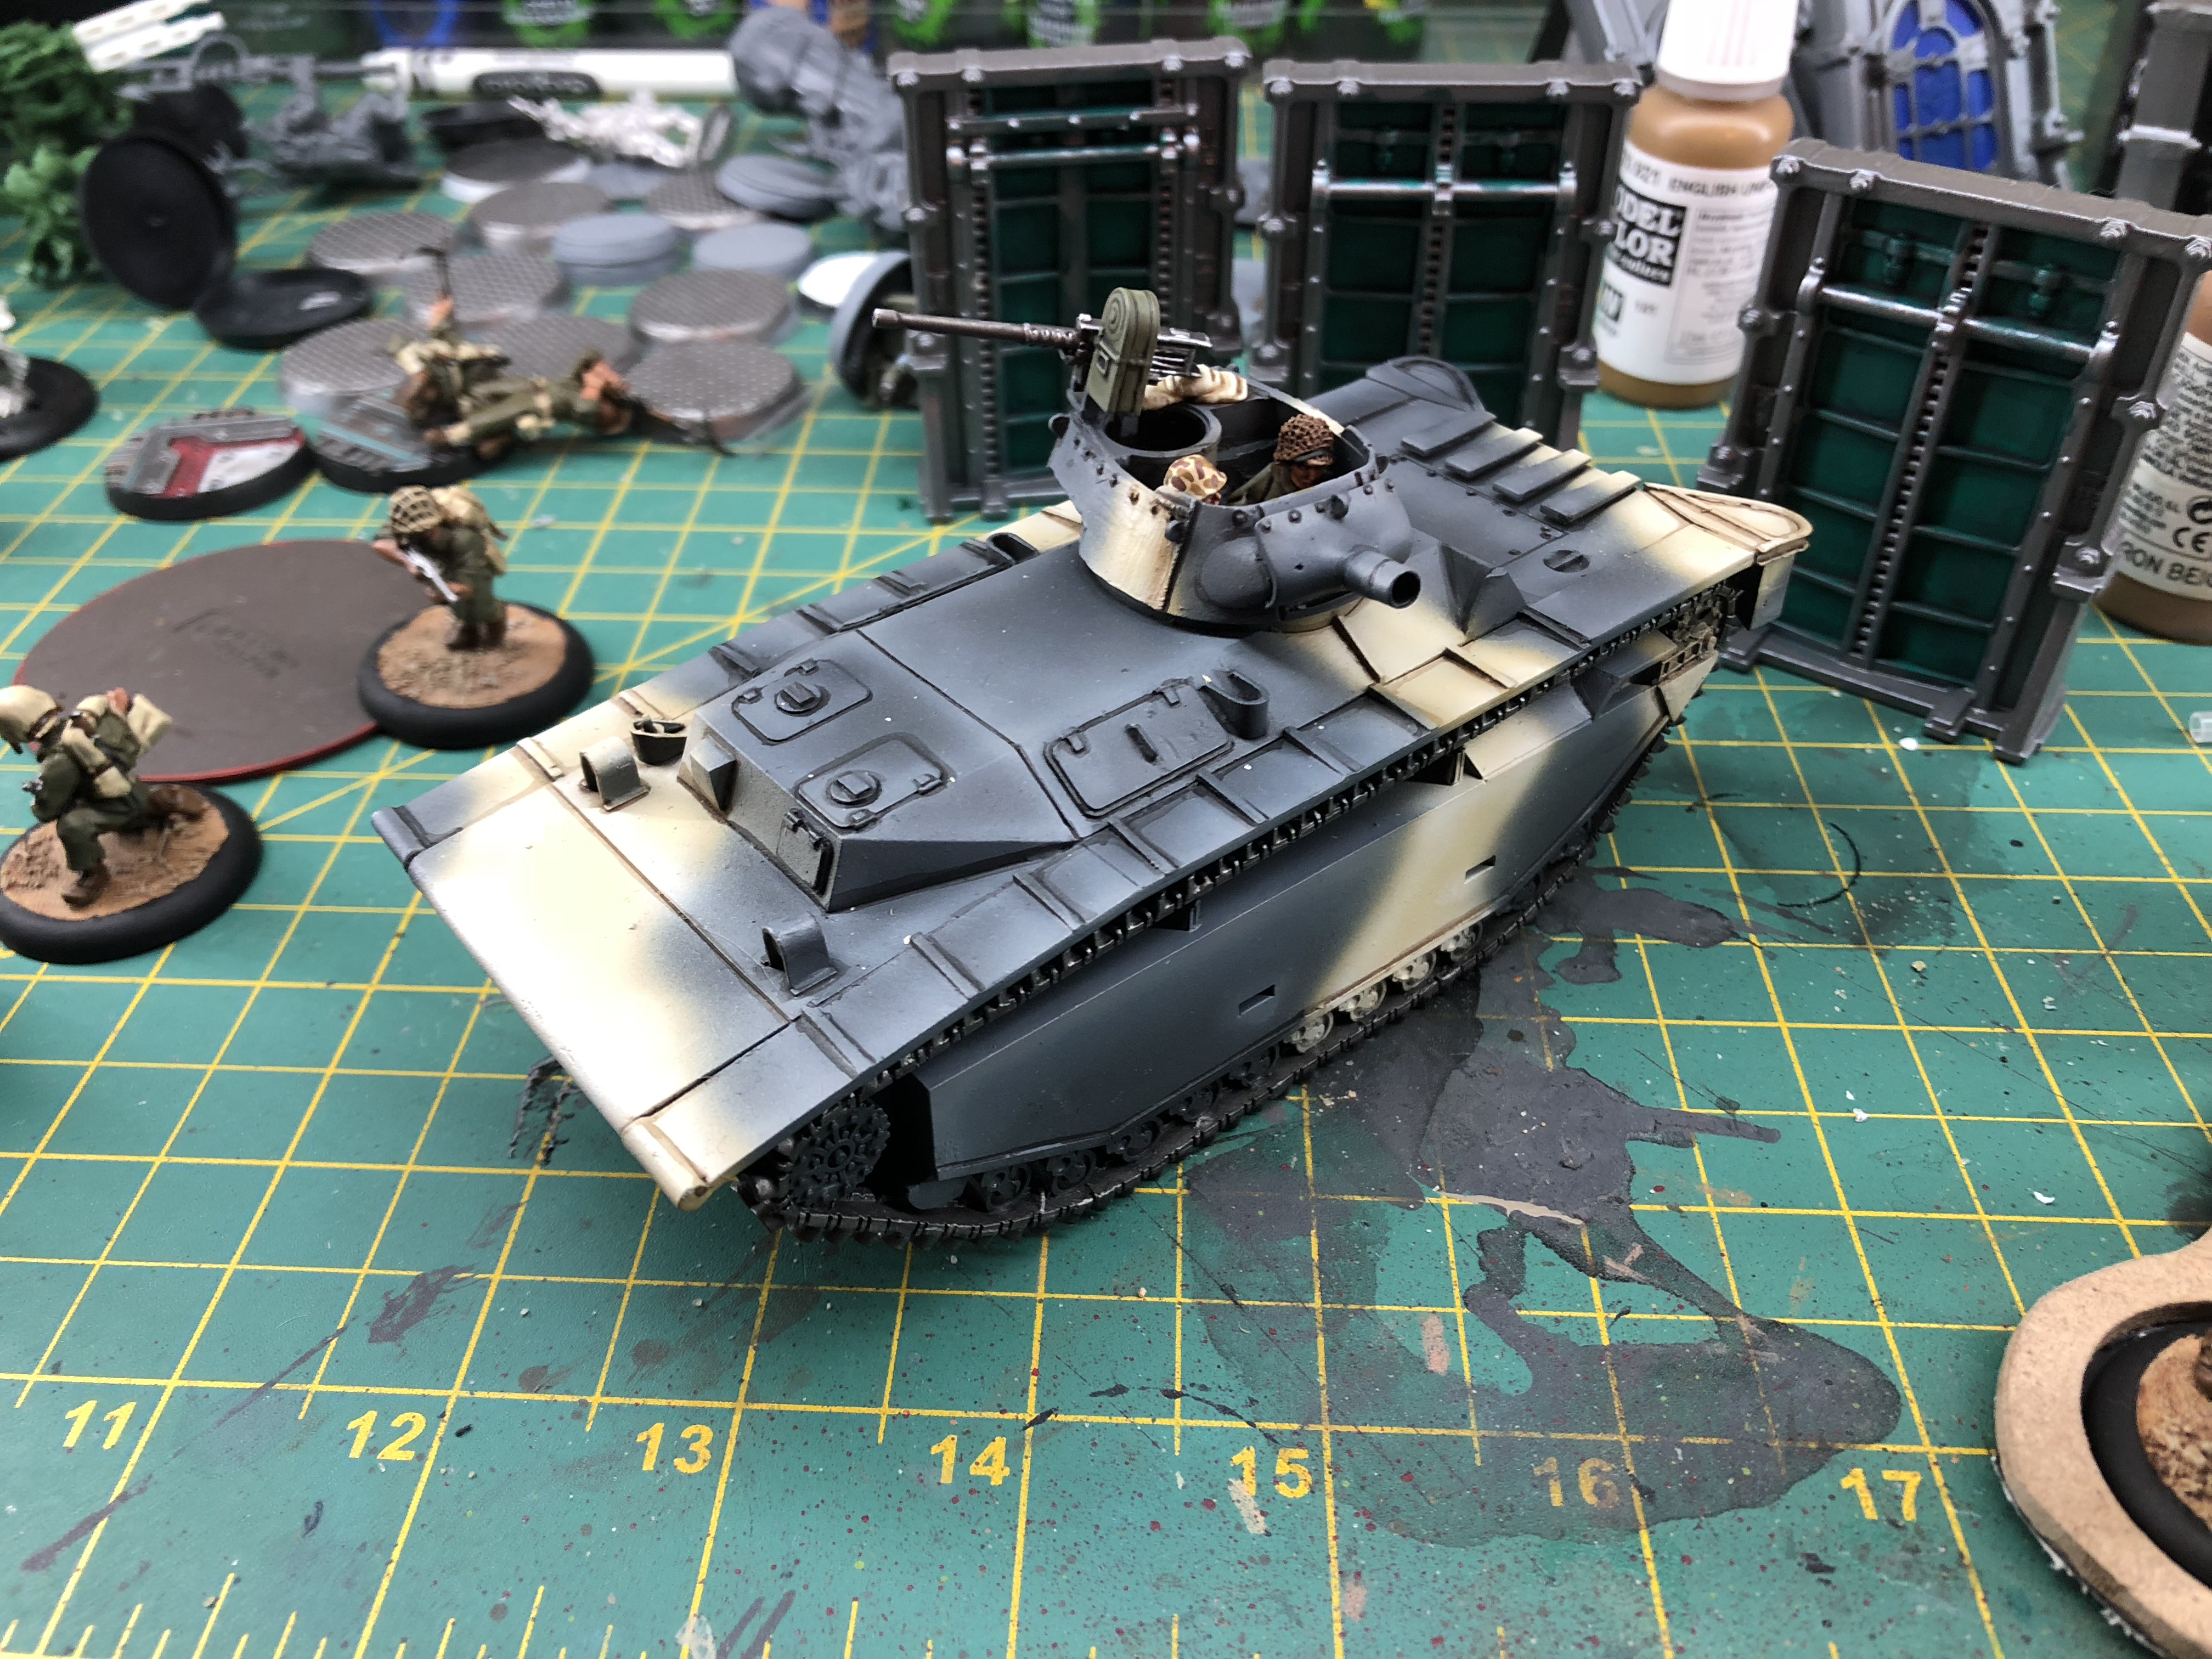
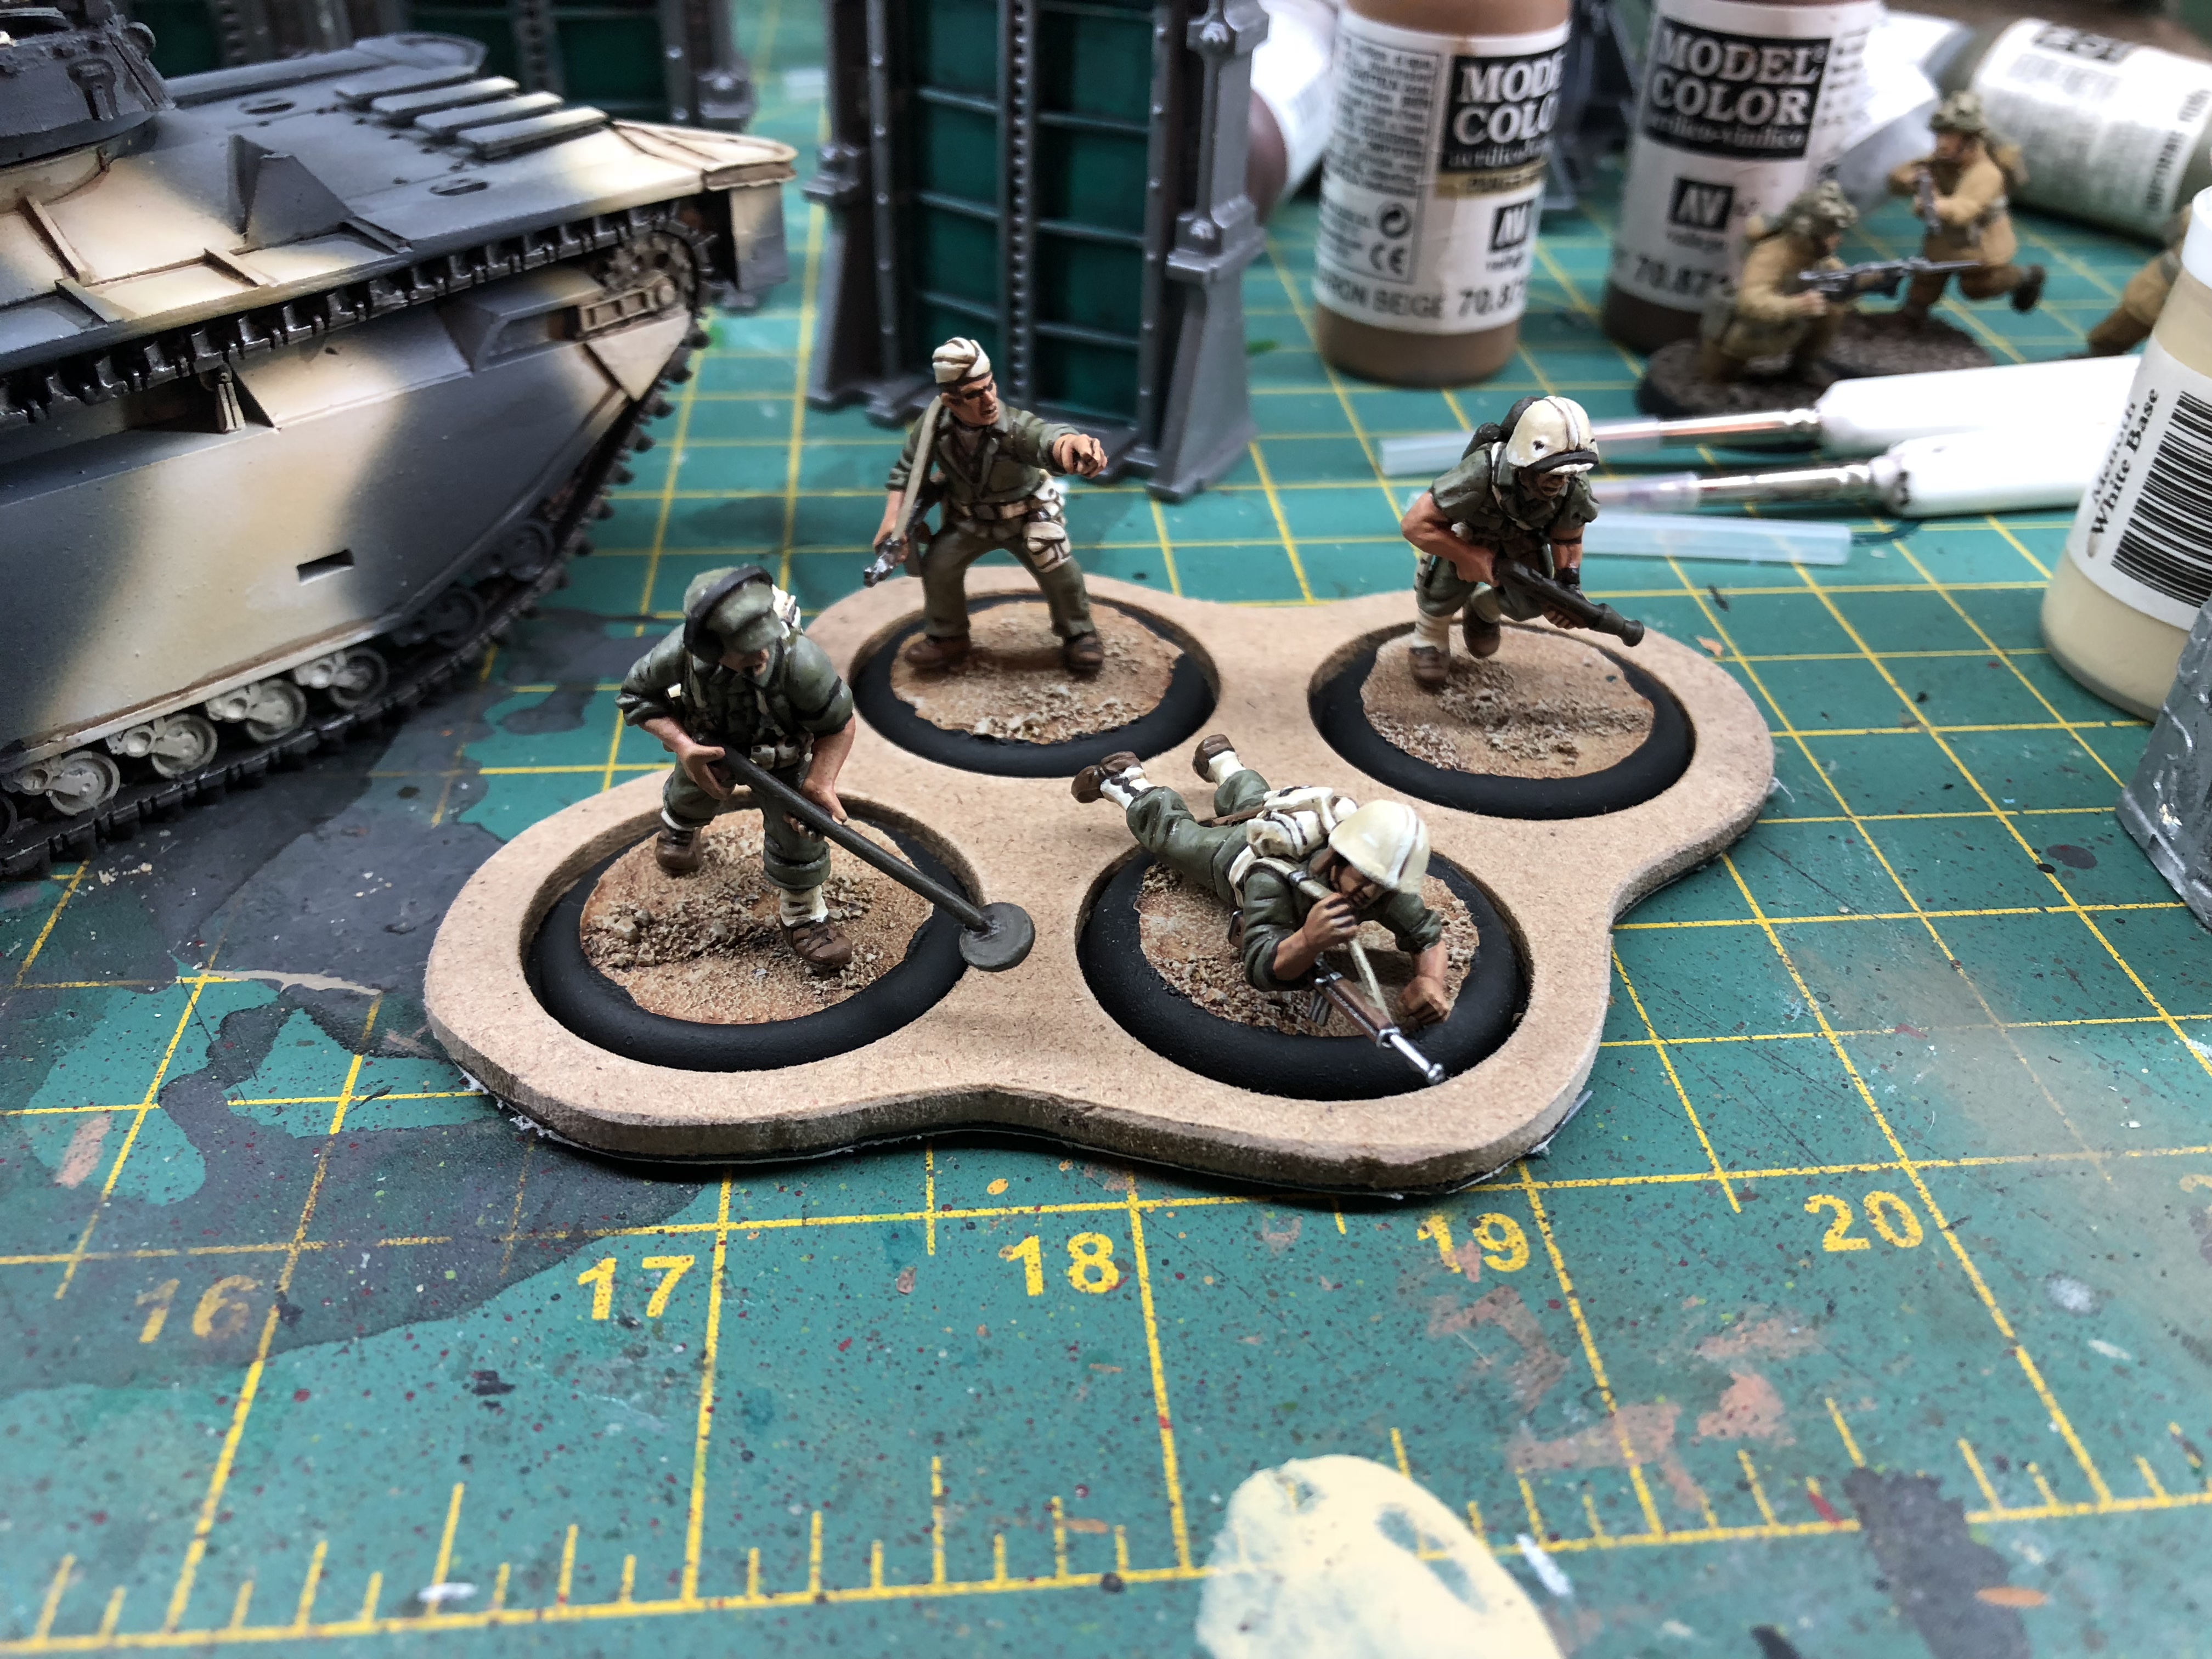 Multi-bases for my infantry
Engineering Assault Battalion
So been away from this project for a while. I may have been distracted by a game starting with “Kill” and ending with “Team”. However, I always seem to find myself circling back to Bolt Action and Konflikt 47. It’s the first game that’s kept my attention this thoroughly.
Themed Sub List
One thing I’ve decided to work on with my USMC is a themed sub-section of my army. This will be a selection of units that would normally appear together on the battlefield. The goal would be, when using them in a game, I would try and fit them all into the list, much like a Warhammer 40k detachment.
My first detachment is a USMC pioneer detachment. They would be called in when there are significant obstacles or fortifications that would need to be dealt with before the normal marines could advance. All units are WIP.
Units include:
1) USMC engineersquad – complete with mine clearing equipment, and flamethrower
2) Marine Assault Recovery Vehicle (MARV) – shown off before, but now basecoated
3) “Smok’n Hottie” – fresh from Defiance, M4 Sherman flame tank (dozer blade purely for theme).
 USMC Pioneer Unit
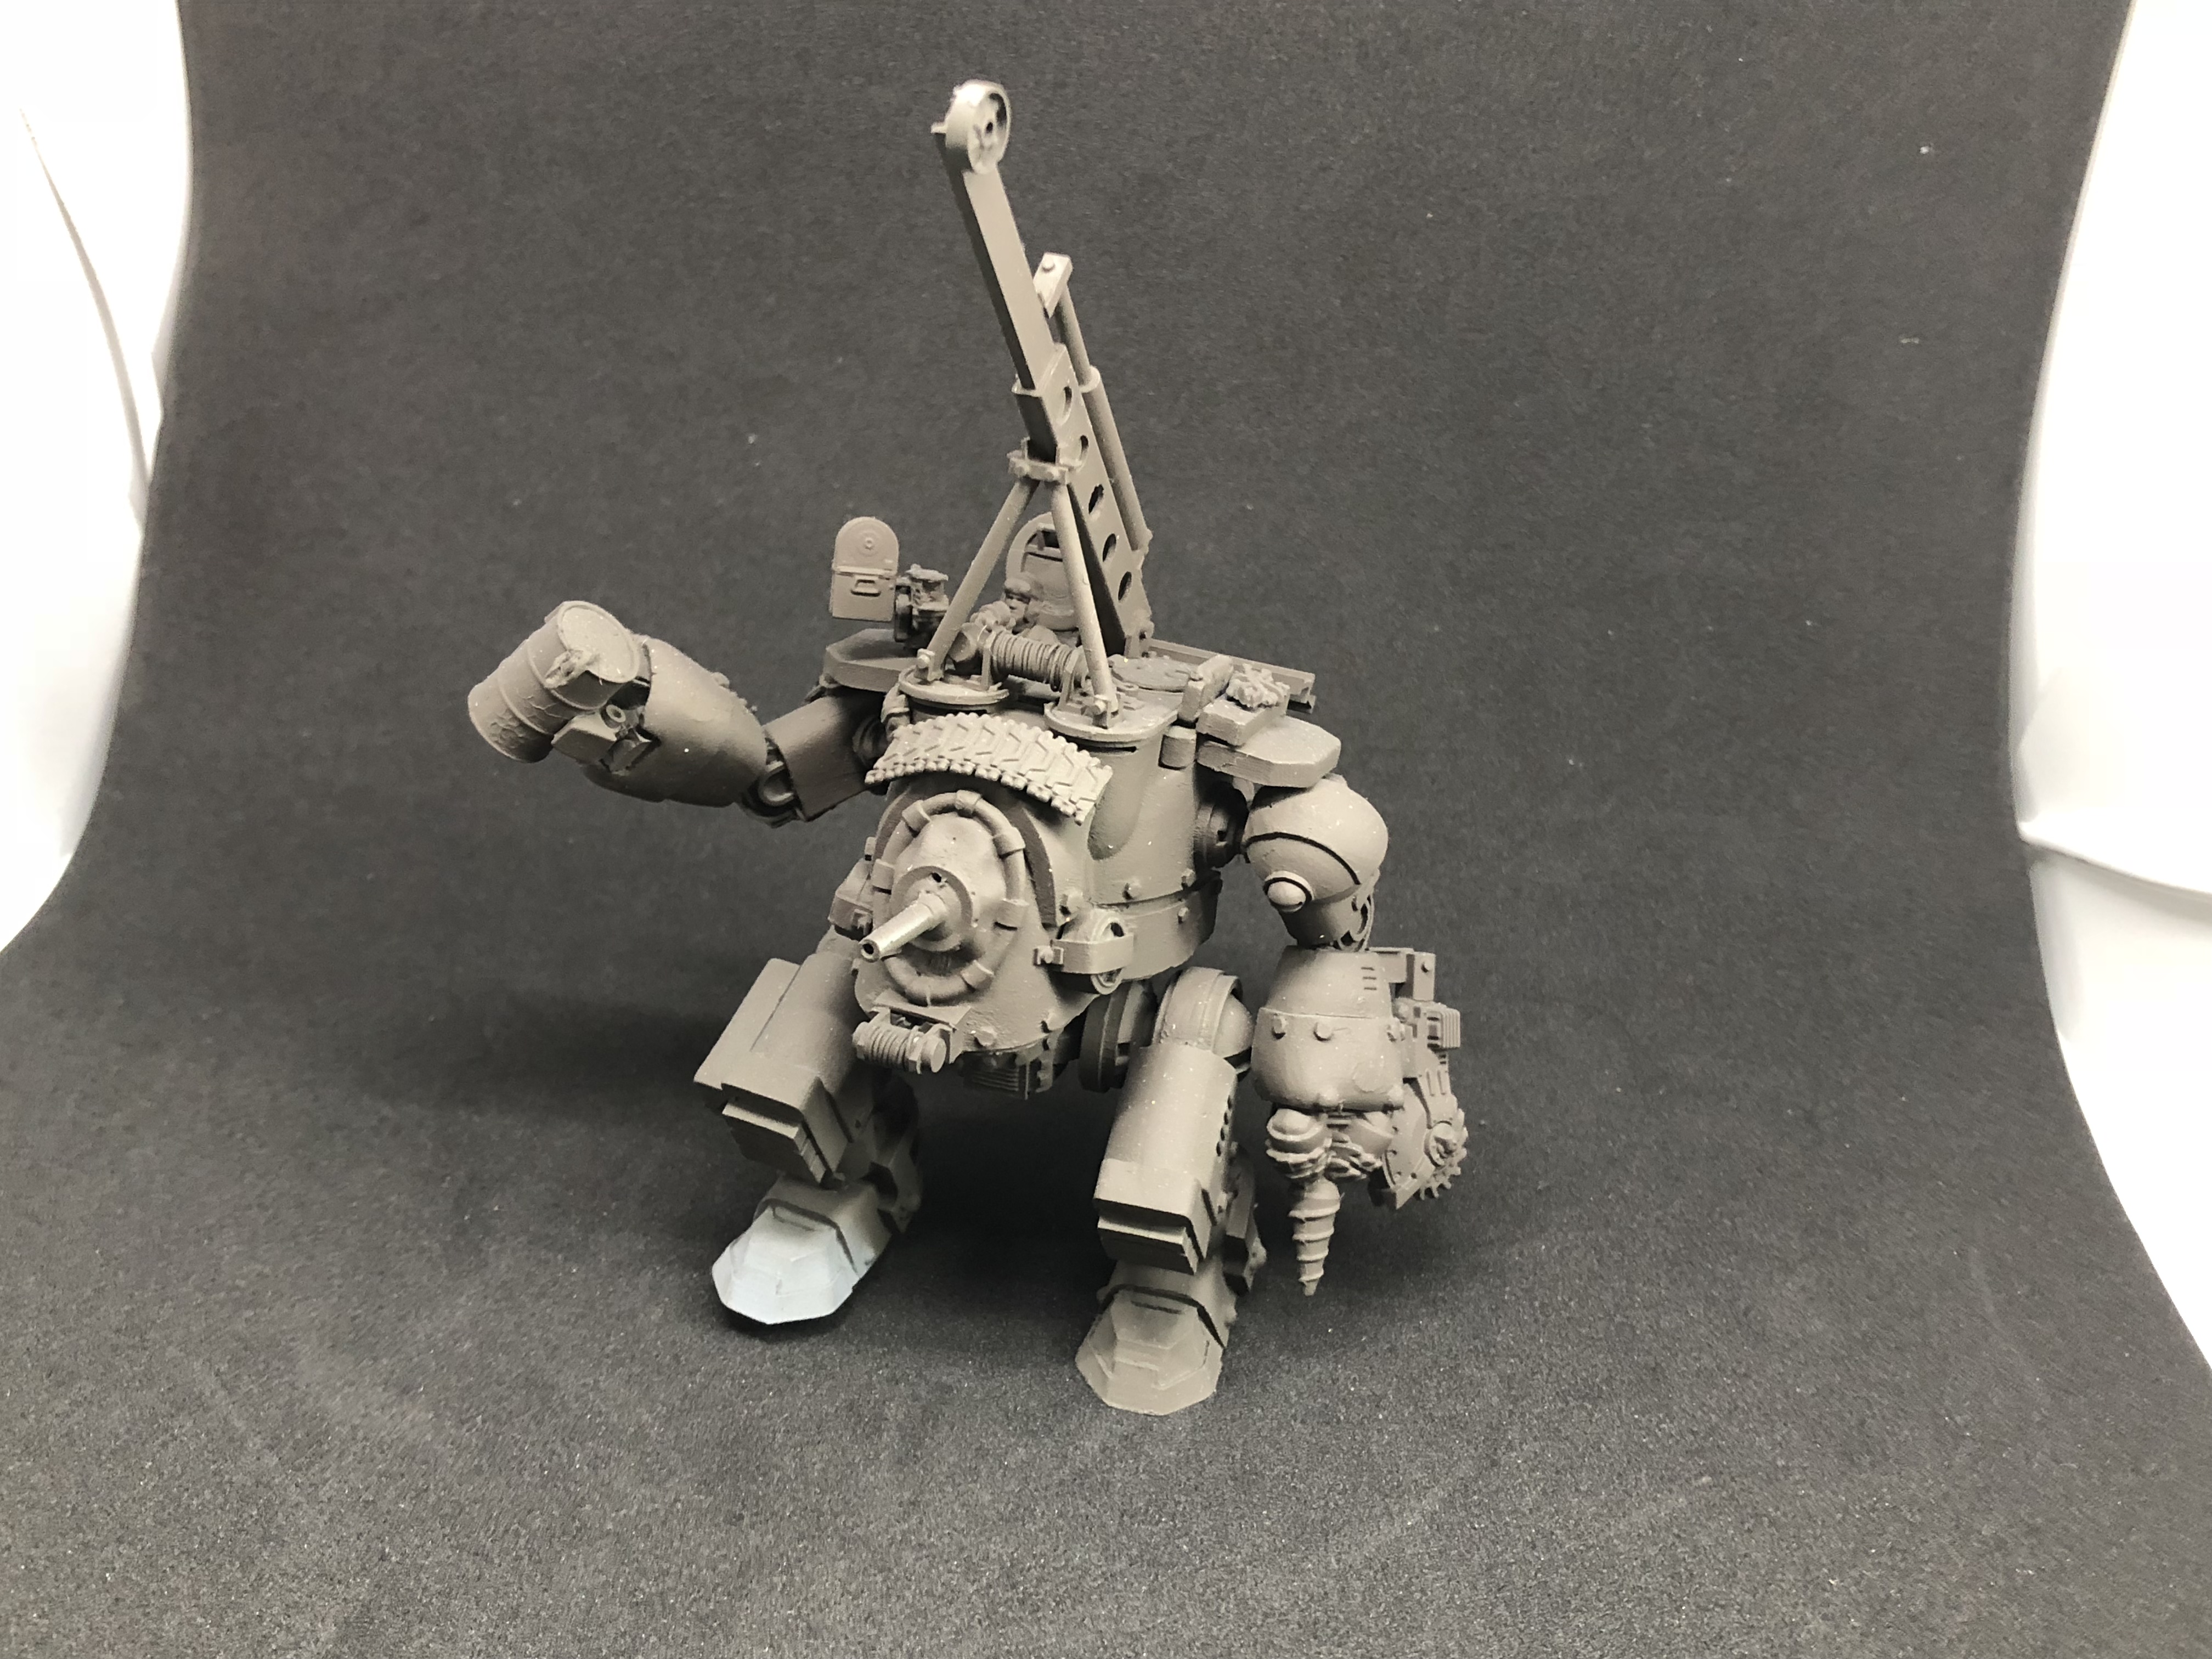 MARV
MARV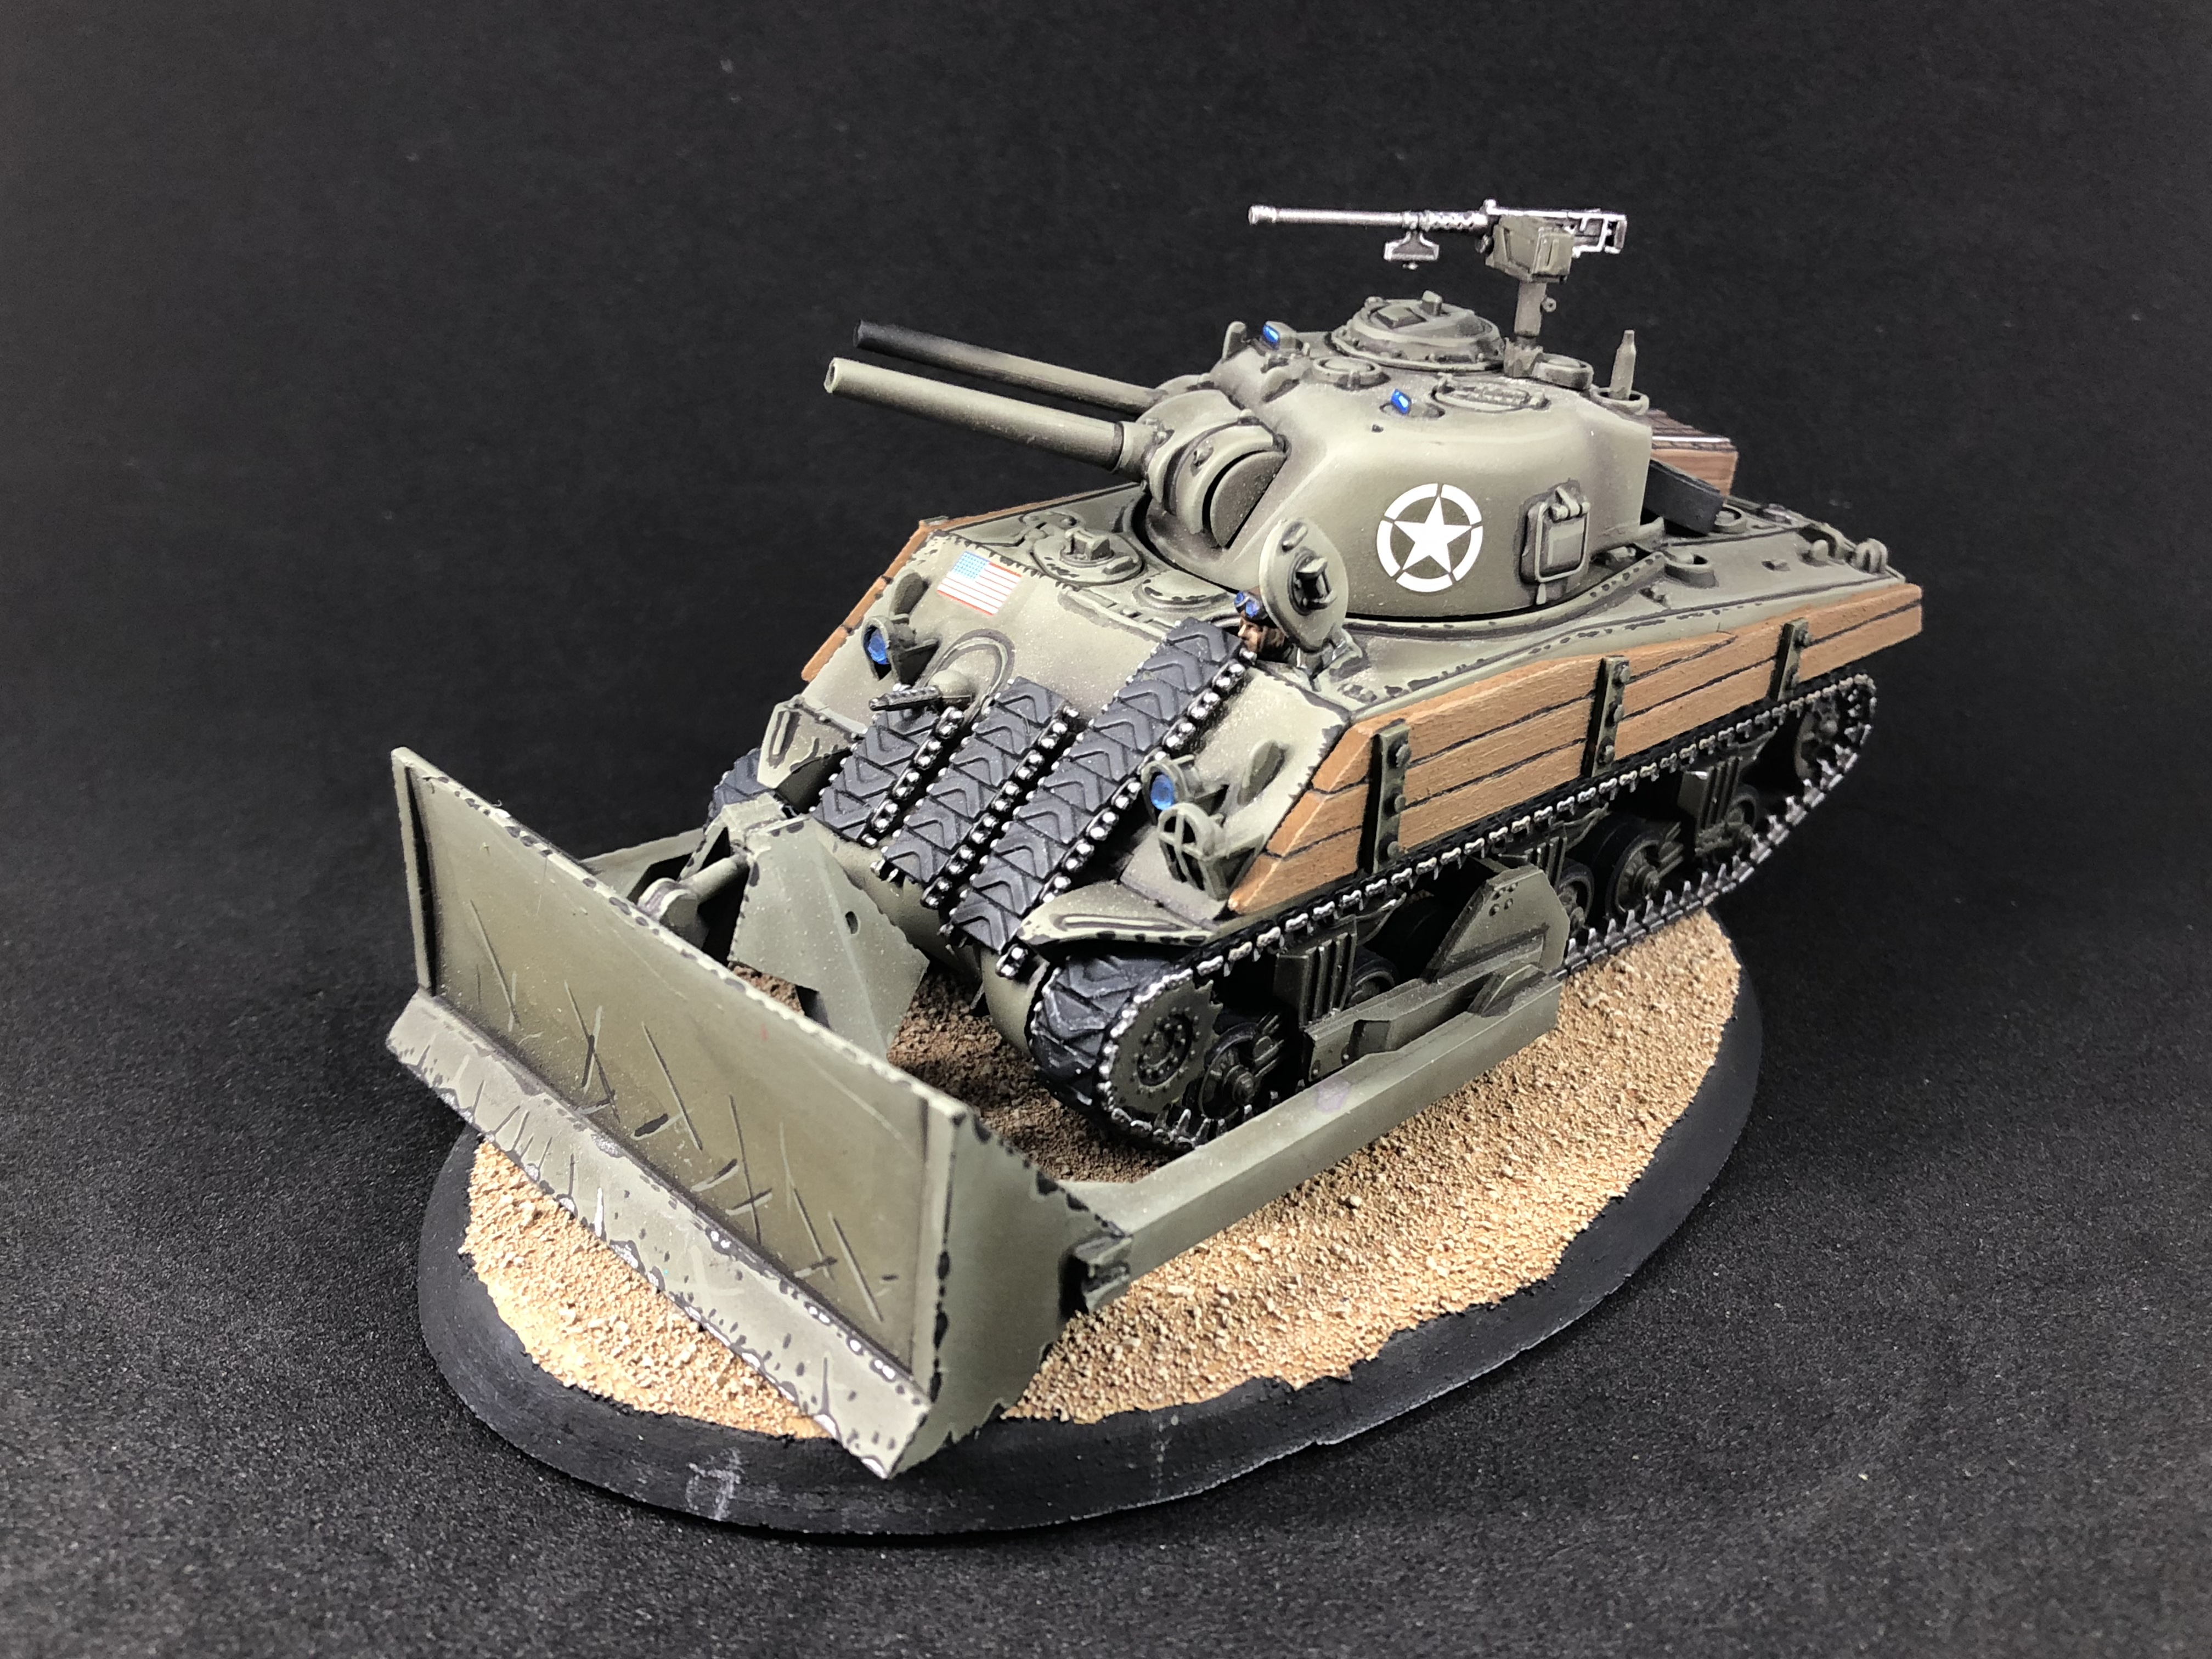 Smok’n Hottie 1
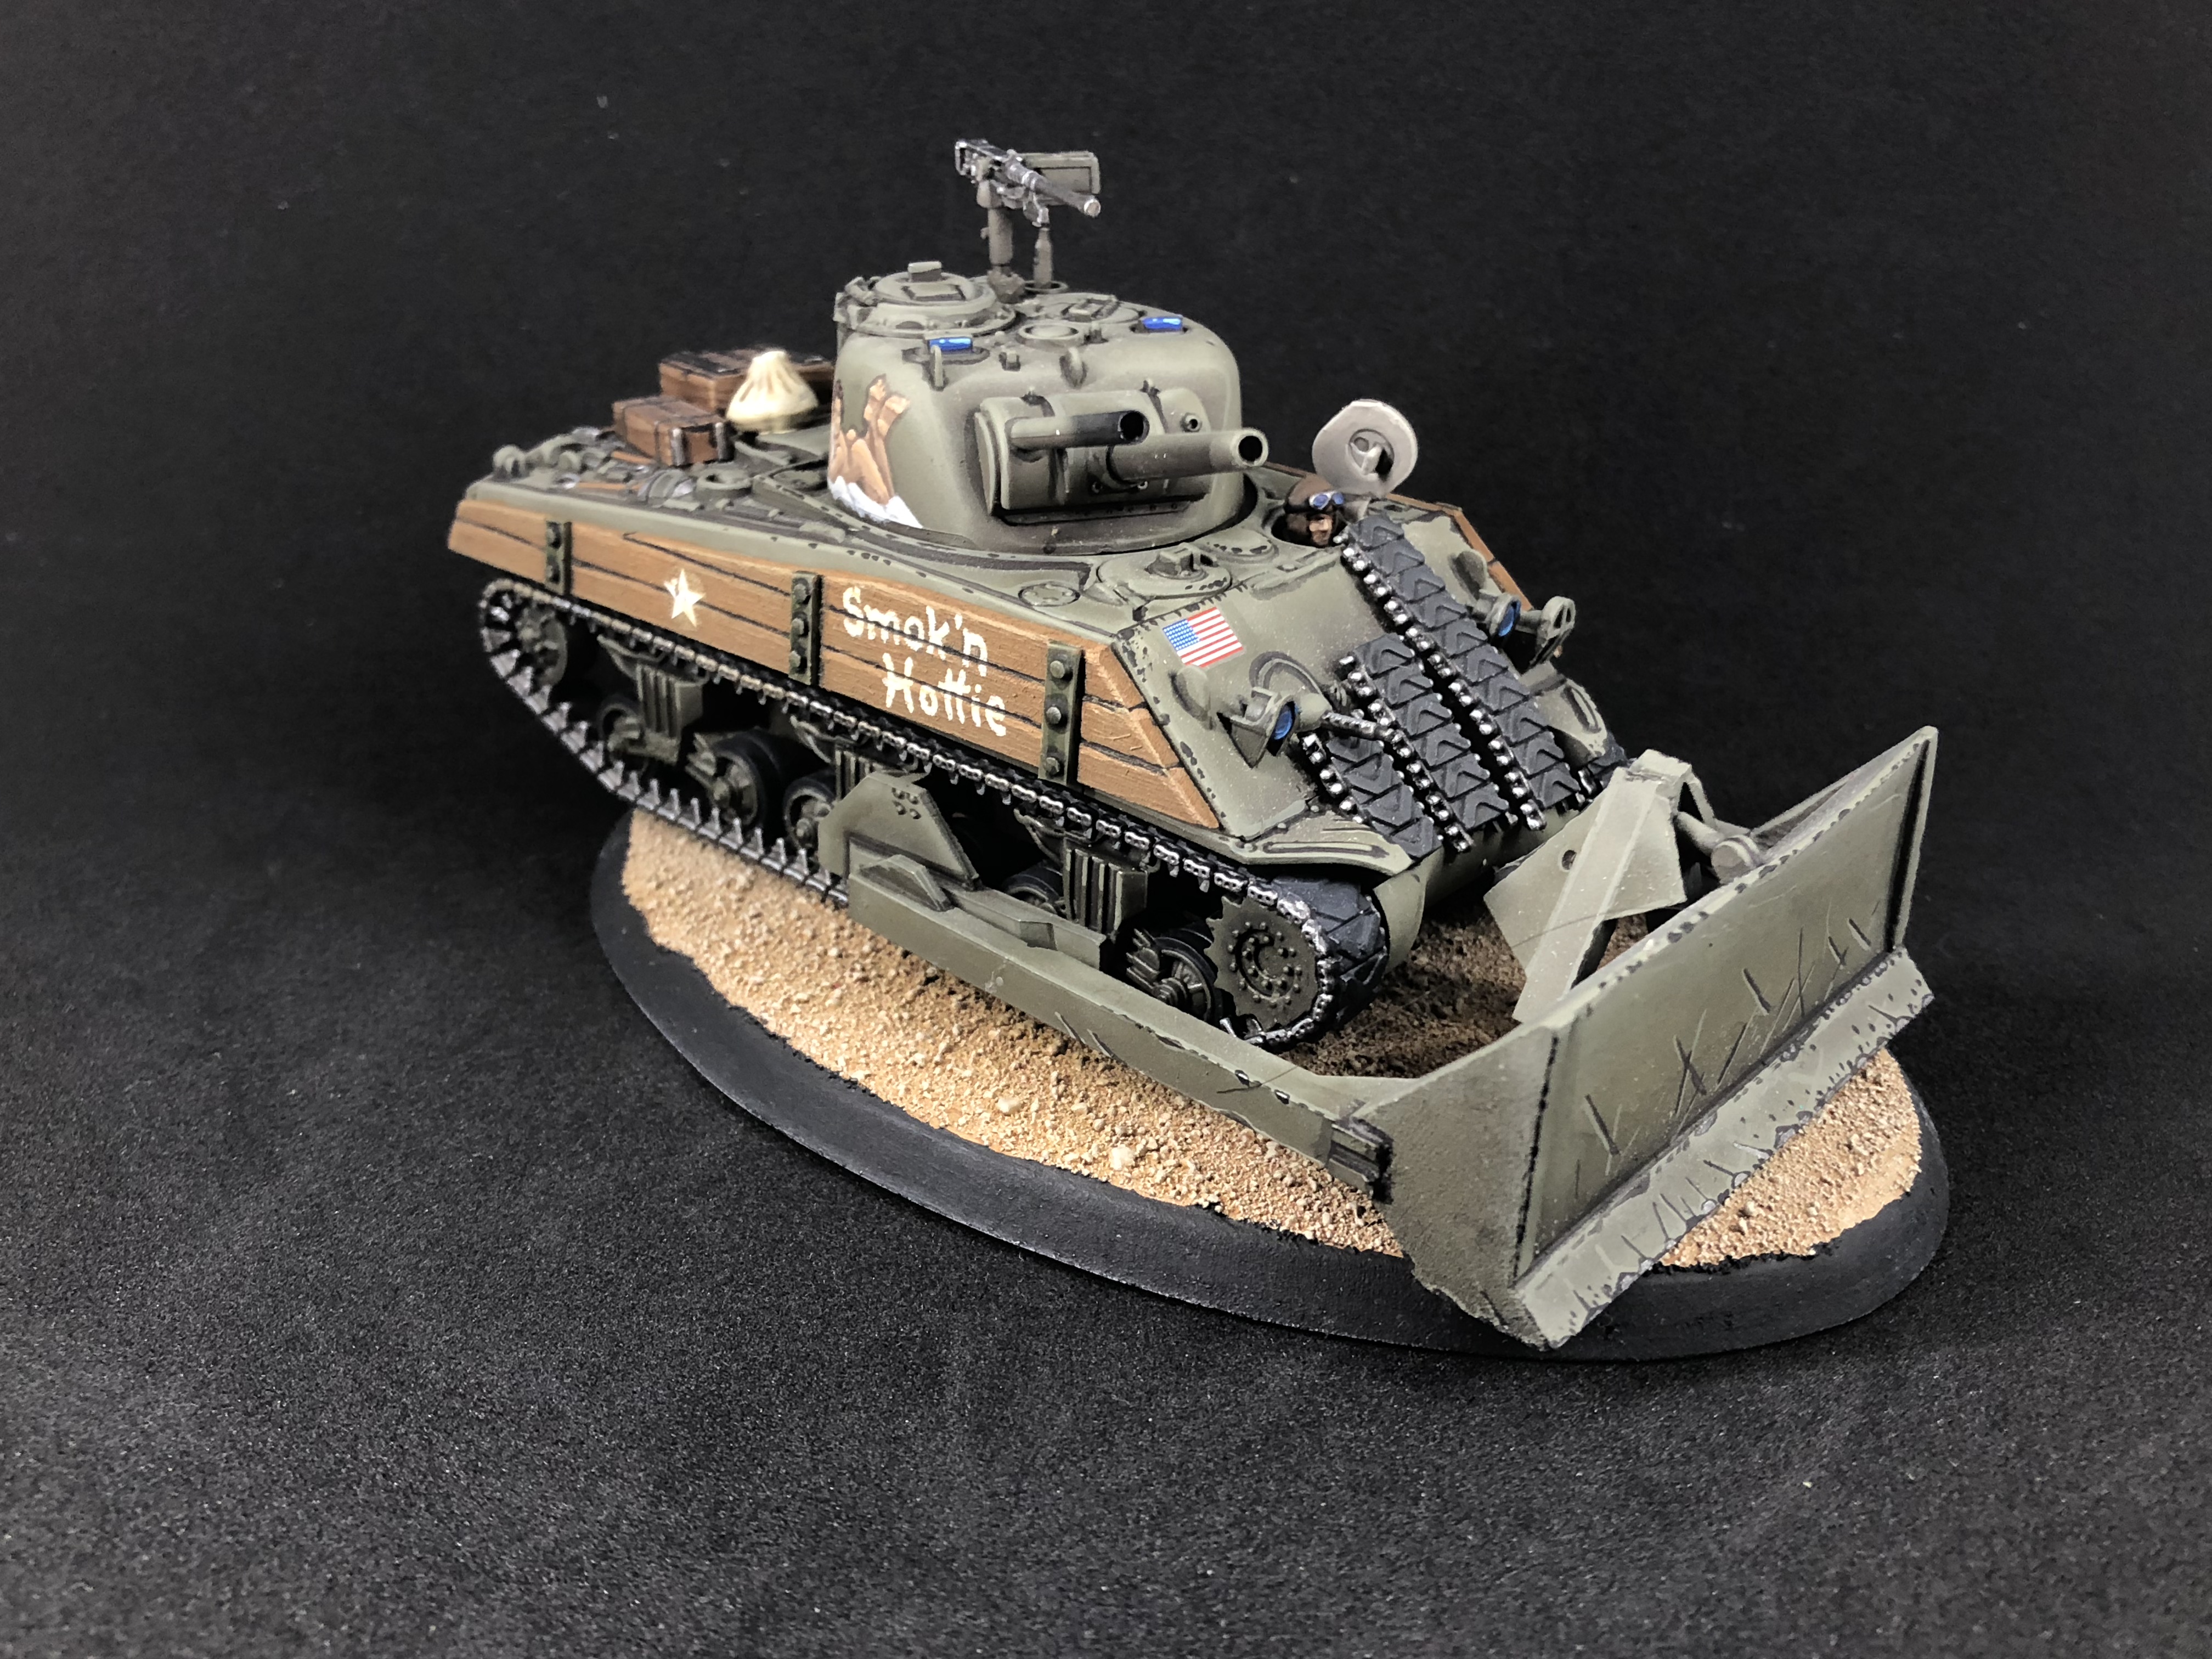 Smok’n Hottie 2- here good side
Back at it
The “Bigature”
I haven’t been active on the project for a while. I recently move into anew house, and most of my hobby time has been spent on making the following “bigature” to store our wedding China.
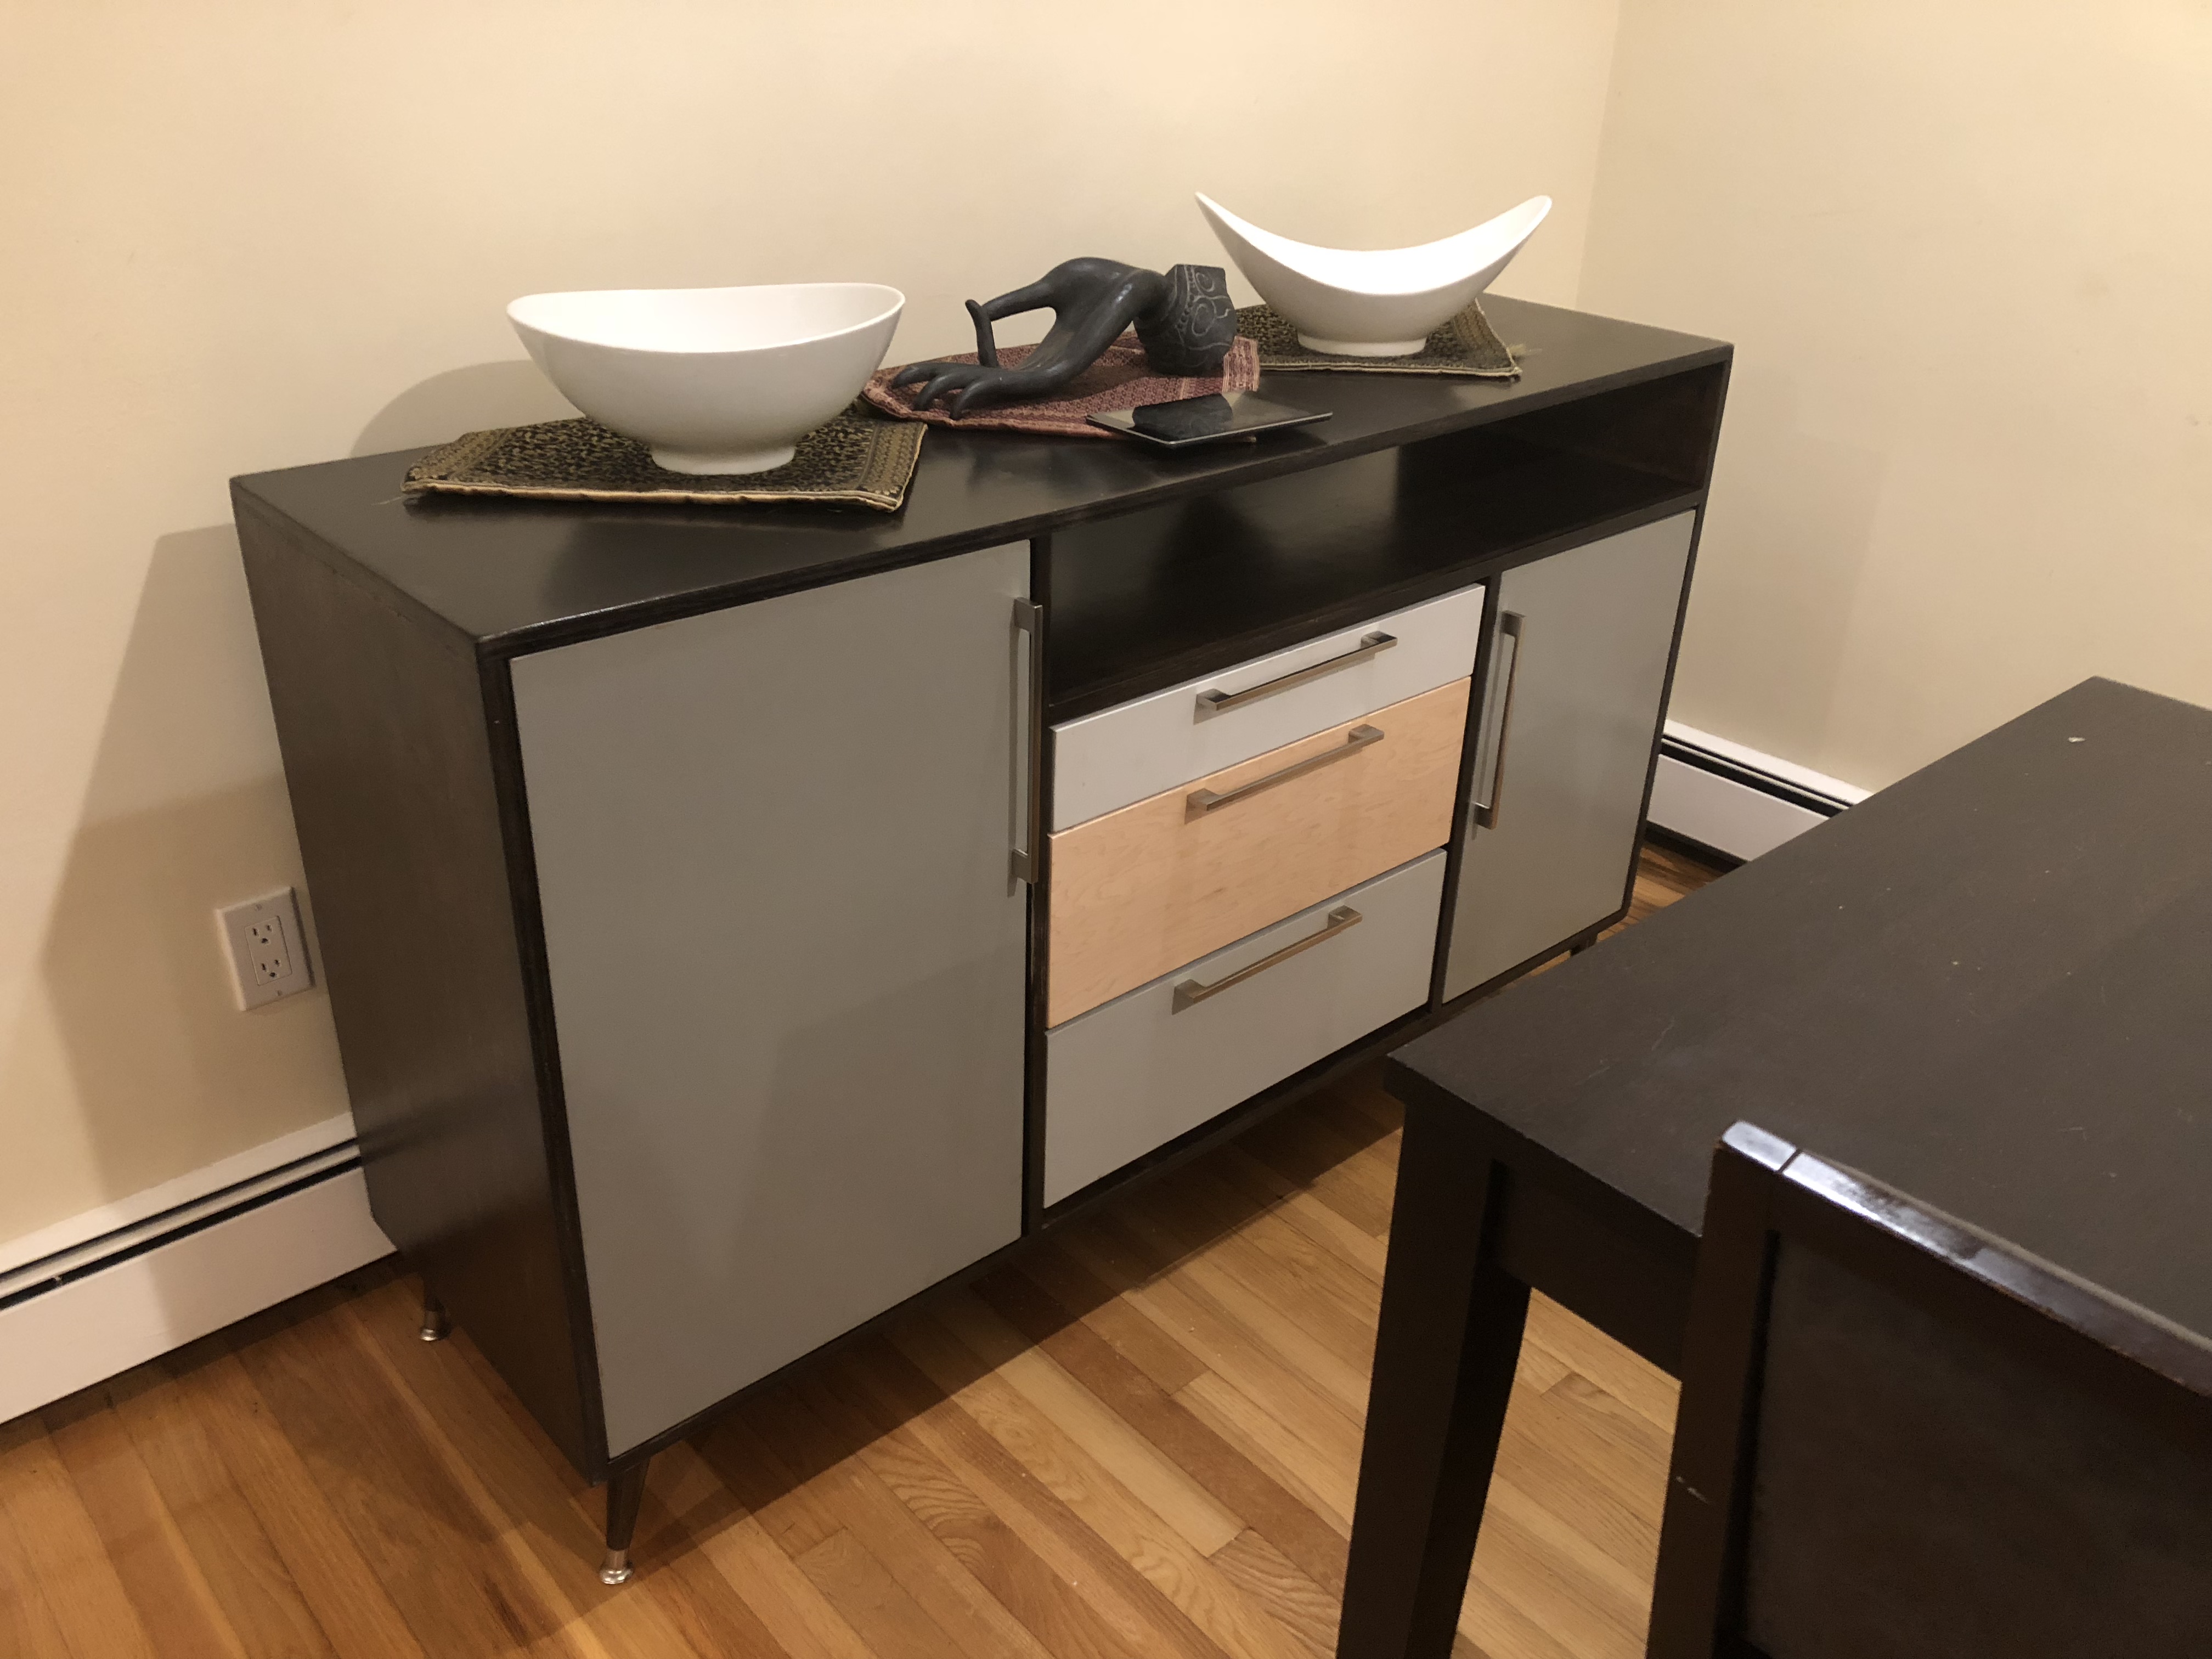 Buffet for new dining room
Some dense terrain bamboo
on vacation, and decided to work on some areas of dense terrain. In this case, two large bases of bamboo forests.
i cut the large bases from MDF, and then created the smaller bases to mount the actual bamboo stalks. This would allow for a realistic LOS-blocking bamboo forest, that could then be occupied by units during gameplay to gain cover.
The bamboo shoots came in a bag from amazon for relatively cheap. The have cores of wire,so are actually fairly durable.
 Complete bamboo forest
 Bamboo bases removed
K47 Demo Completed...Mostly
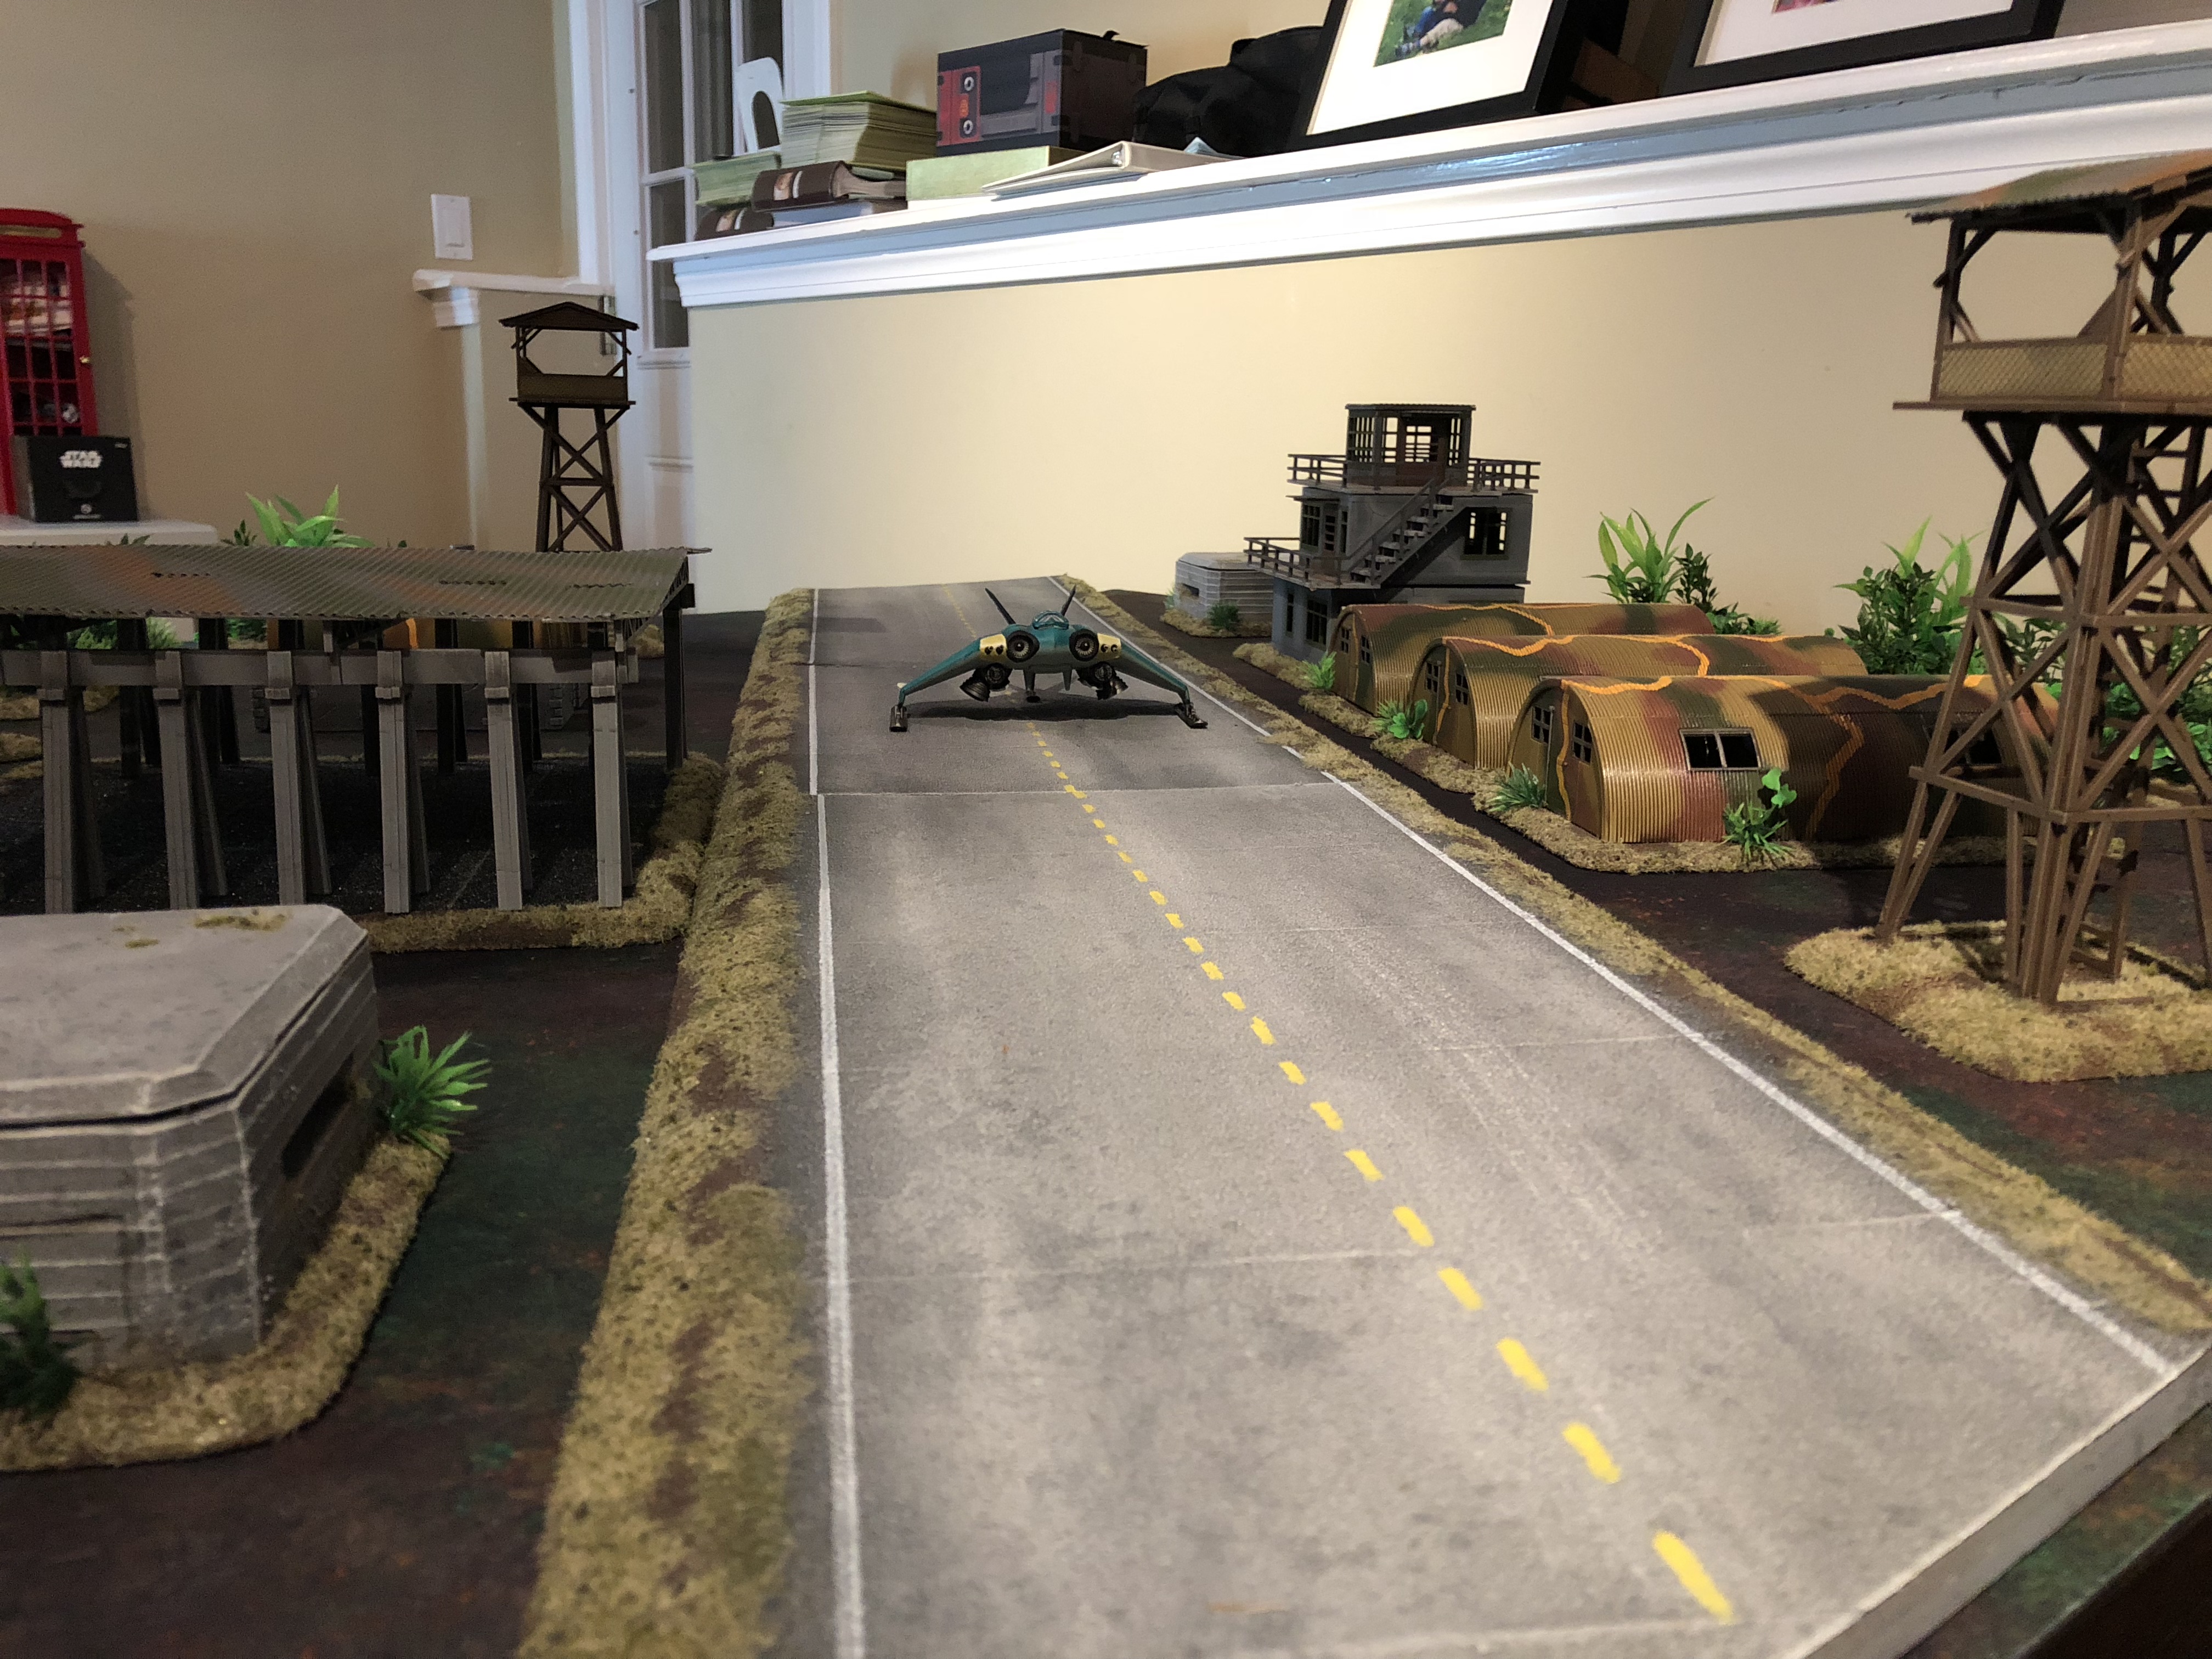
 The completed table
So here it is. The (mostly) completed K47 Japanese Airfield Assault gaming table in all its glory. Recent Developments:
1) Painting of the various pieces of sarissa terrain- I will post more pics of the details of these later.
2) flocking the bases of the sarissa terrain
3) got my hands on the jungle gaming mat from my local hobby shop
Now, I say “mostly” completed as i now realize, viewing it all setup, is it needs a bunch of scatter terrain pieces. Things like oils drums, crates, sand bag barriers, smaller hedges of bushes. This is for several reasons:
1) give it a more “lived in” look – right now it is too neat and tidy
2) give some stuff to provide soft/hardcover – right now it lots of stuff to block LOS, but very little to provide cover from which units canshoot
hiwever, overall I think it’s got the minimum neededto start demo games at my local shop.
any other advice or tips are very much welcome!

Roofing Material
So was finally able to make some progress on the other buildings for my Airfield table. While the Sarissa Precision buildings were great for the price point, I did feel the roofing left a little to be desired. This is particularly true as, on a gaming table, the roofs are some of the most visible elements.
For the guard towers, the roofs were laser inscribed with a shingles pattern. The Hanger was just thick cardboard roofing with lines to look like metal panels
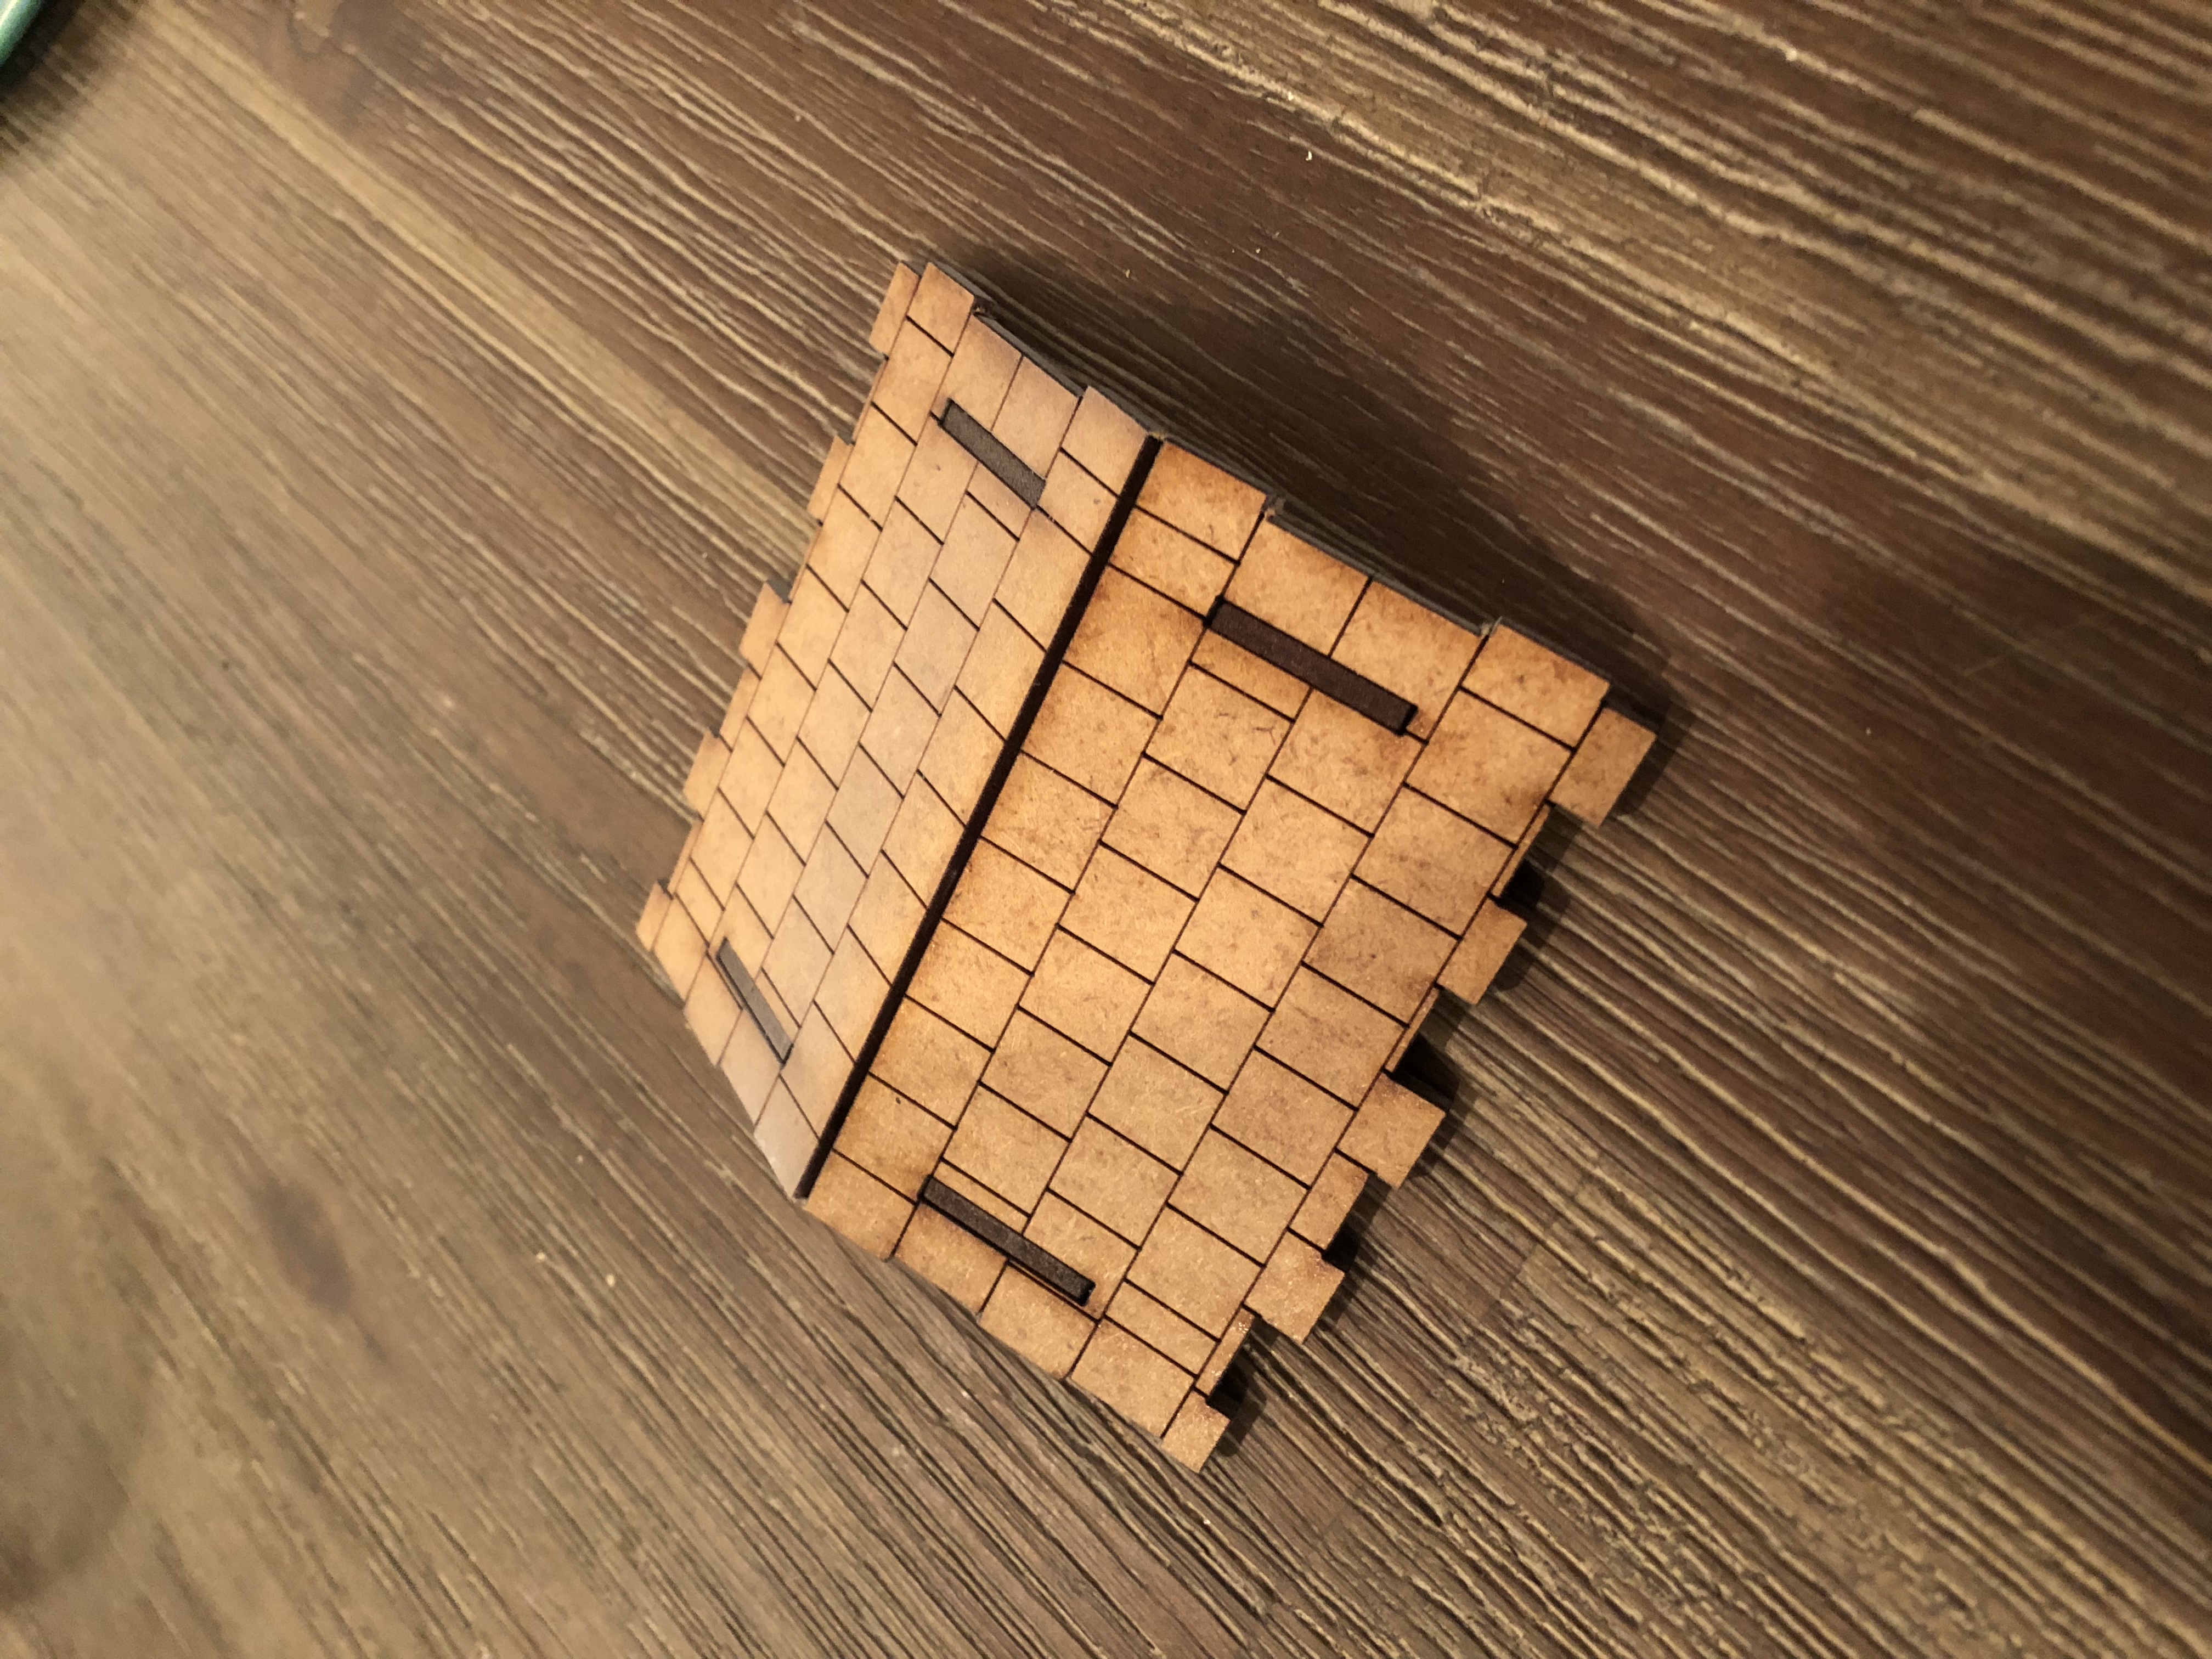
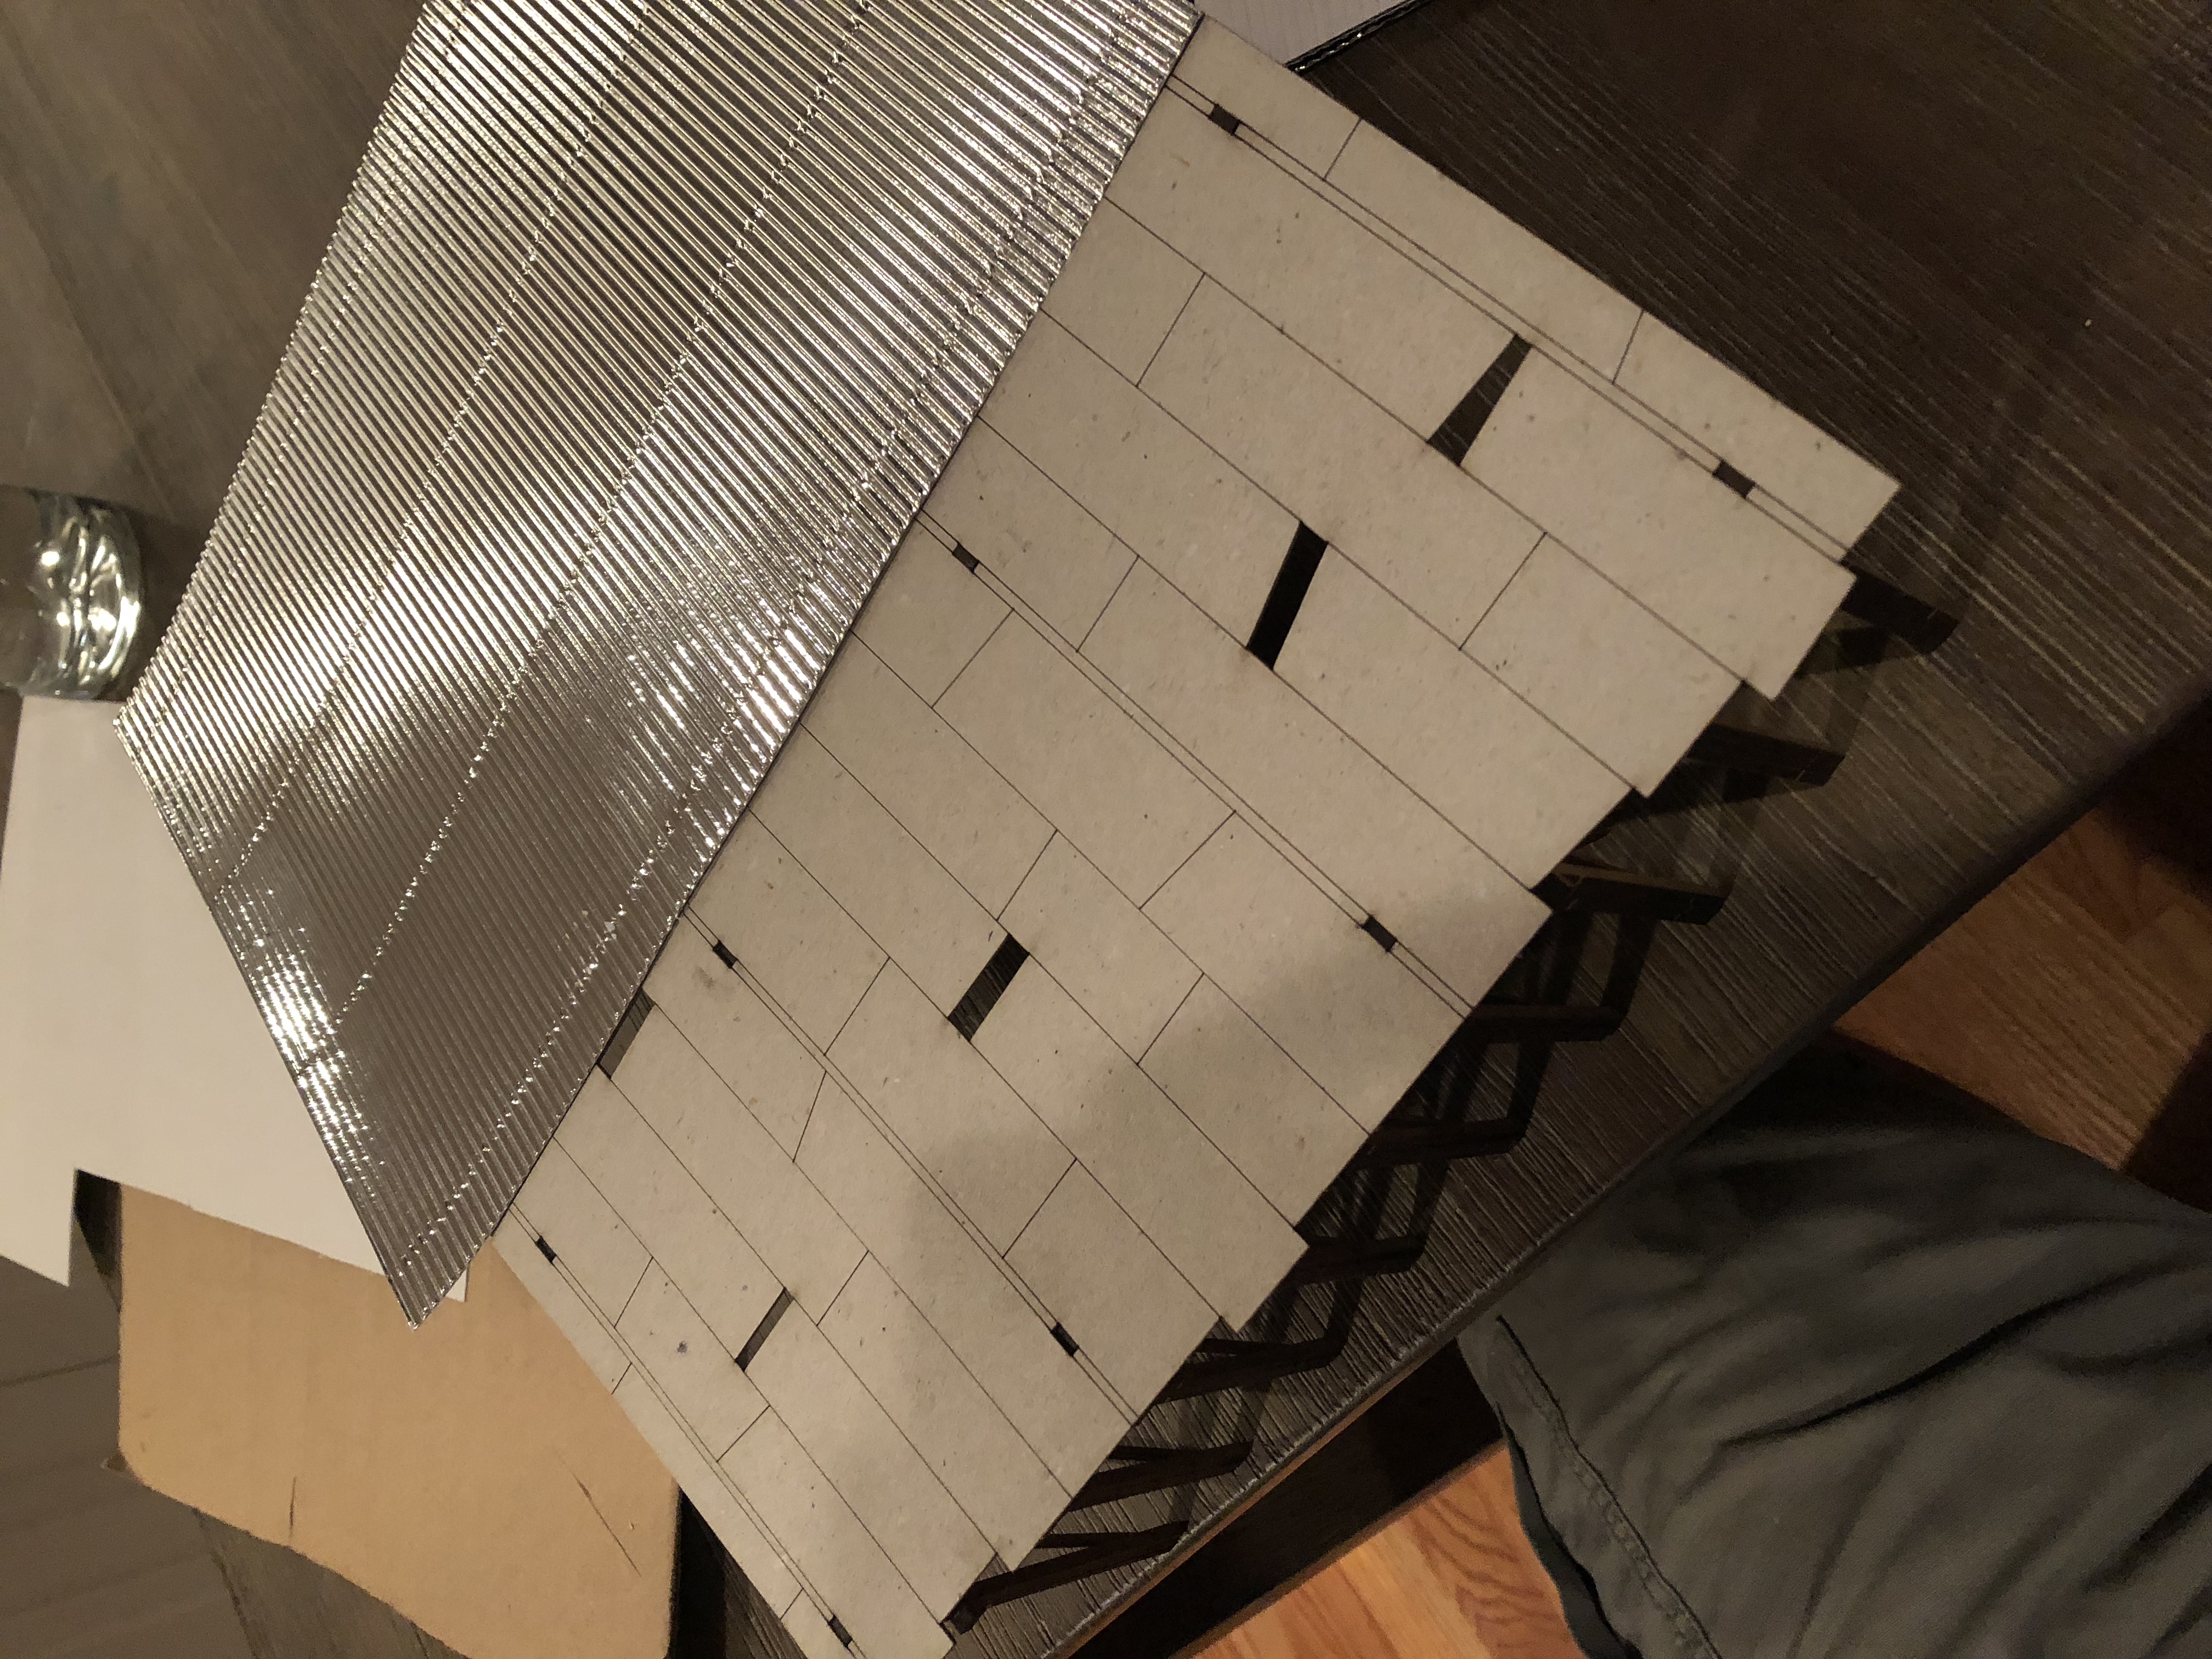
To fix this, as I figure in the Pacific these roofs would be corrugated sheet metal, I procured sheets of corrugated decorative cardboard sheets. This are often used for craft decorations or scrap booking, and have a finer corrugated pattern than typical cardboard.
The metallic coloring isn’t important, as I plan to paint and prime them. The 10 sheets were like $5 on EBay.
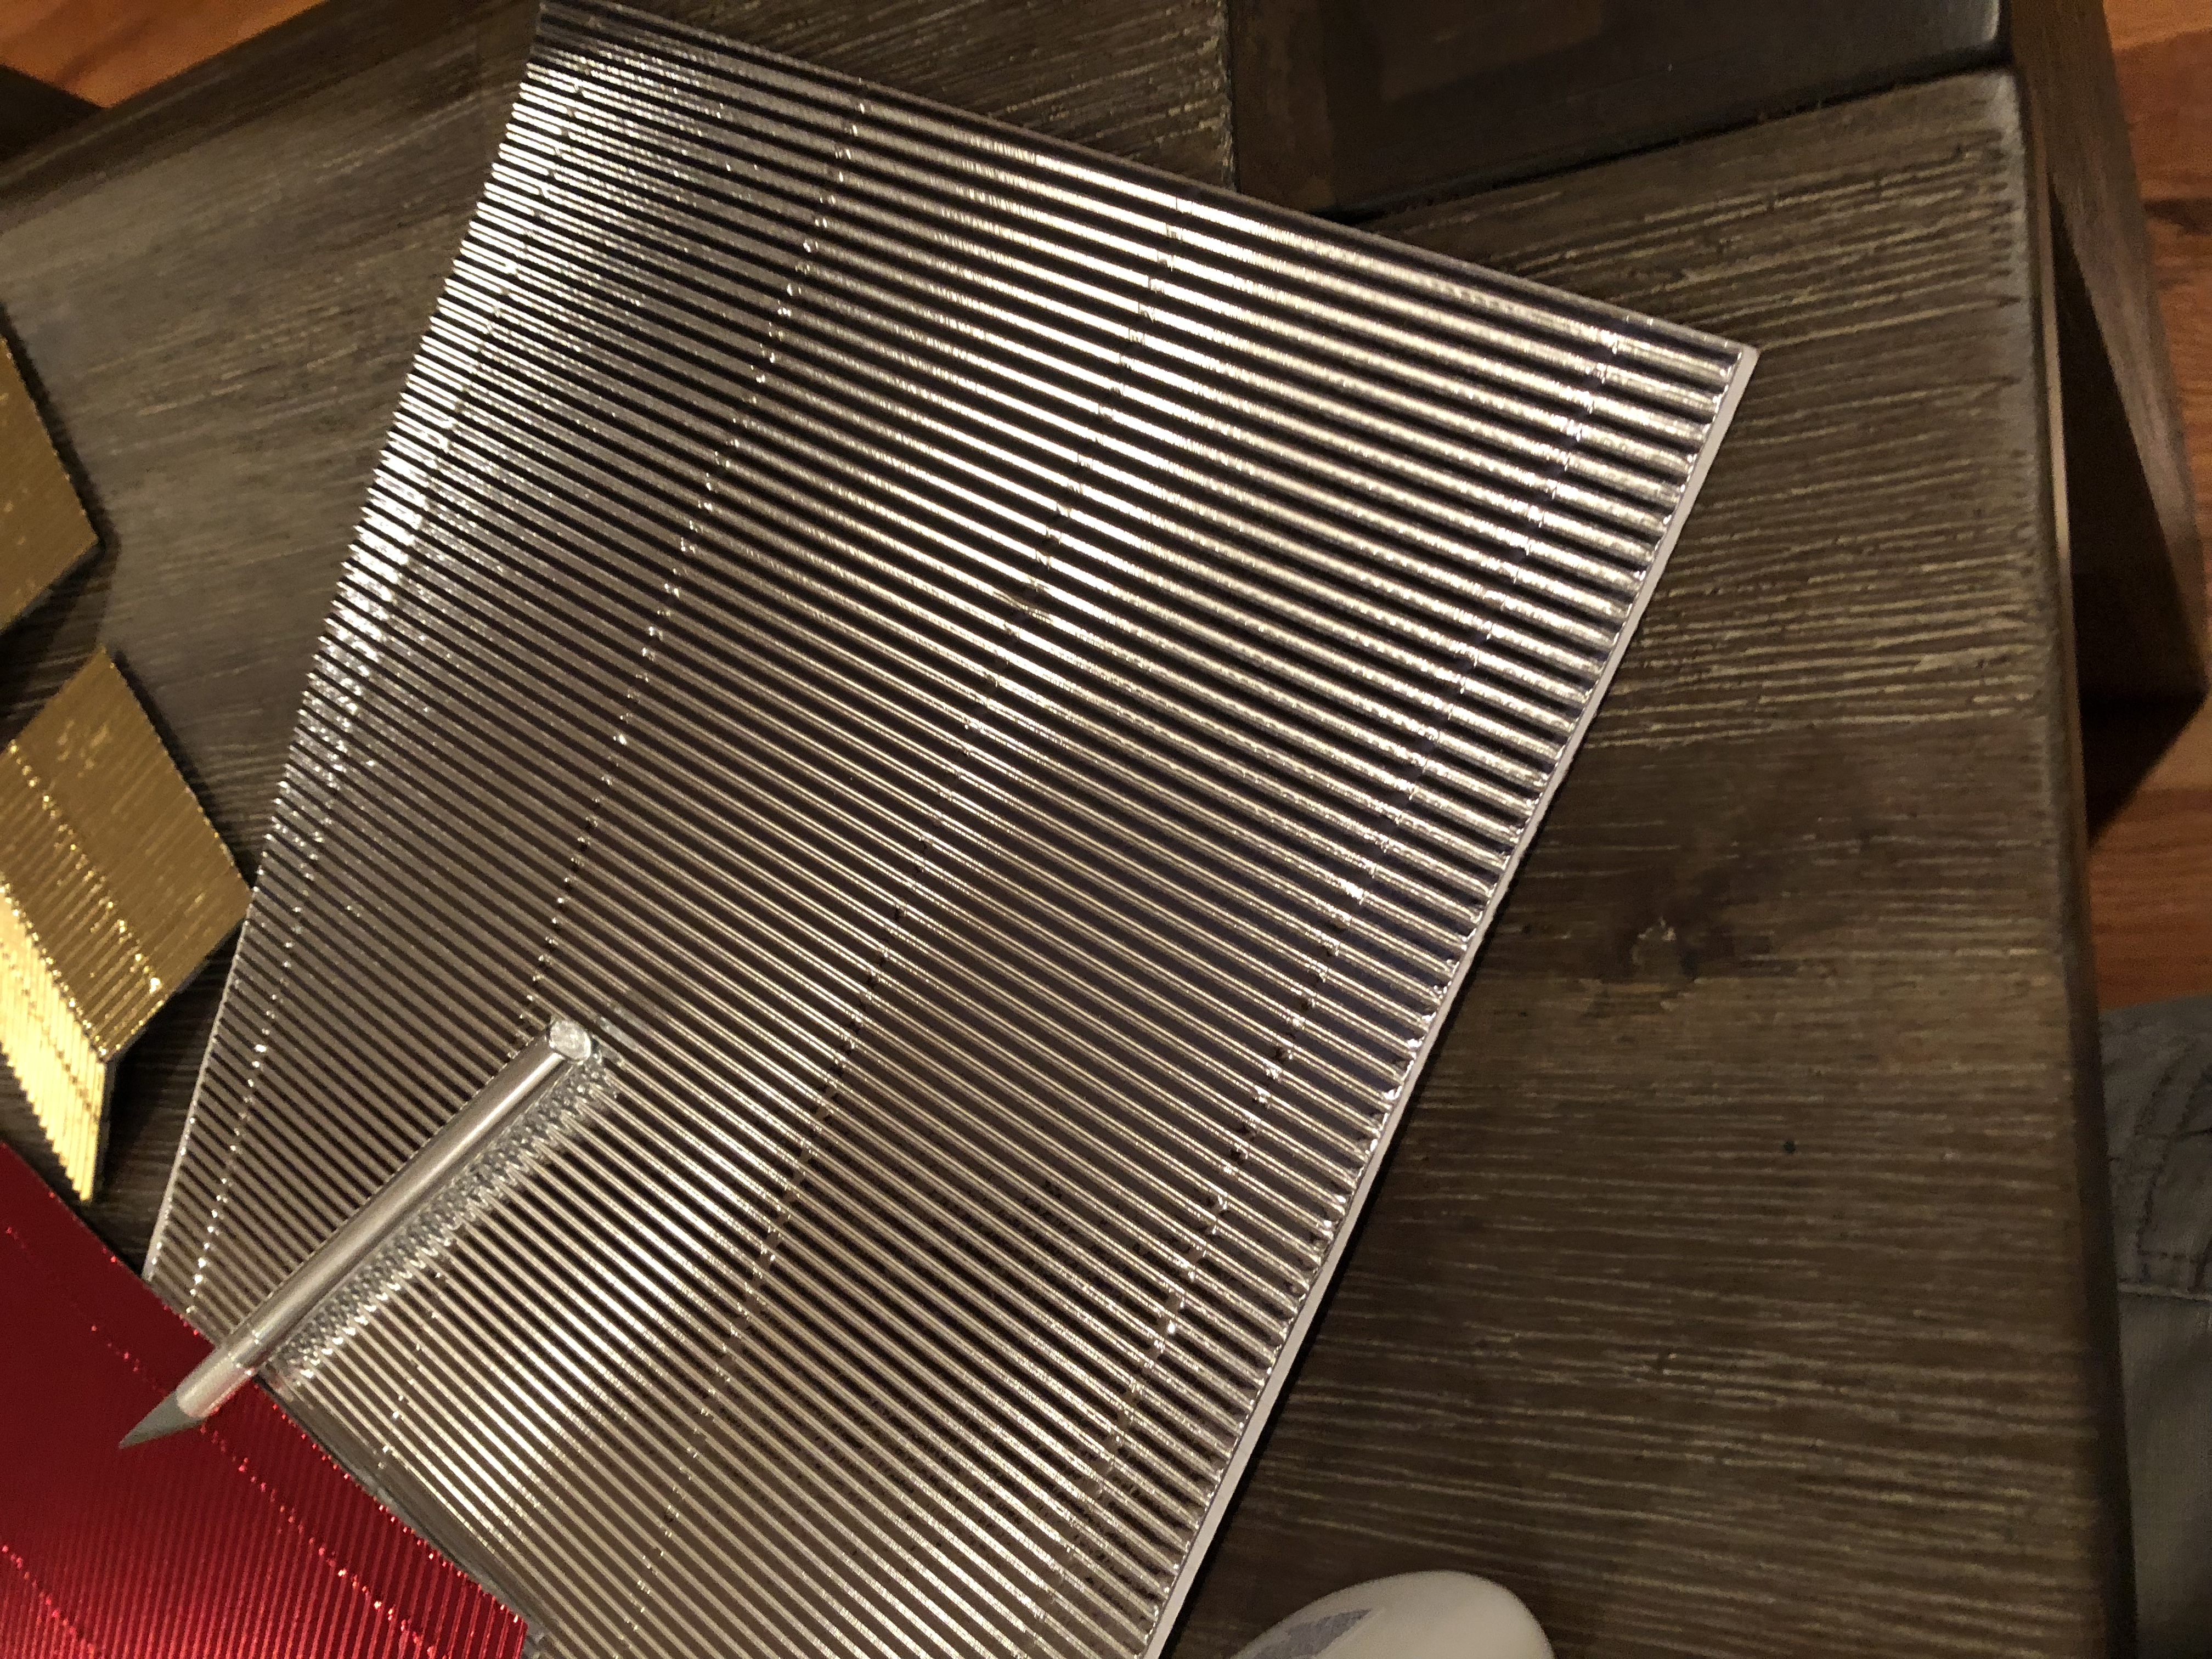 Sheets of corrugated metallic cardboard
Here are the tower roofs and the hanger with the corrugated cardboardapplied. I’ll add primed pictures later.
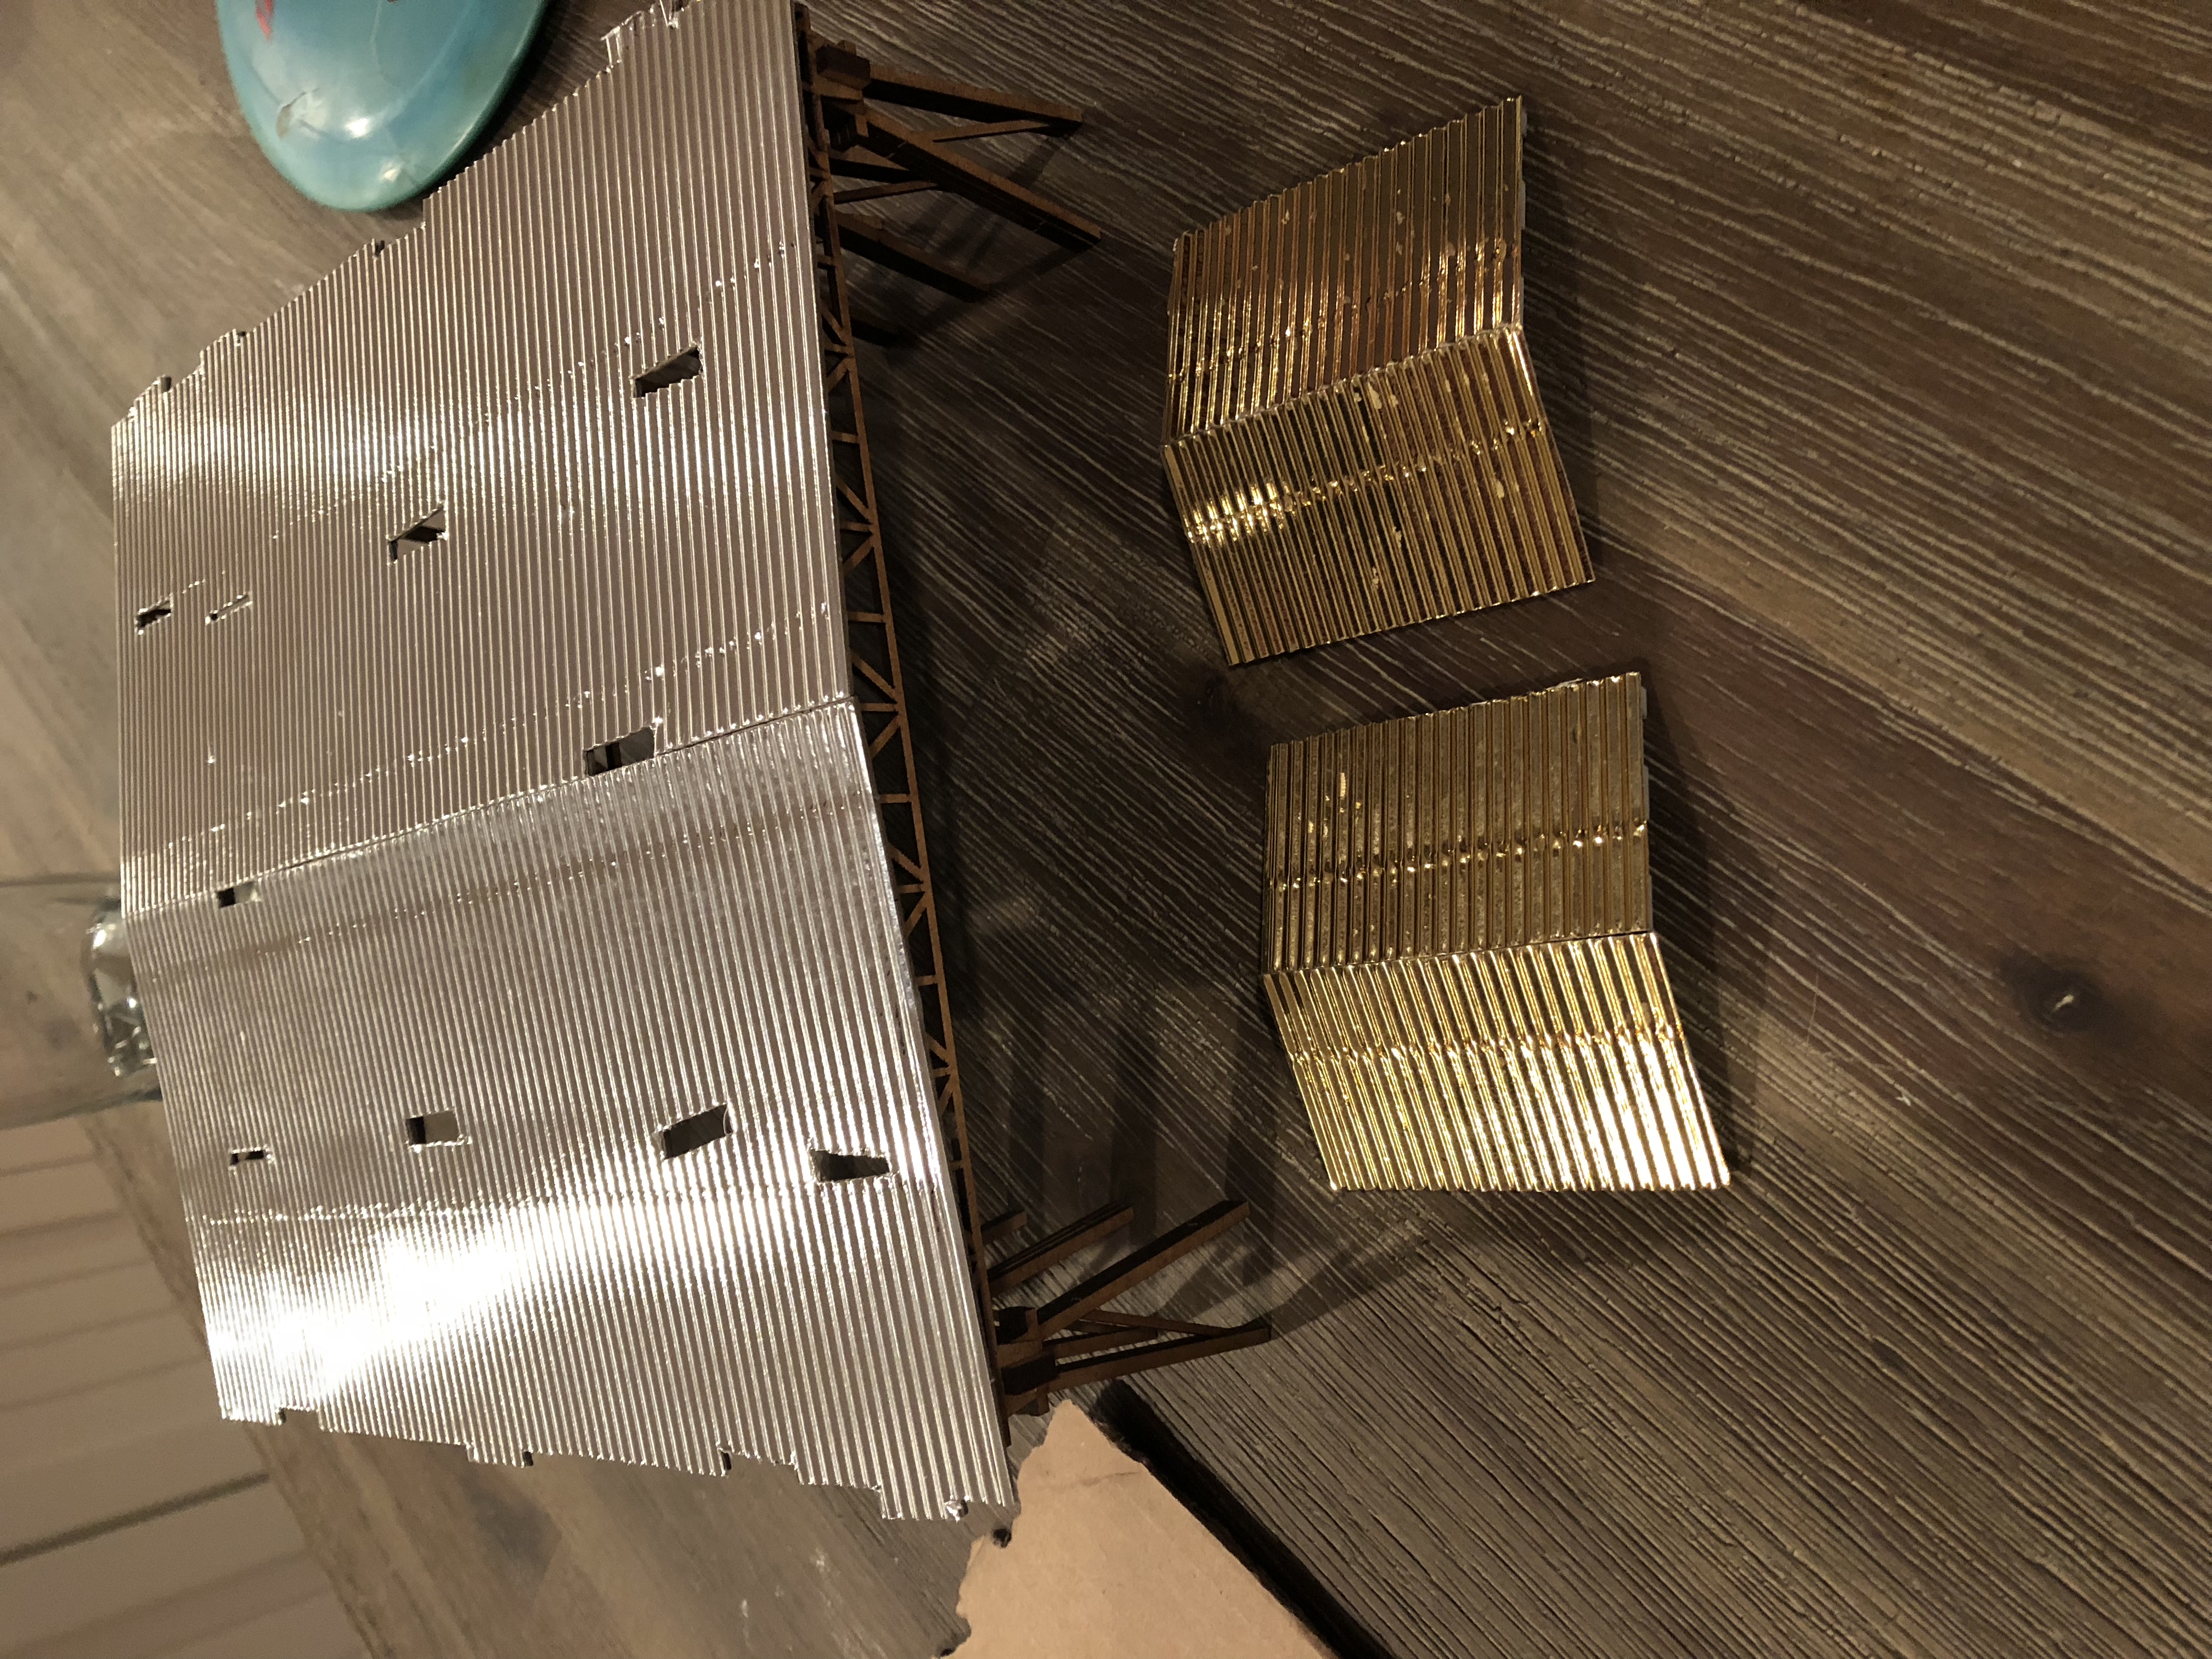 Updated Roofing
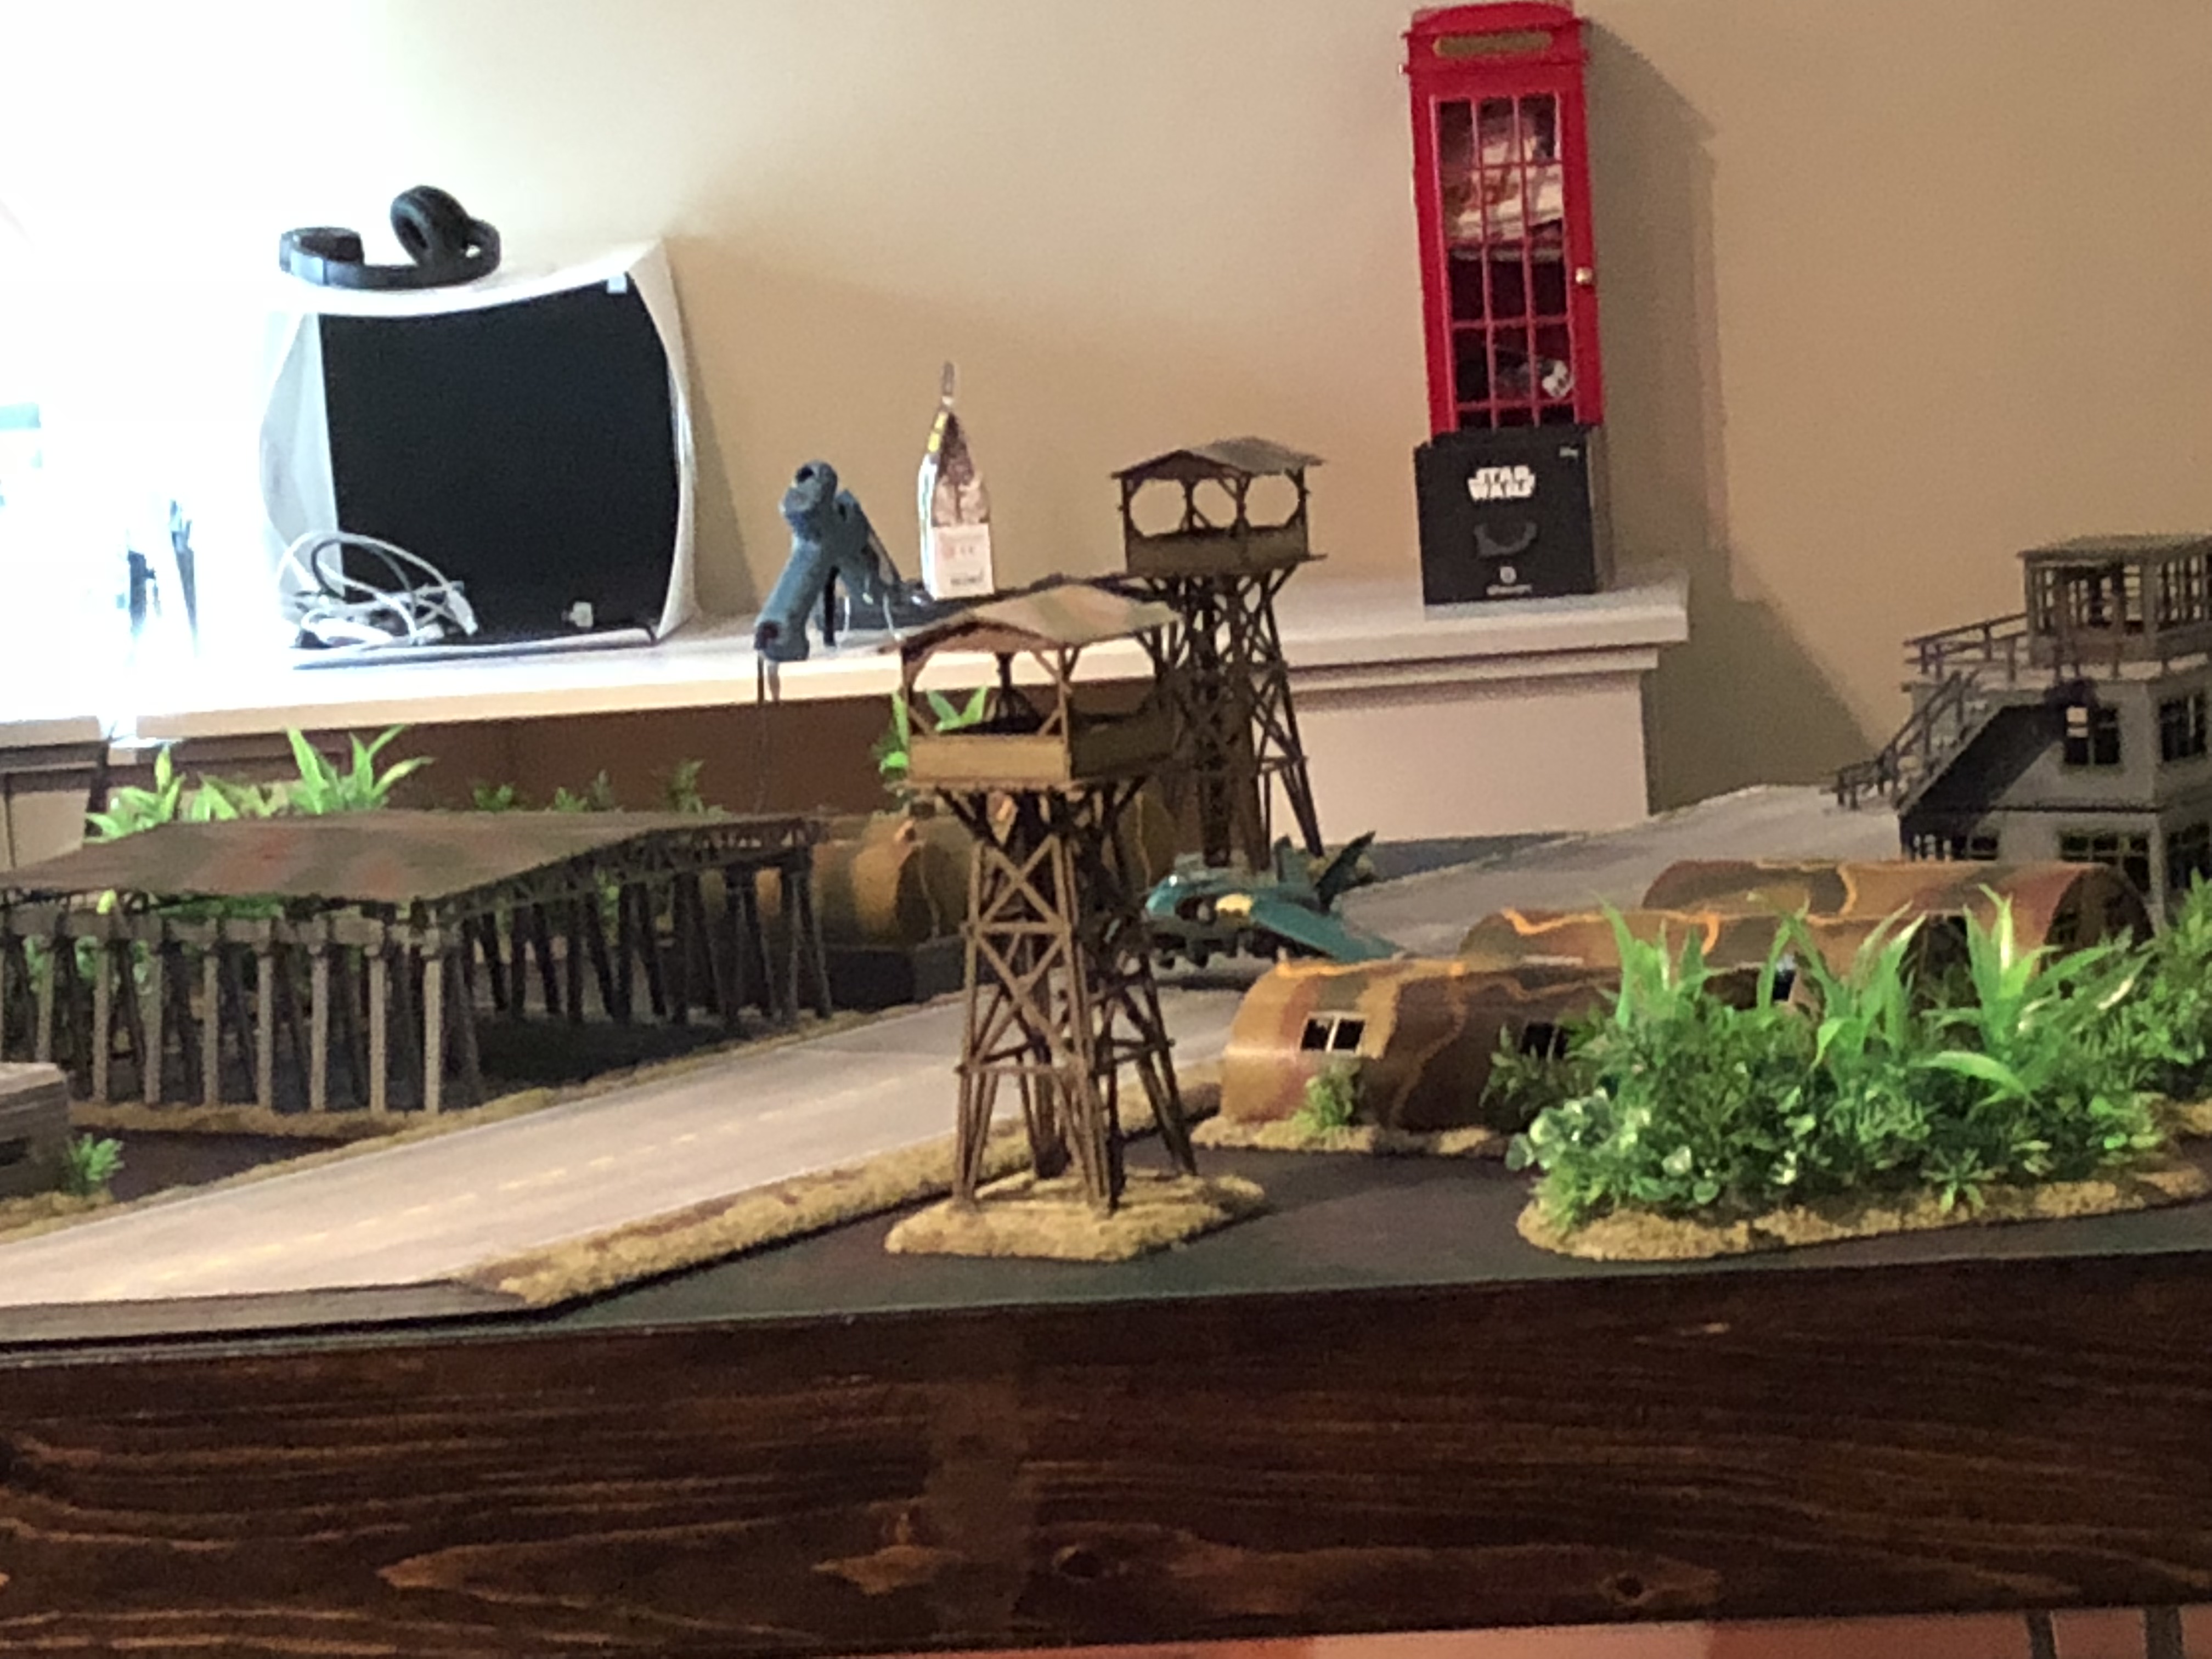
Clear for takeoff on runway TWO SEVEN
So finally was able to complete the runway for the airfield board. Mostly it was just the lines, which I did using paint pens from a craft store. These are much better than trying to paint them straight with a brush (you can use a ruler!). However, they cost $3-5 each, and wear out quickly when using them on a very abrasive surface like this runway.
Still worth it in my opinion.
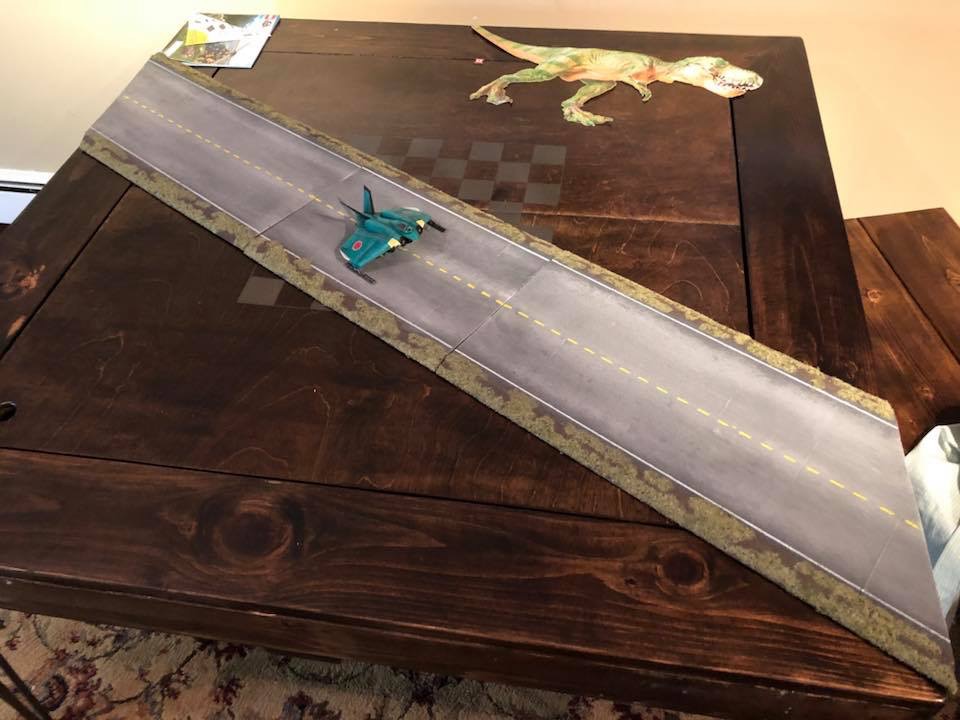 Runway shown setup across my 4x4 game table
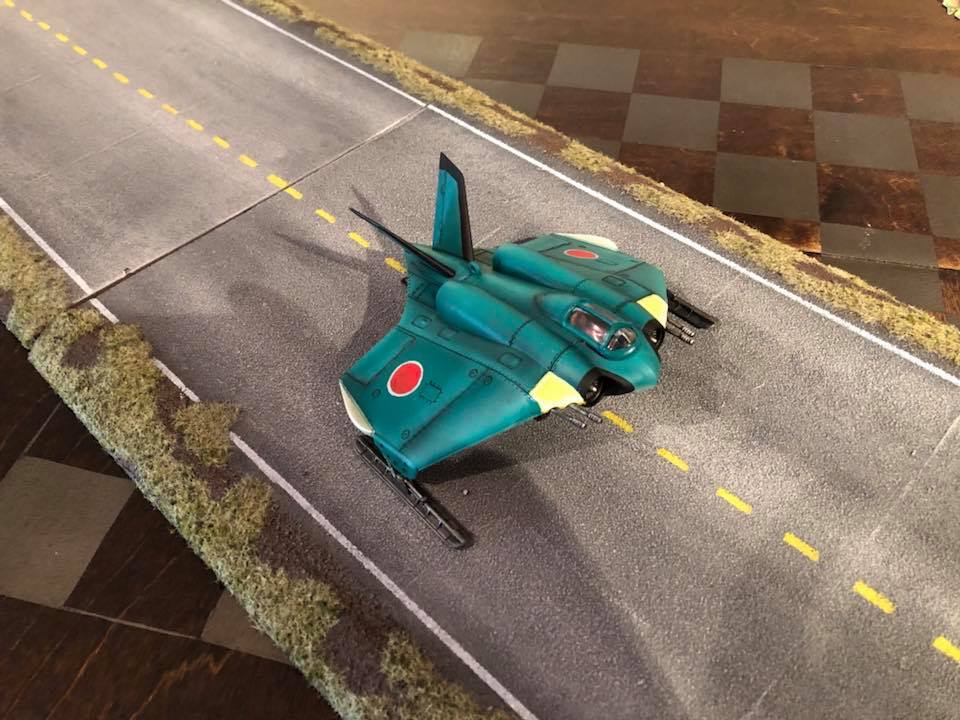
I wanted to take a break from the grittier terrain work, so decided to paint my board’s objective marker… A prototype Japanese jet aircraft, created in cooperation with Germany.
The model is actually a DUST 1947 German jet fighter, I just painted it in a traditional Japanese Zero paint scheme with jade green, white, yellow and black. Basecoat, shading and highlight work on the green was airbrushed, the rest was brush work.
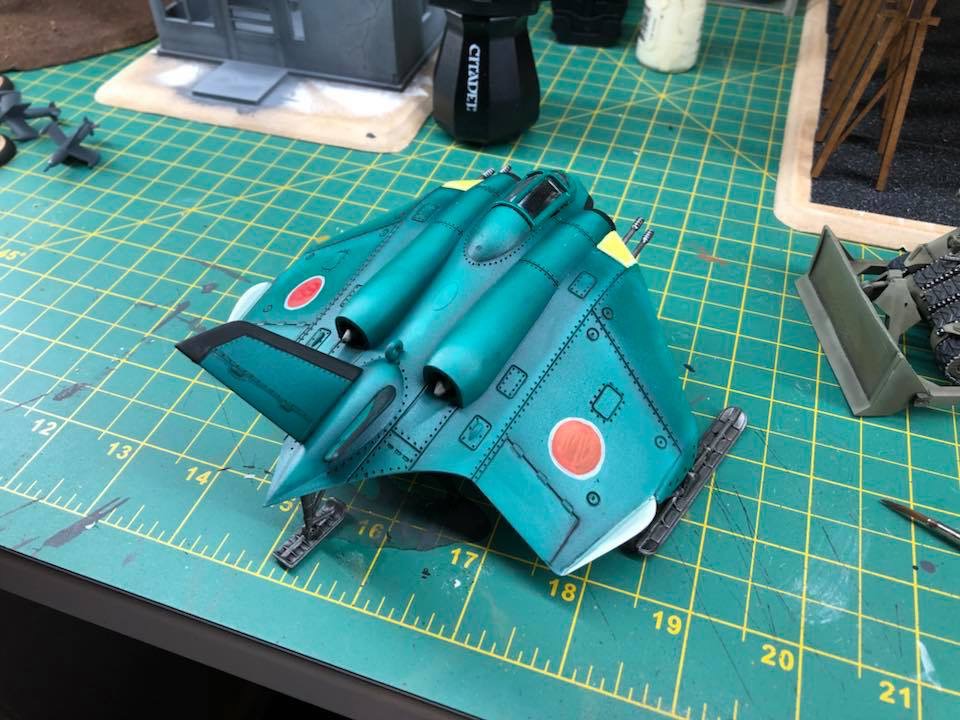 he perfect thing for my USMC to blow up
All Painted Up
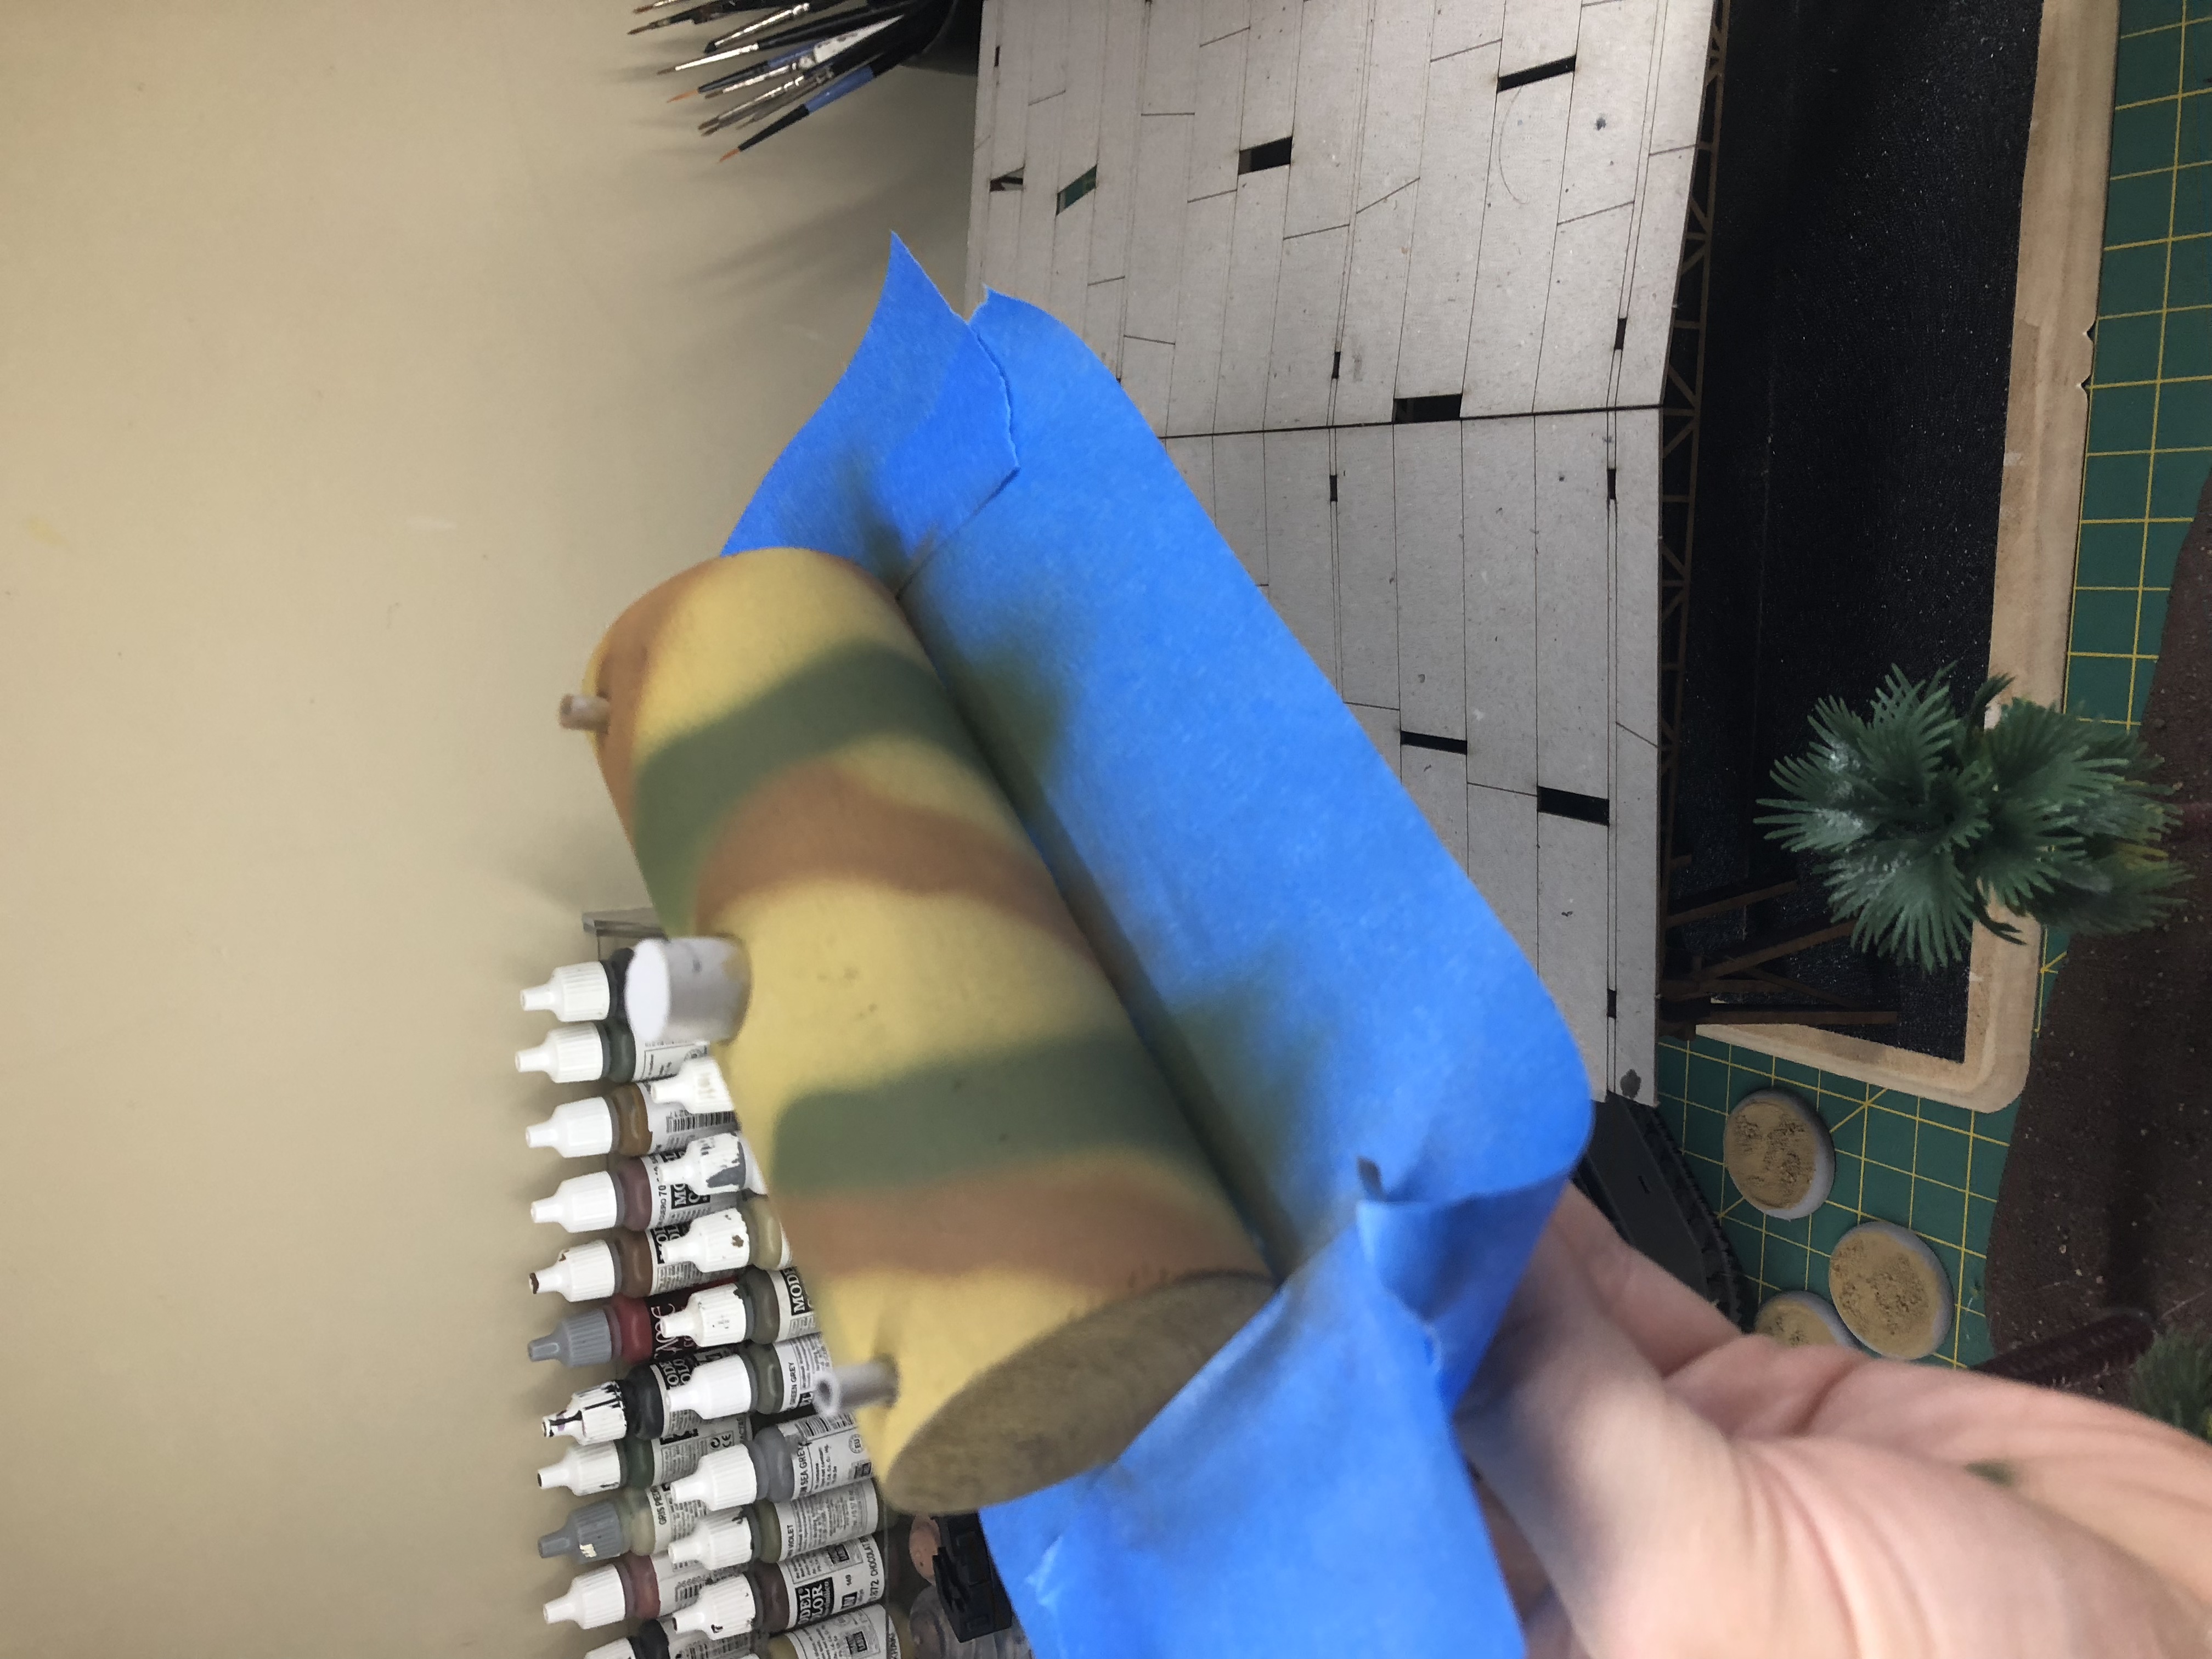
Tonight I did some work to get some paint on the fuel tanks. The base was painted a dark grey, and the tank a mix of Vallejo Japanese Uniform and Vallejo Kahki.
For the base I dry brushed up through lighter greys to white, heavy at first, drybrushing lighter on the lighter colors.
As I painted the base first, when it came time to airbrushing the camo on the tank, I needed to use painters tape to mask off the base to avoid destroying the basing work.
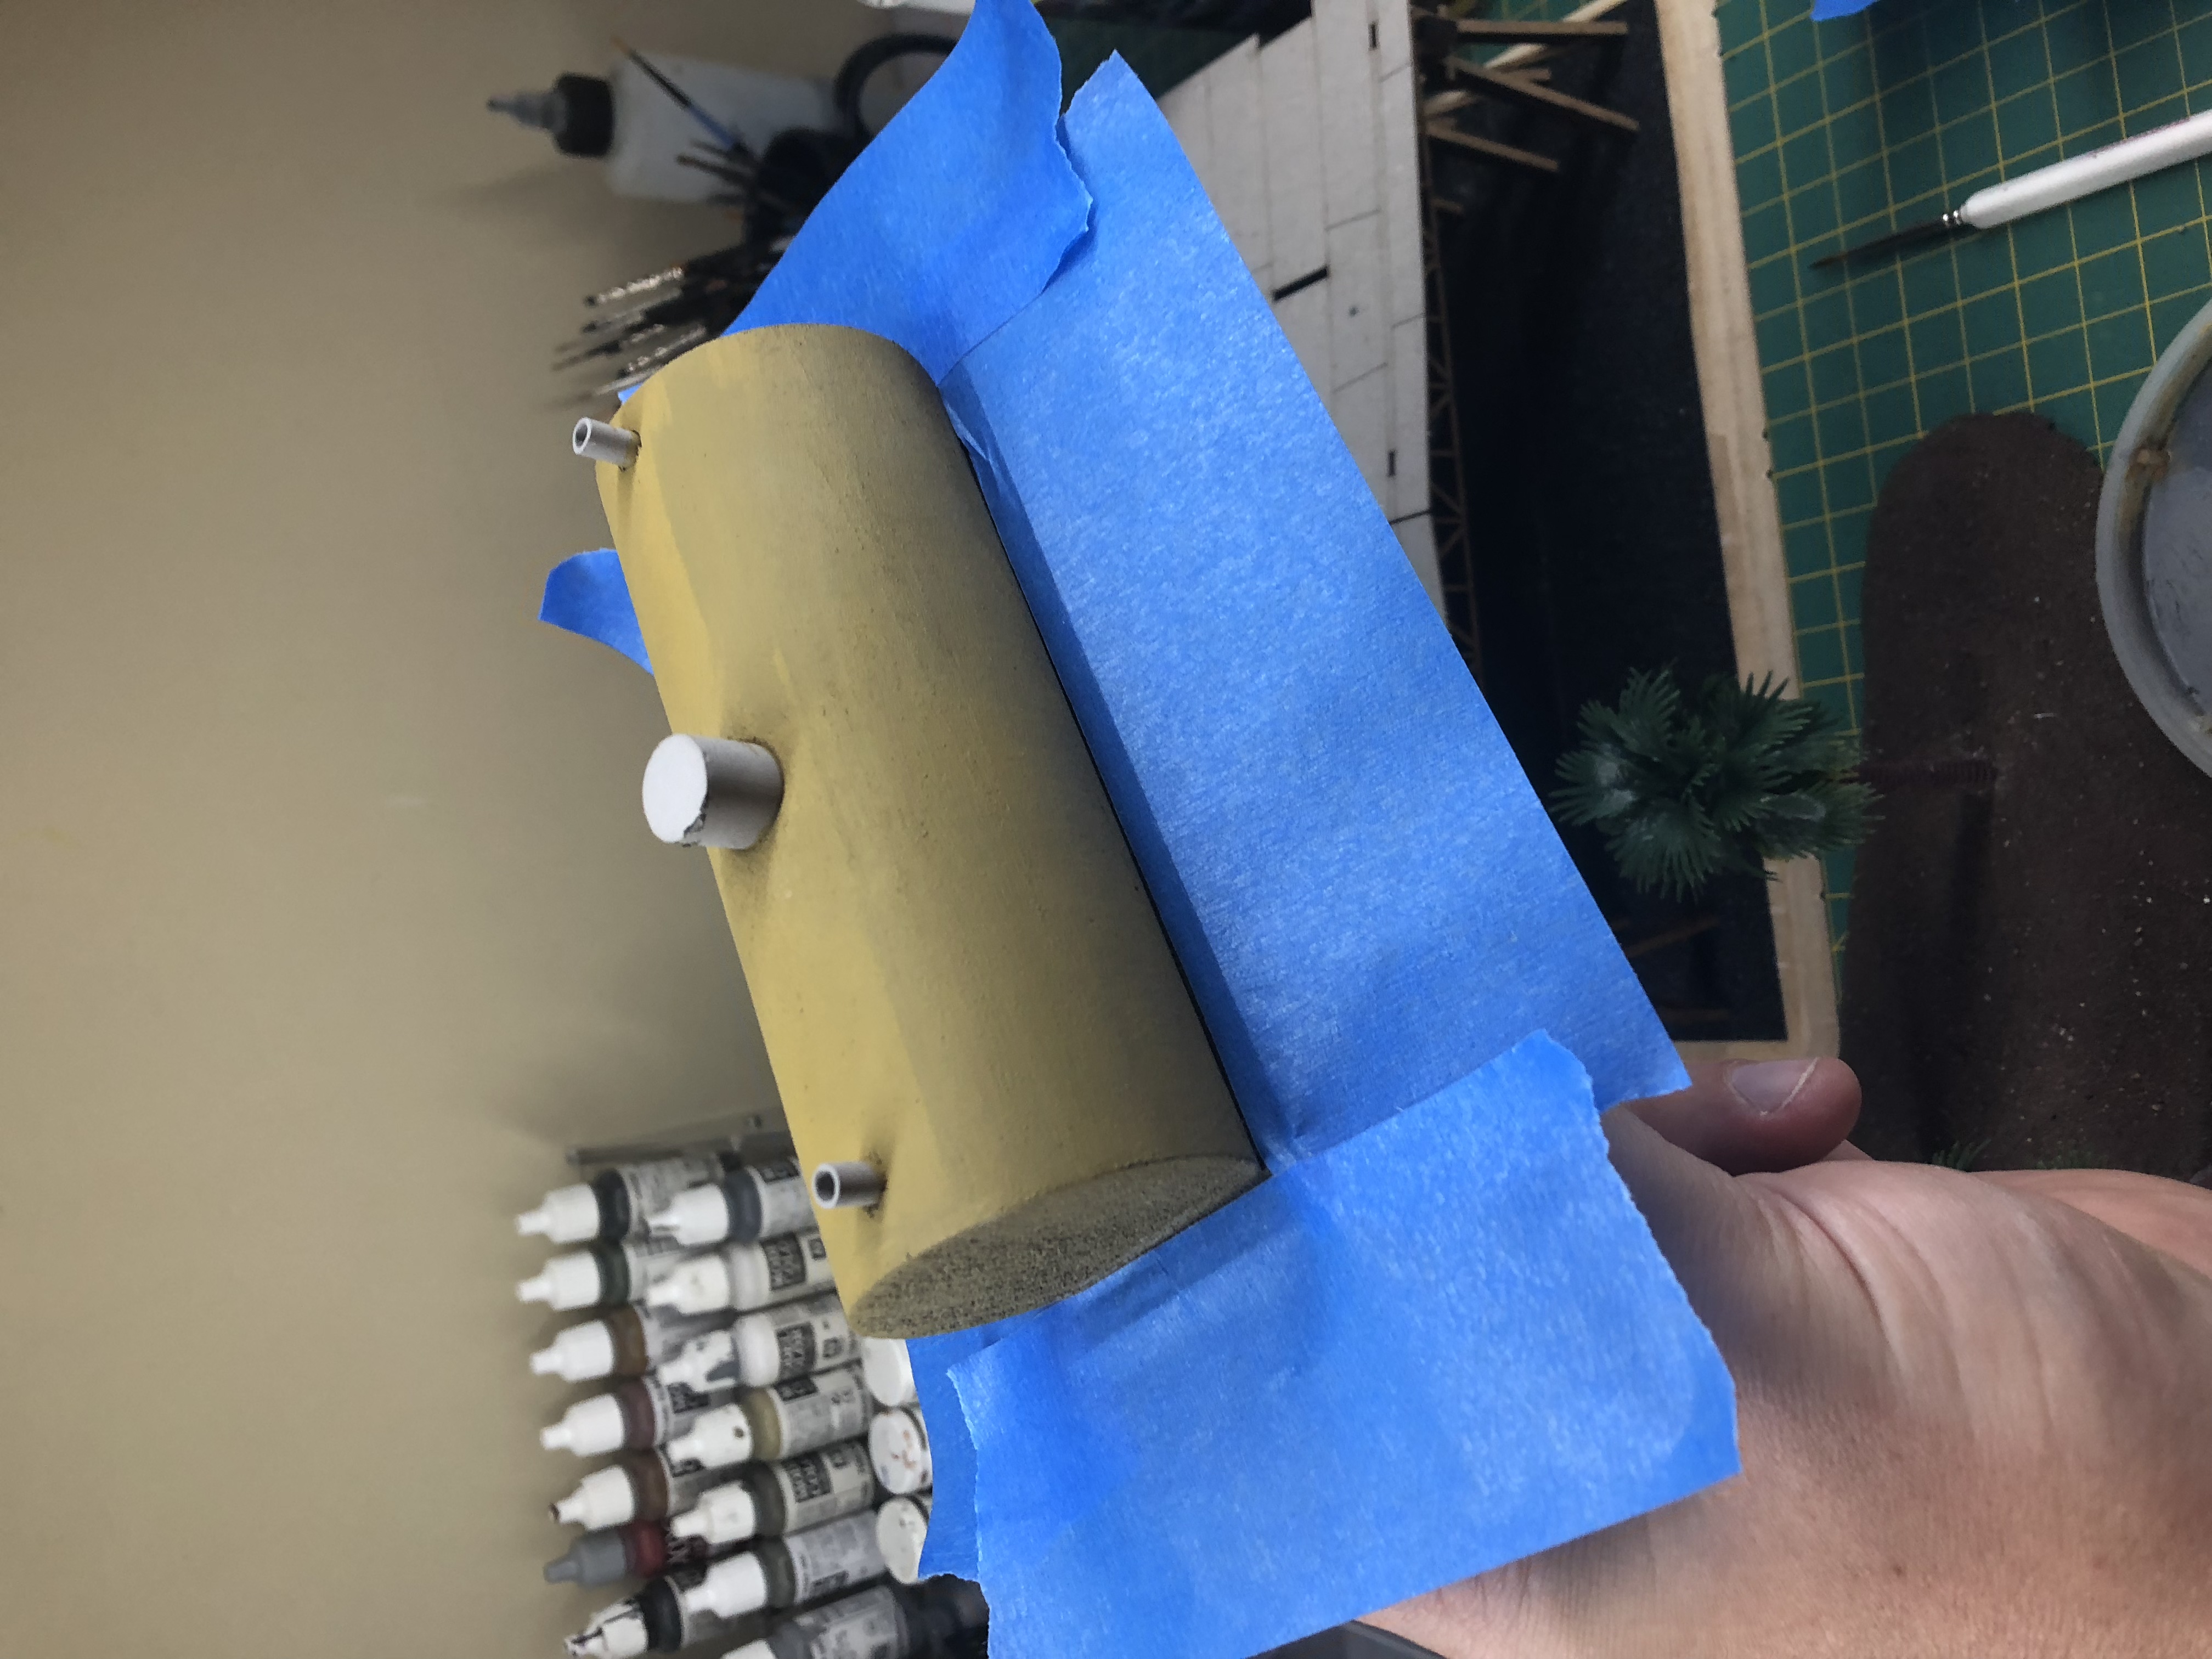 Fuel tanks with masking tape applied
I then airbrushed on green (Vallejo Reflective Green) and Brown (Vallejo Flat Earth) to make the Japanese camo.
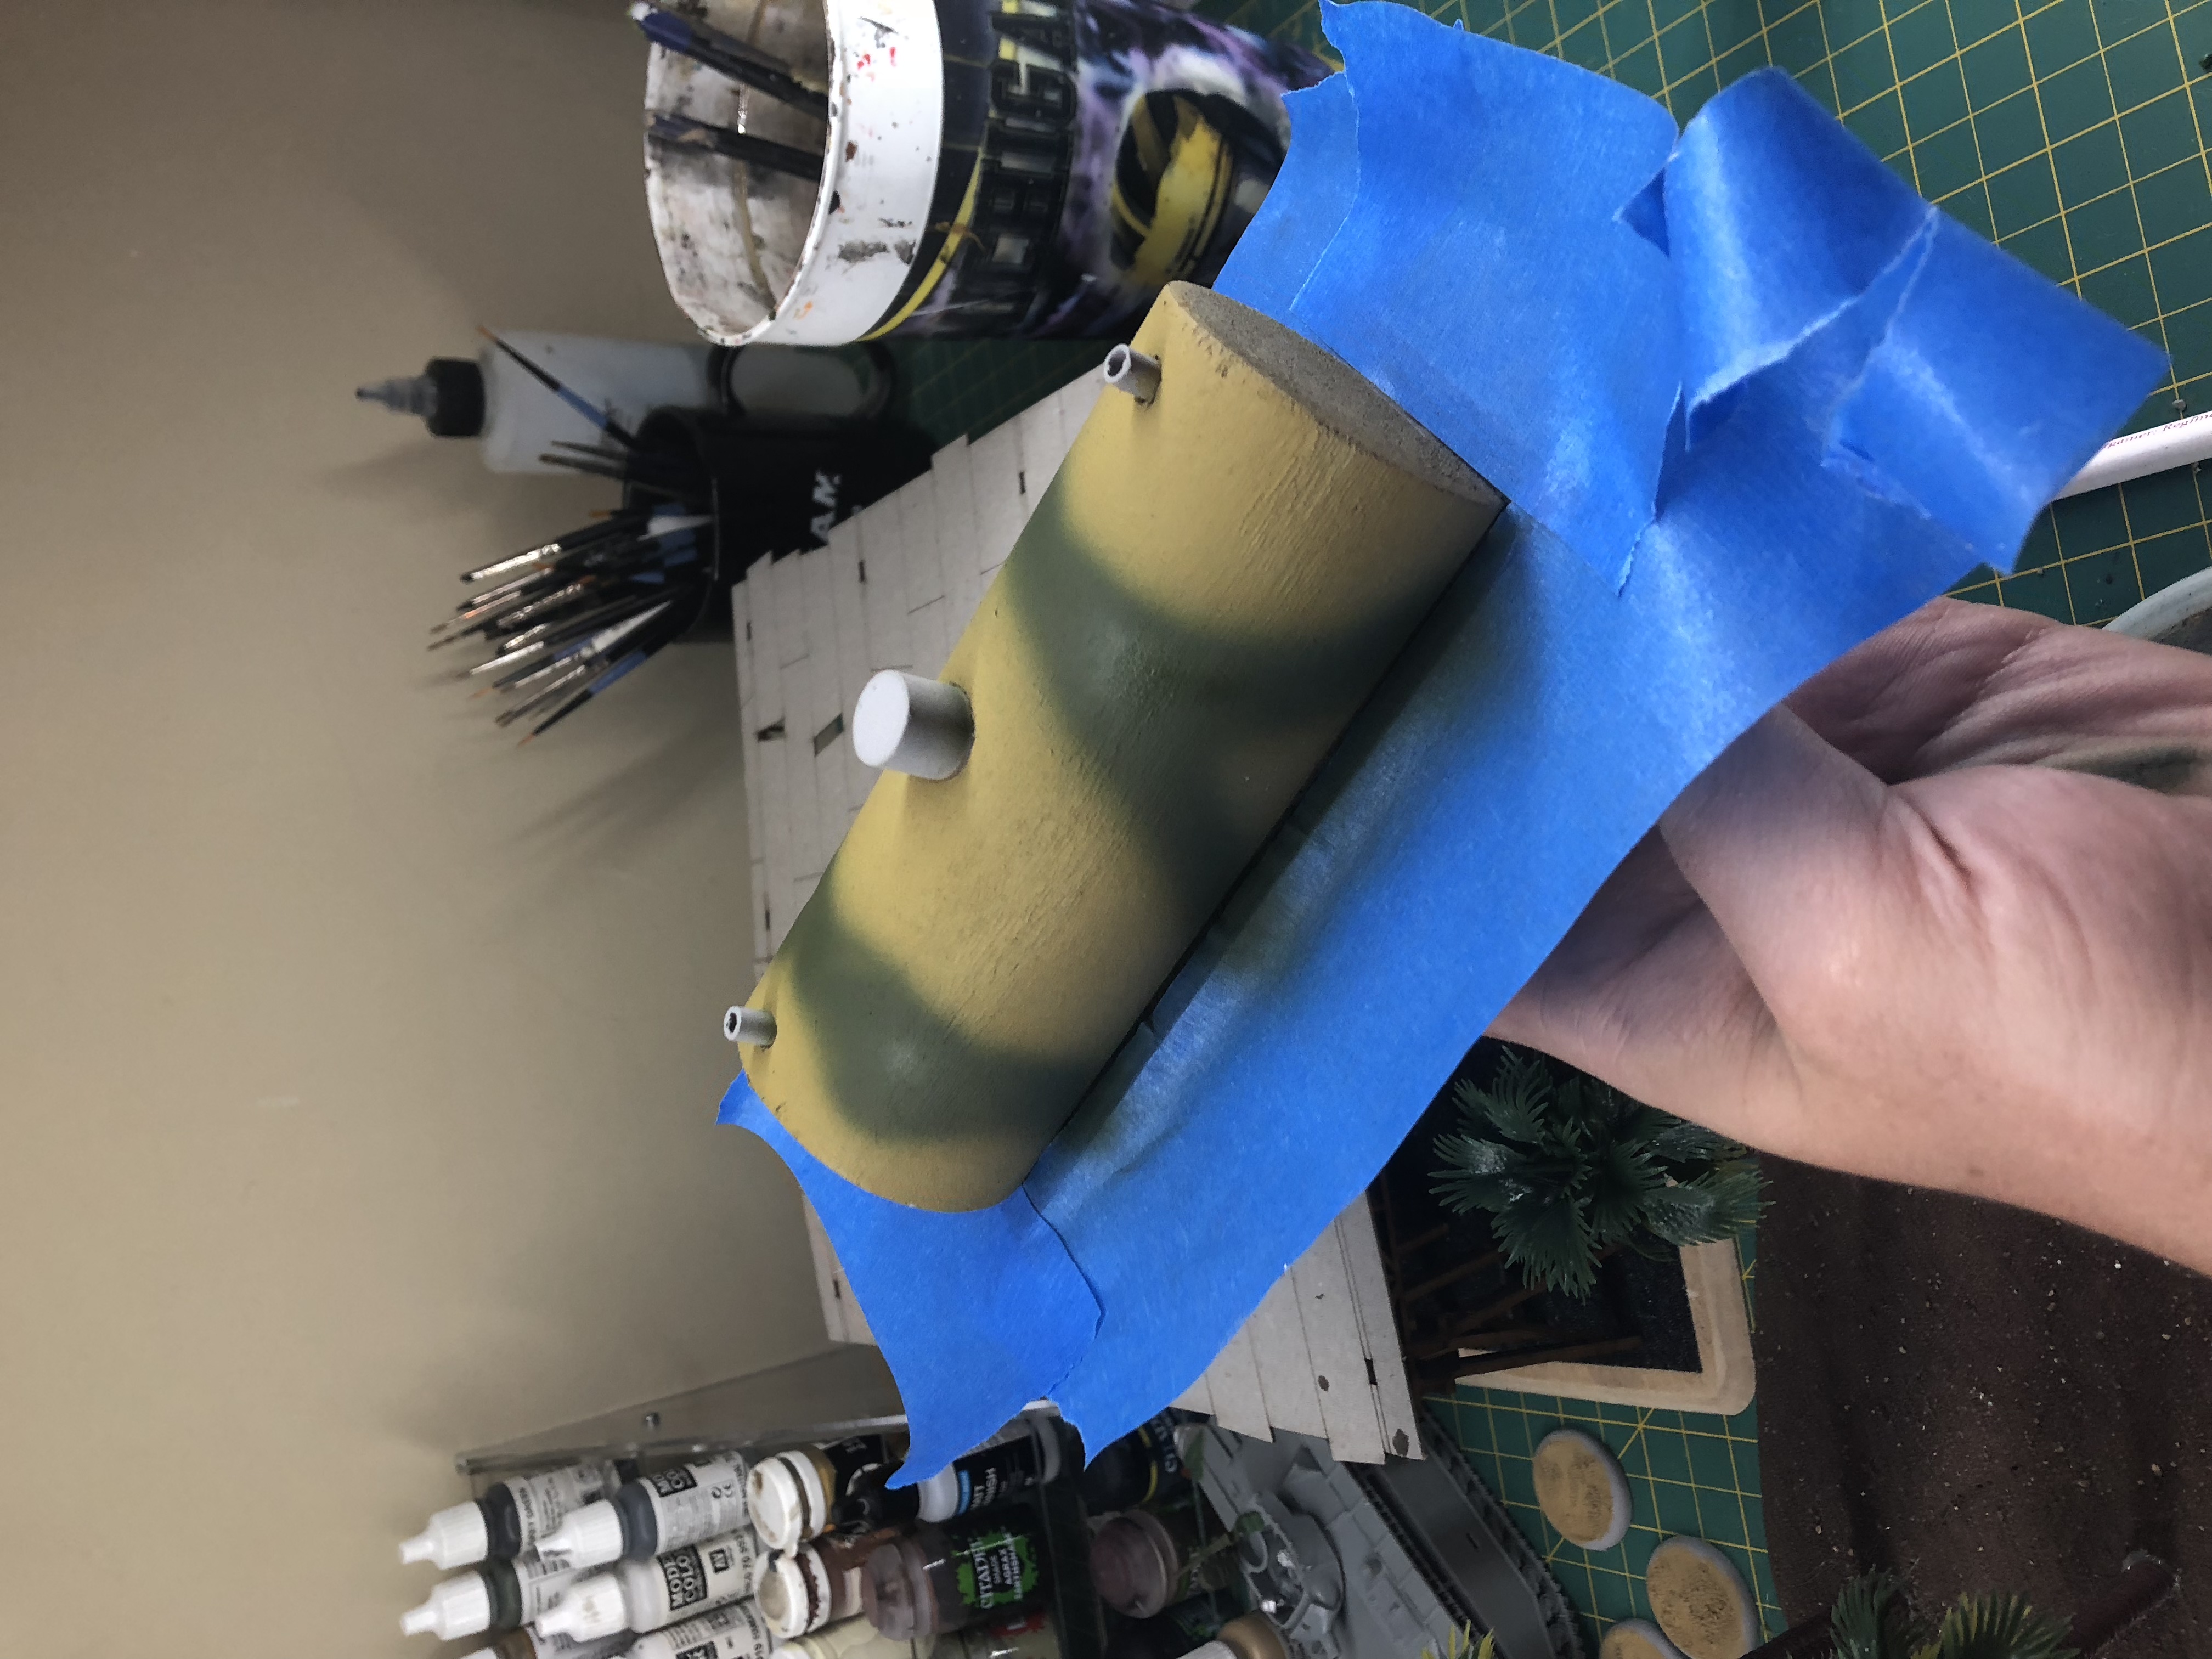
Last was some brush work. For this I removed the painters tape. The crosses yellow lines done with a bright yellow. I then painted the stacks black followed by silver. I will probably weather around the stacks to make them look grittier.
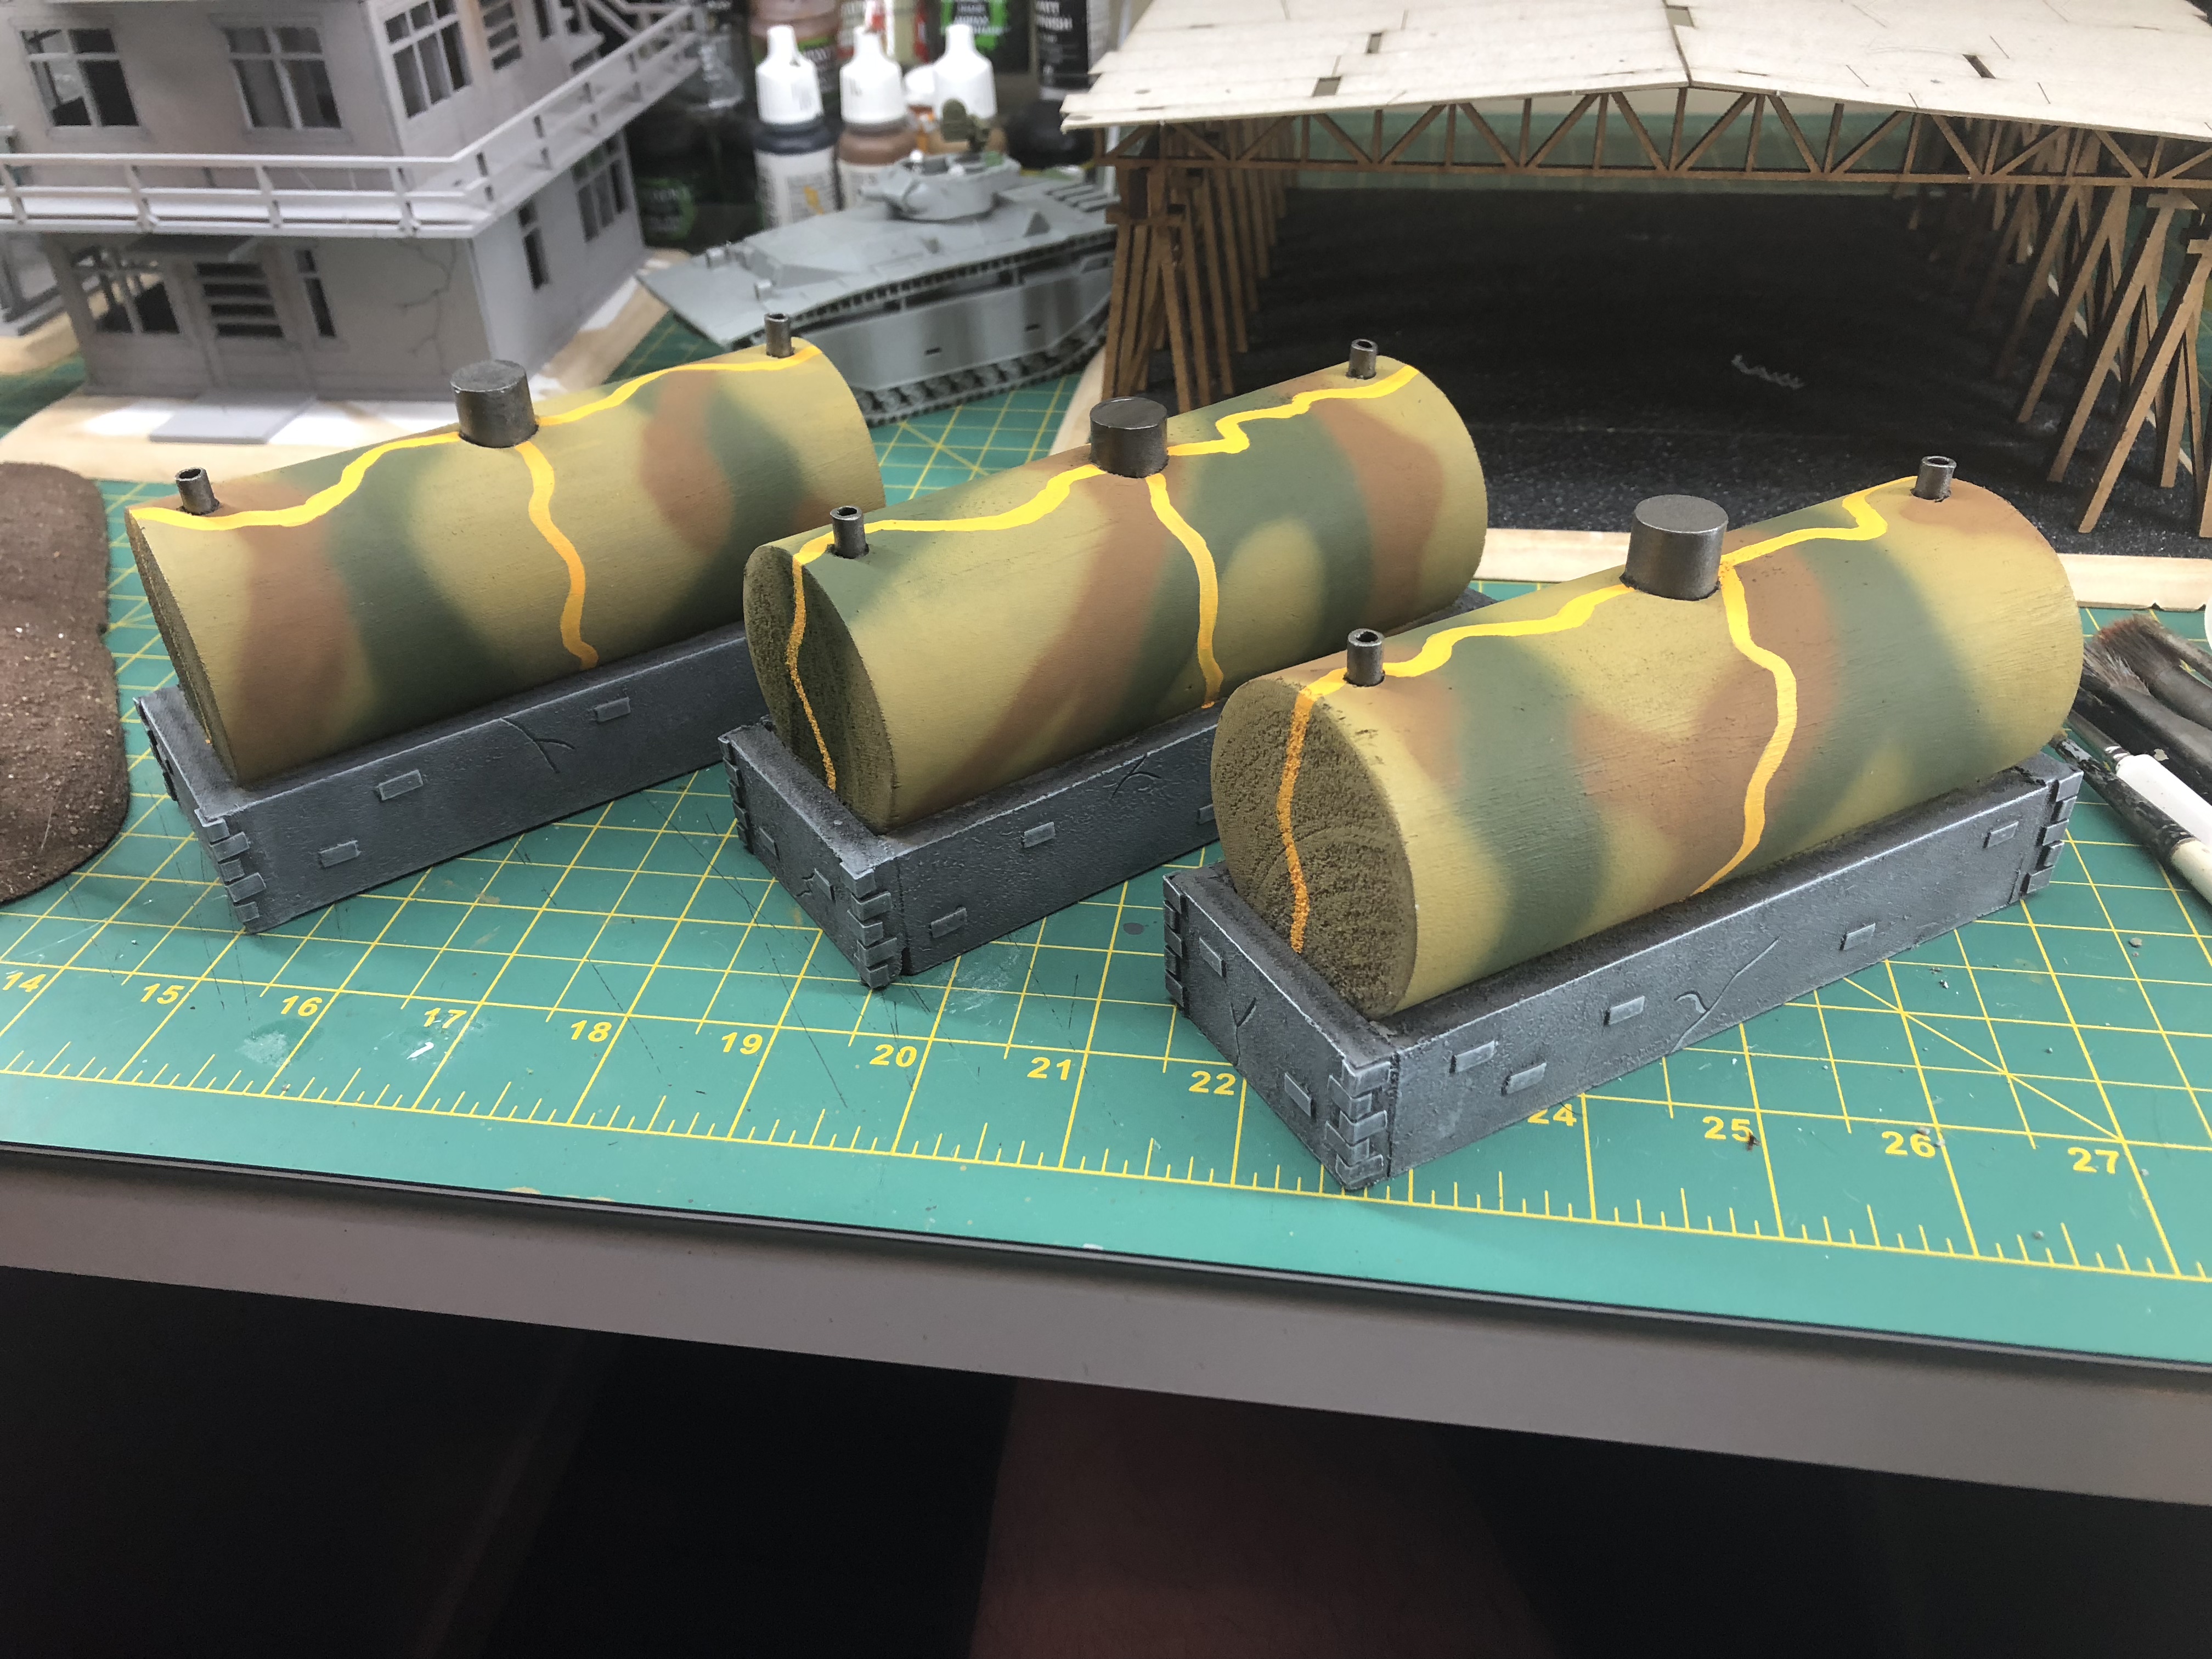 Mostly completed fuel tanks


