


Guild Ball Hunter’s Guild by Lawnor


Recommendations: 43
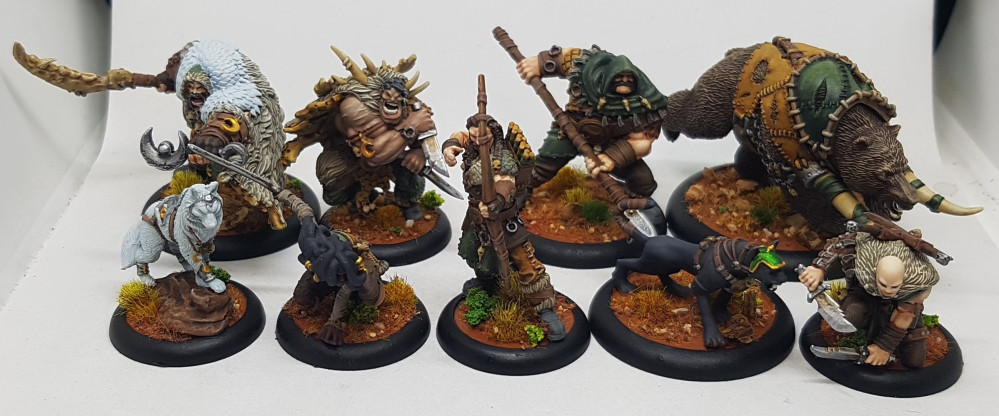
About the Project
A start to end view of my work on the complete Hunters Guild for Guild Ball. I will try to make this as detailed and informative as I can (I do have a habit of getting caught up and forgetting to photograph steps). I like following guides and tutorials so lets see if others can use this as one when I'm done.
Related Game: Guild Ball
Related Company: Steamforged Games
Related Genre: Sports
This Project is Completed
Basing
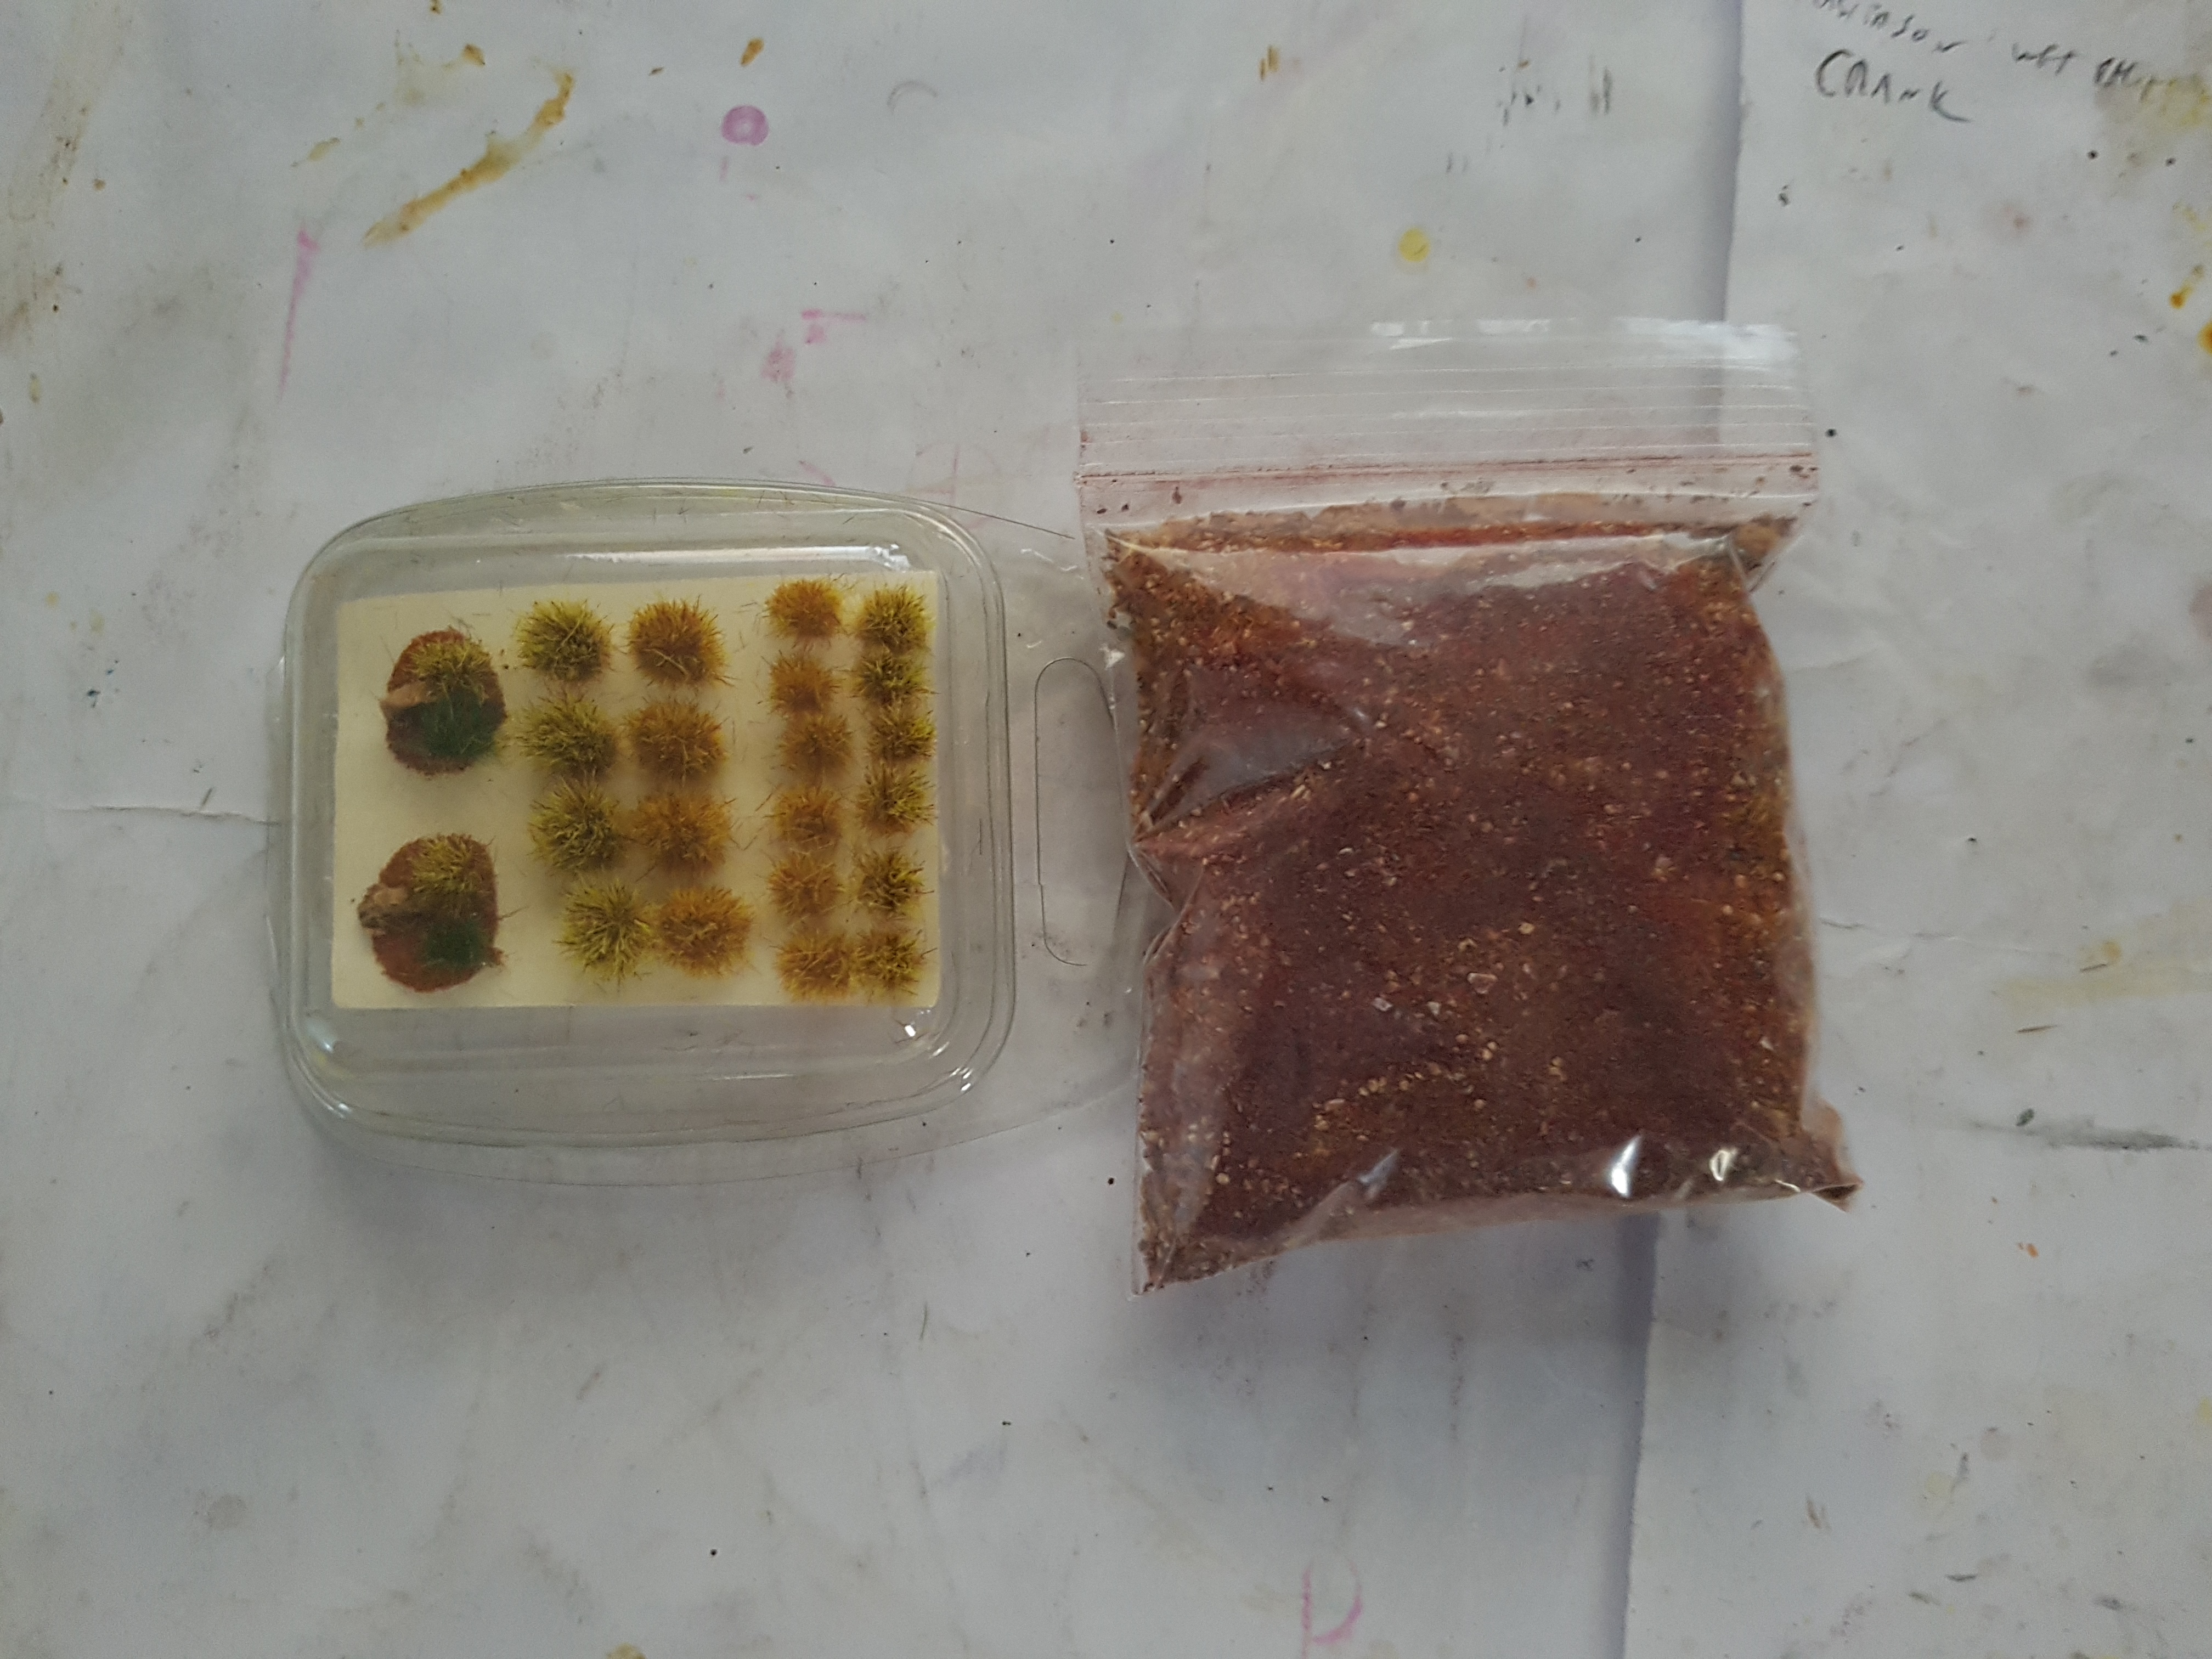
Last month AssetDrop shipped me a new selection of basing materials to produce what they called a Baked Canyon effect. My plan has been to test this out on my hunters. Here’s what they say can be done with it and what was in he box:
Army Painter Wet Mud Effects basing paint
Serious Play Canyon Small Tuft Variety
Serious Play Baked Canyon Landscape Texture
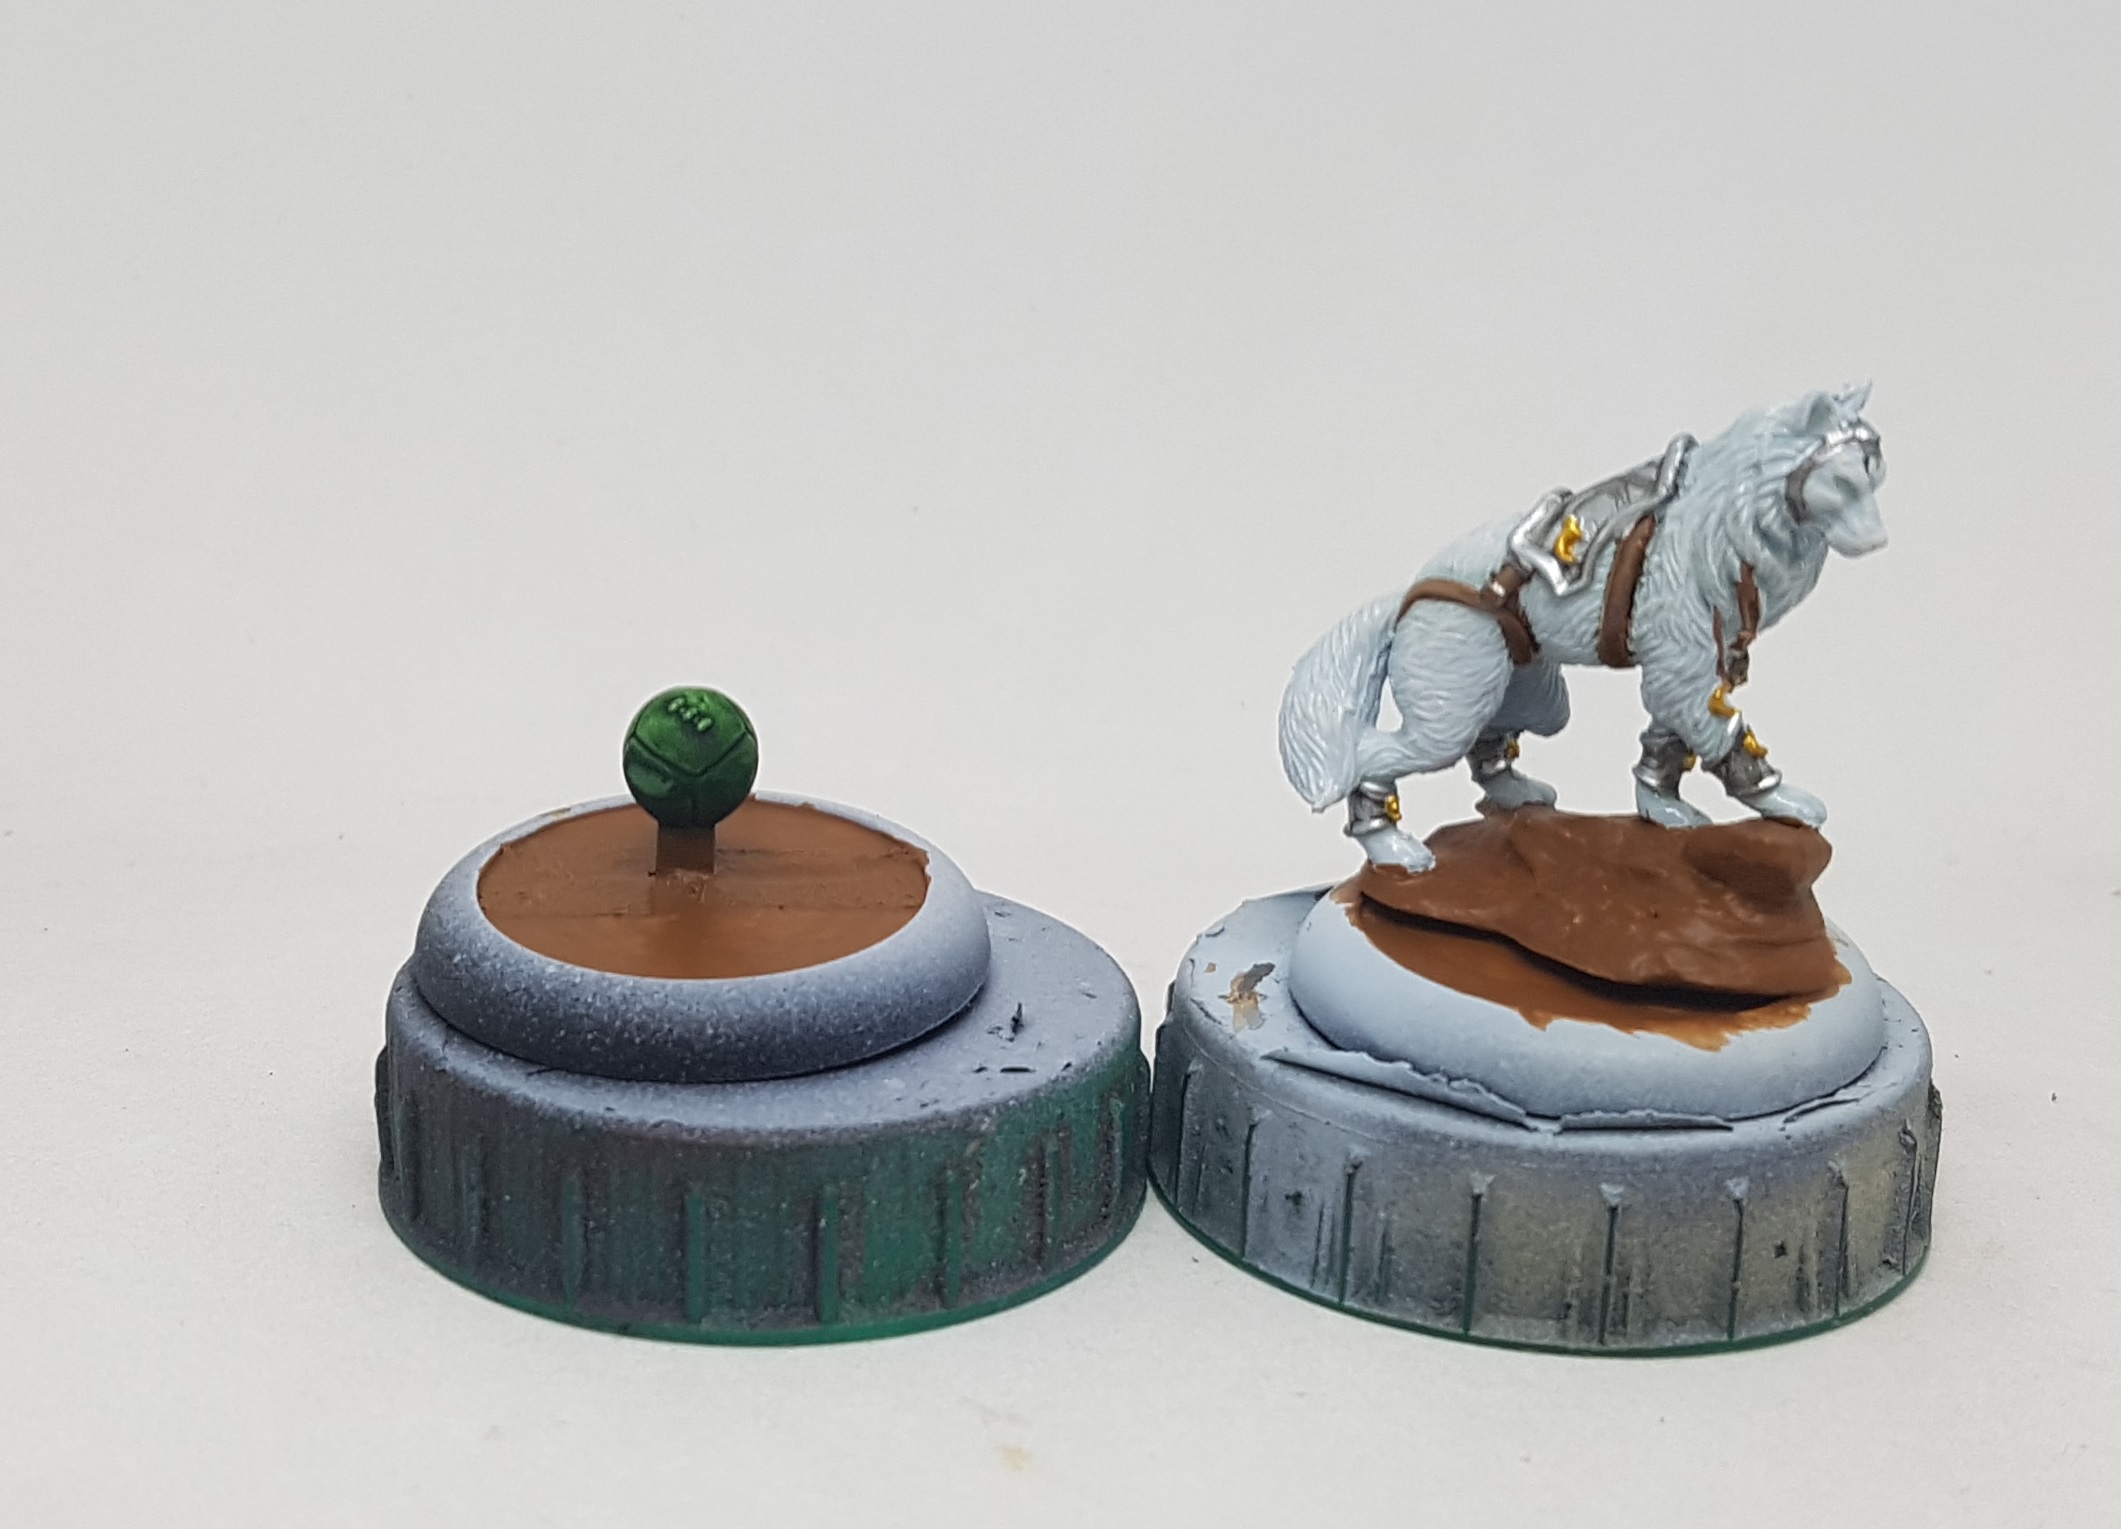
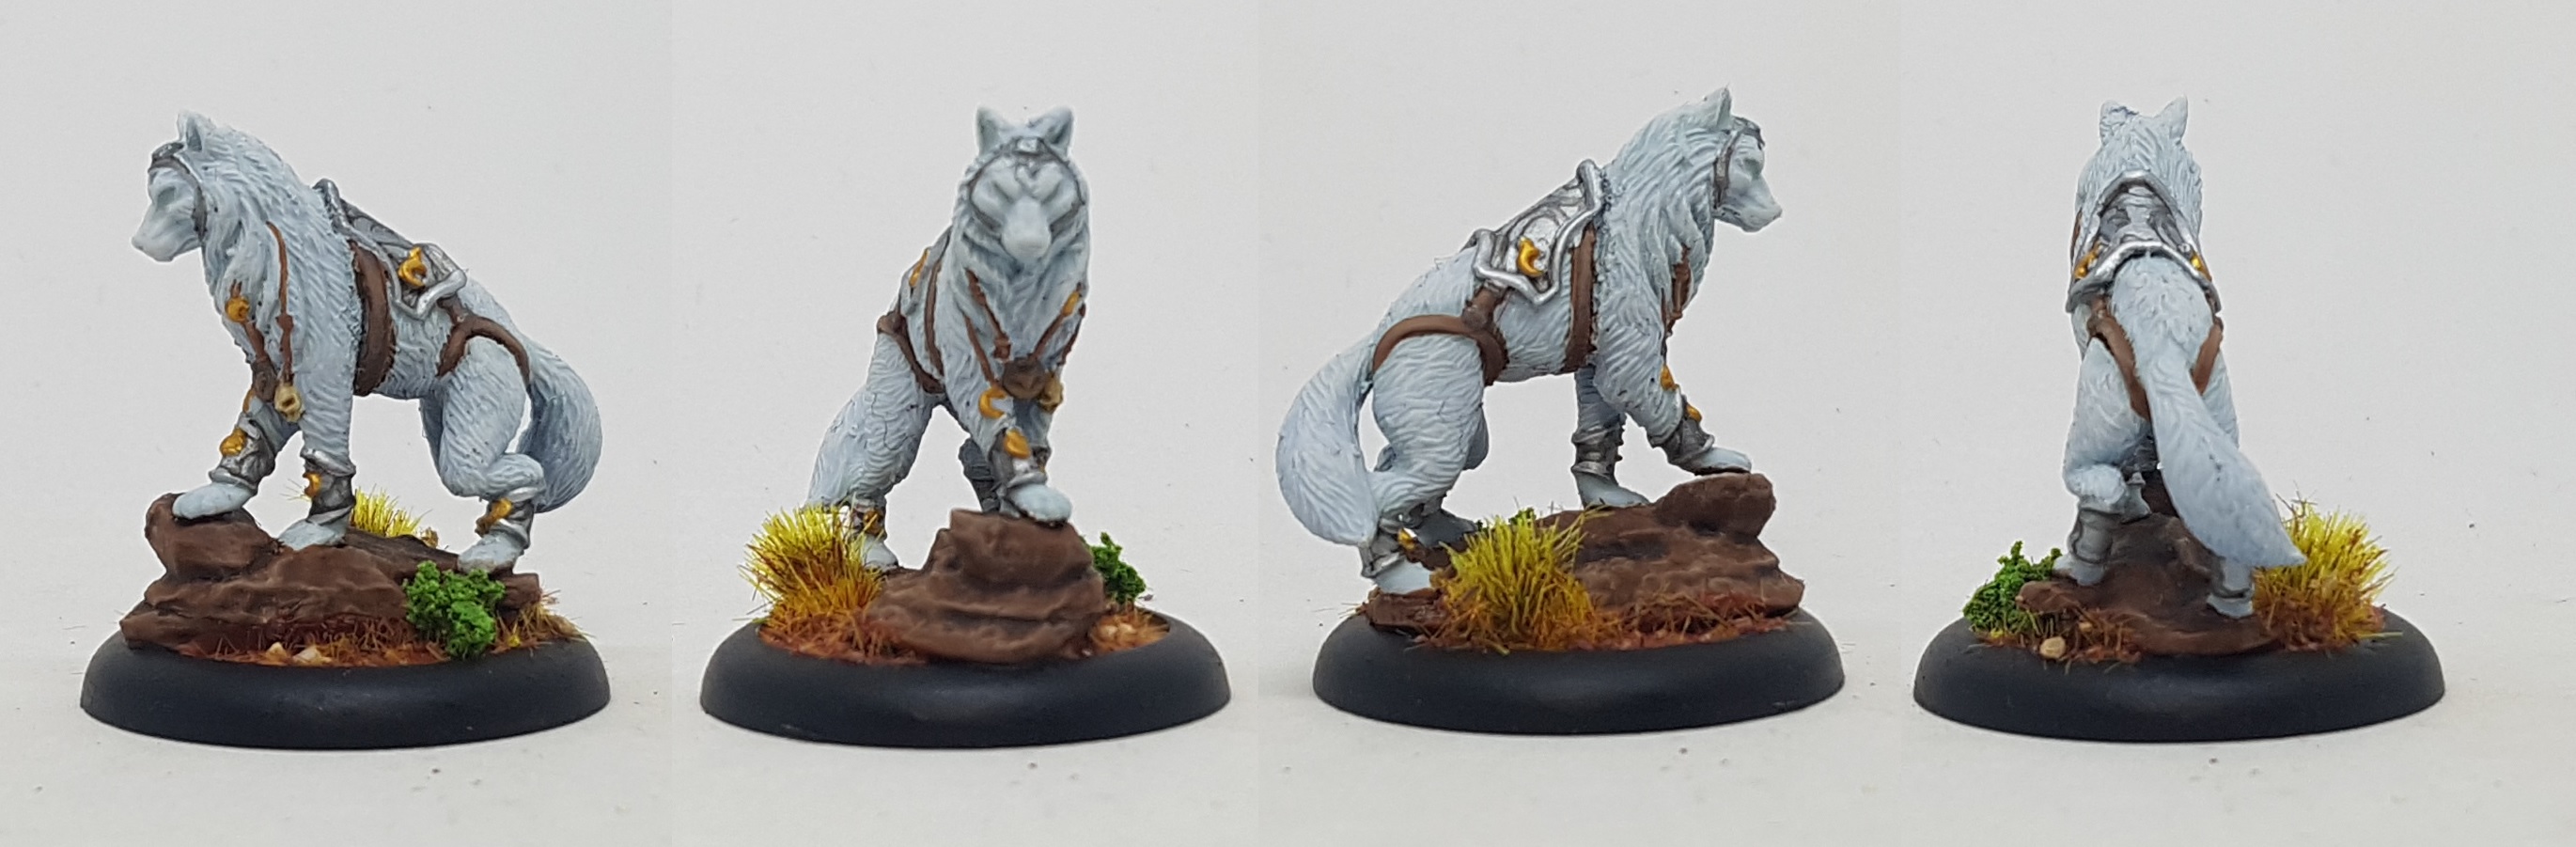
Their guide says the mud will dry with a wet finish so I should varnish everything first to preserve this. I’ve worked with textured paint before and I am aware that you often get cracks and can see through the paint to whats beneath so I chose to undercoat everything with P3 Bloodtracker brown, as this appeared to be a similar colour to the mud. I also painted the rock the wolf is on with this. The rock also got a wash with Agrax Earthshade, and drybrushed with P3 Beast Hide and then p3 Hammerfall Khaki. The rims of the bases were then painted black and everything was given a coat of Gloss Varnish and then Matt Varnish via my airbrush.

 The bases were undercoated. Unfortunately I was caught up in the momentum and forgot to take more step by step photos
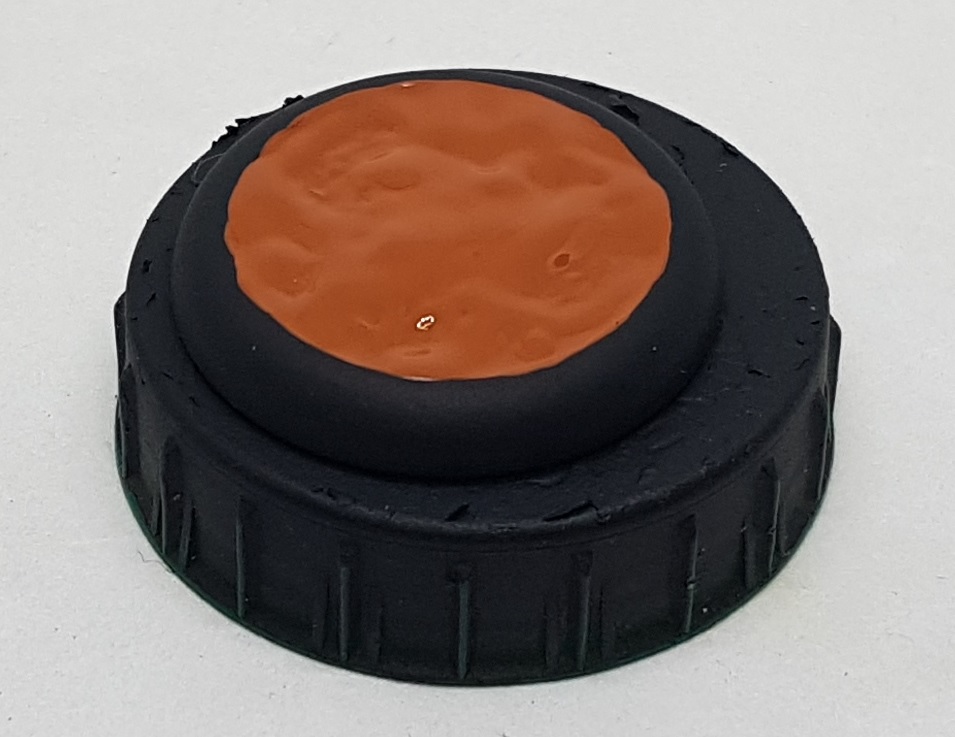 The wet mud... wel, ... wet
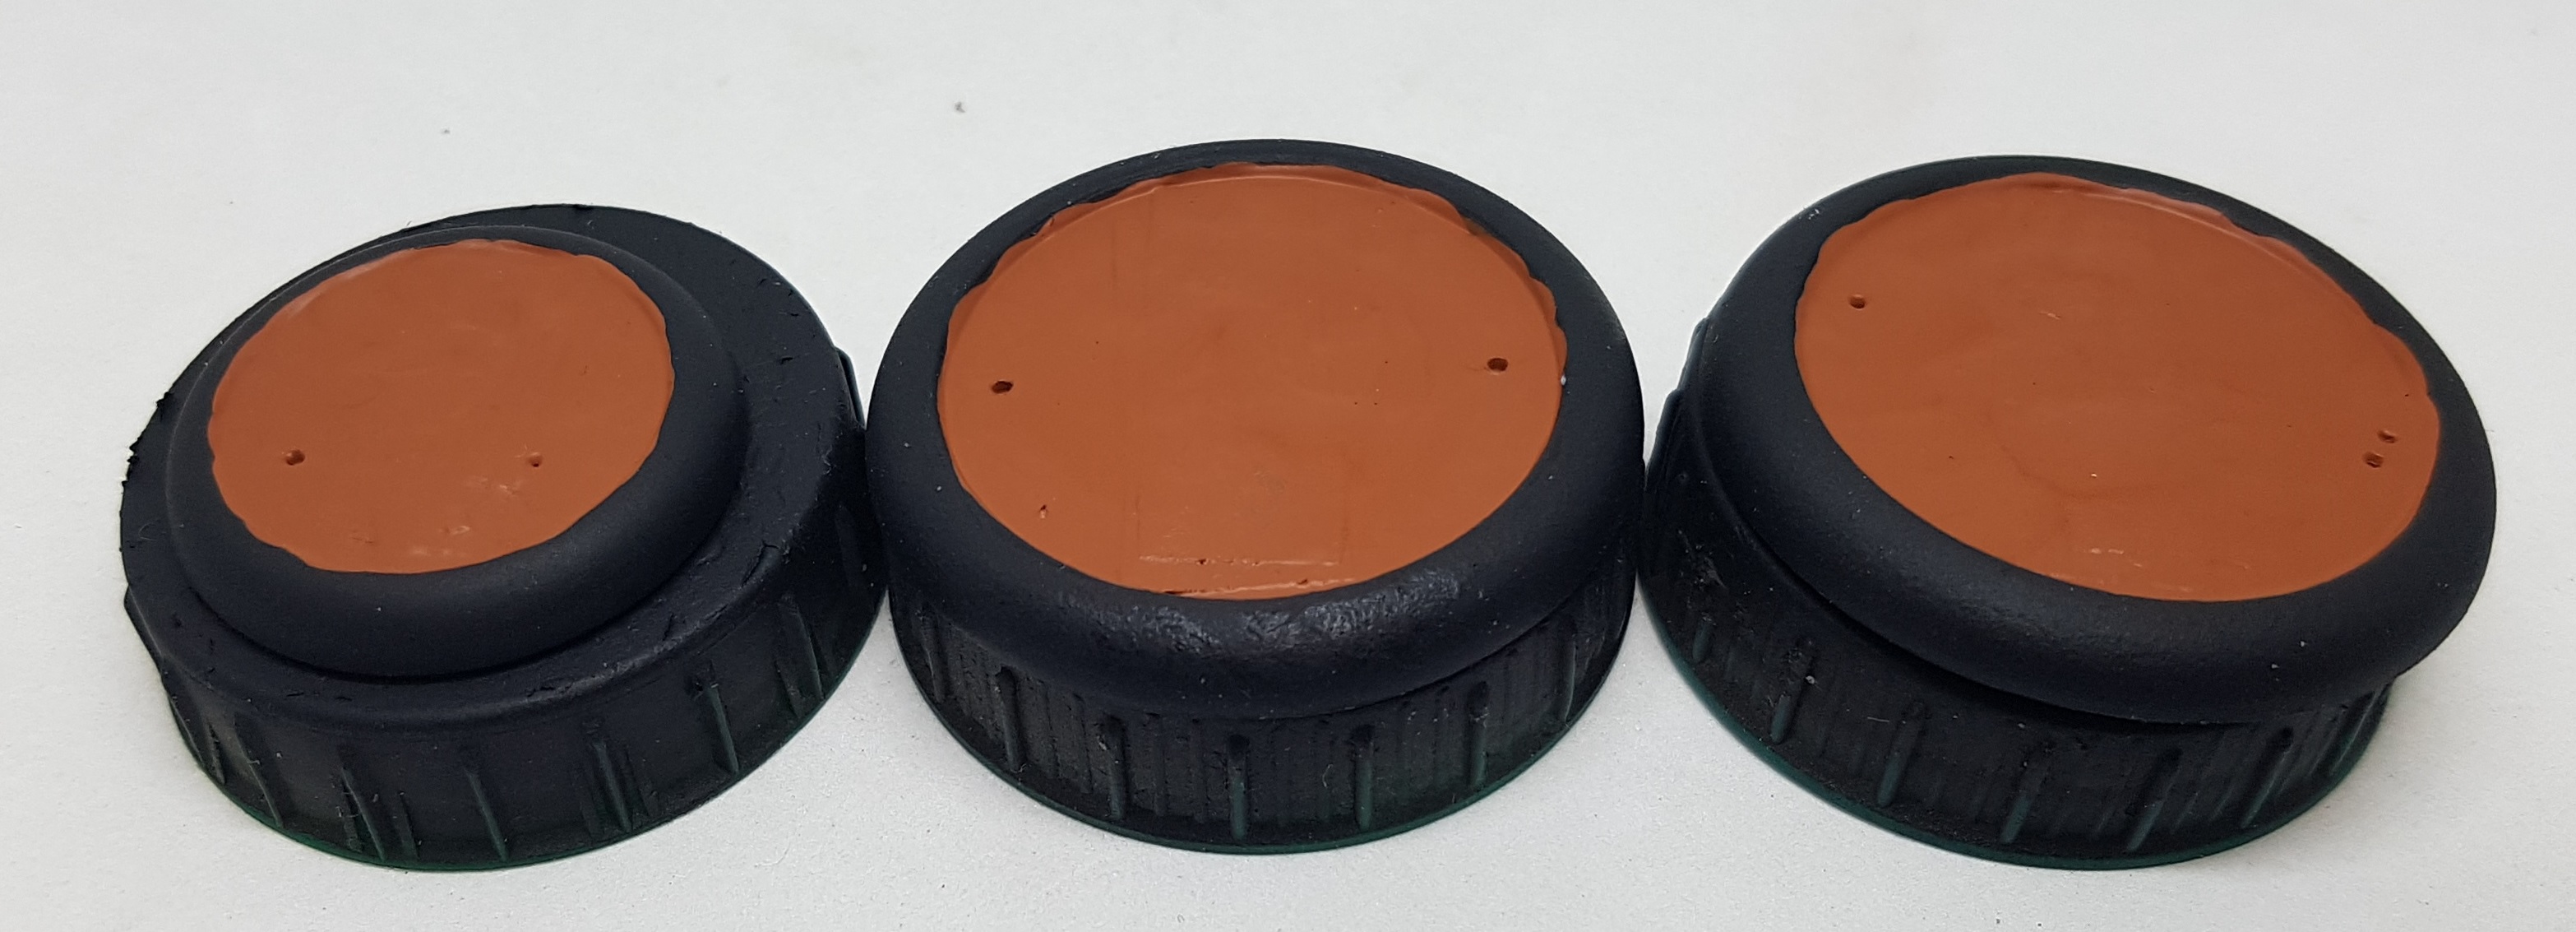 The wet mud effect after it has set
The mud took many hours to dry and I ended up leaving overnight, so in the end it got perhaps 20 hours to dry before I worked with it, but those photos are 8-9 hours apart. At this stage I’m really not impressed with the effect. I can see the masking tape through it and its not got any kind of texture or effect to it. I’m thinking I could have just left it with just the paint and had the same effect. perhaps I applied it too thin or too thick? Who knows? the GW textured paints are better than this.
I’m trying to test AssetDrops guide and supplies though so I pushed on. I glued everyone to their bases, and then tidied up the rims with more black paint where needed. I then glued at least one tuft to each of the bases, consuming the whole pack. I’ve switched from Loctite Precision to Gorilla Glue recently and their bottles have a brush built in to them. Its always seemed a little weird. Why don’t the bristles just dry up in to a lump? This seemed like a great time to experiment with it. Turns out the bristles are more like plastic tooth brush bristles than paint brush bristles. Seems to work well, but not good for finesse work. I would also want to warn everyone to do this in a well ventilated area as the fumes are so much stronger and were burning my eyes throughout.
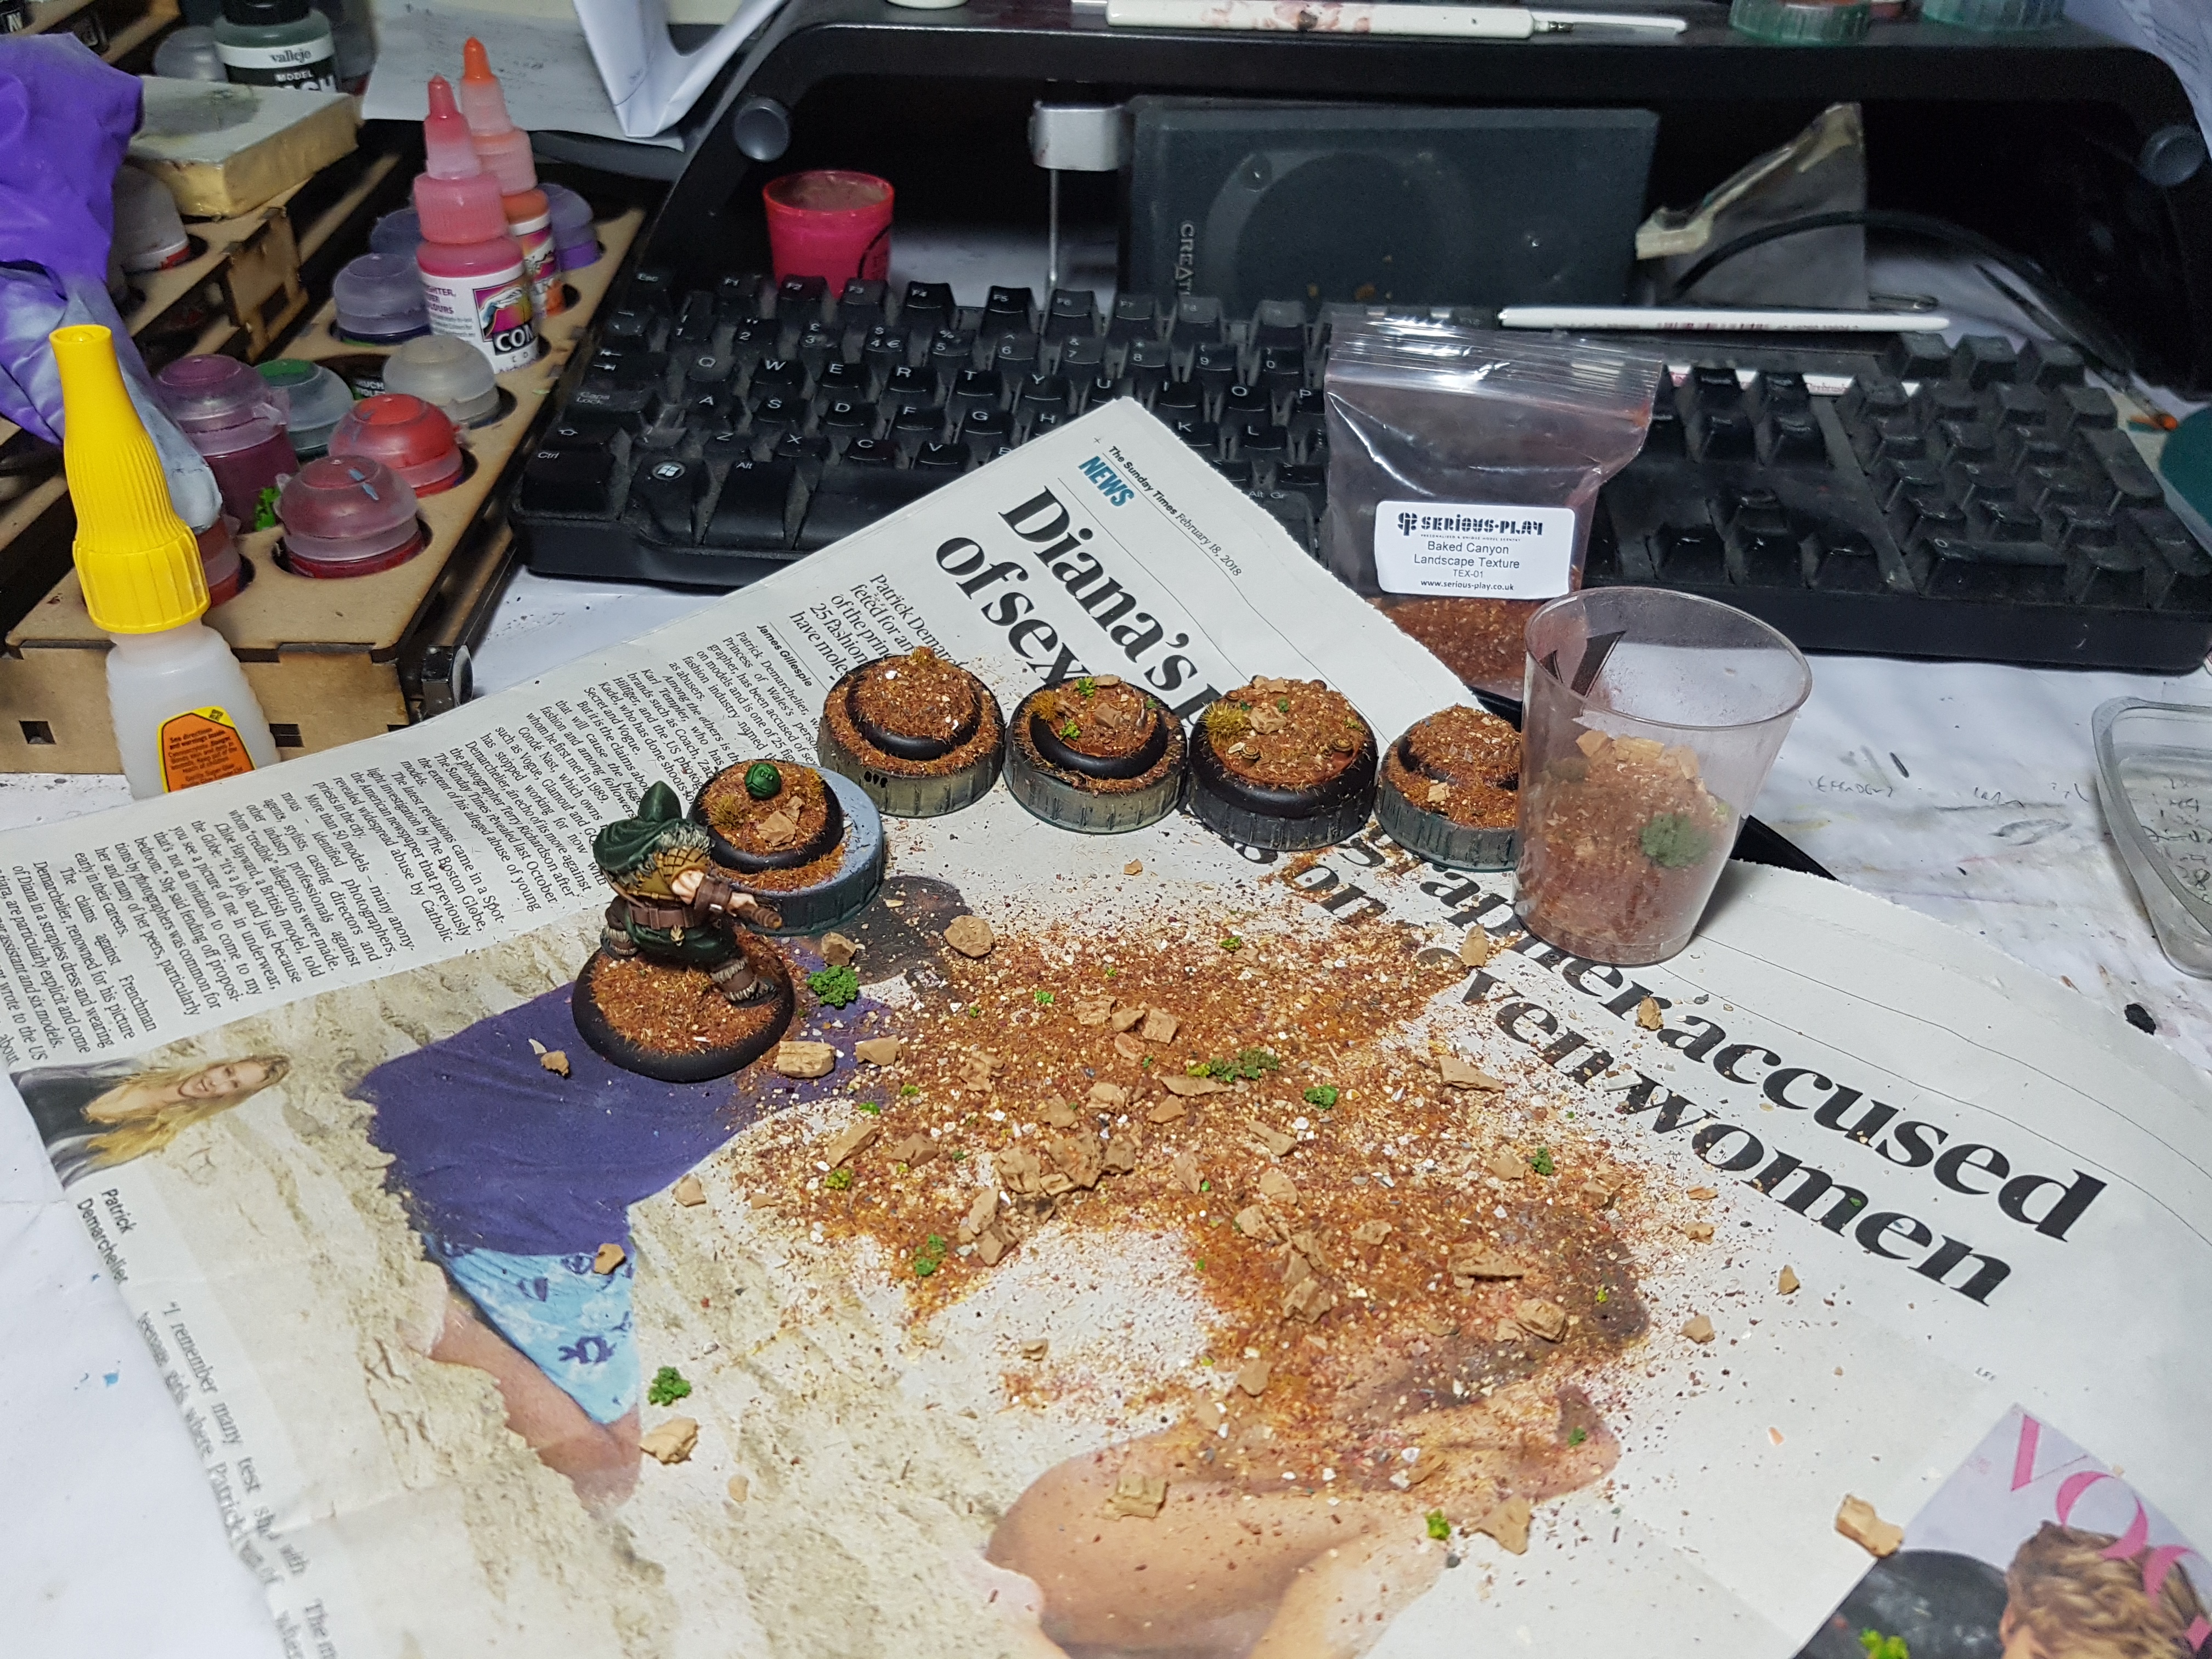 My setup after burying a few bases in the trail mix
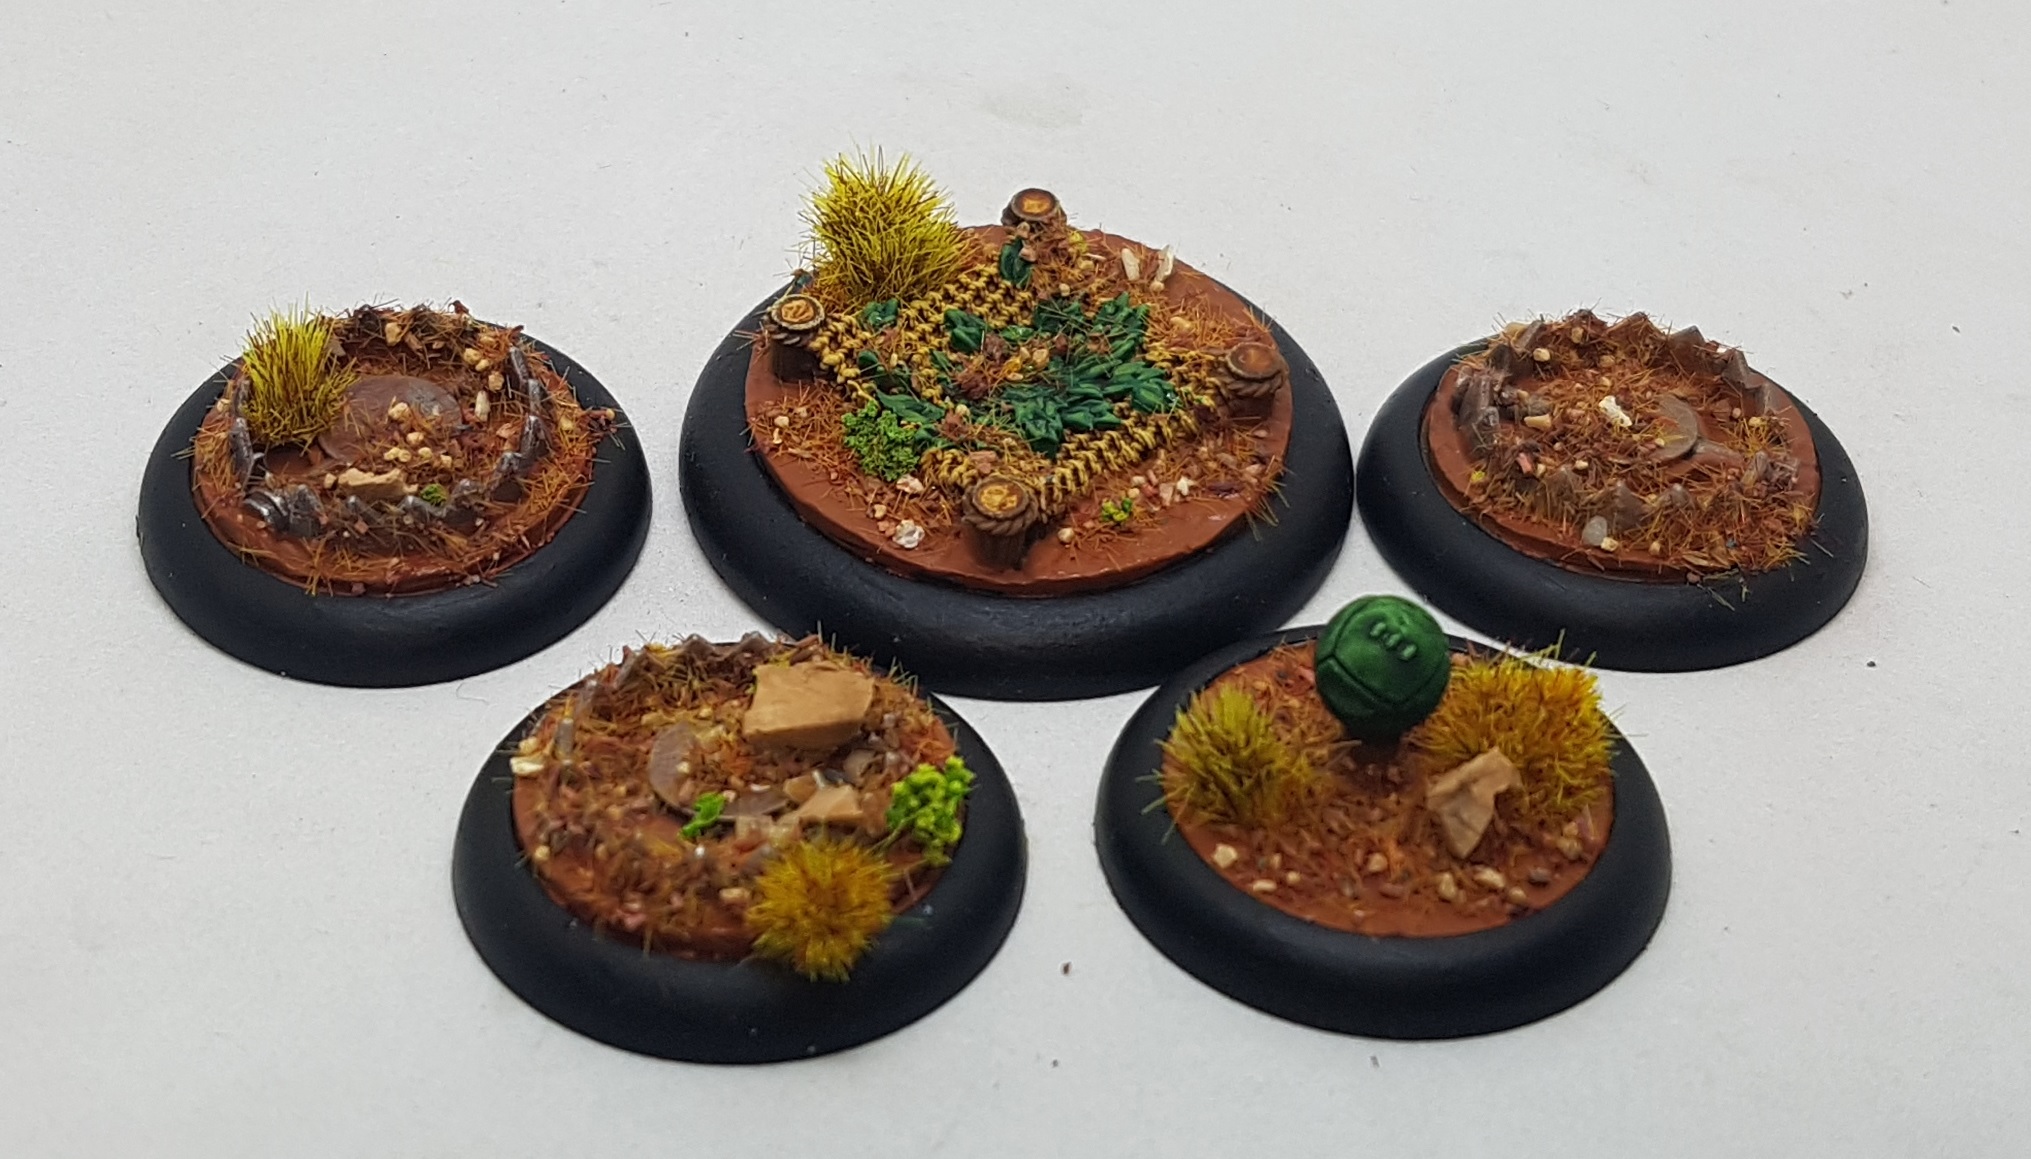
I was working over a clean sheet of newspaper with a solid fold in it on top of a clean tray so I could salvage all the overspill. I found pouring a little in to a shot glass allowed me to apply the mix with a lot more control than if I had poured it from the bag. On the whole I liked this mix, but I feel the cork chunks were often too large. Same with some of the bright green sponge pieces. It could have used a little longer in the blender. The models remained buried for 5 minutes before having the excess tapped off, and then brushed down gently with an old toothbrush.
So how did this end up? On to the next and final post to find out.
The End

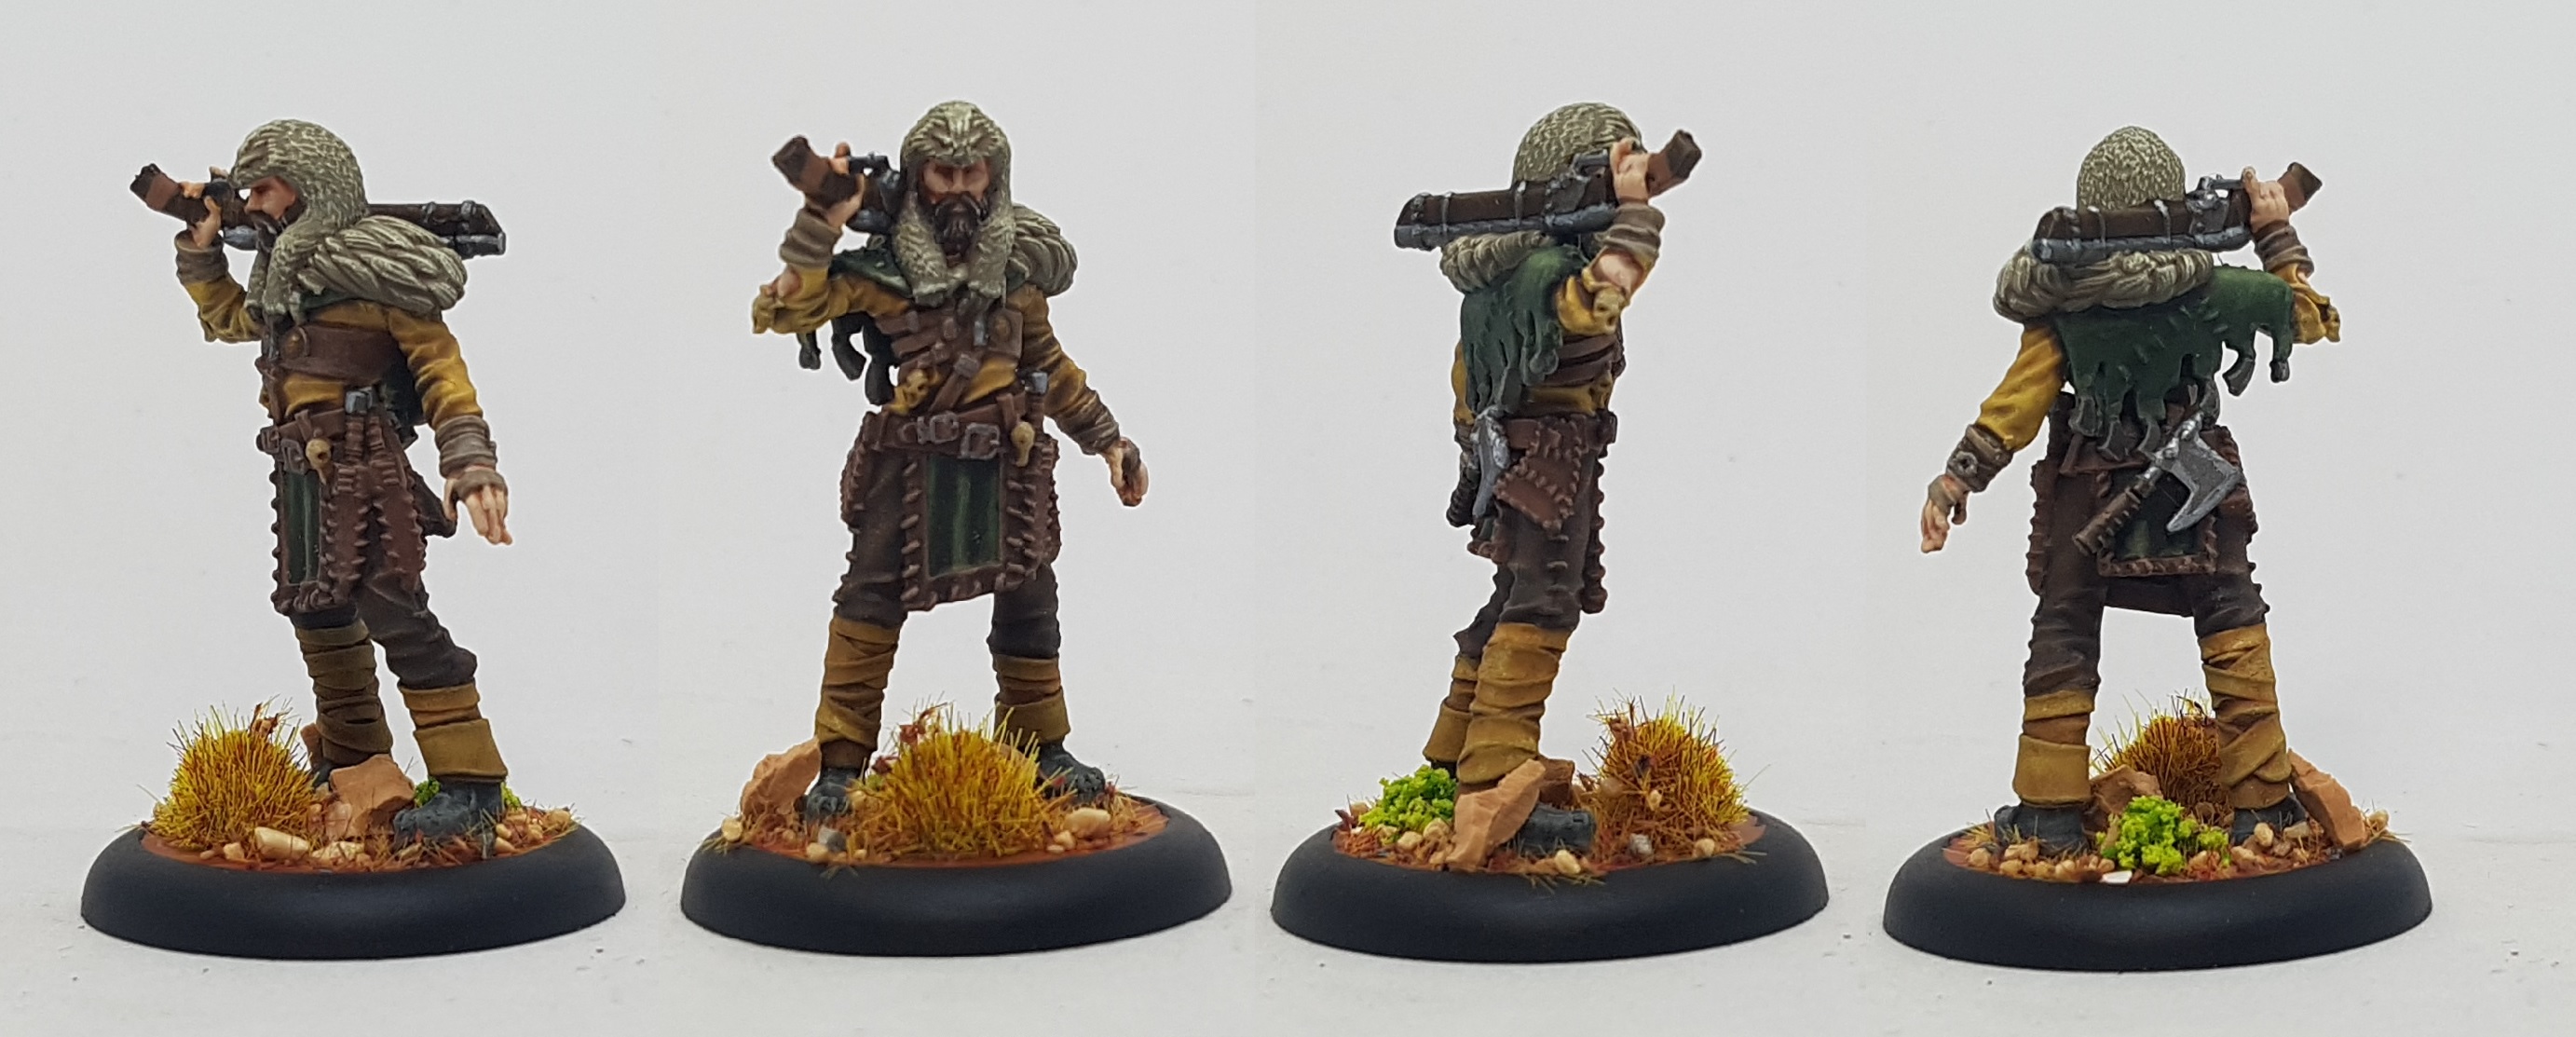
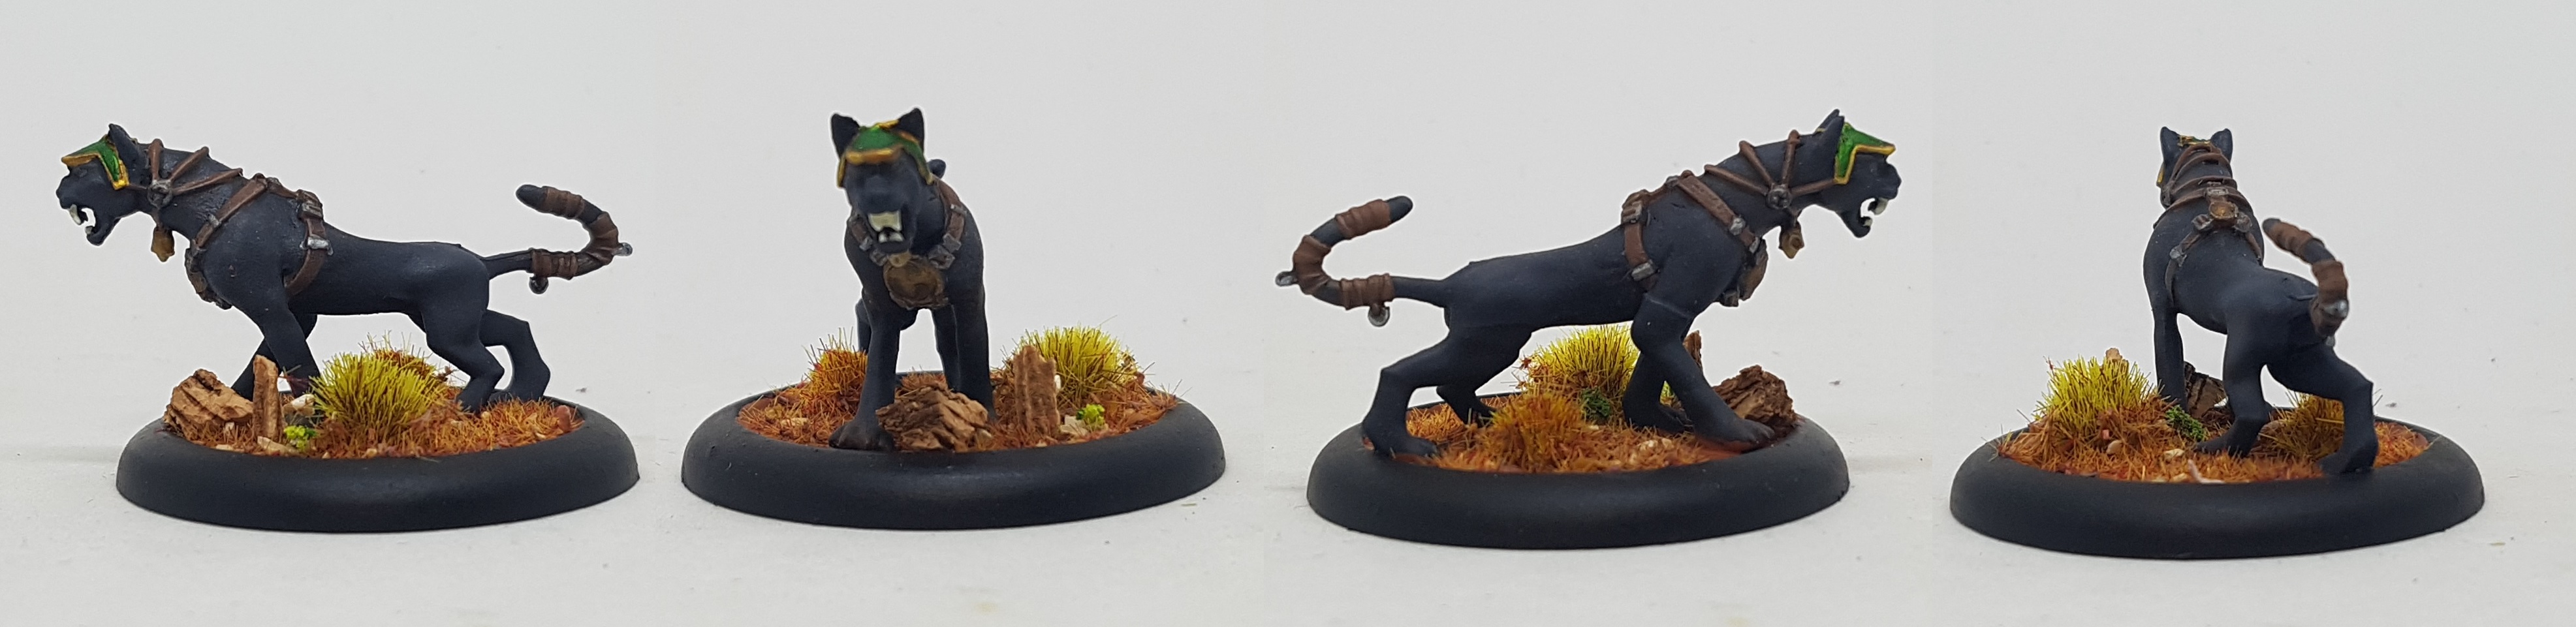
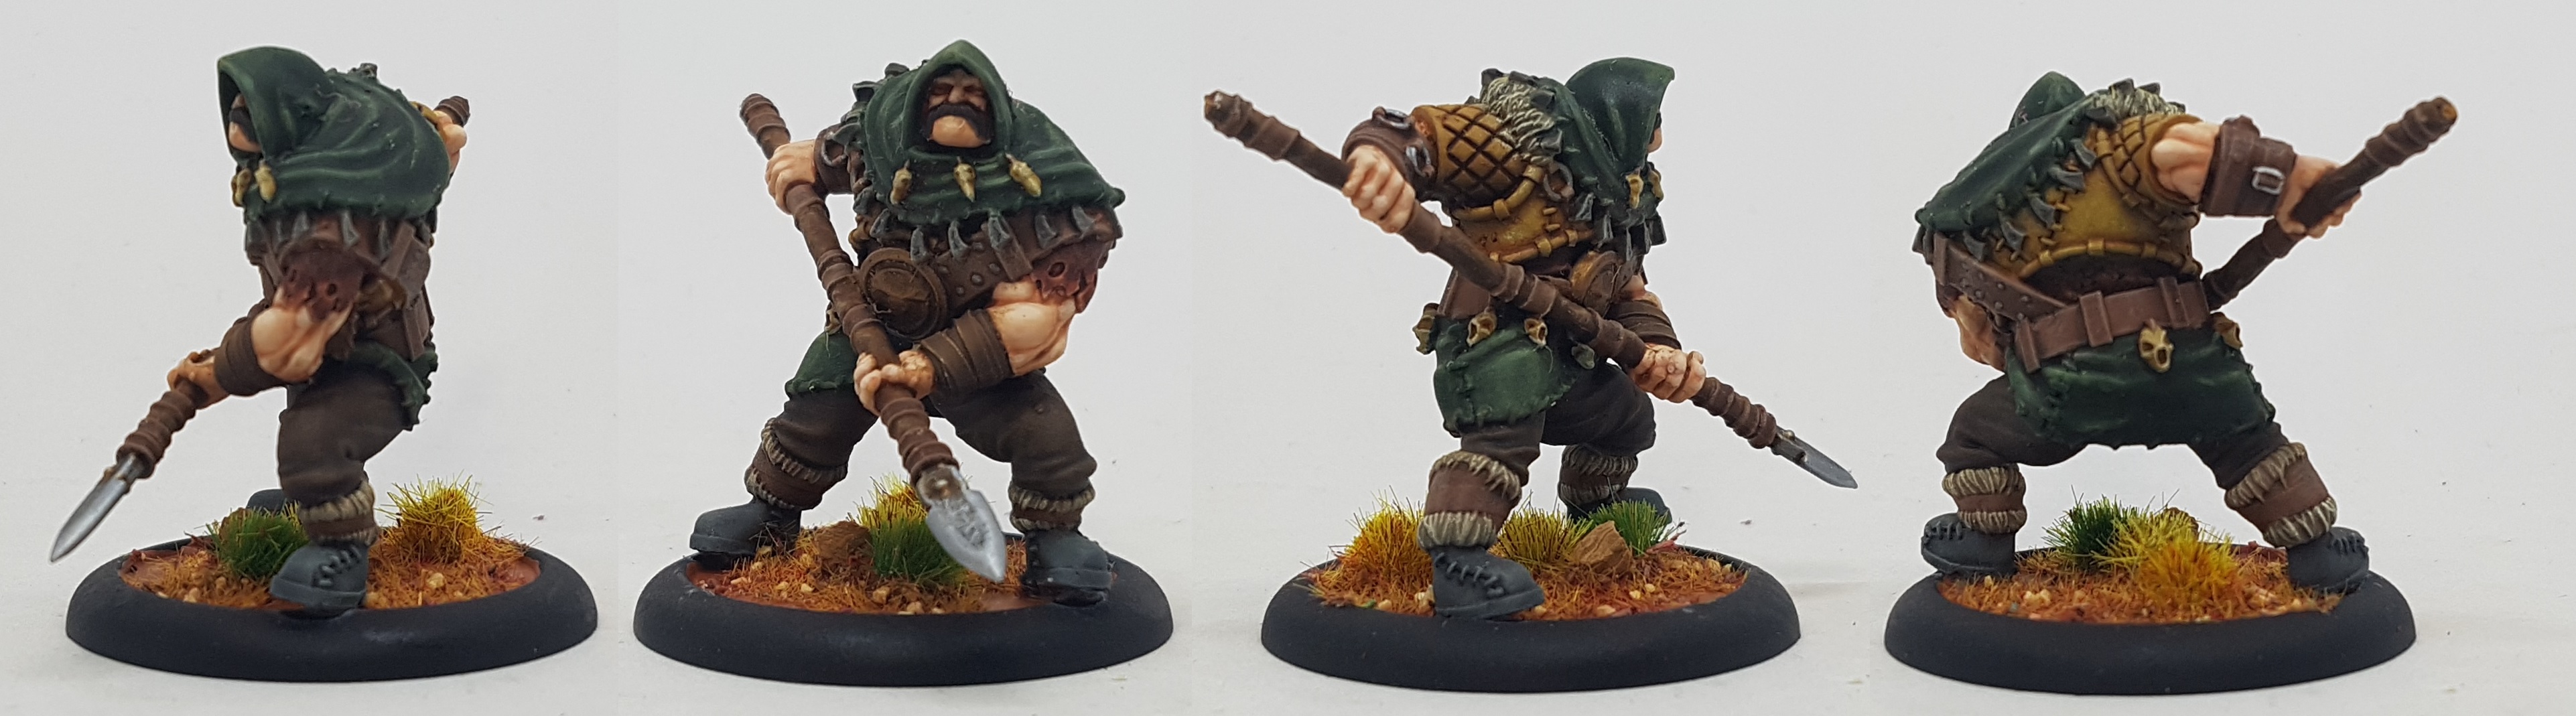
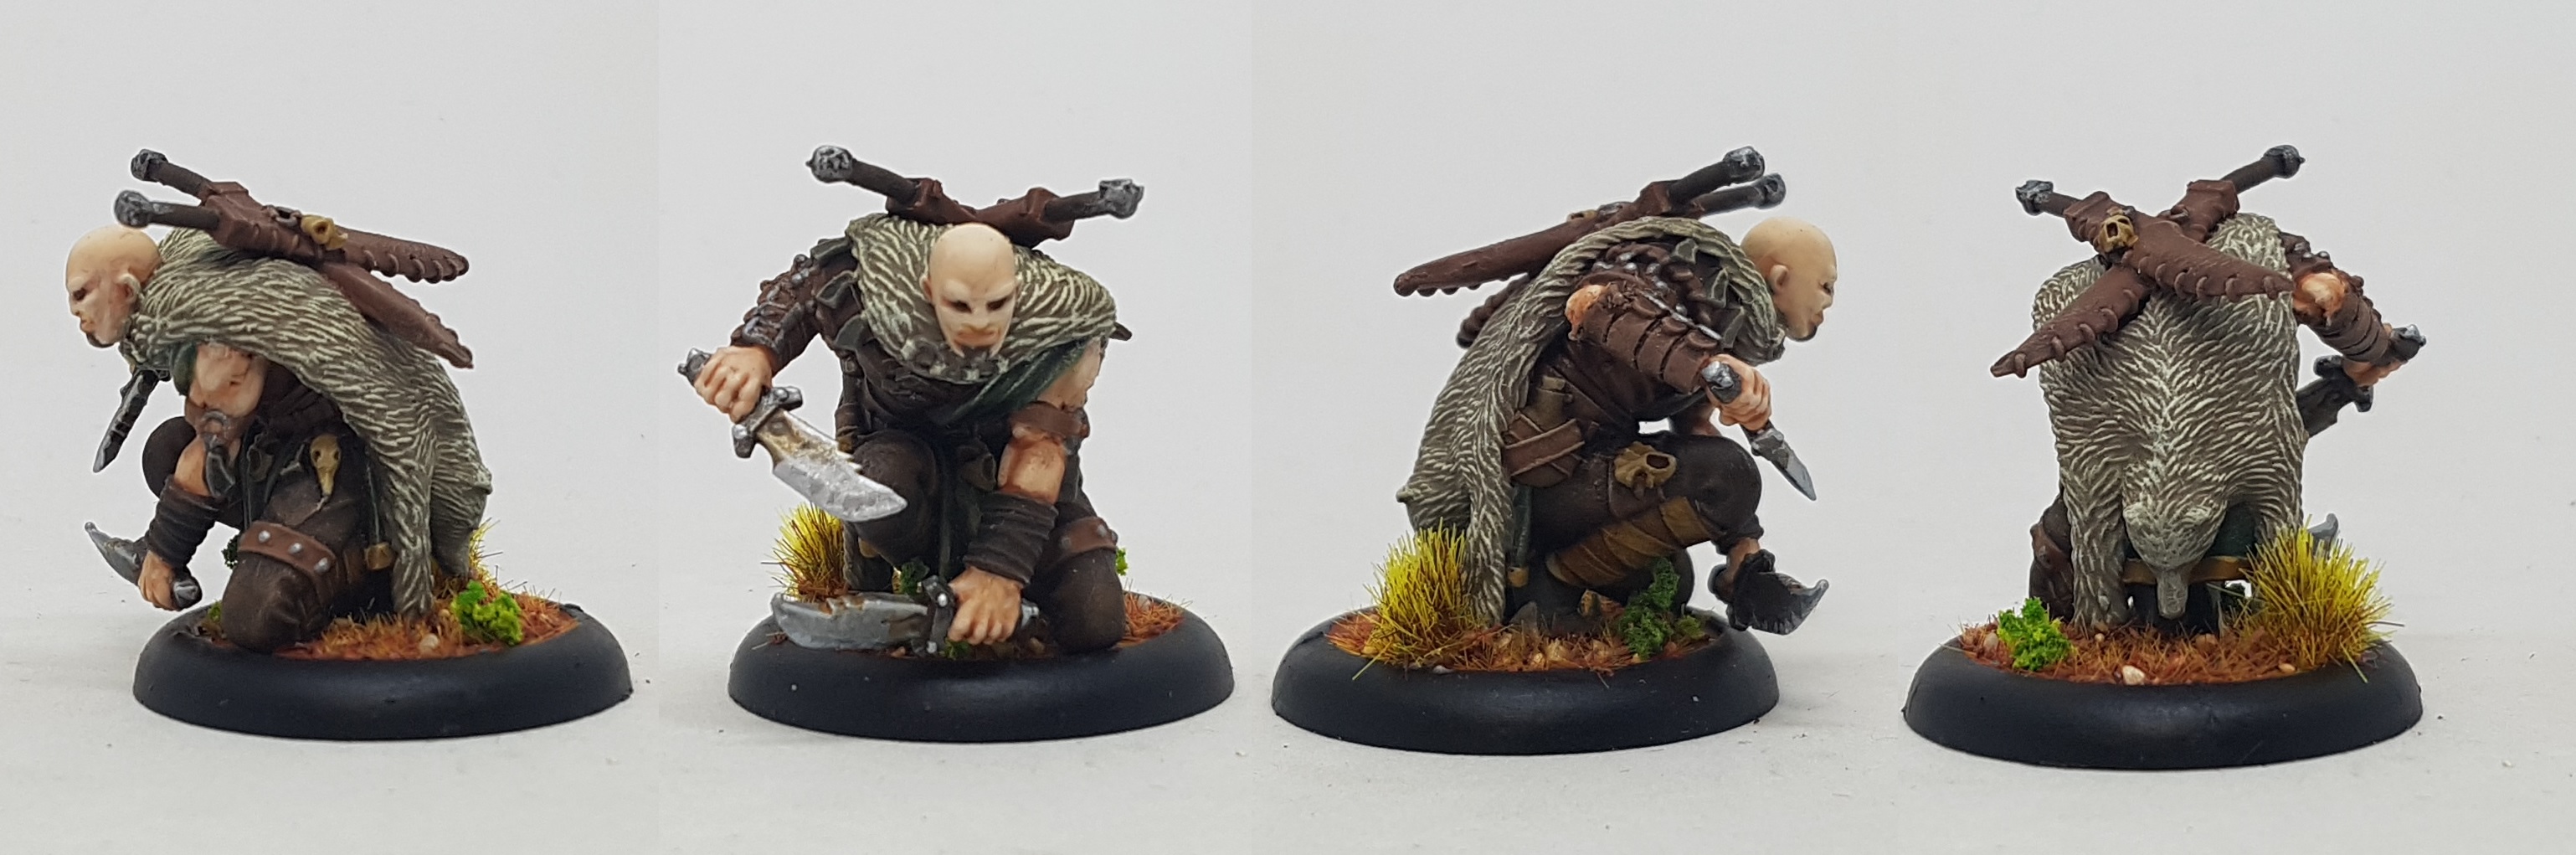
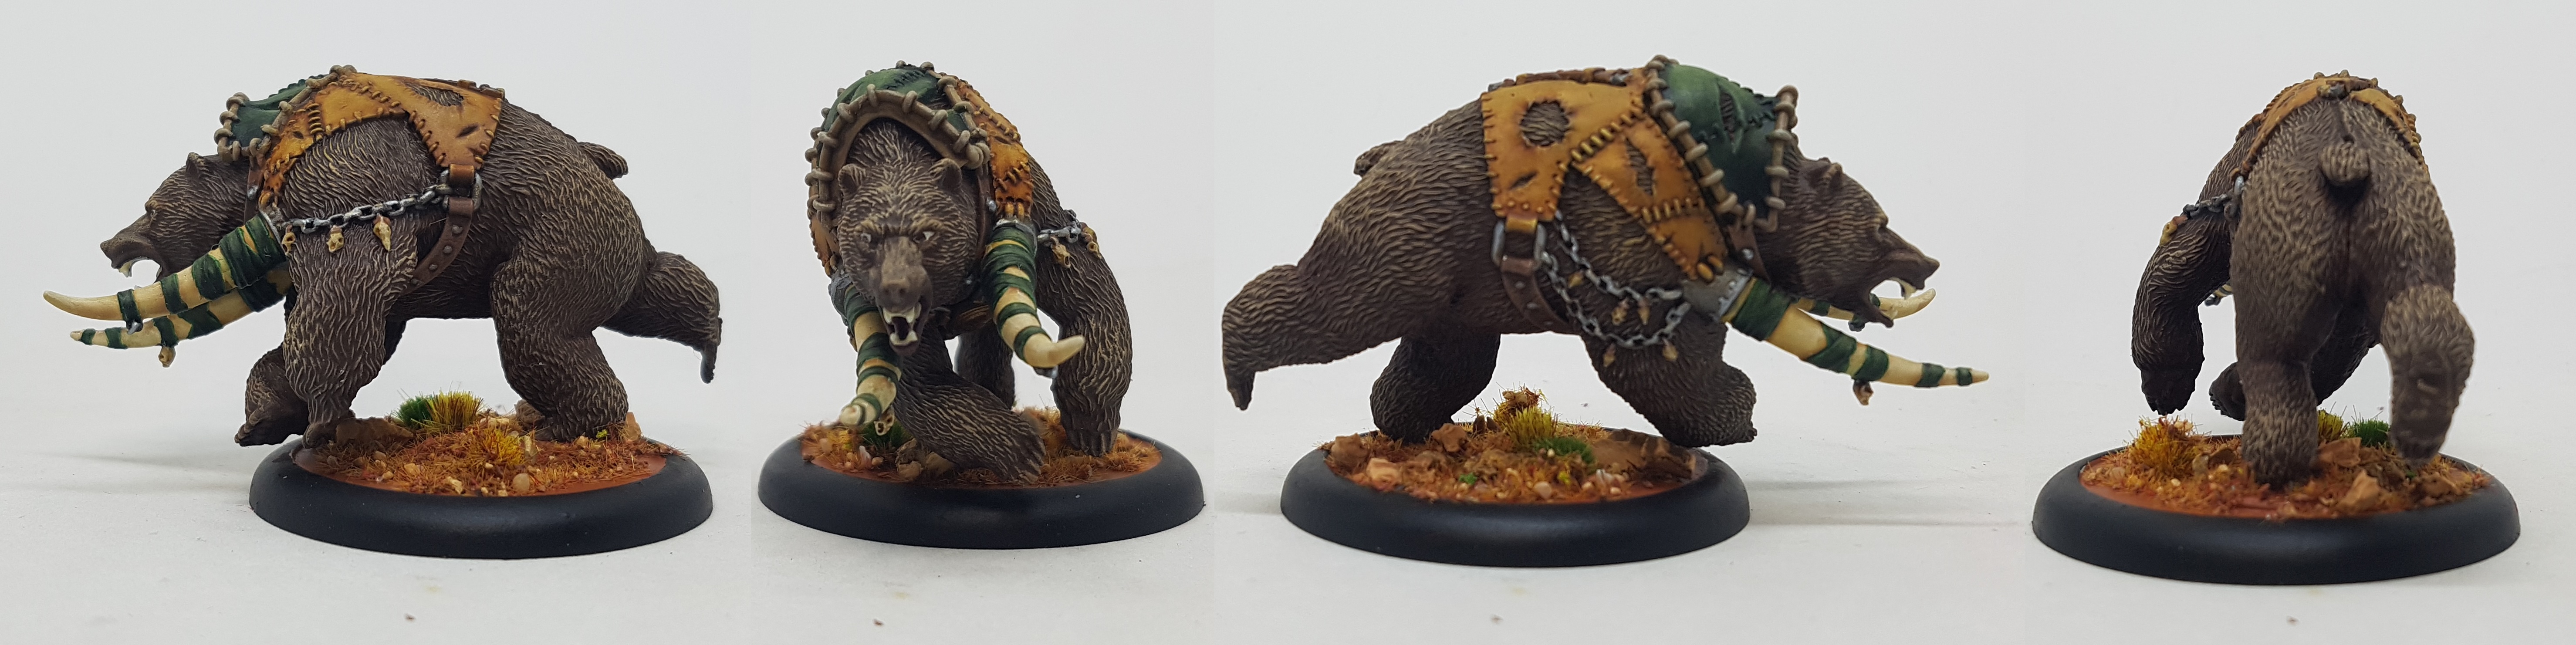
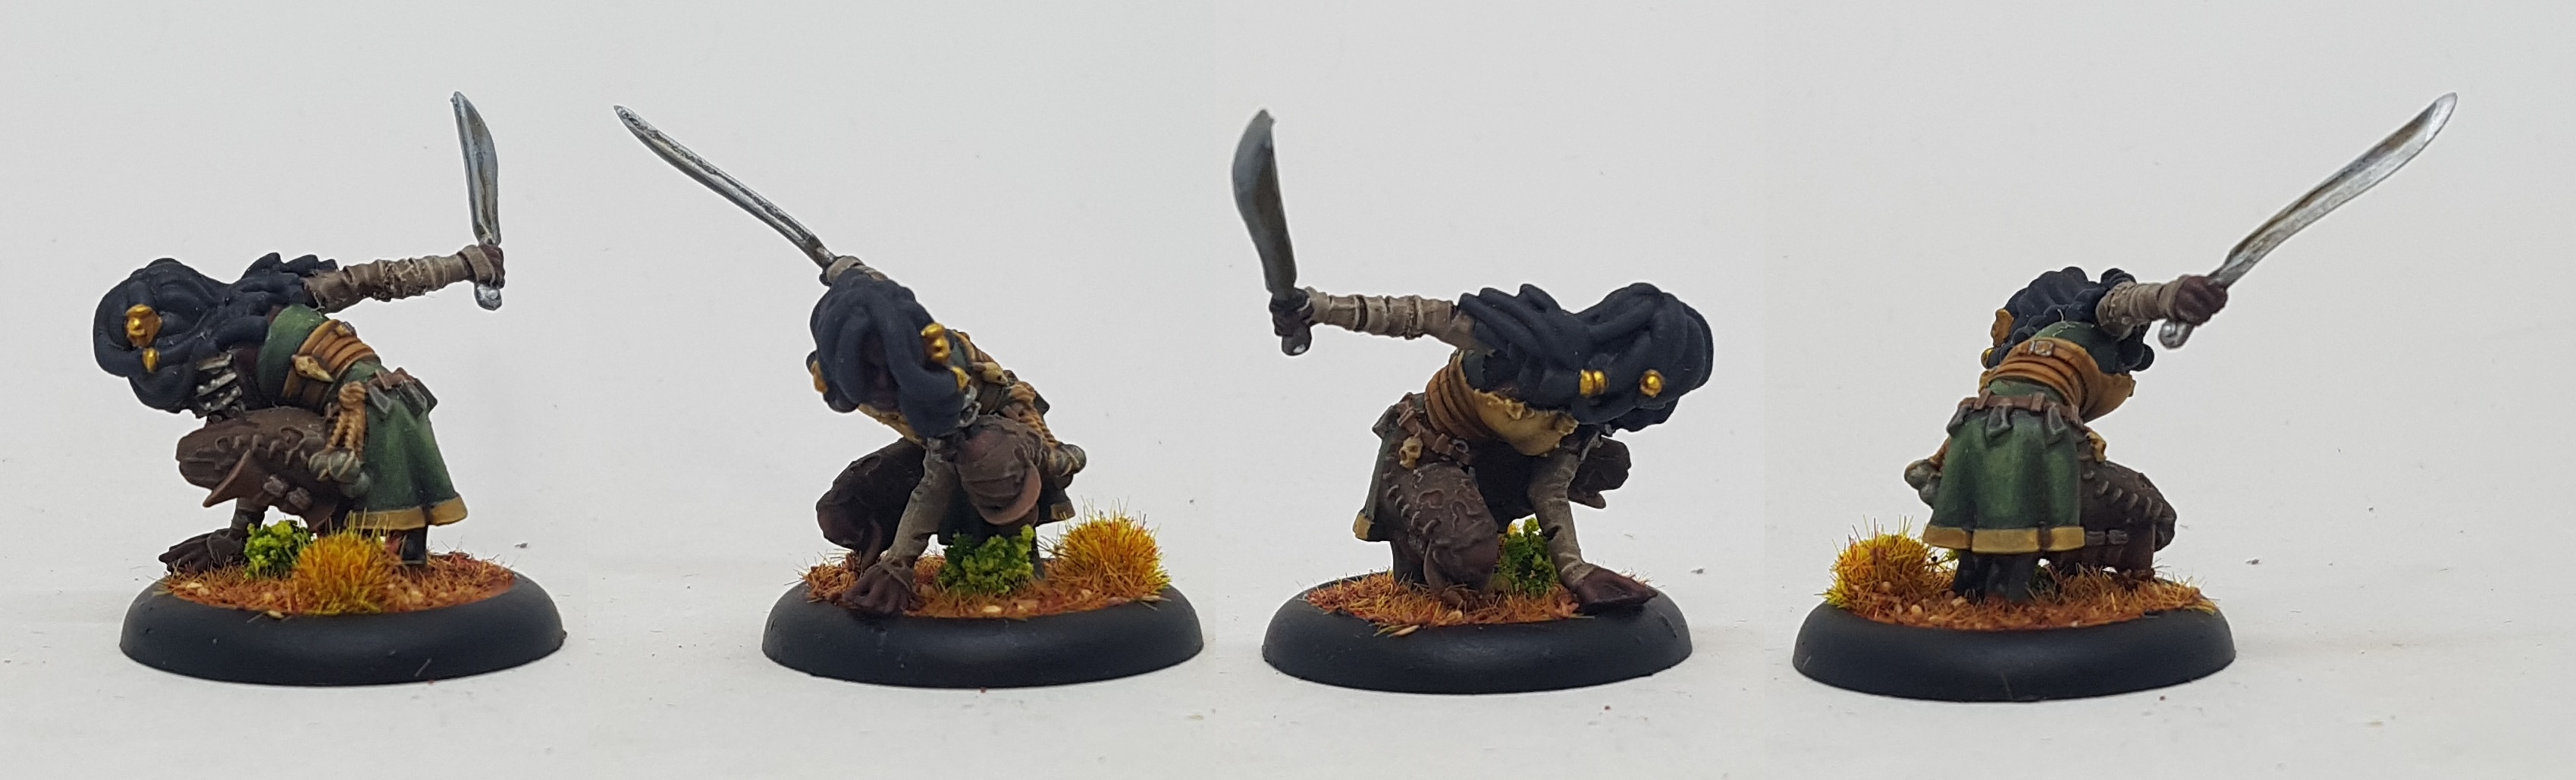
Everything is done, at last. Below is a gallery of rotational close ups of each model. Let me know what you think.
A few take aways from this project:
- If I get paint somewhere I don’t want when drybrushing I can get a little airbrush cleaner on a brush and remove it without damaging the paint beneath. This either doesn’t work on metallics or stops working if i don’t notice my error for a while
- When using basing materials like this I should be heavier handed when applying the glue. I didn’t want it piling up too high so I was gentle. Now its a little sparse in places and I suspect it’s too late to try and apply more glue
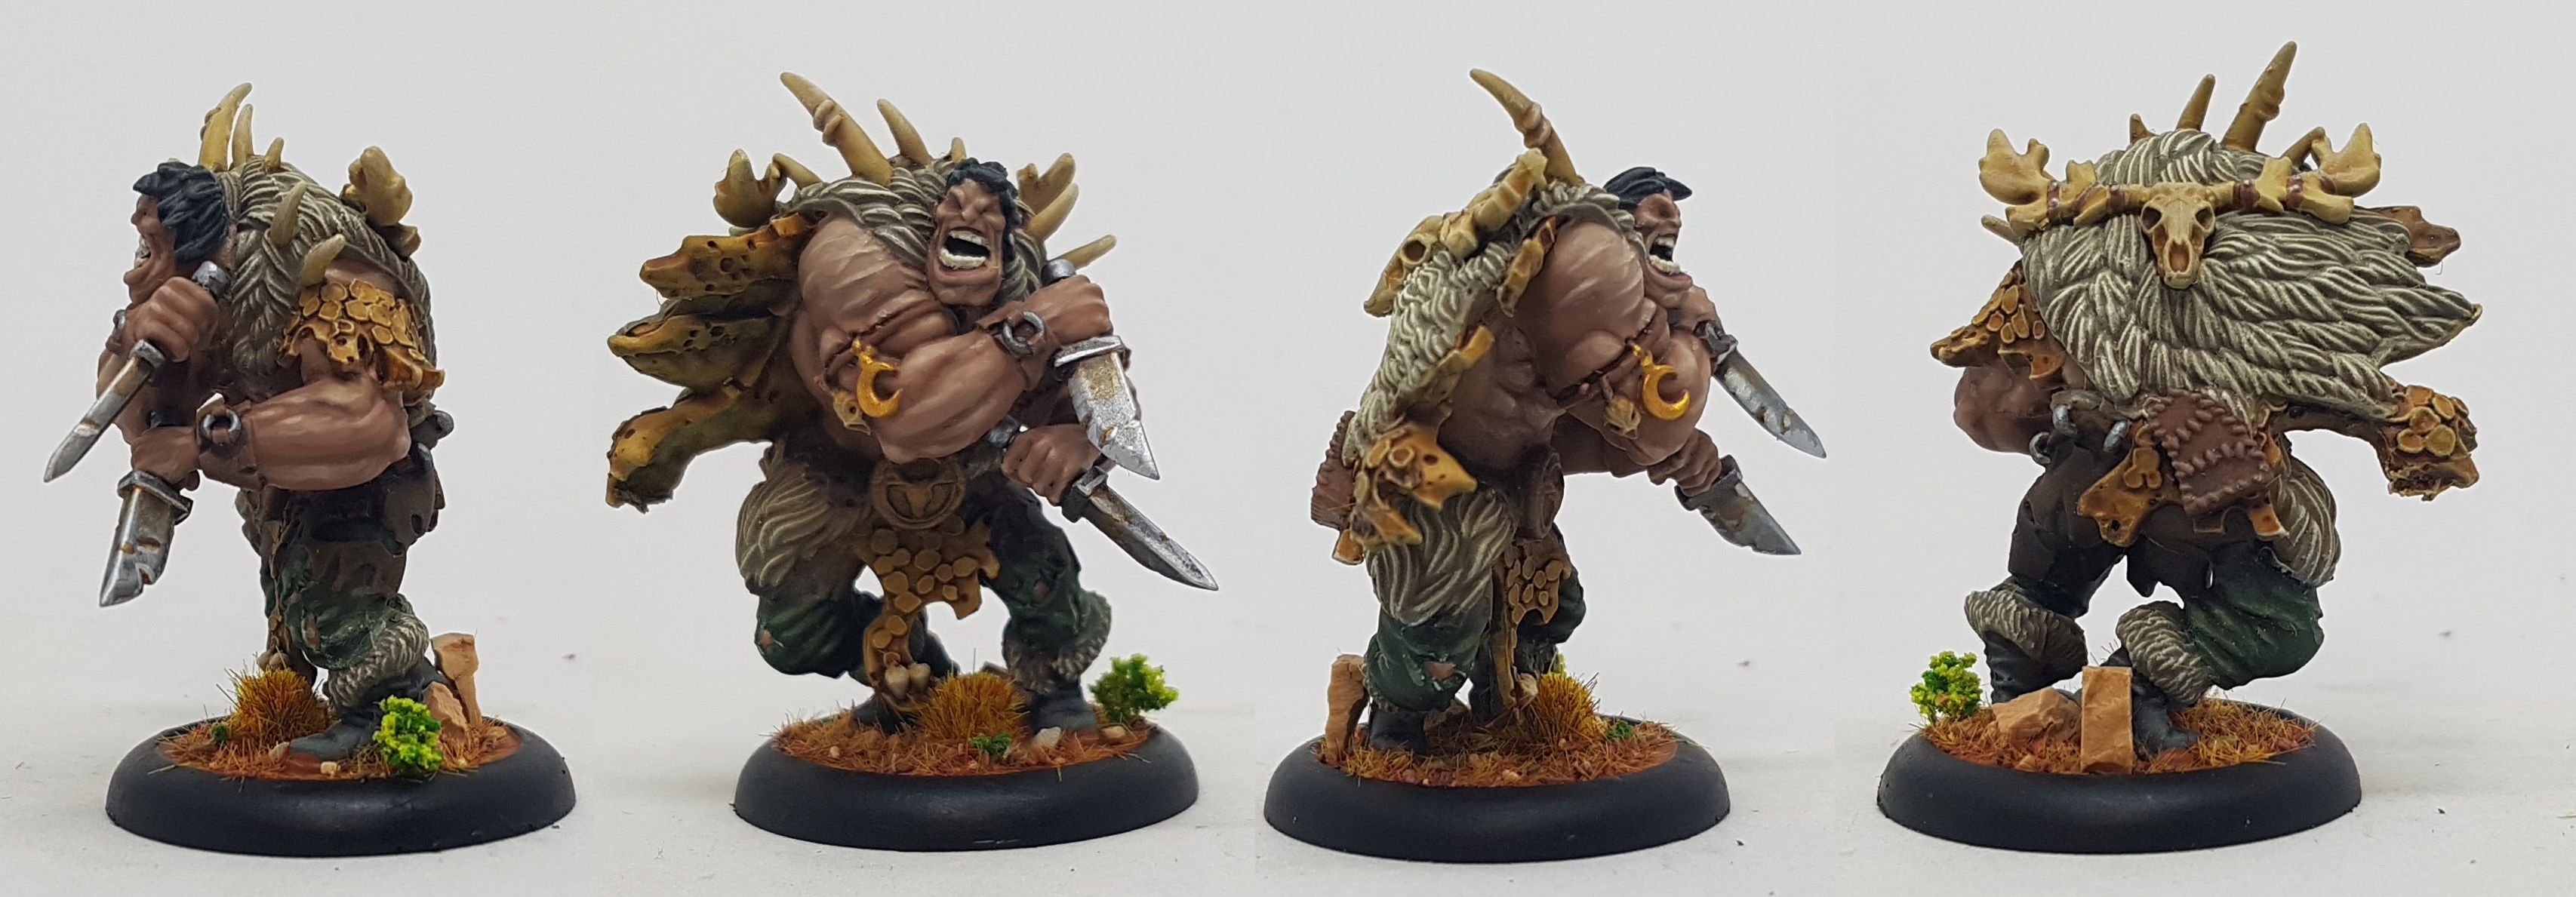
- I missed a metal ring through one of the tusks on Ulfr’s back. I didn’t see it until I was uploading his pic today. I’ll fix that tonight.
- When I am using ink or a wash over a pre-shaded surface I need to be 100% sure I’ve tidied up any over-painting I have done with neighbouring colours otherwise its a pain to fix with the ink/wash. I got carried away once or twice in this project and there are errors.
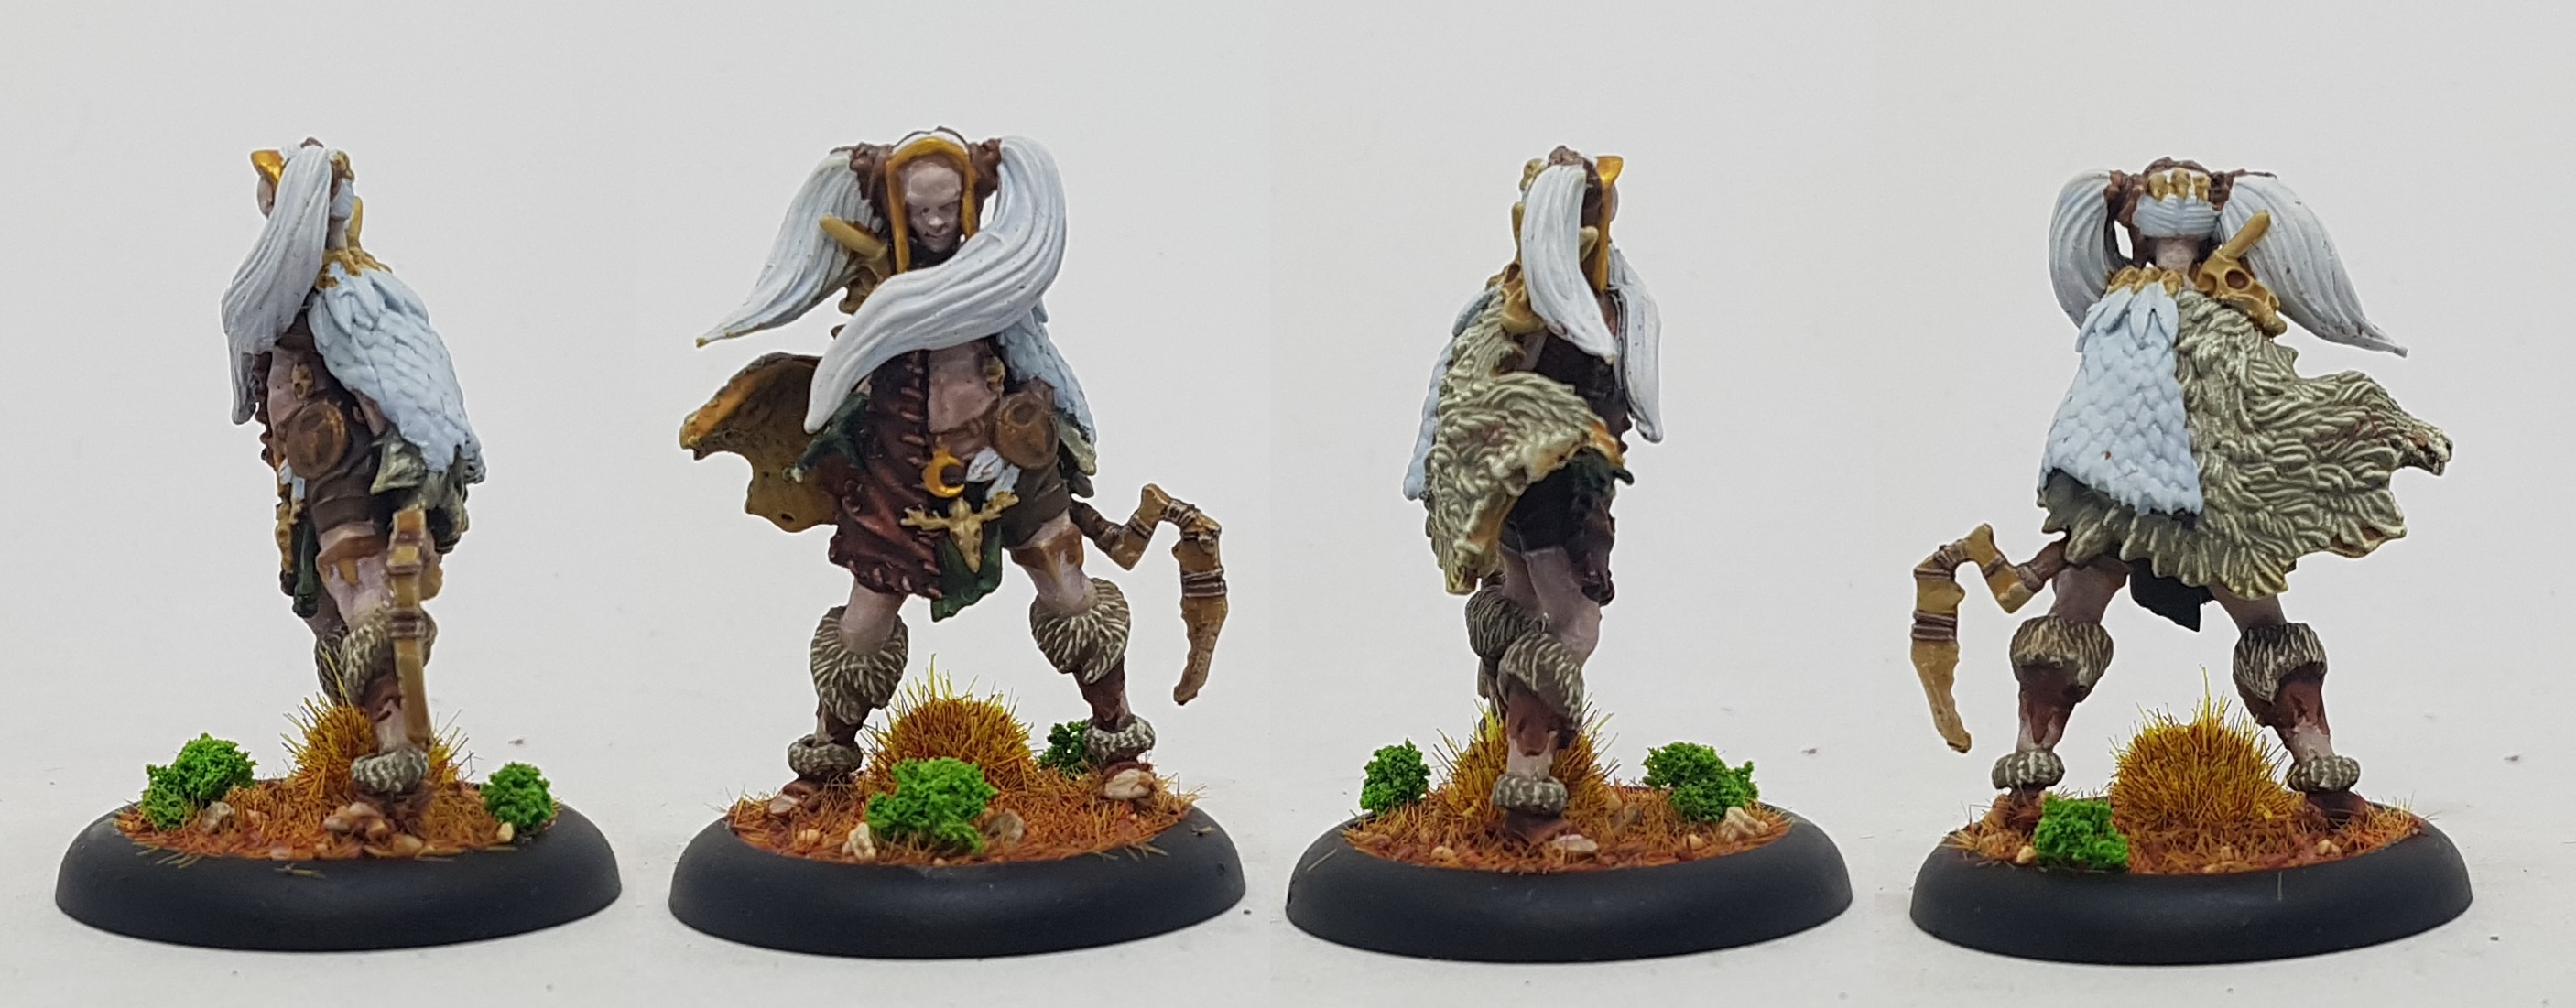
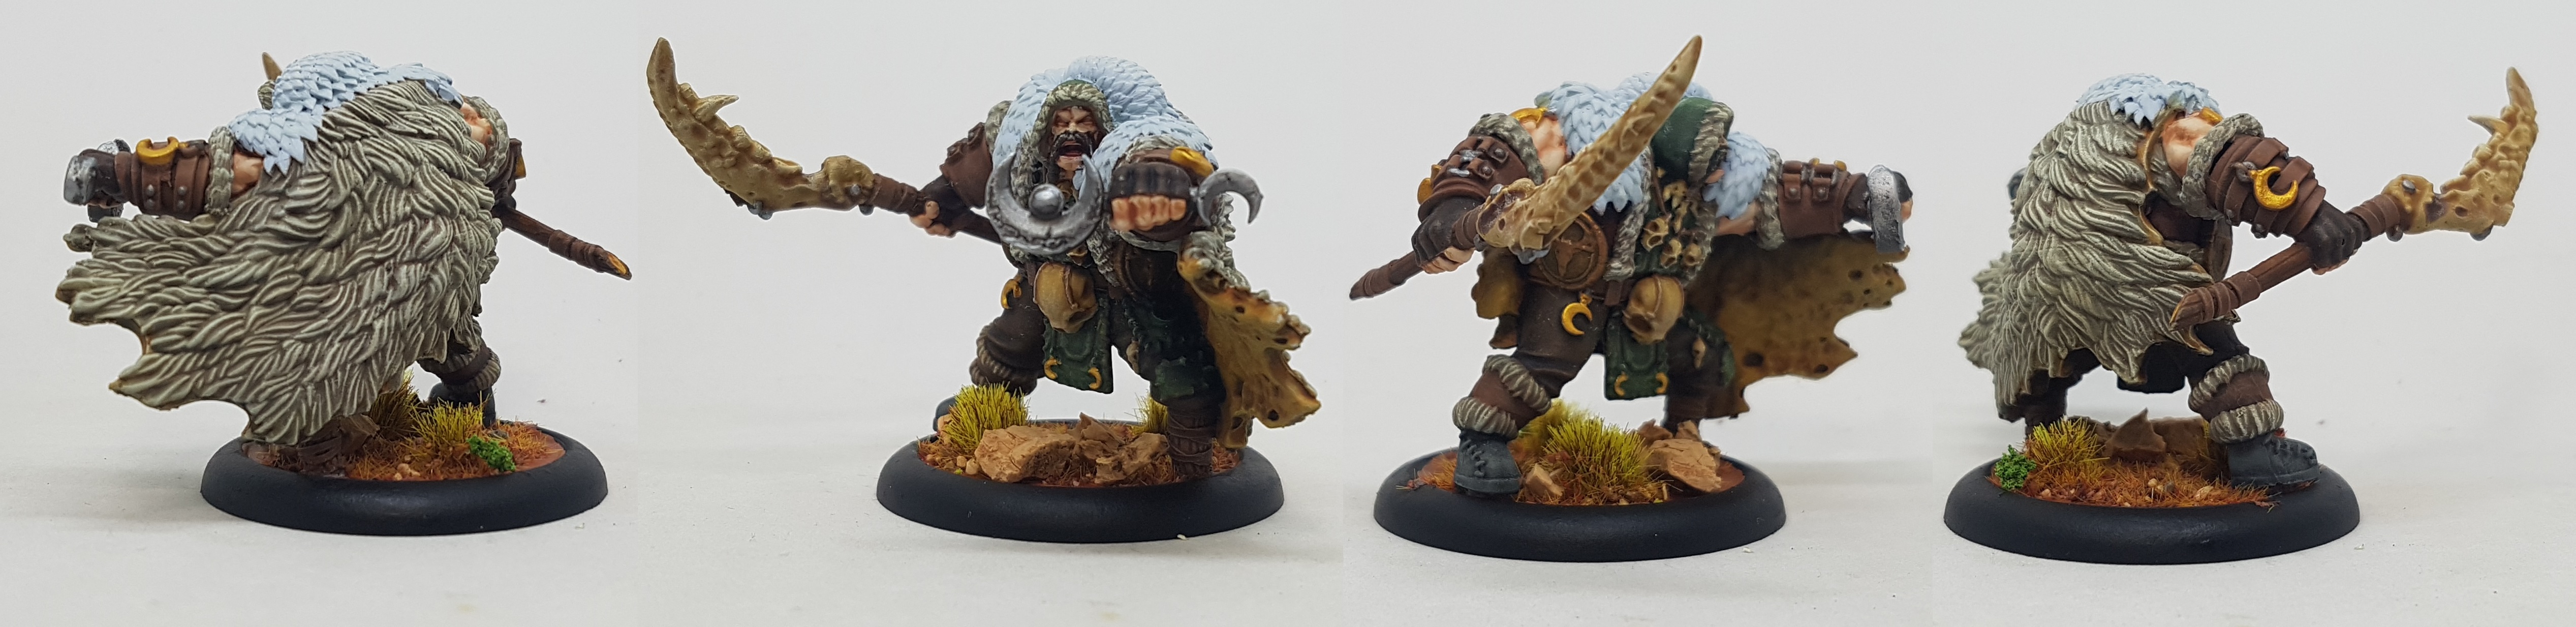
- Never assume that just because a model has big hair that blocks the view to whats underneath that you cannot actually see those clothes. Skatha, I am looking at you. Check everything and be sure.
- Image galleries in Projects are capped at 9 images
- I can spend the entire day hitting F5 if I’m trying to update a project and BoW keeps falling over
- I need a better way of doing feathers that doesn’t need an airbrush, isn’t messy, and doesn’t drive me crazy by making me paint each individual hair by hand
- Once again this shows that if you bring together en masse the right models with the right basing effects they become greater than the sum of their parts. These bases look better for the models on them, and the paint jobs look better with the bases to enhance them
- Any colour can be brown if you apply enough Agrax Earthshade
Improvements I’d like to see in the projects system:
- More Entry Content steps allowed per Entry
- More photos per gallery
- The ability to delete Entries and to insert new ones between existing ones
- An automated project flow page showing all the updates people make across all the different projects in order on one screen starting with the most recent or from a date of my choice onwards. Sort of an automated WAYPN thread that feeds from the Projects only
- I changed this Project from Active to Completed. There was no achievement pop up. There was no confetti GIF. What gives?


![StarCraft Tabletop Miniatures Game Pre-Orders Live Now [Updated]](https://images.beastsofwar.com/2026/03/starcraft-tmg-news-cover-600-338.jpg)


![Mounted US Cavalry On Kickstarter For Dead Man’s Hand! [Updated]](https://images.beastsofwar.com/2026/03/us-cavalry-main-600-338.jpg)


![Play WW2 Commando Operations With Butcher & Bolt [Updated]](https://images.beastsofwar.com/2026/03/relaunch-600-338.jpg)


