Grot Mege Bomma


Recommendations: 213
About the Project
Ok just to let you all know I’ve been working on this for a few months now and started out with the best of intentions by documenting everything I was doing, I just didn’t get round to uploading them. Then things went a bit astray and I stopped work on the project and didn’t take as many note or pictures as I should of when I restarted. So I’ll apologise now for the jump in the middle where you don’t get to see the dozens of attempts to get the fuselage right.
Related Game: Munchkin Warhammer 40,000
Related Genre: Science Fiction
This Project is Completed
1: Getting Started.
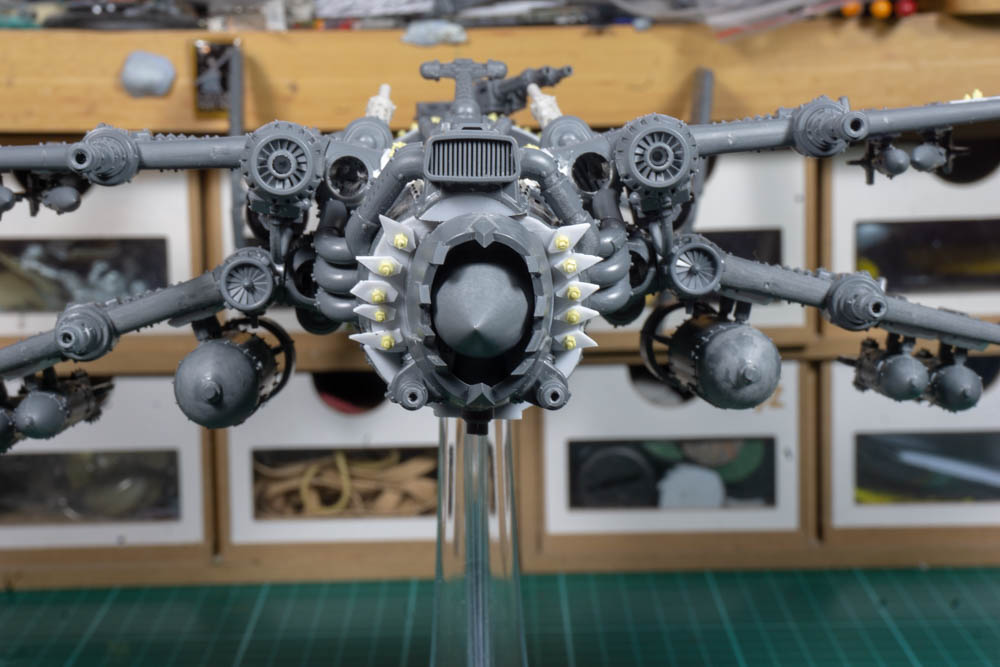
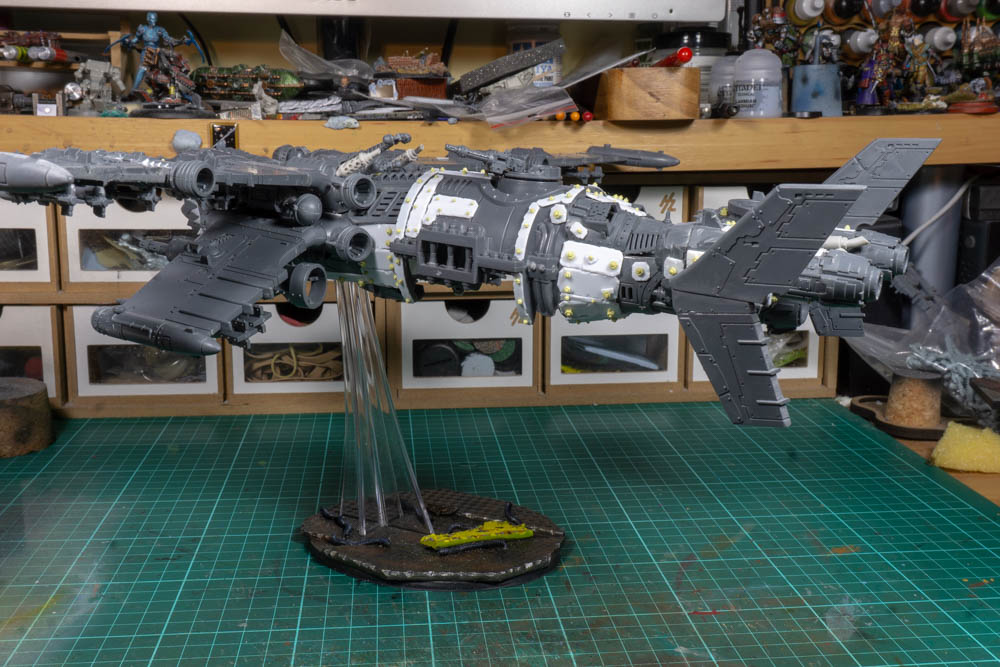
I’ve struggled to come up with a title for this project as it’s something going to be something of a Frankenstein creation that is trying to be all things to all grots. Following on the back of the Redemptor project I’ve got the kit-bash bug again and now want to do a flyer. The two things it has to have a big Gatling style cannon and big bombs, I’ve made Gatling guns before so I’m ok with this part, as for the bombs I actually want a bomb bay which I think will be the main challenge. After a bit of pondering I’ve settled on a rotary bomb bay with four big bombs and four medium bombs being the starting point. This means that starting with an out of the box Orky flyer I need to make it wider and longer.
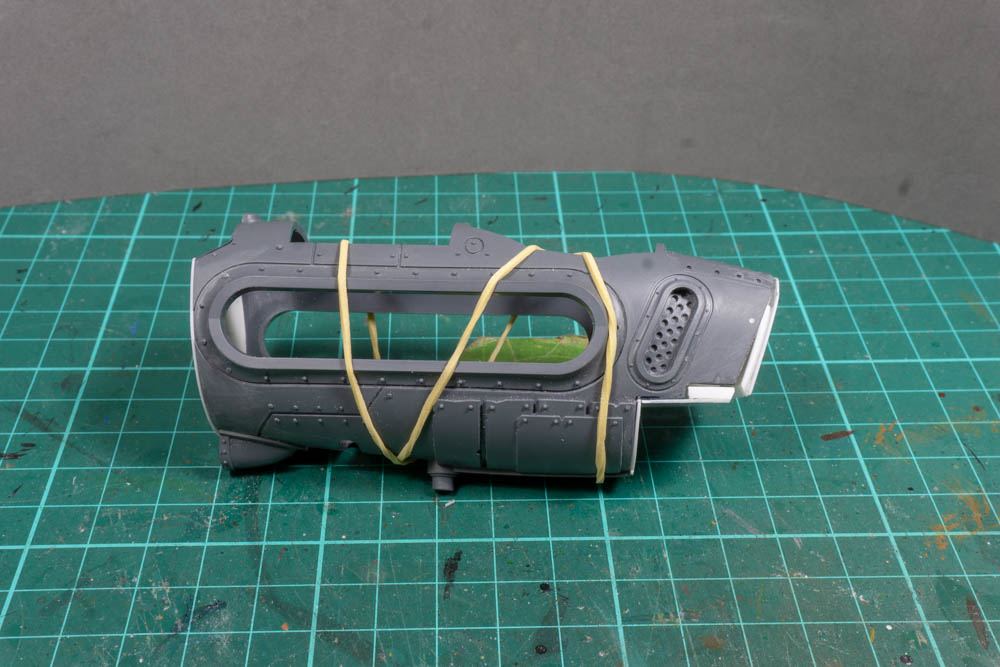
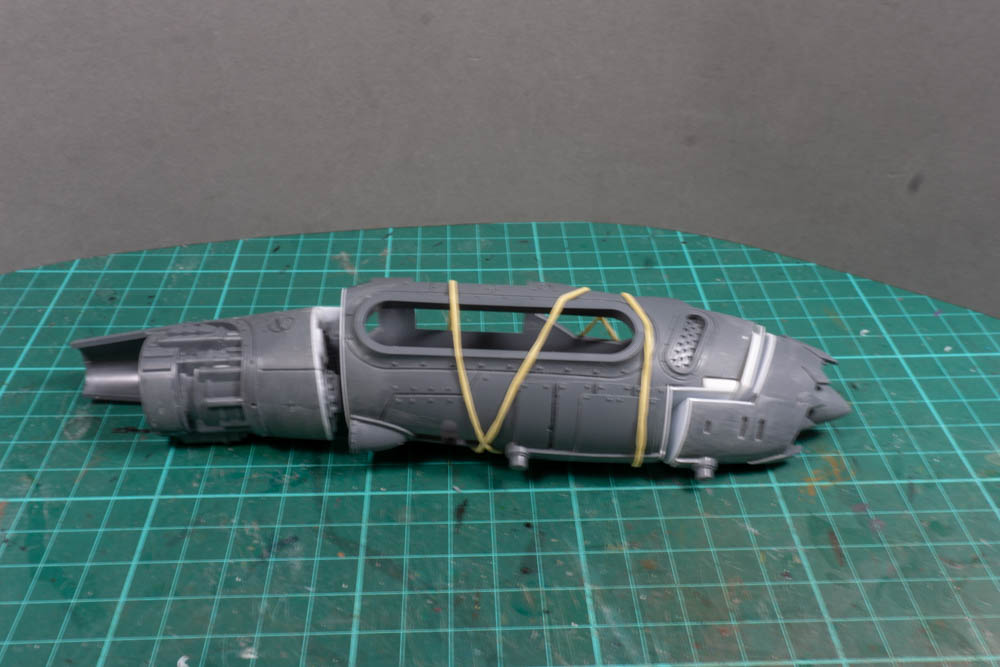
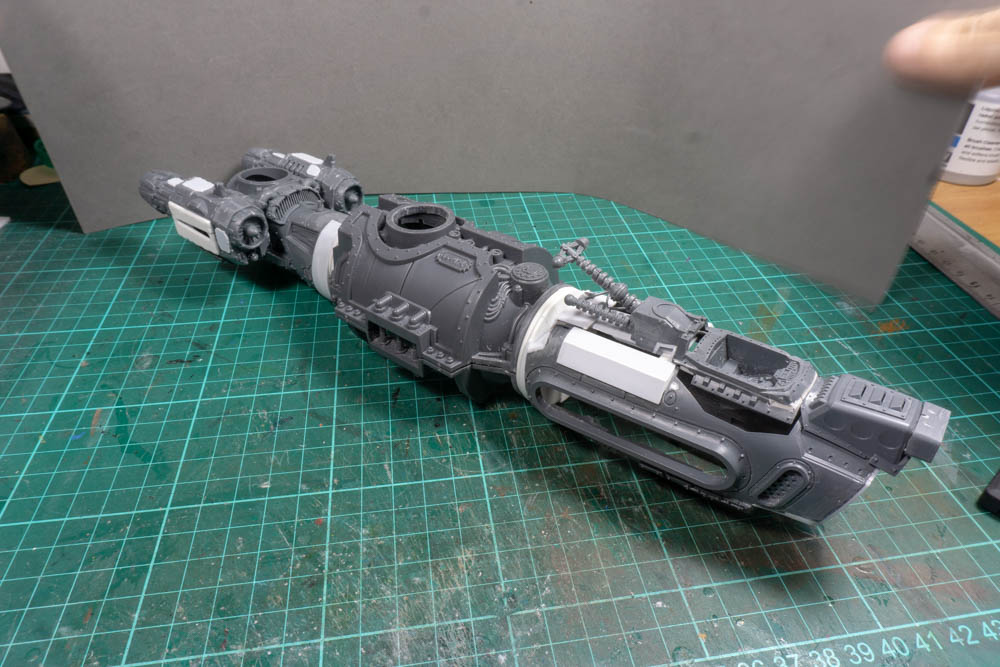
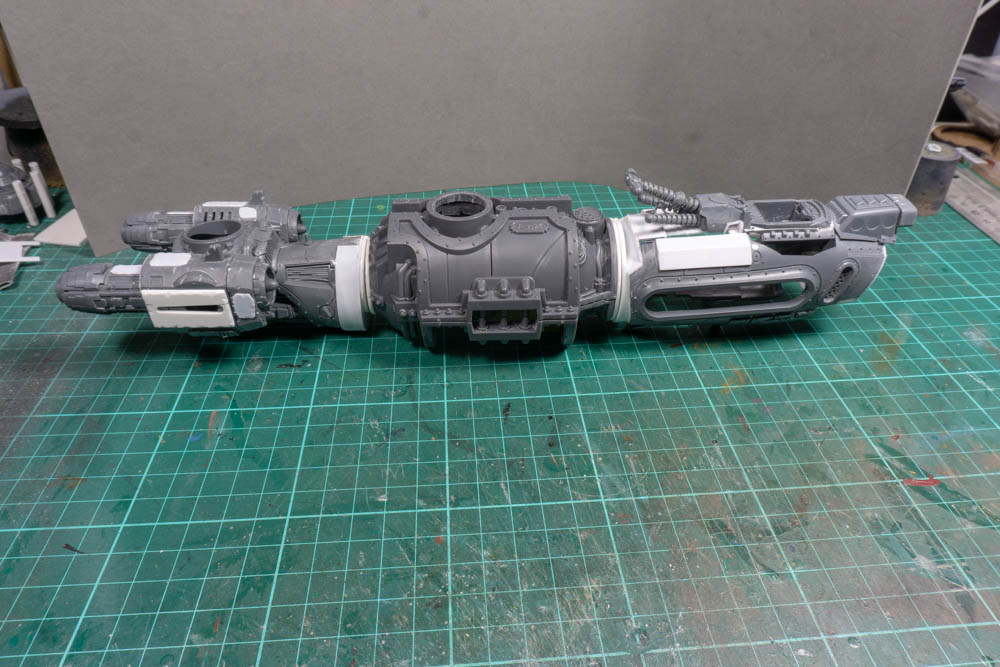
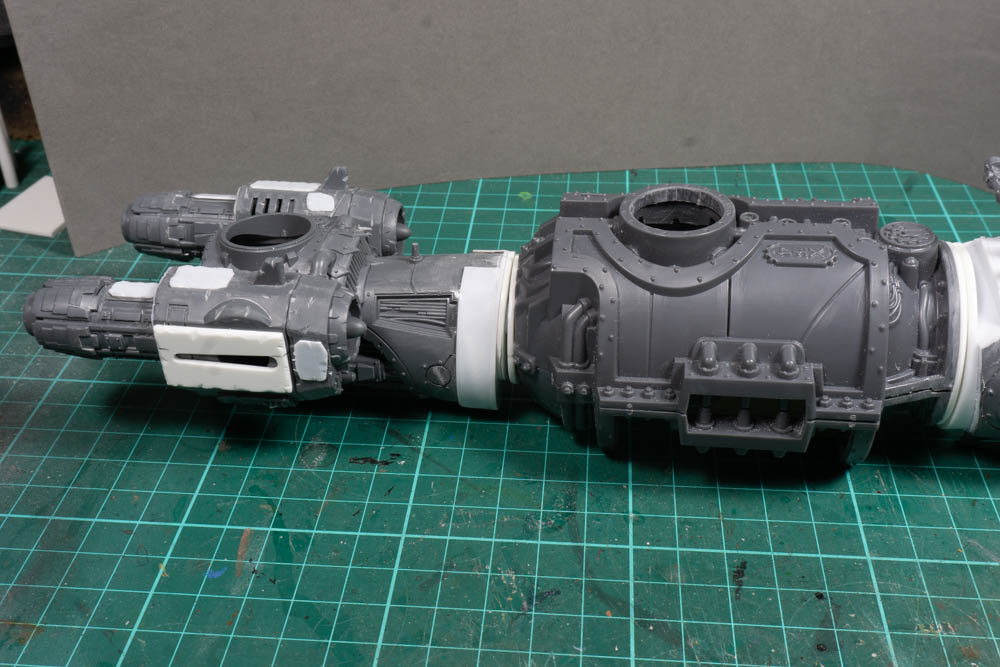
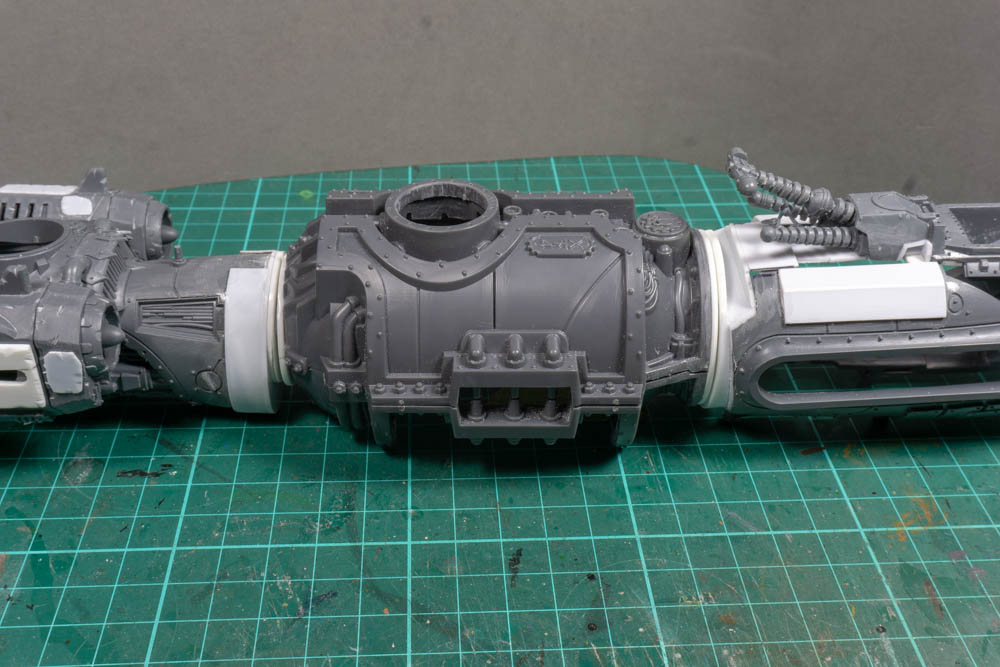
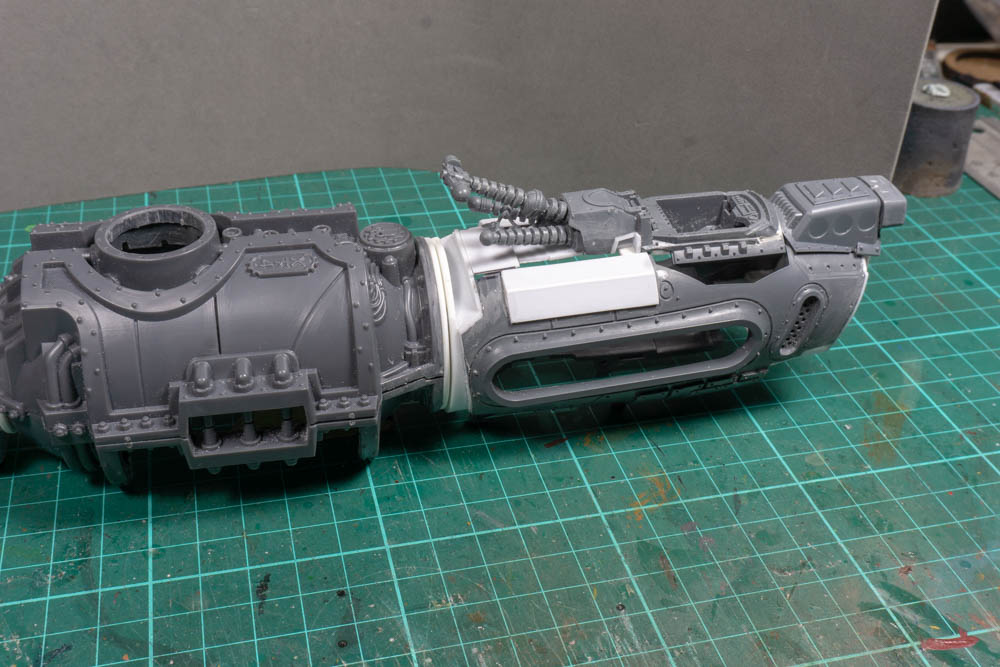
I’ve made a couple of pages of notes to remind me of the key bits I want to add so it’s to get going. With the flyer in hand the first thing I did was to cut the fuselage into three sections, nose, main body and tail. The reason for this was that I only wanted to widen the main body so I need some way of dividing things up. By picking and then cutting on existing panel lines I think I can put things back together without it looking too disjointed. I then used some thin card I got from a craft shop draw out and cut some templates to fill in where I made the cuts. I find it much easier and cheaper using the card to make a template before moving on to plasticard.
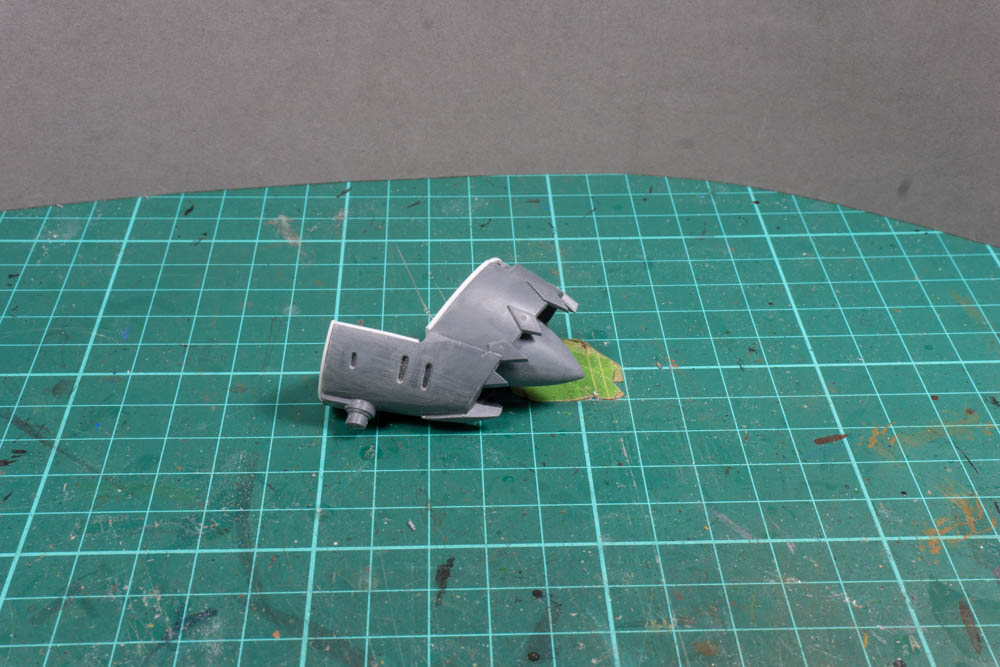
The nose and tail just needed the gaps filling in so that was nice and easy. Although I had to quite a bit work to the nose code to fit properly. This was because the mounting plate had moved and it was now at a different angle which made the nose point sharply down. For the main body I needed to get the pieces that could act as spacers to keep everything aligned once it was widened. I did this by getting something that would fit with the fuselage in its normal set up, then I cut these in half and added new sections to get the width I wanted before fixing the fuselage back together. There’s still a long way to go but I think the layout I have now will work.
One thing I would also like to share is that whilst I have a good idea of what I want to end up with the whole process is very fluid. So I’m sure I will spend lots of time on things I think will work only to find out I’ve made a complete mess of it. So a top tip here is don’t worry about it and if you build something that isn’t right, either change it or better yet throw it in your bits box and start again. It will be the perfect piece for a future project, you just don’t know it yet.


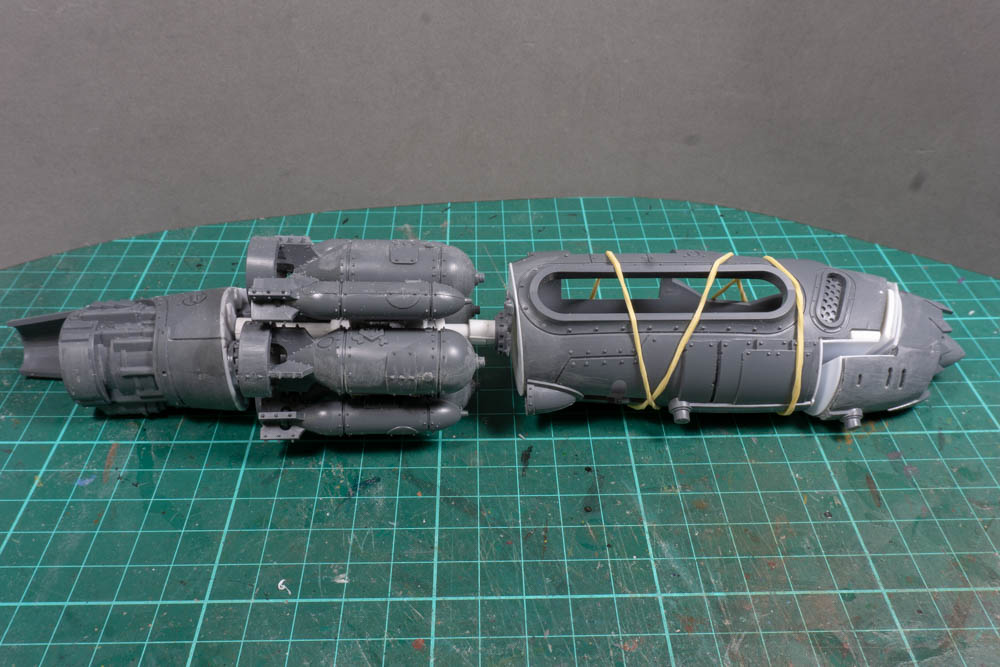
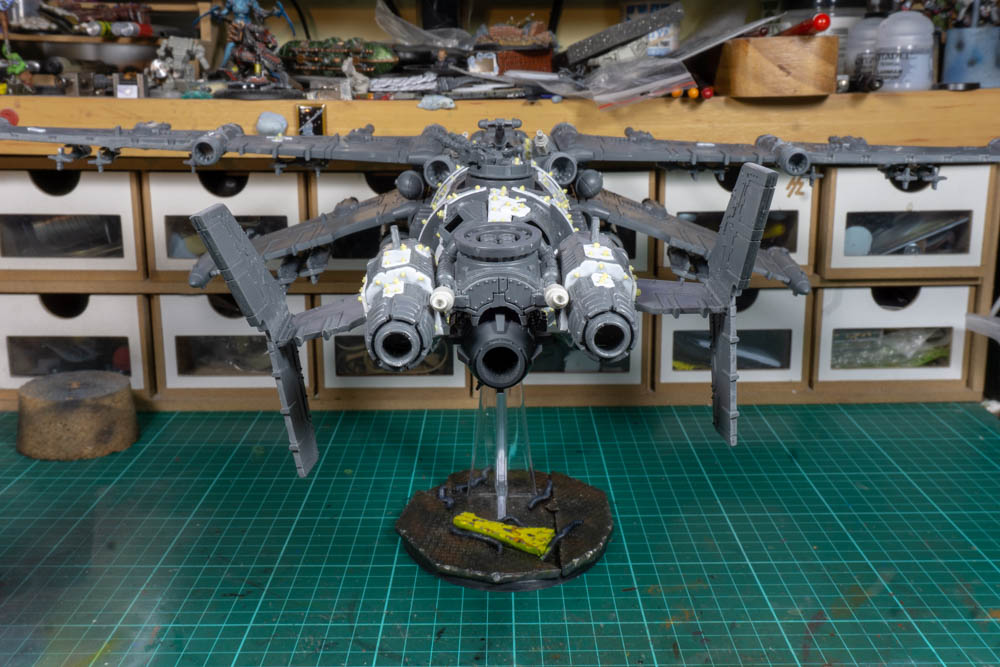
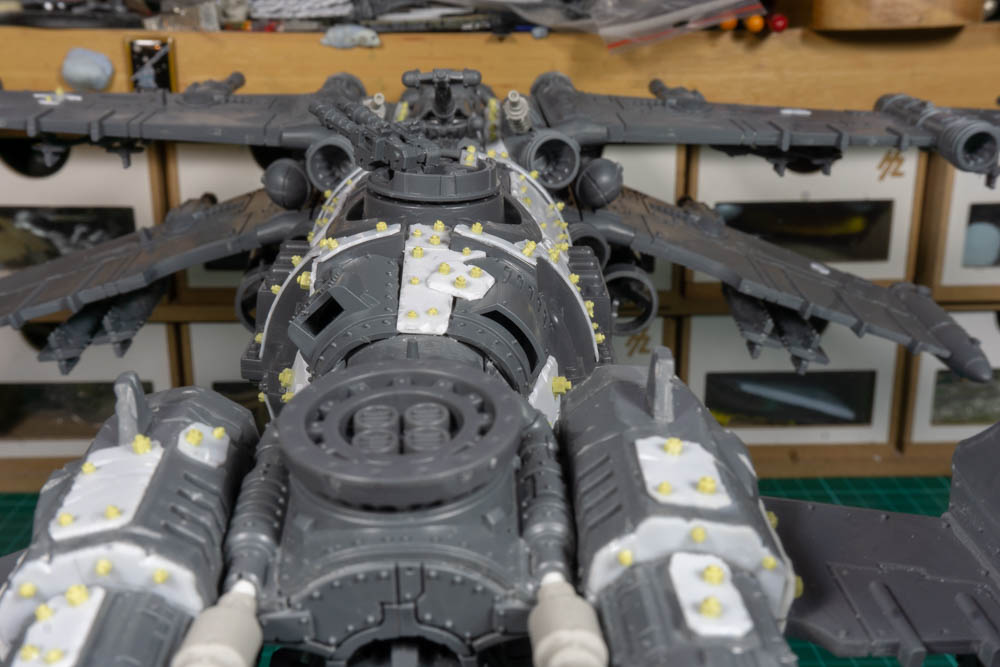
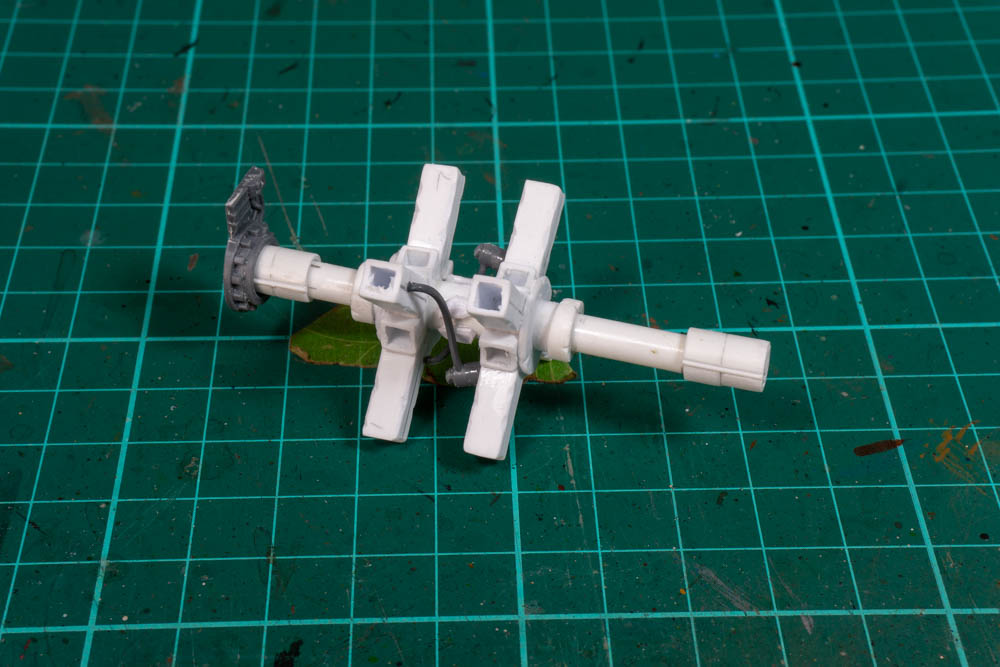
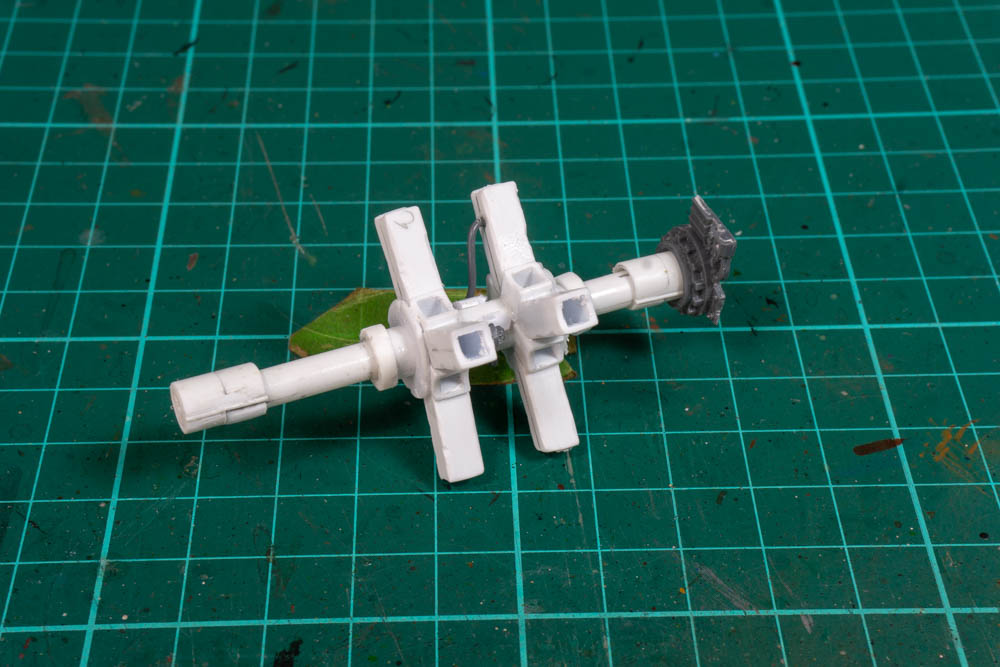
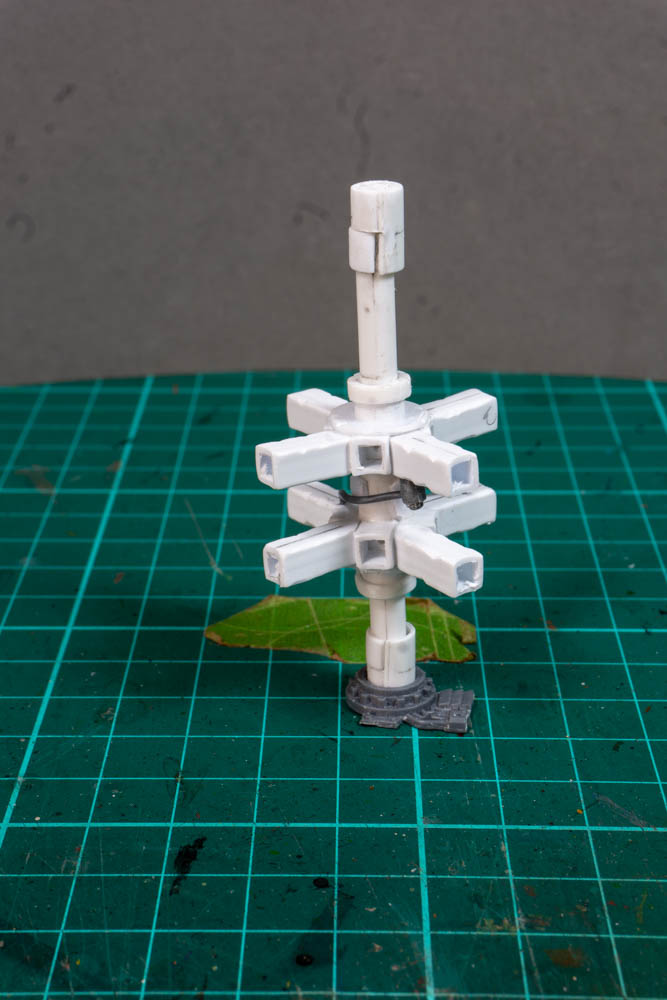
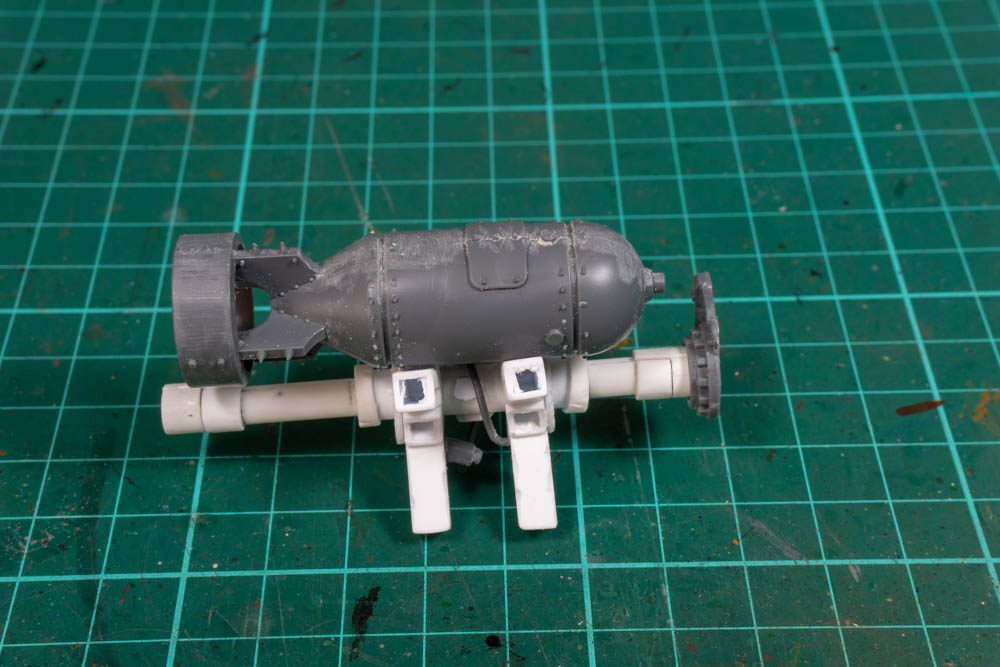
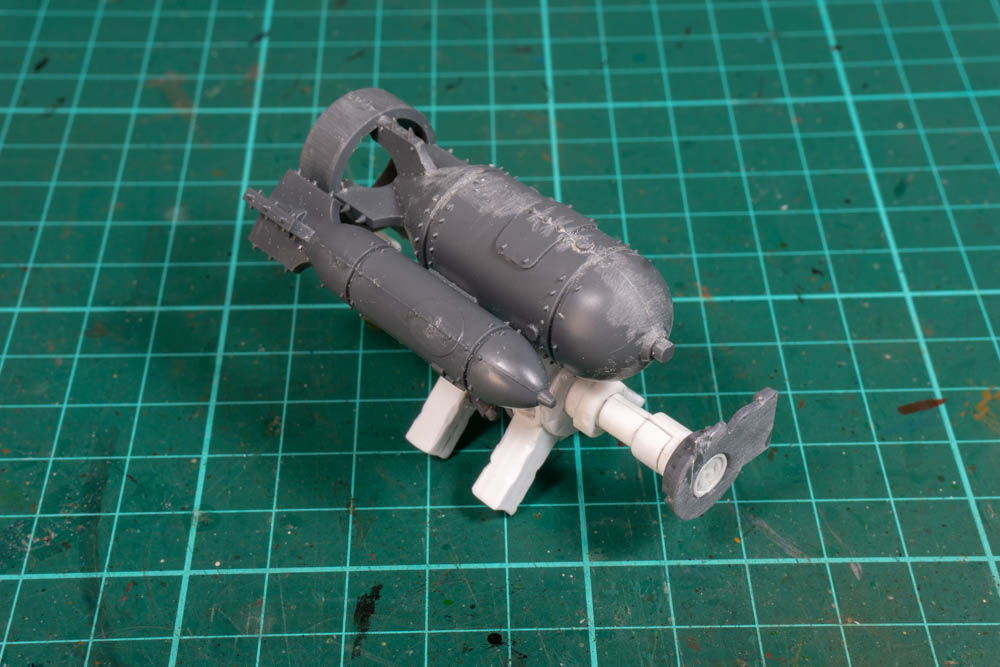
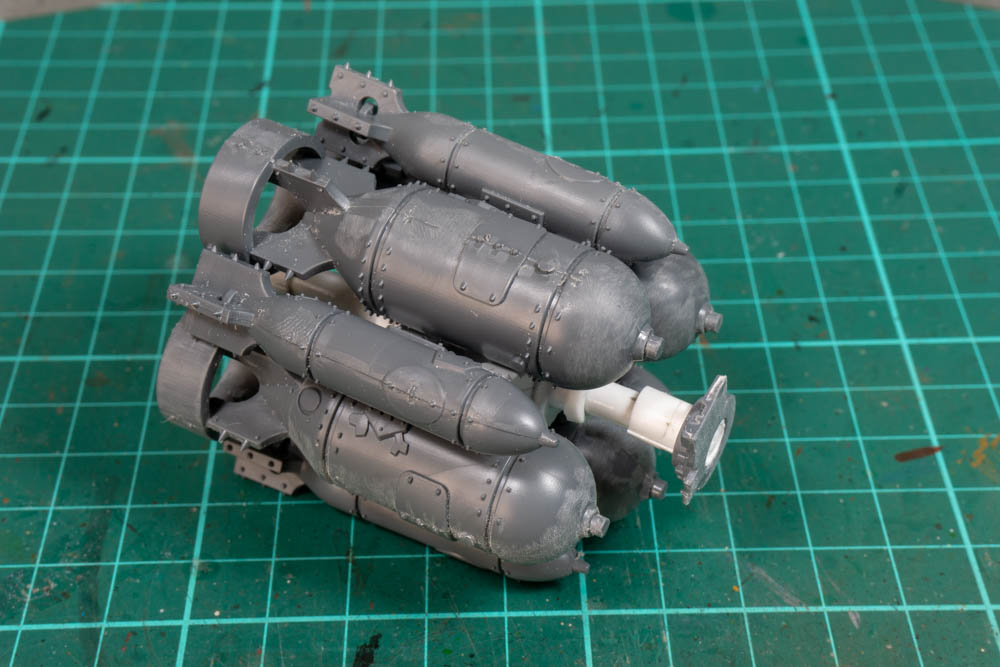
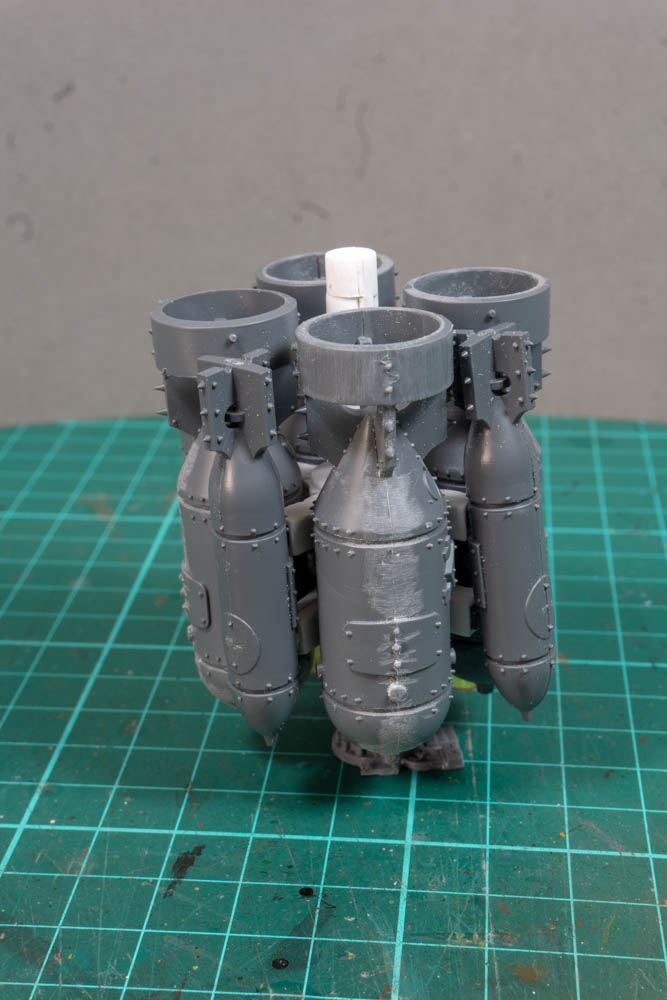
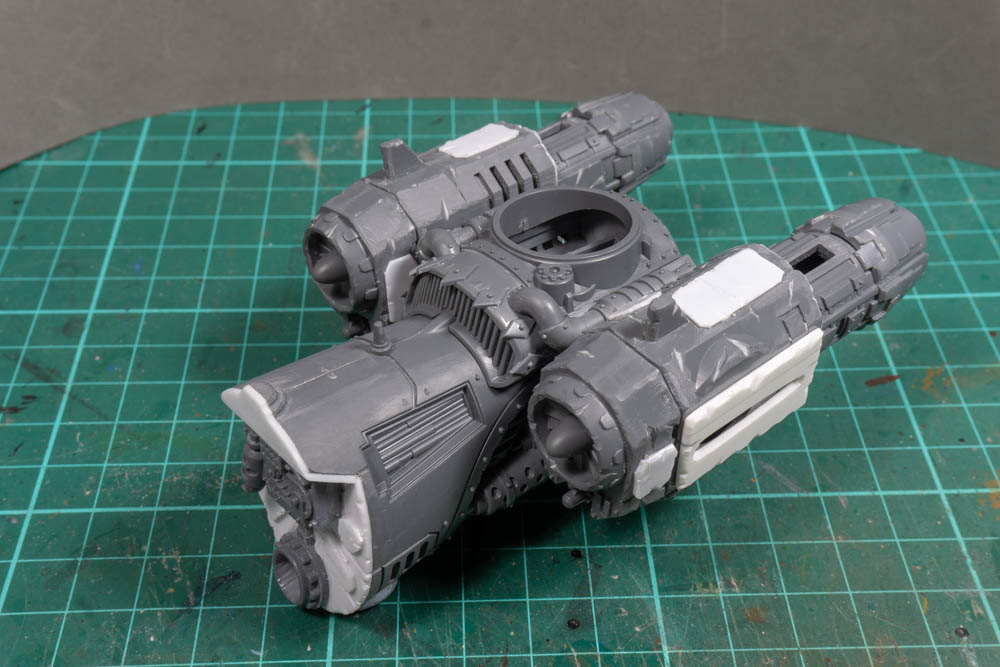
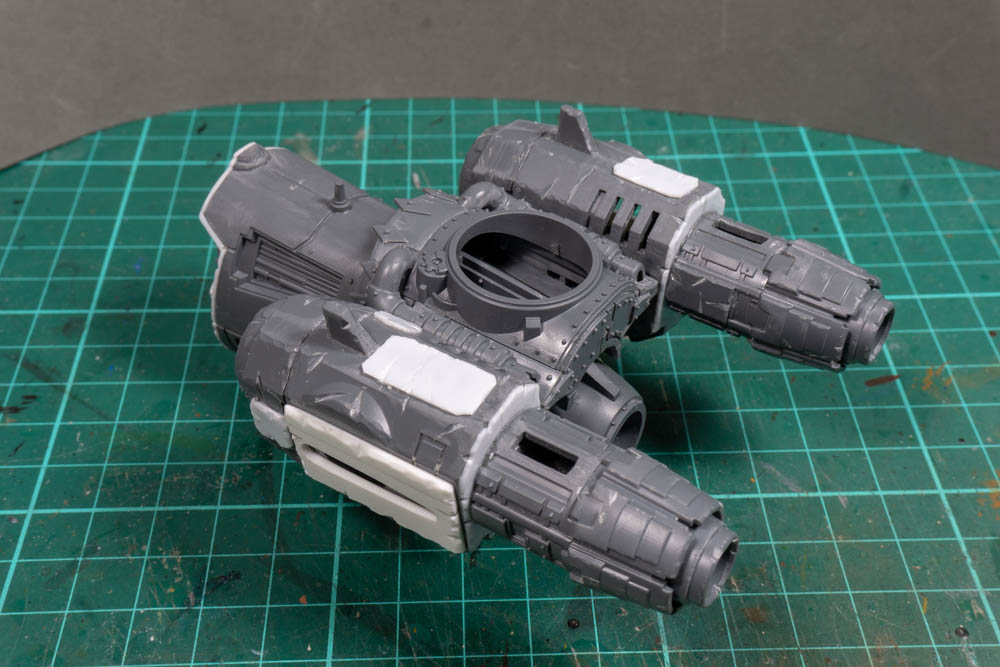
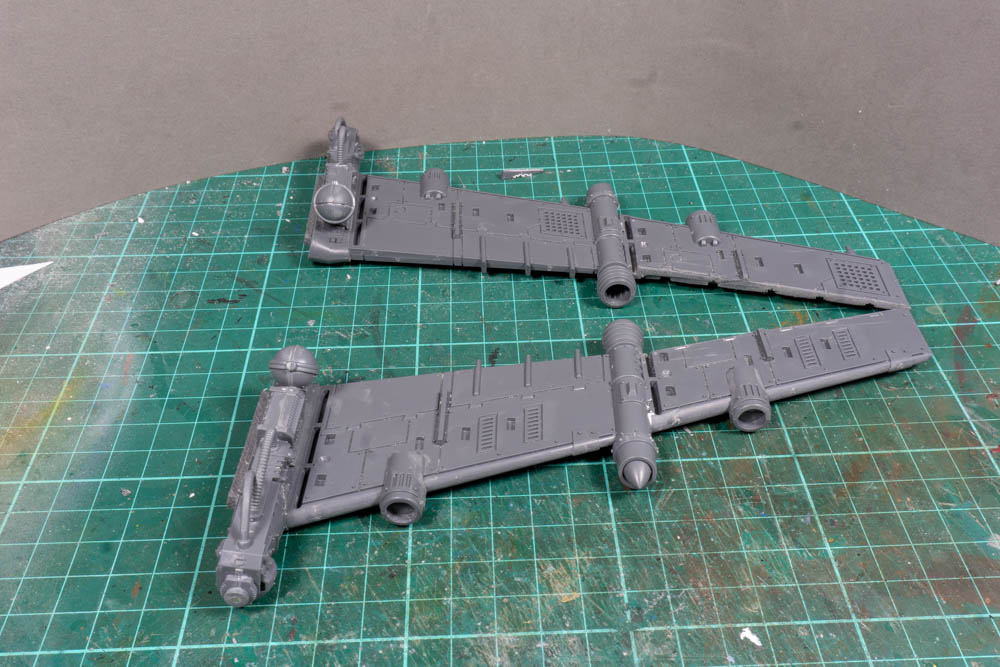
2: Rotary Bob Launcher.
This is a key part of the build and will determine just how long the overall model will end up being. So it has to be done before I can carry on. This is the second version as the first, whilst I think it had real potential, was just too large.
(Pictures of both bomb launchers here)
By shrinking things down I have managed to get it to fit four large bombs and then by making longer mounts I can fill in the spaces with the medium bombs. At this size I can get it fit the fuselage, even if it does mean one of the bombs sticks out of the bottom a bit. It just means it’s always ready for use.

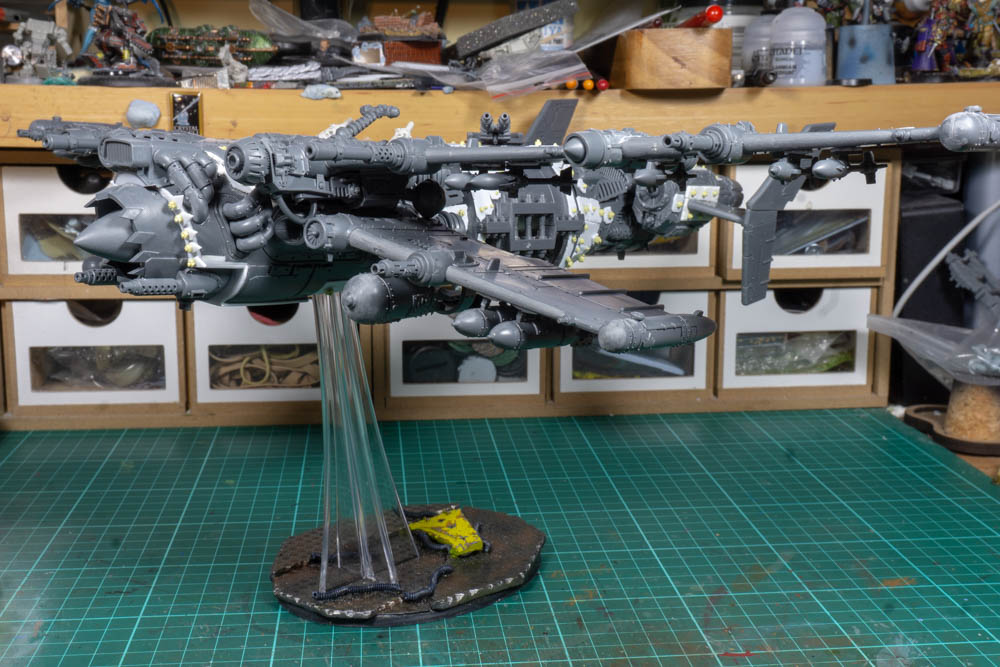
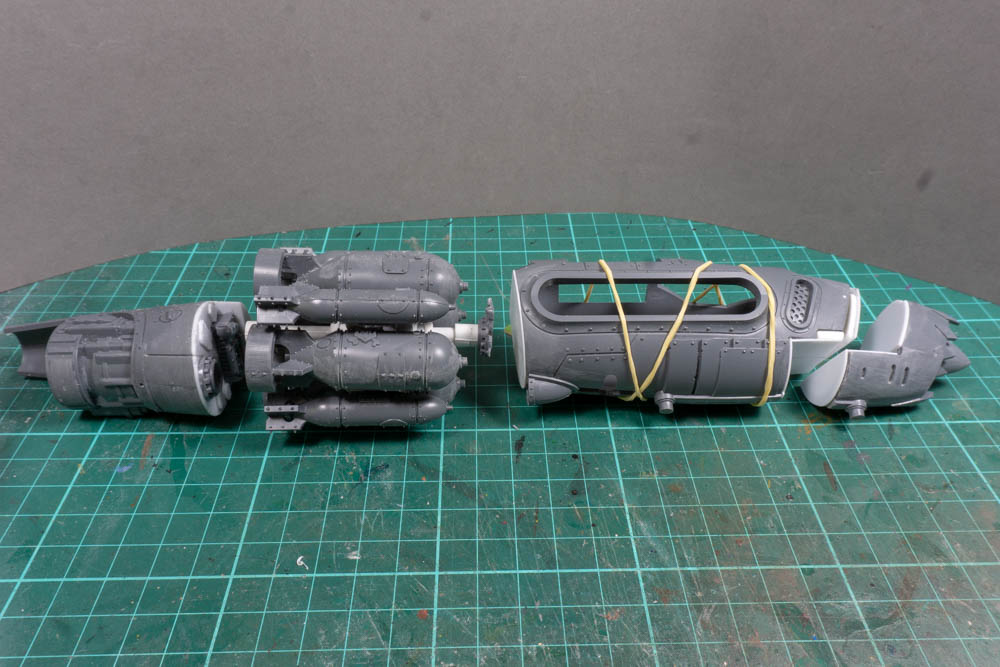
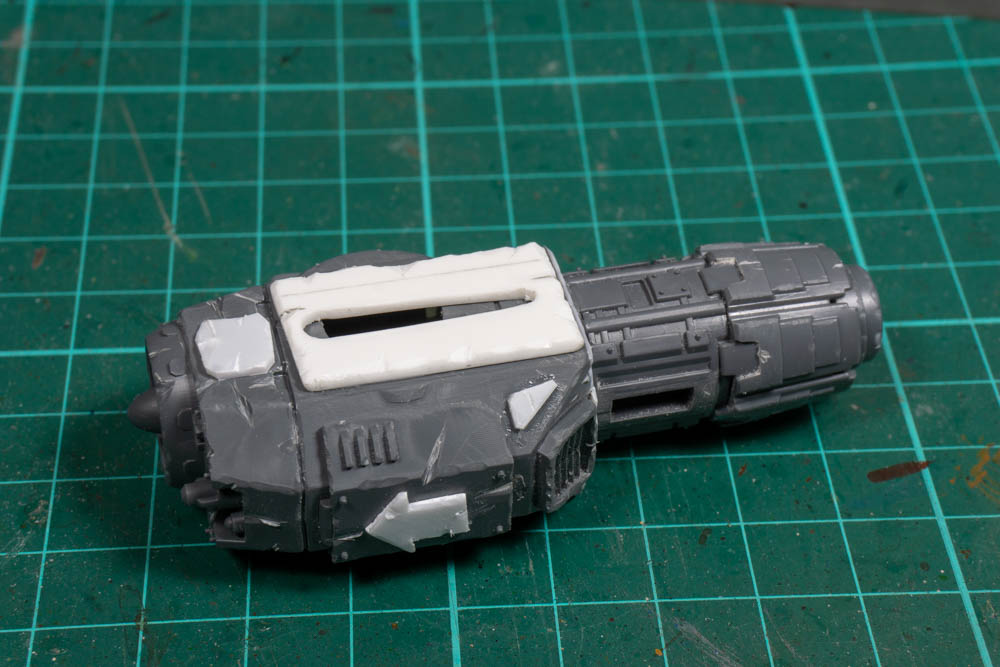
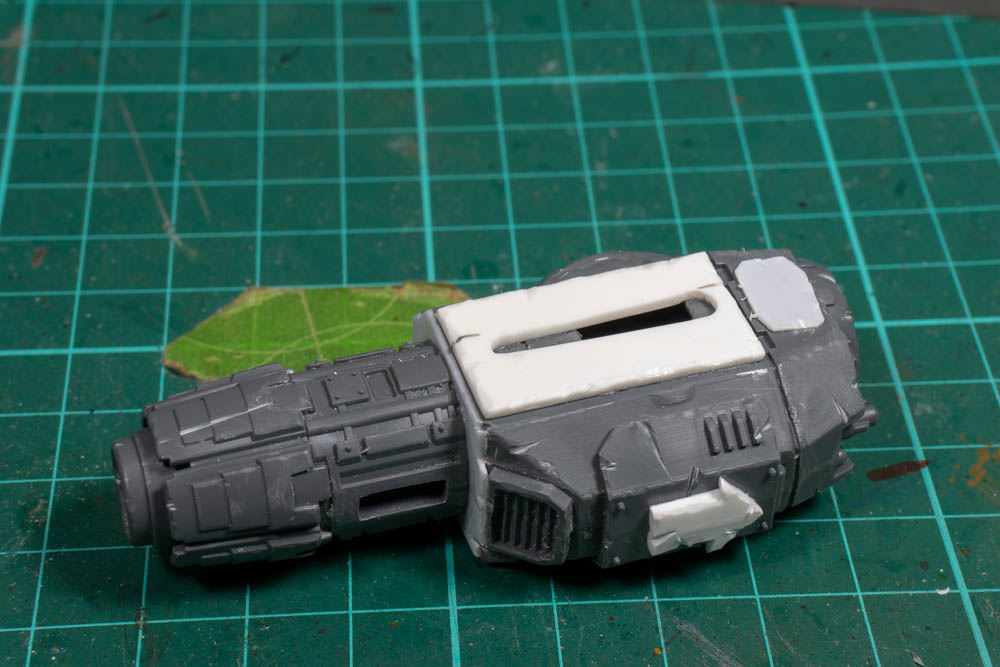
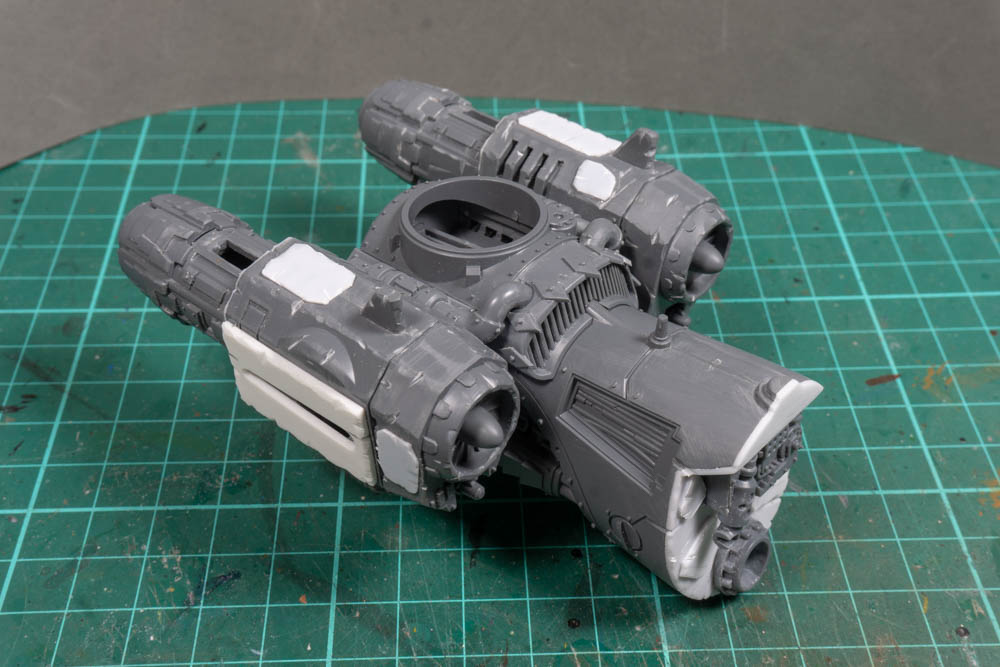
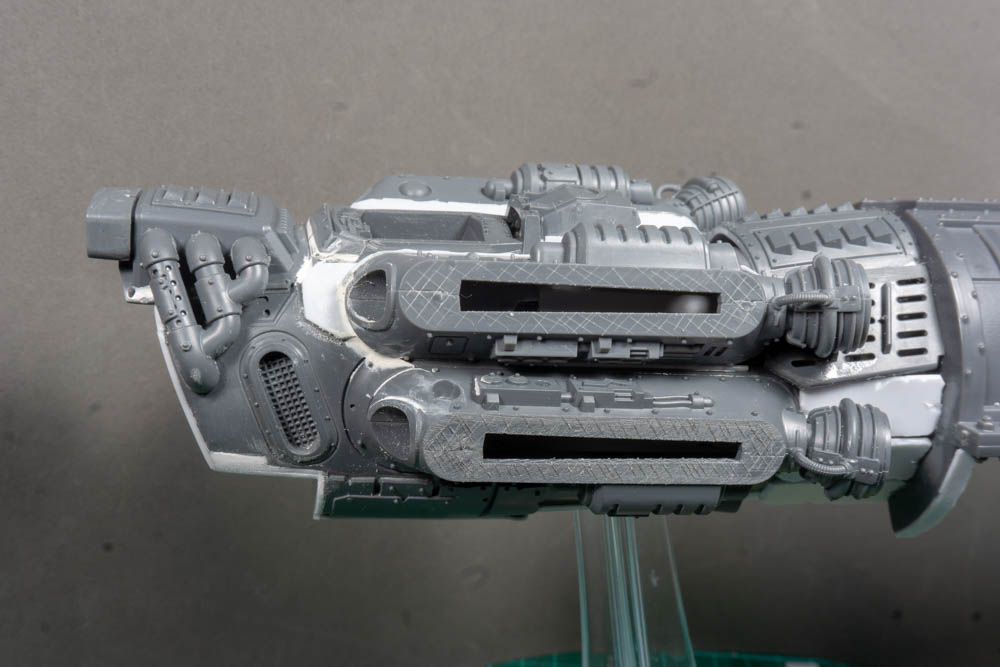
3: Tail Section.
Whilst I was pondering what to do with the main fuselage I started work on the tail. To start with I filled in hole from where I cut this section away from the rest of the fuselage and then added a bit of gubins to make it look a little more interesting along with one of the mounts for the bomb launcher.
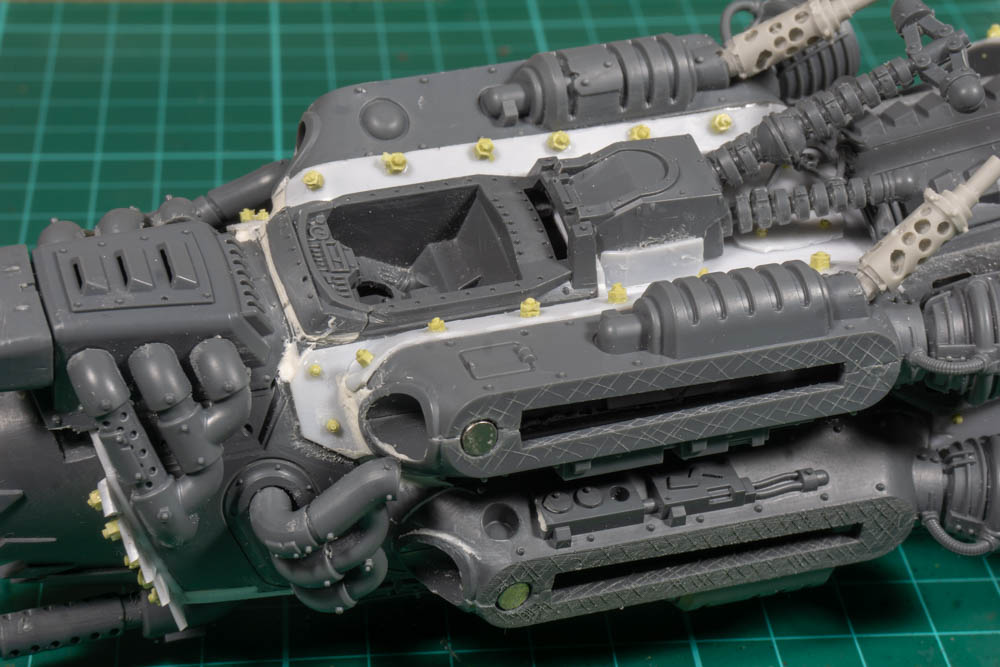
I had decided to go with a double tail fin set up just because I think it looks a bit more interesting so I went with the bits that come with the kit for the Waz bomber but I’ve left the mount for the tail gunner blank at the moment whilst I decide what to do with it. I was planning on adding some A10 style extra engines in front of the tail section but after playing around a bit I decided it would be easier to build them into this section instead. I got the engines from a bits site and are from the little Marine flyer which I think is a storm talon.
A little bit of trimming allowed me to get a good fit and I then cut out a couple of thick bits of plasti card to use as the wing mounts. To get a good fit I drew a centre line down the pieces and then marked where the whole need to be cut out. For a good fit I used a couple of drill bits that matches the radius of each end and then drilled out two holes. It was then a simple case of cutting lines between the wholes to get a nice wing mount shaped hole.
These could then be mounted to the sides of the engines along with random bits of plasti card to give them a more orky feel. I also spent a bit of time to distress everything with a sharp craft knife so things didn’t end up looking too neat.
For the tail wings I used the large central tail wing, and mounted it about the standard one to get this double height contraption. All in all it makes for very large tail section but I think it will end up fitting the overall feel of the model.

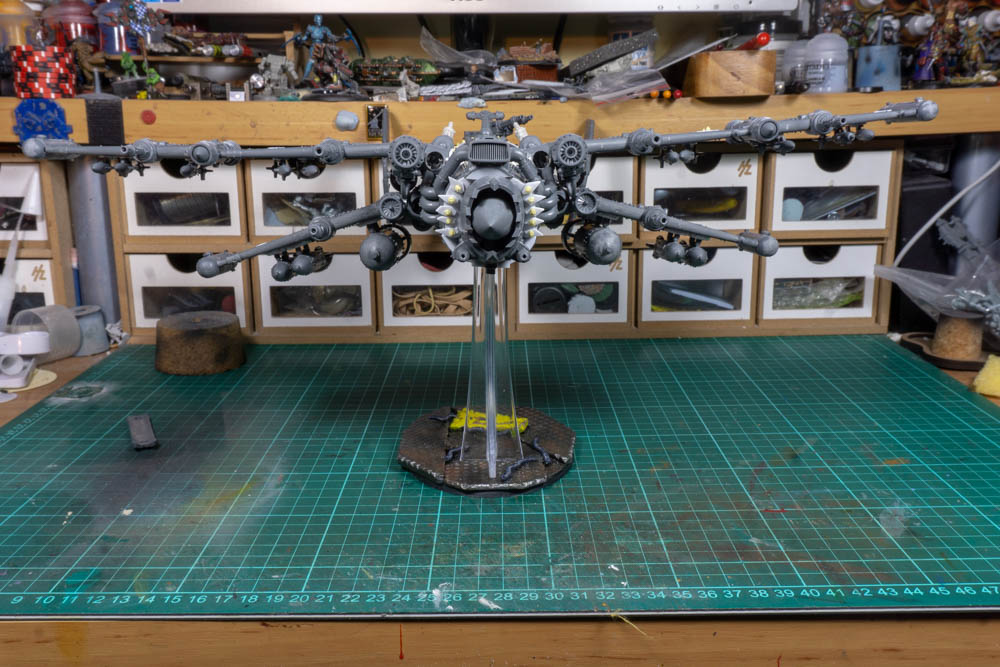
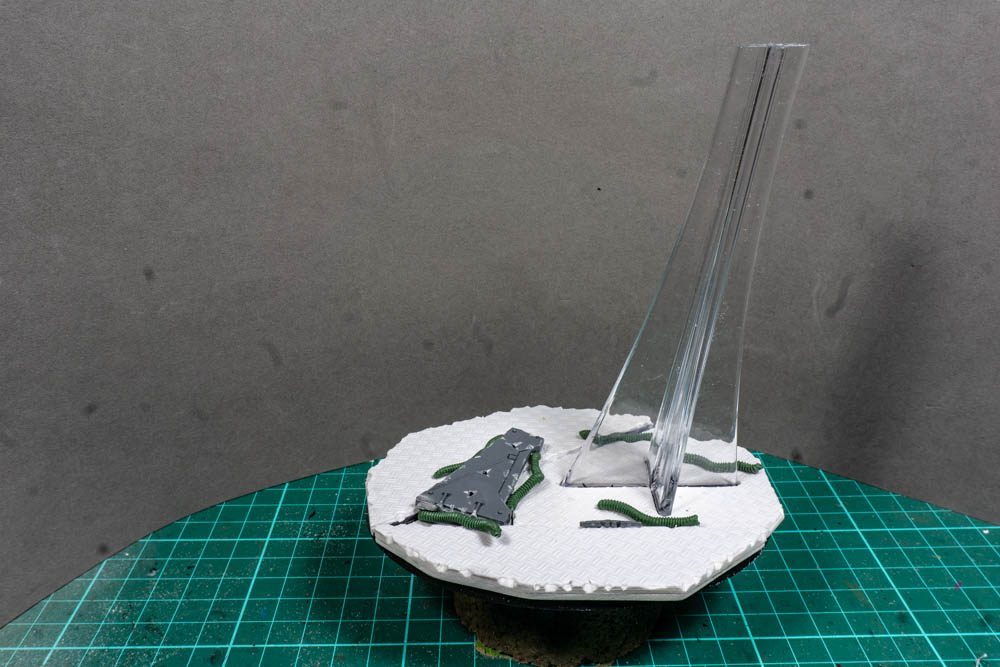
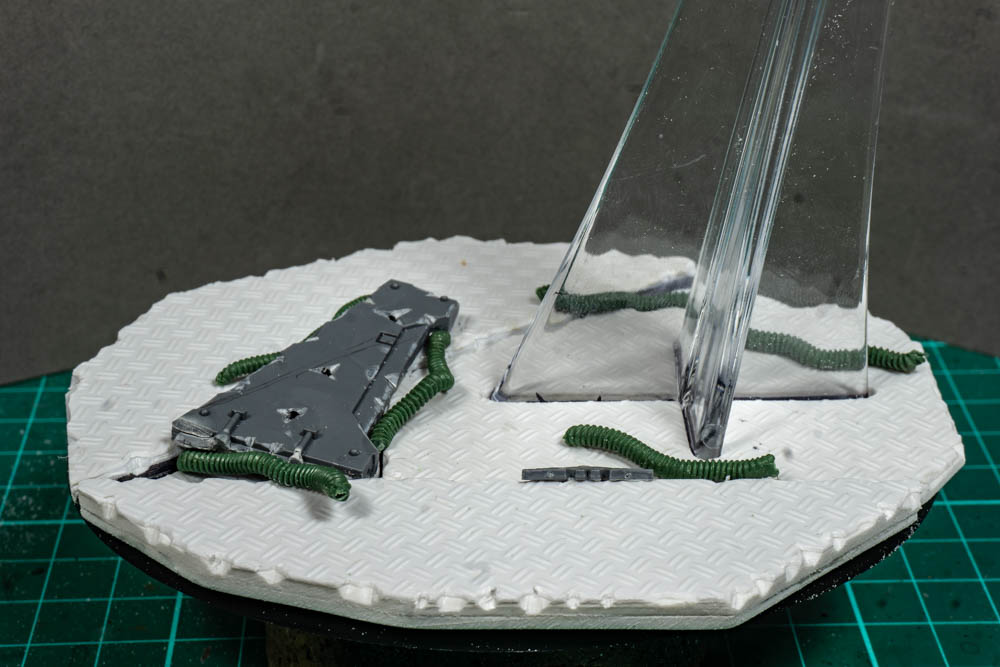
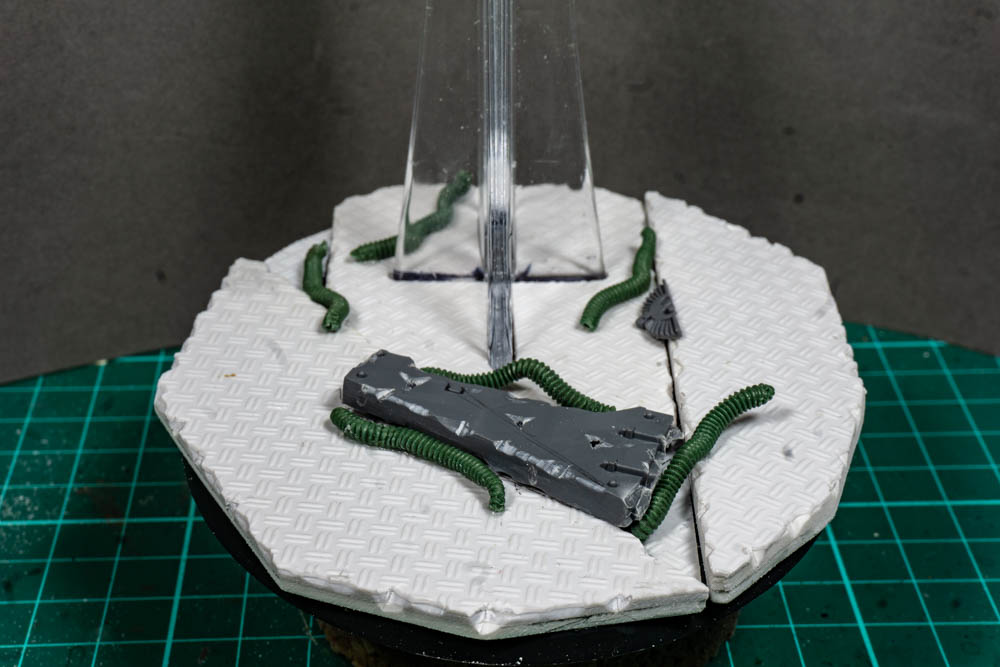
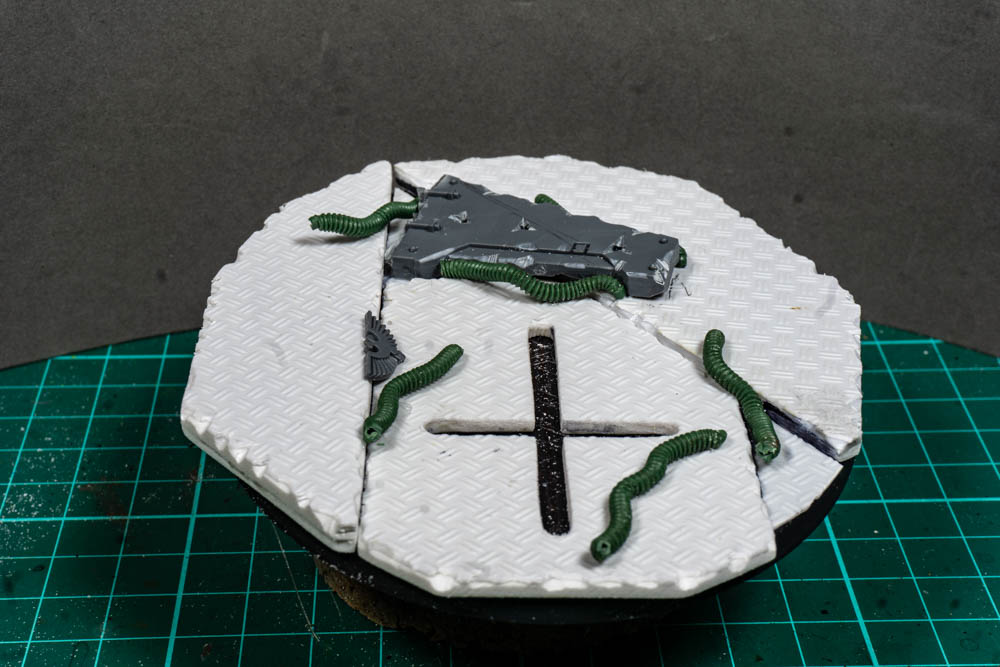
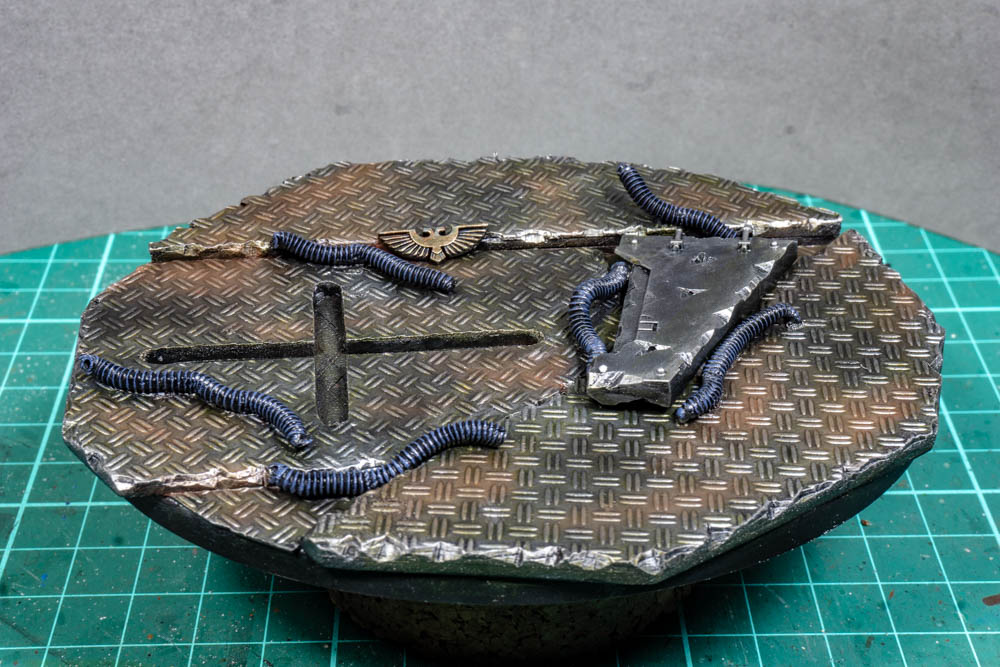
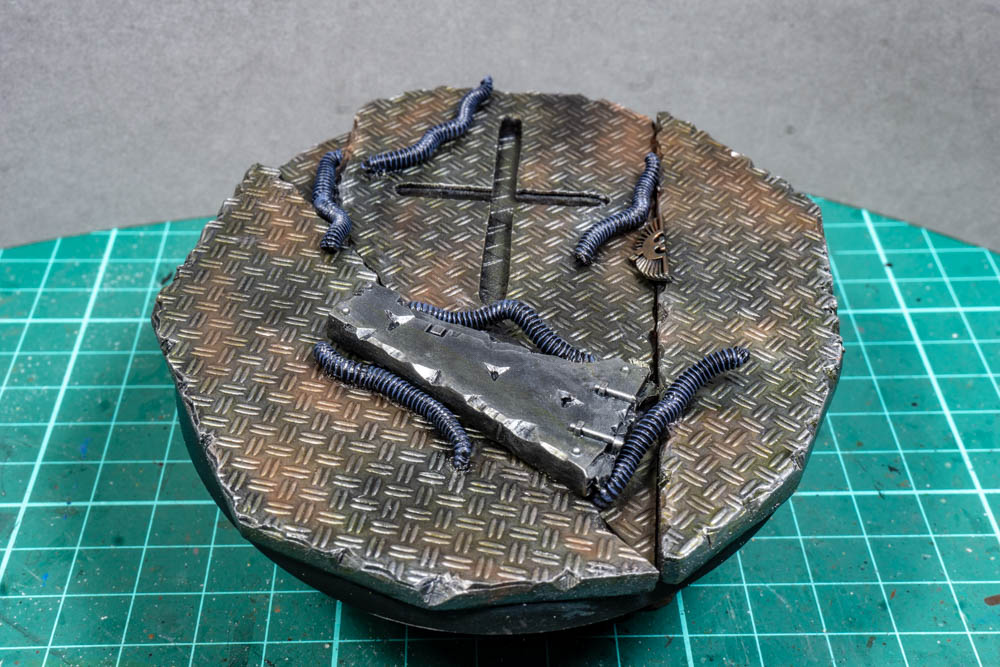
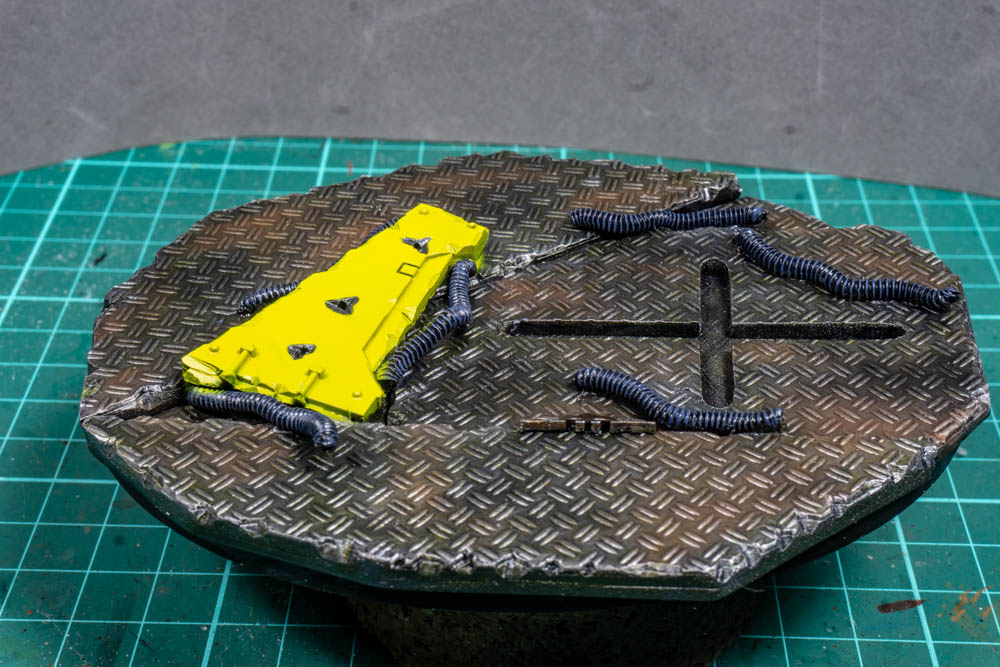
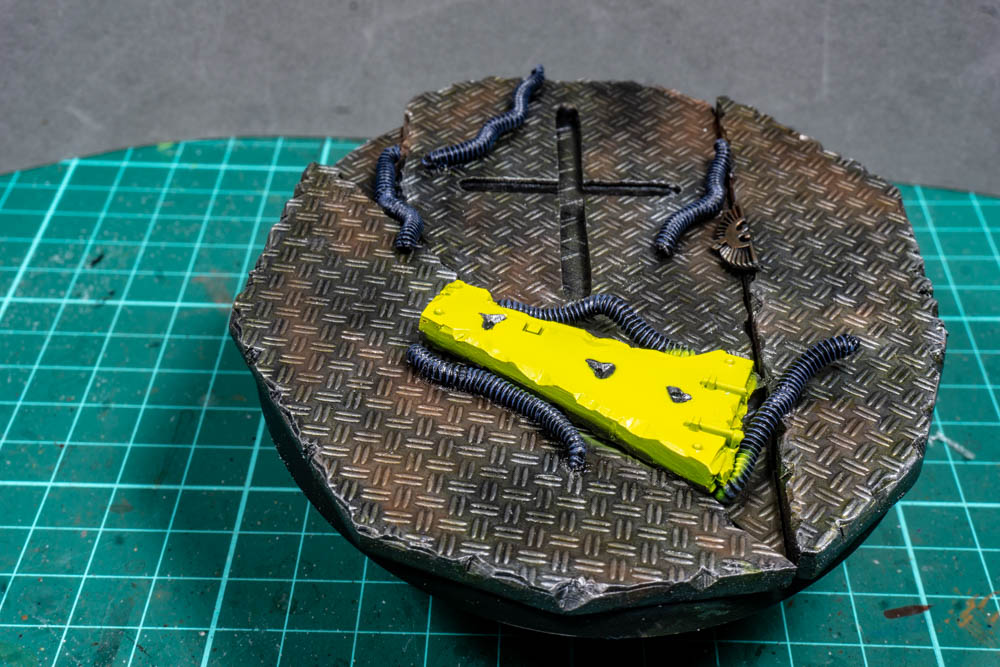
4: The Base
This is where things got a bit mixed up and I stopped keeping my notes and pictures up to date. The result is that the next few pictures represent a bit of jump. I’m considering it my Blue Peter Moment with here’s one I made earlier. I’m showing the base here as I built it to test that the work I had done on the fuselage could be supported and it also make it easier to take pictures for the next steps.
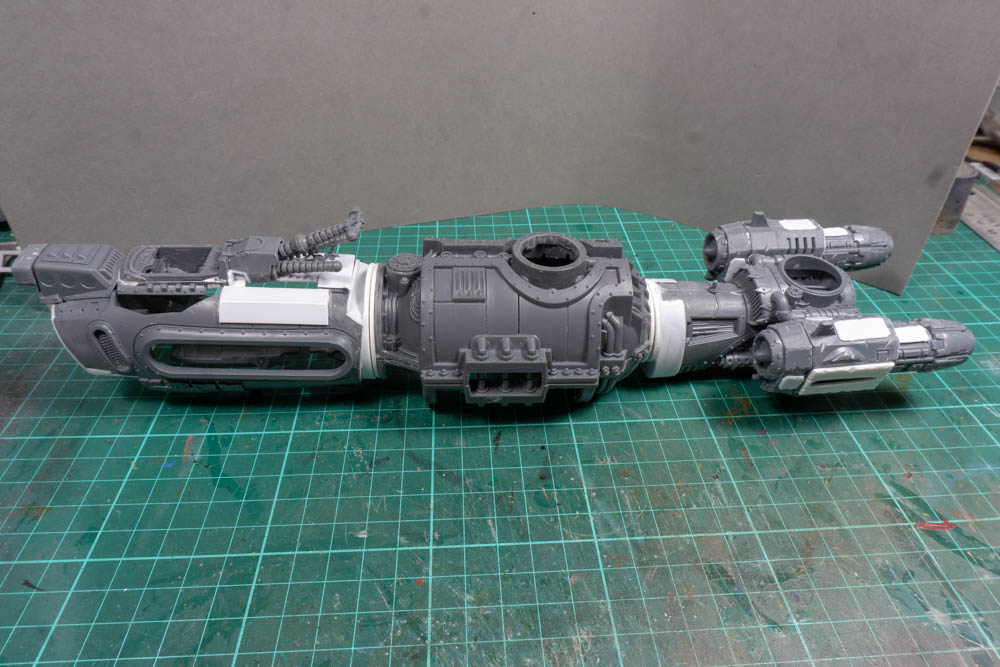
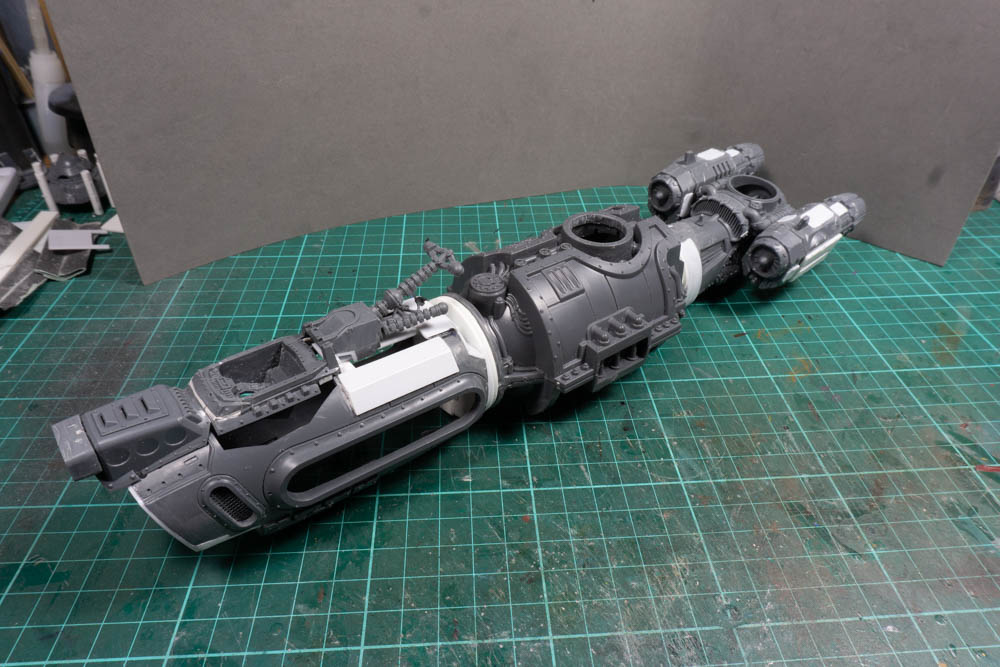
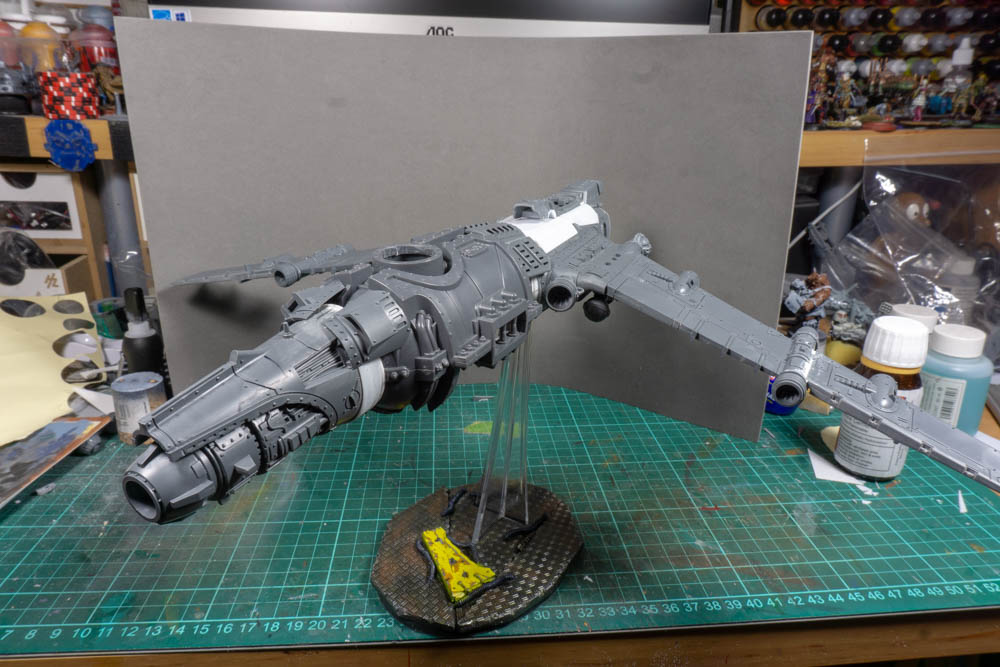
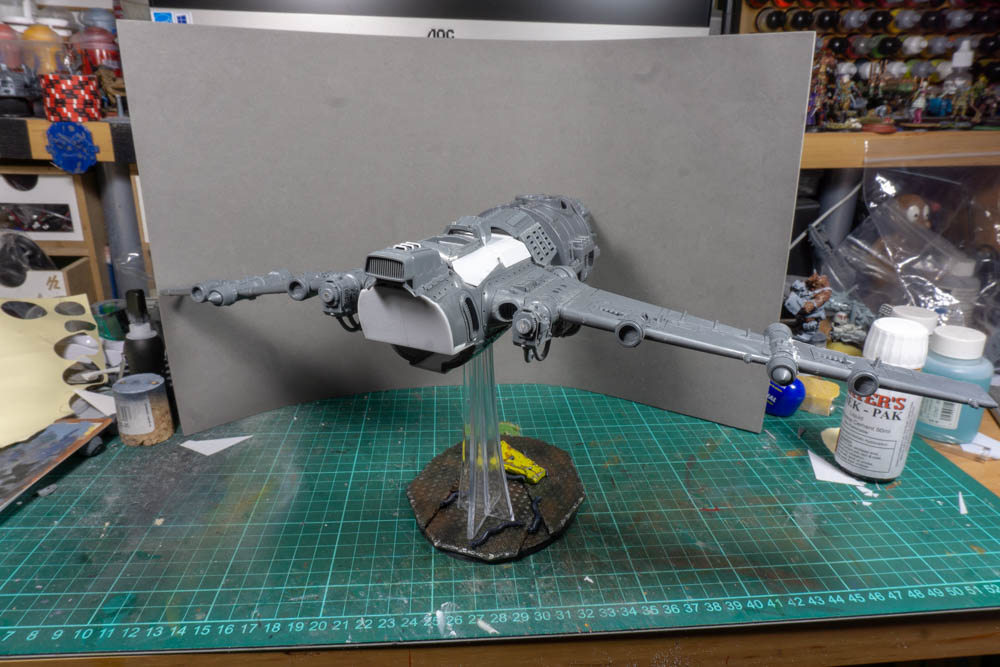
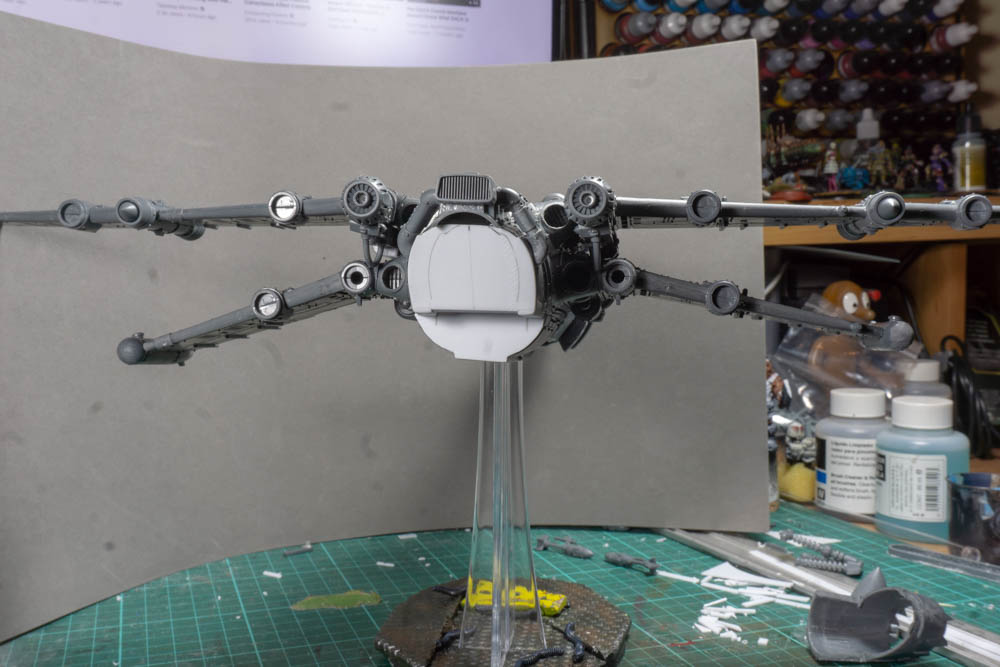
5: Main Fuselage
For the fuselage I’ve cut a normal fighter in half and then used a section from some Mechanicum scenery to extend it and act as a bomb bay. I’ve then used some plasticard to widen everything to so that I can mate up a bit more neatly with middle section. It’s a bit disjointed but I like the overall feel and it will balance on the base without tipping over which is a relief. Another close call and not something I planned is that will just about fit in a KR Case so I should be able to transport it once it’s finished.
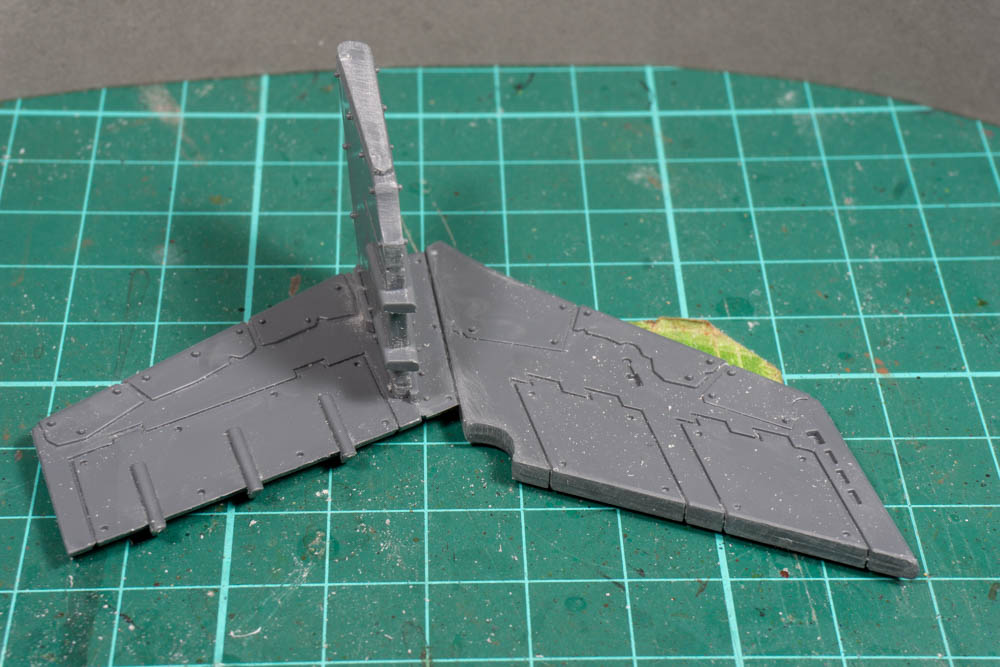
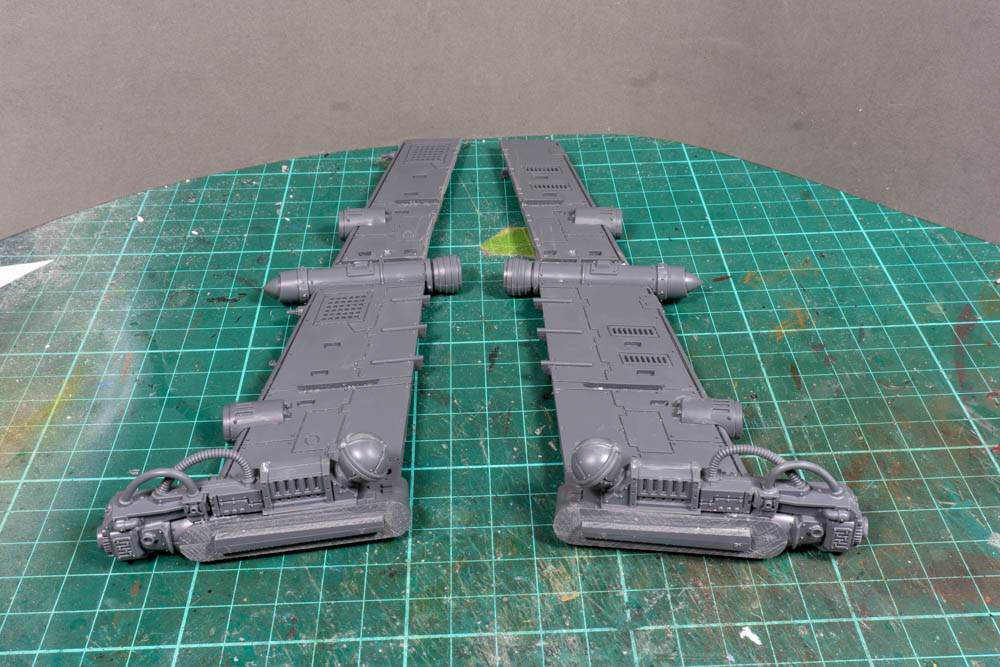
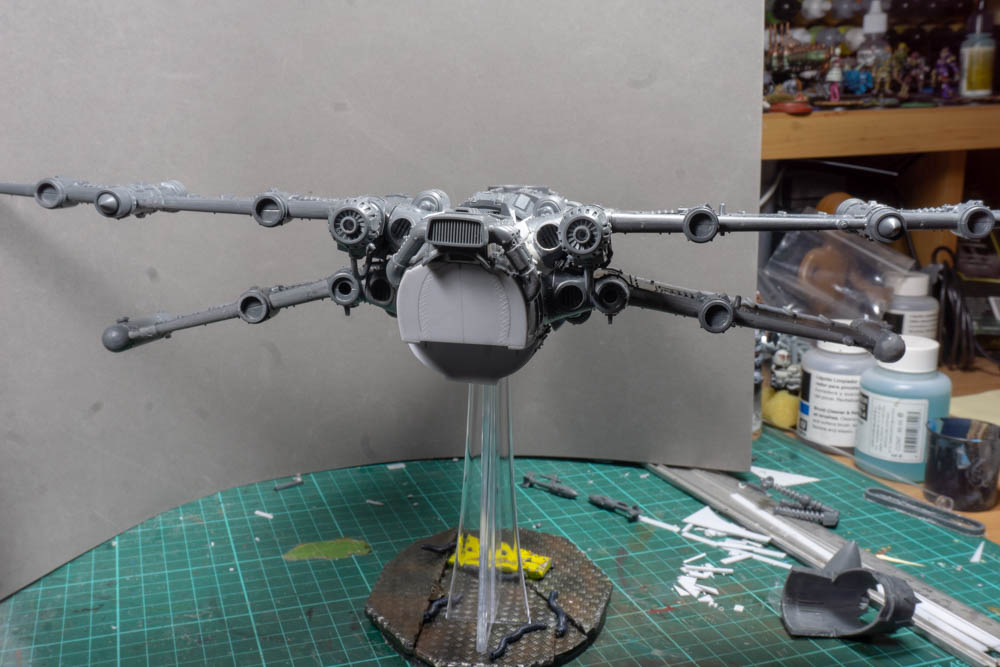
6: Wings
Because it’s a lot longer than a normal fighter I though the wings needed to be bigger so I picked up some more wings up on line and I’ve added them to the existing wings to give it a much bigger wingspan. It also means I can add more rockets and bombs under the wings to give it more dakka.
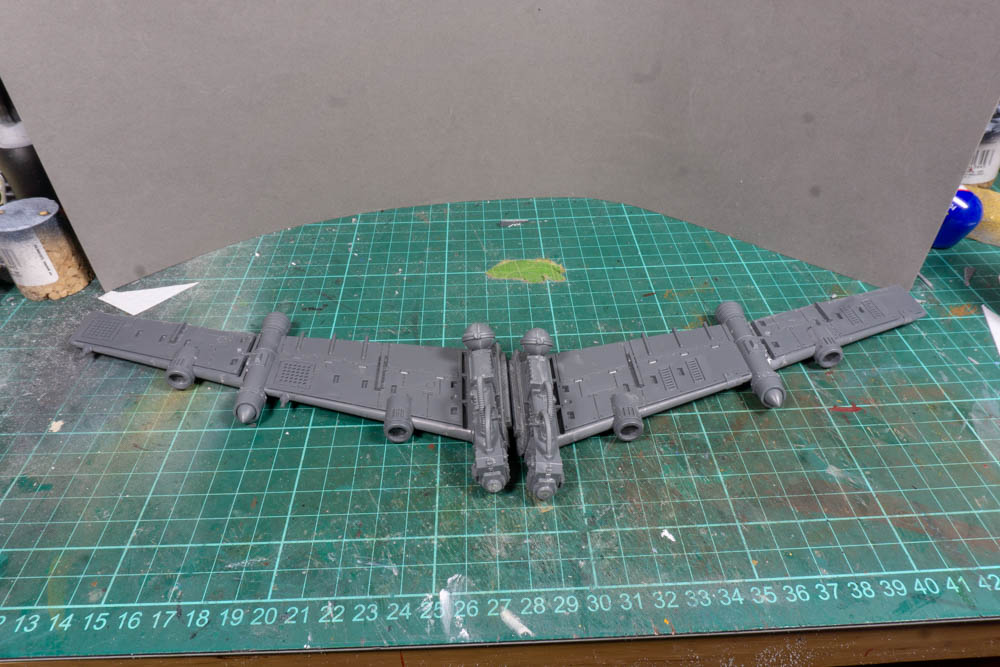
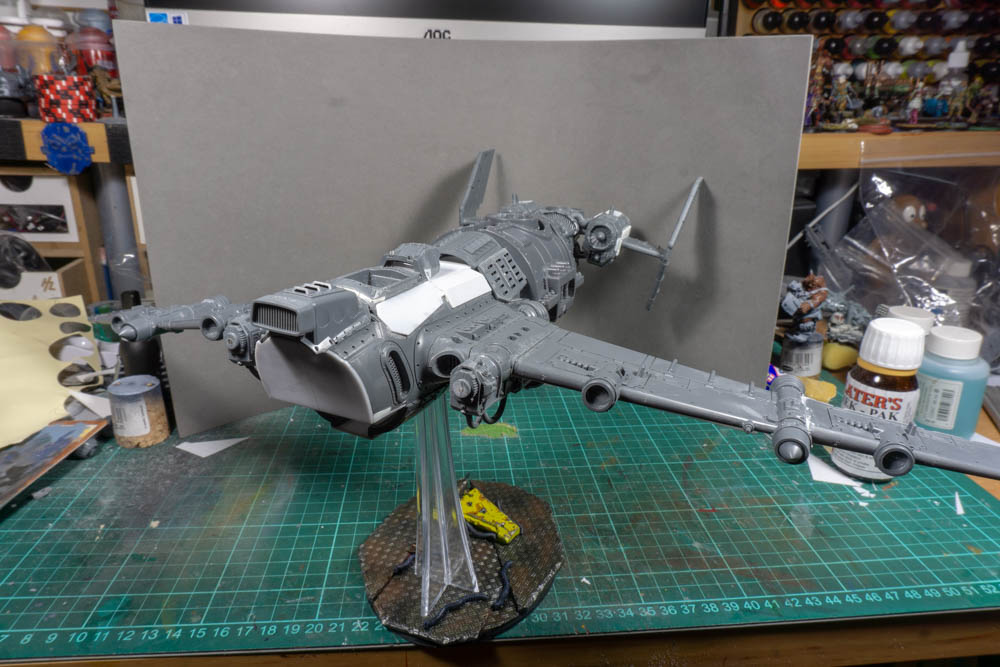
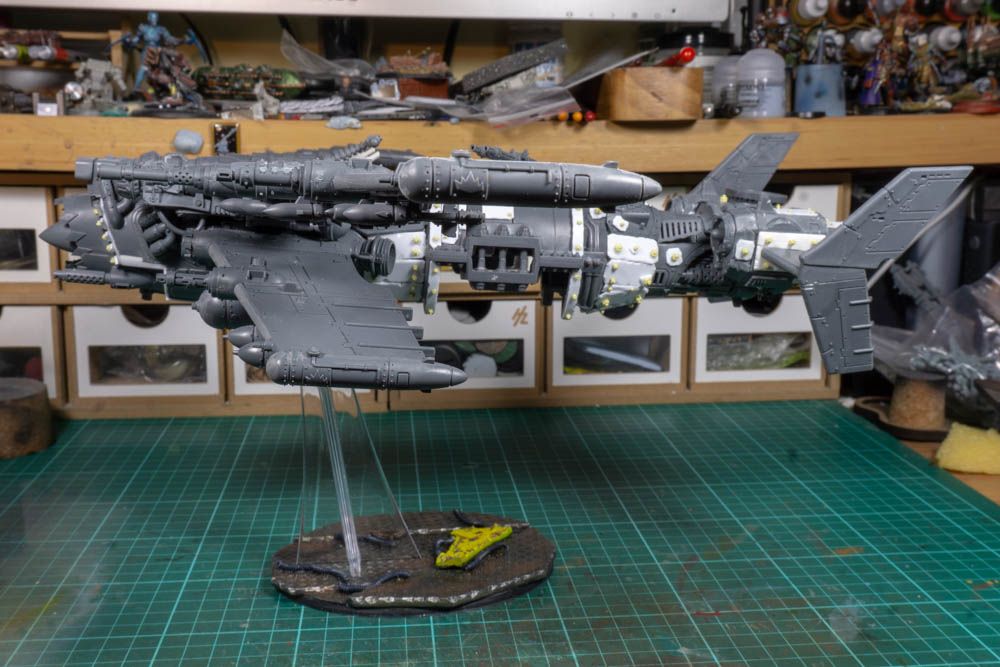
7: They look to wimpy
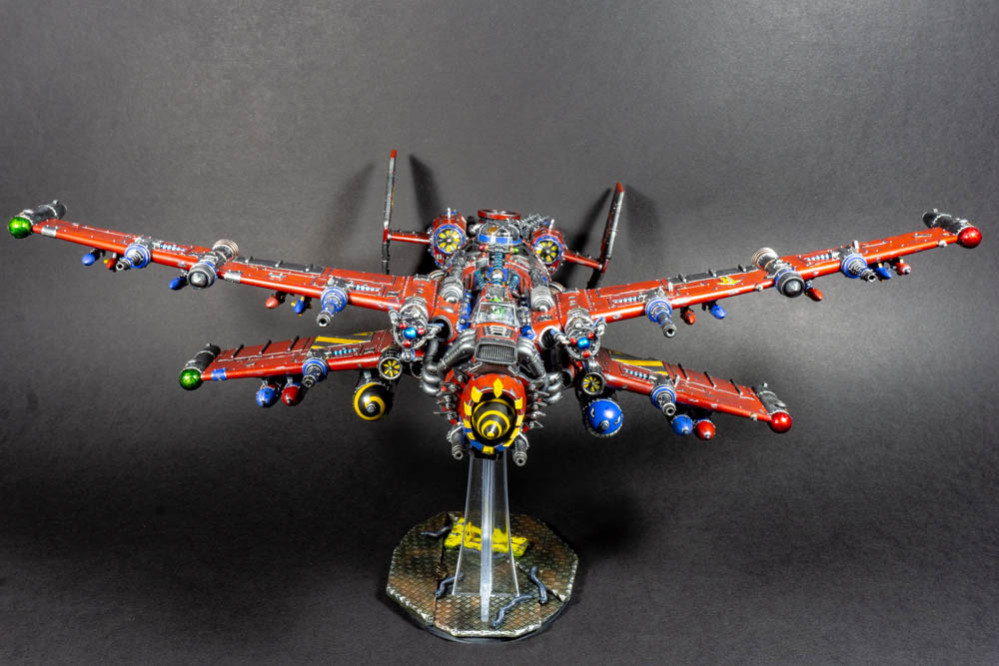
When I shared what I’d done with some friends the overriding comments were that they liked it but that the wings looked to wimpy for an ork creation. A bit of idea sharing over a brew and I was told to go away and do better. Either to make the wings thicker or to add more wings. The more wings seemed like a better option so it was on e-bay and the K-Wing creation was born. Now just by moving wings to a higher position gave it a better look and then with the addition of the smaller lower wings I was really happy with the result.
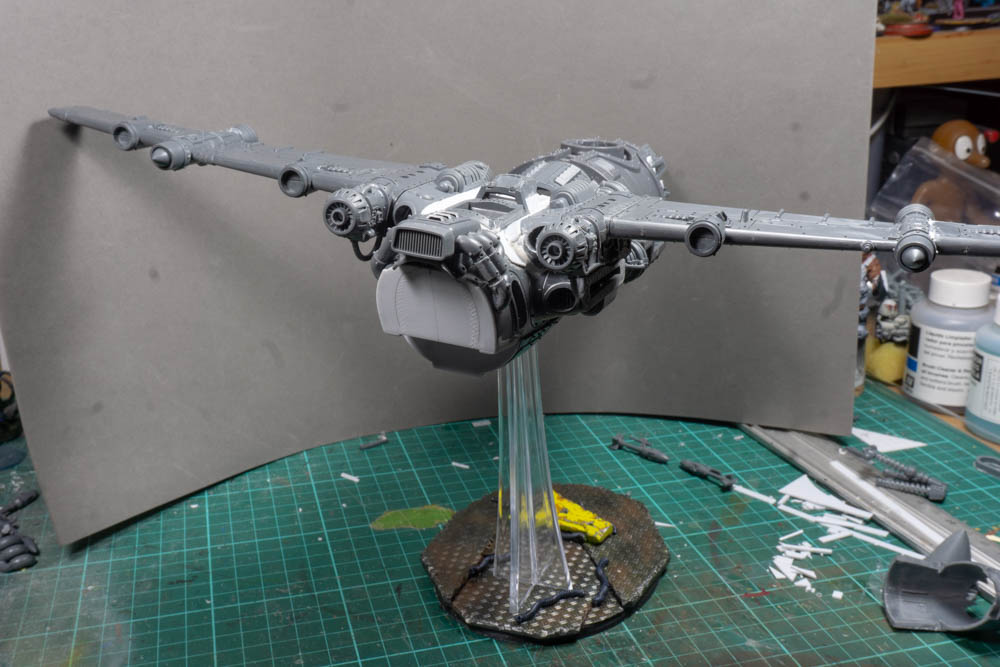

9: Finishing touches
With the wings sorted and extra magnets added to keep them in place I only had the final details to add. So a few exhausts and lots of bolts. It’s these last bits that always seem to take ages to finish but I go there in the end.