


![Perfect Call Of Duty-Style Miniatures? Wargames Atlantic’s Operators Review [7 Days Early Access]](https://images.beastsofwar.com/2026/02/unboxing-wargames-atlantic-operators-coverimage-225-127.jpg)


Spring Clean-Risk Thrift Store Challenge


Recommendations: 458
About the Project
I have been interested in going more epic scale and to use smaller area for a possible blackpowder style time period. I wanted to minimize the space it would take up as not a primary time period I play. I wanted to keep the budget small for the price. I started by finding a copy of Risk from the local thrift store and started to do some test armies.
Related Game: Black Powder
Related Genre: Historical
Related Contest: Spring Clean Hobby Challenge (Old)
This Project is Completed
Set Up

I began by splitting all the pieces equally between two armies. I planned to make one army red and one blue. Once I had the pieces split I began to make sure I cleaned up any flashing that might be on the pieces.
I then mounted each of the figures onto coffee stirrers to get them ready to be primed and painted.
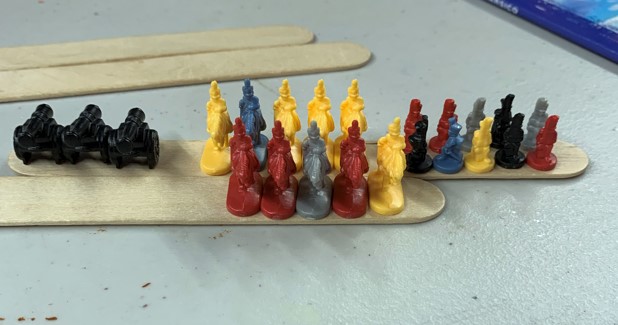
 This is the first test batch primed.
Red Army
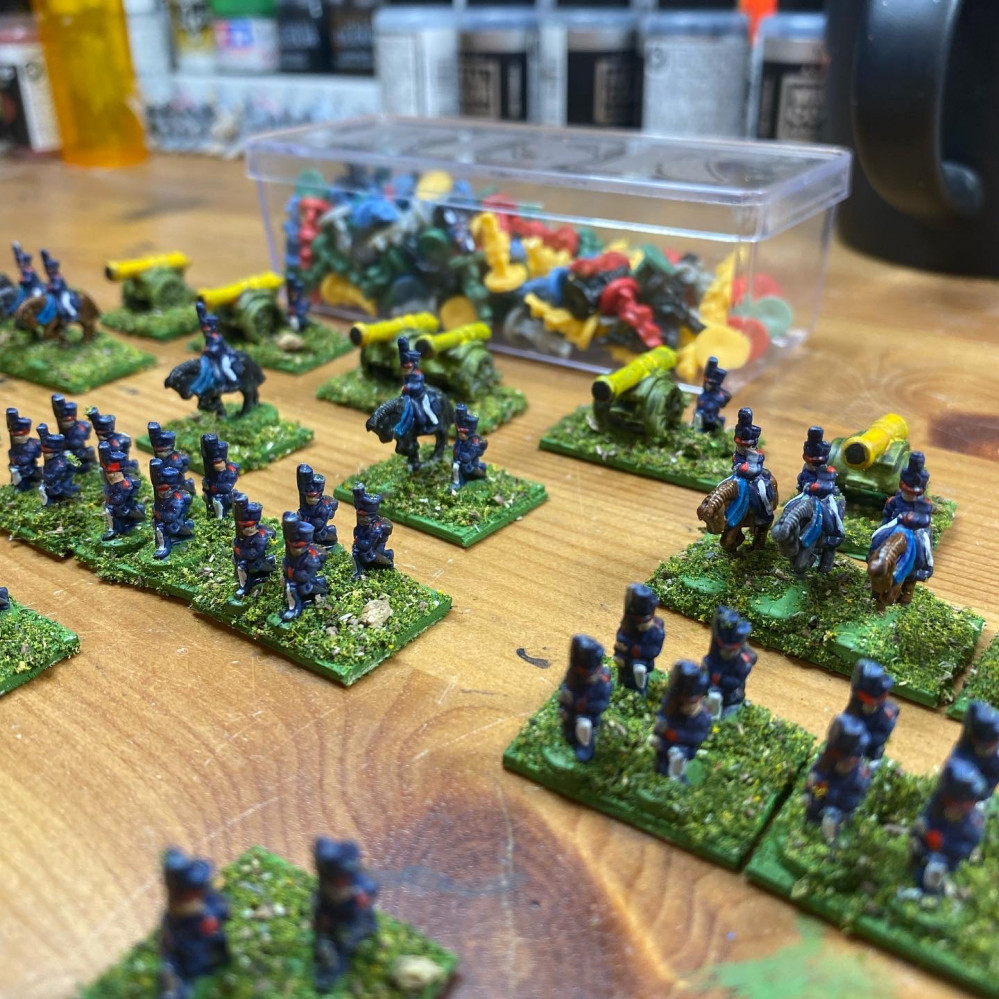
Having set up the first army, I started to paint this group as the red army. I planned on painting them all red as my base coats. I then painted white for the pants, oak brown for the rifle and the tip of the bayonet with silver. The packs were painted a leather brown. The last bits were flesh tone hands and face with blue to set off the shoulder pads and shirt cuffs.
The calvary was given some saddle flares in white and blue to offset the colors. While the cannons were painted with a brass and wood colors.

The base was jumbo popsicle sticks cut into 1 inch lengths and supergluing the figures to the base.
Command
I put a infantry with a calvary to represent the army commander. A single calvary would be a brigade commander.
Infantry
2 figures = Skirmishers
4 figures = Regular Infantry
Cannon
1 cannon = Light Artillery
2 cannon = Regular Artillery
1 cannon and 1 infantry = Calvary Artillery
Calvary
2 figures = Light Calvary
3 figures = Regular Calvary
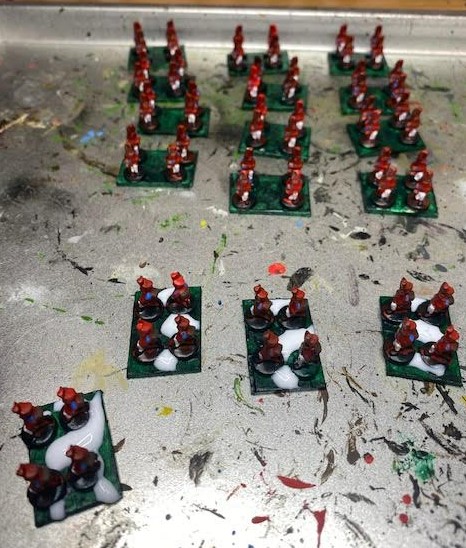
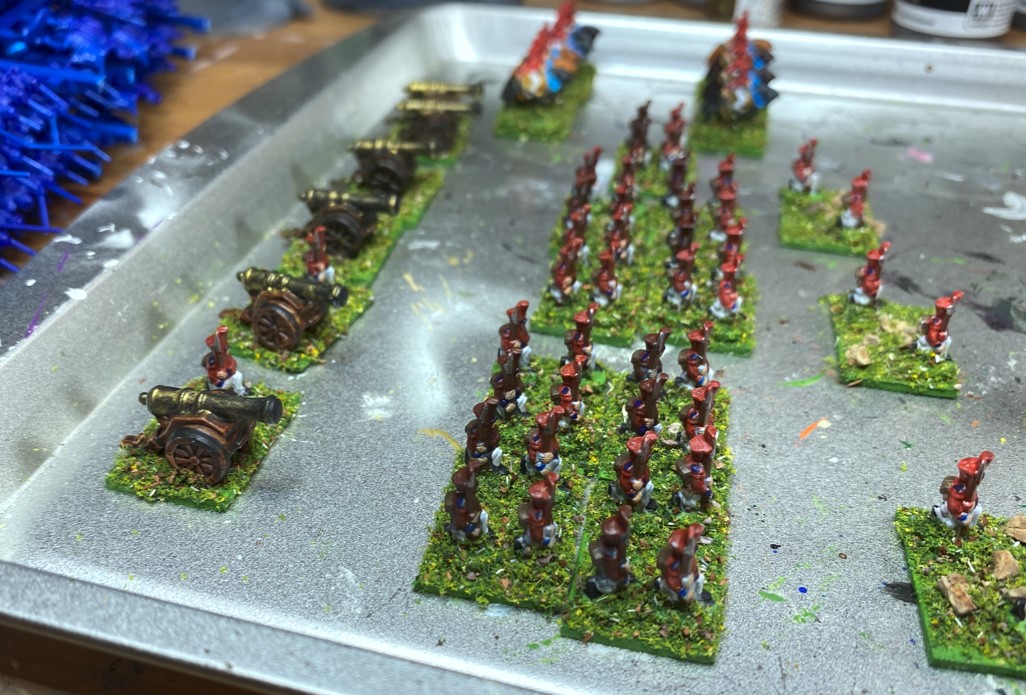 The bases were painted green and flocked to finish the effect.
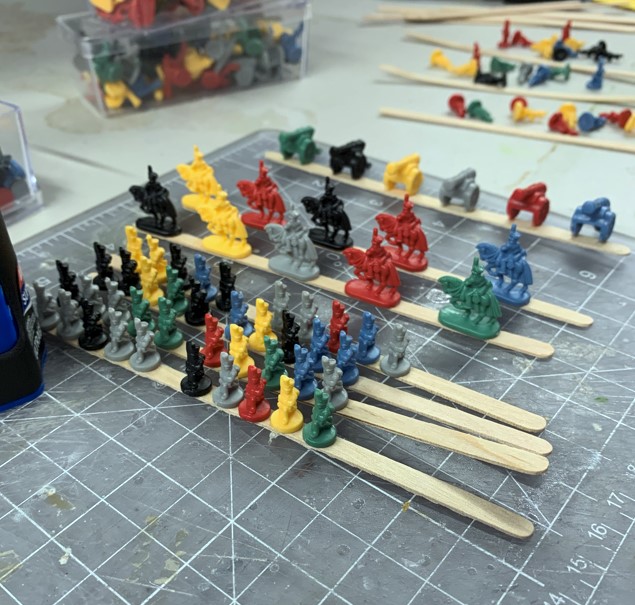
Blue Army Test Batch

The test army for the blue was mounted and finished the same way as the red army.
The base coat was completed as blue instead of red and all the details were done the same. The only difference is that the cuff and shoulder detail was changed to blue.
Batch Painting Red Infantry

I have begun to finish the rest of the risk figures. The first thing is that I tried PVA glue to base the figures. This worked out well for priming and base coating the figures red. It went well and easily.
I found painting the figures this way gave me too many odd angles and I decided to remove them all and paint them by holding the figures. There was about 75 figures in this batch and about 5 hours got them painted up and ready for basing.
Basing Infantry
 The first thing I did was separate out my figures to count the number of bases I needed. I set aside 3 to mark 3 cannons as calvary and I wanted only a few more skirmishers. The rest is 4 based regular infantry.
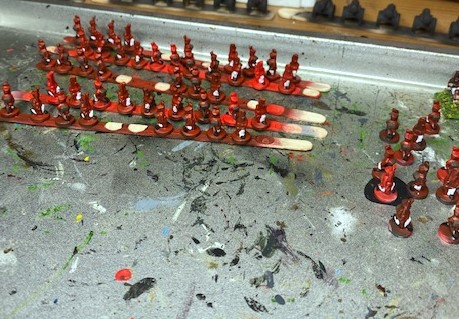
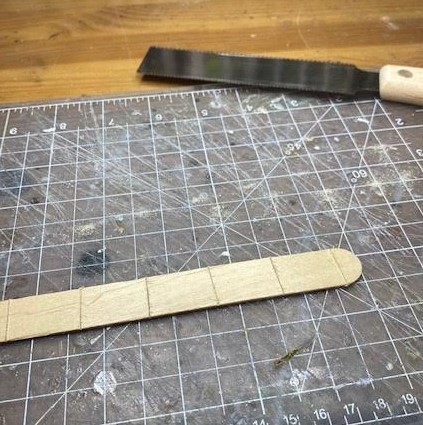 I found this awesome flexible saw on Amazon and has been amazing. Each stick is marked out at 1 inch widths.
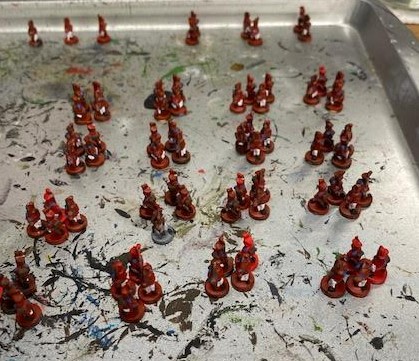
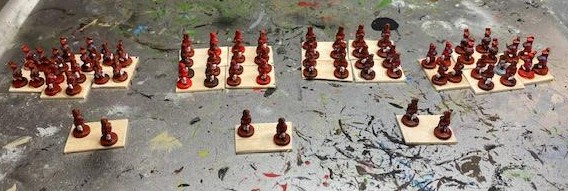 Here is the figures mounted. One important step was to sand the edges of the cuts. Next up will be painting the bases green.
Basing Red Army Infantry
 I mounted the infantry and PVA glue spread to prepare for the basing.
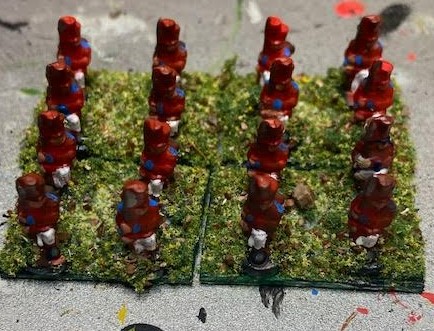
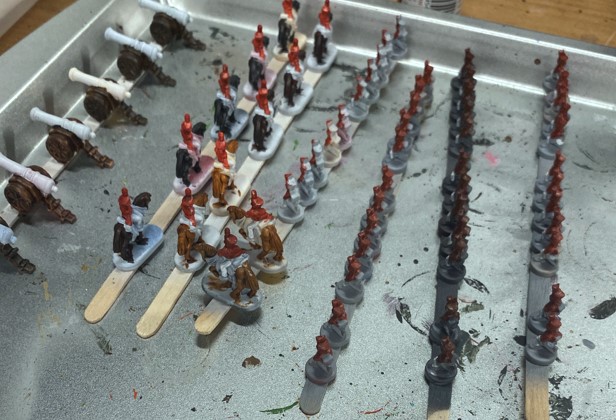
 Infantry is spread out prepared for varnishing.
Cannon begun
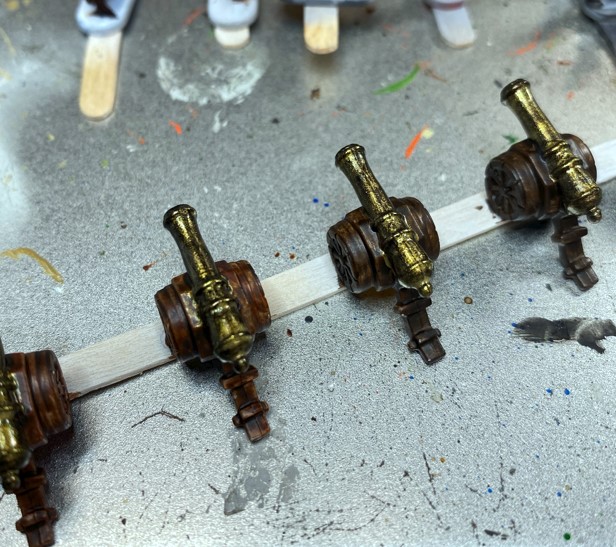
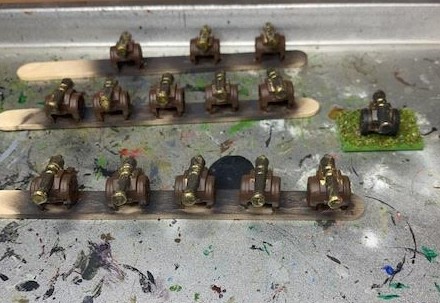 I used bronze for the cannons and oak brown for the wood. These dried and prepared for basing next.


![Zenit Miniatures’ Samurai Warlords Now Live On Kickstarter [Updated]](https://images.beastsofwar.com/2026/02/samurai-warlords-launch-main-600-338.jpg)

