

![Alternative Trench Crusade Miniatures? Trench Missionaries Review | Wargames Atlantic [7 Days Early Access]](https://images.beastsofwar.com/2026/03/unboxing-wargames-atlantic-trench-missionaries-coverimage-225-127.jpg)


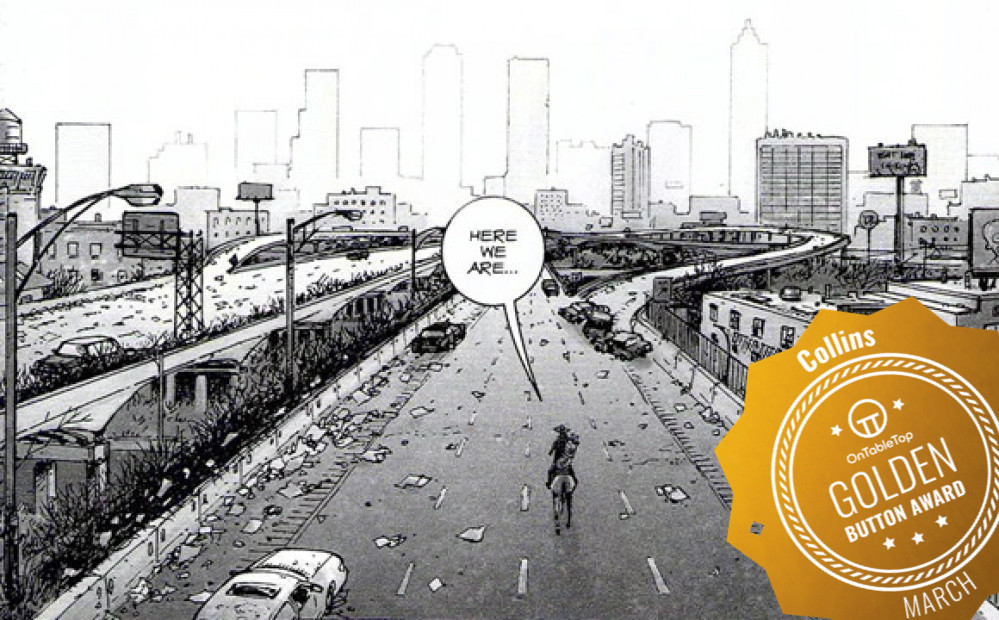
Collins builds the world of The Walking Dead


Recommendations: 1322
About the Project
In this project I will be building boards that are interesting and unique from The Walking Dead and using them in another project as I document my solo play through of Mantic Games The Walking Dead All Out War. I may take inspiration from the comics or the TV show, i'm not fussed for timelines etc and i'll be making my own story for Rick along the way. Enjoy this project is the building and prep project, go view my other one for the storyline (battle reports)
Related Game: The Walking Dead: All Out War
Related Company: Mantic Games
Related Genre: Pulp
Related Contest: TerrainFest 2025
This Project is Active
Morgan the Distaught Father
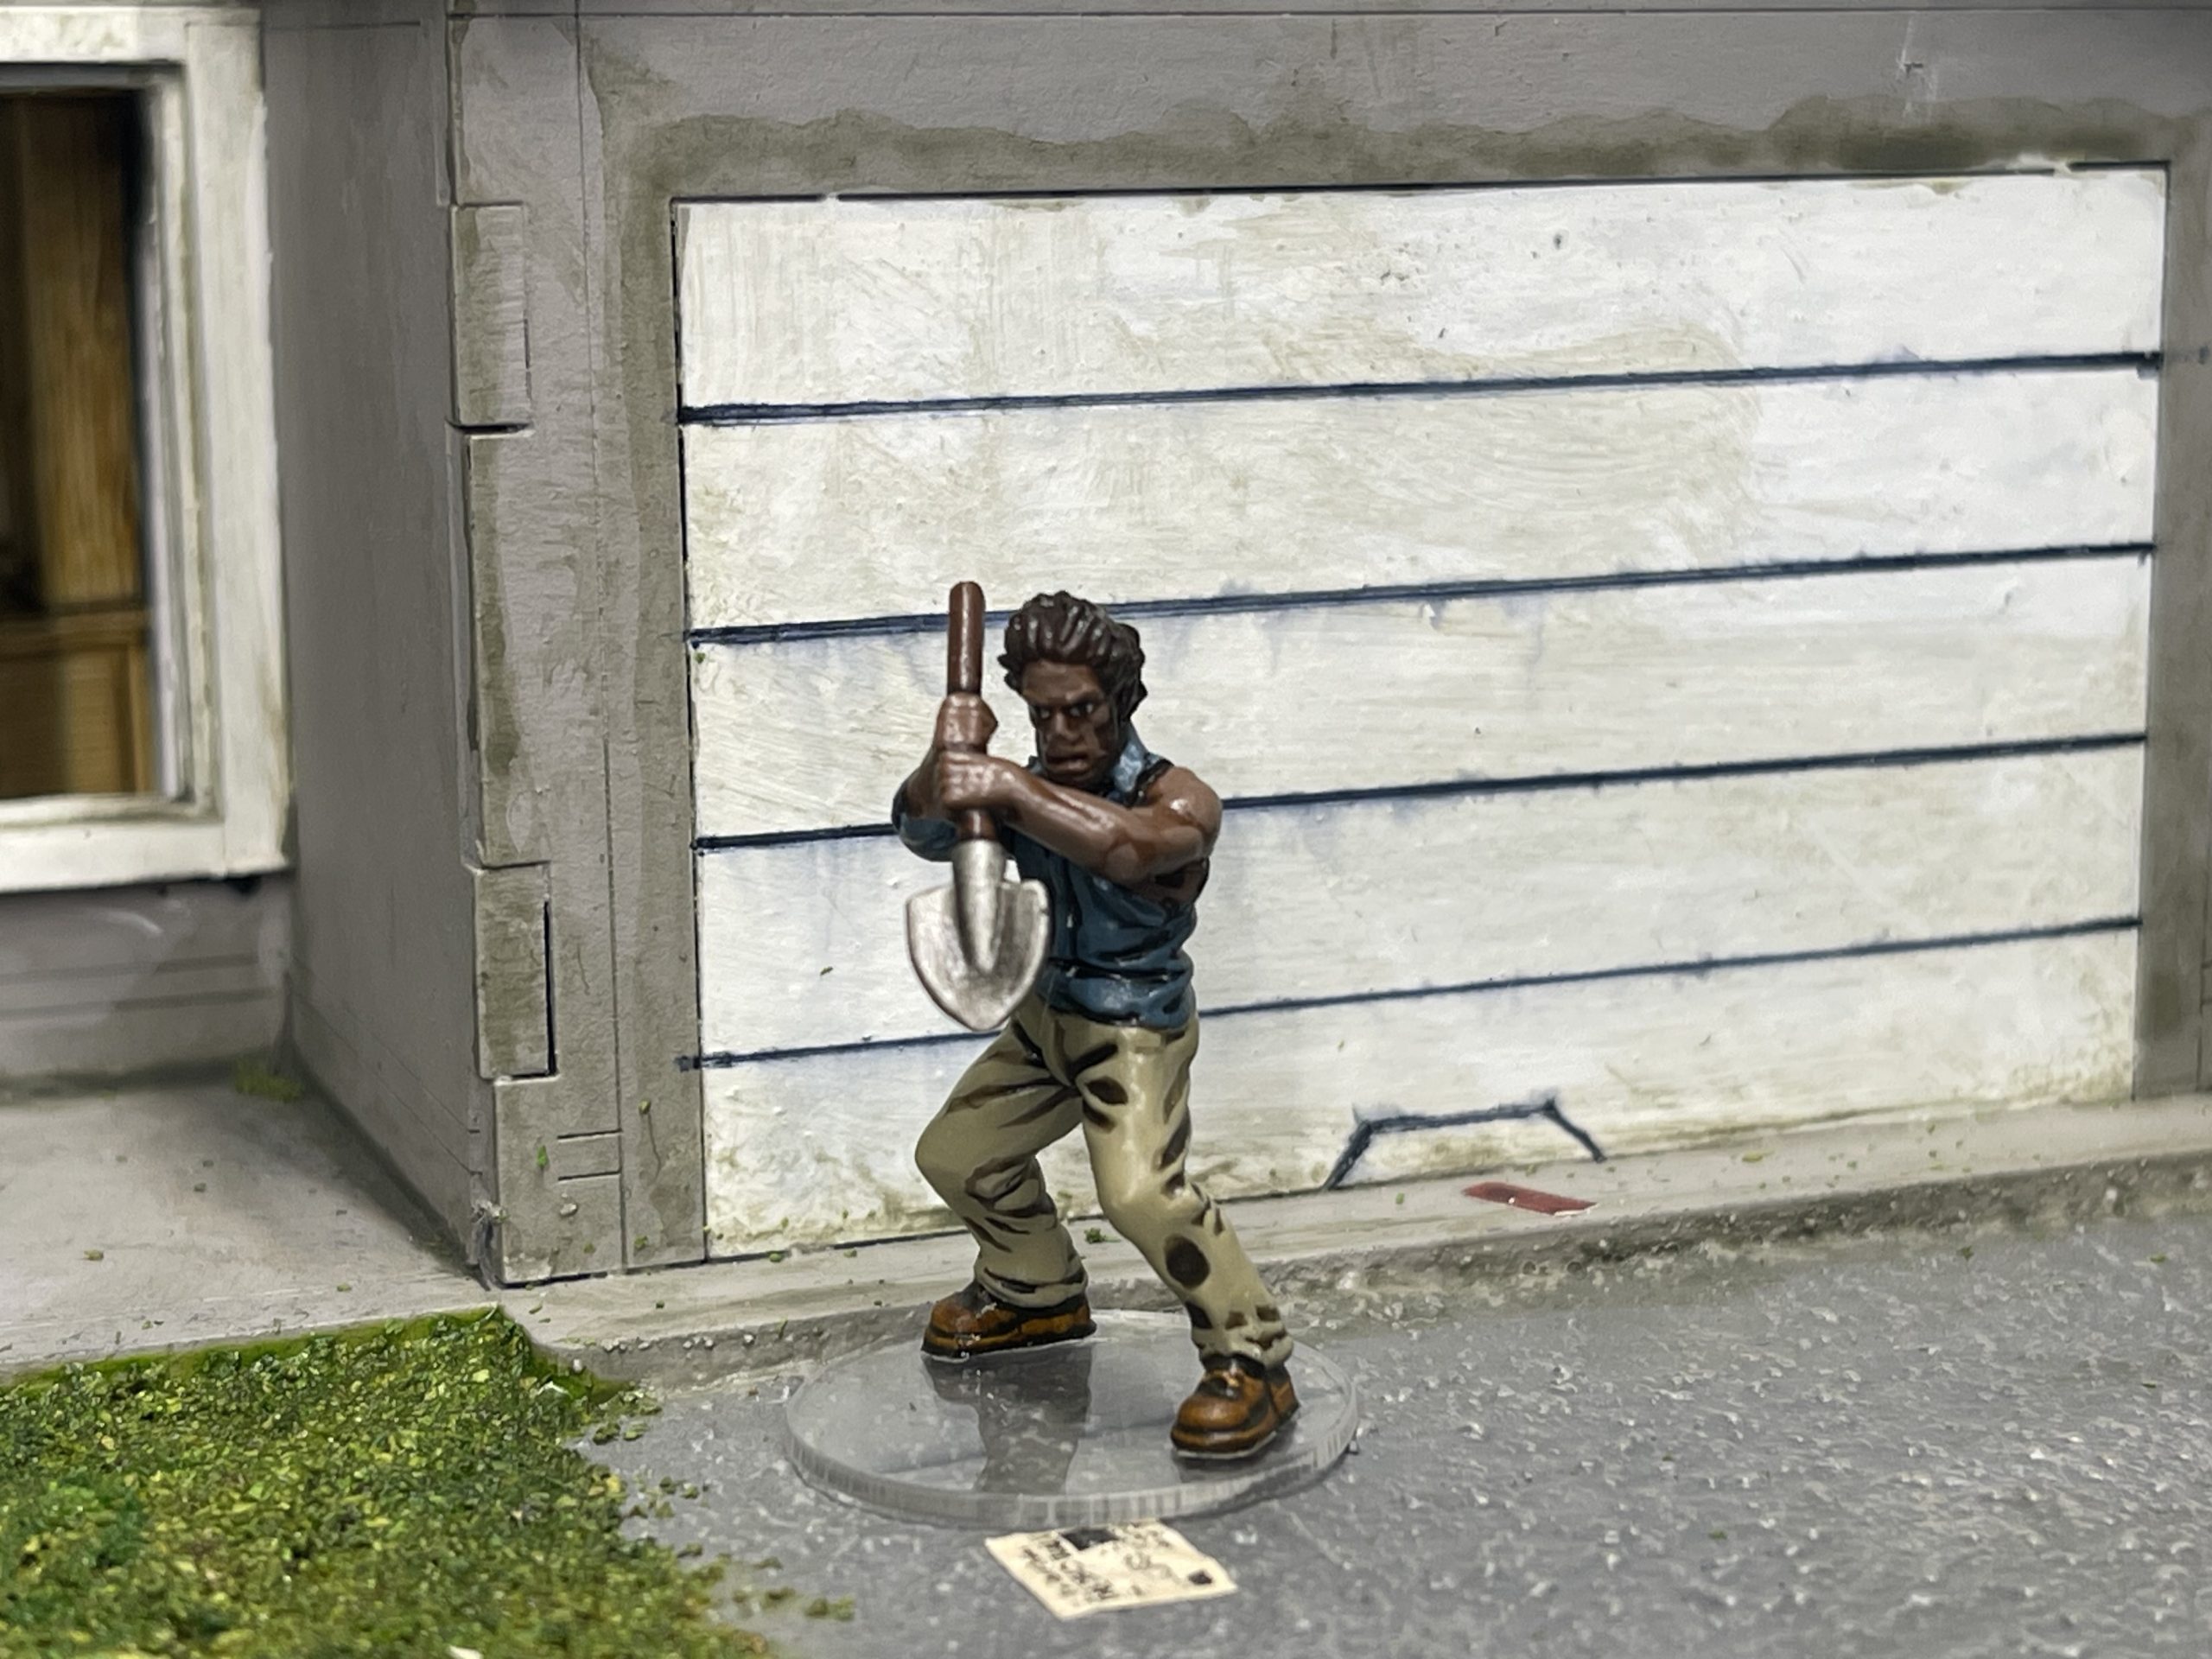
Somewhere in the background Morgan and Duane run into big problems and Duane passes away and turns to a walker. Morgan descends into unstable depression but is still experienced in taking on and killing walkers. His clothing is ripped or torn and he has lost care for his appearance.
Armed with his son’s trusty shovel Morgan’s dice pools for melee and defence increase in quantity and quality to show his improved skillset, however he is more likely to lose his nerve and it’s also random how many actions he can take to represent his distraught nature and his vulnerable nature.
Hershel

Hershel is an old vet turned farmer, here he is with his farm doggo. As i have alredy built his barn i thought it was time i started painting his family, thought best to start on the patriarch before moving onto the (now adult) children.
In game he is a support character and most use him as a kind of medic.
Reggie the runner
A runaway convict that takes on the law and wins, he just loses to the apocalypse. According to wiki this character is the only character to come back as a walker and kill another named character (amy). He was also only ever named by mantic games, which is a cool titbit and also explains why there is a walker model of him too!
In game he is a cheap/middling level bruiser character, crying out for a titanium baseball bat and not a lot else due to his dice pool and the bat adding to that and allowing for a reroll, keep him away from shotguns, and police officers.
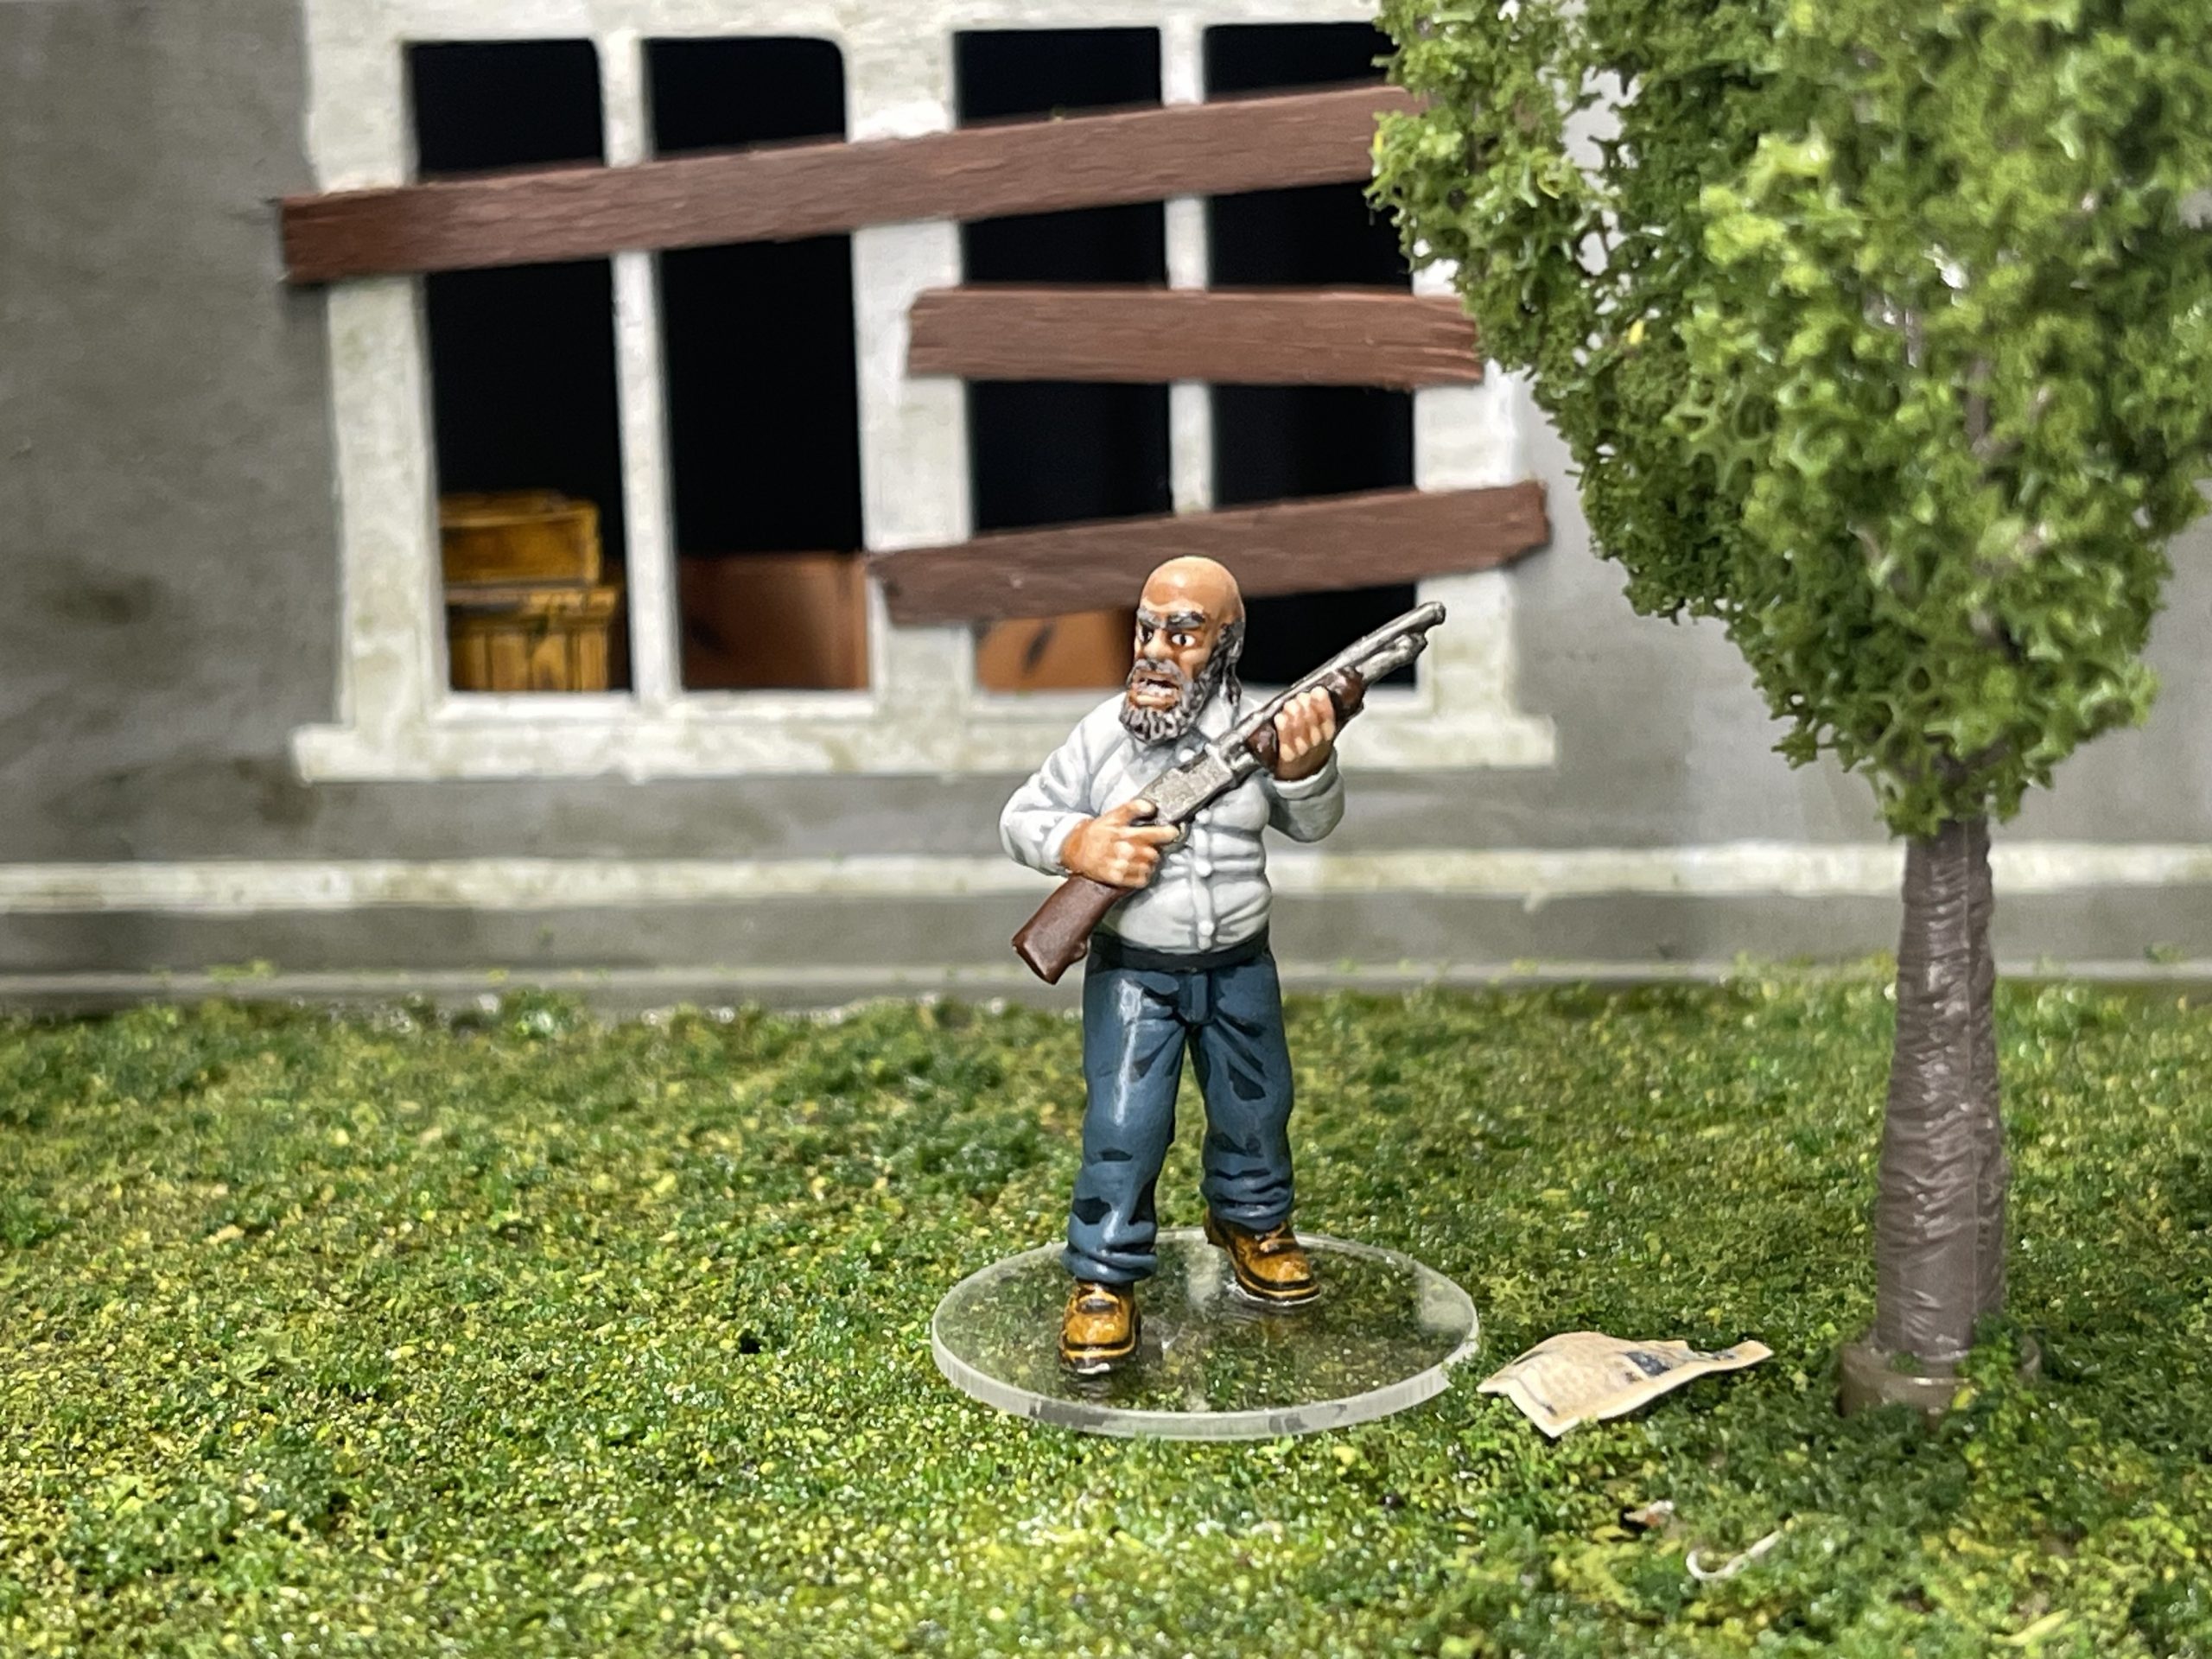
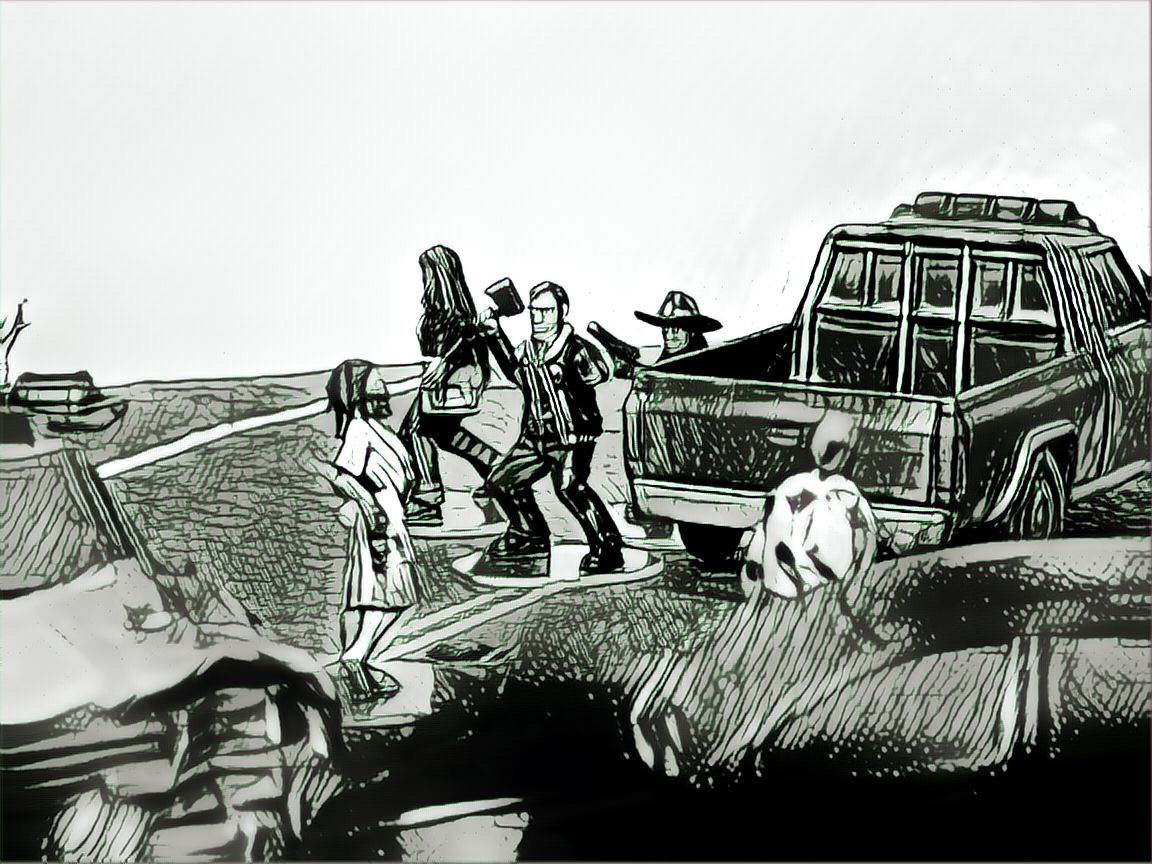
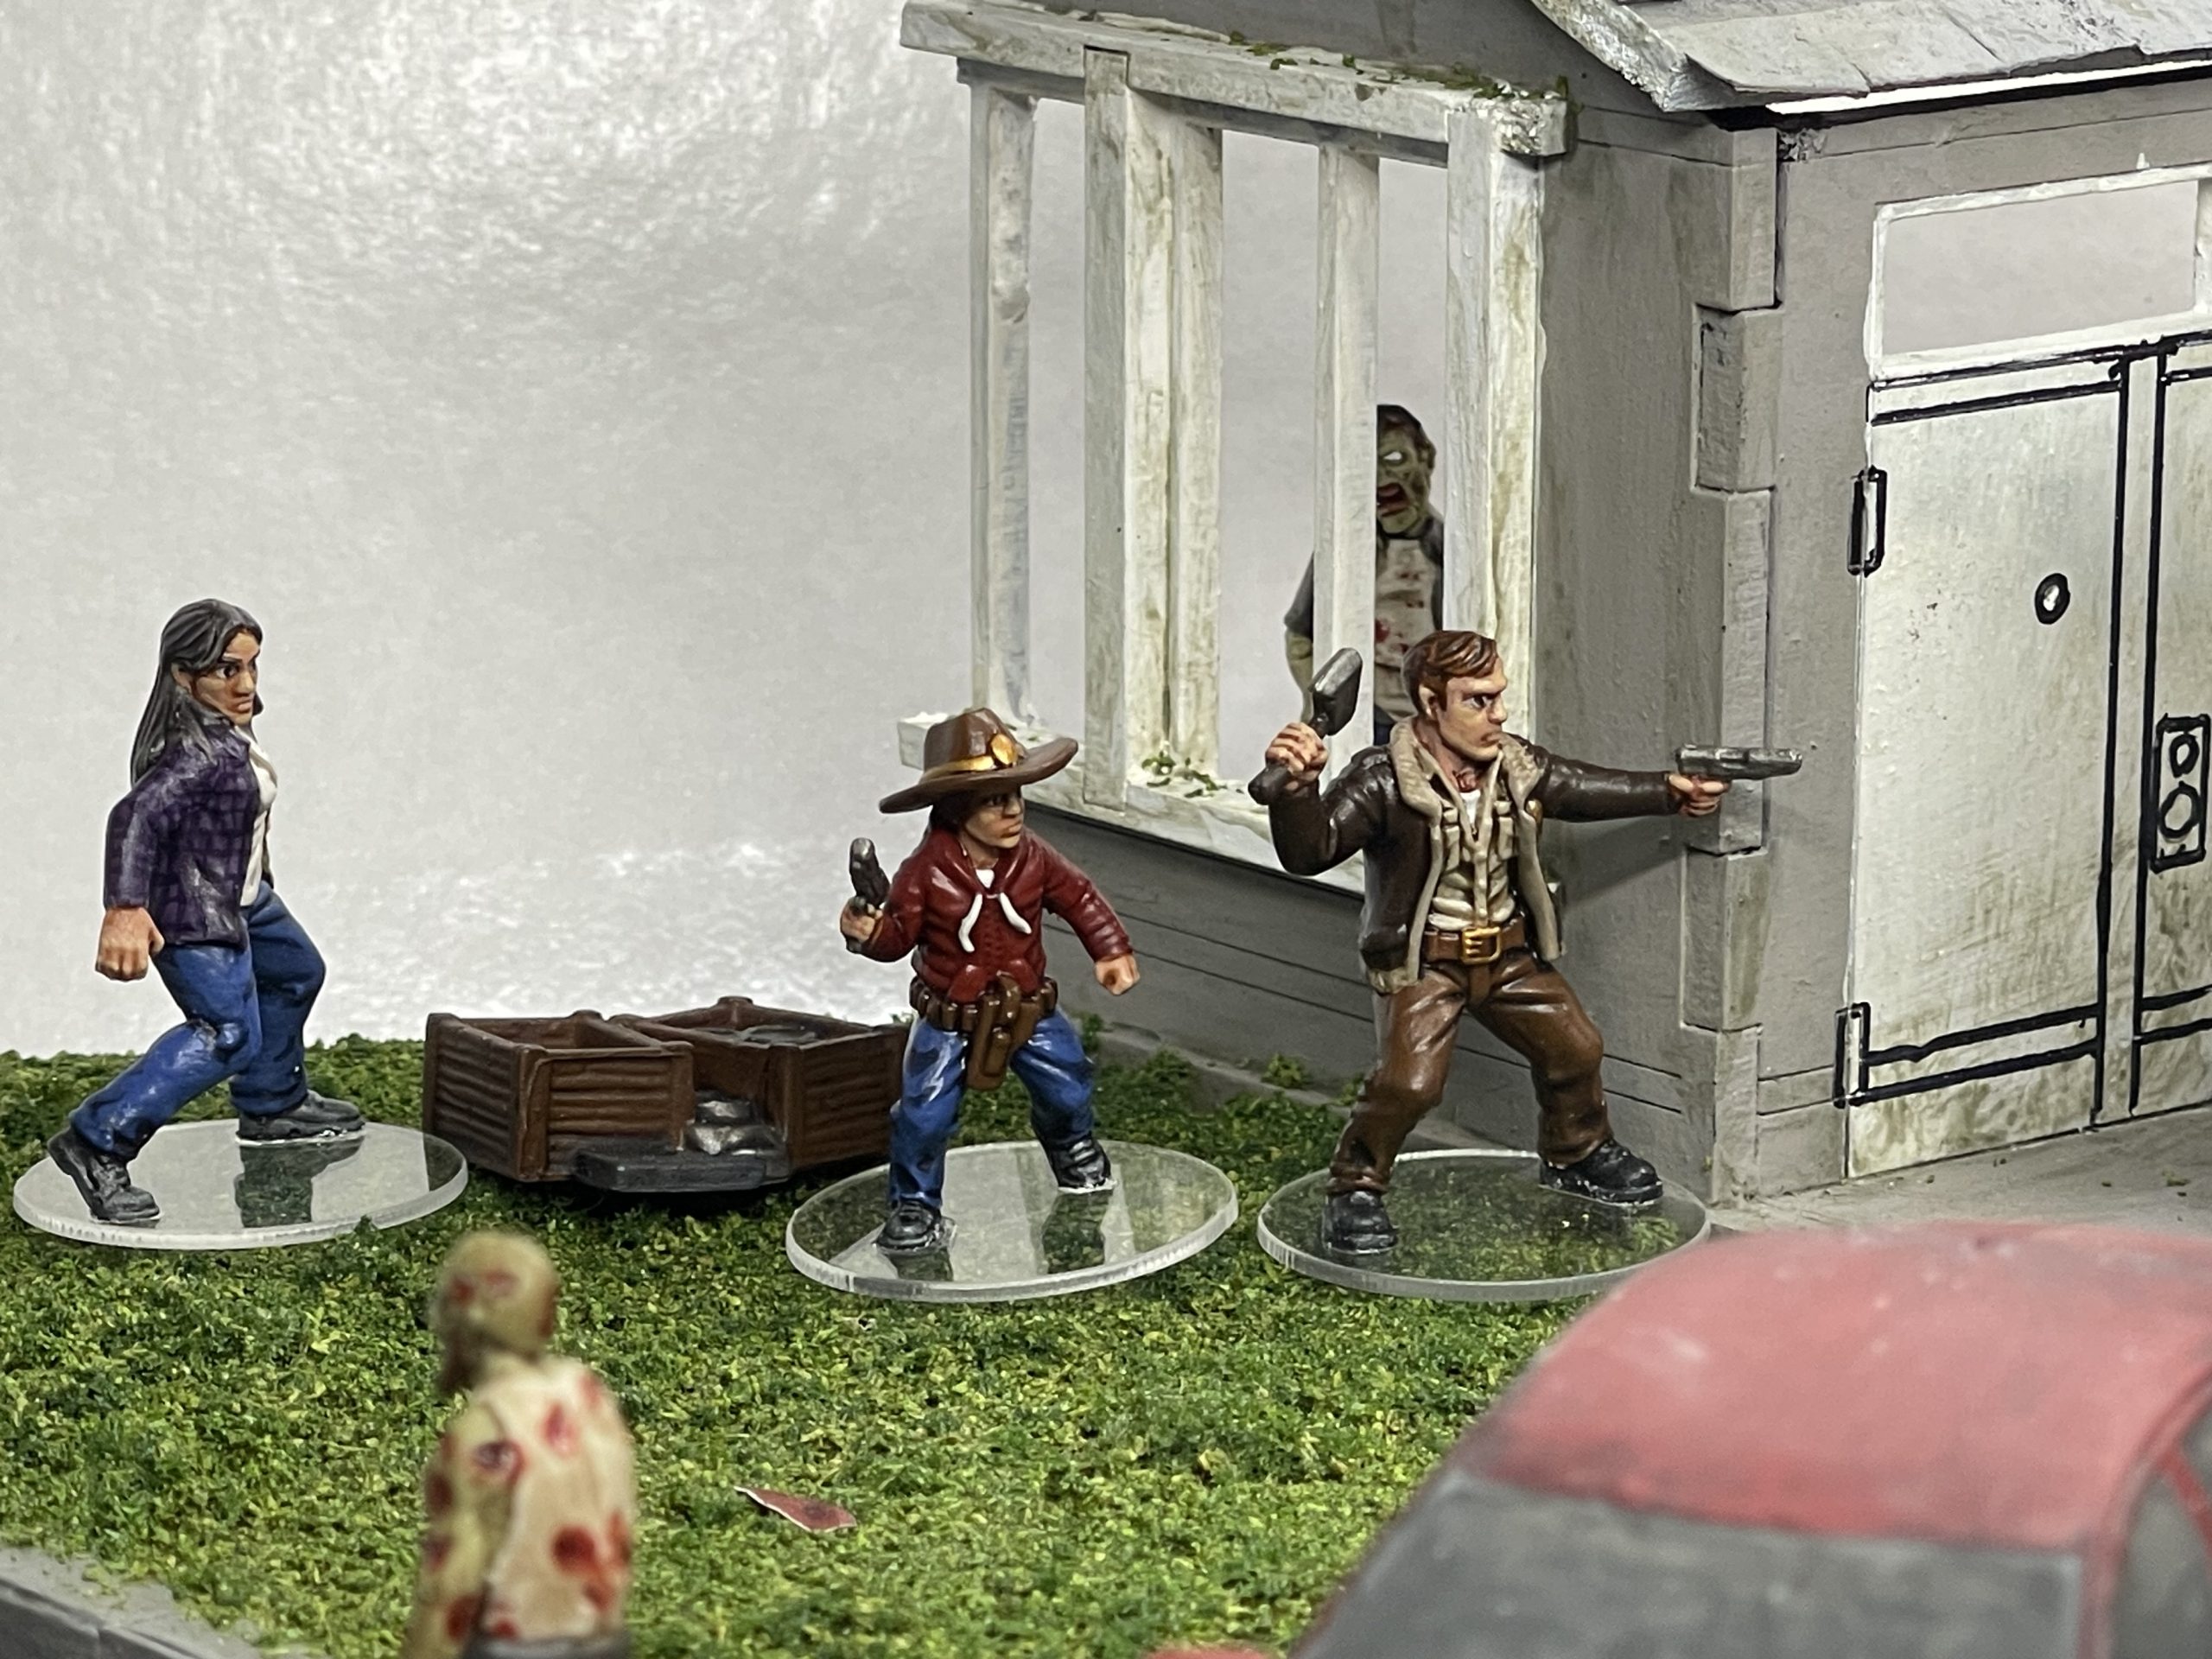
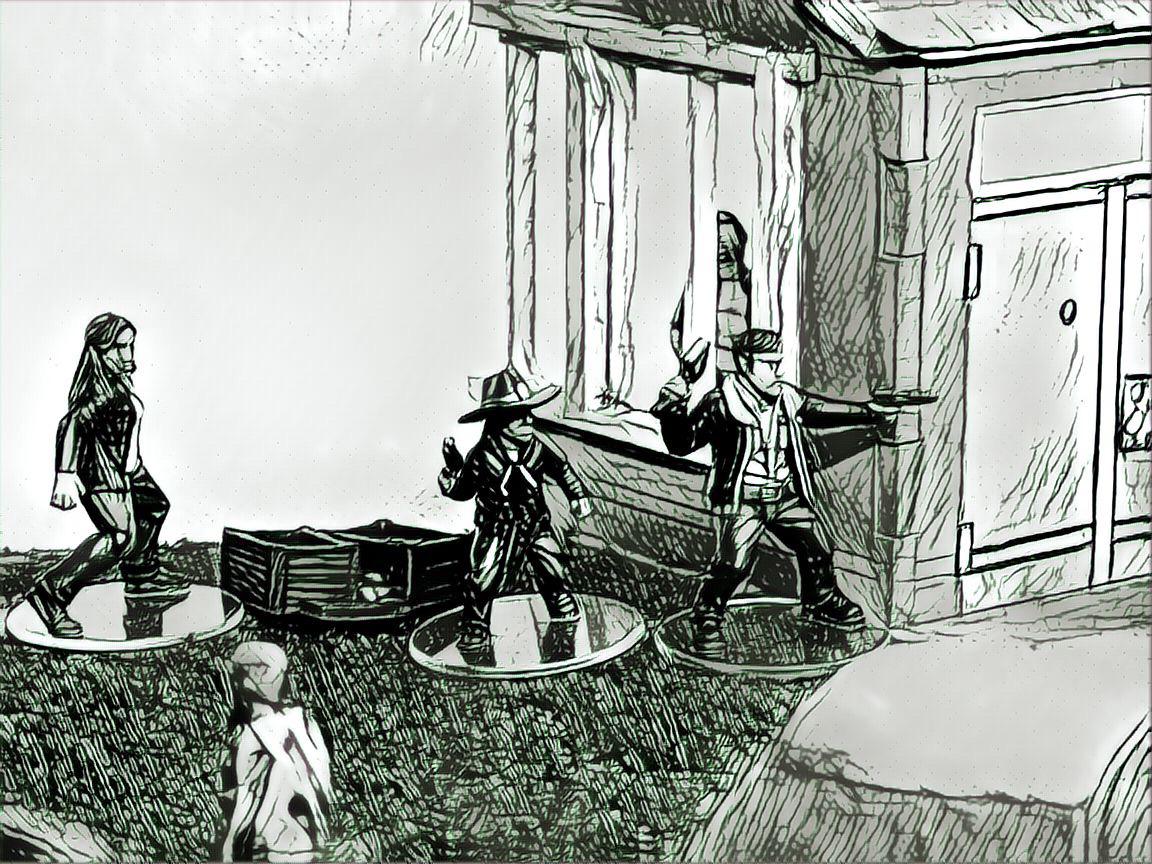
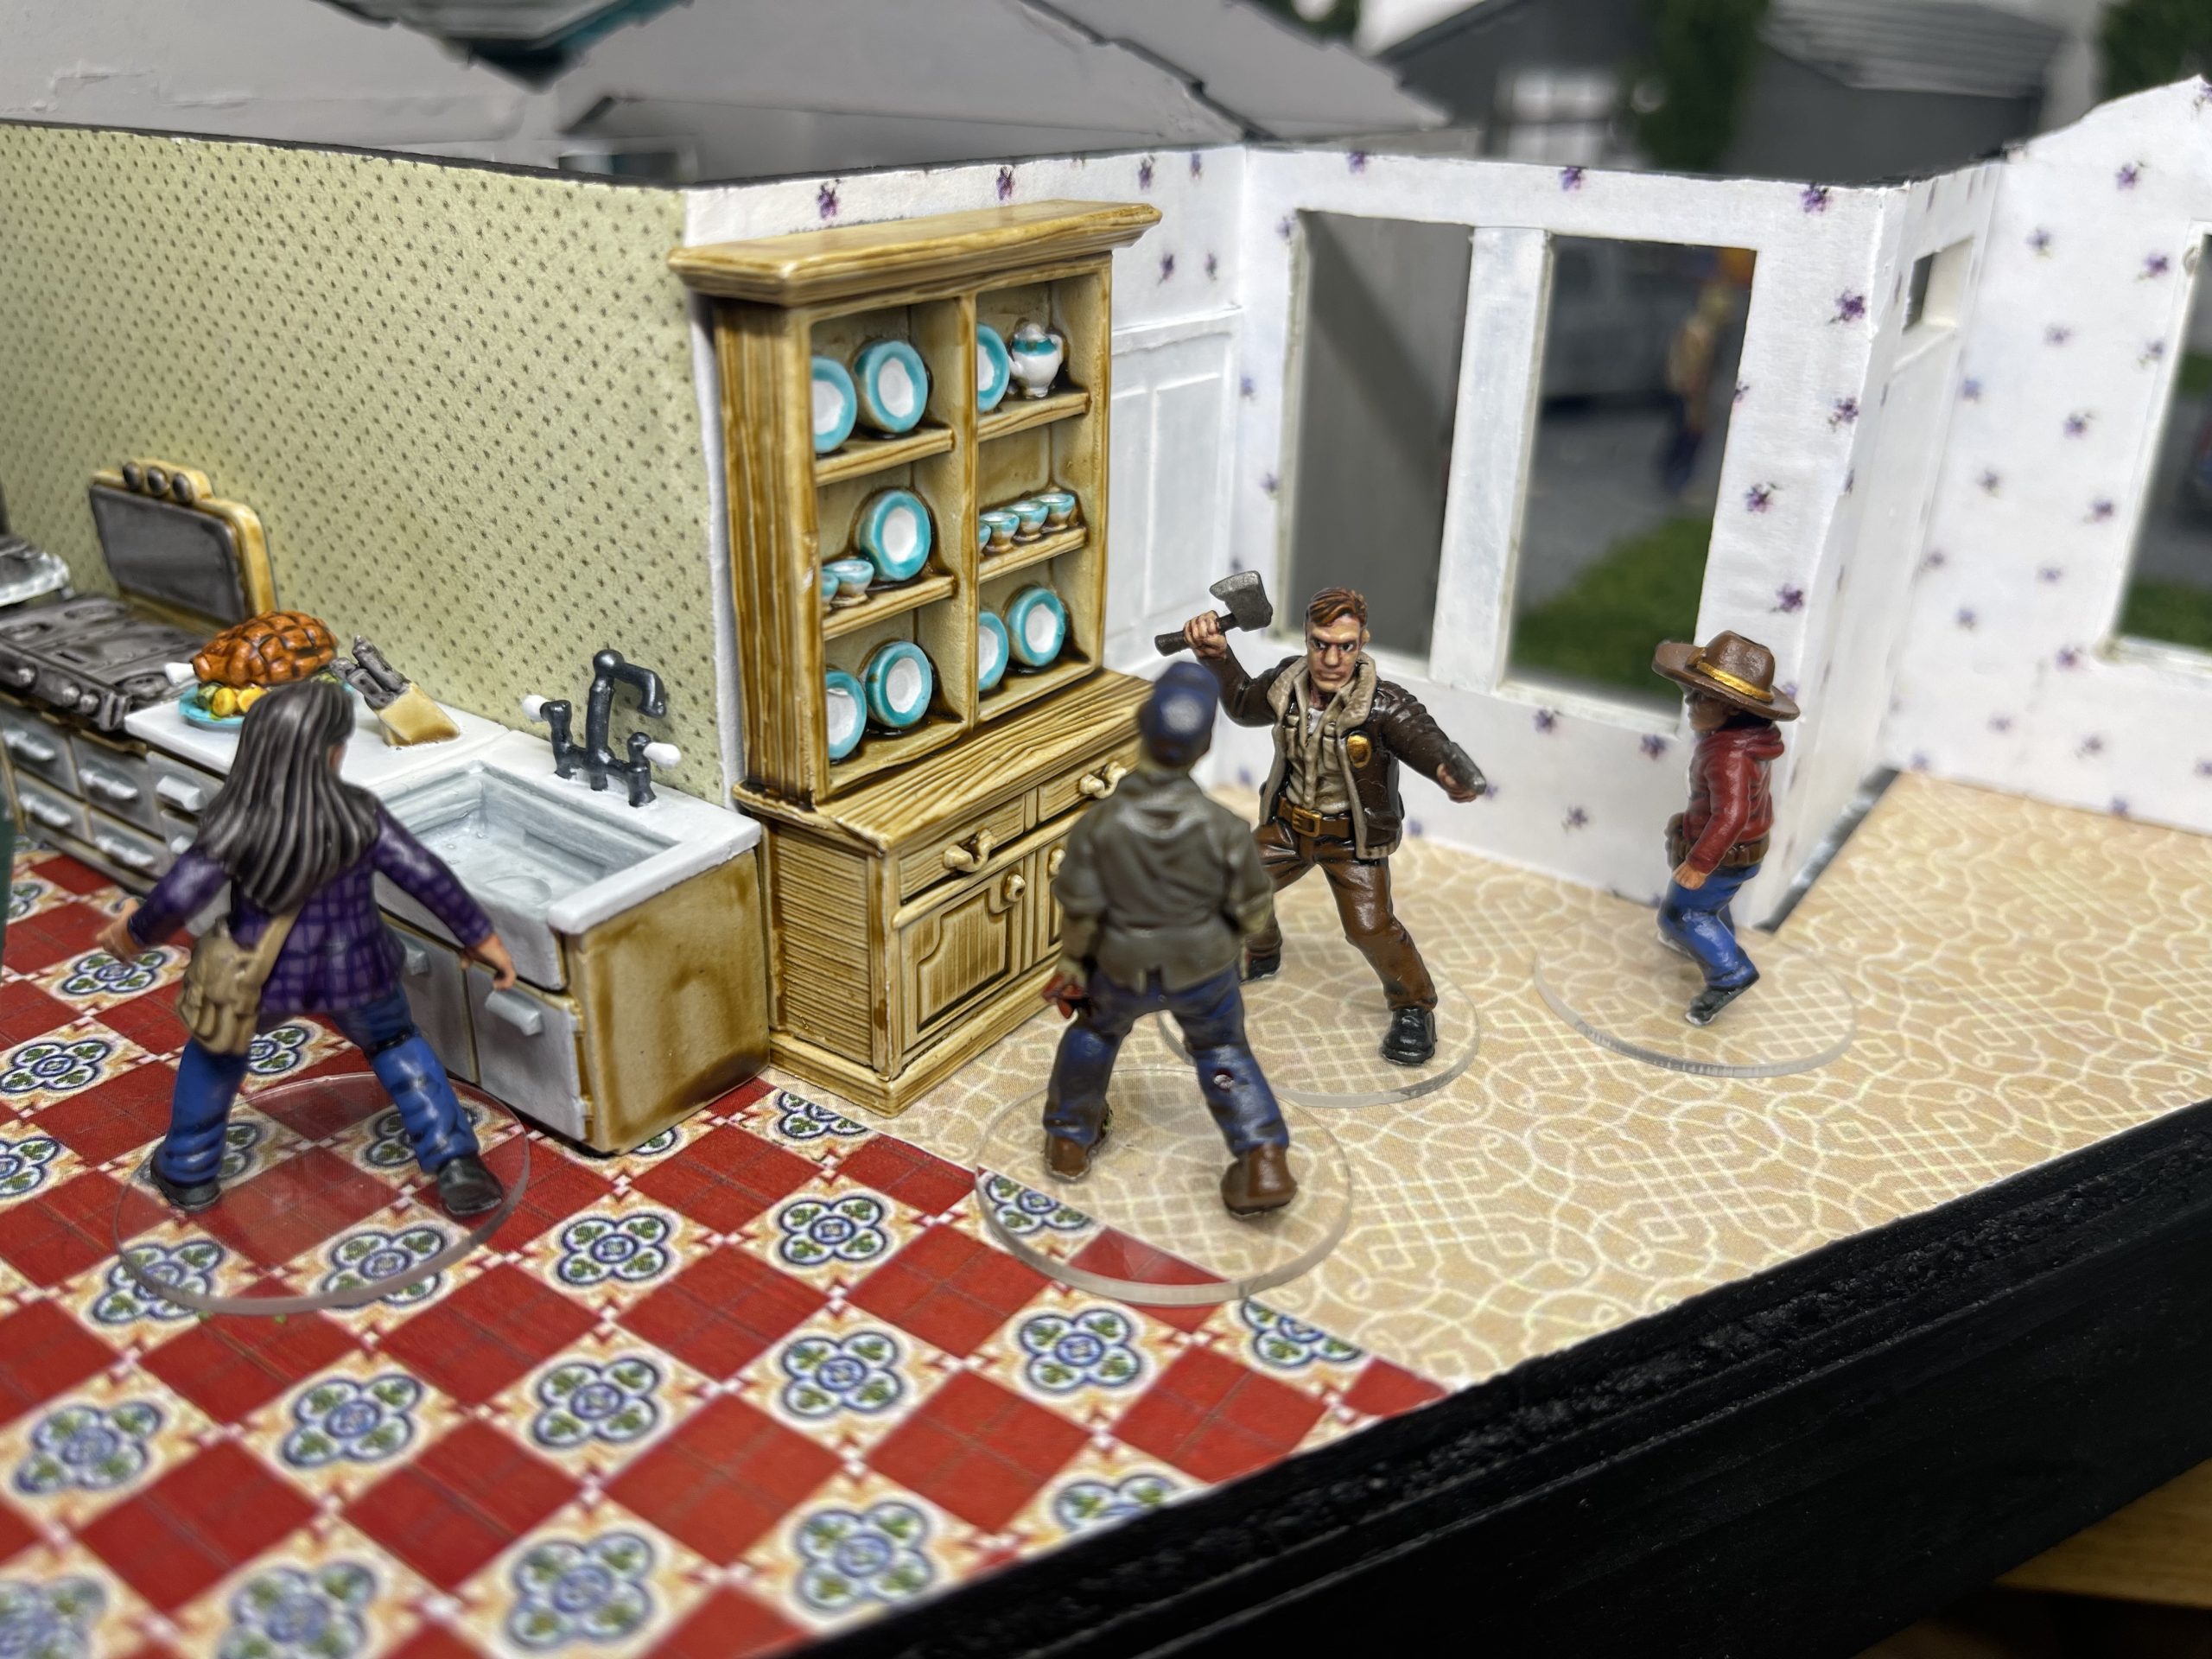
Low-life Scum
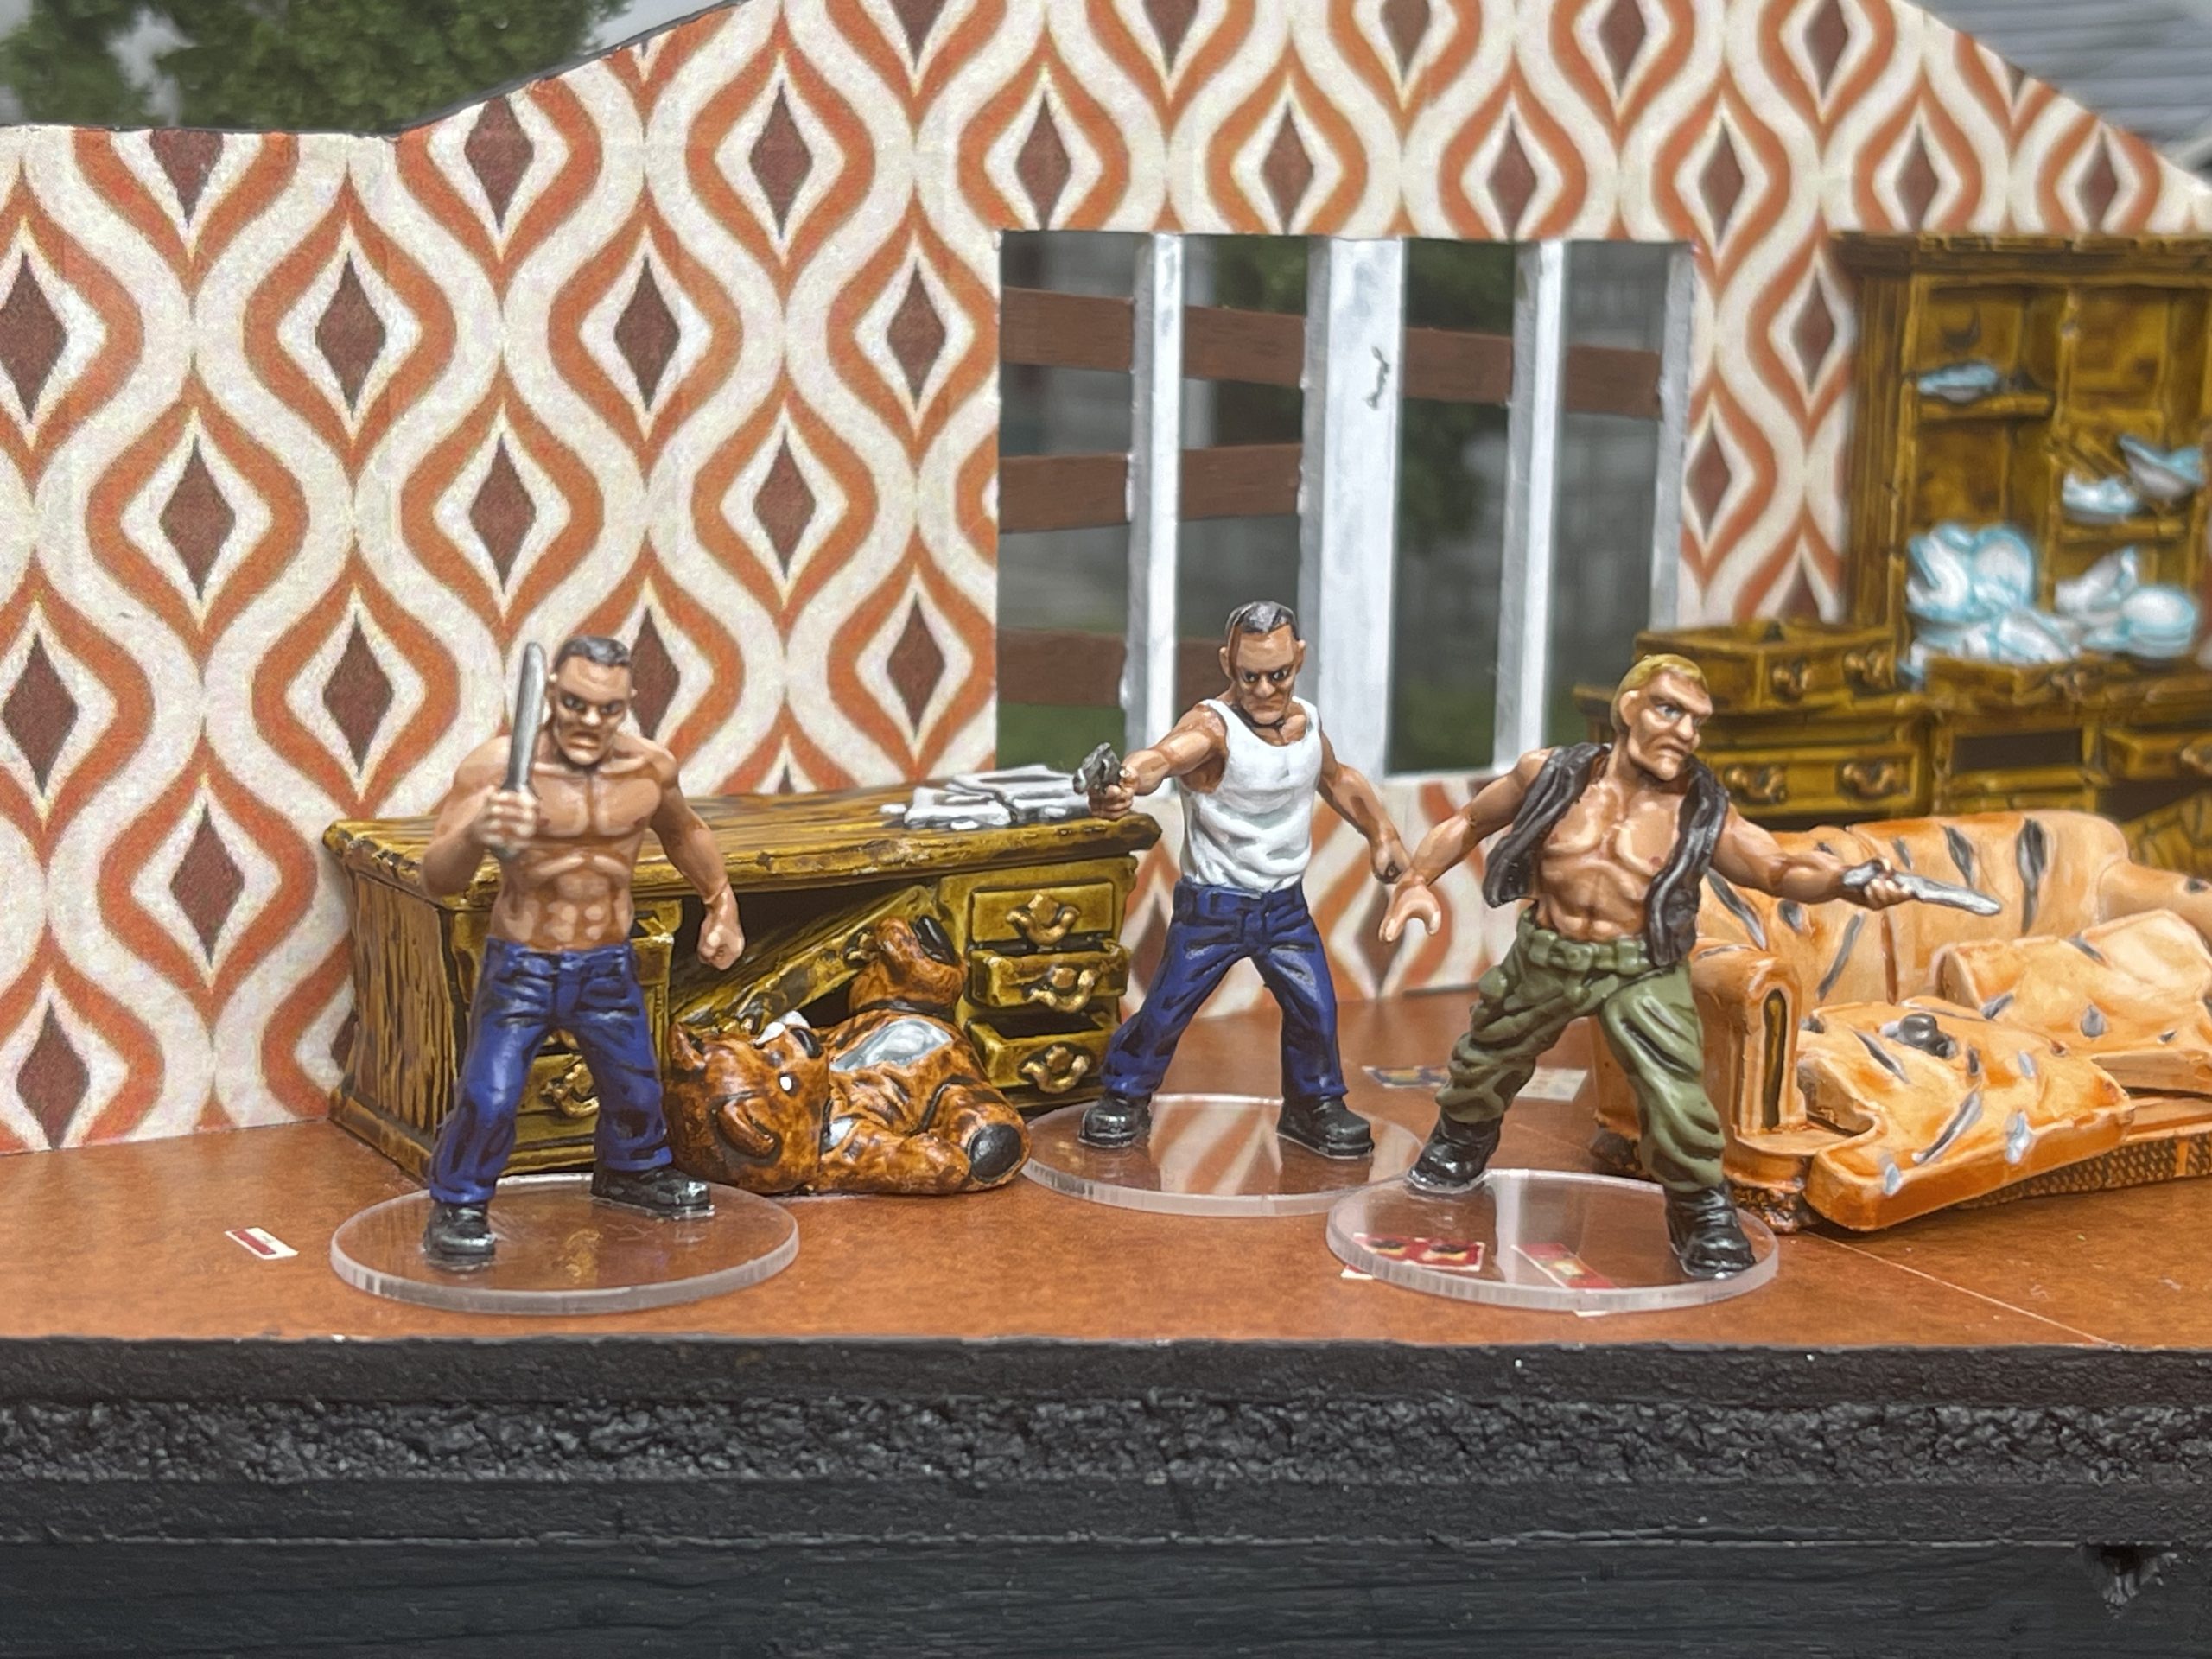 Jud, Andy and Craig
Ever want to know what a gang of depraved violent rapist scum looks like in the post apocalypse? look no further than these three feable excuses for humanity who band together as The Marauders on the I-75.
They ambush Rick, Carl and Abraham and end up dead after trying to hold them up (for supplies) and also rape Carl. Nobody cried at their demise.
I made the below list for them, it is only 100 points so is suitably devoid of capability.
- Jud – 24
- 38 revolver – 15
- Andy – 20
- Felling Axe – 23
- Craig – 12
- Crowbar – 6
There is one ranged guy and two melee guys, no buffs or backup. it relies purely on luck of the dice.
It’s actually quite hard to make a 100 point list because there is so much temptation to add as many upgrades as possible or simply have better characters!
Pro Football Survivors
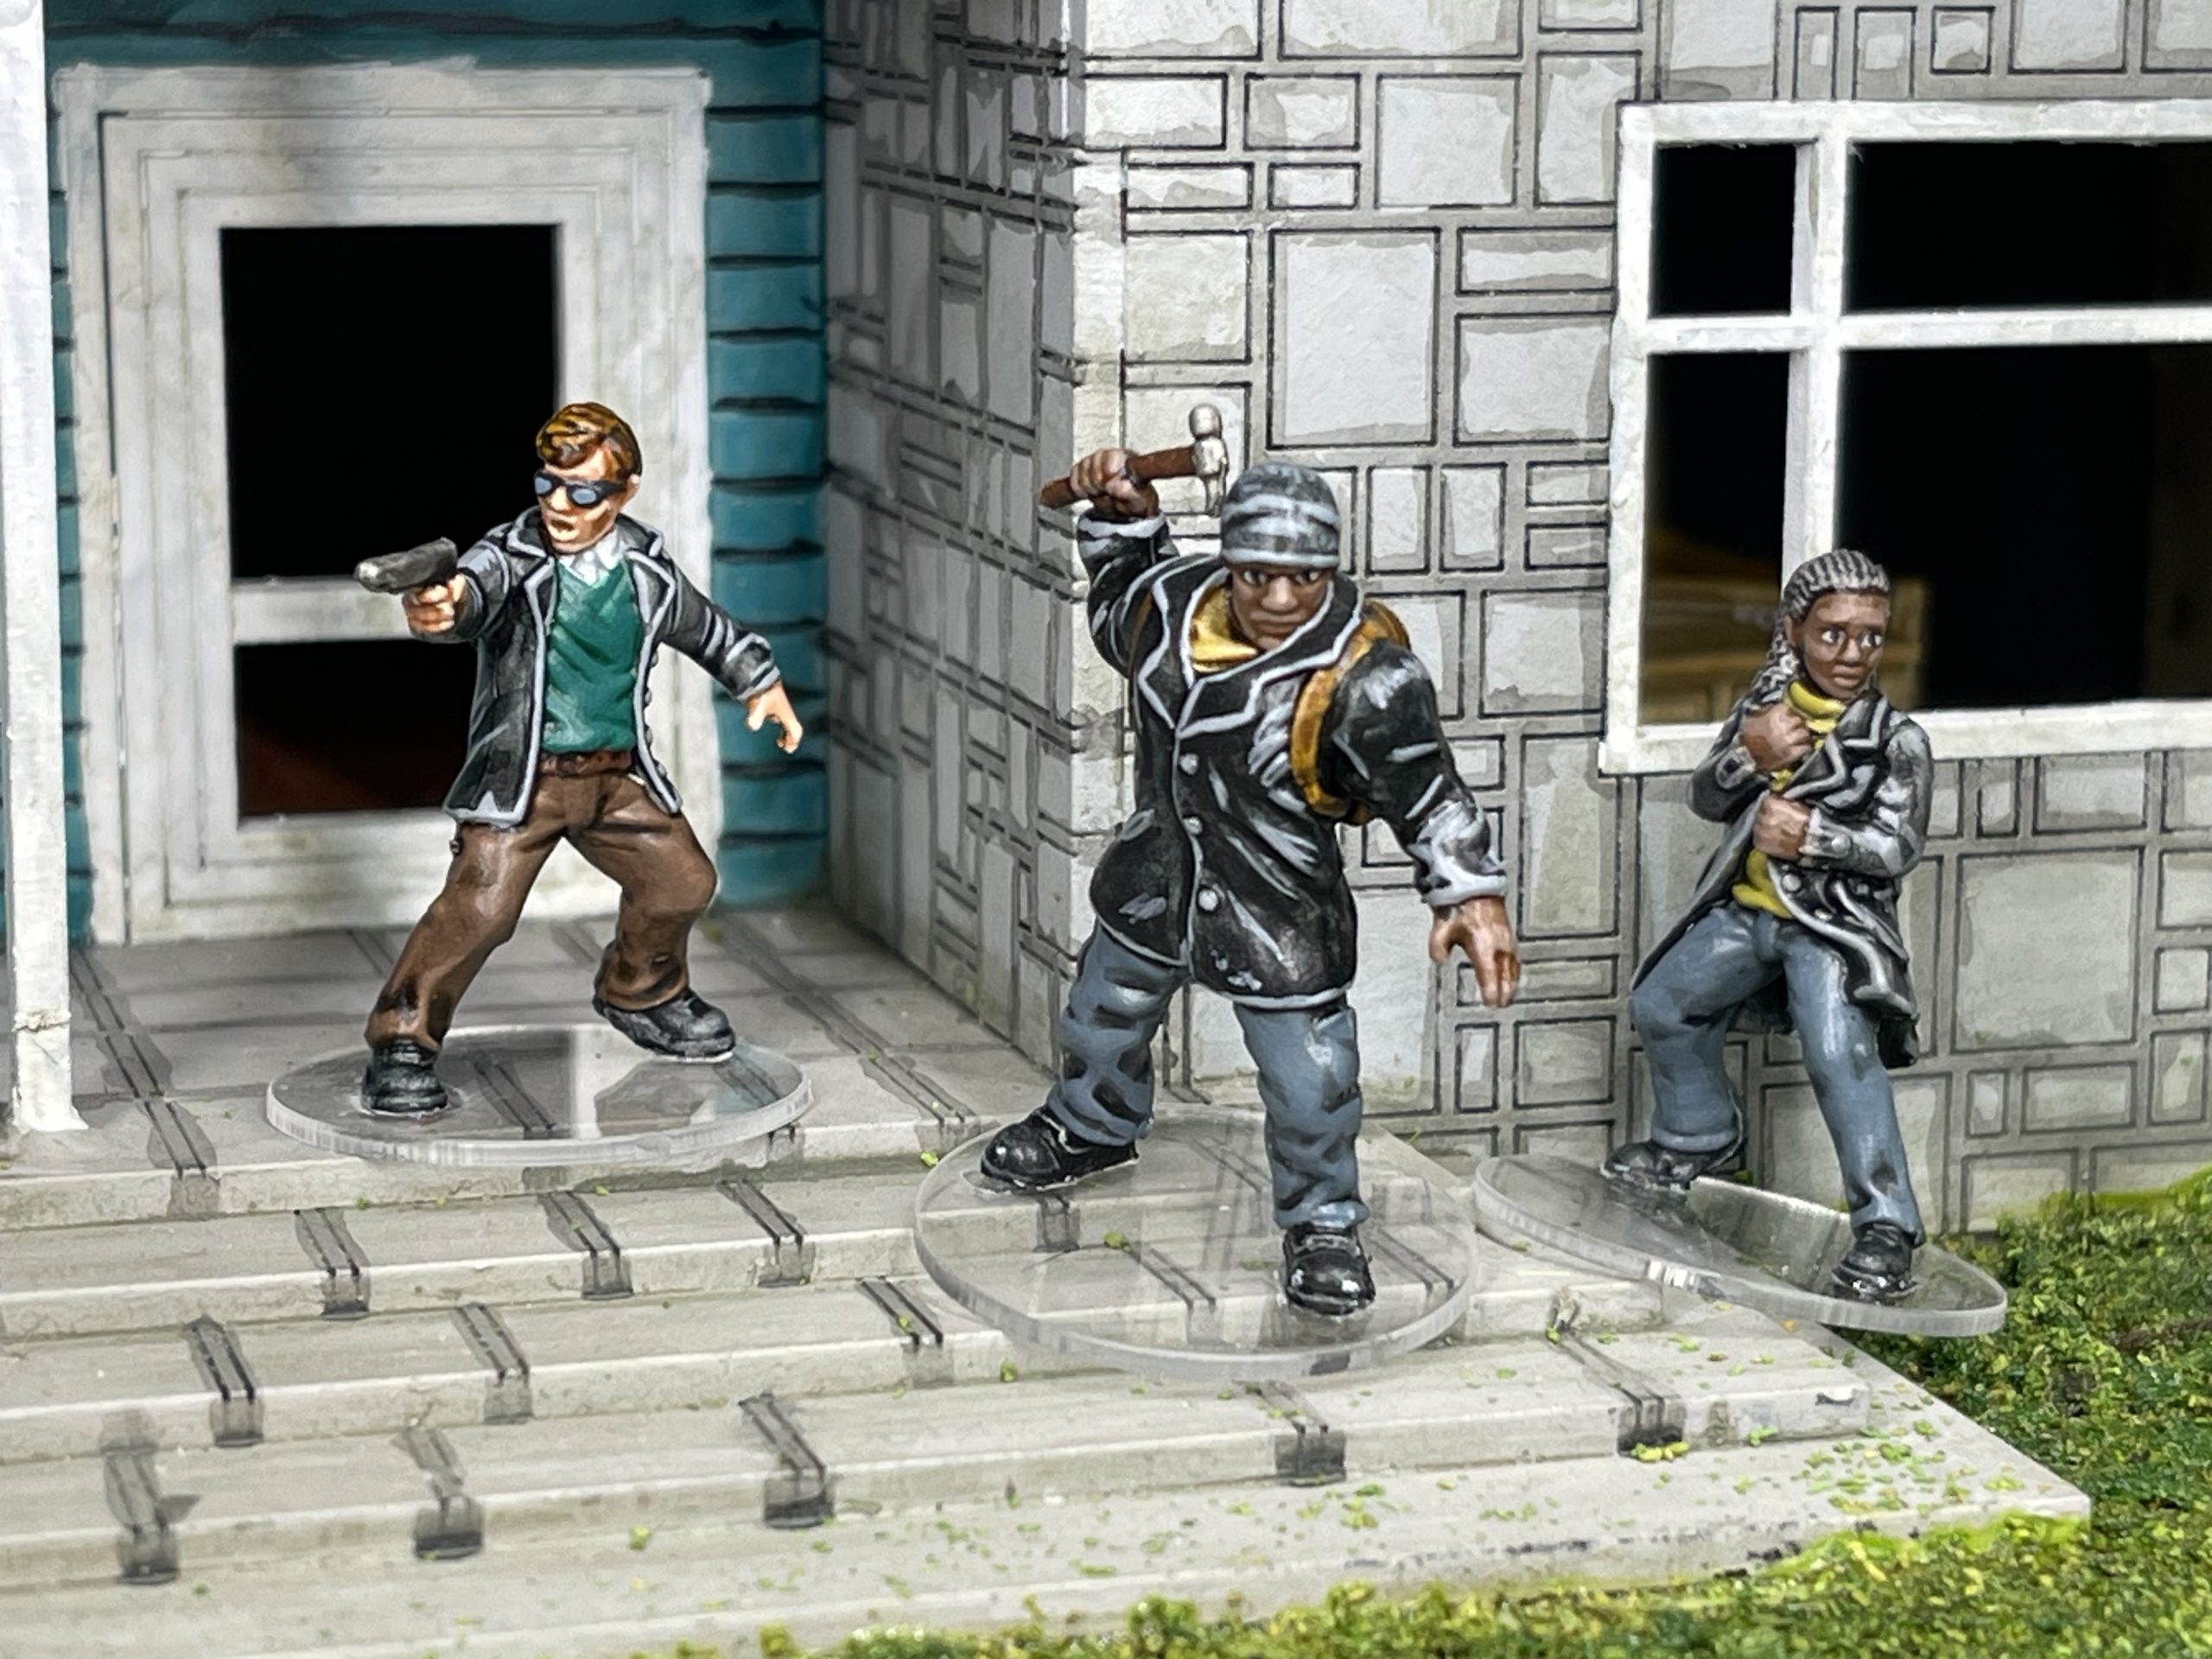
It’s the first day of spring and so it is customary for me to revert back to painting The Walking Dead, All Out War models for the Spring Clean Challenge! These 3 took a total of 4 hours to paint and rebase thanks to speedpaints/contrasts (ok, so i did start them last night but shhhh!)
I’ve started moving out of the Atlanta Camp members. the first lot i did was the ‘Prelude to Woodbury group‘. Now i’ve moved onto Tyreese’s Group.
I have decided to use them to make a small 150 point group
- Tyreese (Pro Footballer) – 58
- football pads – 12
- football helmet 8
- Tyreese’s hammer – 16
- Cleaver – 5
- Keepsake – 4
- Julie – 10
- First aid kit – 10
- Screwdriver – 5
- Chris – 12
- .22 Revolver – 10
This list all hinges on keeping Tyreese alive. Just like in the comics Chris has a pistol and thinks he is billy big bollocks, I expect he will fire it early in game in an attempt to impress his girlfriend Julie and end up being a convenient distraction for the walkers/biters/zombies. If he isn’t eaten though he can run around gathering supplies and maybe getting lucky to find a close combat weapon.
Julie will spend most of her time glued to Tyreese, for protection and in game buffing for Tyreese. She comes with a handydandy medical kit to patch up her dad and feed him ibuprofen when he’s gone postal on a baddie and got a scratch or two, the screwdriver gives her a bonus against unarmed combatants, seems thematic as a ‘grab it in a pinch’ weapon.
Tyreese is where all the points are, of 150 he is 103 in his own right. If he dies, it’s effectively game over for the list. He has brought his football kit along to help tank wounds in combat against other survivors (reduces damage in combat and also adds in a defence die) whilst he whirls away at them with his signature hammer (knocks people to the ground if it doesn’t stove their head in and adds in more dice when rolling a !) and bonus meat cleaver (does extra wounds thanks to ‘Sharp’ keyword). finally the keepsake will bring a bit of luck (adds a ! or removes a ! from a roll – stops him getting bitten) when all other options are bust. He is a tough nut, throw him into a gymnasium full of walkers and watch the bodies hit the floor!
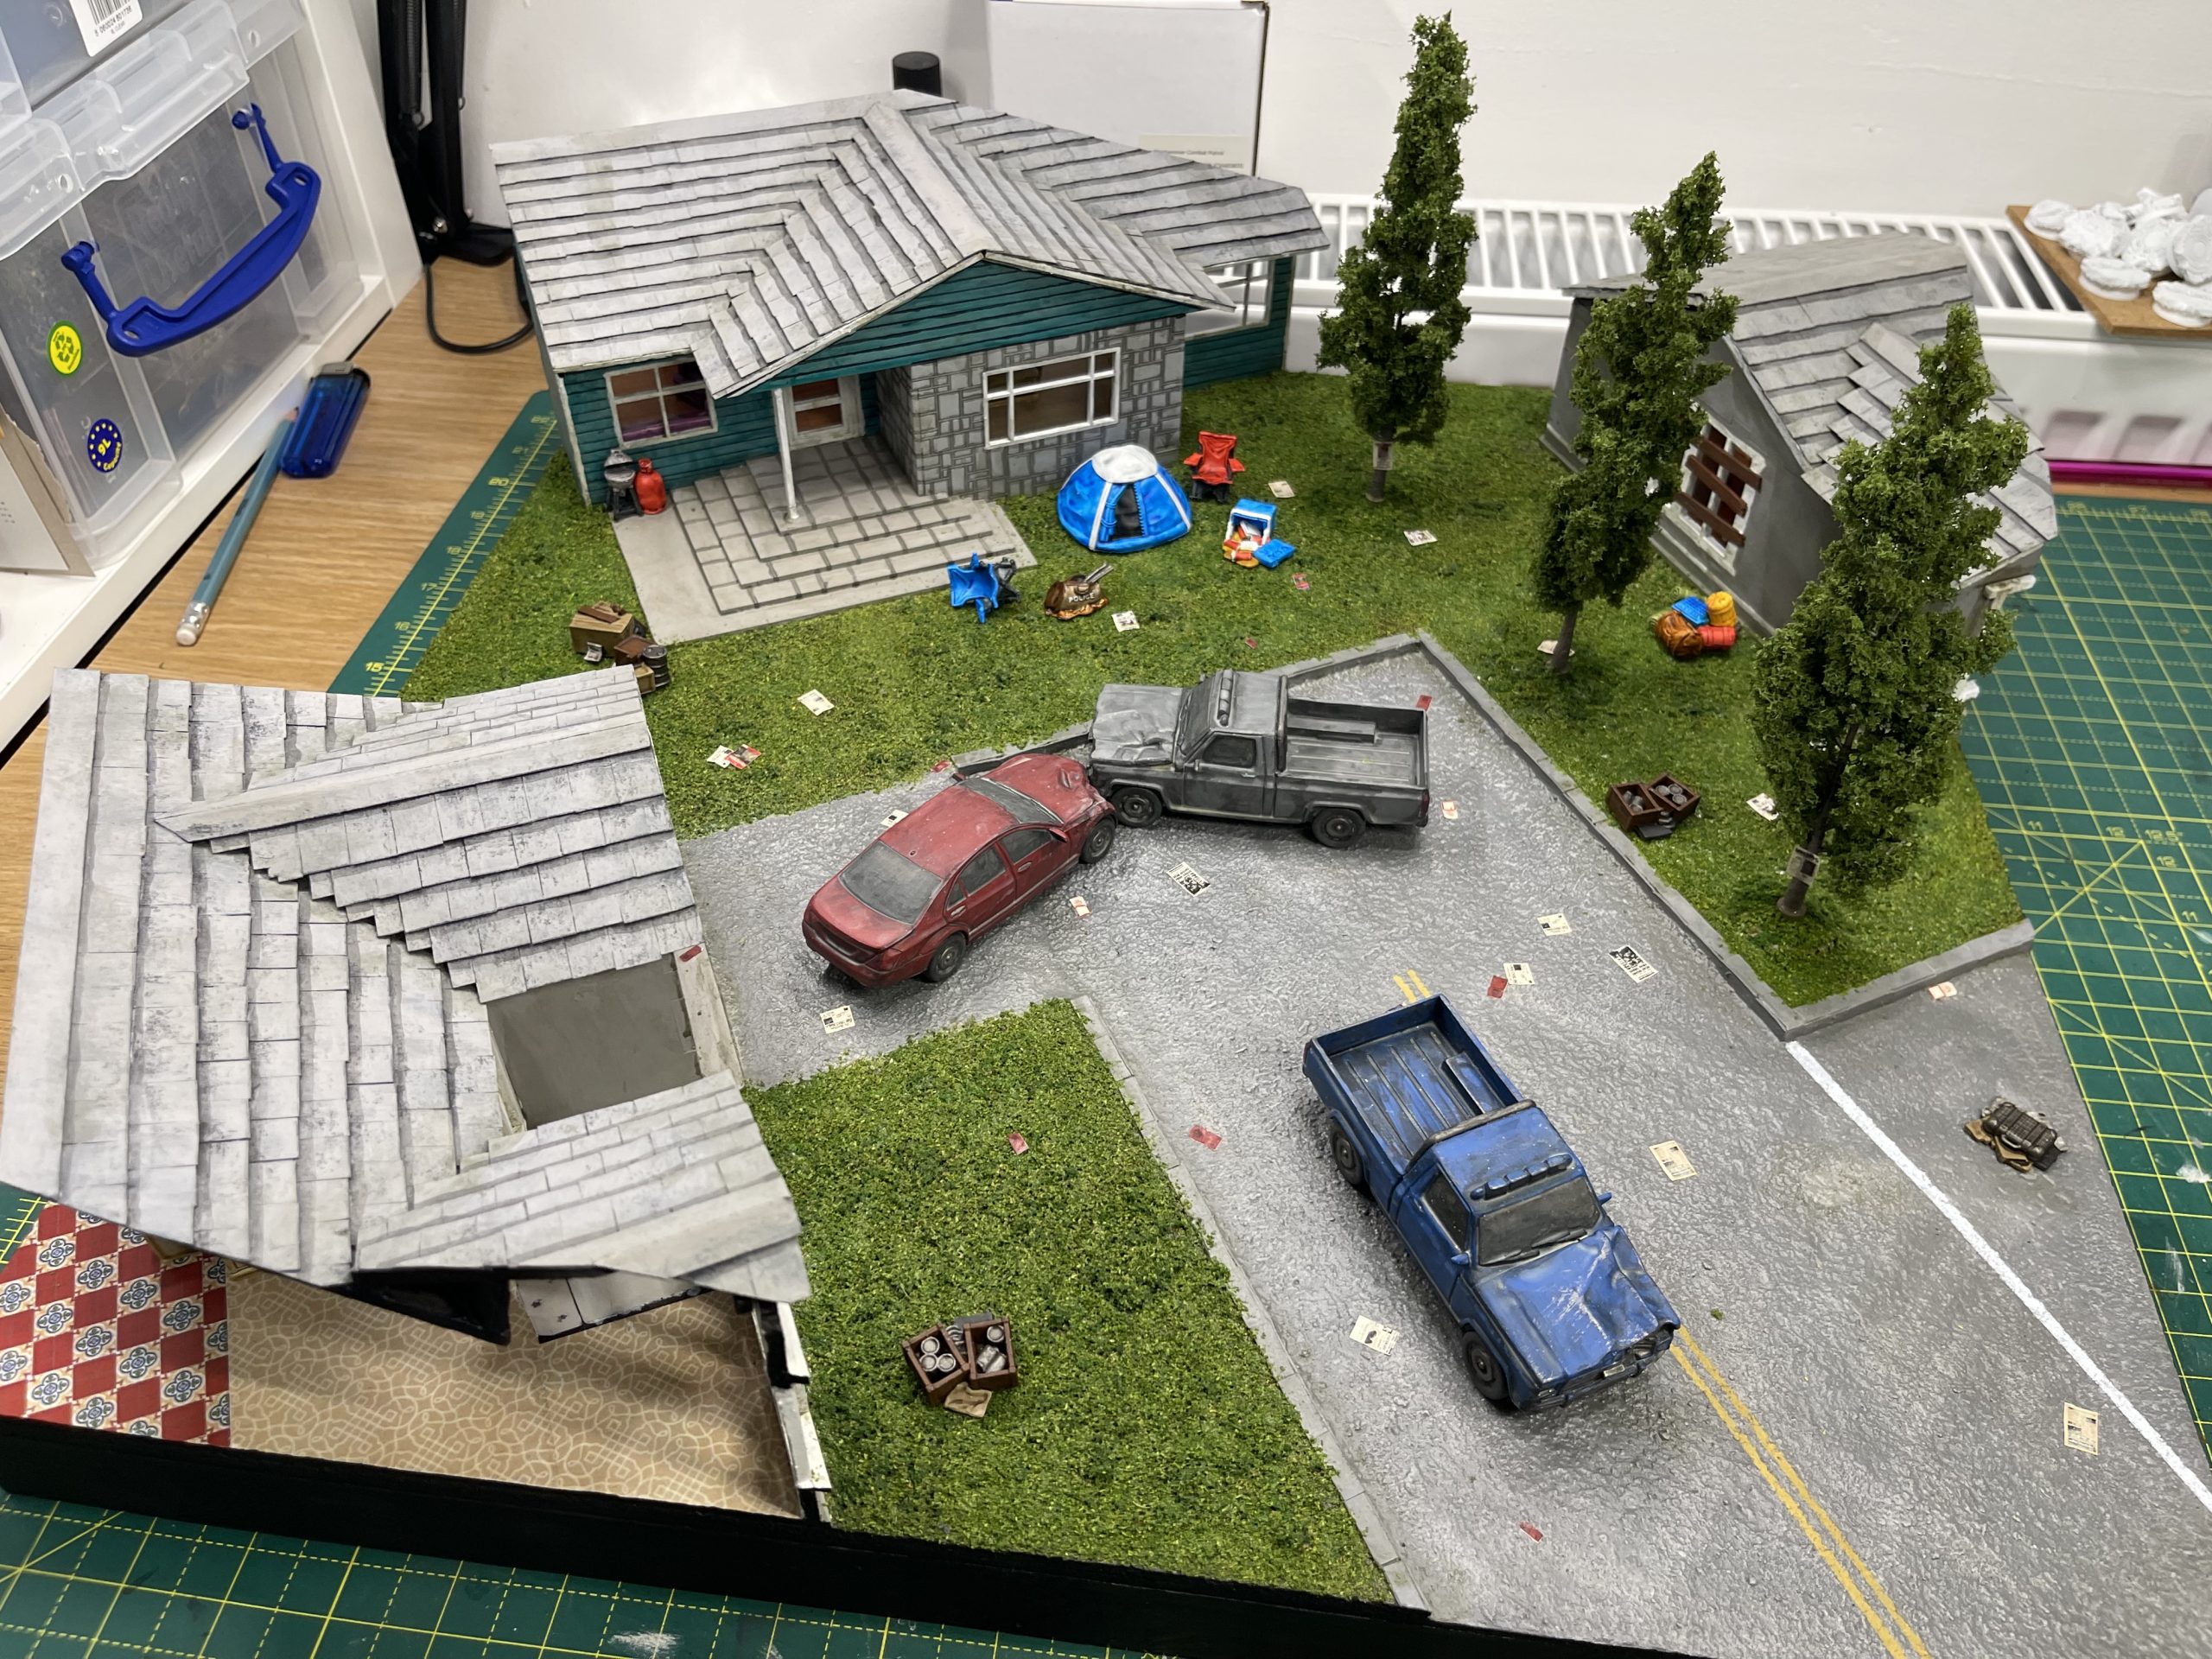
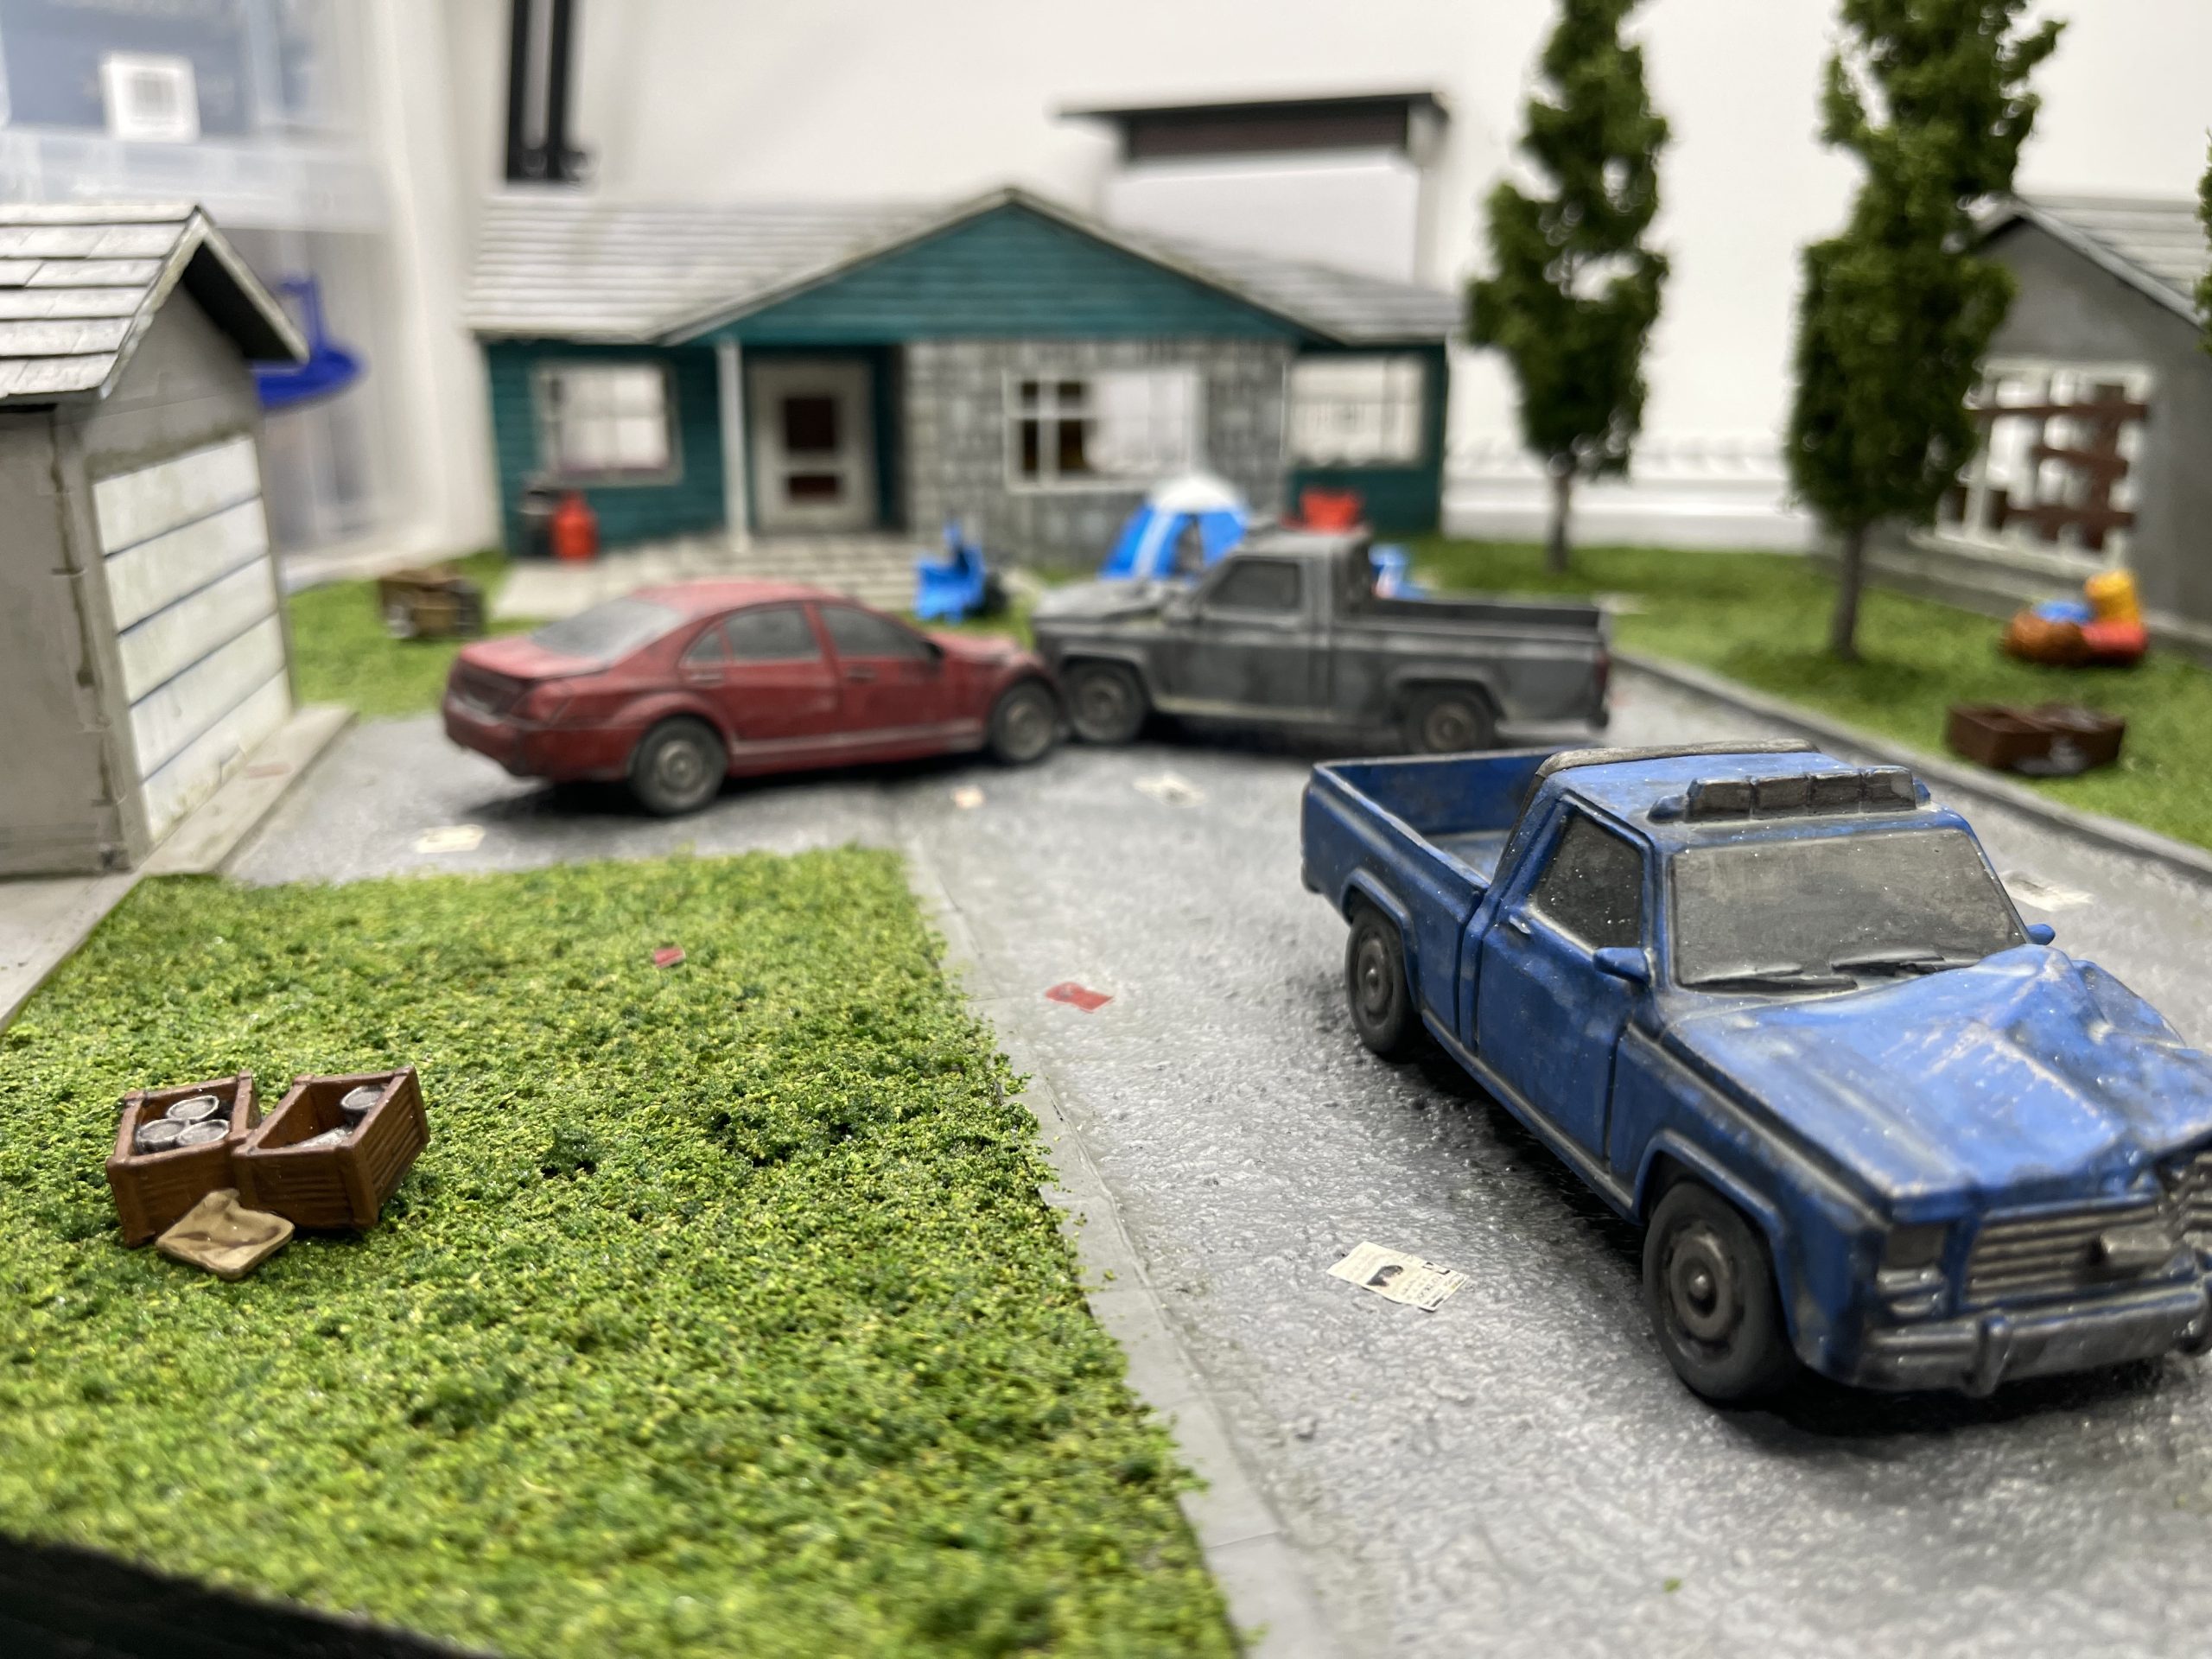
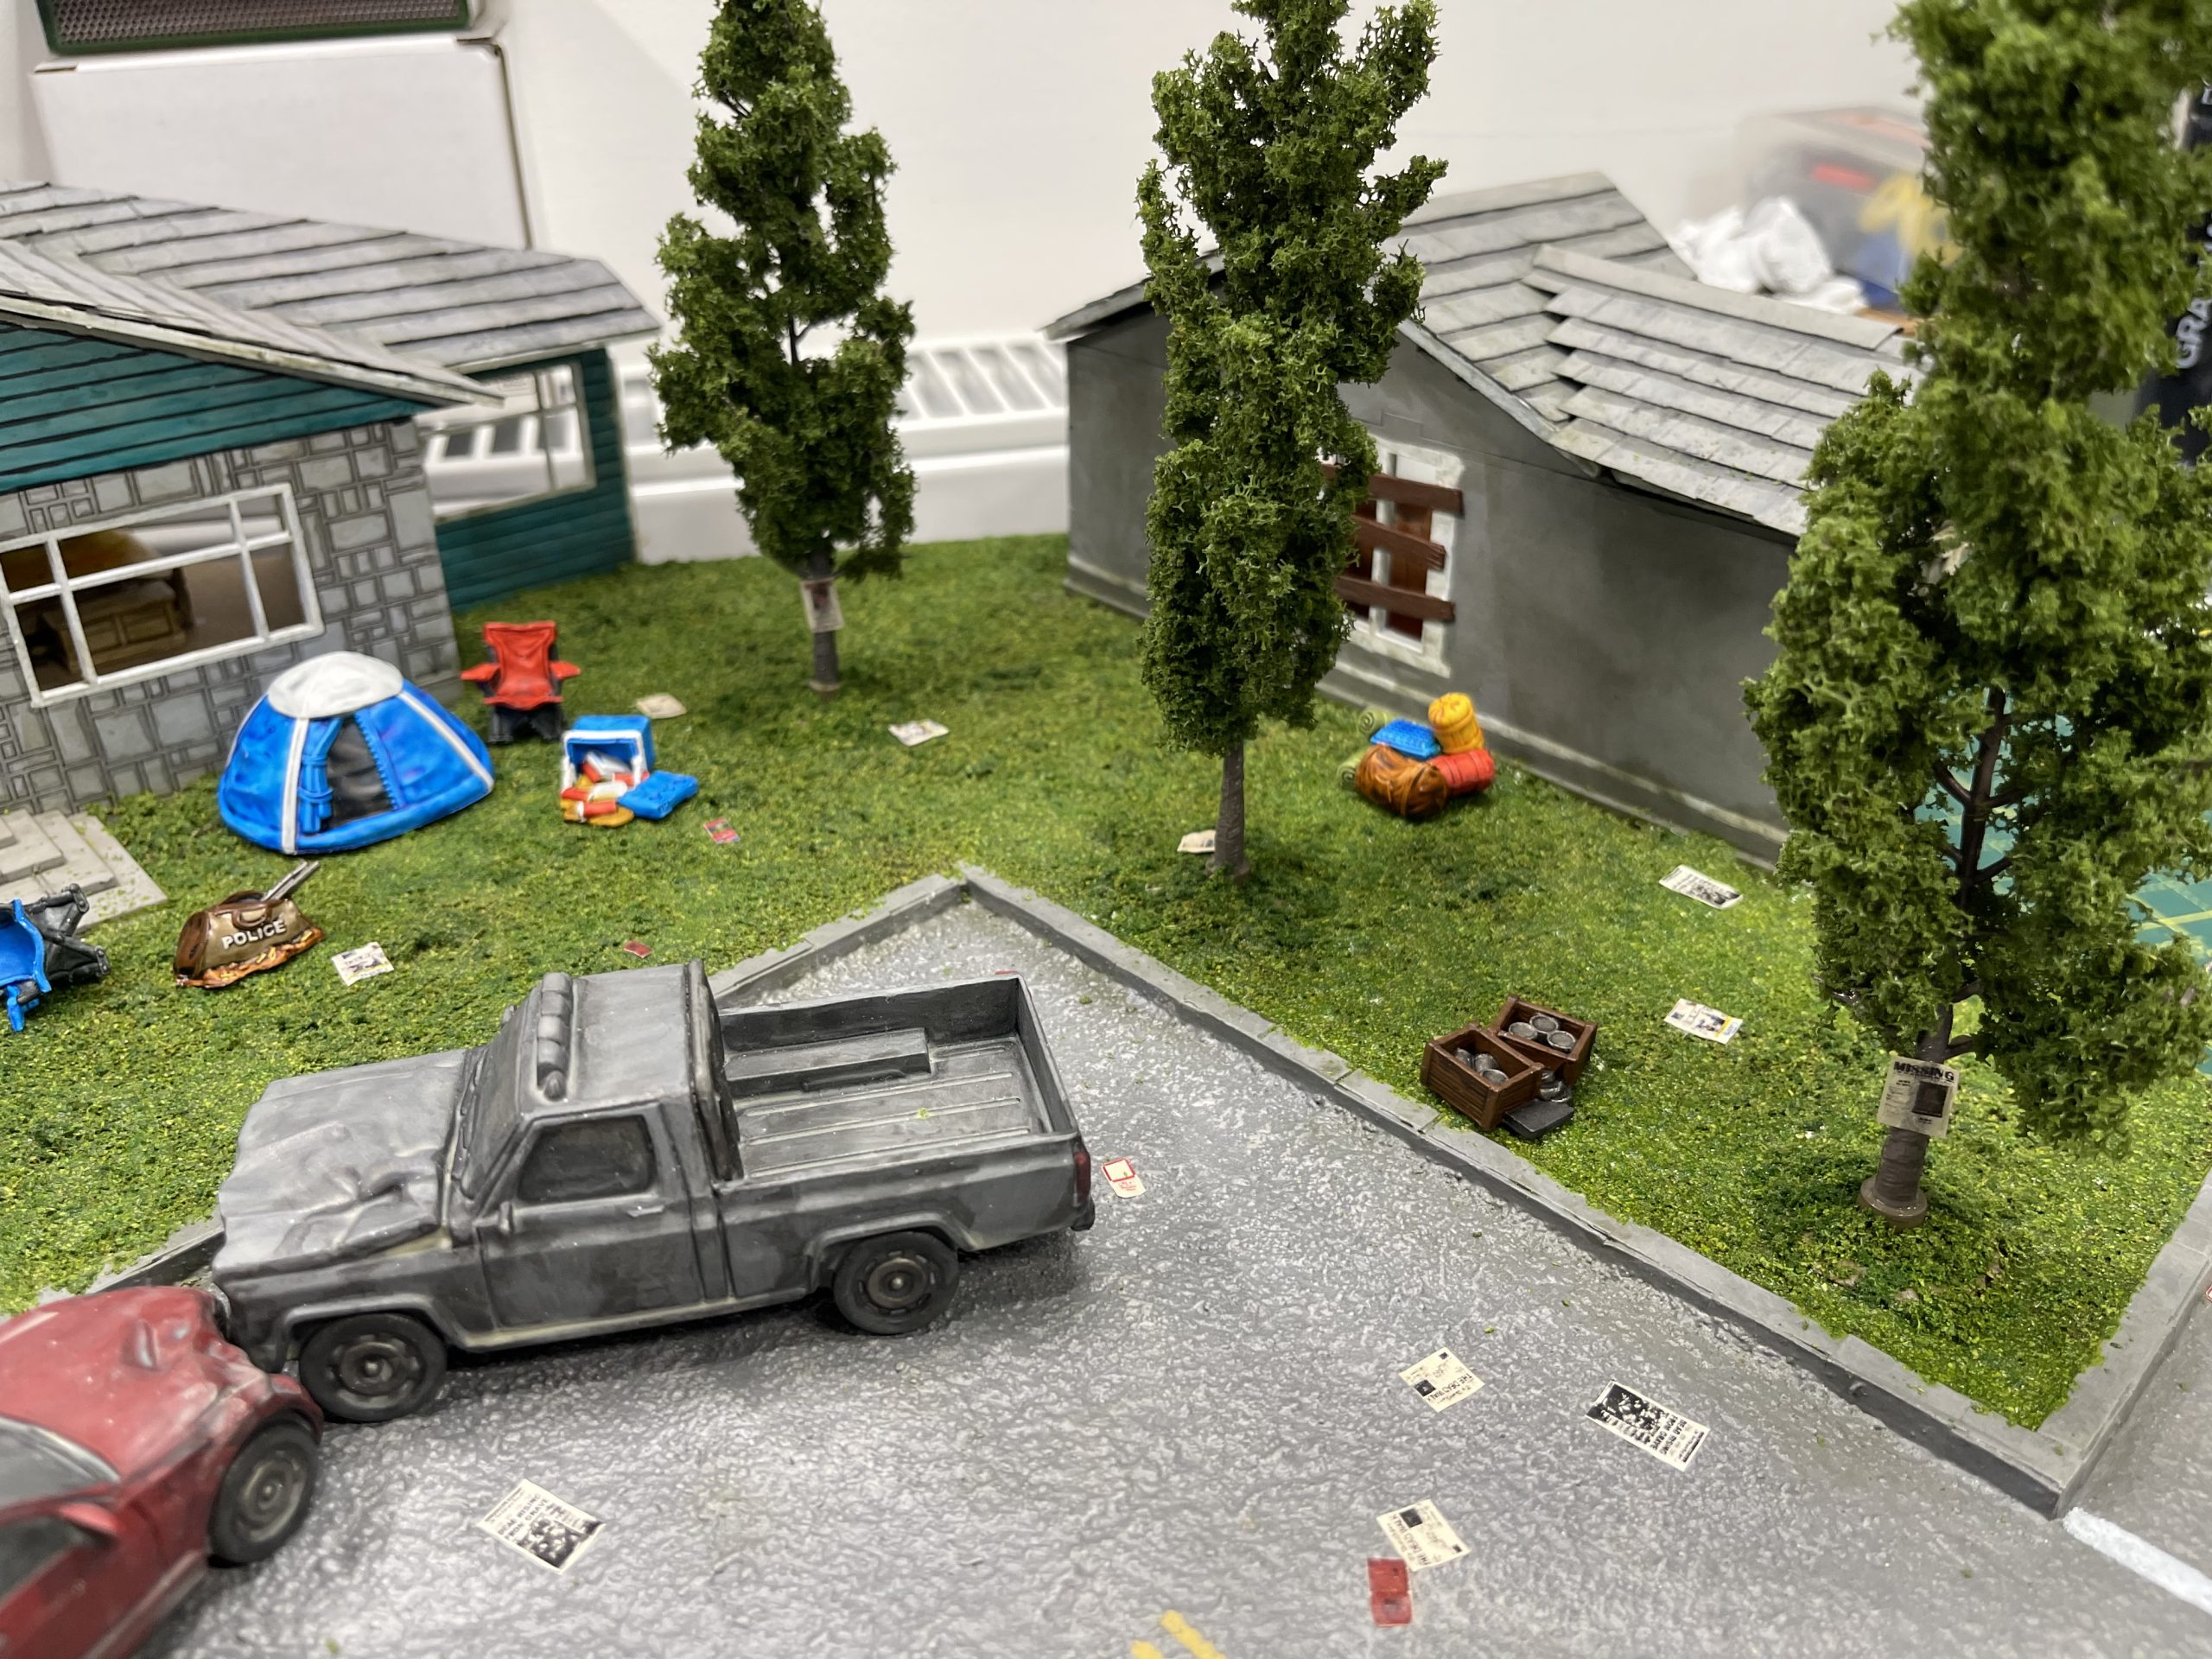
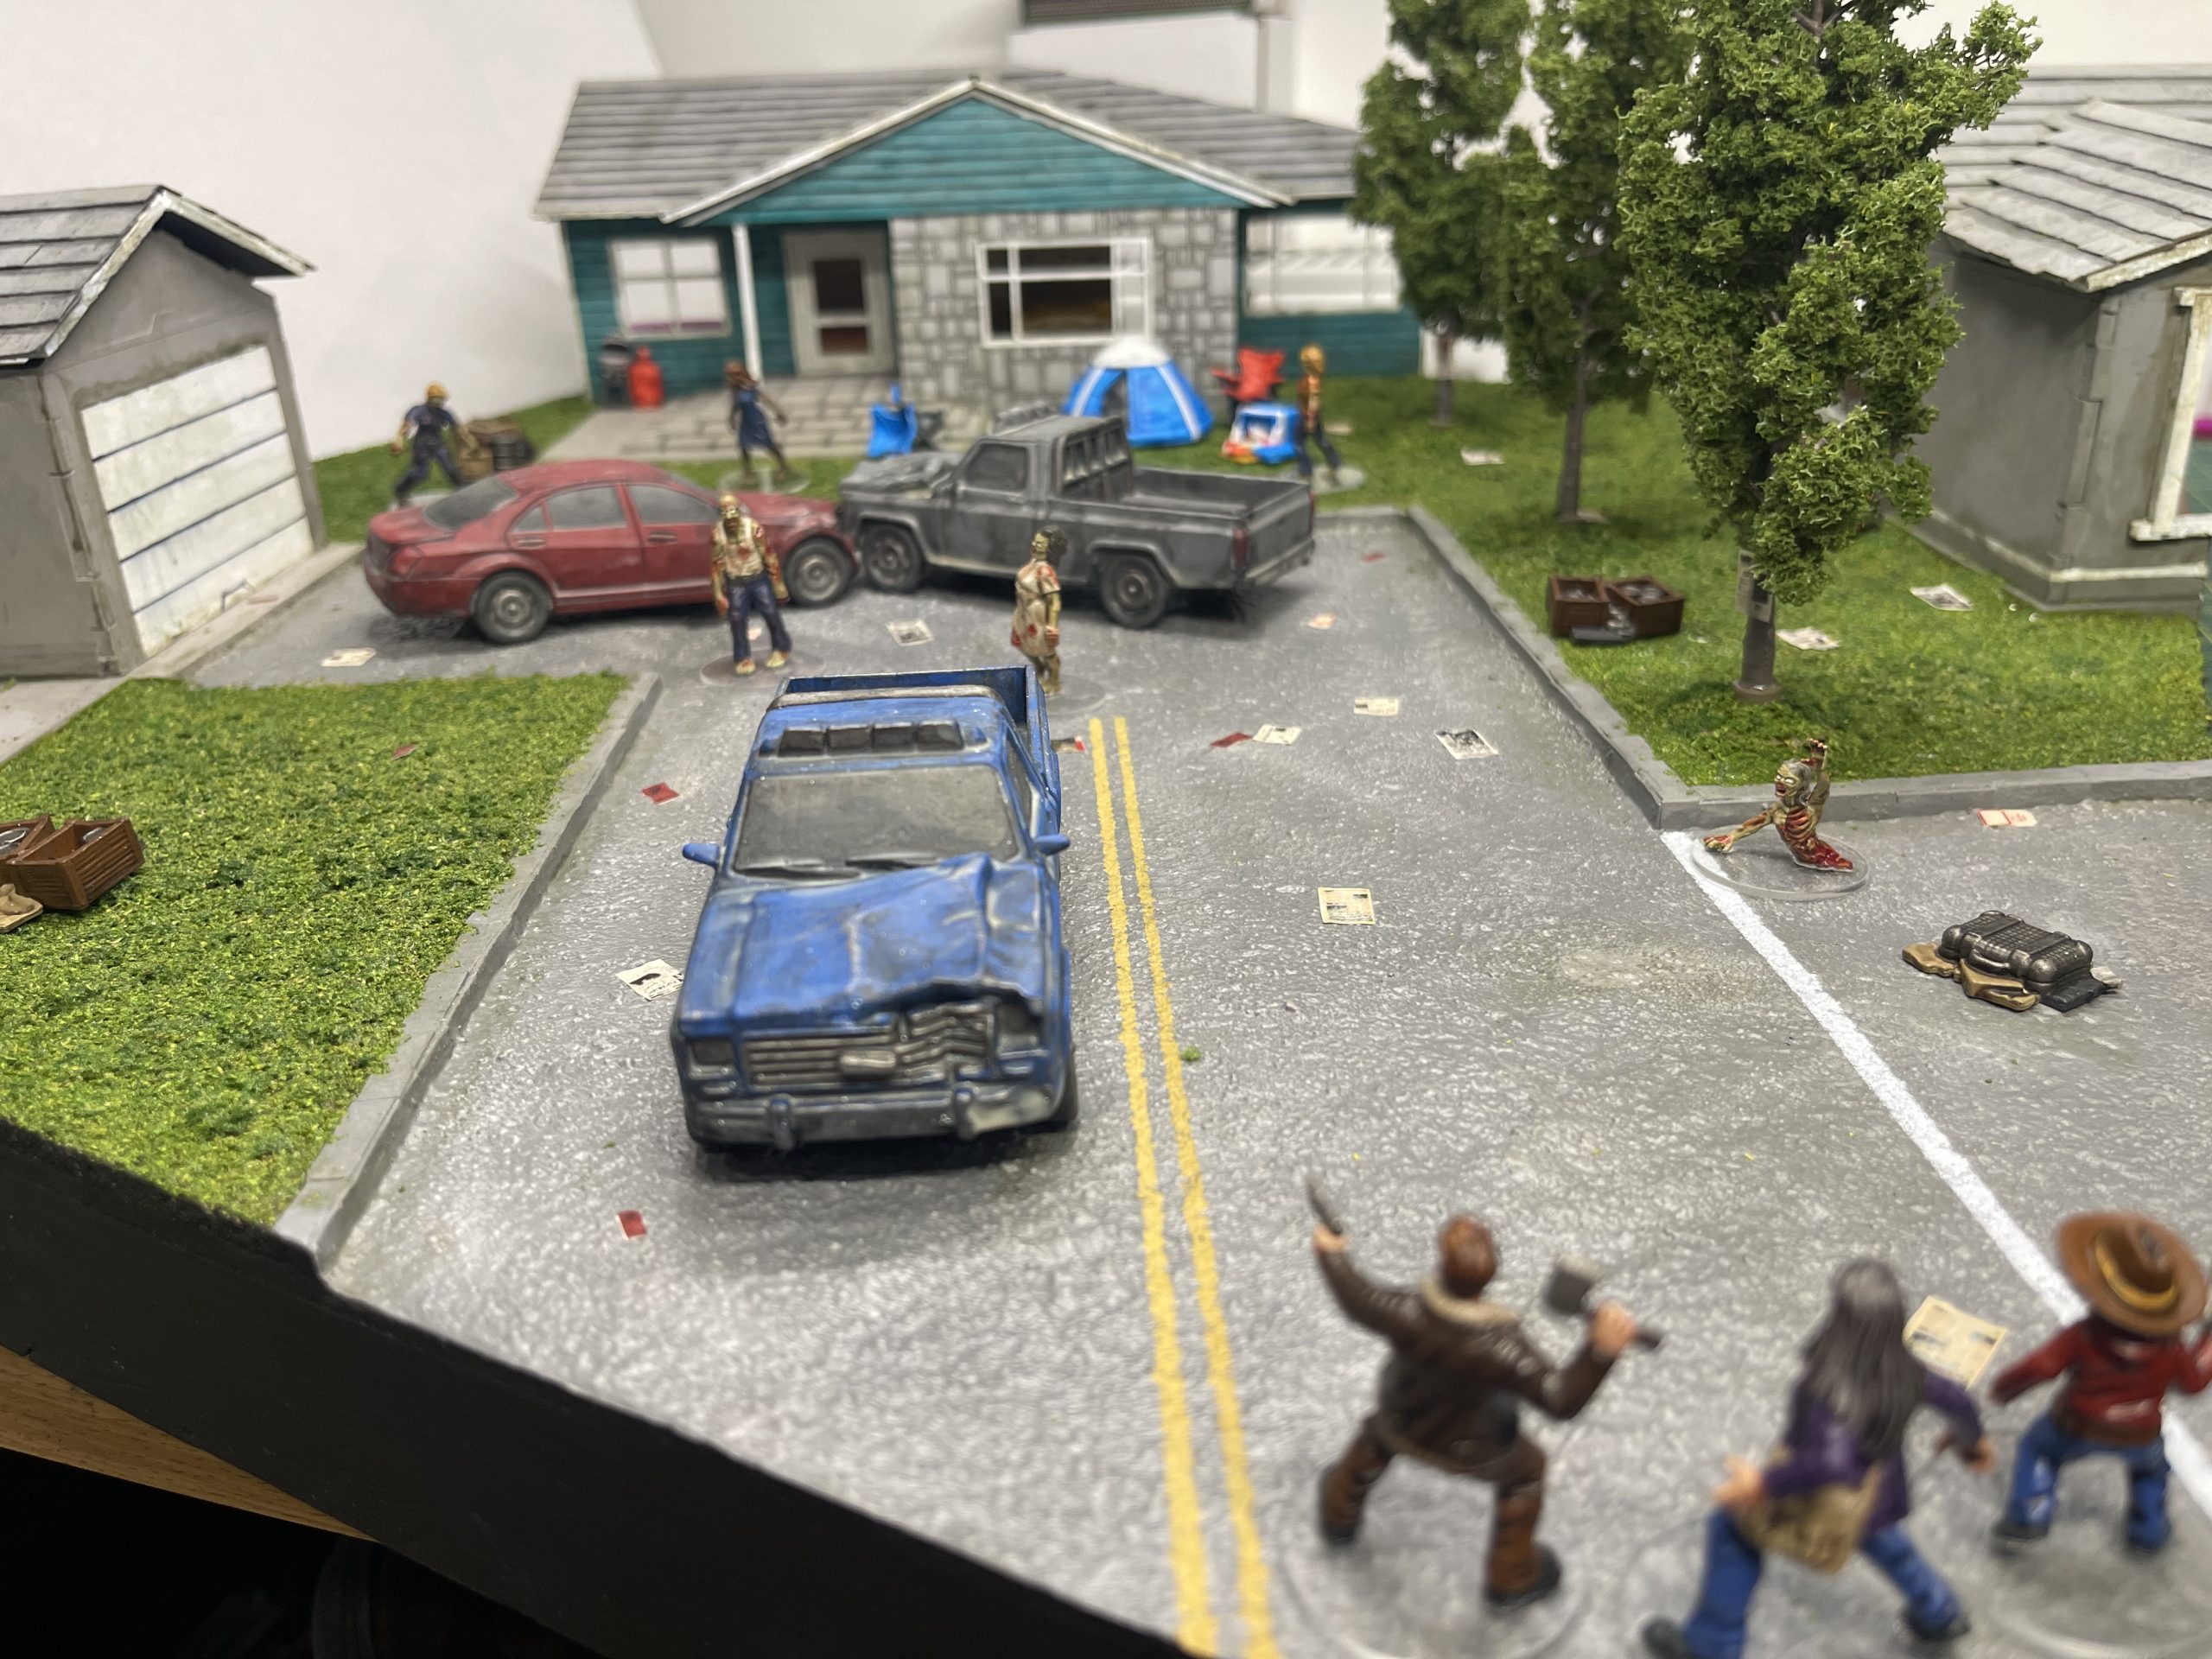
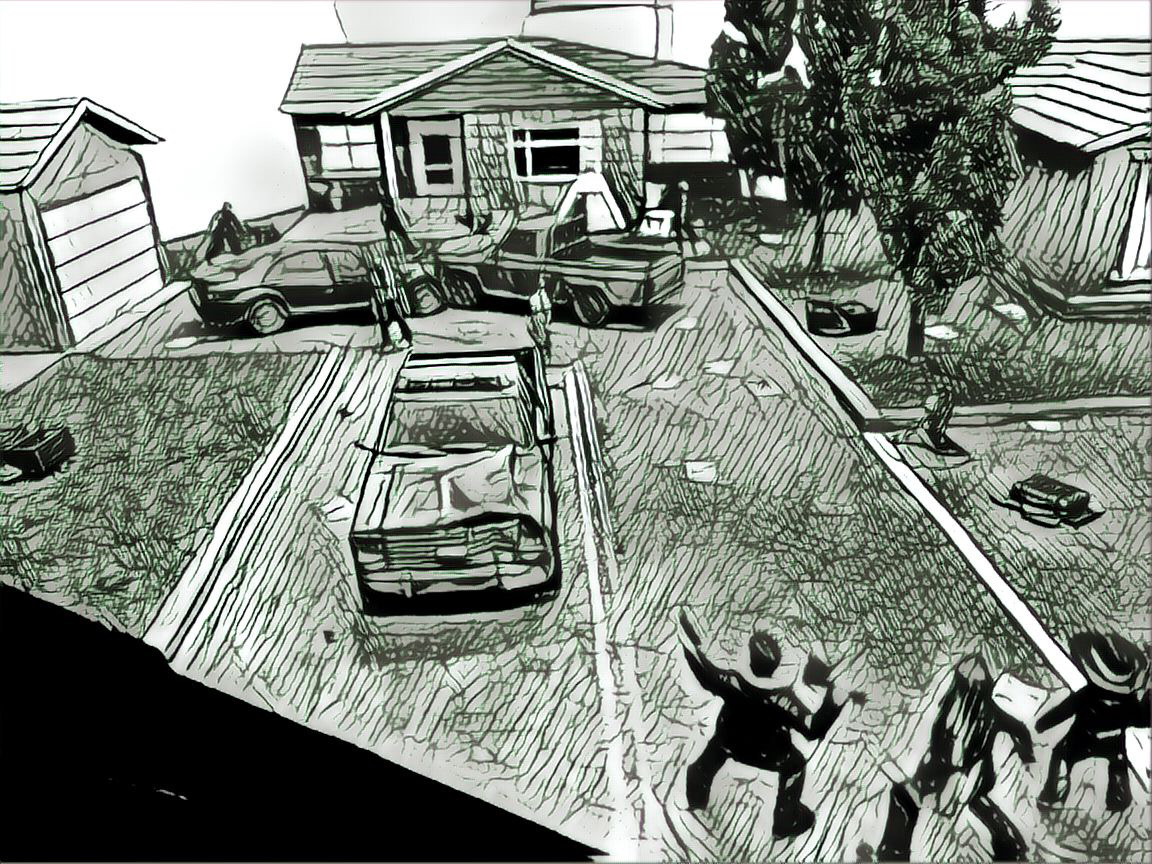
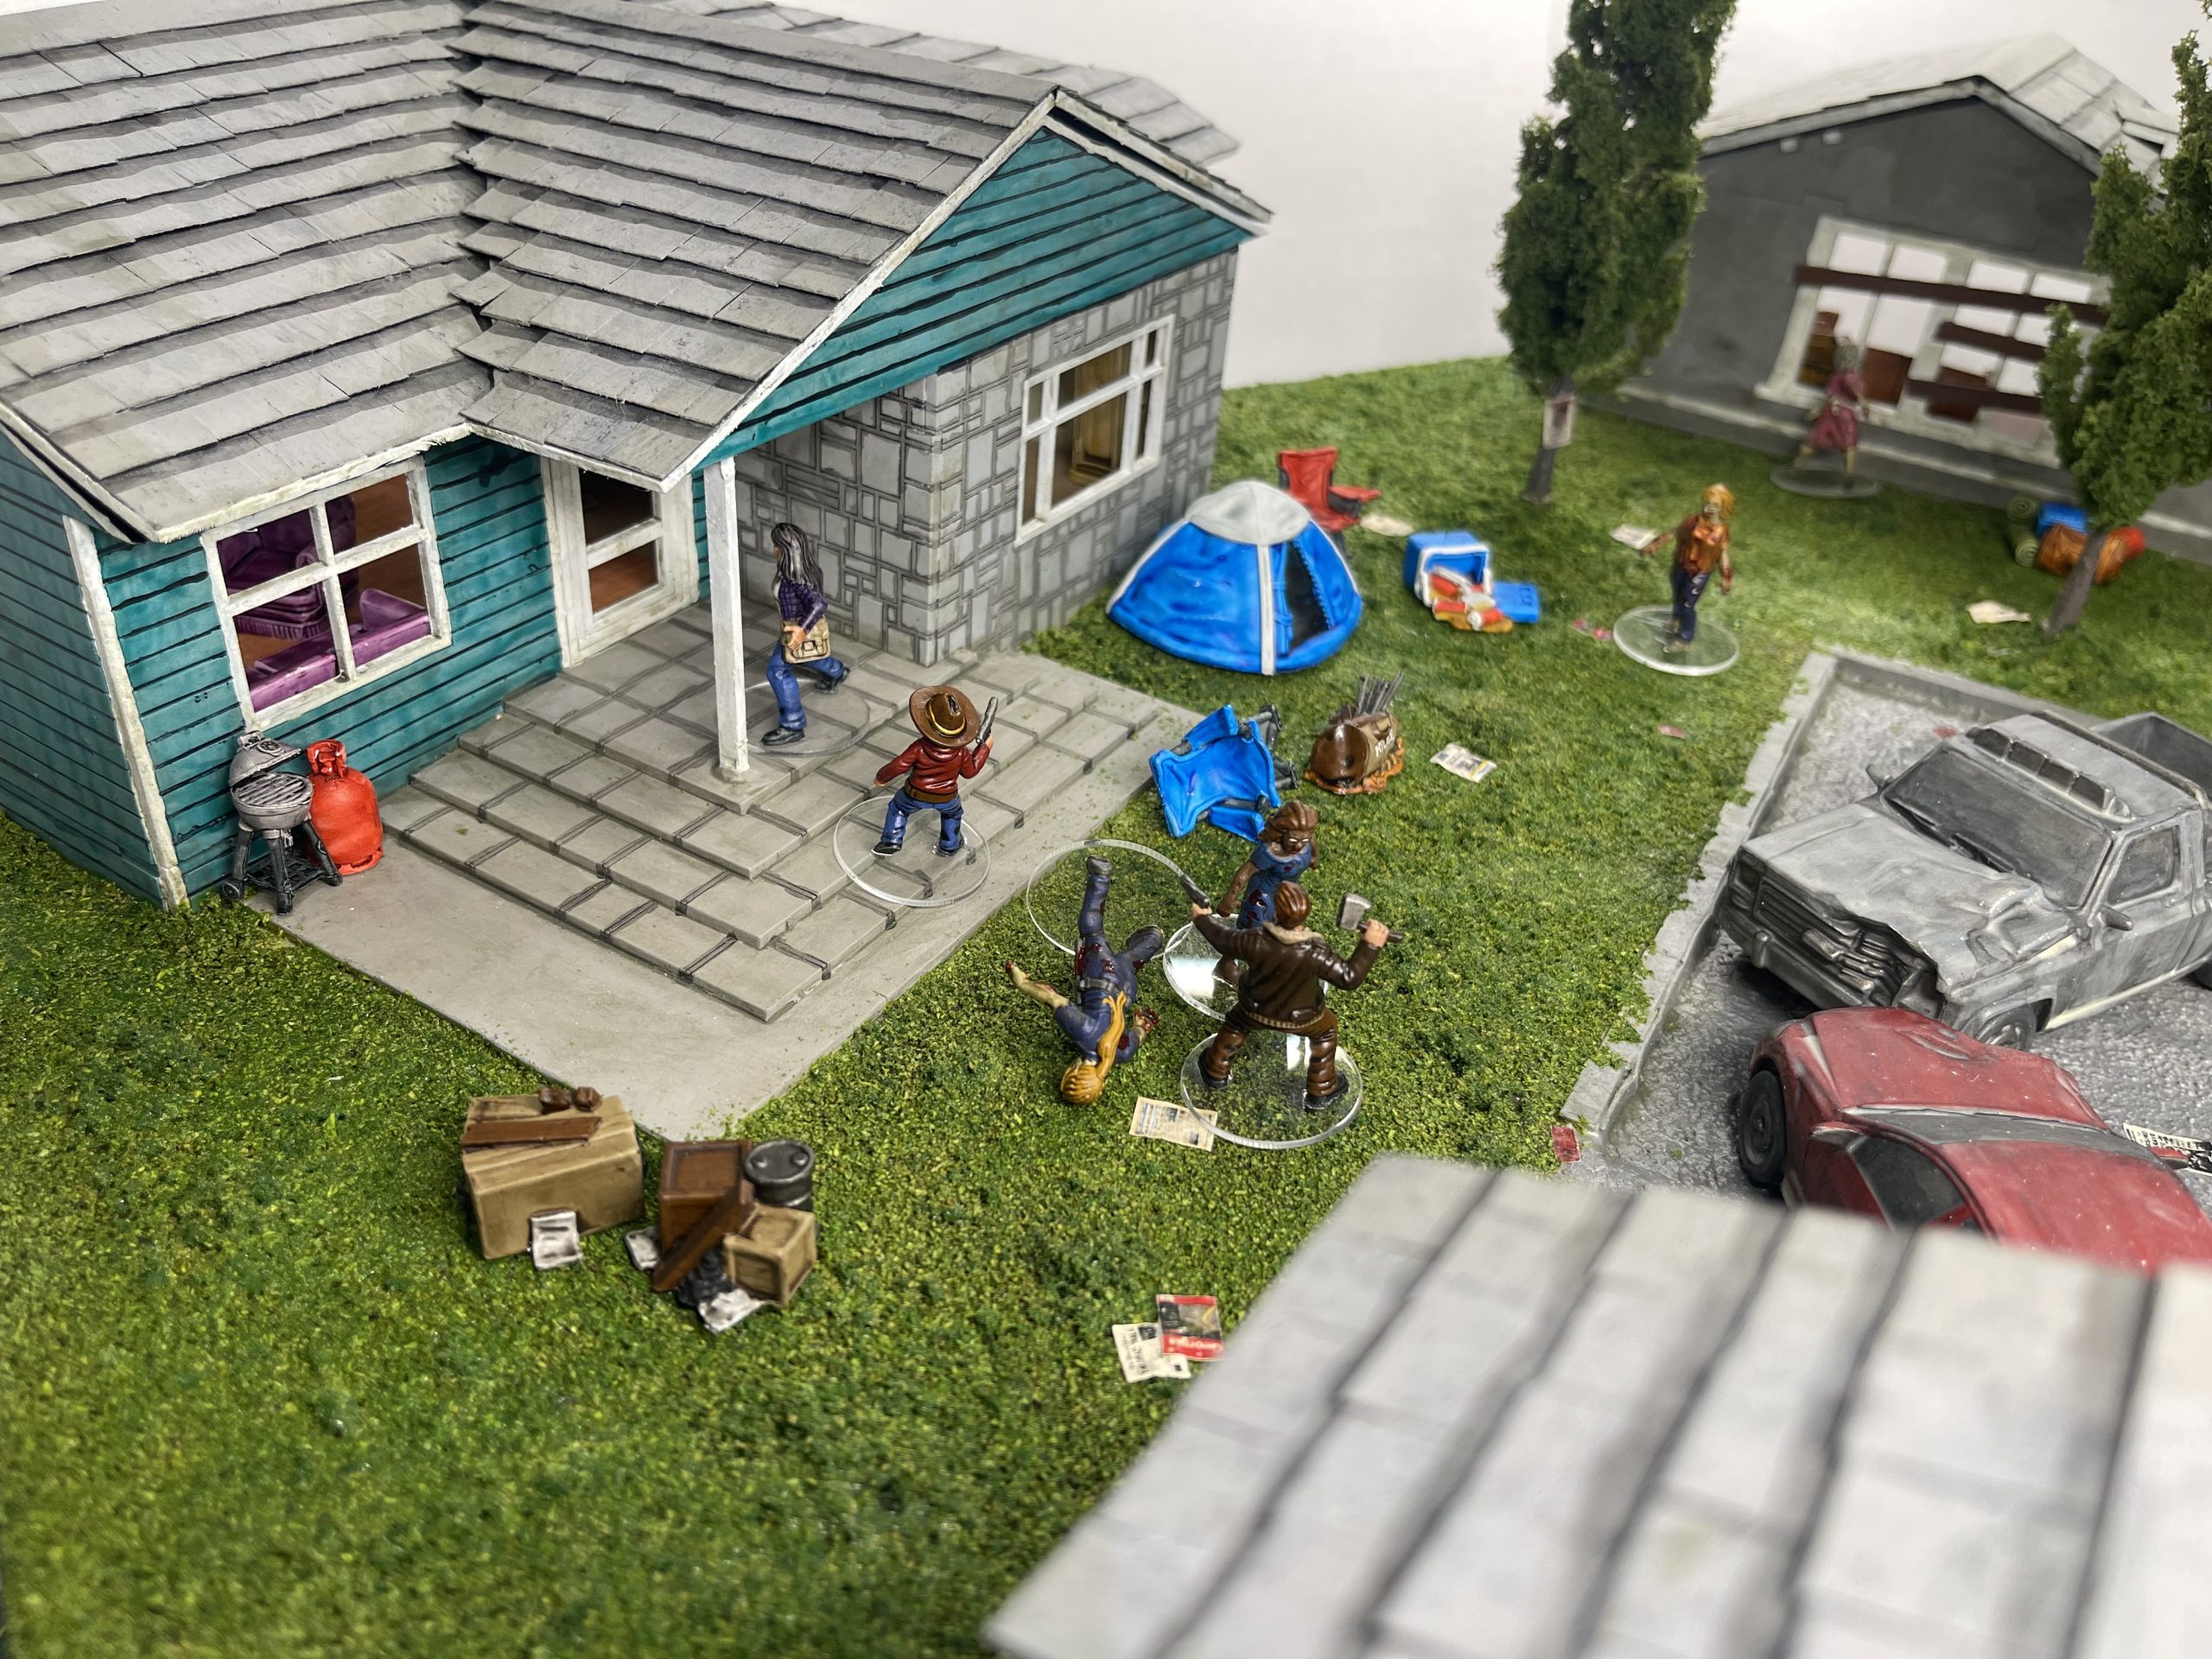
Thoughts on the urban (maybe Woodbury, maybe Atlanta, maybe Cynthiana)
Well here we are at the end of the 4th board build for the walking dead all out war. You know, for a game I didn’t play the most (that would be Imperial Assault), I sure have invested a lot of time and effort into it. I look back and feel i should have gone to the bootcamp when the game was released and i wish i had done the whole ‘get yourself sculpted as a walker’ pledge too. If i had done that i think i would have asked to be made as a shorter model, perhaps with a smashed up leg, that way i’d be a different height to everyone else on the board, instantly viewable and different to every other walker in the game at the time. Anyway, enough from Captain Hindsight.
Given this was very much a recycling and saving something from the dusty bin (at penkridge wargames 2nd hand fayre which was also today!) i think it has come out adequately. To make this i spent the grand total of (maybe) £6 in materials. That was for the baseboard, everything else i had ‘in stock’ being purchased way back when TWD was all the rage. (edit, this is a lie! i had to buy the big pack of corkboard at £25)
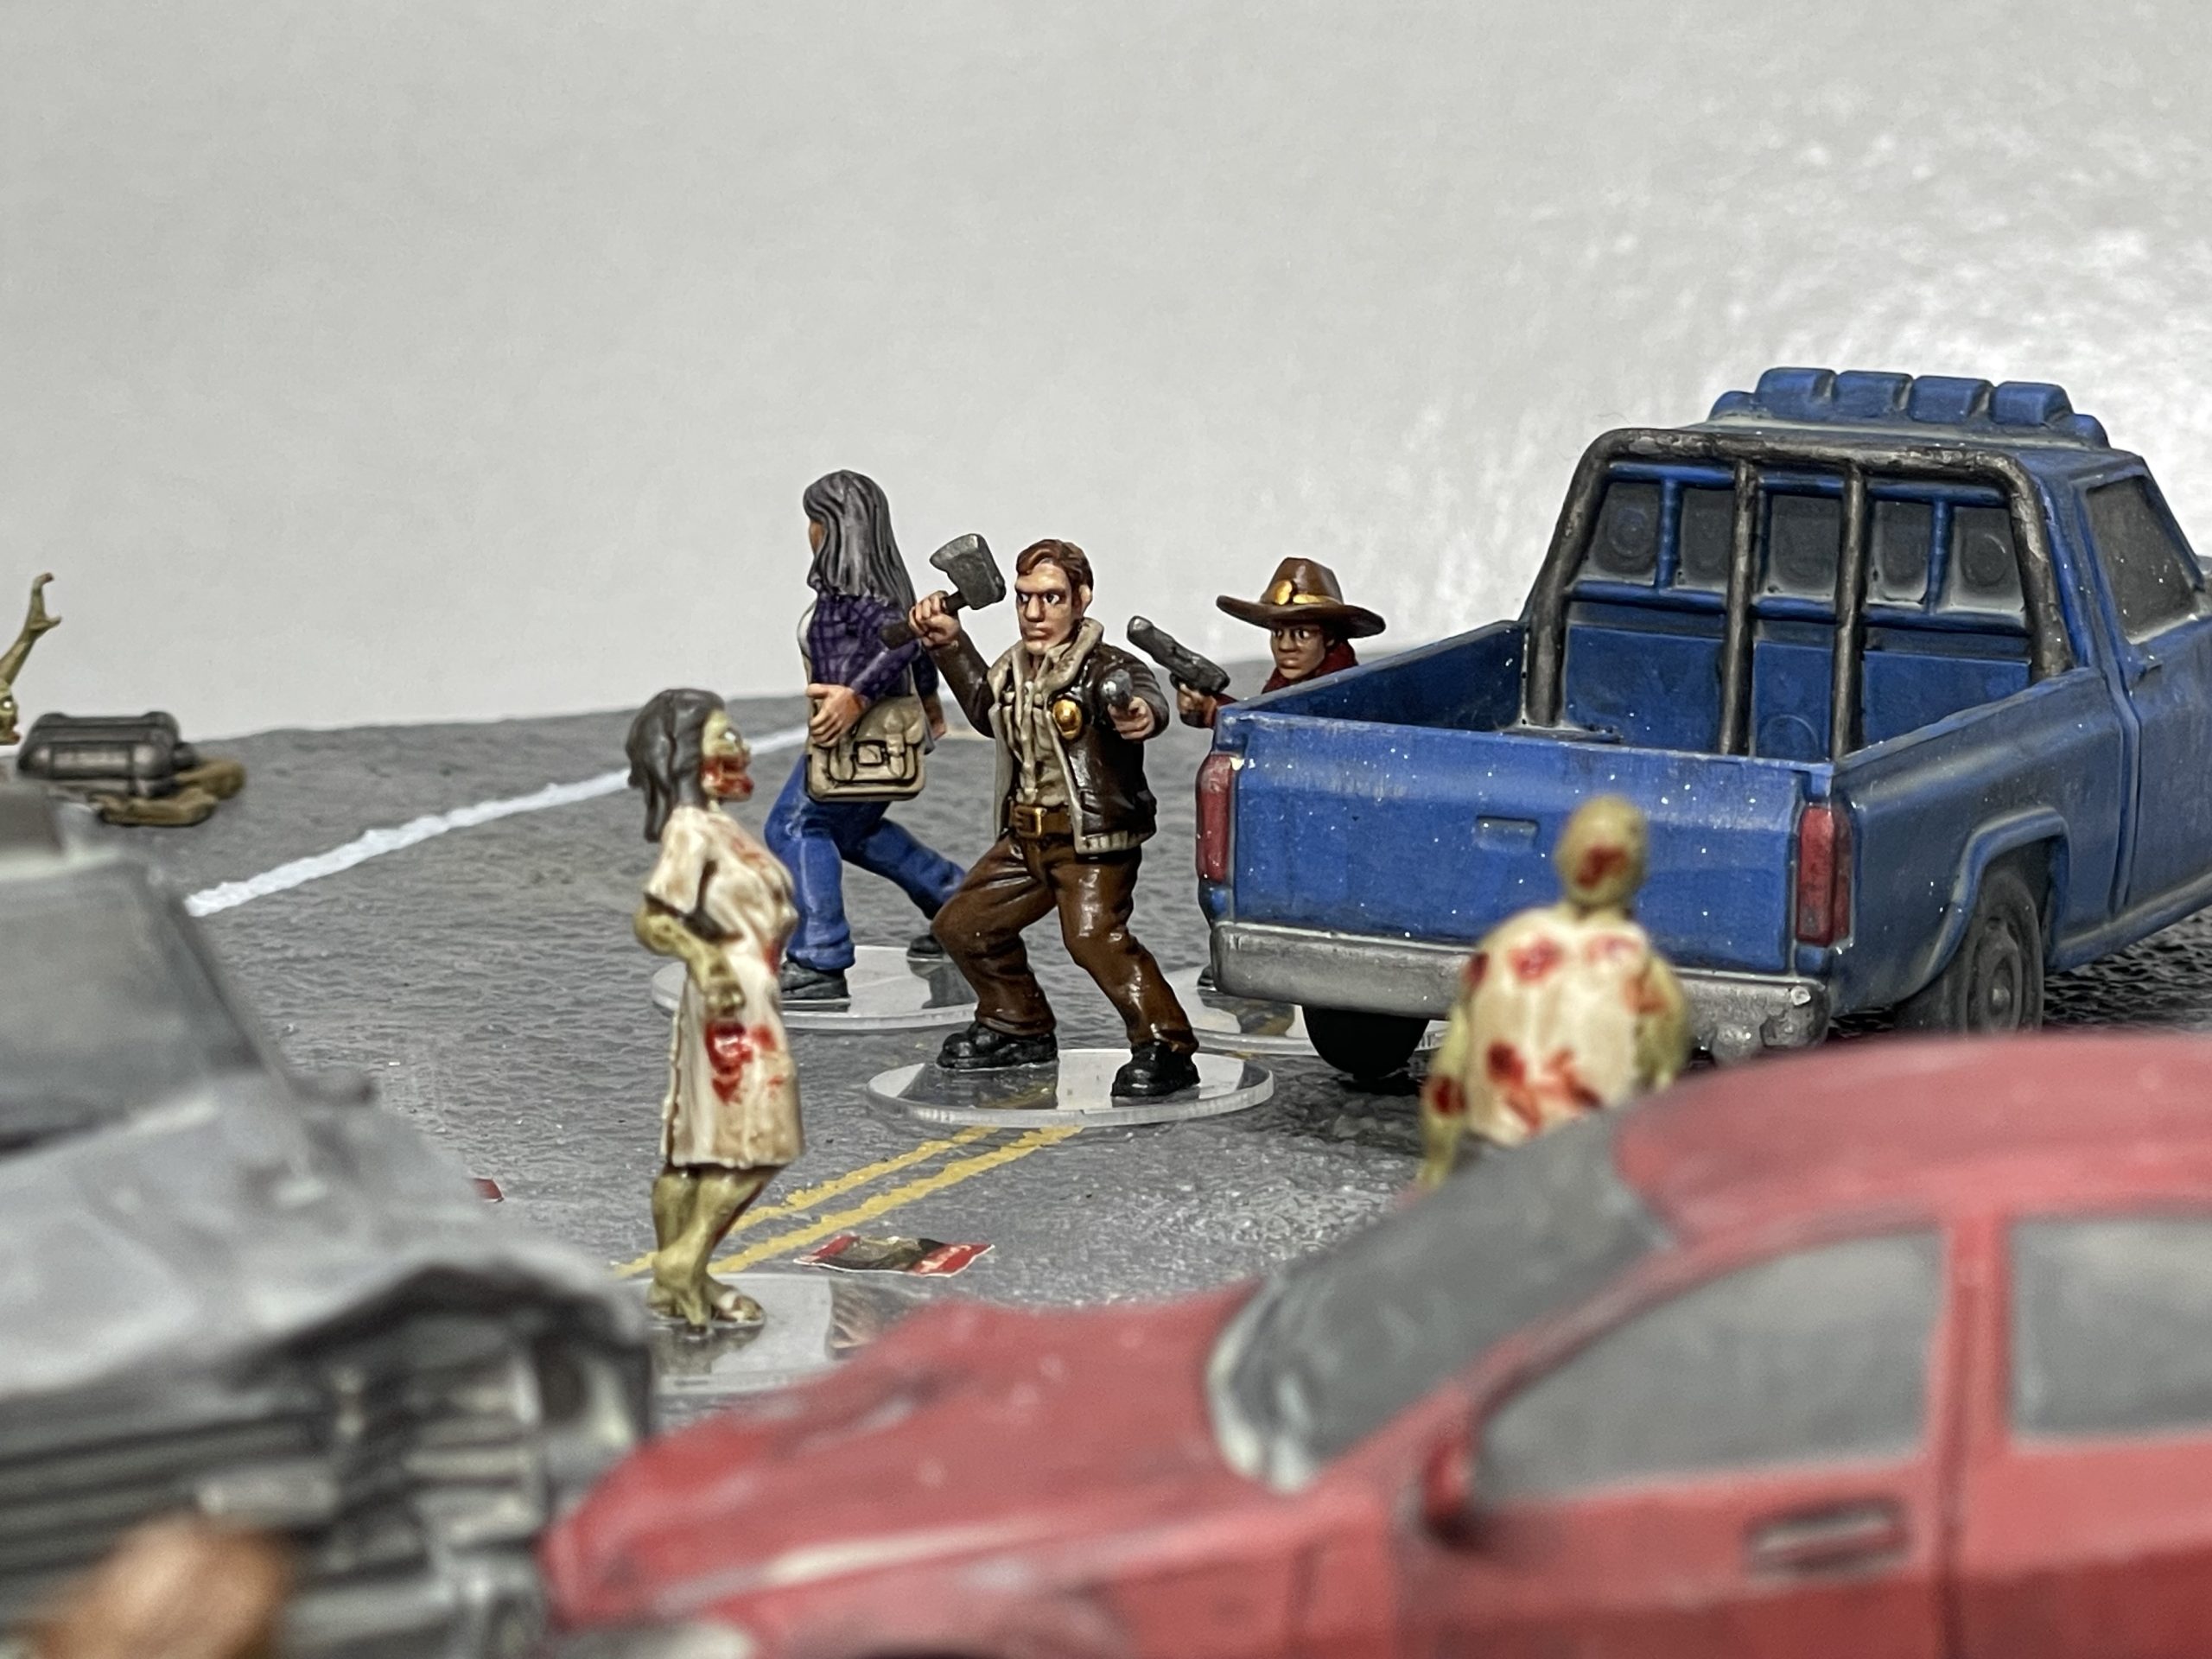
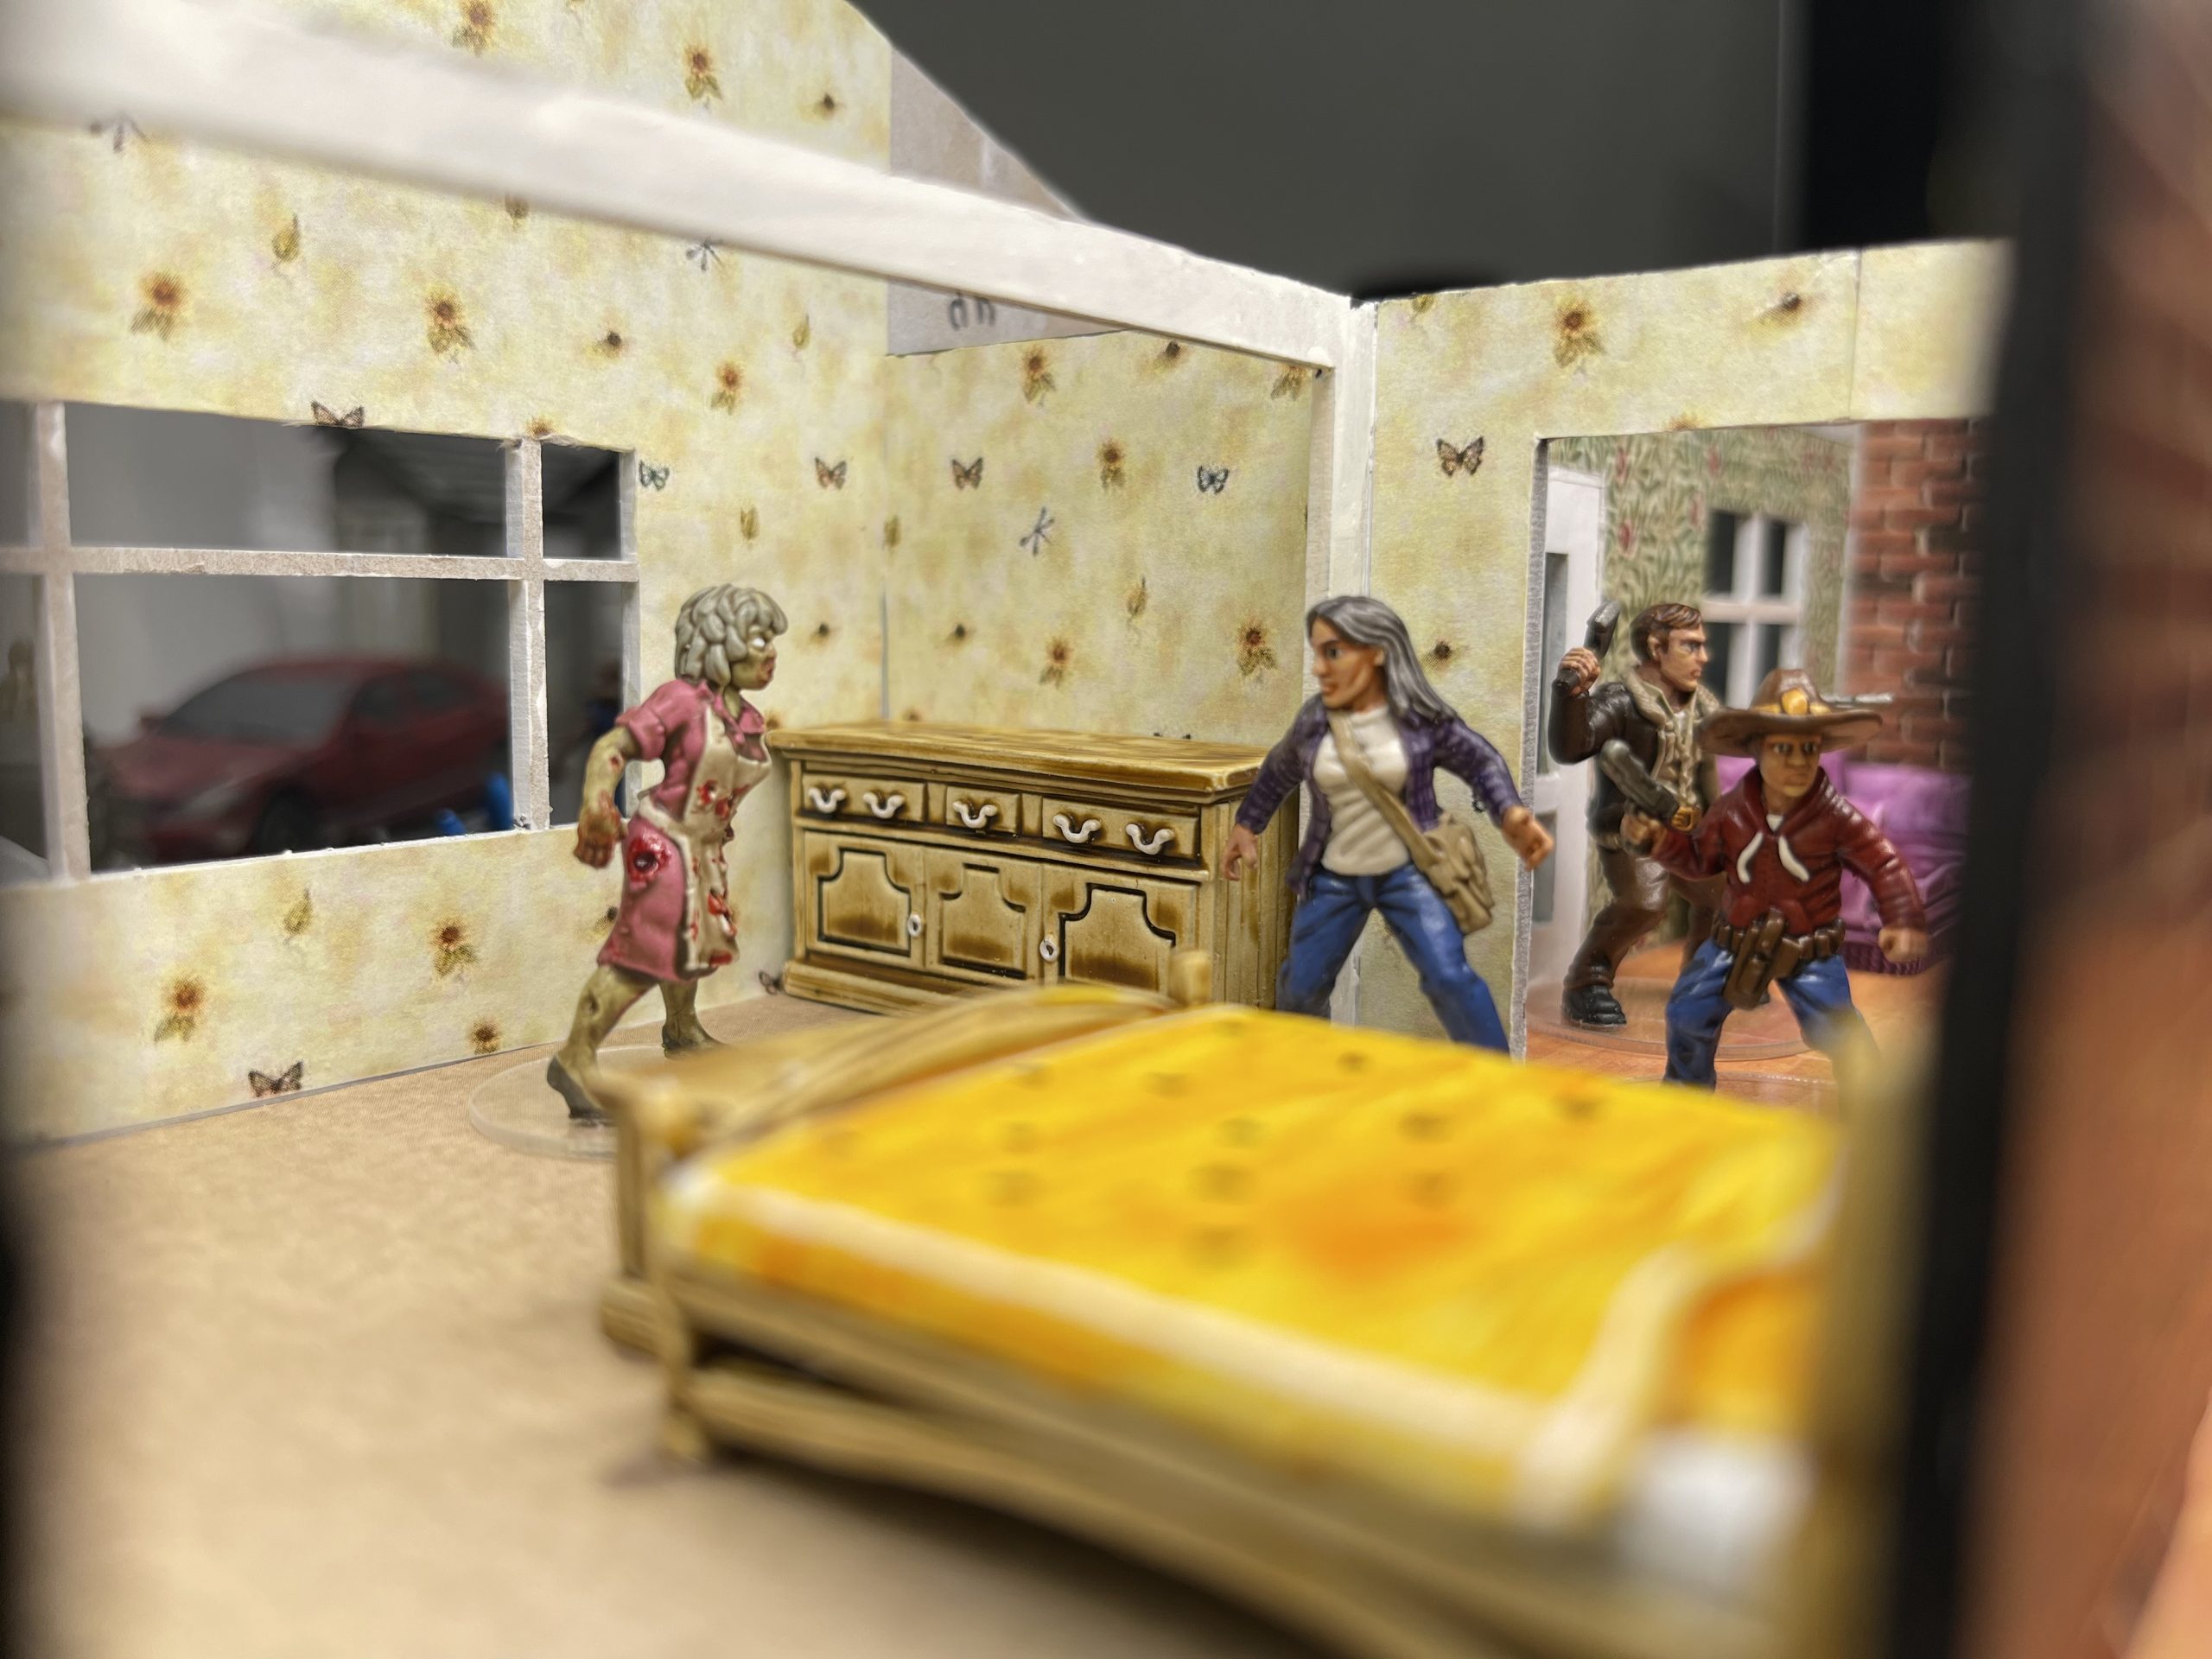
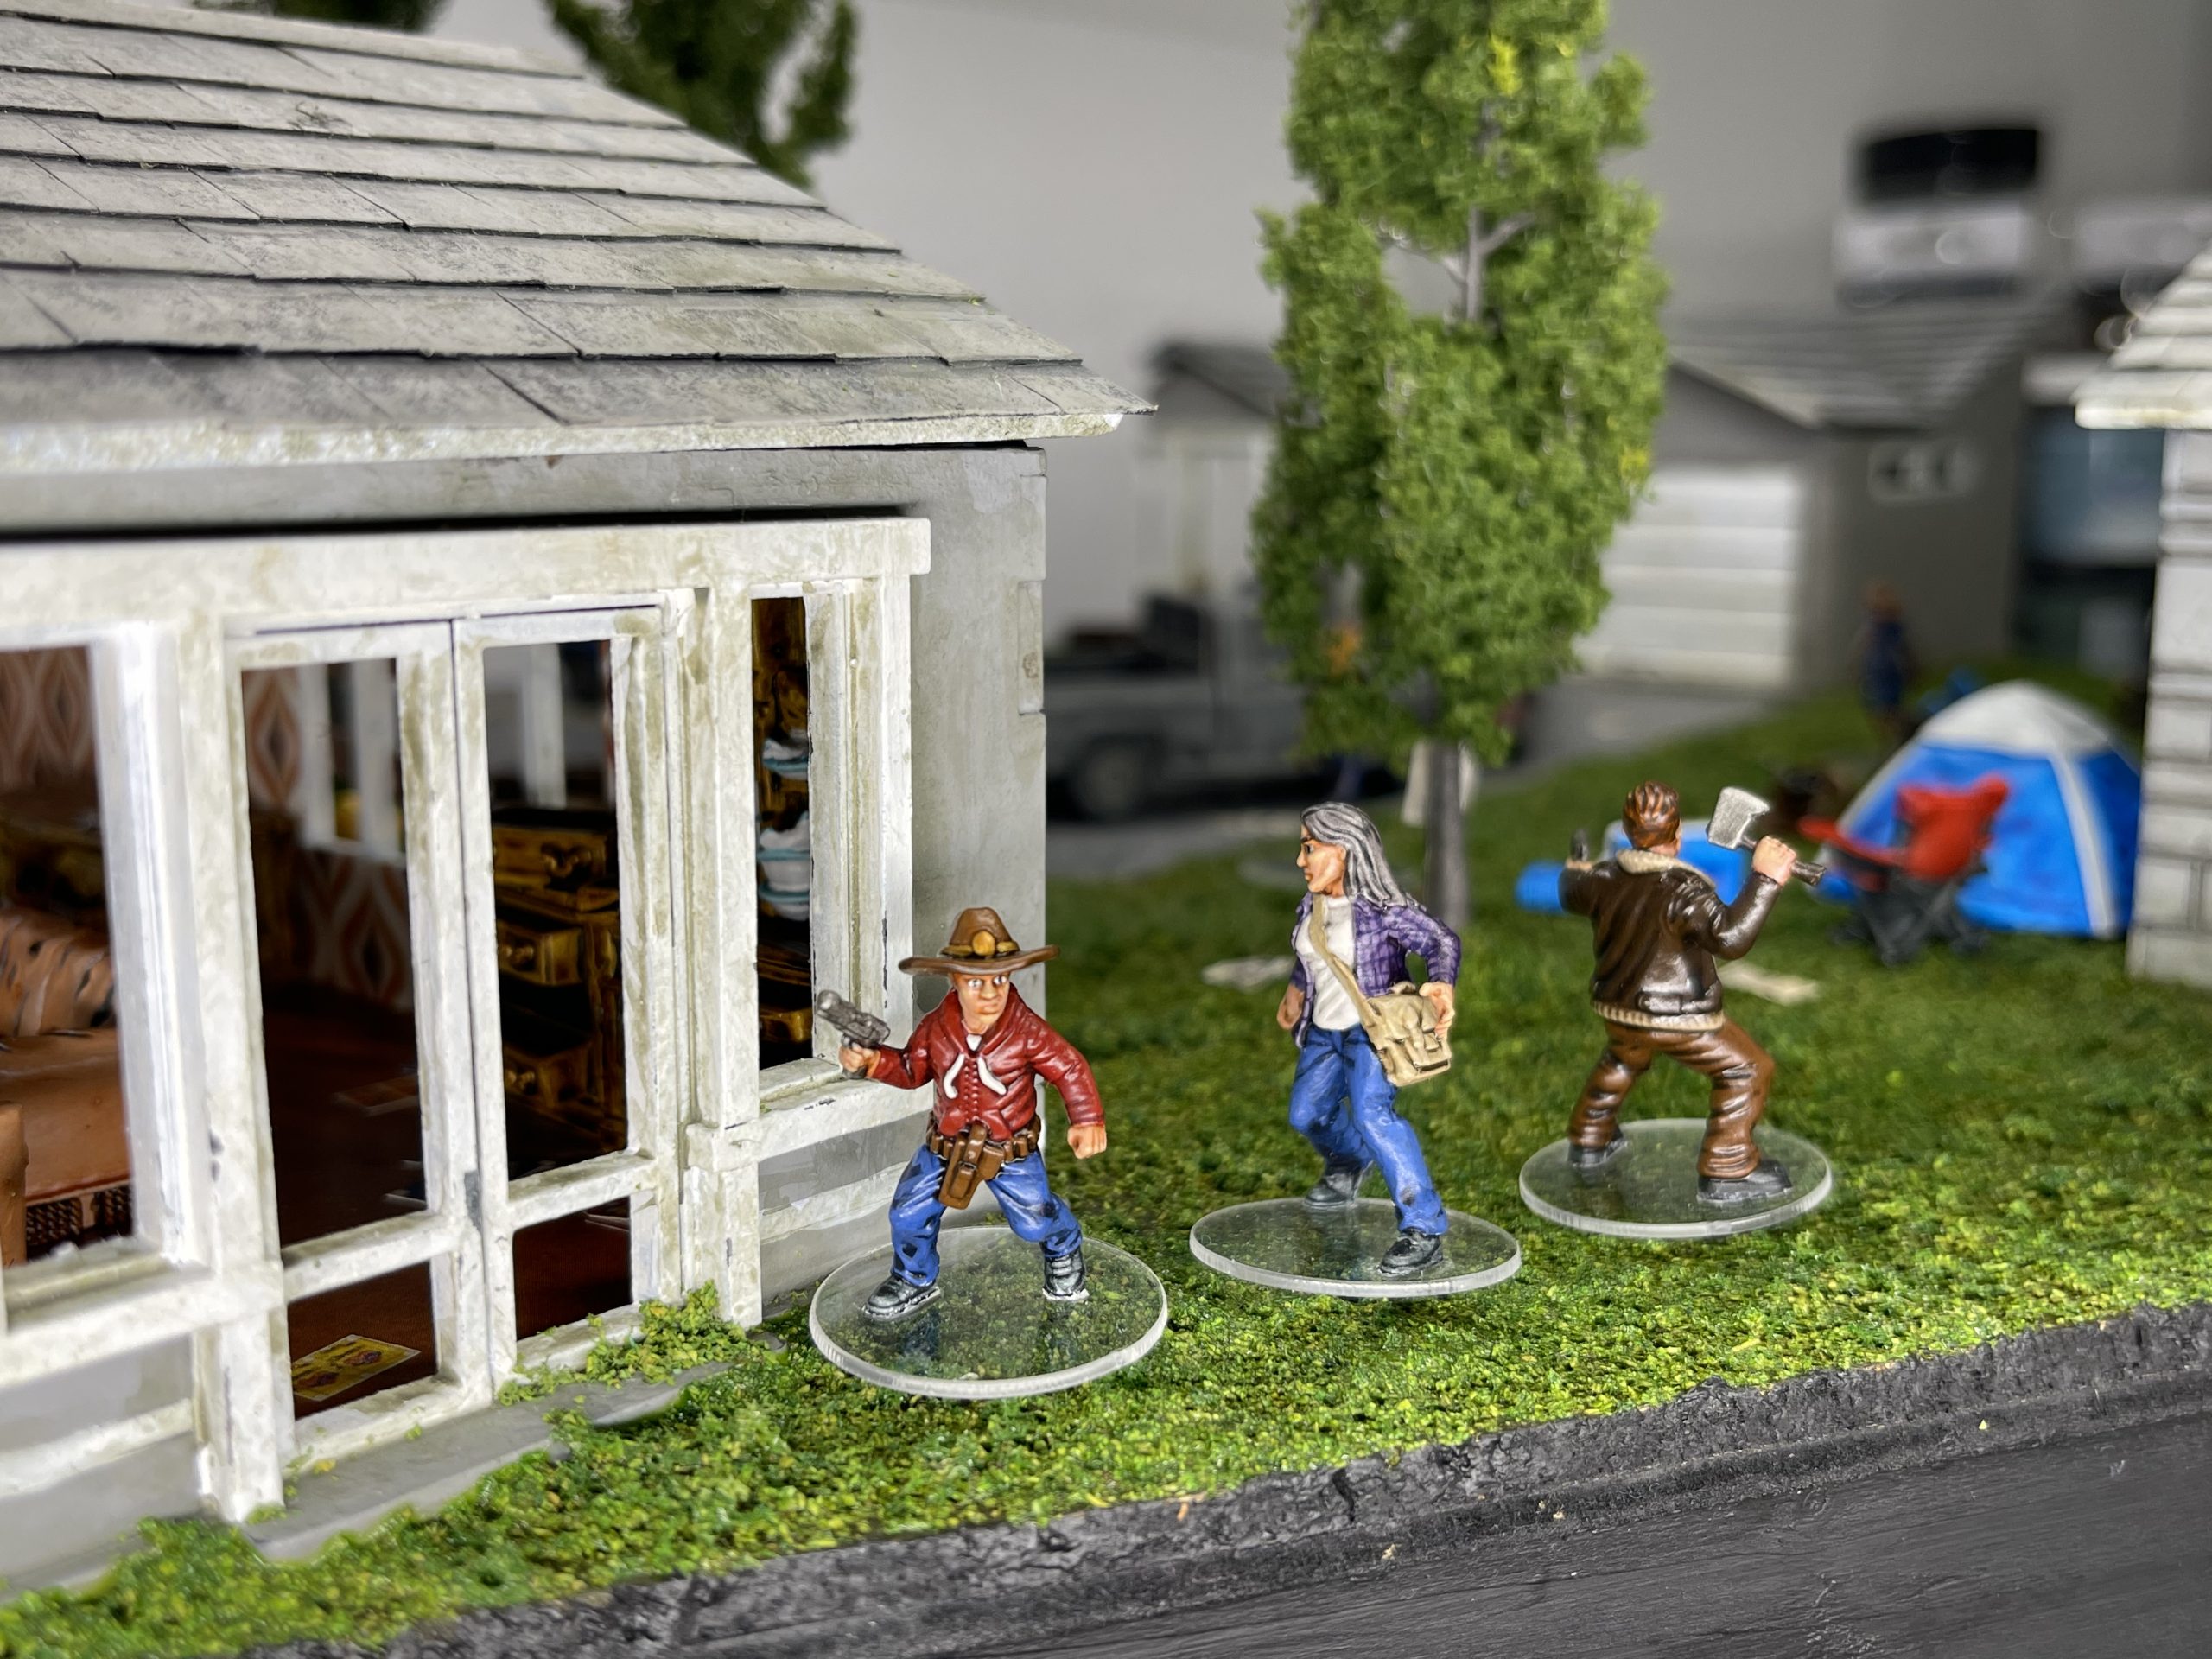
In terms of levels, this map has two and arguably actually only one. the roadway and the gardens. they’re basically the same and really there is zero advantage to be gained by being in one or the other. The houses sometimes have added height to them (blue house) but the biggest bonus from them is cover, being able to shoot out the windows at your annoying neighbours.
In terms of playability, no idea. If i was to have this table at a tourney i think i would make the garage house and the damaged house the starting zones and then have people fight it out. I would also write some rules fluff about all the windows being accessible etc, the number of doors or routes out of some of the houses are limited (garage house) and so a little theatre of the mind is needed to make it a bit less asymmetric for a tourney. Also, if i was to make a tourney using these boards, id need to paint more moveable scatter as i naturally only have one set.
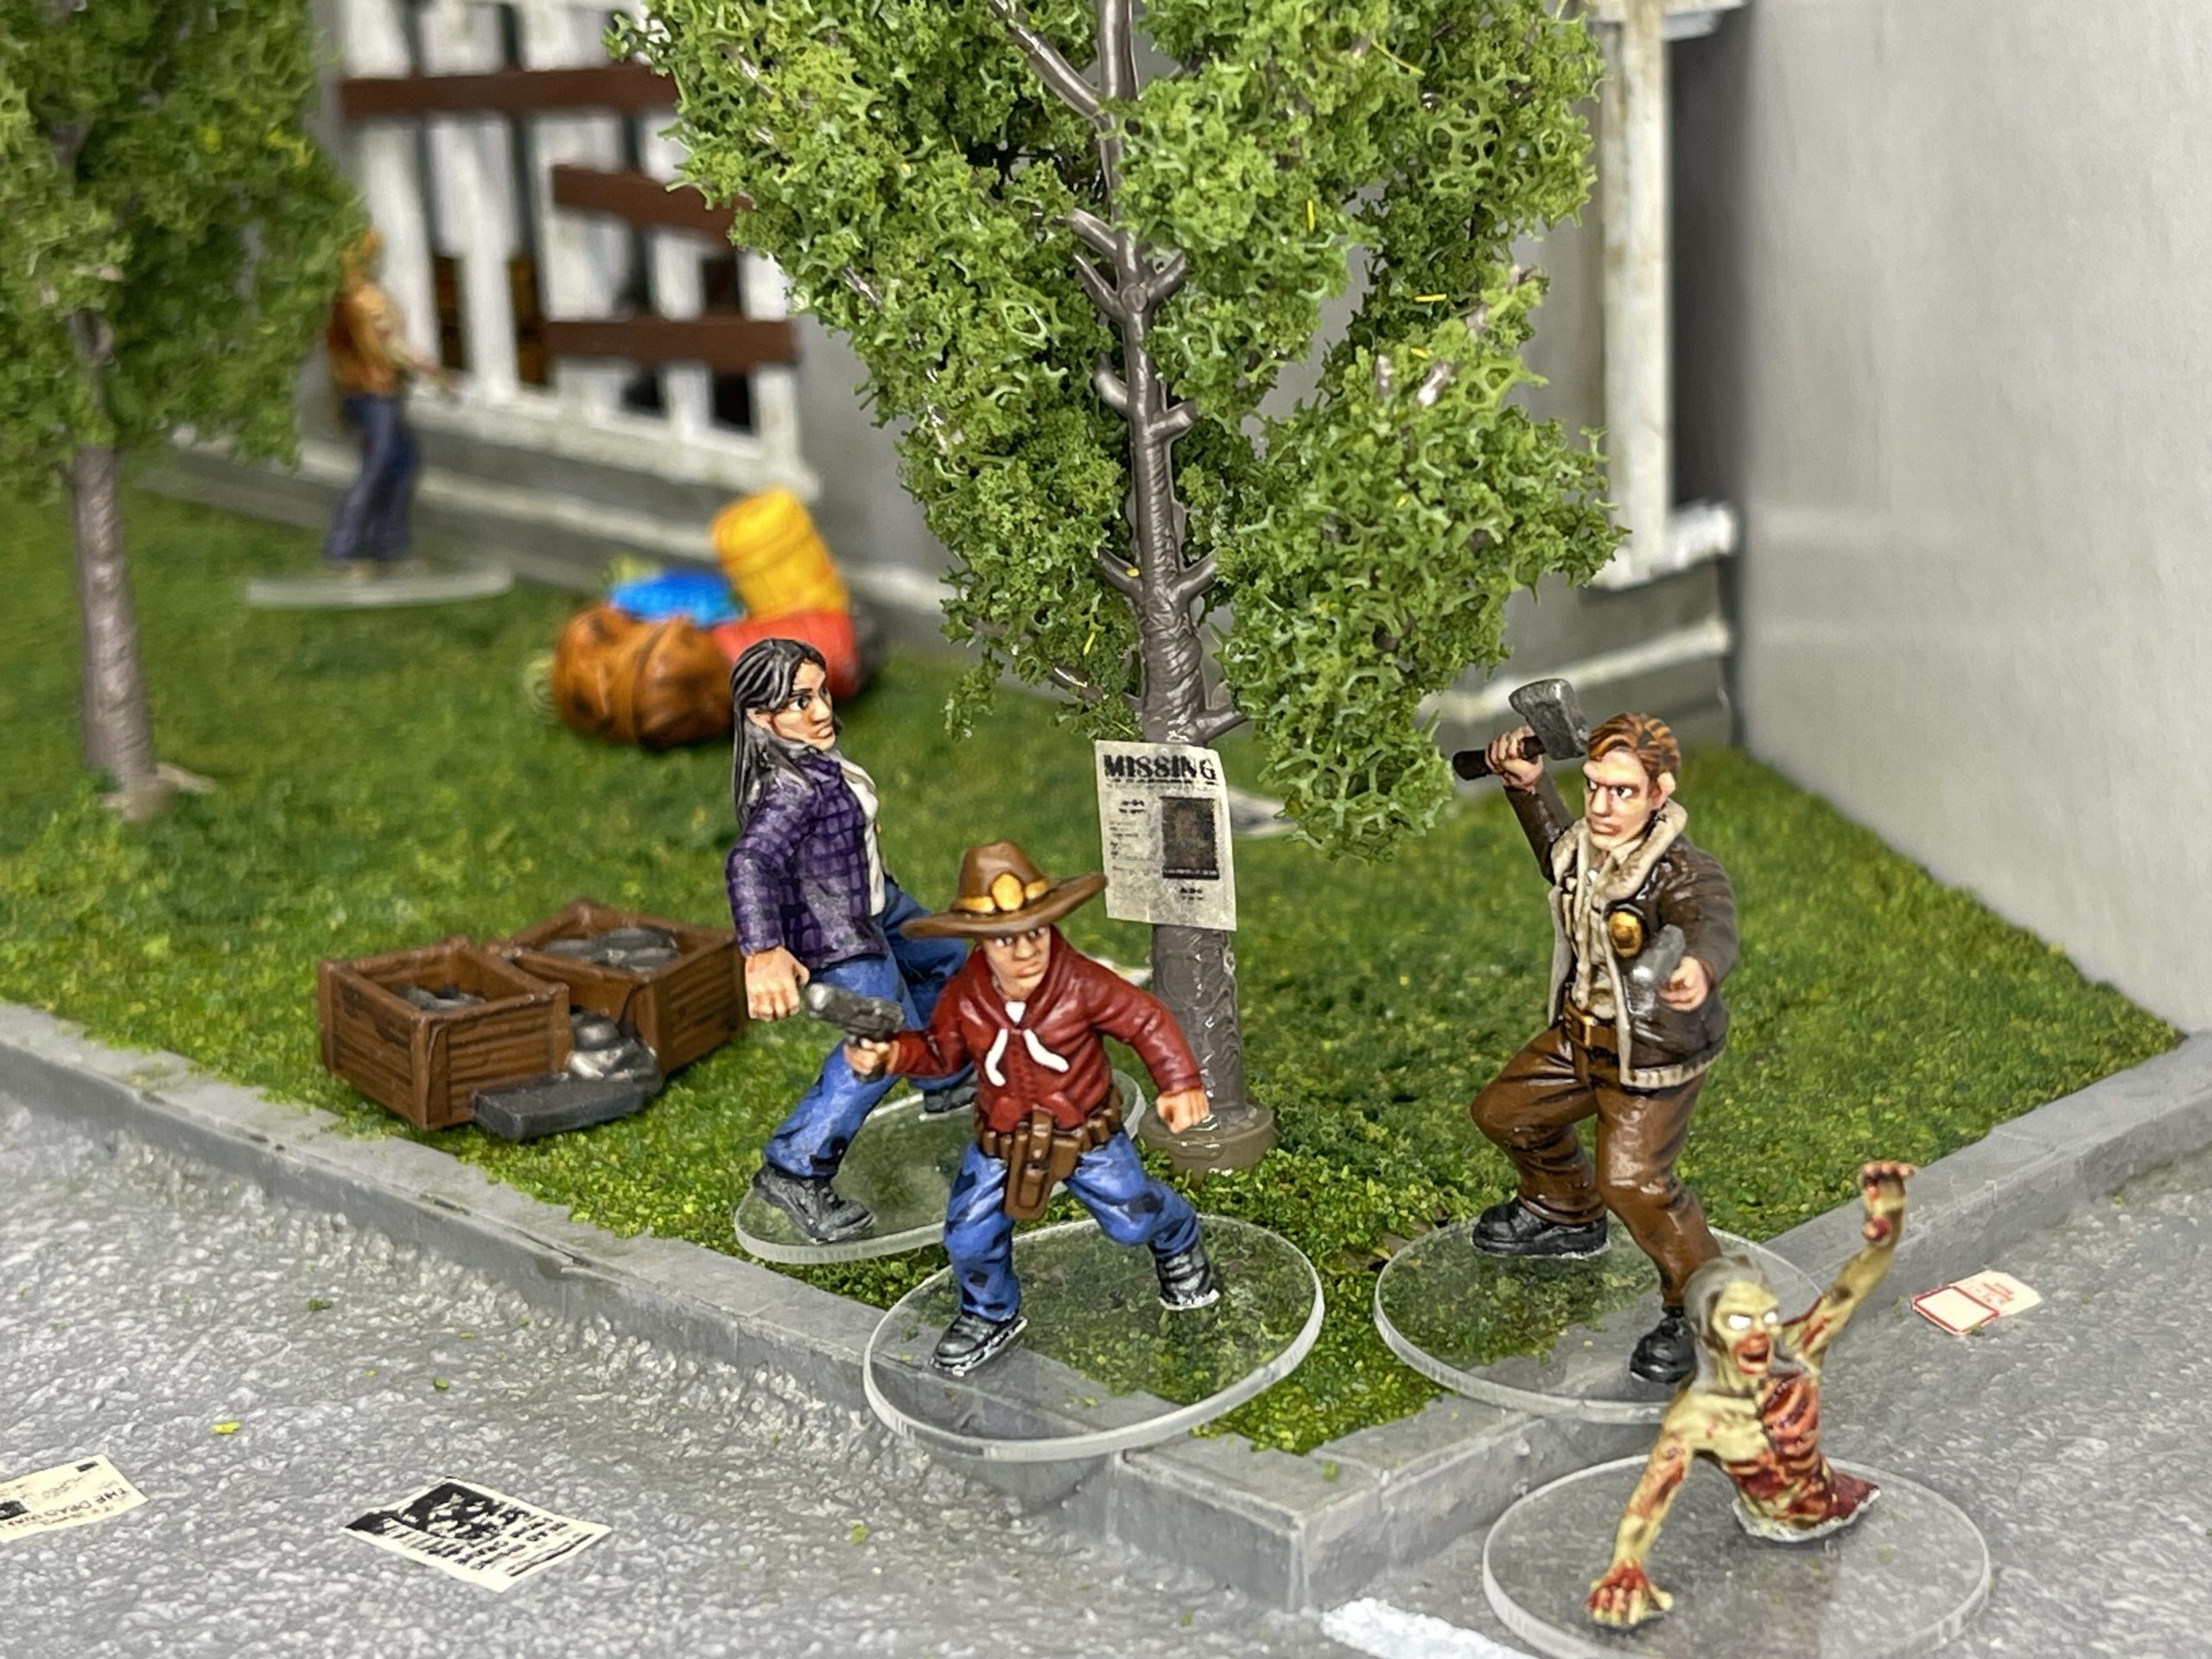
In terms of cool factor, it’s right up there. I mean come on, 3 fully painted, fully interior’ed buildings, a nice road with everything you could need on it, random debris and all sorts of tiny details like wallpaper, carpets and cocks! what more could you want? the only thing i think it is missing is maybe letterboxes and manhole covers. they’re made up by the missing posters on the trees though.
Would i play on it, yes! would you play on it? comment below your answer and support this terrainfest 2025/26 entry!

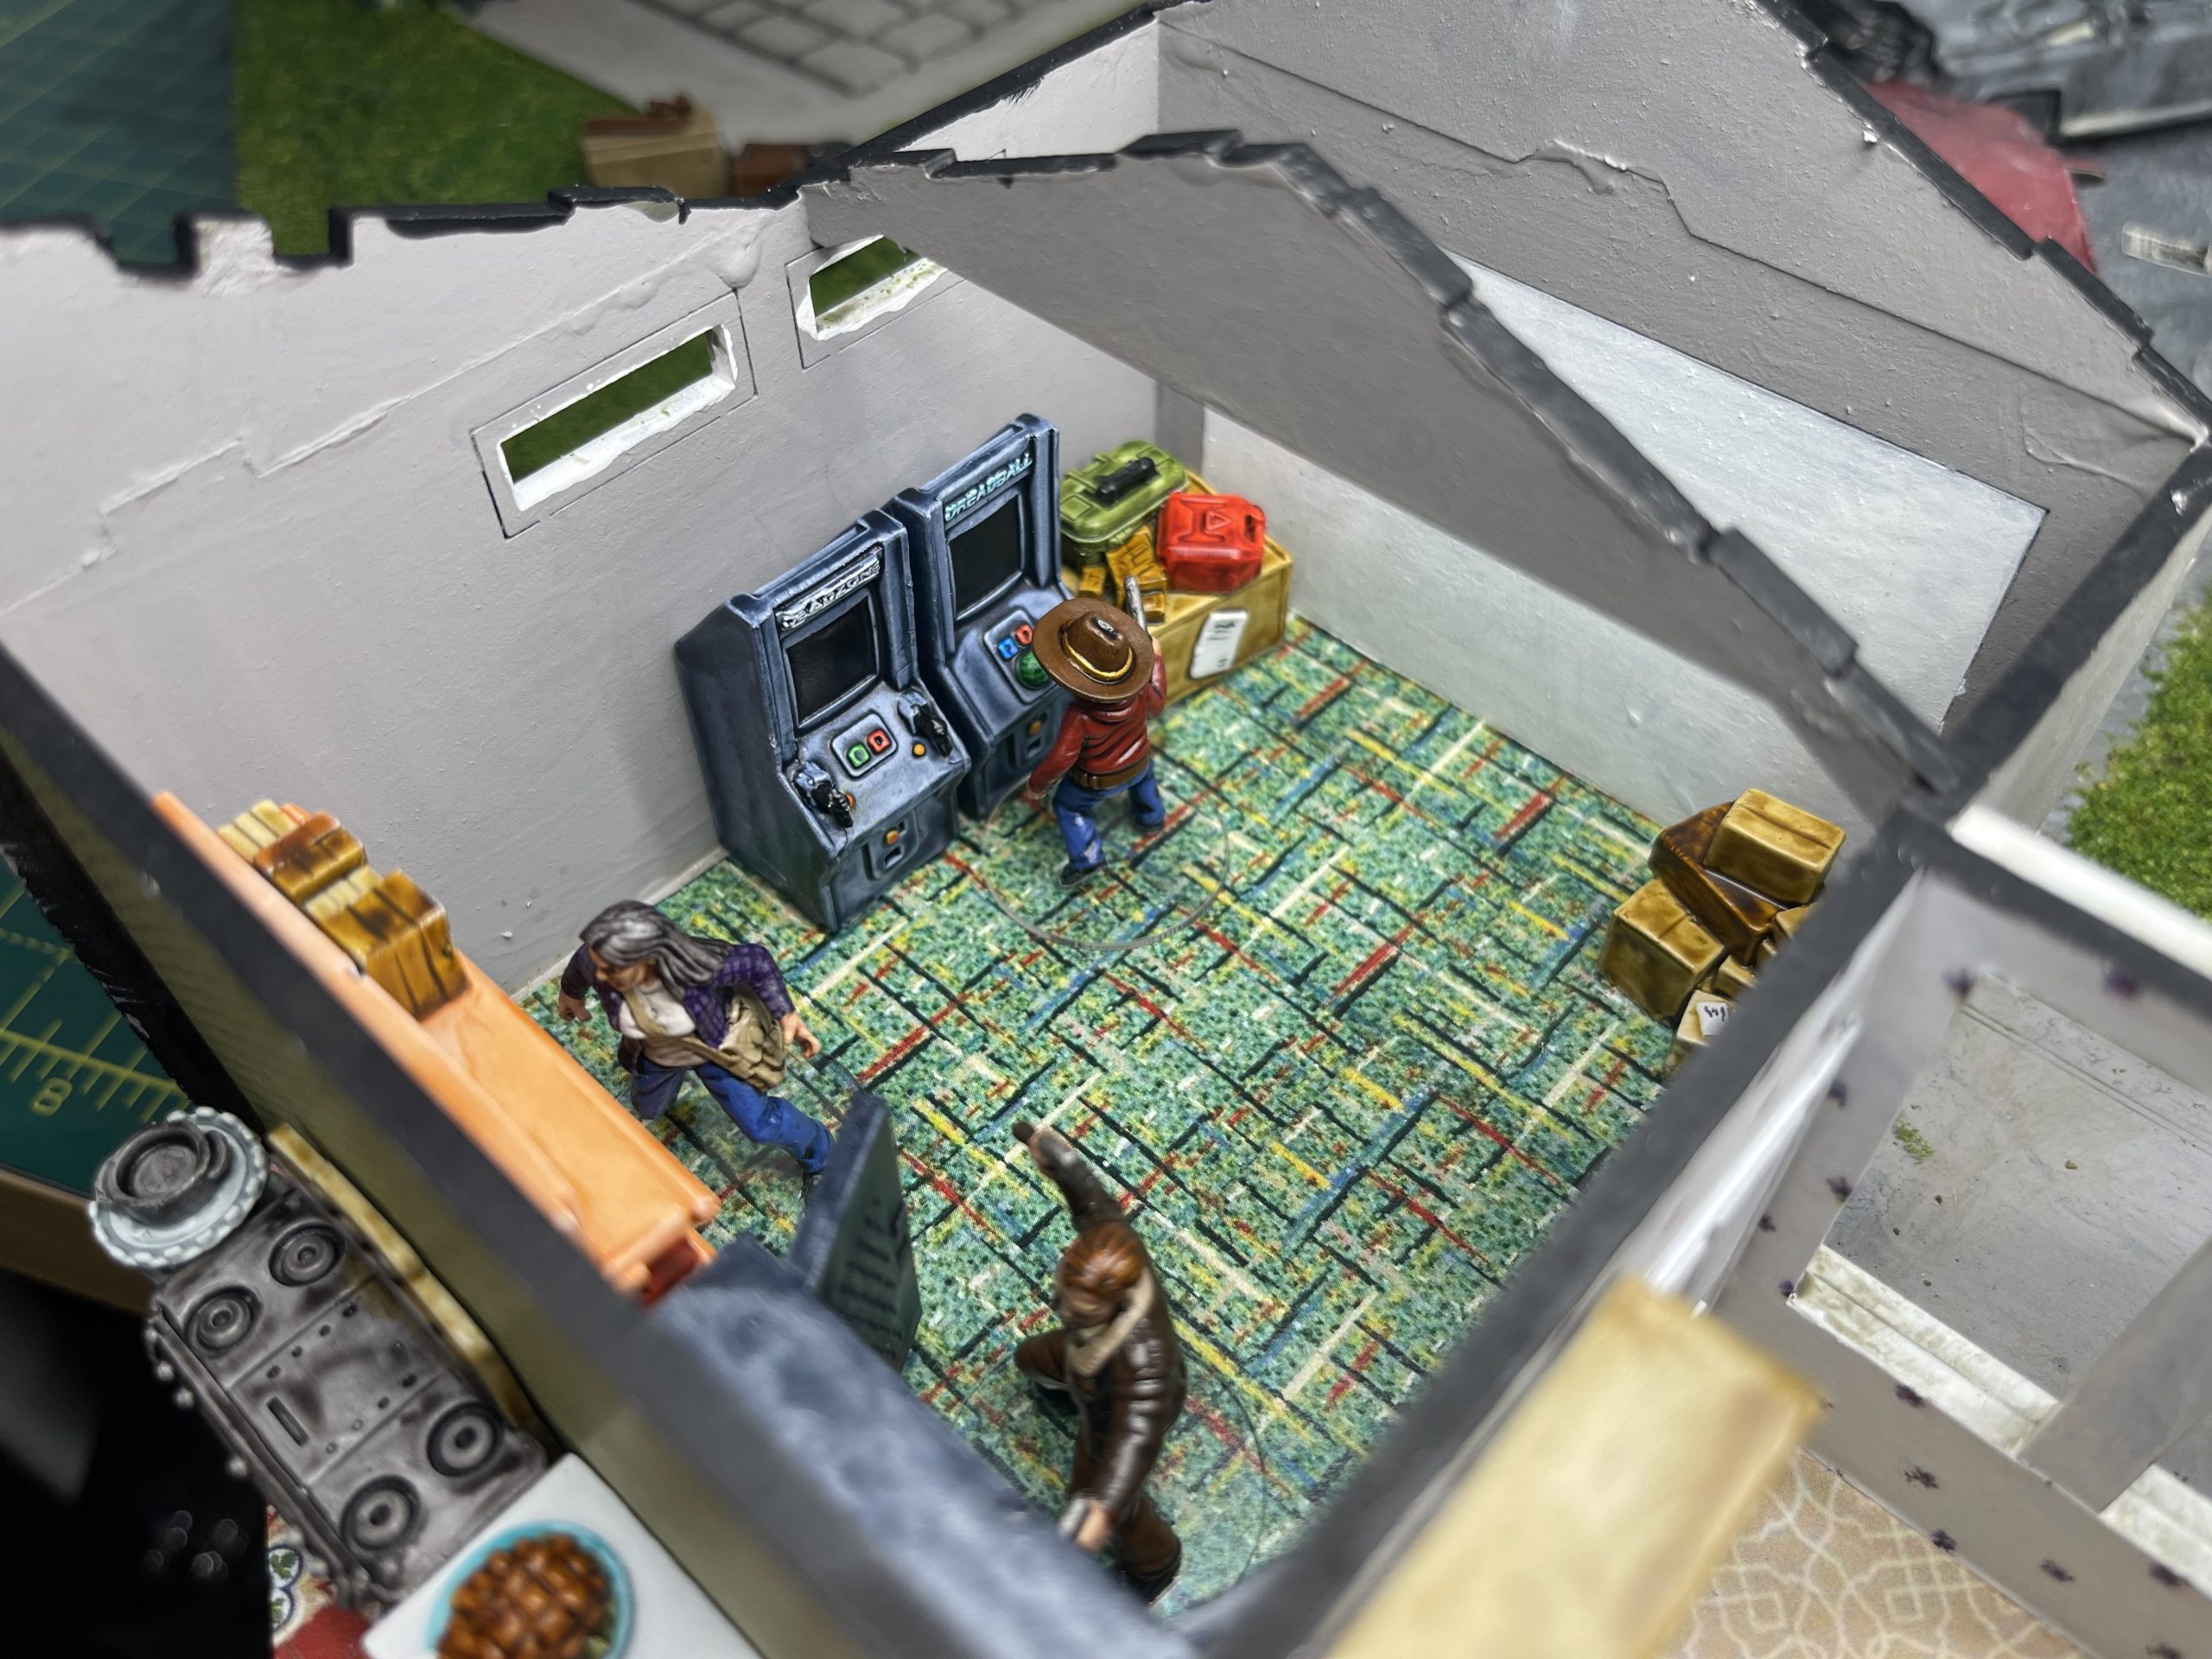

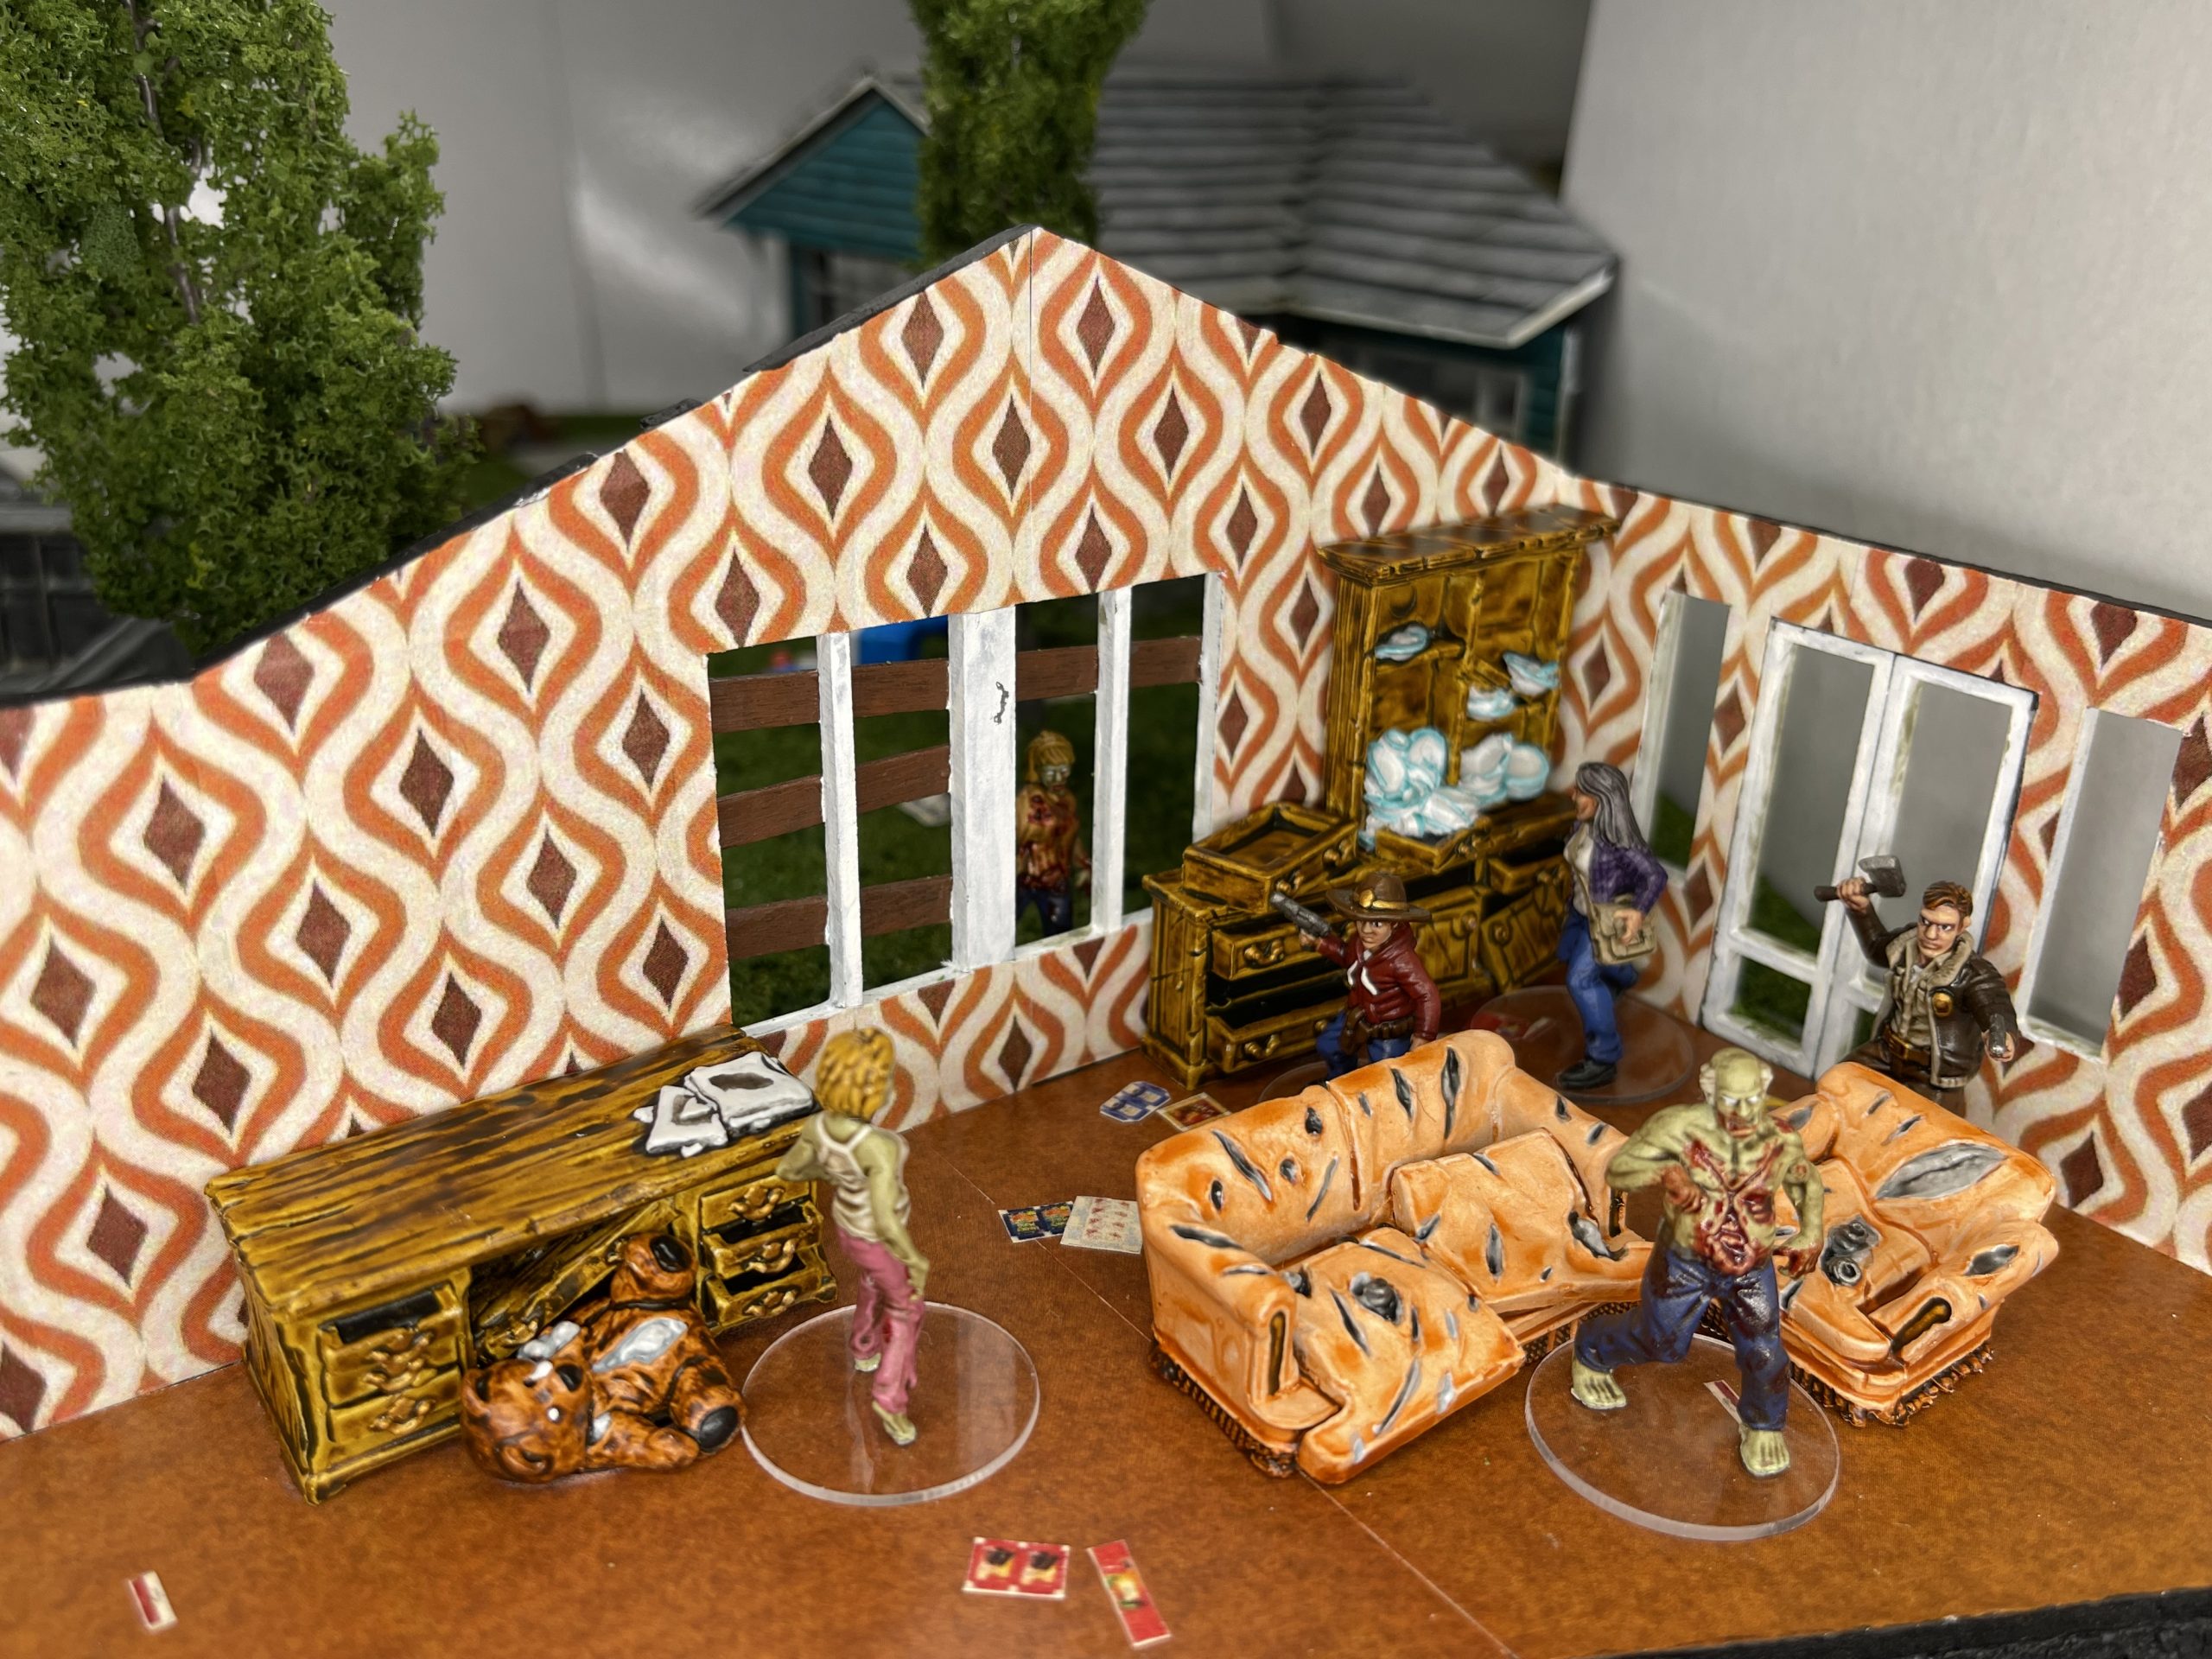
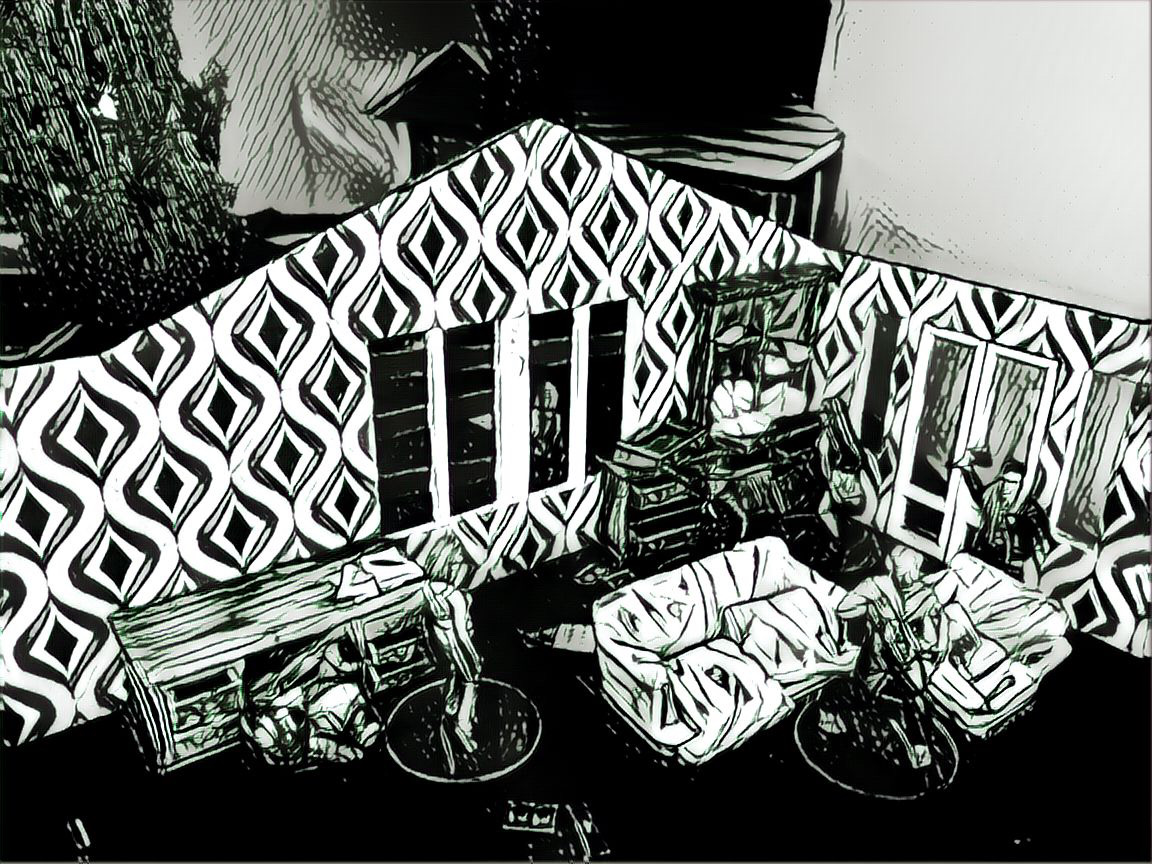
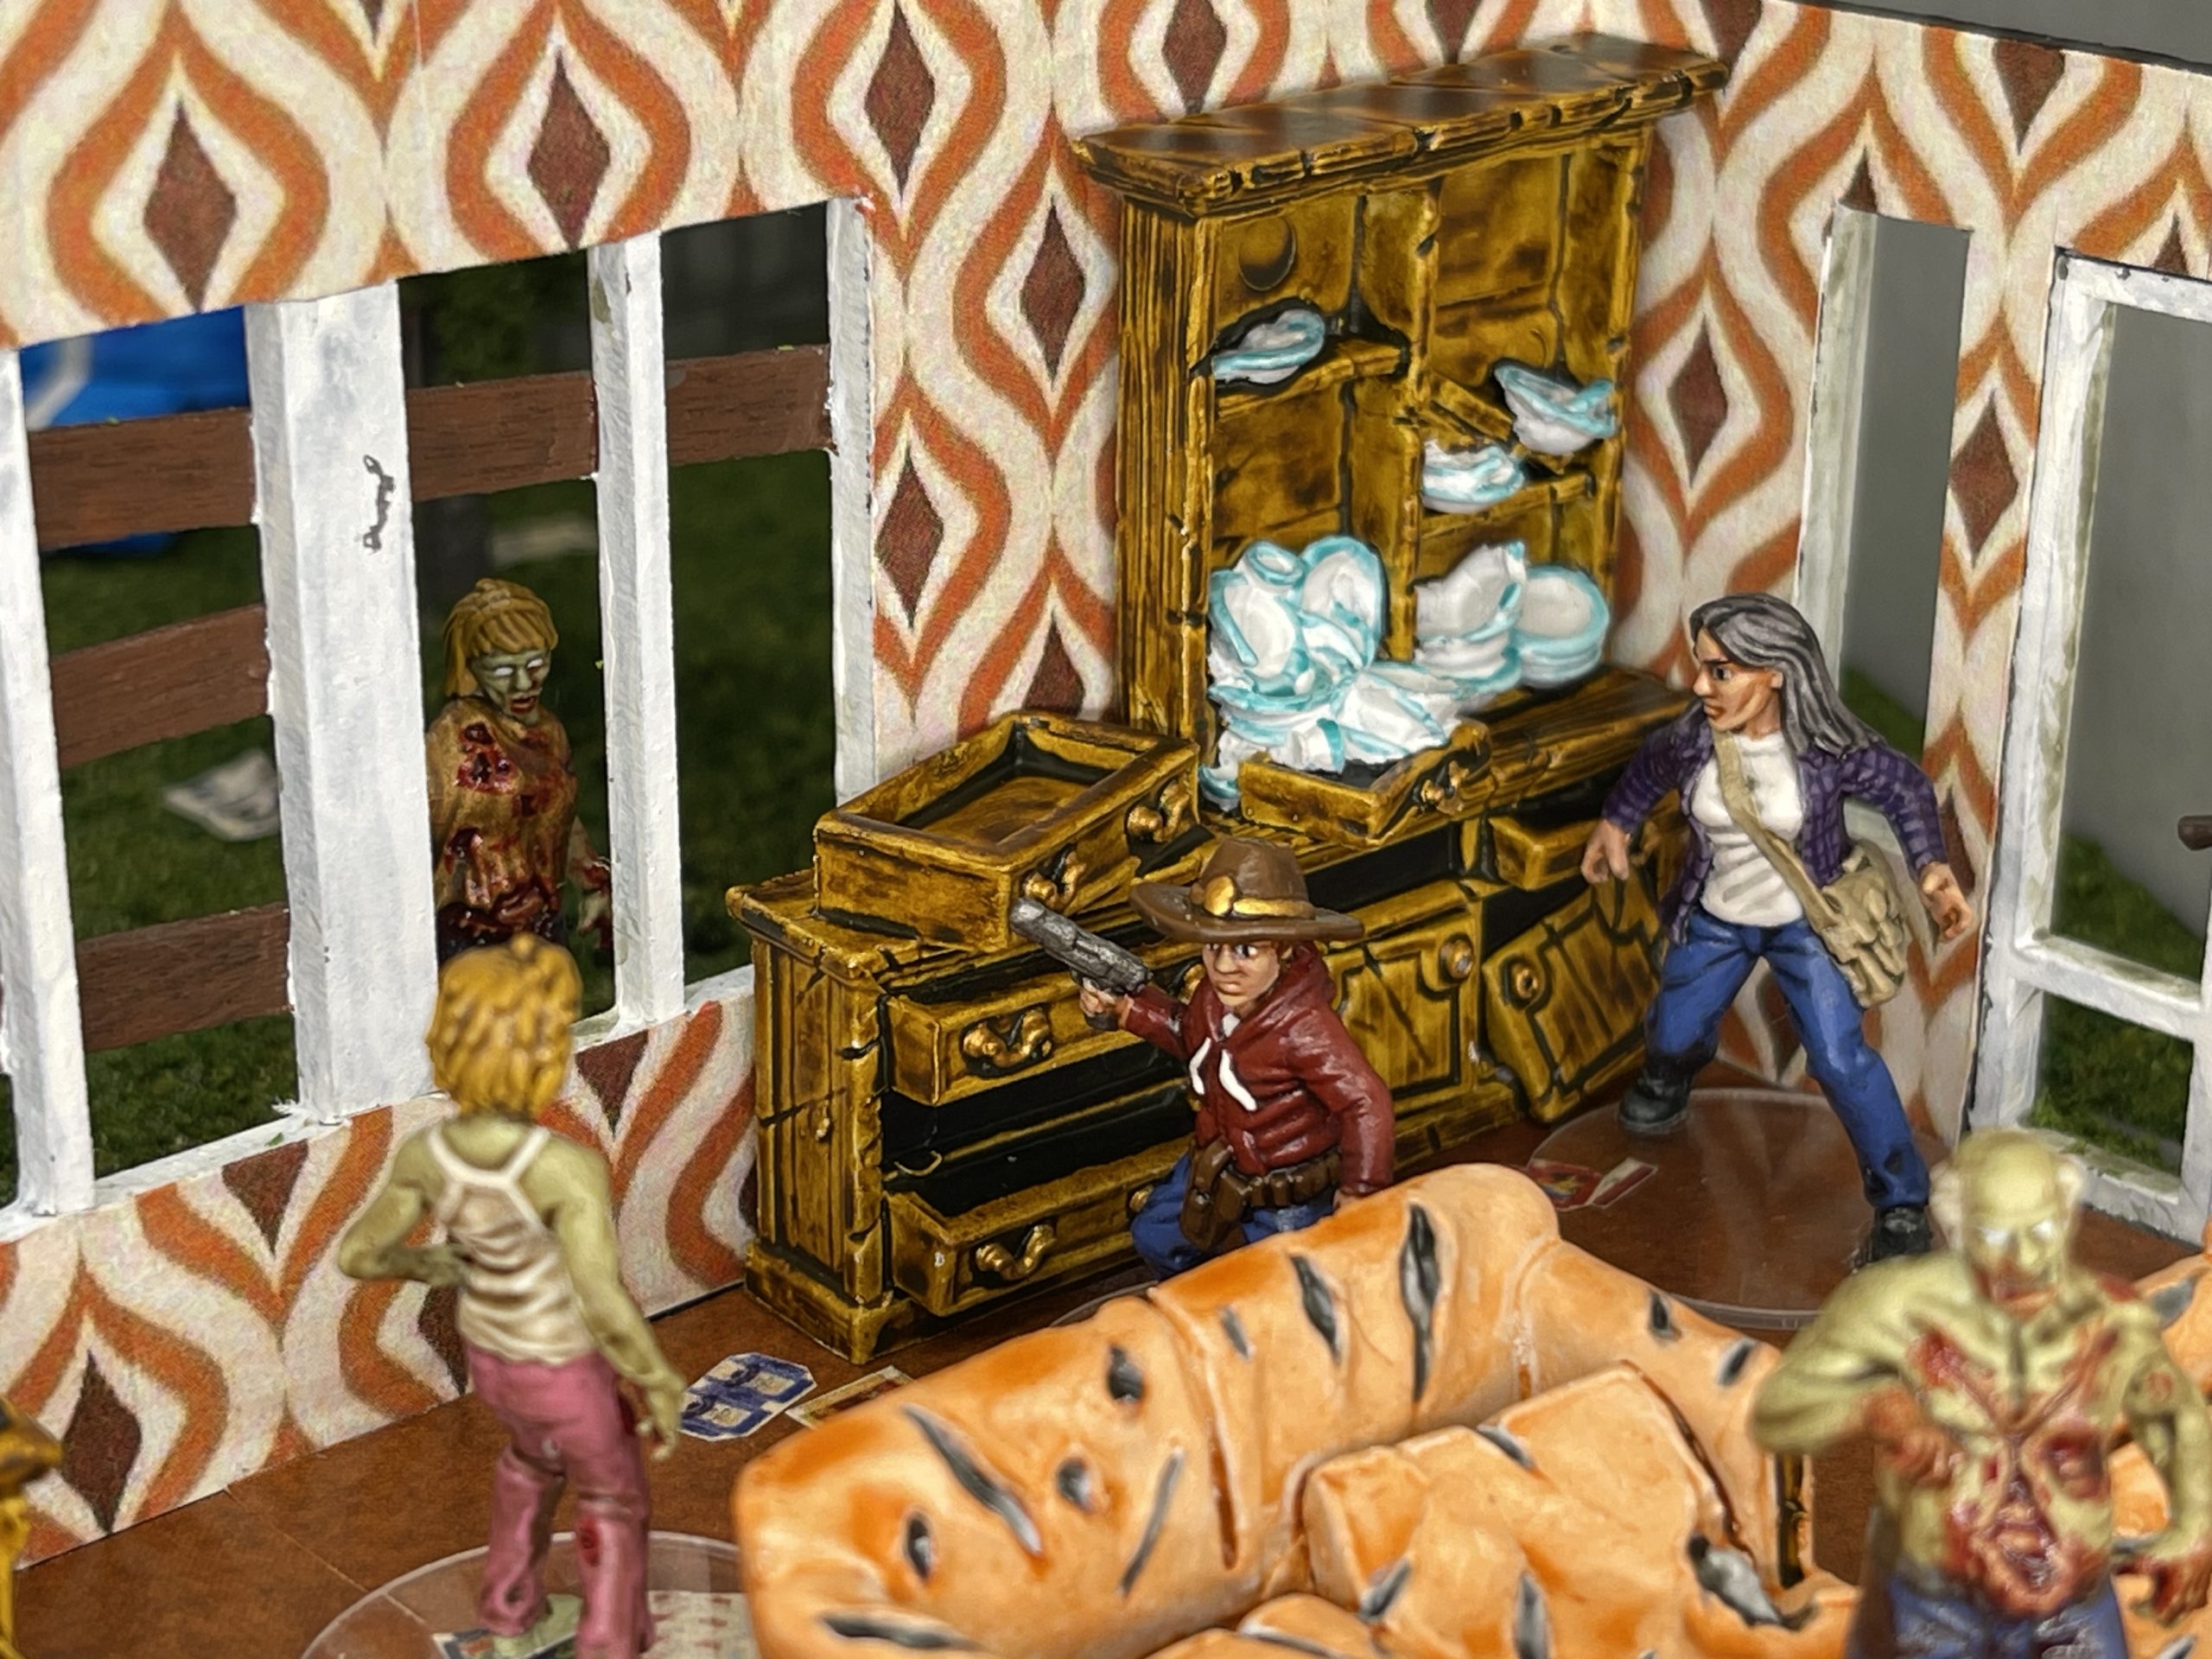
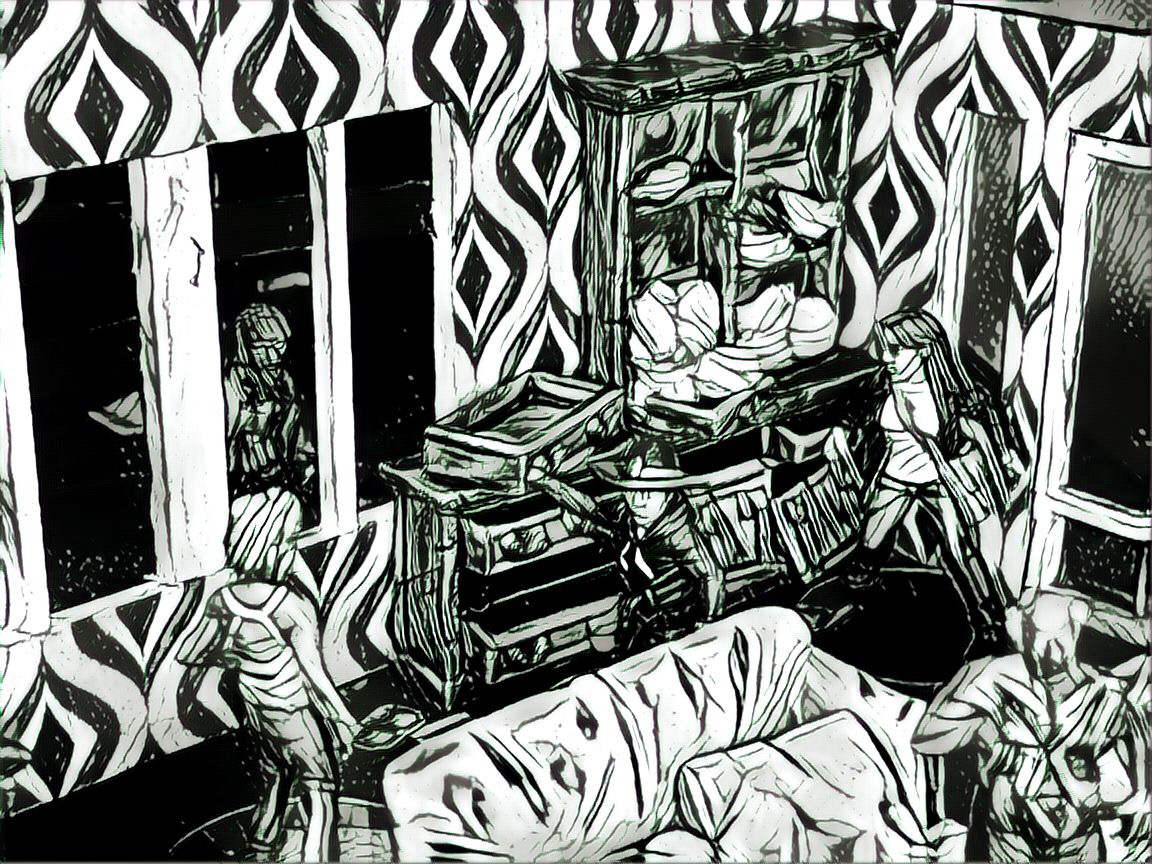
final room furnishings are done!


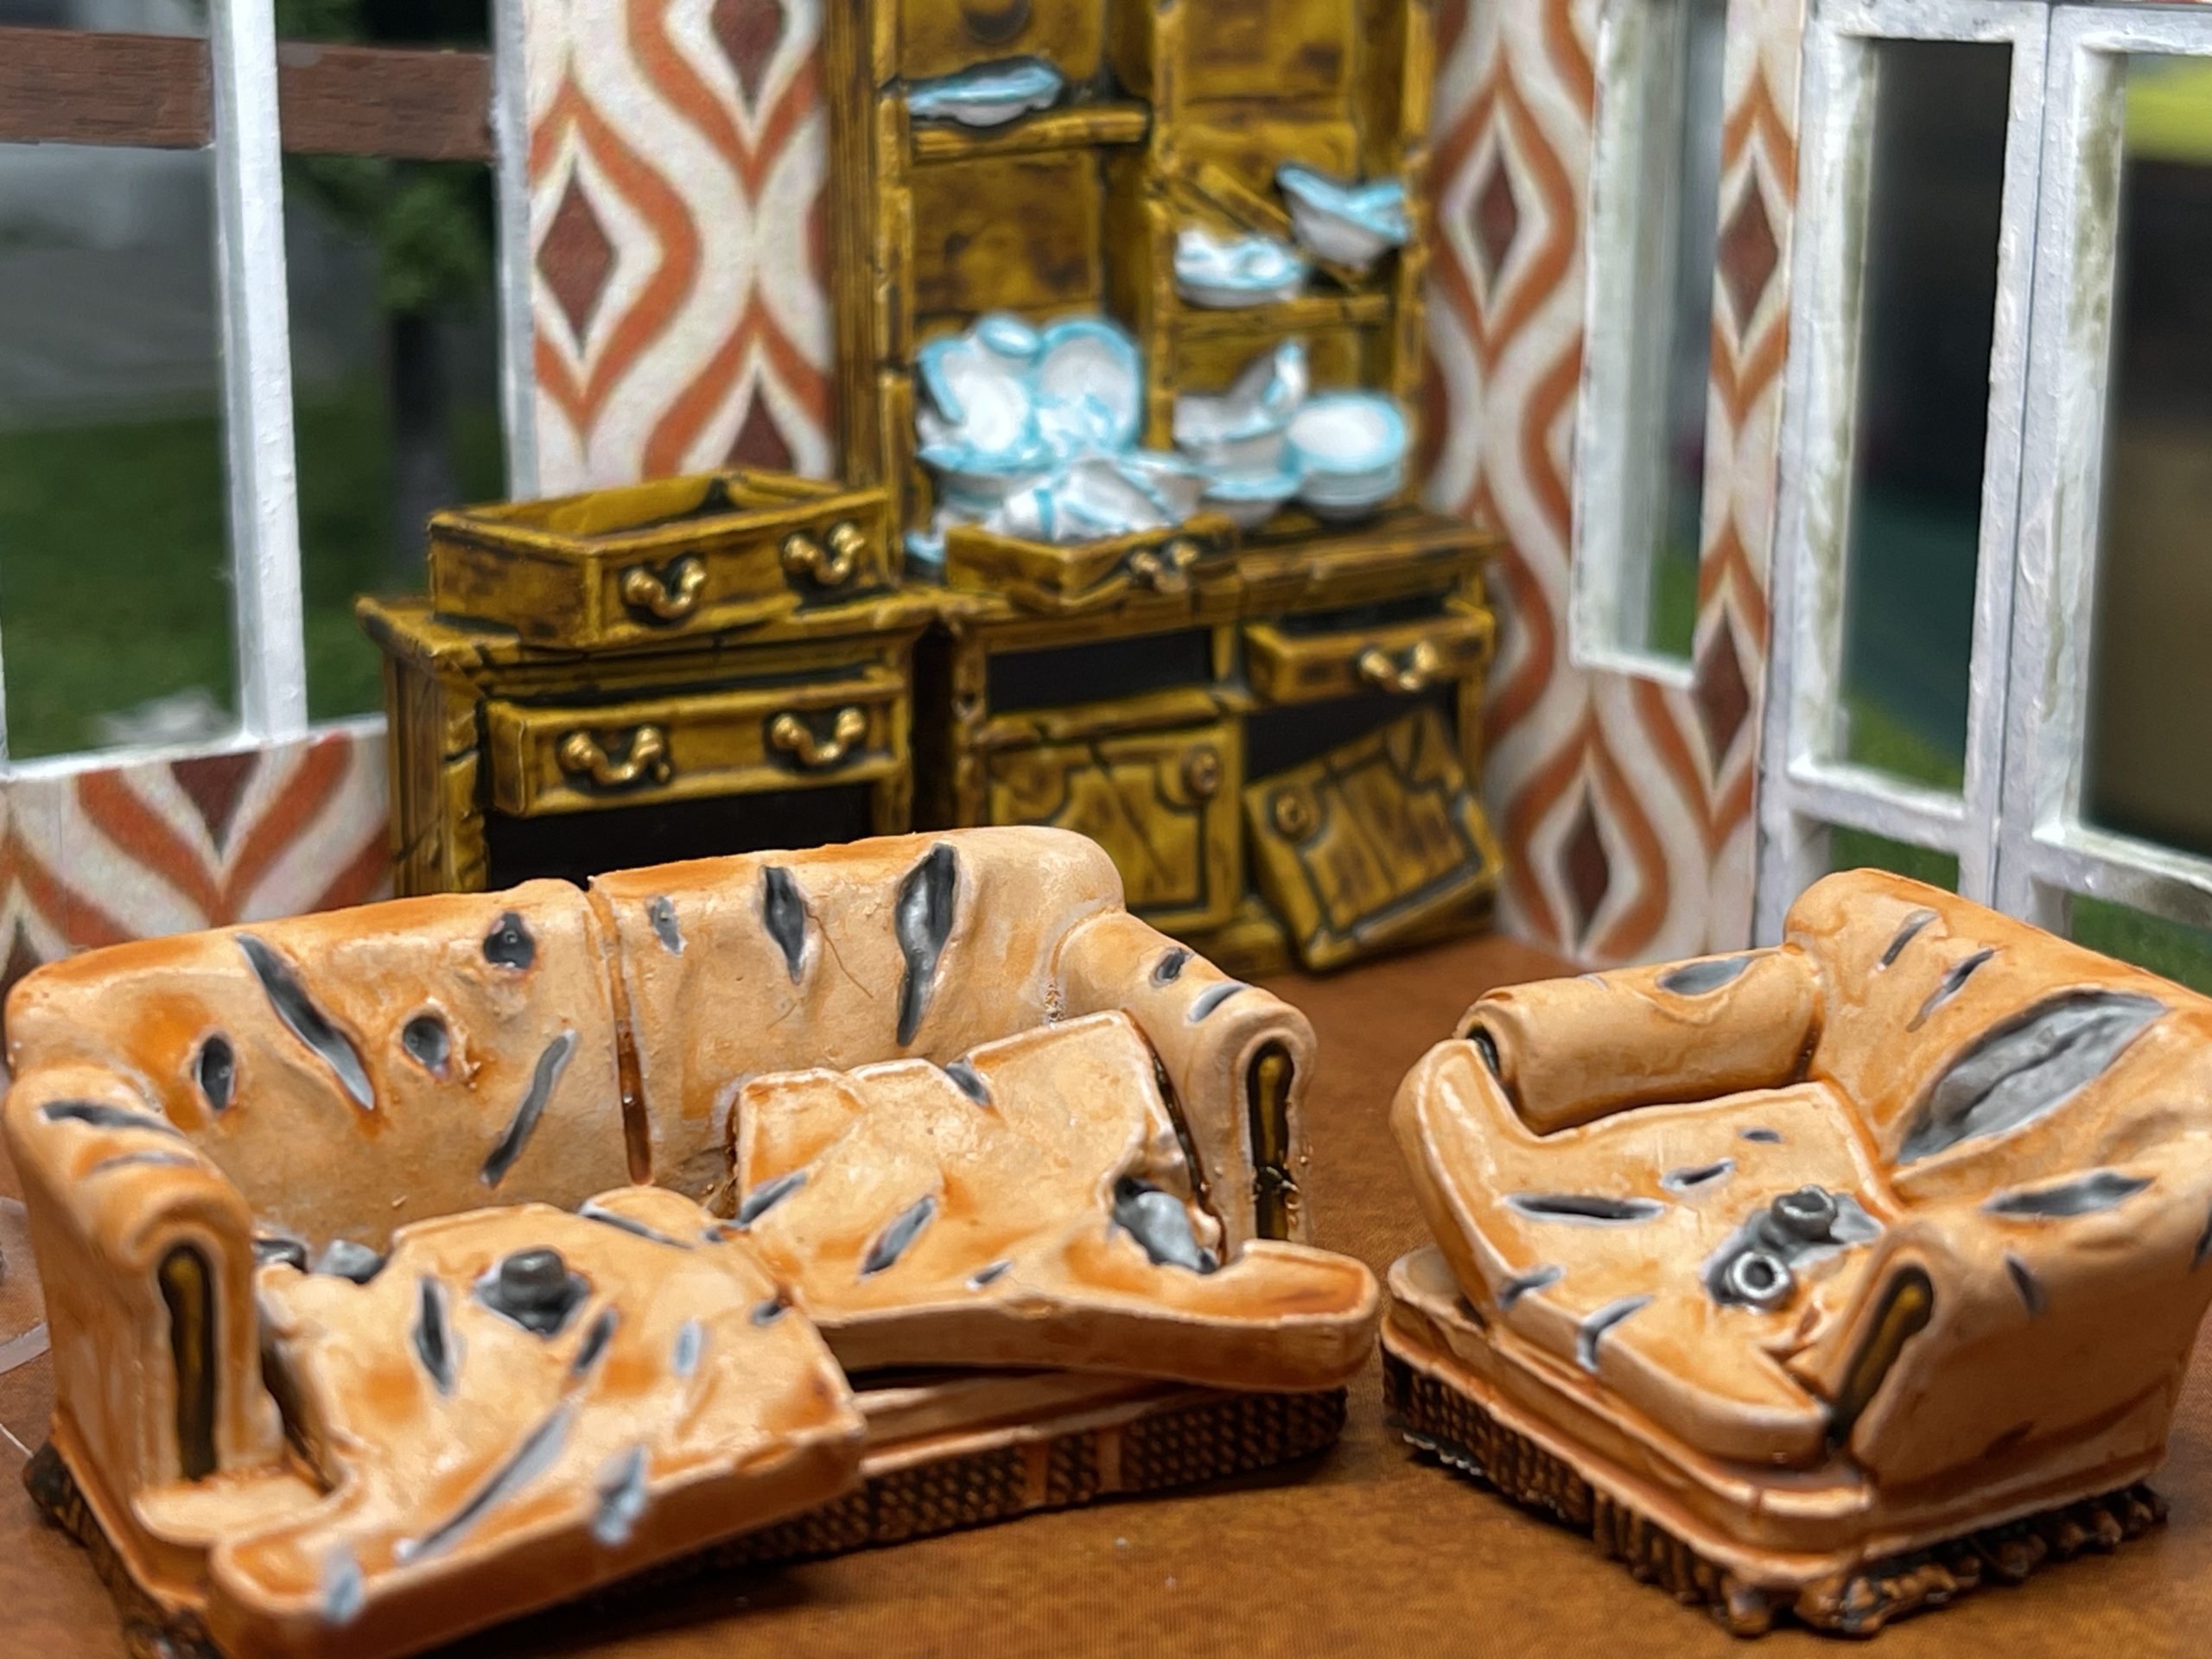
The sofas on this one were easier to do and look better to be honest. instead of being a flat purple the ripped up and knackered nature of them really gives a minor hint of interest to them. painted the inner an off-white then grey washed and black pin washed it to make it look like sofa sponge.
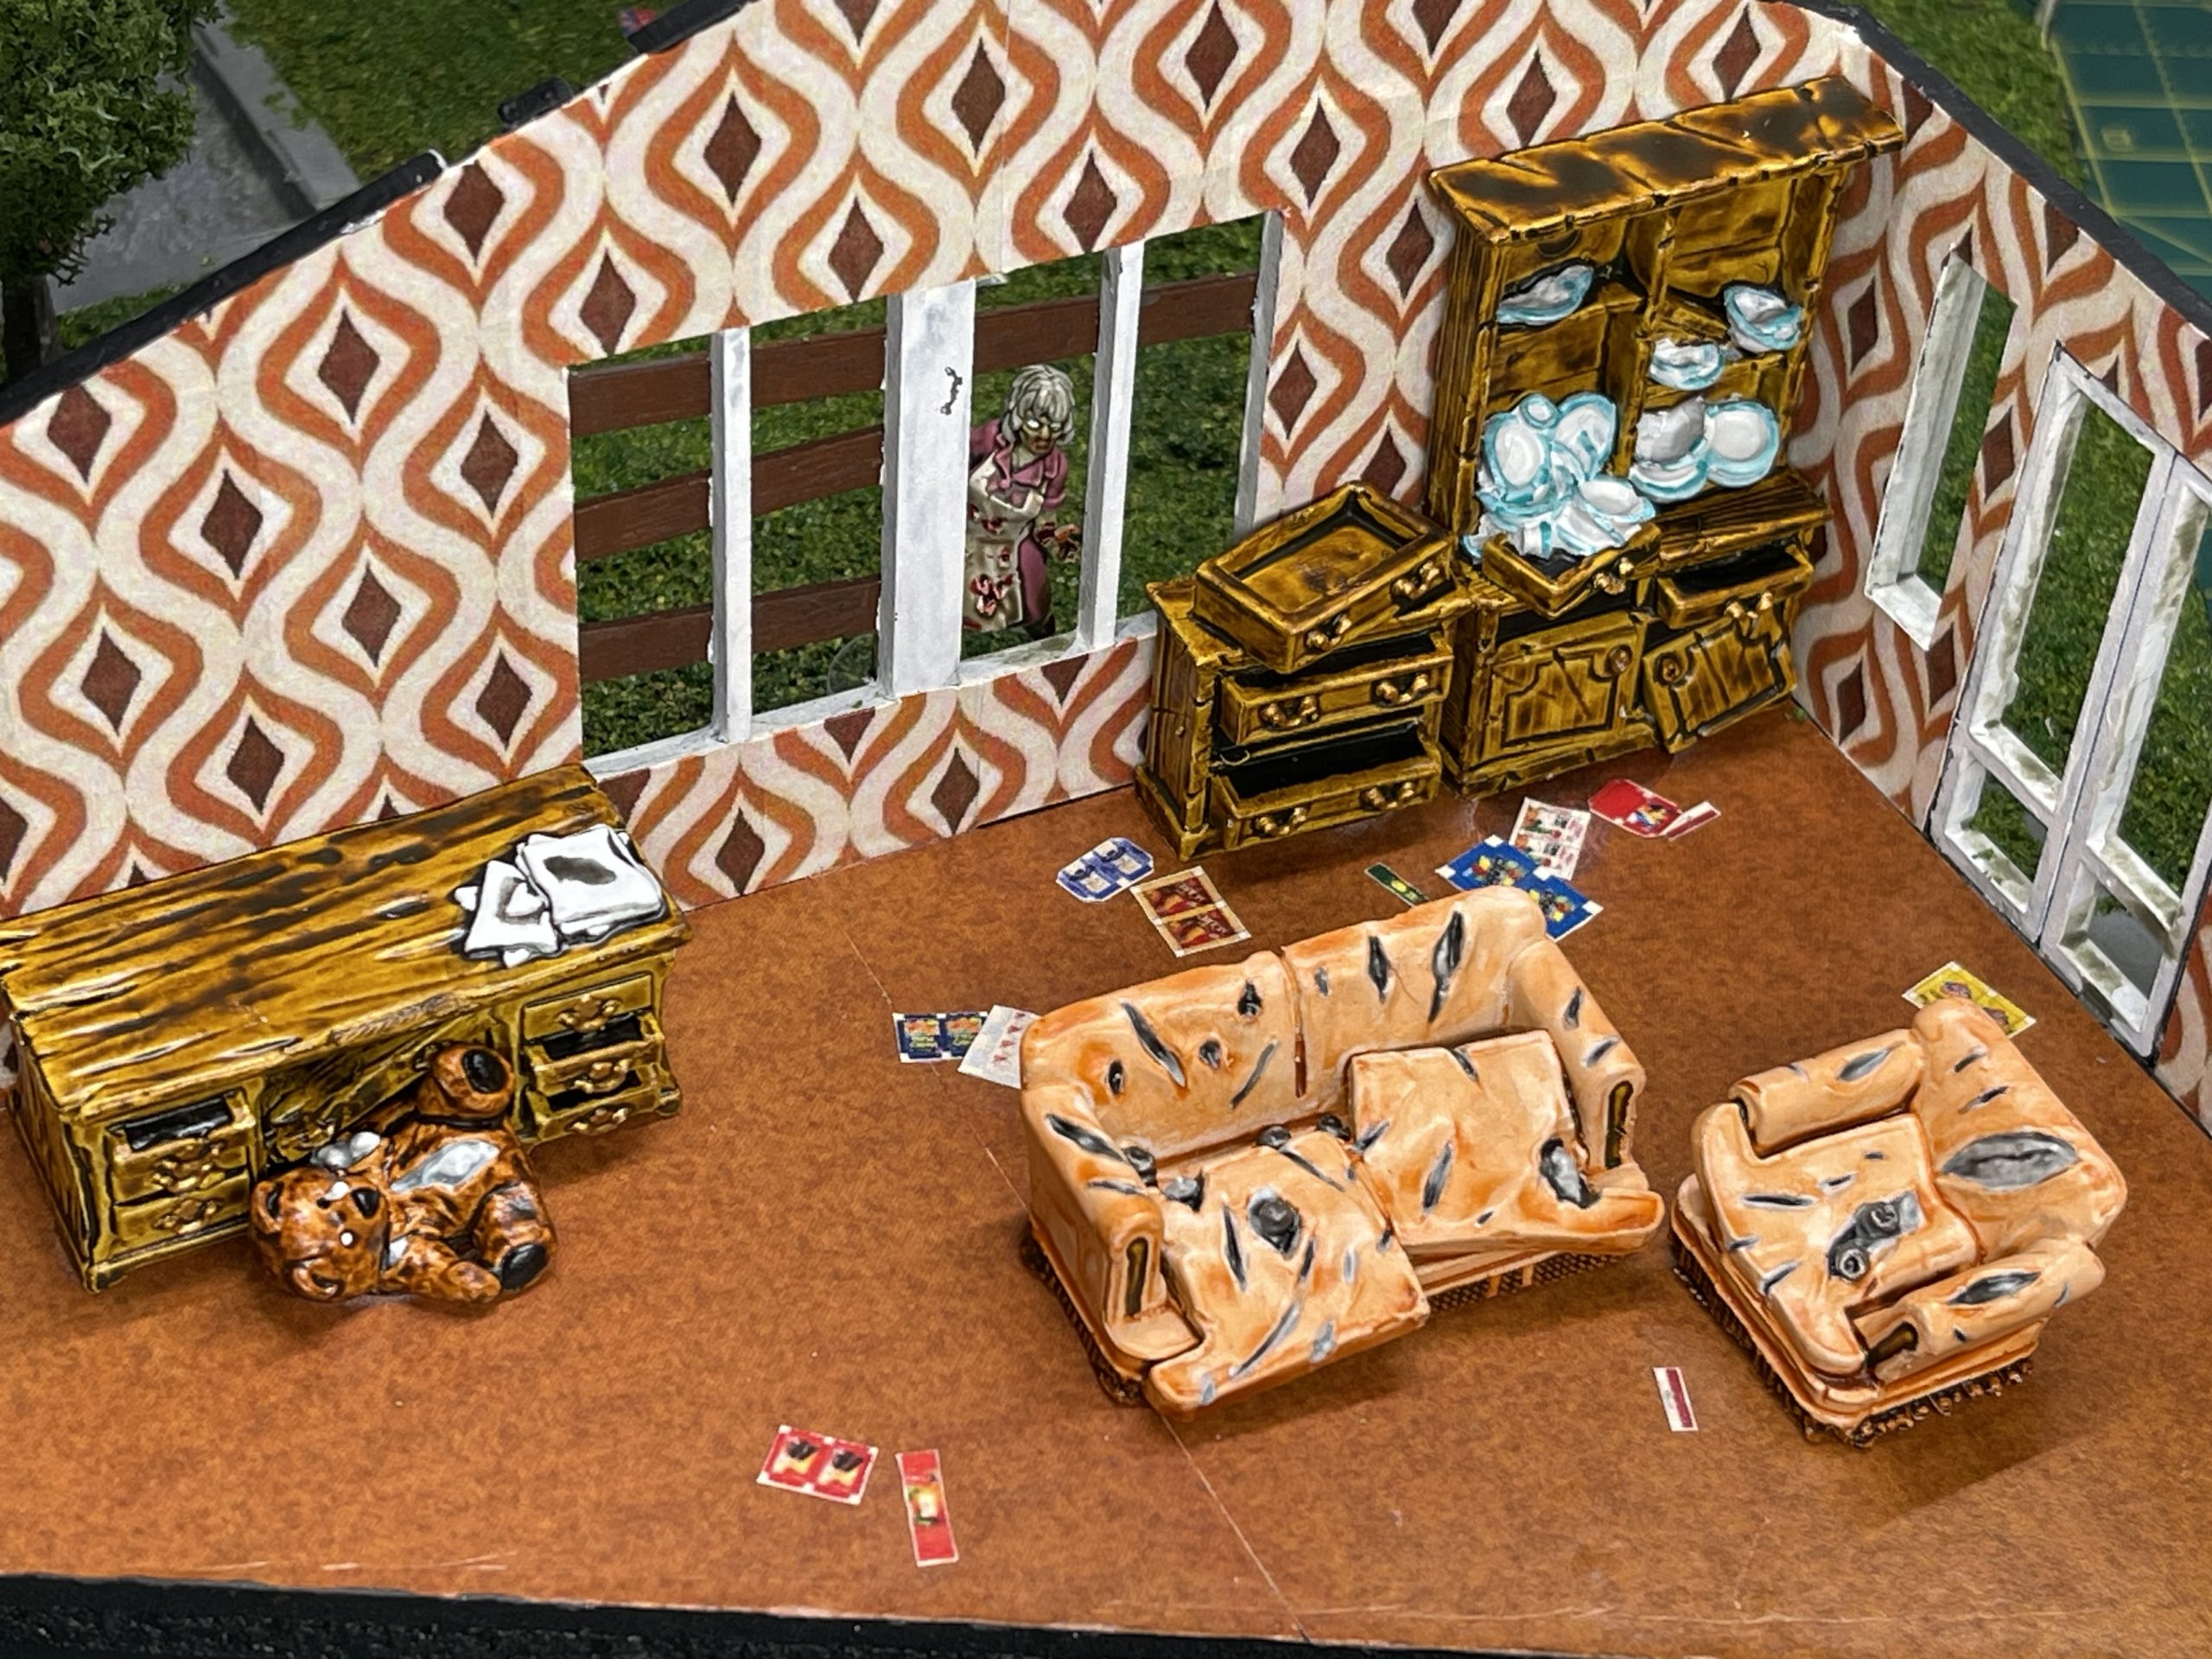
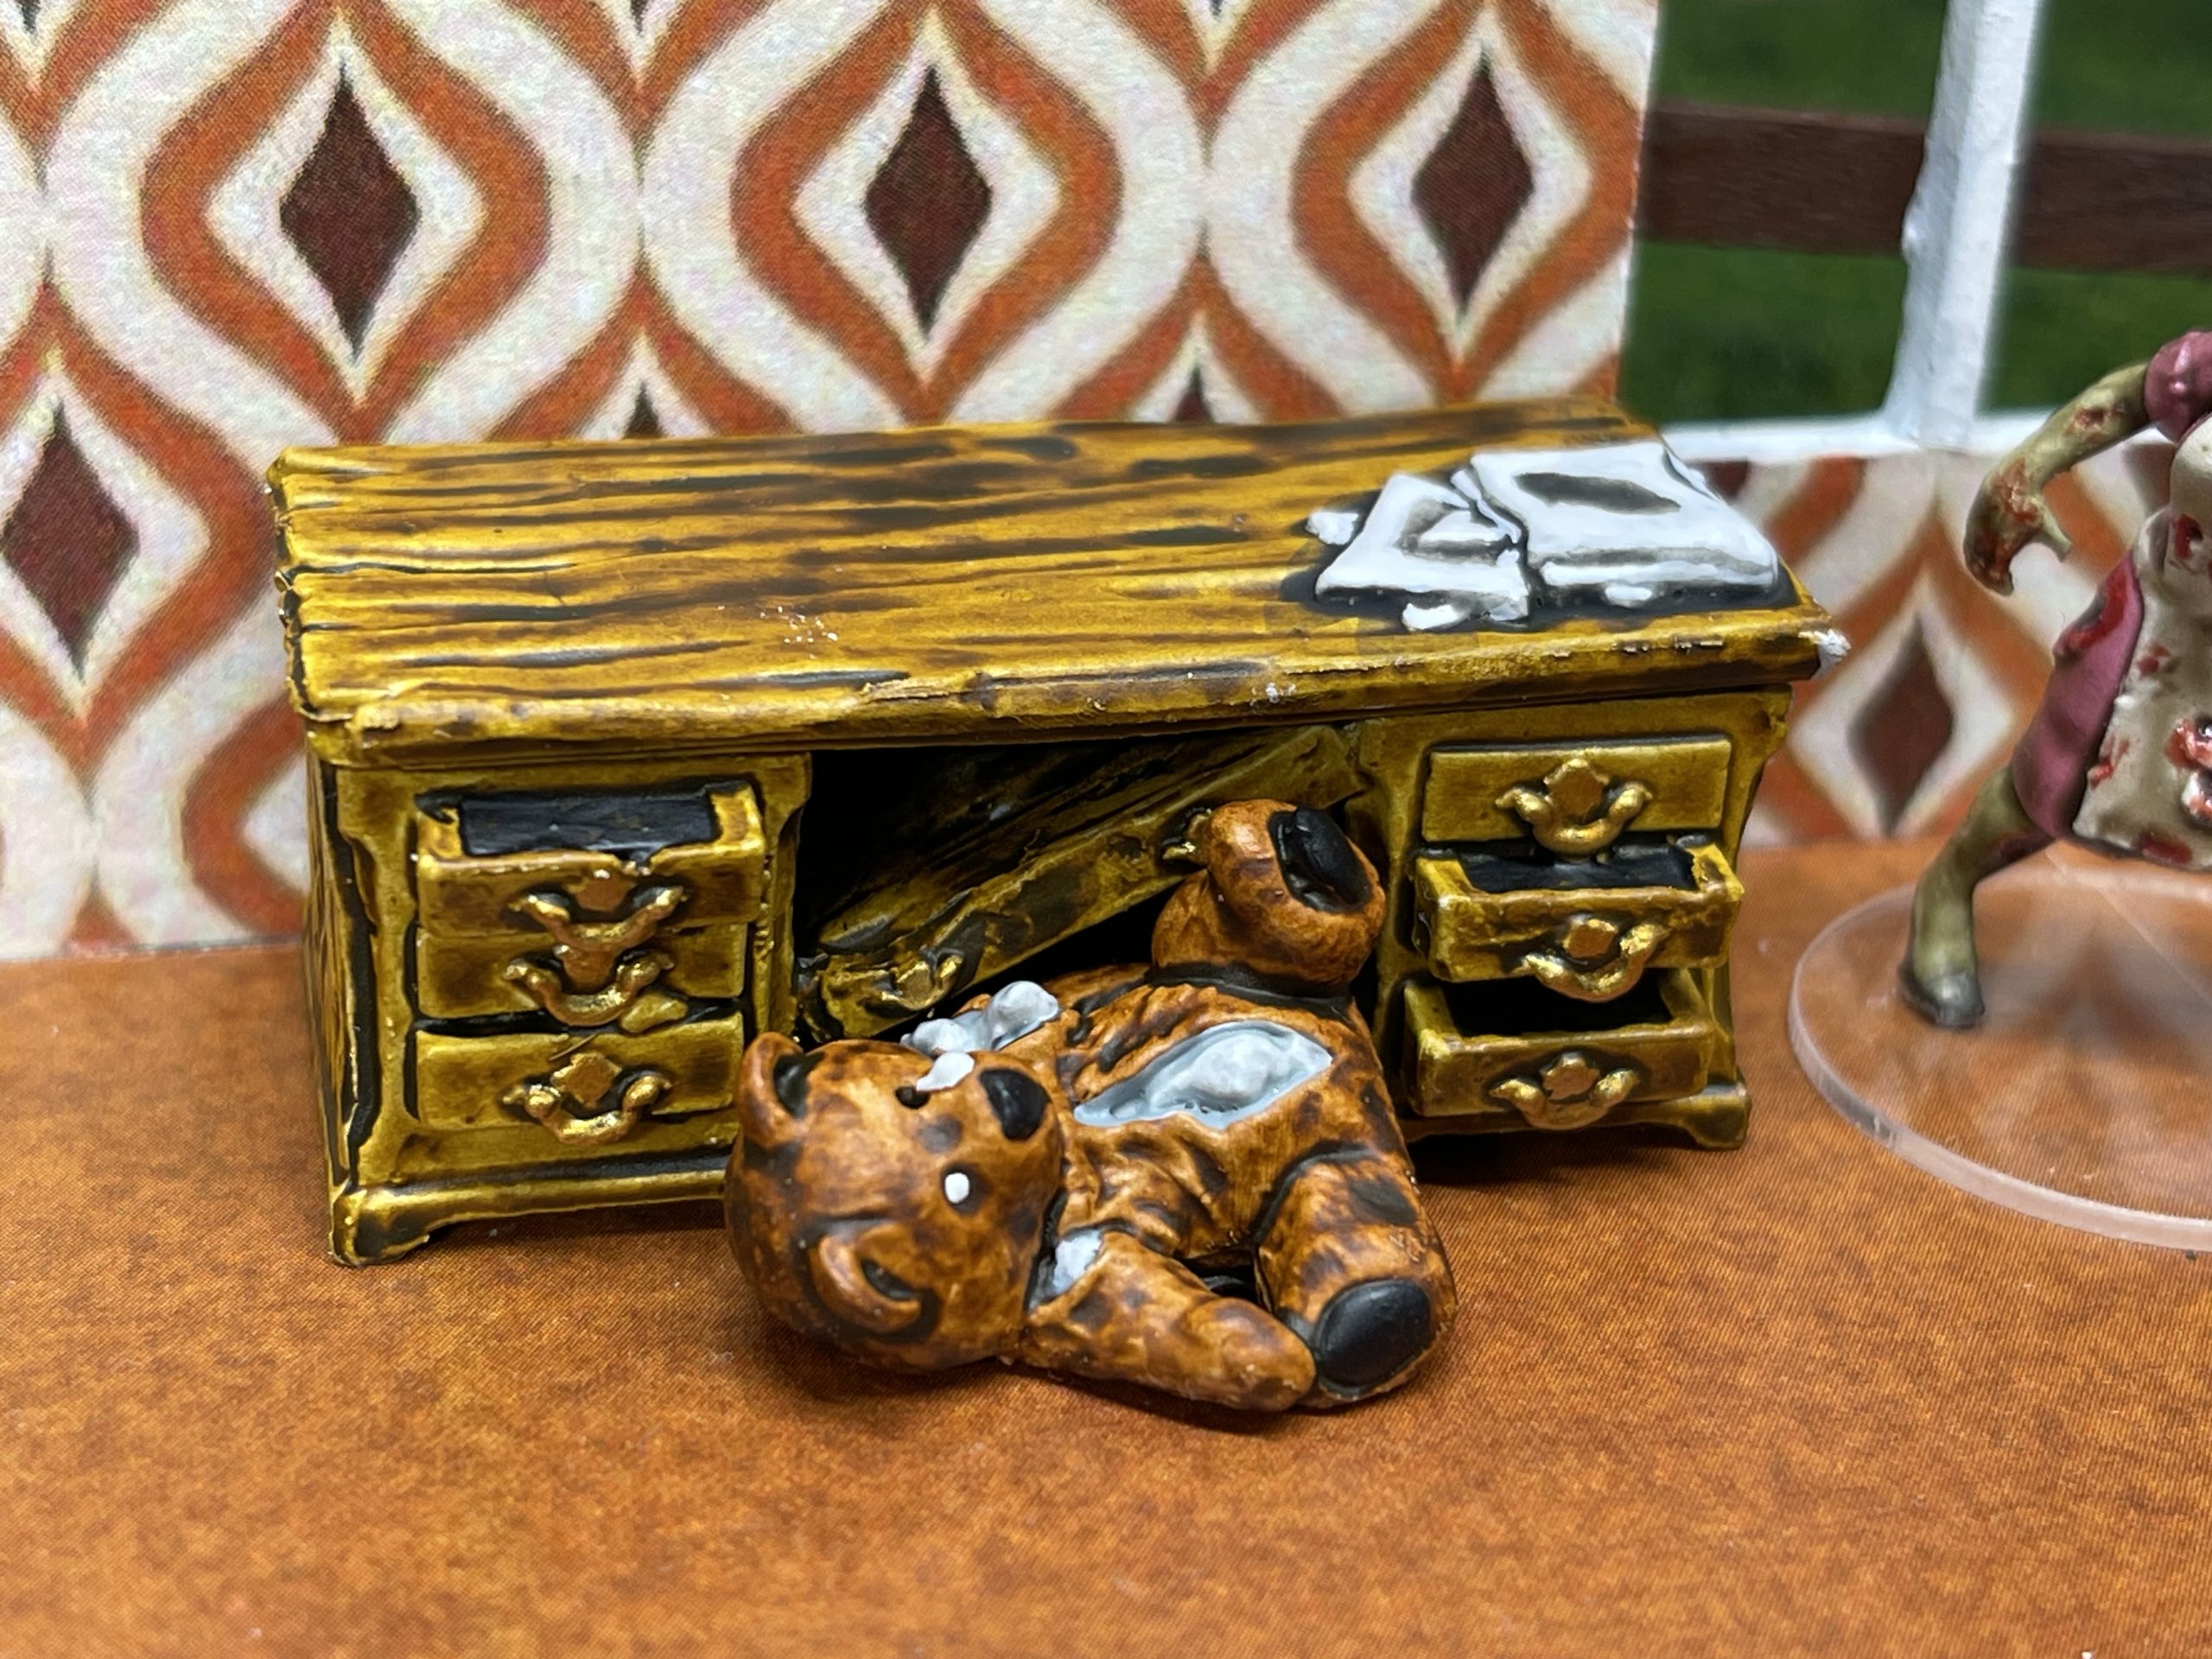
I decided that the house doesn’t look bashed up enough. so i took some more of the random debris and scattered it around inside the house.
makes it look a little bit more like it was ransacked.

![StarCraft Tabletop Miniatures Game Pre-Orders Live Now [Updated]](https://images.beastsofwar.com/2026/03/starcraft-tmg-news-cover-600-338.jpg)


![Mounted US Cavalry On Kickstarter For Dead Man’s Hand! [Updated]](https://images.beastsofwar.com/2026/03/us-cavalry-main-600-338.jpg)


![Play WW2 Commando Operations With Butcher & Bolt [Updated]](https://images.beastsofwar.com/2026/03/relaunch-600-338.jpg)


