![Perfect Call Of Duty-Style Miniatures? Wargames Atlantic’s Operators Review [7 Days Early Access]](https://images.beastsofwar.com/2026/02/unboxing-wargames-atlantic-operators-coverimage-225-127.jpg)


Draconis: Spring Clean 2023 and onward


Recommendations: 414
About the Project
Having just finished two quite long projects I was not going to post up anything more until I started into my next main project. However, with the arrival of the Spring Clean Challenge 2023 I thought I would take the opportunity to finish off a lot of the smaller things on my paint station and in the queue that on their own would not warrant a project. So, this project will cover the spring clean challenge, and then will also be the repository of other smaller hobby progress and mini projects throughout the rest of 2023. Staring out with Wizard, Witches, Ninjas and Elves……..
Related Genre: General
Related Contest: Spring Clean Hobby Challenge 2023
This Project is Completed
Ninjas!
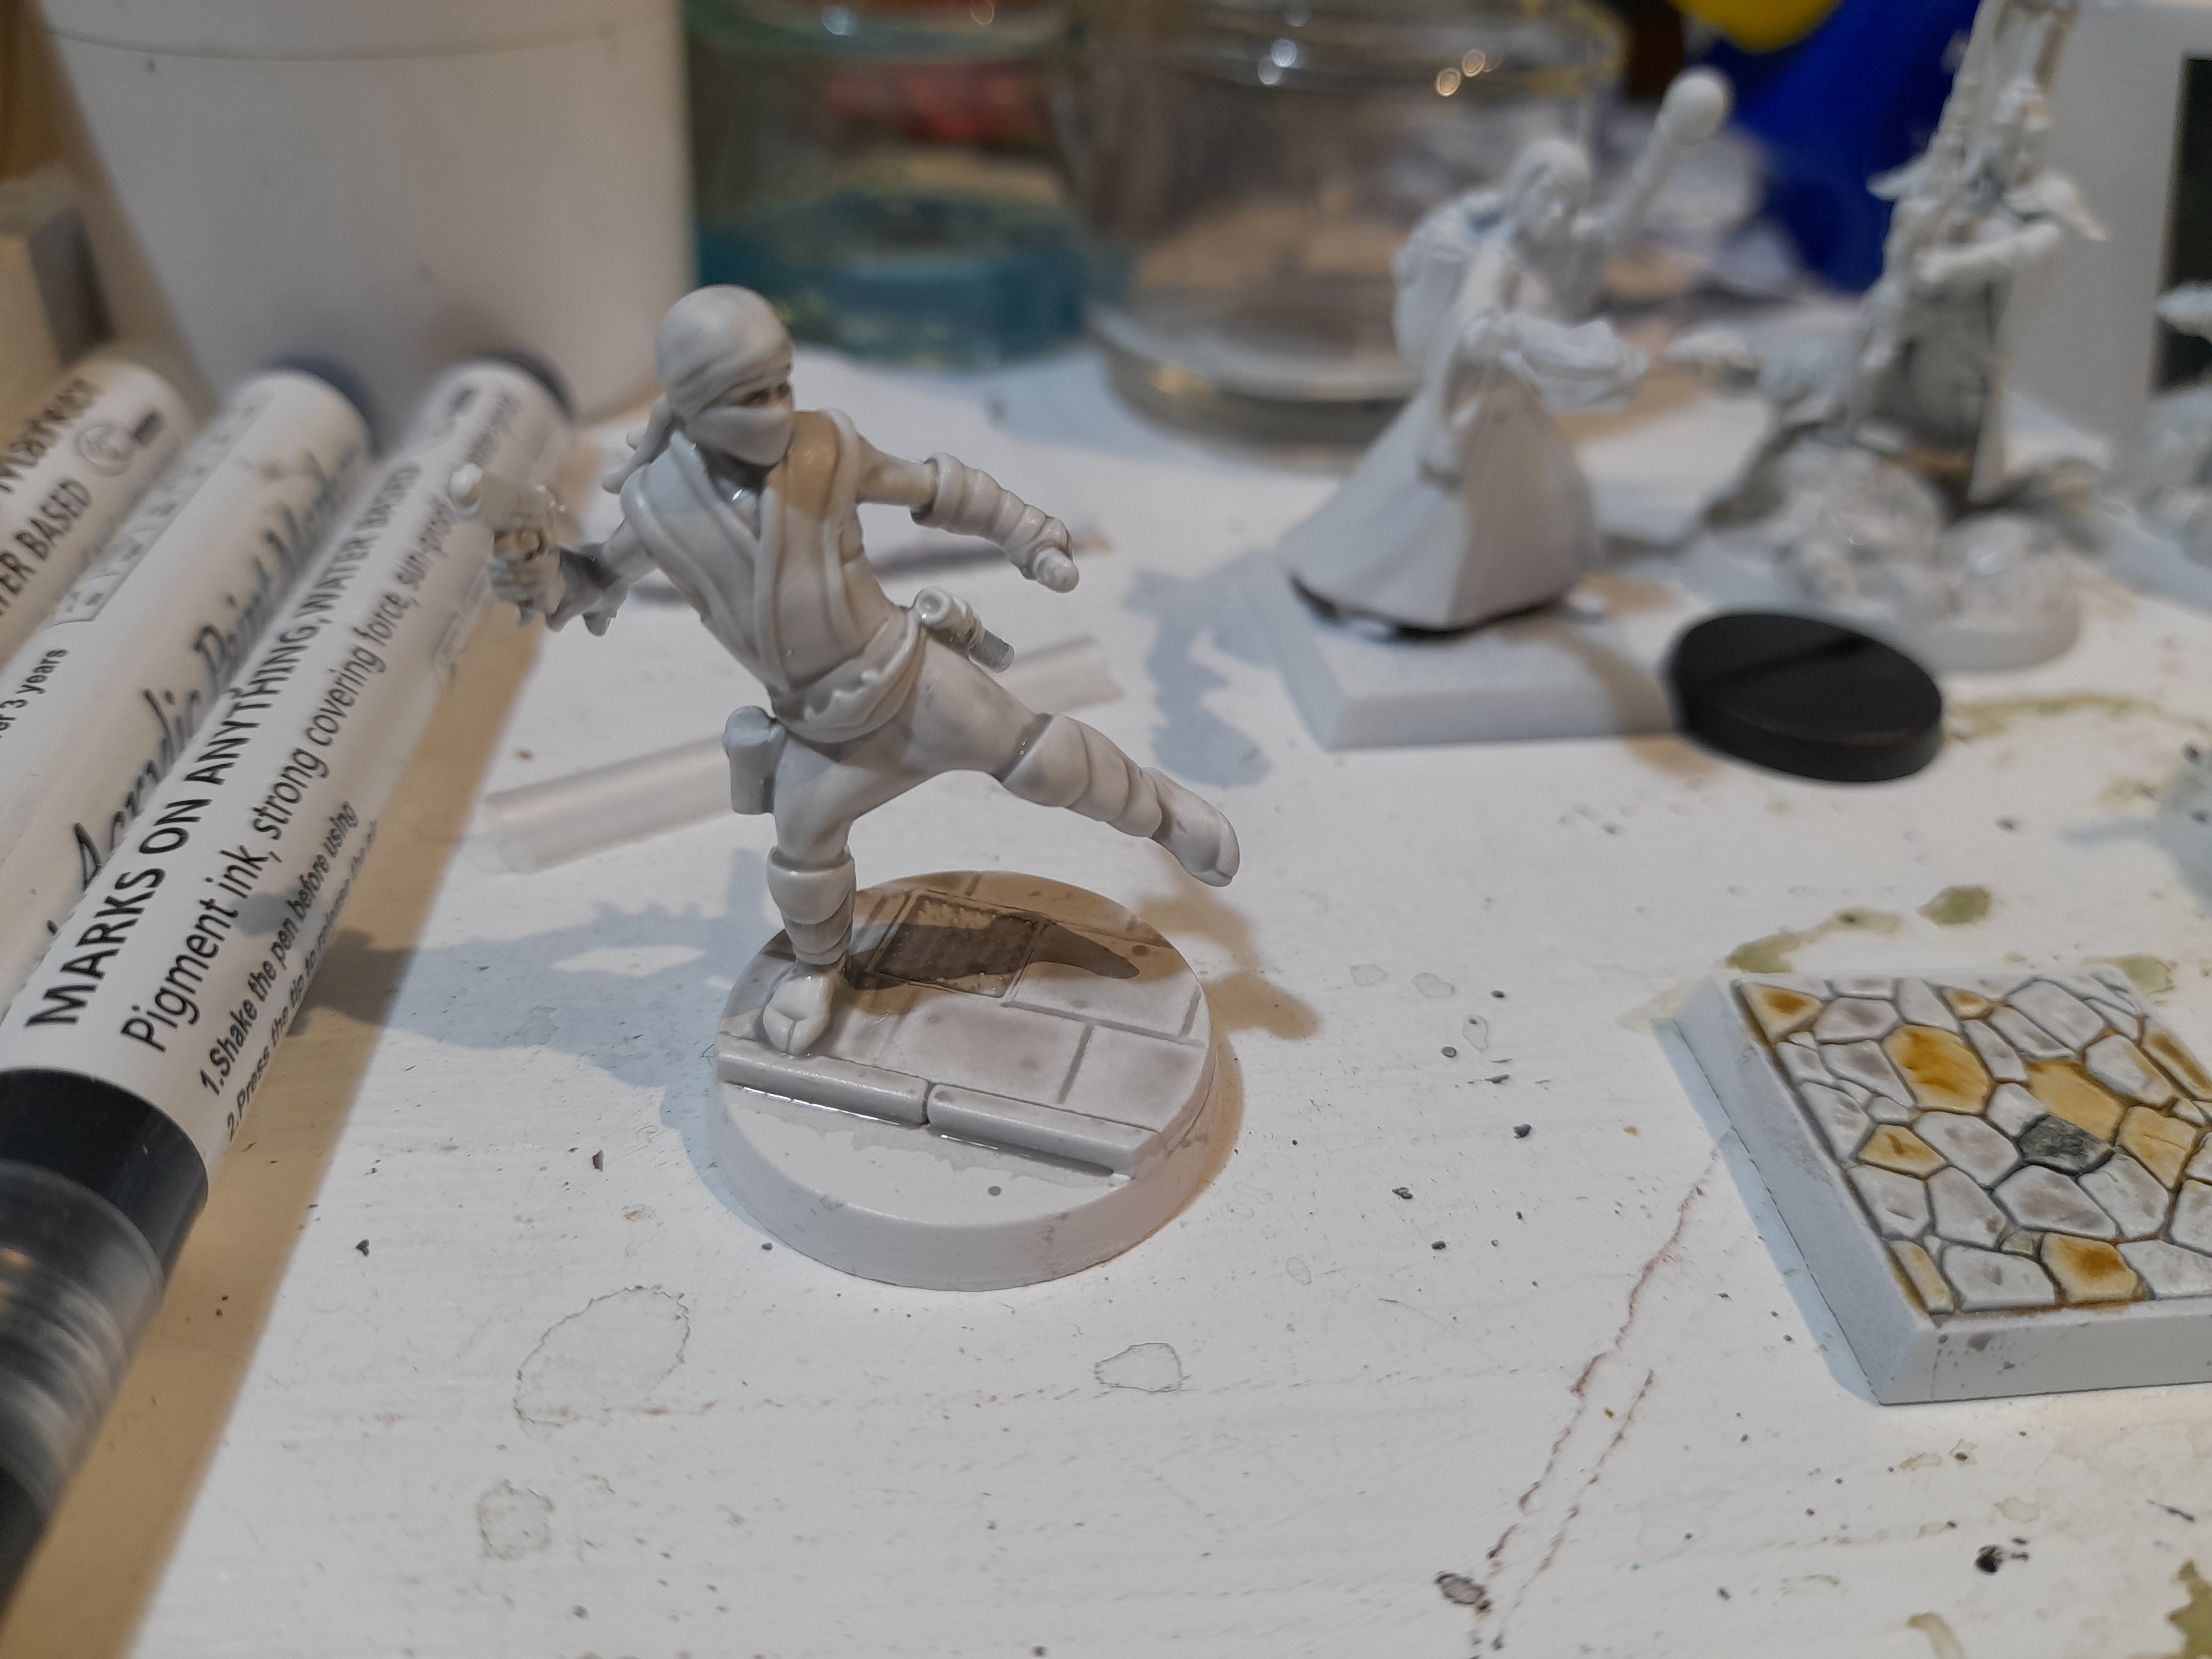
First up are some Ninjas.
At the start of lockdown I designed a number of minis on Heroforge.
One of which was an homage to an old Ninja from citadel – the one with the pistol.
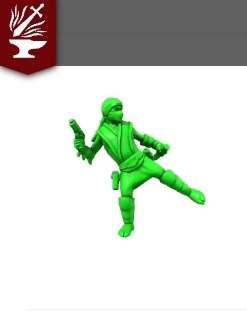
I didn’t want to do a direct copy, so designed it slightly differently.
A friend of mine printed it off for me, and while chatting online with him it came up that he actually had the original ninja that I was referencing – and didn’t want it ?
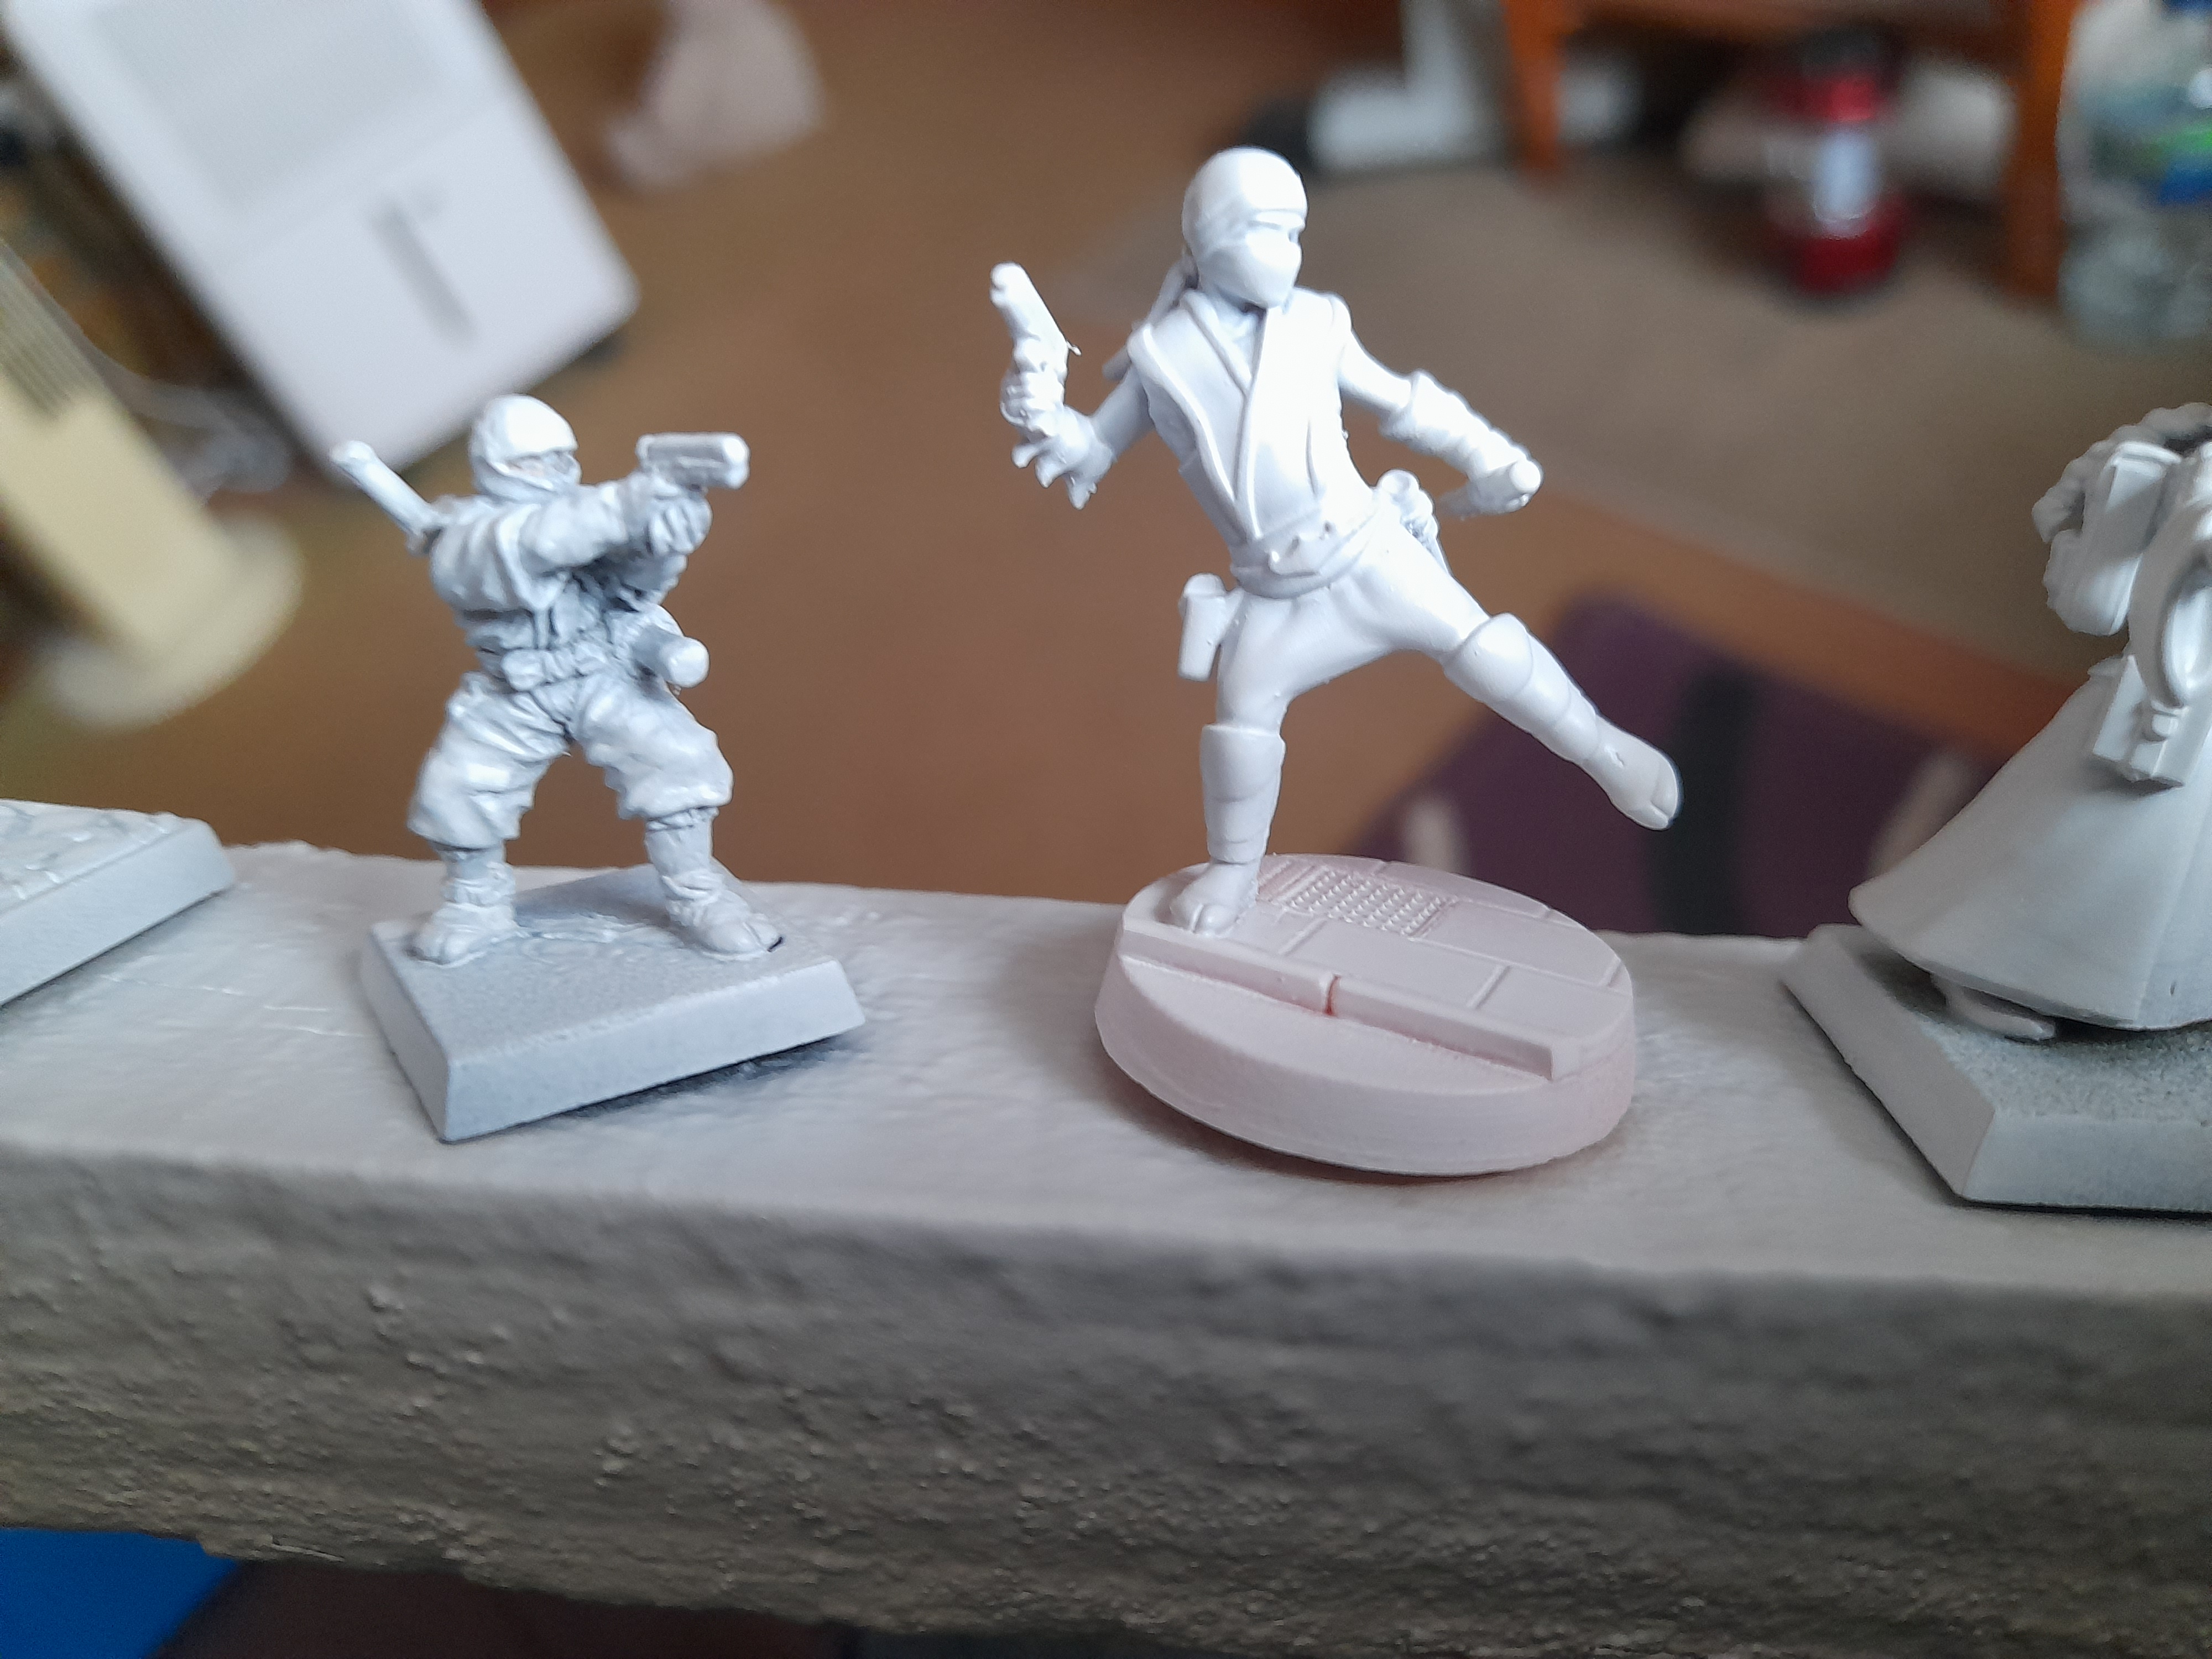
So, then I had two ninjas!
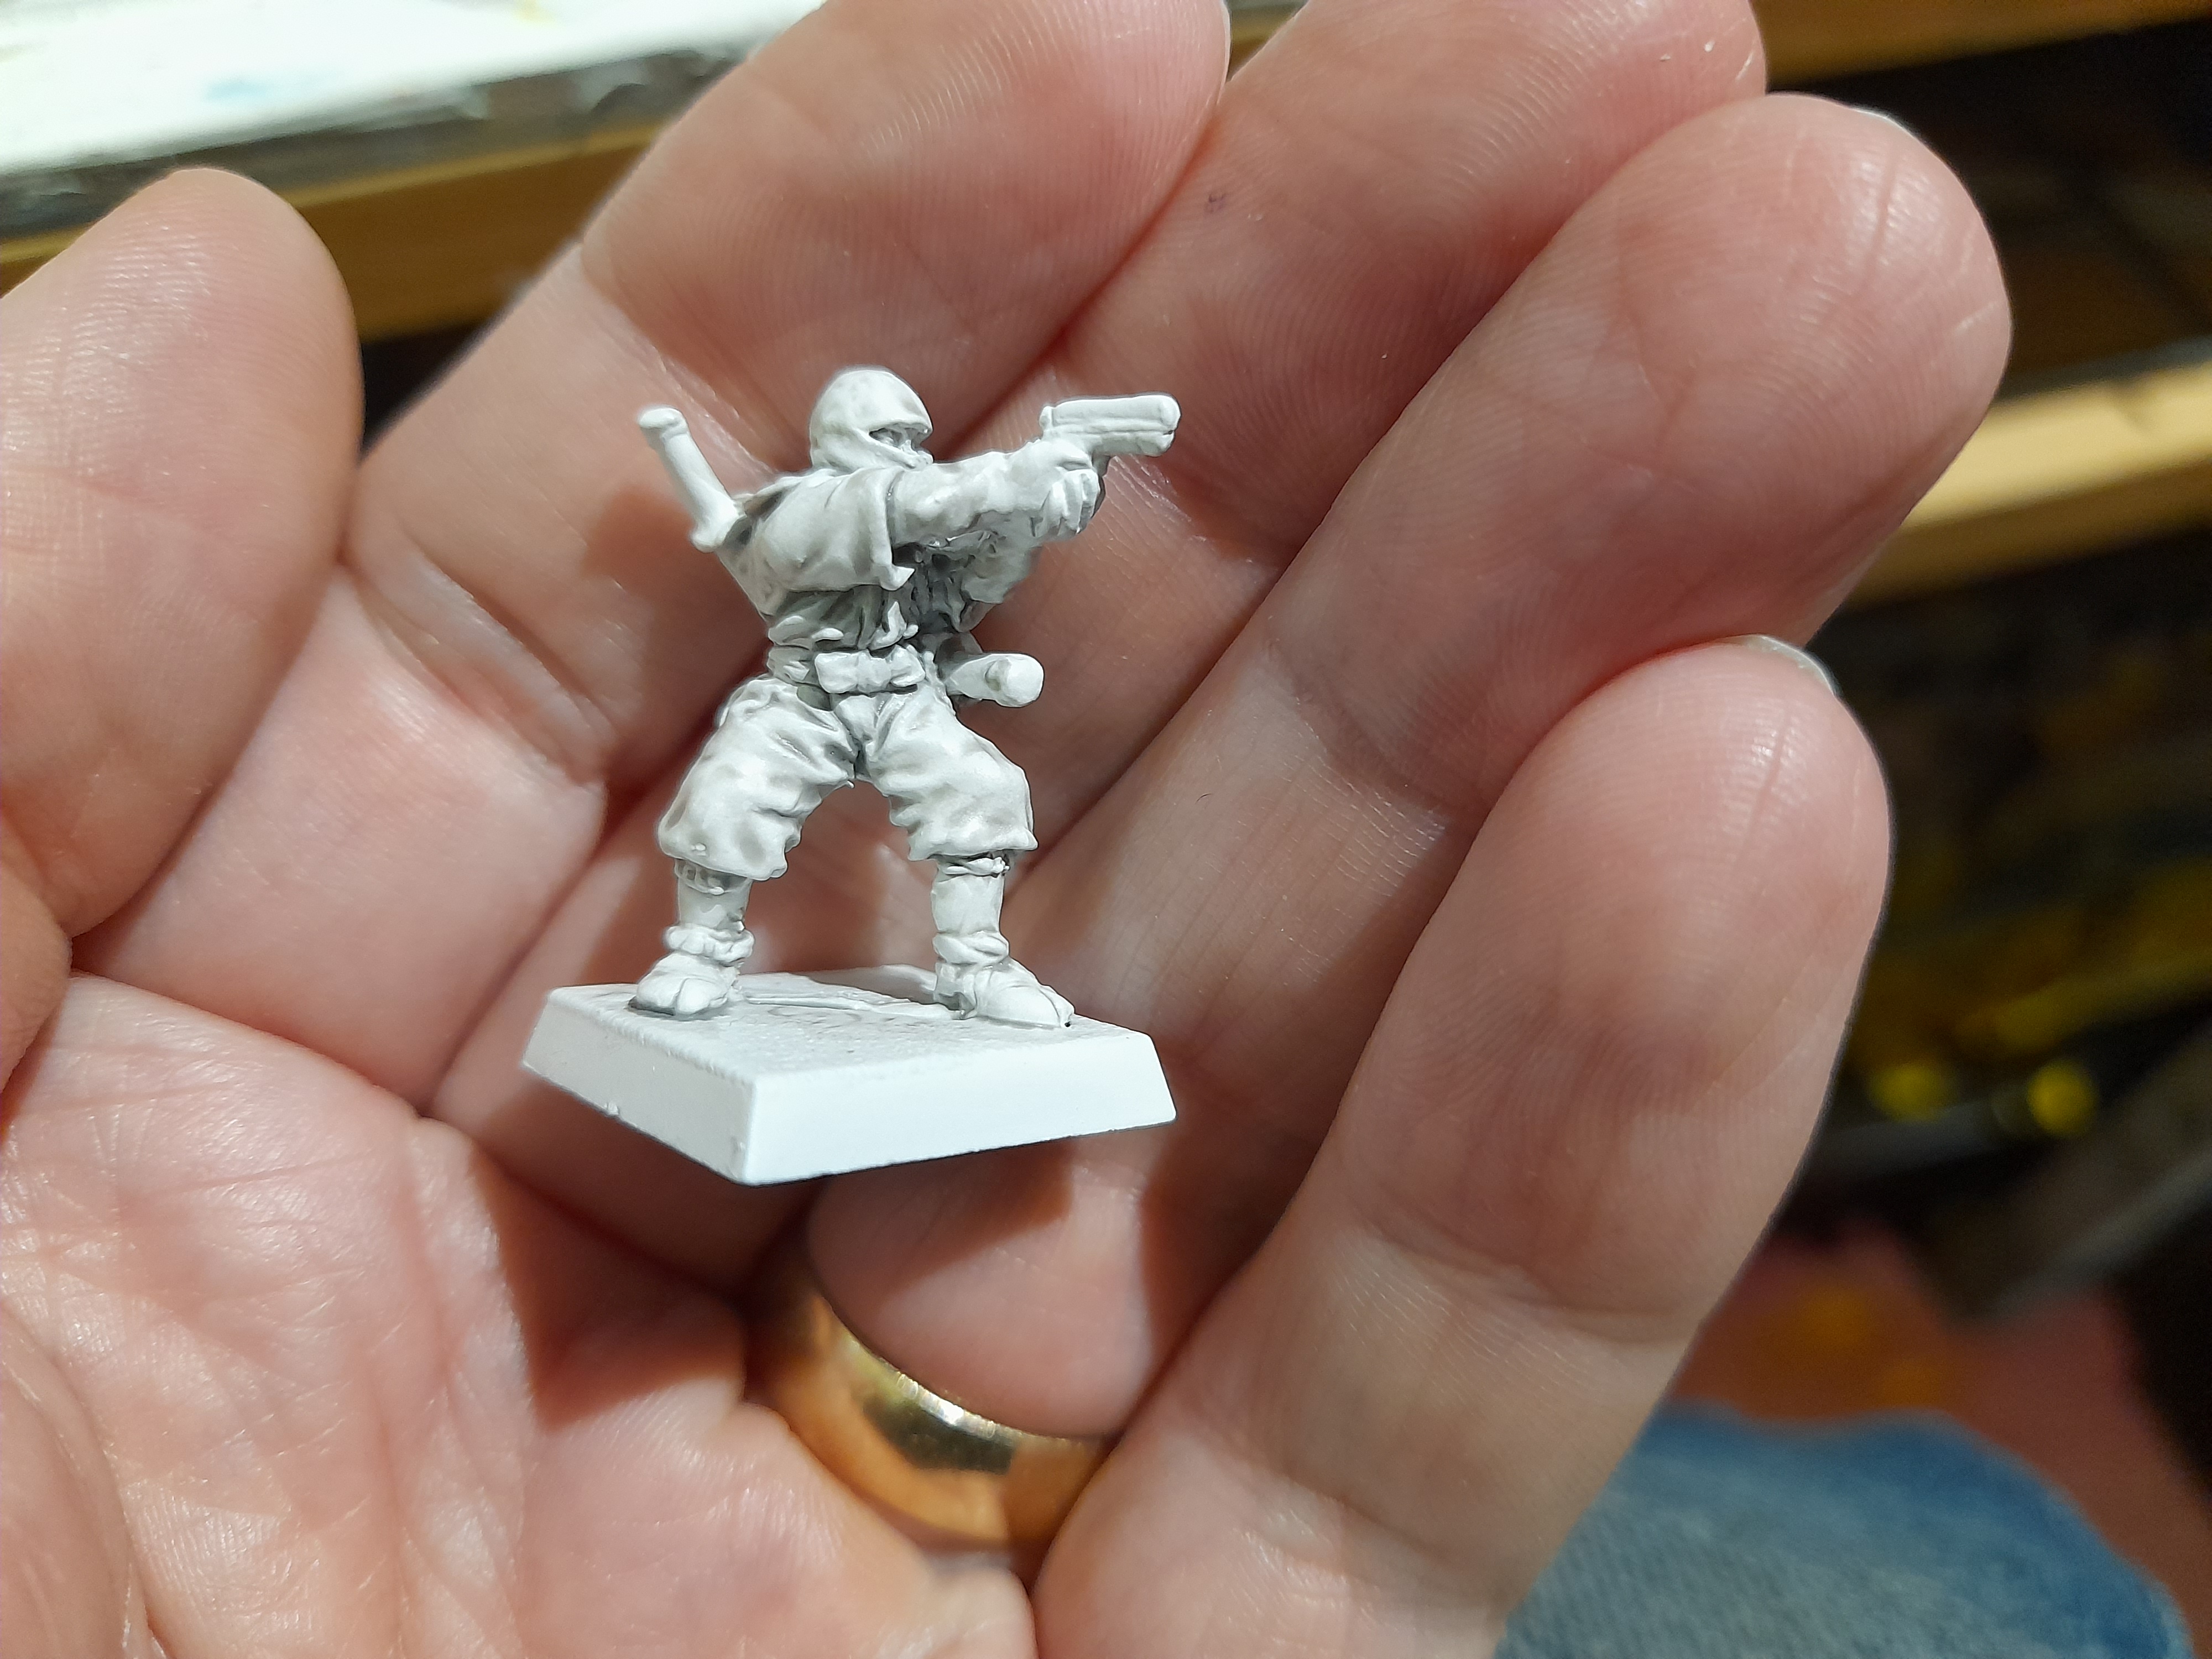
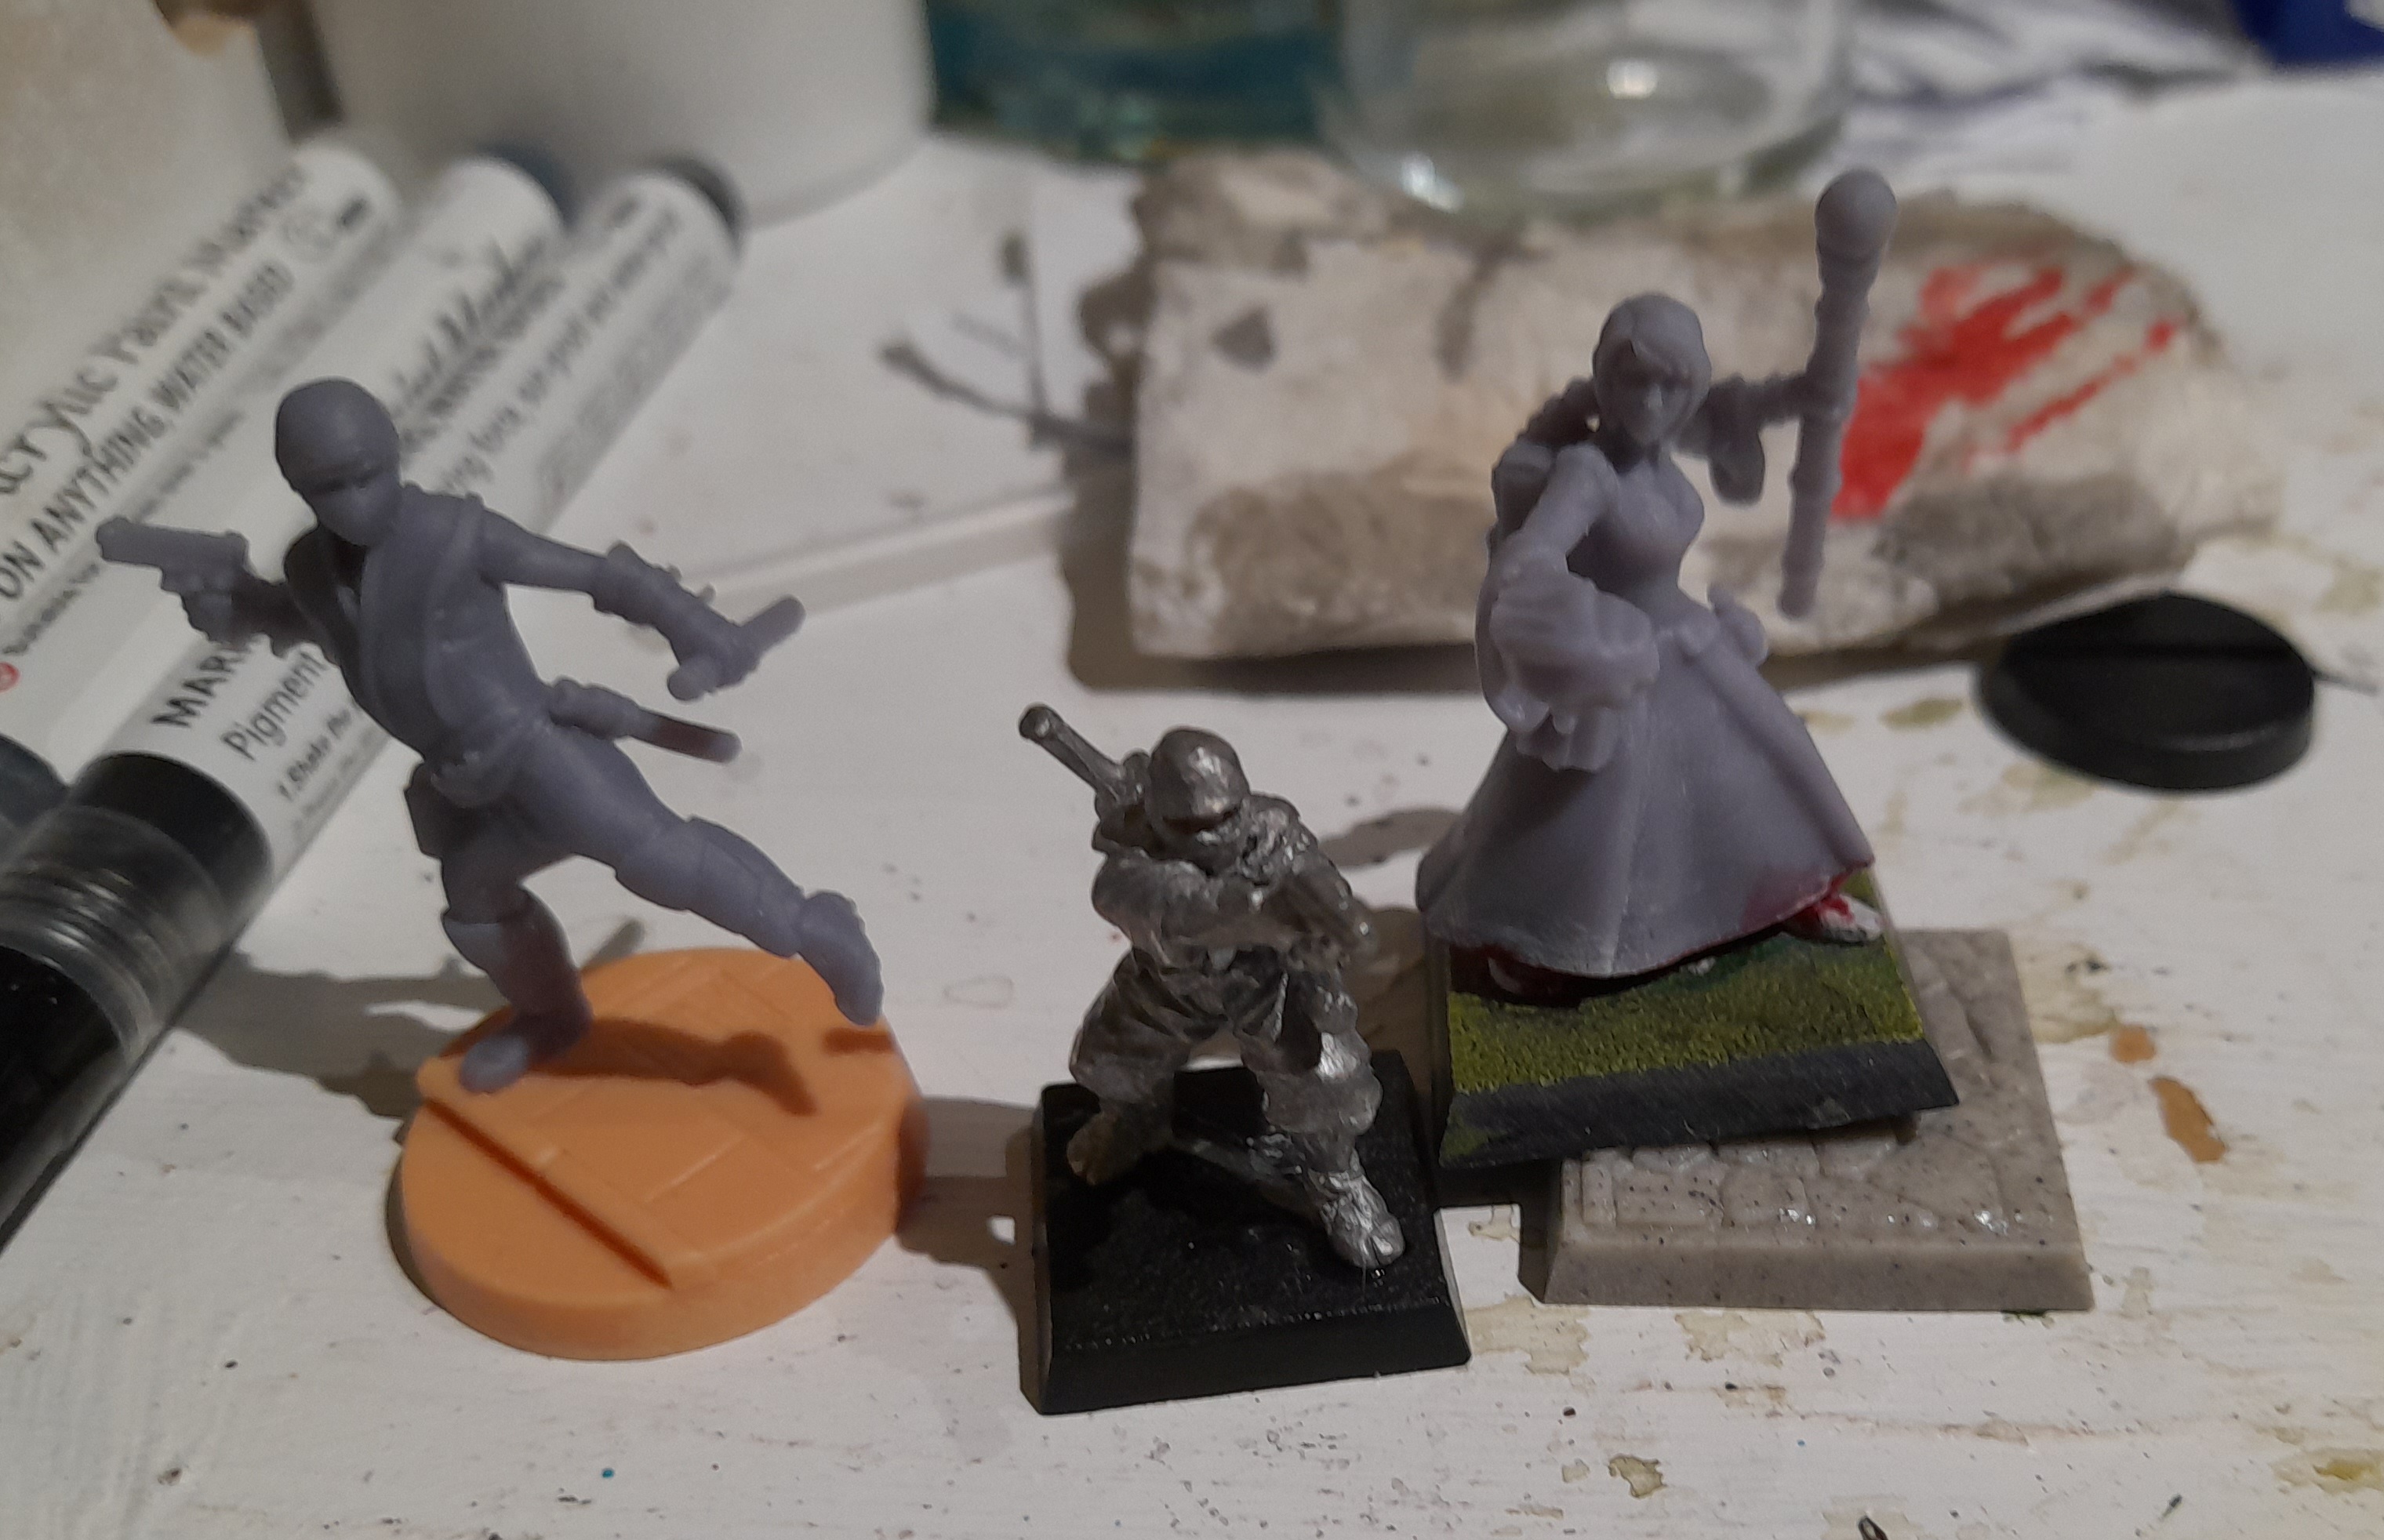 The old metal ninja is tiny
Ninjas! - painting them
I knew that I wanted to keep with the original colour scheme from the White Dwarf page, so that meant I didn’t have the delay of debating colour schemes internally.
Out with the white spray paint!
The white spray (TT Combat) went on a little thin, so I had to touch up with brush on.
Then it was onto the Soulblight Grey shade and some drybrushing and highlighting to get the look I desired.
On the original ninja the picture showed the arms as bare flesh. However, when I tried this they looked rather odd and lumpen

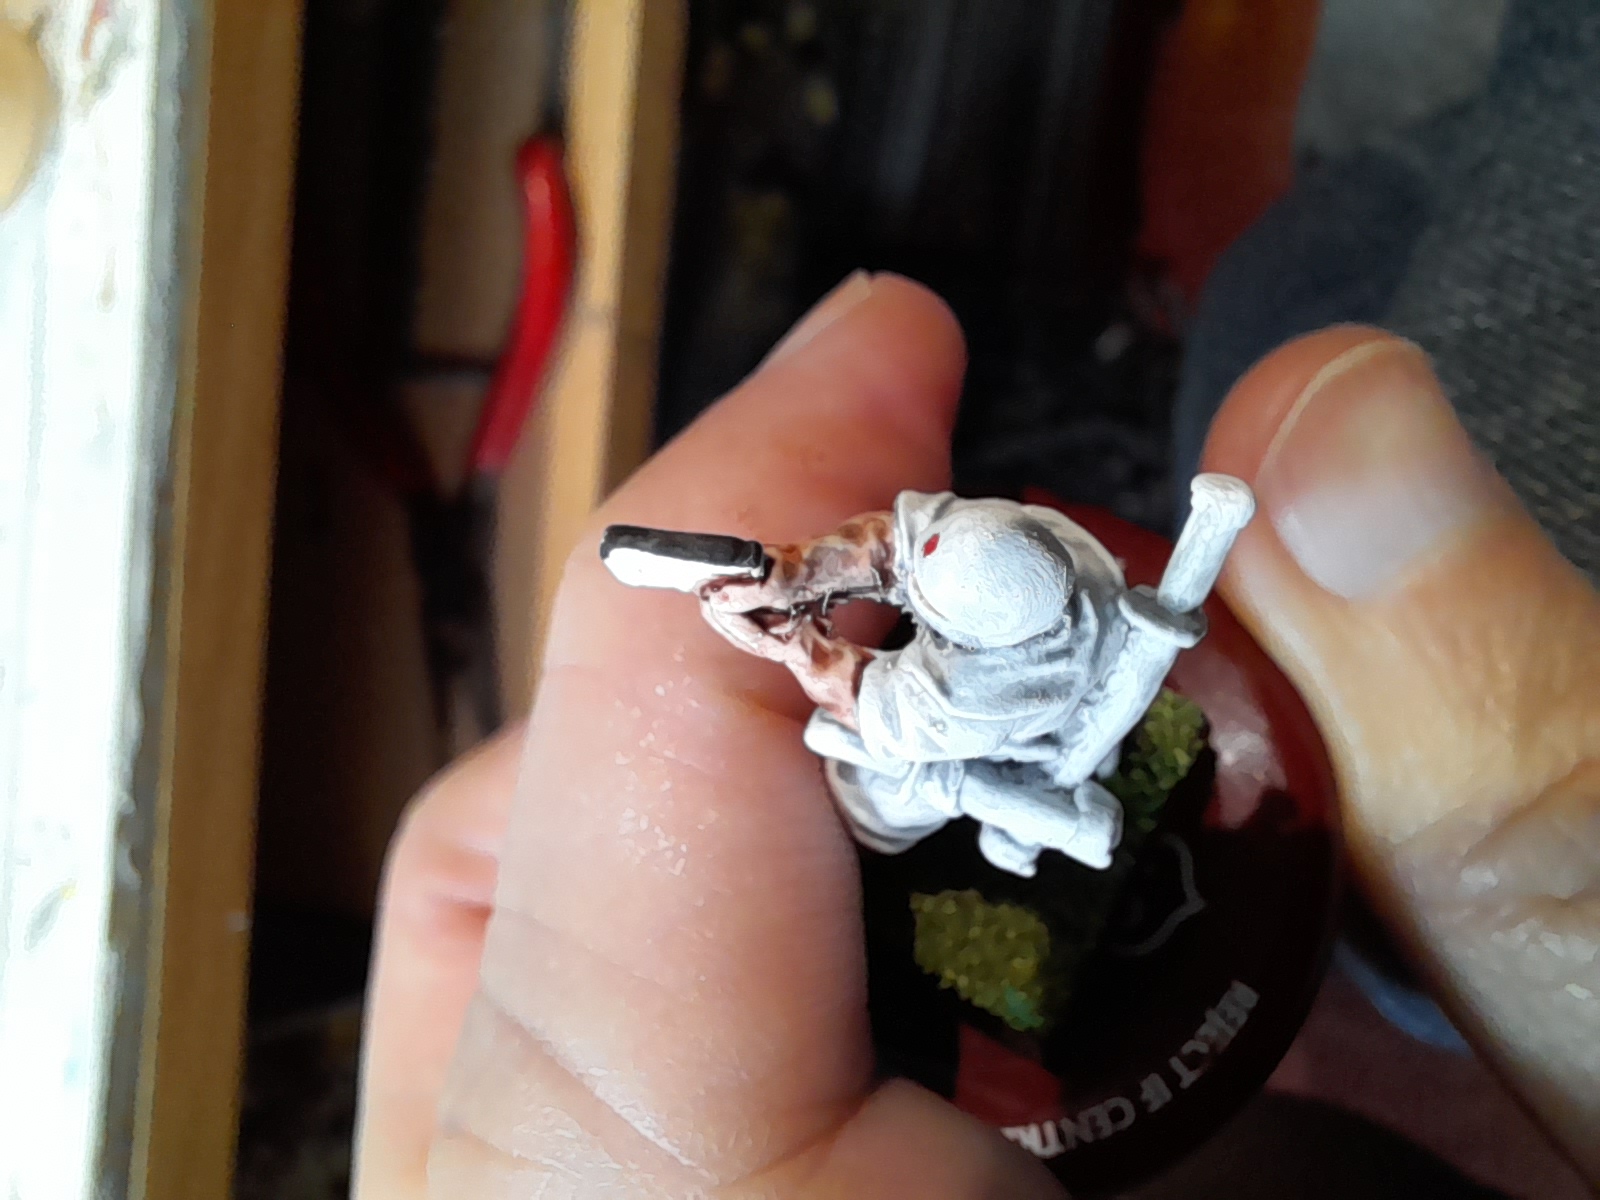
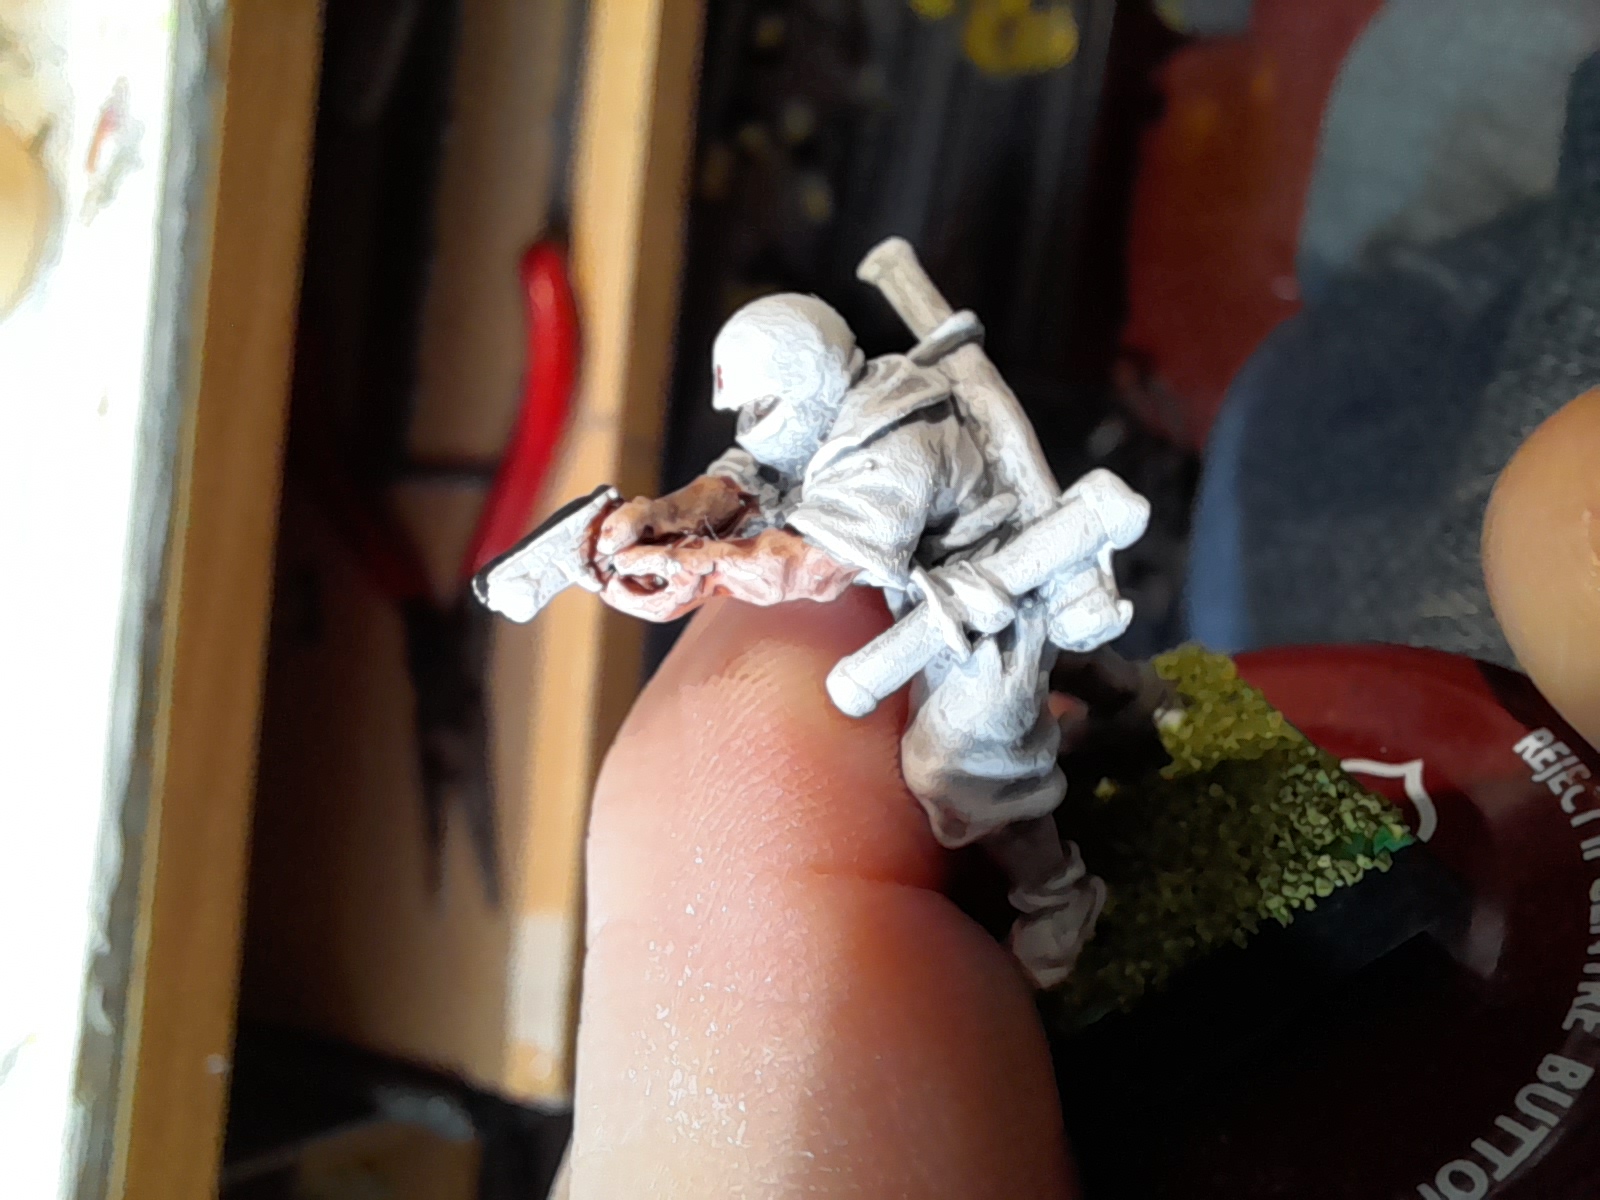
I decided that it must have meant to have been clothed arms (the rest of the range had clothed arms), so I went back over the arm areas with a matching white for the cloth – and I feel that came out much better.
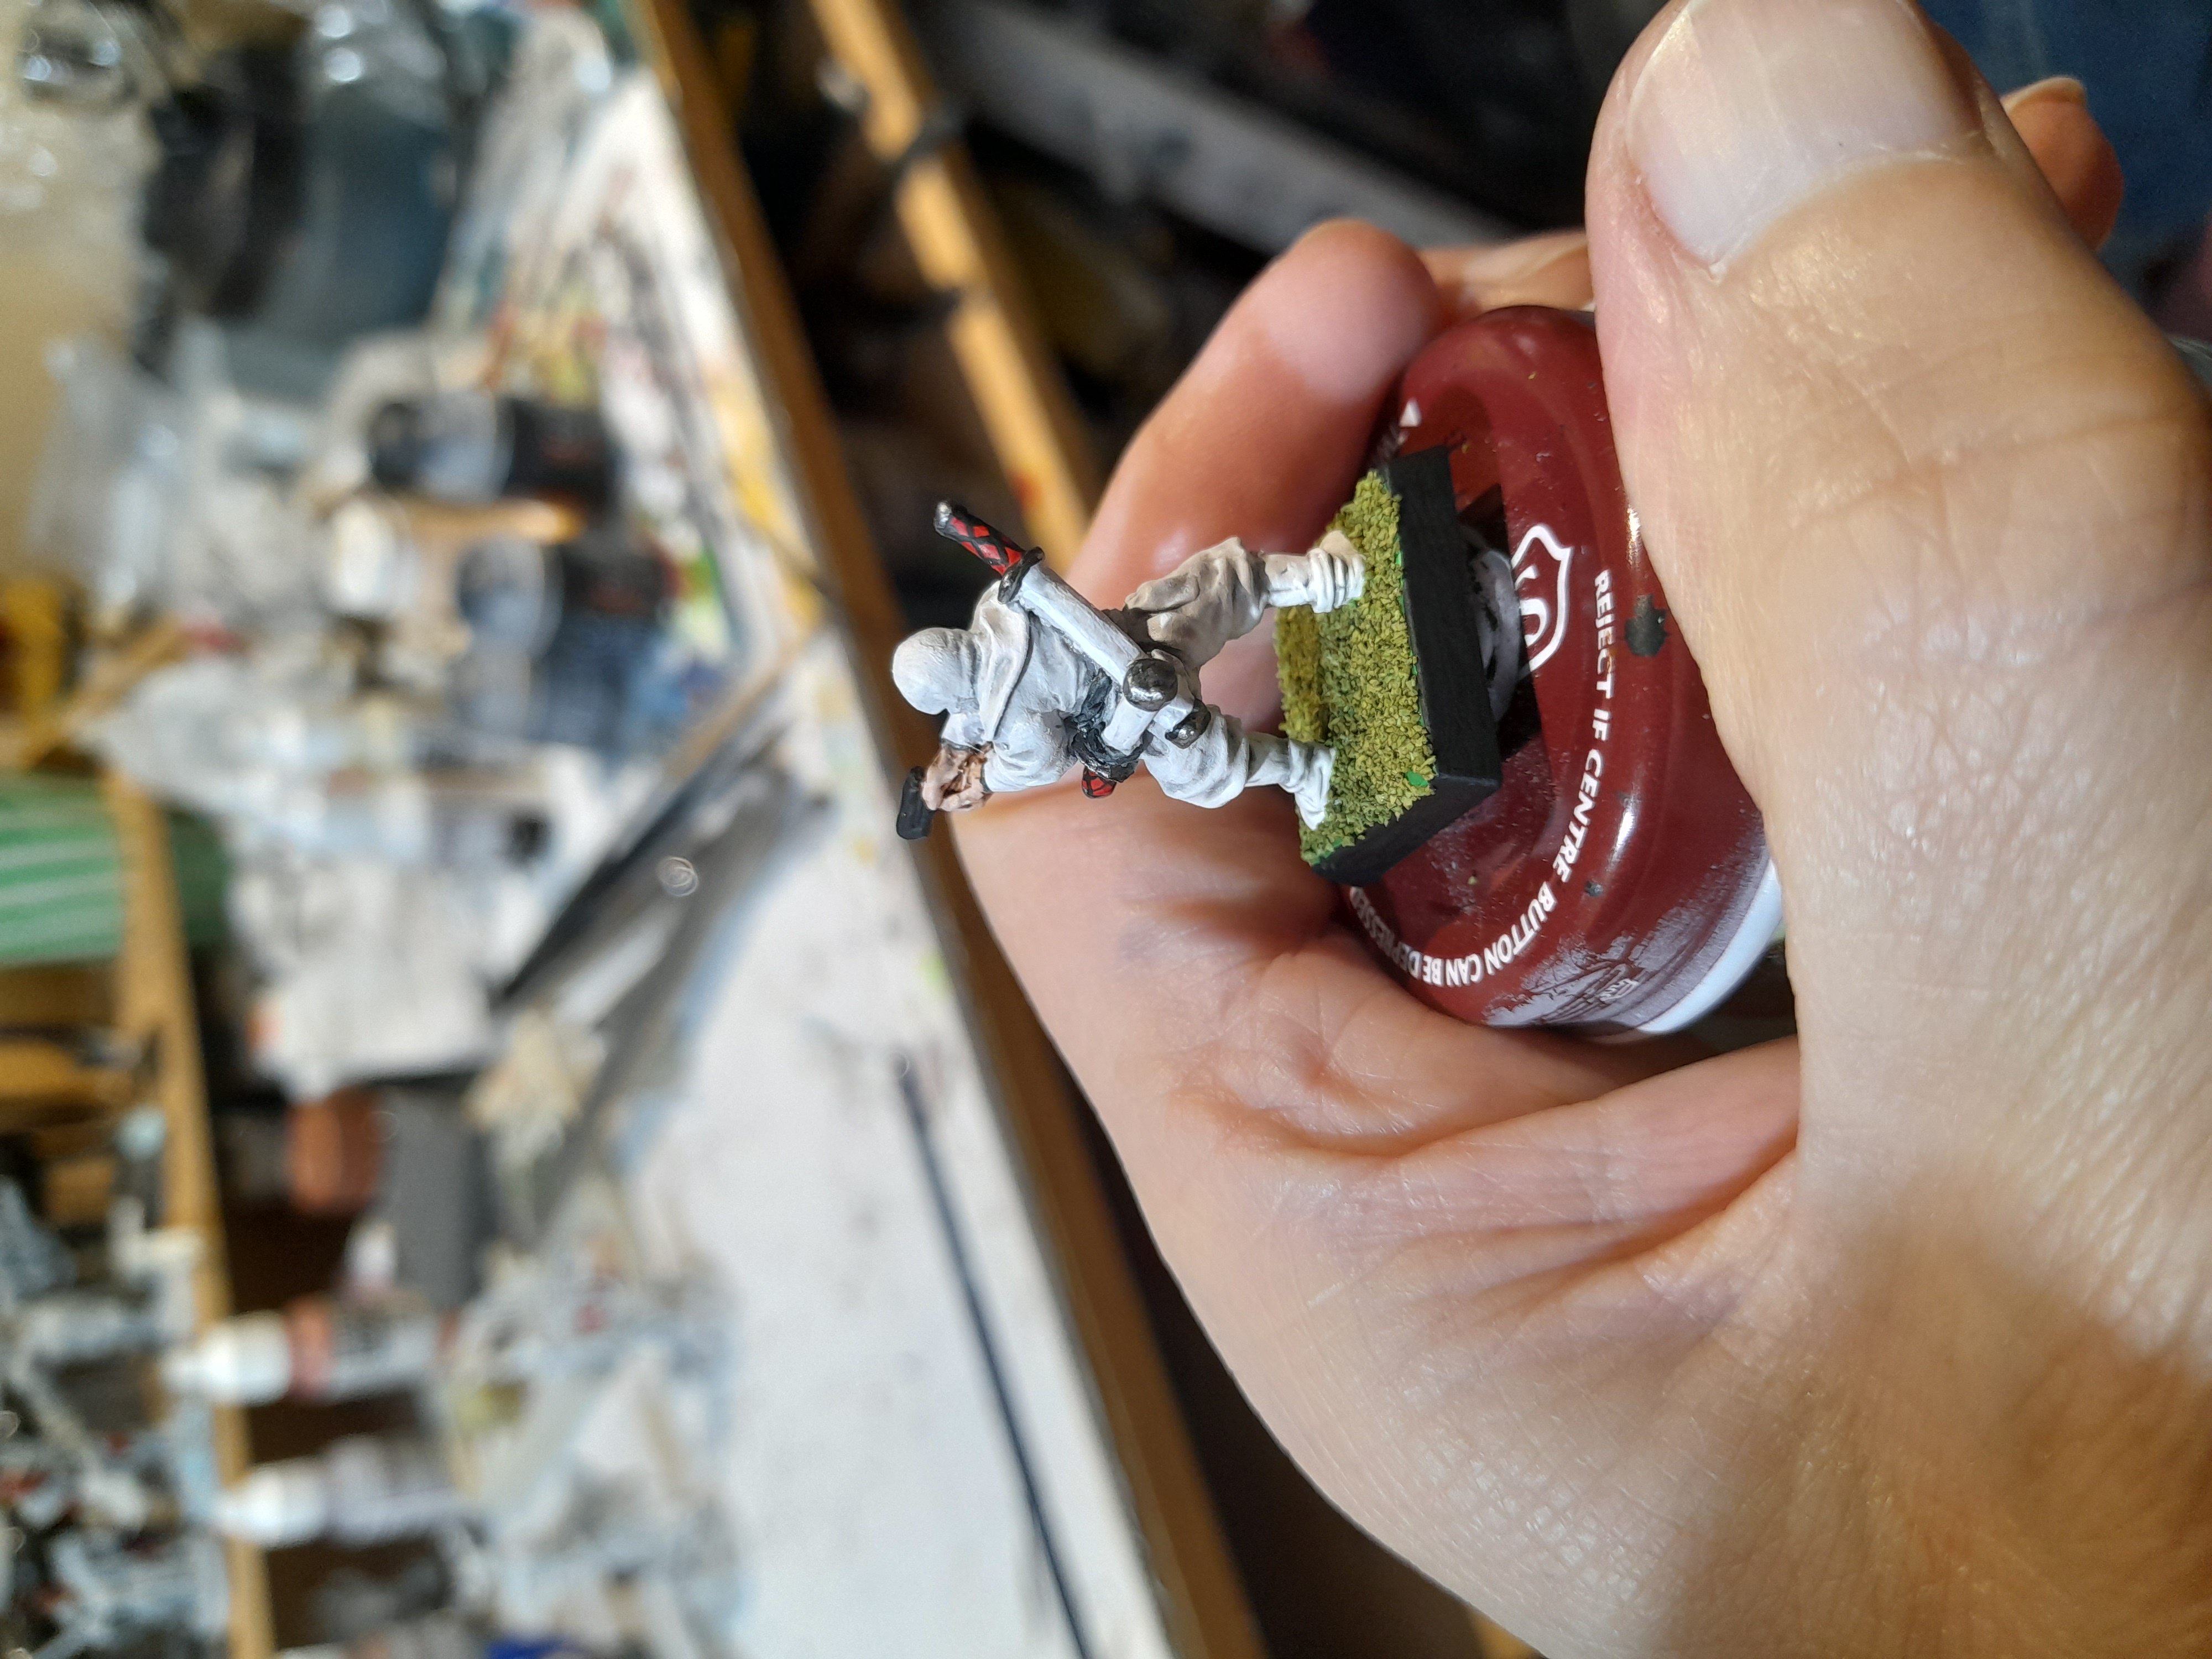
Then it was back to the new version, adding some more colour and flesh there too. I have used a light tan colour for his undershirt – but it doesn’t show up so well in the picture here.
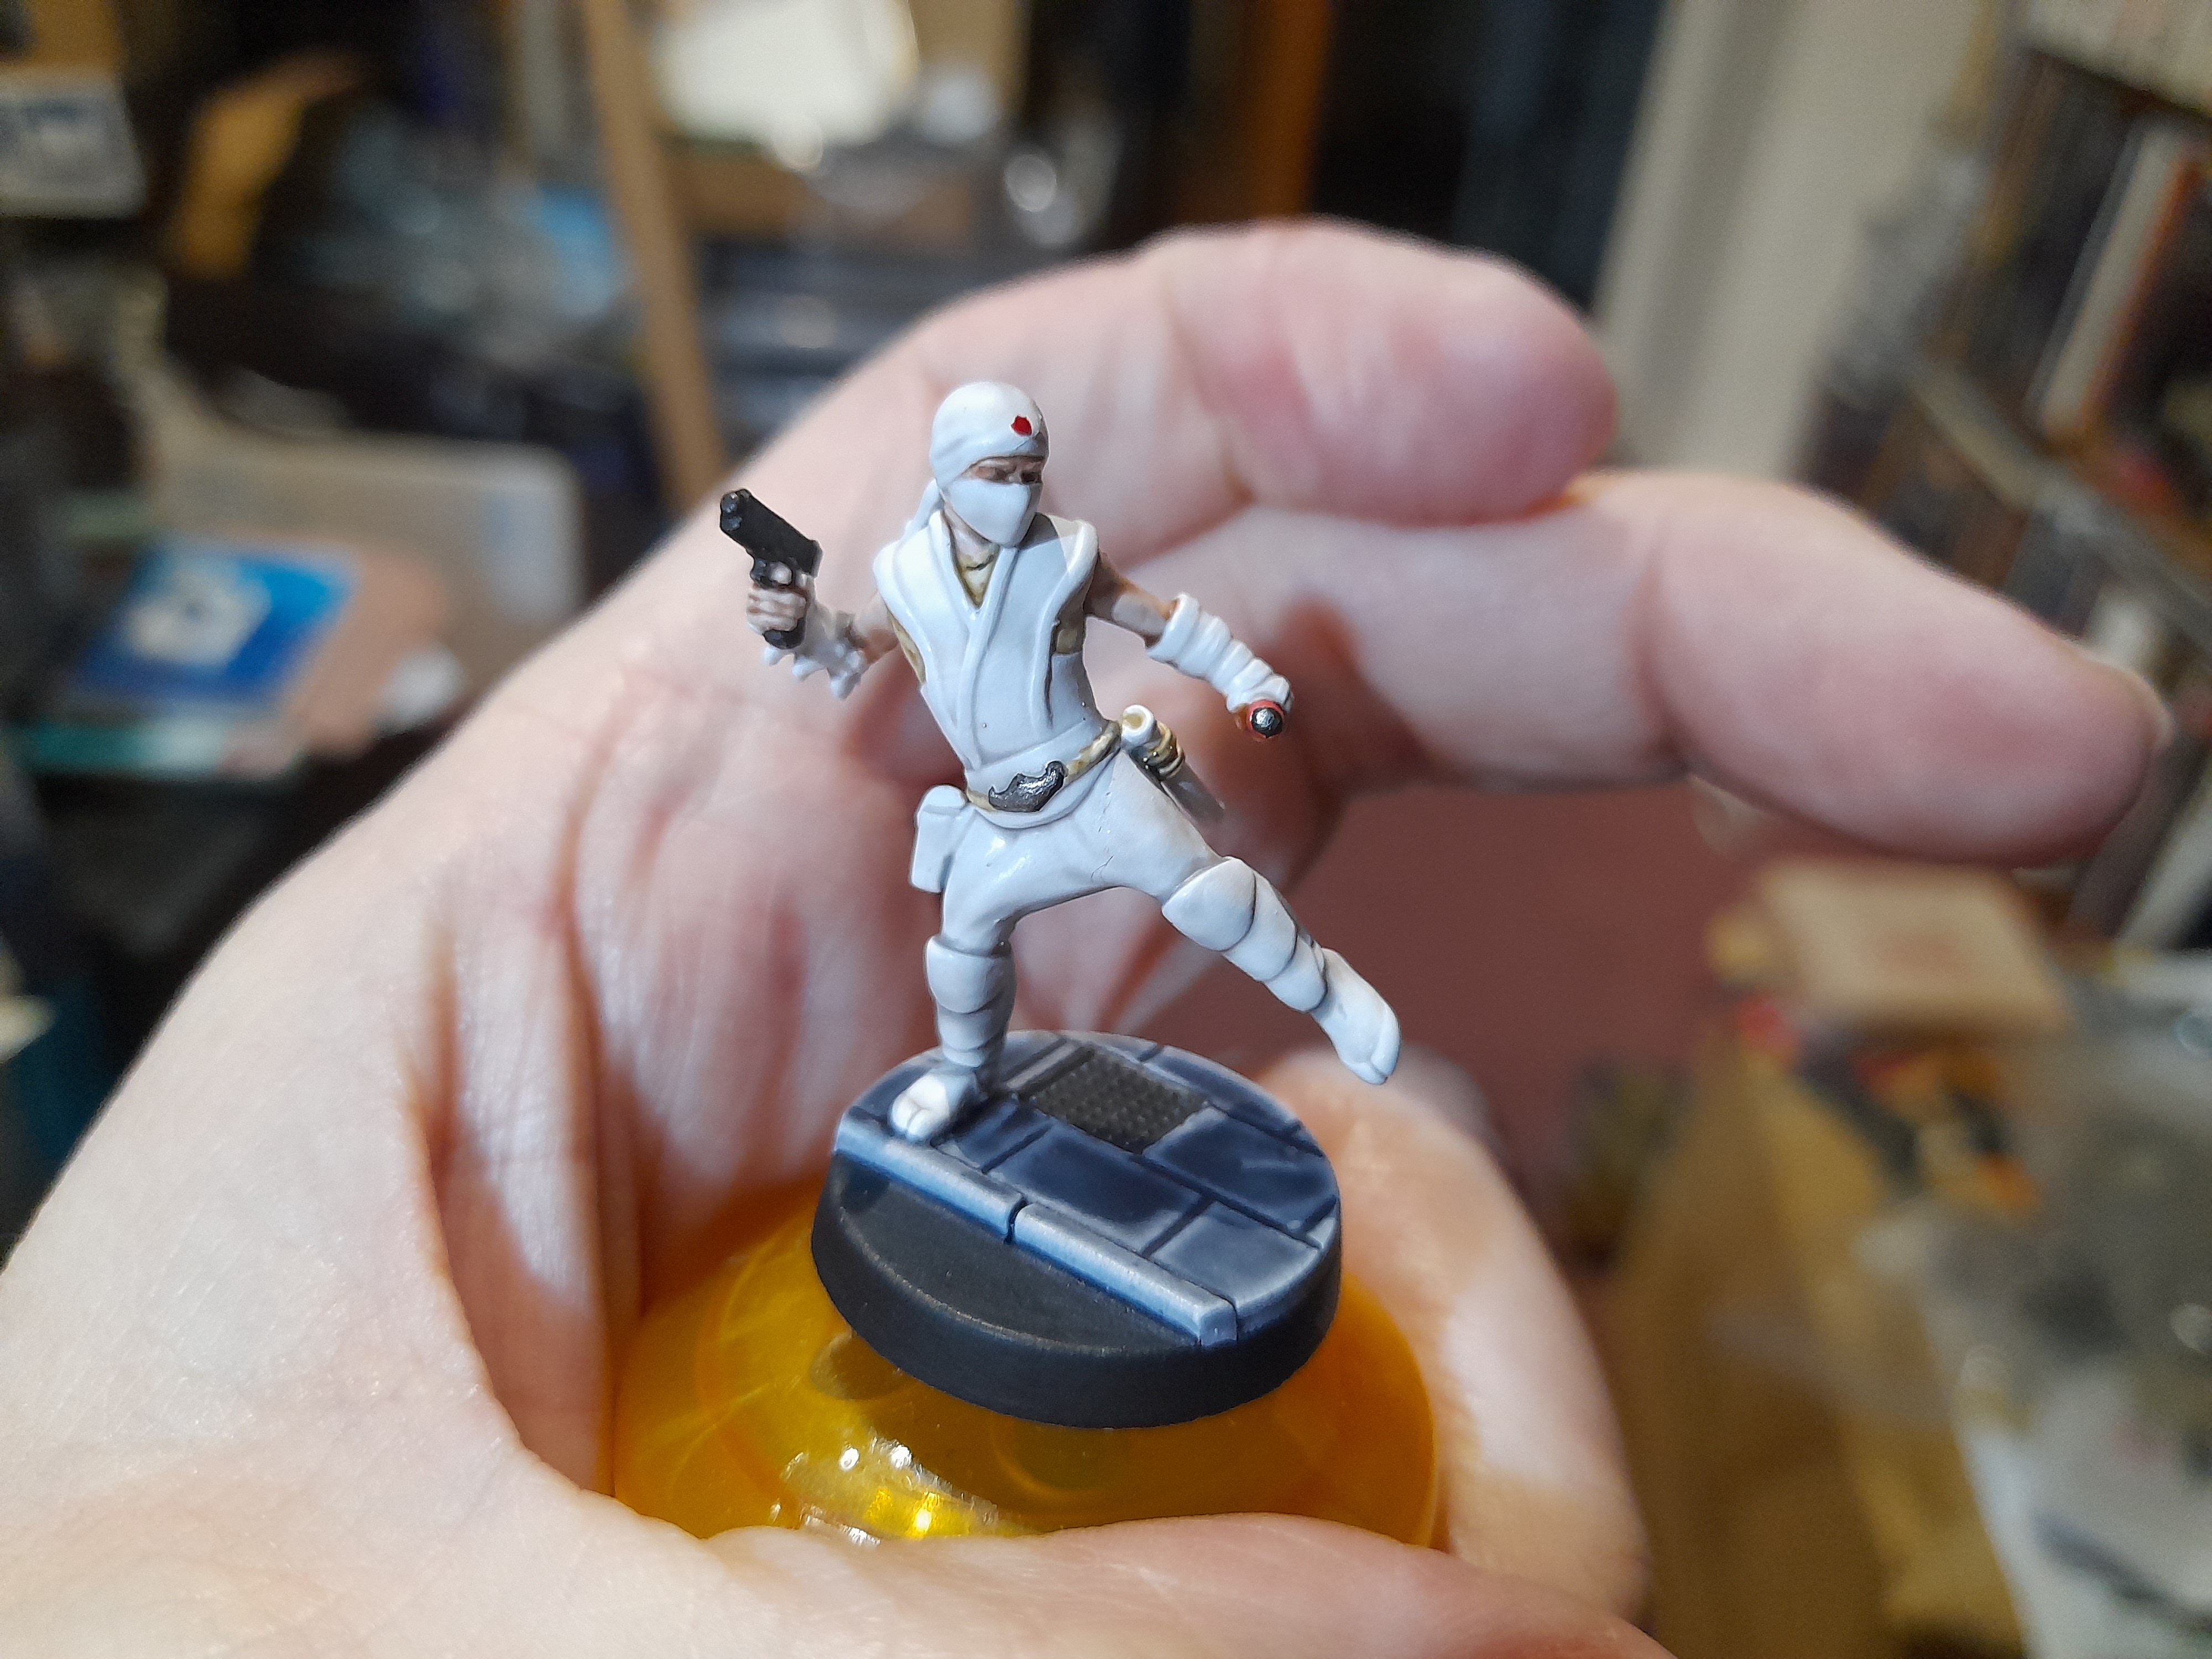
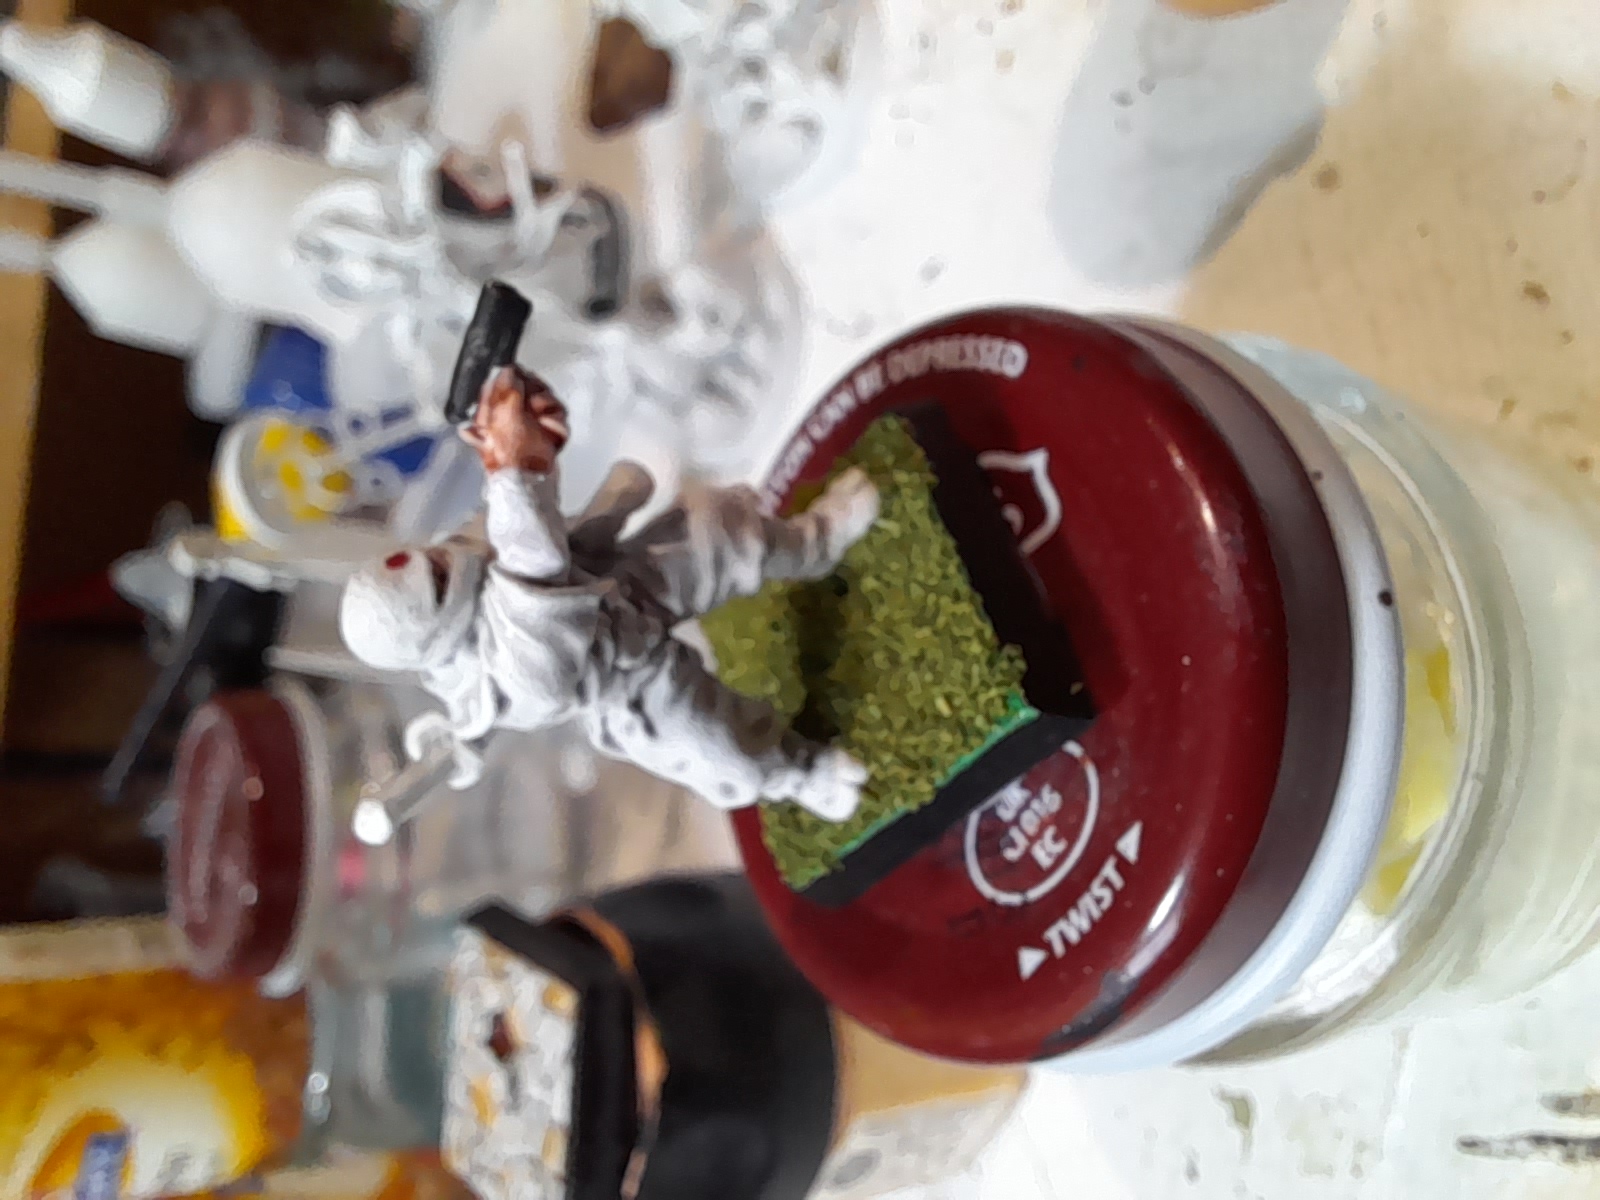
Then just a few finishing touches, and the two ninjas – created many years apart – were done ?
I went with classic basing for the old ninja, and for the new one I based it to match some other ‘modern survivor’ type minis I designed at the same time.

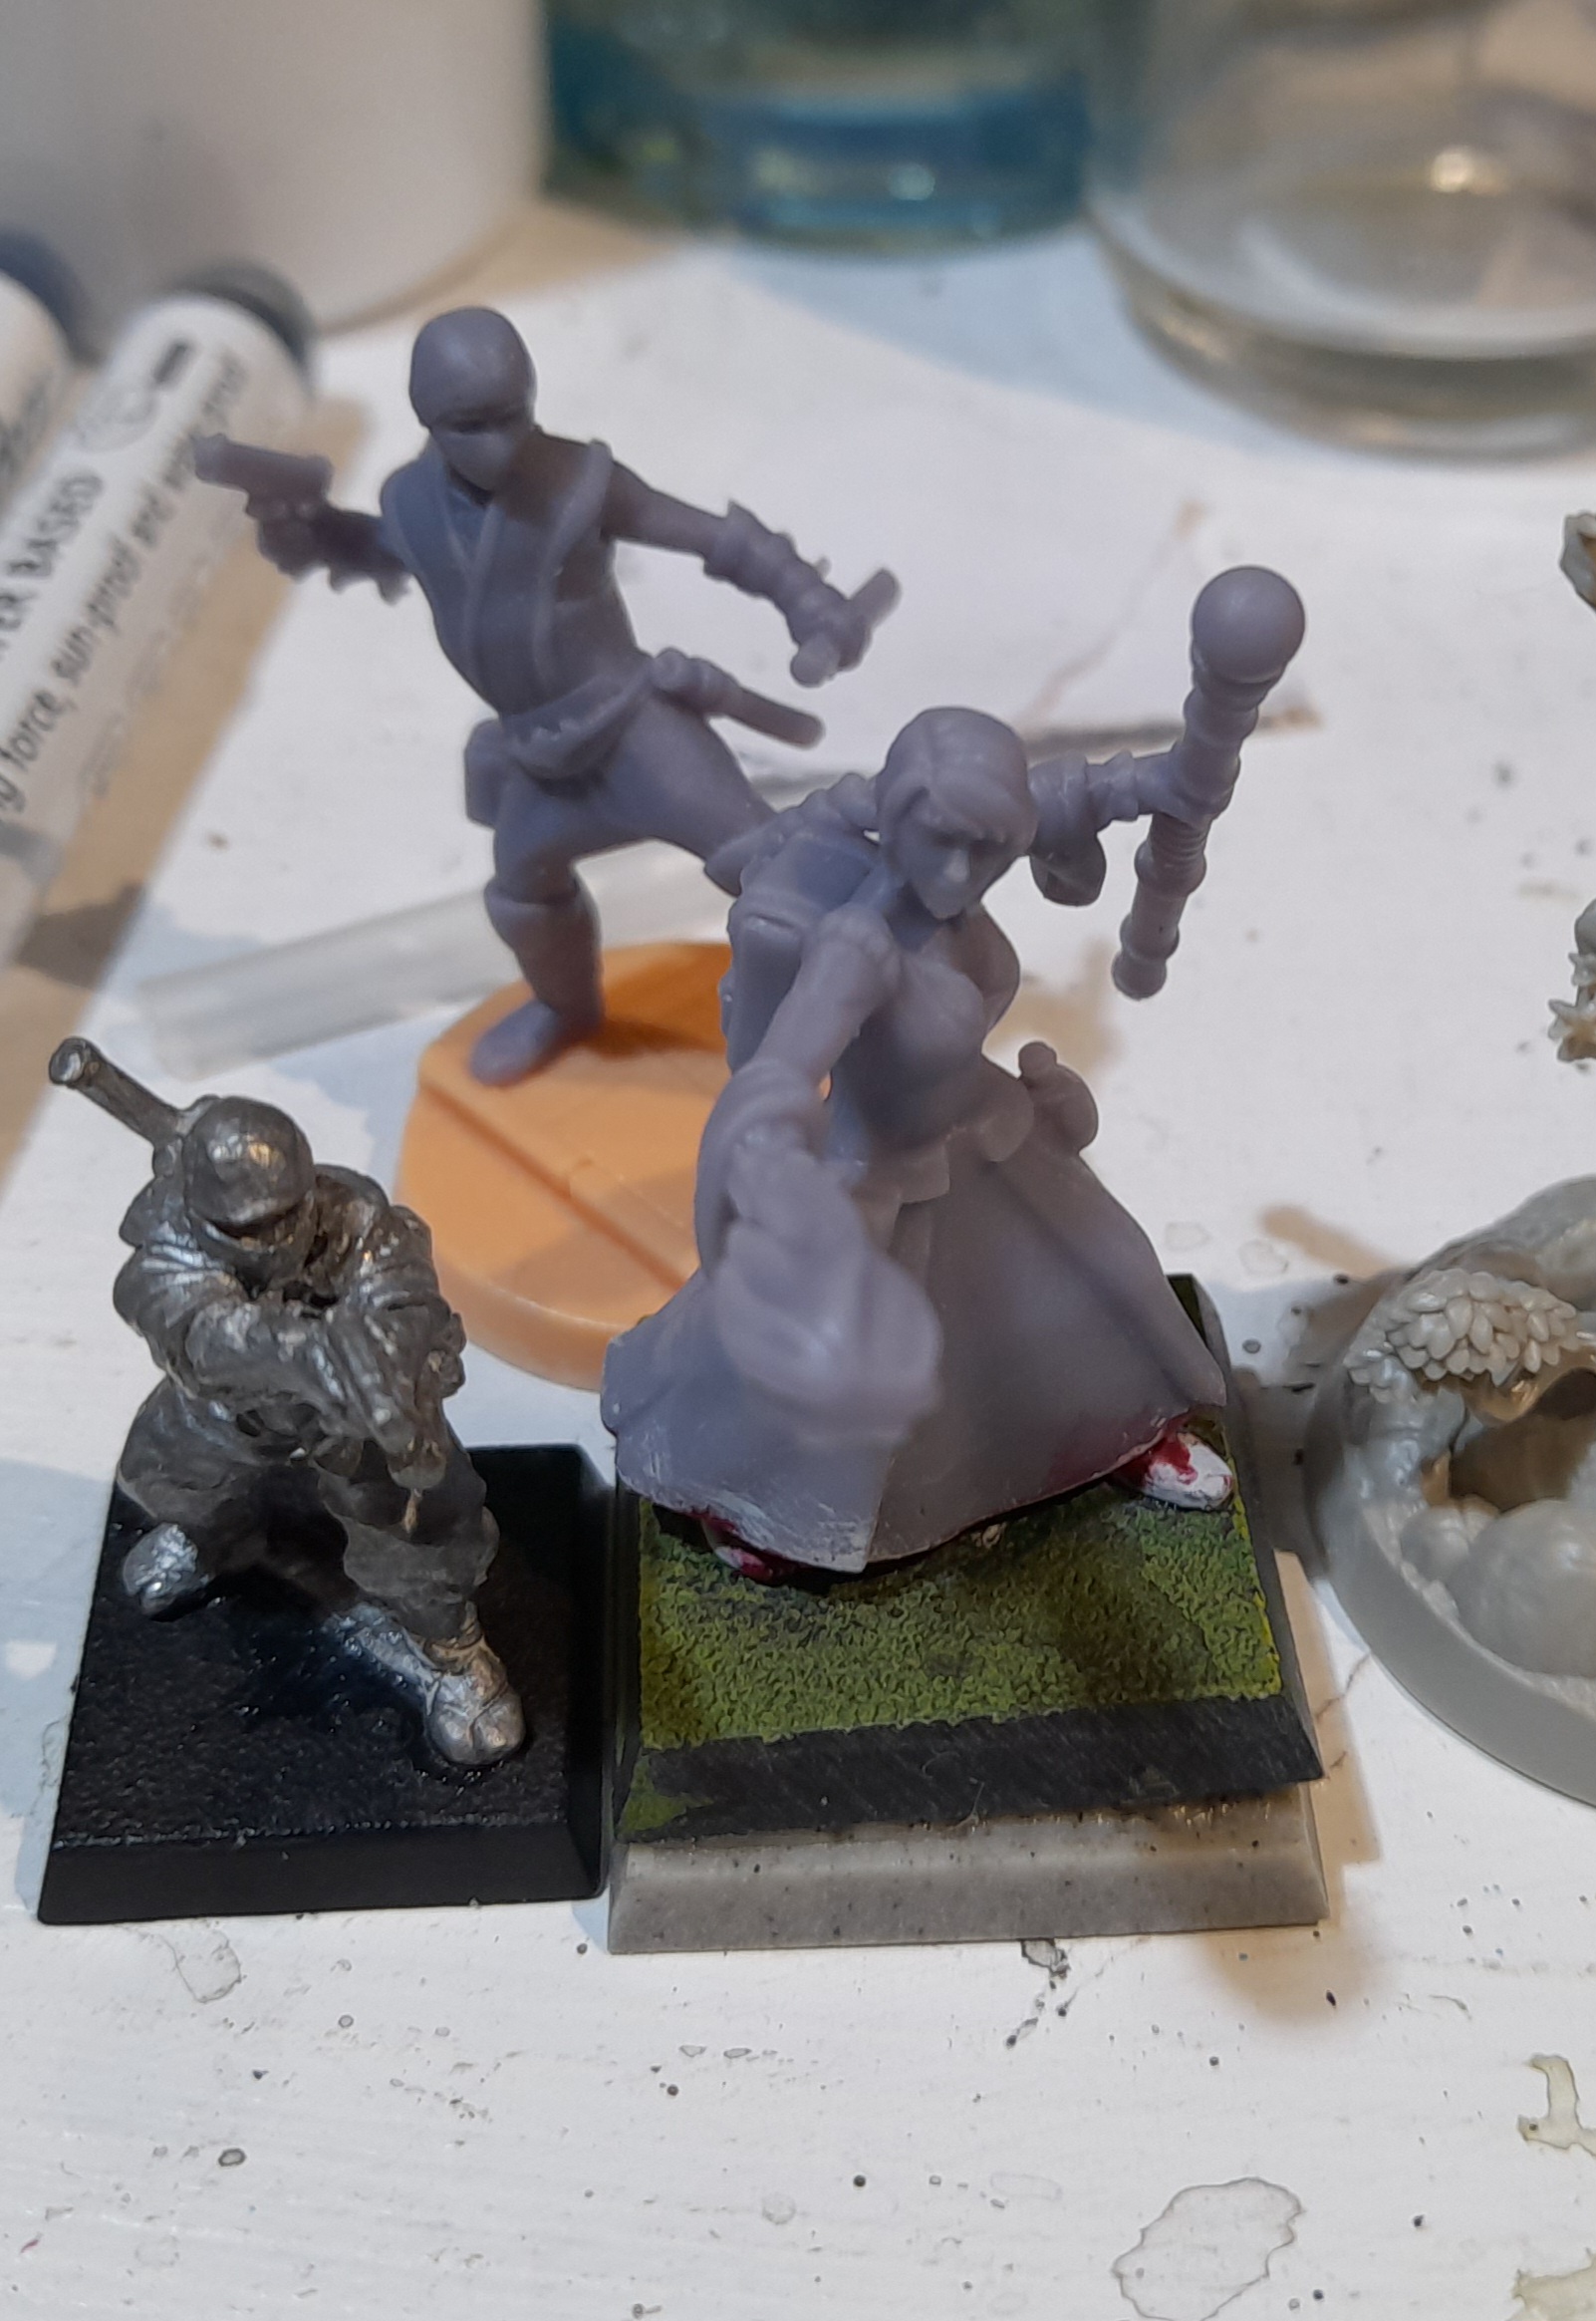
WFRP wizard
At the same time as designing the ninja I also designed a number of minis on heroforge for roleplay characters for an ongoing WFRP game that I GM (and occasionally play in).
Don’t worry though Gerry – they are representative; we don’t play on a grid.
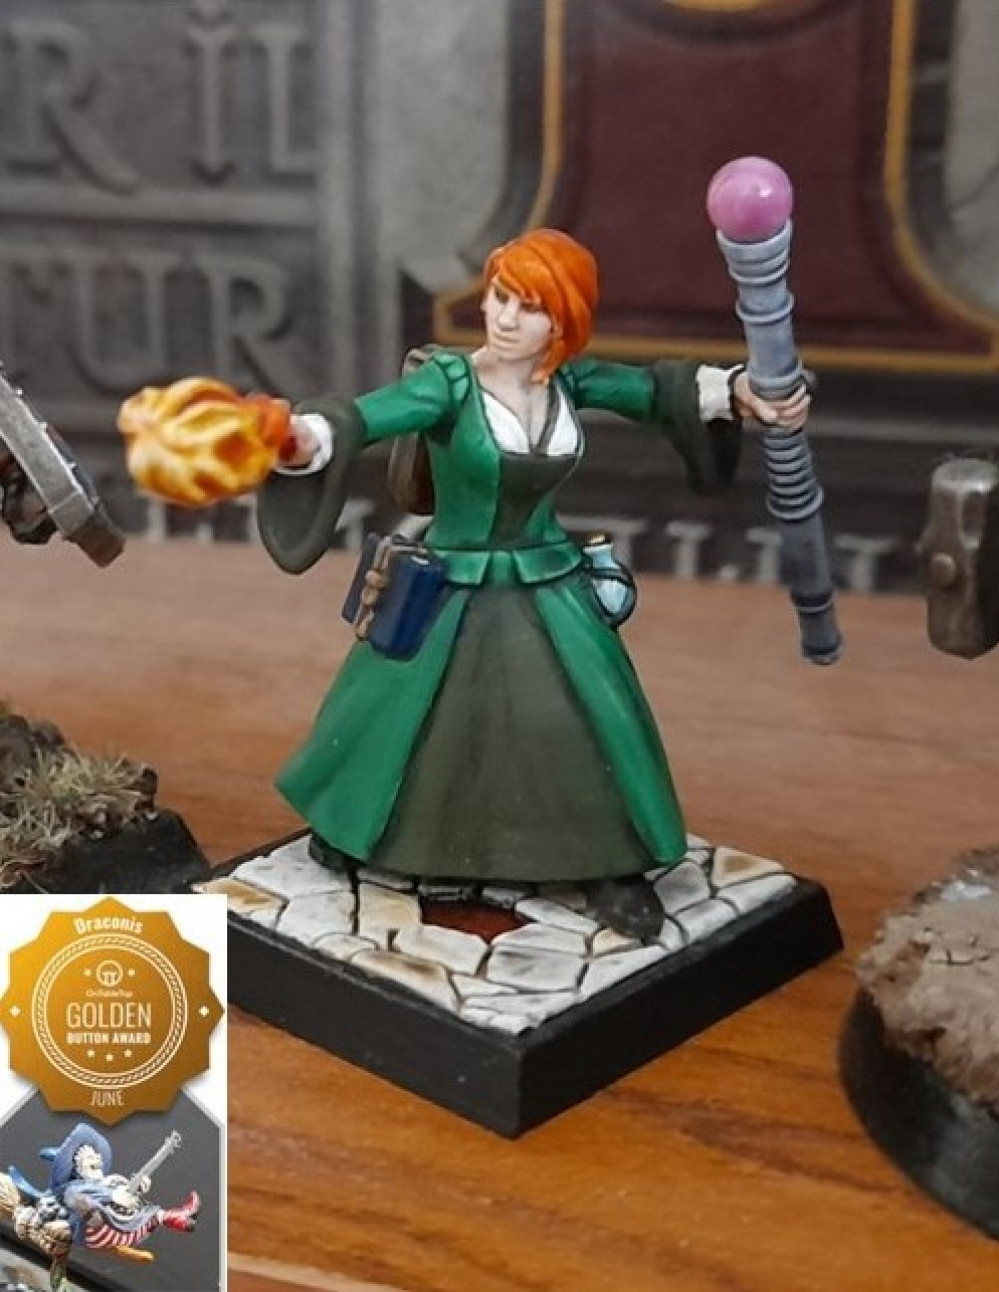
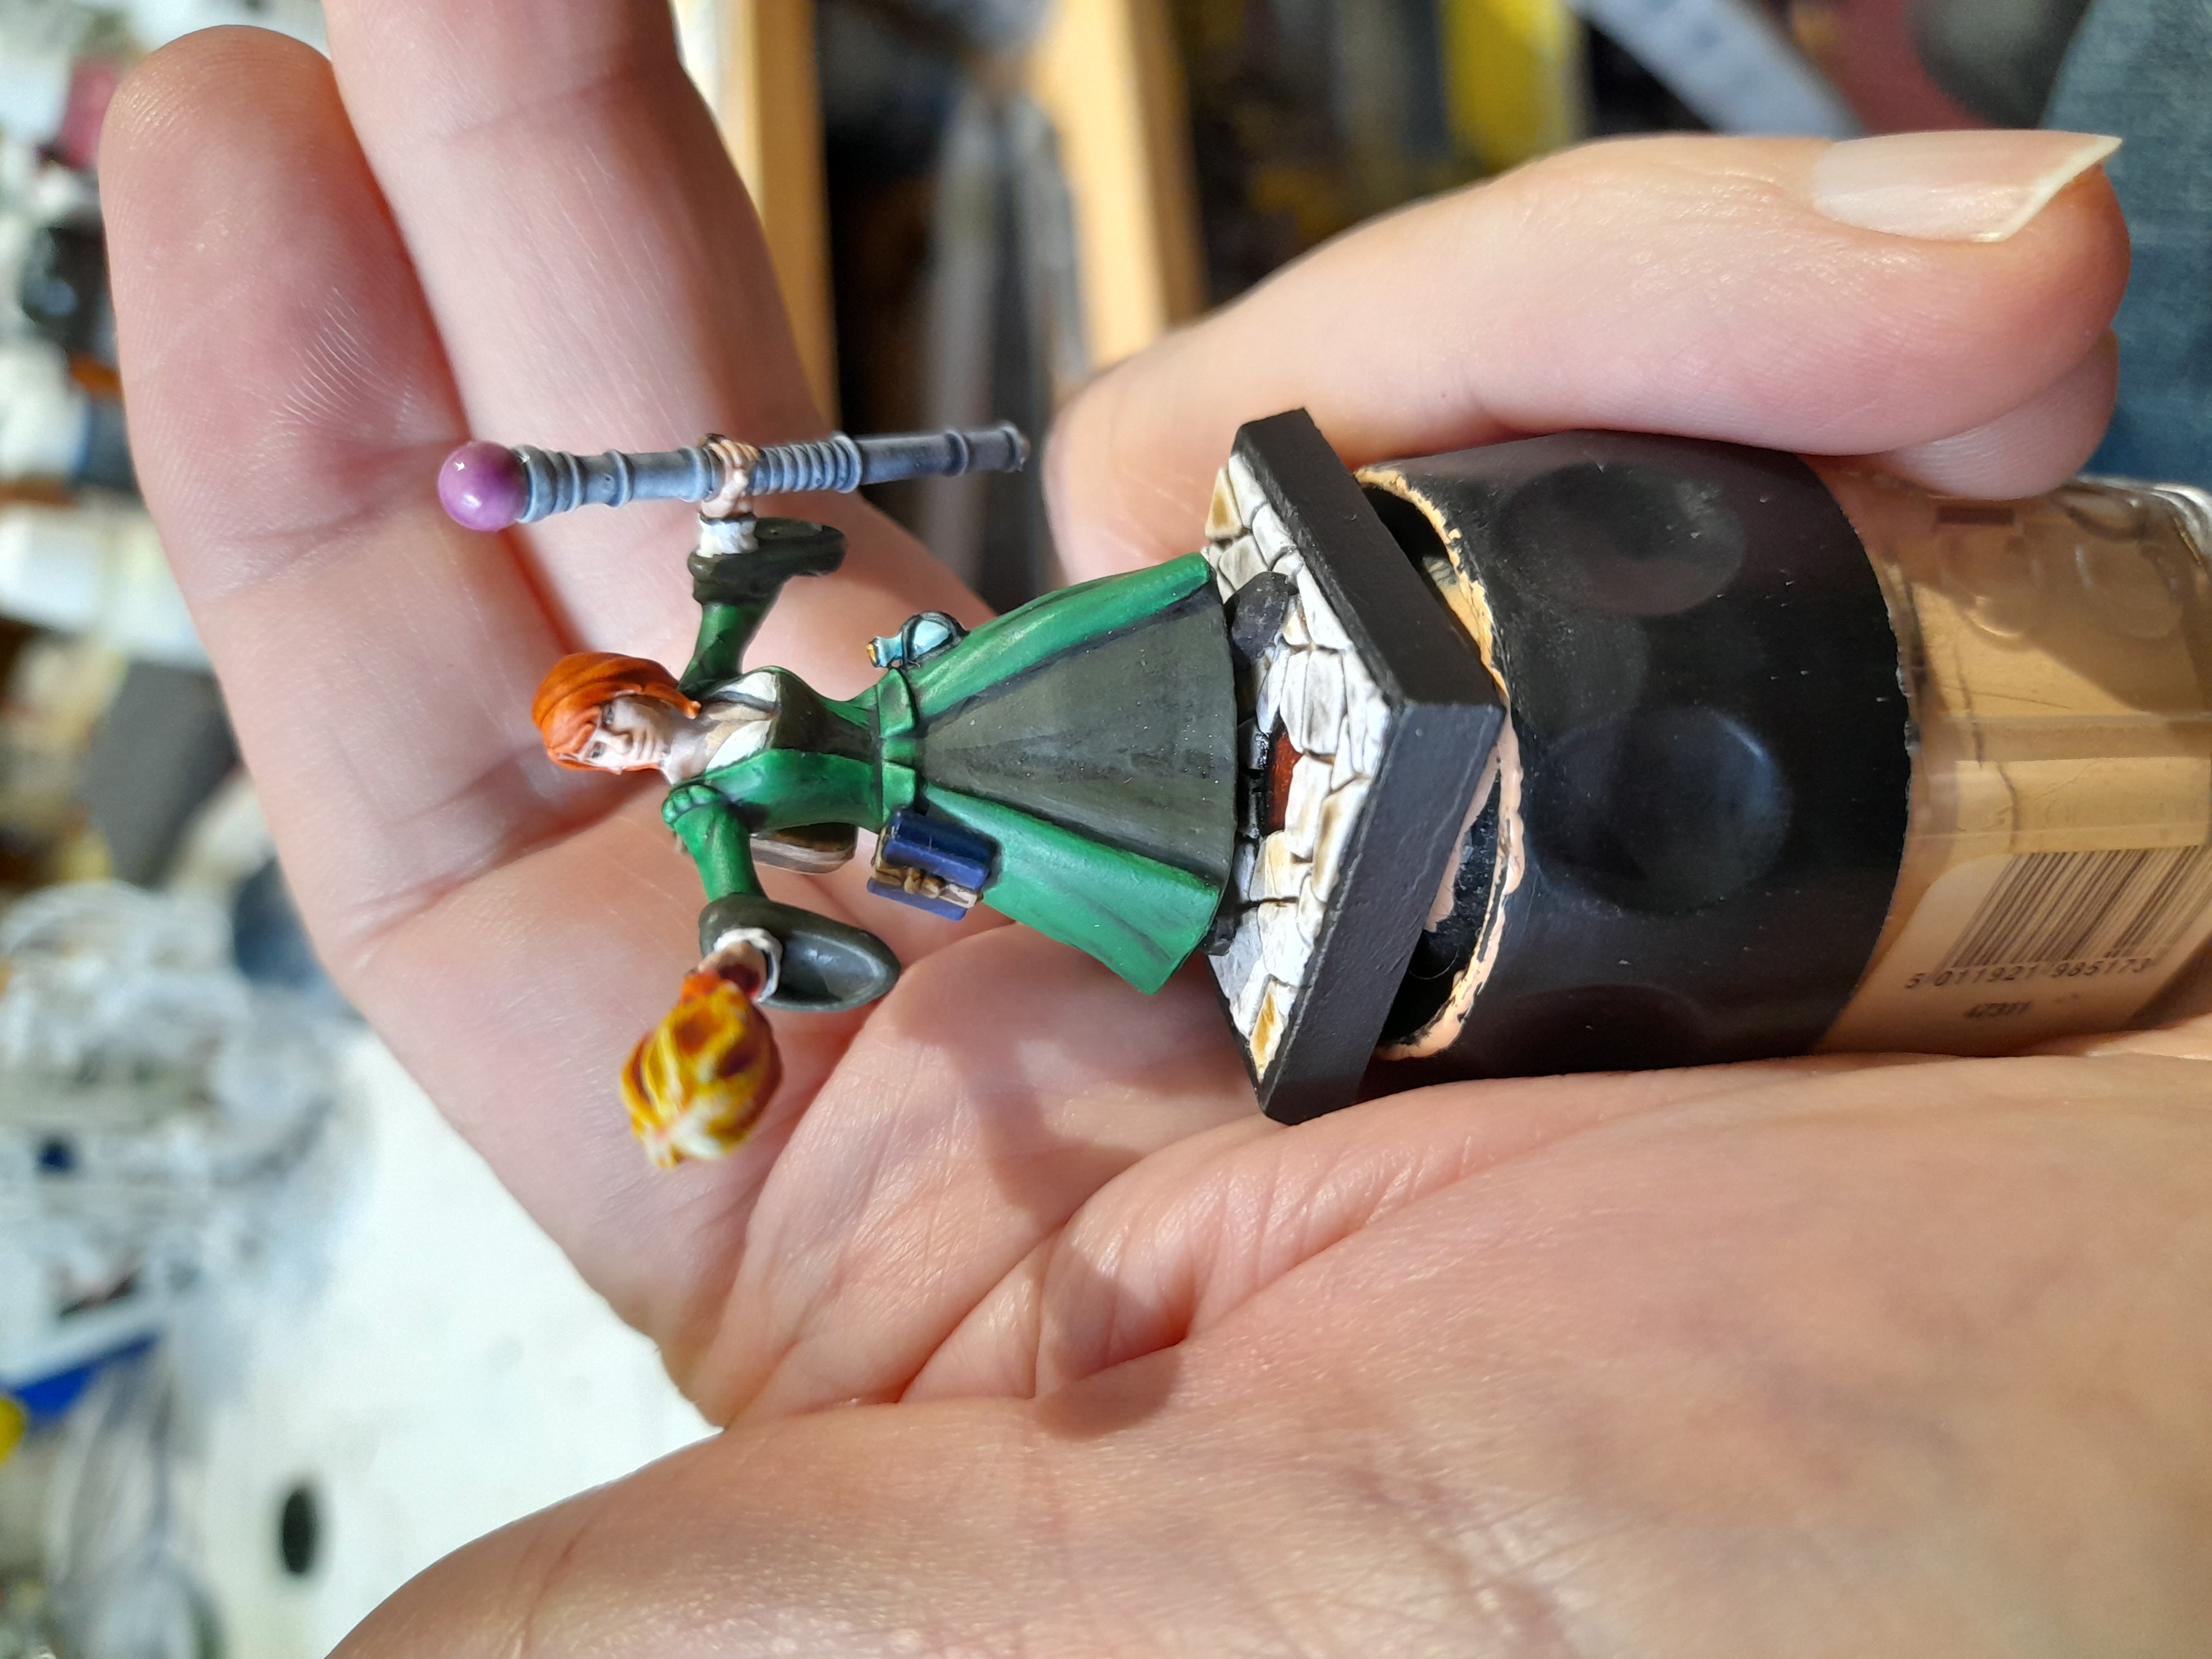
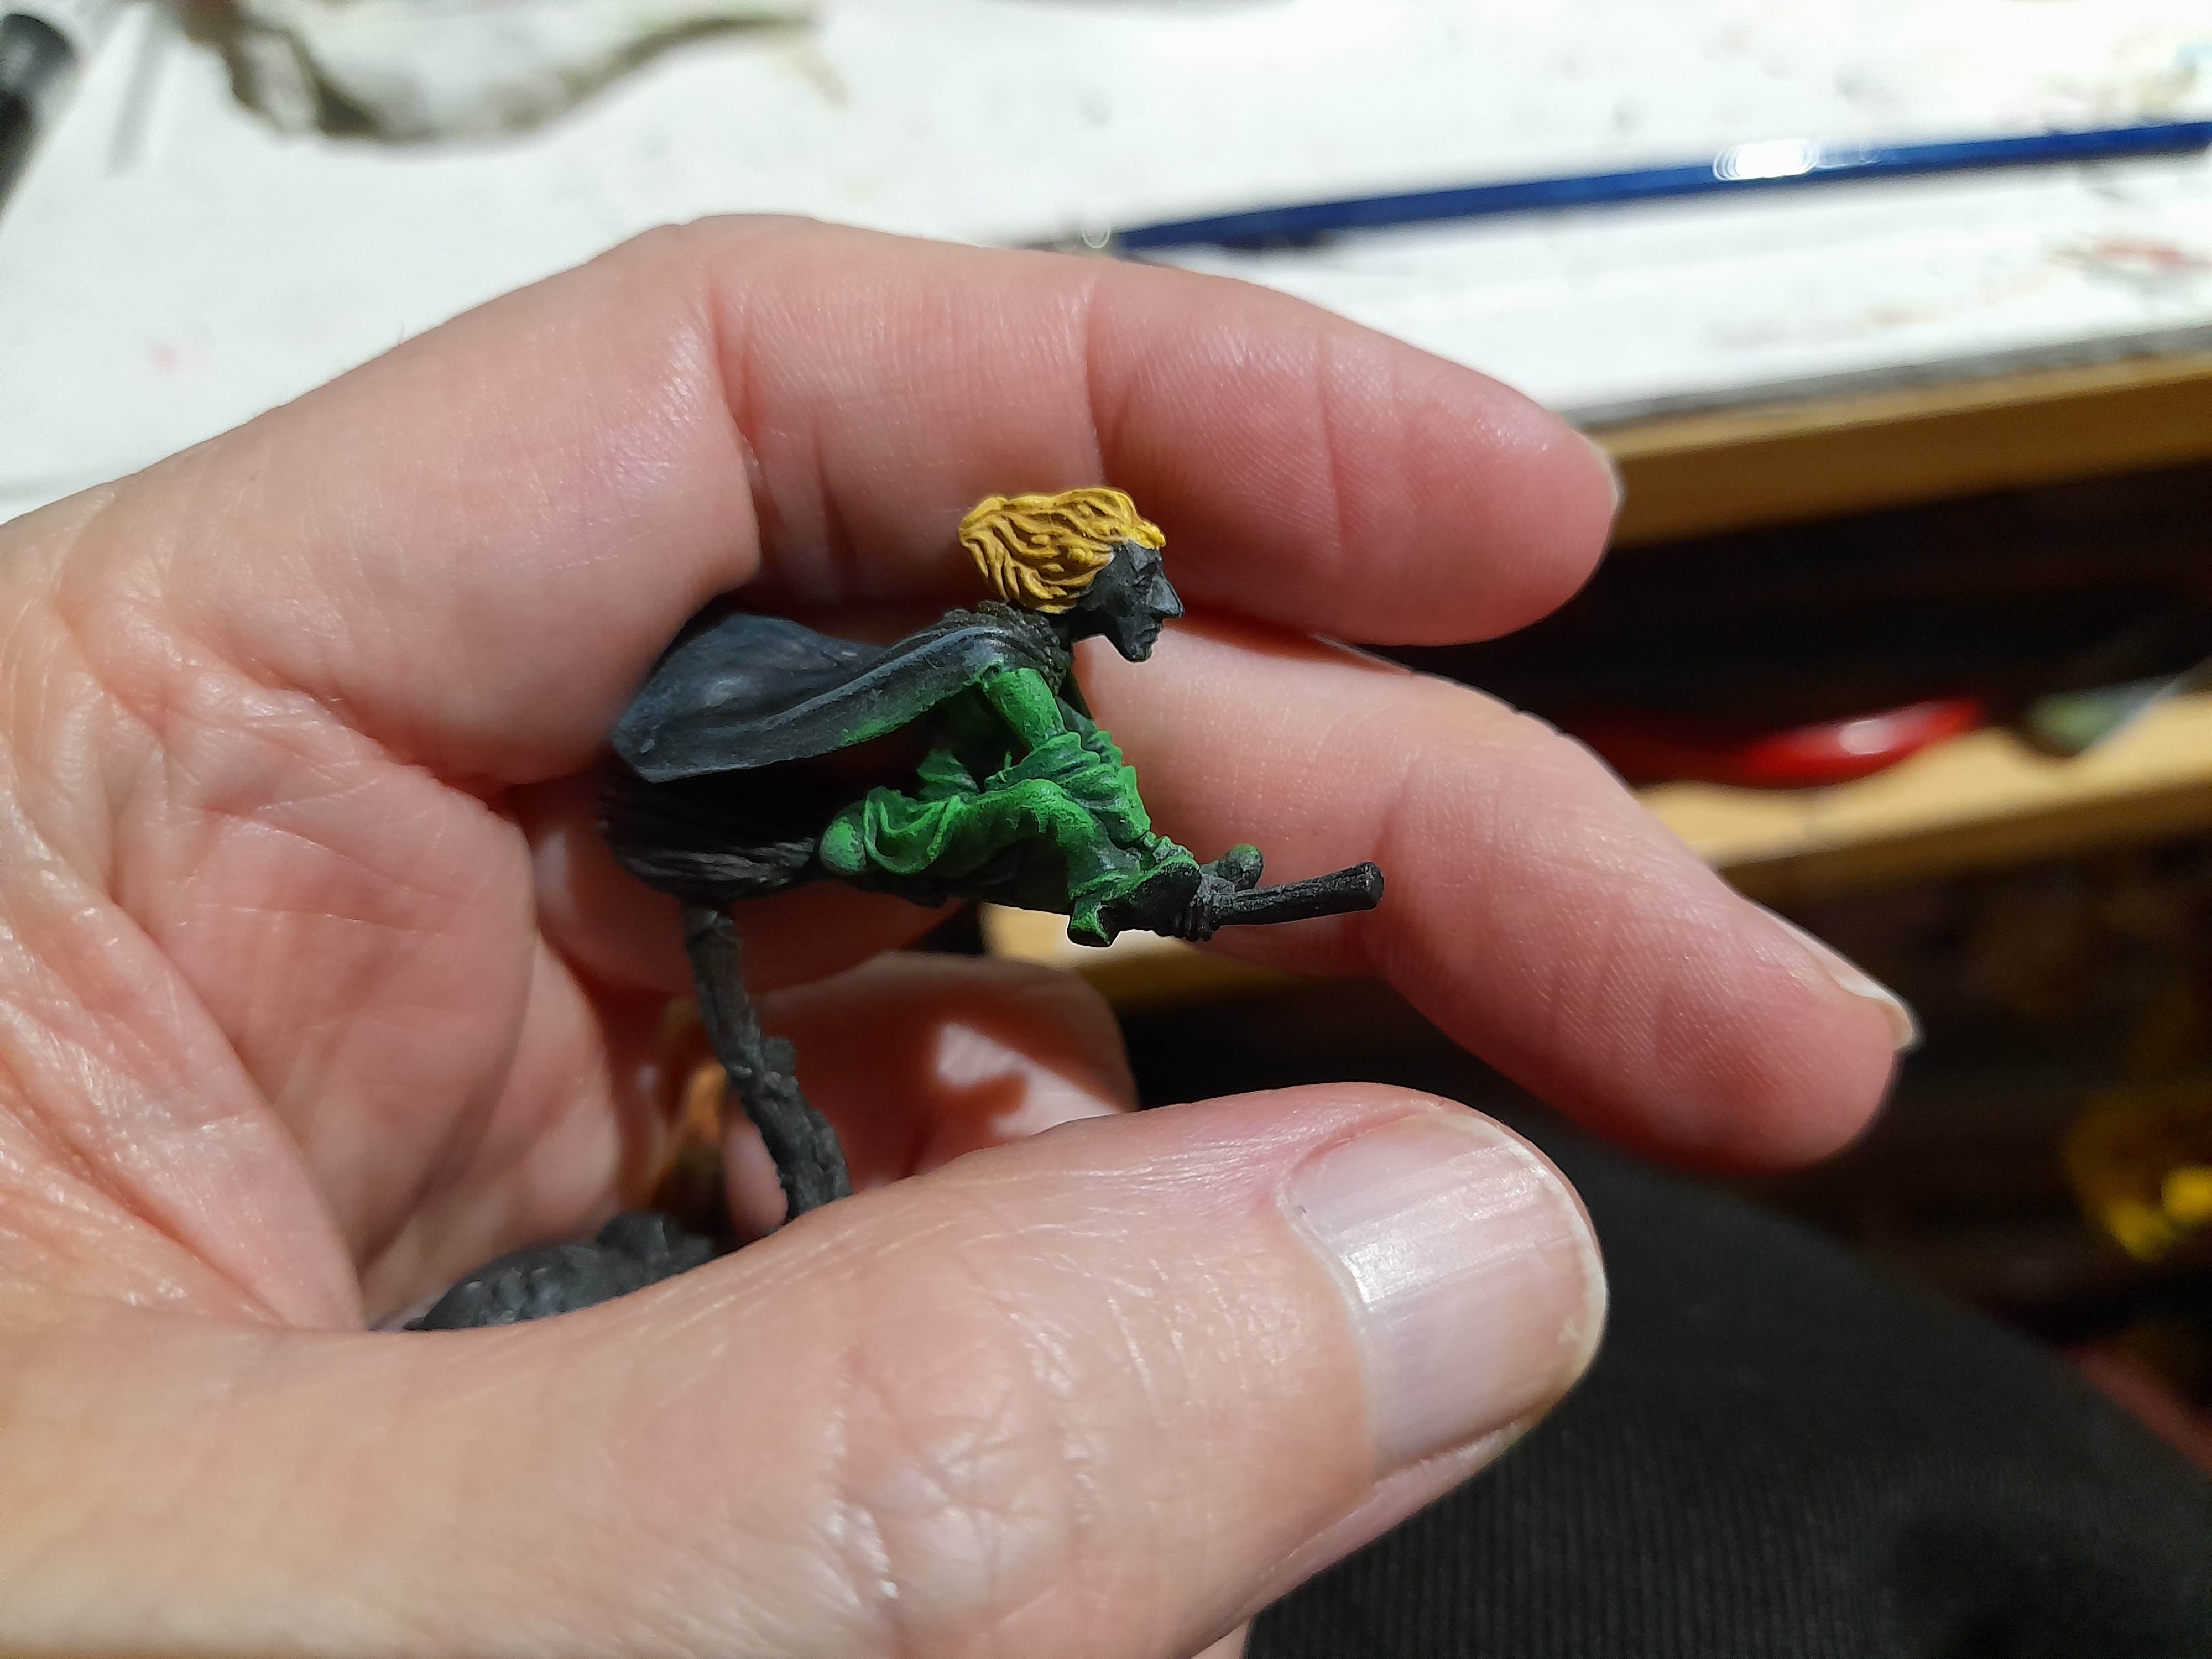
This one is a female wizard that my wife plays in our campaign.
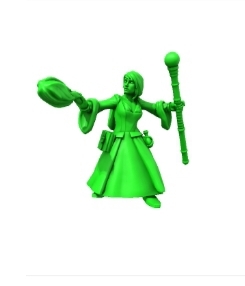
I debated the robe colour for a while, but finally plumped for green.
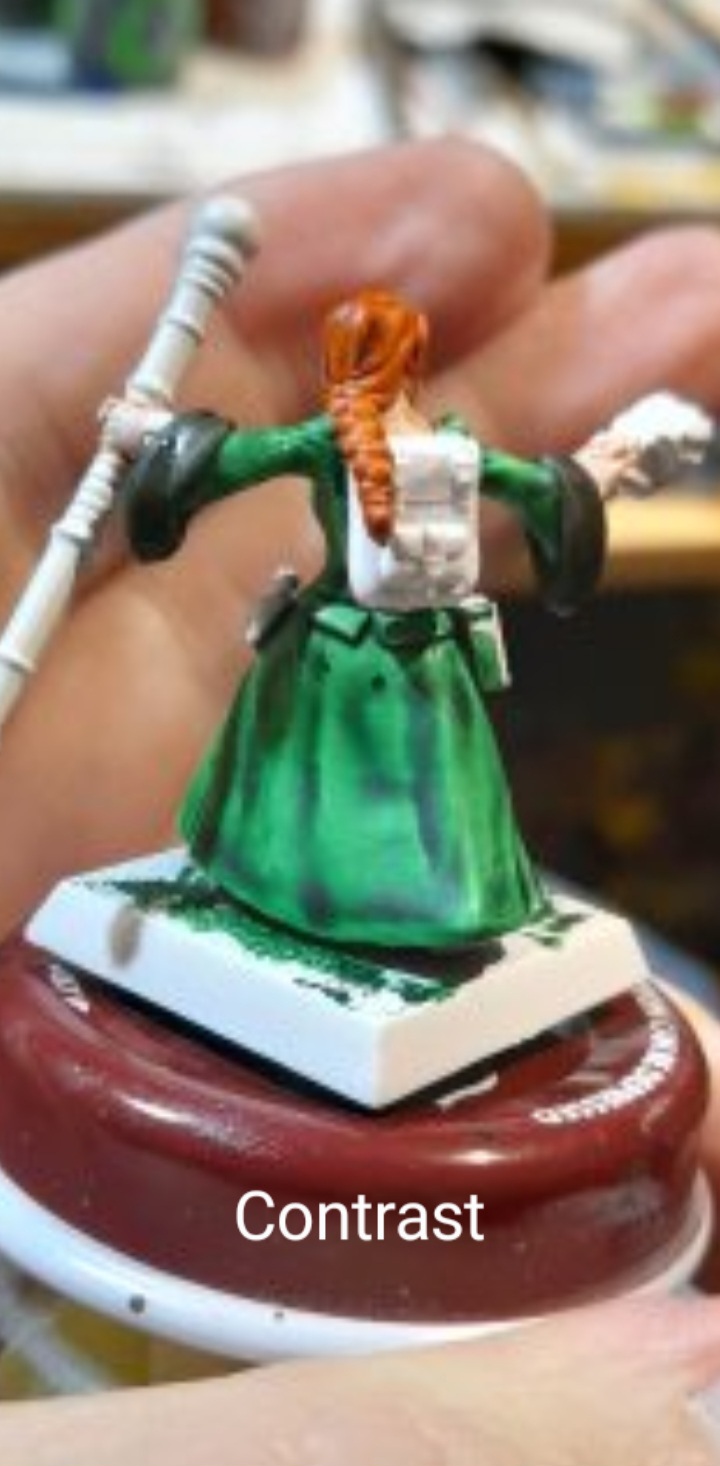
Trying to get the model done quickly I used a green contrast – but wasn’t really happy with how it came out.
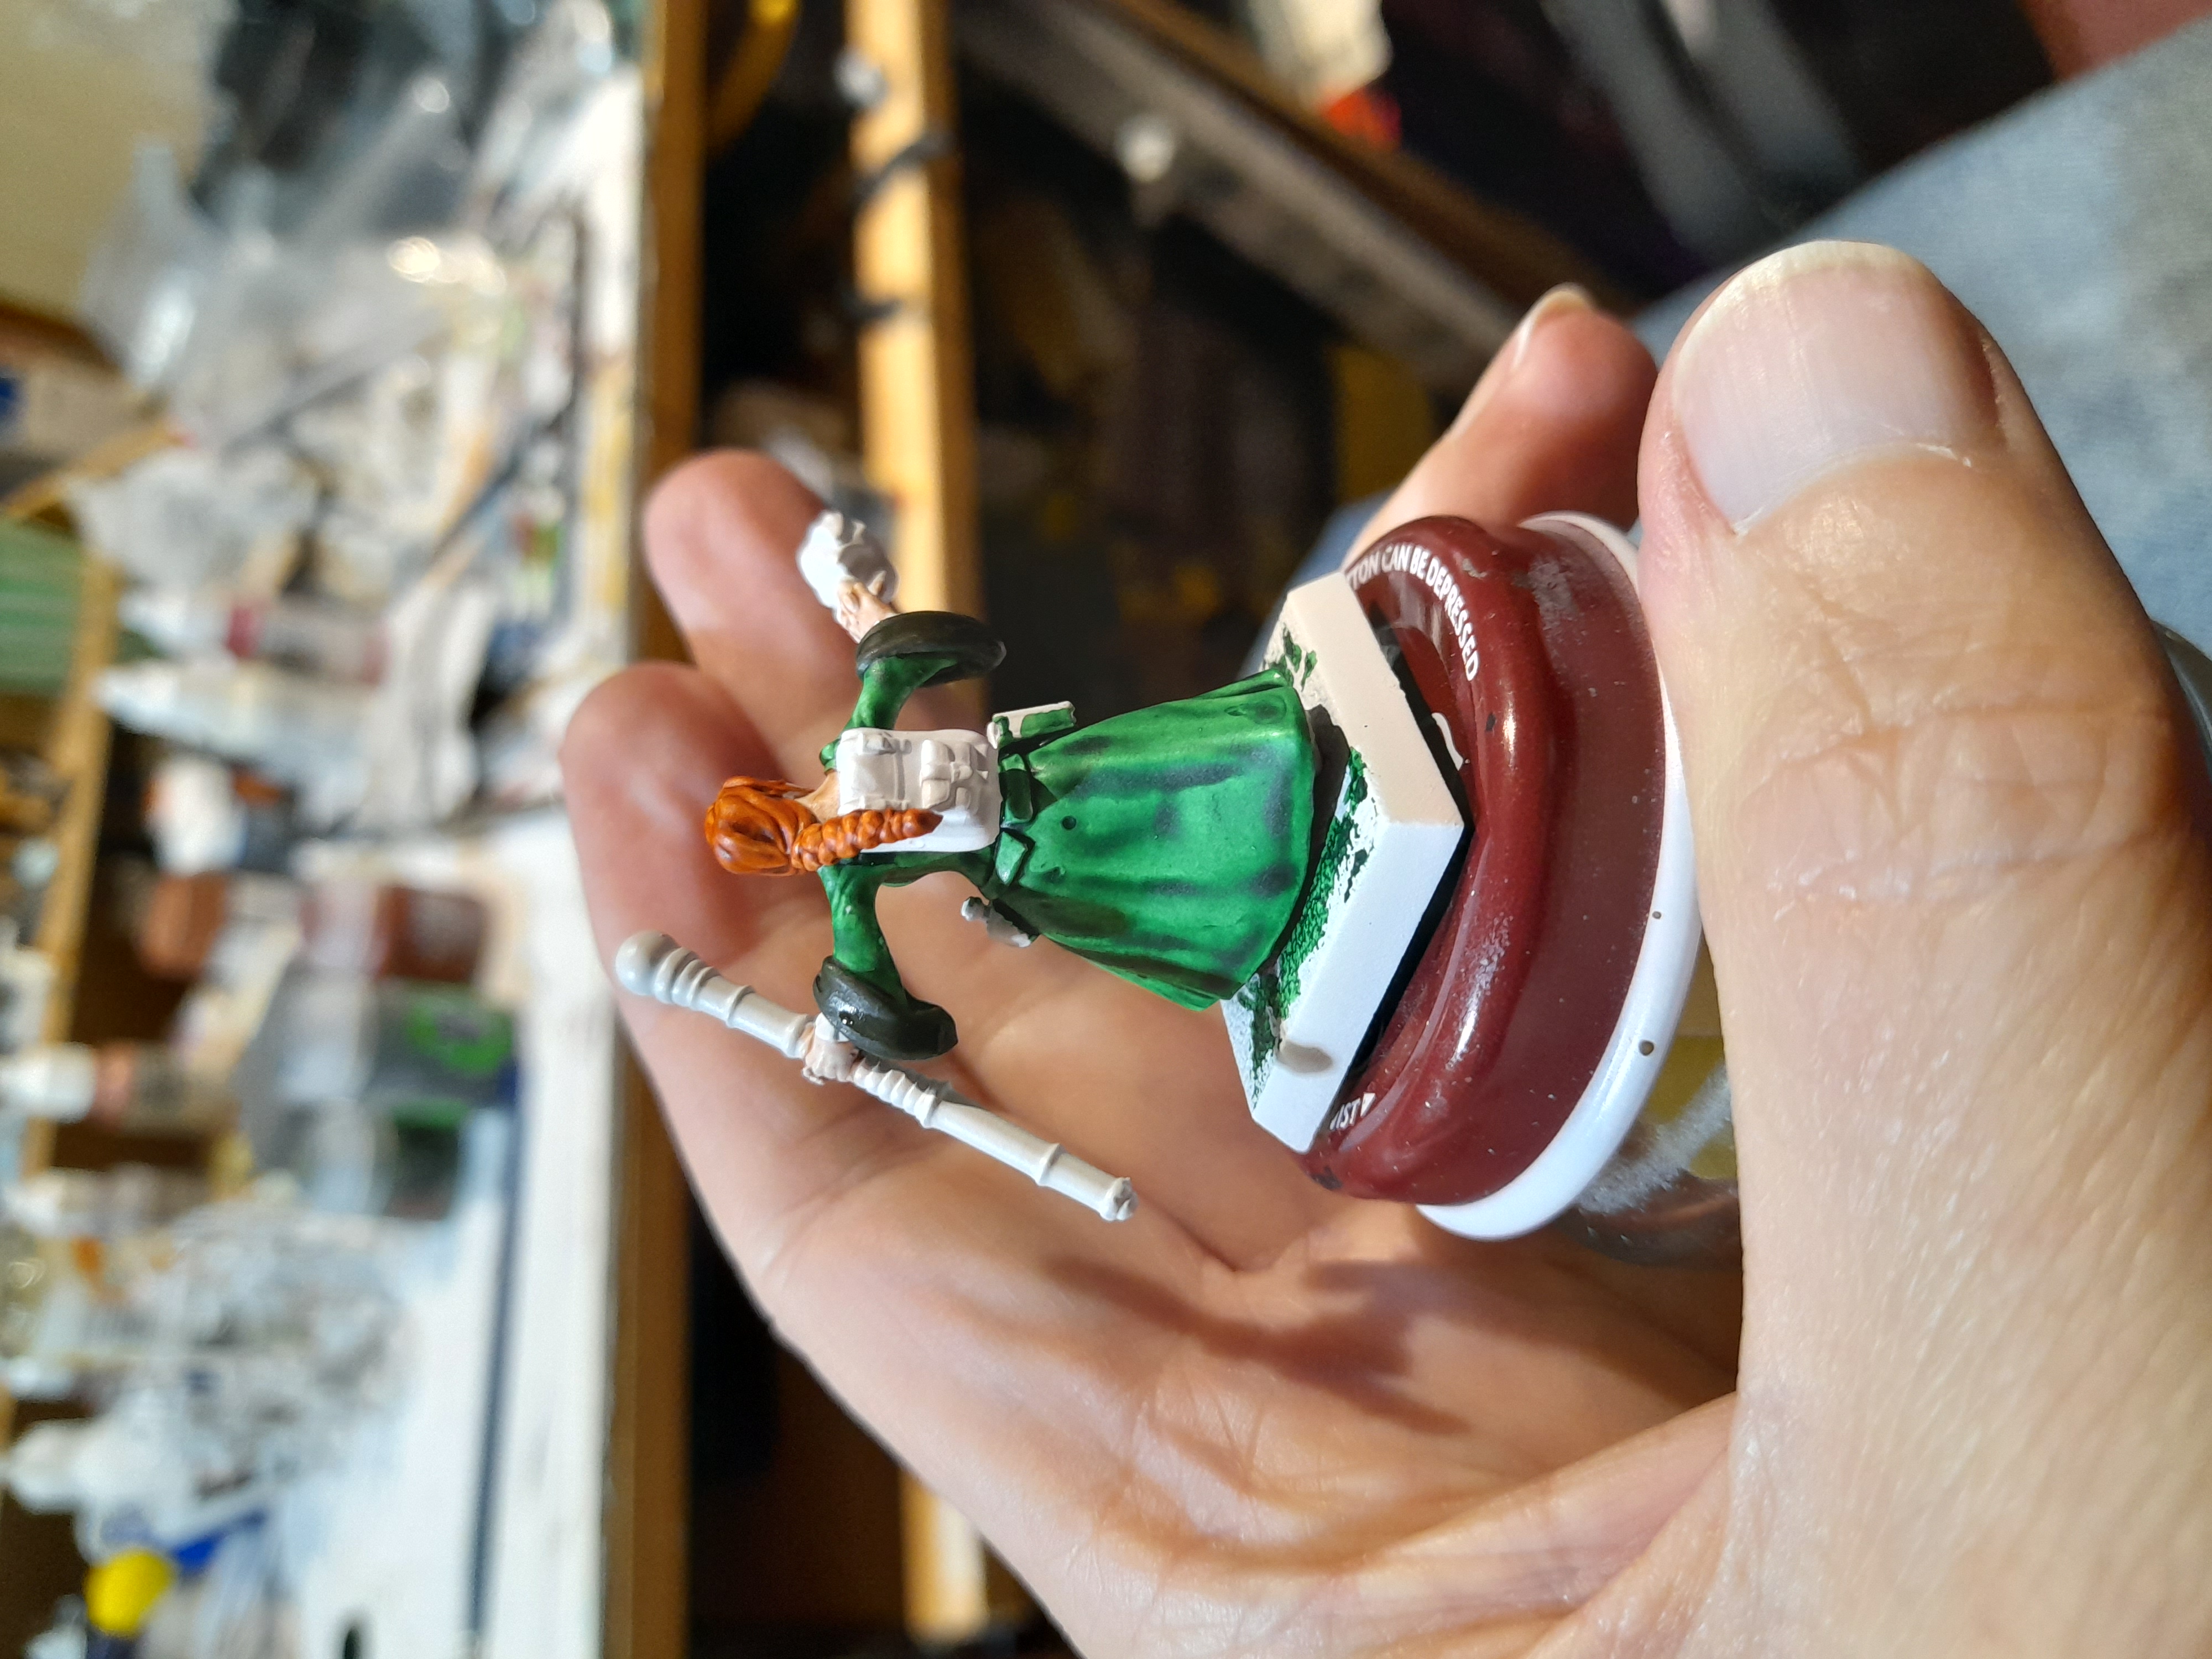
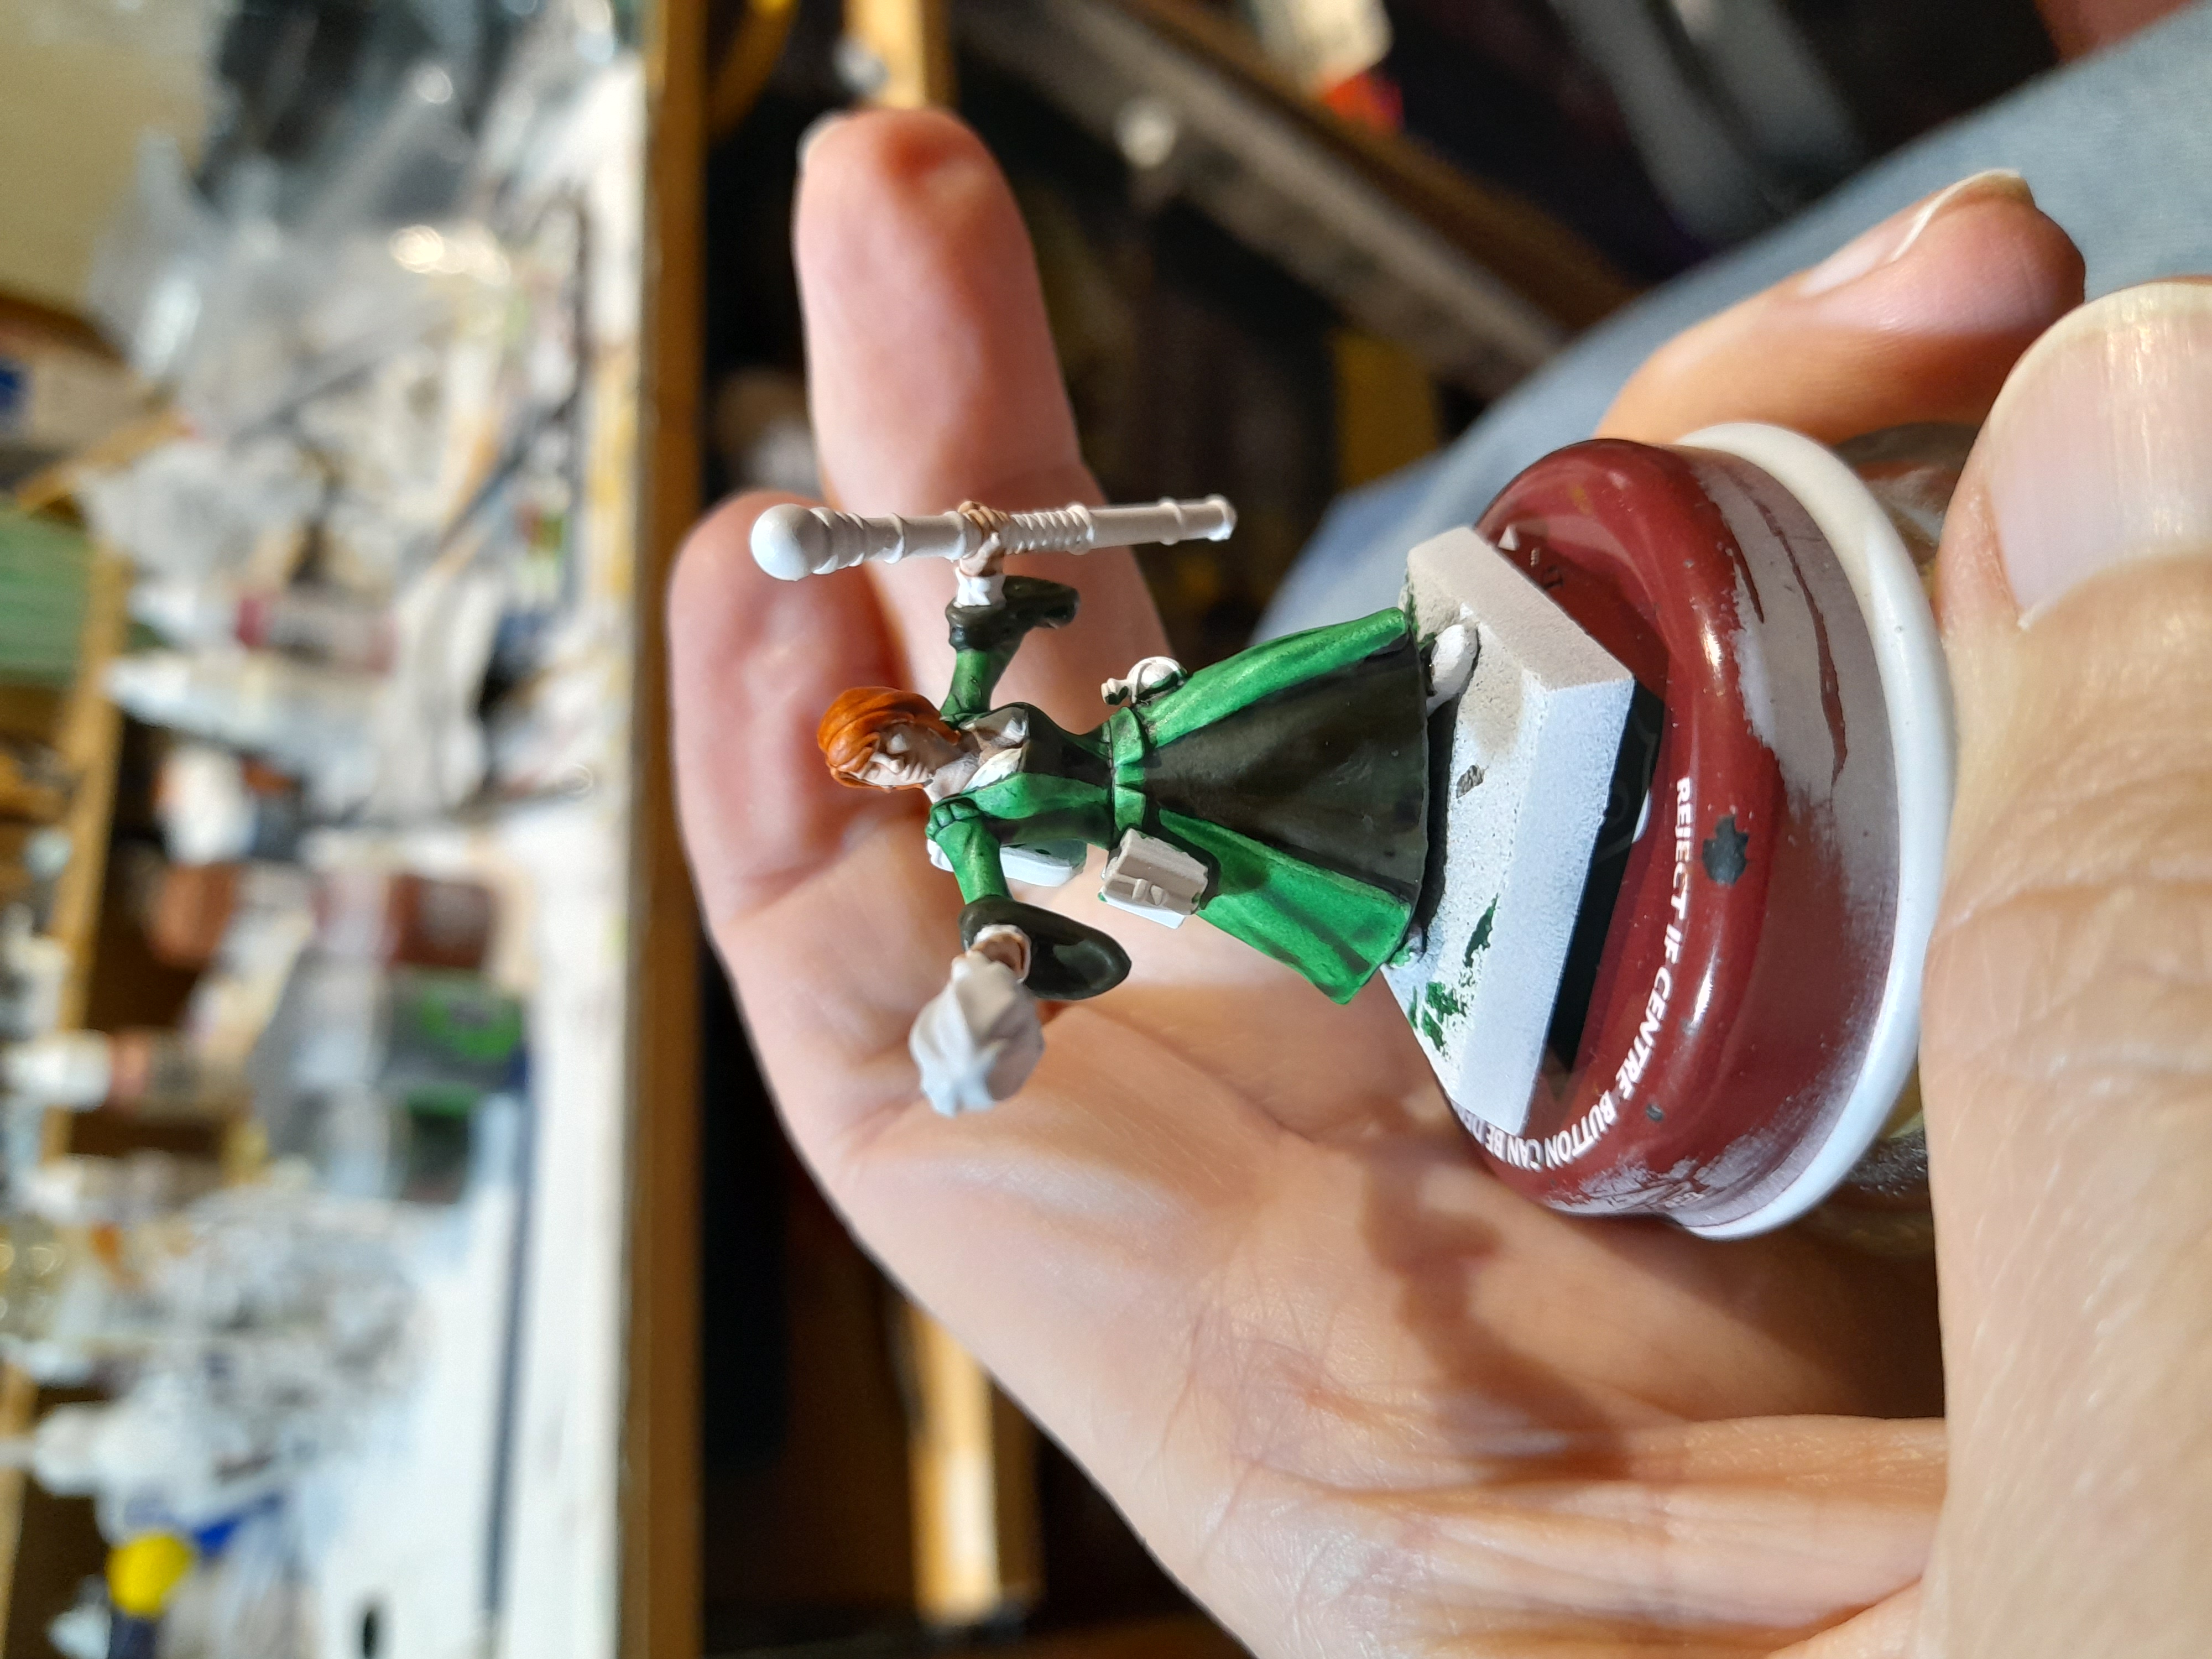
So, I got out the green paint and tried old school layering. I wasn’t sure if my skills or patience were still up to it – but I am reasonably happy with how it came out.

I worked on the base separately. This was because the model has quite wide robes that come close to the ground. Painting the base separately meant it was a lot easier to get to details on both the base and the model that would be hard to do if they were glued together at the time.
 Just a base....
Finally it was a case of all the finishing touches.
I built up several layers from dark red through yellow to almost white for the fire effect (again, pretty happy with how that worked).
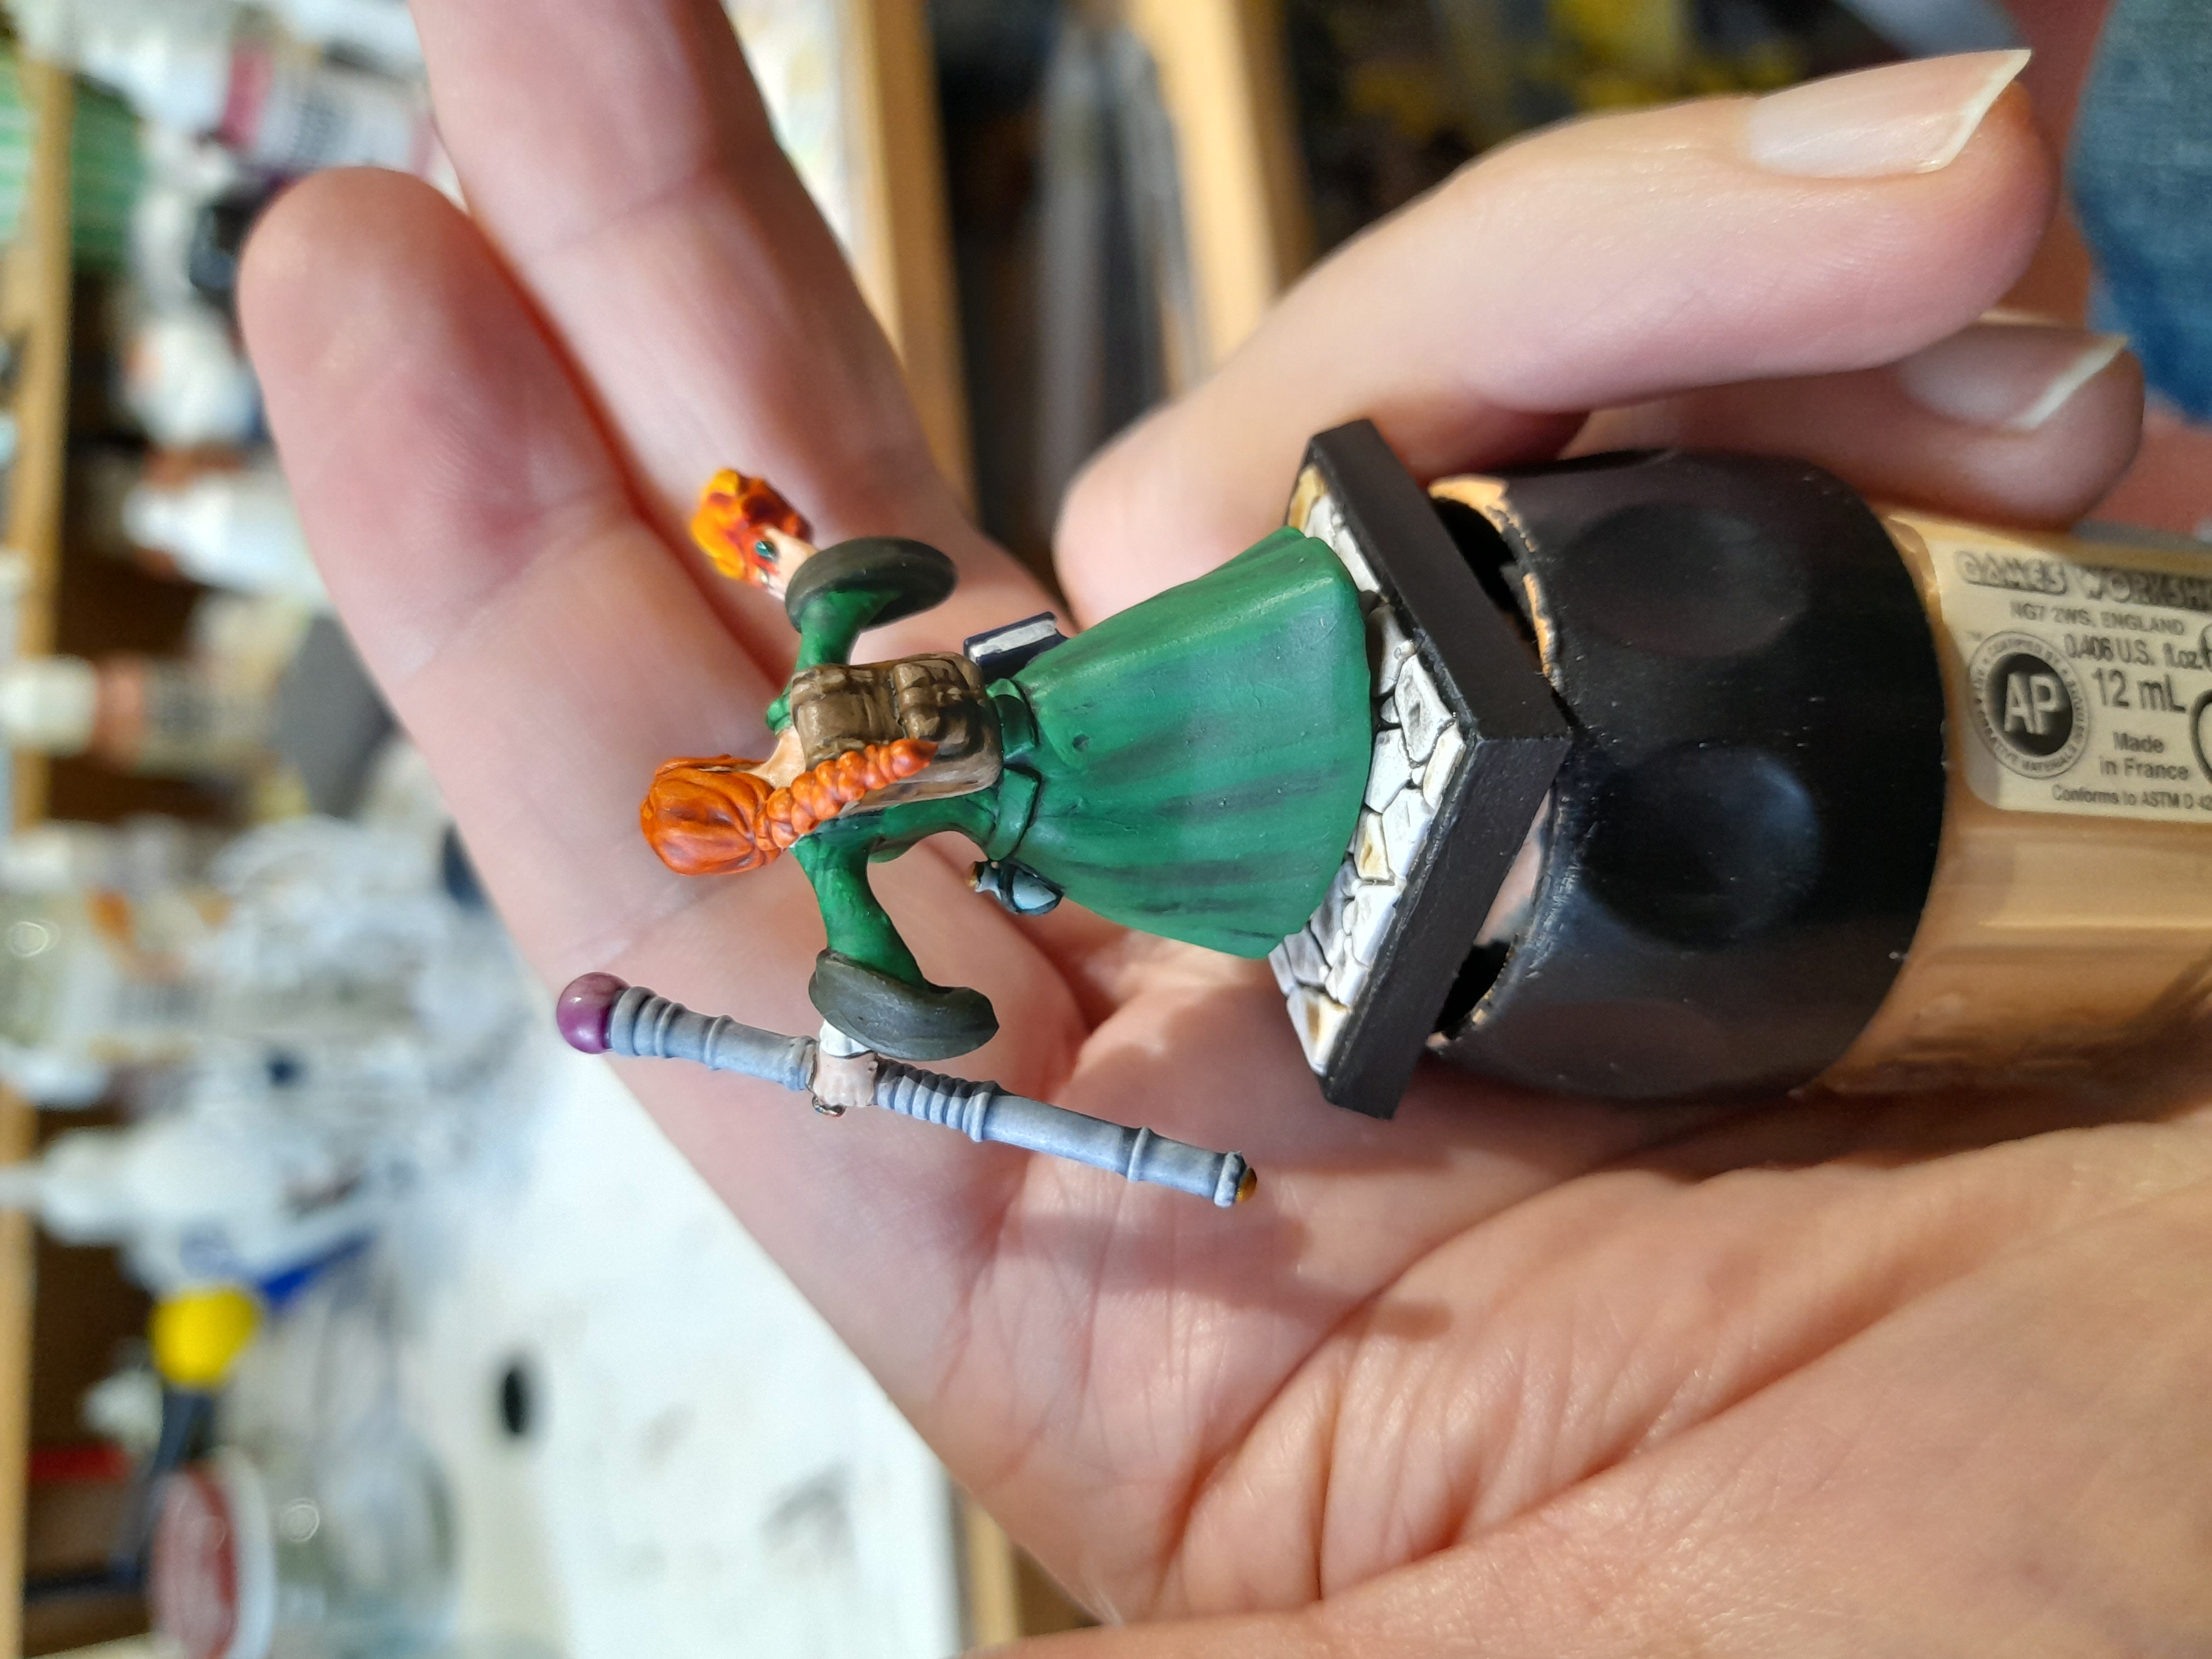
The book I initially painted brown, but changed that to a dark blue and highlighted it up.
For the backpack I used a contrast at first – but yet again I wasn’t really happy with the finish (perhaps the bright white base isn’t so good for a lot of these colours), so went back to my old Foundry paints and layered it up too.
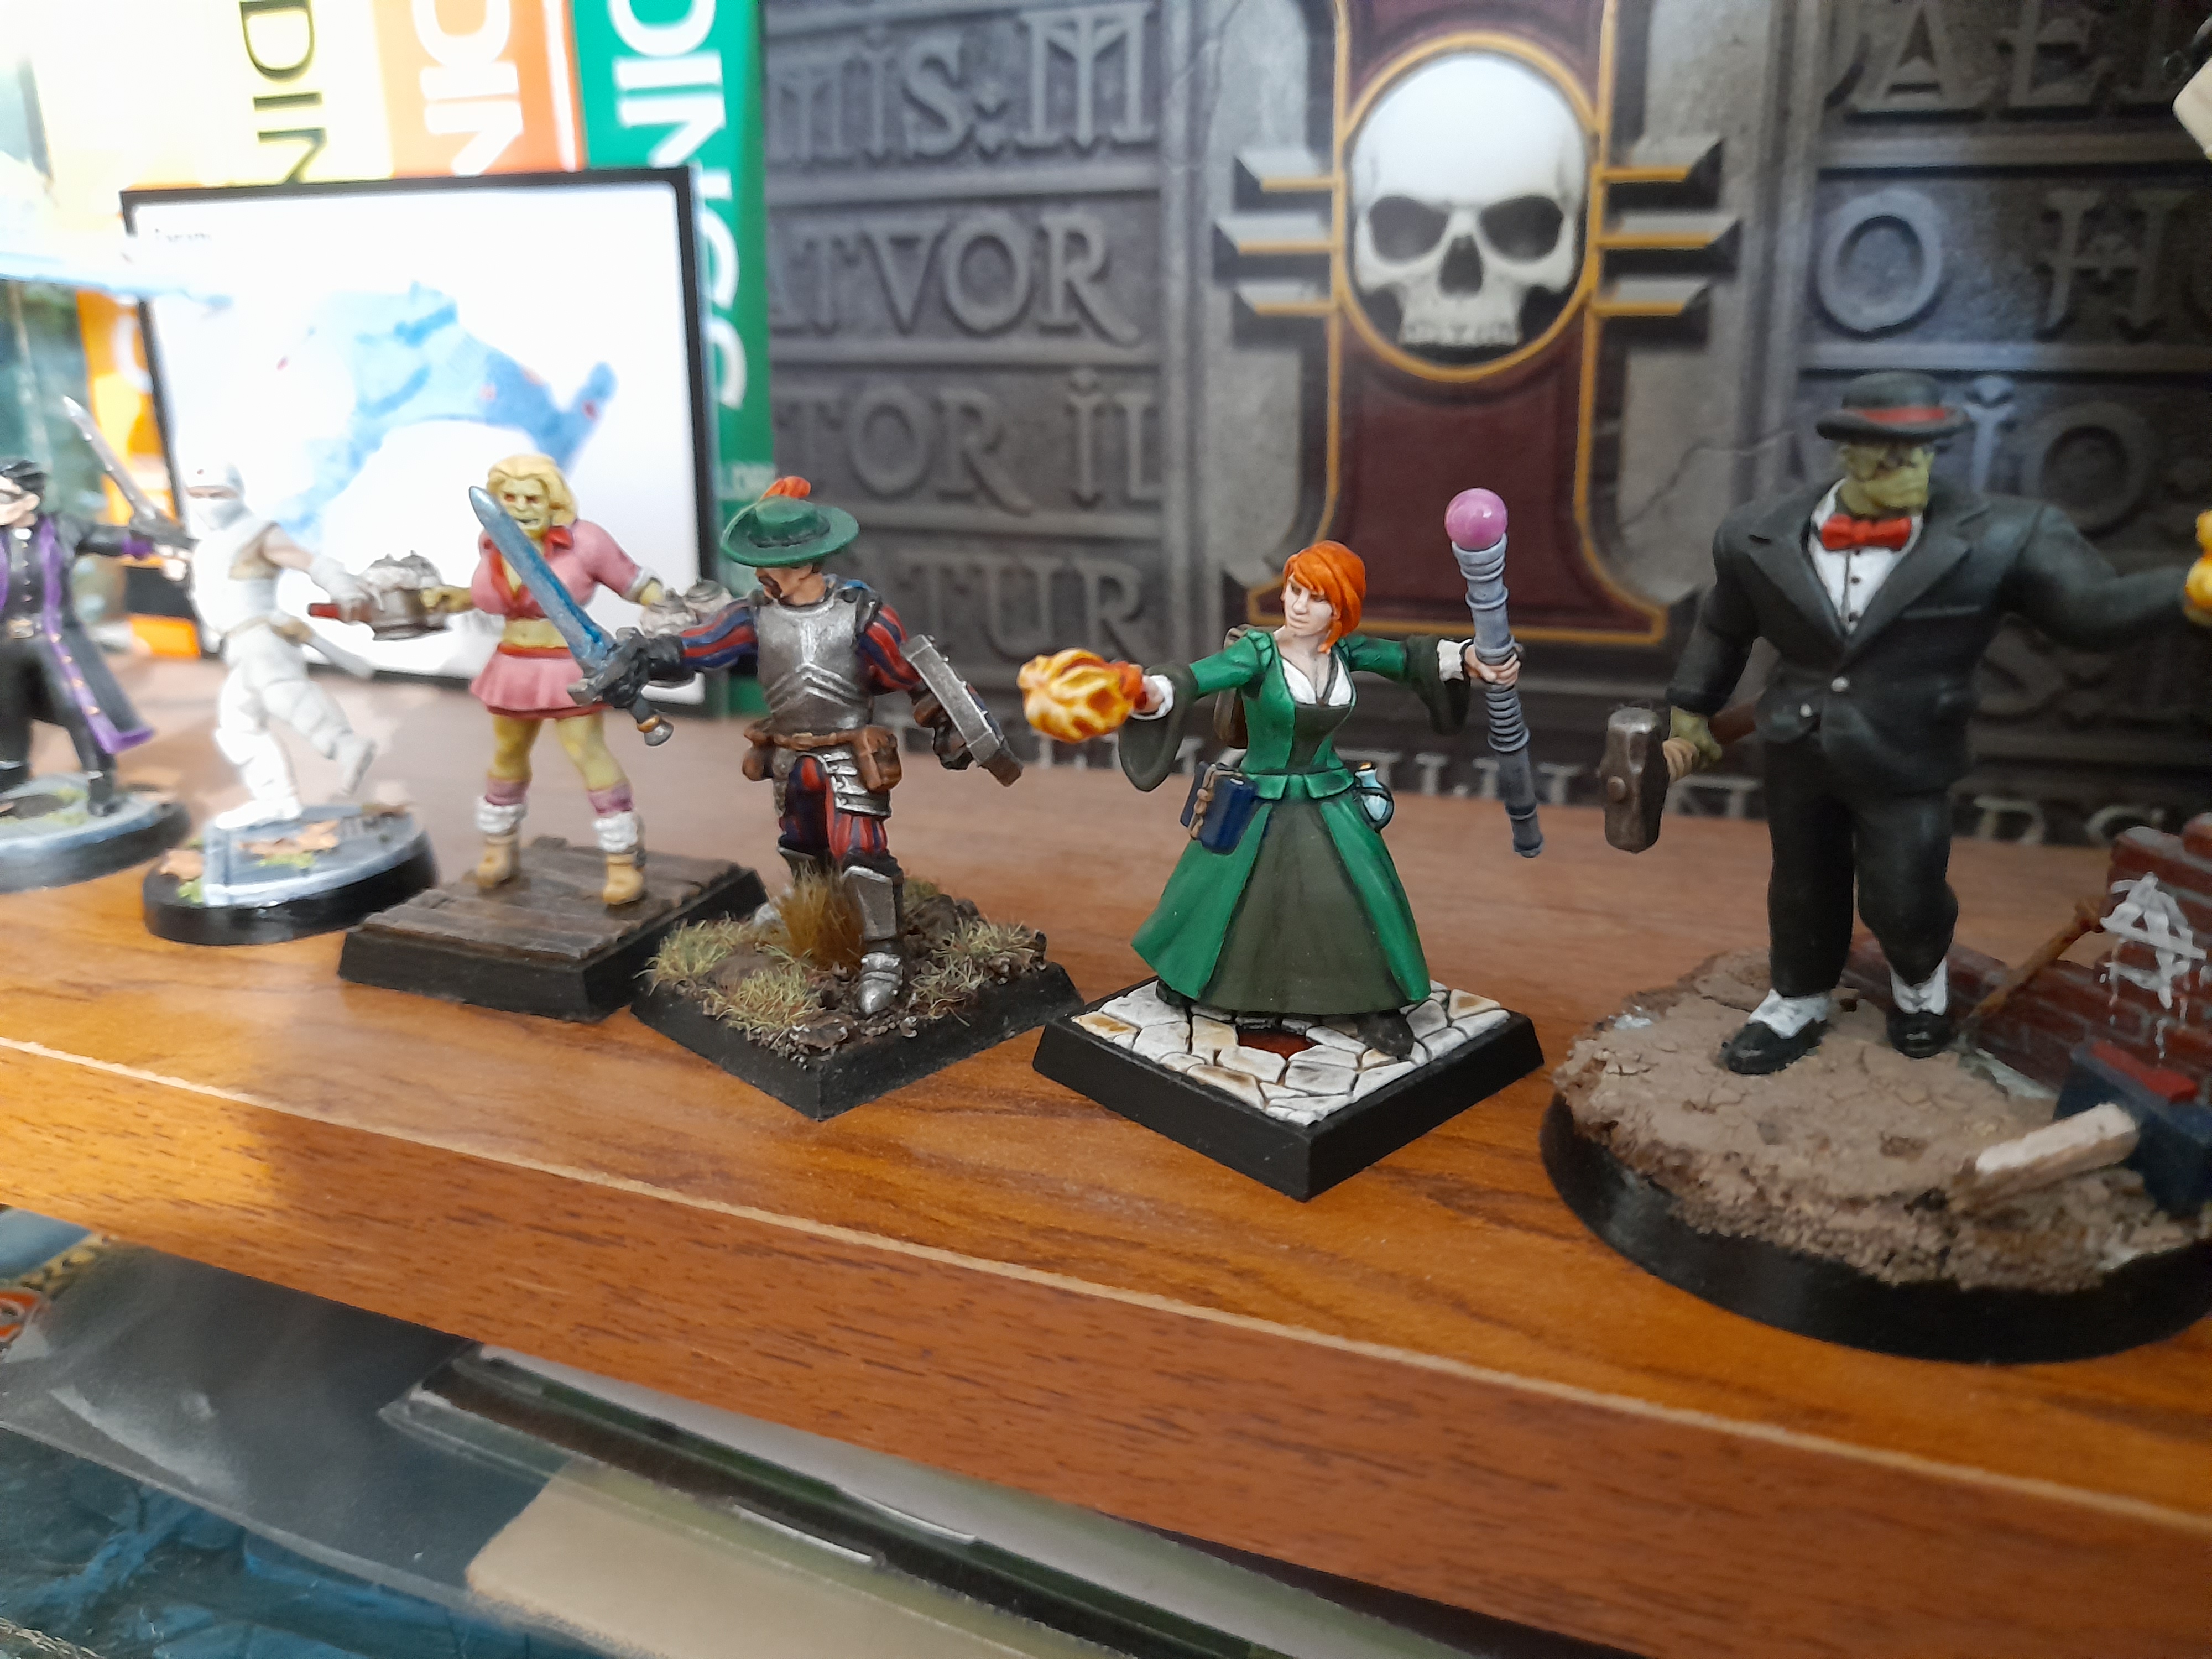
 Ready for action, or at least for burning things...
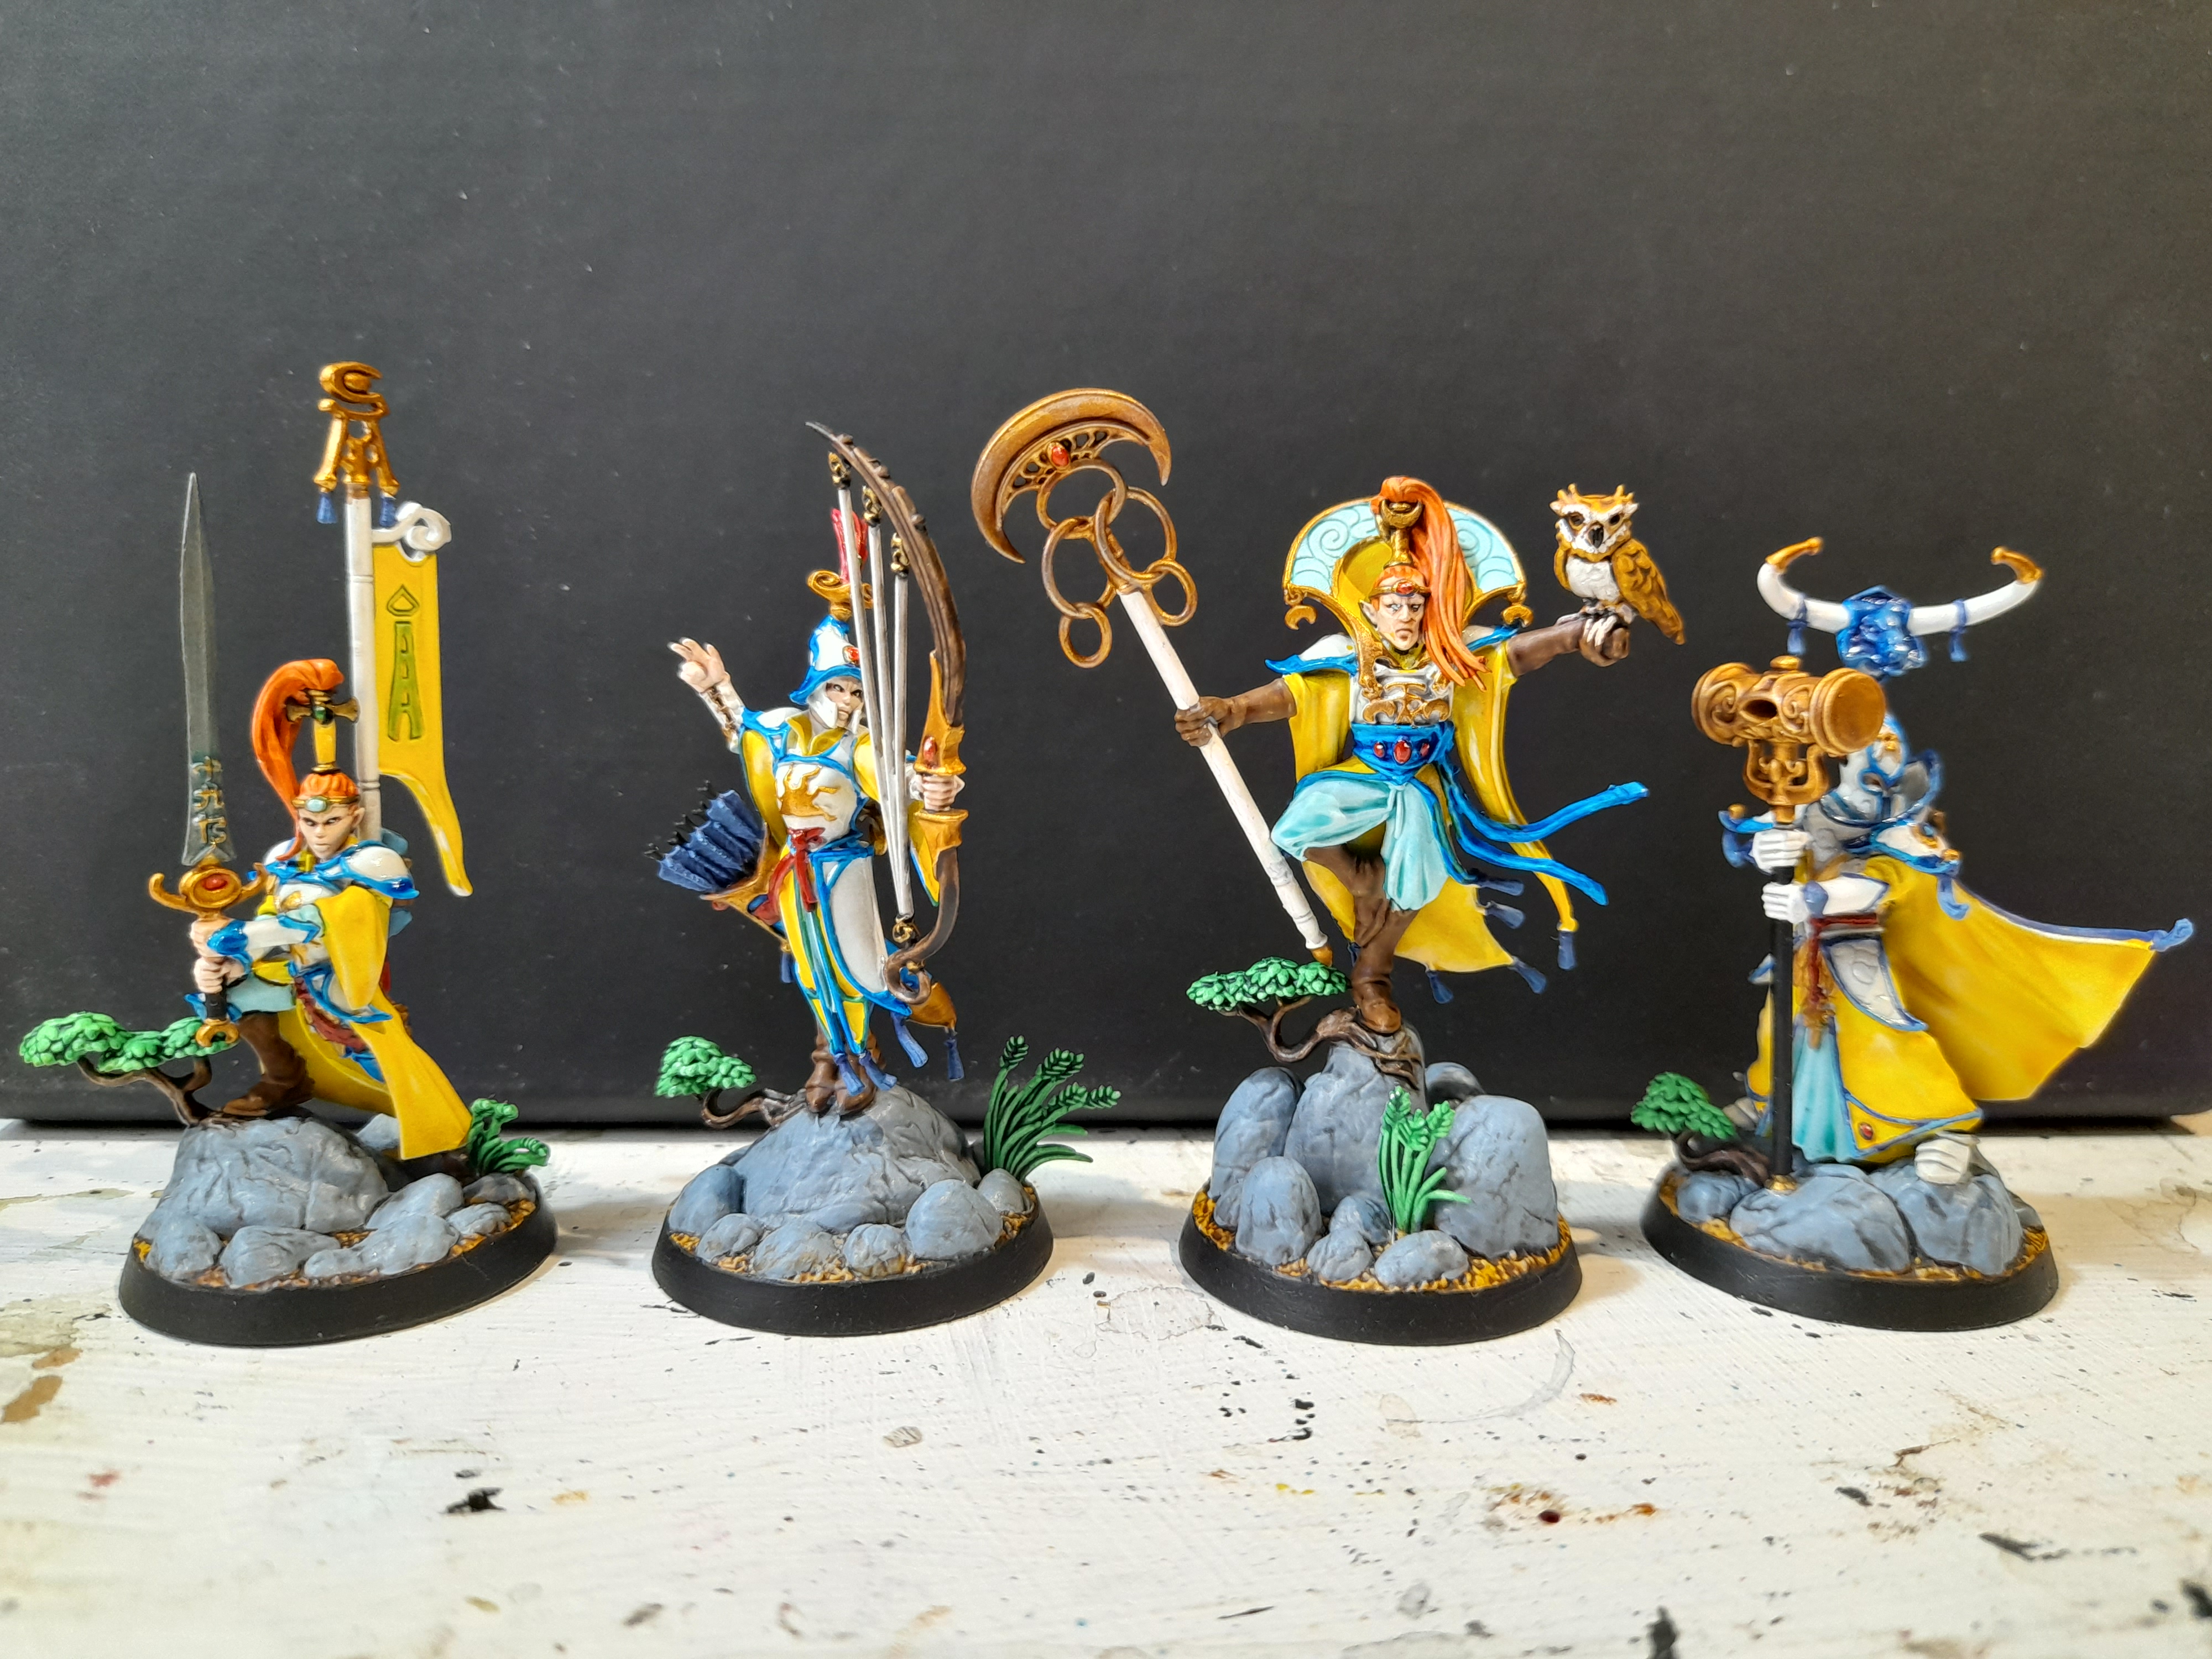
Lumineth for Underworlds
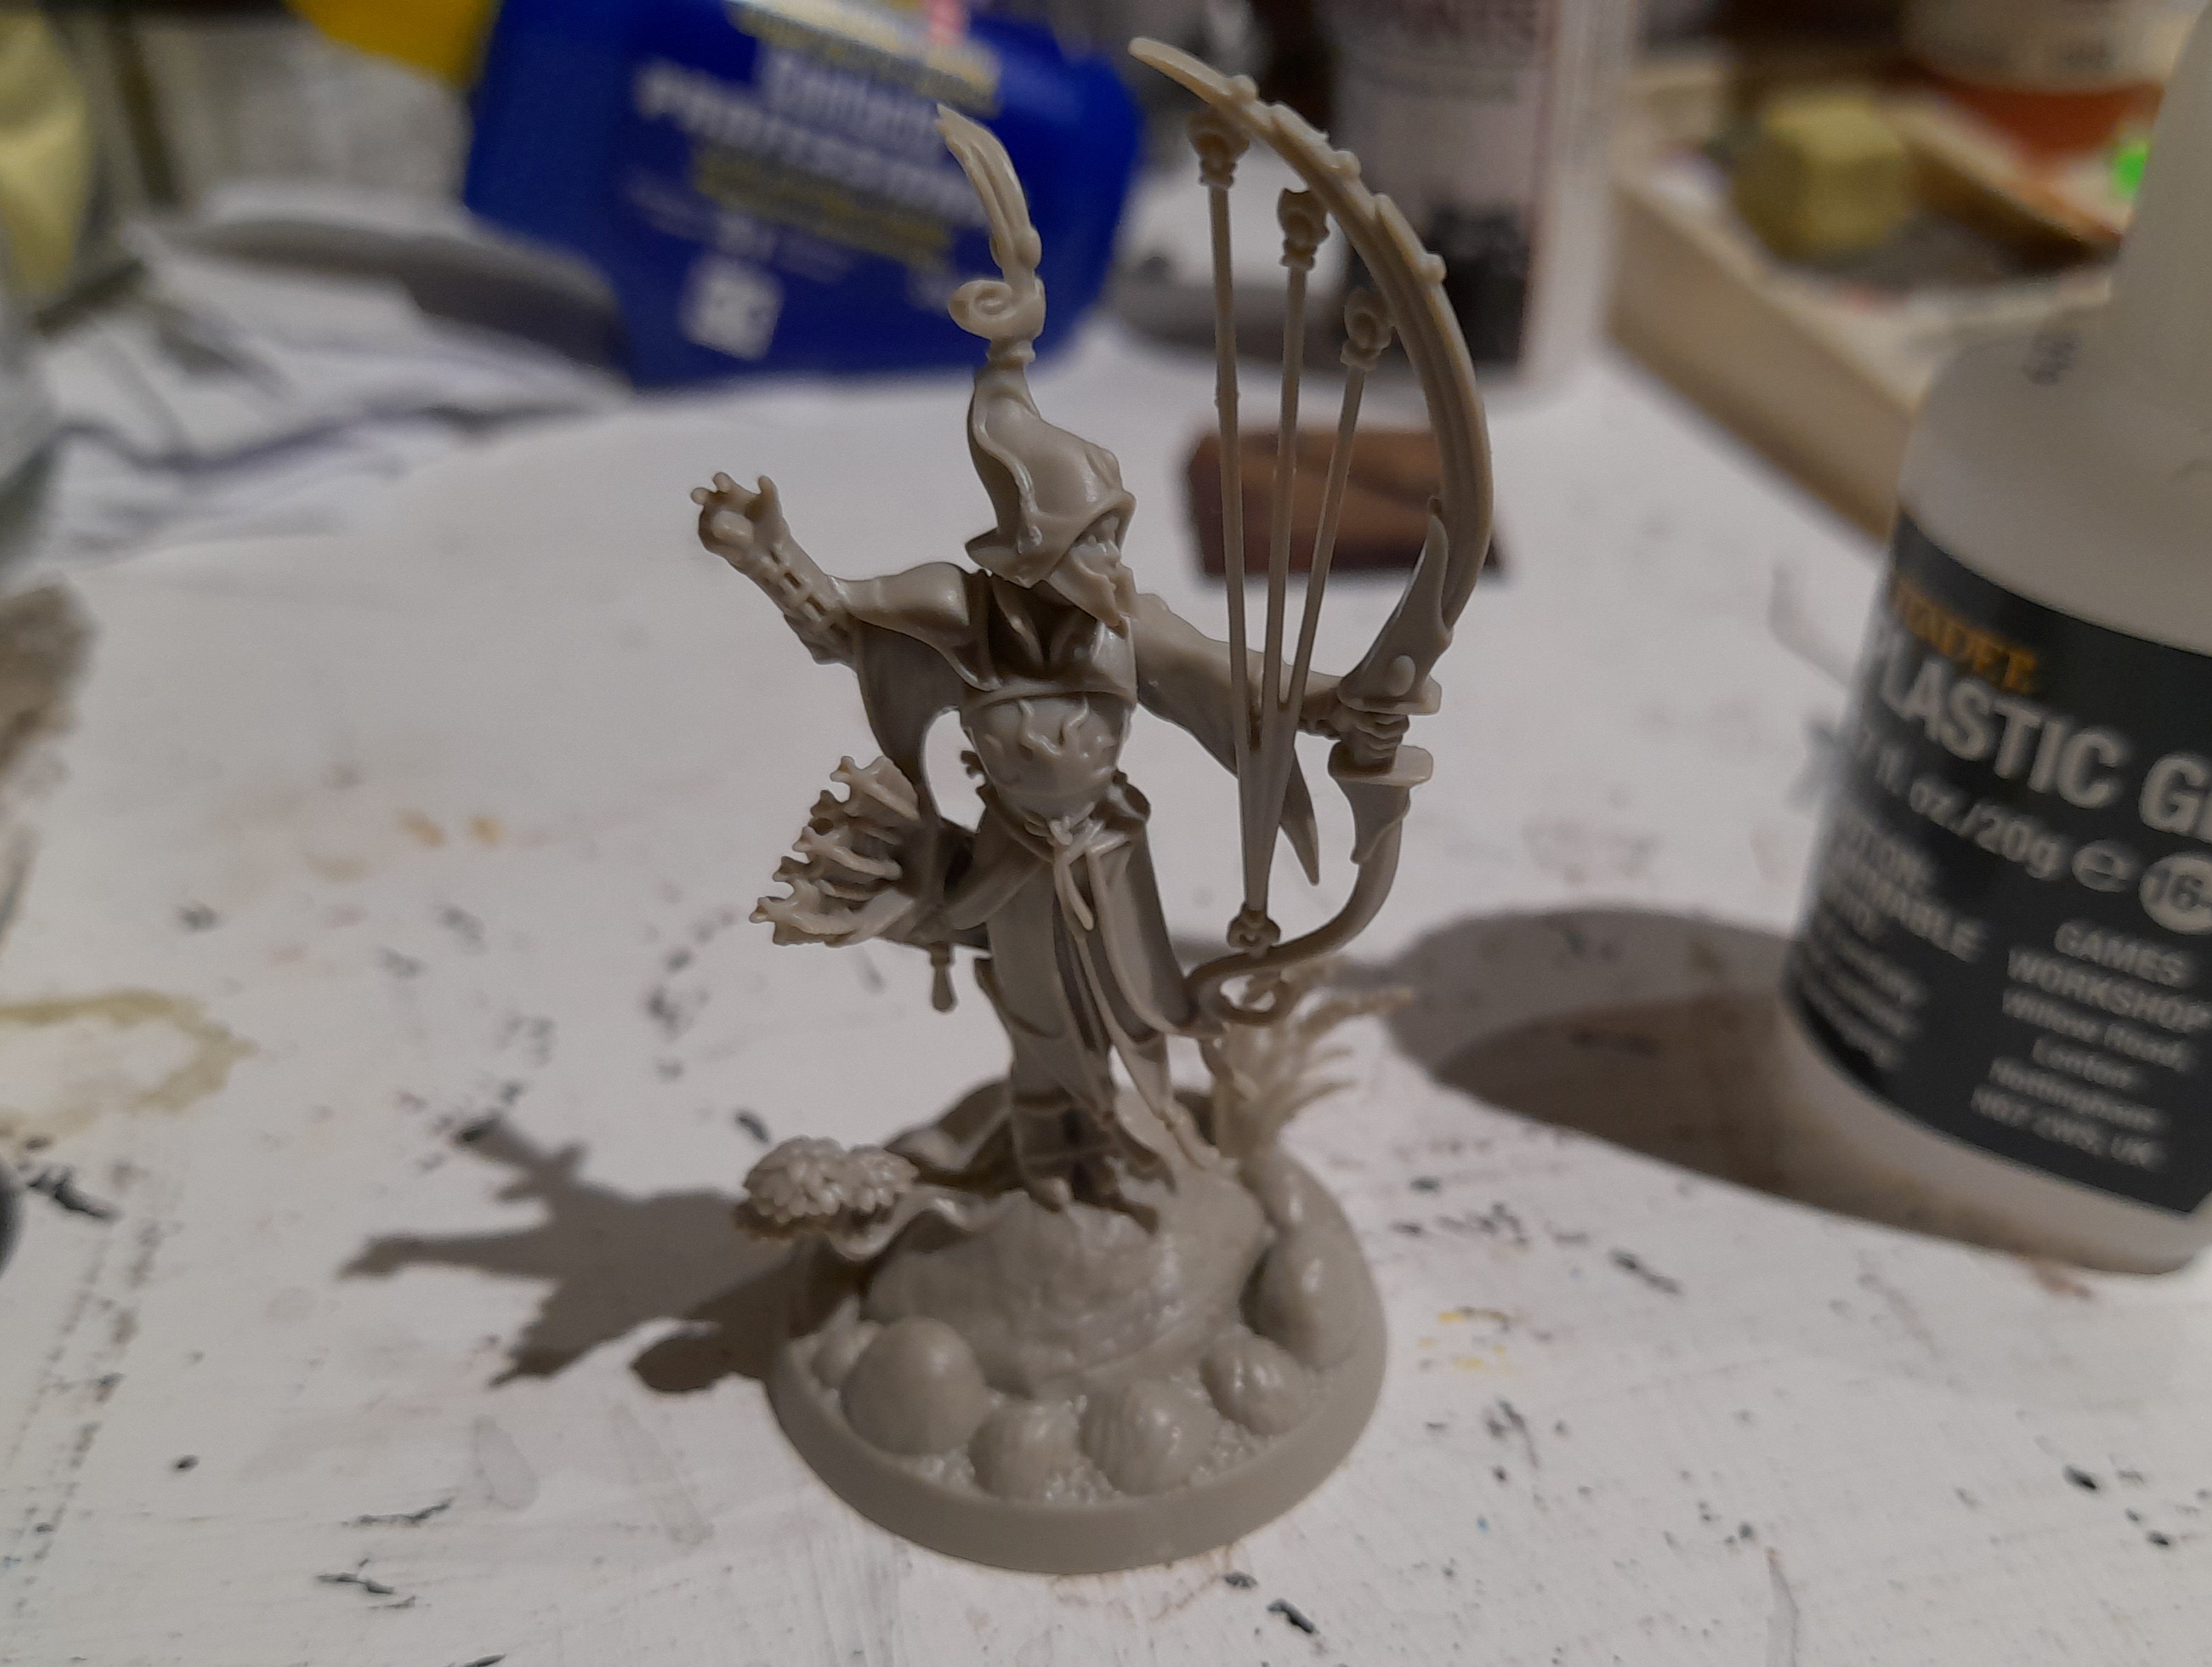
Whilst I was still part way through my Deadzone project I was given a Lumineth Warband for Underworlds.
A friend of mine is a big fan of Underworlds and has a lot of the warbands, and happened to have a spare Lumineth one.
So, as part of the spring clean, and now that the Deadzone project is ‘complete’ it is on to these.
Like many new GW sprues the layout can be ‘all over the place’ with lots of small random seeming components.
I downloaded a picture of the build instructions, and then colour coded the four models on the sprue before cutting each off in turn and building them.
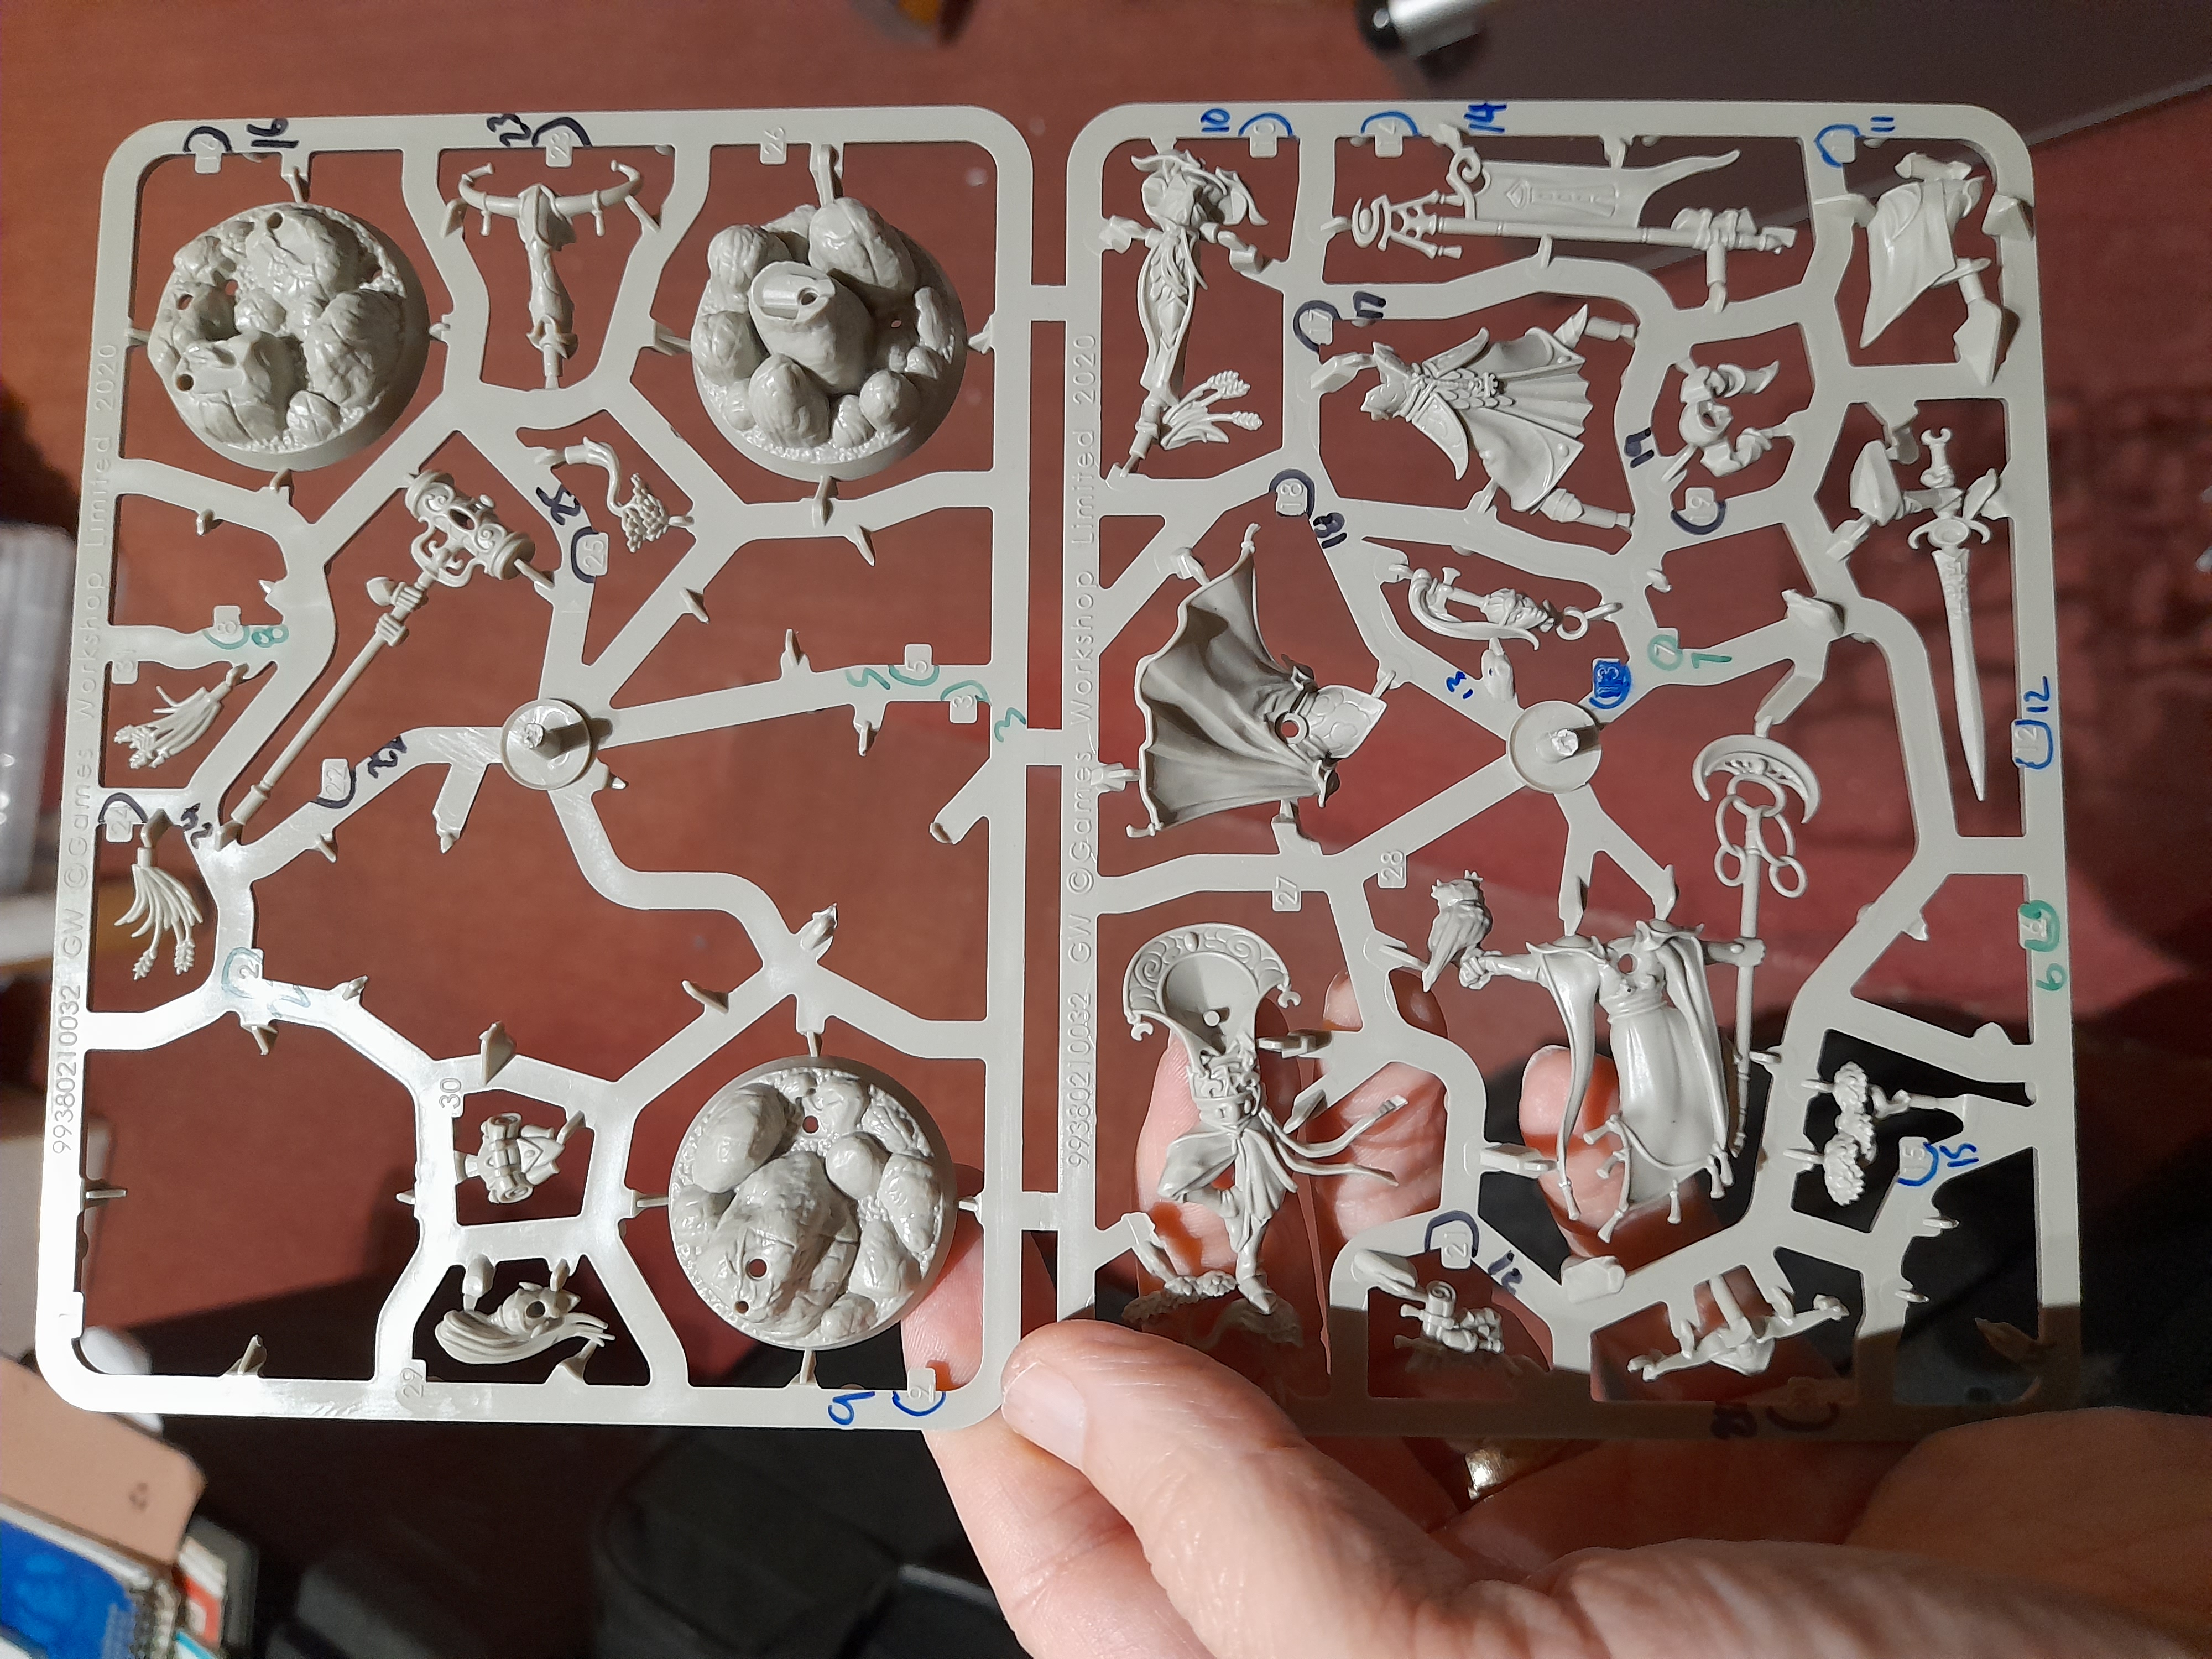 Colour coding the sprue
They went together pretty well overall – GW certainly seem to have fun designing their join lines, but it does at least mask a good number of them.

Then it was a spray white, in prep for some contrast and some light colours.

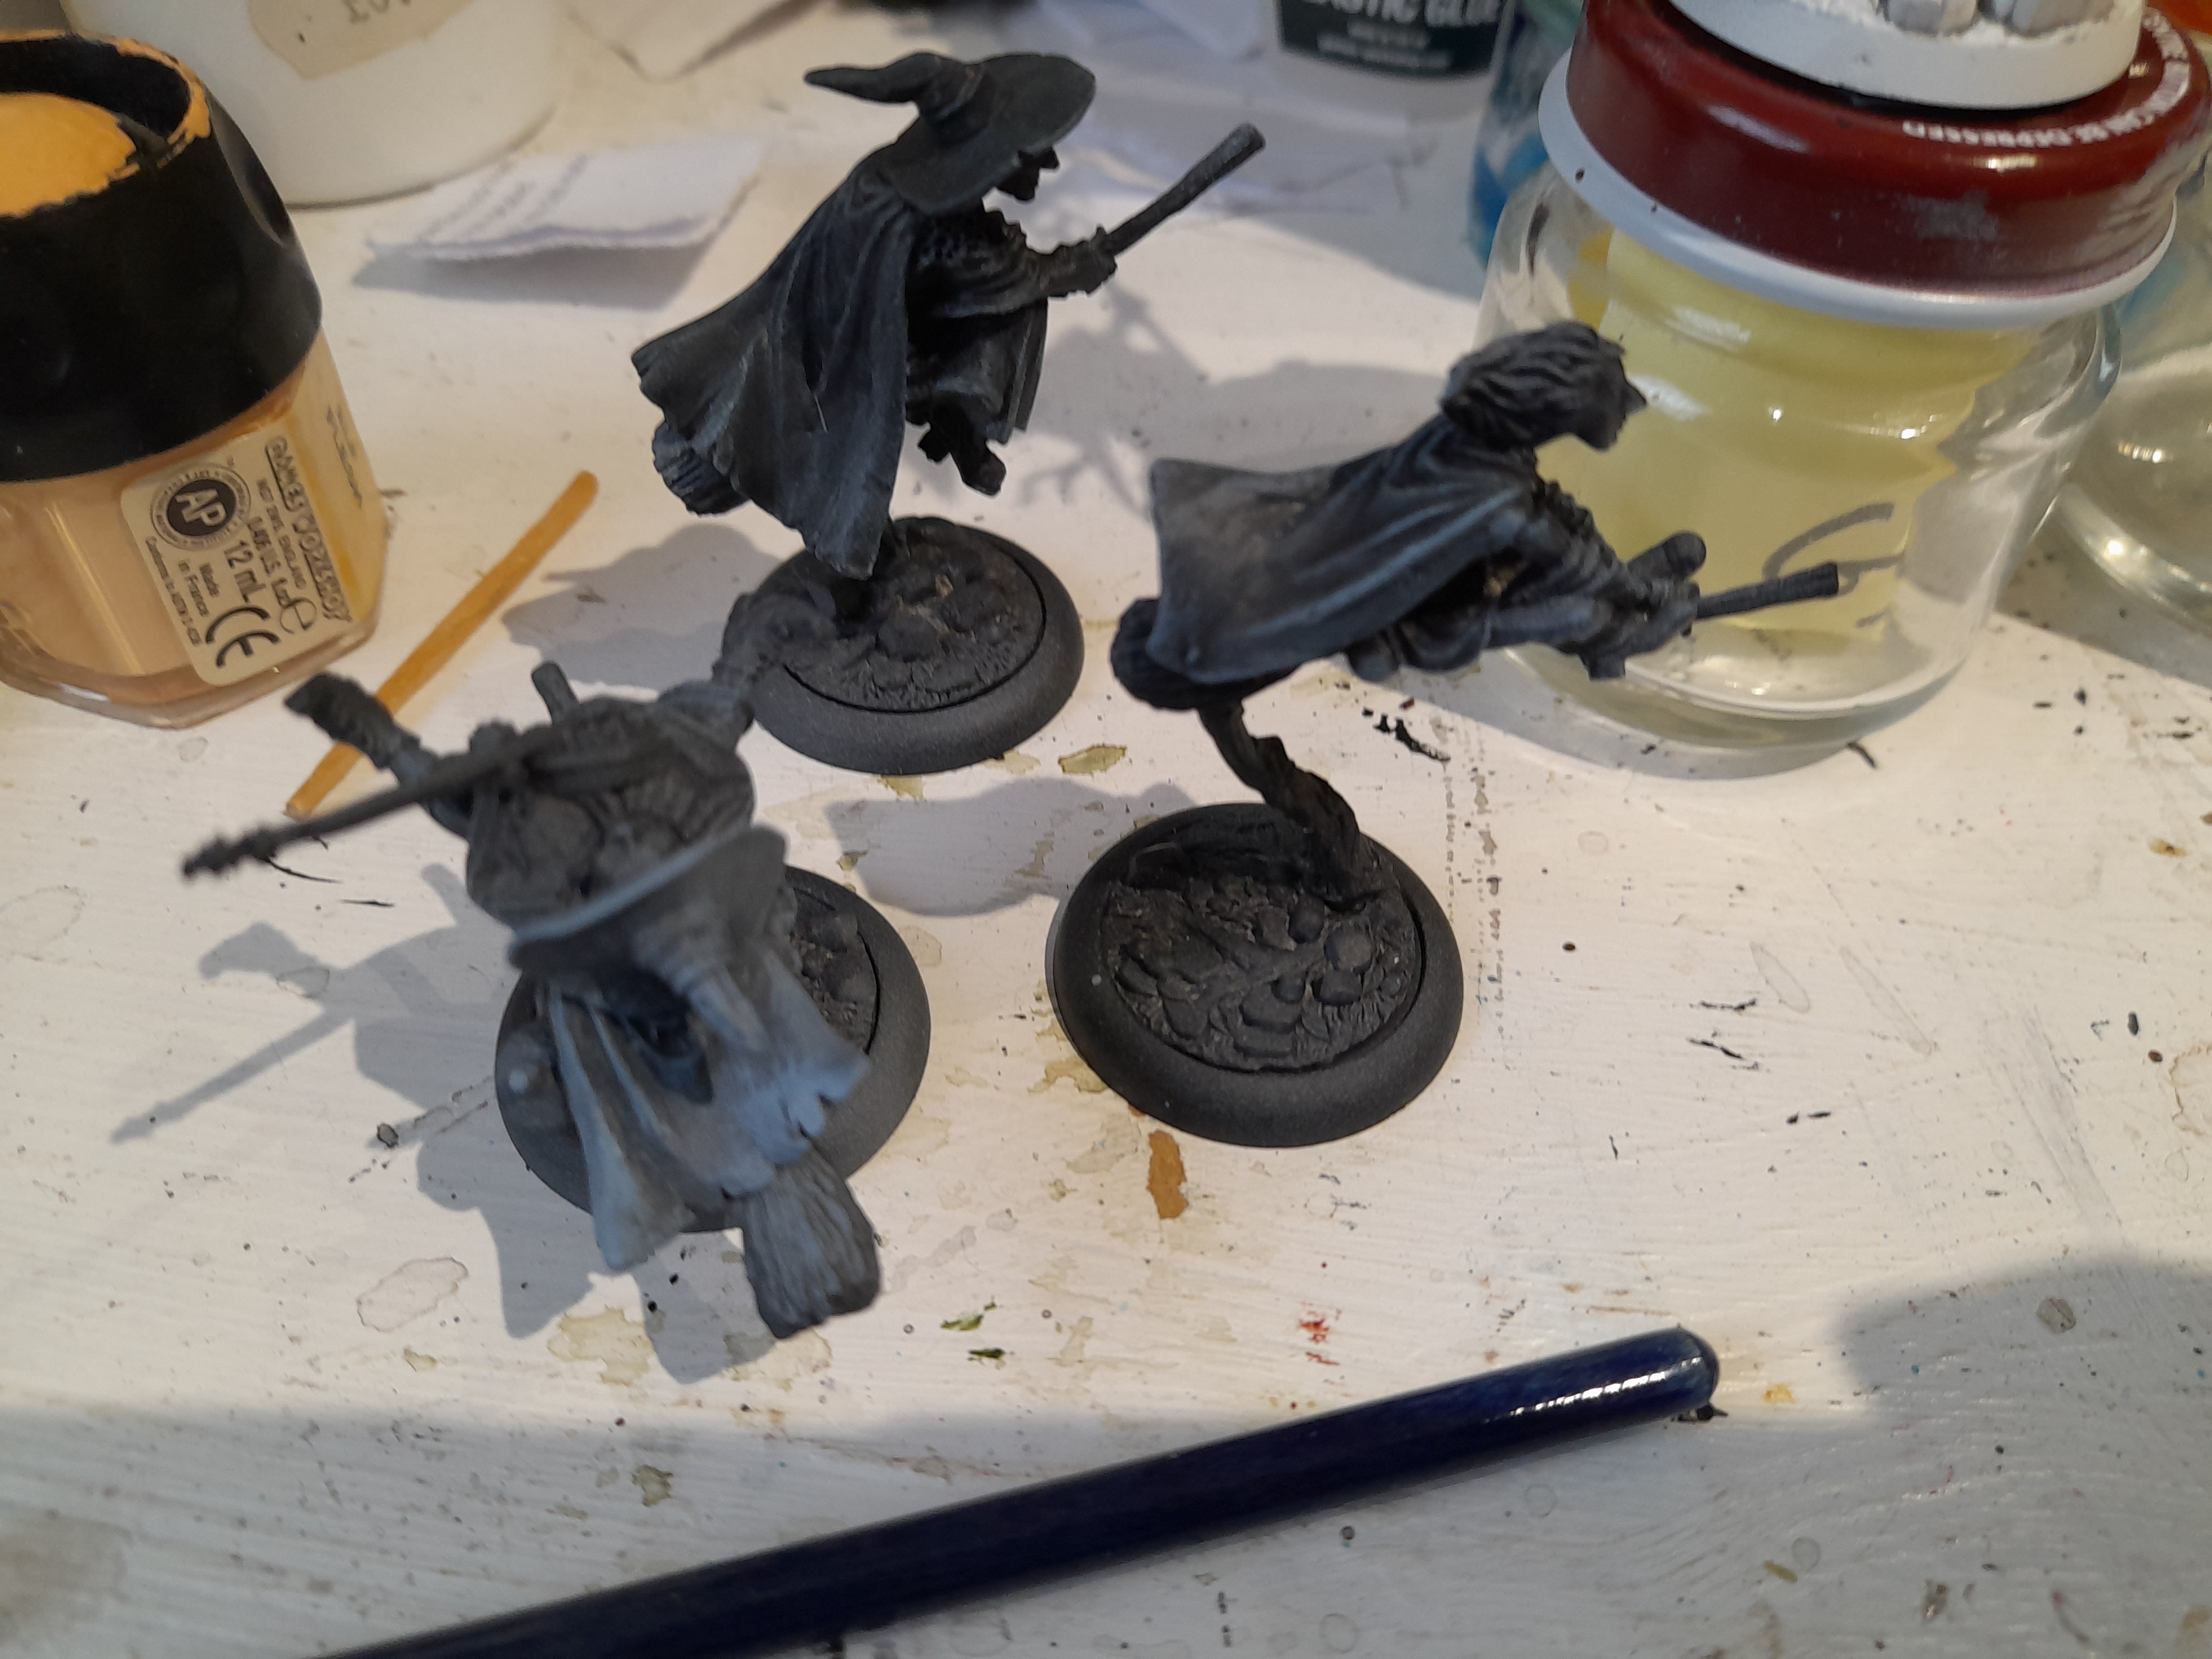
When shall we three meet again..... witches
Another item for the spring clean is this group of lovely ladies – the Discworld Witches.
They have been on my painting area for too long now.
So by posting them up here it will motivate me to get them finished.

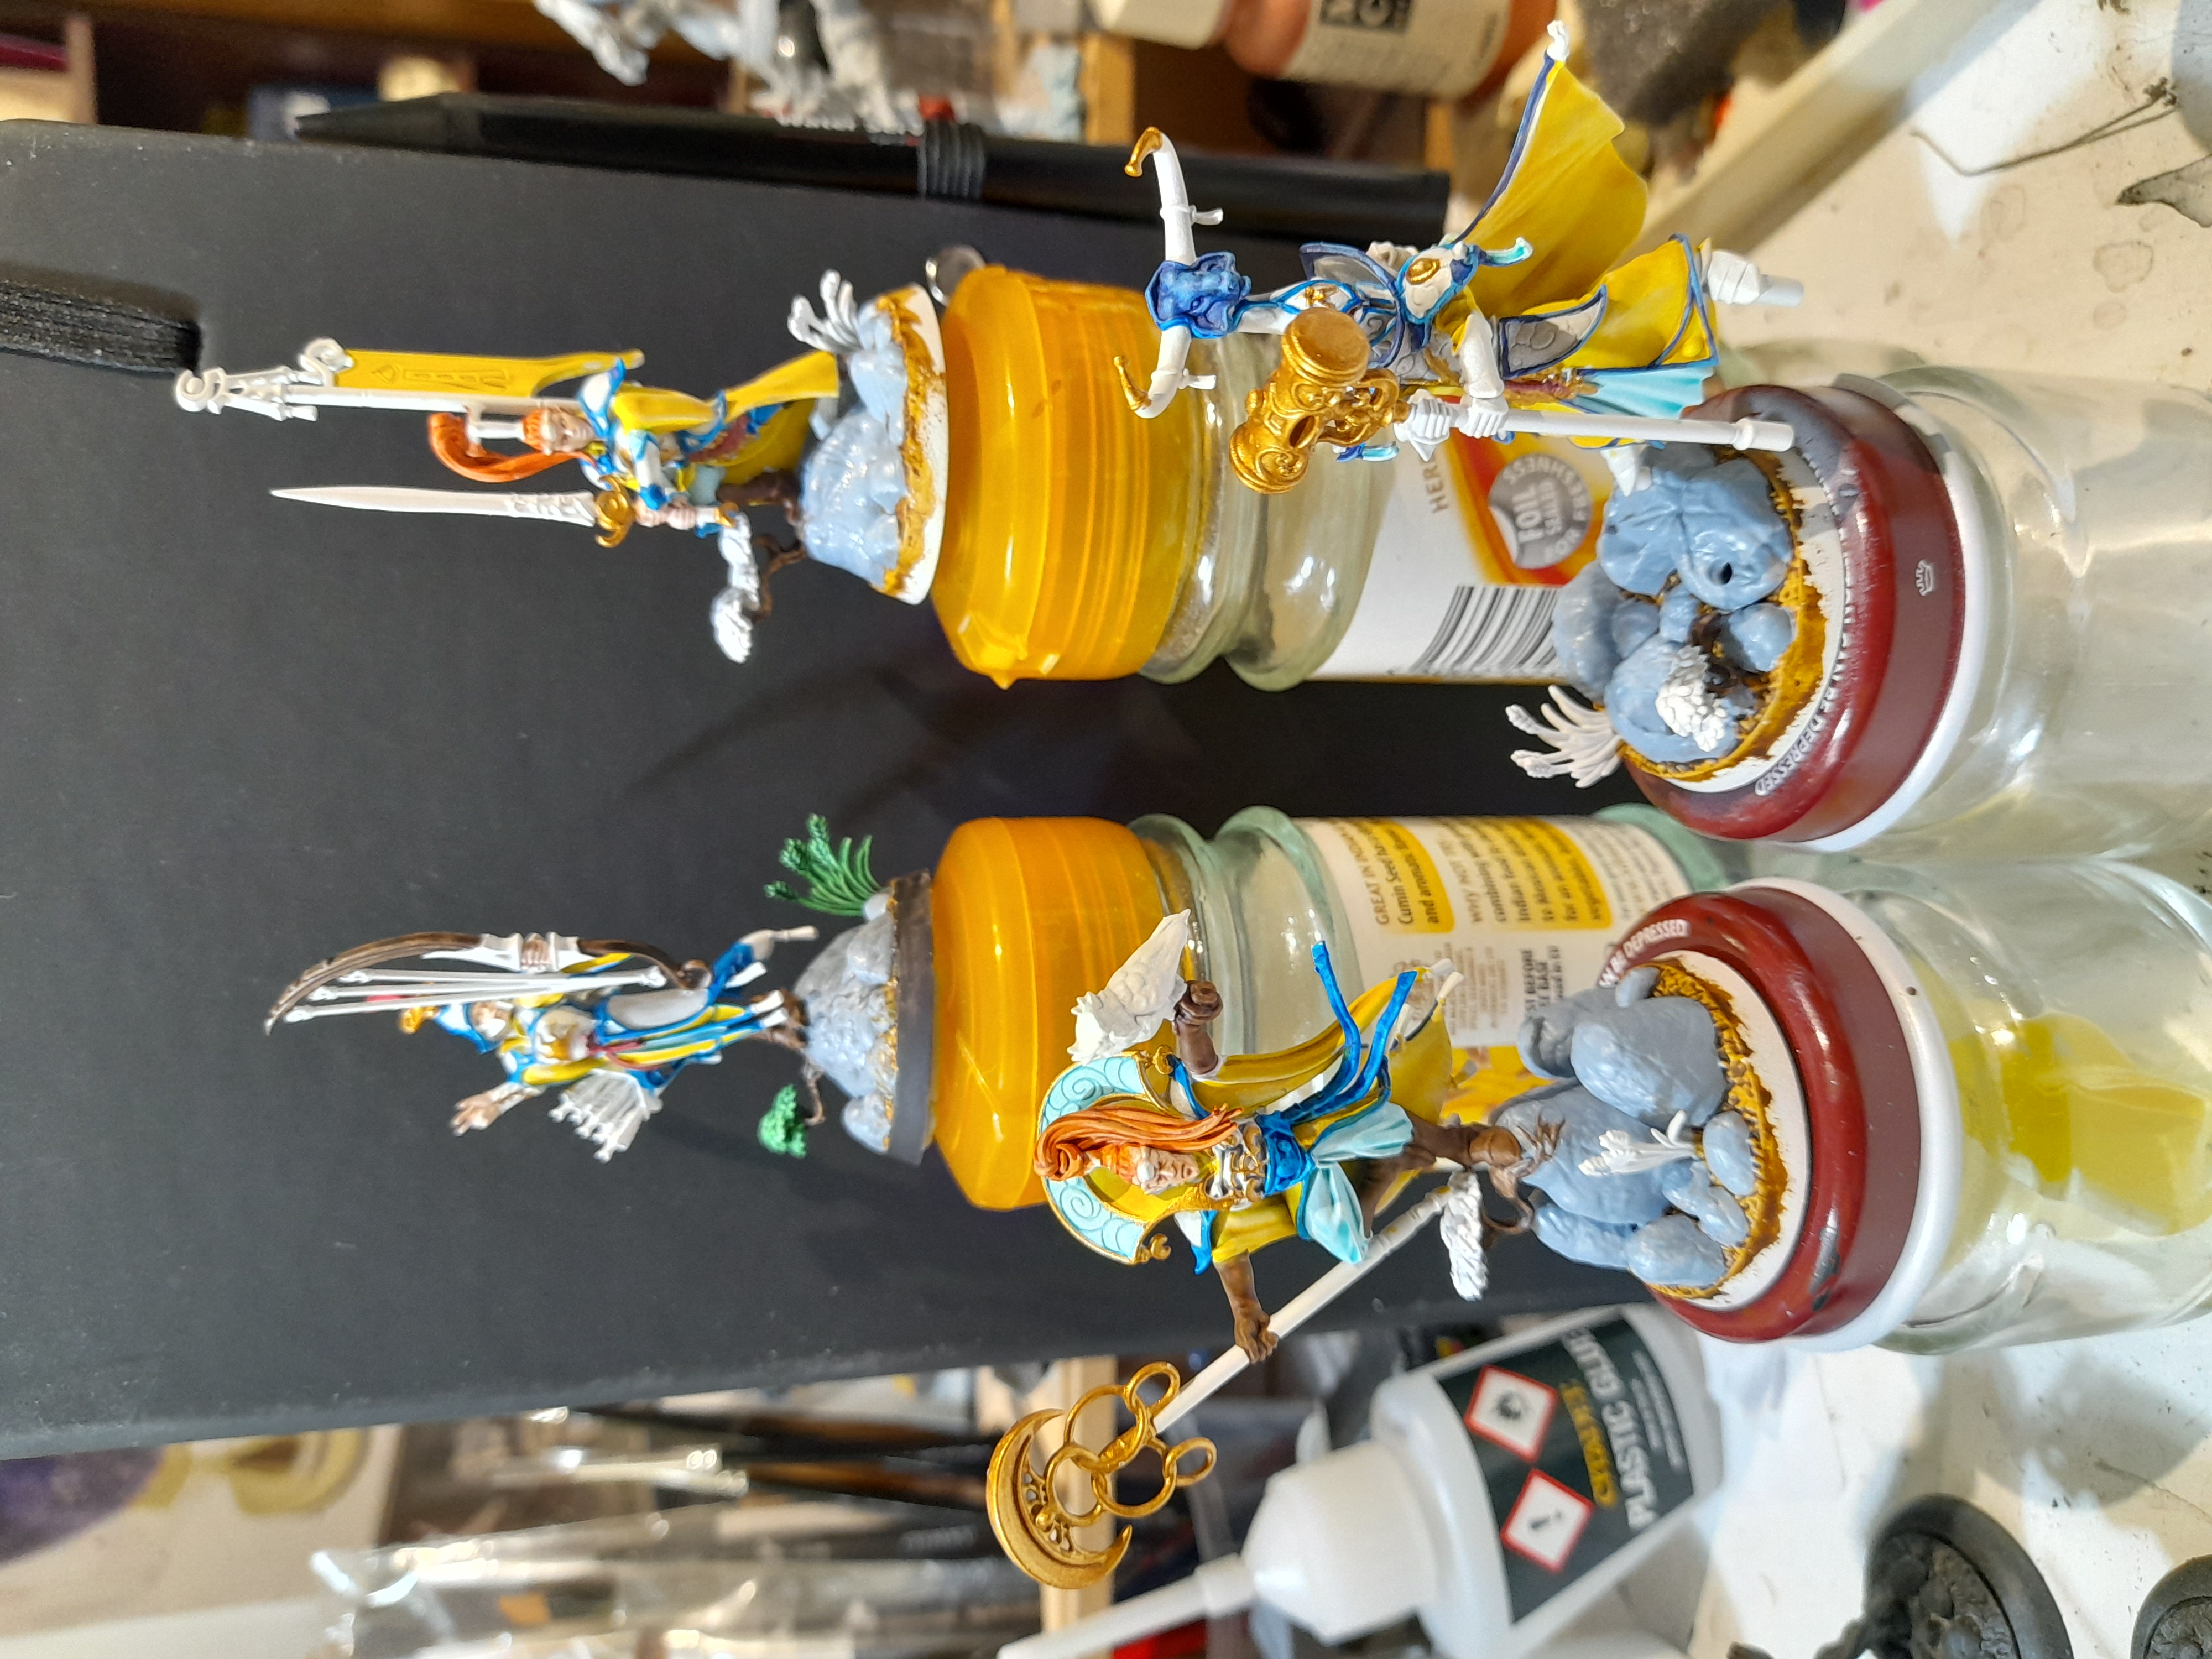
Lumineth progress
1st April 2023
I have been able to squeeze in some more progress on the Lumineth Underworlds warband this week.
For the colour scheme I had a rough idea of what I wanted, but no certainty. So I just starting out by putting a wash over the white armour panels and laying down some yellow contrast. To deepen the effect of the contrast, once it was dry I added some more contrast yellow, but just to the creases and folds in order to add some more definition. The Ironjawz yellow covers really well but doesn’t seem to have as much ‘contrast effect’ in one coat as some of the other contrast paints.
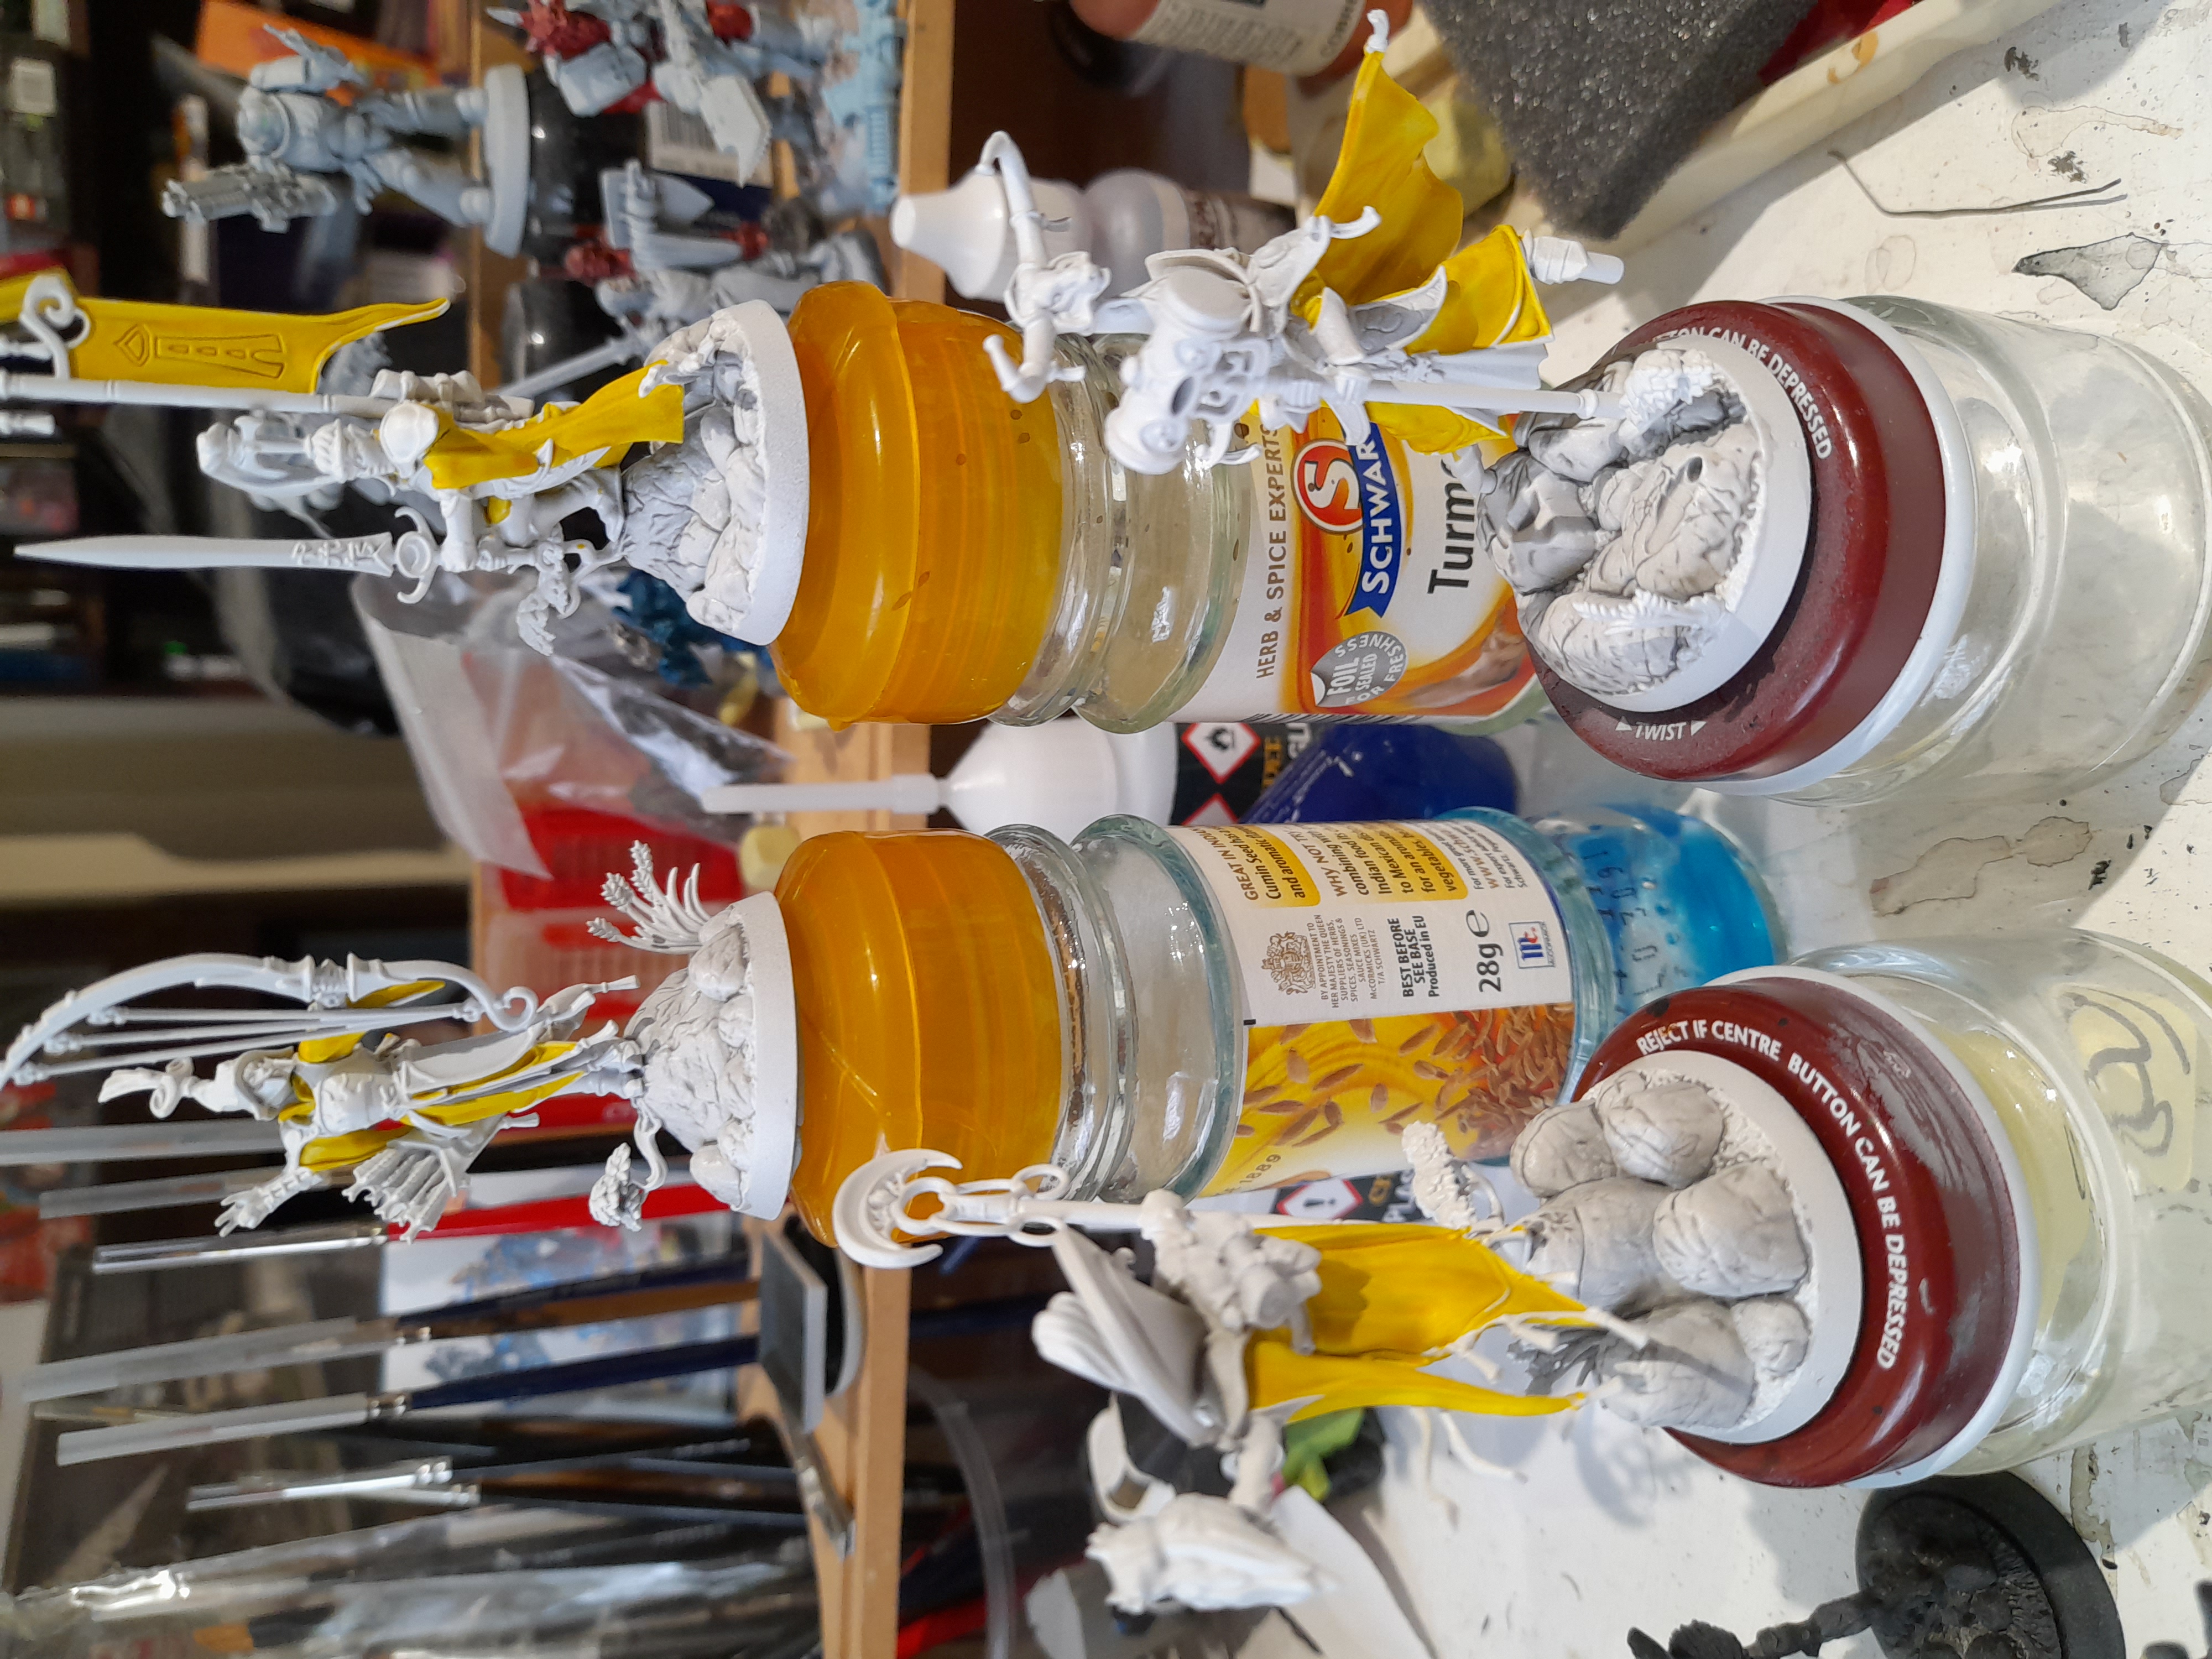
Then I went on to lay down more colours. Some pale blue and then some darker blue, including robe edging – definitely needed a smaller brush and thinned down paint for that ?
Once I added the gold I arrived at one of those points that I often get in my painting progress – the ‘this looks like crap’ stage ☹
It’s at this point that the minis often get put off to one side, and sometimes never see paint again…… but since the whole point of the Spring Clean challenge is to get on with part finished or not started minis/projects, then I decided that I would just push on through and see how they came out.
I would normally try adding a wash to bring the colours together somewhat, but with white and yellow that didn’t really seem like an option.
So – to have a mental change, up next I will work on the bases, then come back to the rest. I am hoping that if I can have a good crack on over the rest of the weekend then I may be able to finish them off by midweek ?
Lumineth Completed
3rd April 2023
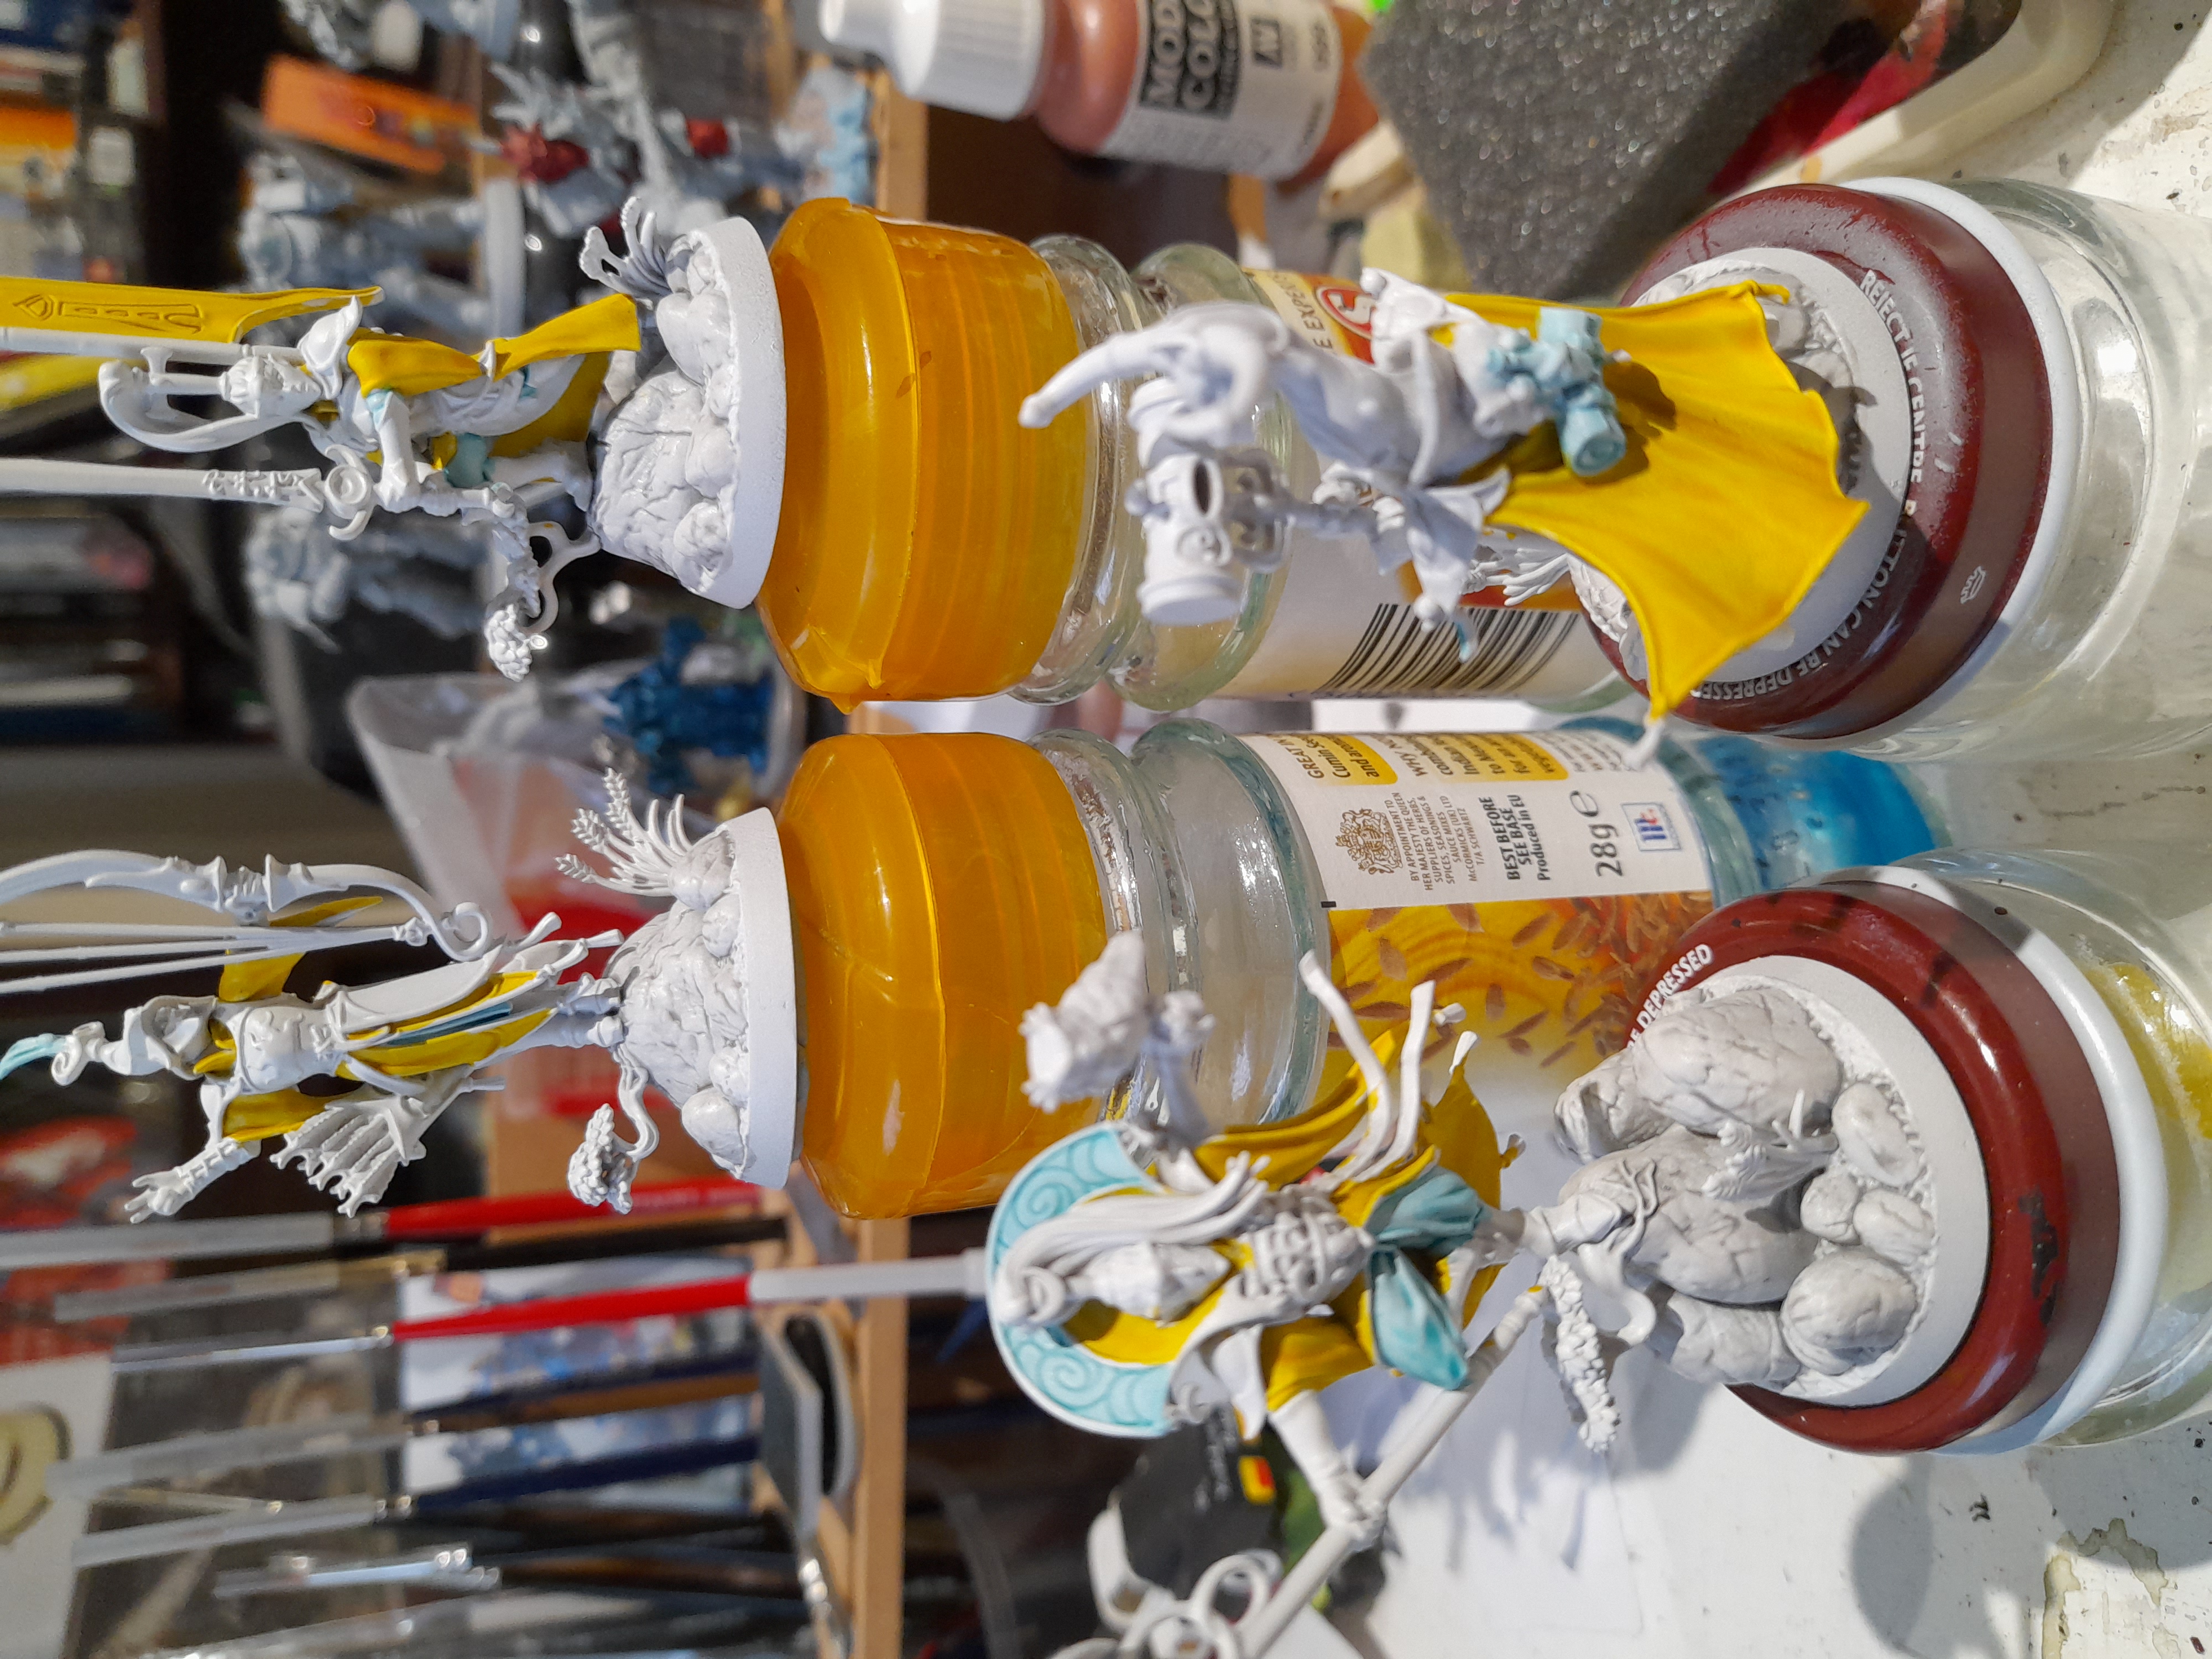
As mentioned before, I decided to crack on with the bases in order to get a change of perspective on the minis. I was able to work on these without too much ‘mental debate’, so it allowed me to just get some basic progress and keep up some momentum.
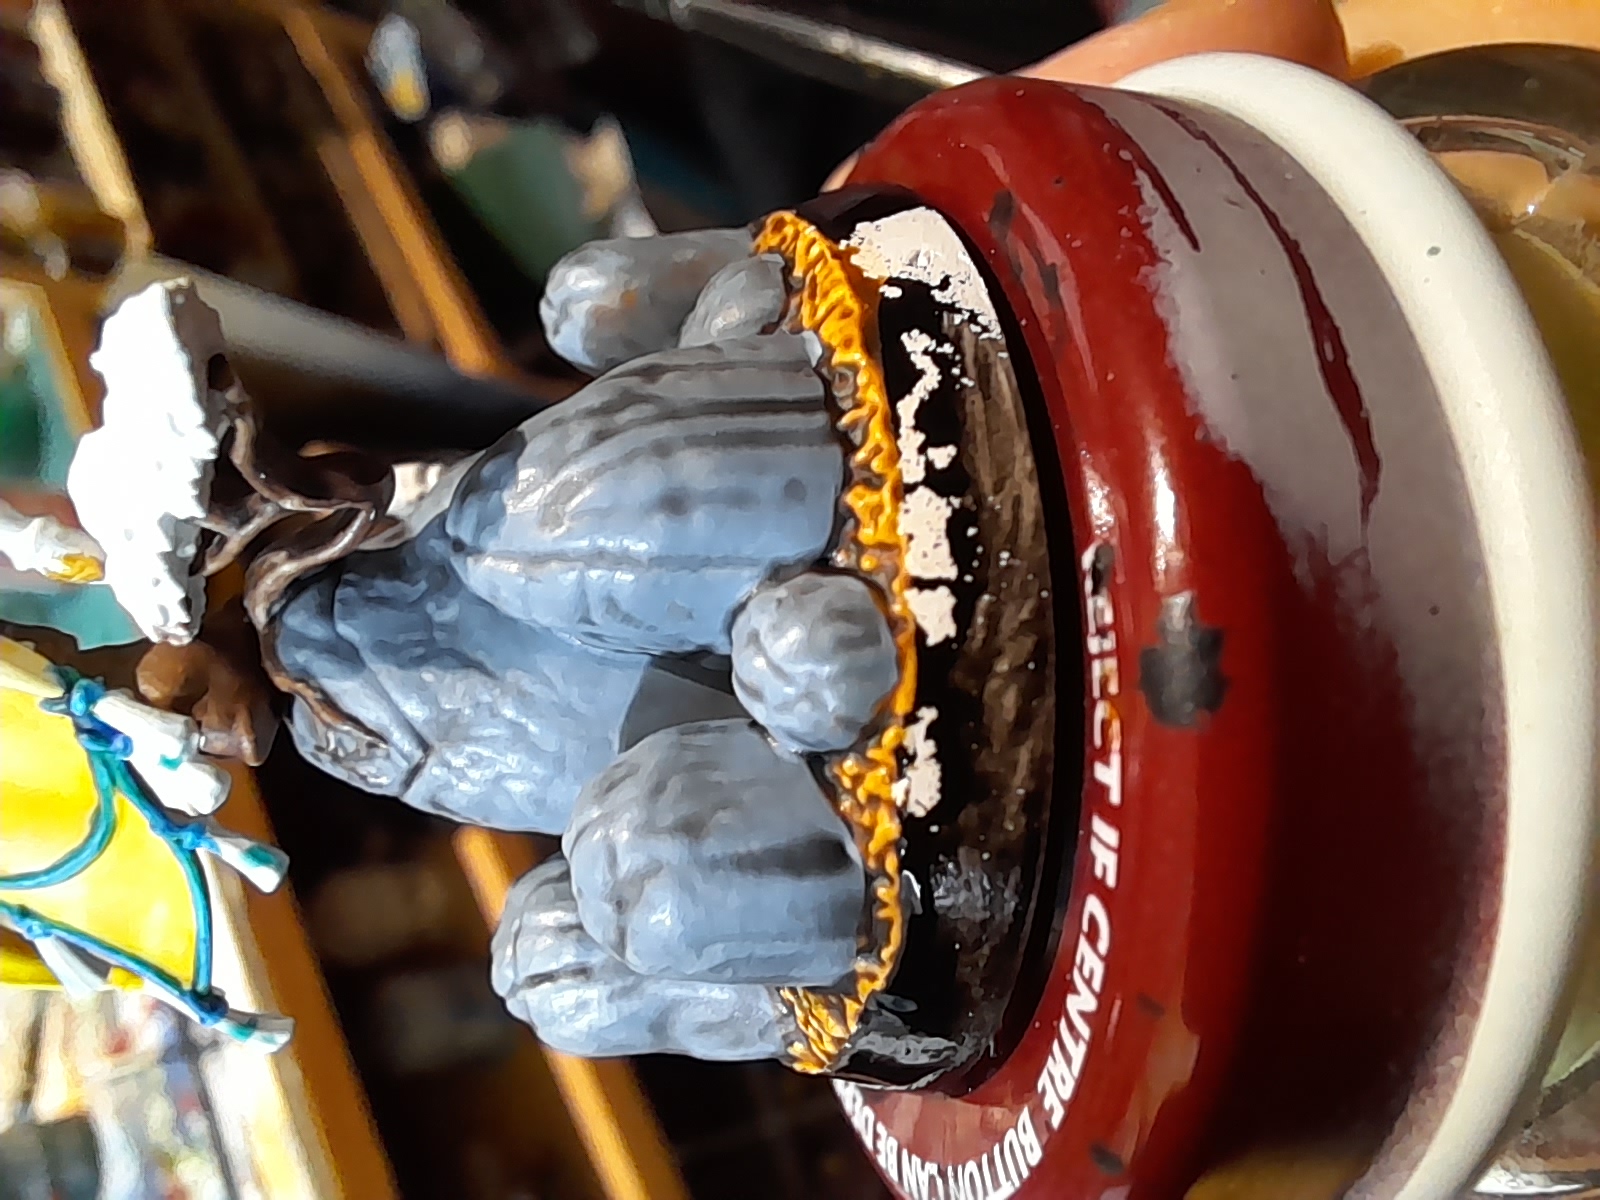
I did have an issue with the black contrast not liking the white spray…
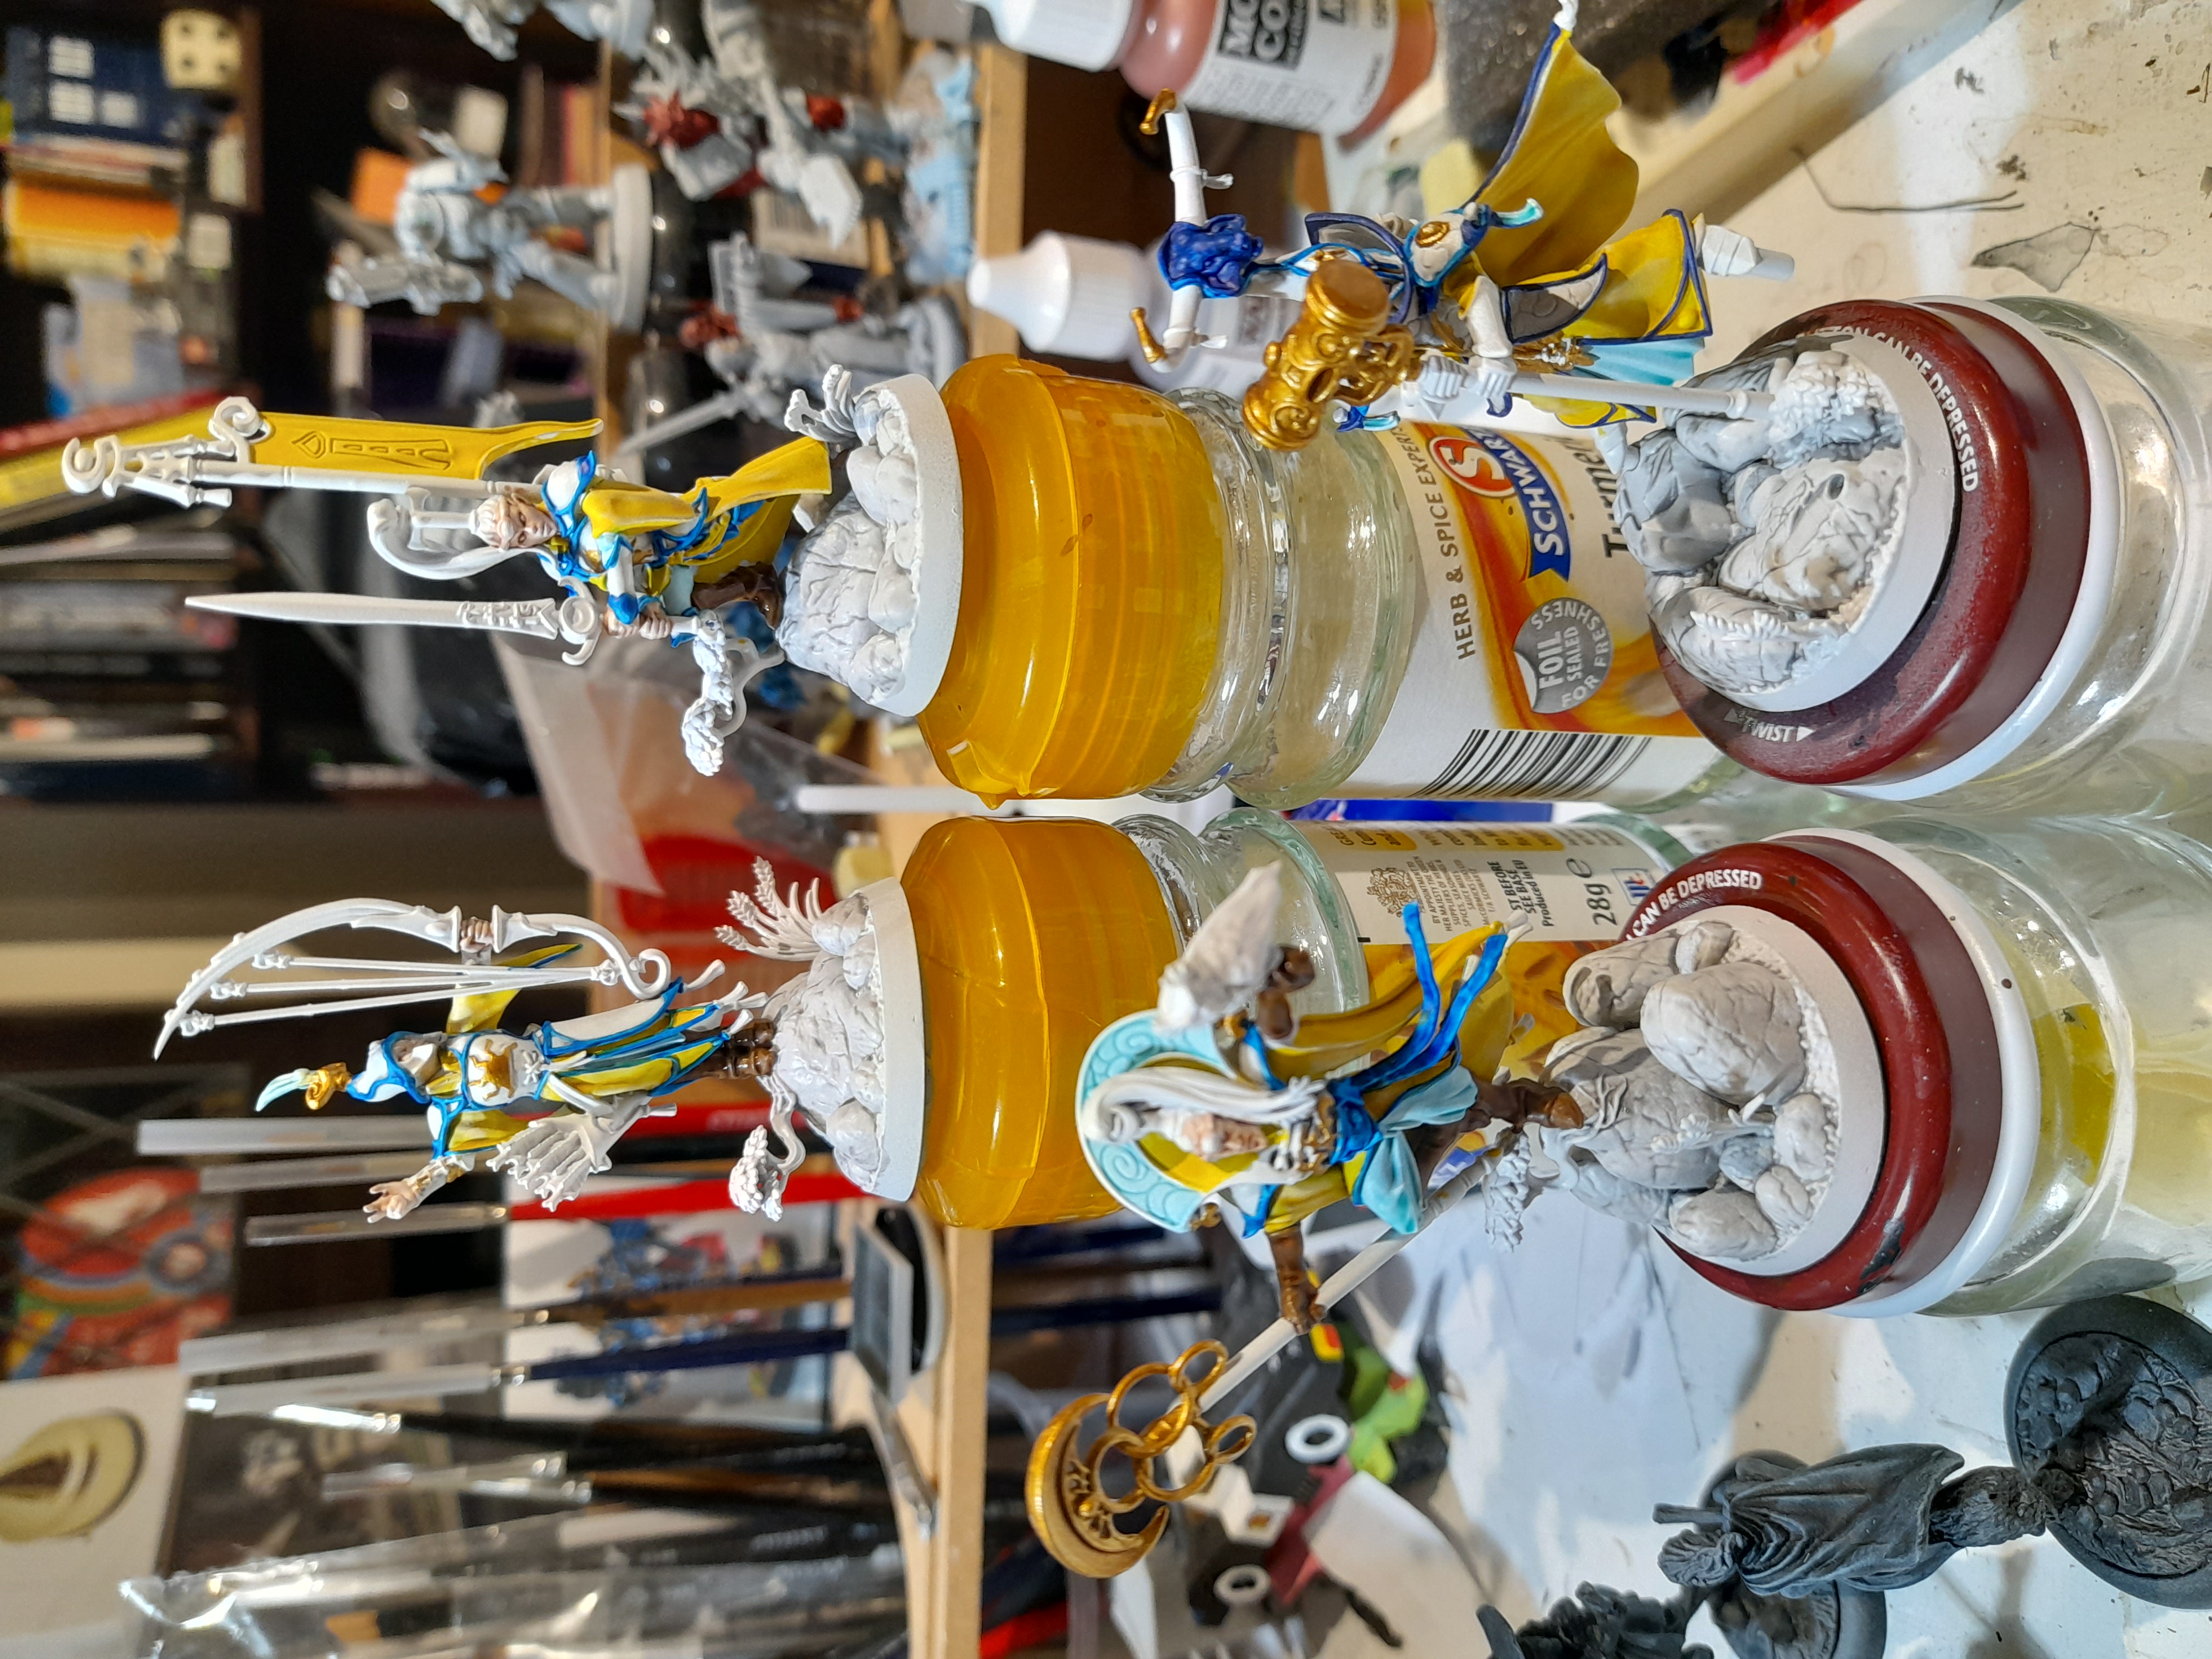
Doing the bases gave me a bit more mojo, and I then was able to crack on with the Lumineth models over the rest of the weekend. Picking out the details, adding the spot colours, and of course – going back on things I had missed ?
 Getting there...
With the minis almost complete I dug out my Milliput and magnets to get these minis magnetised for storage (since they wont store in a foam case very well without me having to cut up the foam – and they may still get stuck or be awkward then)
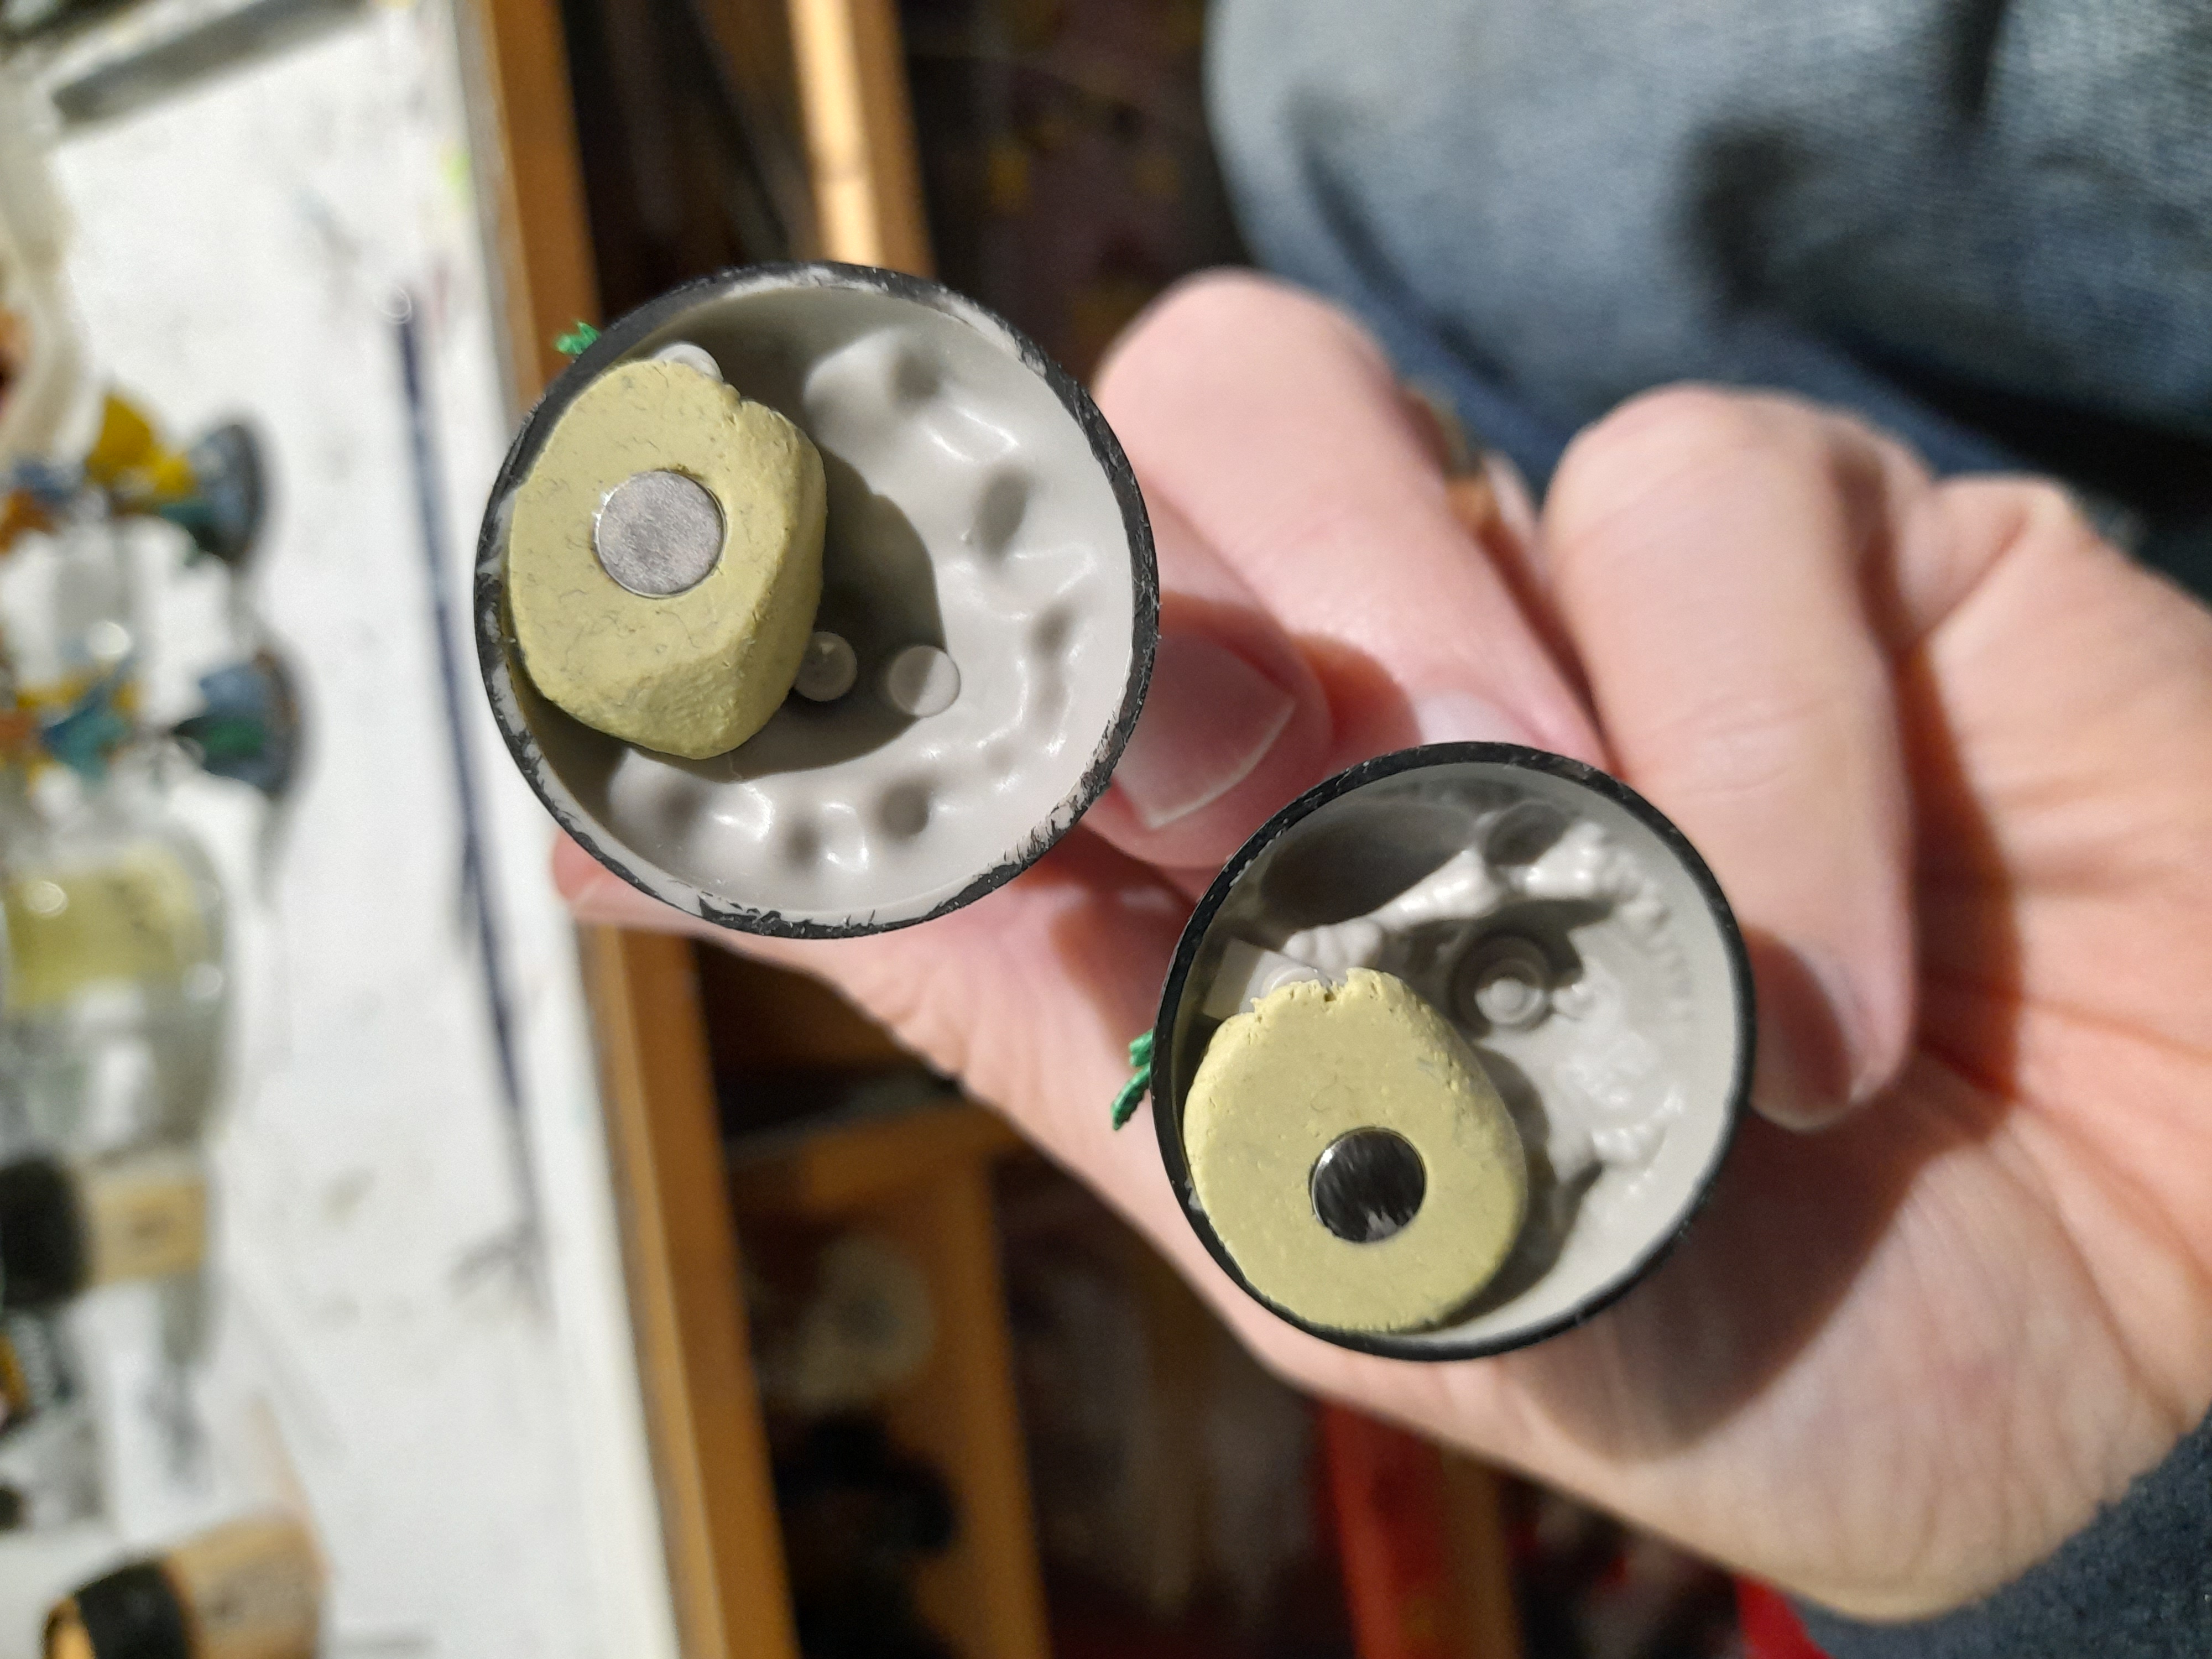
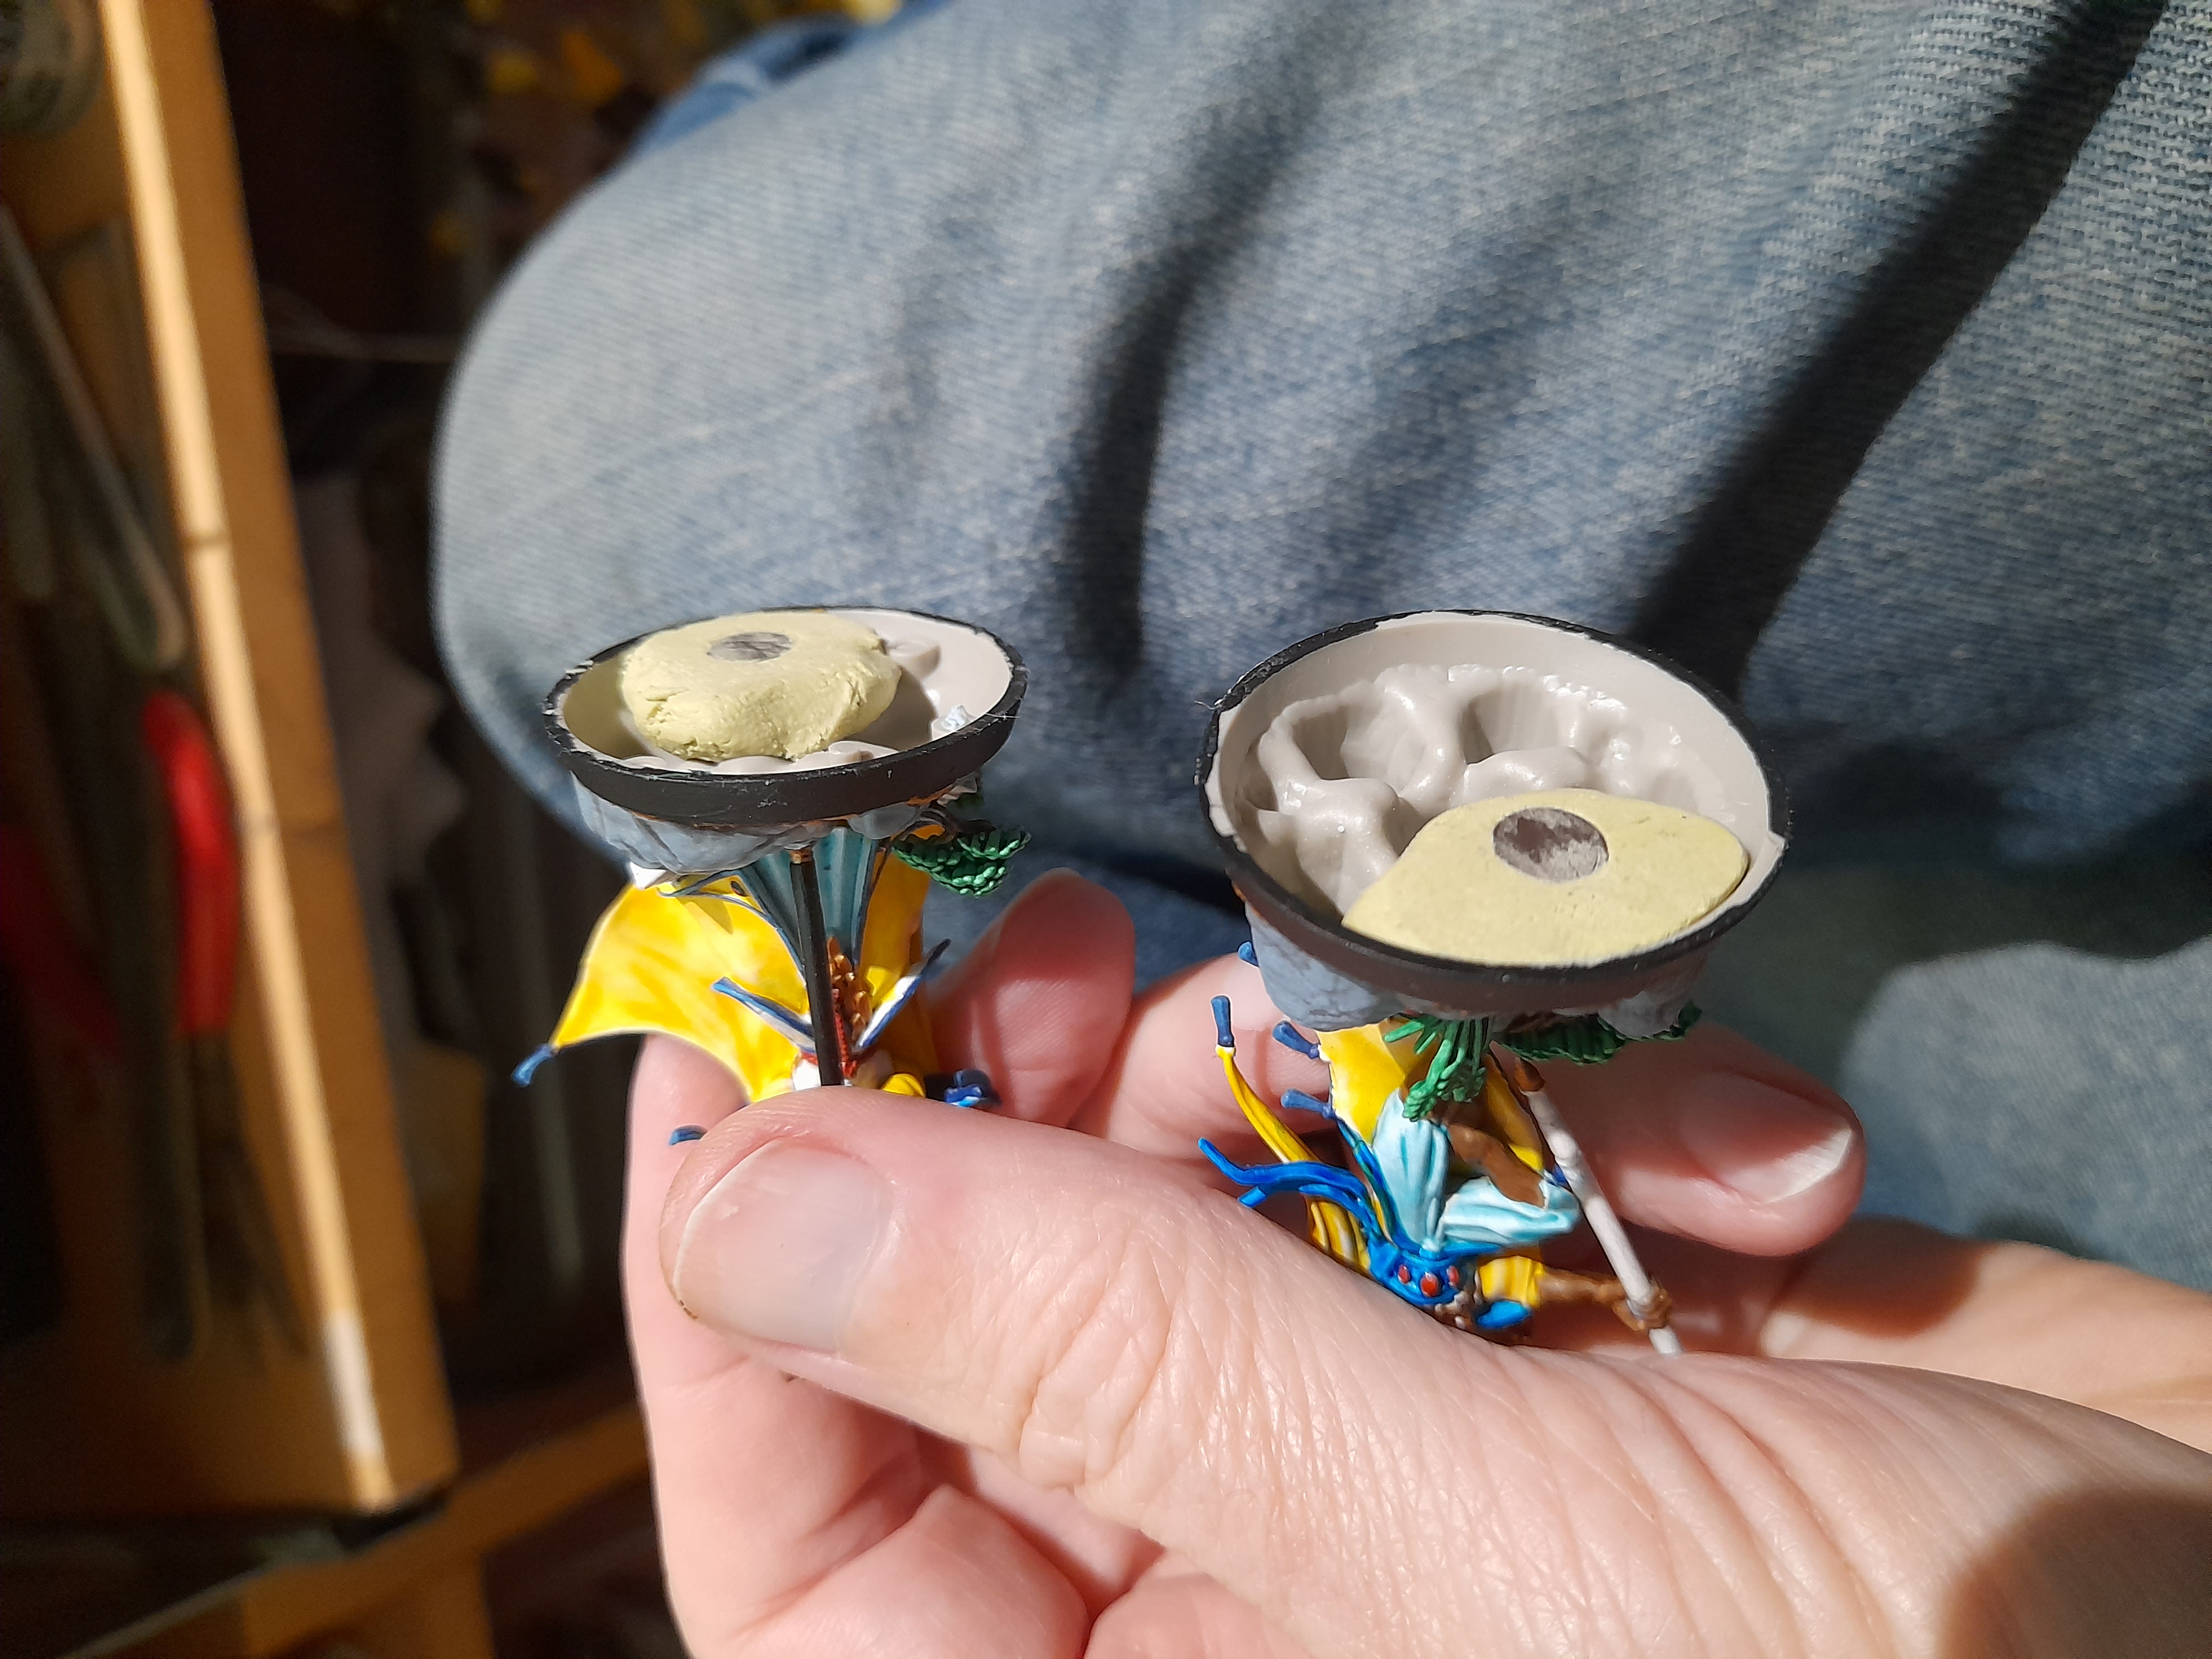
Then, with a few finishing touches that were a push on my eyes, the Lumineth Warband for Underworlds was complete!

Discworld Witches - some progress
6th April 2023
Thought I would post an update now, as I’m not sure how much hobby time I will be able to fit in over the Easter Weekend (hoping I may be able to finish these).
With the Lumineth Warband completed I have now turned my attention to the three Witches from Discworld. I picked these up as a present for my wife over a year ago, but only ever got as far as putting them together and undercoating them.
Spring clean – worthy minis to work on.
Initially I tried a varying drybrush of greys over the black, but wasn’t really happy with that. So I found a piece of art that I liked of the three witches (Wyrd Sisters, Paul Kidby) and used some of the colours from that as the inspiration for my planned colour scheme.
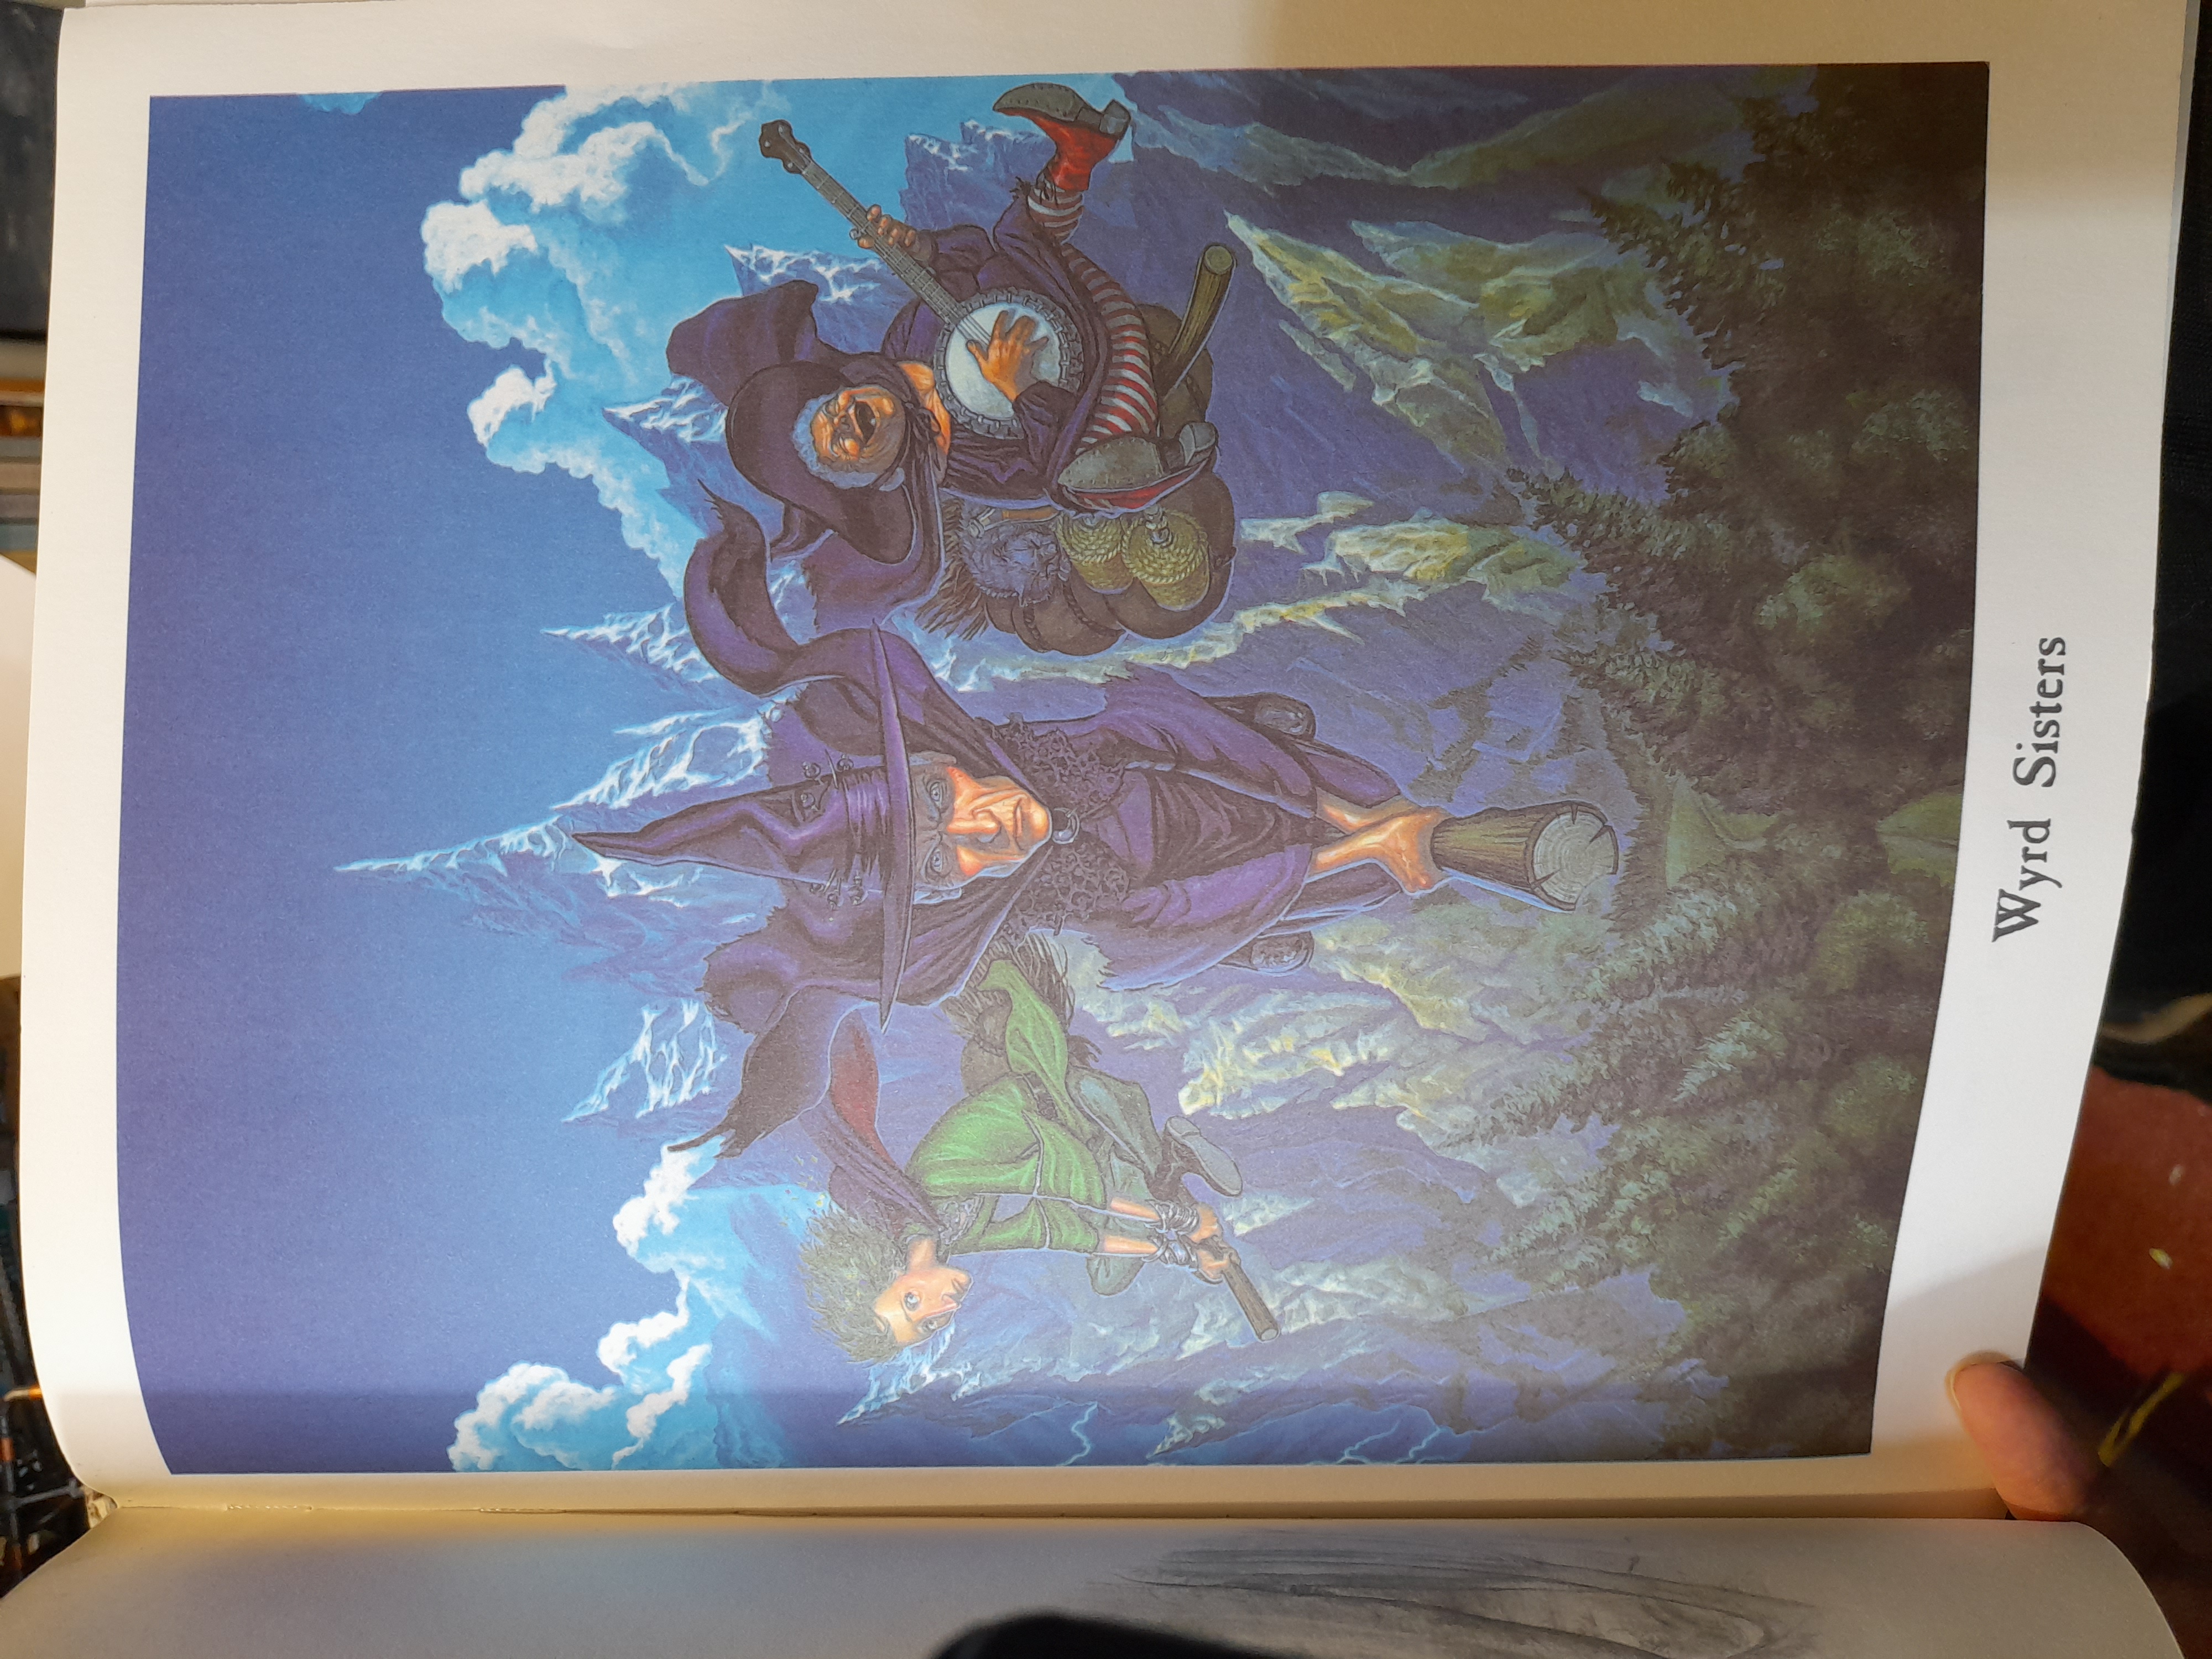
First up it really had to be Nanny Ogg’s bloomers – they set a cheery tone for the character ?. At the same time, I changed her clothing colour to a mid/dark blue, just because….
I also tried a dark green for Magrat’s dress – but yet again I wasn’t happy with how it came out. So out came my only other two green paints and the drybrush, and I was much happier with it (starting her hair helped too).
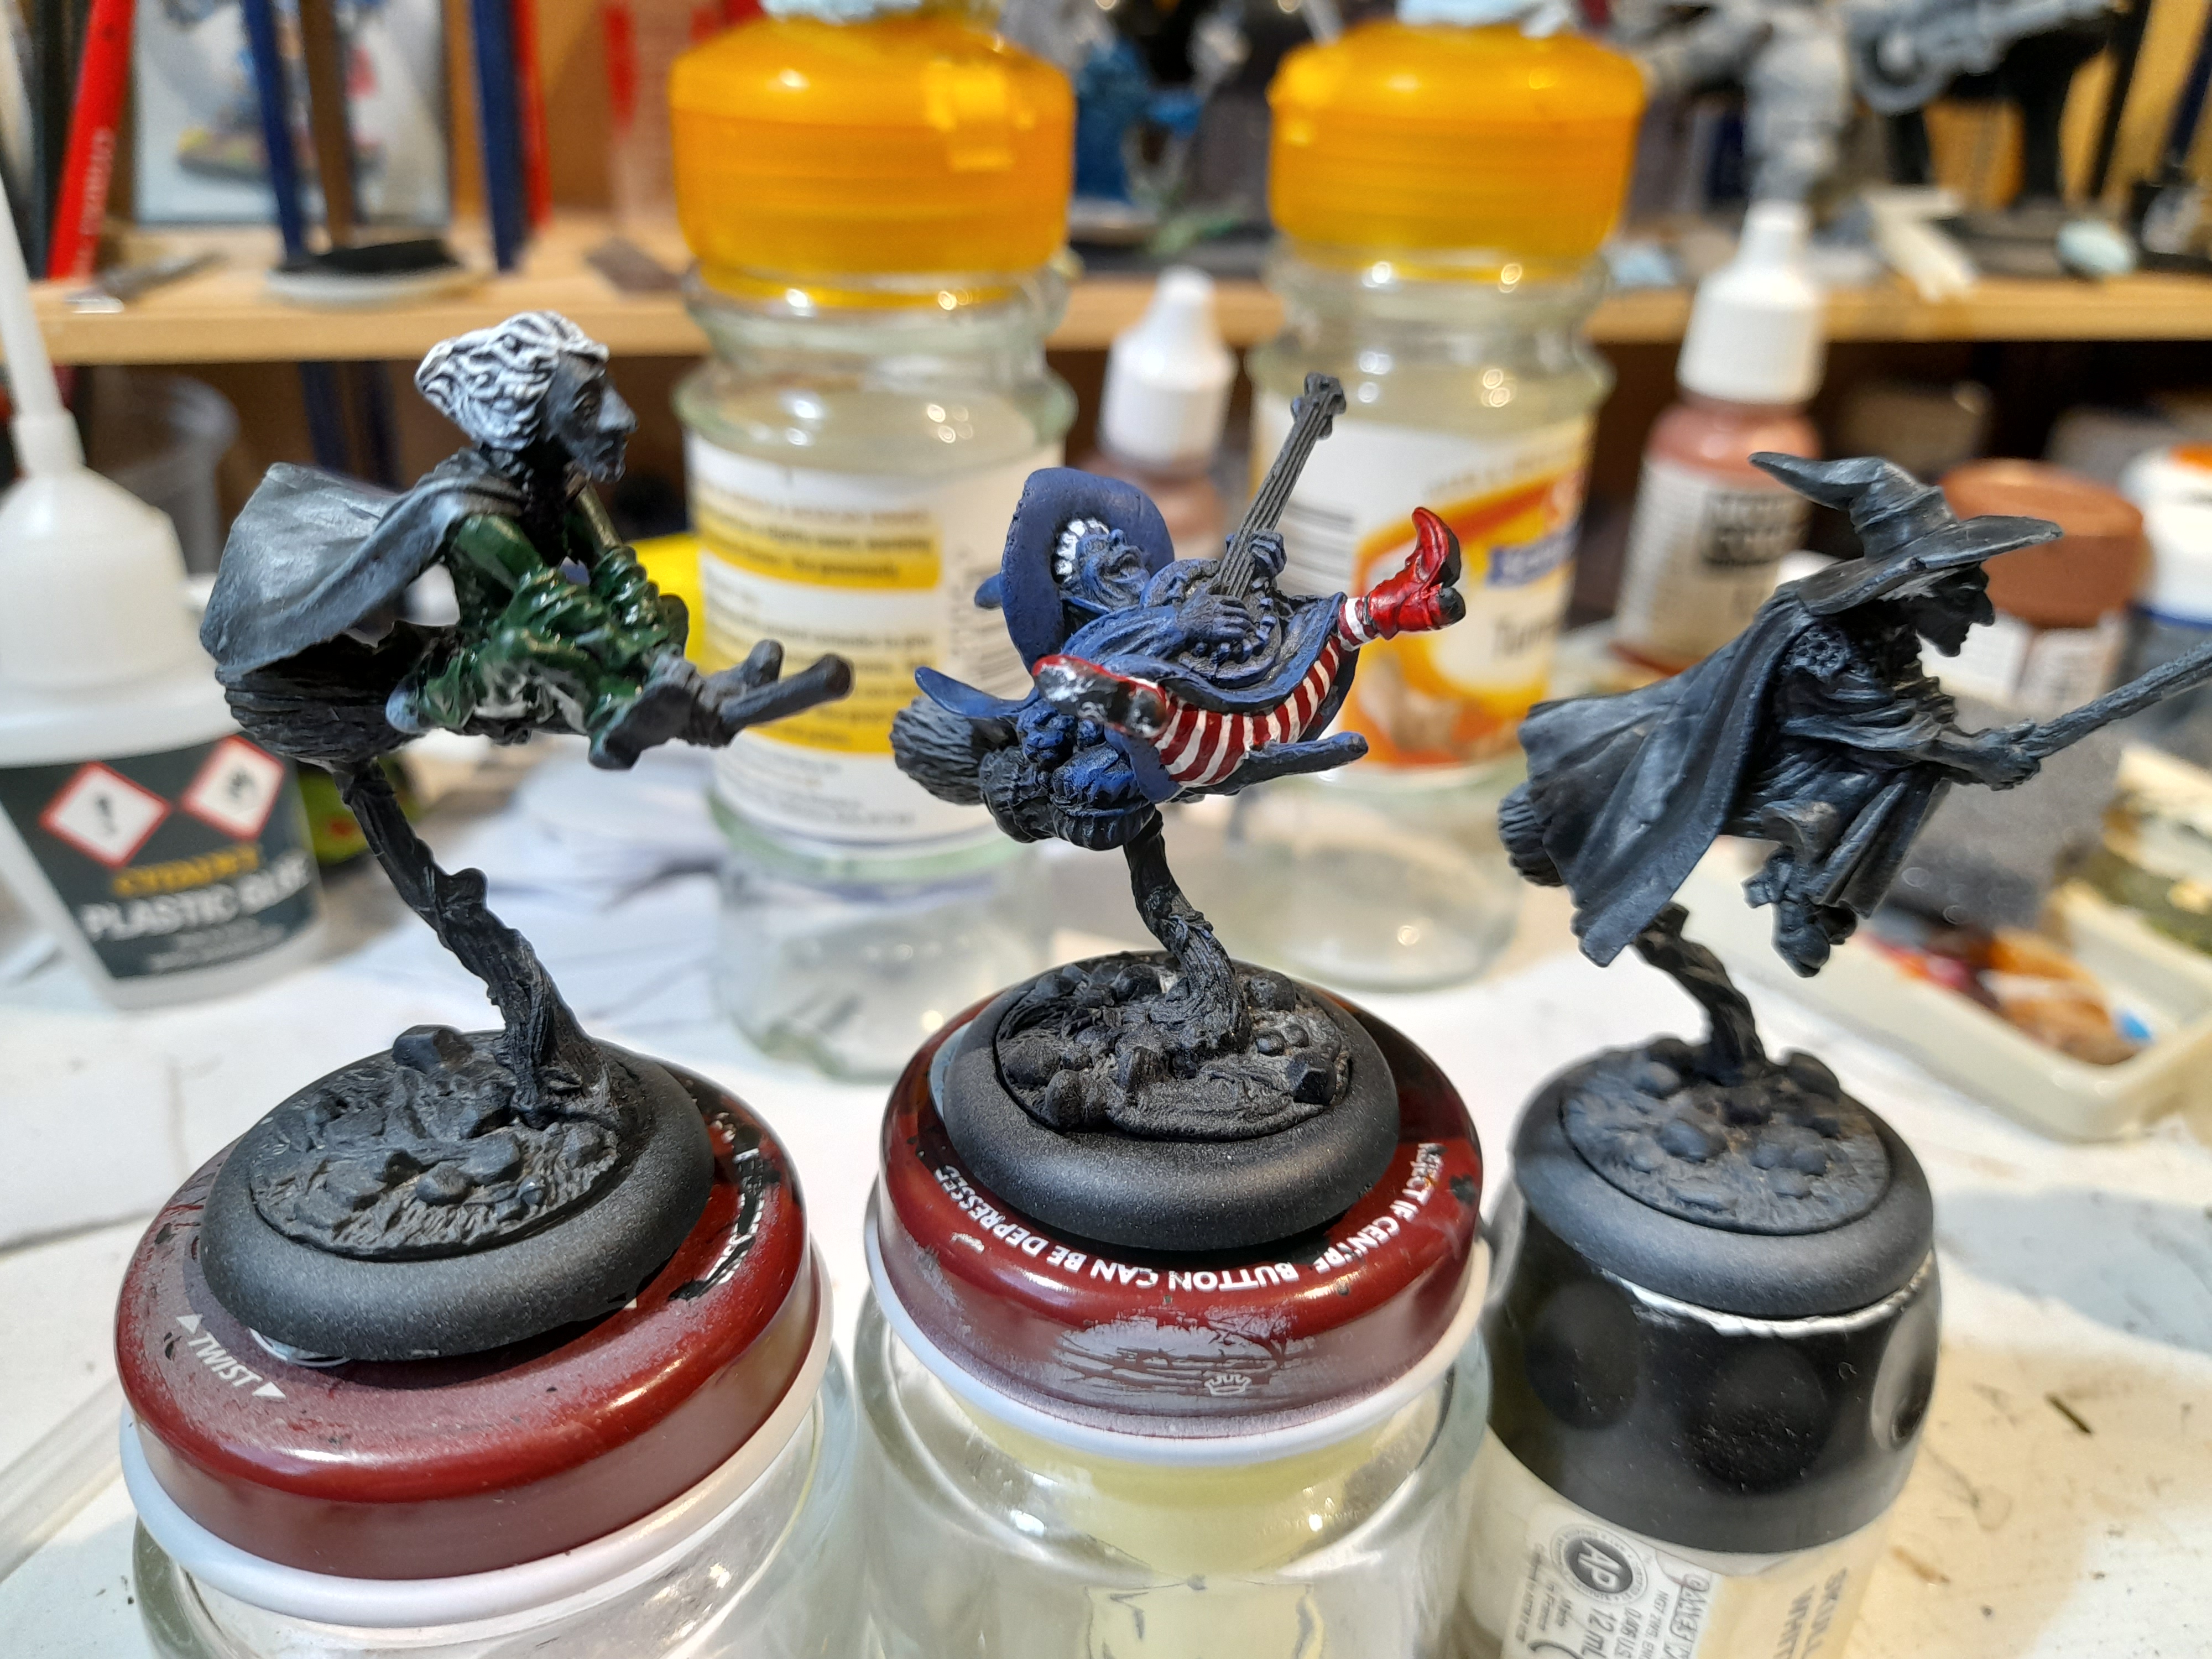

I’ll post up again soon hopefully ?


![Zenit Miniatures’ Samurai Warlords Now Live On Kickstarter [Updated]](https://images.beastsofwar.com/2026/02/samurai-warlords-launch-main-600-338.jpg)


