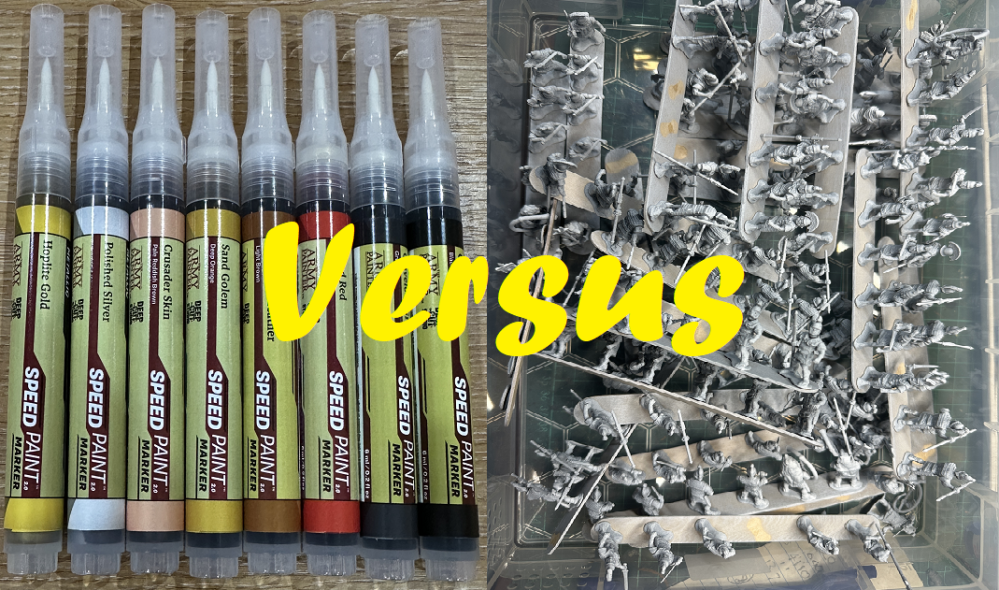
Speedpaint Pens vs The Pile


Stages of painting Part 1
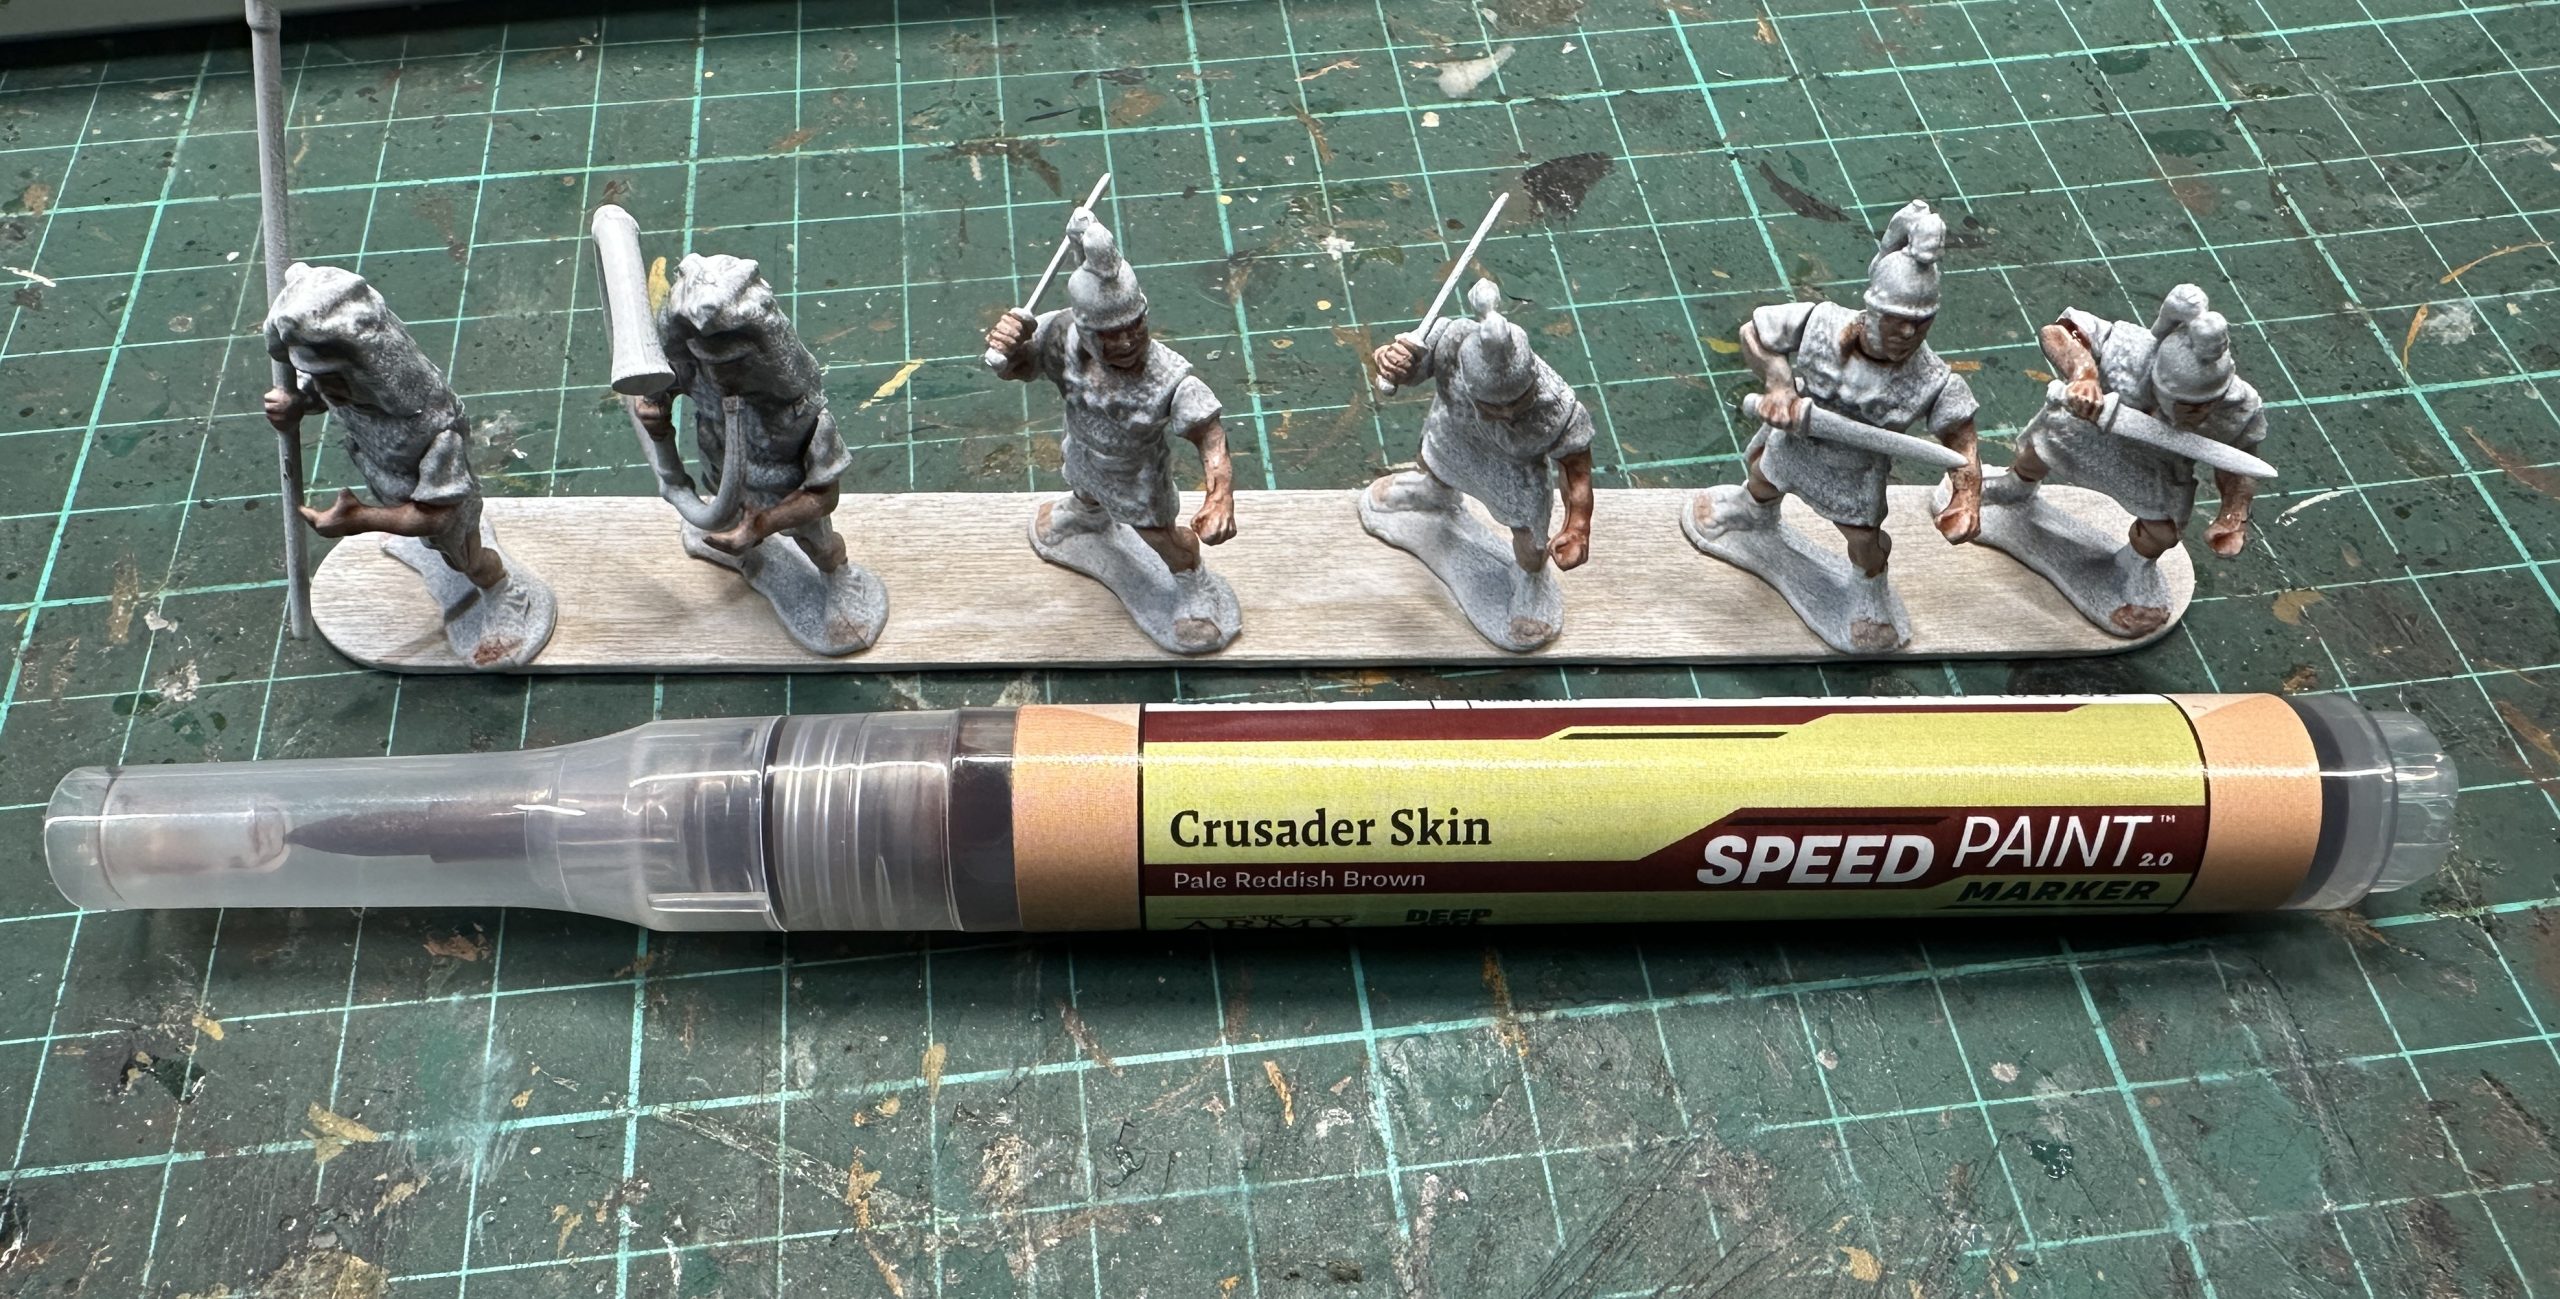
This is a classic batch process. I’m trying out a single spatula’s worth with the stages to see how we go. First up is Crusader Skin. Faces, necks, arms, legs and toes.
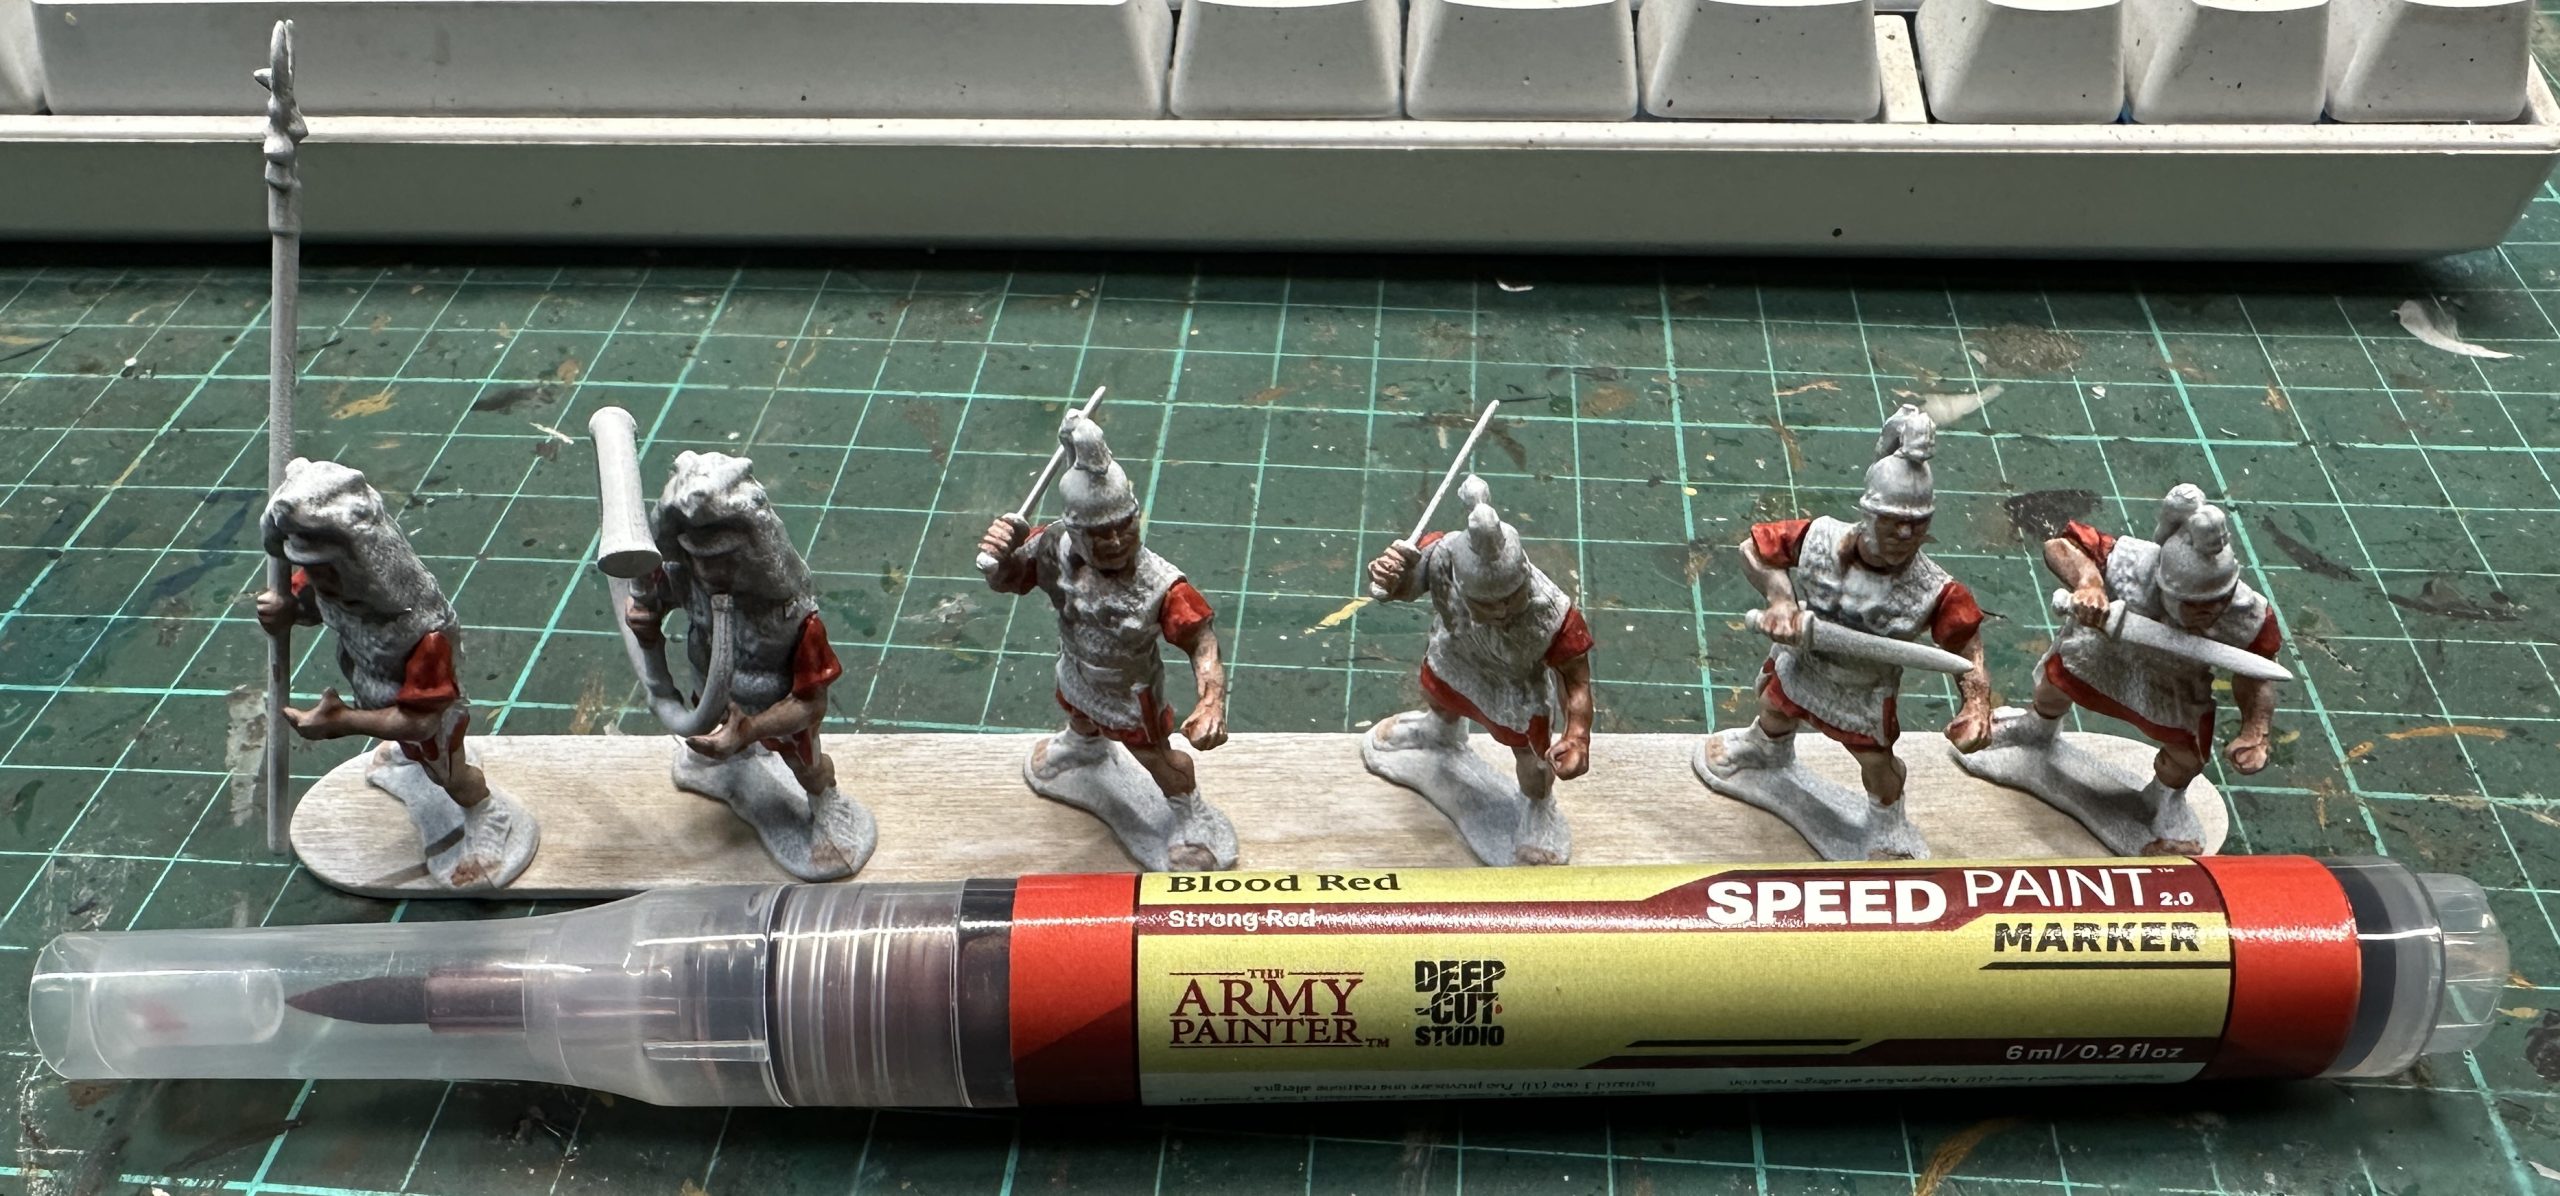
2 – Blood Red next. Sleeves and the bottom edge of the tunic.
3 – Hardened Leather. Sandals (caligae) and belt with sword straps where they are obviously moulded.

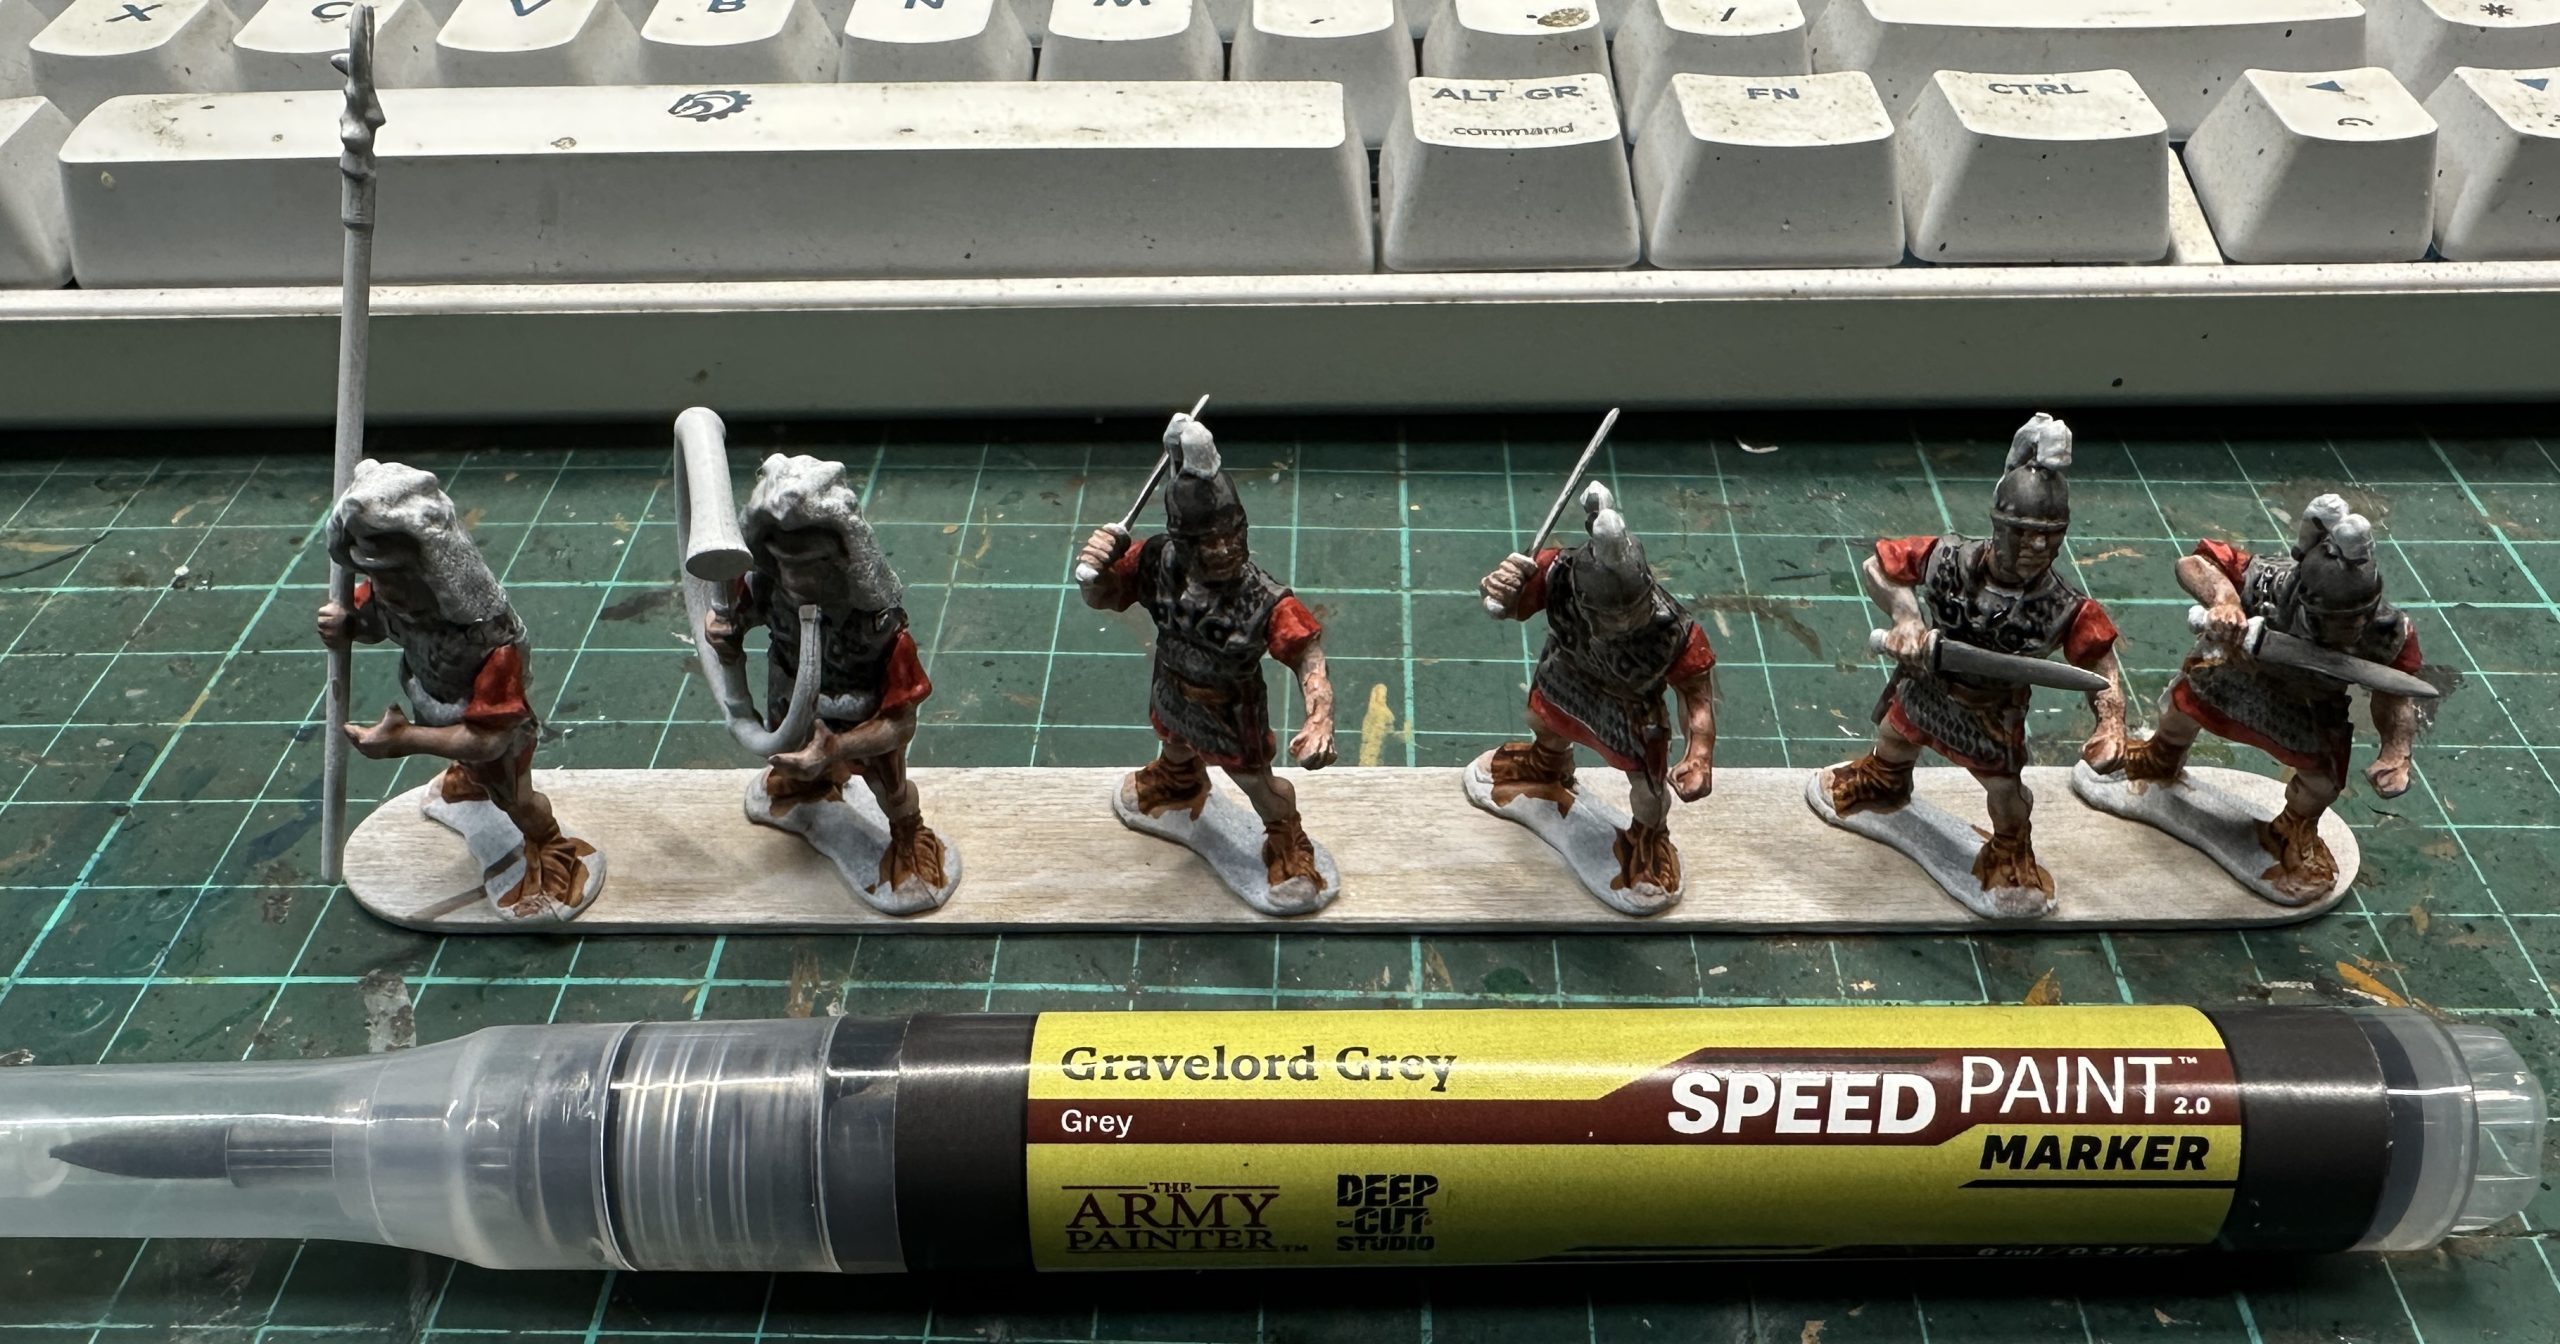
4 – Gravelord Grey. The base coat for the mail shirts, sword blades and helmets. This was the only colour I used a bit of an extra, simple technique on. I use my finger to wipe back the Speedpaint along the top or exposed edges of the swords. This takes the edge back to white. This will show as a sharpened edge when they are highlighted with silver.
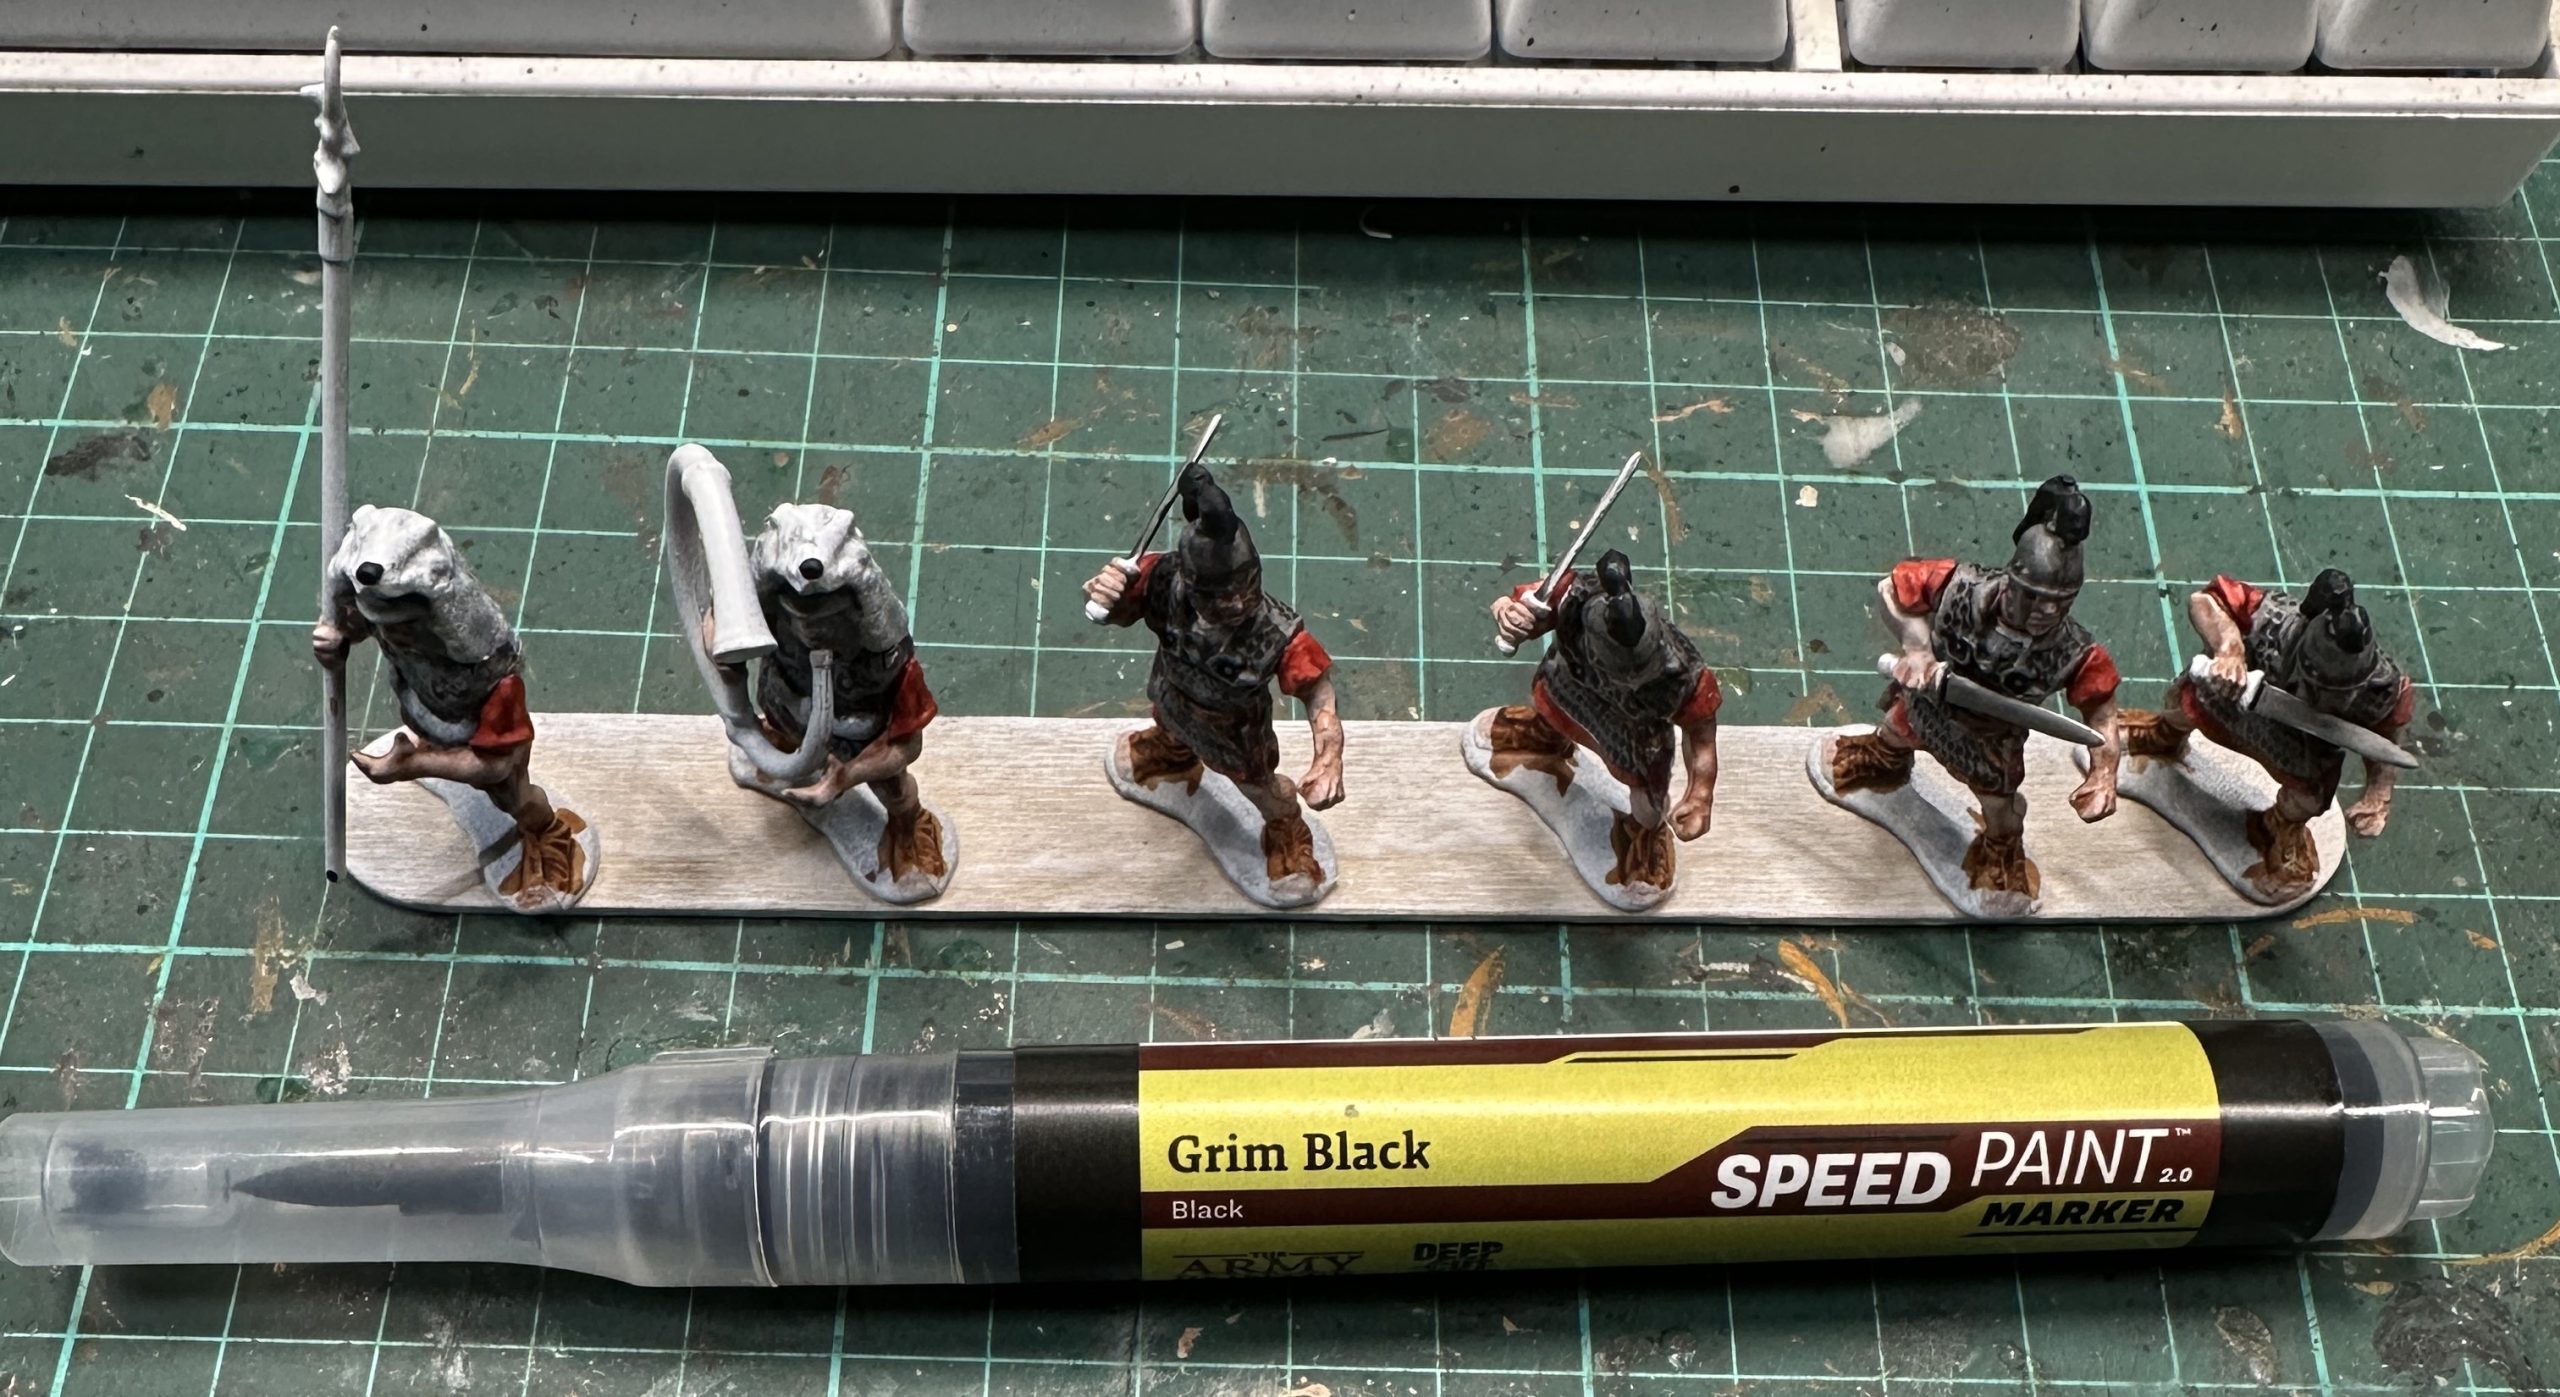
5 – Grim Black. Plumes and the noses of the animal pelt headdresses.
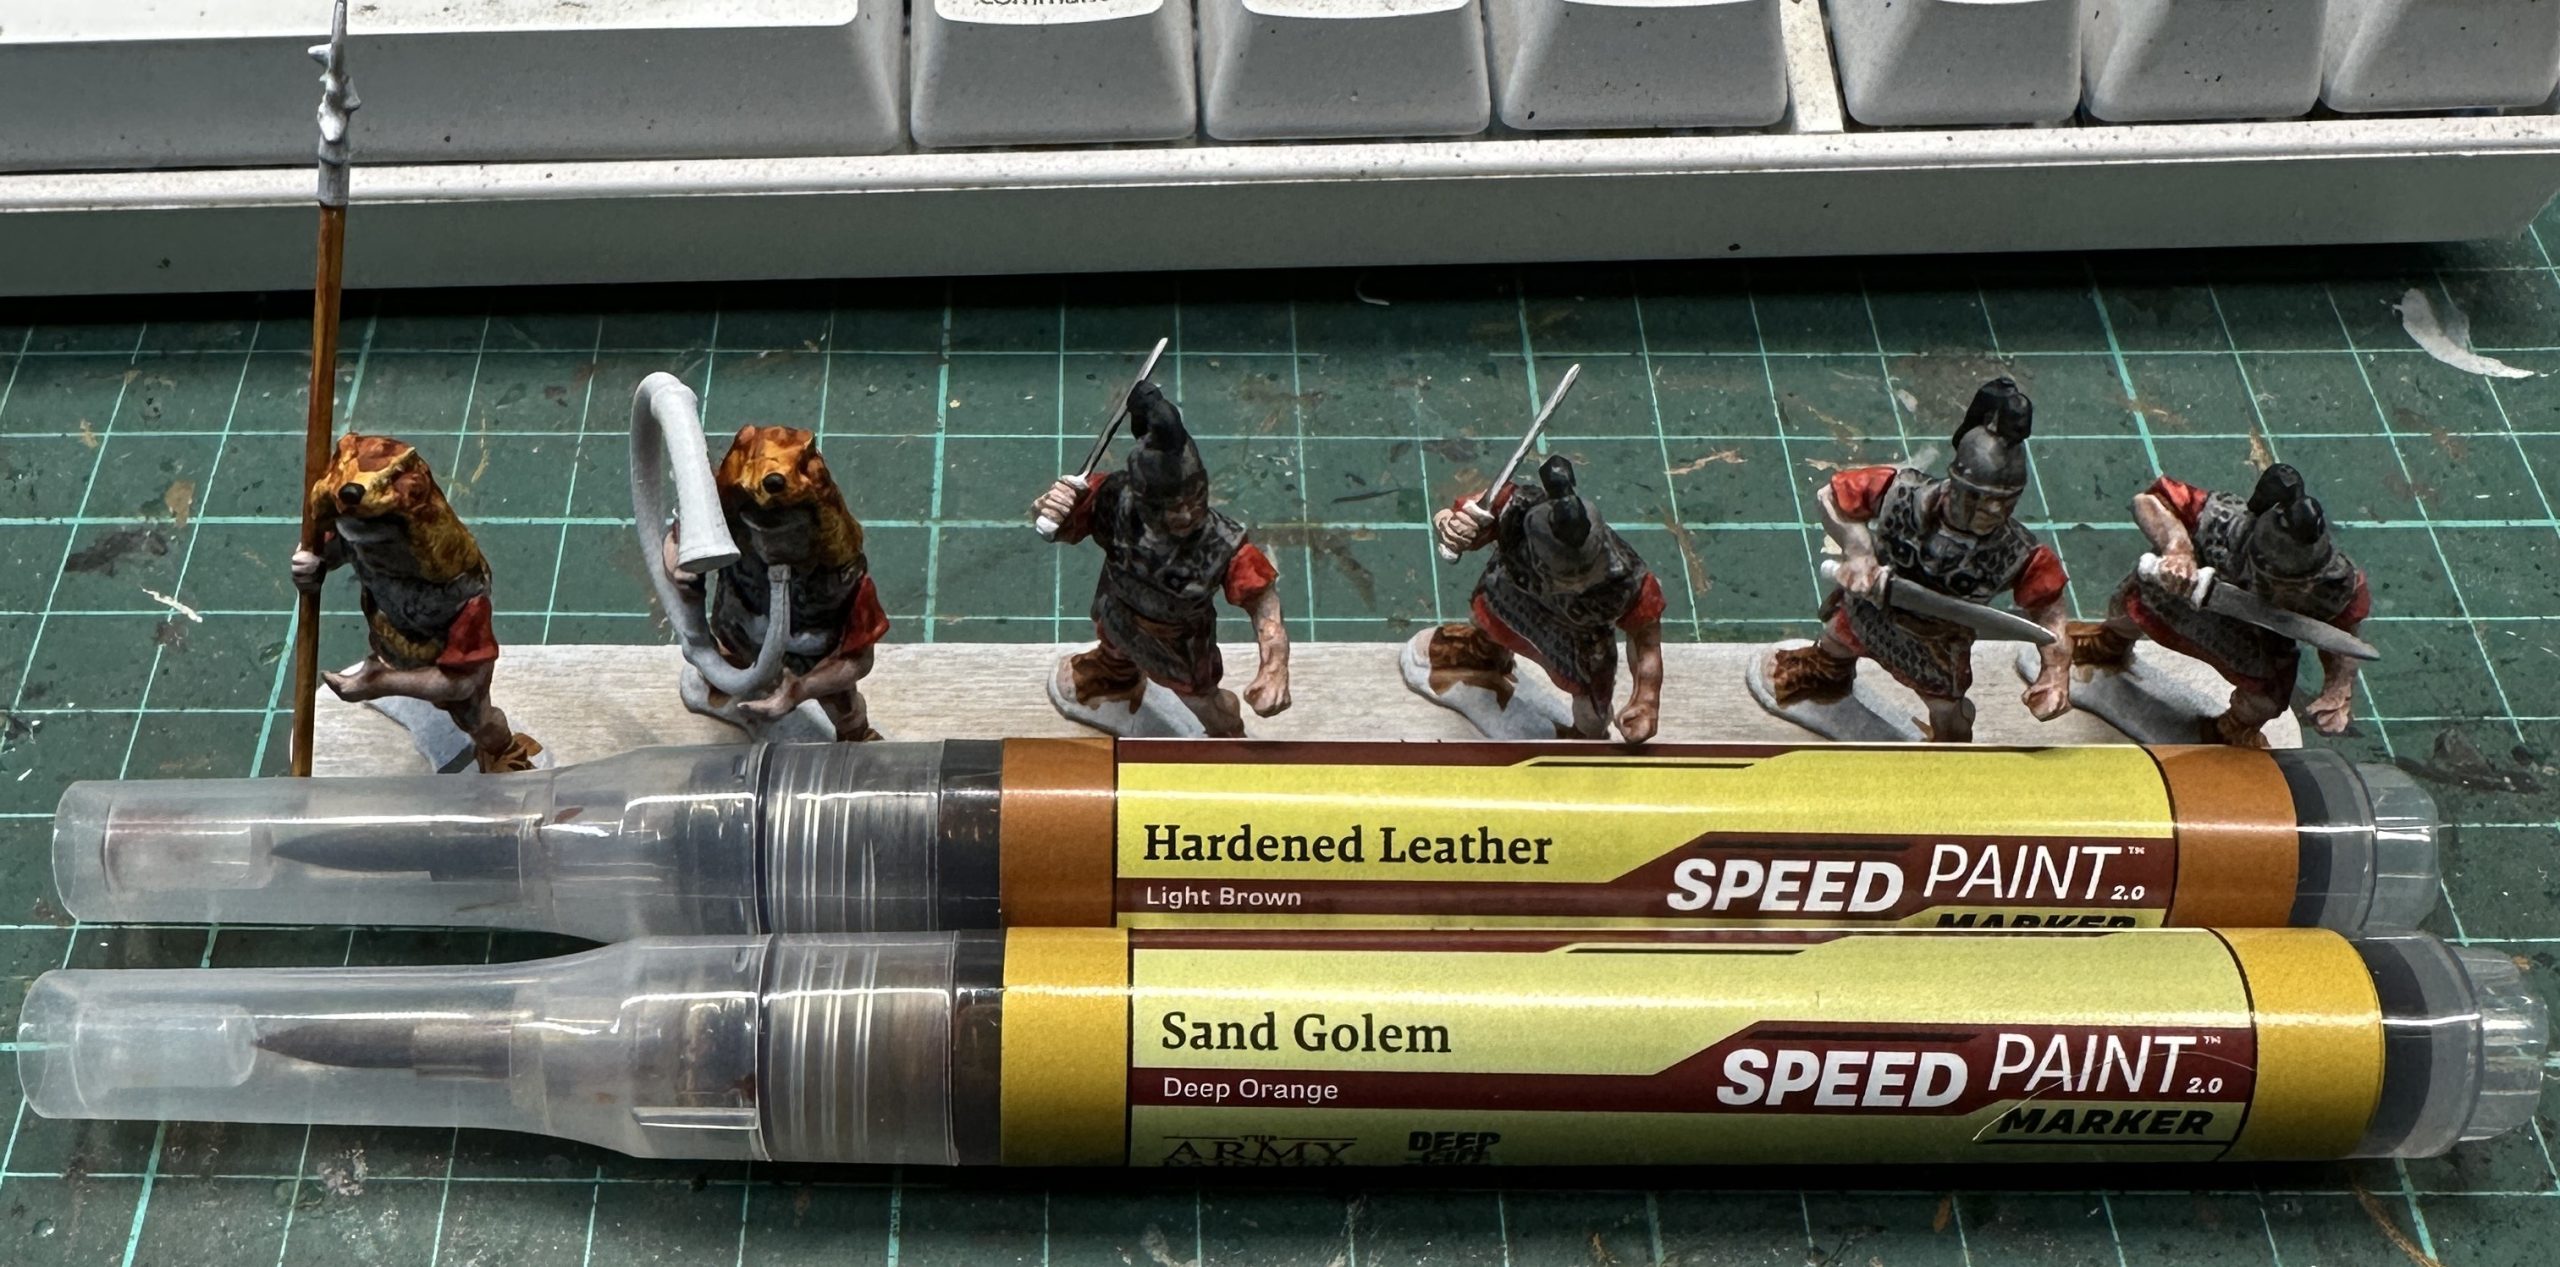
6 – Sand Golem. Banner/pilum shafts.
6a – Sand Golem and Hardened Leather. The lion pelt headdresses got a coat of Sand Golem and then an accent of Hardened Leather around the area of the mane.
Although it looks okay, I’m not crazy about this result and I’d prefer to have a bit of a darker brown to add in as well. I’ll have to go with this for now. I guess this is what makes it a challenge, having to put up with something less than perfect 🙂