


Frostgrave terrain for local club campaign April 2026


Project Update 26/11/2025
Time for another entry; This times I have been doing steady research and learning like a sponge (thanks terrain tutor).
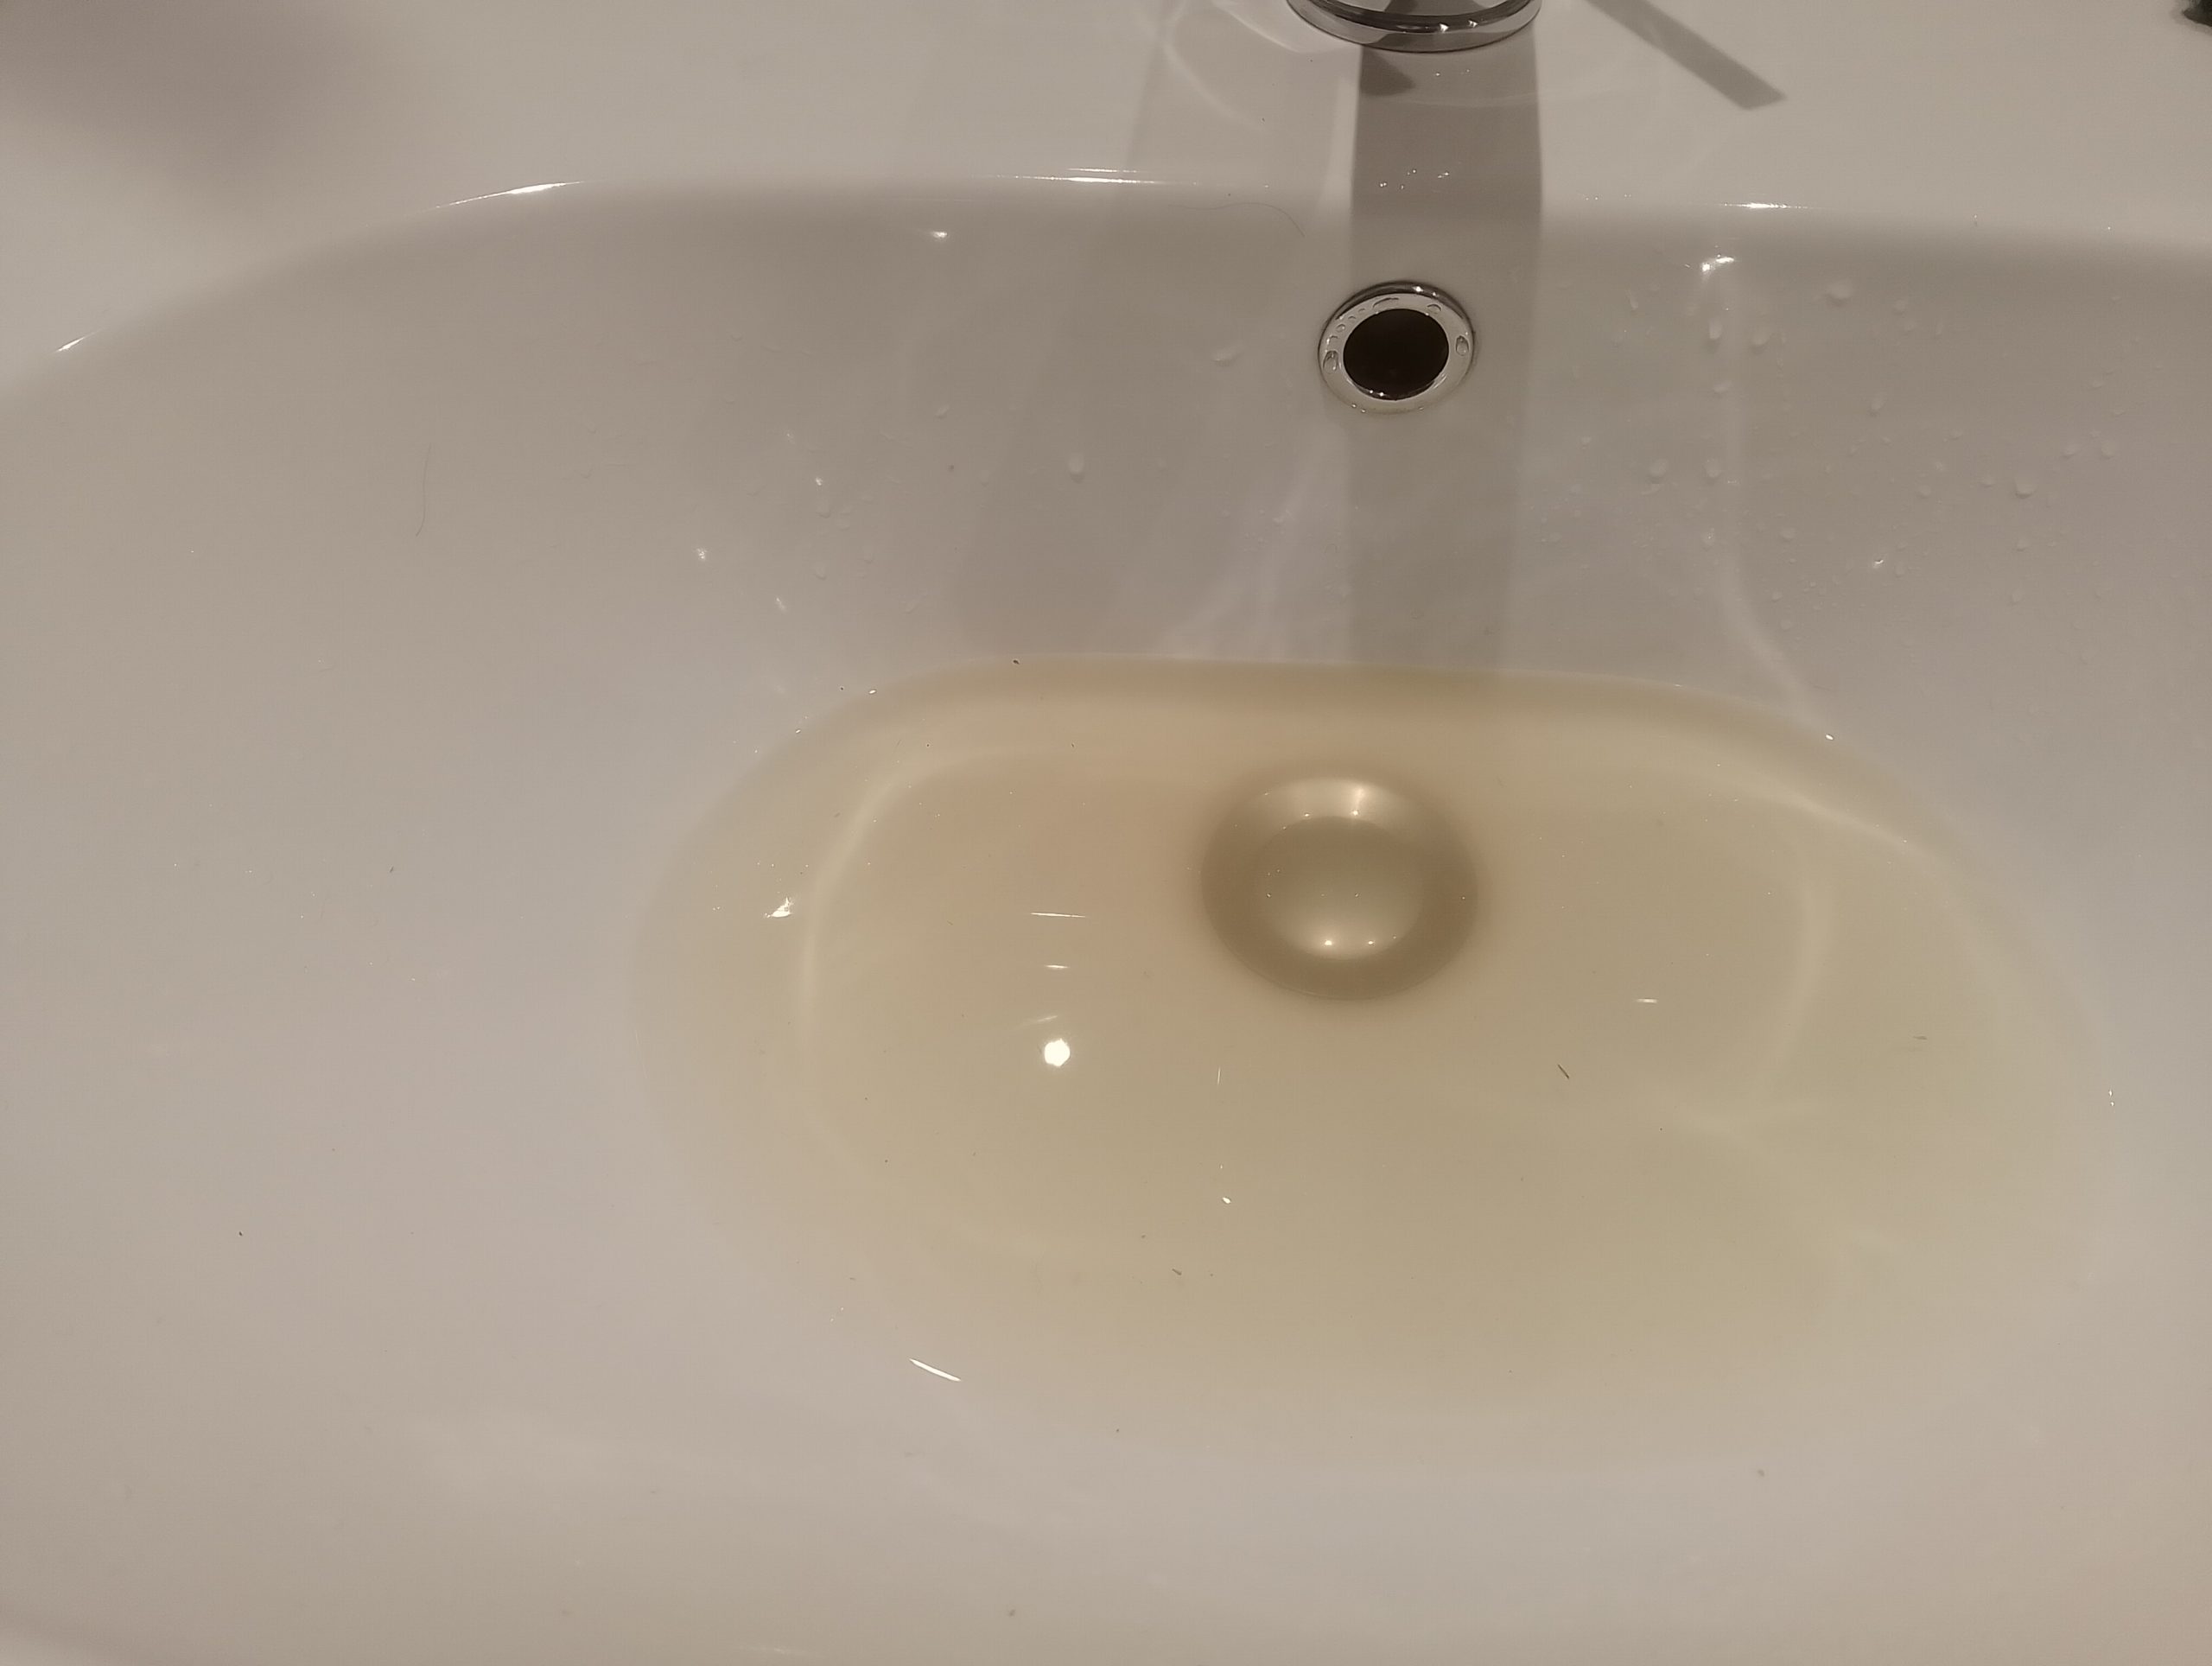
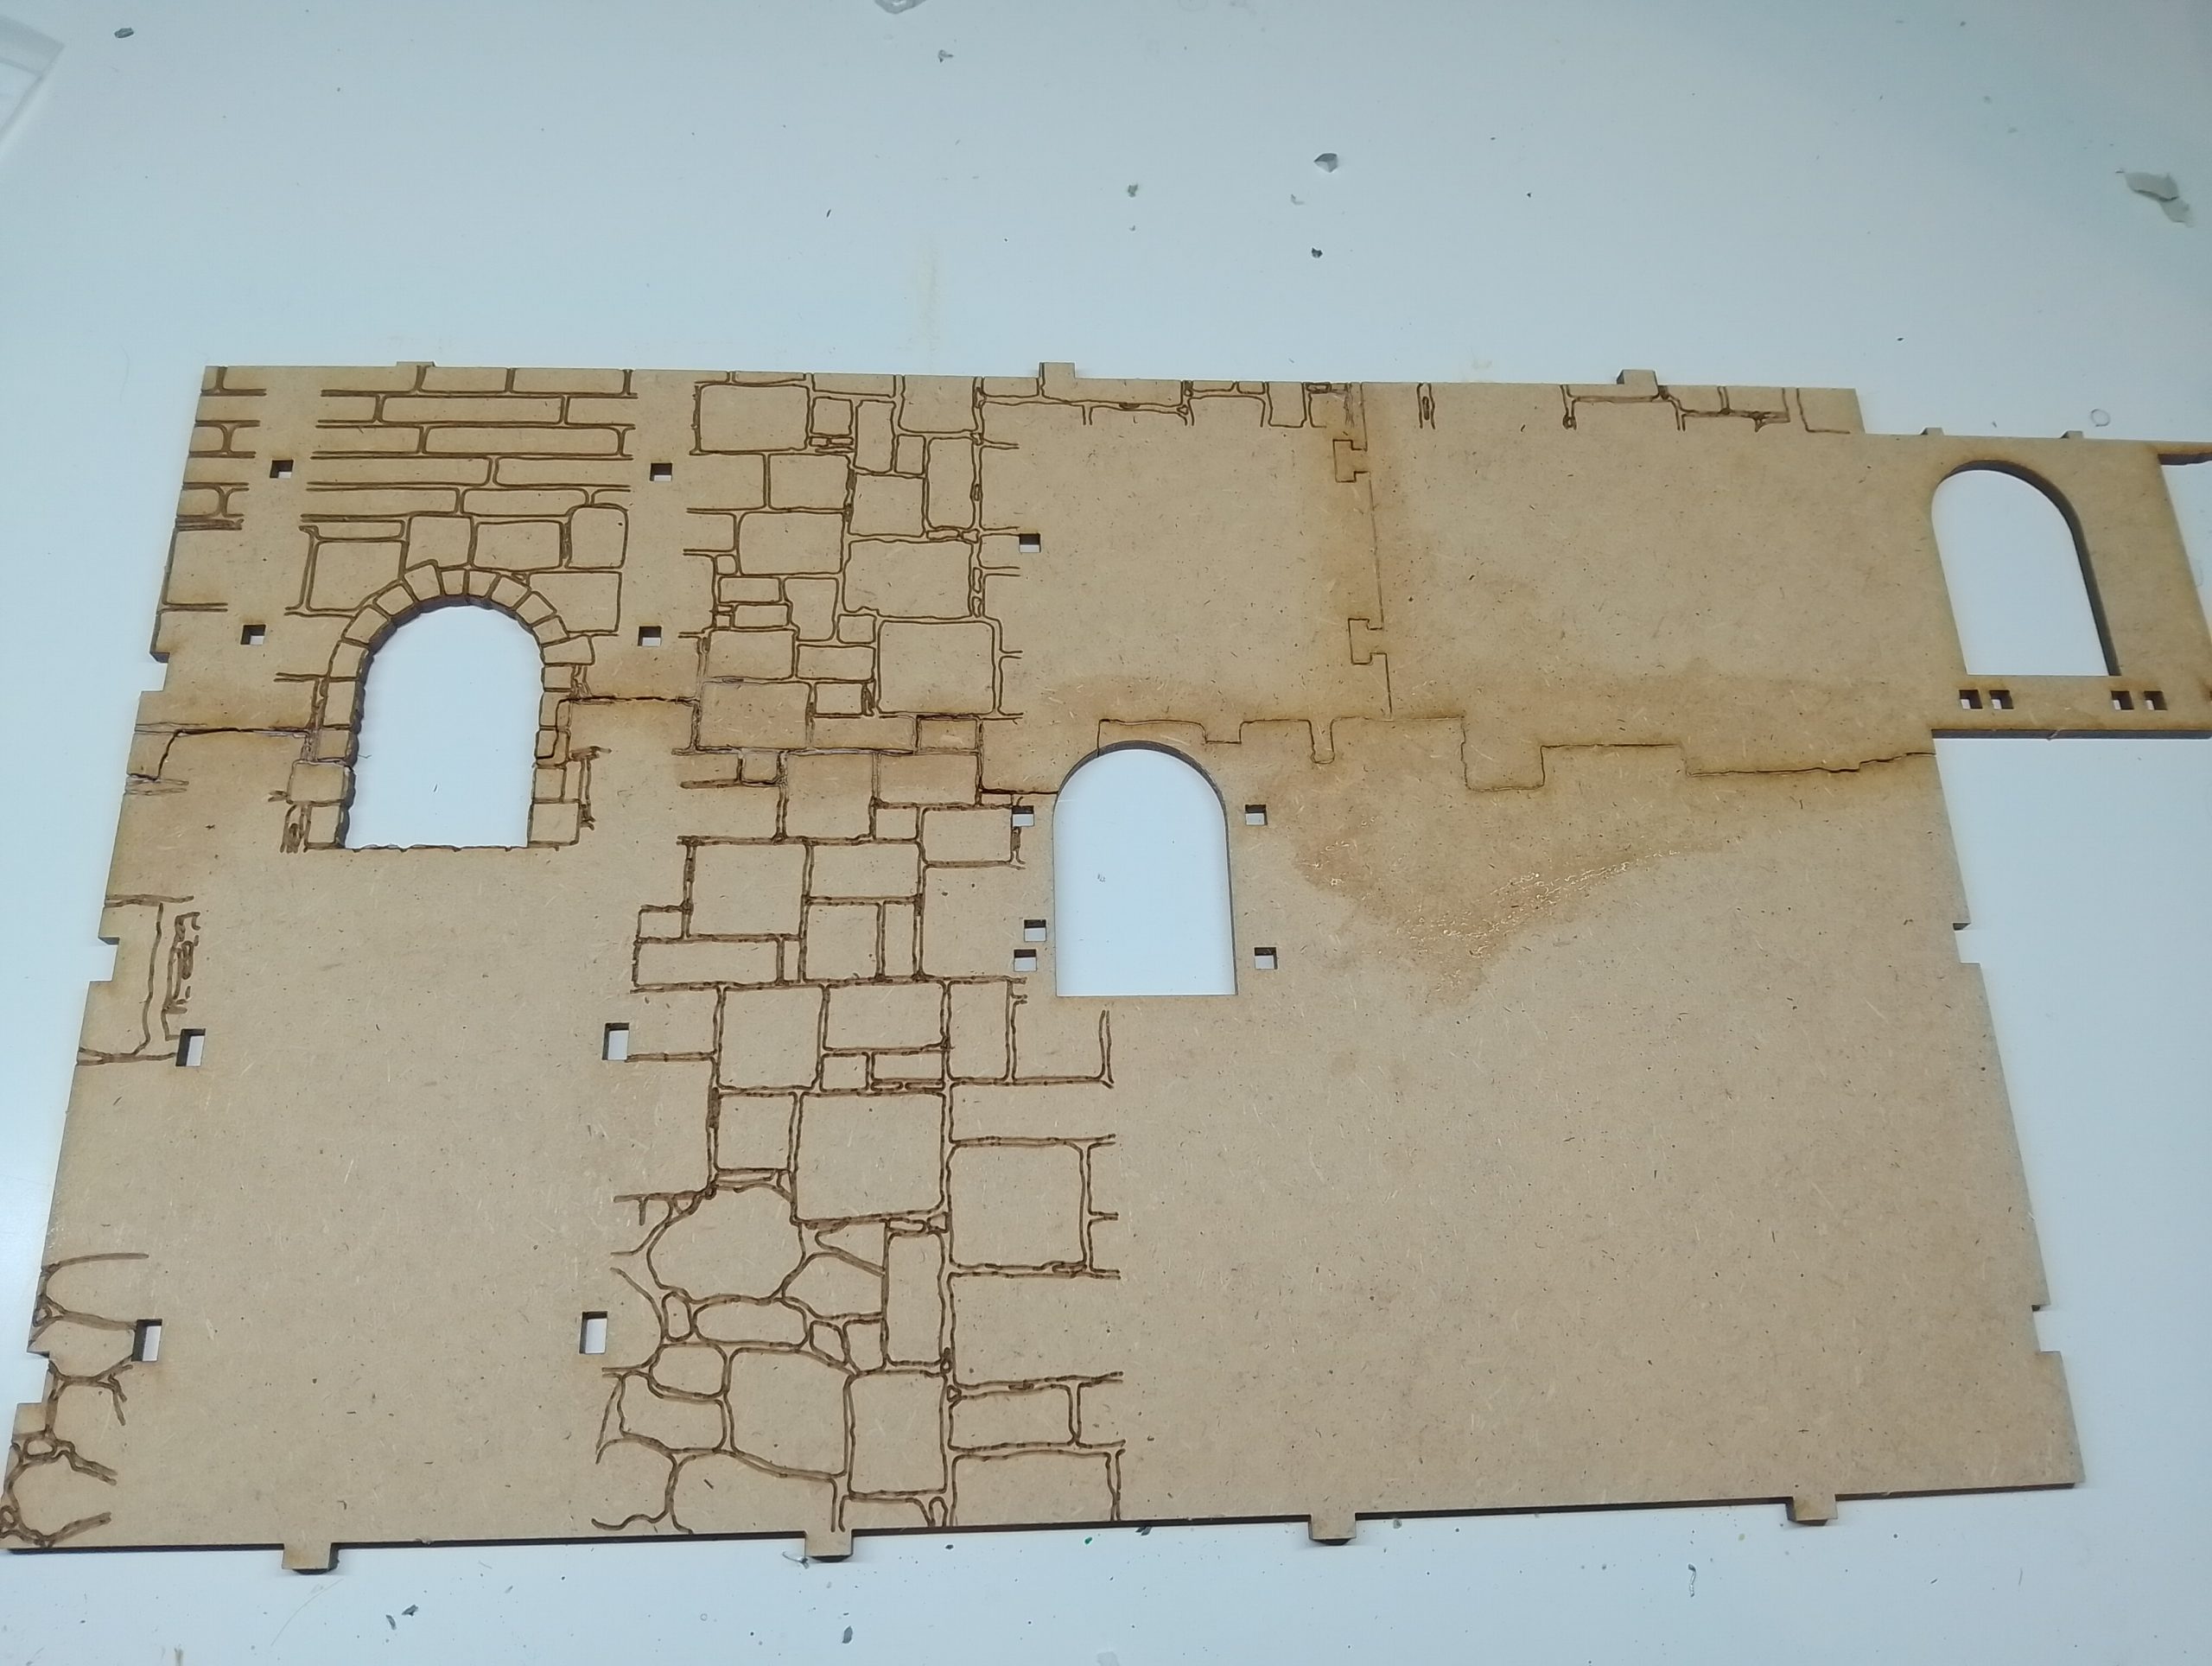
First off, I have wiped all the frames of MDF. Honestly I did not even know this was a thing, I expected maybe the odd sawdust but the residue left on the frames from the laser cutting is prevalent as pictured. I am actually amazed how much came off, and this image is just from only the ruins not the gatehouse.
I am really taking my time on this, letting thing properly dry. Letting things like the glue dry on certain places.
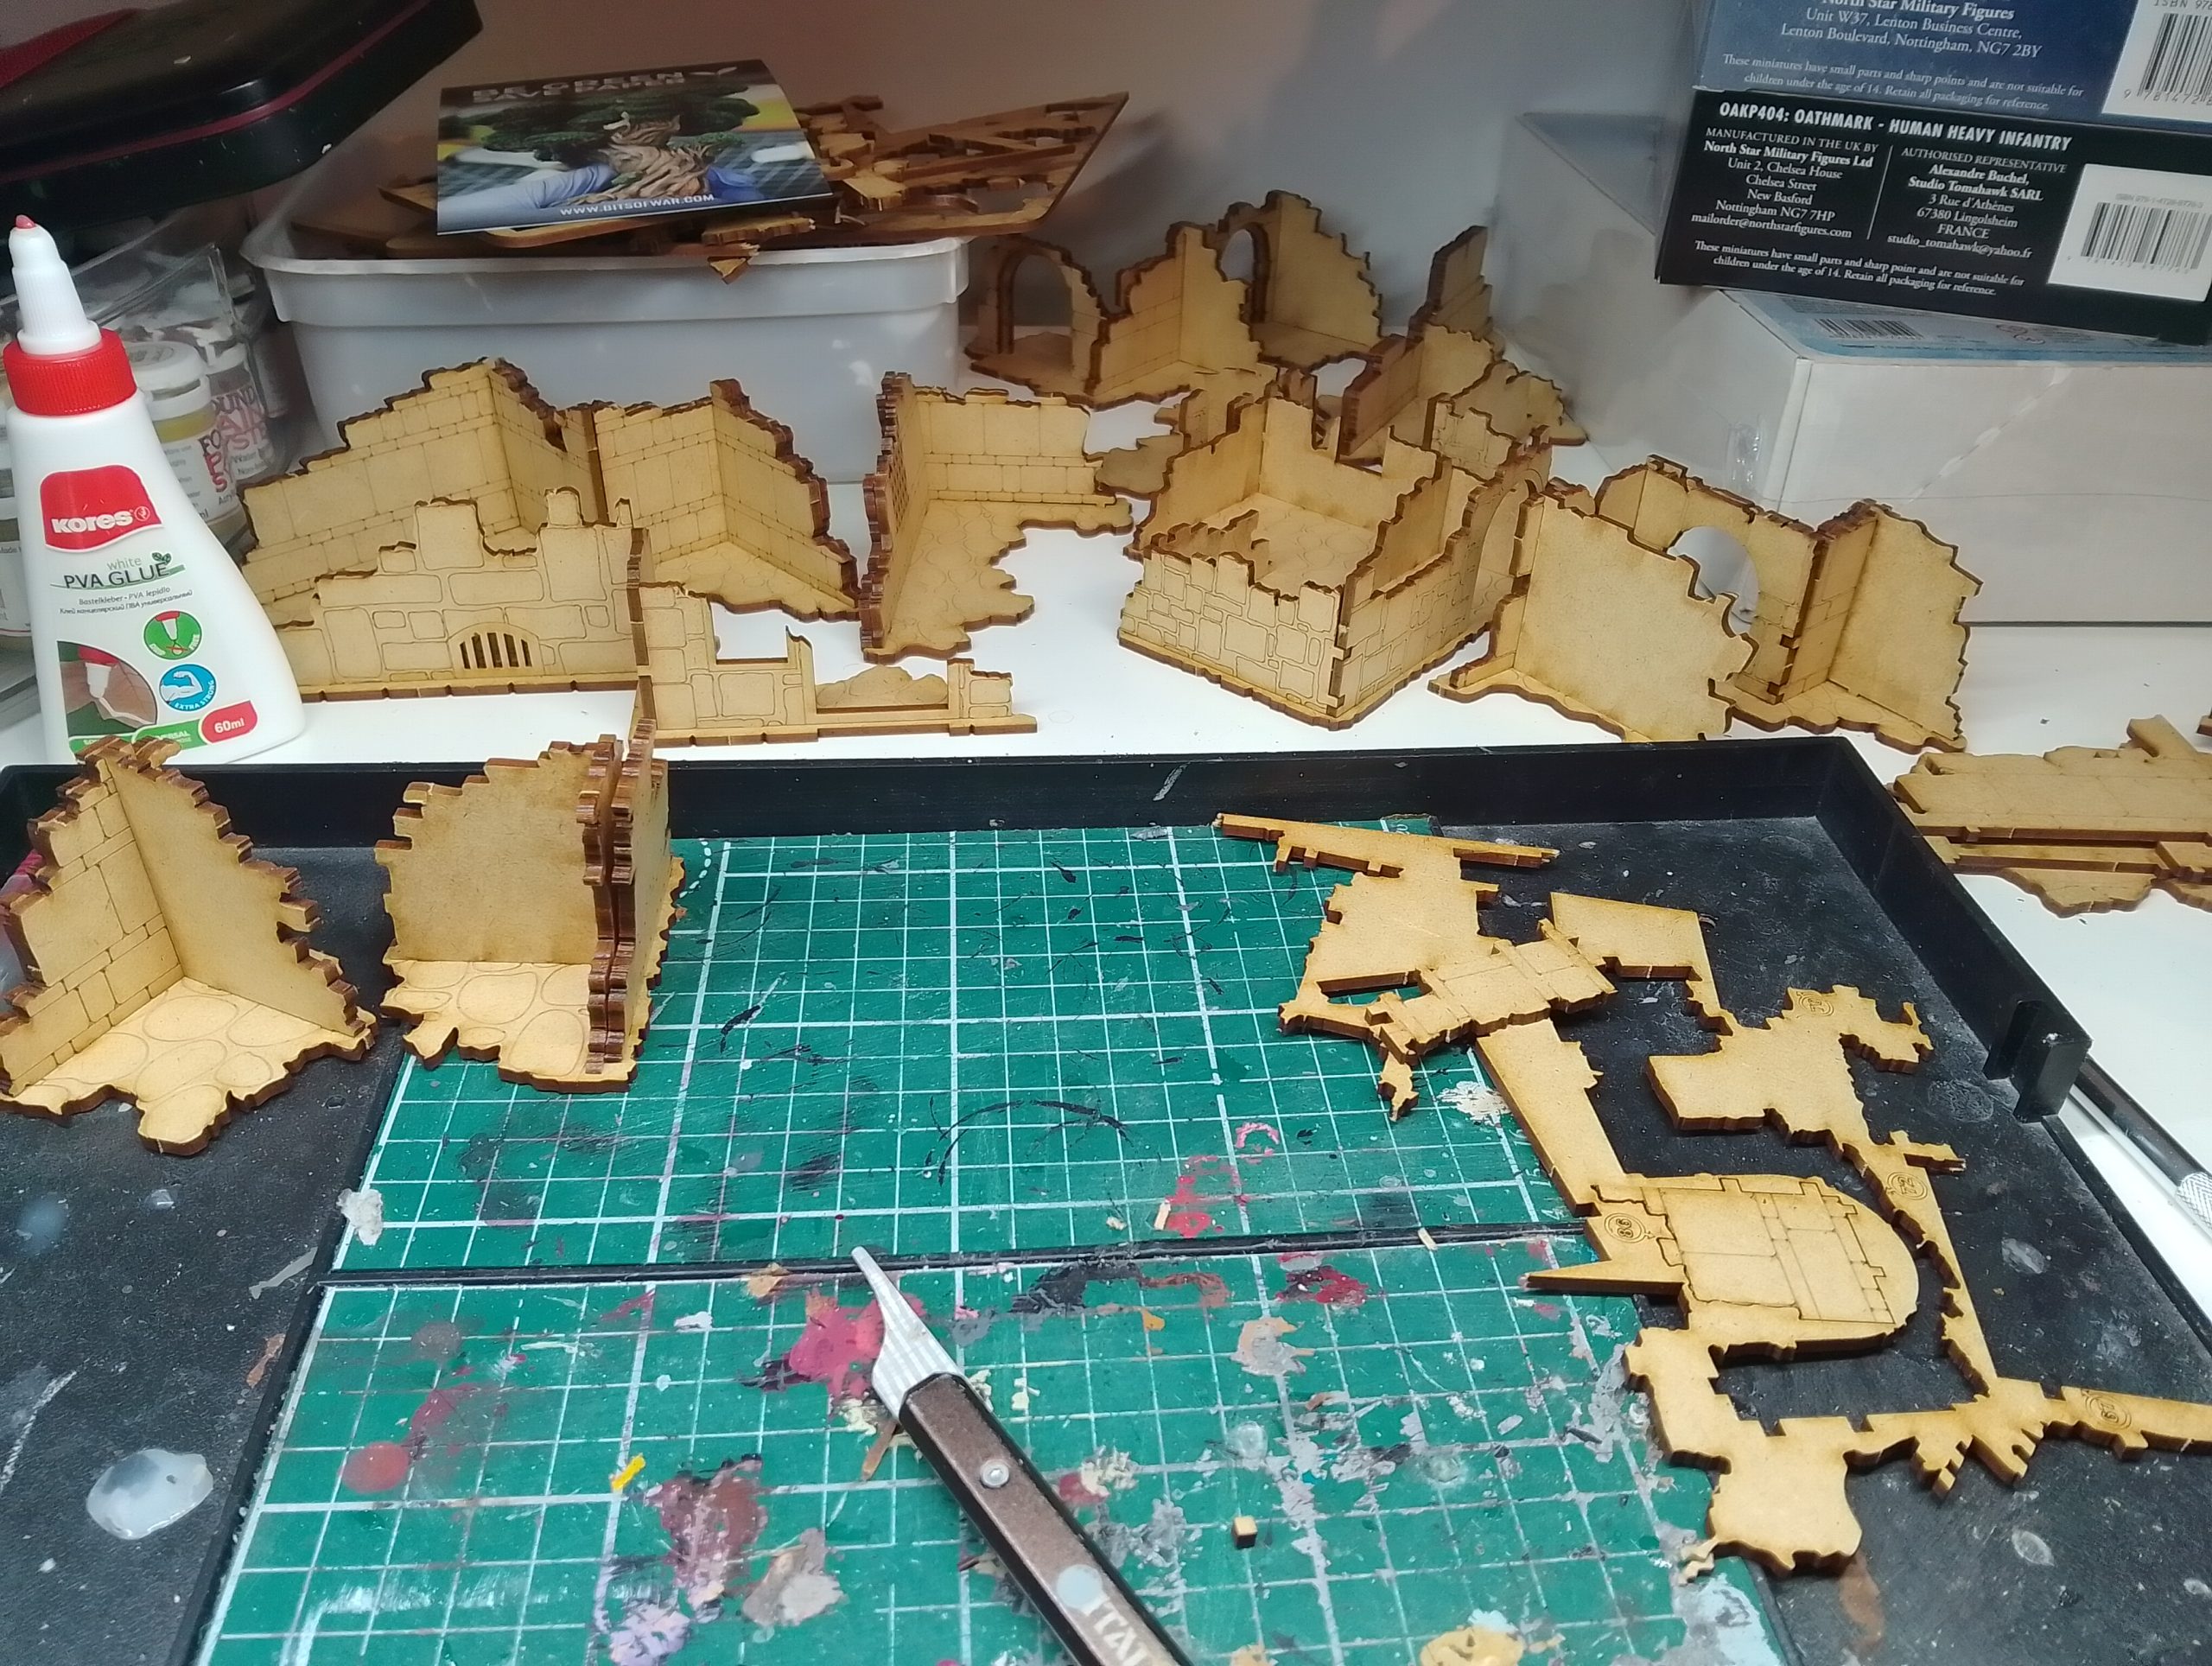
Speaking of, has anyone ever seen a three part wall frame? This is so new to me. I glued it all with pva and put it flat with pressure to make sure it was level when erected onto the main frame of the gatehouse.
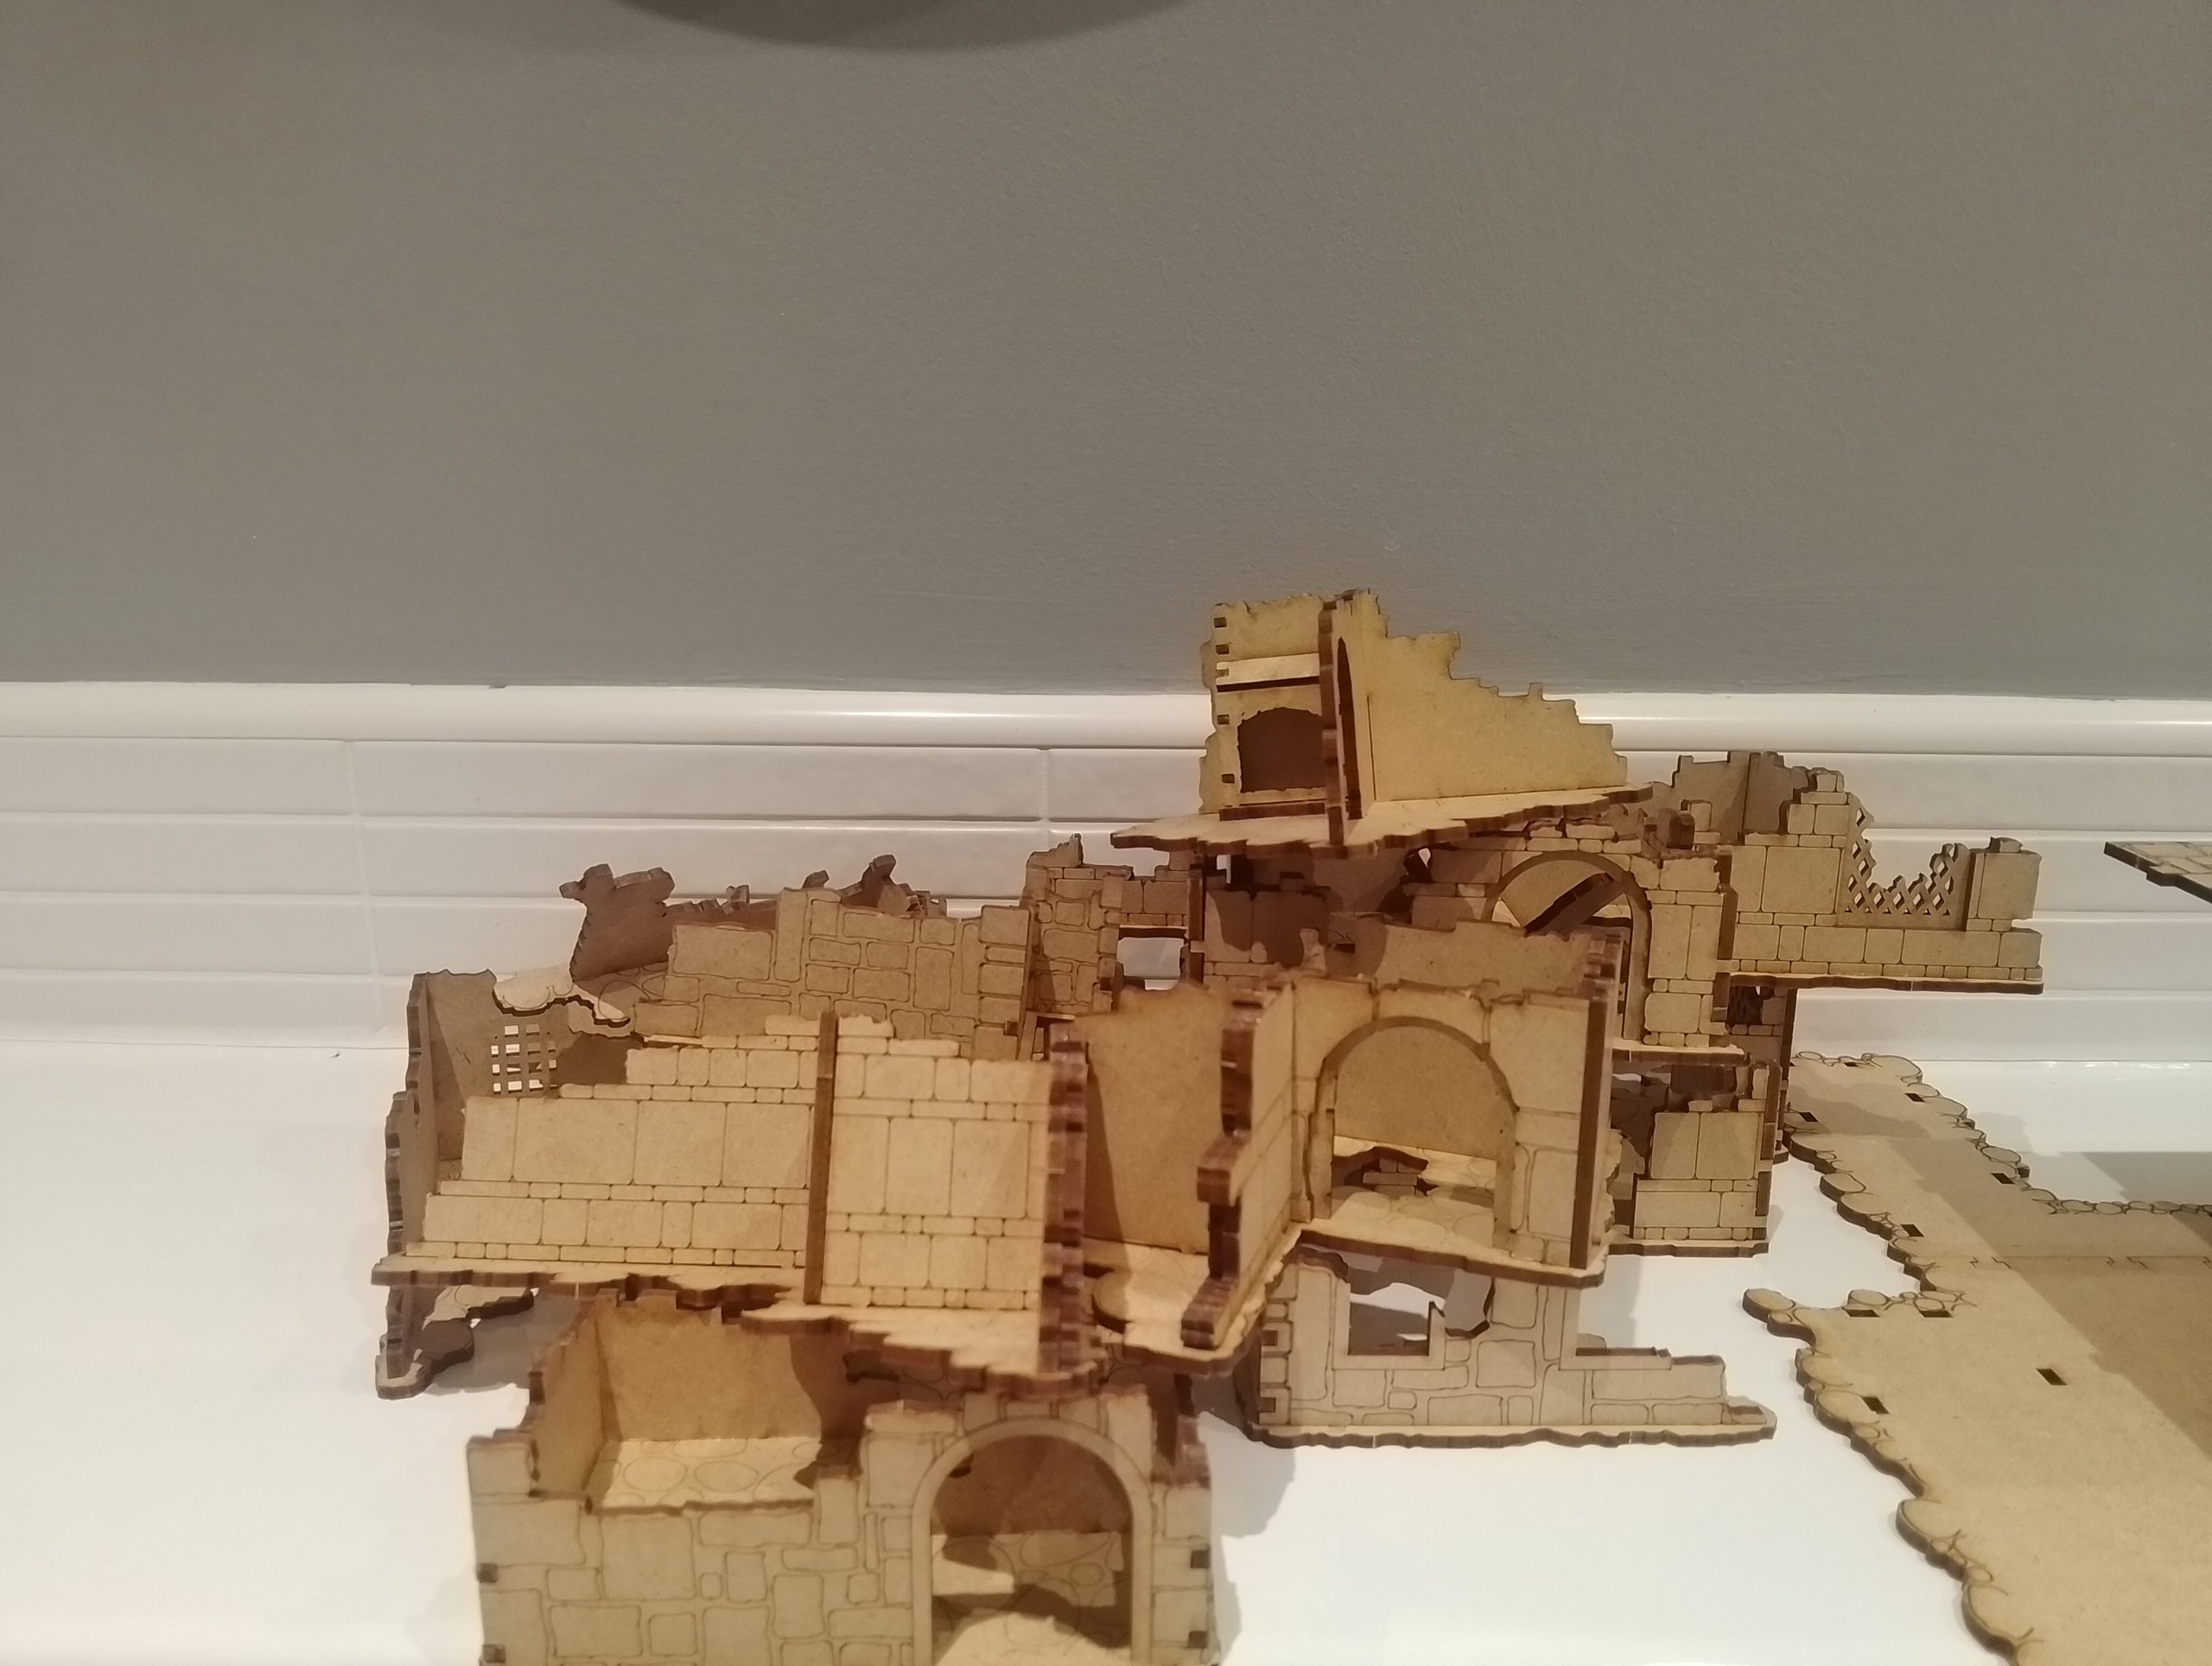
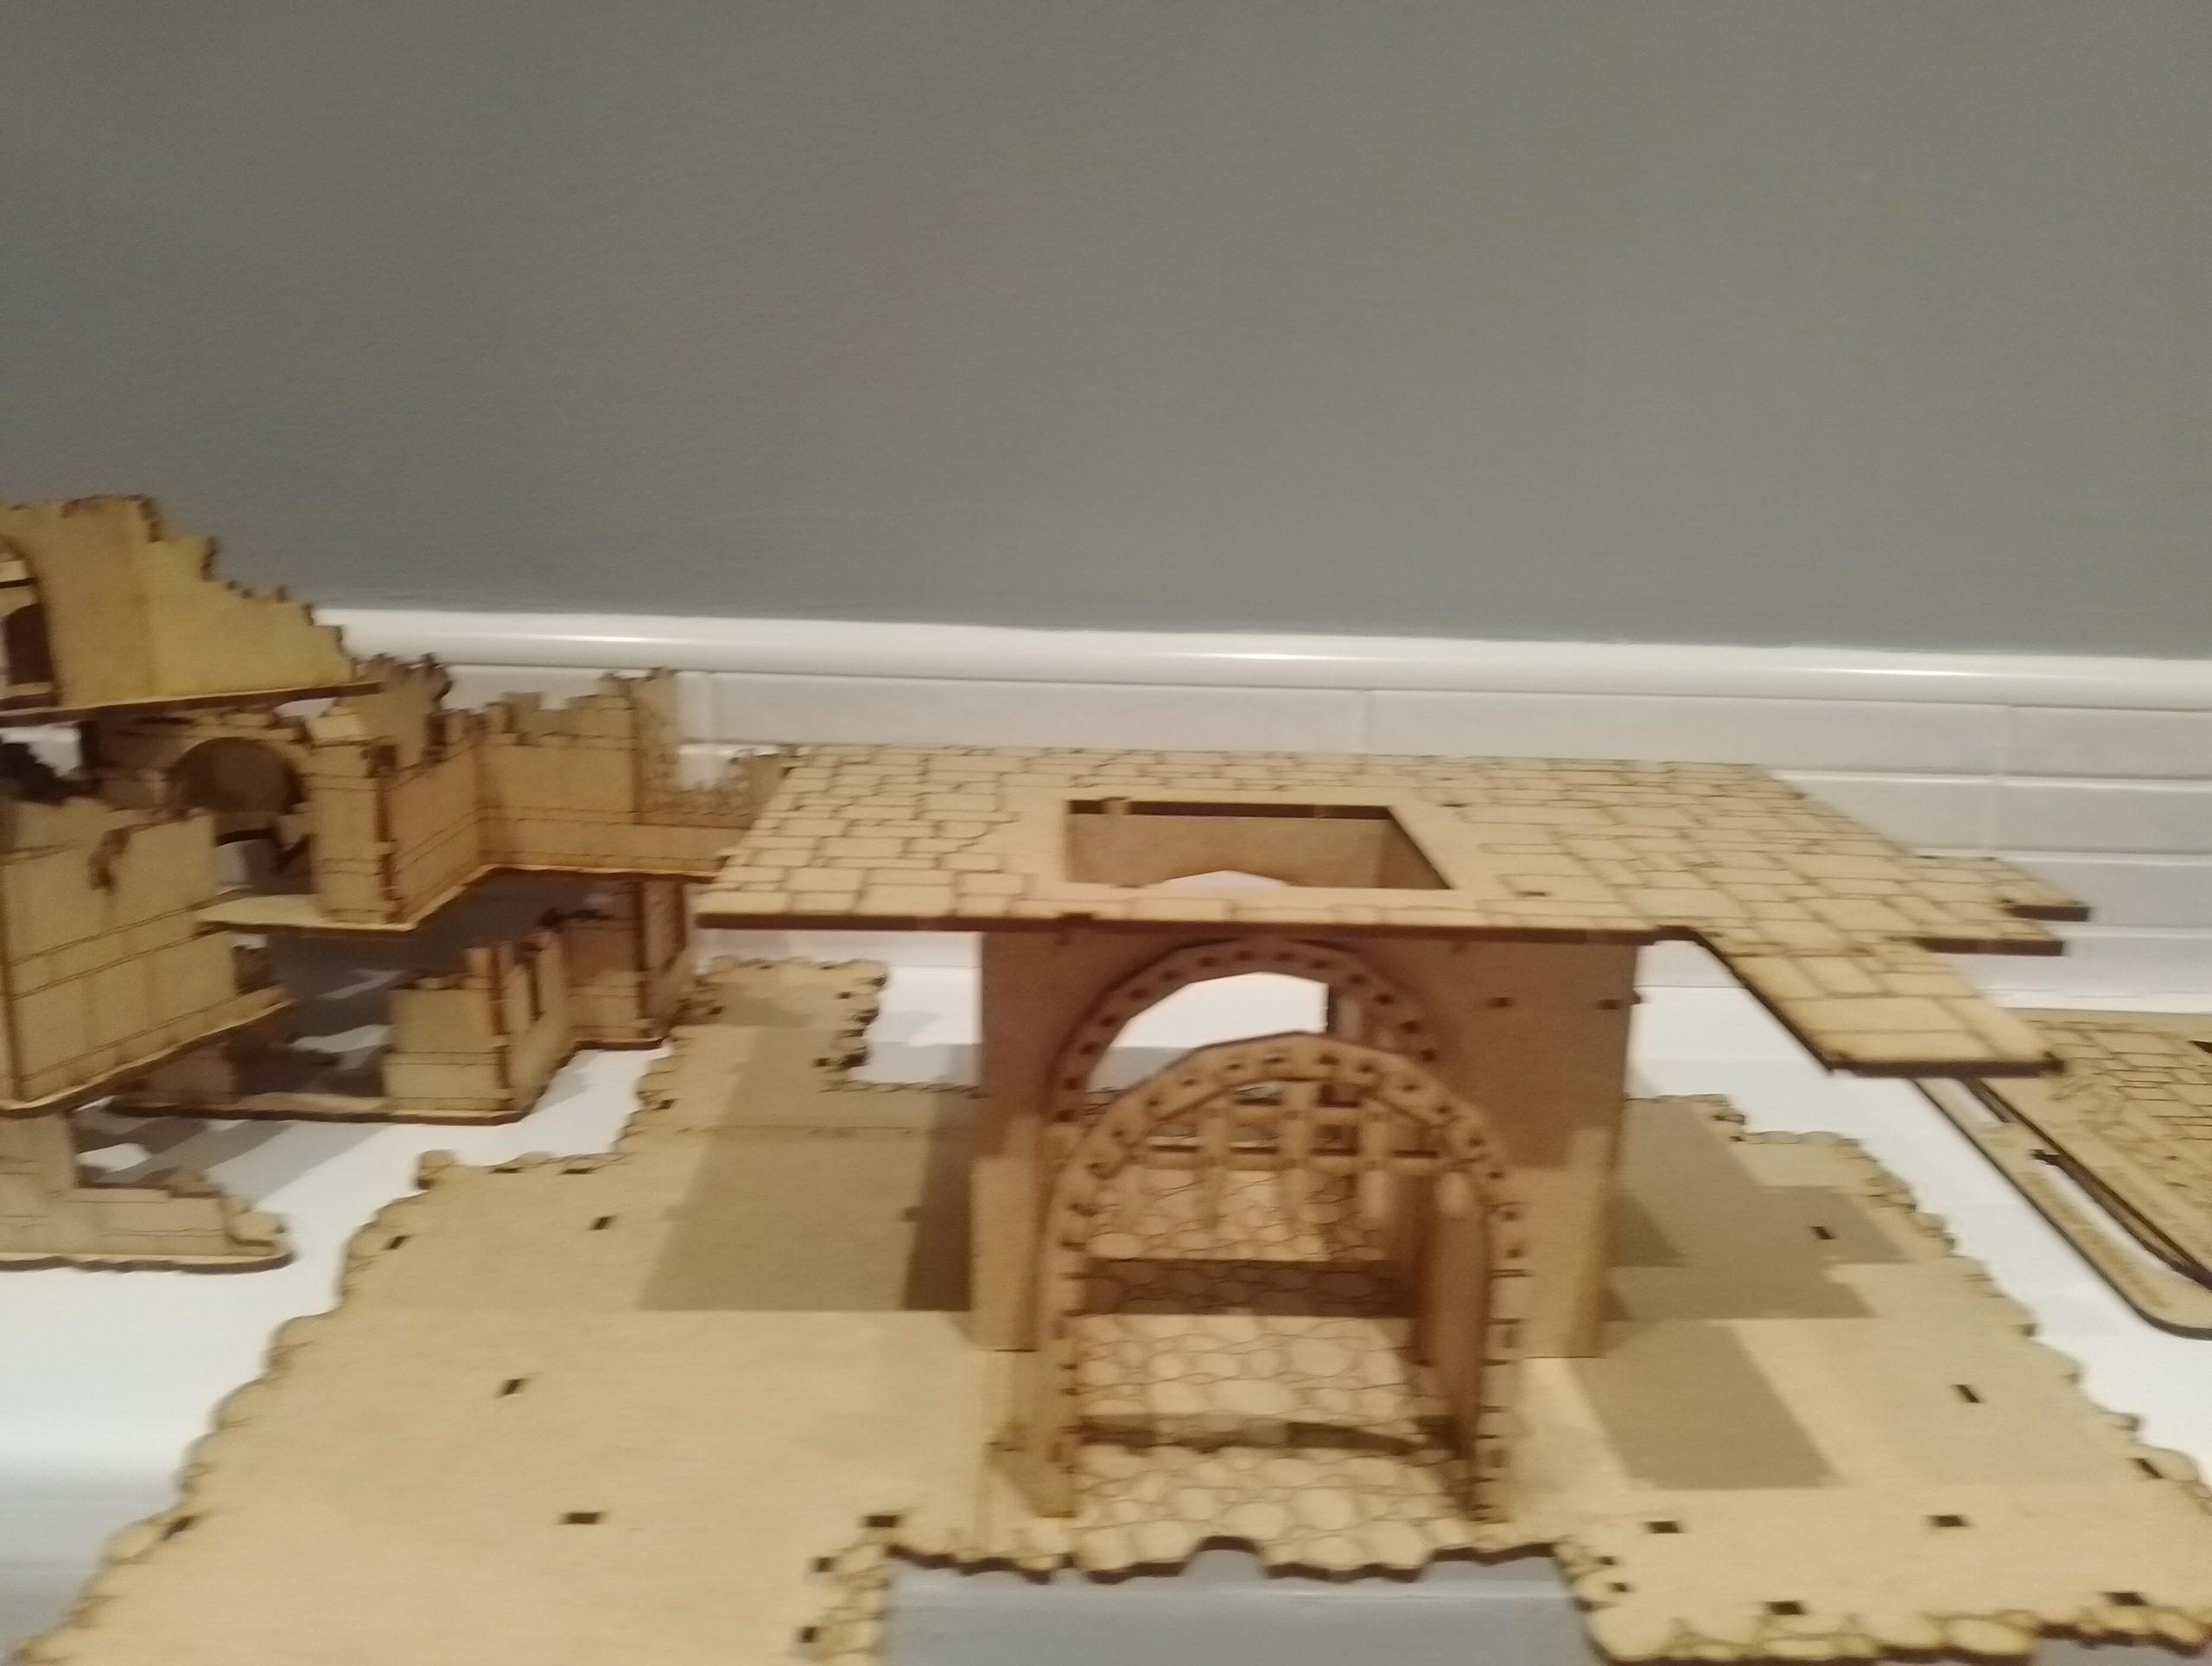
For the gatehouse itself. It is a very big and special kit. I do not have the luxury of time as a parent to saw foam boards ect; So these pre-purchased kits are a blessing. The town ruins kit were easy to assemble, but the gatehouse is quite an advanced piece of kit in my opinion.
It has three layers and will require sub-assembly. Such as the doors have archways if assembled will block my painting. Putting the frames for these inside a bag labelled for later is absolute key.
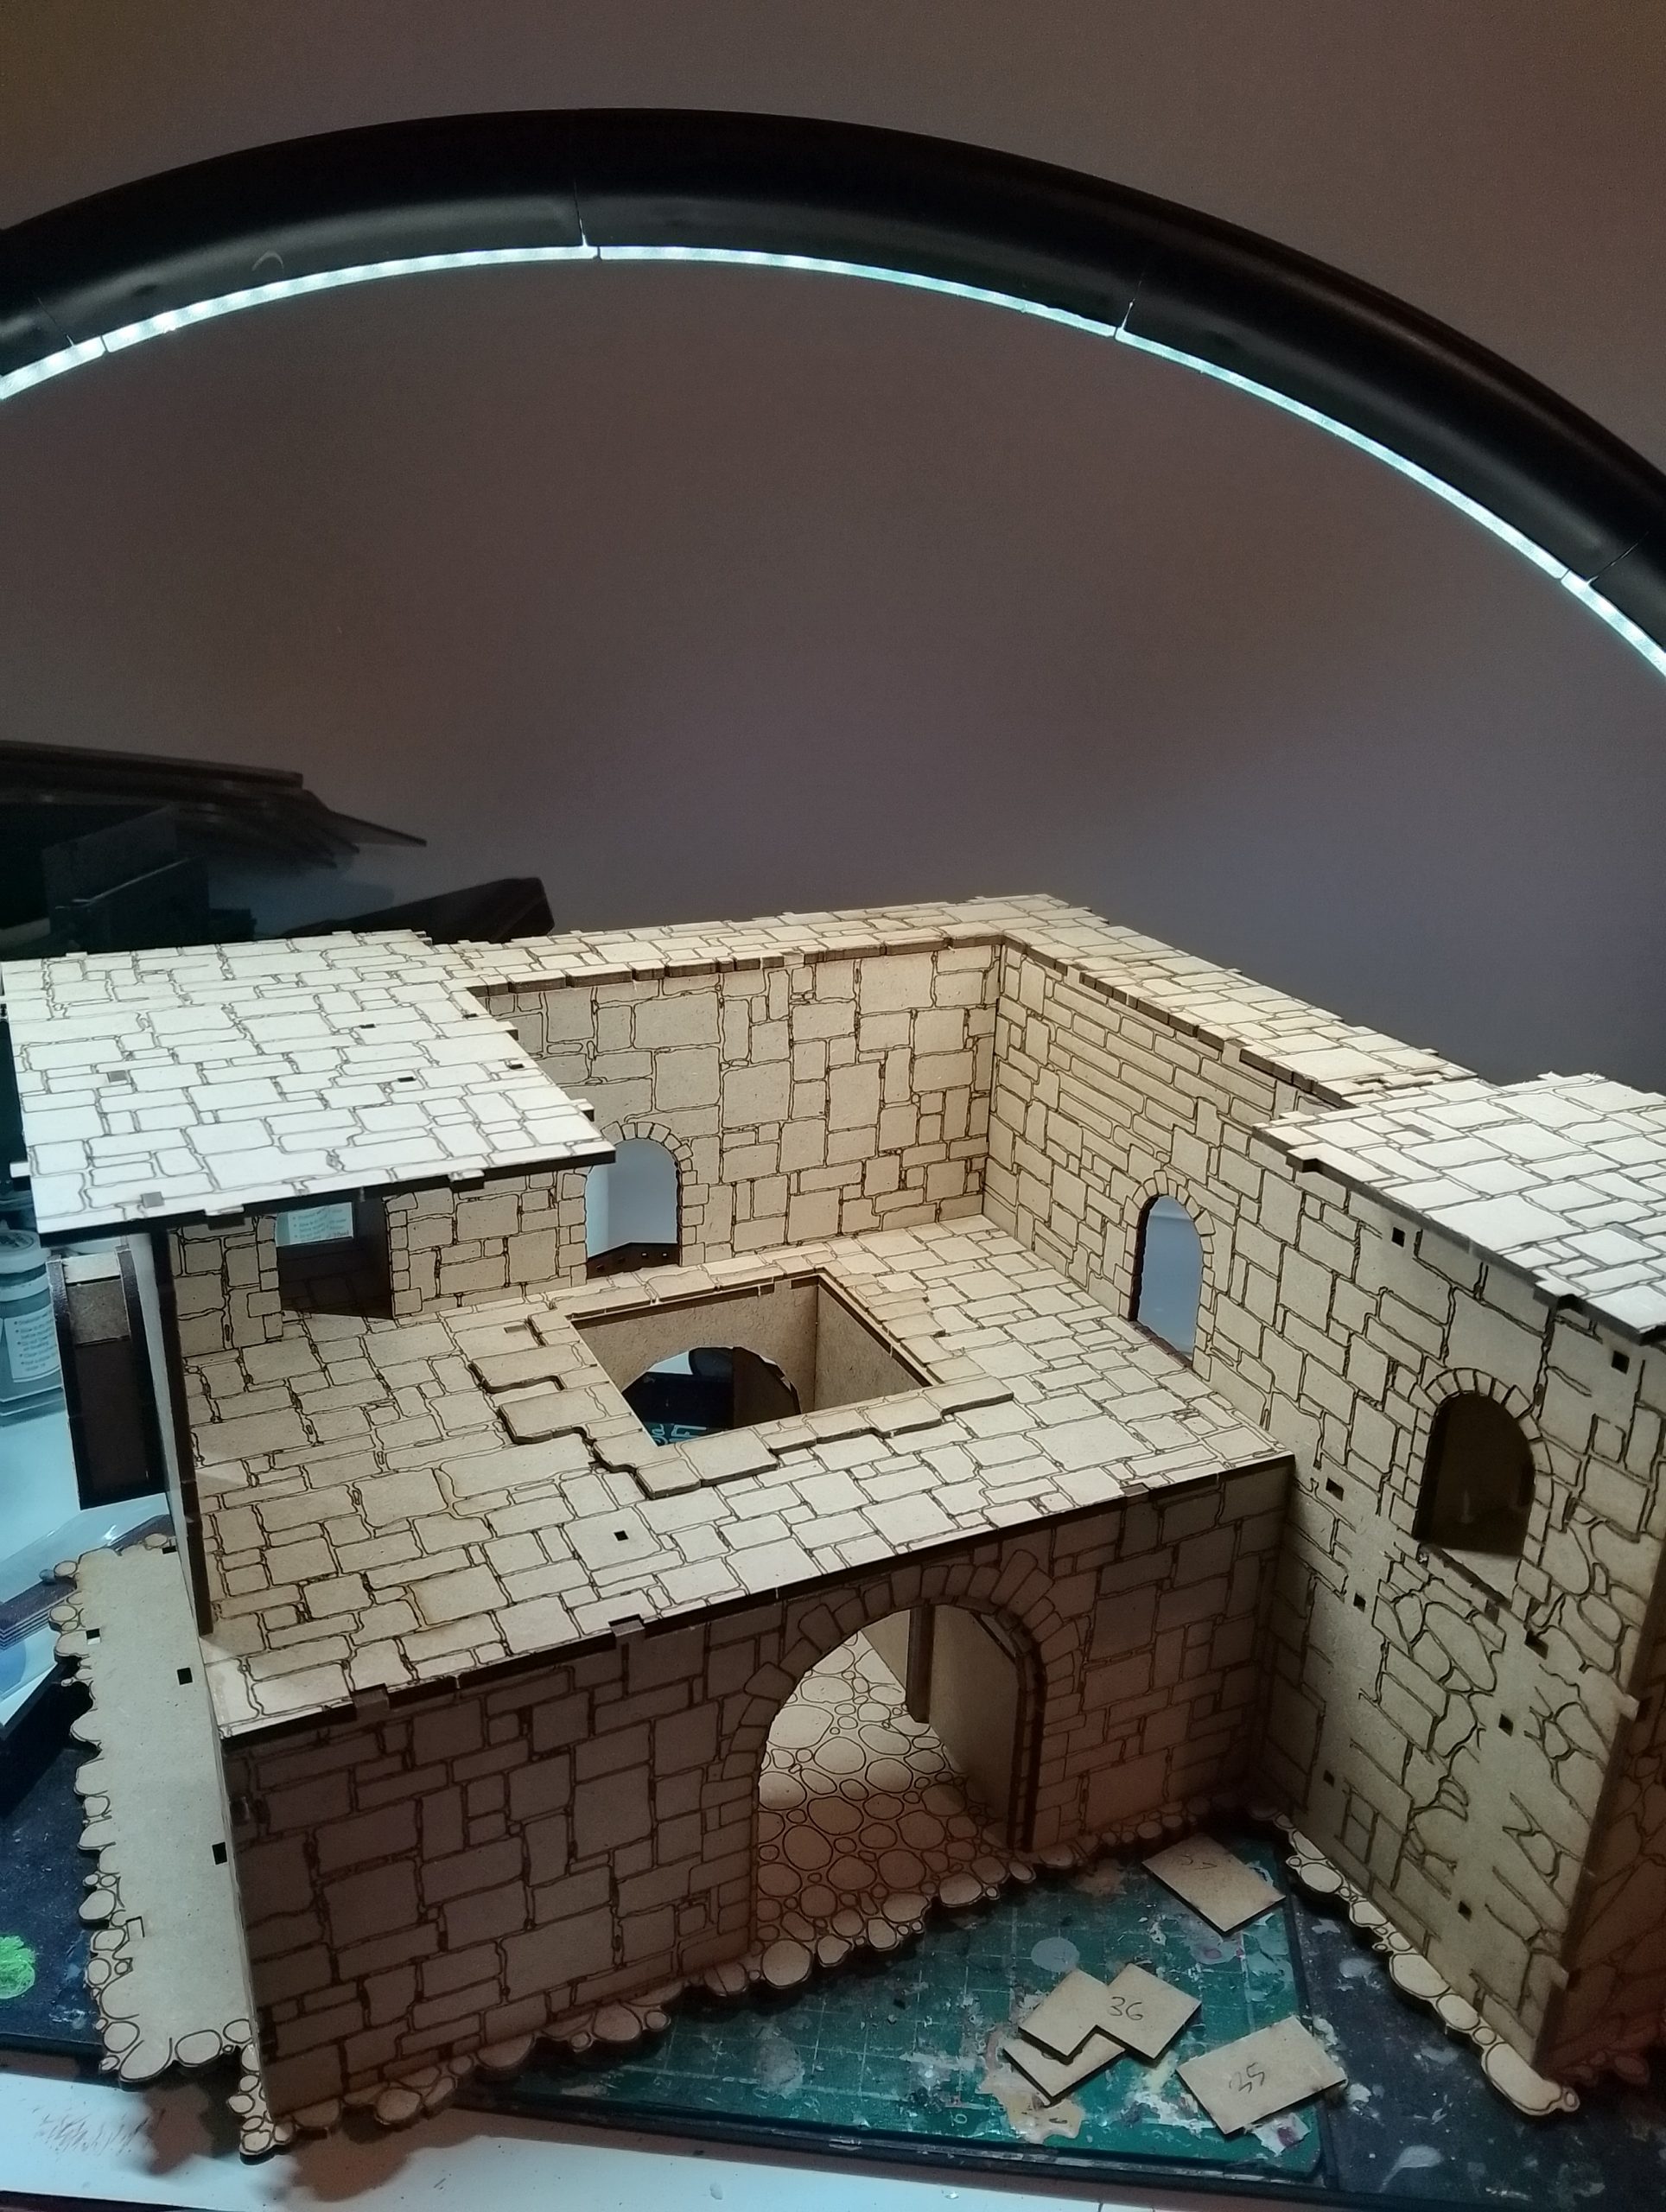
There is also two more factors that will need to be addressed. Some of the mdf parts are actually two levels of the building but I wish to be able to detach all three parts. So what I have done is glue the parts that are not directly connected to each level, and dry fit the other large wall frames. When I eventually get to finish the structure.
I will carefully detach, mark out and cut the pieces. Re-attach and glue the structure. So then it will be easy to take three square levels out from the gatehouse.
The second issue is false doors. I do not like these, so what I intend to do is get some dolls house door hinges and make them actually open. This will be a final job once the structure is finished.
I understand I have not spoken about the actual painting of this structure yet. All I can say is that this is a centrepiece quality structure and I will be investing a lot of hours into this one piece. It may be these pieces only I get done. Until I’m happy with it.
Far too often as hobbyist we move onto projects rather than investing actual proper time into them. As in, that extra extra effort. I deem this piece worthy of such an undertaking.
As for the enormous stack of wooden frames left, they will be used, including for a base for my wrecked boats I was working on prior to the deliver of my terrain. I also think the little square bits that come off the portcullis for example make excellent brick rubble, that I will add to the ruins. I also had this whacky idea to use a used pizza cutter like a trap from Indiana jones, the last crusade but then realised it was way too sharp and probably cause bleeding all over my lovely paintjob when finished (who cares about my rival wargamers hands :D)
Hopefully by the time I post next time, the gatehouse will be completely built and I will be starting to put some paint on them!
Just a quick list of what tools I have been using (I am no expert, there is plenty out experts out there, im treating this more like a blog)
- PVA Glue for most of it + Superglue (for the dovetail joins)
- Clothes pegs + rubber bands to hold into place
- Emery Boards to file the sides for a solid glue
- scalpel knife to cut the tougher pieces out
- a container/bag to put all the used frames in and bits. Keep desk tidy!
P.S I HAD TO RE-WRITE EVERYTHING BECAUSE THE WEBSITE CRASHED AND WAS NOT POSTED SOONER 🙁


How big will this thing be?!
According to the box it came in its
height 14” / 36cm
Width 22” 56cm
Length 14.5”/37.5cm