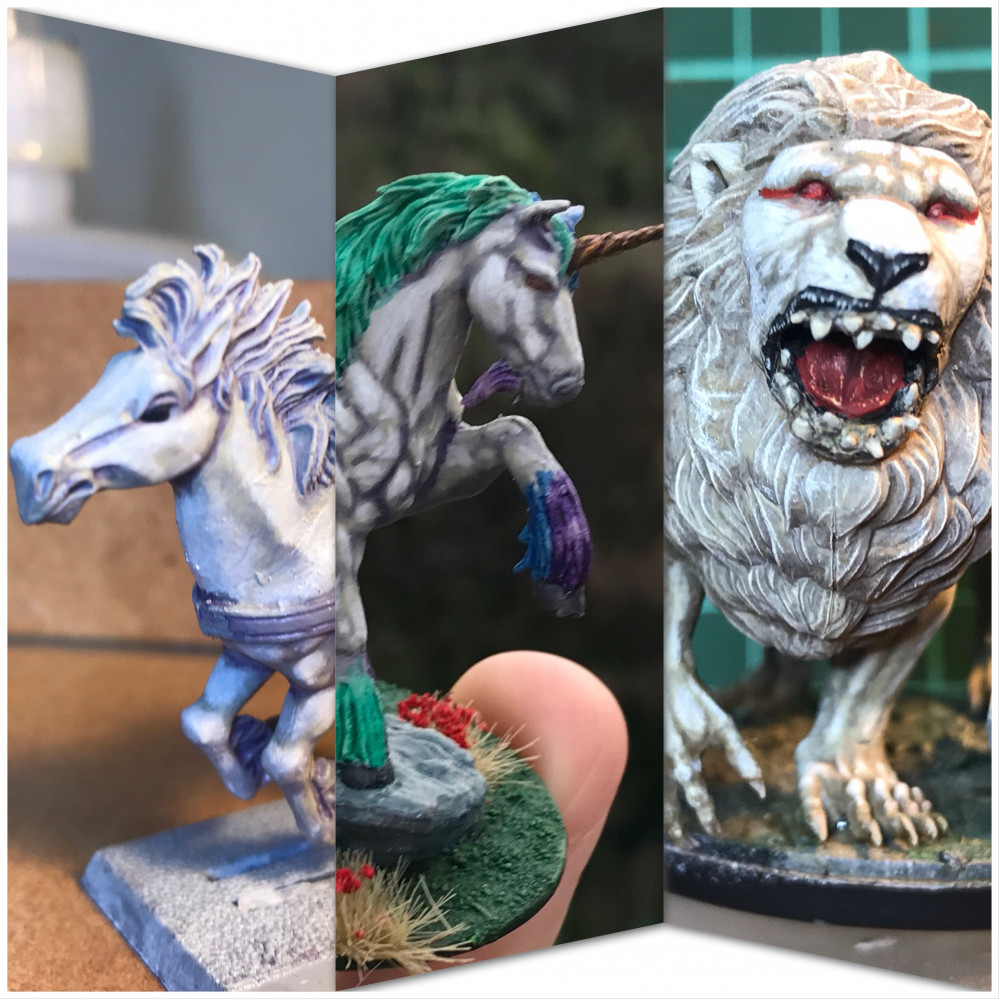
Horses first… then beasts


Recommendations: 73
About the Project
The second half of a build up to a “special project”. I’m working on 3 horse miniatures that will become part of my fantasy collection. This will be followed later by some other animals.
Related Game: Kingdom Death: Monster
Related Company: Kingdom Death
Related Genre: Fantasy
This Project is Completed
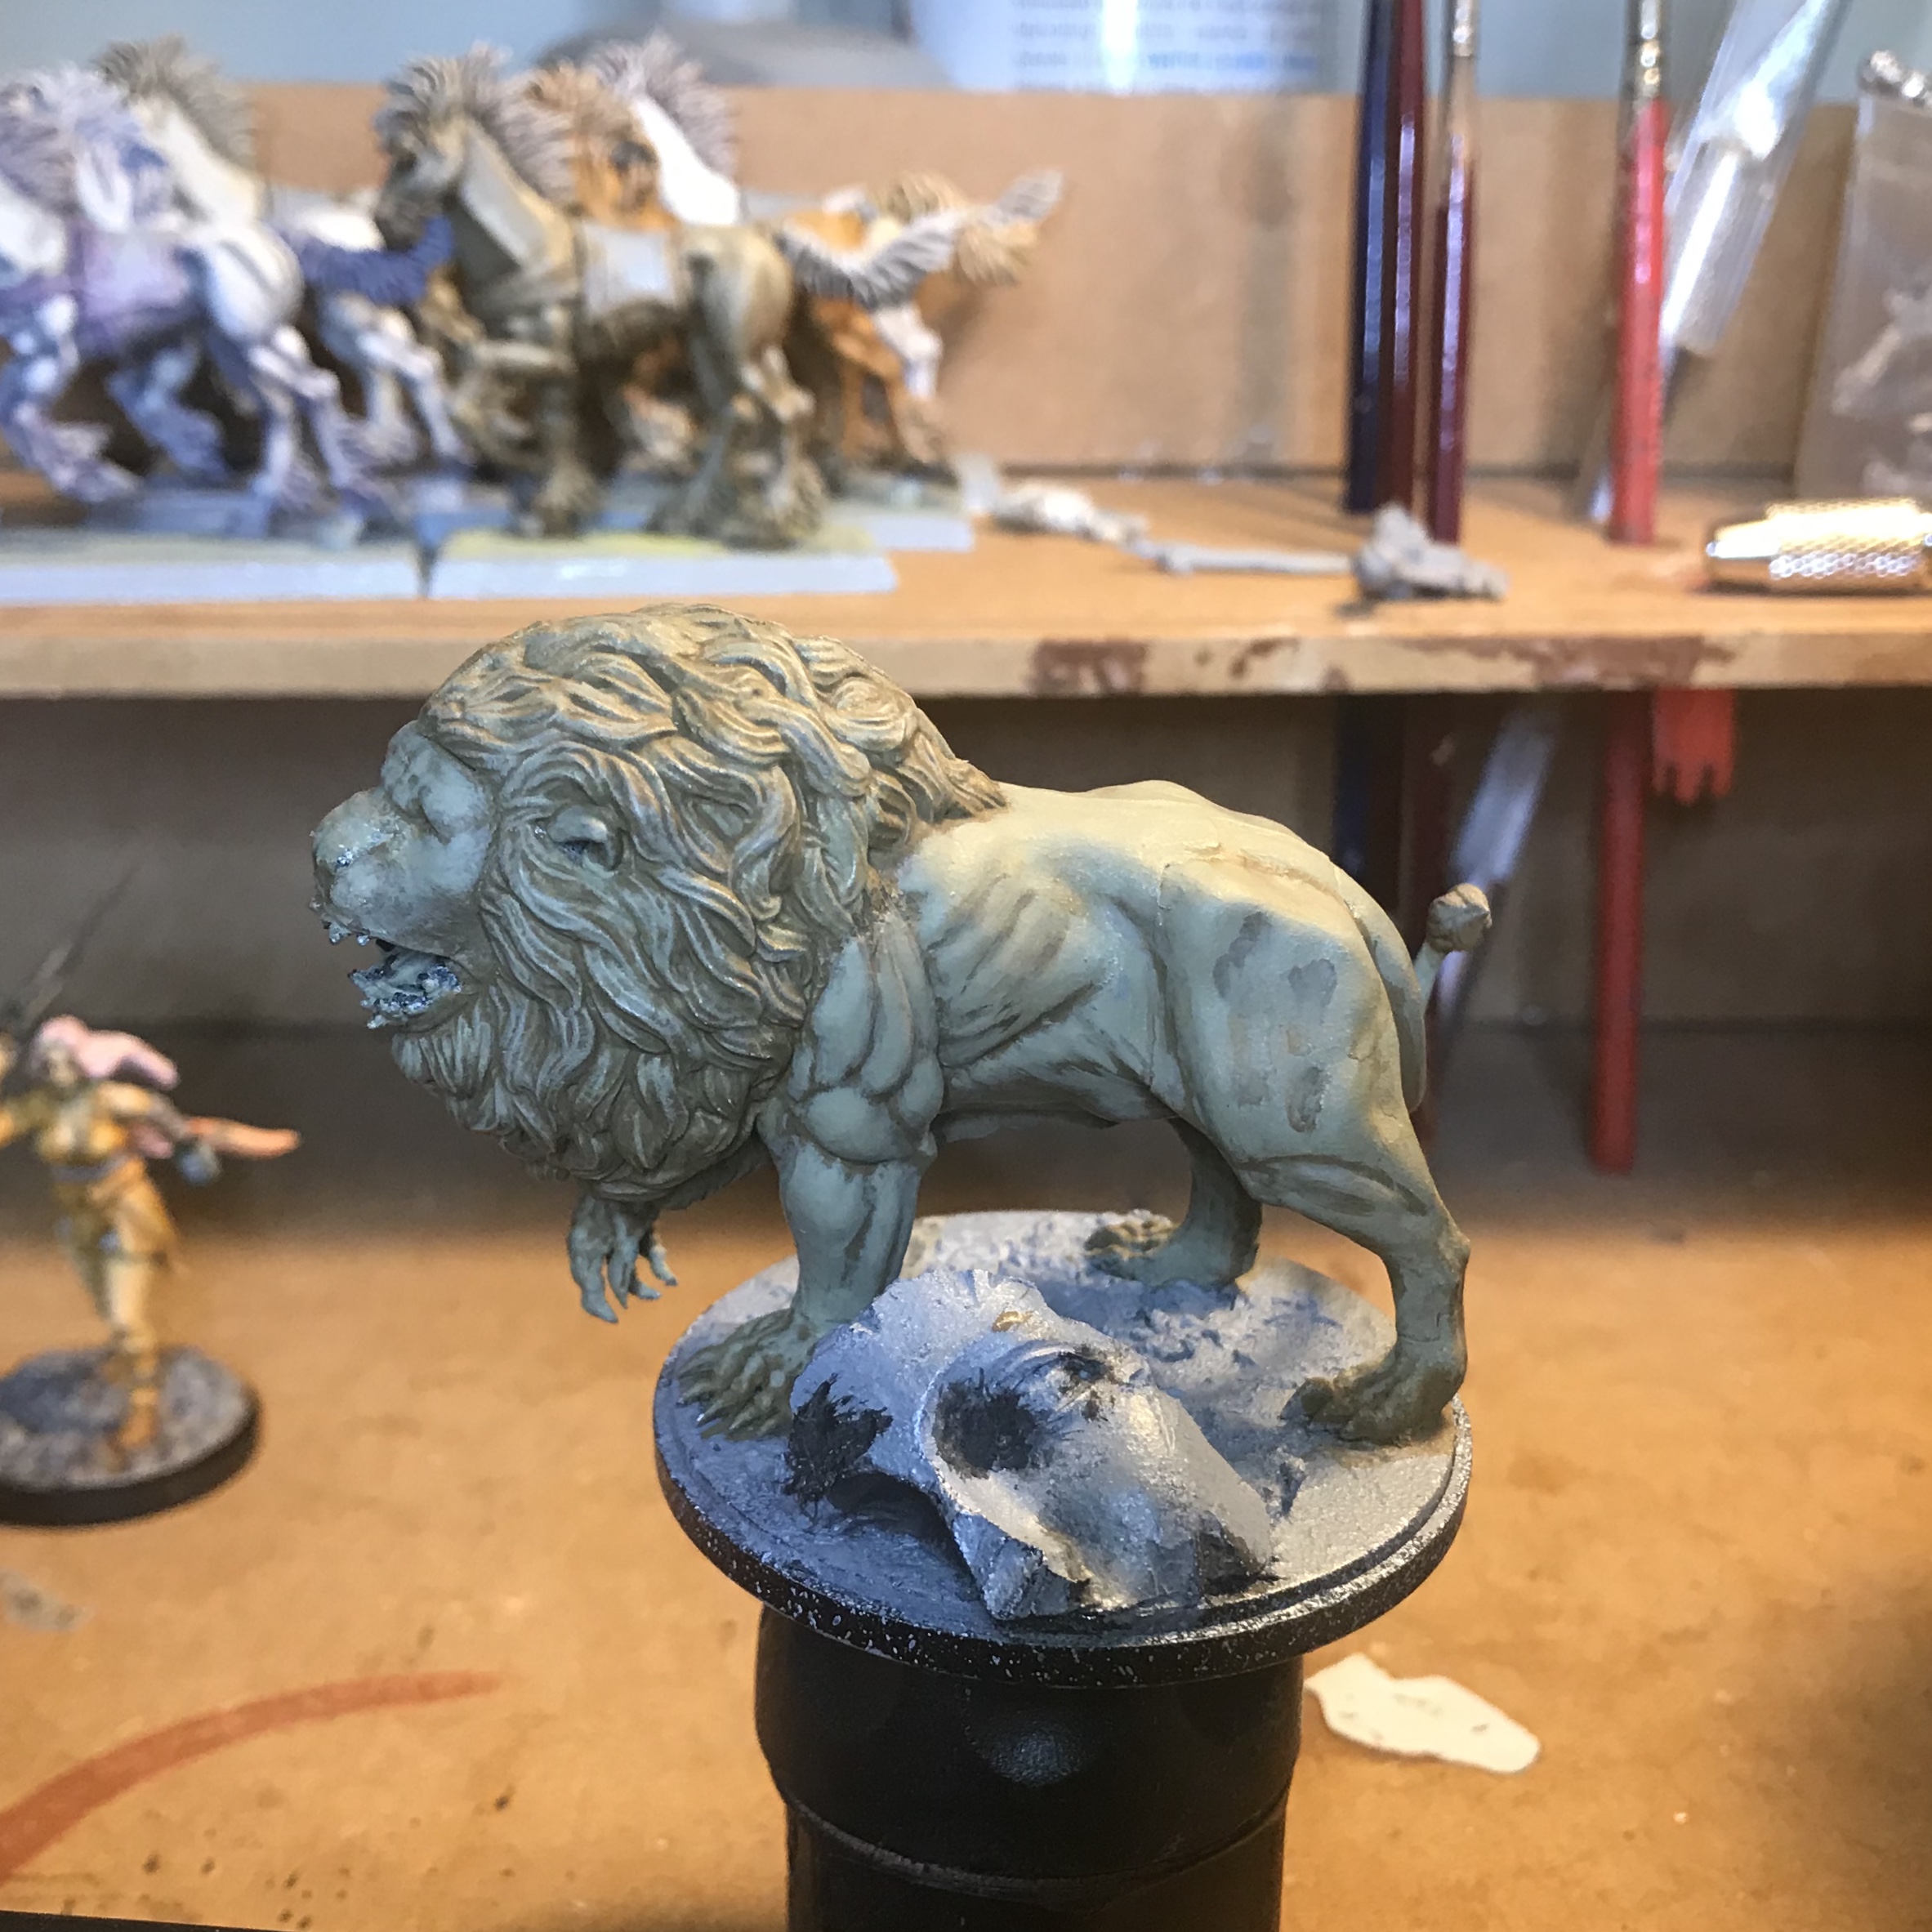
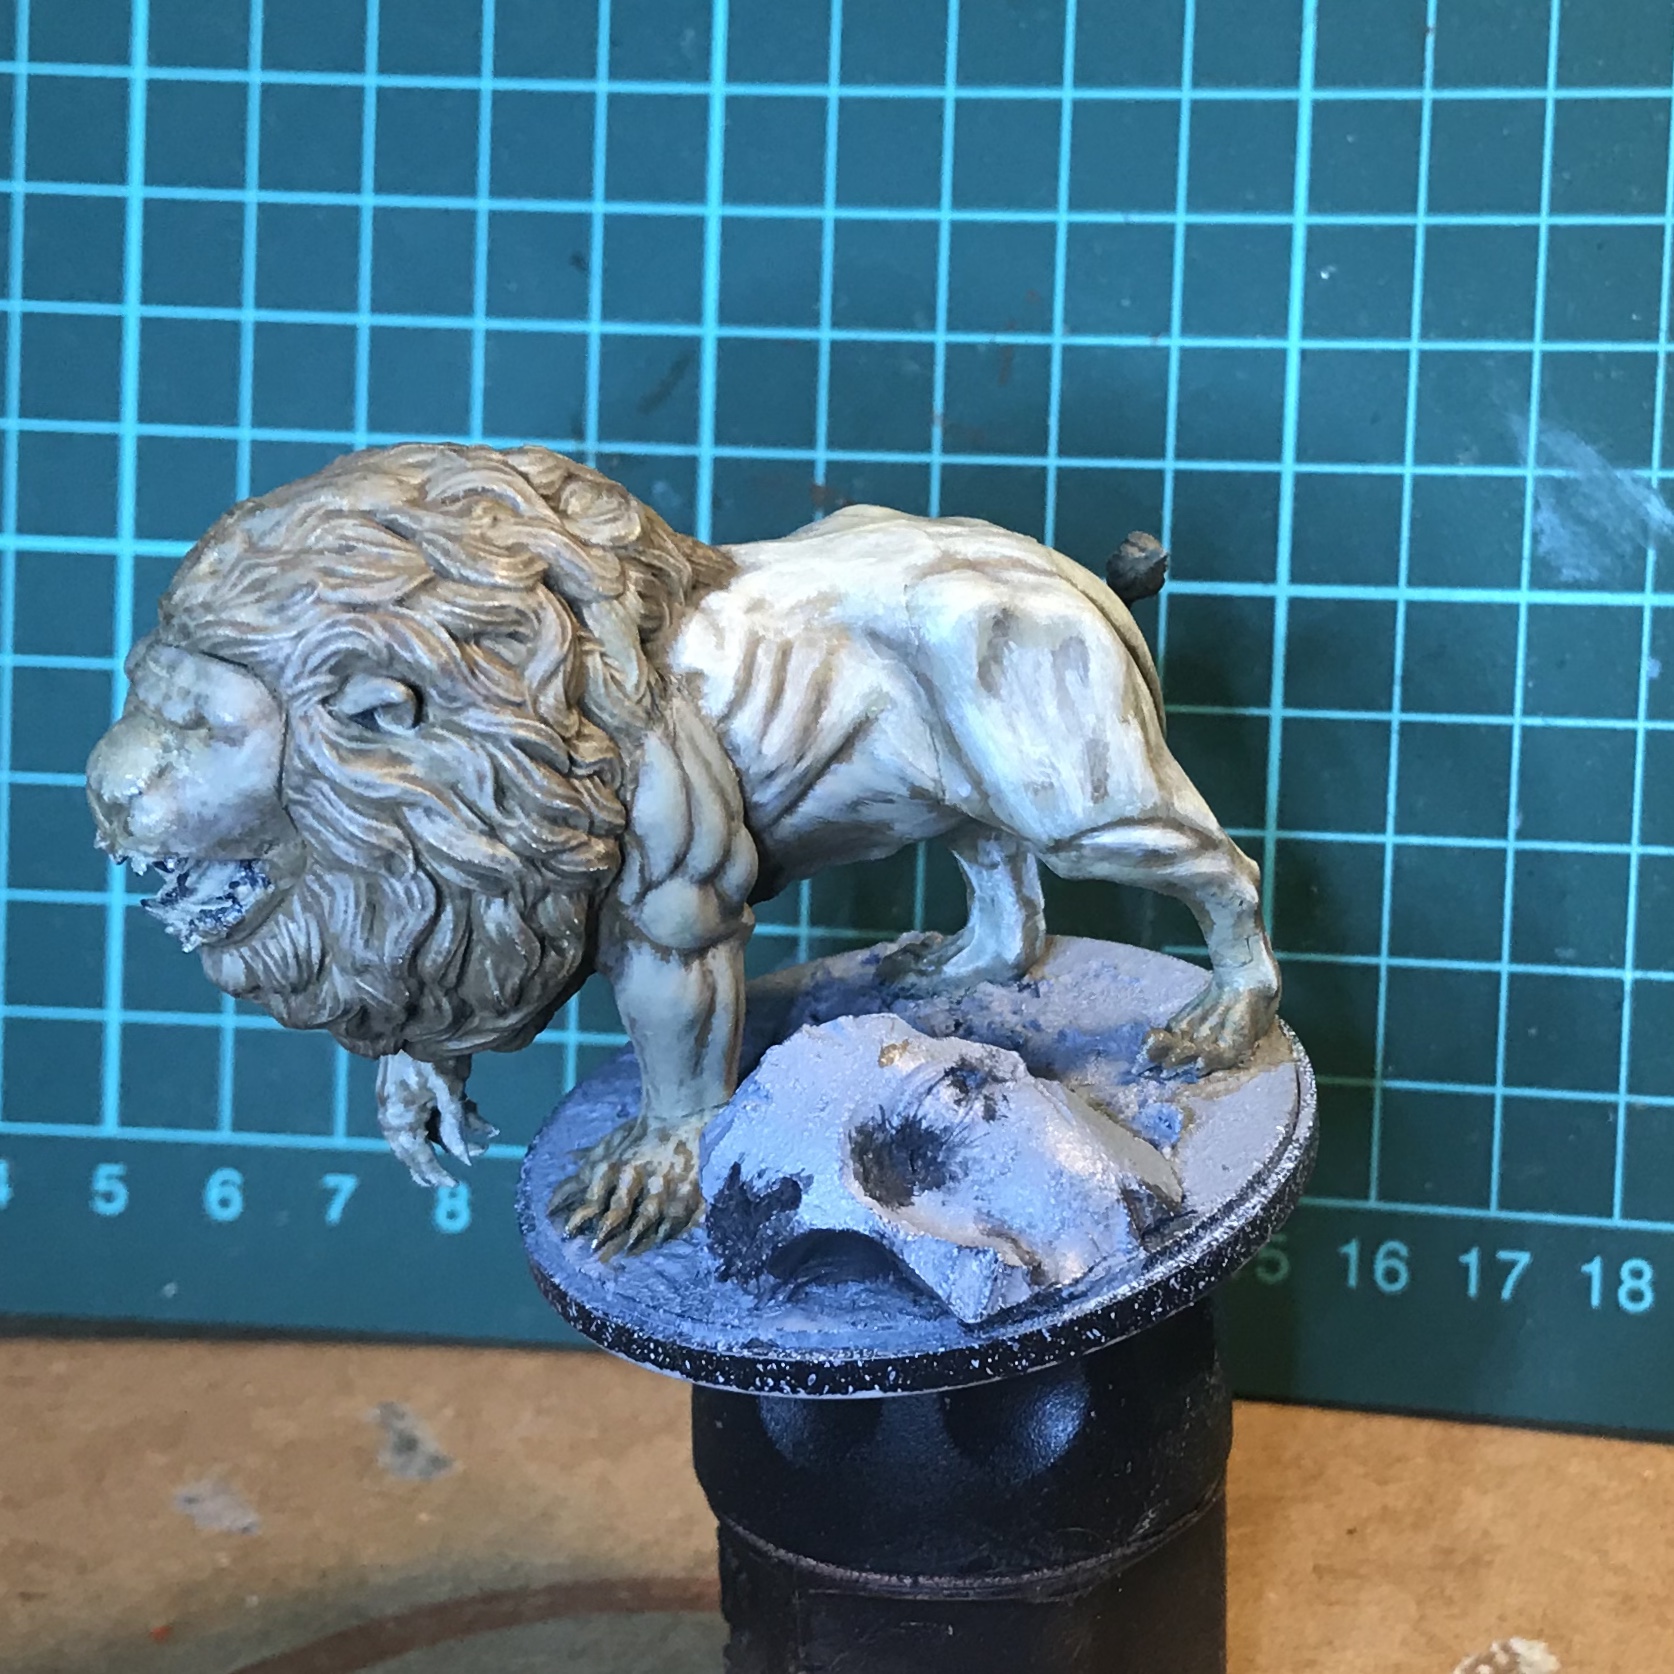
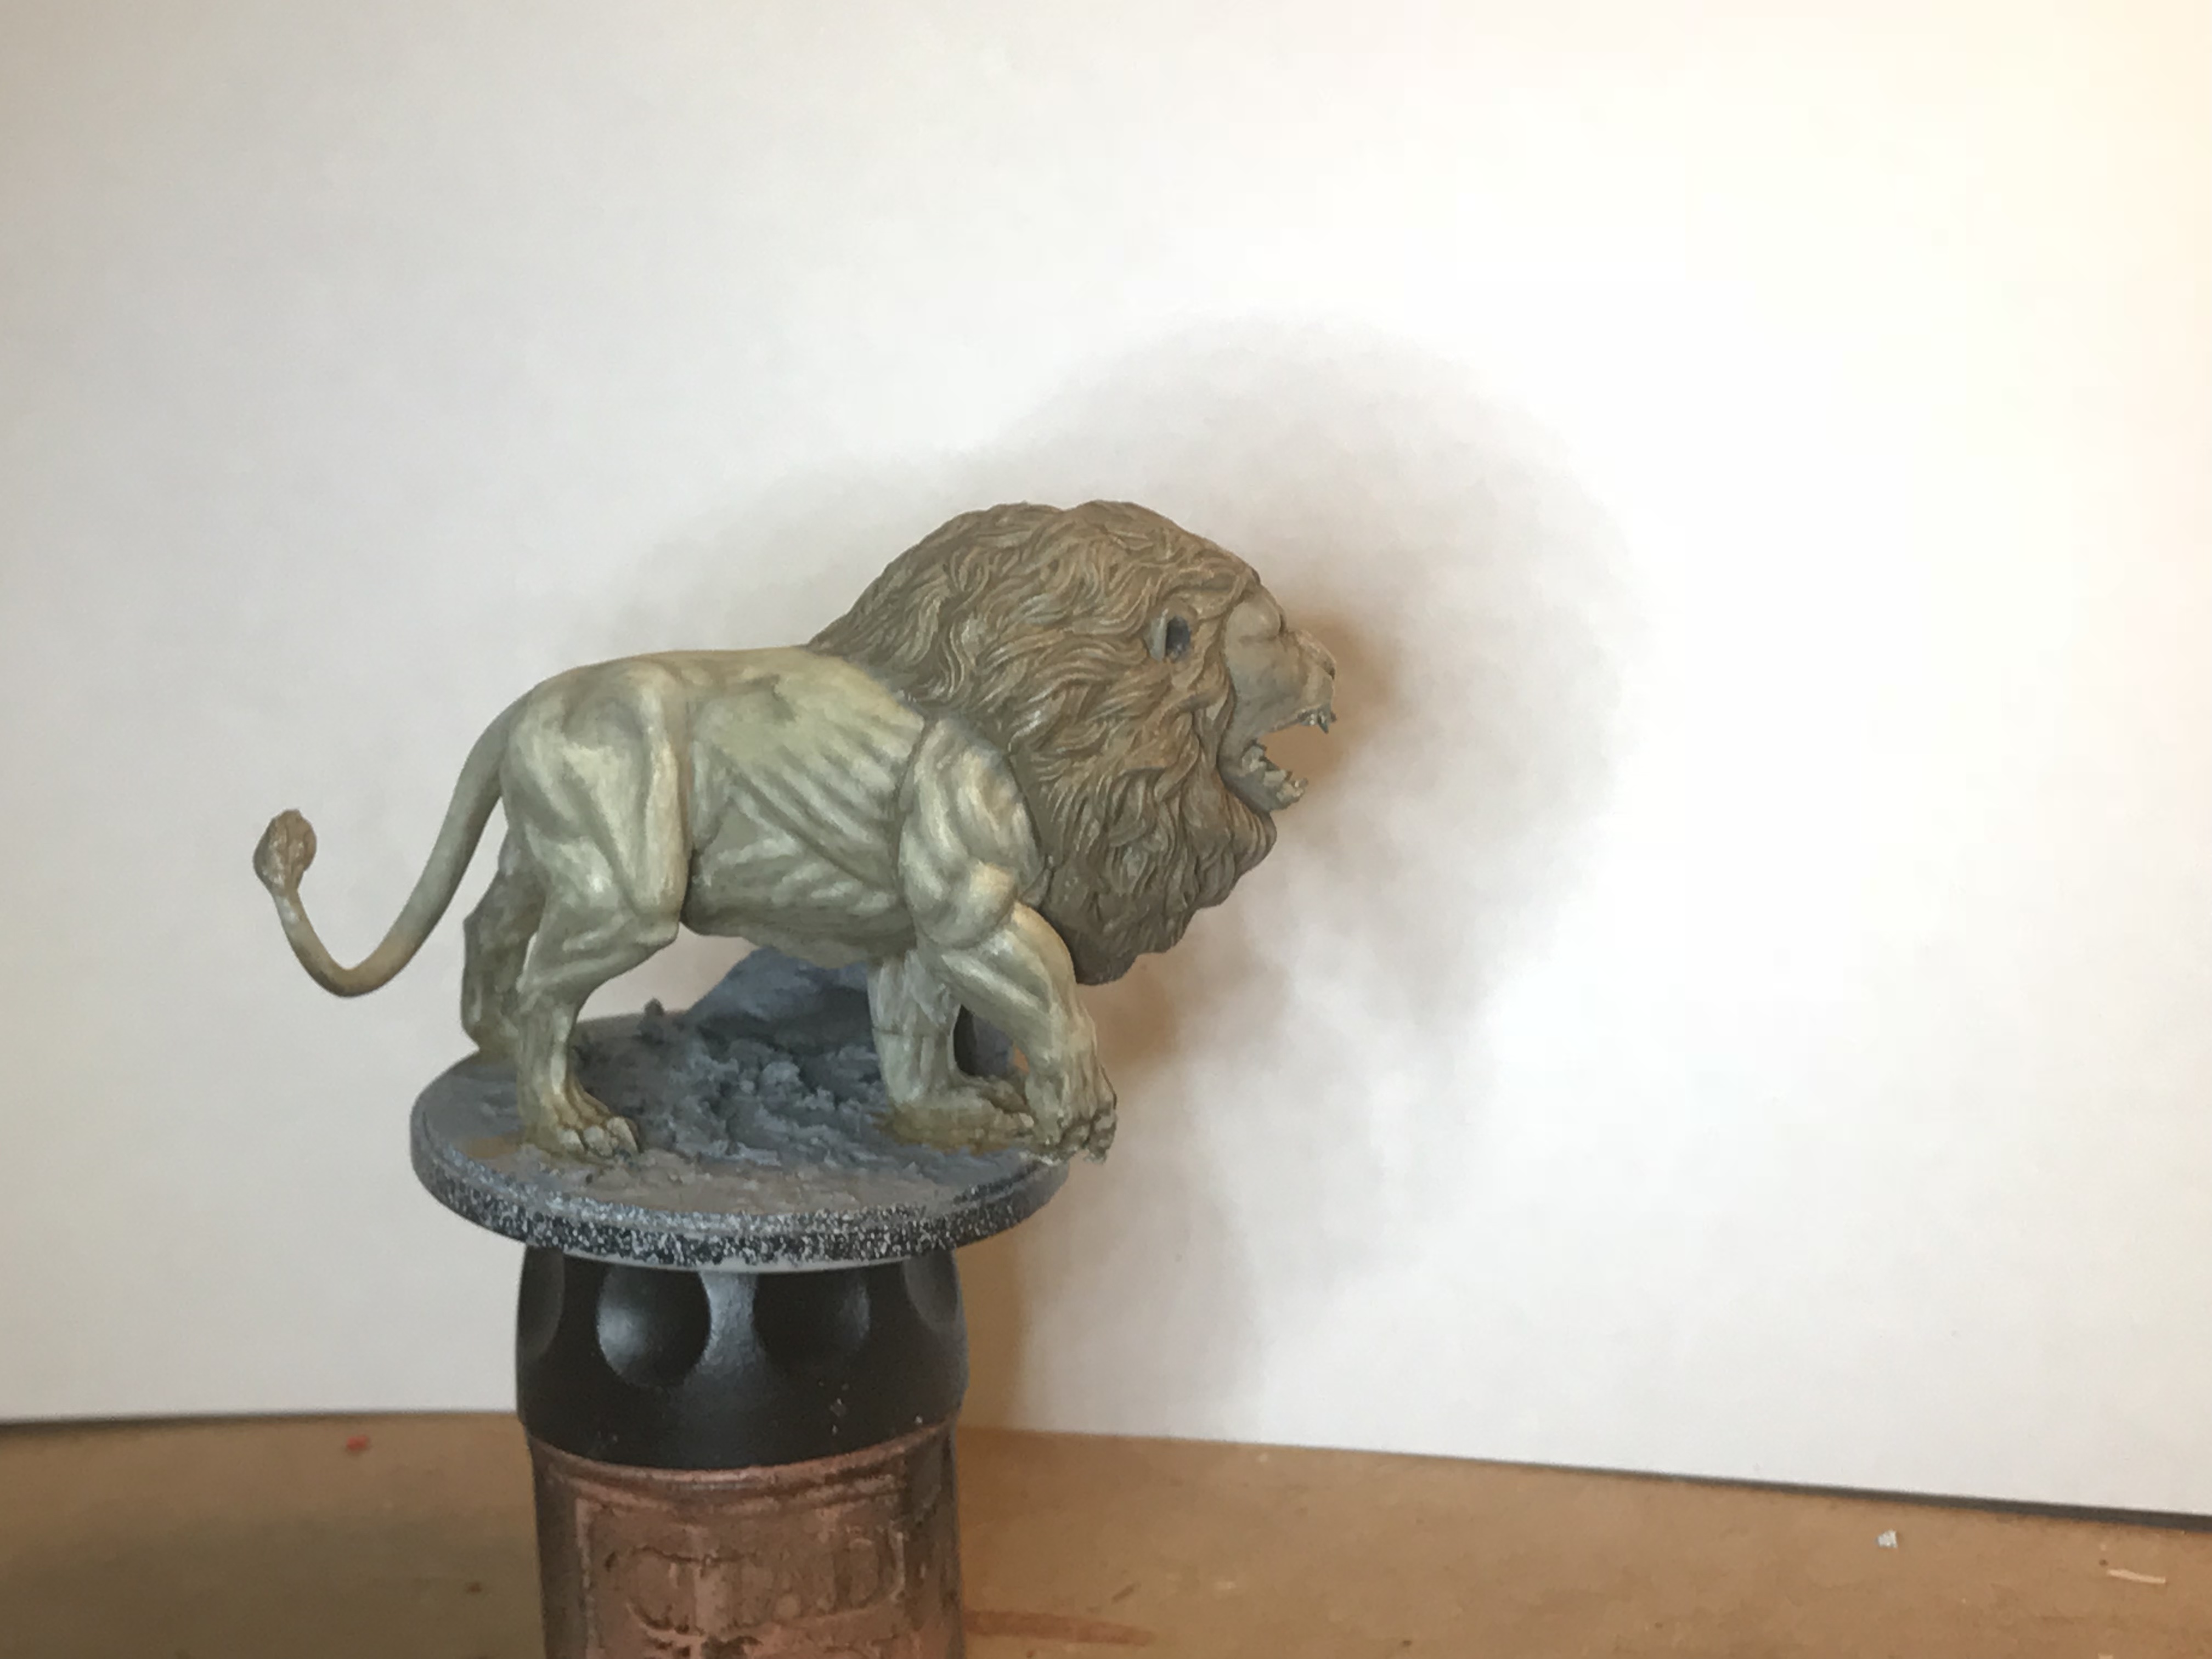
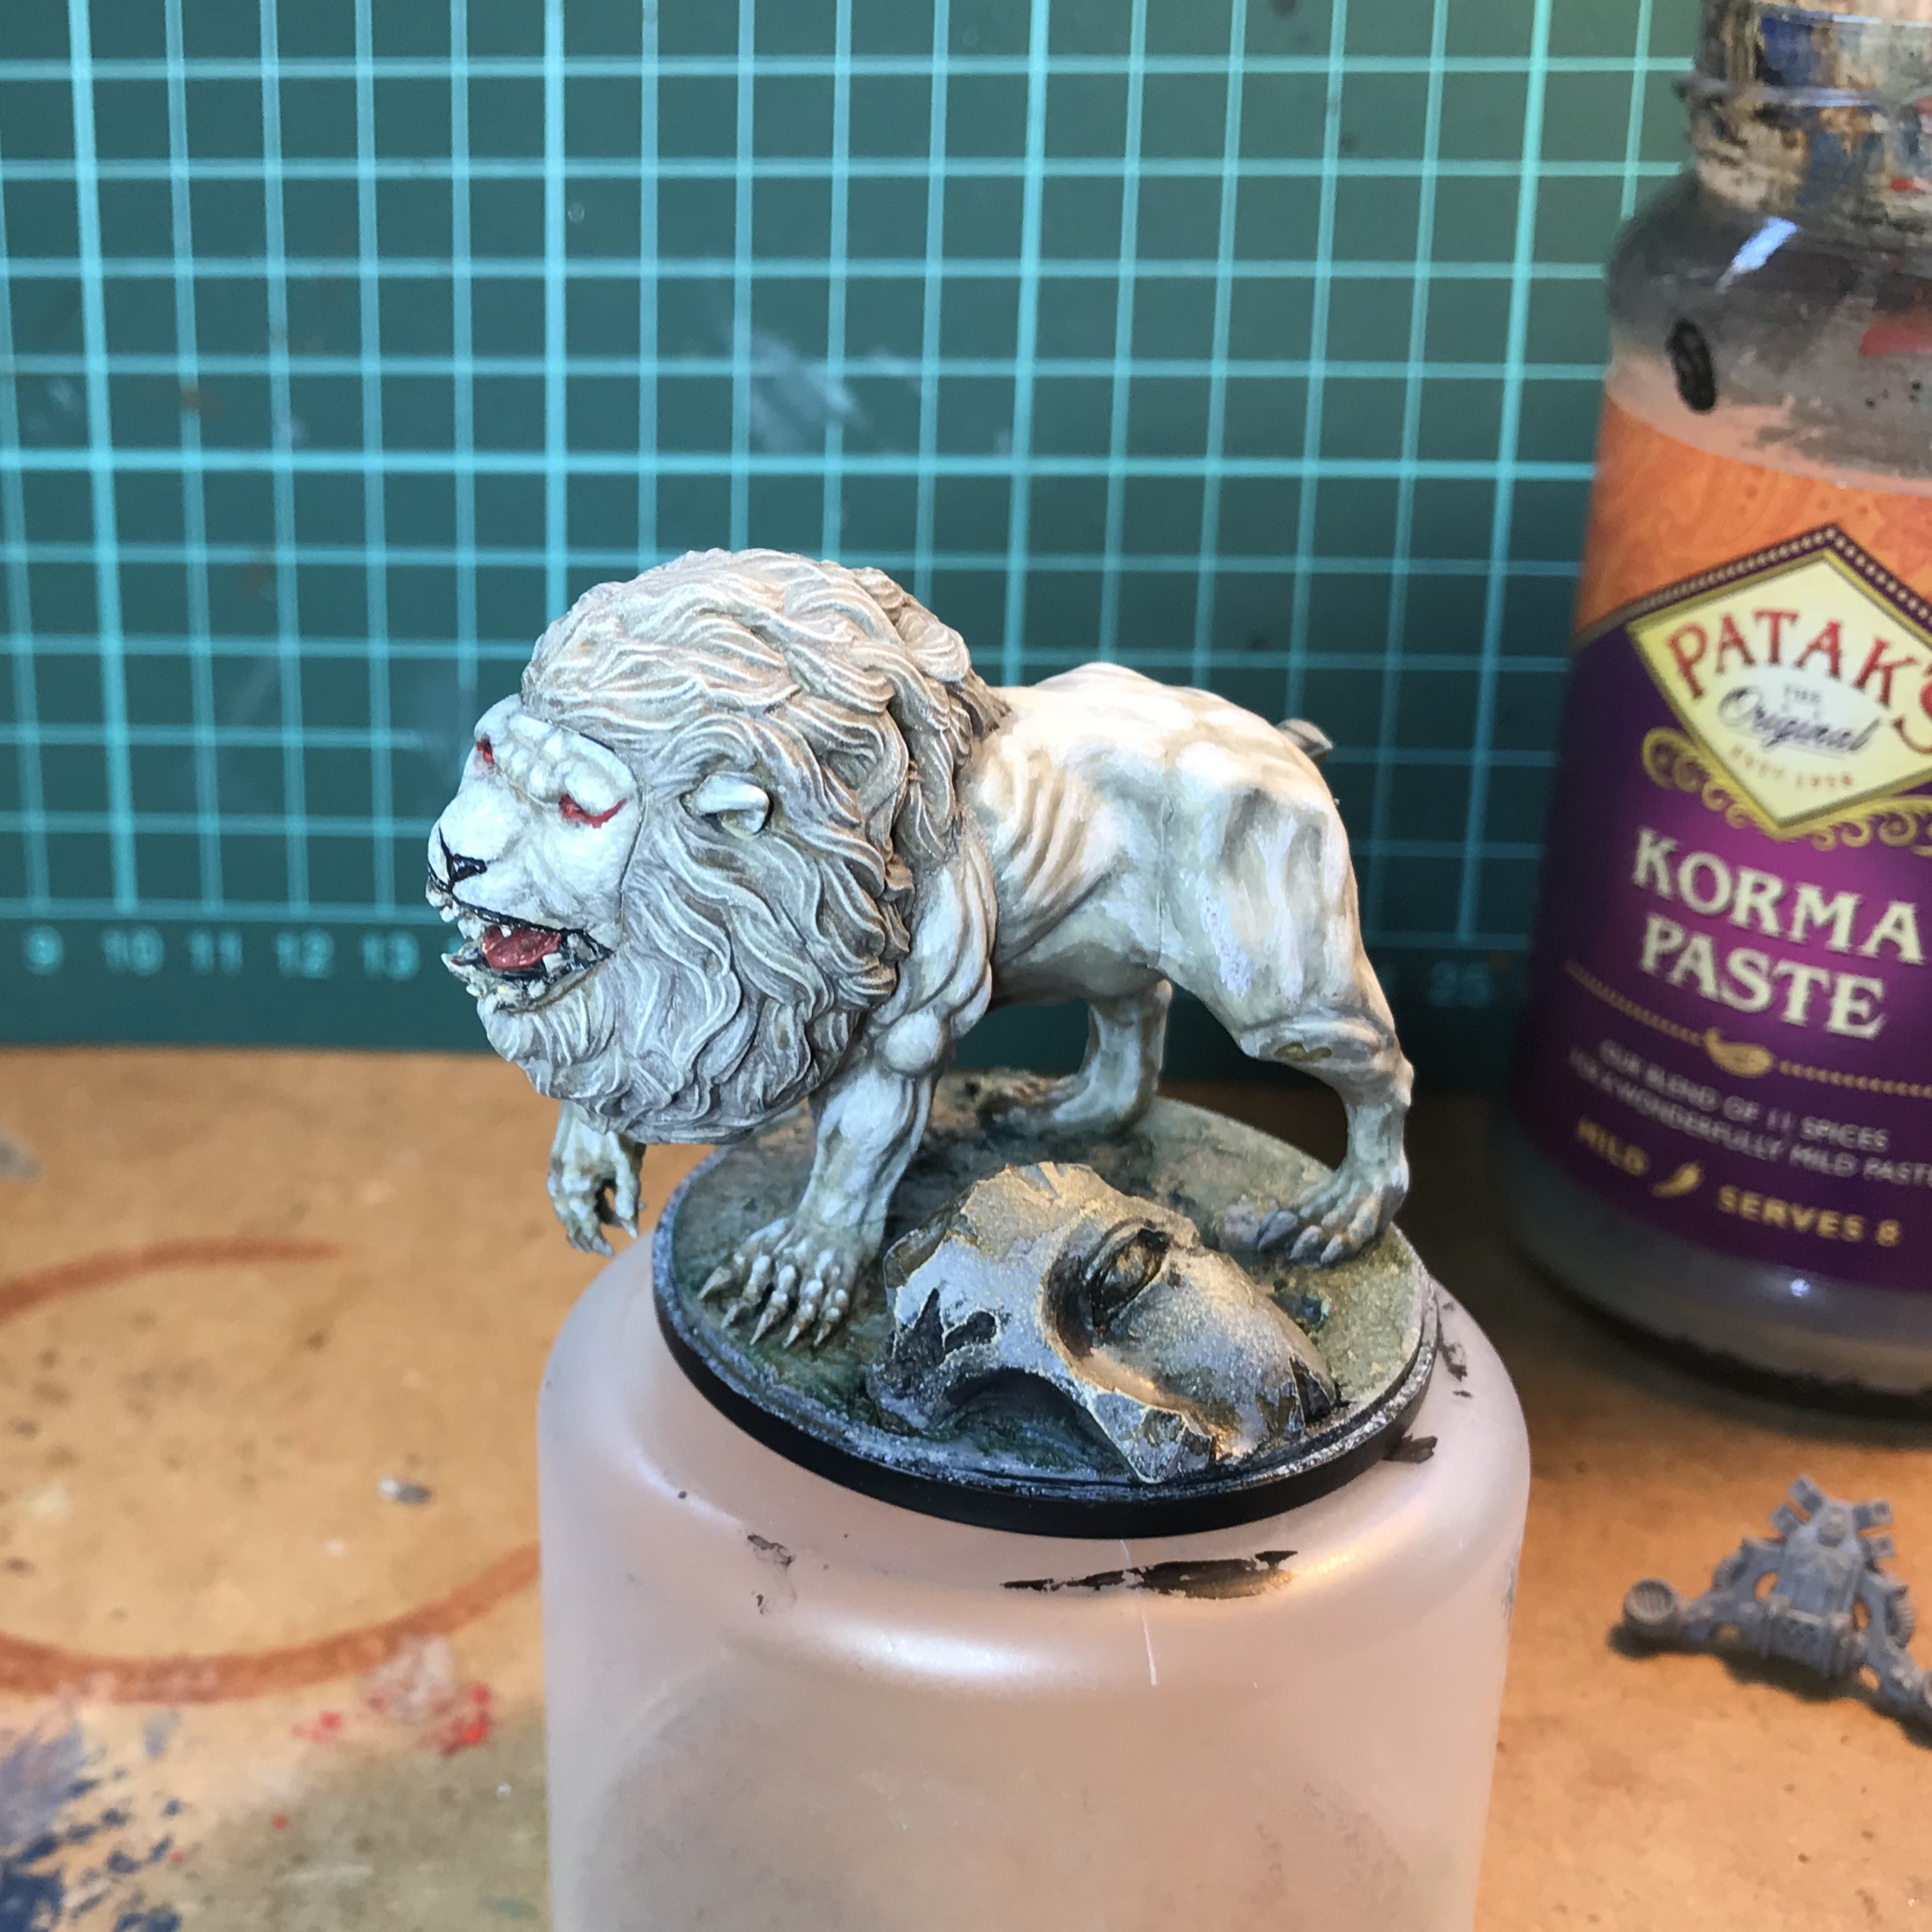
17 Aug 18: Lion progress 14-17th
Progress on the the Lion, from the 14 – 17 of August.
Mid tone of GW Bleached Bone.
On the 15th I caught the Brown Horse 3-Colours Up video… https://www.beastsofwar.com/3-colors-up/3-colours-up-painting-brown-horse-fur/
The most excellent @elromanozo put the idea into my head to glaze between layers.
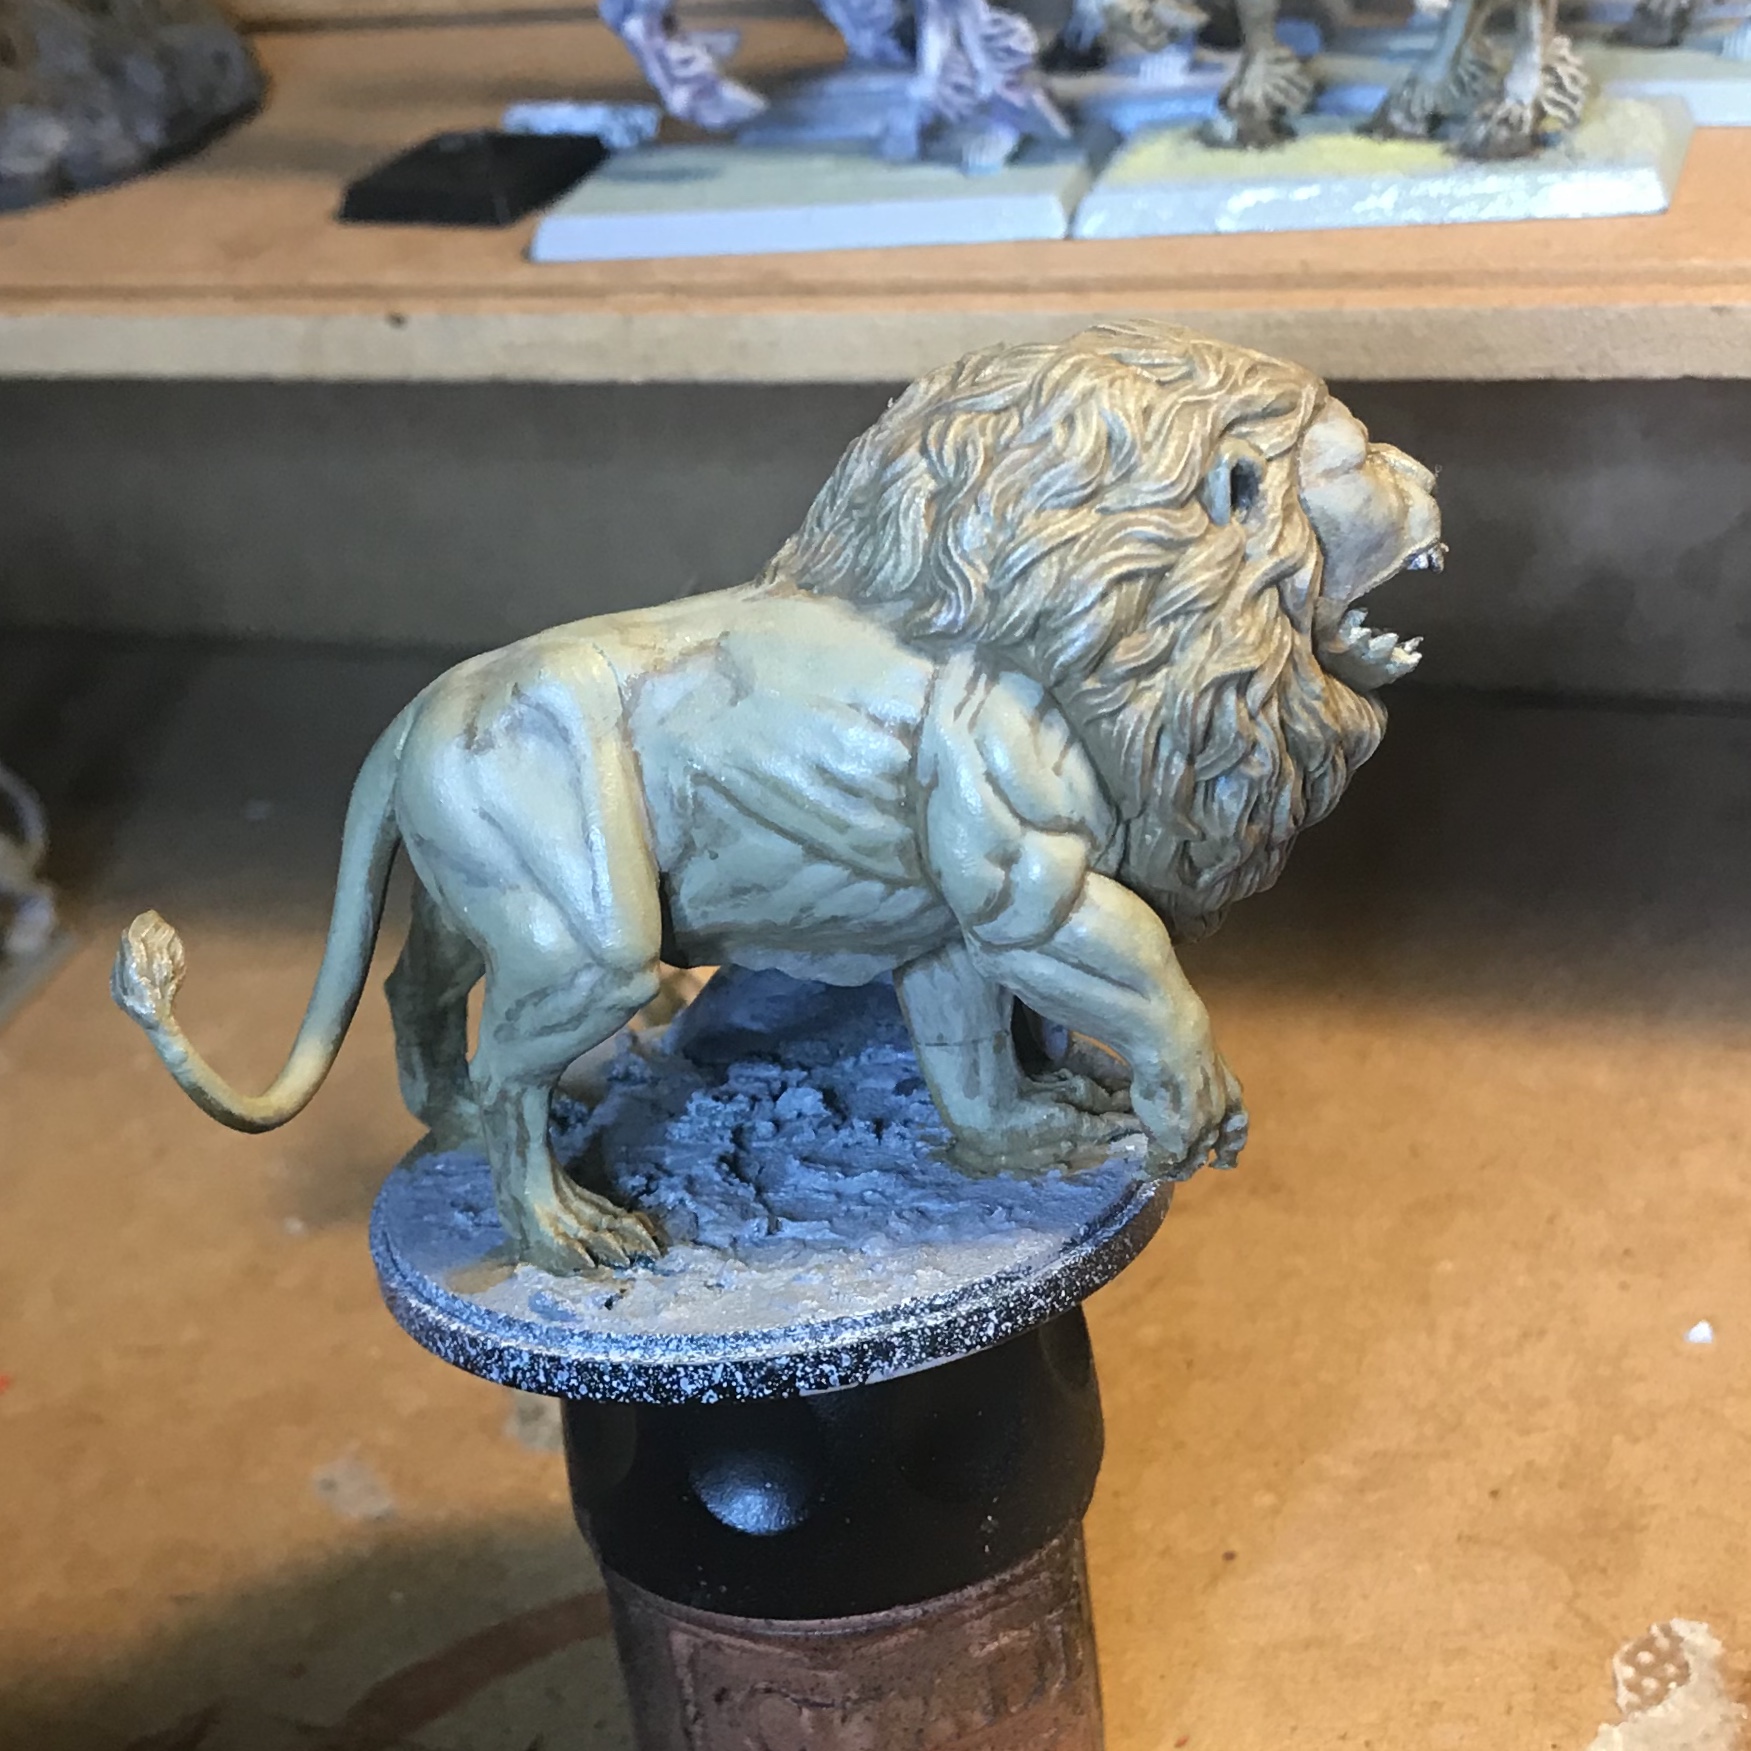
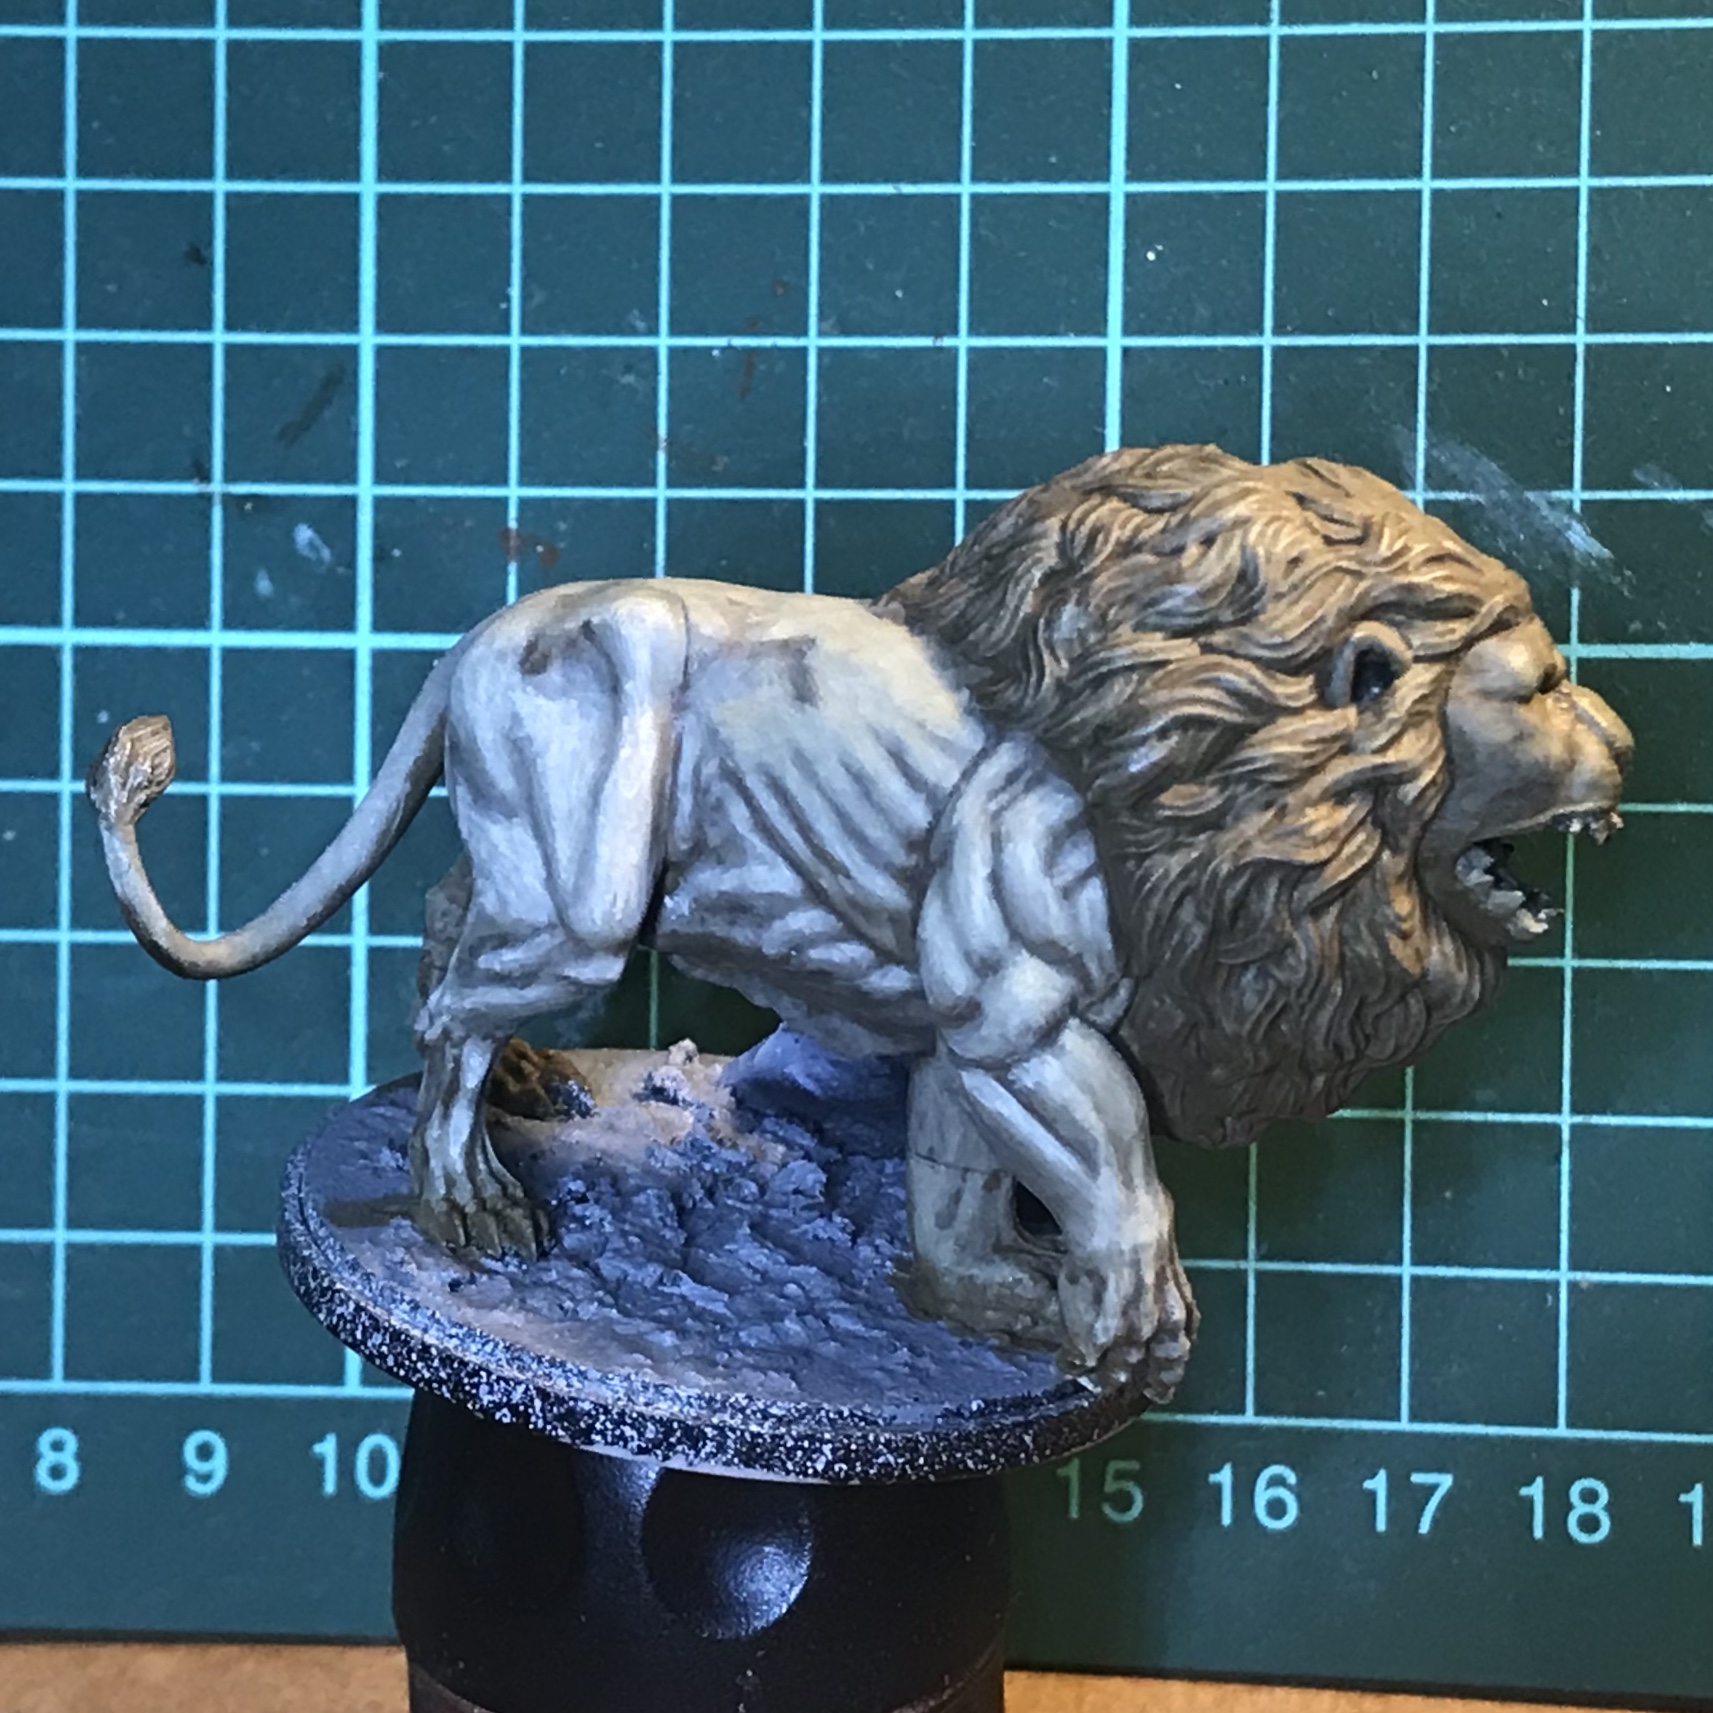
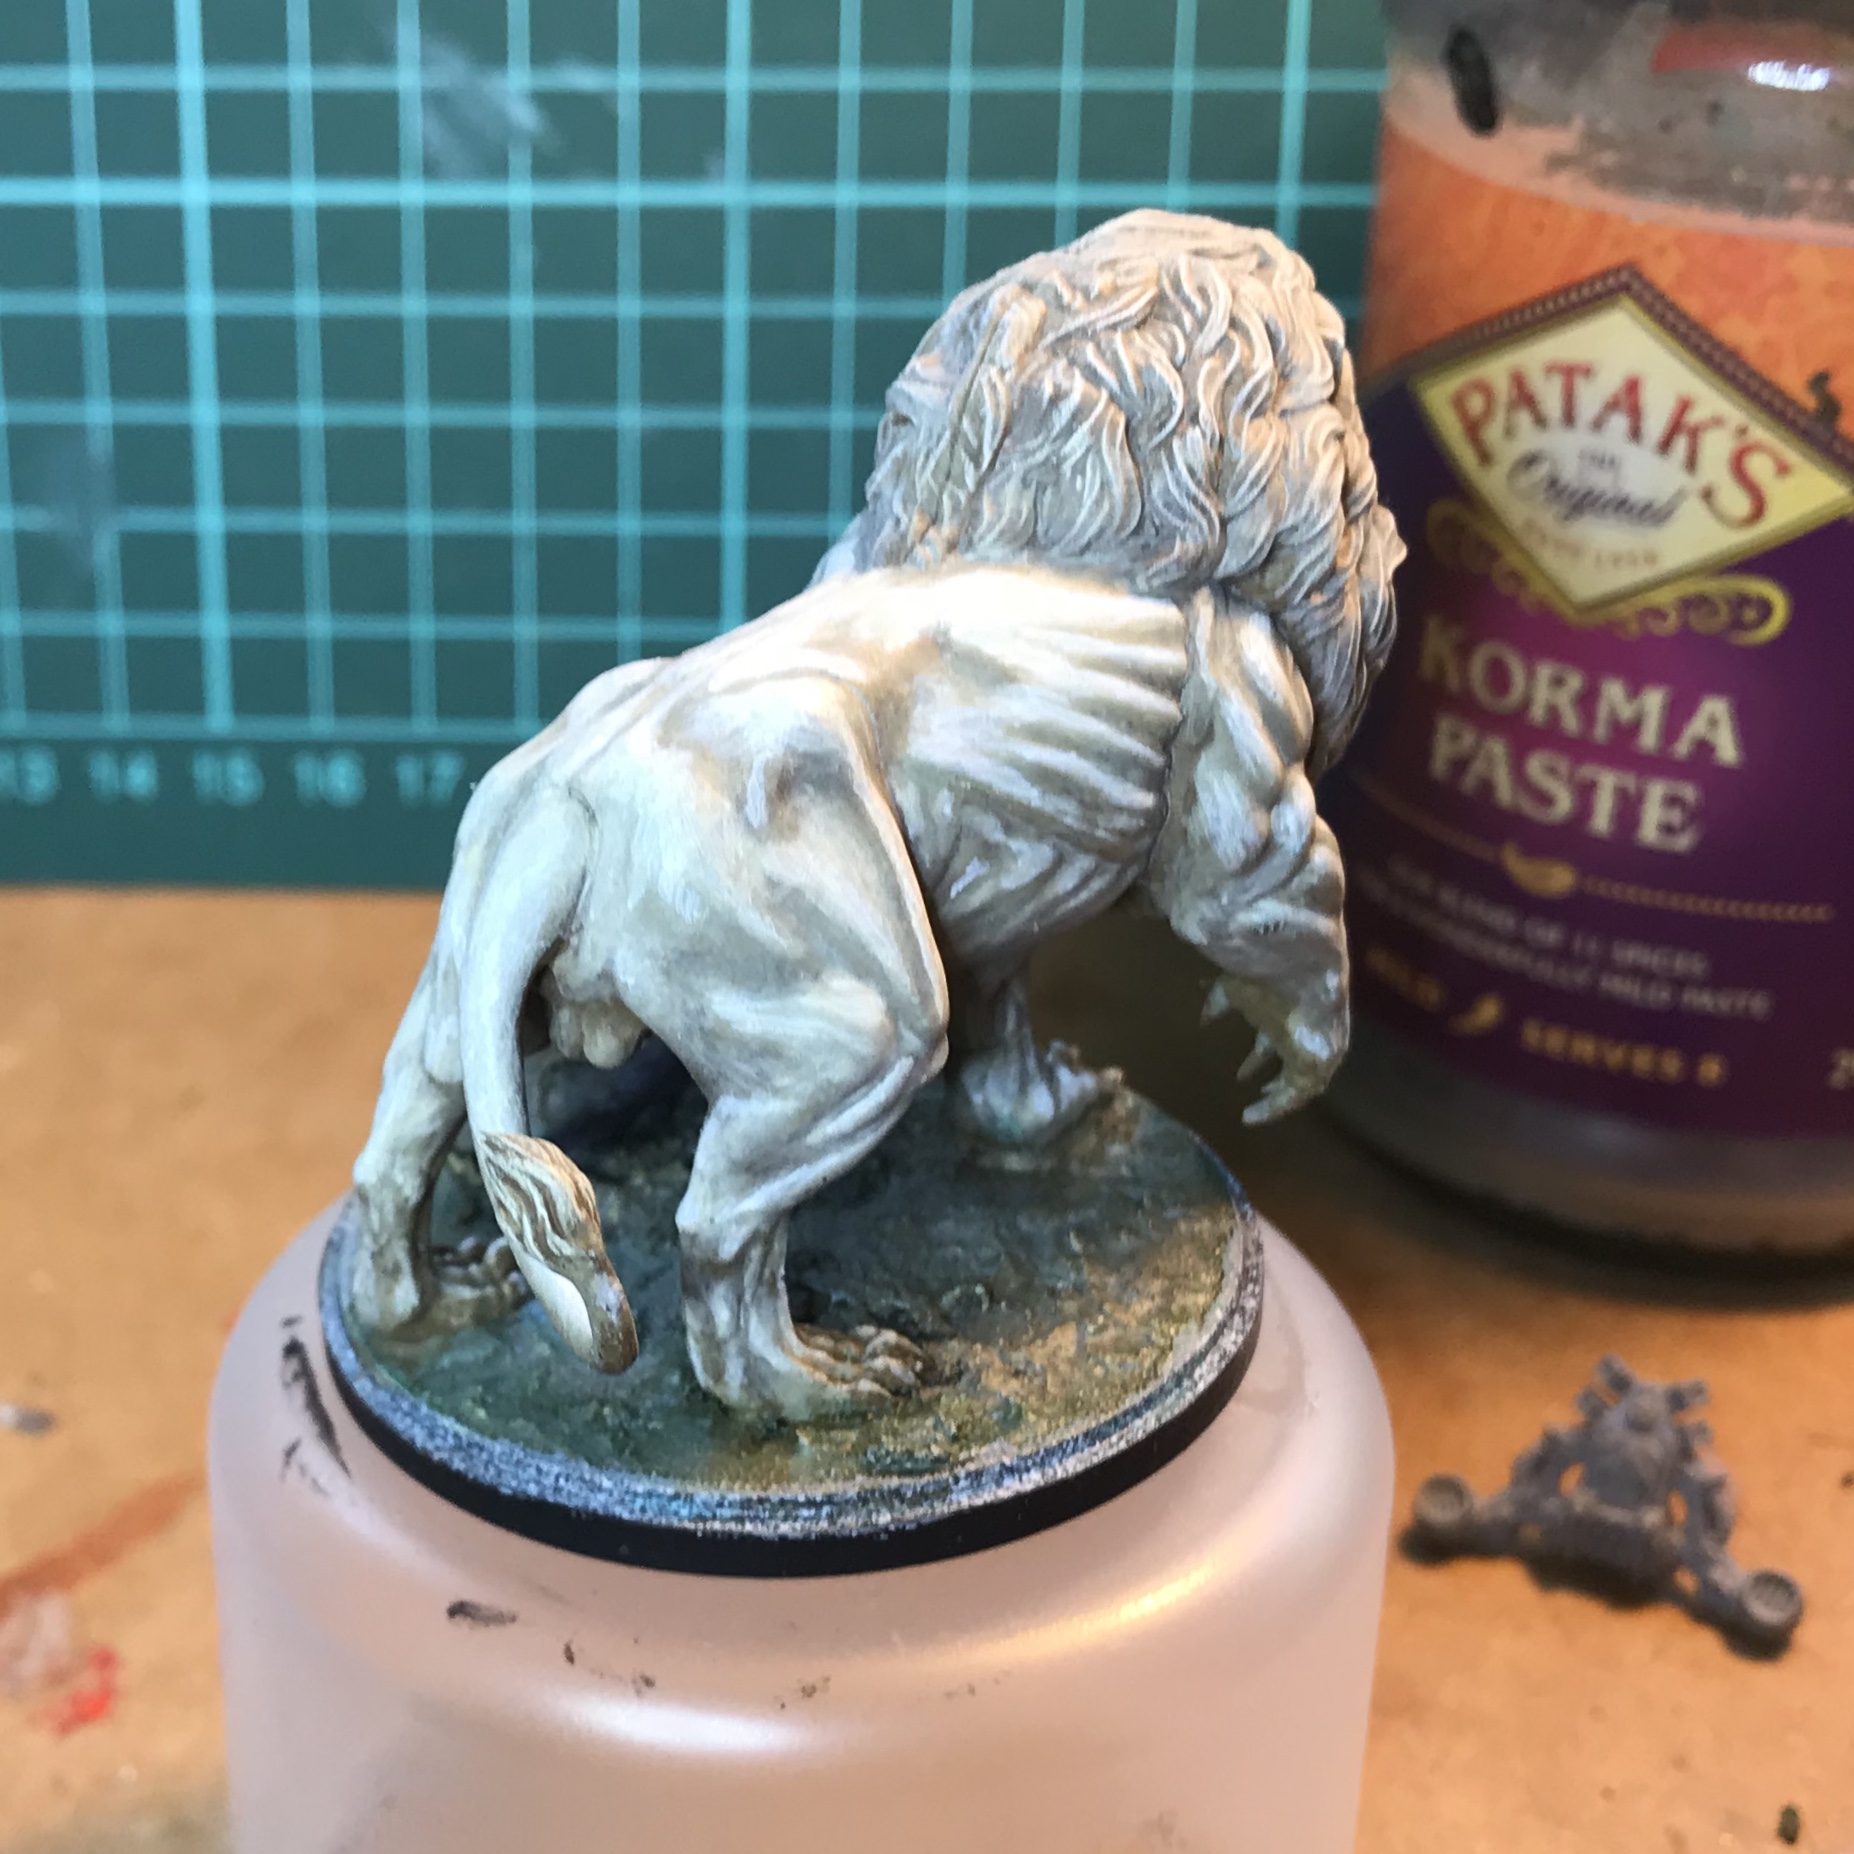
I was also dissatisfied with the shading. I felt the contrast was too stark. I went back and glazed over the shadow with the original base colour to lighten them. Results after:
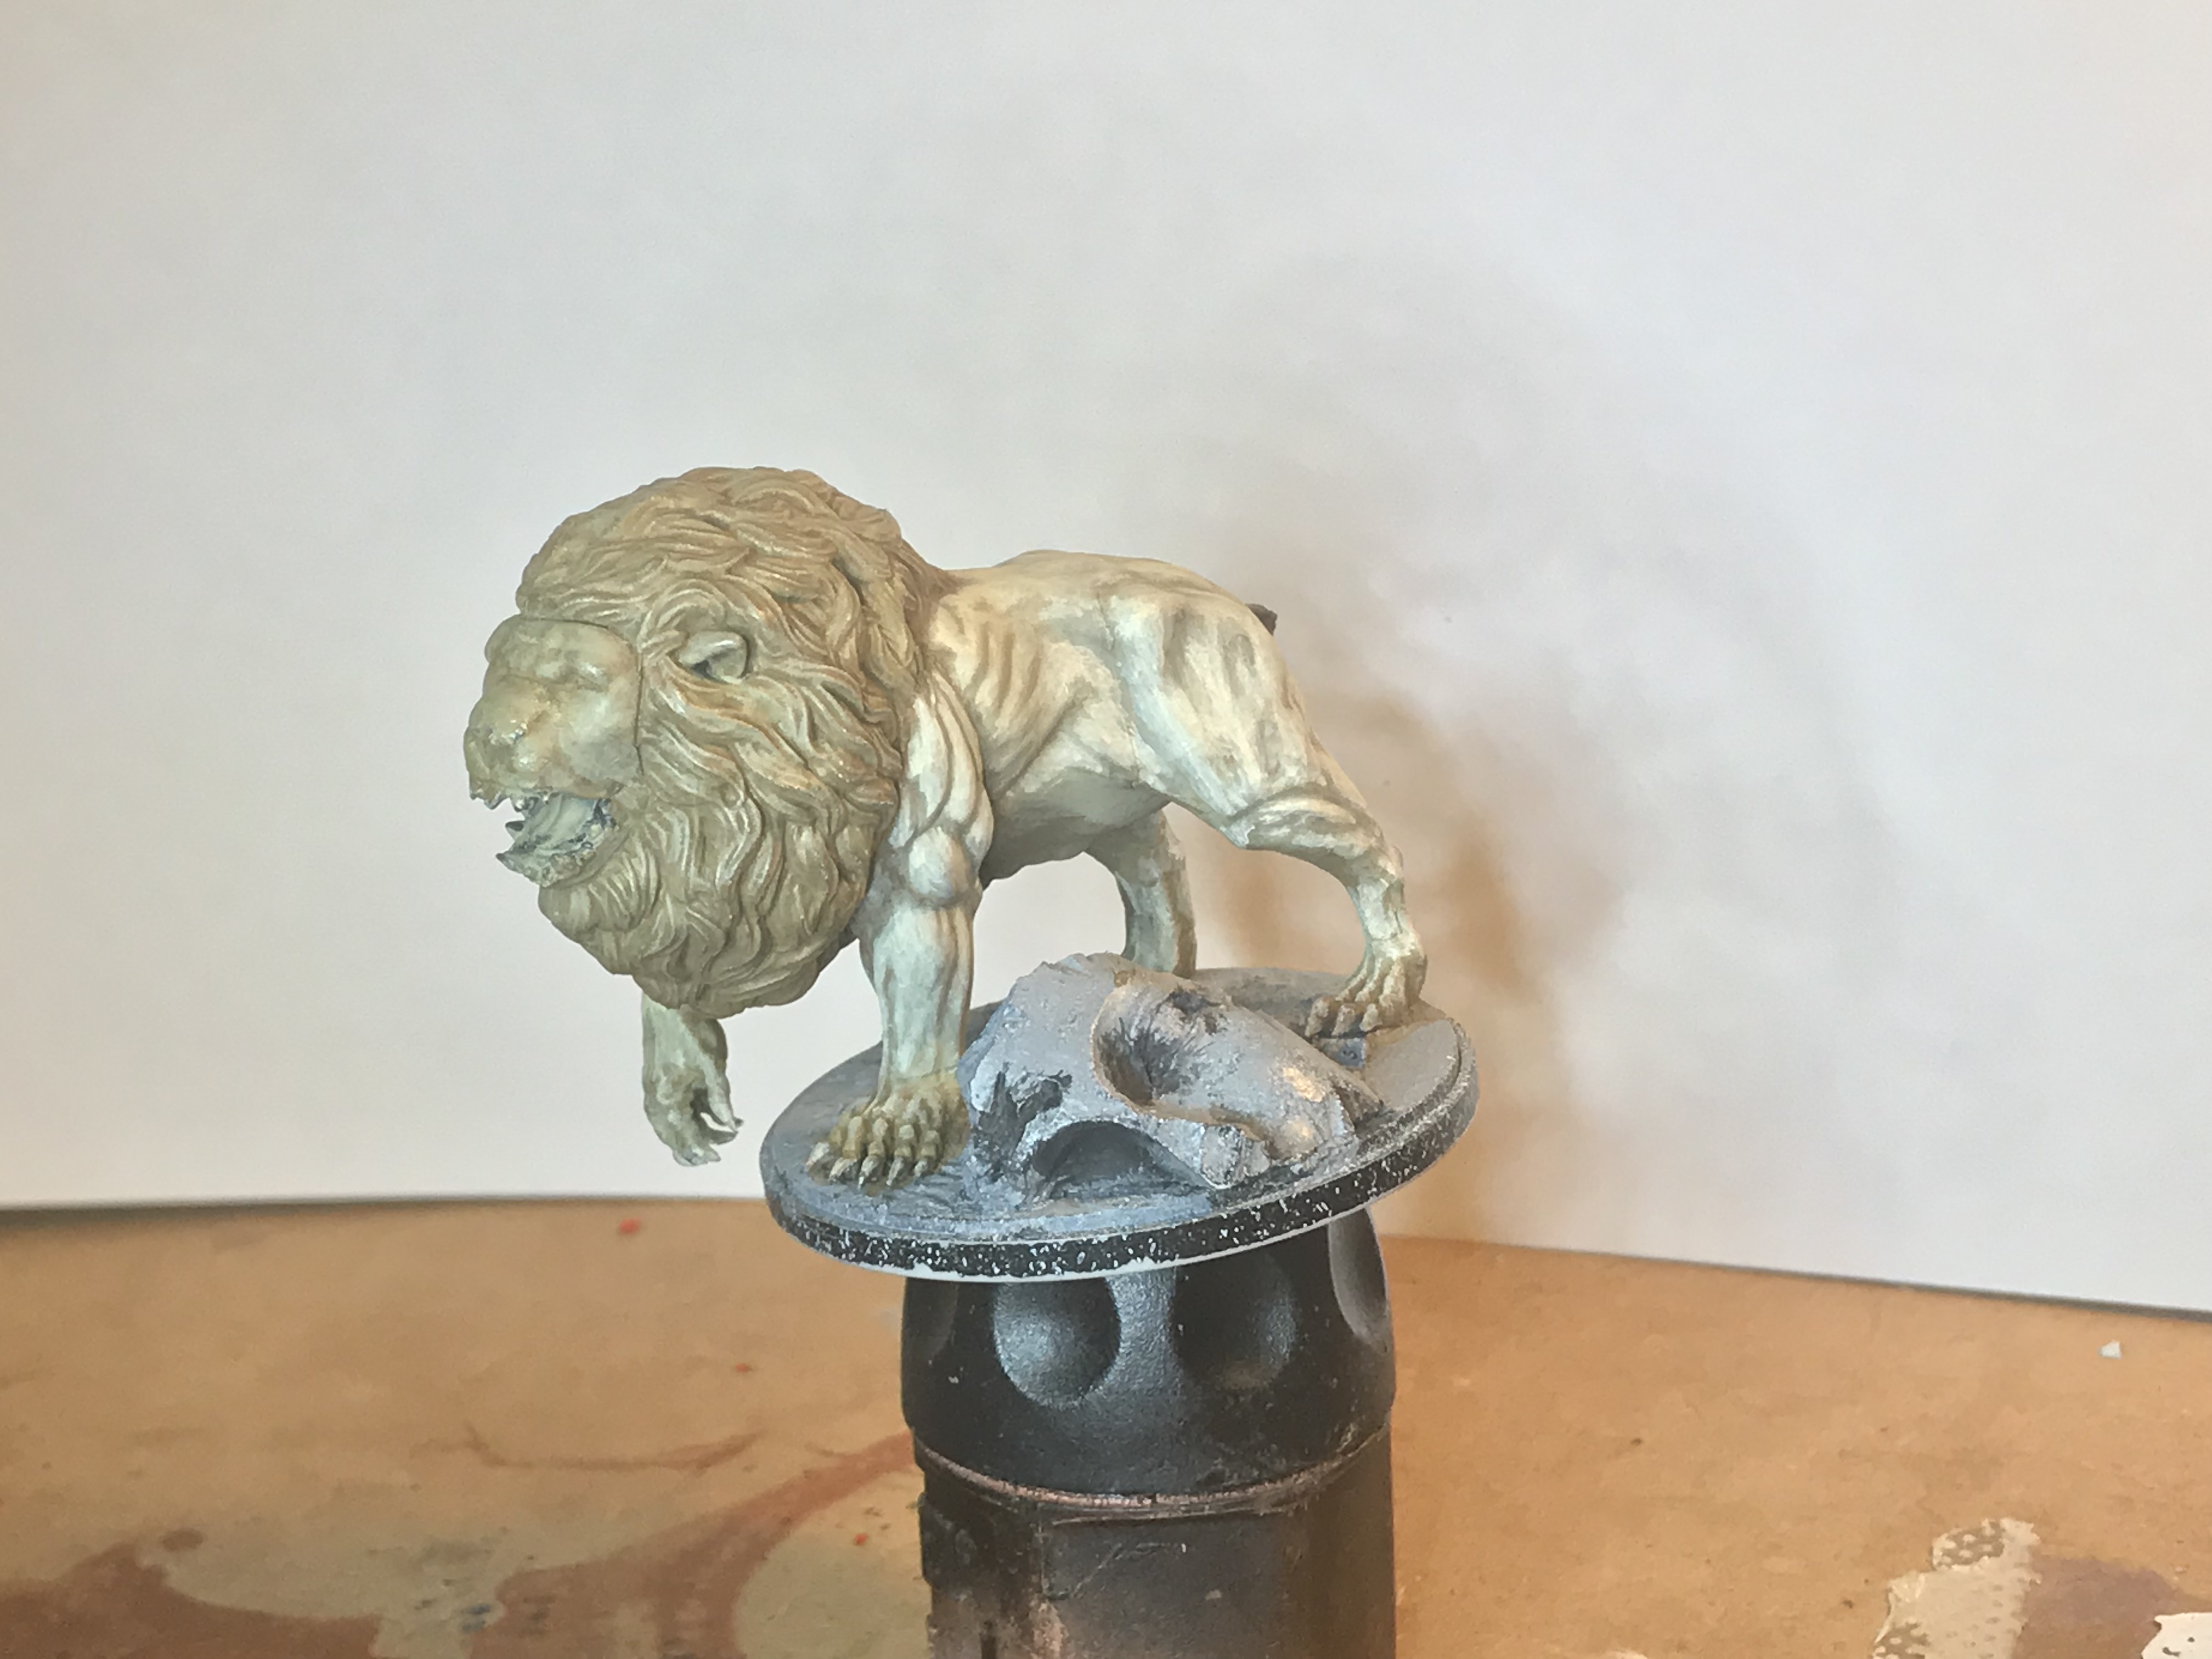

Blended by glazing over a very thin layer of the original base colour, Vallejo Khaki, in two coats.
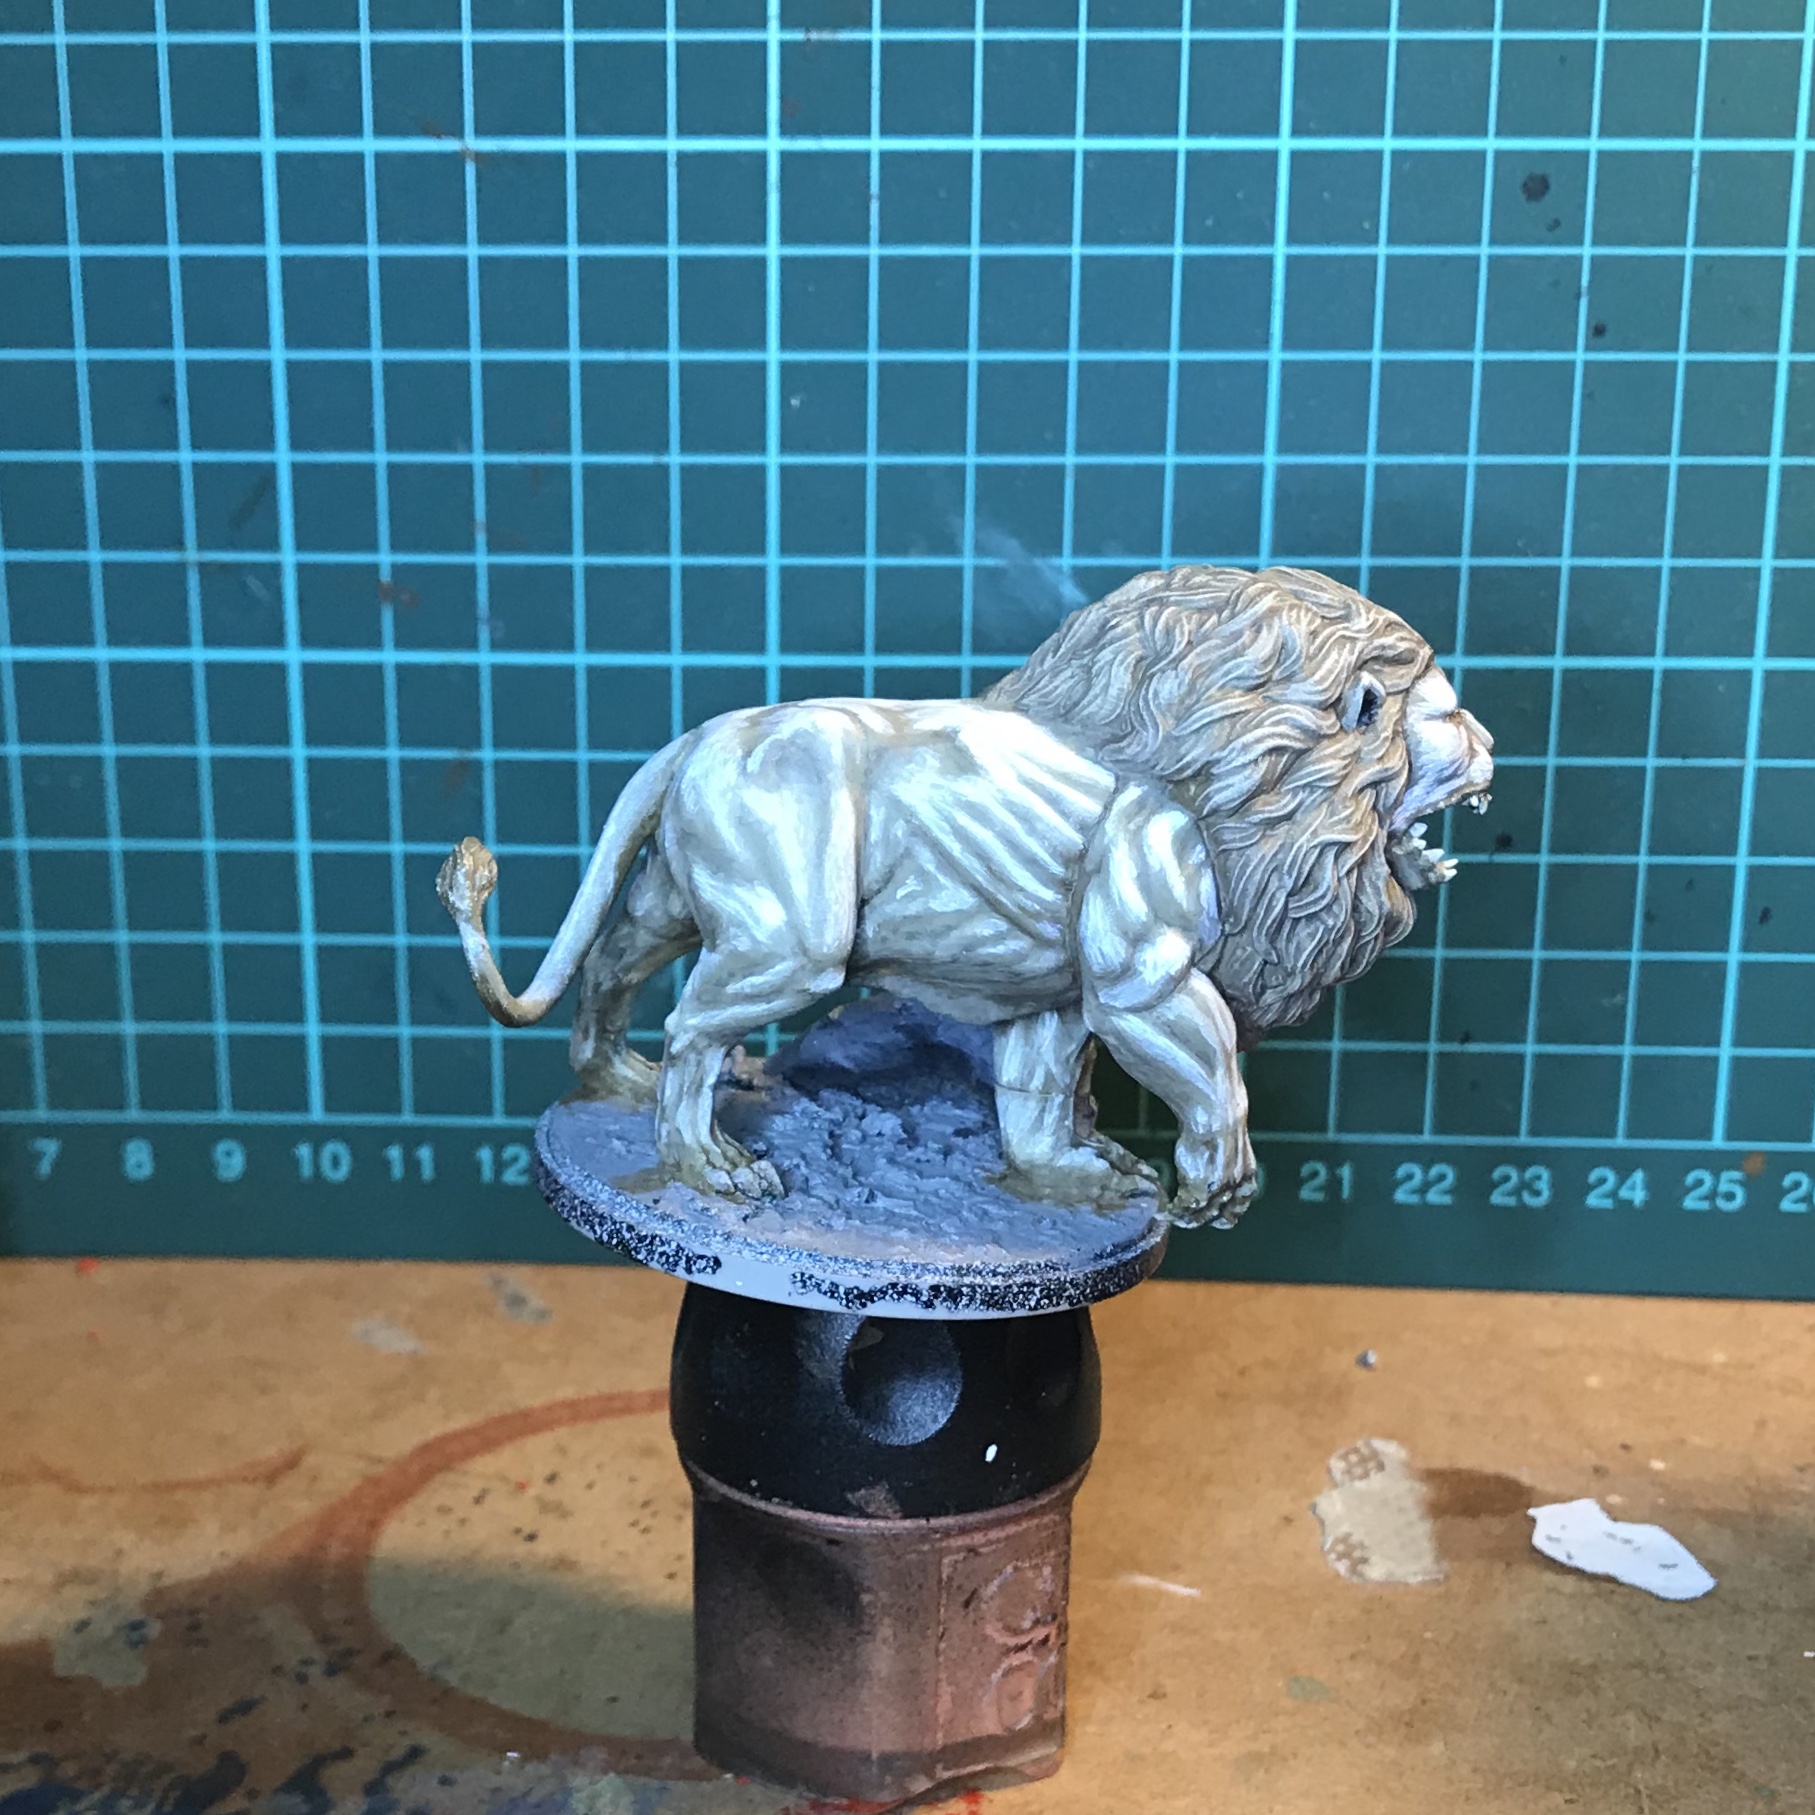
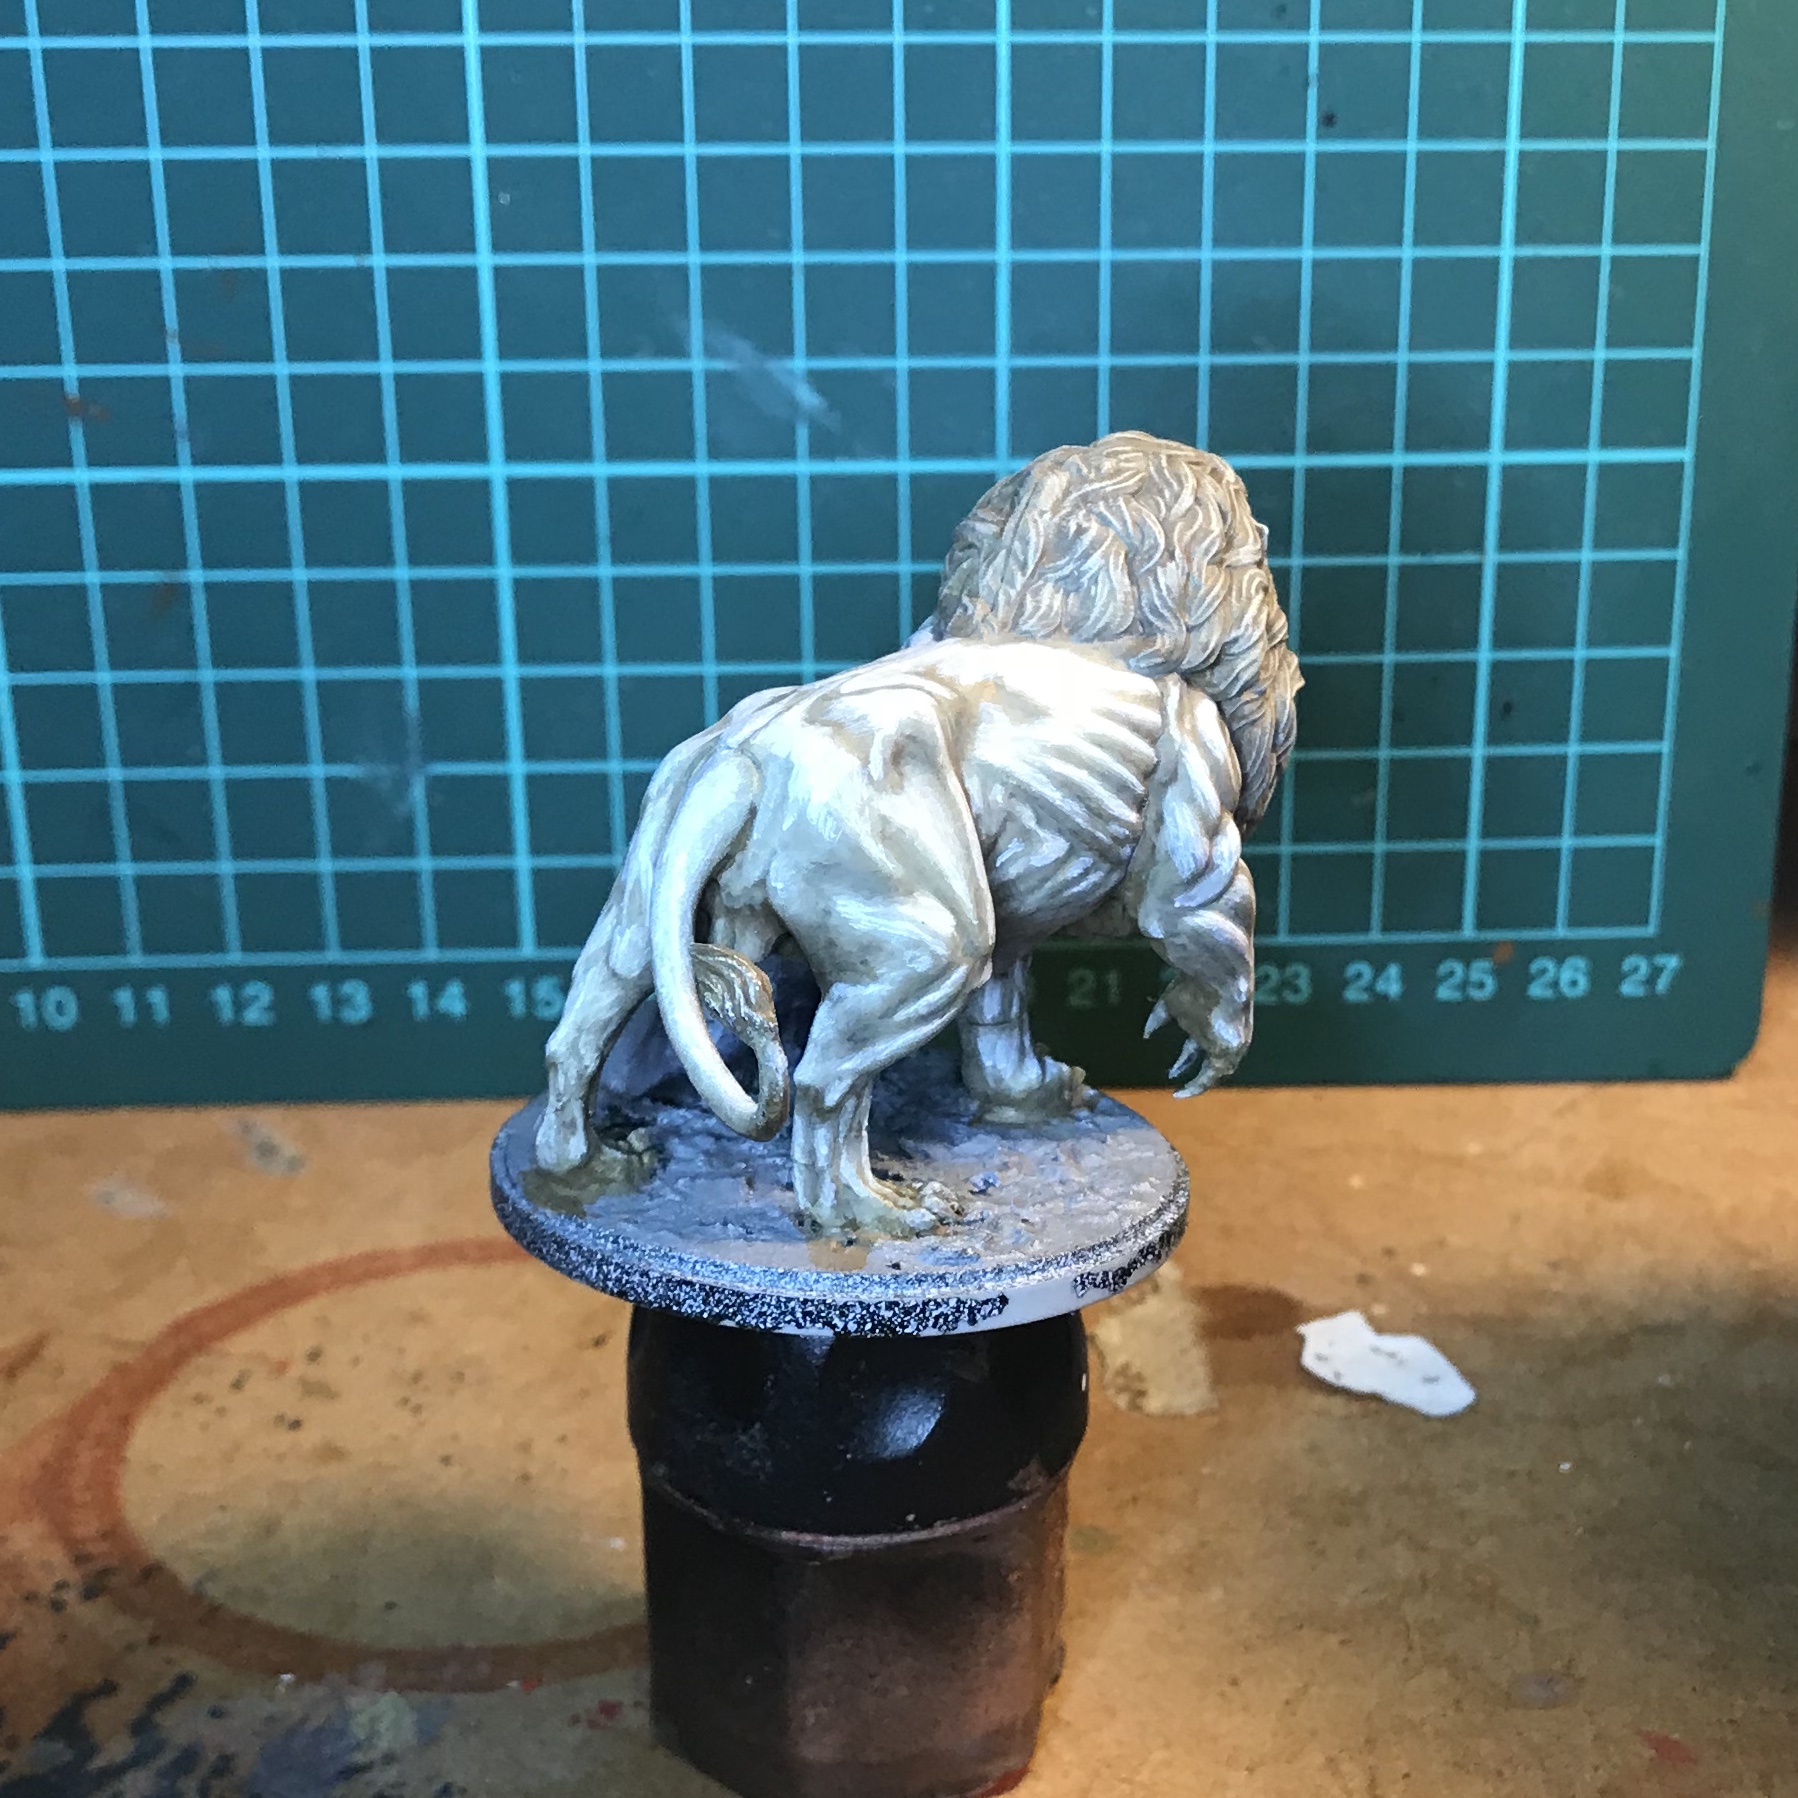
Then highlighted with Army Painter White. Again, two thin coats.
Following this I glazed again, two very thin coats of Bleached Bone.
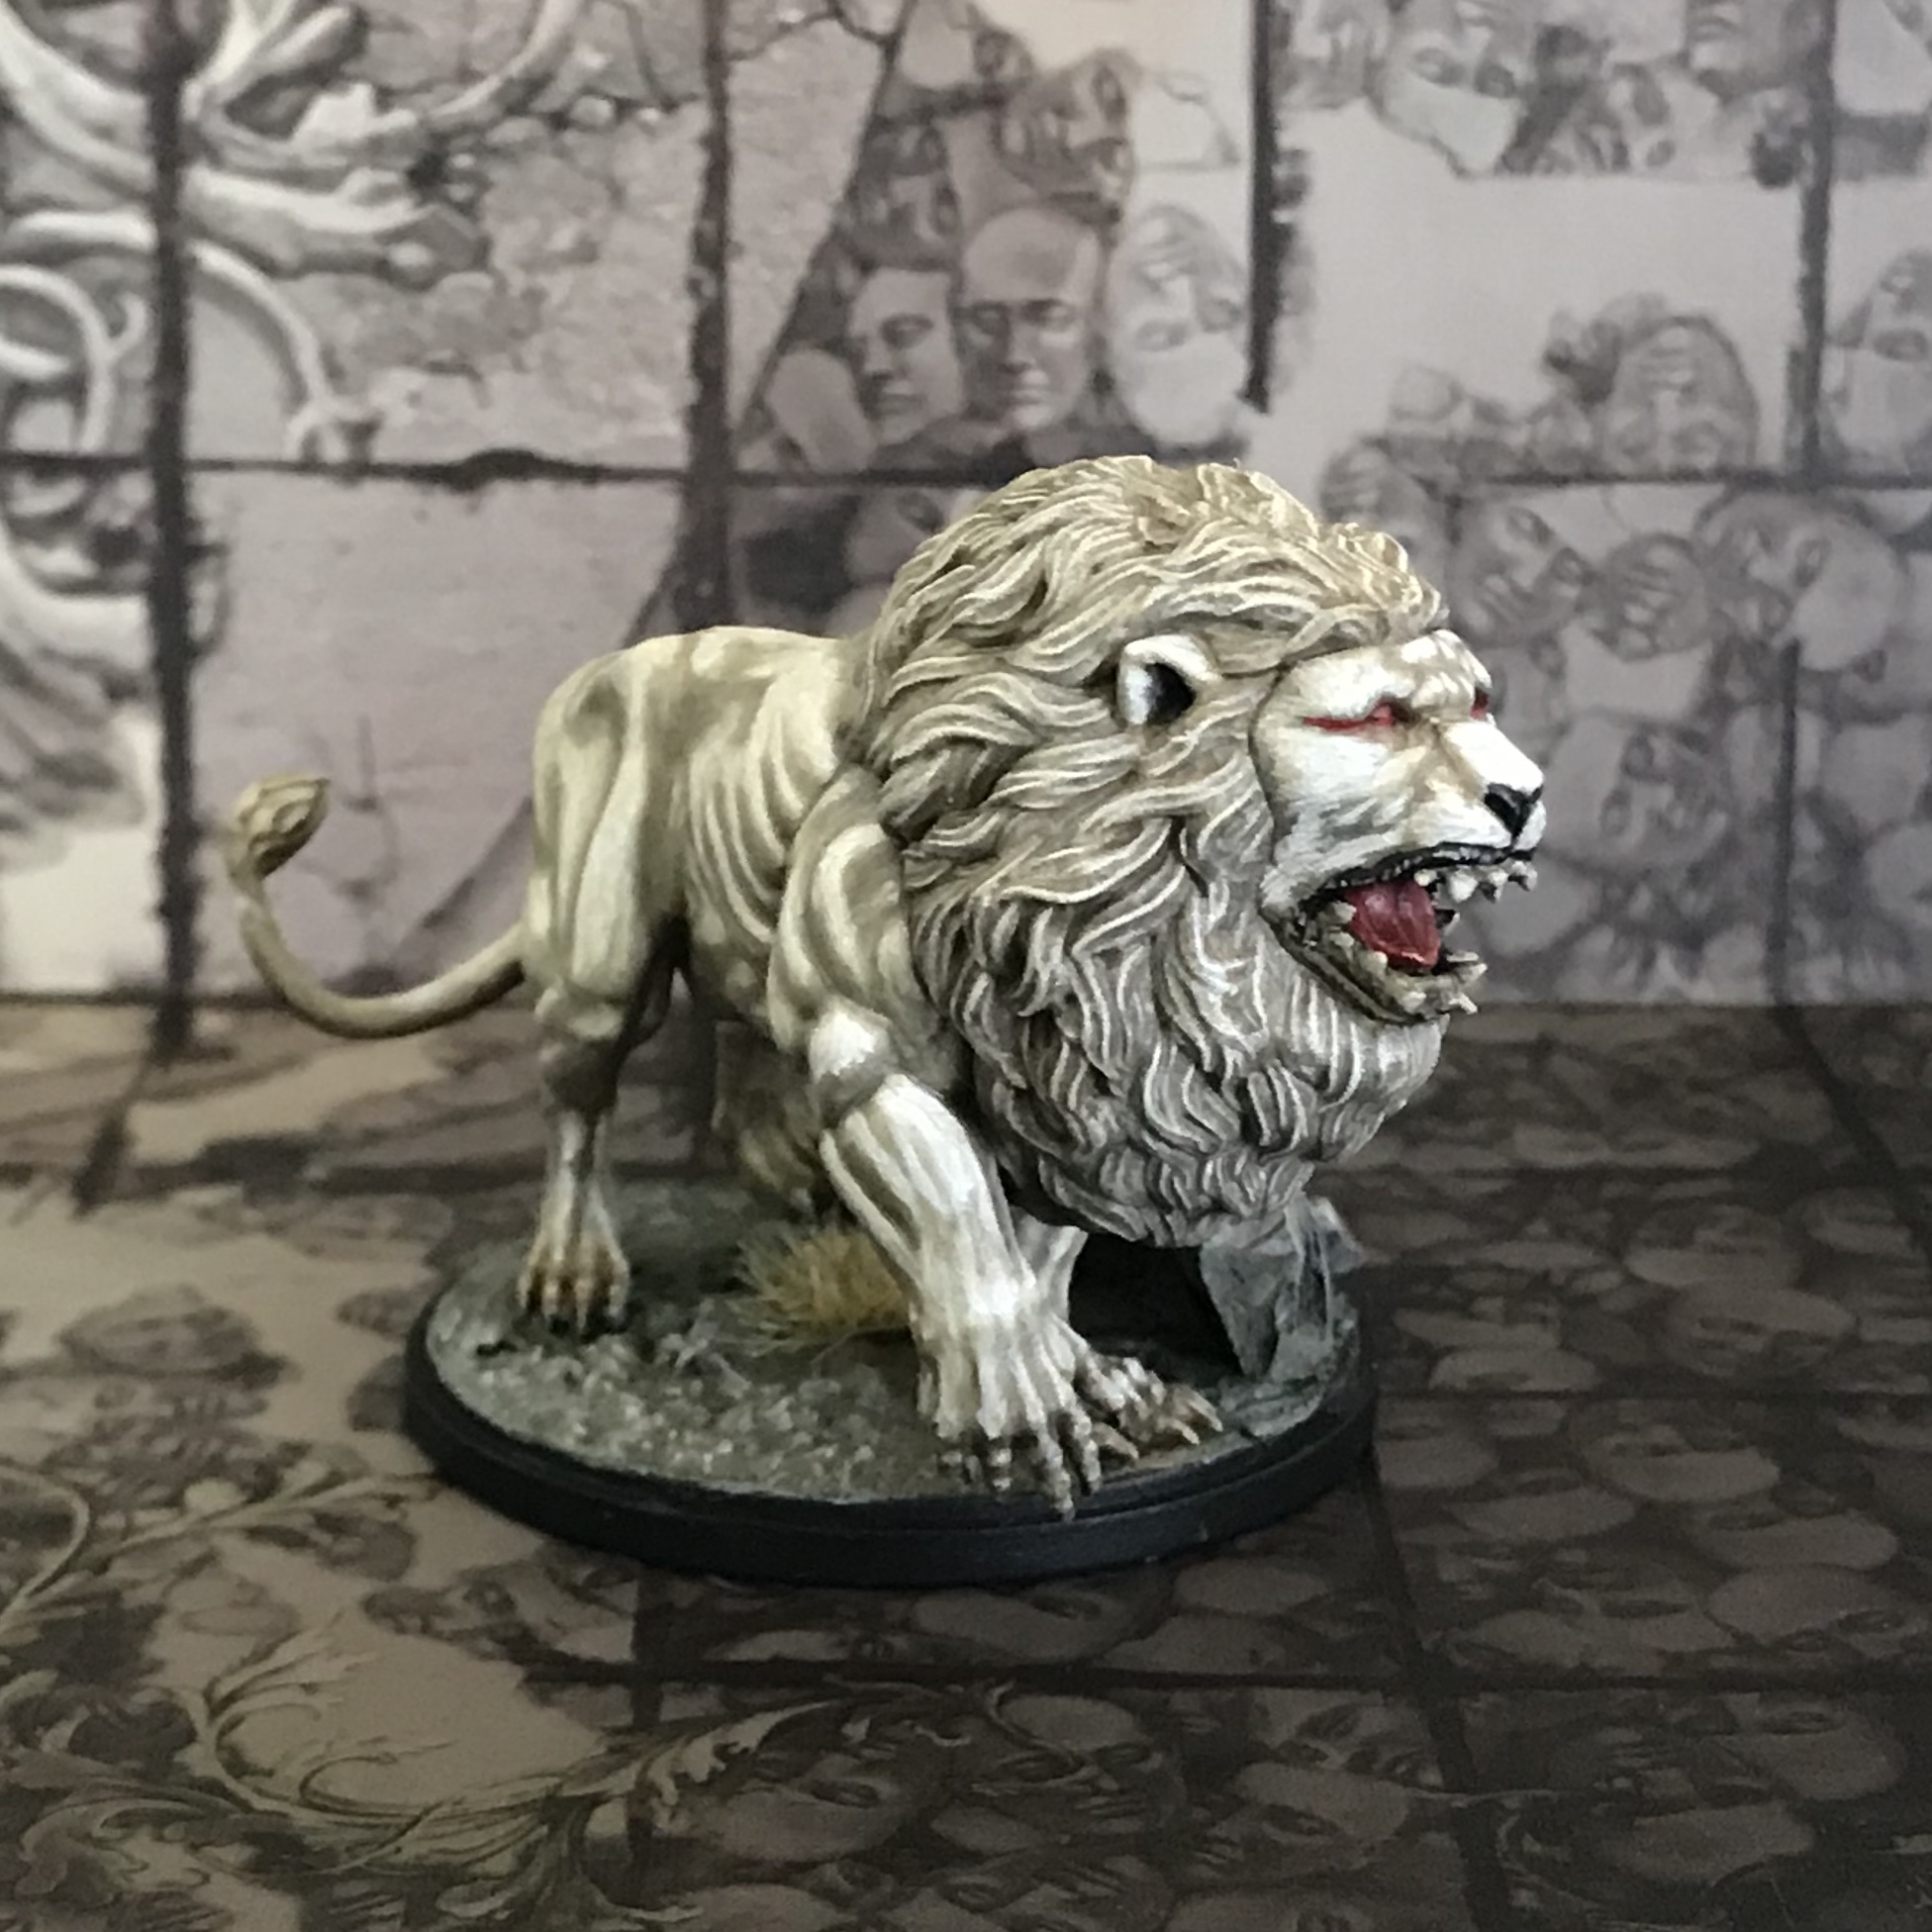
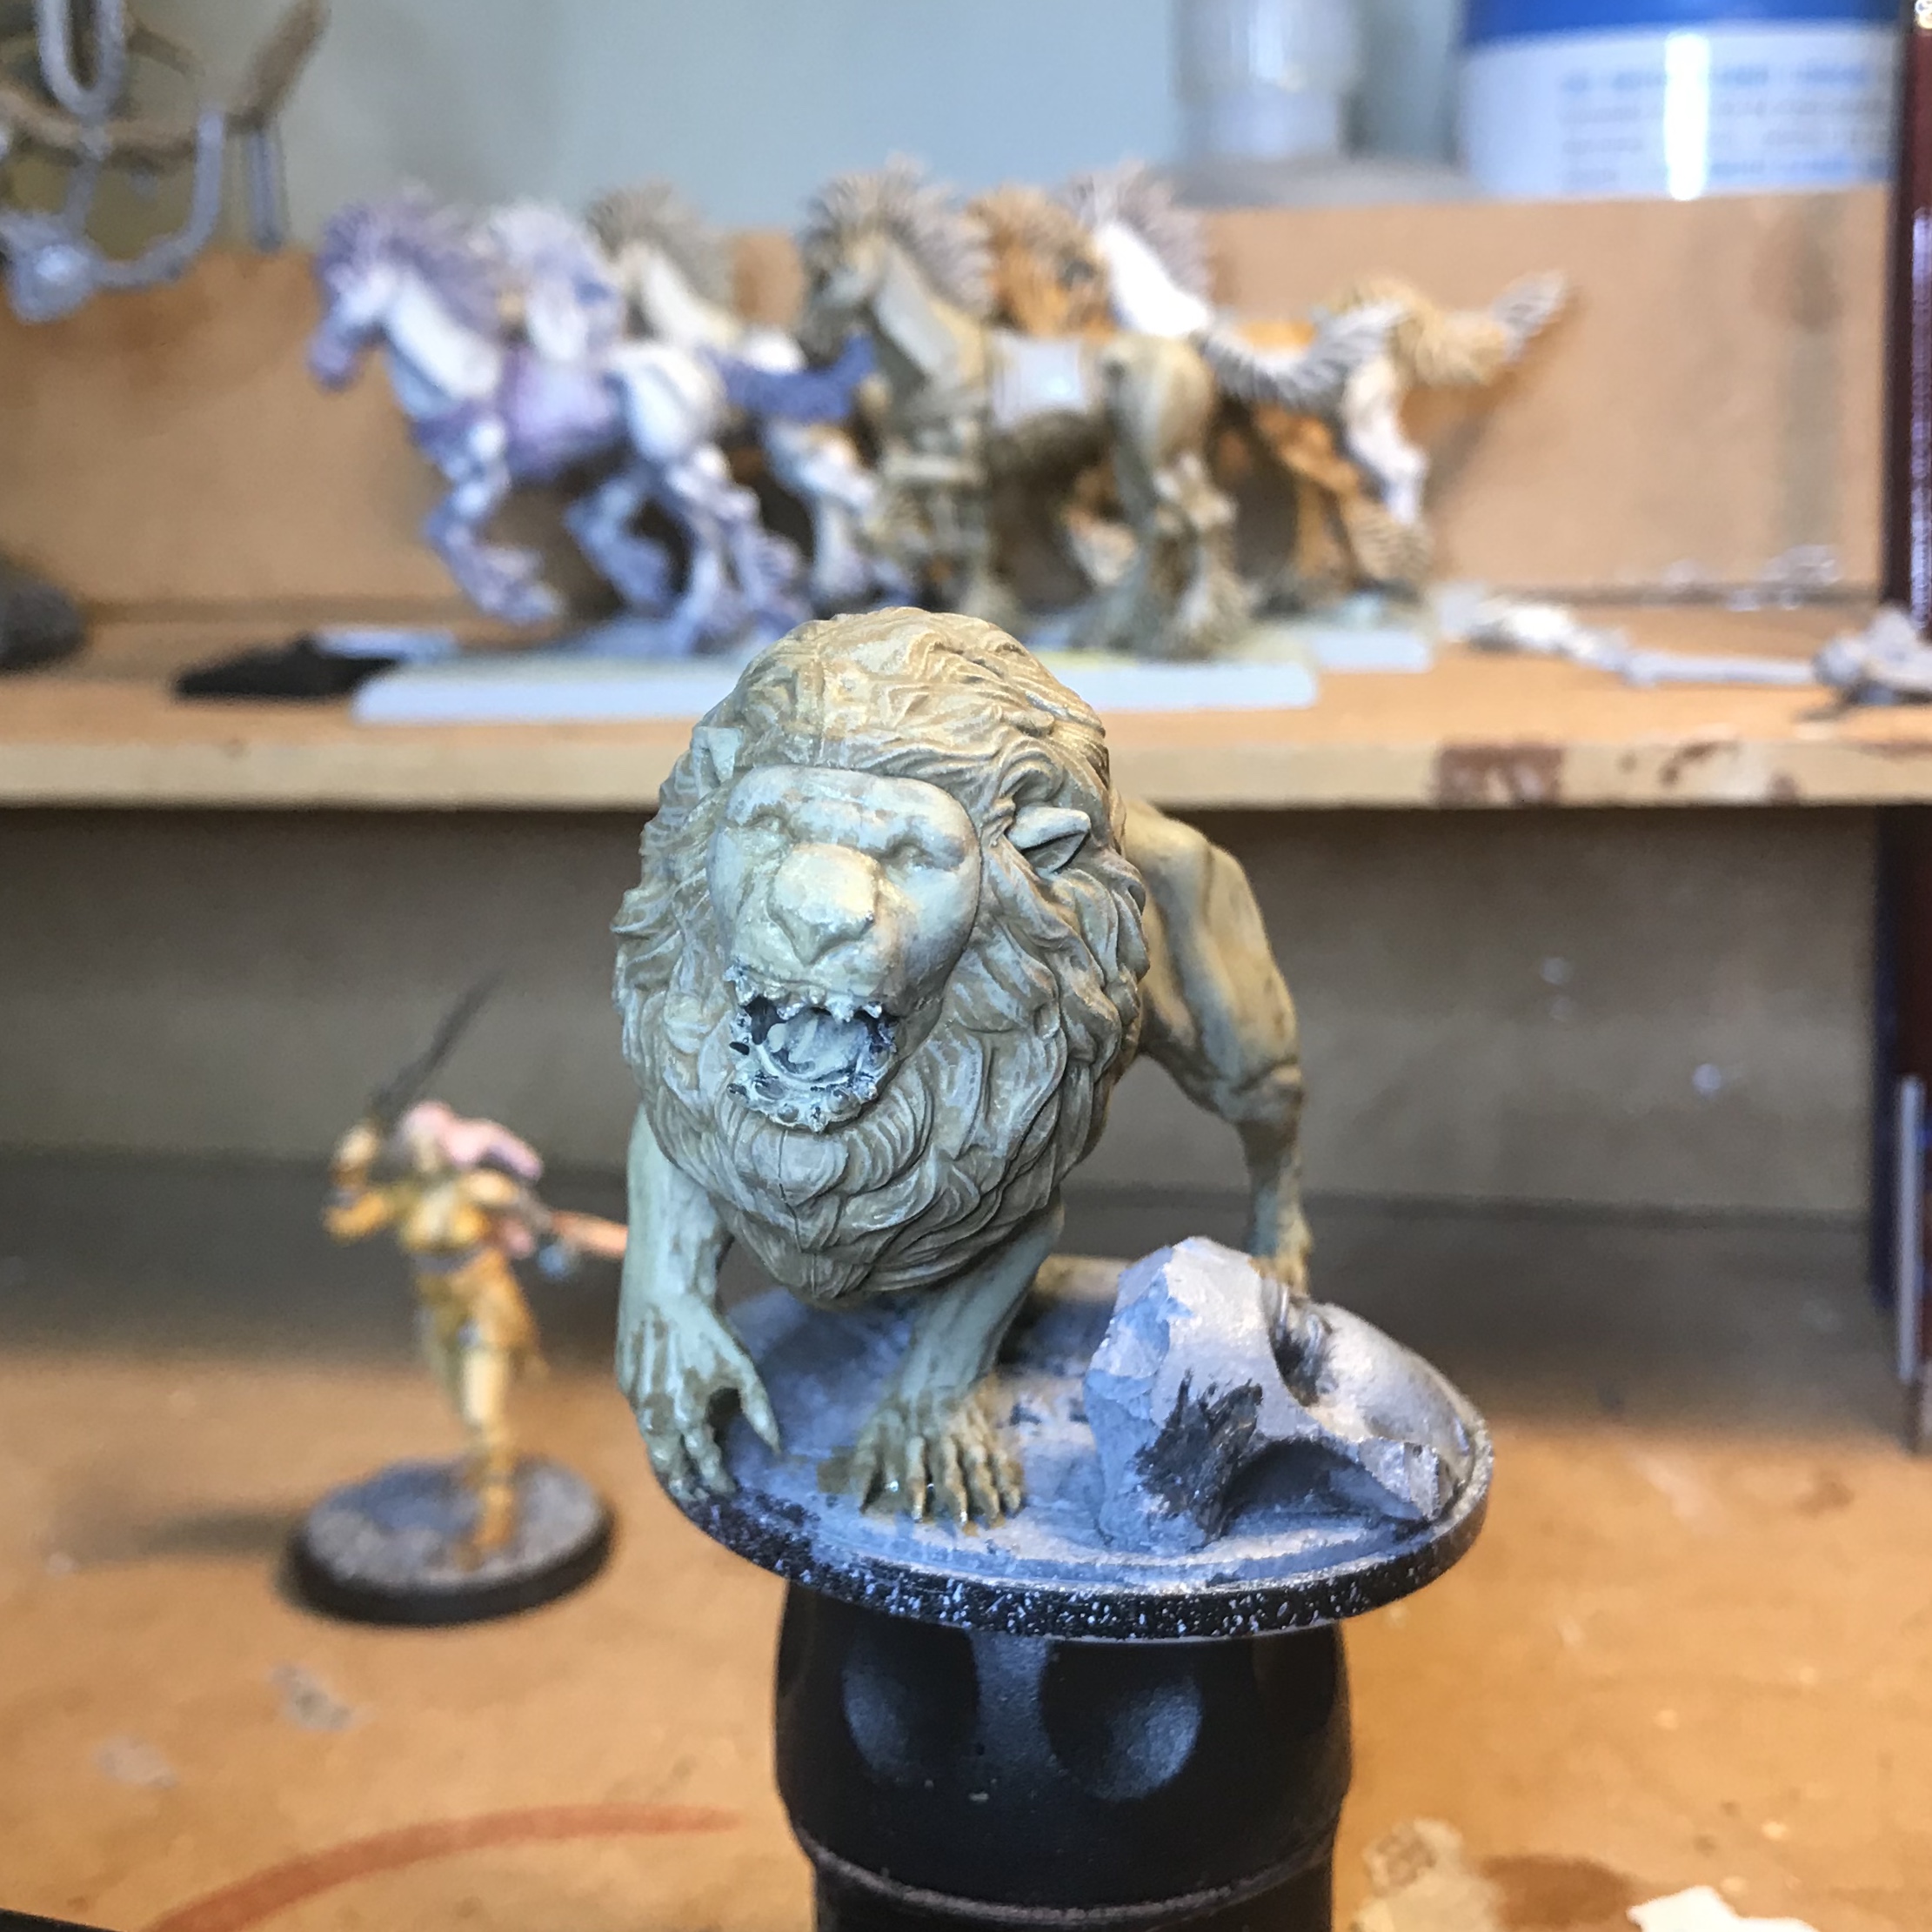
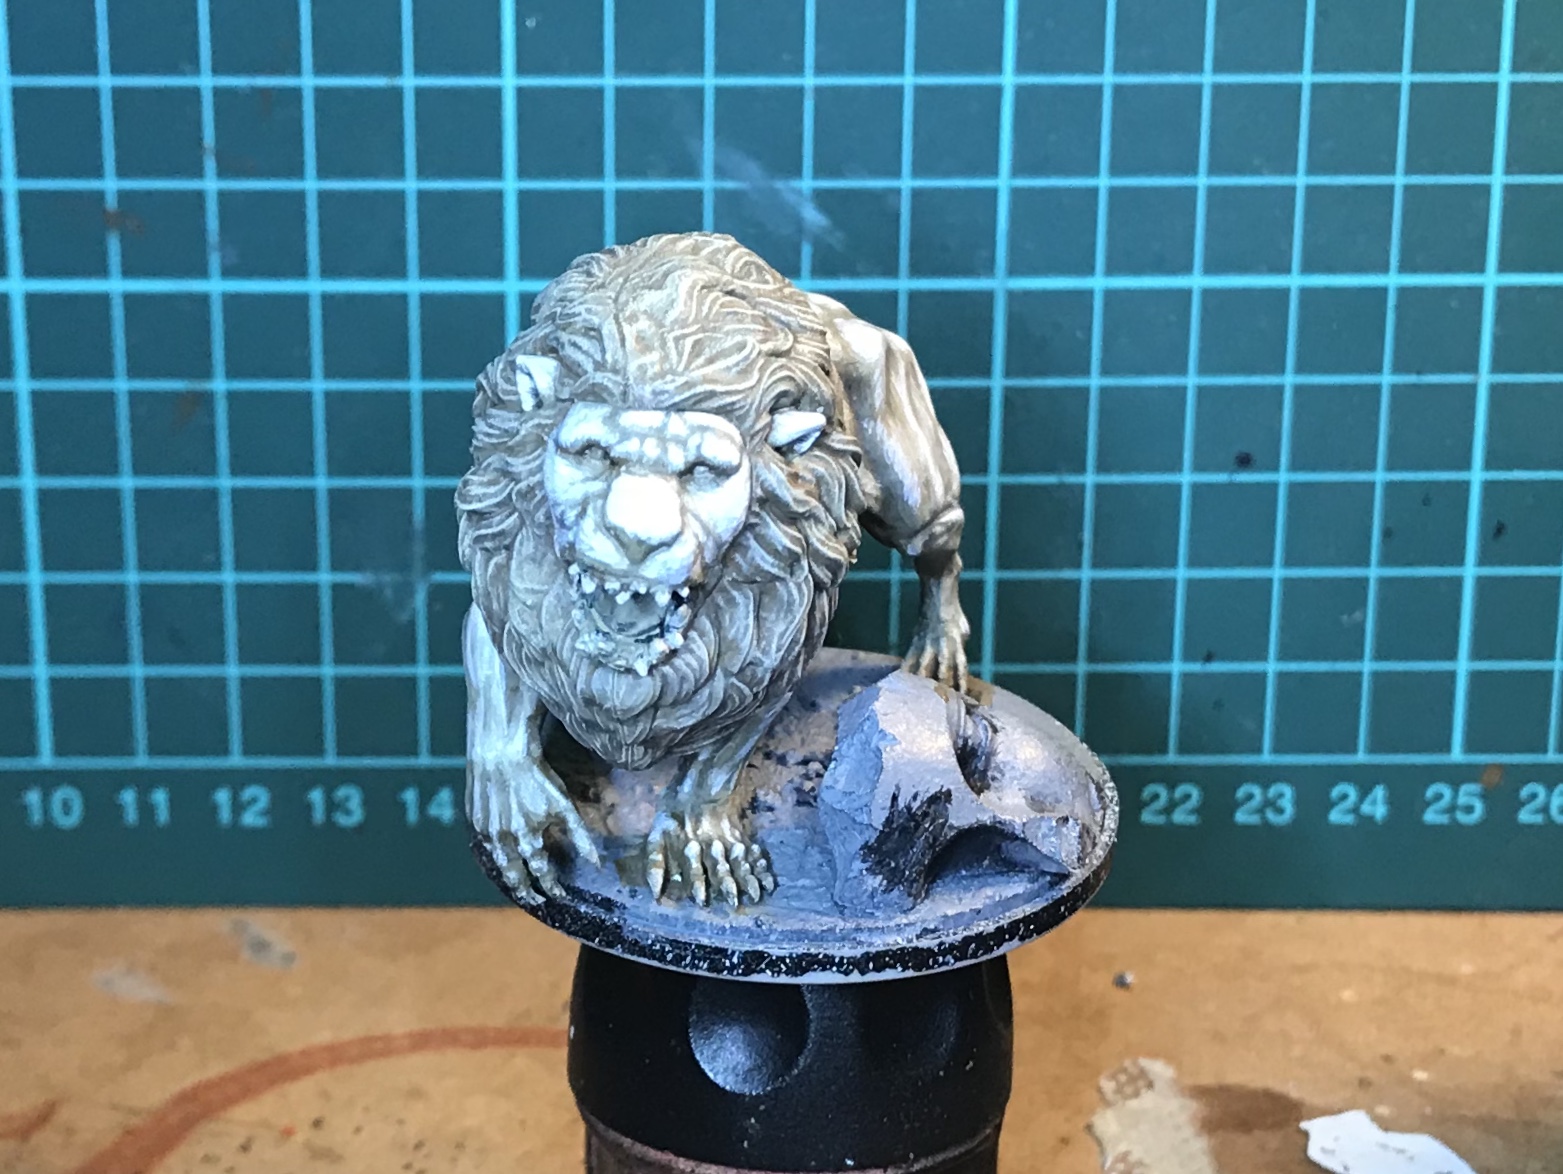
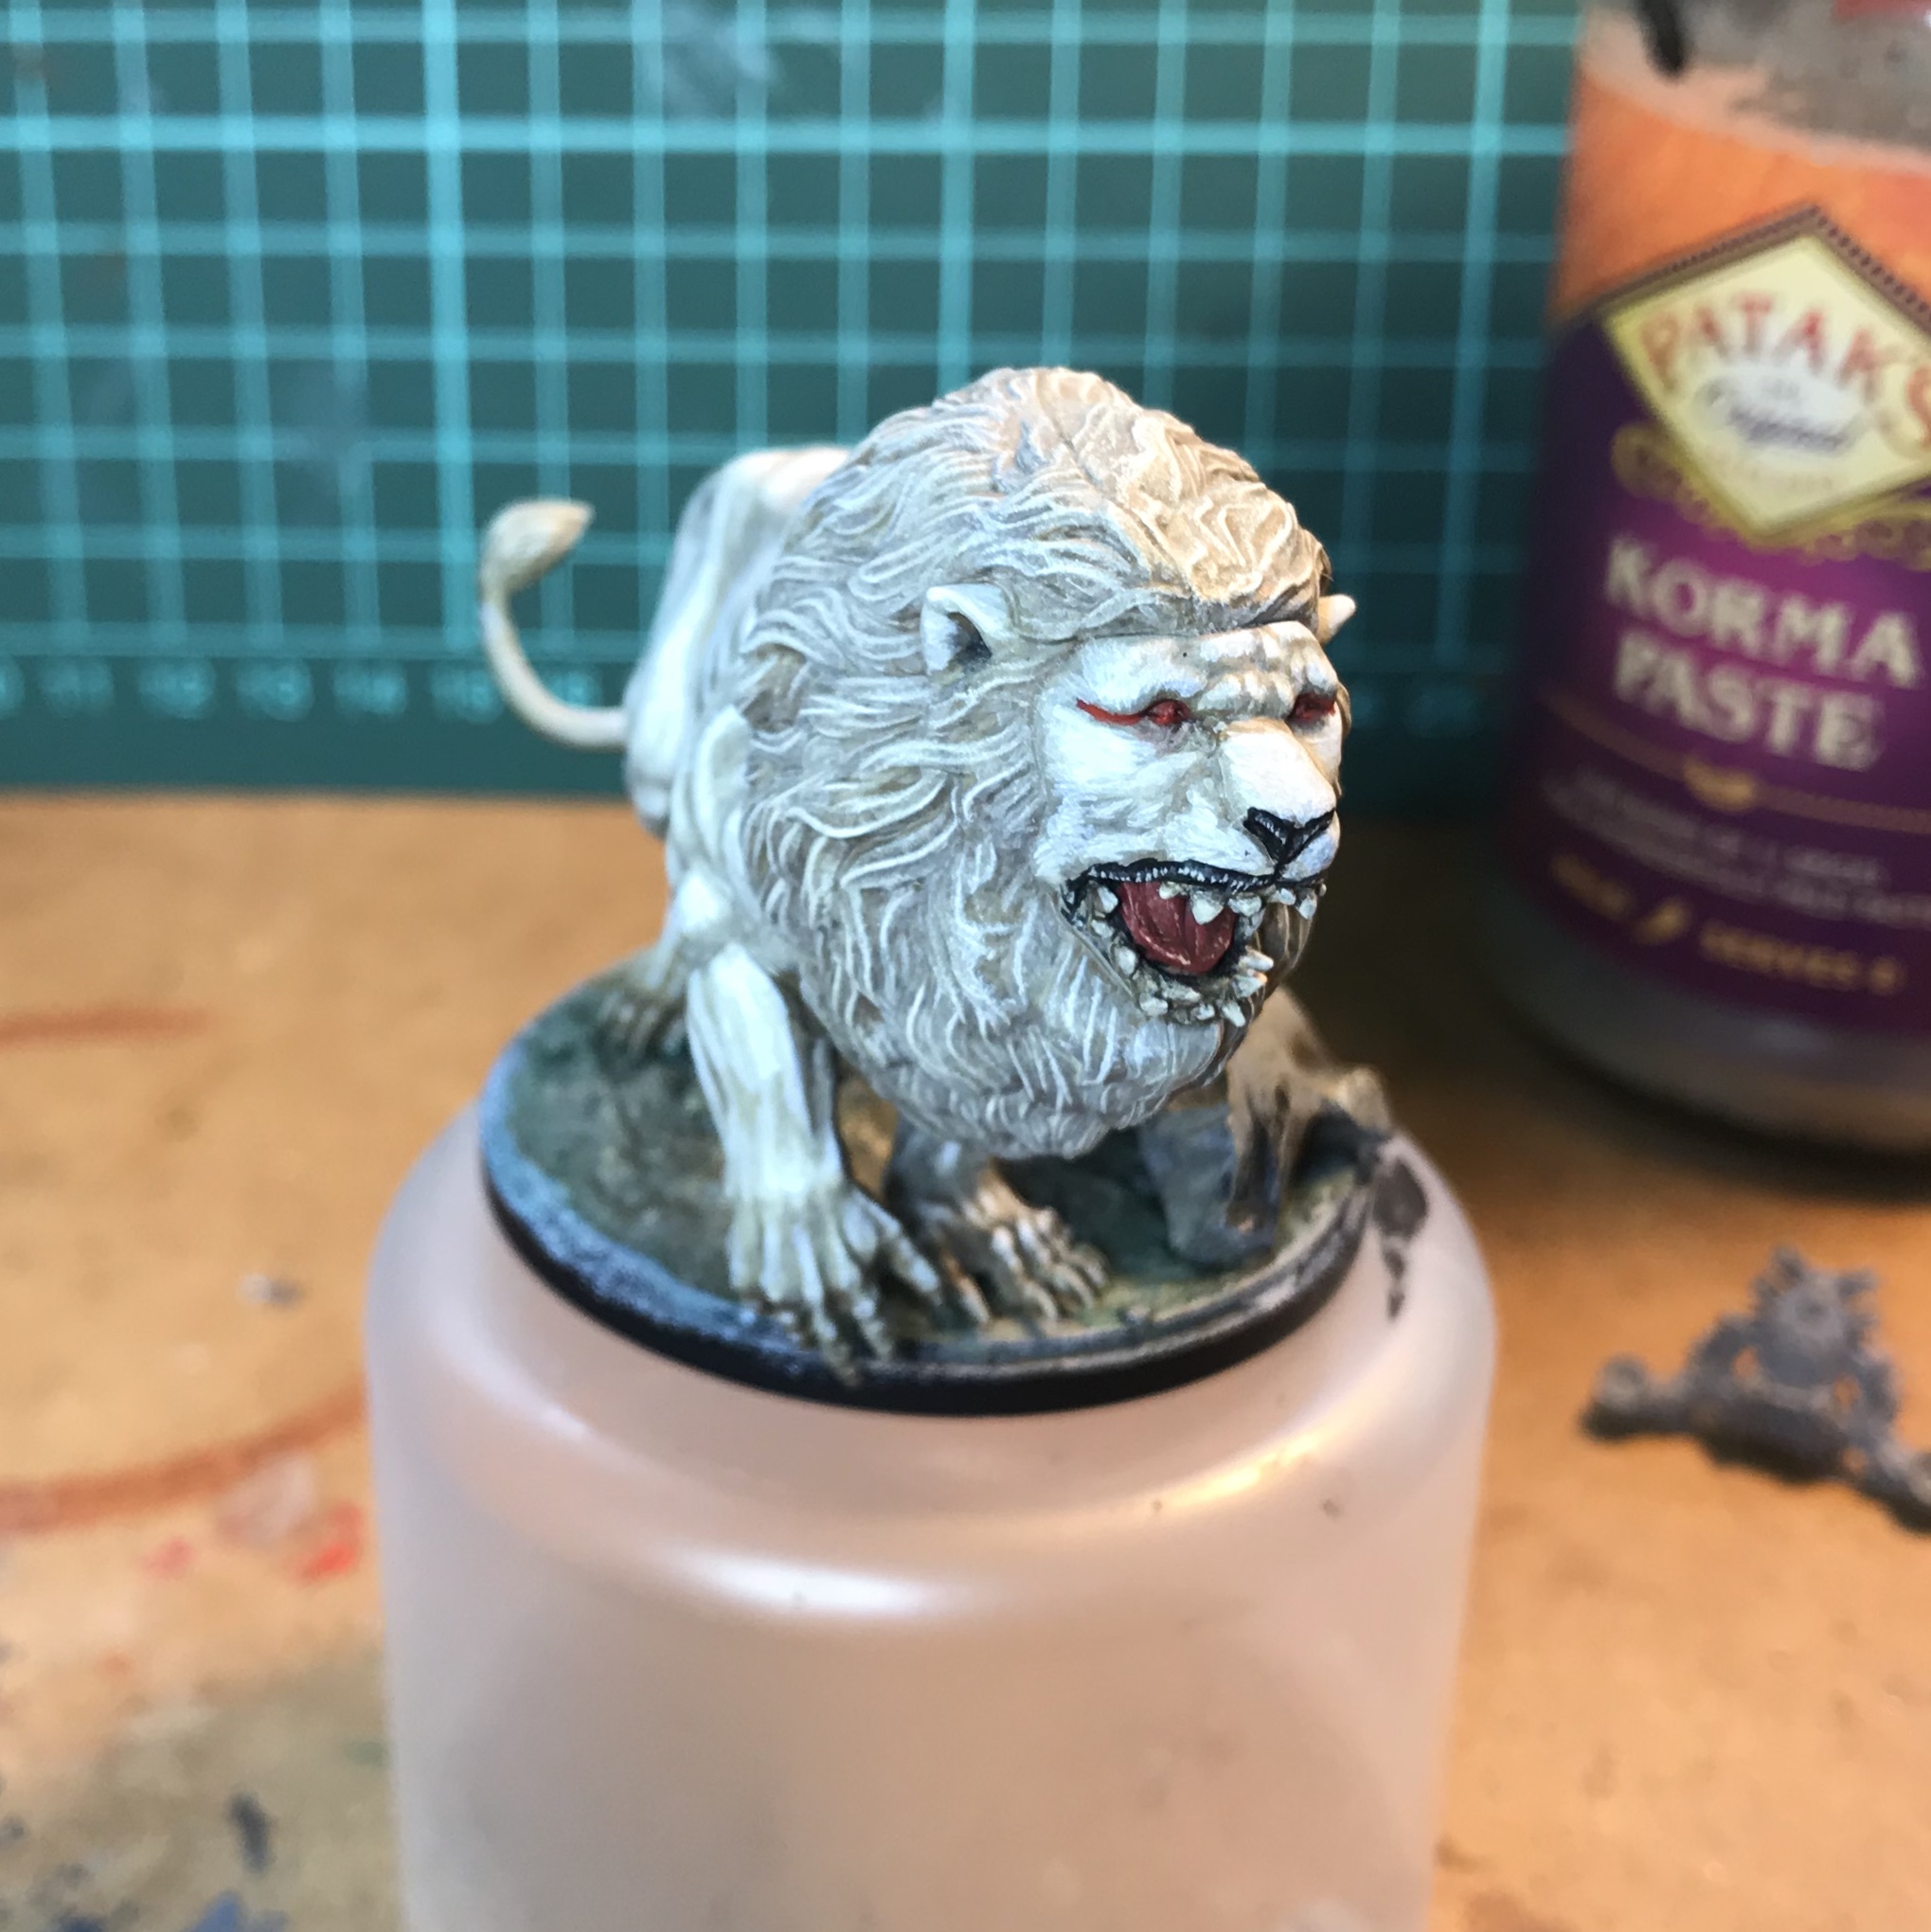
20 Aug 18: Lion Details
The eyes, the nose, the mouth.
Nose is:
- Army Painter Matt Black;
- a 1:1 mix of AP Matt Black and GW Bleached Bone
- GW Bleached Bone
The highlights are applied in small, thin, vertical lines.
Eyes:
- Vallejo German Camo Brown
- GW Mechrite Red (foundation paint)
- GW Blood Red
- rough mix of GW Blood Red and Bronzed Flesh
- Glaze Of GW Devlan Mud
Mouth:
- Base tongue in German Camo Brown
- GW Mechrite red
- GW Bronzed Flesh
- Mechrite Red again… see beliw
- Glaze of GW Devlan Mud
I had based the tongue, then gone over with the Mechrite Red. I tried bringing the tongue closer to a natural cat-tongue-pink with Bronzed Flesh. I applied it with small, thin strokes. But it looked wrong. Too pink. I went back over with the Mechrite Red. Though I left a little of the Bronzed Flesh showing through… it looked ok. I glazed over this with Devlan Mud and left it to dry. I’m happy with the result.
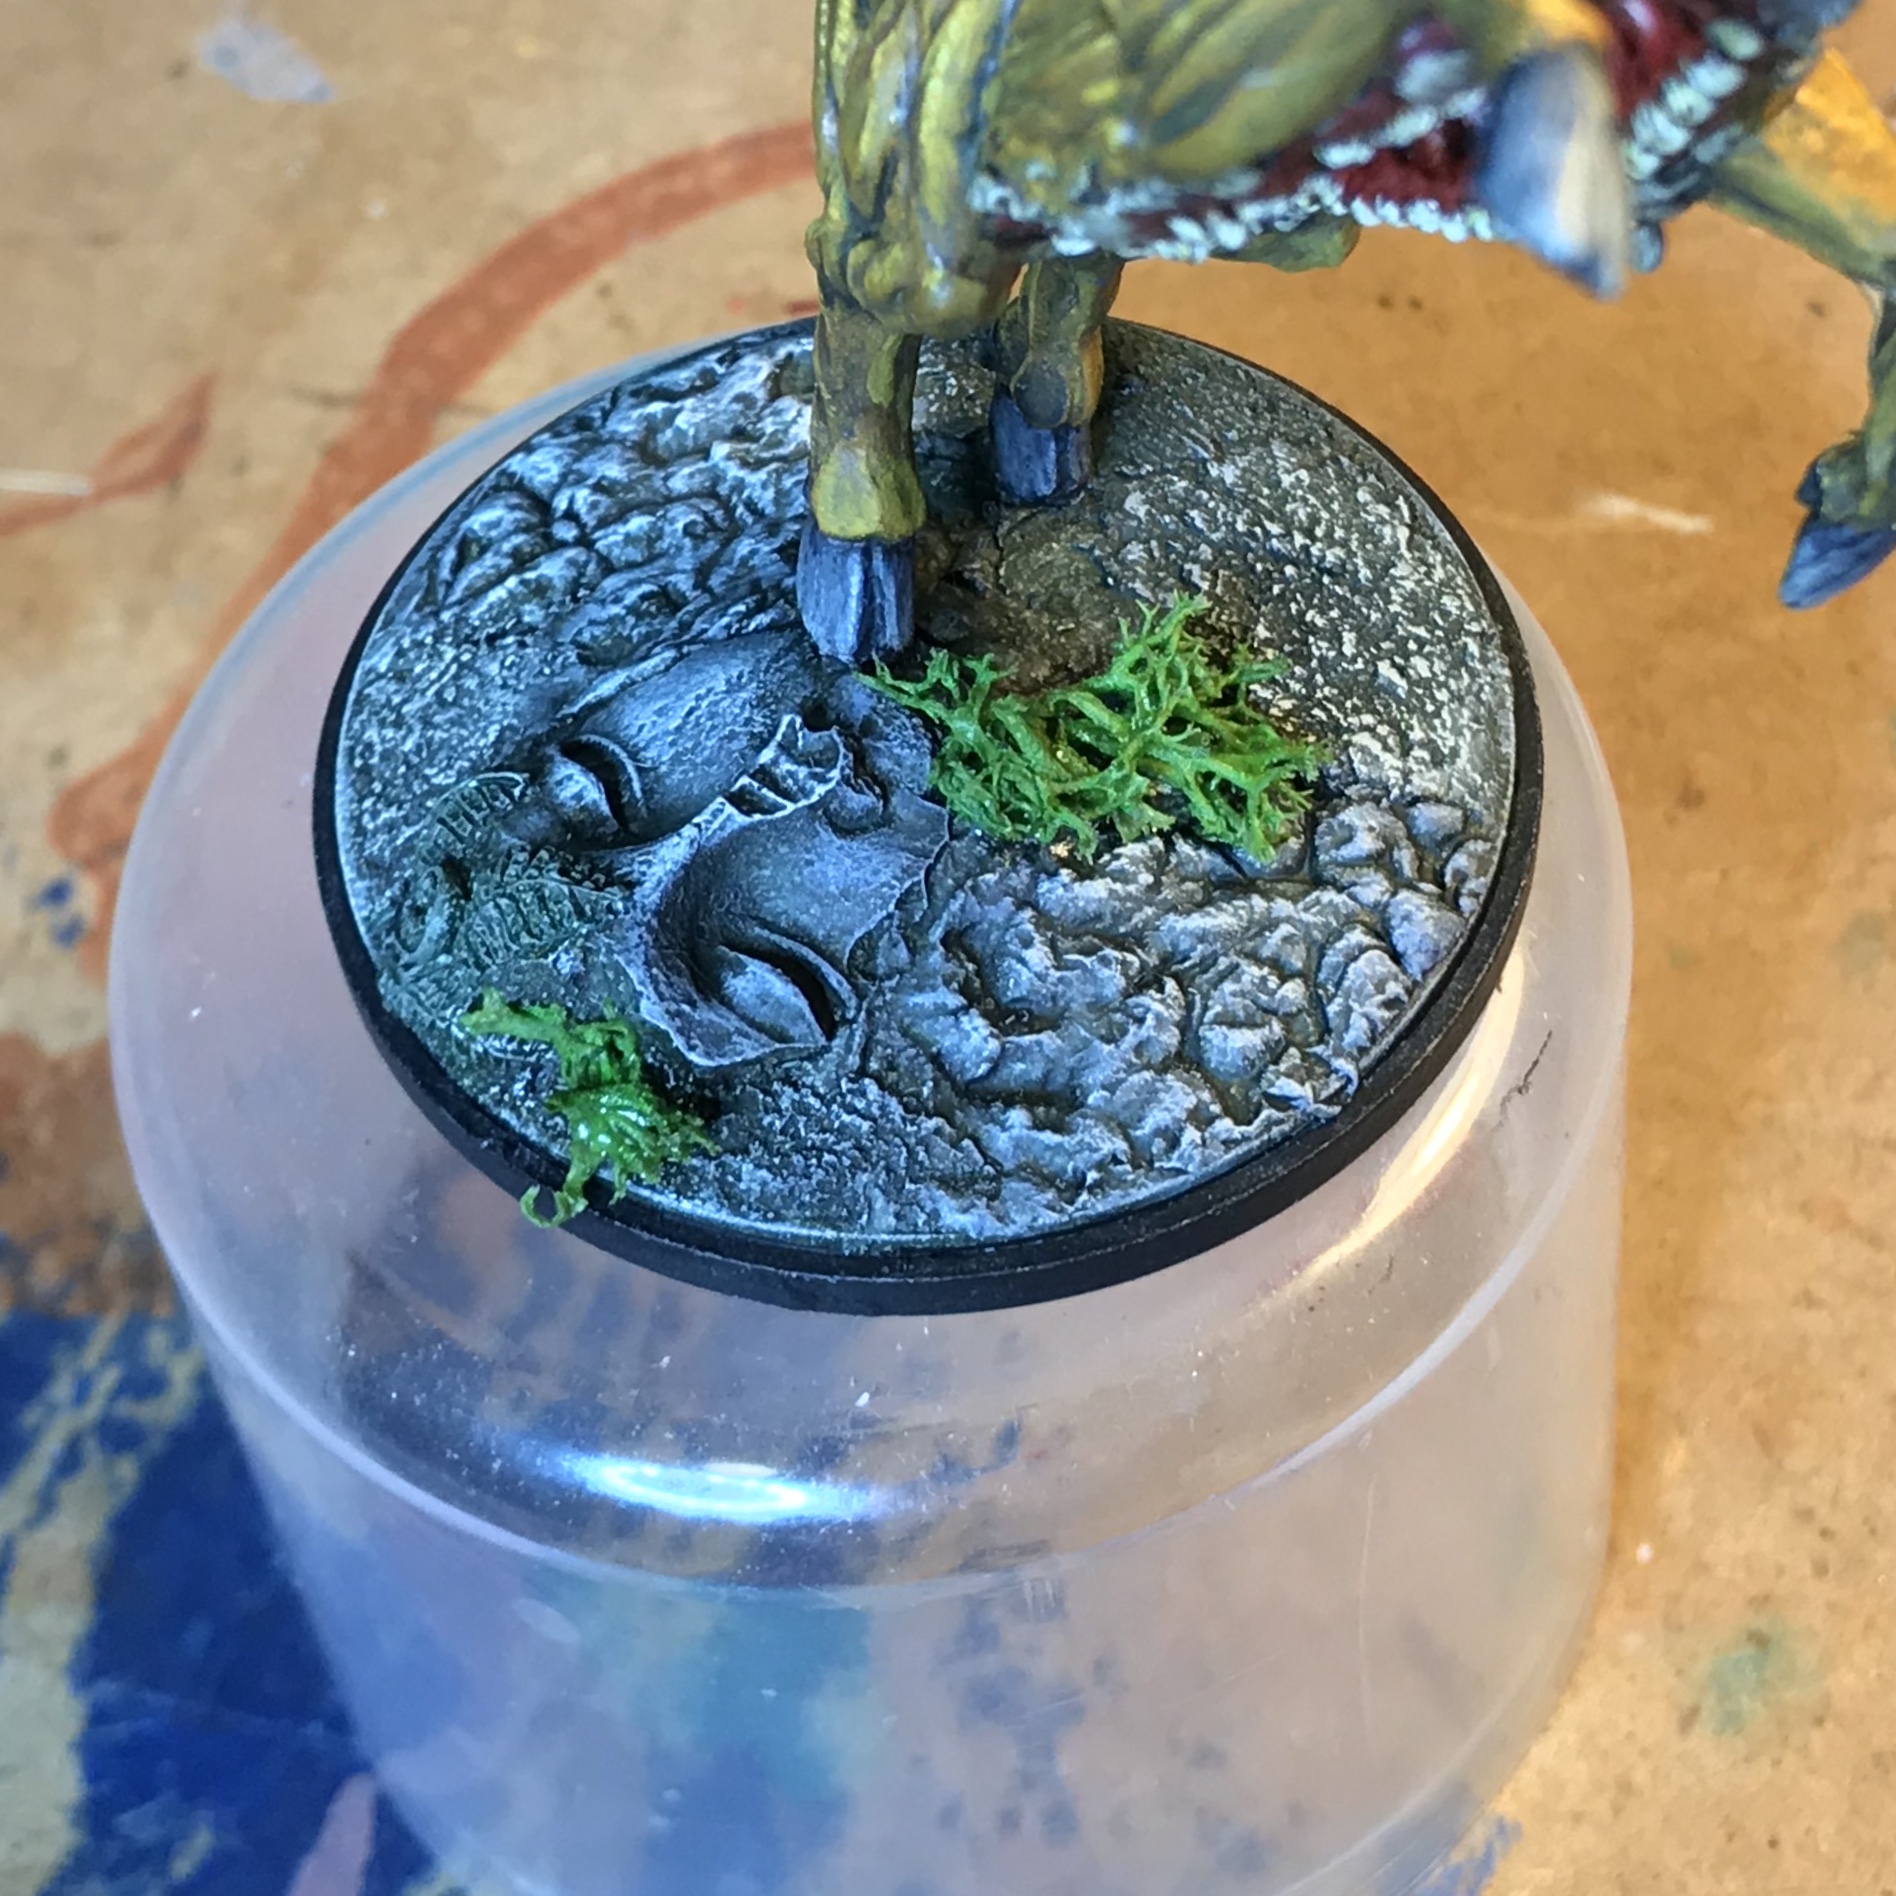
I did the base at this point too, though I won’t go into it here.

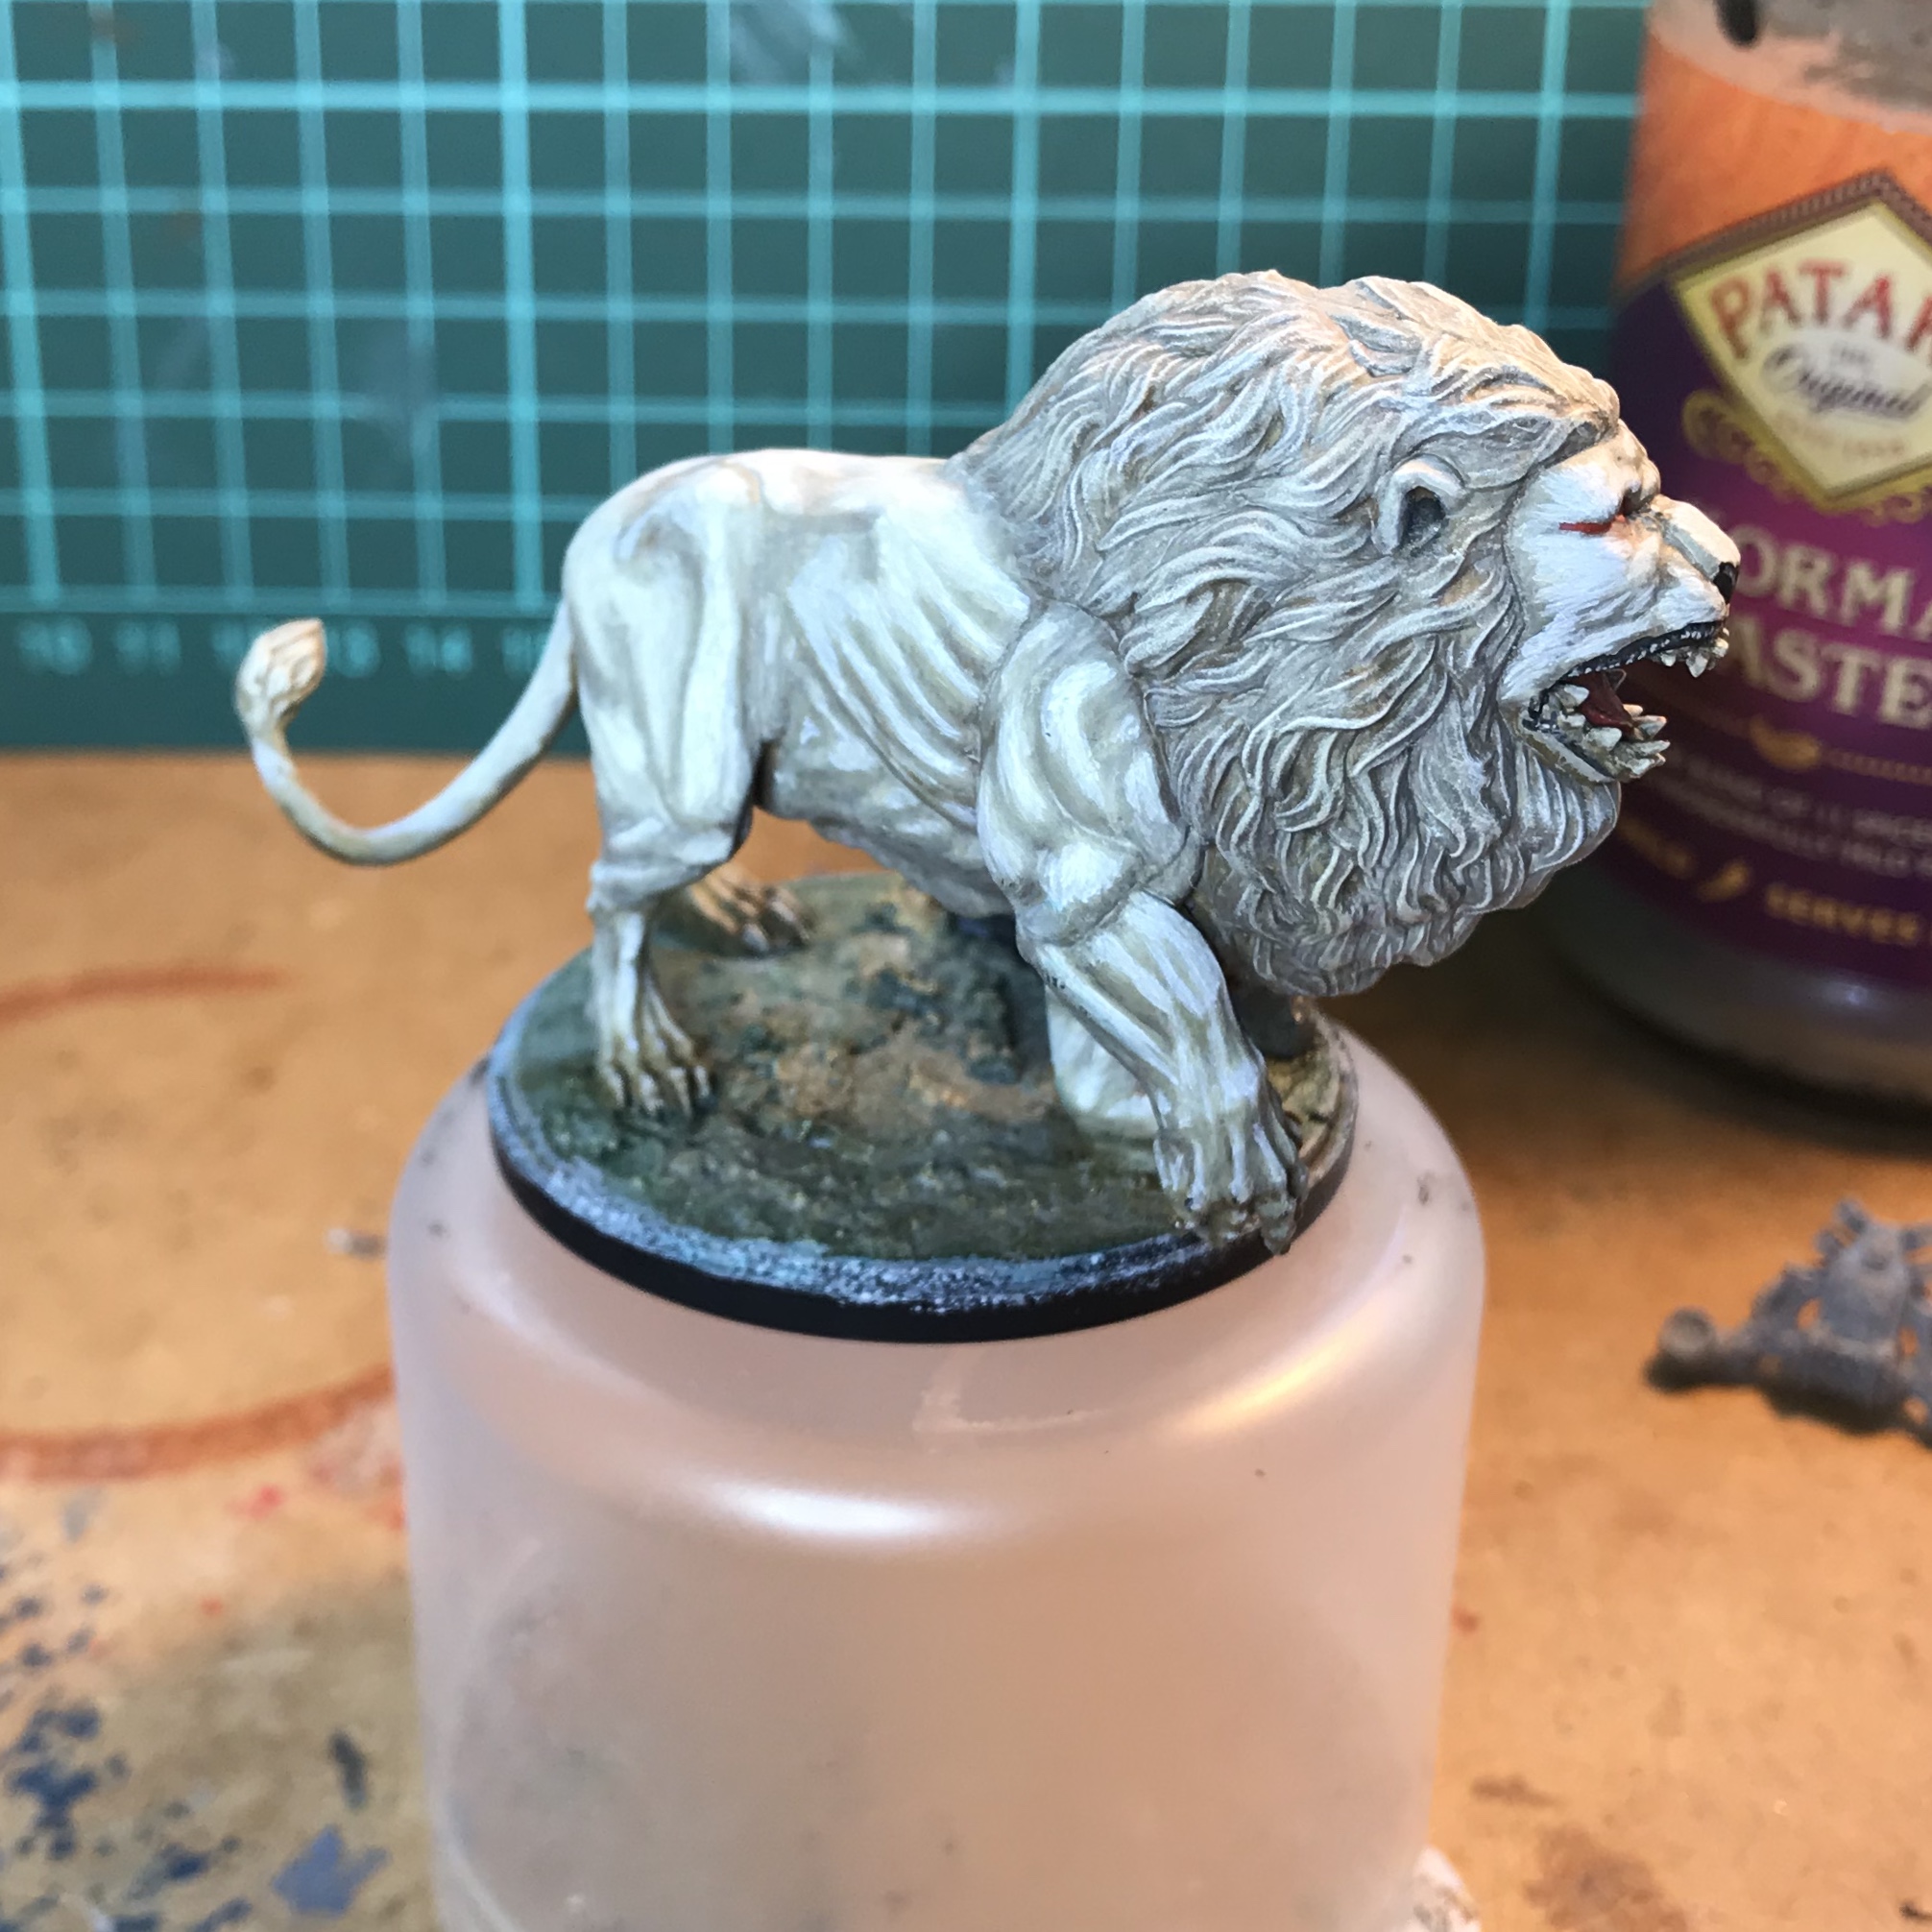

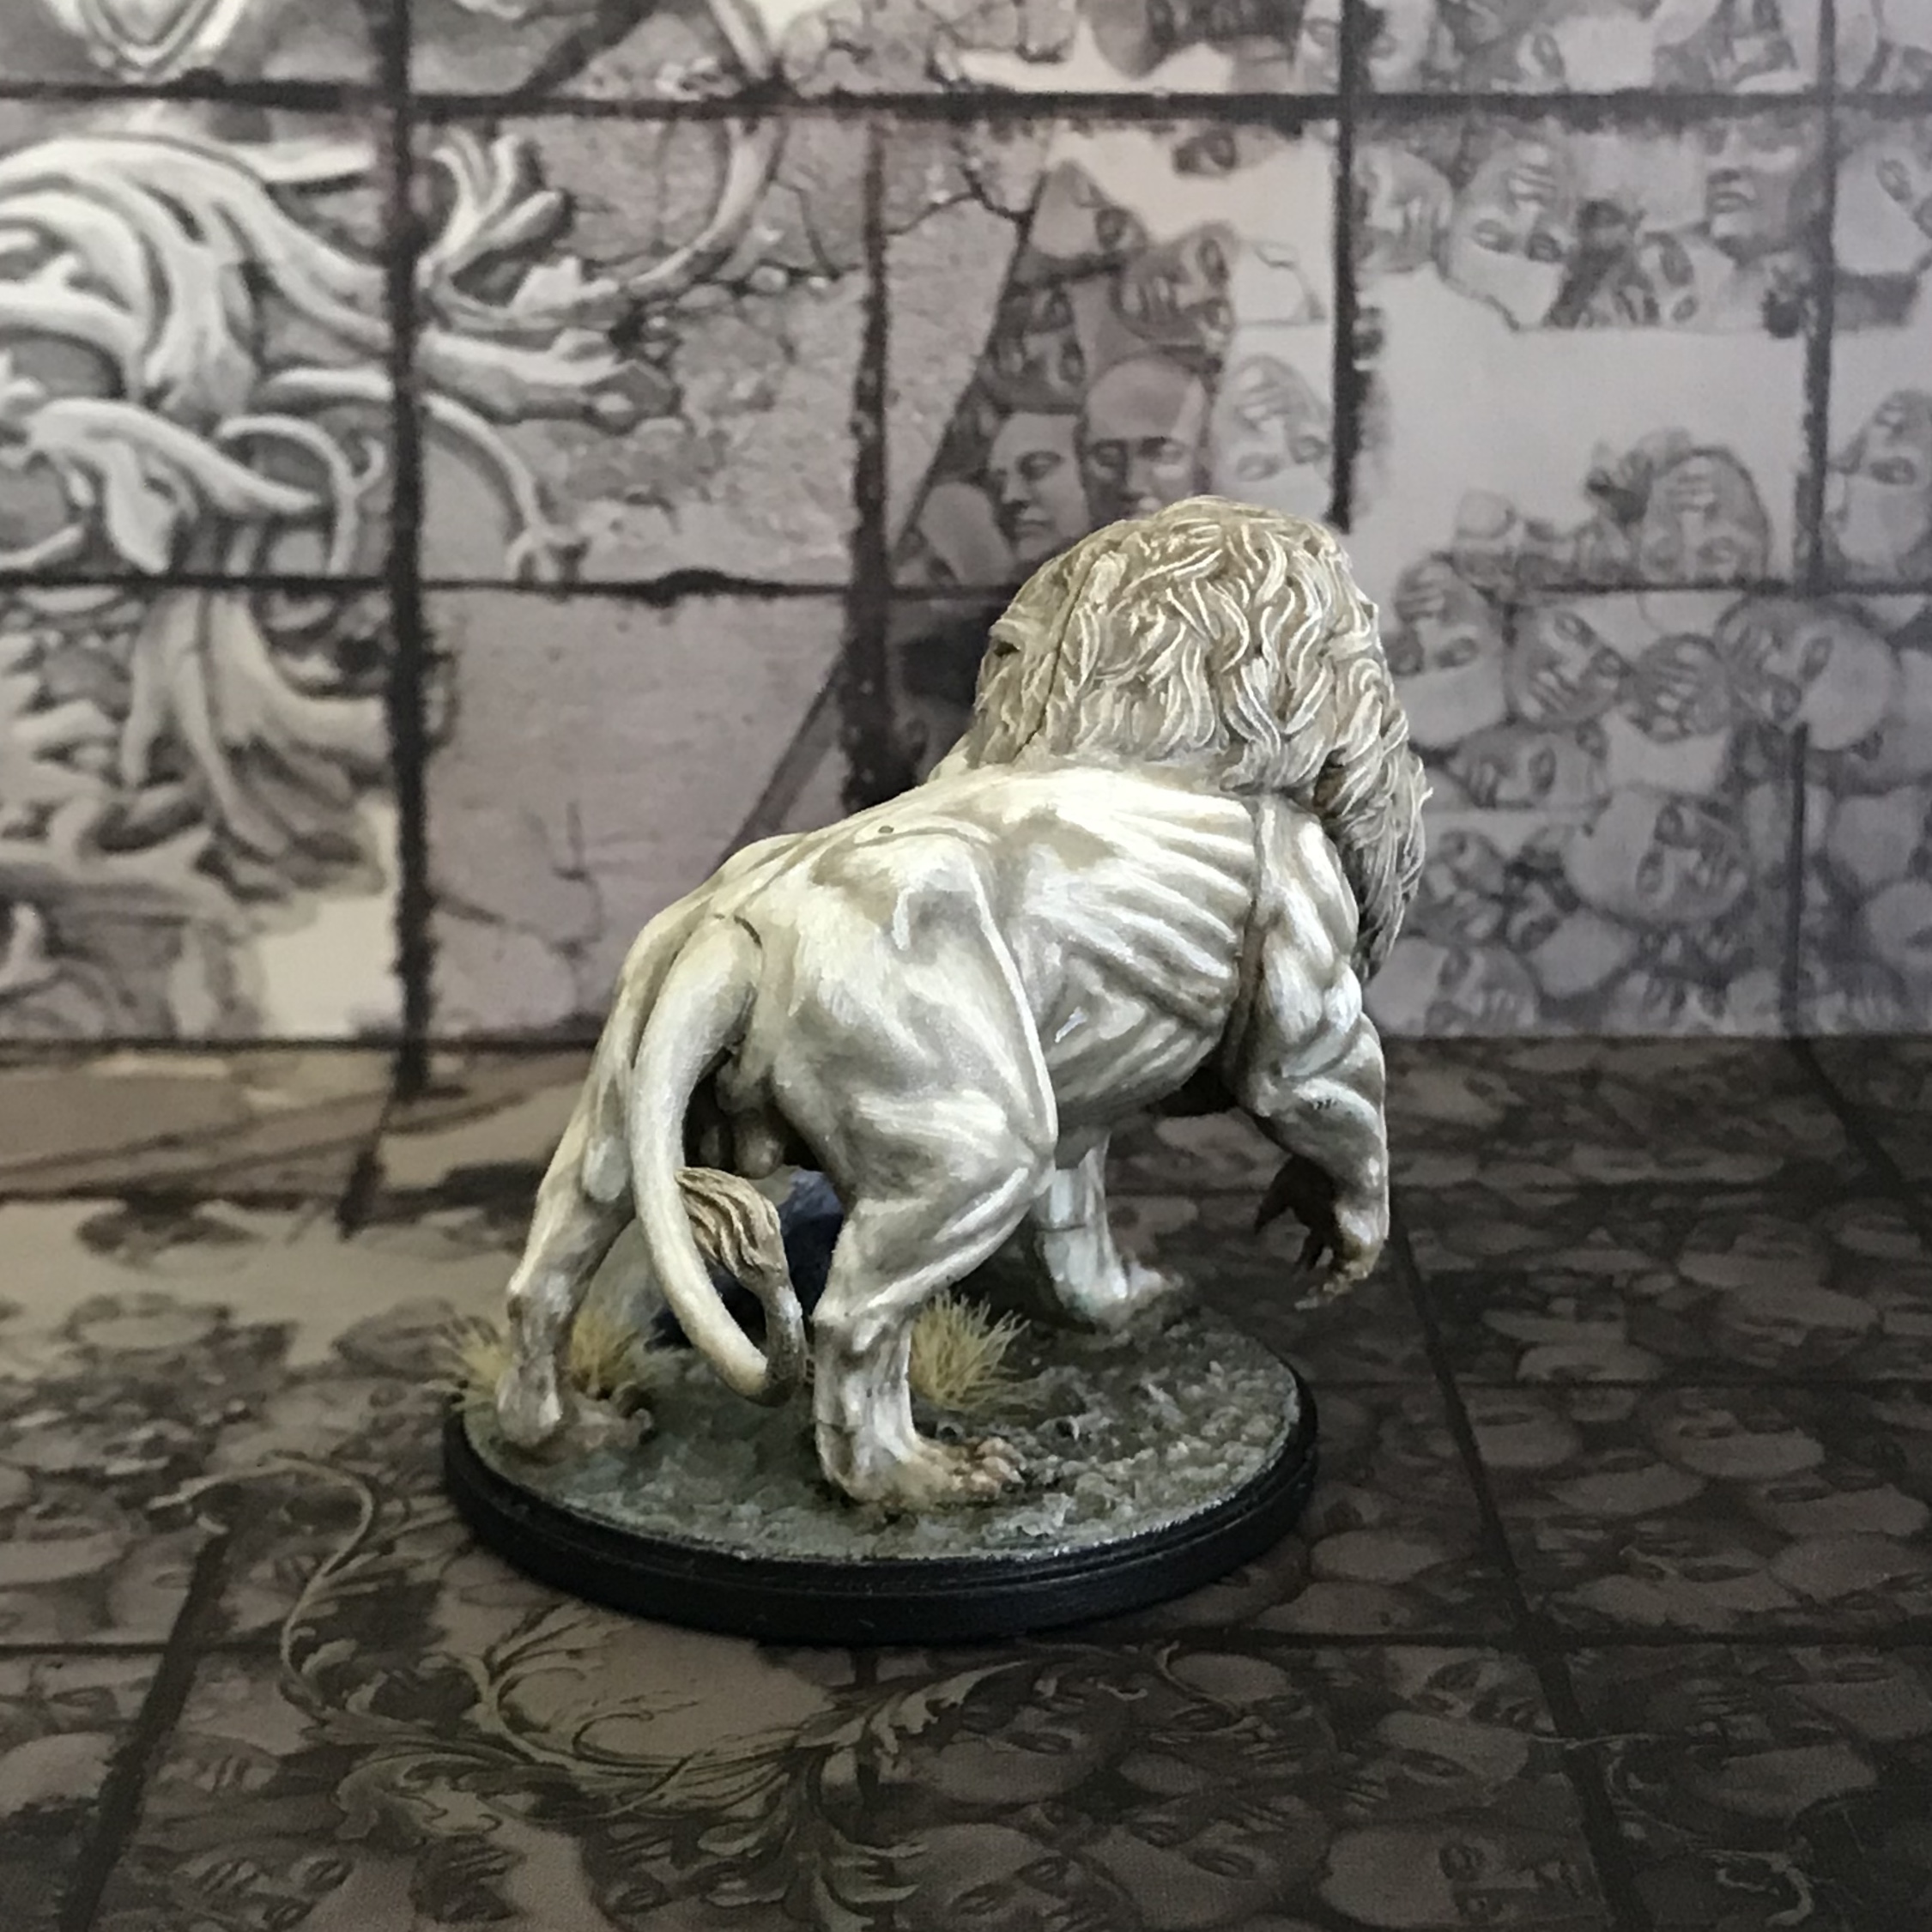
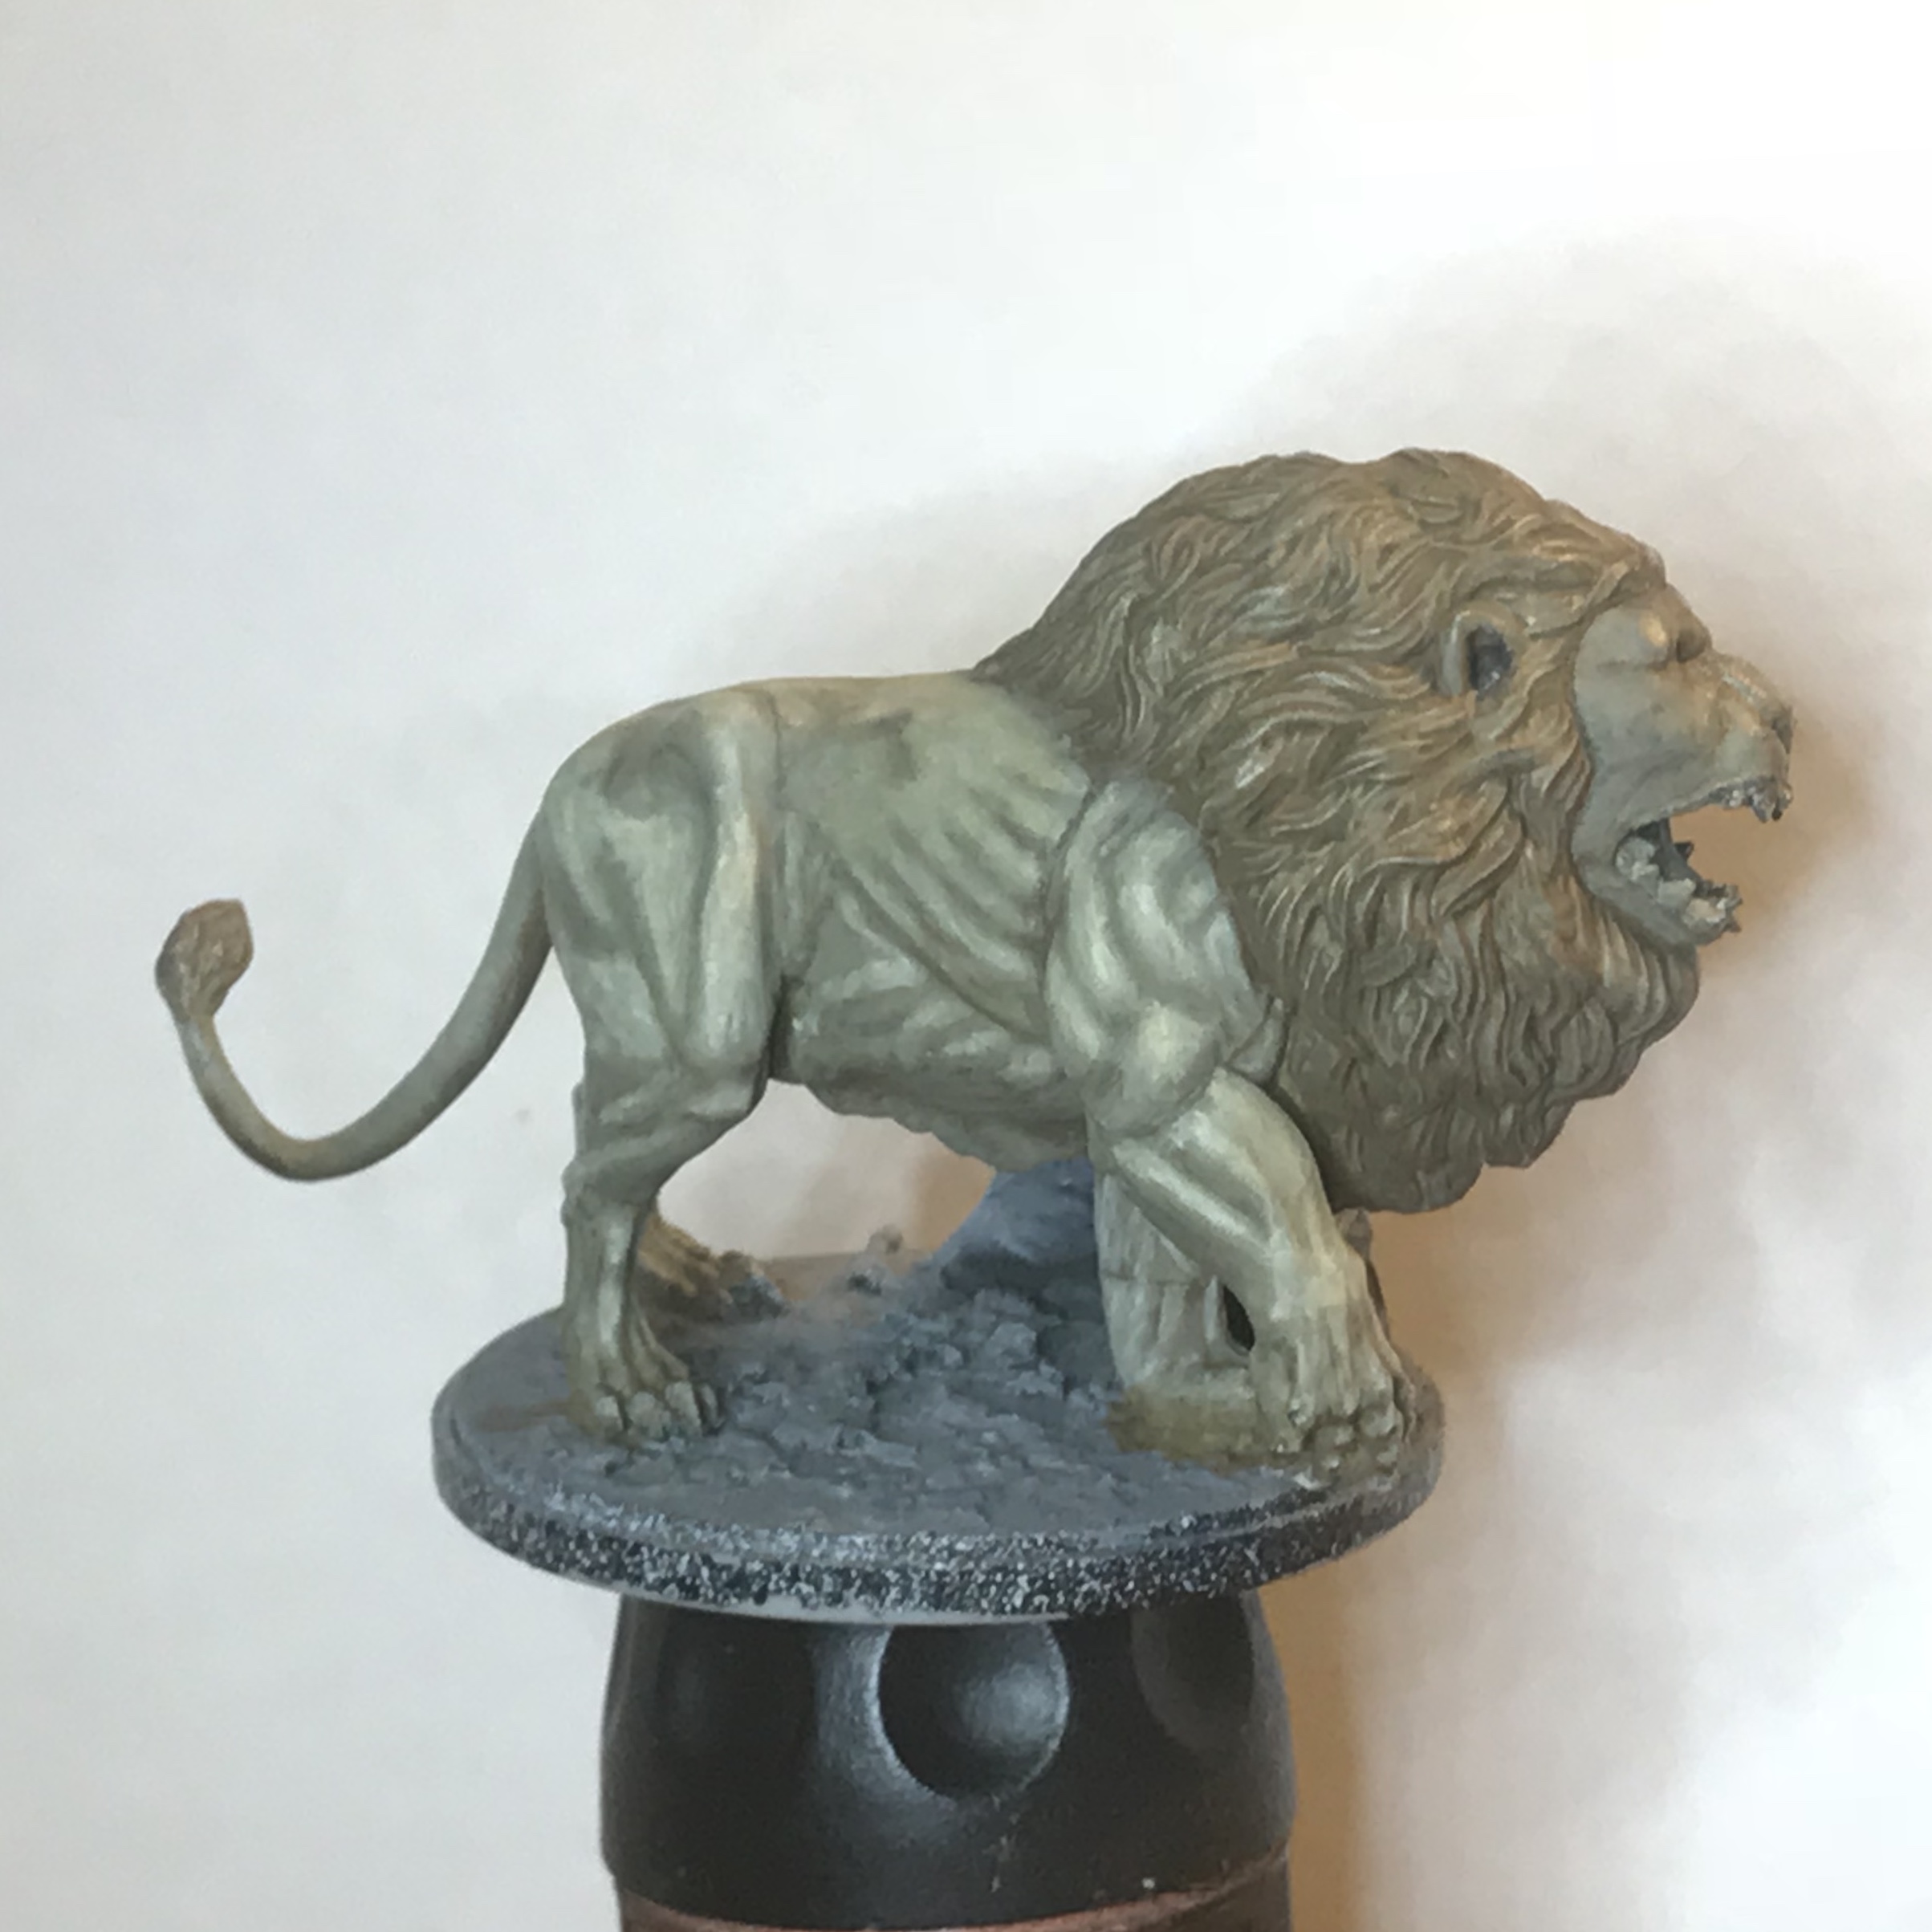
 The White Lion!
I still have a few details to add to the base. But almost done.
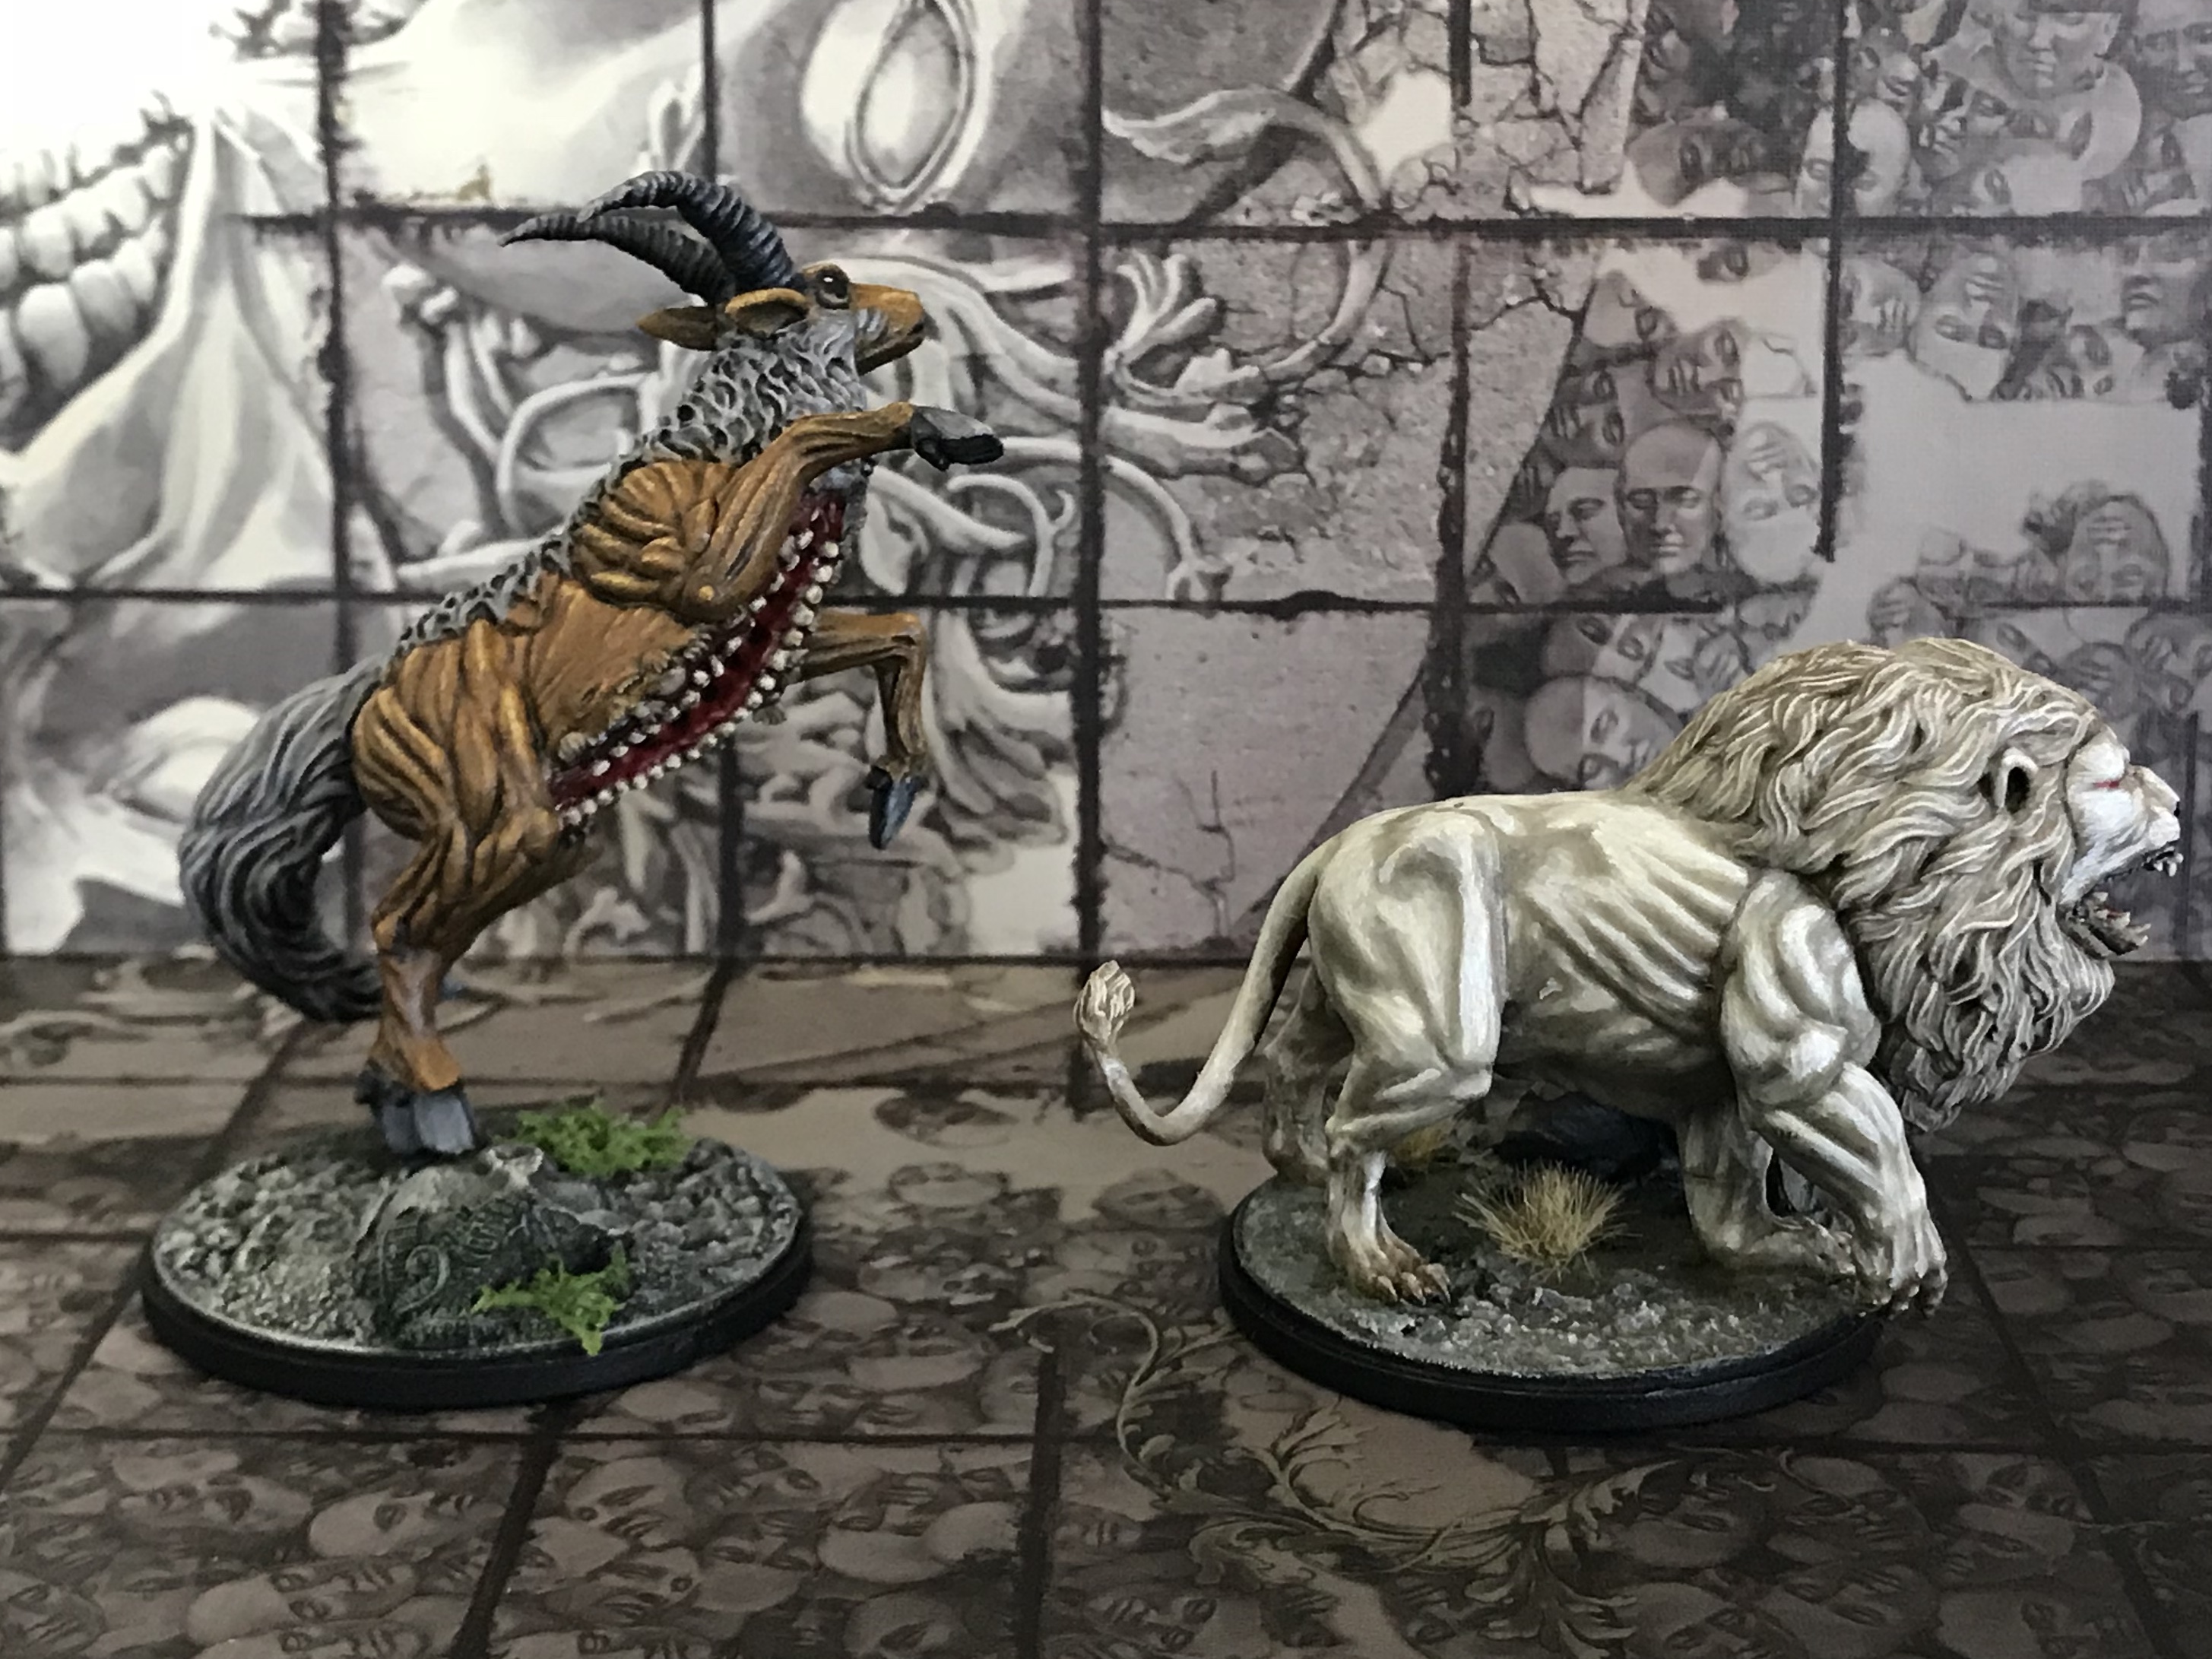
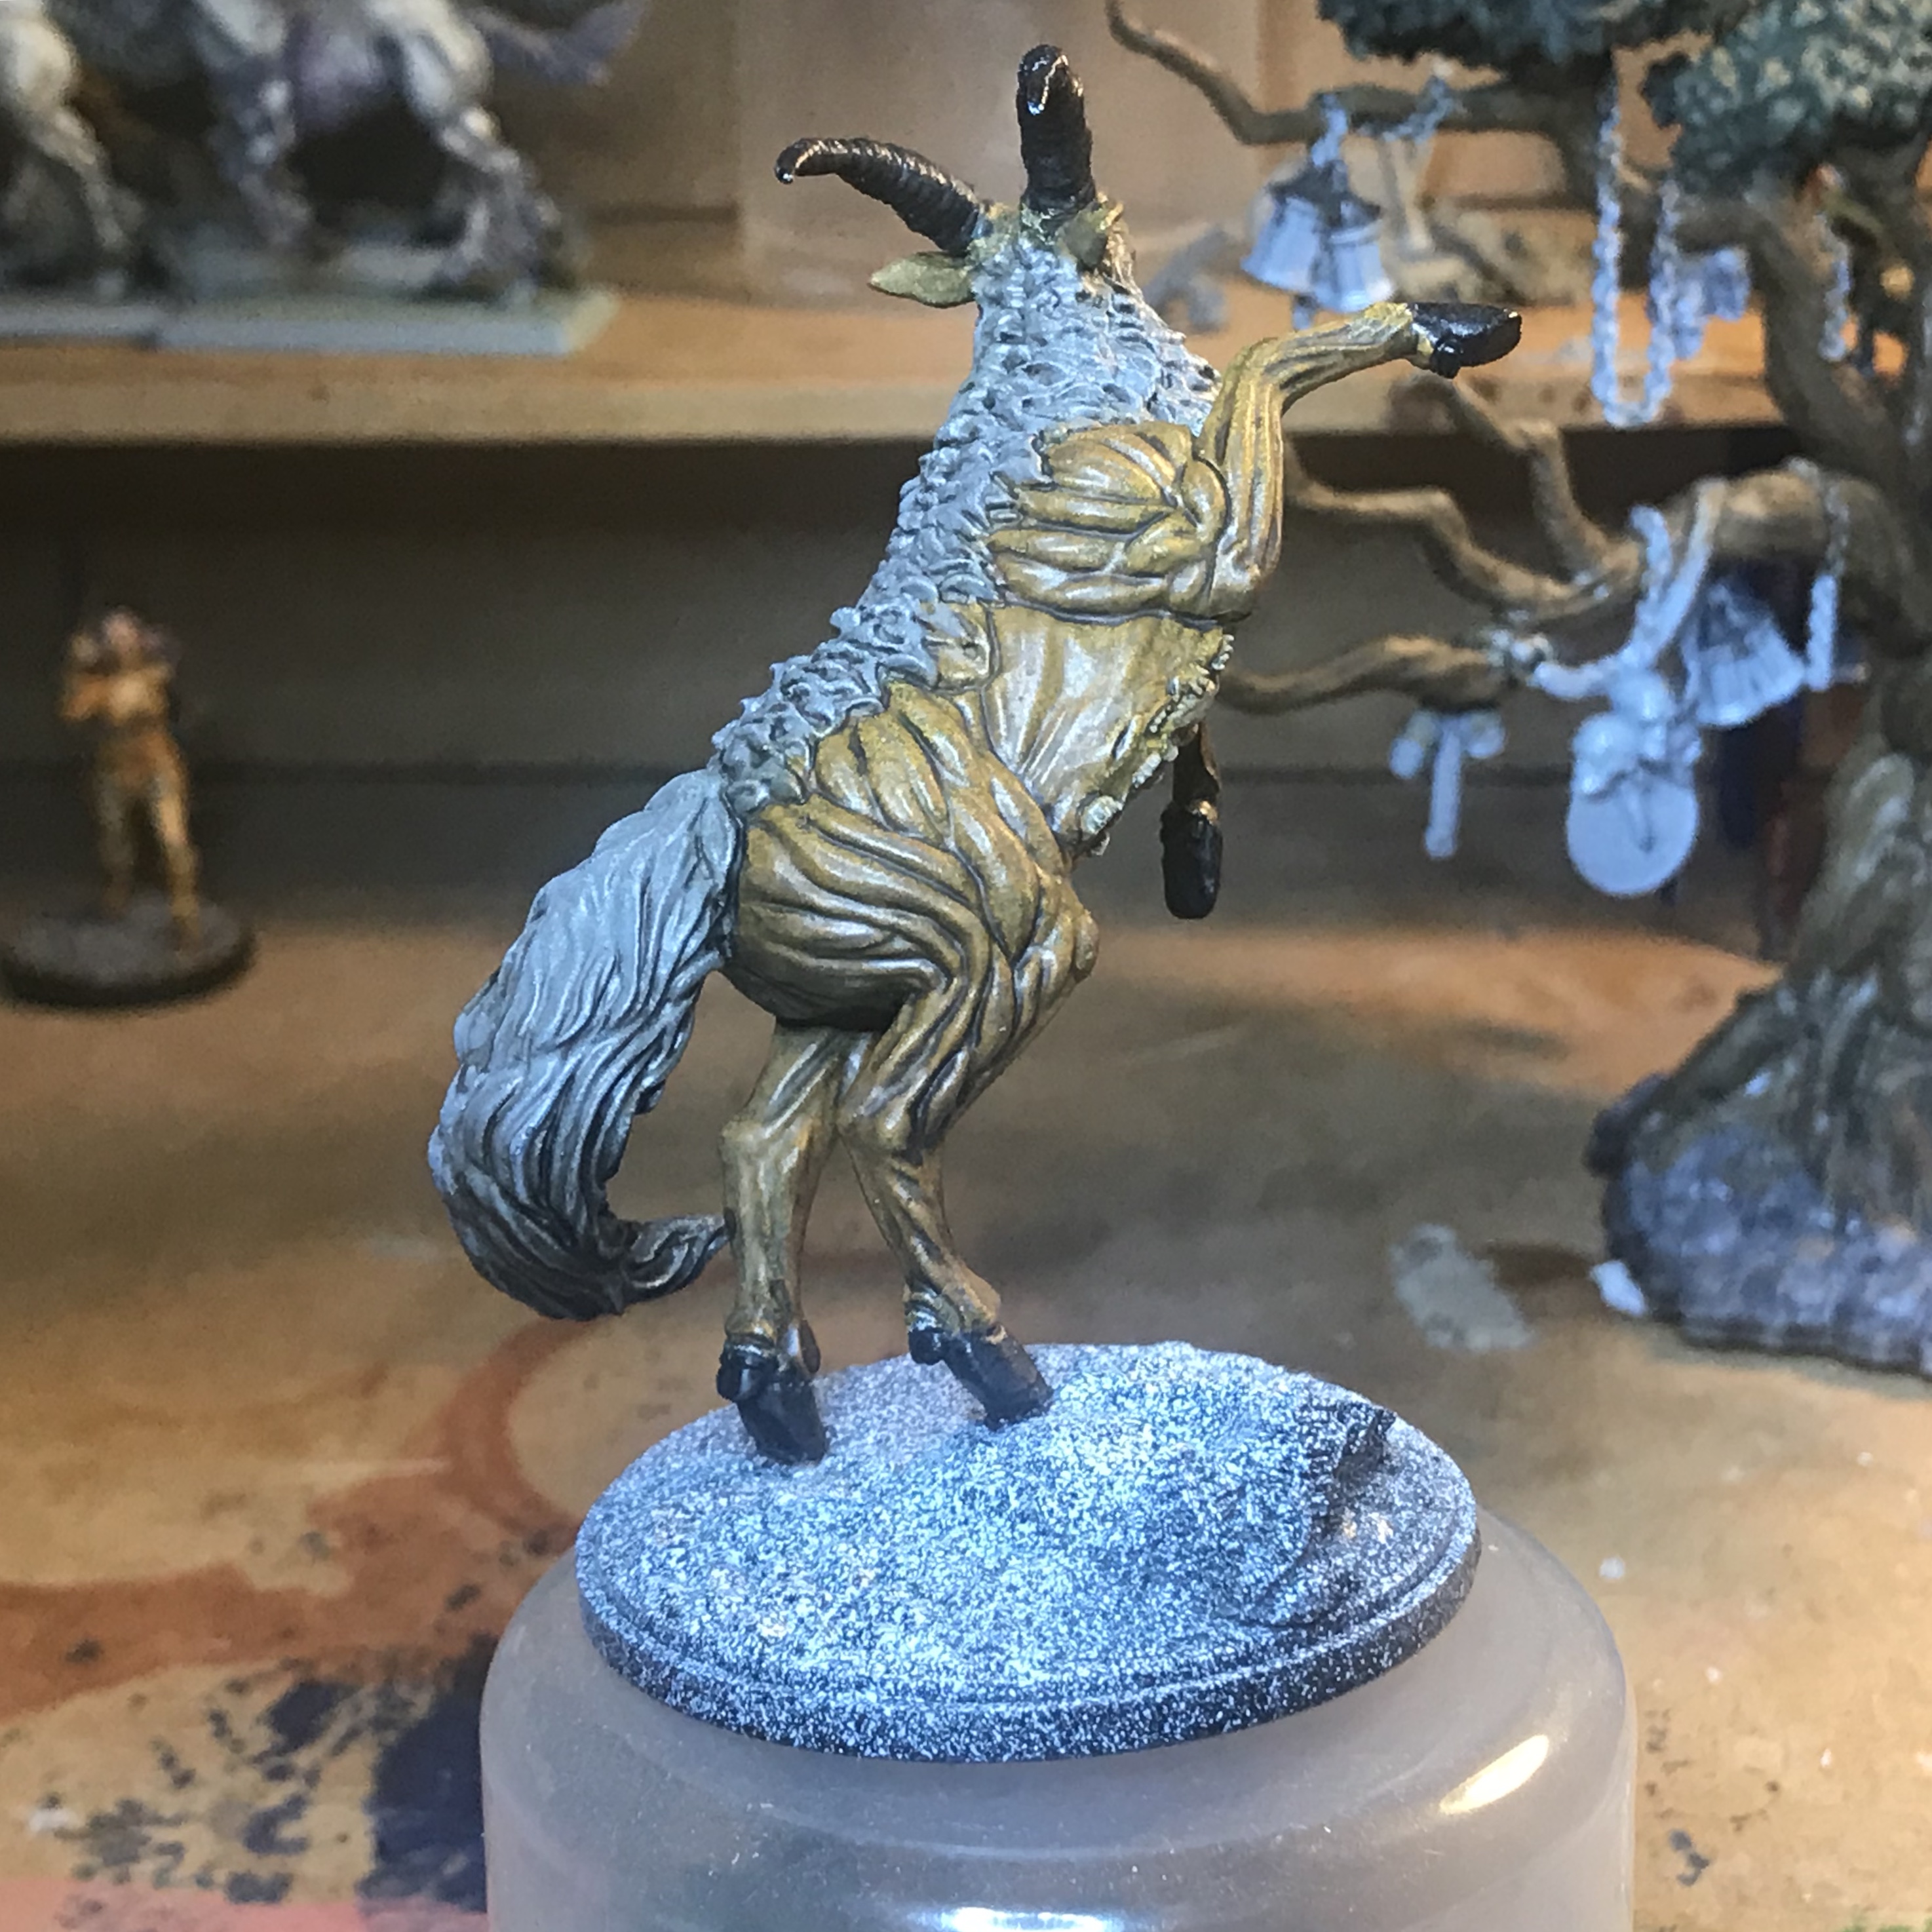
22 Aug 18: The Antelope
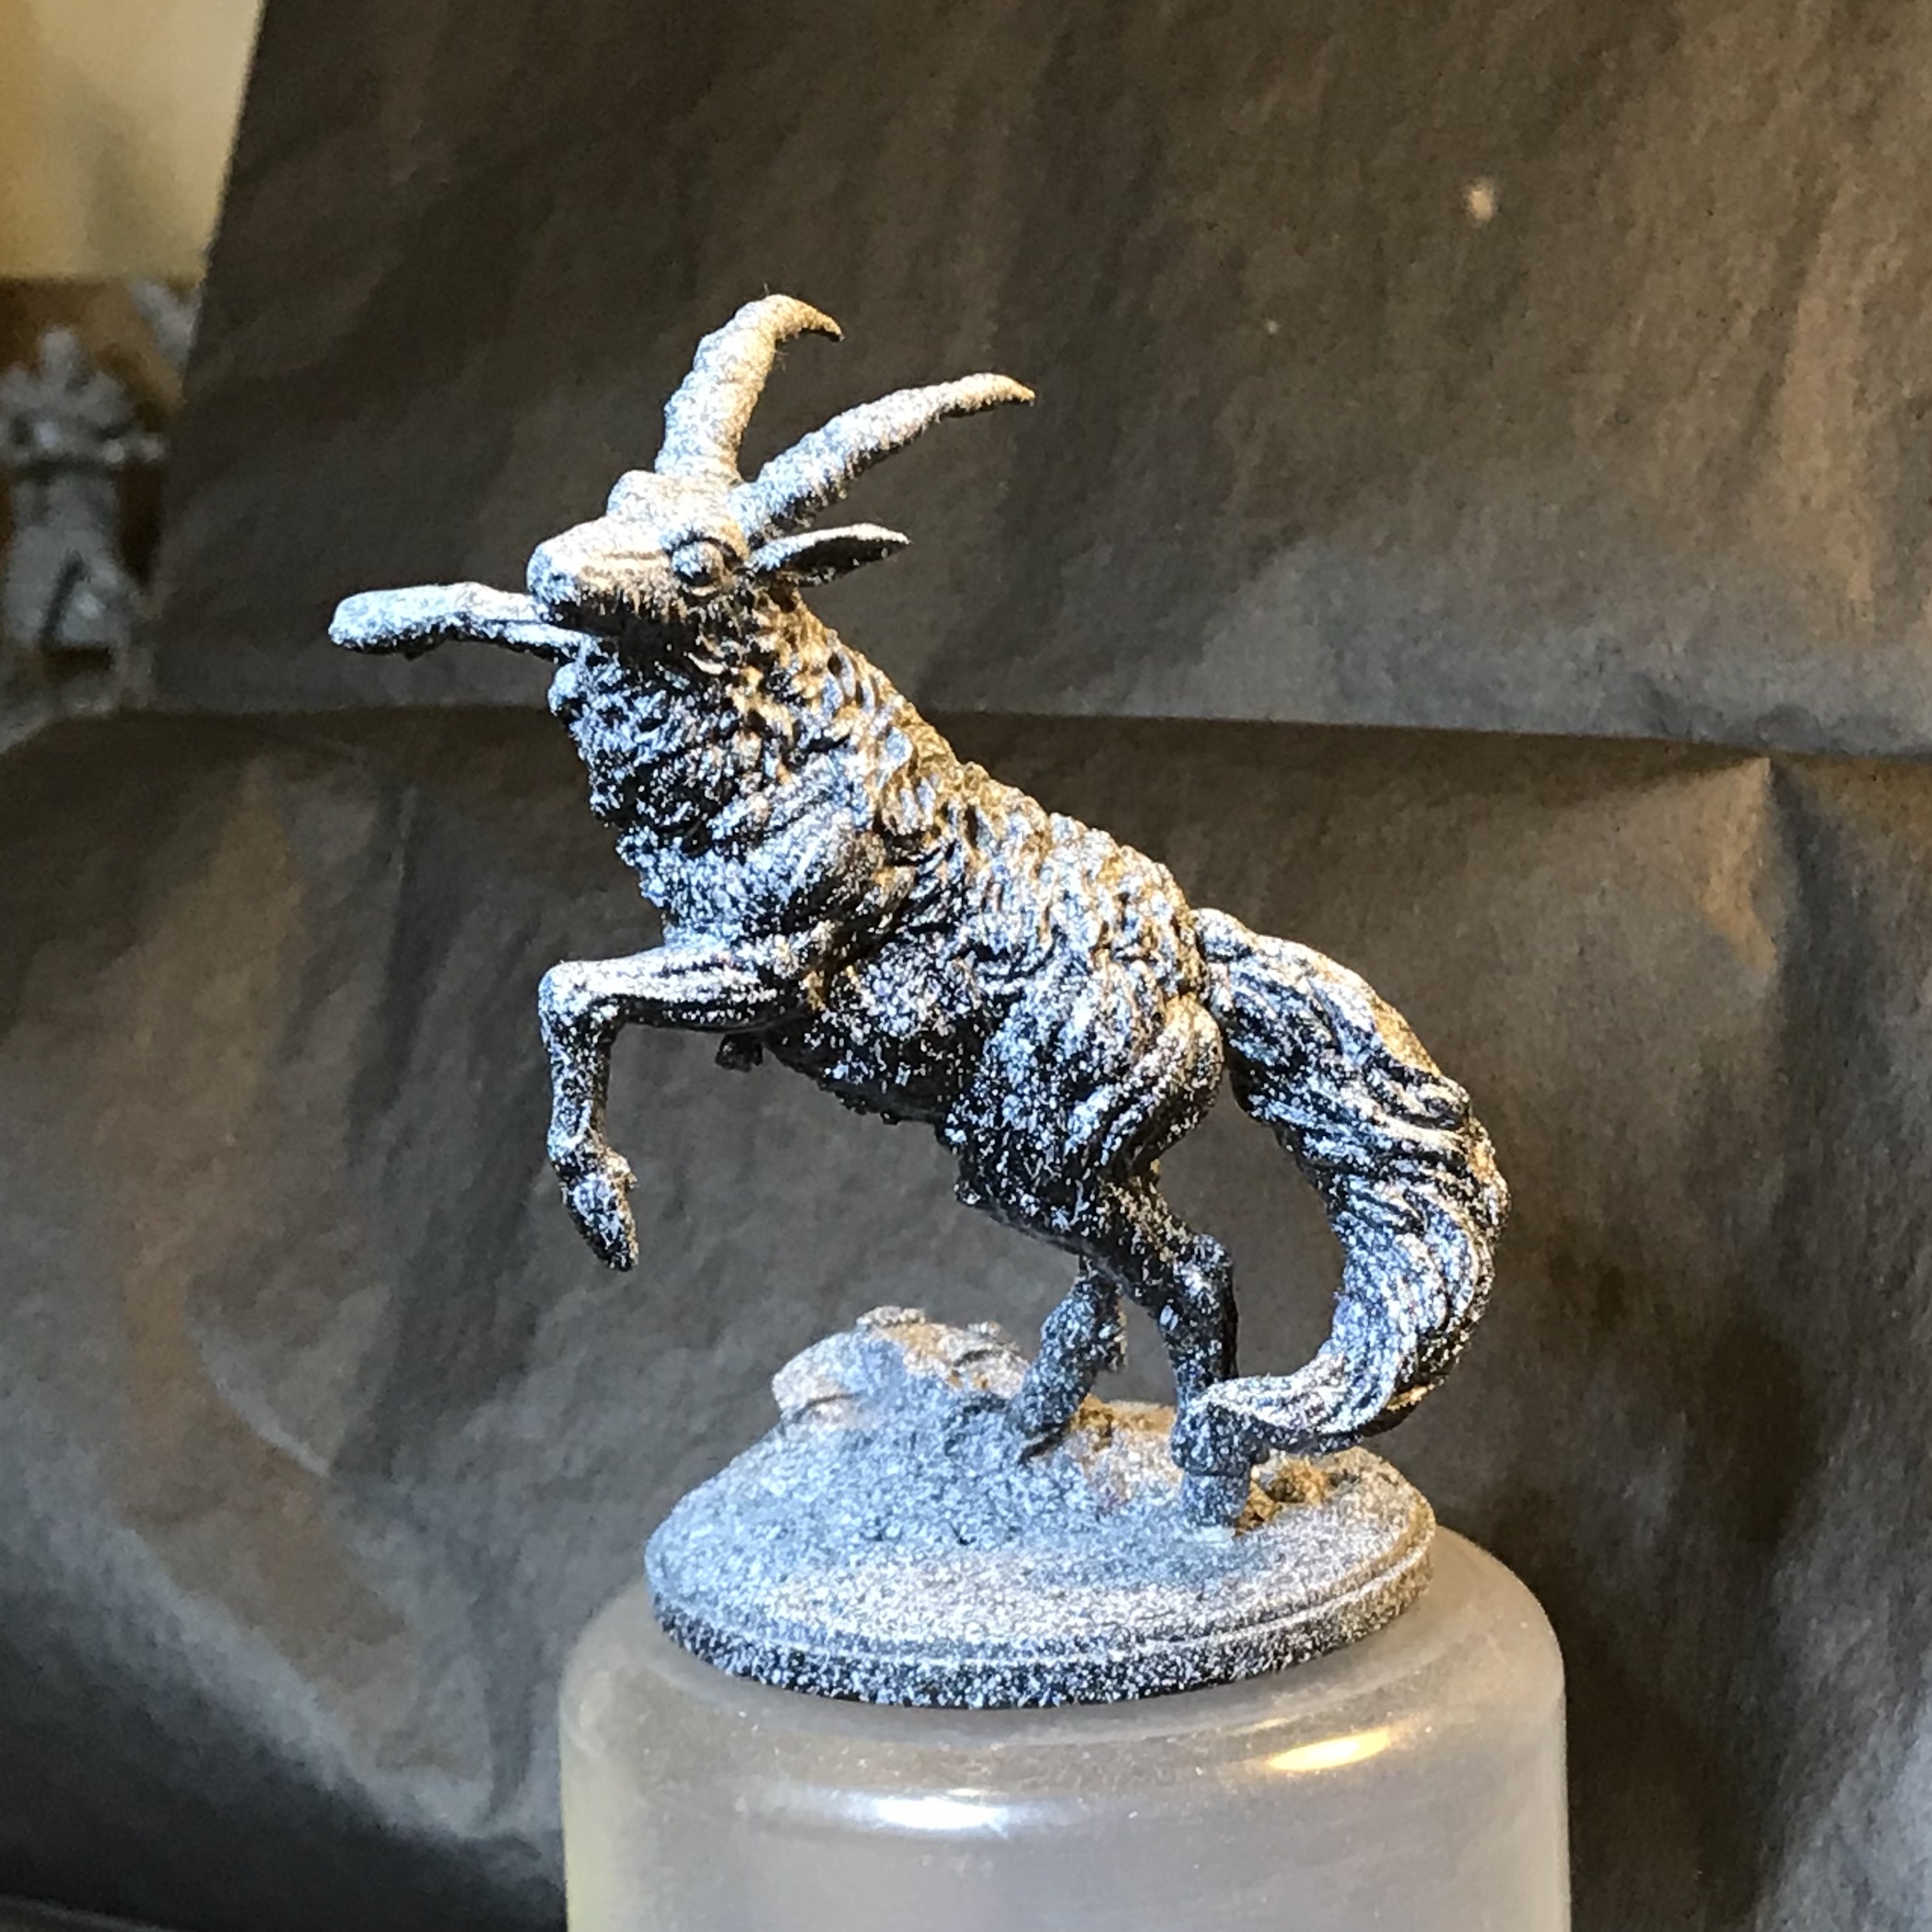
Final beastie for this project: The Screaming Antelope.
Prepped the same as the Lion. Ready to go!
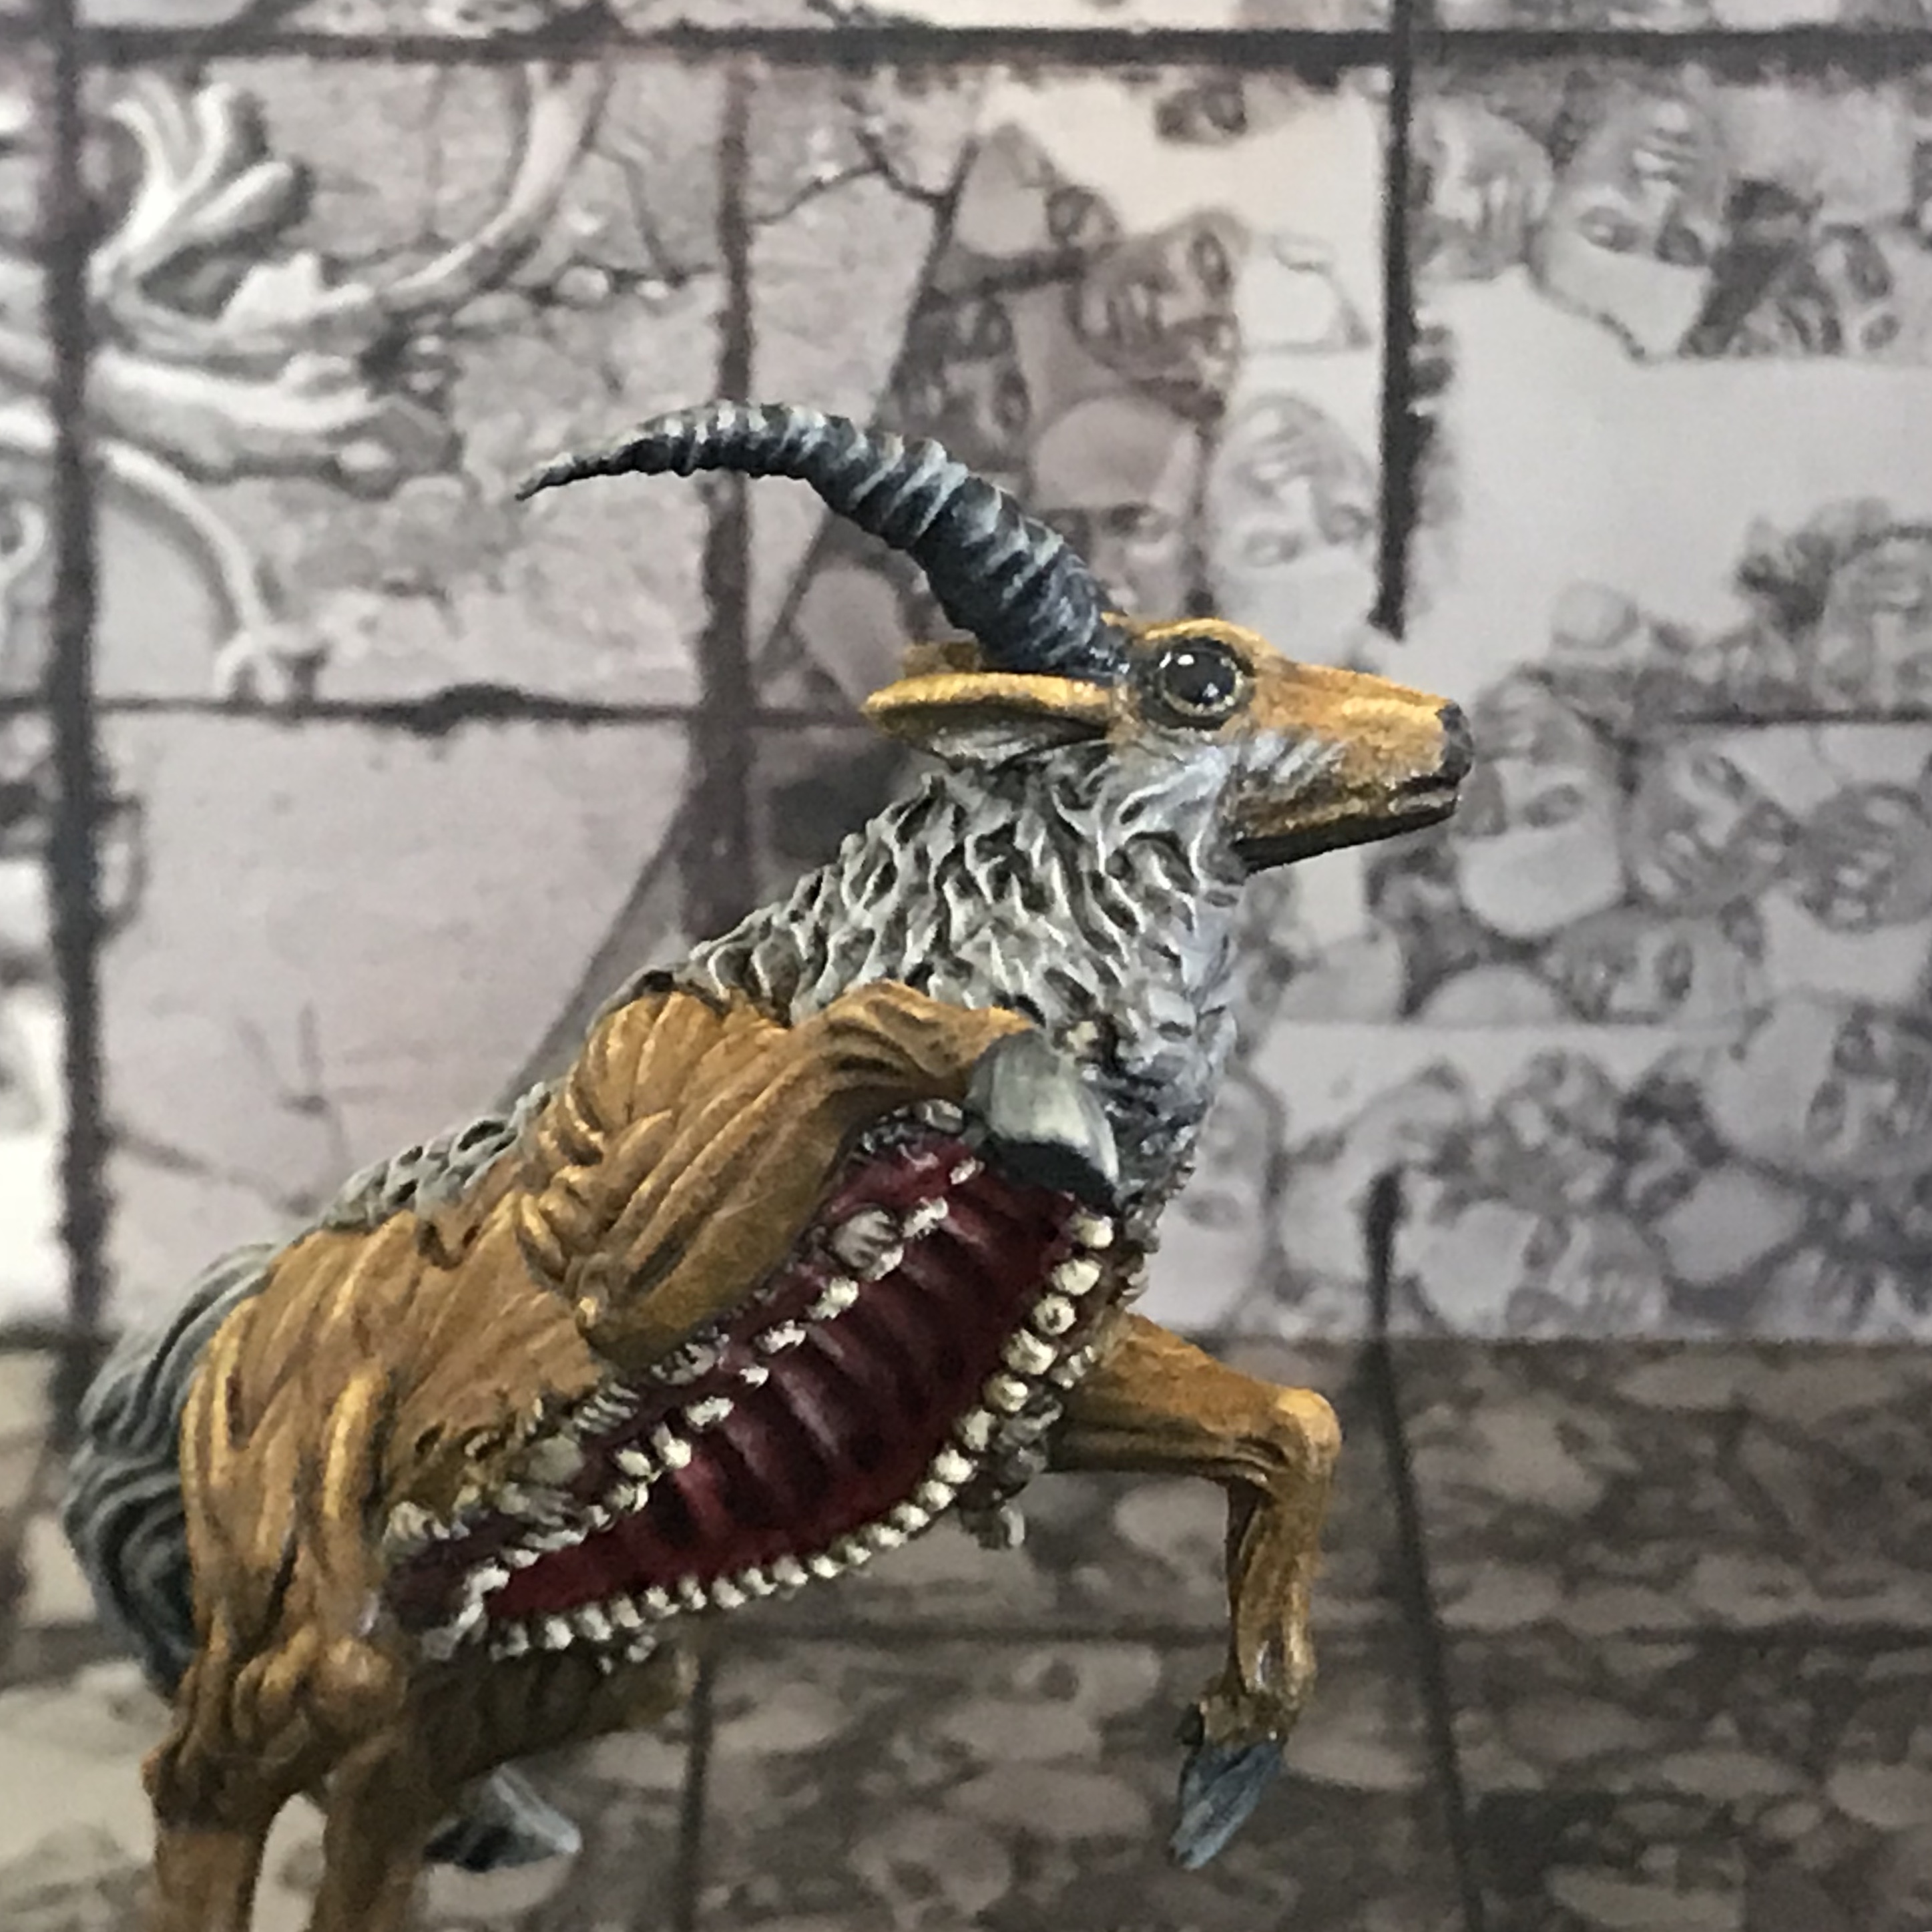
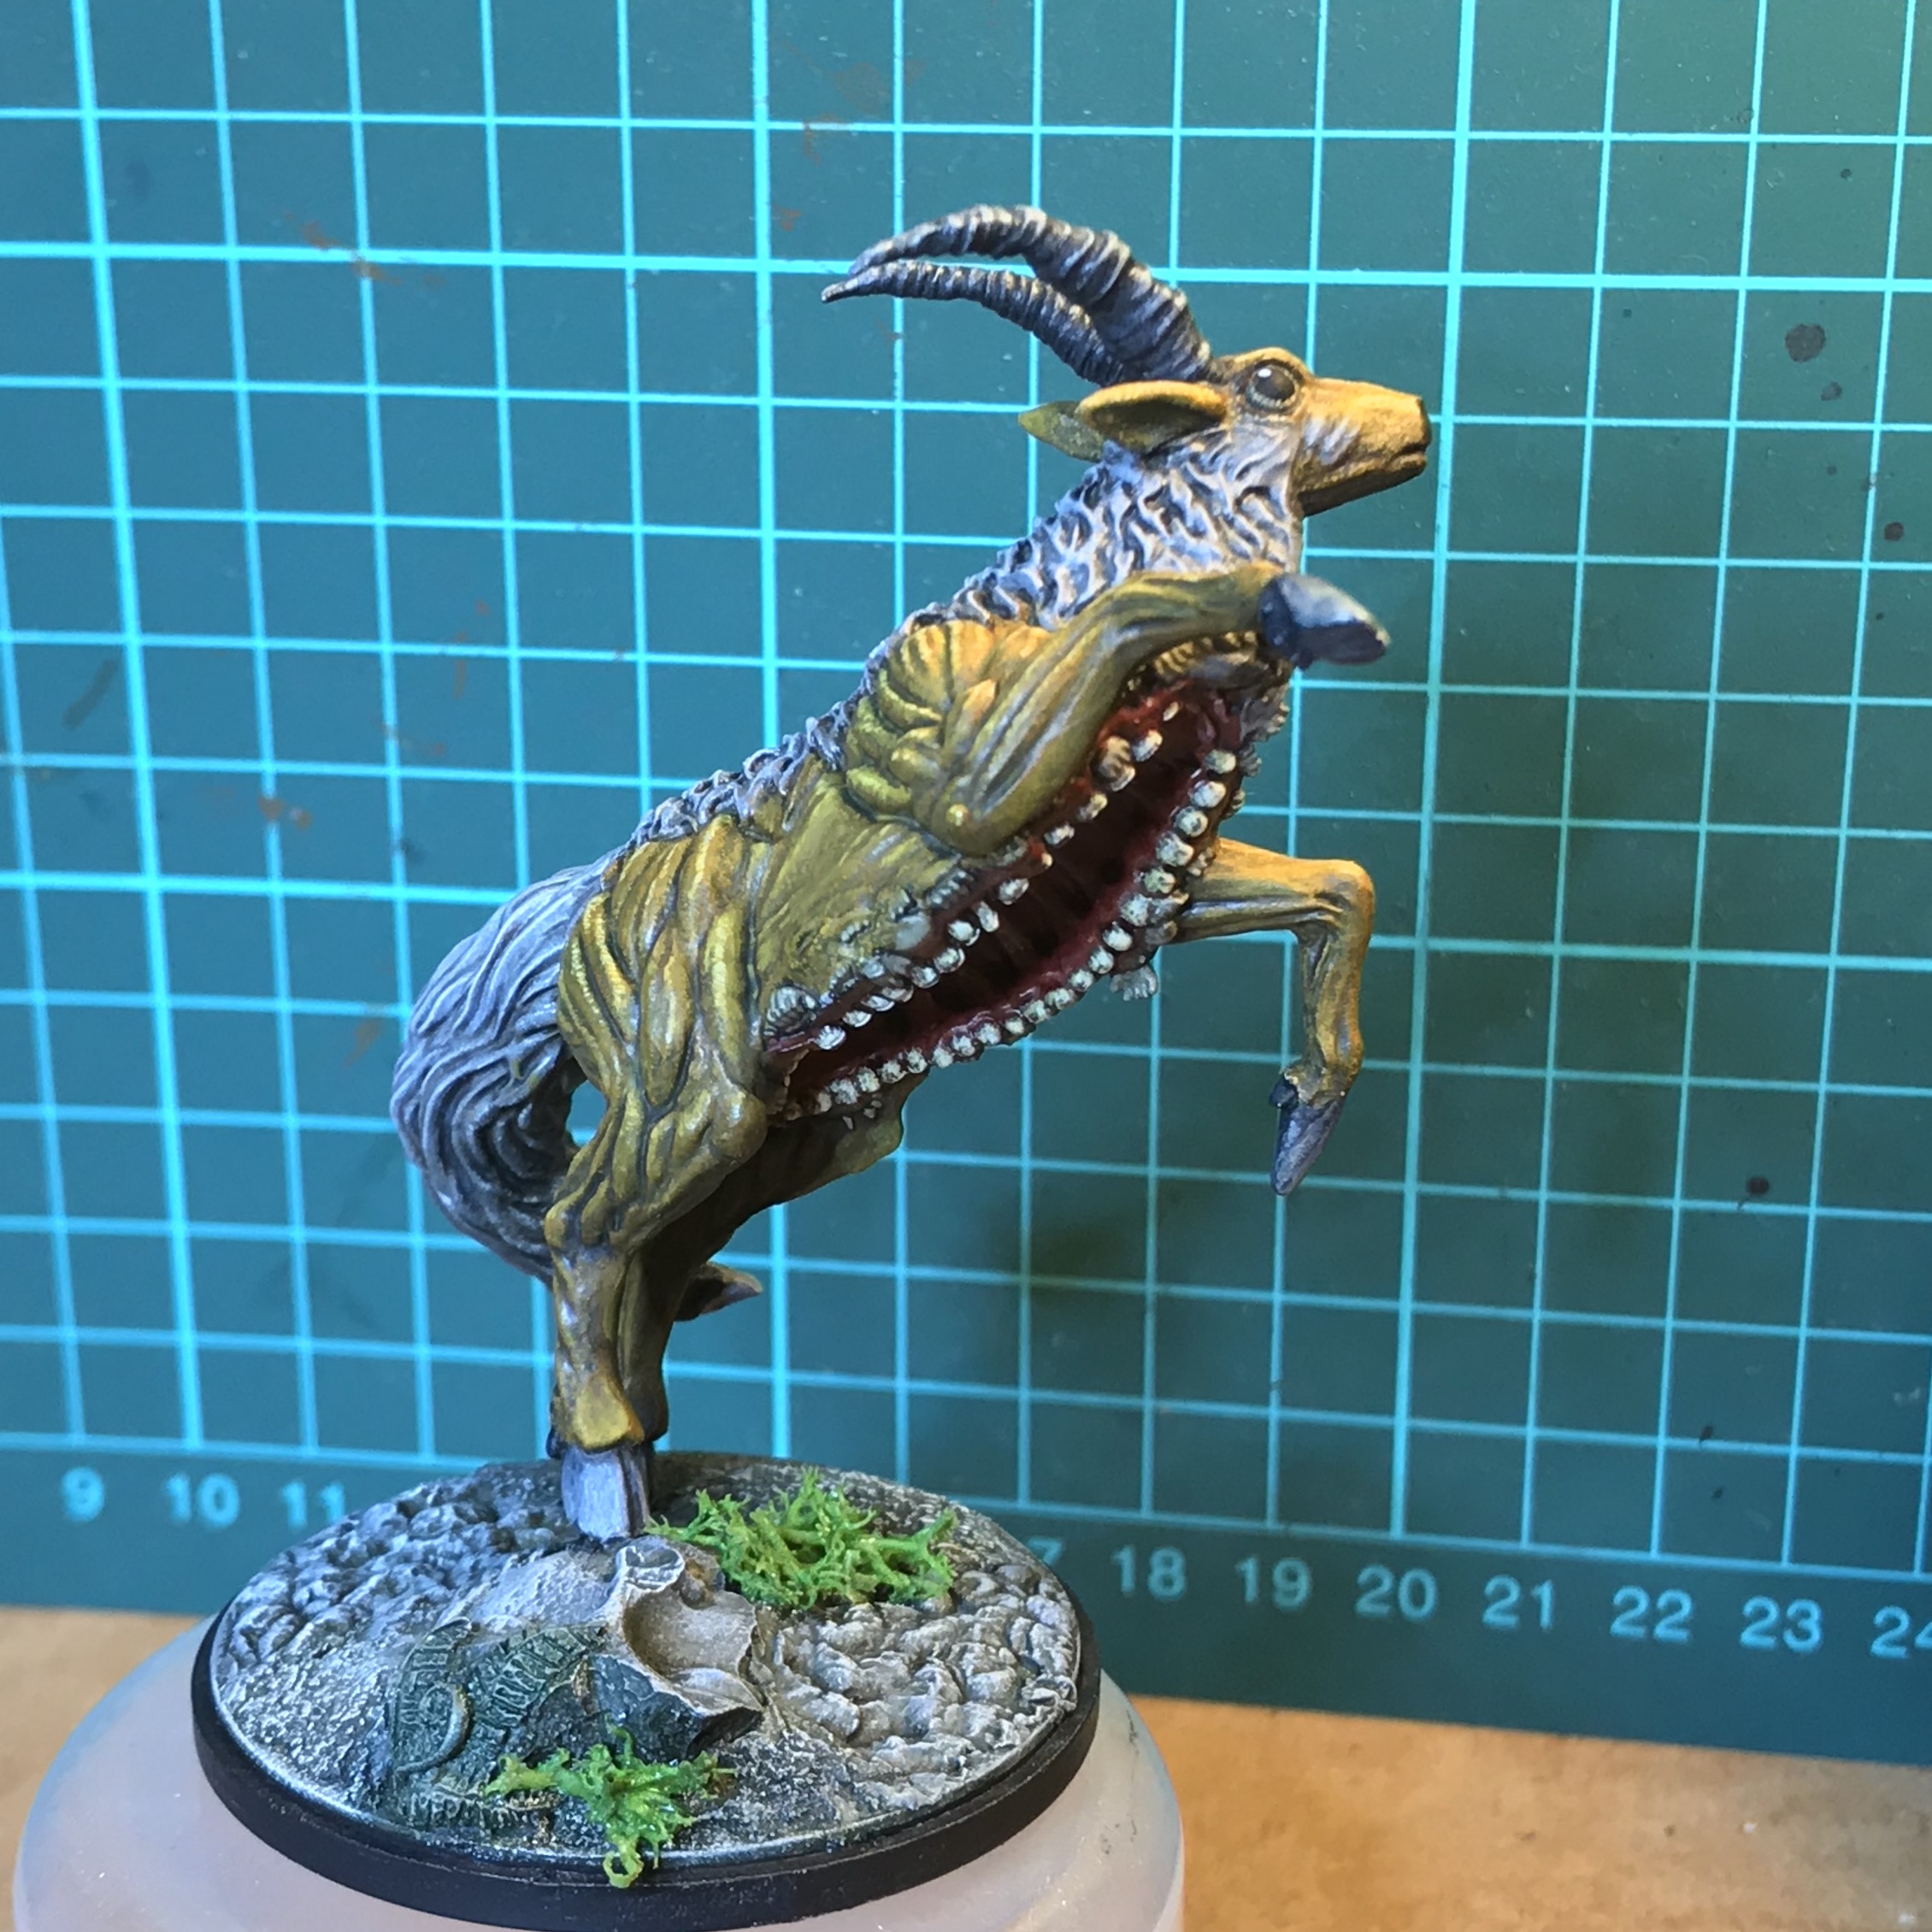
23 Aug 18: The Under Mouth
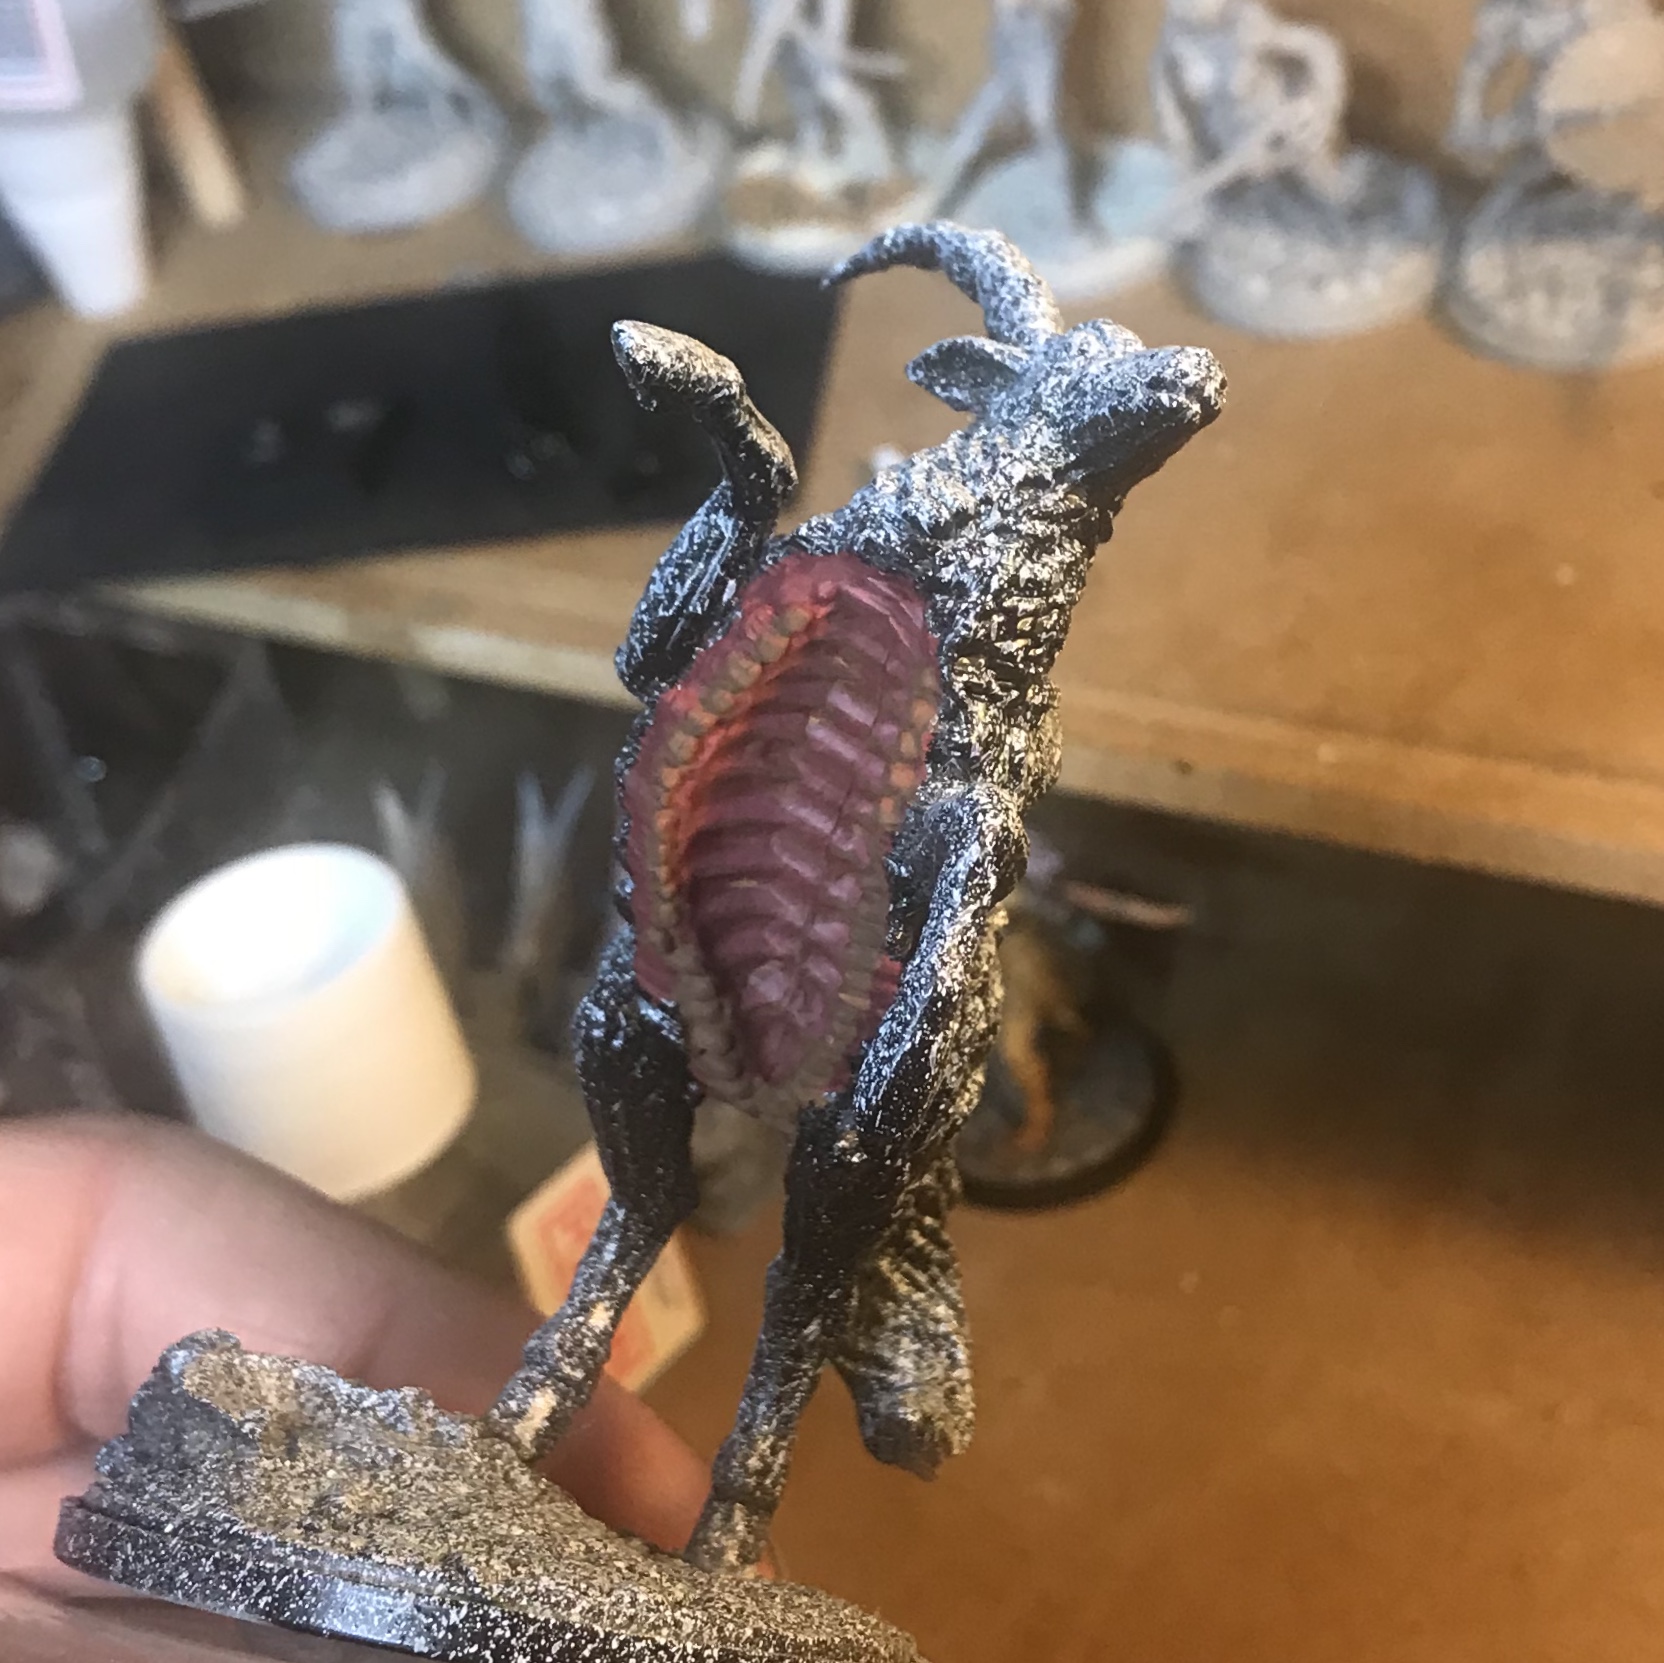
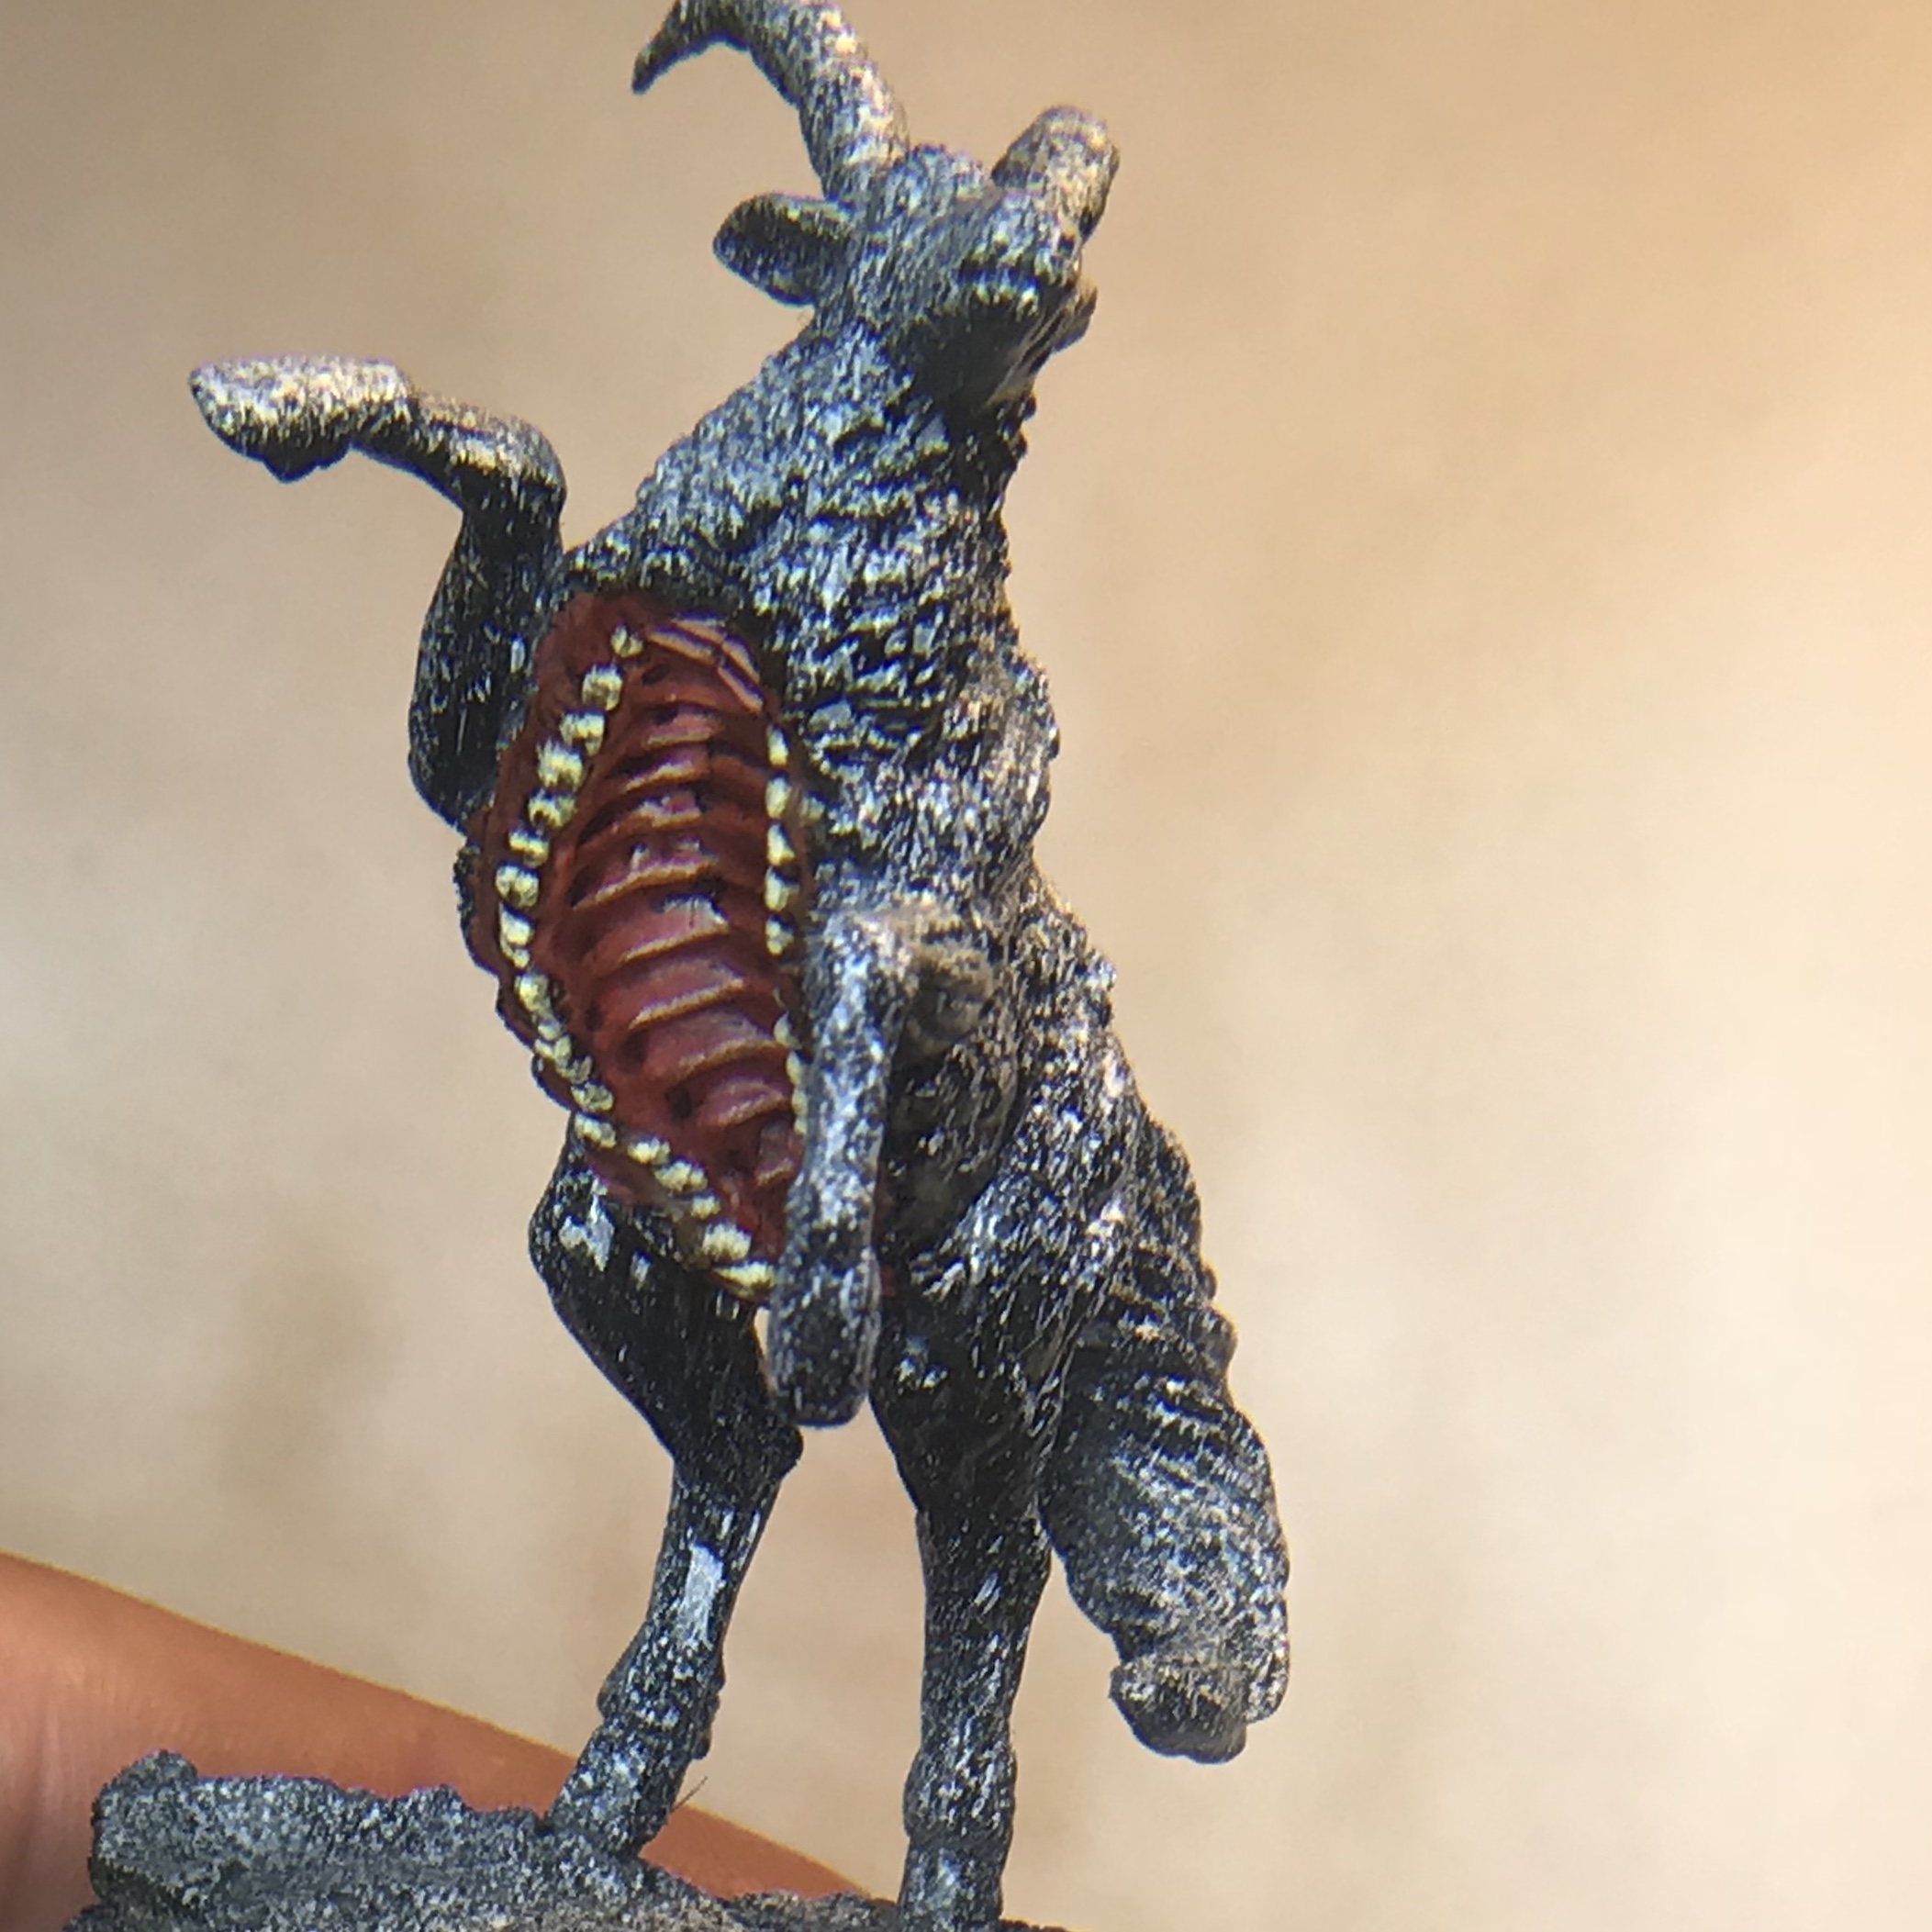
Since it the most recessed part of the model I figured it would be best to start with the Antelope’s massive under-mouth.
I started with a base of GW Mechrite Red, then used Vallejo German Camo Brown to Base the ribs and the teeth.
 The Under-Mouth
I built up the first stage highlights with a rough 2:1 mix of Mechrite Red and GW Bronzed Flesh.
The next stage was roughly 2:1:1 Mechrite Red, Bronzed Flesh, GW Bleached Bone.
I have seen other version of the Screaming Antelope where the rib-like shapes have been painted as ribs, though I wanted the area to have a look much more akin to a human mouth. No bare bone other than the actual teeth.


The look so far was a bit too pink. I added a glaze using GW Blood Red, but still wasn’t entirely satisfied.
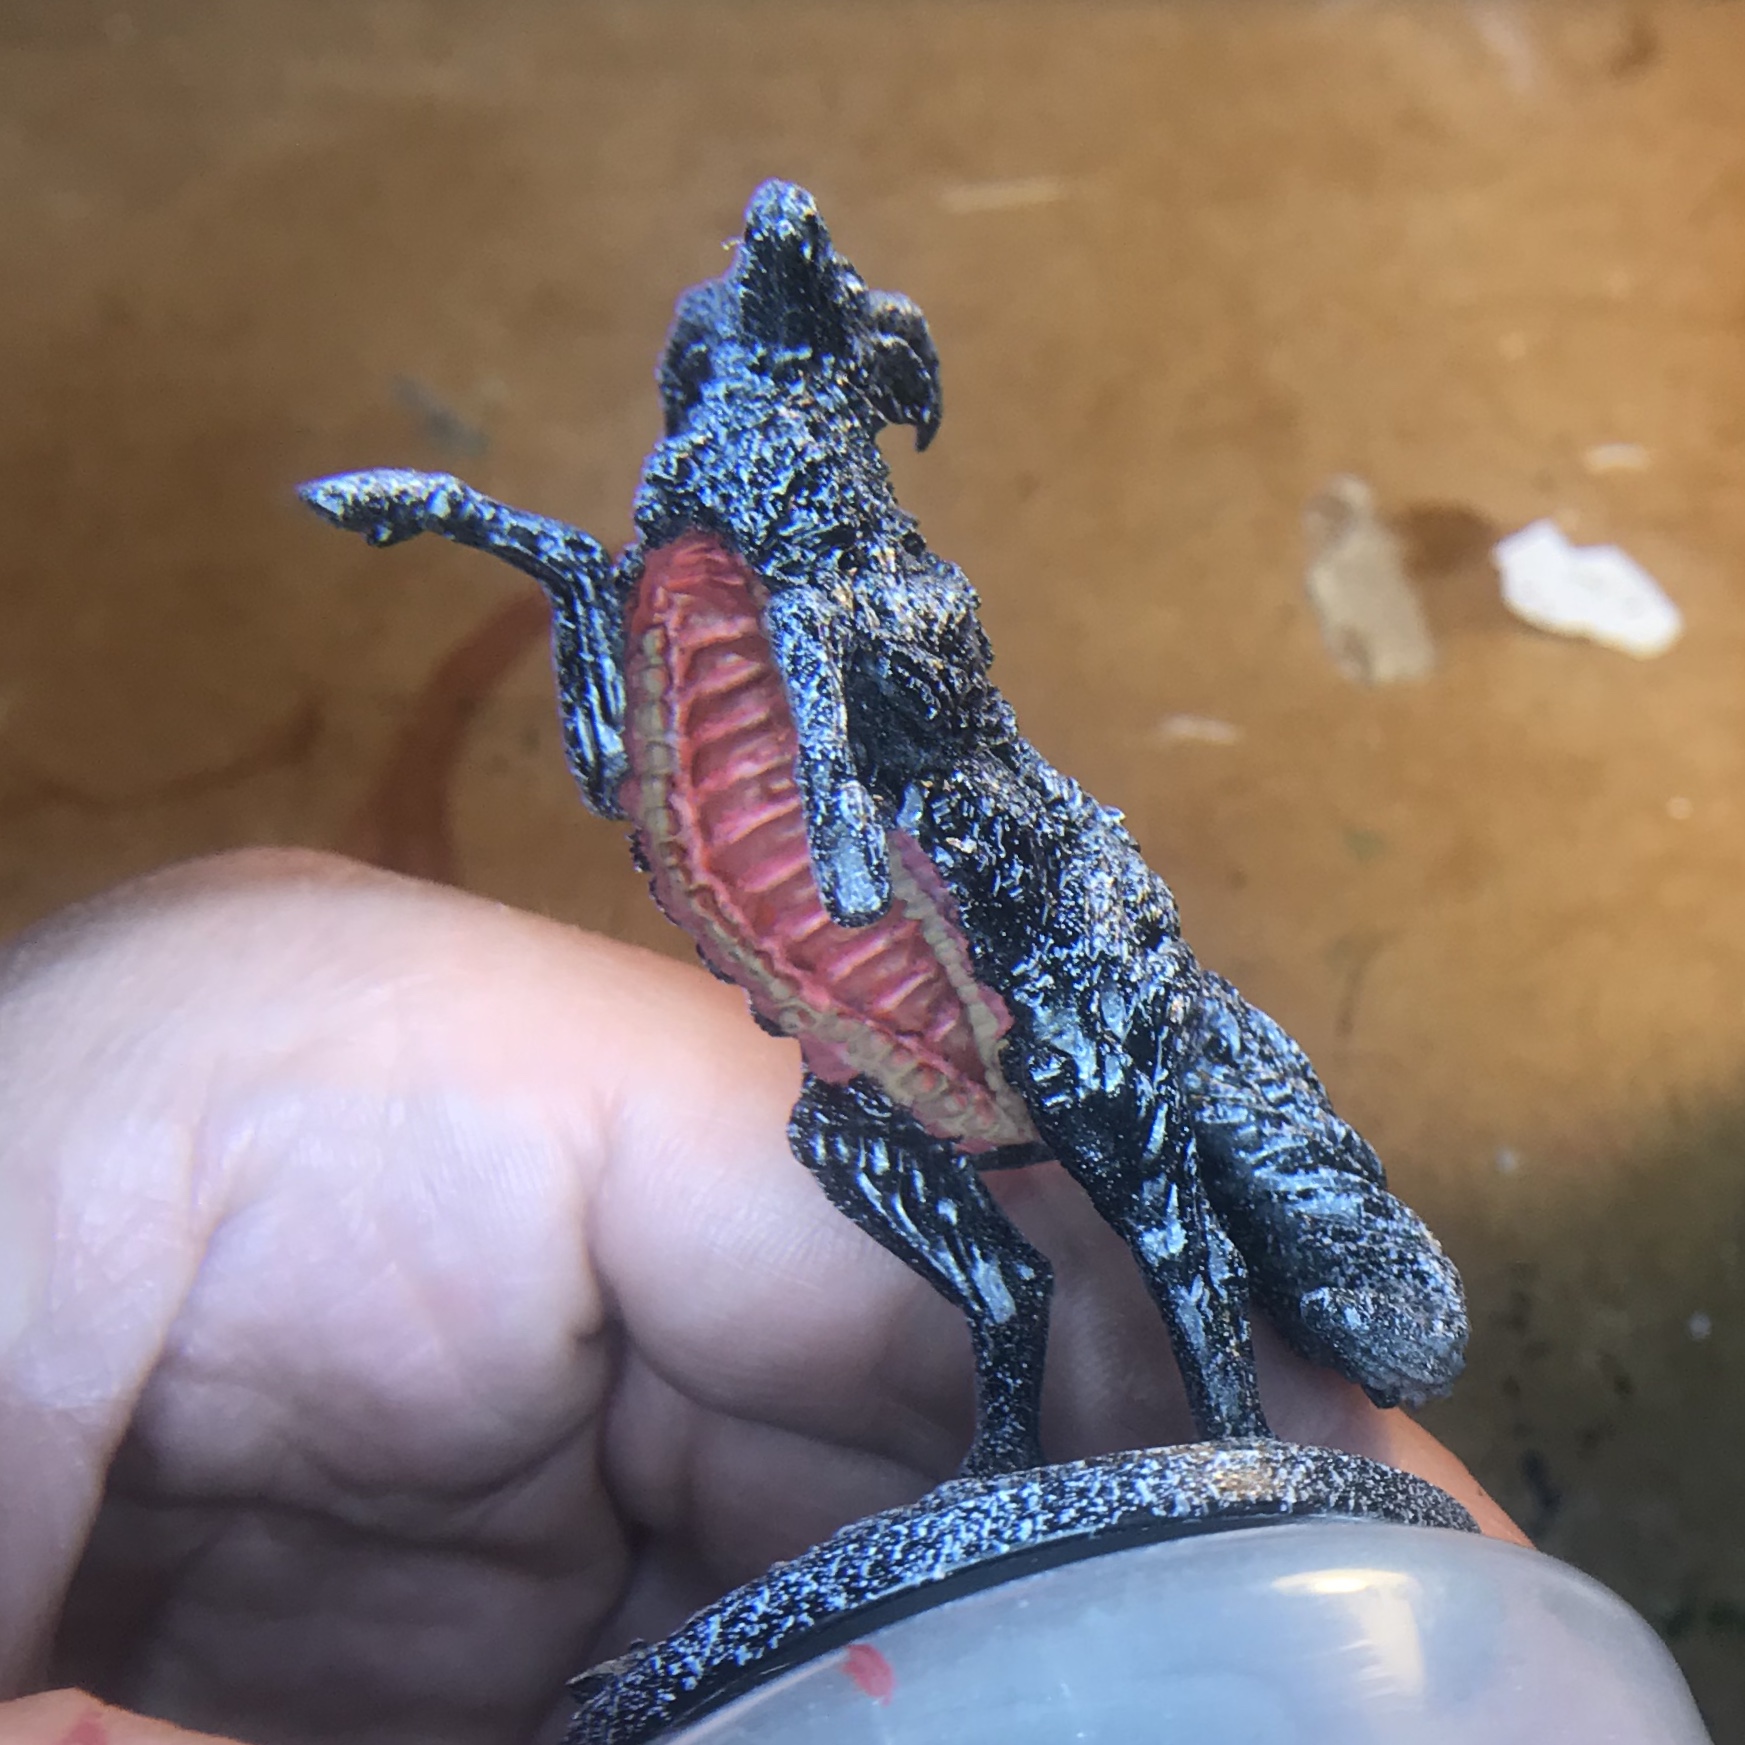
Finally I went over with a glaze of GW Brown Ink. I ran this over the teeth as well.
After drying, I used a mix of 1:2 Mechrite Red and Bleached Bone to re-highlight the ribs and the stretch of skin at the top of the mouth. I added a little more Mechrite Red to this mix to differentiate the skin there.
The mid tone of the teeth were then done with GW Bubonic Brown, leaving some of the darker colour showing around the base of the teeth as well as on the flat surface. This was done to simulate molar style teeth where appropriate.
The highlight was done with Bleached Bone.
Overall, I’m pretty happy with the result so far!

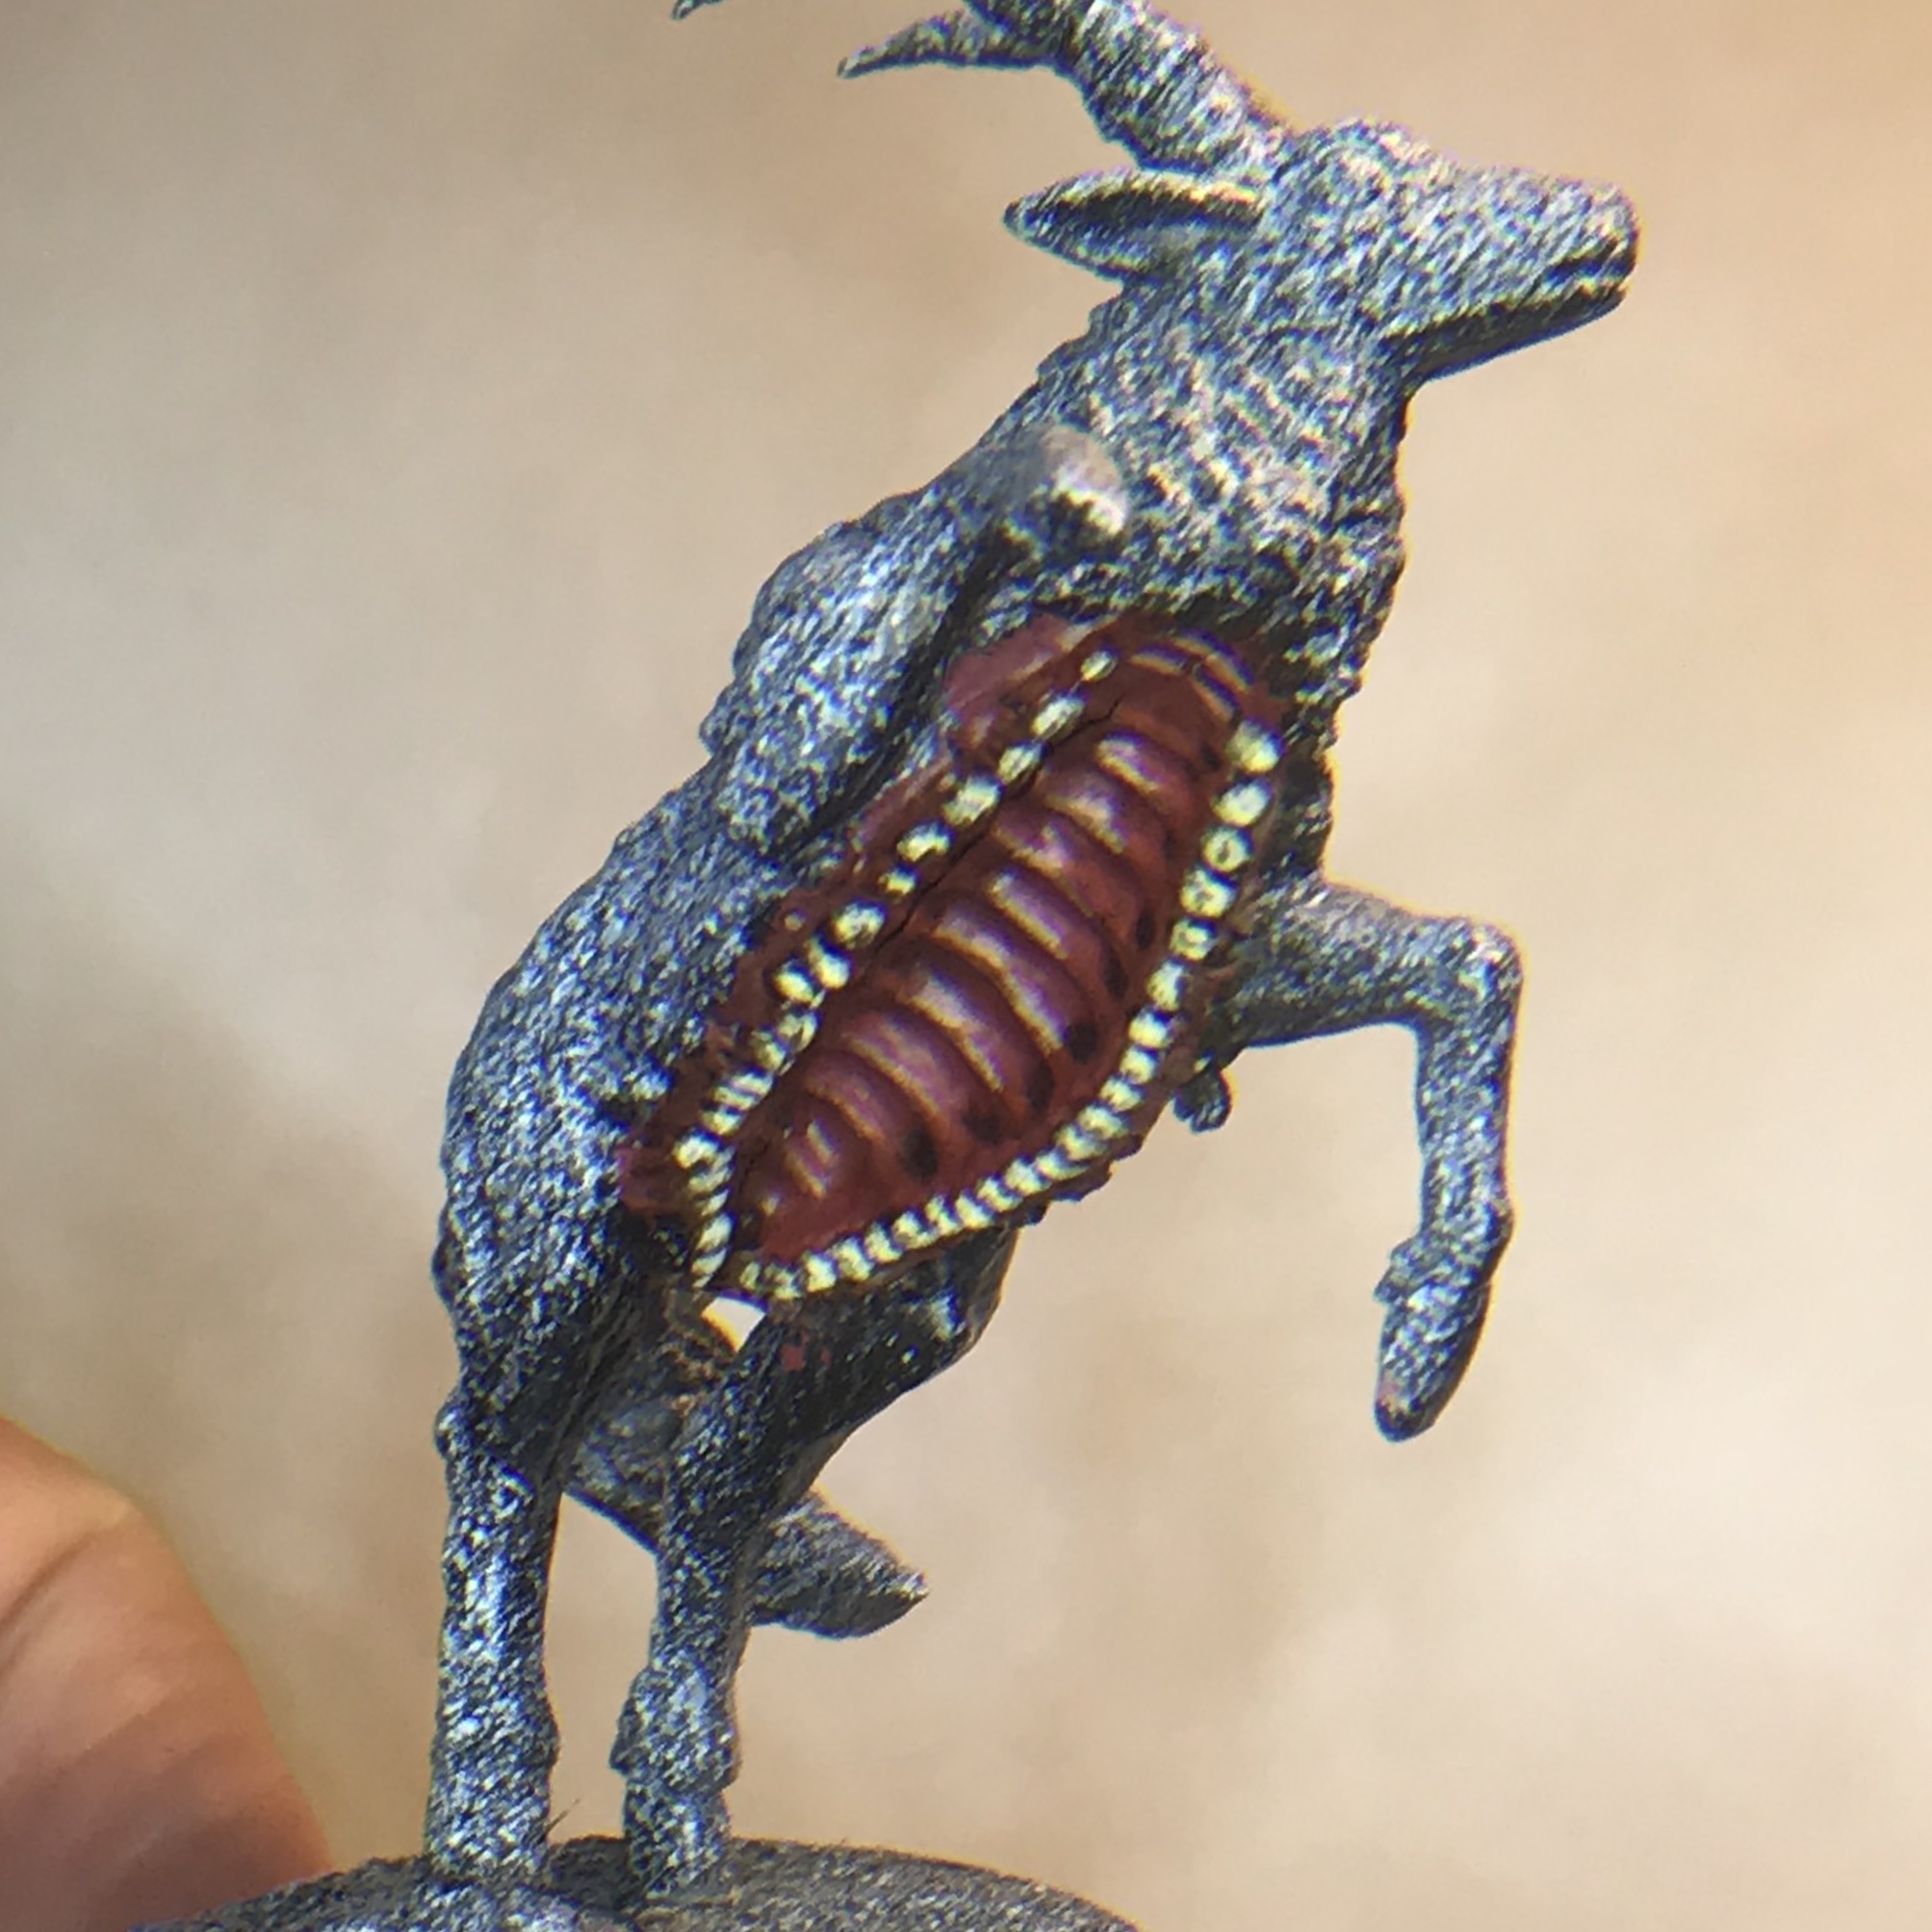
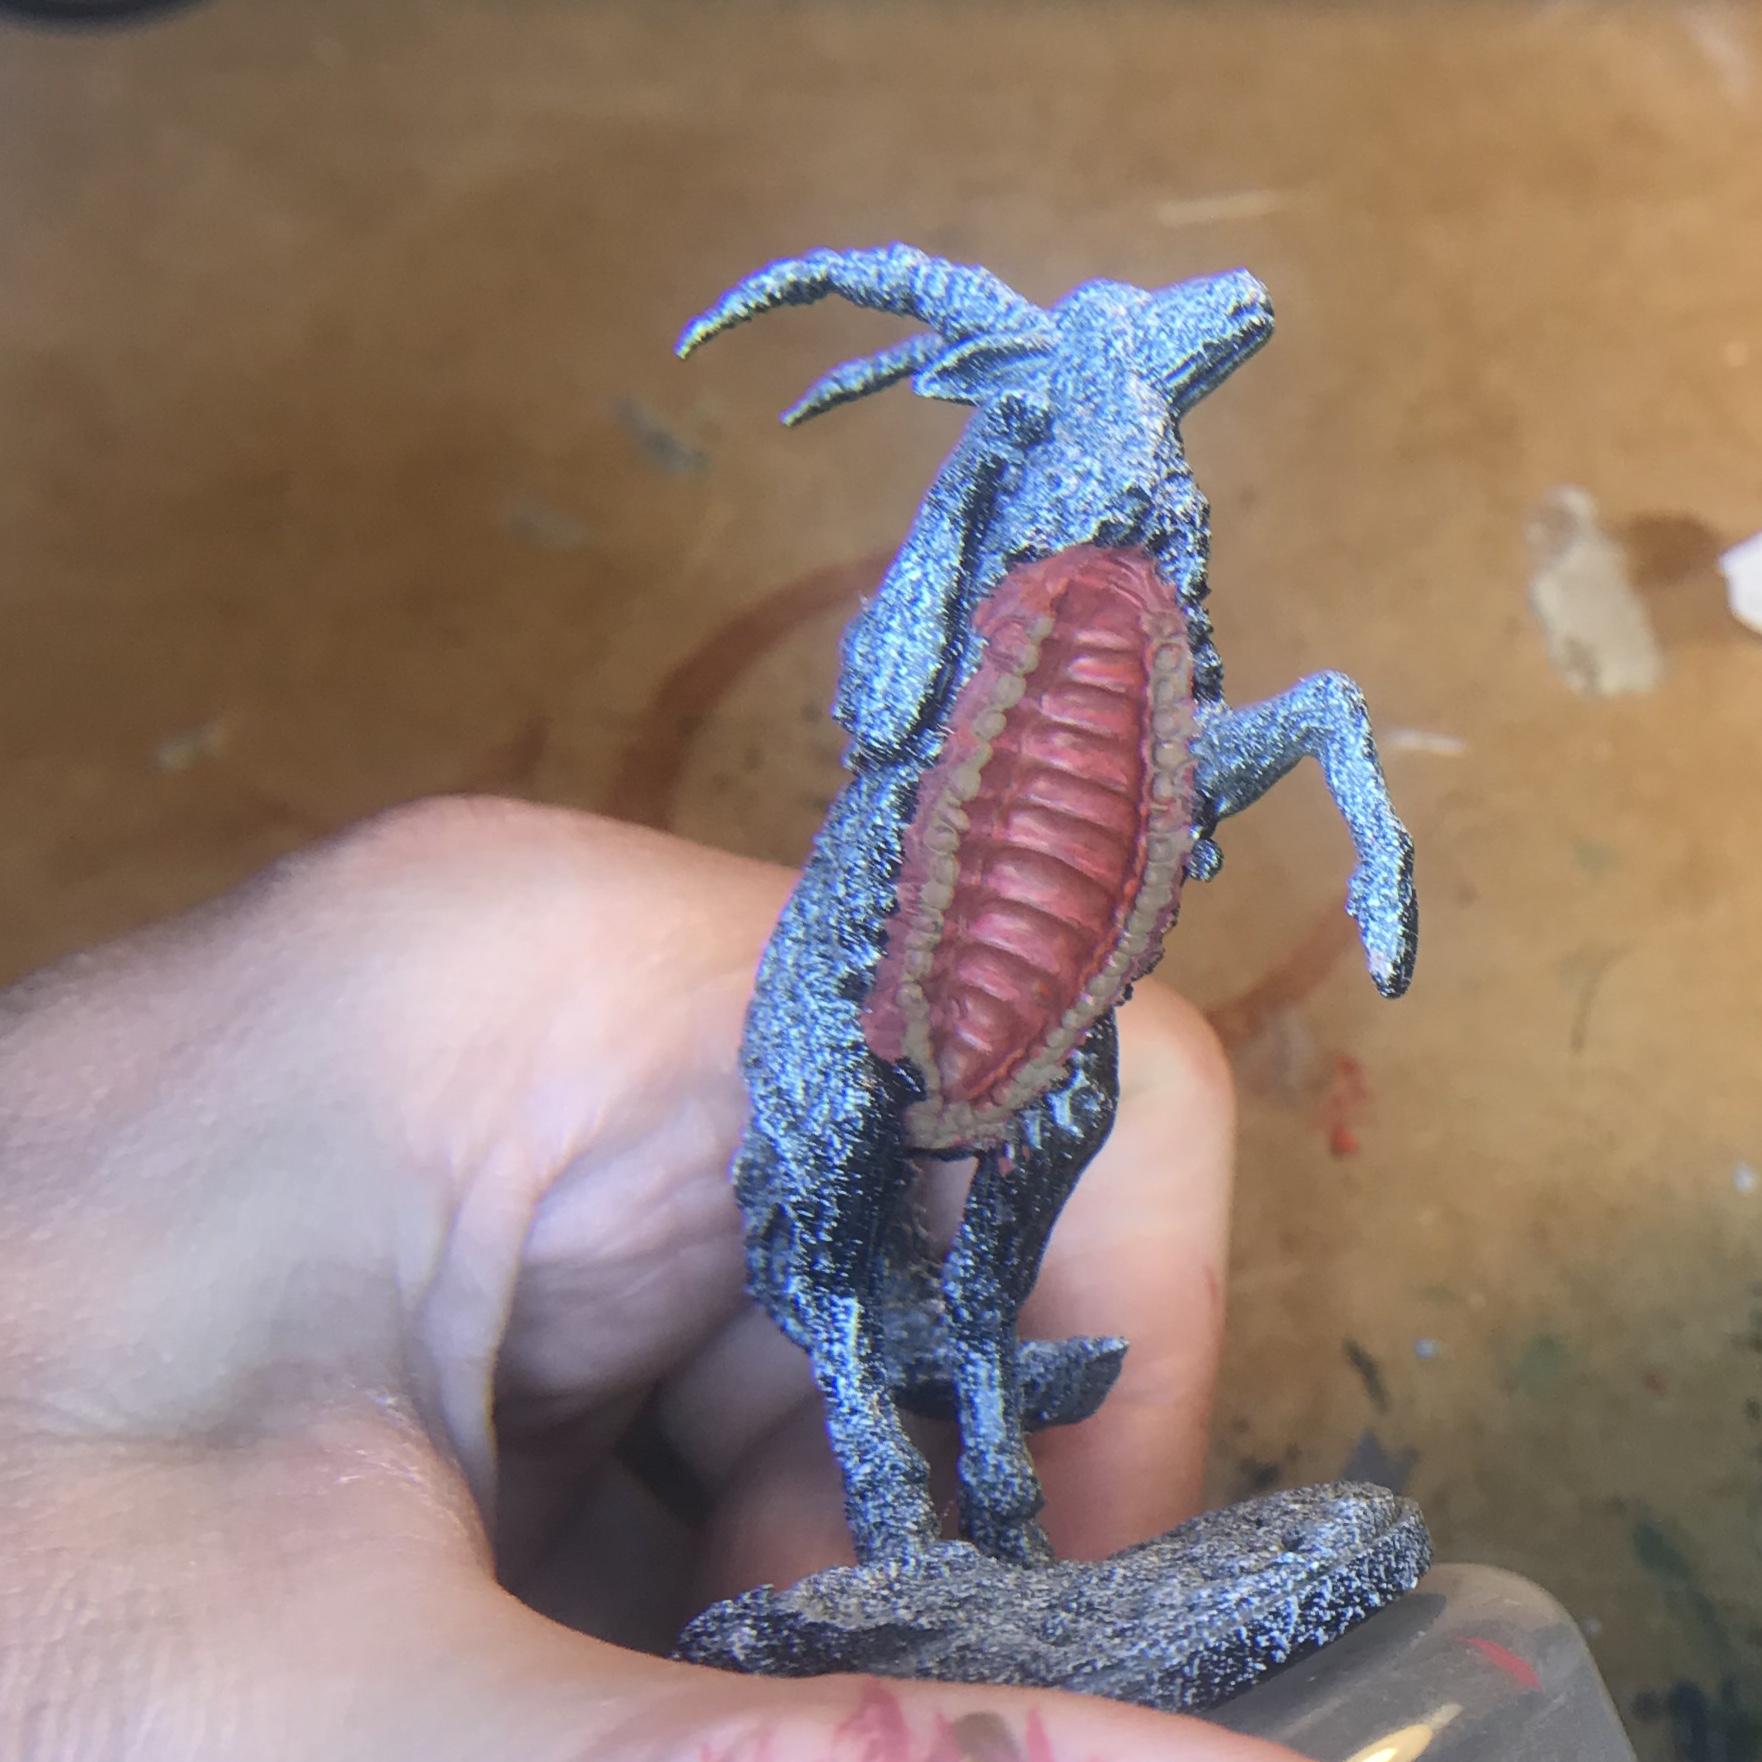
 Smile!!!
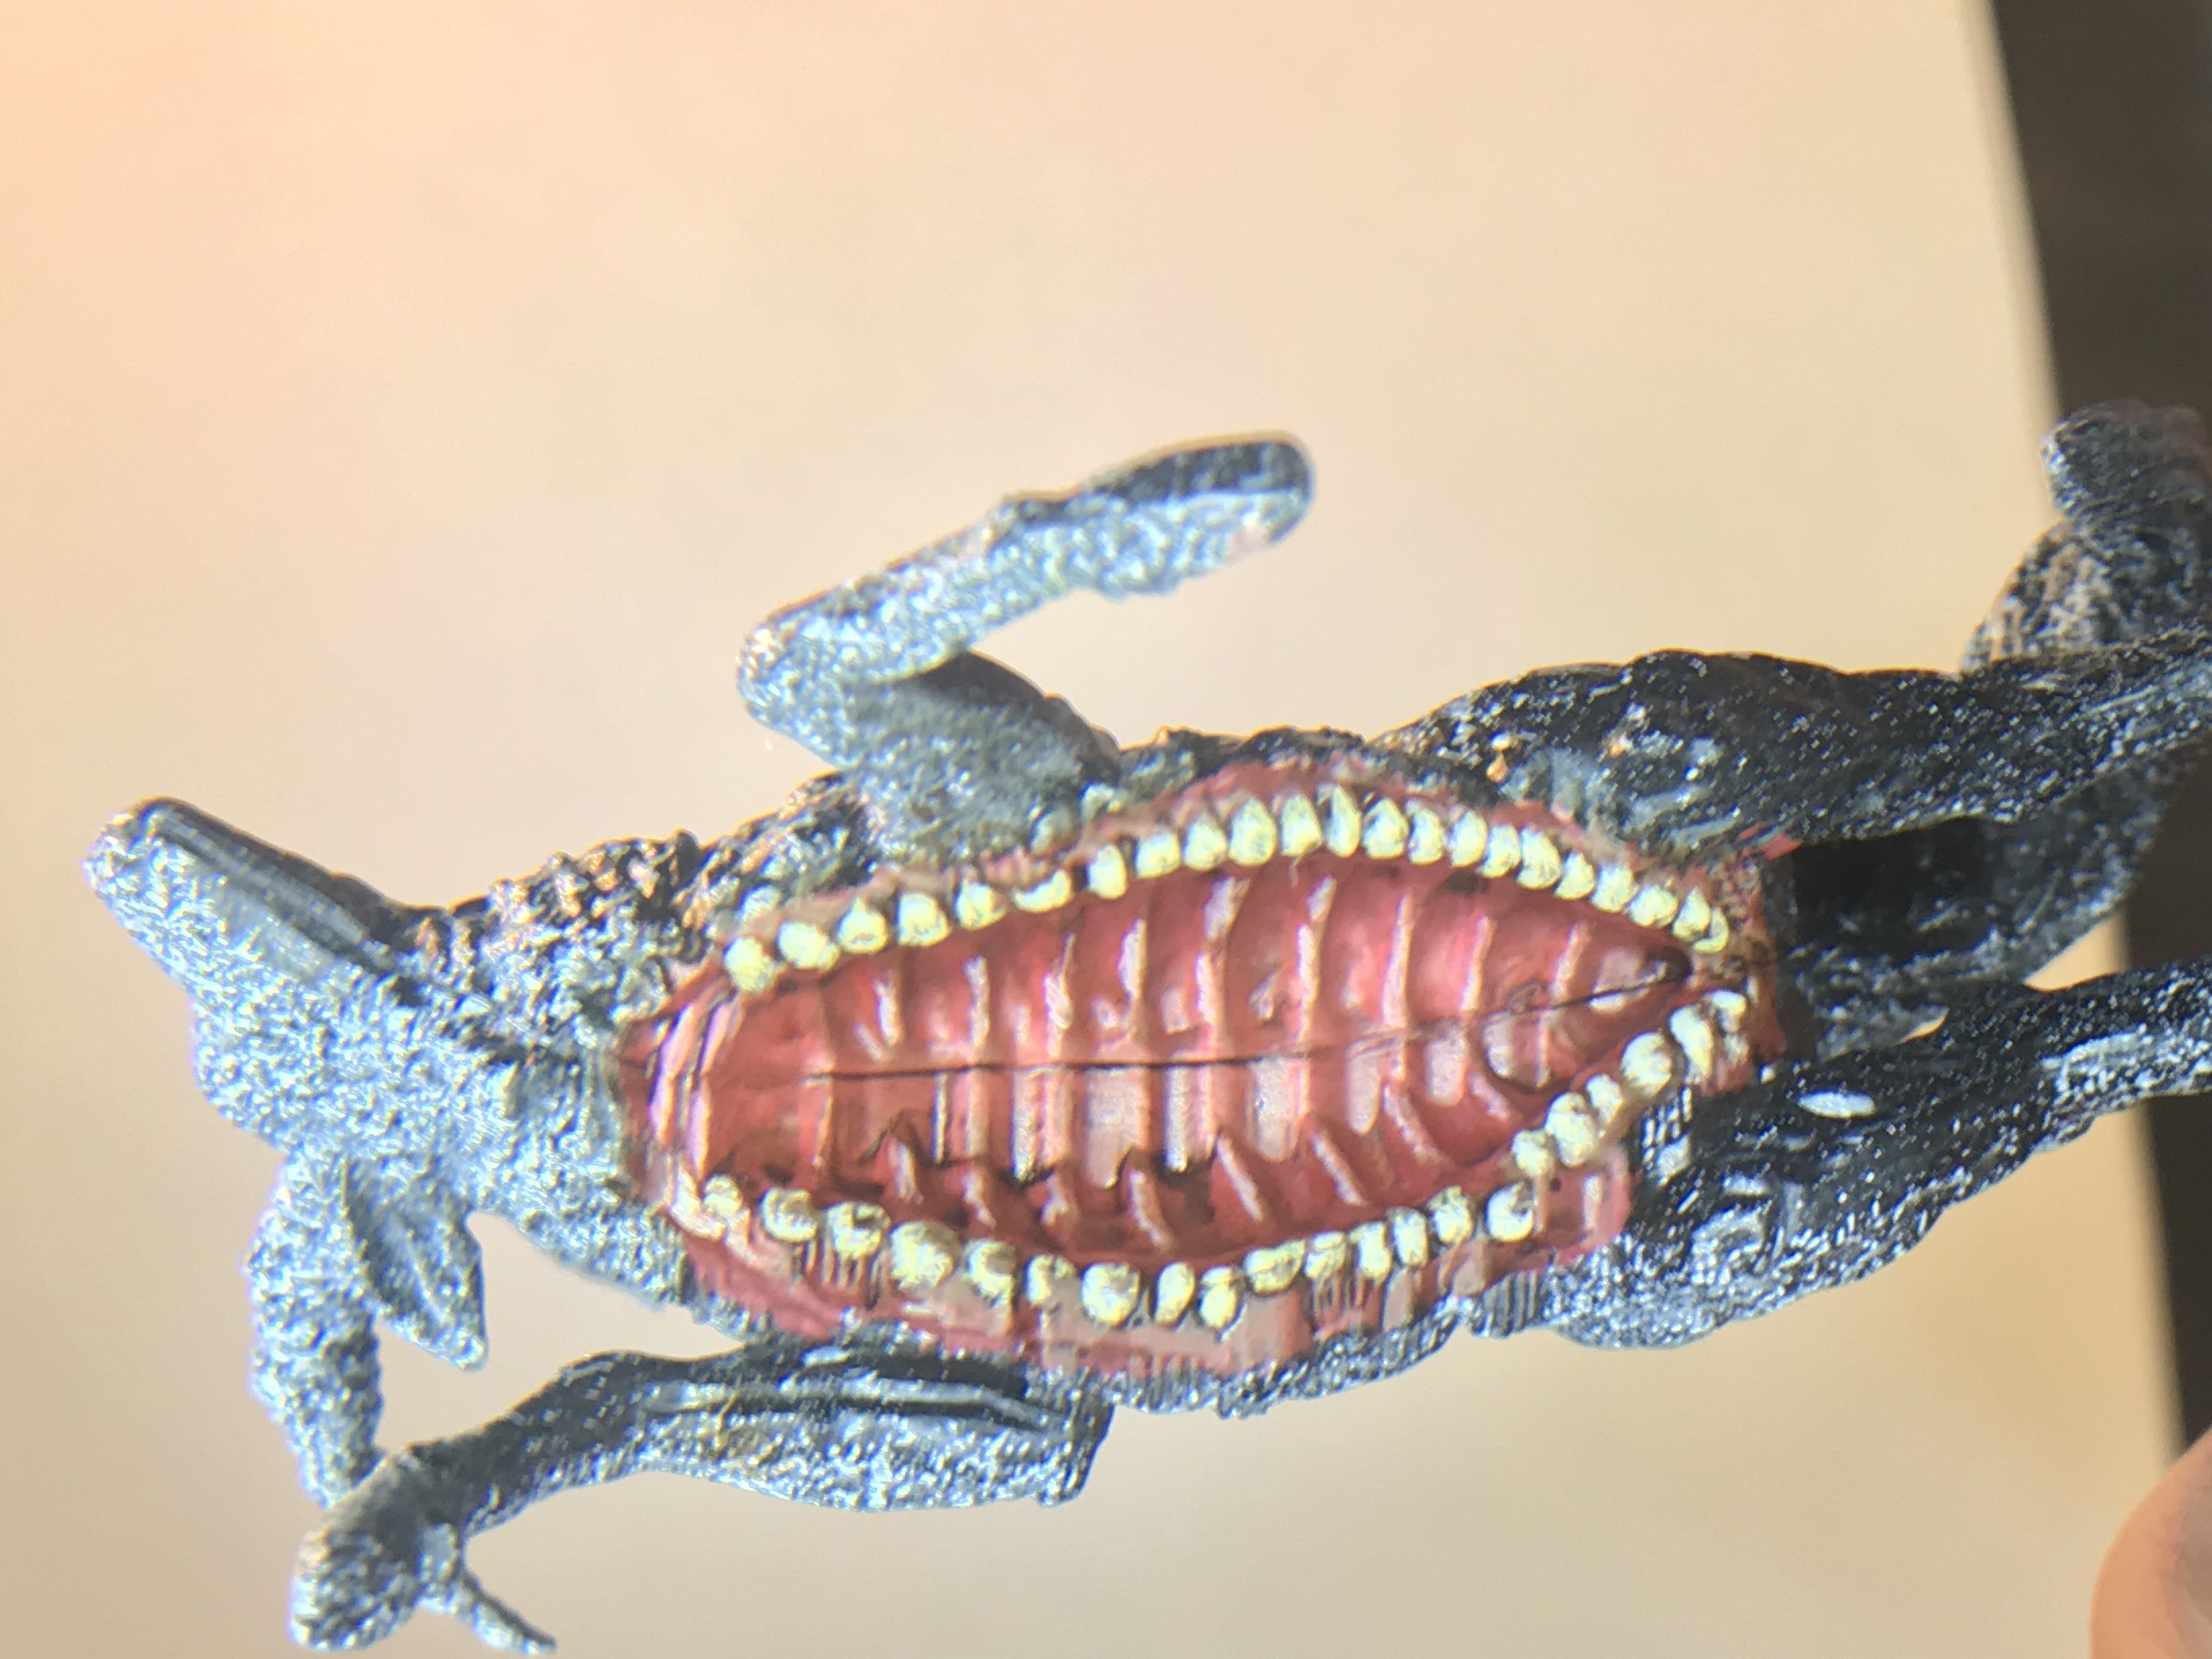 Survivors-eye view...
30 Aug 18: The Antelope Progress
Further work on the Antelope over the last few days.
Monday the Antelope got a base colour on the skin and fur.
GW Snakebite Leather for the fur, GW Codex Grey for the fur.
The colour on the skin was applied fairly thin, as is always recommended. After this I applied two very thin coats, as glazes, of GW Devlan Mud.
After this had dried I was really happy with the result and could’ve left the skin there. There was a “happy accident” in the thin paint applied so far showed the pre-shade spotty undercoat through. I rather thought that it gave the Antelope hide a dappled/ spotty sort of natural look.

But no, it wasn’t enough… for some damn reason. I have moved on to start highlighting the skin. The first step is to reintroduce the base coat as a midtone. This has been carefully applied to the raise areas to start bringing out the muscle definition. I probably will only go one level higher in highlight.


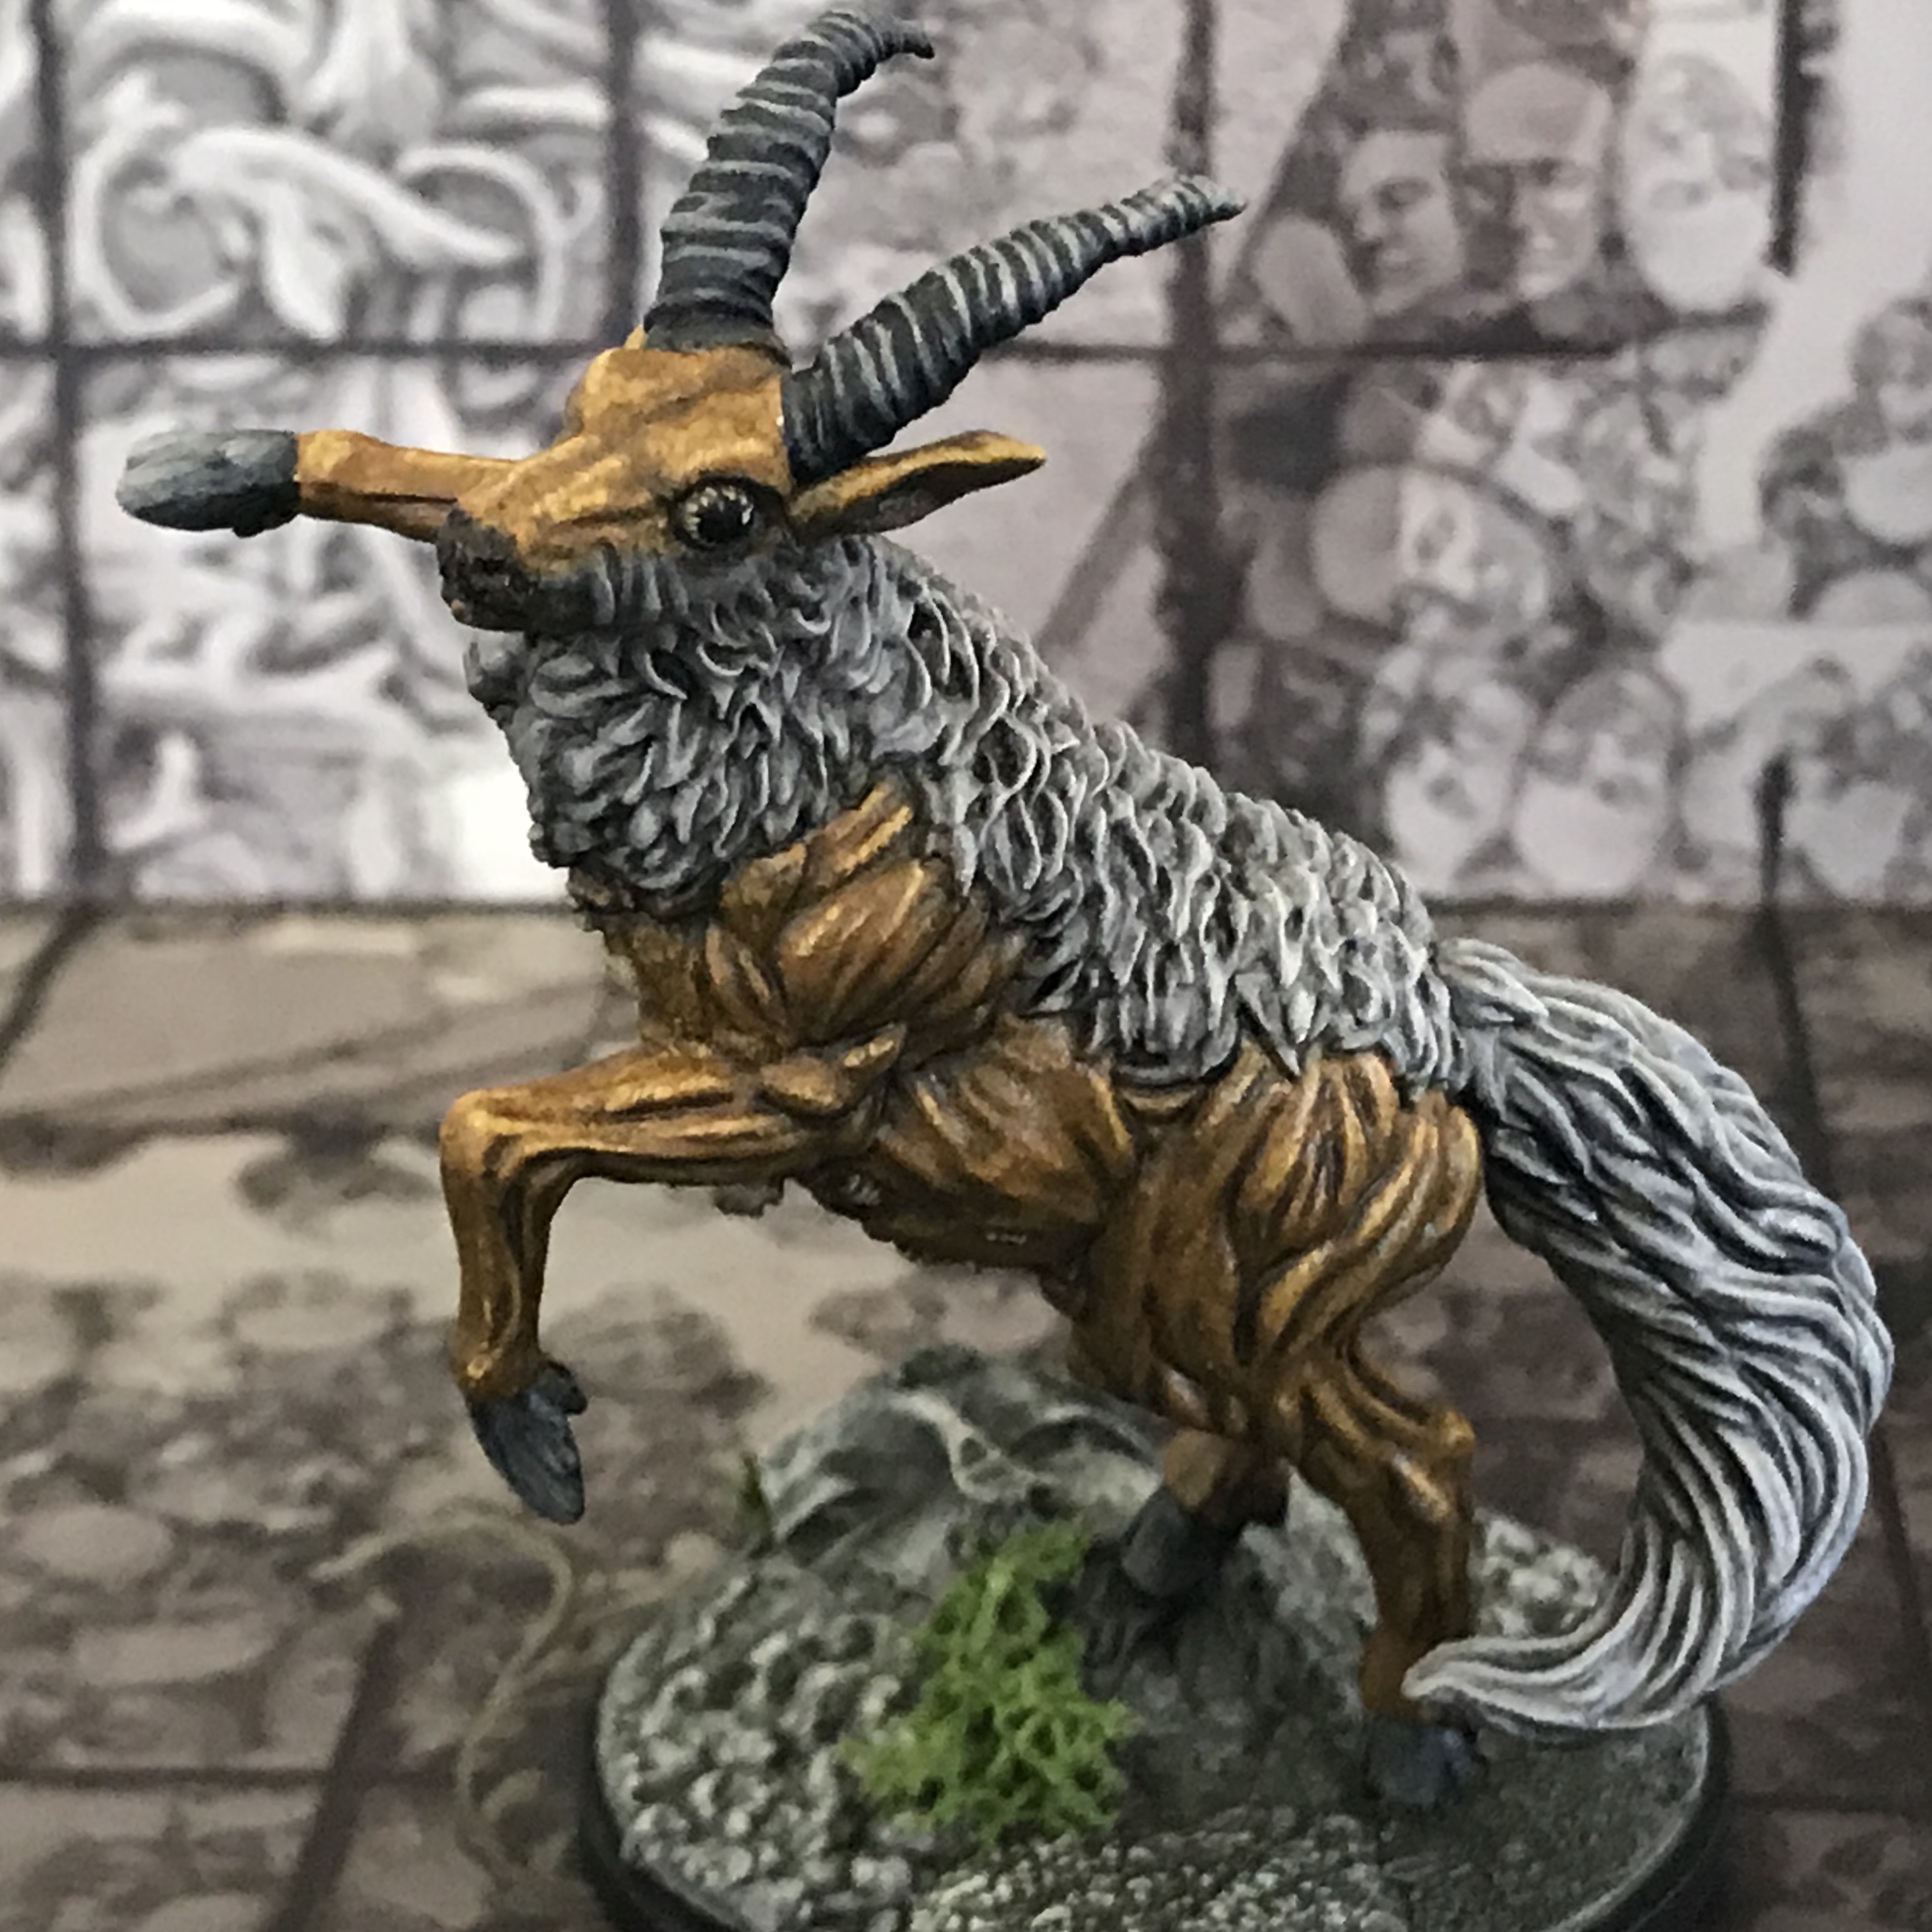
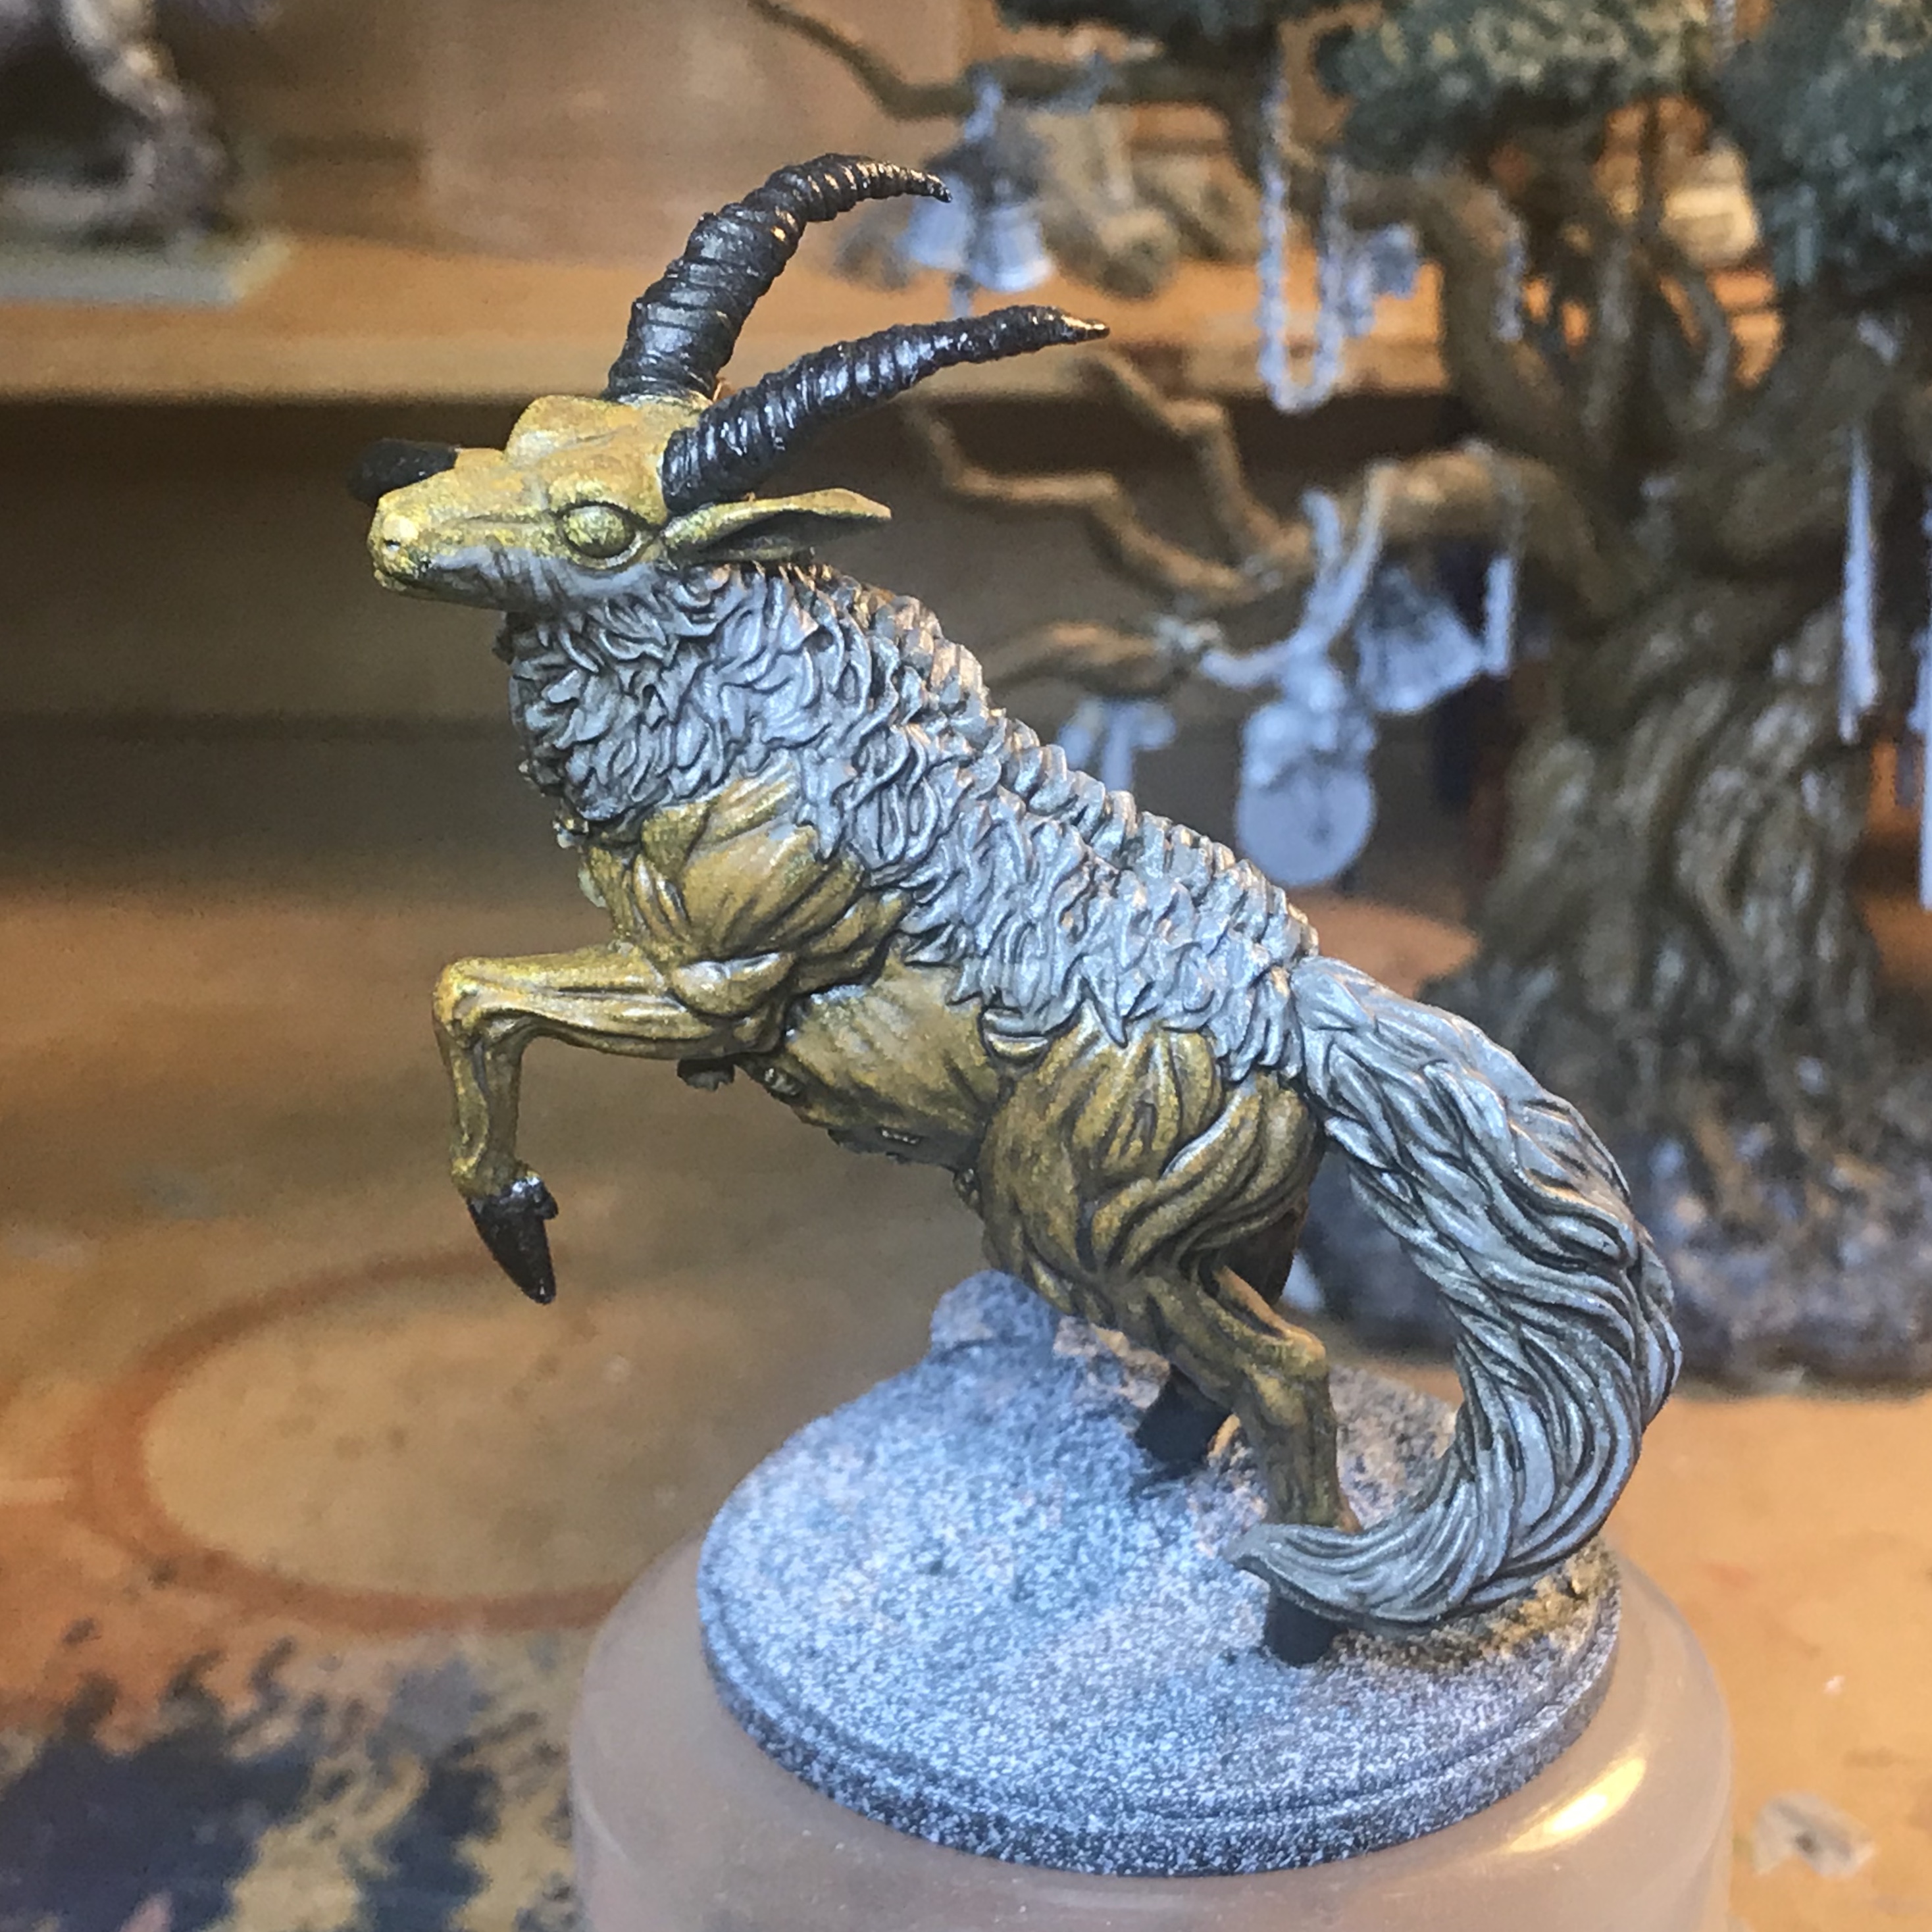
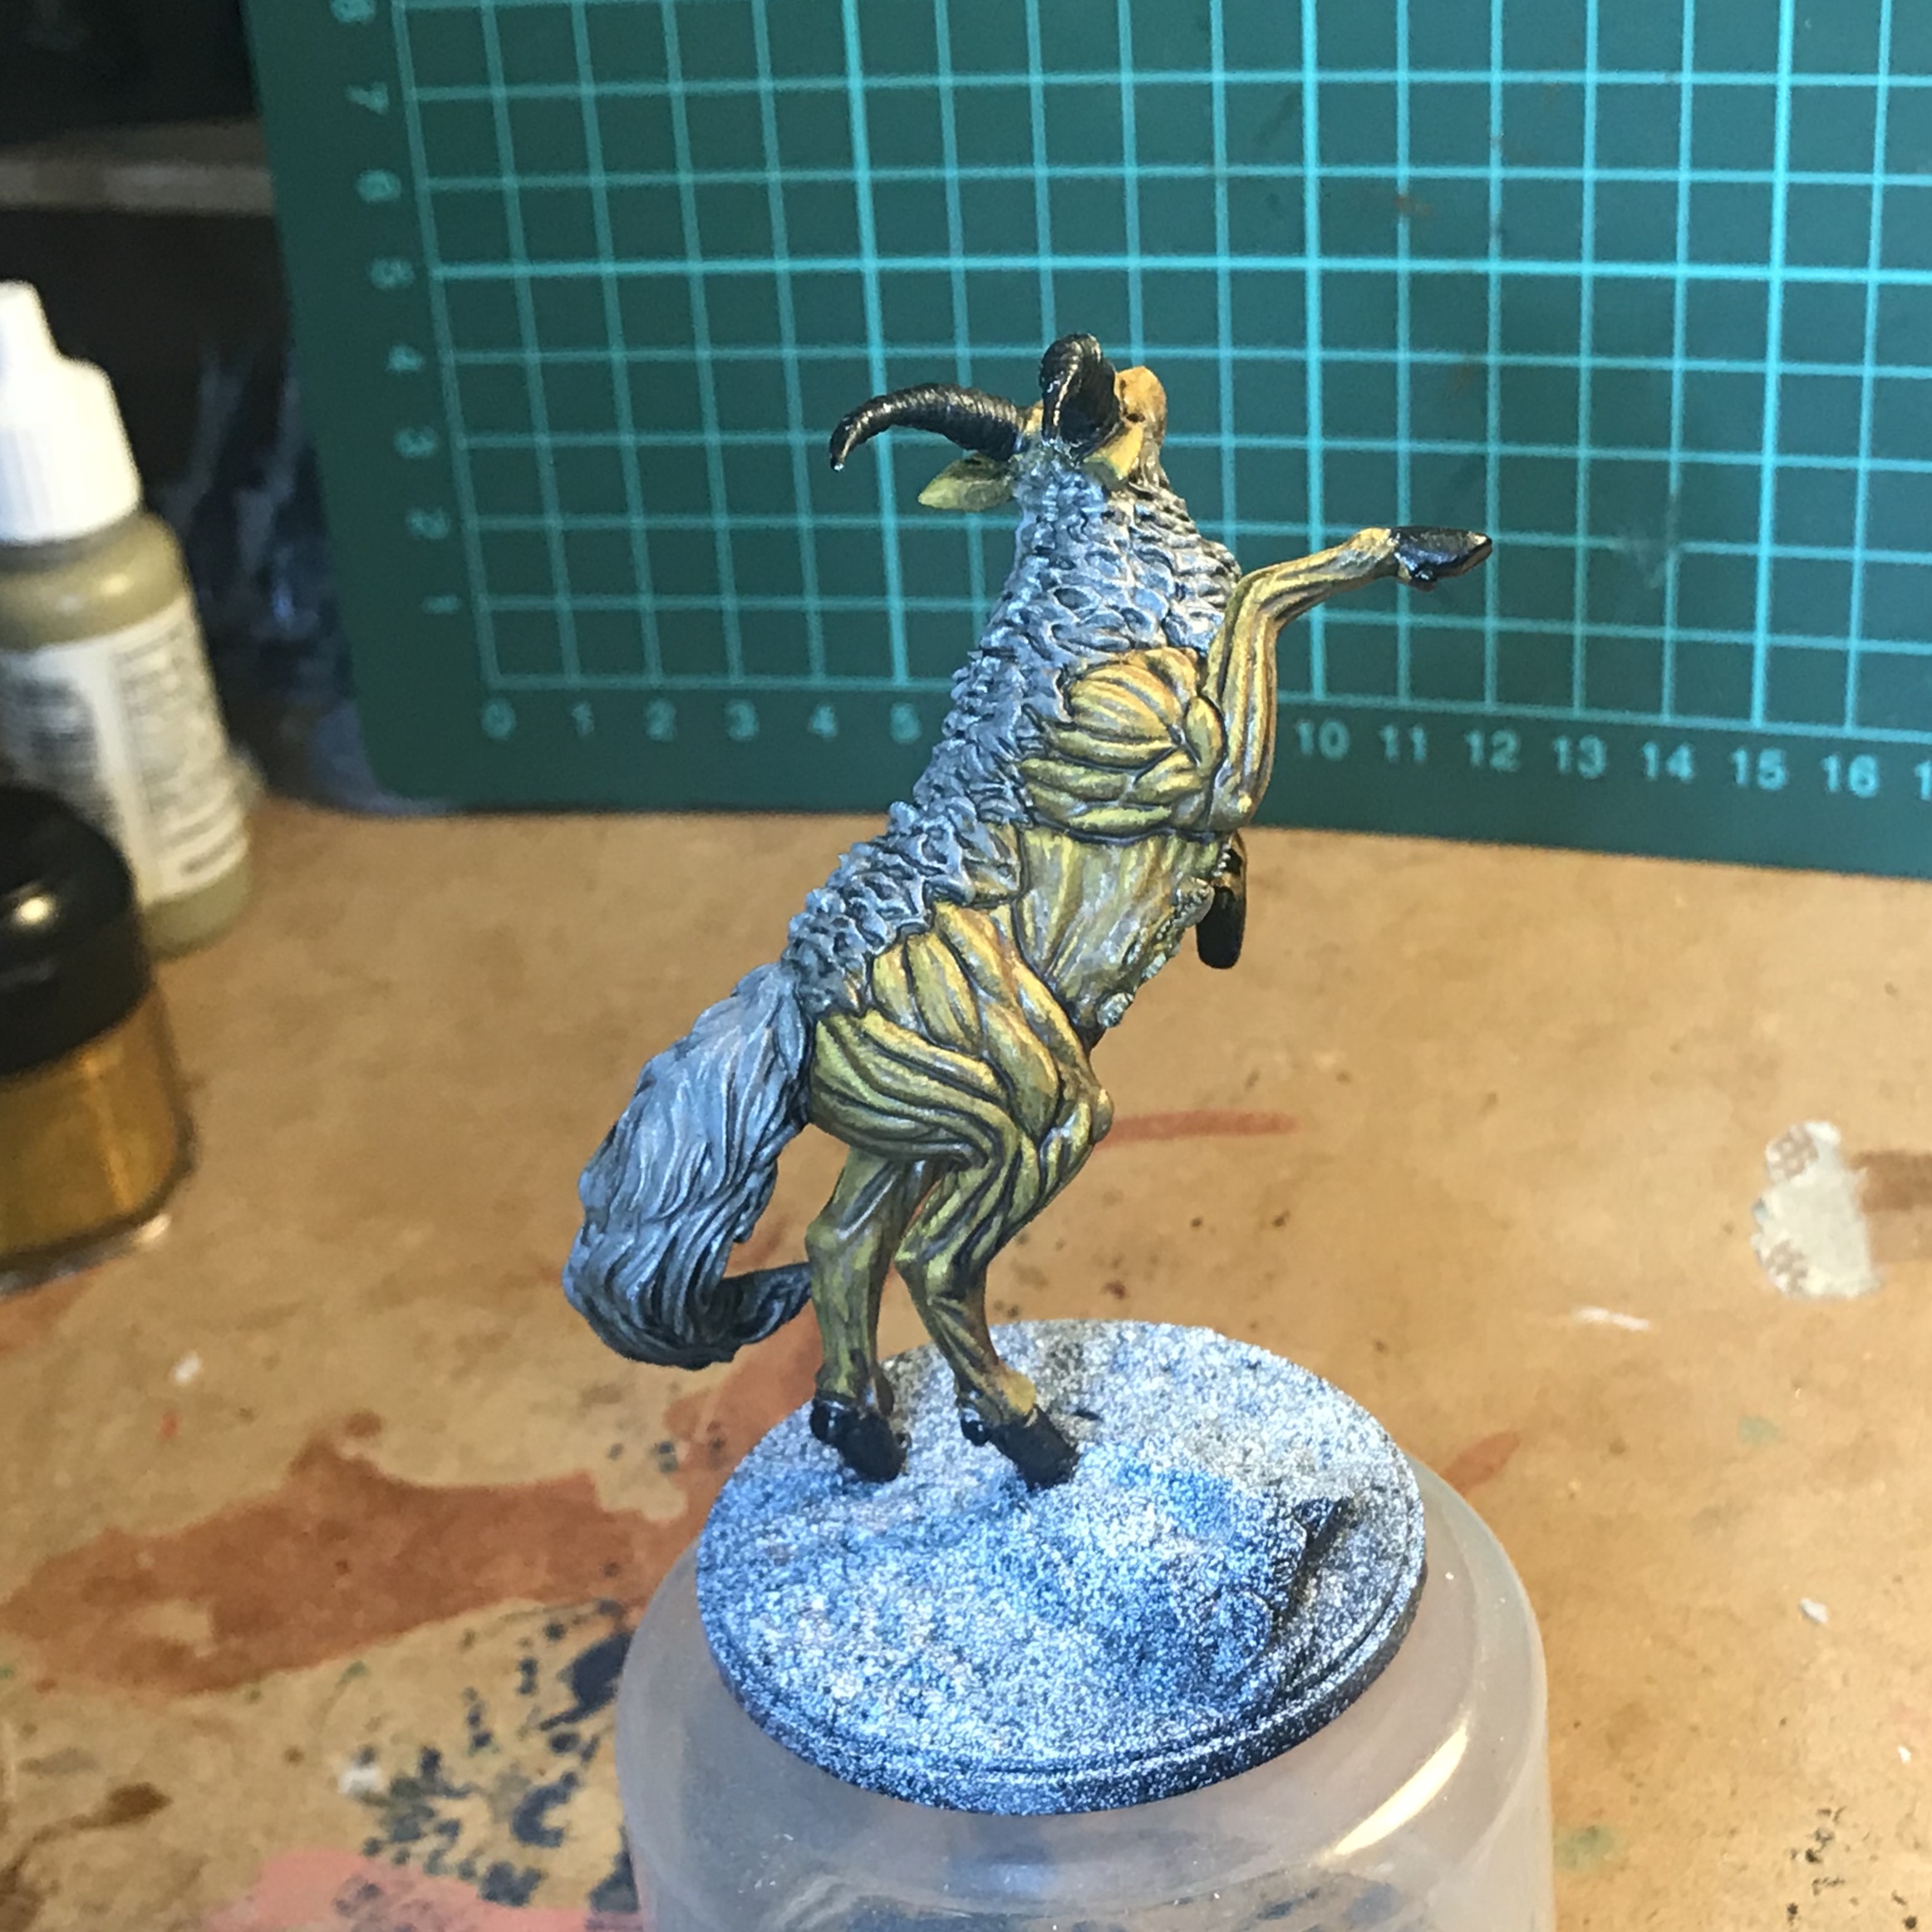
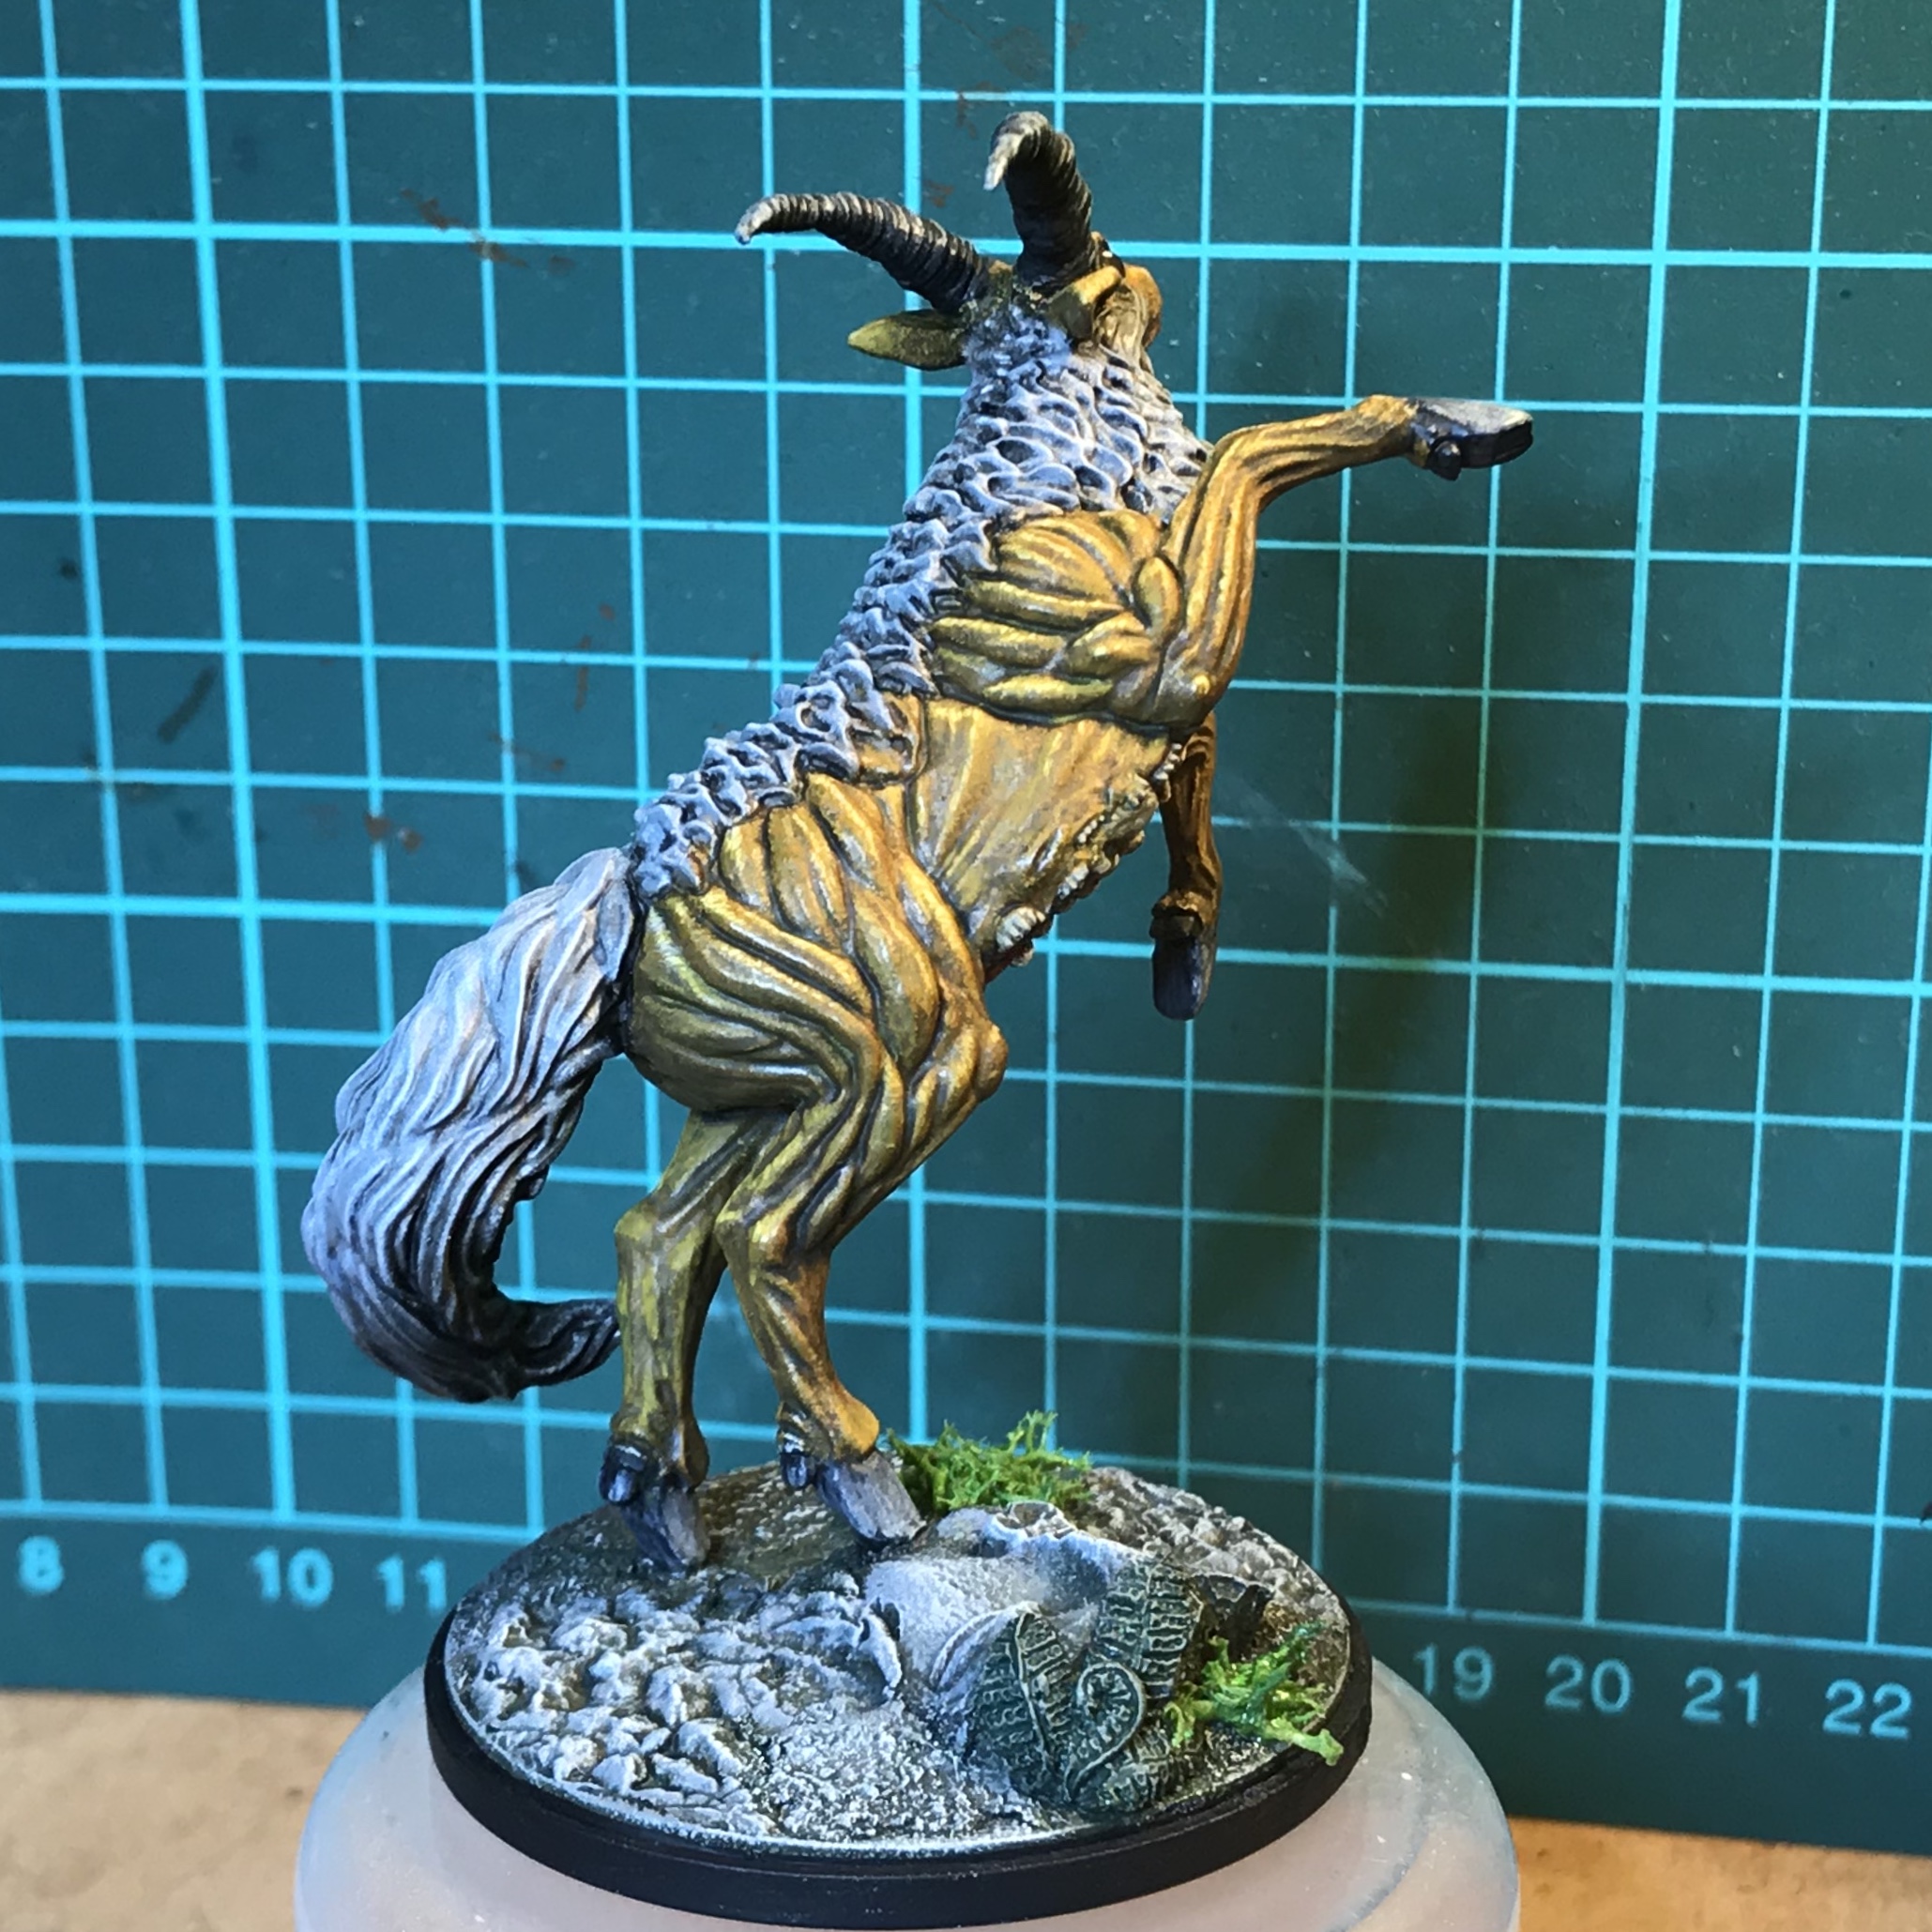
31 Aug 18: Skin and Fur
The next stage skin highlights were done with 2:1 GW Snakebite Leather: GW Bubonic Brown.
The fur was highlighted with approx 2:1 GW Codex Grey: GW Bleached Bone.
At this time I based the horns and hooves in Army Painter Matt Black.
Next stage highlights in the skin (ok so more than one level higher…) were straight Bubonic Brown.
I finished the skin with just a very thin couple of glazed of Dnakebite Leather: the Bubonic Brown was just a touch too light and it tied all the layers together again.
The highest fur layer was 1:2 Codex Grey and Bleached Bone.
Around the tail I went in with some fine lines on the Devlan Mud just to draw in some lines between the layers of the tail. Maybe could go darker.
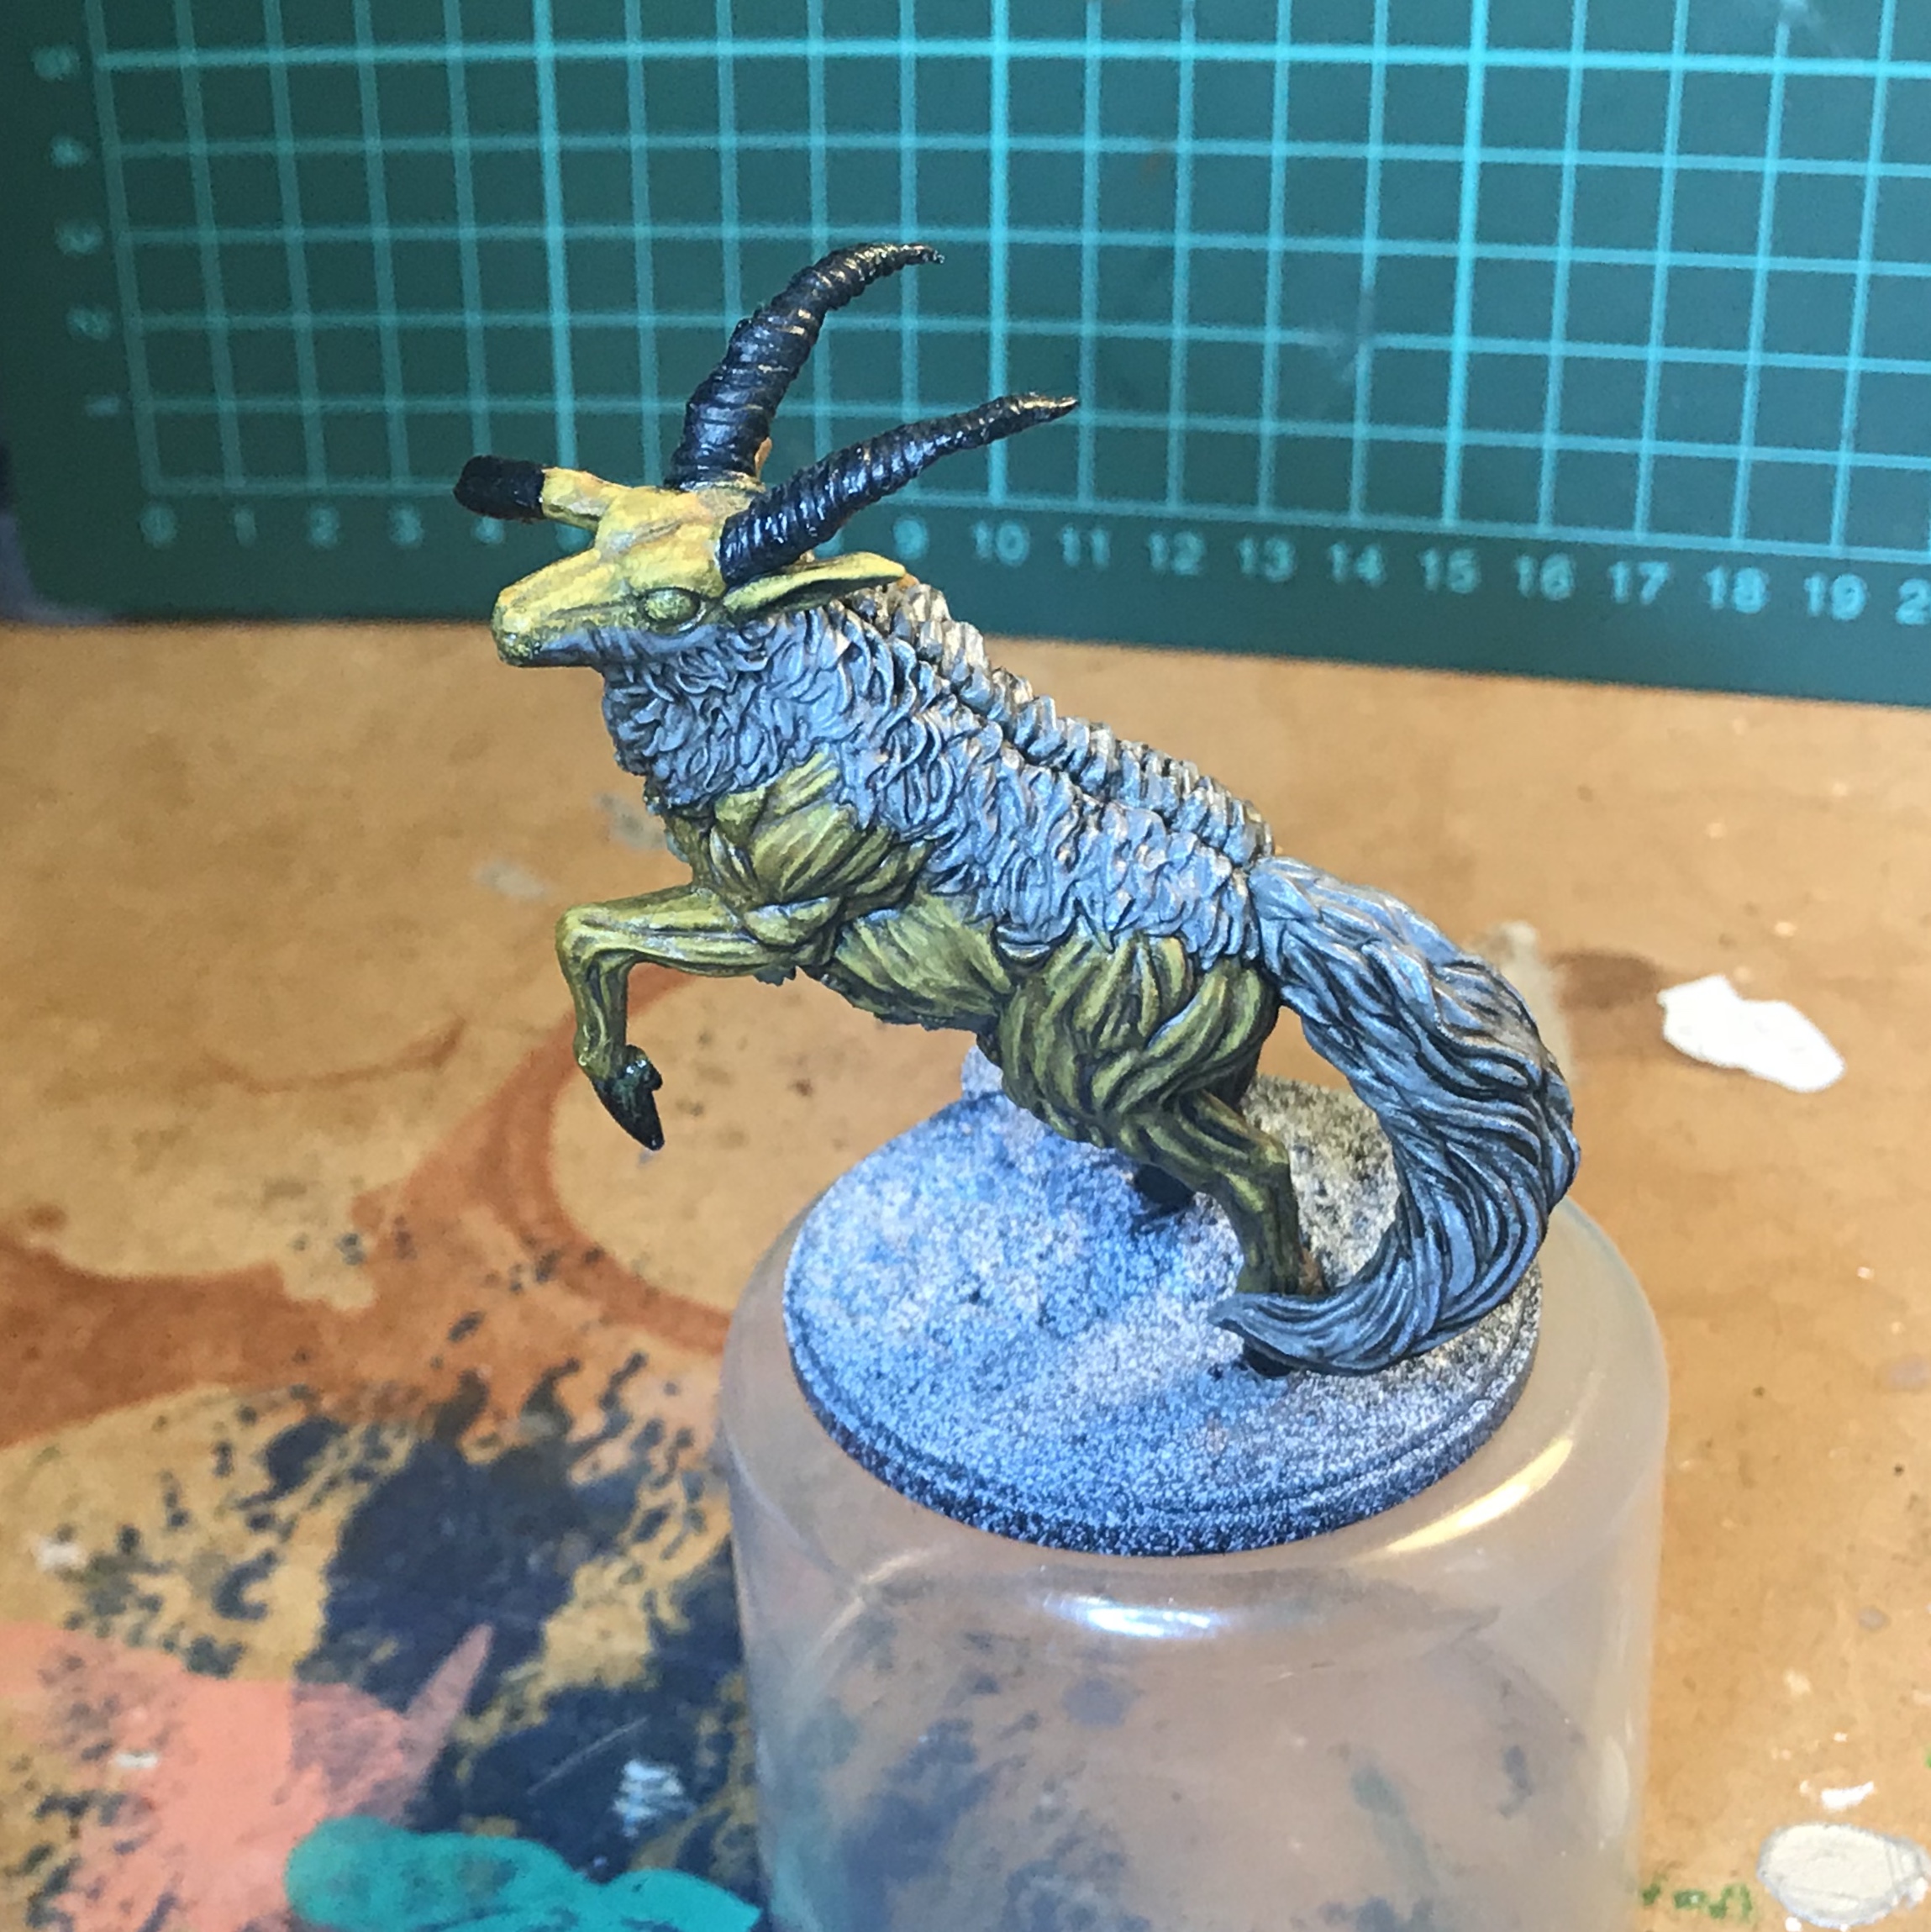


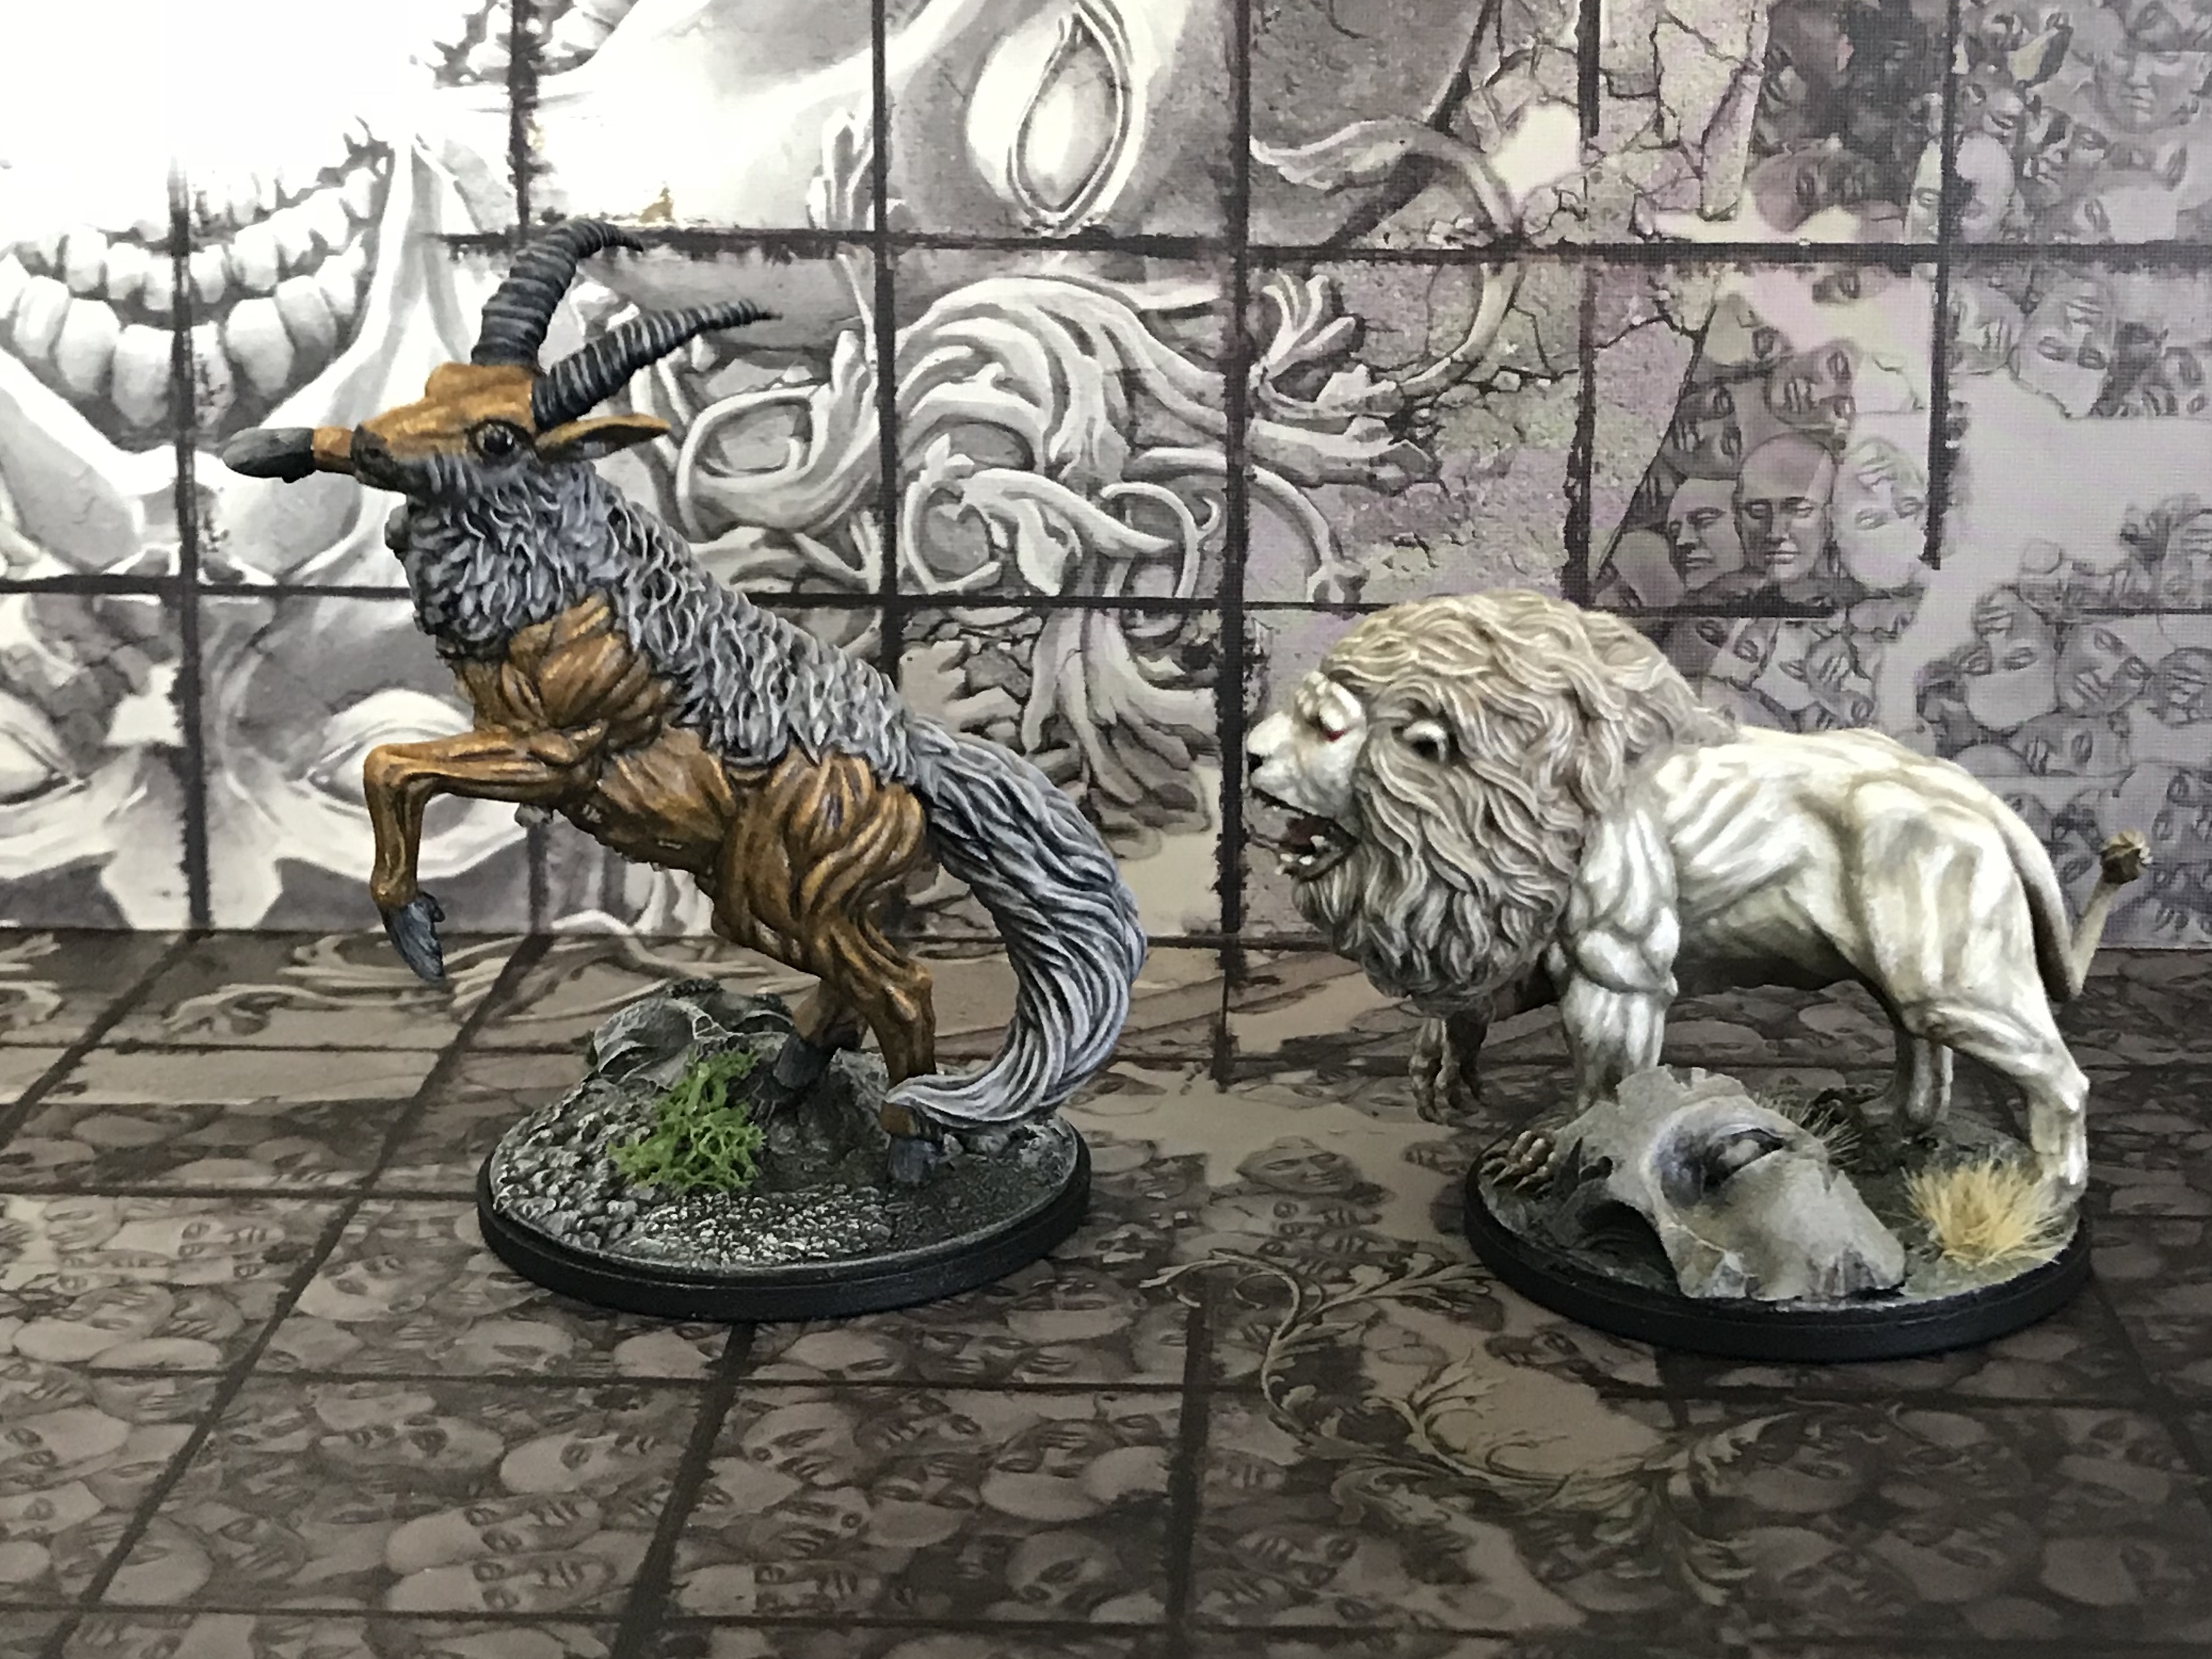
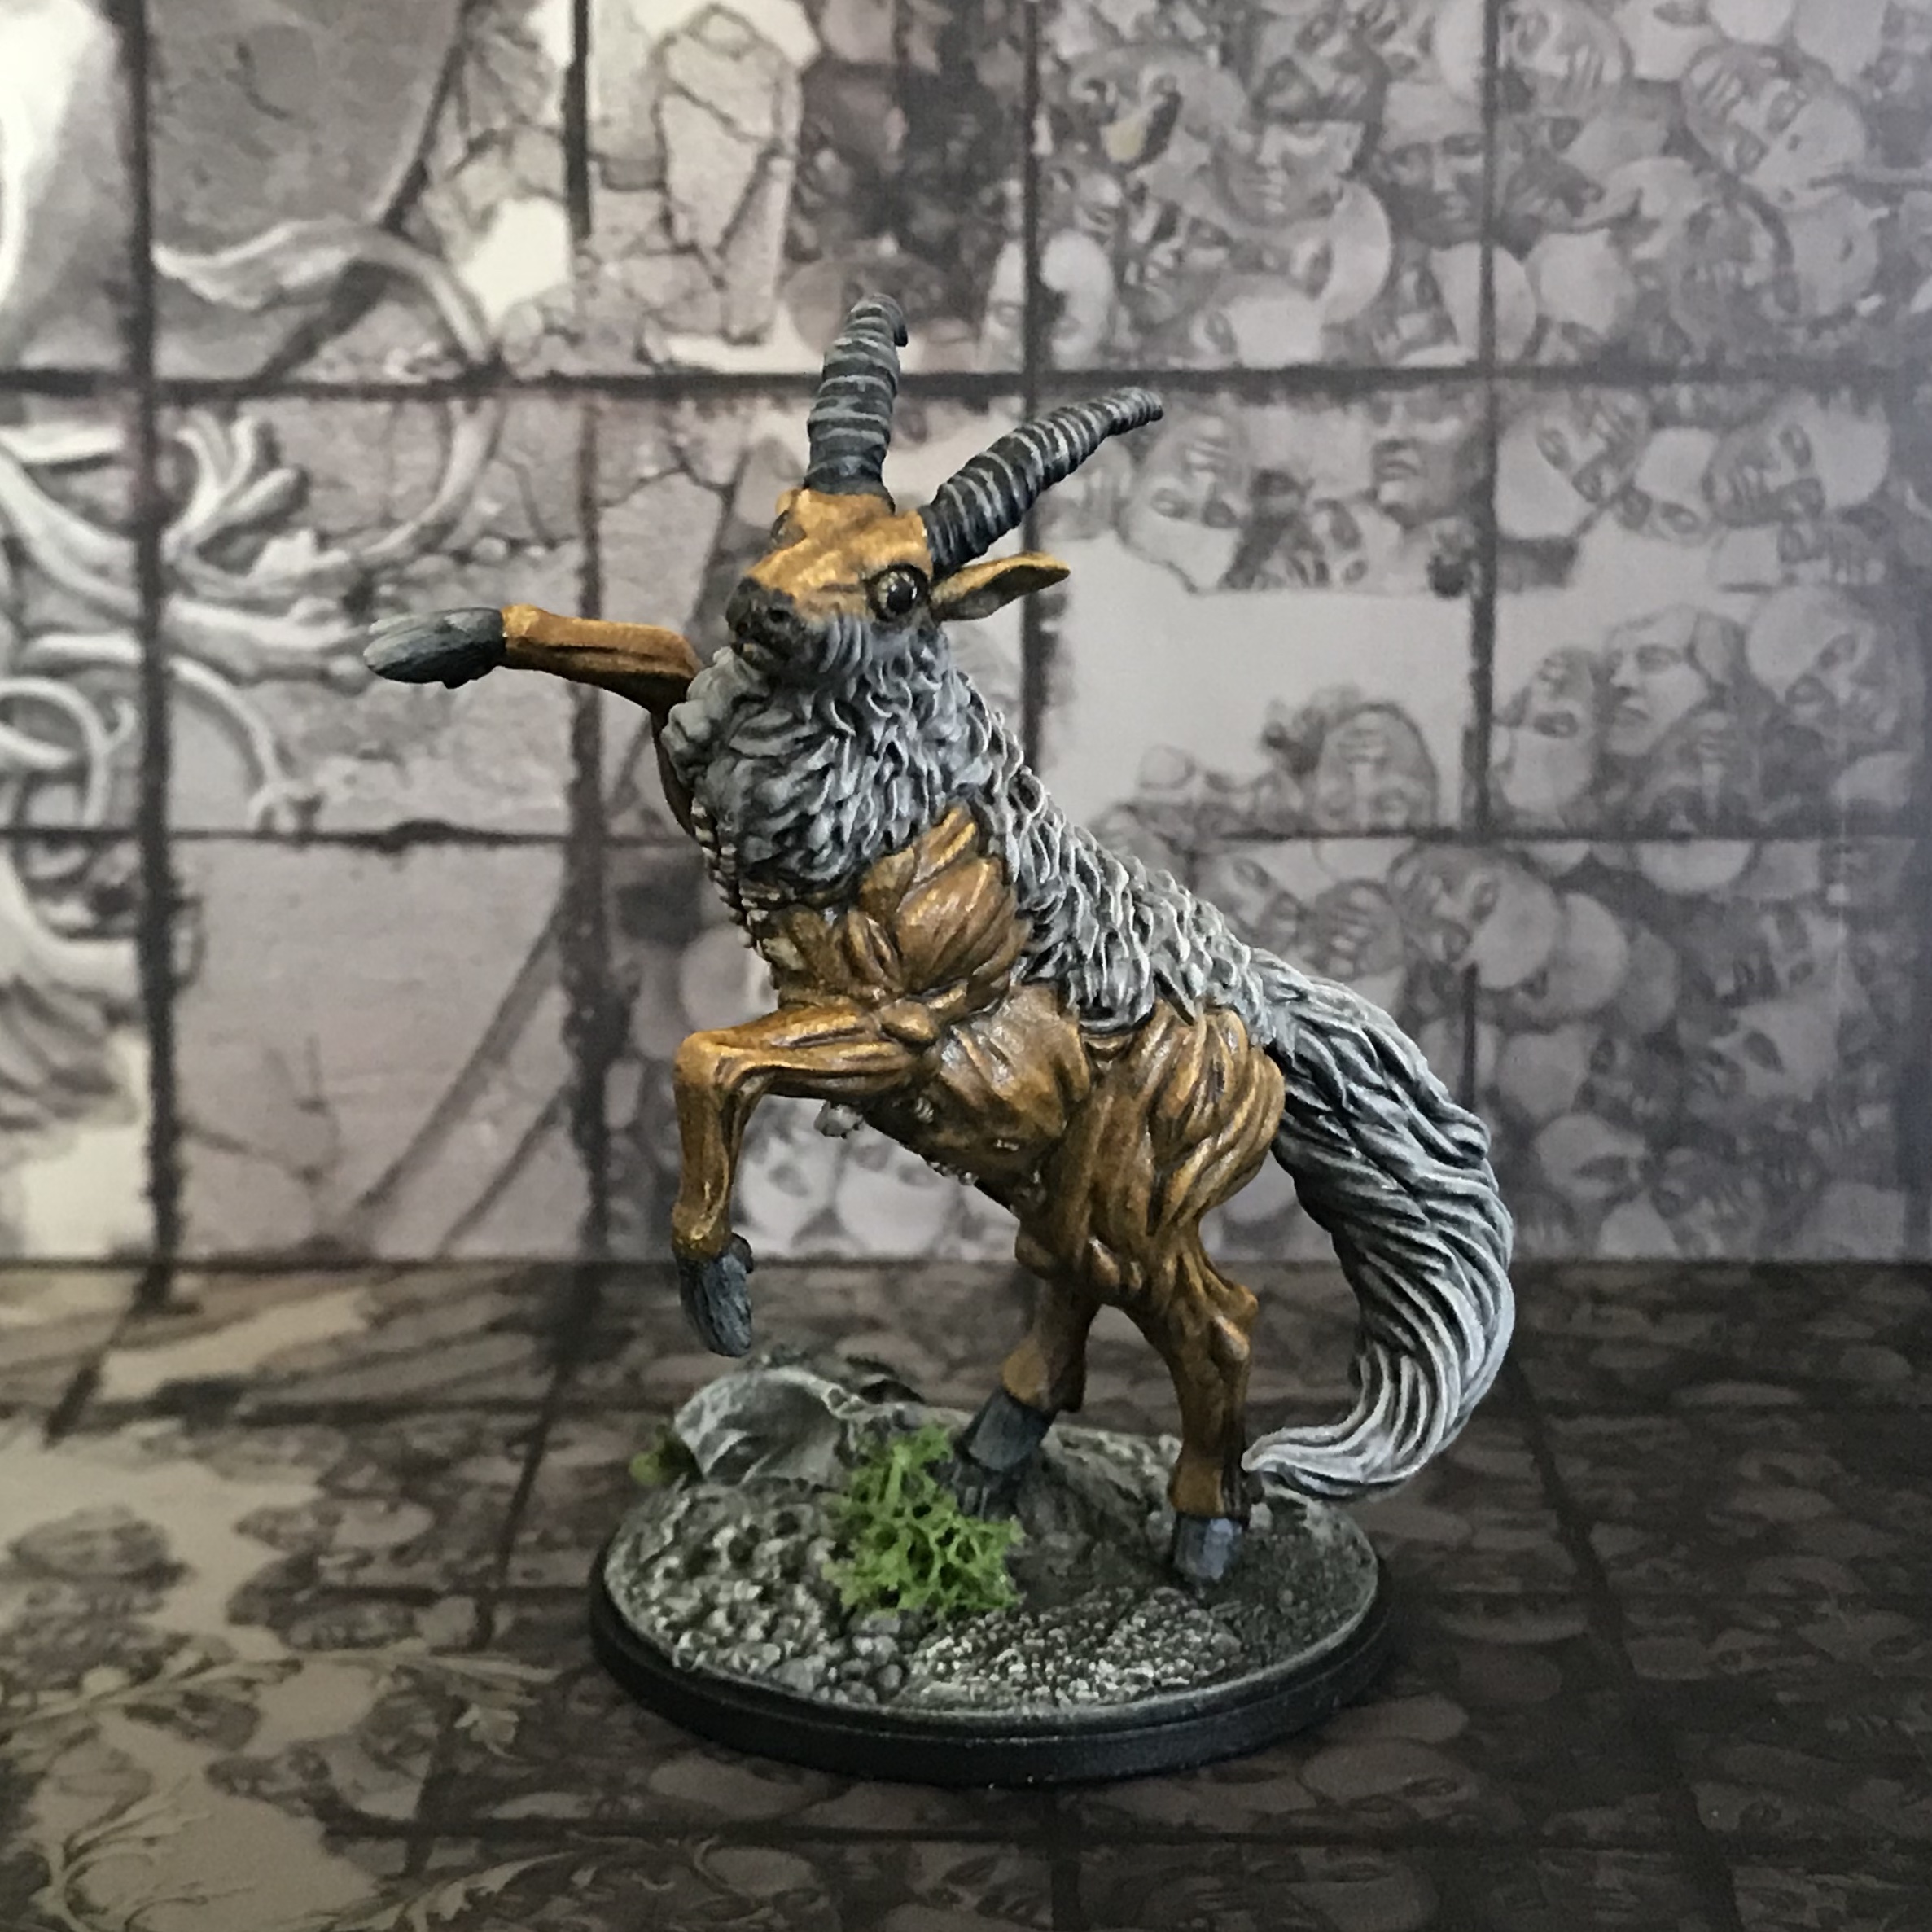
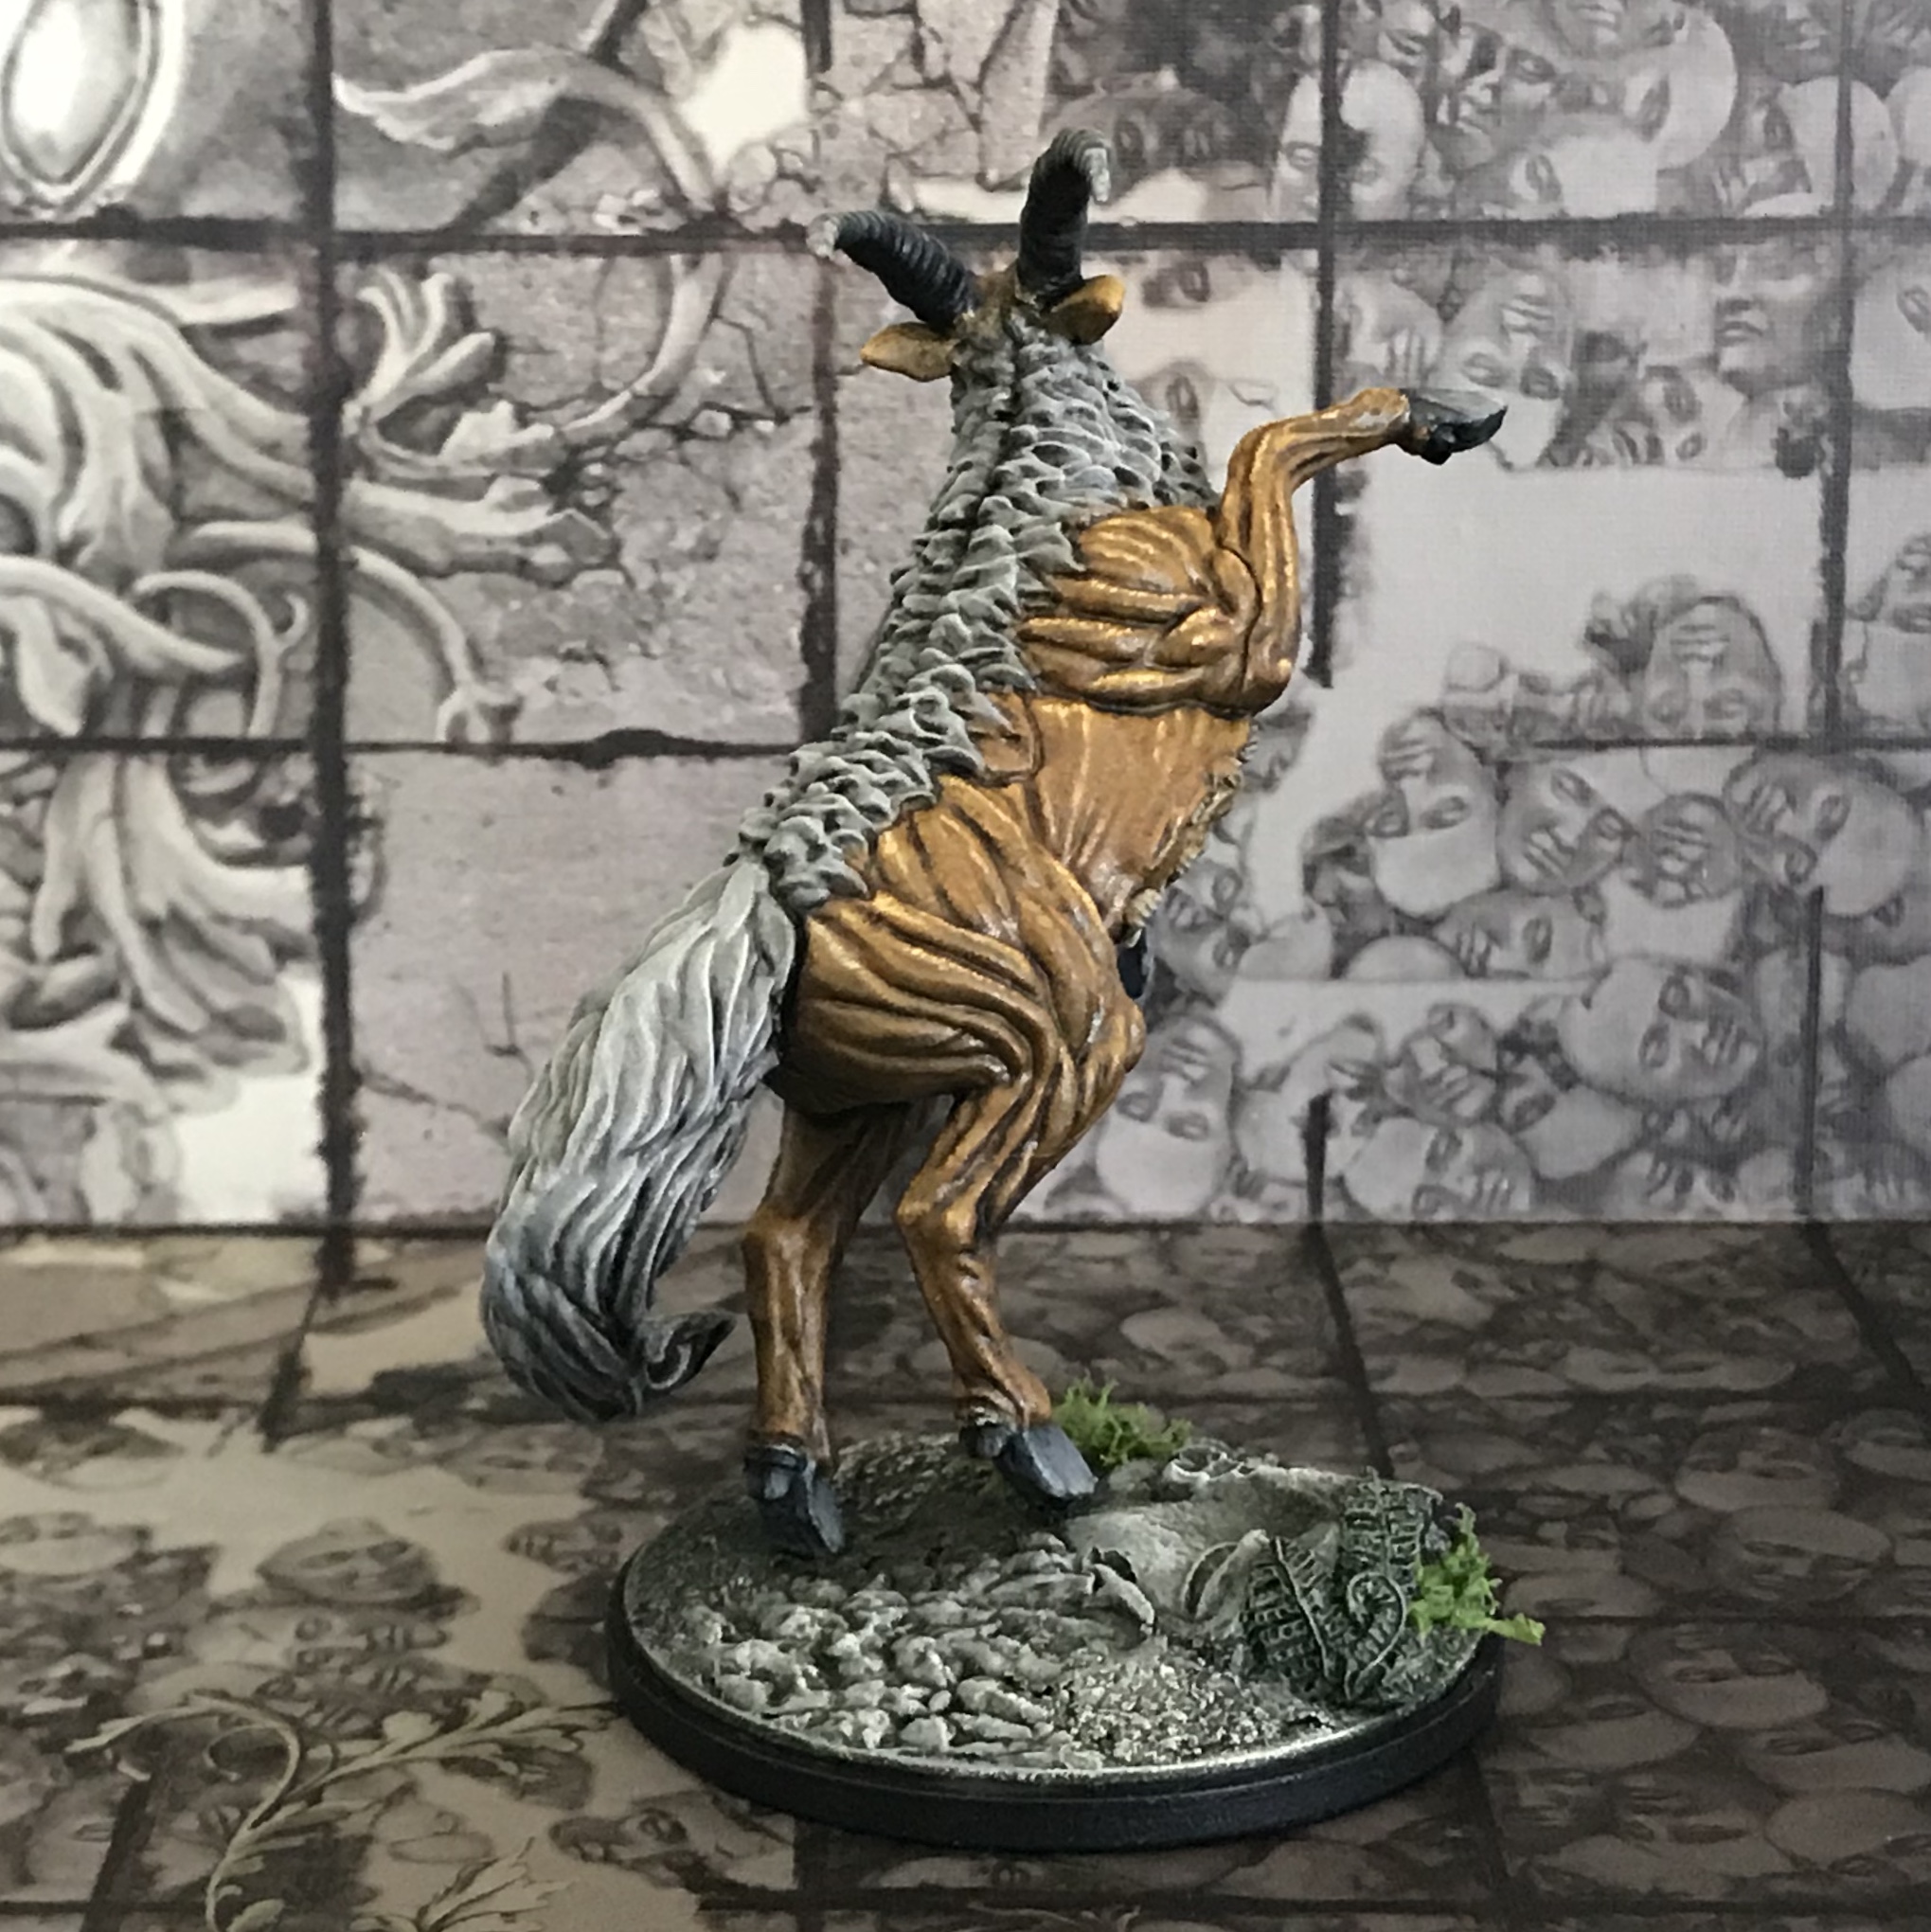
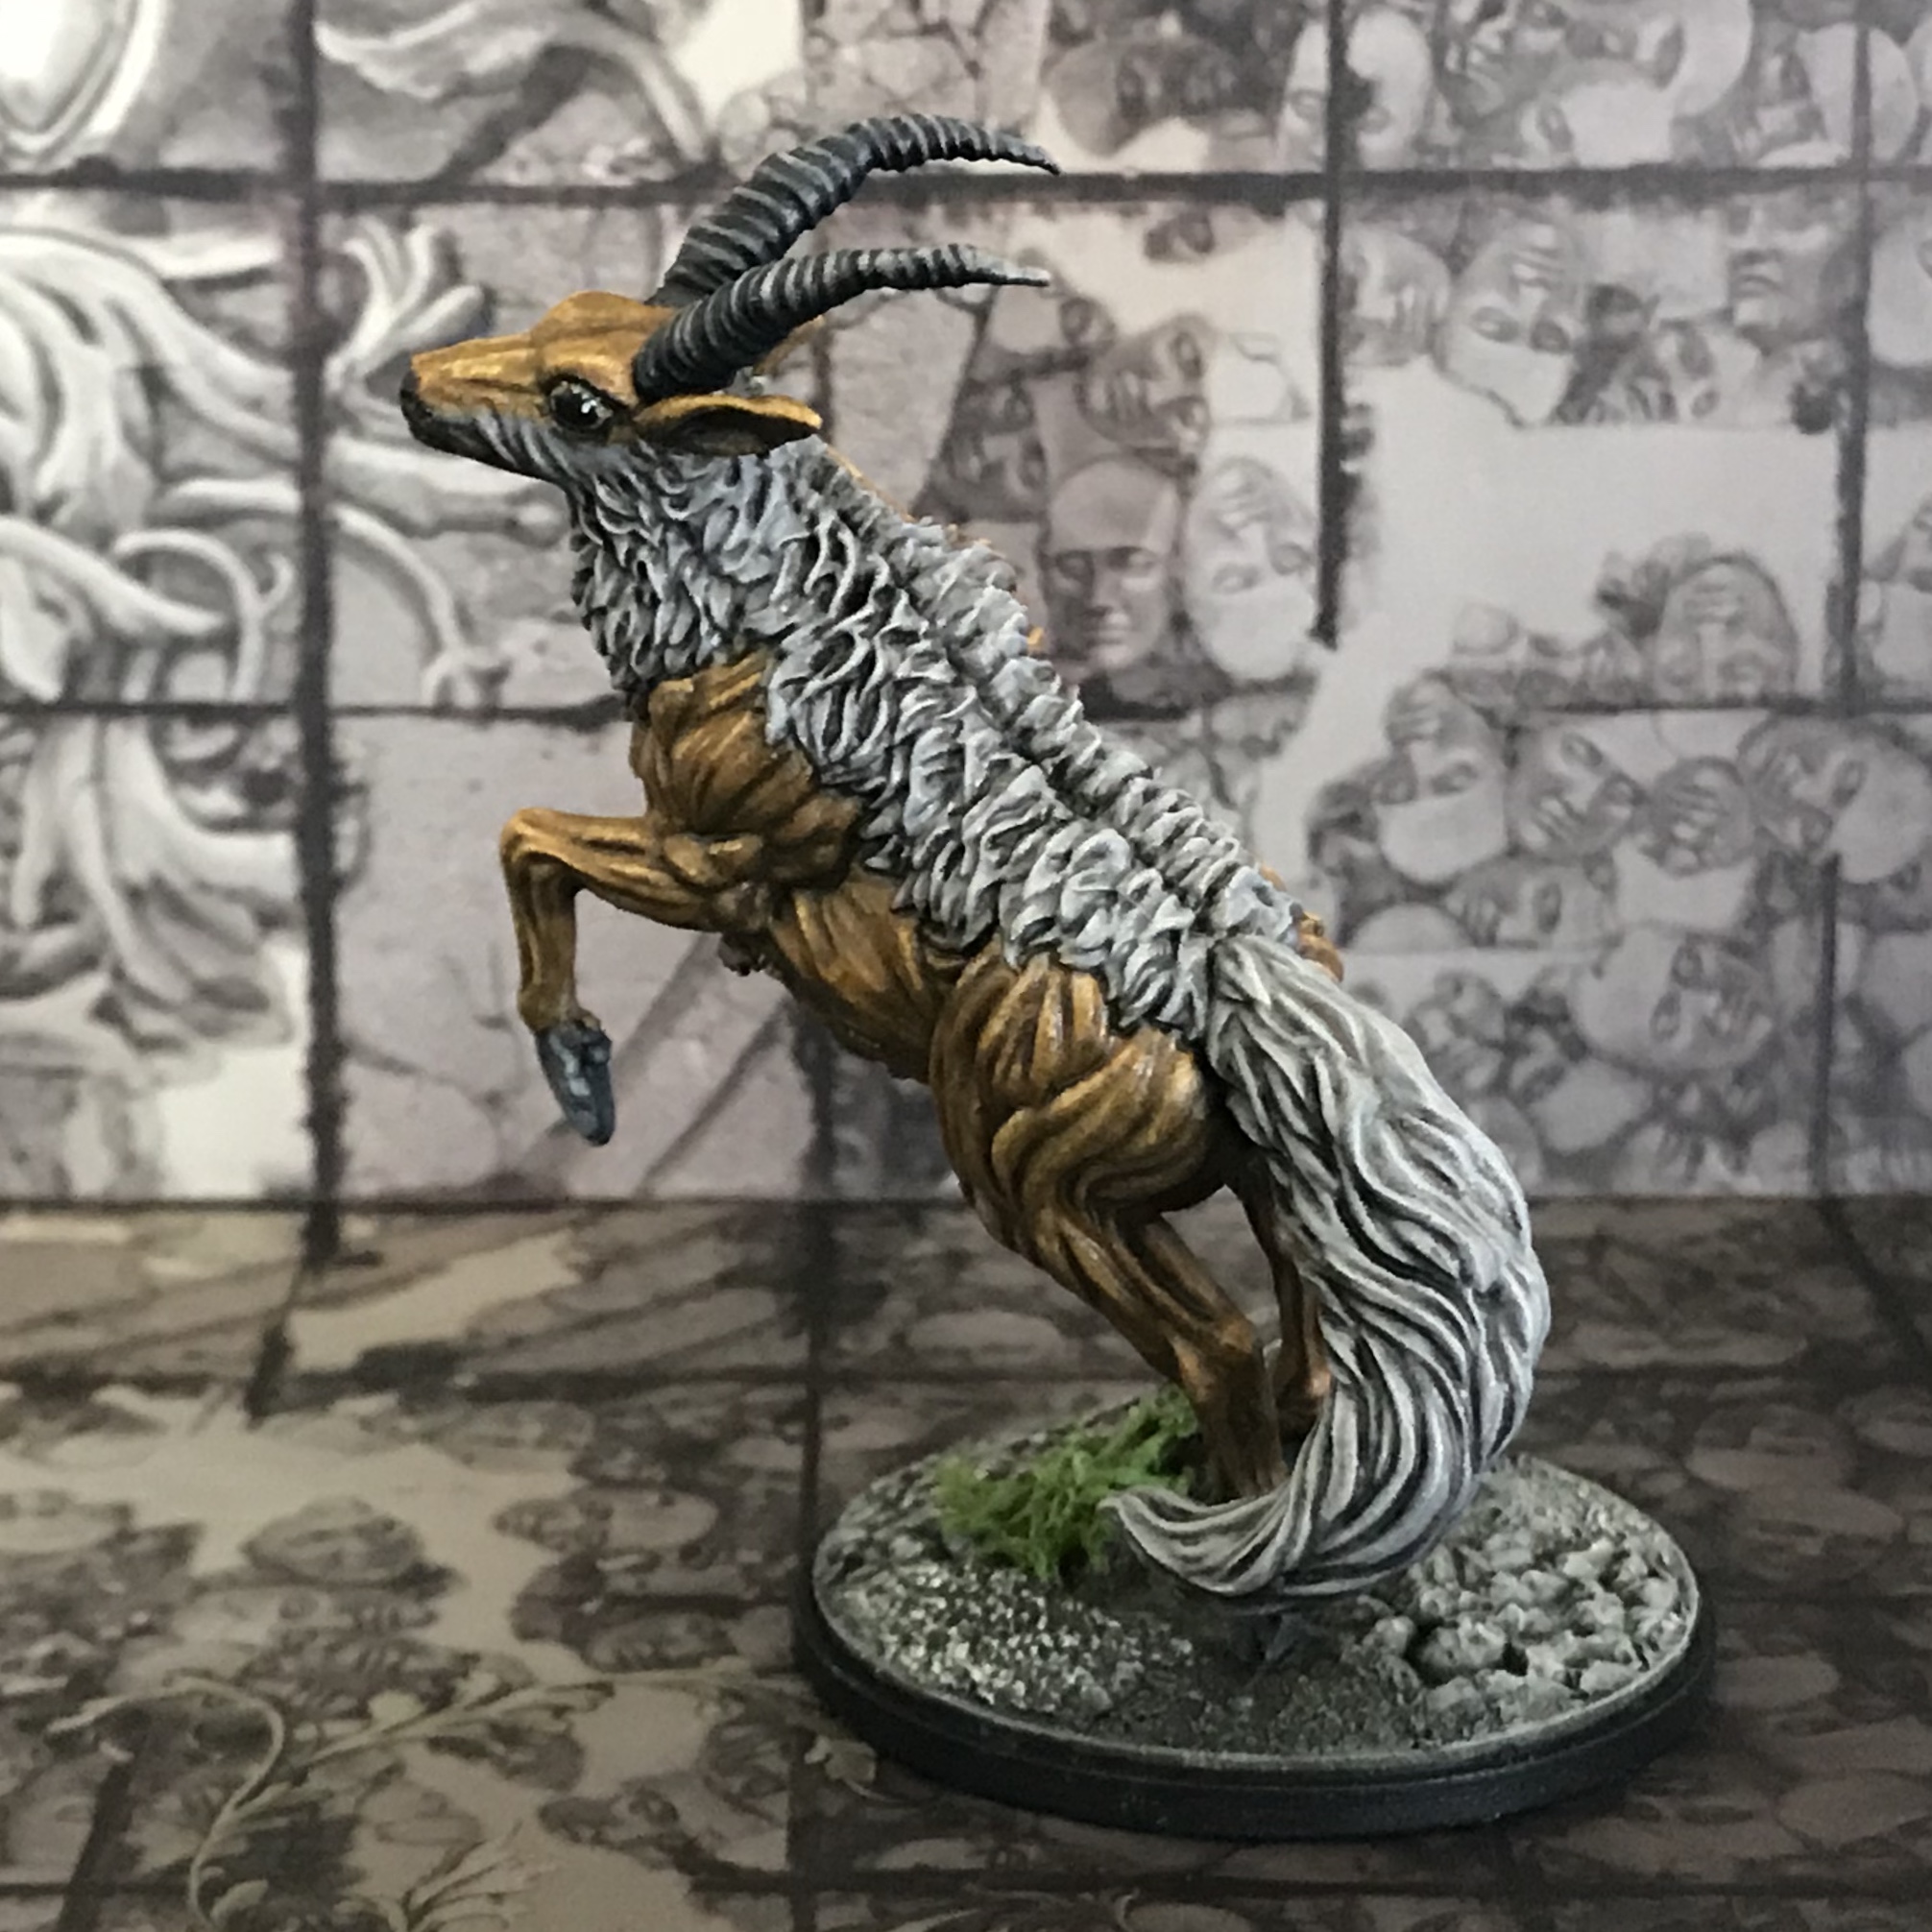
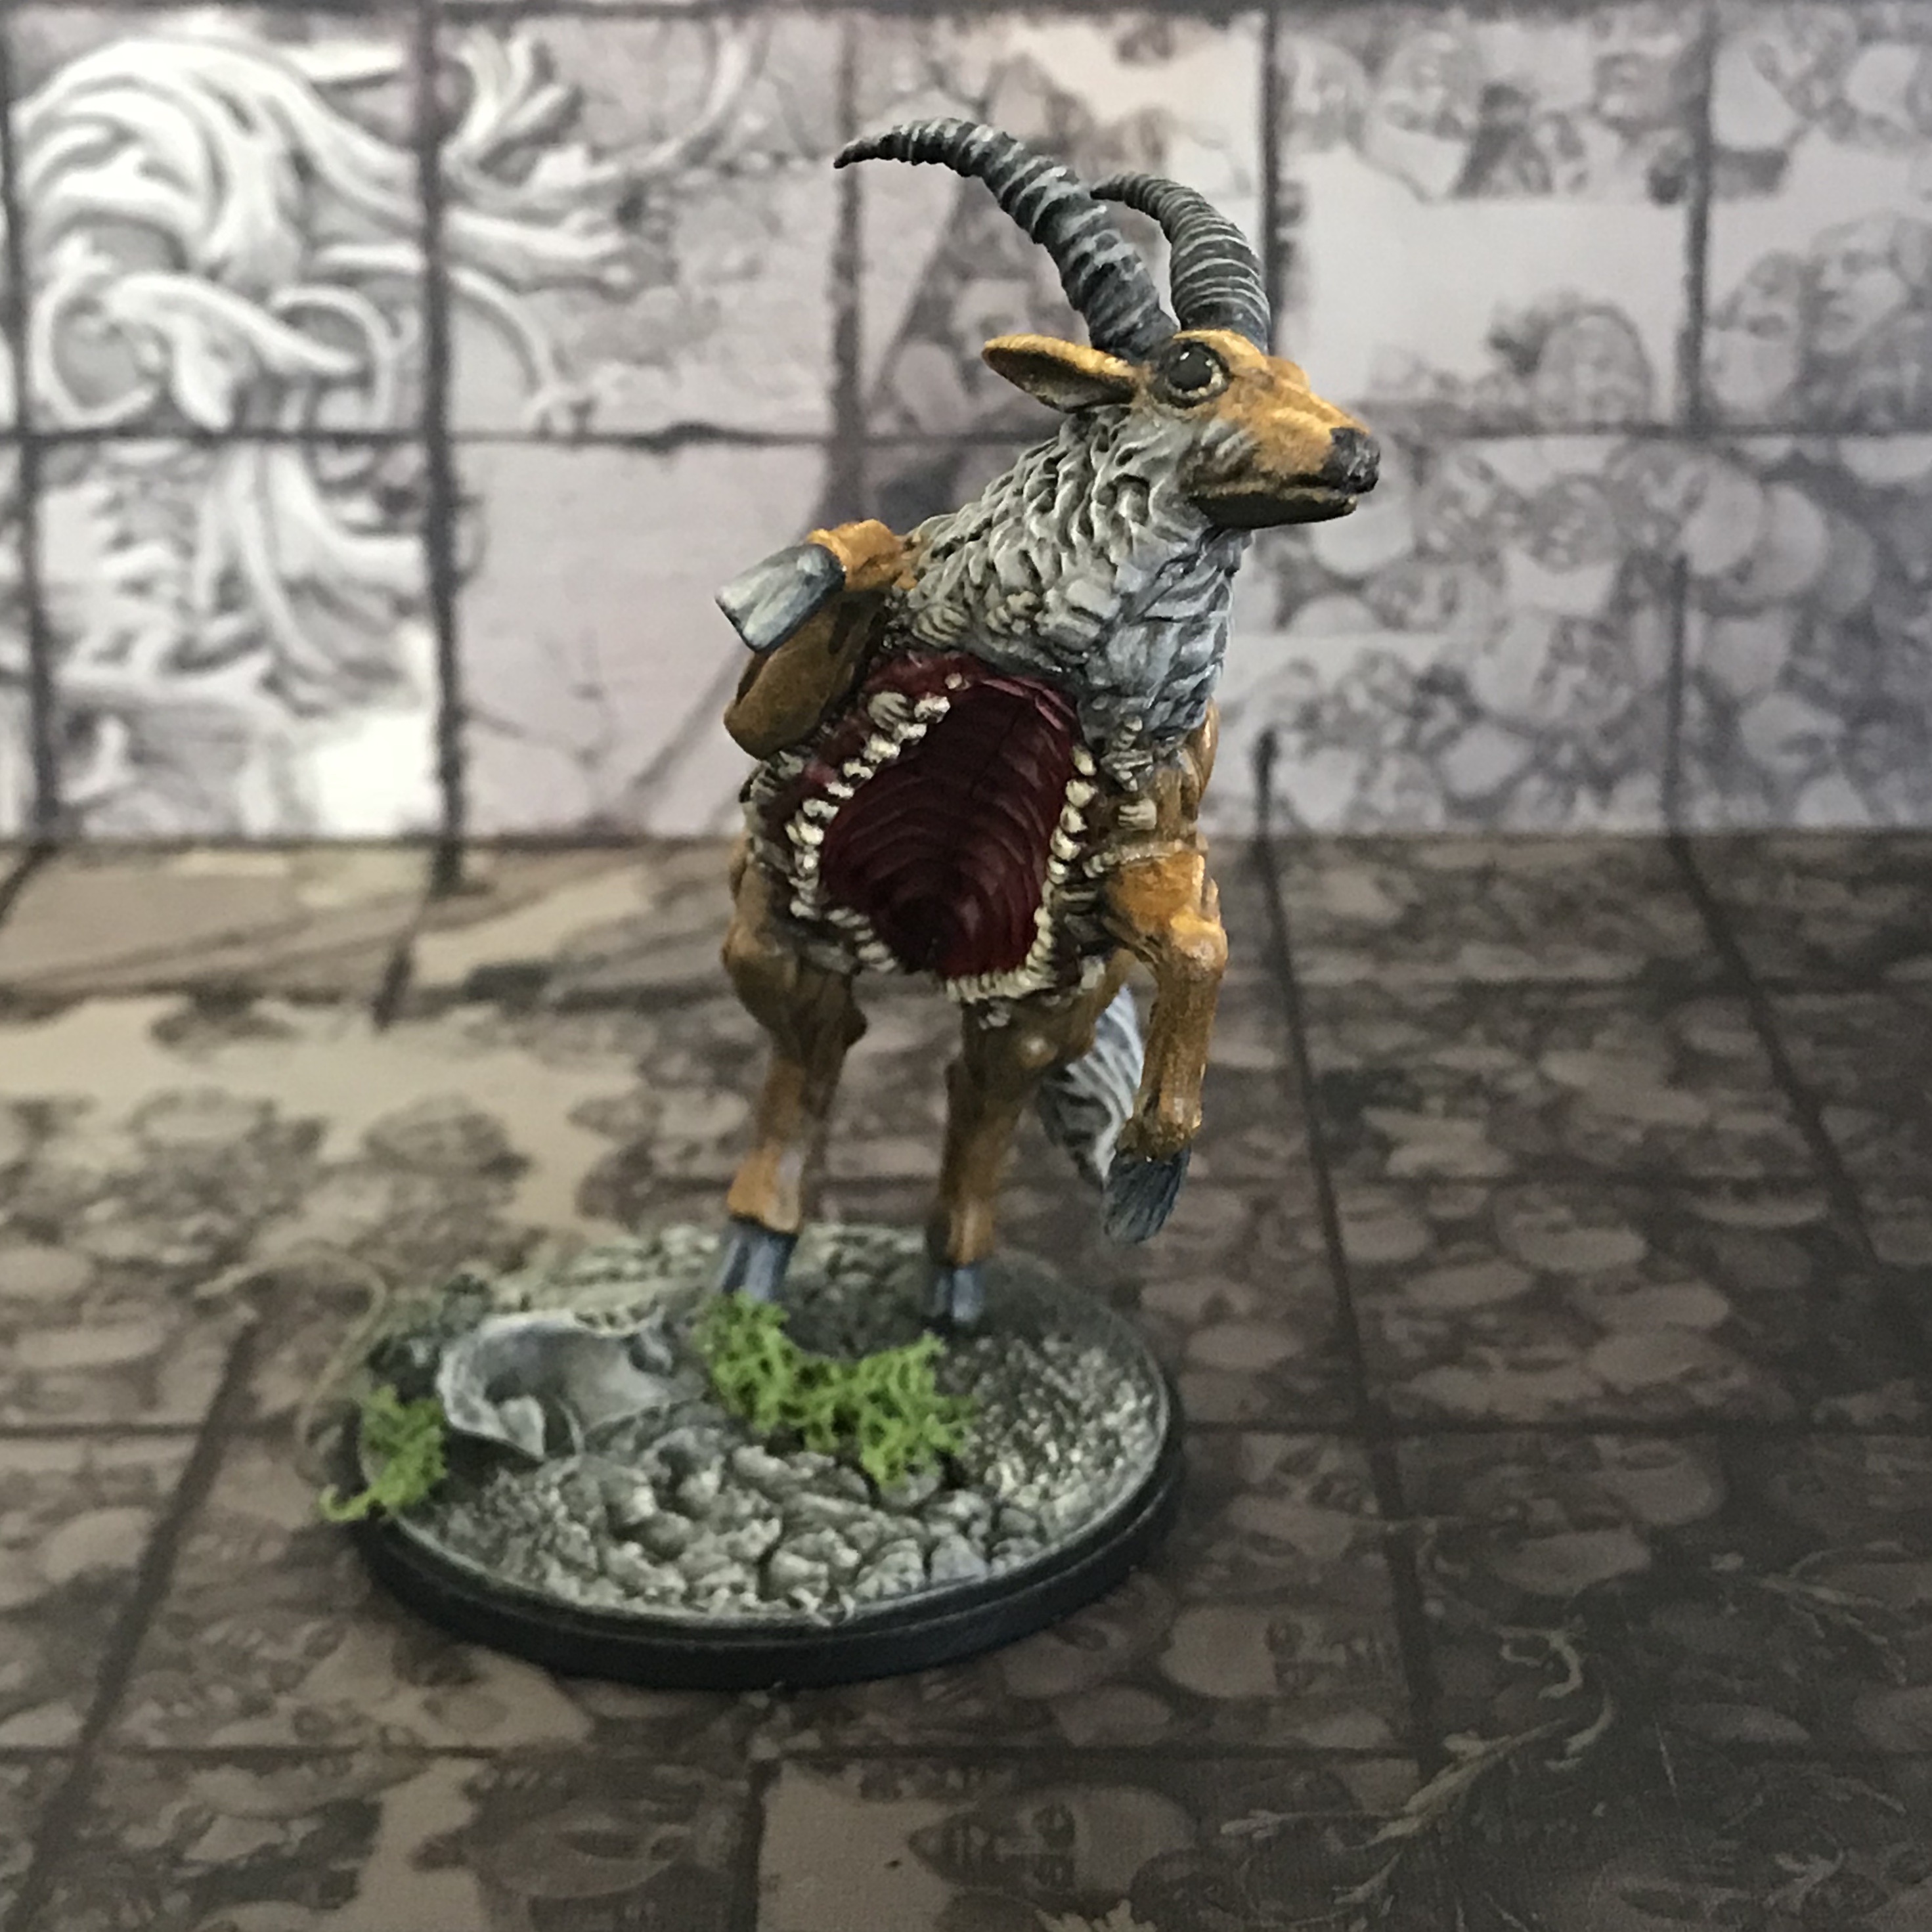
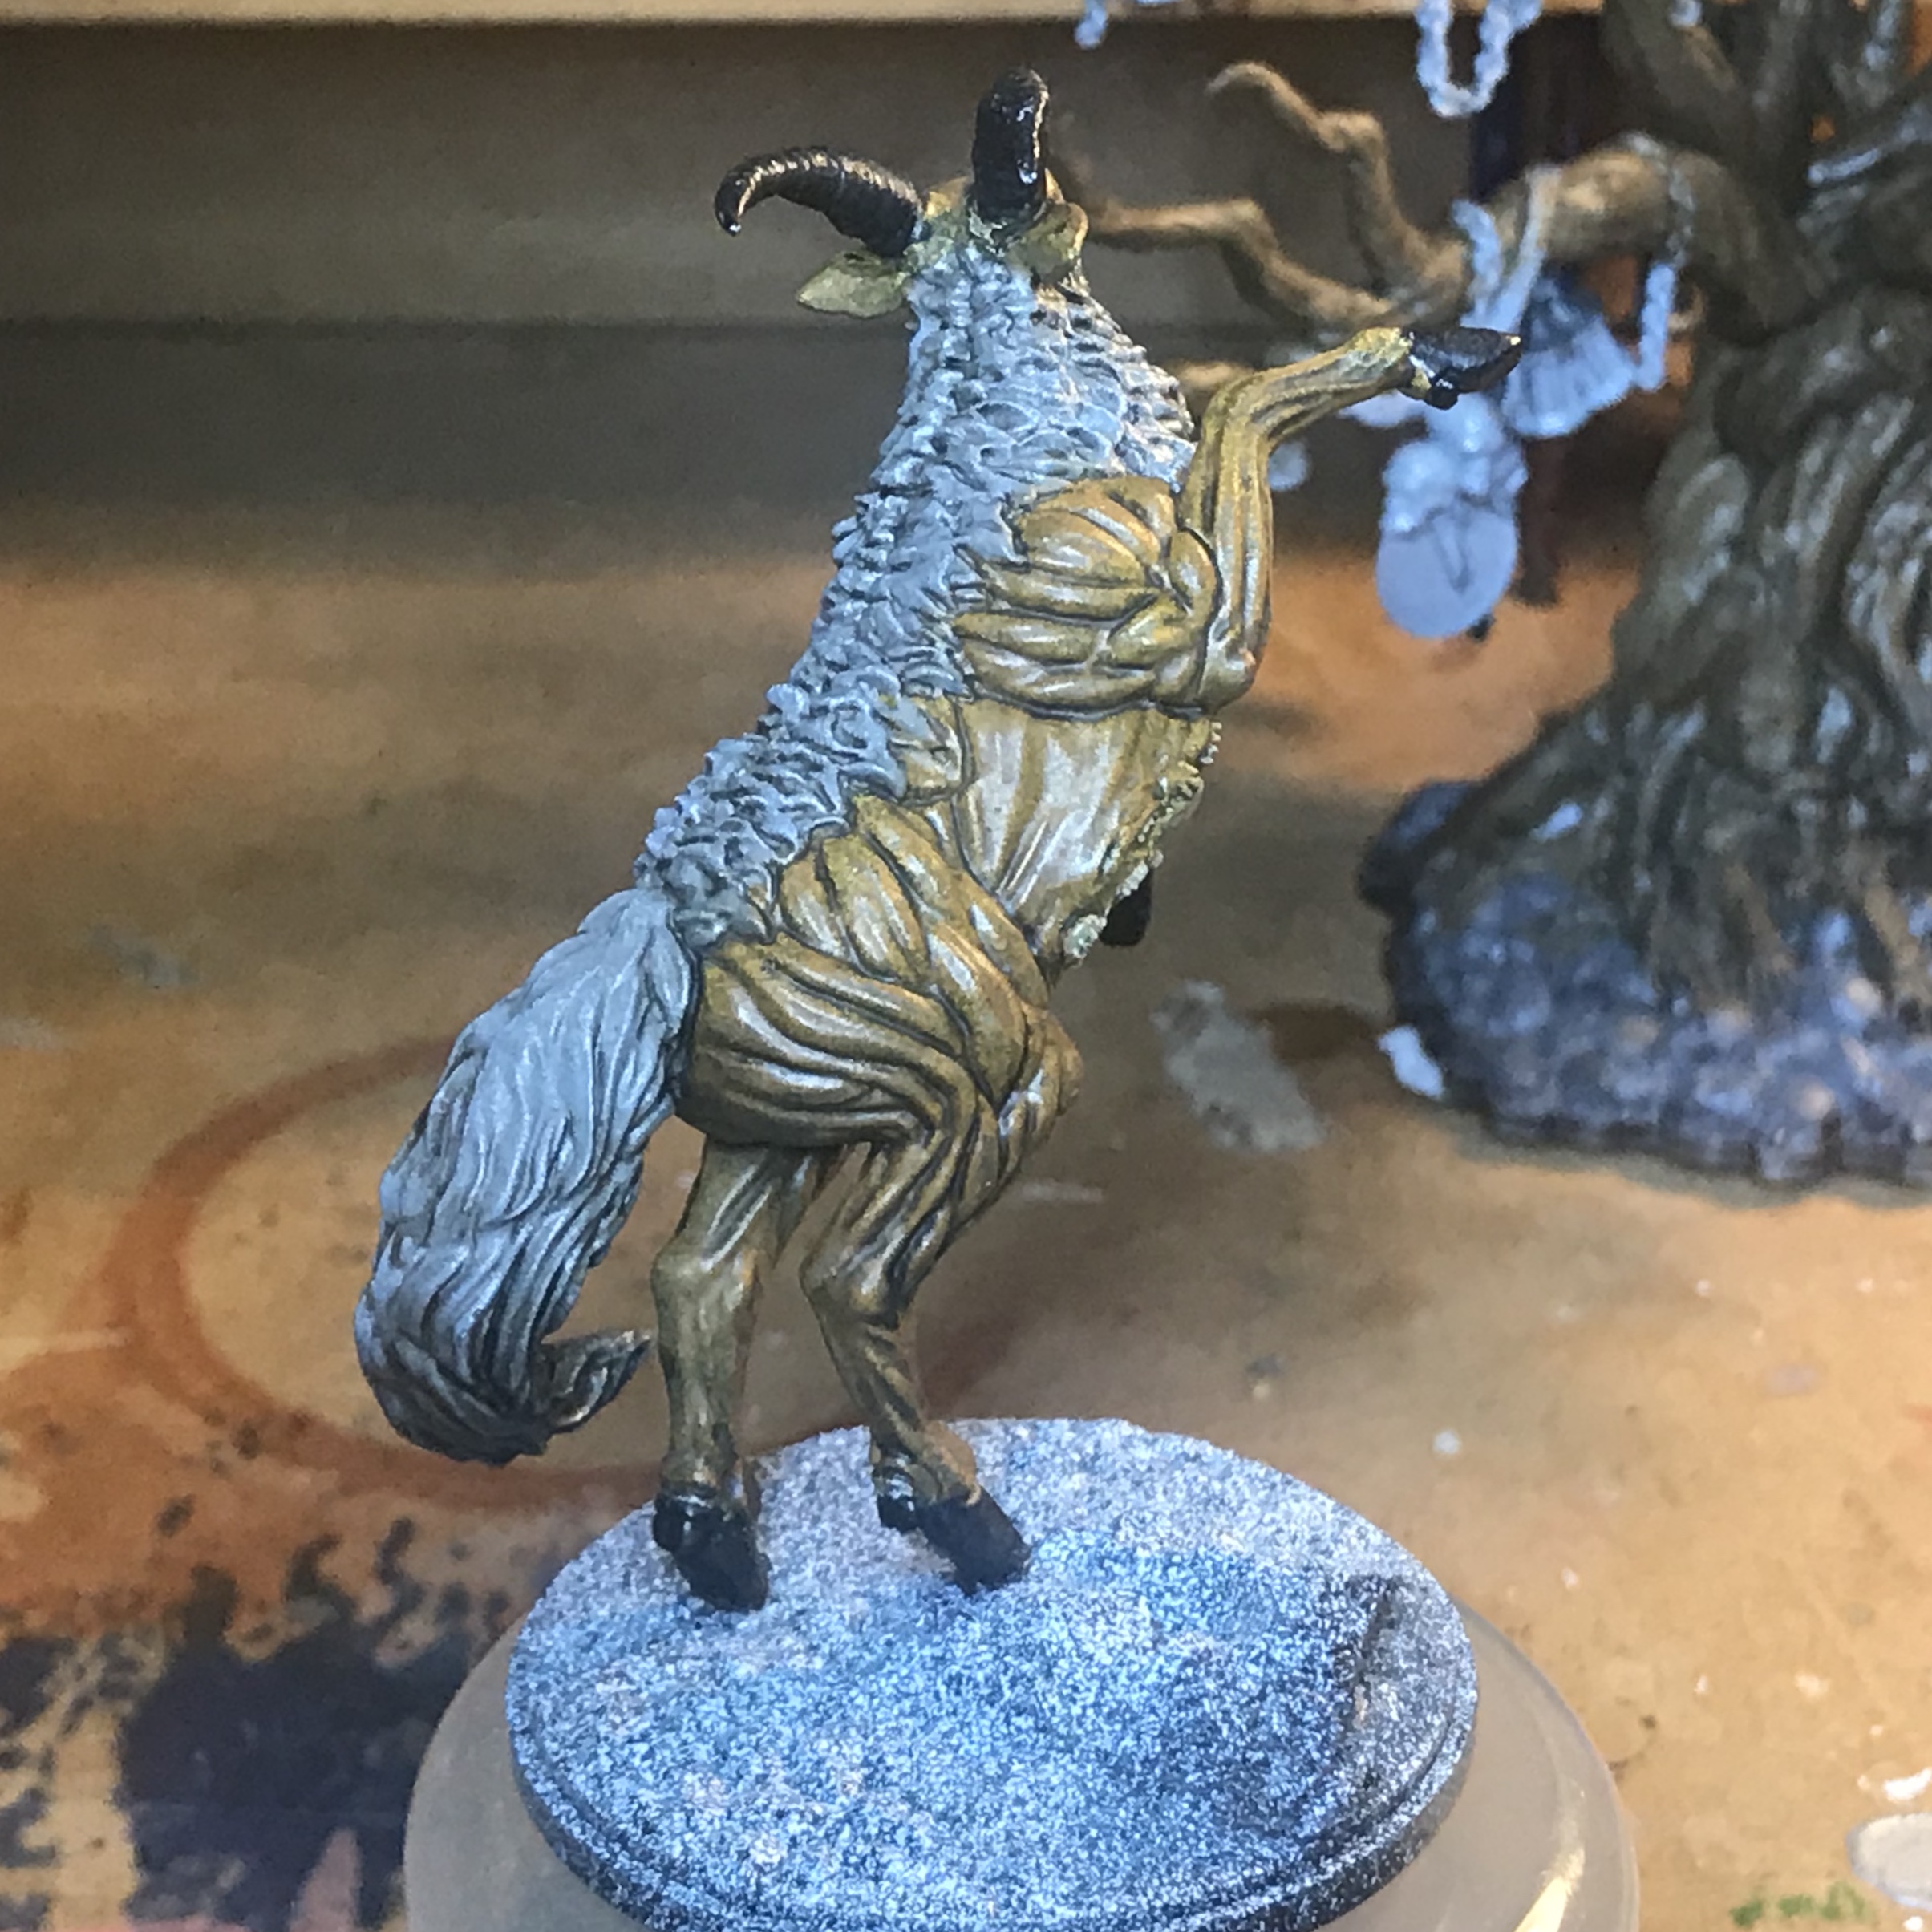
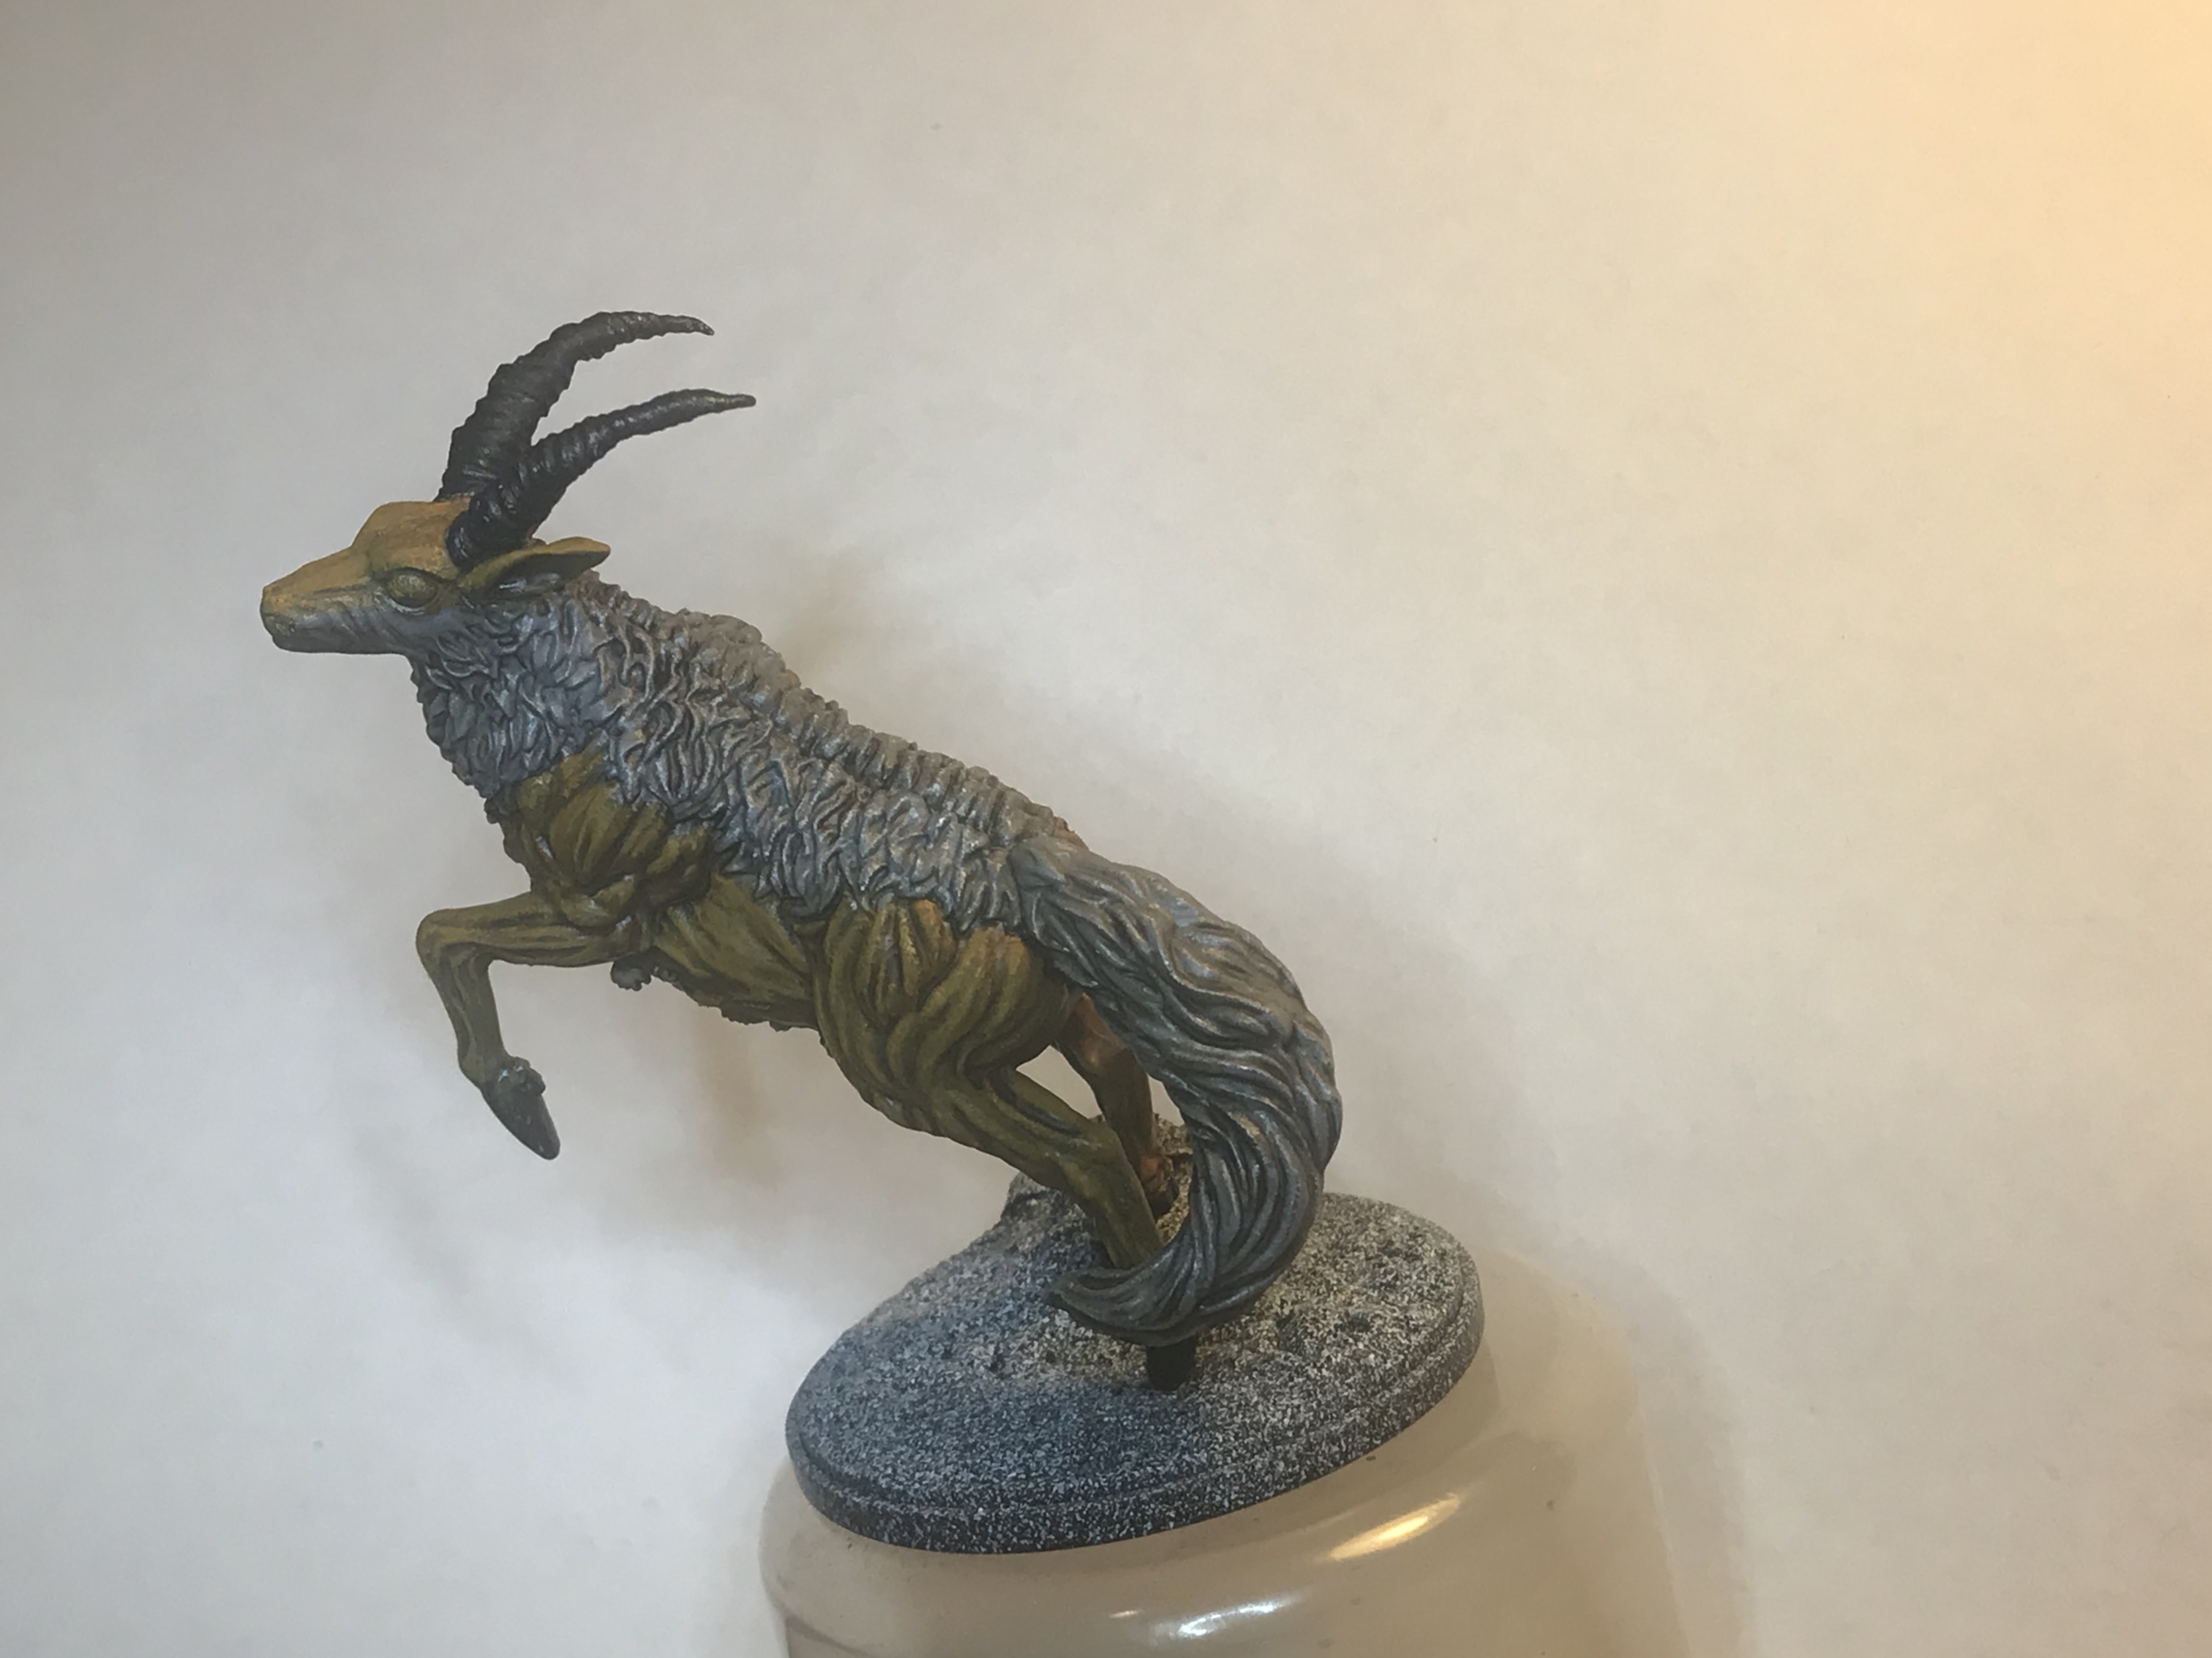
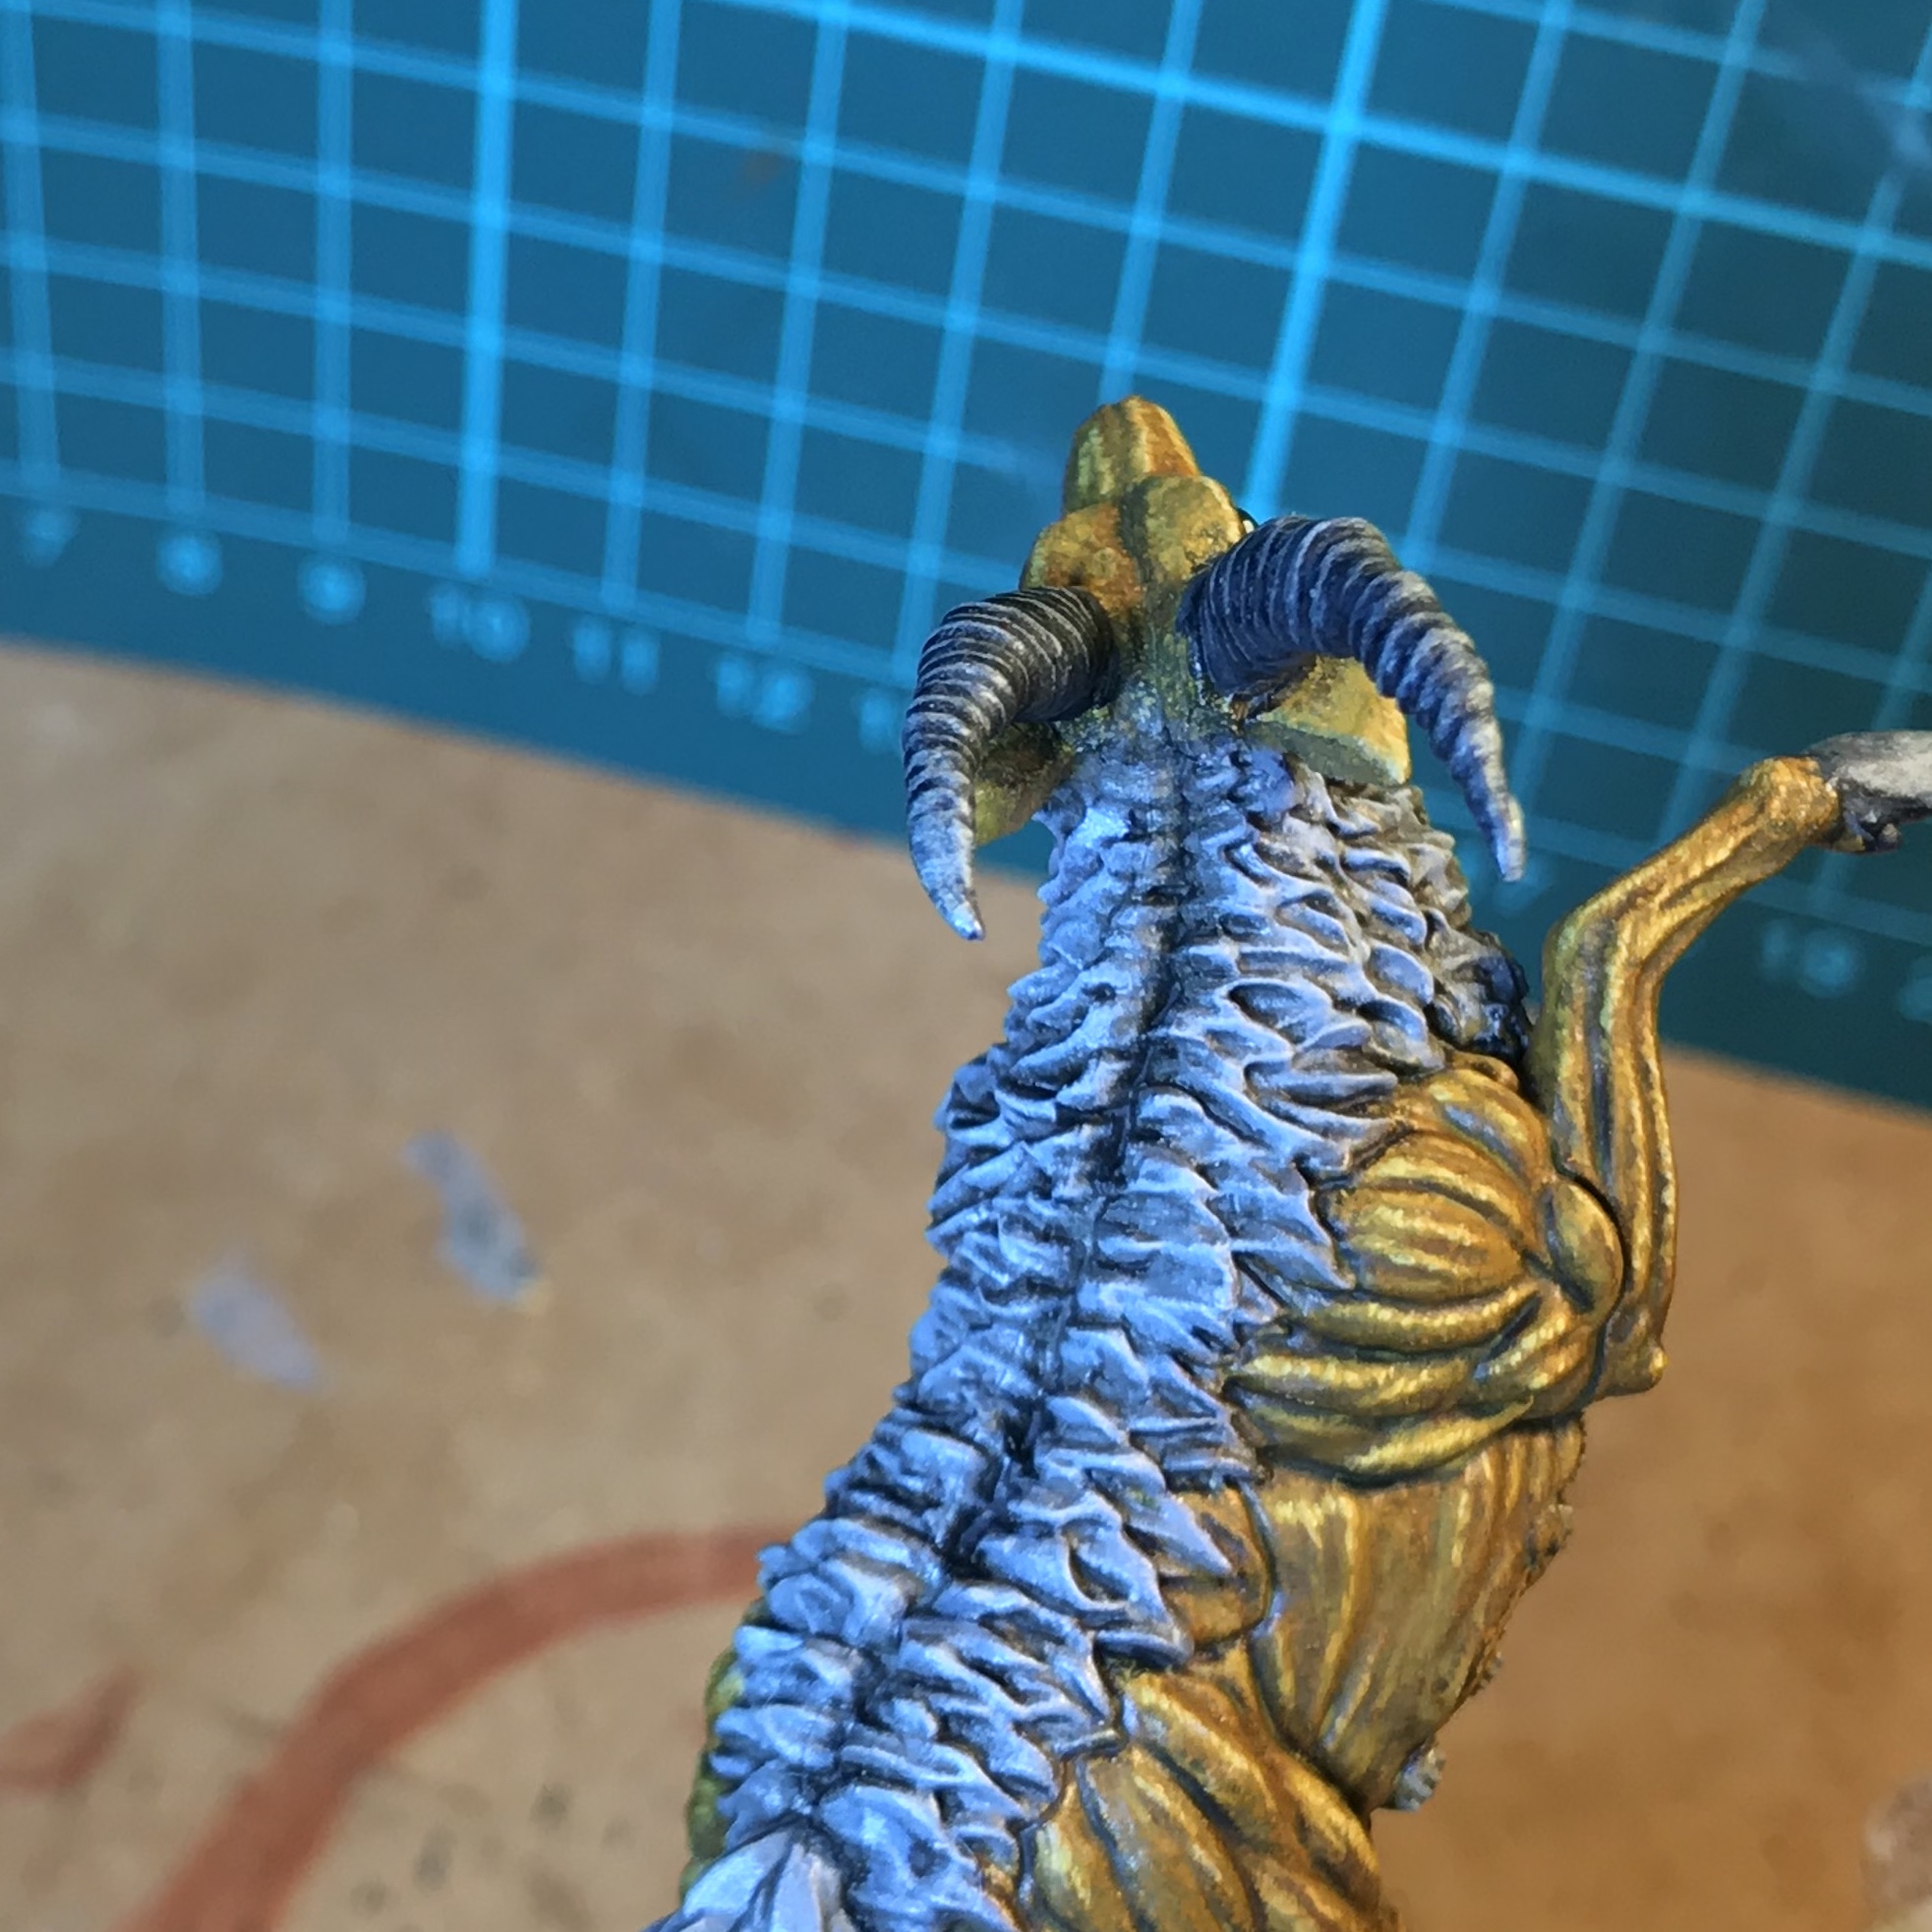
6 Sep 18: Behold! The Antelope!
A speedy, skittish, survivor-swallowing sonofa-
The Antelope.
The Horns and Hooves were worked up in layers. Ratios are approximate
2:1 AP Matt Black & GW Bleached Bone.
1:1 AP Matt Black & GW Bleached Bone
straight Bleached Bone.
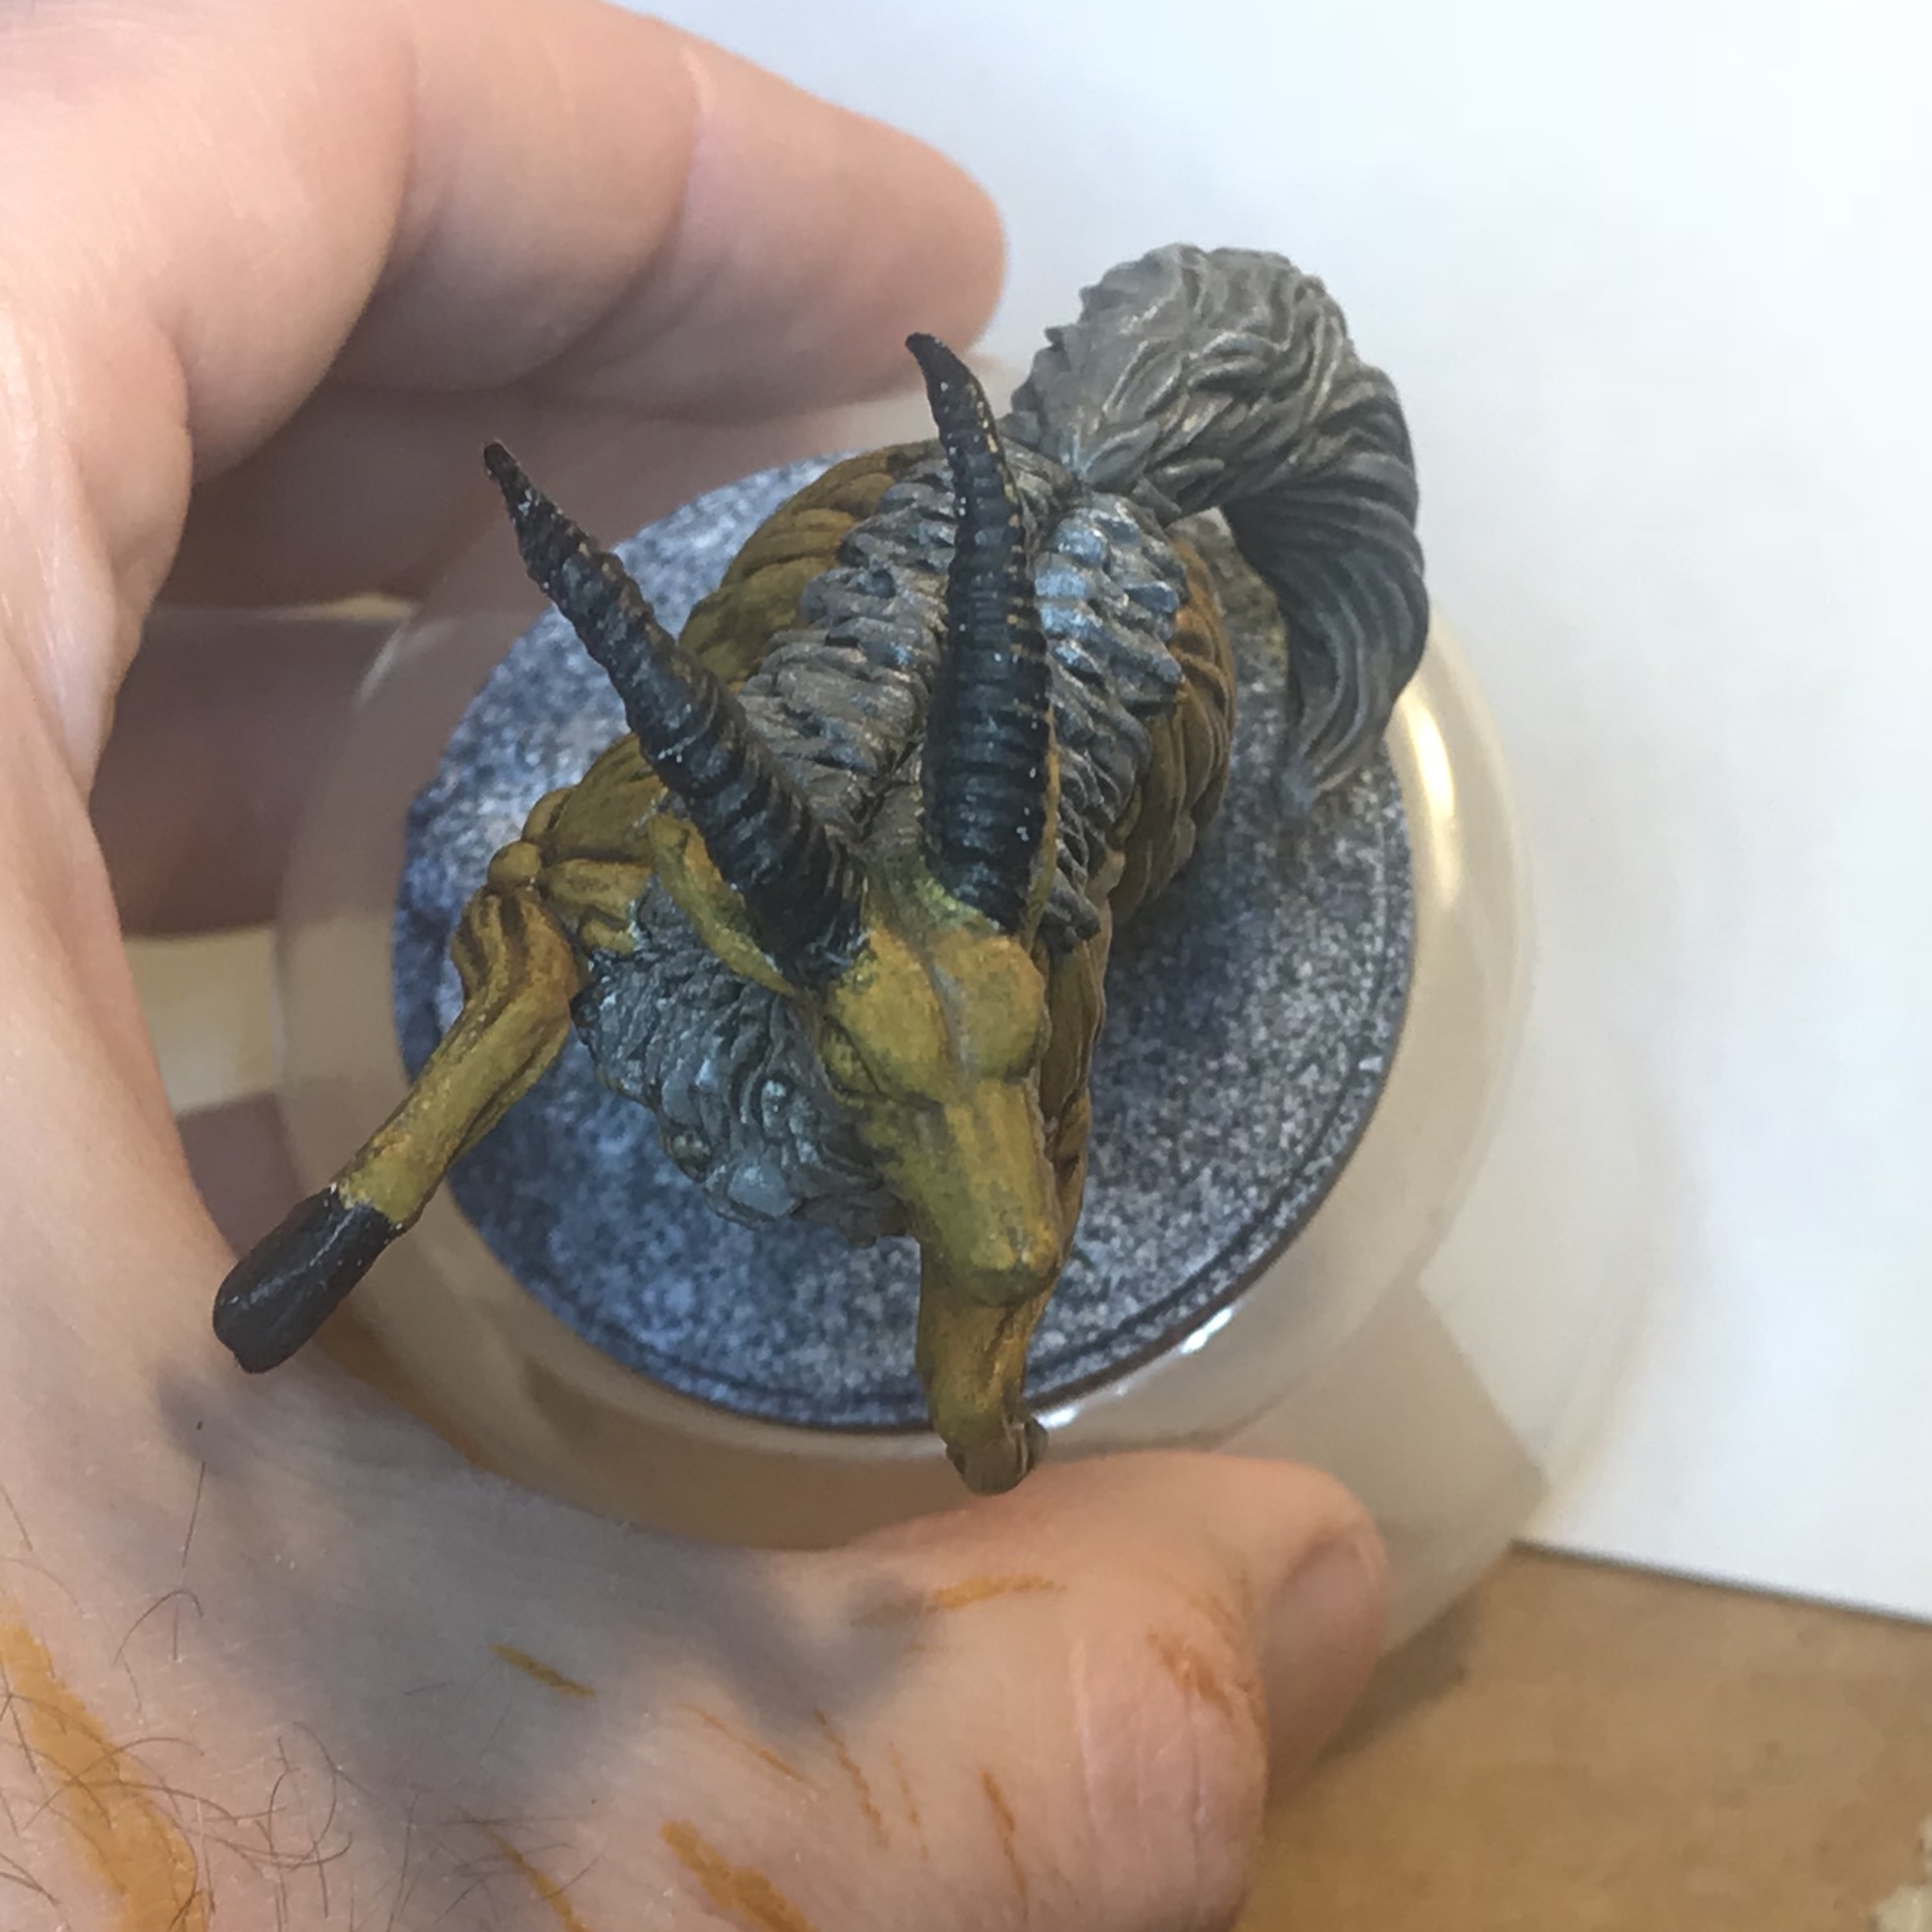
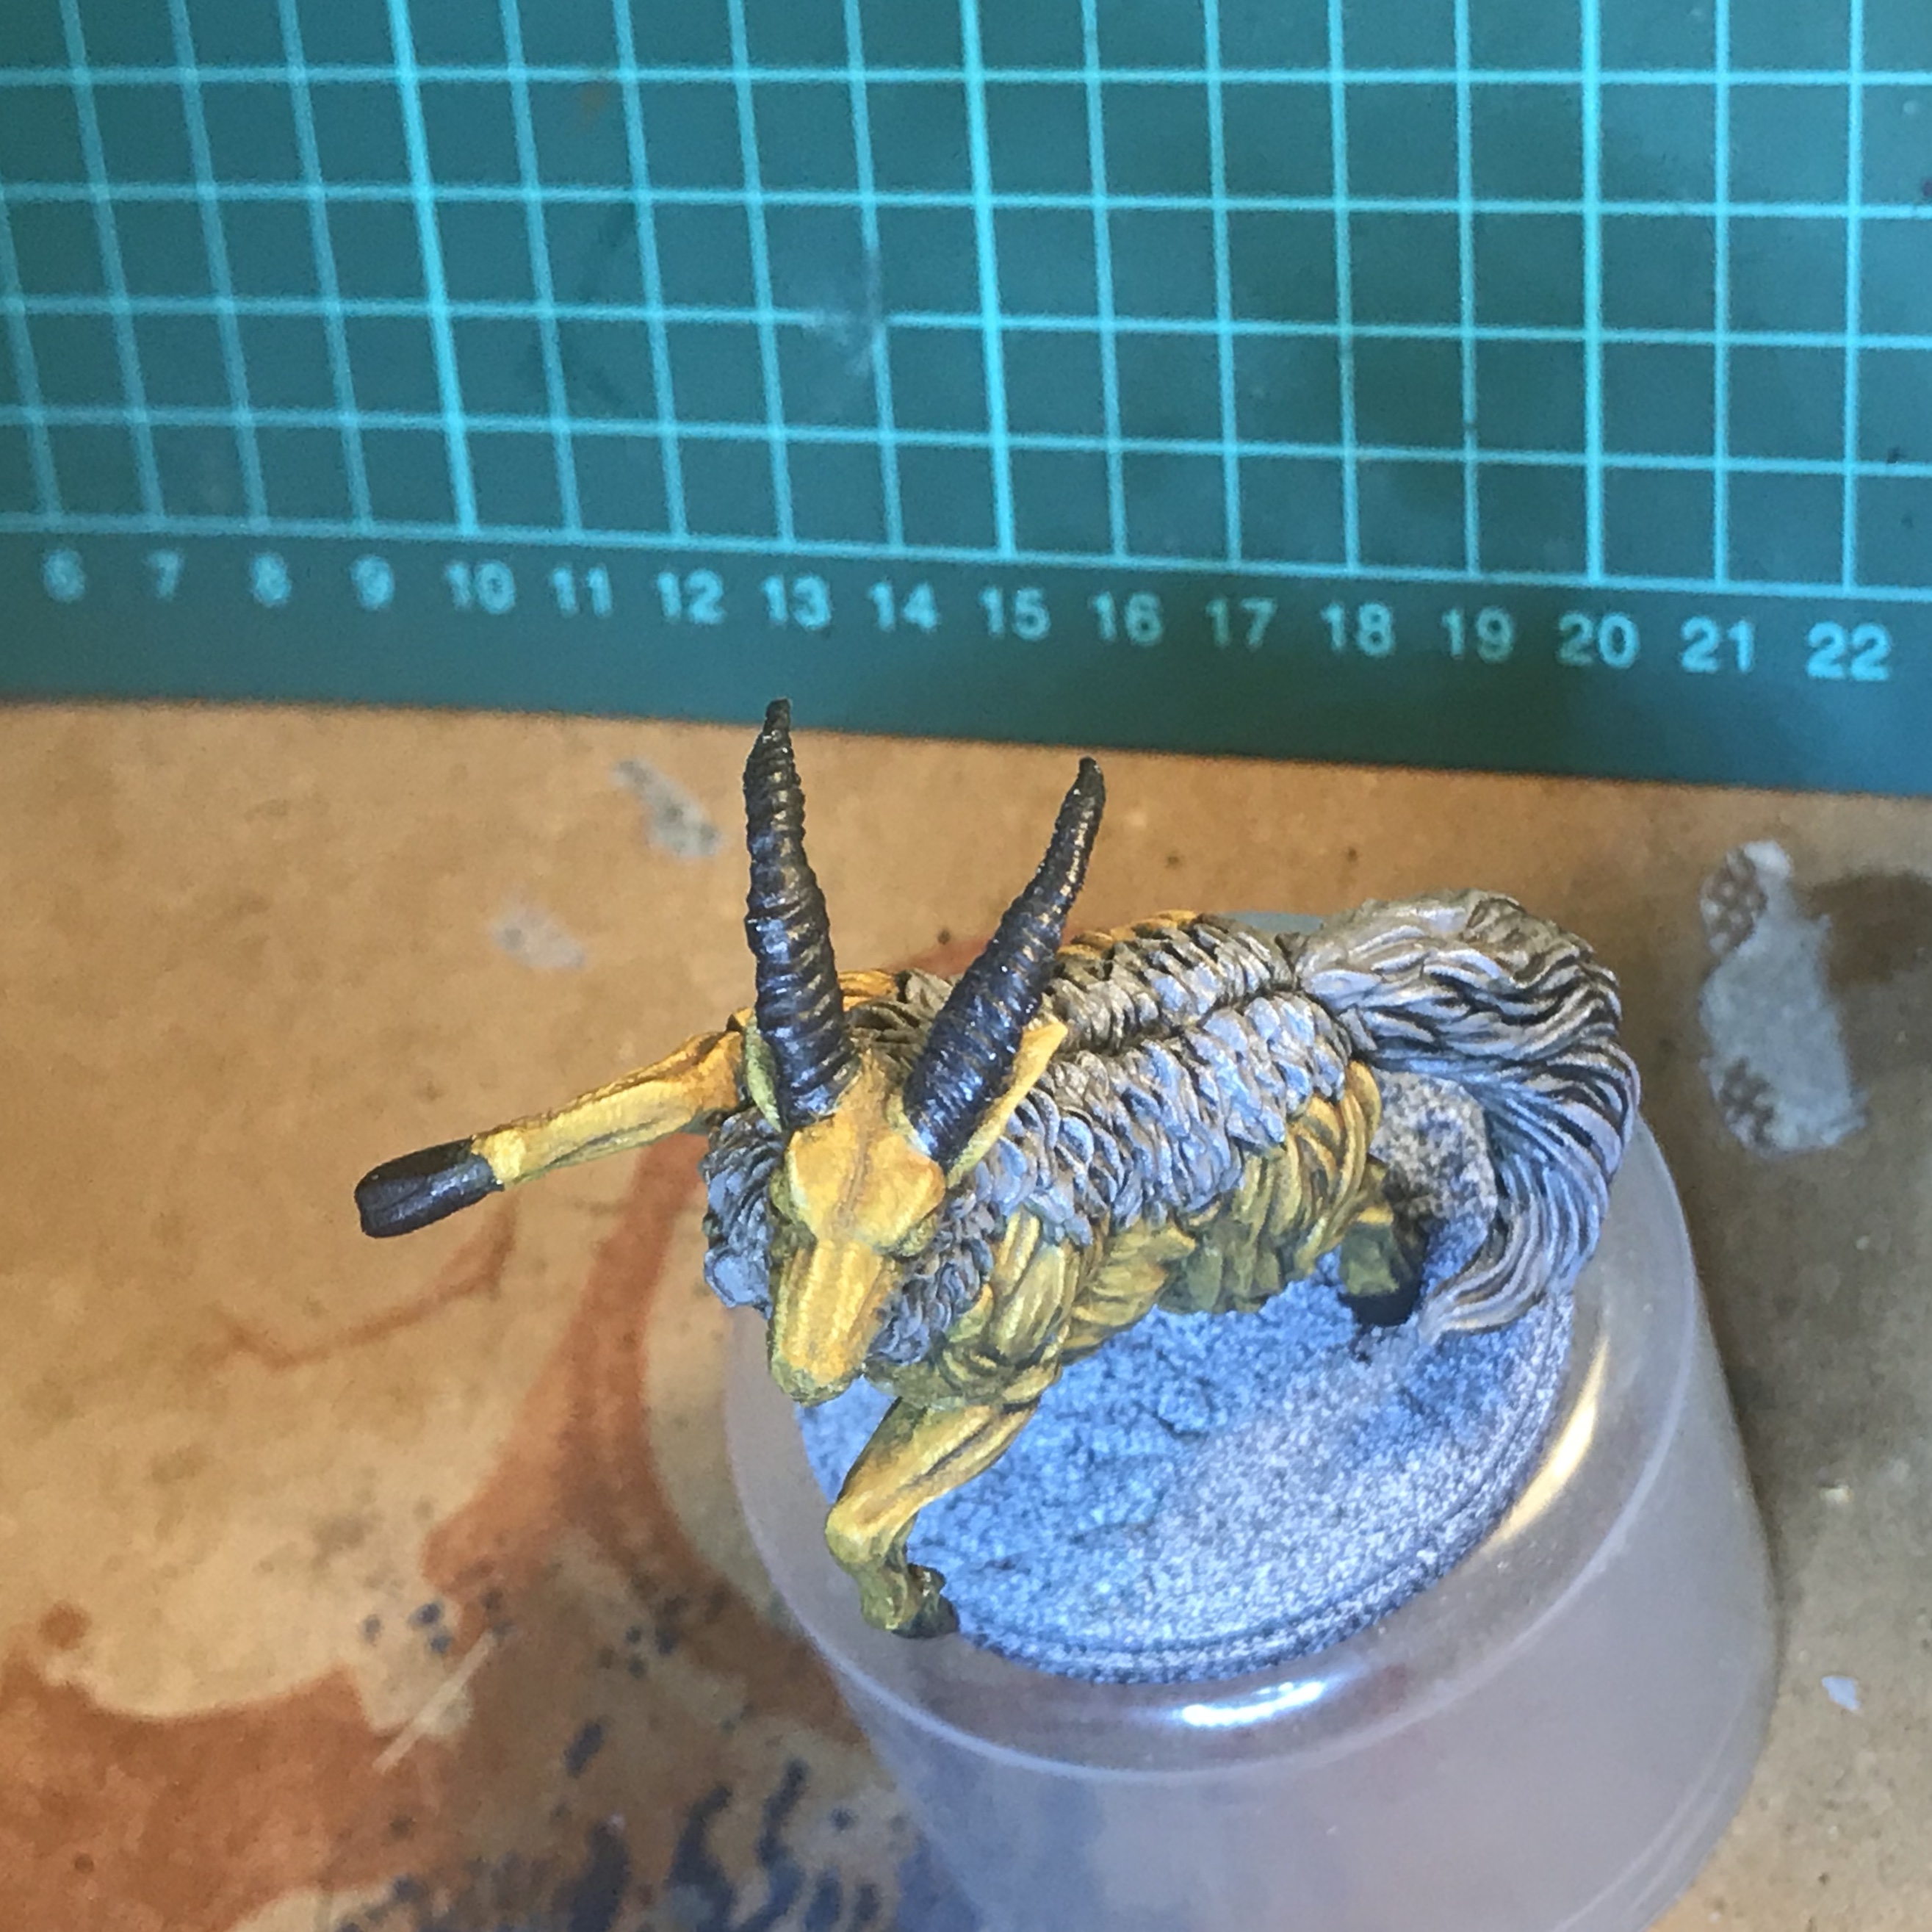
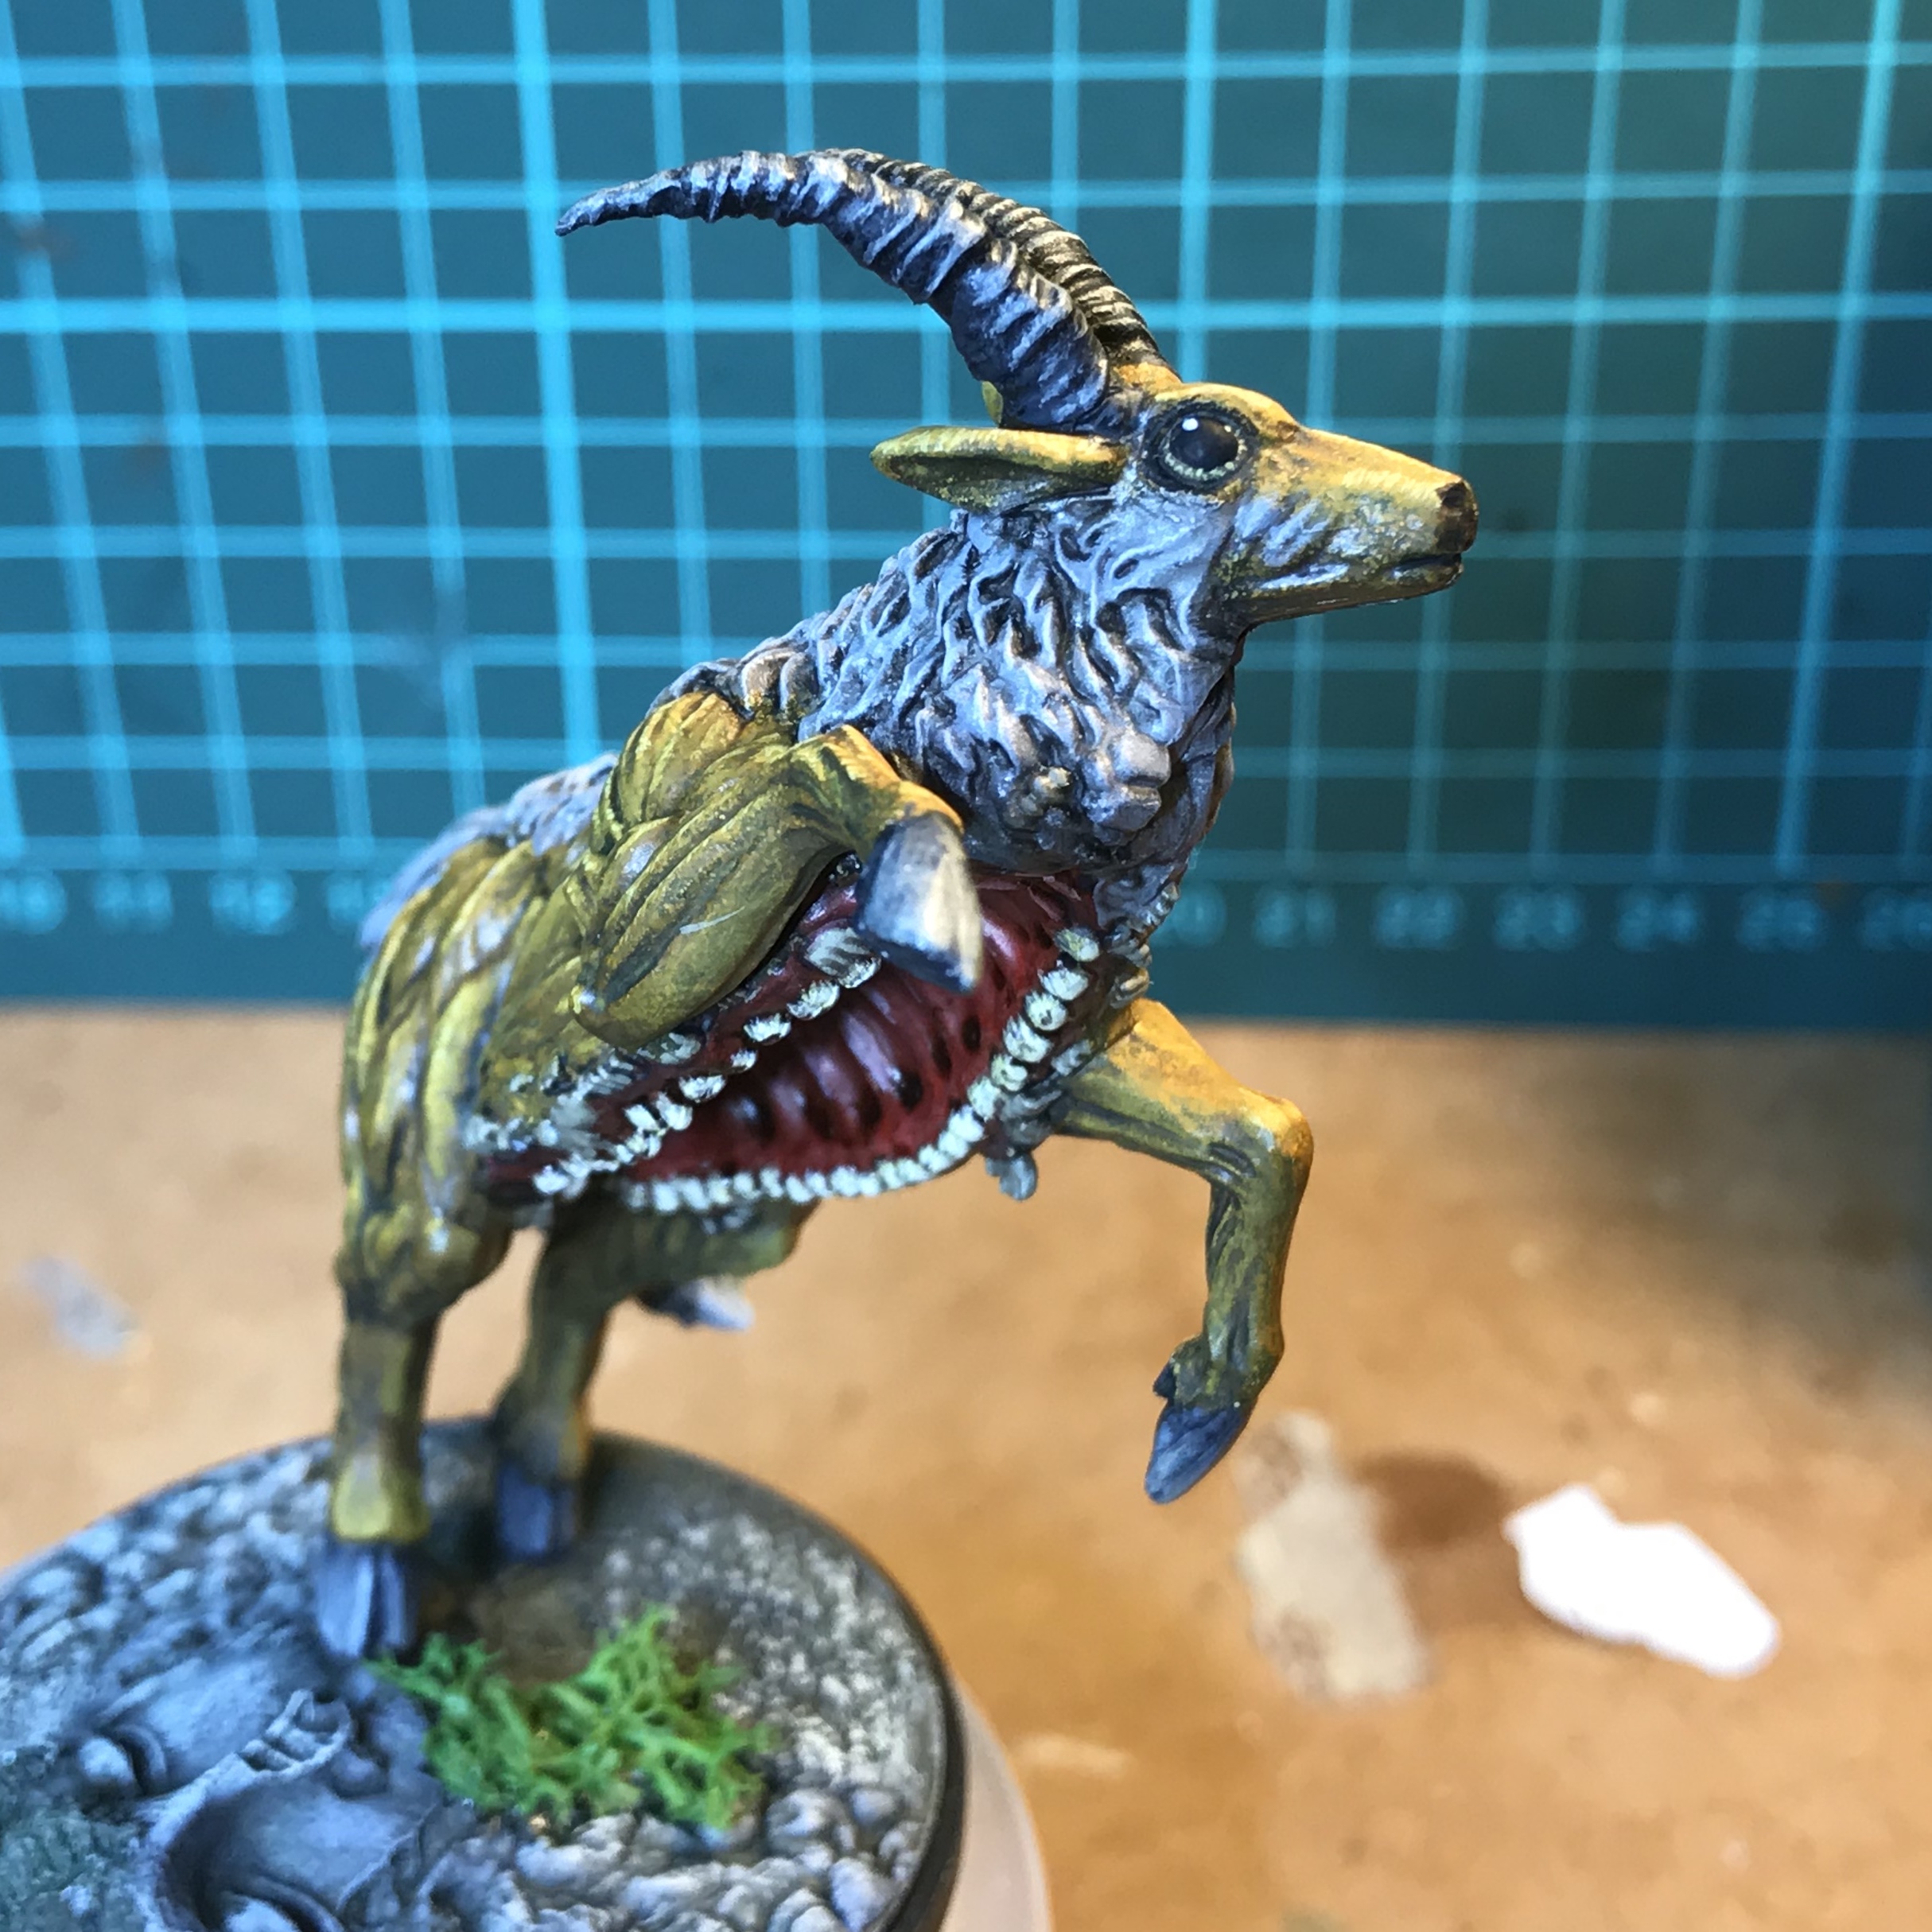
The bloody Eyes. I did the eyes. Then redid them. Then did them again… about 4 more times. In the end I realised I wasn’t making the pupil large enough. Too much iris was present.
The description in the game is “large, human-like eyes” so I took my cues from that.
AP Matt Black pupils, Vallejo German Camo Brown iris with very thin GW Bubonic Brown highlights. A very small spot of pure GW Skull White for the spot highlight. I will probably hit them with gloss varnish after I have gone over the whole mini with a Matt varnish for game play.
I’m calling this guy done.
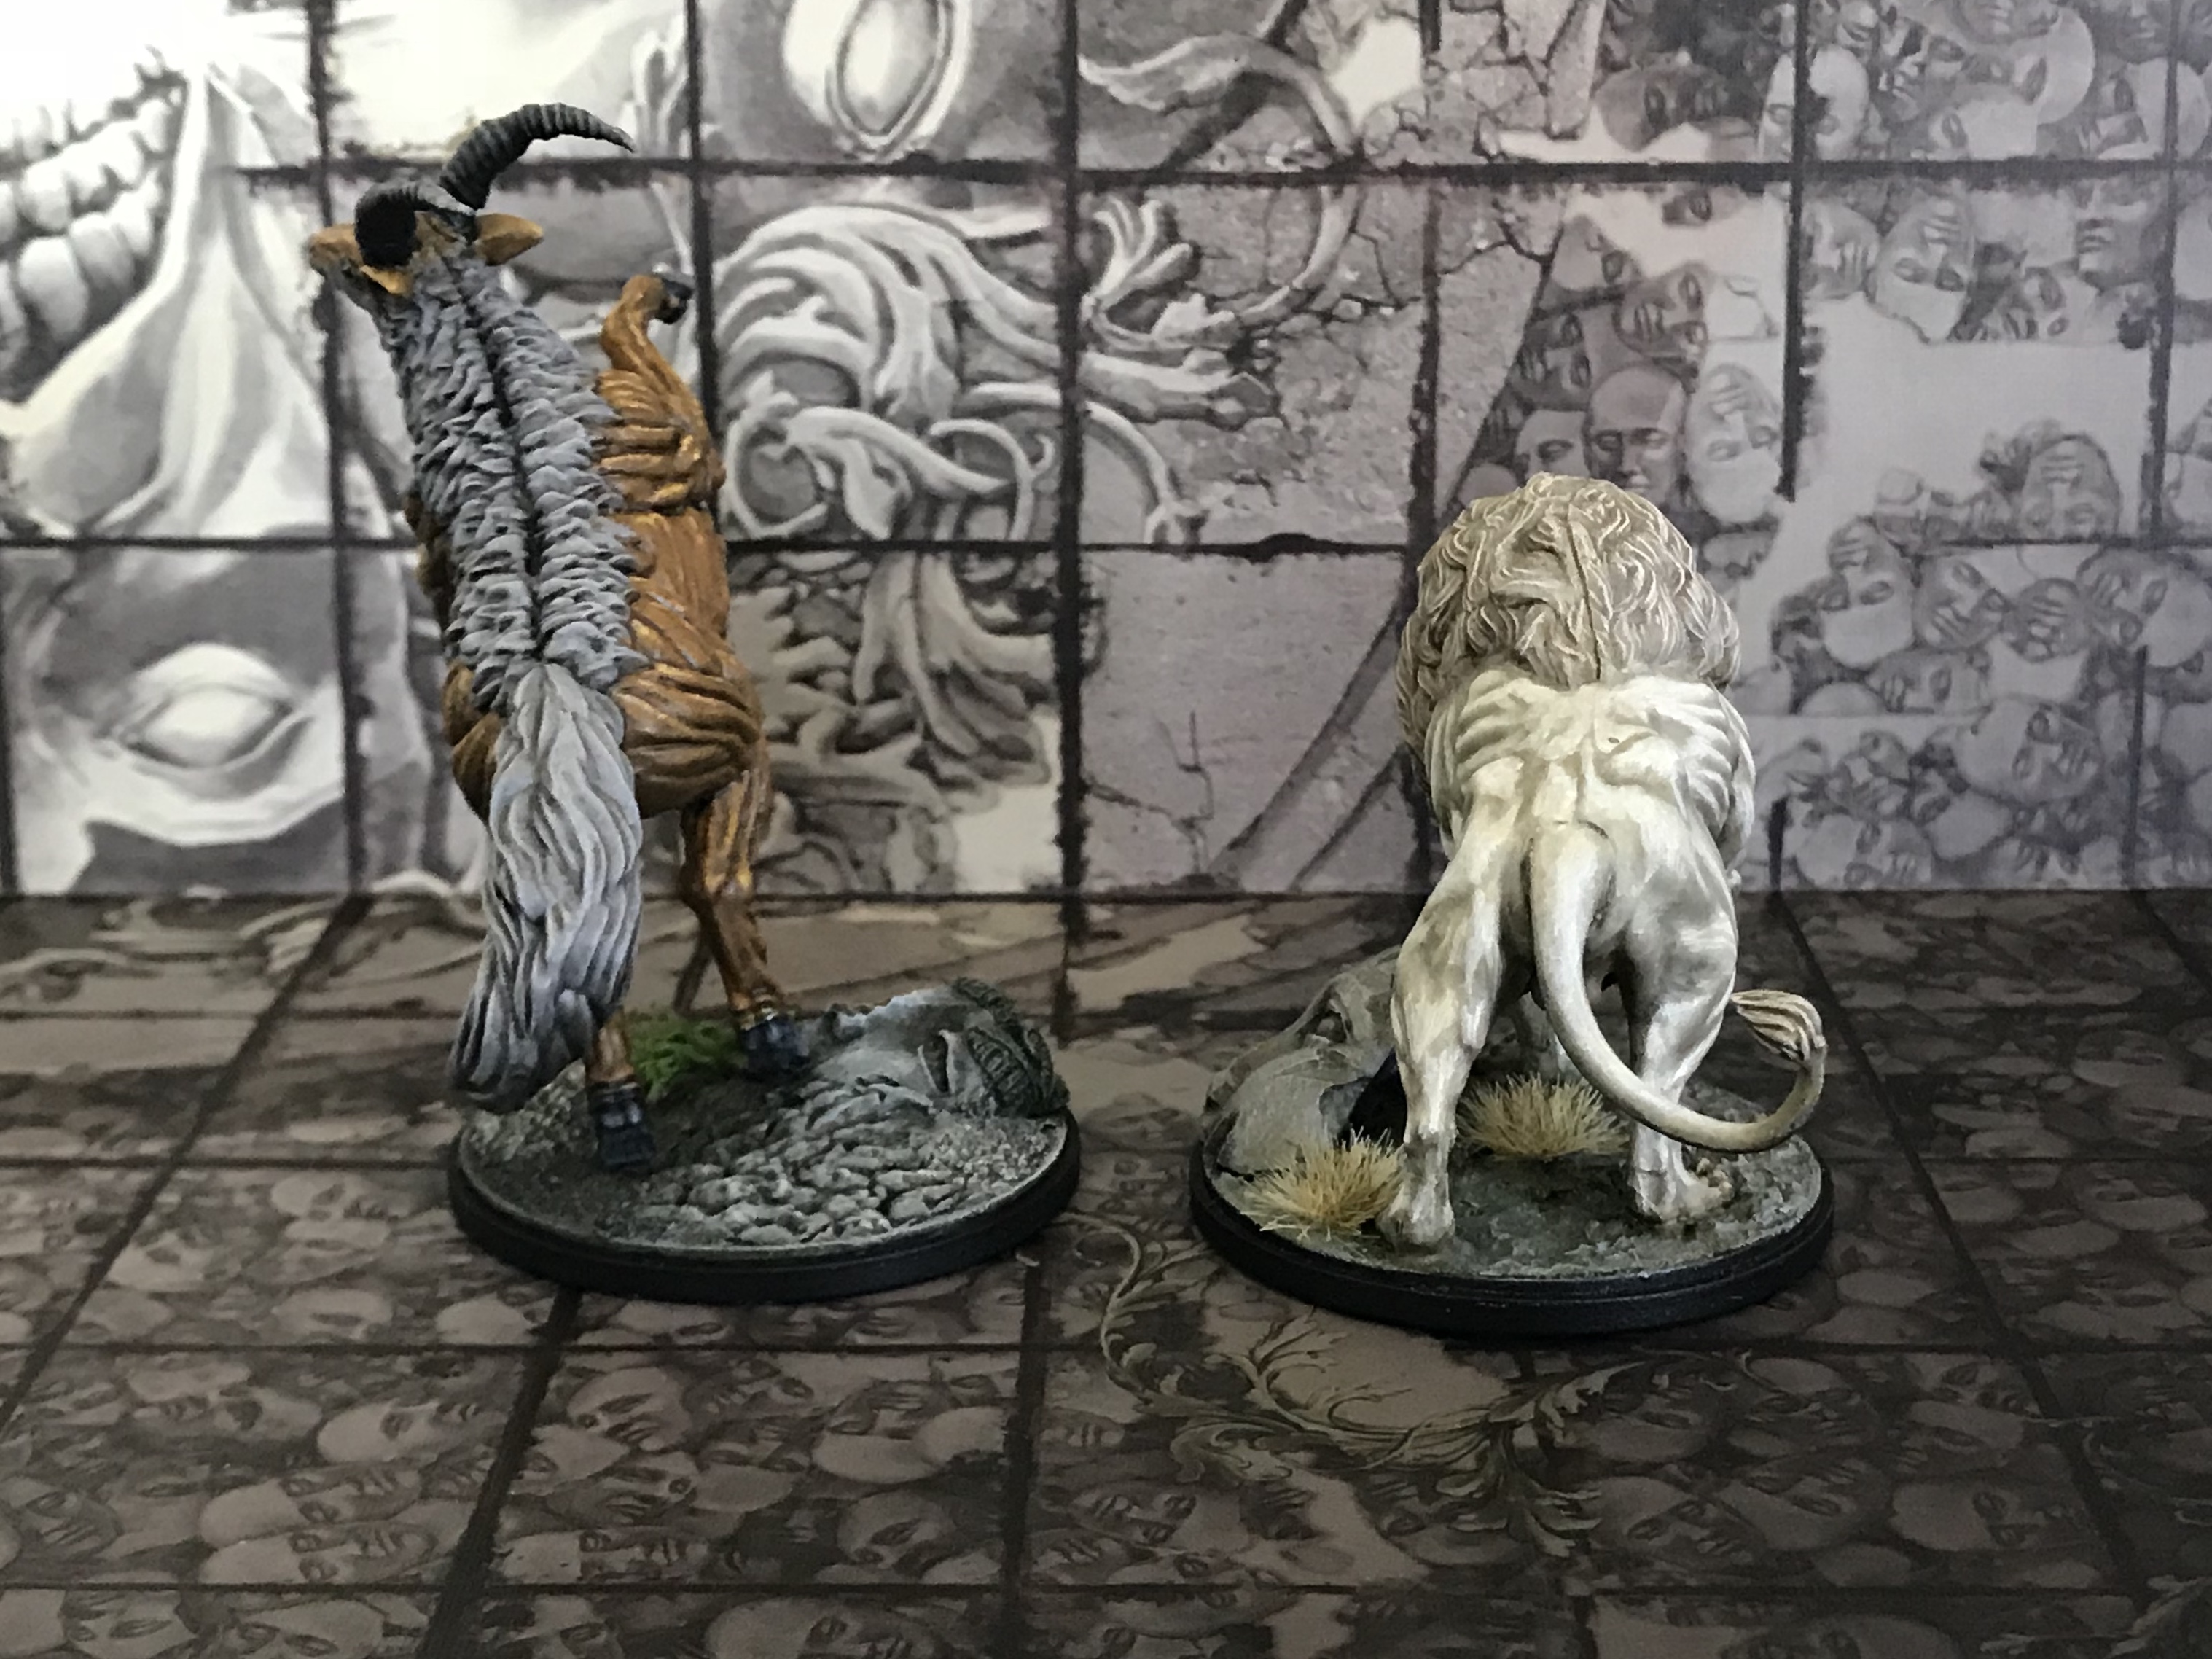
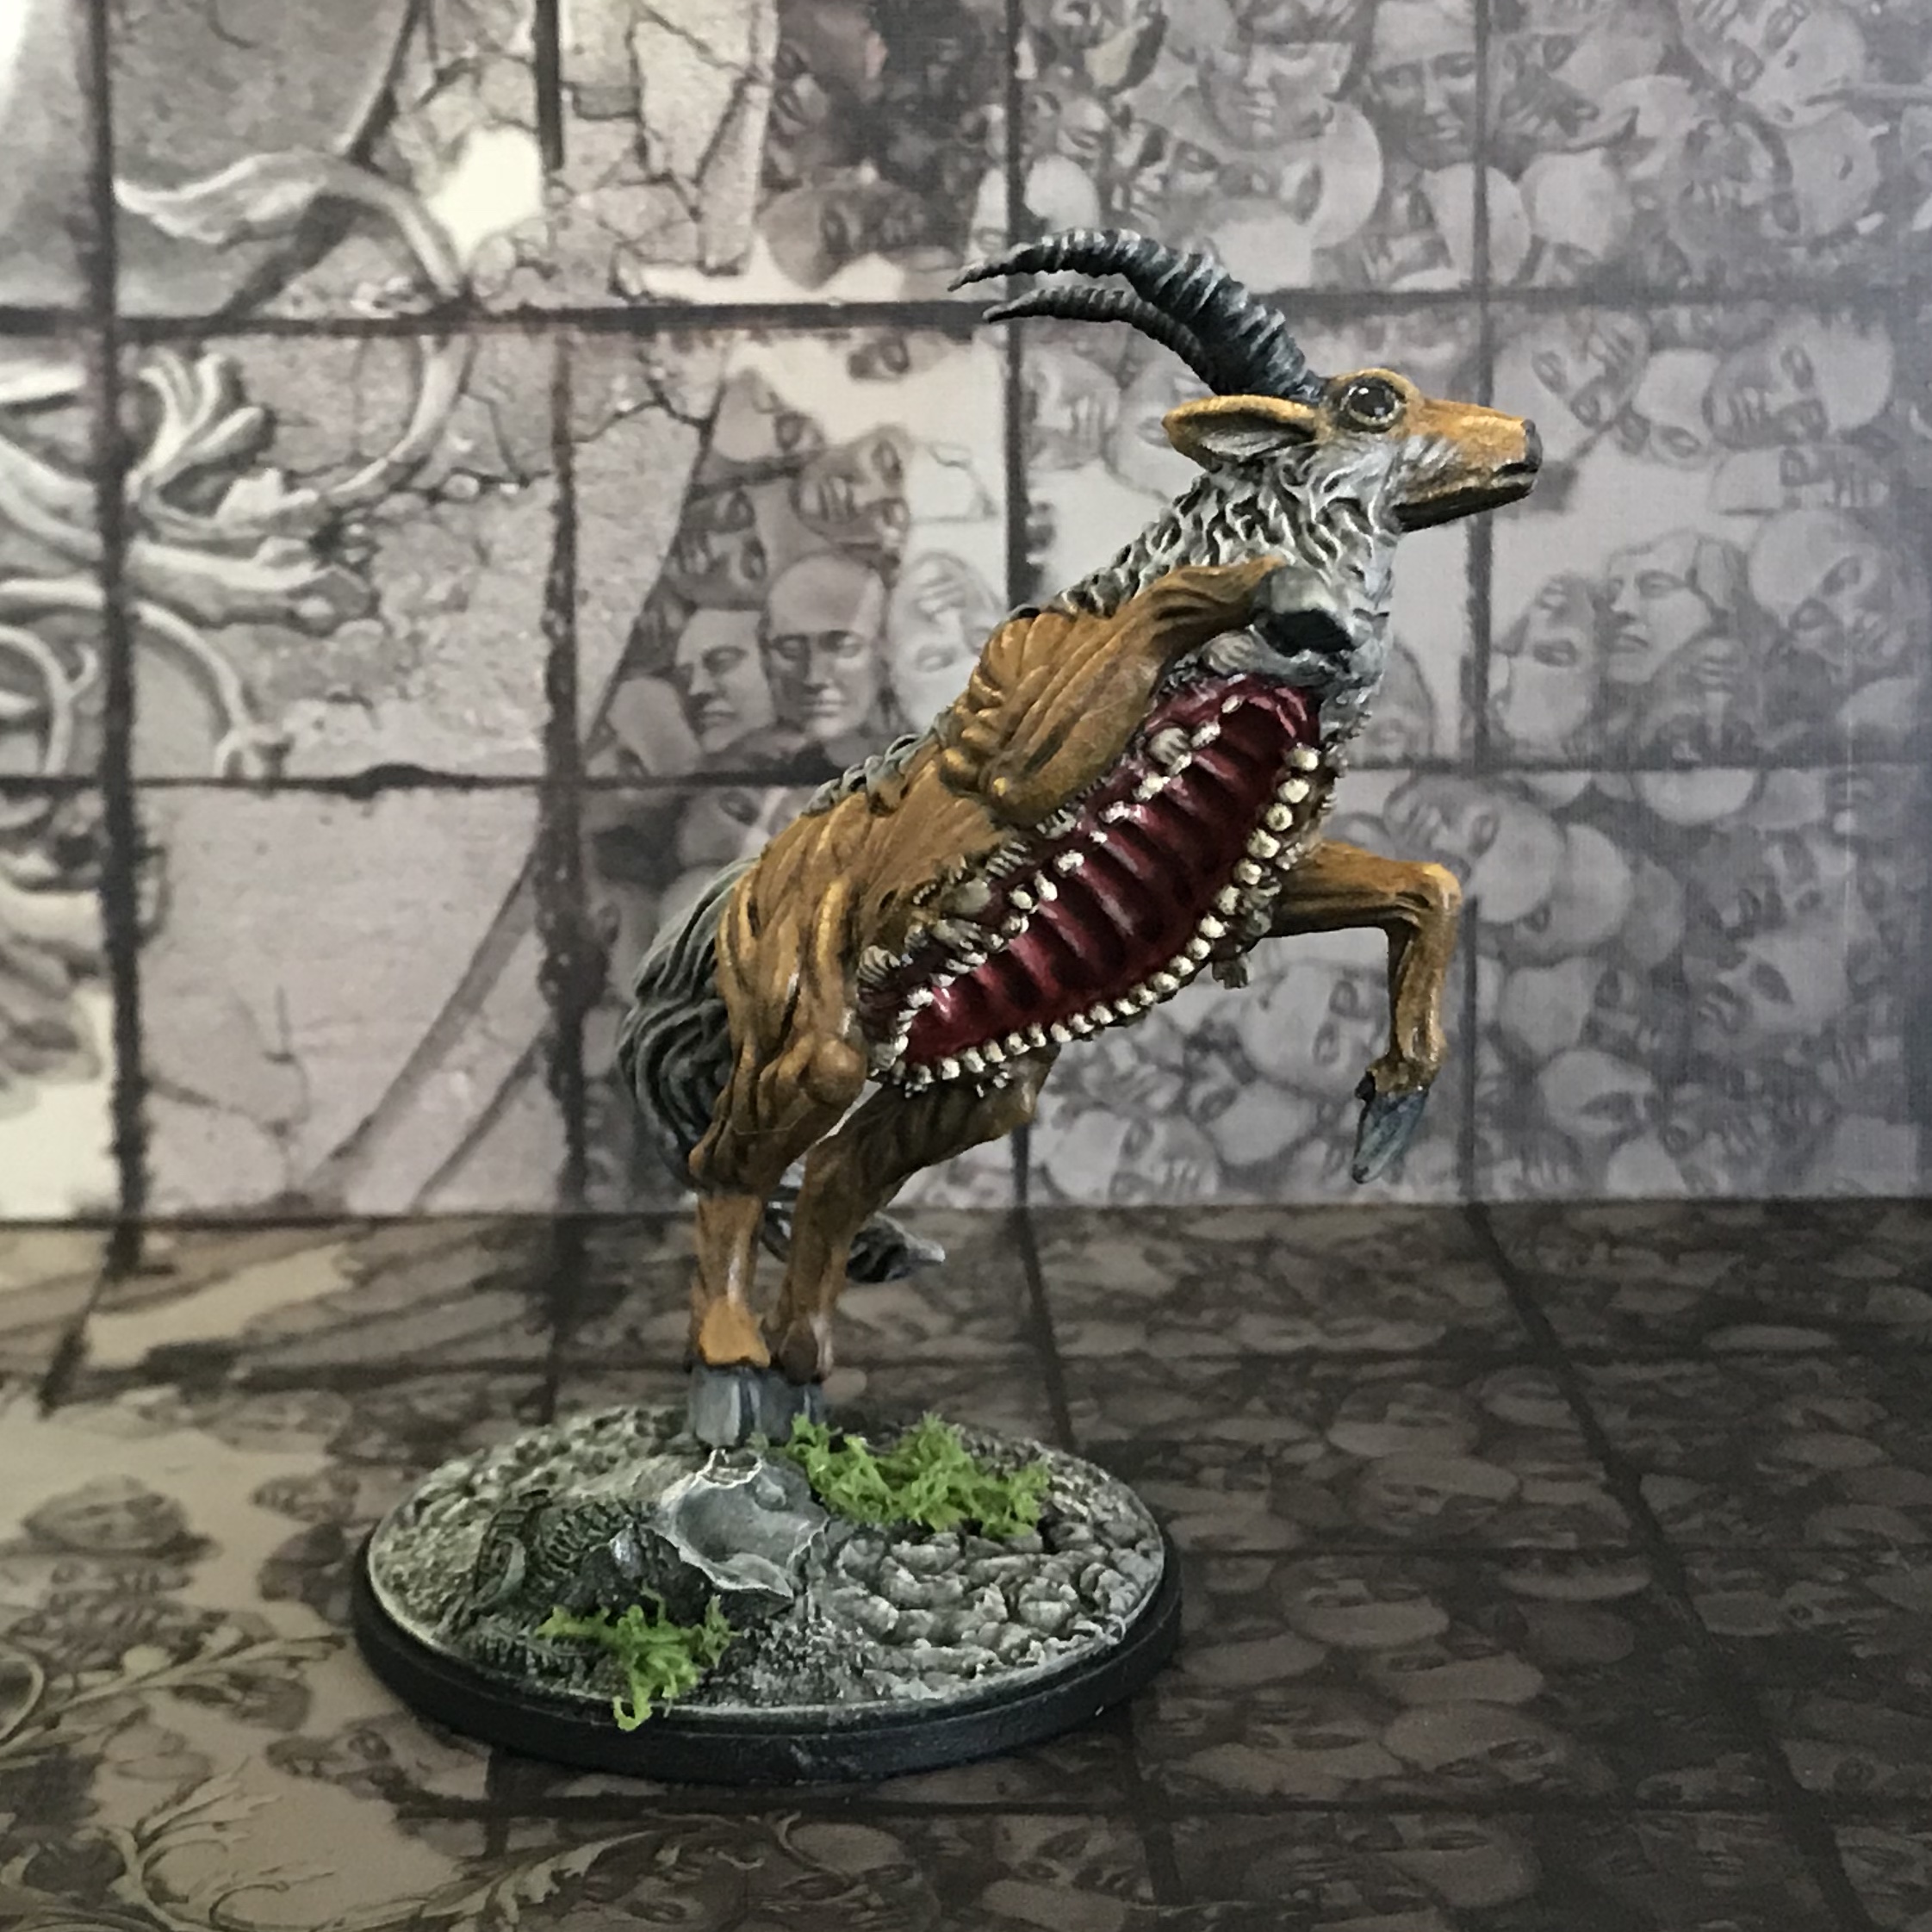
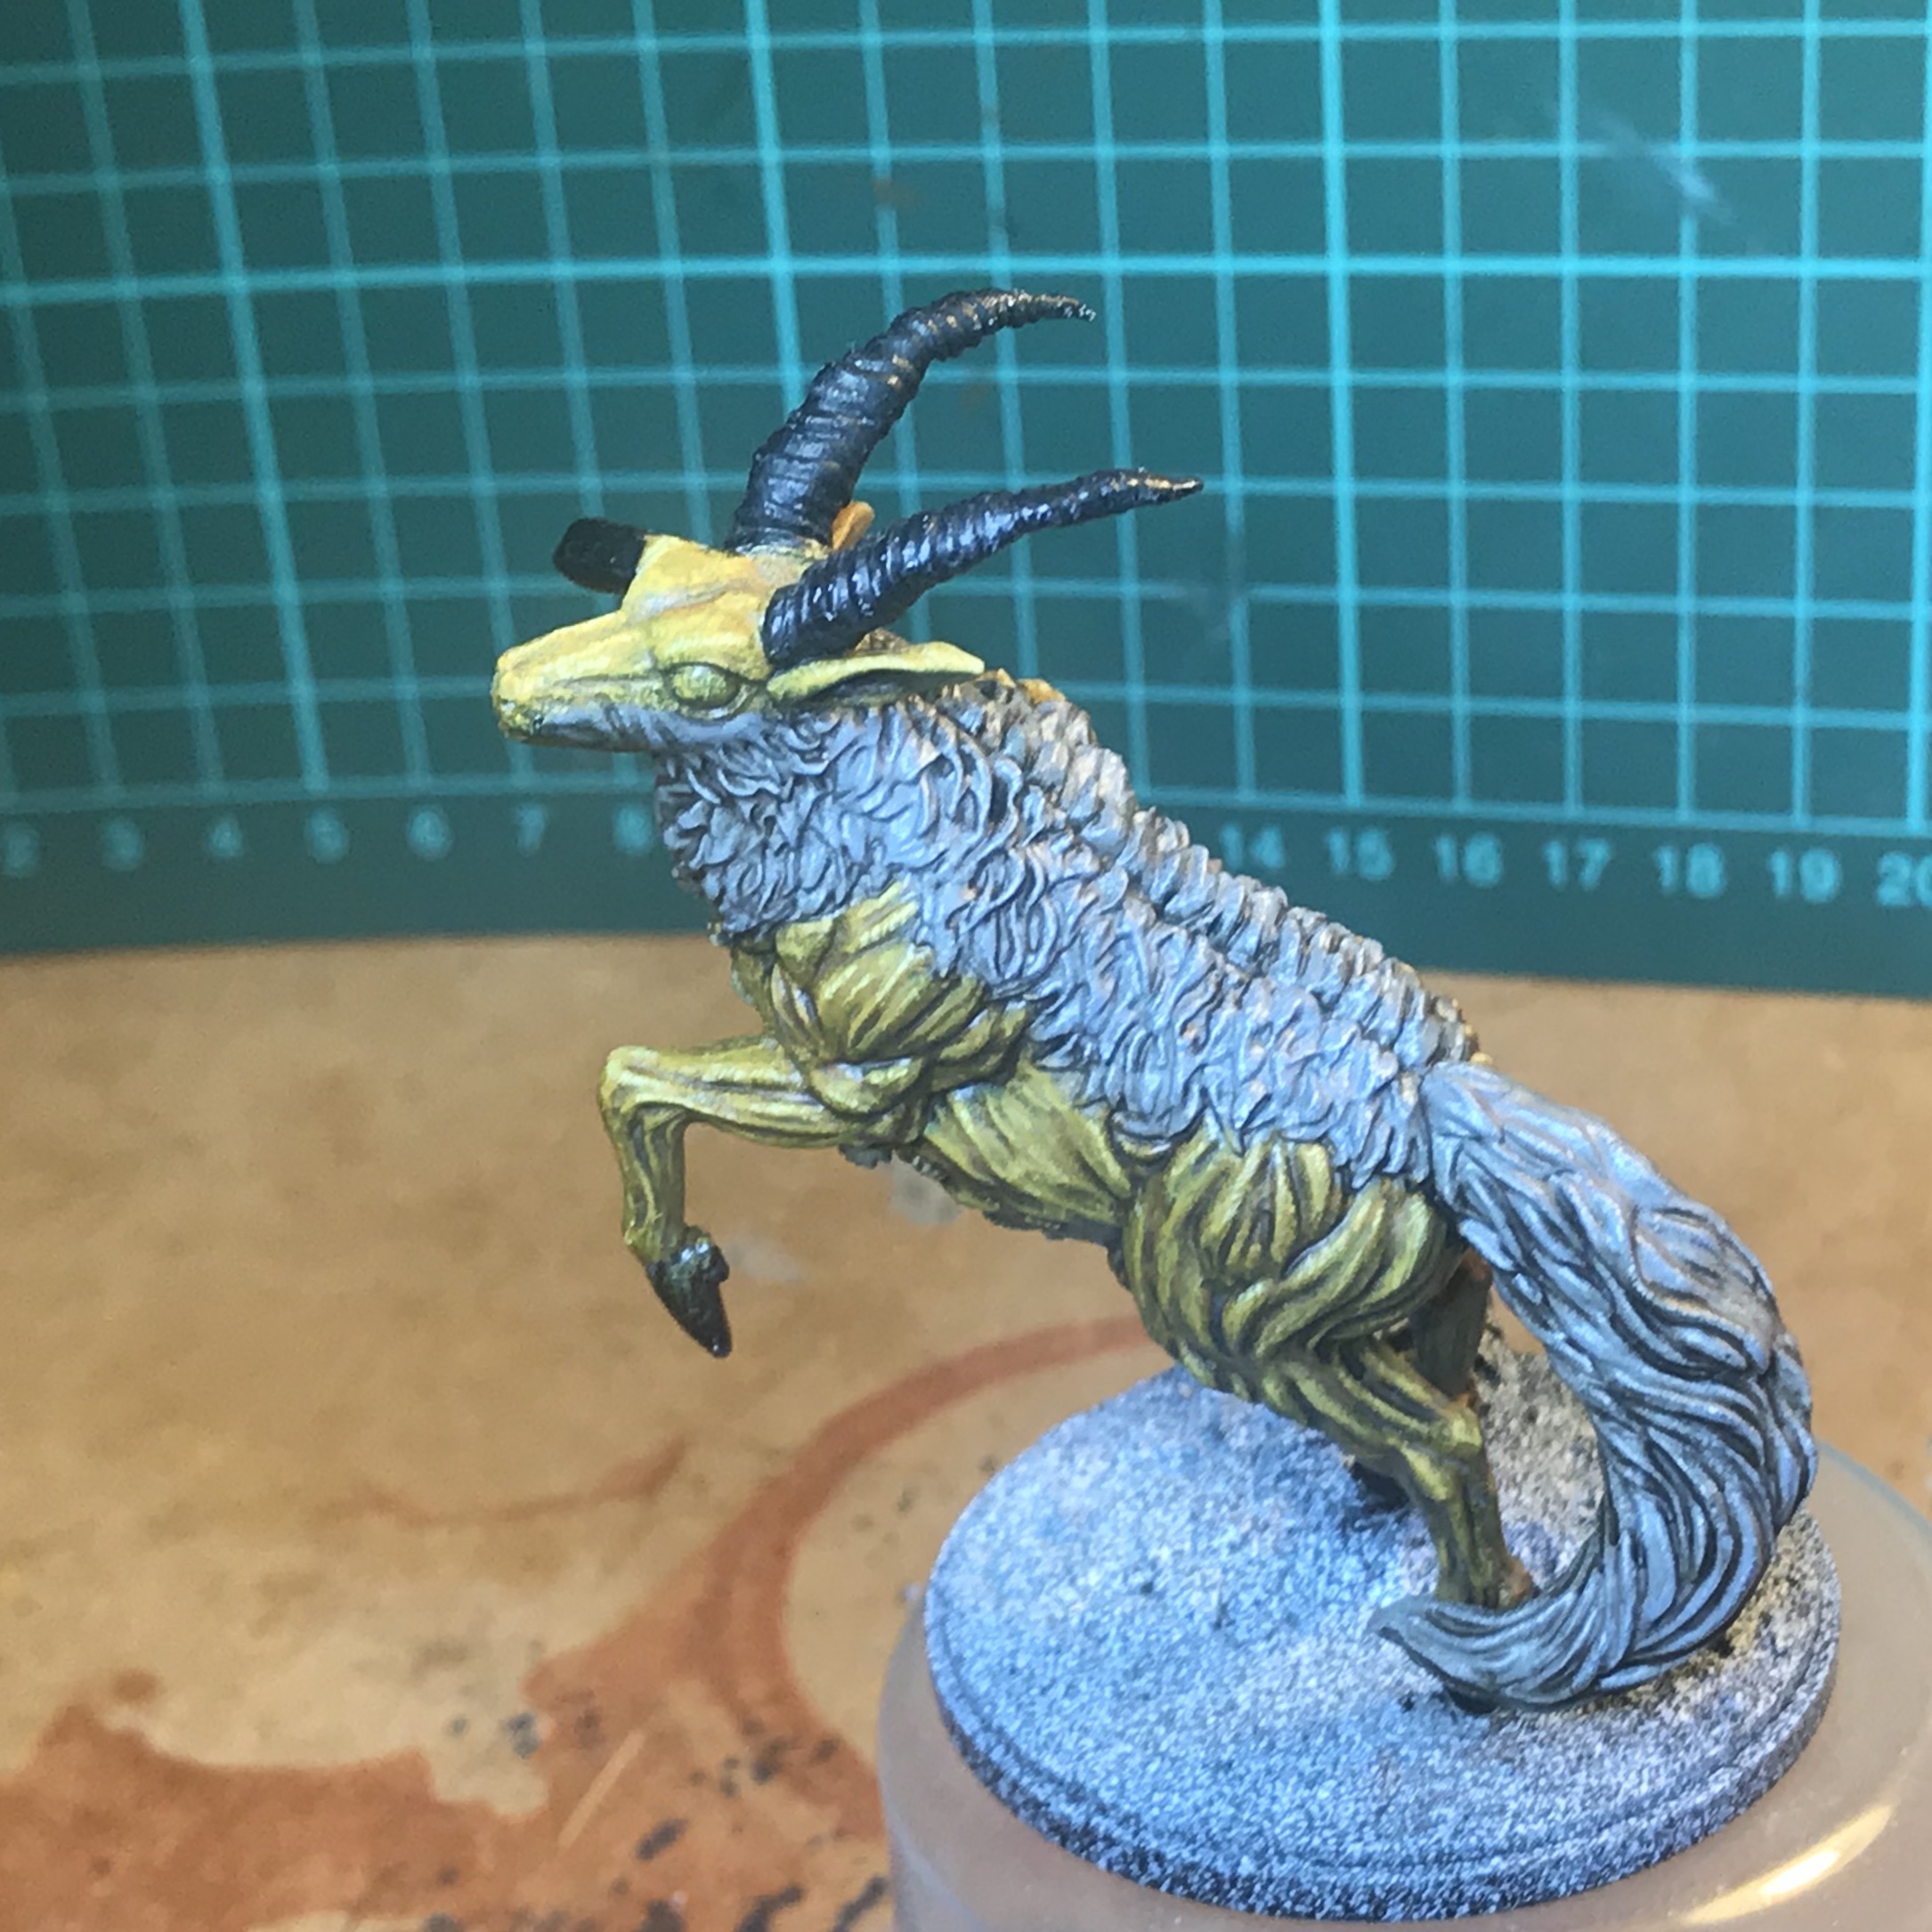
 Fear the Antelope
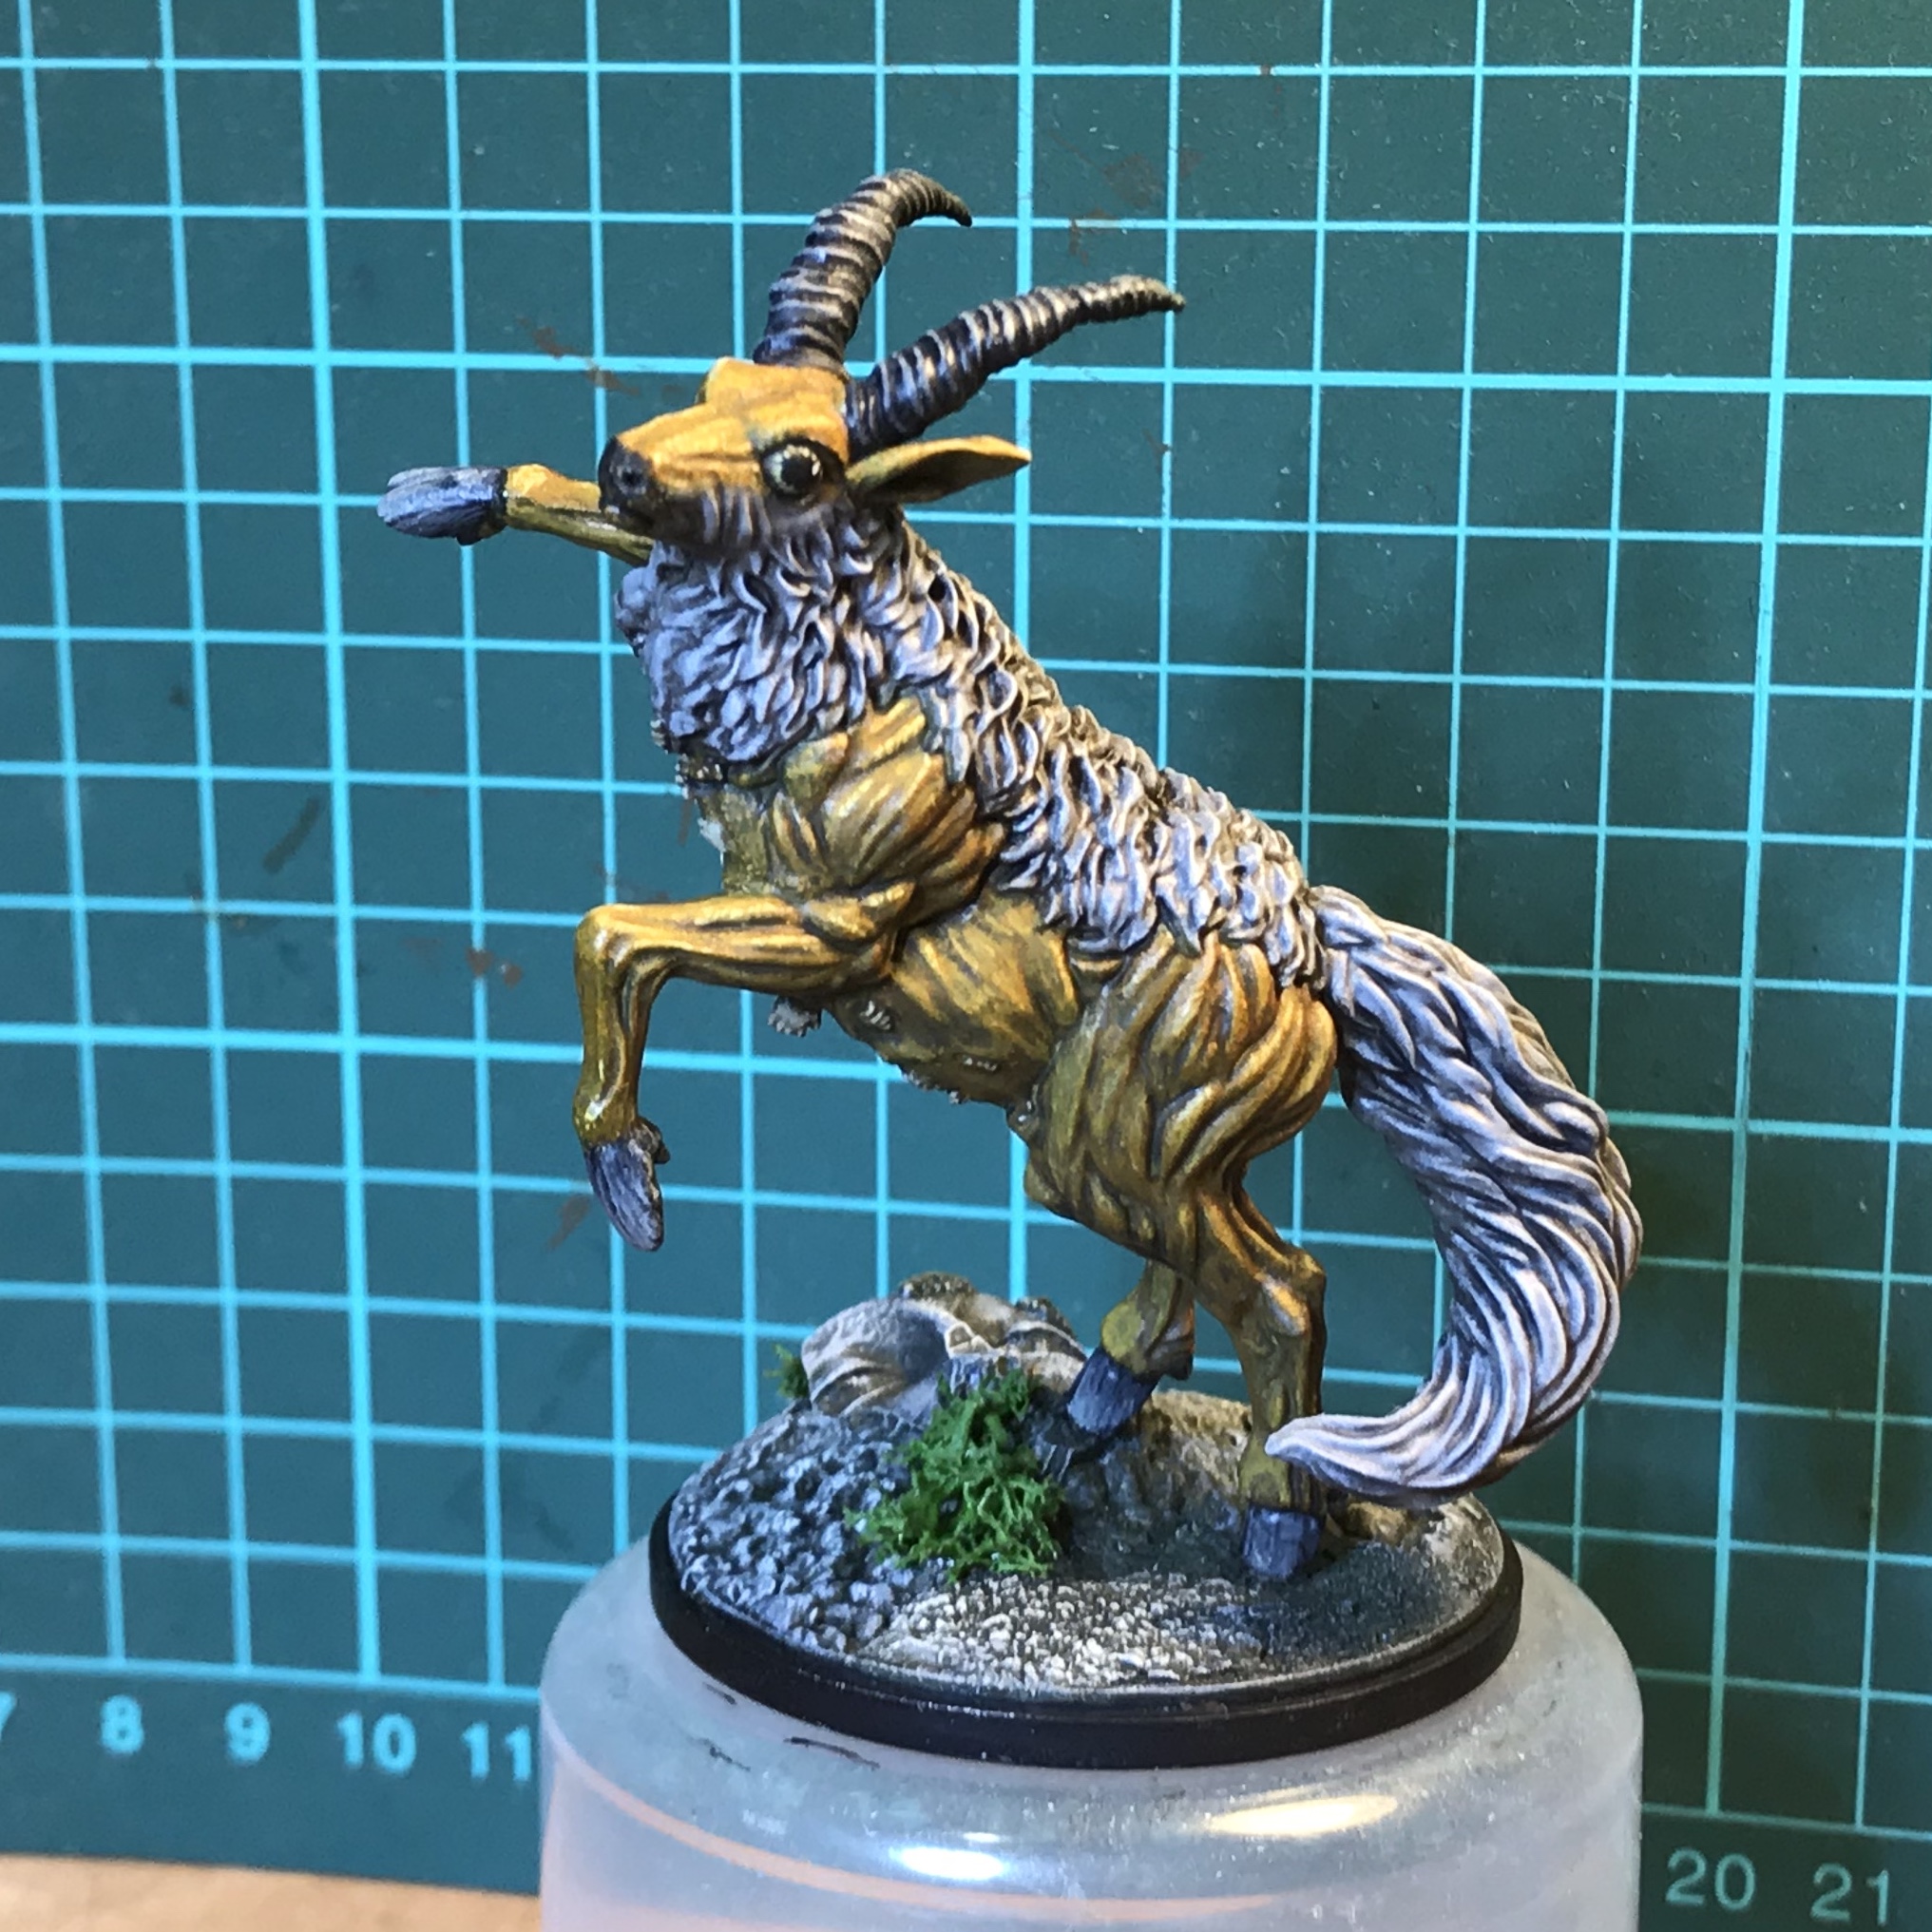
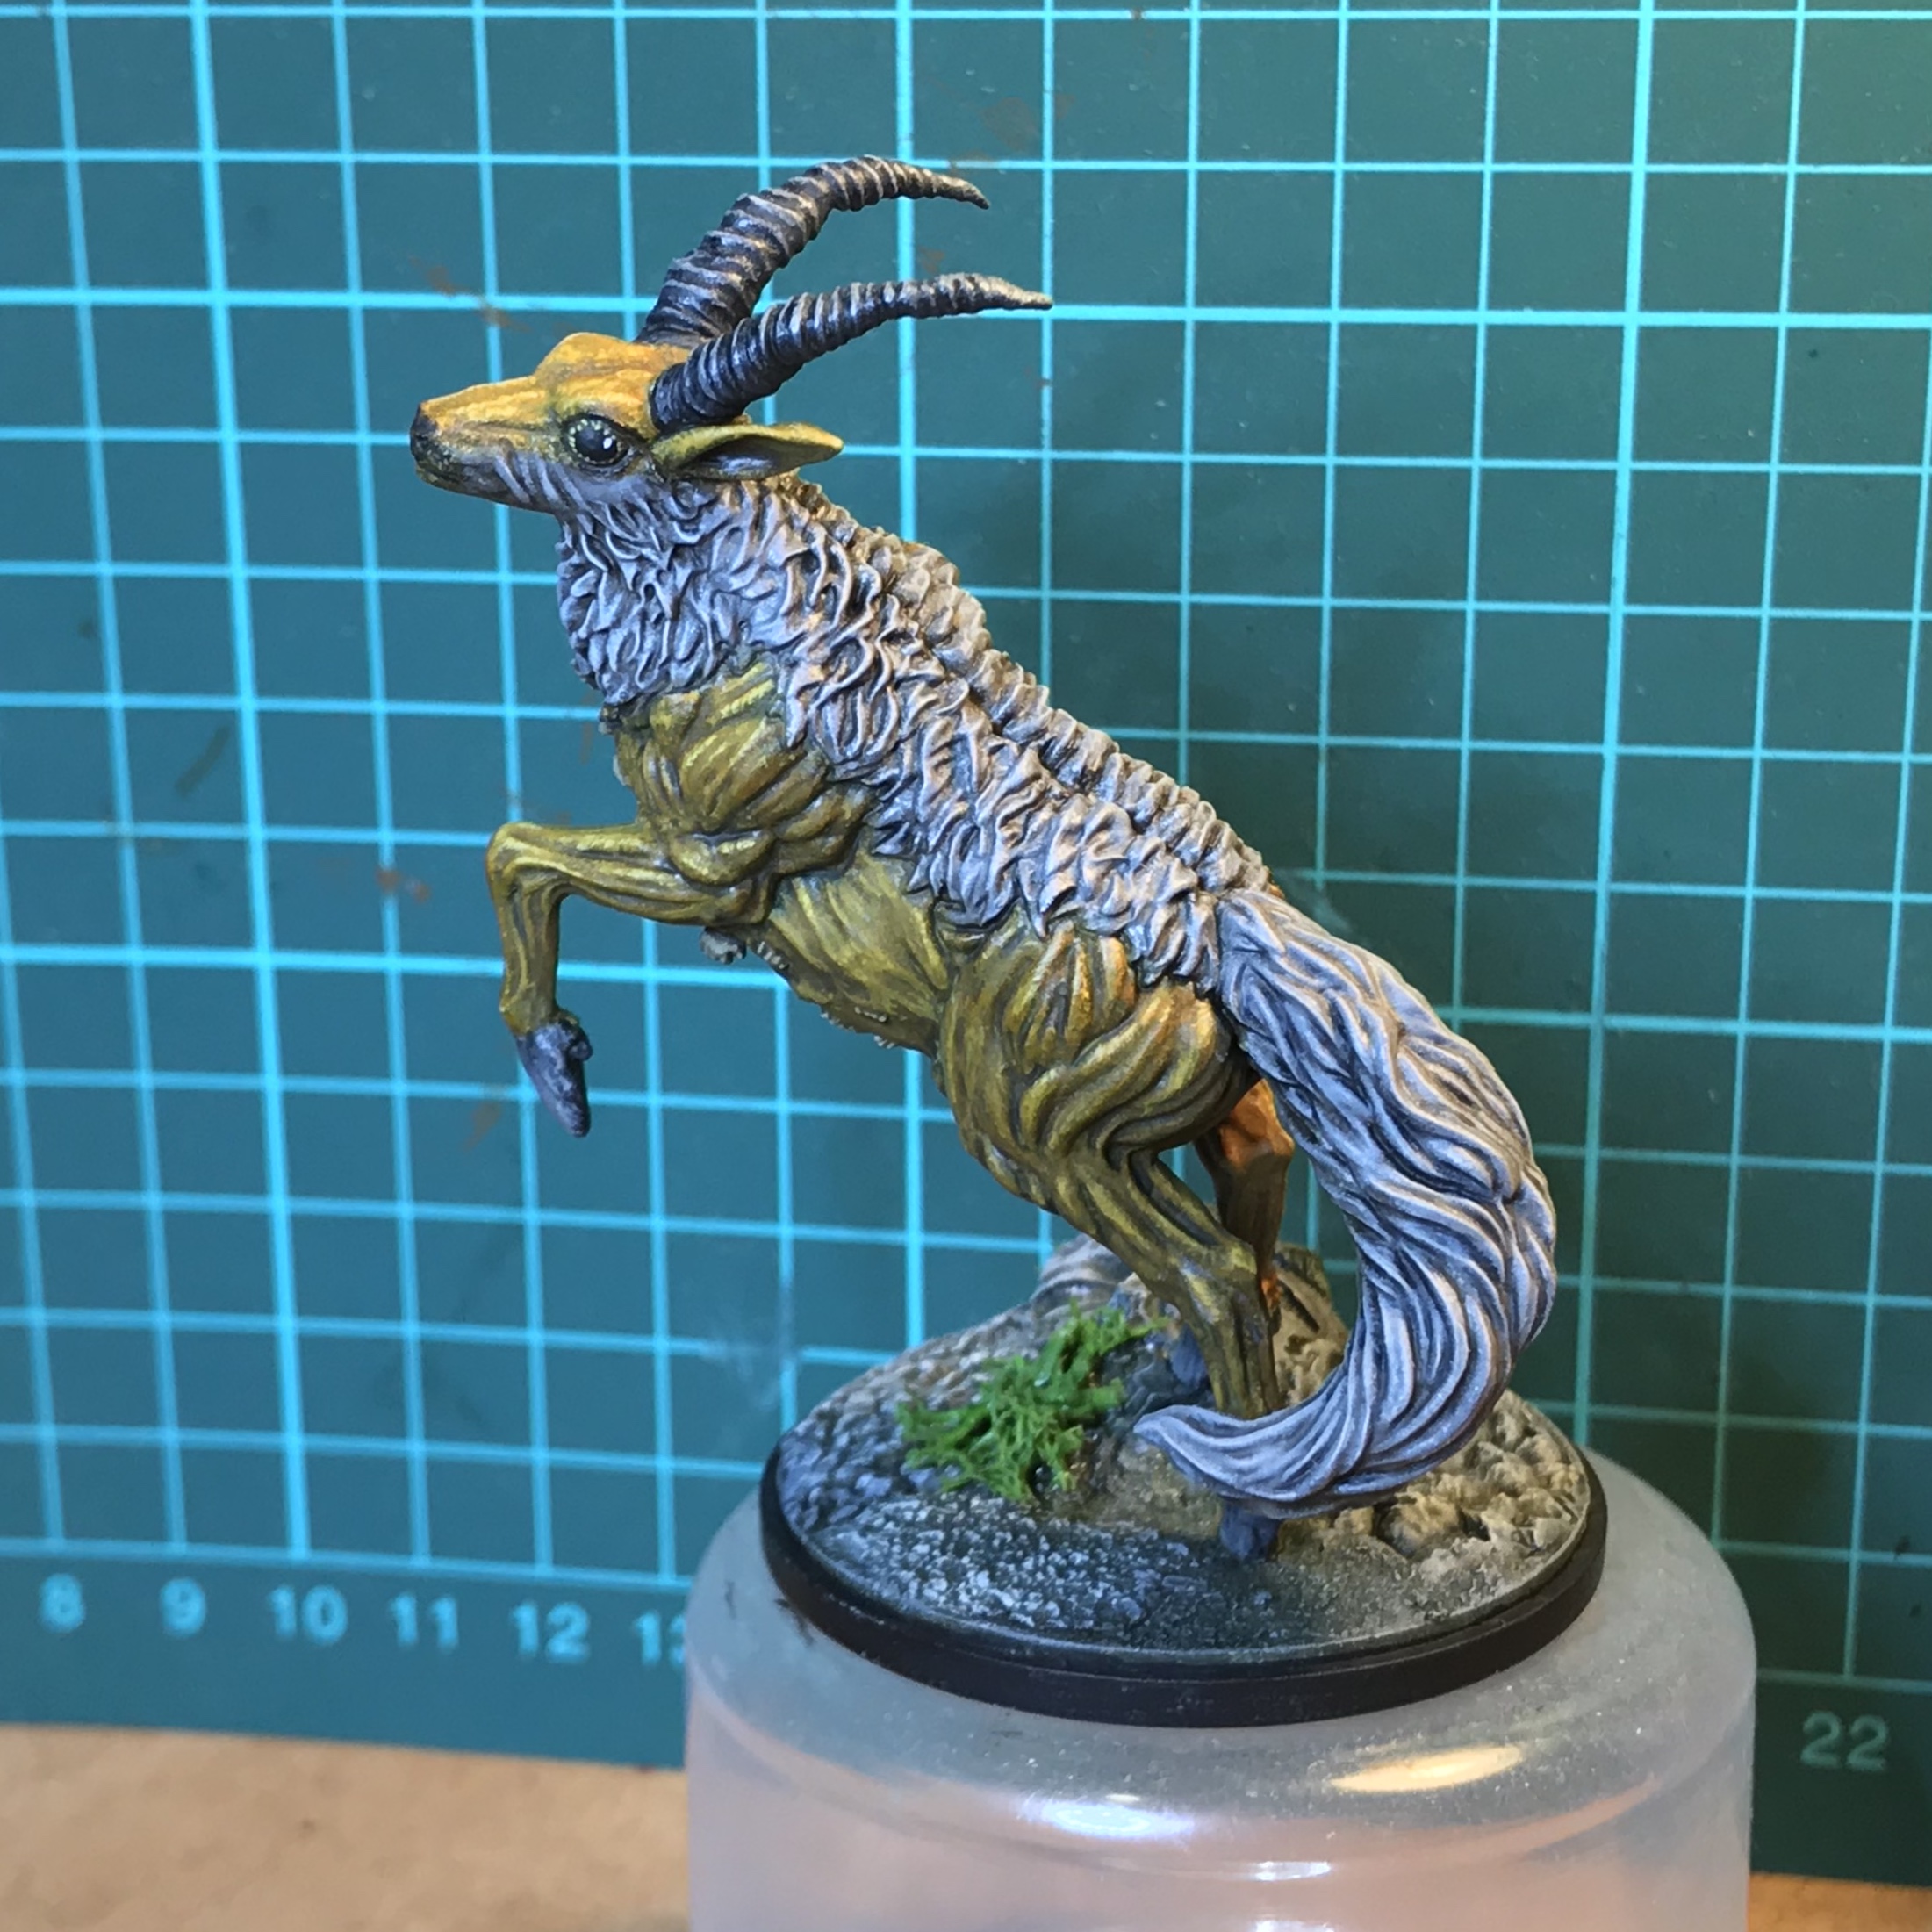


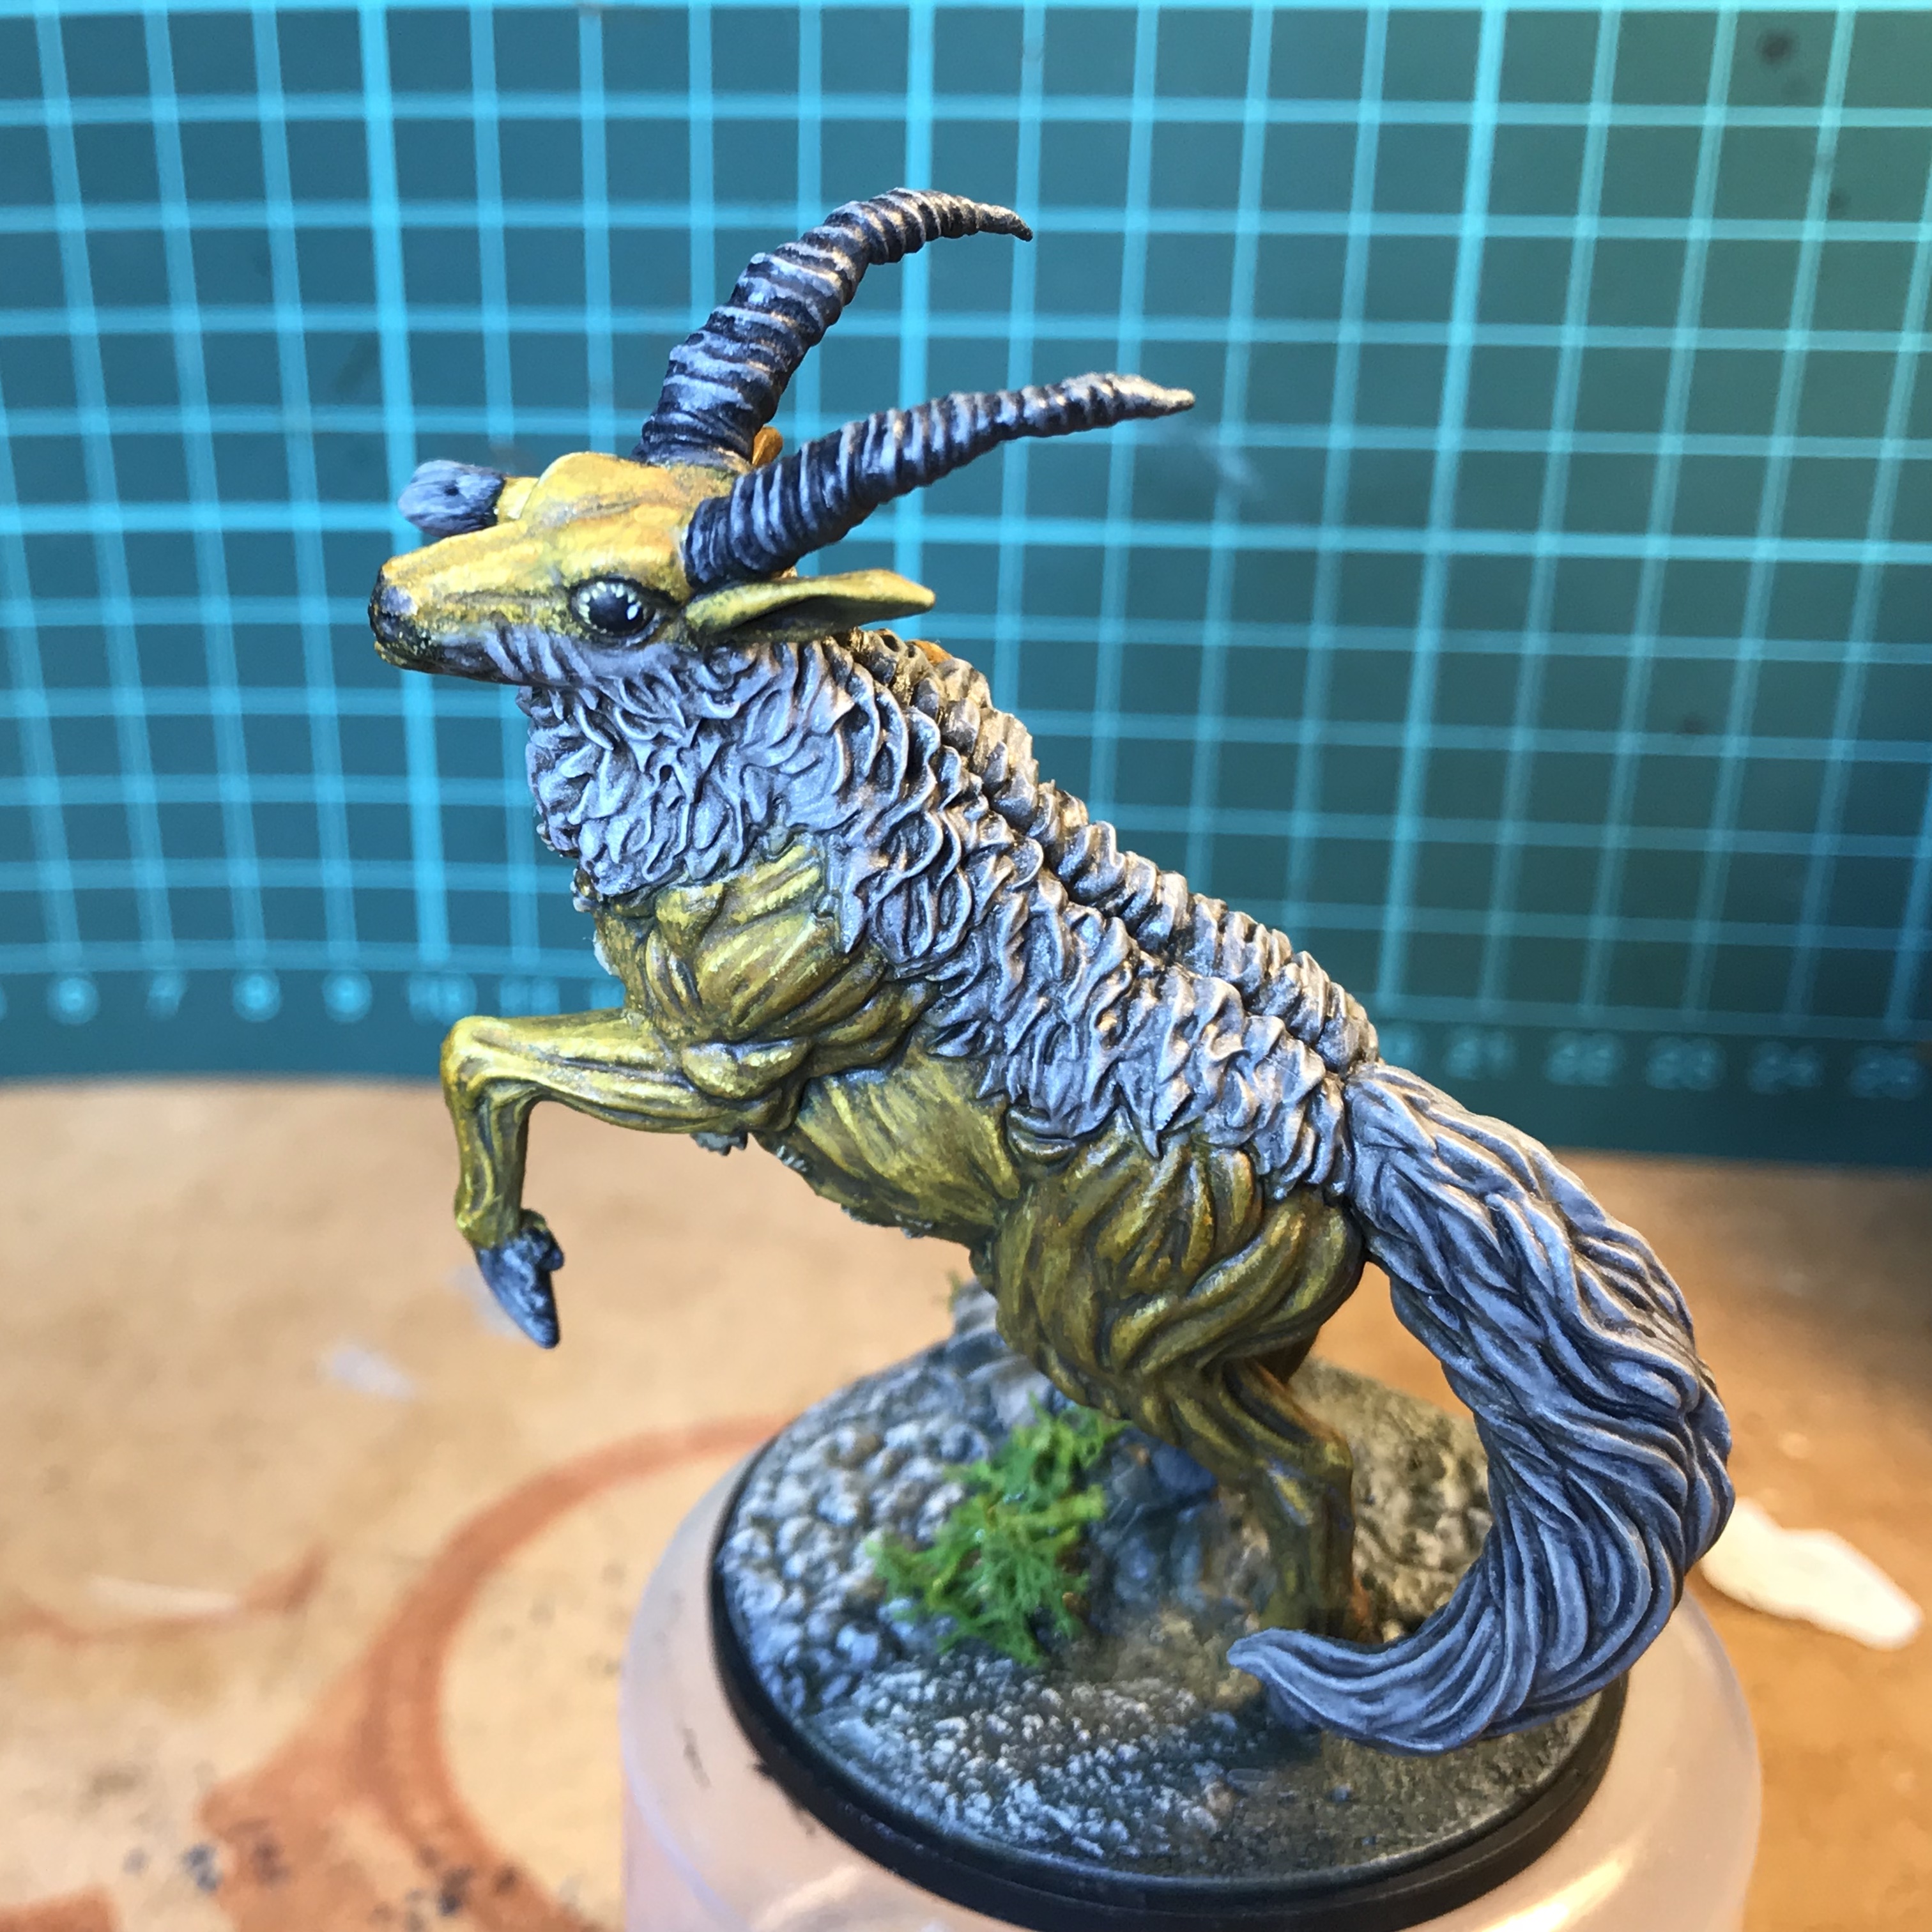
And with this addition, I am almost prepared to call this project done. I’ll add some little detail to the Lions base, varnish these two beasts and they’re finished.
The horses will appear in a future project.
The Unicorn gift was well received, though the “flowers” on the base didn’t last too well. Oh well.
If you have any questions or comments please don’t hesitate!