


![NO Weekender Or Cult Of Games XLBS This Weekend [Updated]](https://images.beastsofwar.com/2026/03/No_Weekender_and_XLBS_this_Weekend-225-127.jpg)


Terrain Challenge: Manda’s (Amachan) Happy Radiation Pond


Recommendations: 283
About the Project
This is my entry for the 4Ground Terrain Challenge announced in the weekender of 23rd of June 2018. https://www.beastsofwar.com/board-games/weekender-wargaming-kursk-new-terrain-challenge/ It's an irradiated pond inspired by the beautifully ruined Capitol Wasteland from Fallout 3
Related Company: 4Ground
Related Genre: Post-Apocalyptic
This Project is Completed
Got some more done.
Bubble Mountain
Work on the bubble mountain has progressed. I first did a heavy drybrush over it with Vallejo Model Color Medium Sea Grey (70.870) and followed that up with a lighter drybrush with Vallejo Model Air White Grey (71.119).
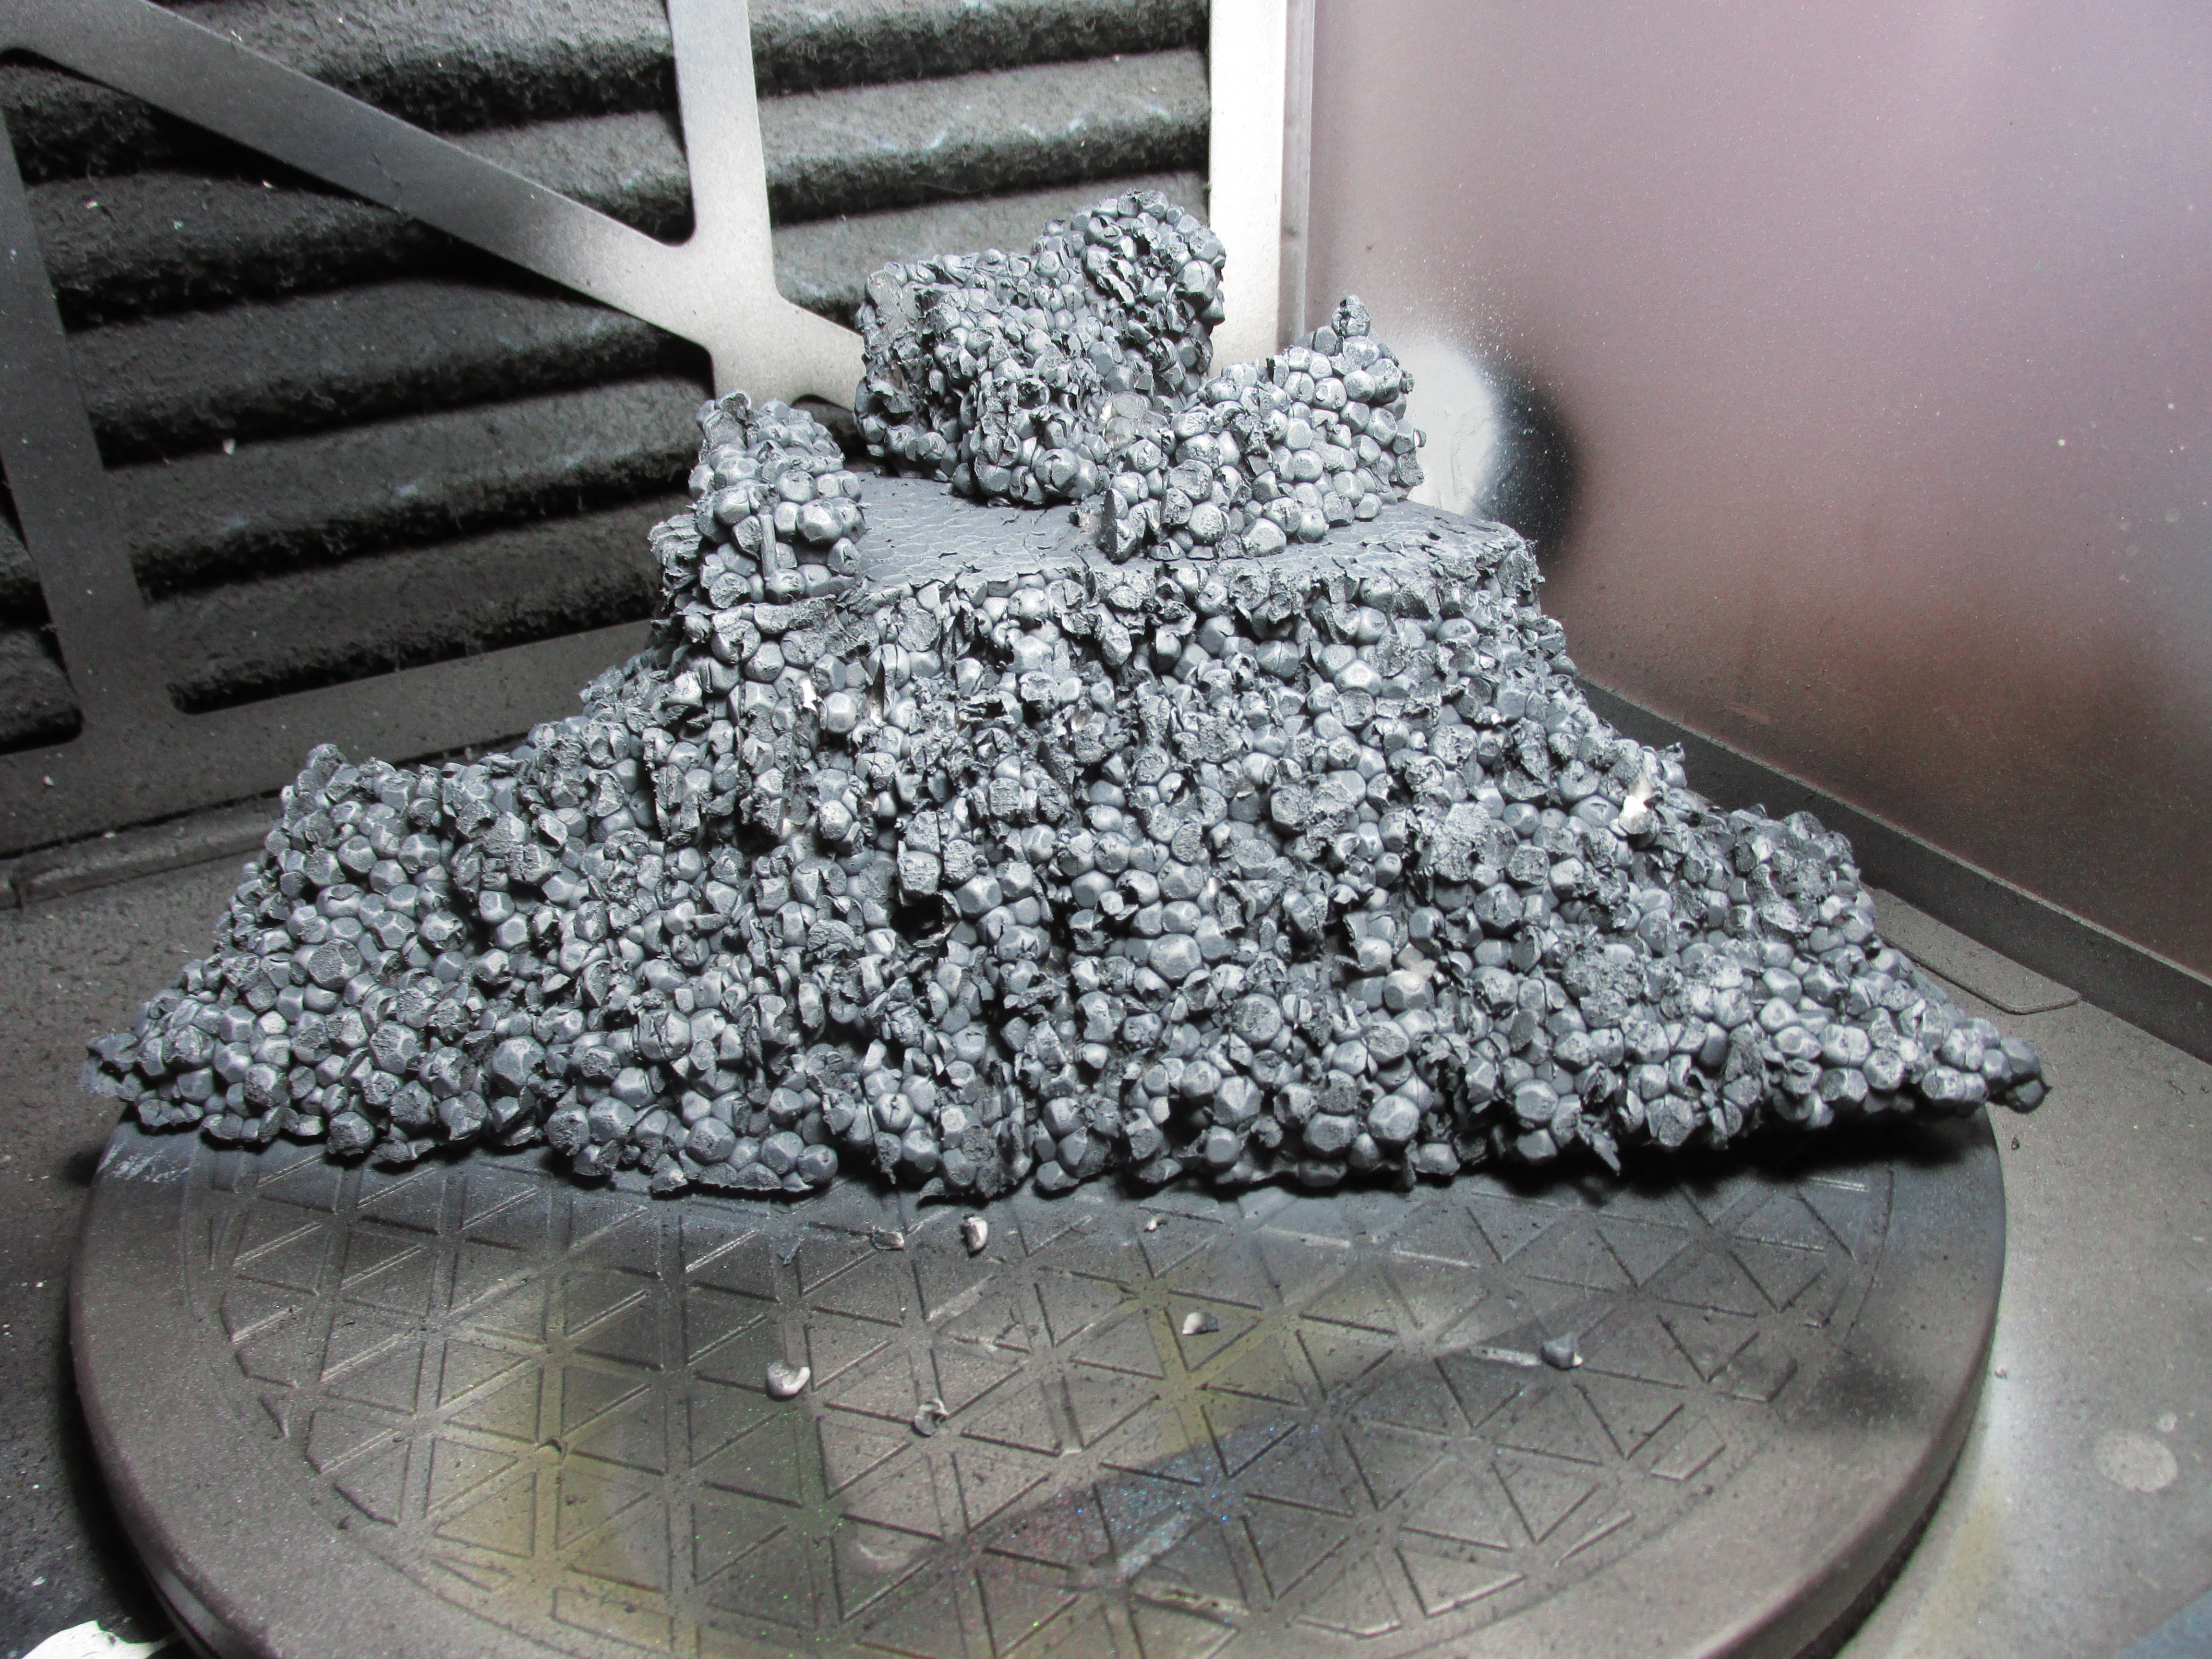
This kind of bubbly polystyrene is horrible for terrain making. So the drybrushing did some damage to the bubble mountain. In order to fix that I glued on some wasteland tufts from The Army Painter with PVA glue. Let’s see how this looks when it’s dry and then fix up any problems.
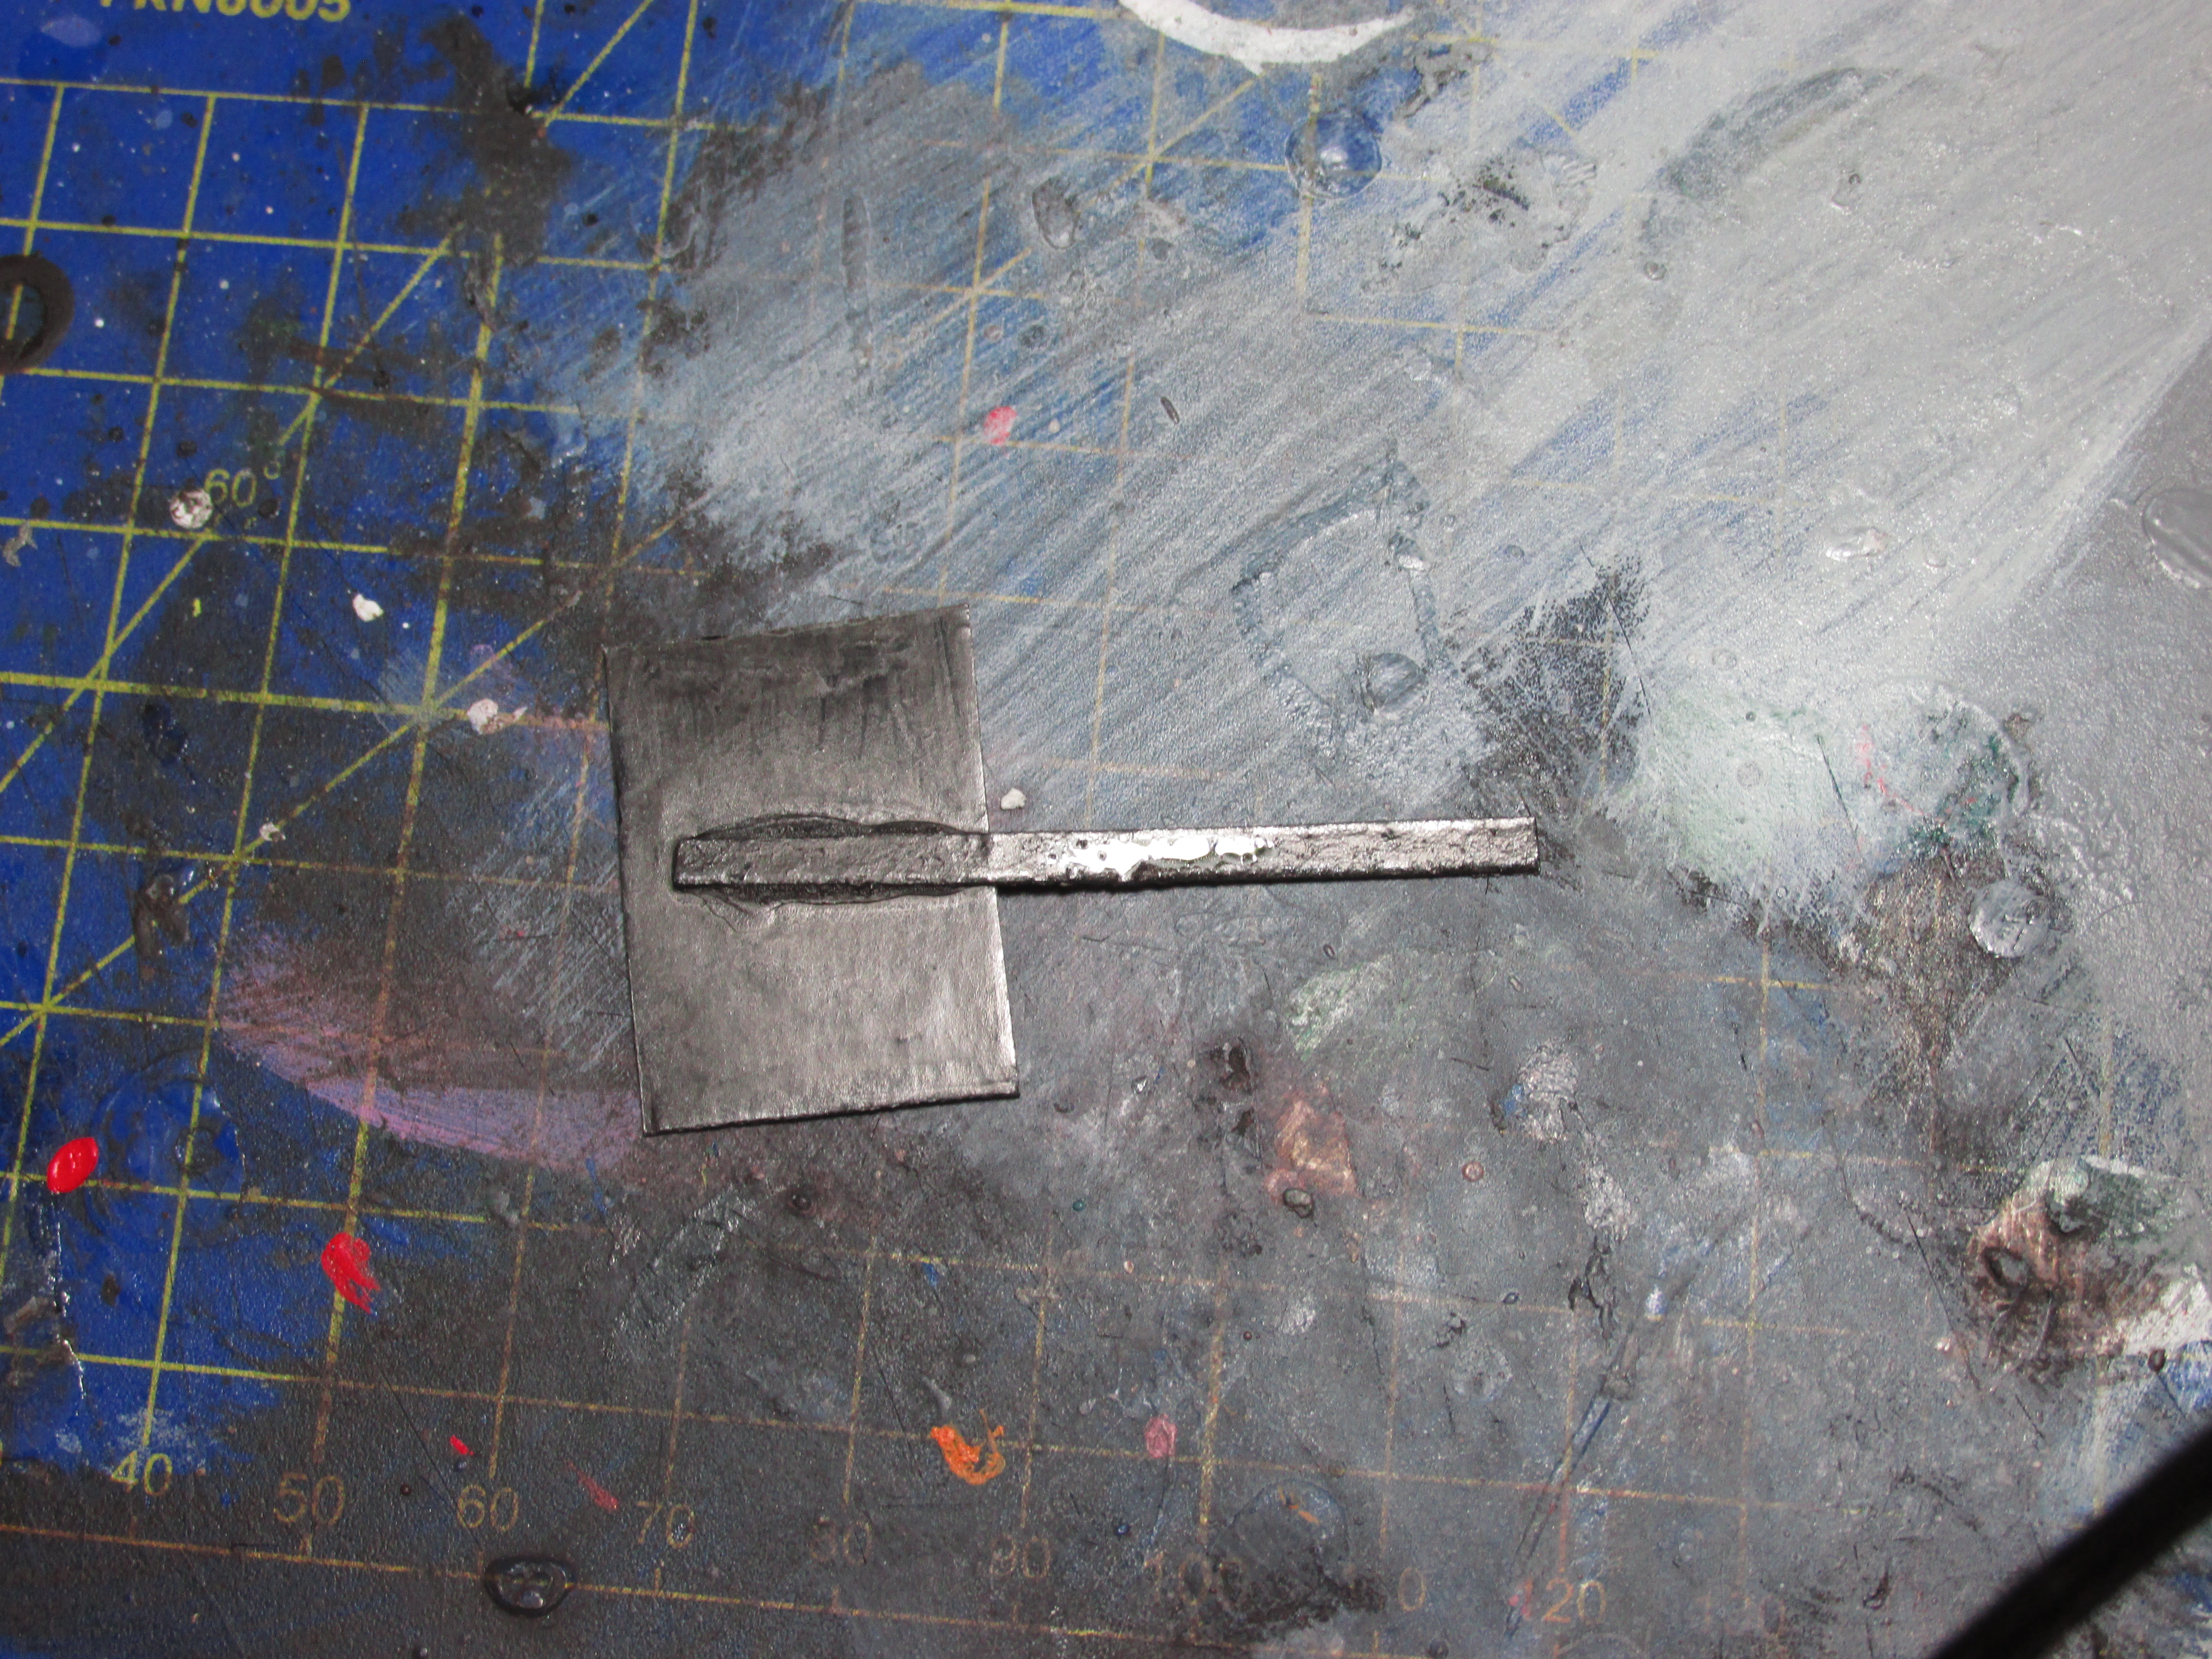
The Sign
I’ve given the back, the sides and the stick a base coat of Vallejo Metal Color Burnt Iron (77.721). I then stippled on some Citadel Technical Typhus Corrosion (99189956010), painted the sides with Vallejo Model Wash Rust (76.506). I then used this same rust around the area where the stick is glued onto the sign and to finish it up I did some streaks over the back of it as well. The sign is now mostly finished apart from some varnishes.
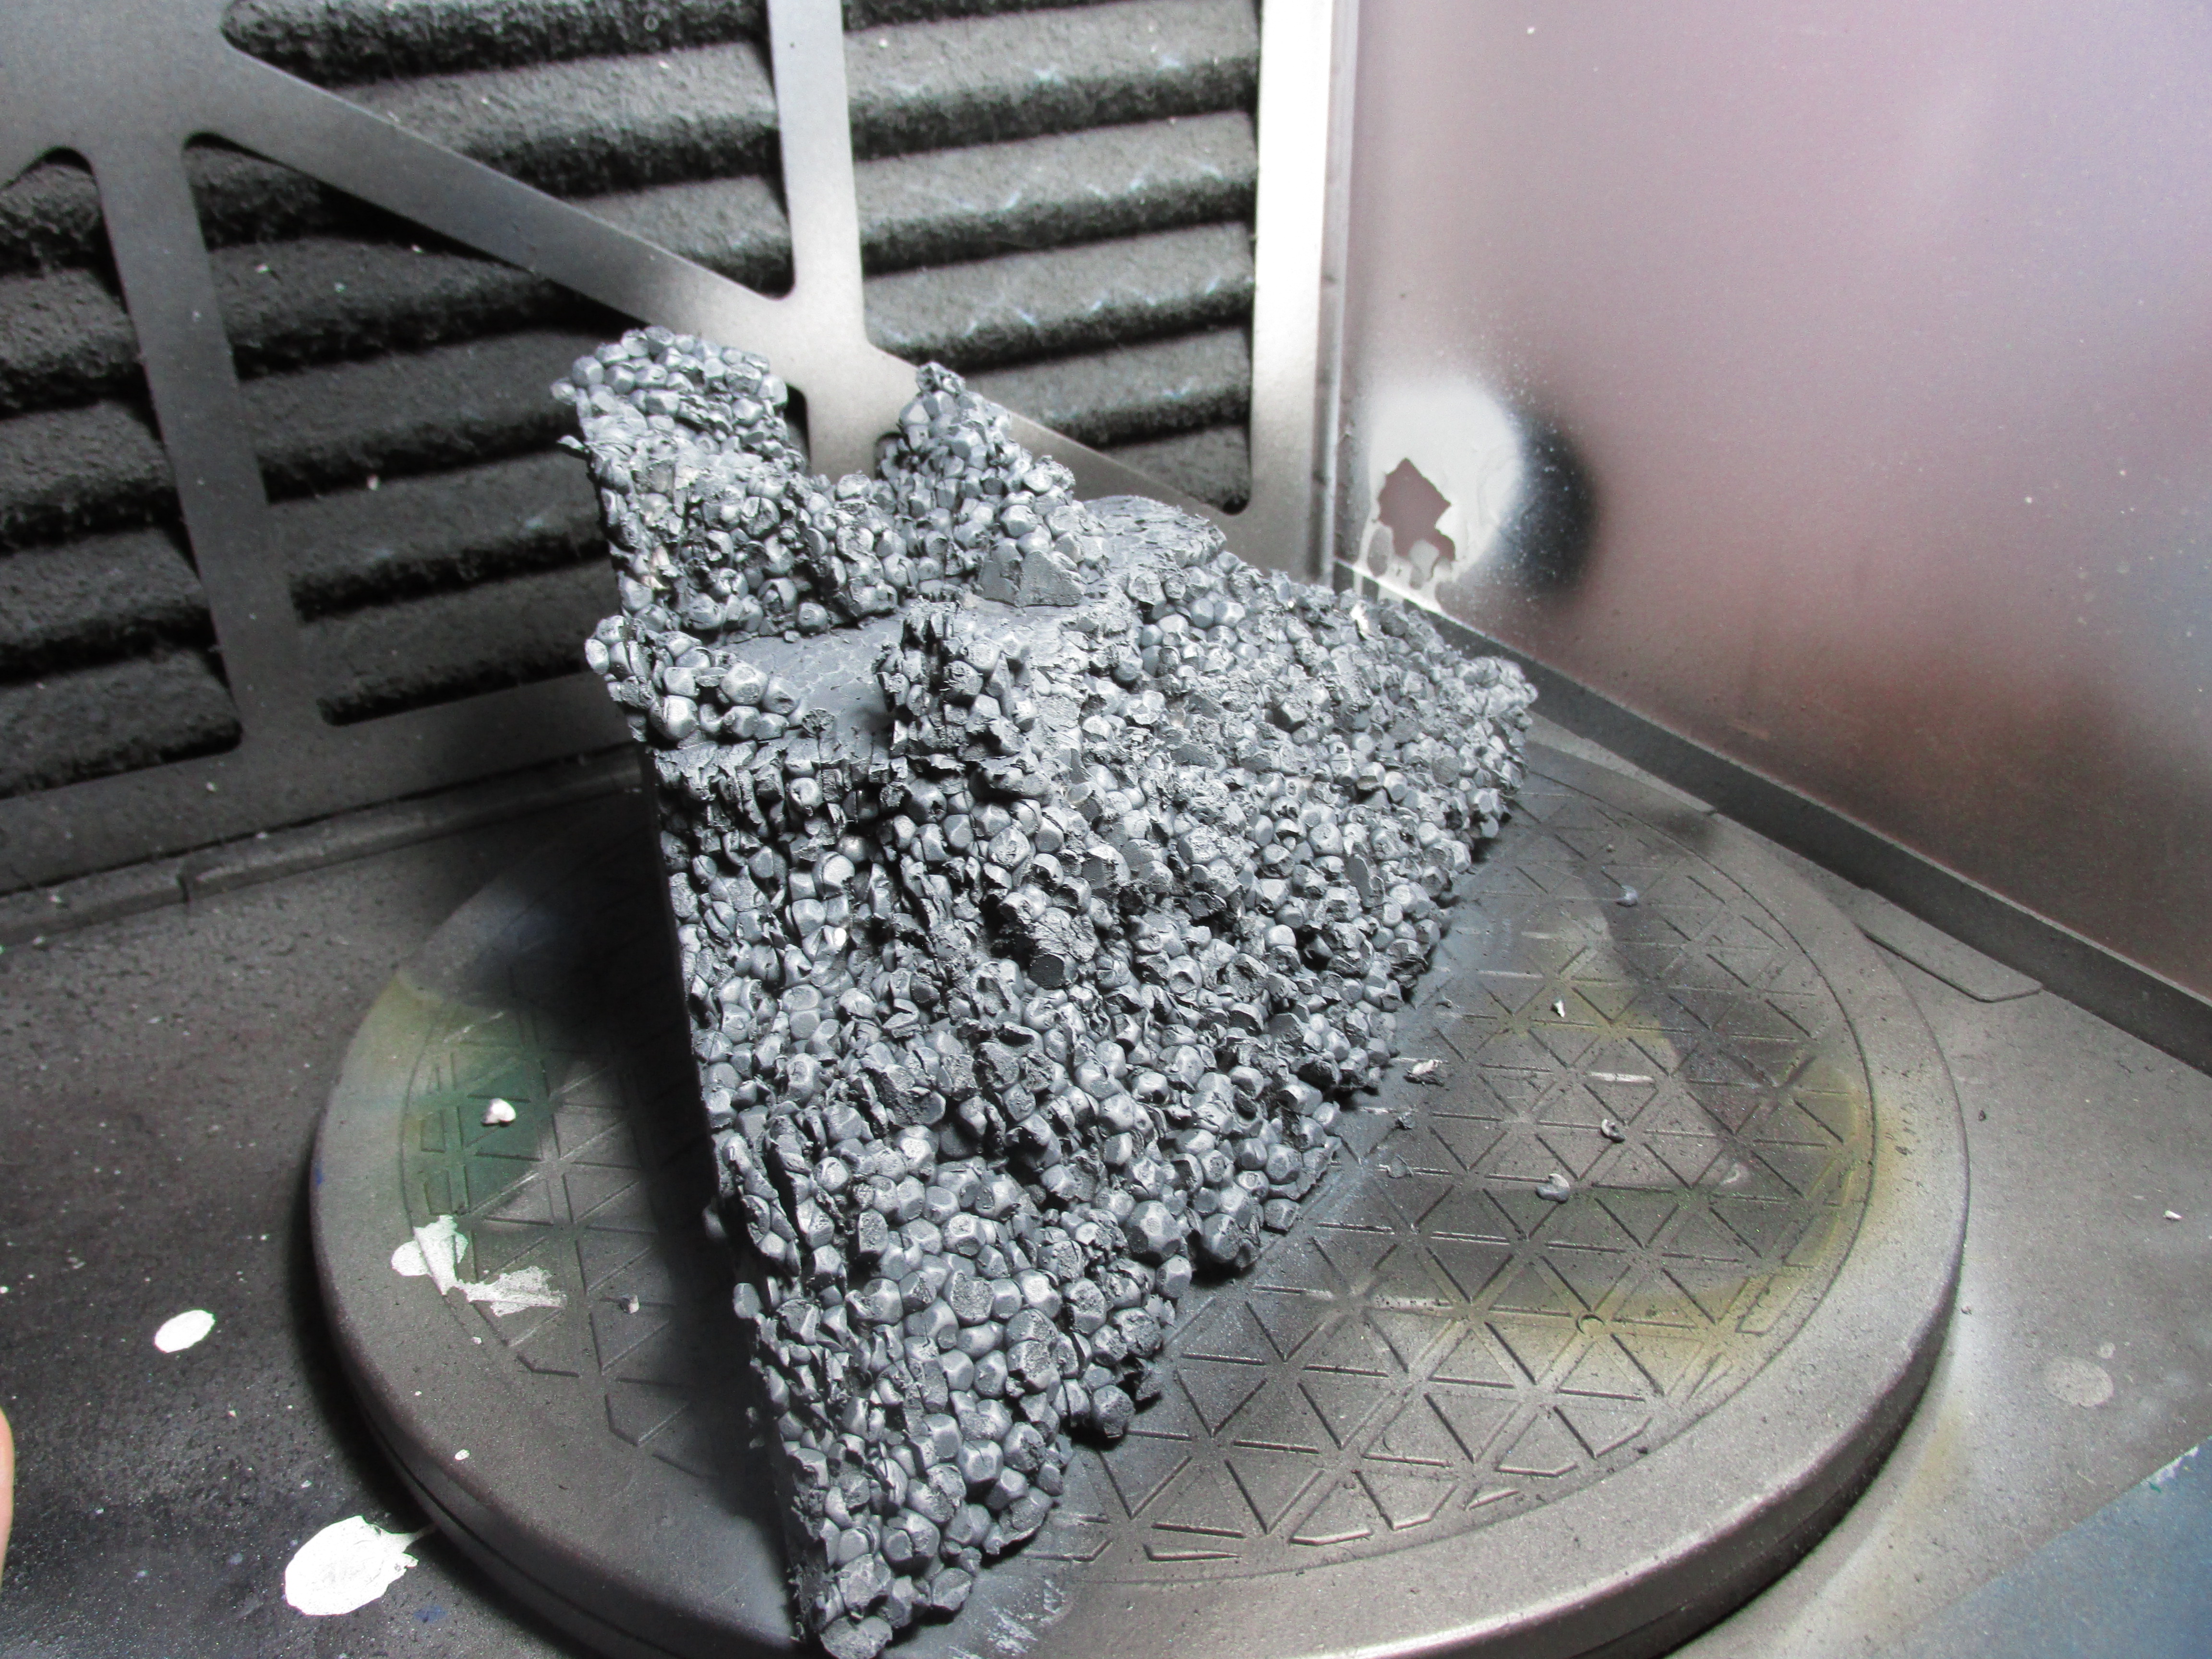
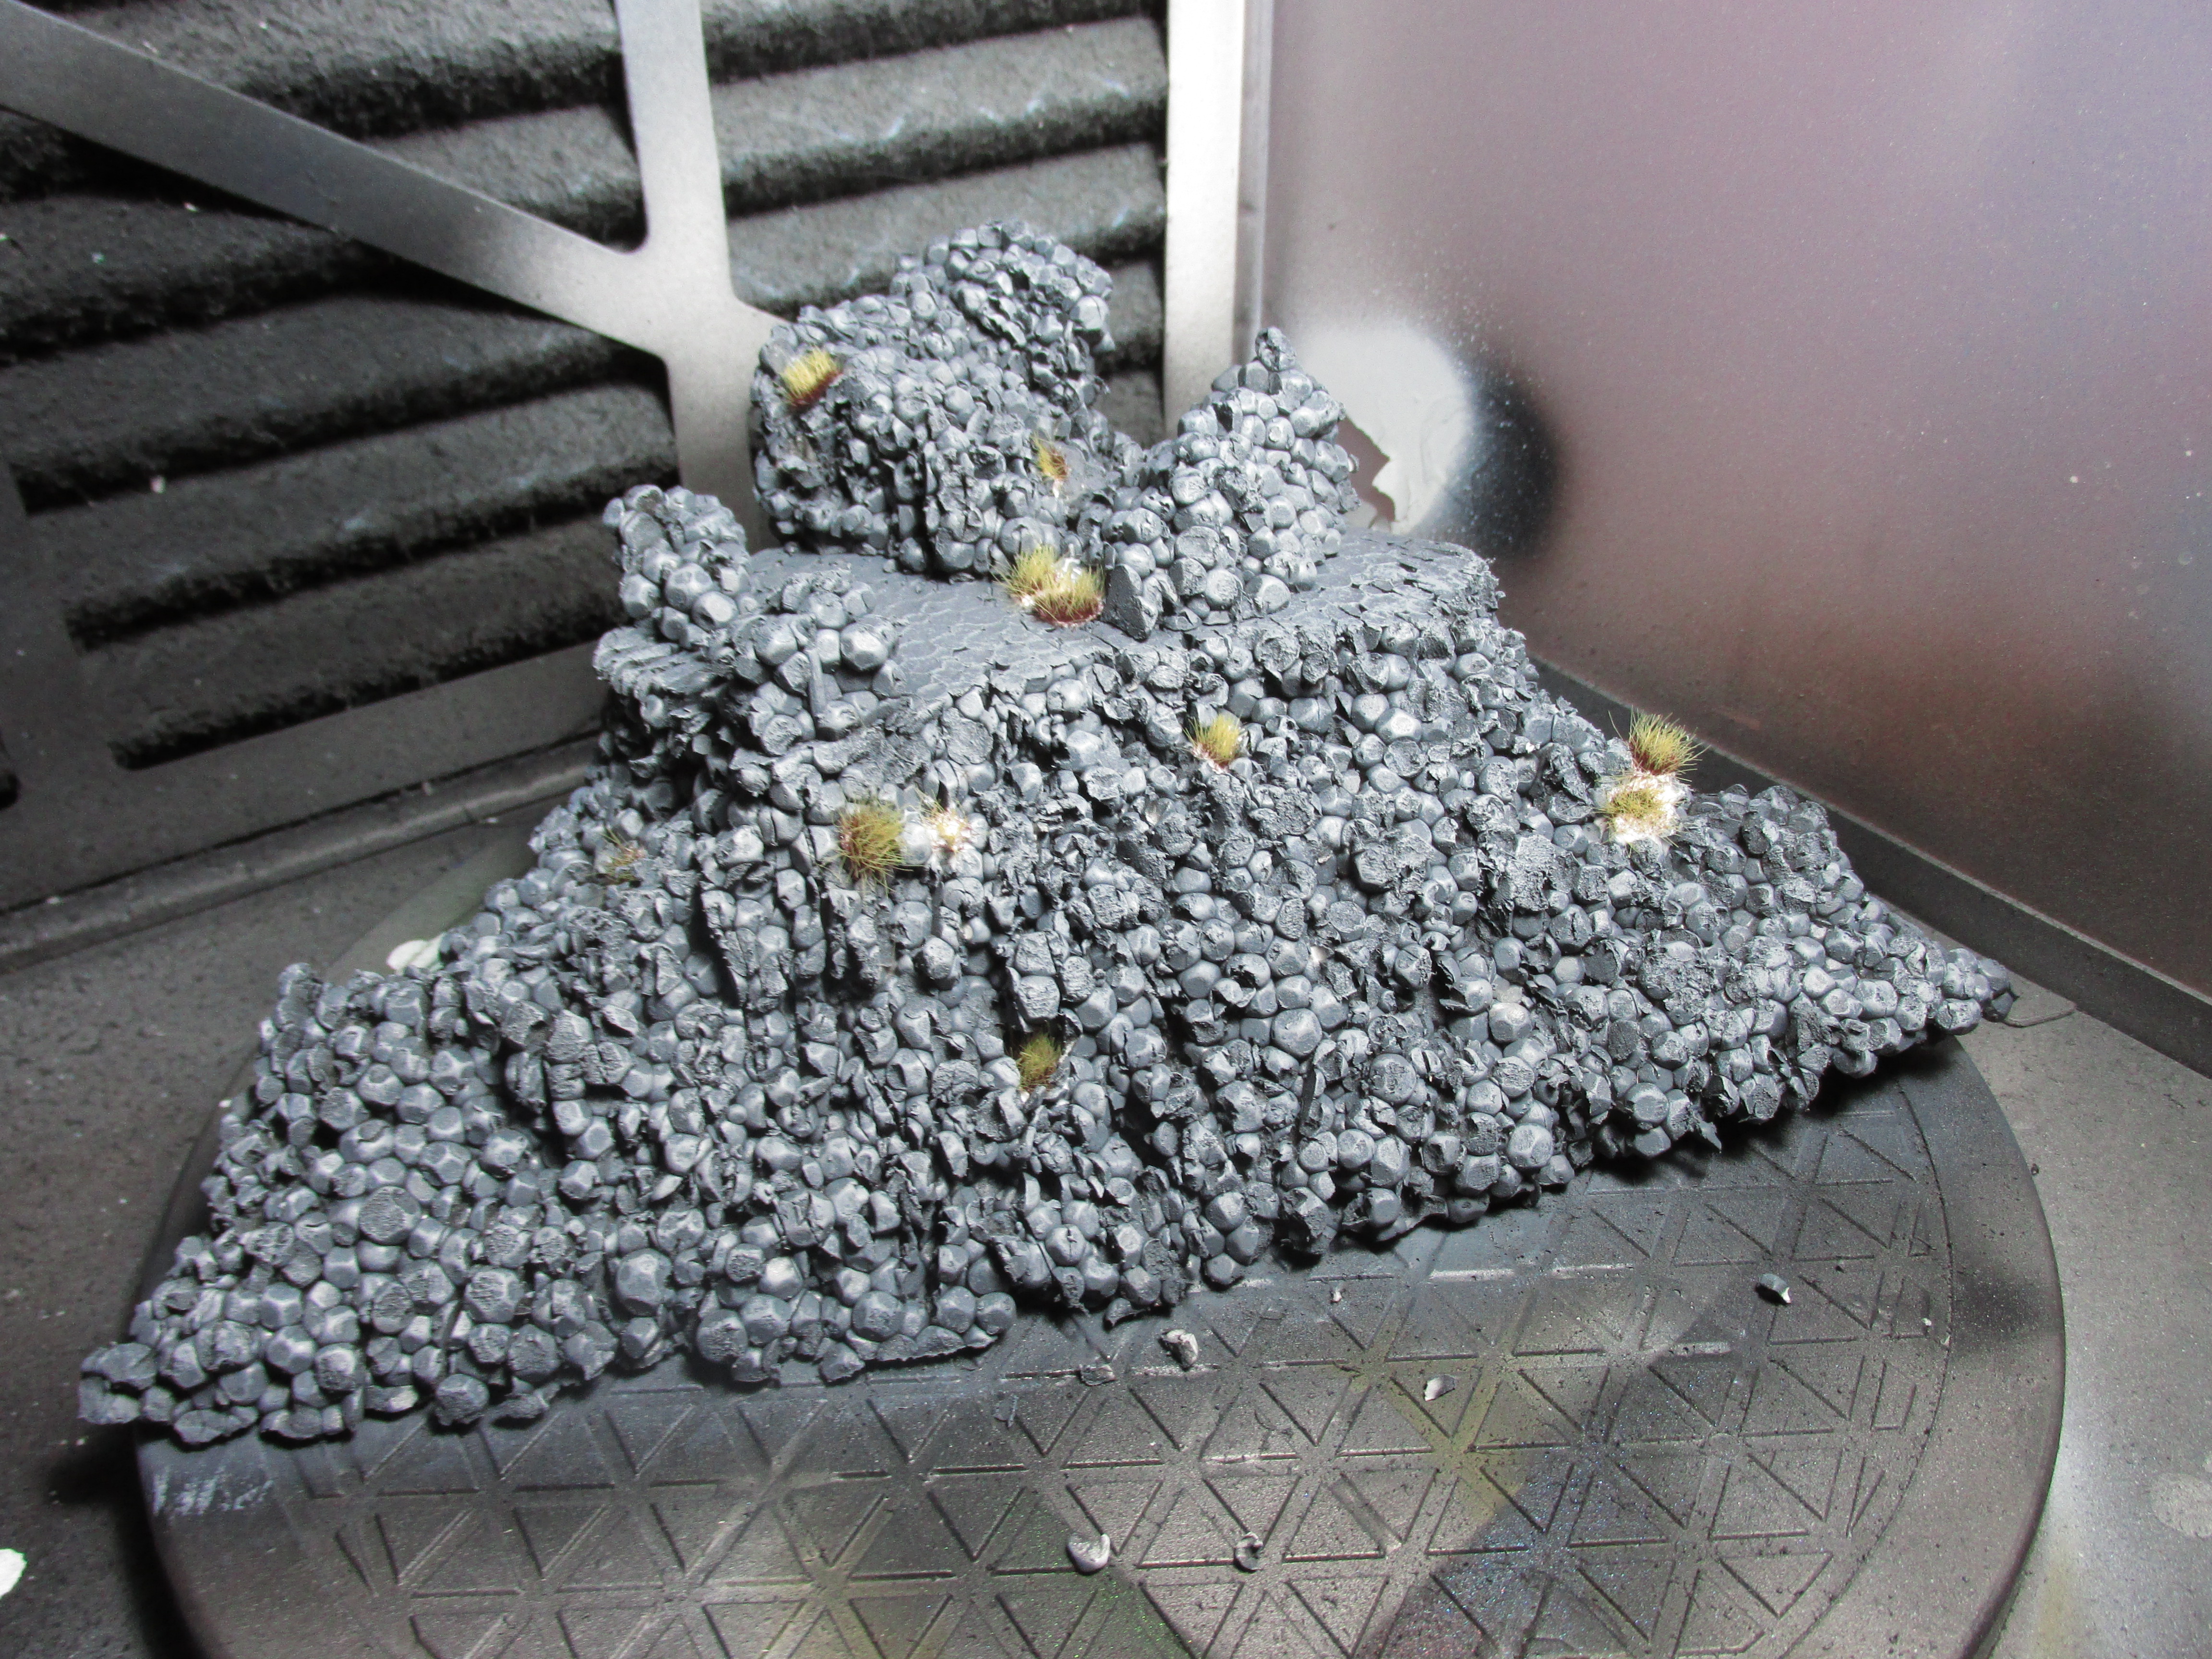
A little update to bubble mountain.
I added some rocks and a couple more tufts to the bubble mountain to break up the bubbly nature of the polystyrene and I am quite happy with the result so far. I just know that I have to get some hot tools like a wire cutter and a hot knife to work with this material next time, but for now this has to be it unfortunately.

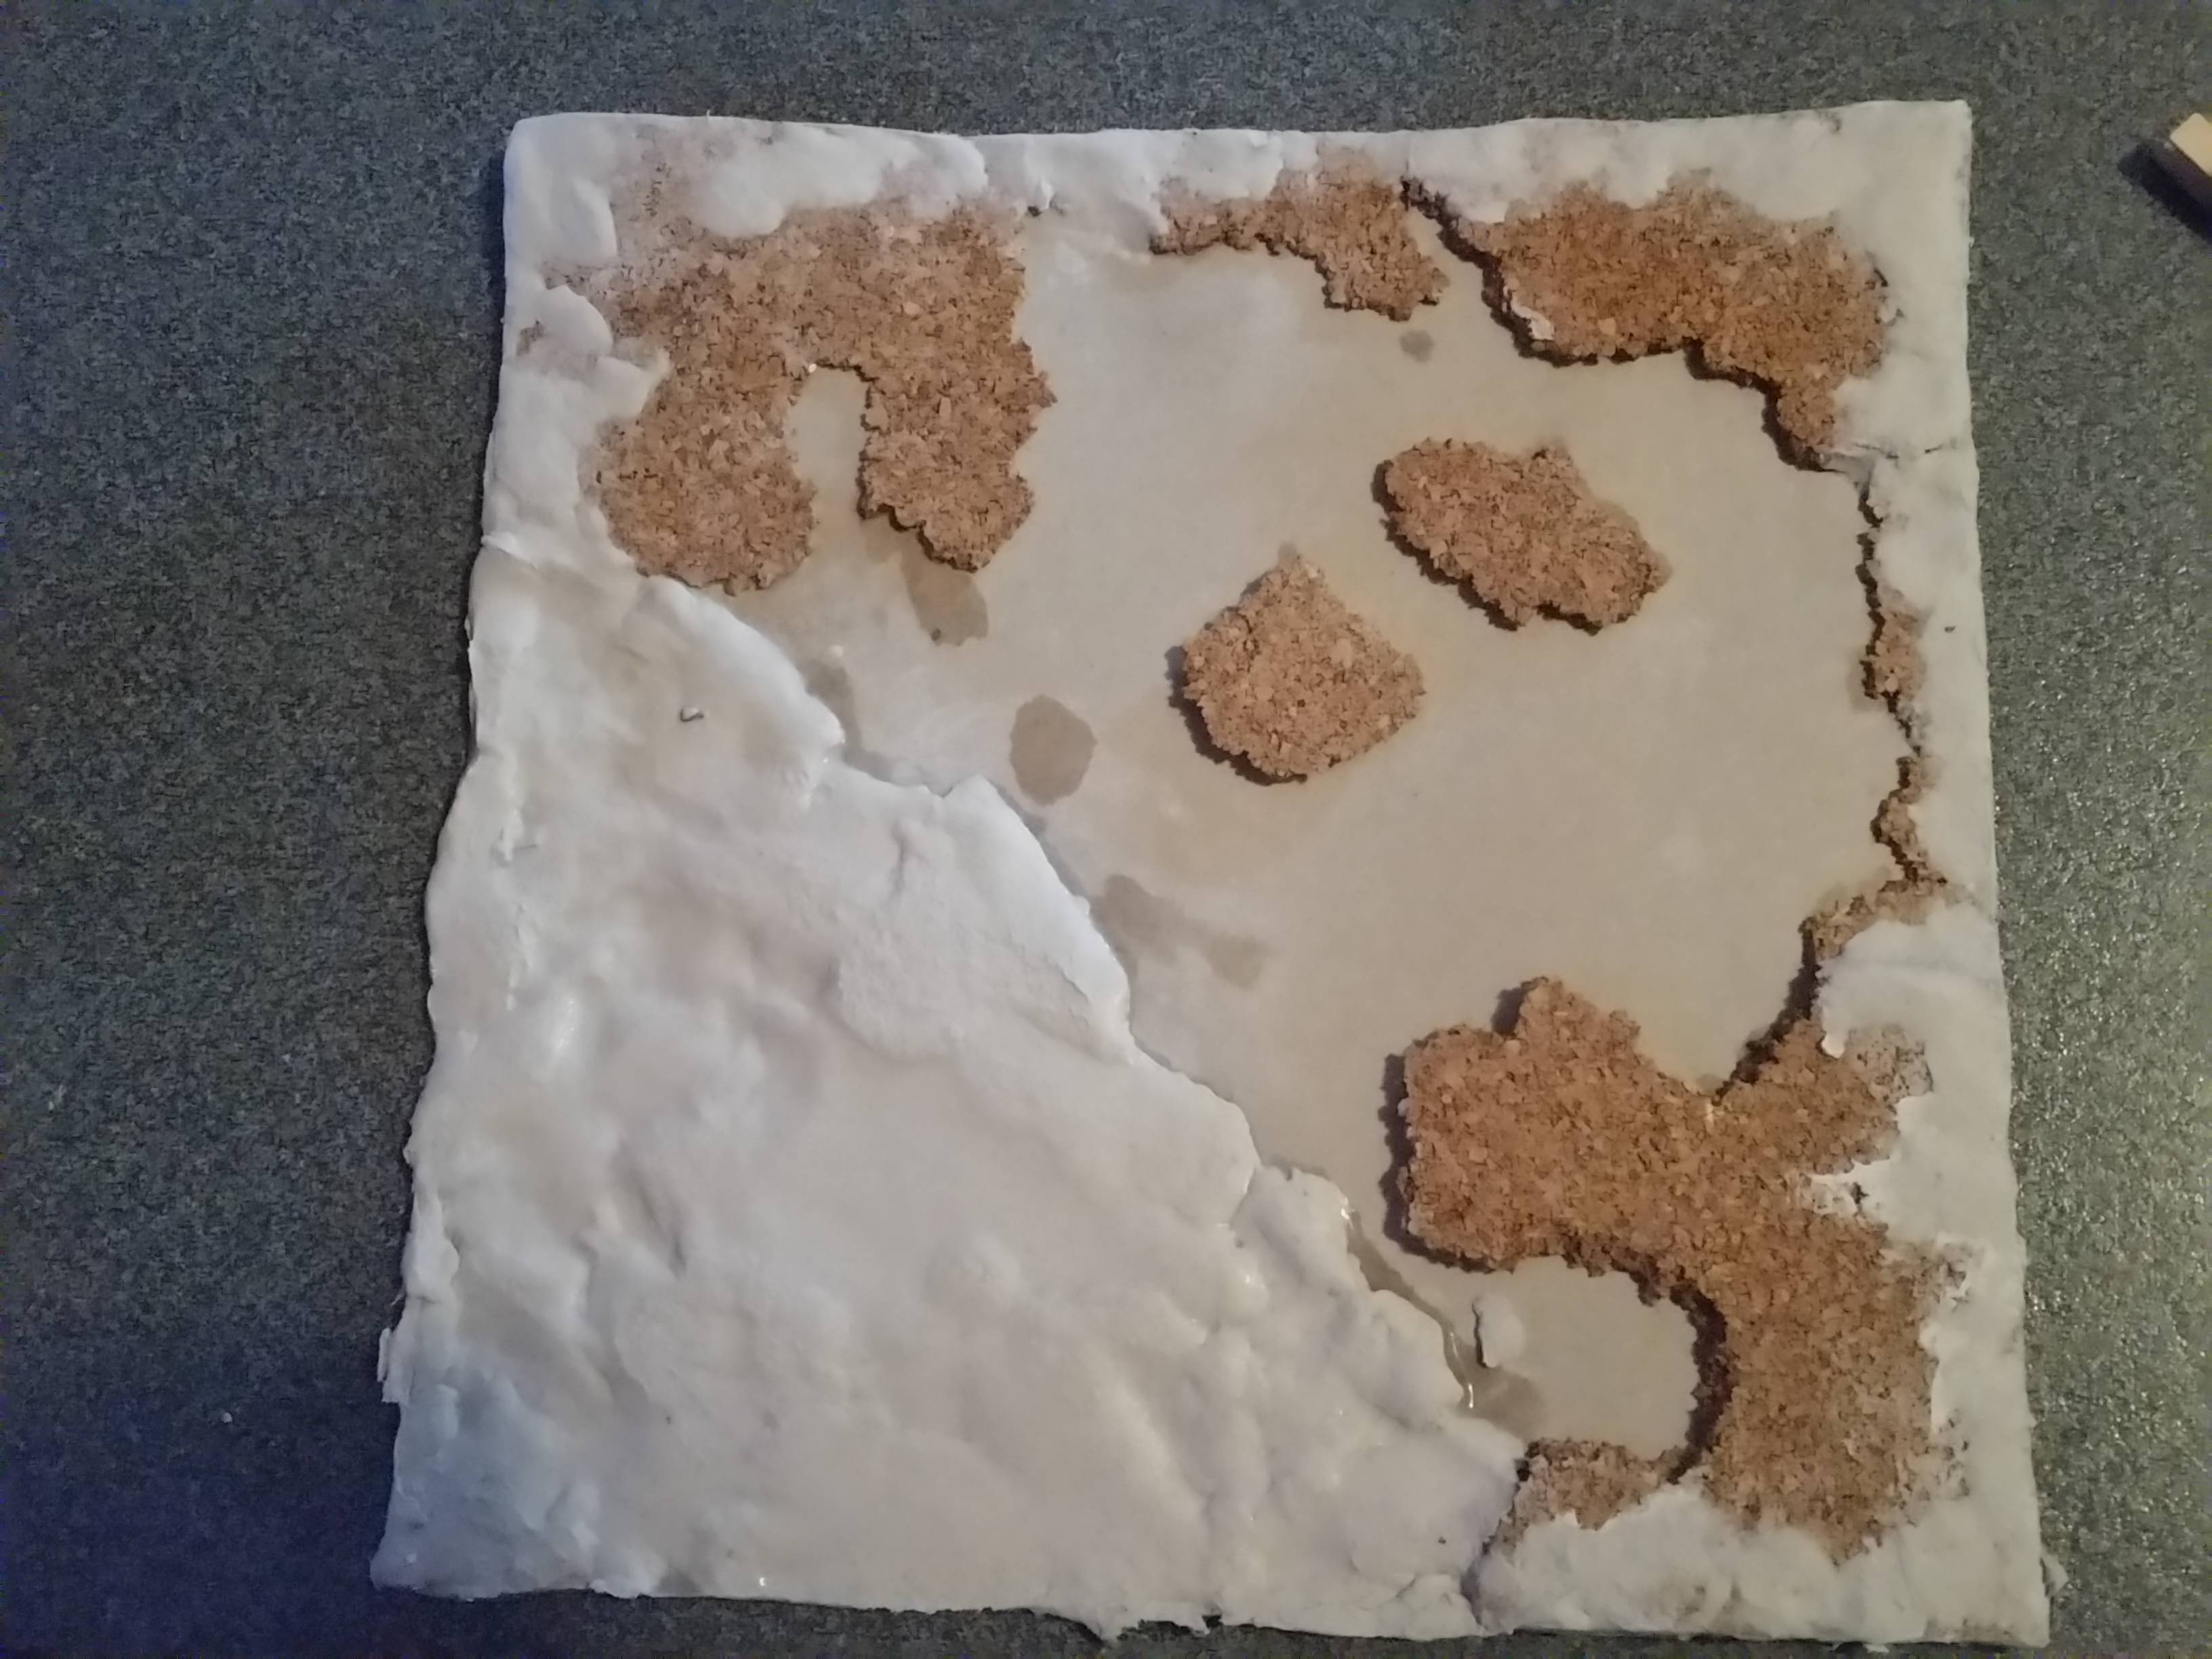
Clay clay clay clay and more clay....
I worked a bit more on the base today. and used plenty of DAS modelling clay to smooth the edges and create a base for the mountain to fit on. I fitted the mountain on there to get the shape and surface about right. When working with DAS modelling clay make sure the surface is wet and having wet hands. THis makes the putty stick better and work easier. Something I learned from the TerrainTutor. Oh be aware that your hands will be covered in clay and your workspace will smell like DAS modelling clay after.
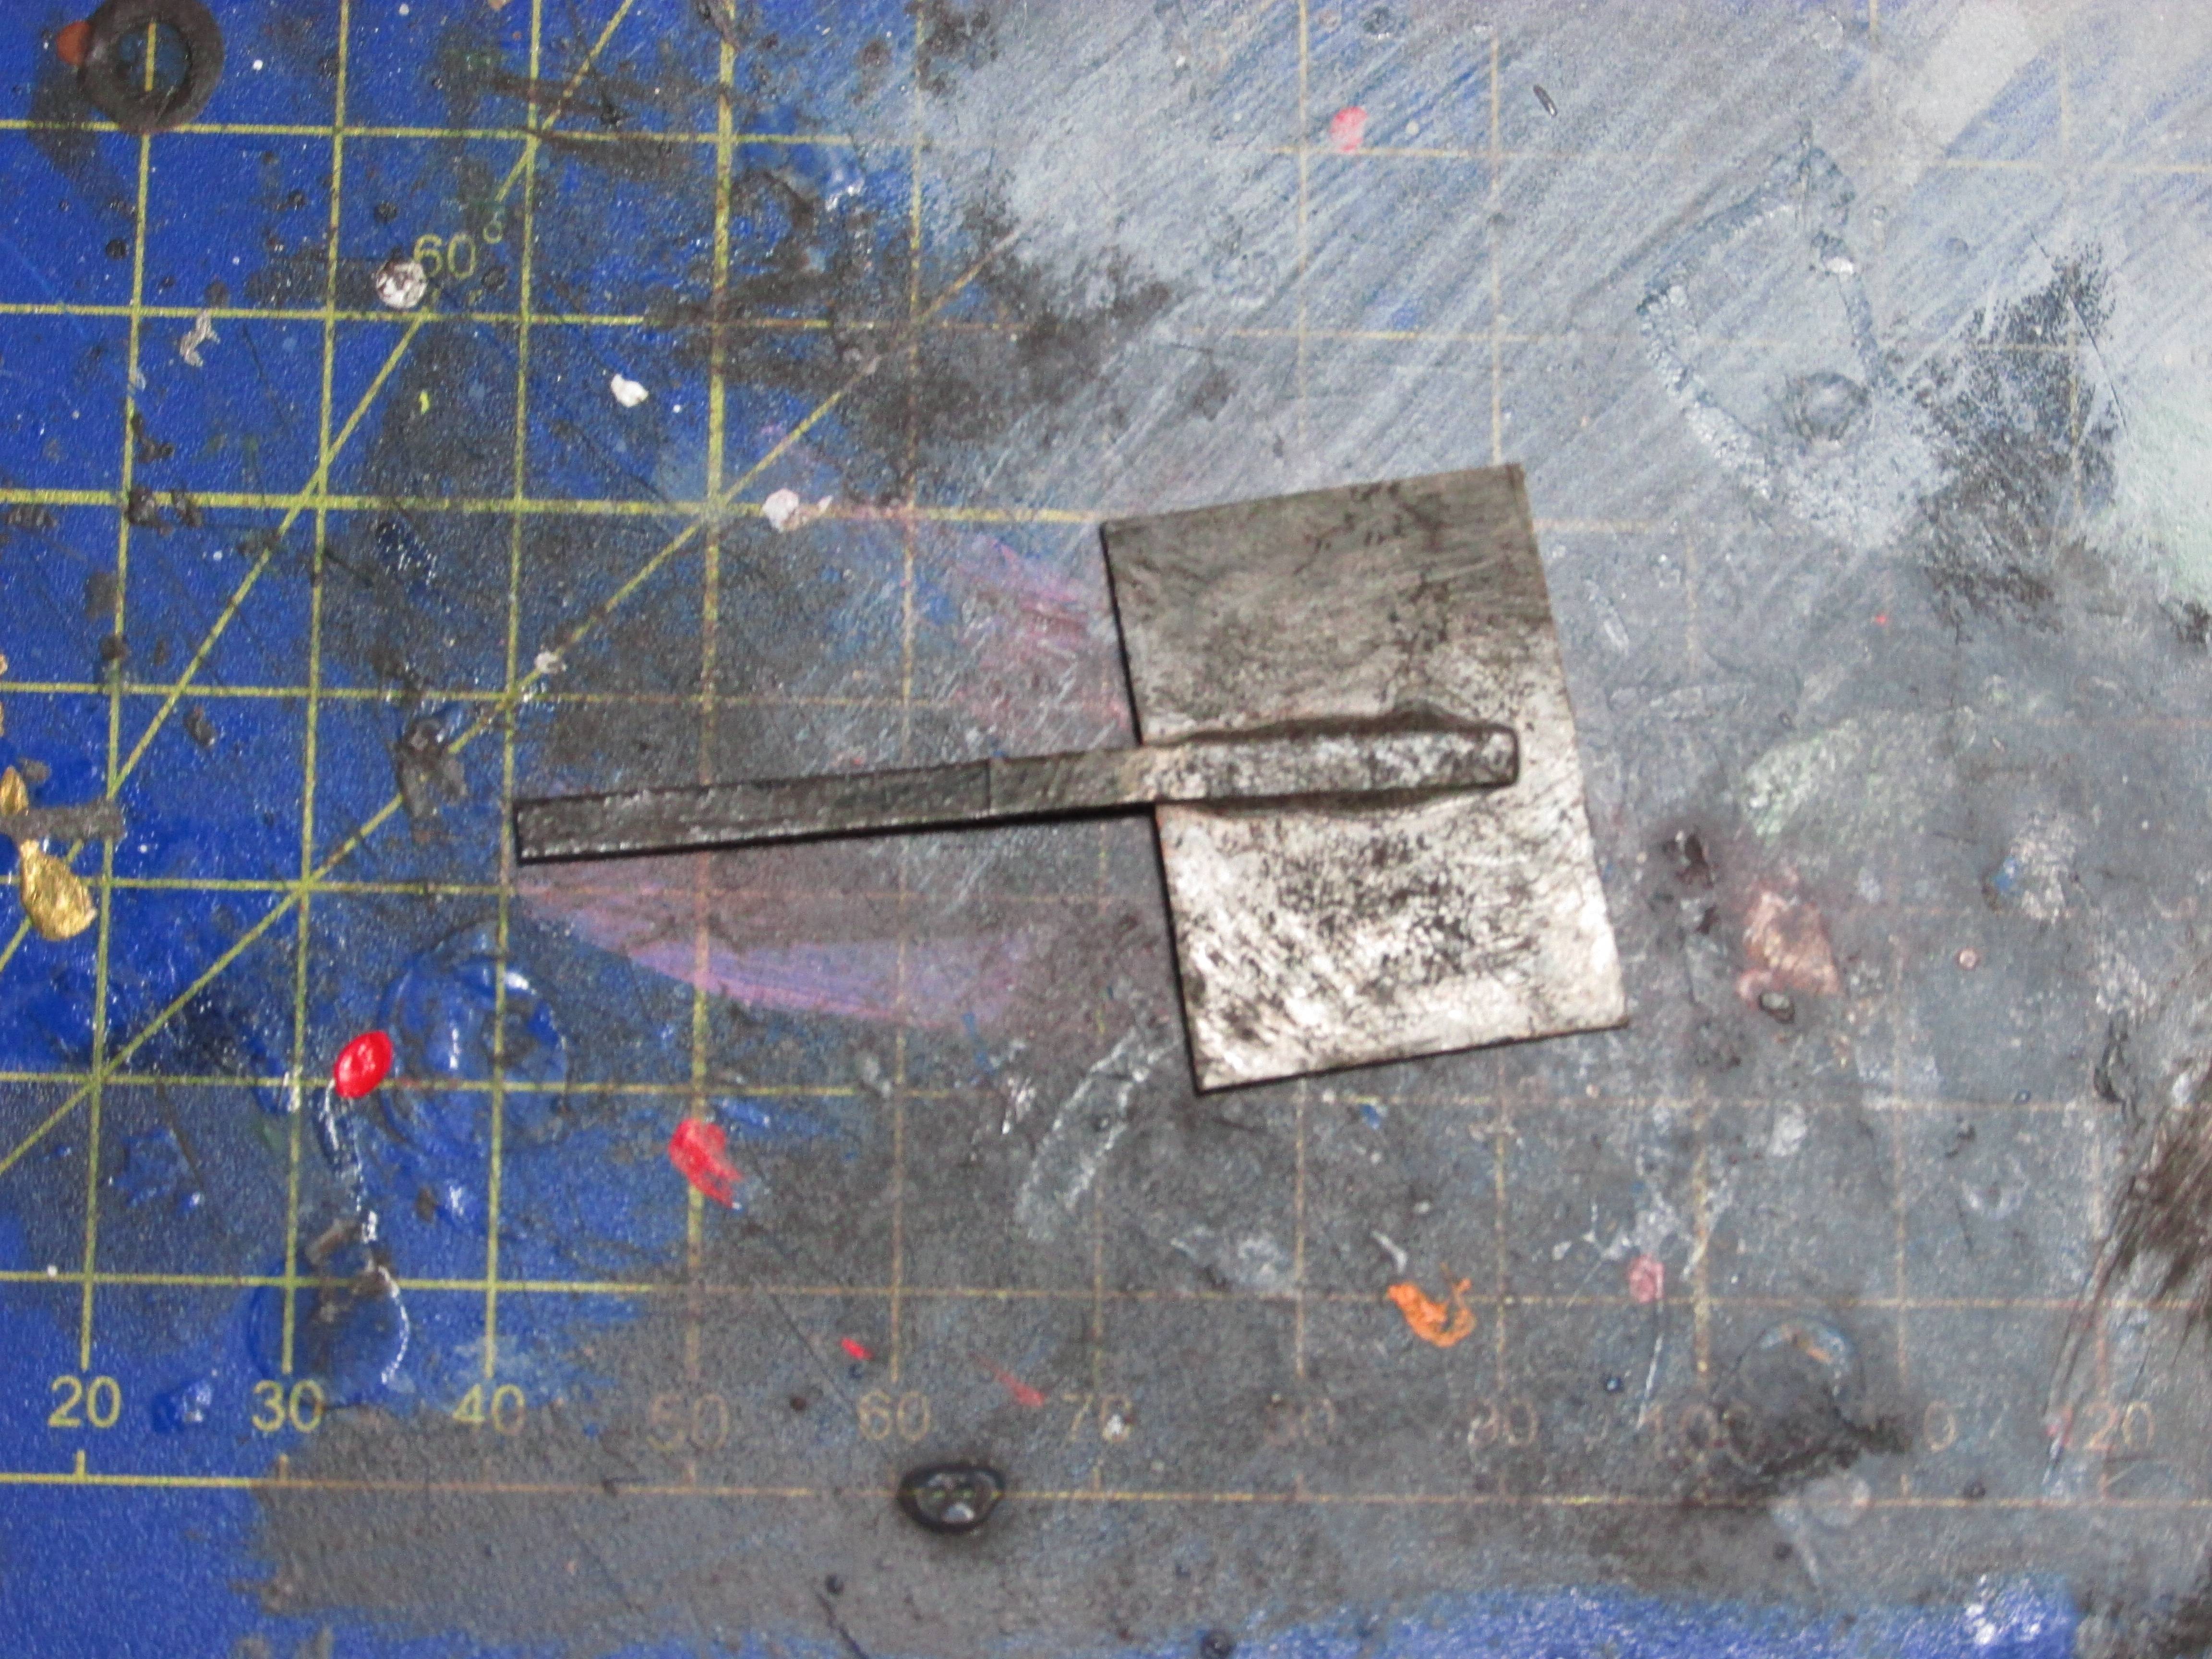
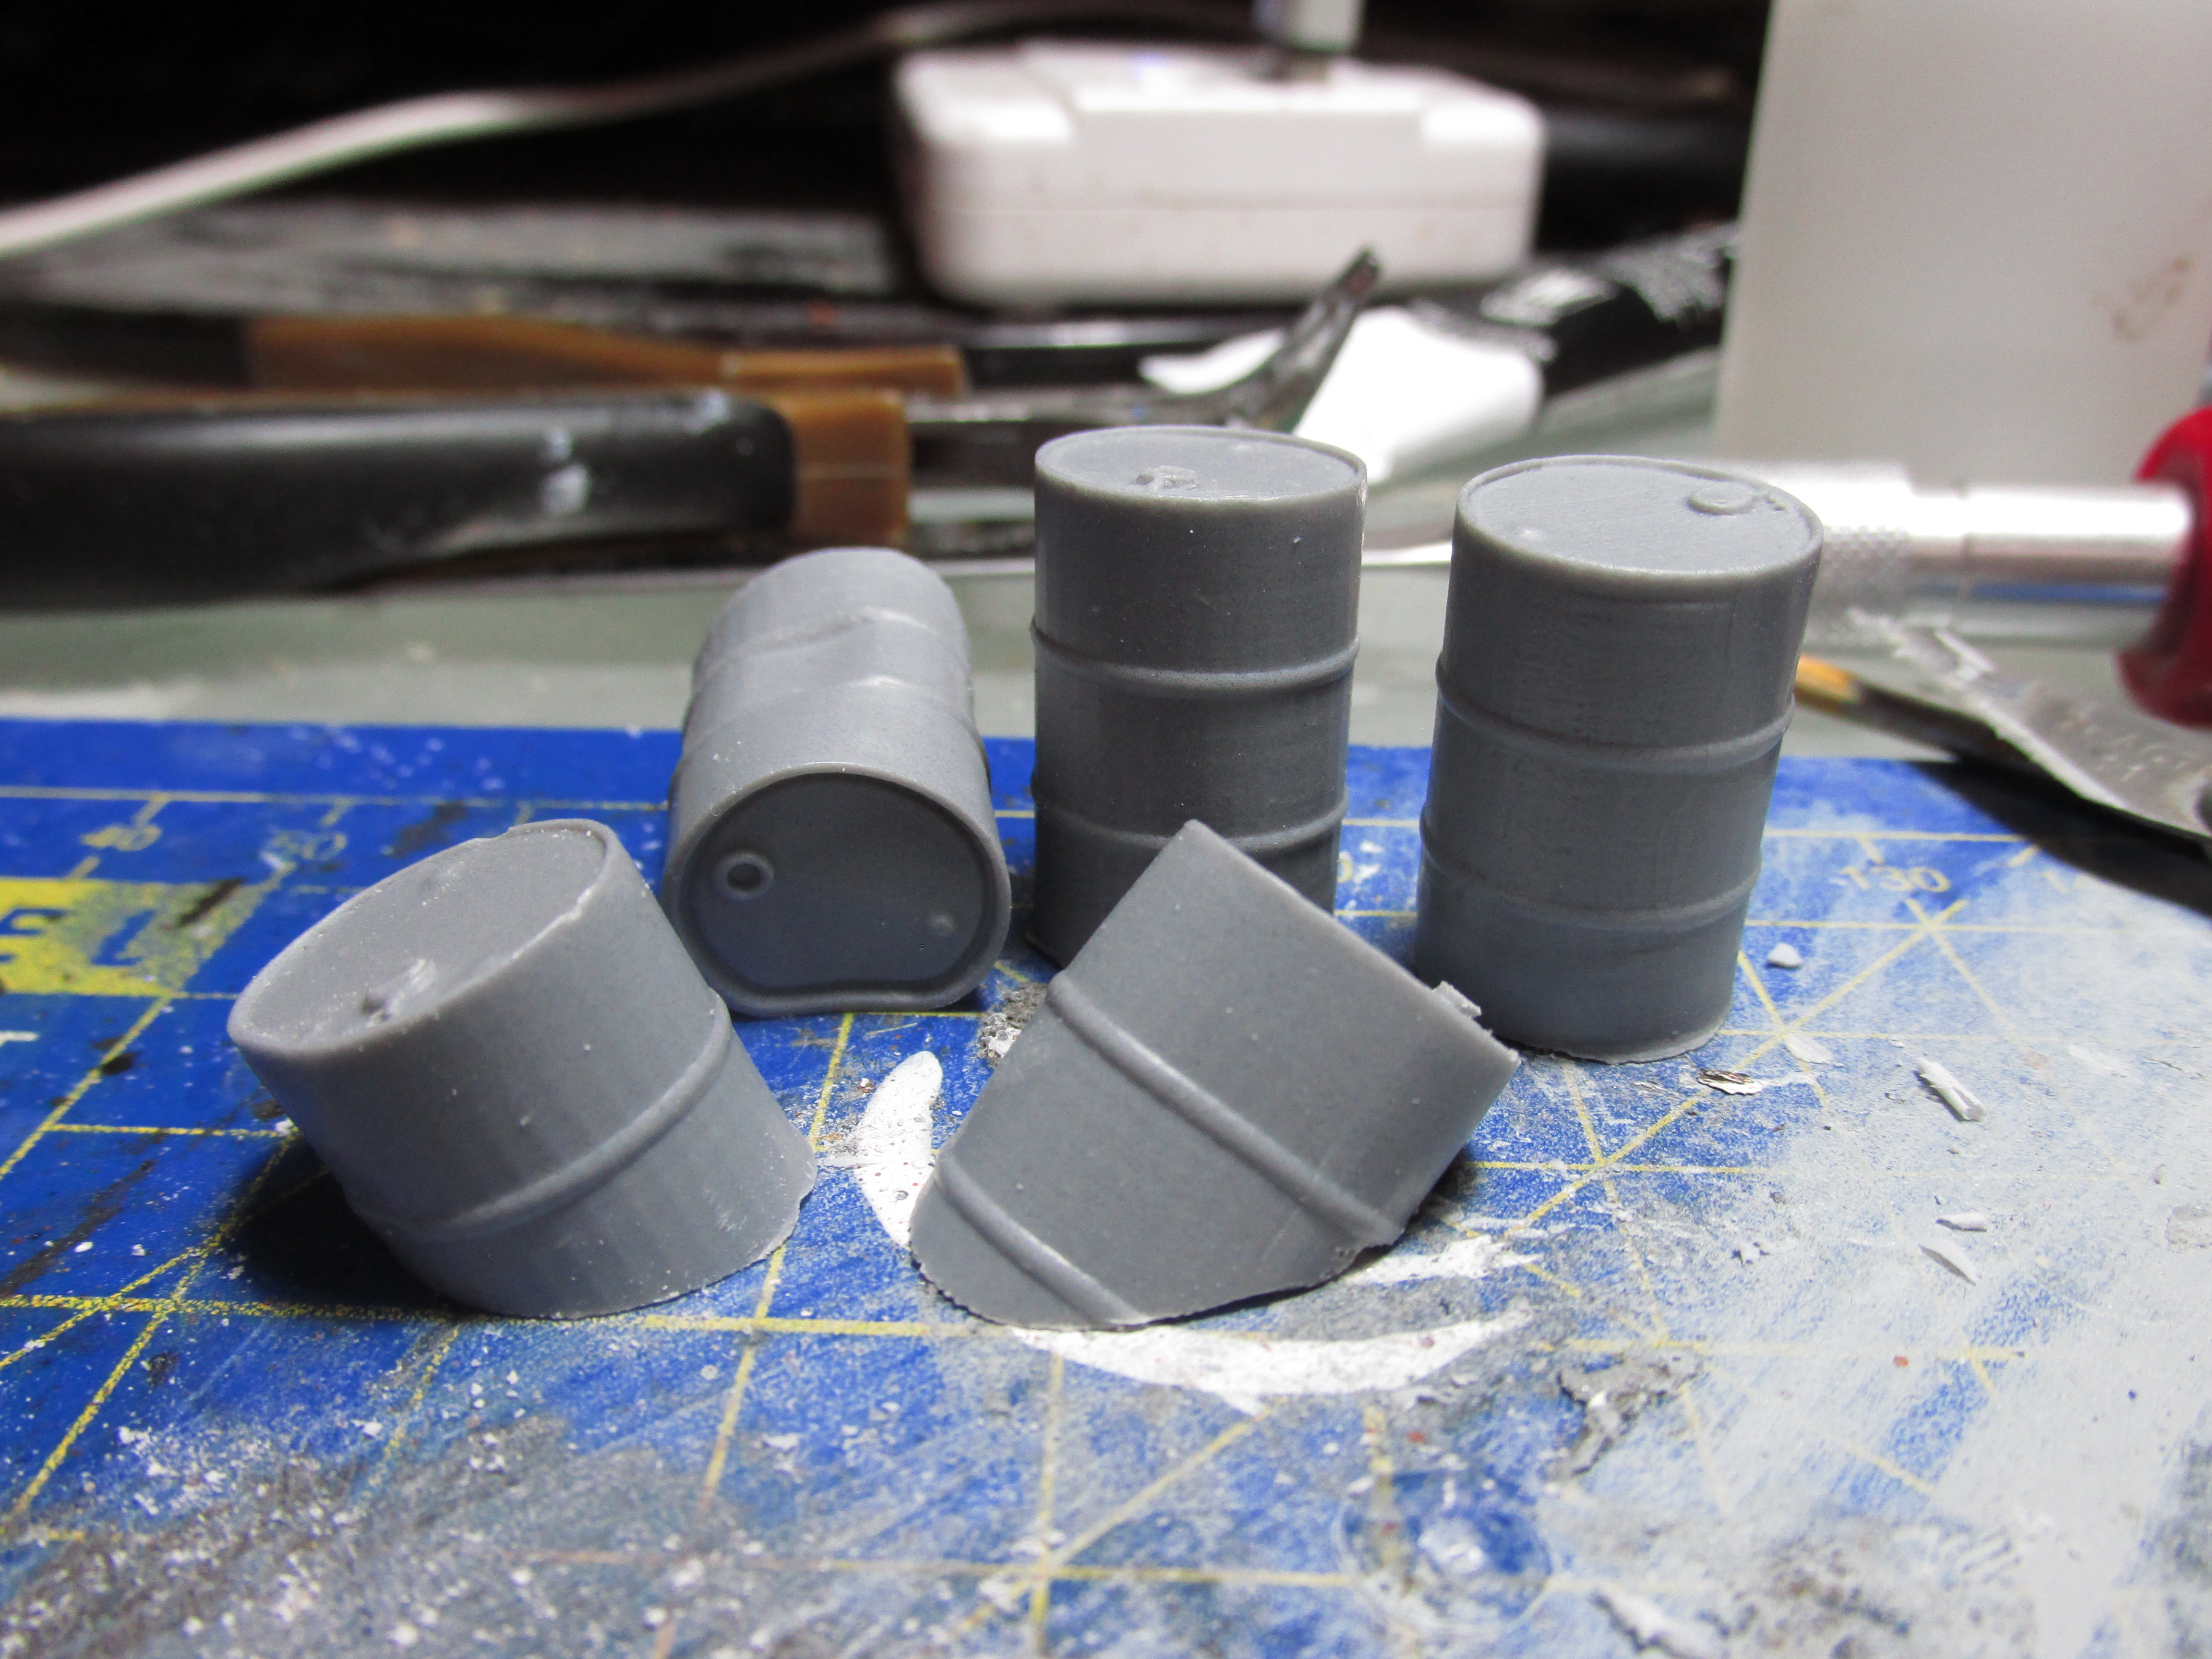
Do a ..... half barrel roll?
I sawed 2 barrels in half to fit them in the pond and selected 3 others to use in the terrain piece as well. 1 of them will be laying down and leaking liquid into the pond and the other 2 will be standing up somewhere. I have not yet decided on final positions.
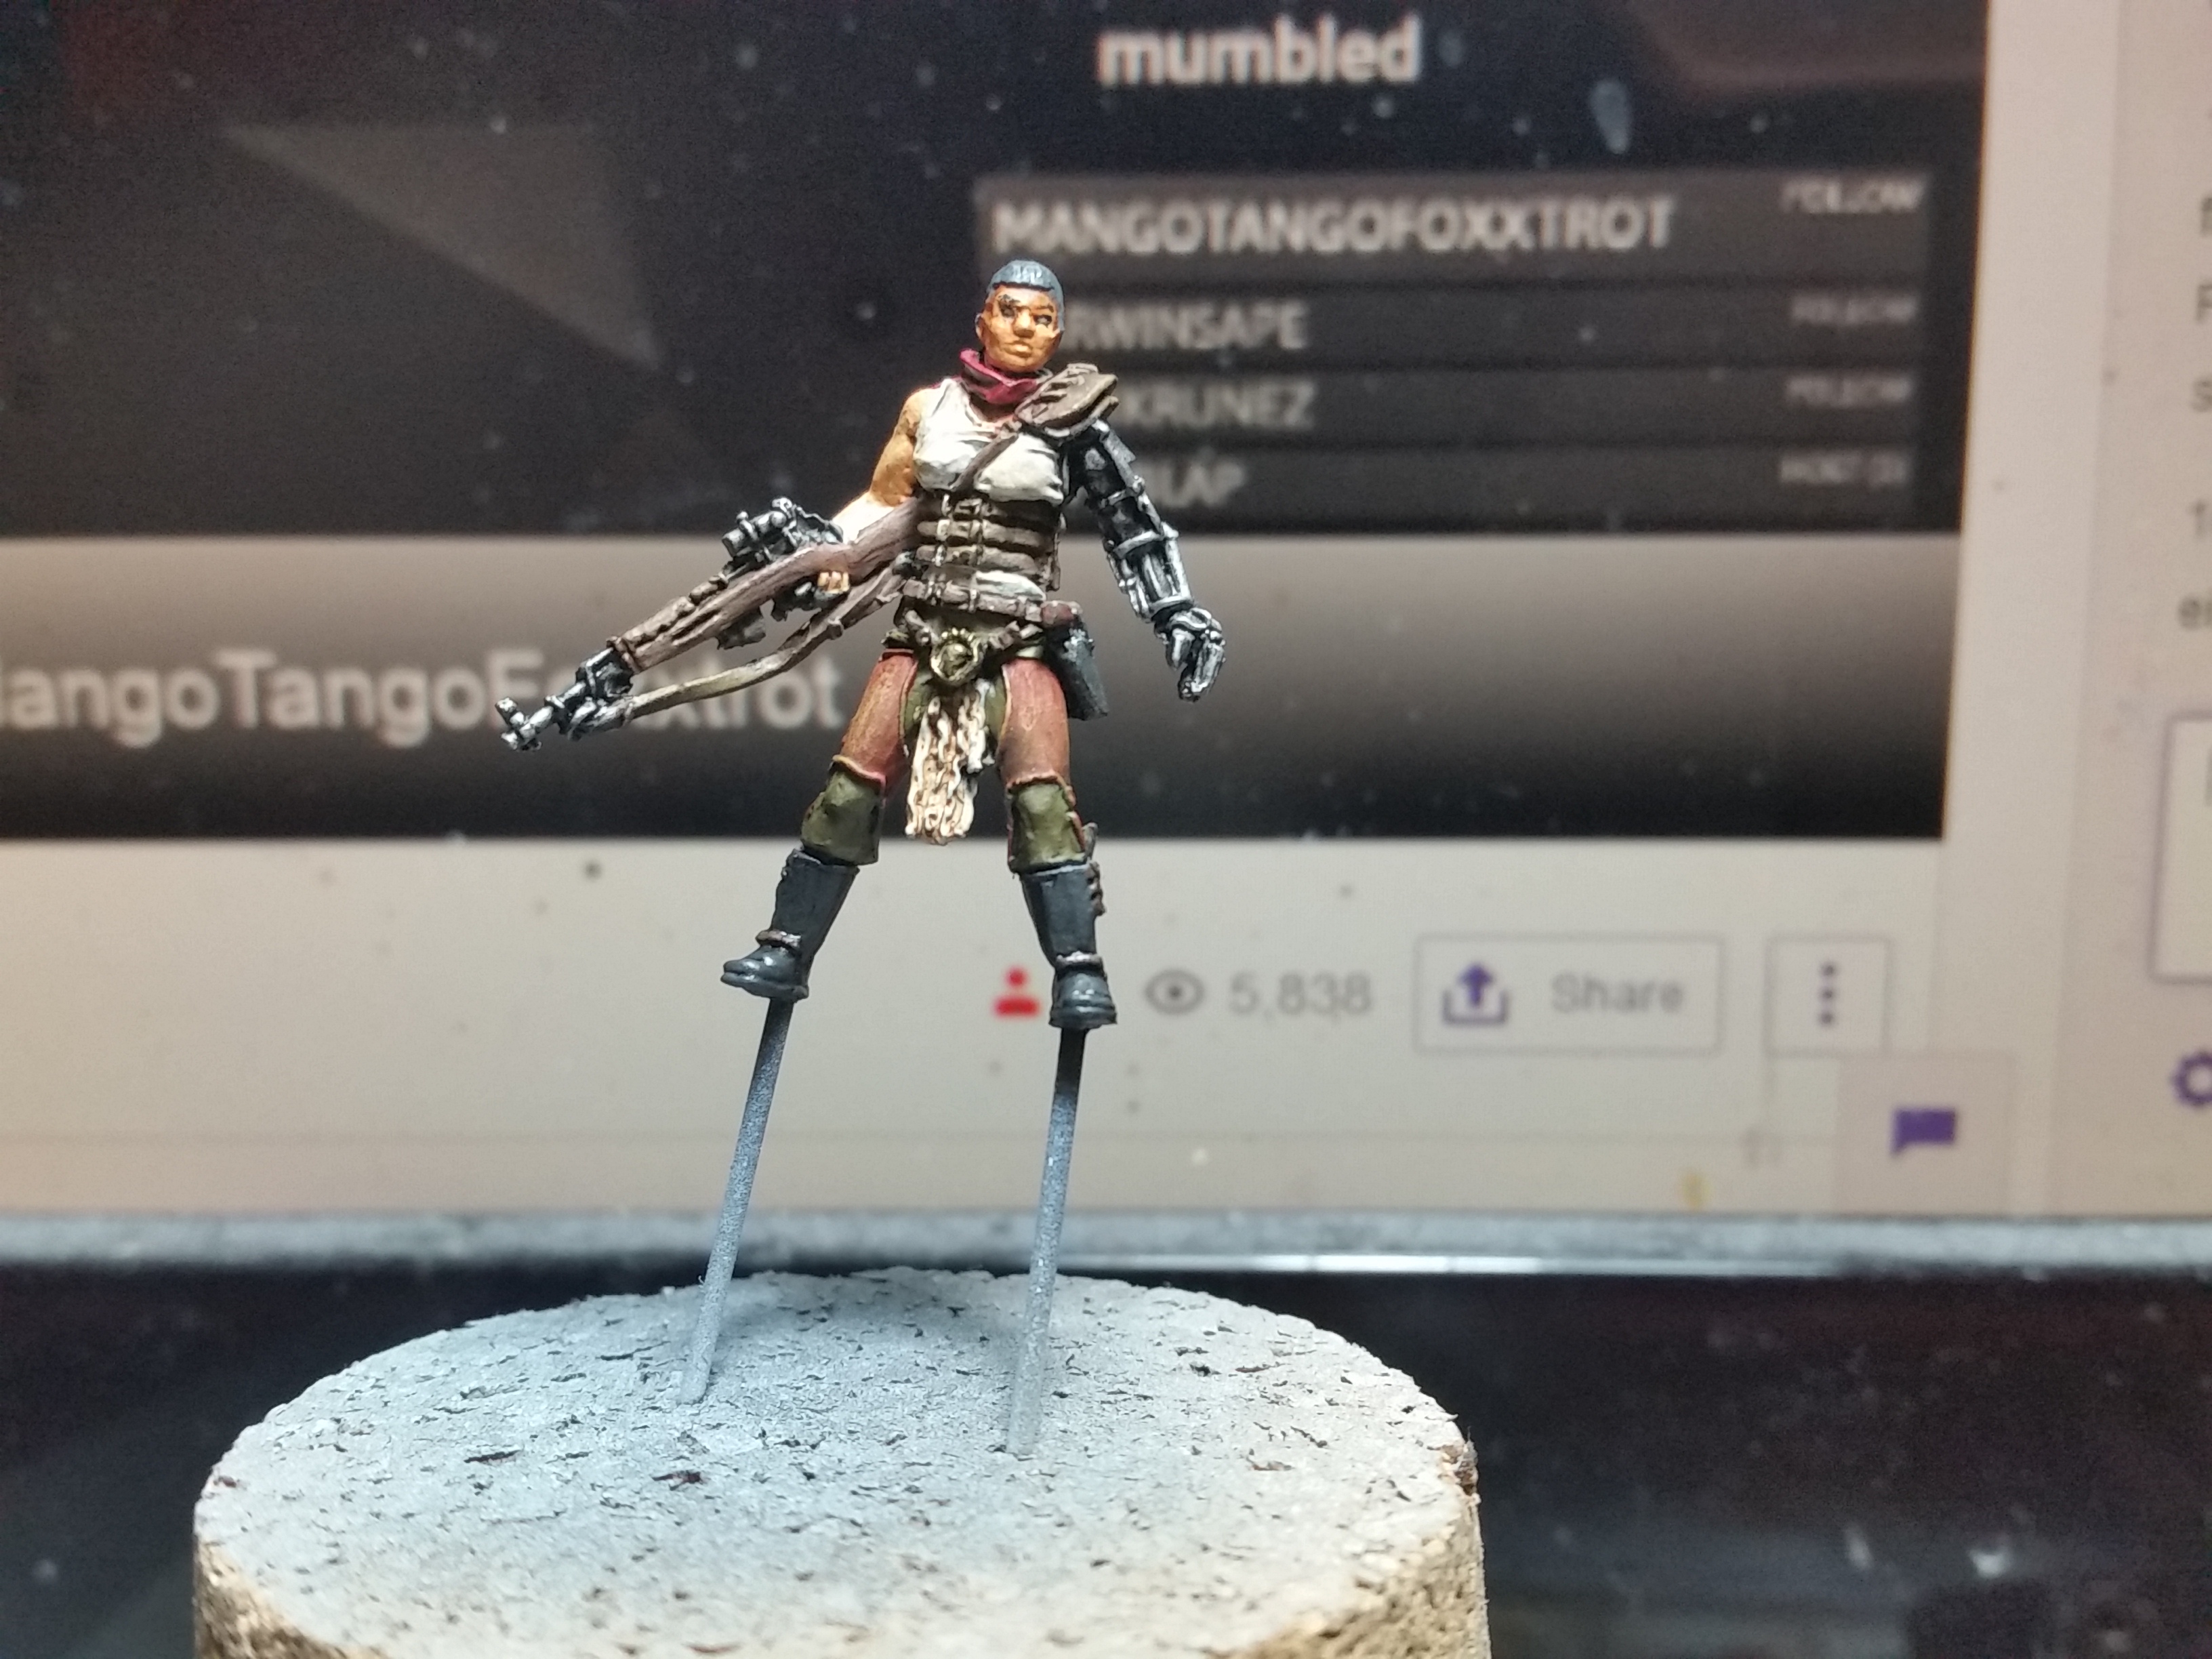
Some progress on the miniature.
Before I threw this miniature against the wall because I couldn’t get the fucking face right I decided to just leave it here for now. ??
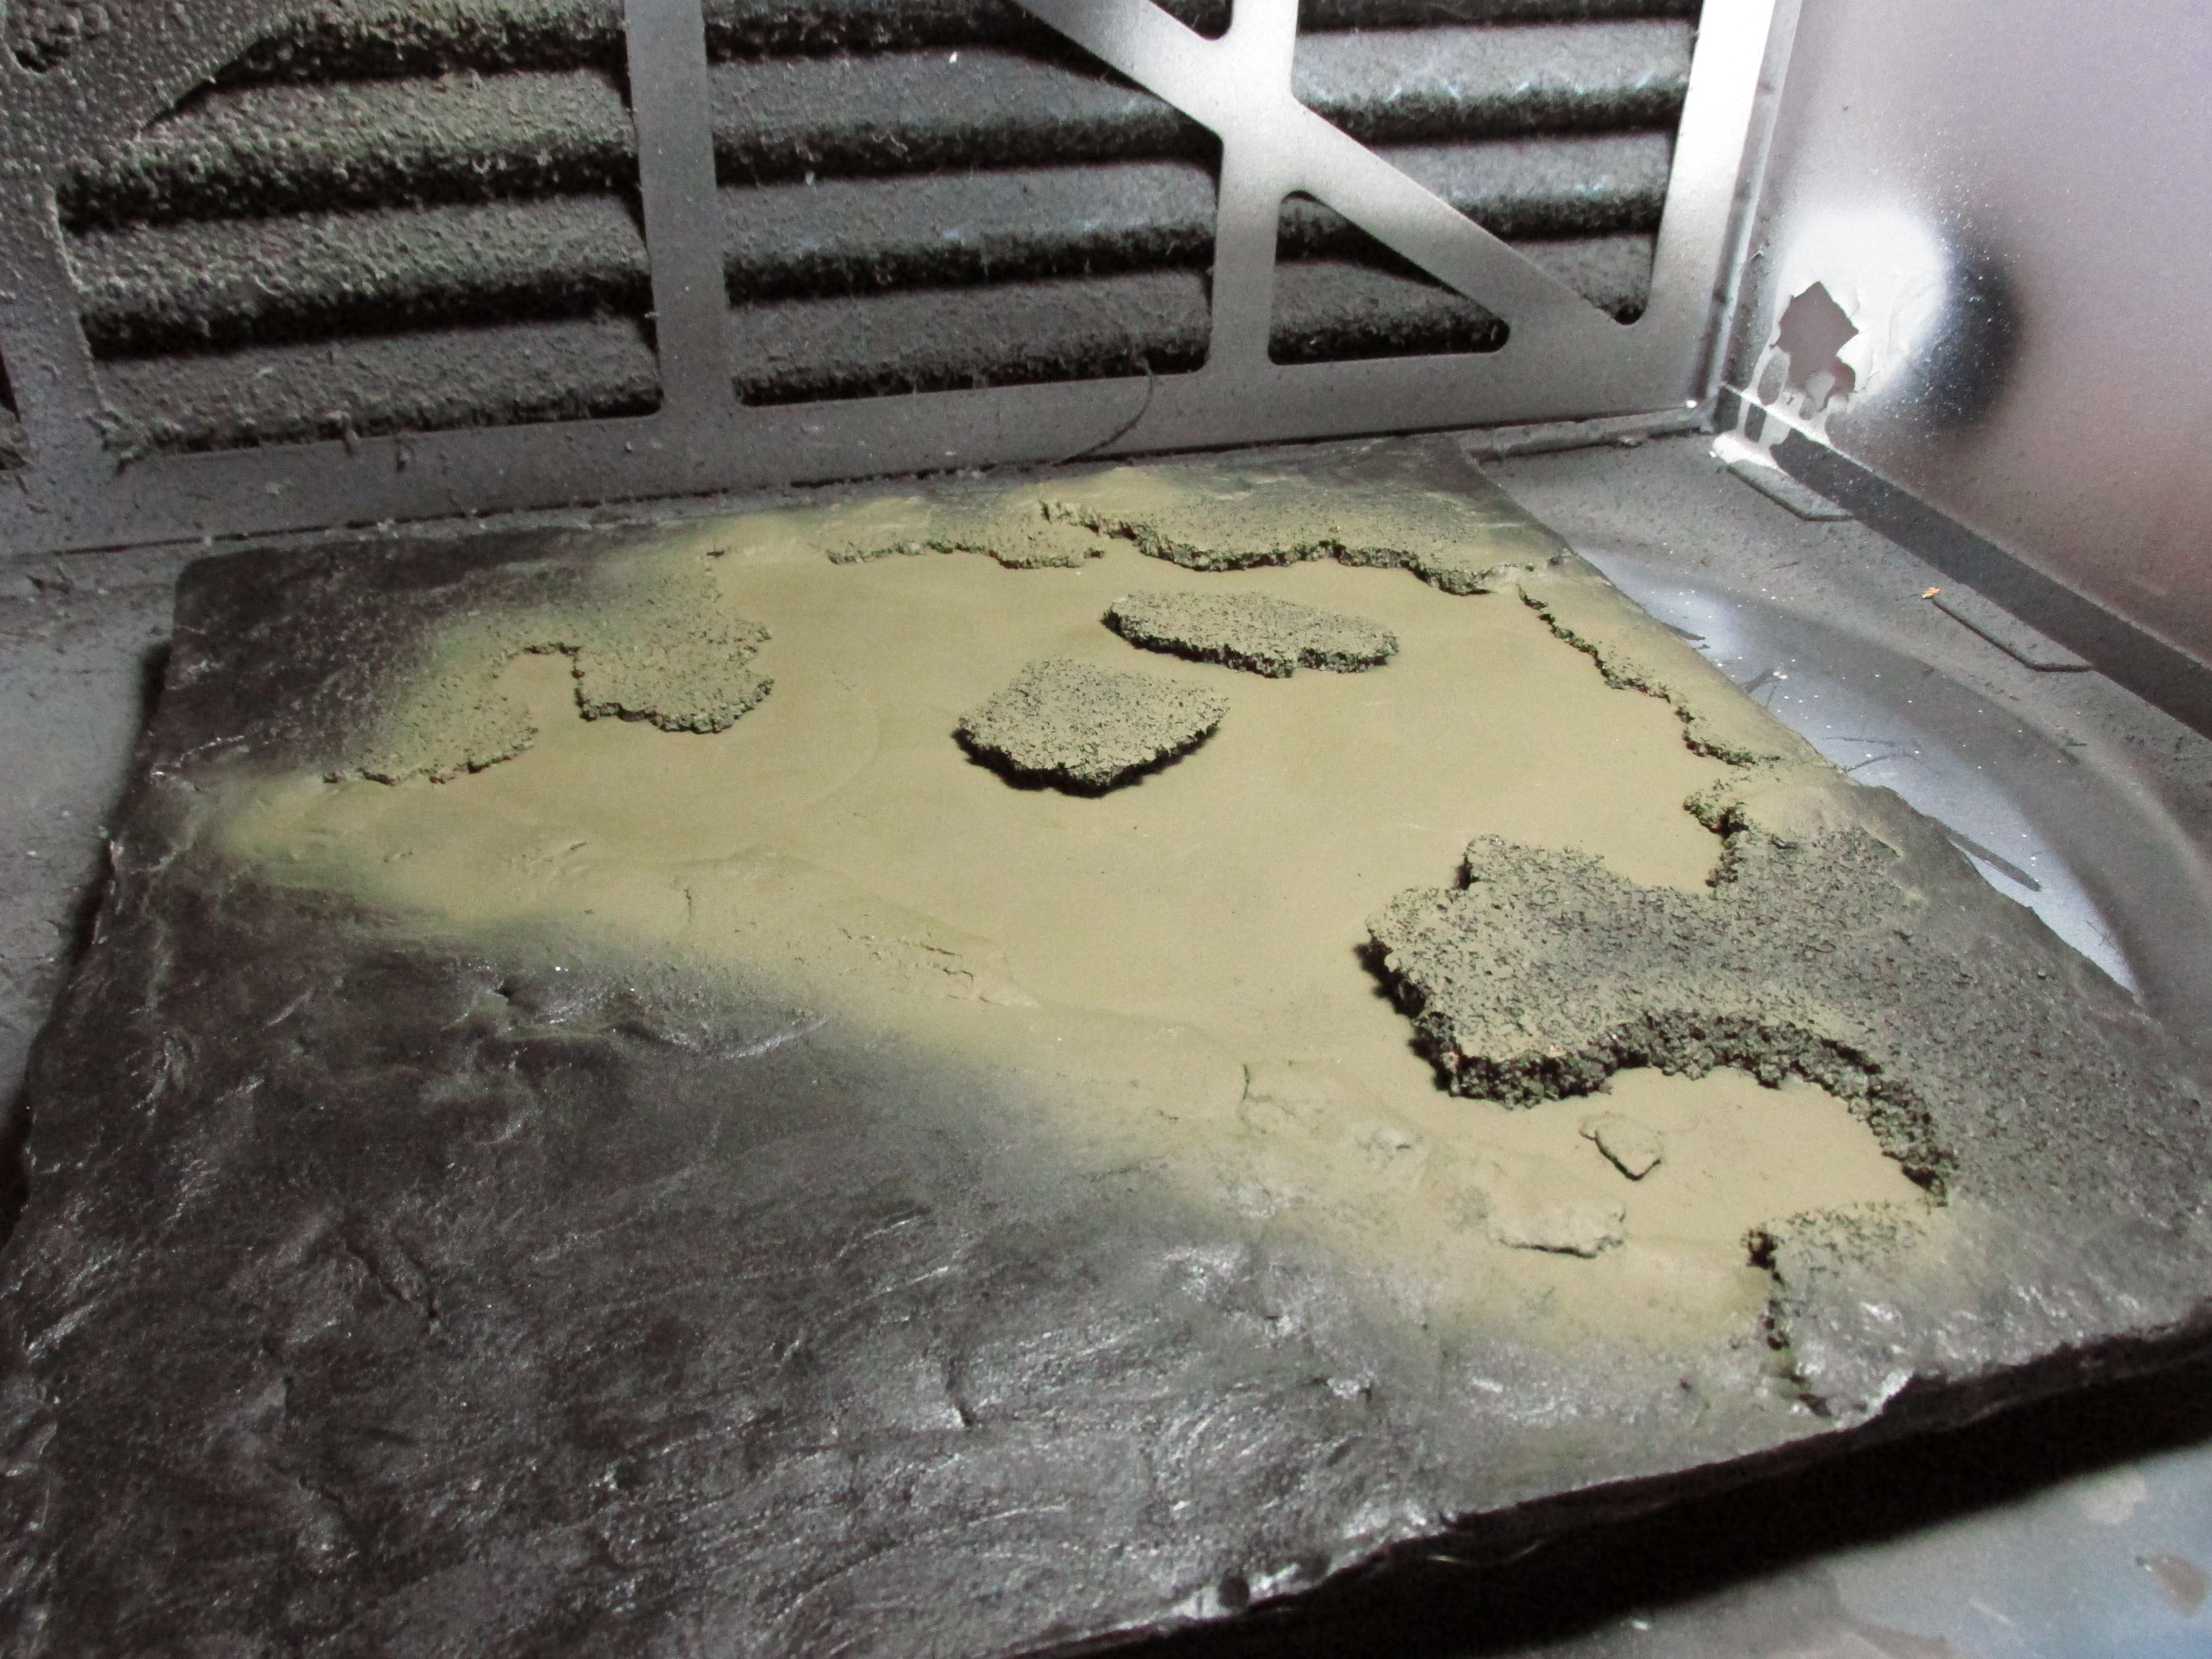
Painting.....
Now things have finally cooled down I can do some more painting. I primed the square base with Vallejo Black primer through the airbrush. I the applied a coat of Vallejo Panzer Aces Dark Mud (70.316) in the place where the pond is going to be.
I have however decided to leave the miniature where it was last update, it looks acceptable to me.
It's starting to come together.
Soon after the paint was dry I glued the bubble mountain the base using PVA glue.
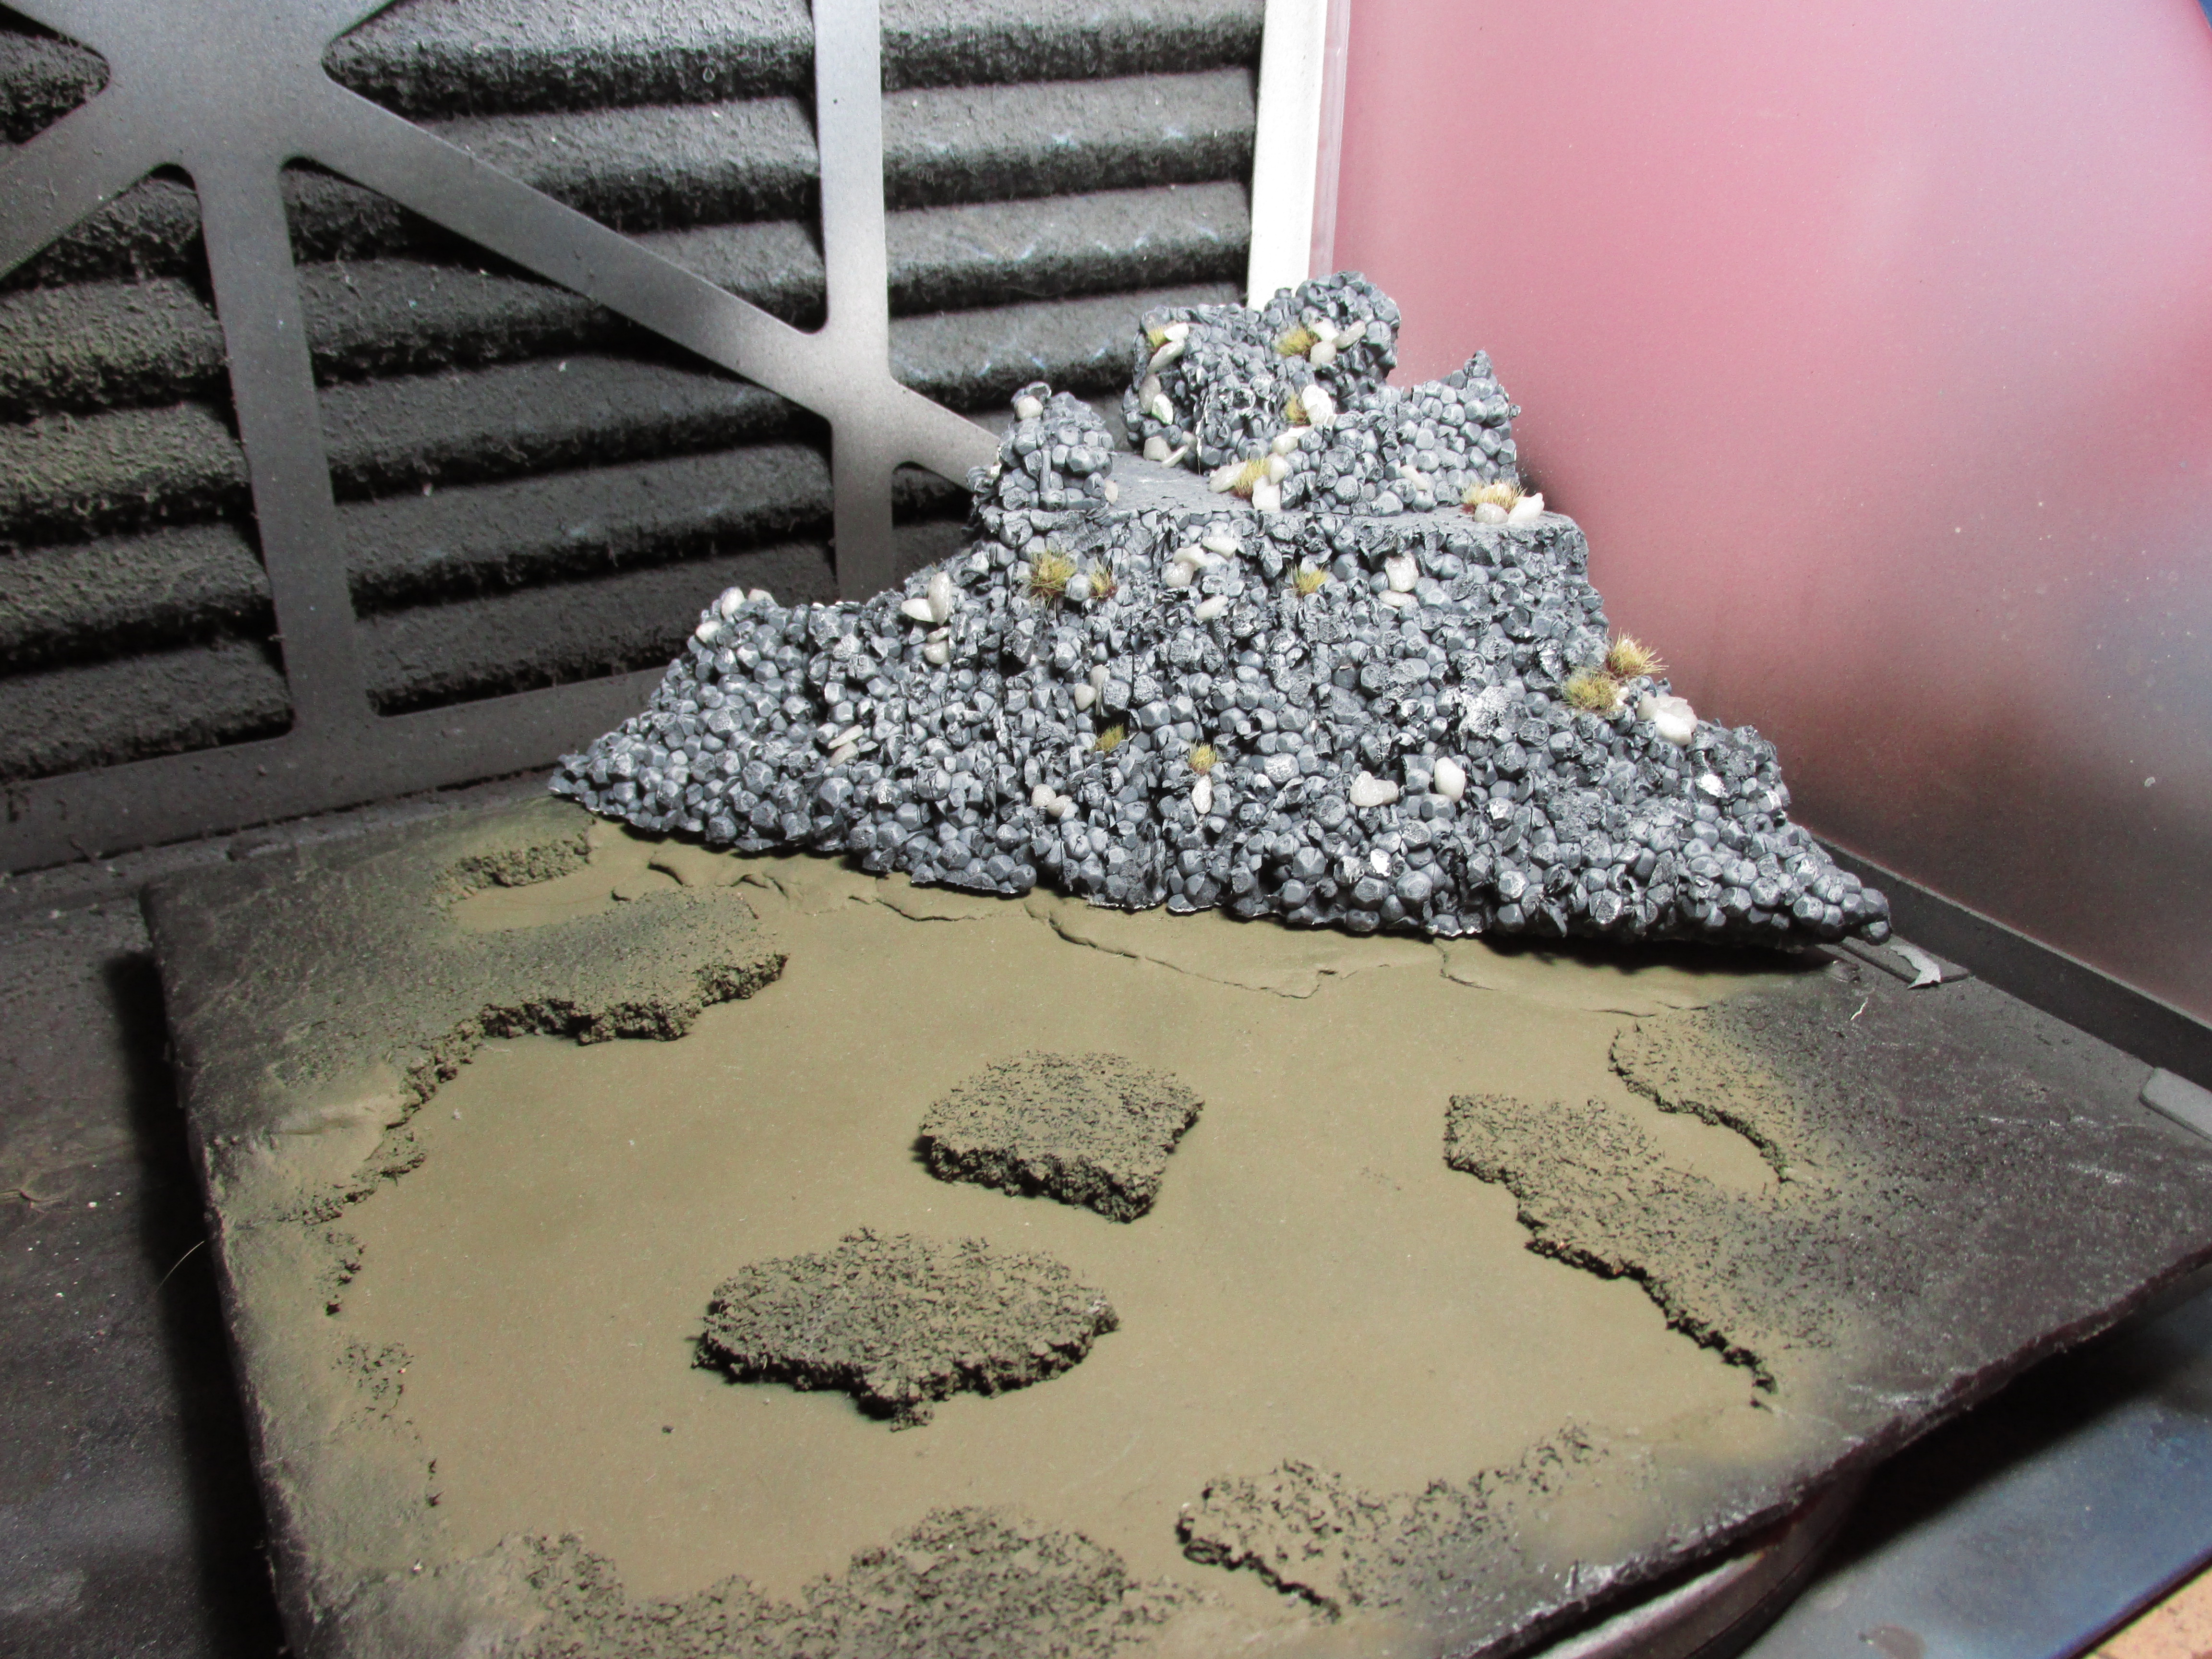 Bubbly Mountain!
When the glue was fully dried I noticed some gaps etc. So I filled them up with DAS modelling clay. I used the same clay to cover the back of the bubbly mountain as it is this bubbly polystyrene and I want it to stay this way. I then used some clay on certain areas on the surface in order to get some of the trees in. I know I wouldn’t have had to prime the cork for this, but I did that anyway and I don’t remember why. I do need to do some clean up paint work on the pond bed, most of the other clay will be covered with textured terrain pastes. For the dead trees I’m using some of the Woodland Scenics Dead Fall set. I will use more of these to fill it up a bit more after the terrain has been painted or pasted on, depending on what you want to call it.
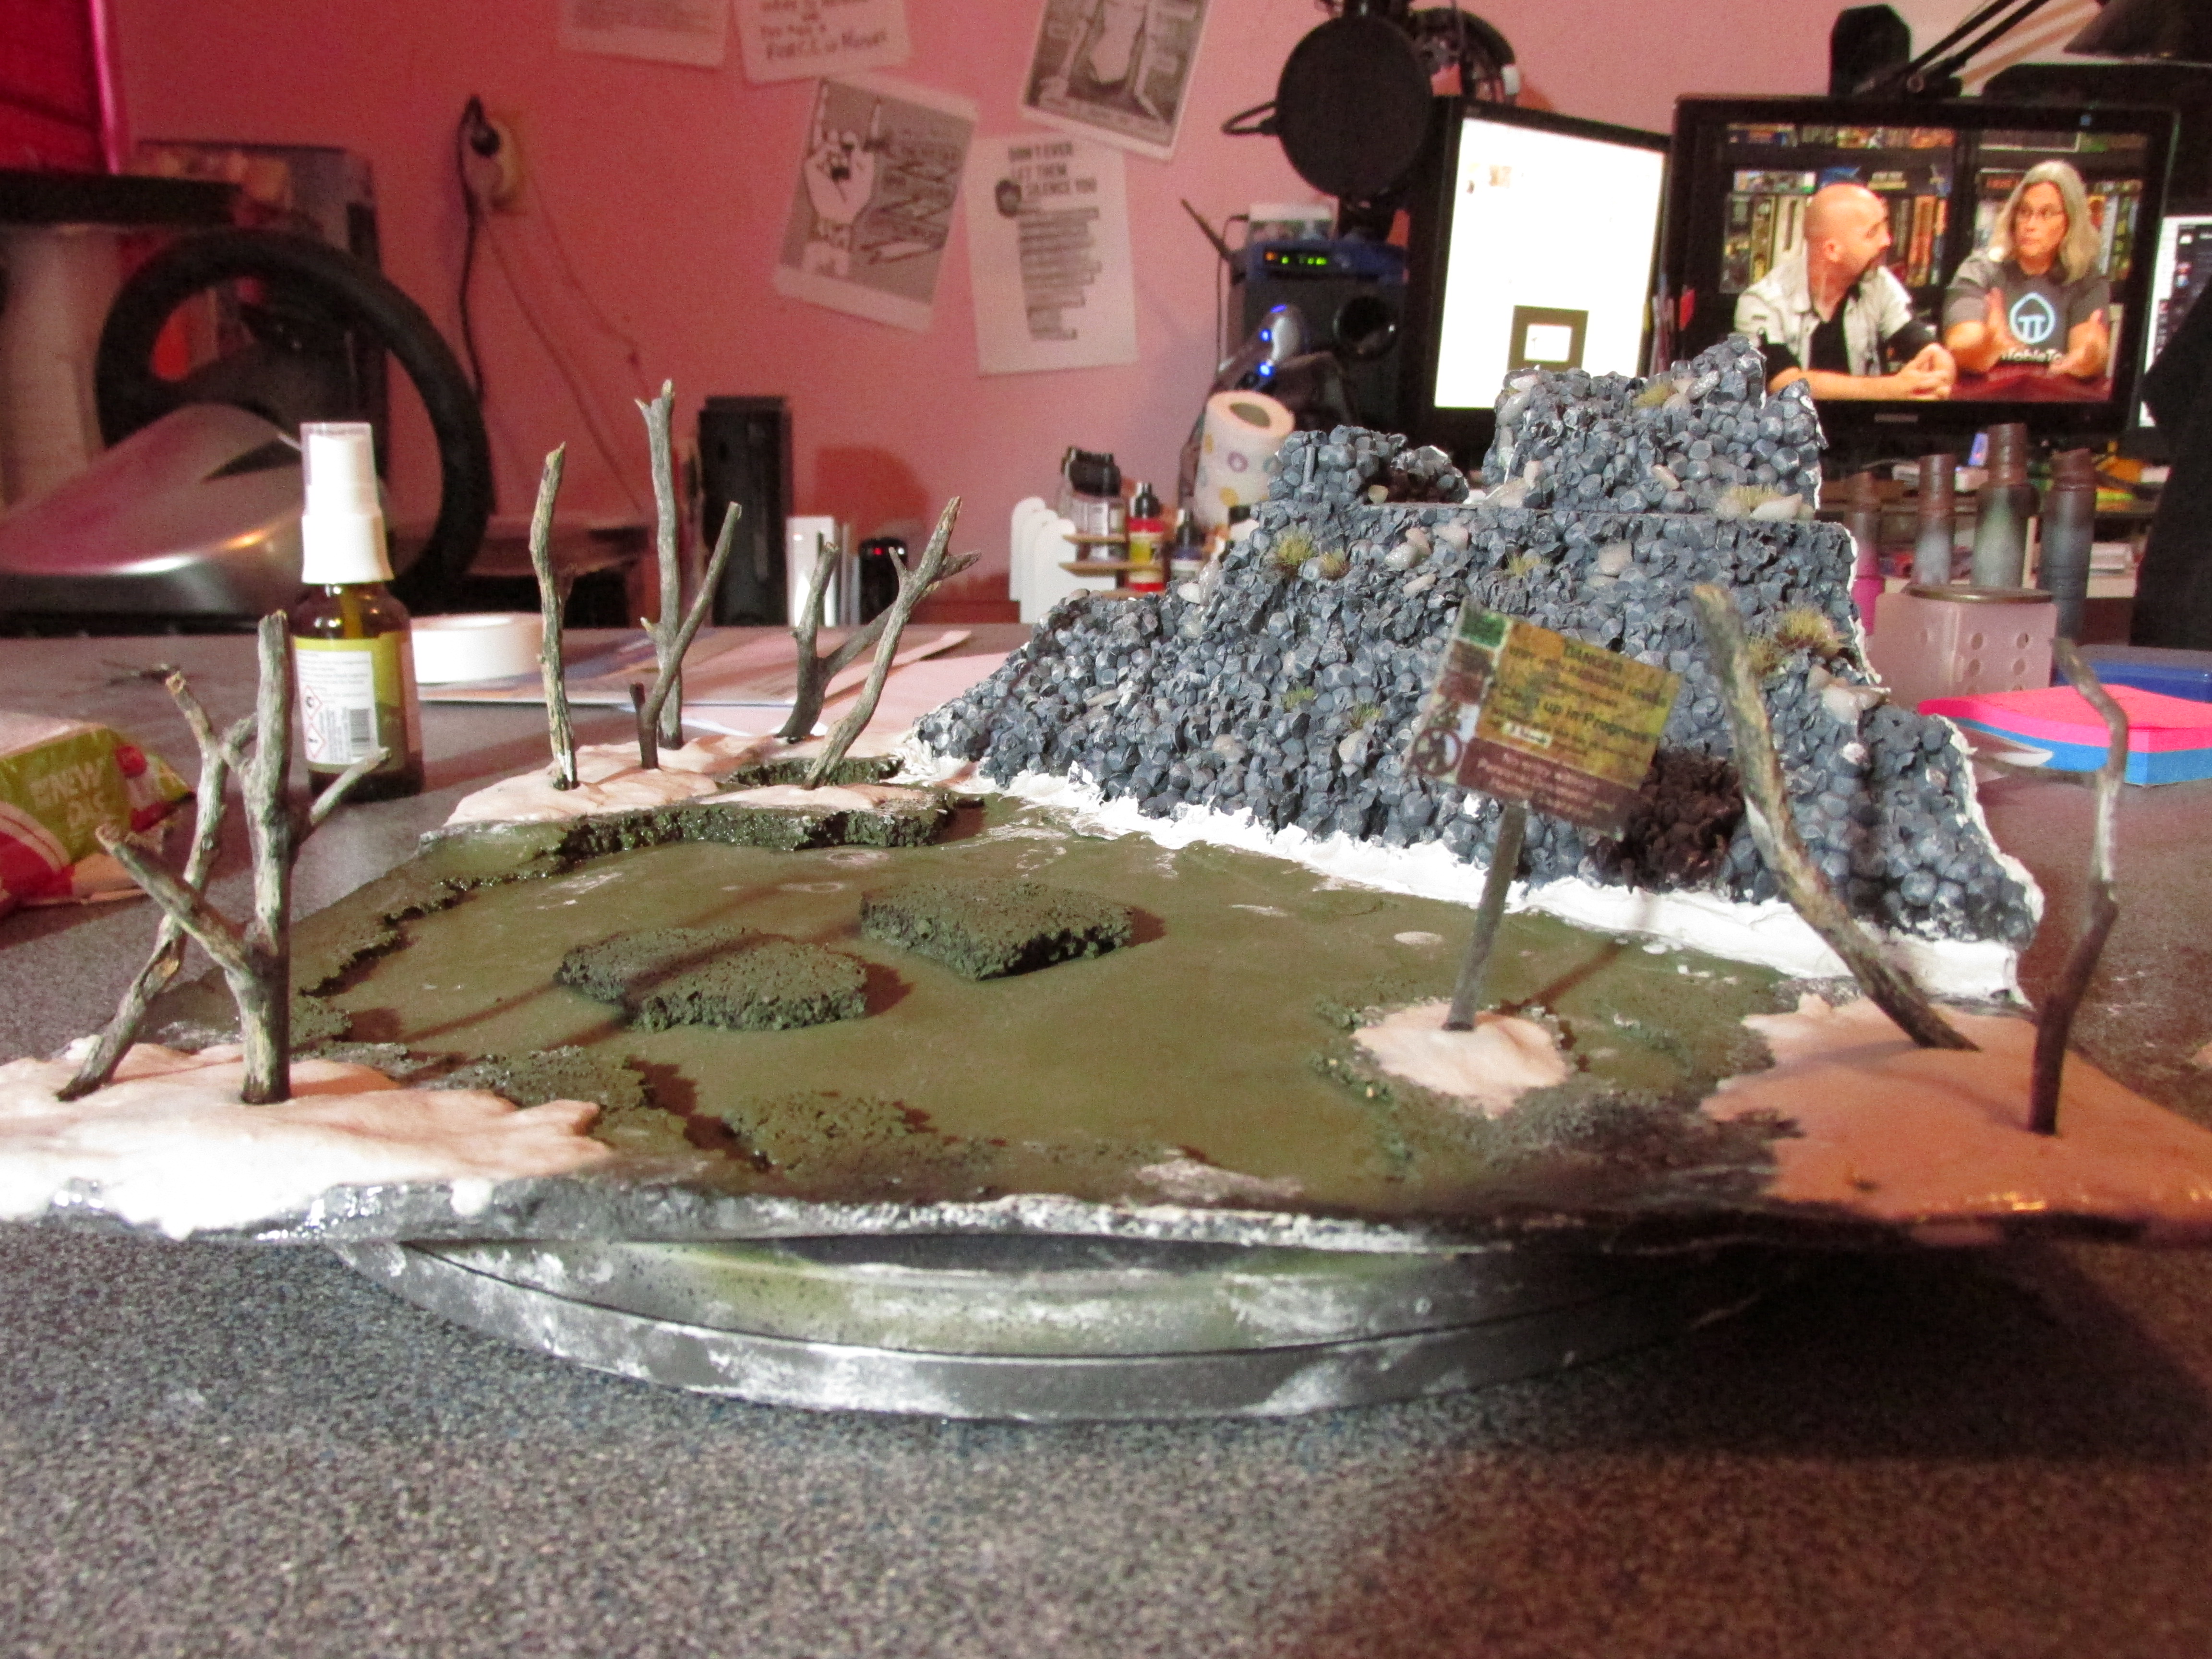 It's finally starting to look like something.
Paint a barrel roll!
At first I primed the barrels black and sprayed a layer of Vallejo Model Air Rust (71.080) with my airbrush.
 Brown Barrels.
I then decided to look up a reference for rusted barrels on the internet, why I didn’t do this before hand, I don’t know.
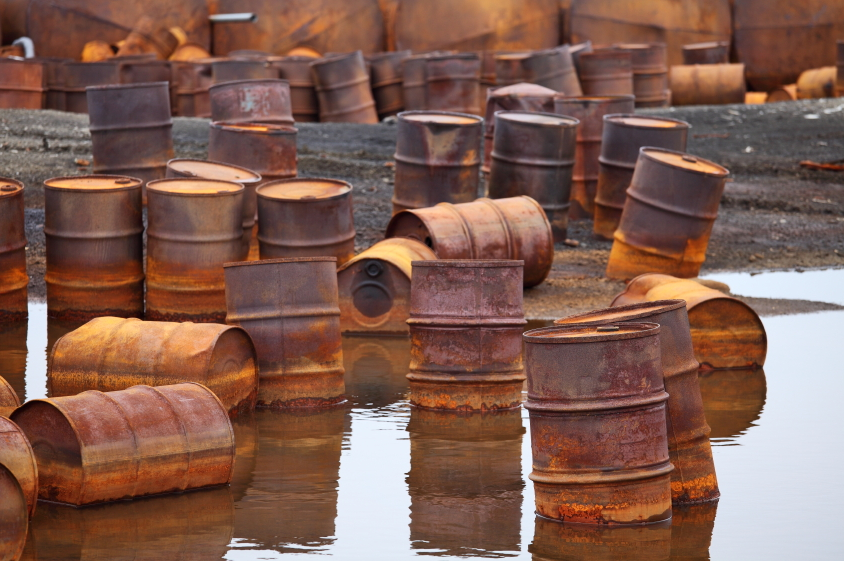 Russia had a lot of scrap metal to clean up on the arctic coat 3 years ago.
I then stippled on some Citadel Technical Typhus Corrosion (99189956010) all around the barrels. I then applied a thinned coat of Vallejo Panzer Aces Light Rust (70.301) around the rims on the top and bottom of each of the barrels. For the on laying sideways I put some on the top and the bottom. Then for those standing in the water I gave them an extra rim of Typhus Corrosion around the bottom. I then applied a coat of Vallejo Model Wash Rust (76.506) on the top of the barrels and streaked it down the sides quite heavily. And to finish them up I applied a light drybrush of a mix between Vallejo Model Air Rust (71.080) & Vallejo Model Air White Grey (71.119) over the top and in a top-down motion over the sides.
For any thinned coats or mixes I don’t know the ratios, I do this by eye until I get what I need. And I used a lot of paints with rust in the name, because well they’re kind of the colours I needed.
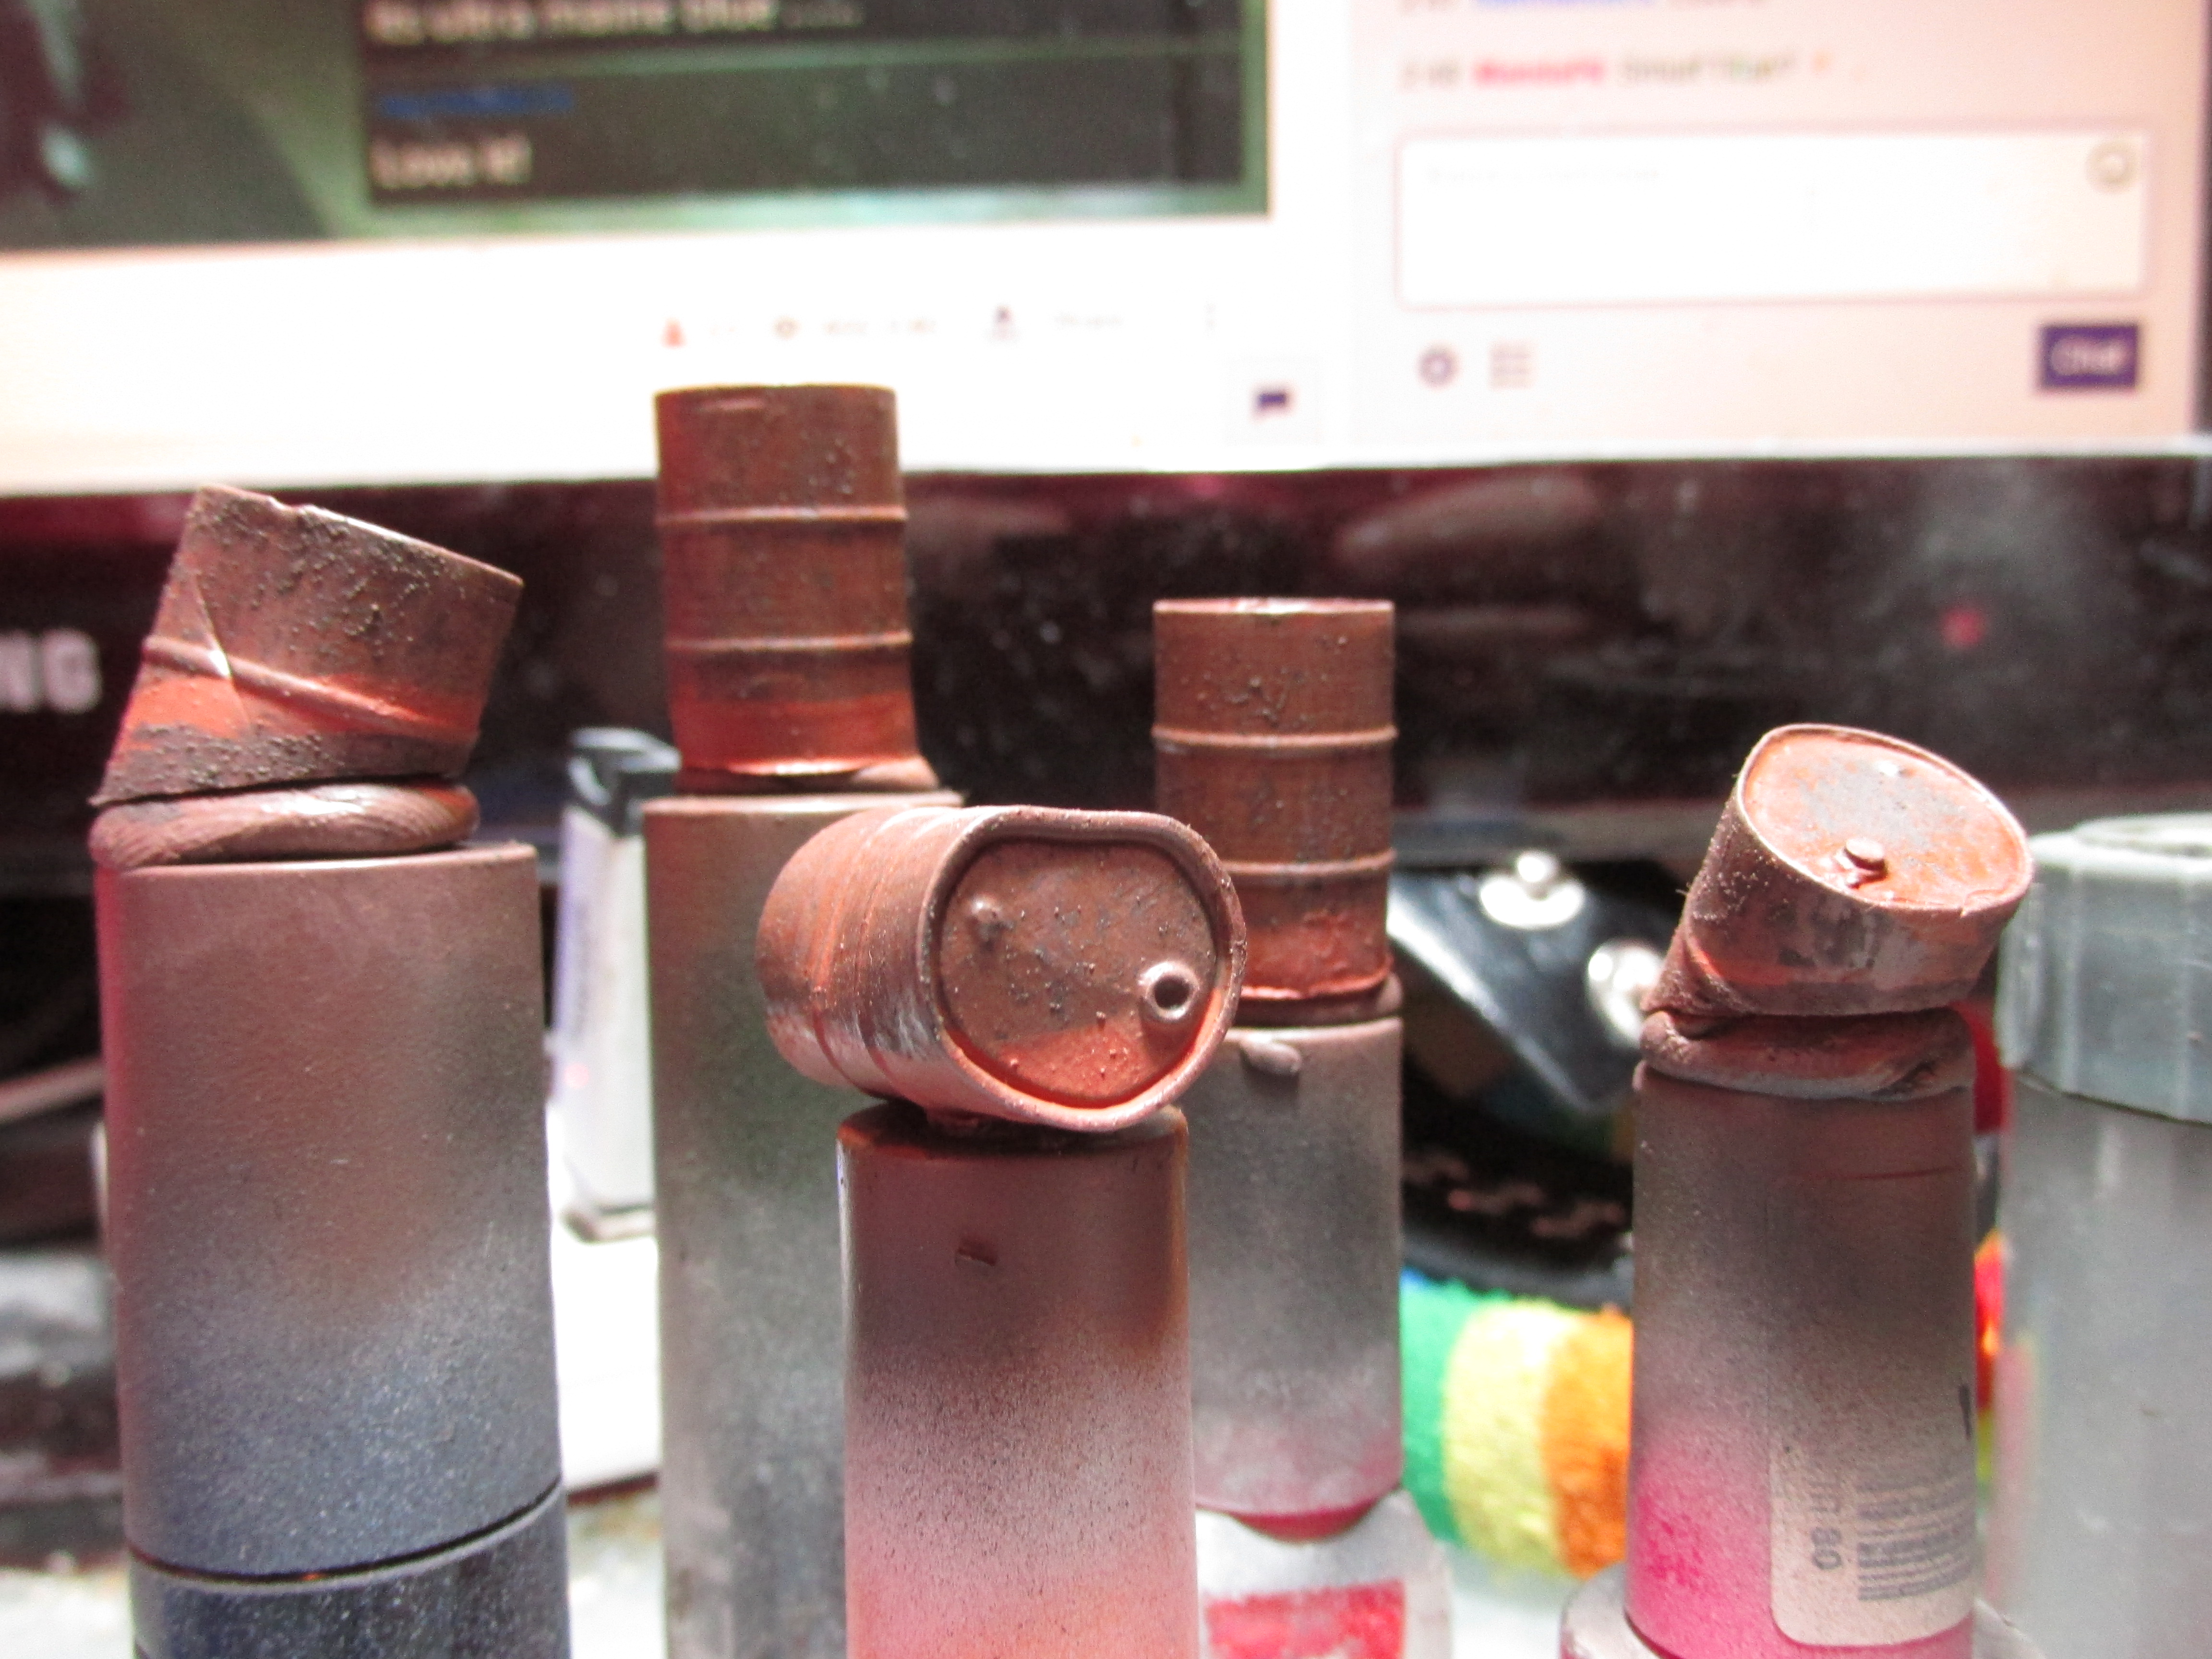 Some rusty barrels.


![StarCraft Tabletop Miniatures Game Pre-Orders Live Now [Updated]](https://images.beastsofwar.com/2026/03/starcraft-tmg-news-cover-600-338.jpg)


