75th Anniversary of Battle of Monte Cassino and Northern Italy (Army Build)


Recommendations: 529
About the Project
This is the parallel project to my Terrain build for the Monte Cassino and Northern Italy. Here I will be painting up the miniatures to represent some of the troops that fought in the battles.
Related Game: Flames of War: The World War II Miniatures Game
Related Company: Battlefront Miniatures
Related Genre: Historical
This Project is Active
Batch Painting a Load of German Stuff
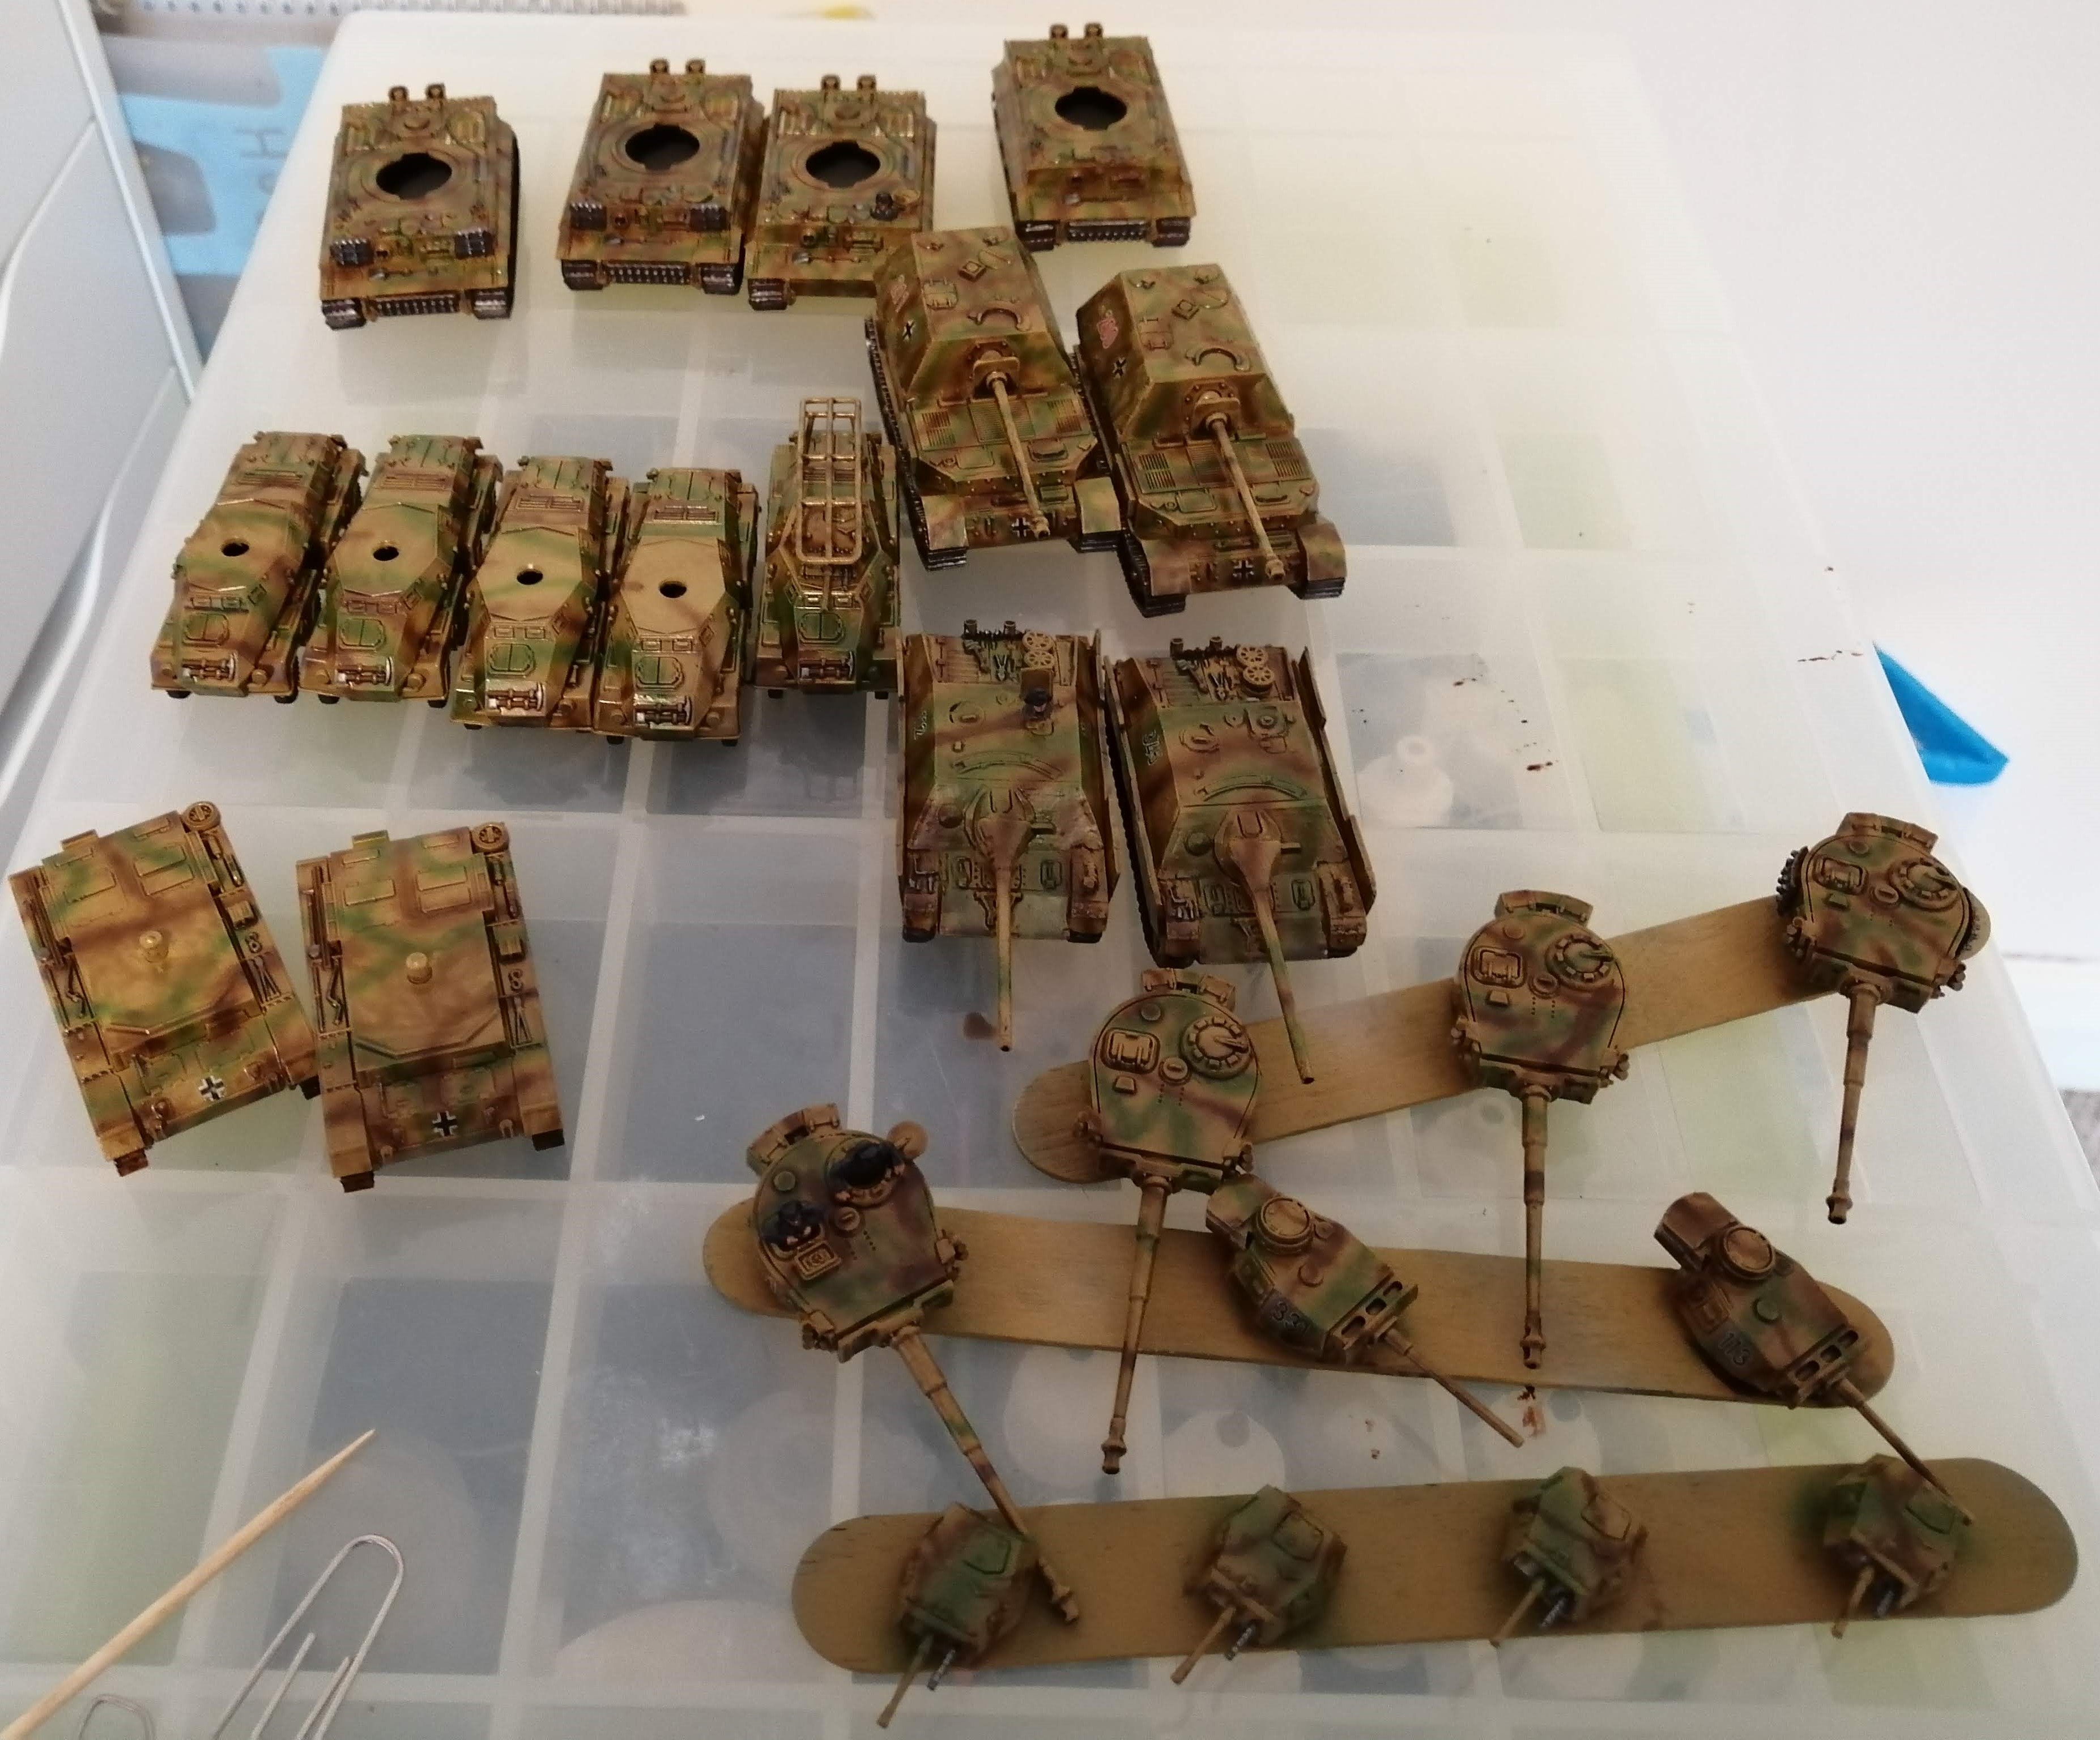
Life has somewhat overtaken me recently and hobby time has gone out of the window. But, I did manage some time on me German vehicles the other day and have primed them then applied a base coat and cammo stripes. I’ve used the same method that I’ve used here on other vehicles so won’t repeat myself.
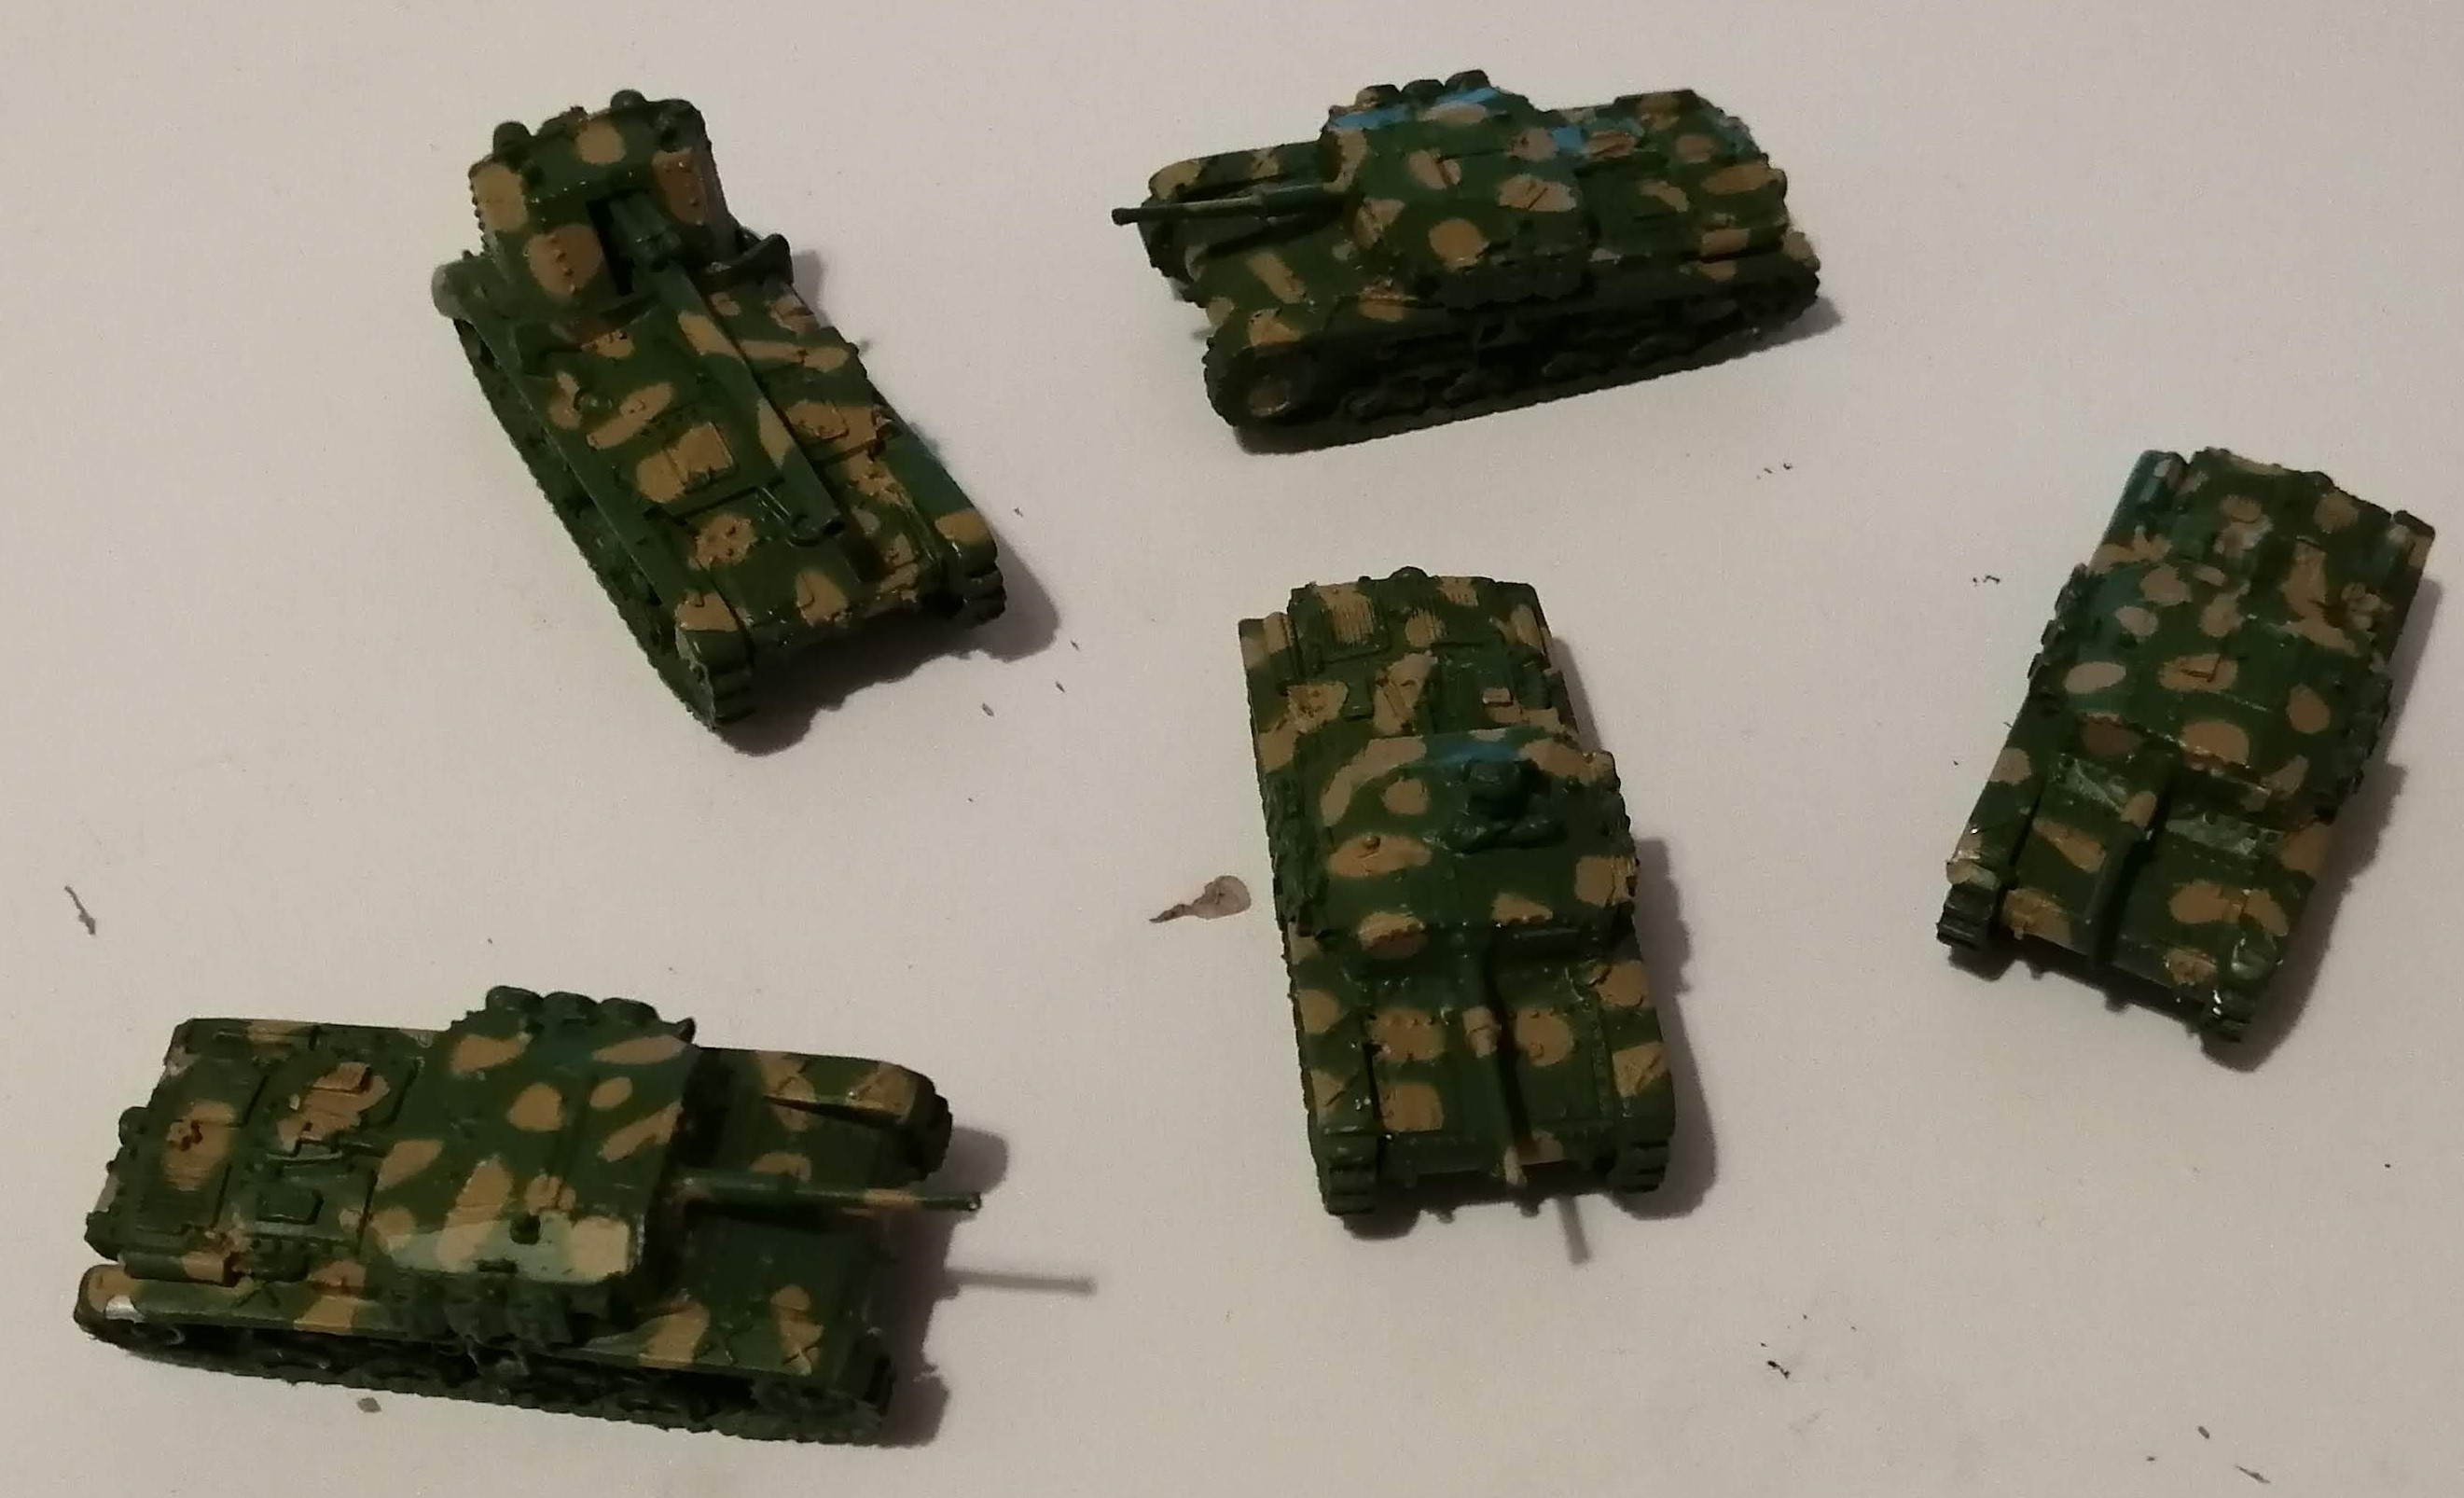
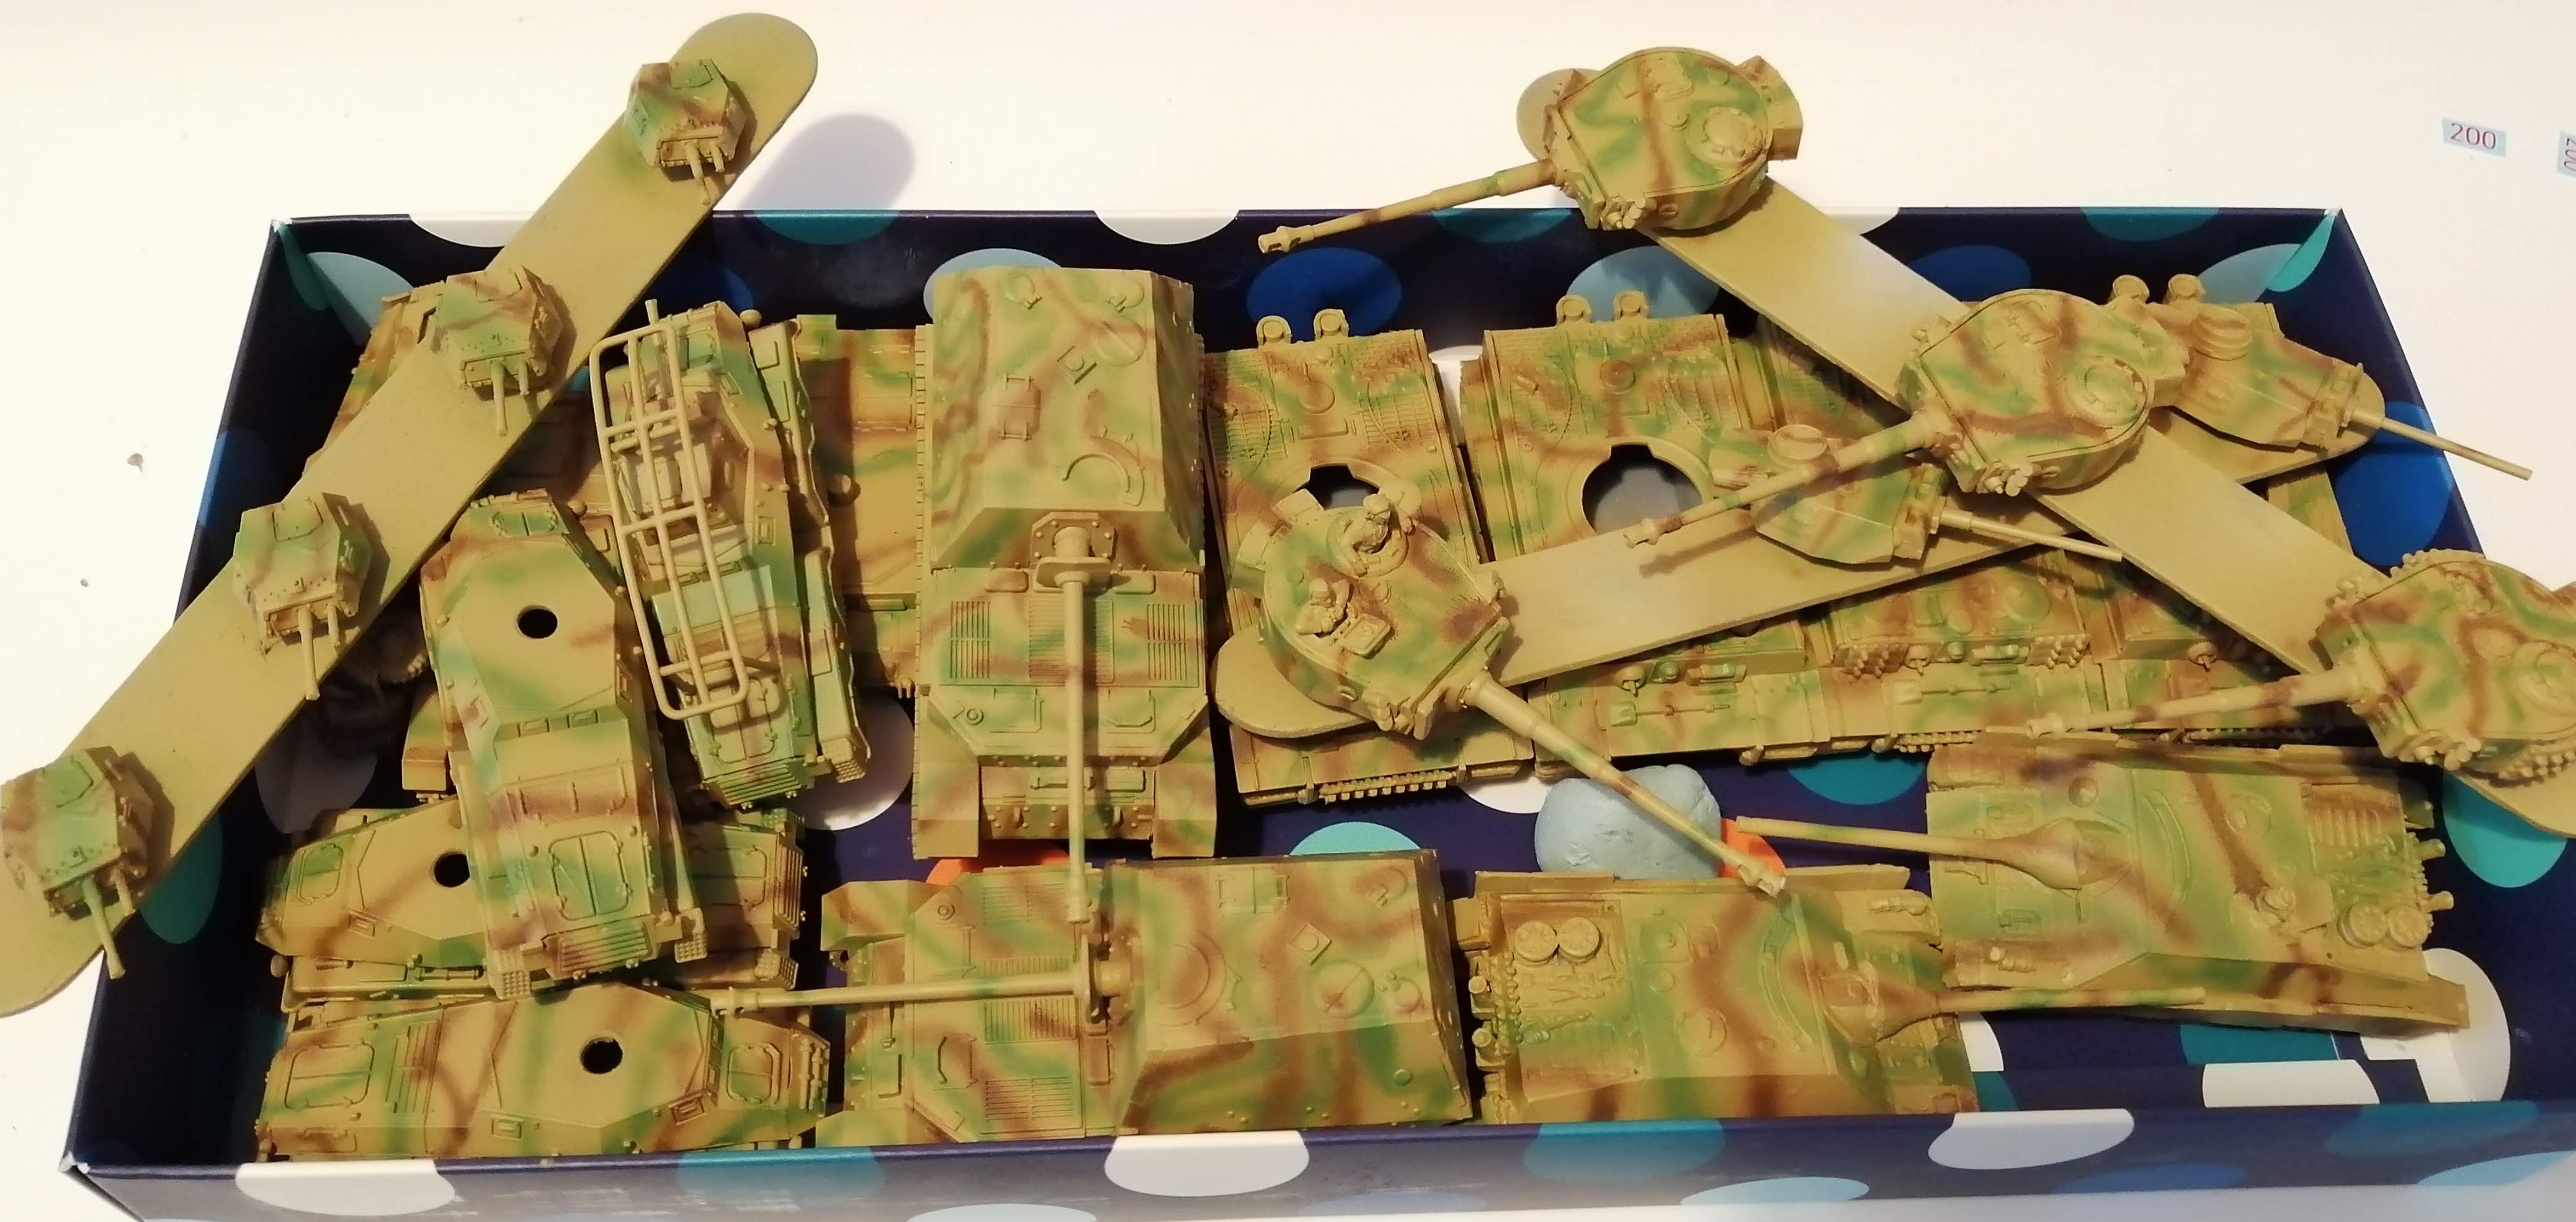 All the vehicles after their cammo pattern has been applied
Painting on the dip with a brush is a fairly quick job and I managed to find an hour before work to do it. Below are all of the vehicles drying just before I headed off to the office smelling slightly of varnish and with some brown stains on my fingers!
Batch Painting a Load of German Stuff
I’ve managed to accumulate a number of tanks and other German bits which all needs to be painted up. So I’m going to challenge myself to paint them all in one go and see how quickly I can knock them out. I’ll be using the same methods as described previously on this project, so I won’t go into a lot of detail.
Here’s what I have
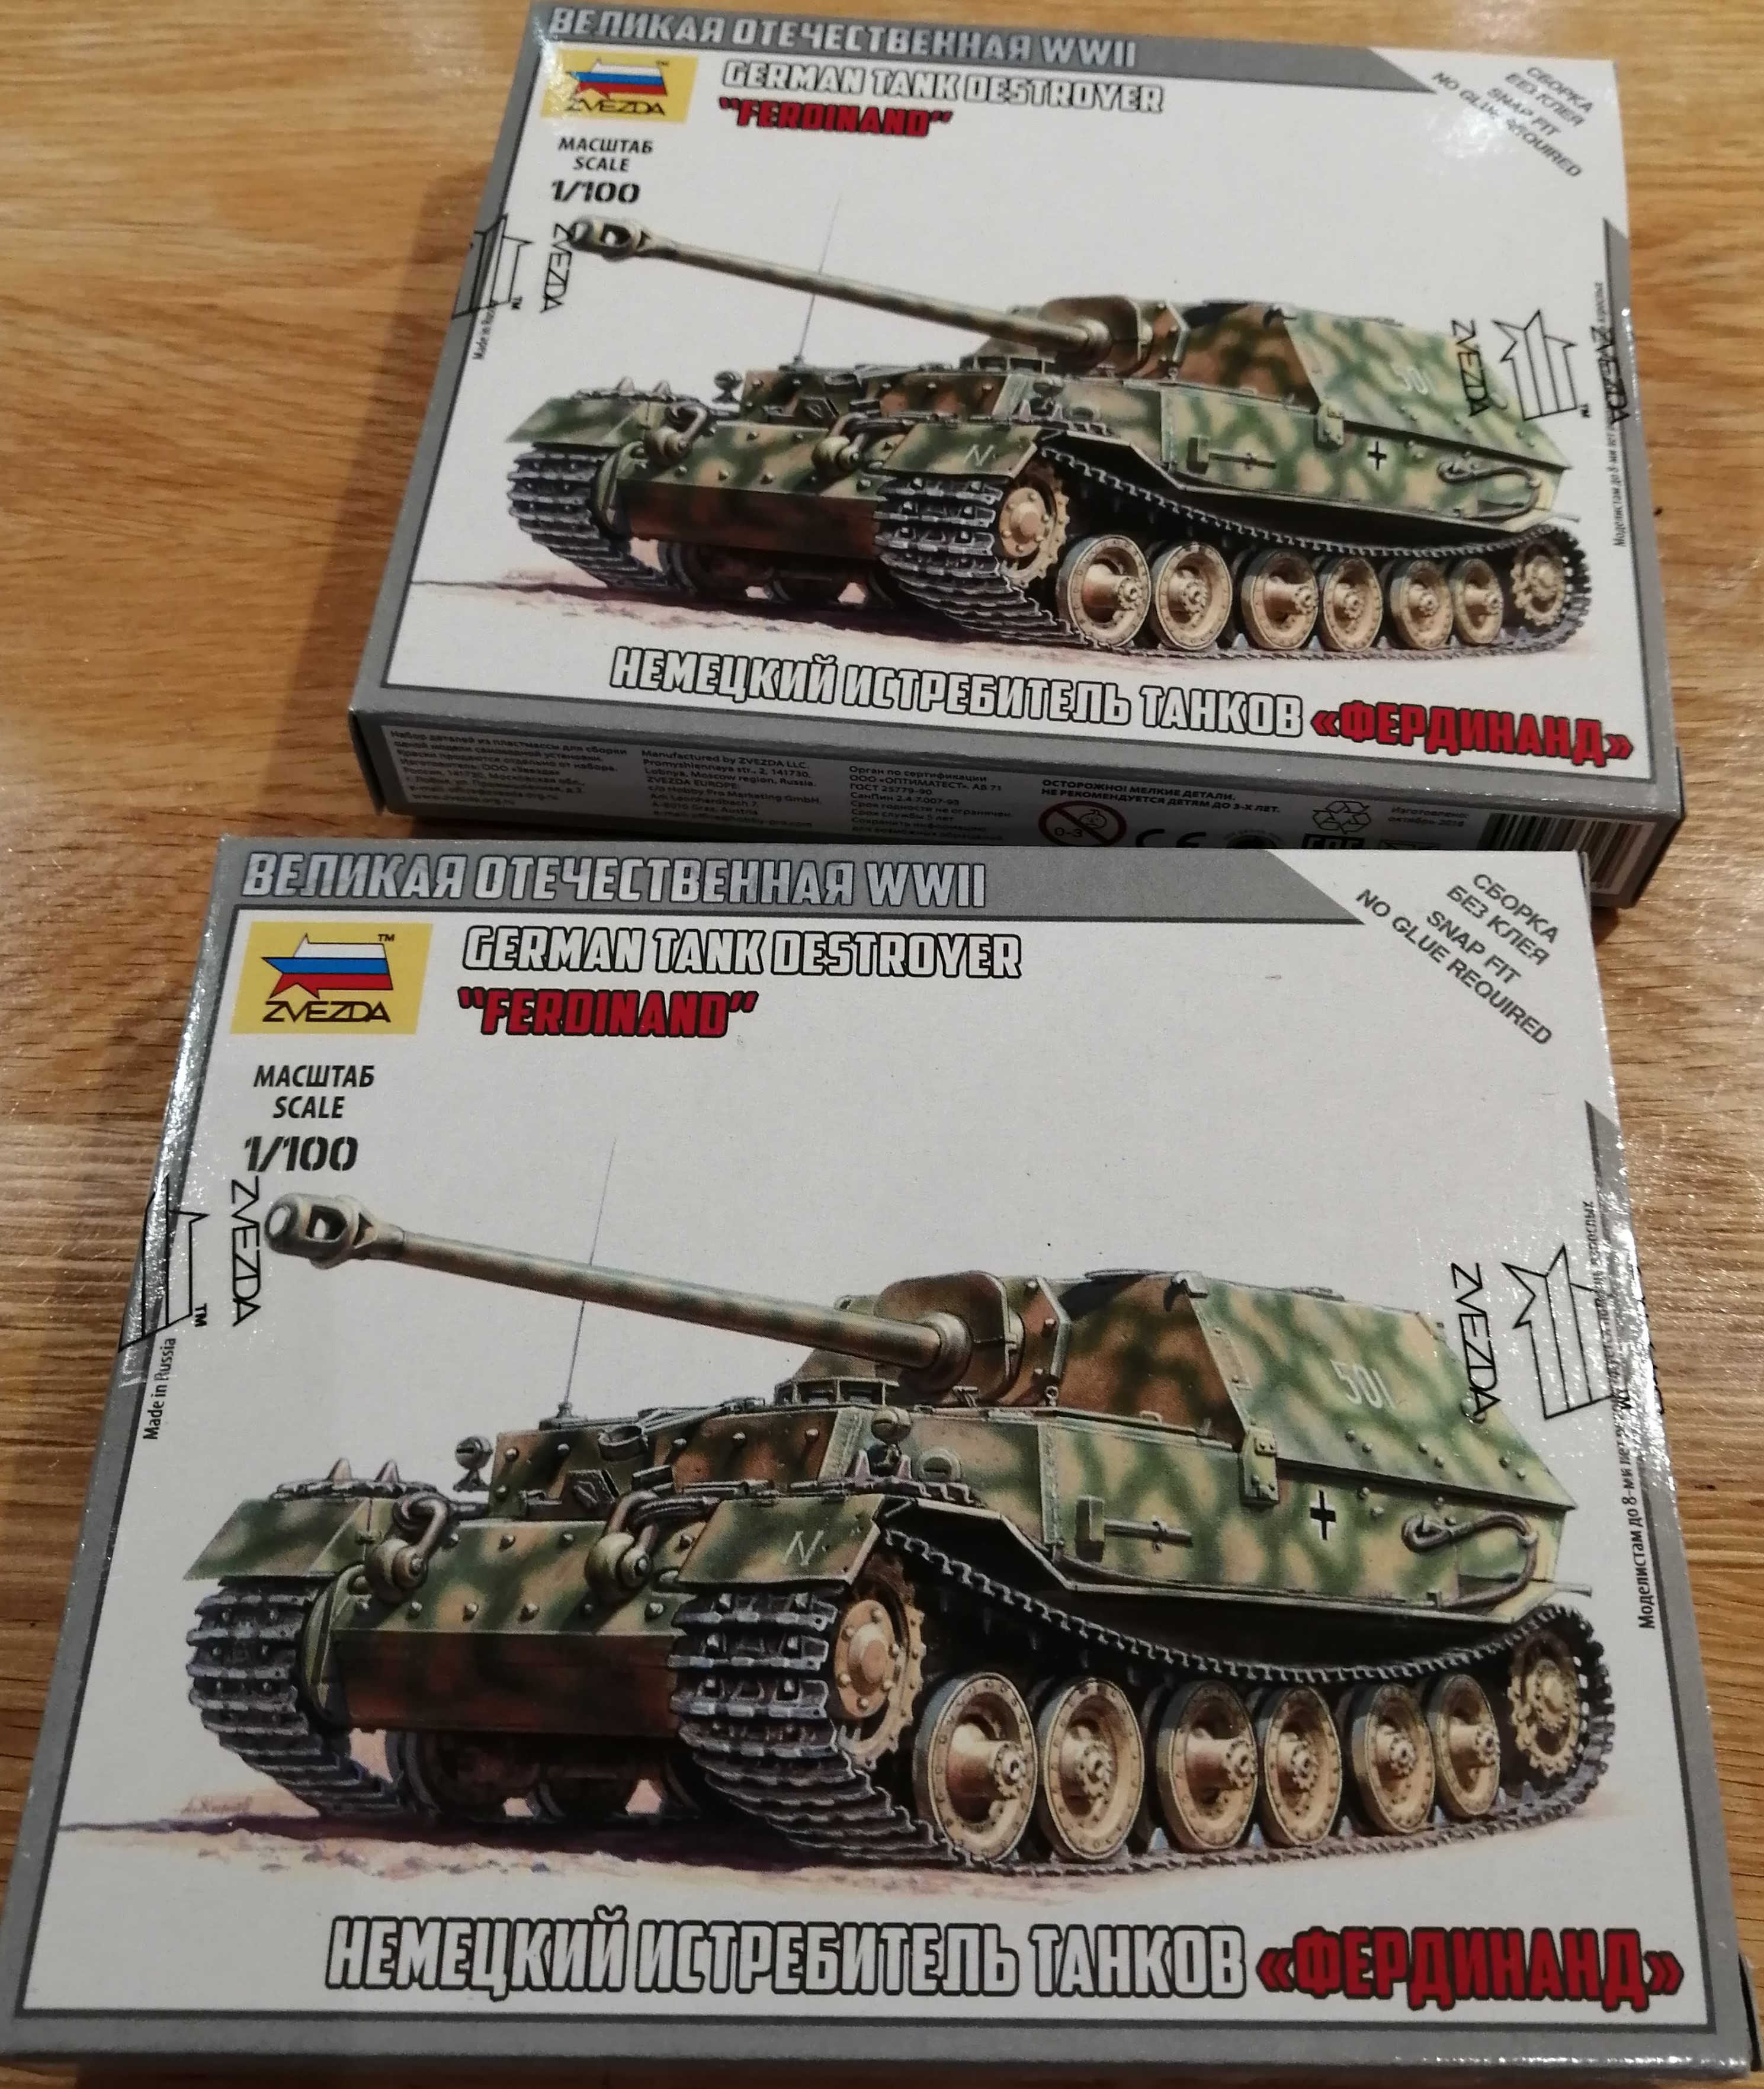
2 Elephants. These are the Zvezda kits. The first Company of the 653 Panzerjager Abteilung was deployed to Italy in February 1944 to the Anzio beach head but also took part in battles at Nettuno and Cisterna.
4 Tigers. These are the PSC kits. 508 Schwere Panzer Abteilung was a new formation when it was deployed at Anzio. It was teamed up with the Elephants and placed into 69th Panzerregiment under the Herman Goring Fallschirmjagerdivision
2 Flammpanzer III. These are the Zvezda kits. 26th PanzerDivision had an entire company of Flammpanzers in March of 1944. As they took losses, they were attached to other tank platoons as support.
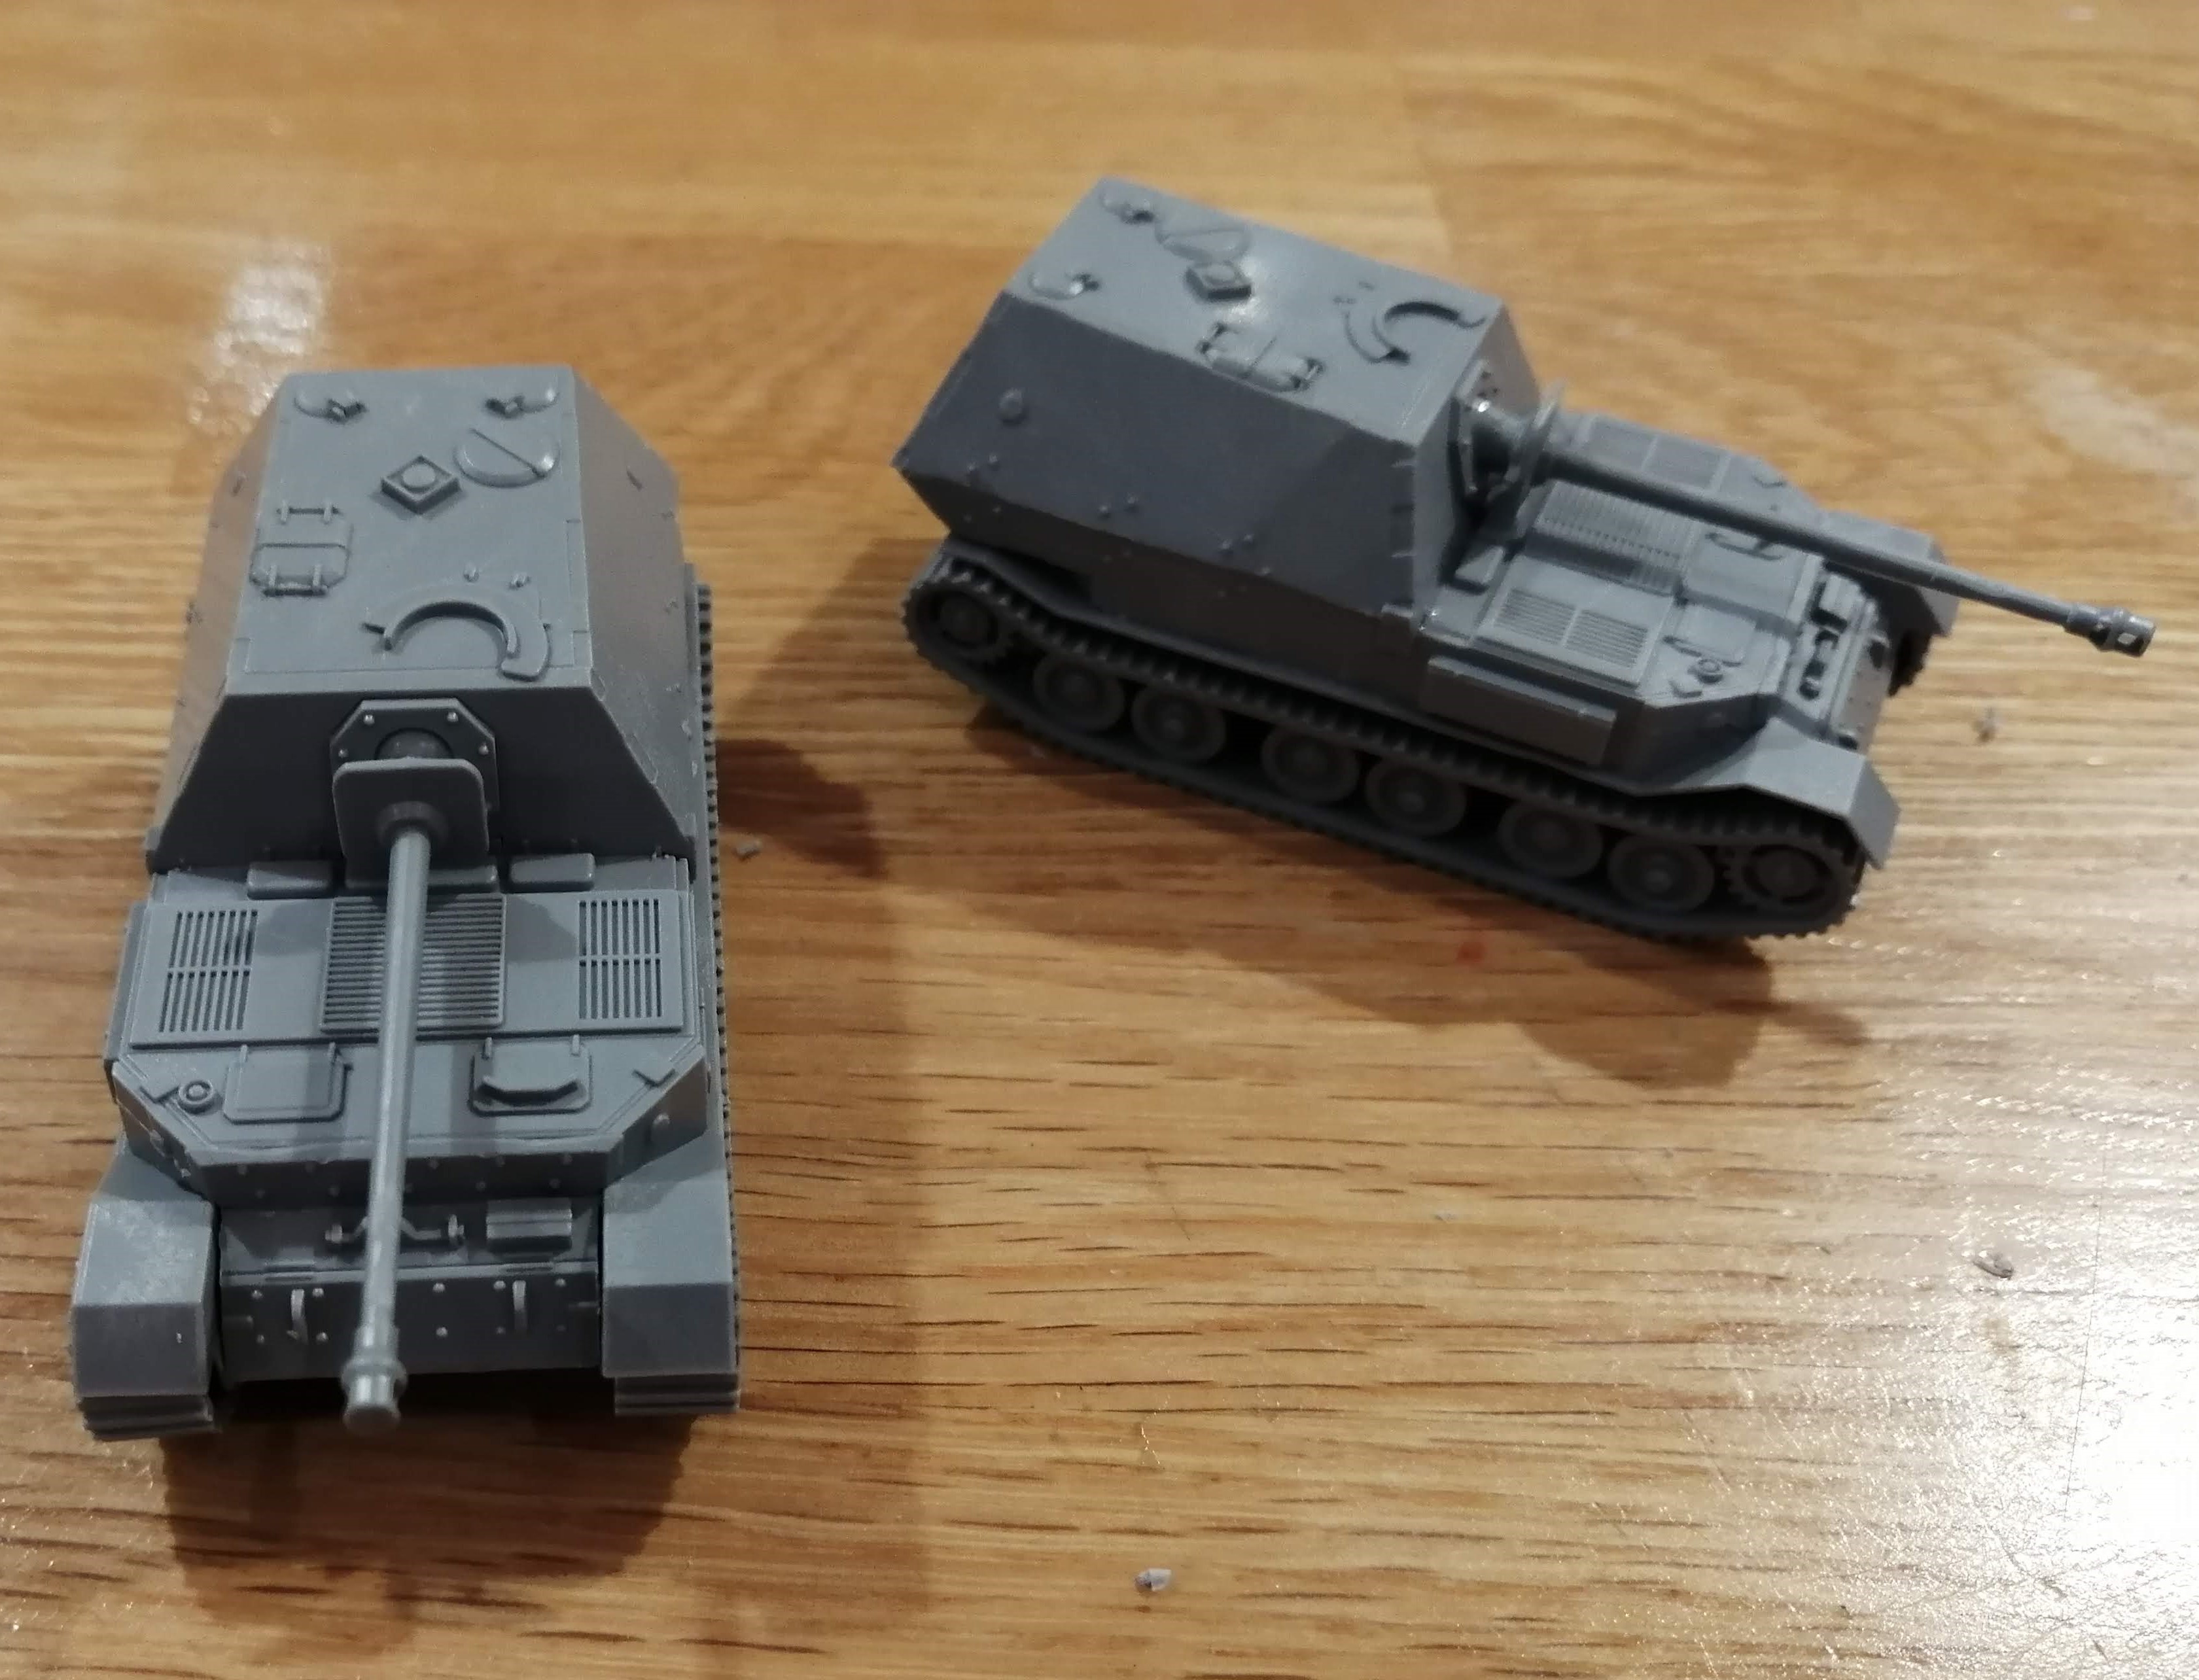
2 Panzer IV/70. These are the Battlefront resin/metal kits (urgh!). These arrived much later in Italy, around October 1944 and were attached to 26th PanzerDivision.
5 8-Rad heavy scout vehicles. These are the PSC kits. 26th PanzerDivision had a few of these in their ranks.
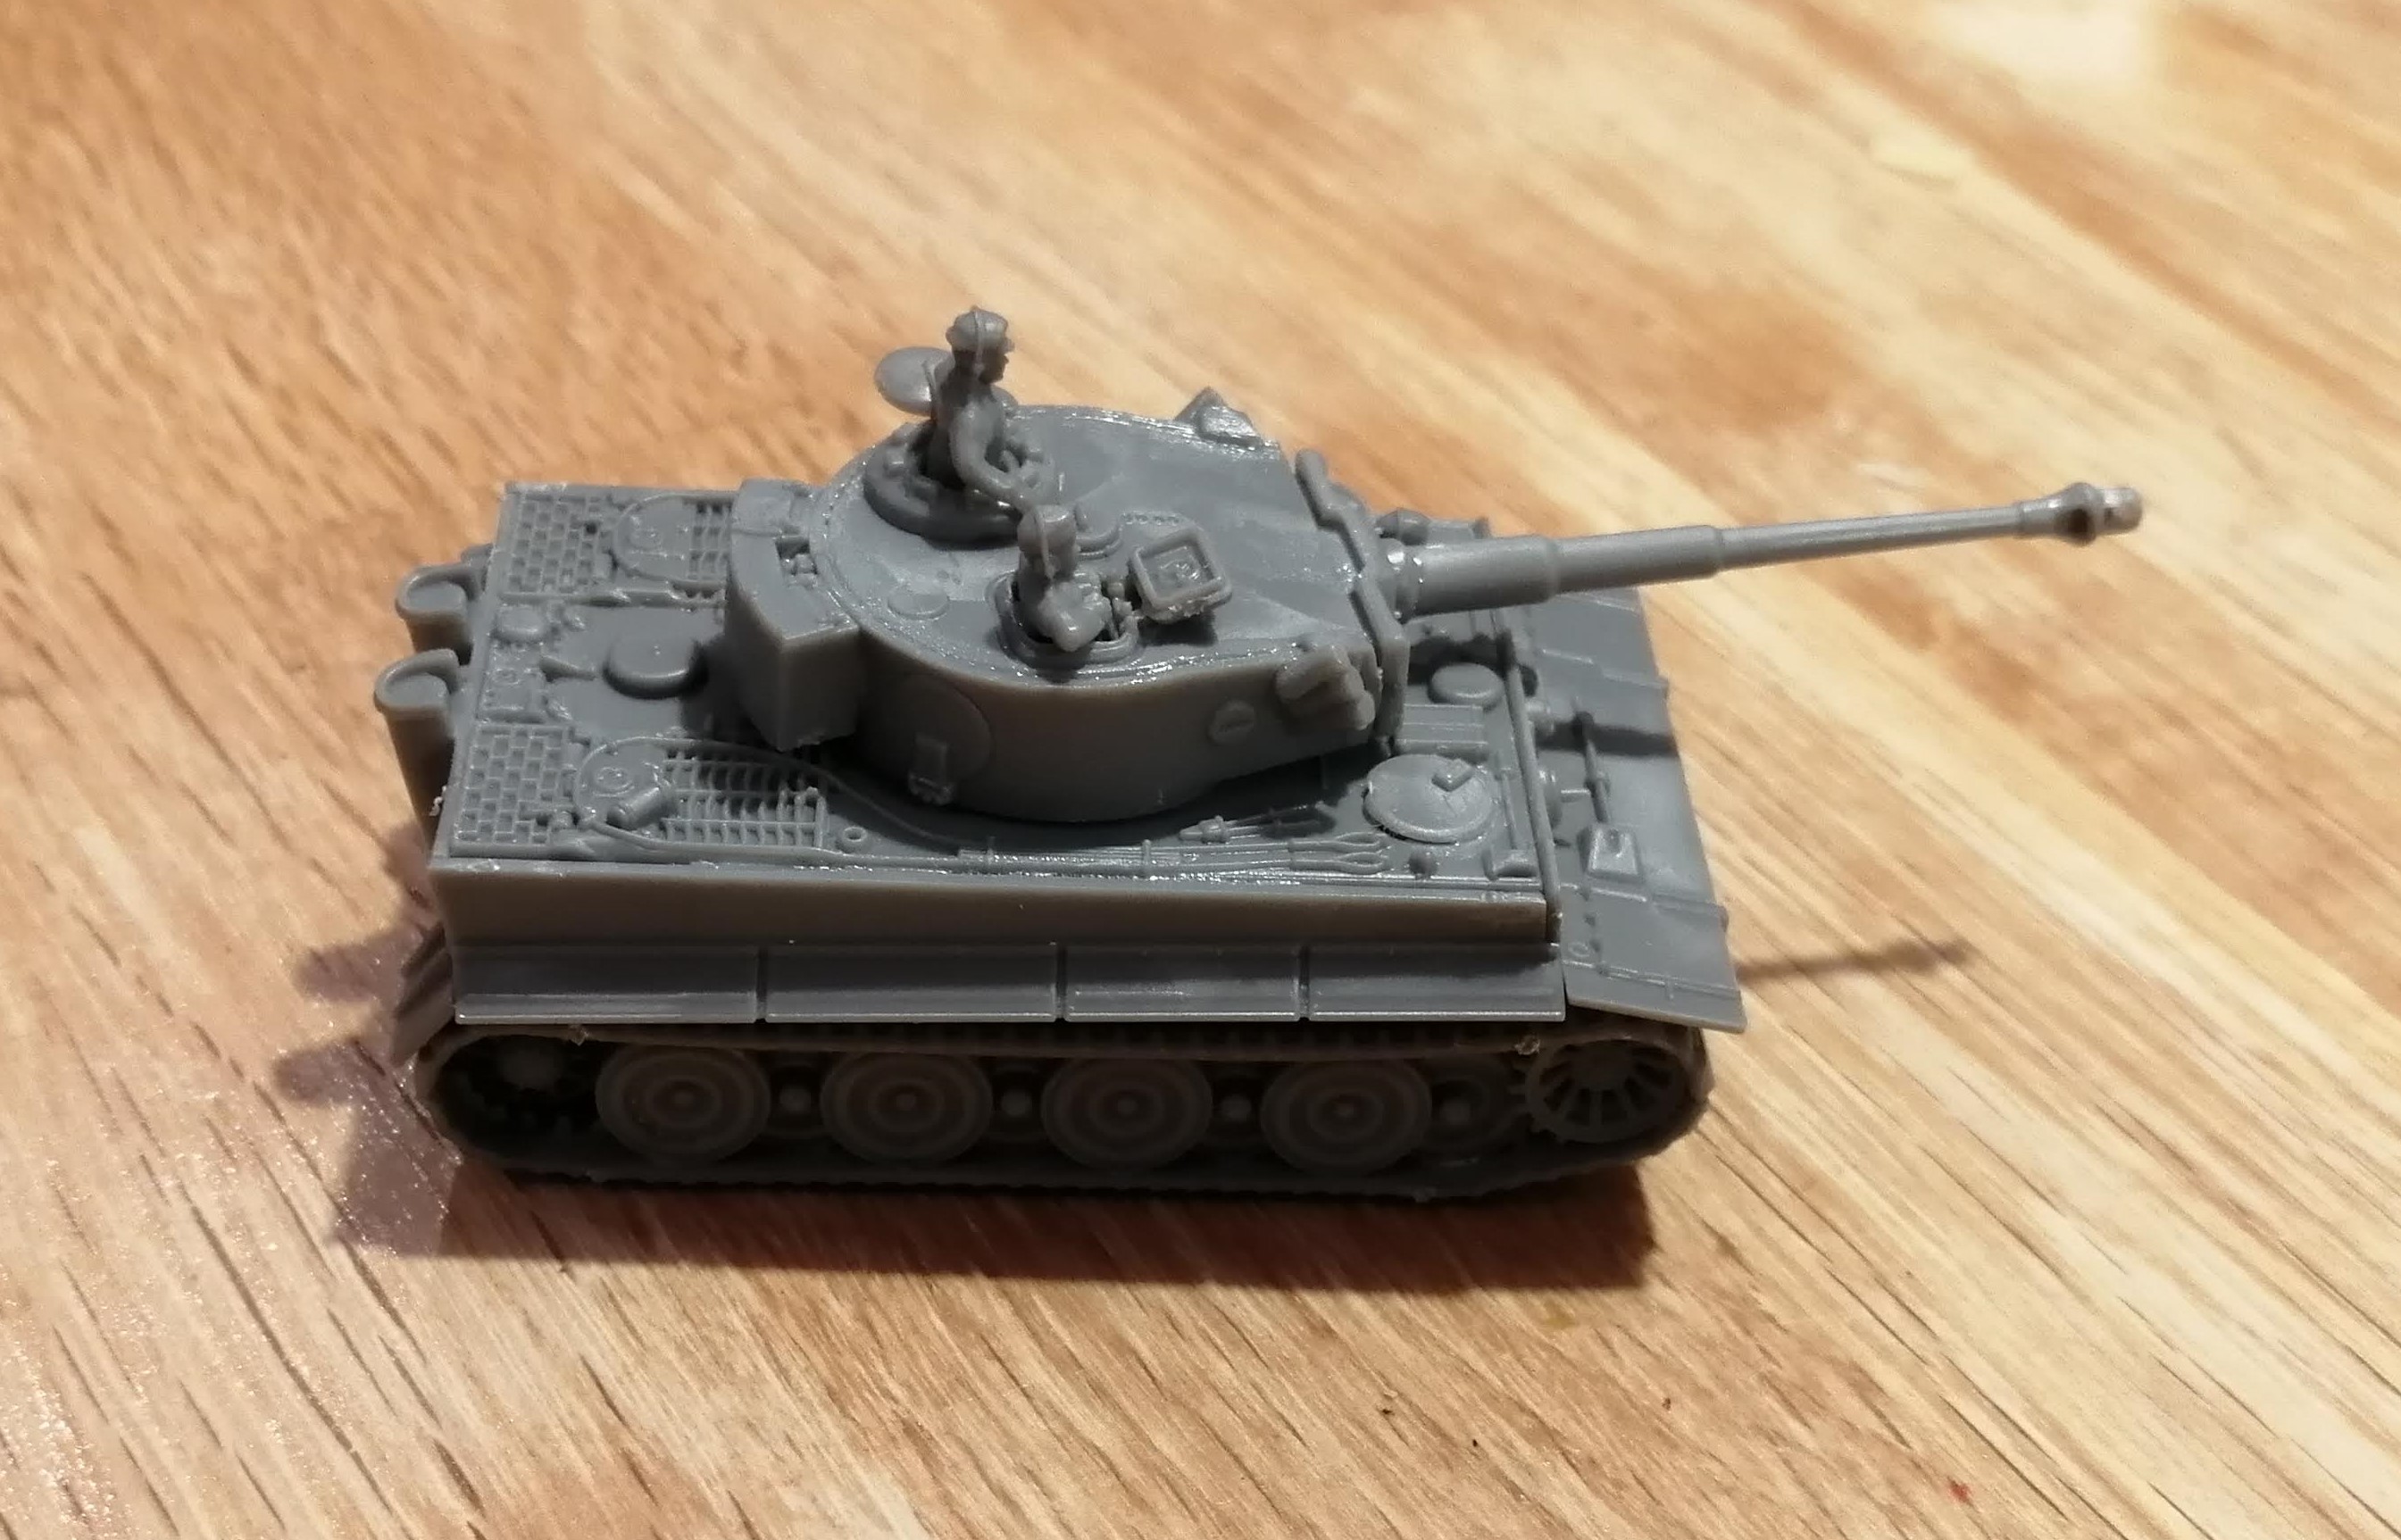 One of the Tigers built and ready for priming
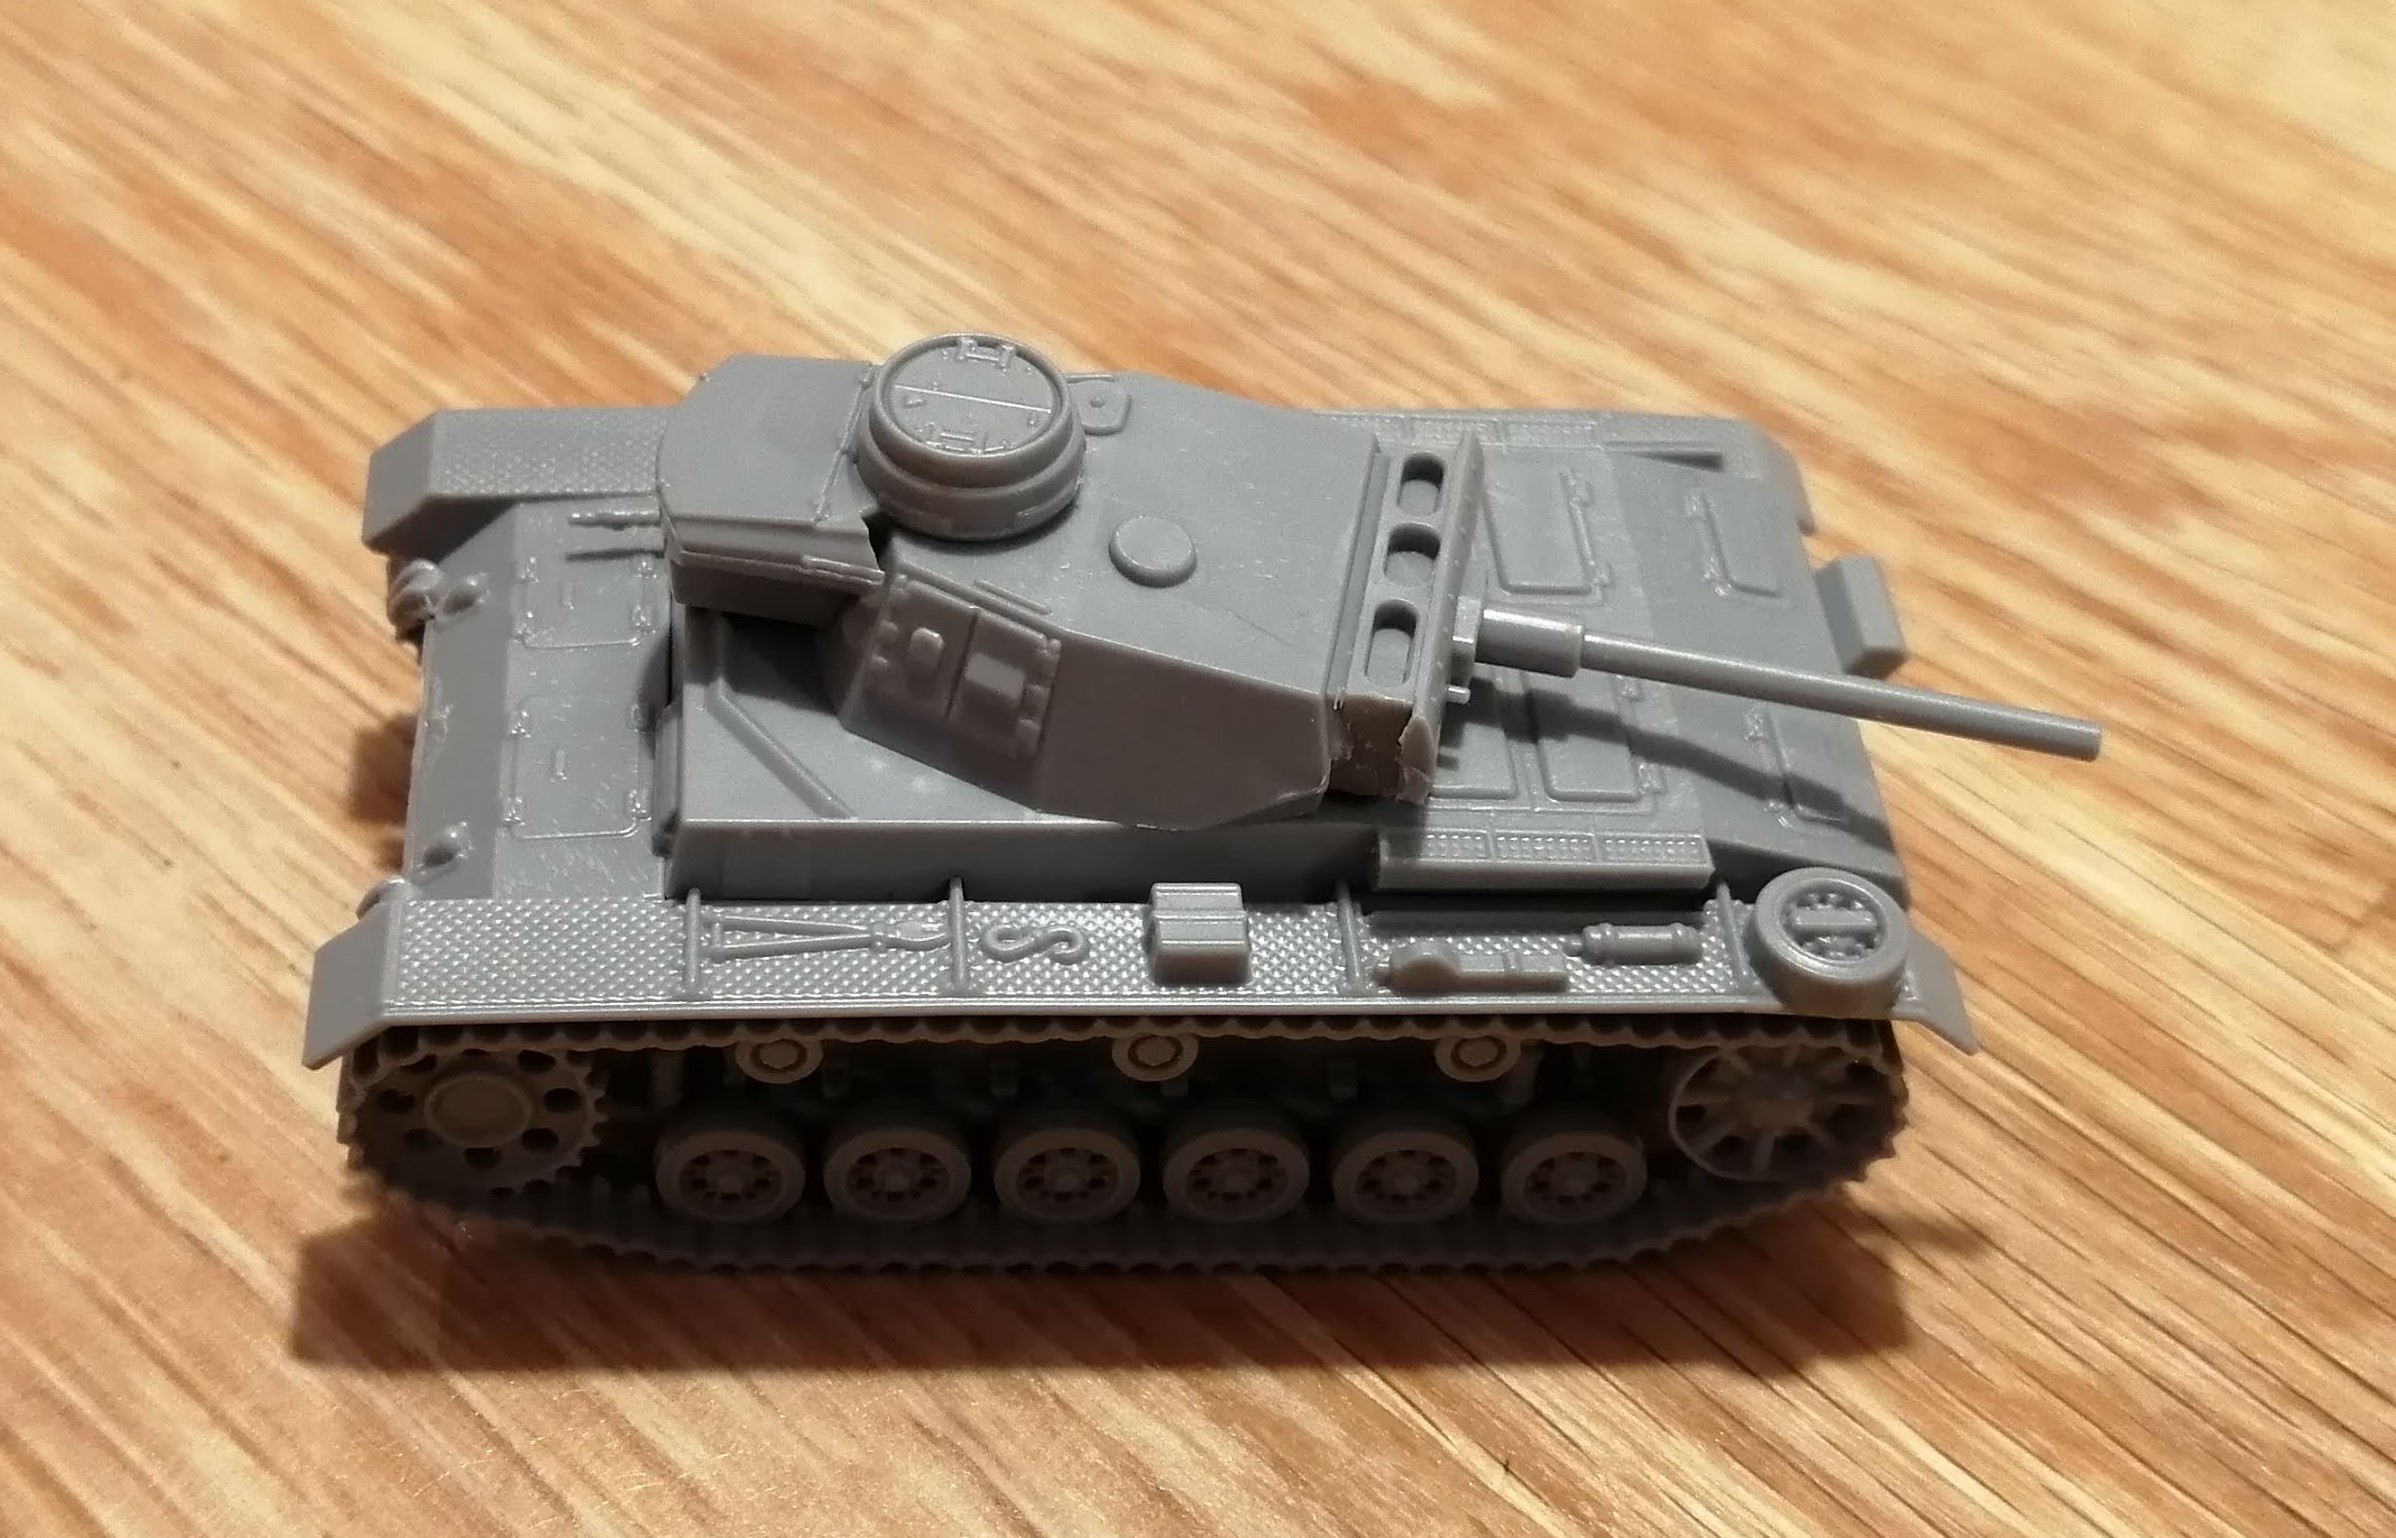 A lovely Flammpanzer III
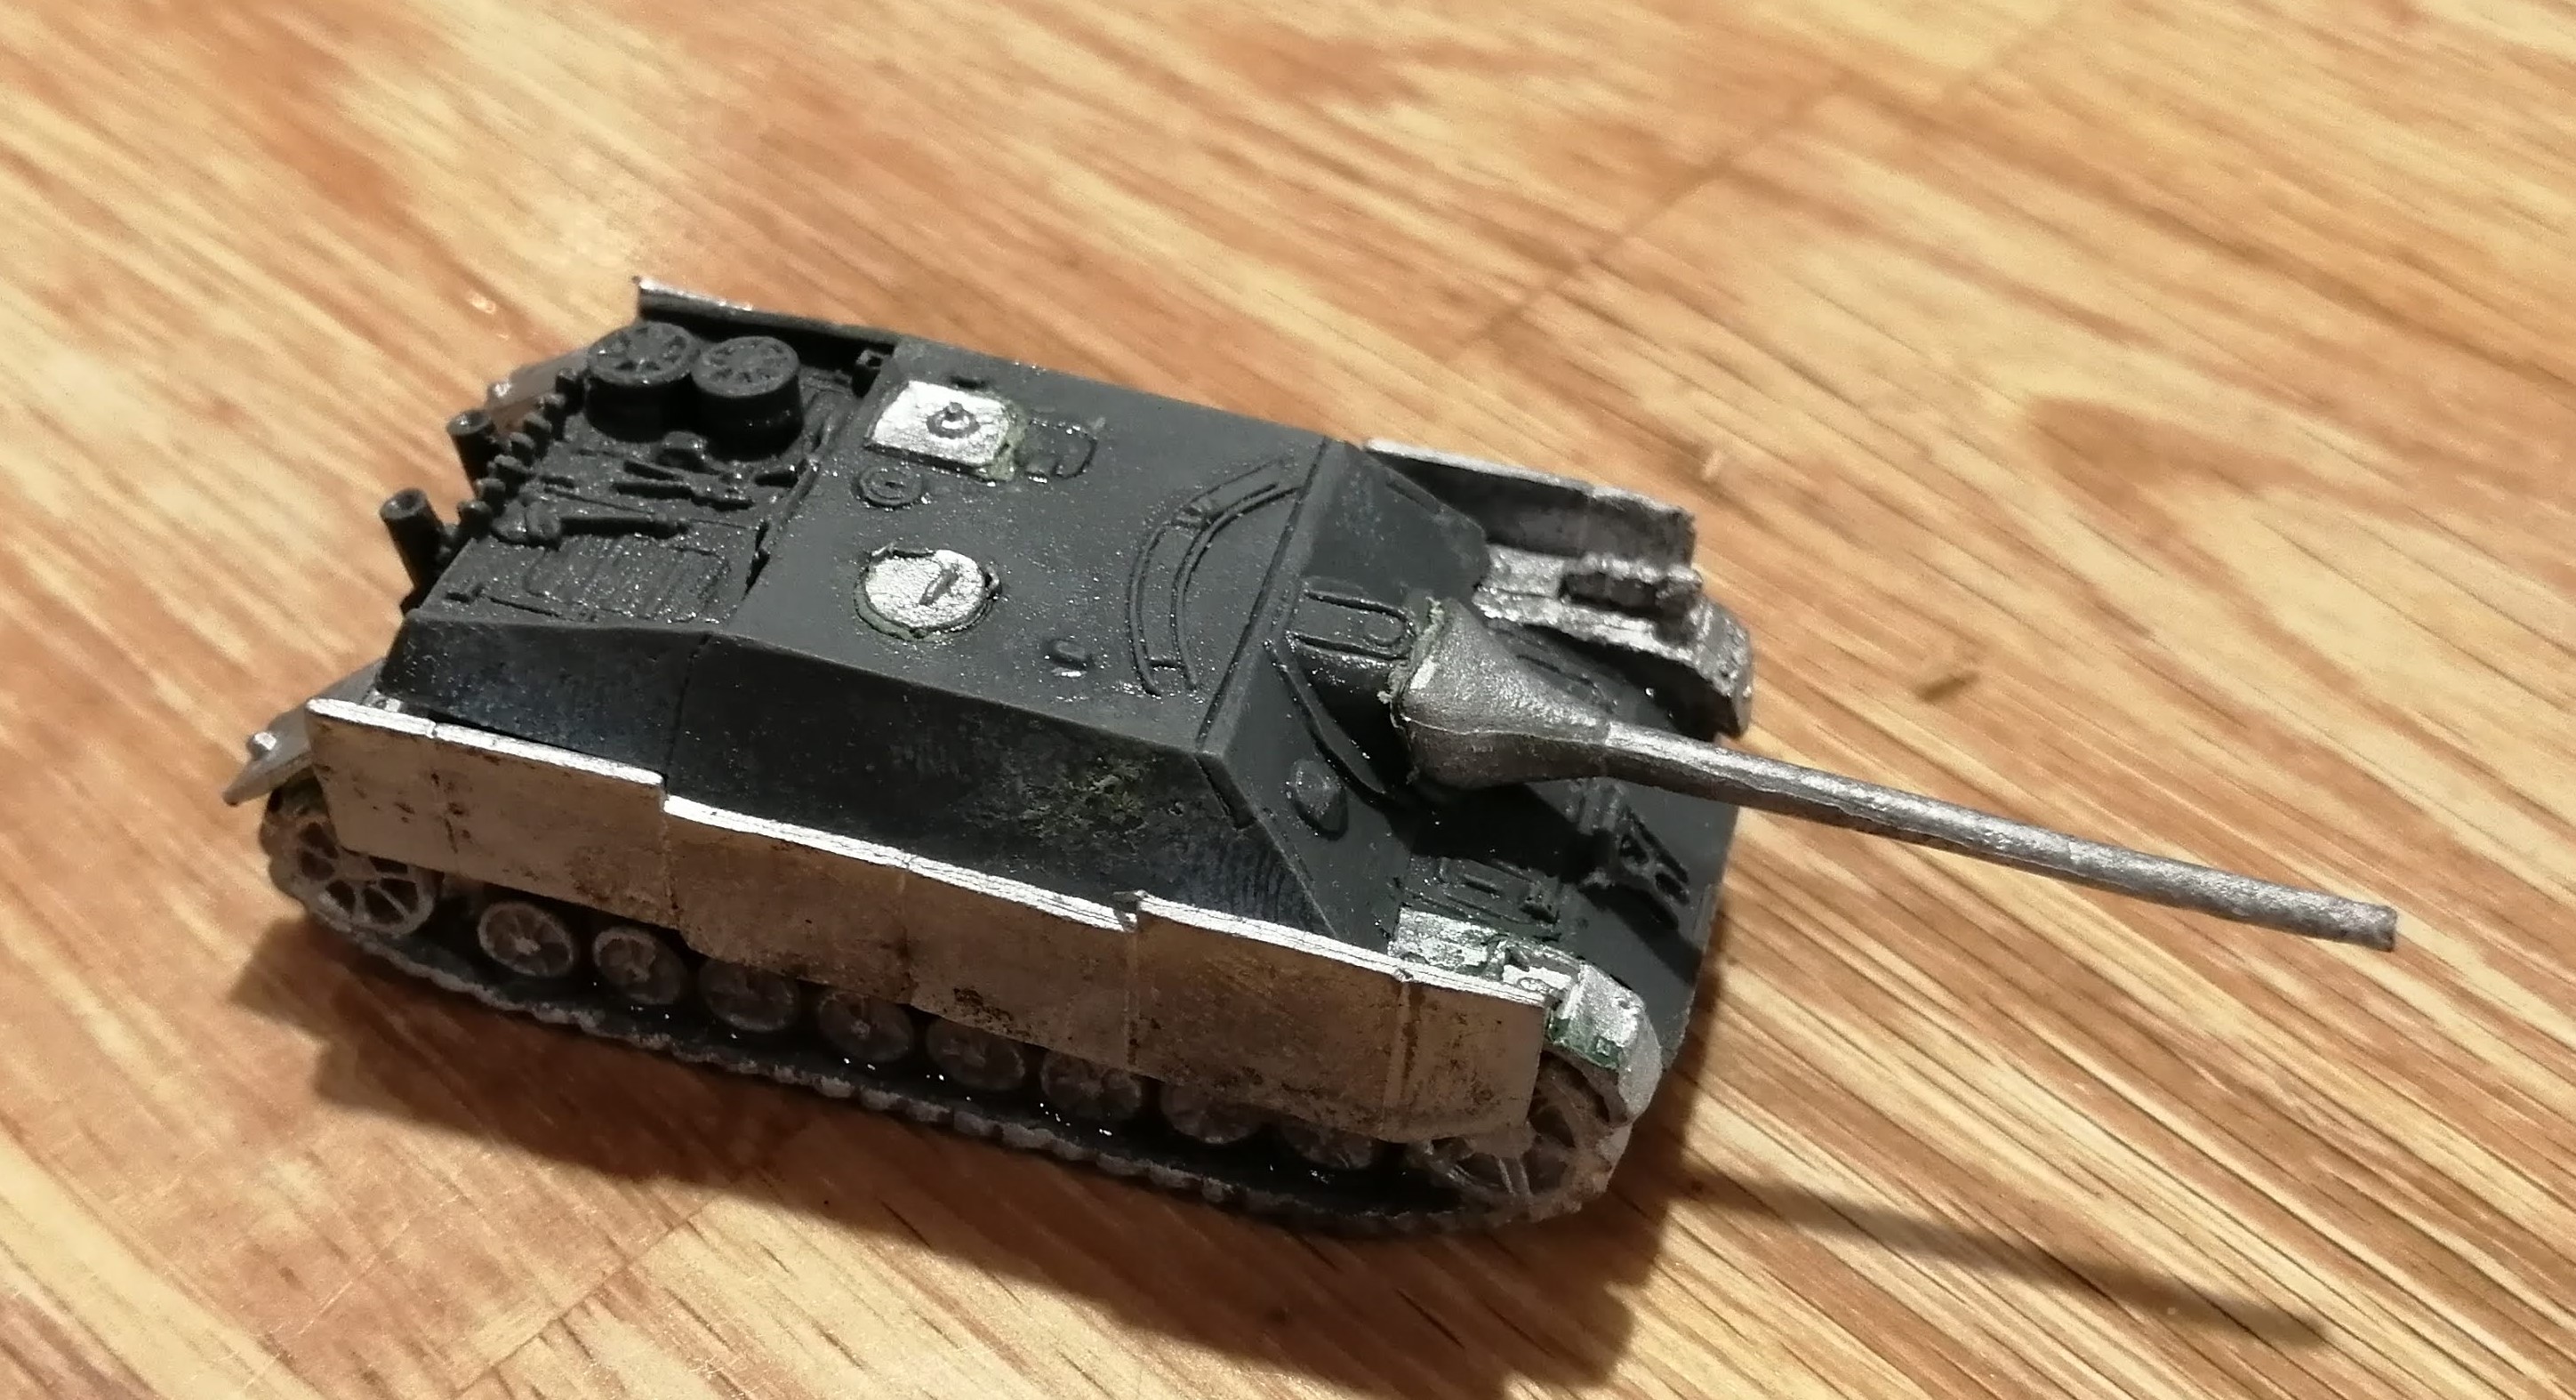 A horrible resin/metal kit held together with prodigious amounts of super glue and greenstuff
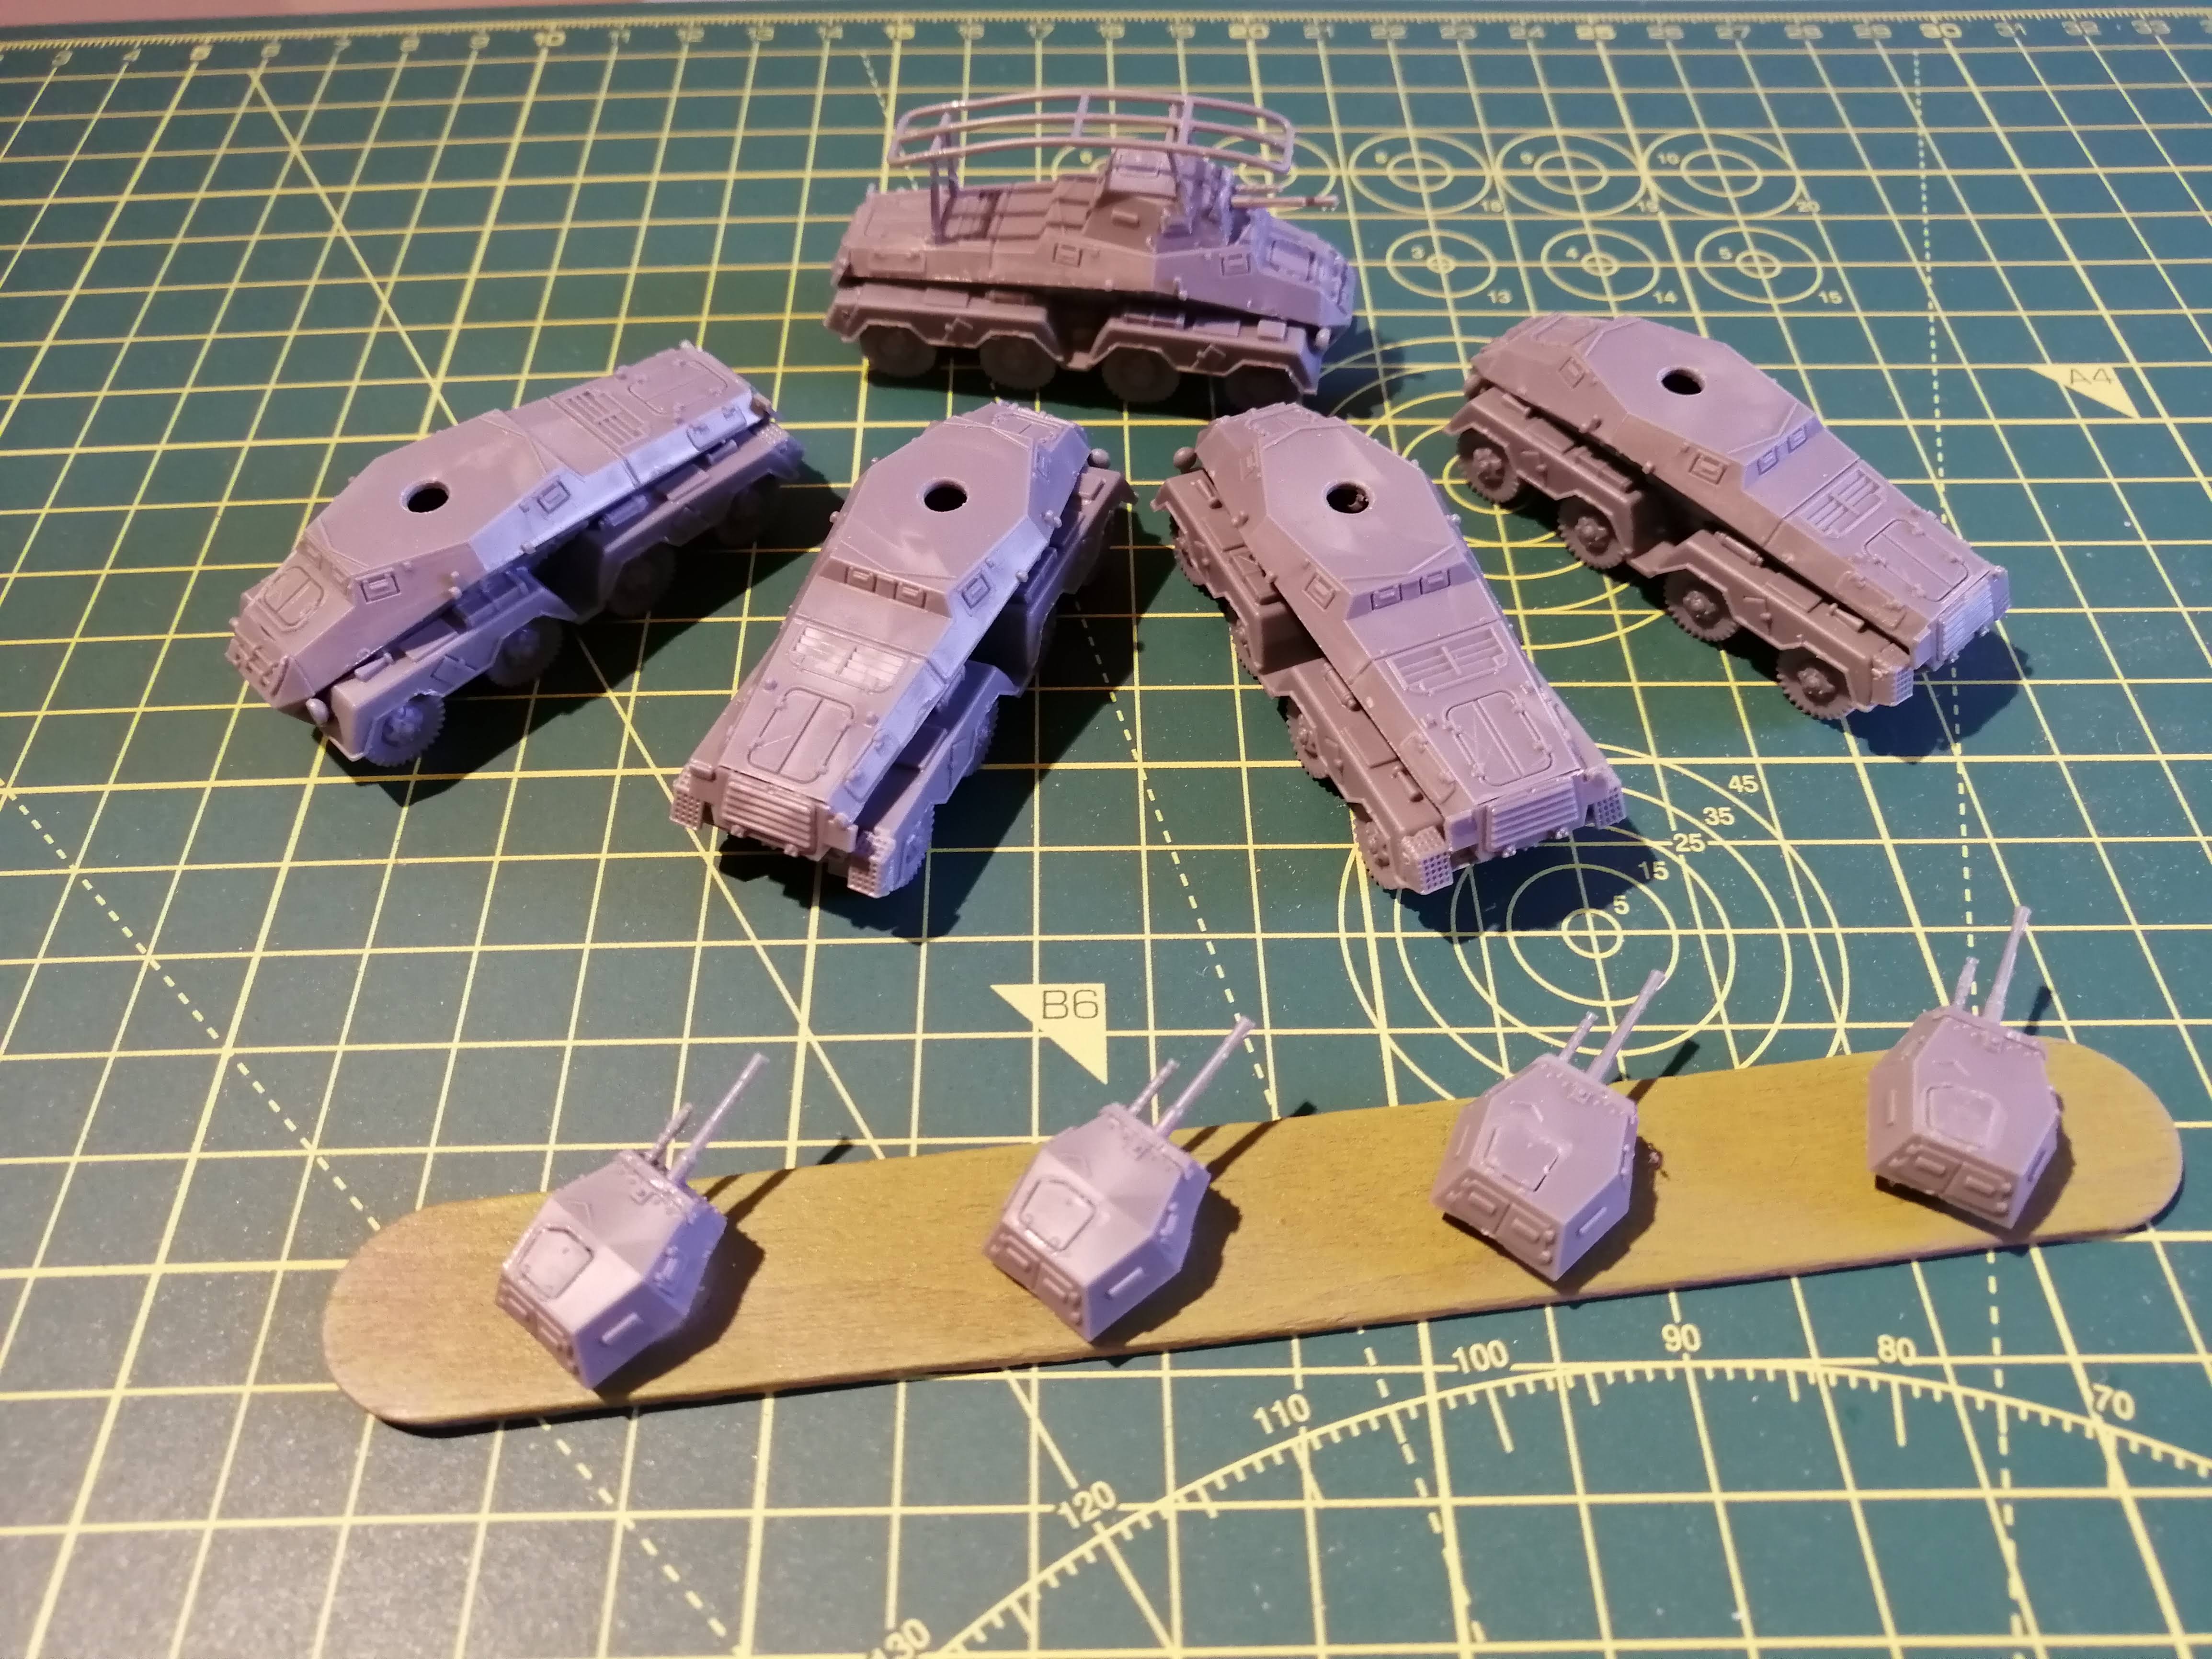 8 Rads!
Completing the Semoventes
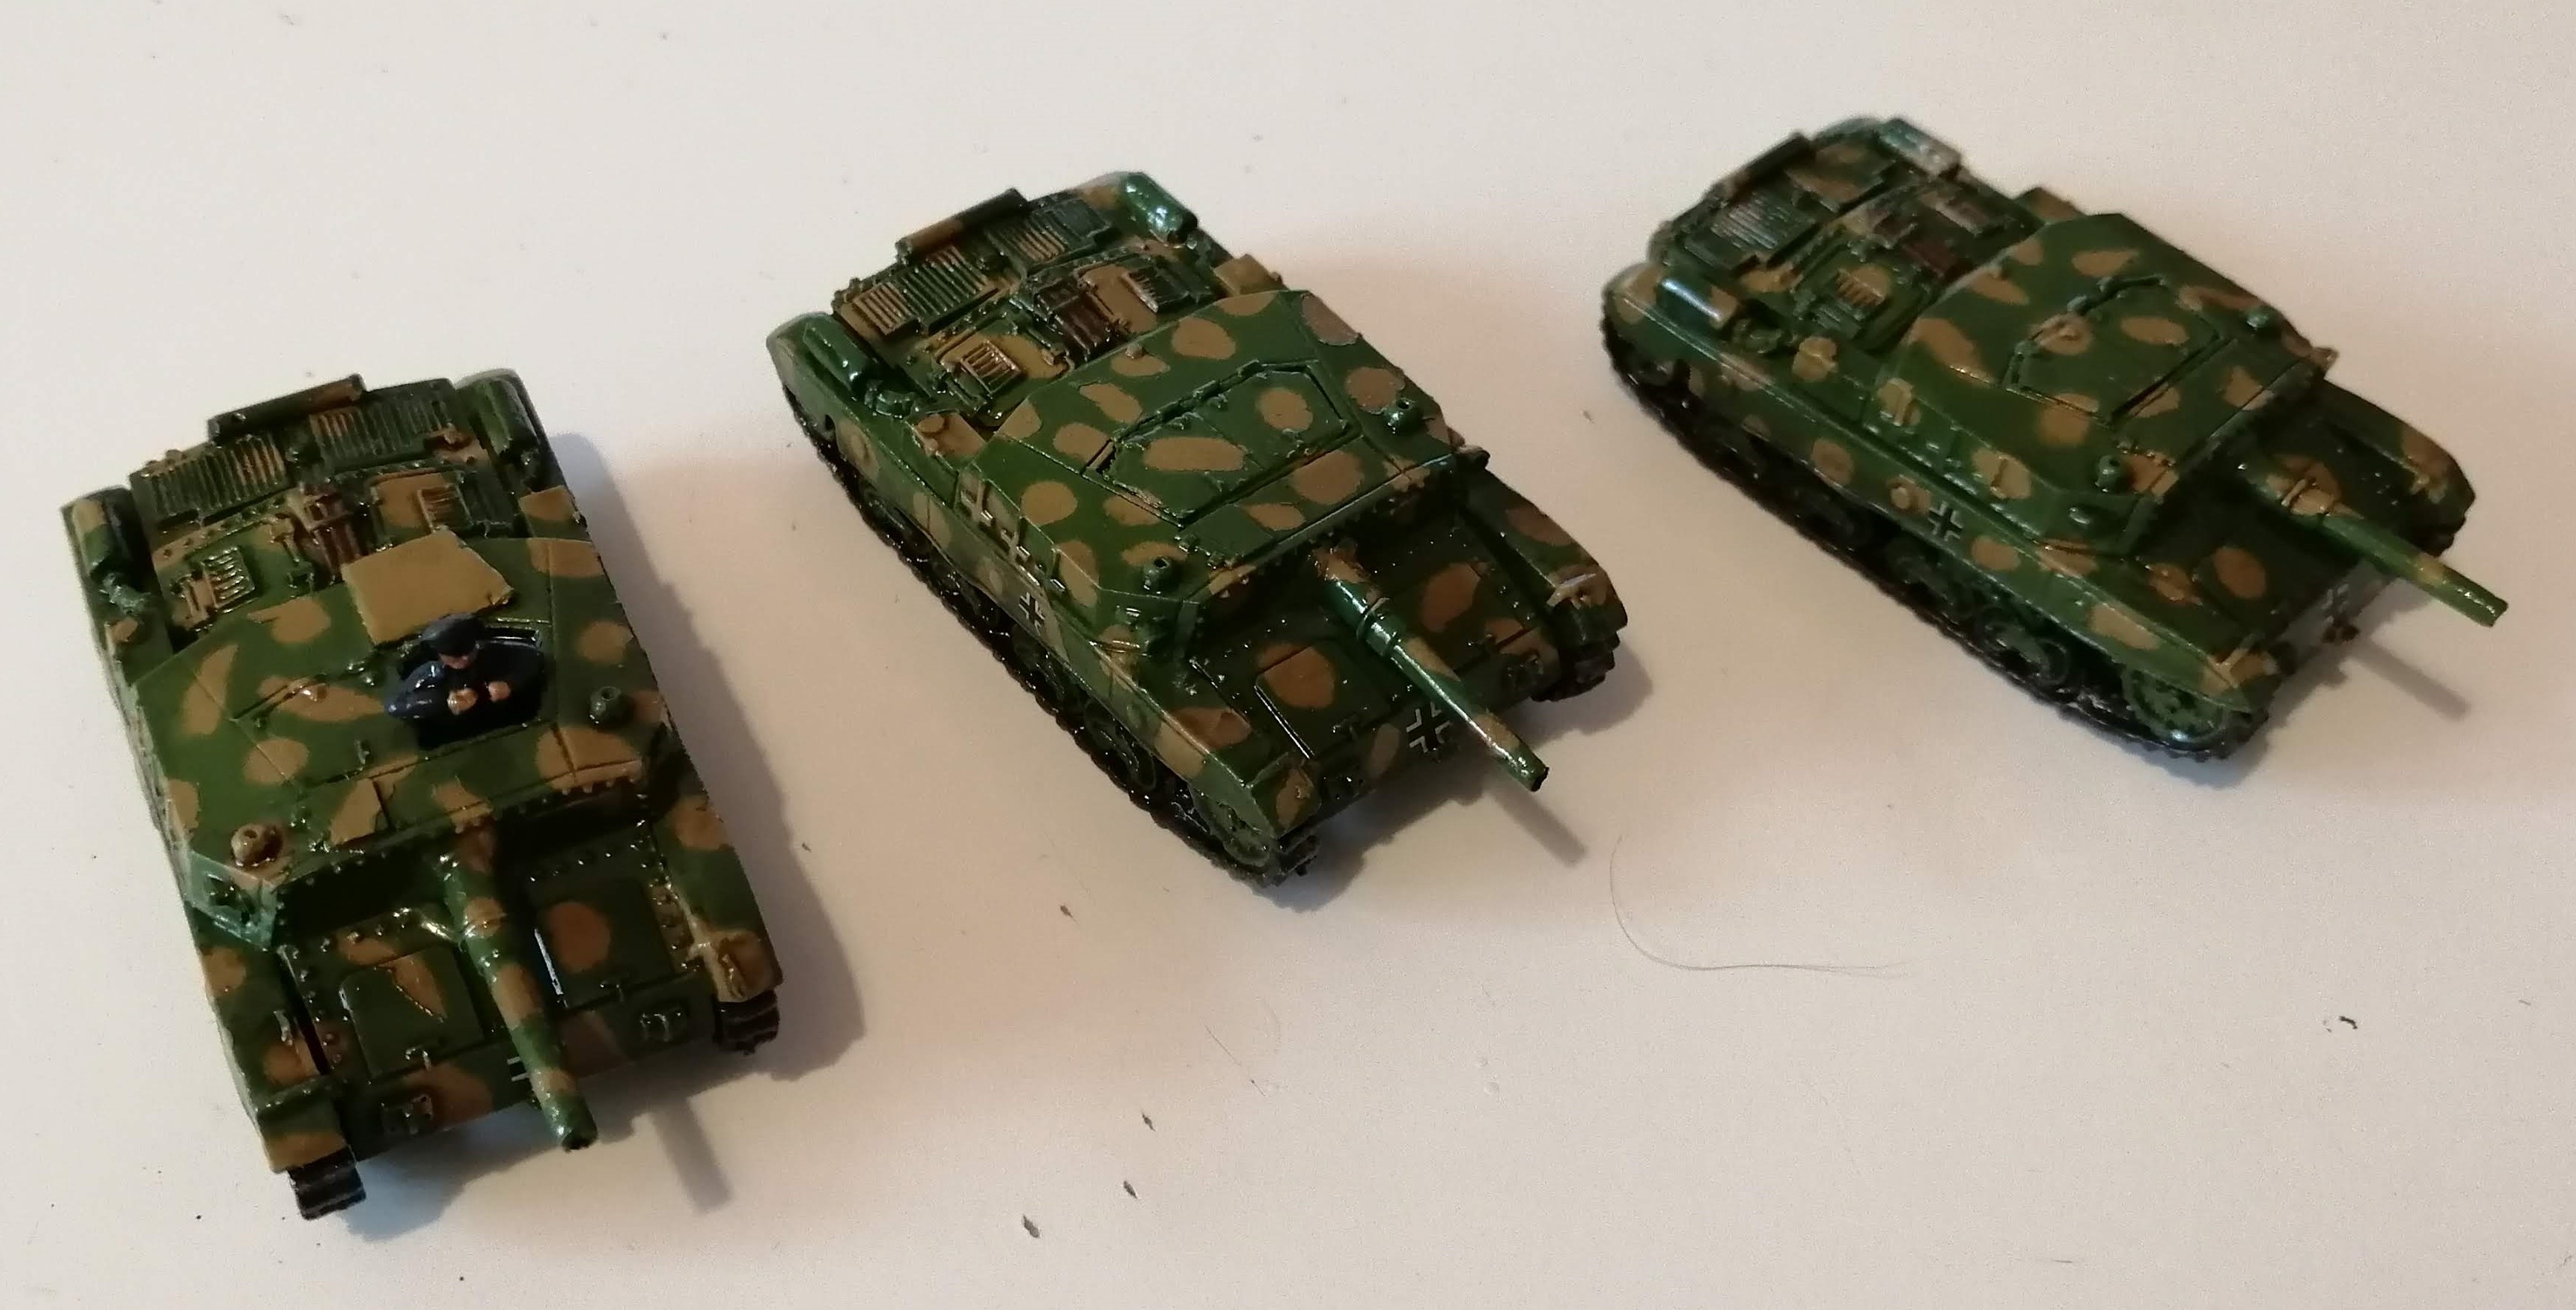
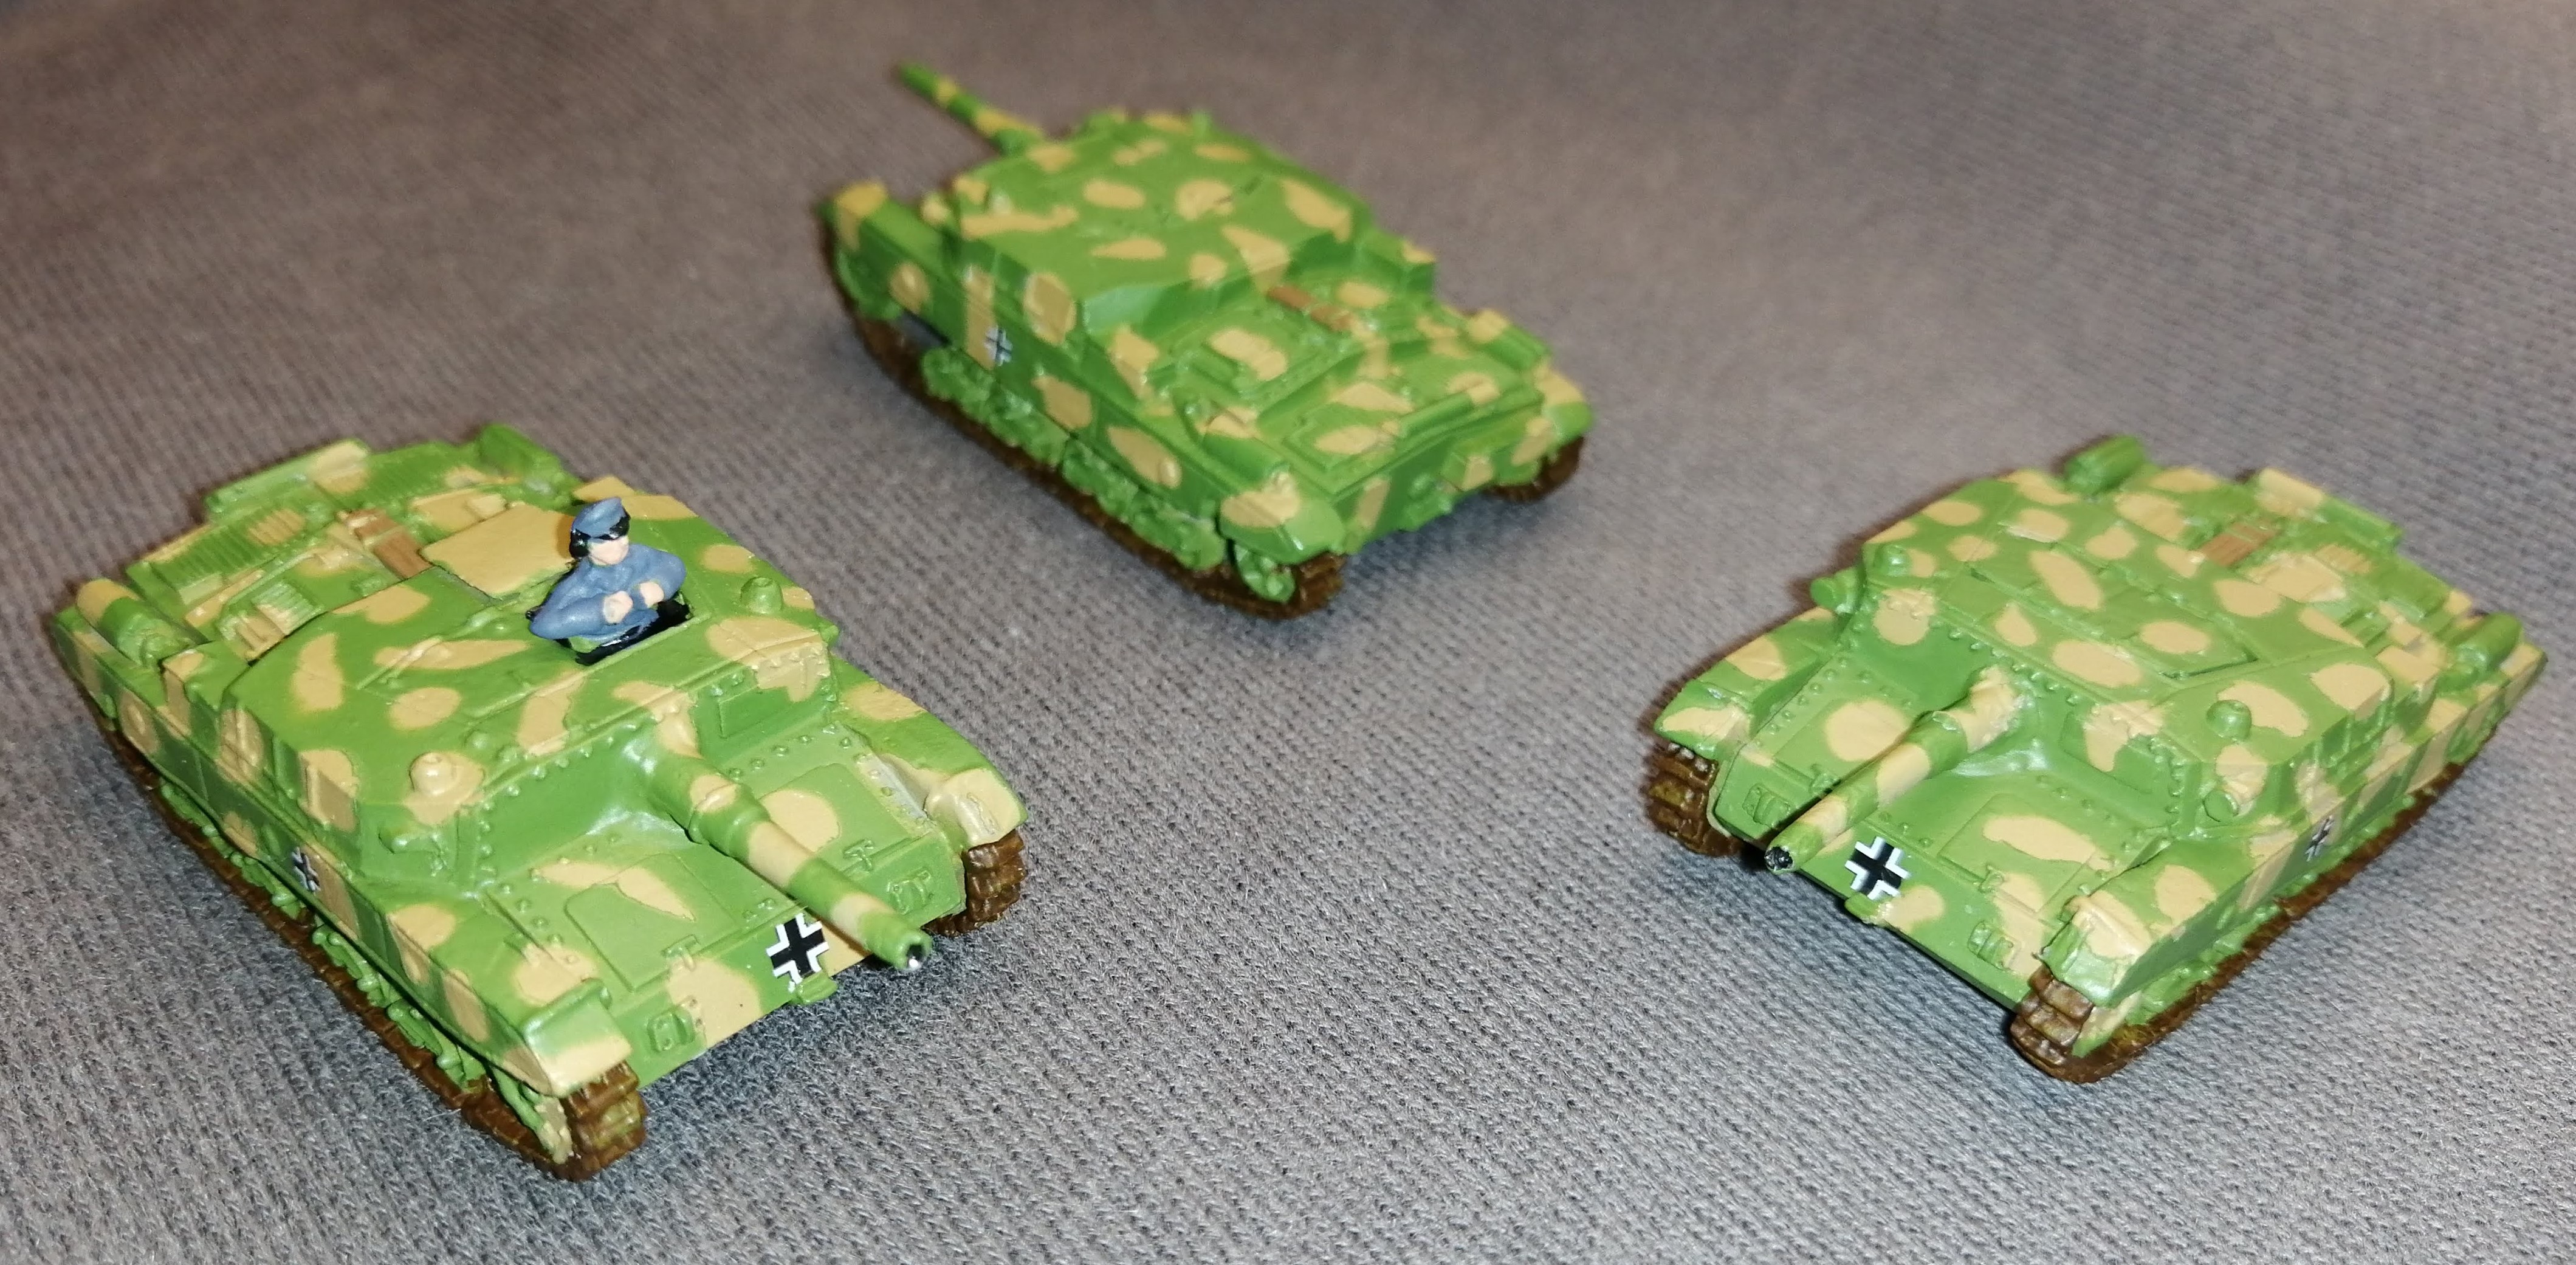
Went back and completed the Semovente M42 75/34’s. Same process as before, painted on dip then a matt varnish. I’ve then re-highlighted some of the tools etc before chipping with a sponge (black/brown this time then gunmetal). Finally applied the Mid Sussex Low Weald mud and PVA mix for the mud effects. Finished with another matt varnish. Job done and they join the ranks of the Herman Goring Panzer Division (which has some really interesting lists including Panzer III’s and the ability to take 4 platoons of 88’s – I might be rolling this out at some point)
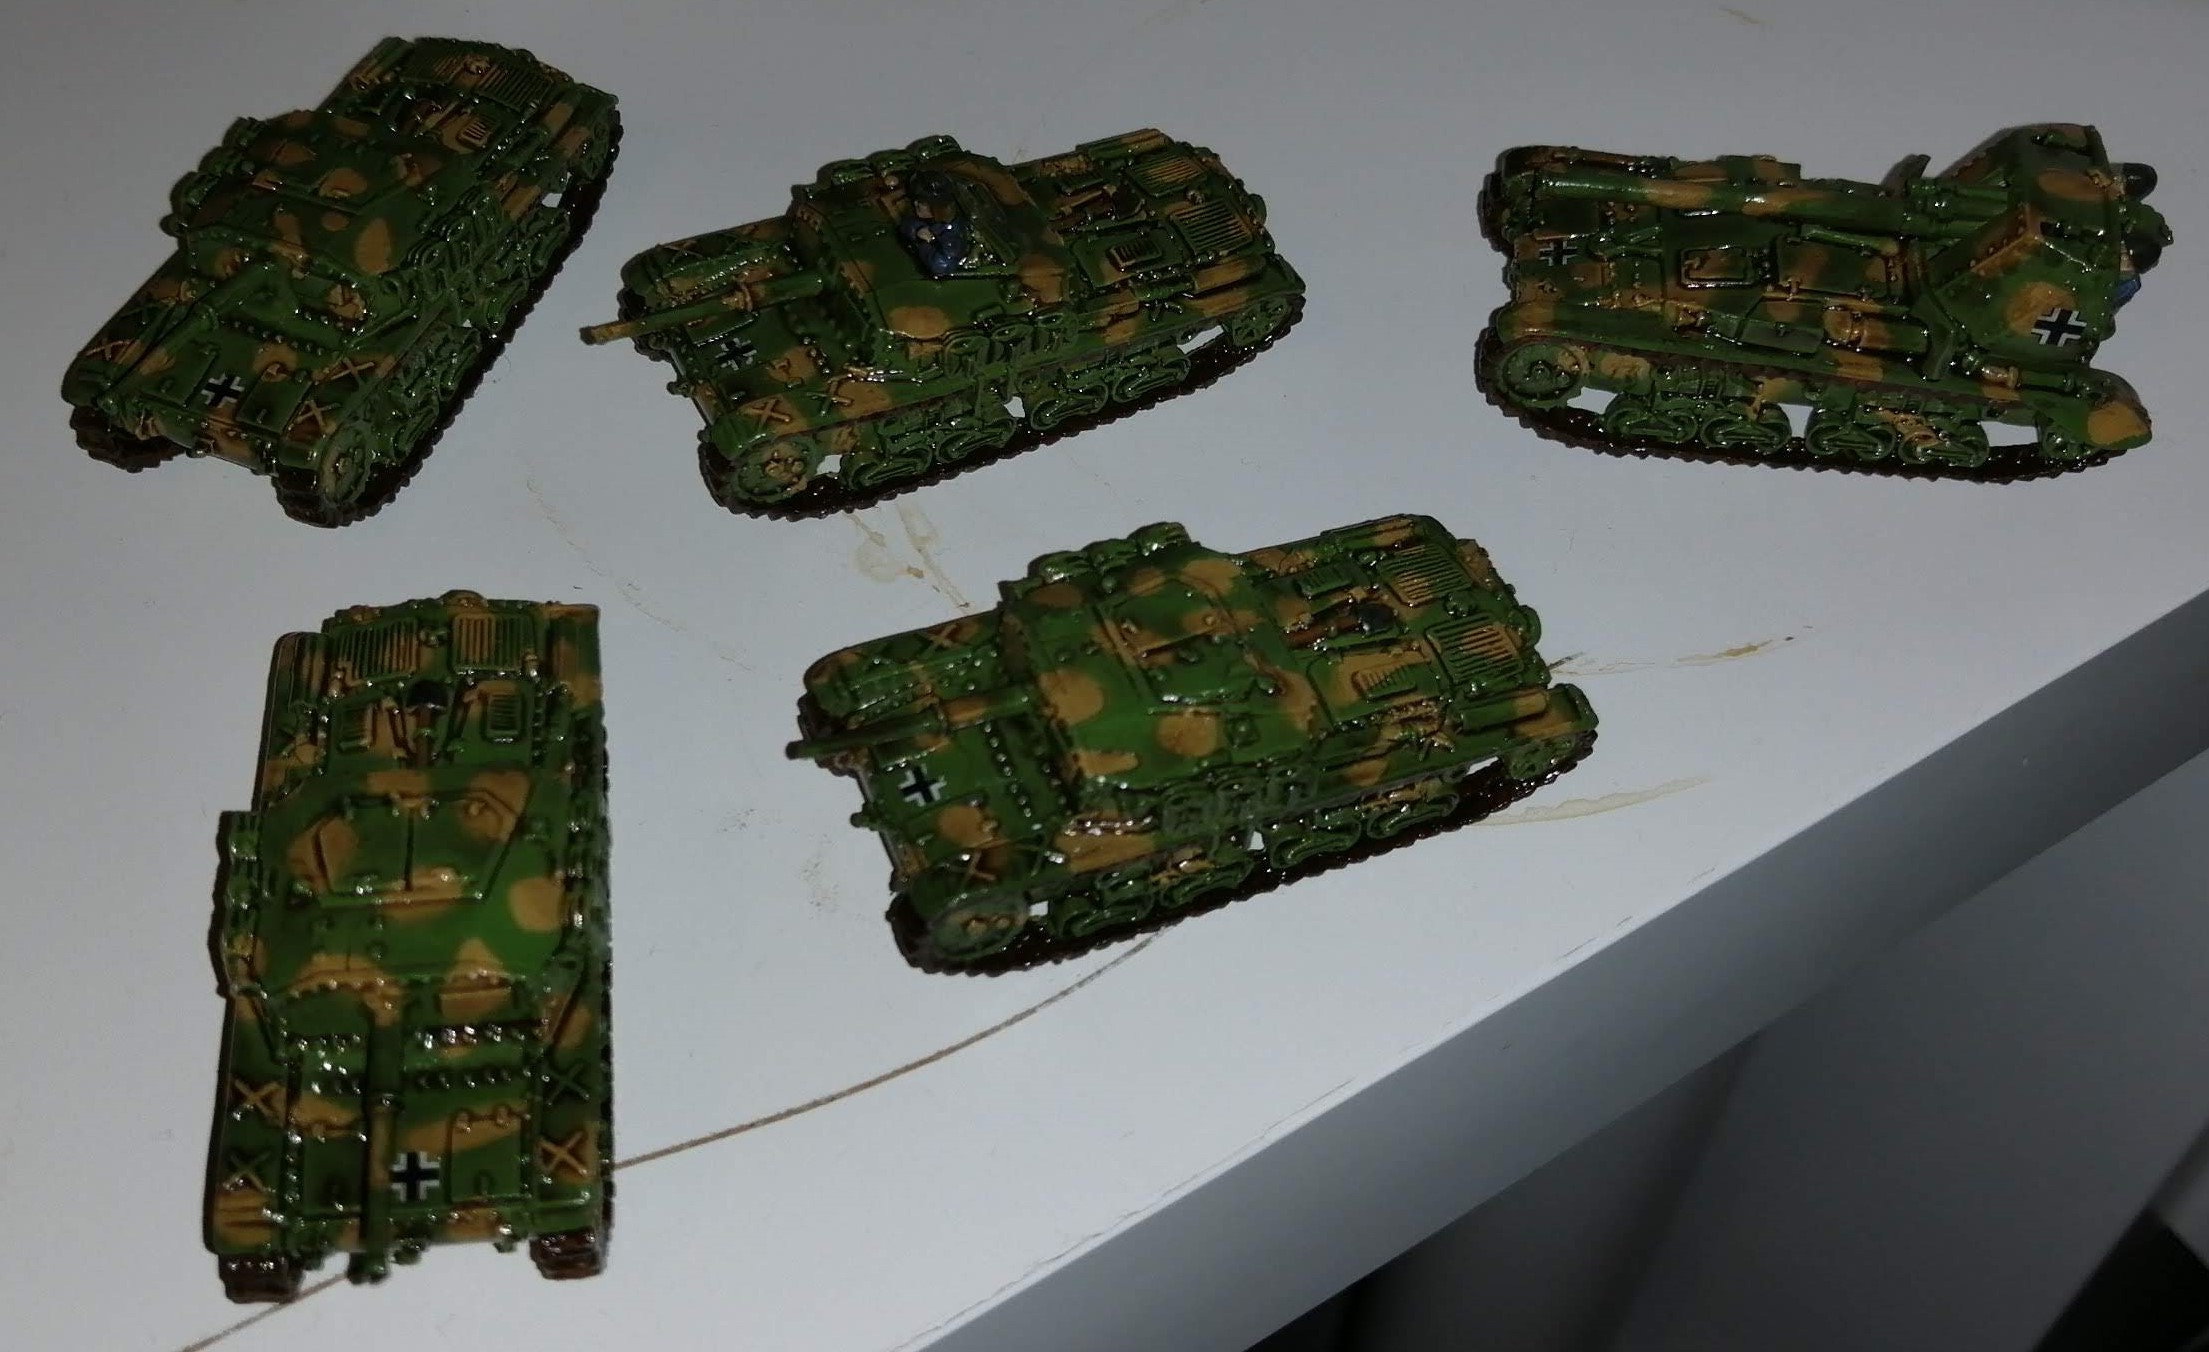
 Shiny, post dip tanks
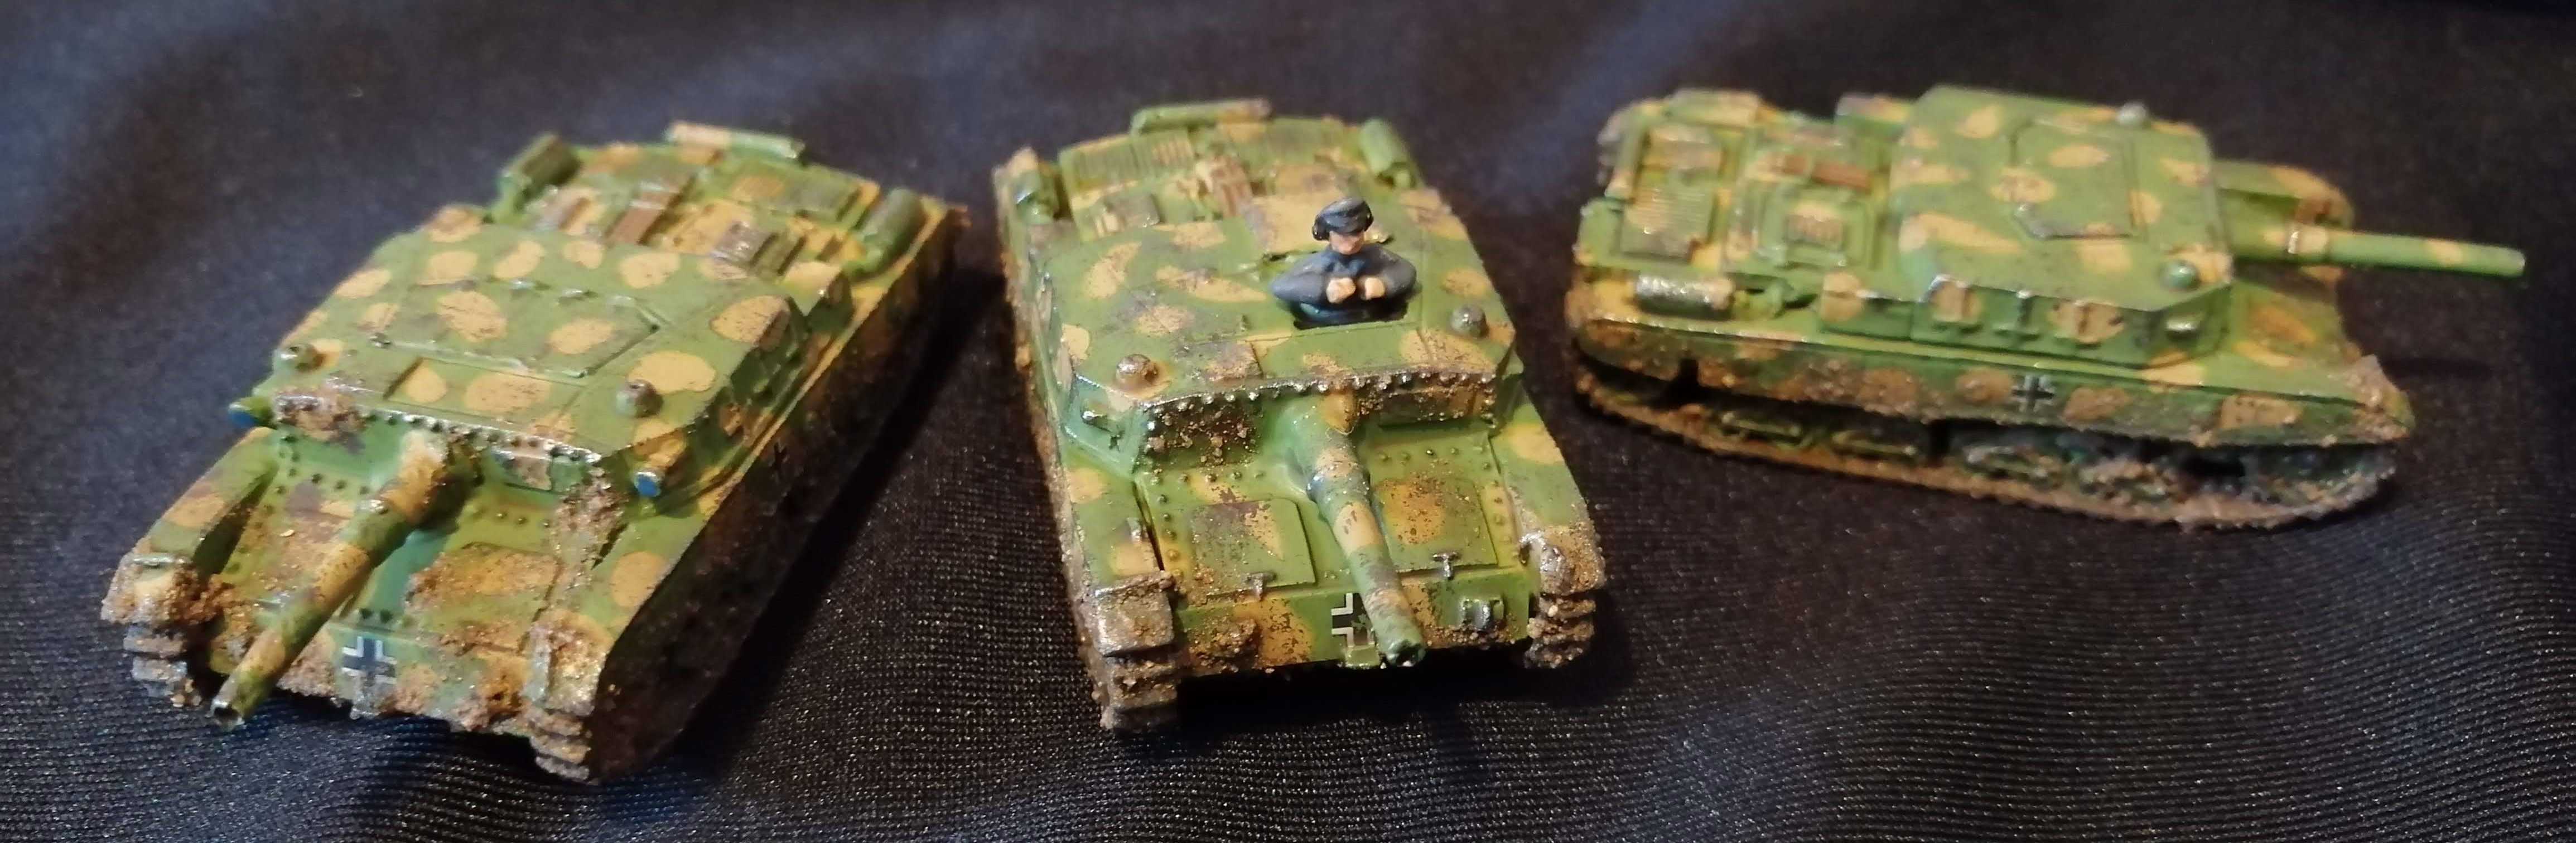 Finished platoon
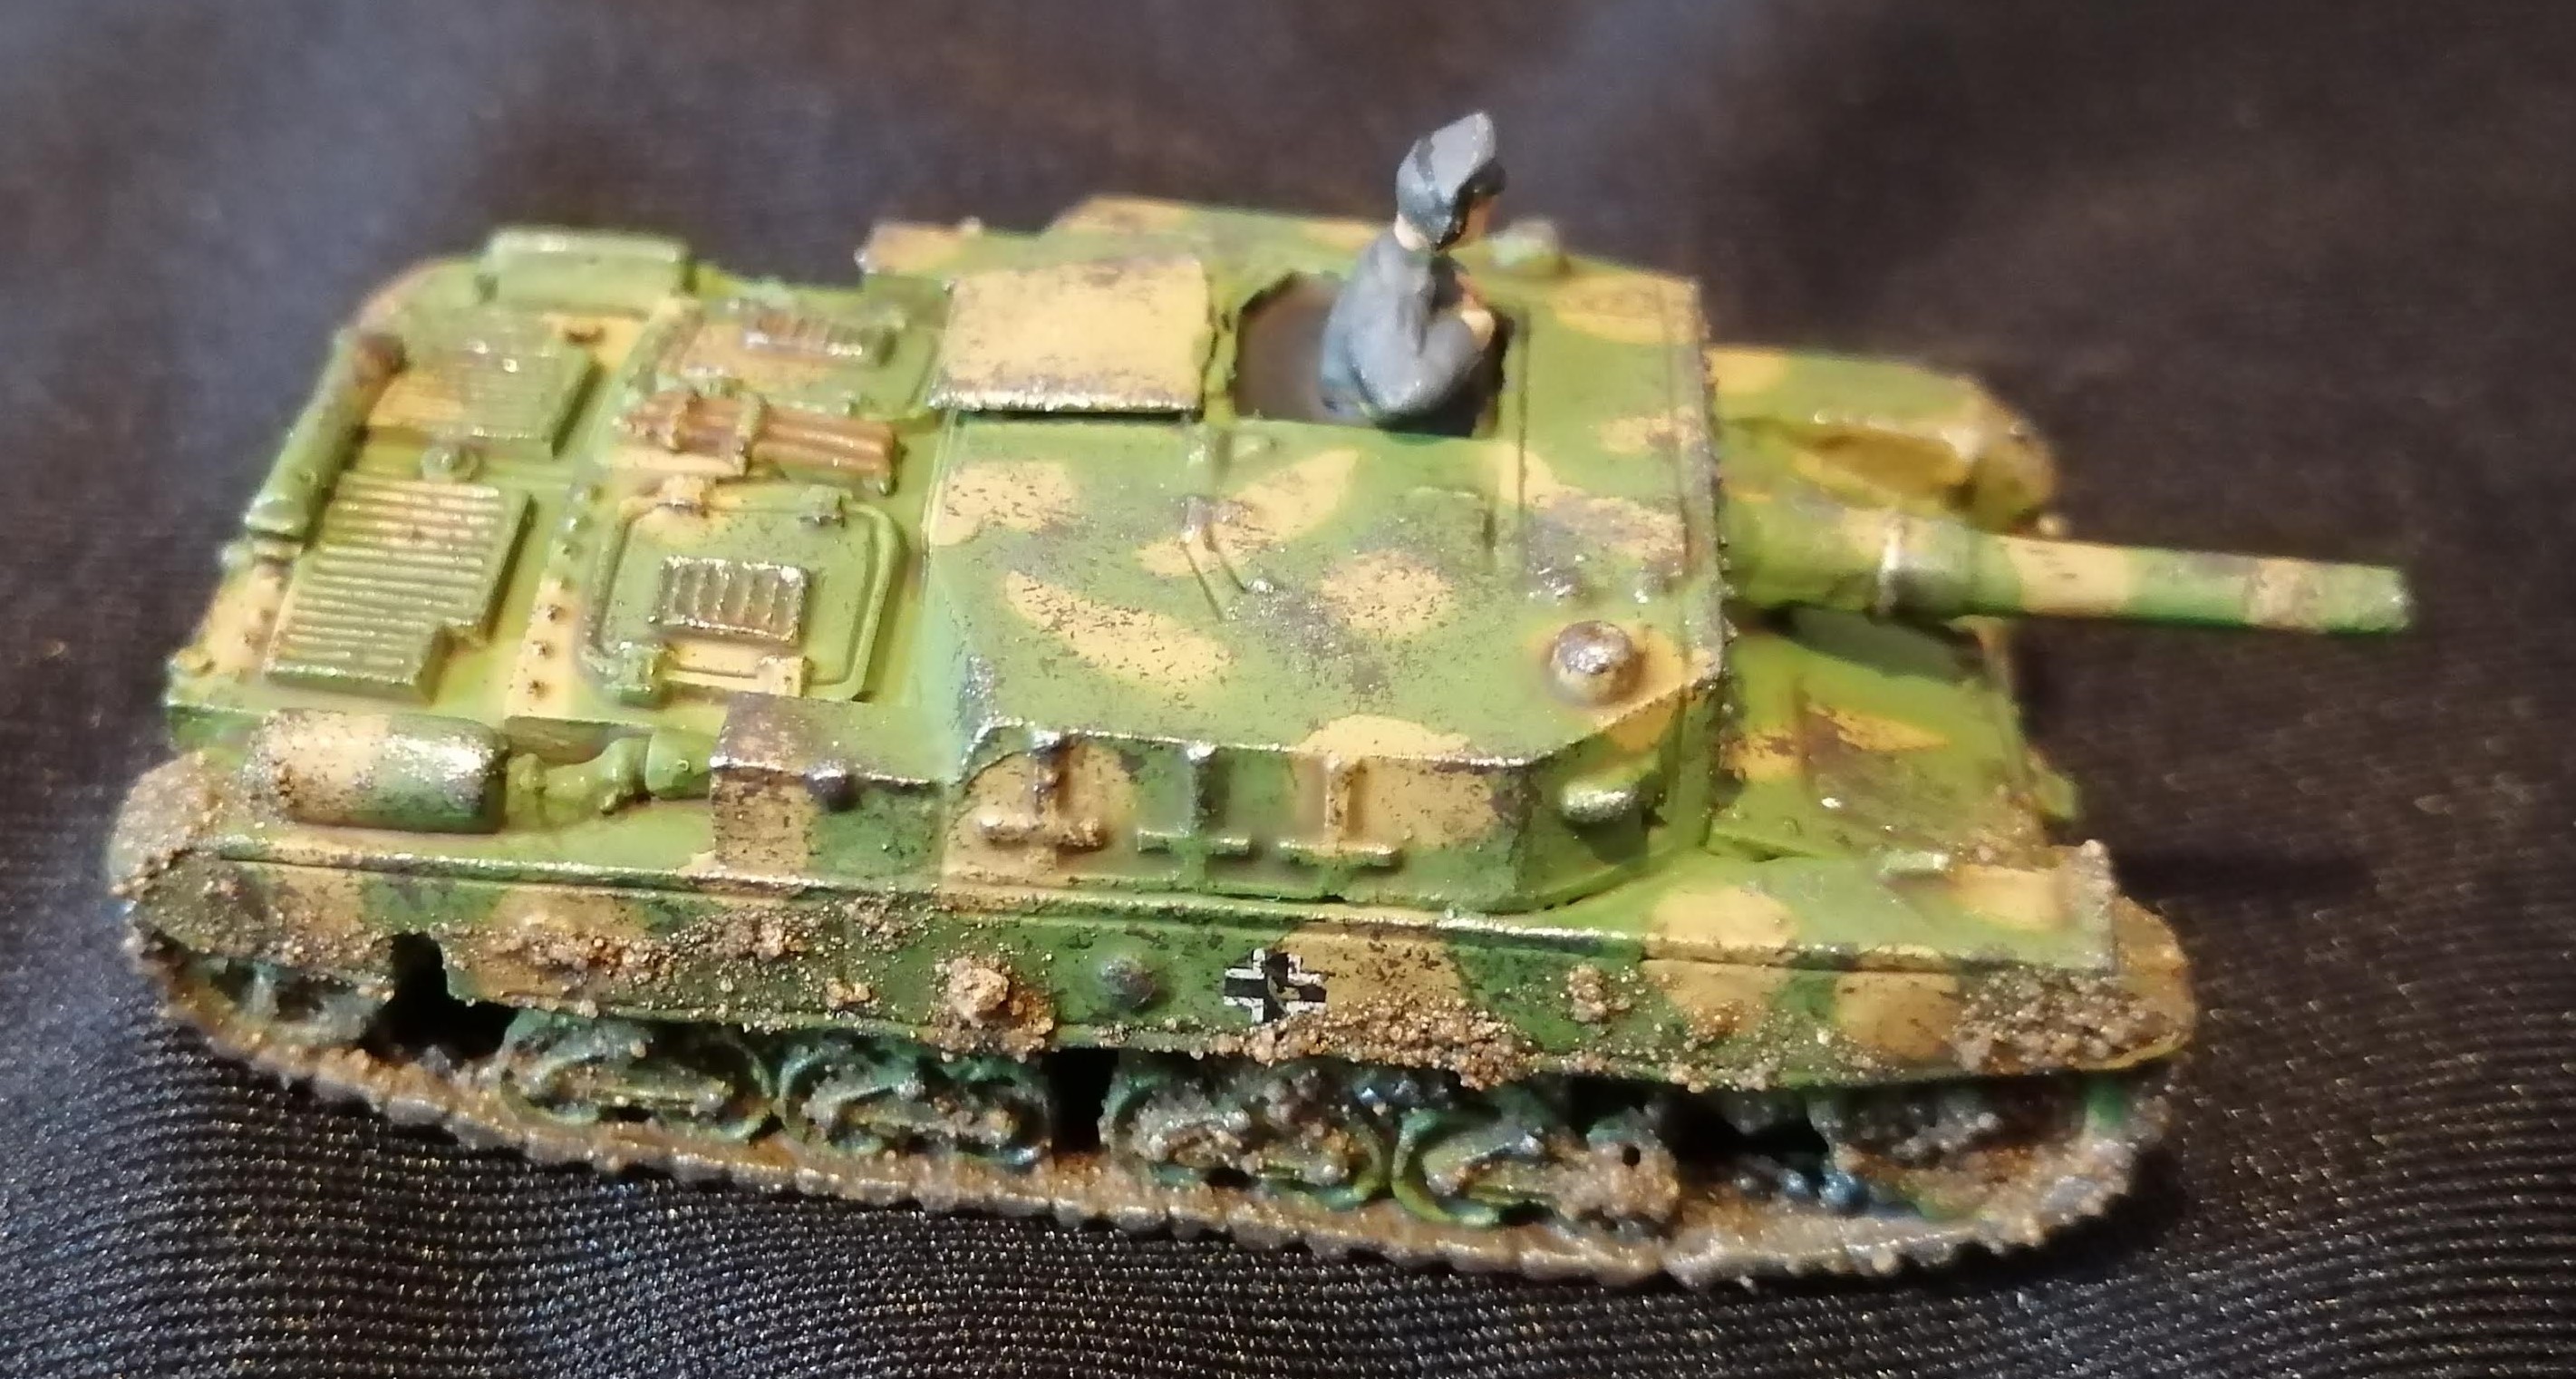
Allied Support
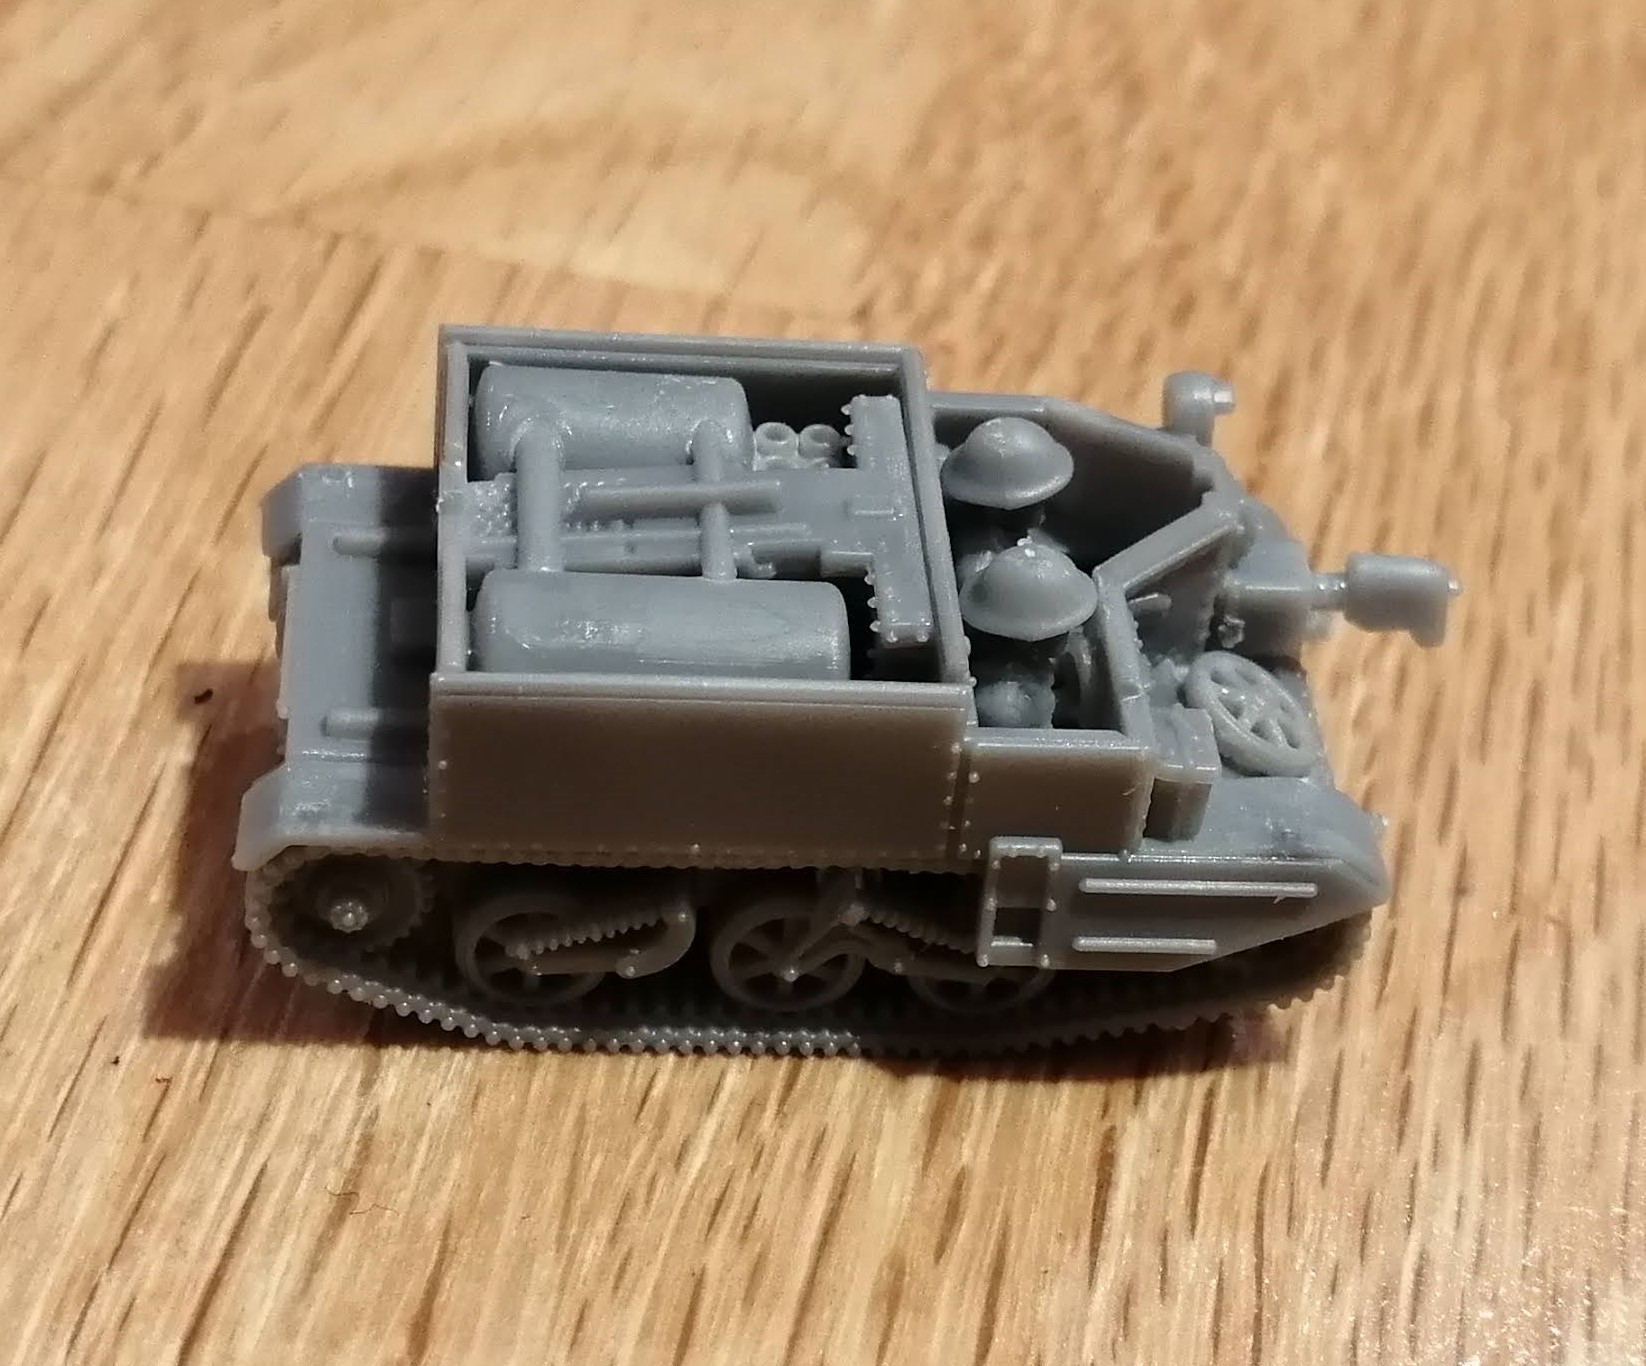
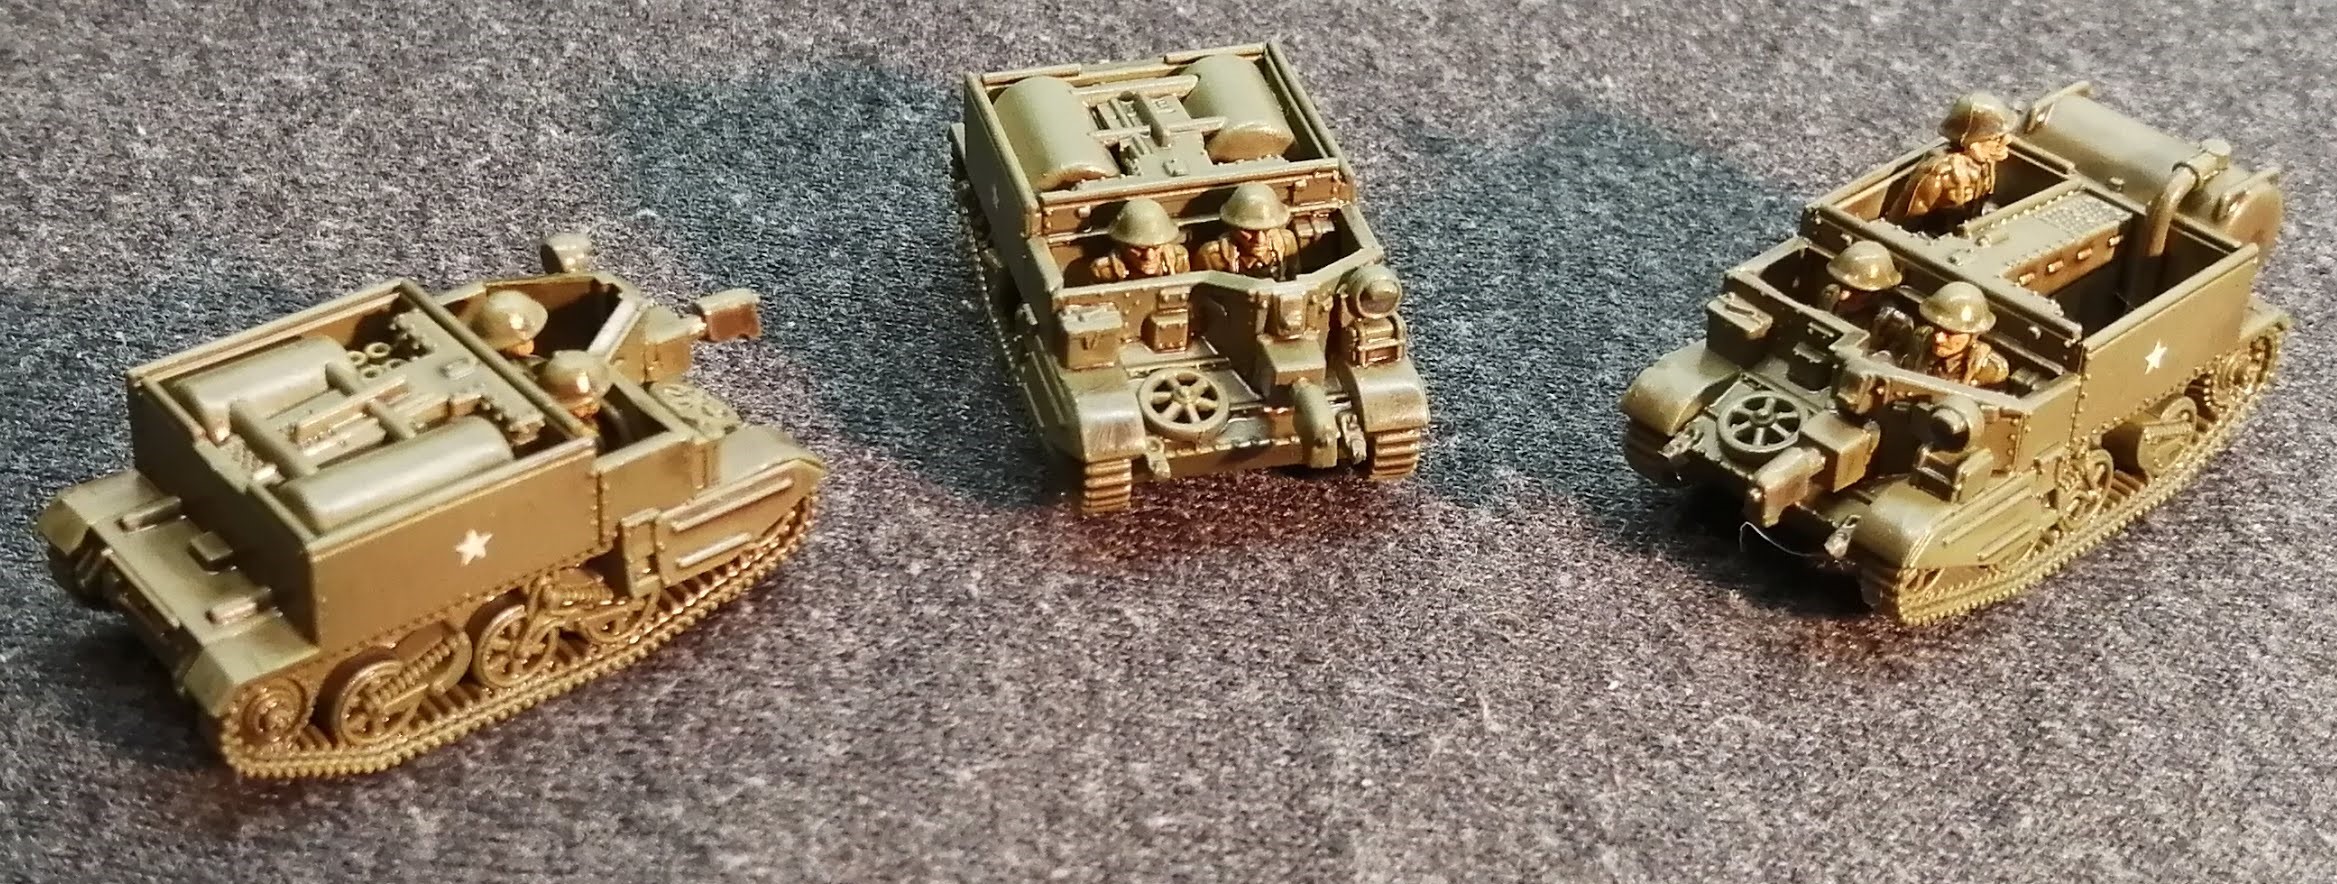
Rather than complete the Semovente M42 75/34’s, I thought I’d add some more to the Allied arsenal in the way of some support units. So I’ve put together 3 Wasp Flame Throwers and 5 15cwt trucks, one of which I’ve converted to a supply truck for the pioneer/engineer platoon I painted up earlier.
Here they are ready for painting.

Painting these is a lot easier than the German stuff, being largely just olive drab. Base coat of olive drab was applied with the airbrush. Once all of the other base colours were down, I’ve applied dip with a brush and then matt varnish.
I’ve kept the windows of the trucks simple and just used periscope from Panzer Aces.
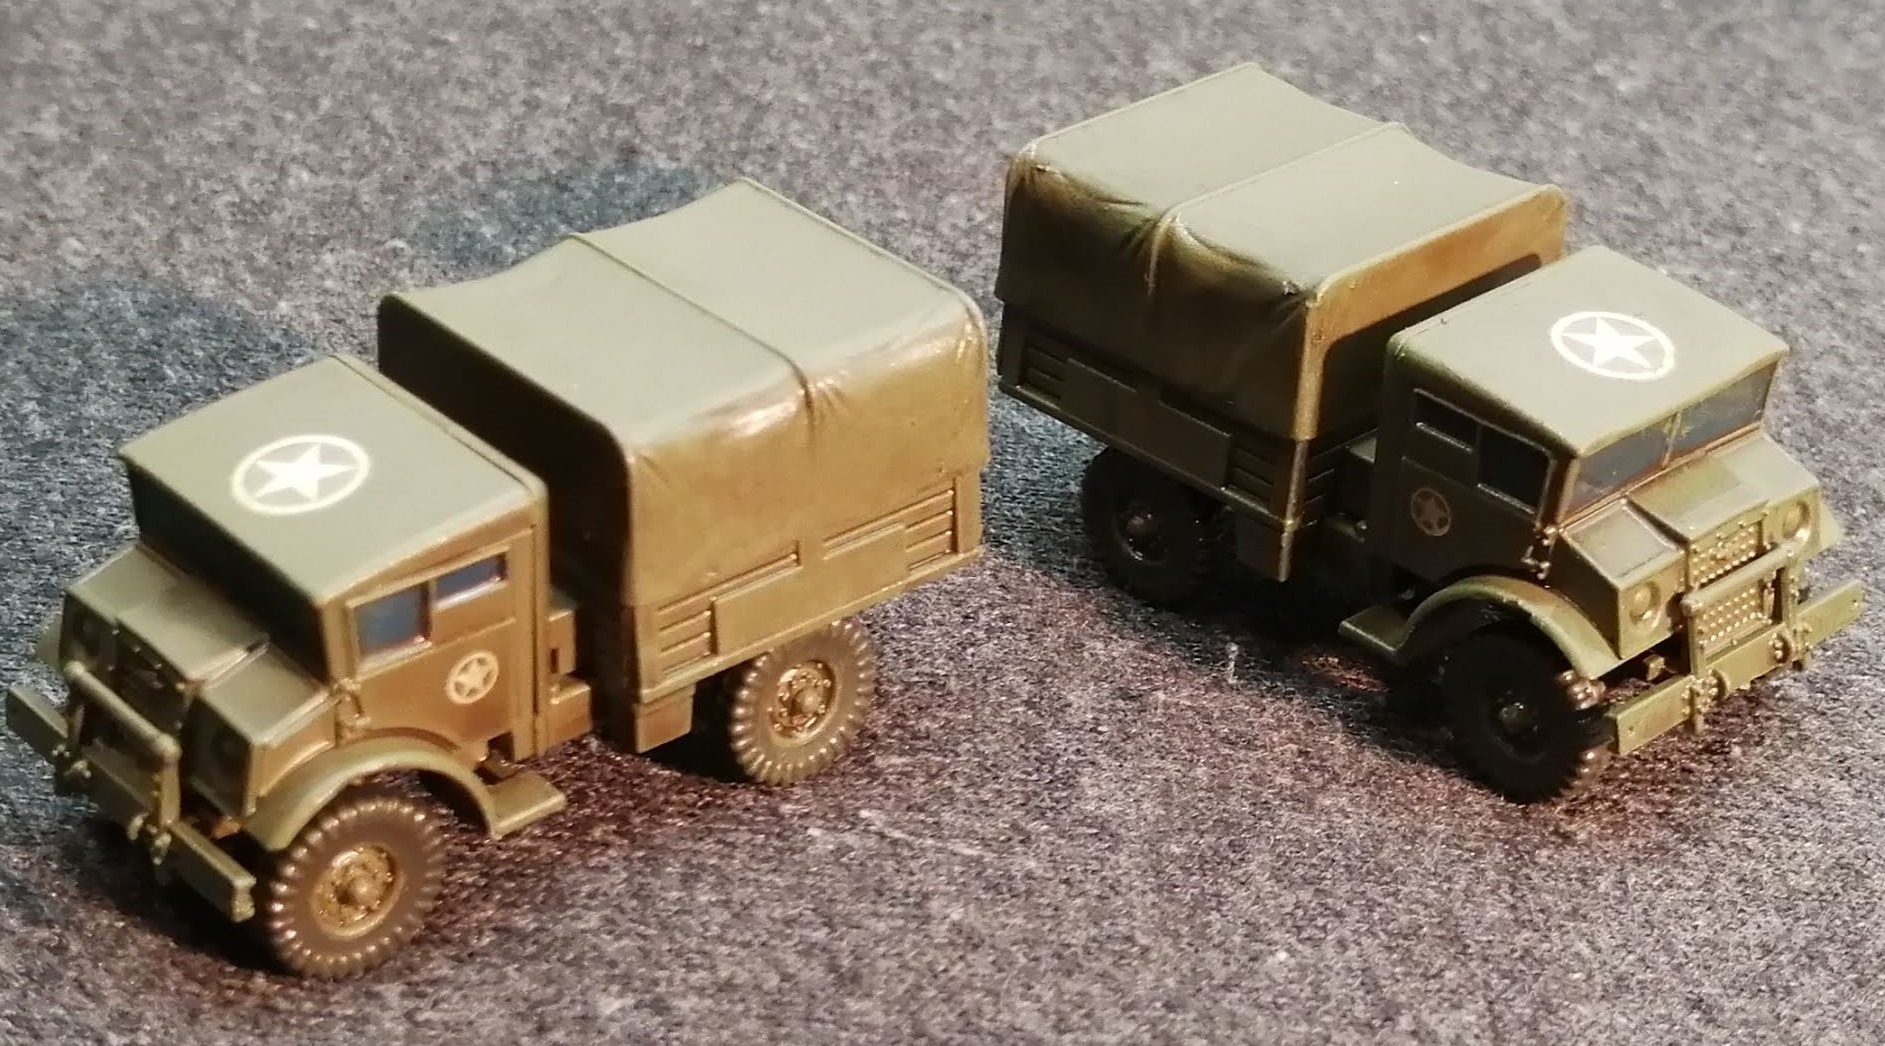
Chipping and mud was applied in the same way as described in this project before. And all done – fairly easy to knock out over a few evenings.
The Wasps came from the PSC box of 9 Universal Carriers, so I still have 6 left to build. But I probably need to get the Semovente finished first, I don’t like having too many unfinished projects lying around.


Completing the Semoventes
I’ve had a lot on recently and not been able to get anywhere near as much completed as I wanted – I’m behind schedule!
To finish off the Semoventes, I’ve given them a matt varnish and then dry brushed the tracks up with a metal highlight. I’ve also gone back in to pick out the tools to give them a little more definition.
I’ve then gone straight in with the chipping – small bit of sponge with a dark grey paint followed by a metal layer, again applied with the sponge, along the edges.

Once dry, I’ve mixed up some of my Mid Sussex finest mud with PVA to apply the mud splatters. This goes along the tracks and wherever I think mud might end up. Once dry, I’ve given everything a final matt varnish.

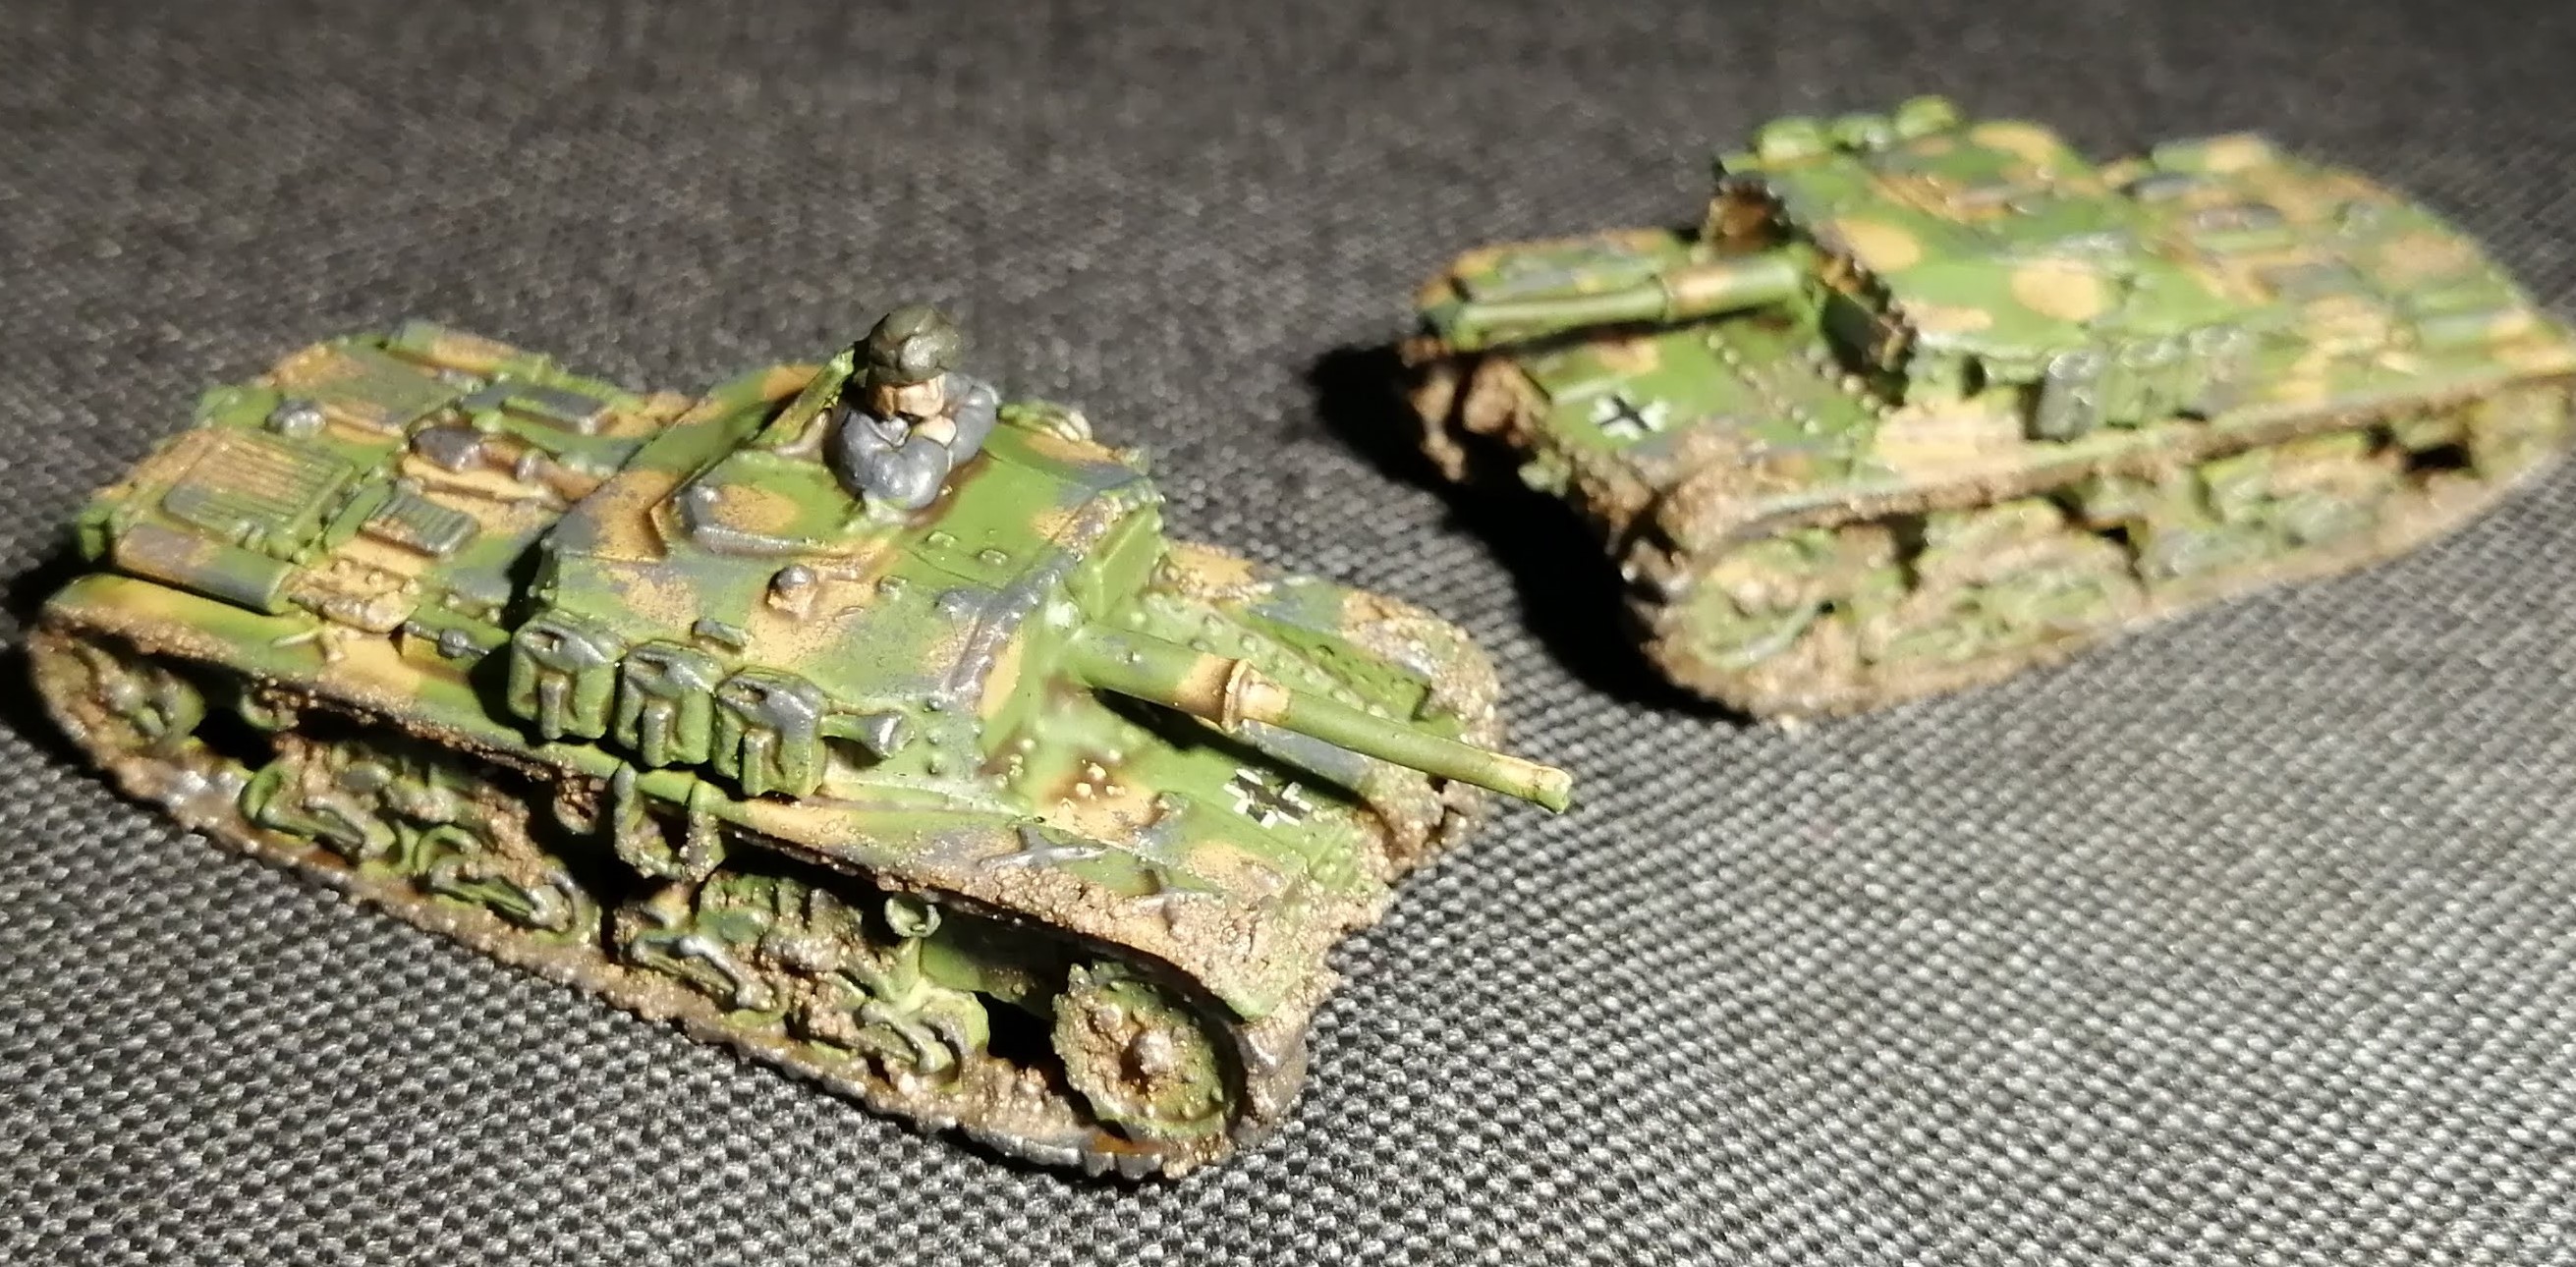

I’ve also found out that there were a number of Semovente M42 75/34’s serving with the Herman Goring Panzer Division so I need to get these painted up in the same way. I’ve given them their base cammo pattern so they are now ready for some base colours (uniforms, tools and tracks) before the dip.
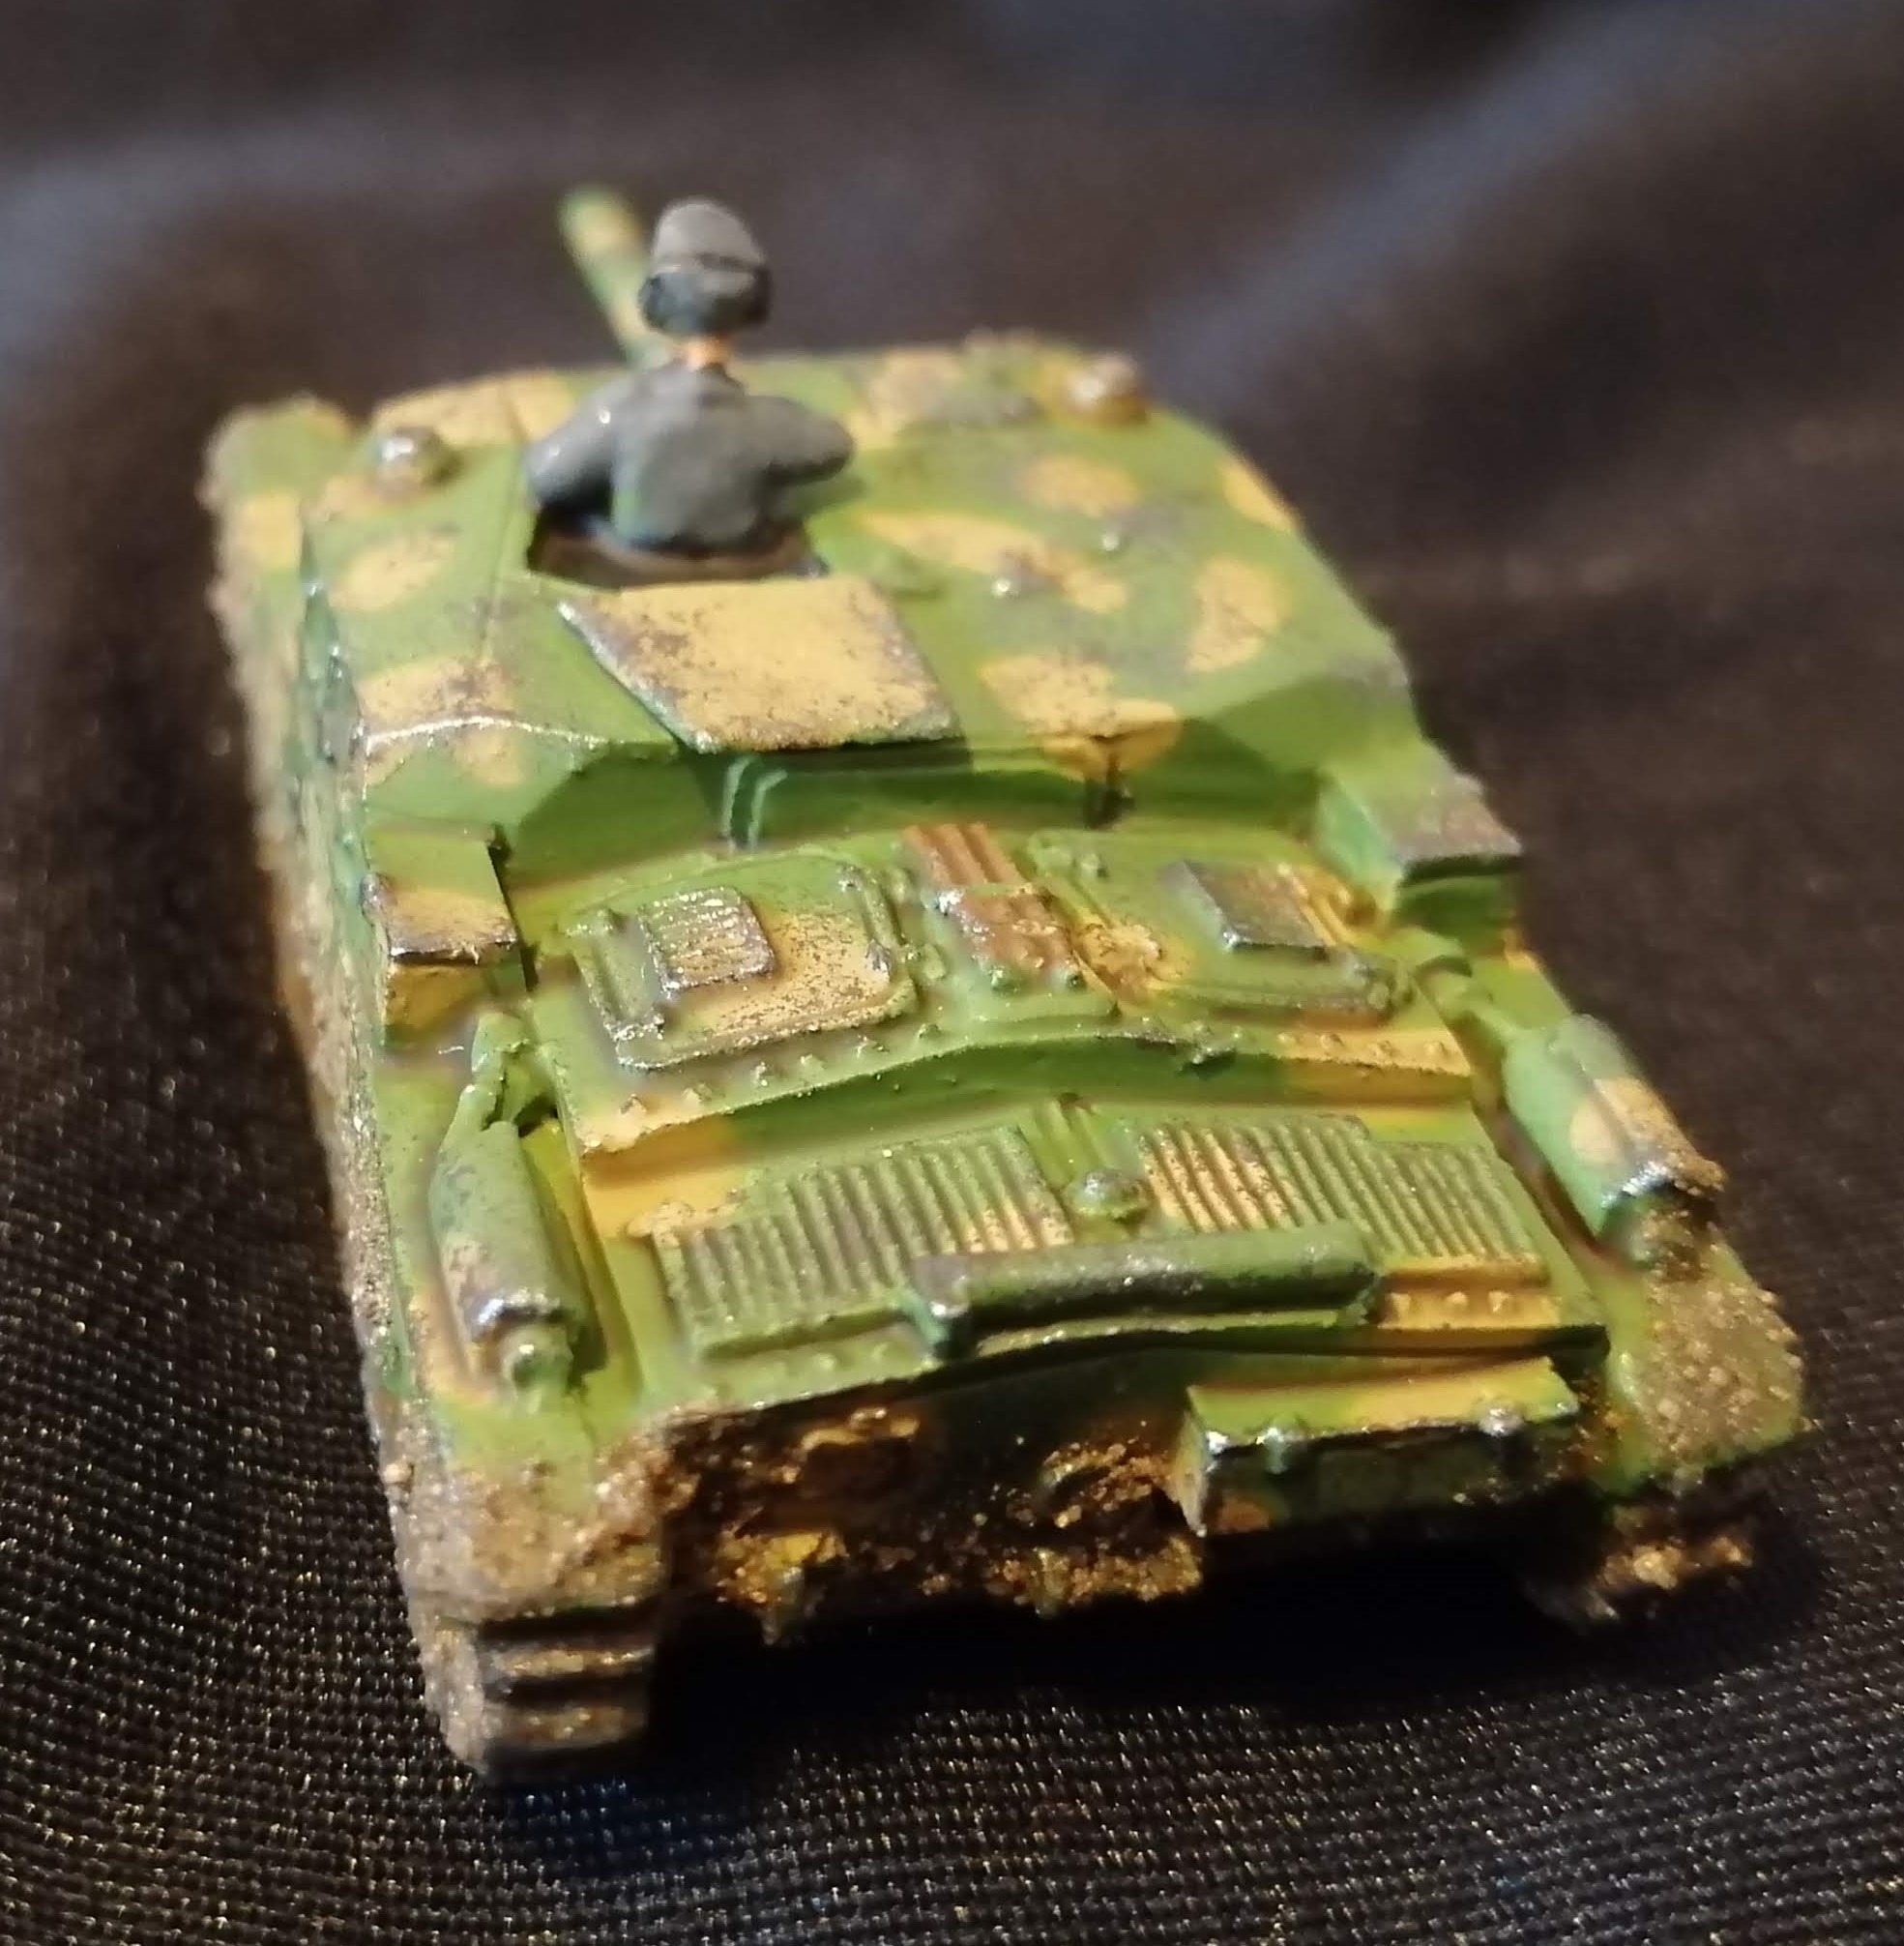
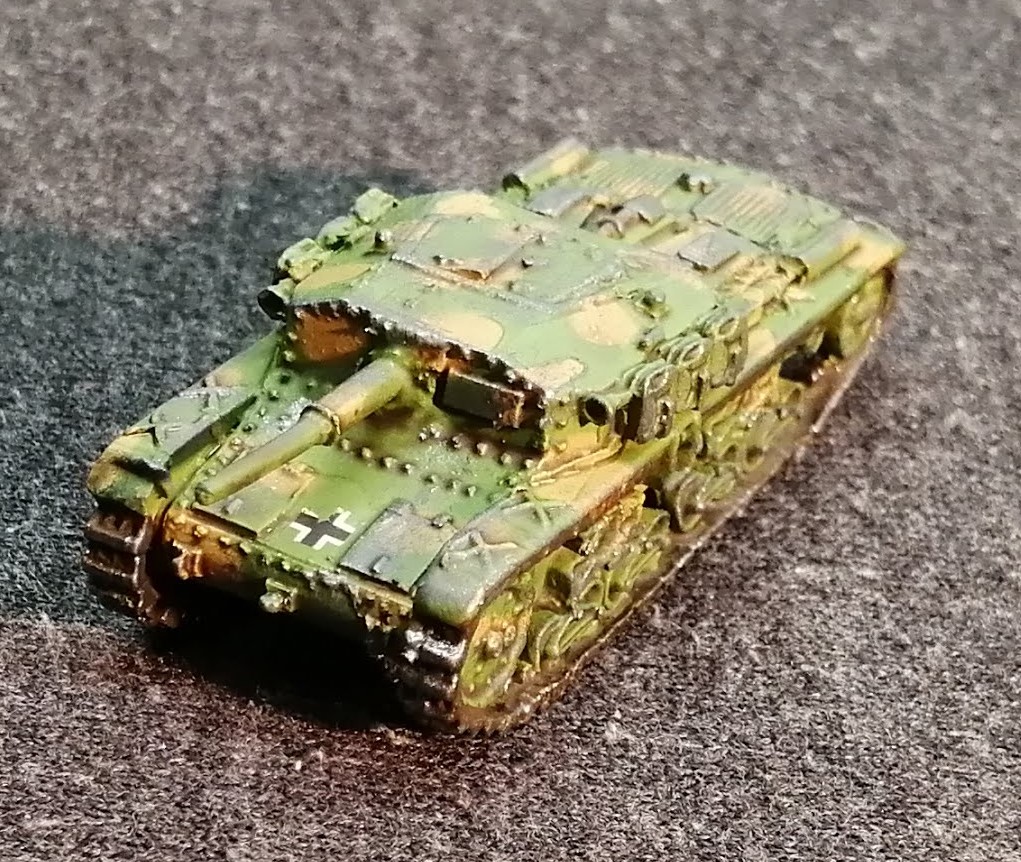
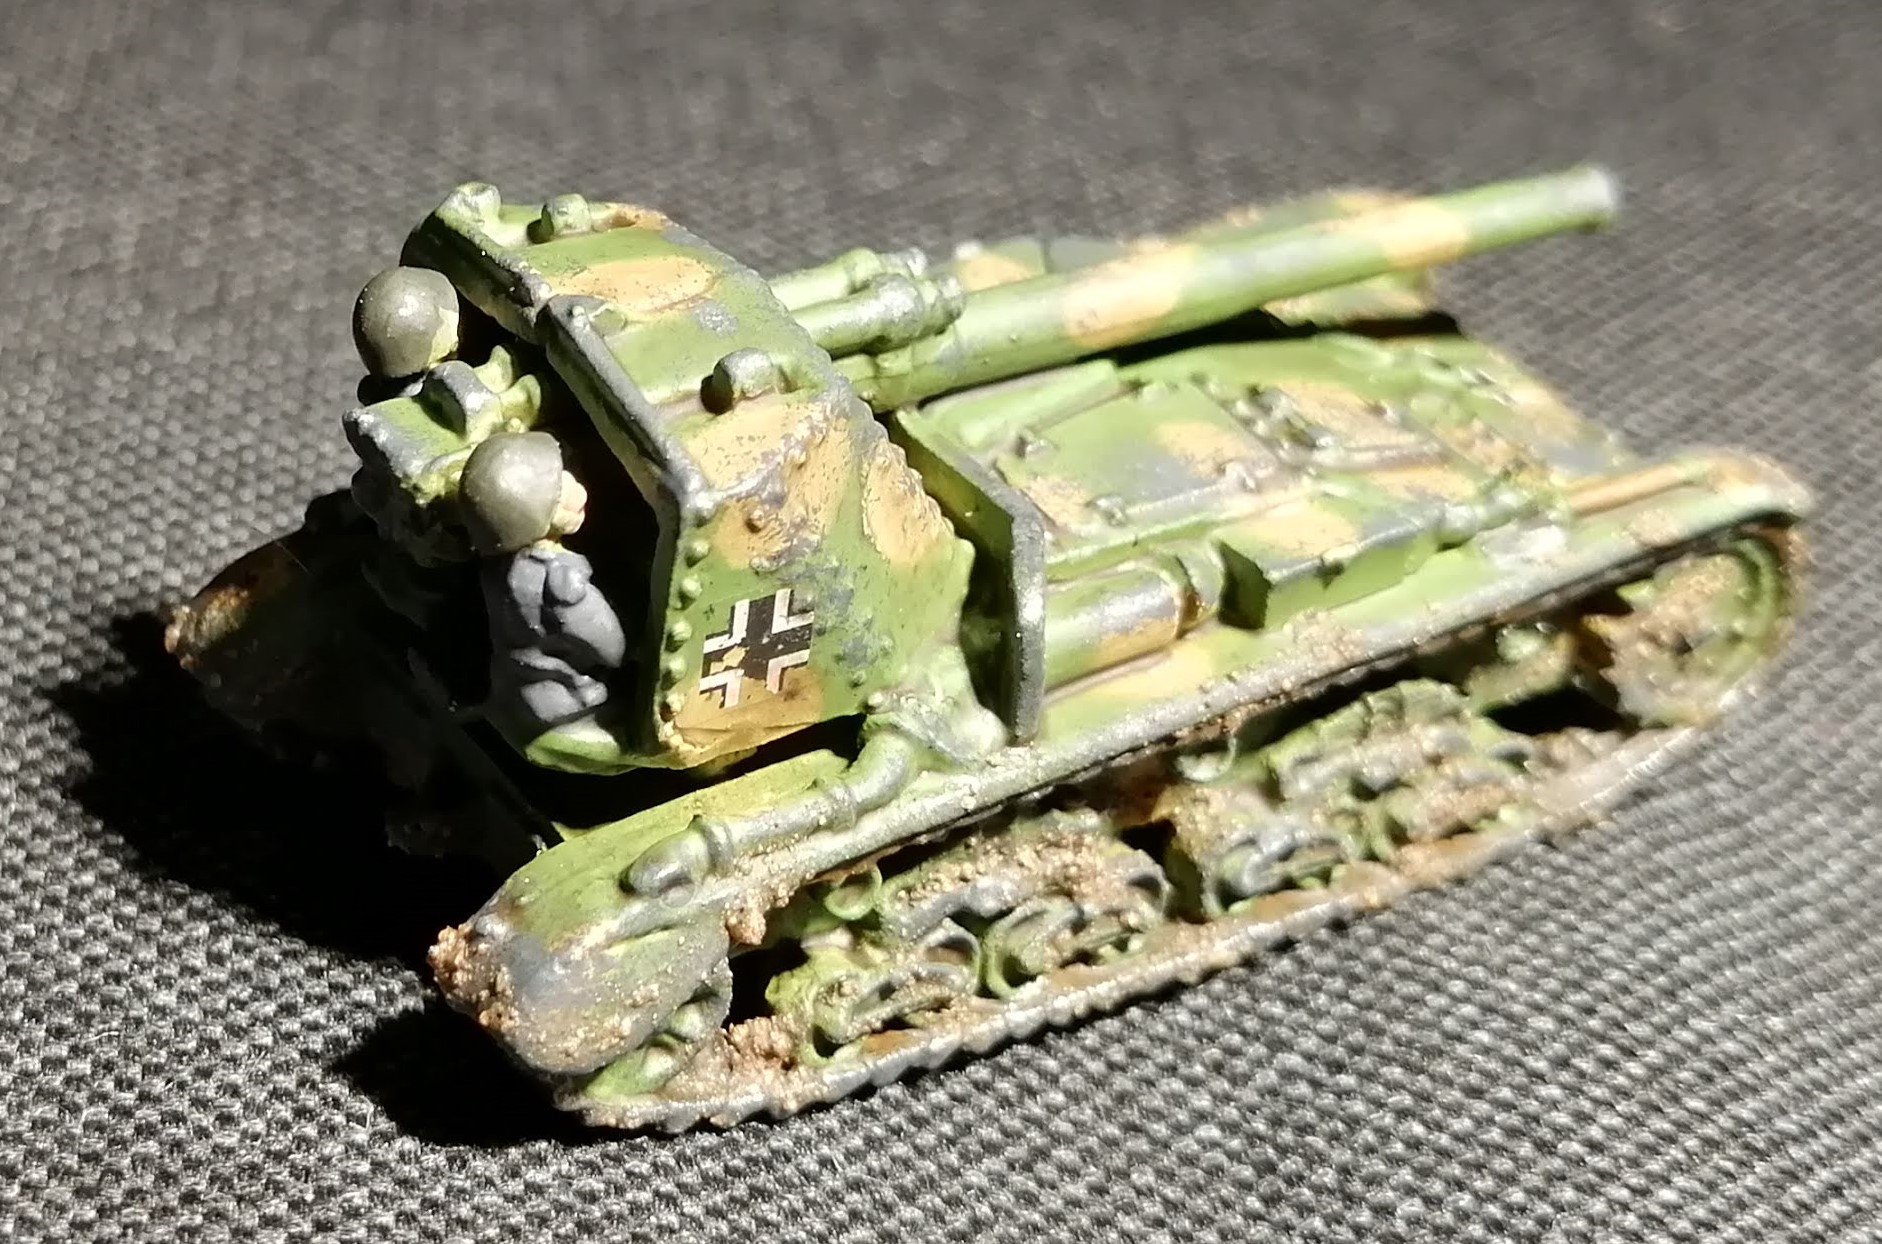
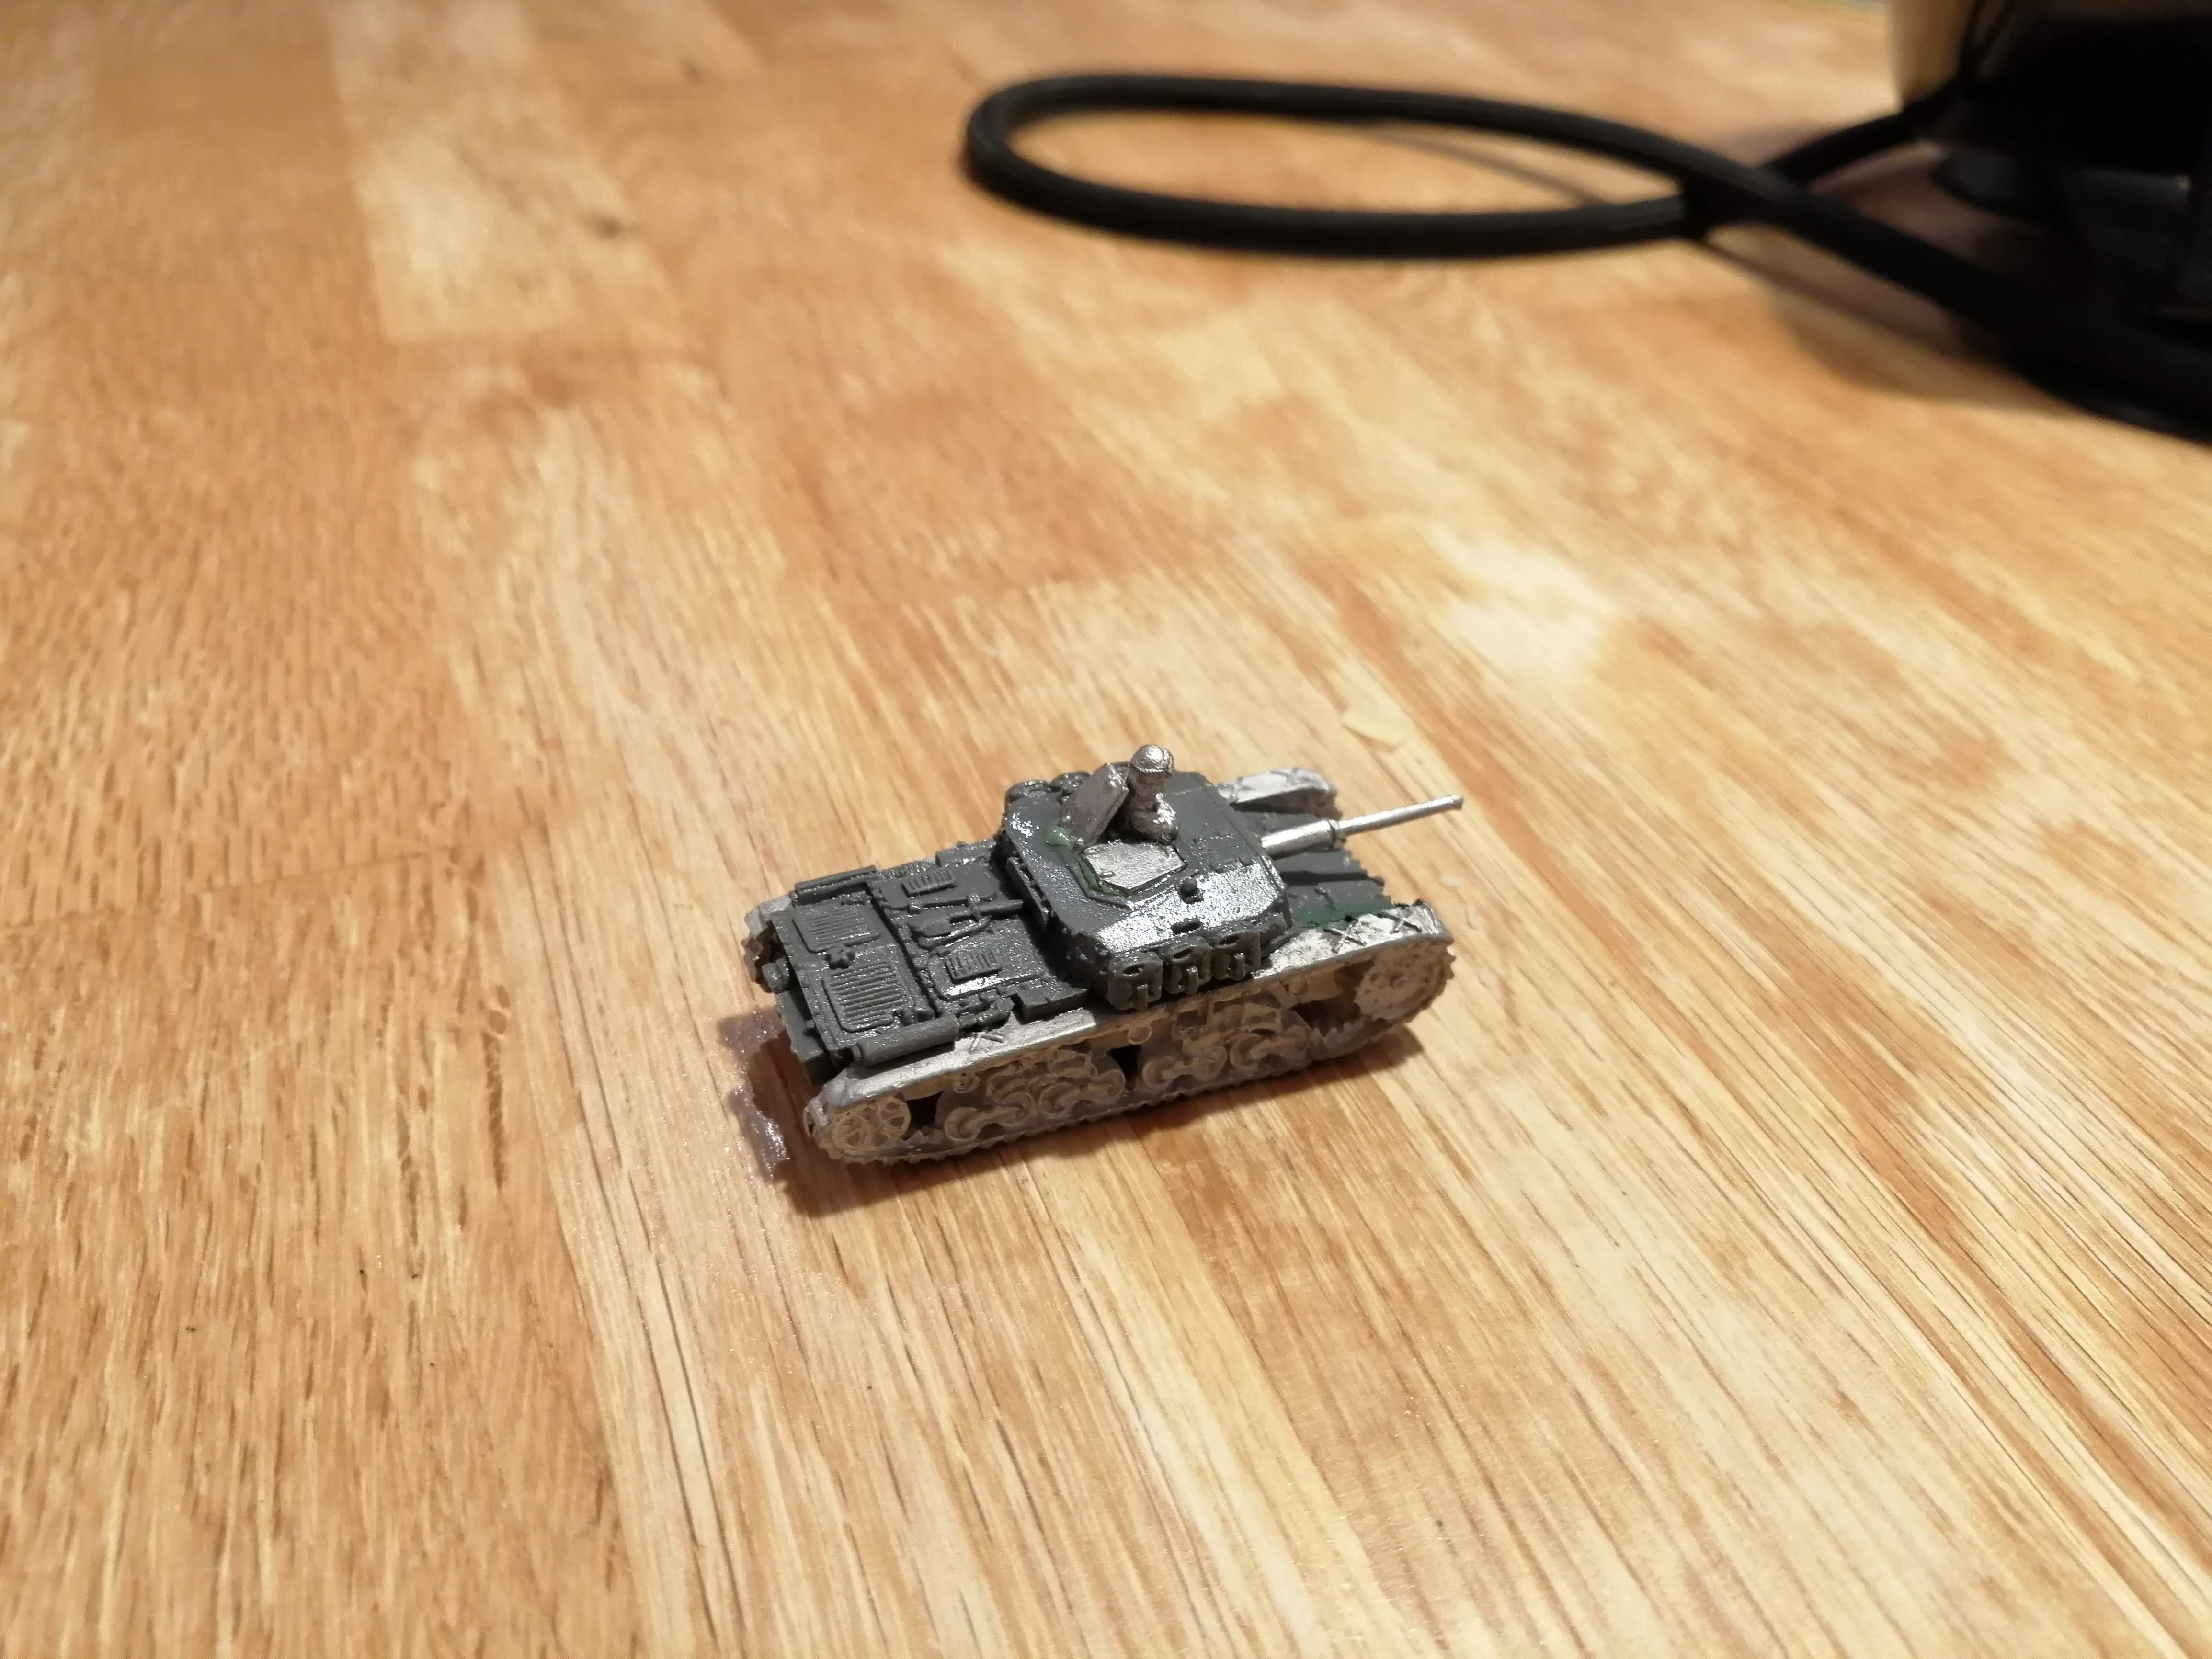
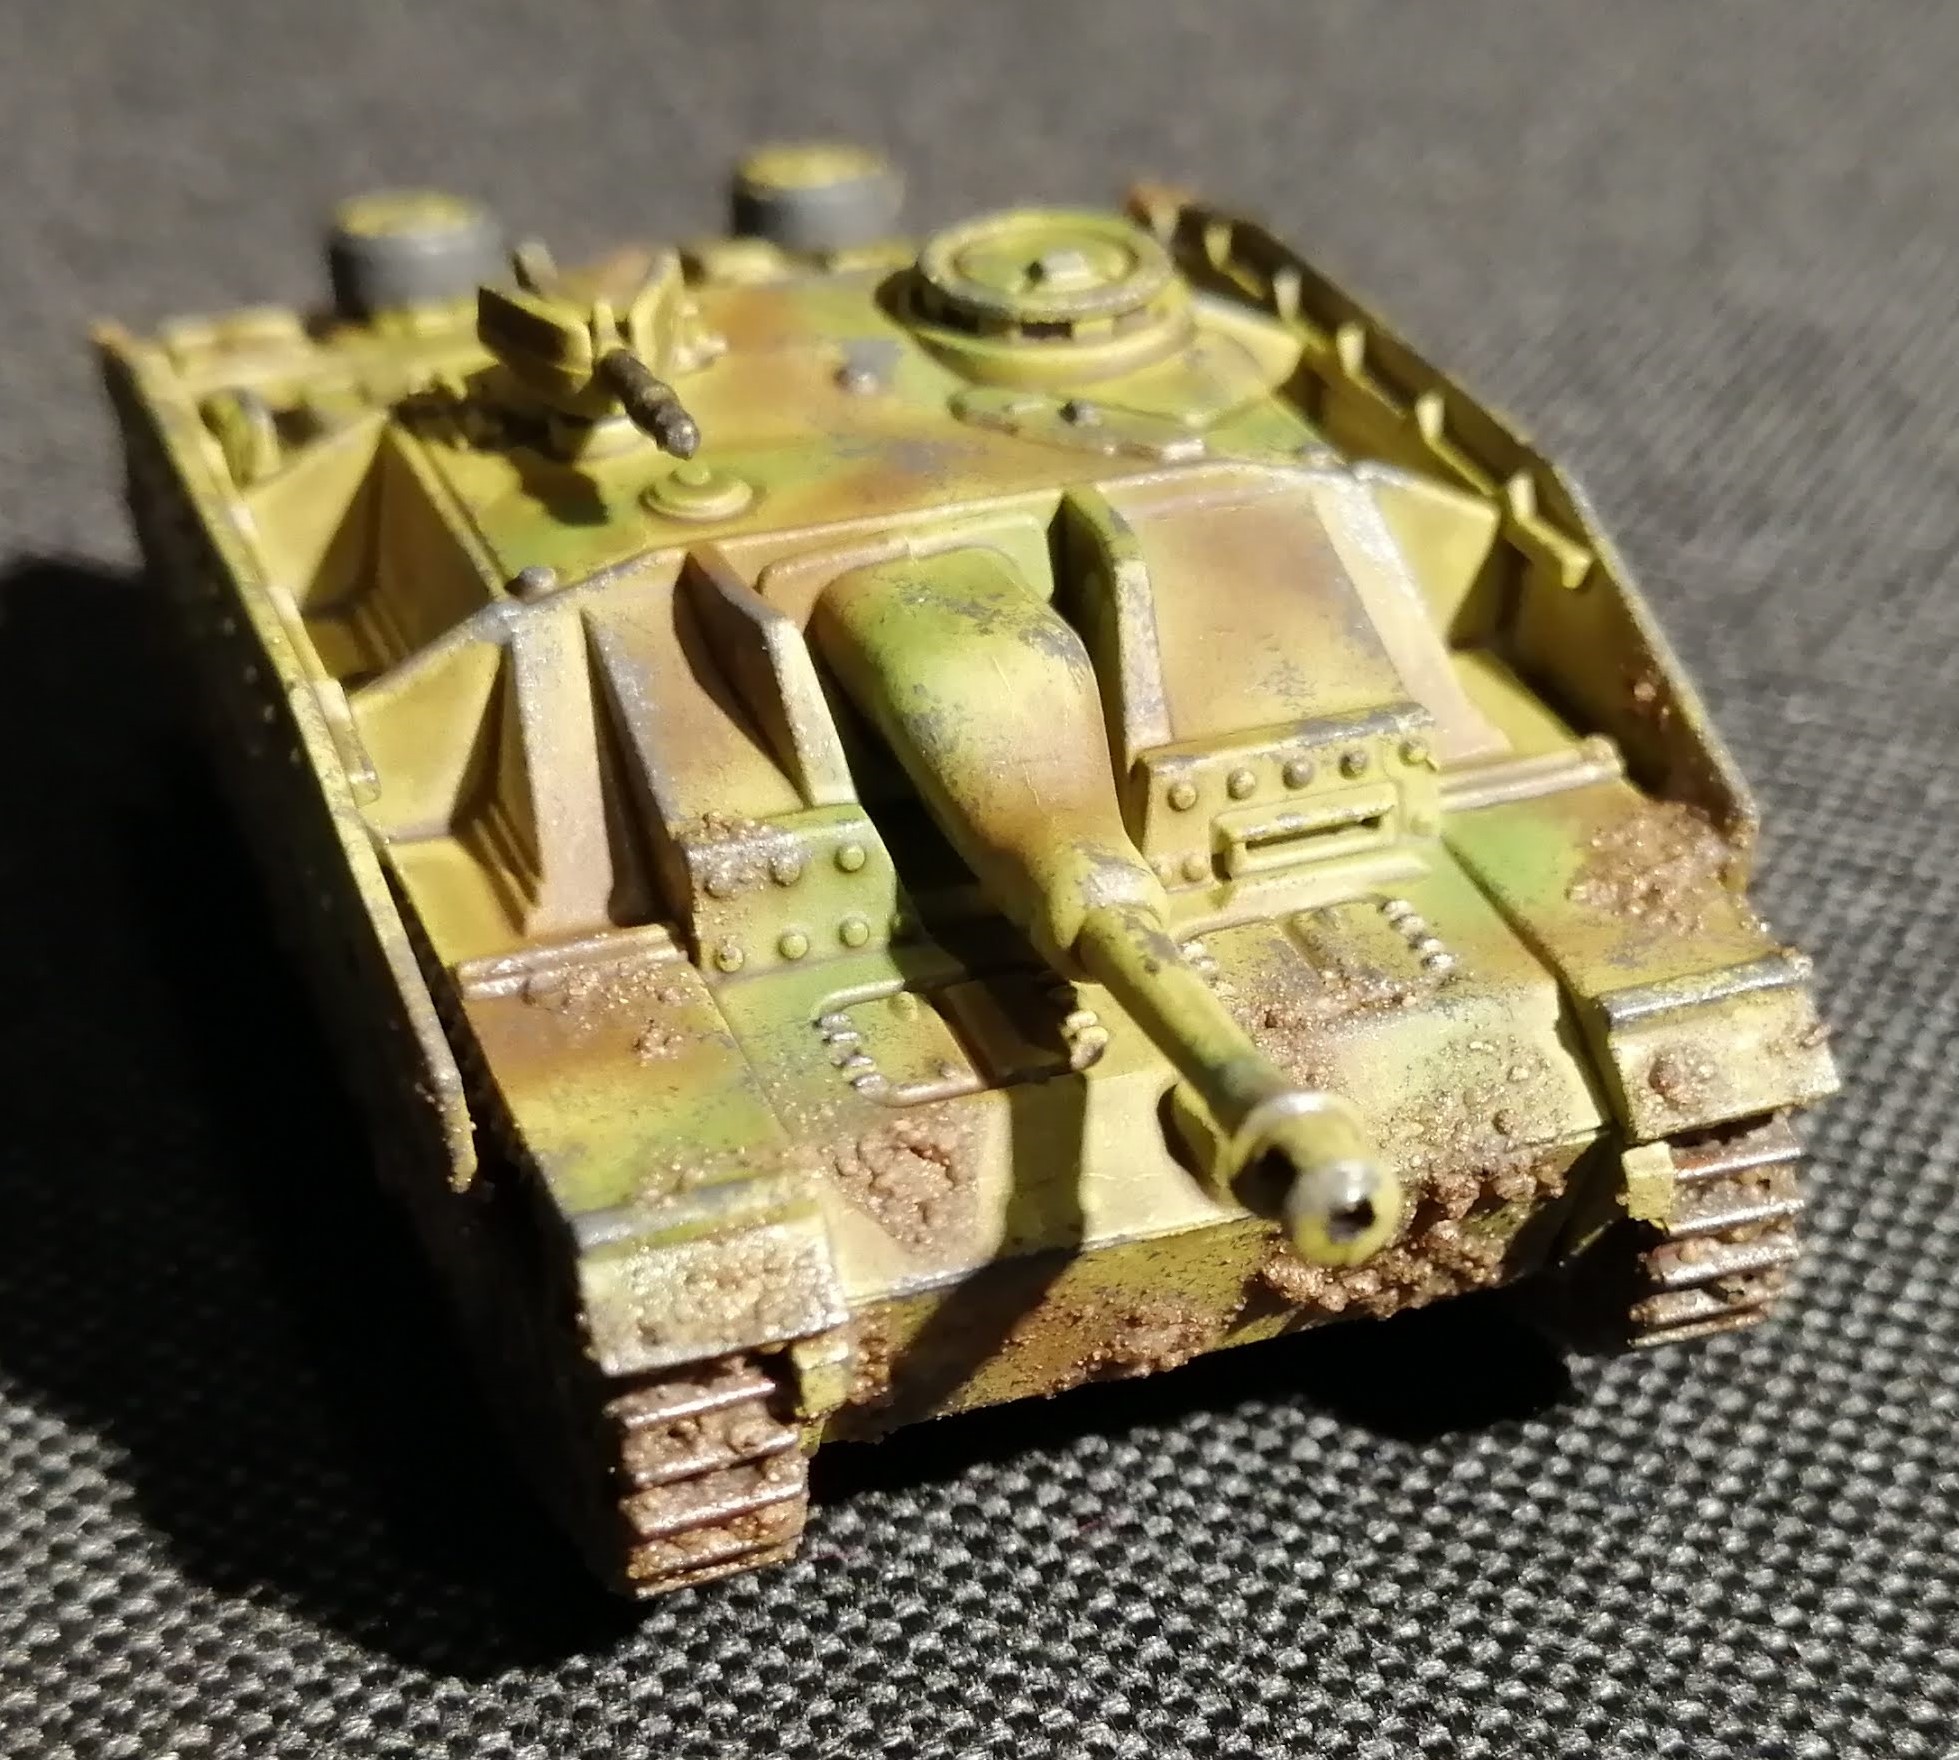
Semovente
Following the surrender of Italy, the Germans were left on their own to fight the Allies, effectively occupying Italy whilst fighting a defensive war. To supplement their forces, they took whatever equipment they could find. In the case of the 26th PanzerRegiment, this included a number of Semovente assault guns purloined from the Italian Ariete Division. They were designated StuG M42 and M43.
The Germans found these tanks to be quite effective against the Allied armour and they served within 10th Kompanie alongside a number of Flammpanzer III. During the Italian campaign, these assault guns fought mainly around the Anzio beach head however a single Semovente 90/53 tank hunter served in the battles around Orsogna before disappearing from the records.
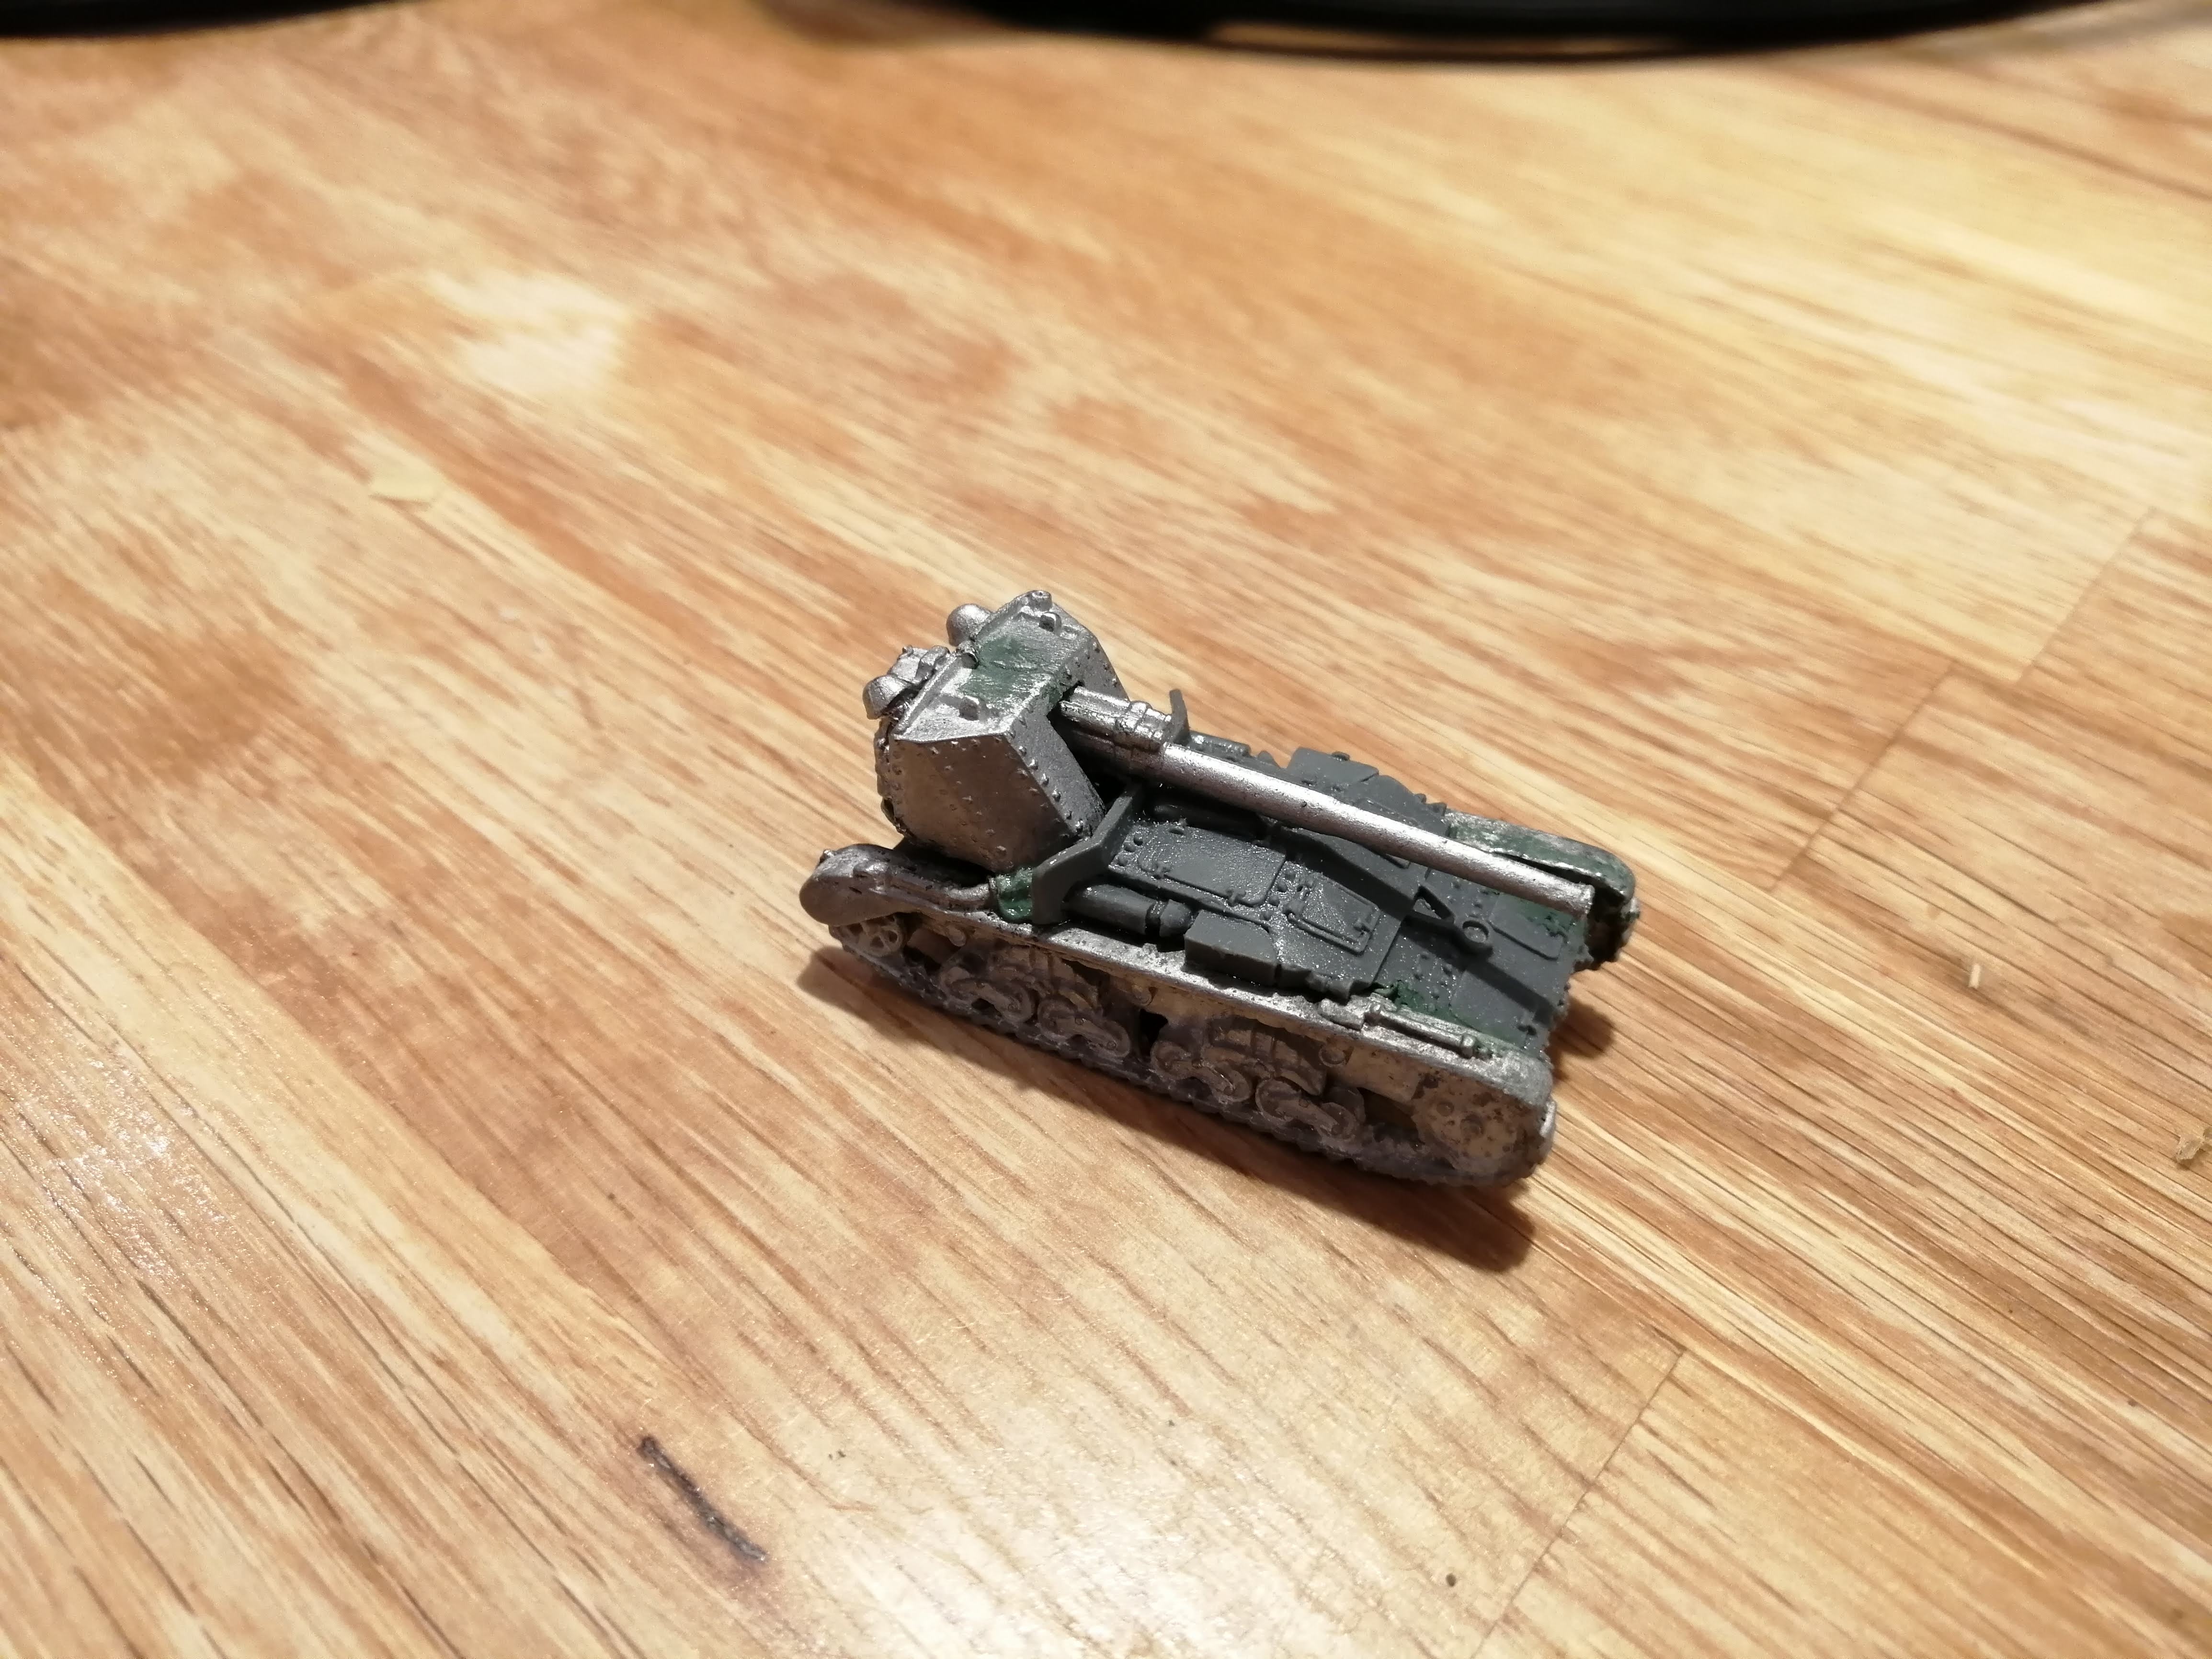
It would be fun to have a few of these to mess around with but I’d like to put them in some Italian cammo patterns to give them a different look. So I found the below picture of a Semovente that I will try and replicate
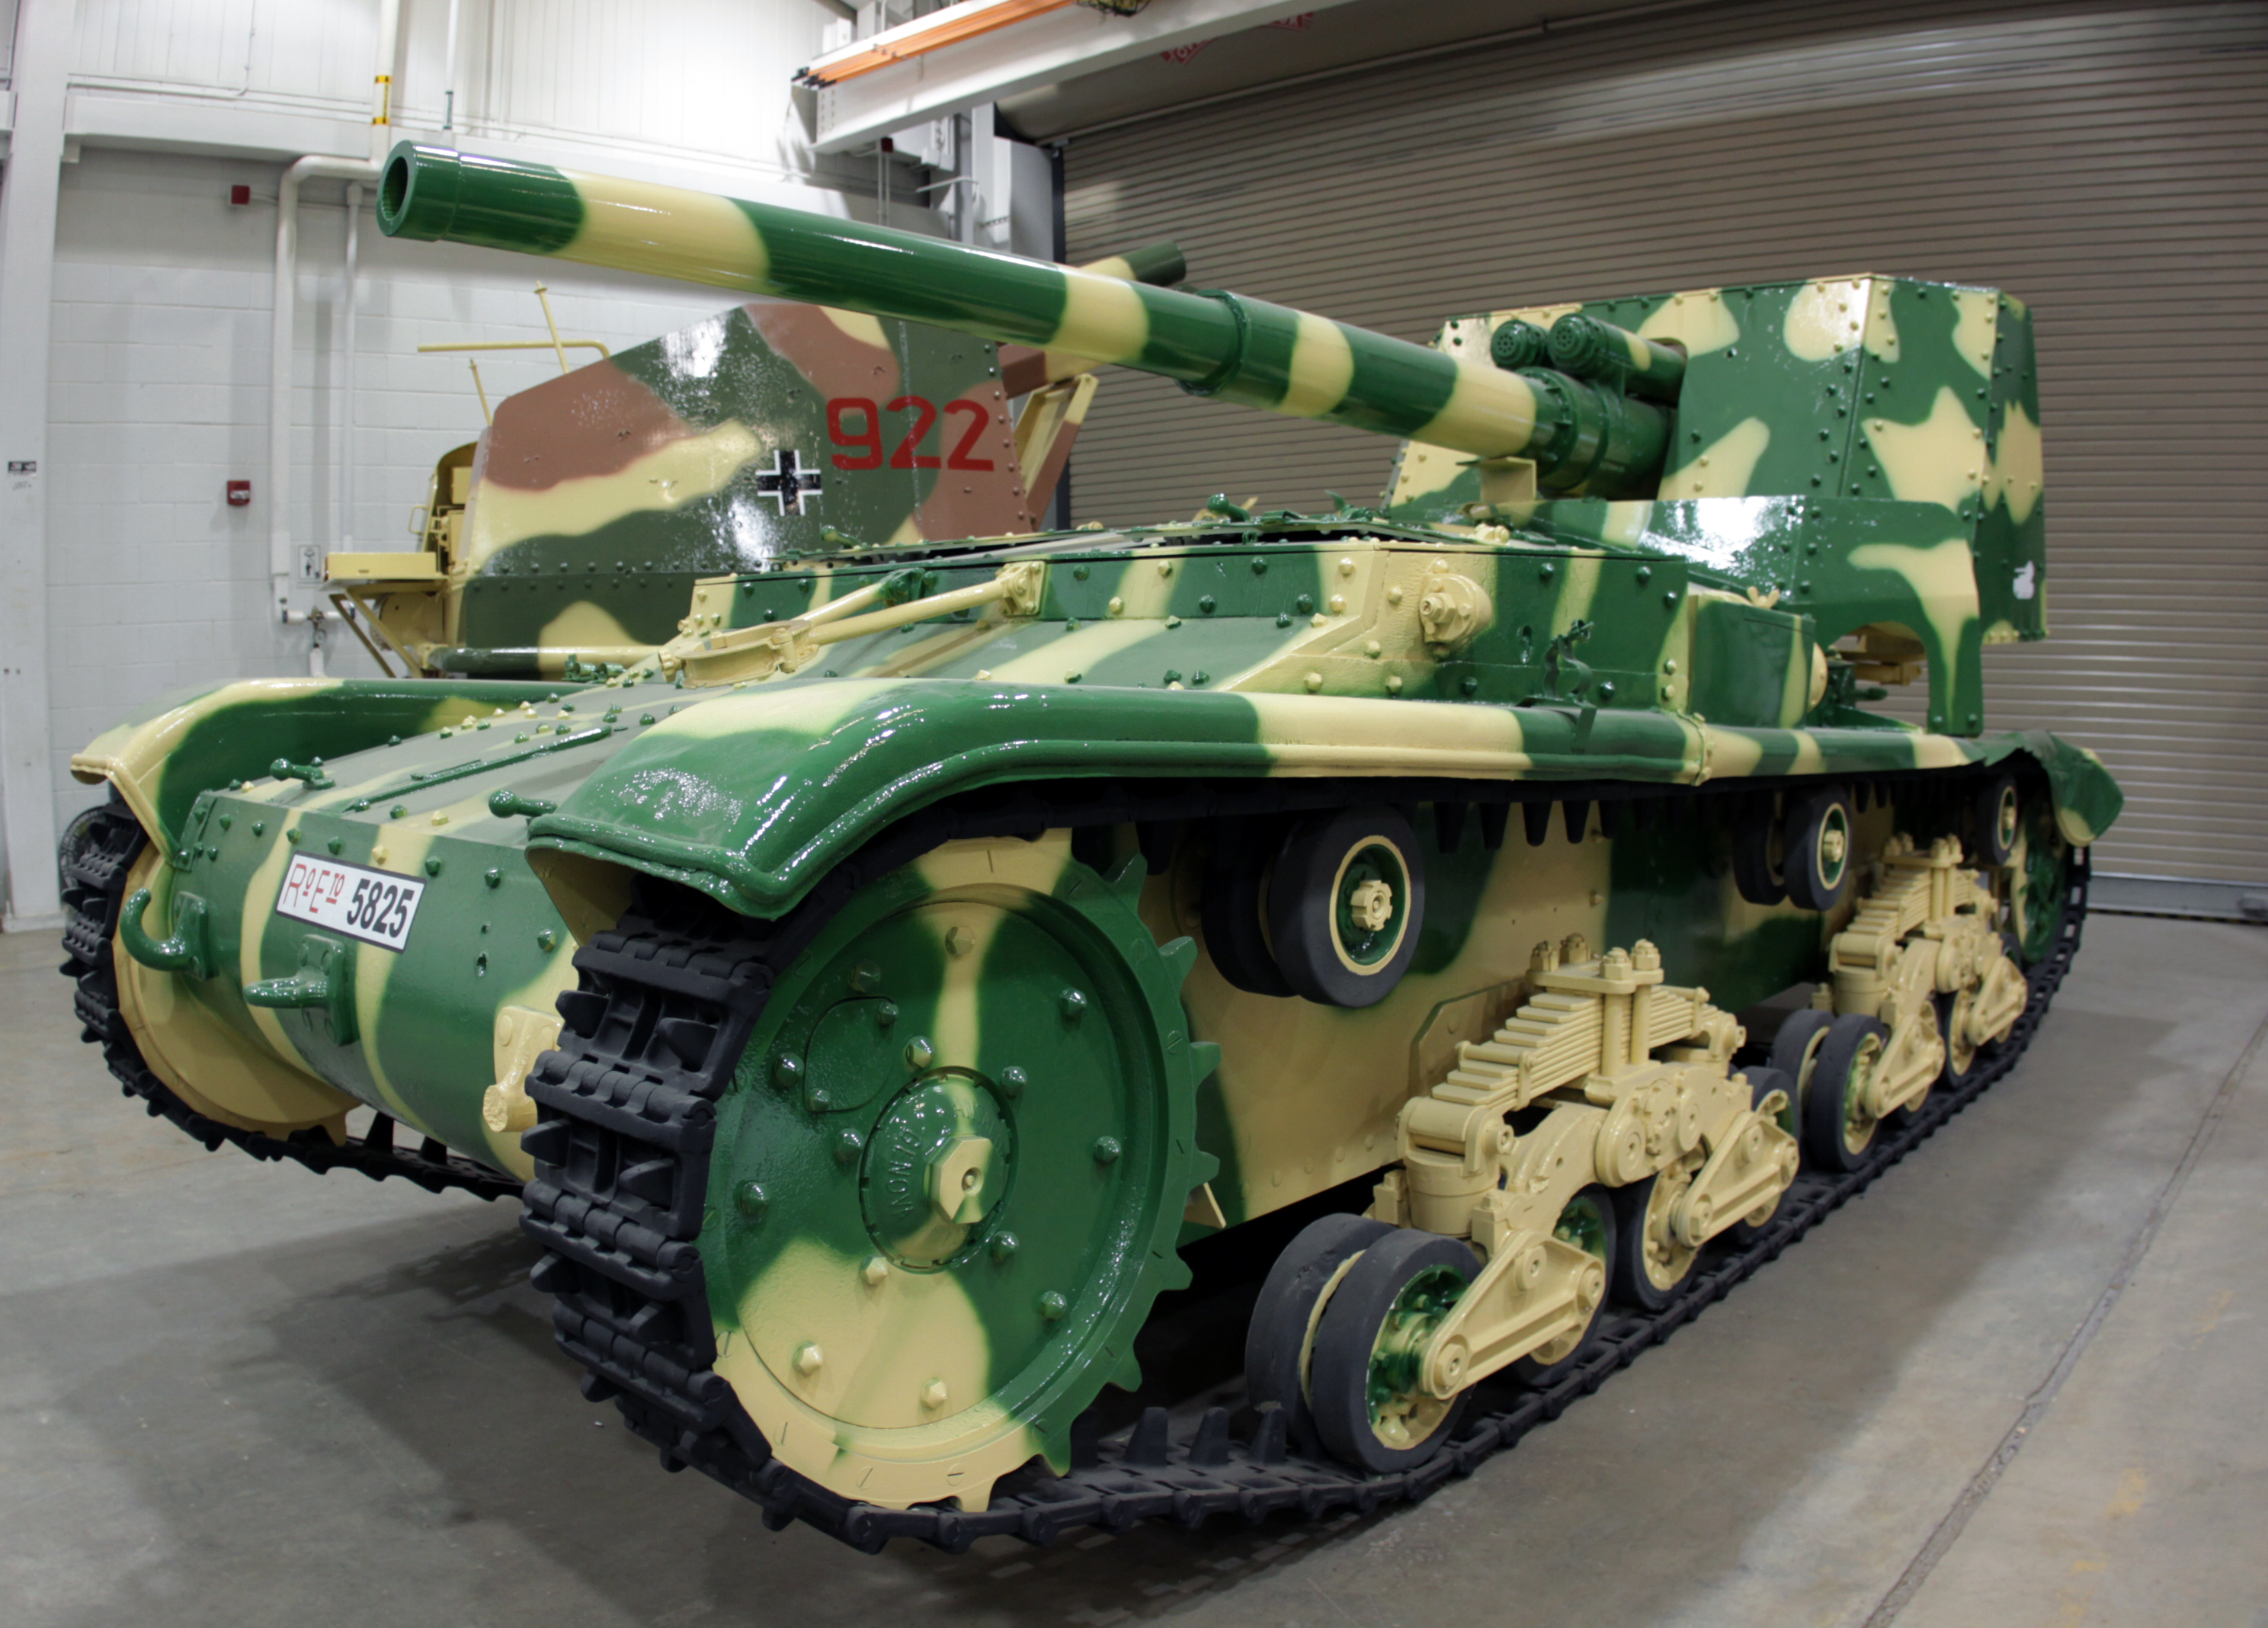 A Semovente 90/53
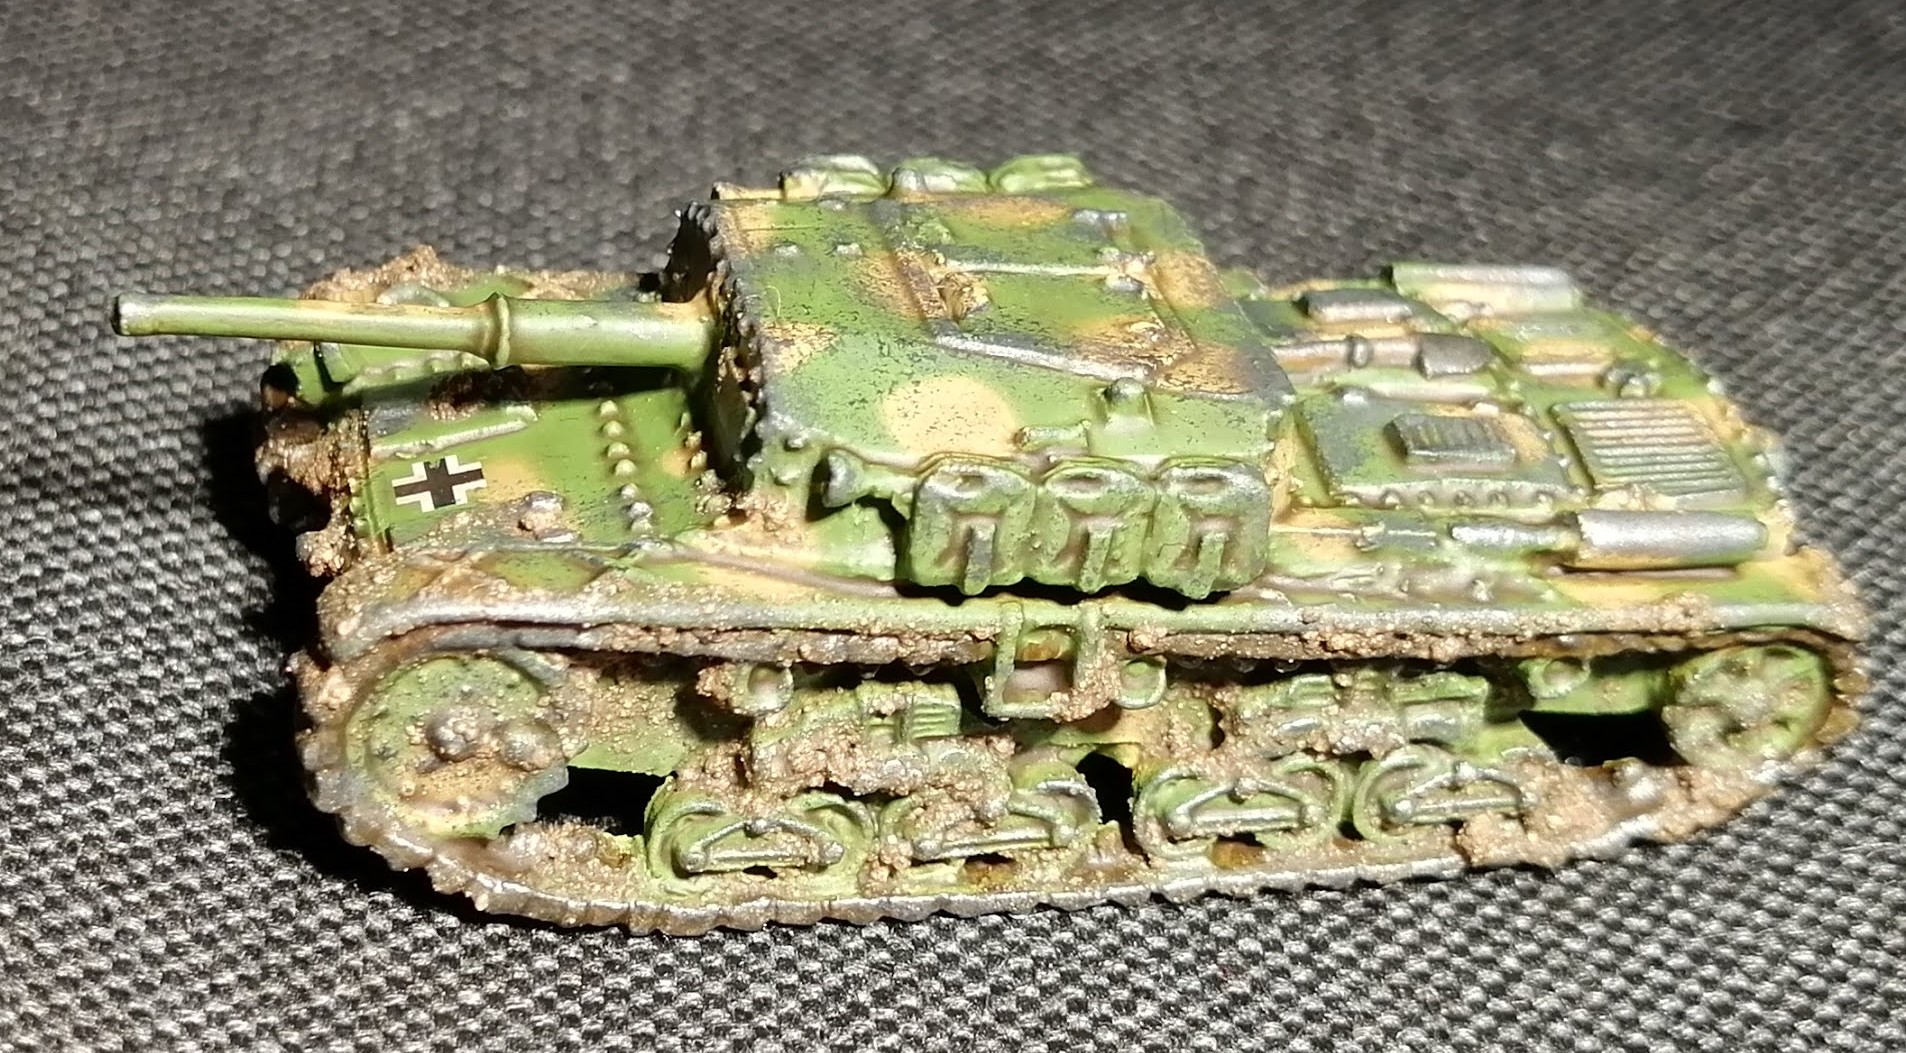
Once again, the kits are resin and metal – not my favourite. So I’ve used green stuff to help join the metal to resin (with super glue) as this adds to the surface contact area.
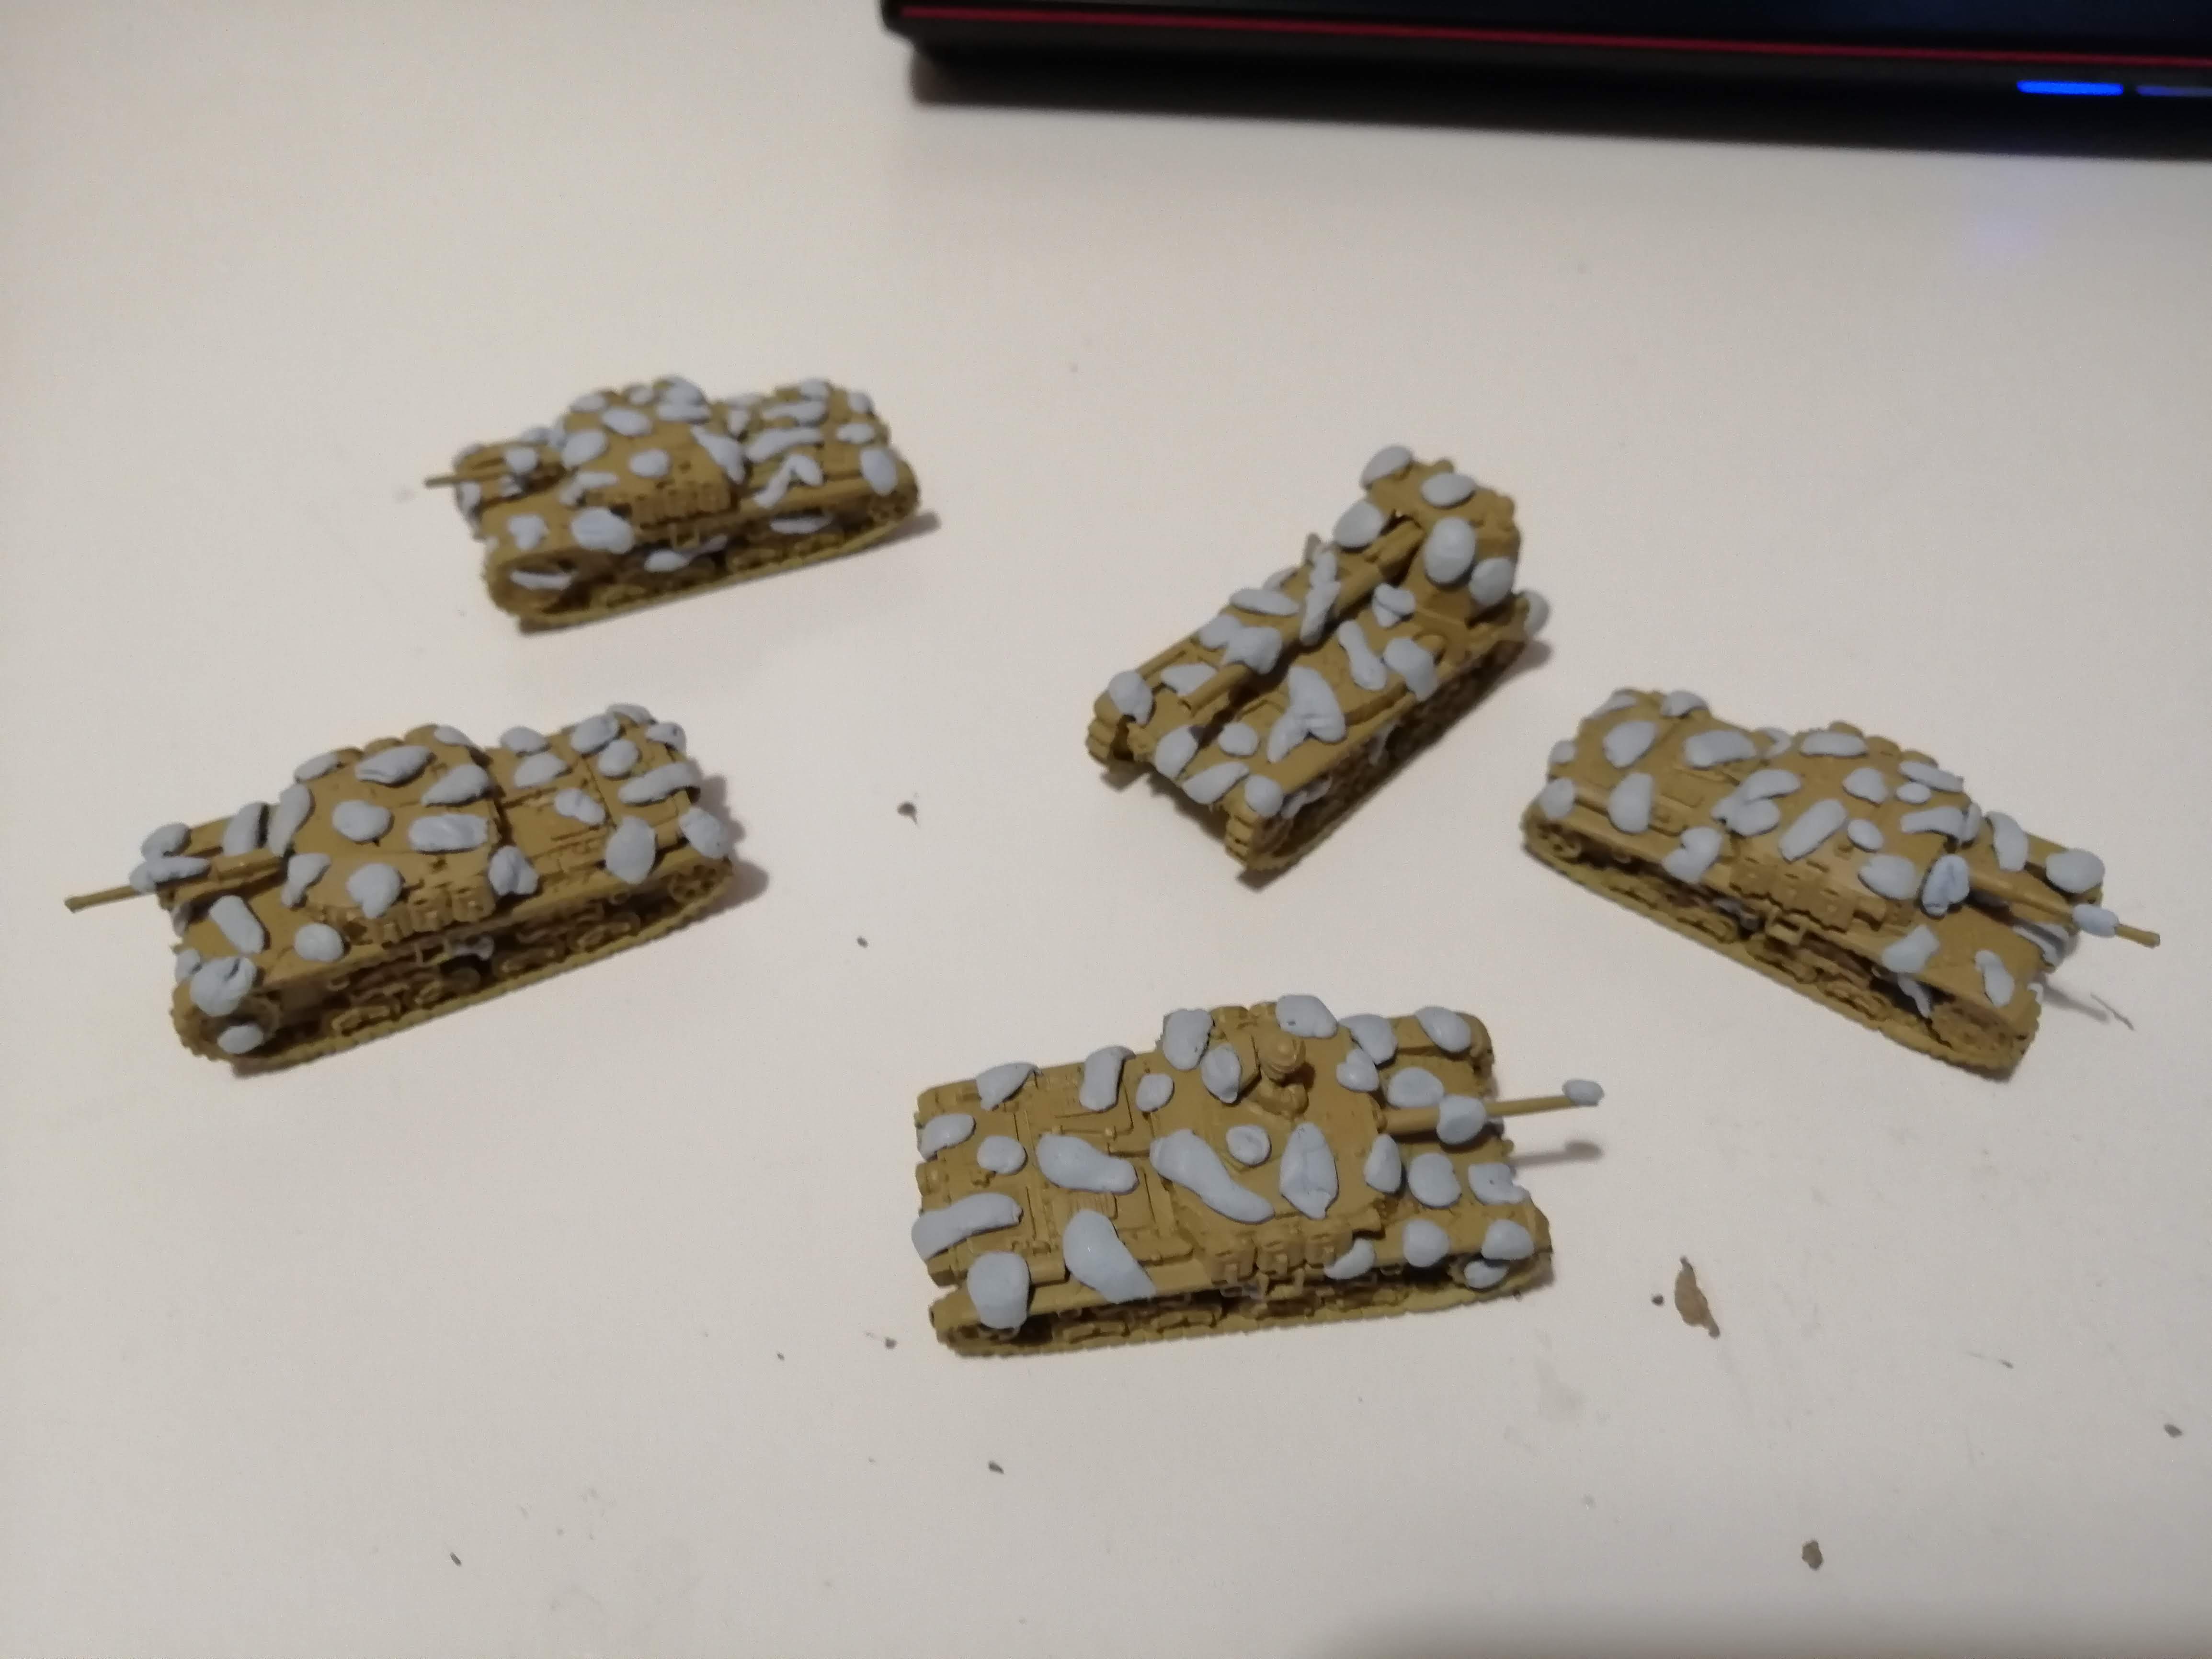
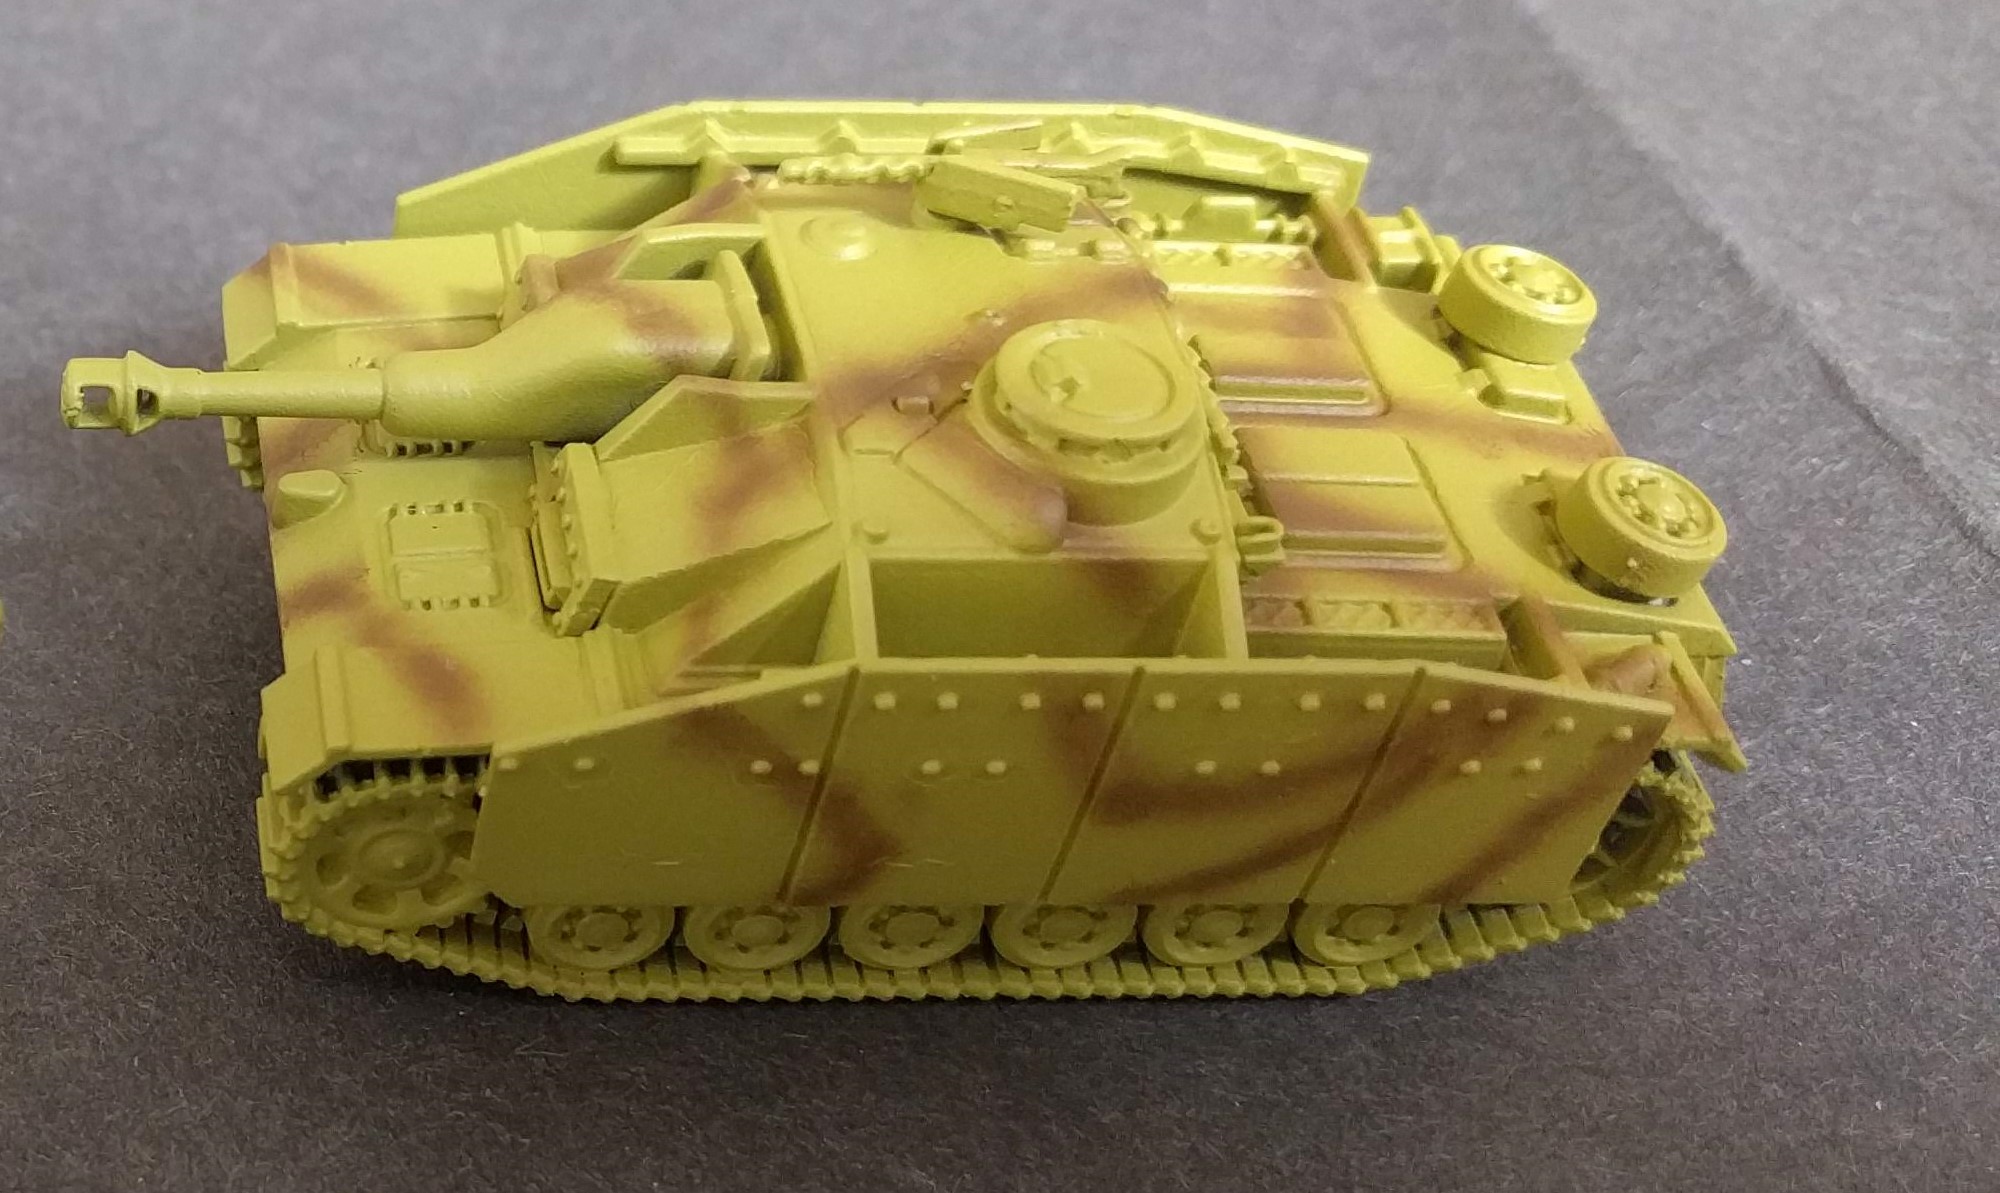
I’ve then given the models a prime and base coat of dunklegelb.
To try to get the green patches, I’m going to use blue tack to mask off some areas and then use the airbrush to spray over a mid green.
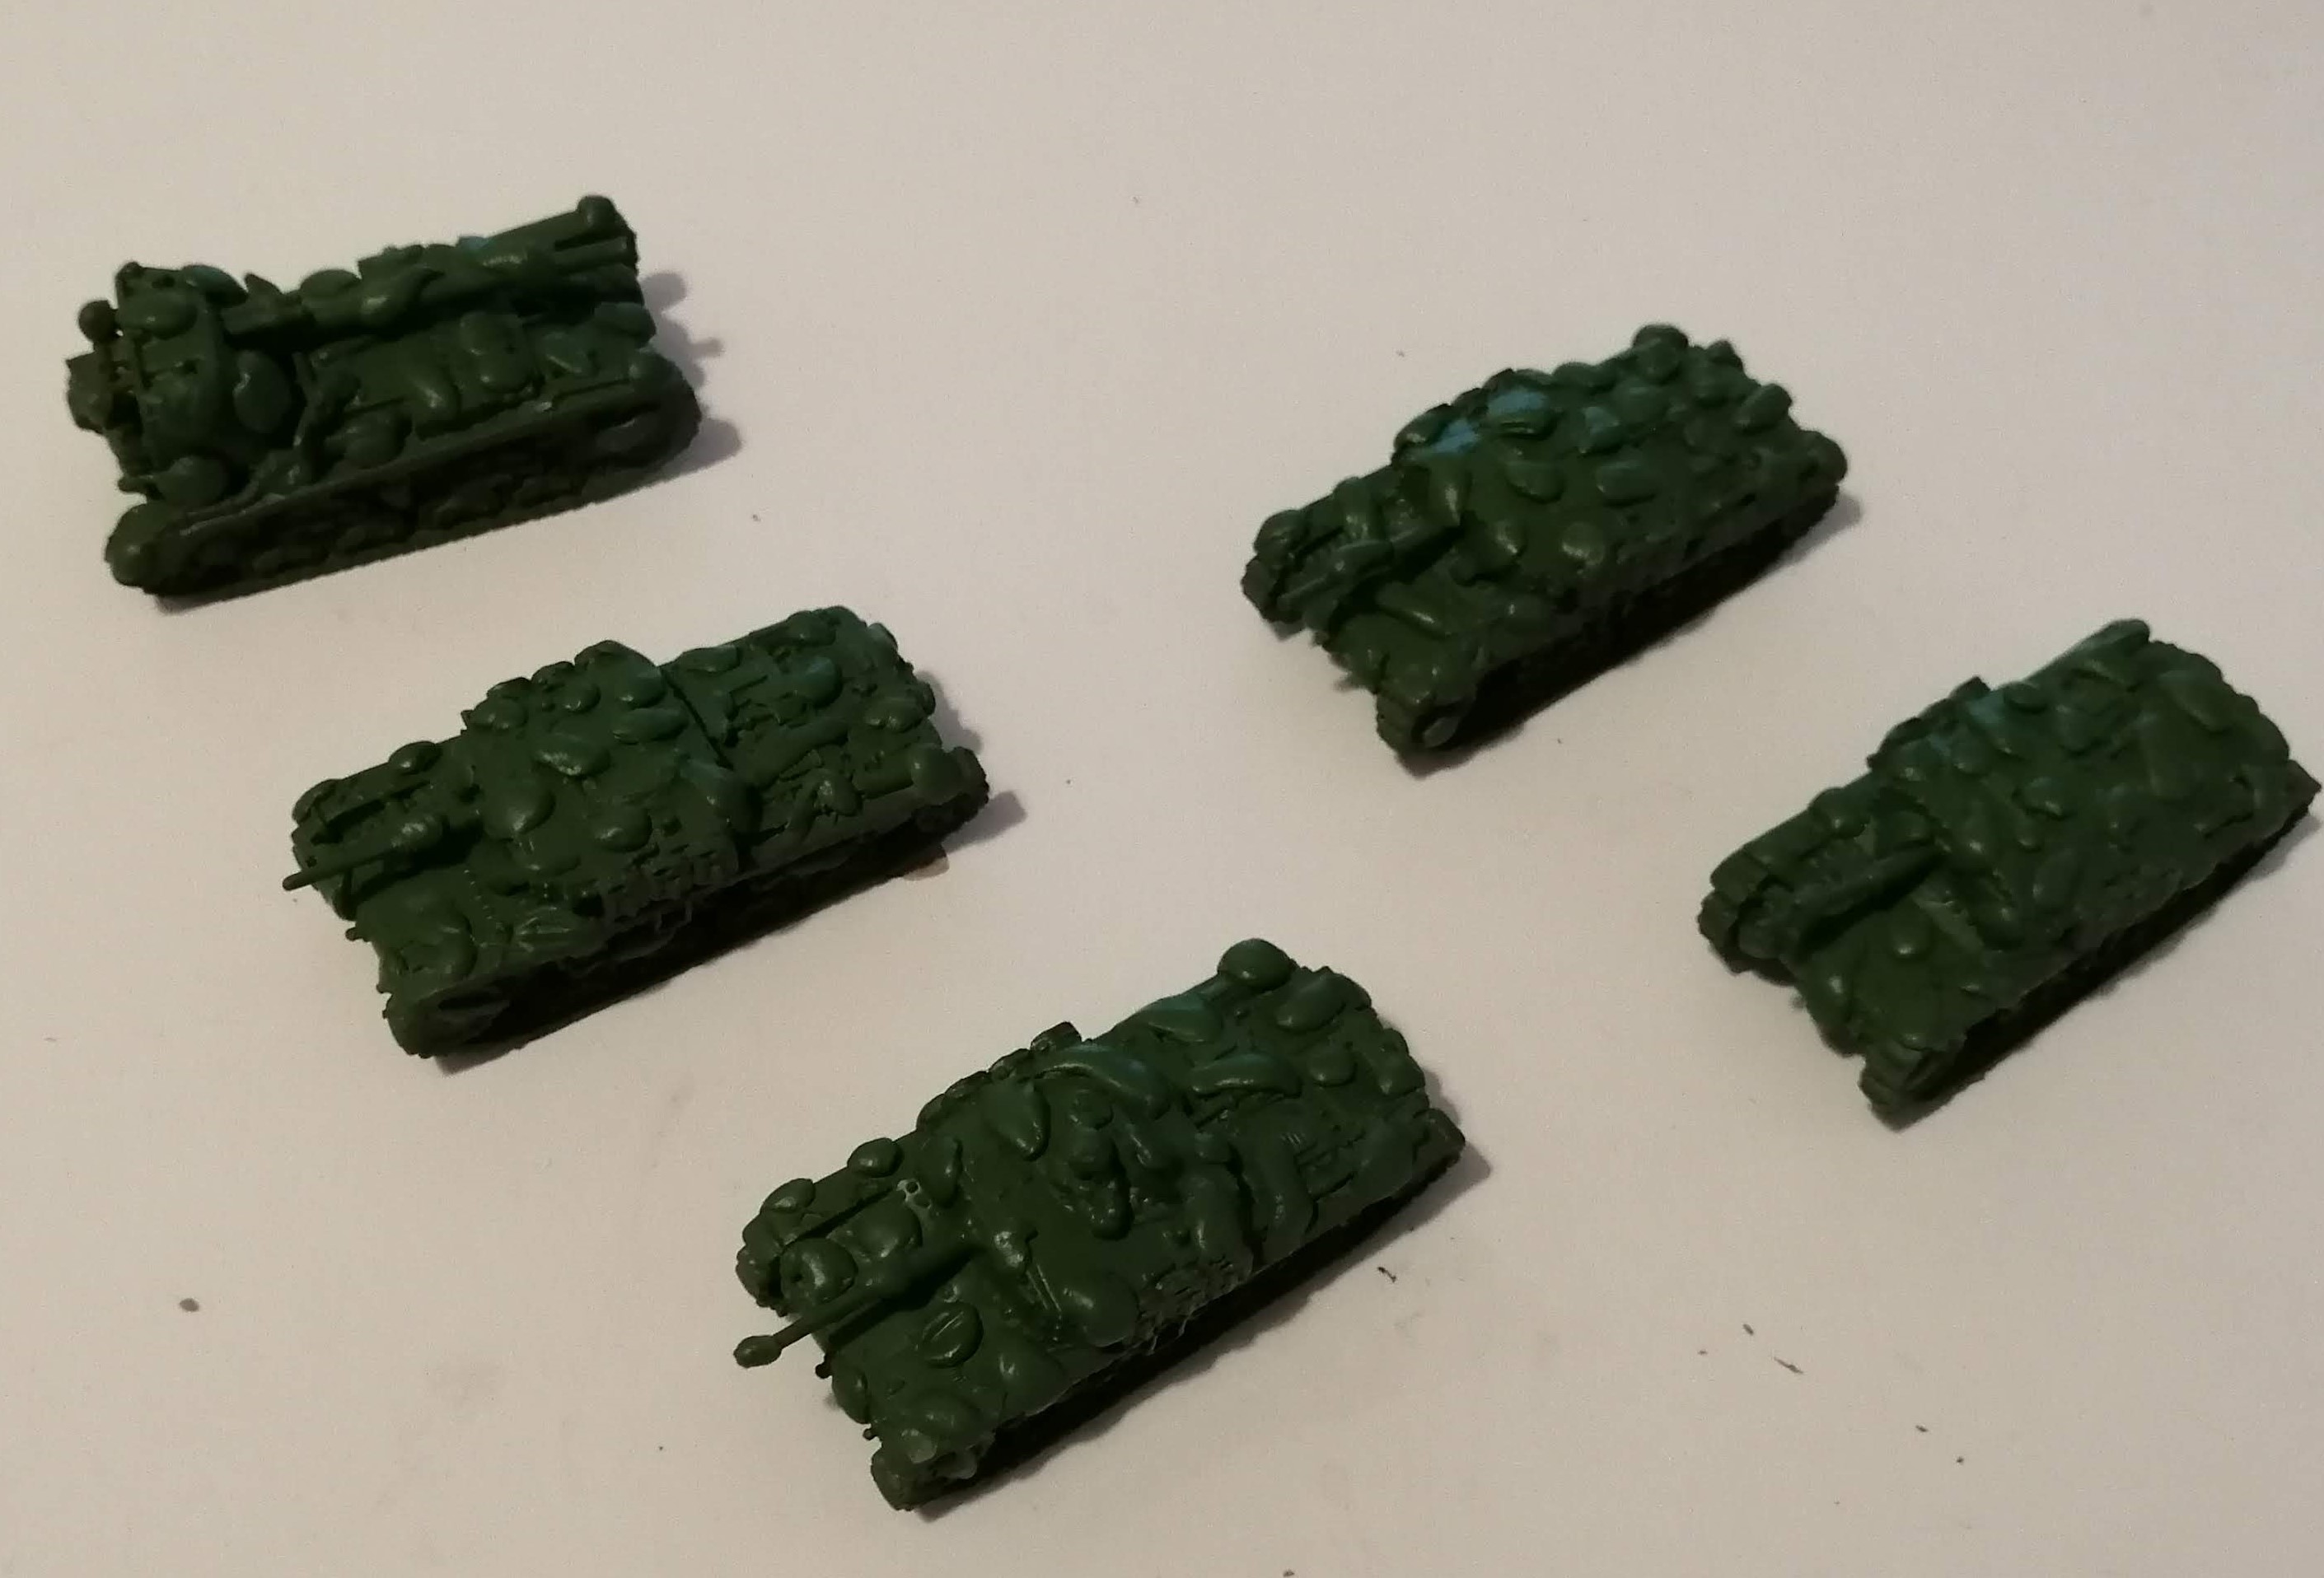
 Blue tack removed
So not quite the same as the picture I found but reasonably close for 15mm. Getting more patches and closer together would have been very tricky. Not sure the green is light enough but again, reasonably close and I will be weathering it up anyway.
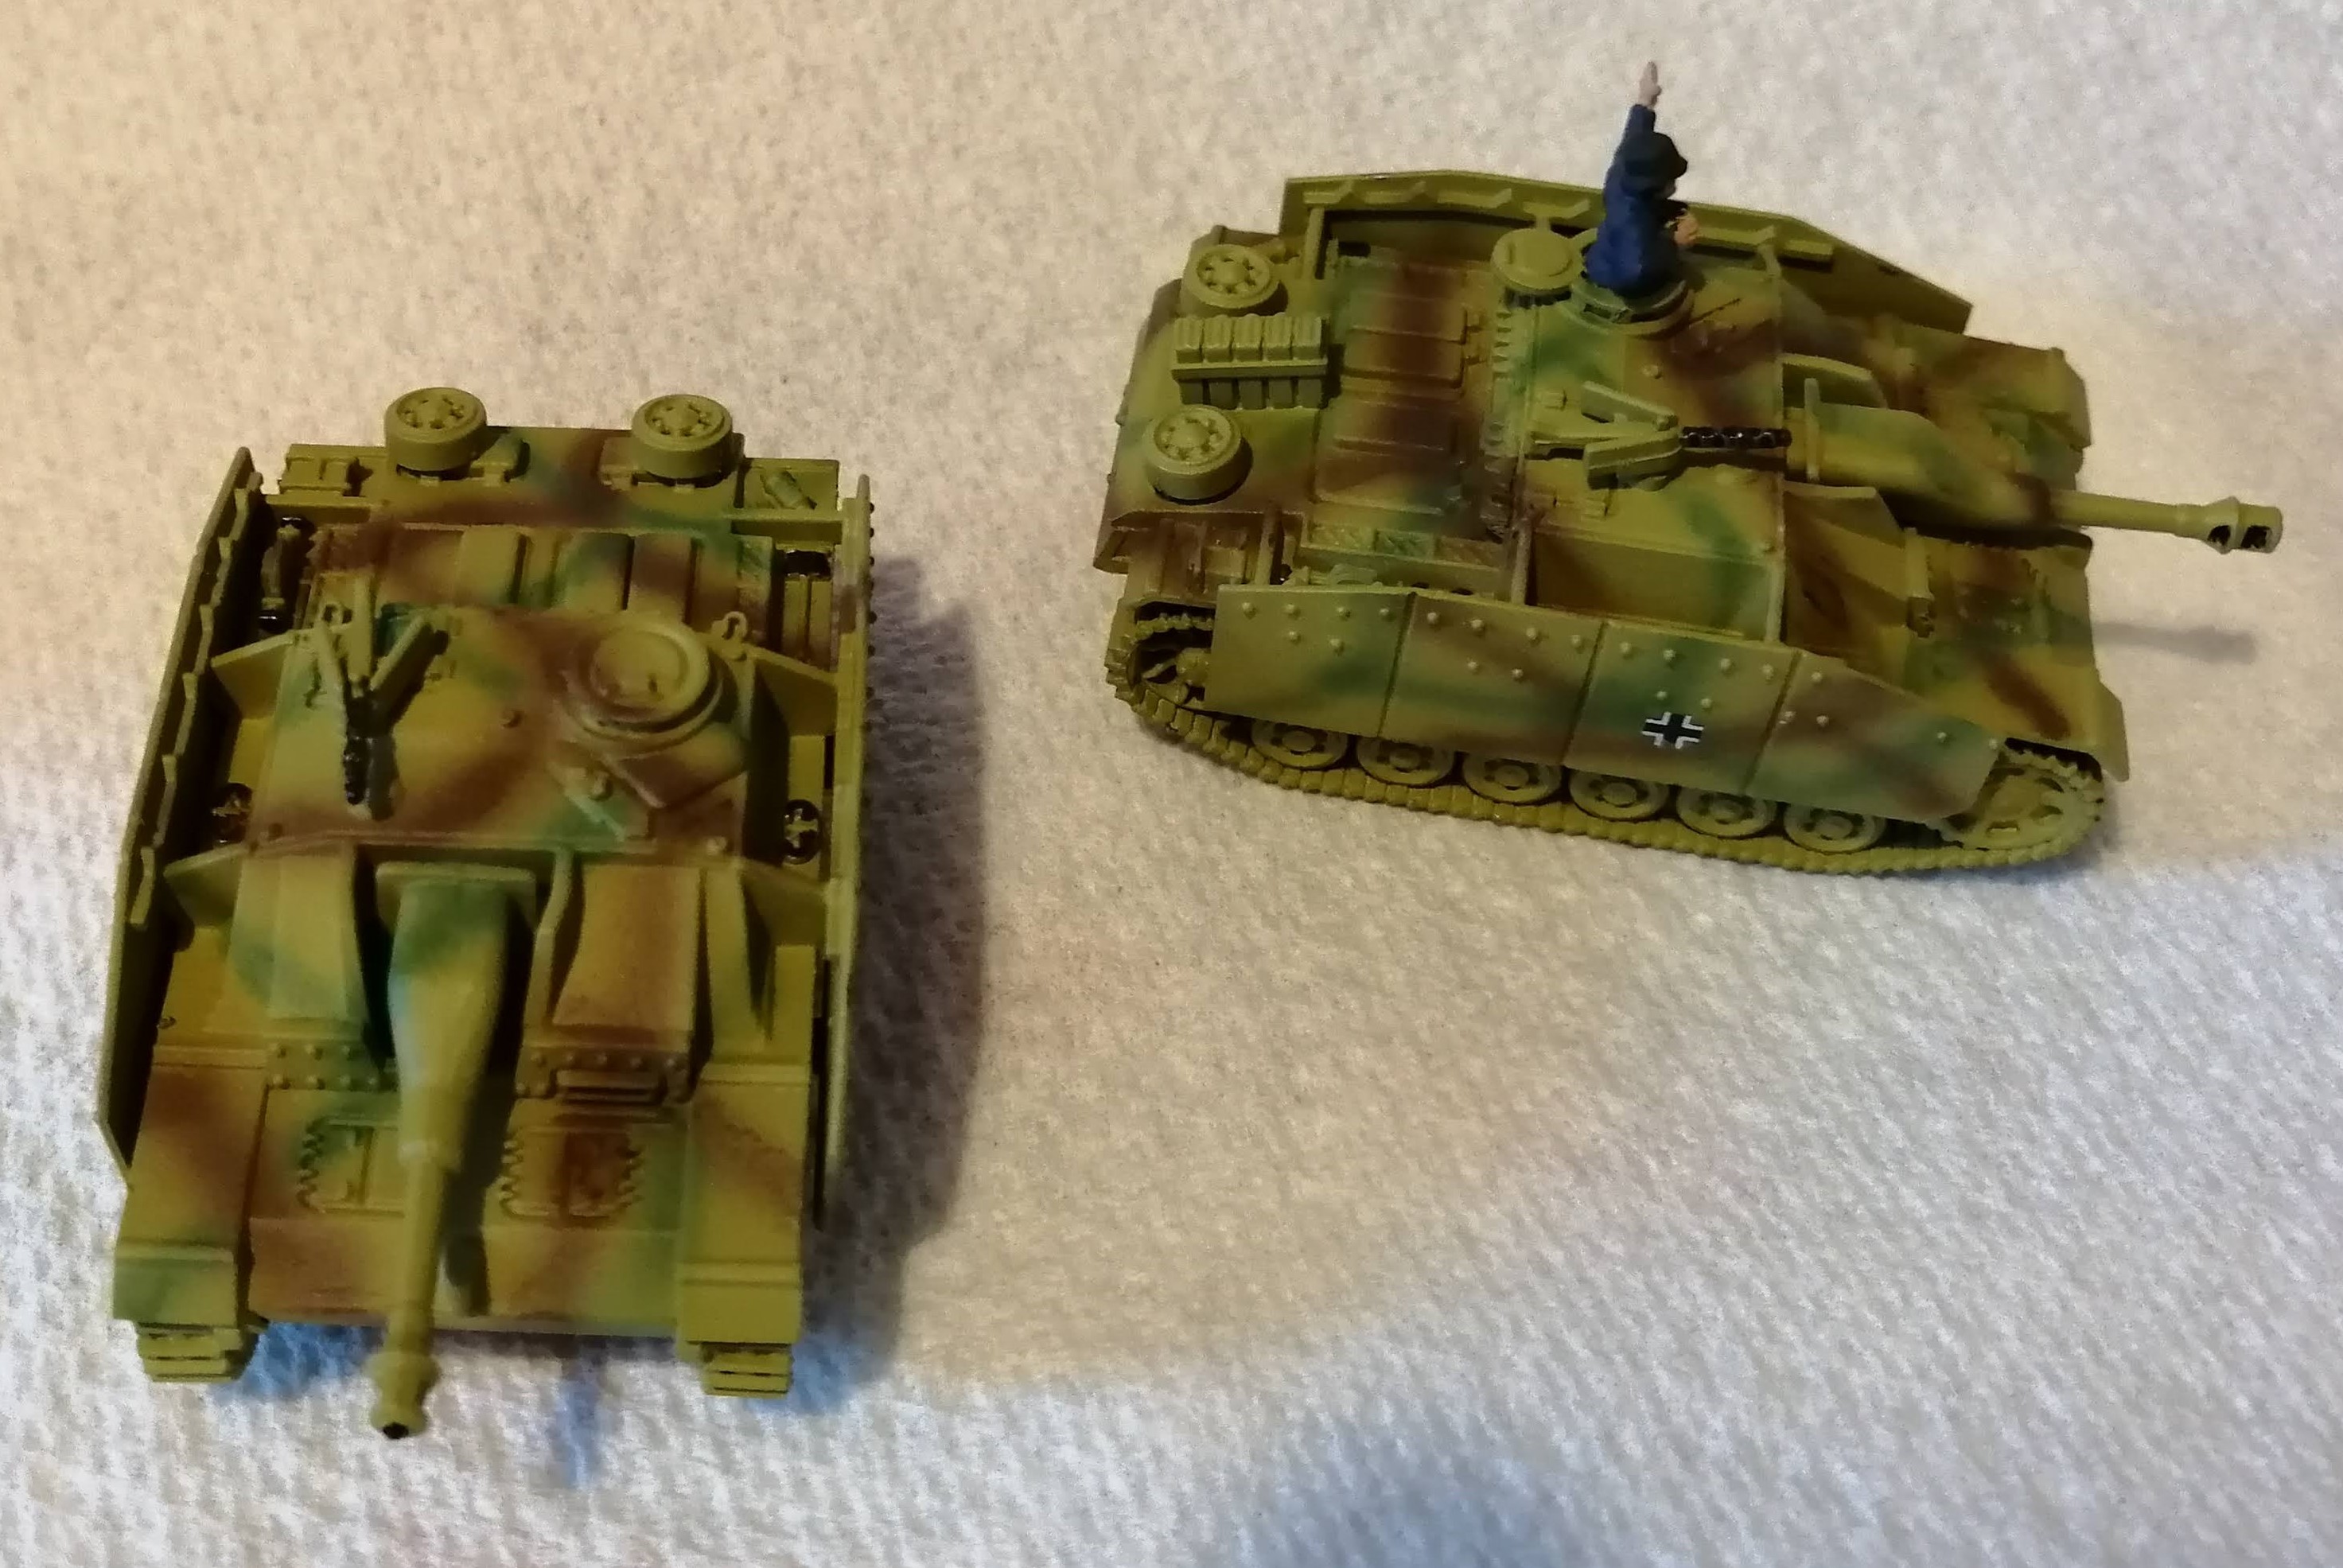
I applied some German transfers and then gave everything a painted on army painter dip. Once this dries, I can look at the weathering.
 Shiny tanks
German STuH
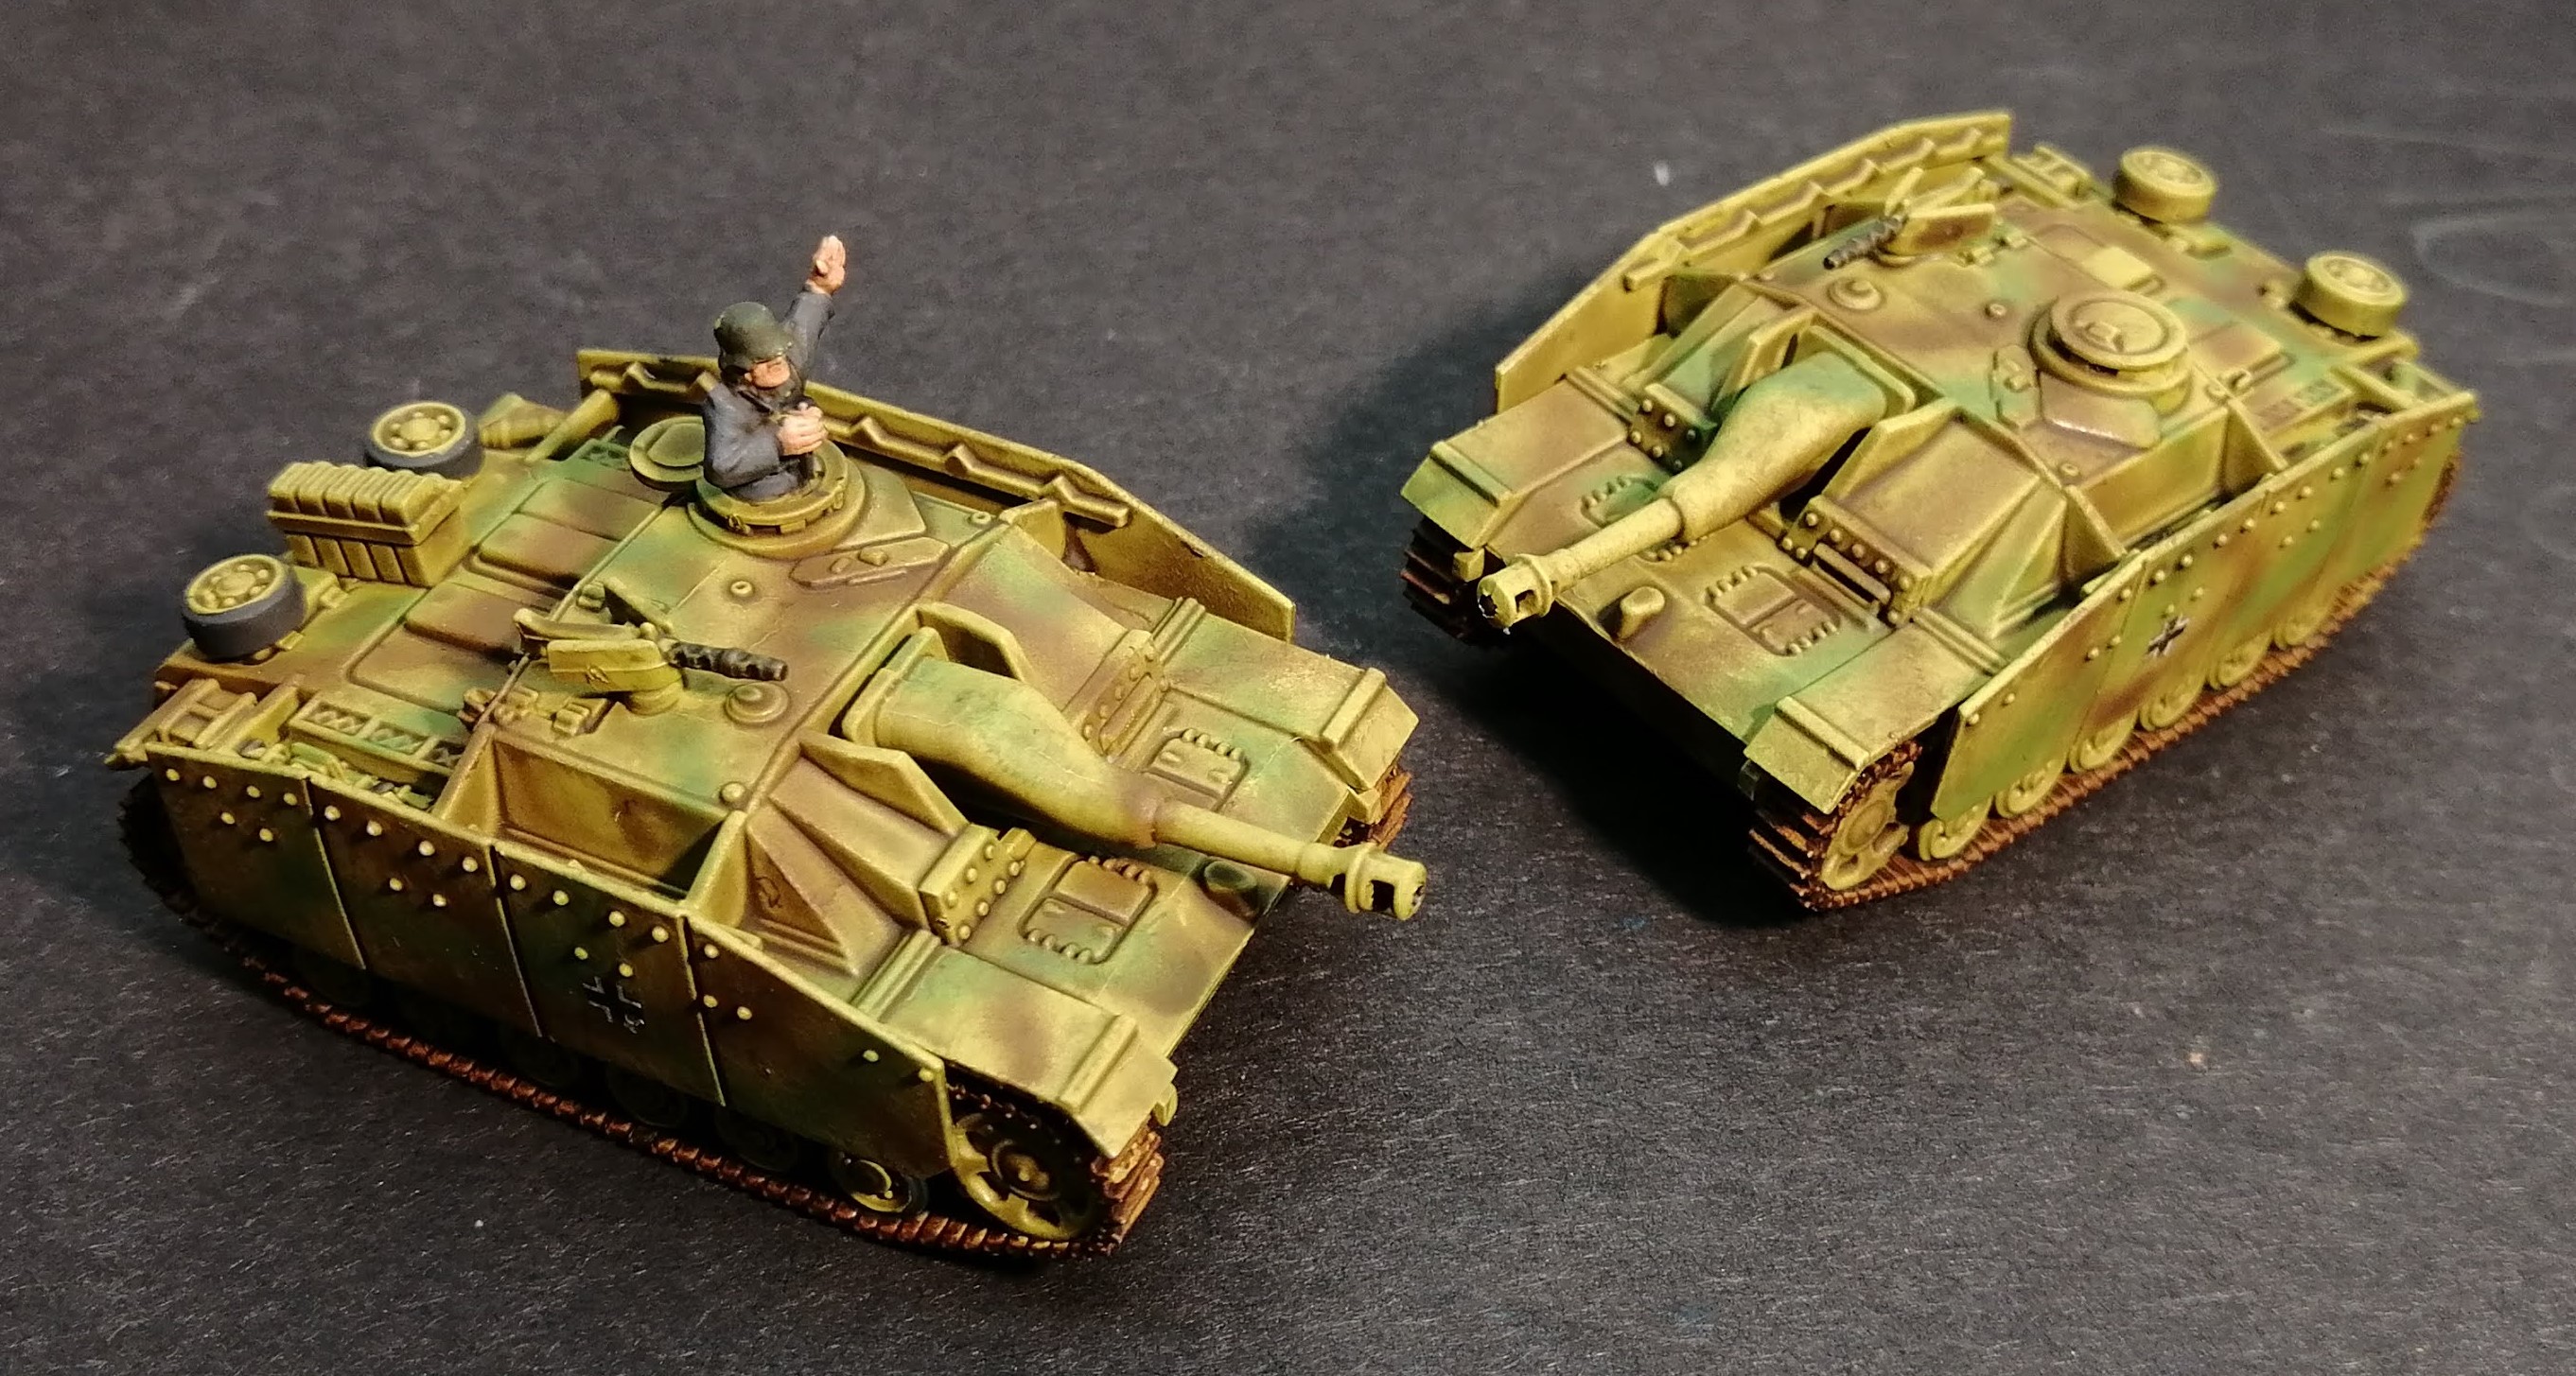
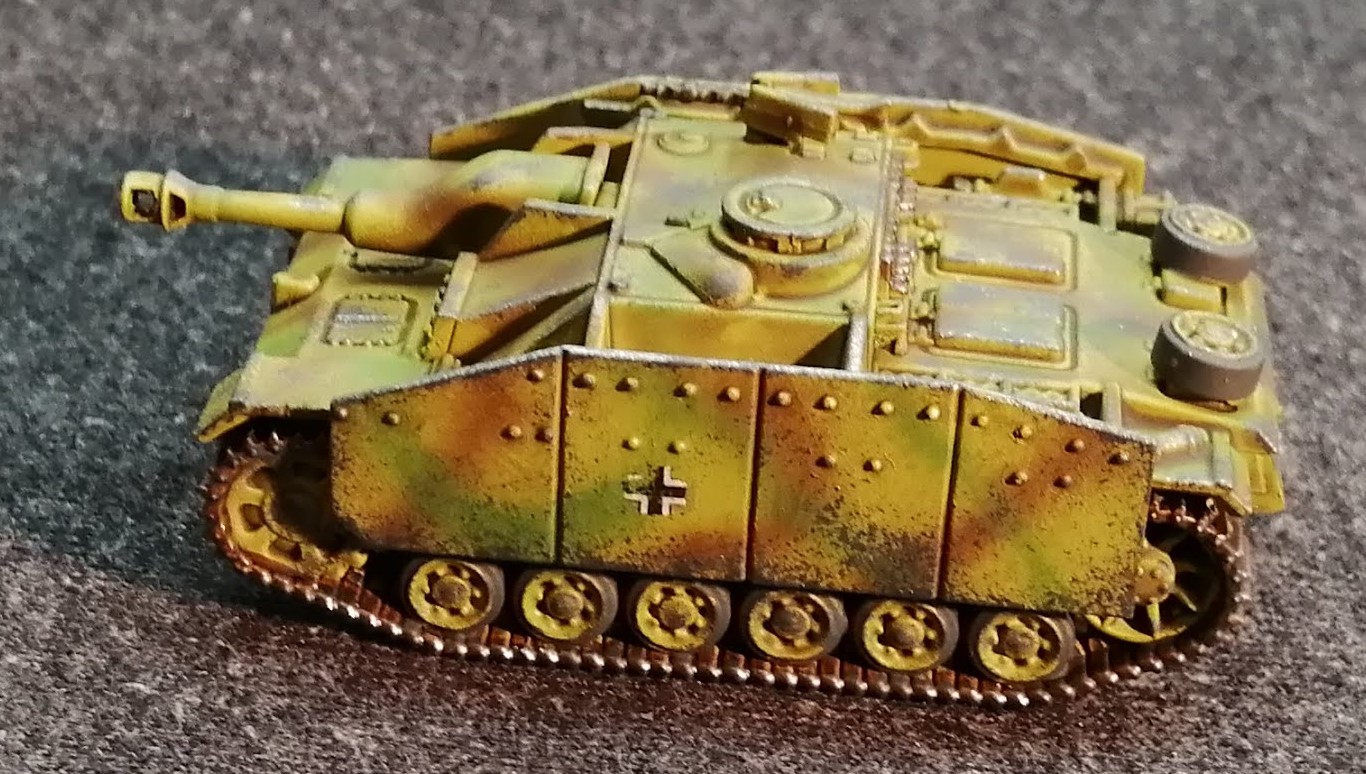
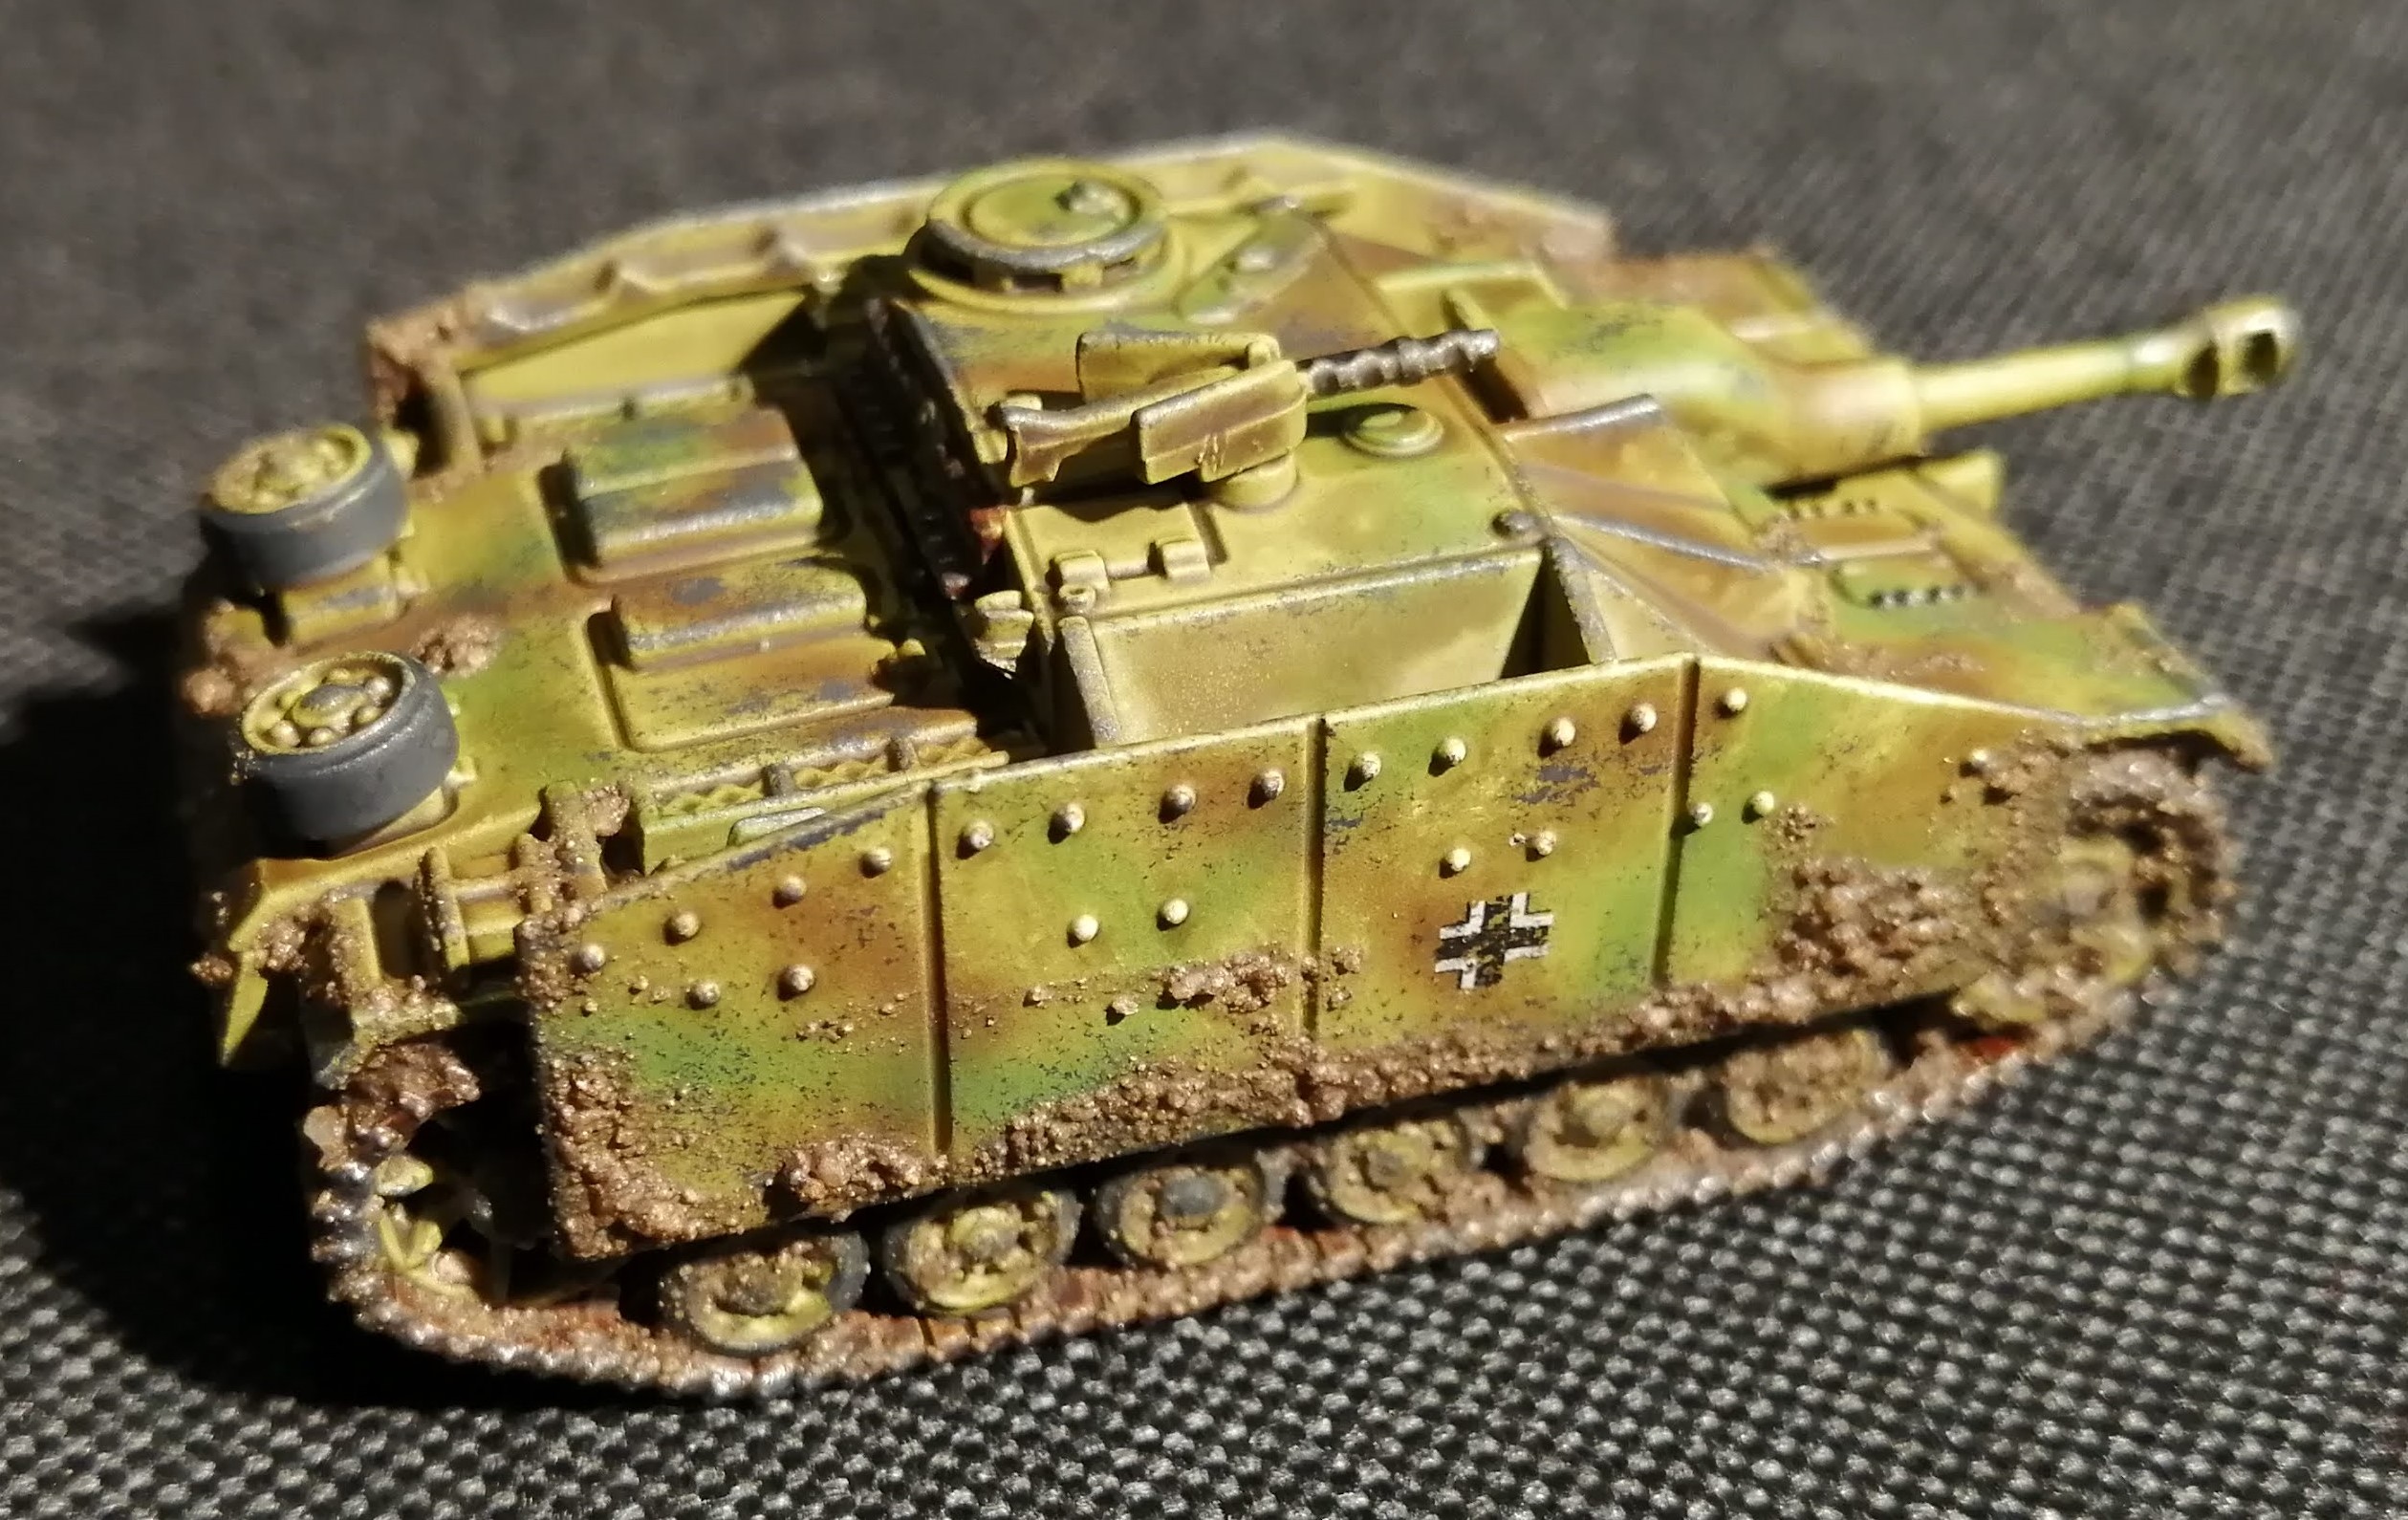
The German’s had a few assault guns running around in Italy including a few STuHs (like STuGs but fitted with a shorter barreled Howitzer) so I’ve put together a platoon.
A base coat of Dunkelgelb followed by some light green and medium brown lines airbrushed over create the cammo pattern – very easy to do with the airbrush. After the decals, a painted on coat of dip and matt varnish provides the depth.
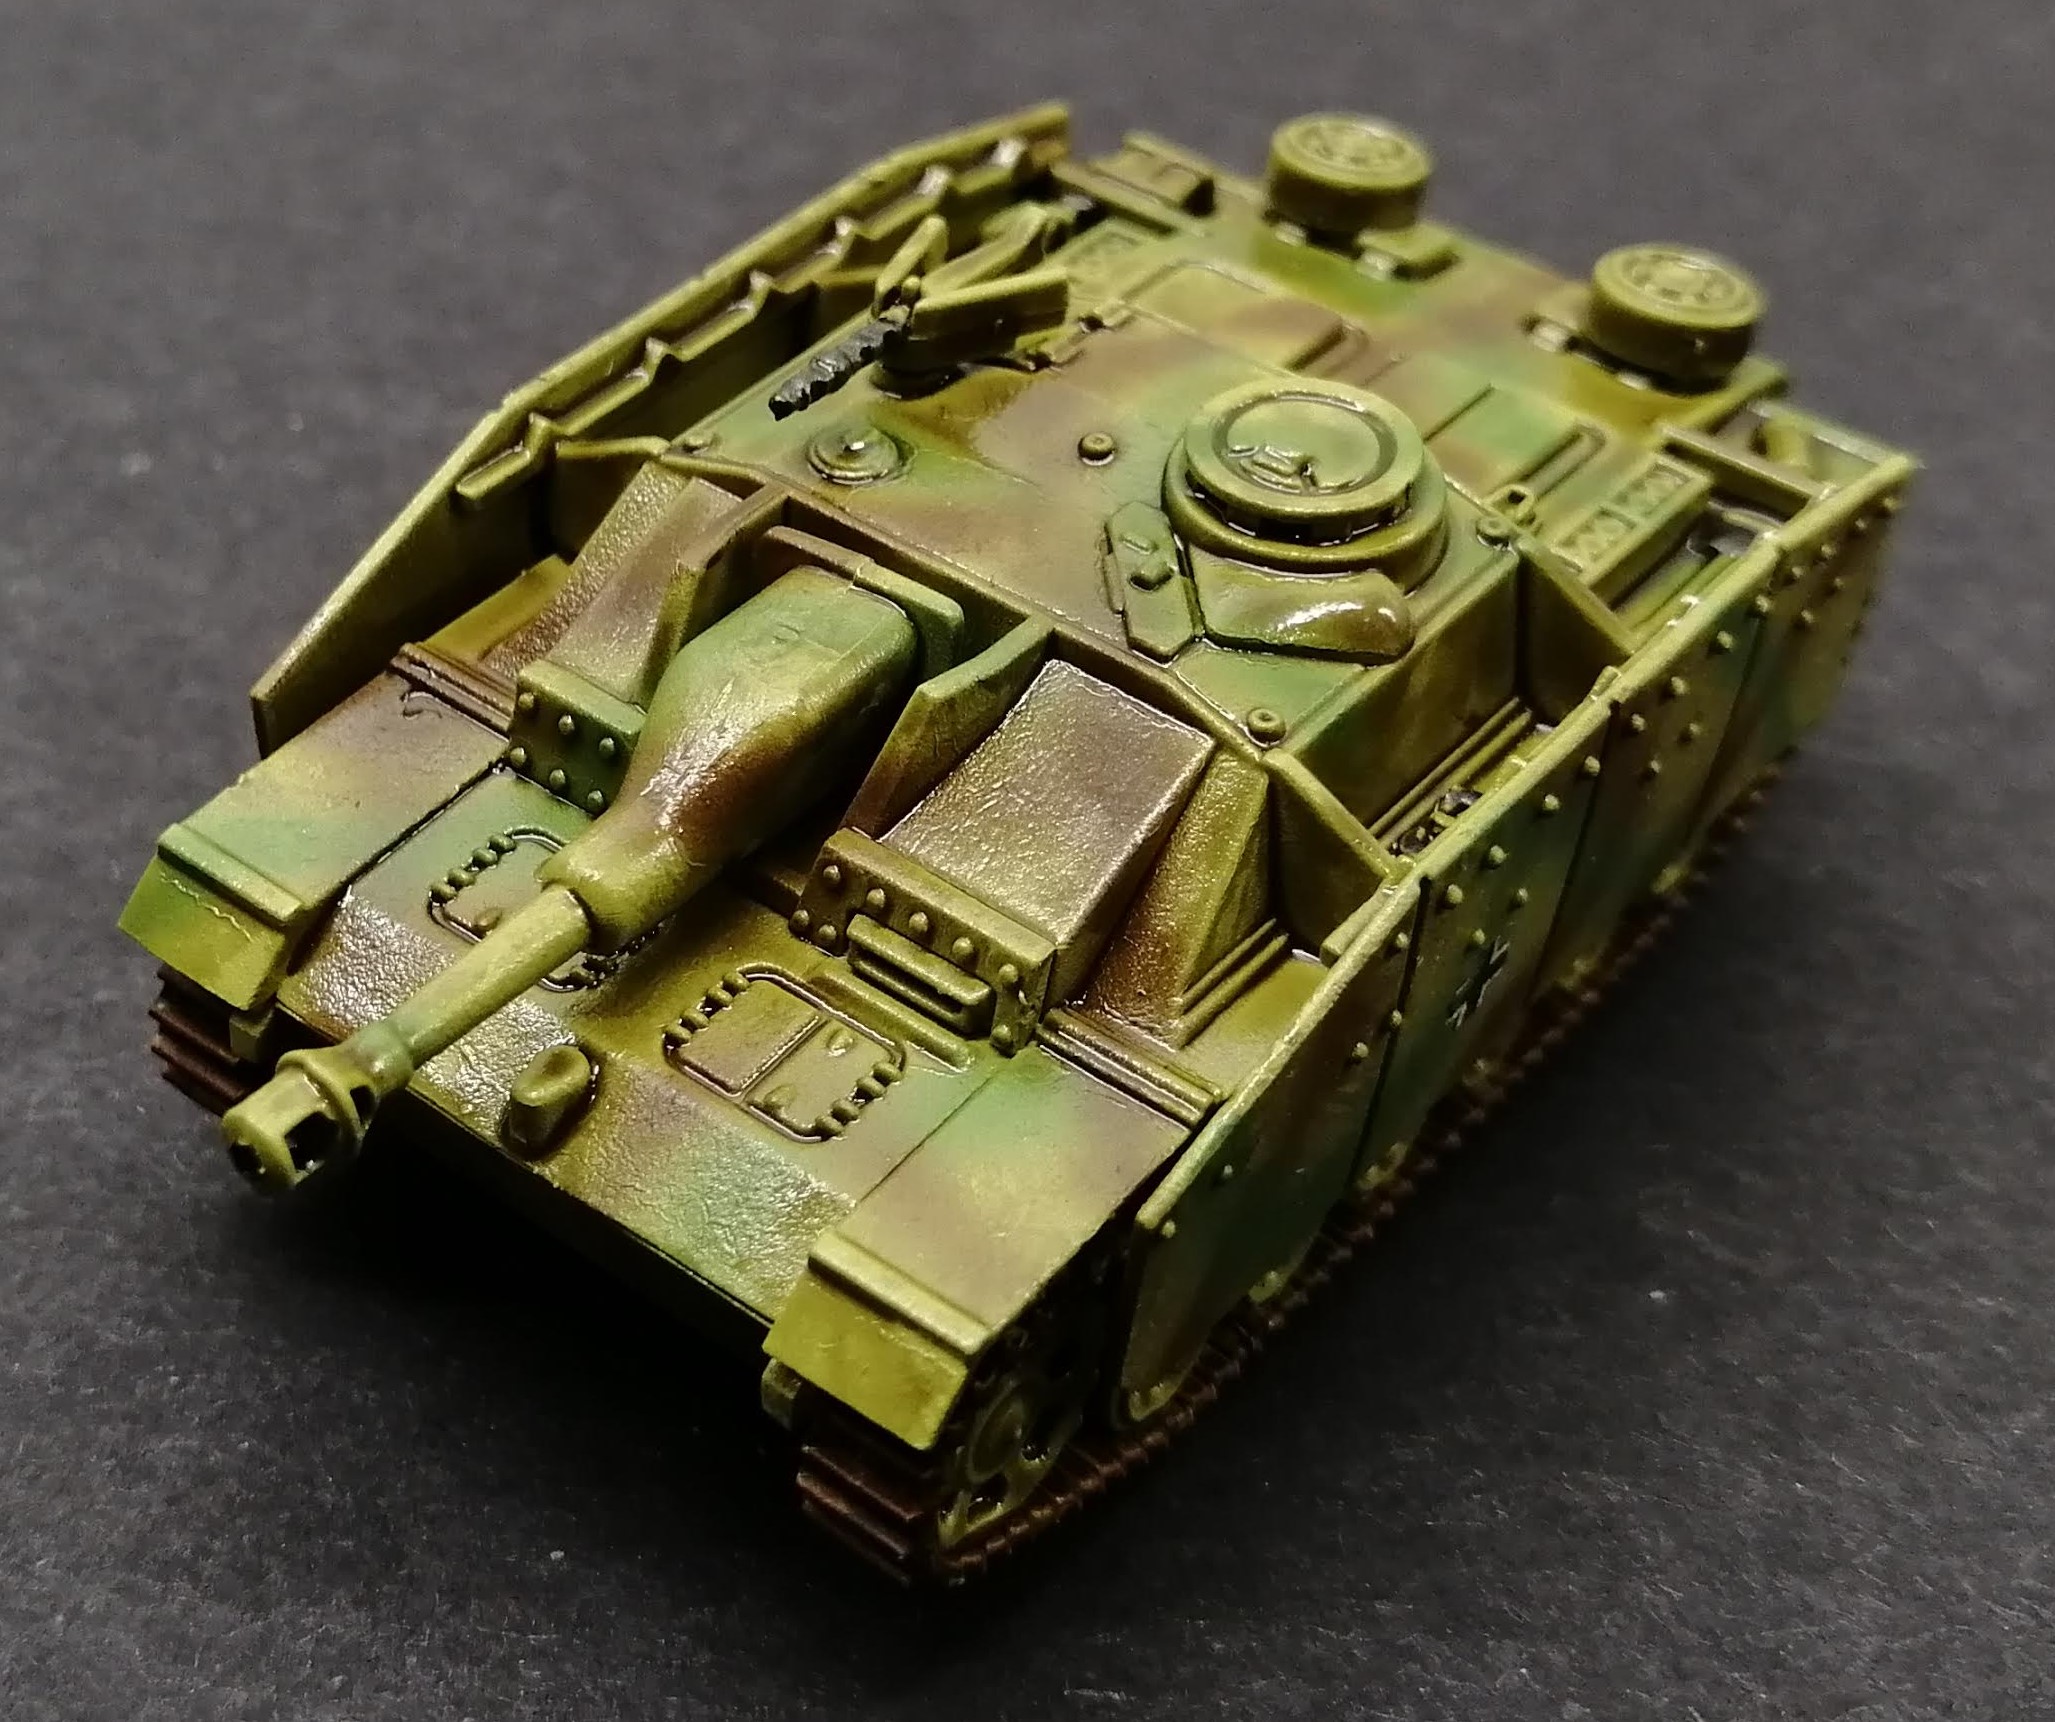
Tracks were a hull red dry brushed with gunmetal.
Once again, chipping was applied with a sponge, first a black-brown paint followed by a light gunmetal on the edges.
Finally, quality low weald ground clay mixed with pva is dabbed on for the mud splatters. All covered with another coat of matt varnish to seal it all down. Quick and easy and ready for the table top.


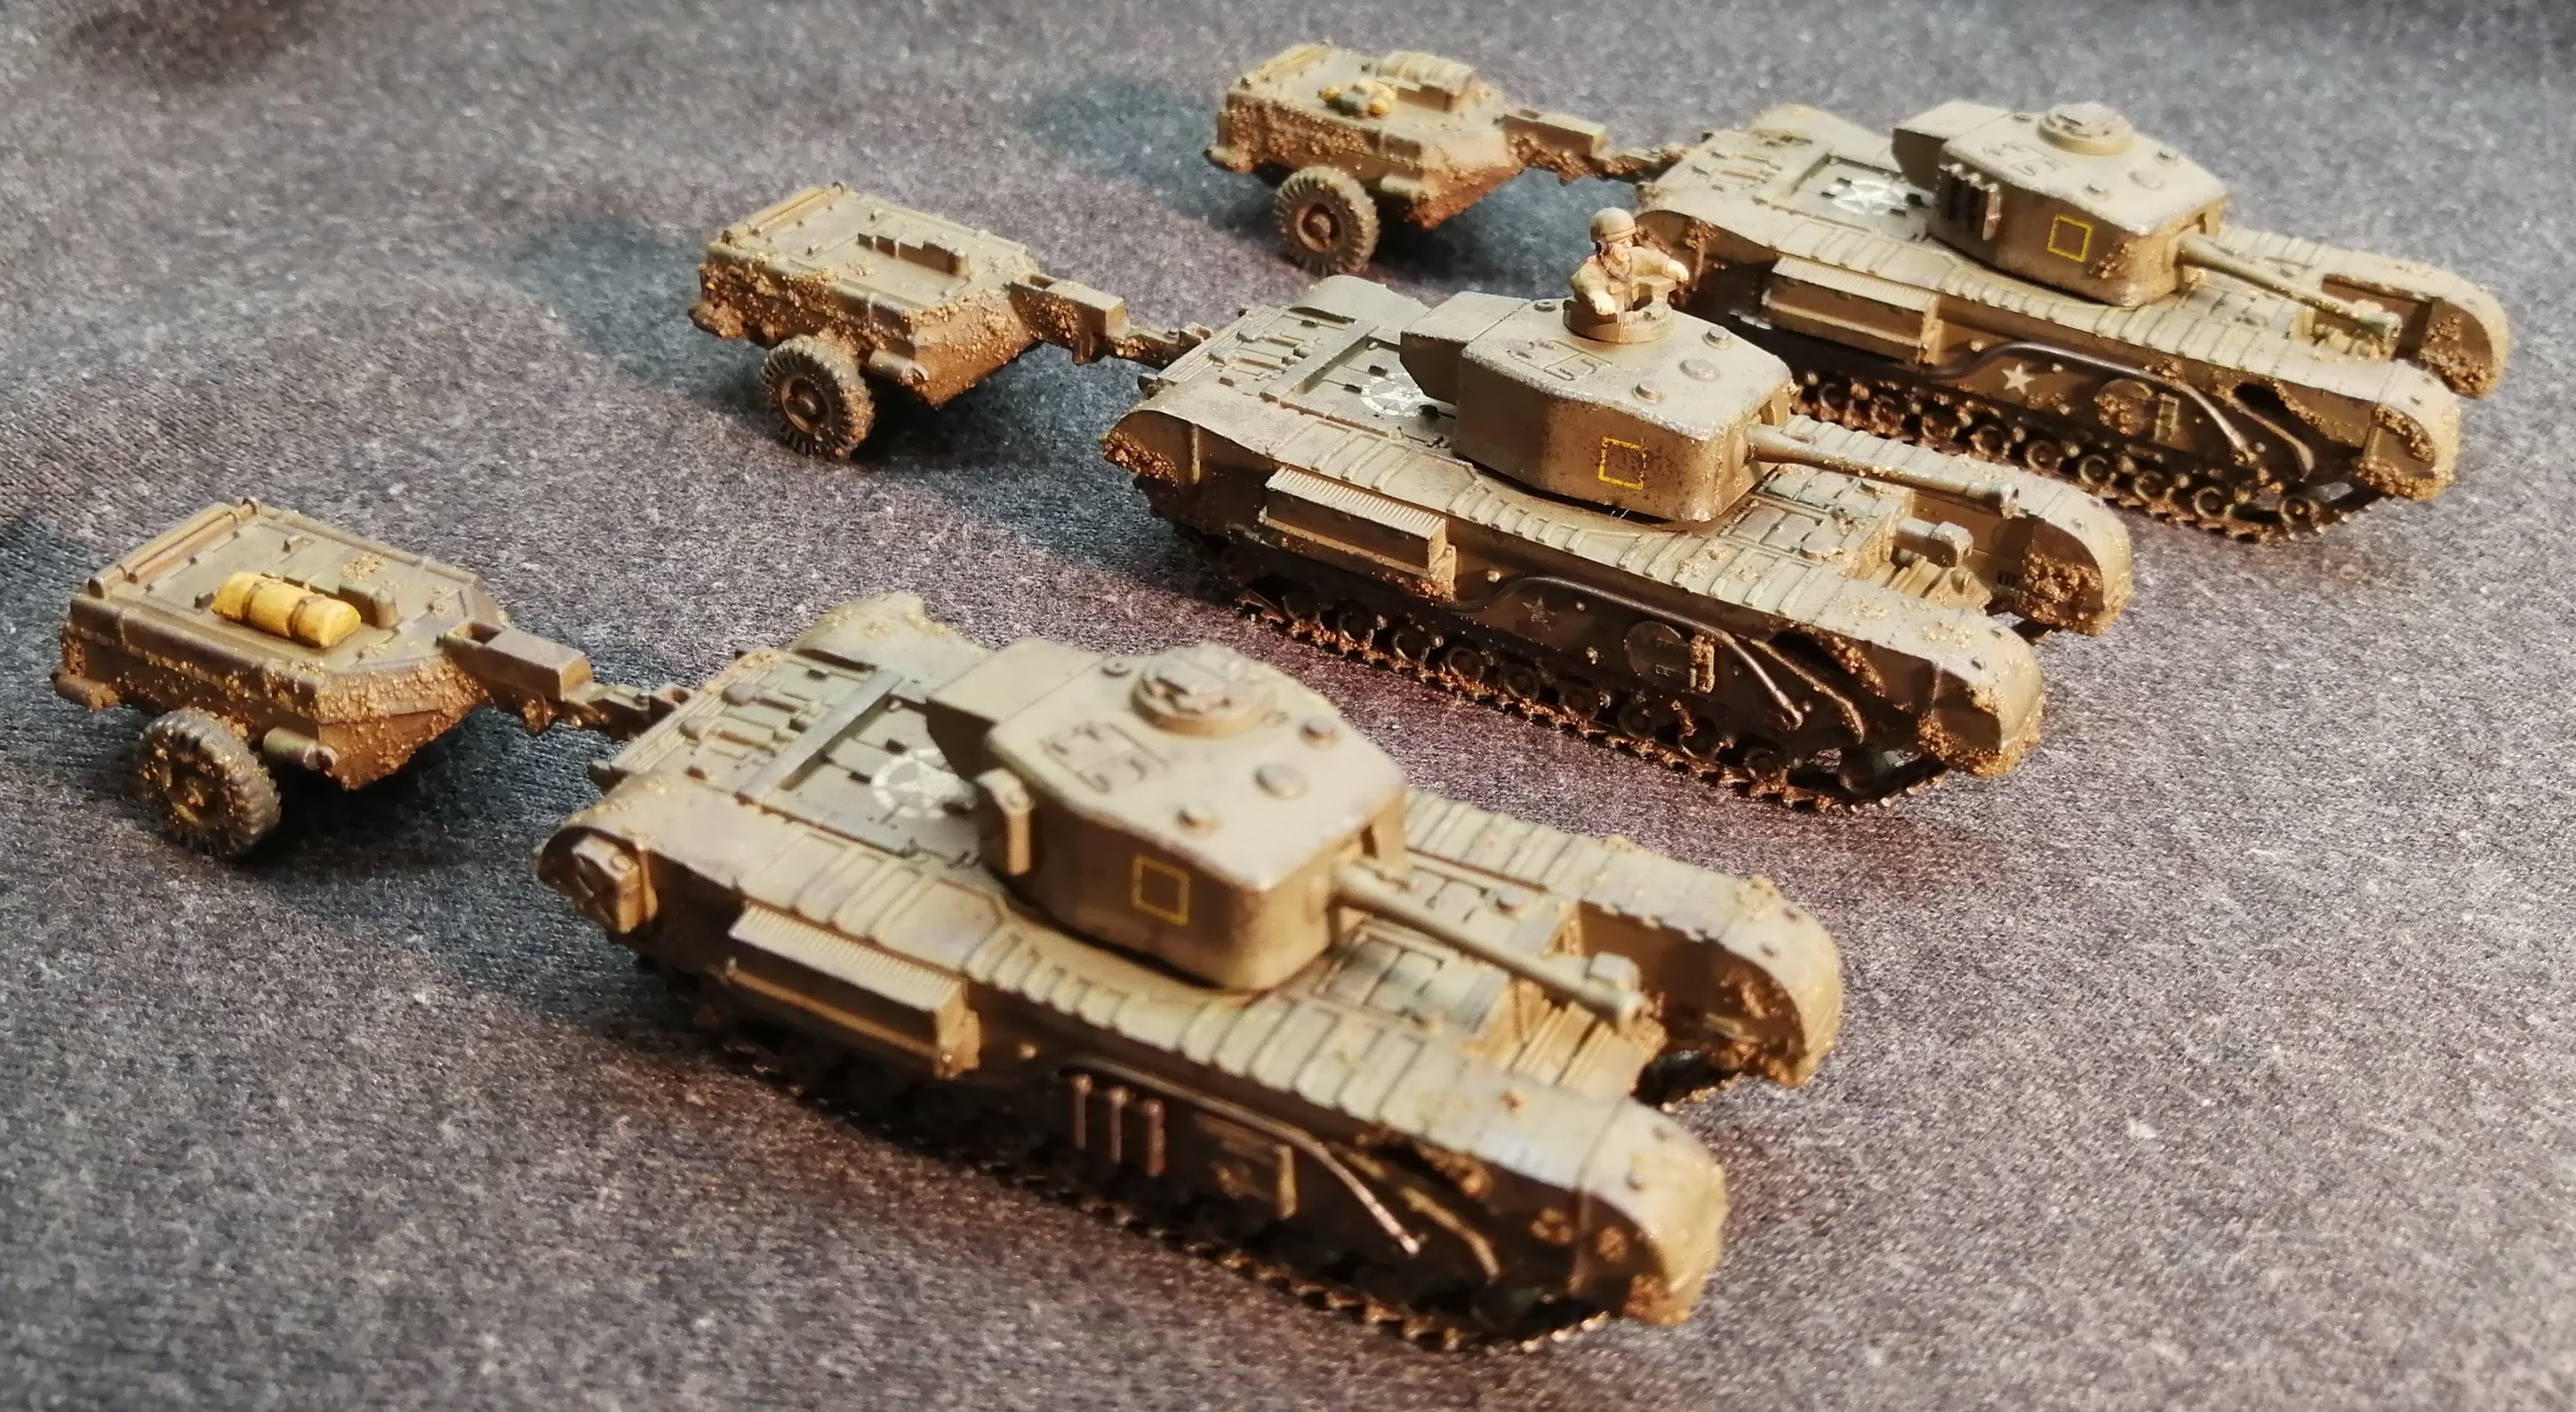
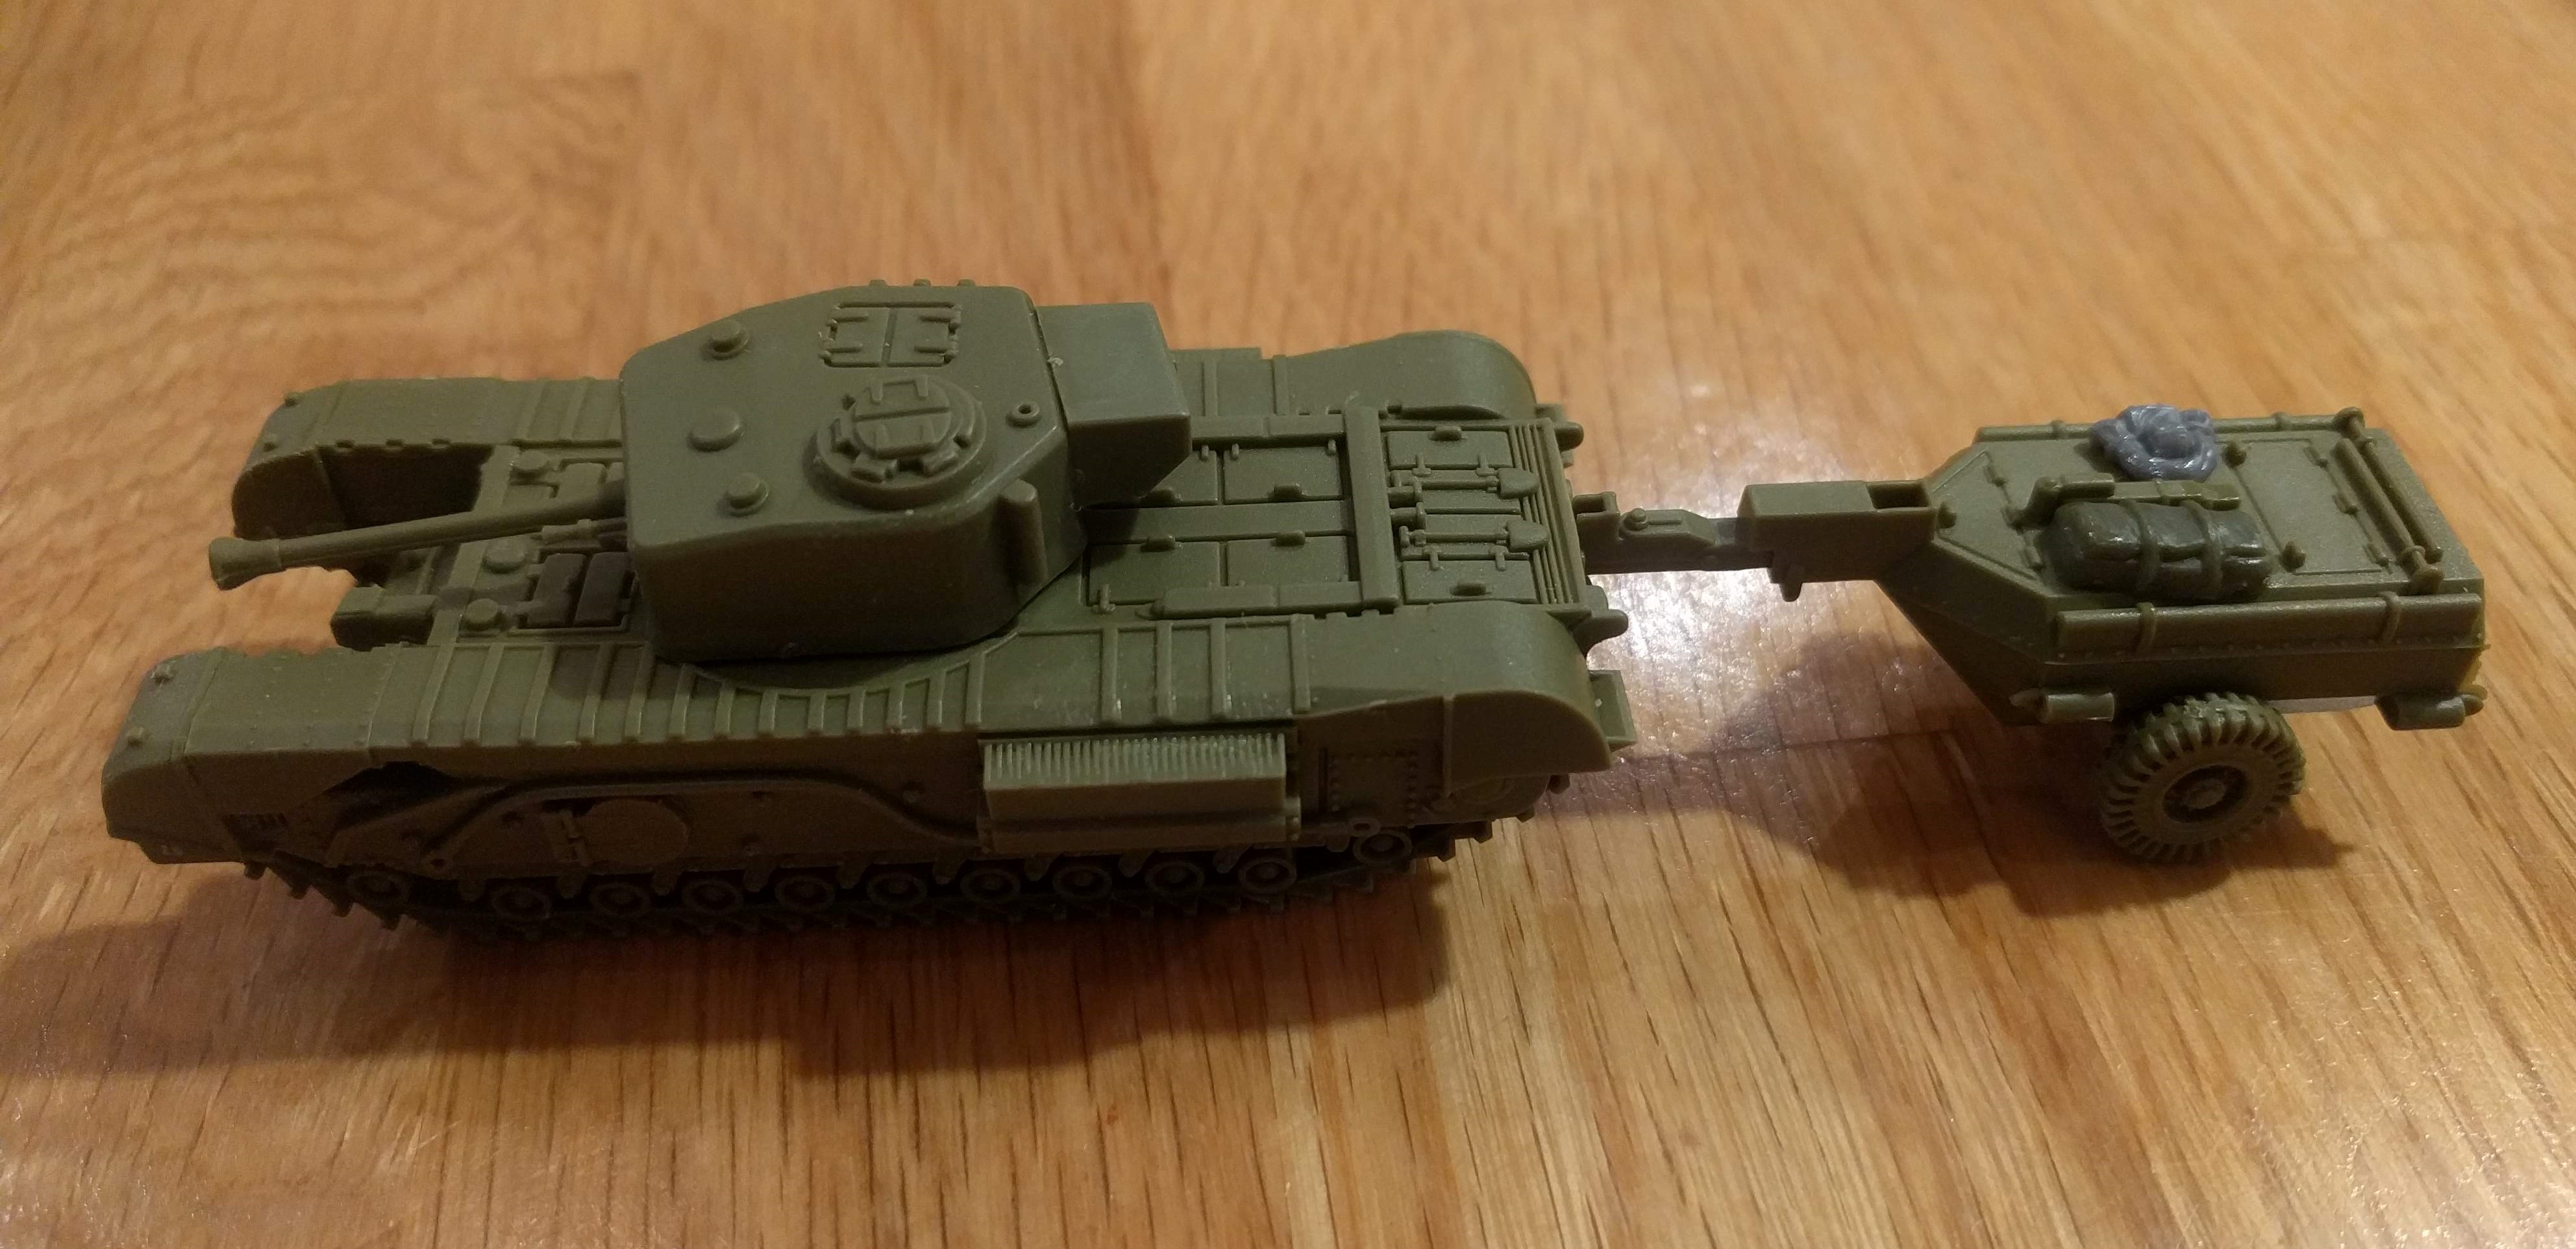
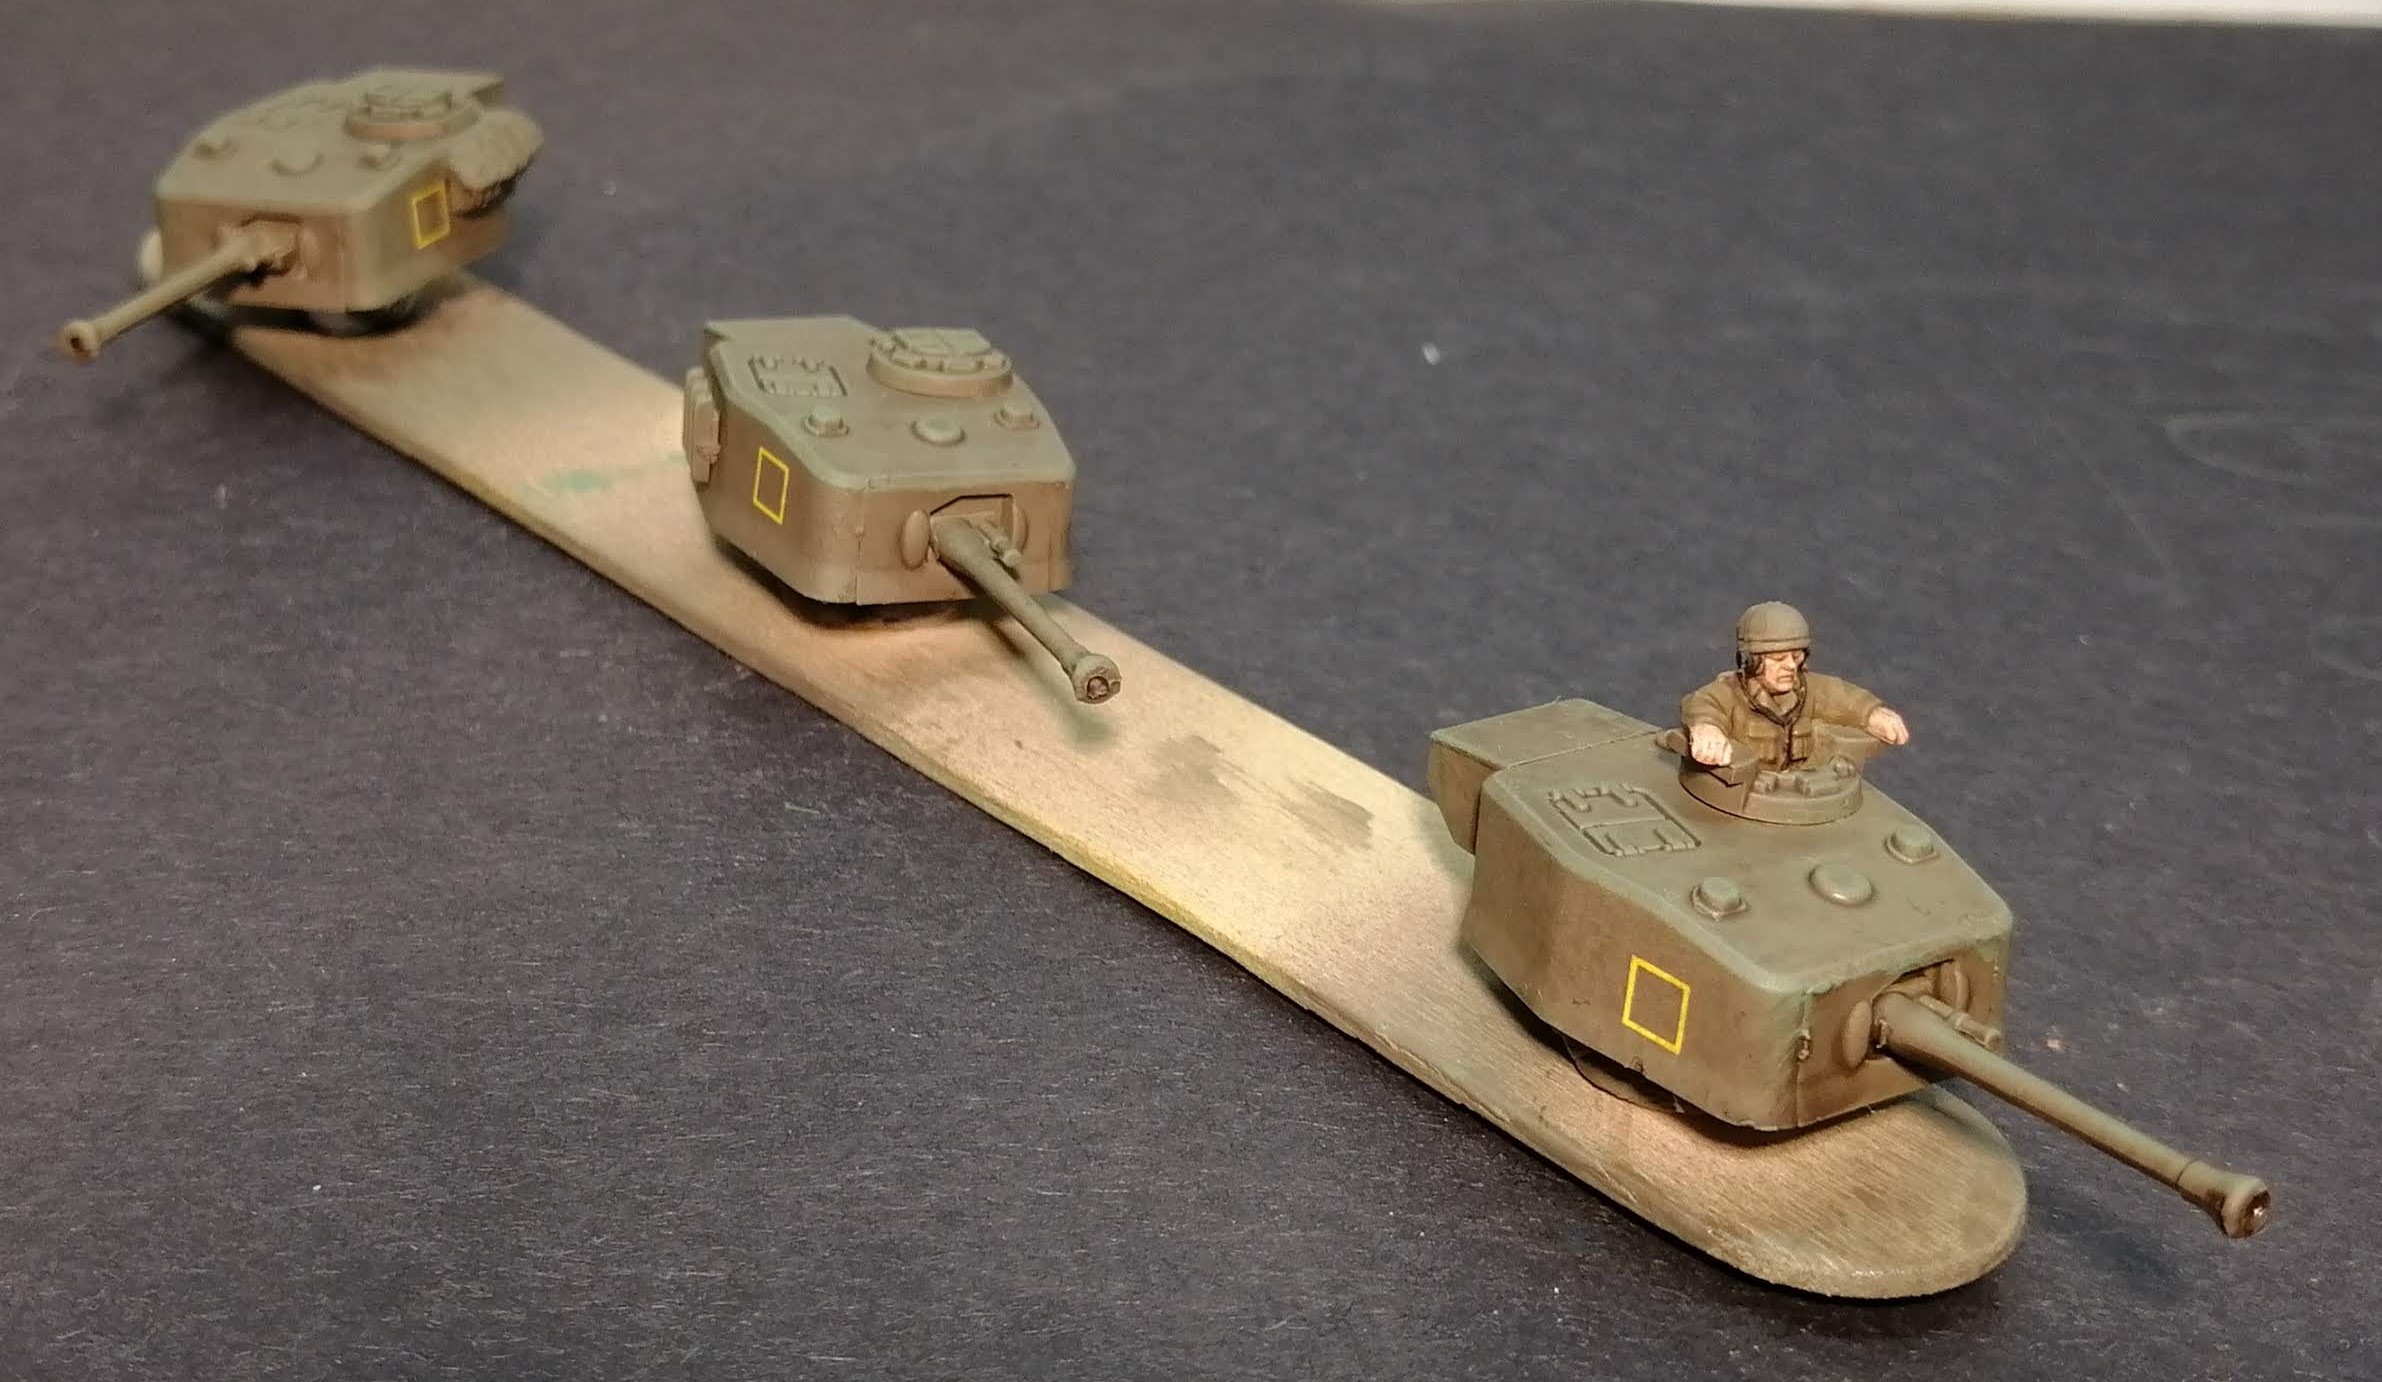
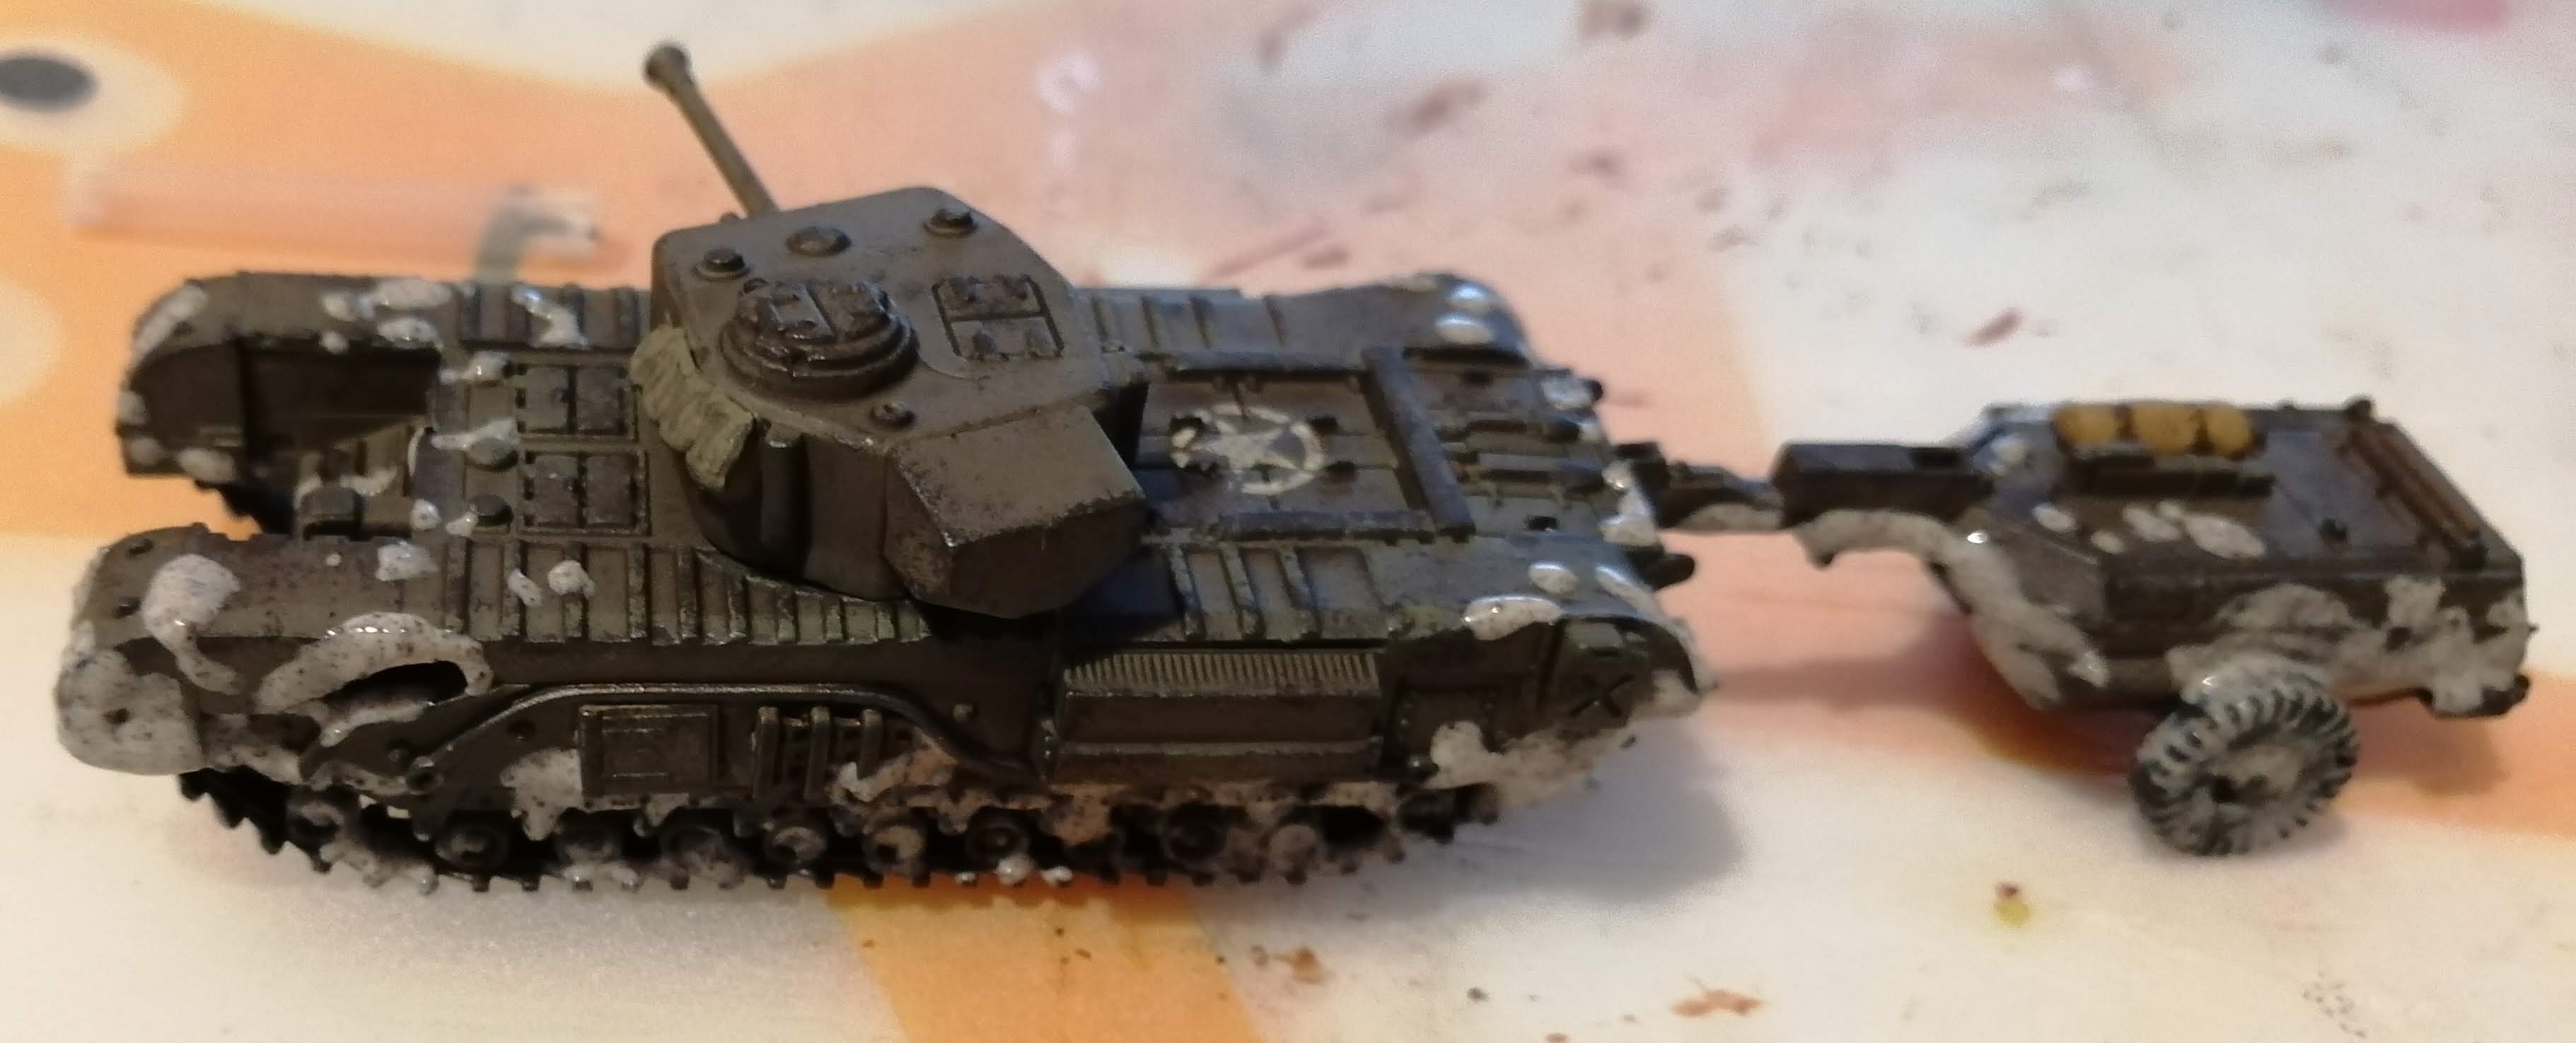
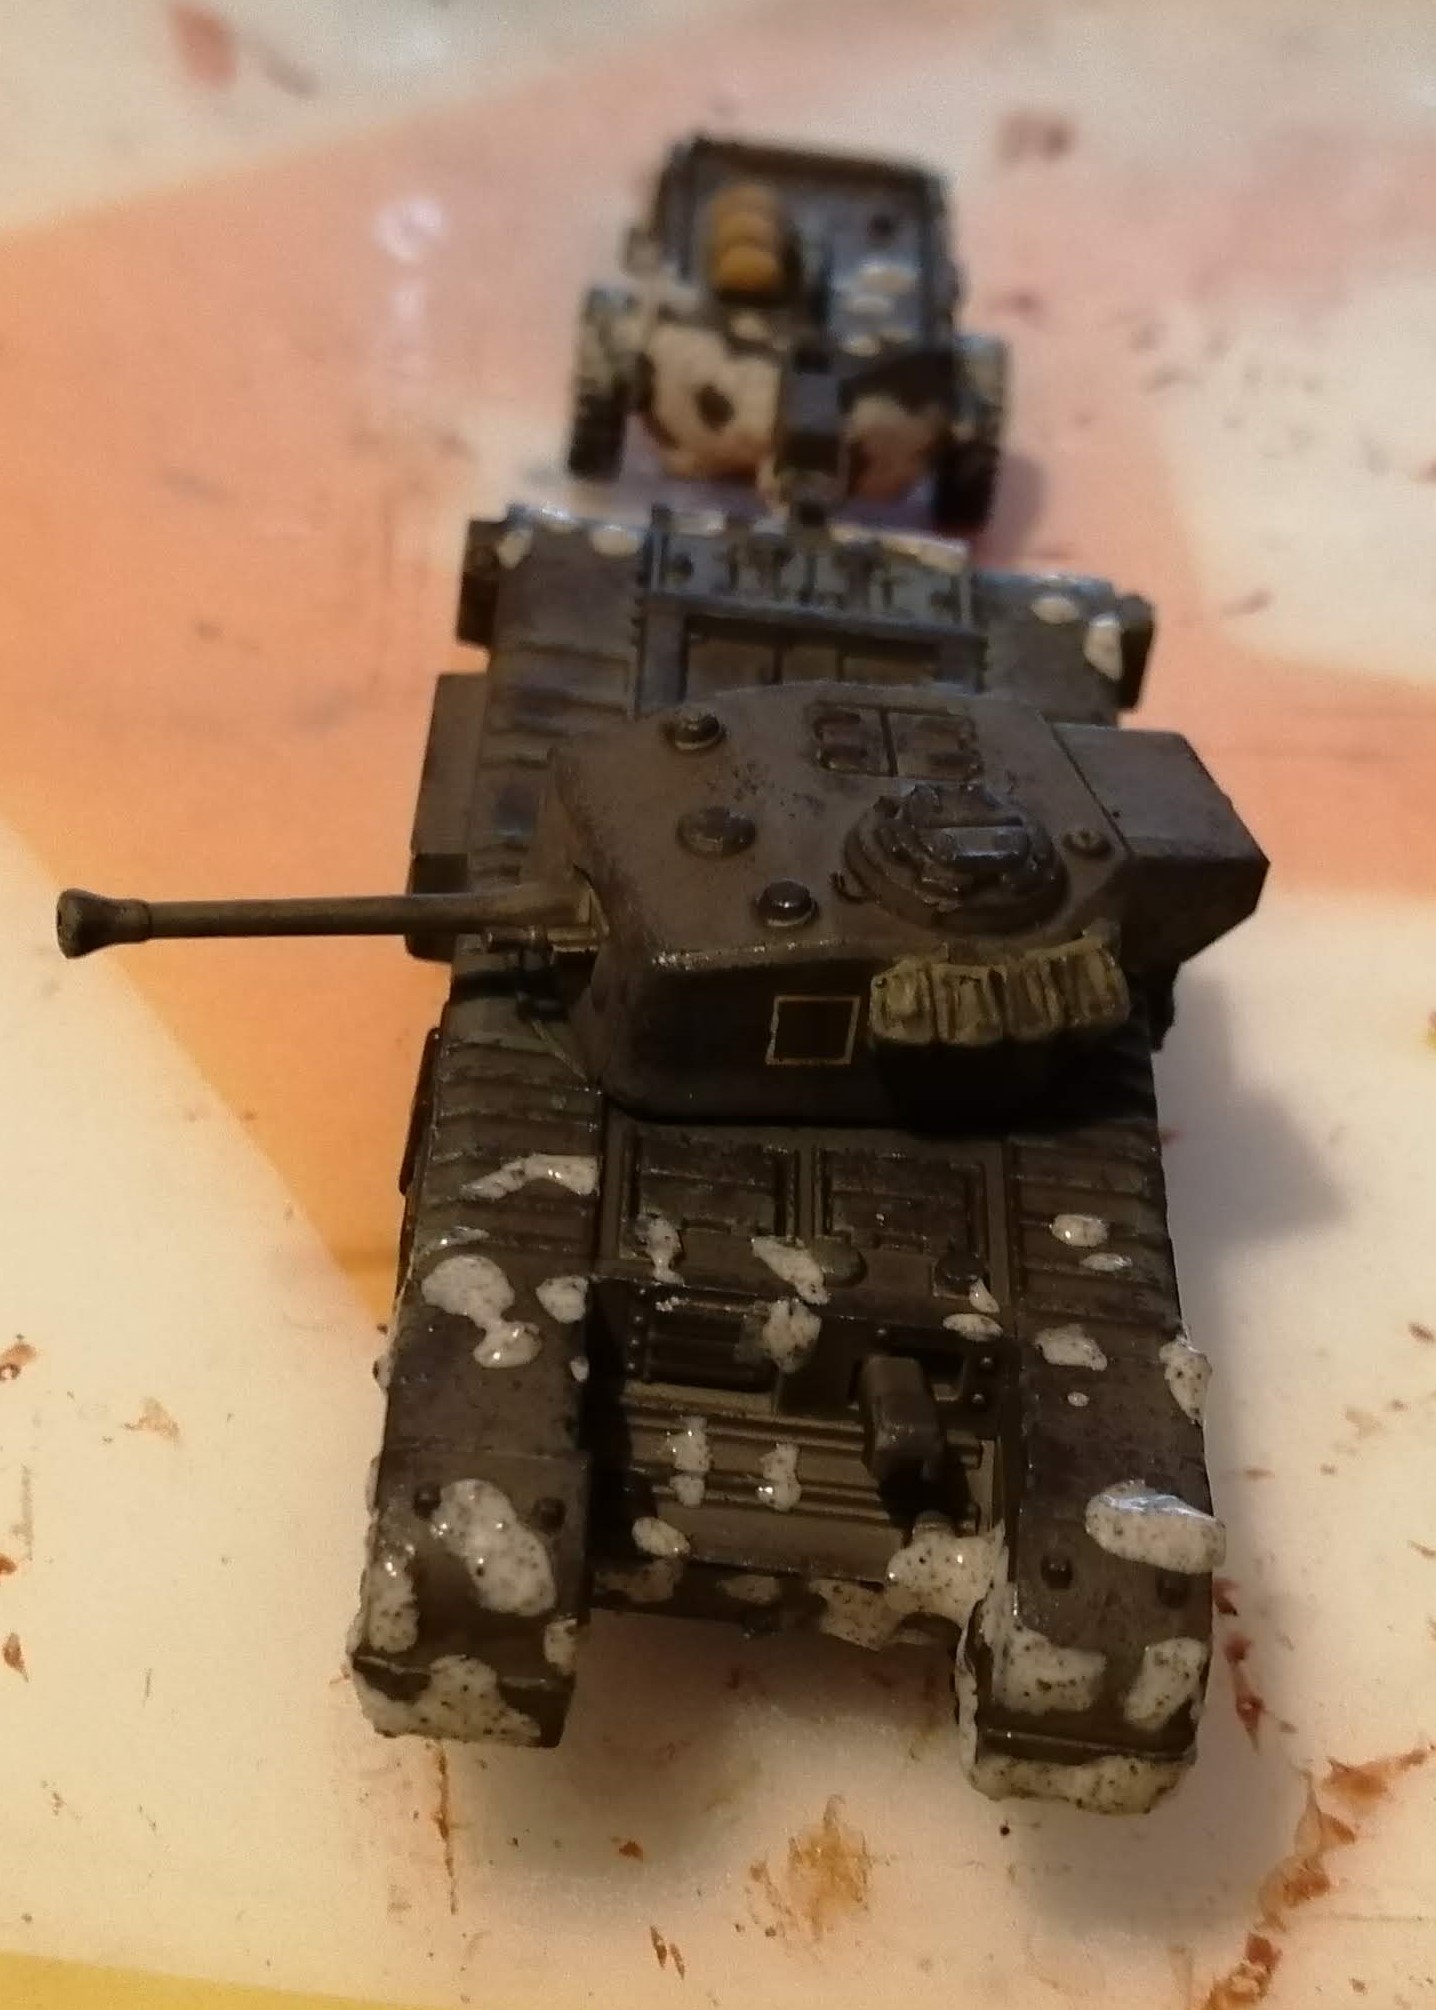
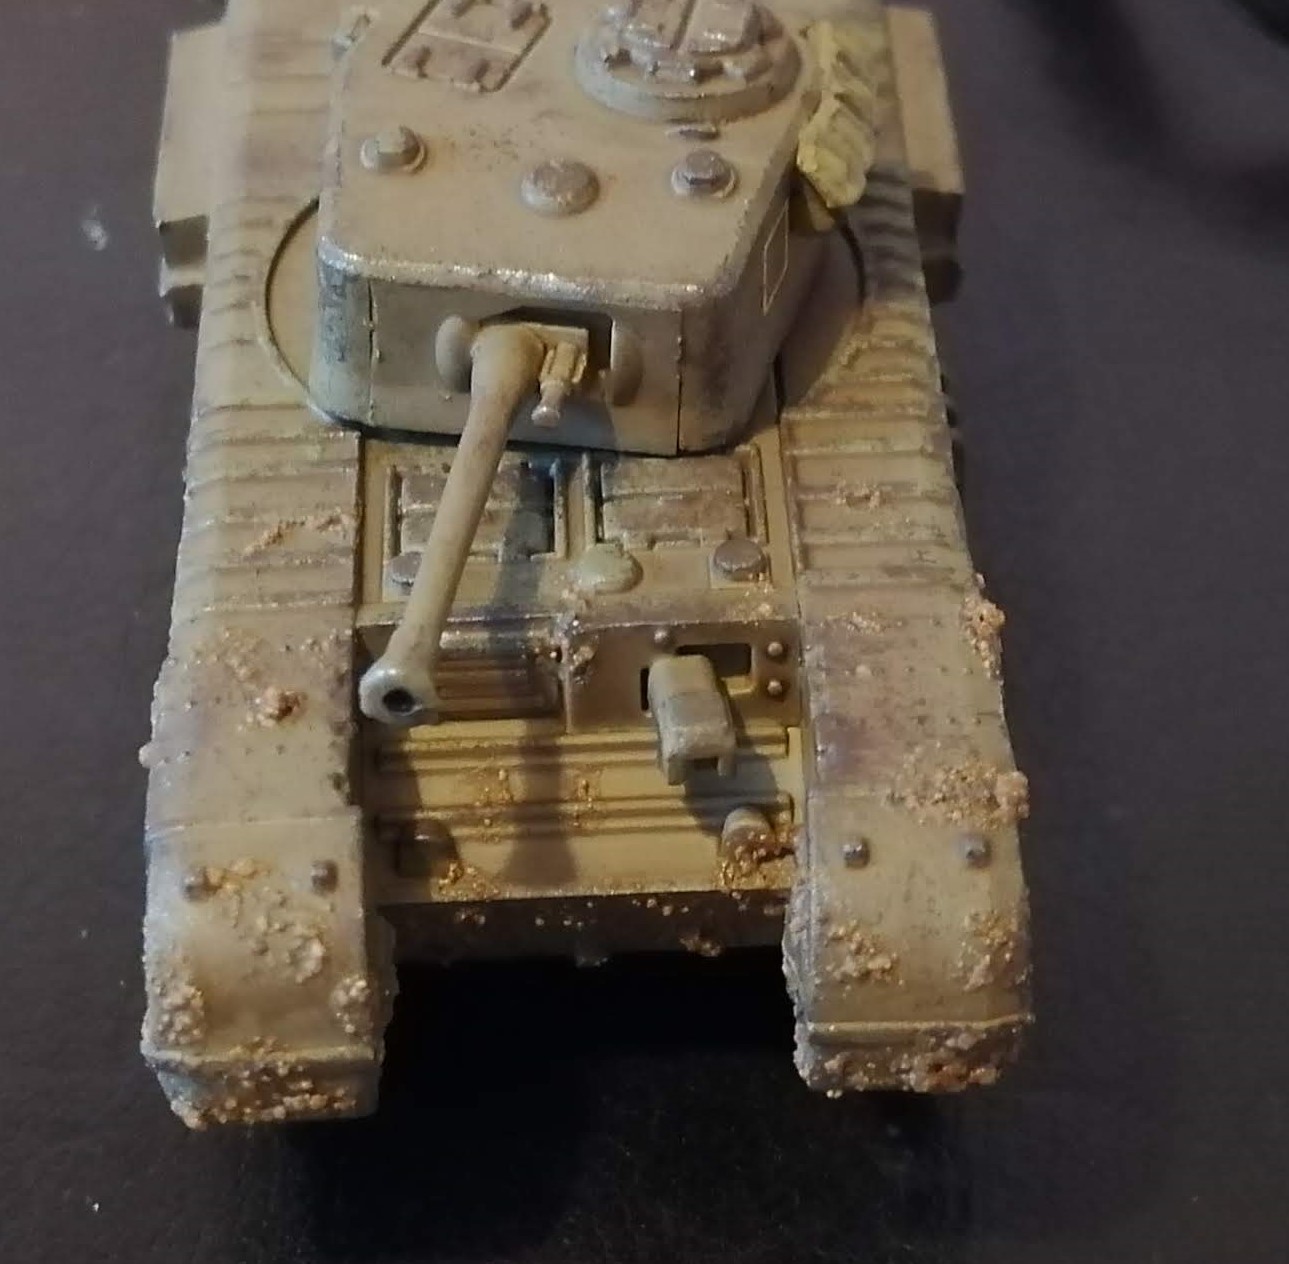
Churchill Crocodiles
I’m adding more fire power to my British army and in this case, quite literally with three Churchill Crocodile tanks. The process for painting these was much the same as the Stuarts so I won’t go into much detail however I will focus more on the mud splatters.
Model was primed and painted British Olive Drab with the tools painted up. I’ve then applied the decals and gone for the usual mid tone dip painted on and gently dabbed off of the flat areas to stop it pooling.
I’ve dry brushed the whole model with reflective green and then just added a small highlight to the tools. Tracks were painted hull red and then dry brushed with gunmetal. I’ve then given everything a matt varnish. Straightforward so far.
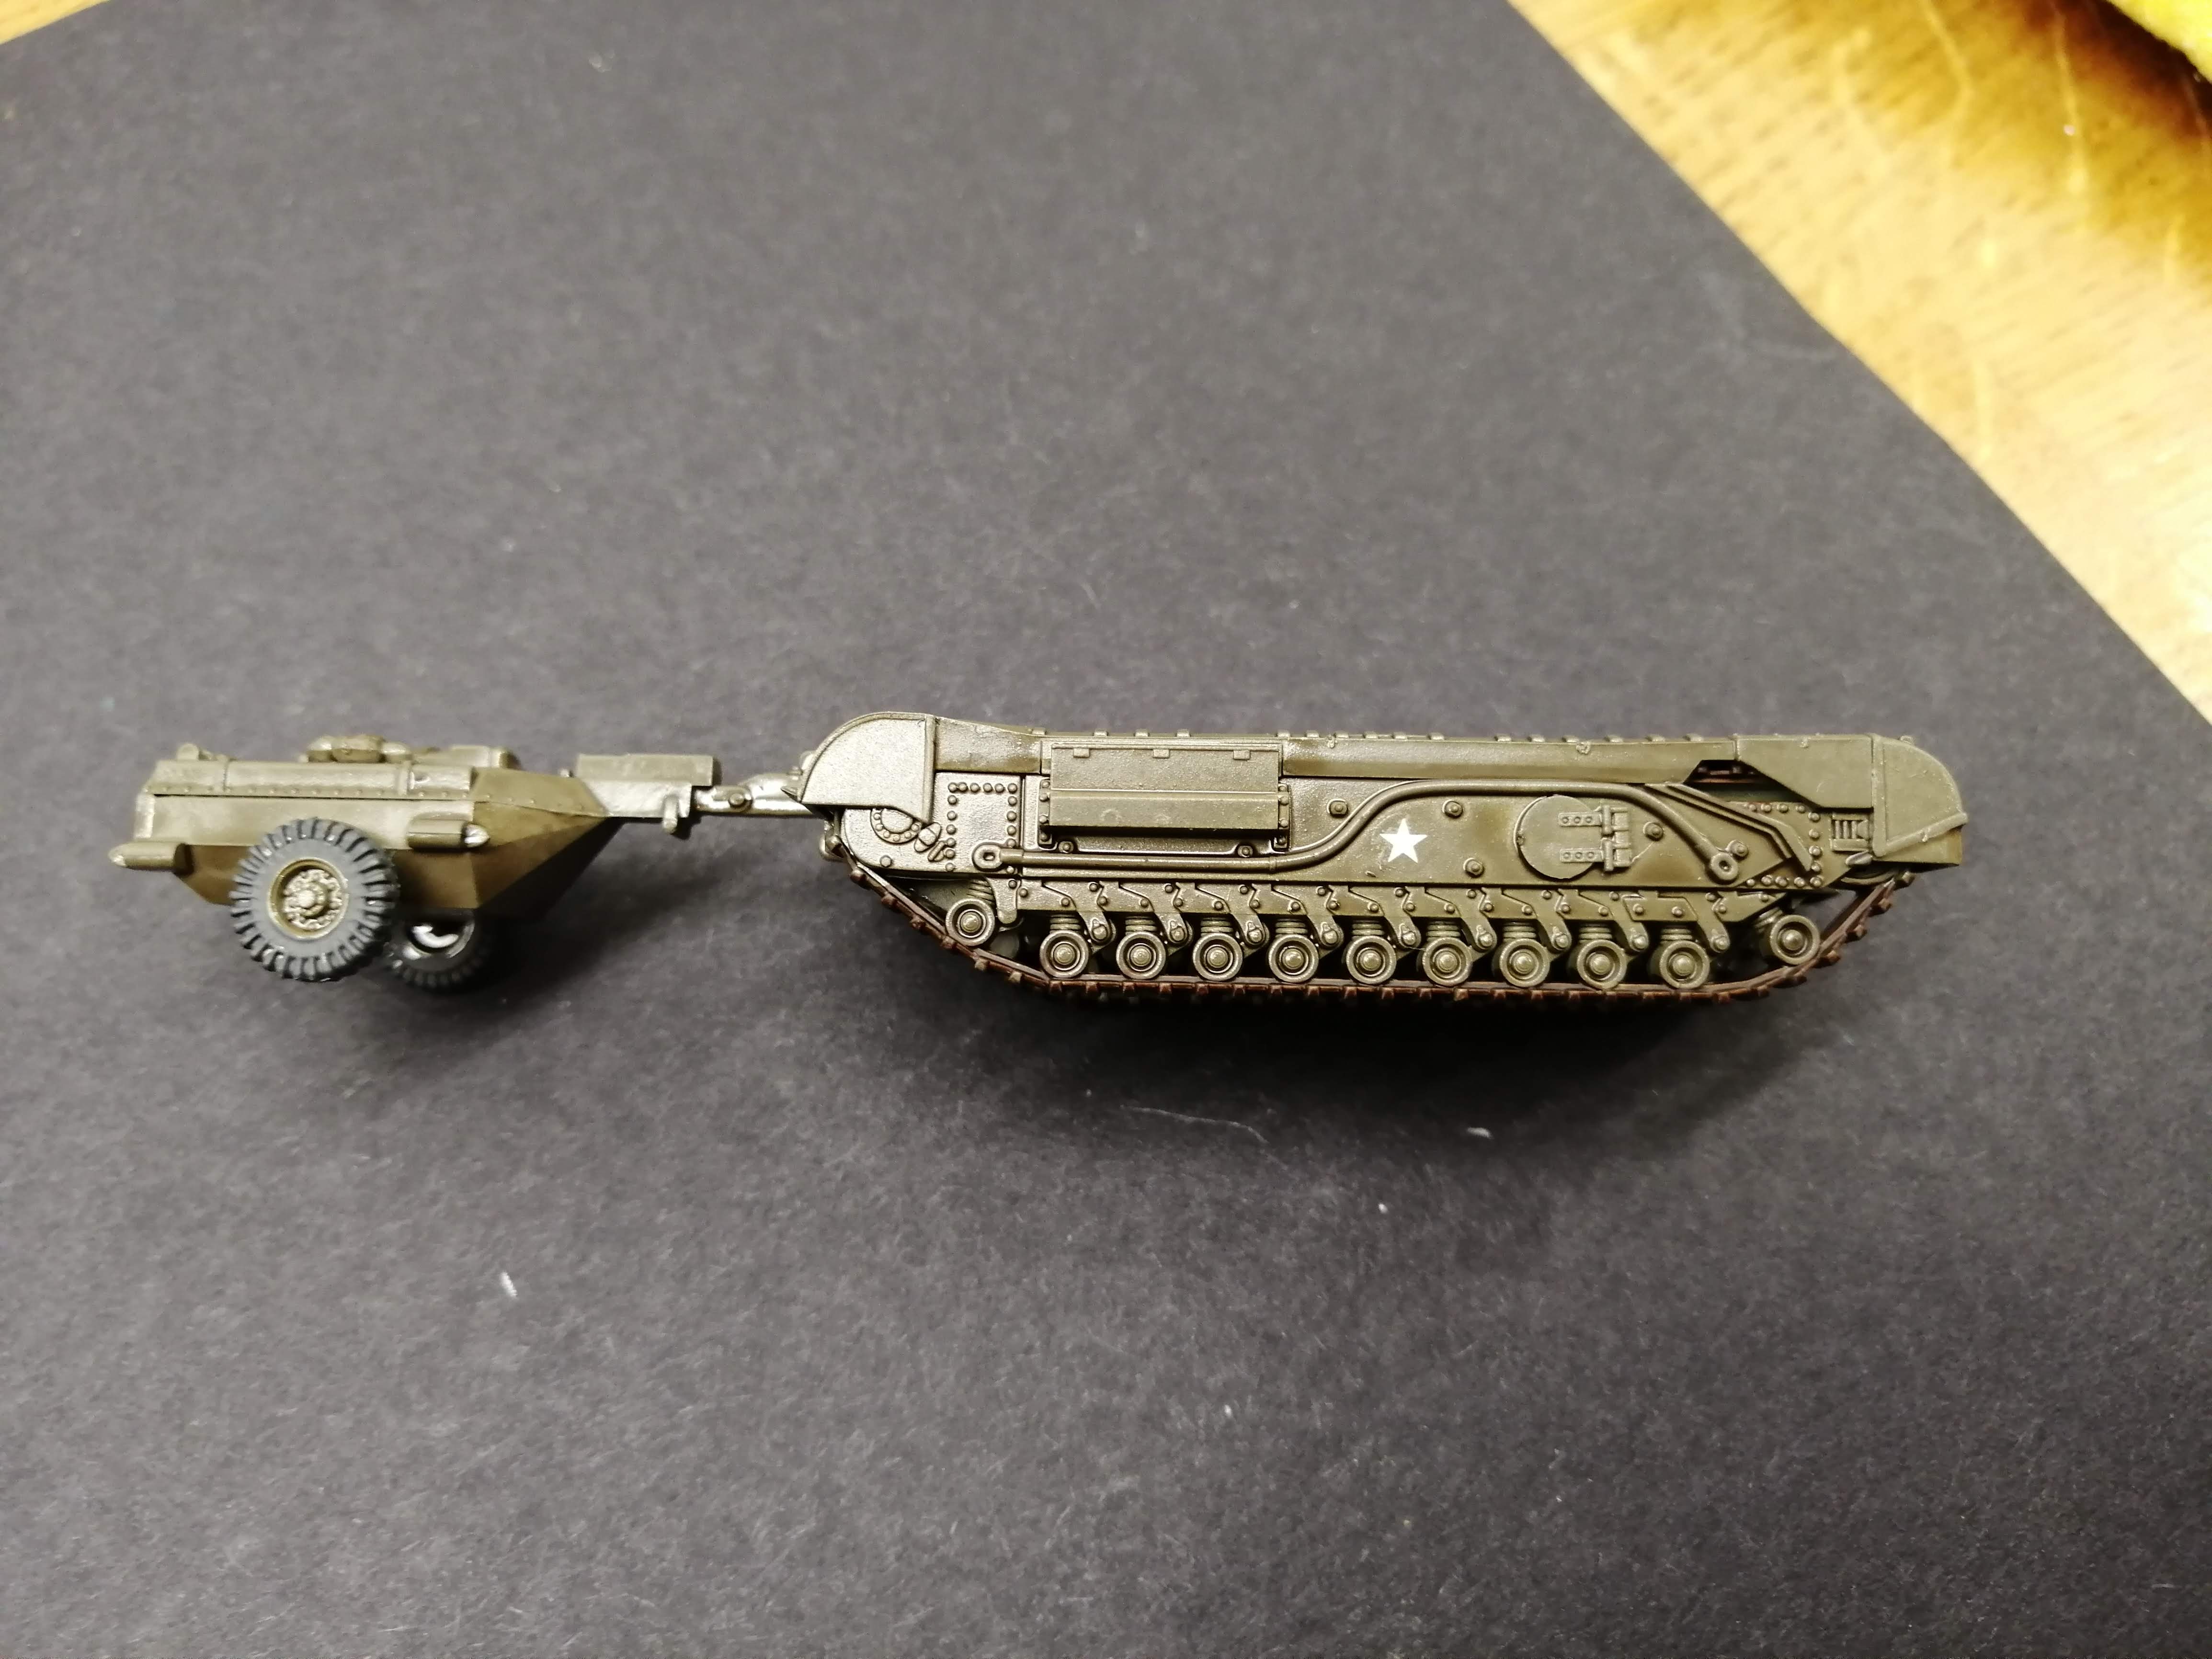
Chipping was applied in the usual way with a dark grey painted sponged on and then once dry, I’ve gone back over with a lighter sponging of gunmetal.
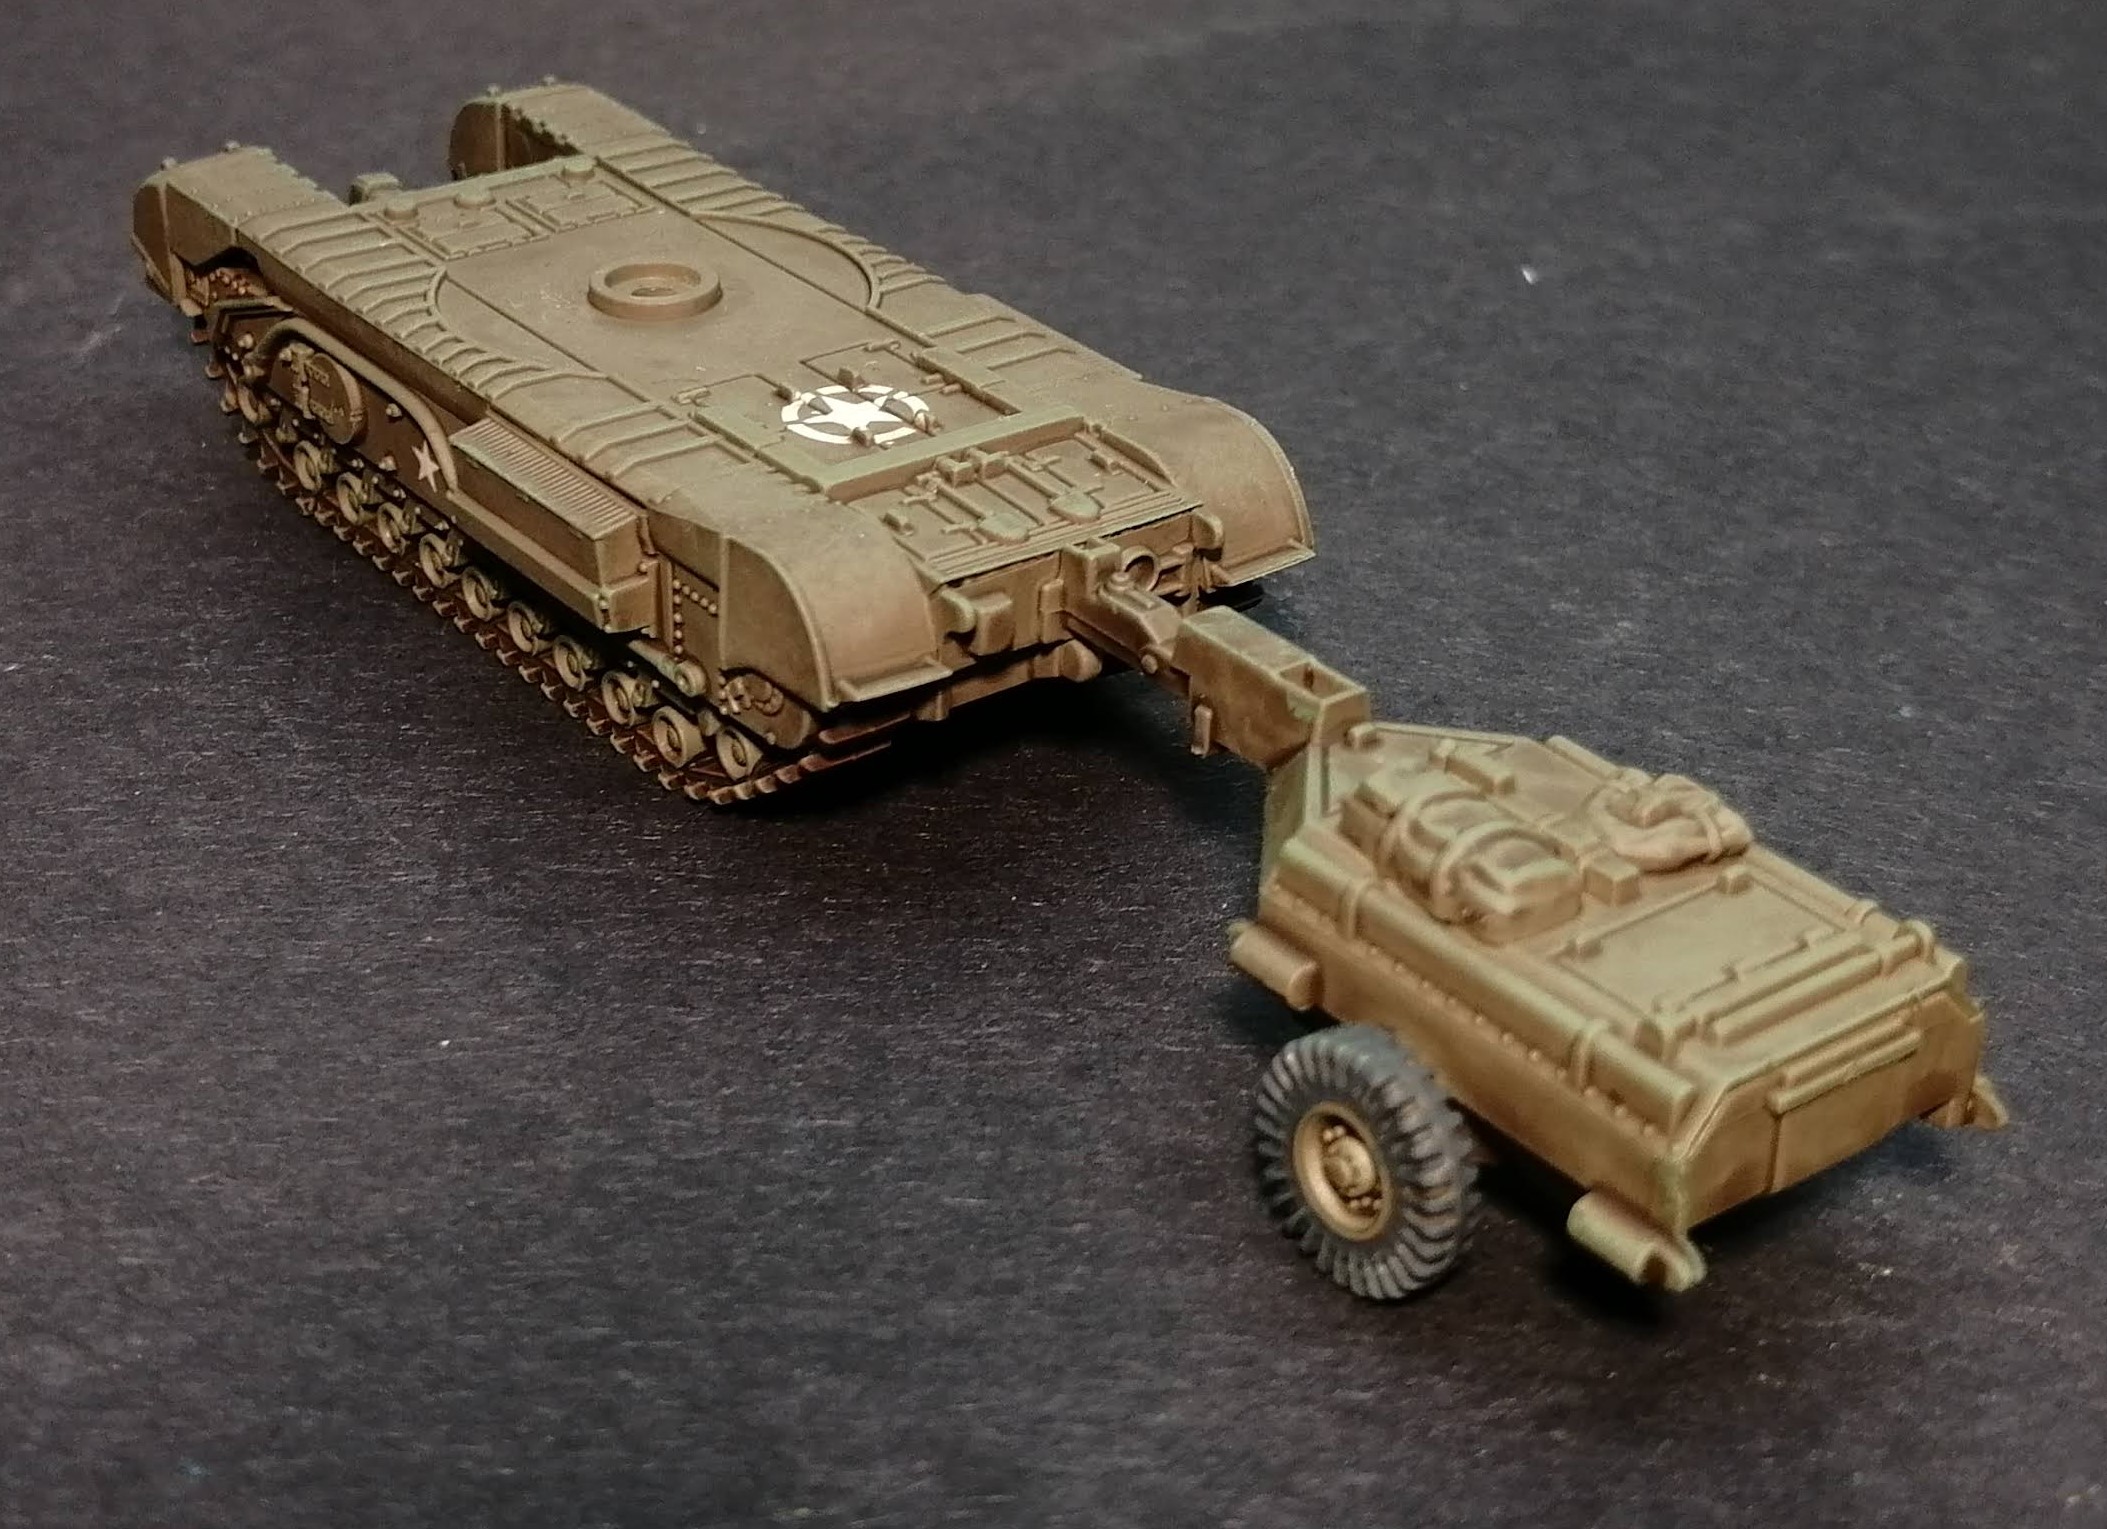
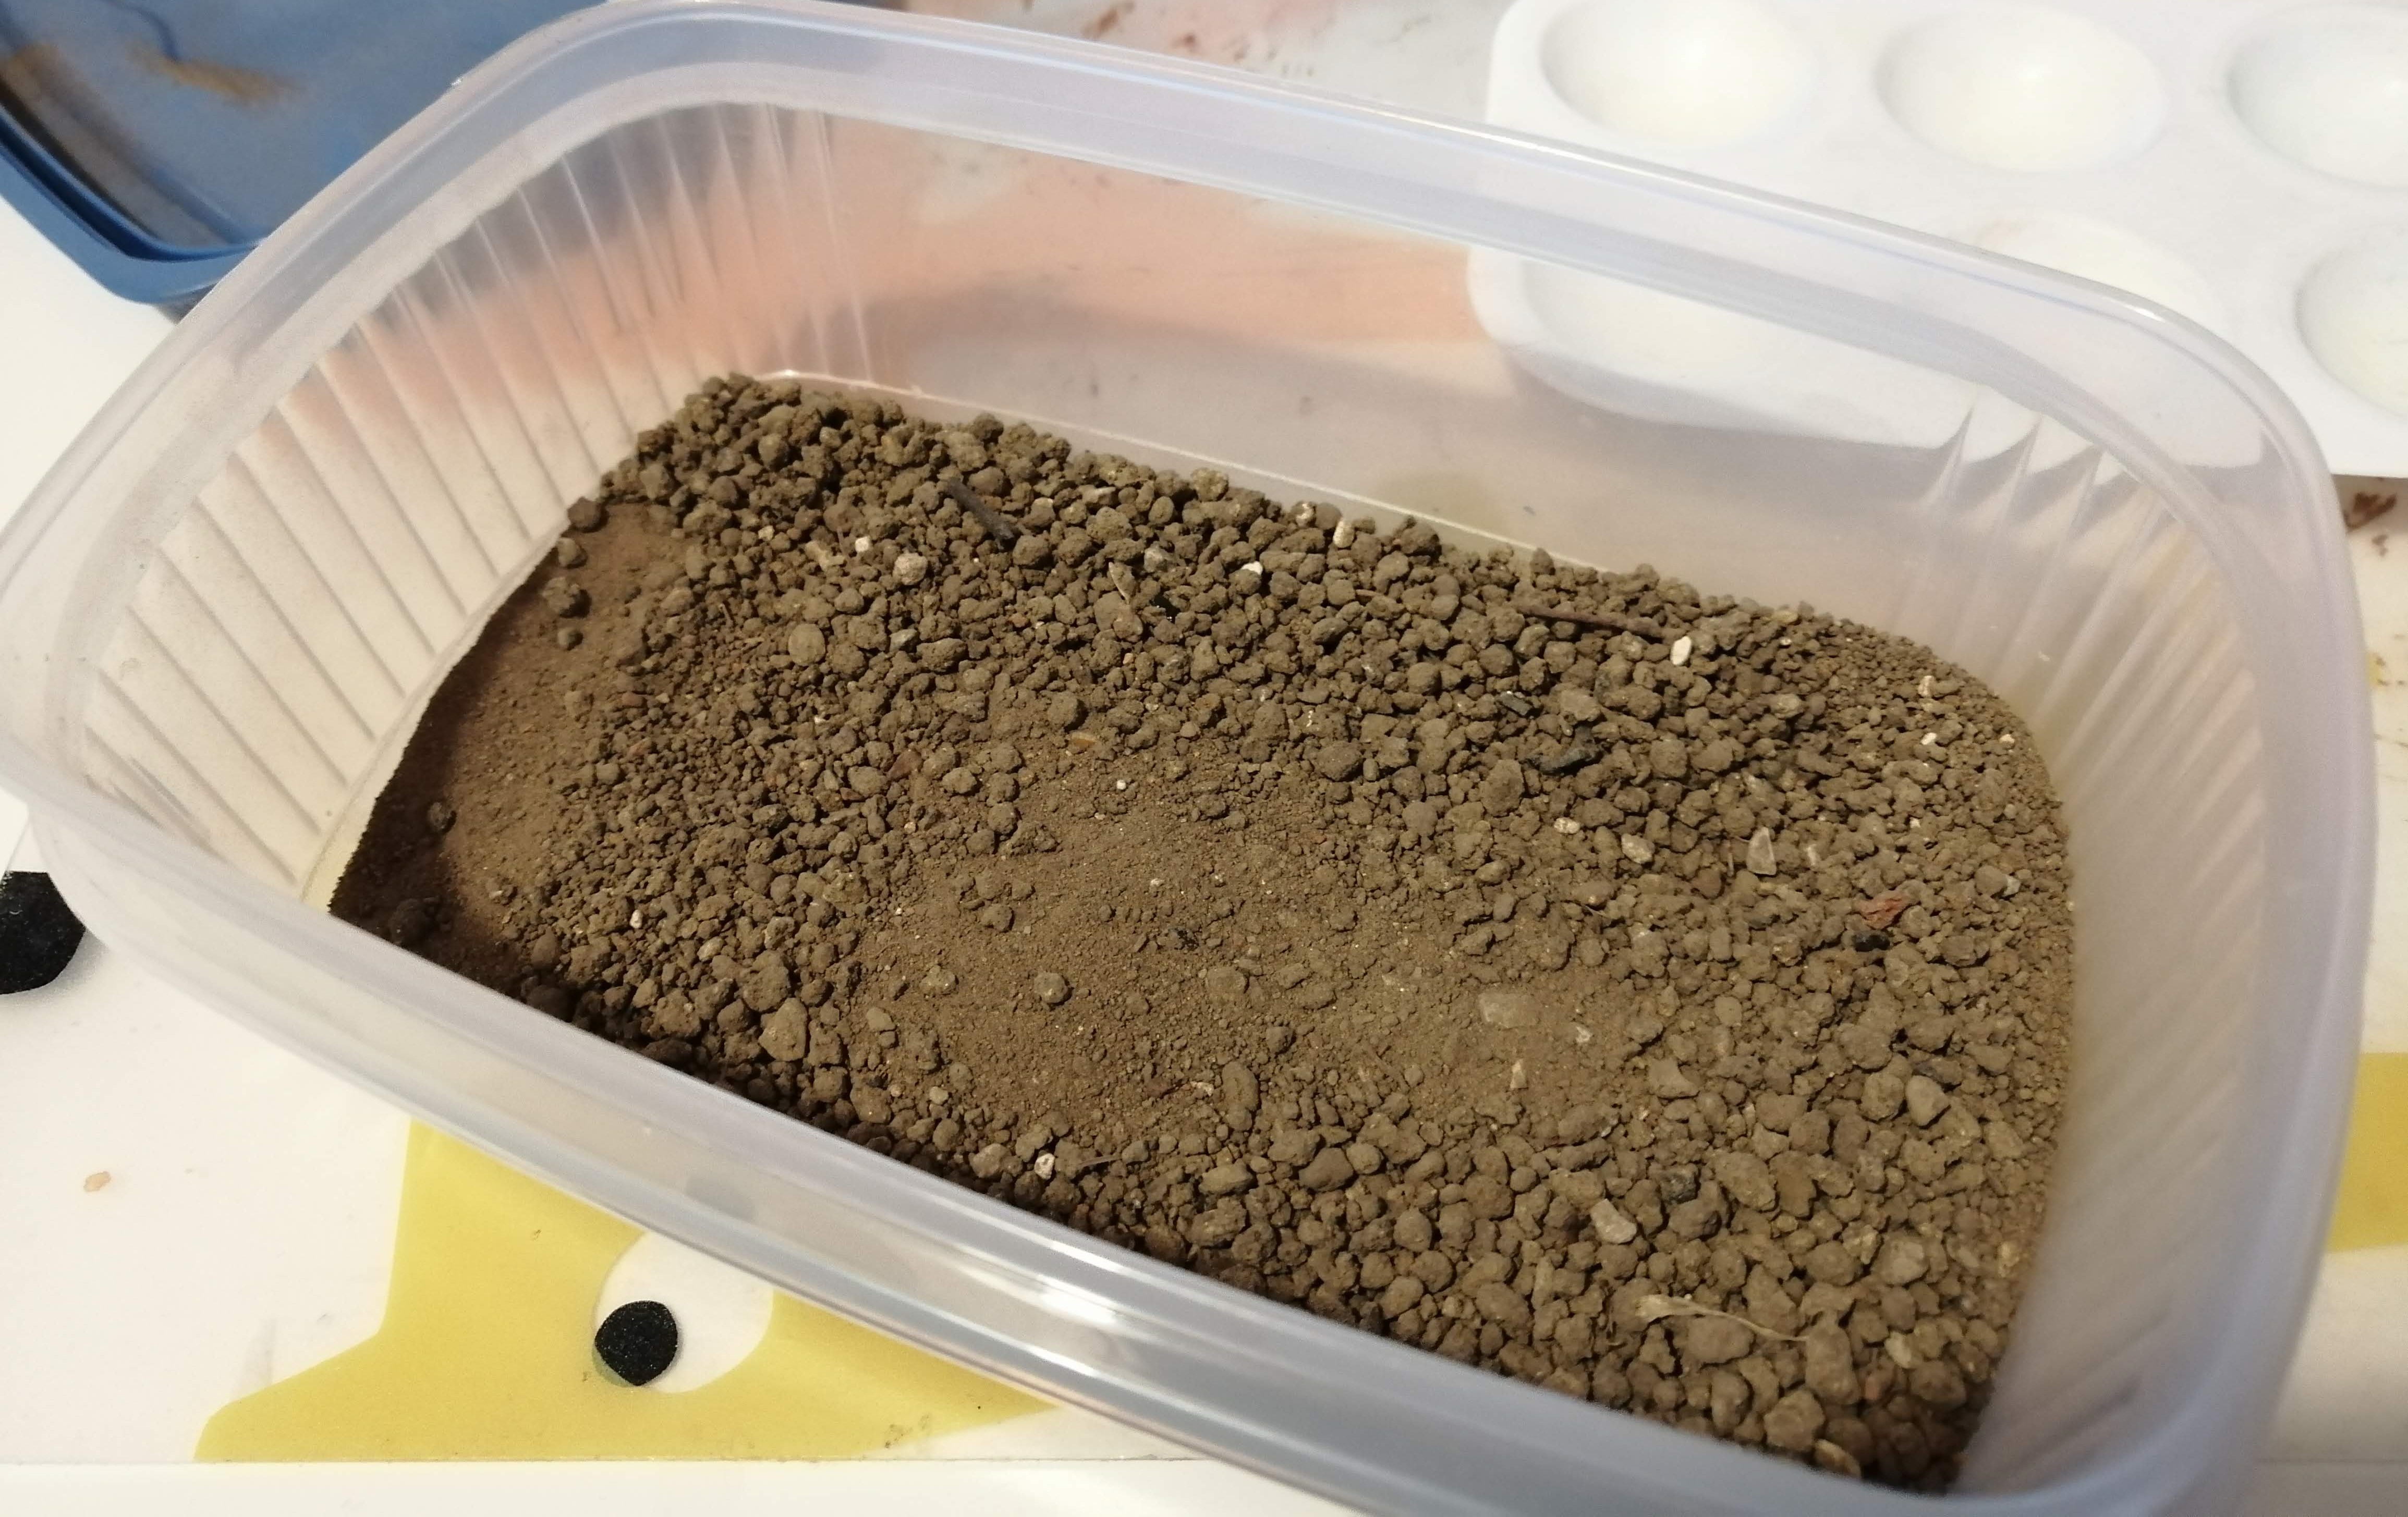
We’re now ready for the mud splatter. I use high quality Lower Weald Sussex clay for this. Anything else is just not good enough 🙂 If anyone wants some, I’m happy to supply it at a cost 🙂
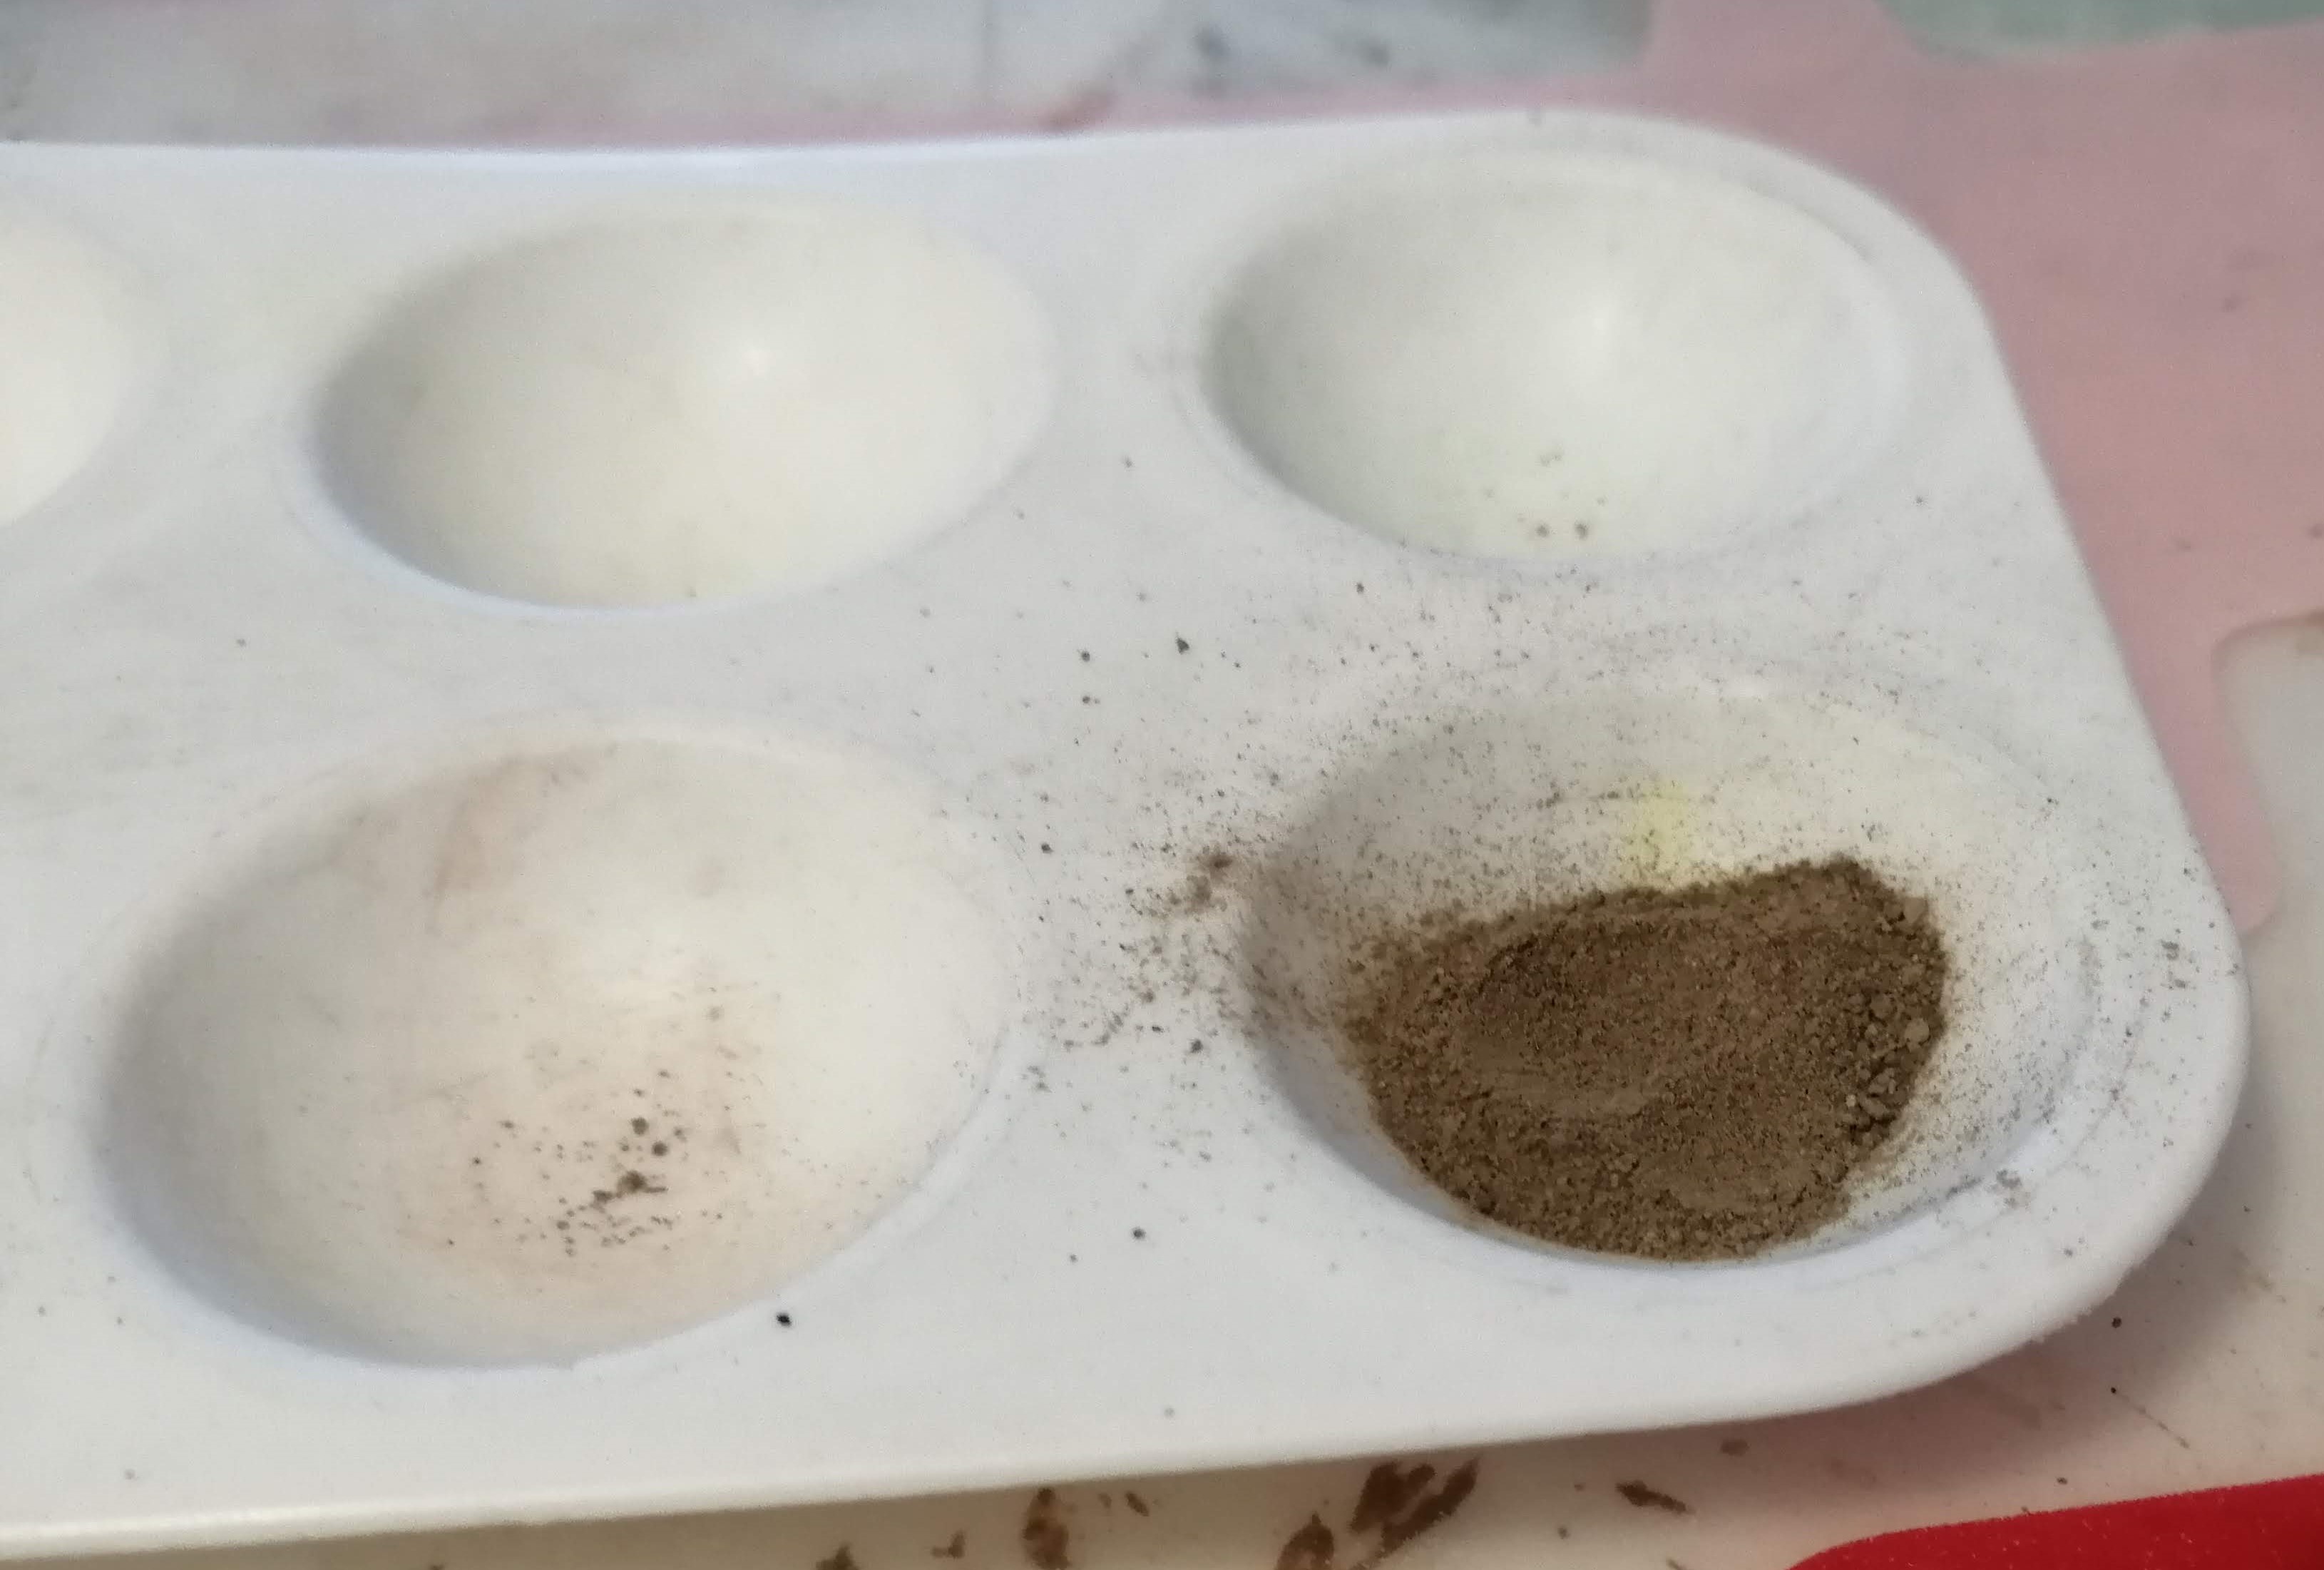
The soil must be dry and crushed down to a fine powder. You can see in the first picture below that there are a lot of lumps in mine but on the left, you can see it as a fine powder. Use a rolling pin or pestle and mortar to crush it down.
Mix a reasonable amount with PVA glue. The more glue, the less splatter once it is dry. I tend to go 50:50 and you can always add another layer if you want more.

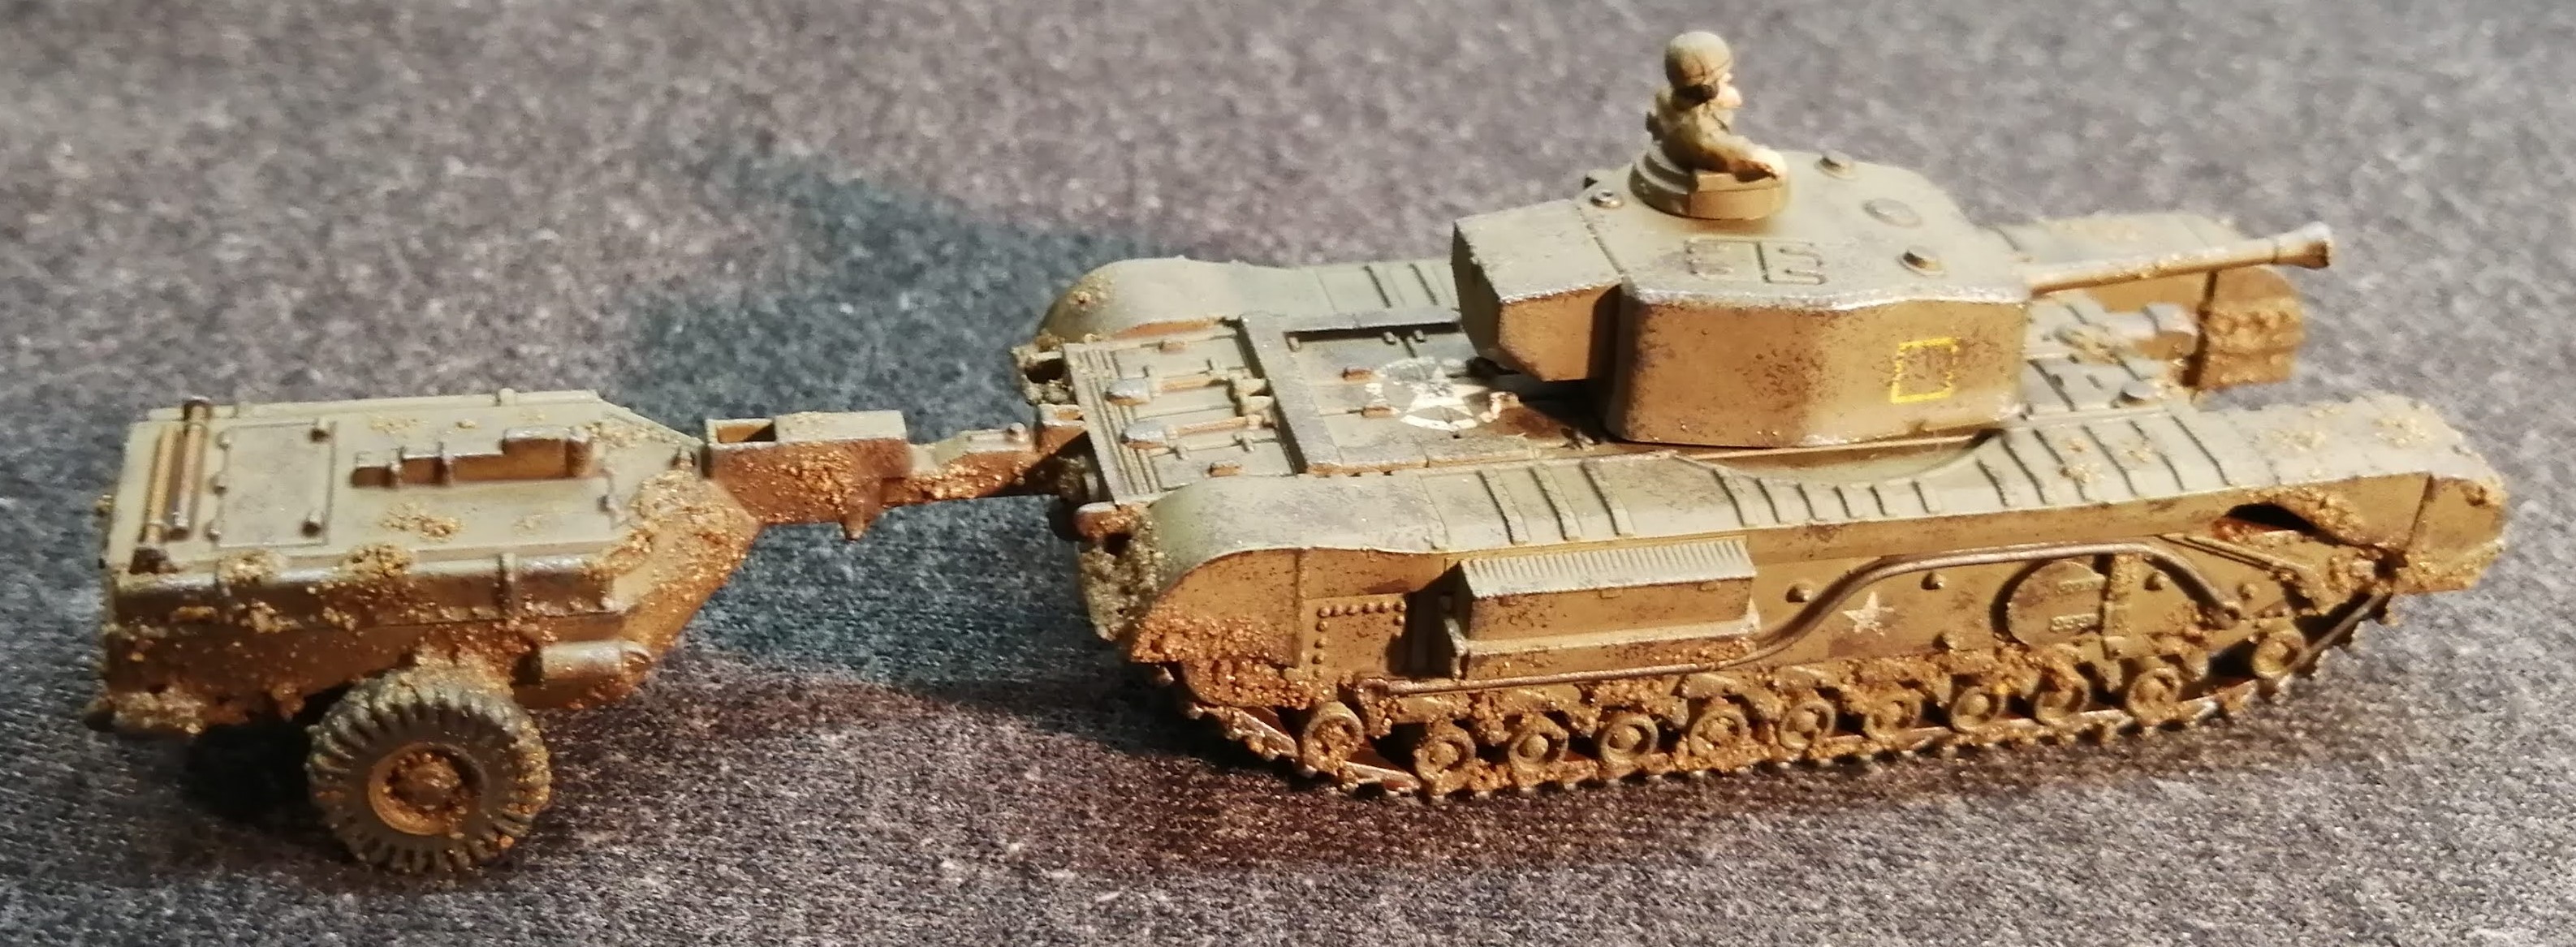
Taking an old and very fine brush, I dab on the mixture to where I think mud could splatter. So logically more around where the tracks come up to the body and on this model, the trailer that’s likely to get a mud shower whenever the tank moves.
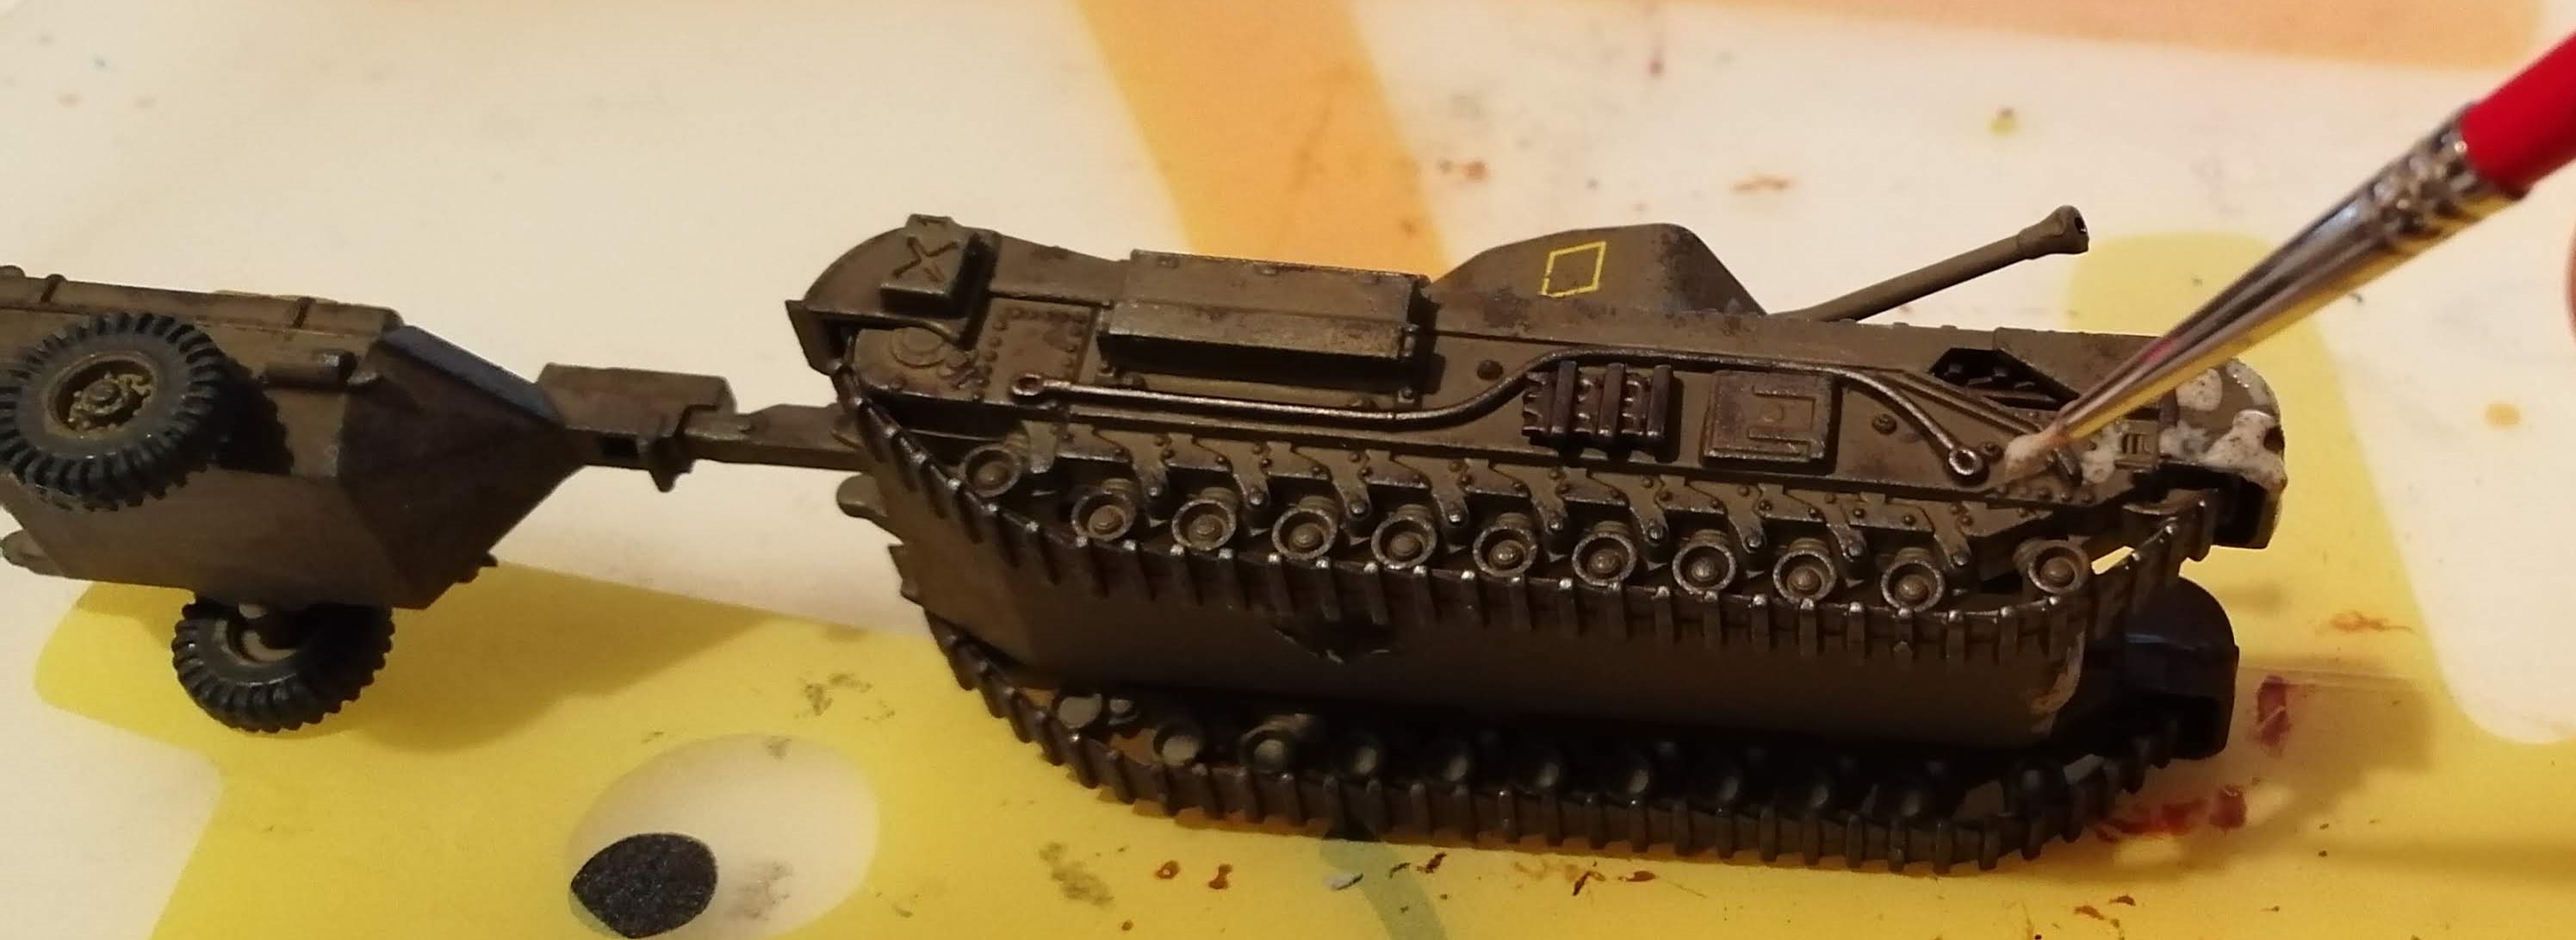
I’ve tried a before and after shot of the same tank here so that you can see how it dries and the effect from ‘oh crap, I’ve ruined my model’ to ‘that doesn’t look so bad’

As the PVA dries, it deposits the ground up soil into a fairly realistic splatter. This is why it needs to be ground to a fine dust otherwise the larger lumps just don’t look as natural. Once dry, you can add more layers for the really muddy look.
I’ve given my mud effect another matt varnish over the top to remove any slight shine left by the PVA and to seal the mud down. You can also carefully apply a satin or gloss varnish if you want a wet mud look.
I’m using this technique in 15mm and it works pretty well. I think if you scaled it up you would probably want to mix in some more pigments to break up the uniform brown, perhaps even add some tufts of static grass. But for 15mm table top ready, I think this looks fine.
Here’s the finished Platoon.