Identifying, Updating, and Painting a Bucket of 90’s Era 40K Orks with Lawnor


Recommendations: 269
About the Project
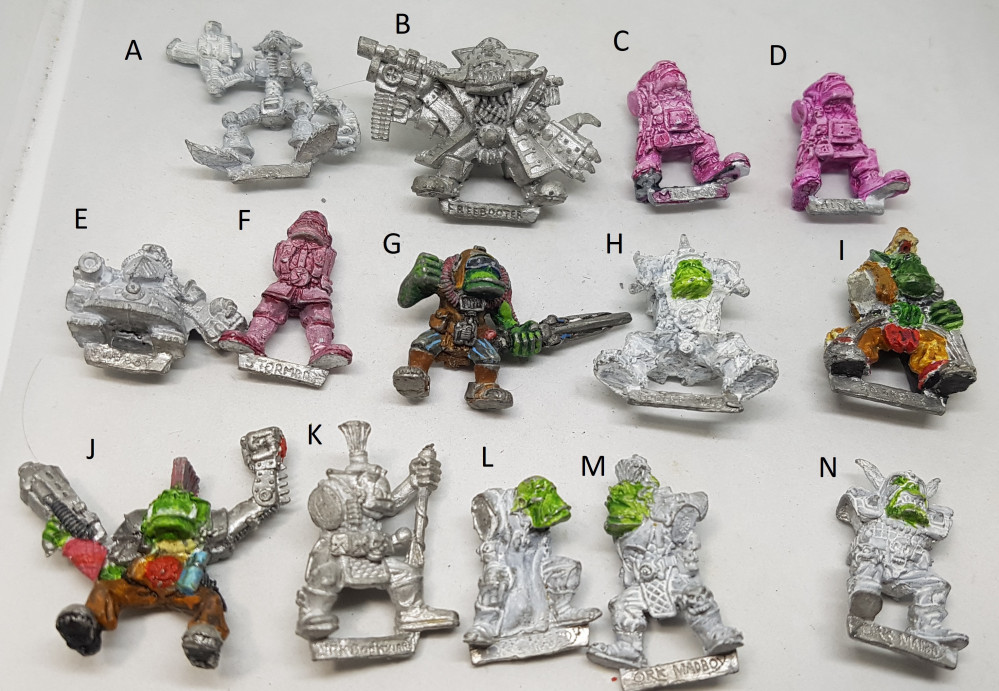
I was handed a bucket of 40k orks many years ago and as I've nearly painted everything else I own its time to get these guys in order so I can paint them when the time comes. I do not know 40k so I don't know my Goffs from my Evil Sunz, or my Snotlings from my Gretchins. I need help and advice with a lot of basics to understand what I have and to prevent me building and painting something I may wish to undo later.
Related Game: Warhammer 40,000
Related Company: Games Workshop
Related Genre: Science Fiction
This Project is Completed
Basing the Orks
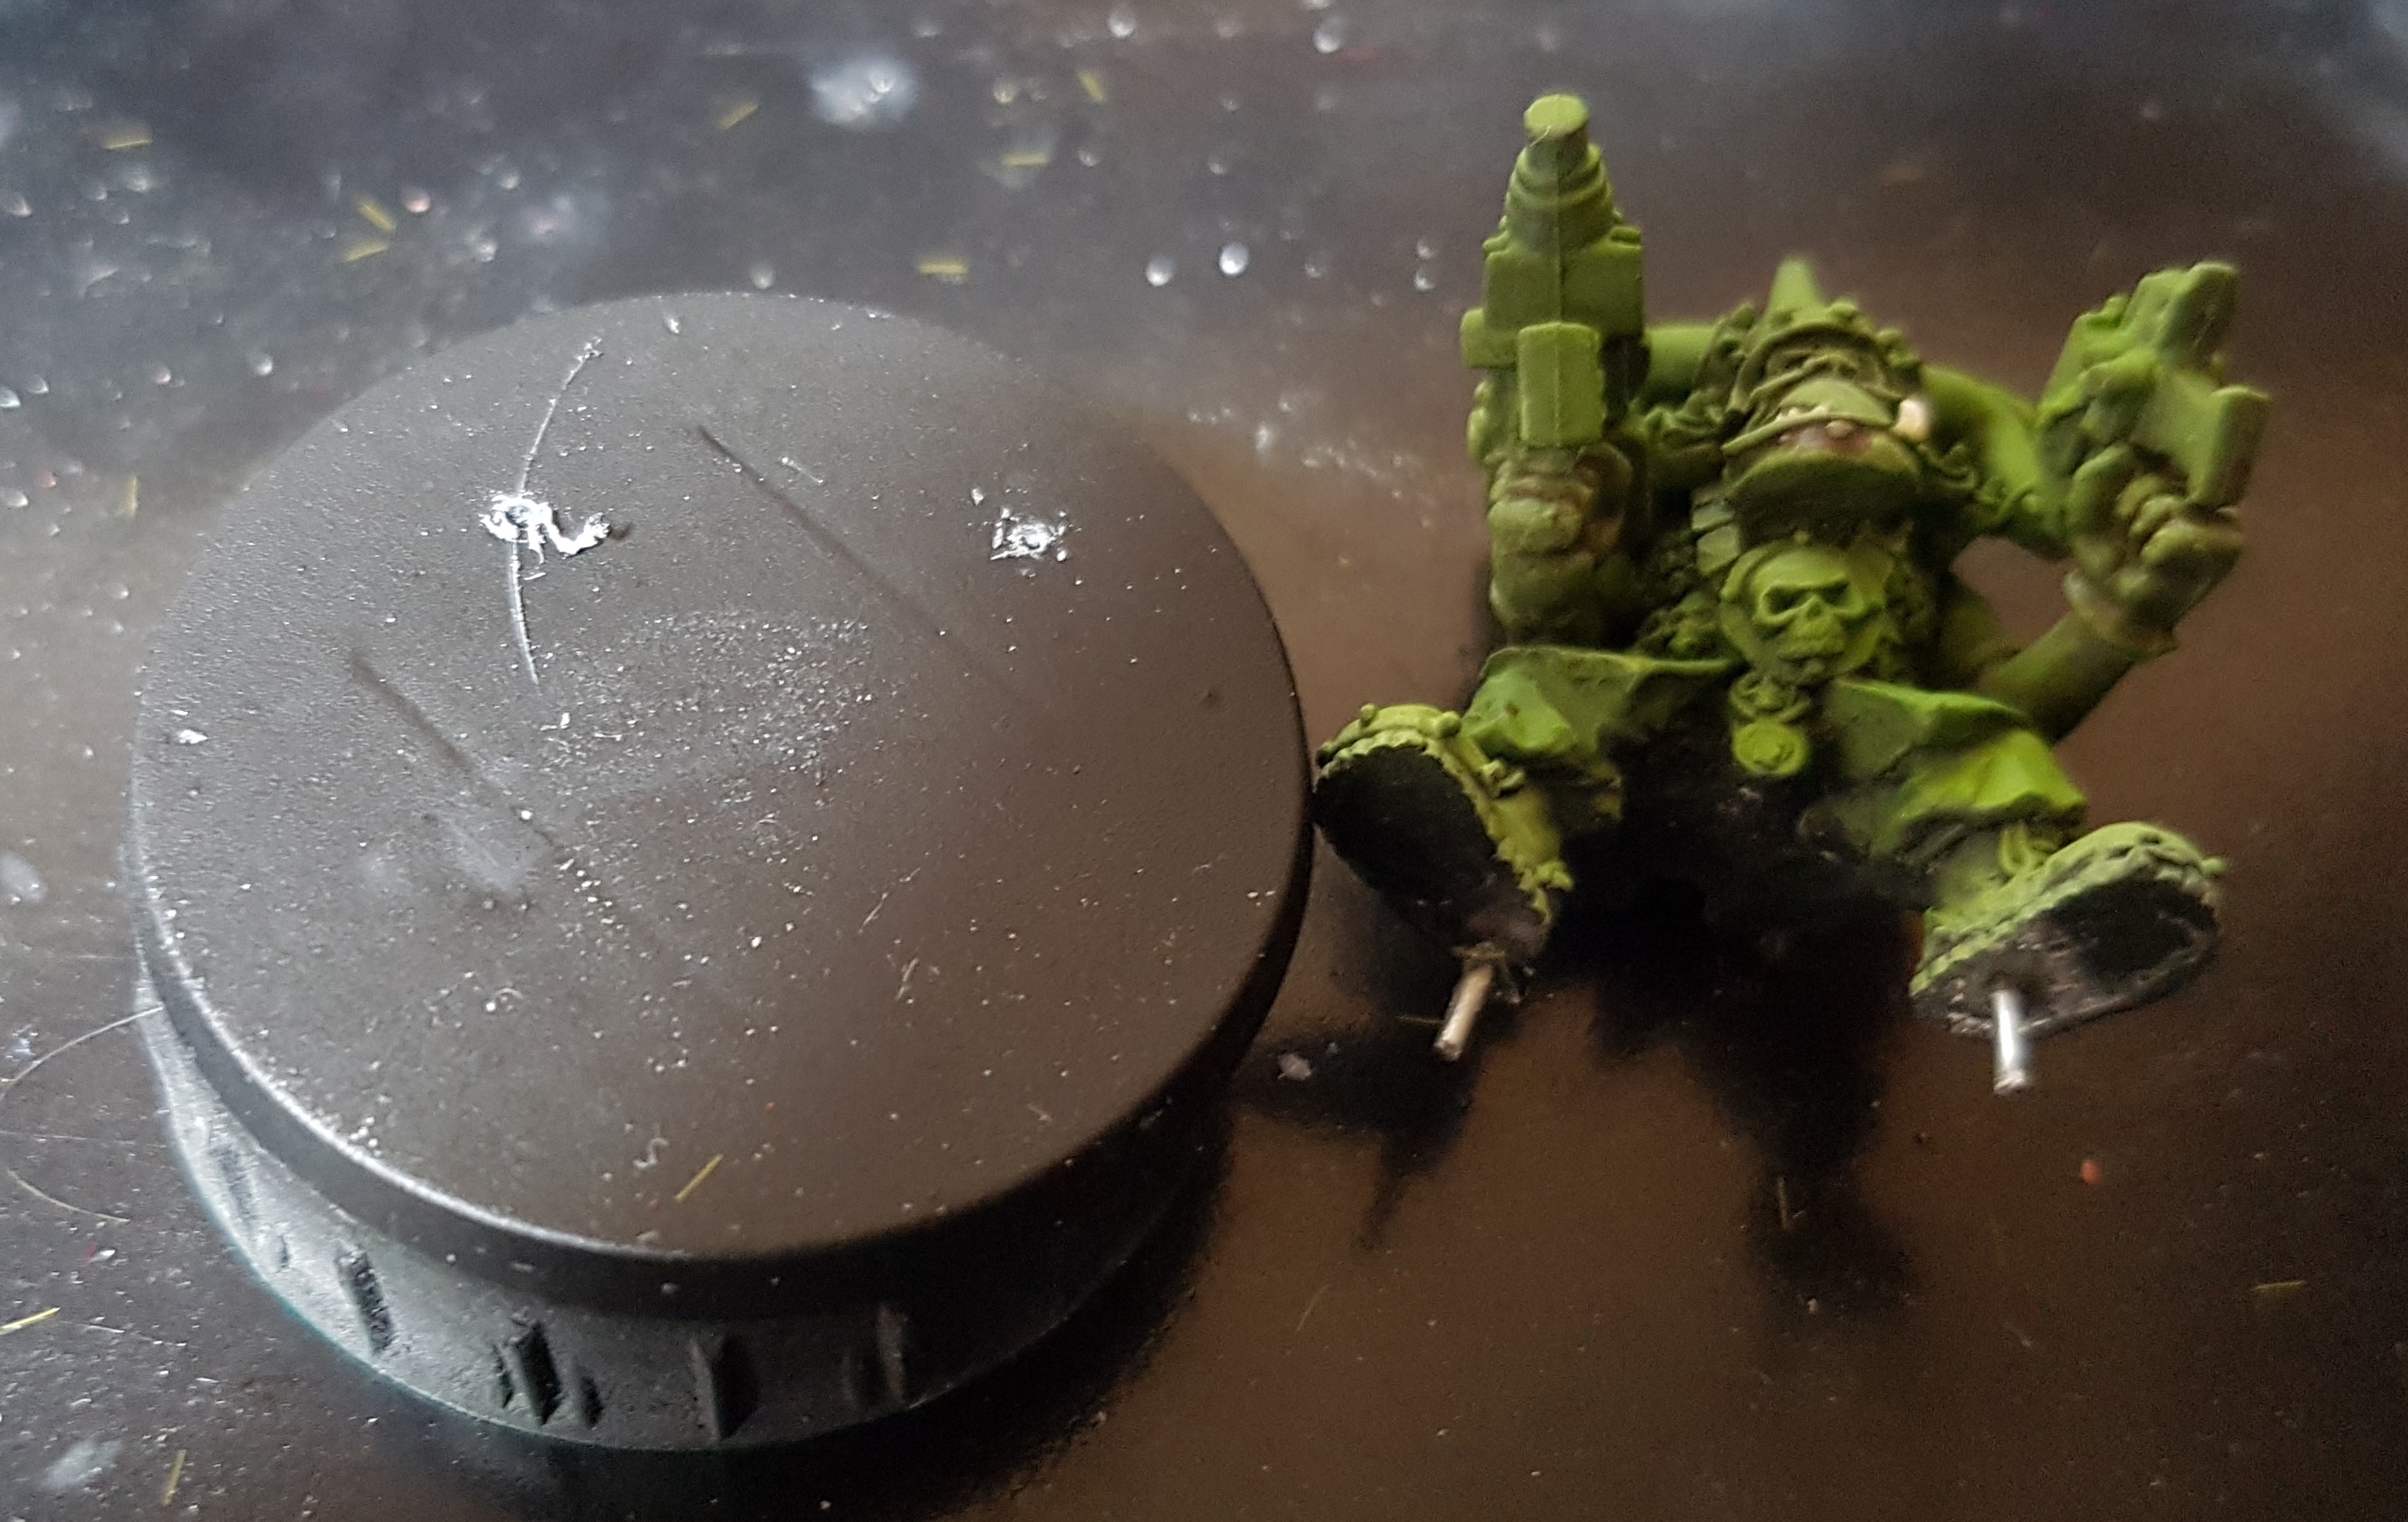
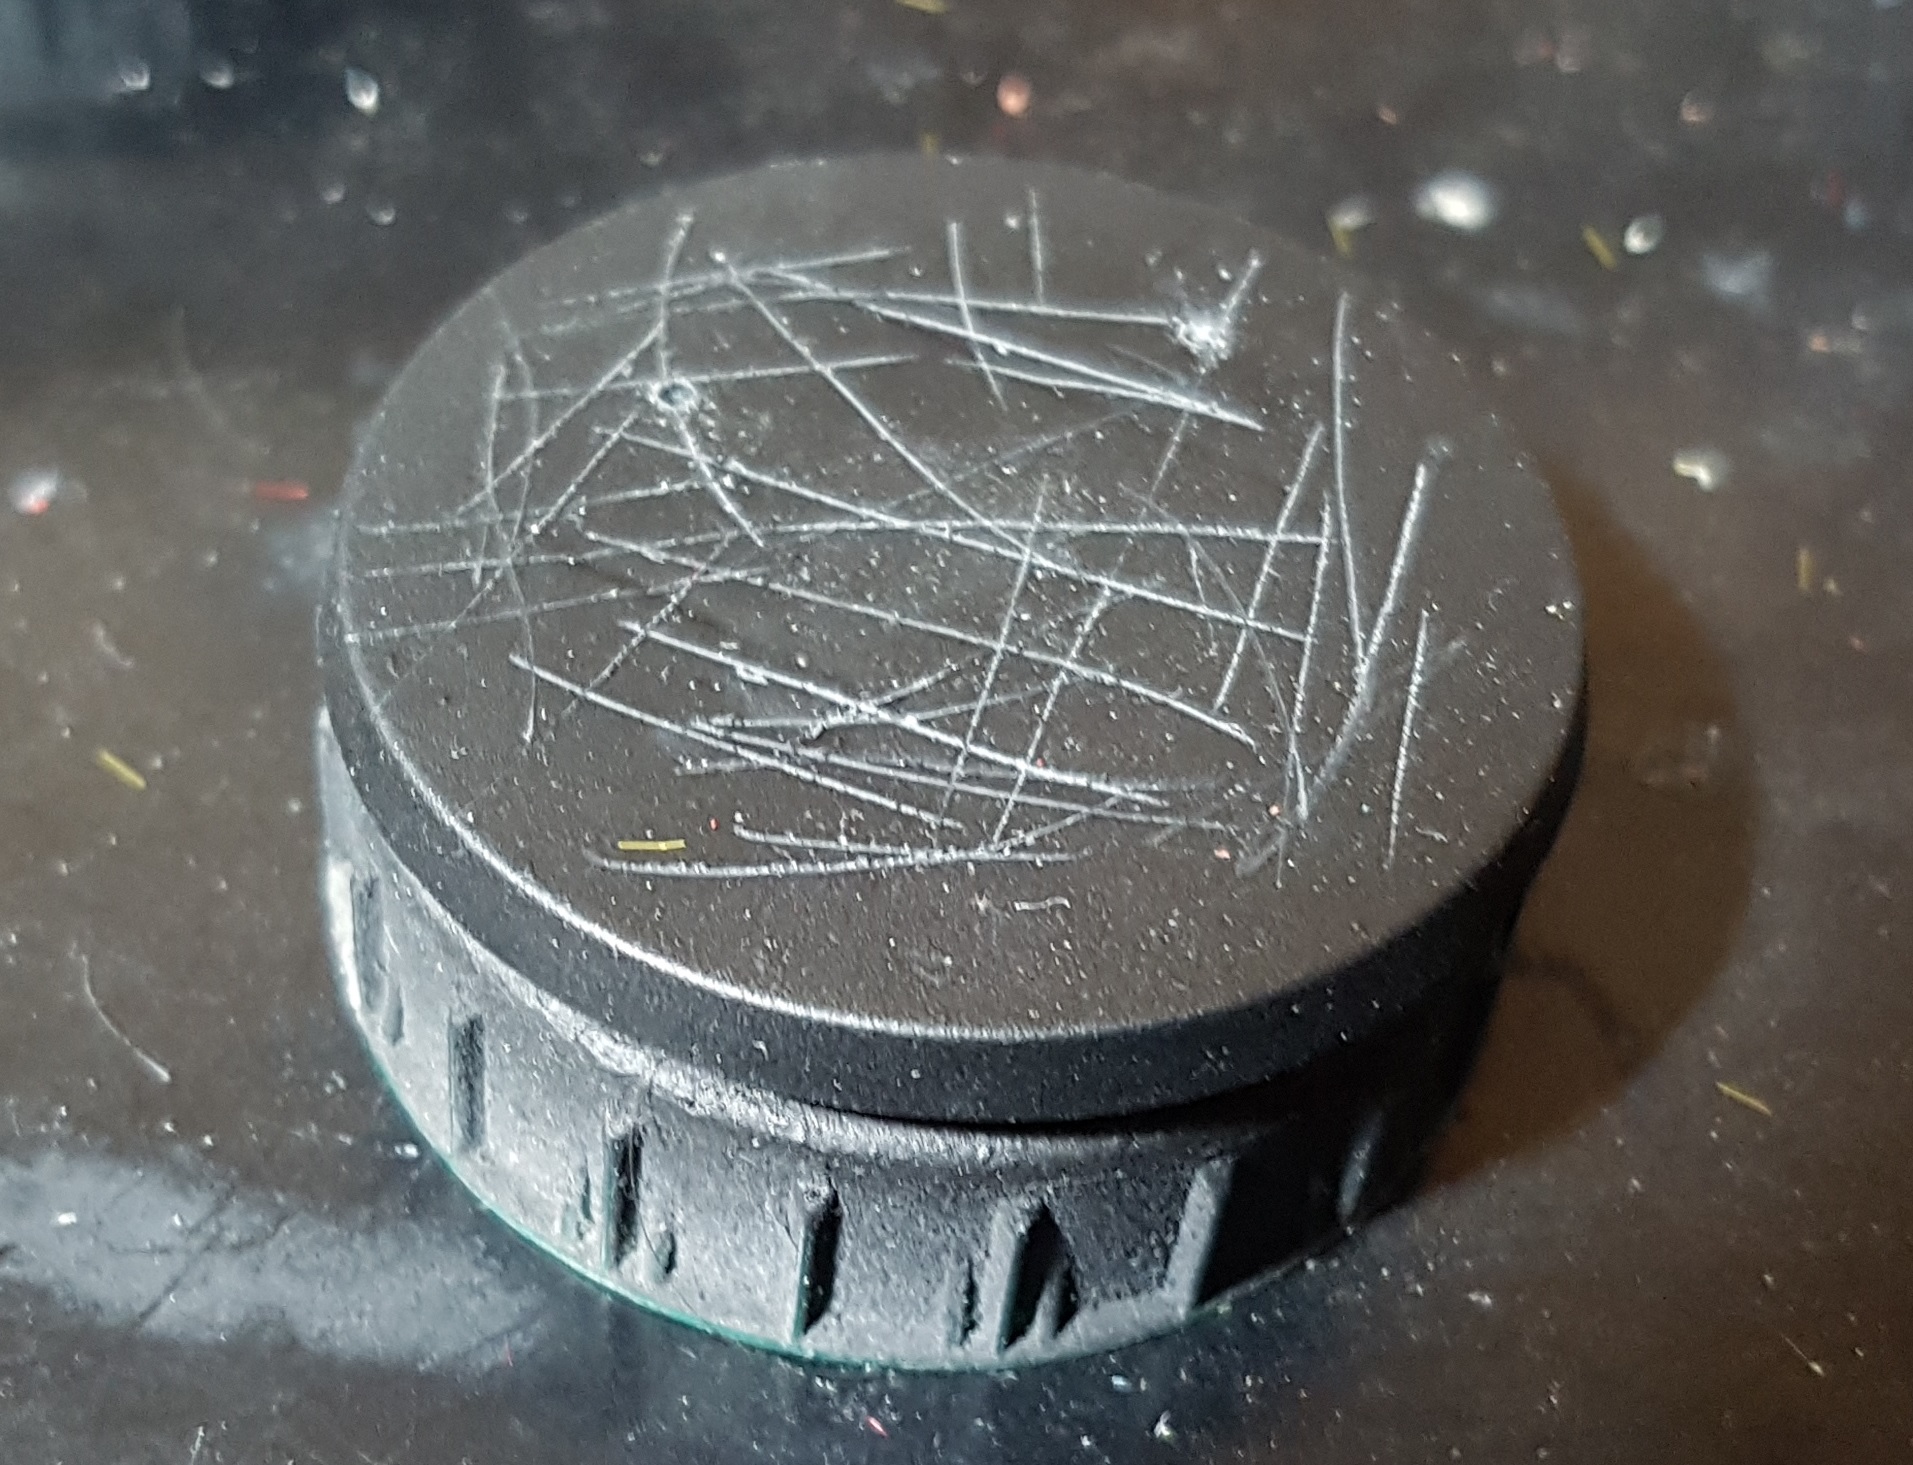
So here’s my steps. I wash my bases at the same time I was the components of my models. I also clean the rims off as they often have protrusions. I clip the tab off the bottom of my models and glue some pins in to its feet. I line it up where I want it on the base and use one pin to mark a hole I then drill through. I put the model back over the base with its pin through that hole and scratch a path with the other. I then drill the other hole, and test the fit, re-drilling if warranted. Scratching up the base after this can give glue and basing materials something extra to stick to.
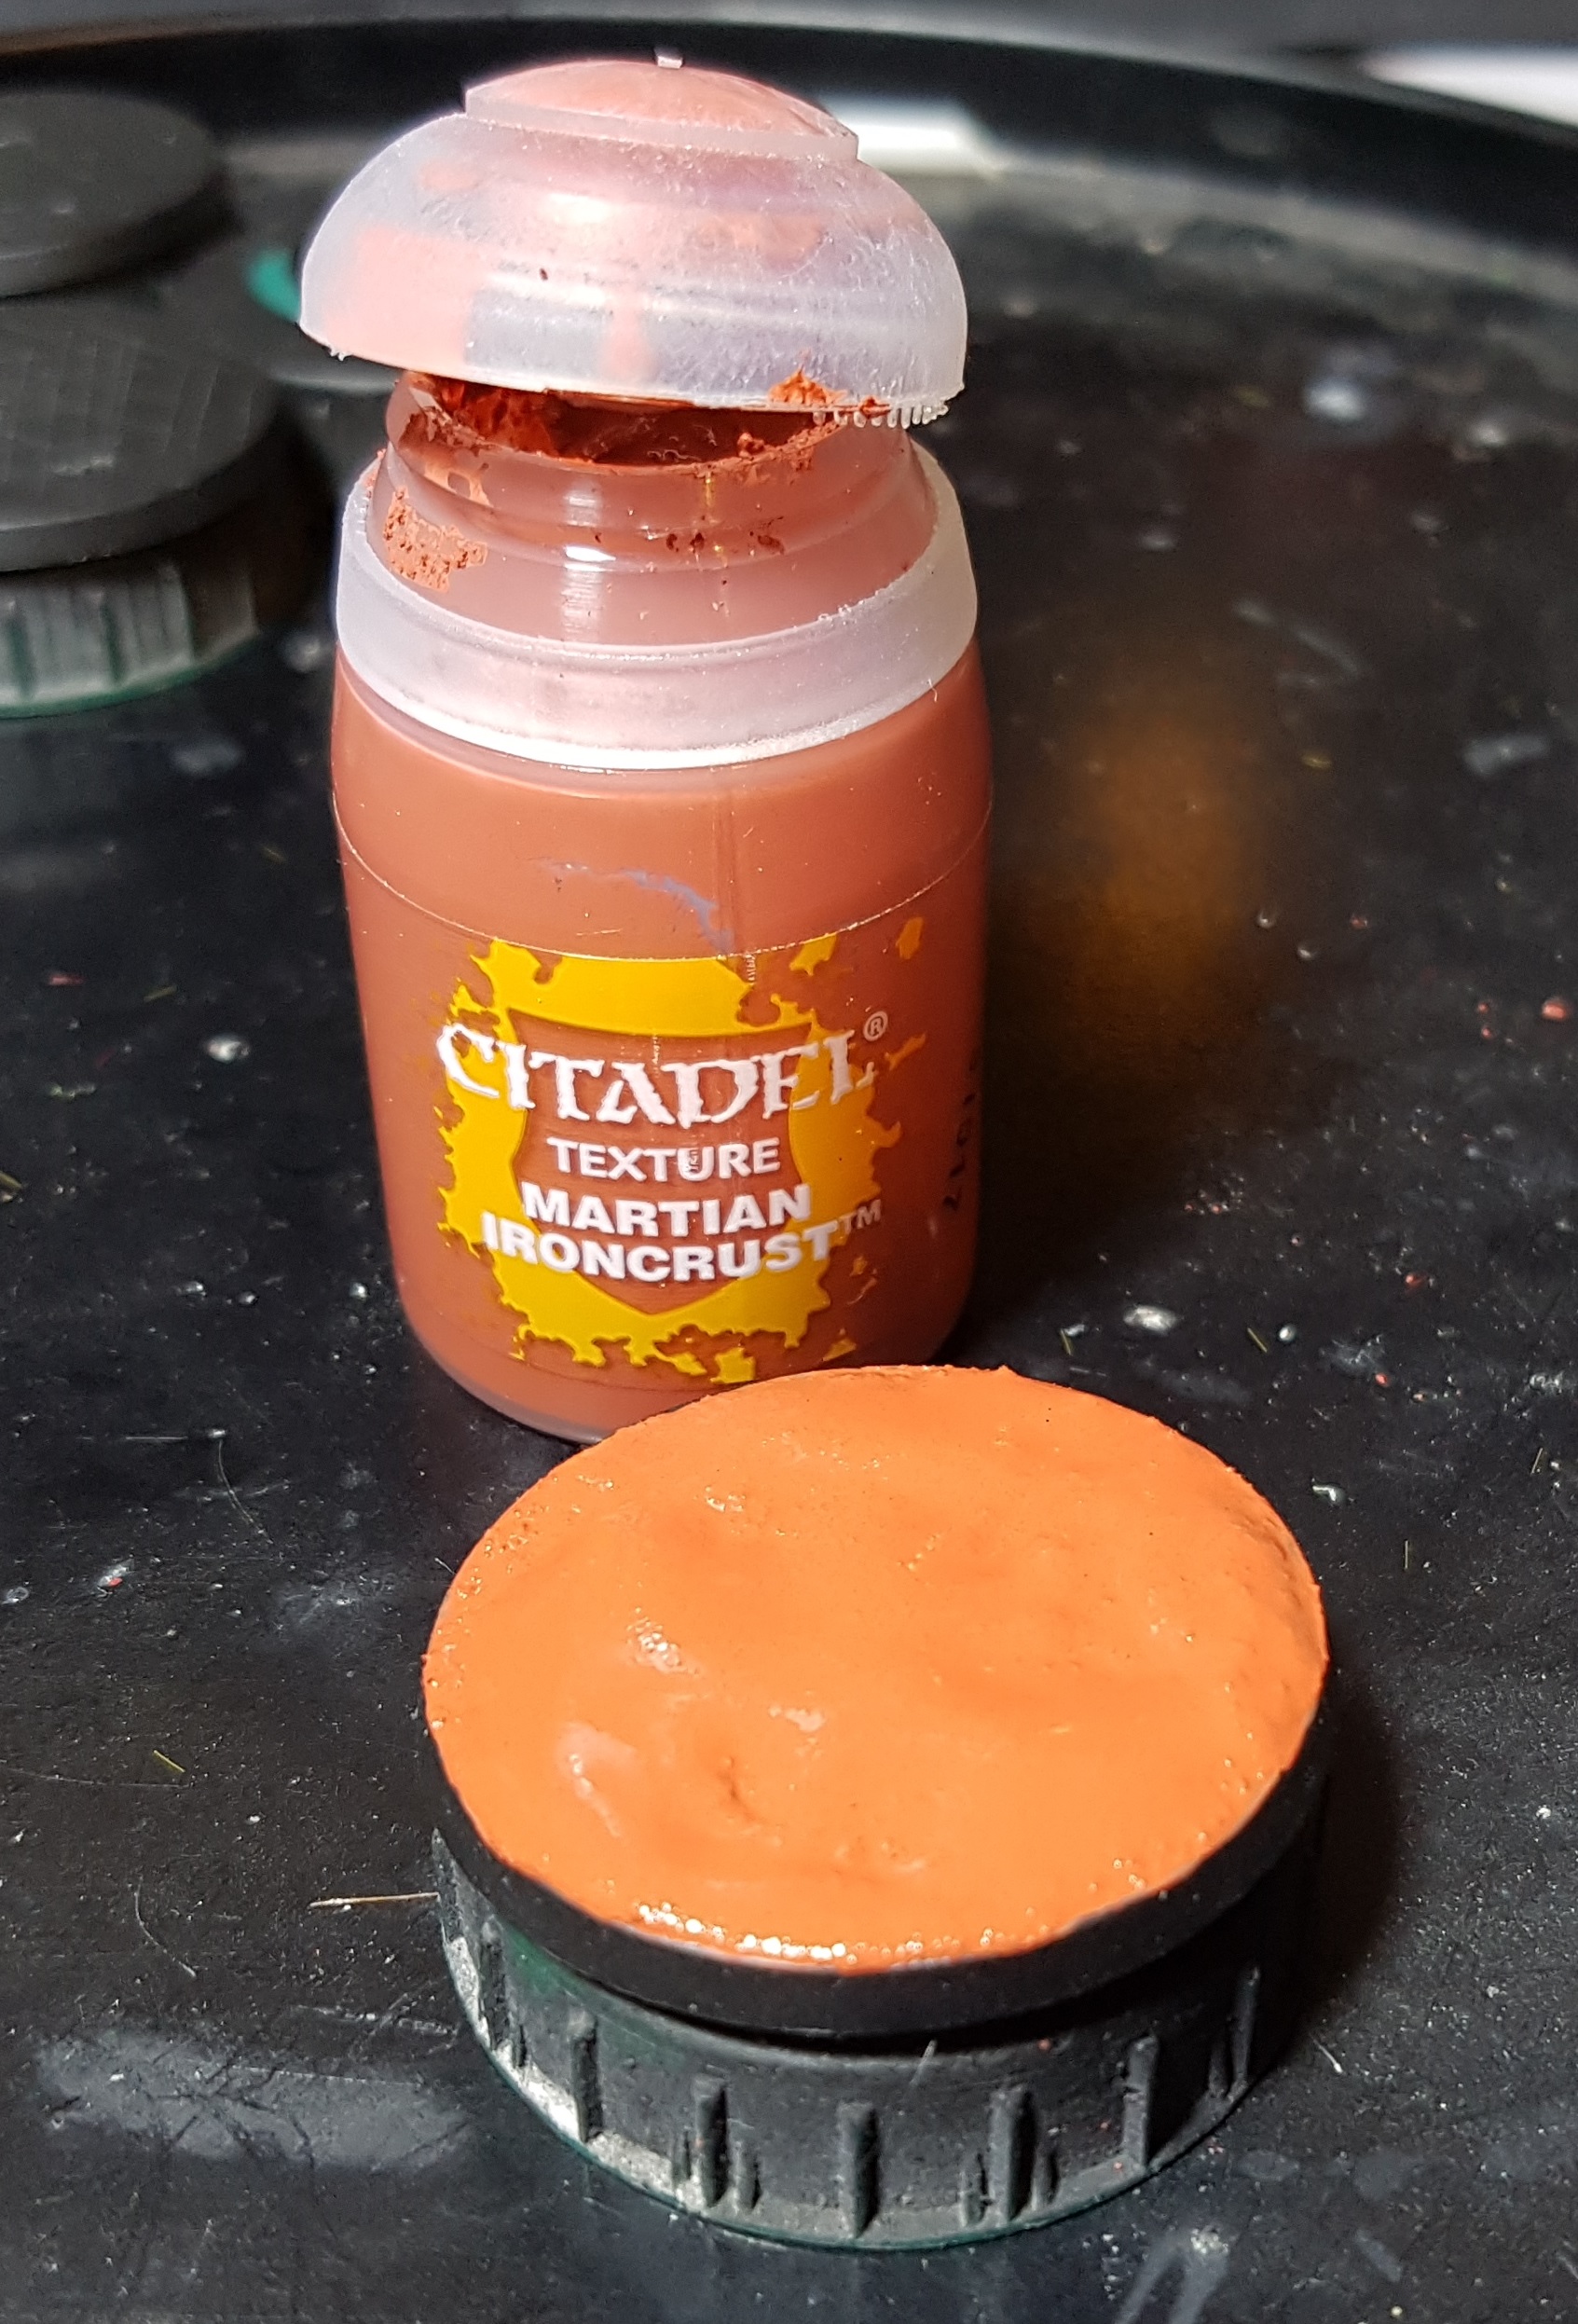
The base was then given a thick coat of GW Martian Ironcrust and left overnight to dry. Give it plenty of time as the next stage gets it wet again and it is takes a very long time to dry all the way through. You want the cracks to be fully developed before the next stage.
It is my experience that old bottles of Ironcrust type GW paints produce better cracks than new ones. If you expect to use some in the future I can recommend buying the bottle 6+ months in advance, cracking the seal, and leaving it with its lid shut somewhere warm, but not hot.
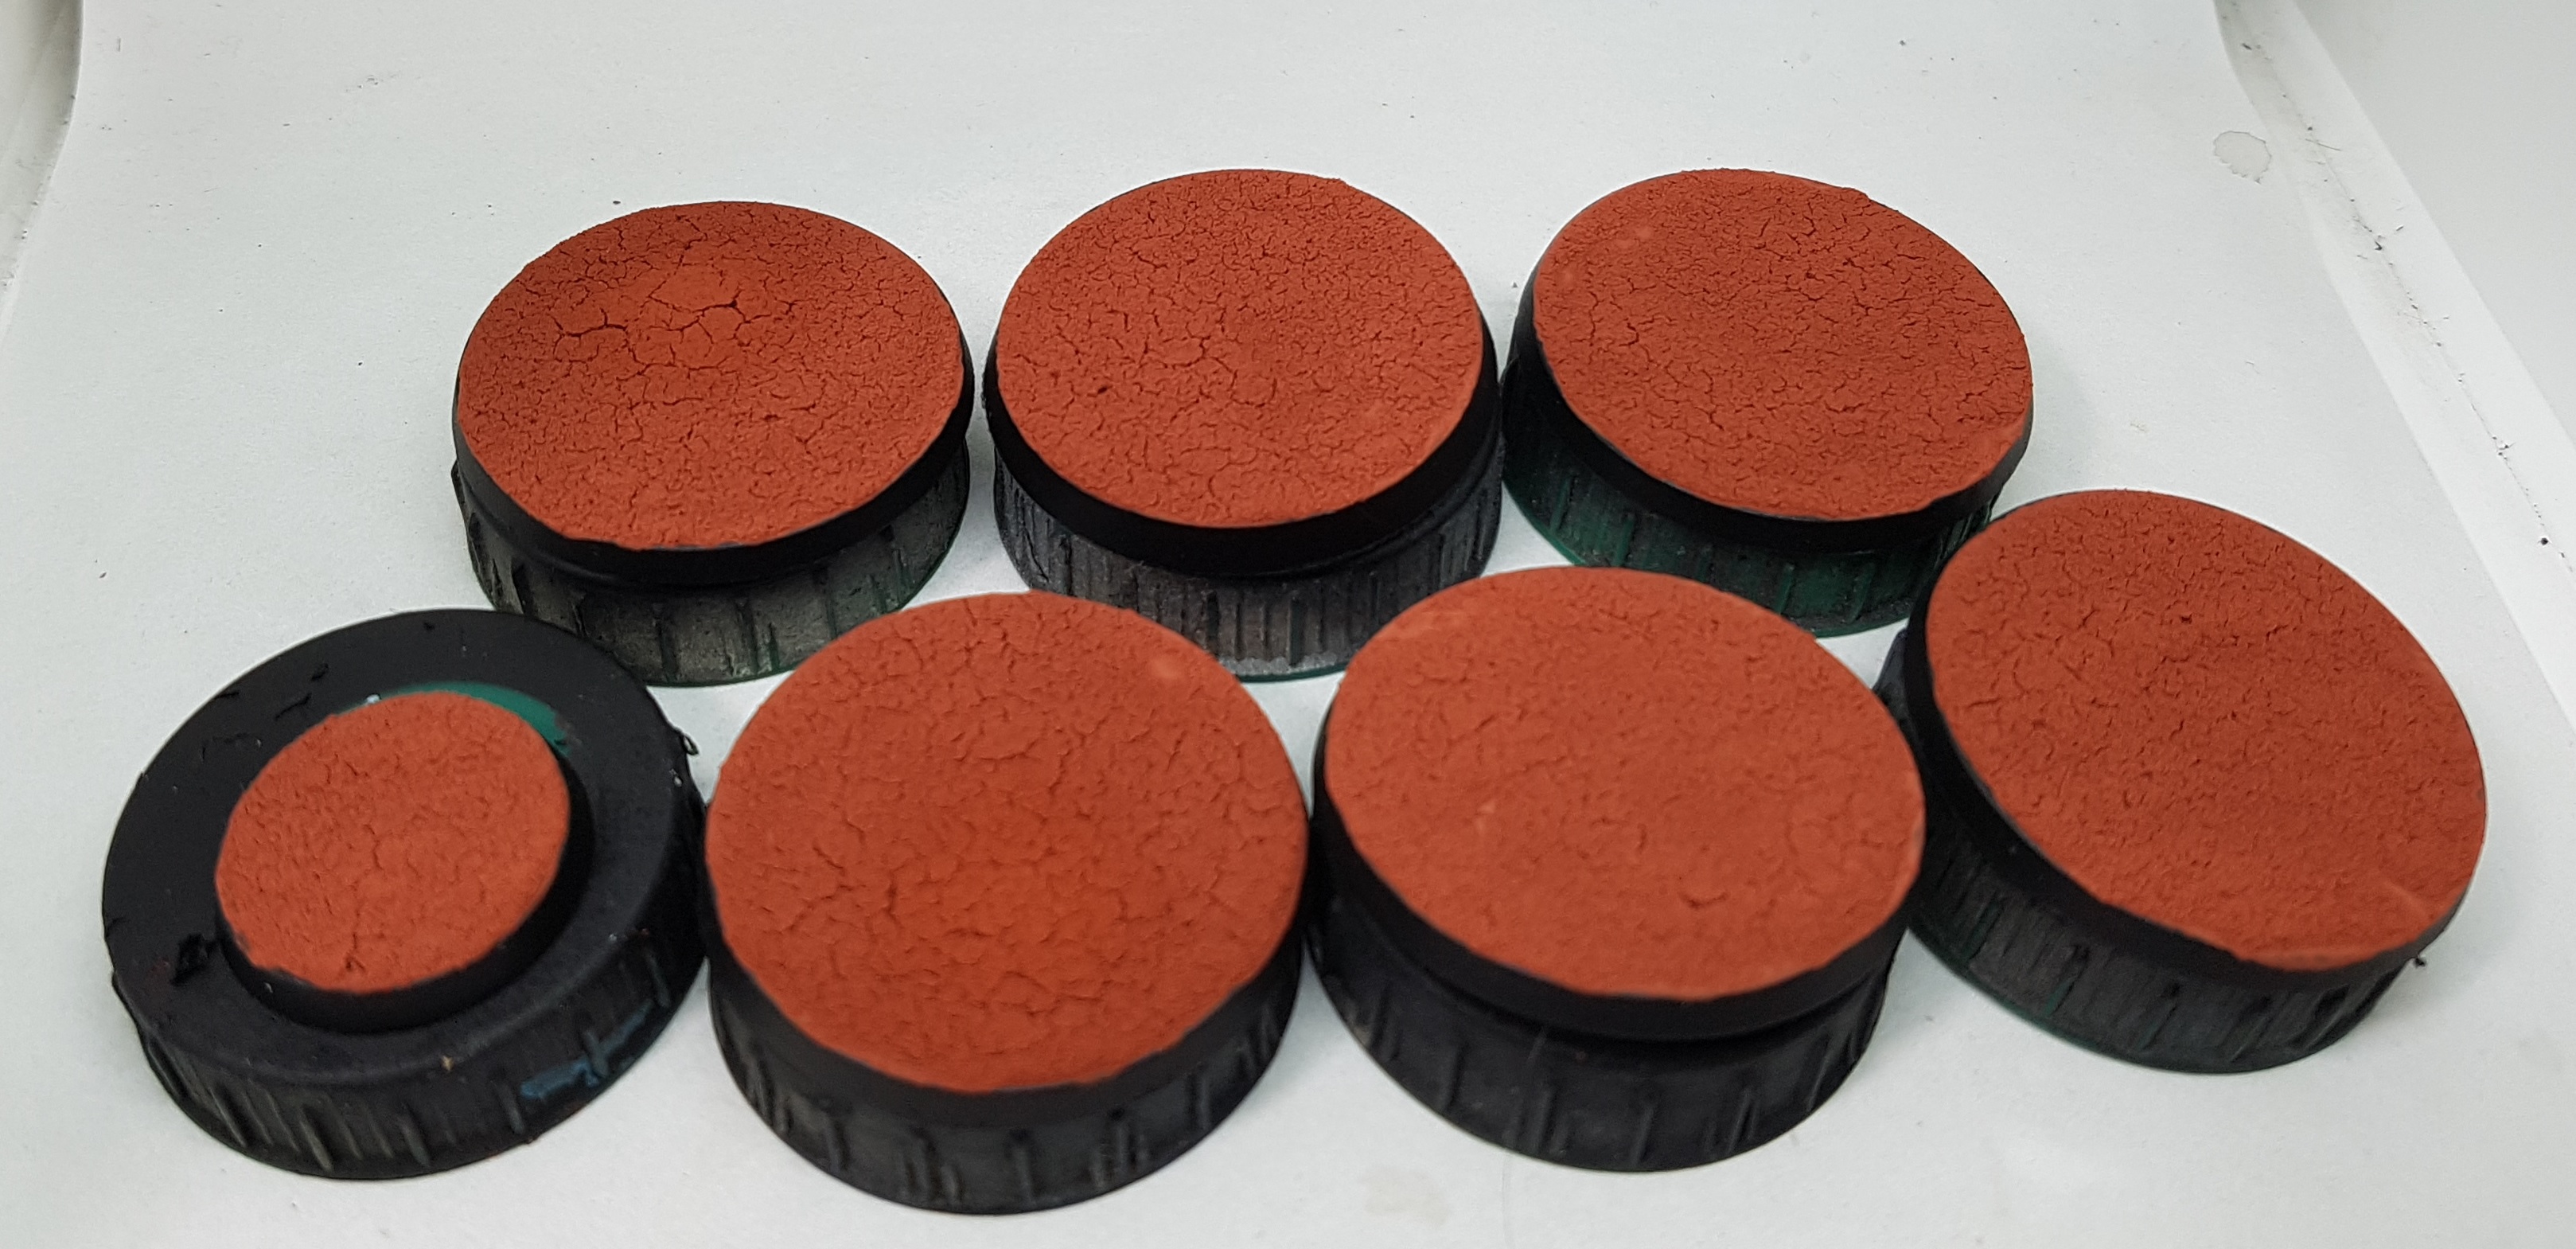
Then it gets flooded with GW Agrax Earthshade and again left overnight to dry.
Does anyone else have a sudden urge for Ginger Biscuits after seeing these pics? I might head to the corner shop in a minute…
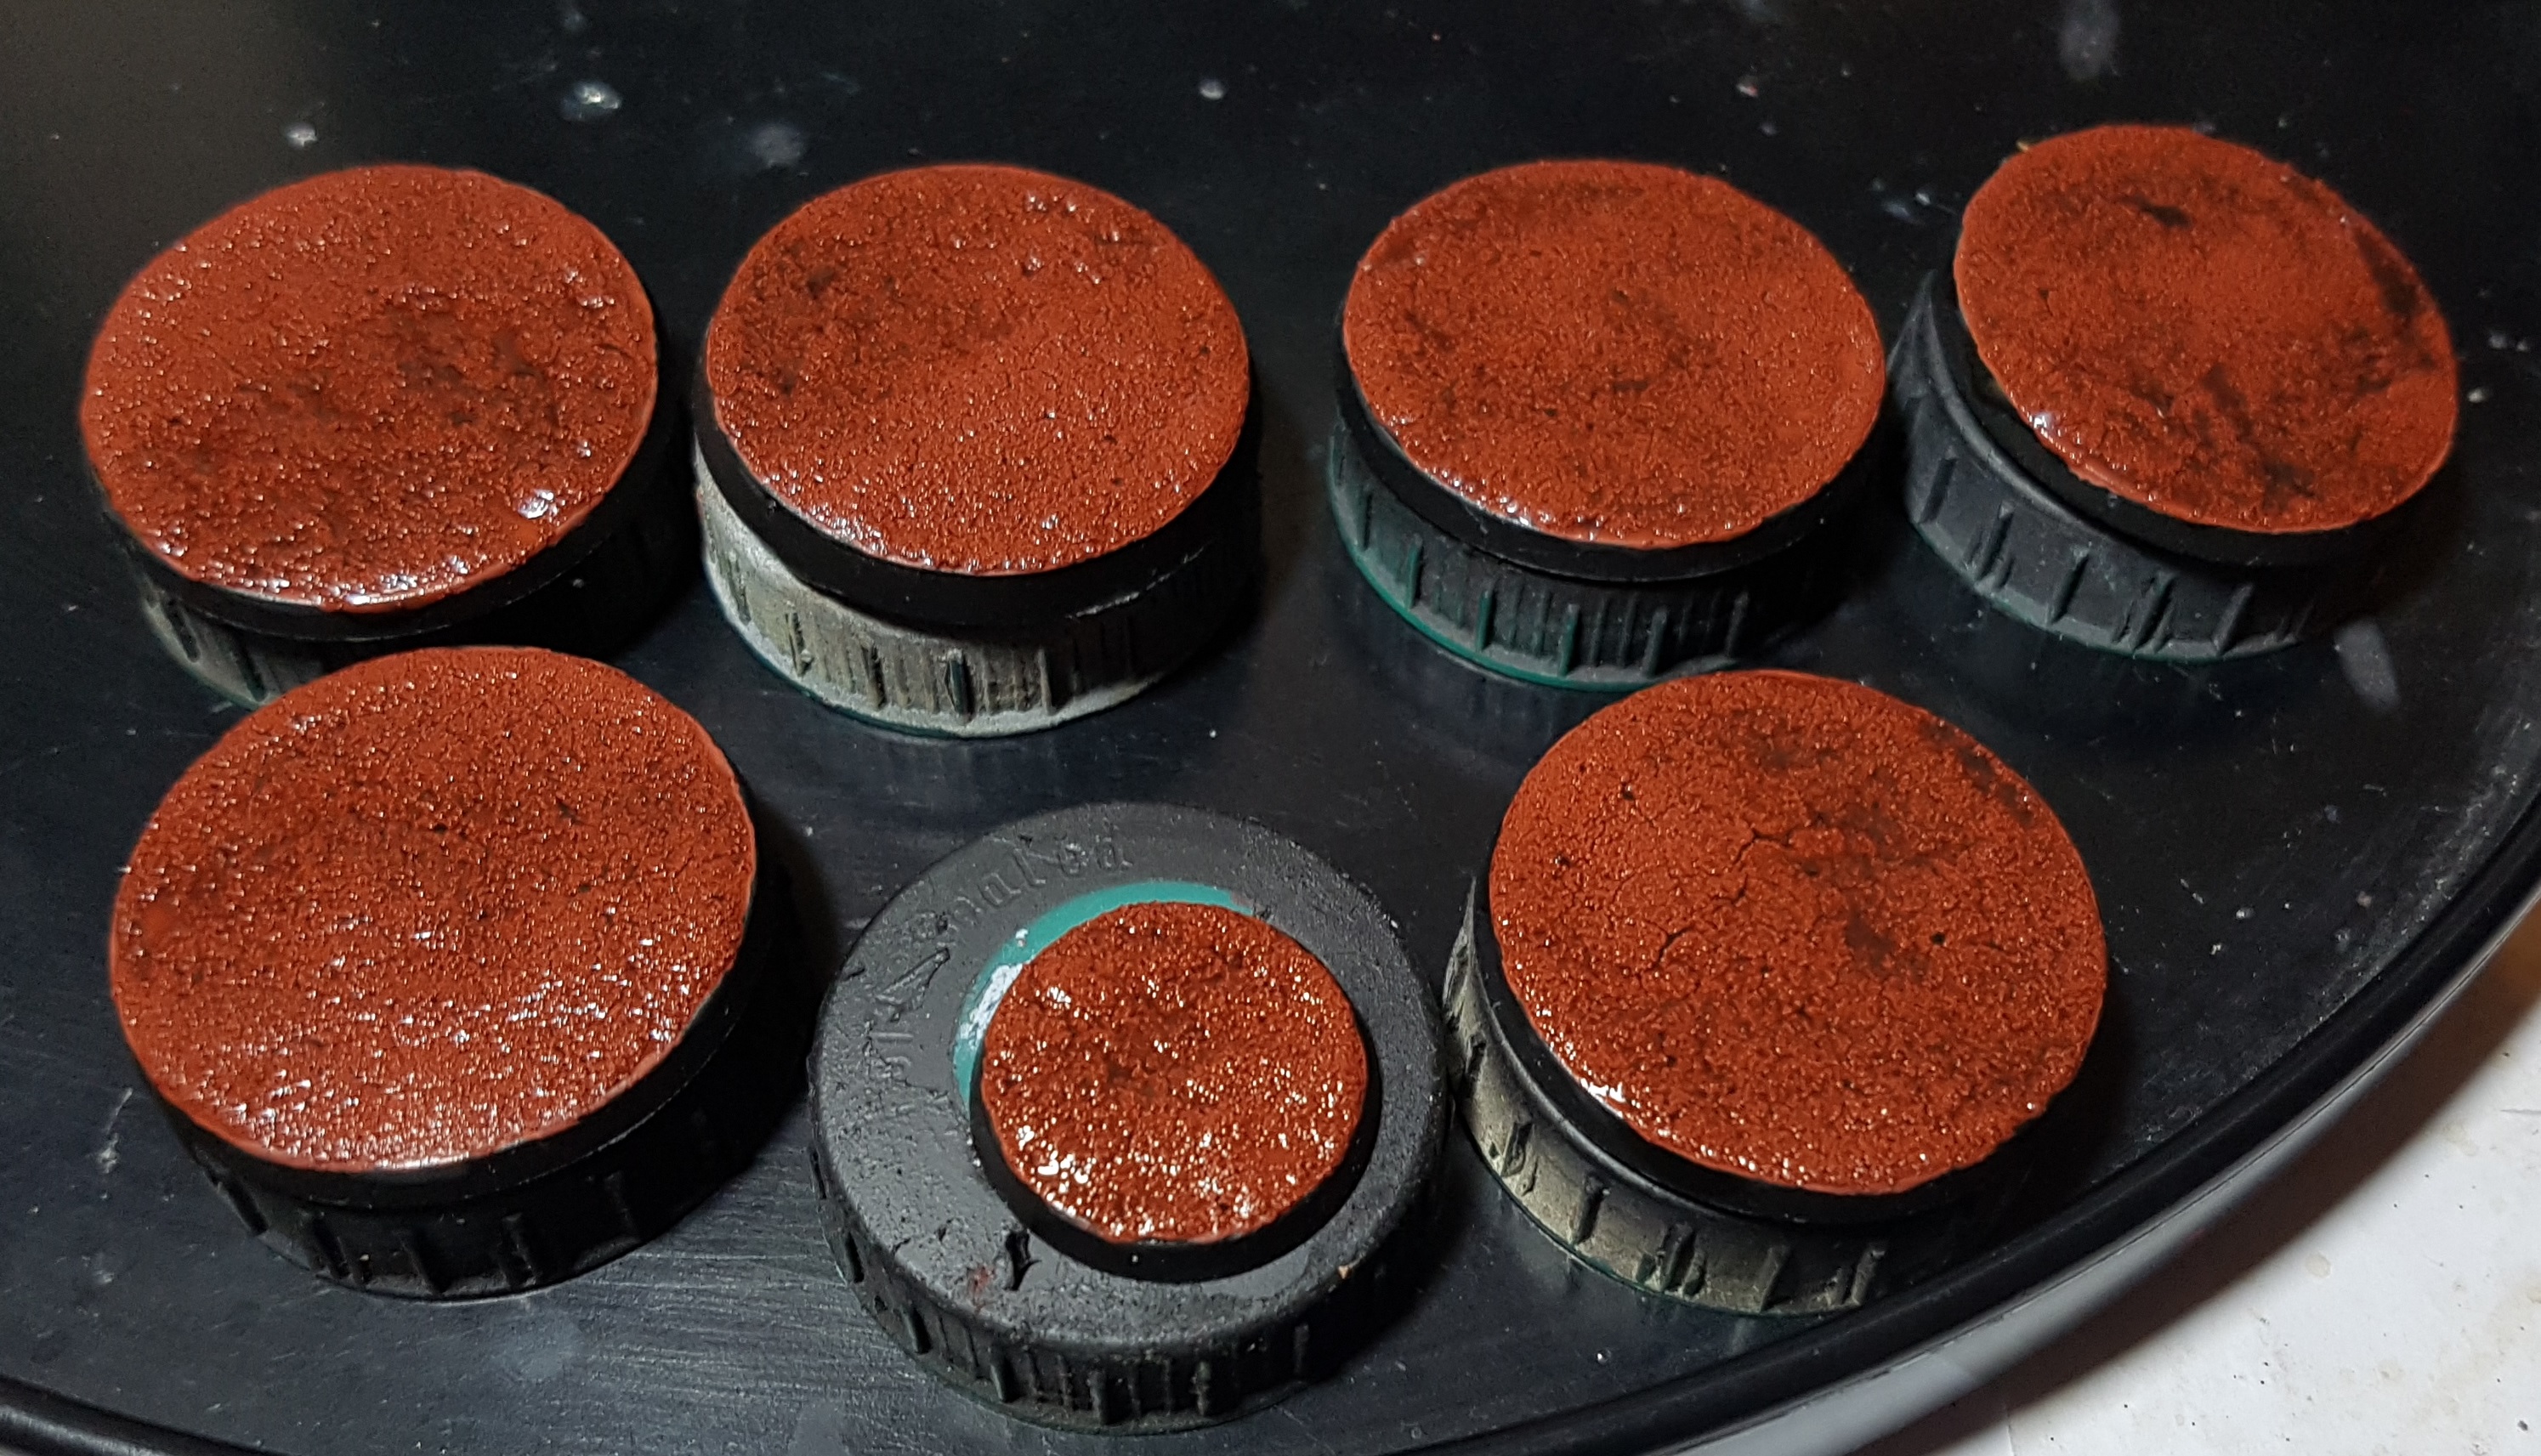
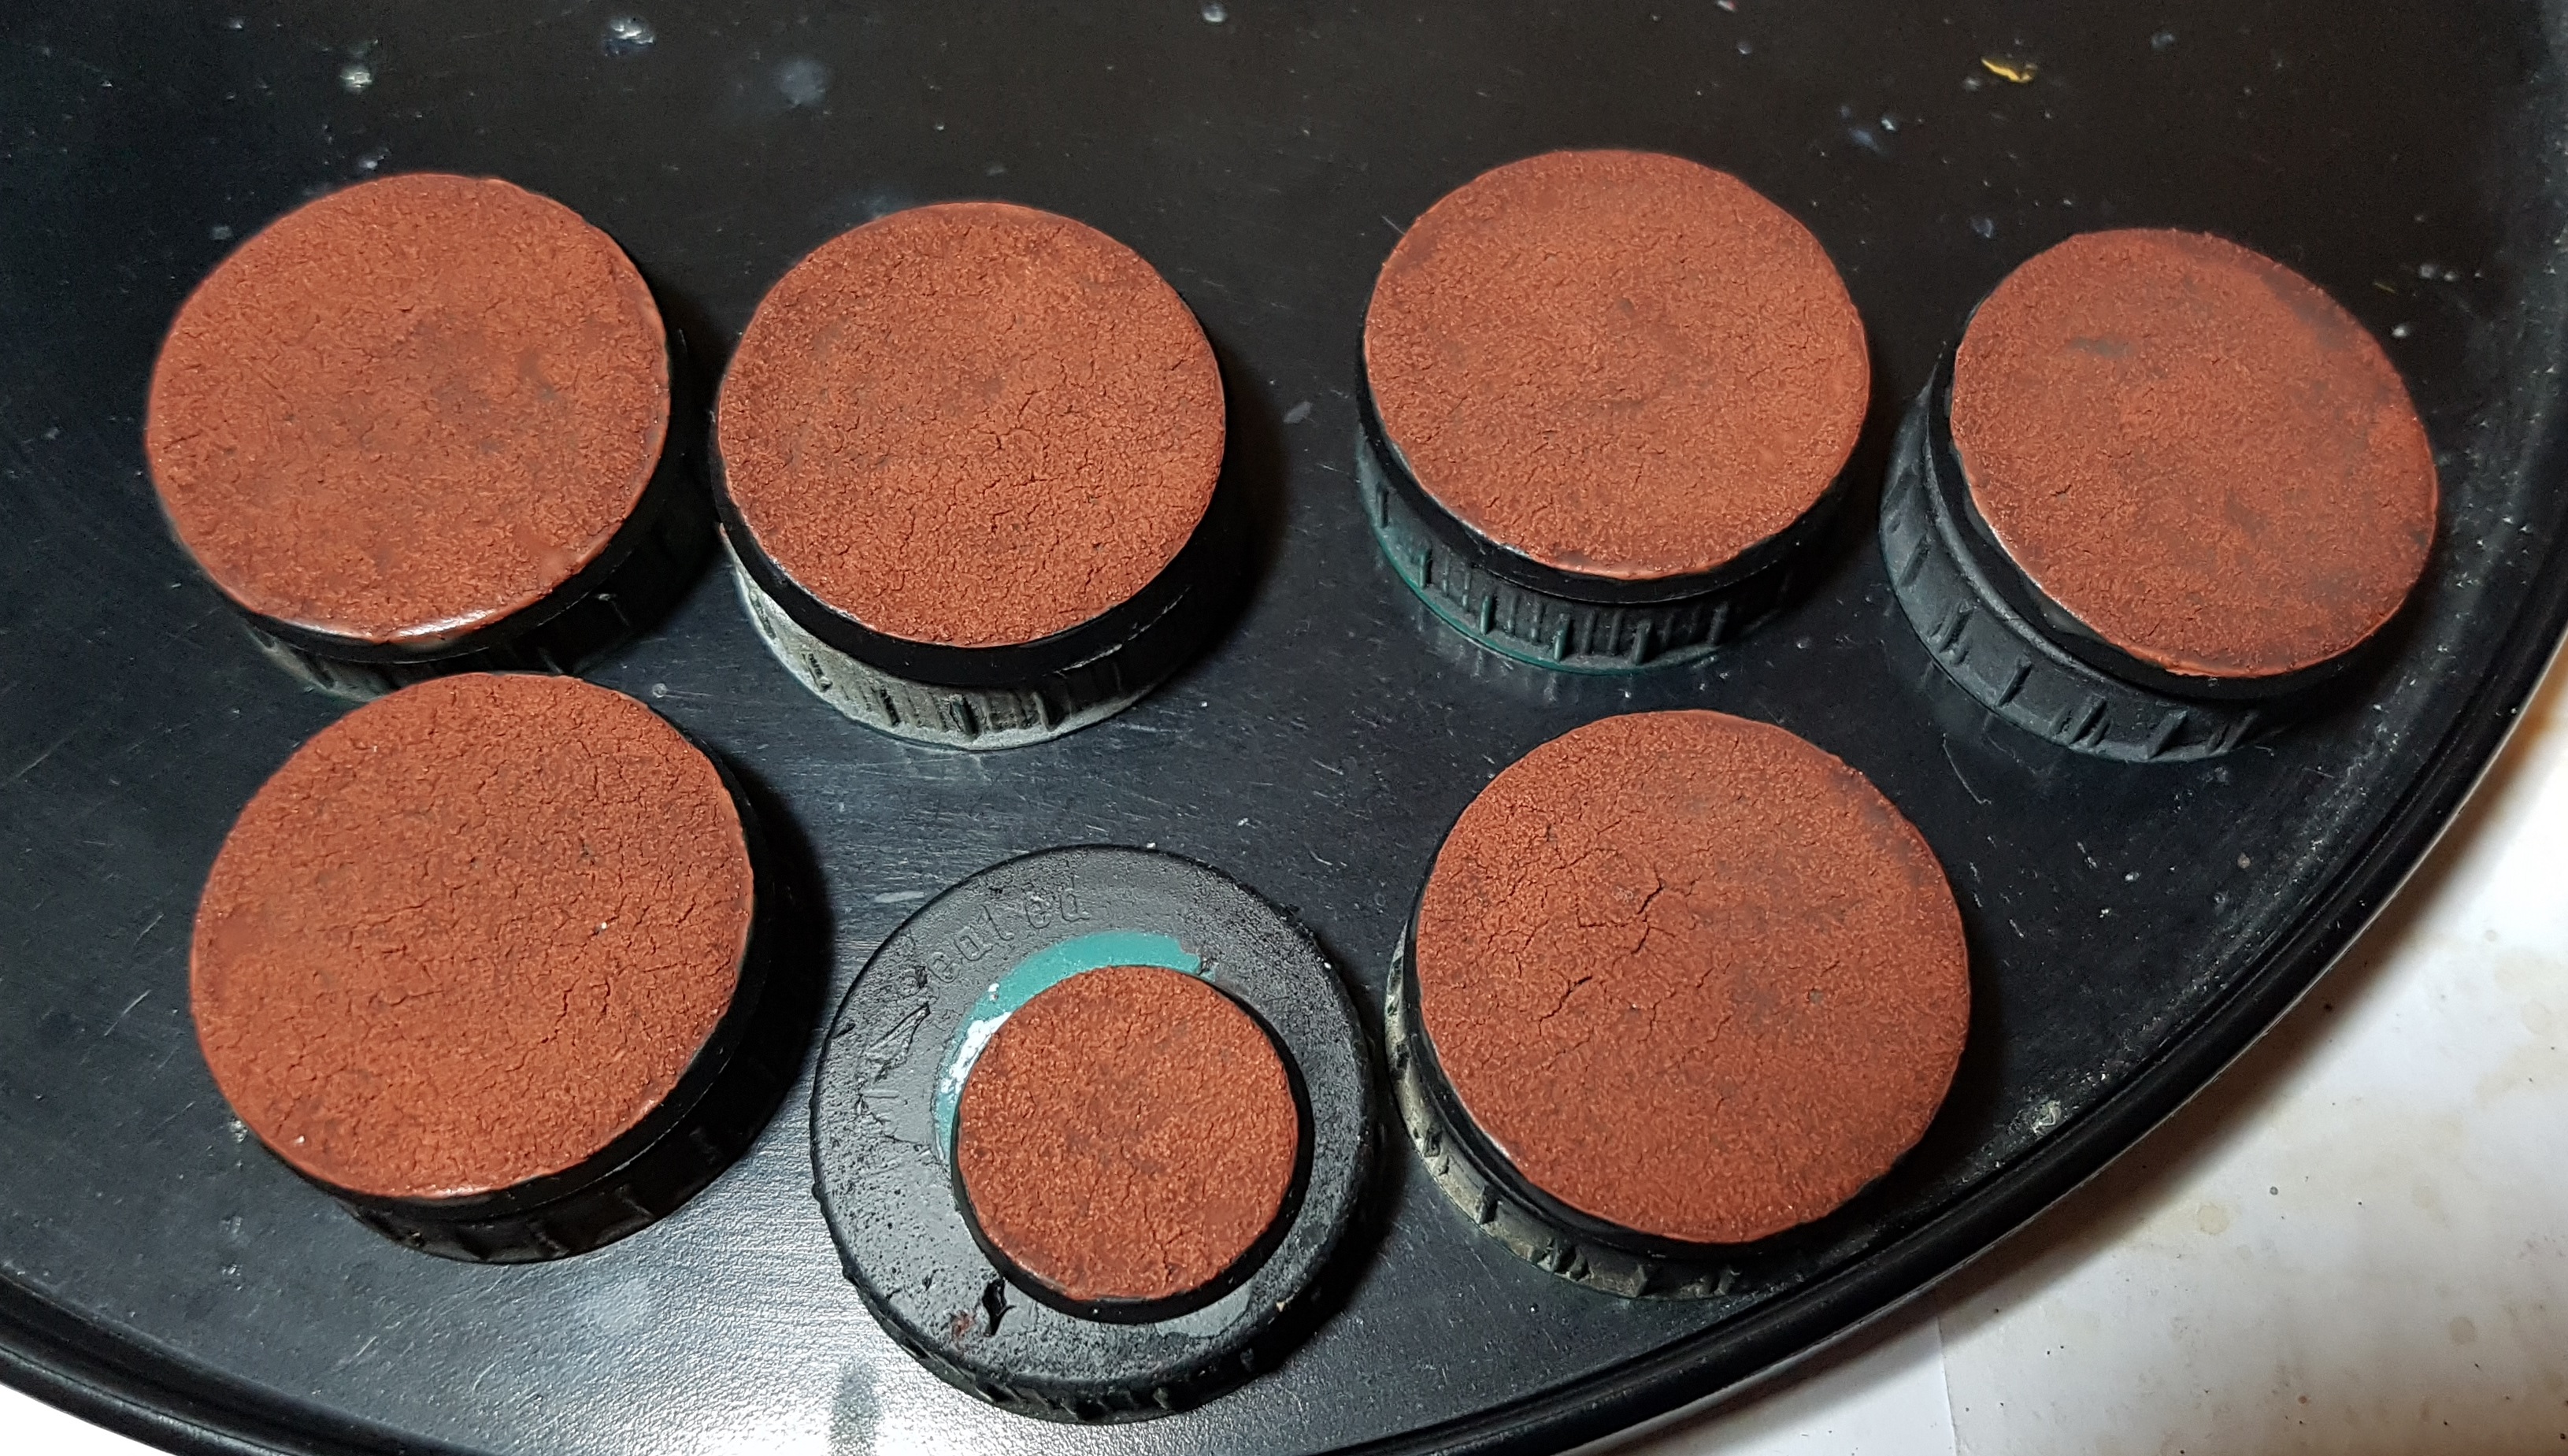
 Once dry, it is drybrushed with P3 Beast Hide, and the rims are restored to black. The model is then glued on. It might not look like much, but most of this will be covered up soon.
The model and base are then varnished together and left for long enough to ensure the varnish is no longer sticky. I then coat the base in superglue. PVA would likely dry too thick and be visible. I use Gorilla Glue. The pot comes with a brush as well as a nozzle which is great for covering a surface this large.
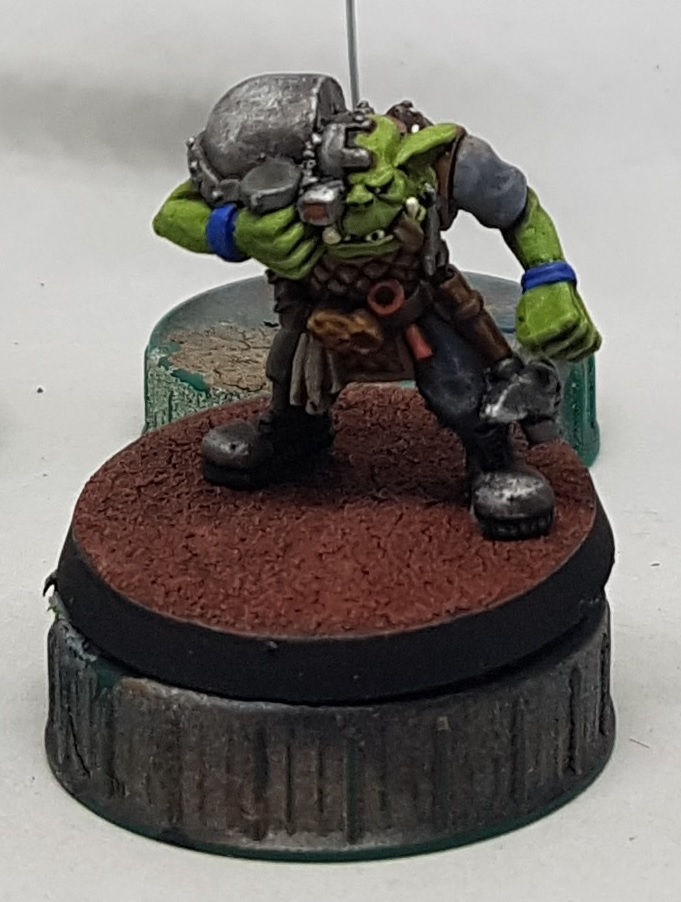
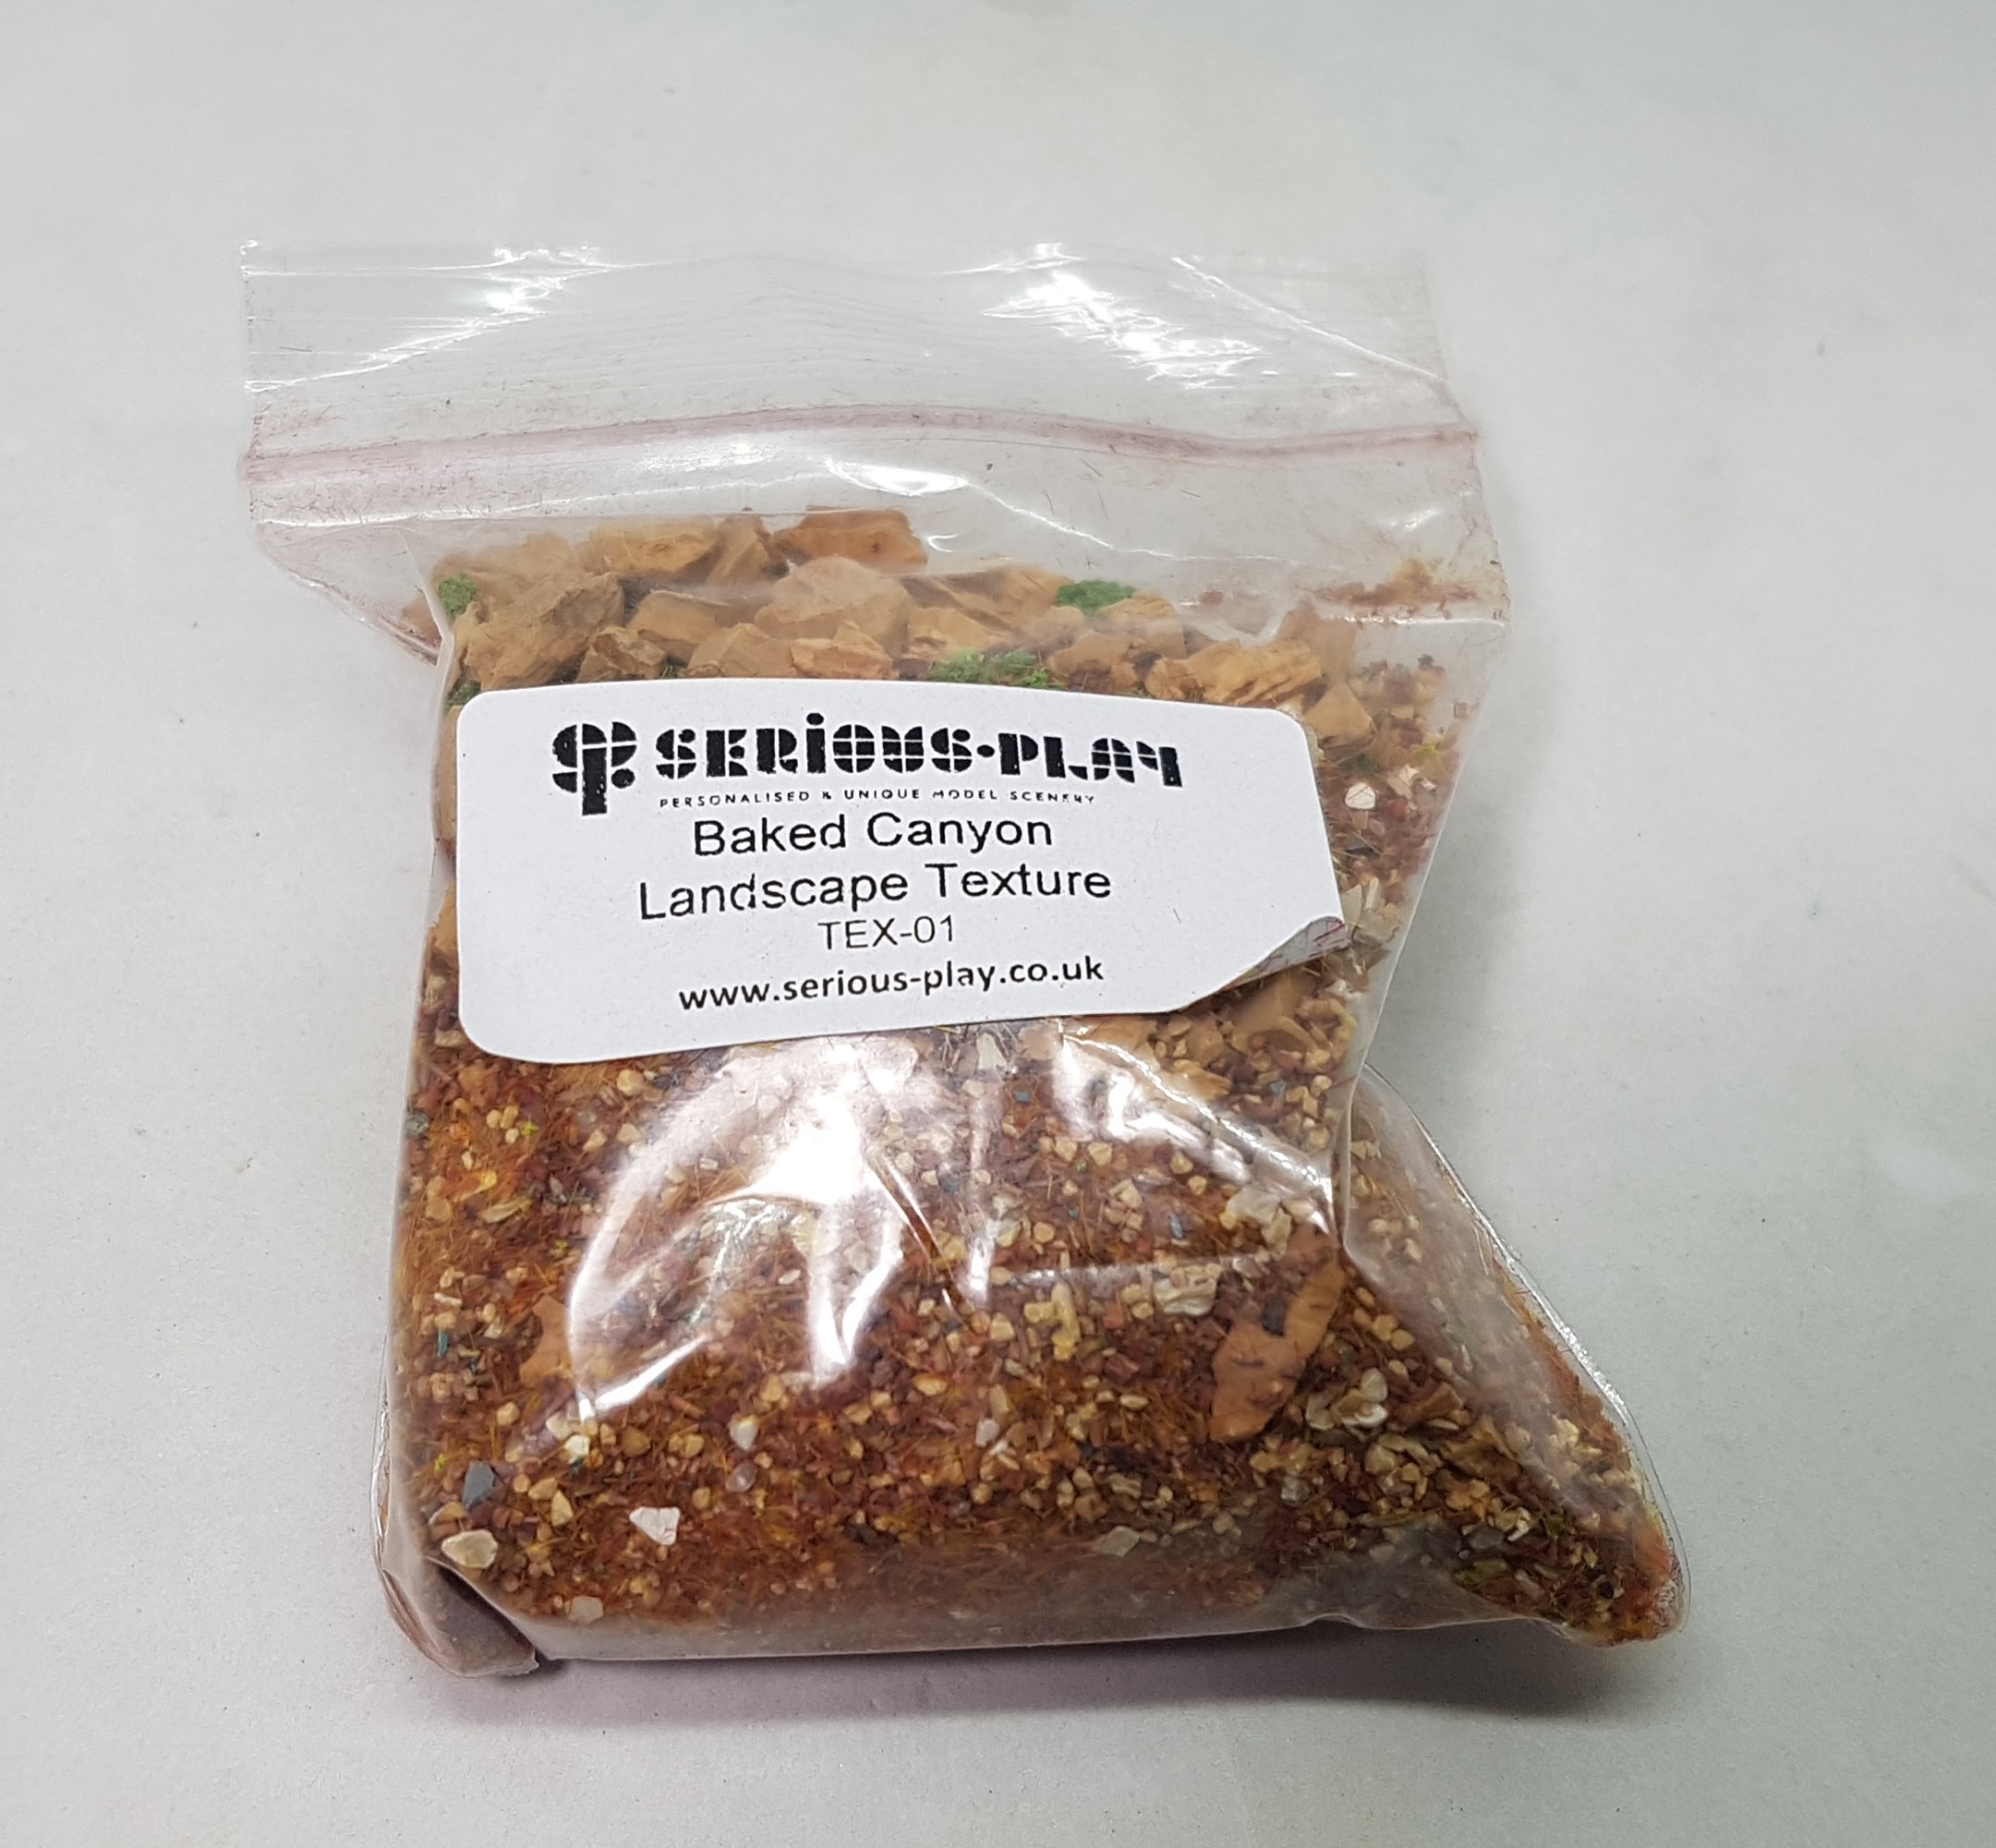
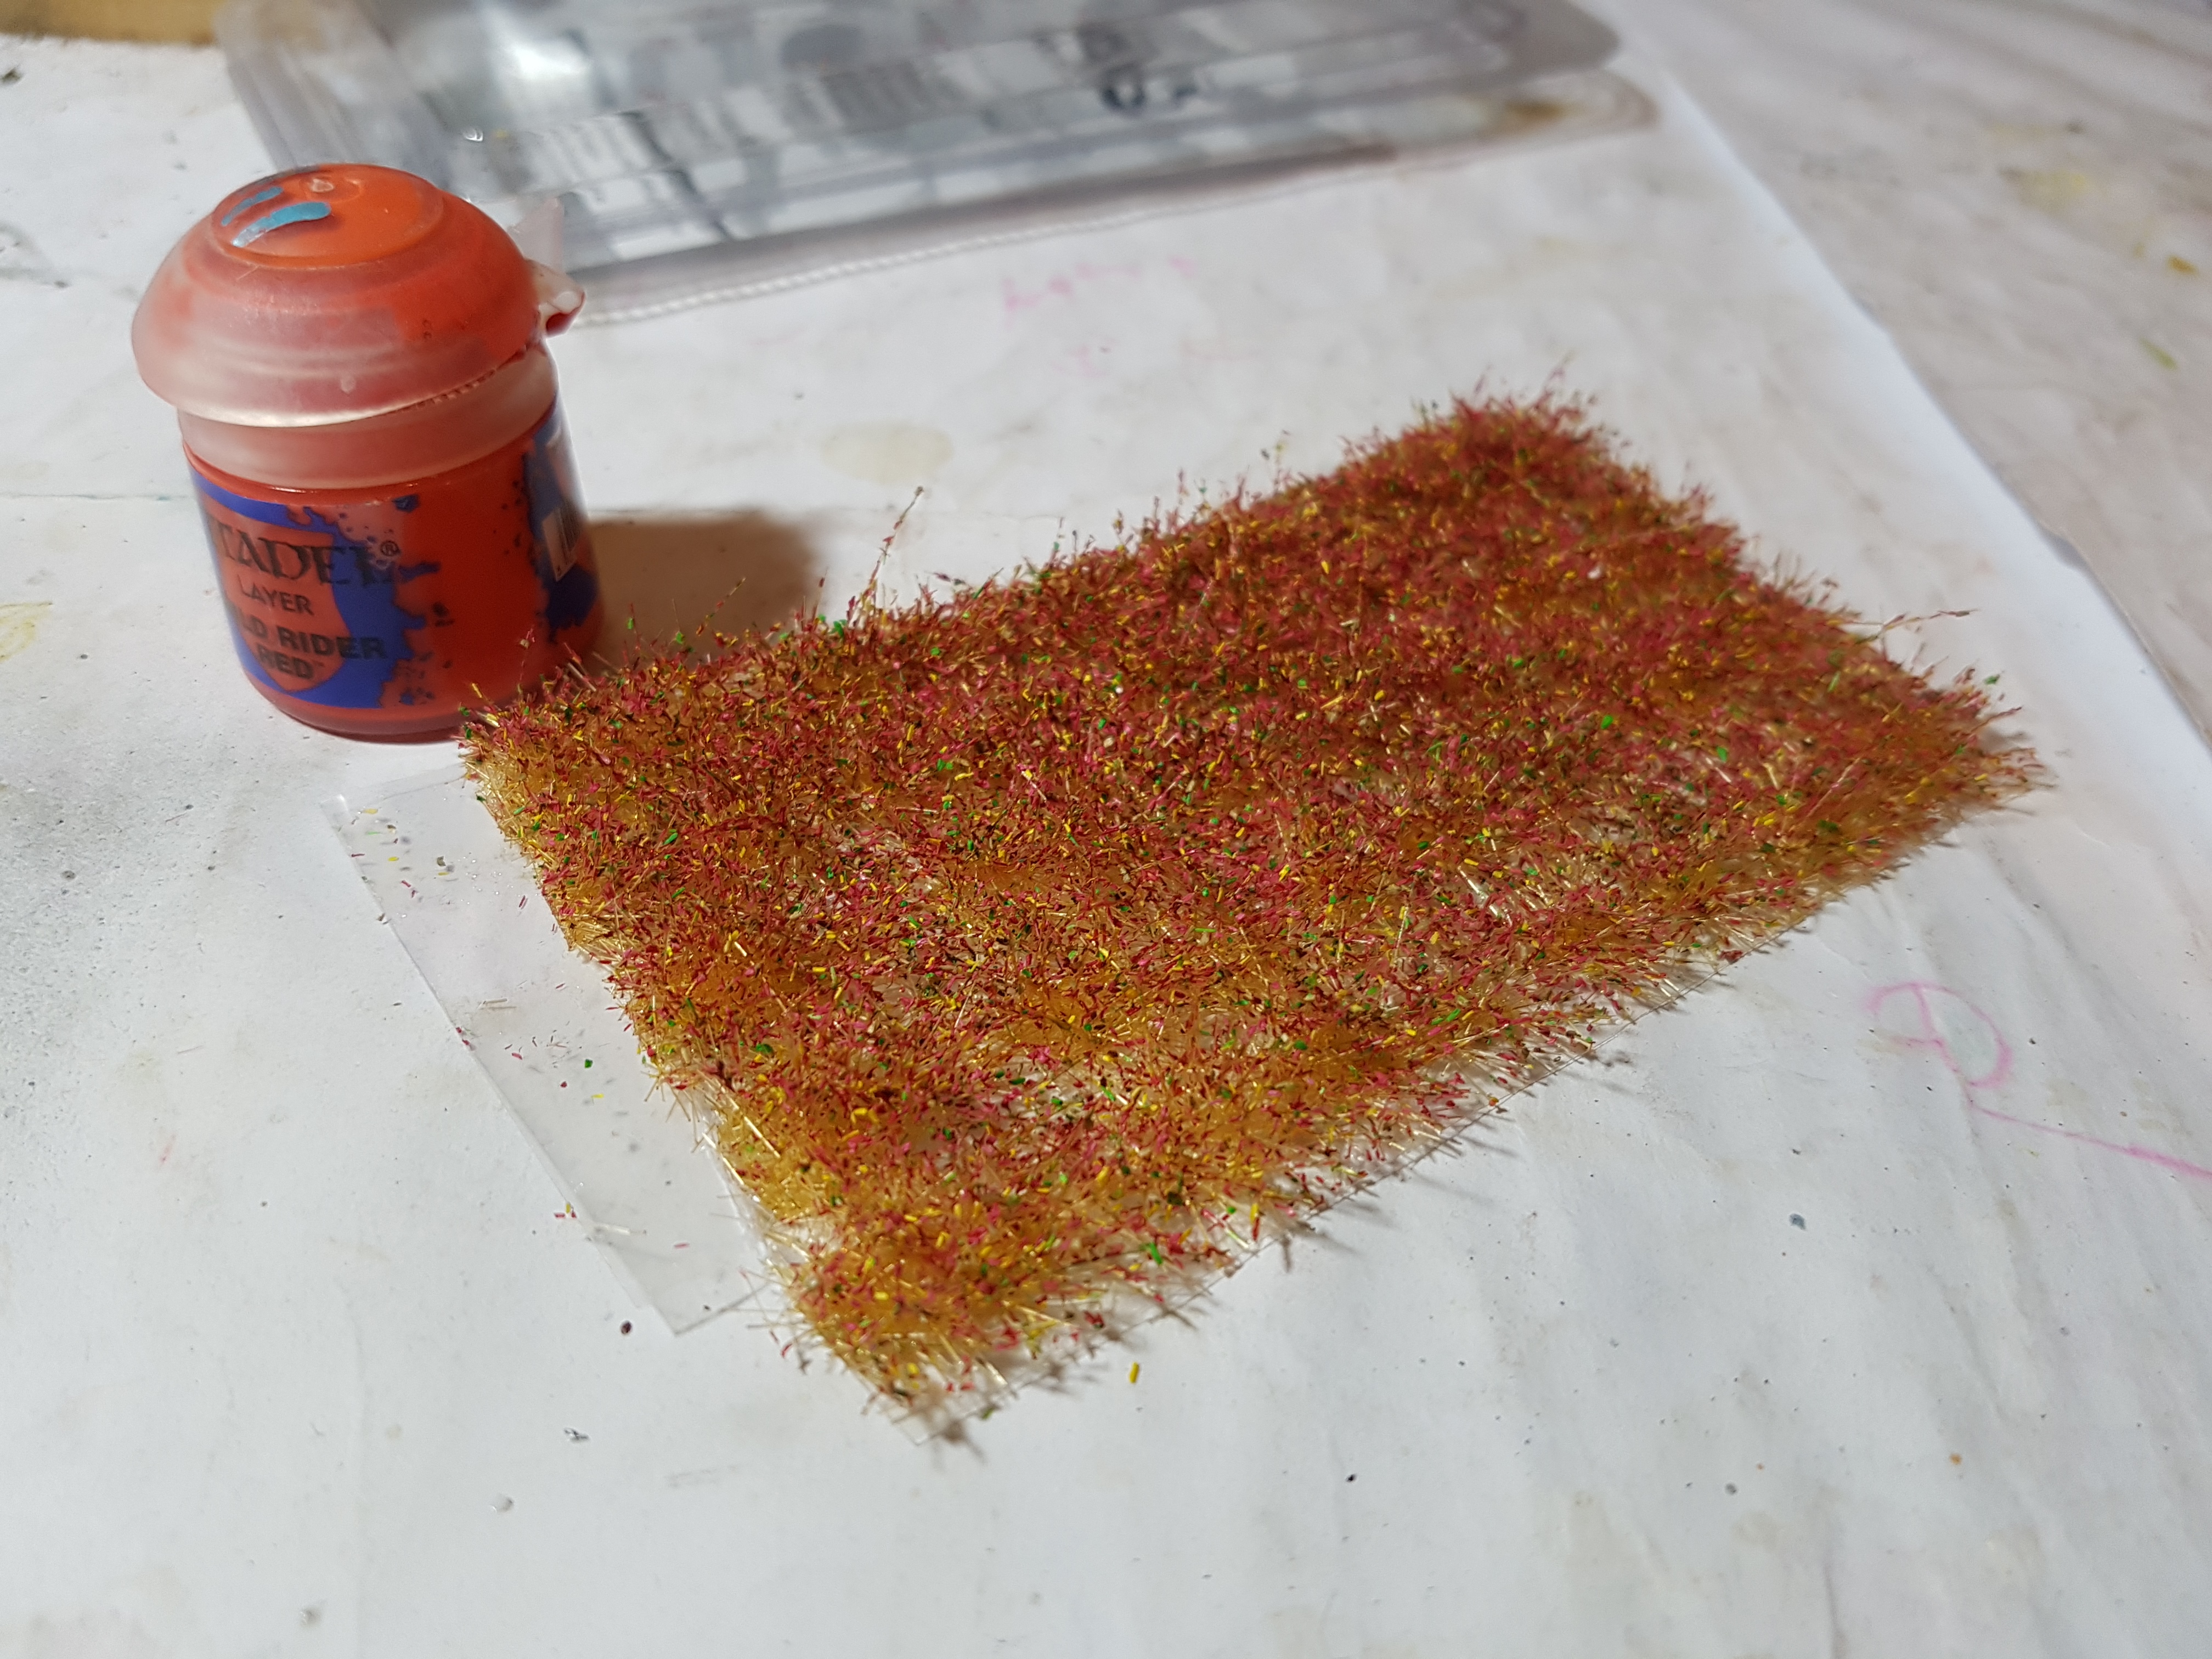
On the larger bases (40mm+) I apply a single tuft of Javis Scenics red “jtuft 11 flowers mix tufts 10mm” and then open the bag of Serious Play Baked Canyon Landscape Texture. The green sponge parts are a little large for the scale so I grab one and break off a couple of small pieces and scatter them around the base. I then place the whole model inside the bag and shake the mixture around and all over, taking care not to touch the bag with the glue.
The model is then placed on a clean piece of paper with a single fold down the middle and left to dry along with all the other minis. When I’m done I shake off the excess in to the bag and remove any oversized pieces of cork. Blowing over the mini can help, just be careful of the open bag and any loose scatter! When I’m done the piece of paper is picked up and folded and all the loose scatter is poured back in to the bag. I look at my minis and I am happy.
When my first bag of Baked Canyon was running low I noticed the bases didn’t appear as good. Perhaps the dregs aren’t such a good mix by that stage? However, I have poured them in to the fresh bag and I’m happy with those results. Perhaps it was all in my head?
By the way, that’s a small bag in the photo. I replaced it with a medium which looks about twice the size. I’ve not bought a large yet. I’ve poured it in to a larger bag so there’s room to dunk models in and shake it about.

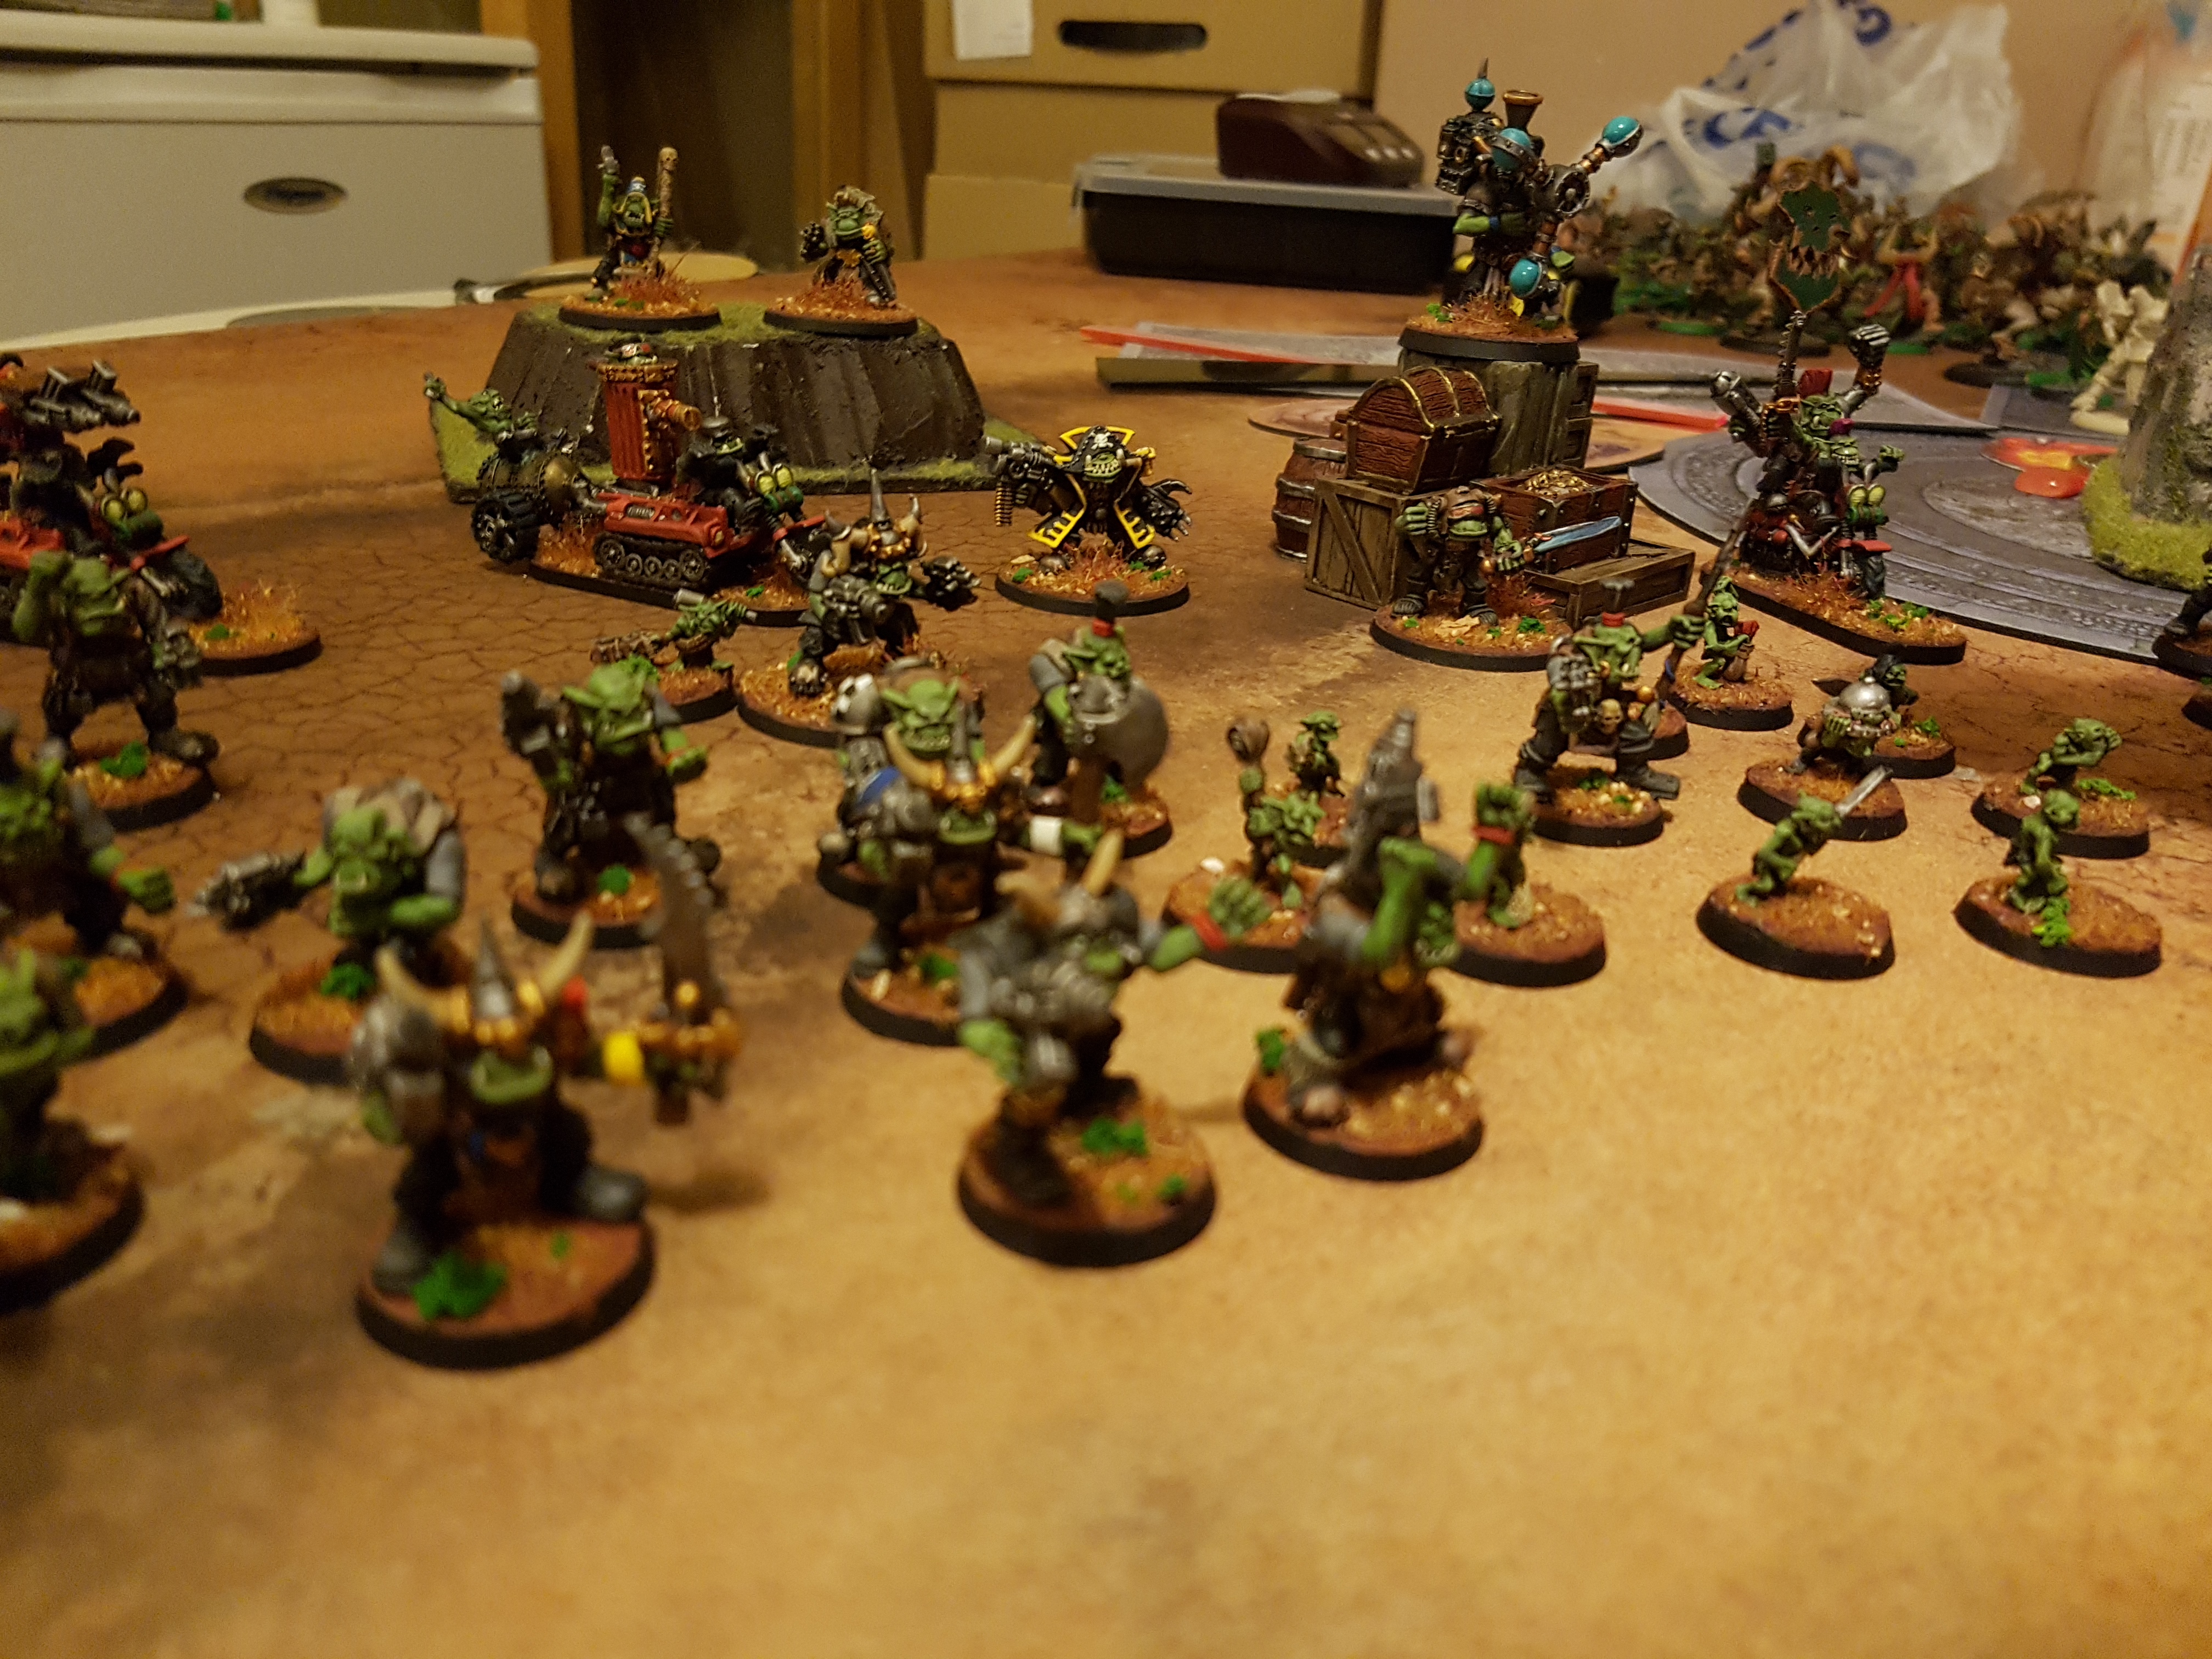
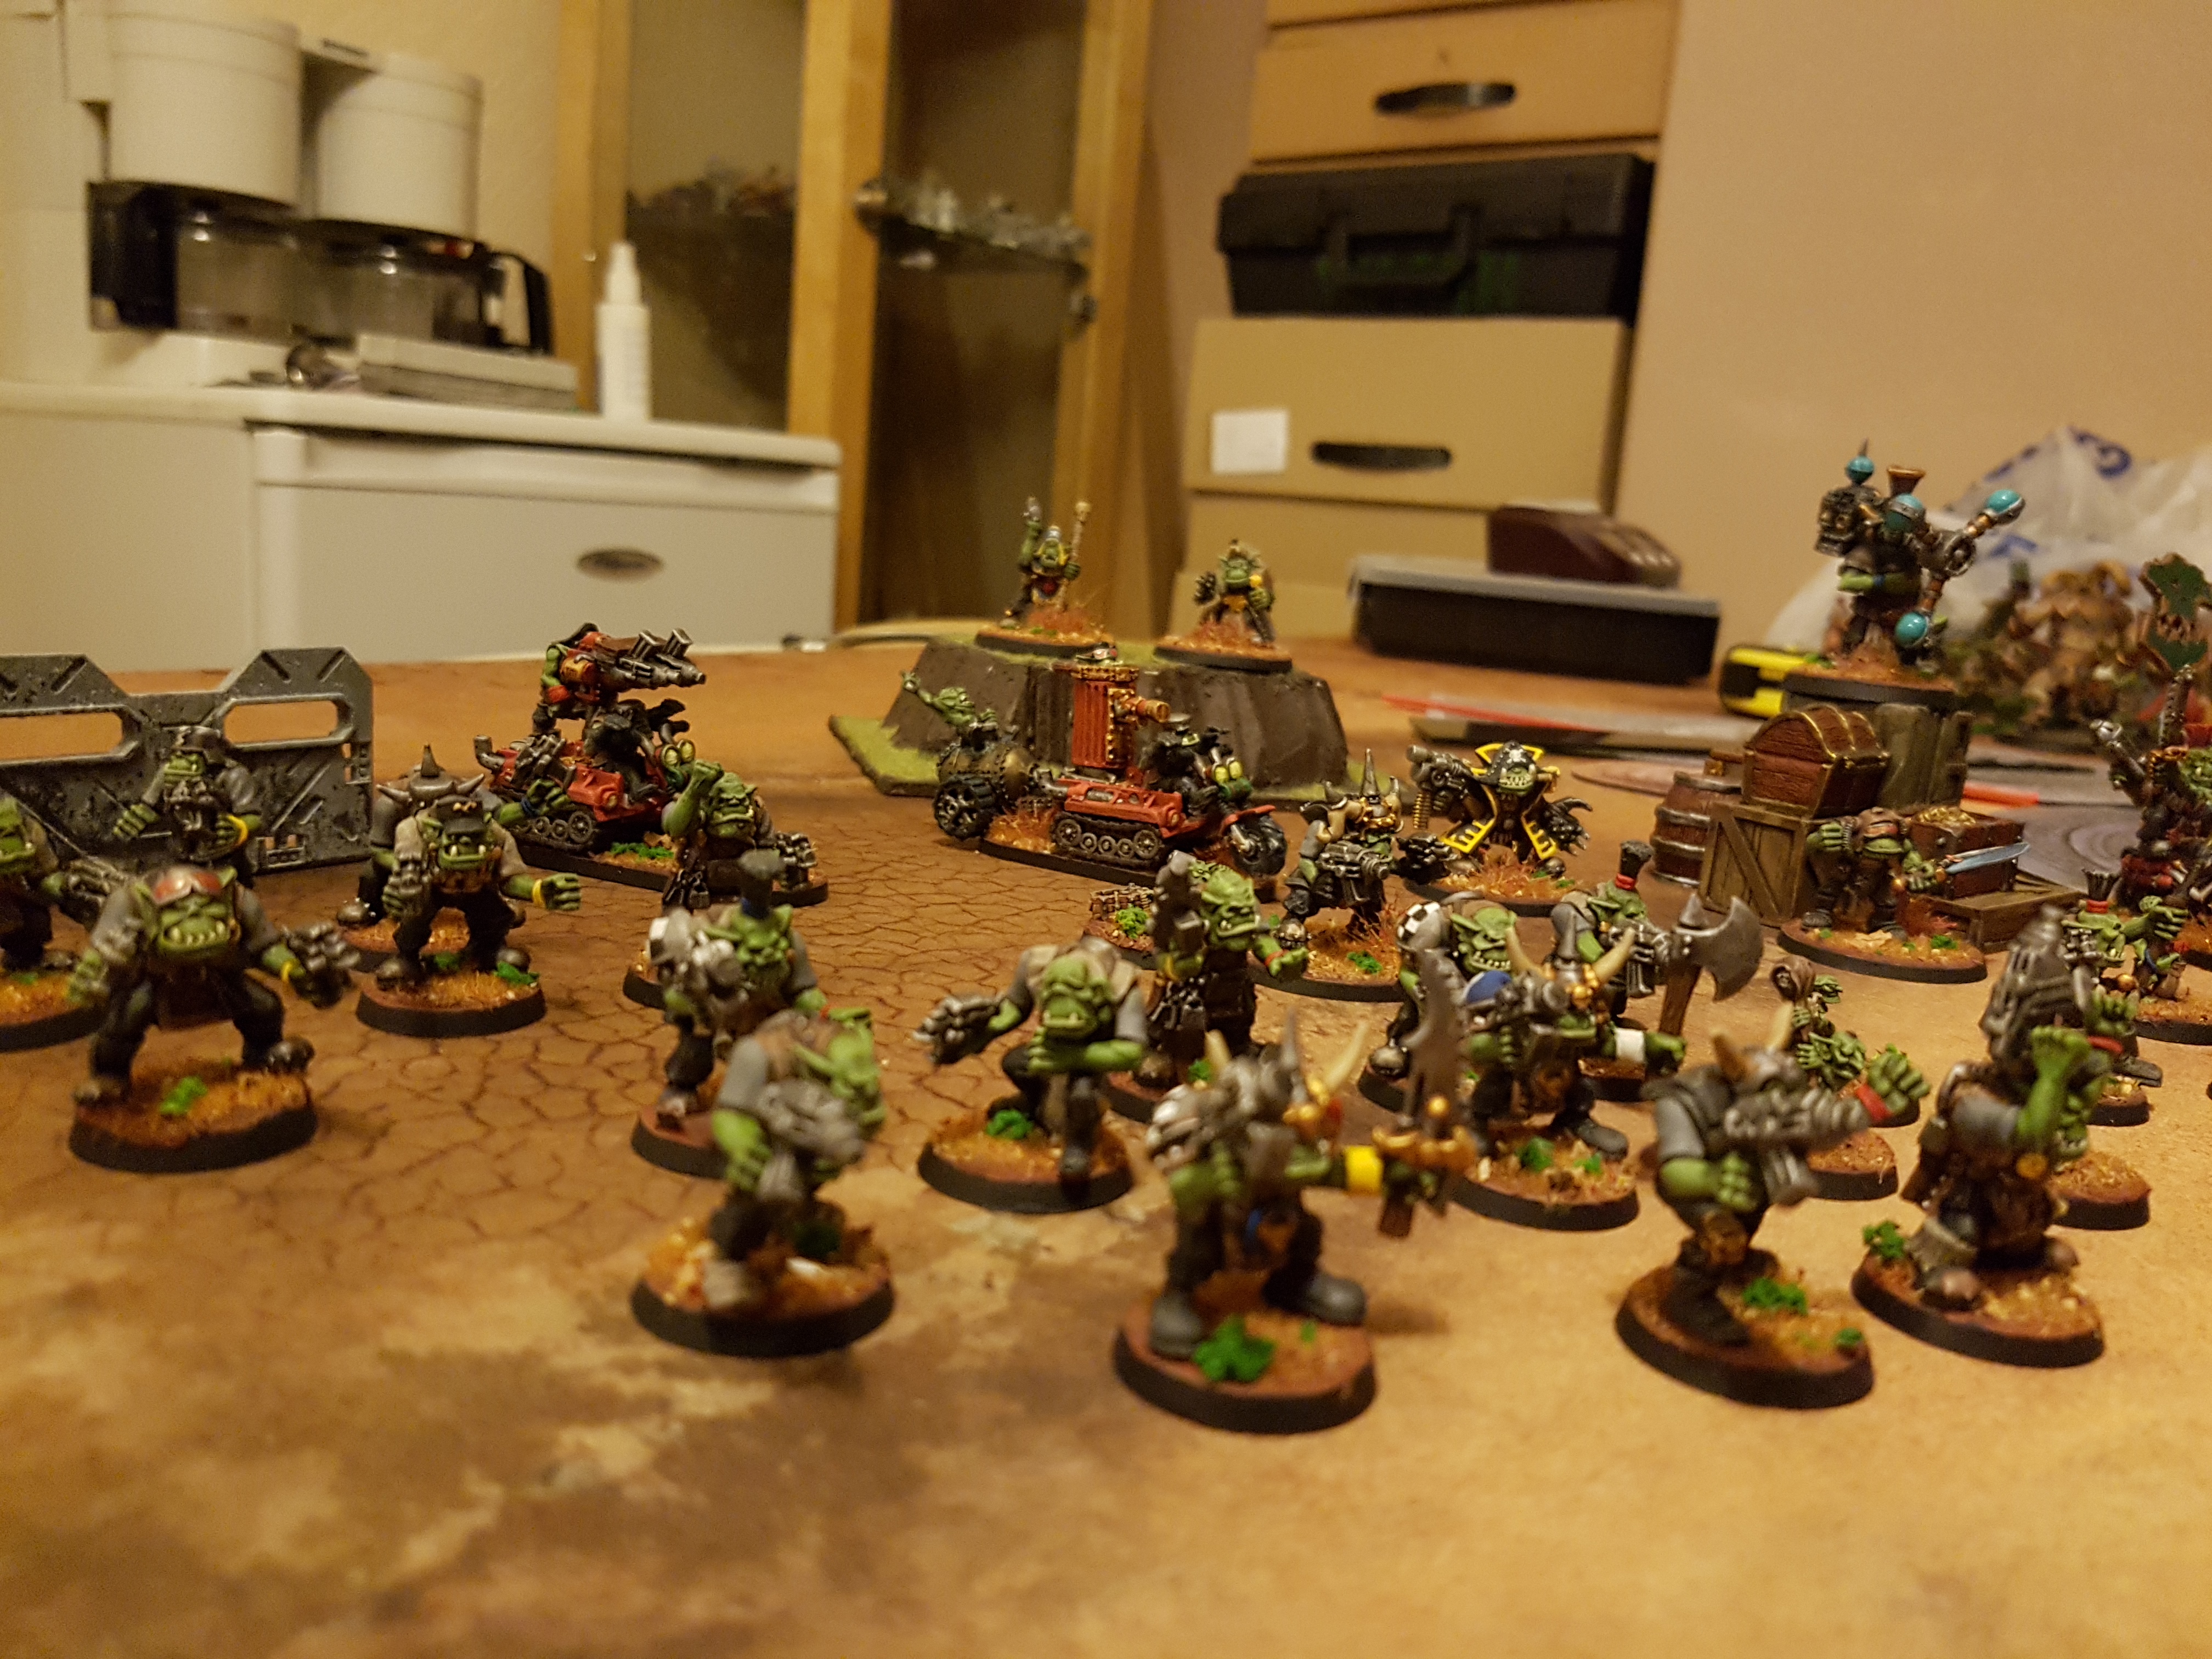
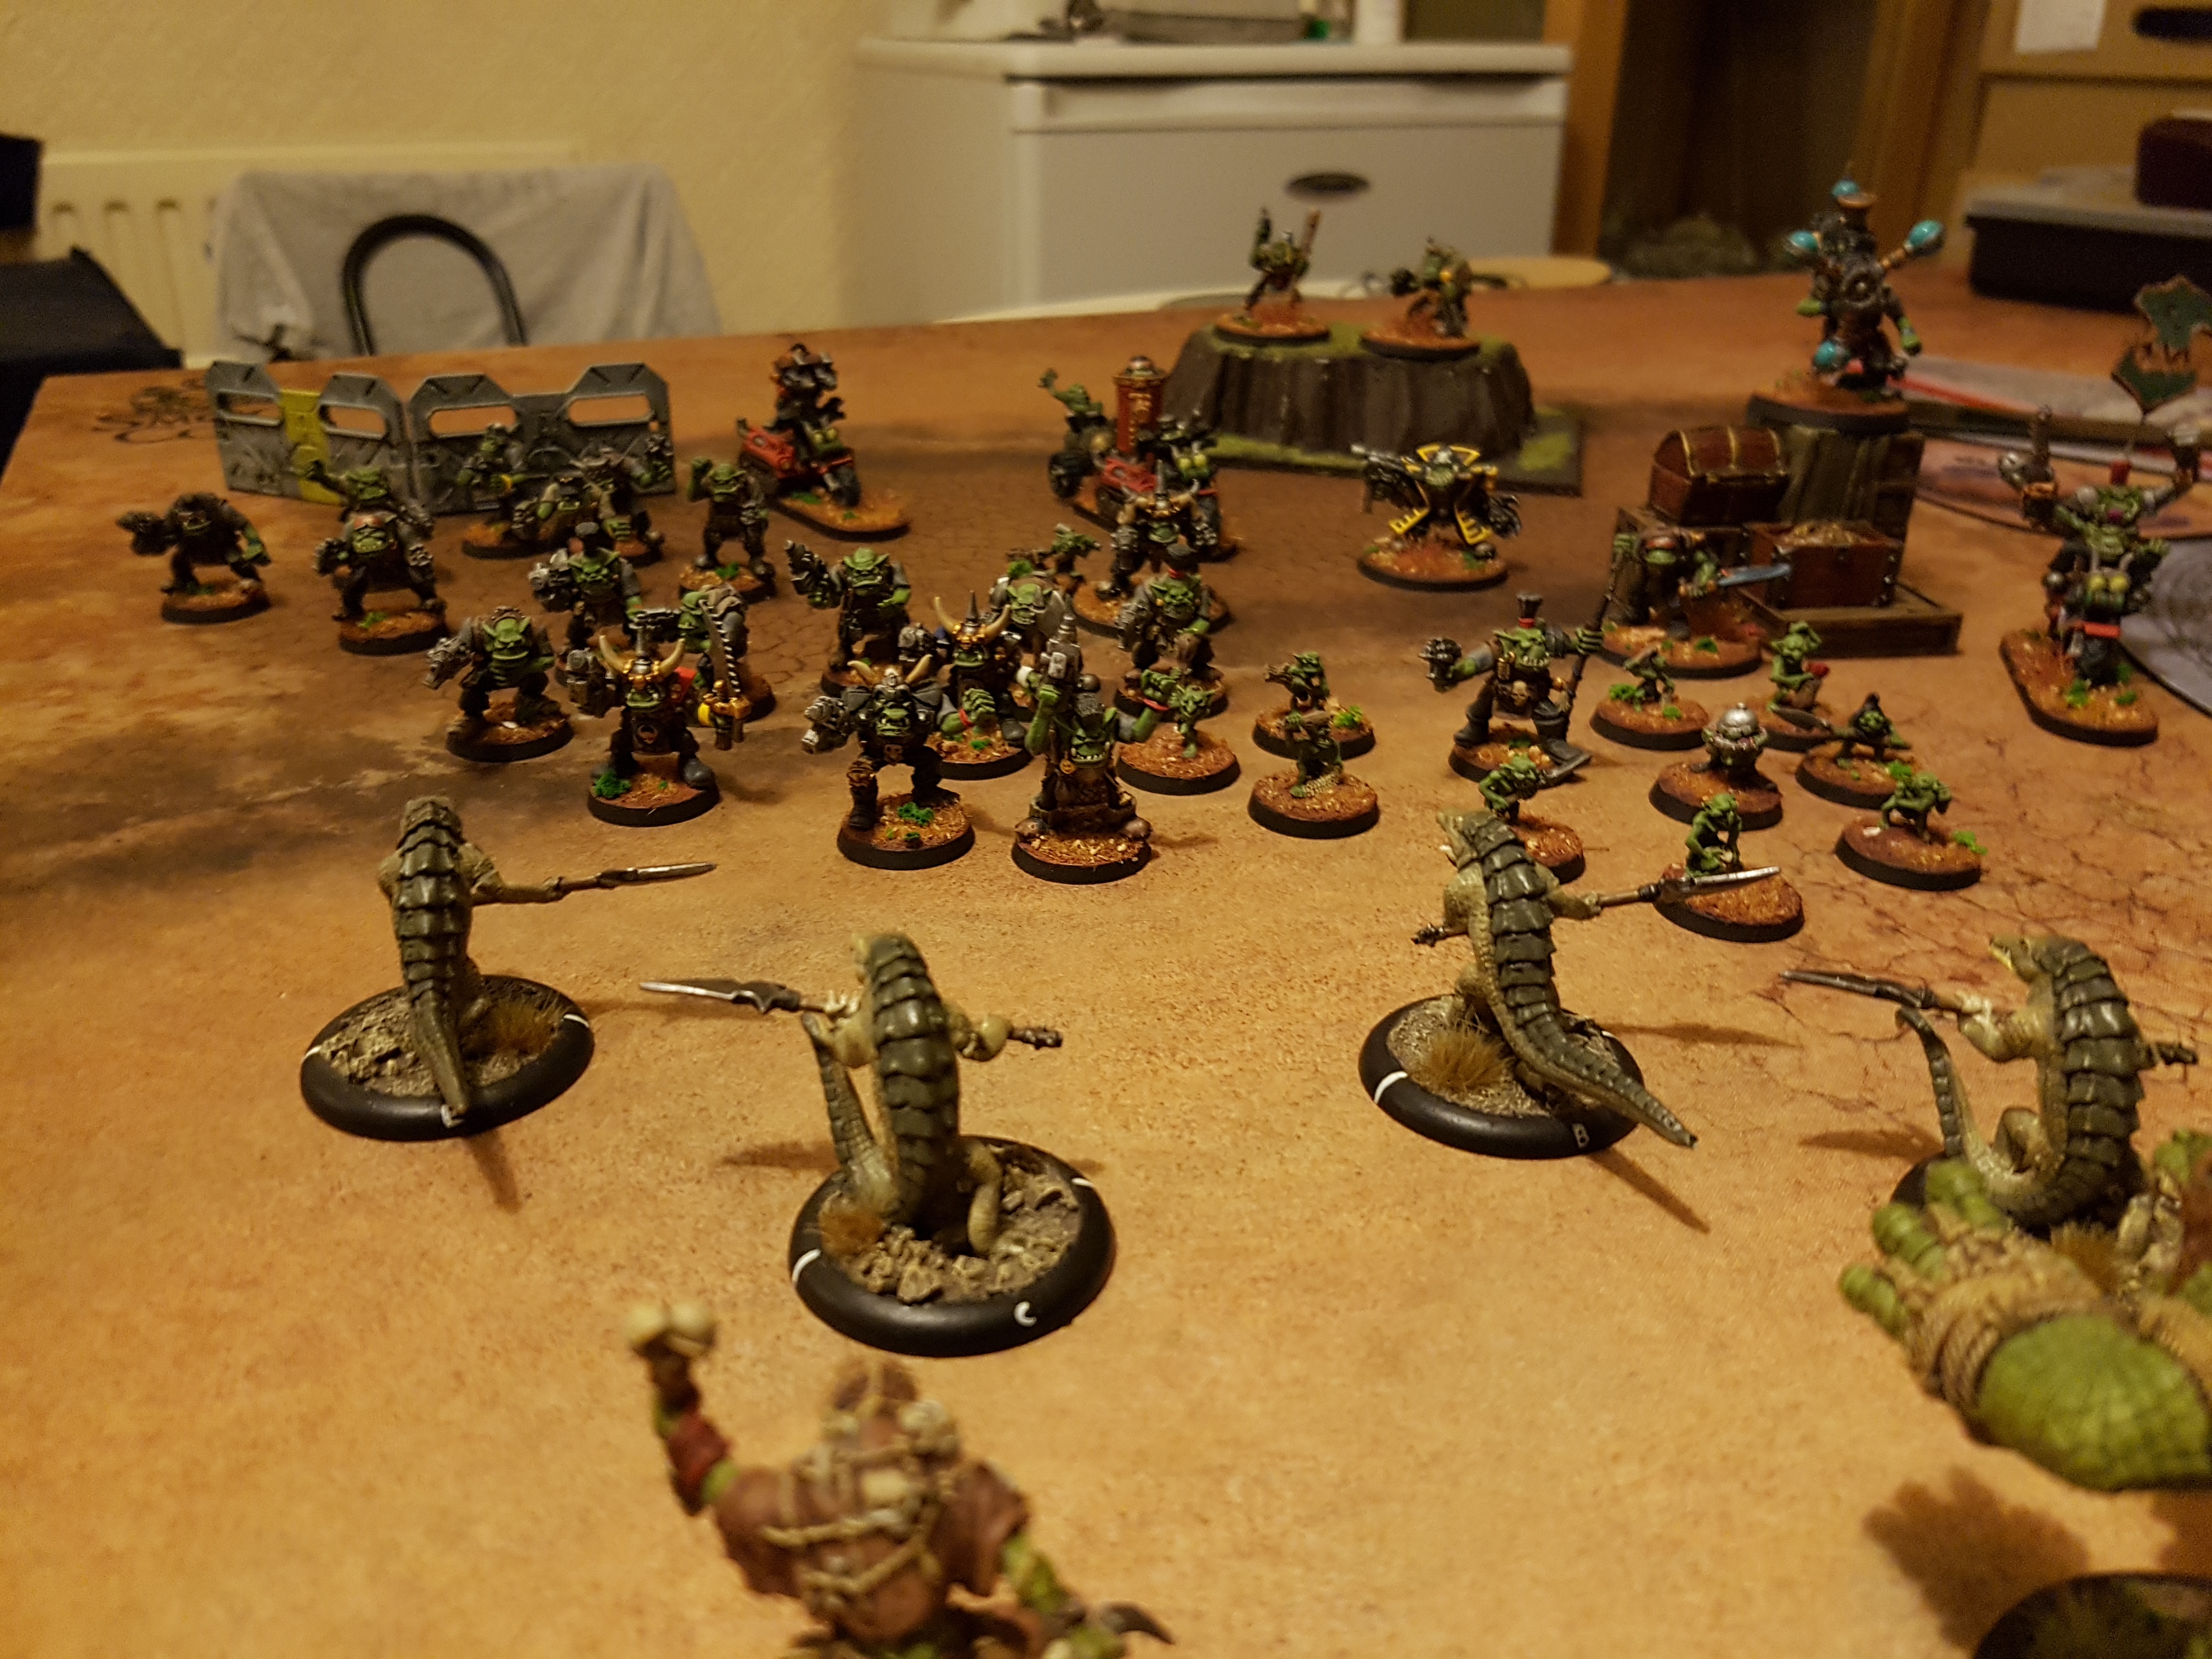
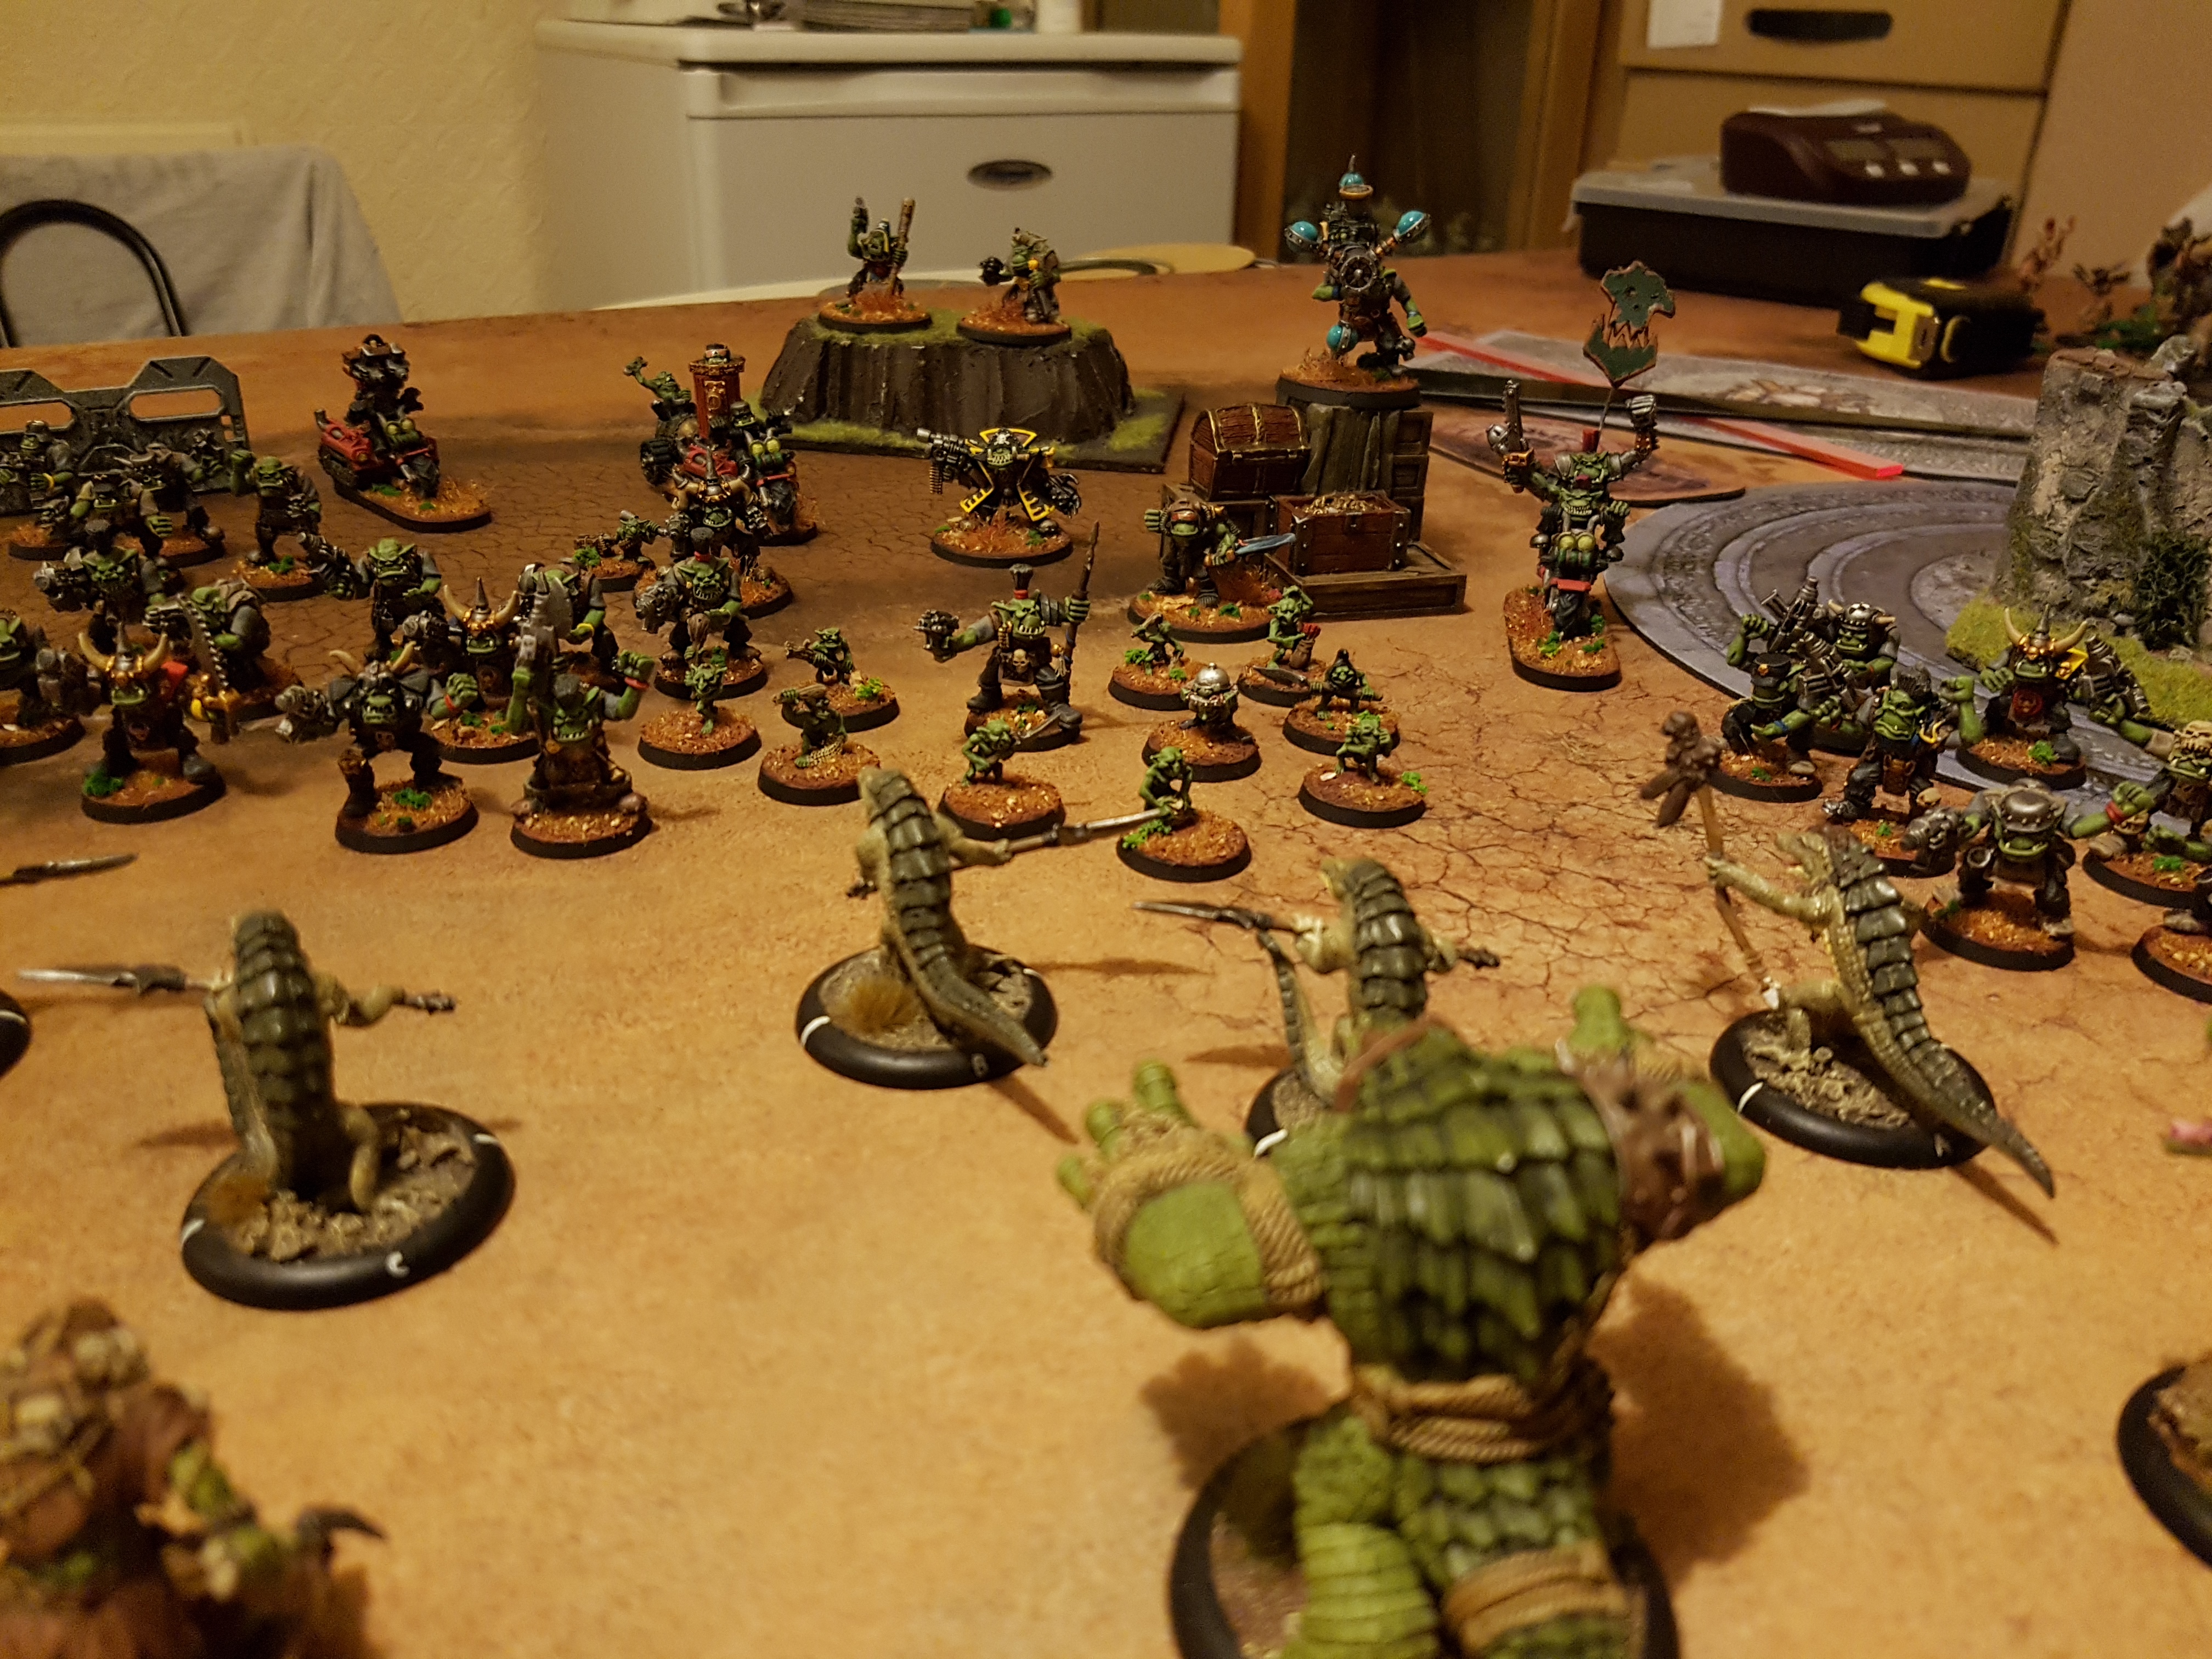
Final Gallery
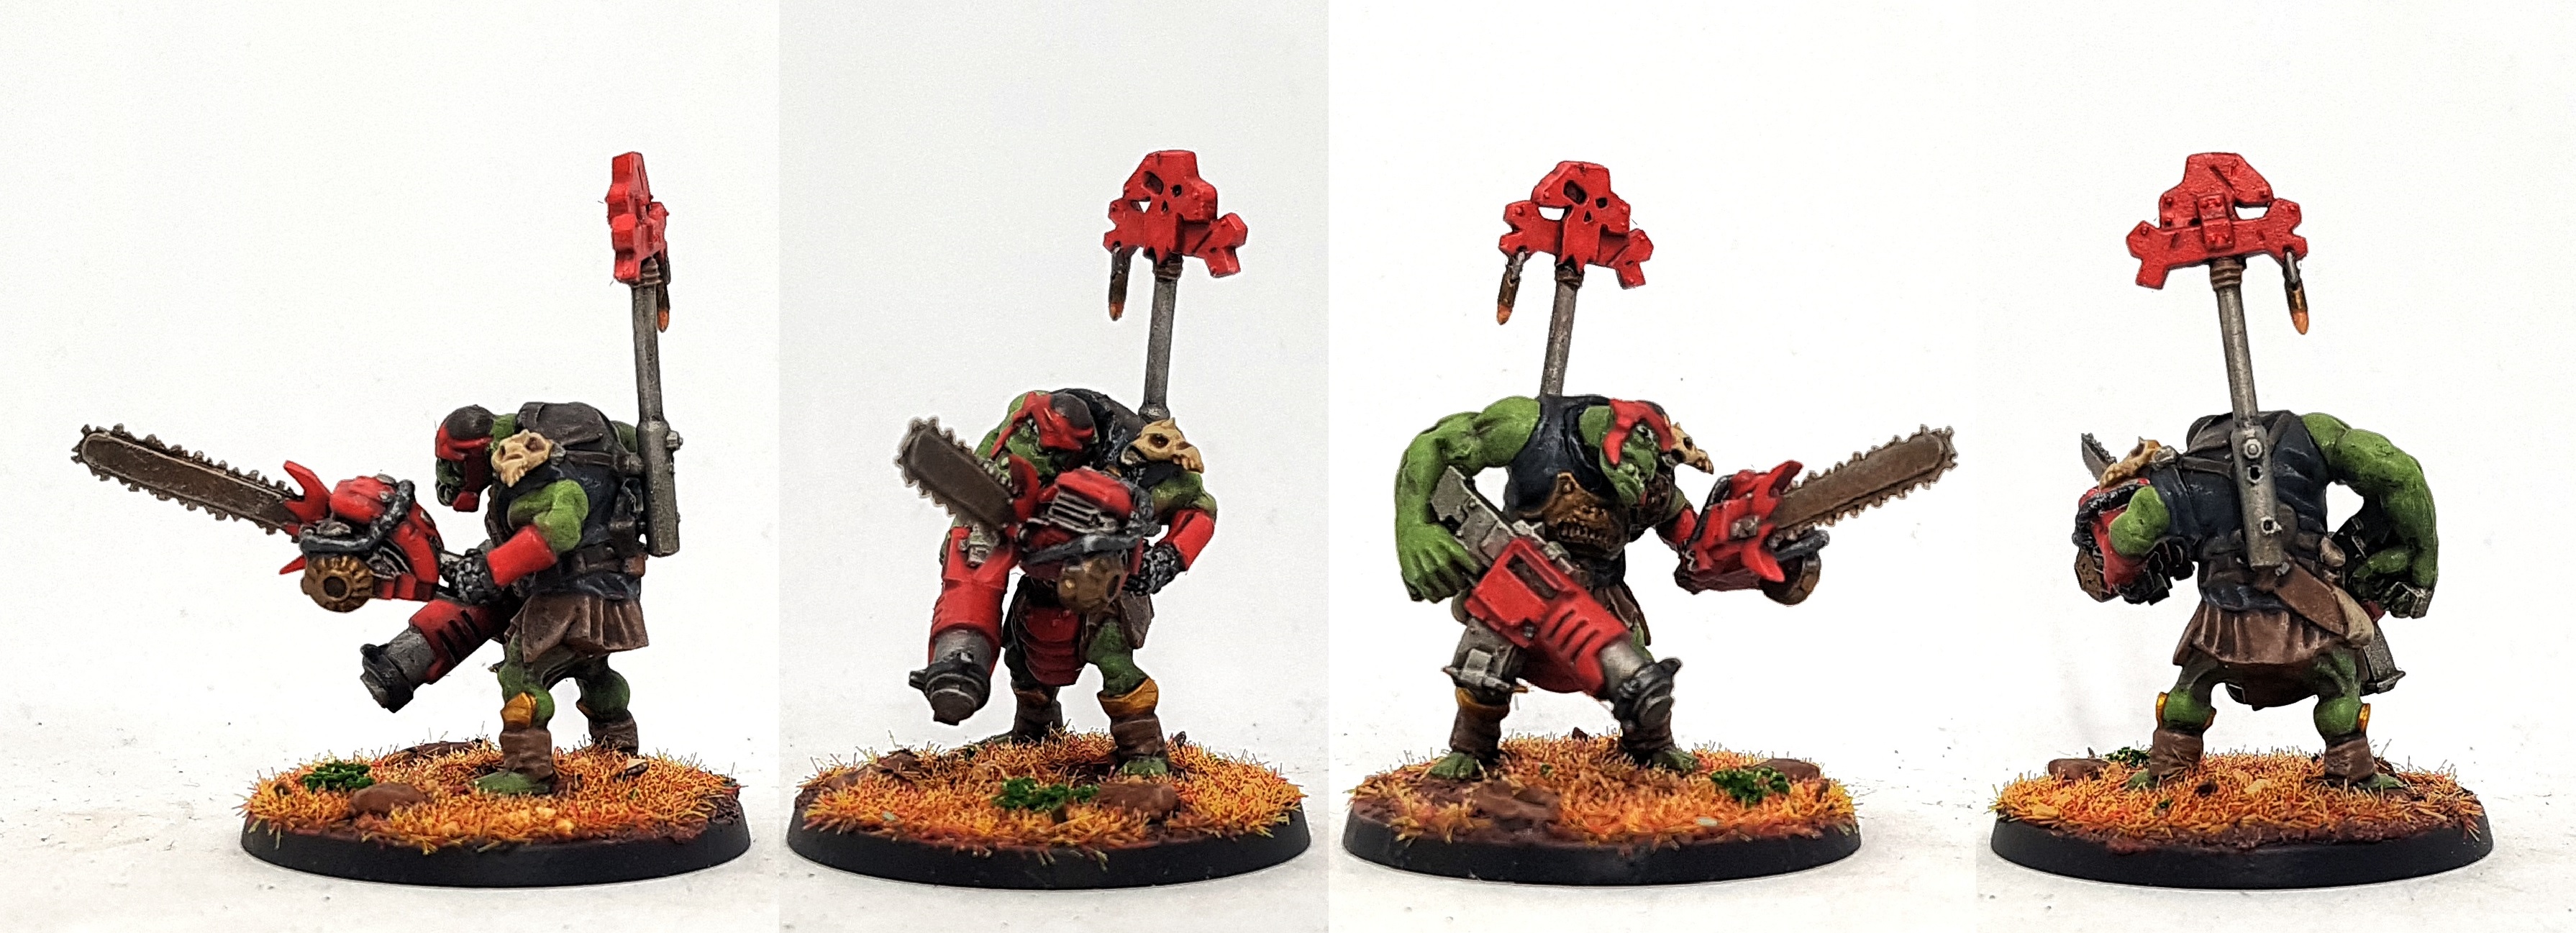
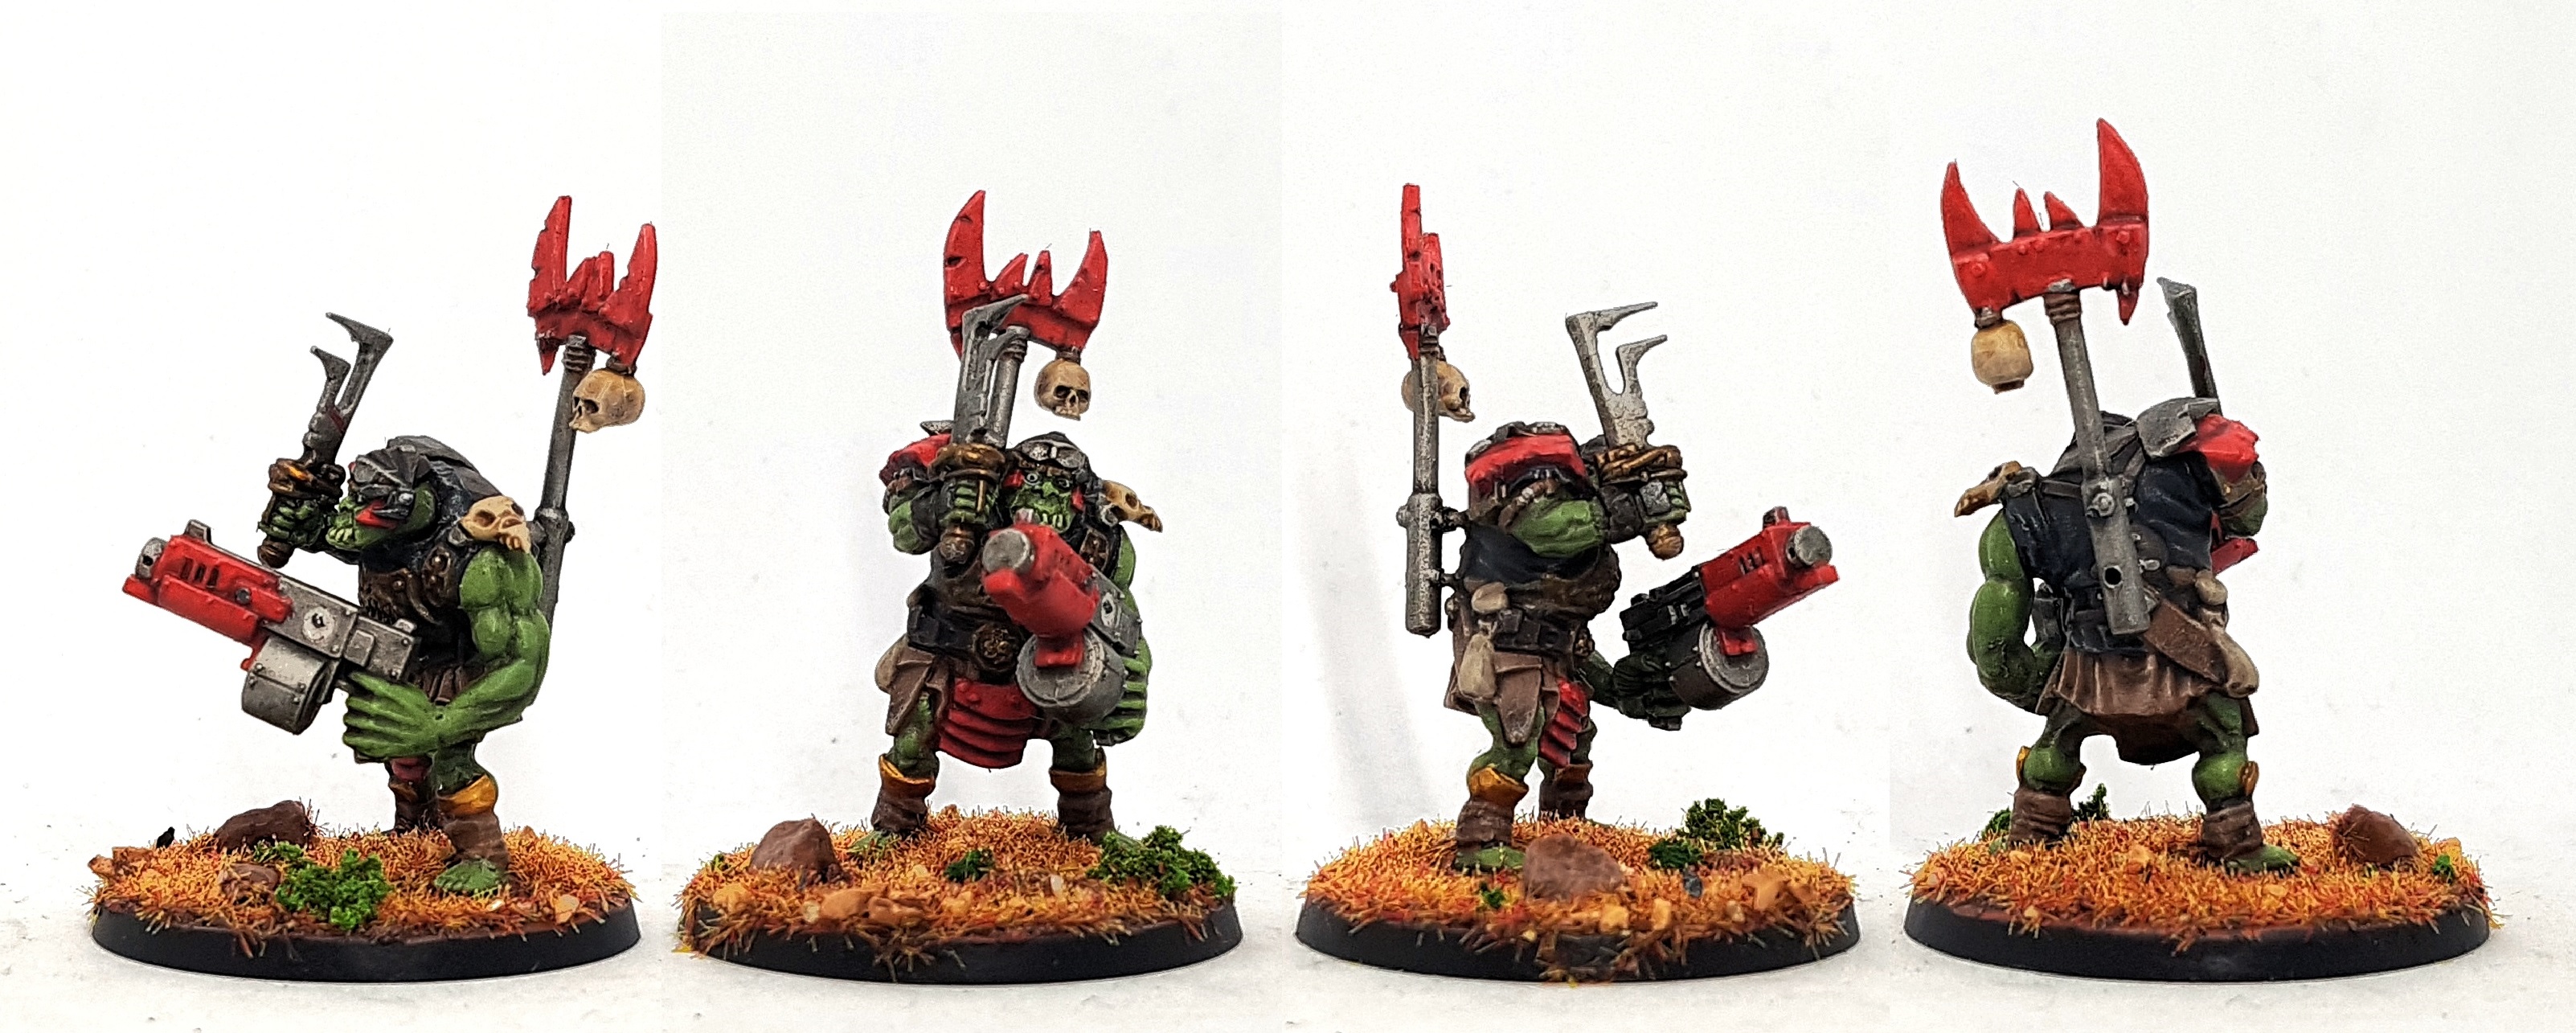
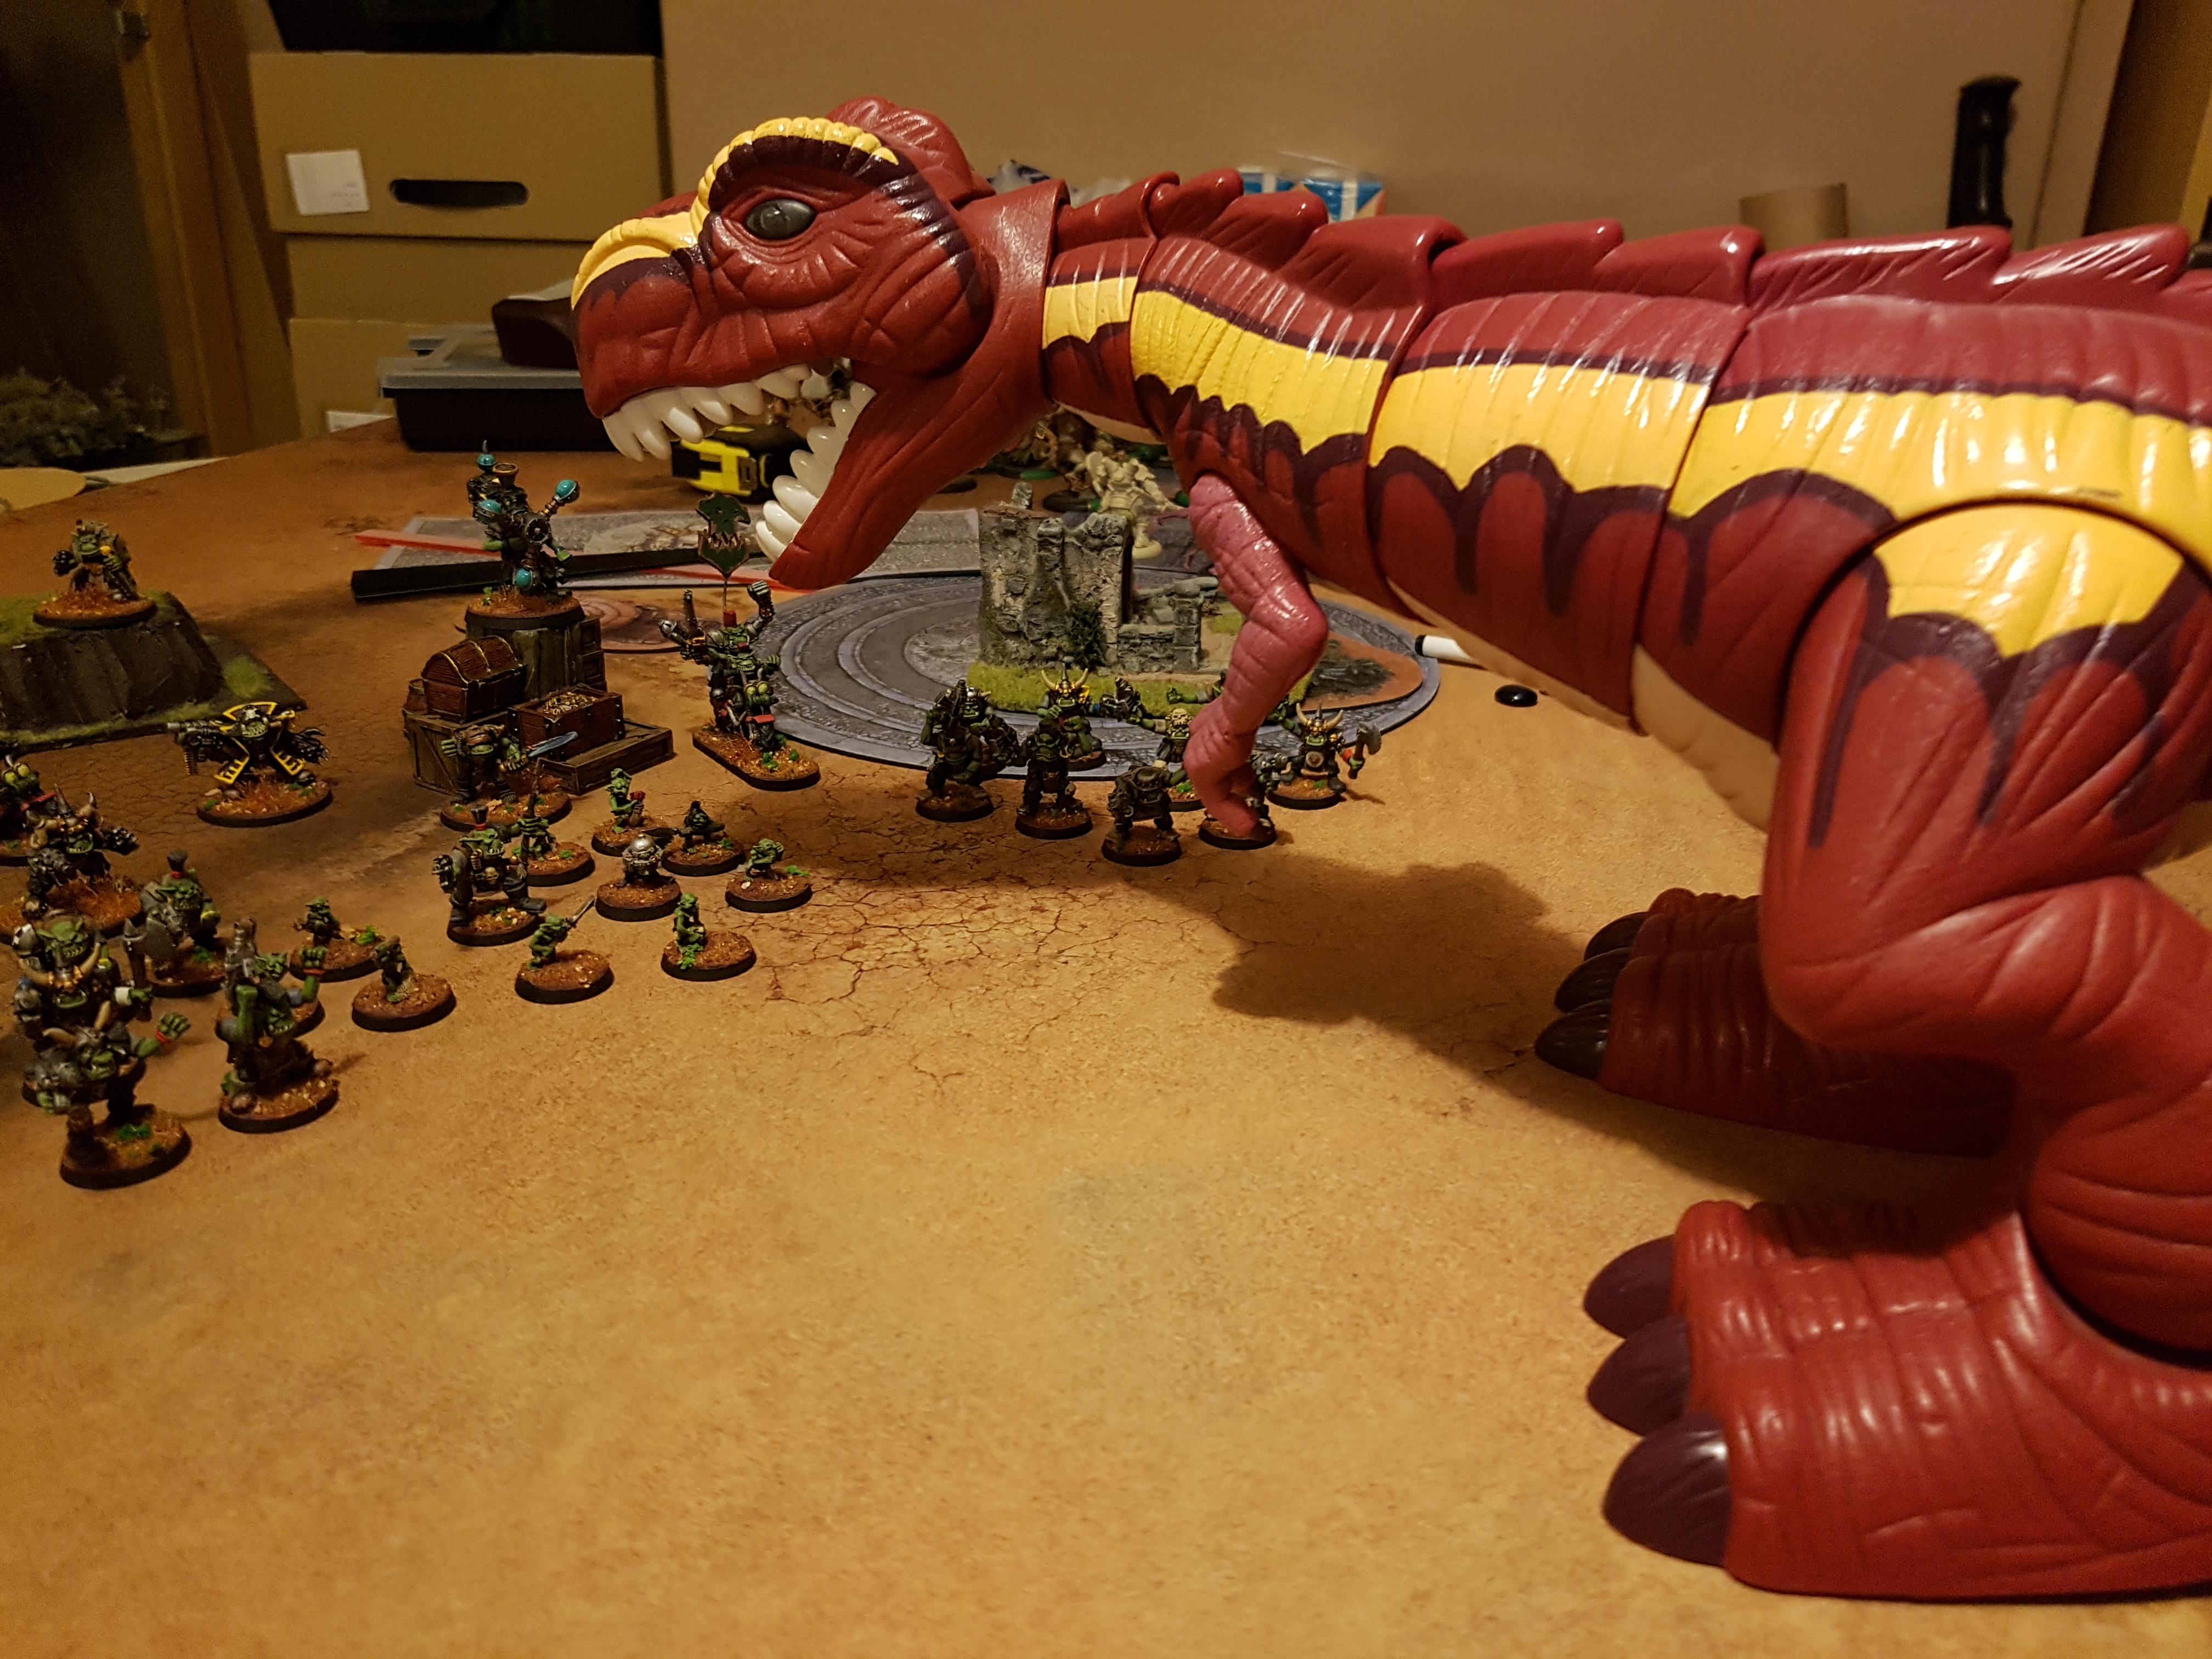
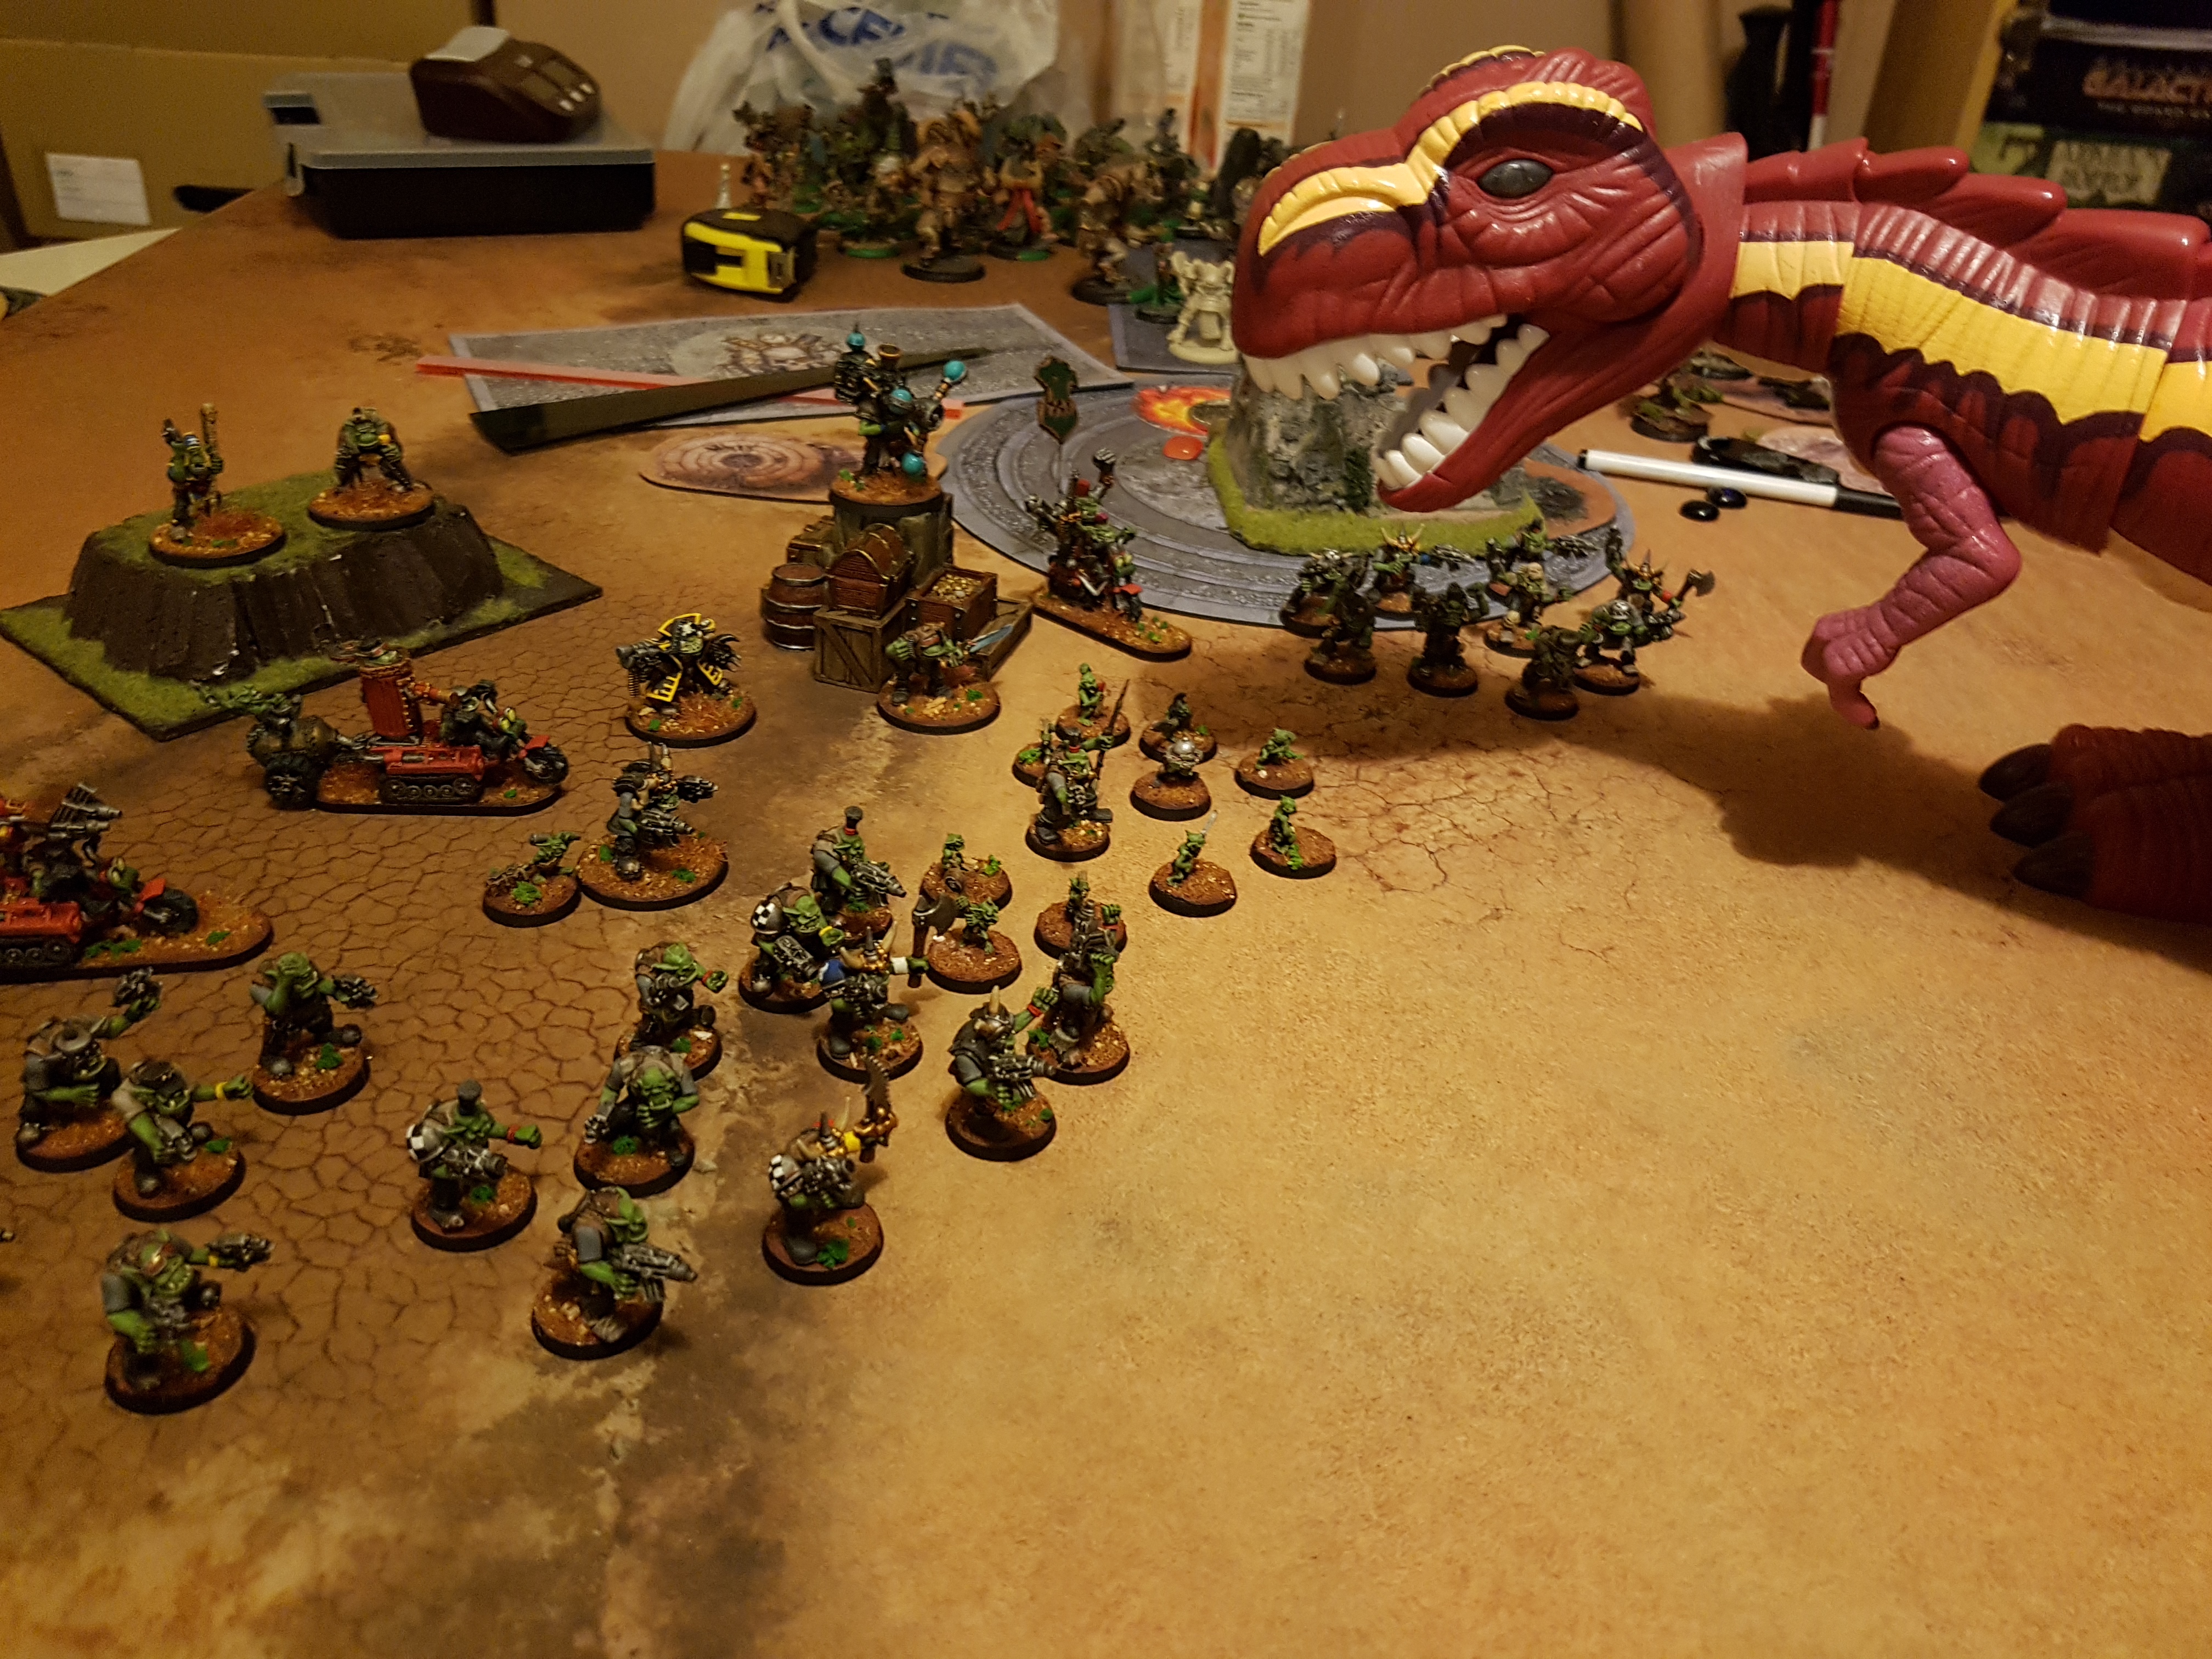
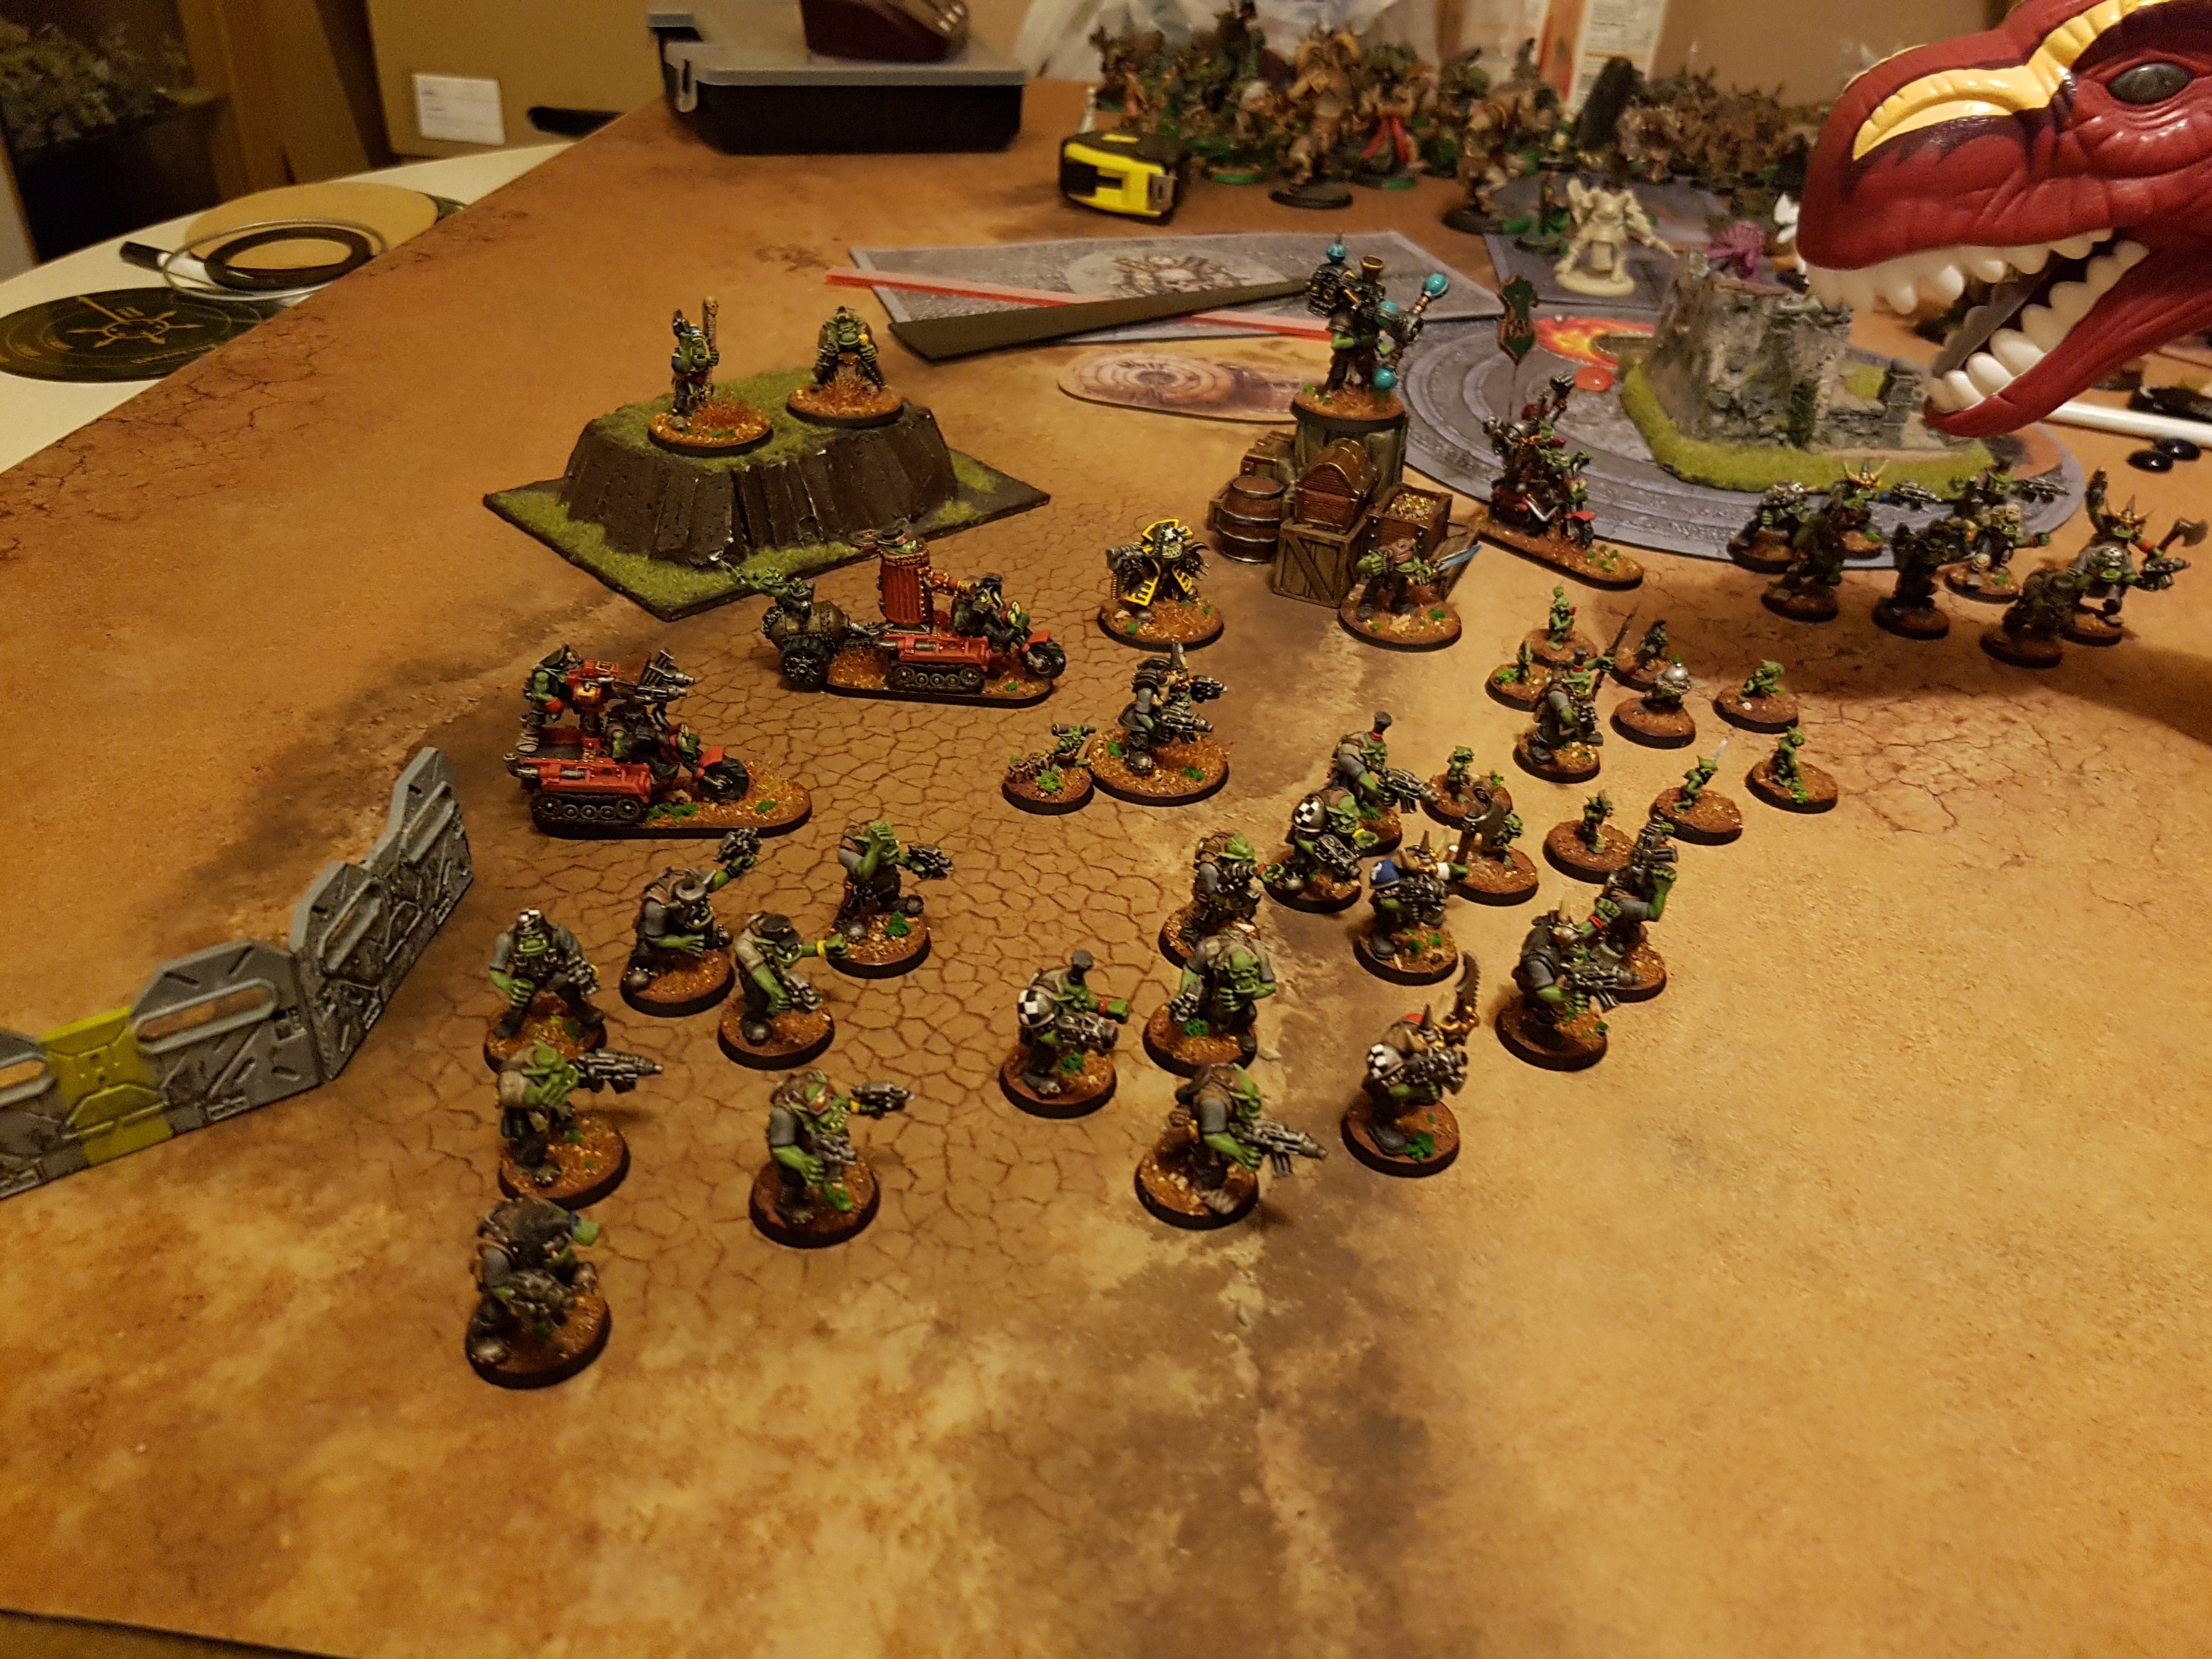
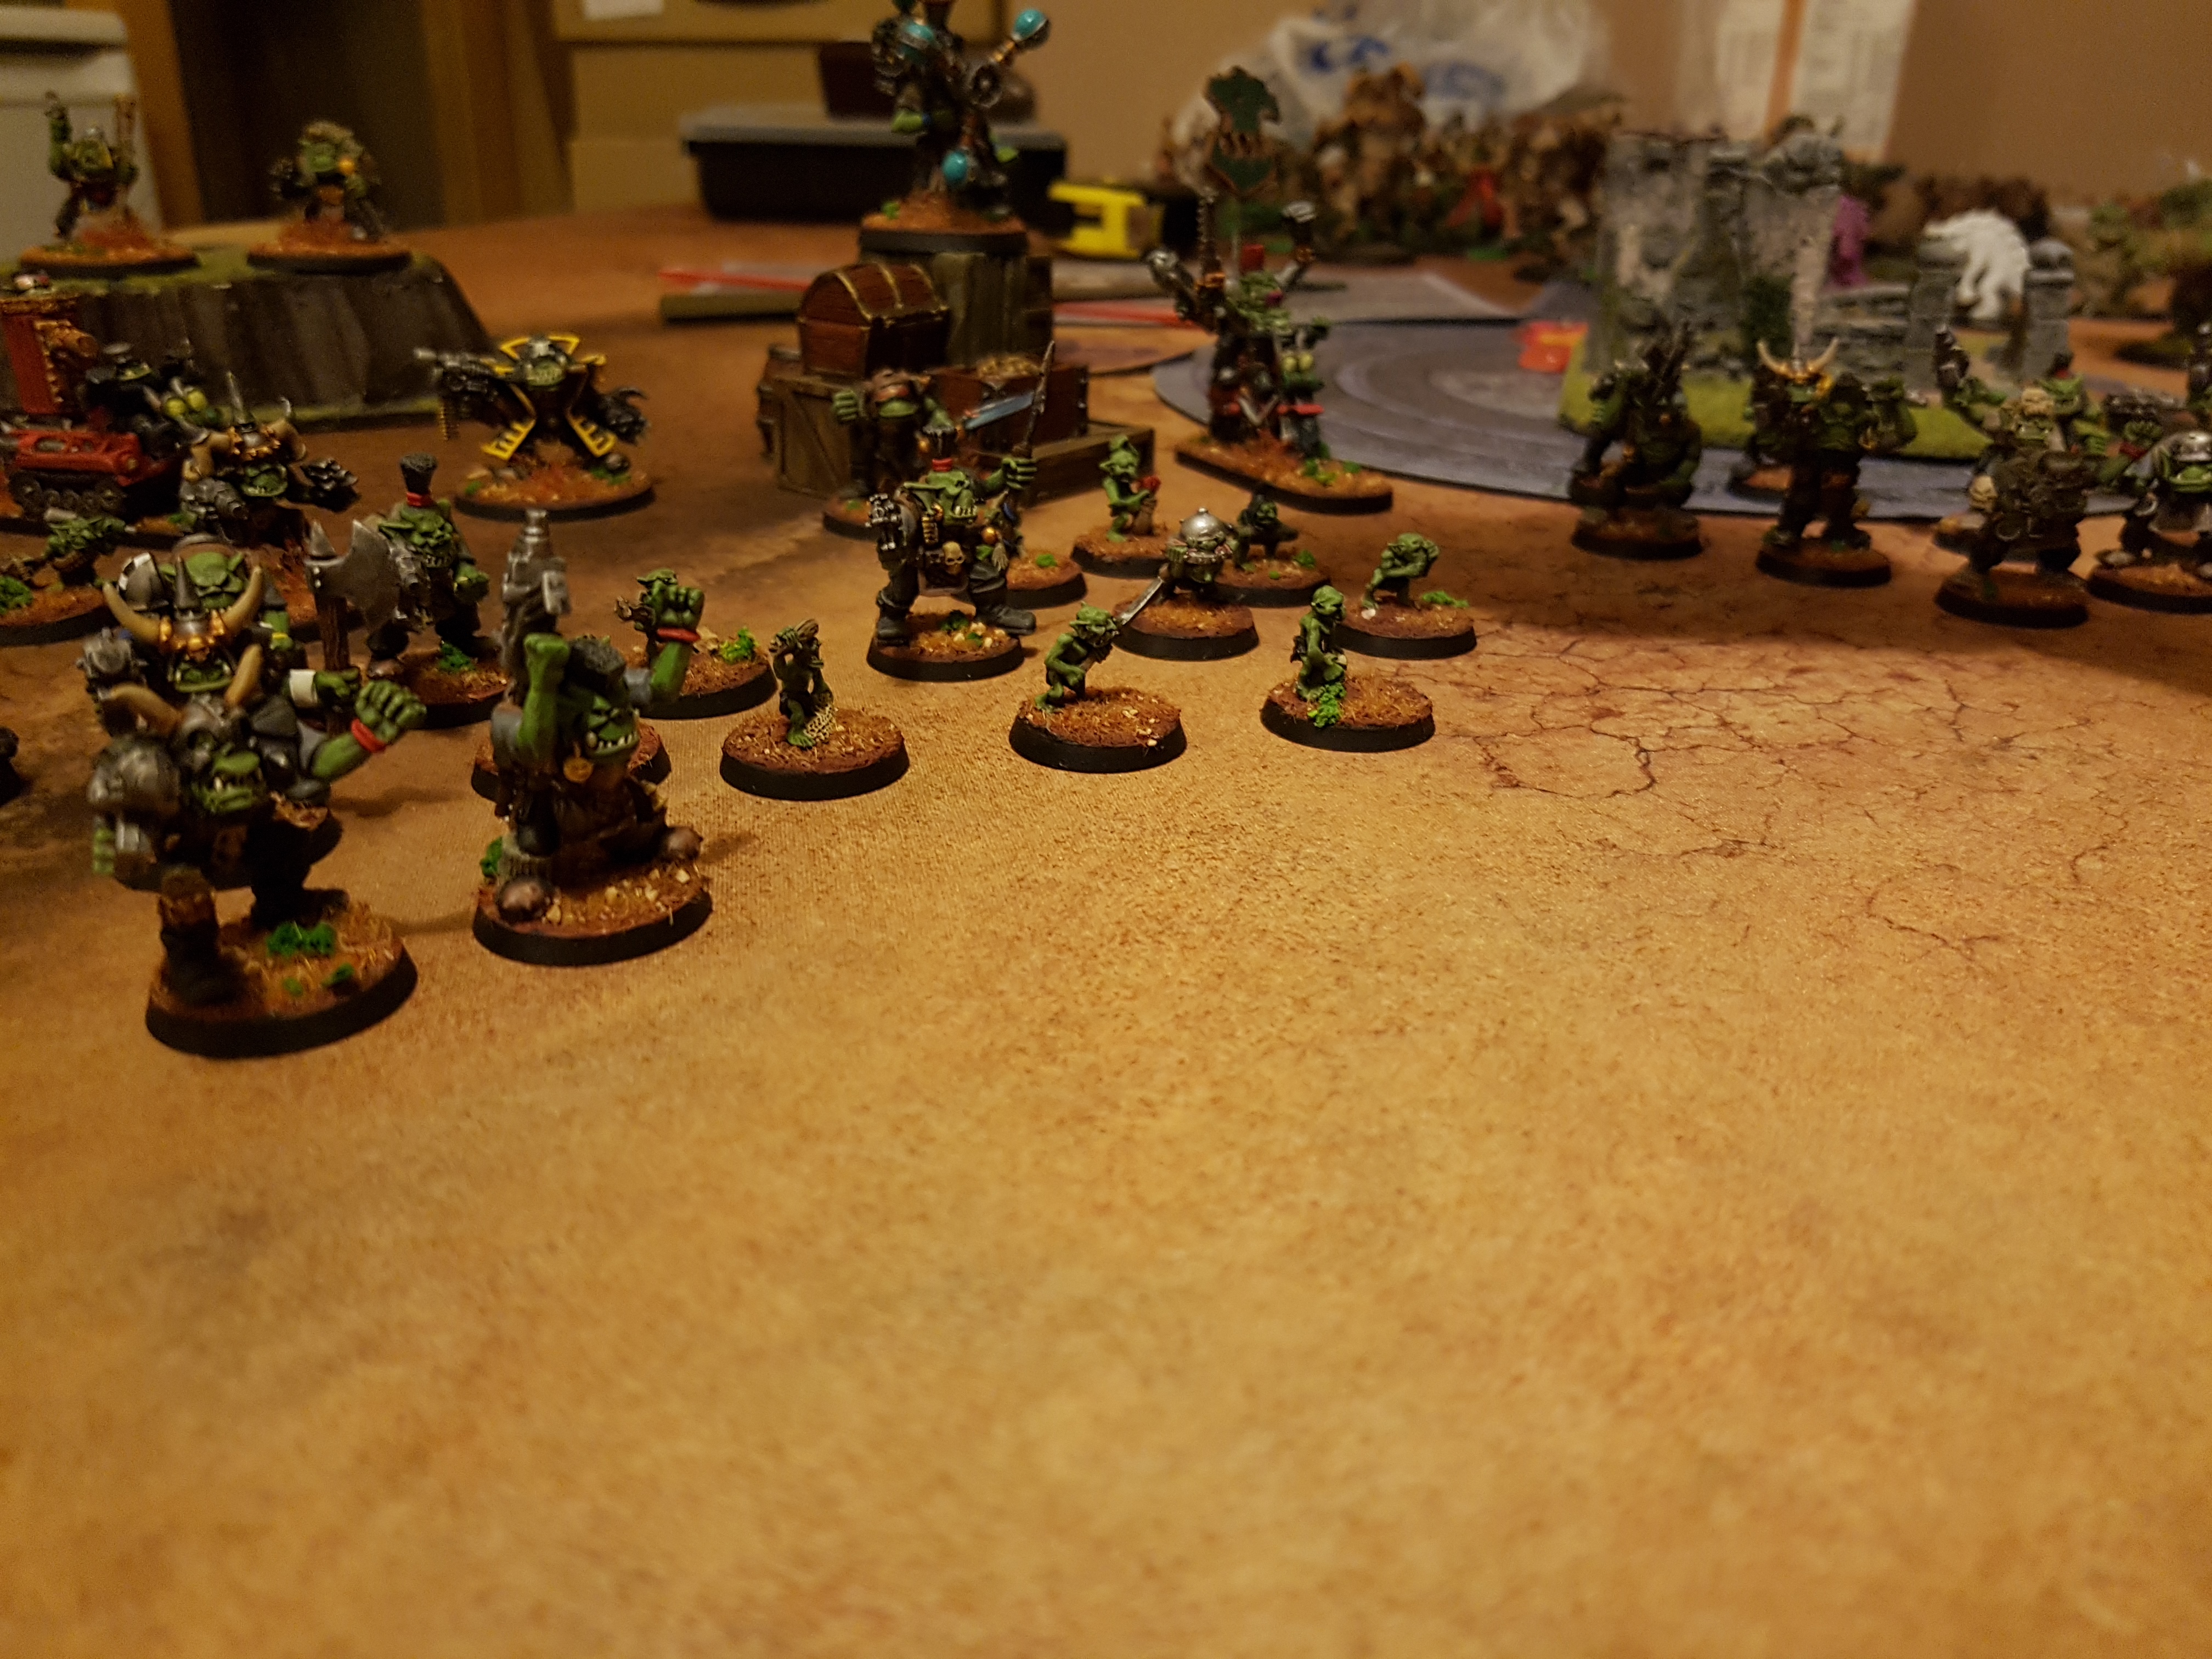
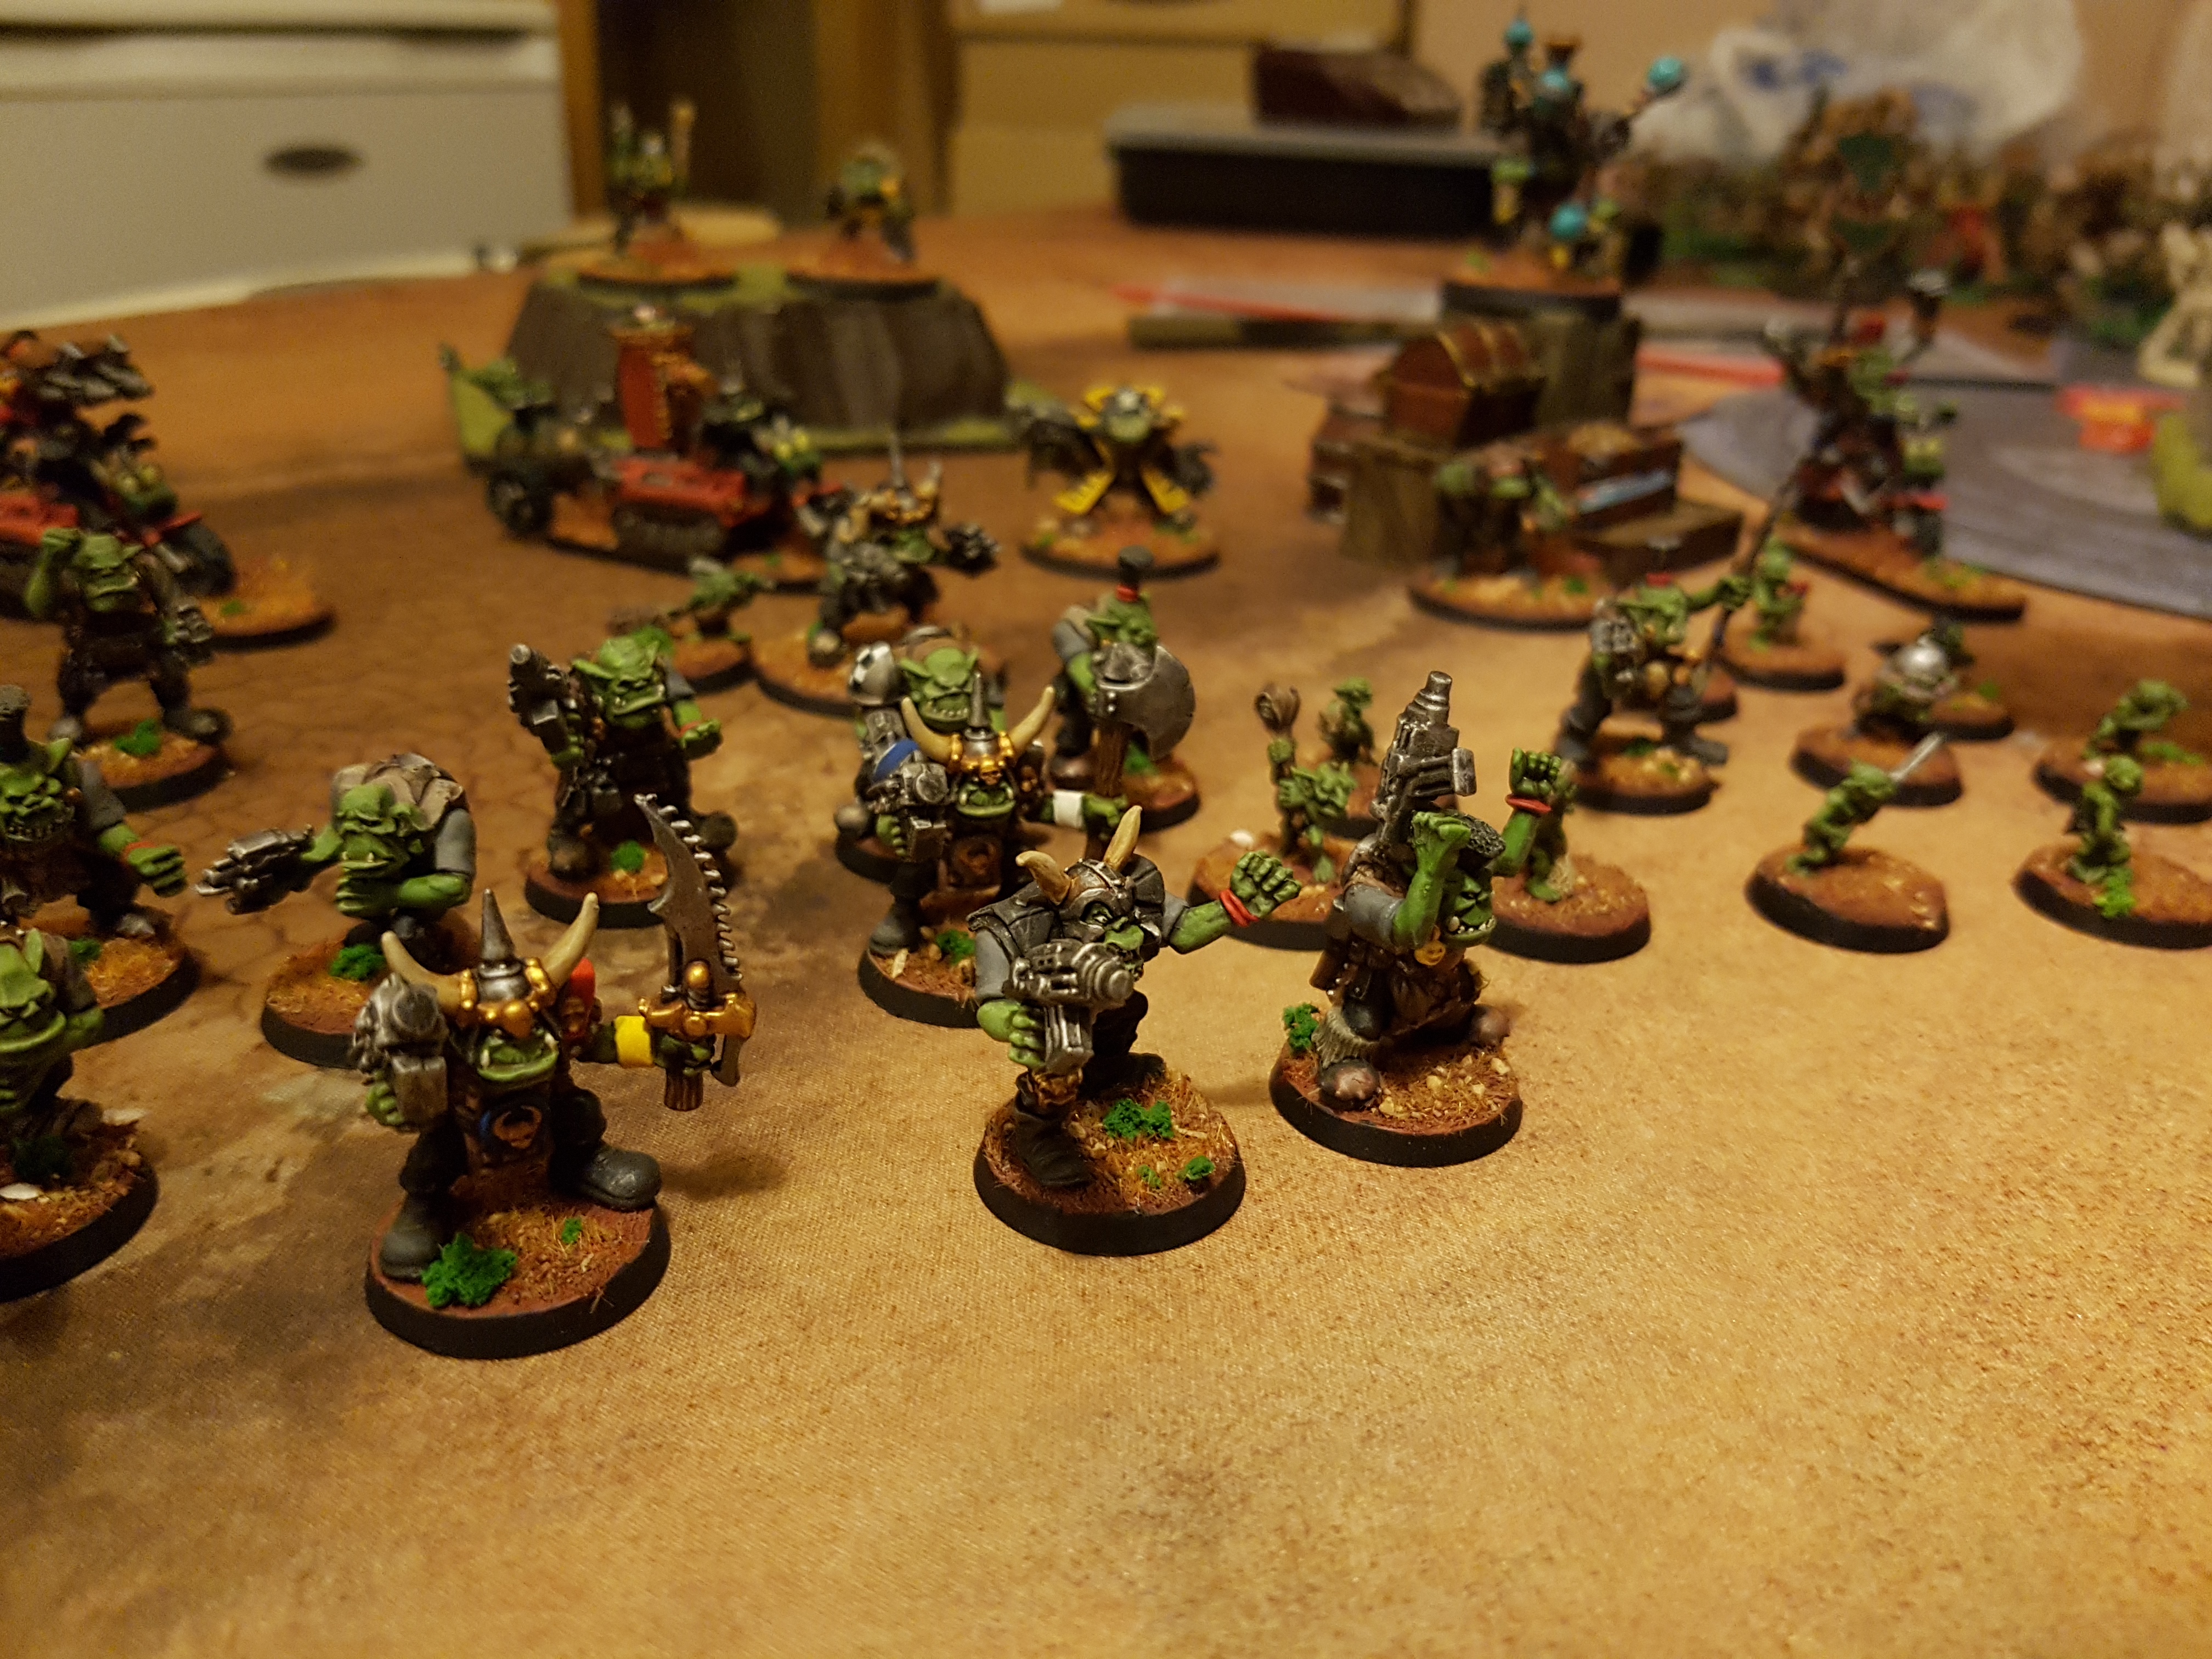
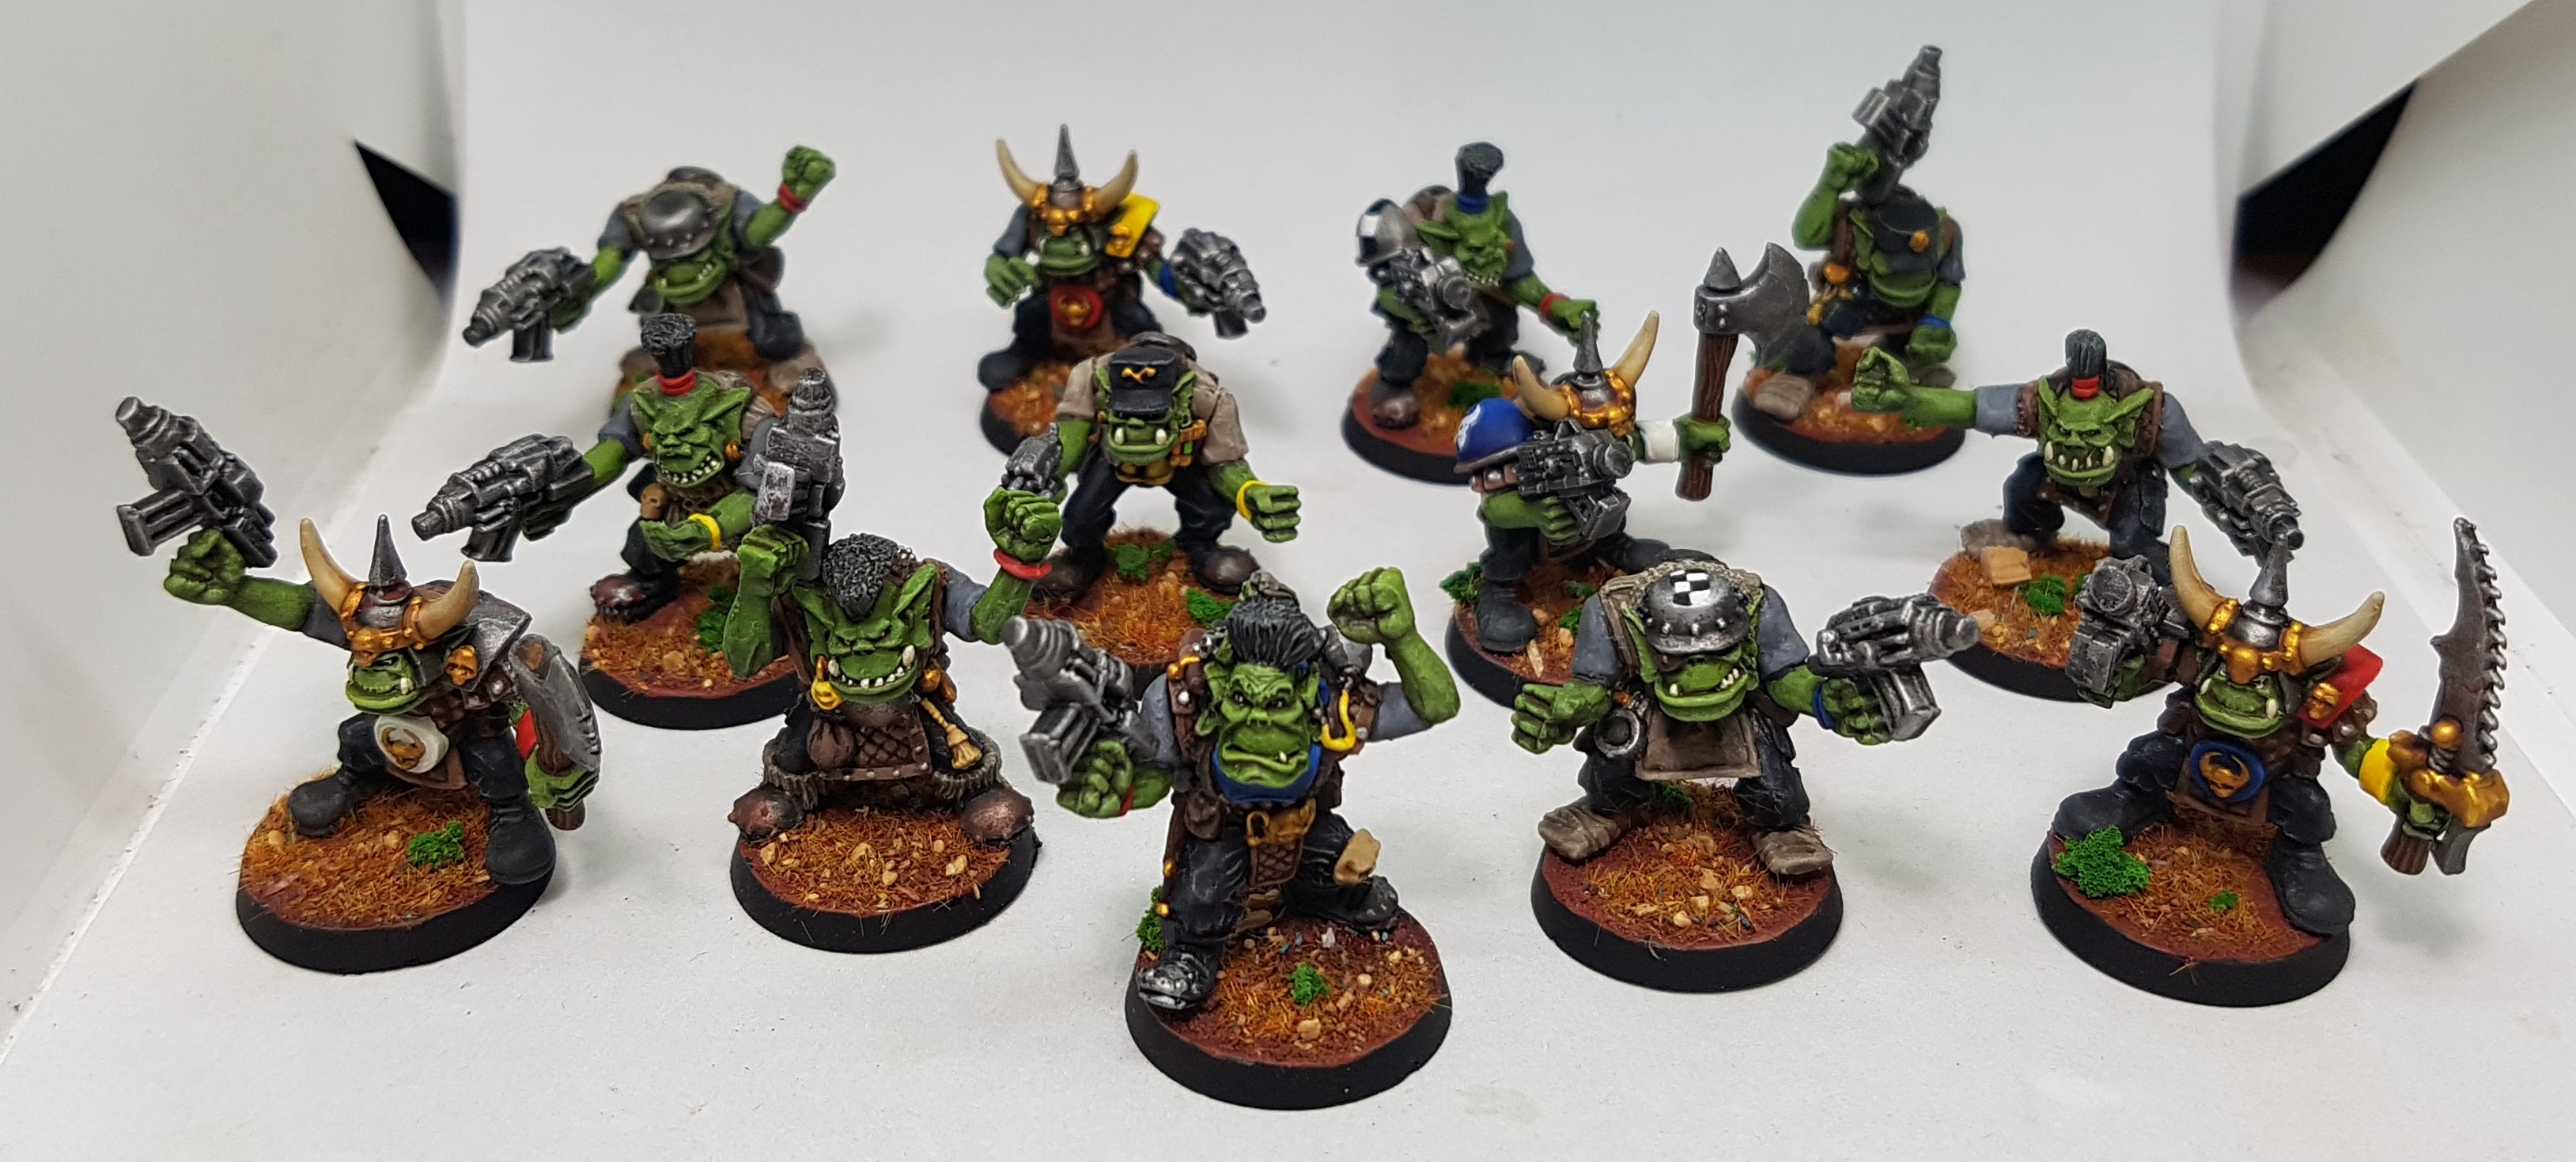
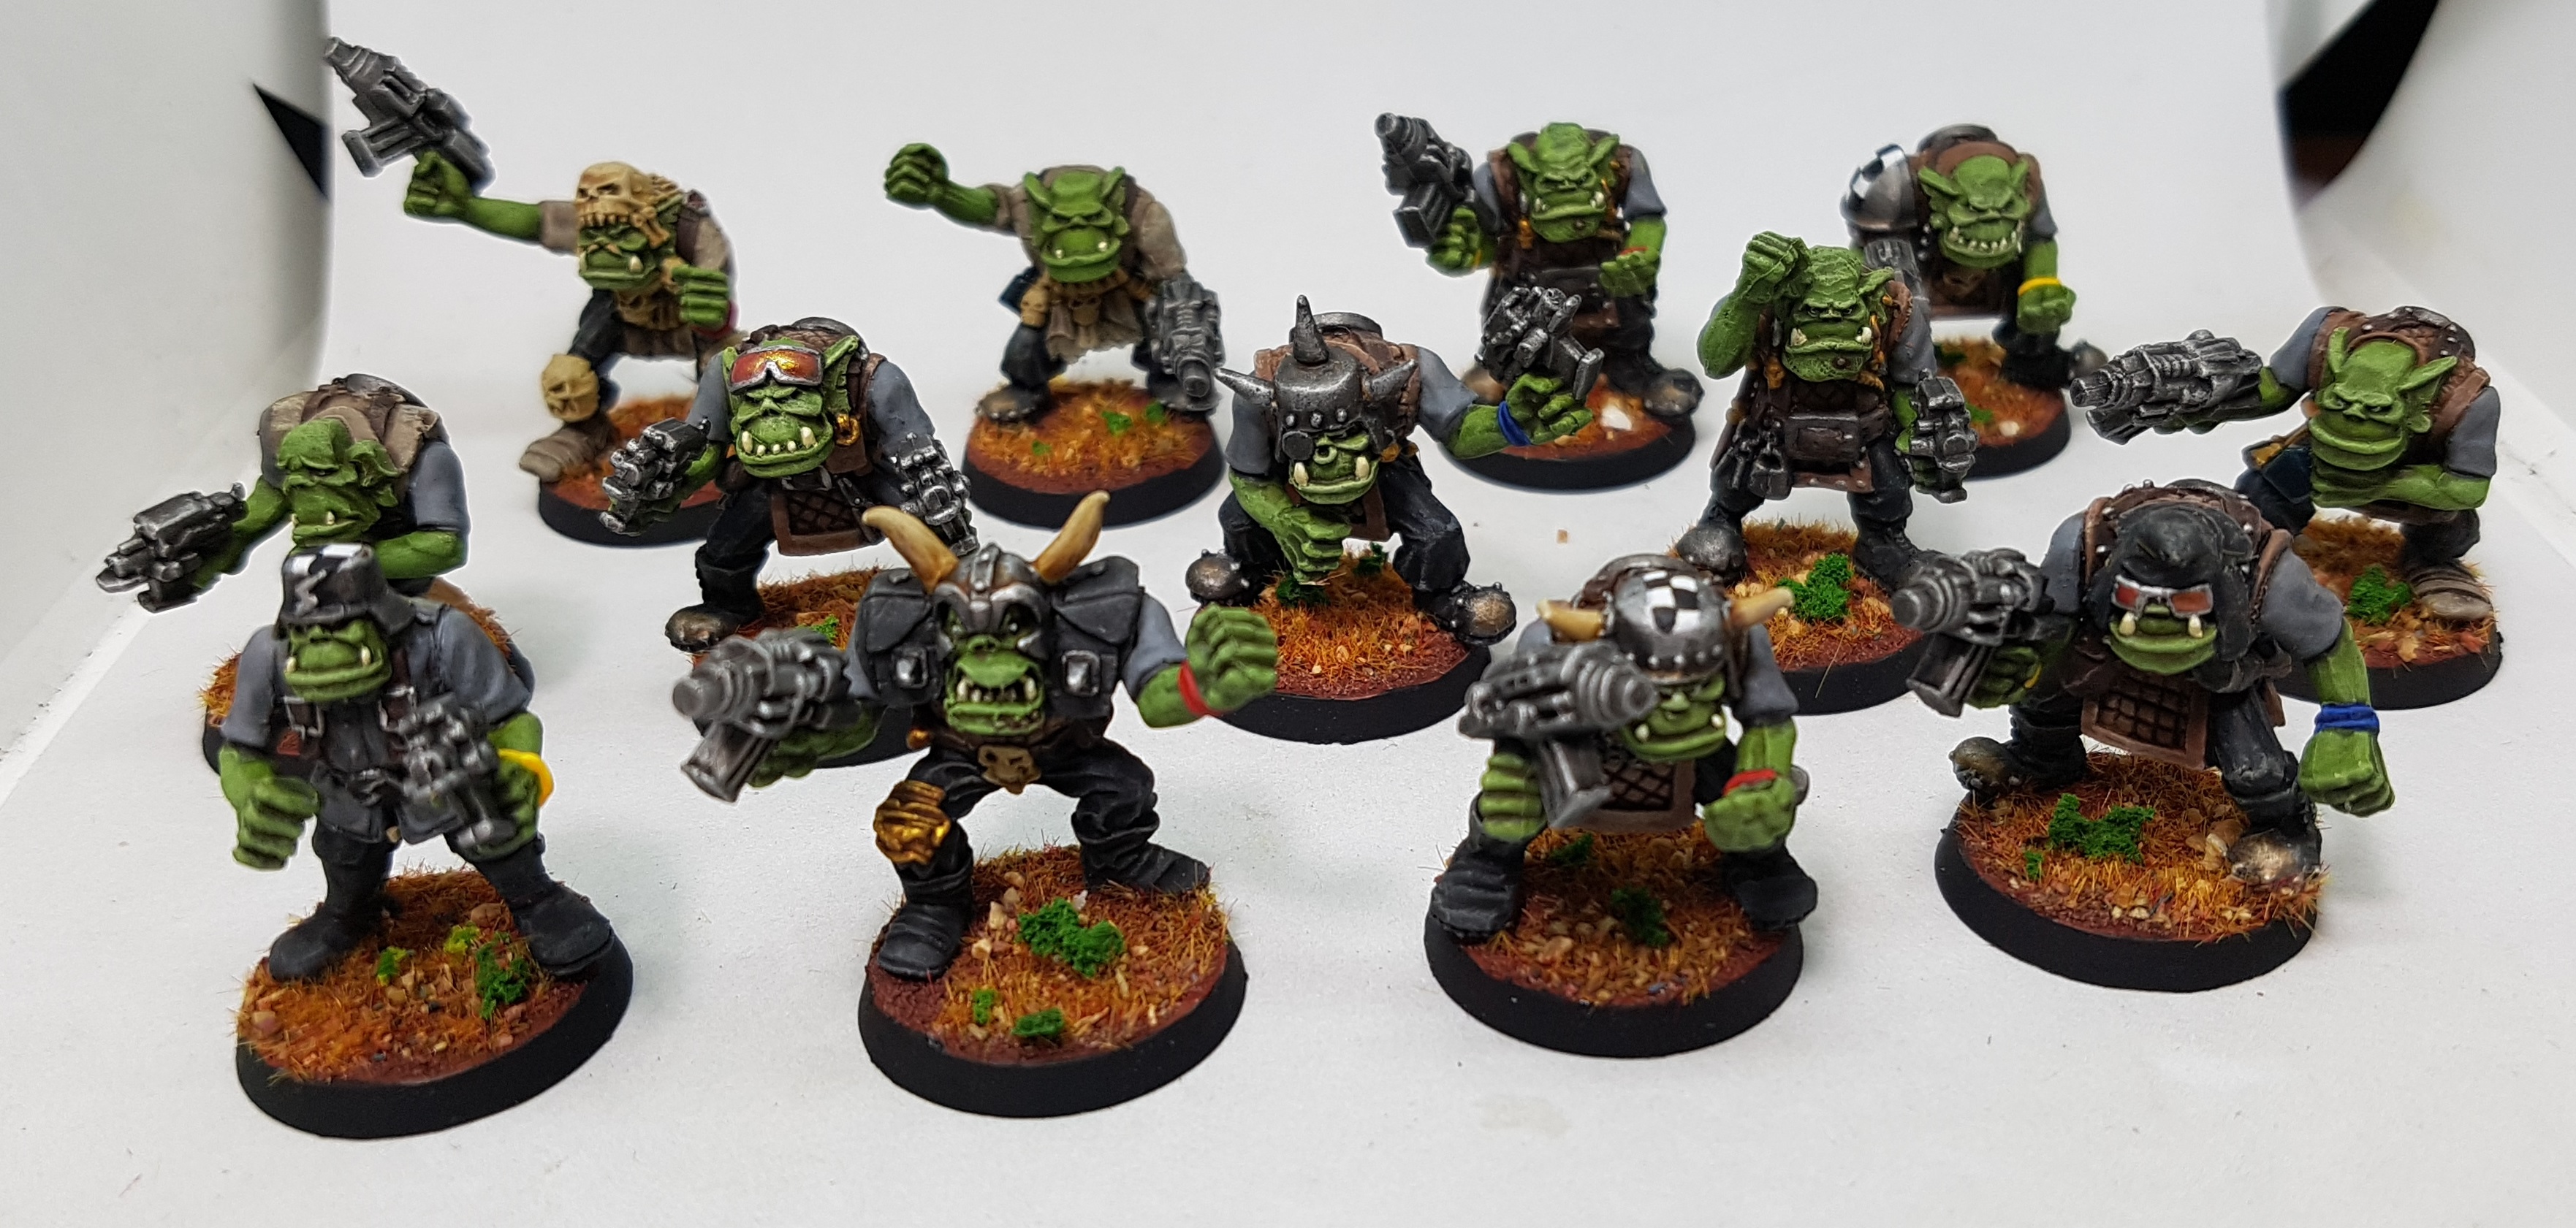
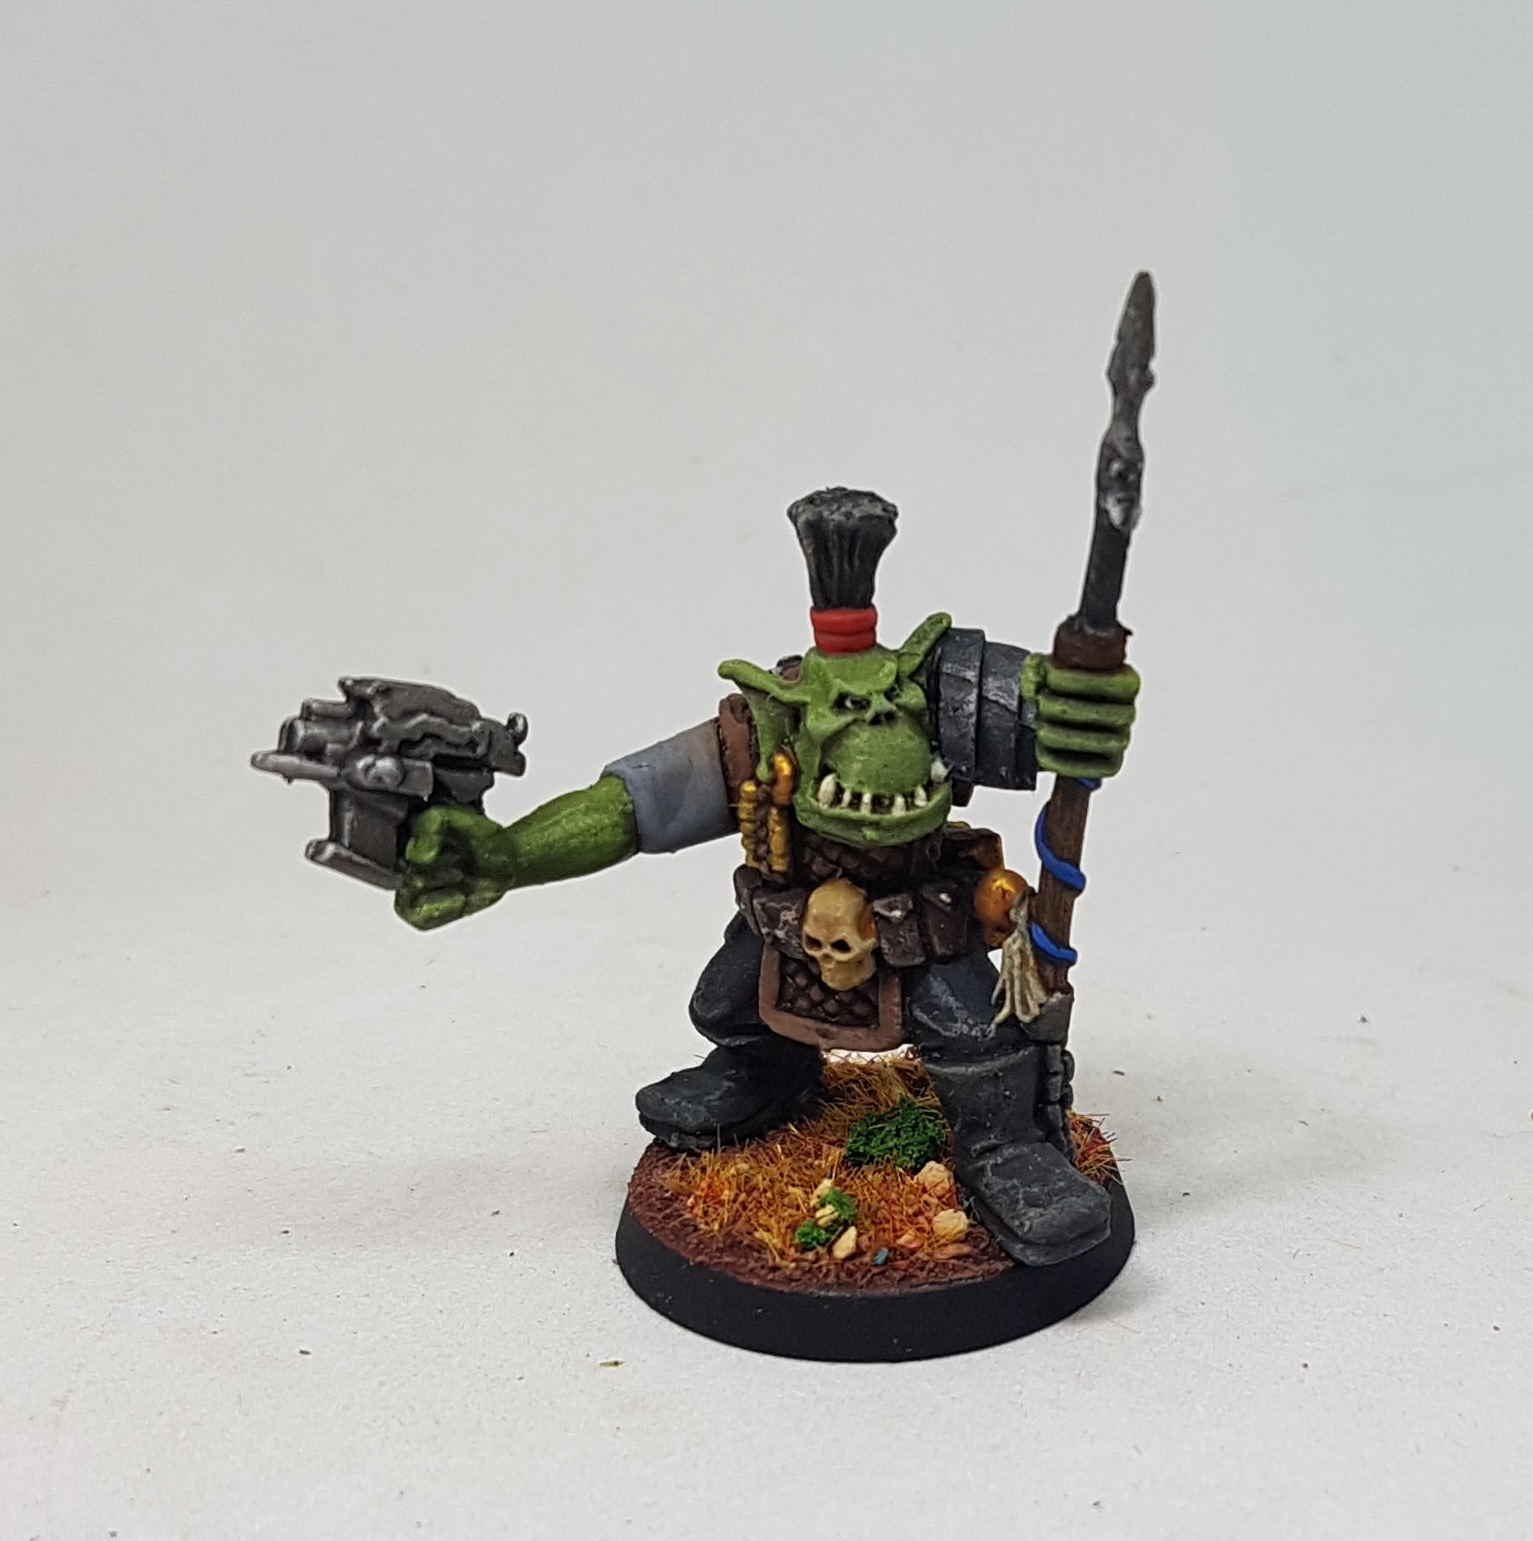
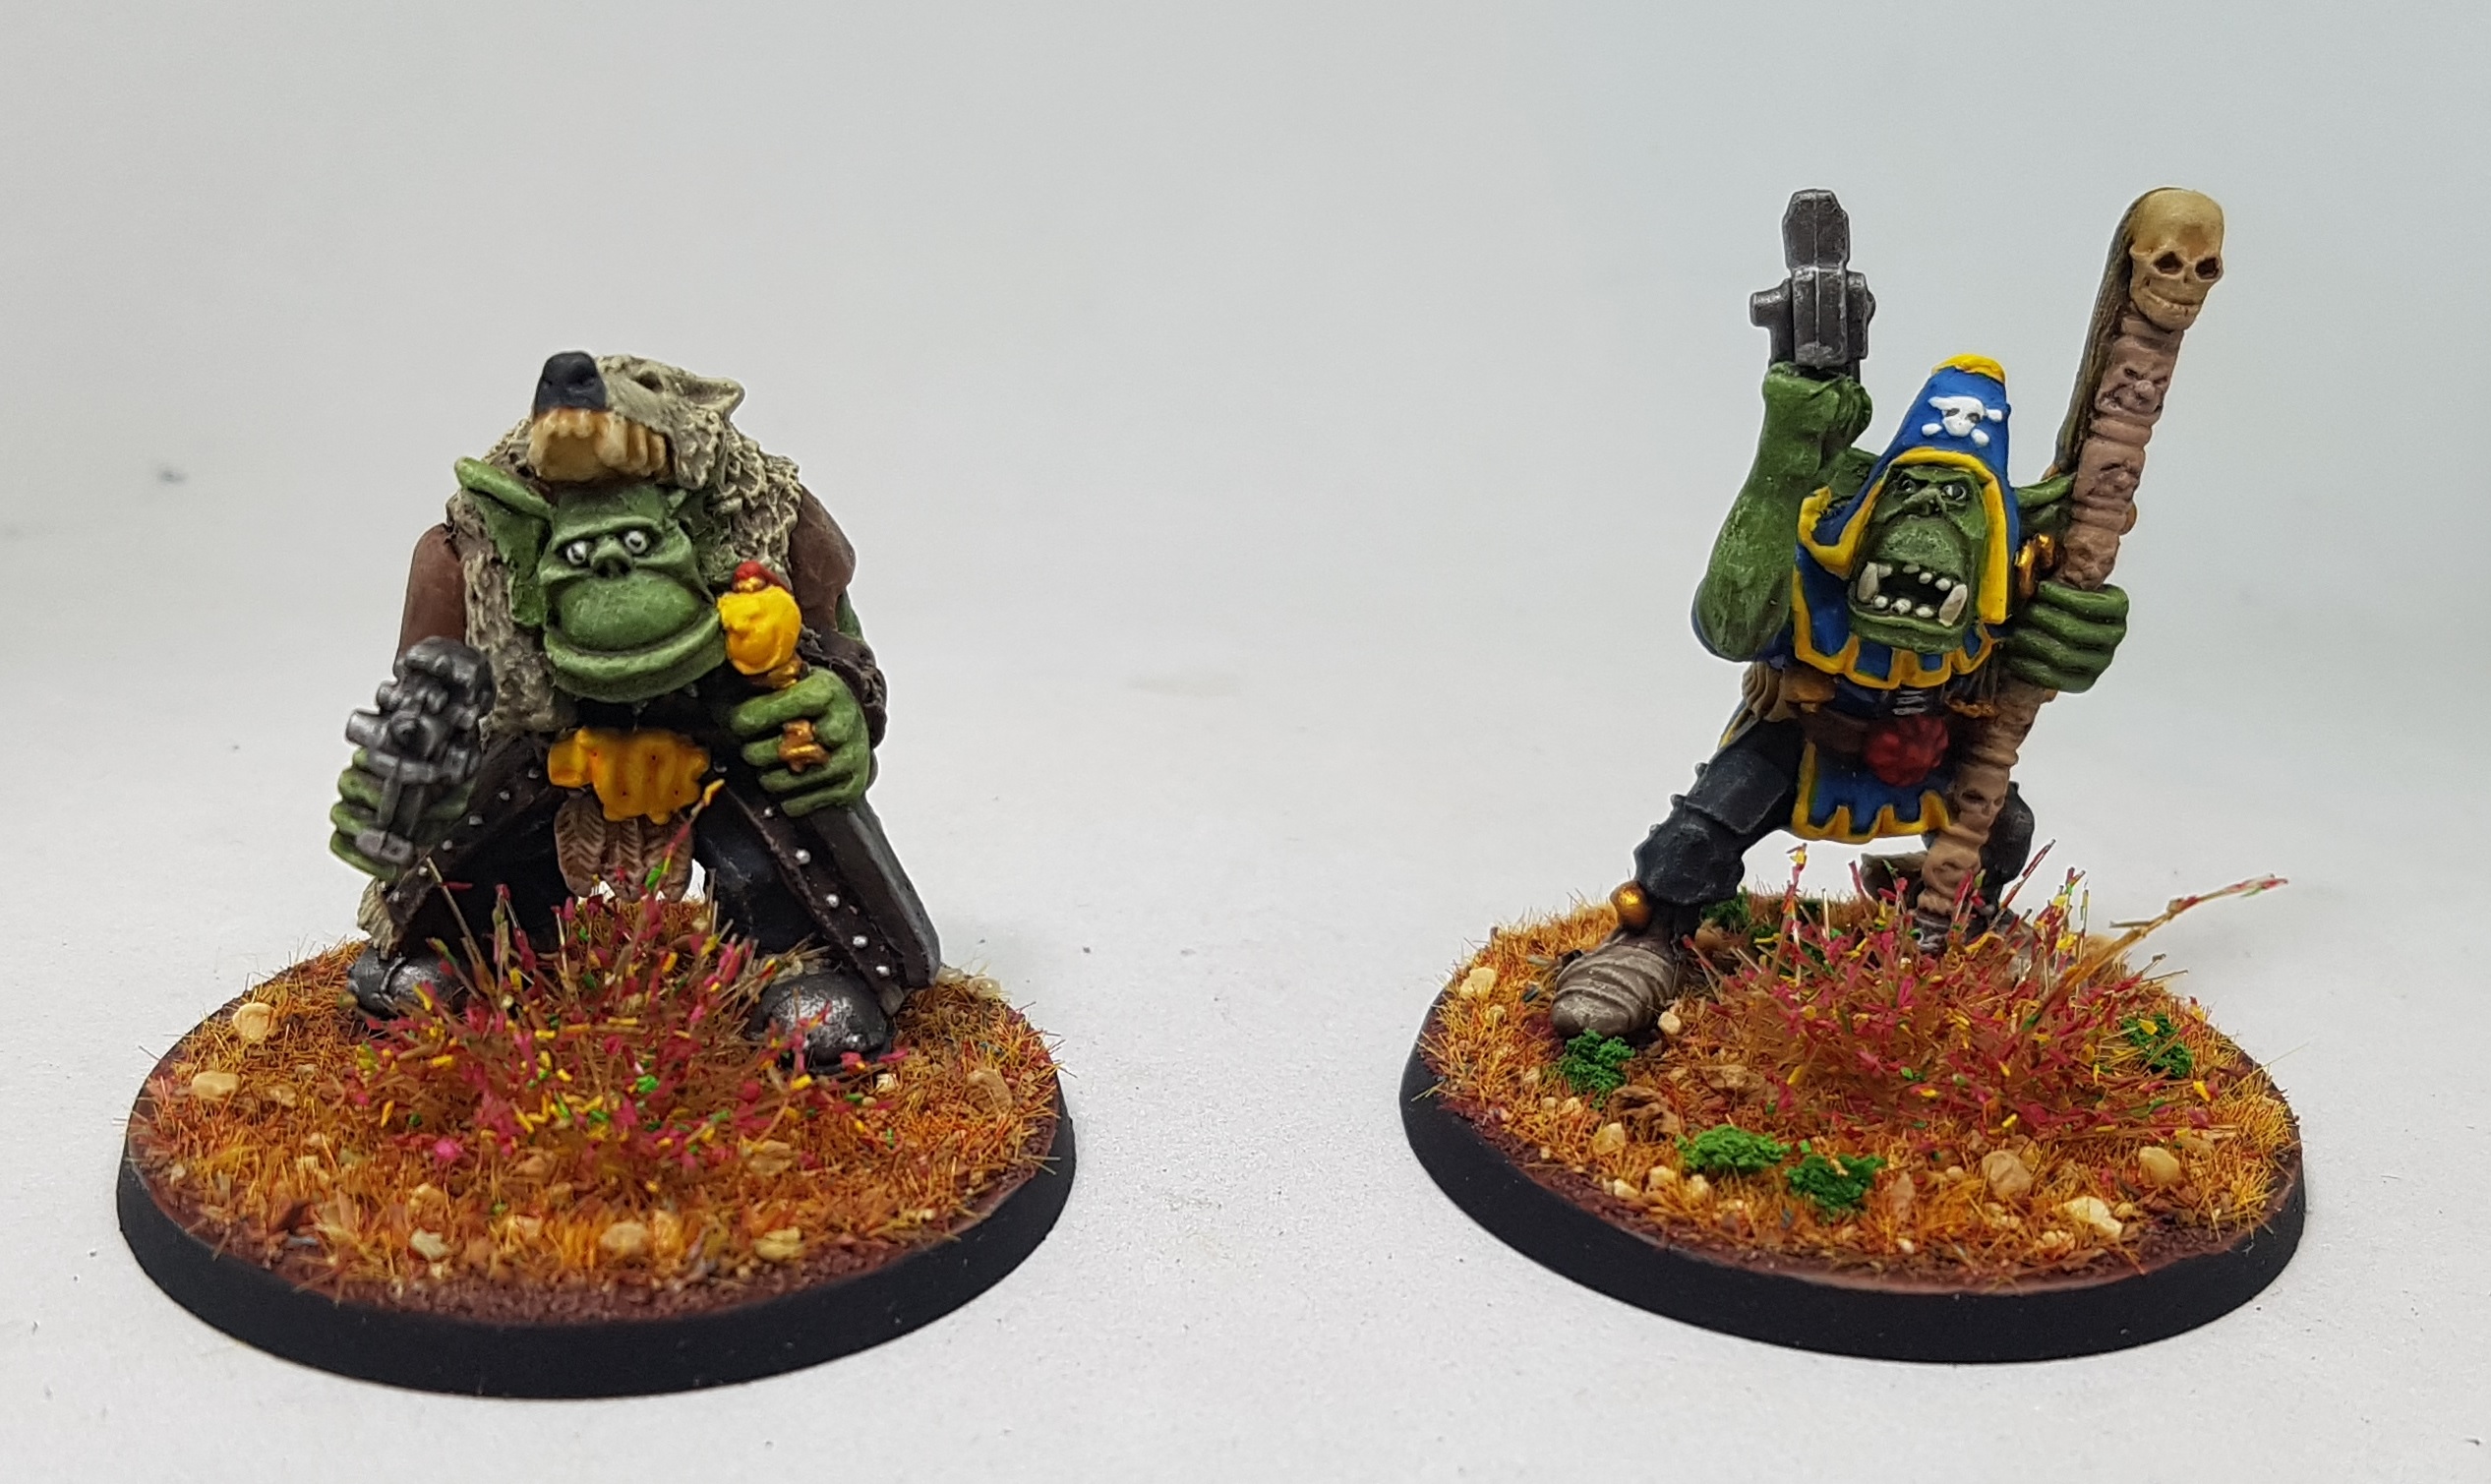
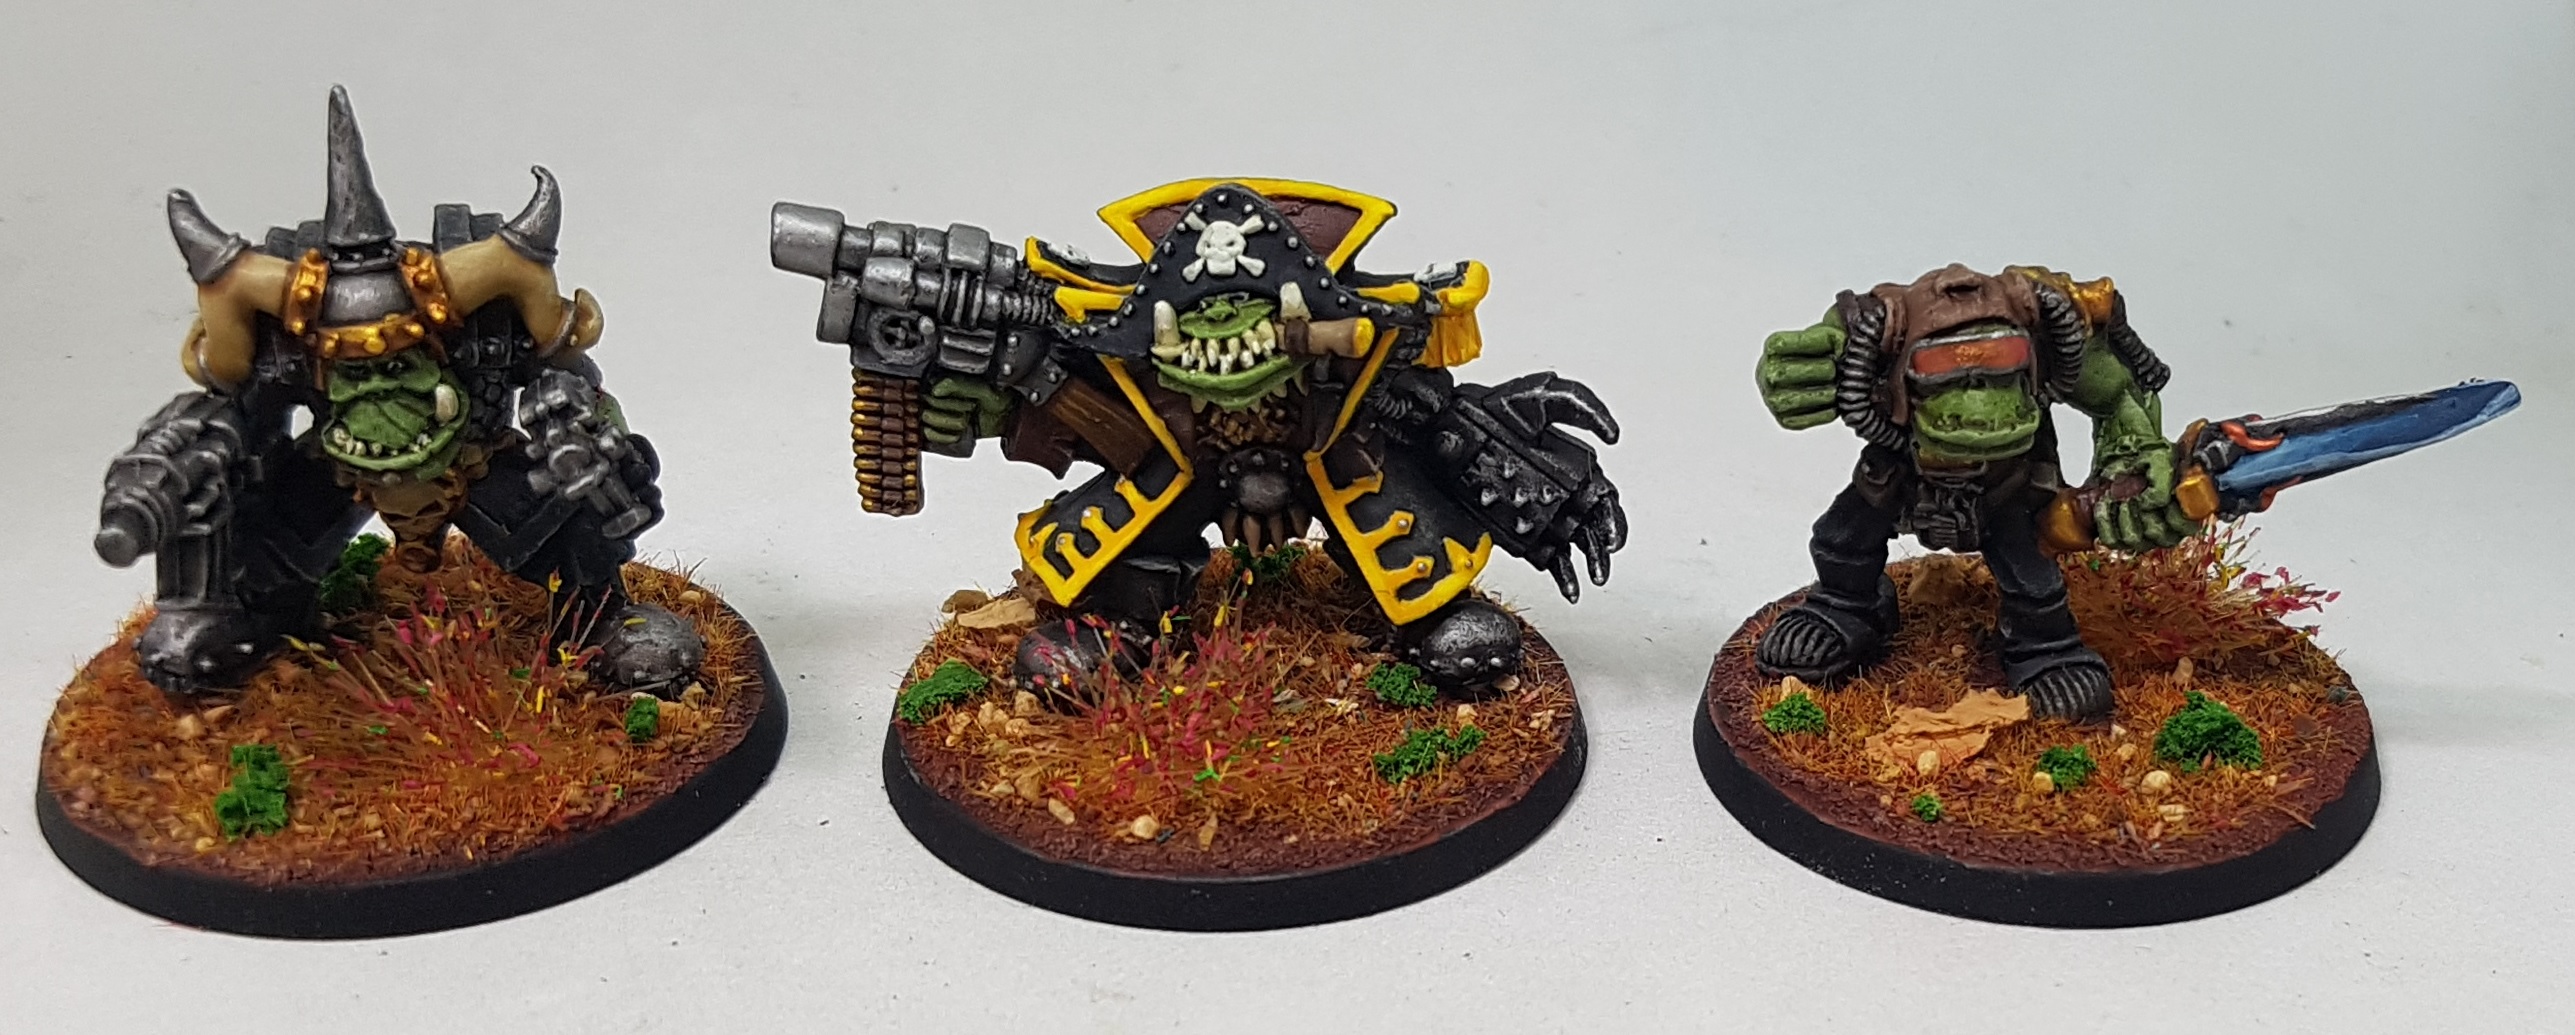
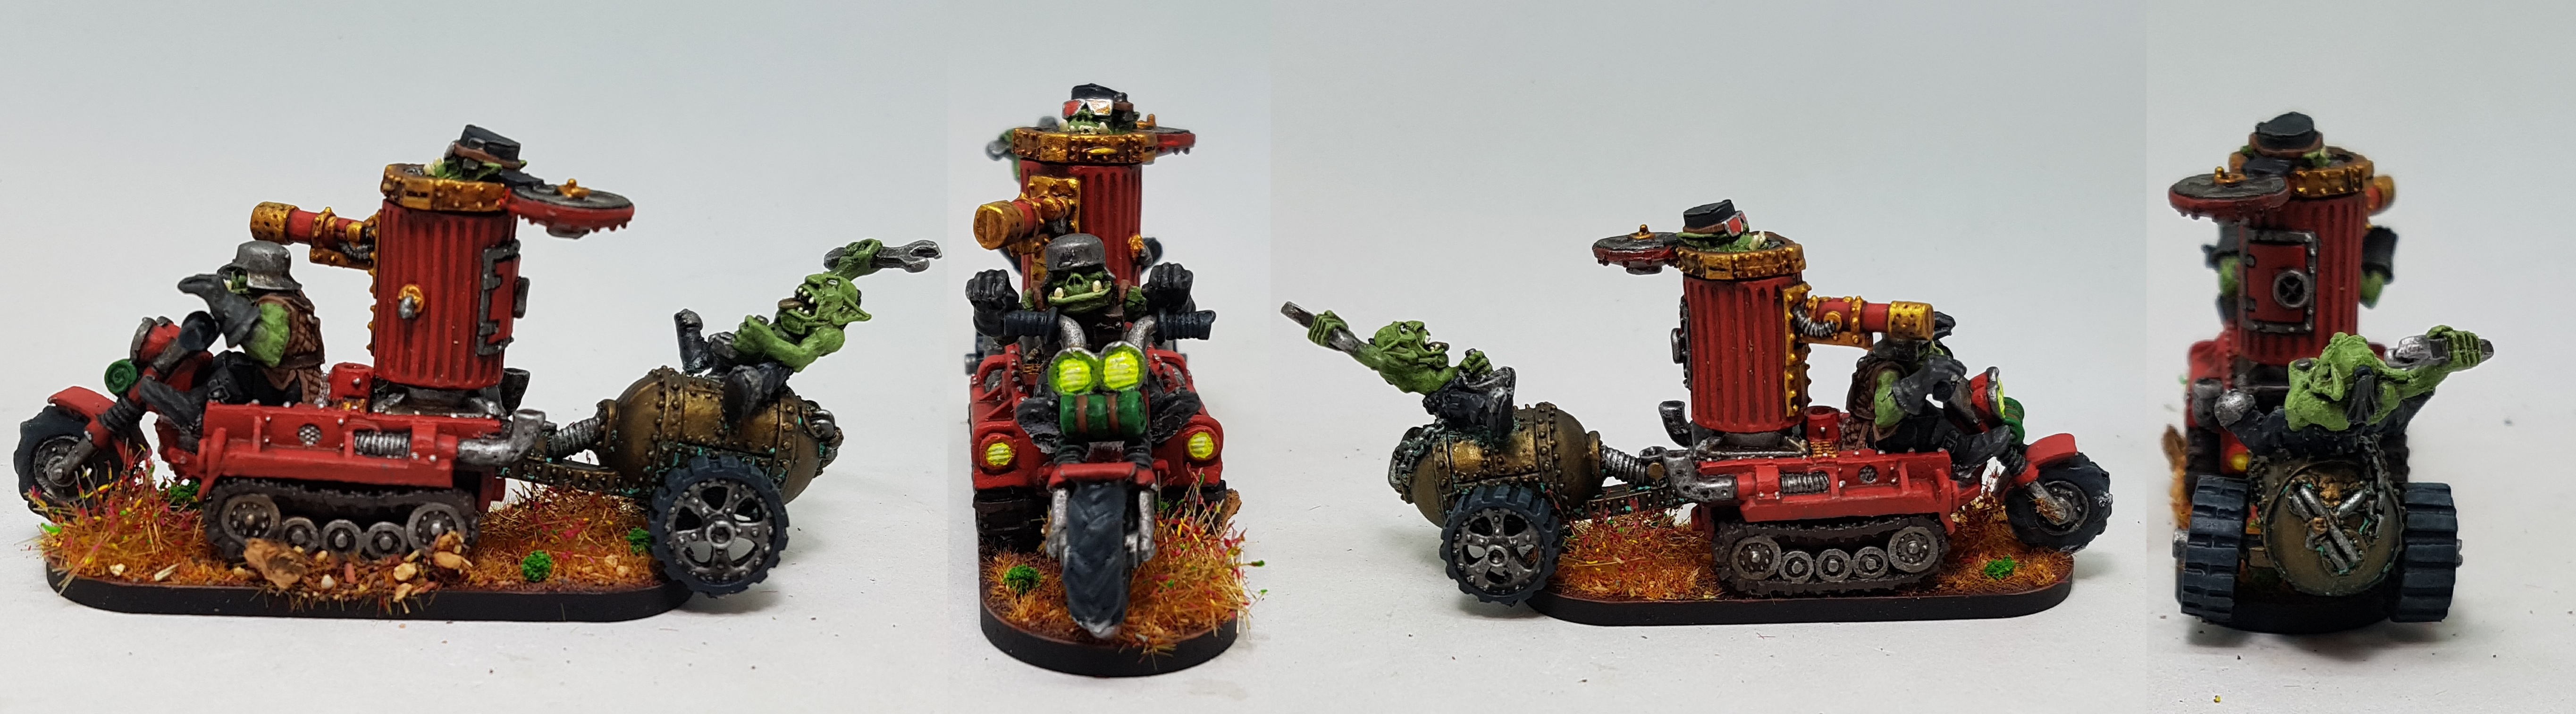
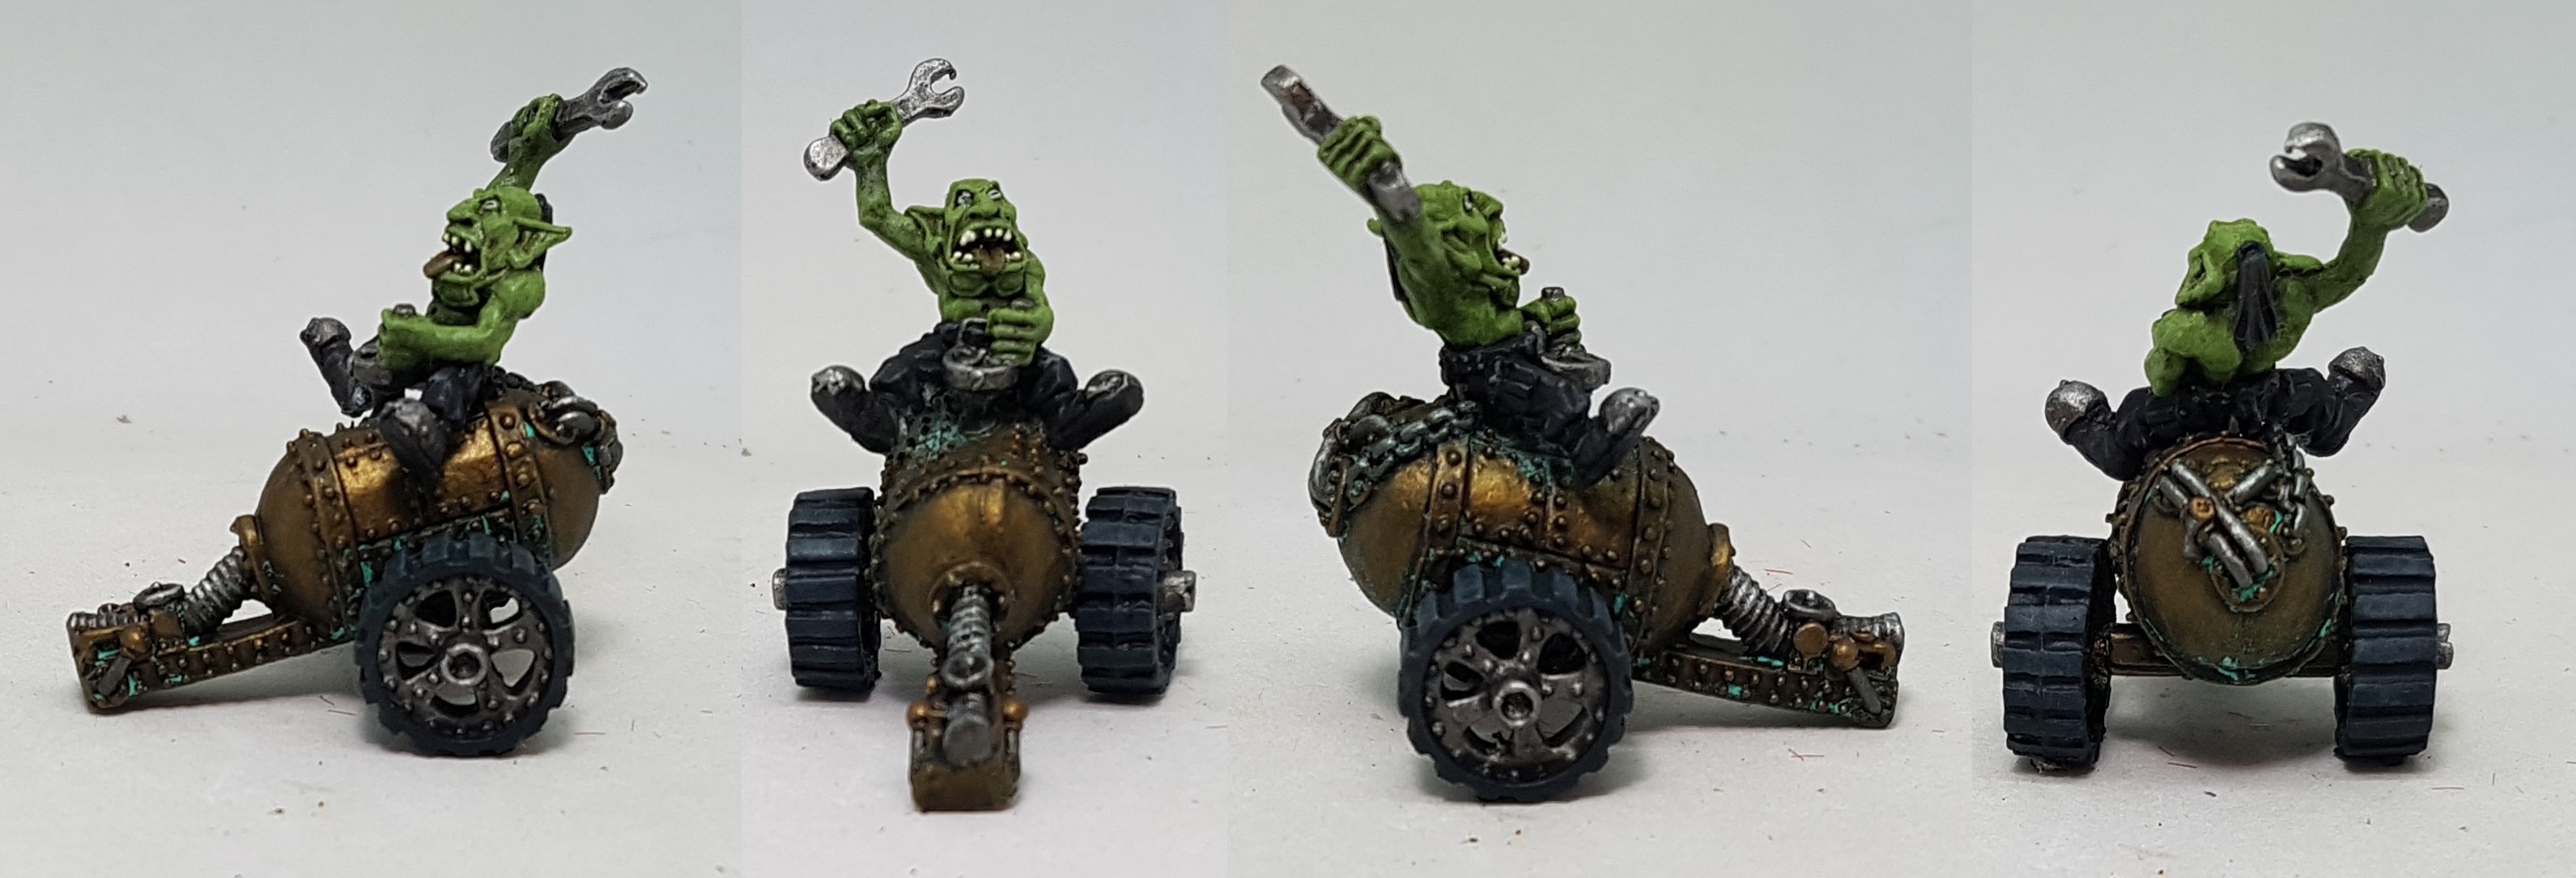
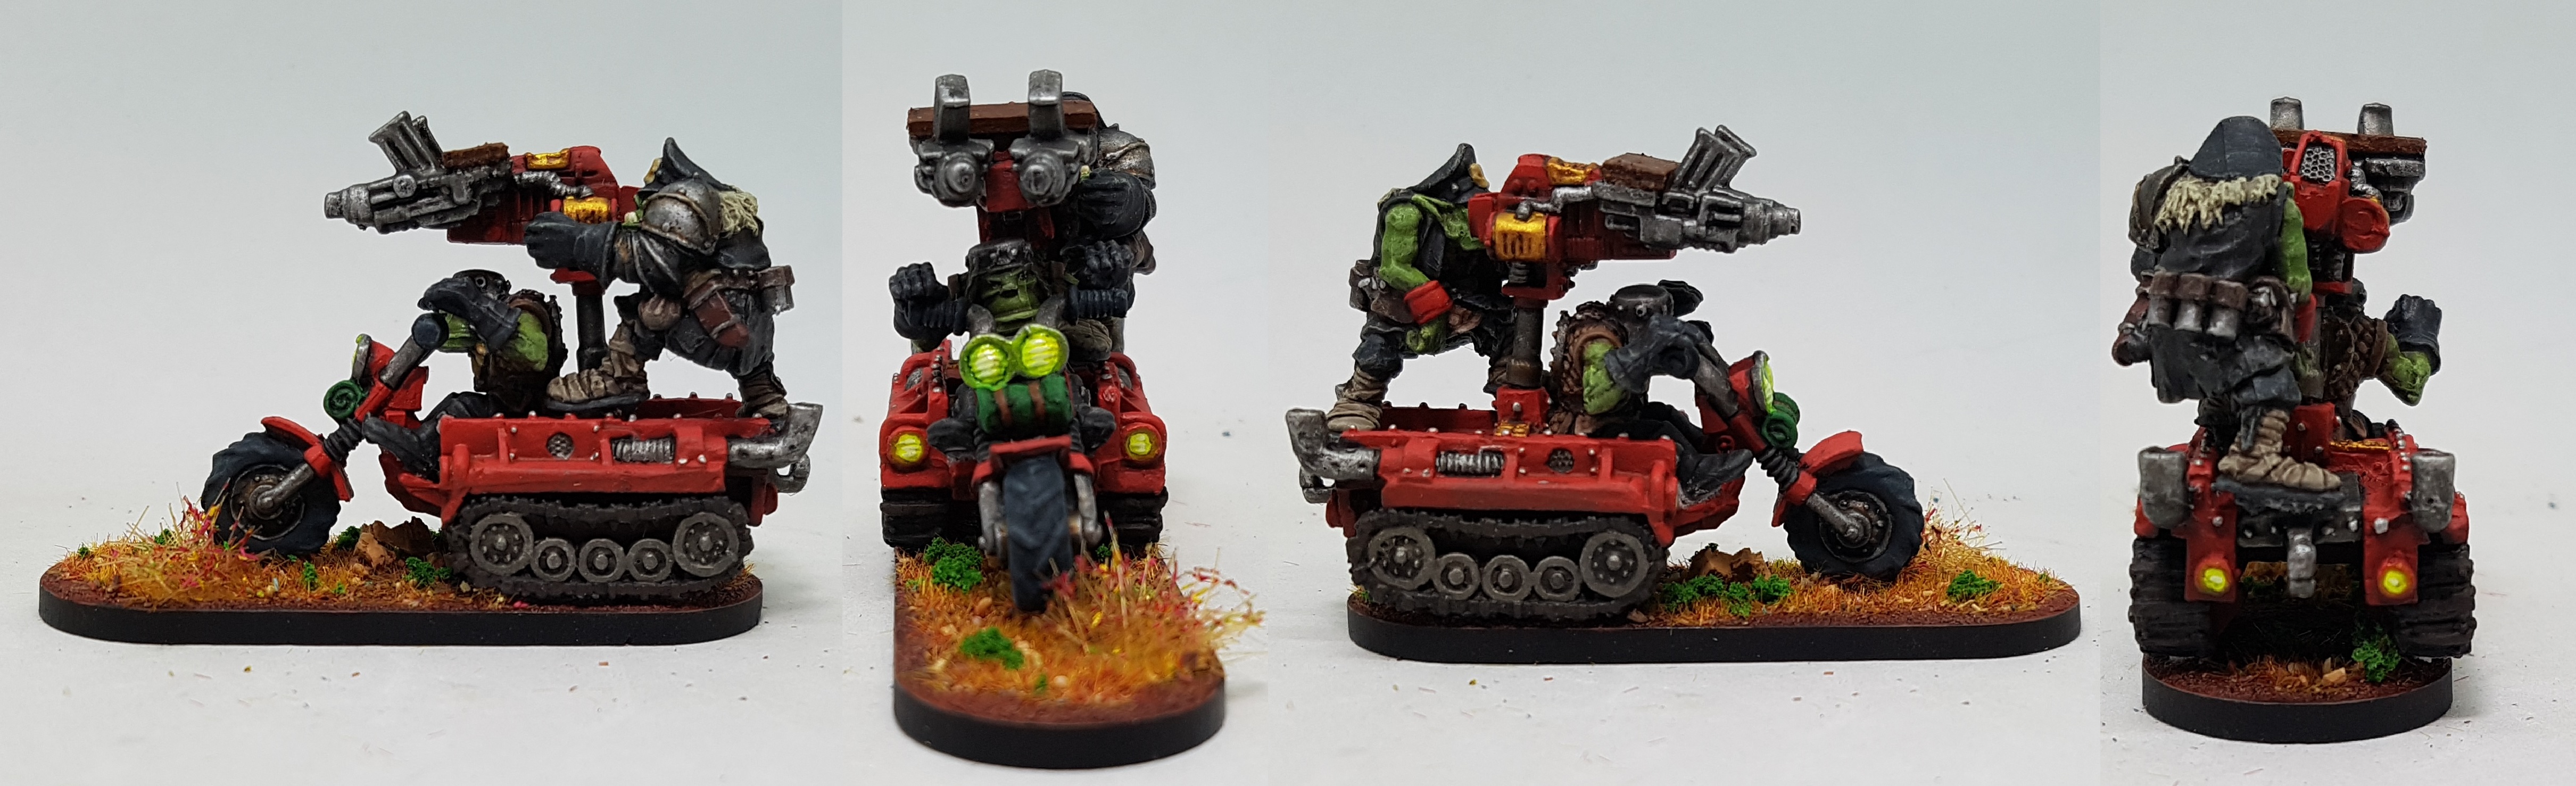
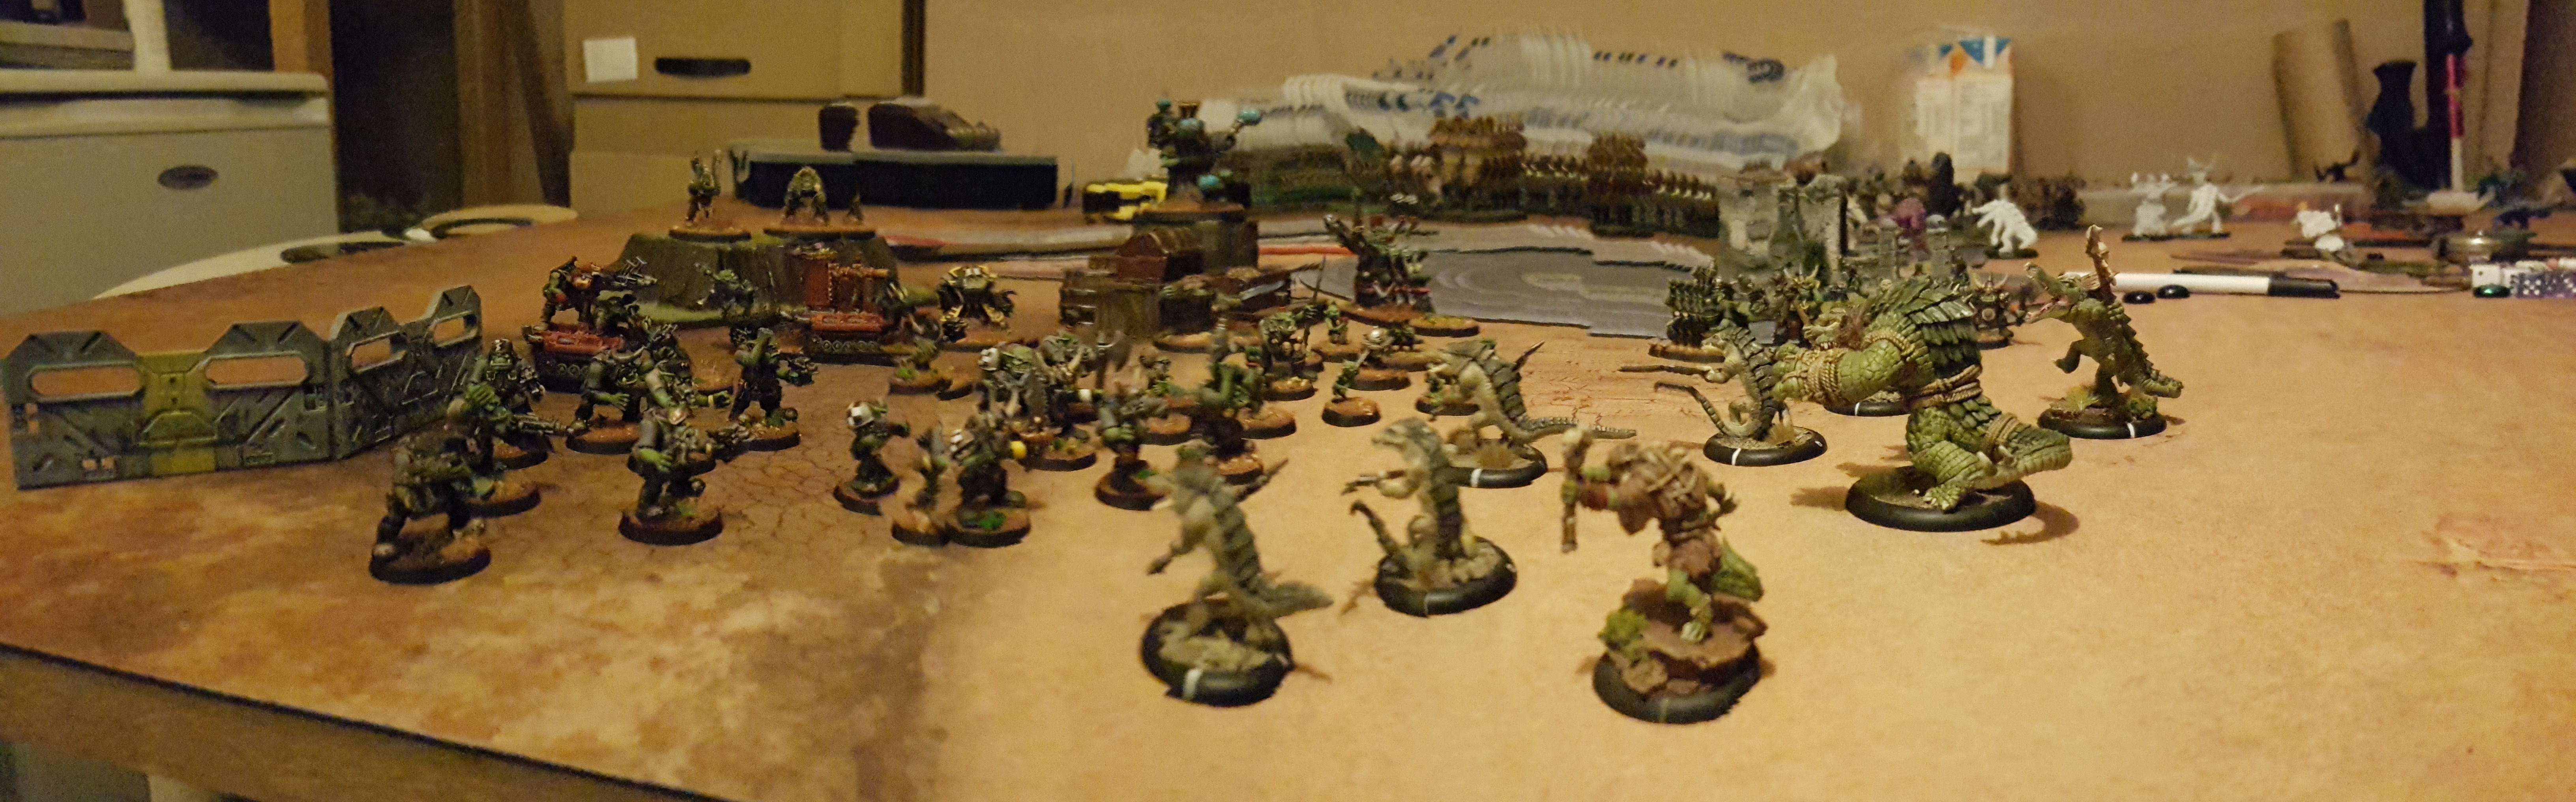
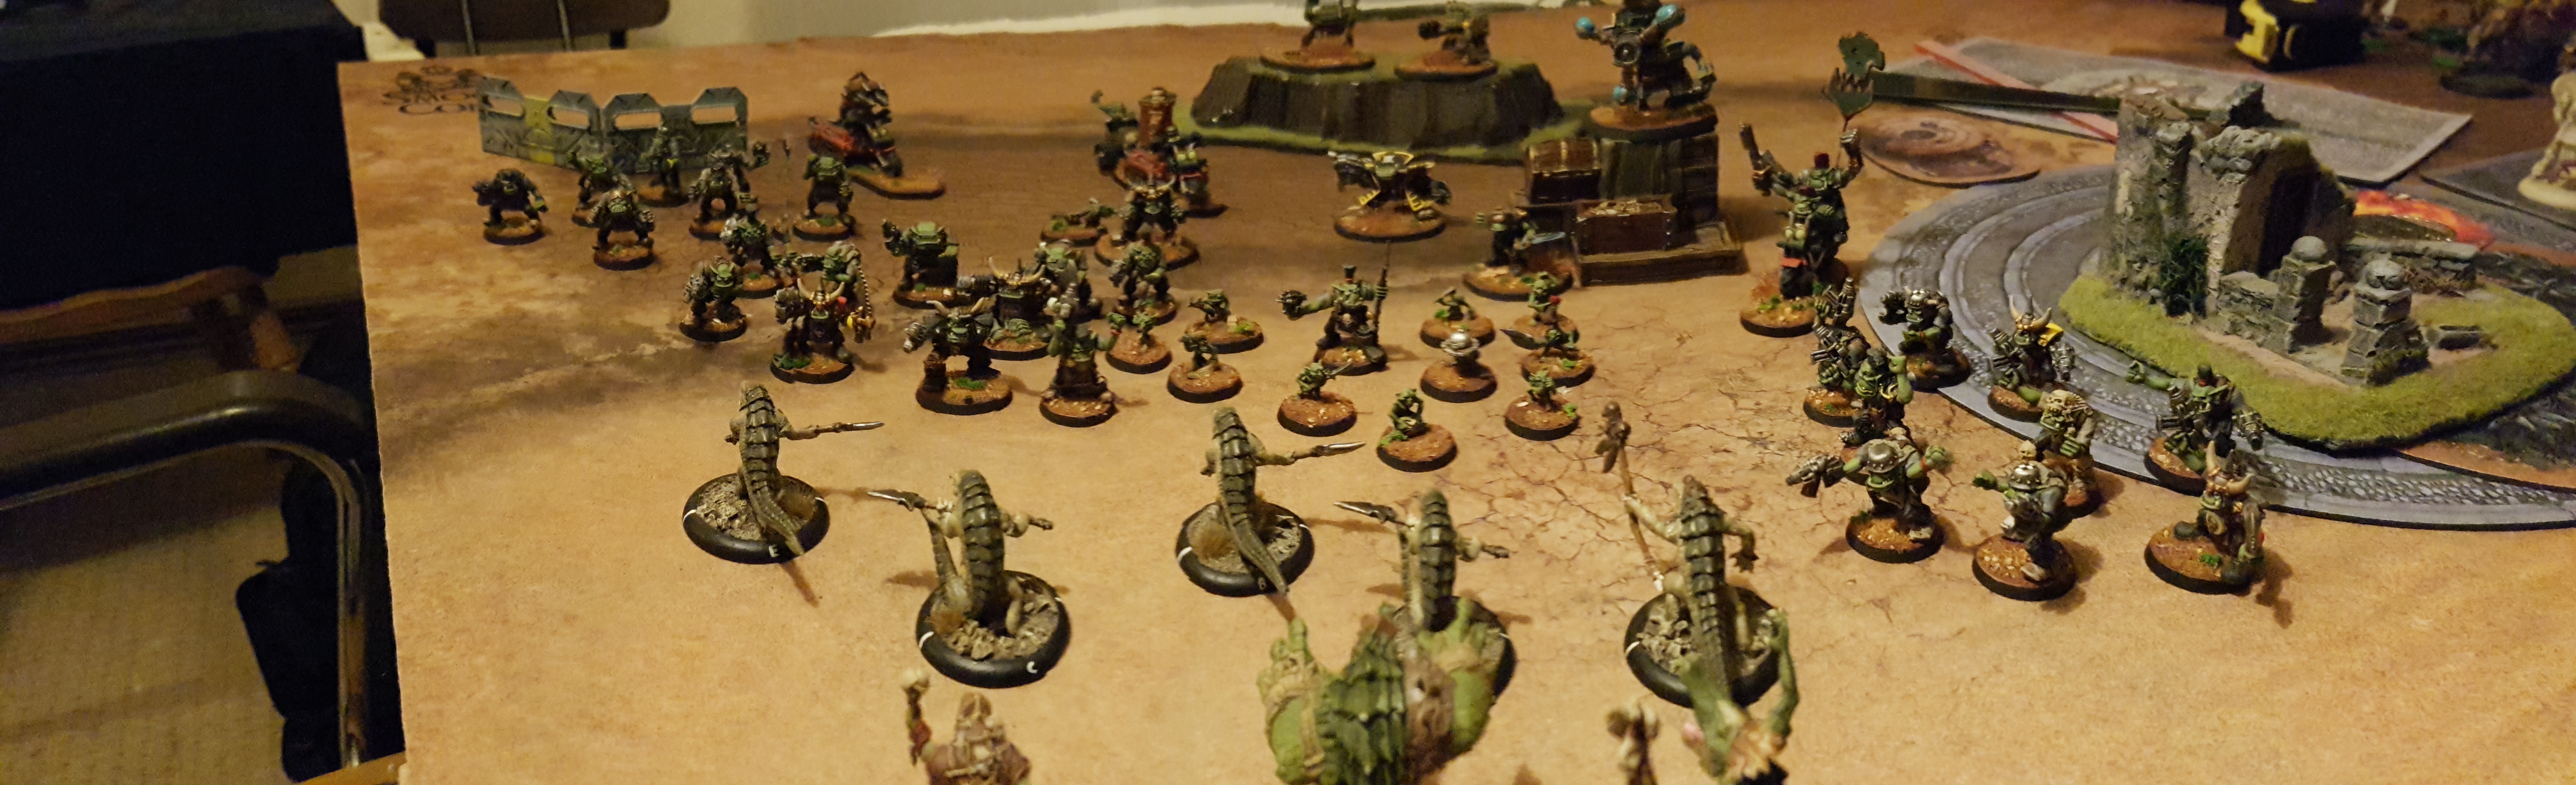
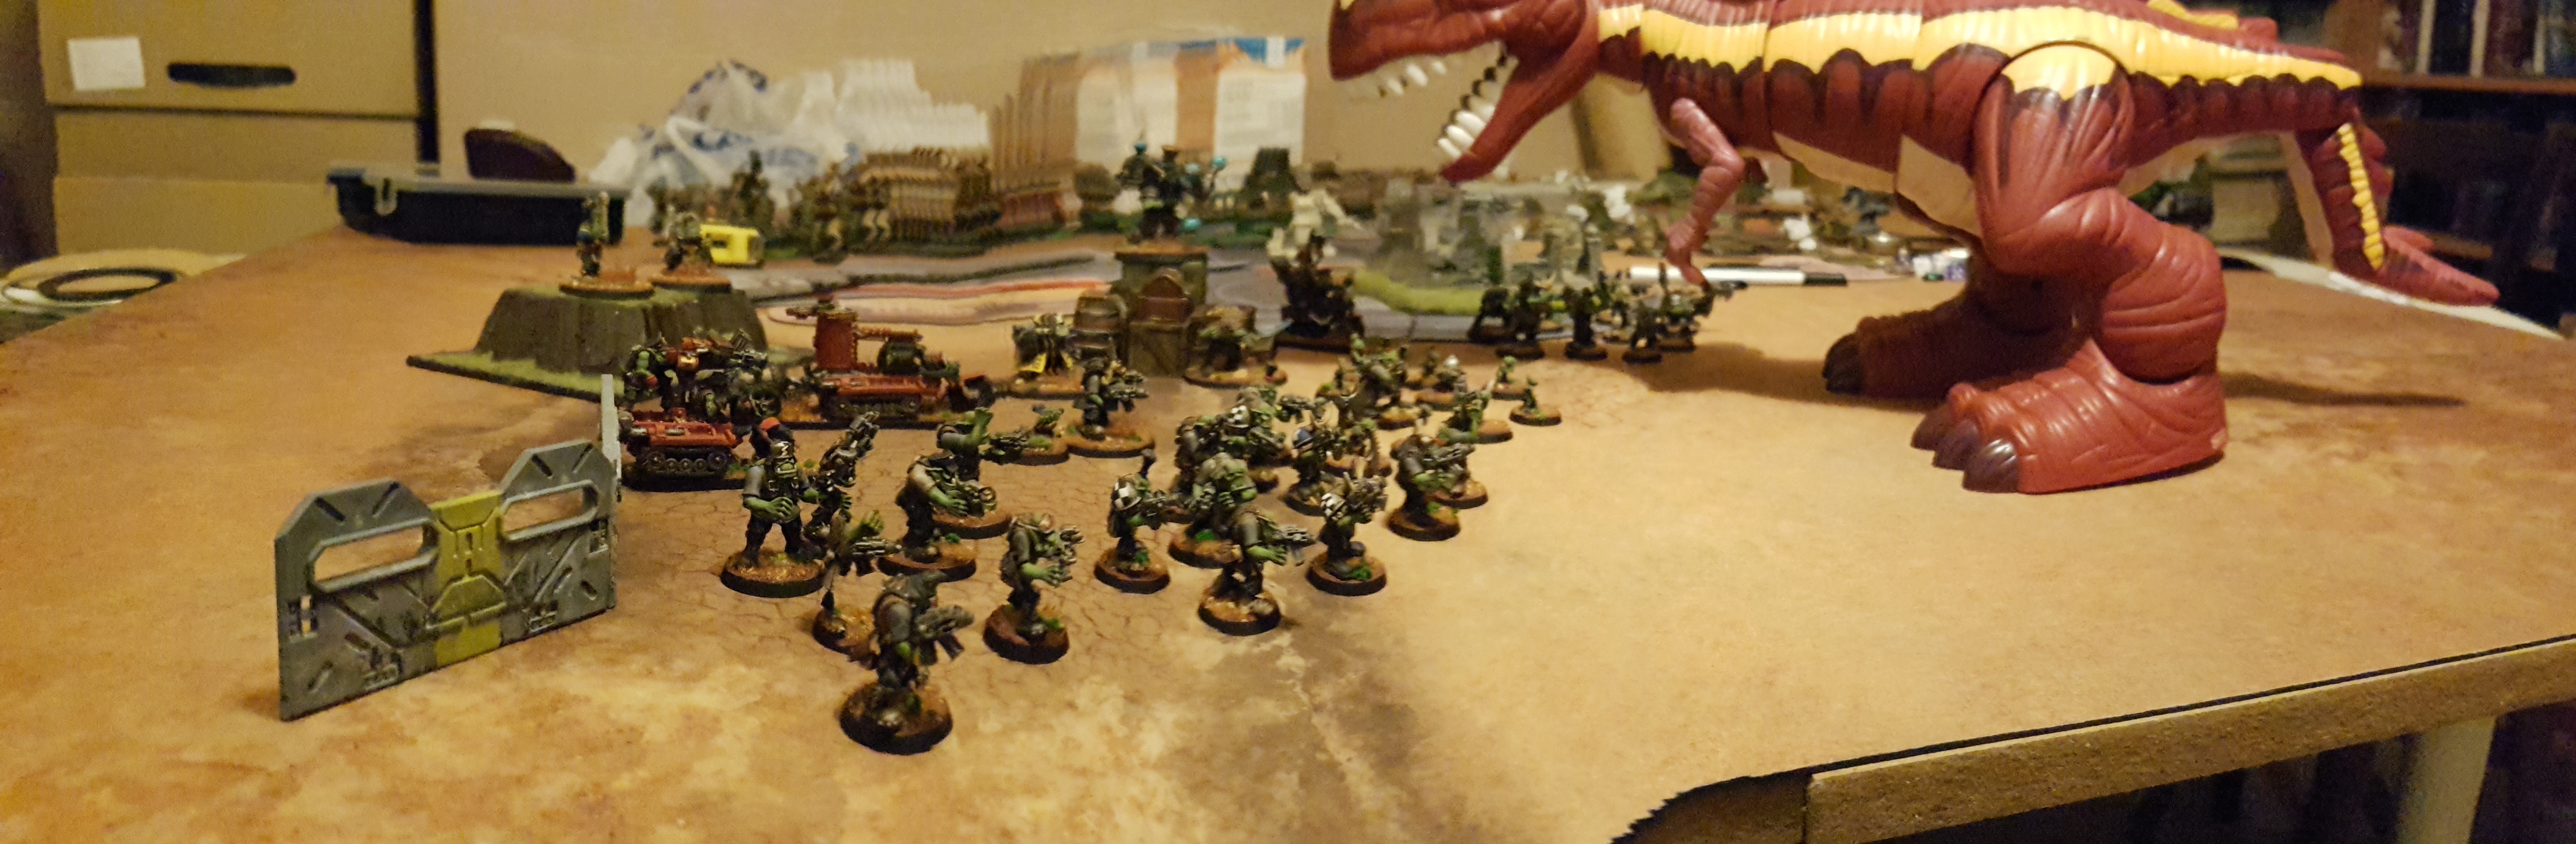
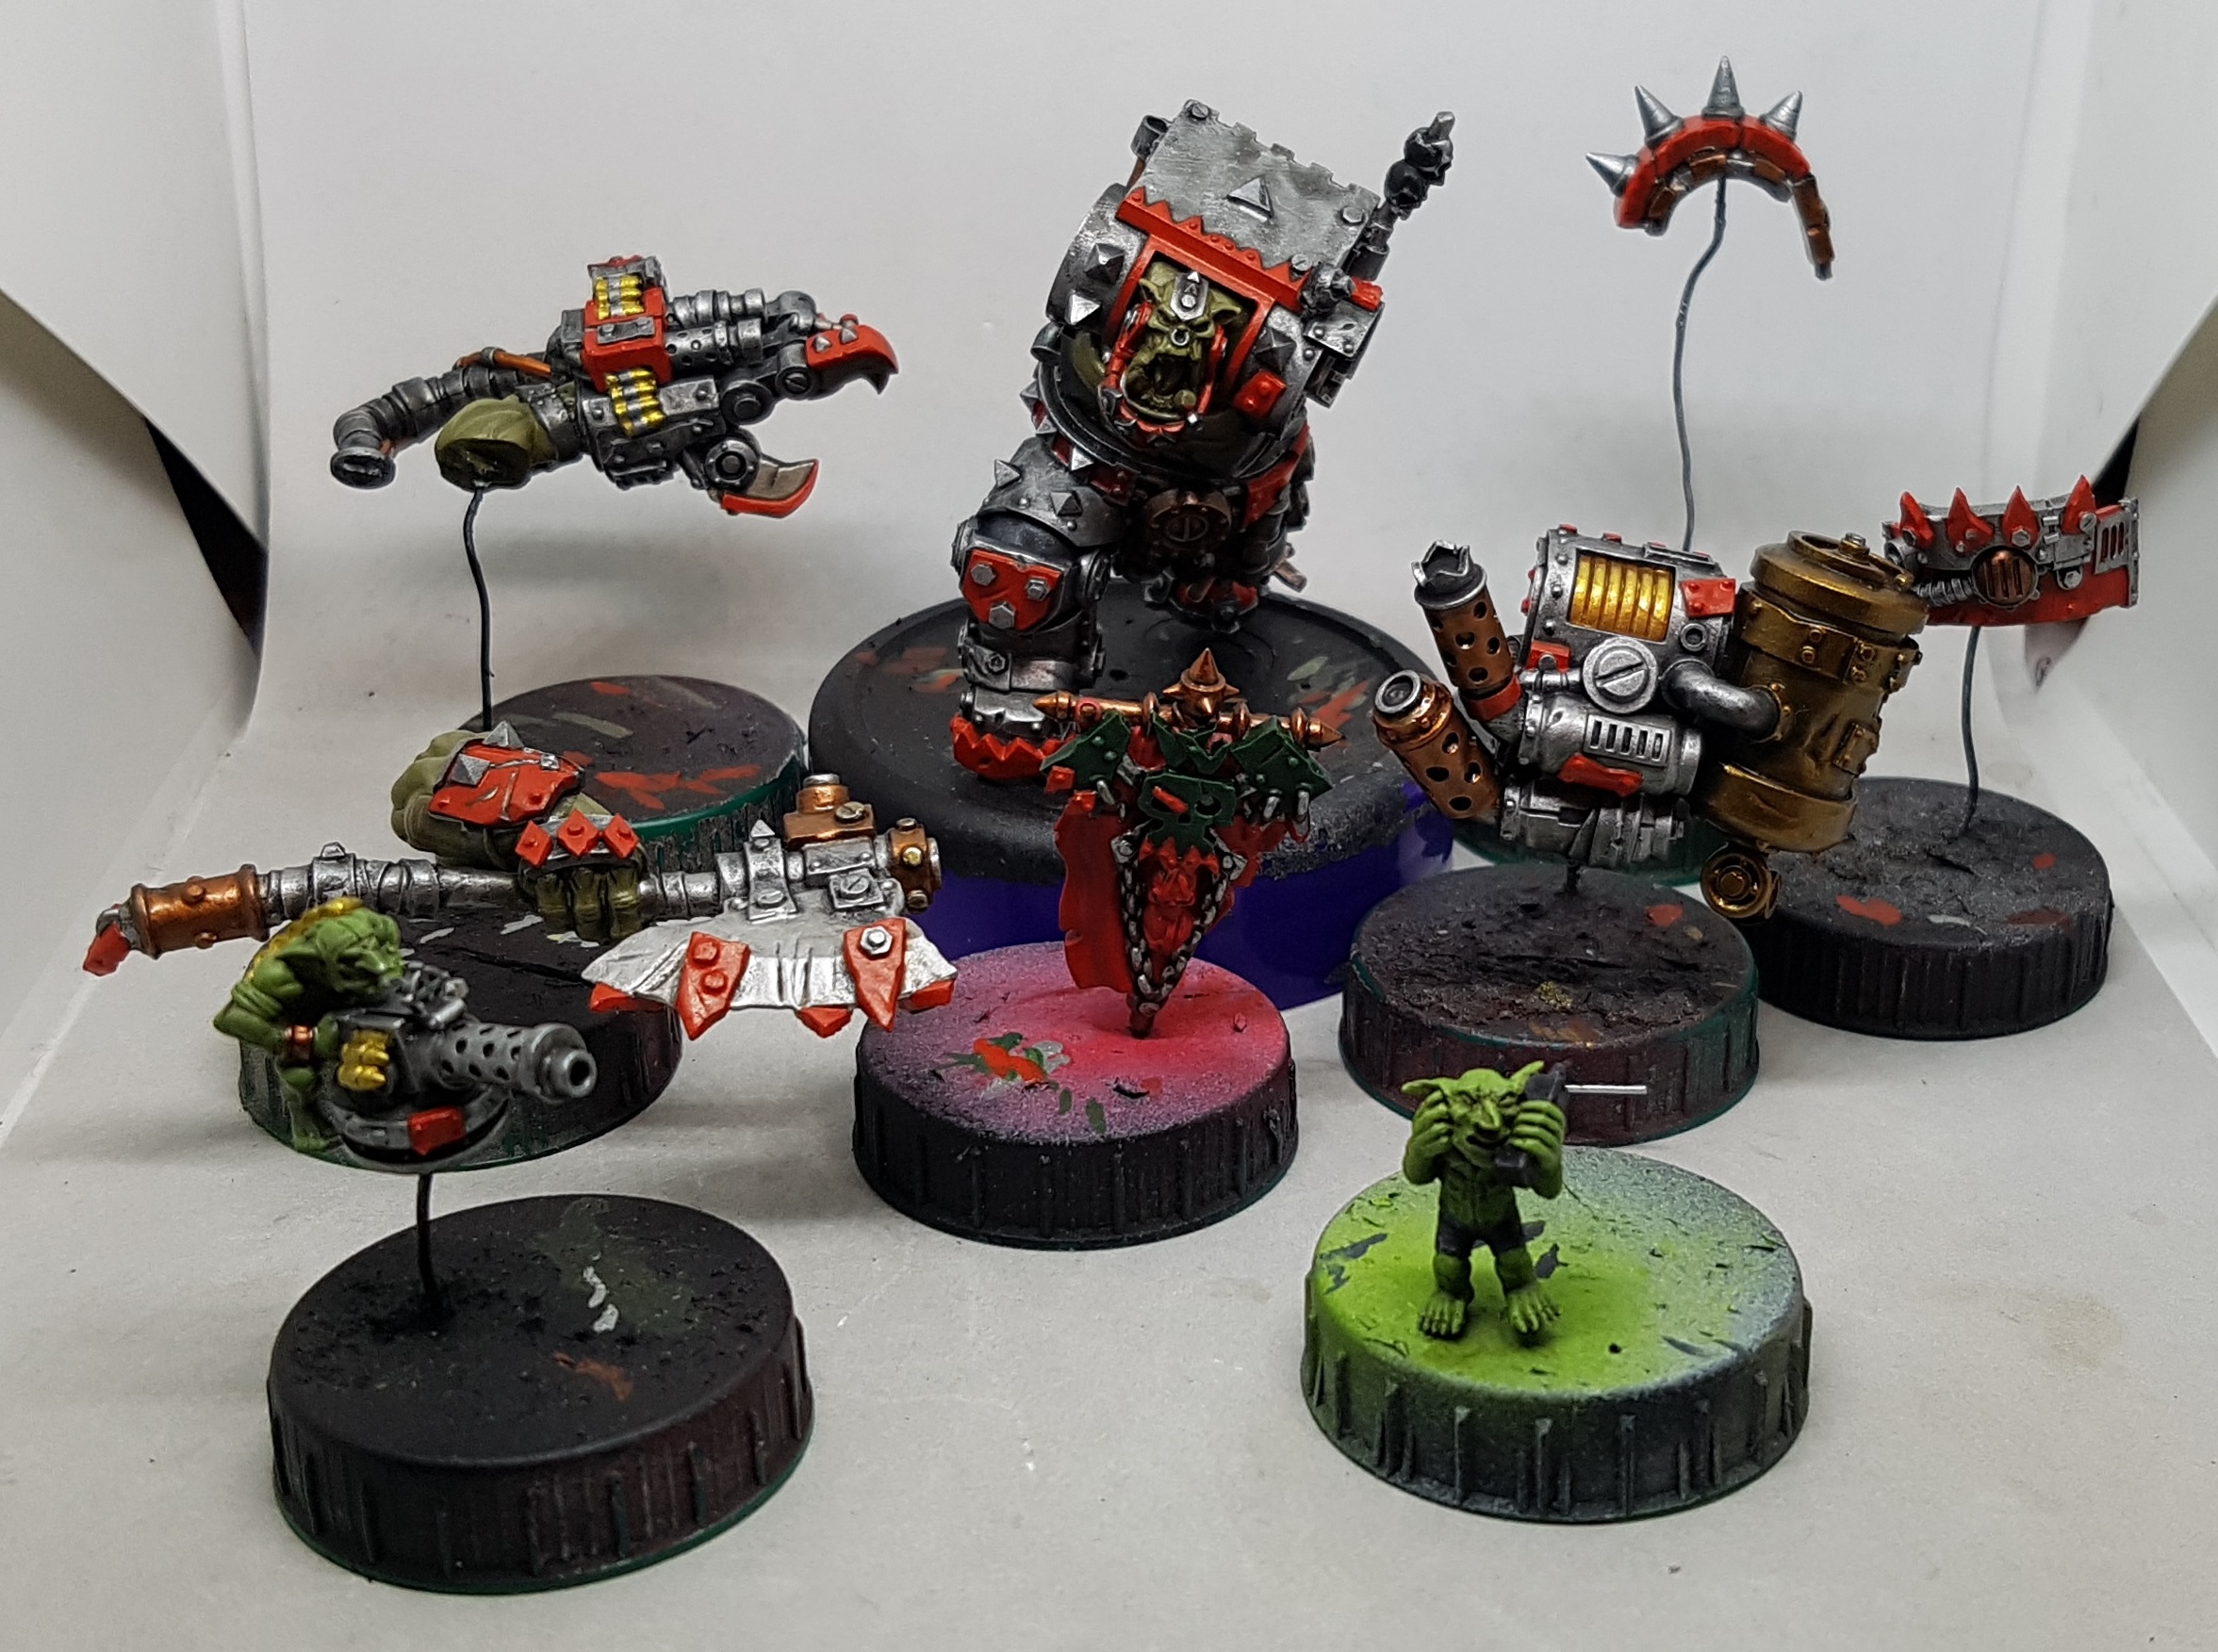
I’ve finally finished painting all the Orks. It took 3 months between priming and photographing the end results. That’s longer than I expected. Here’s some pictures of the end results all gathered in to one place. Some of the Orks in battle with a dinosaur (Jurassic Ork?) because I live with a toddler and it was in my way, and some solo shots.
I’ve added some panorama shots at the bottom too. They’ll probably load small through this site, but if you open them in a new window they should load pretty large. They are made out of many photos, after all. Seems I don’t have the lighting or the steady hands to take these shots properly. I’ll have to experiment before doing this again.


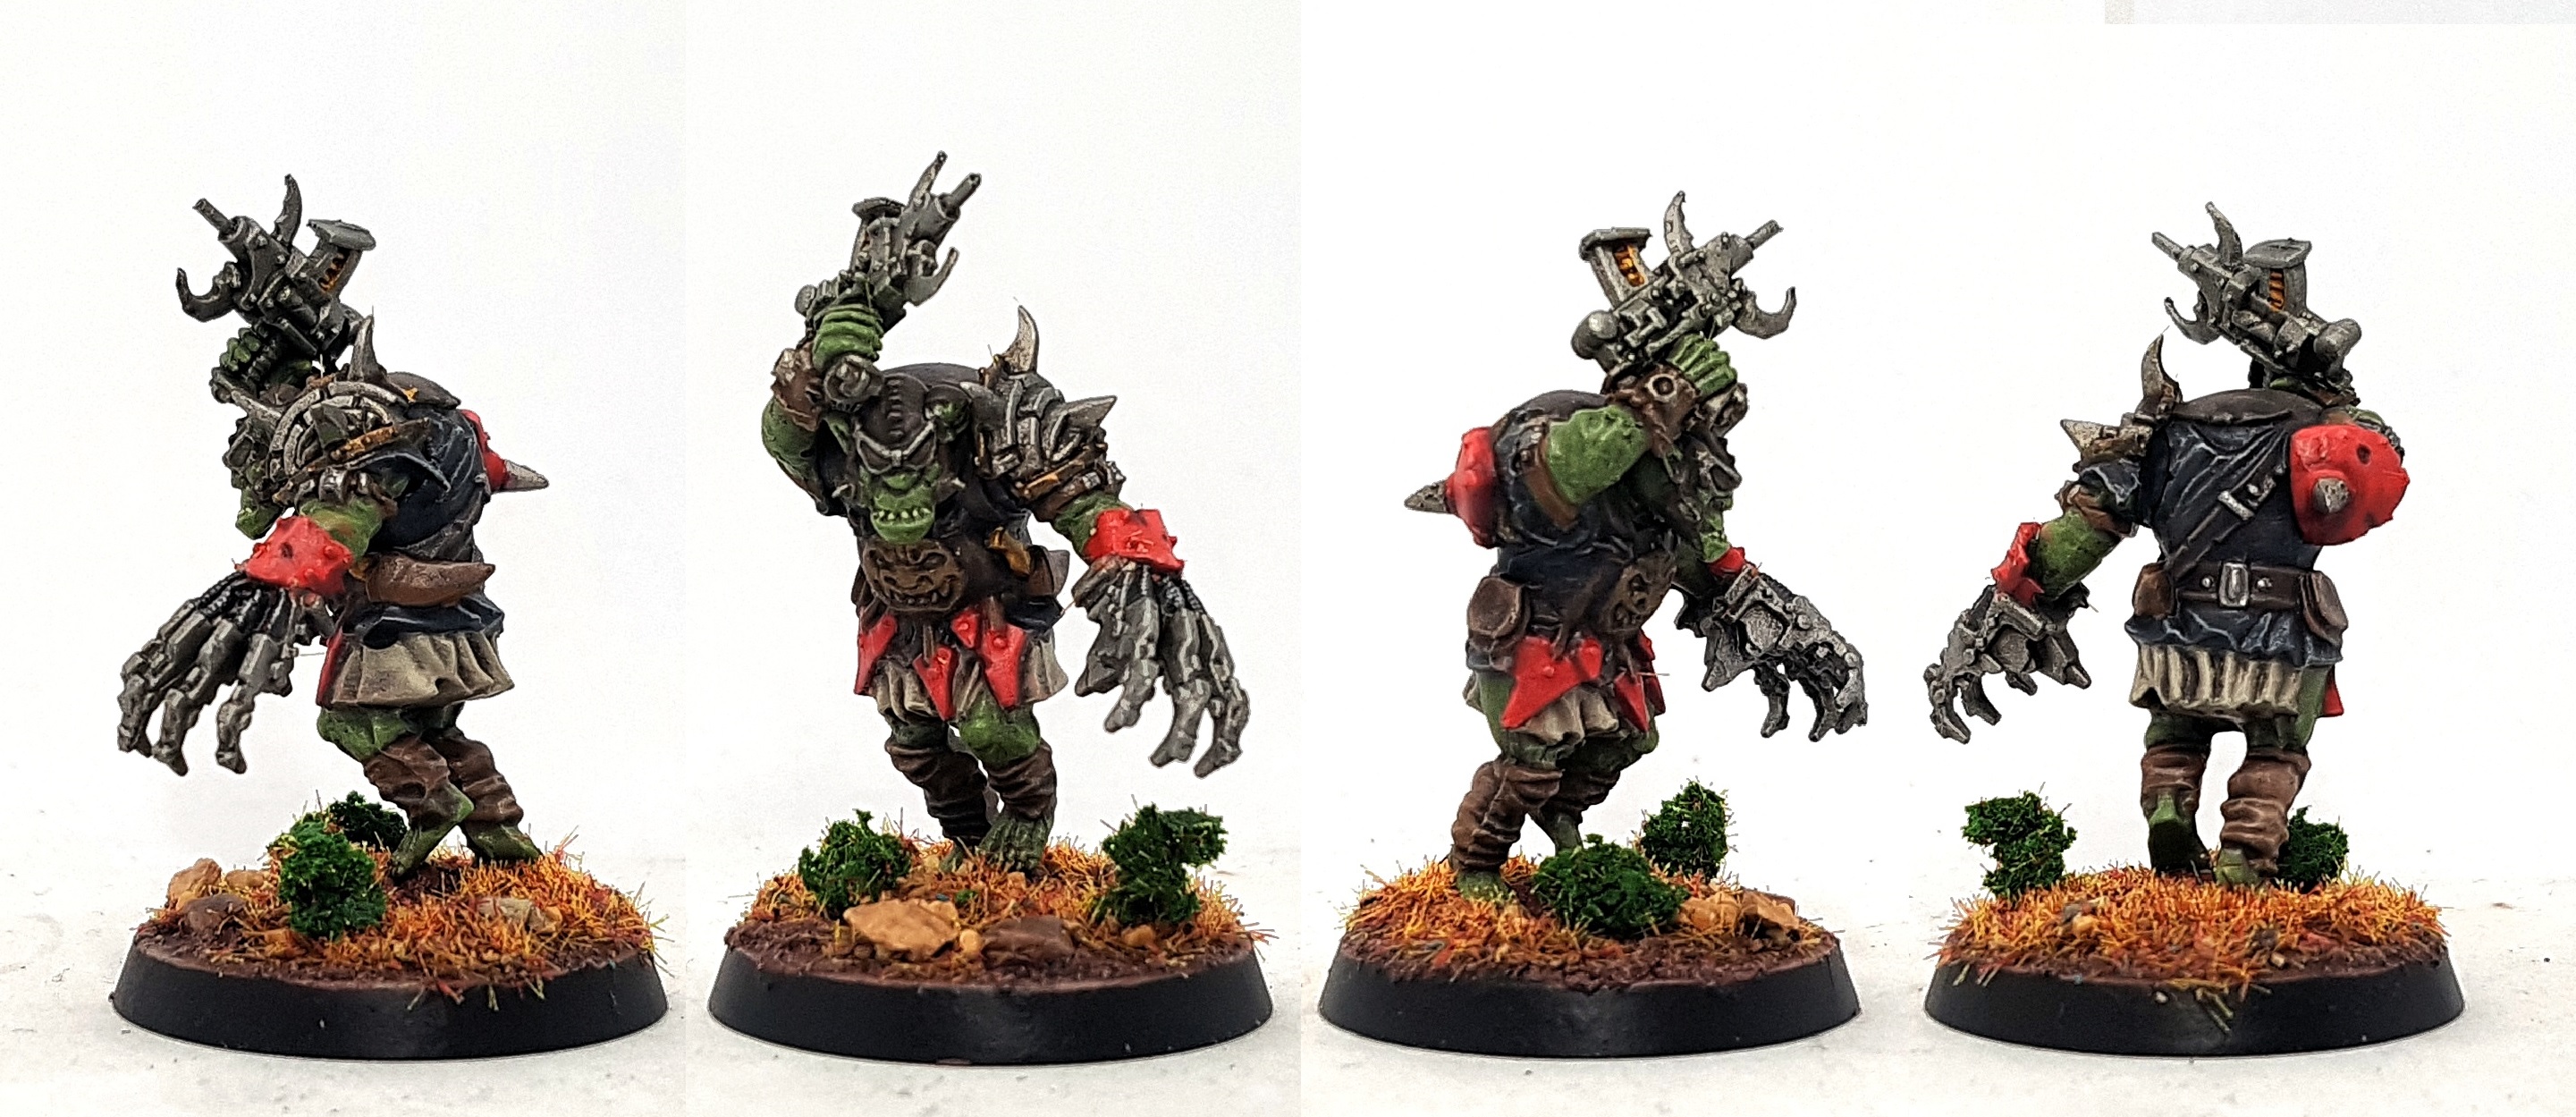
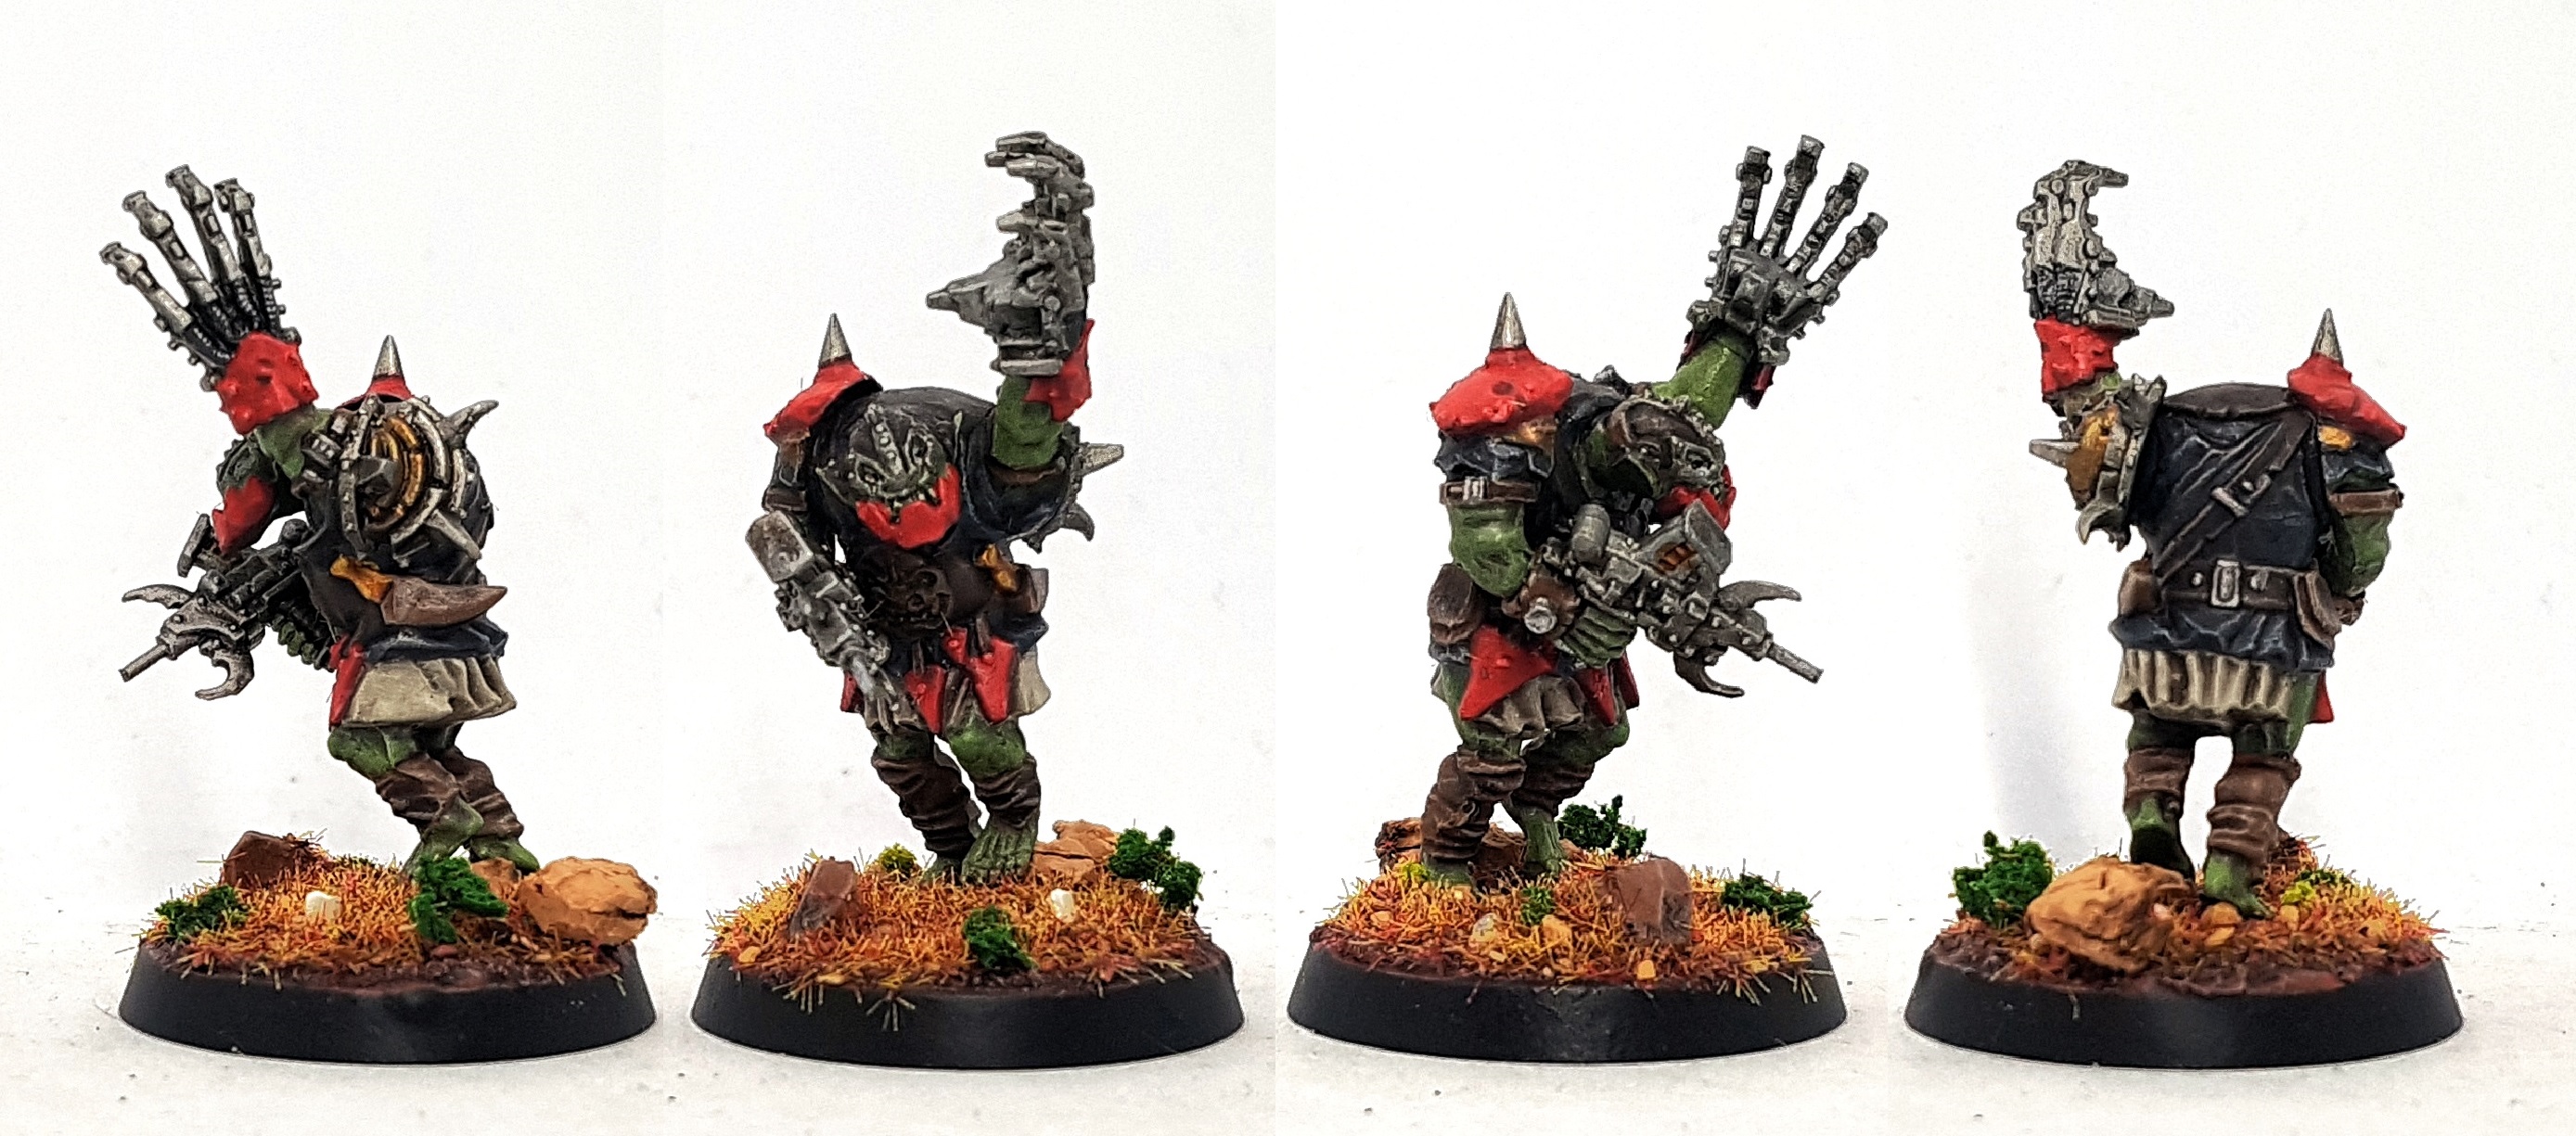
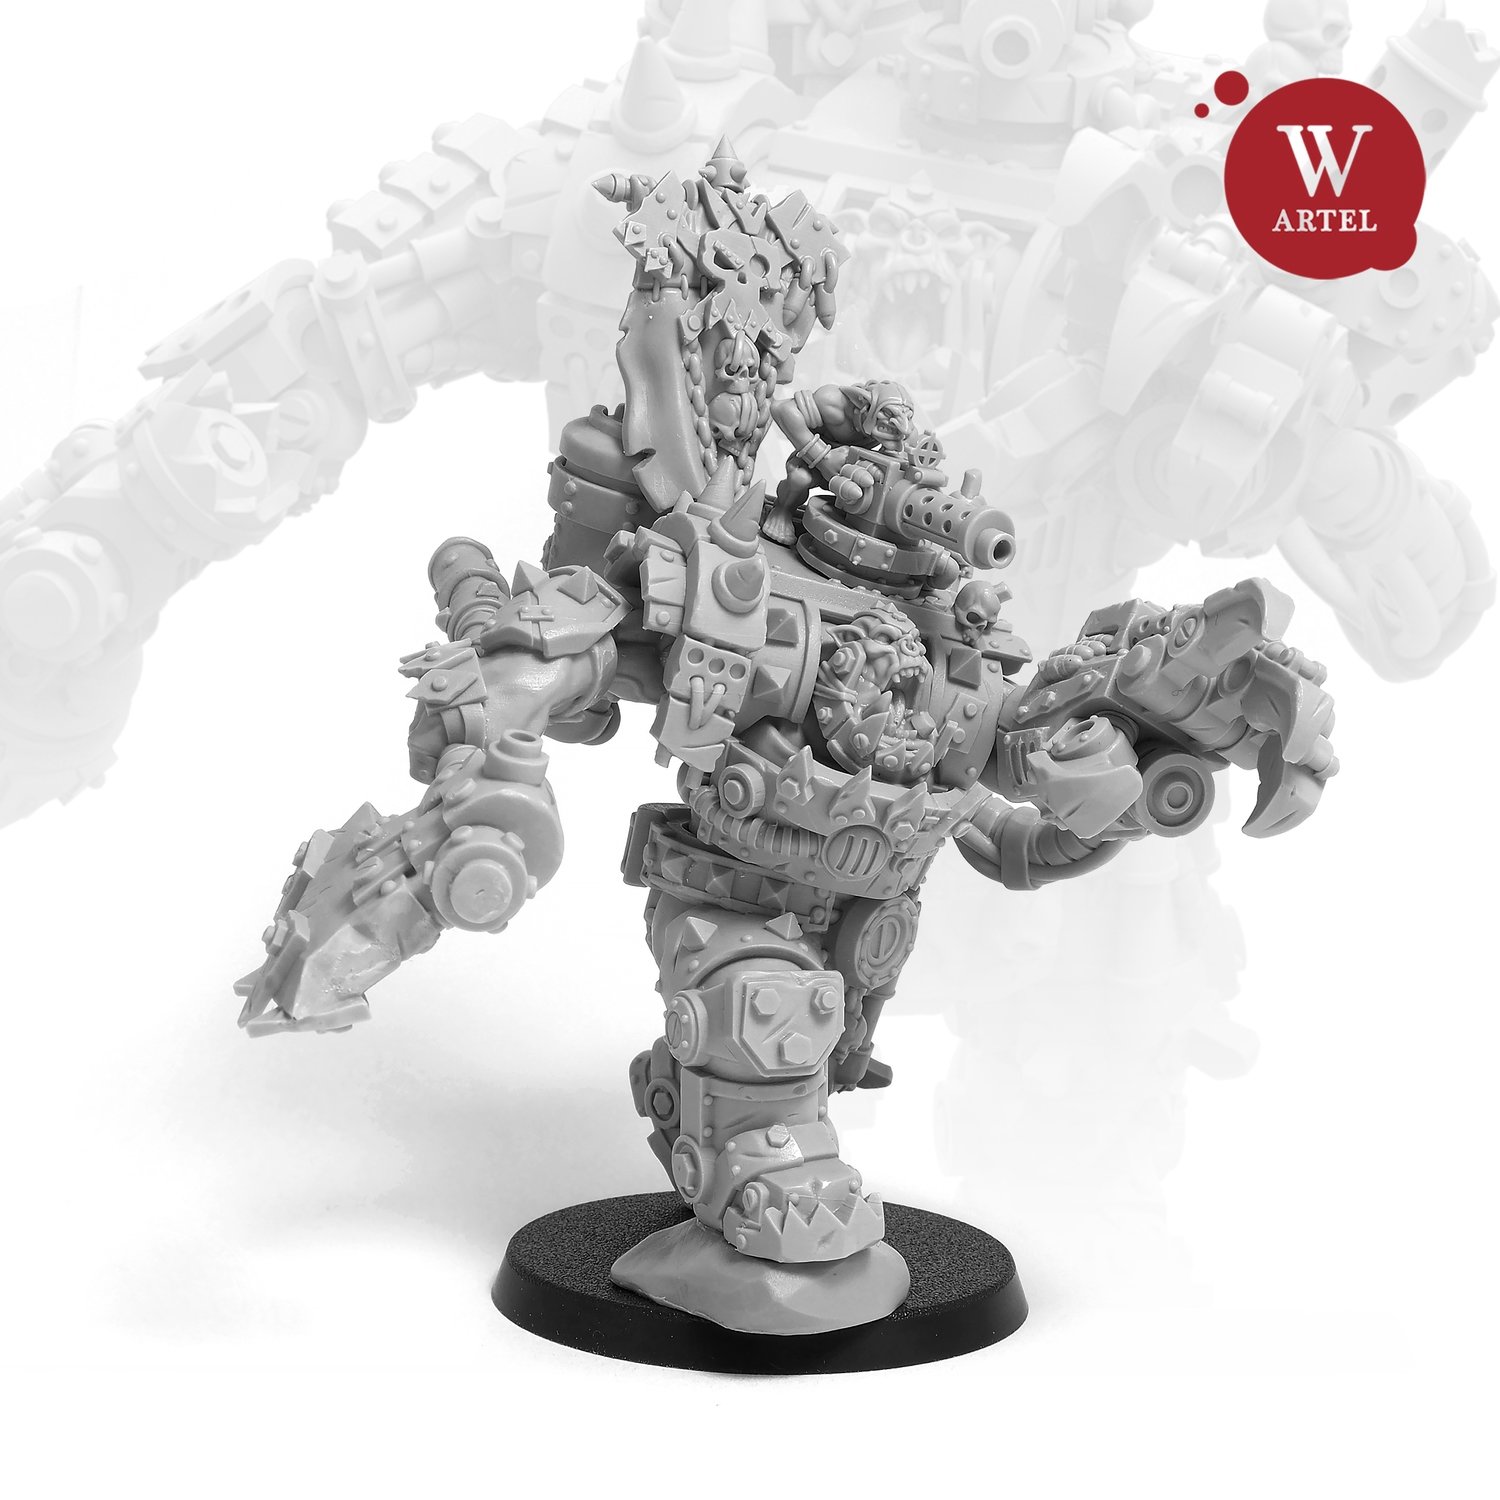
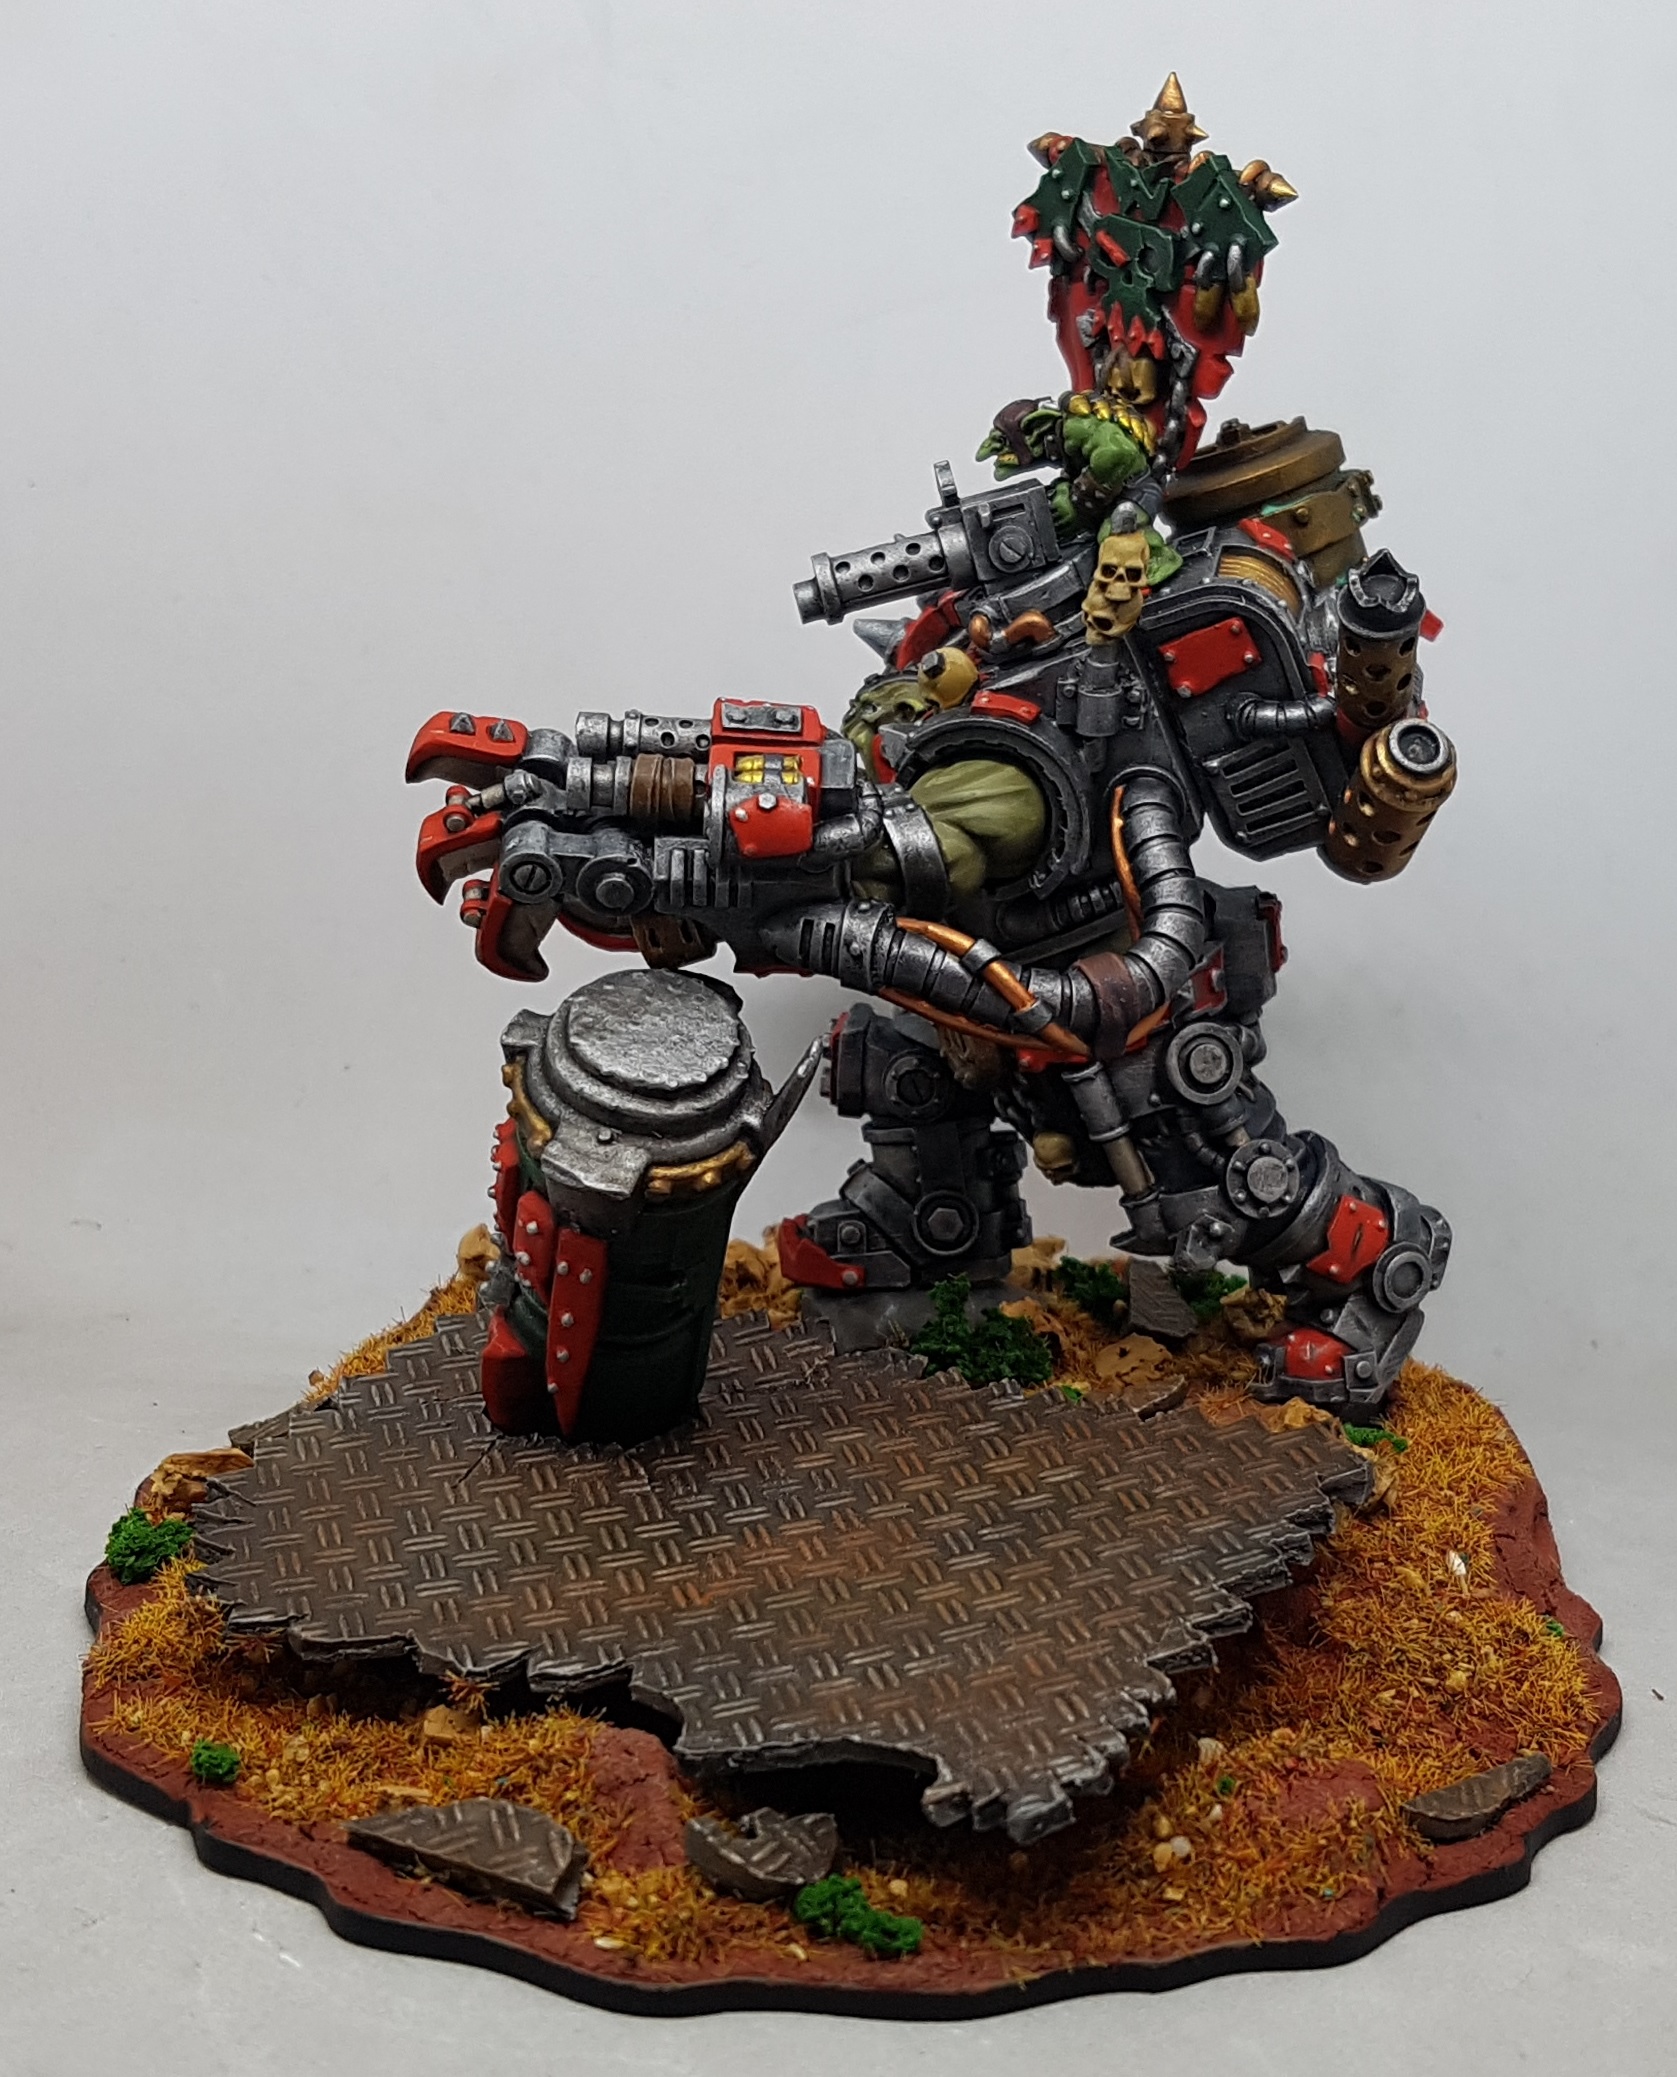
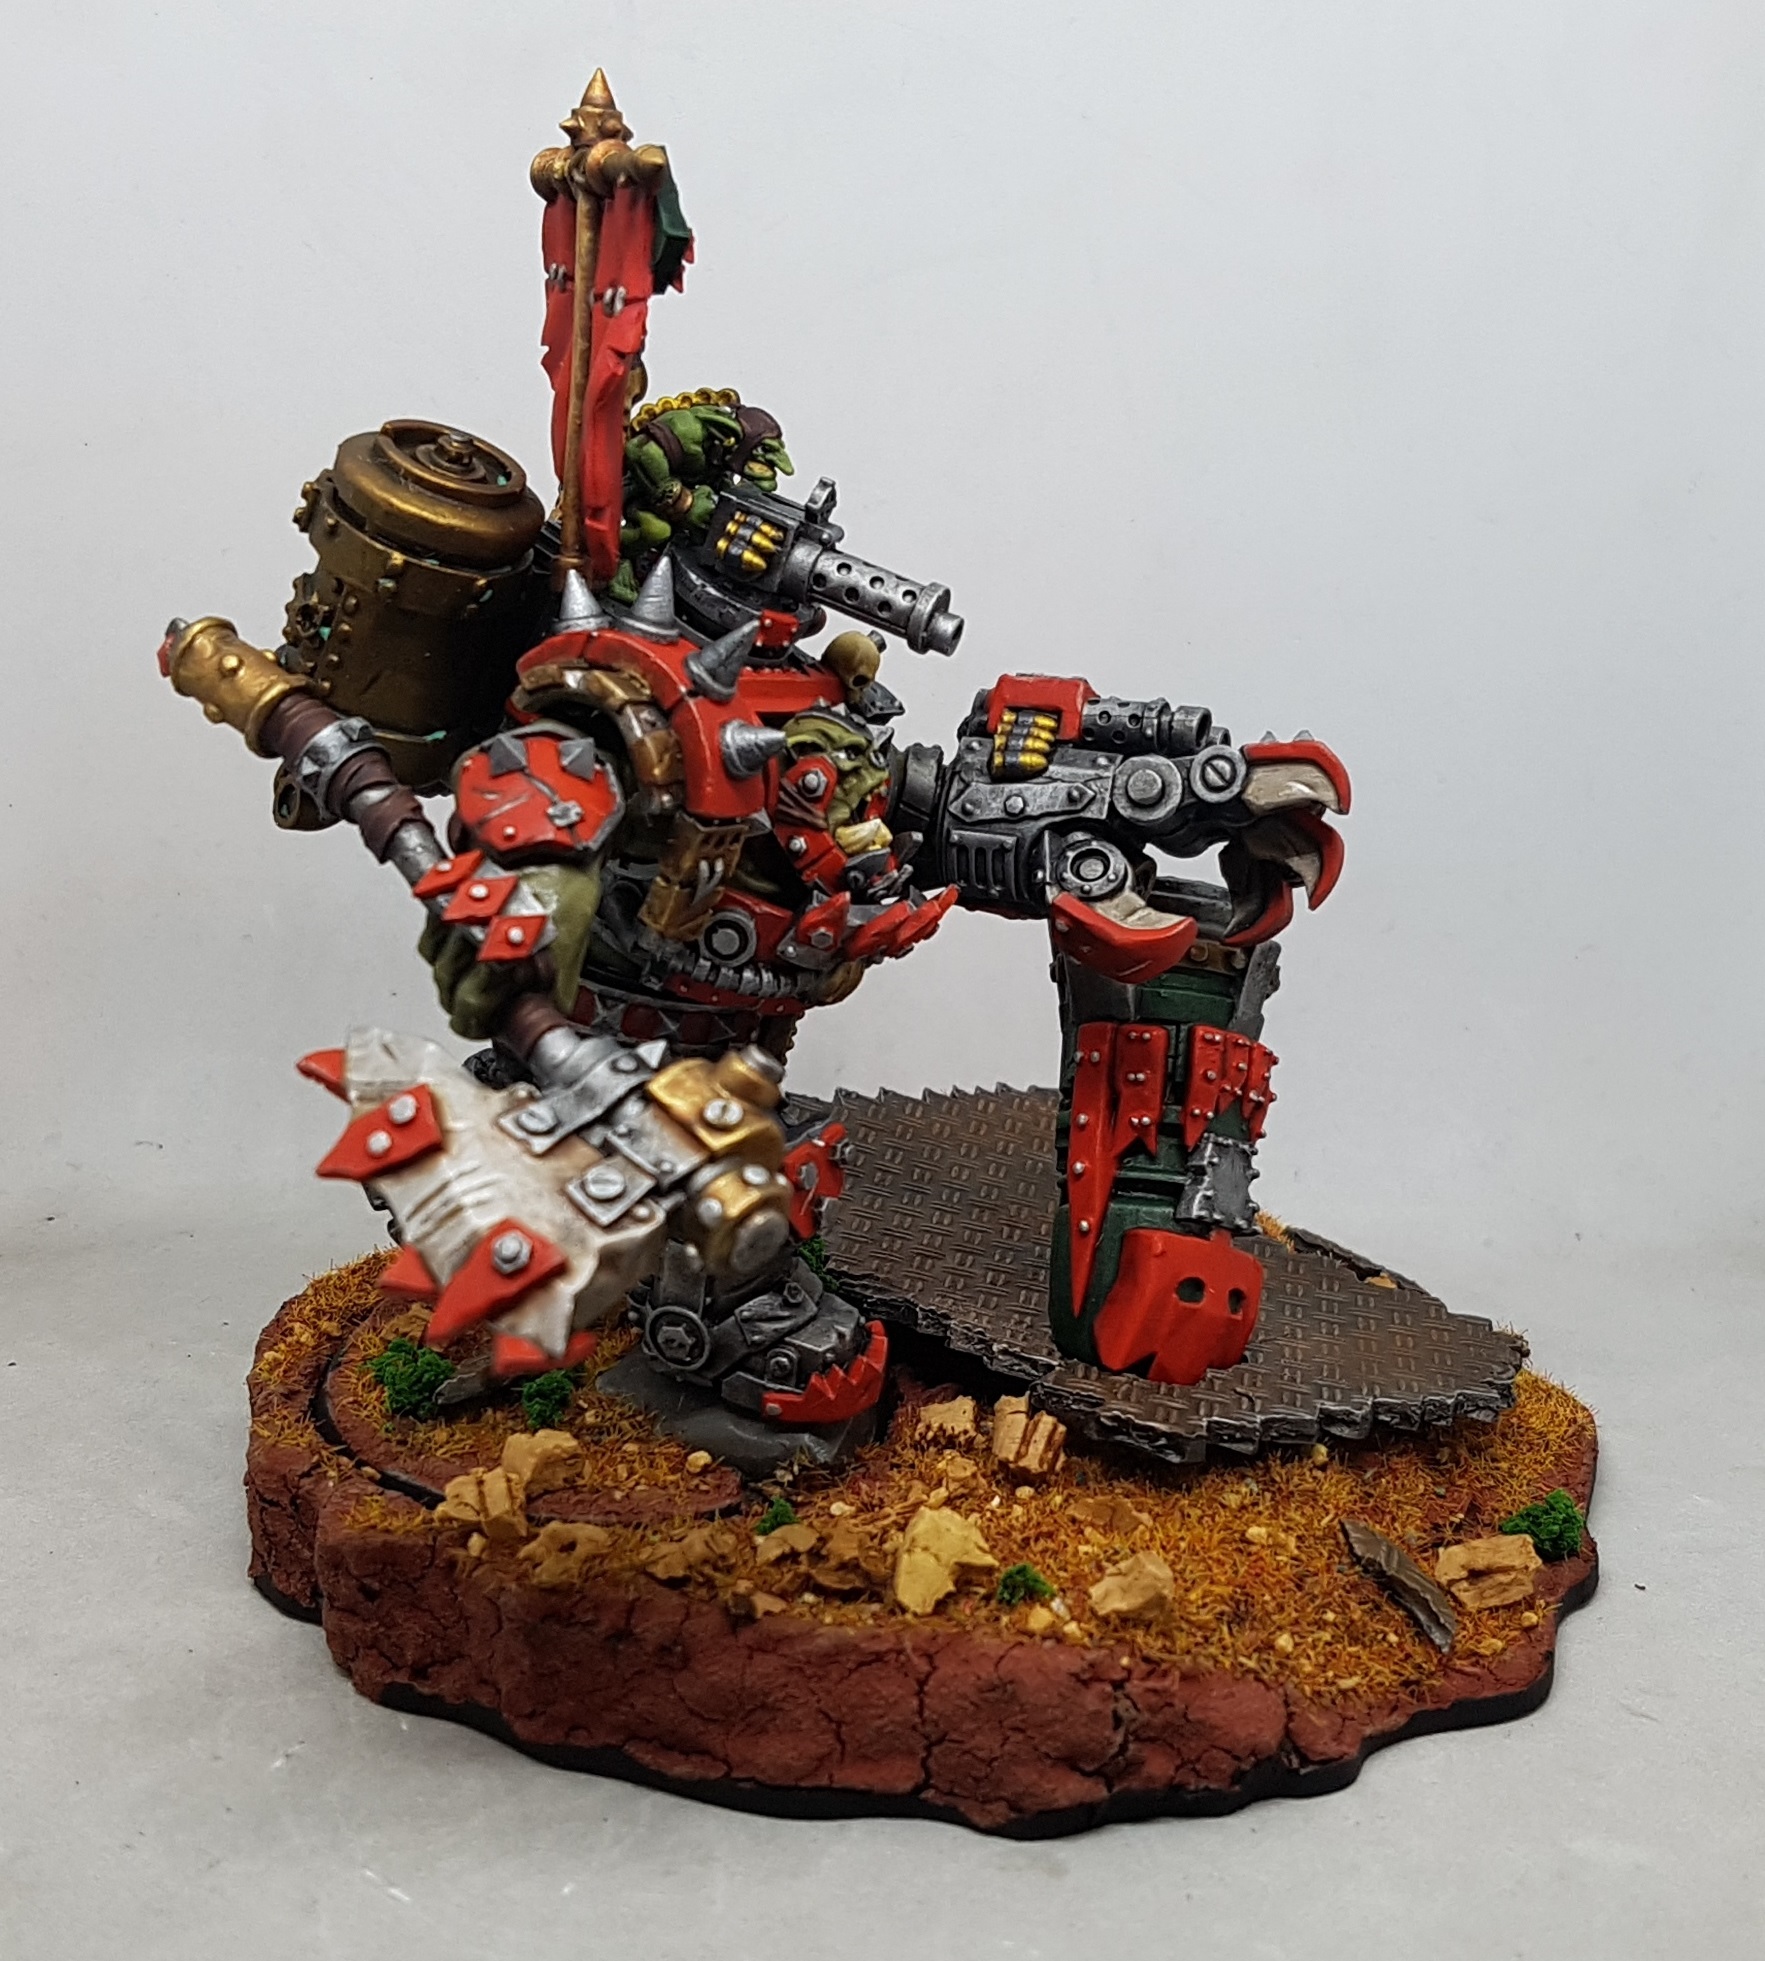
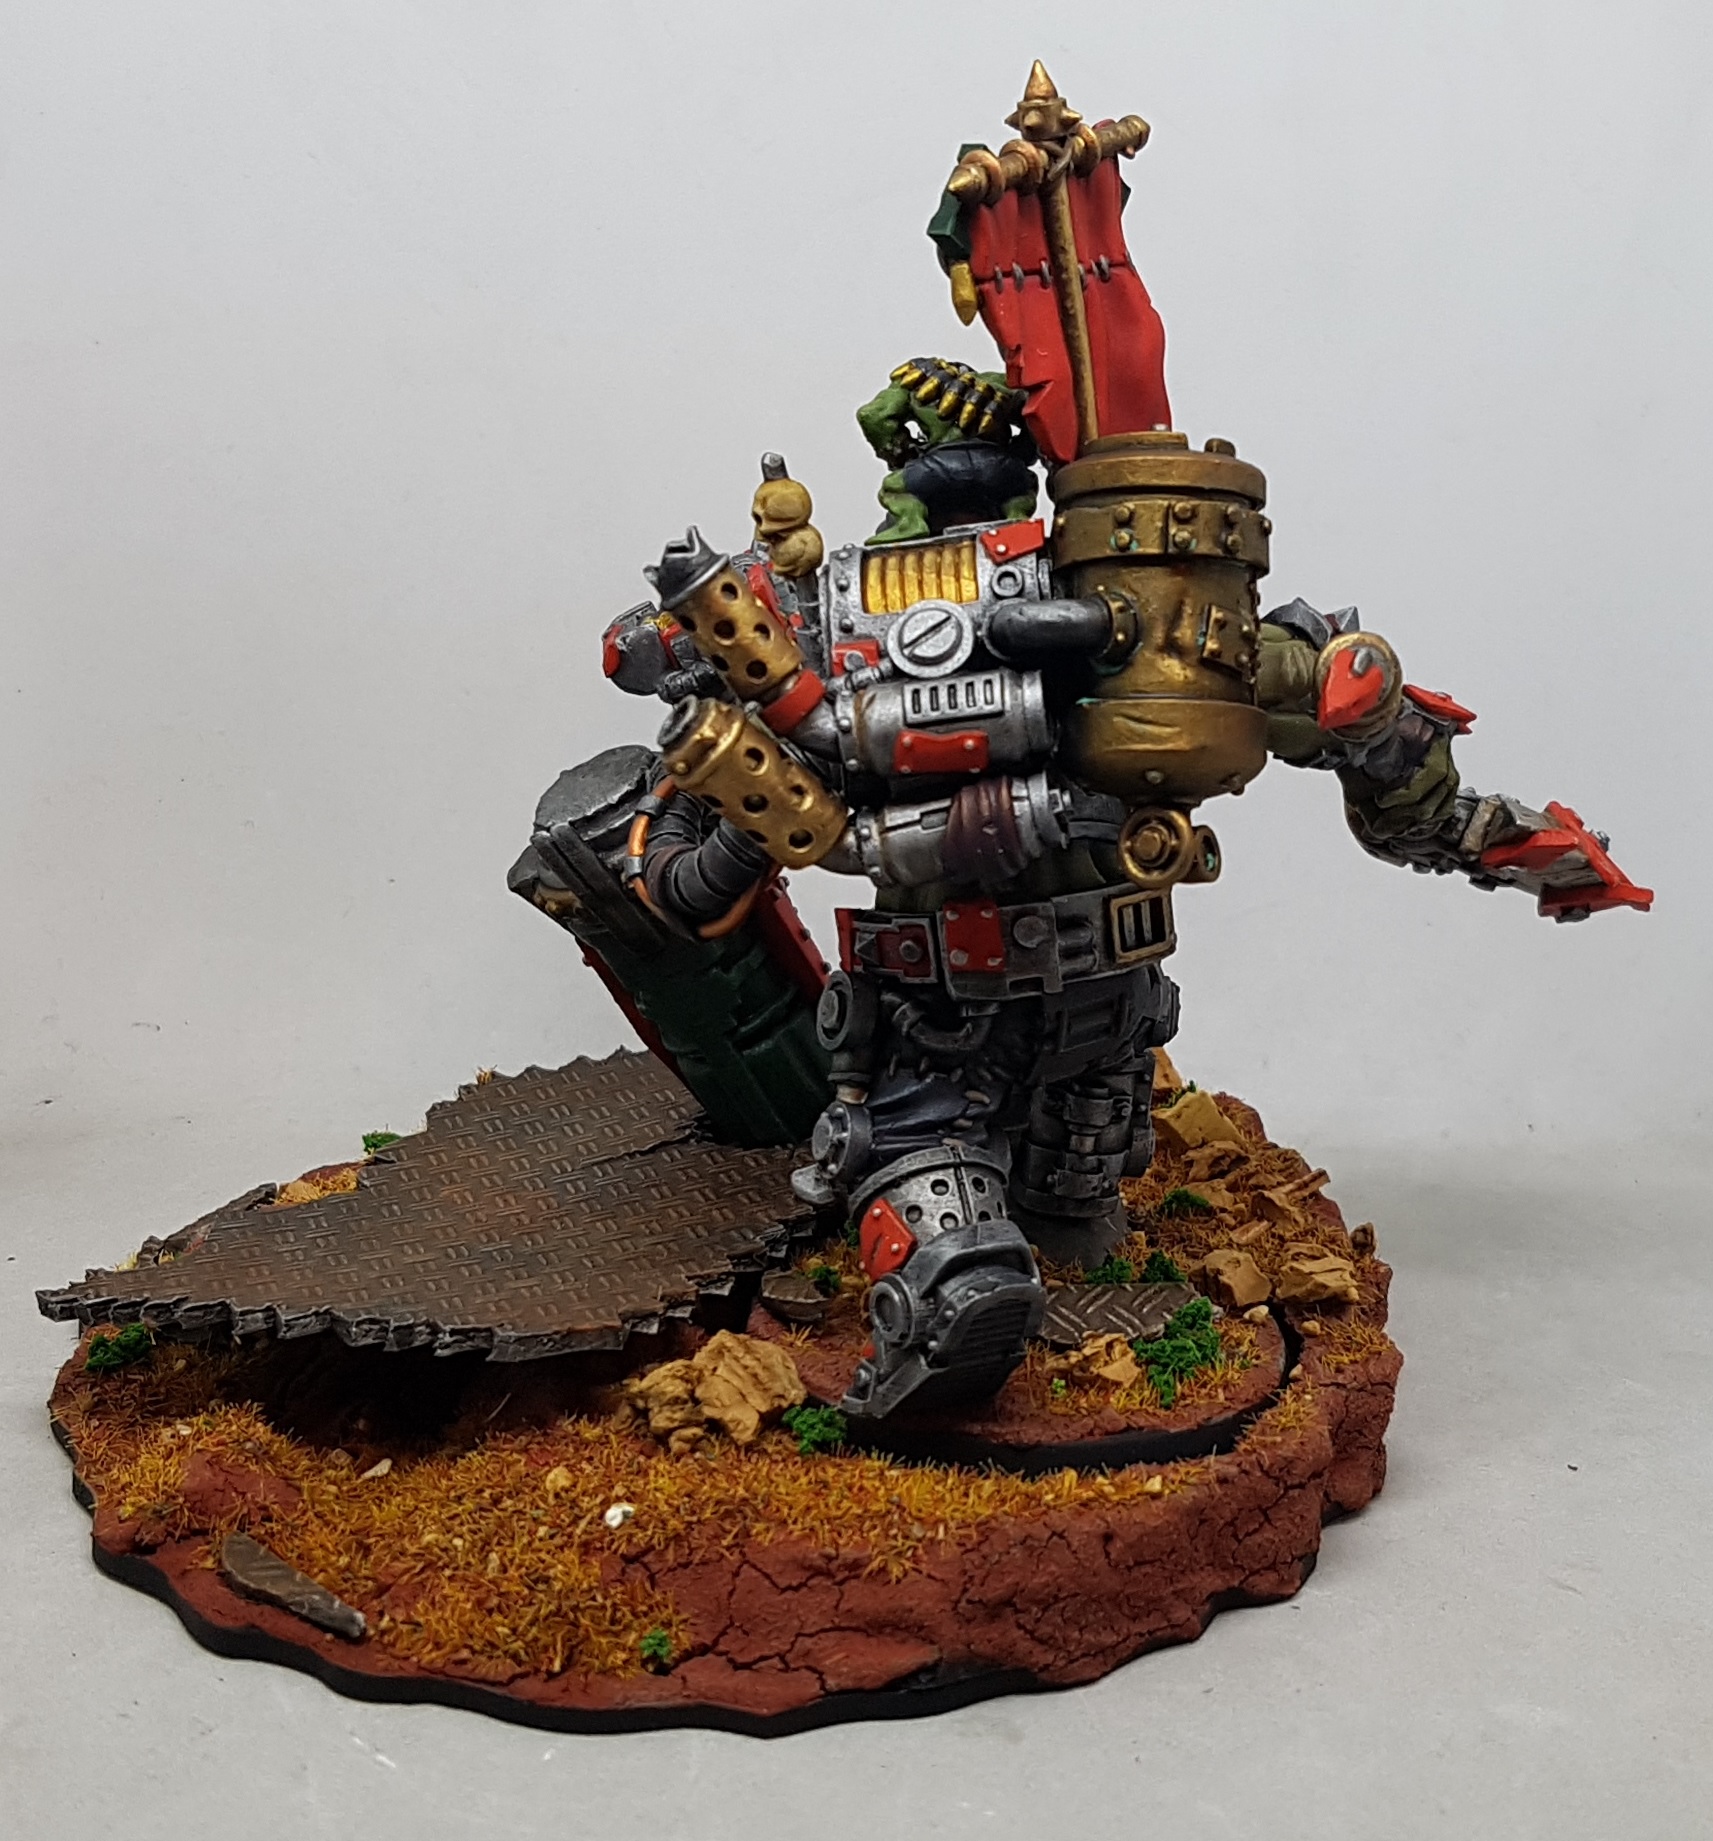
Artel W Iron Boss & Fox Box Comms Gobbo
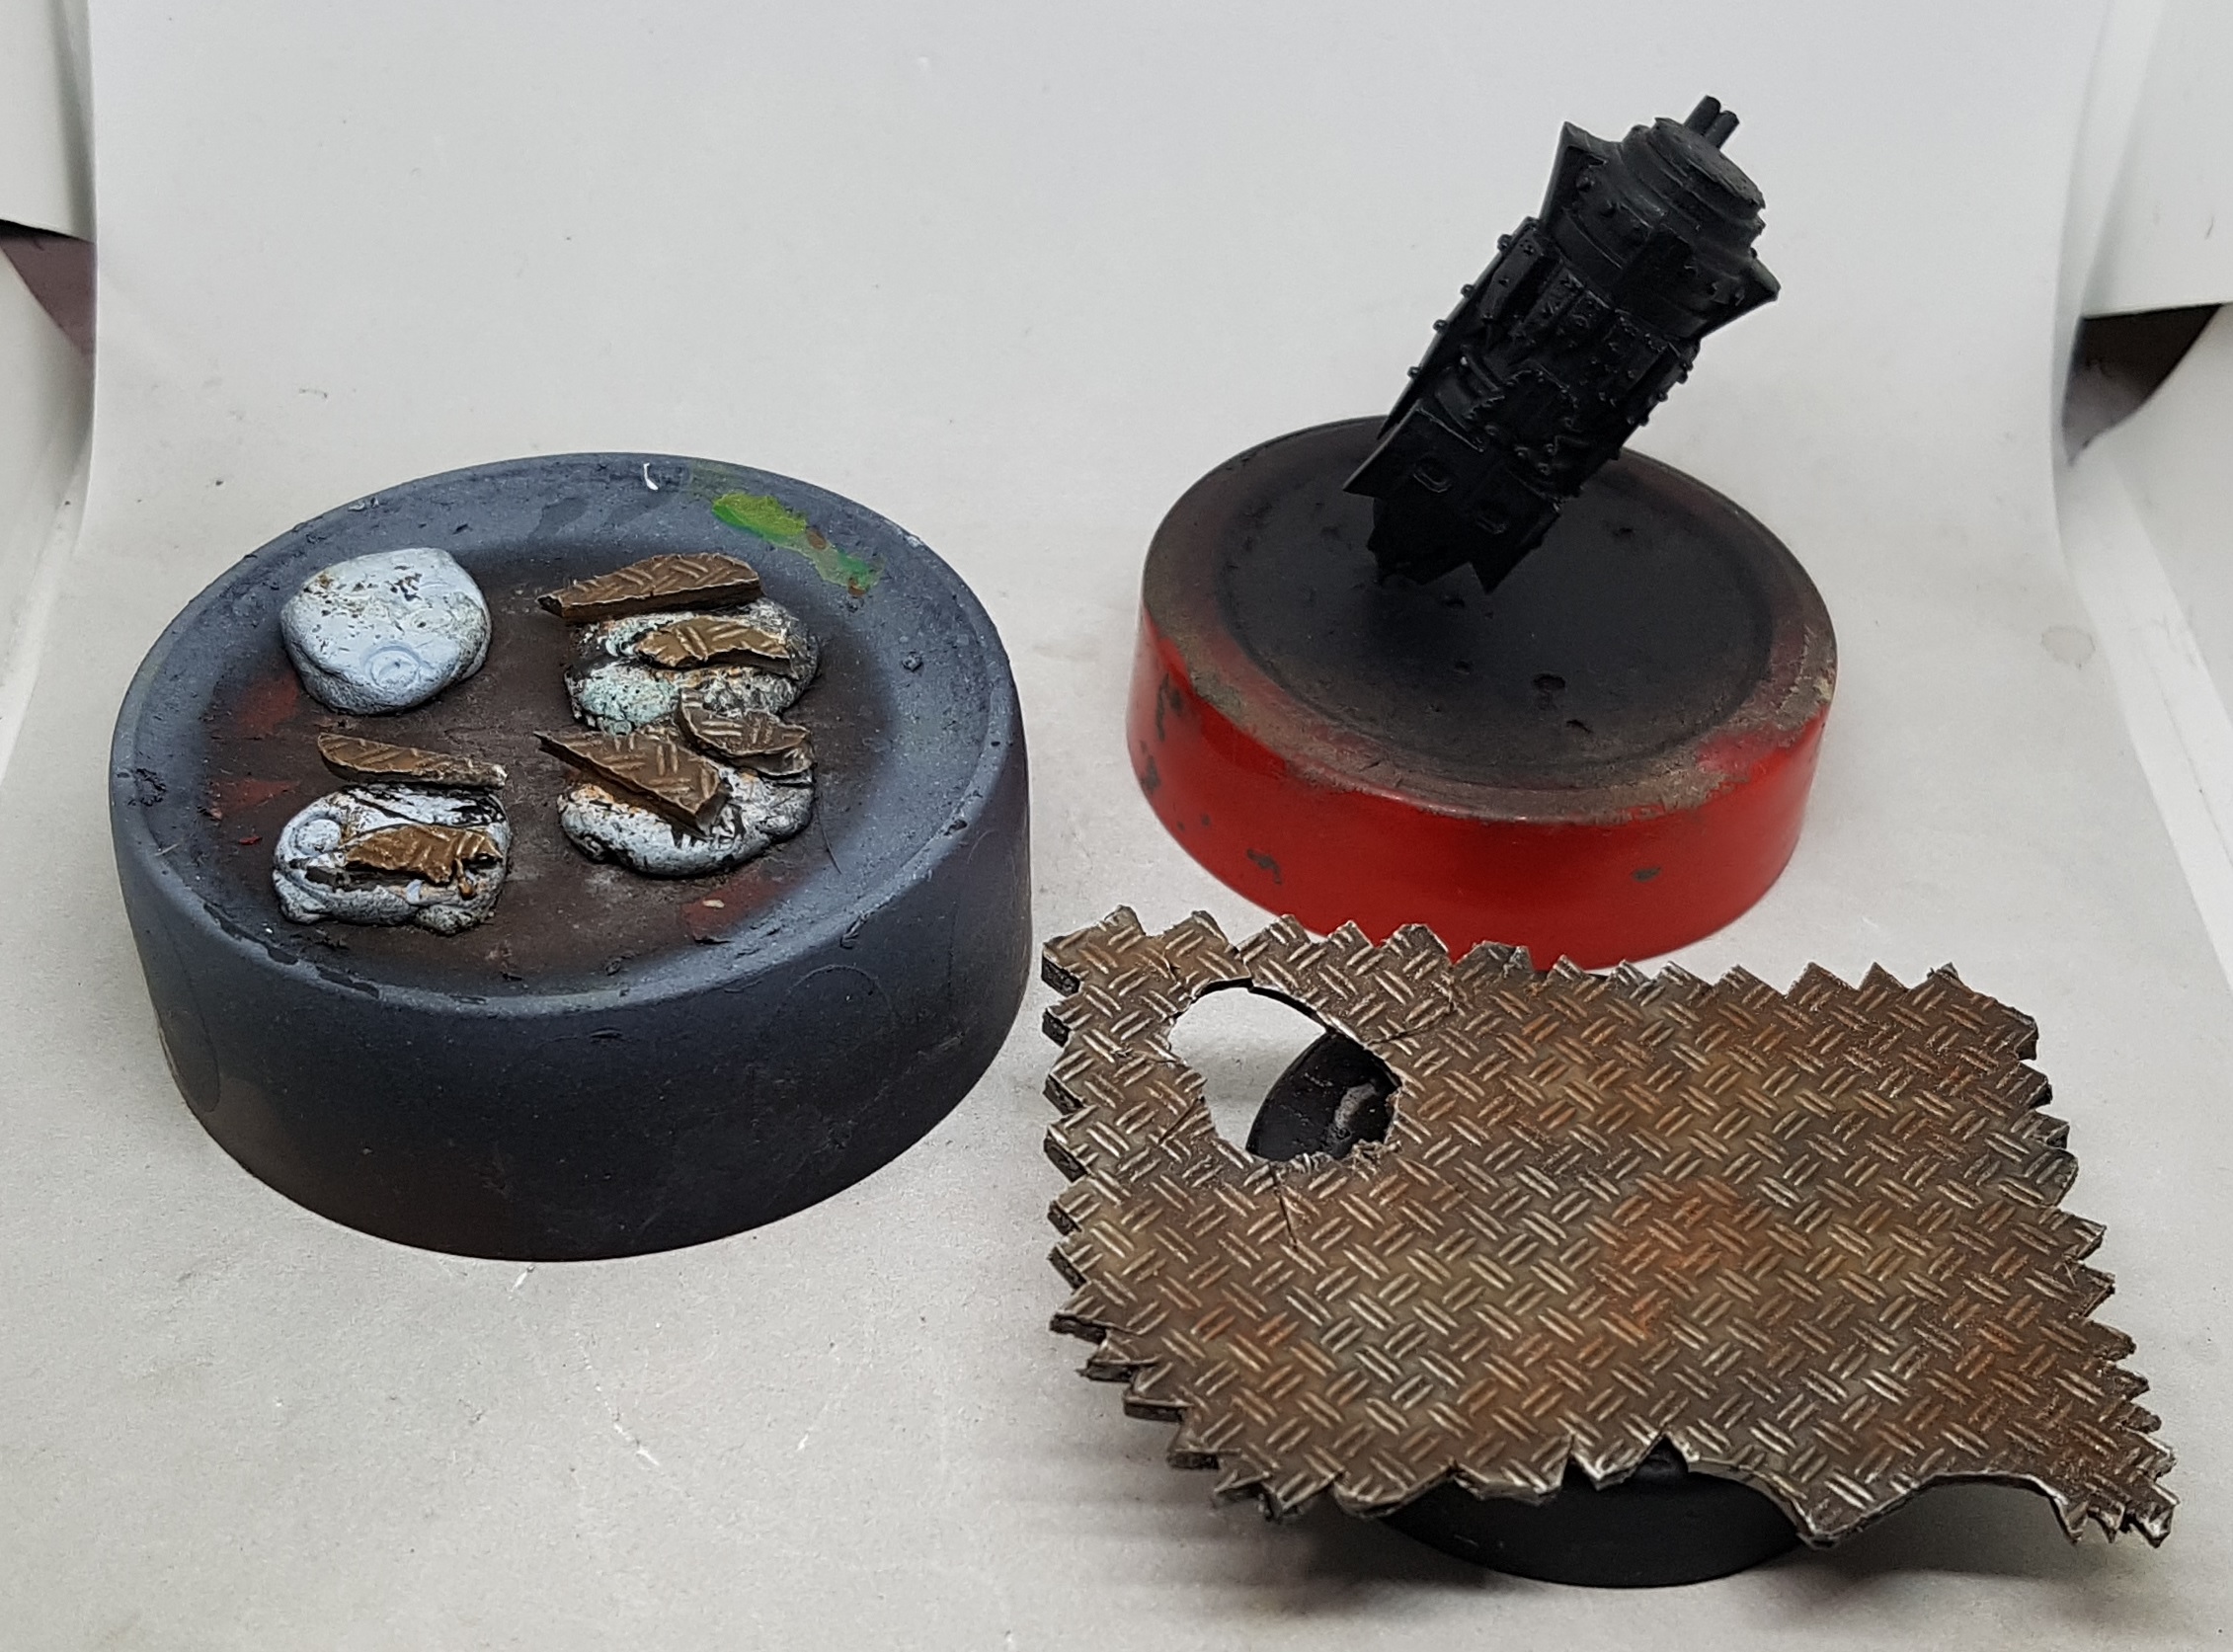
The September 2019 Asset Drop Monster Box contained the Iron Boss by Artel W so I’ll be painting him up to add to this force. I hear he makes for a good Ghazghkull replacement. The kit comes with the model, a large wibbly wooden base, a cork sheet, some resin sheet metal from Kromlech, a Orky Bomb and some flock by Serious Play.
Here’s what the model looks like and how they suggest you build it all up.

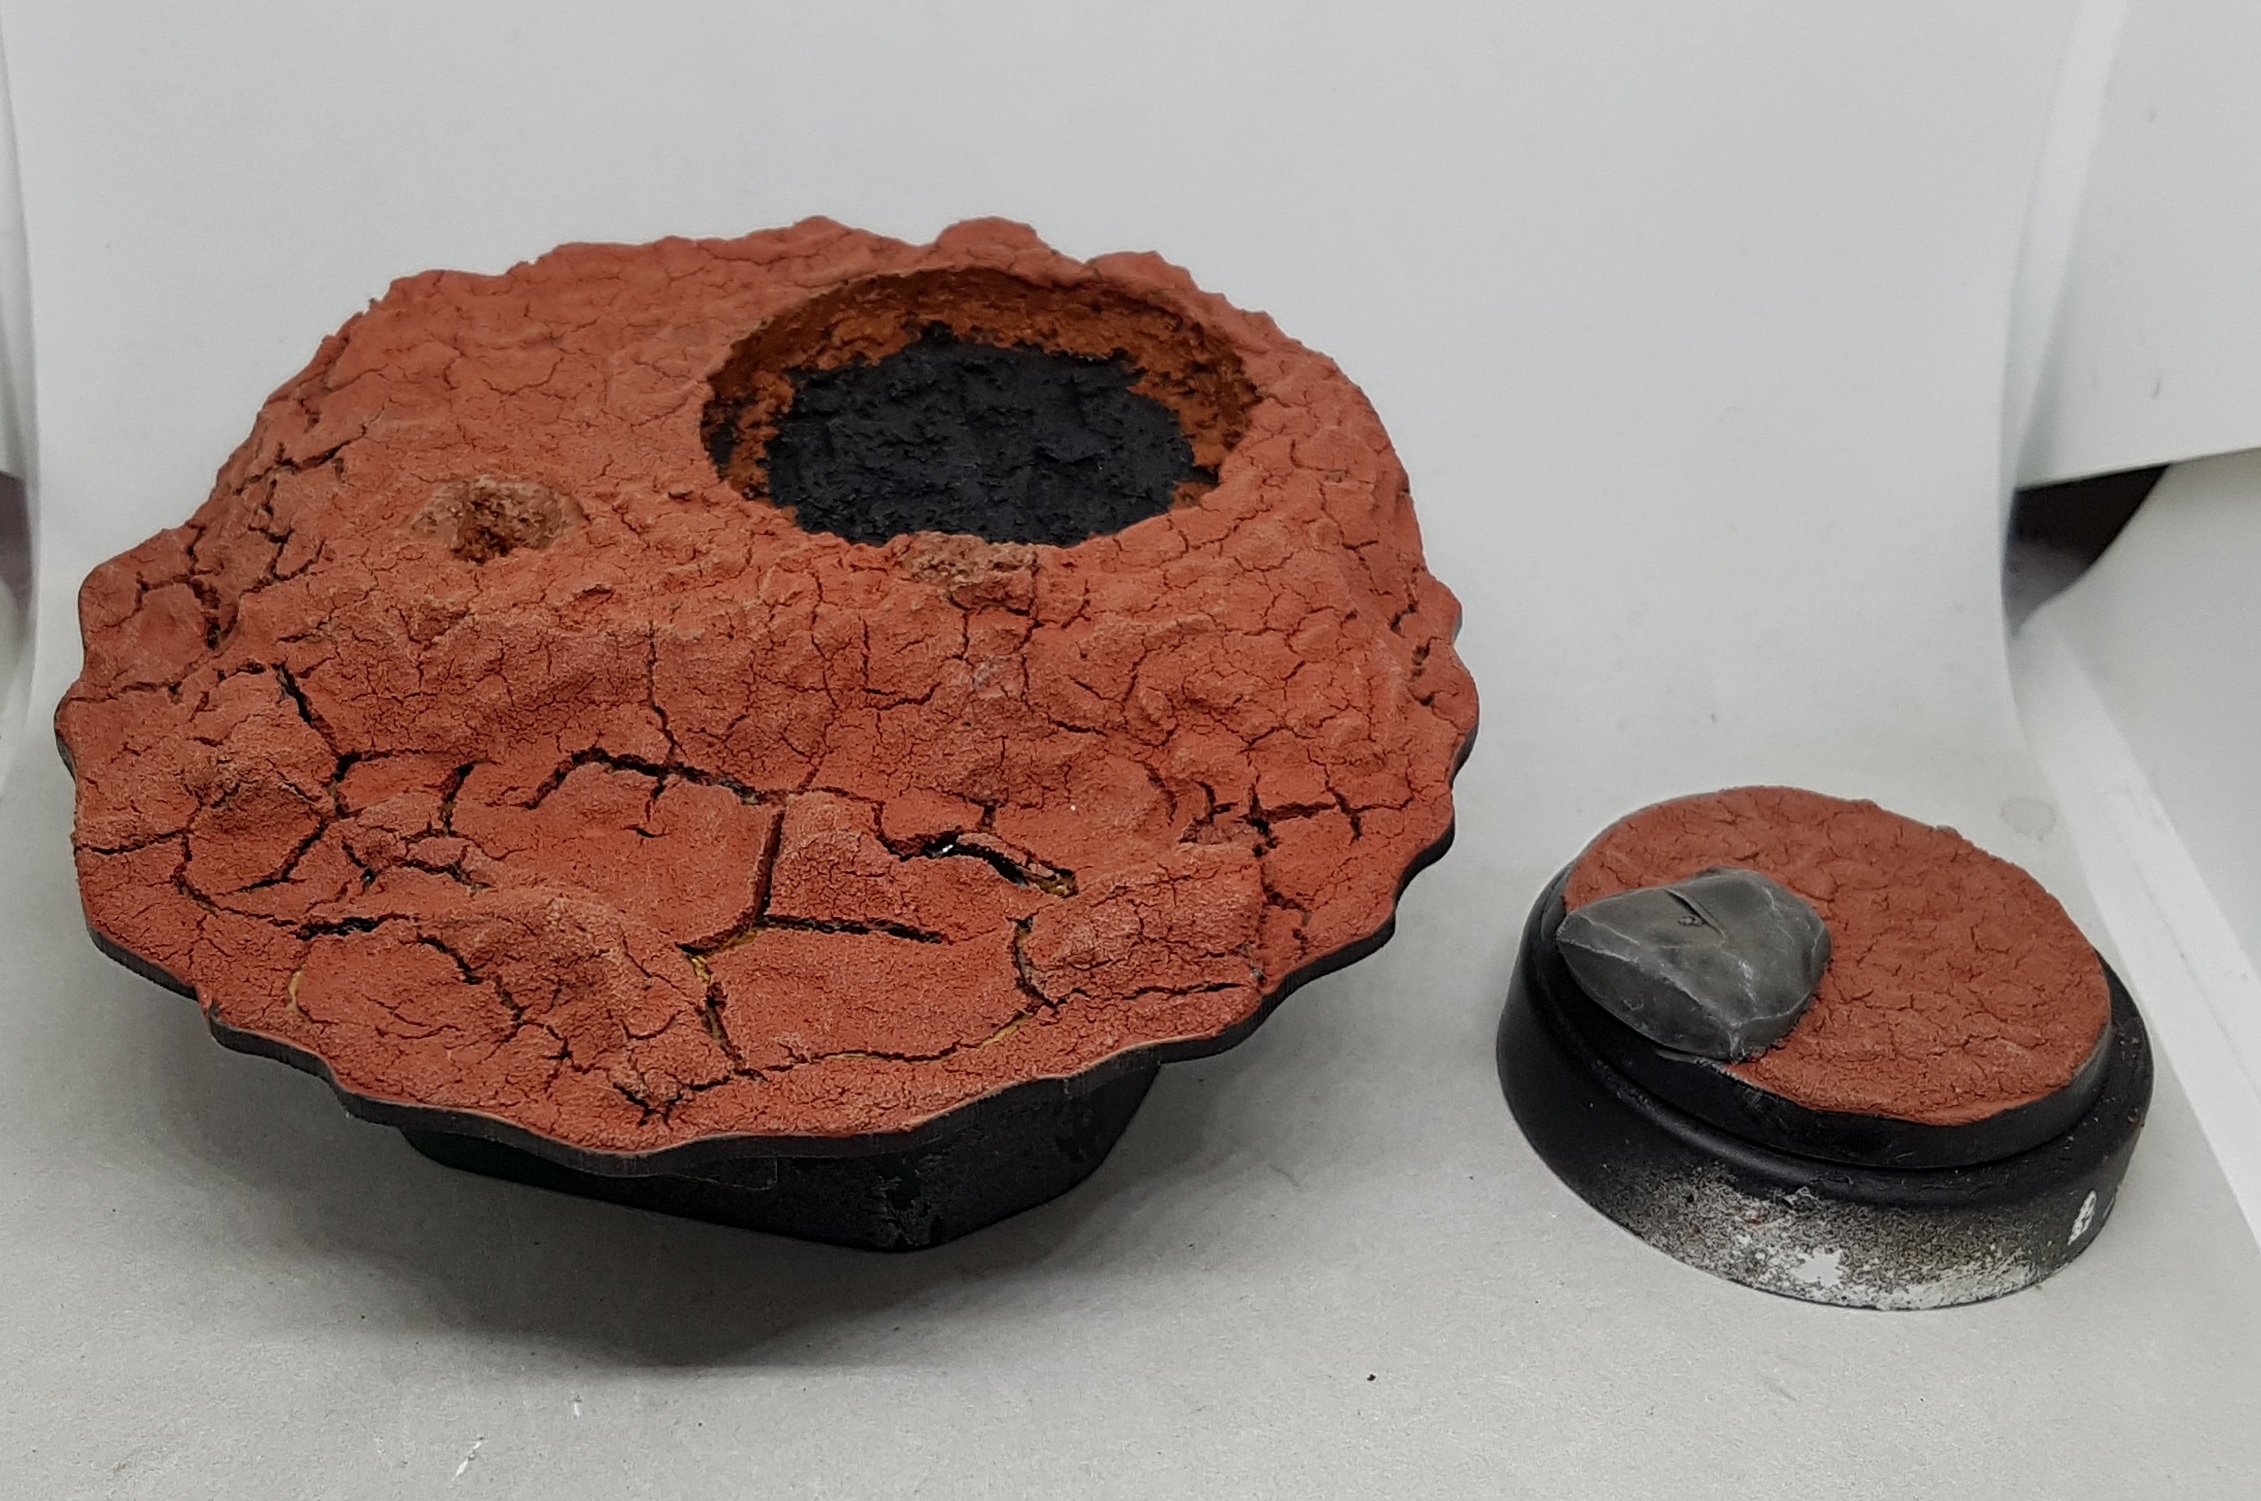
That flock doesn’t match my existing models, so I’ll be replacing it with the same stuff I used before. I have already applied the GW Martian Ironcrust over all the cork. I had primed black undernetah, but when the paint cracked it appears to have “torn” the primer with it. I have done my best to stain the cracks with wash, but you can tell its wood or cork if you look very close. The scatter should obscure this enough. I’ve kept the leftover sheet metal shards and painted them up. I’ll add them as scatter later after putting down the flock mix.
If I attach him to the wood base then he won’t be readily useable in any game where base shape and size are a concern. He did come with the correct 50mm base 40k would want so I decided to mount him on both bases. I’ve cut a hole in the cork just big enough for the 50mm base to fit in and stay level with the surface. I’ve also tried to position the bomb crater so the sheet metal will hopefully overhand the 50mm base and obscure it when seen from the front. We will see how this works only when I’m done.
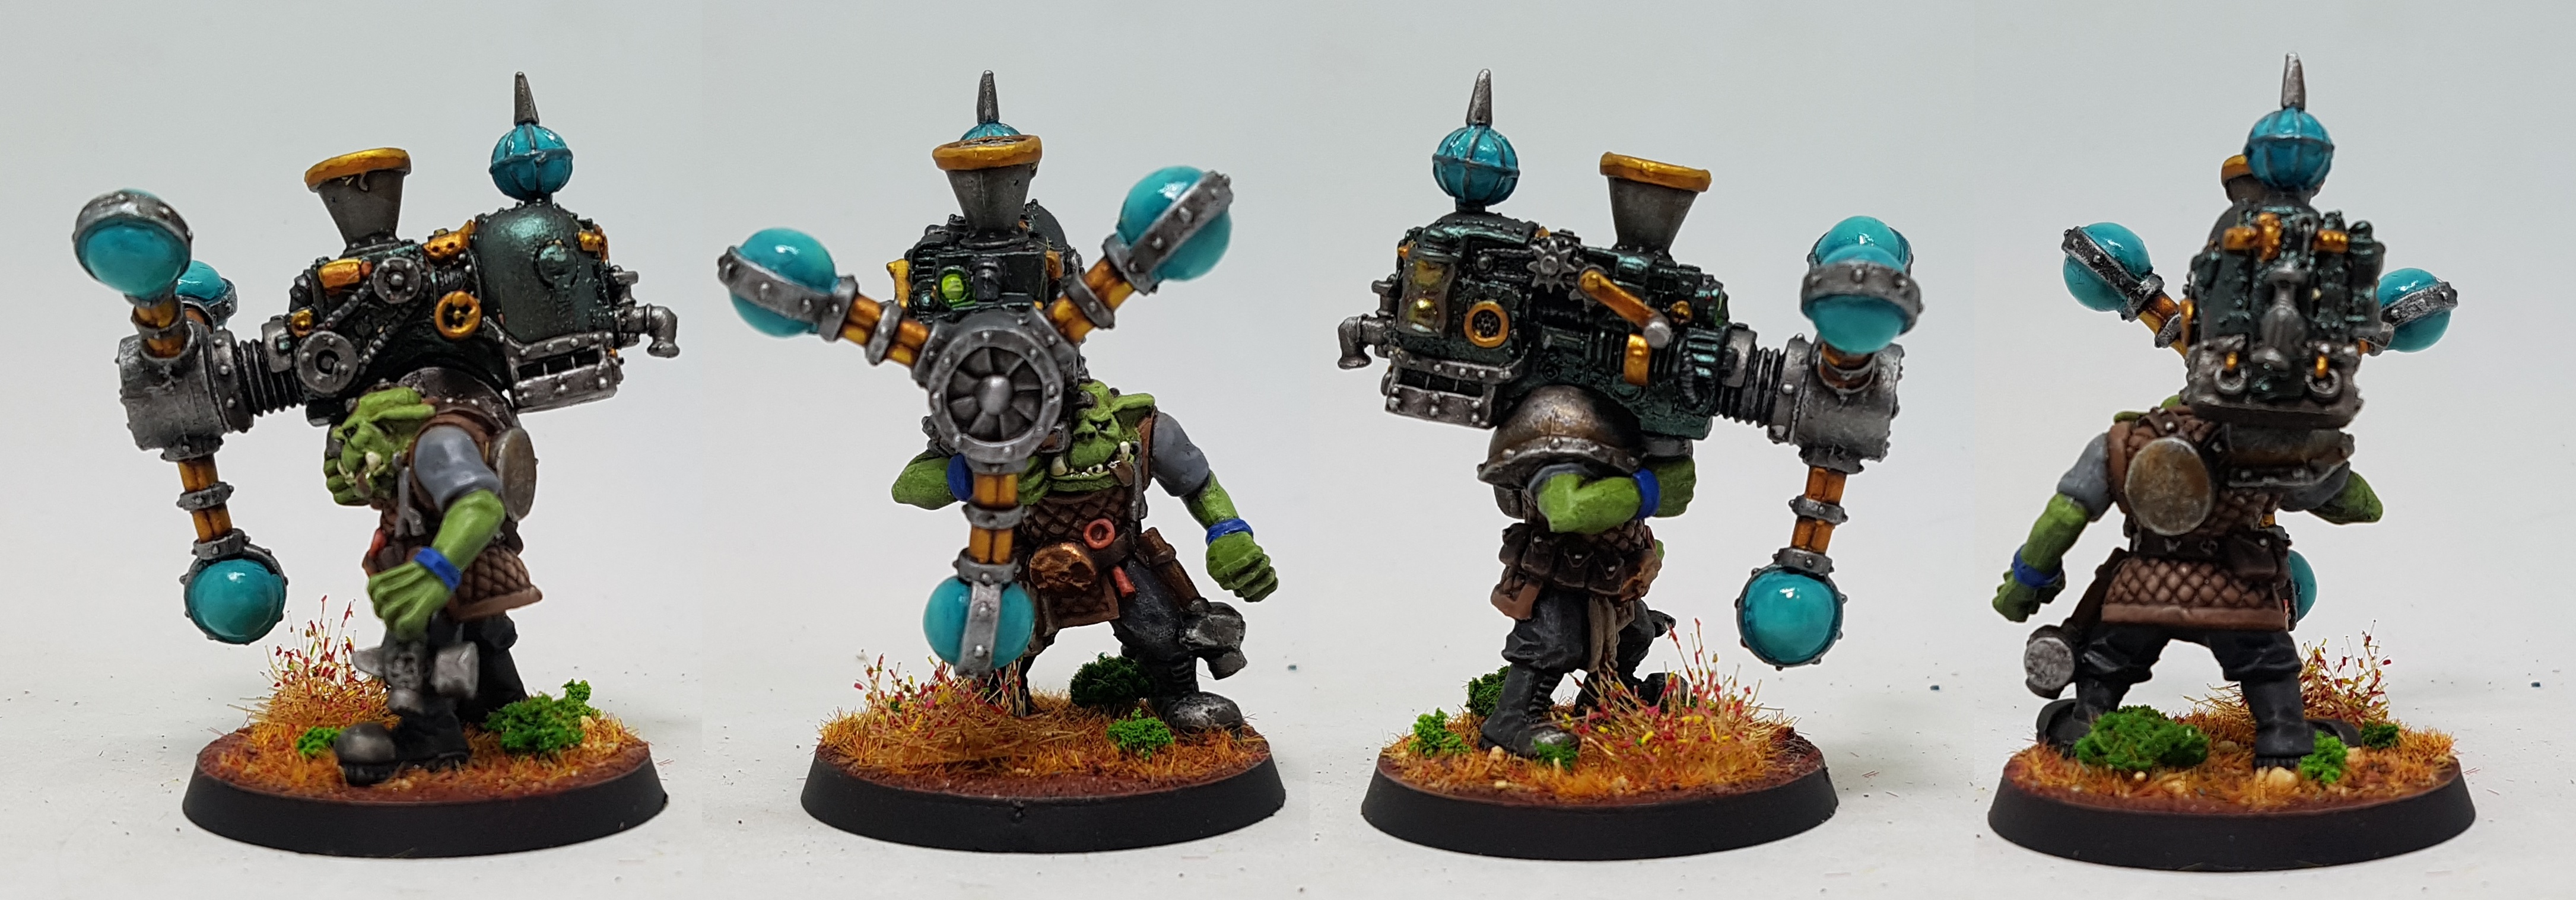
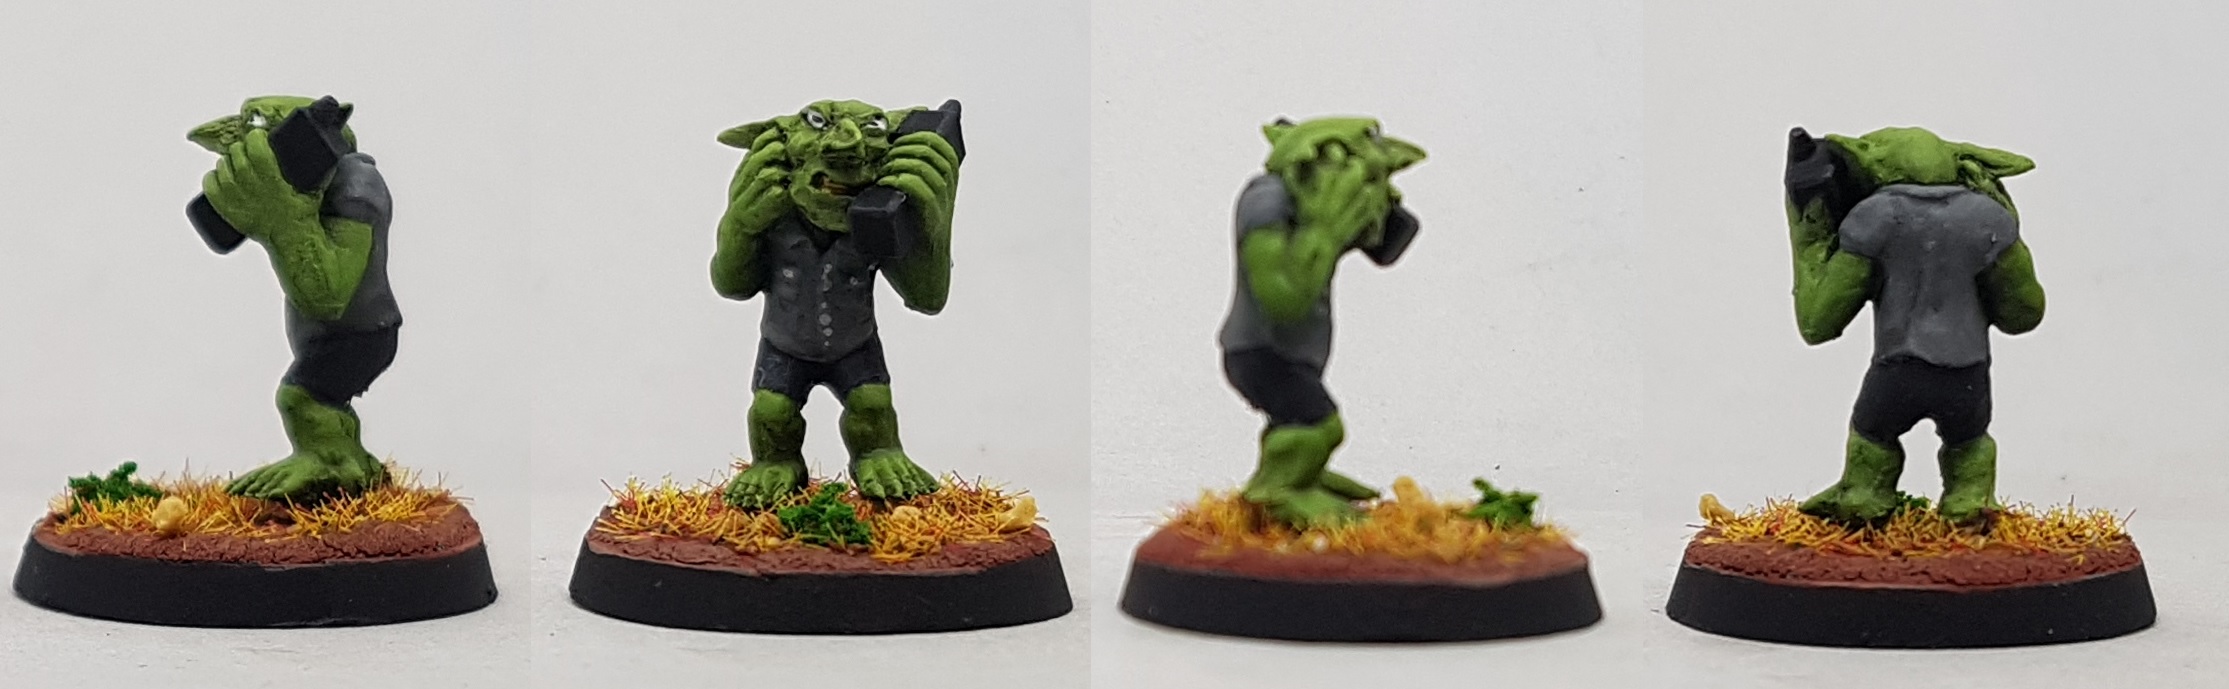
I am also painting up the Fox Box Comms Gobbo at the same time because why not?

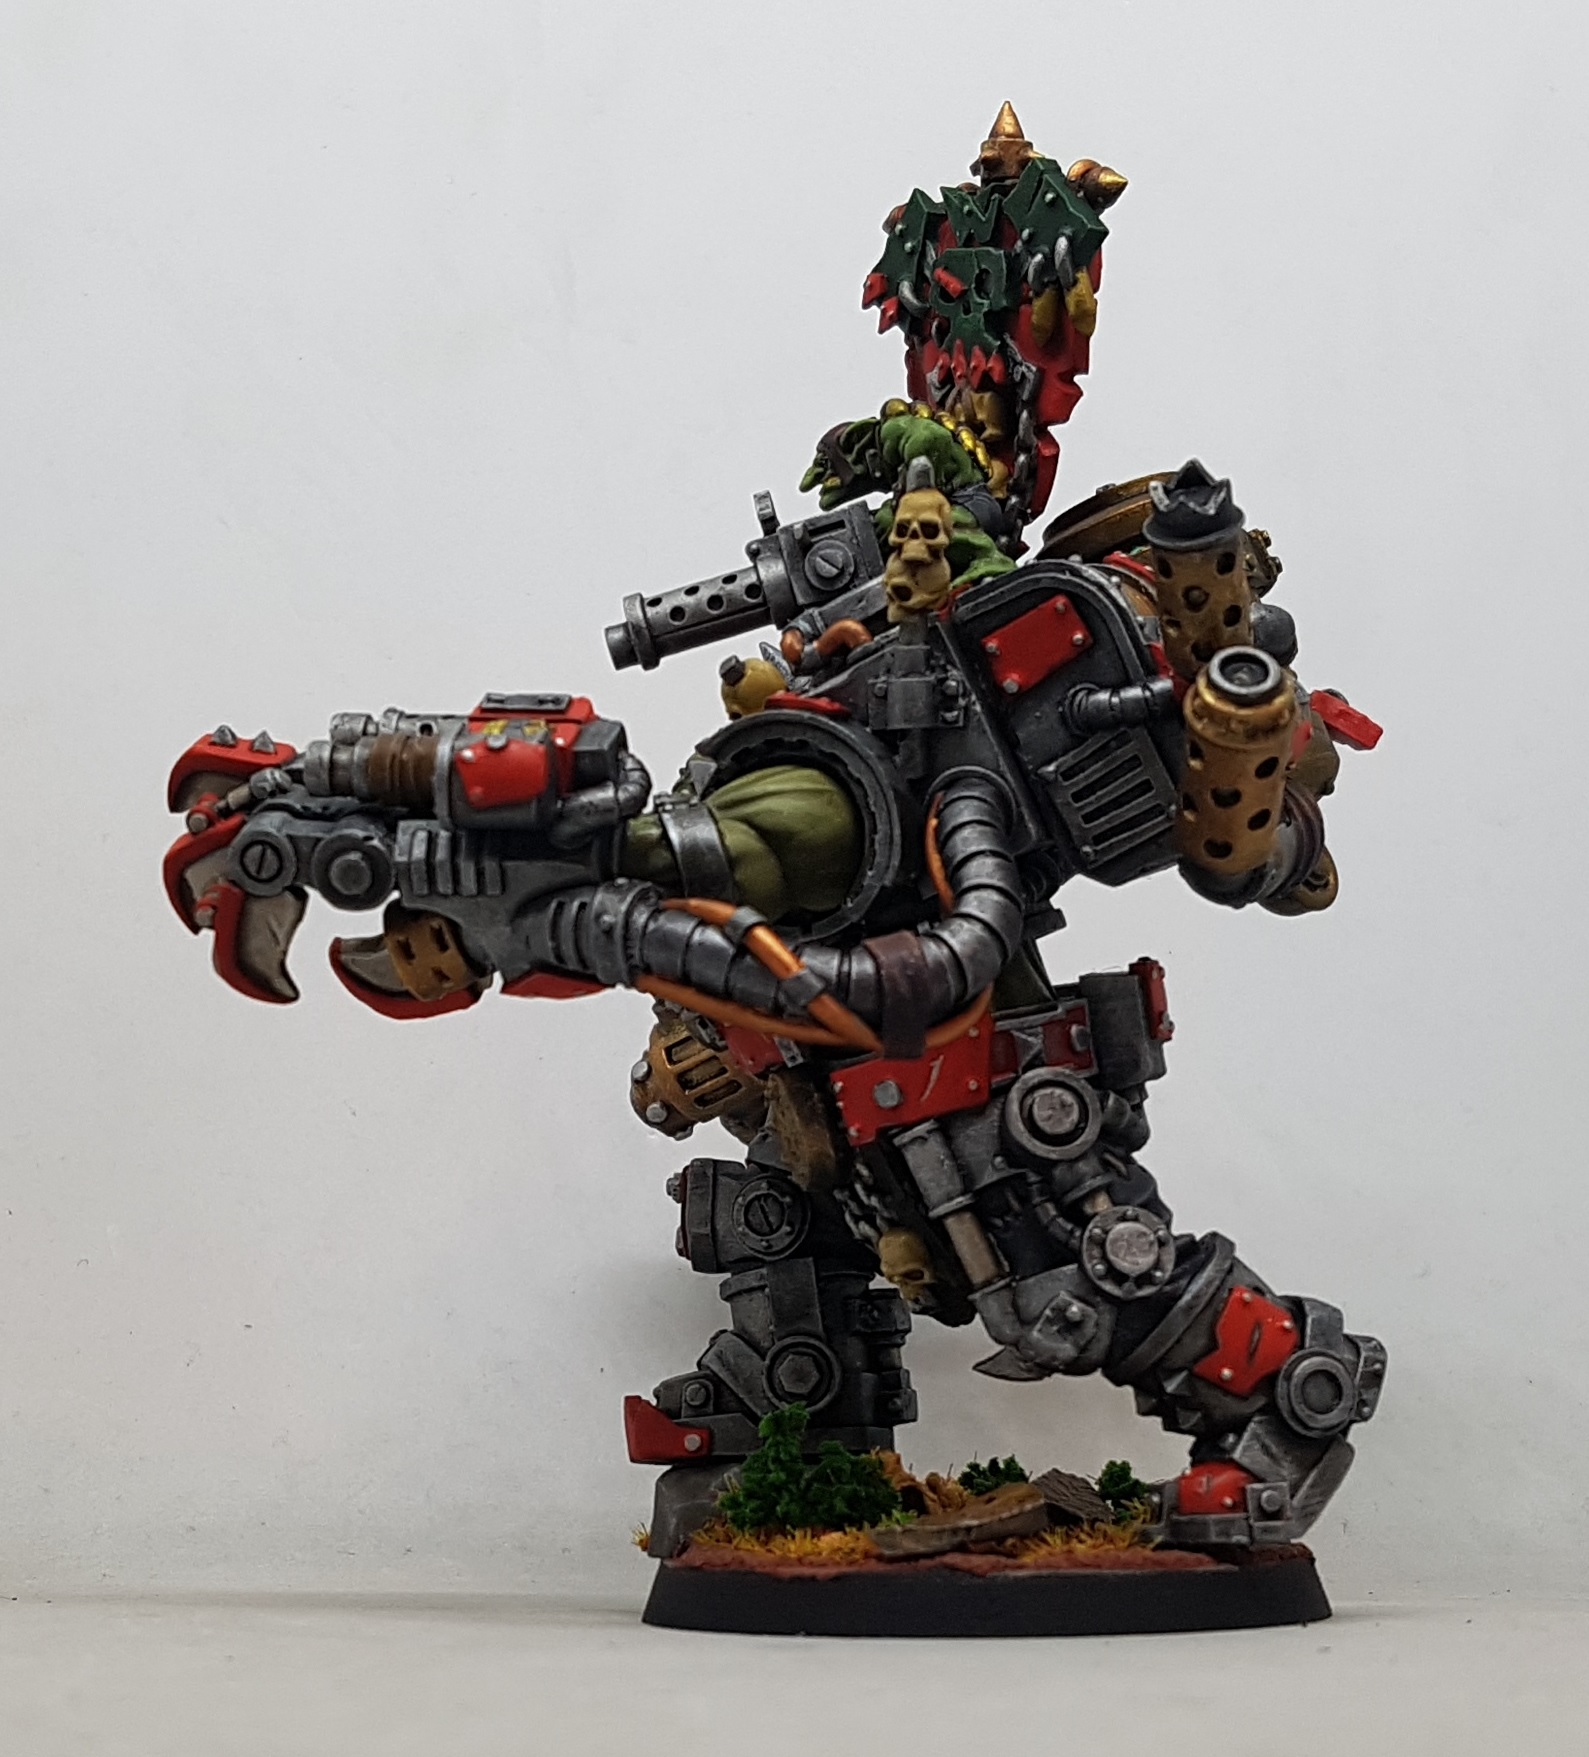
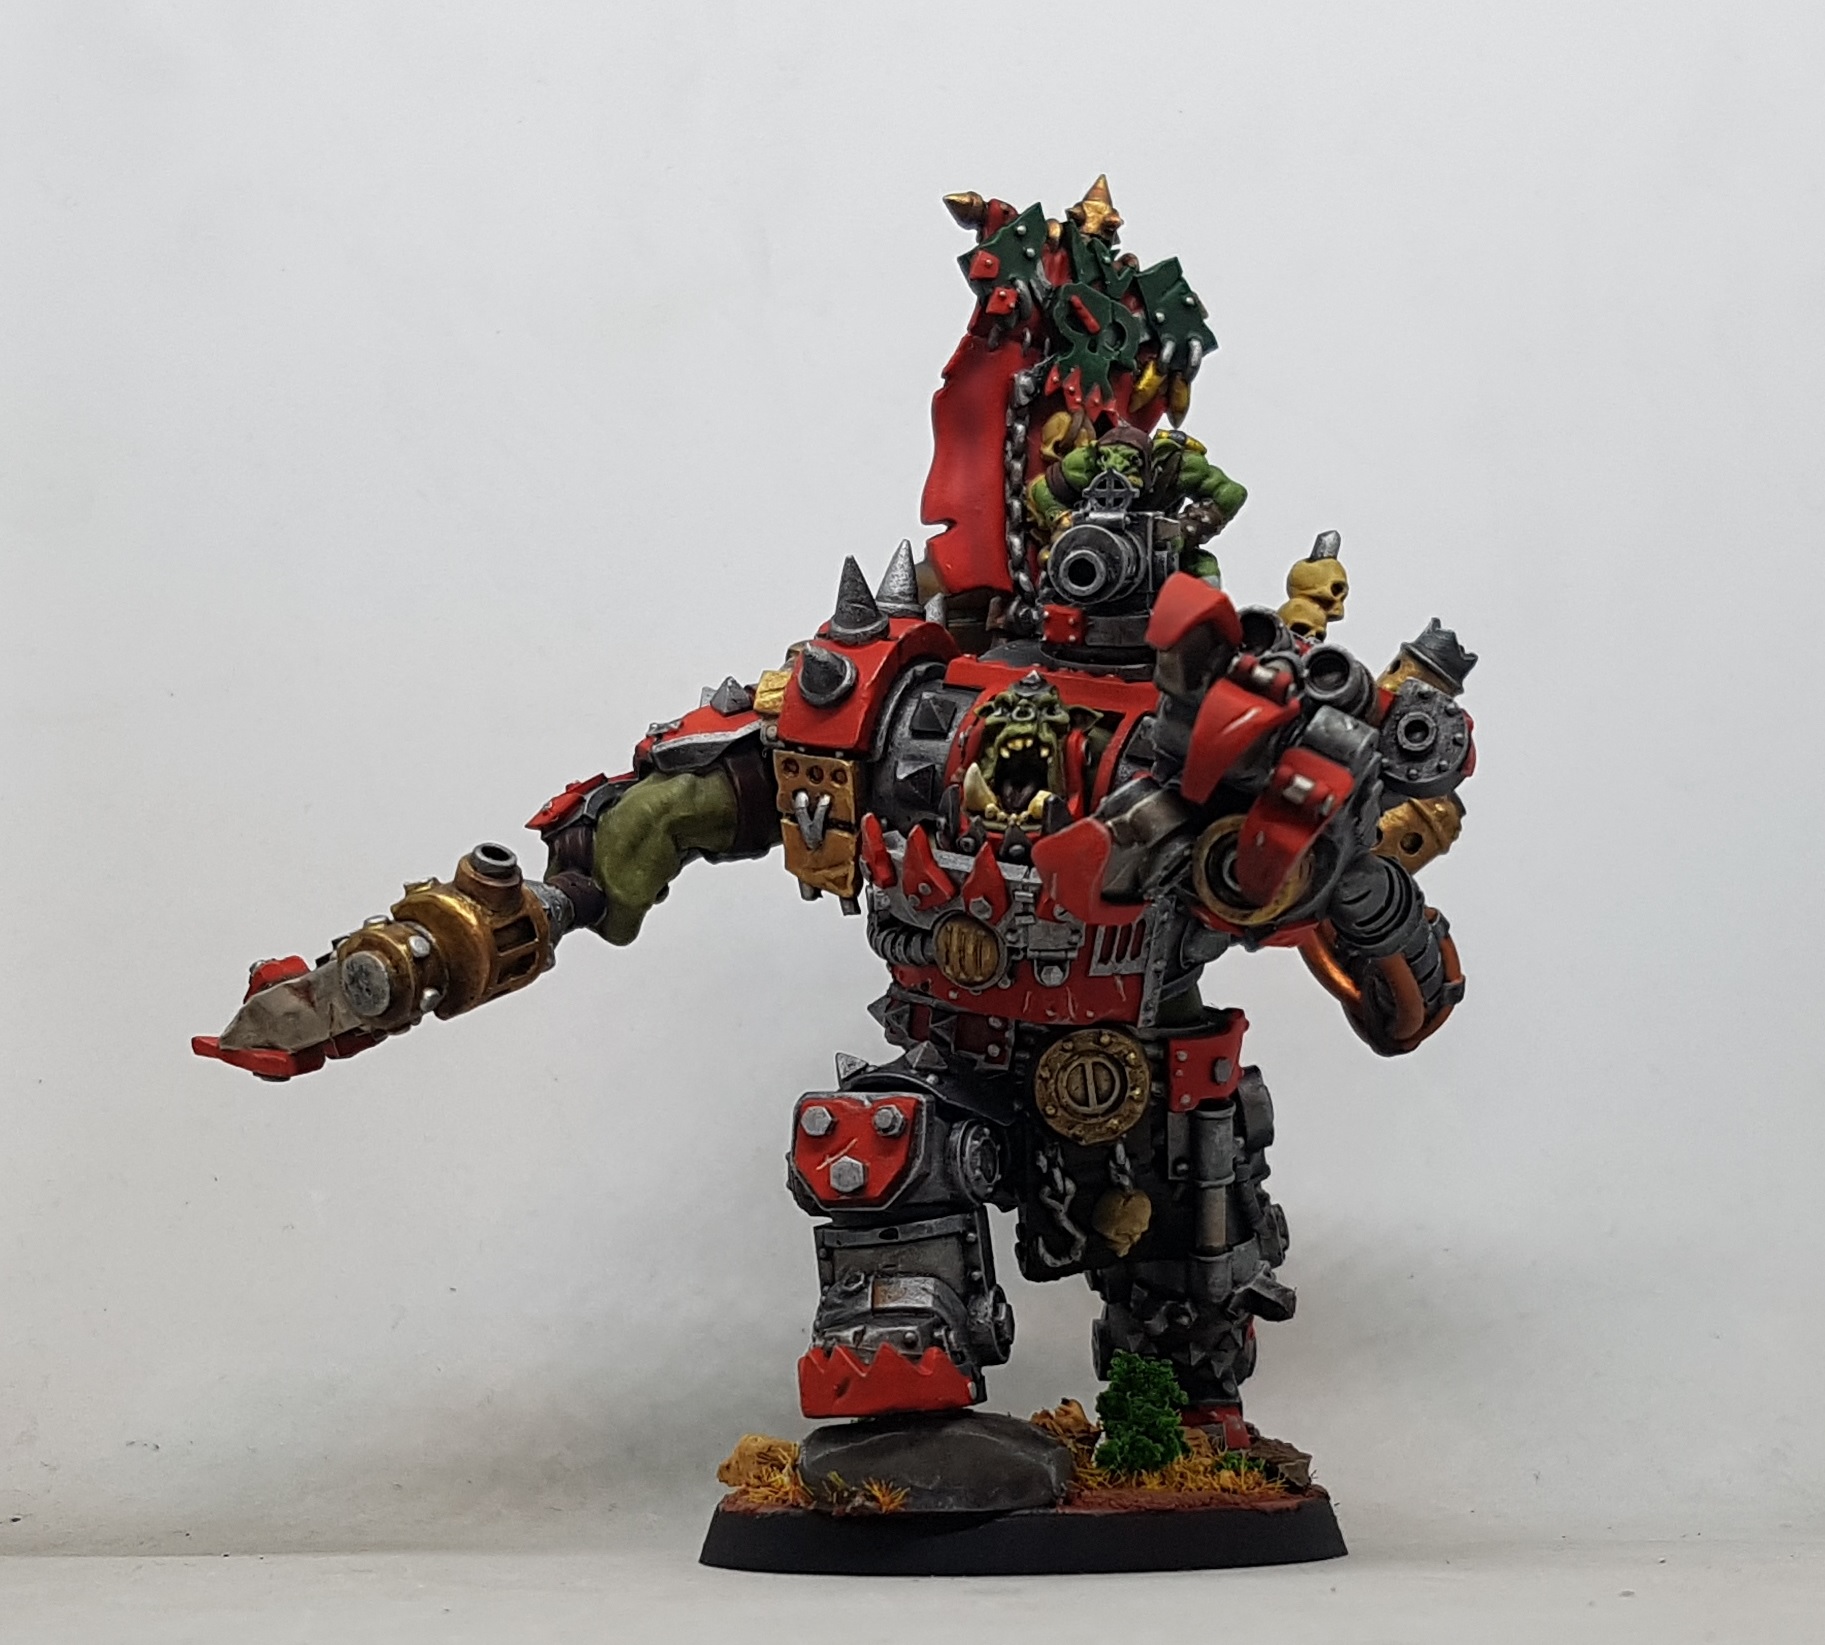
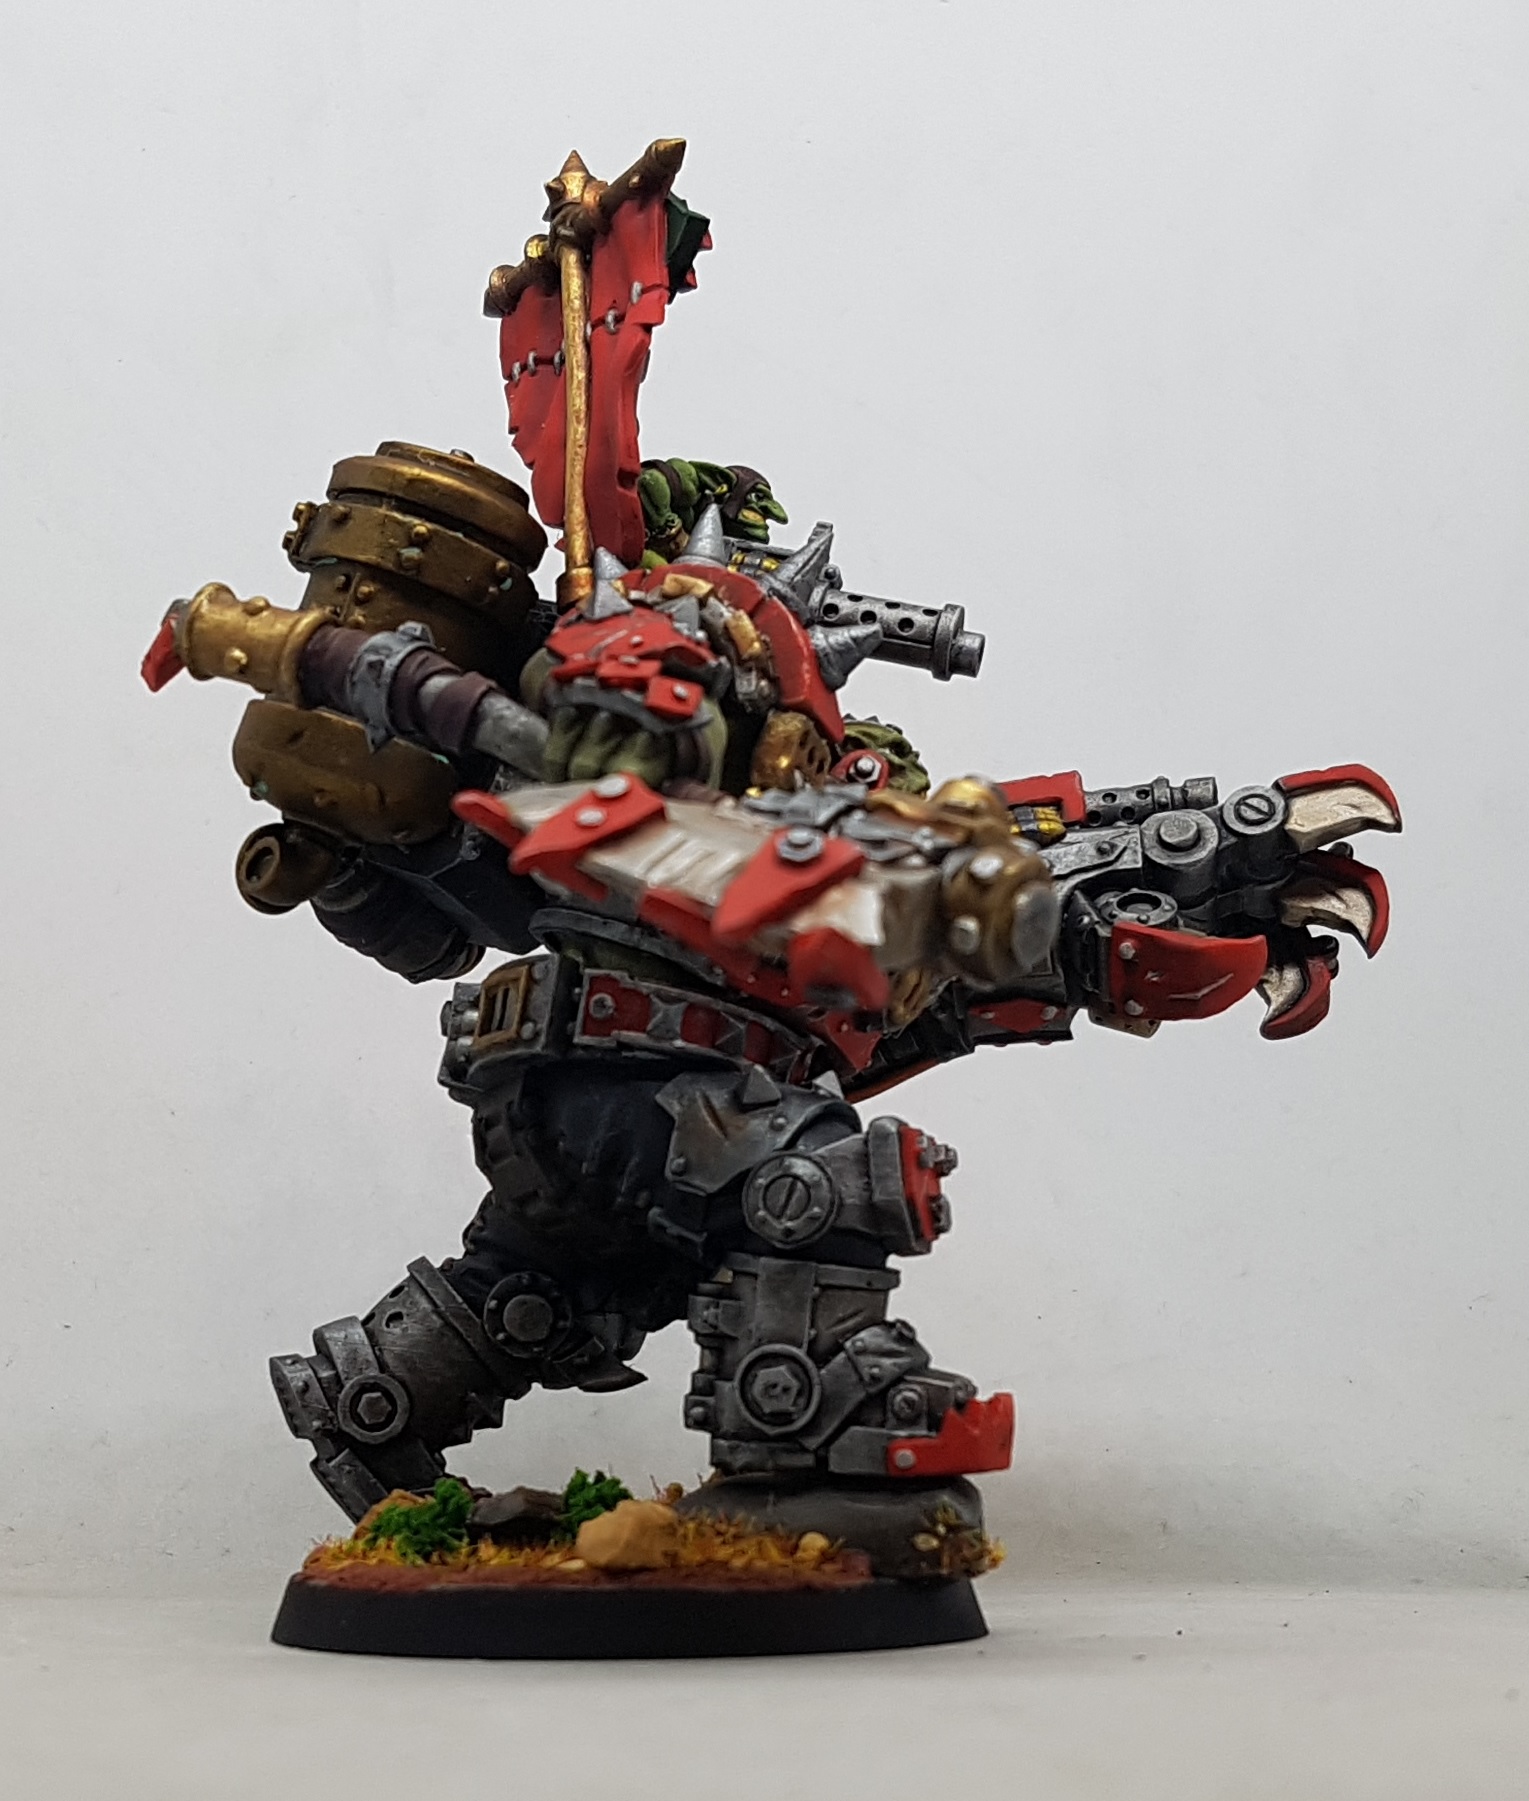
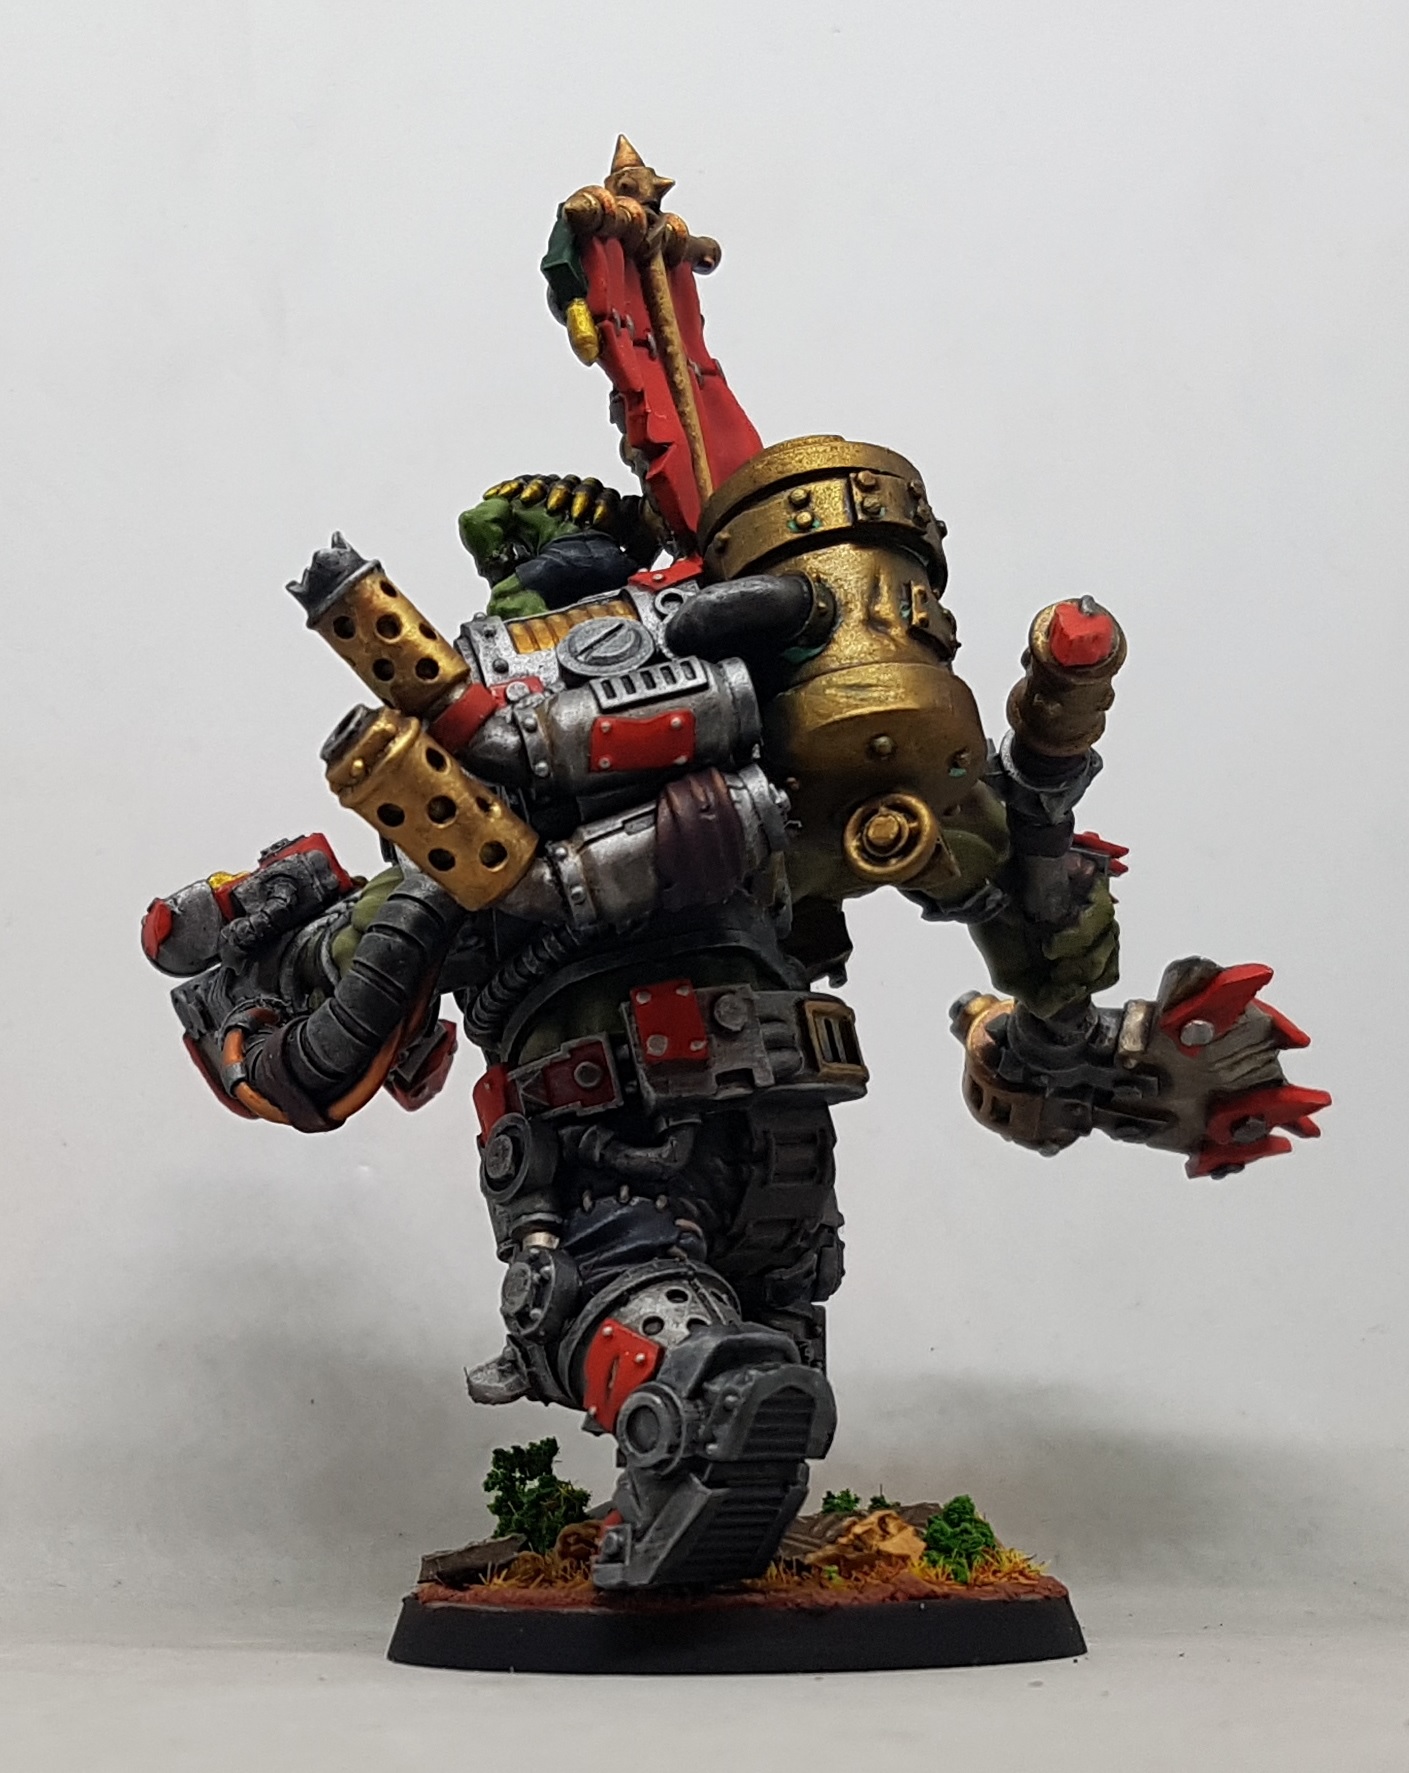
Artel W Iron Boss & Fox Box Comms Gobbo - Completed
I have tried to match the colours to the rest of the army wherever possible. I wanted this guy to both stand out, but still feel a part of the army. He’s all done now. I never fully realised just how big he is until he was finally glued together. I think he looks kinda awesome.

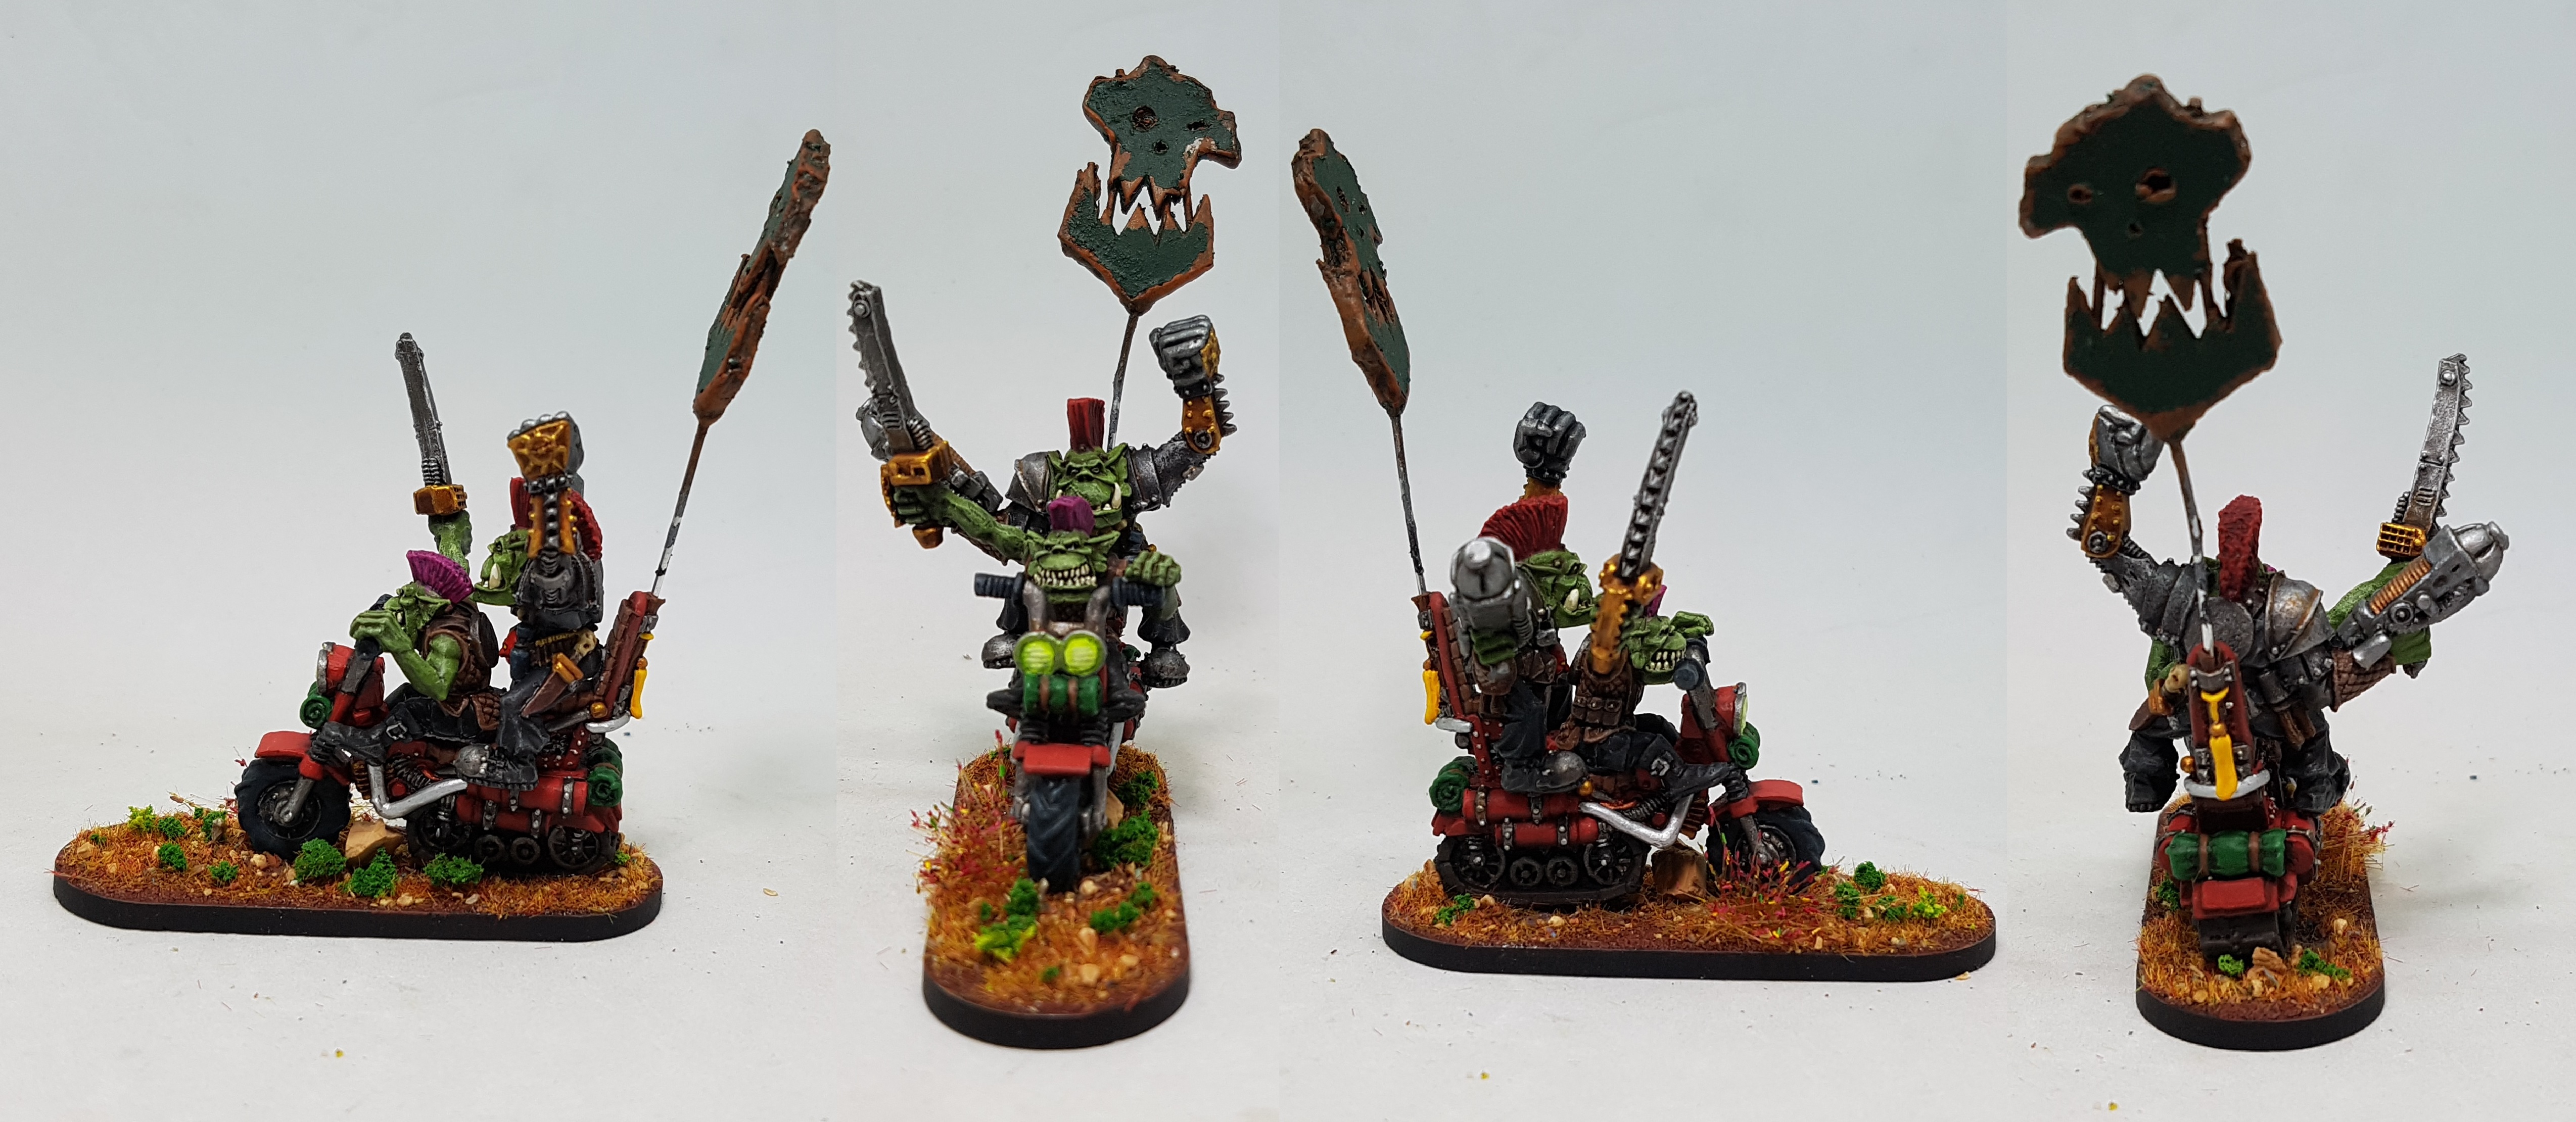
Mantic Marauders Orx Command Sprue kitbashed
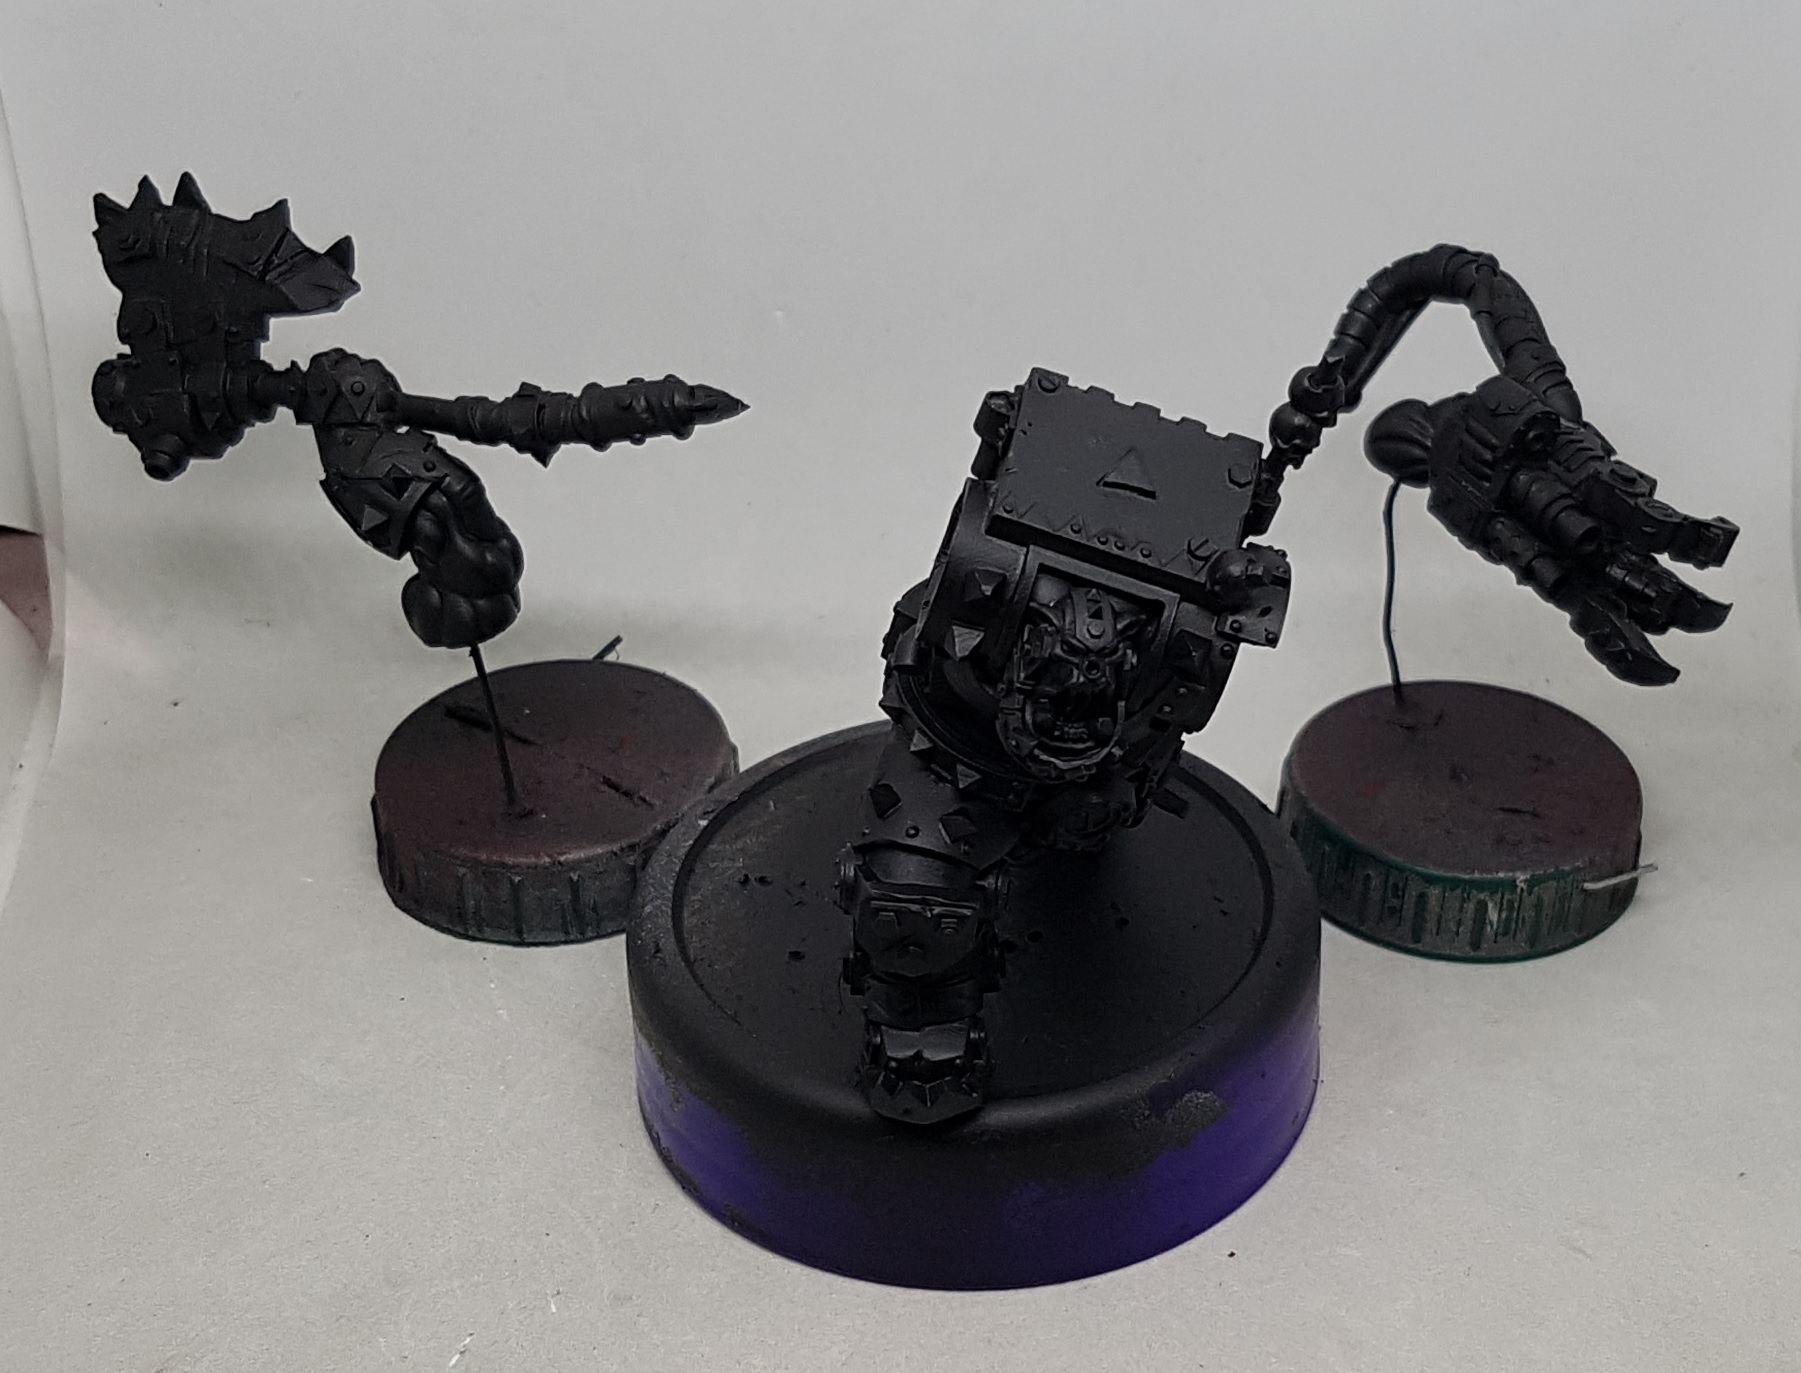
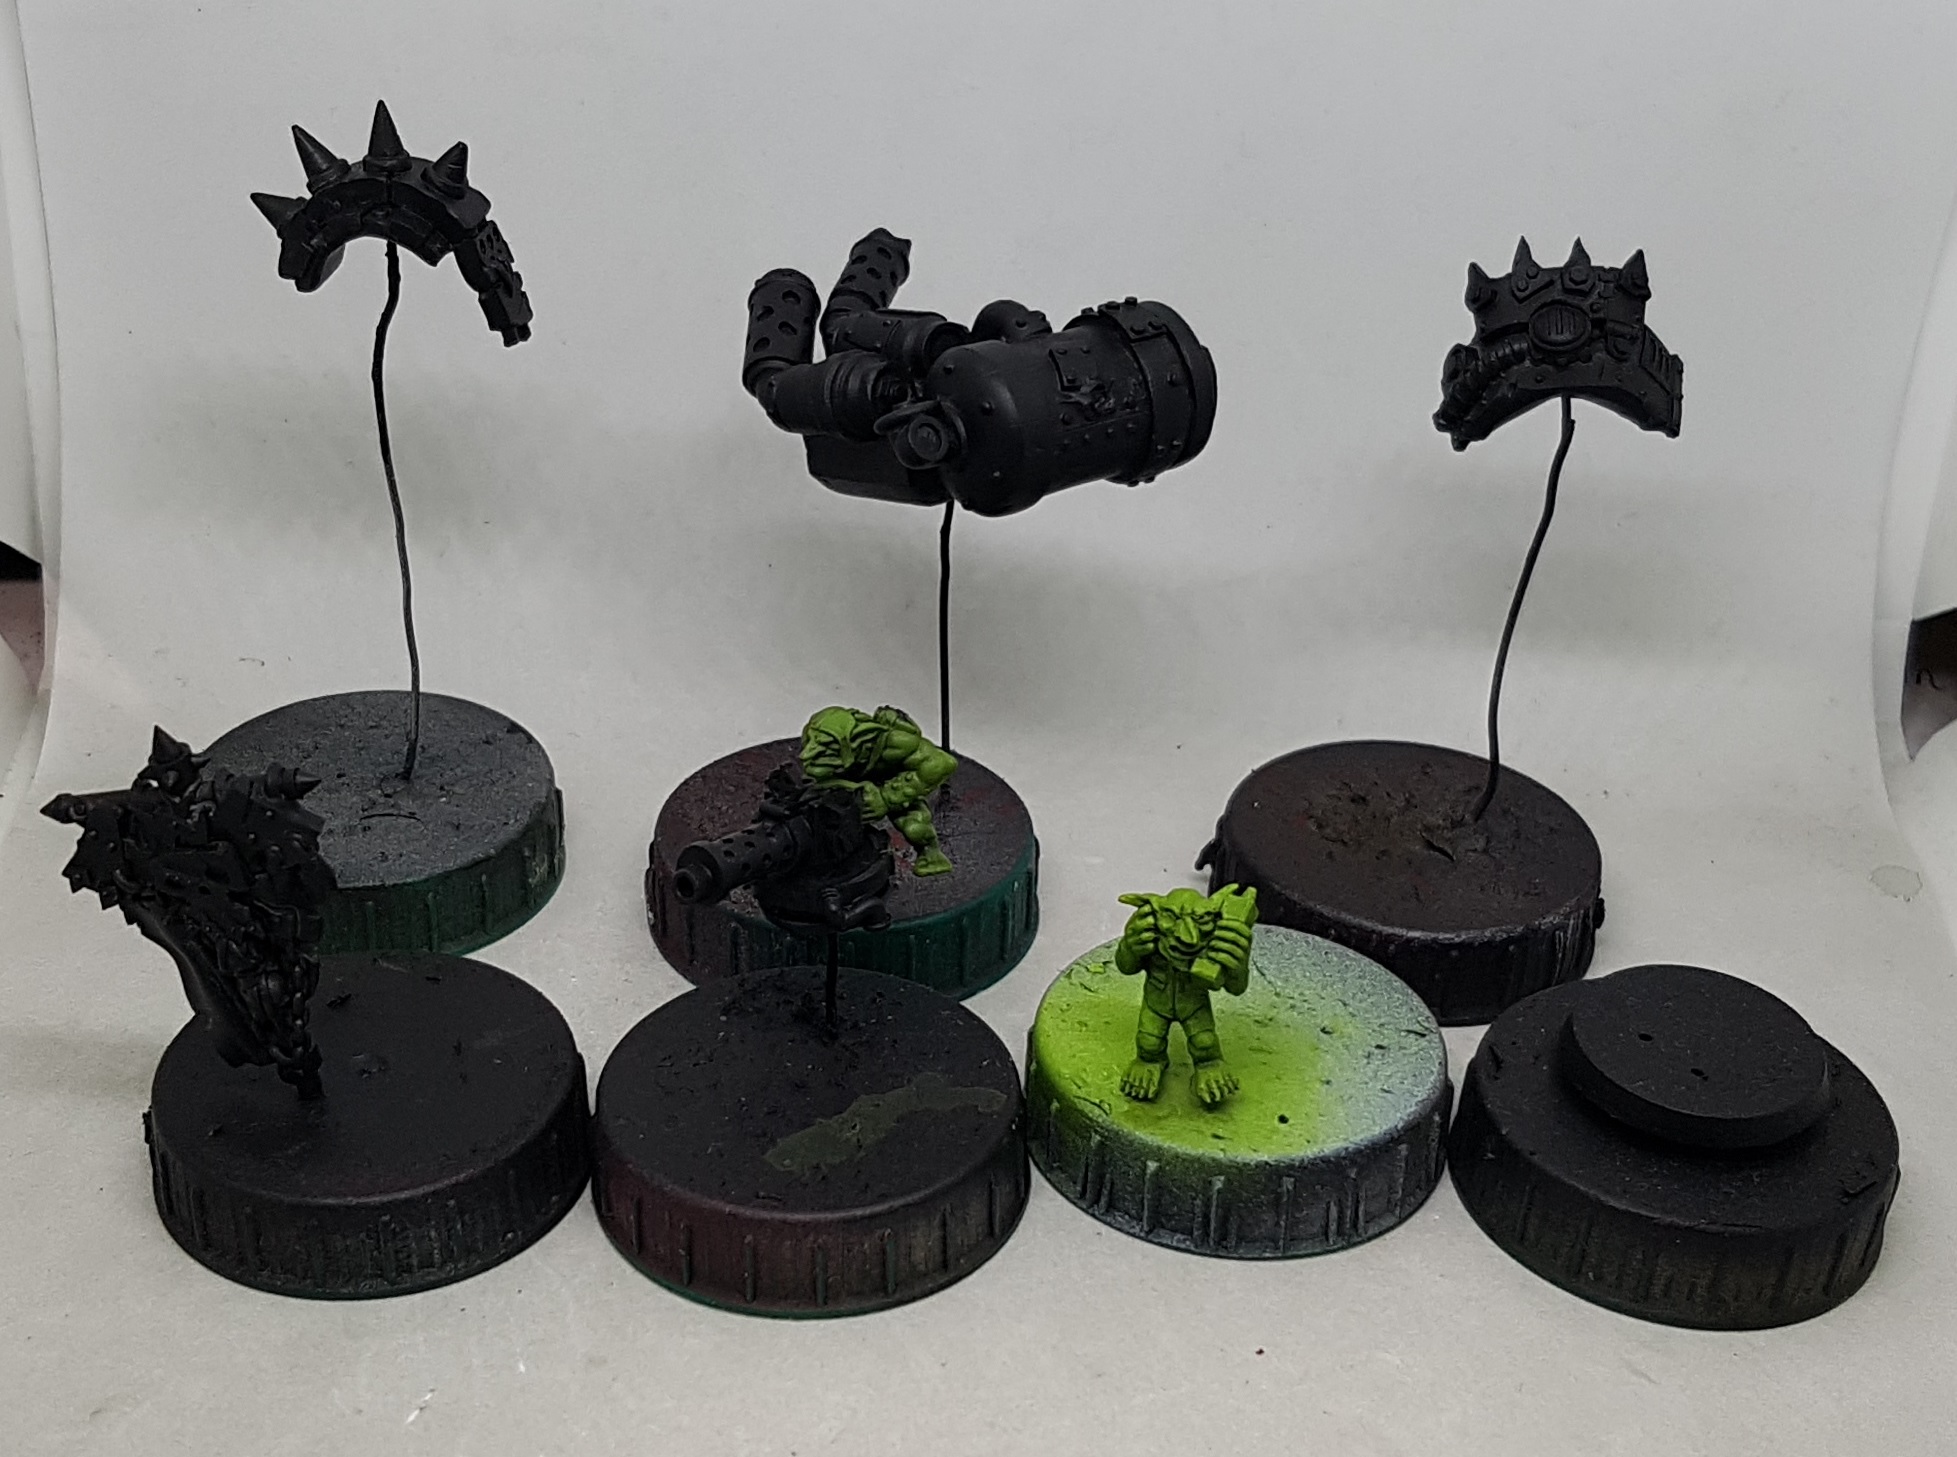
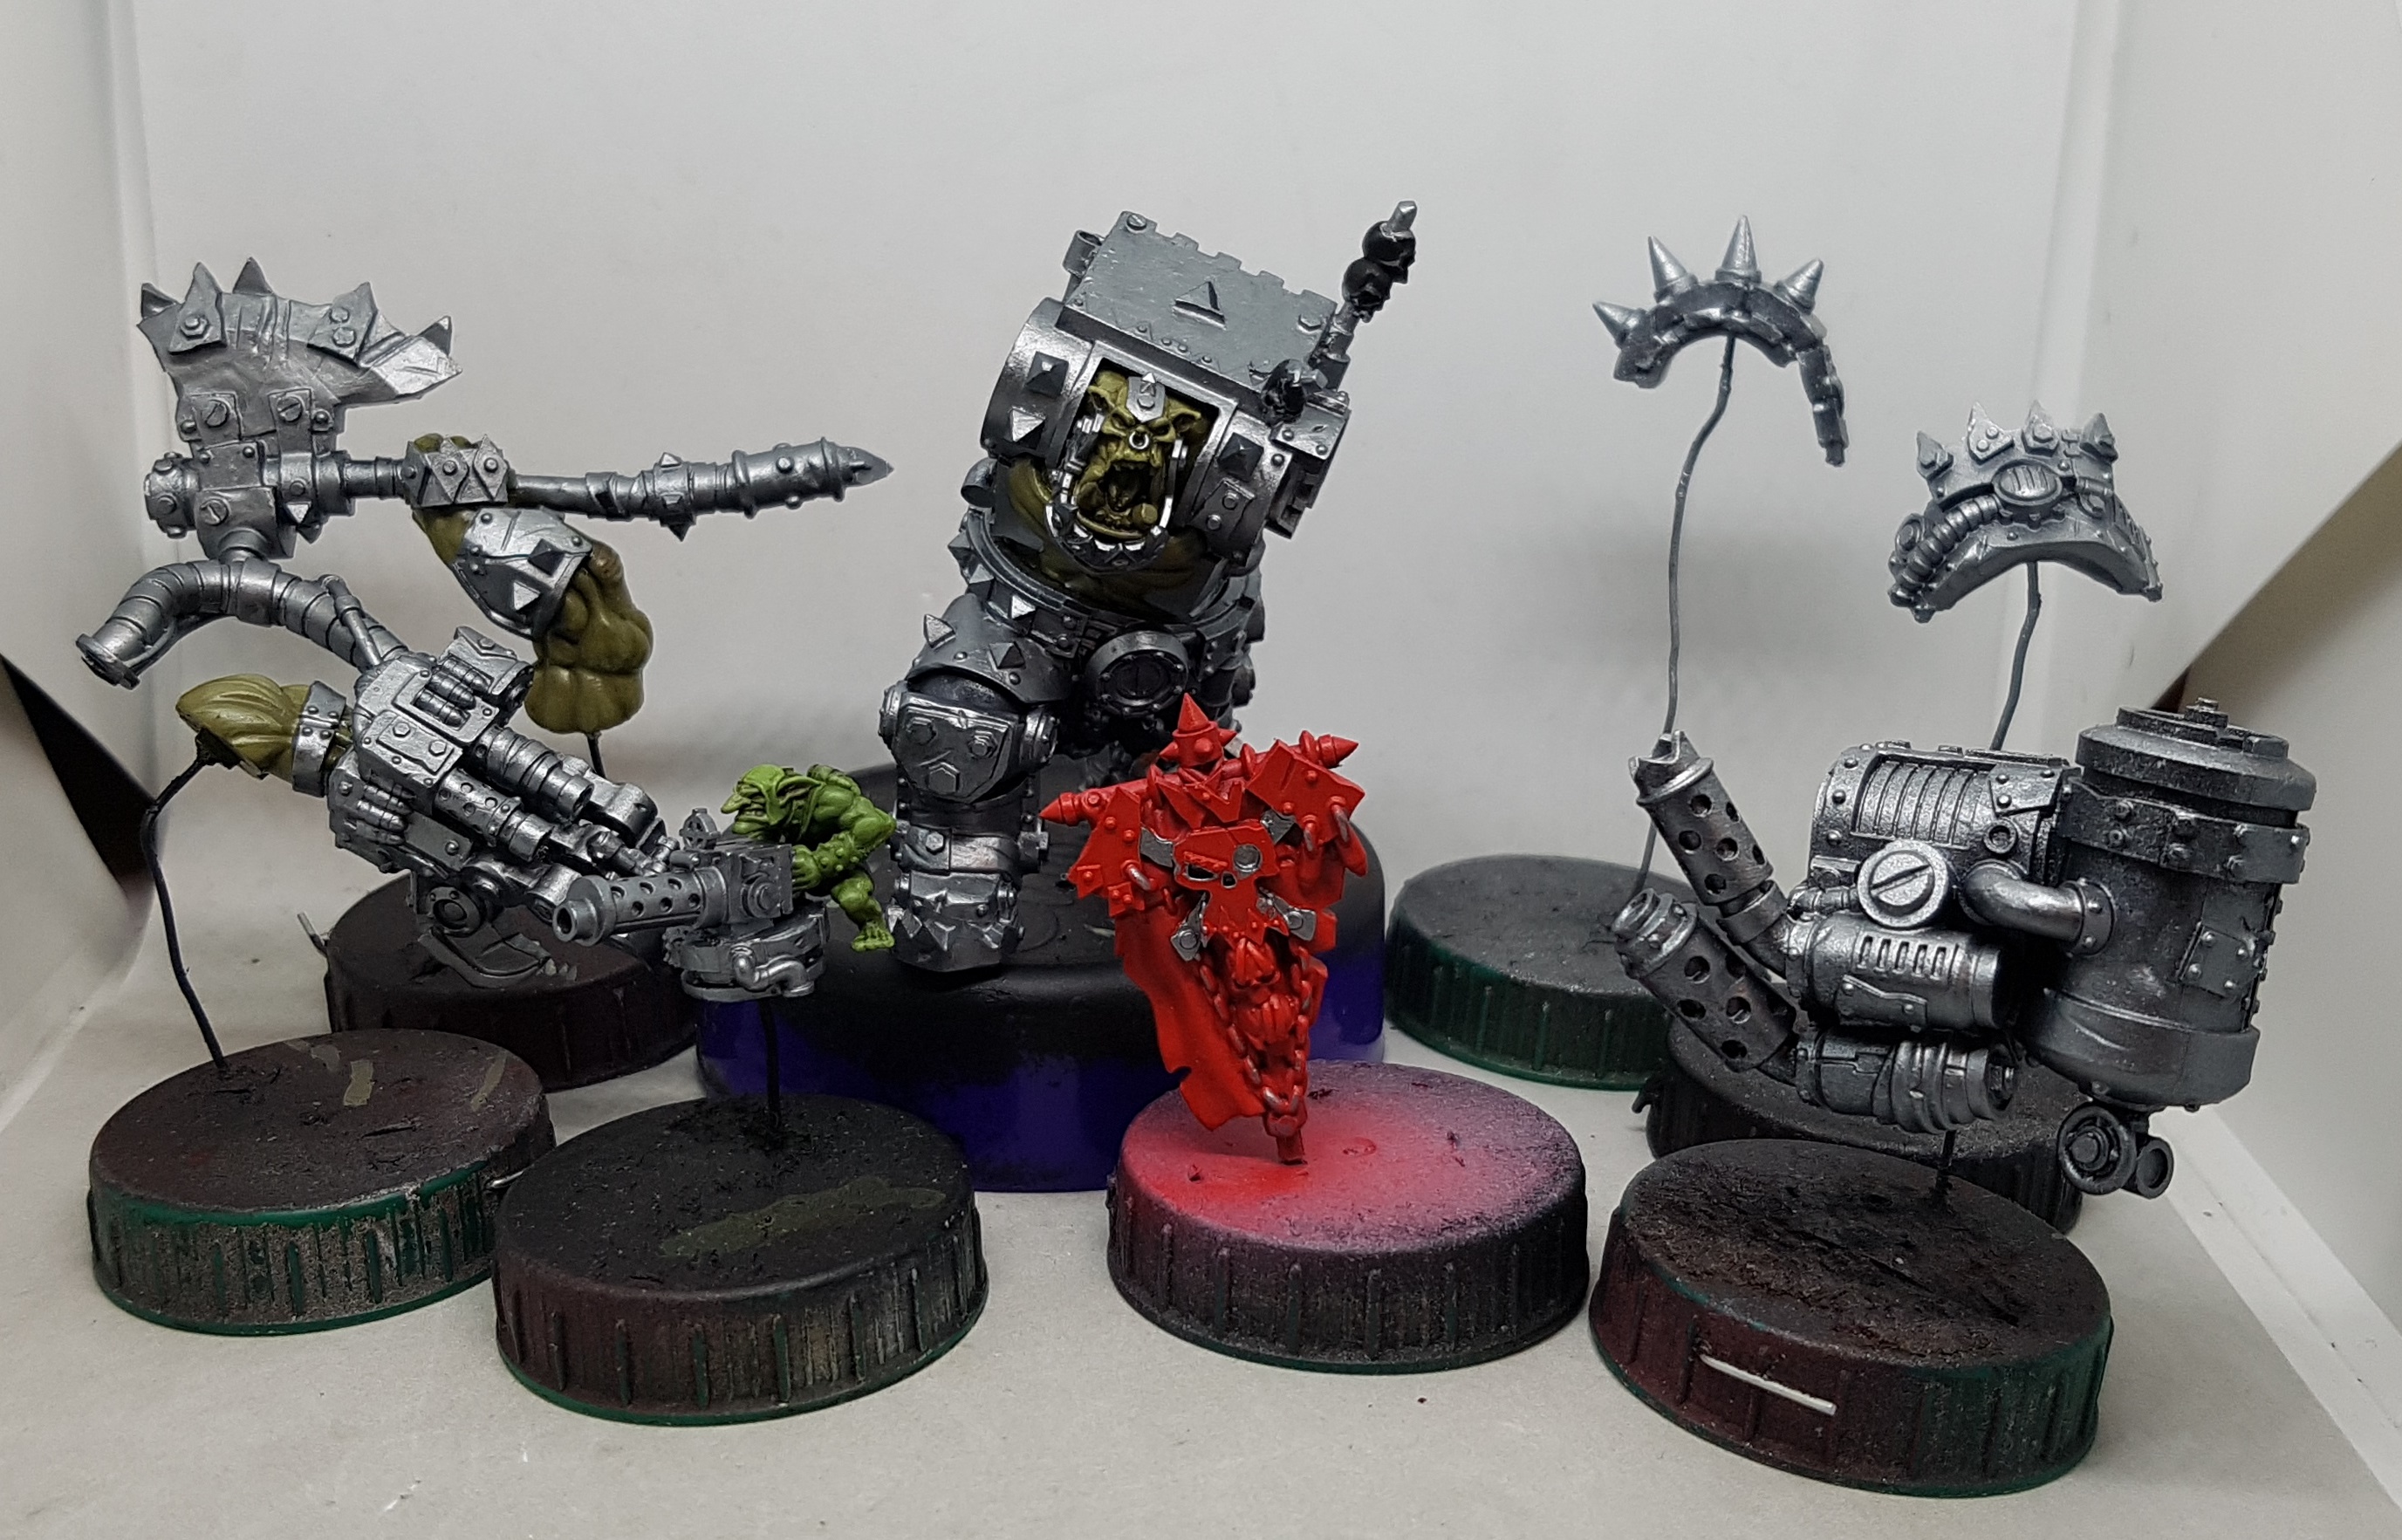
I had 2 old sprues of 2 models lying around and a bucket of spare parts so I thought I’d assemble and paint some proxies for 40k. Seems wrong not to add the pics here. I’ve gone for 2 Ork Warbosses and 2 Painboys. Those metal hands just say Painboy proxy to me.