


![NO Weekender Or Cult Of Games XLBS This Weekend [Updated]](https://images.beastsofwar.com/2026/03/No_Weekender_and_XLBS_this_Weekend-225-127.jpg)


The End is Nigh: Deadlands


Recommendations: 354
About the Project
For my “The End is Nigh” terrain challenge entry, I will be producing a full-blown nightmare landscape, known as a Deadland, in the award winning, Weird West, Deadlands RPG setting, as well as the Great Rail Wars miniatures game and some board and living card games, by Pinnacle Entertainment Group, first published in 1996 and still going strong with it’s Reloaded version using their Savage Worlds engine. In the setting there are some evil spirits that are attempting to turn the world into a true Hell on Earth by causing more and more fear throughout the land which causes even the landscape to warp. The end goal is the world to become a Deadland at which time these spirits can freely walk the earth.
Related Game: Savage Worlds
Related Genre: Western
This Project is Active
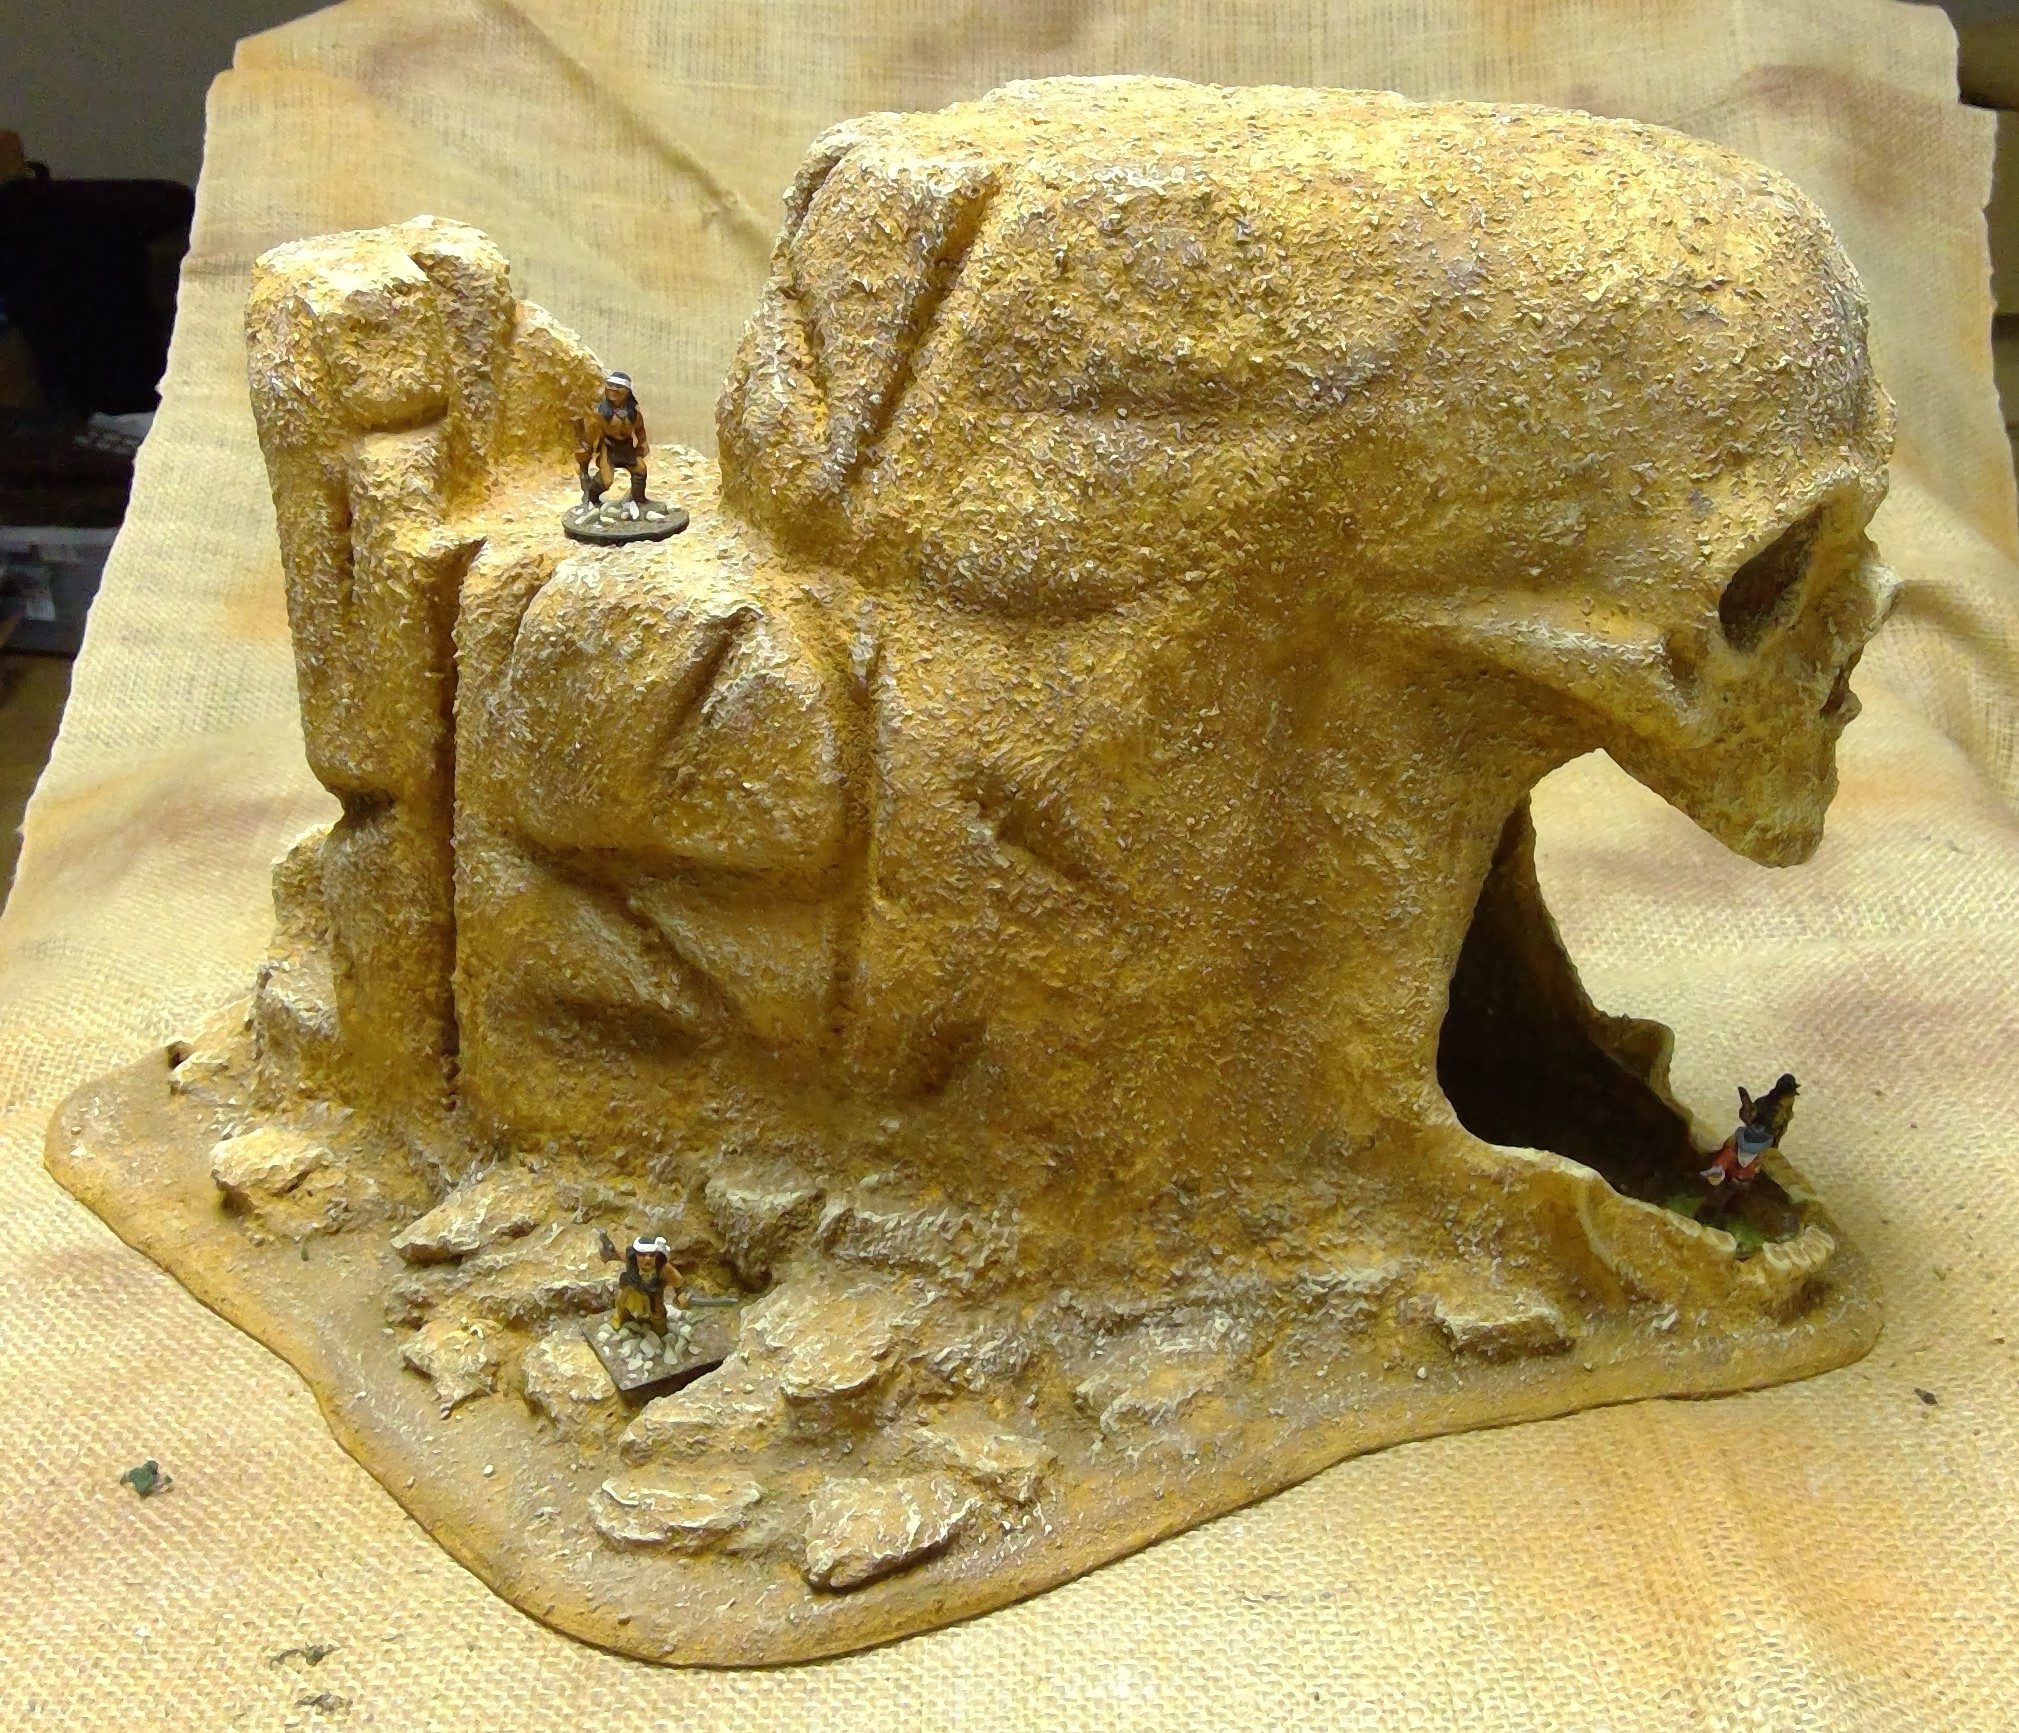
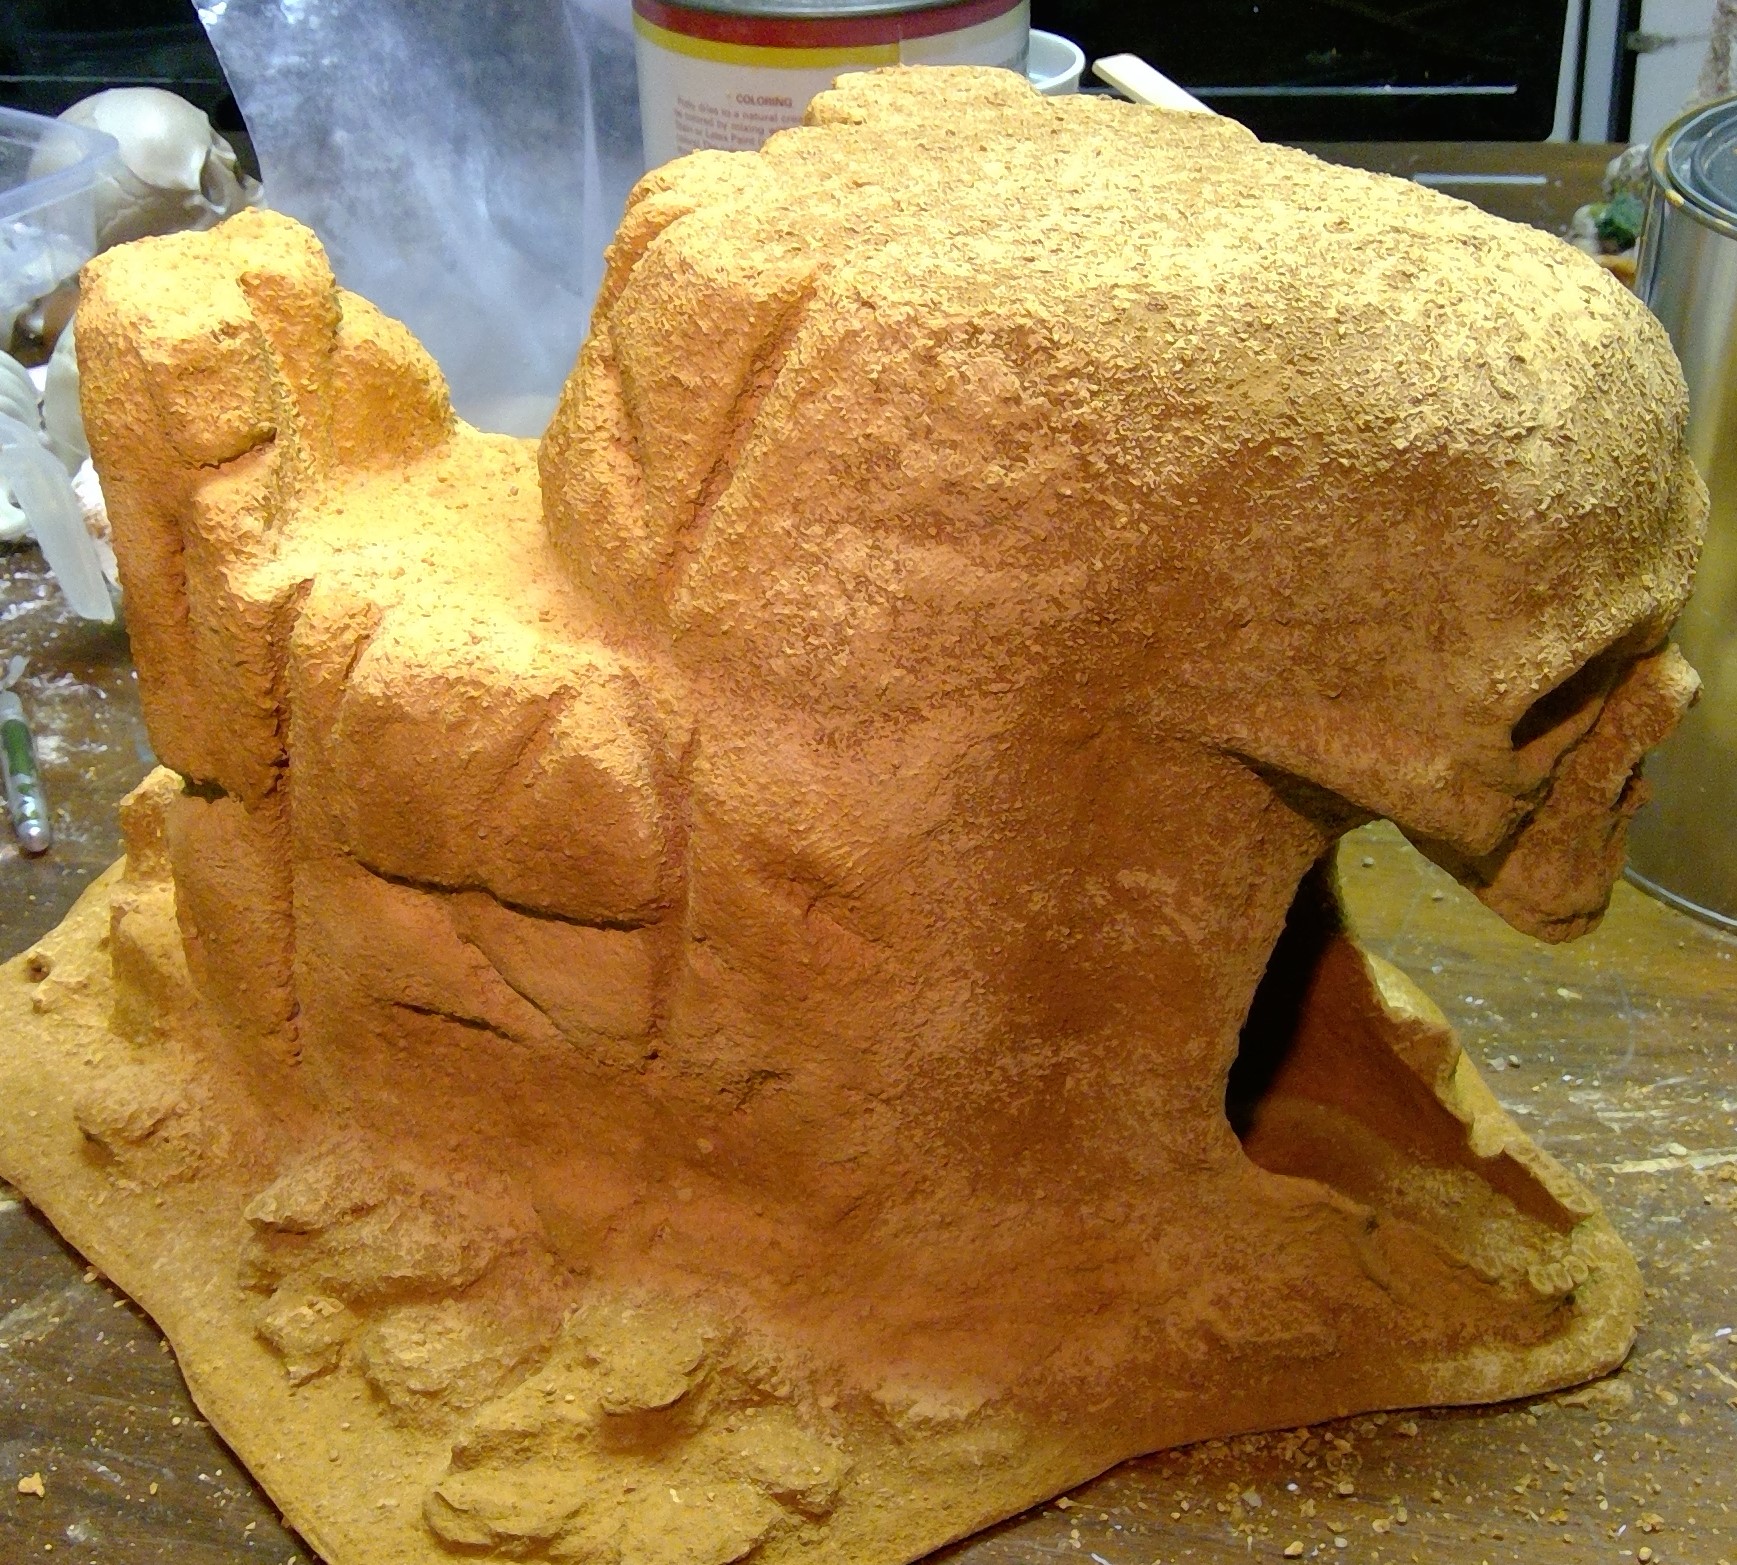
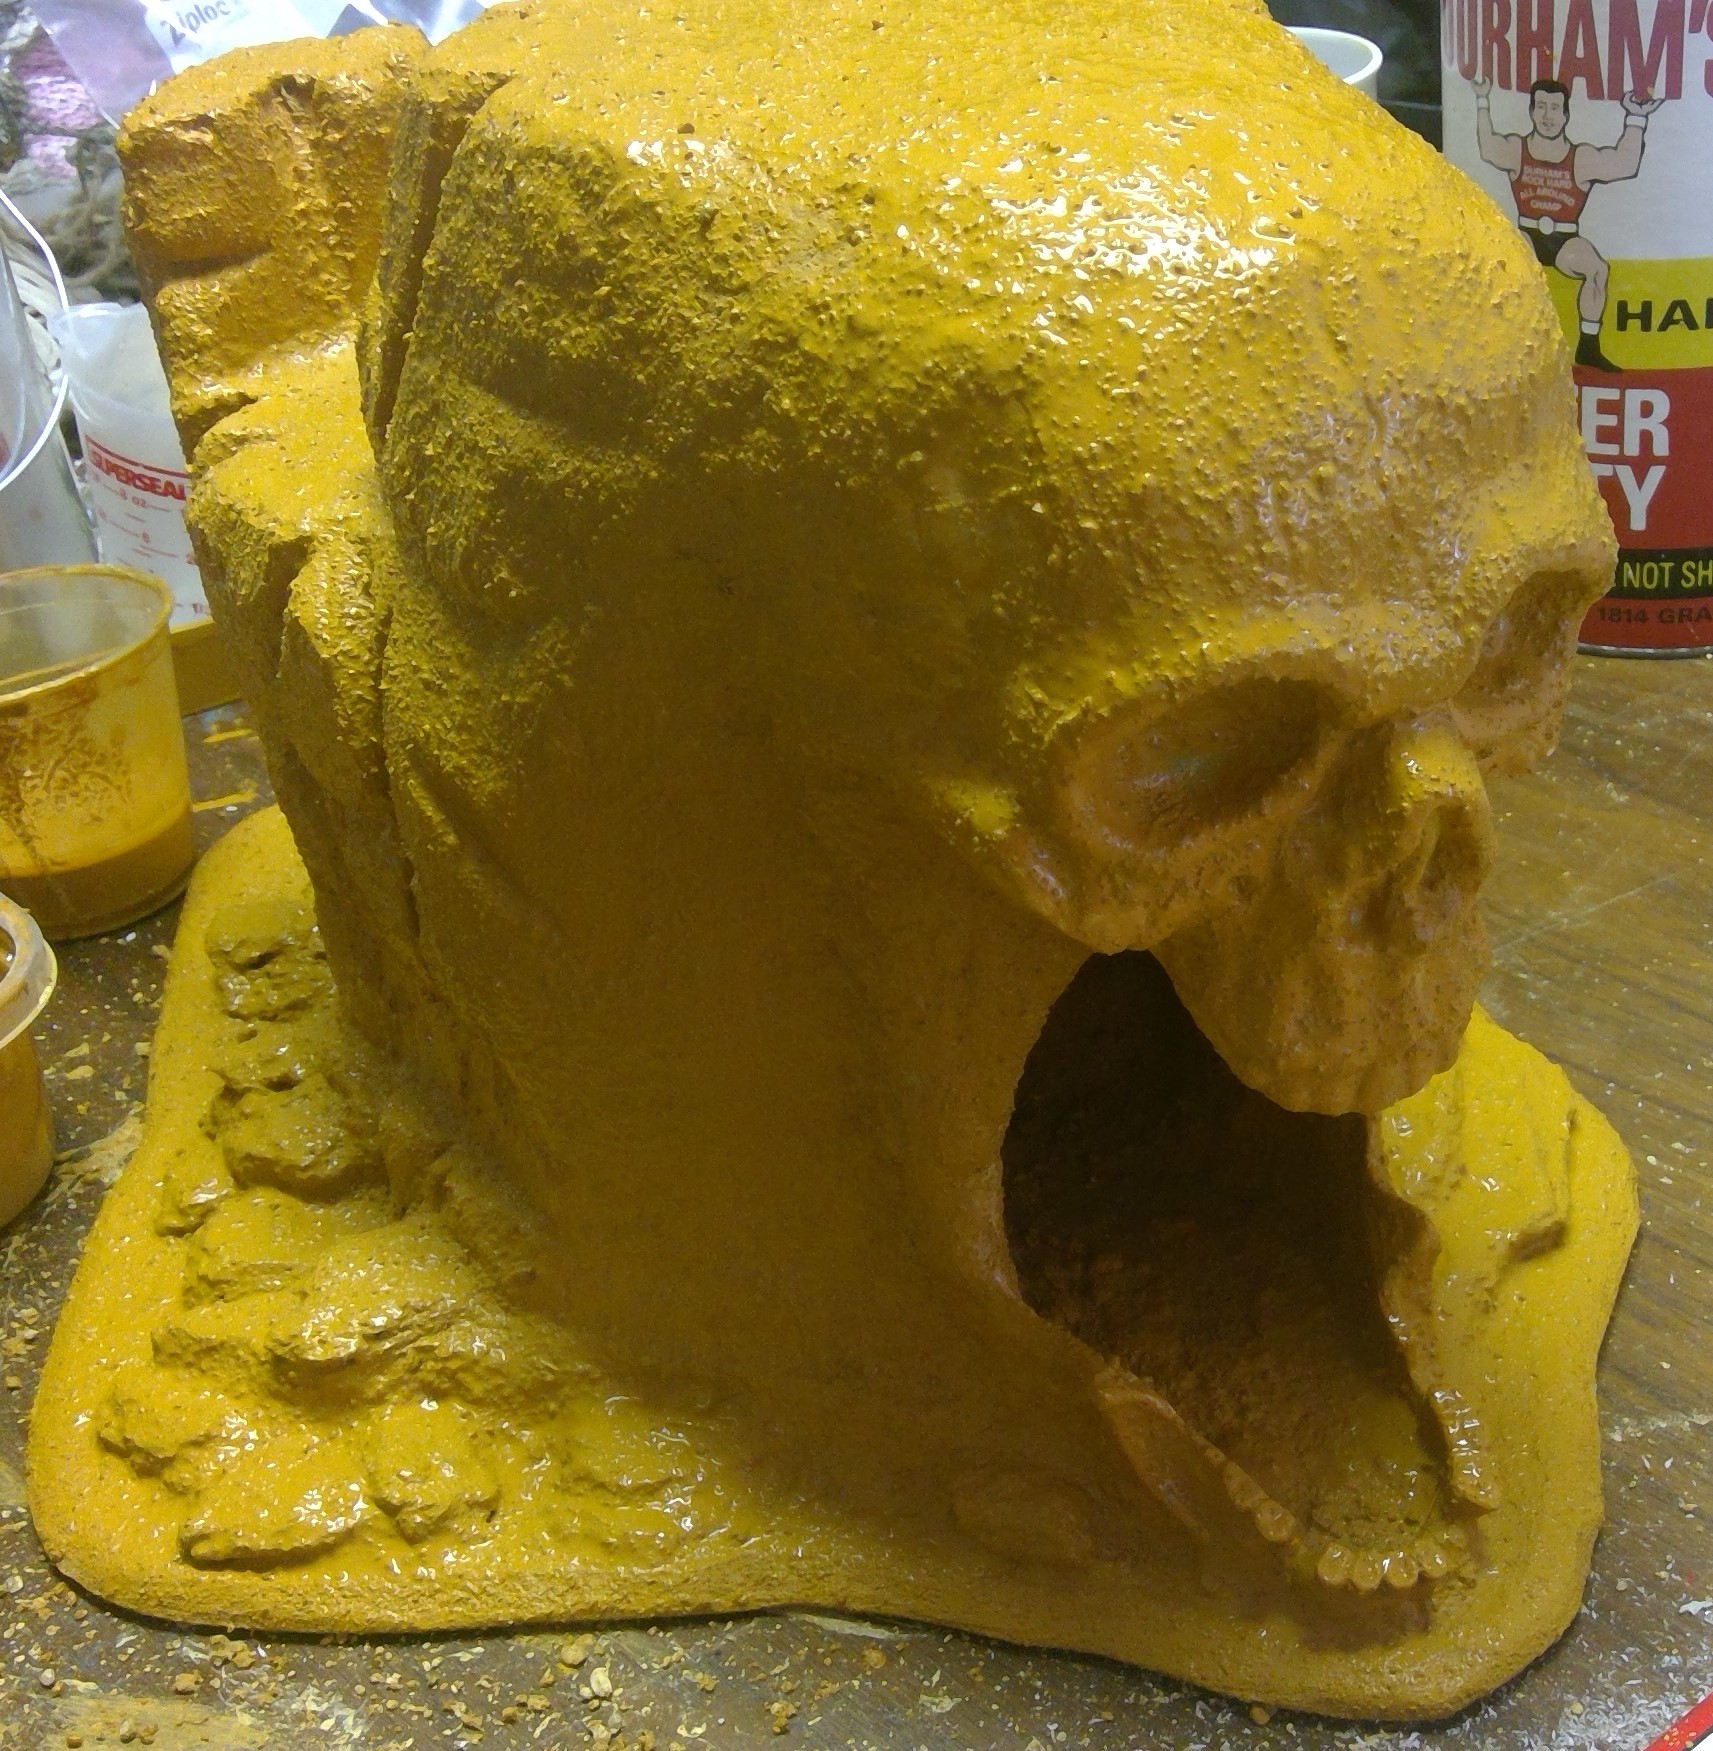
Skull Cave Mesa Complete
The first piece of deadland is complete and the fear level has increased. I may still add a few “bushes” and or tufts around the rocks on the base.
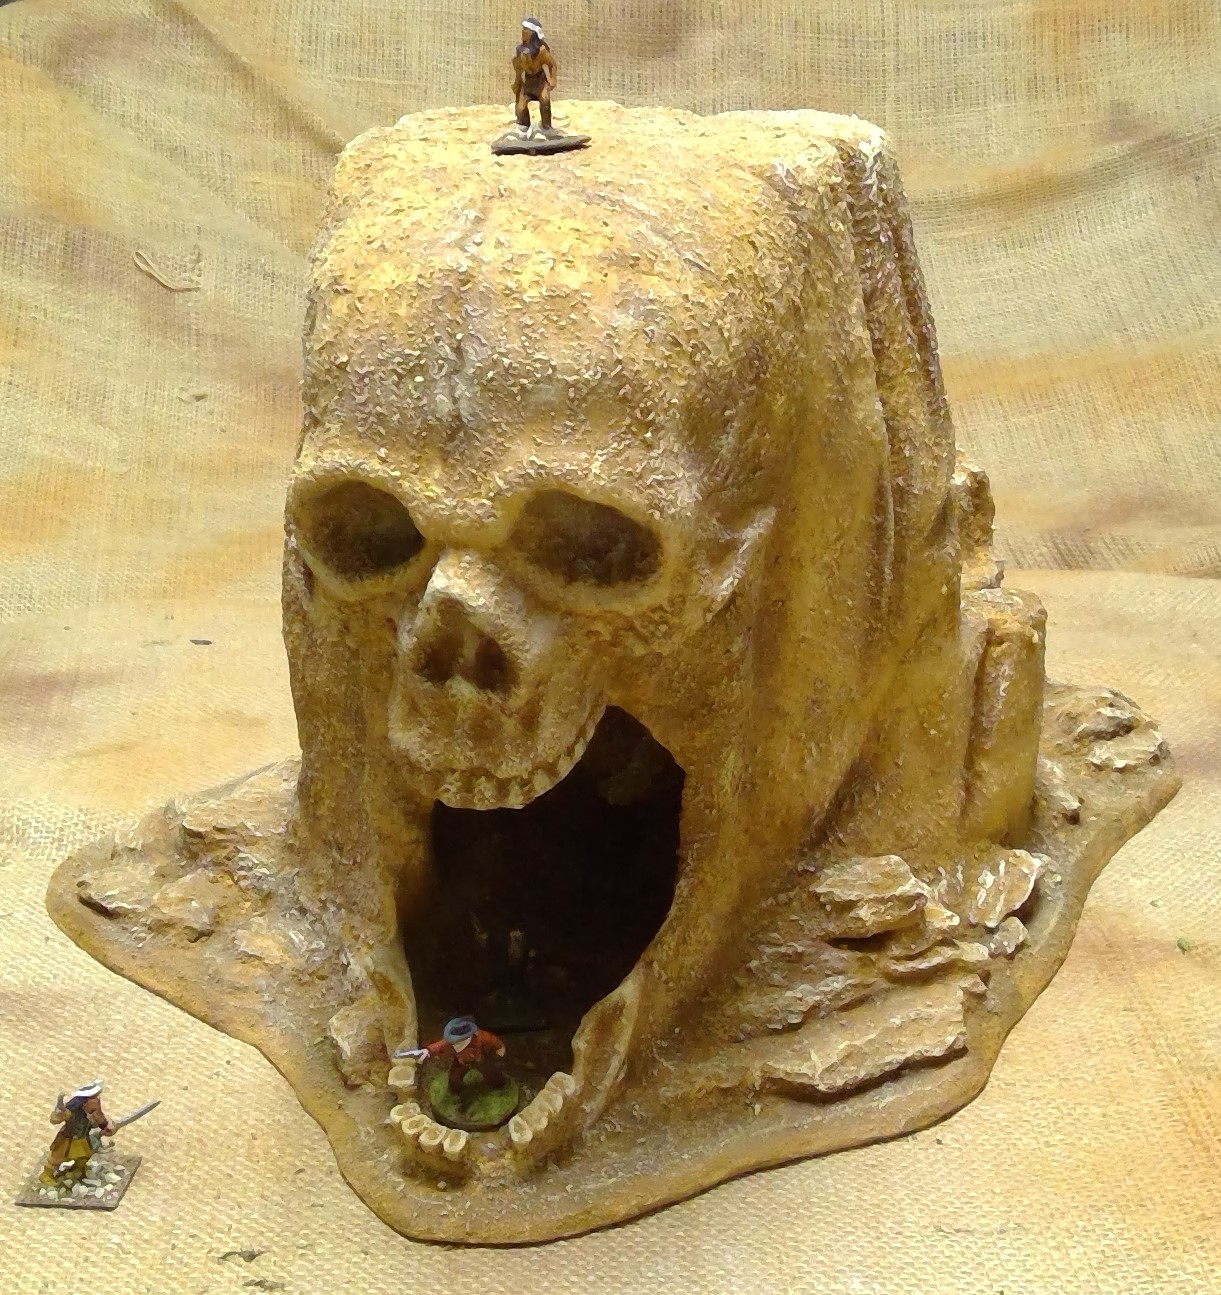

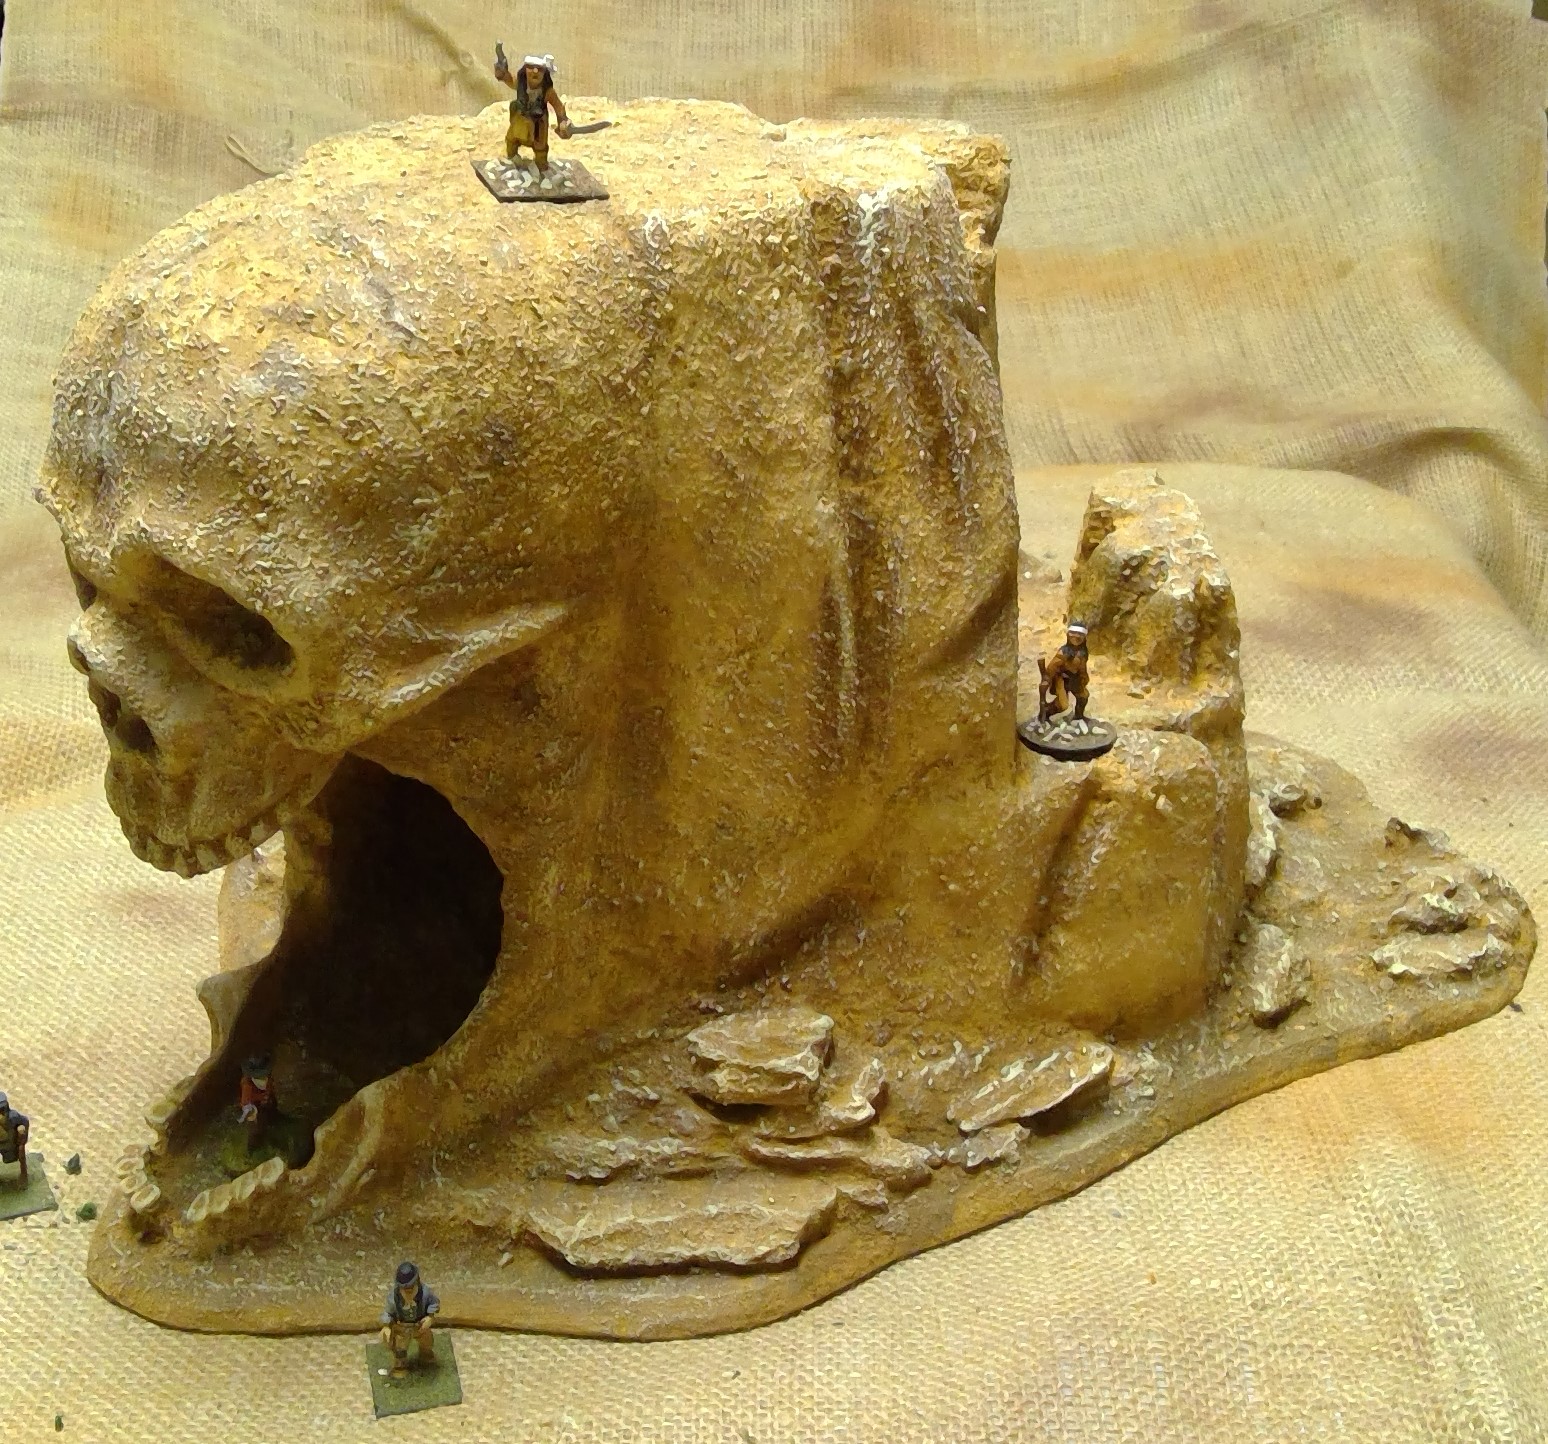
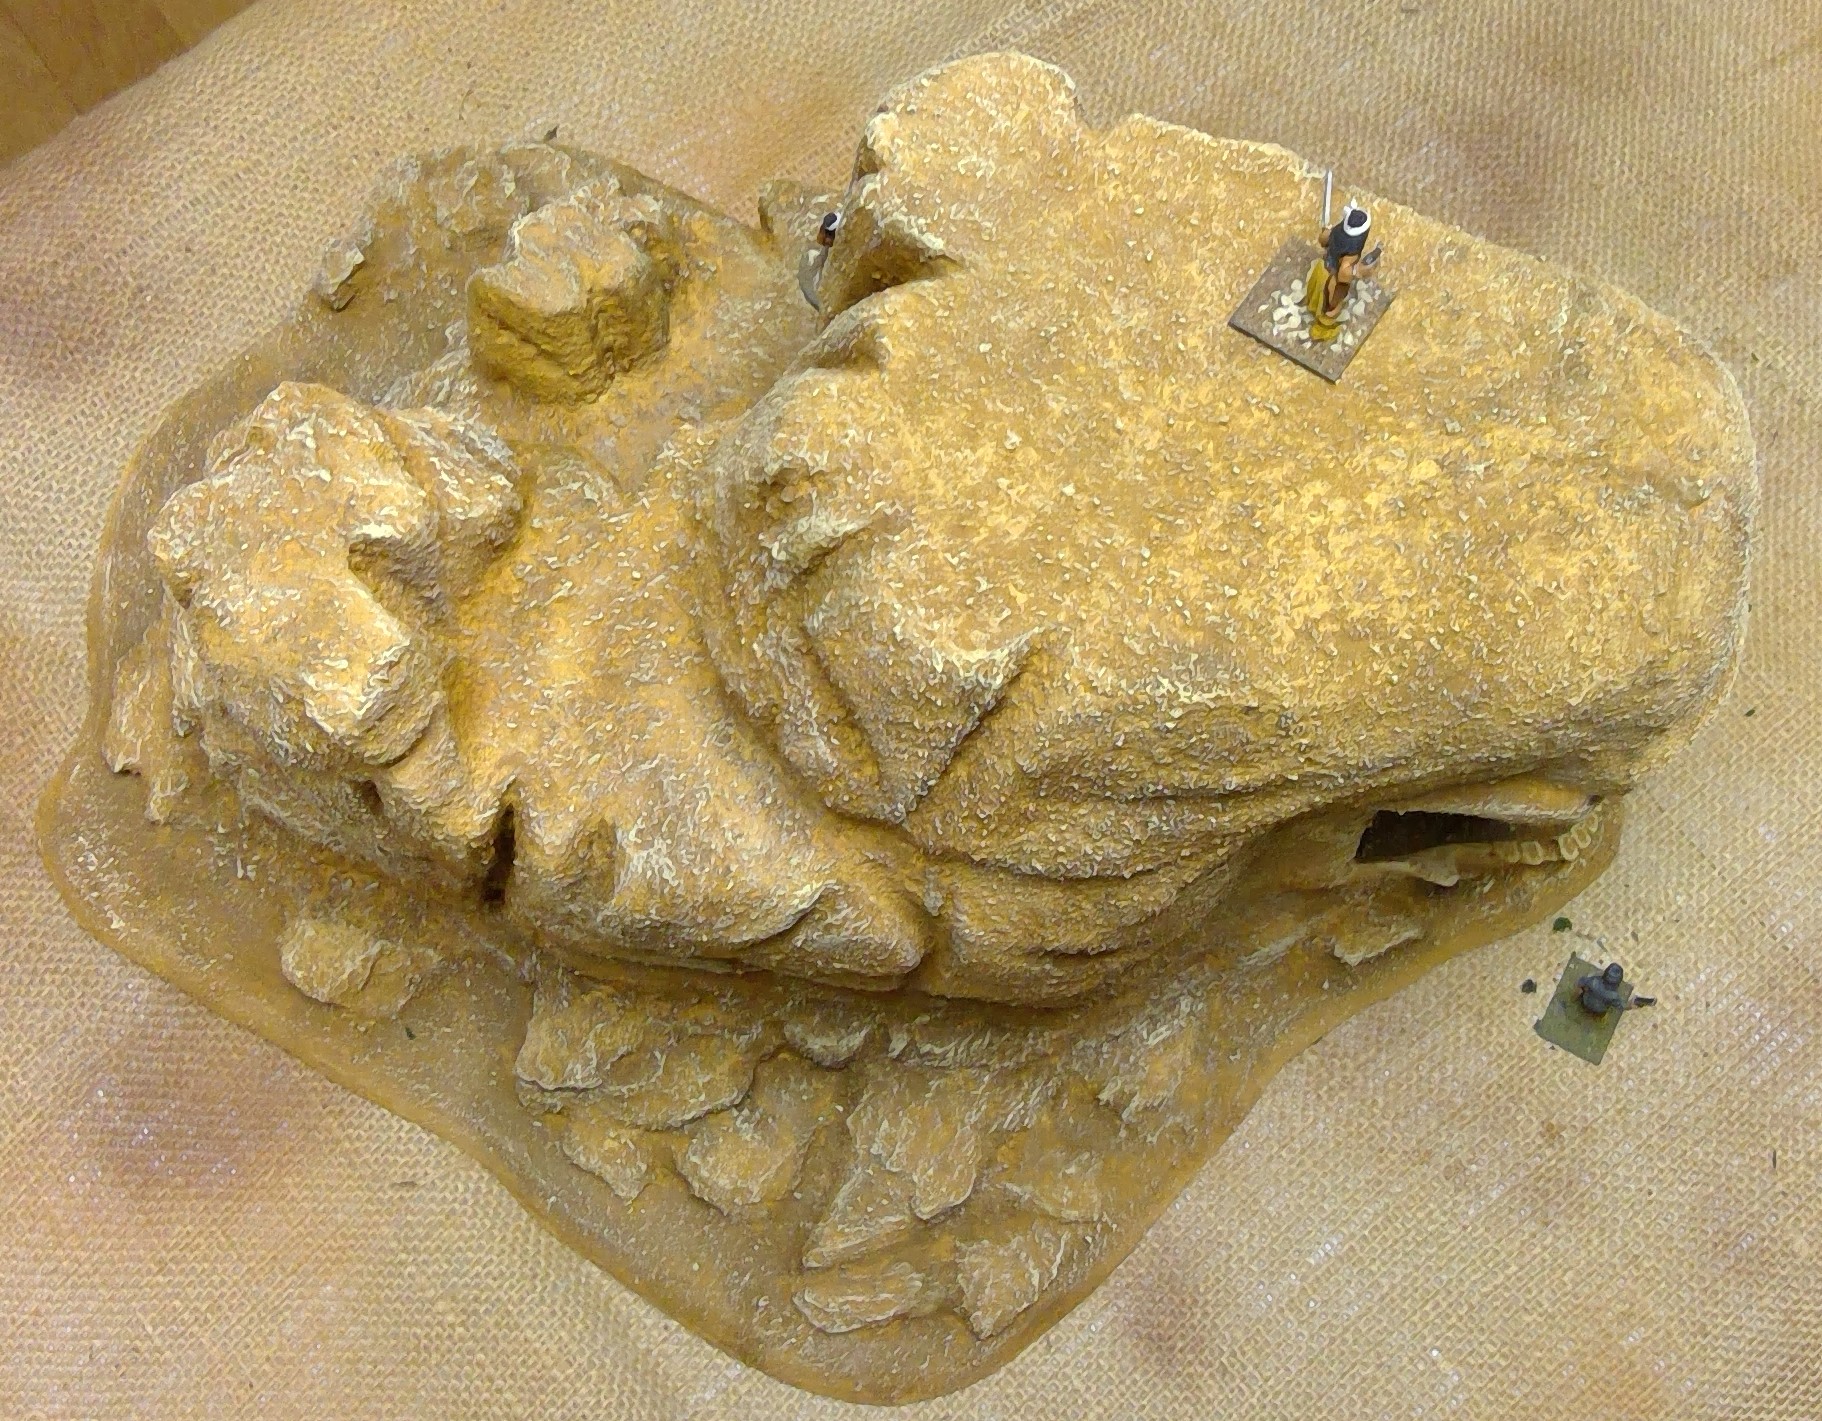
Now that this nice large centerpiece is complete, it is time to get stuck in on more twisted landscape.
I may have to make a removable mine car track that can be placed into the cave opening. I can’t think of a better place to go mining for Ghost Rock.
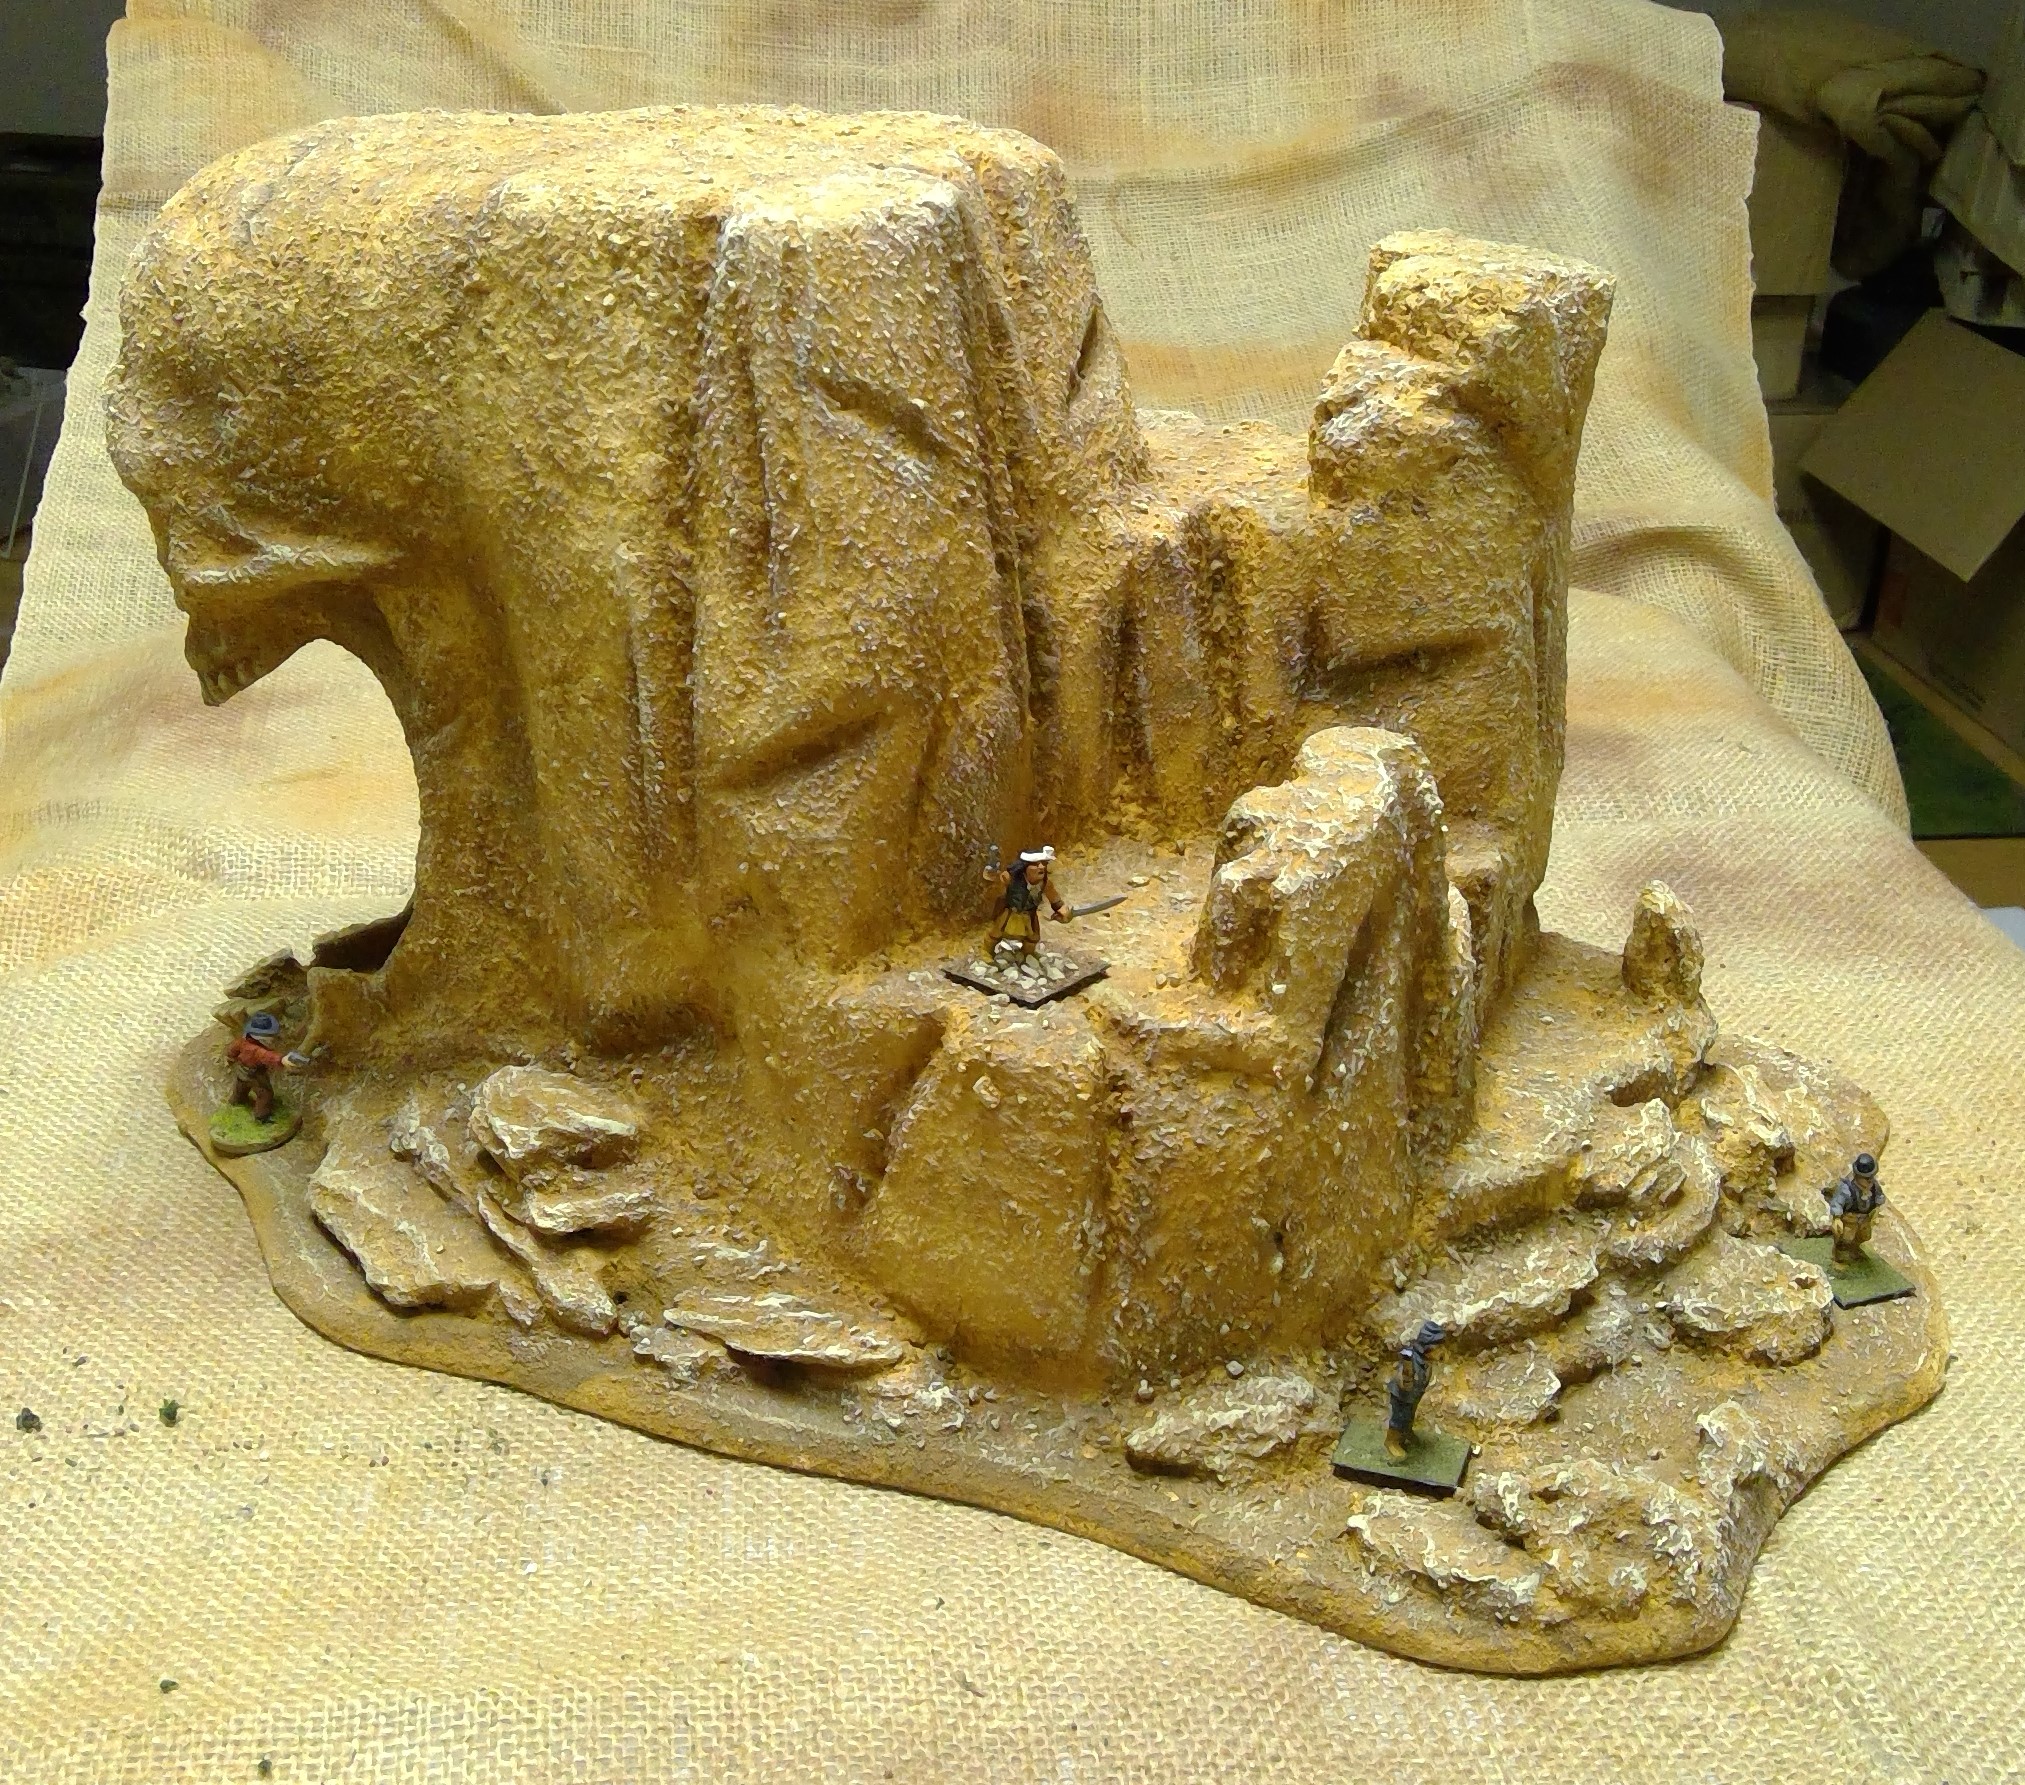
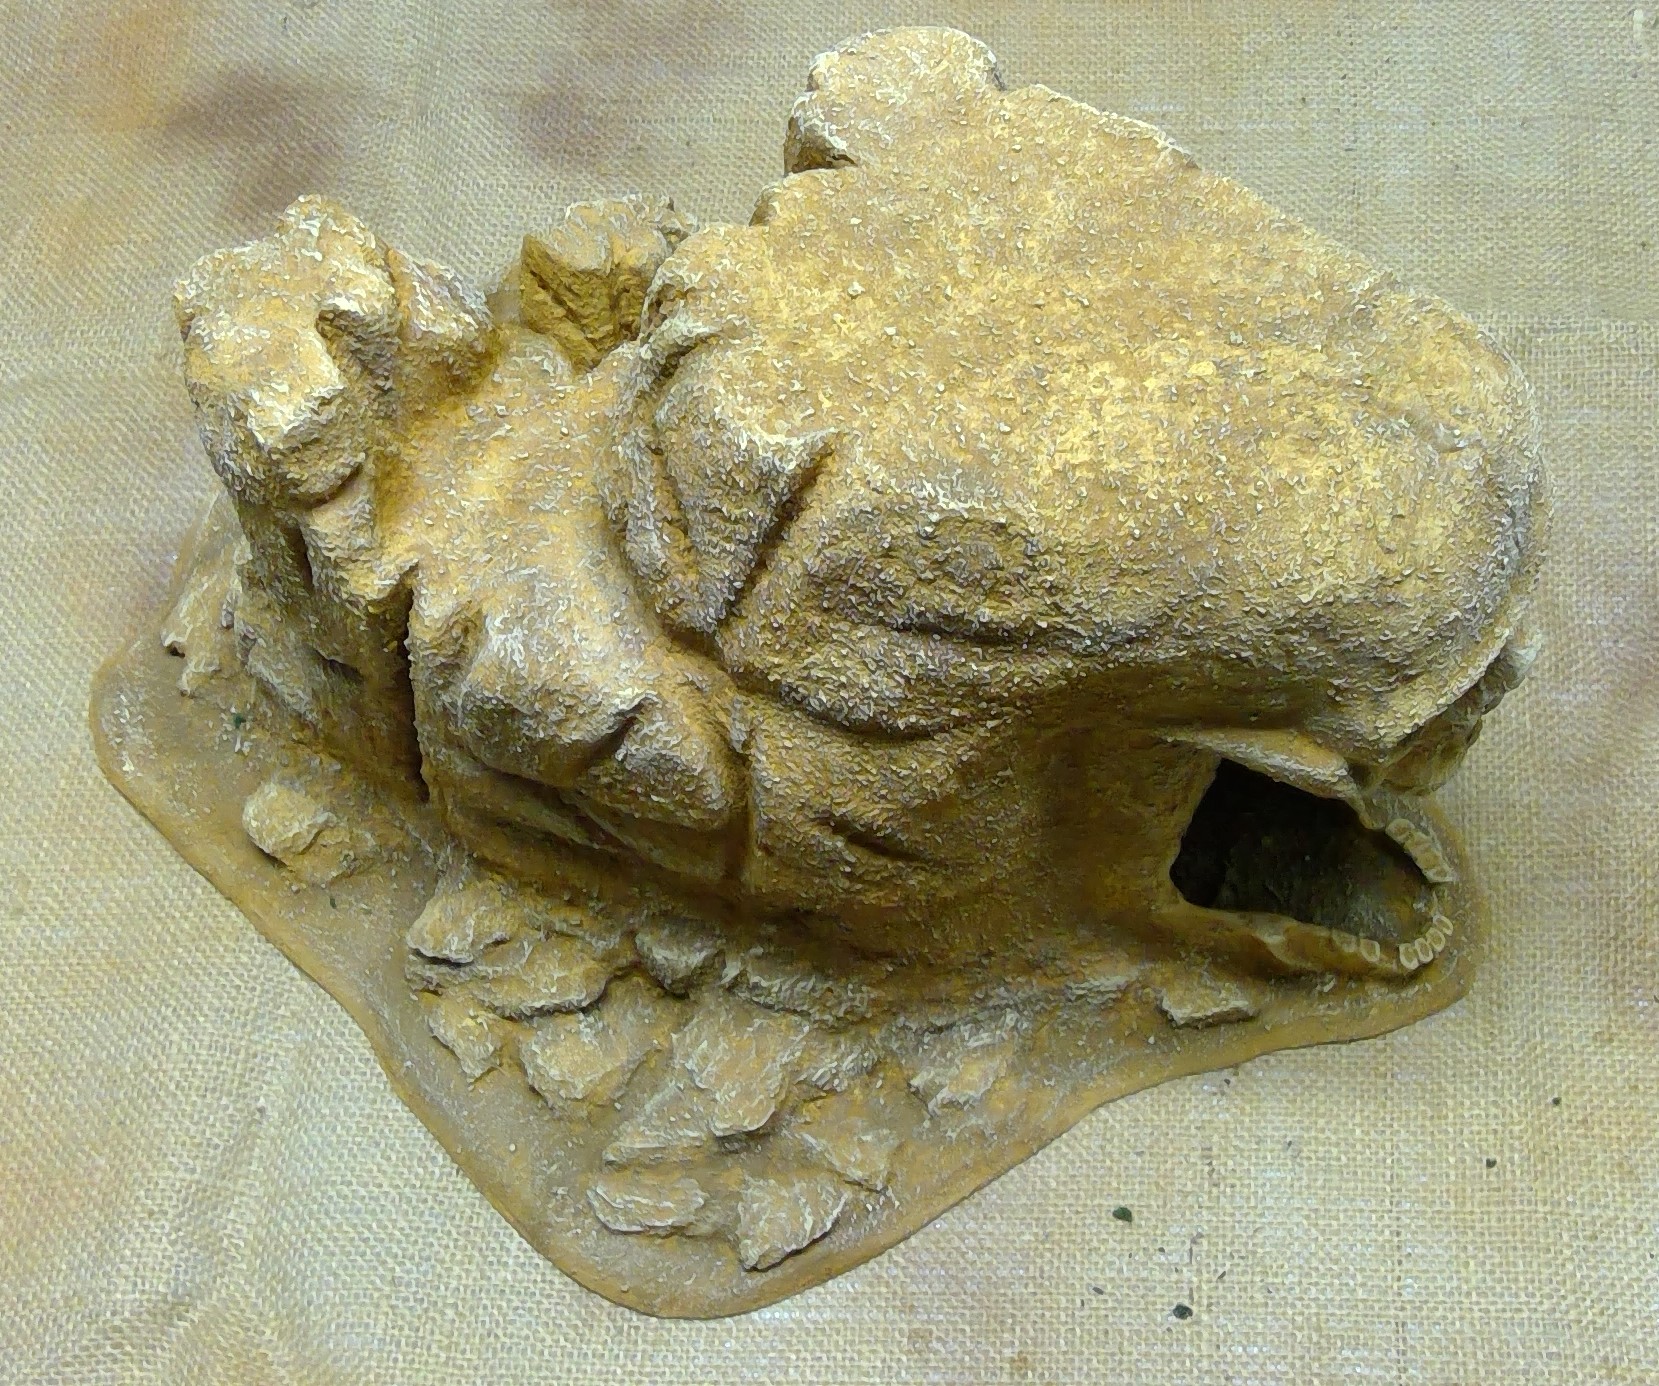
Shadows and Highlights
I mixed up a darker brown to use in the recesses, as well as dabbed randomly about, to give more visual interest. For this I took the same latex paint in the mix above and added some burnt umber acrylic hobby paint.
As I said, I primarily added this shade to the cracks, around and under the “rocks”, inside the cave itself, and in the recesses of the skull. I also did some dry brush dabbing around the entire mesa to give it a more natural look.

The highlights were accomplished by simply dry brushing two lighter colors all over the model. The first of these two drybrush layers was done quite un-uniformly as you want it to look mottled and natural. The second, much lighter cream color, was first focused on highlighting the top surfaces, edges, and “rocks”, then lightly drybrushed over most of the model in varying thicknesses, again for visual interest. If you do it too evenly over the whole model it will look flat and unrealistic.
Alternate Methods for a Durable, Textured, Base Coat
There are a few other methods of obtaining a robust textured base coat on foam.
A quick and easy way is to simply slop on a heavy layer of the flat latex house paint and while it is still wet throw/dump sand all over the model. Once it has dried, gently brush away the excess sand and paint a second coat of the base color to seal/glue the sand solidly in place.
If you would prefer a more flexible, less likely to chip, surface I would suggest mixing sand and a bit of paint into Acrylic Medium (basically thick acrylic paint with no pigment). Woodland Scenics has a product for this, called Flex Paste (https://woodlandscenics.woodlandscenics.com/show/item/C1205), however I have found Liquitex Acrylic Medium to be much less expensive from stores like Hobby Lobby here in the states (plus those type stores always have a 40% coupon online). When set, the medium is quite flexible, and can still be painted.
There are also other types of plaster like substances you could use. One that I like as well as the Durham’s is All Purpose Foam Coat from Hot Wire Foam Factory. (https://hotwirefoamfactory.com/Foam-Coat-Foam-Glue-Foam/)
Thicken it up
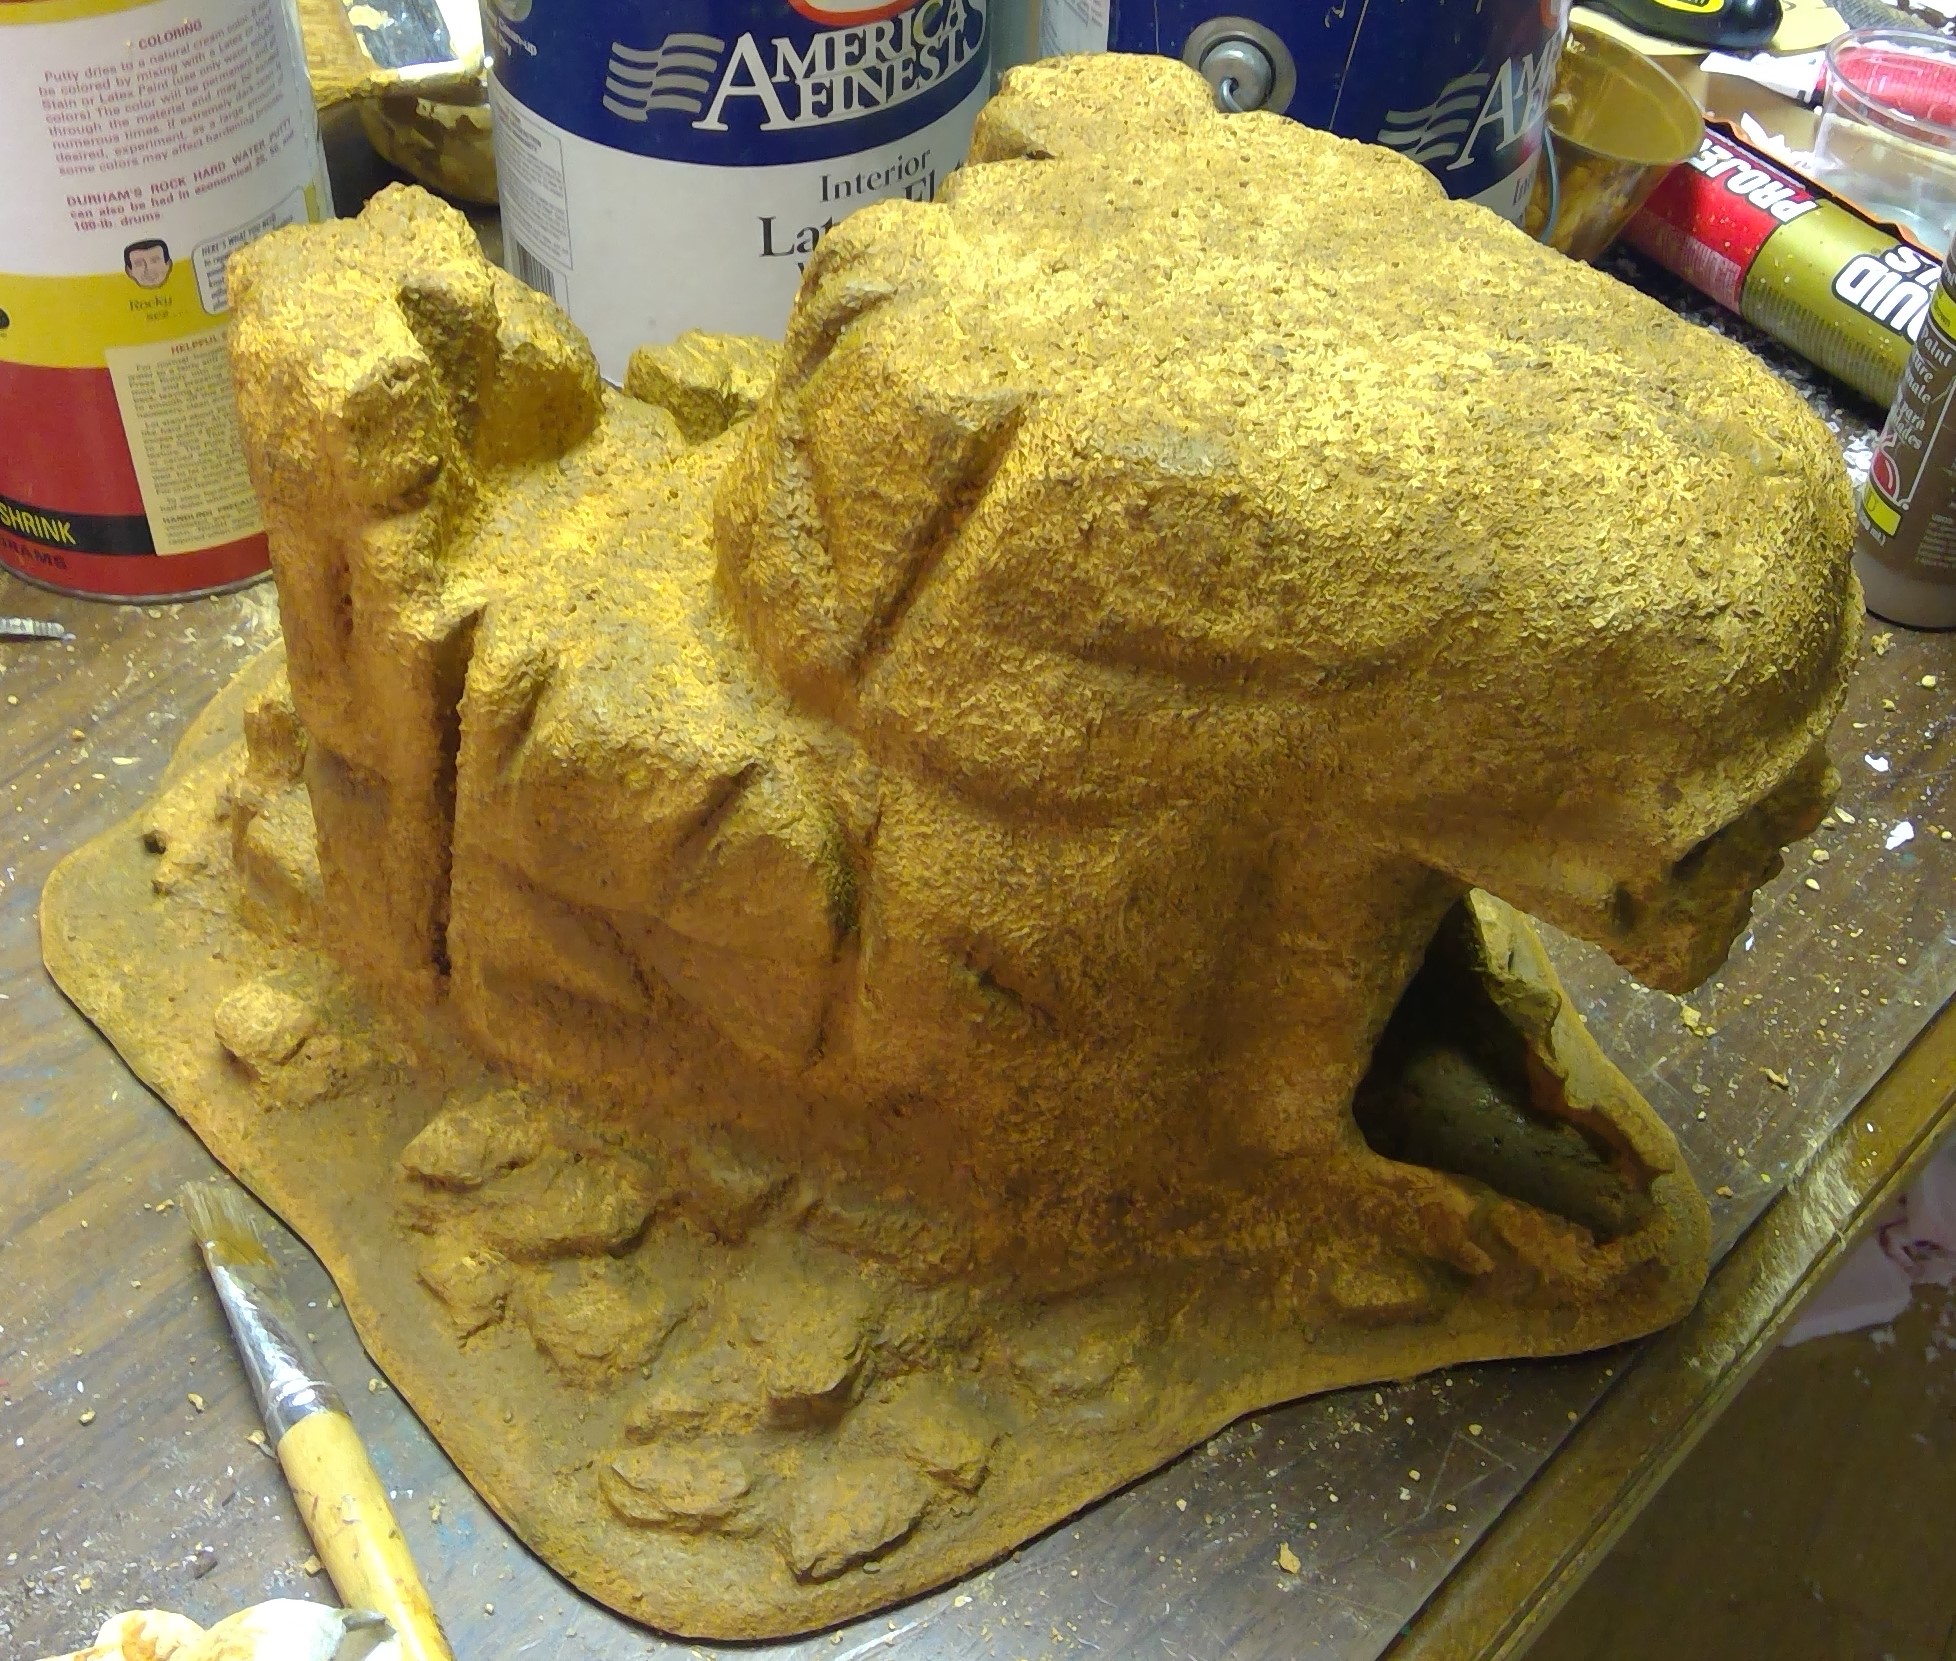
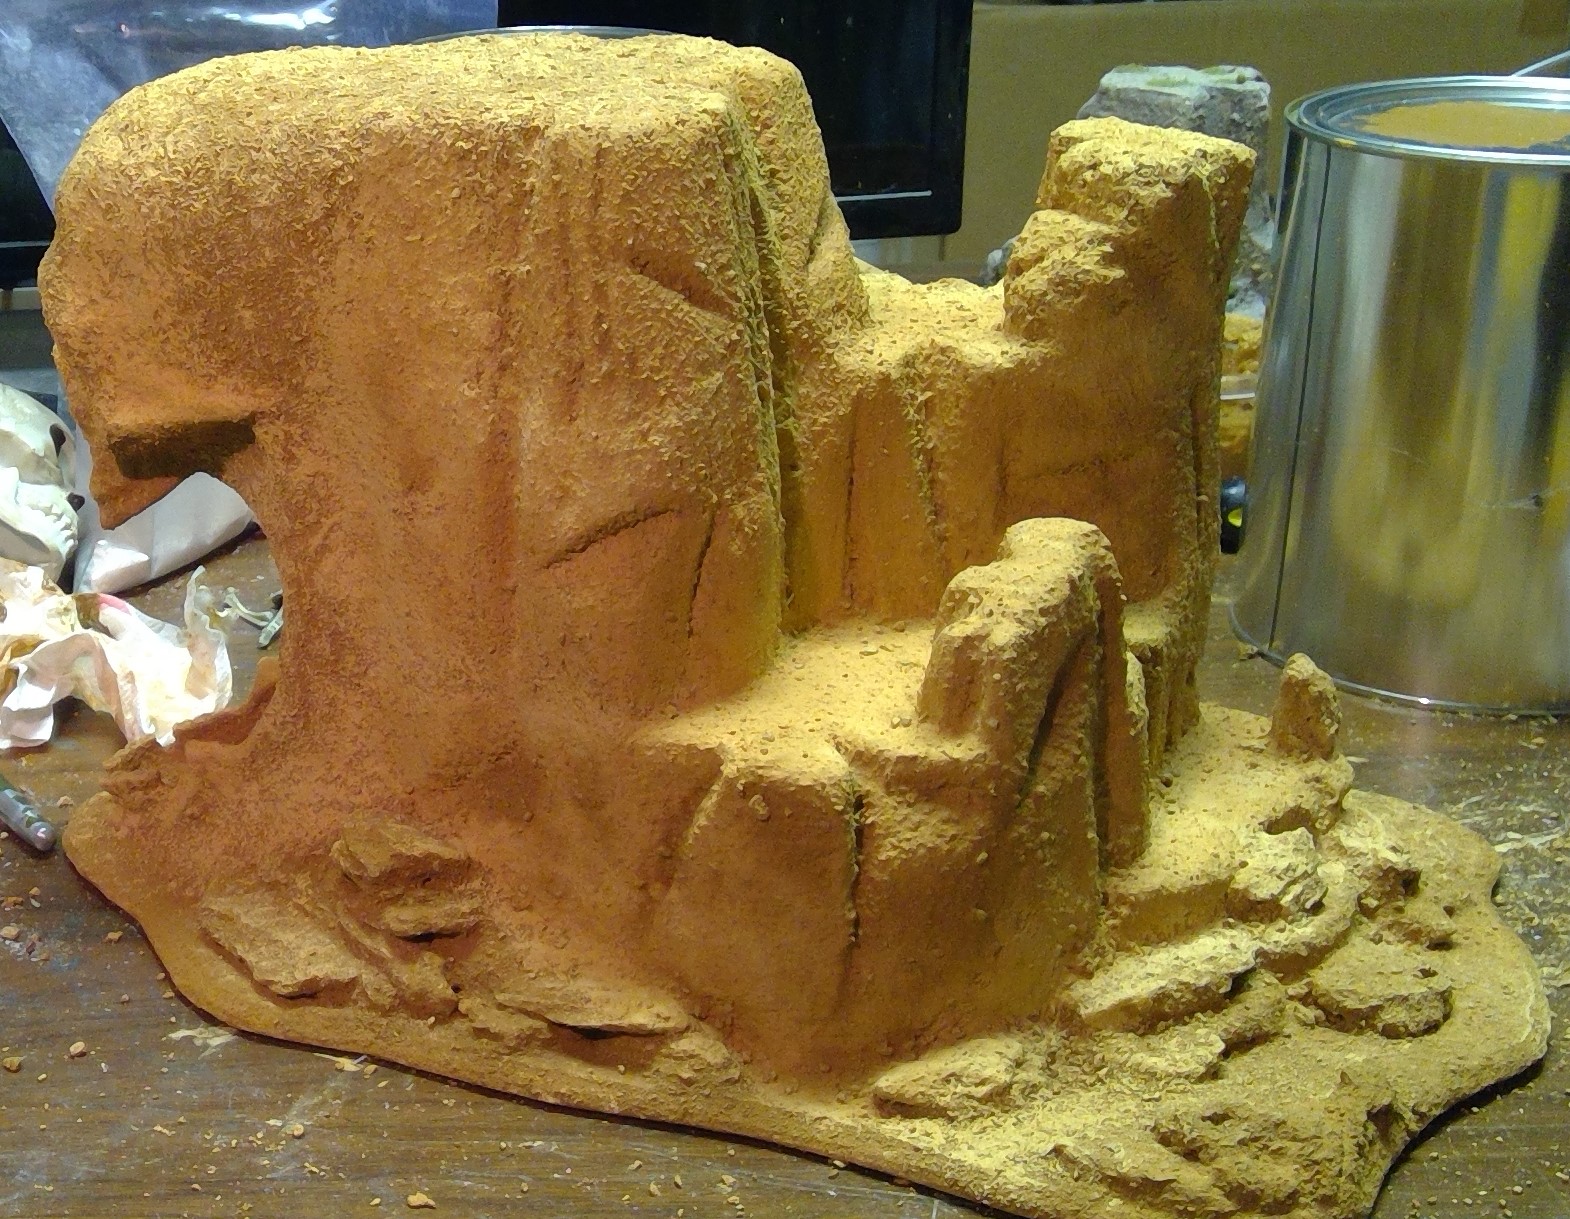
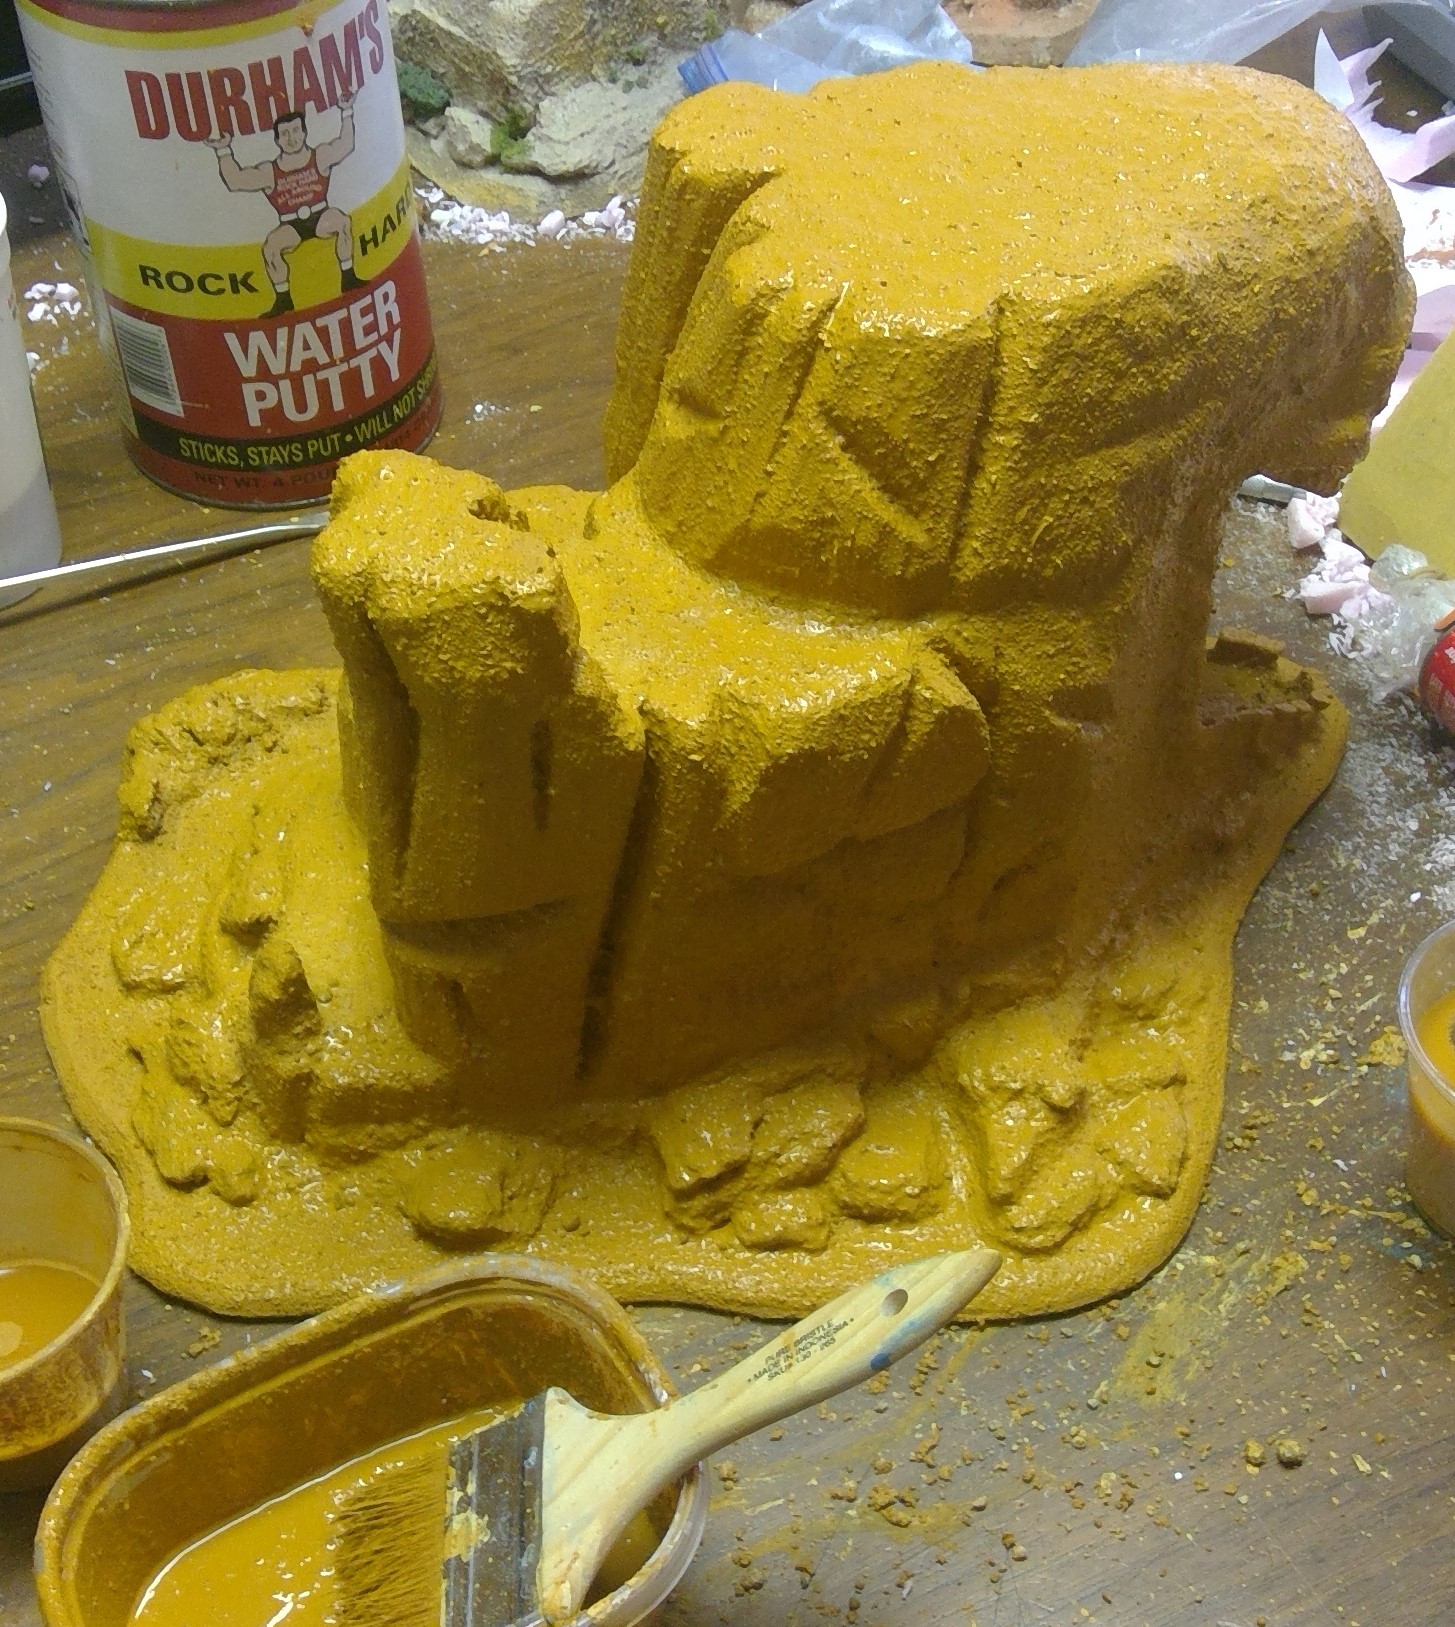
Once it had dried I realized that I had made the mix a bit thin.
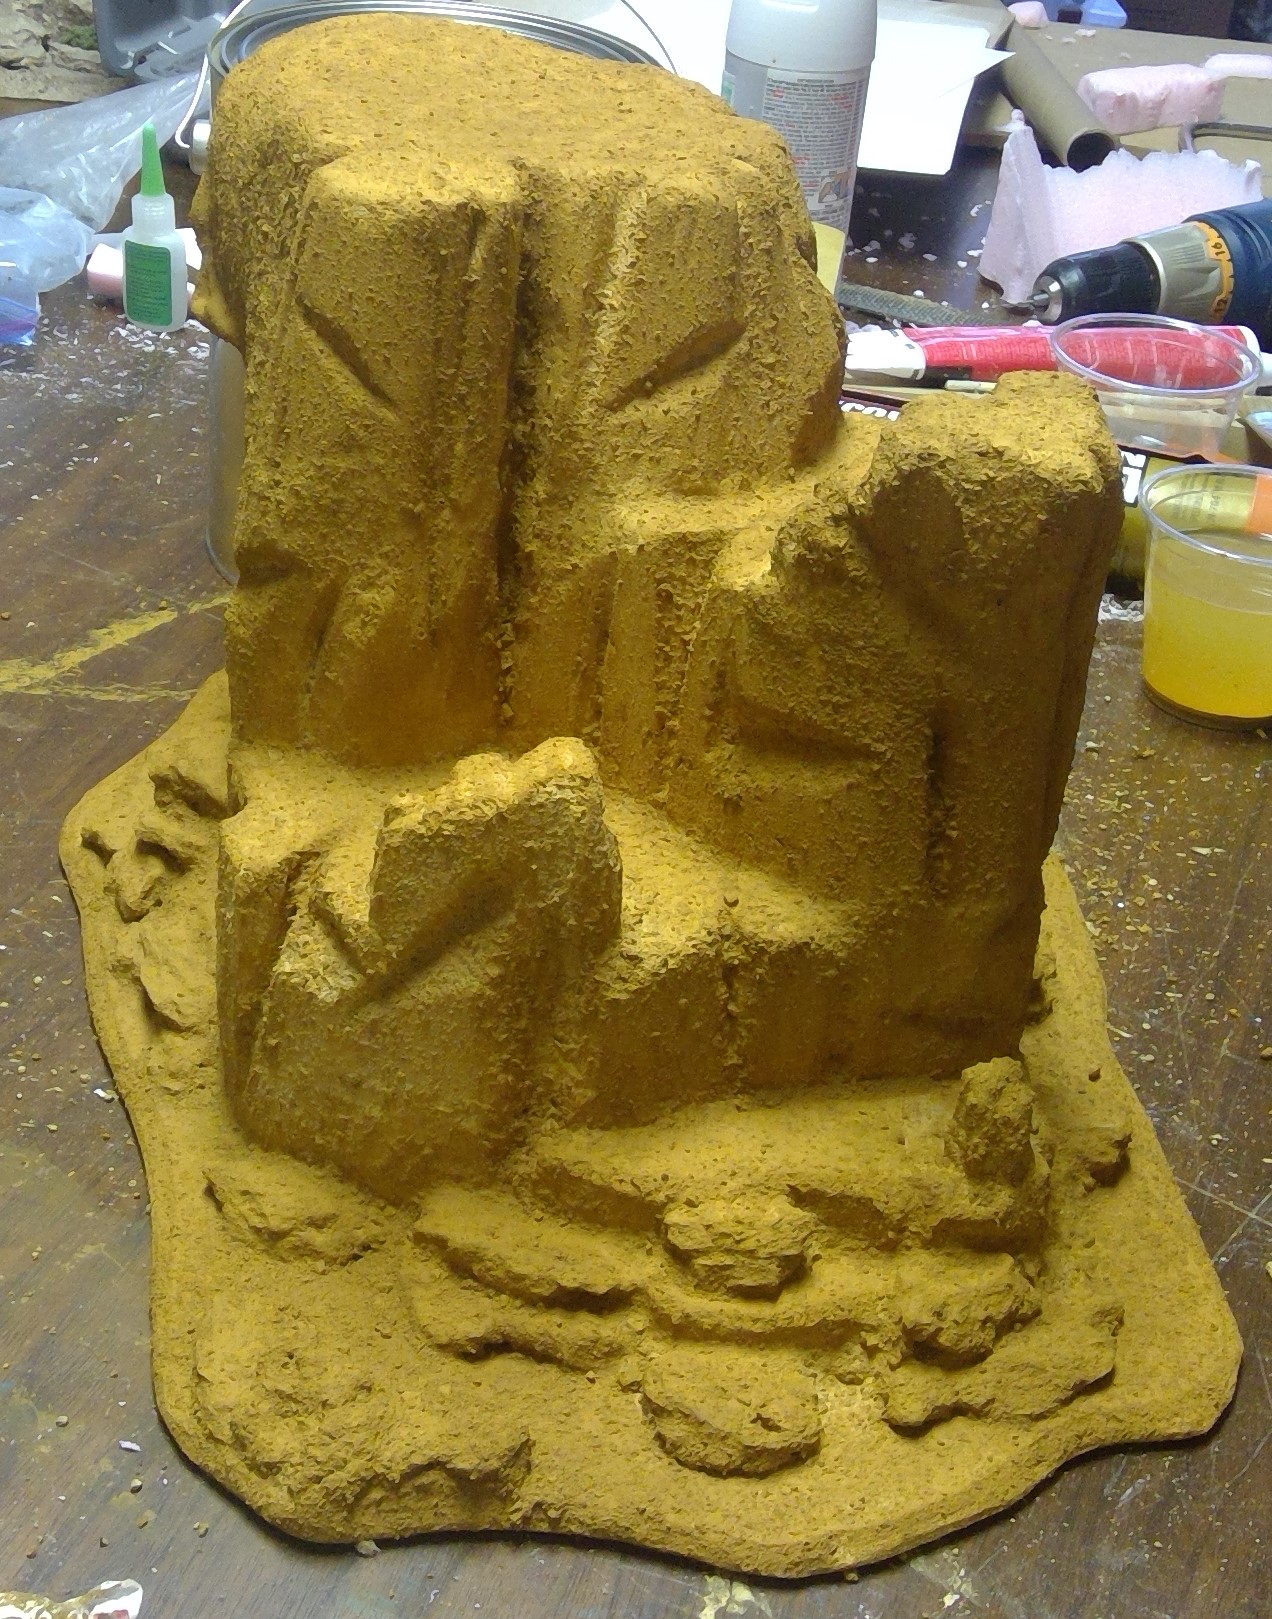
I wanted the model to be more robust, so I mixed up another, much thicker, batch and applied it only to the areas that had been bare foam. You can see those areas in these photos as they are much lighter in color due to there being more of the Durham’s putty in the mix. This actually ended up acting as a pre-highlight layer for the model, as well as giving those areas much more strength.
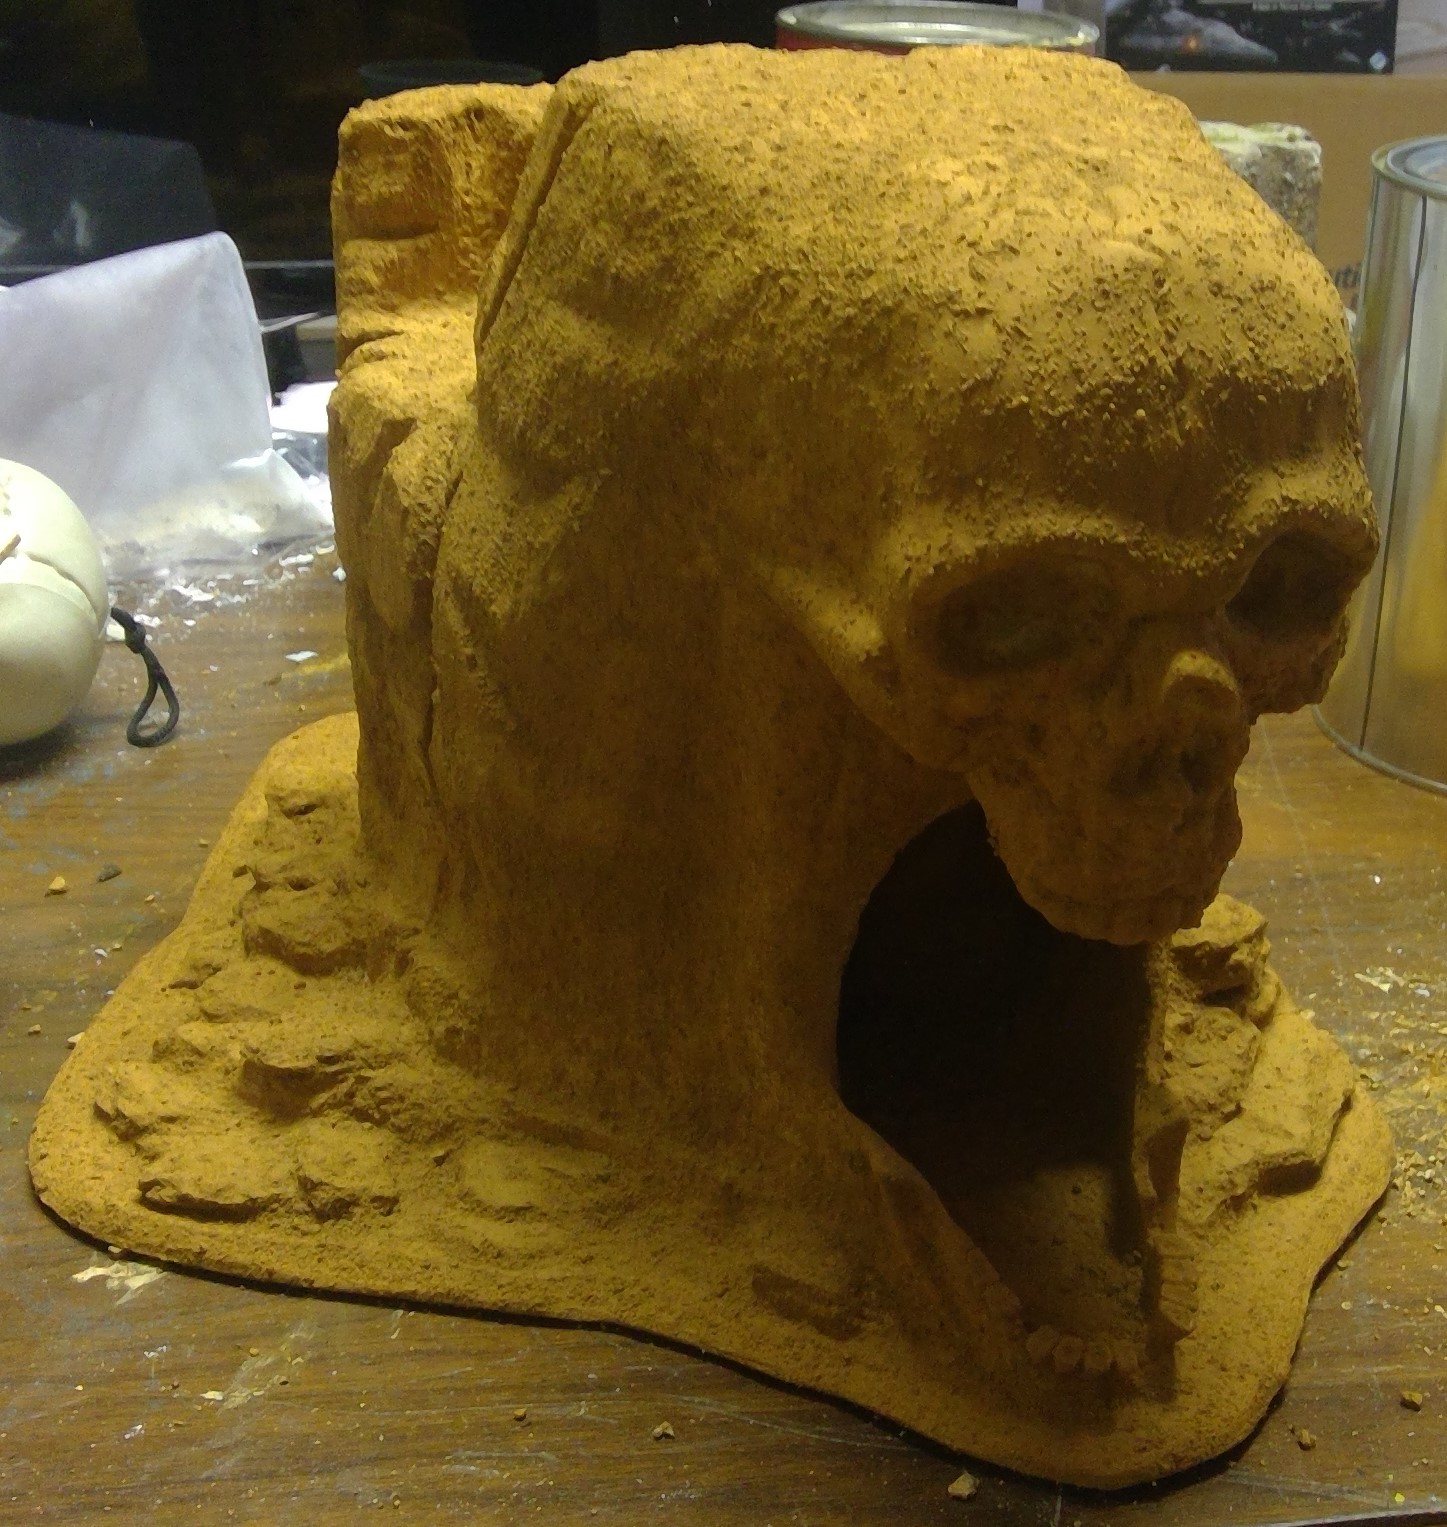
Slopping on Texture
Adding the base color and texture all in one go.
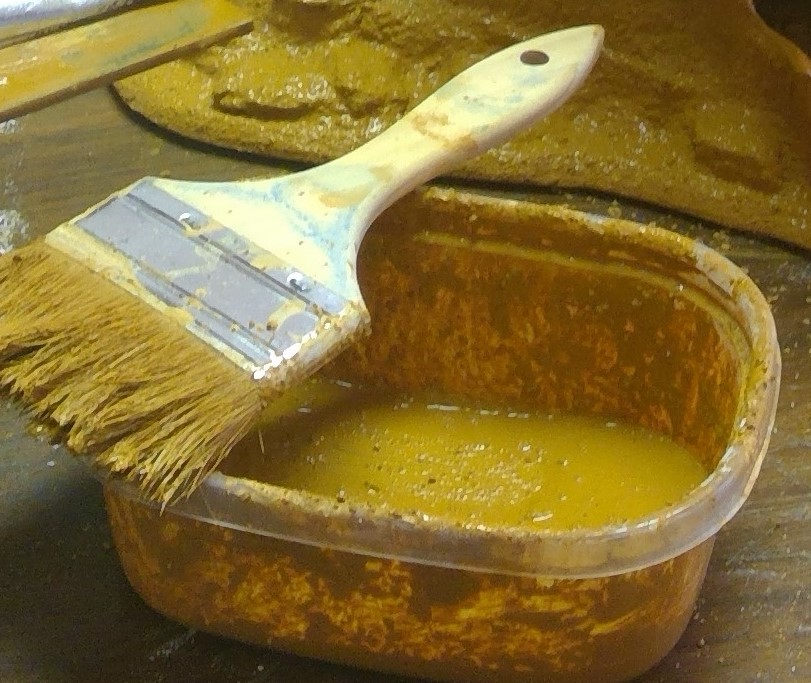
There are several ways to accomplish a durable, textured, base coat. For this project I opted for mixing sand into Durham’s Water Putty and adding paint to the water to give it color all the way through the putty/plaster should it ever chip. The paint I use for large terrain pieces is interior flat latex house paint that I have color matched at the hardware store. I buy it by the gallon and they last for a very long time. I actually had to replace the buckets for a couple of the colors due to the tops rusting, but the paint was still good.

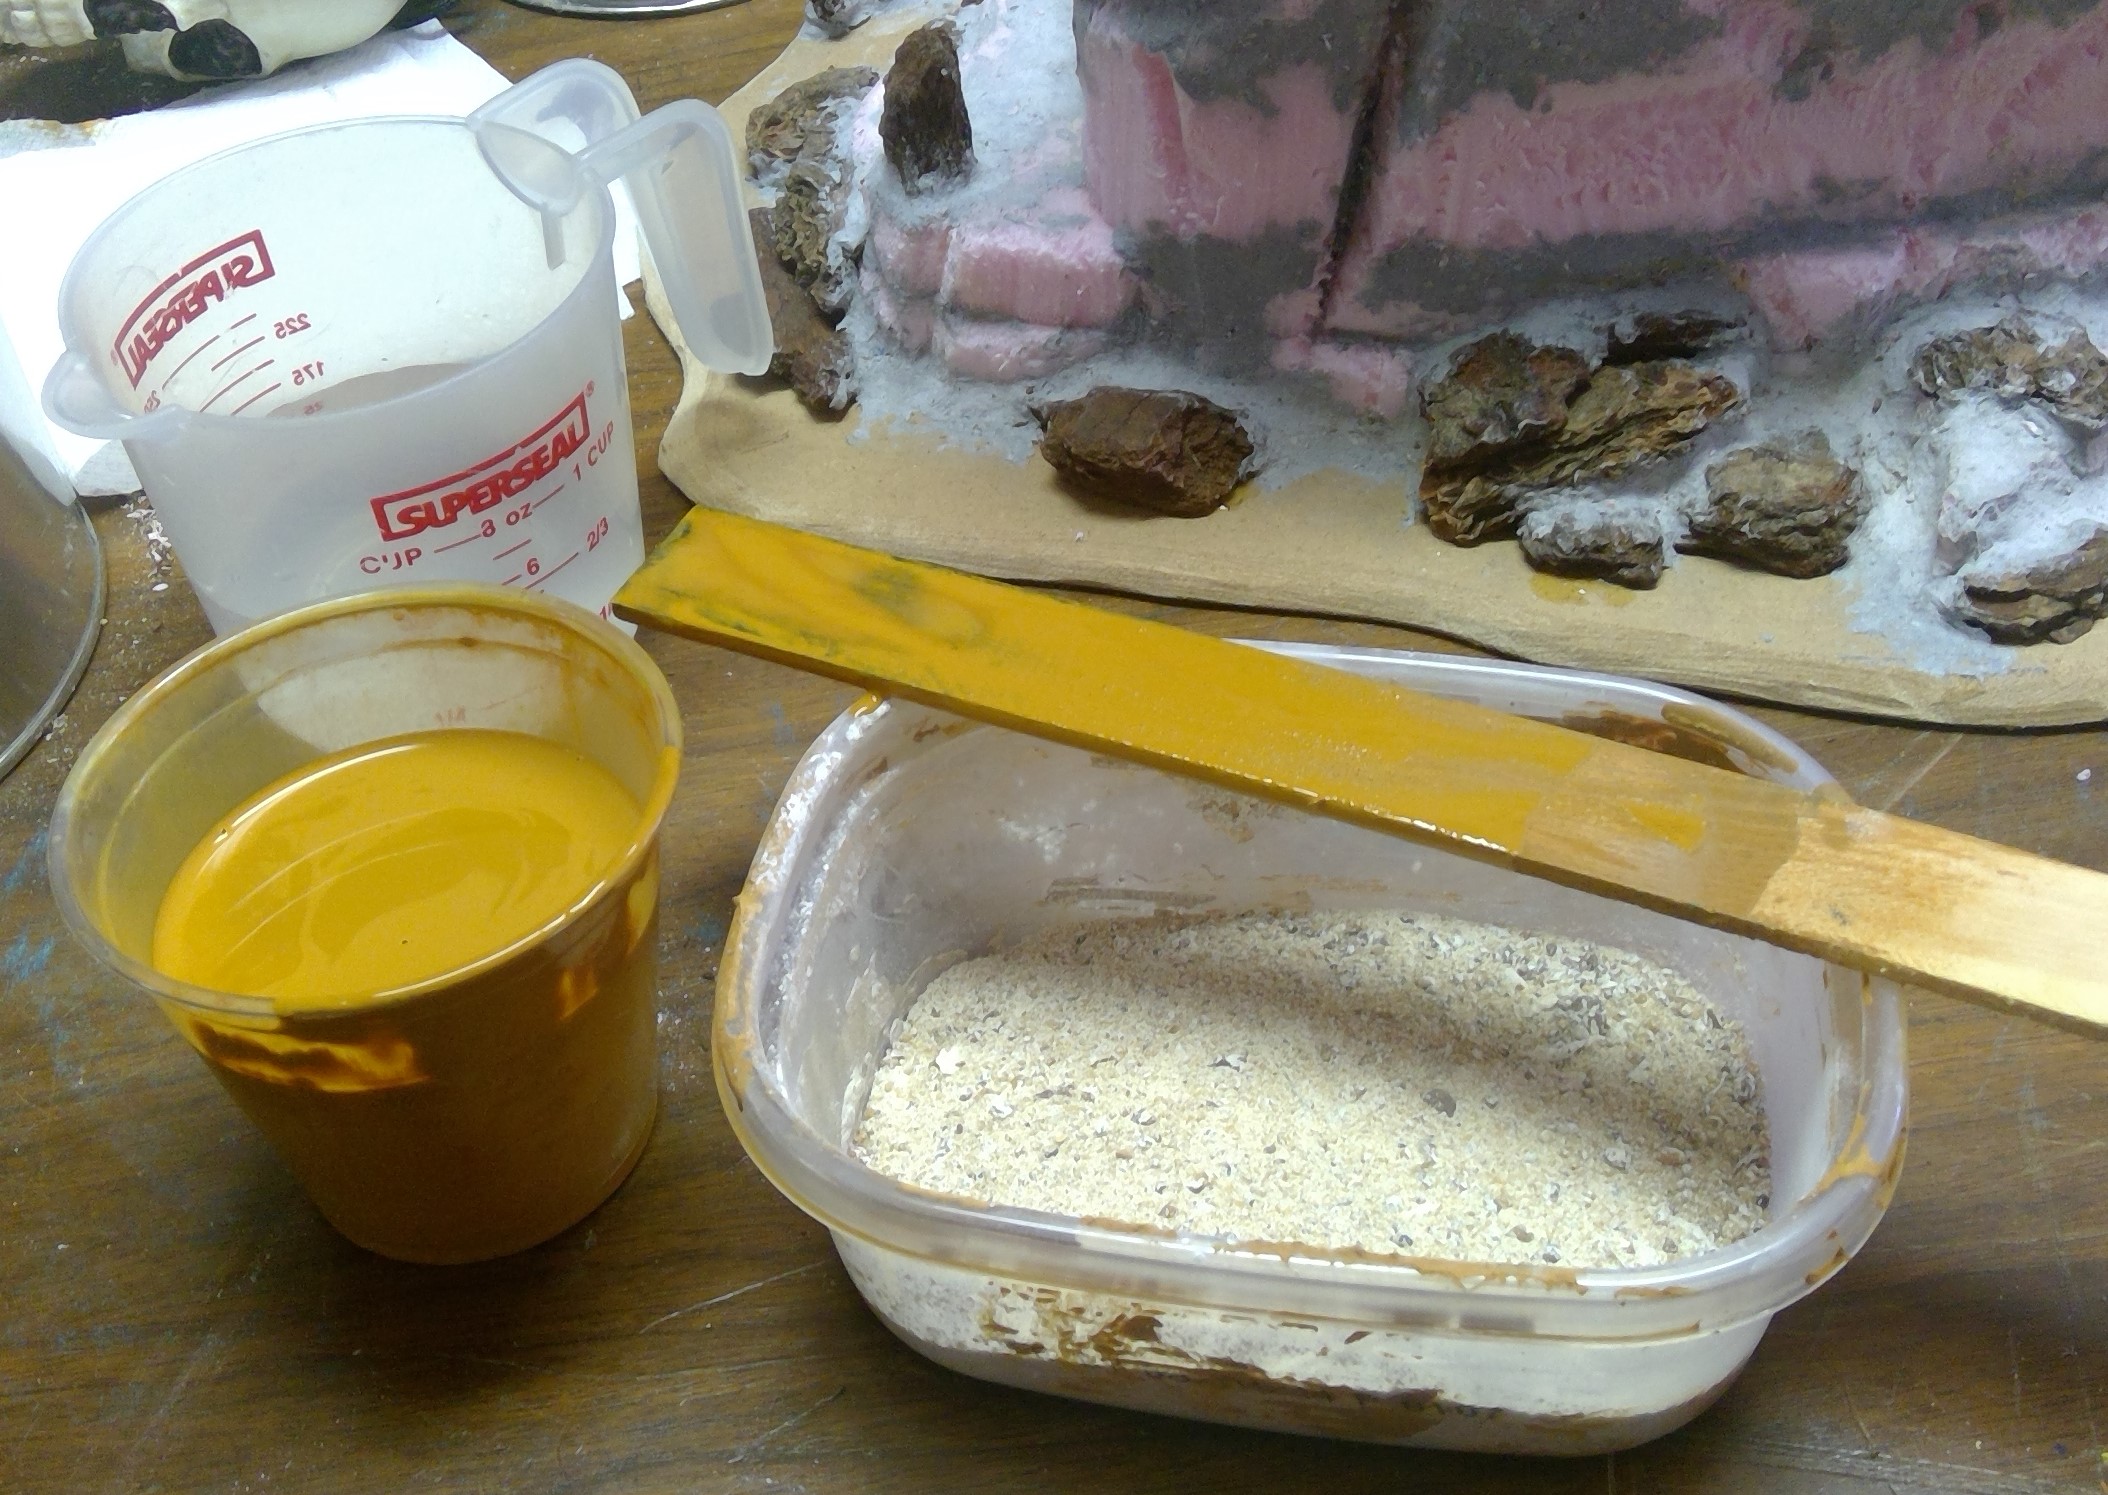
This mix is then simply slopped on all over the model, making sure to get in into all the nooks and crannies. I did this with a large chip brush, as they are very inexpensive and disposable if the putty begins to harden before you can clean the brush. Once I had covered the entire mesa, I went back over it and cleaned up any large “puddles” of the mixture. I then left it to dry.
Increasing the Fear Factor
Time to warp more of the scenery.
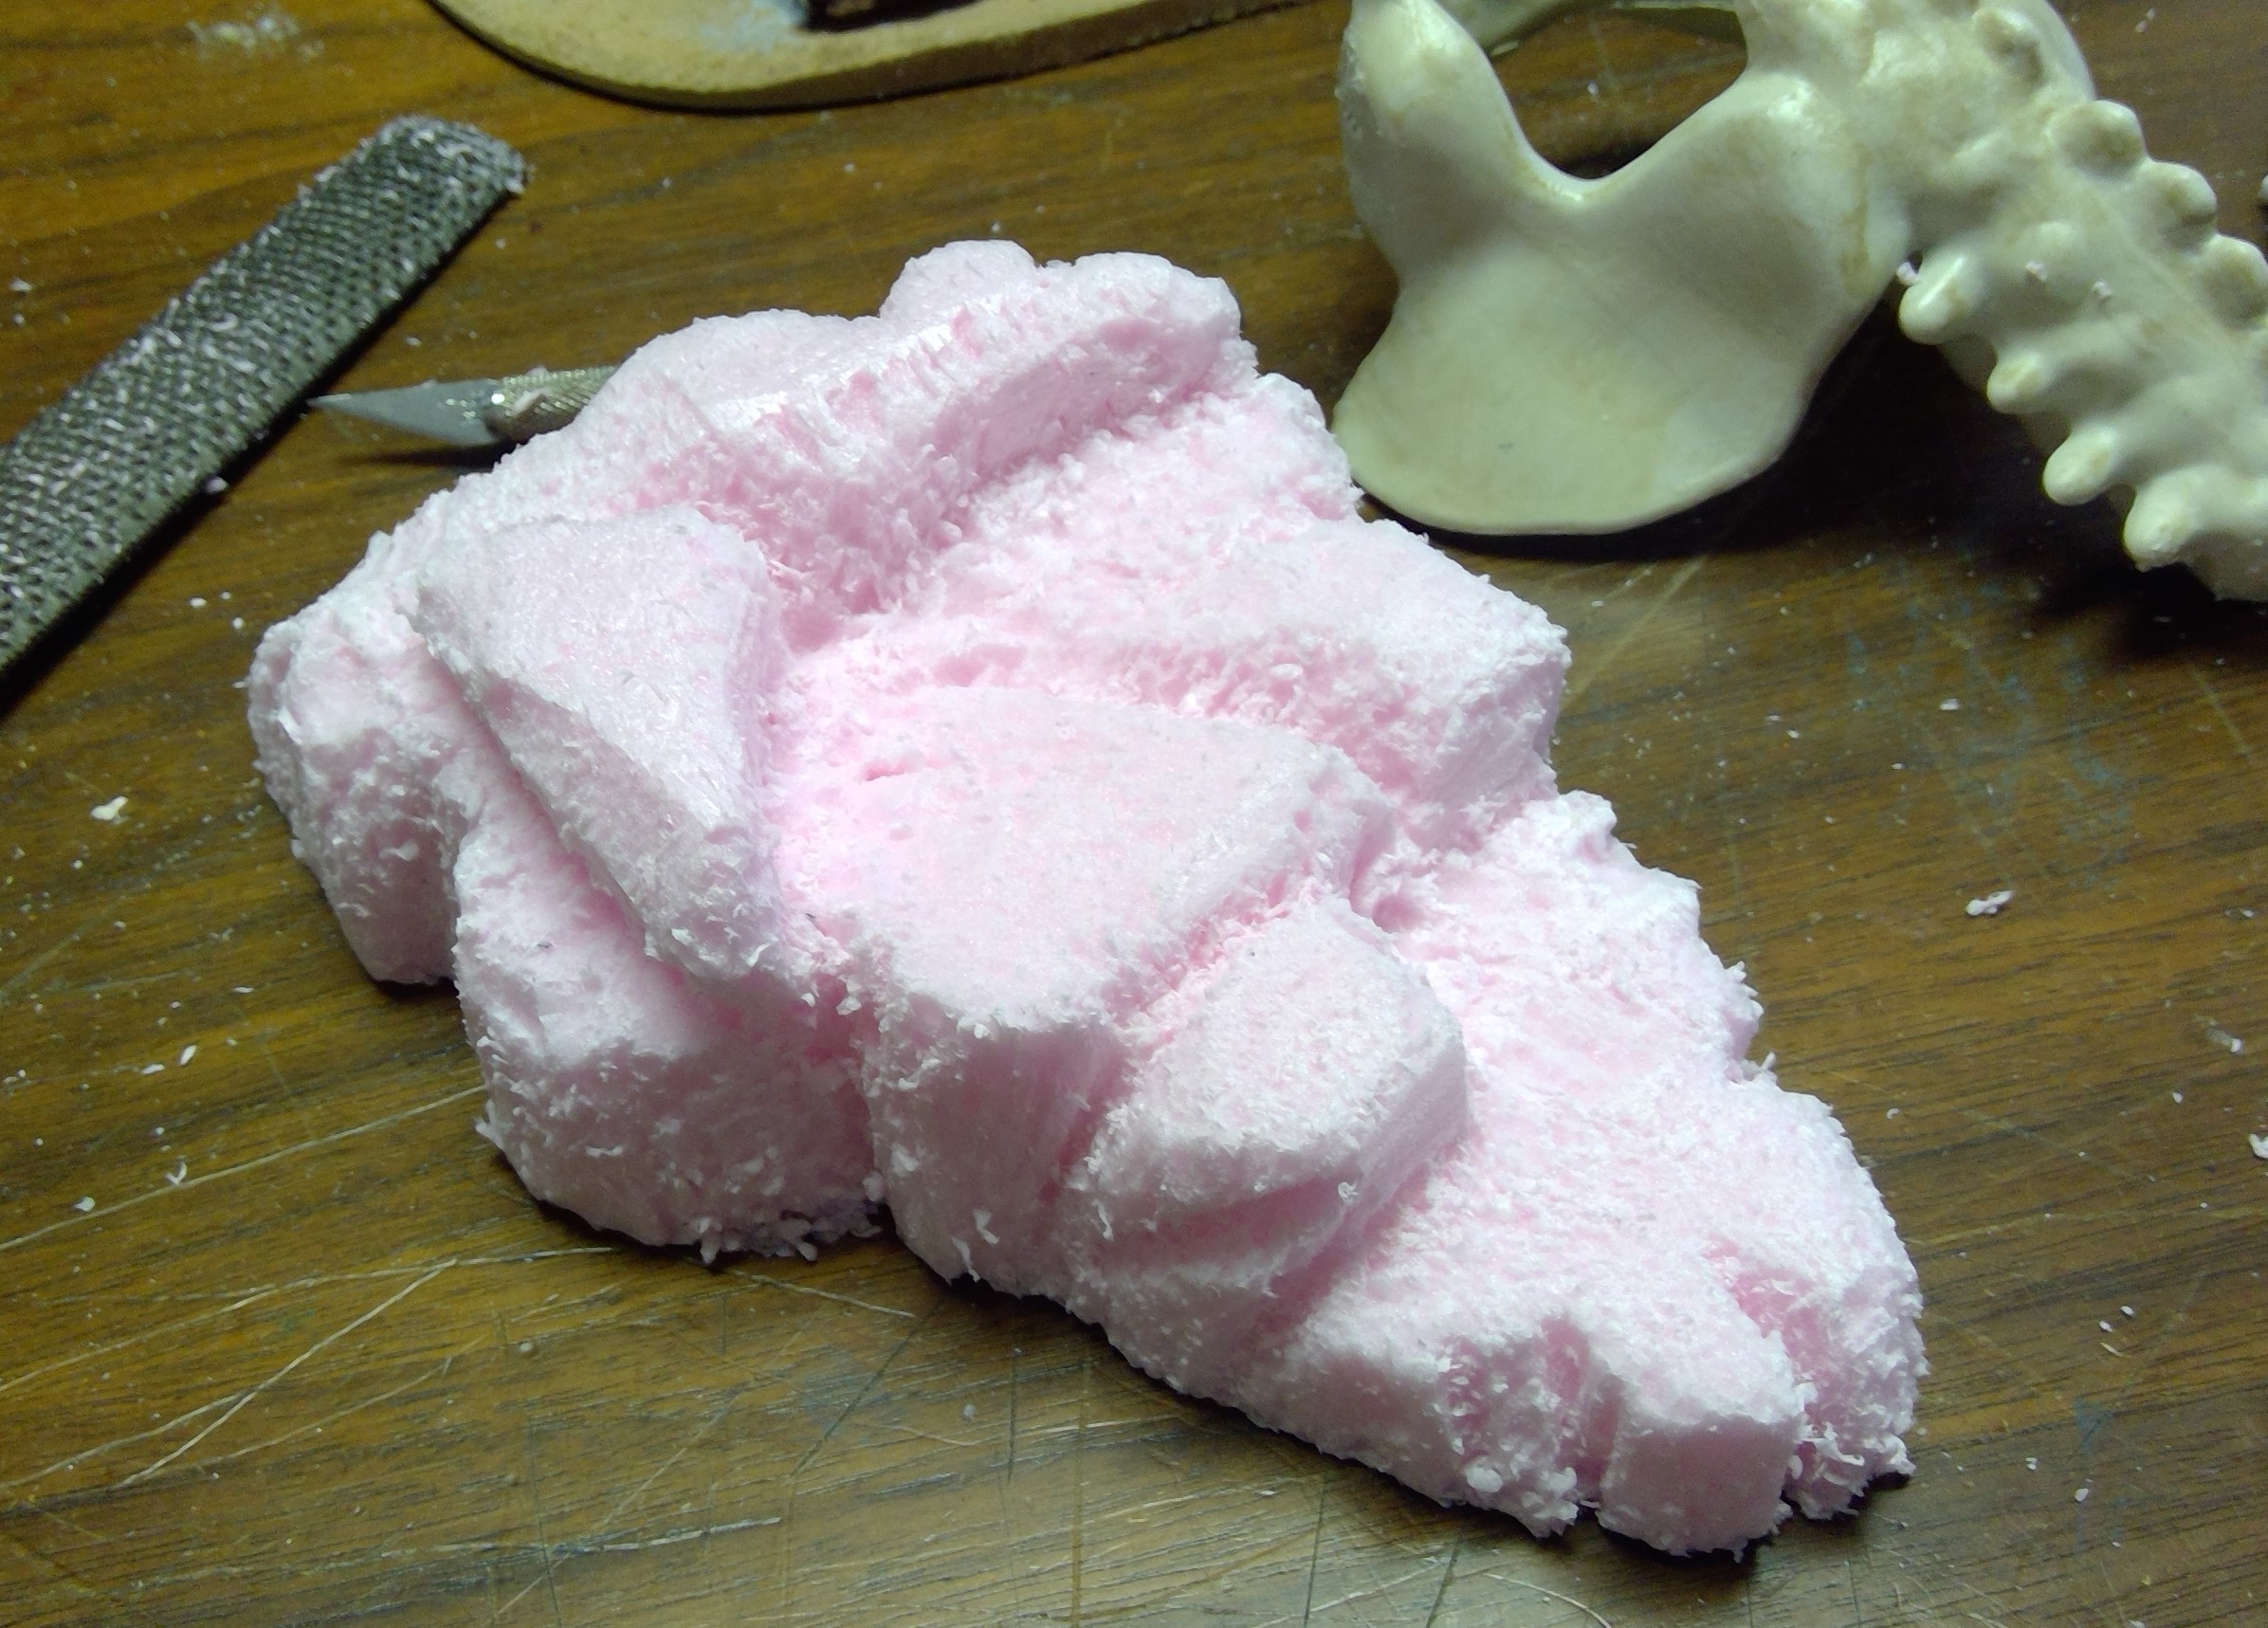
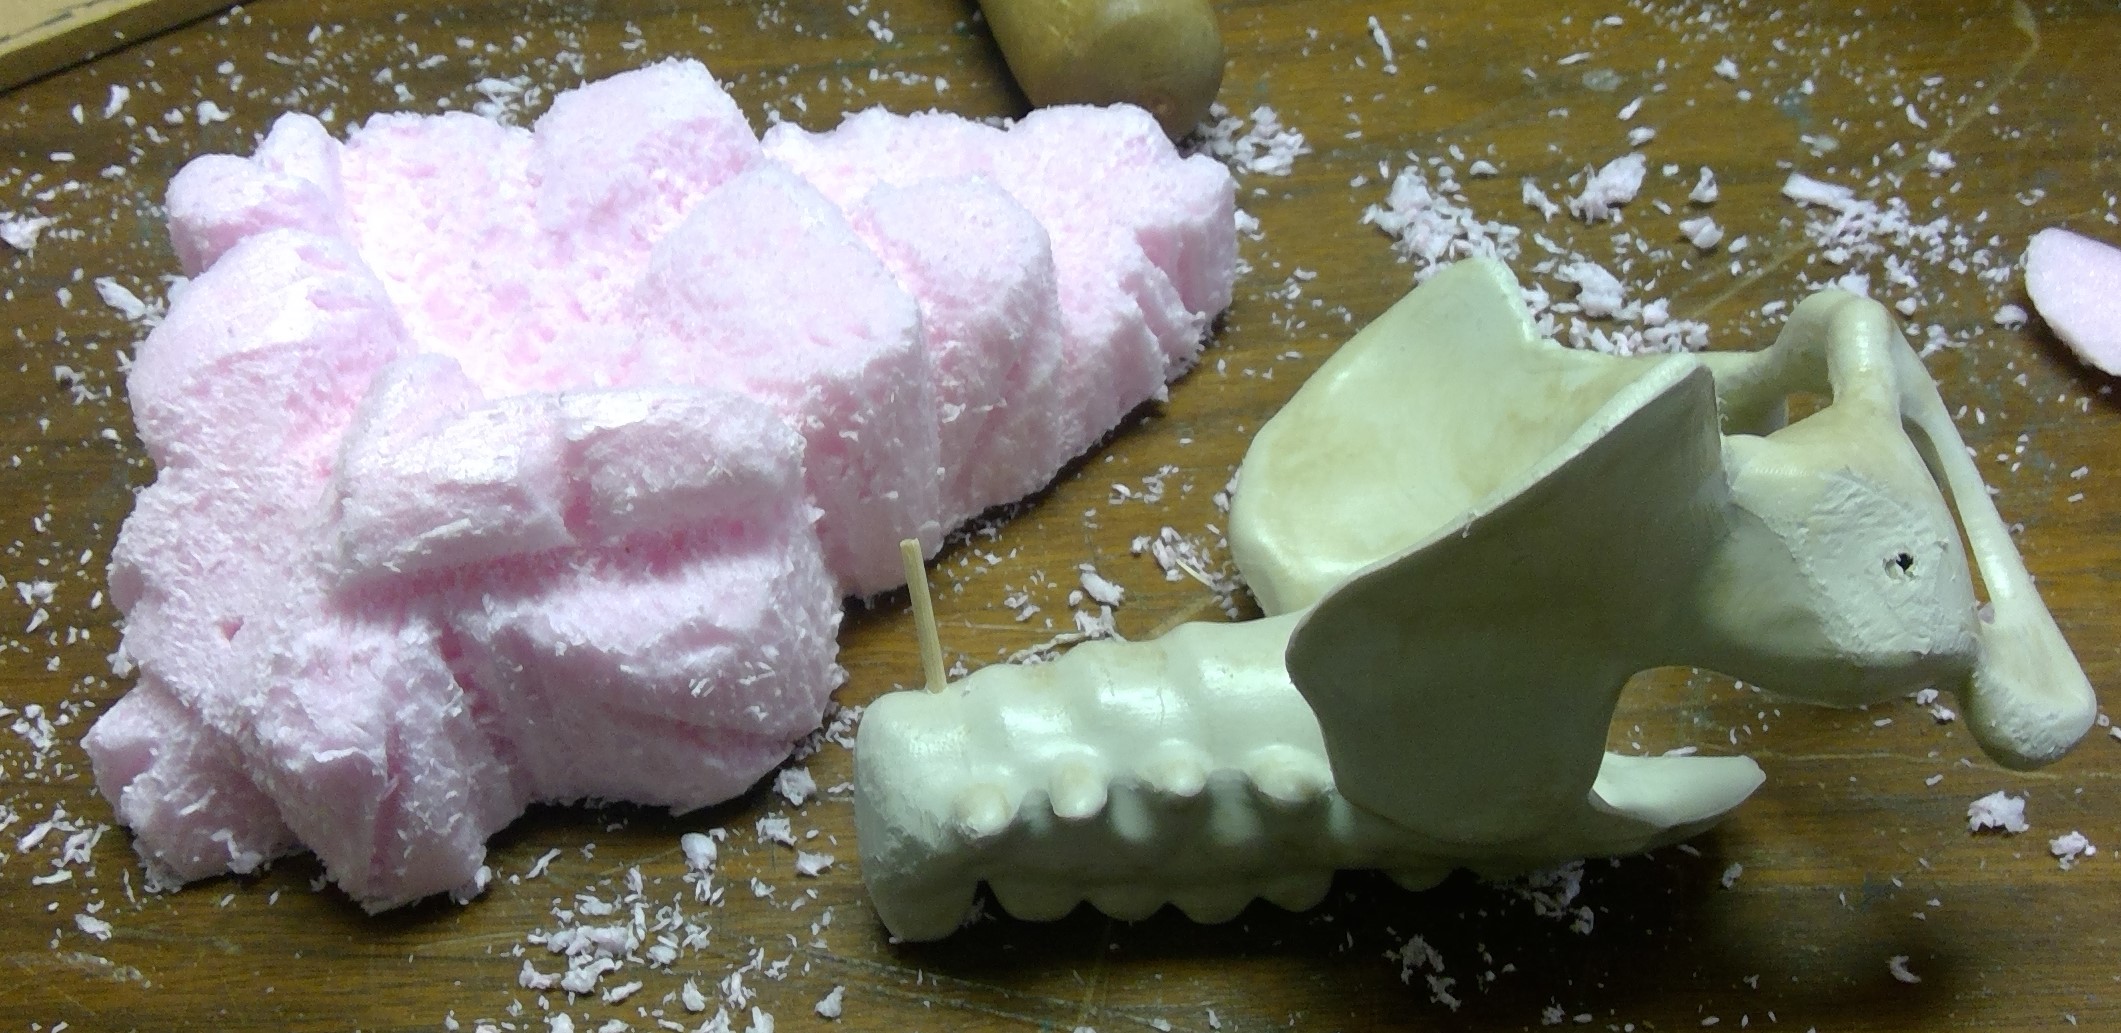
While waiting for the last batch of CelluClay to dry on the skull cave, I took the opportunity to start on the next piece of terrain. I rough cut the foam with my coping saw and quickly shaped it using nothing more than the heavy rasp, test fitting the skeletal bit as I went. I also cleaned up the mold lines from the skeletal pelvis and backbone.
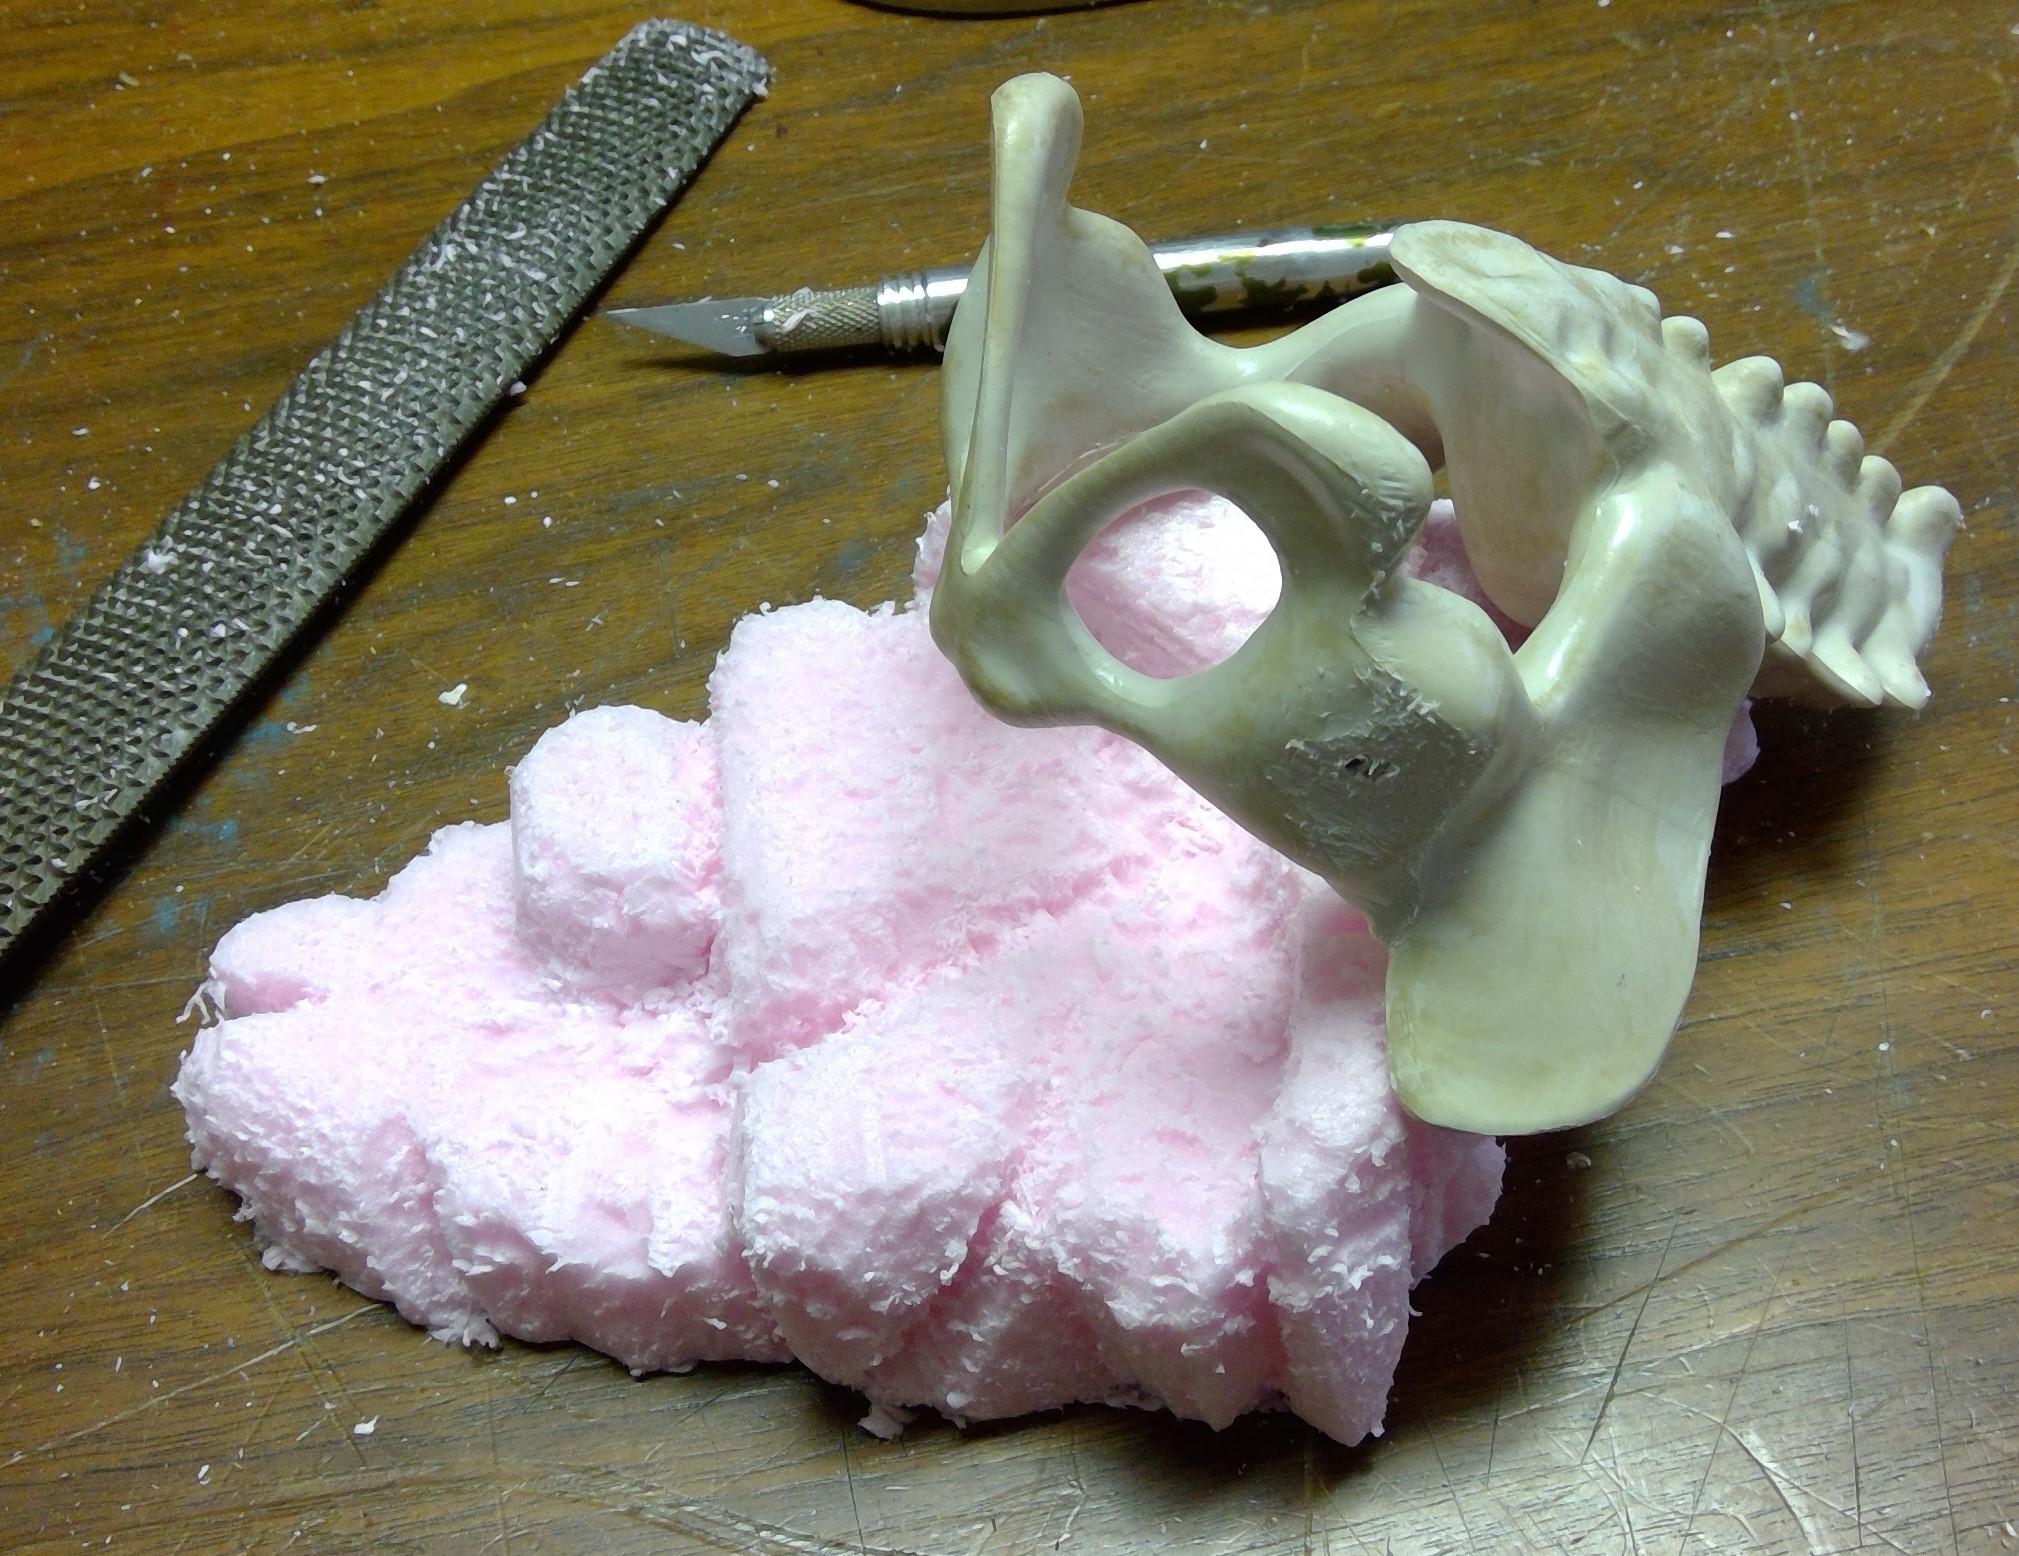
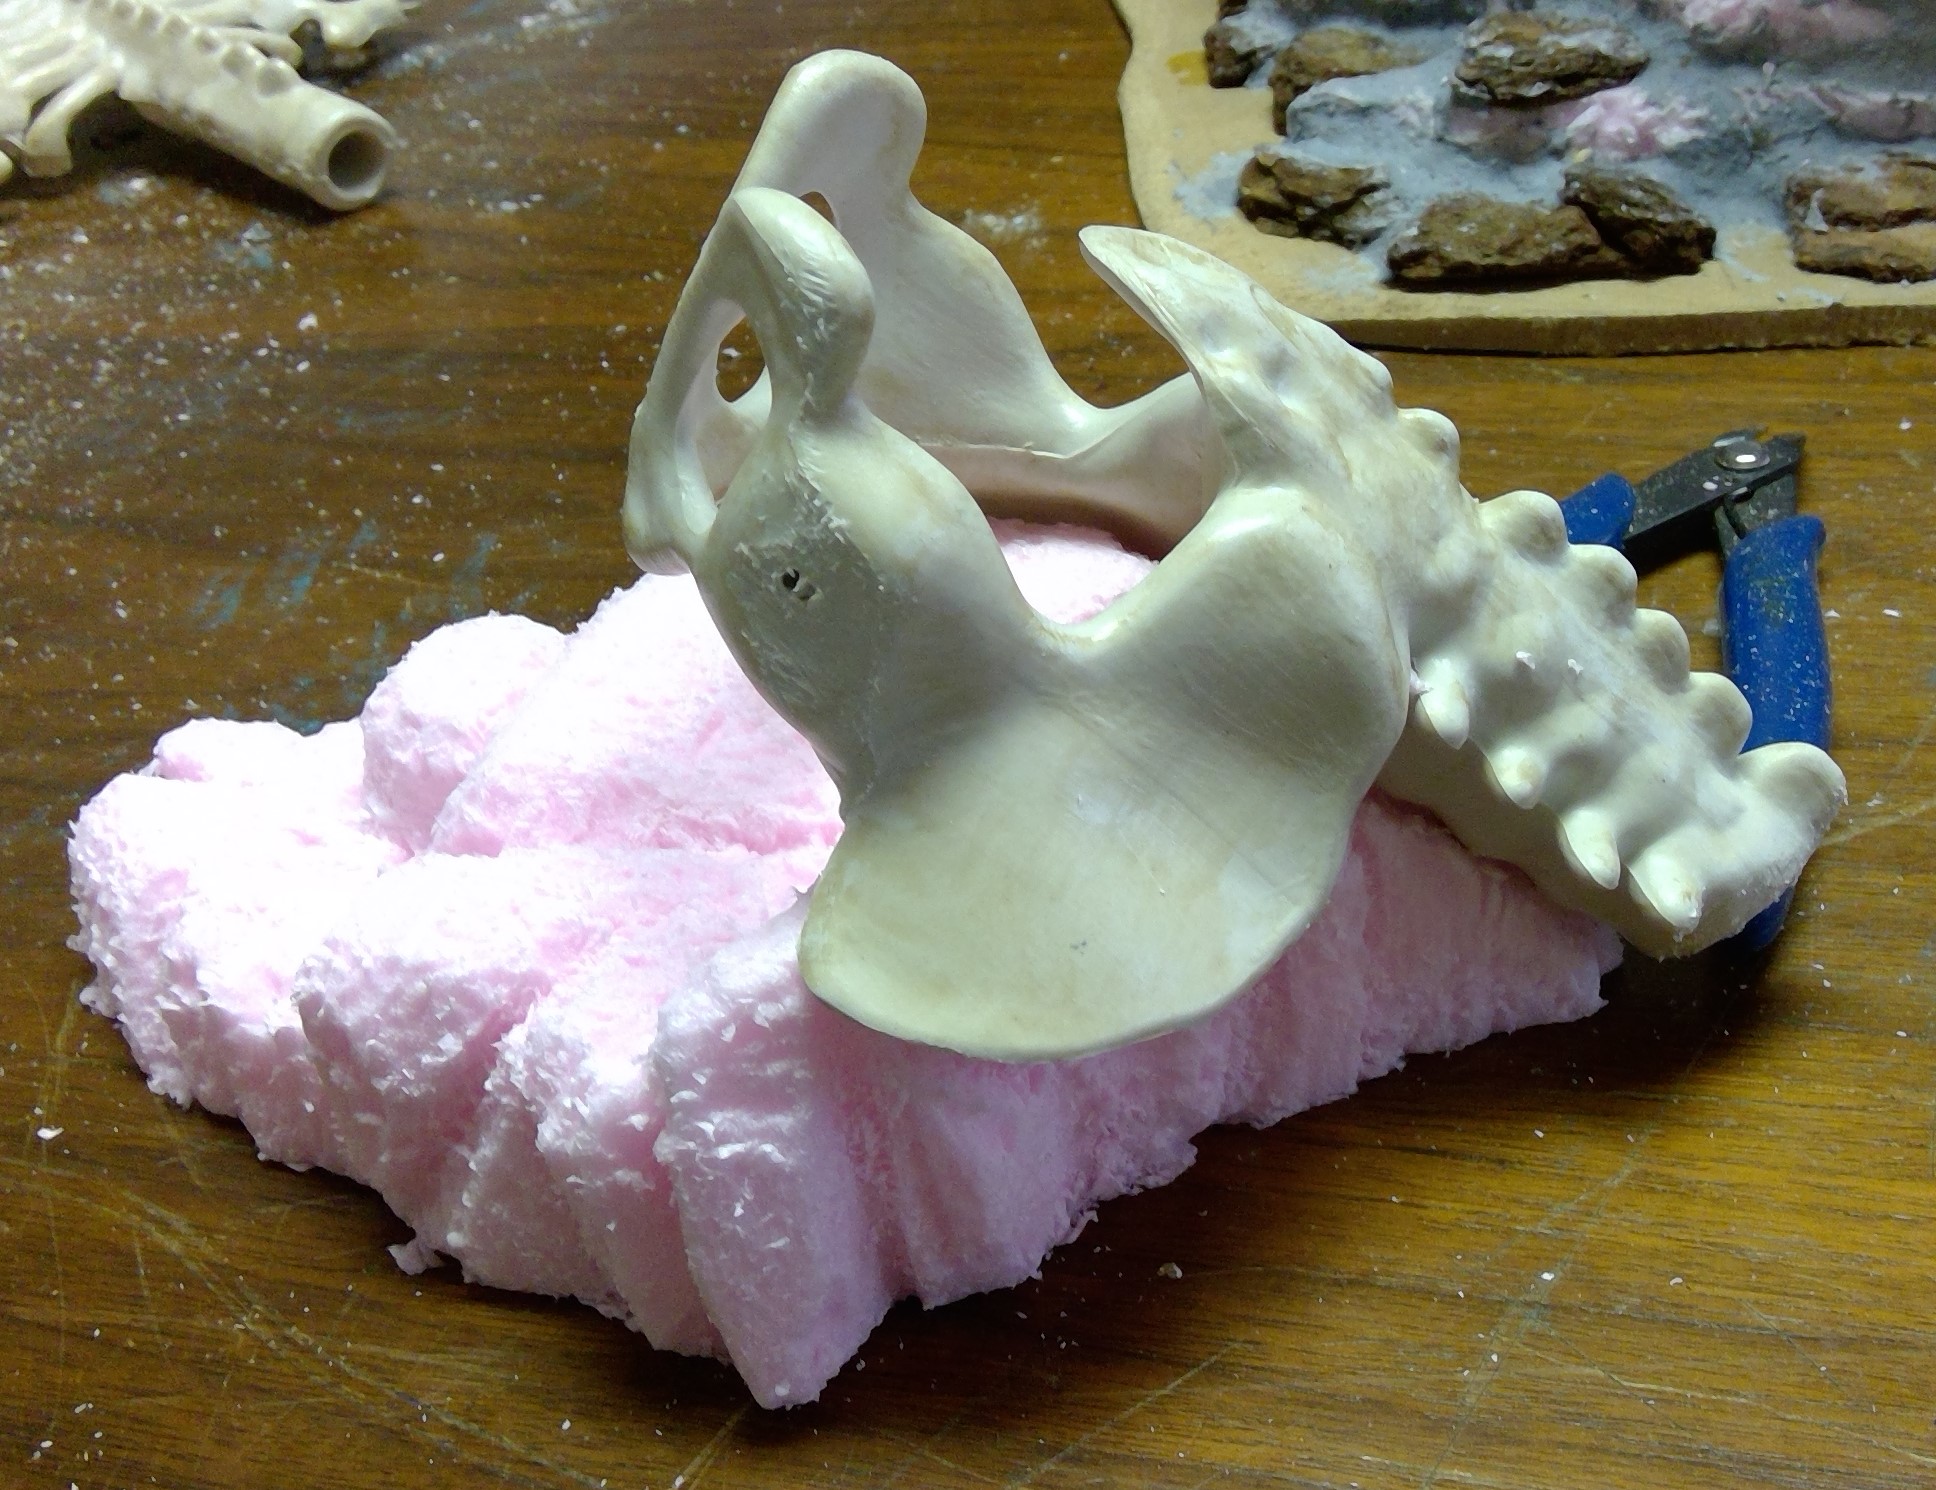
I then drilled a hole in the backbone to allow for pinning to the foam. The bone was then glued to the foam in the same manner as above with the skull. I also used a bit of the glue to fill a few holes in the plastic bones.

While that set up, I cut a base using the same MDF as above and beveled the edge with my Dremel tool. If you use this method yourself, please do so outdoors and wear a filter mask. It is not at all good to breath the dust from MDF.
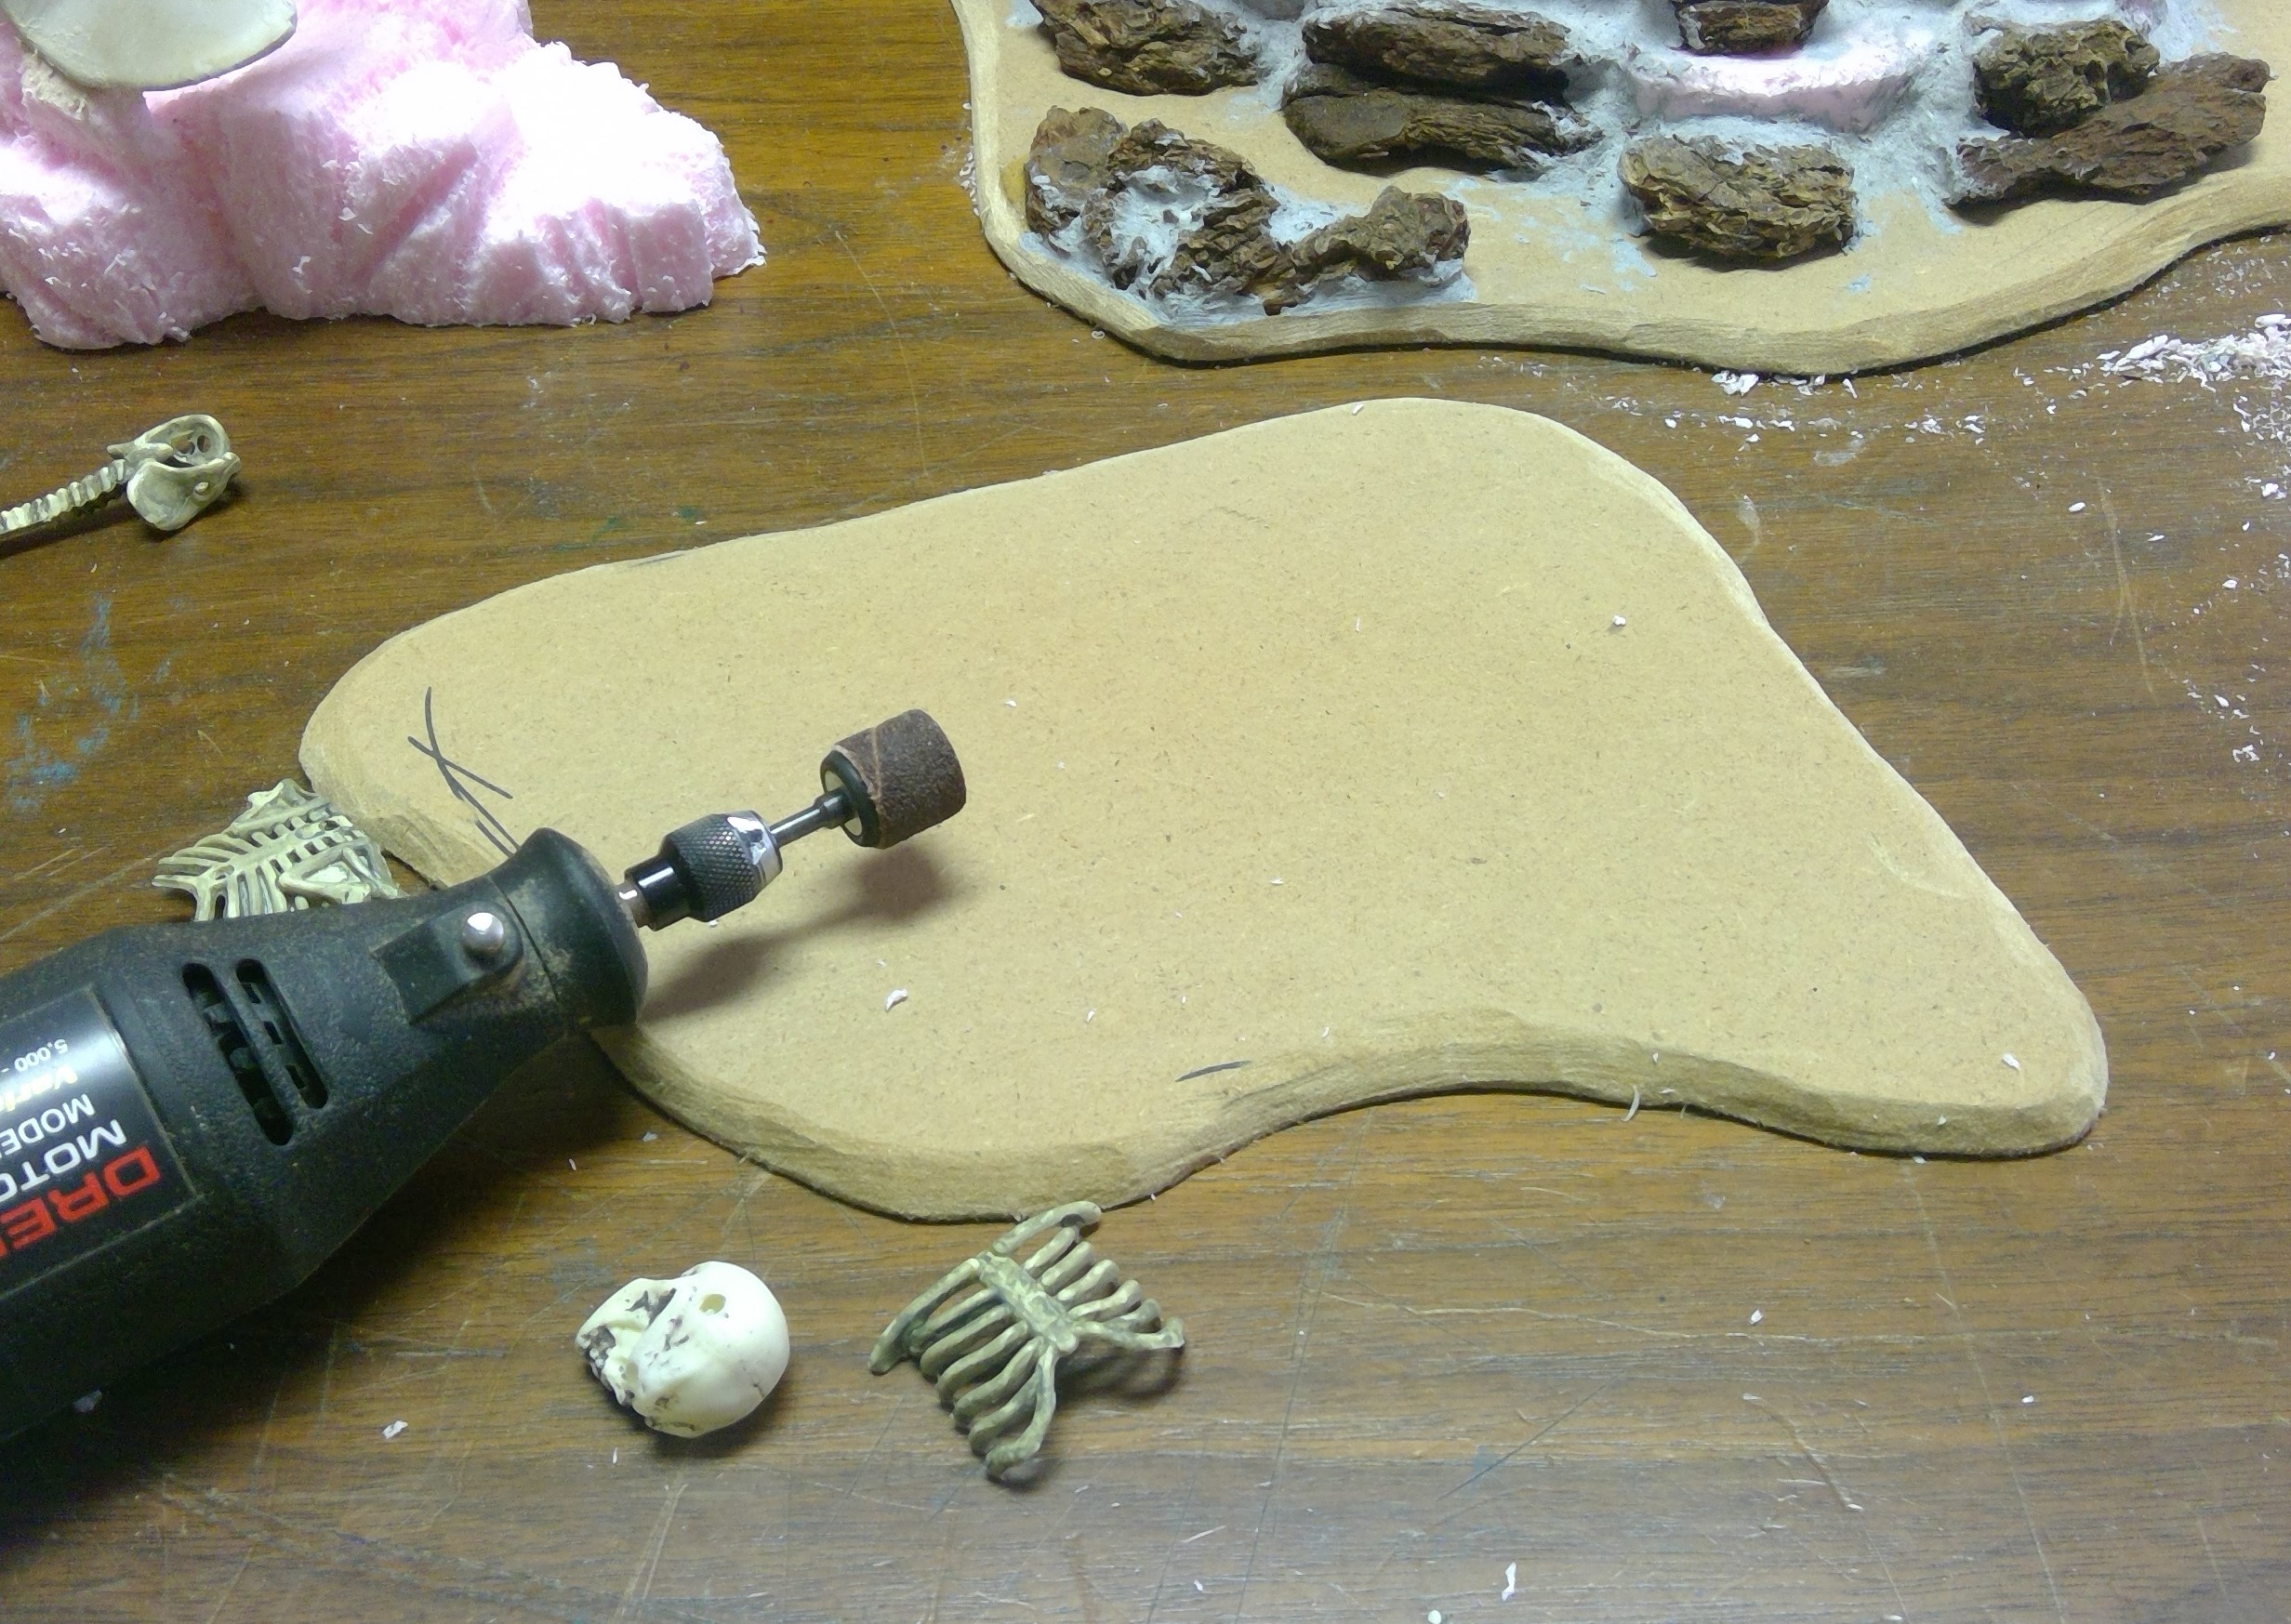
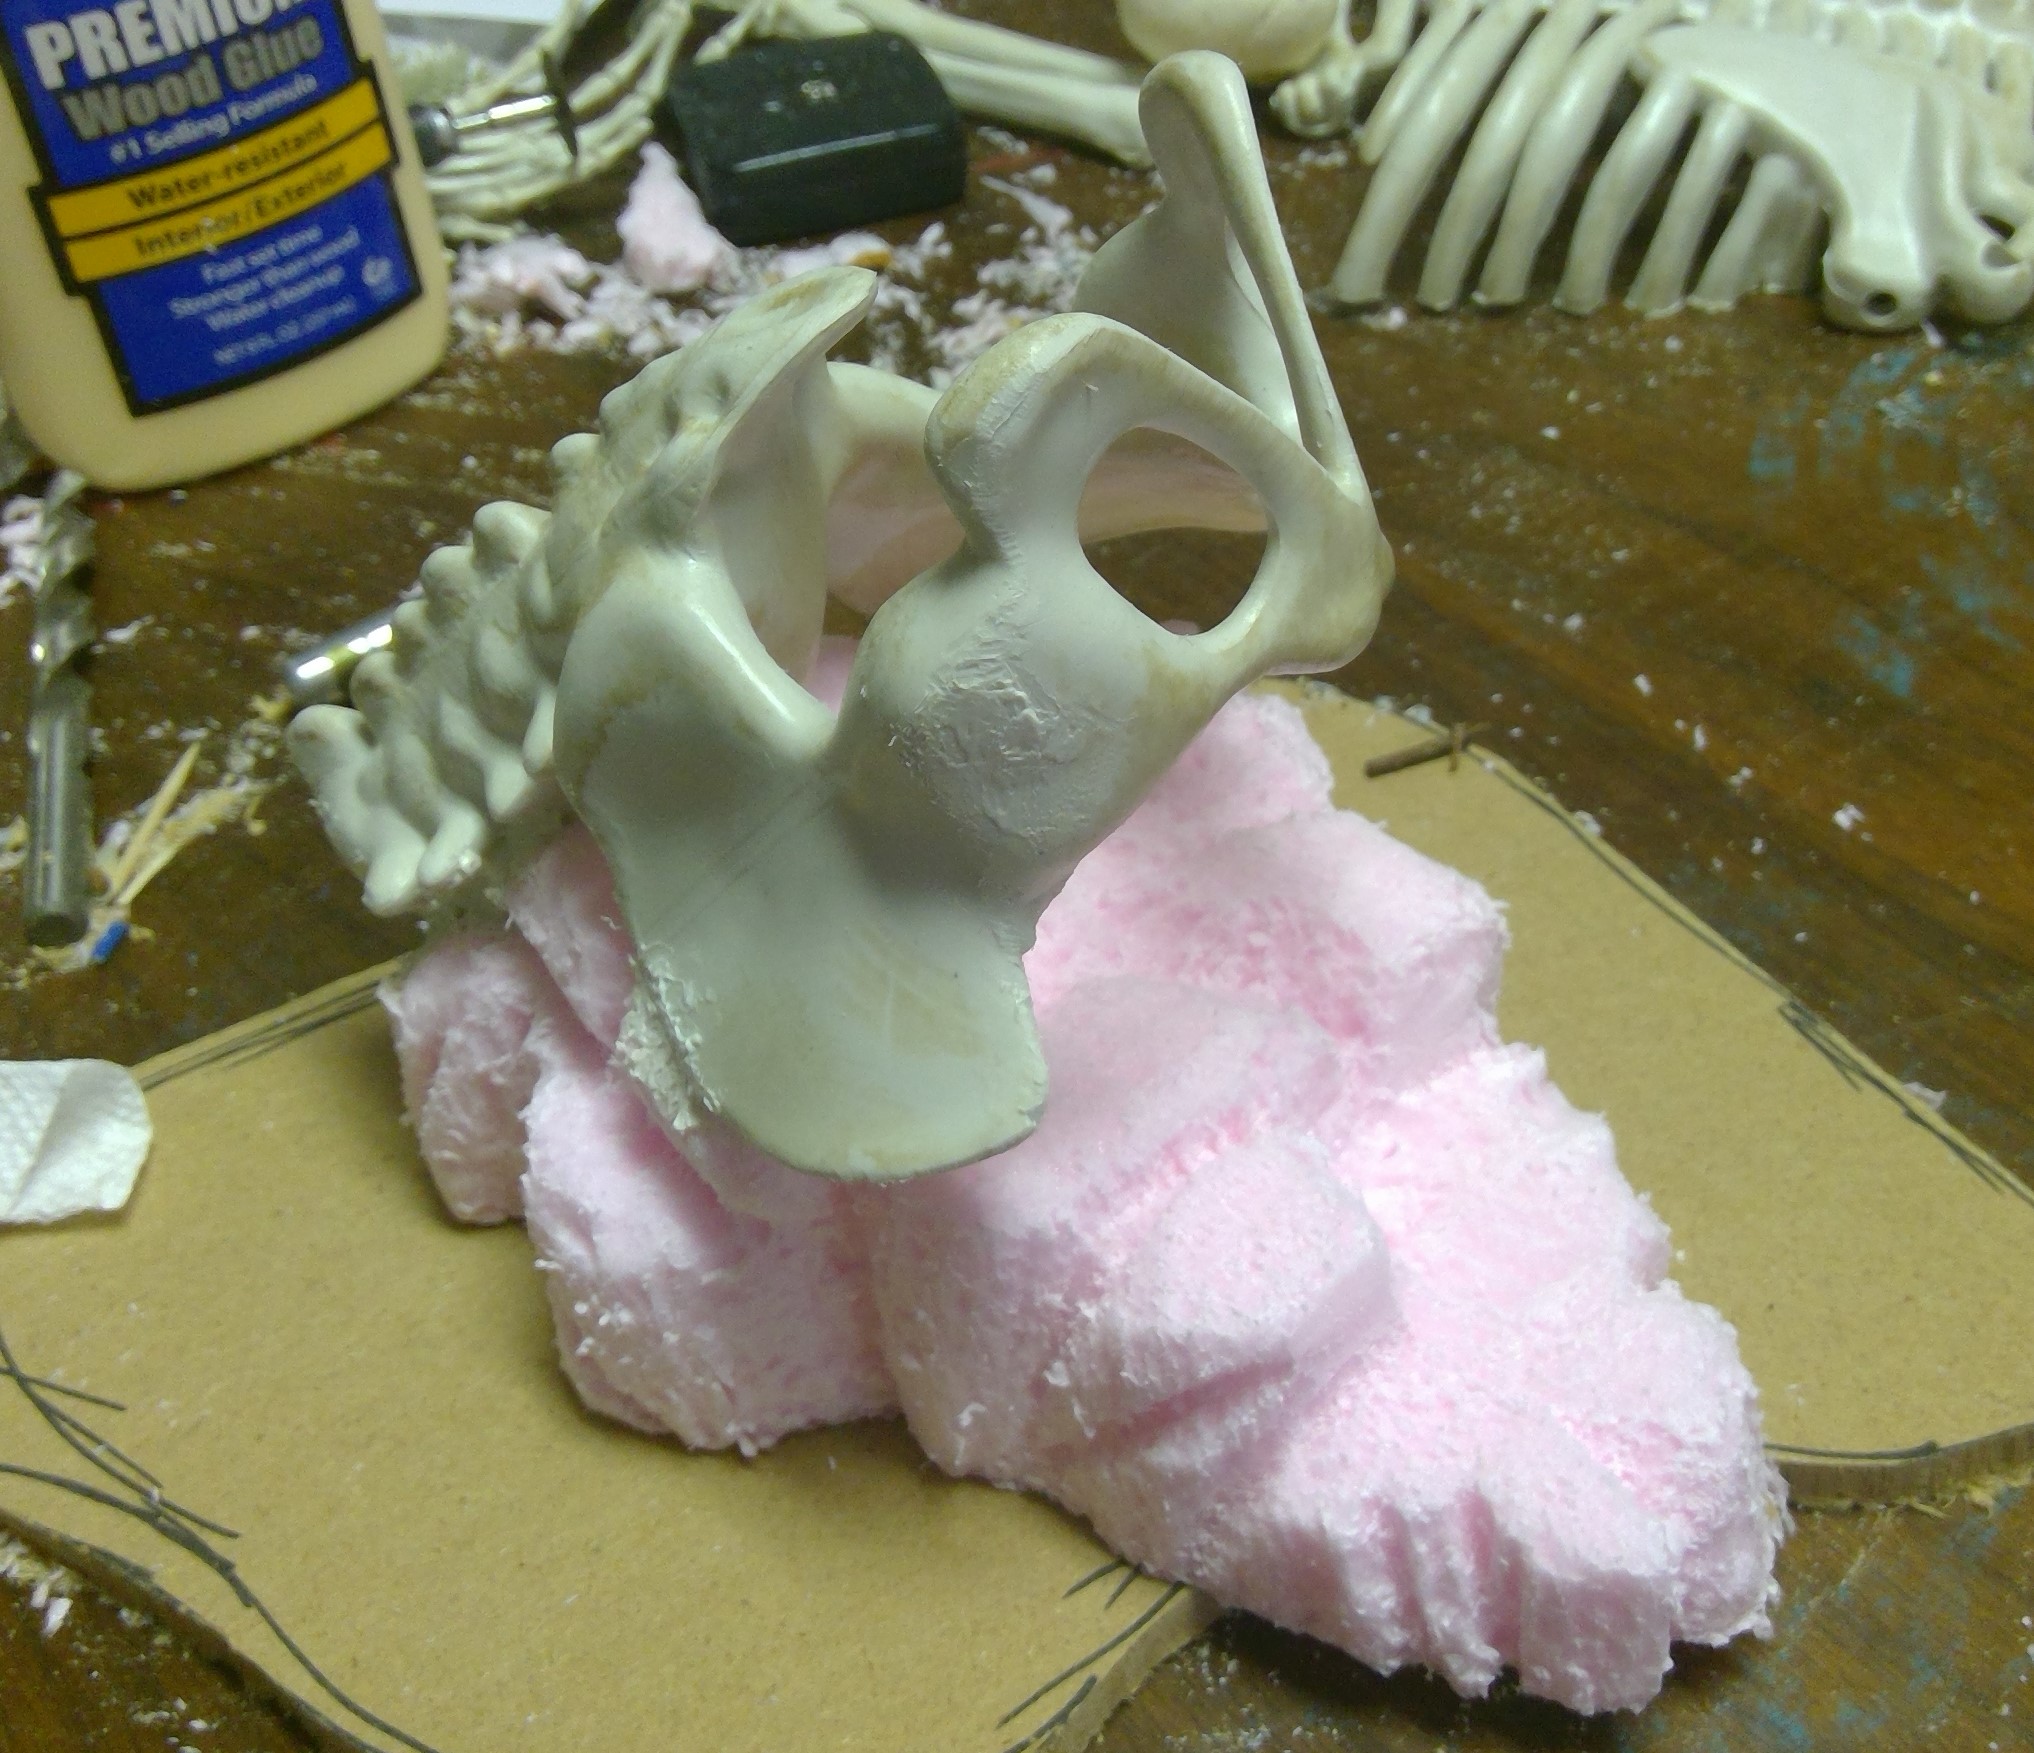
I then mounted the foam to the base and added rocks like I did on the skull cave. I also added a few more skeletal bits among the rocks around the base. This will all be blended together with CelluClay as before.


Avoiding Club Fingers
A couple more tips on working with CelluClay.
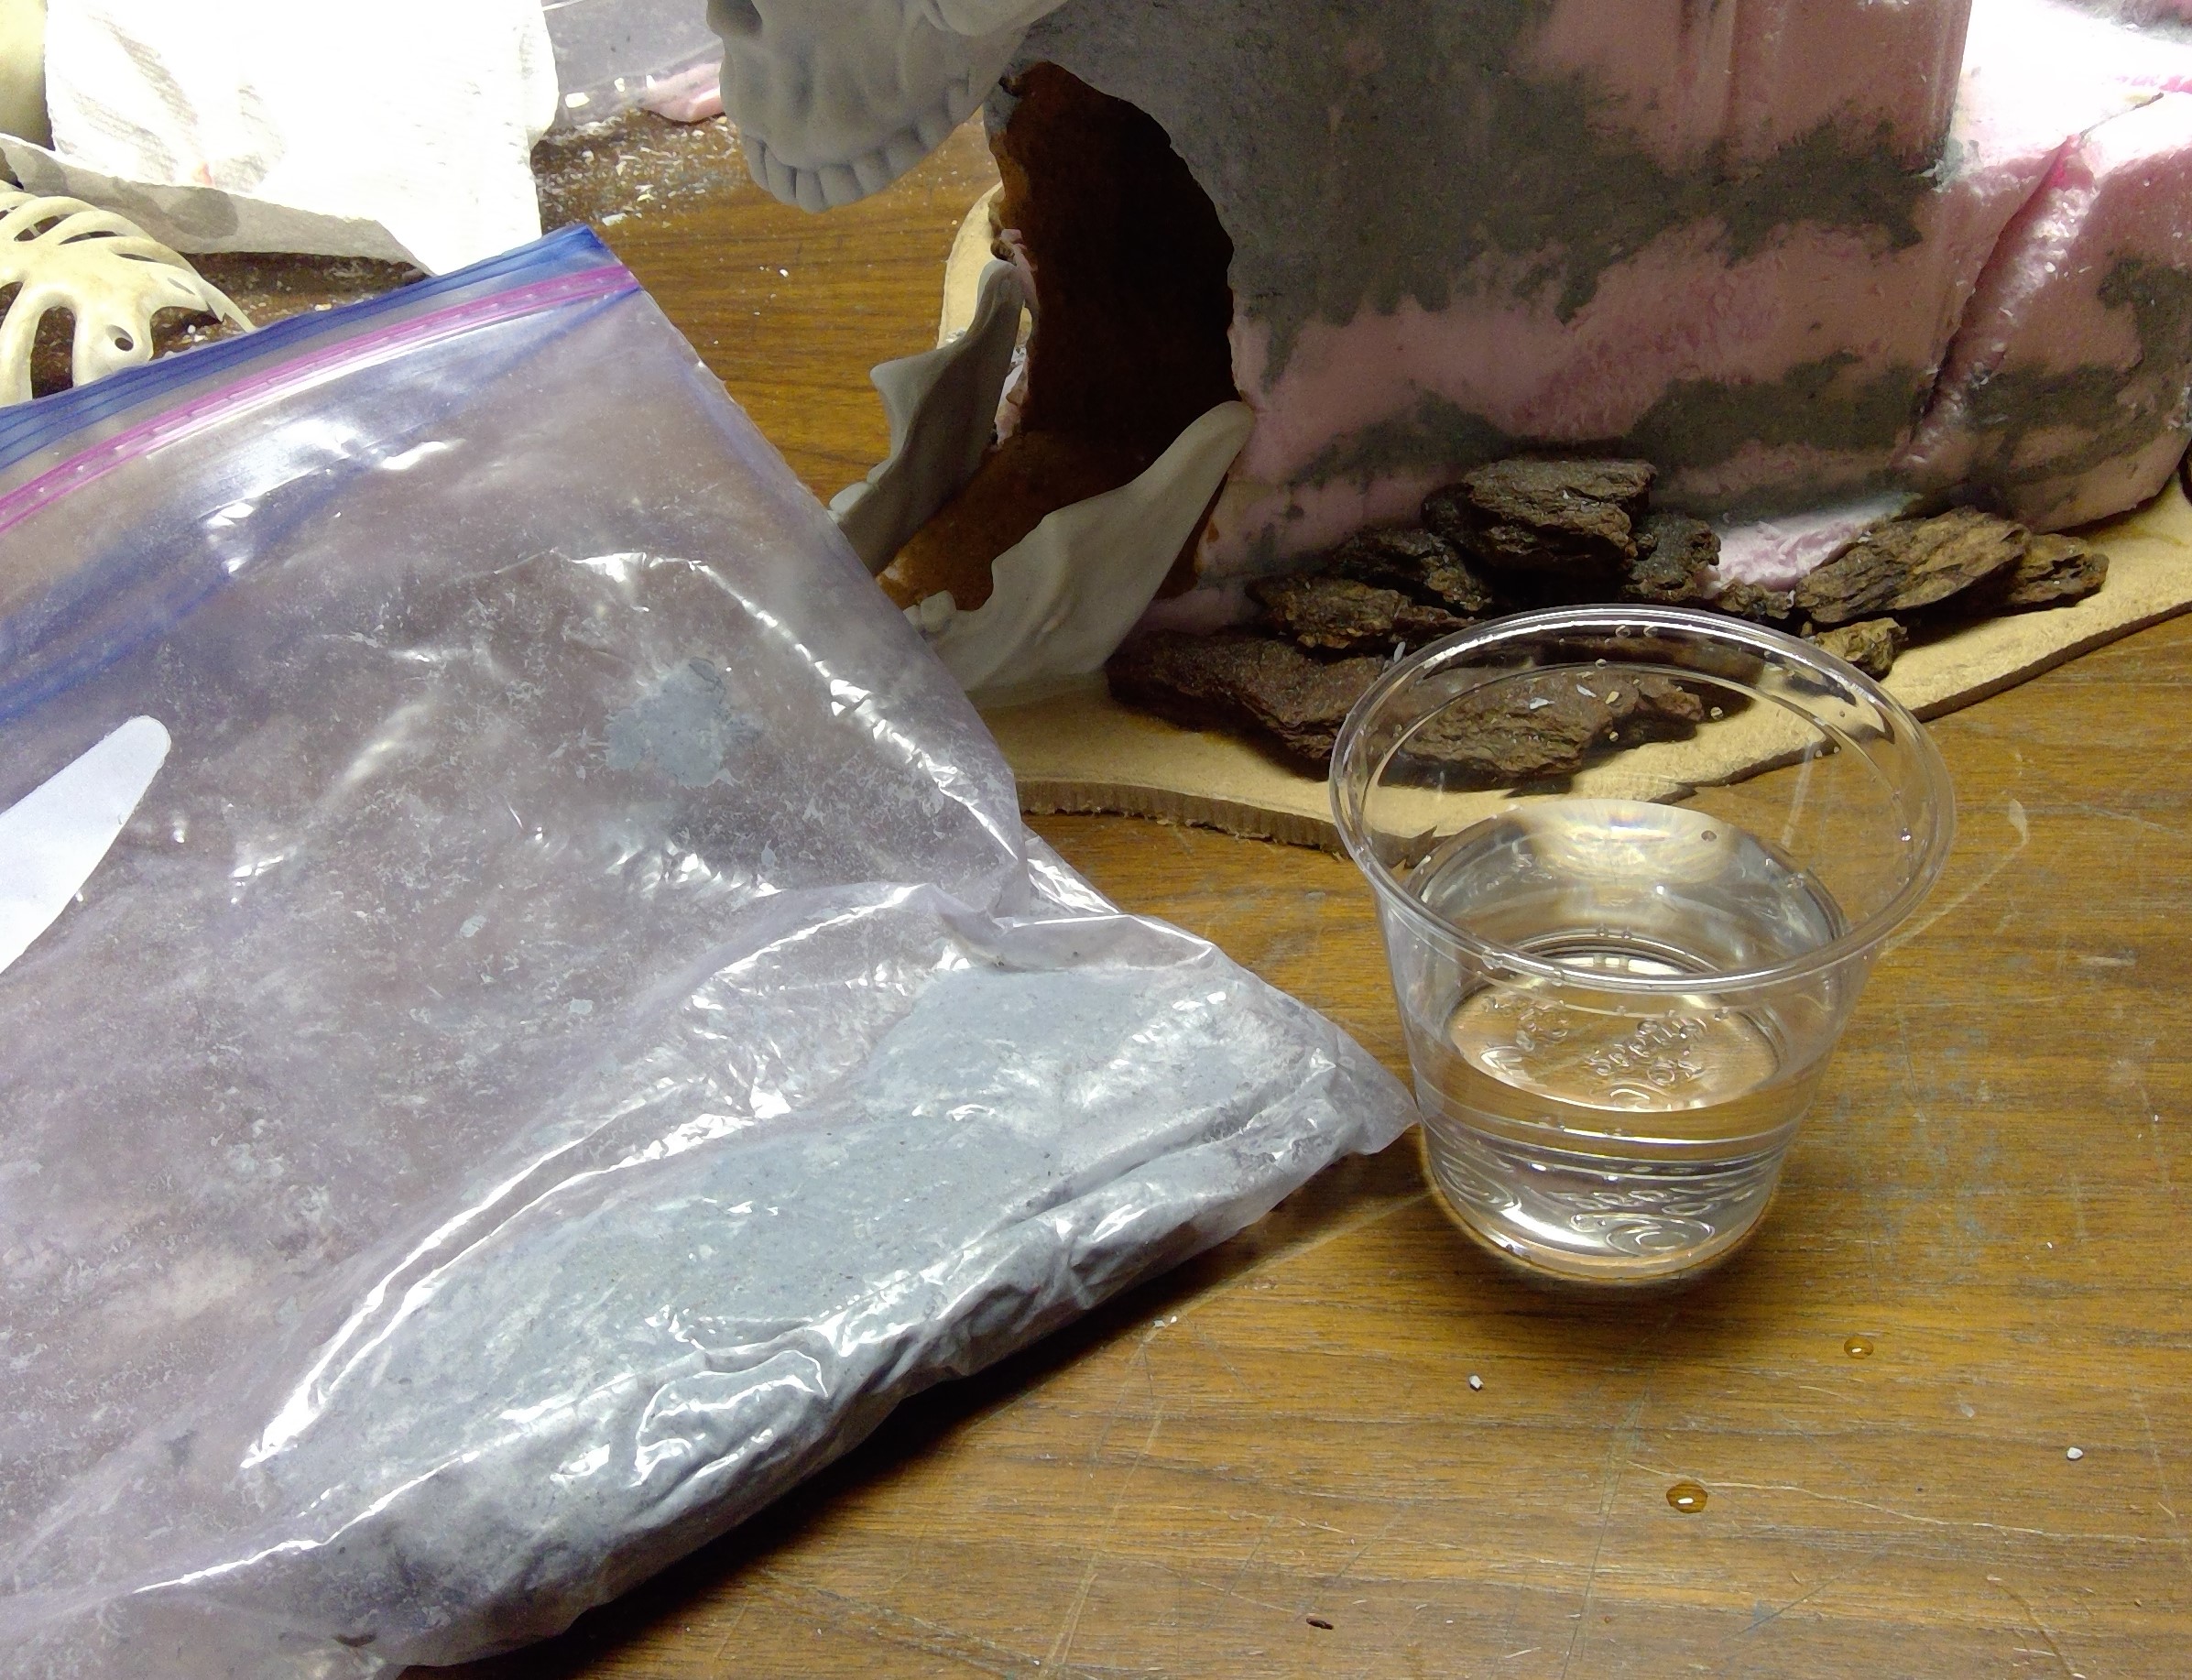
This stuff is quite sticky and likes to clump up on your fingers, thus forming what I like to call “Club Fingers”, the same as dough will clump up on your fingers if you don’t add flour to your hands while working with it in the kitchen. In the case of CelluClay, simply keep your fingers moist. I keep a small cup of water nearby to dip my fingers, and tools, in while I work. It also helps when smoothing out and shaping the clay.
I’ll update with a photo of “club fingers” next time I work with the clay.
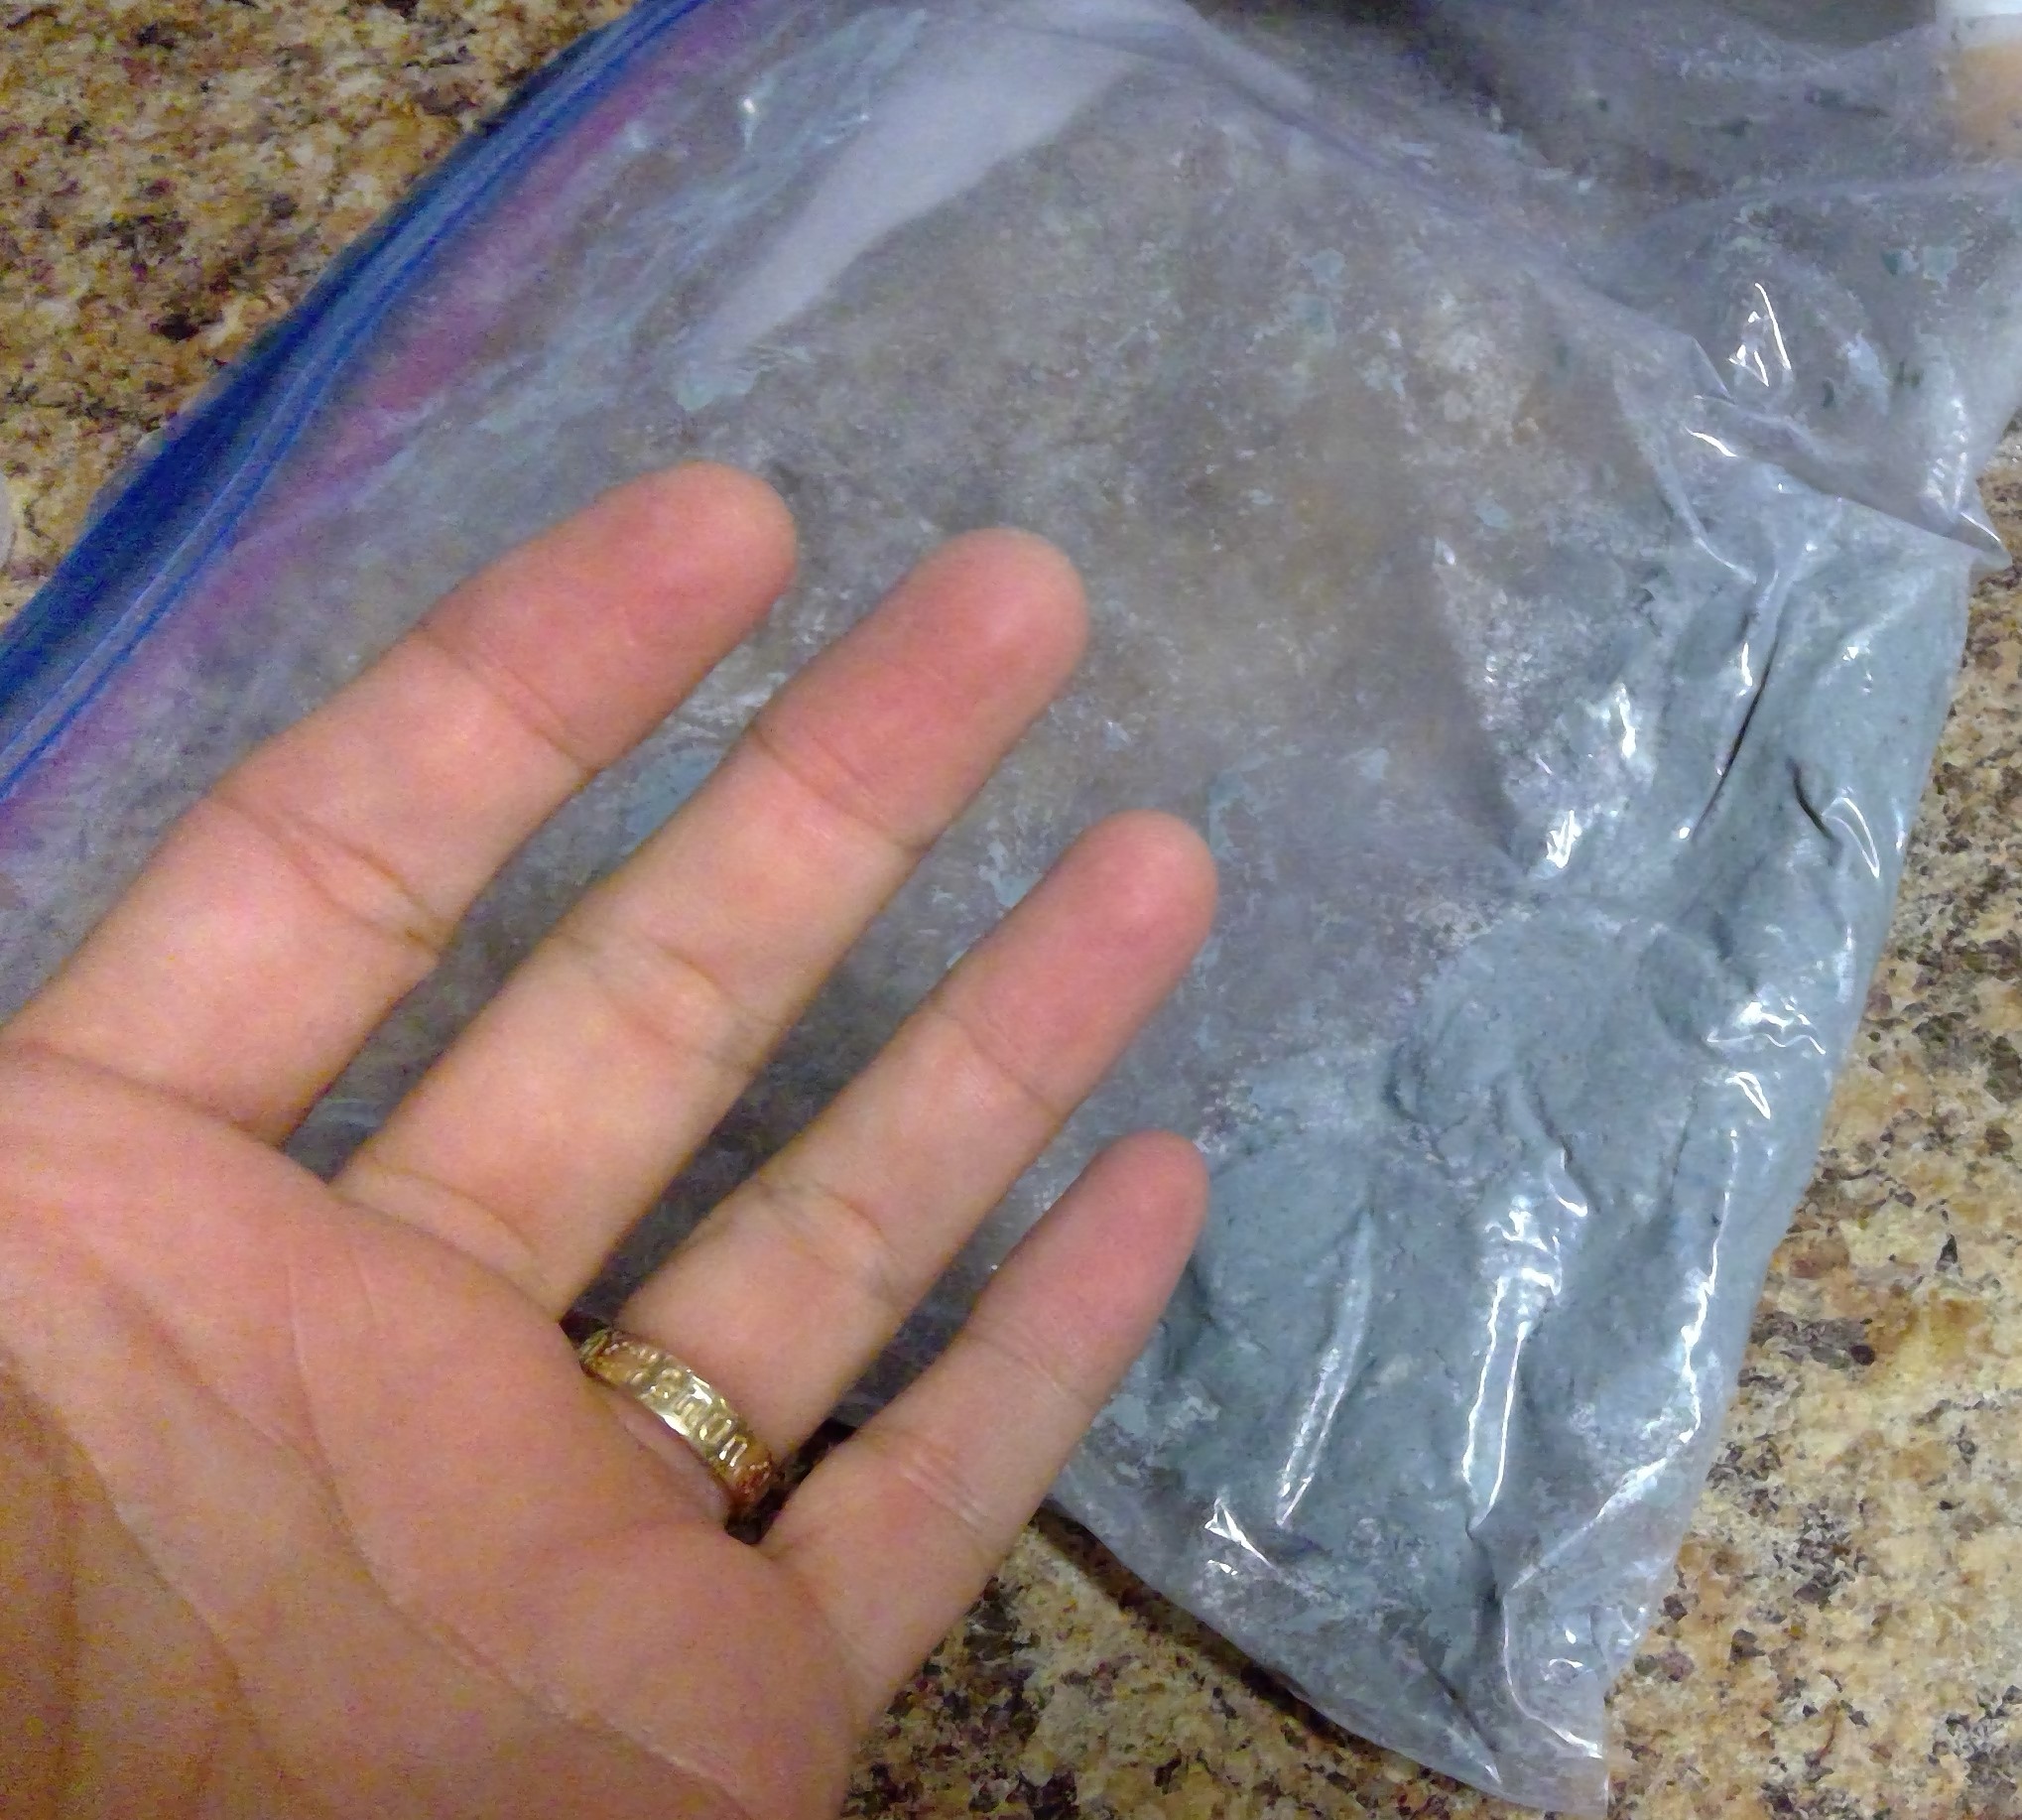
When mixing the CelluClay do so in a large ziplock bag, it will keep your hands clean. Also, if you mix up too much you can push the air out and zip it closed. You can then store the leftovers for a bit in the refrigerator and not waste it.

Blending it all Together
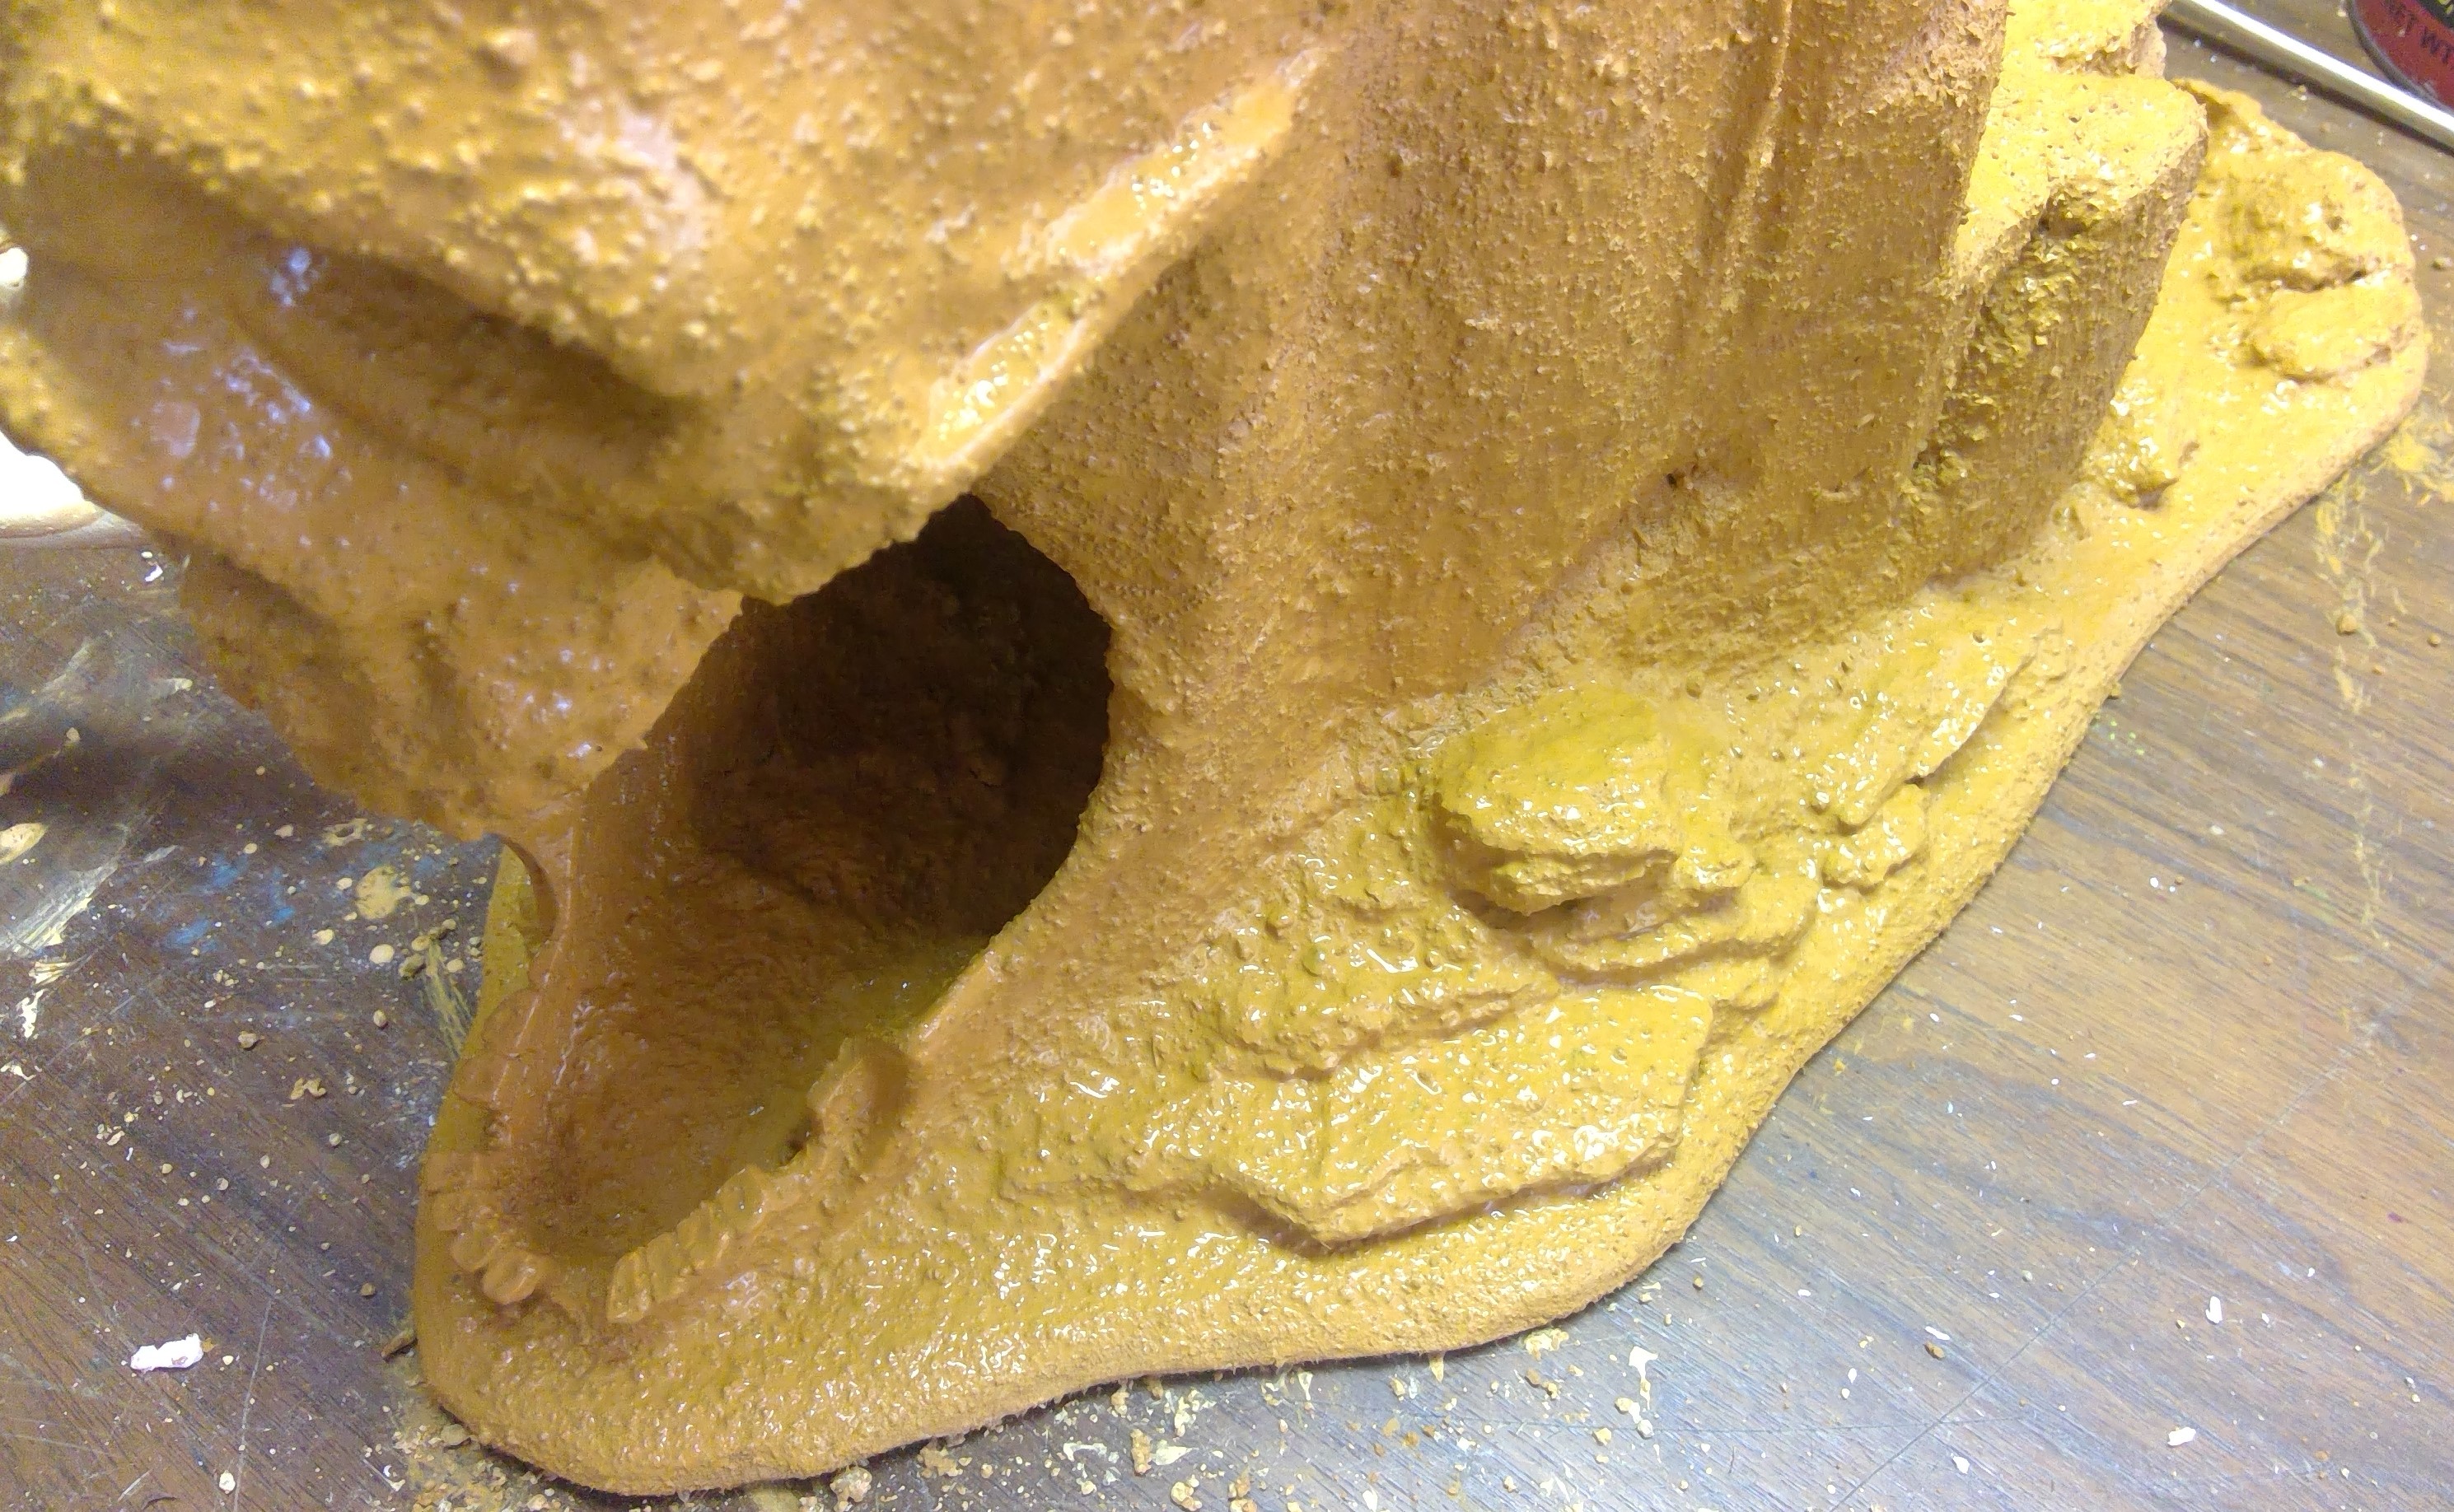
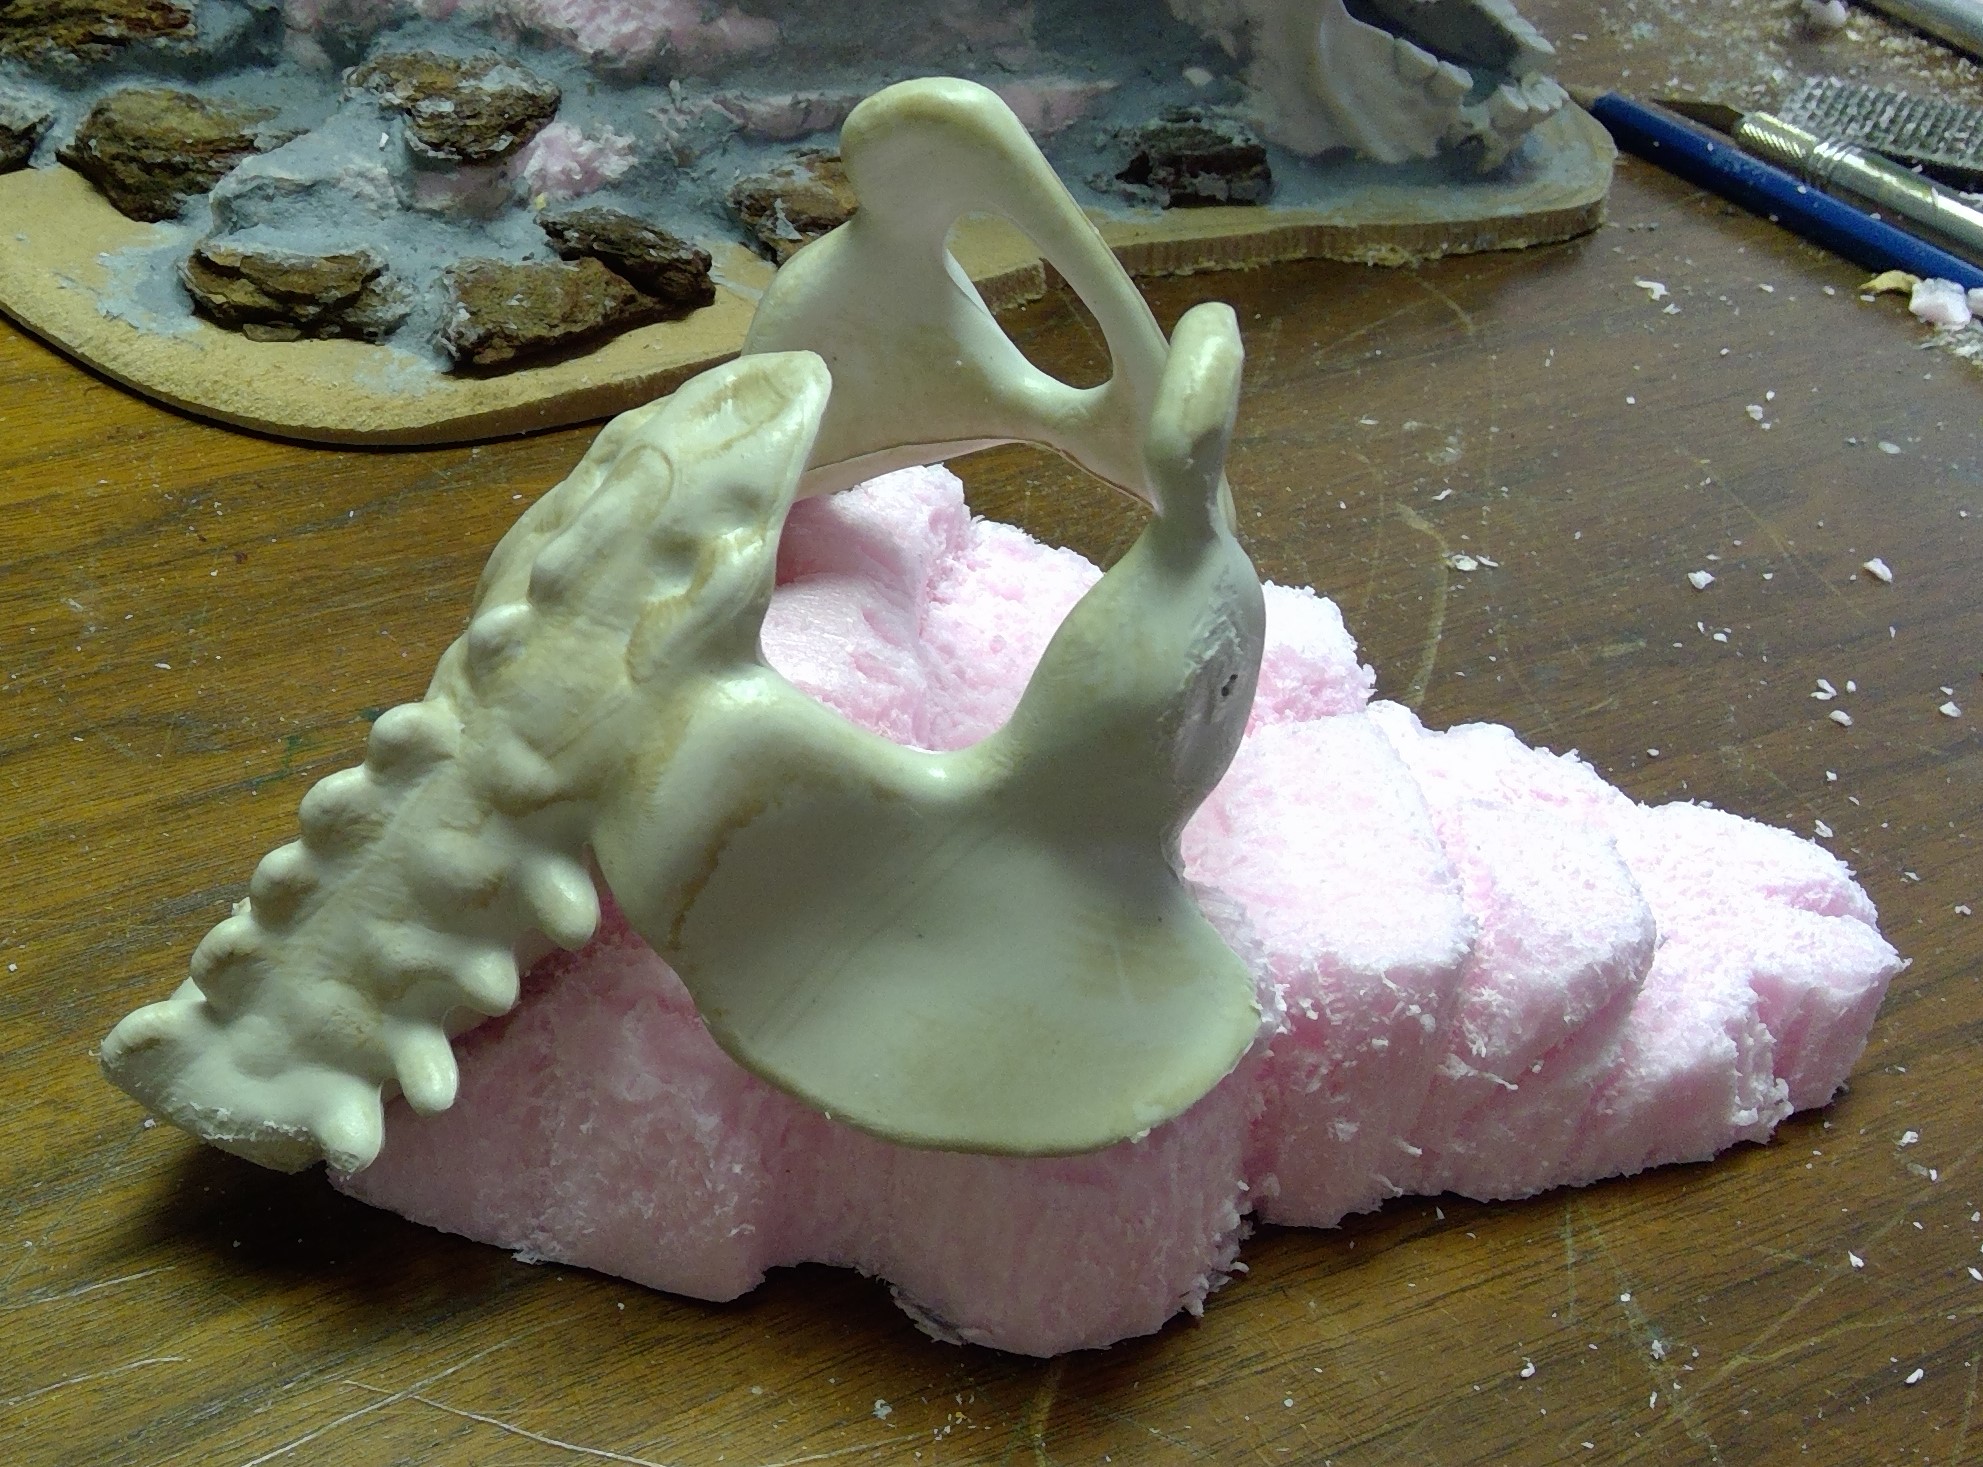
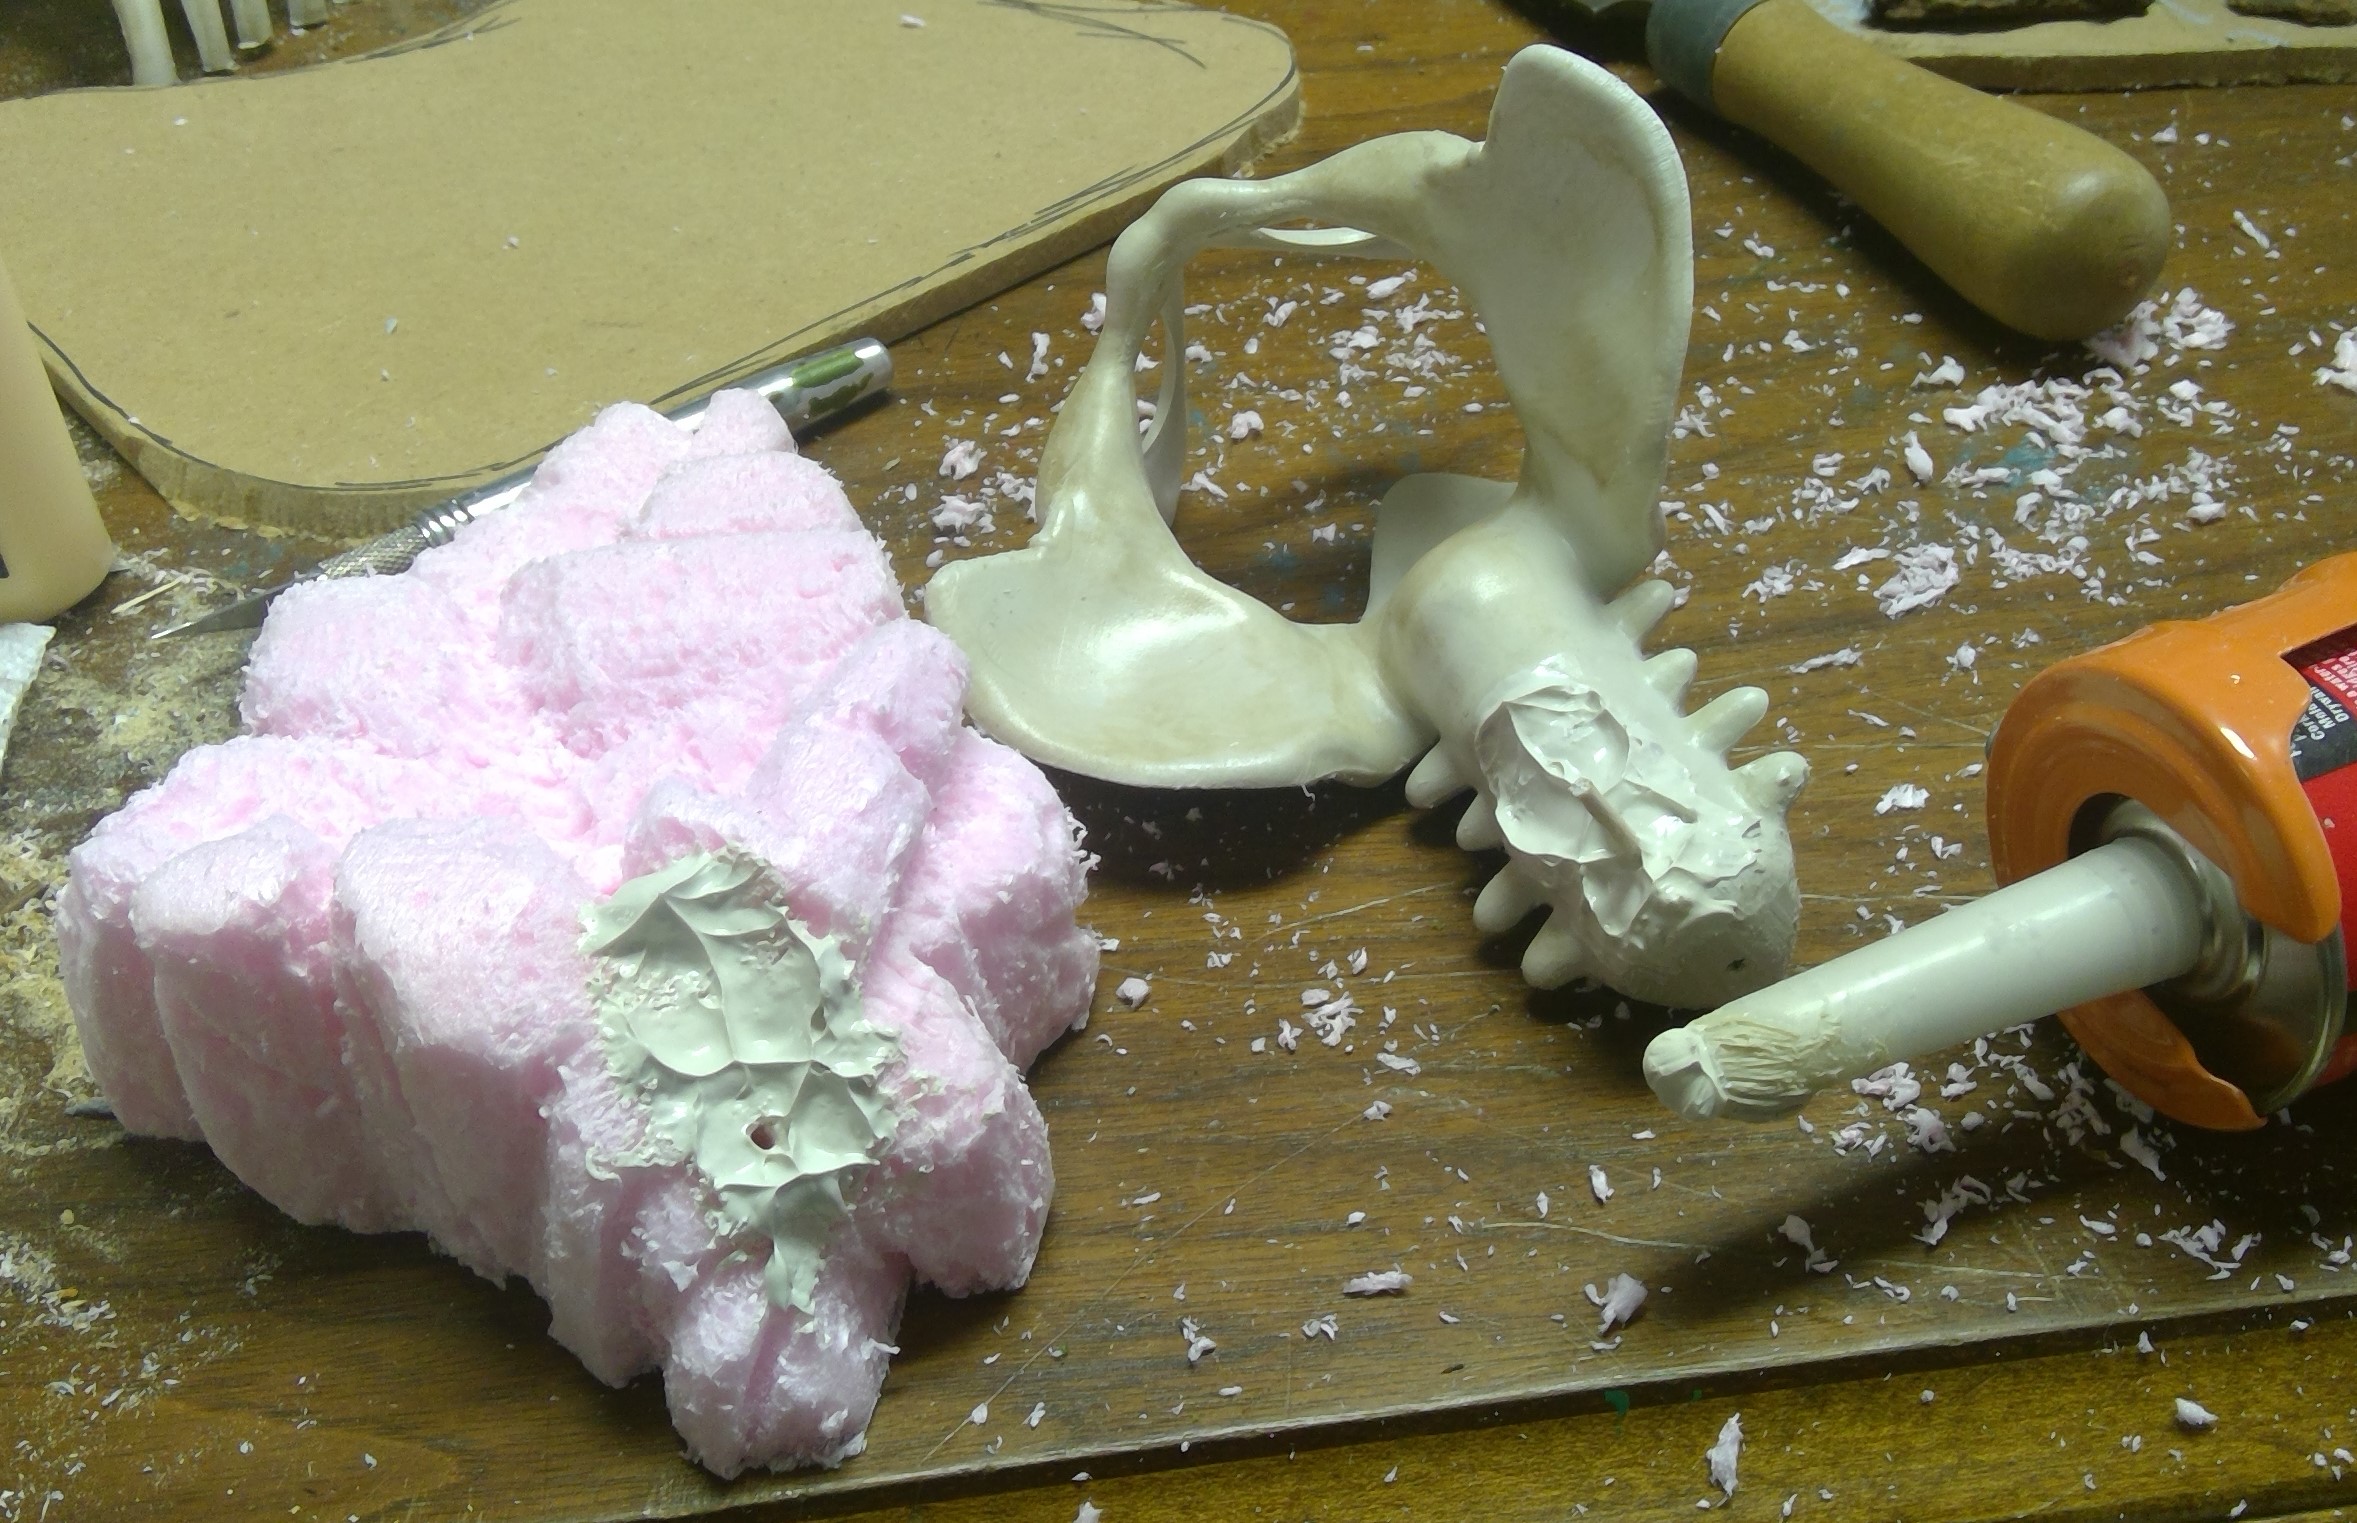
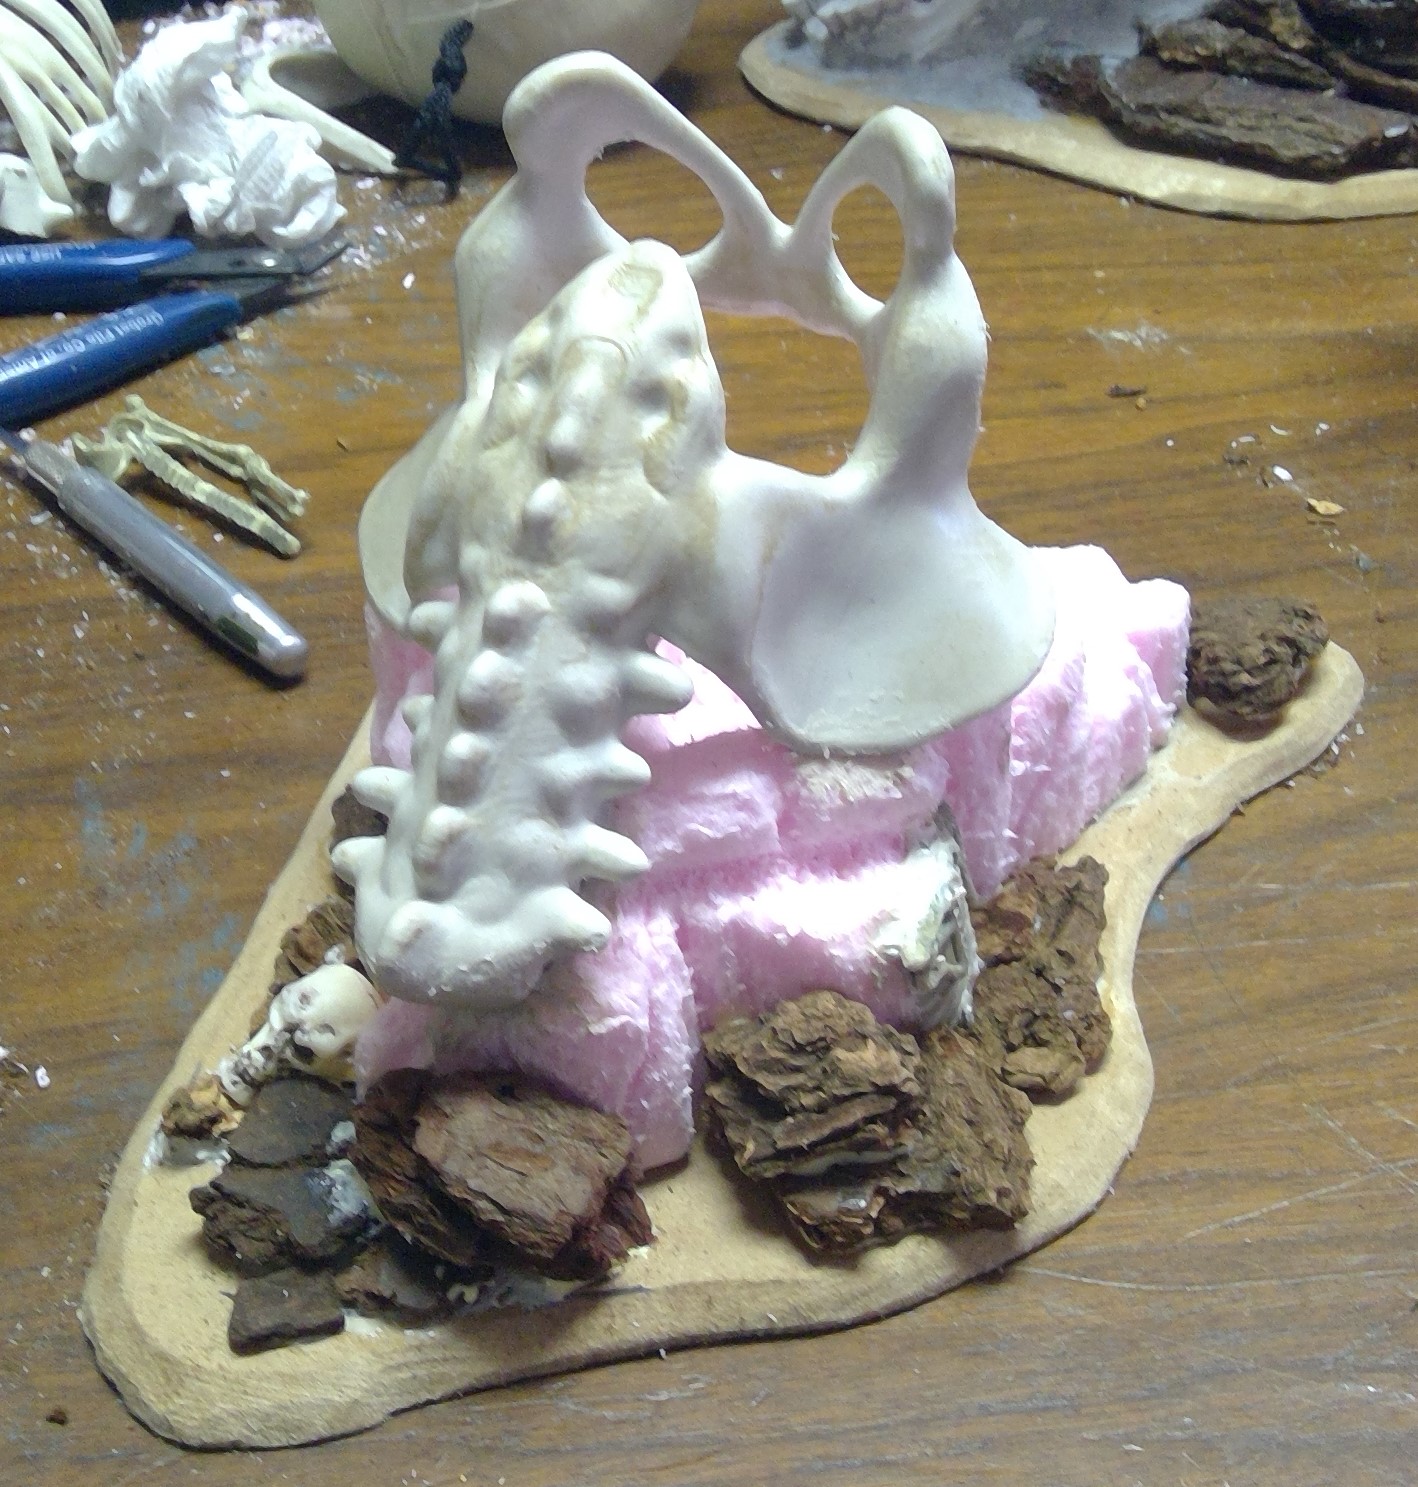
I once again mixed up a large batch of CelluClay to start blending in the lower jaw and the rocks, and to add some texture to the top surfaces of the mesa. At this time, I remembered that the CelluClay didn’t like to stick to the slick surface of the pink foam so I roughed it up a bit with a rasp in order to give it a surface to hold onto. You can see this in the areas circled in red in the first image below.


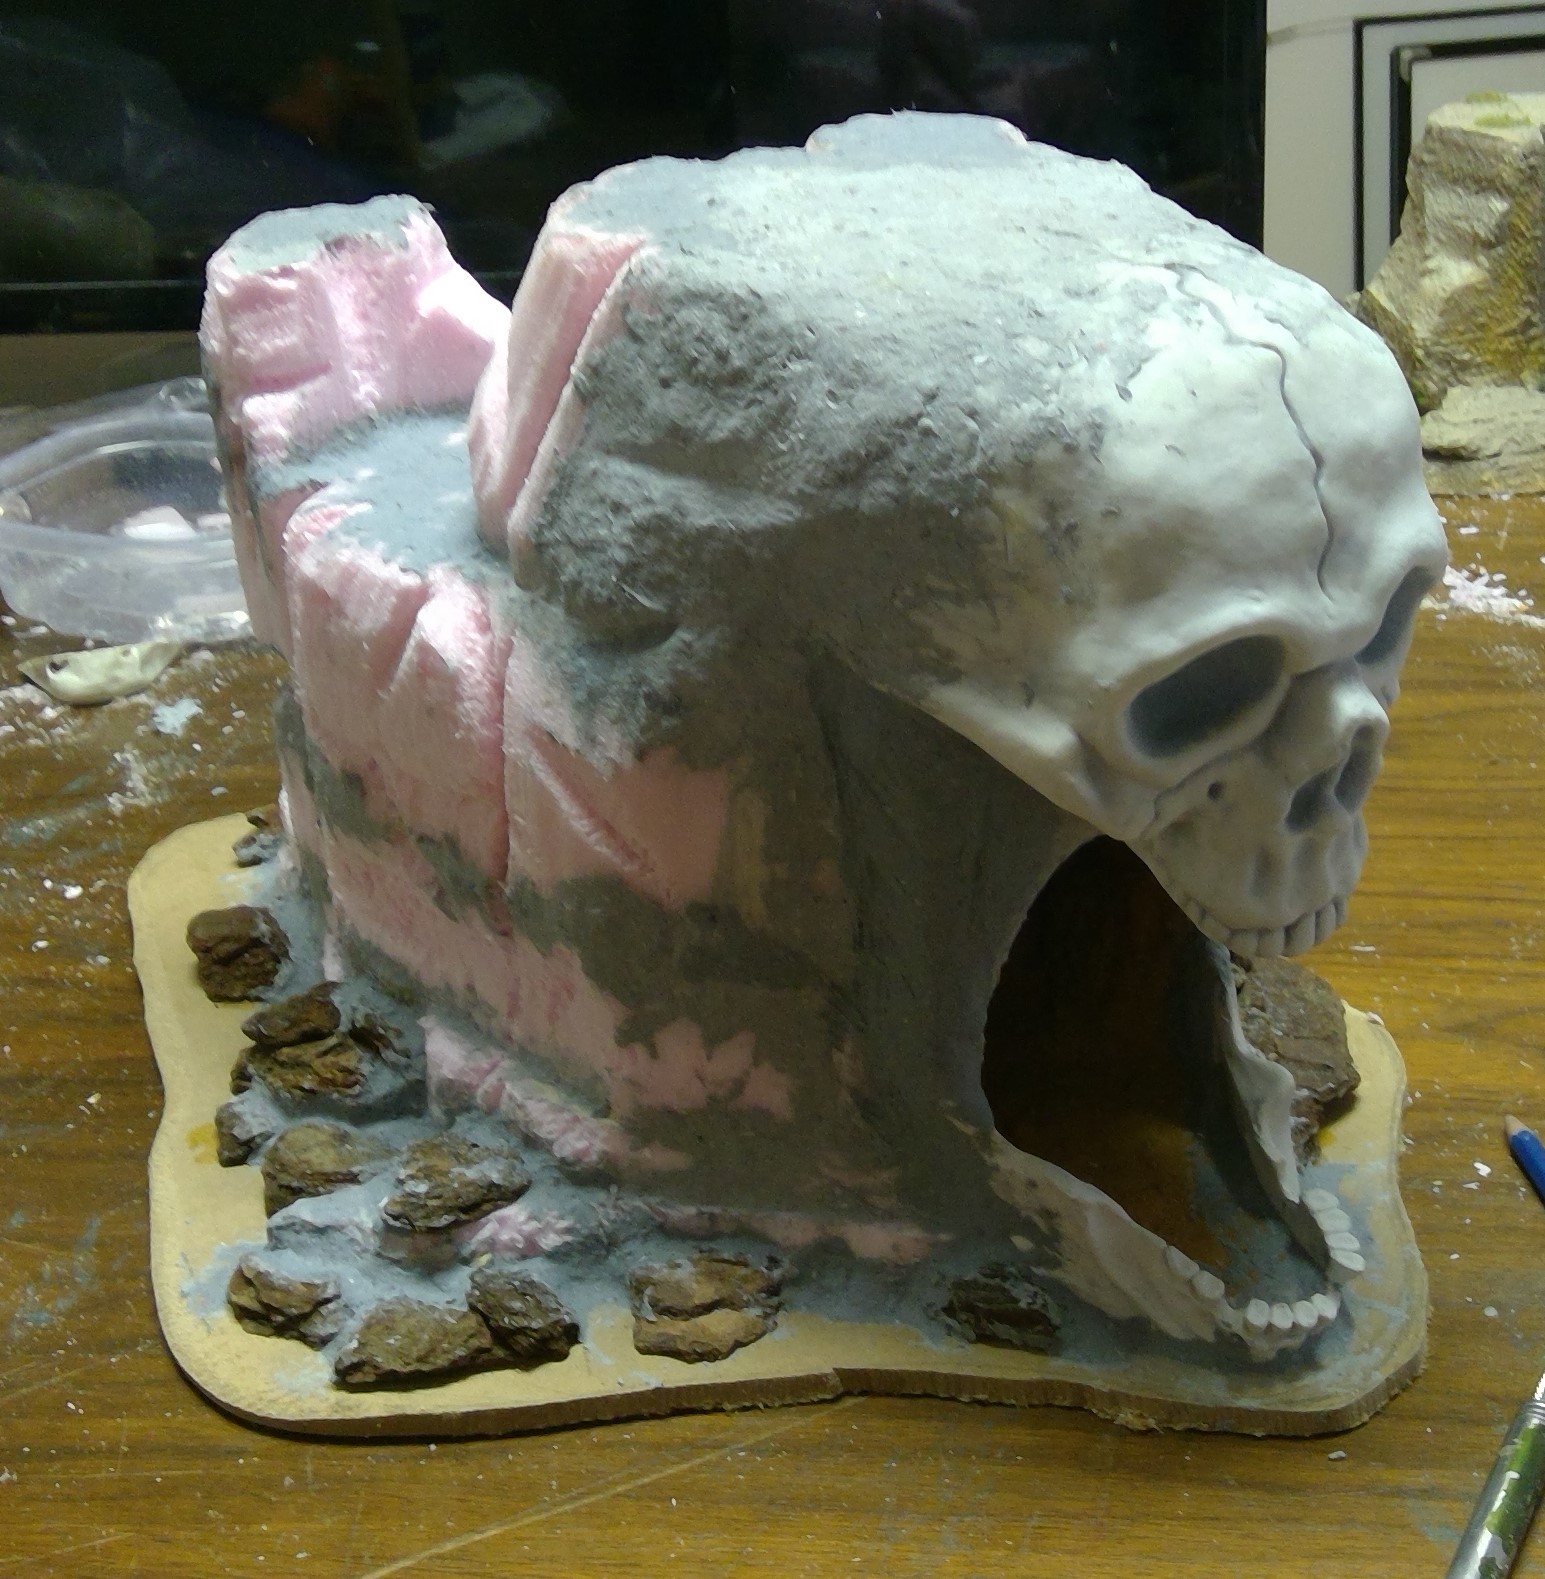


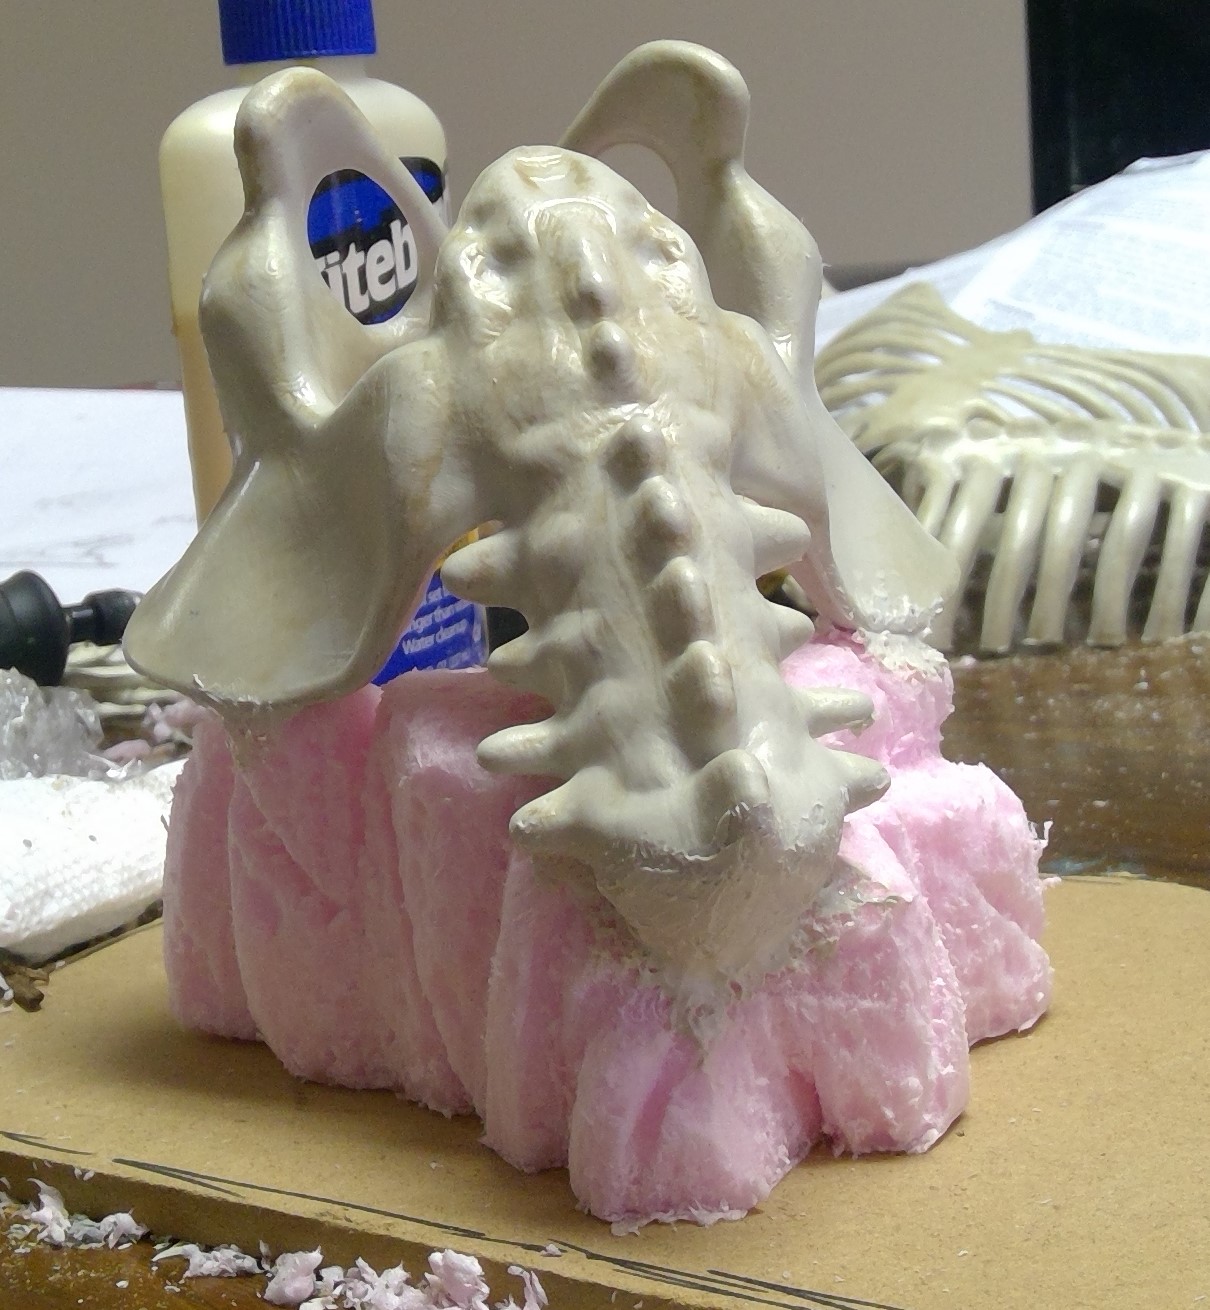
While blending in the lower jaw, I attempted to make it look as if the jawbone extended up to join the skull.


![StarCraft Tabletop Miniatures Game Pre-Orders Live Now [Updated]](https://images.beastsofwar.com/2026/03/starcraft-tmg-news-cover-600-338.jpg)


