


Background Terrain – Forested Mountains


Recommendations: 48
About the Project
Creating terrain to blend in the edge of a gaming board so as to improve the visual aesthetic.
Related Genre: Fantasy
This Project is Completed
Part 1 - Building the Bits
So, after a short absence from the Hobby due to work commitments, I was determined to get something done in the hobby space. With the local climate presently being too cold for detailed miniature paining, I decided to hit my usual fallback, terrain. I had not intended at the outset to utilise the project system, only deciding on creating a project partway through the build, so the first few steps will not have much by way of pictorial accompaniment. ie, this is just really an excuse for me to give the project system a trial run before embarking on anything more substantive project wise…
I had had an idea kicking around for a while to make some multi-levelled hills to sit along the edge of a gaming table. This would serve several purposes. It would be an efficient way of getting terrain down quickly, it would frame the battlefield, it would hopefully enhance the visual aesthetic of the gaming table, and, perhaps most importantly, it would reduce the chance of fast cavalry models getting accidentally elbowed off the table edge and shattering on the floor when they went on a romp down one of the flanks…
The build phase was fairly simple. I took a sheet of yellow insulation foam and cut long irregular shapes with a hot wire cutter. I ‘wiggled’ the hot wire cutter back and forth a little as I was cutting the foal to try and quickly replicate the effect of erosion on the cliffs (this was intended to be a quick project so I did not want to spend time carving the cliff faces by hand). I then cut a few smaller sections for the next levels and PVA’ed them in place. I then added a couple of foam off-cuts form another project to one of the formations to make a point of differentiation (this did not make it in to the below photo but will show up later on… Hey! I’m new at this 😛 ). While that was drying I took some aquarium gravel/stones and glued them along the join lines randomly to break up the transition a little.
Photo tells the story pretty well (Hooray! Photography ensues!)
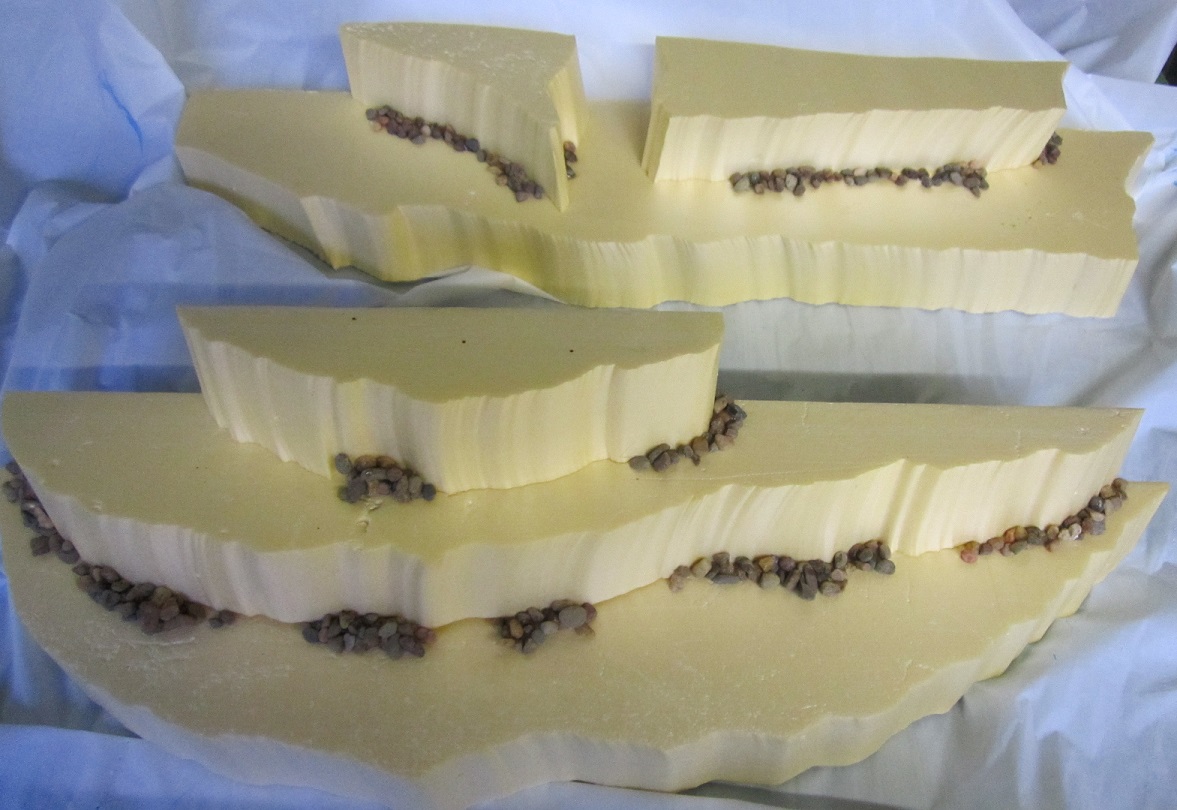 2 of the 3 cliffs in all of their foamy glory...
Part 2 - Painting the Bits
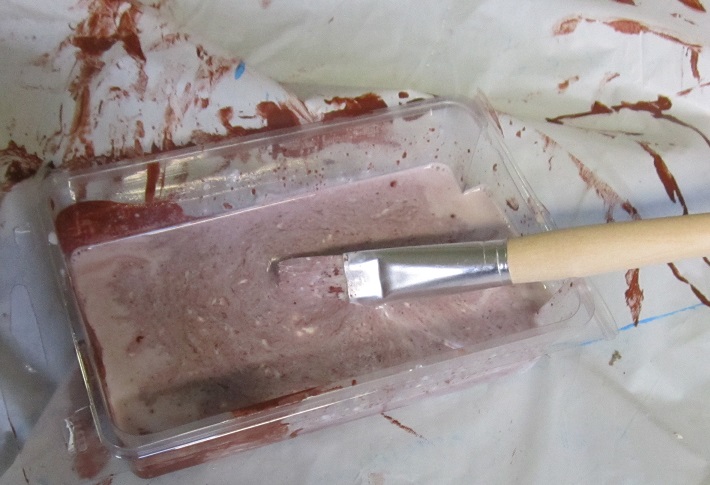
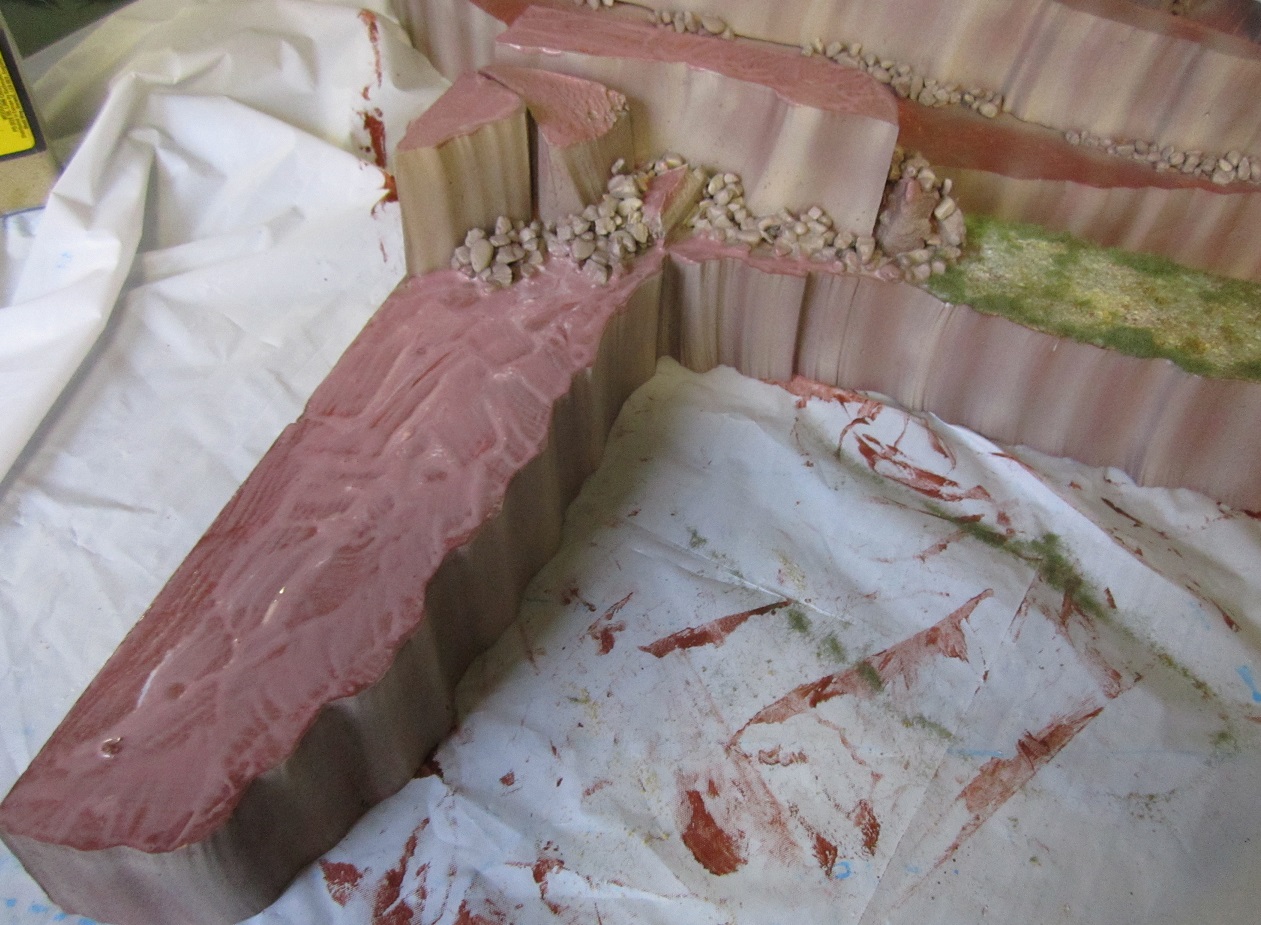
So to commence proceedings in the paint phase I used some Burnt Umber poster paint and liberally applied with a cheap brush. Not much to say here, goal was just to try and get a covering down to protect the bare foam a little.
When that was dry I broke out the airbrush and gave the cliff faces a light coat using Vallejo Air NATO brown. I then mixed the brown with Vallejo Air Desert Sand and ran a second coat over all the faces, moving the airbrush in a vertical manner to highlight the banding from the foam cutter and create the appearance of depth. gave it a bit of a top-down cover for good measure. Final pass was with just the desert sand, hitting the middle of the vertical bands to bring them out a little more. The scatter rocks got the same shading to tie everything together.
 Painting like my inner four year old...
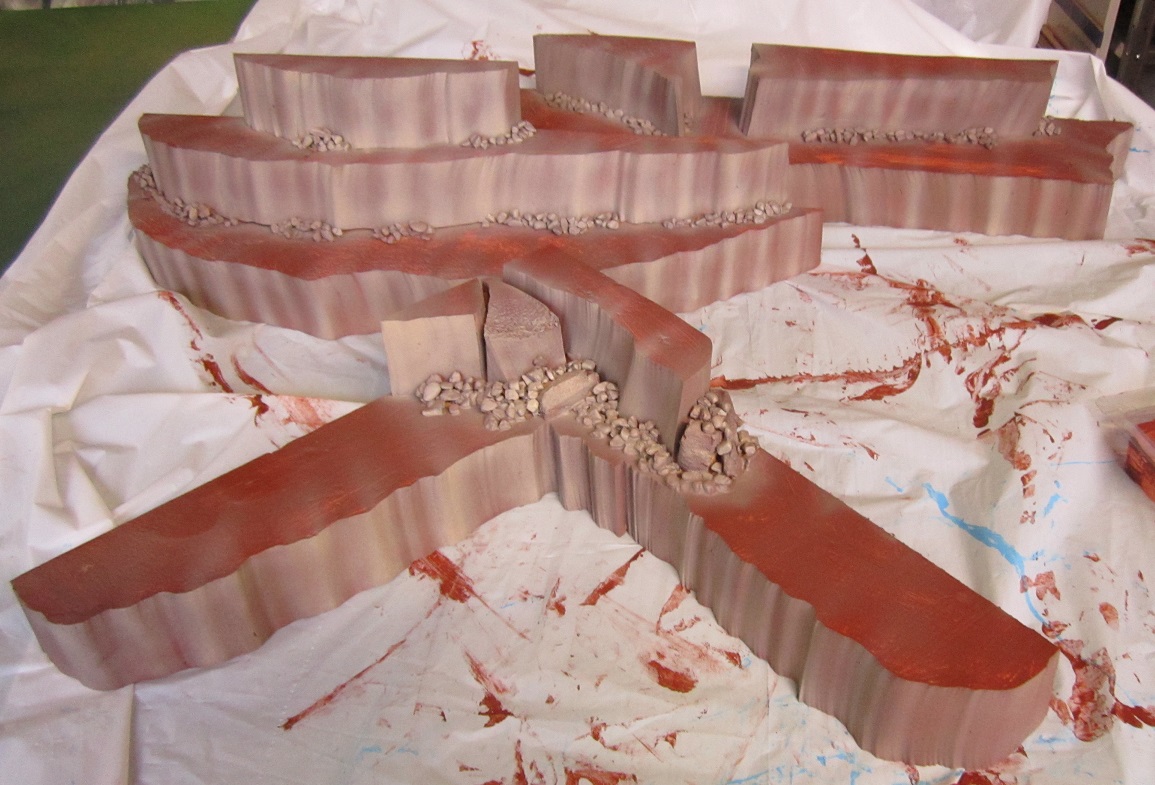 Airbrushing - working wonders on larger terrain projects since.. whenever people started using them on miniatures terrain I guess?...
Part 3 - Flocking
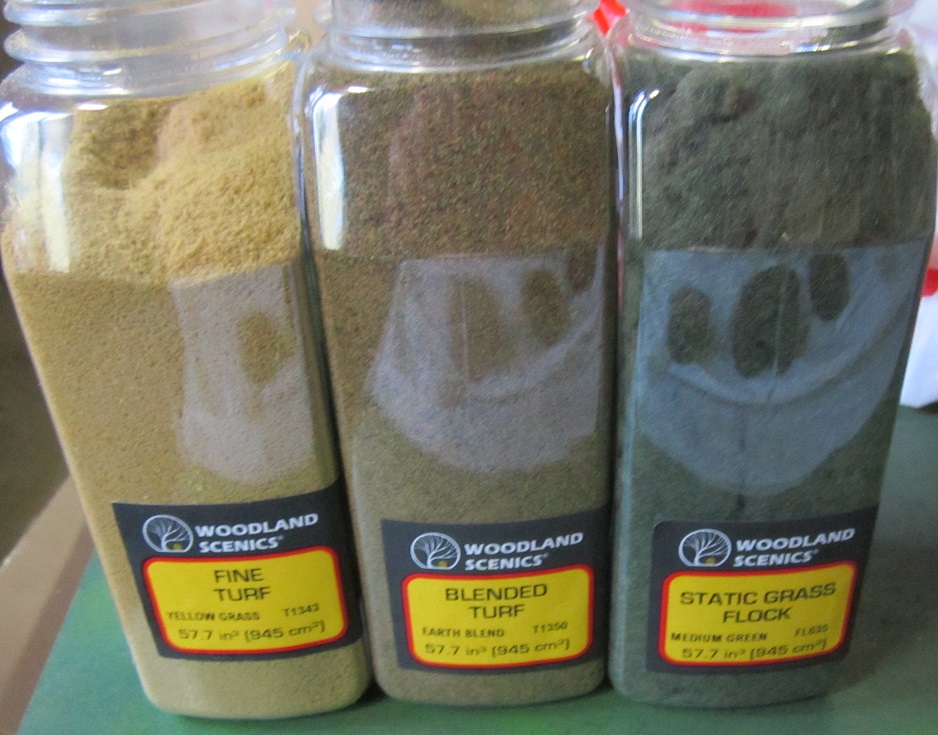
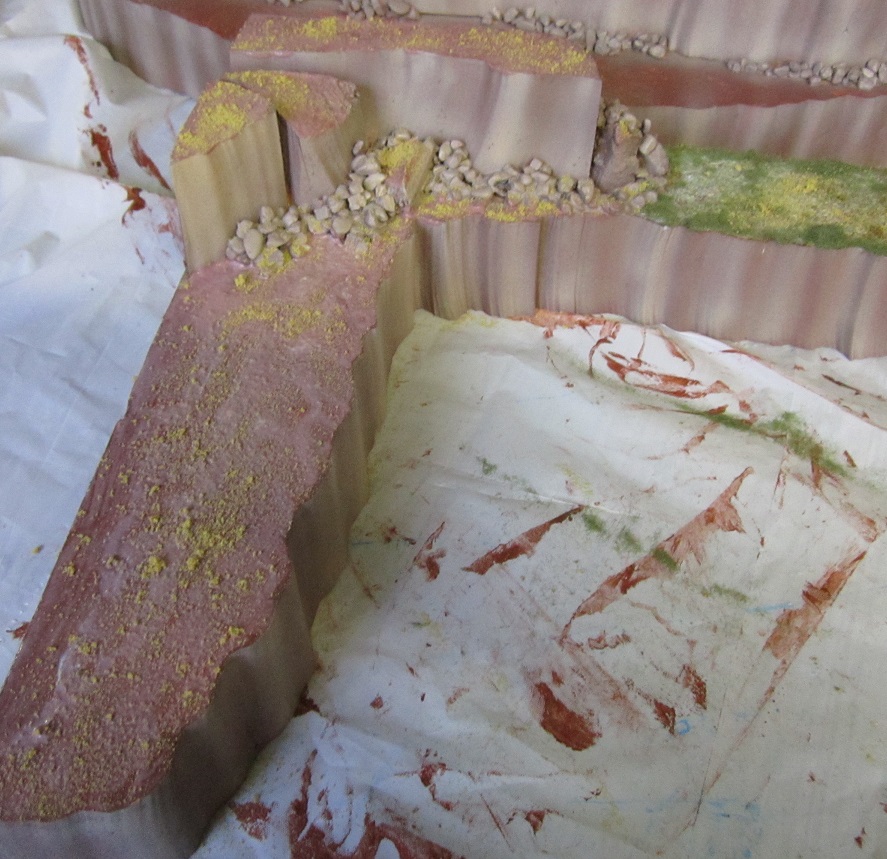
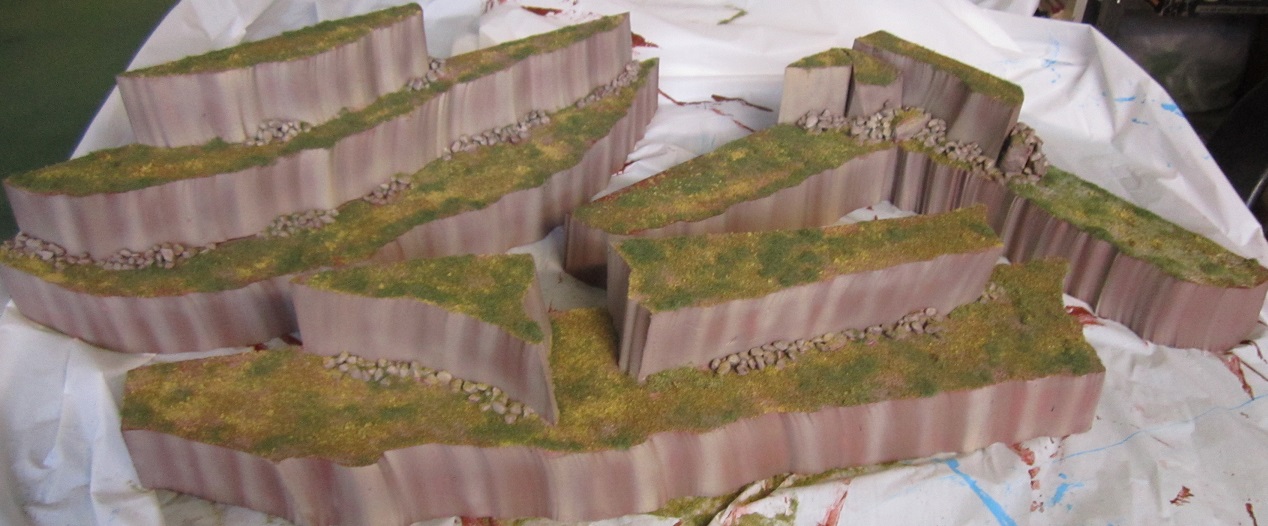
So for this bit I mixed up some PVA and water and stirred through some of the Burnt Umber poster paint I had used as a basecoat to help with the colouration (H/T to @johnlyons for this one). I took some of the Woodland Scenics flock I had picked up for a bigger tabletop project (which is presently on hold) and using an old brush, applied the PVA mix to the top surfaces of the cliff sections. I then sprinkled on the flock in a light, scattered manner. once I had done this for all three colours, I added the static grass flock around the edges to ensure there would be a green coverage wherever I wasn’t adding trees later. It was then a case of waiting for the PVA to dry and tapping off the excess flock.
Part 4 - Foliage
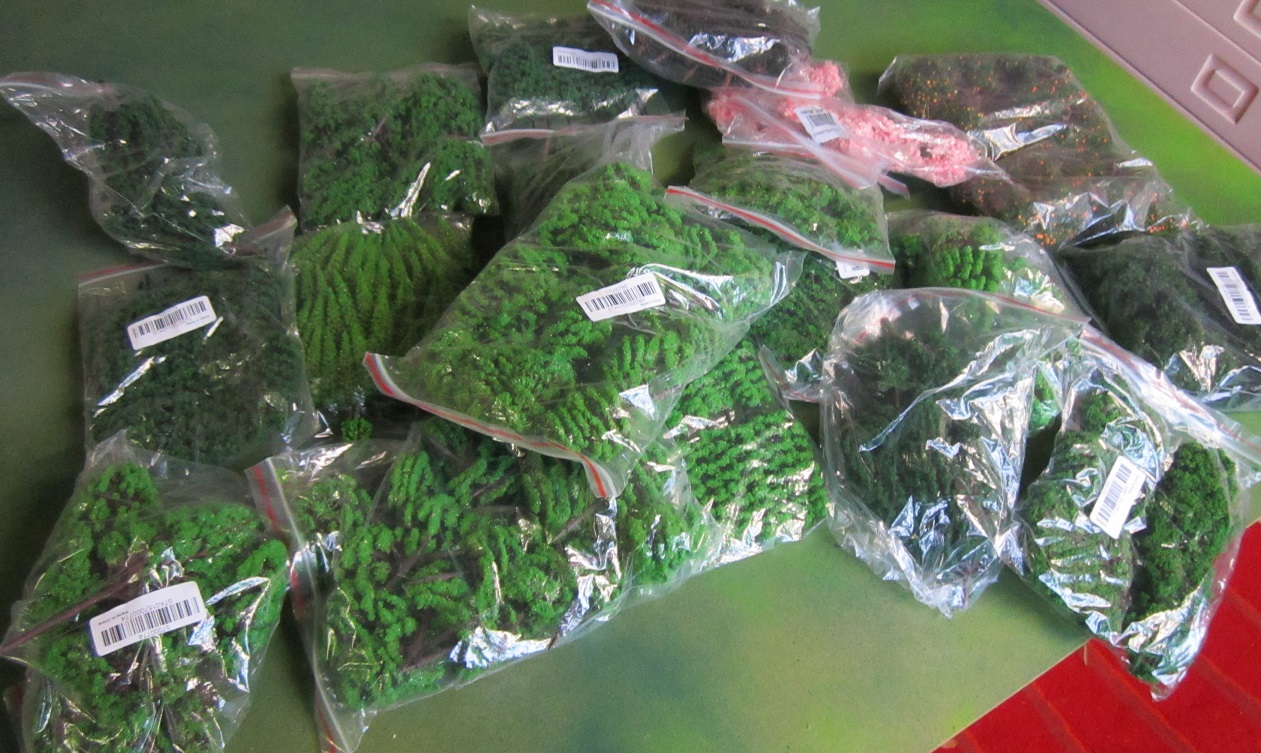
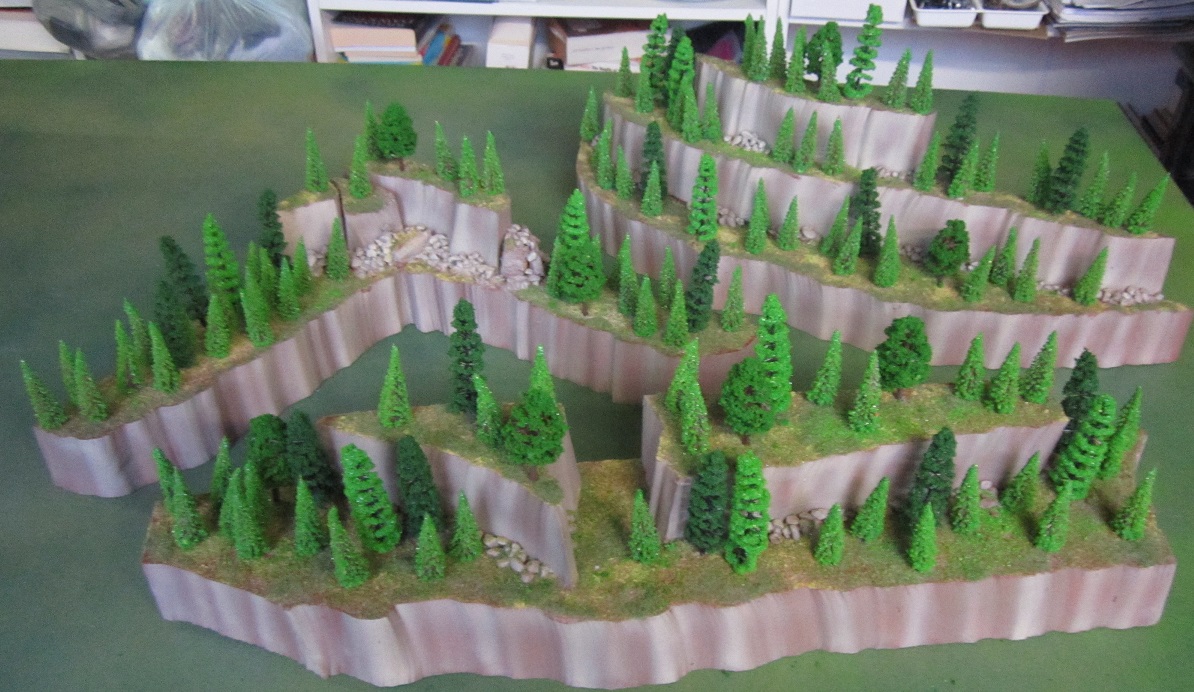
Next came the fun part – trees. I have been procuring bulk cheap hobby railroad trees from EBay. The products that arrive are pretty hit and miss and often do not quite align with their product photos, but given I got hundreds of trees for not much investment, I’m not going to complain. They all look OK when tightly packed together. My plan here was to use the smallest of the trees in an effort to bring about a forced perspective – ie the little trees appear further away, looking like they are off on distant hills, because they are in a smaller scale. Using predominantly the same small tree type, which had been acquired for this purpose, with a few others used sparingly just to add some height, colour and shape contrast, I glued and pressed into the foam well over 100 small trees. No, I’m not going to count how many I actually used but I finished two 50 tree bags and raised another 4 bags of different trees to mix things up a little.
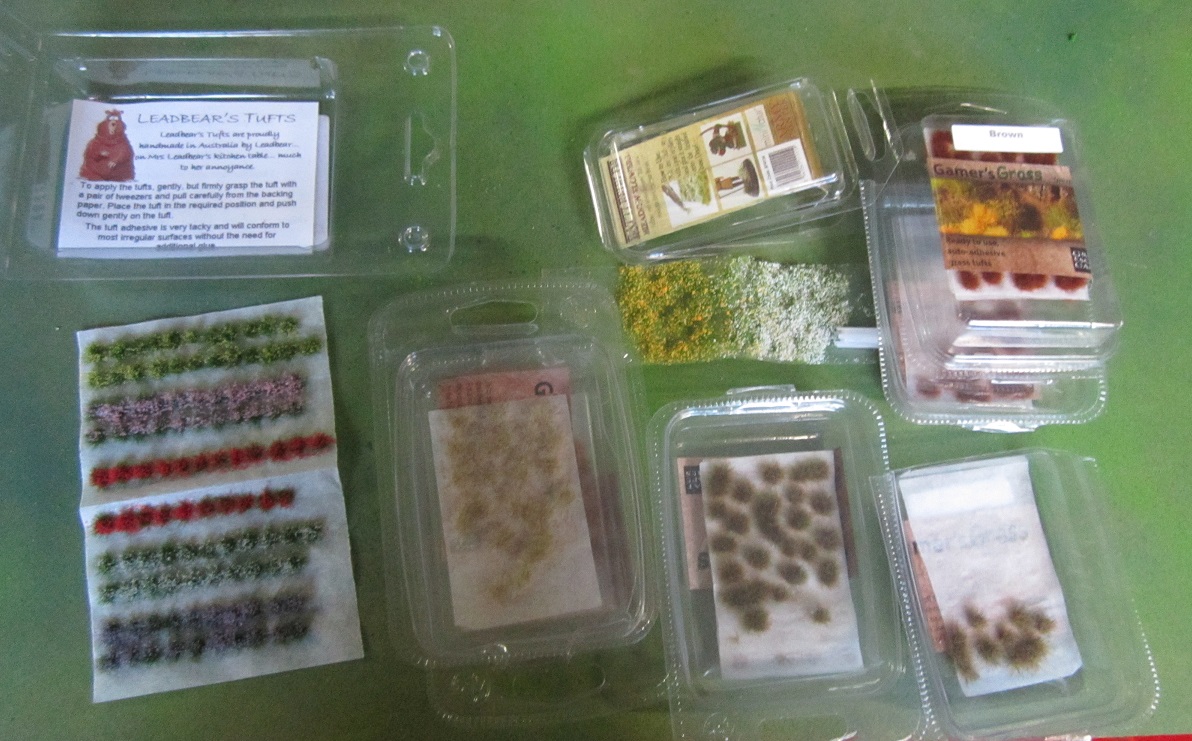
With that done I grabbed all of my tuft grass and pre-made flowers that I use for basing, and scattered them about here and there, gluing them on just to break up the colour a little. Much superglue on the fingers ensued. However, with that step complete, the cliffs were done.
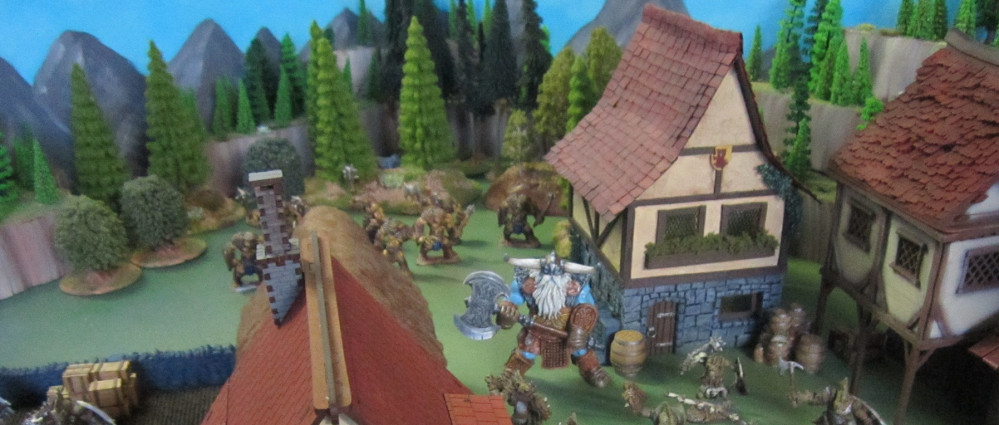
The Raid on Beasthaven
With the cliff sections finished I was keen to see how they looked on the tabletop. I had made some scenic backdrop sections a few months ago to screen the background mess when taking photos of games – these were made using 600mm x 300mm canvas sections and poster paints, and then channeling my inner Bob Ross.
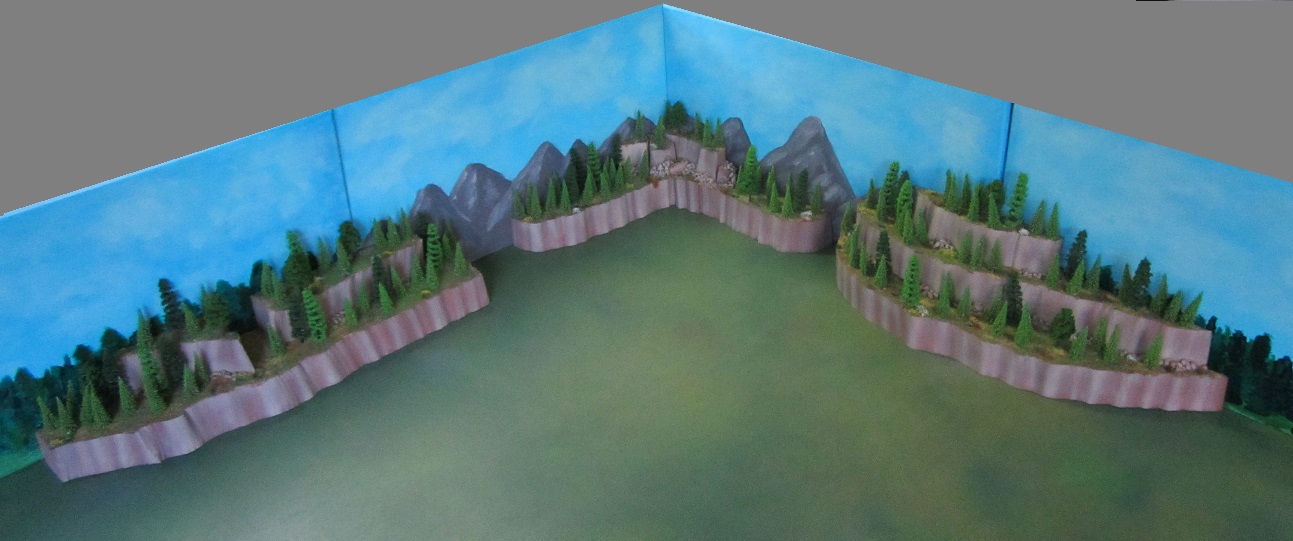 Table with the cliff sections in place to break up the transition between the gaming table and the landscape sections
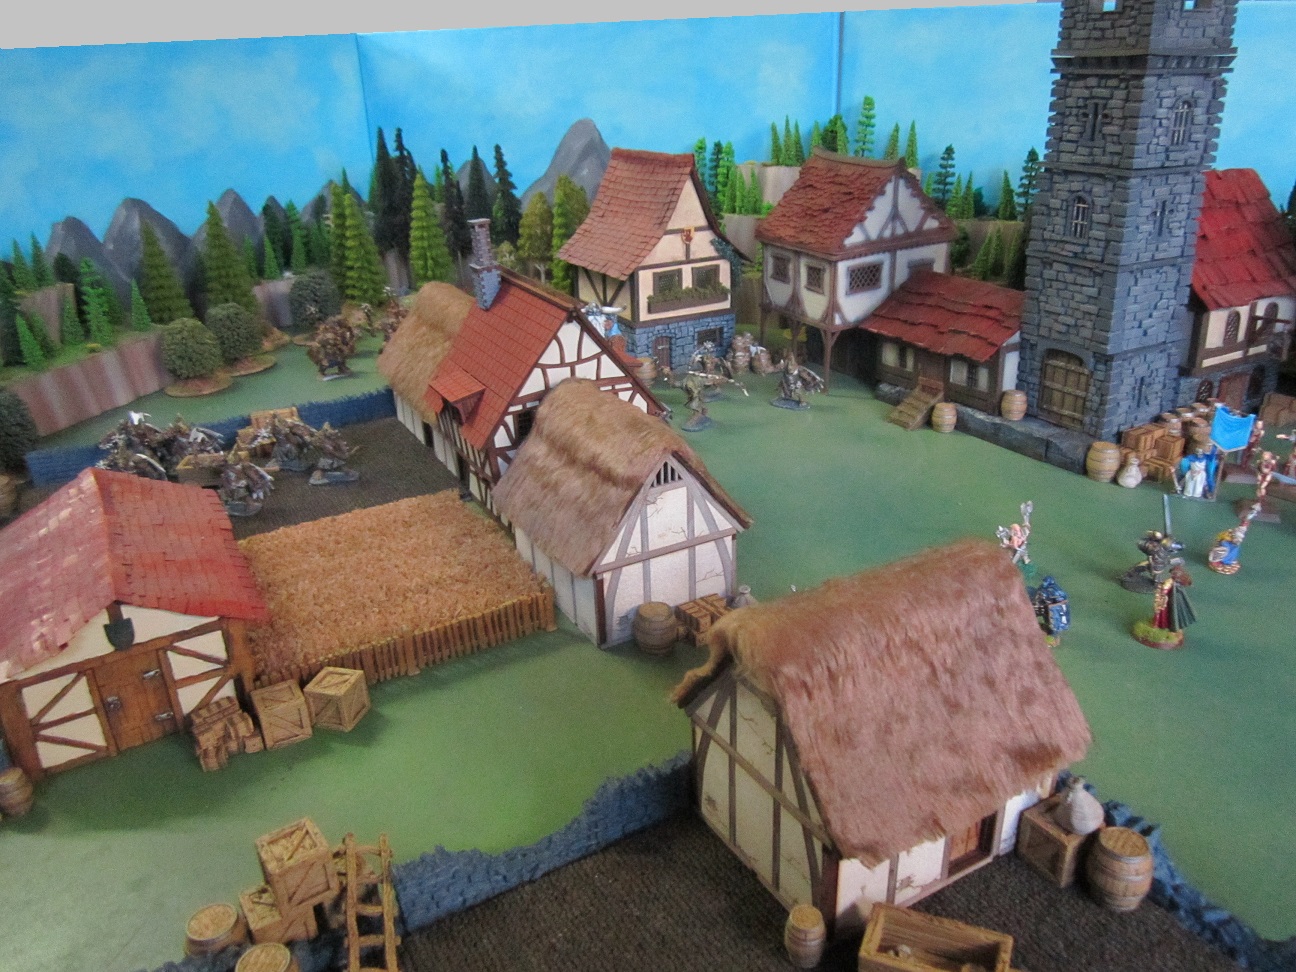
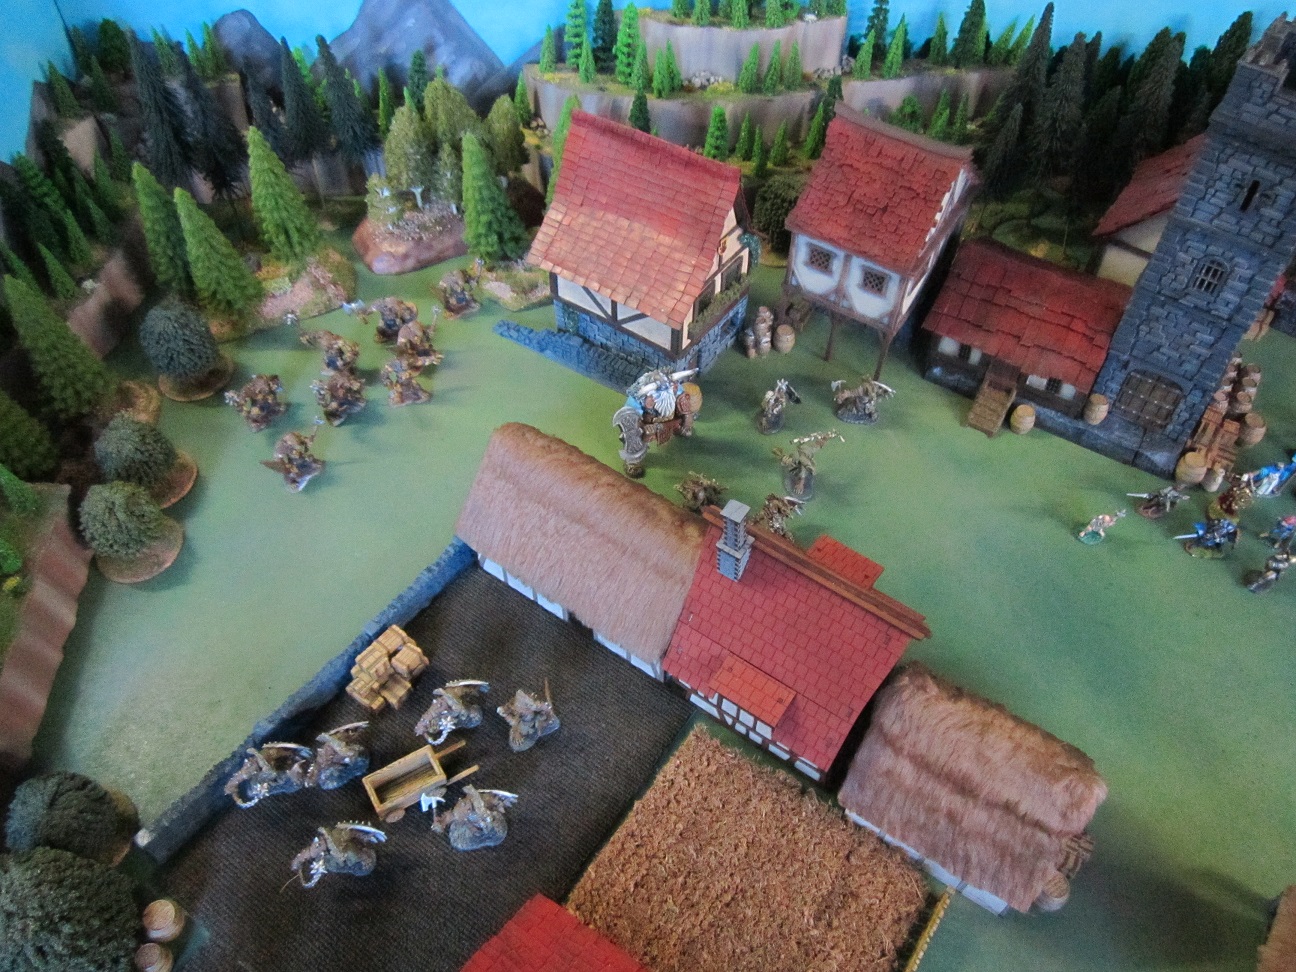
From here I got a bit carried away and threw down some terrain and mins. The quiet rural hamlet of Beasthaven is rudely disturbed by the arrival of a horde of bugbear and gnoll bandits…
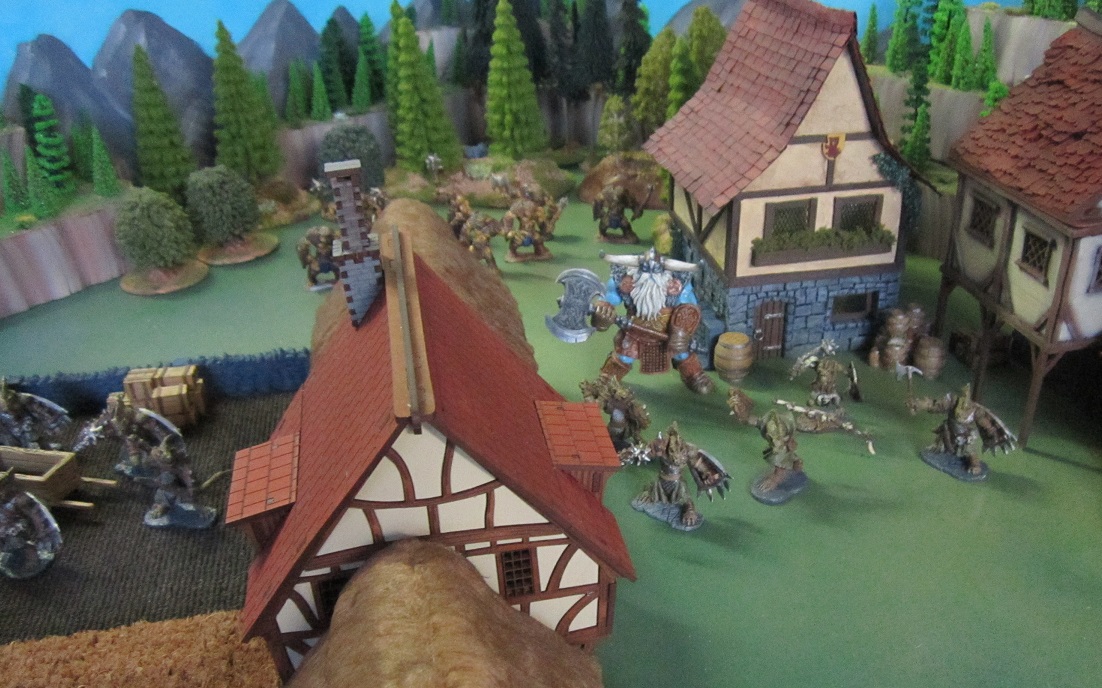
 Chaos ensues...
The bandits are led by none other than the notorious frost giant raider Yens the Icebeard. Yens demands tributes of shinies…
 Yens, sporting this season's horned helmet. Quality attire for the discerning gentleman savage raider...
Fortunately for the good citizens of Beasthaven, the local taverns are full of half-drunk adventurer types. They stop brawling amongst themselves long enough to stumble outside to see what the commotion is…
 Why yes, I always carry my standard to a bar-fight...
Will our brave heroes defeat the menace of the raiders? Or will they all scarper off and sacrifice Justin the Dwarf while they make good their escape?…
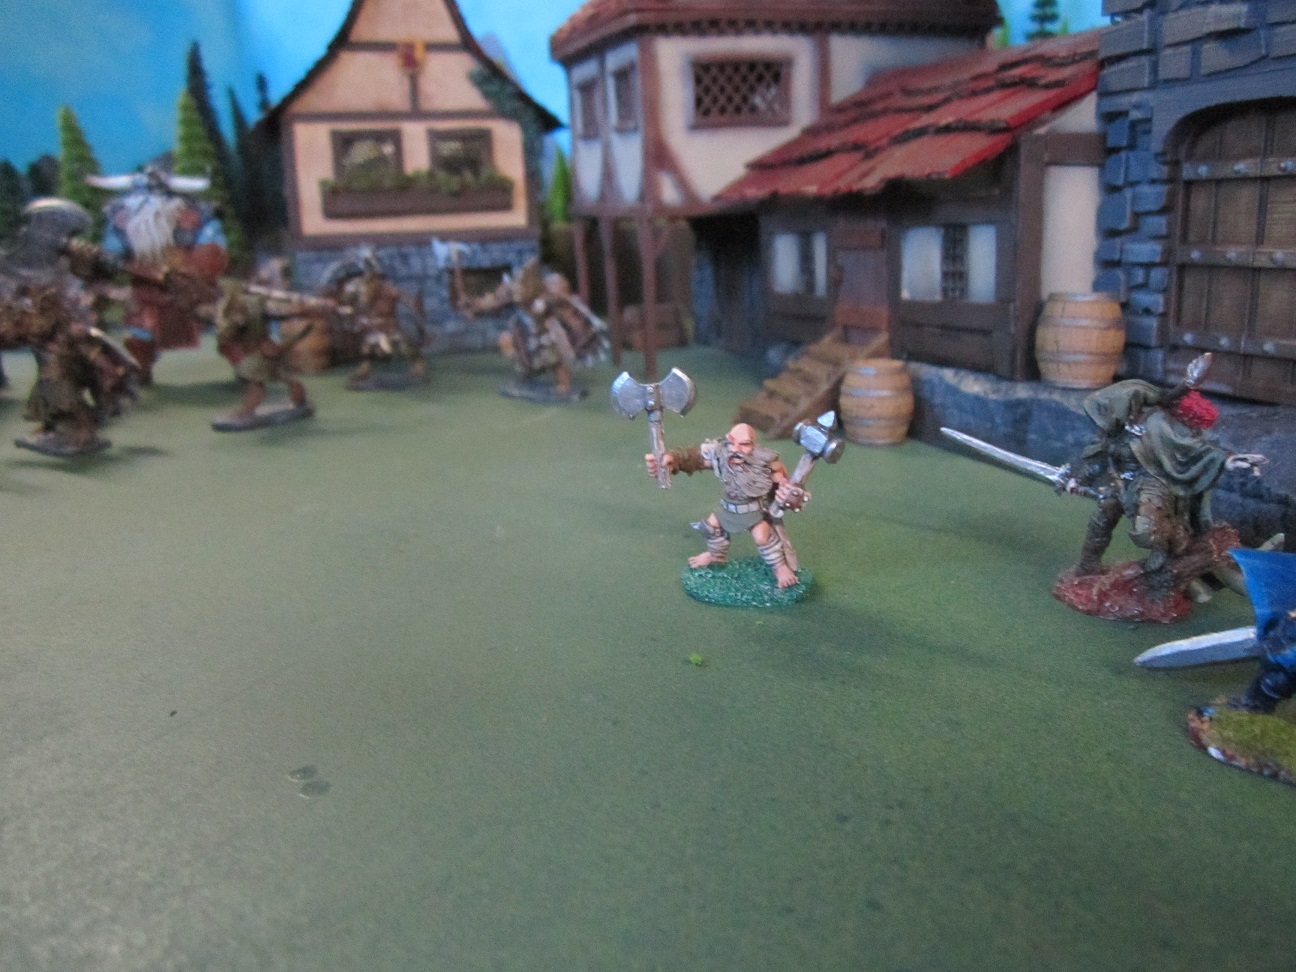 Um... Guys?...
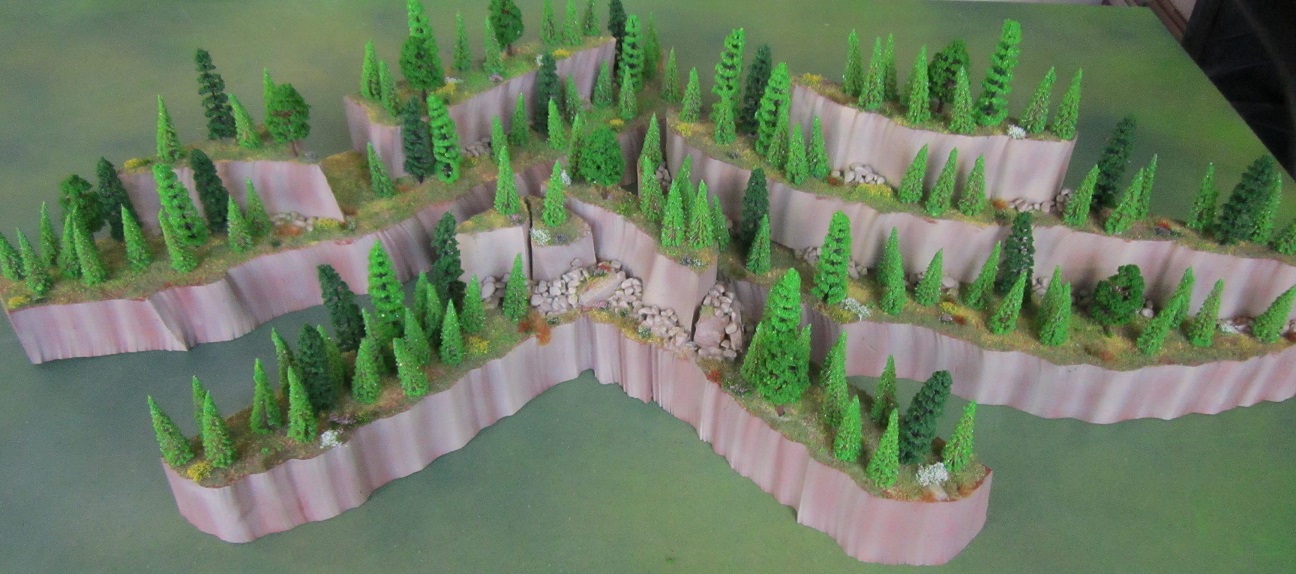
In all seriousness, I’m pretty pleased with the way the project turned out, especially given this was done in a short timeframe. The transition looks a lot smoother than it otherwise would have been, and I can use the trees I would have had against the table edge anywhere else on the battlefield now instead.The forced perspective kind of works, too.
 Scenery all blending into the background


