Fun in the Weird Wild West!


Recommendations: 520
About the Project
As im loving the new version of Wild West Exodus i thought i'd use this project to keep my painting and motivation levels up!
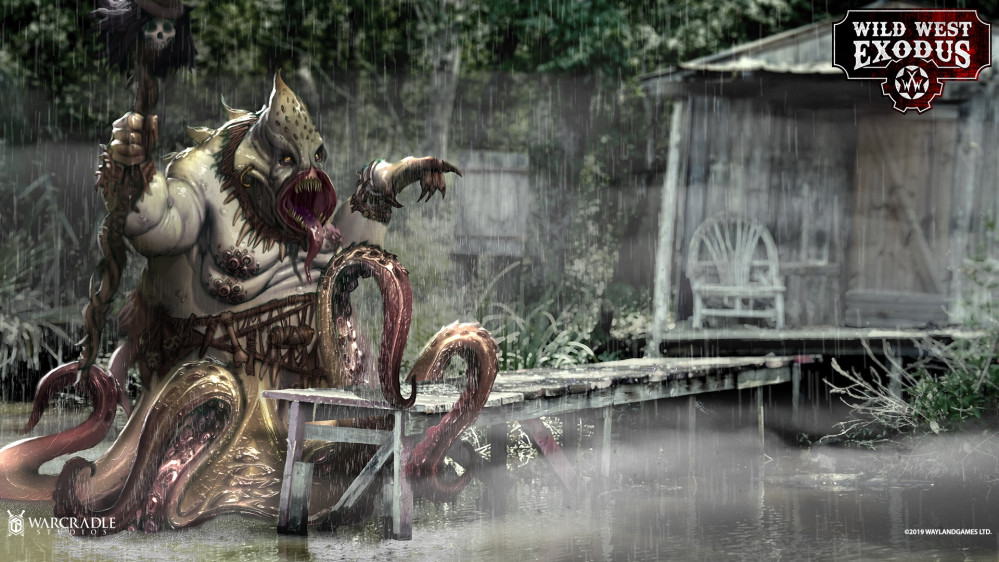
Related Game: Wild West Exodus
Related Company: Warcradle Studios
Related Genre: Western
Related Contest: Global Gunslinger League
This Project is Completed
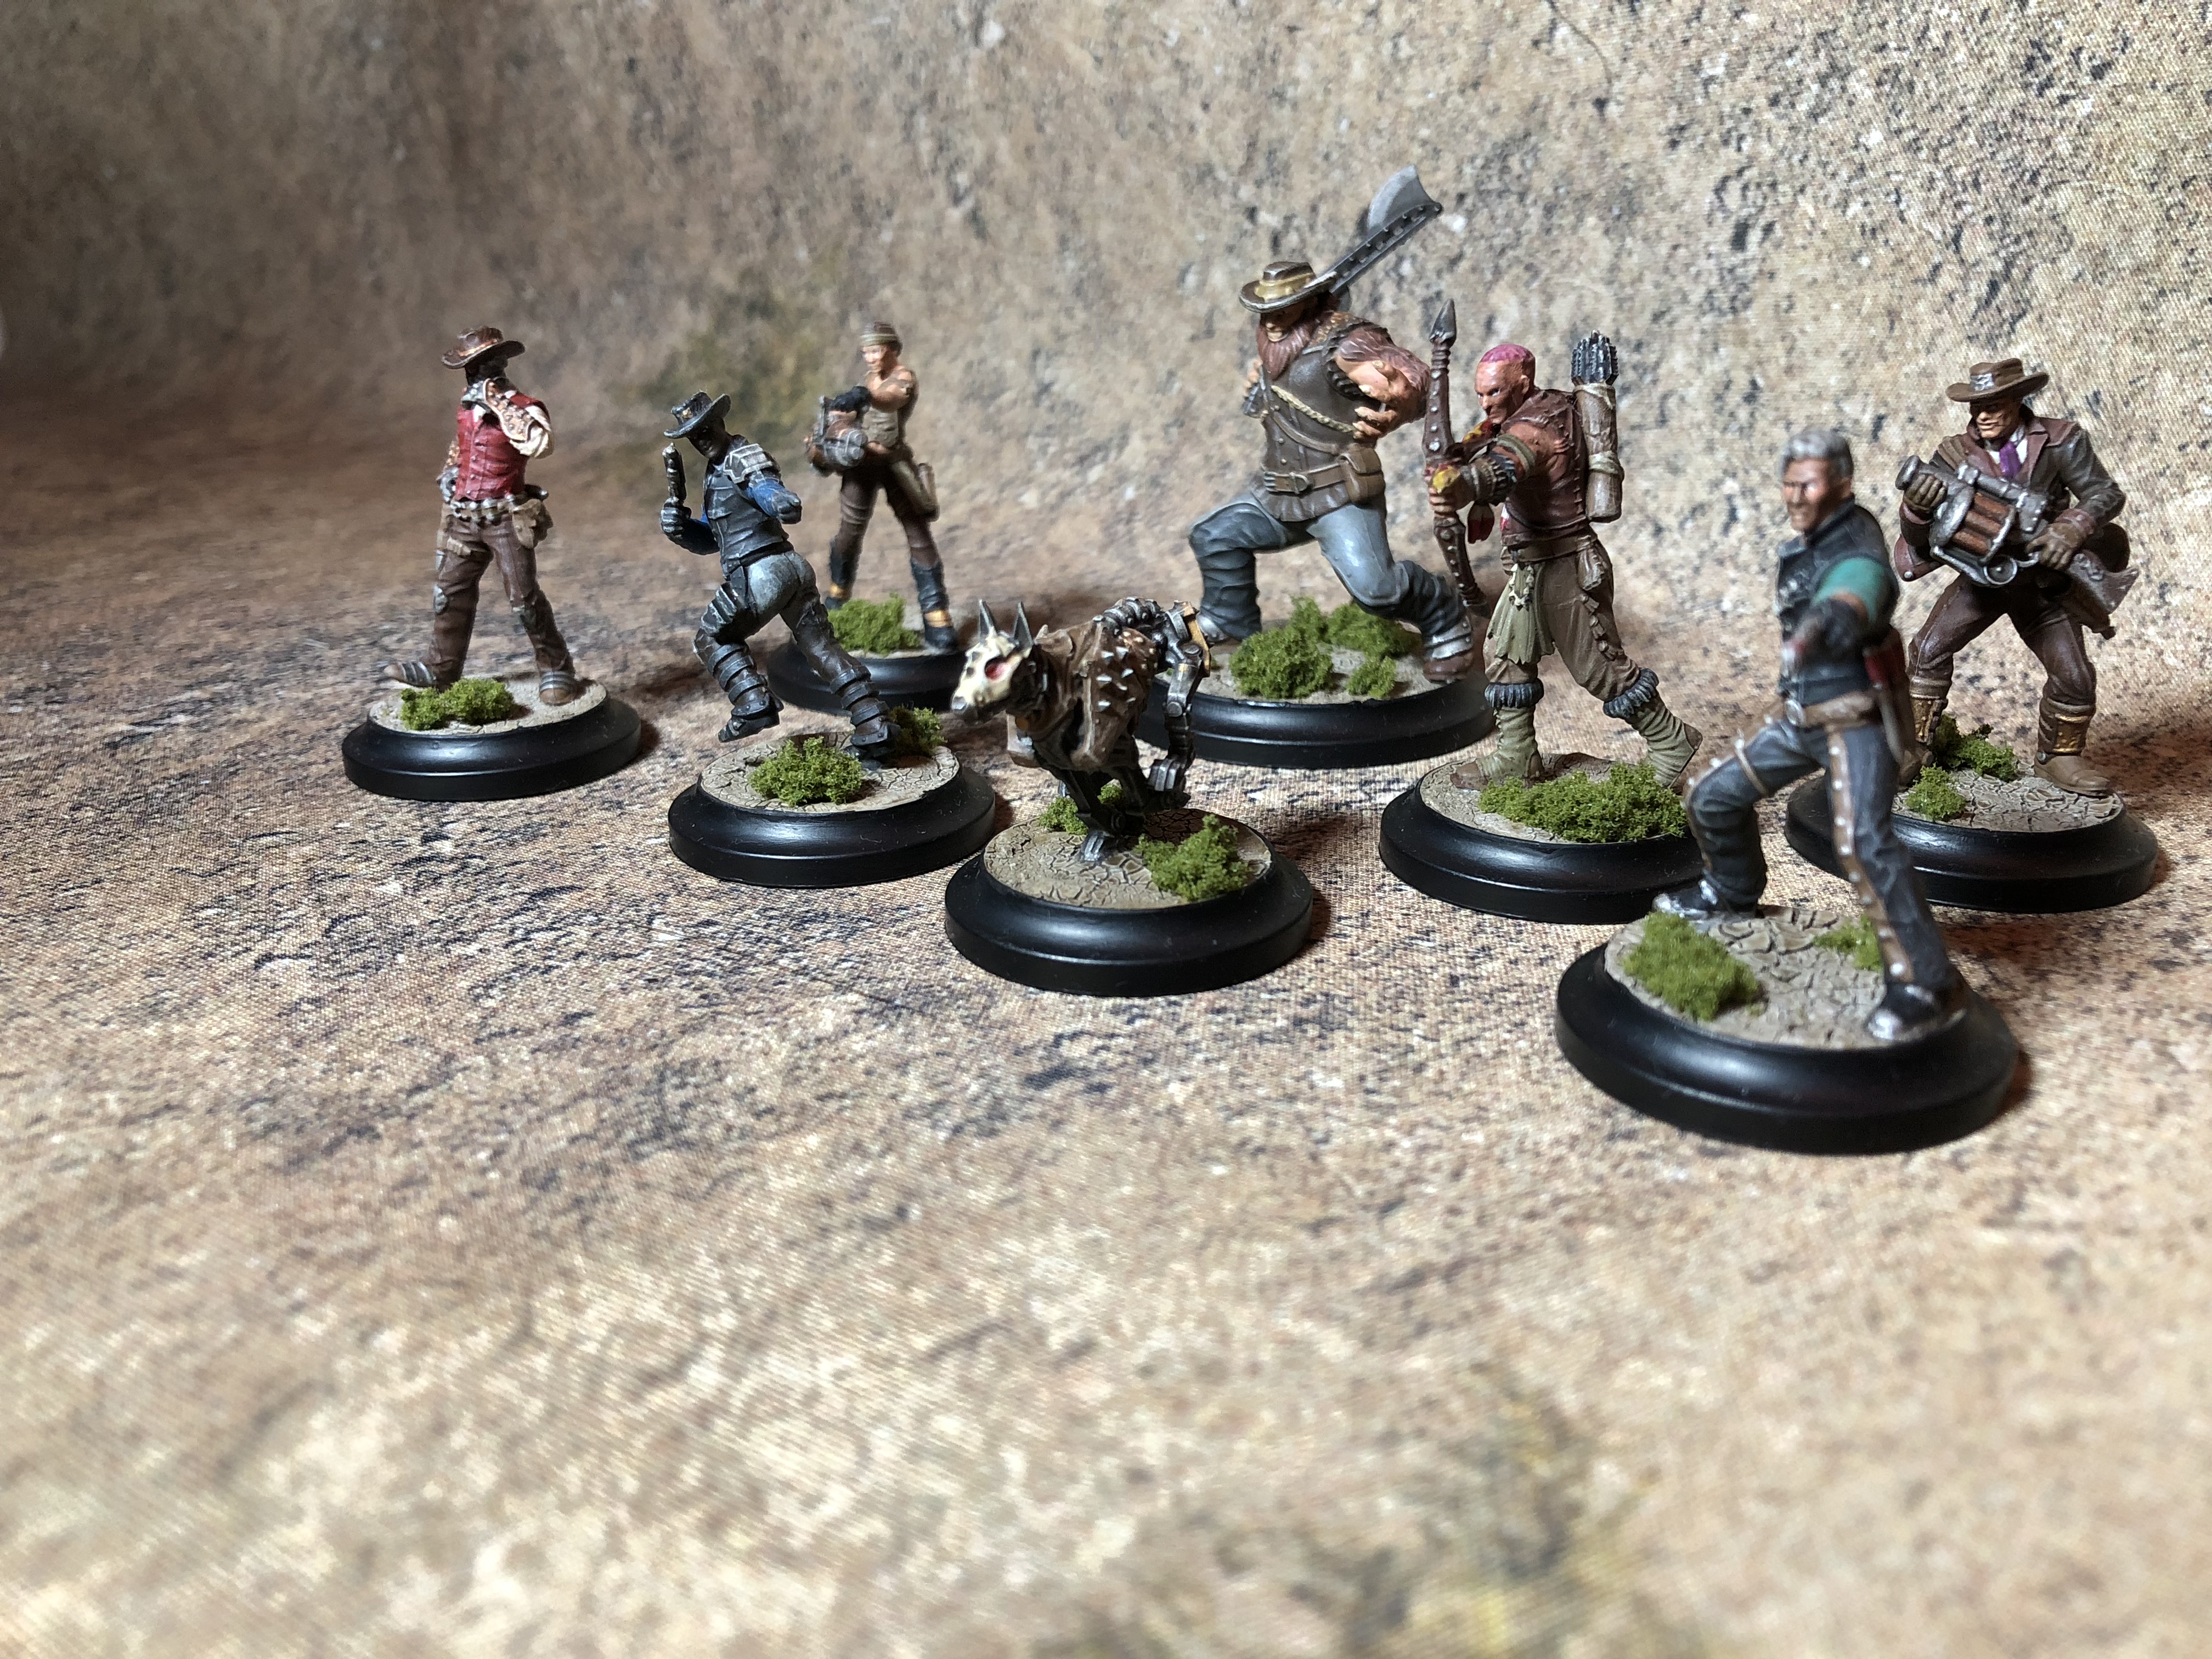
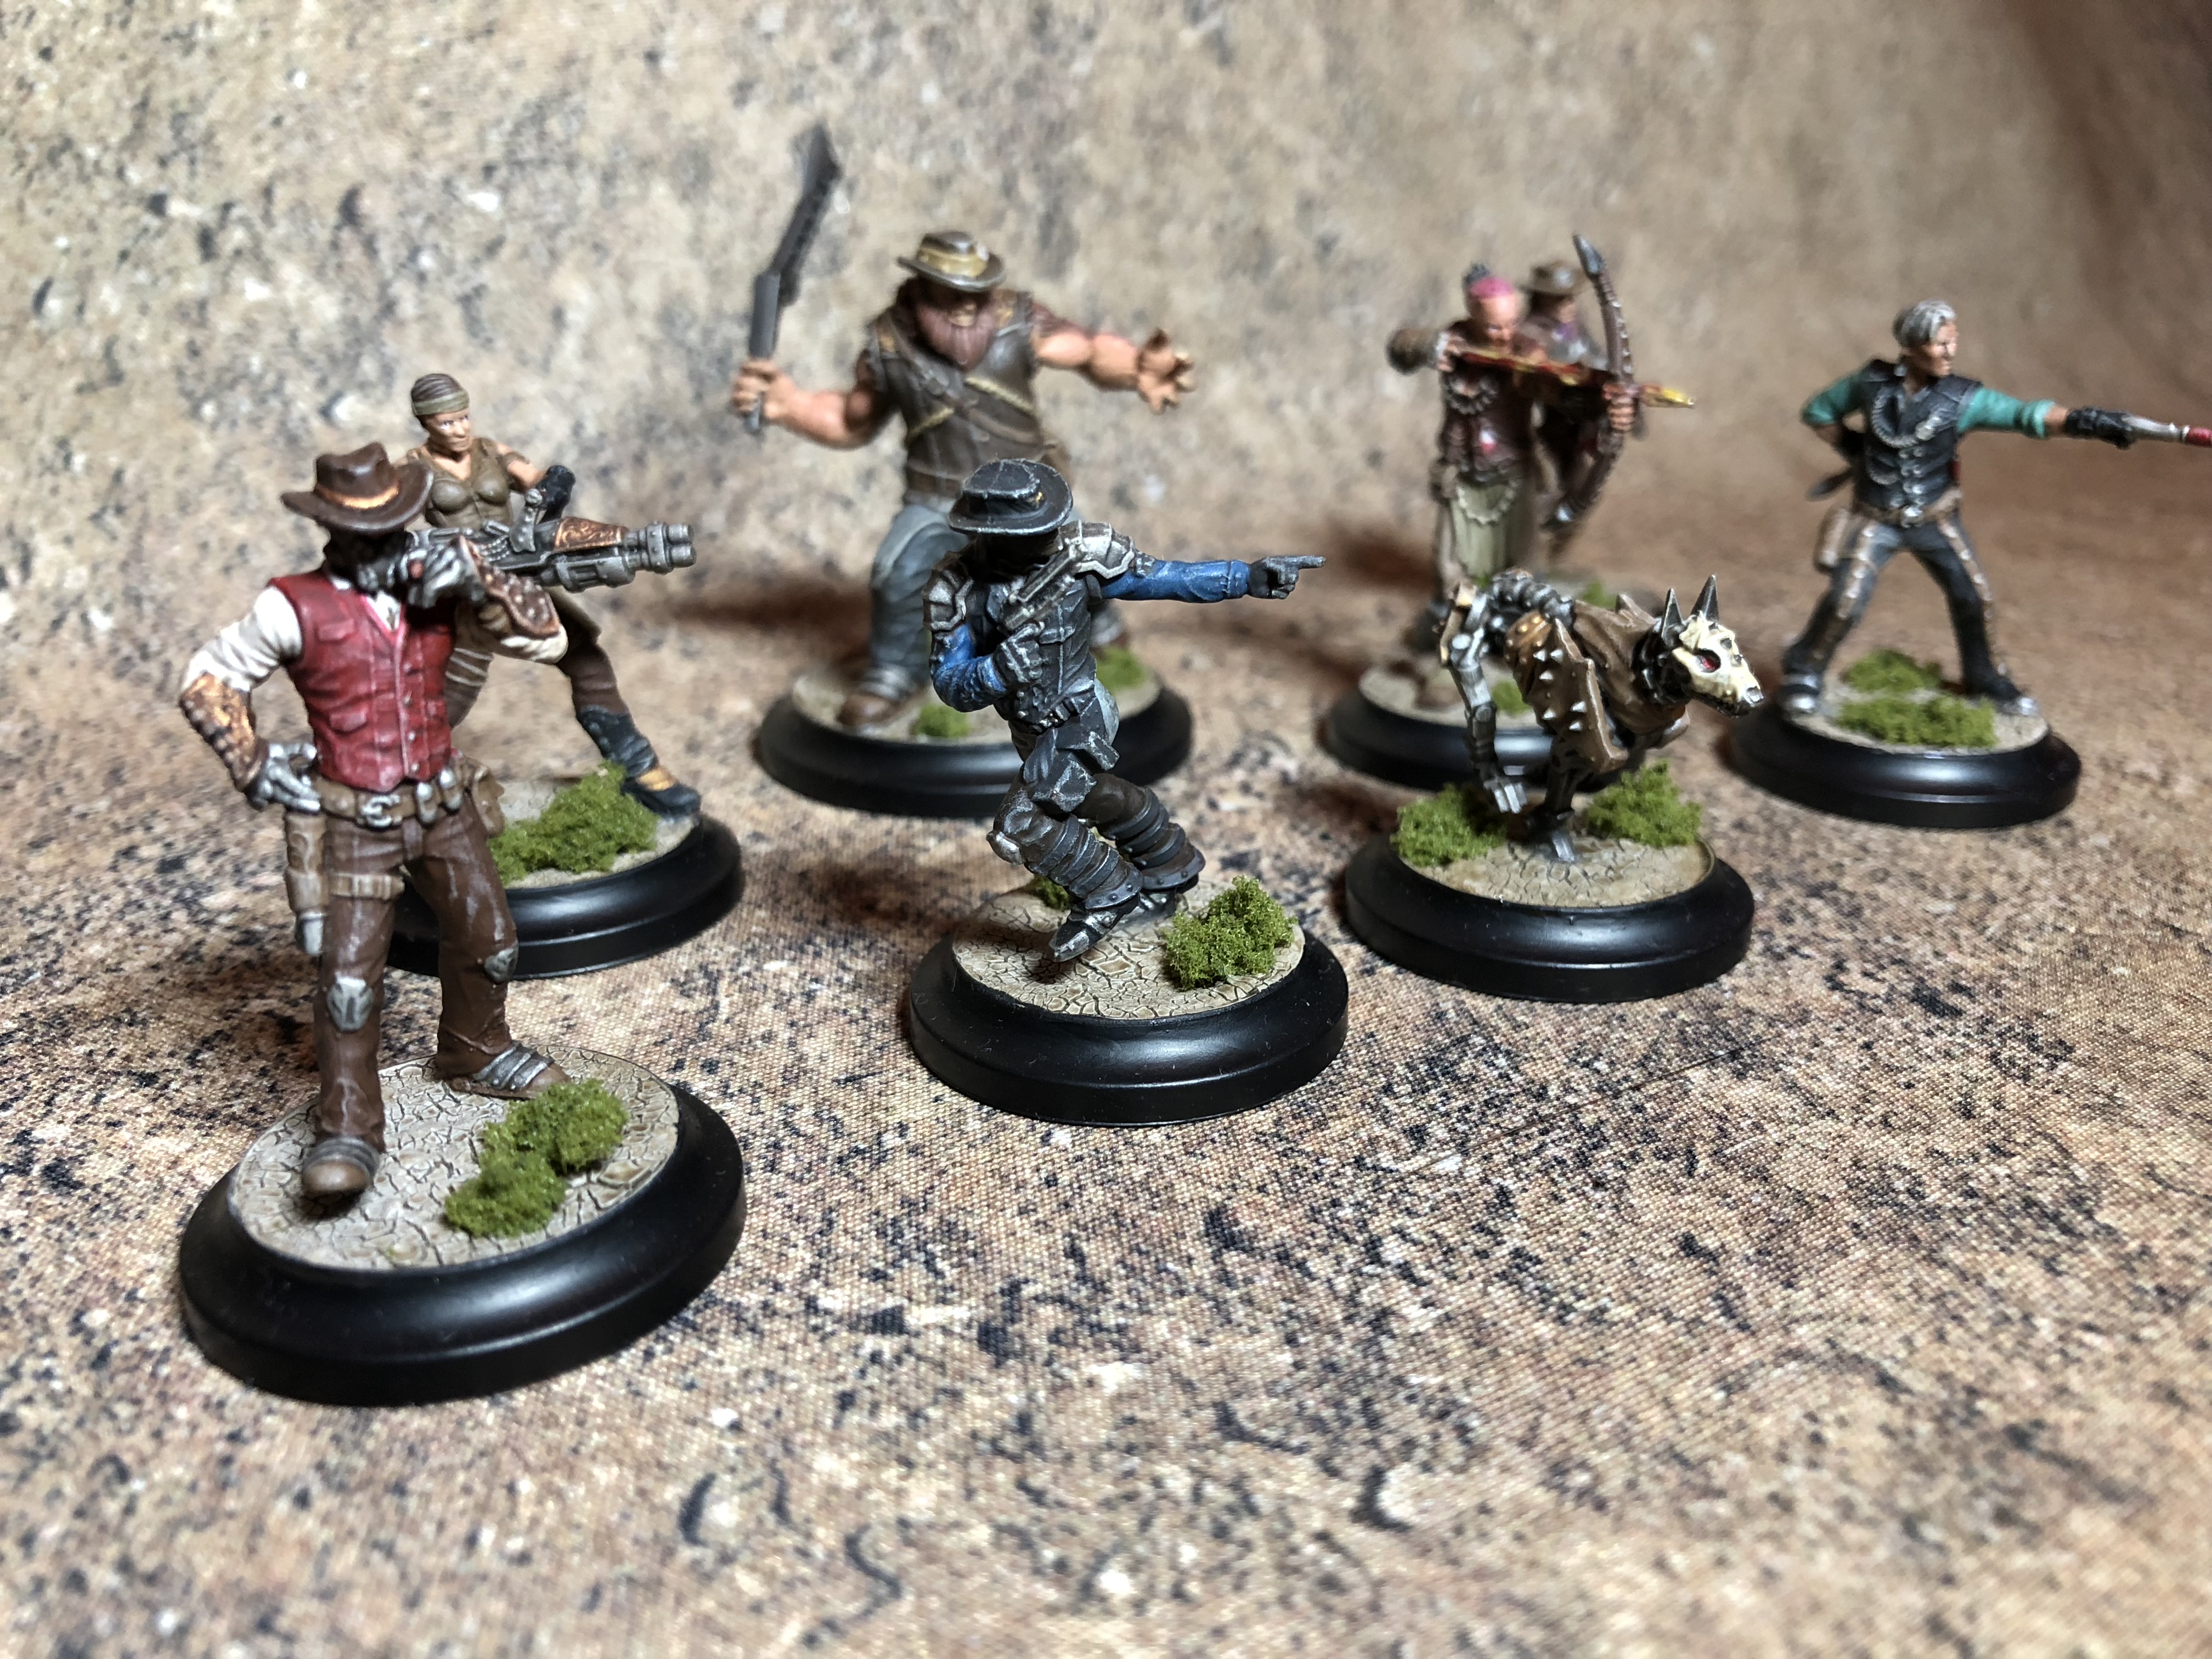
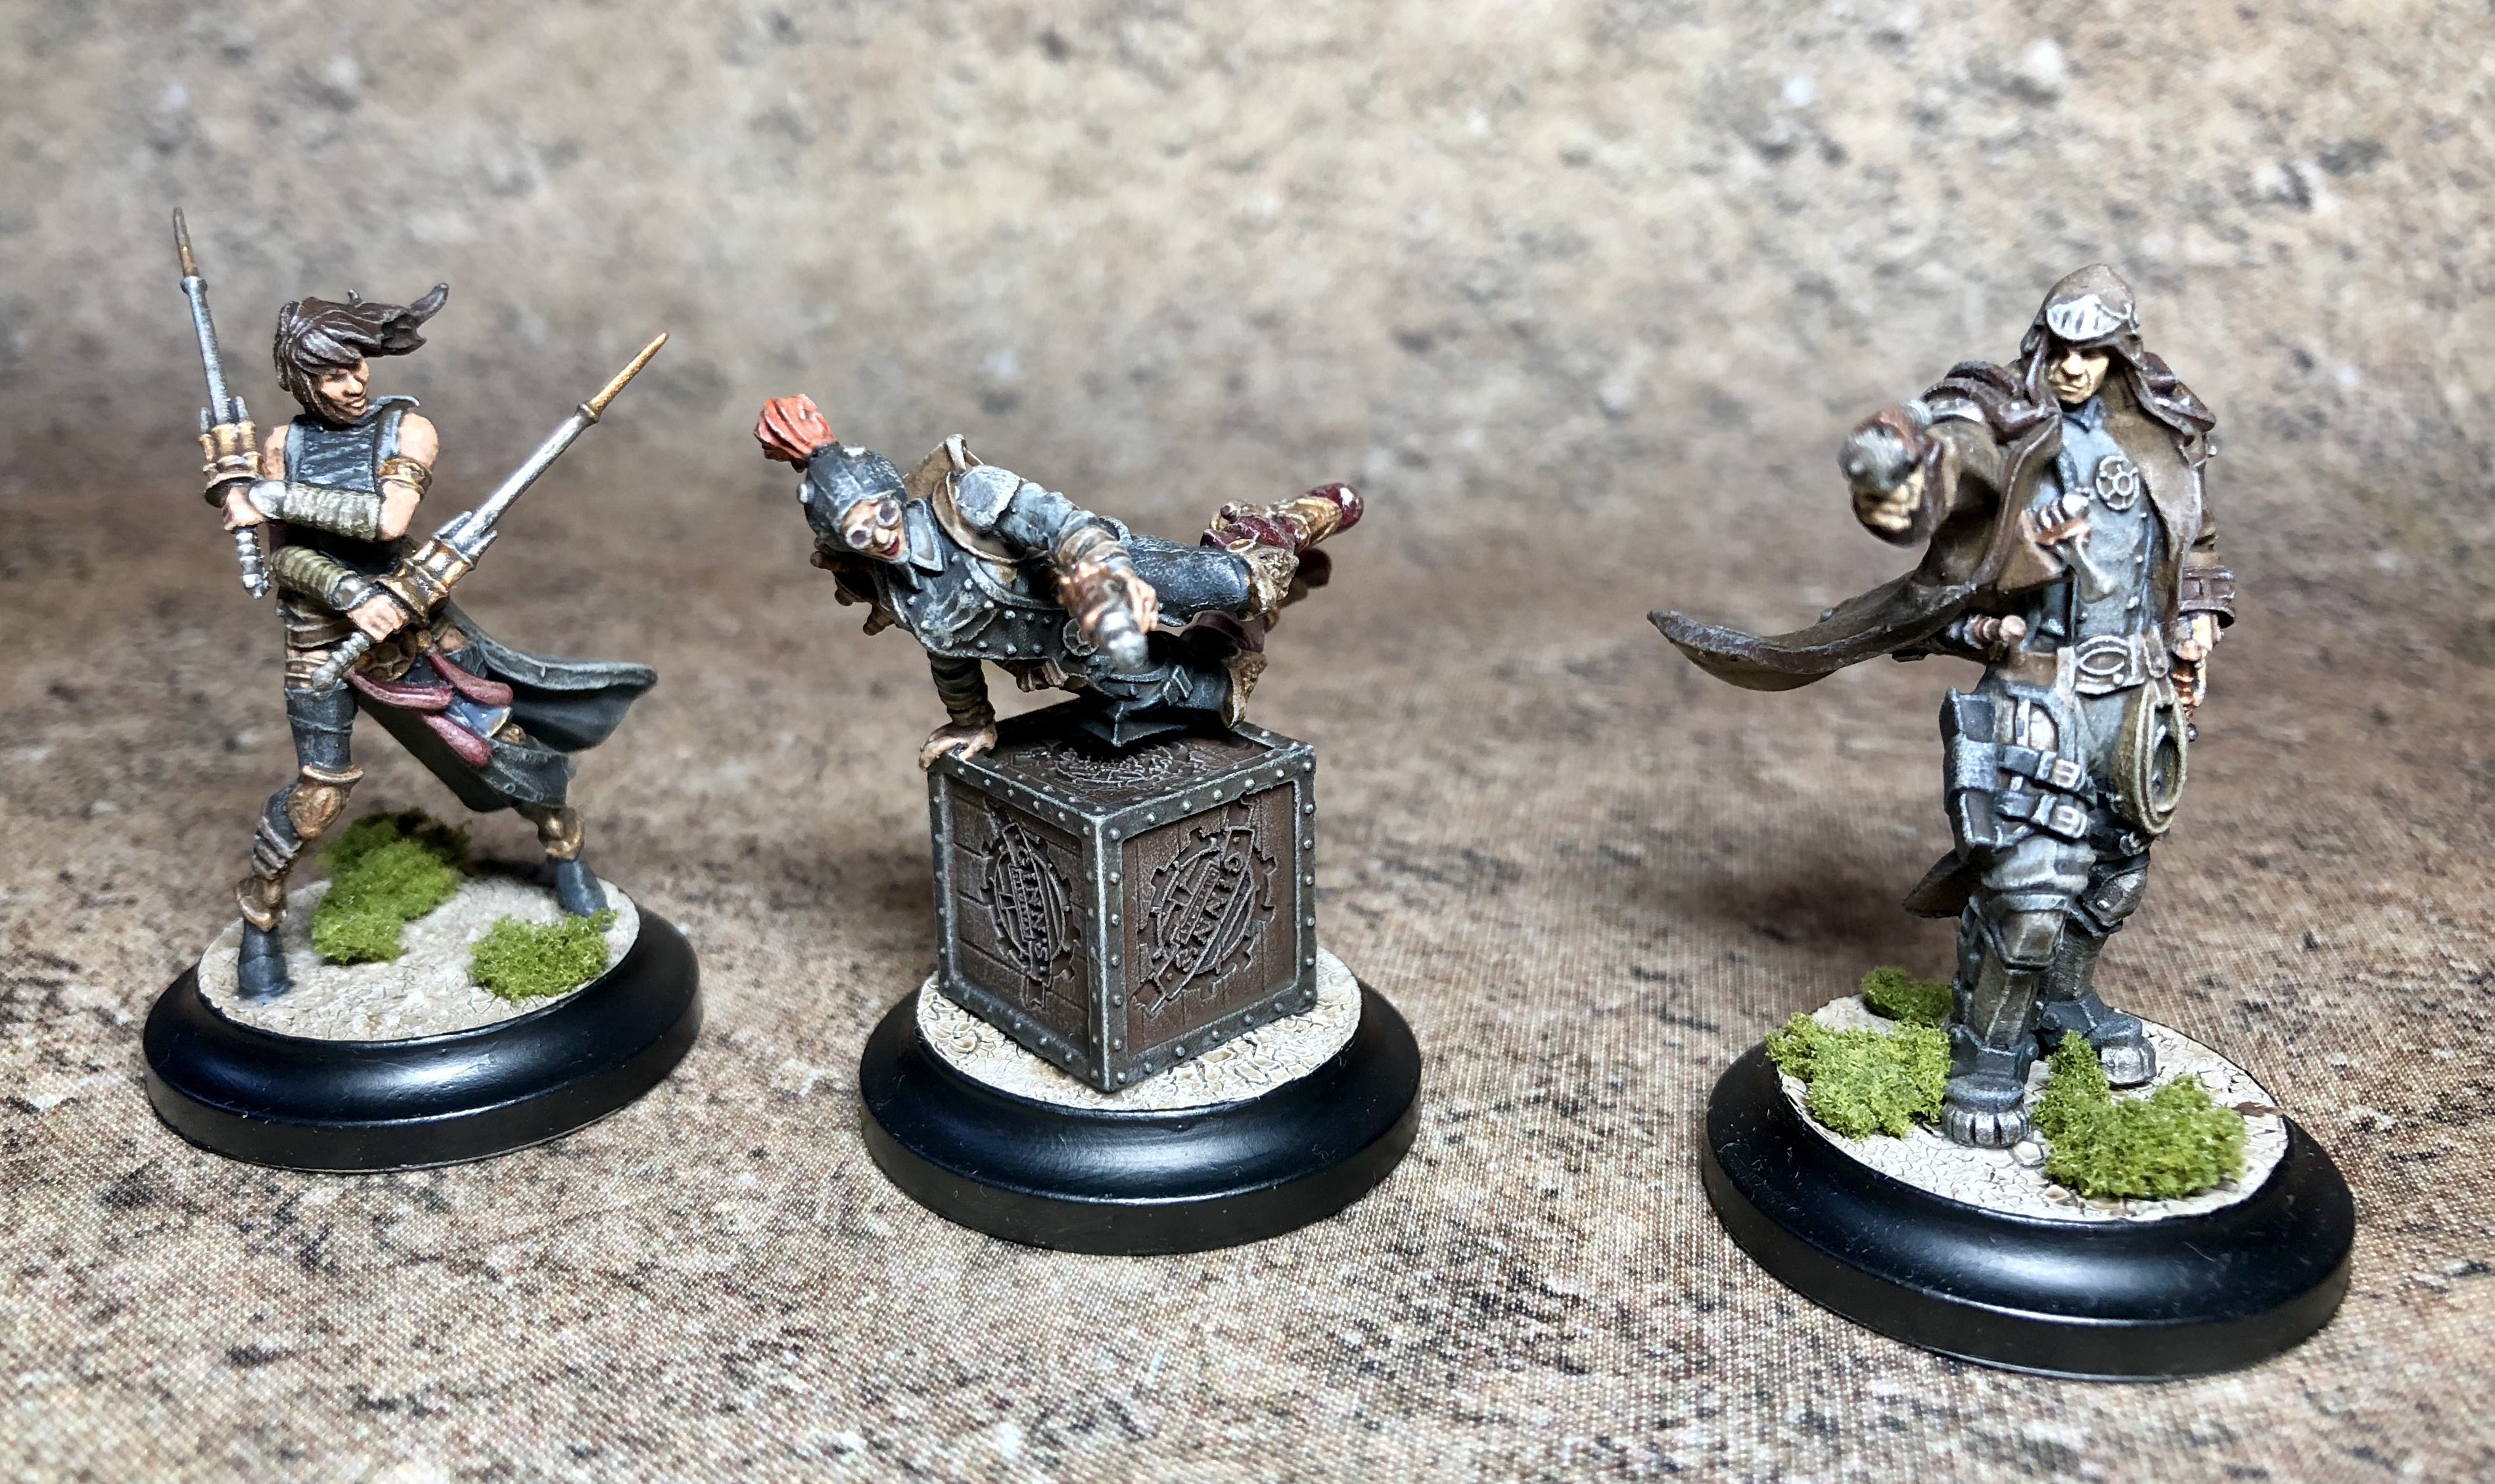
First up, The Deadly Seven!
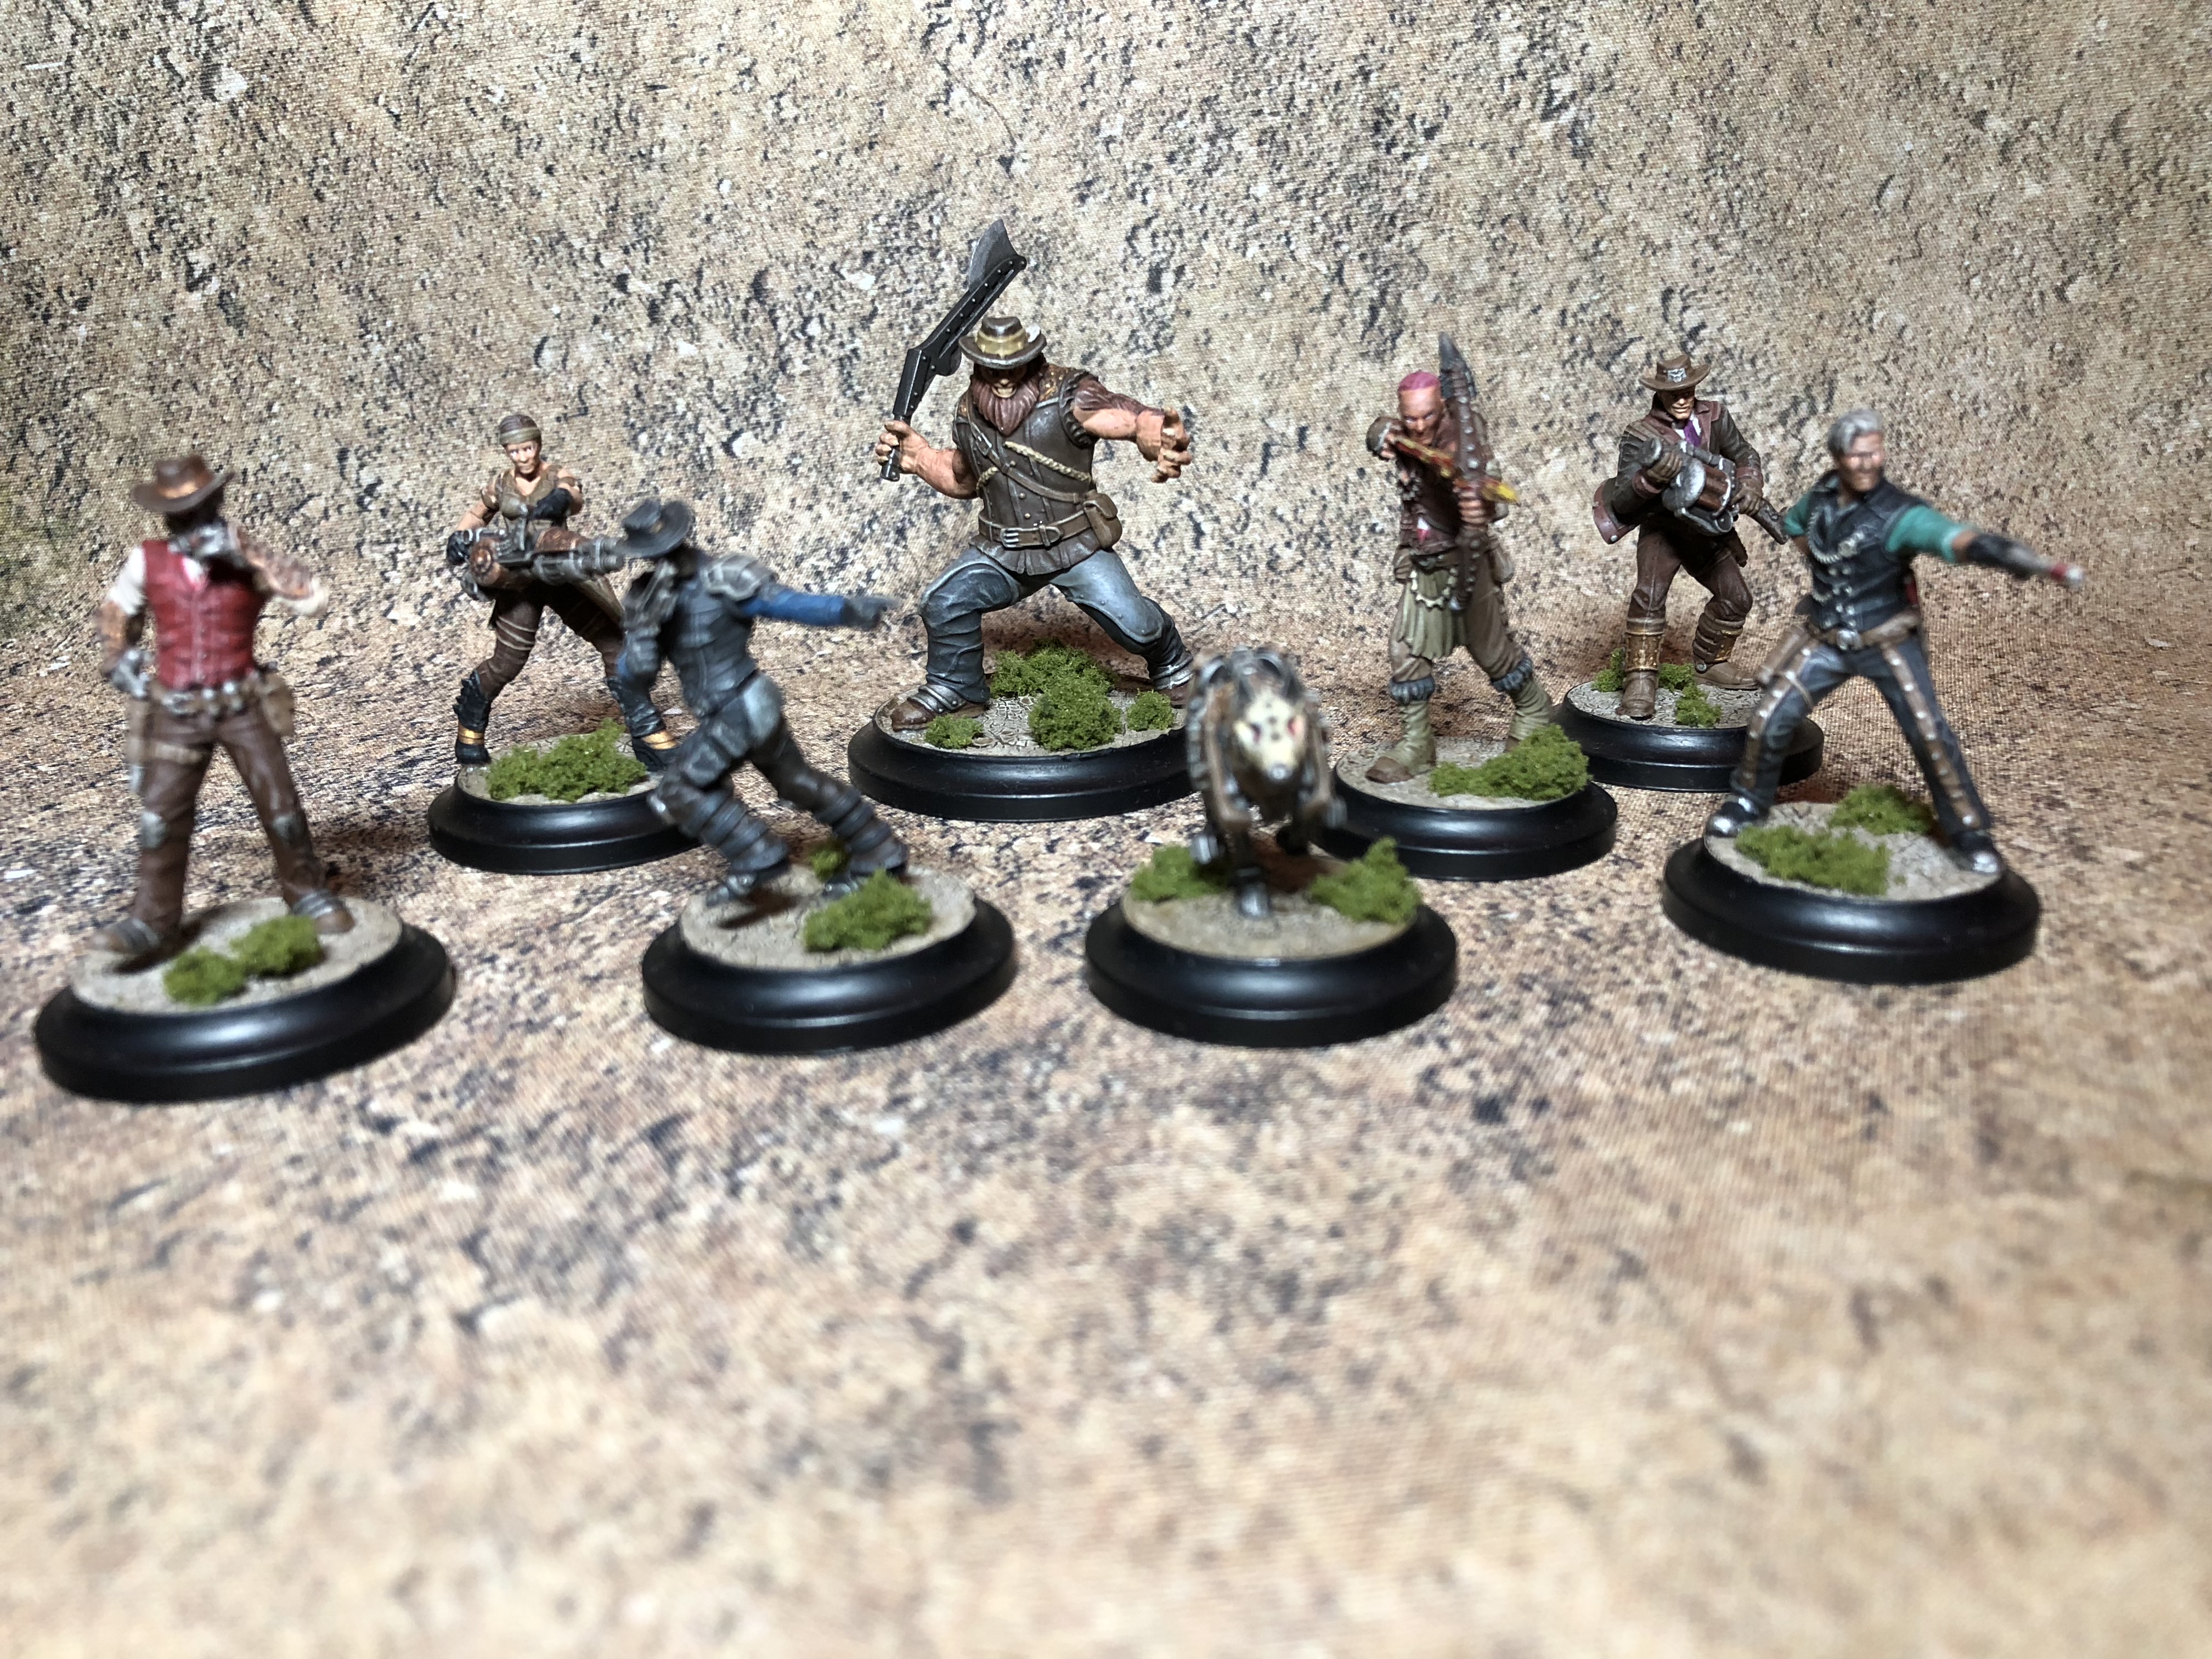


 Earle Shepherd
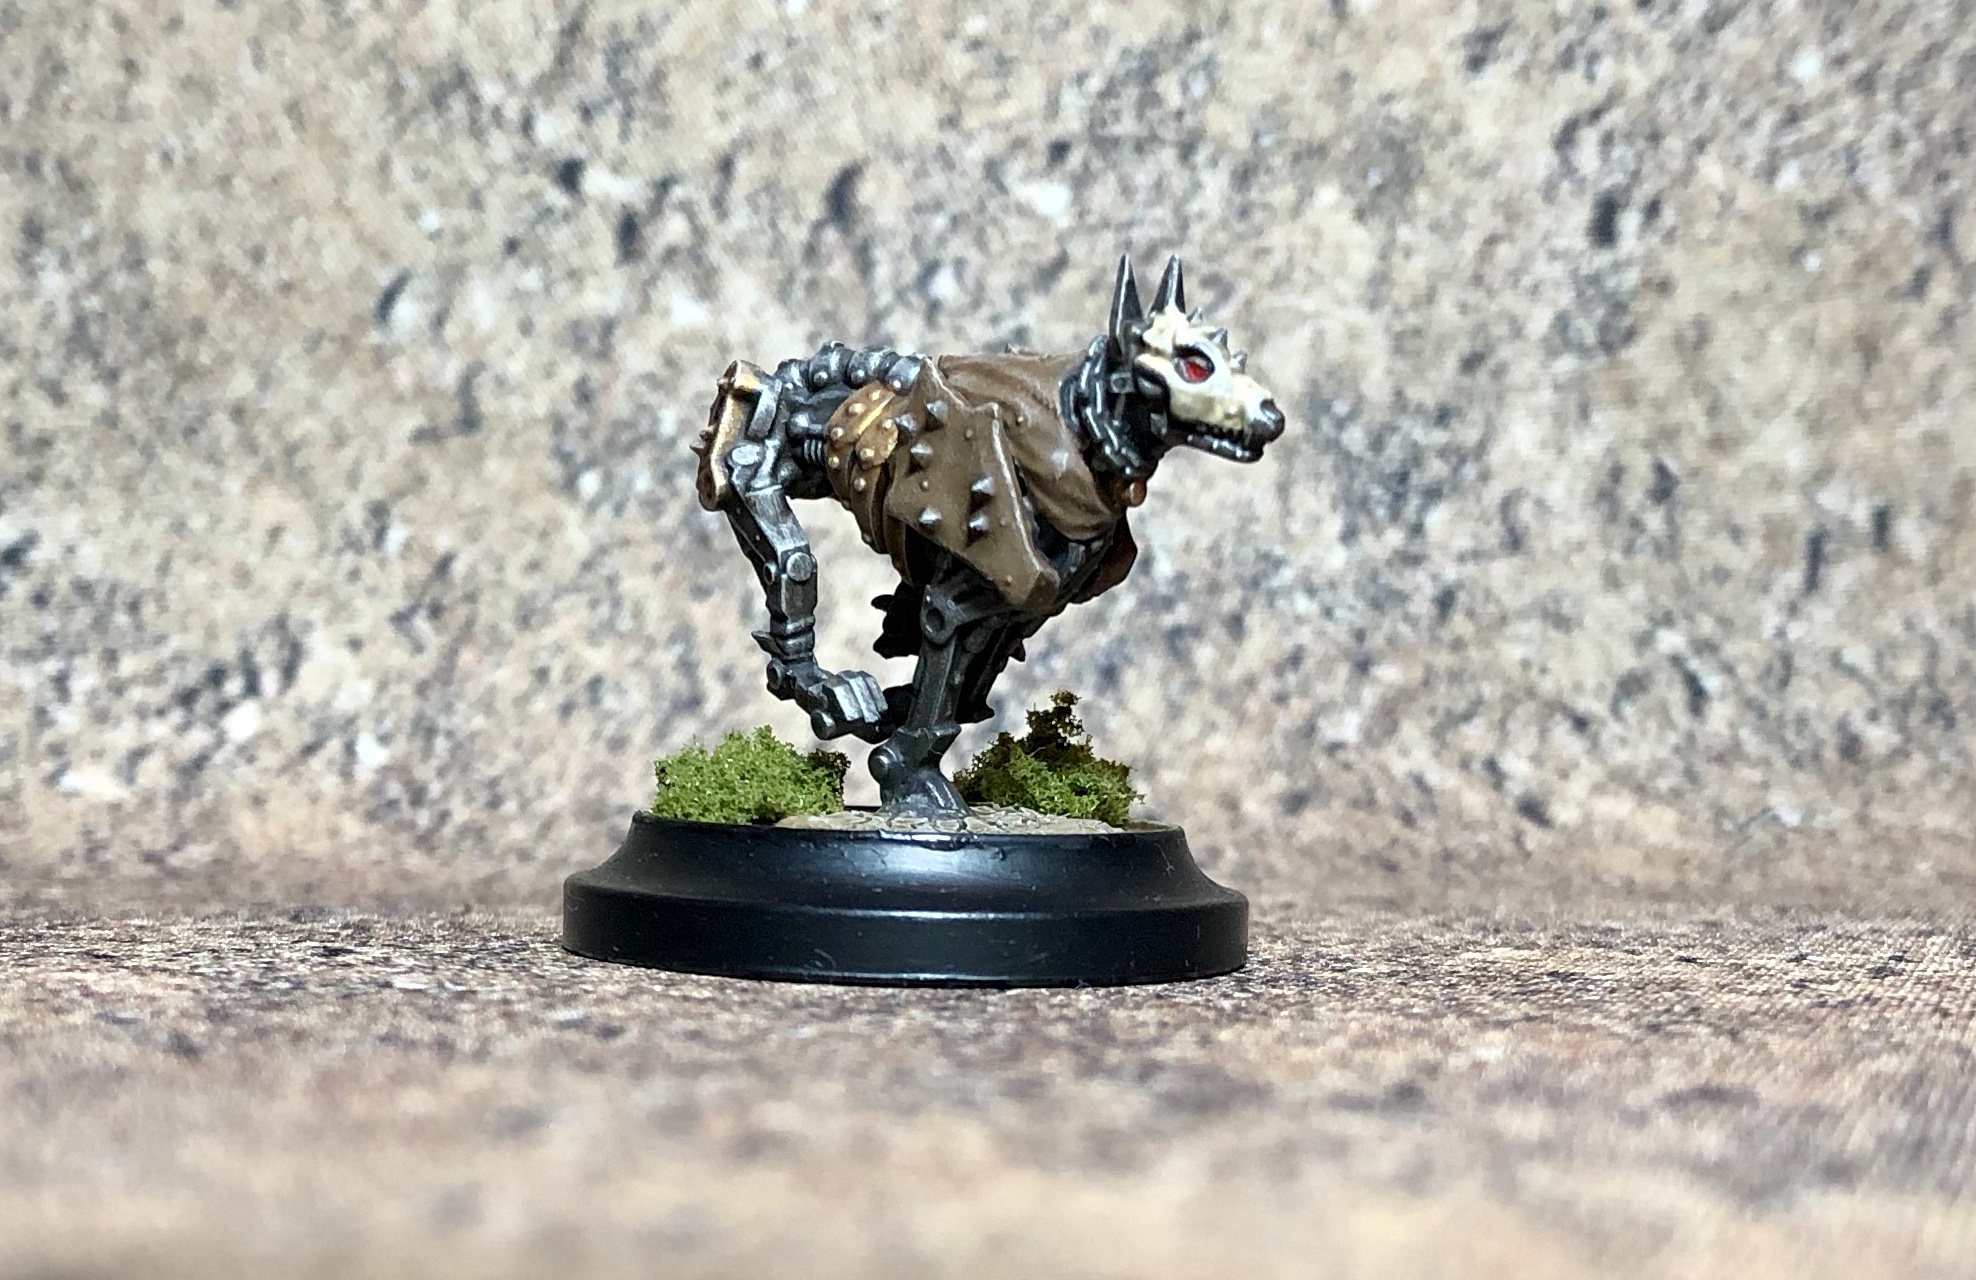 Brutus
 Alan Knox
 Faraday
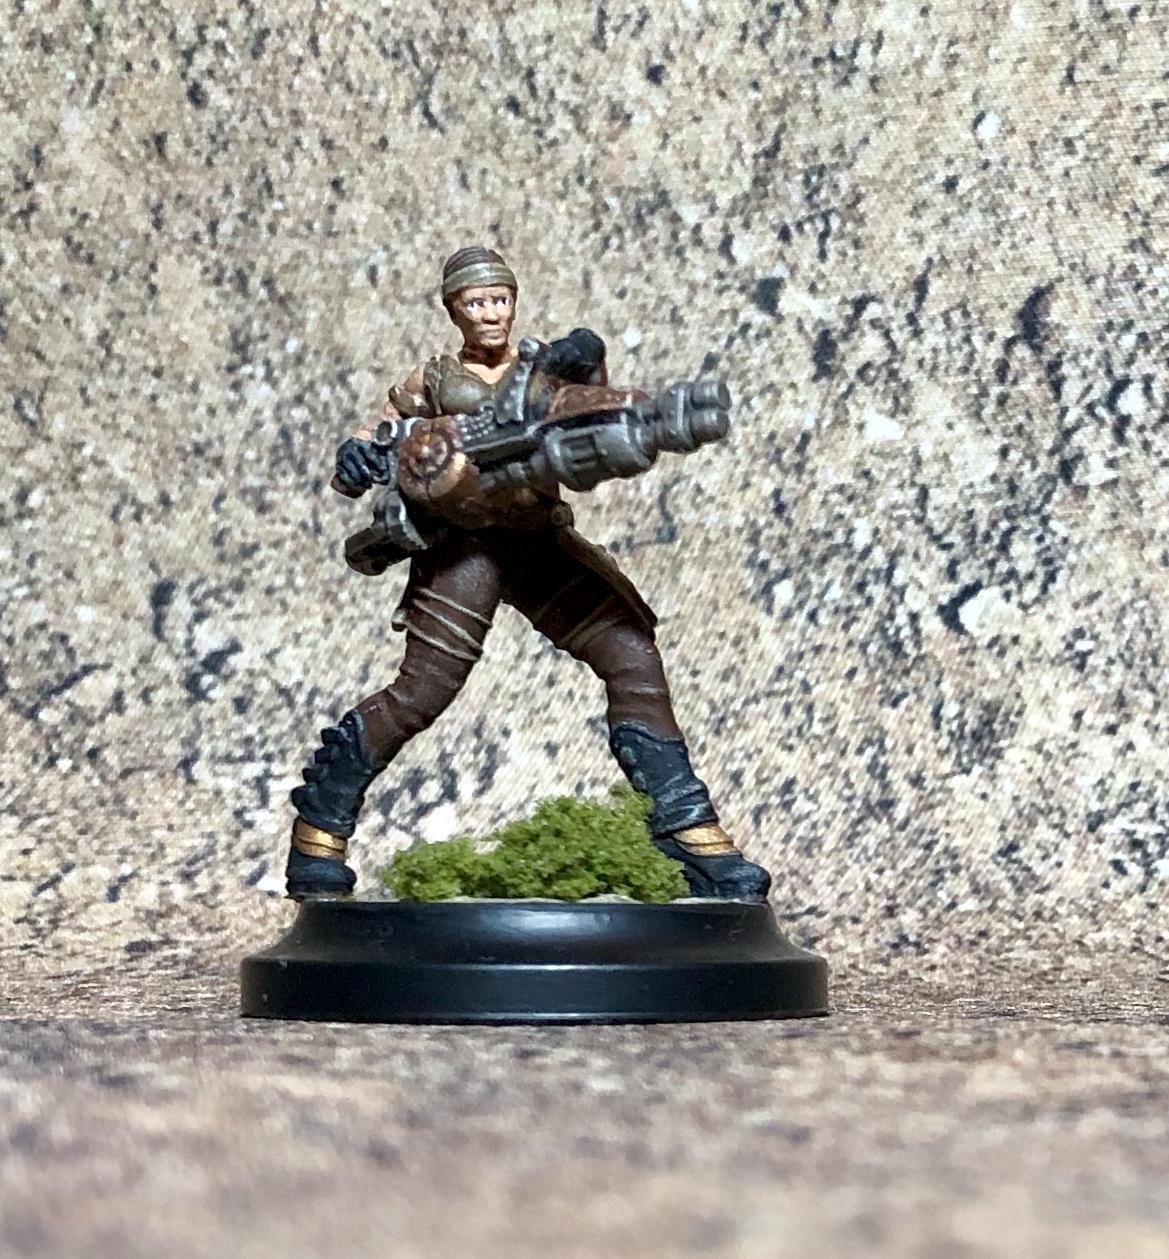 Idina Vasquez
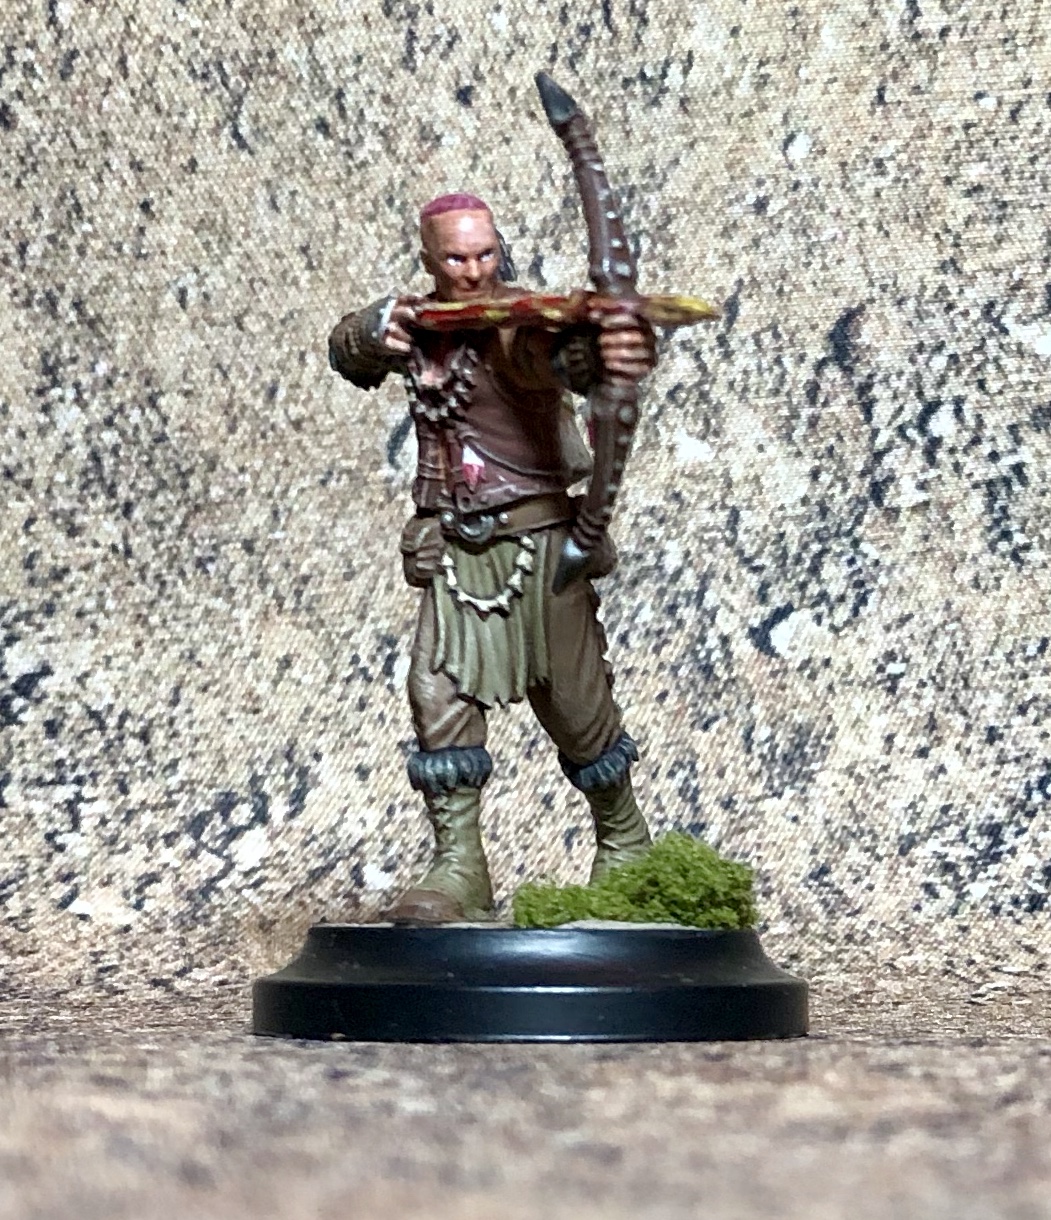 Black Blood
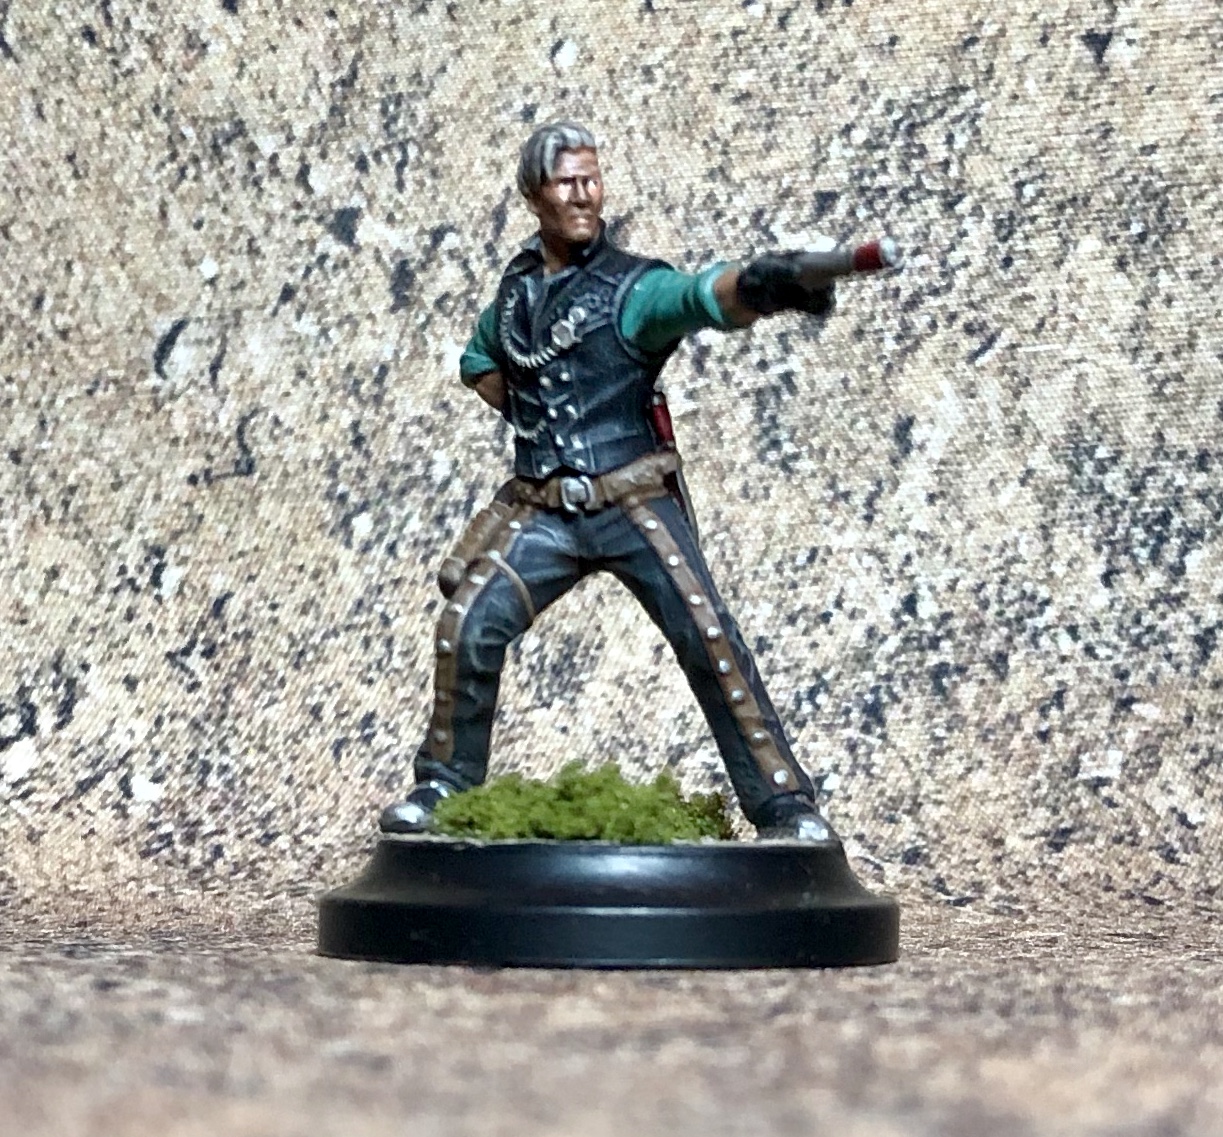 Razors Li
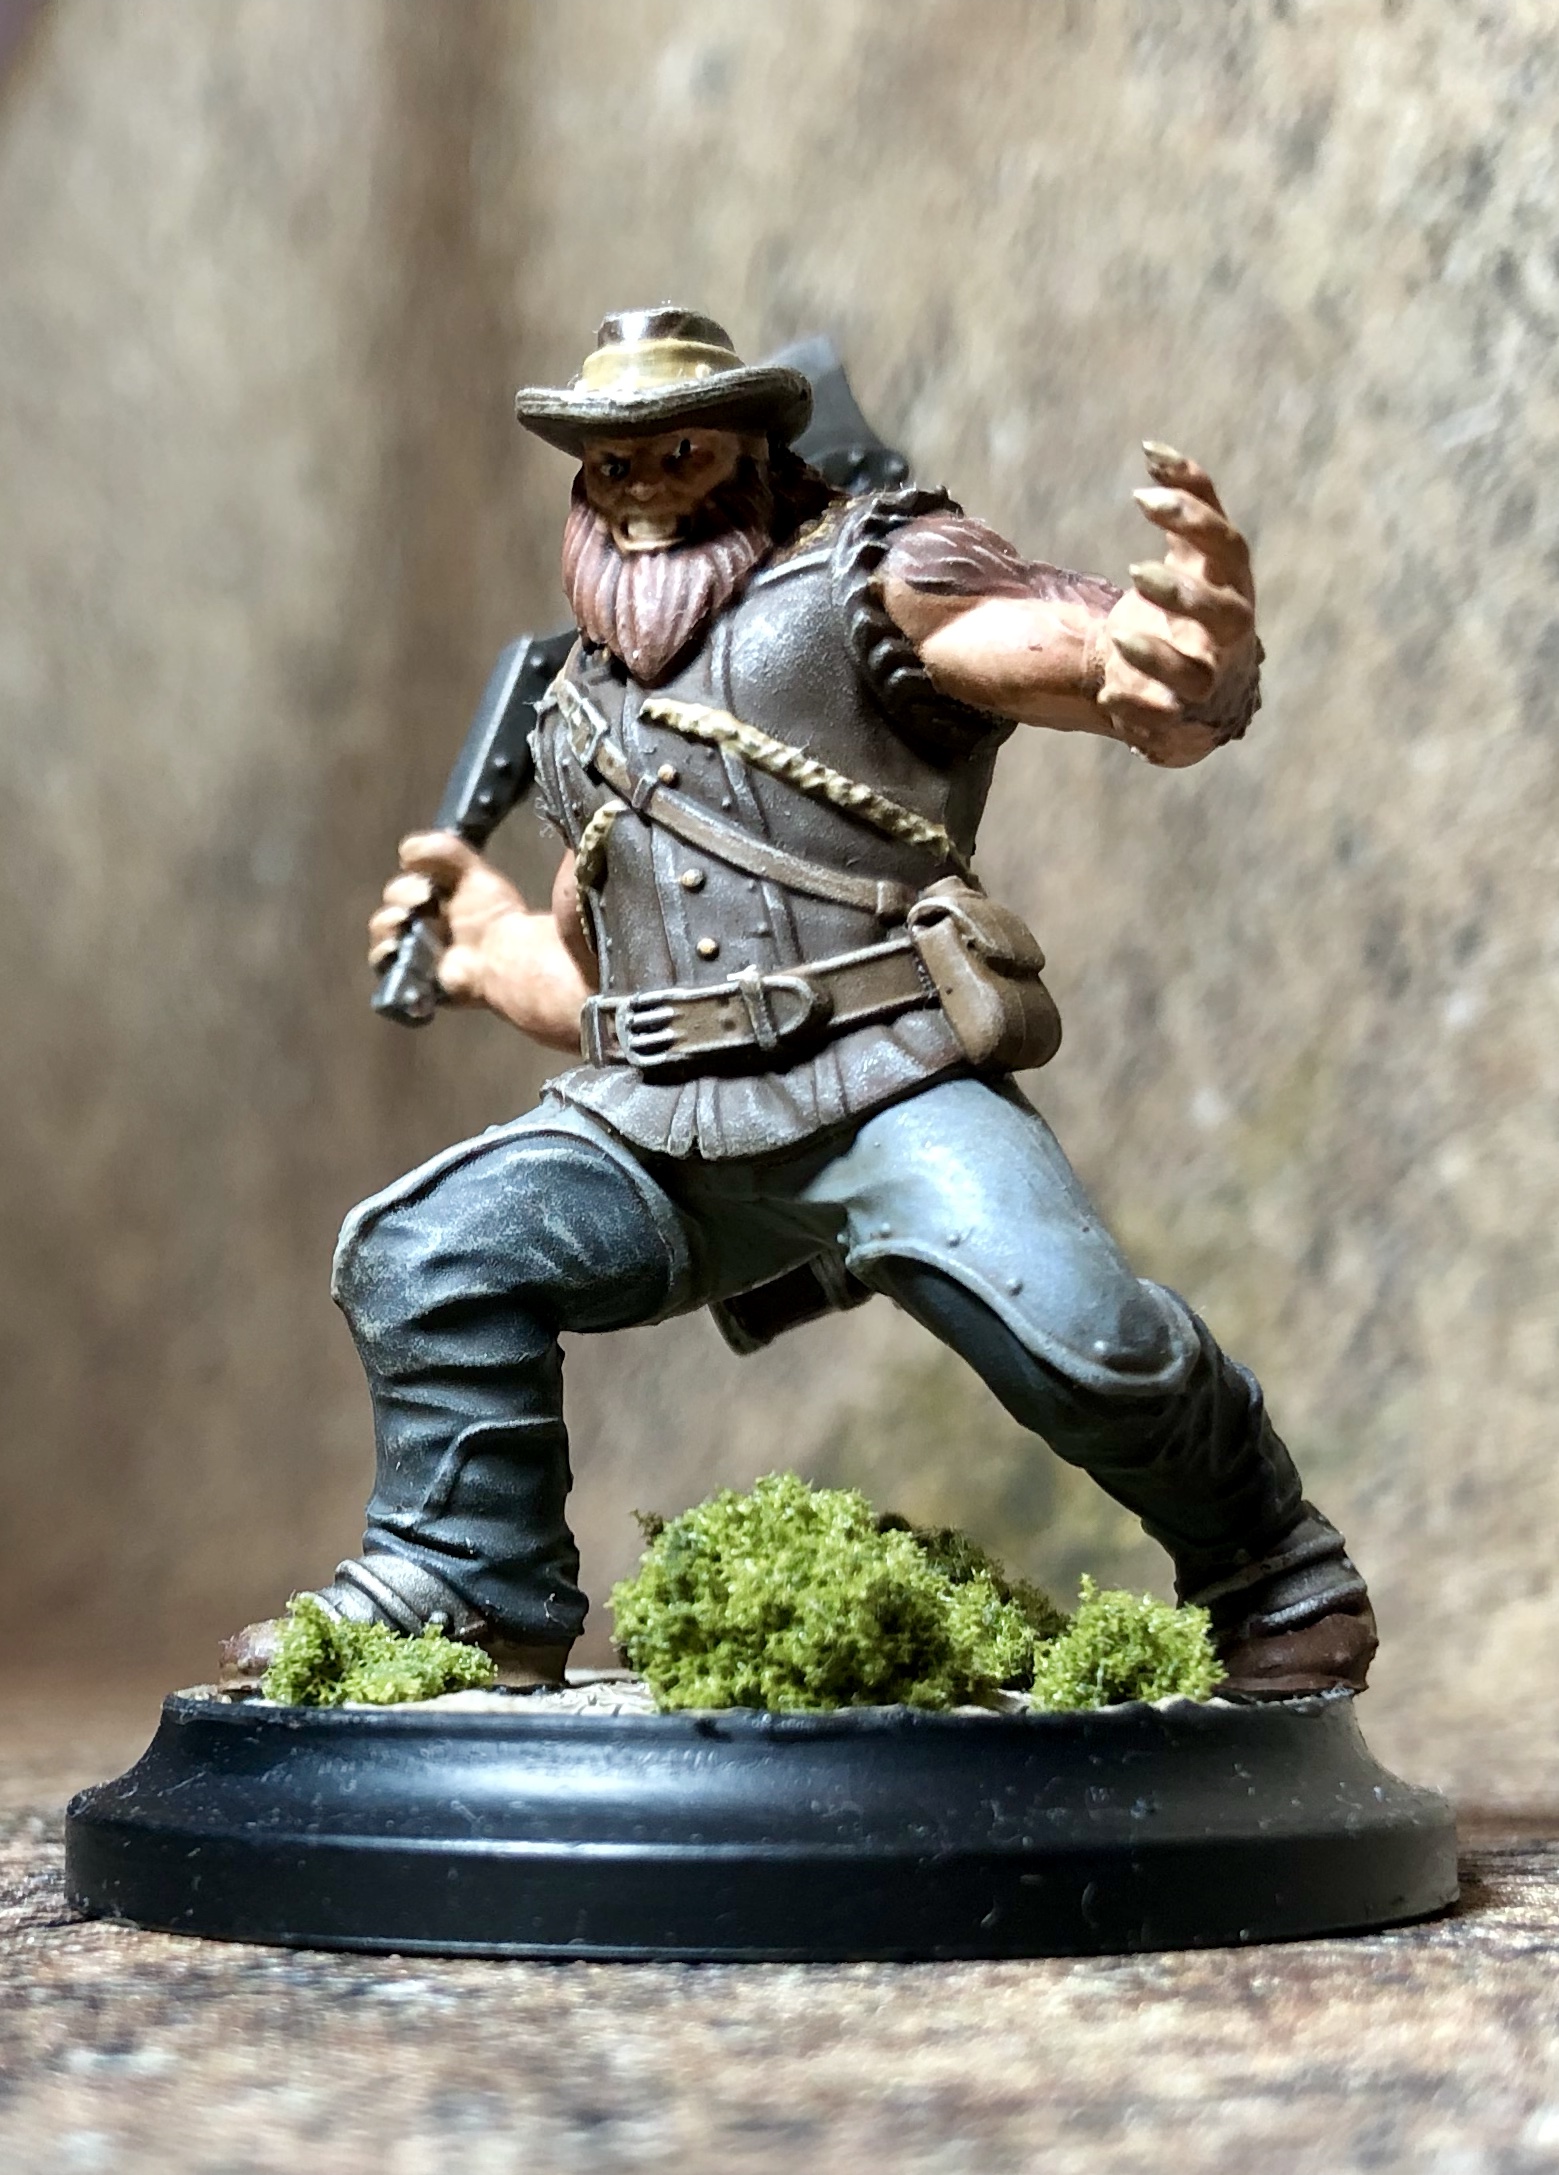 Kodiak
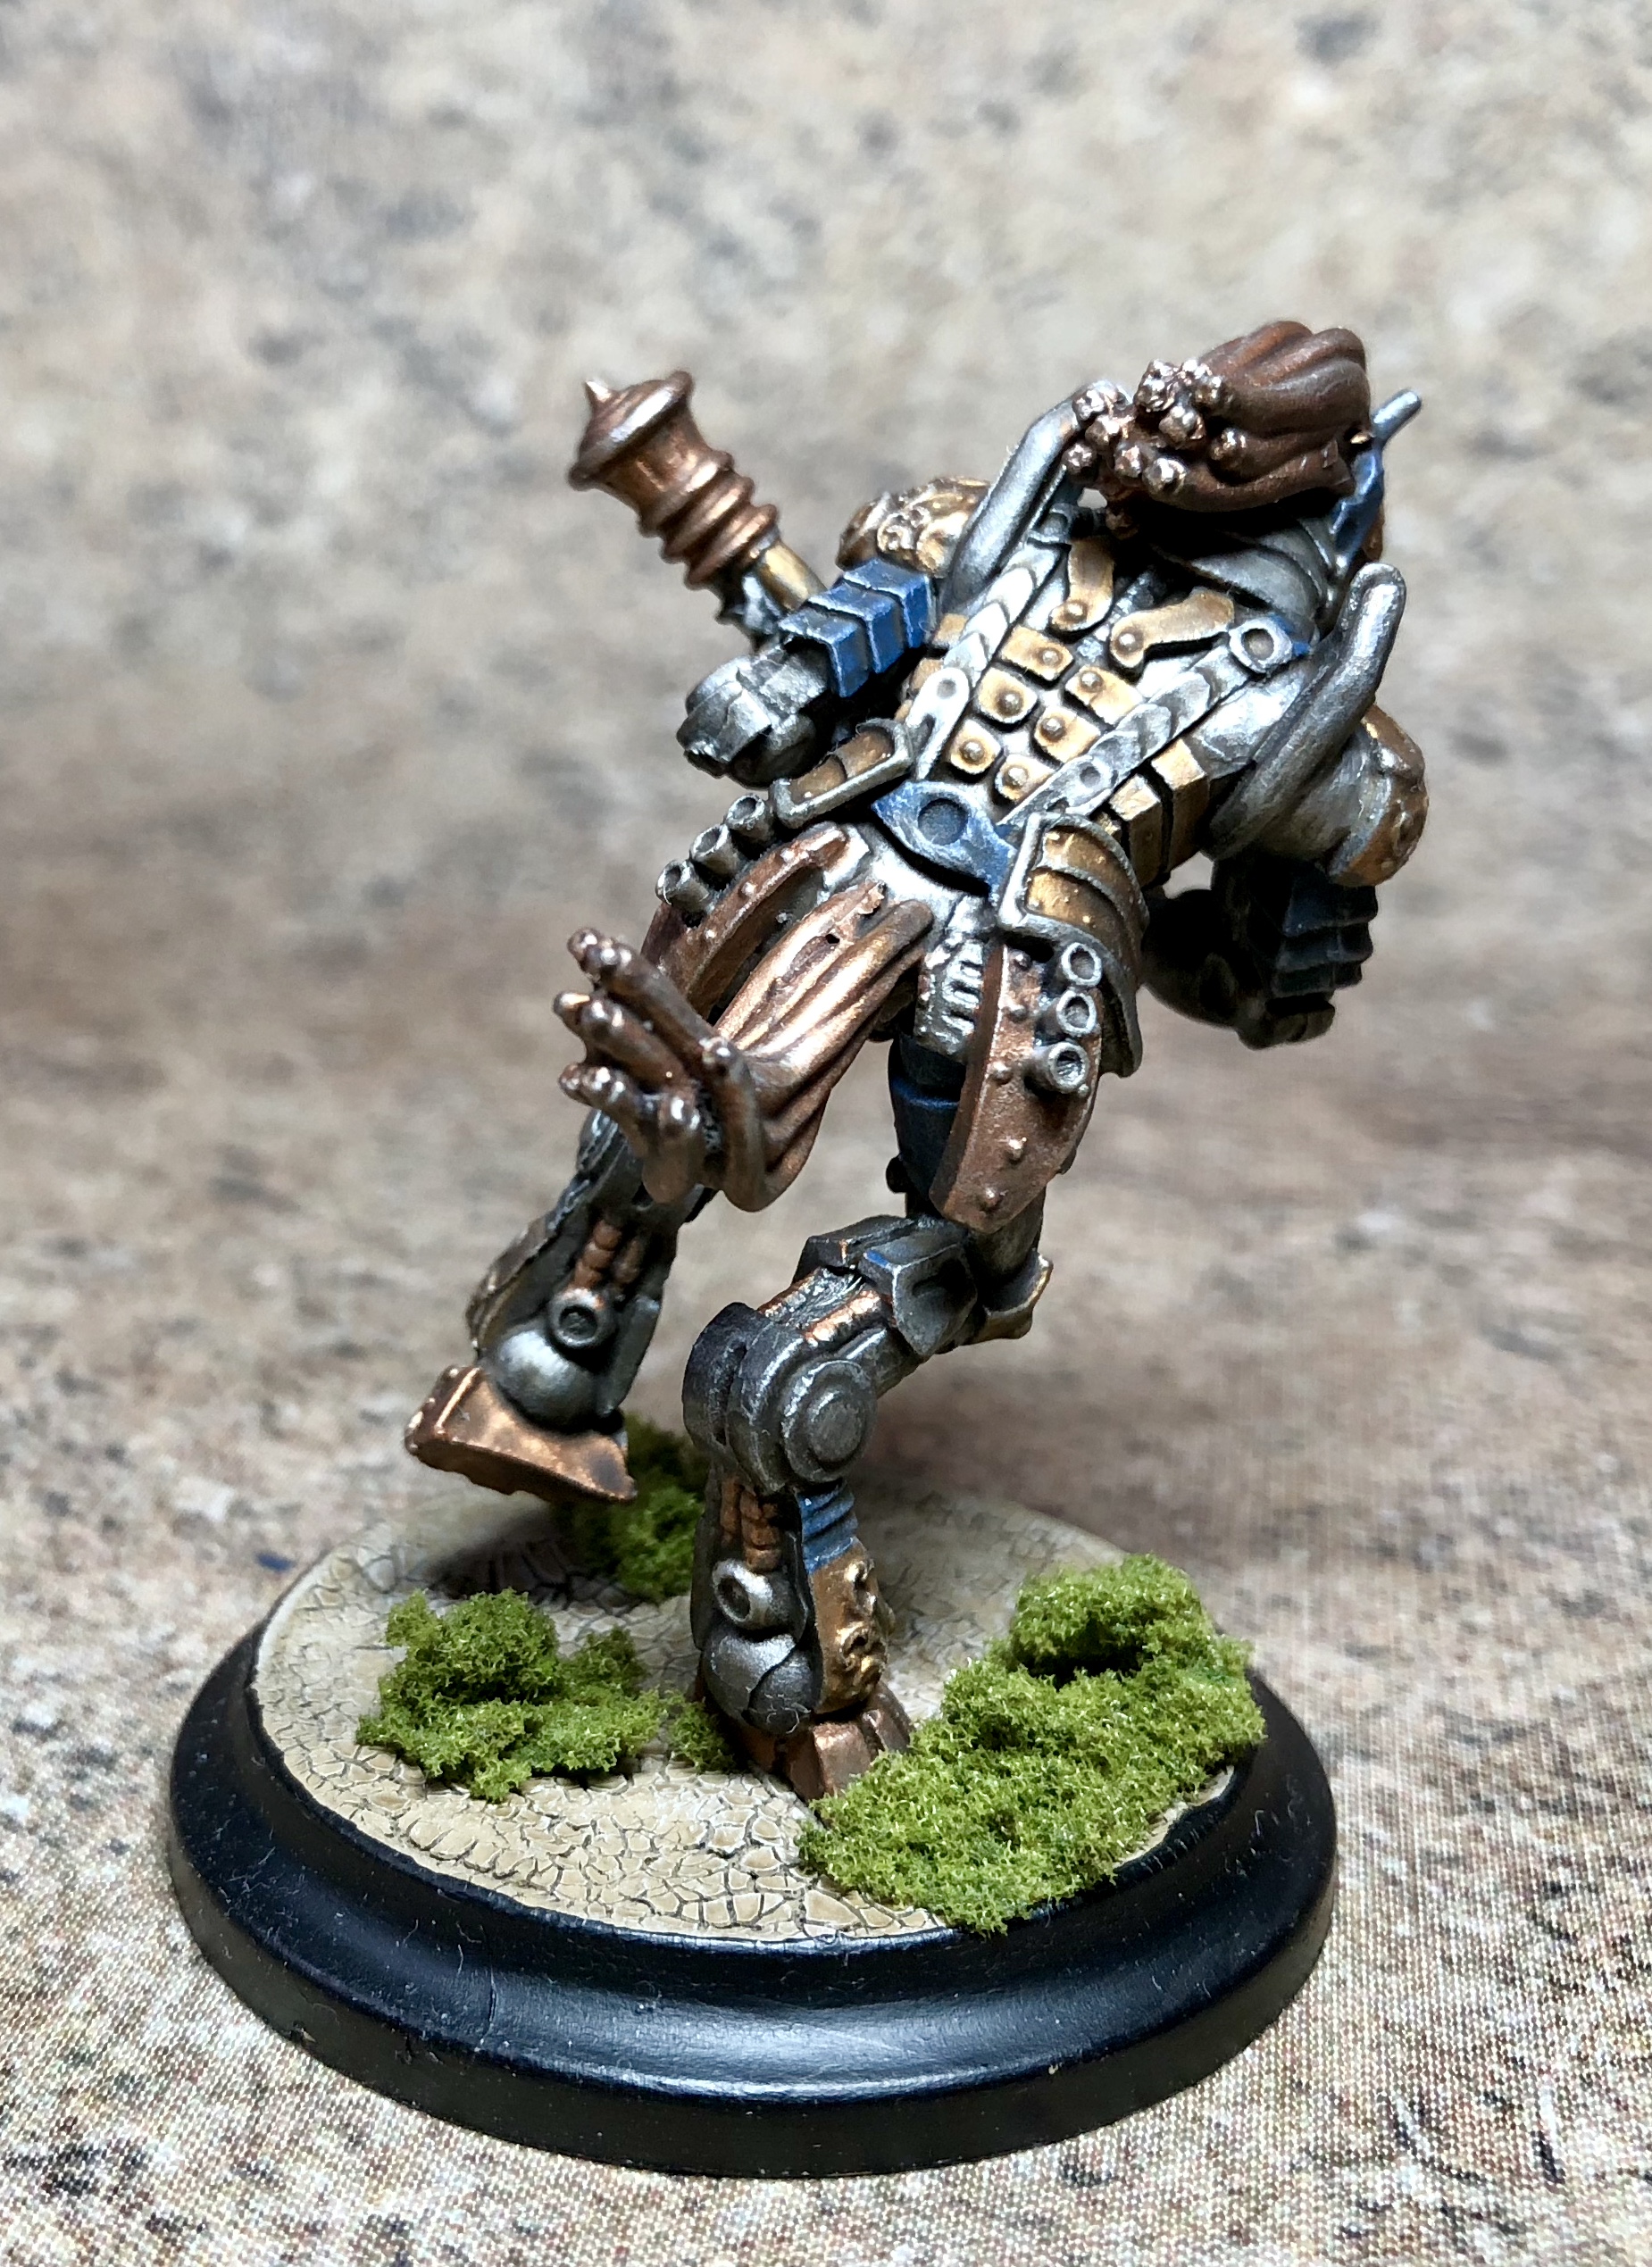
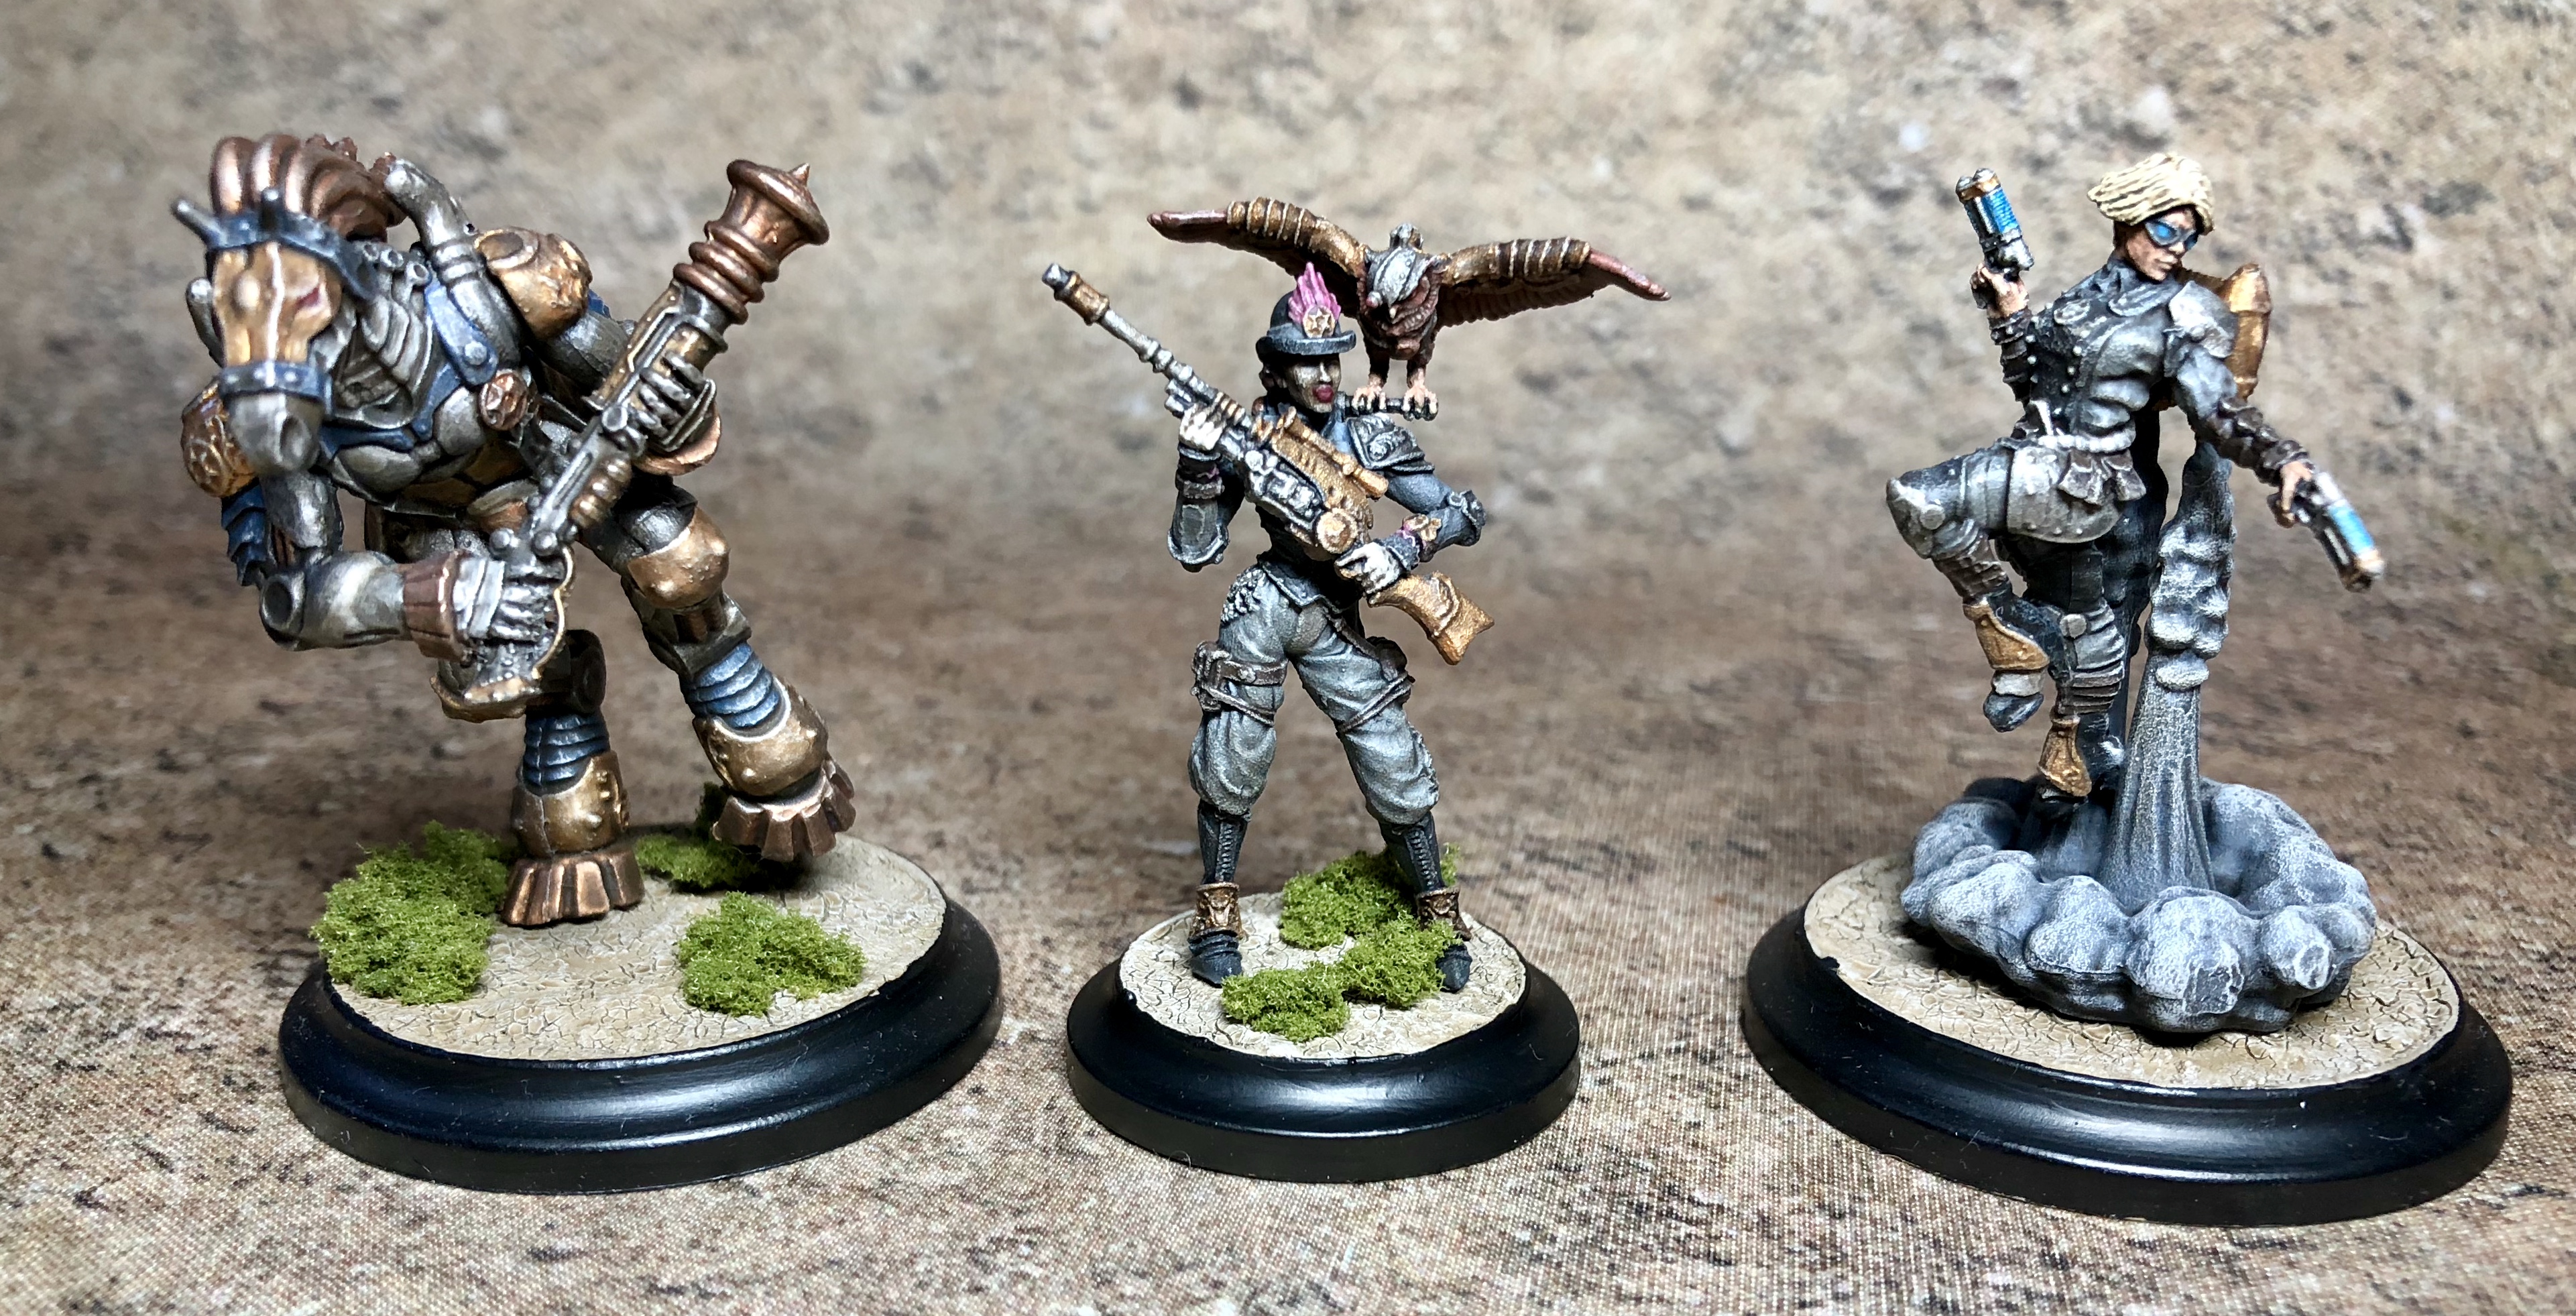
Next, the Infernal Investigators (a personal favourite!)
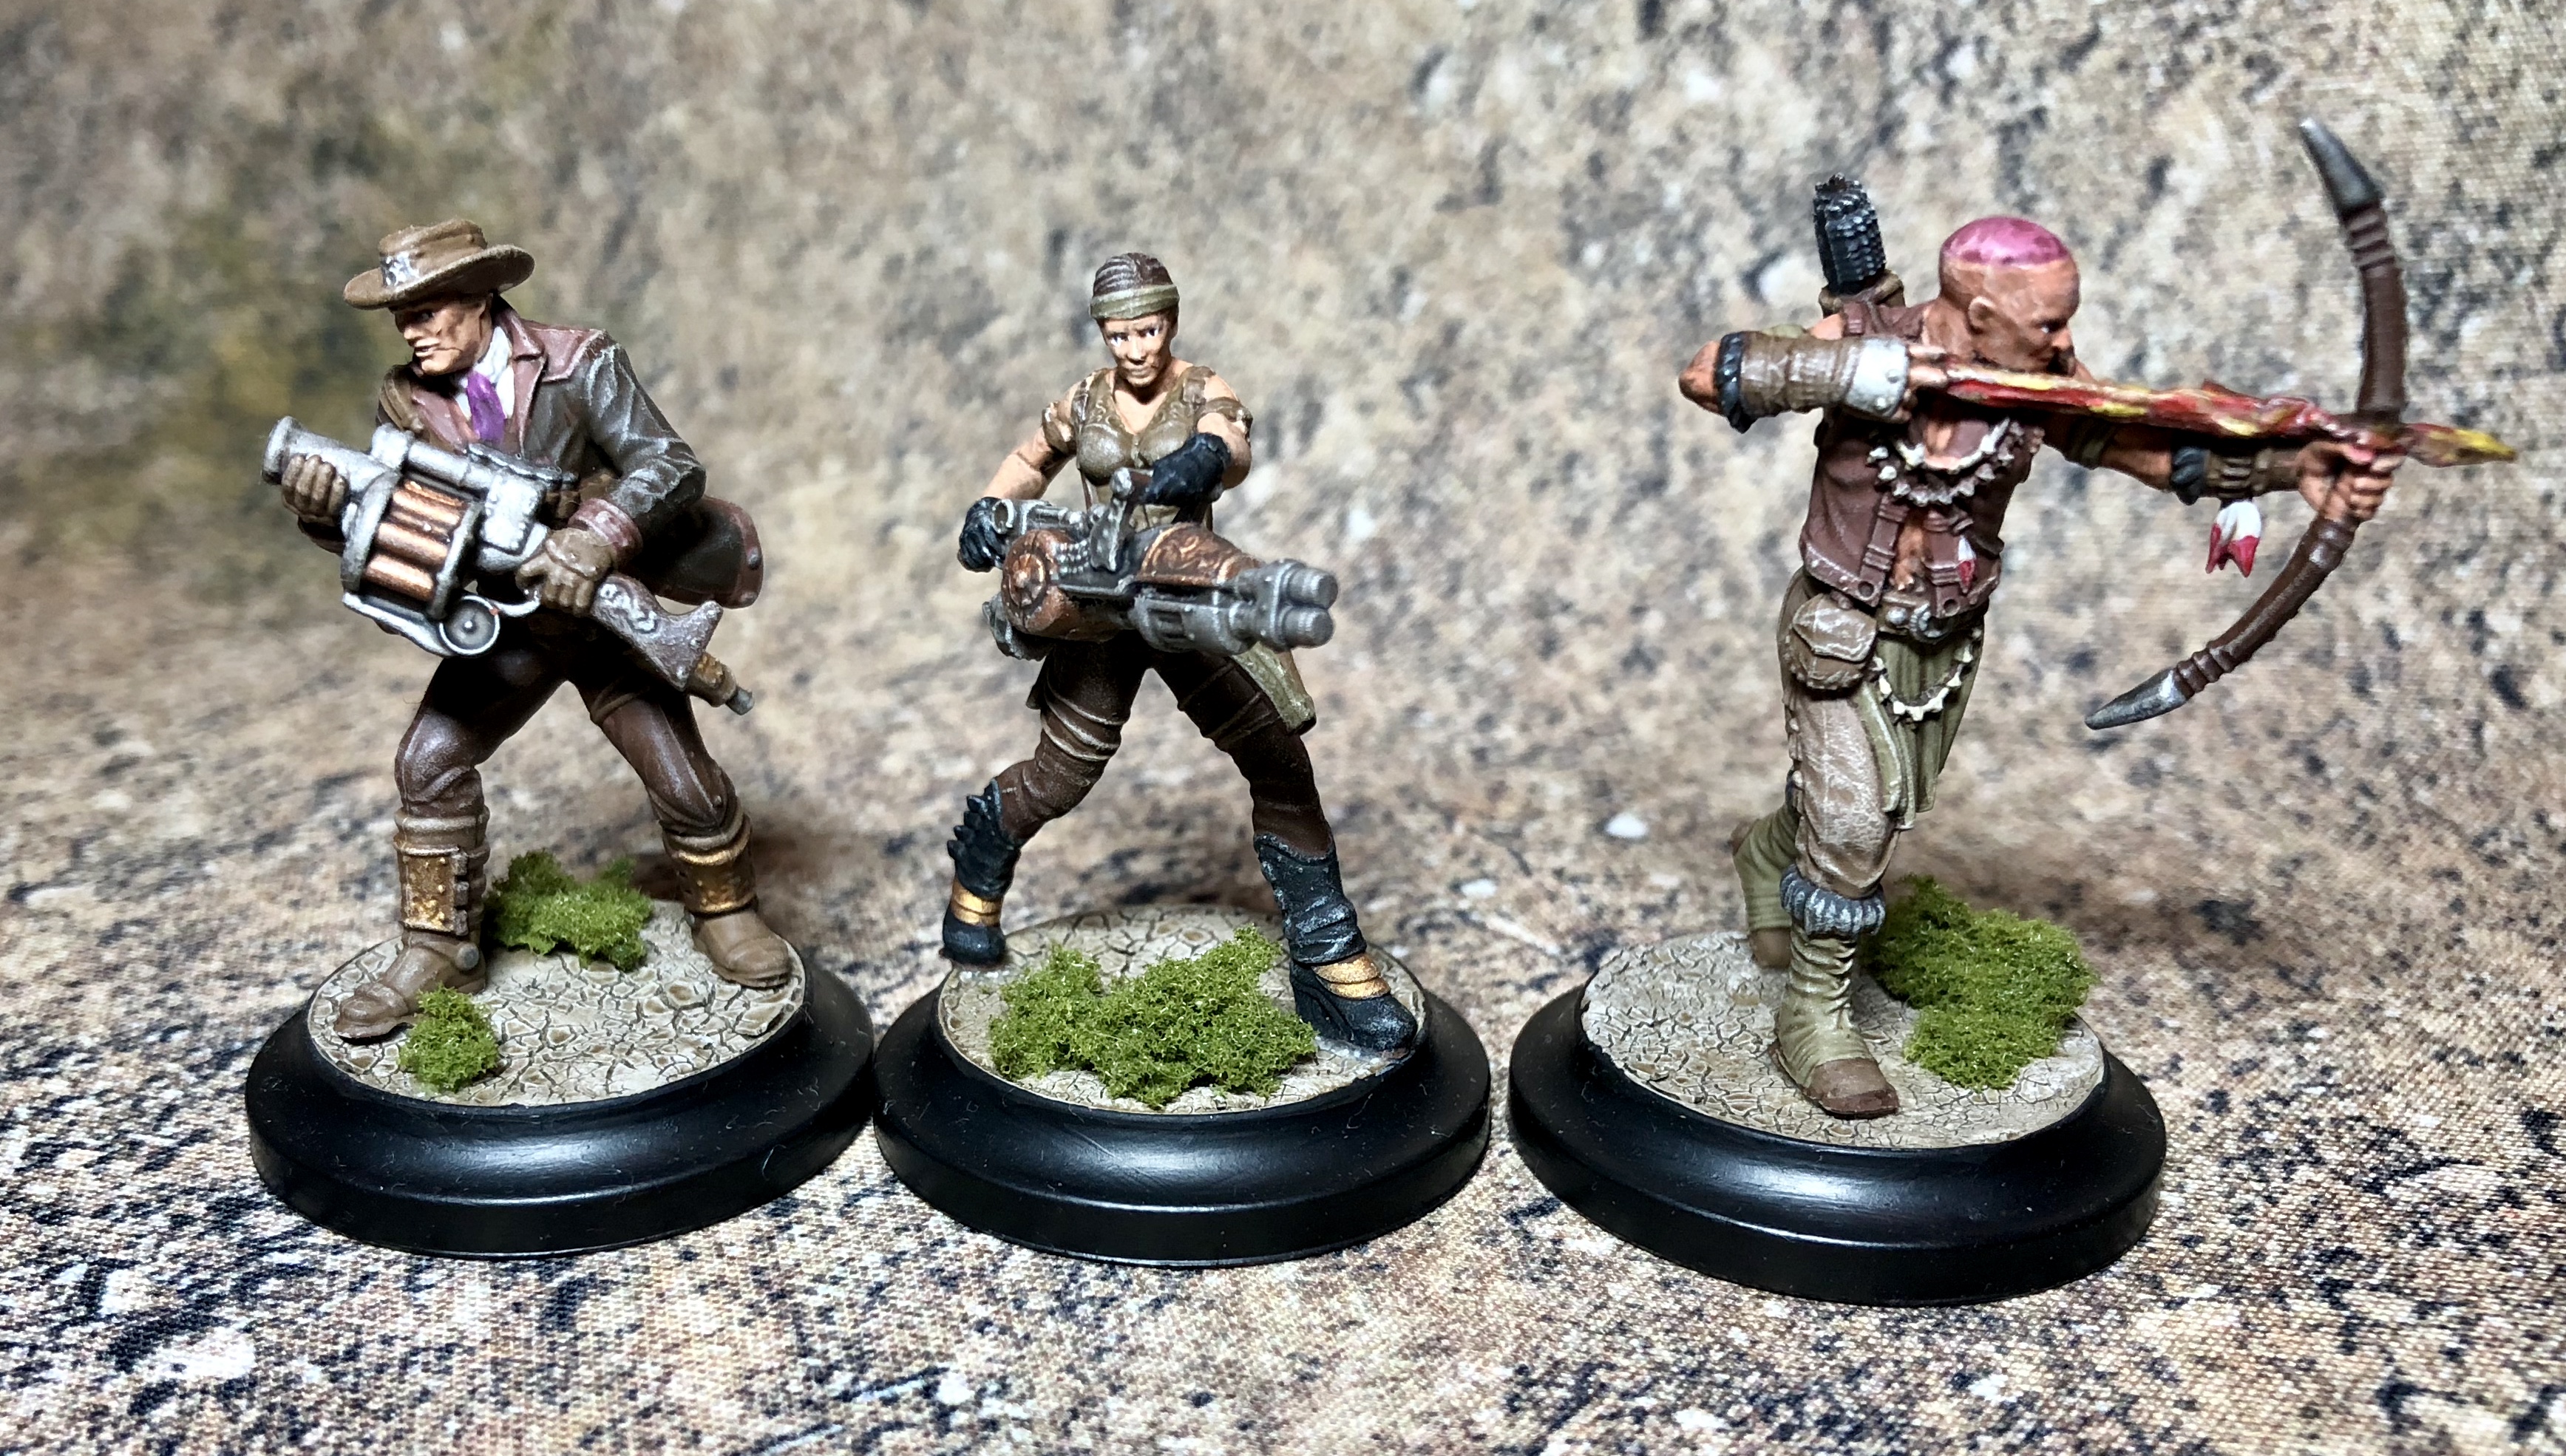
Helena Miller


Mercury Jones
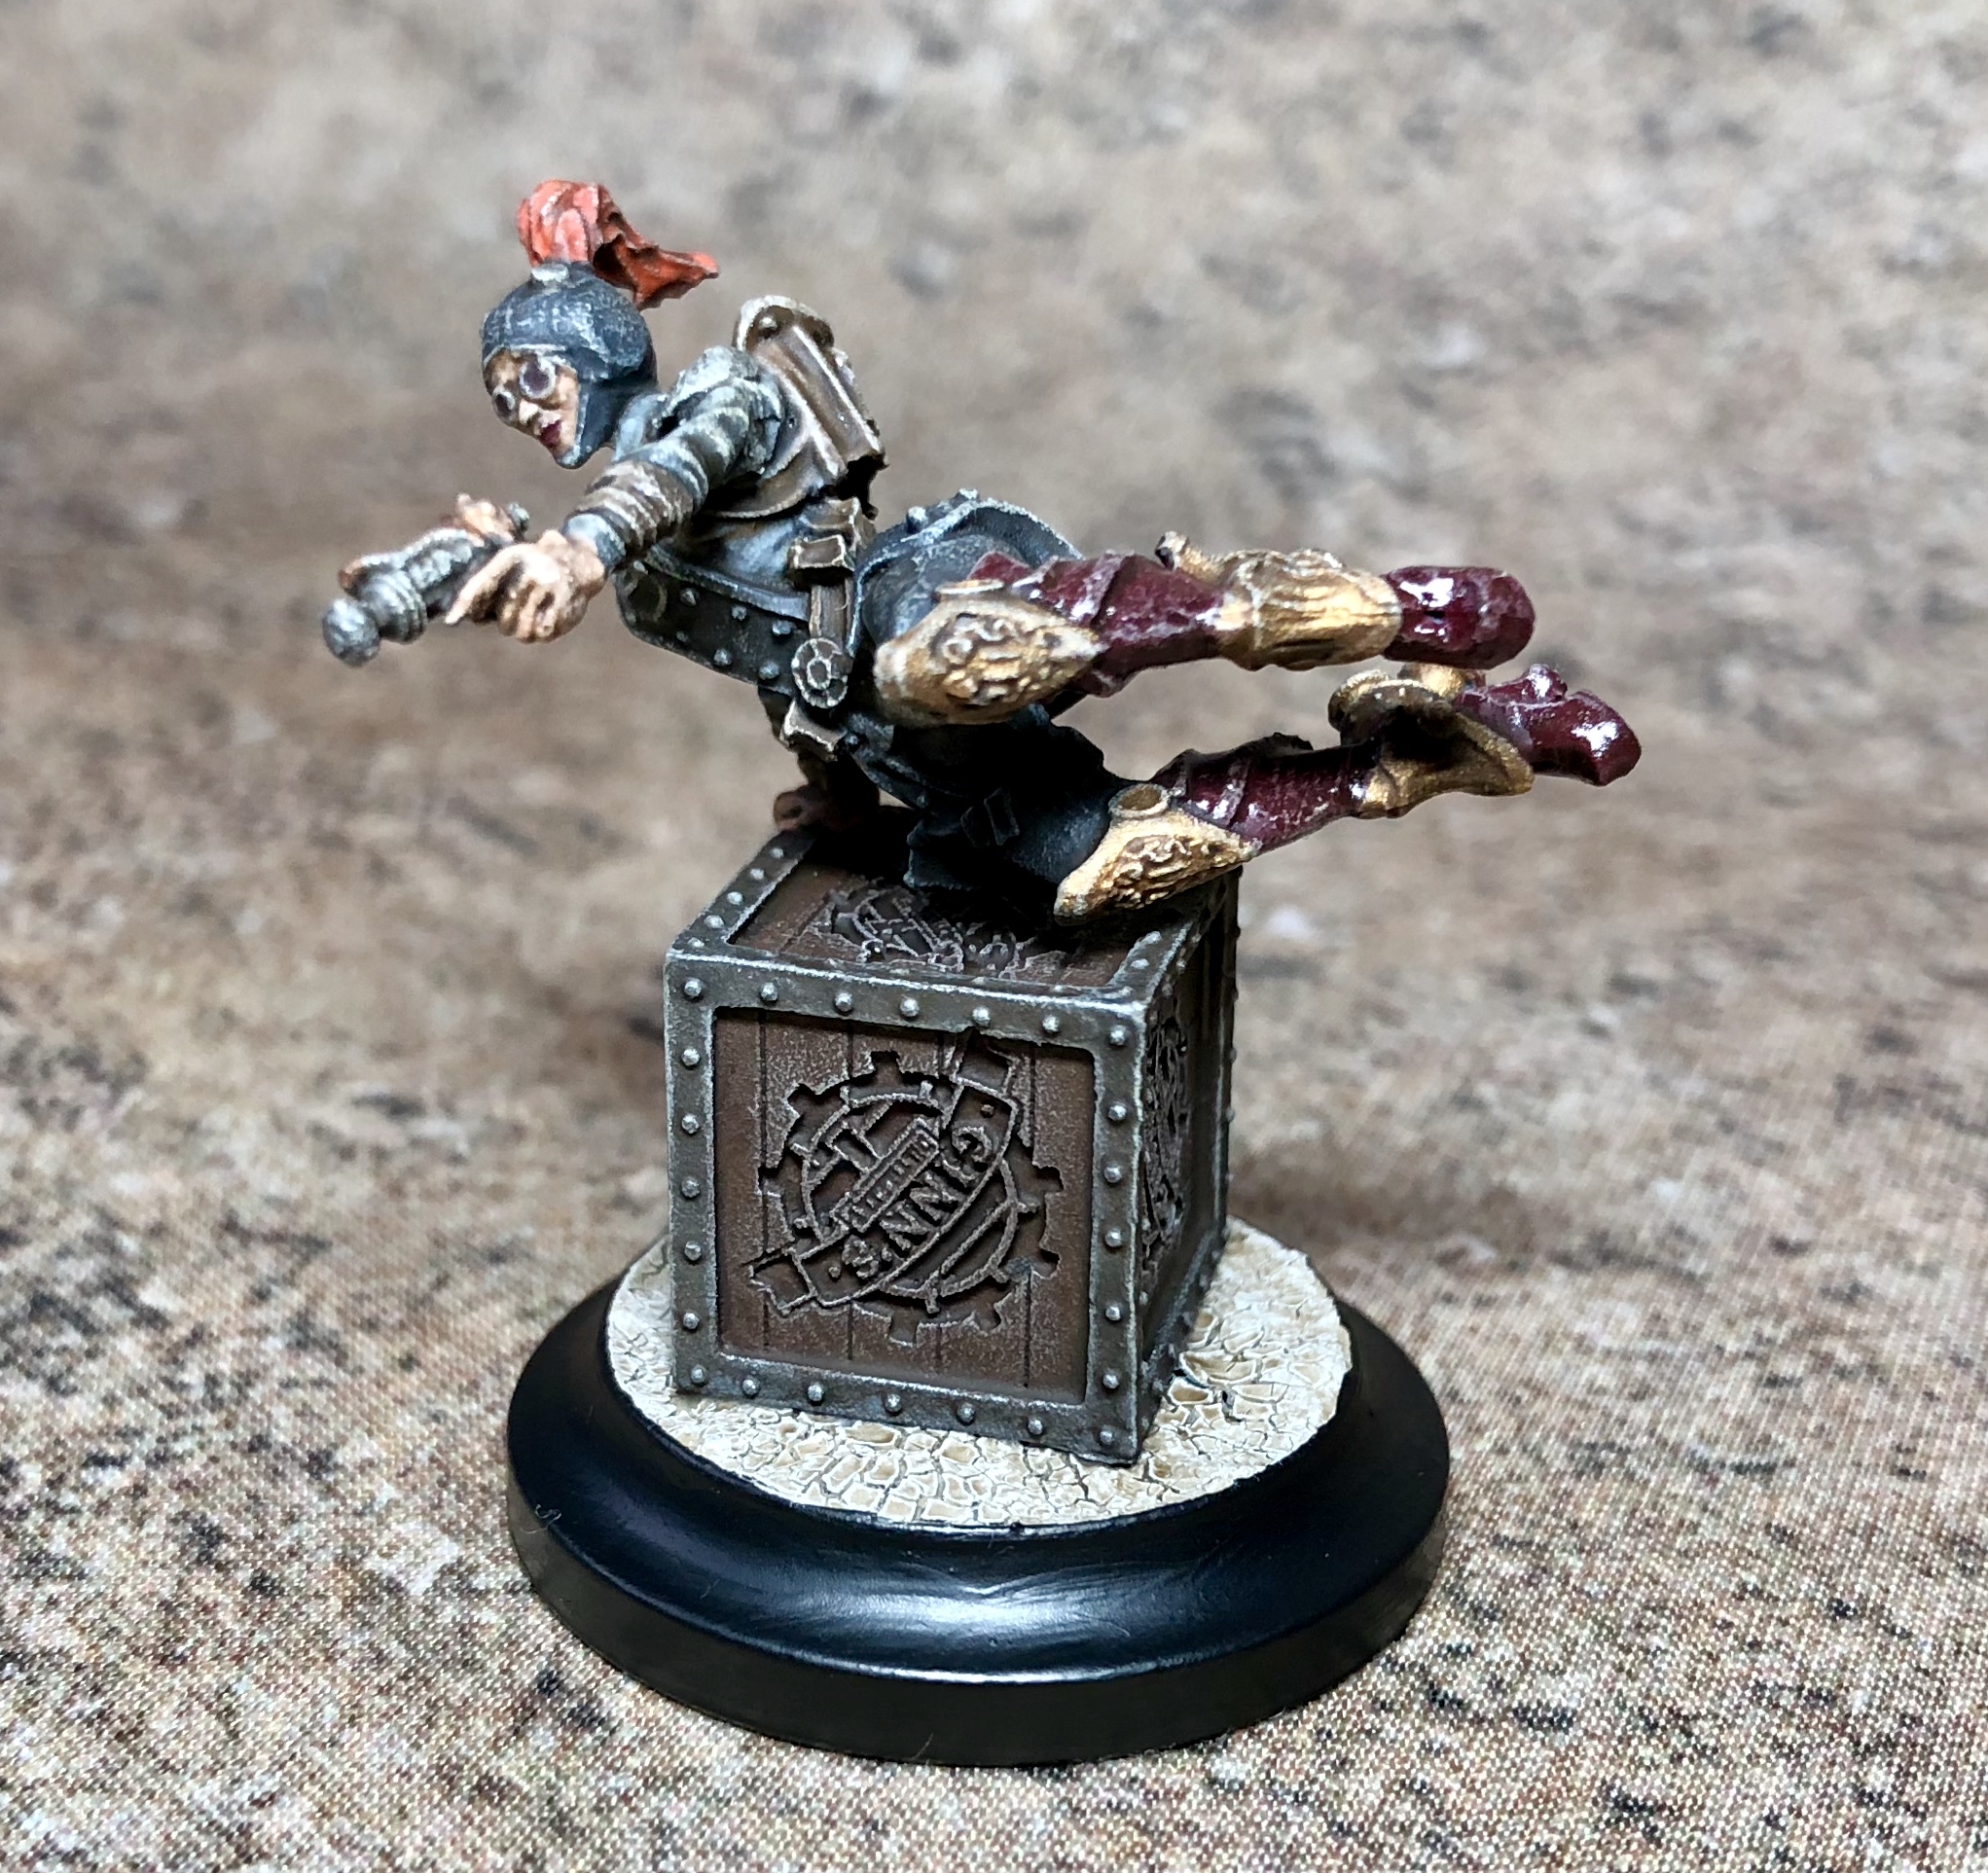
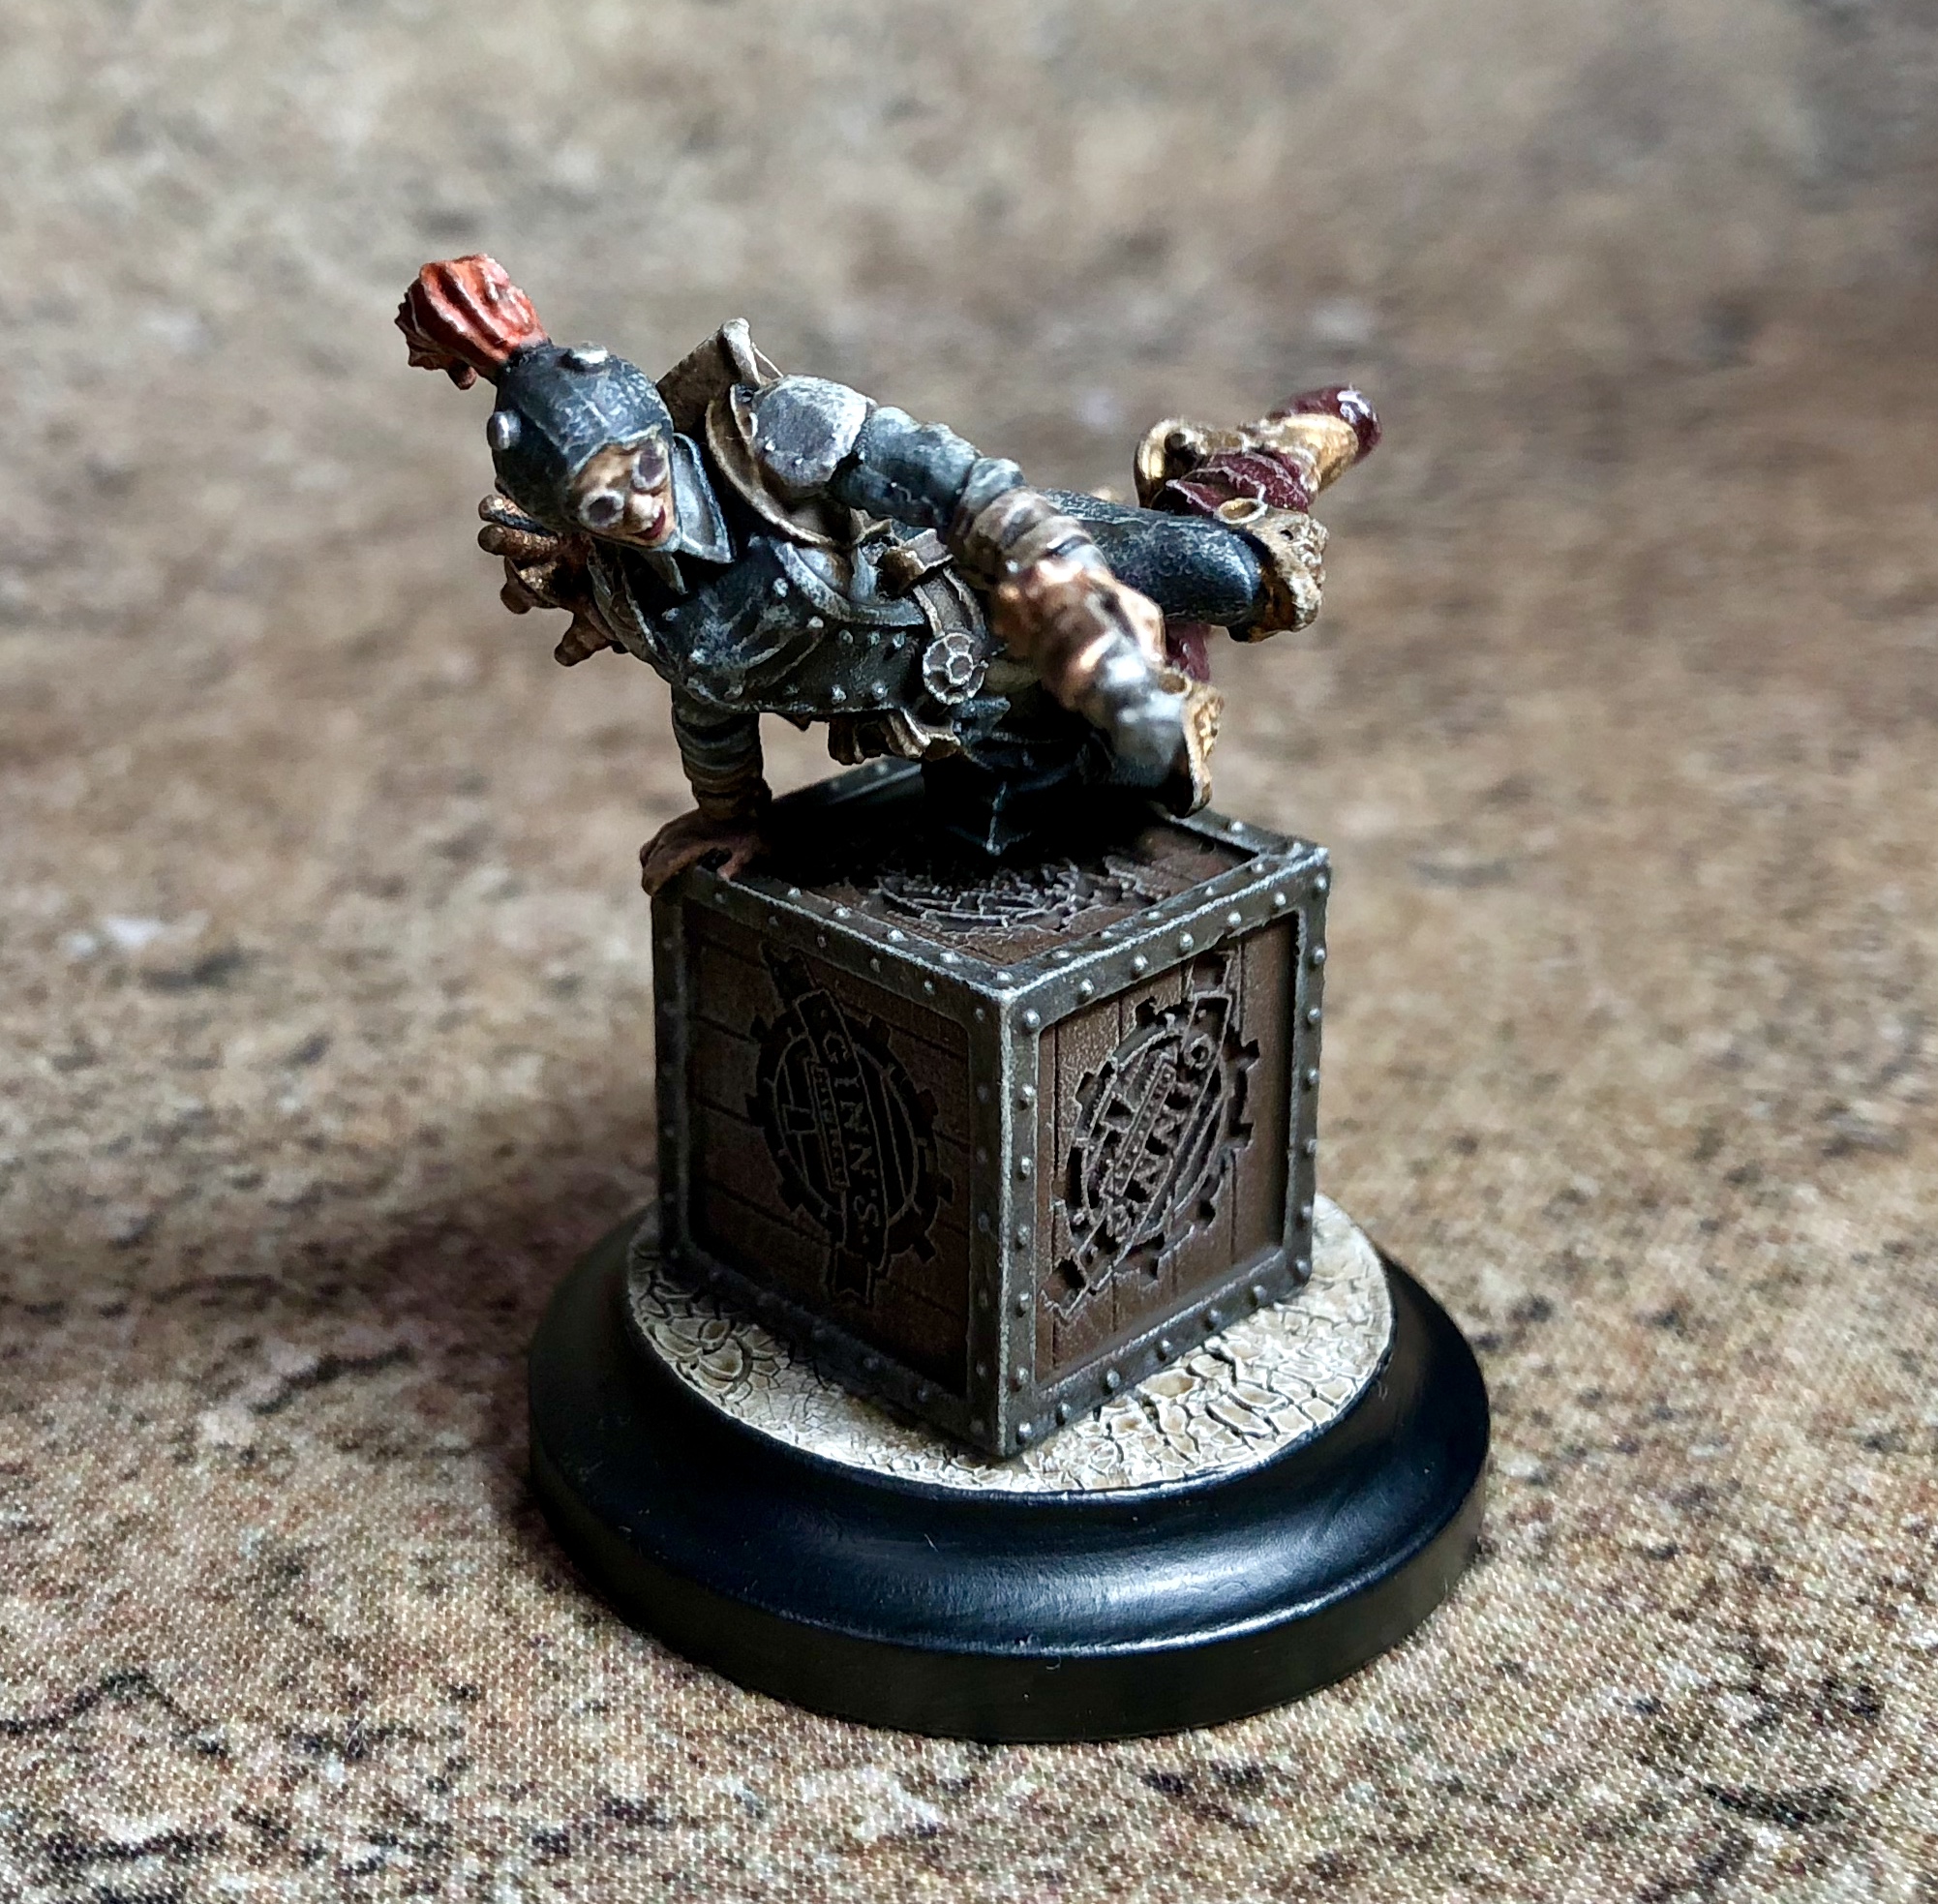

Ida Saxon
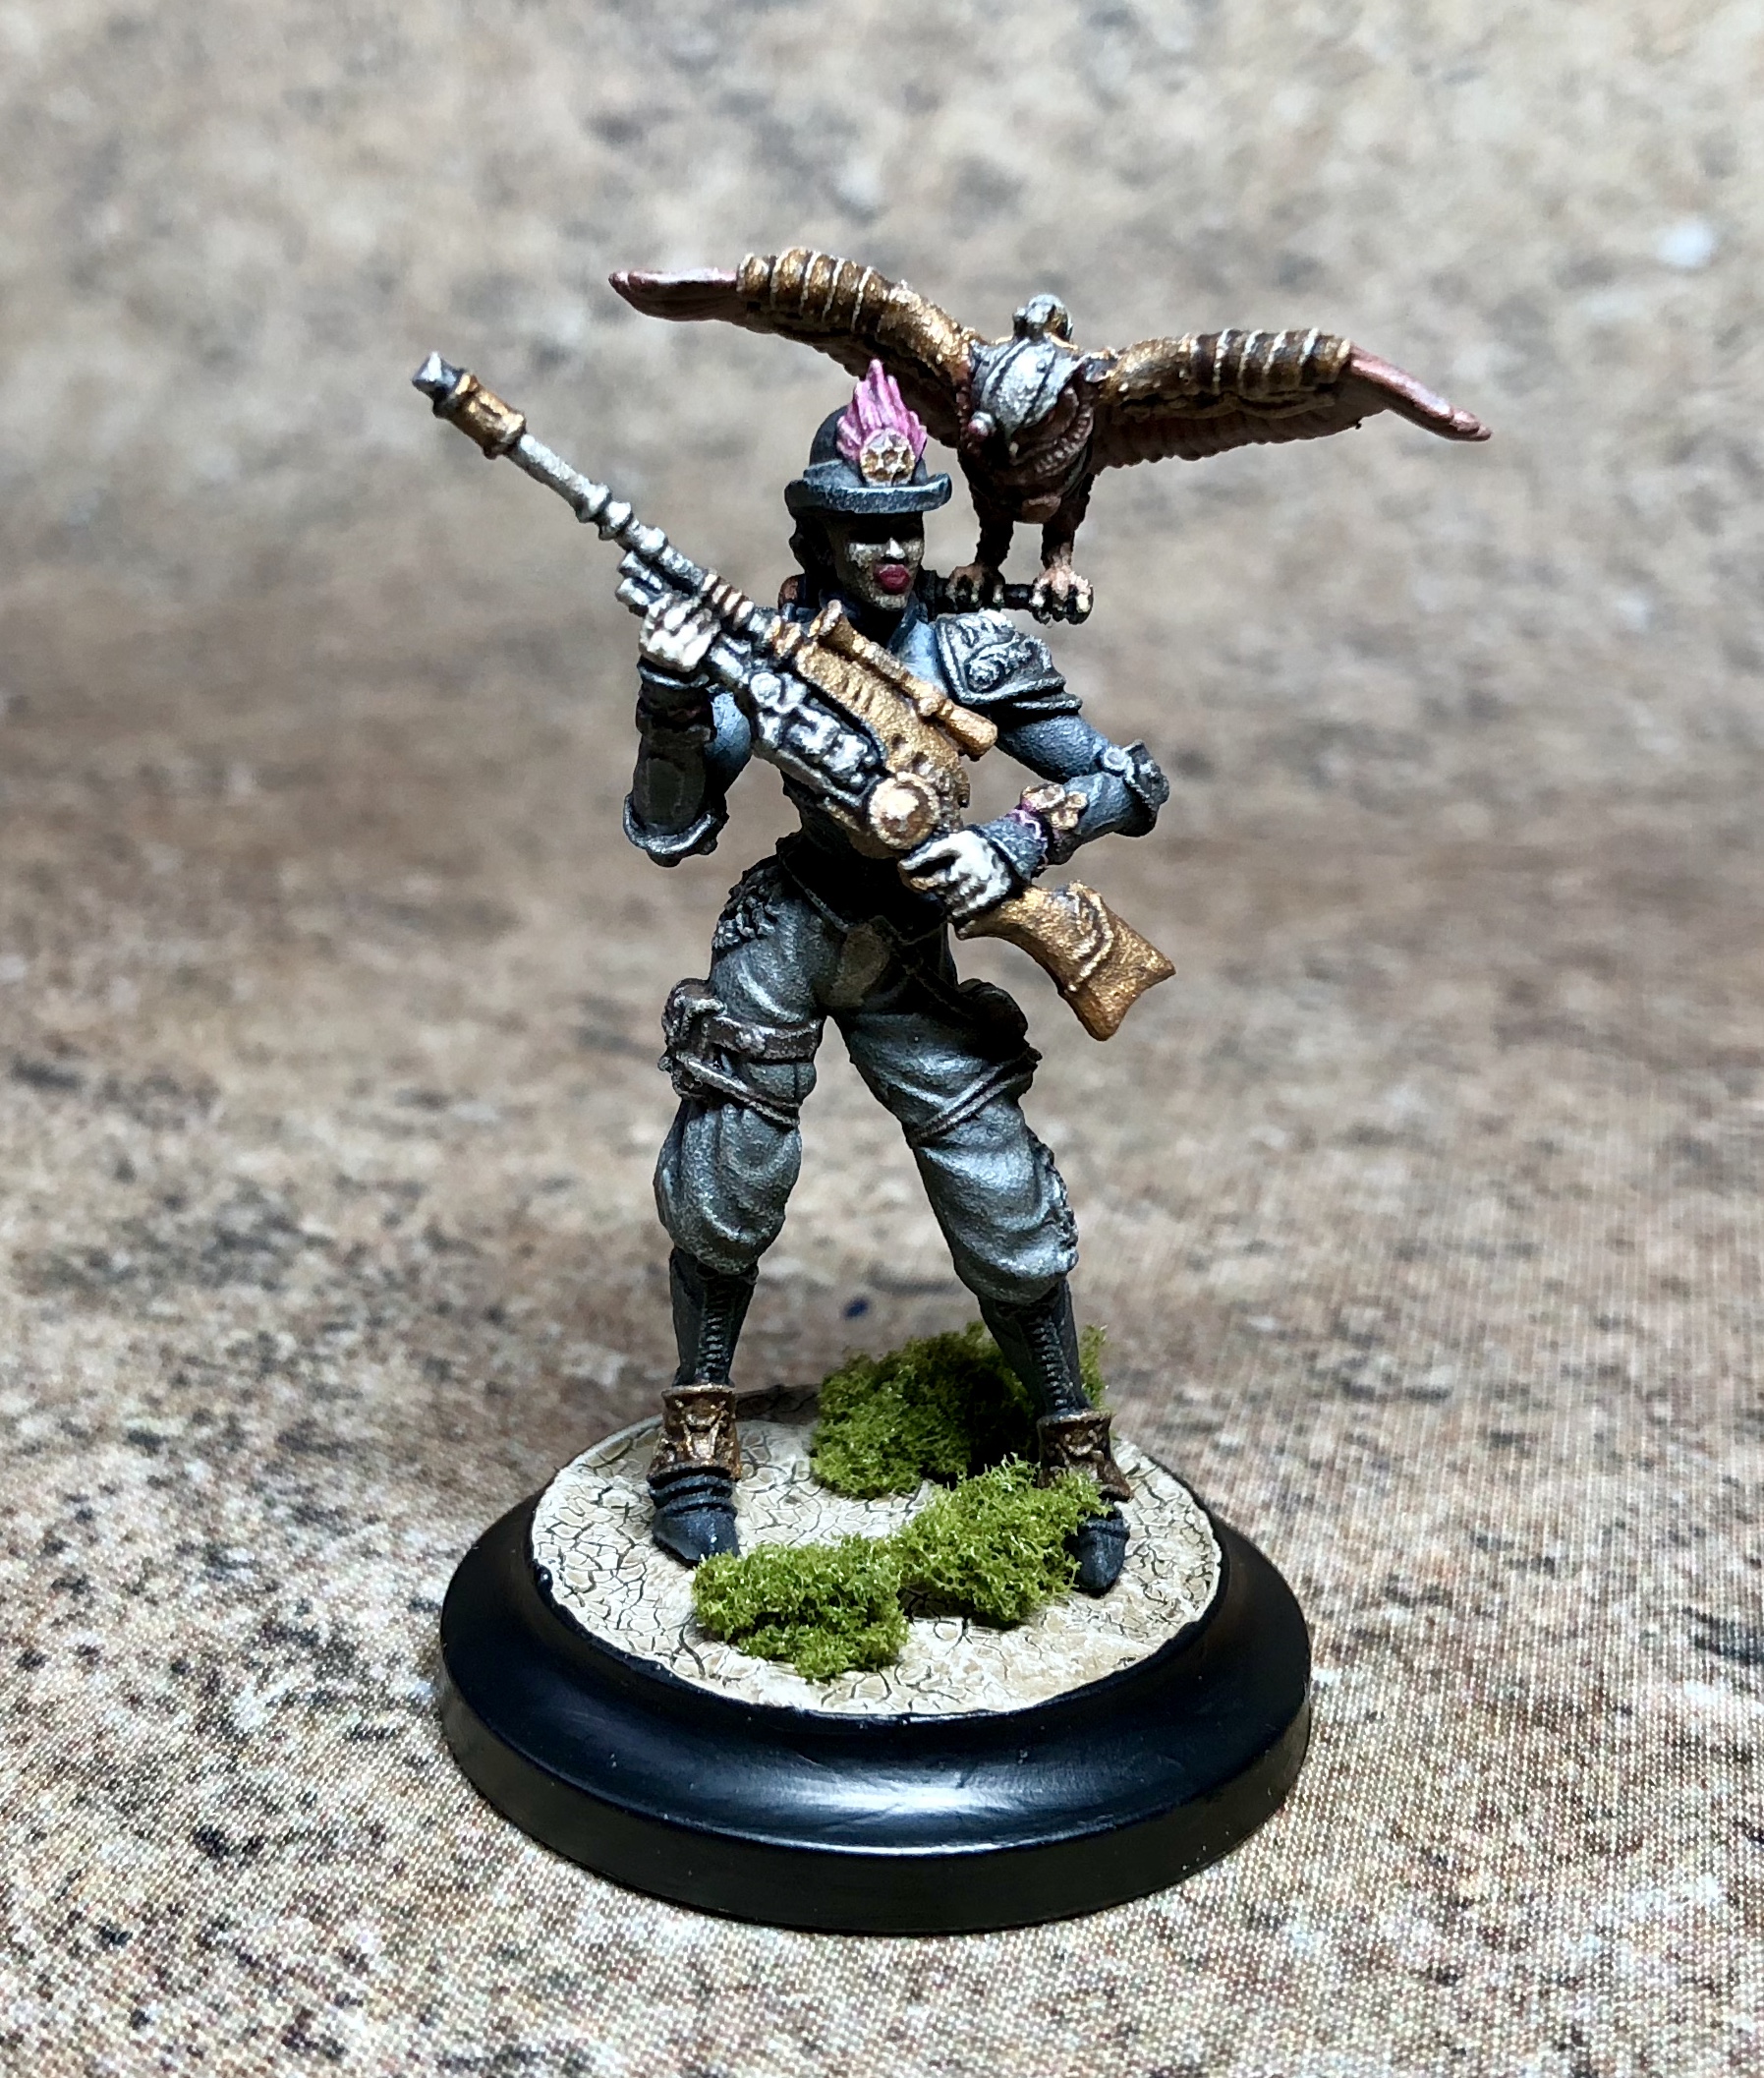
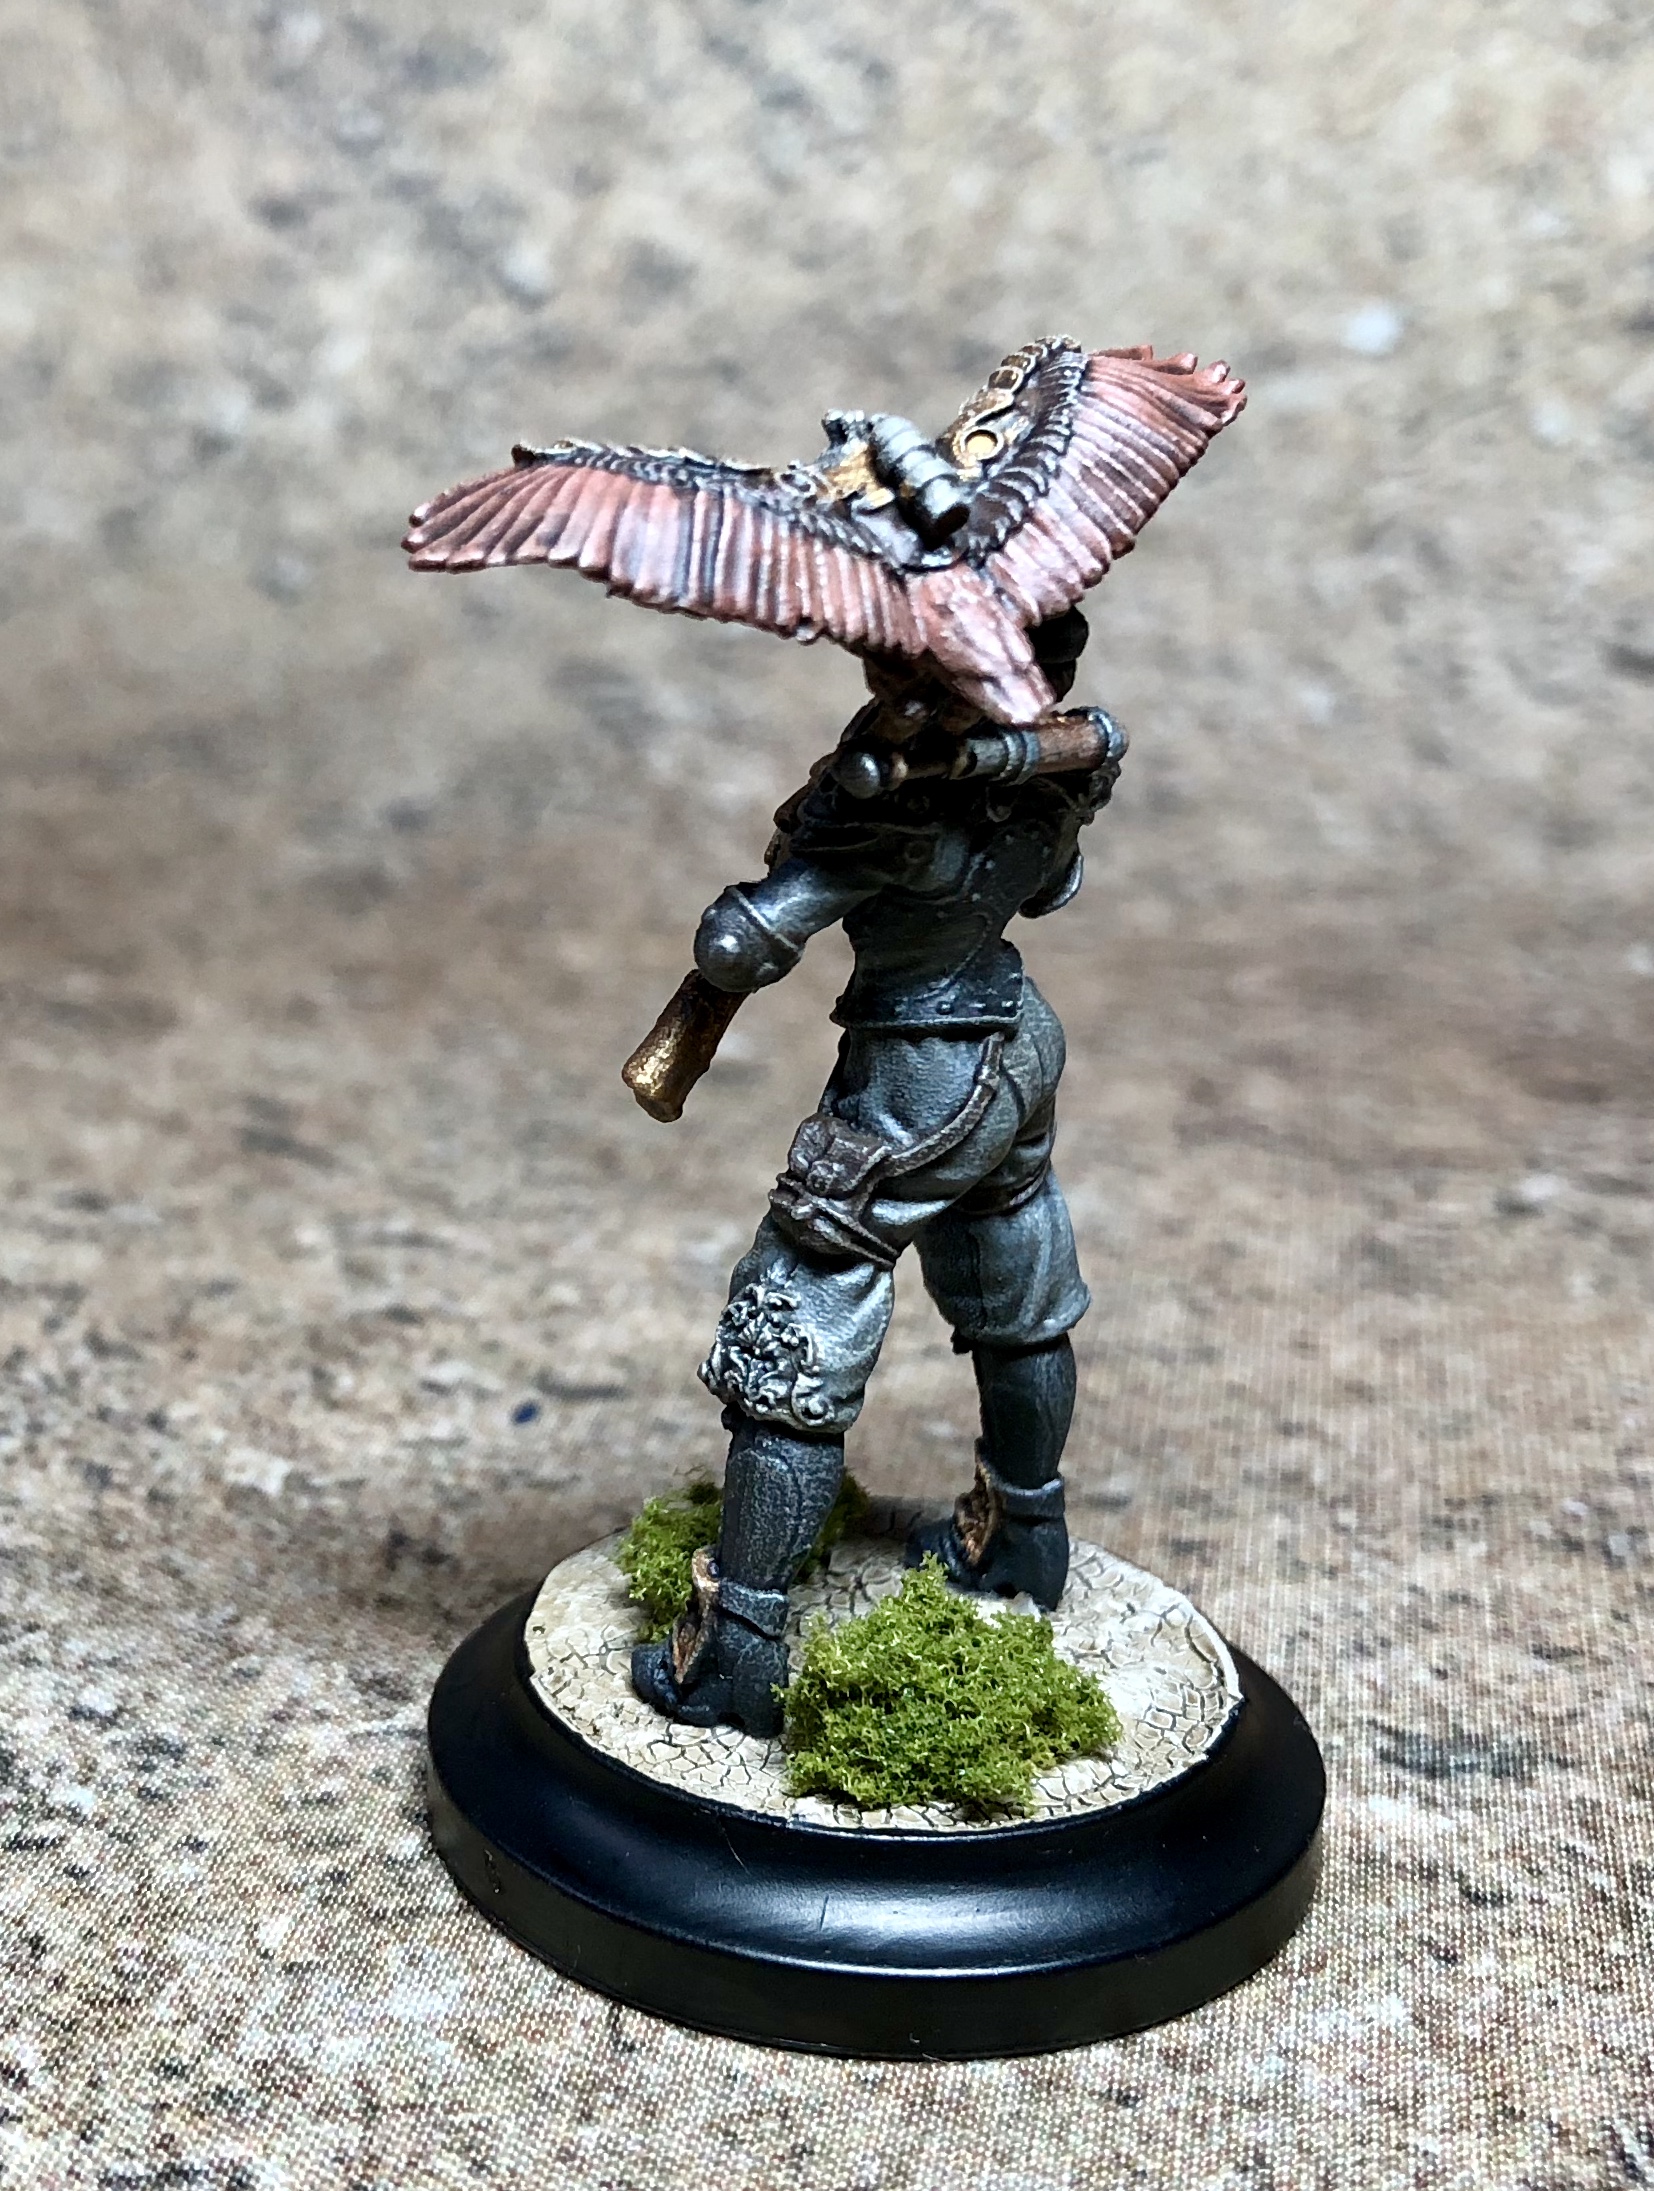

Jedrick Powell

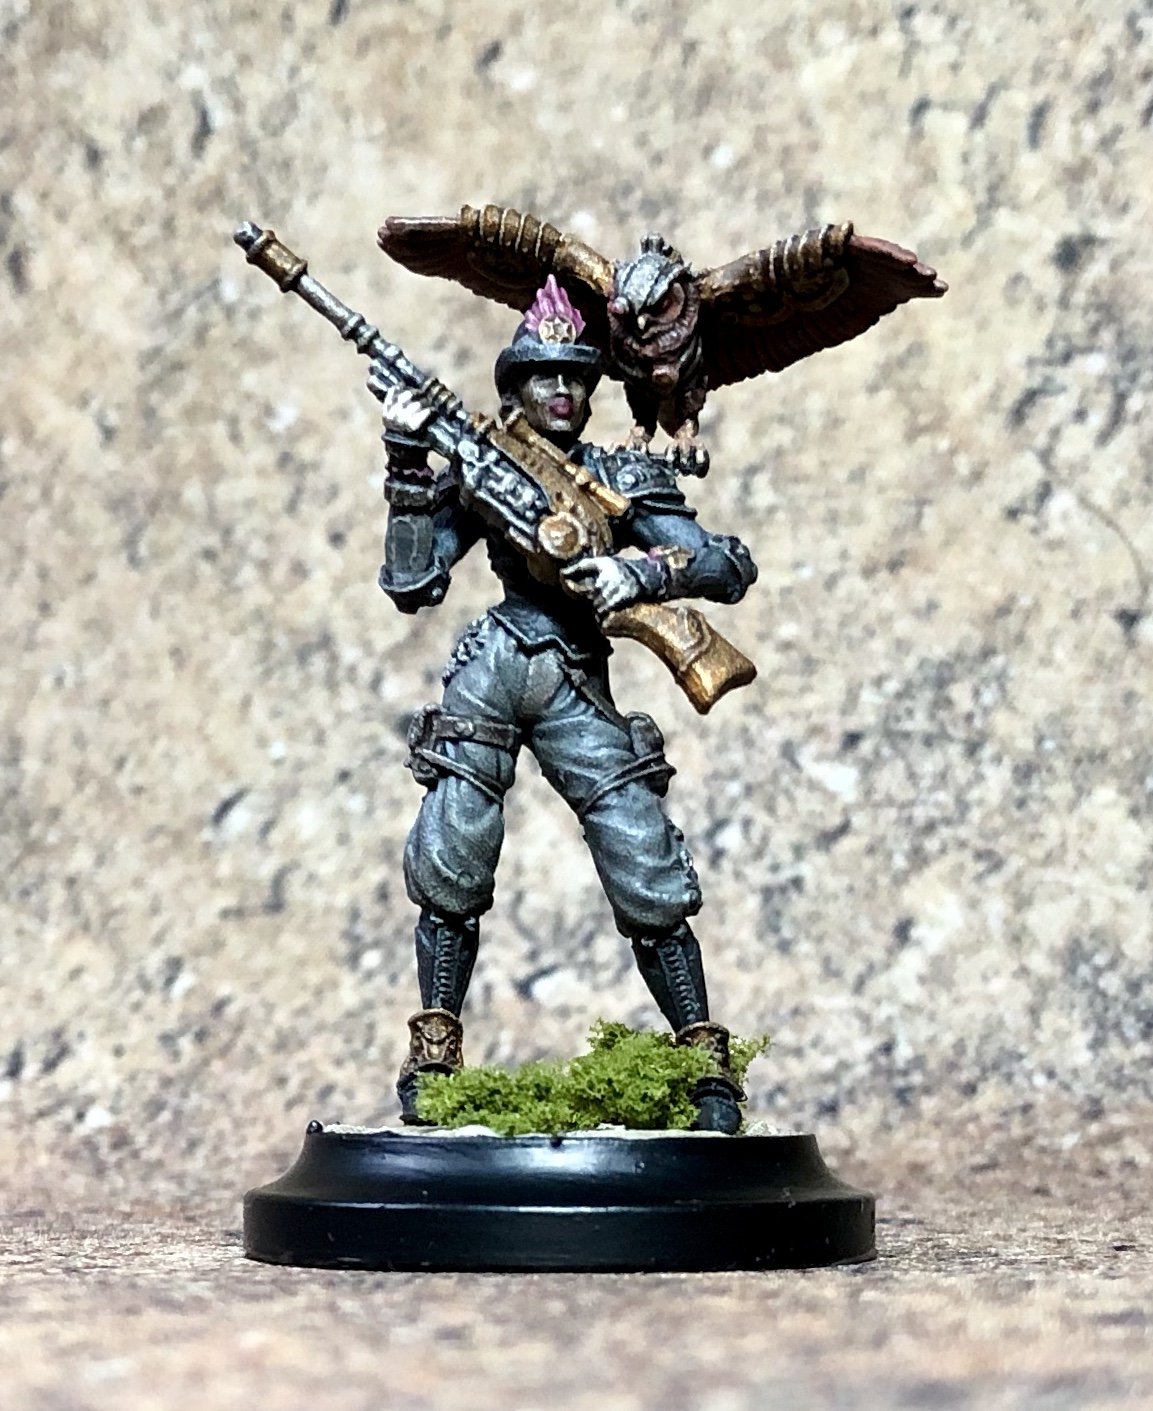
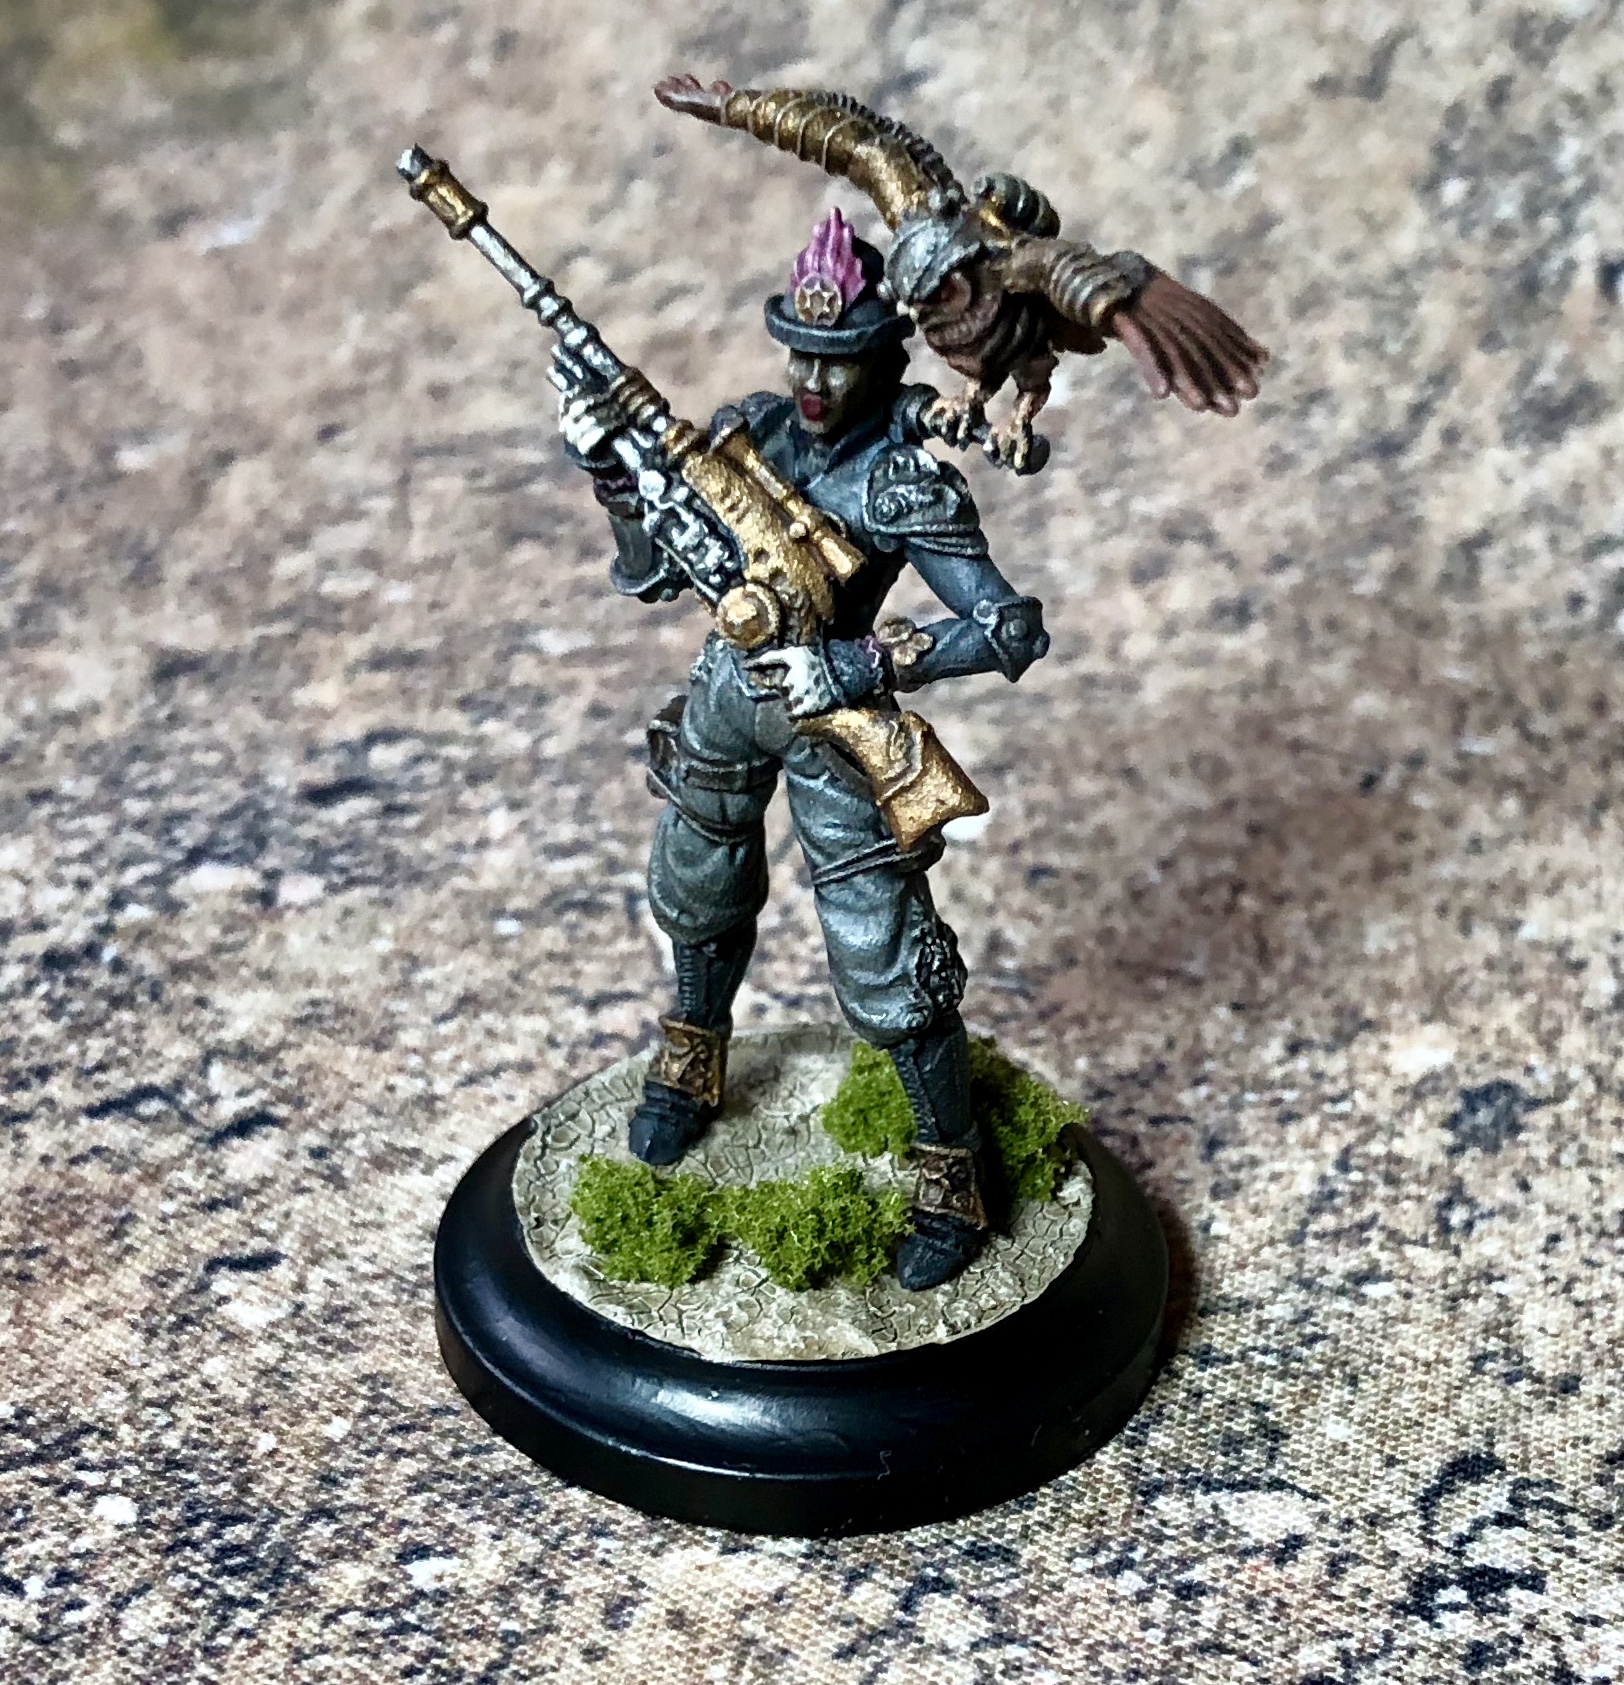
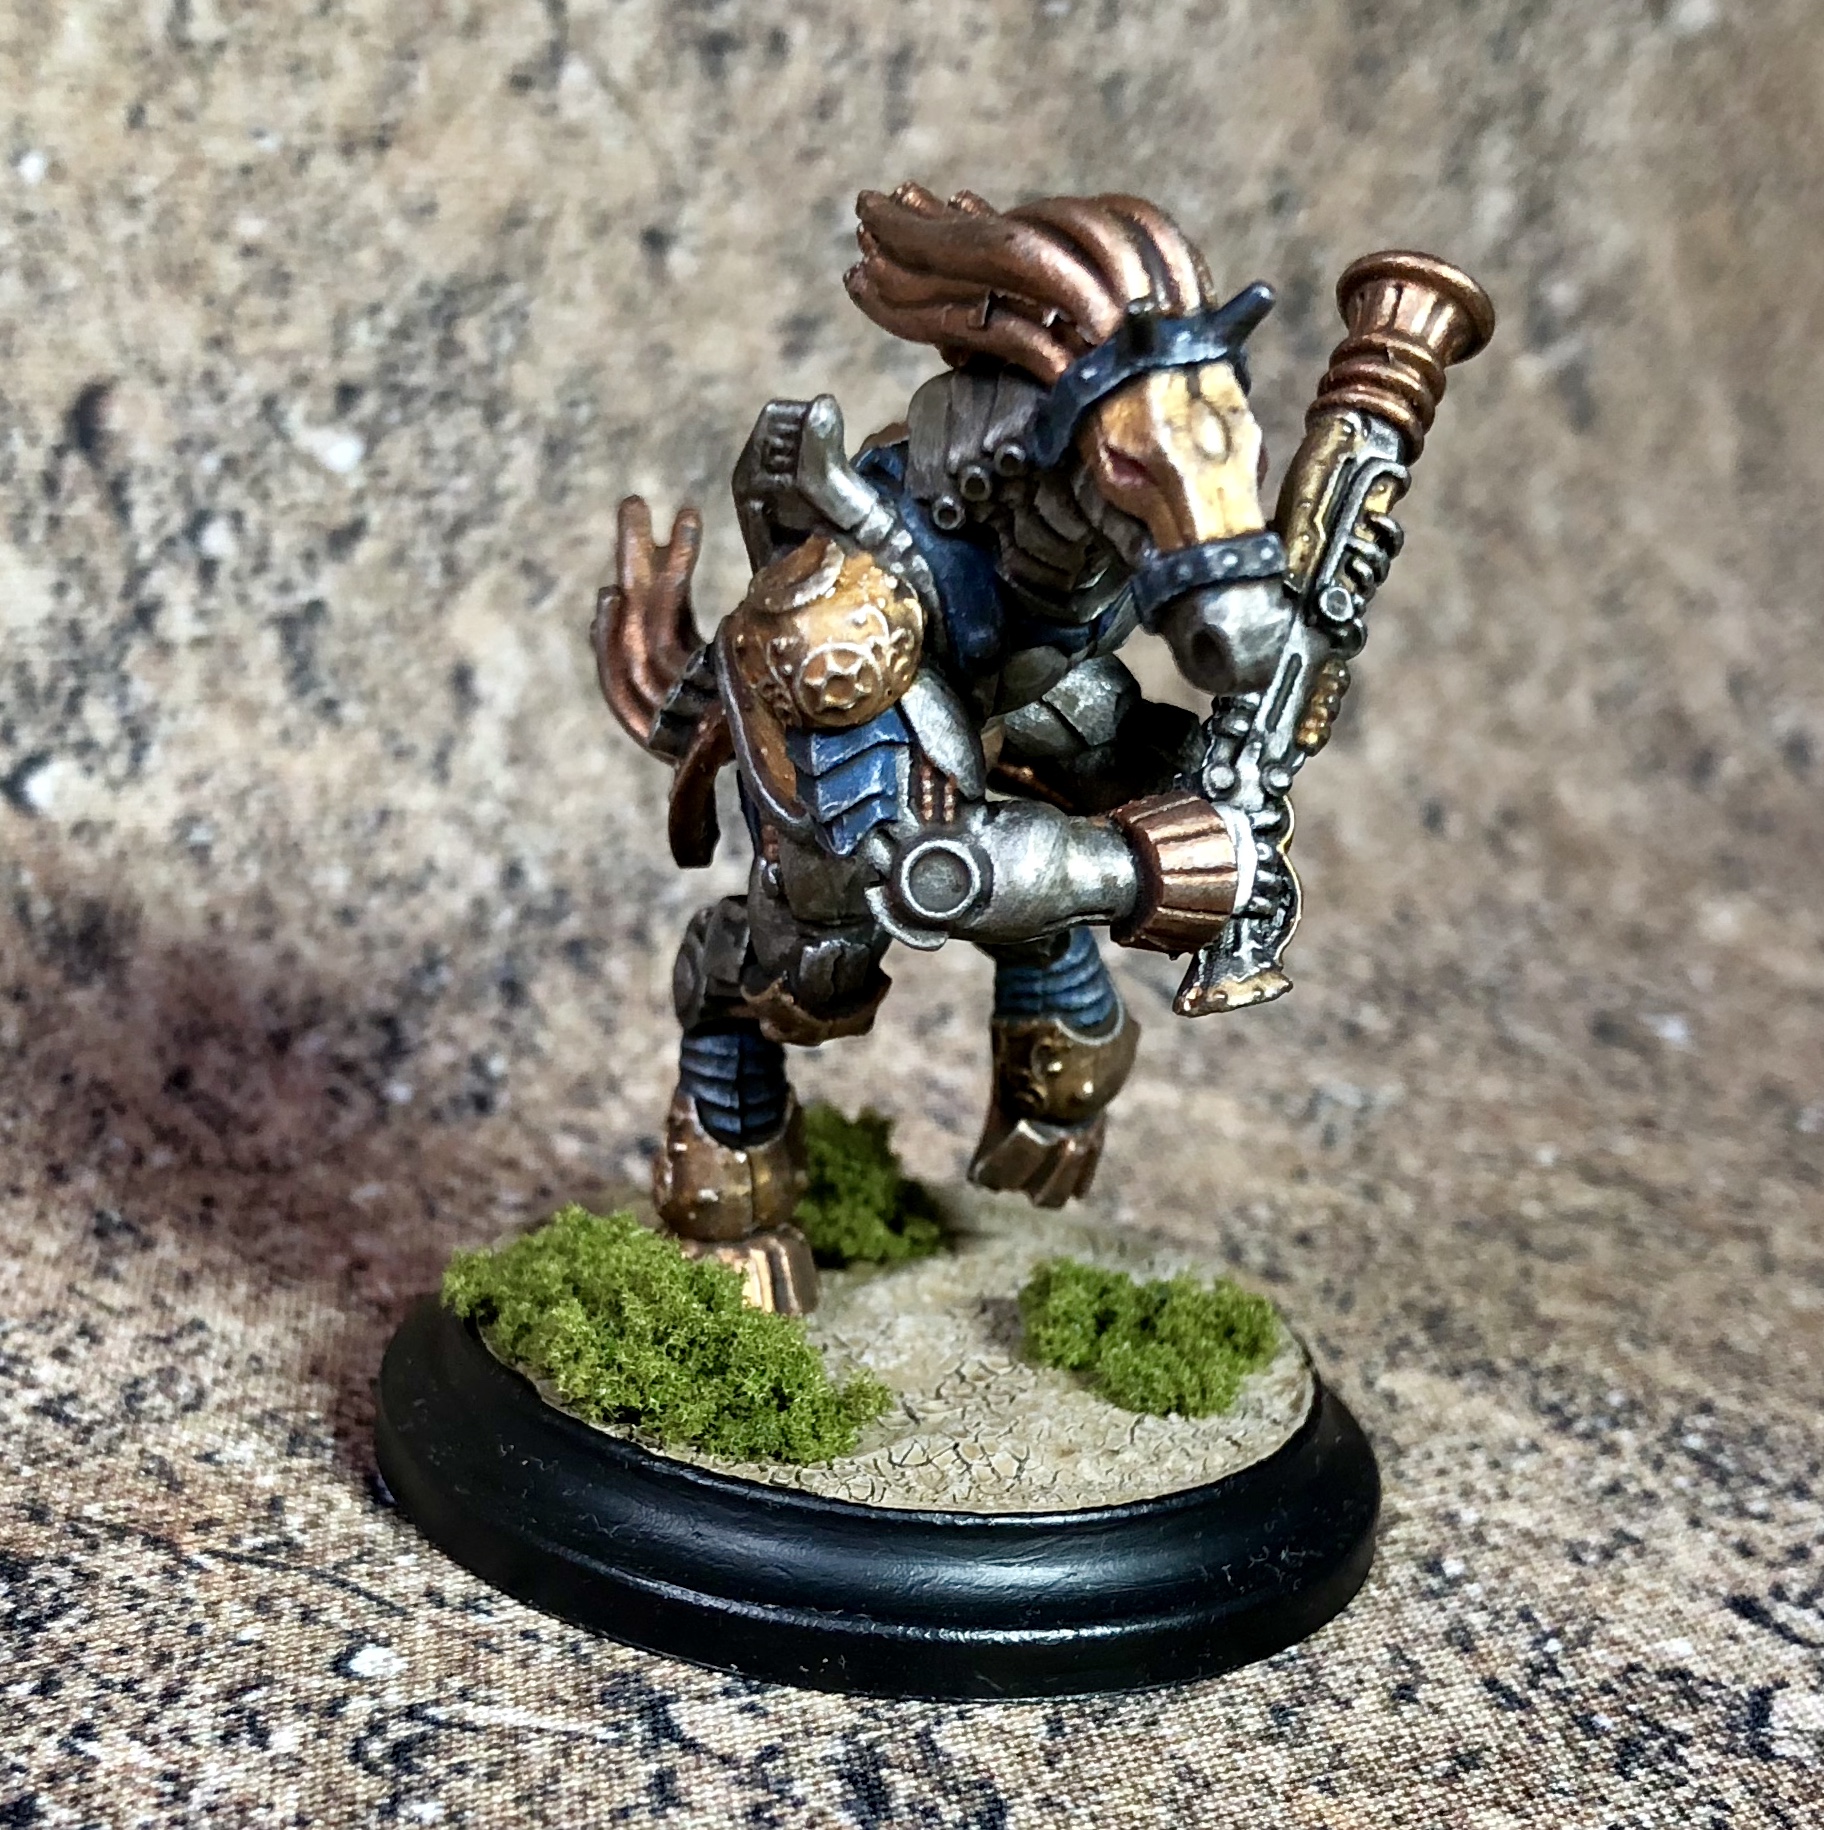
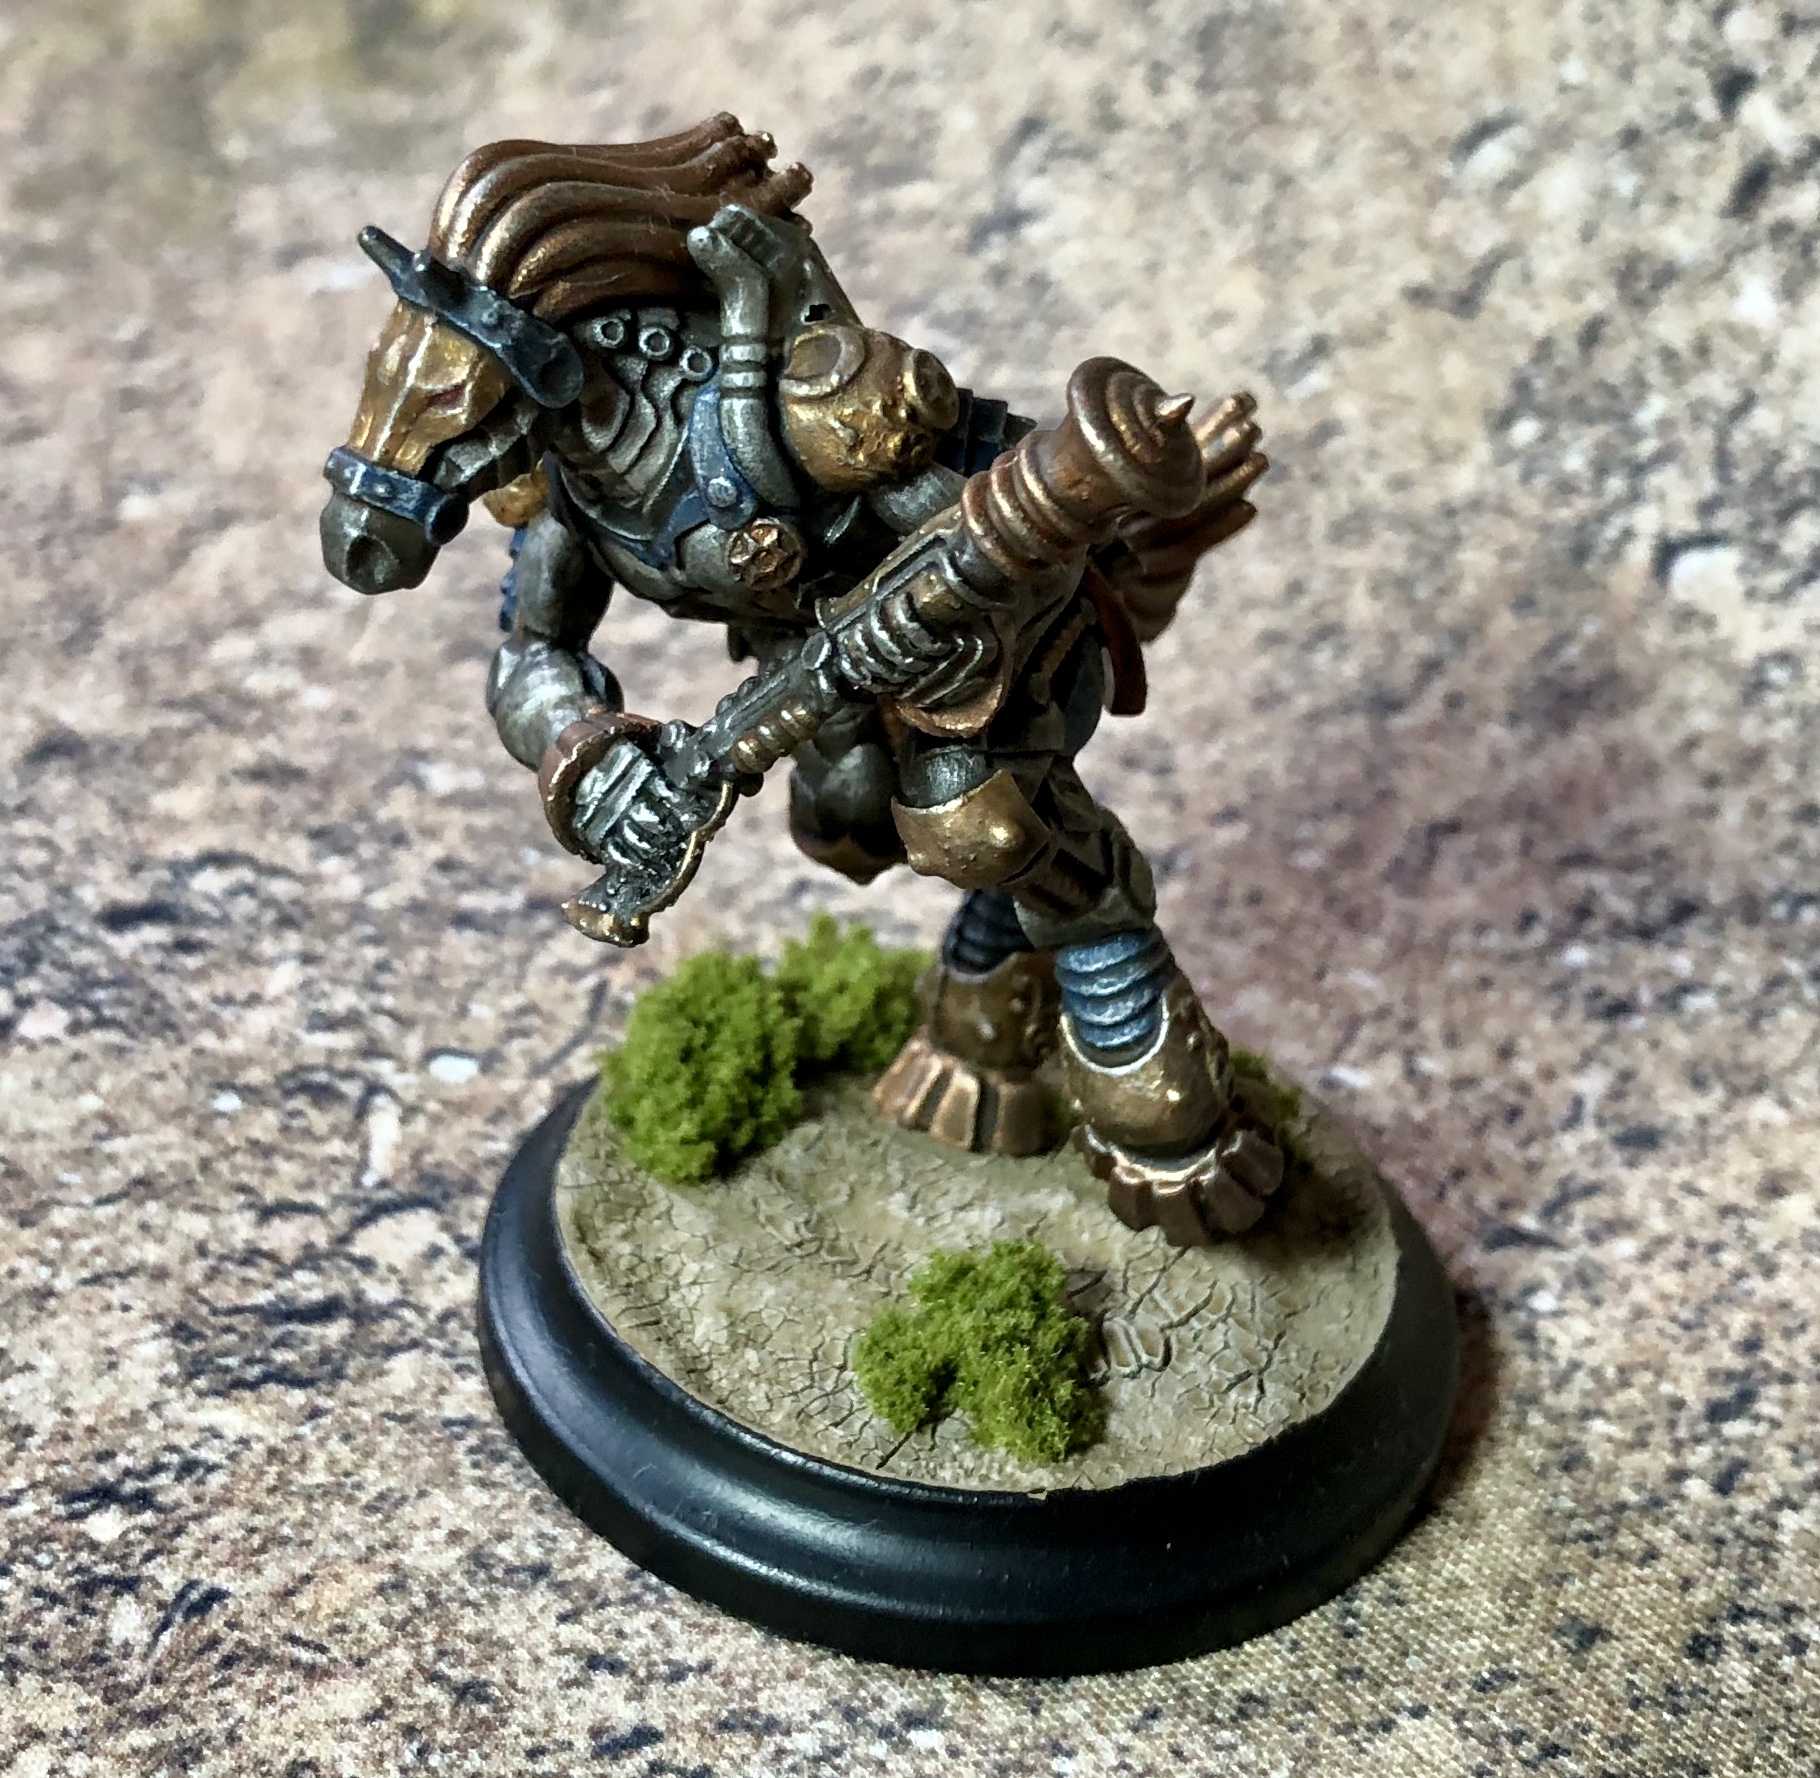
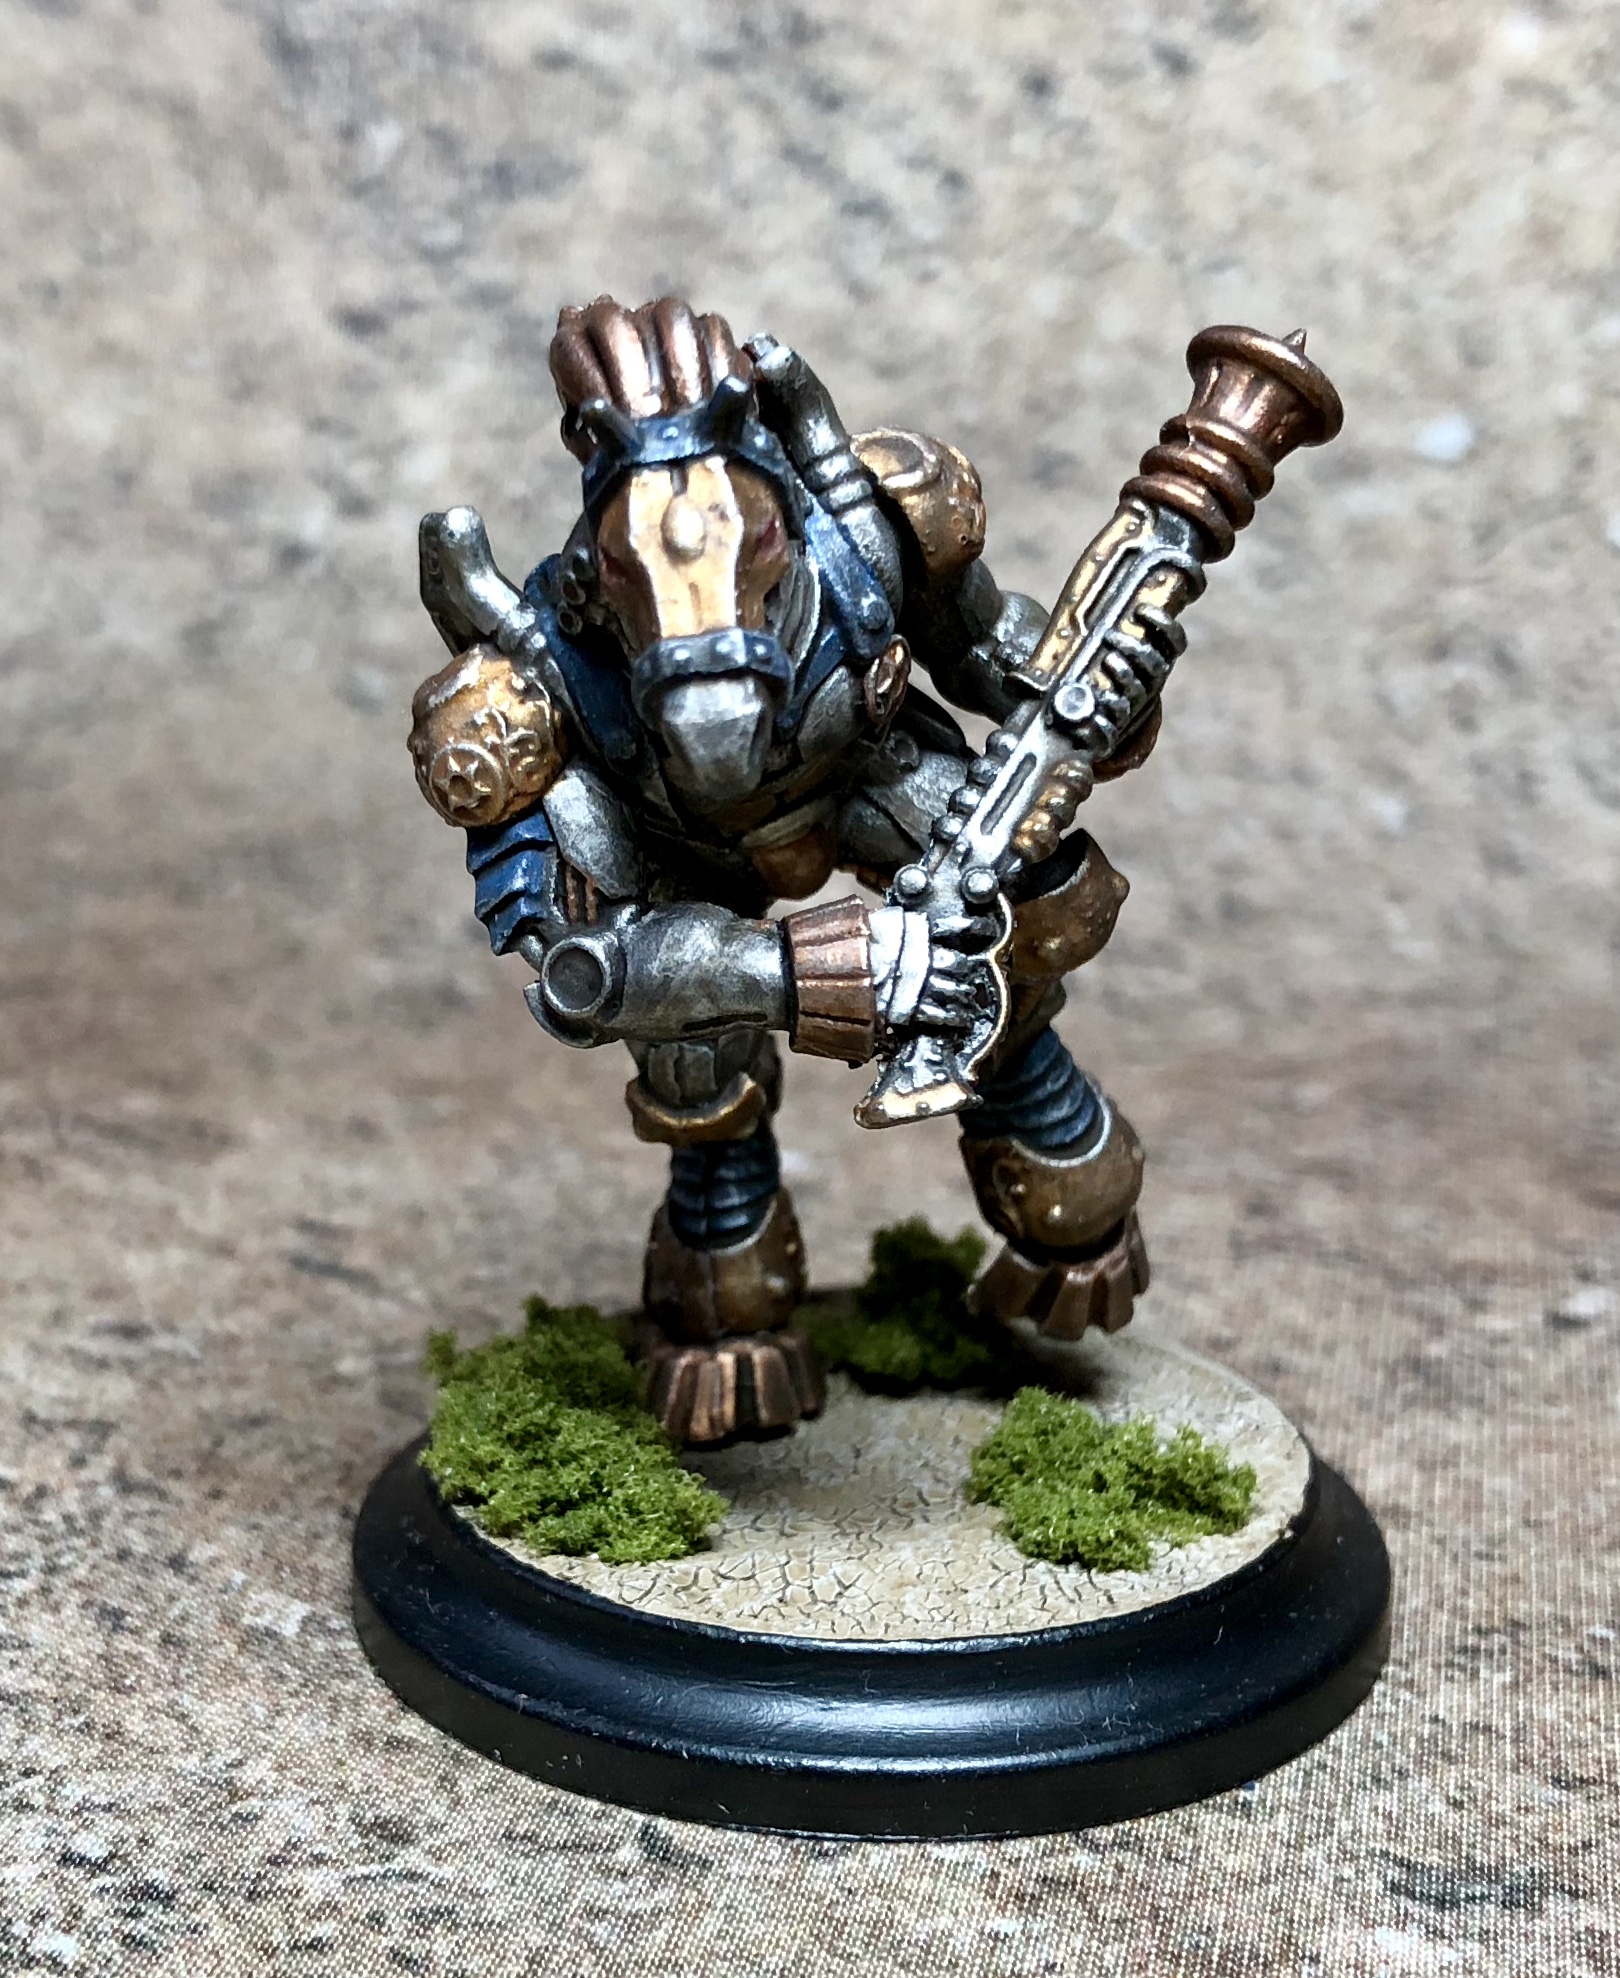
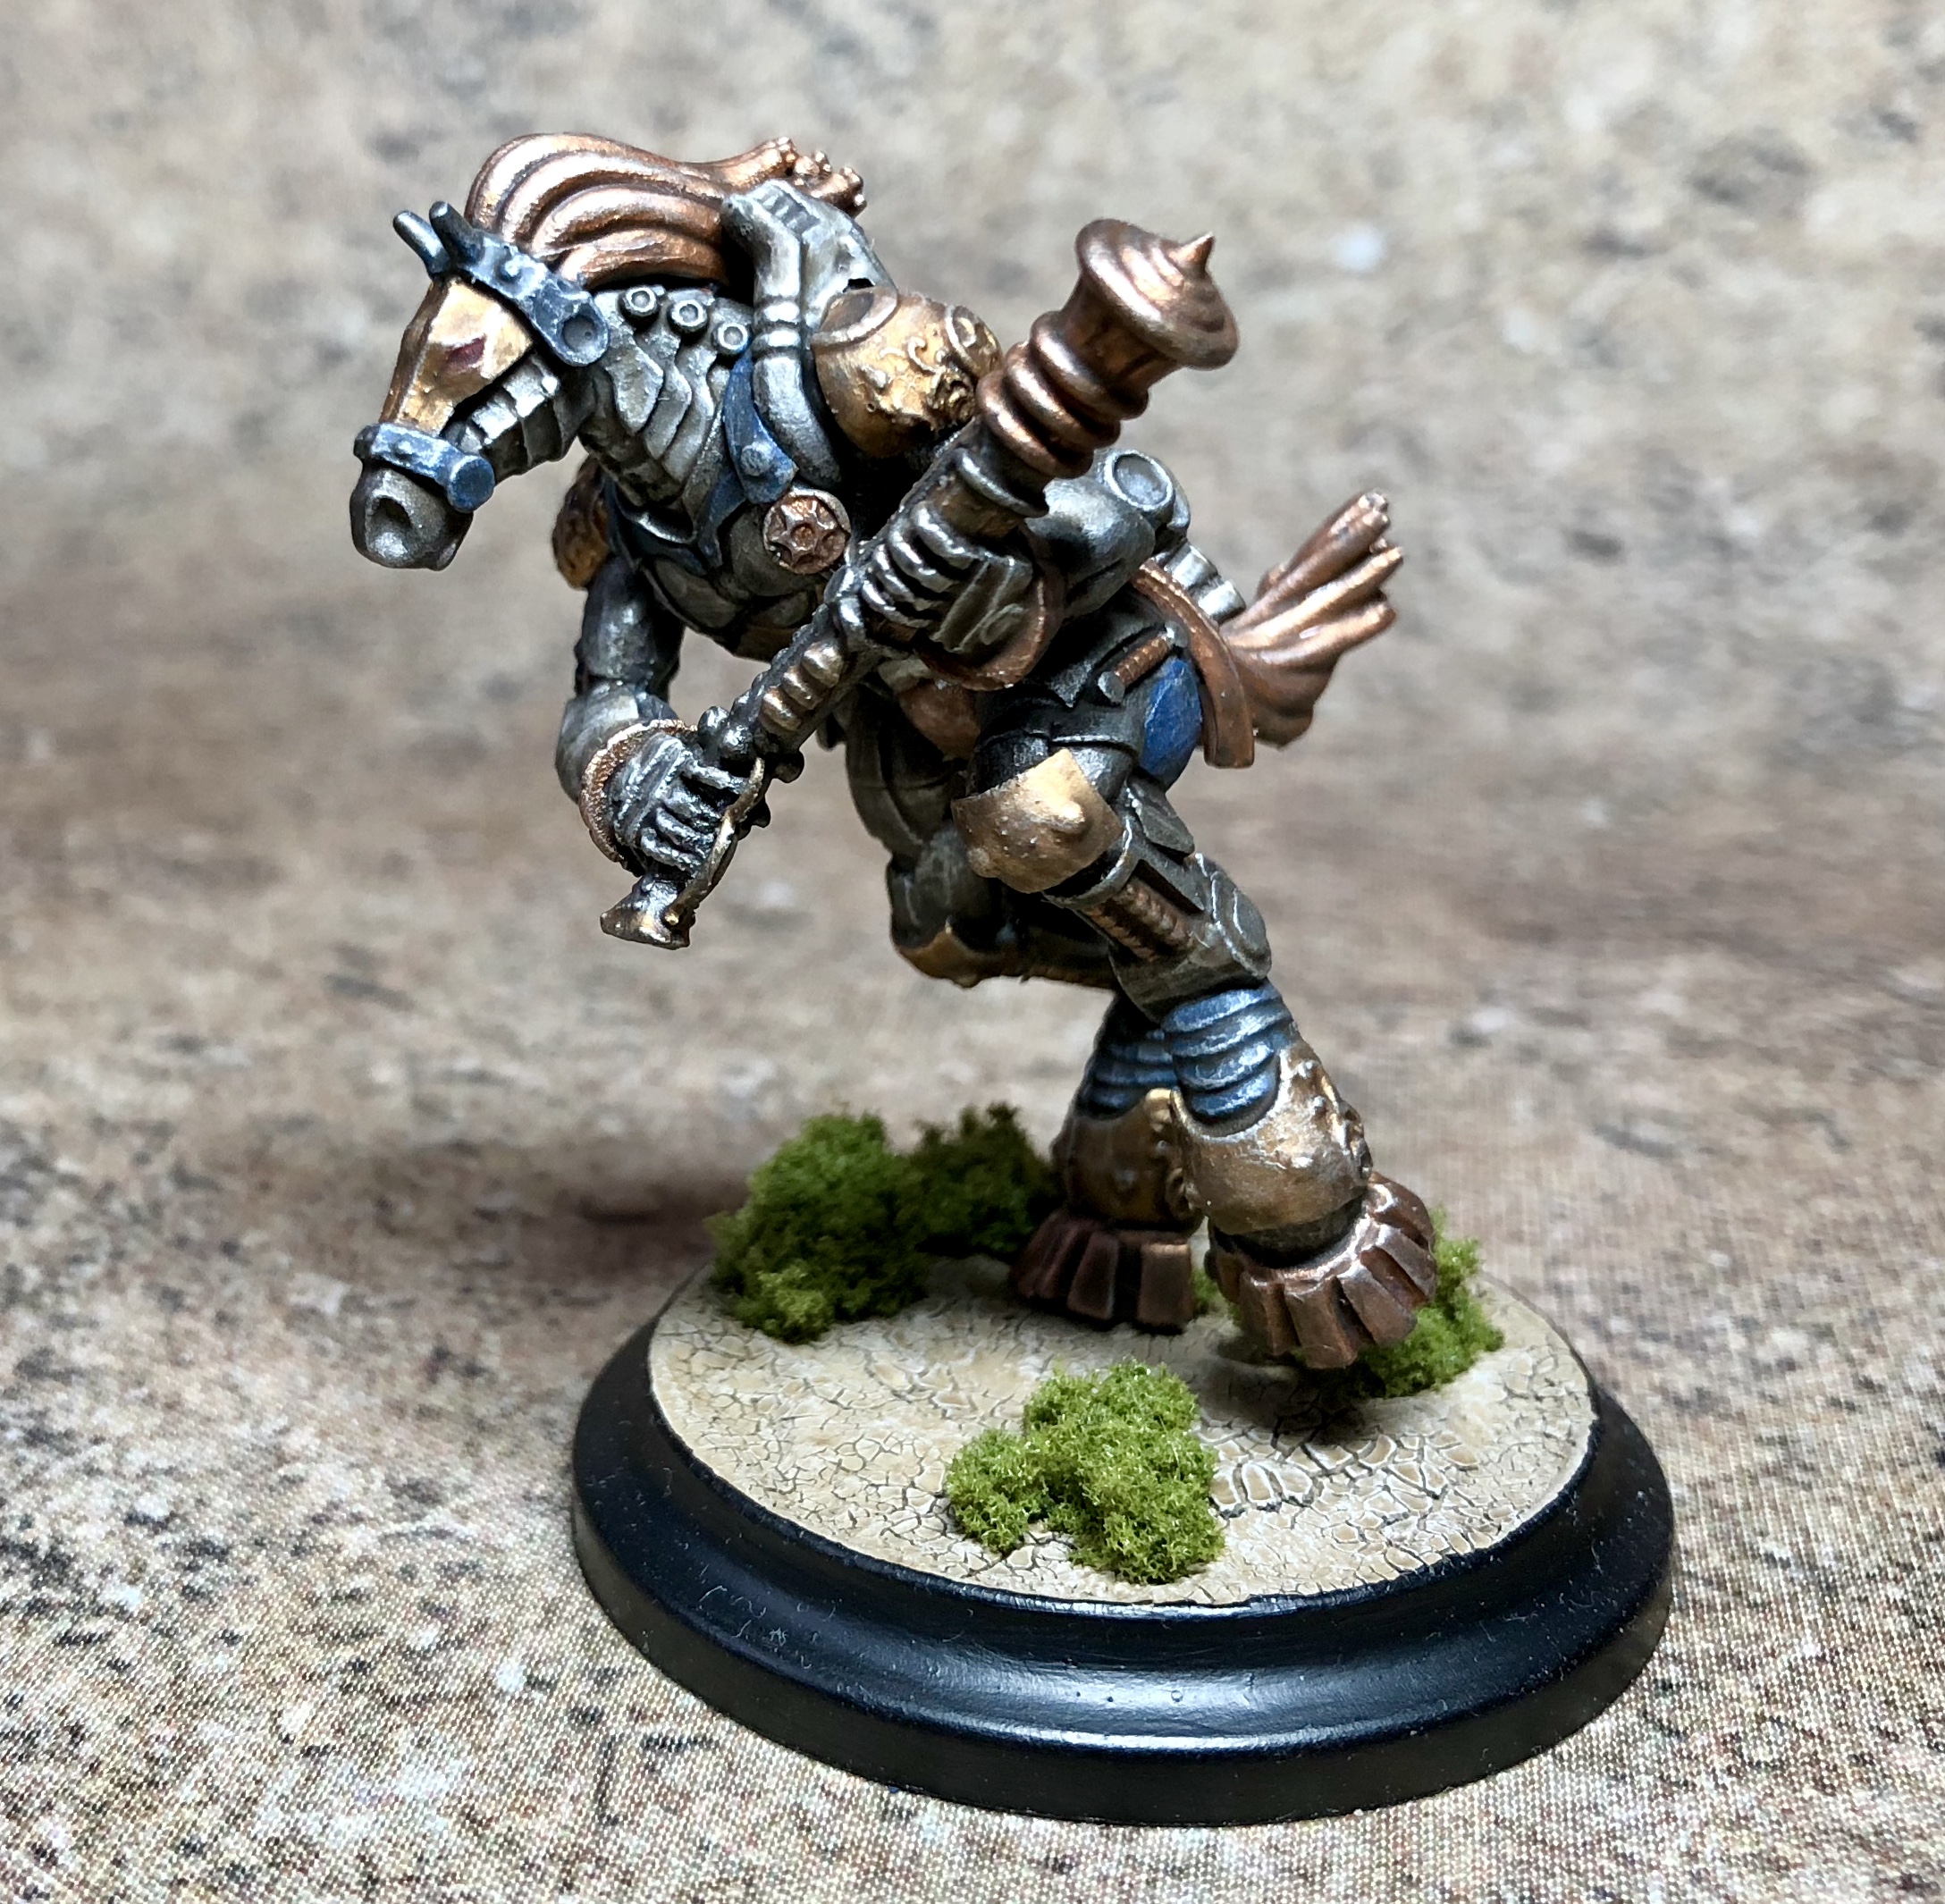
The Mighty Blackhoof 20-20
Finally Furio Montoya
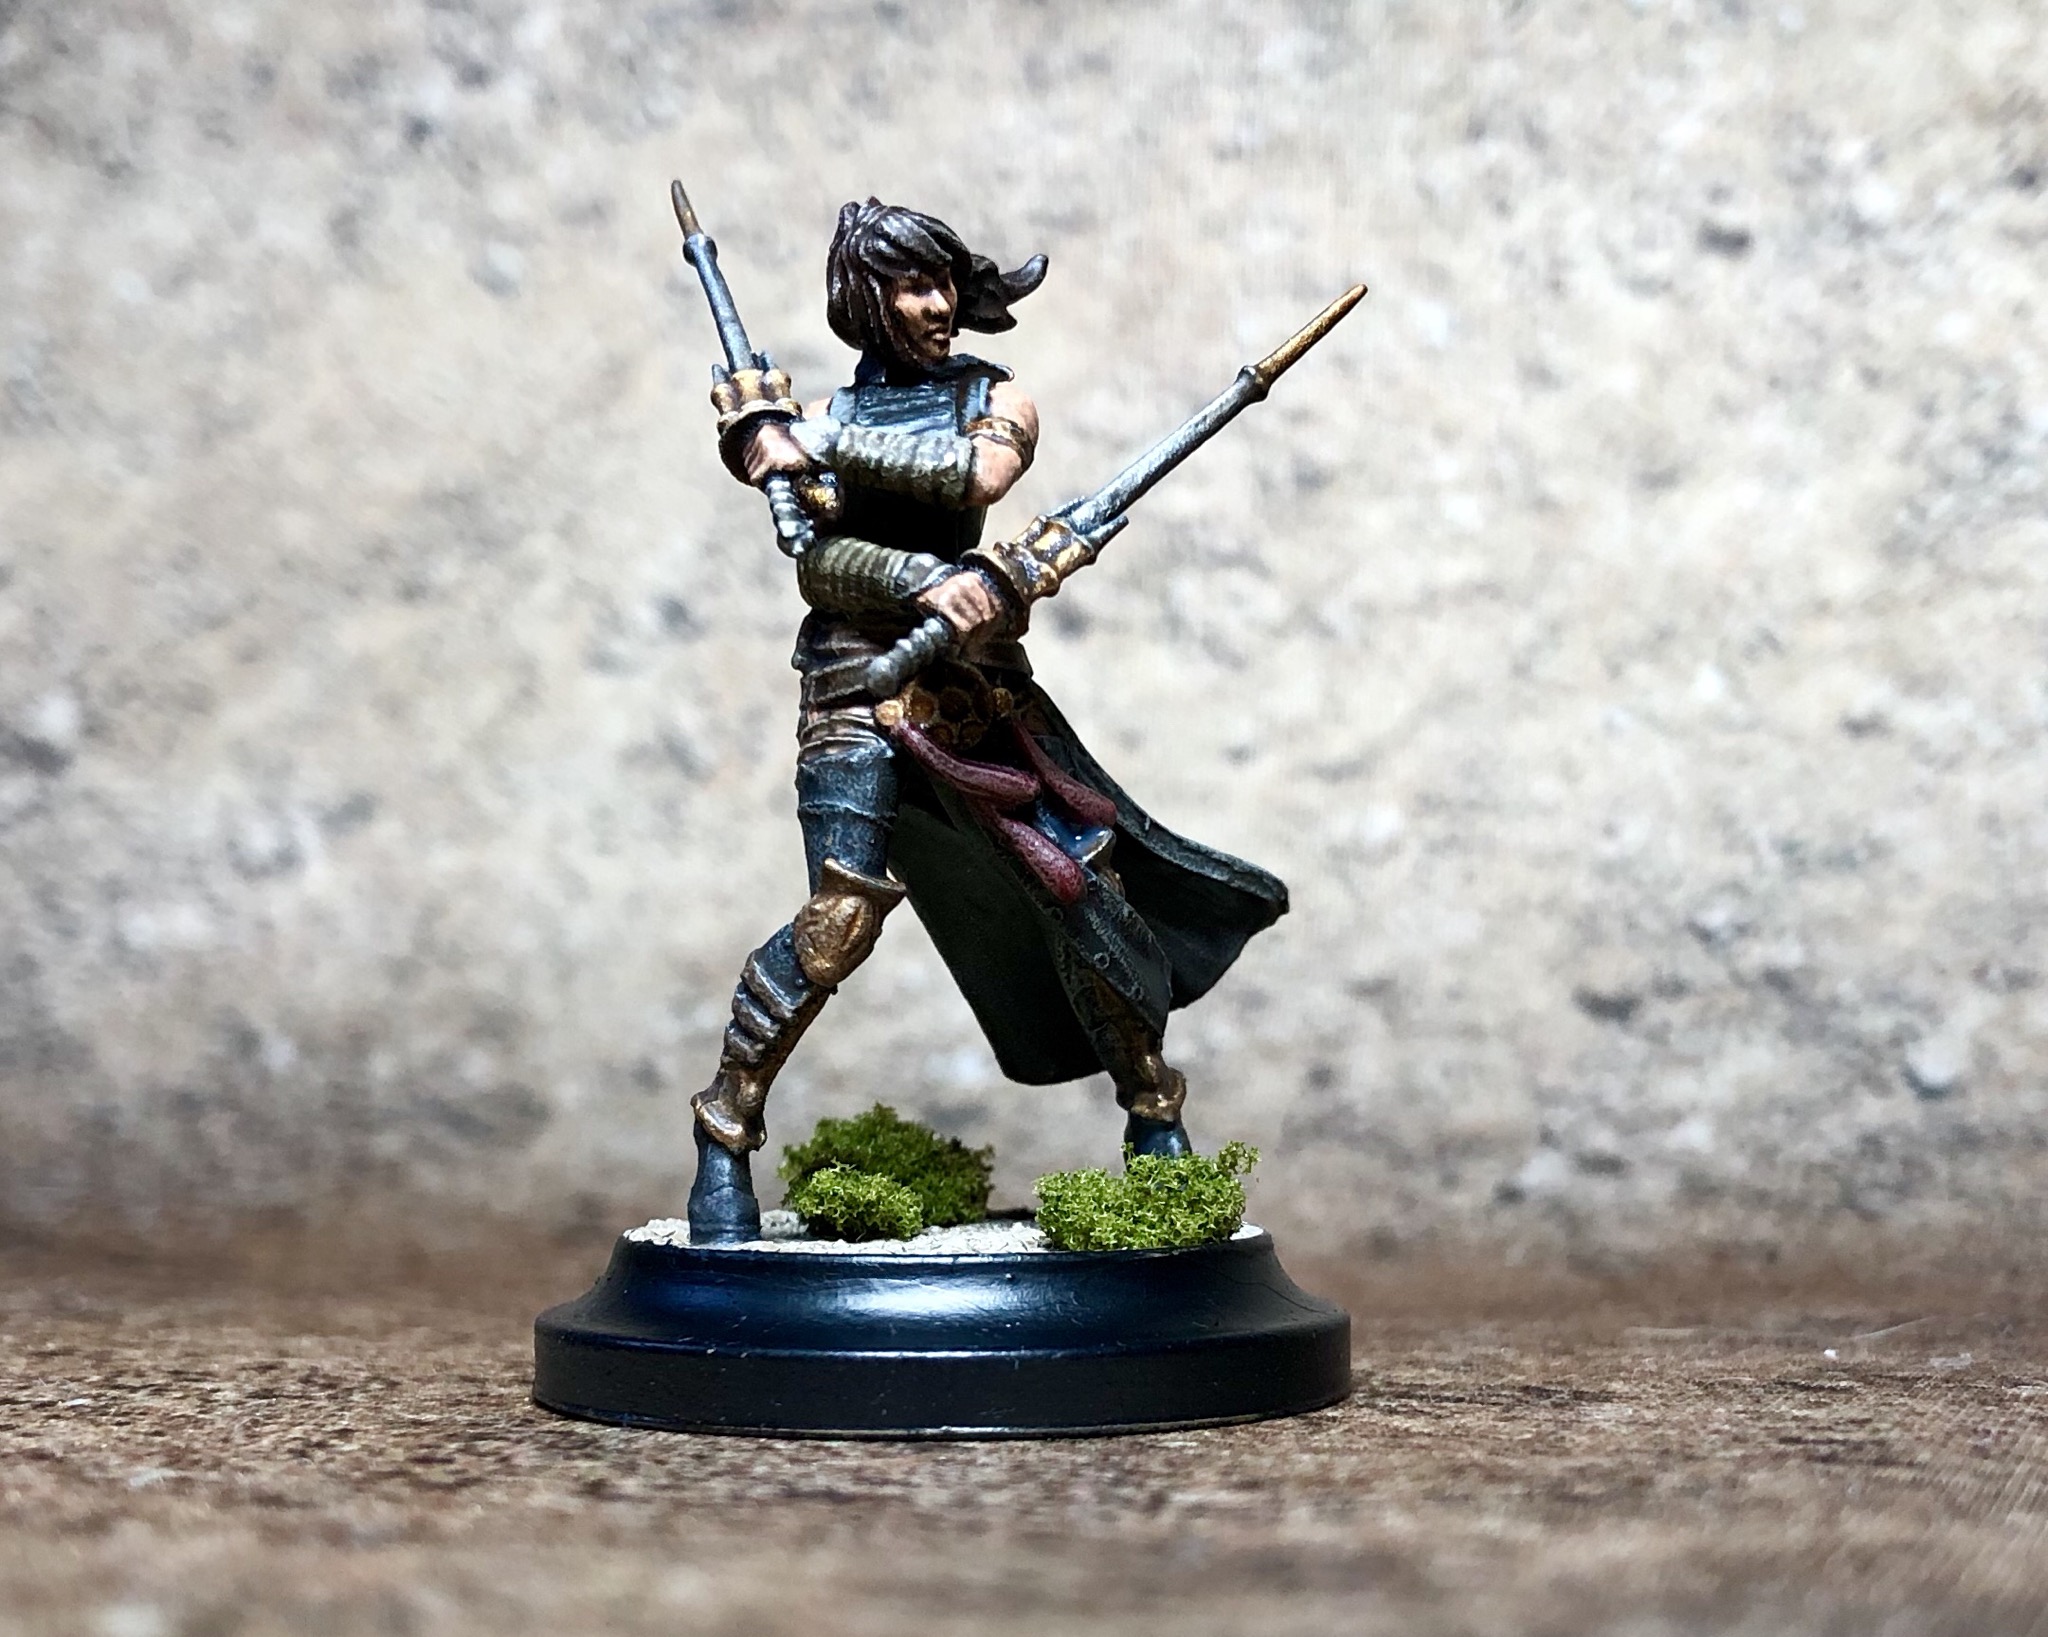
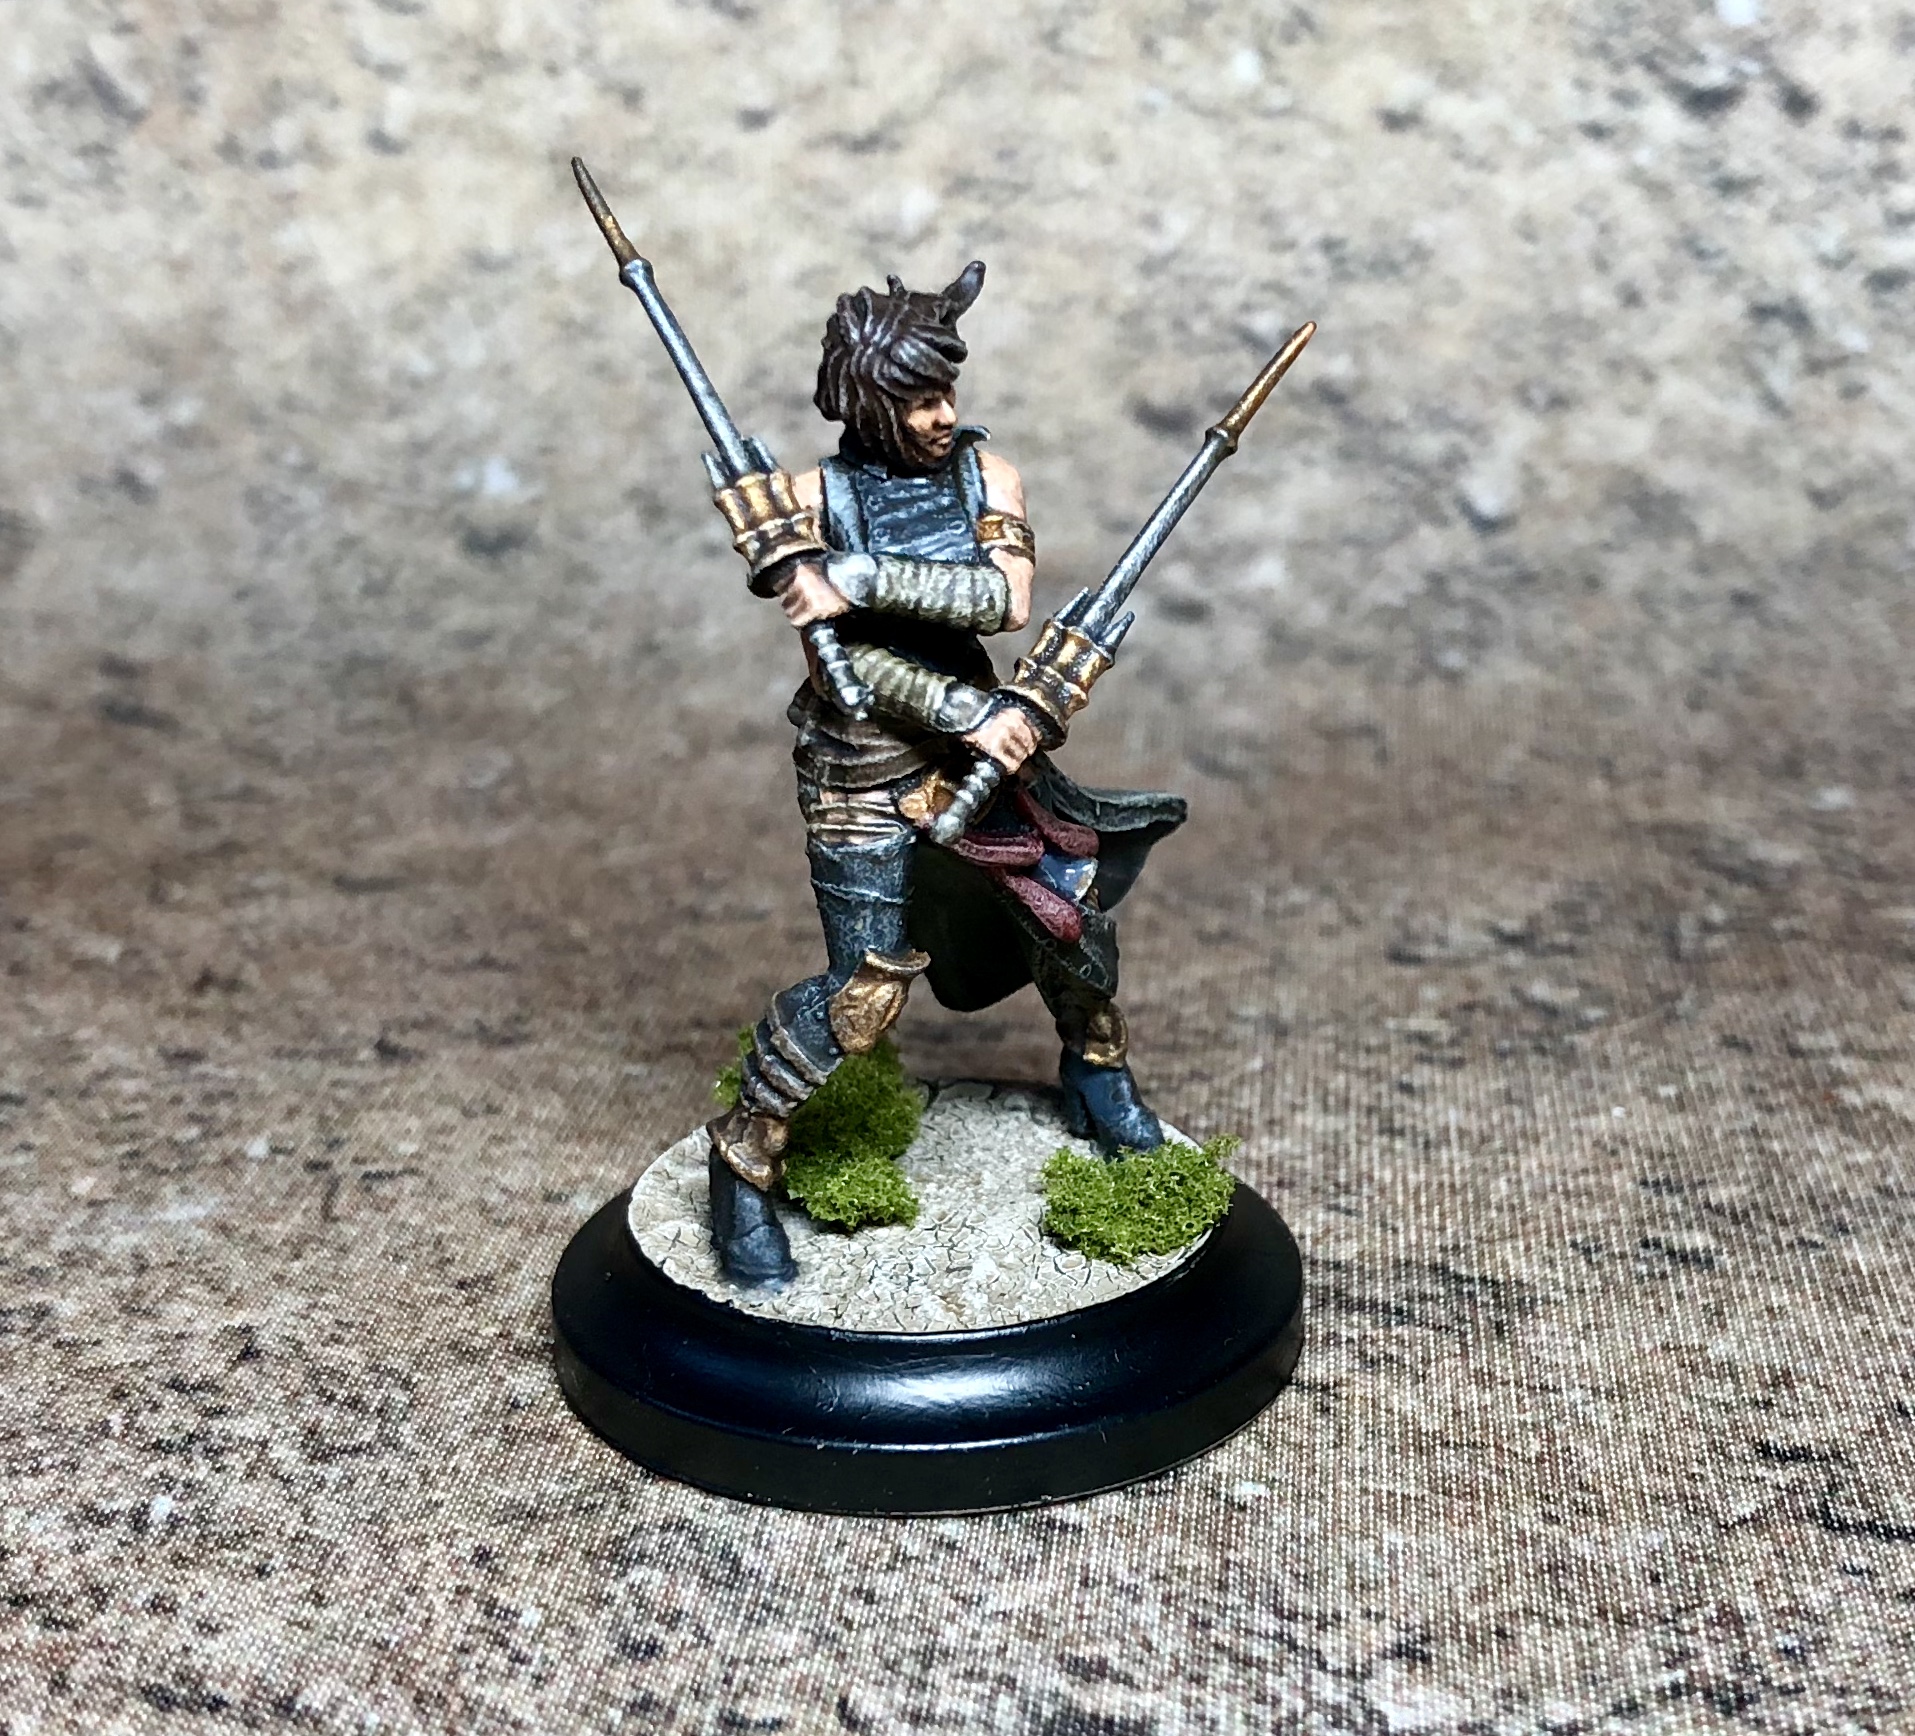

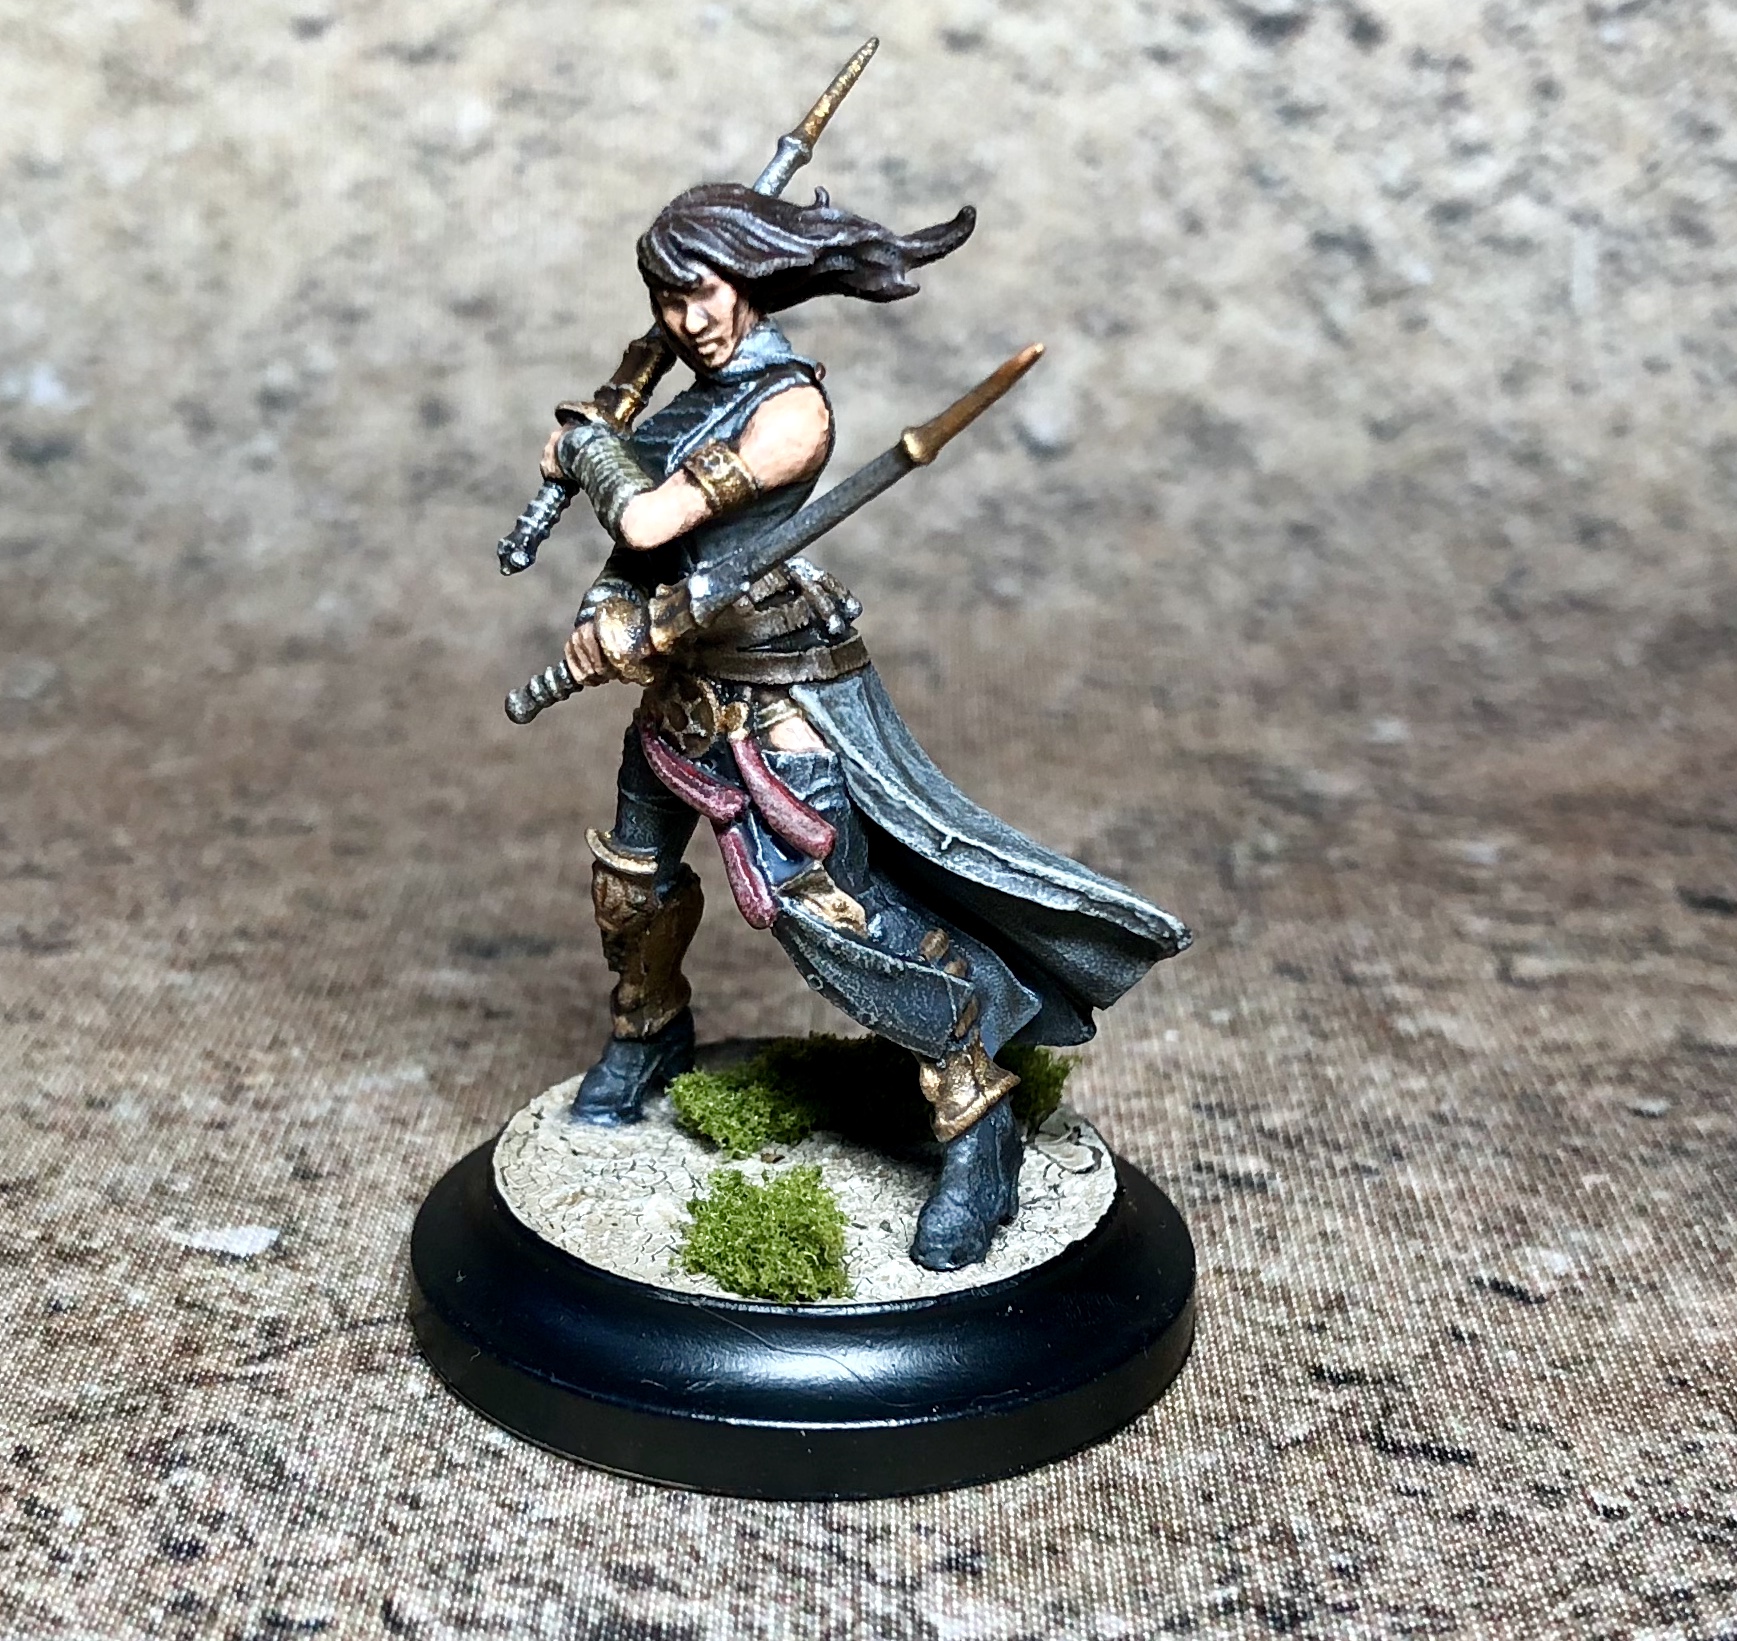
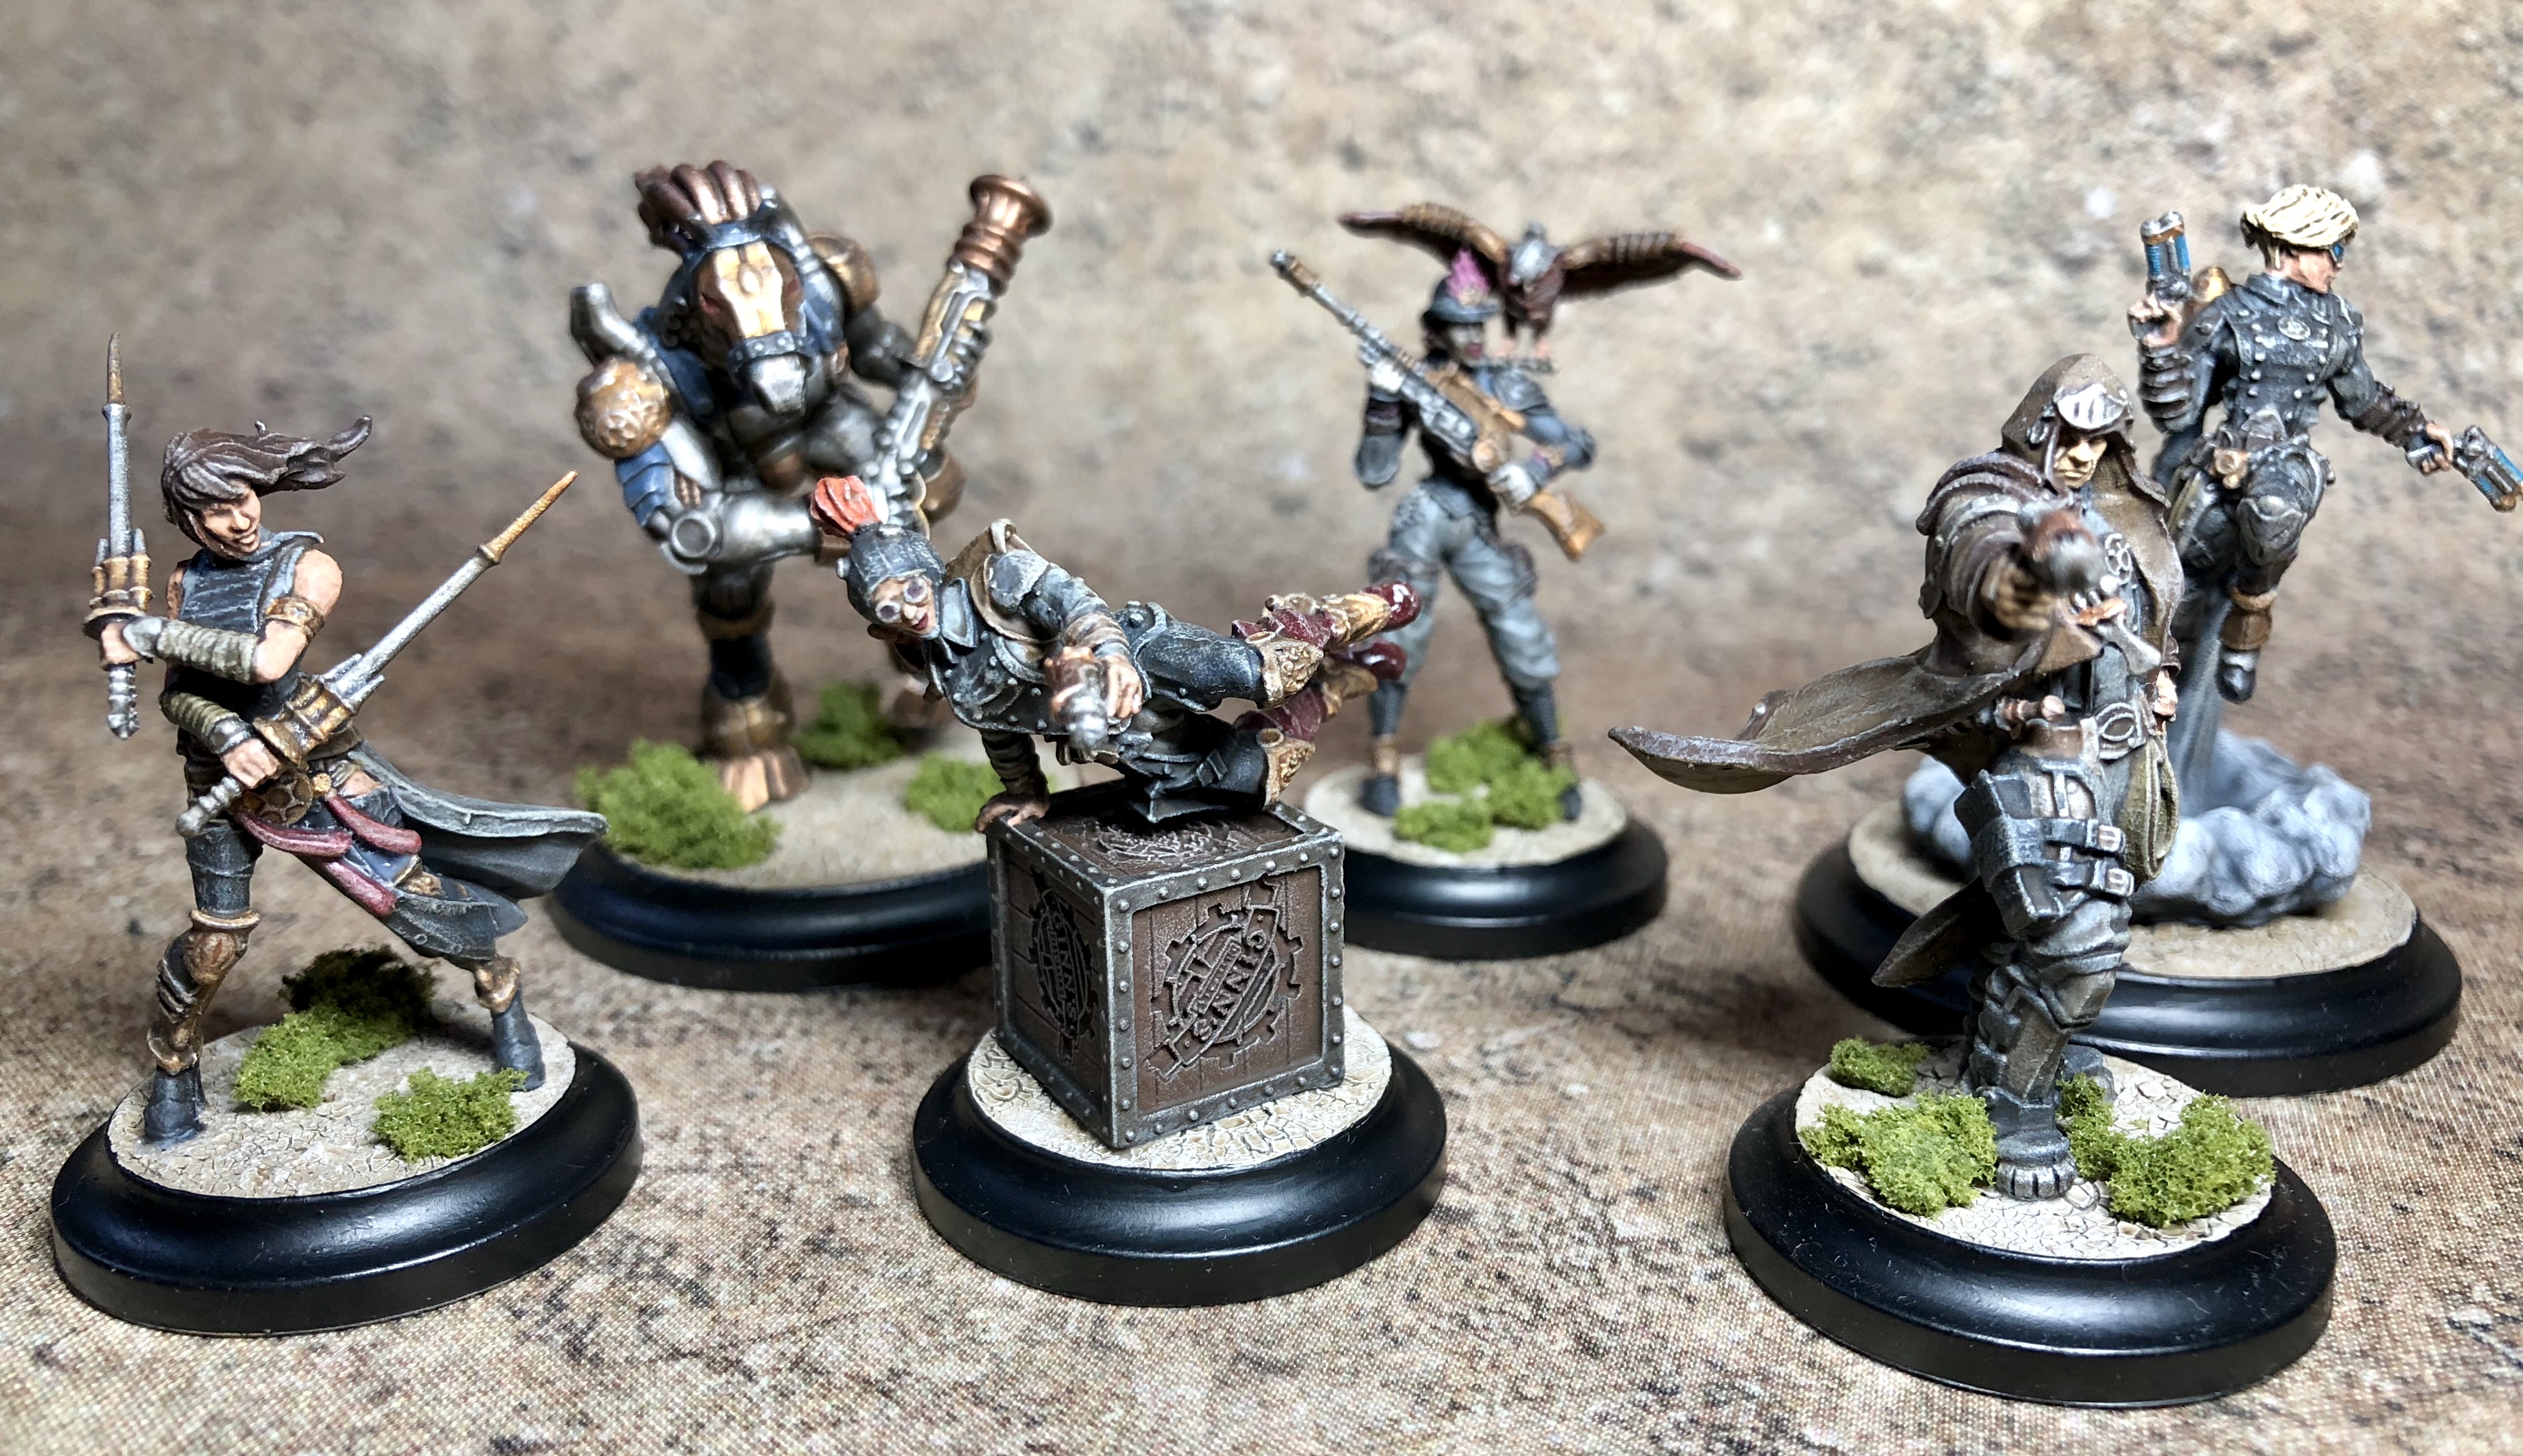
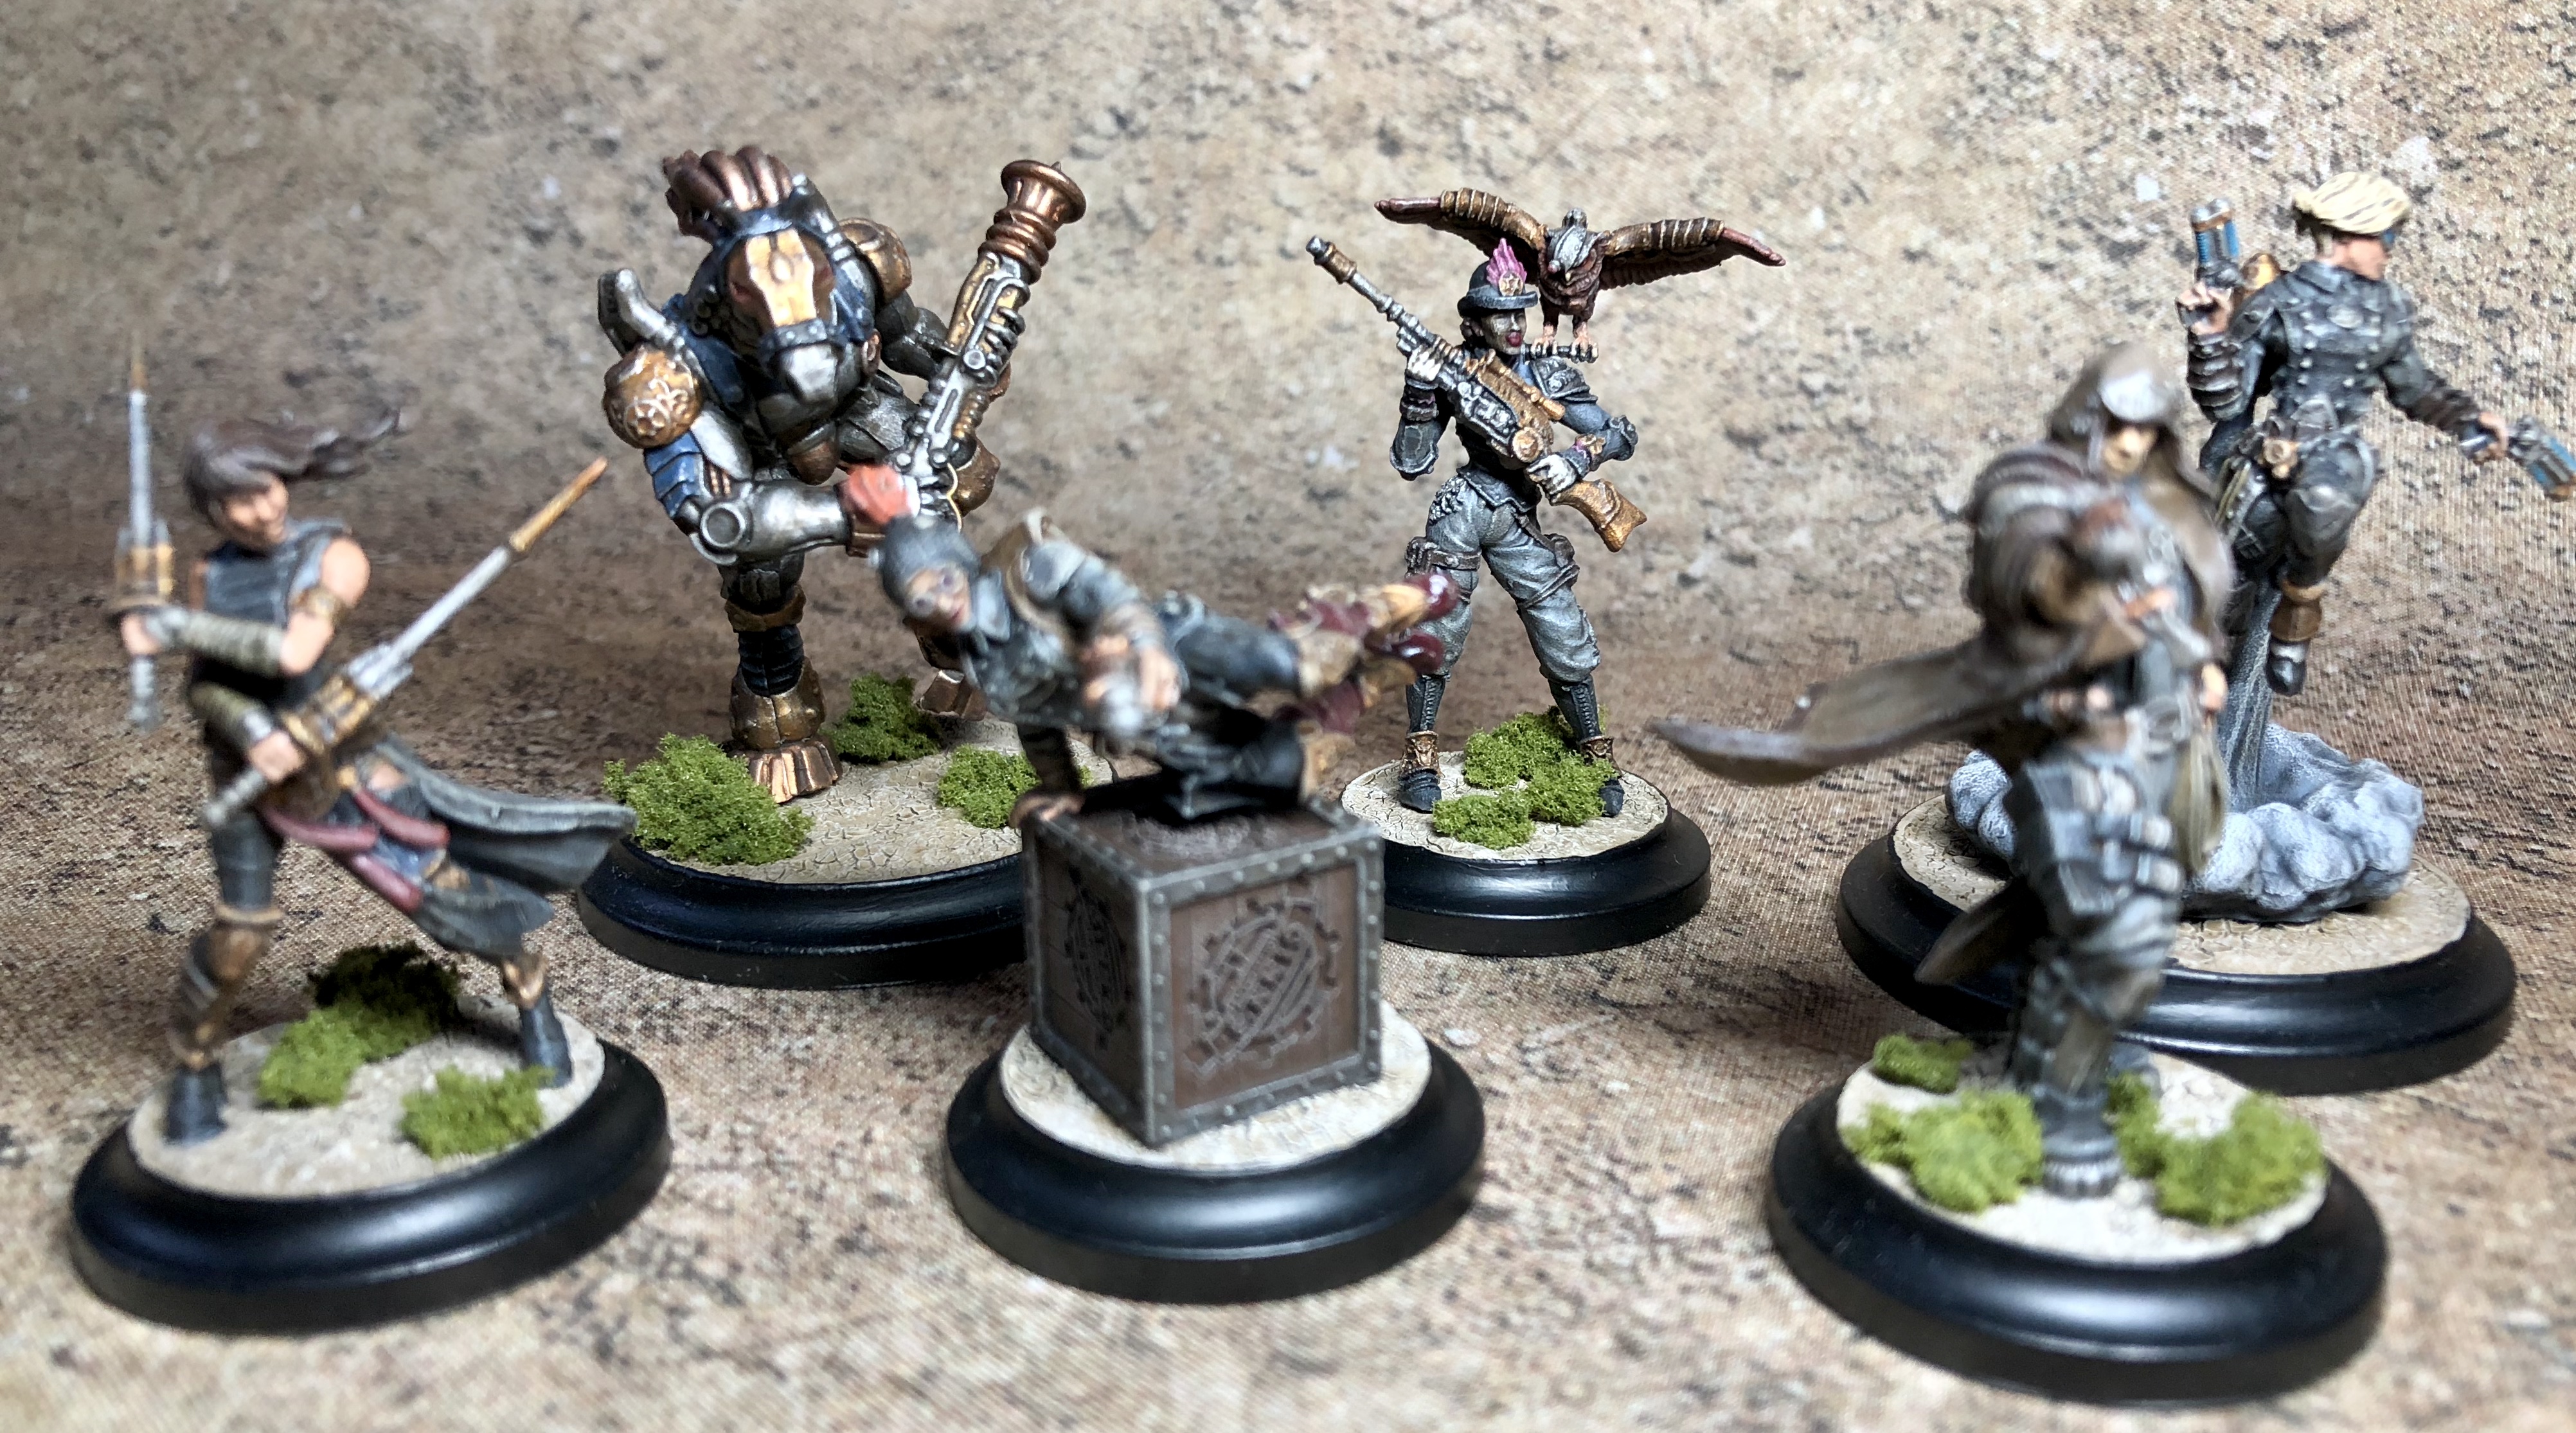
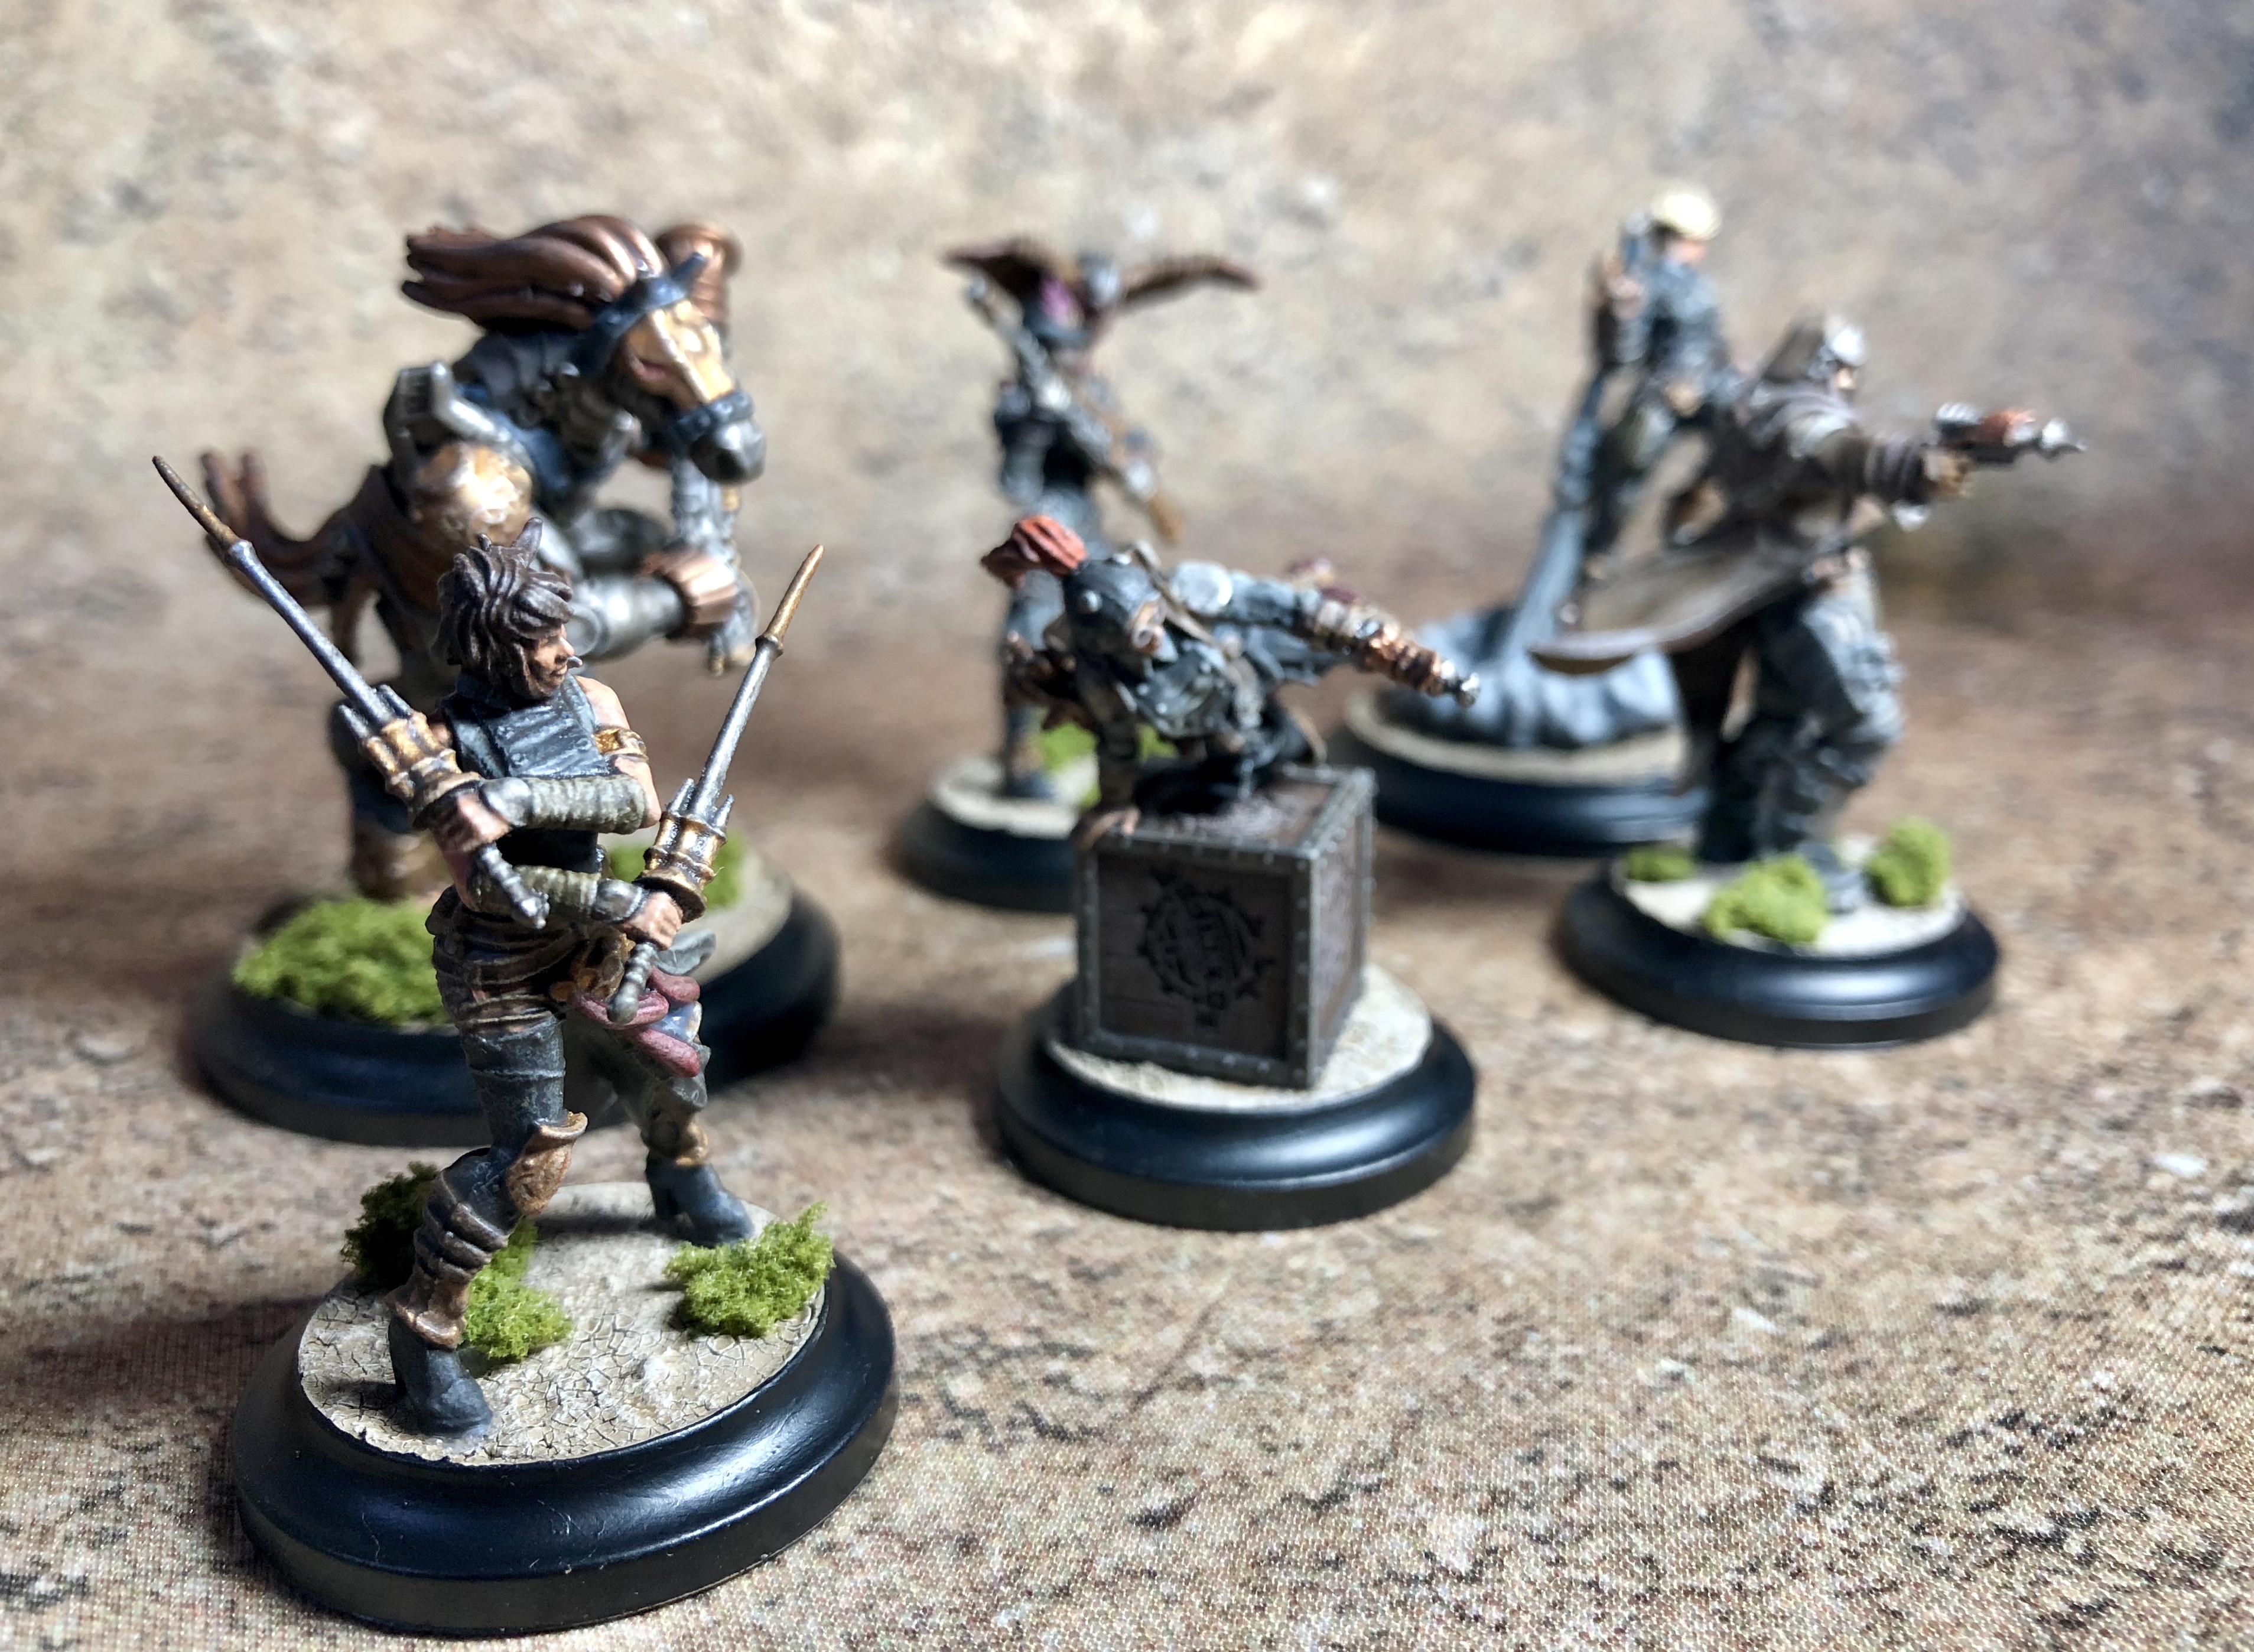
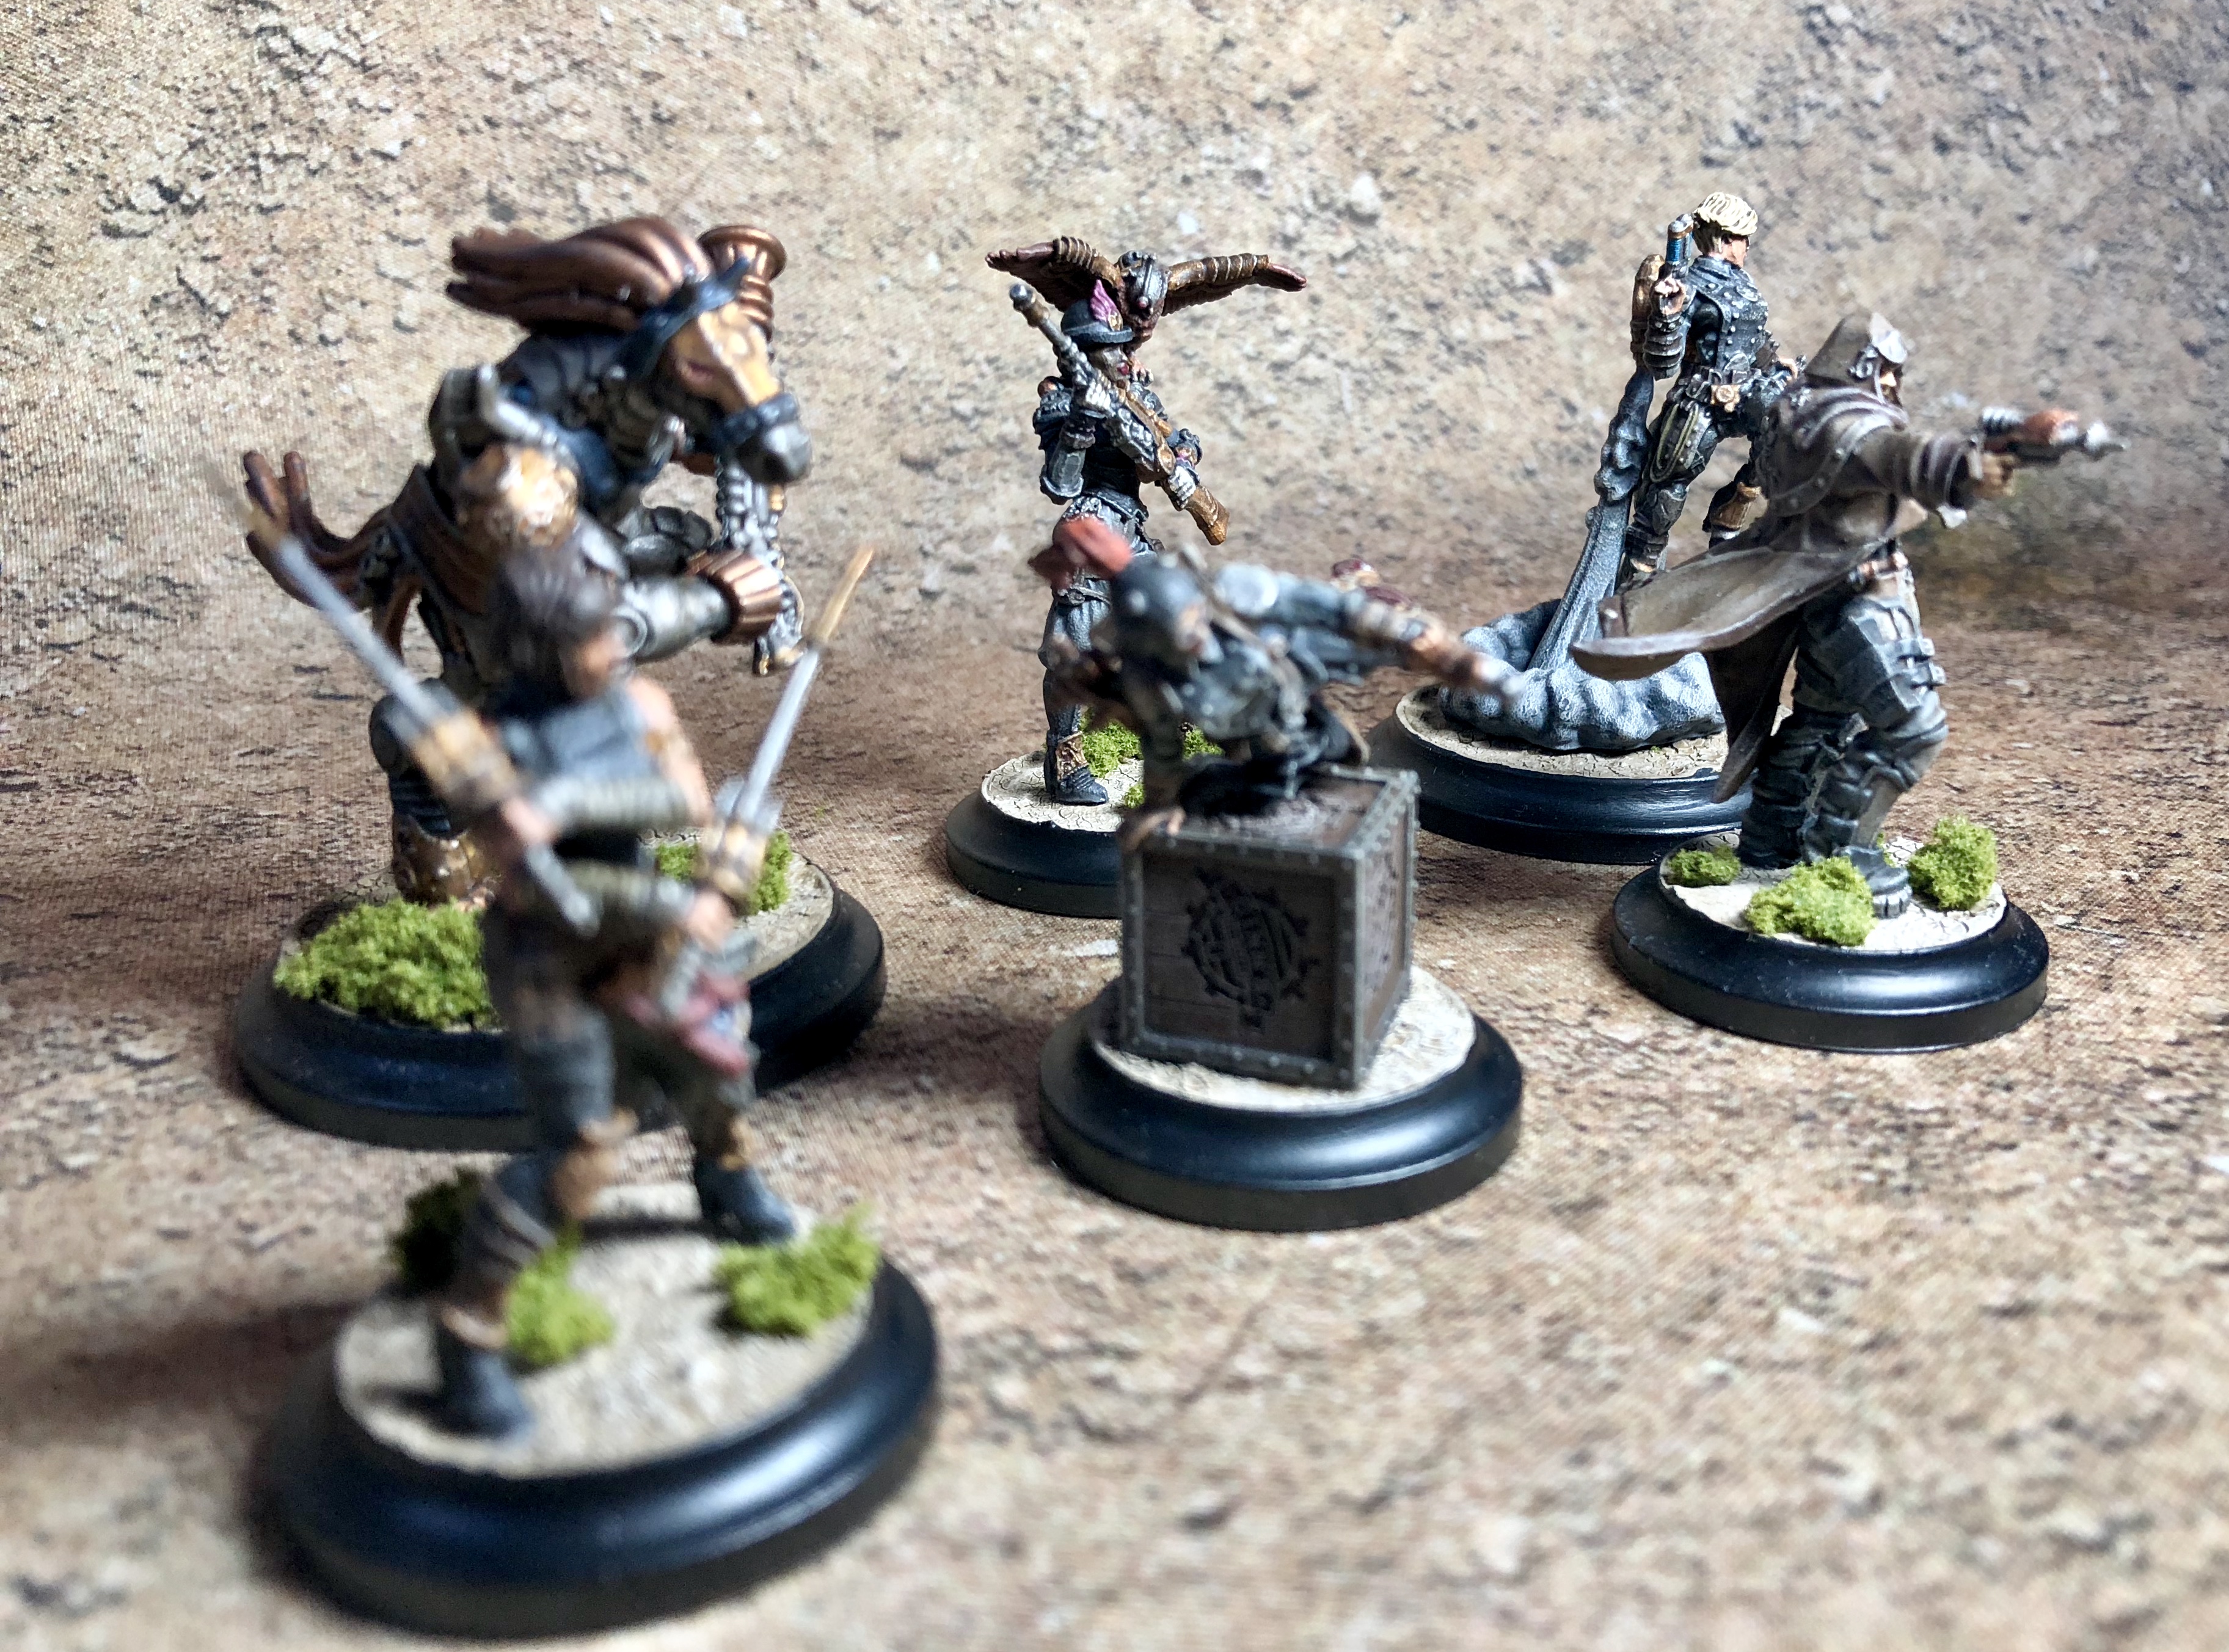

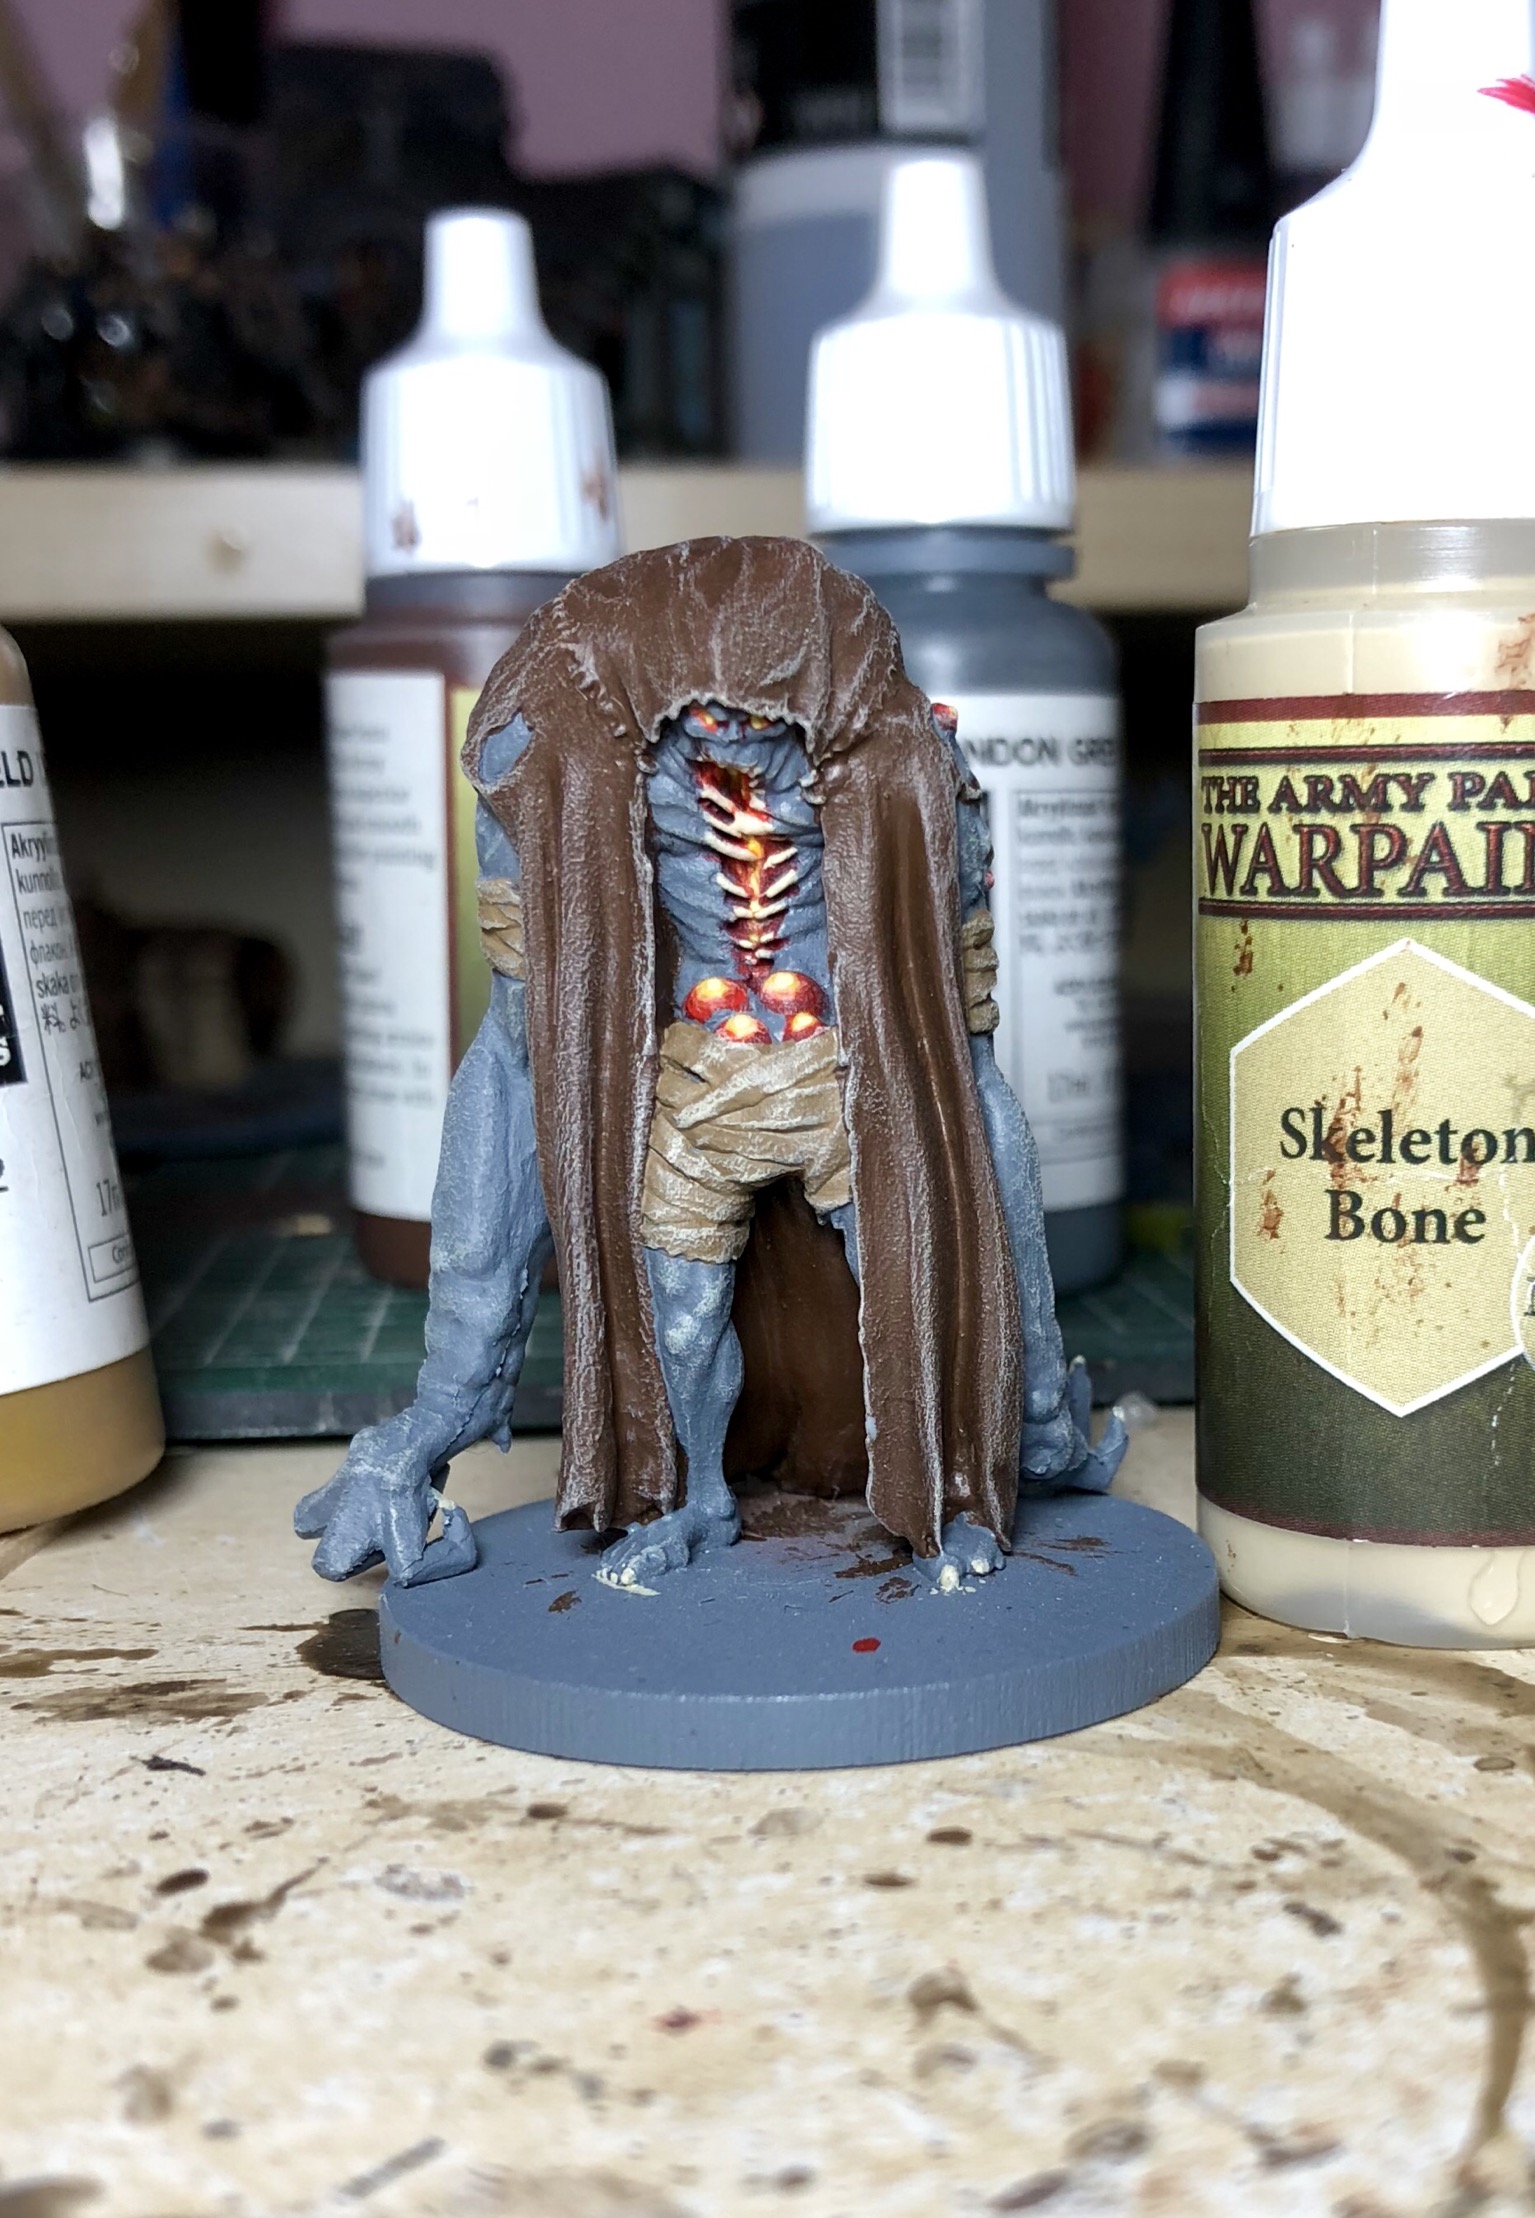
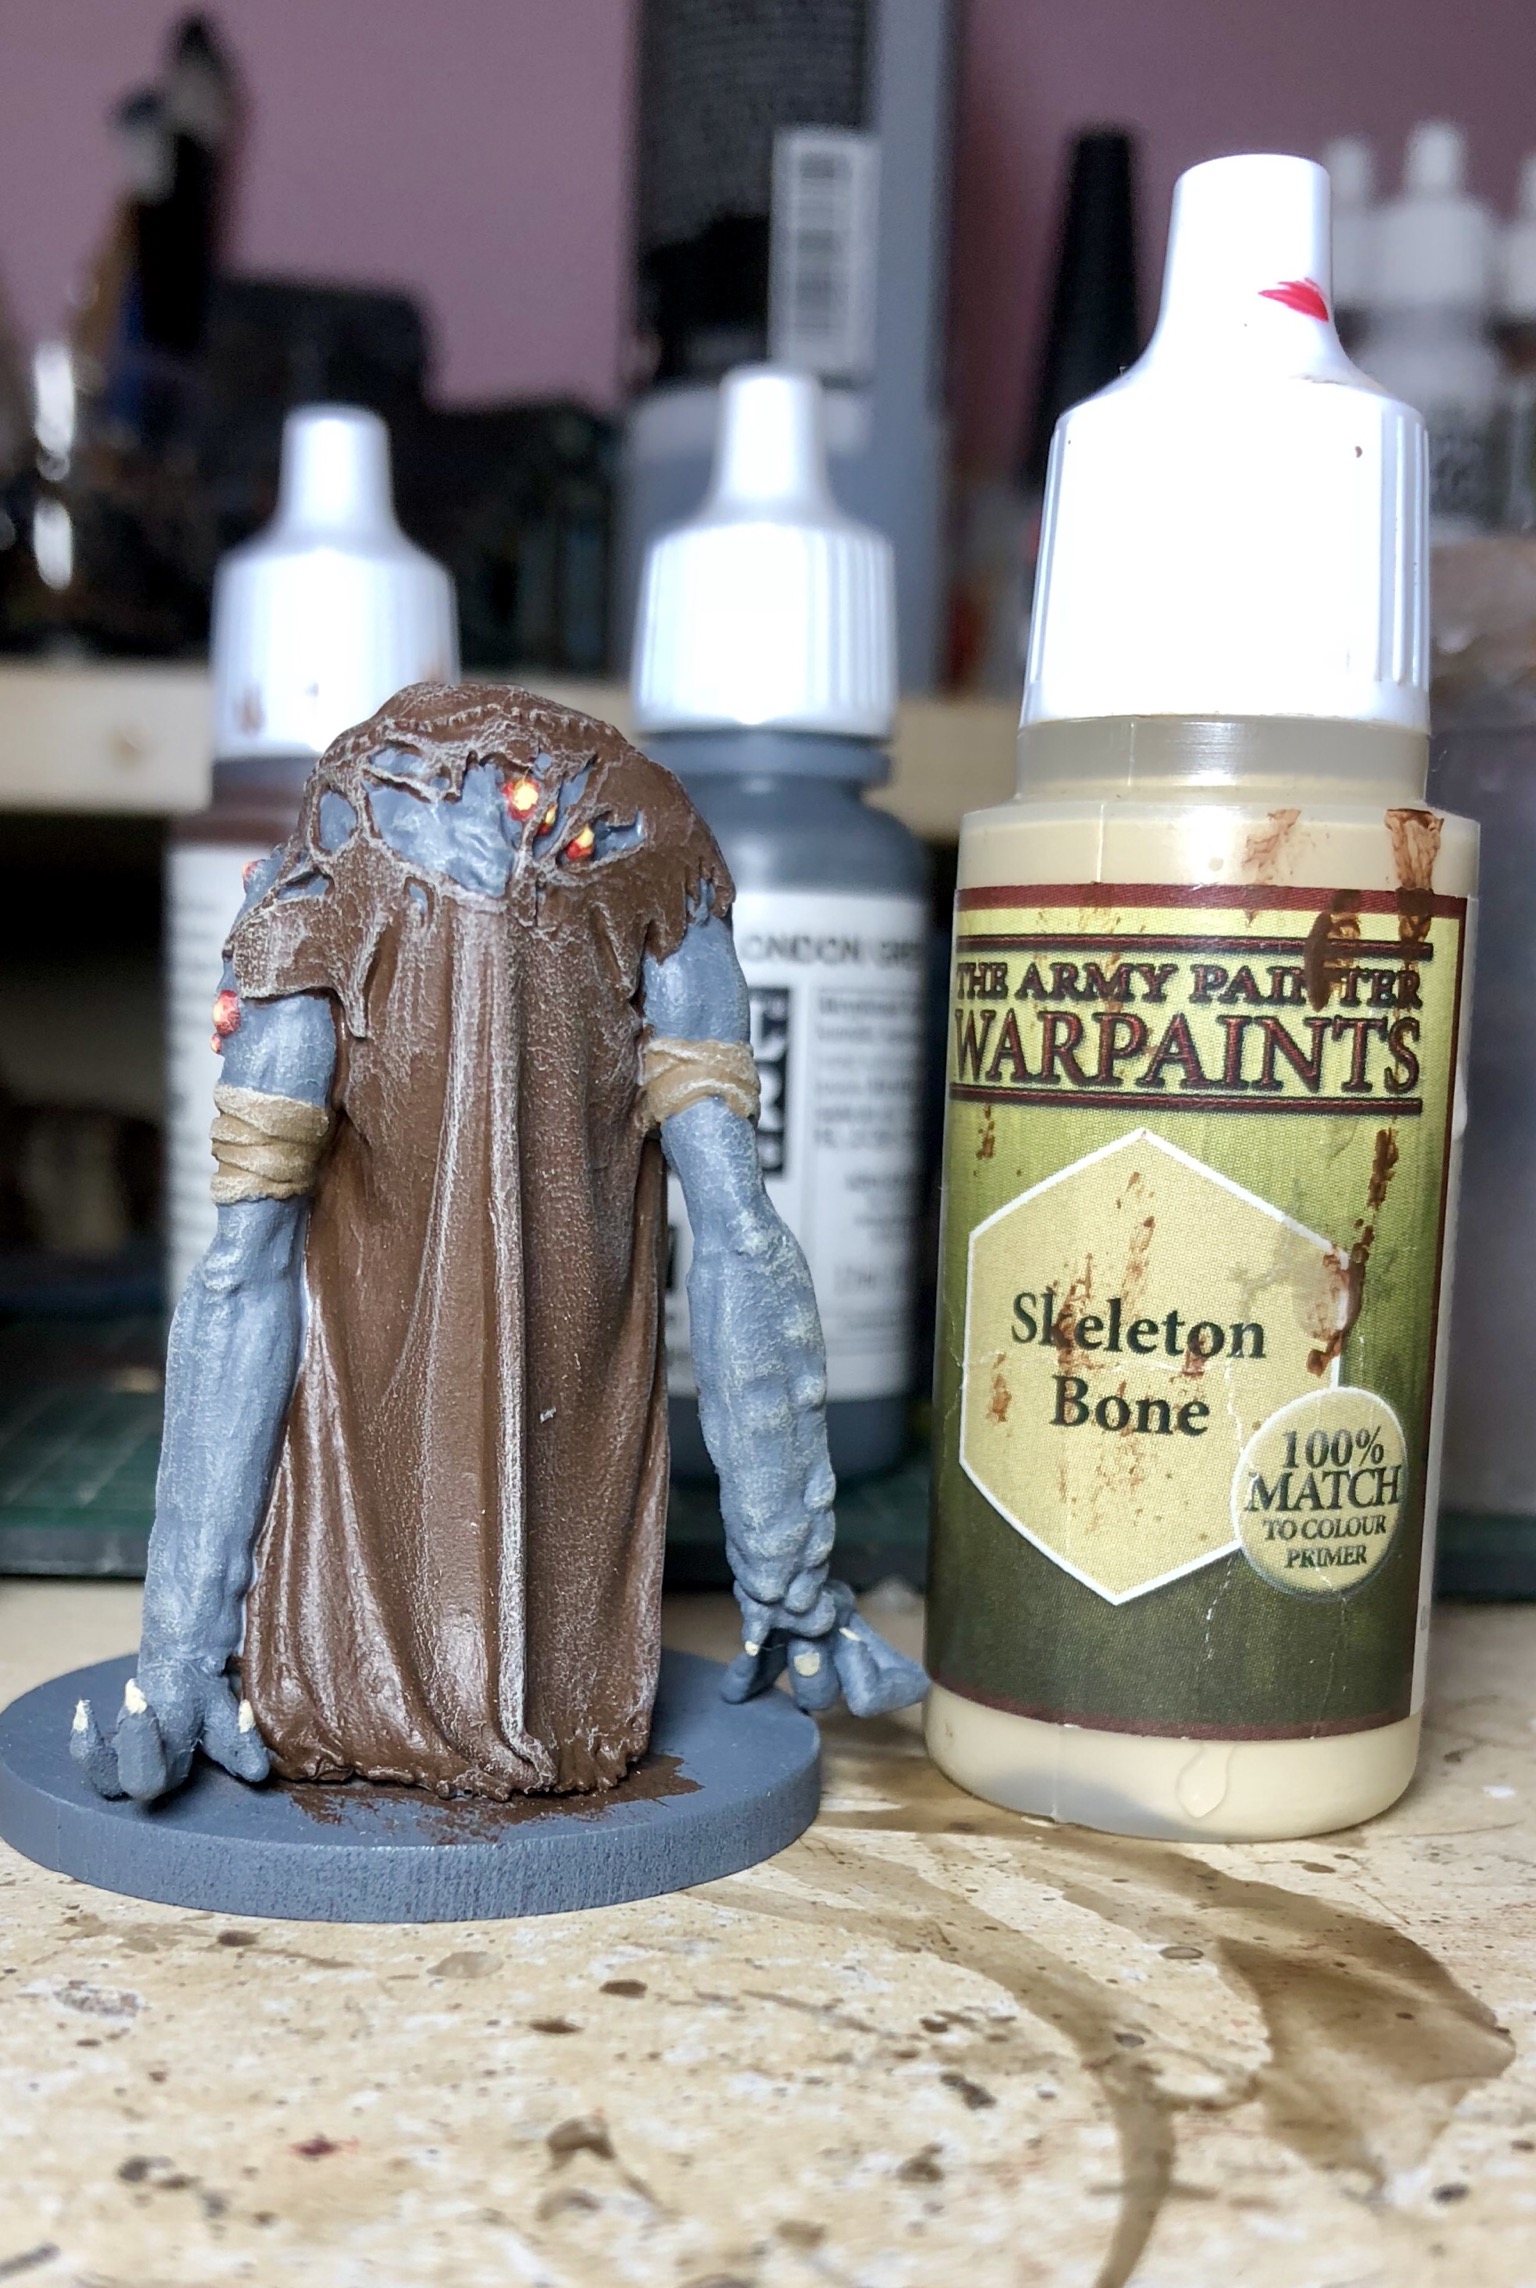
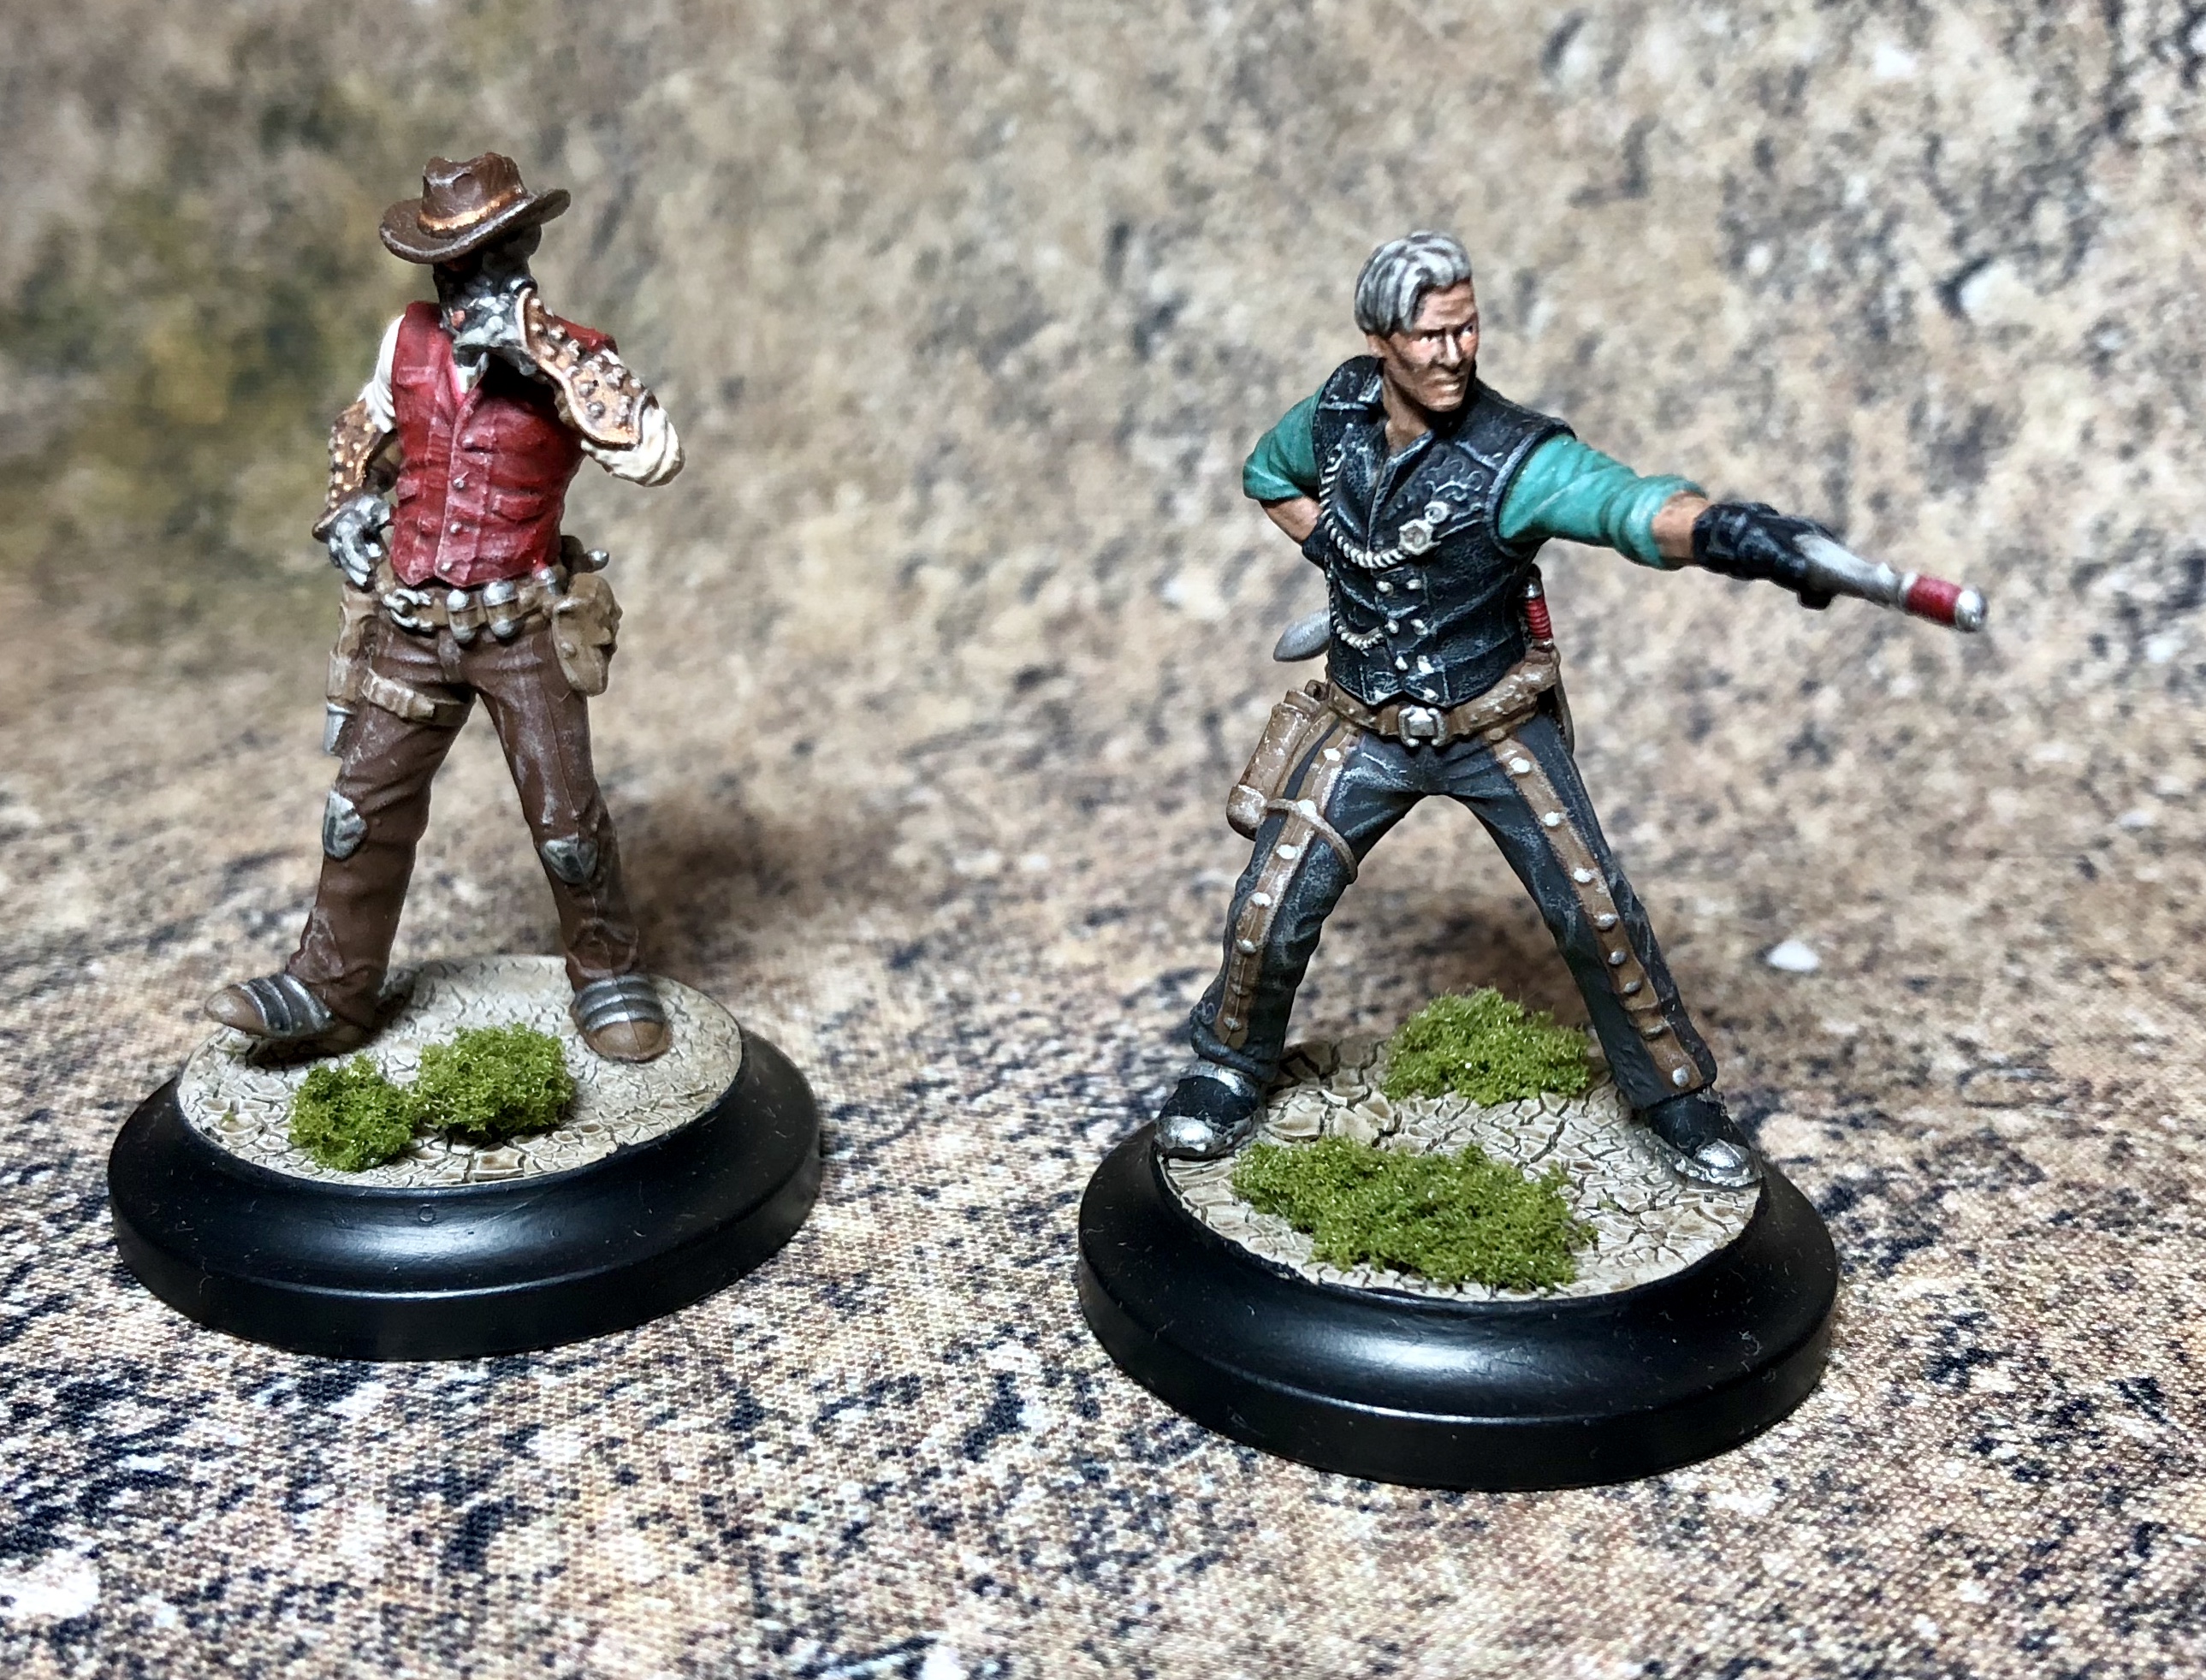
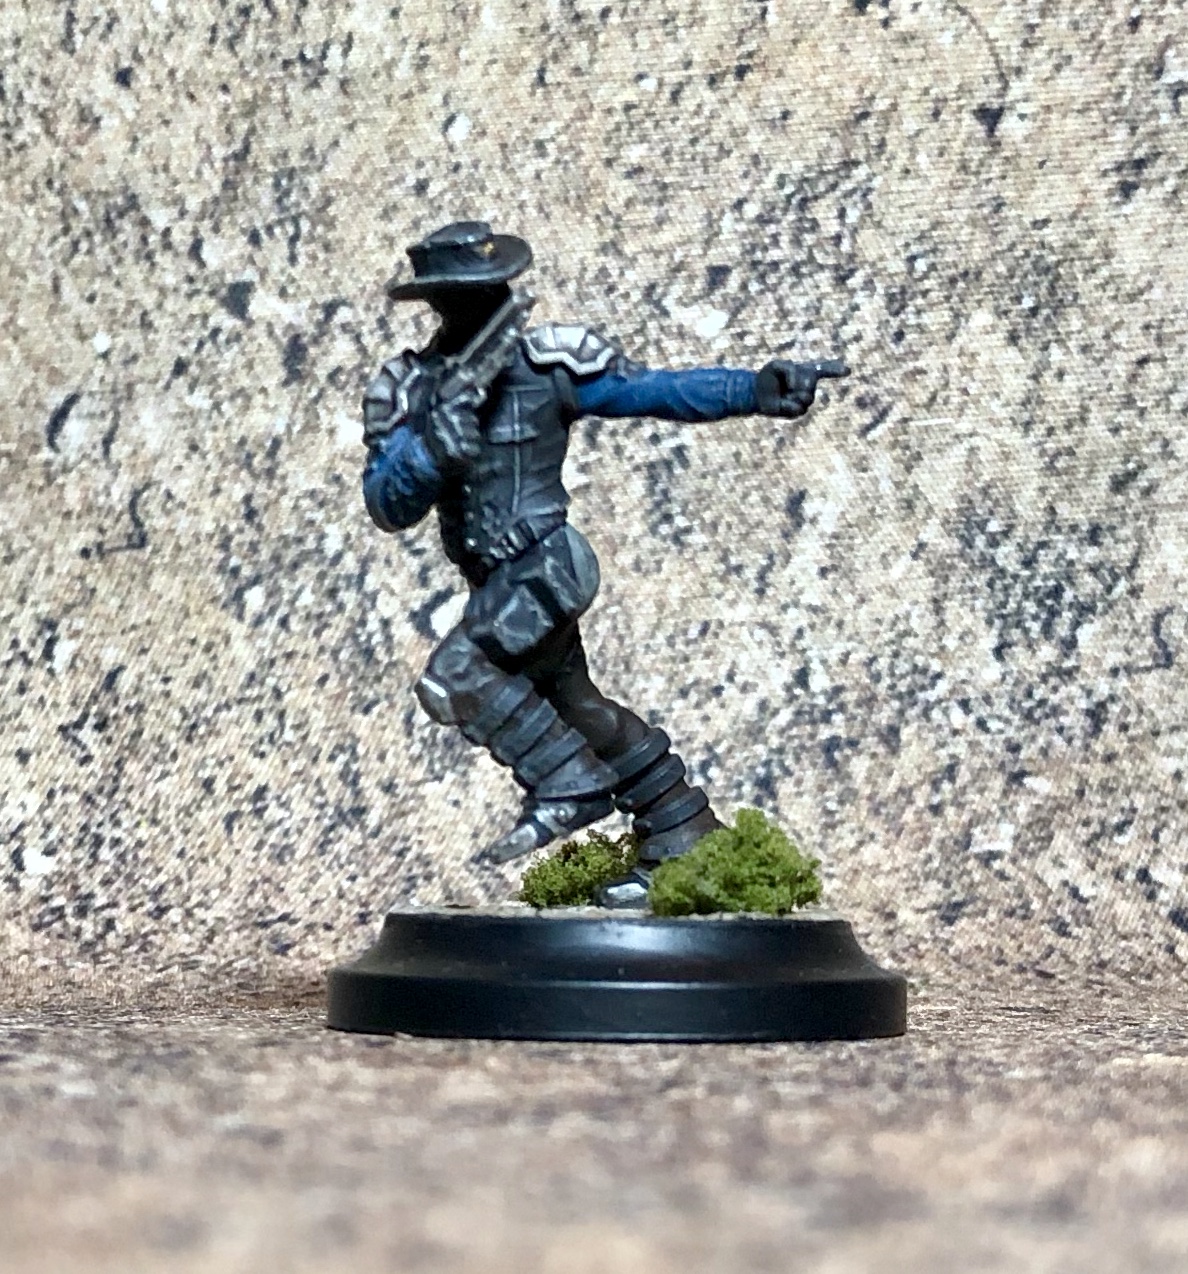
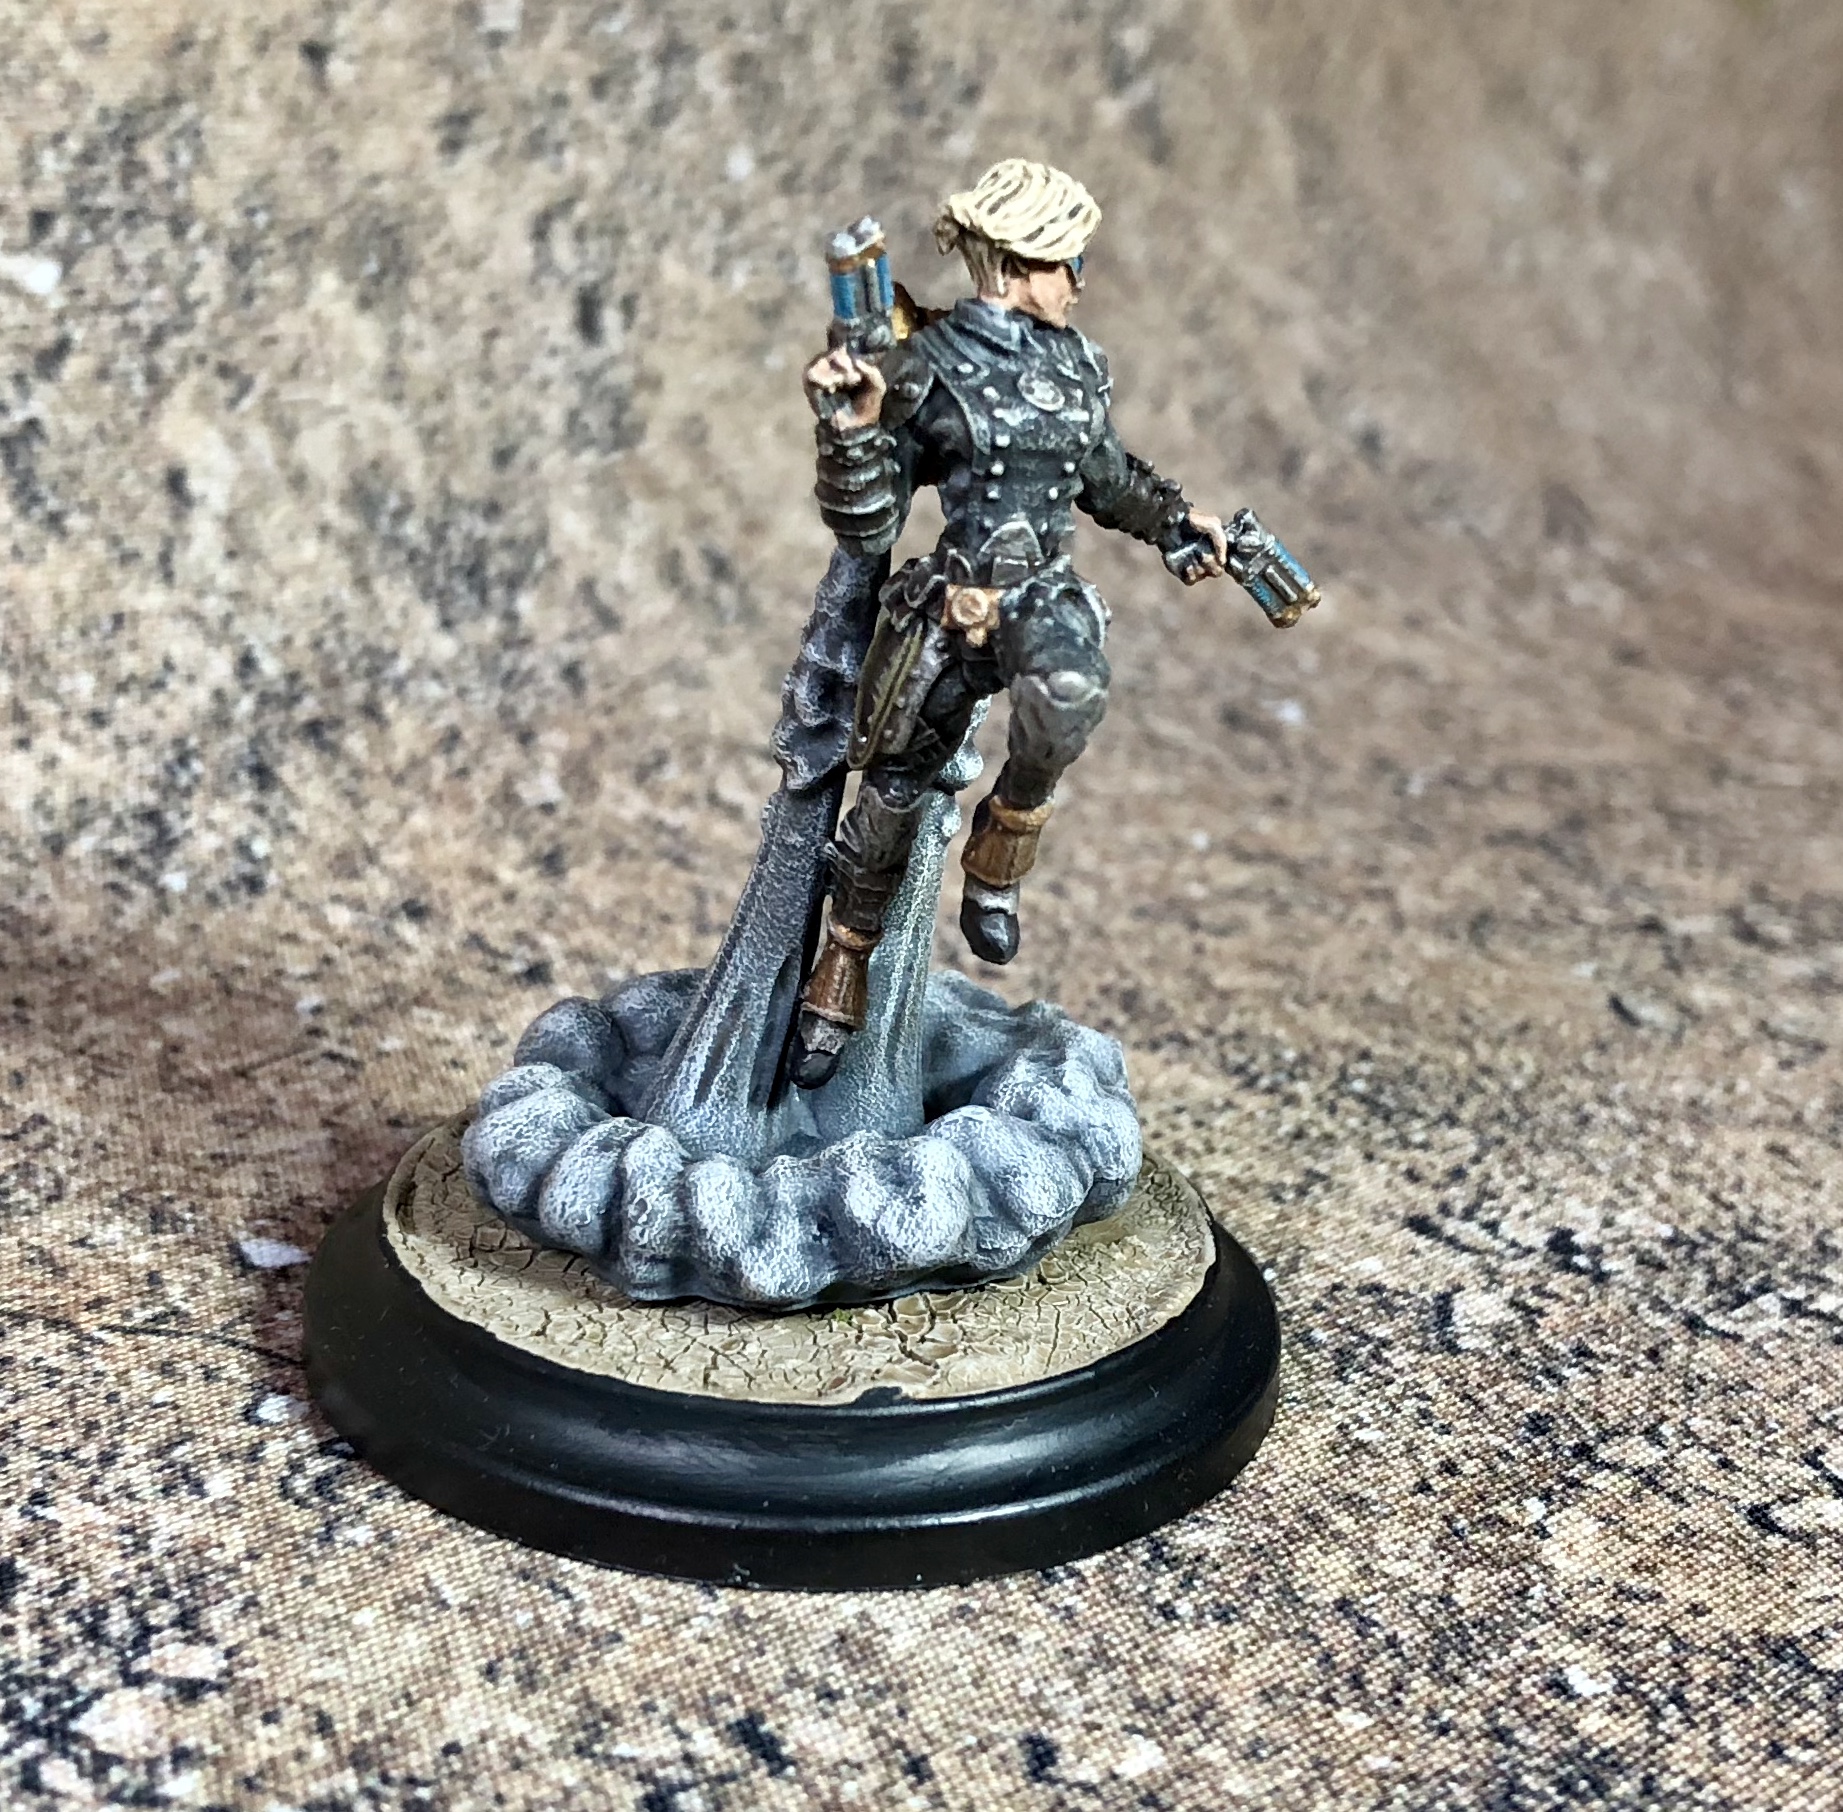
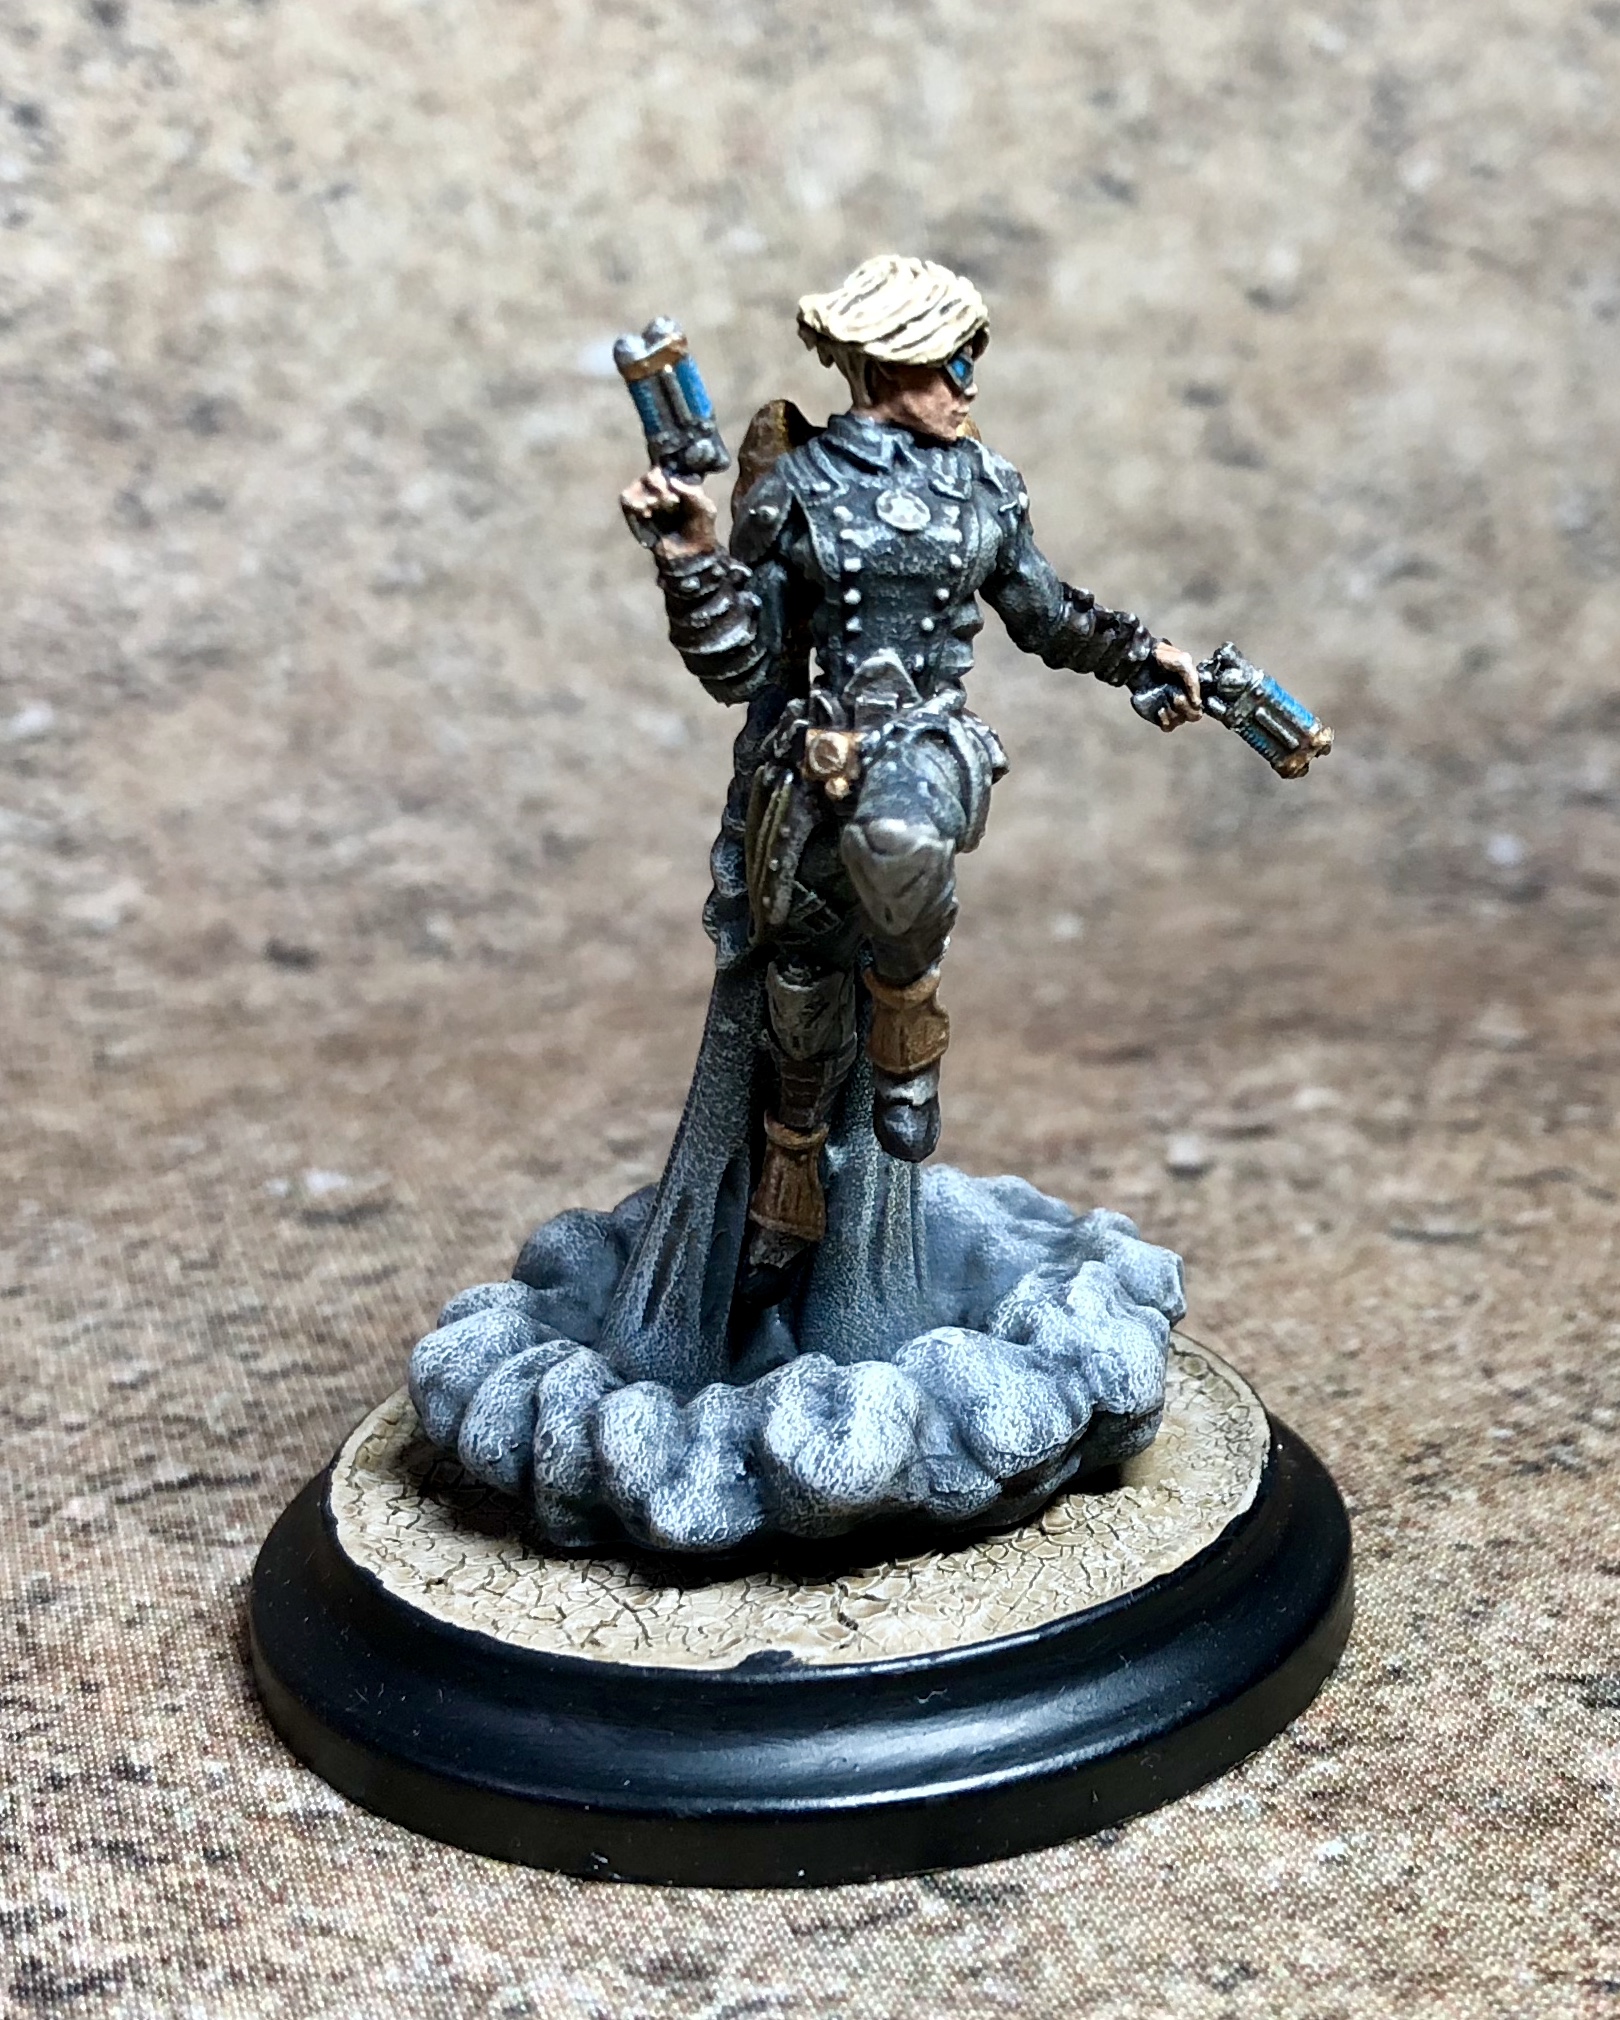
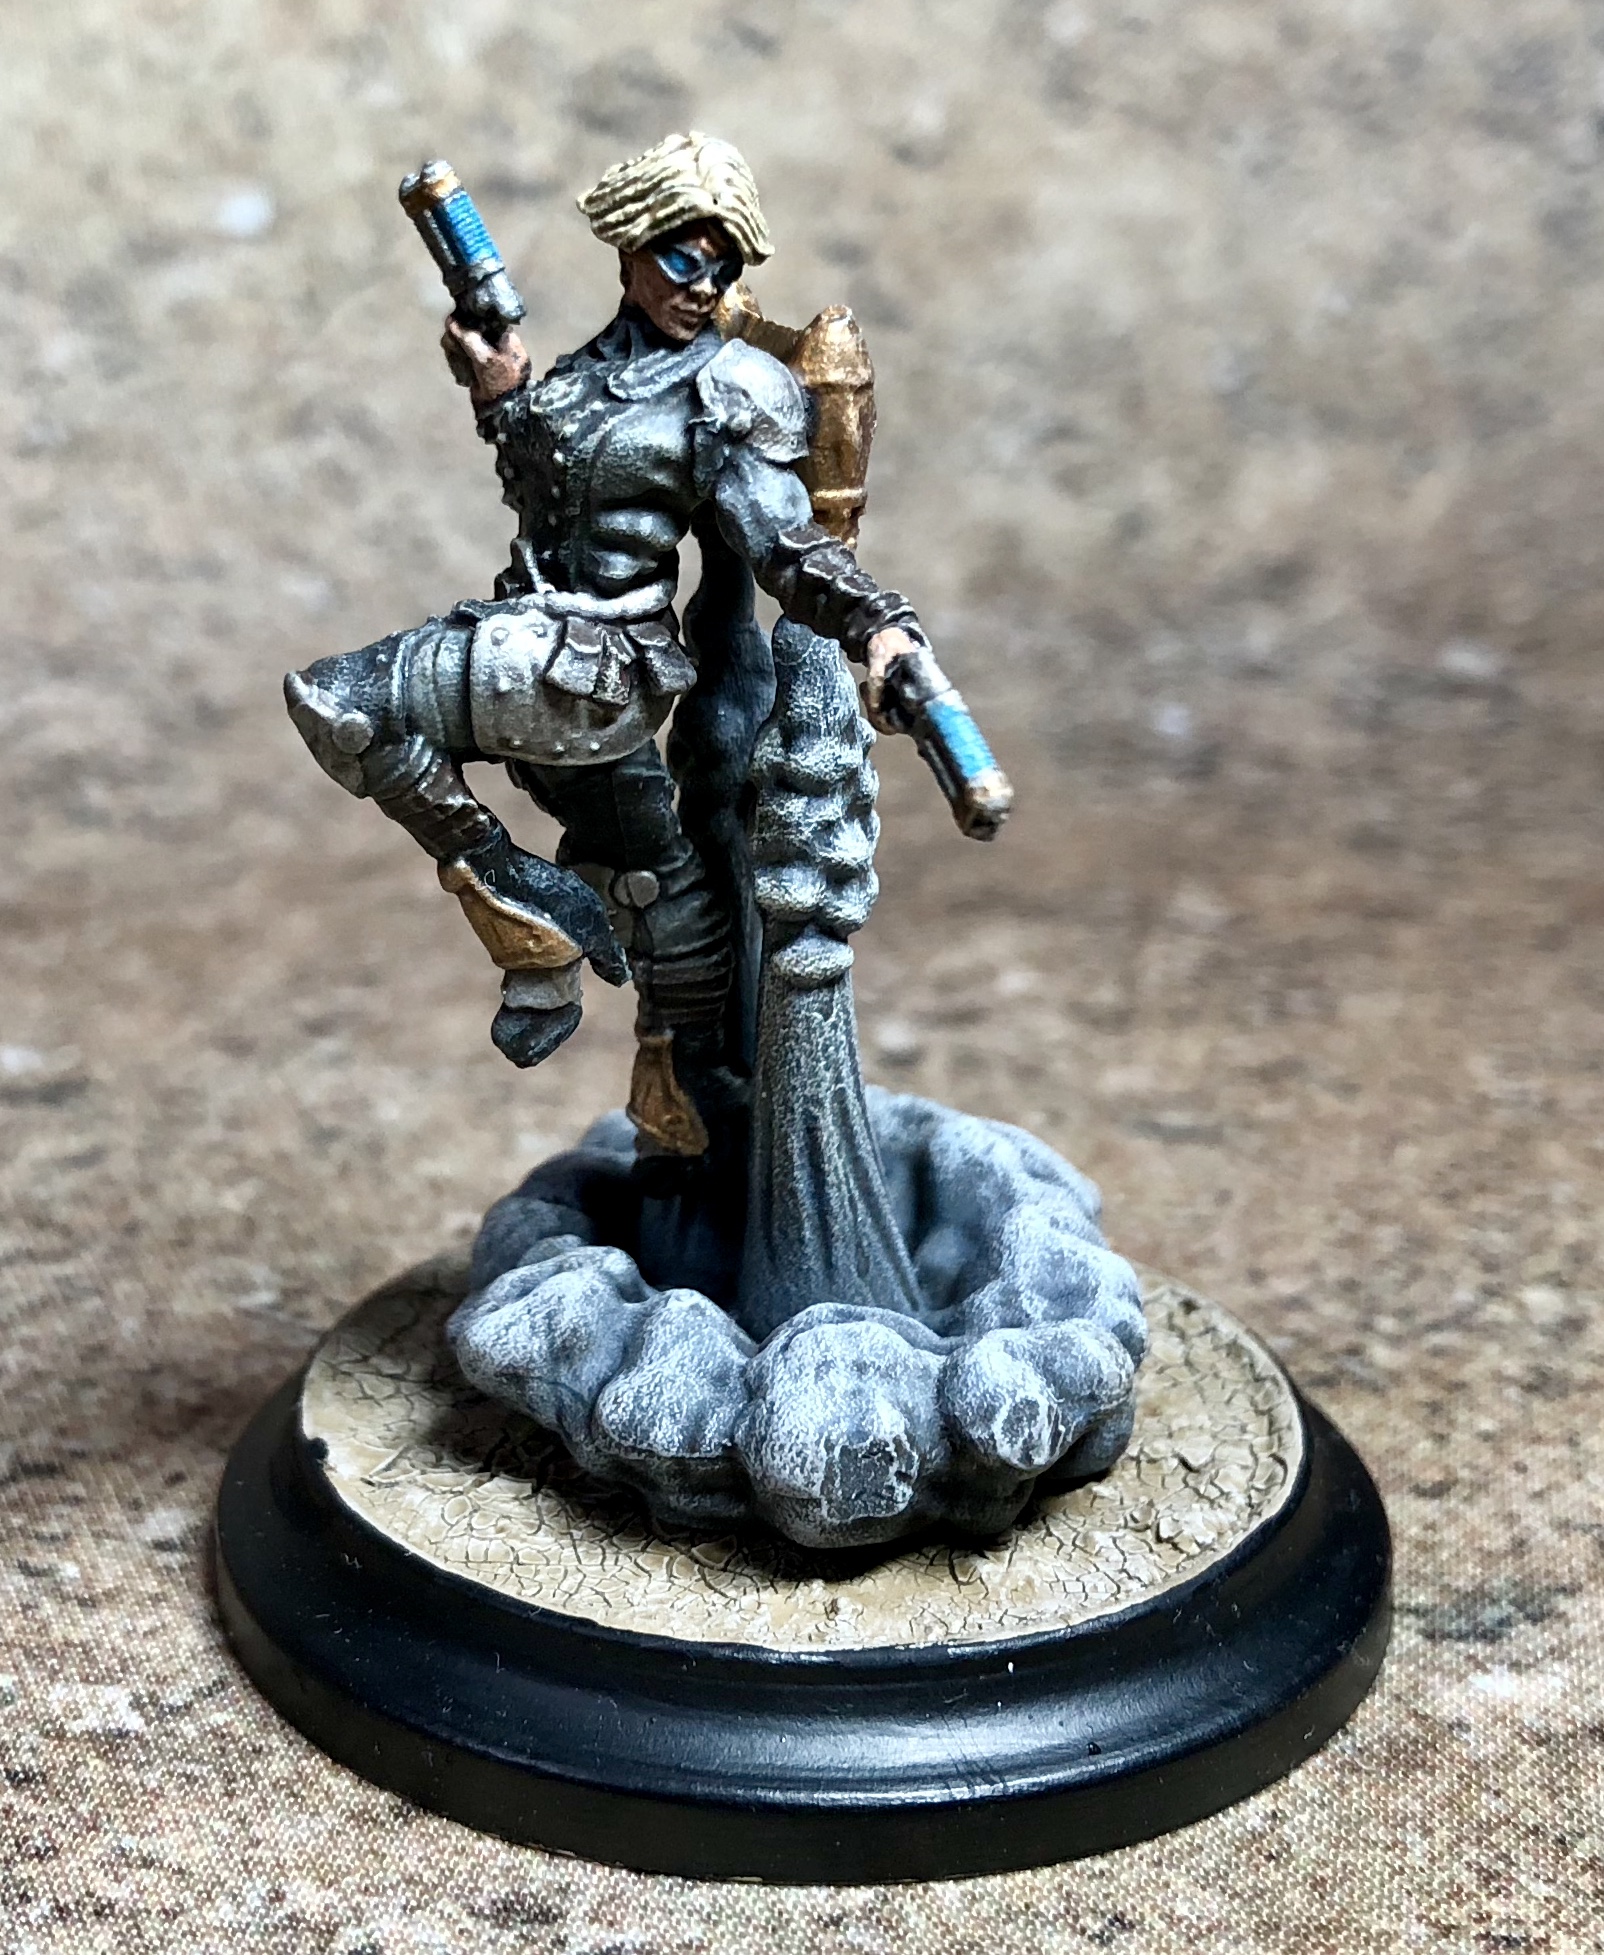
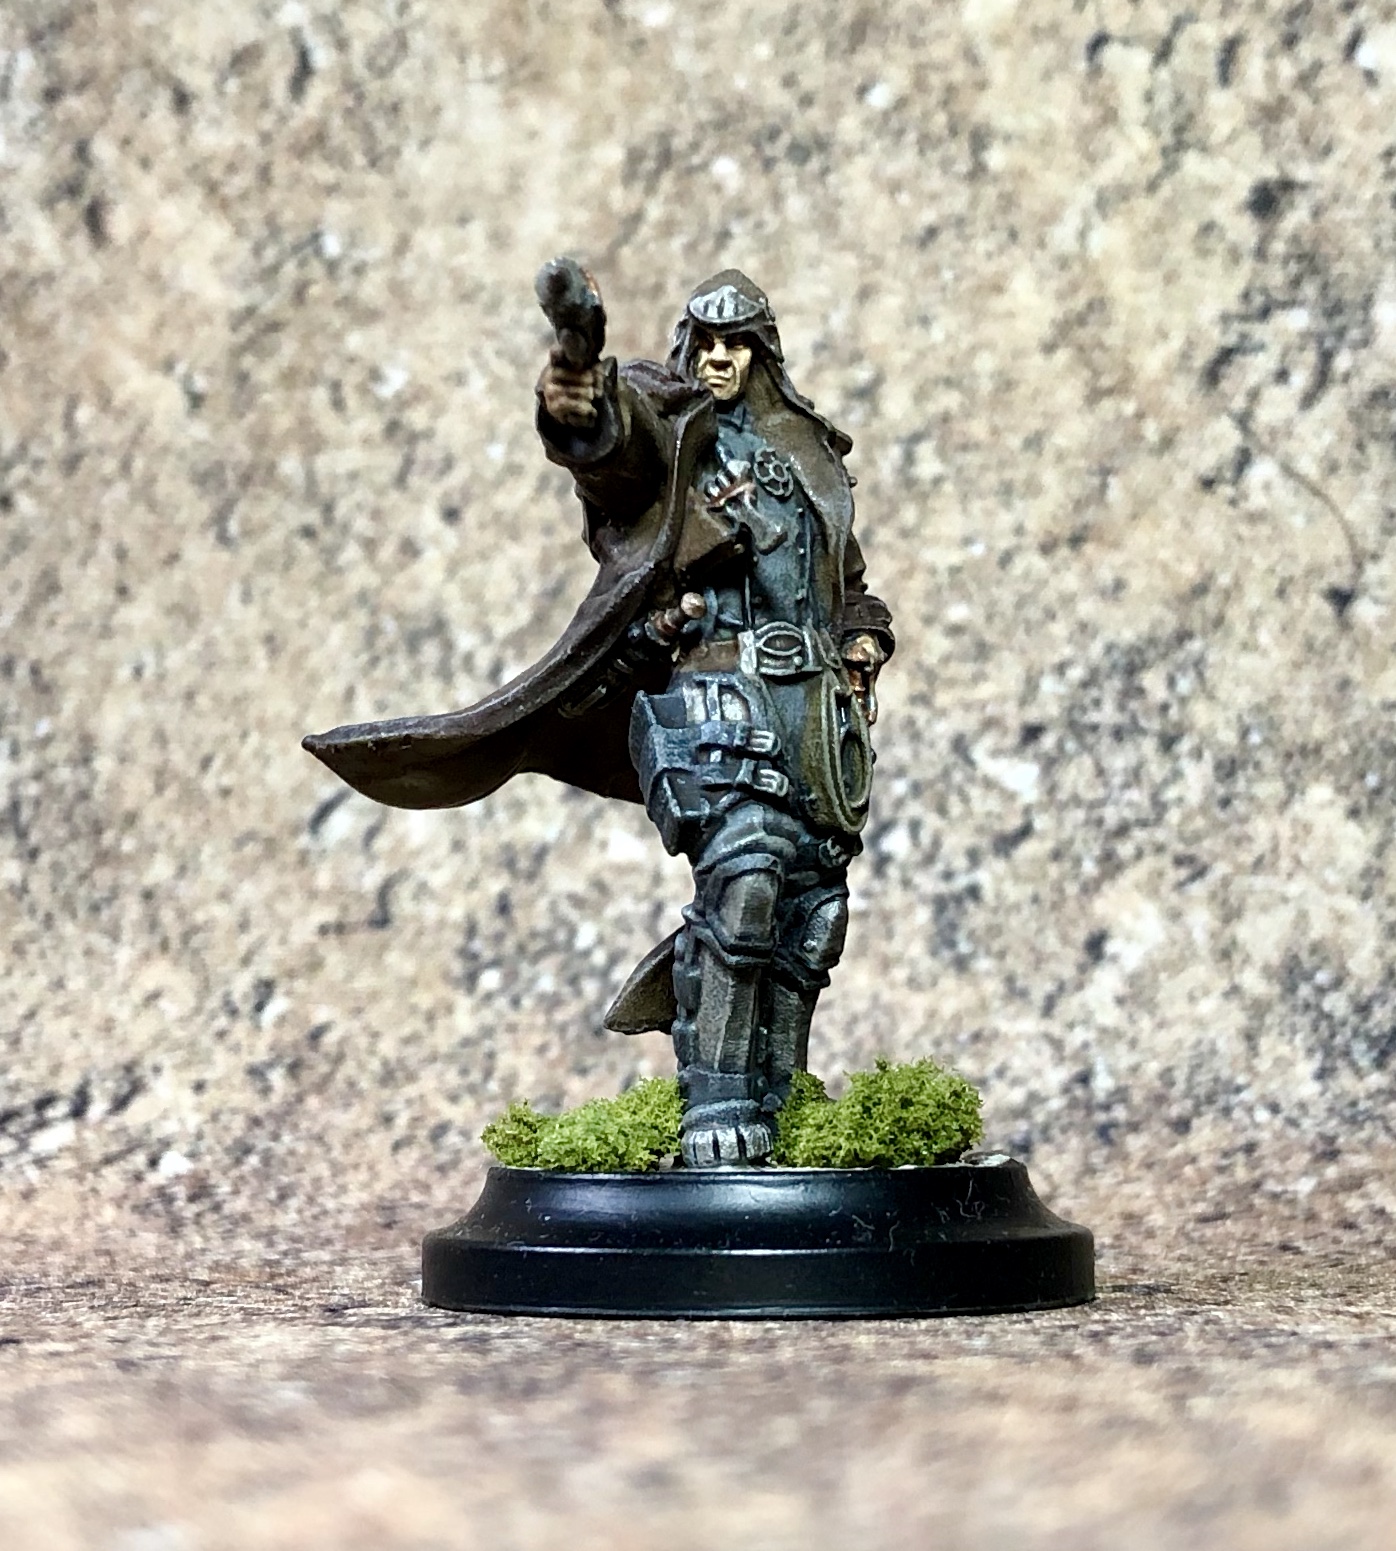
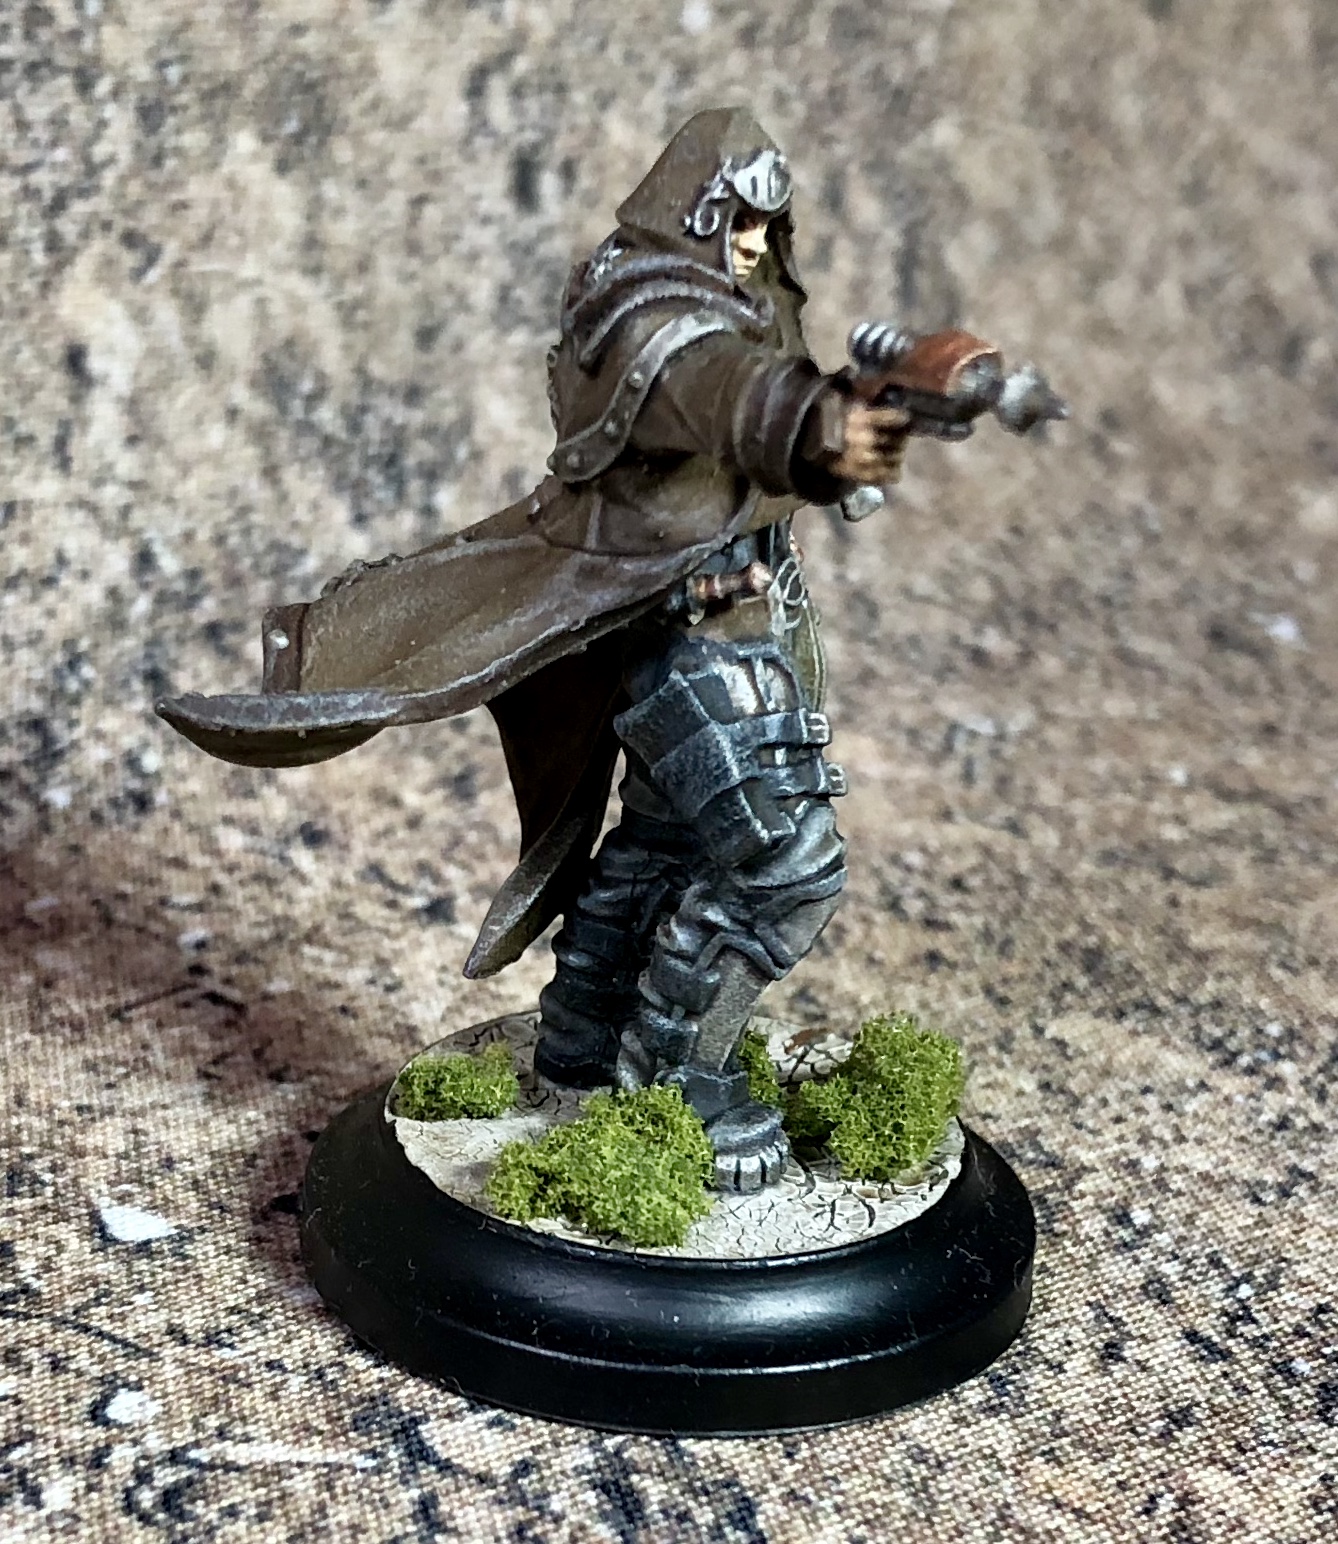
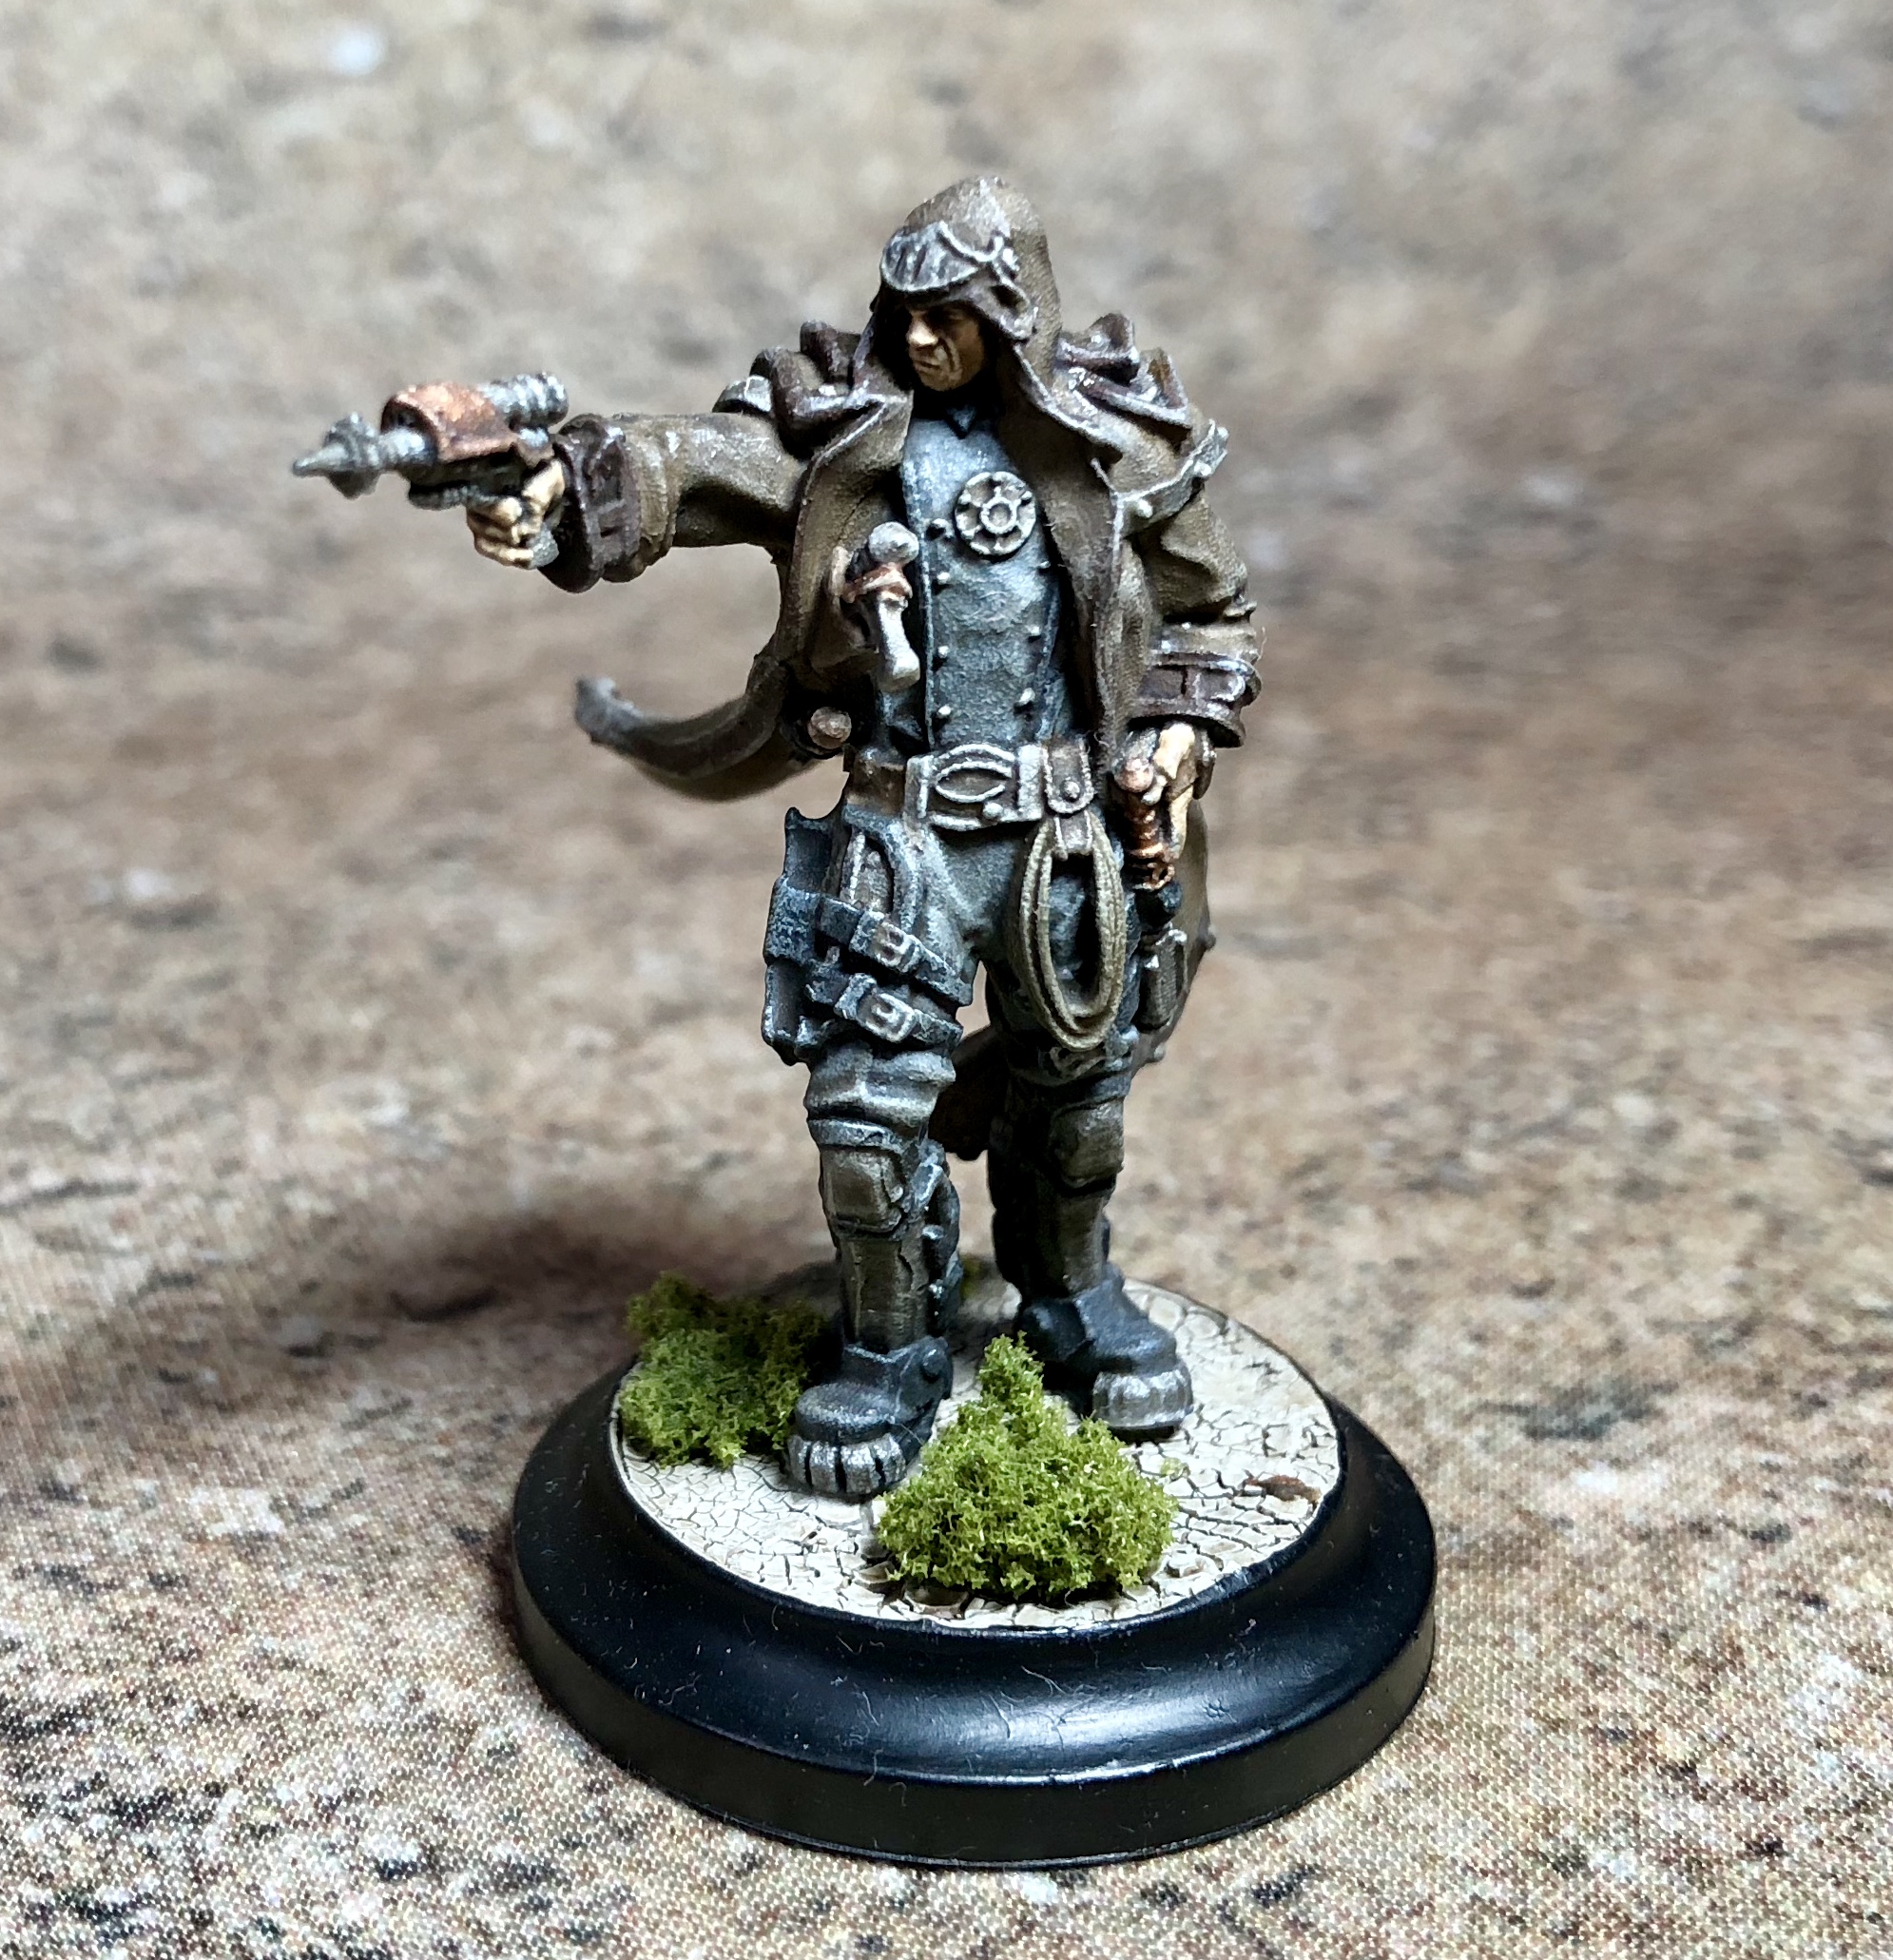
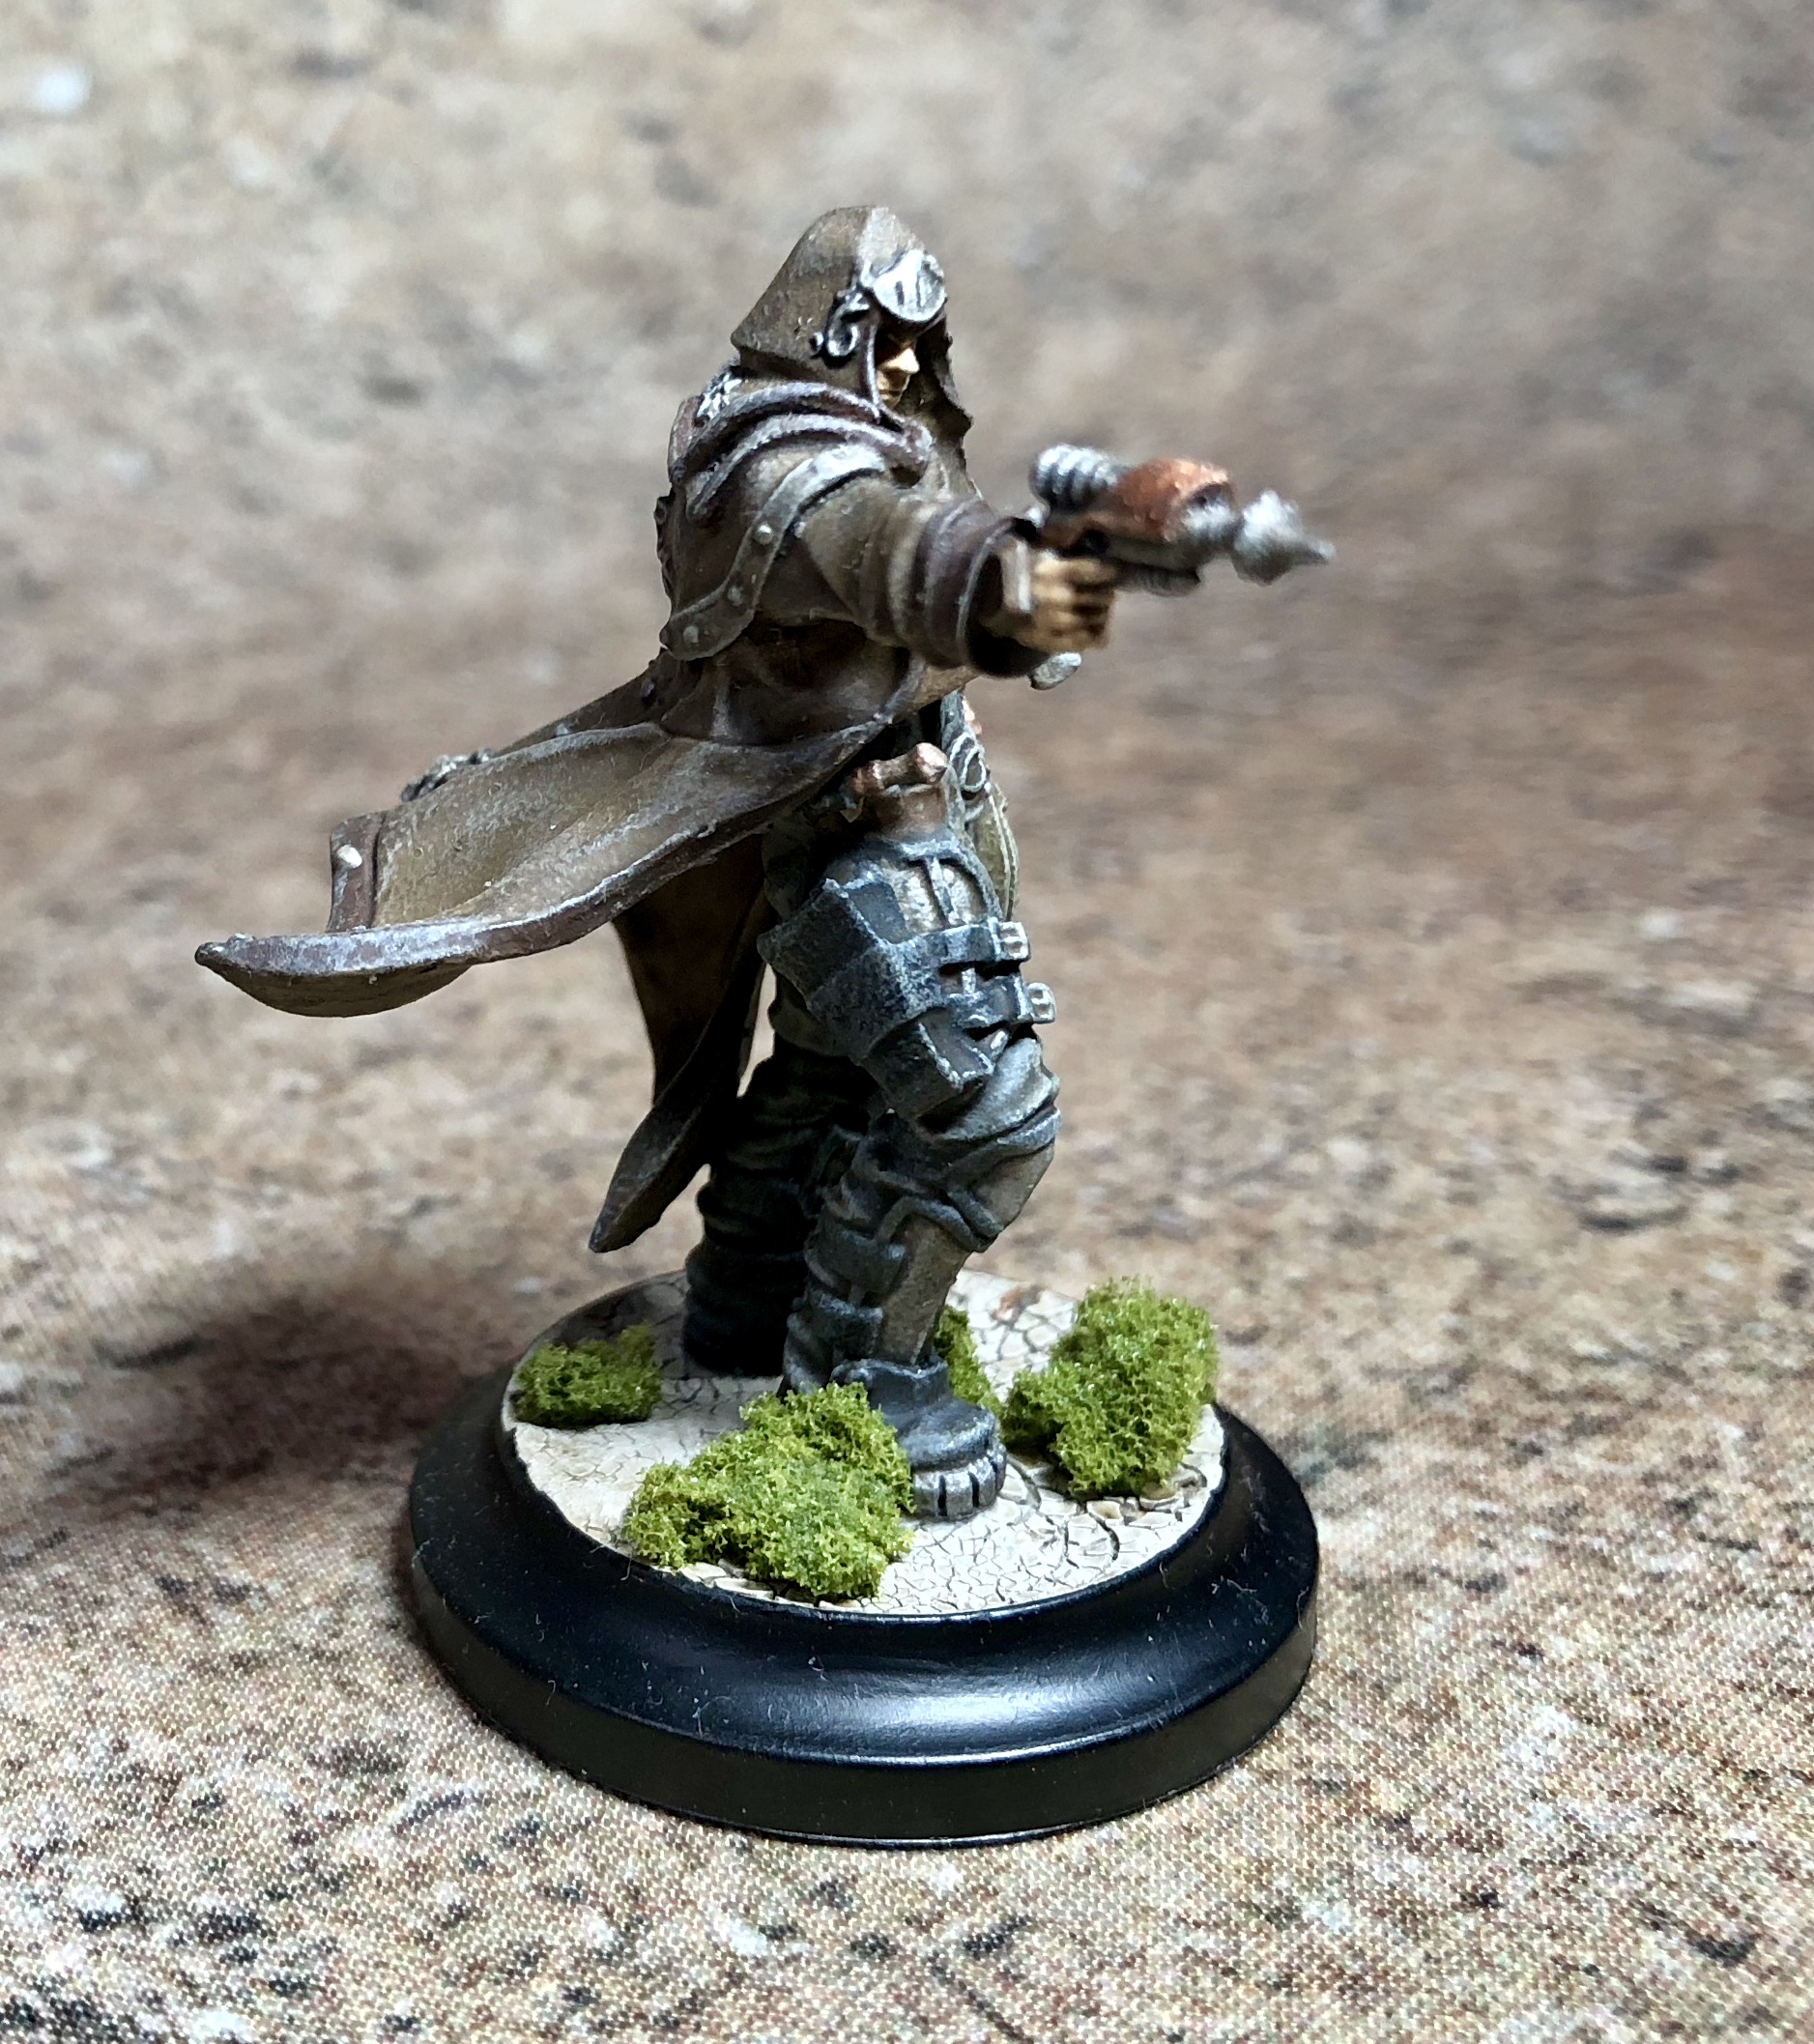
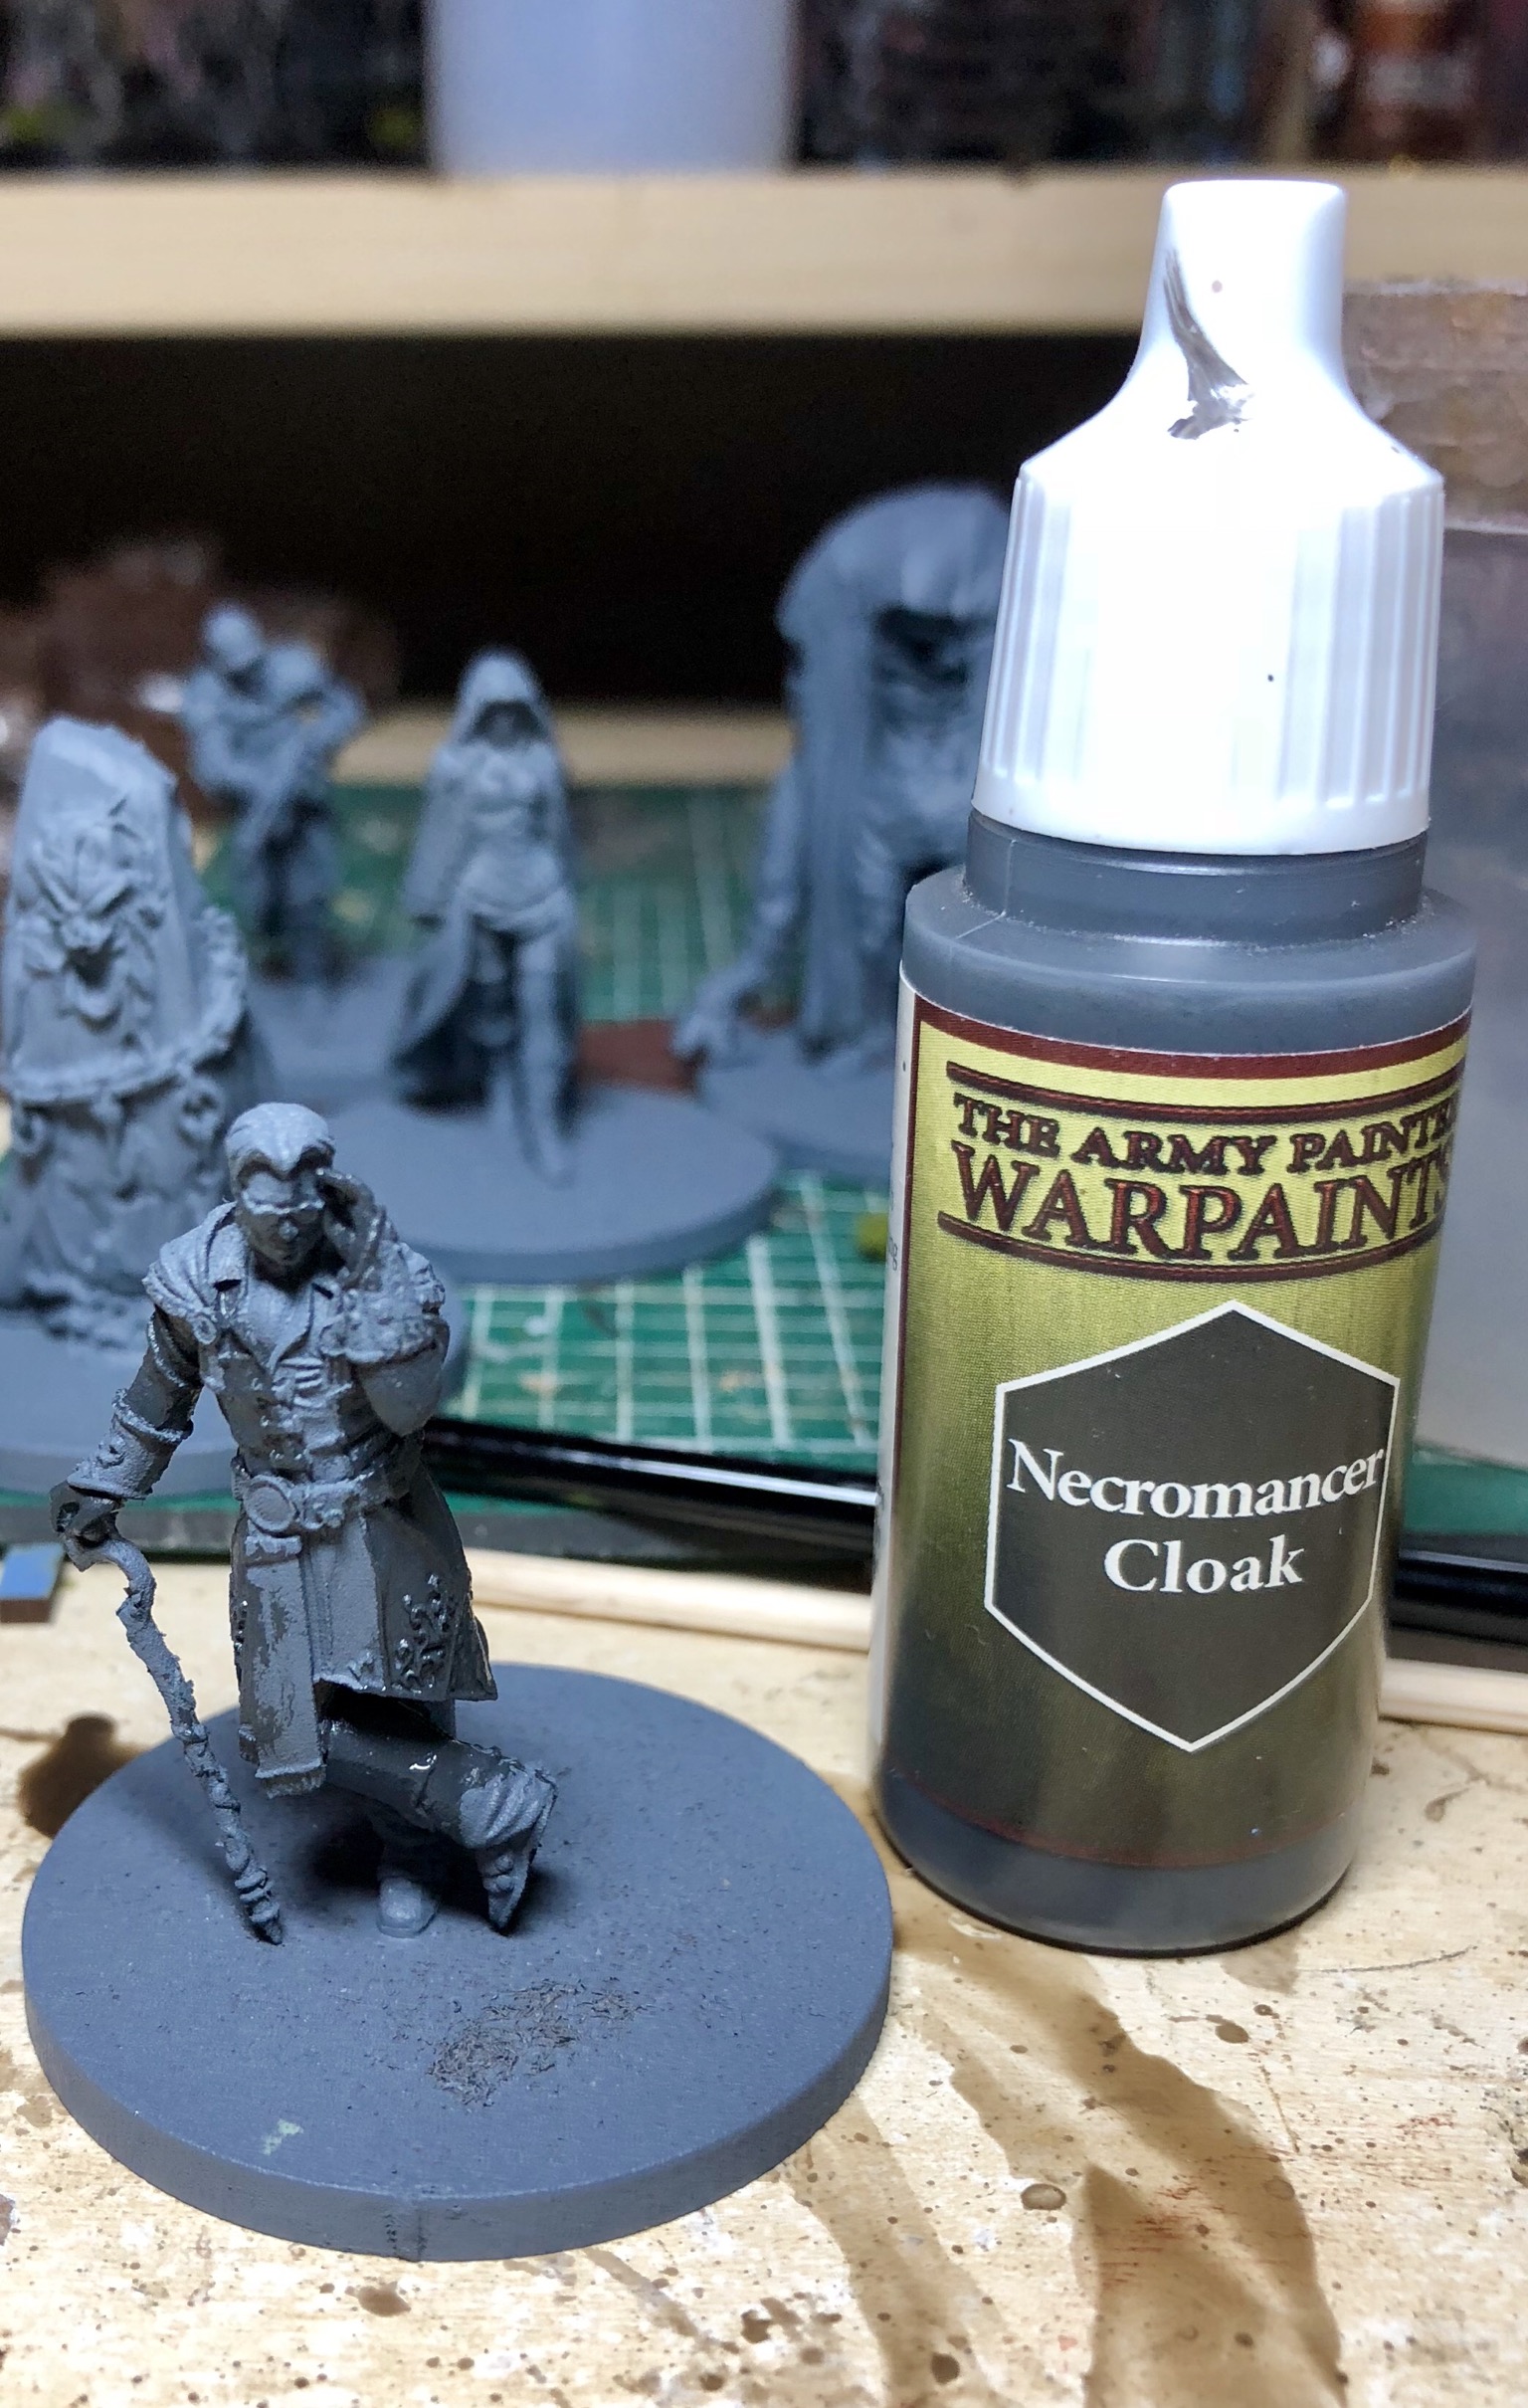
Time to go a little dark, step forward the Third Man and Co...
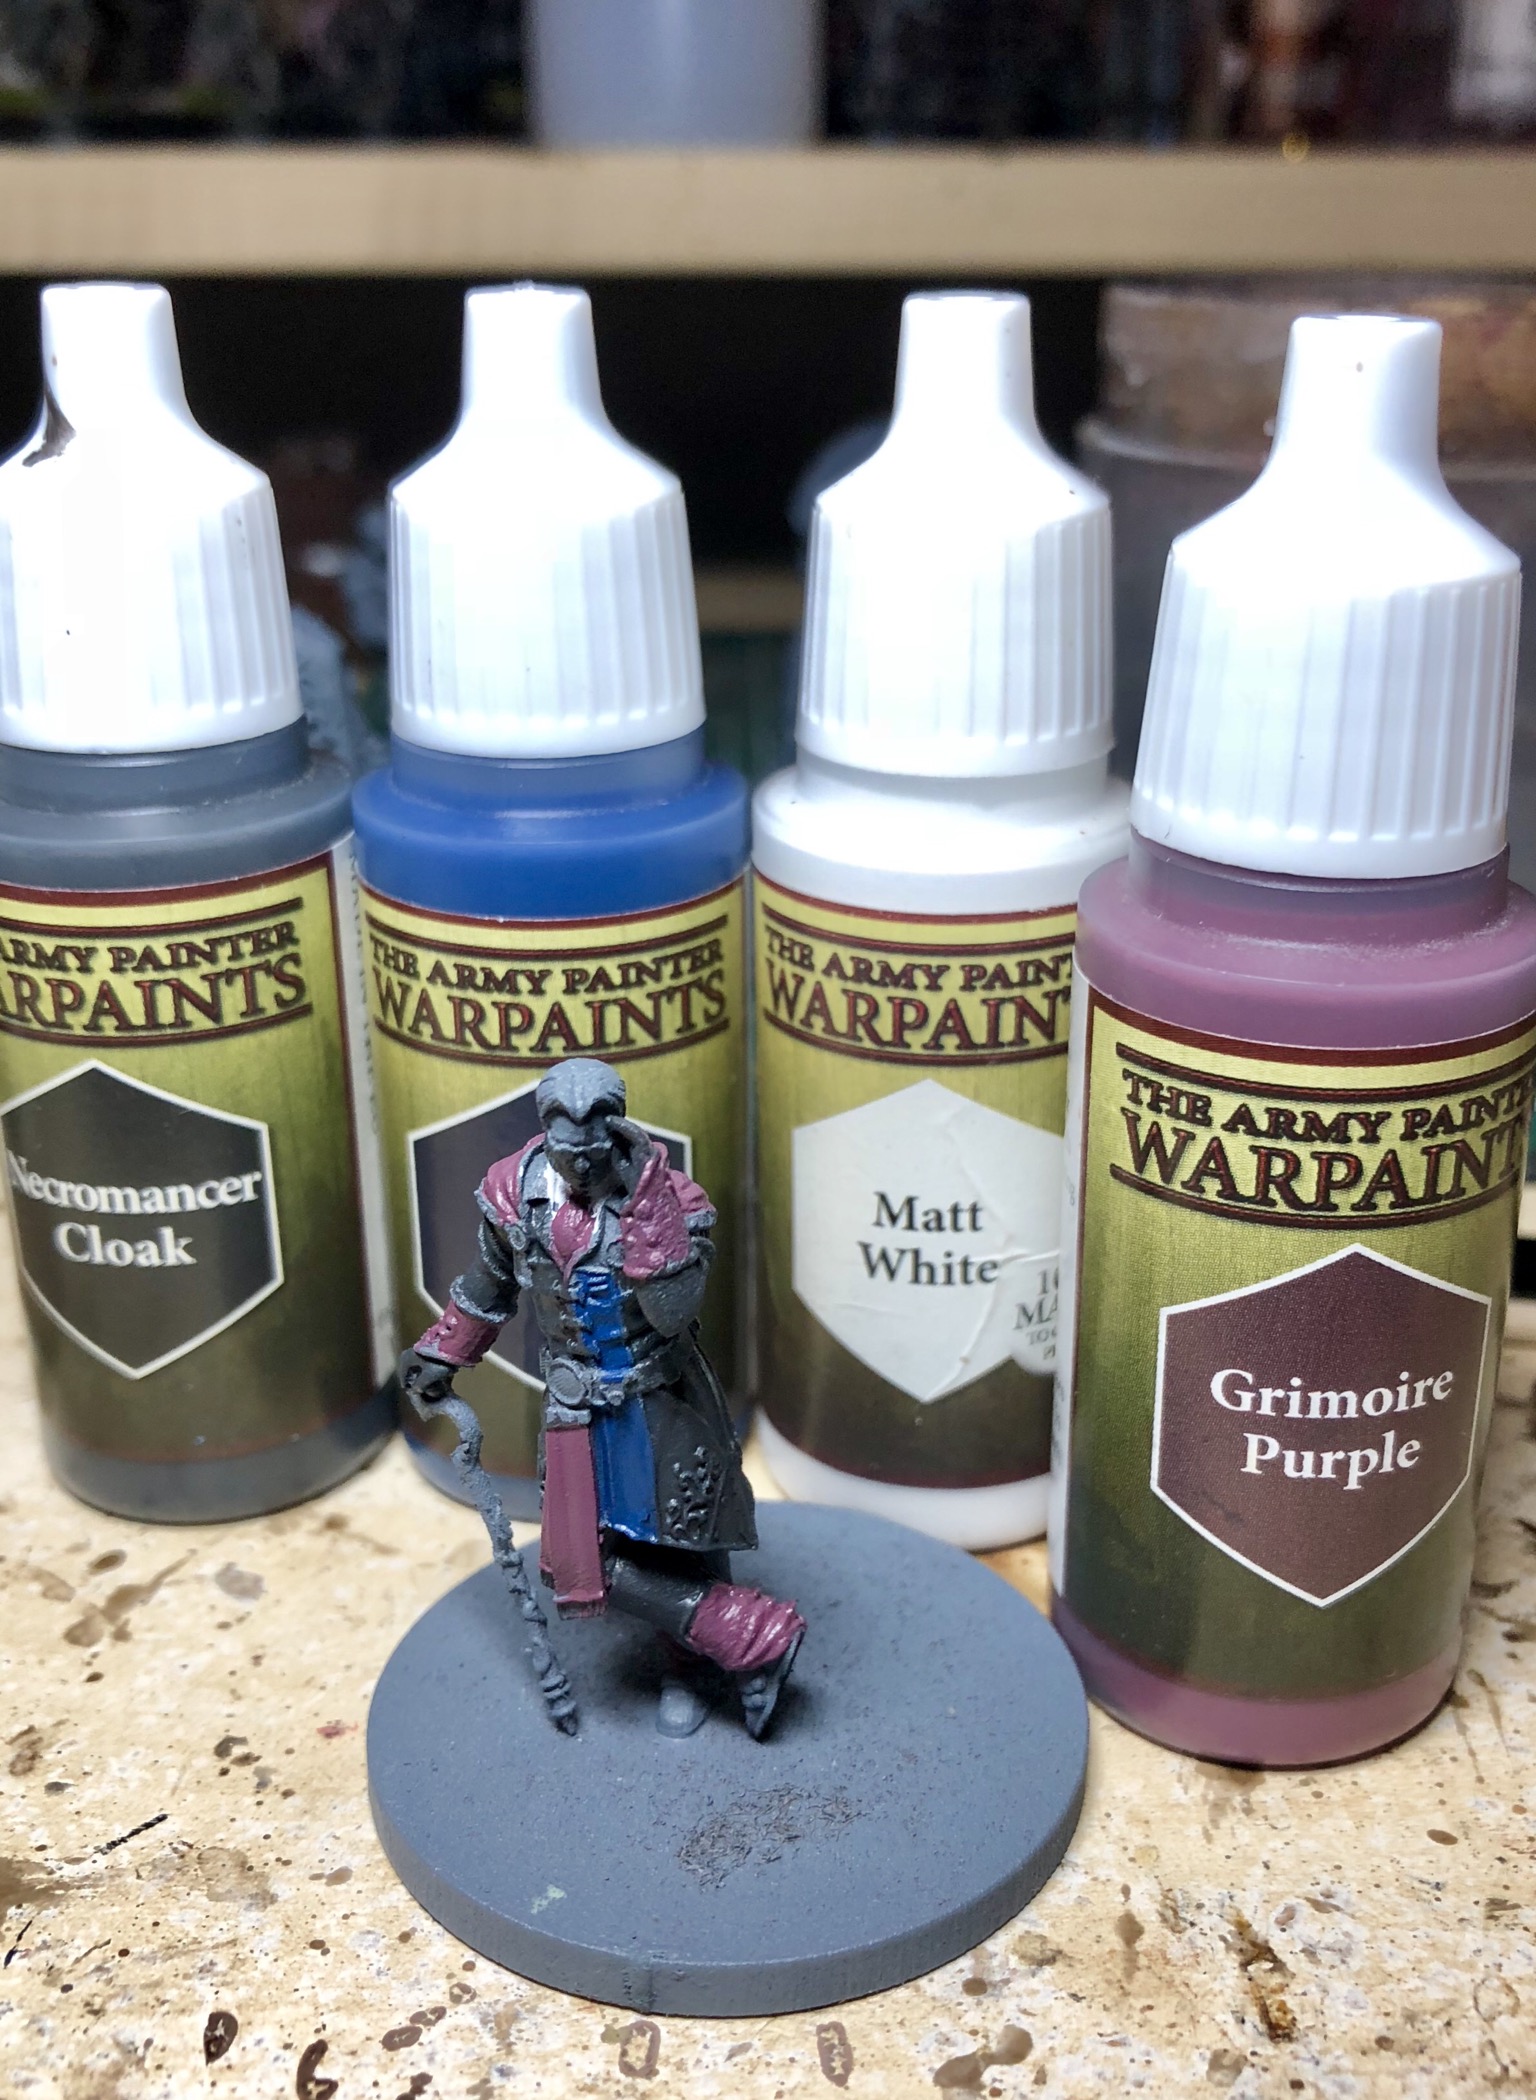
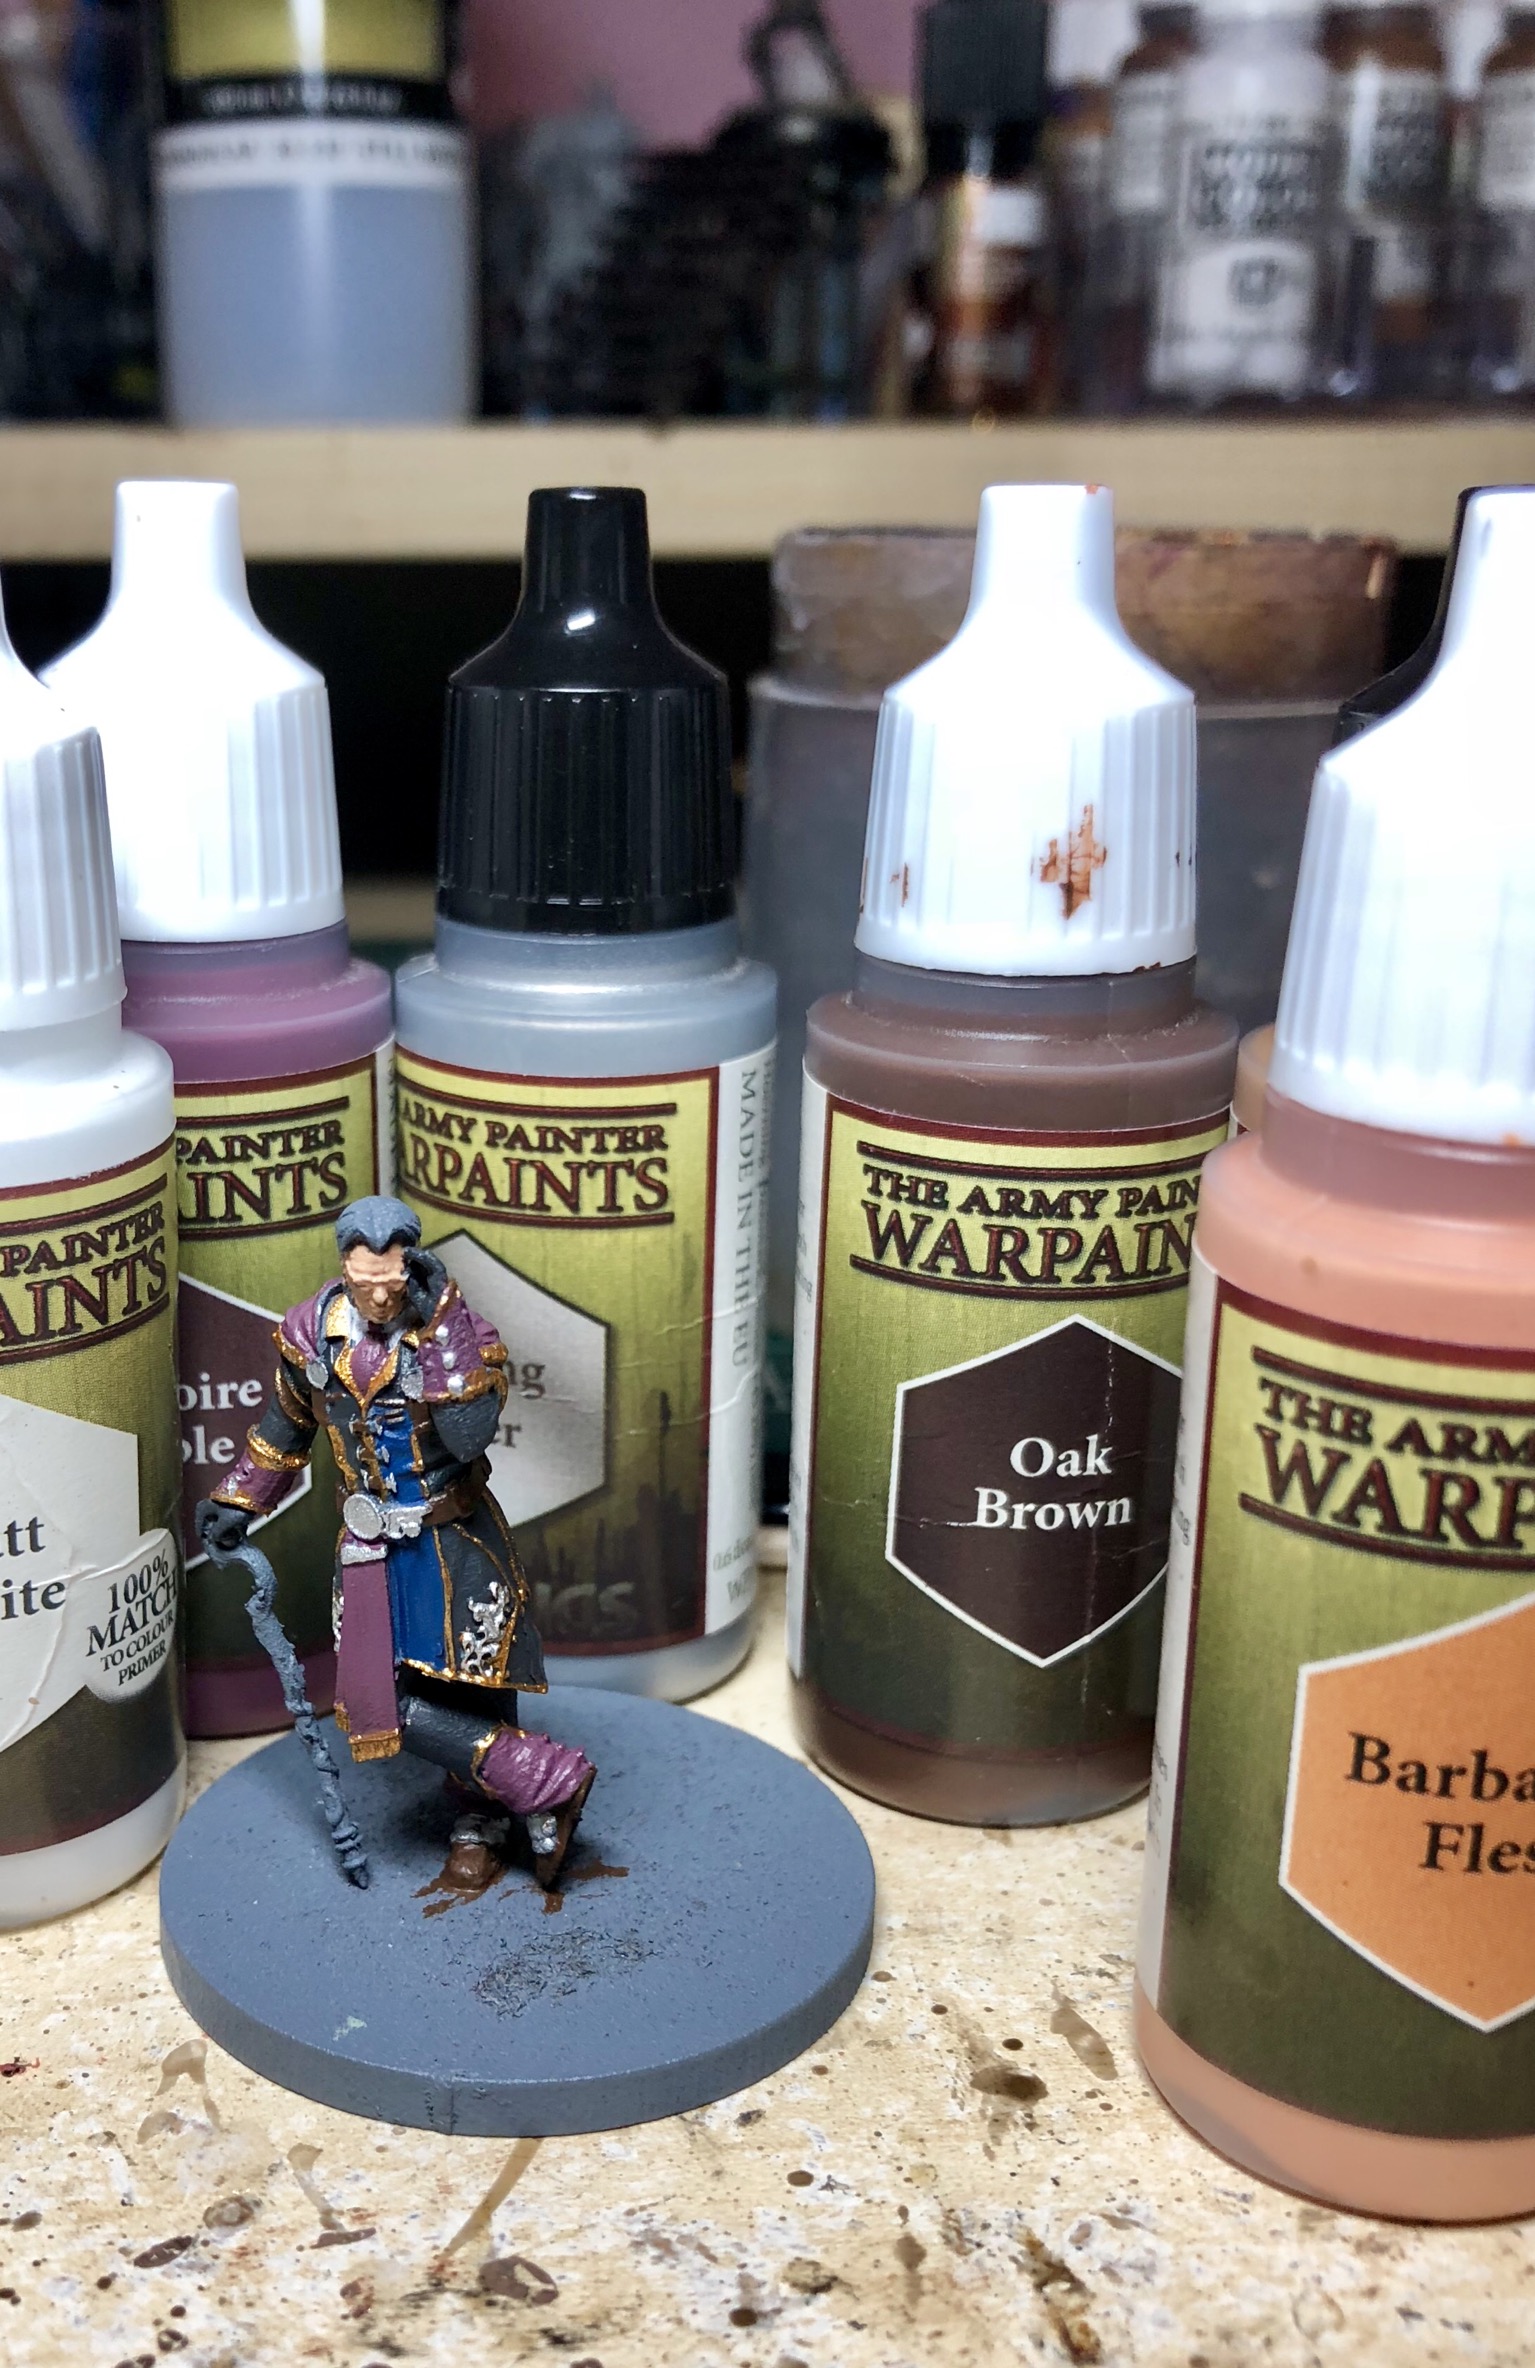
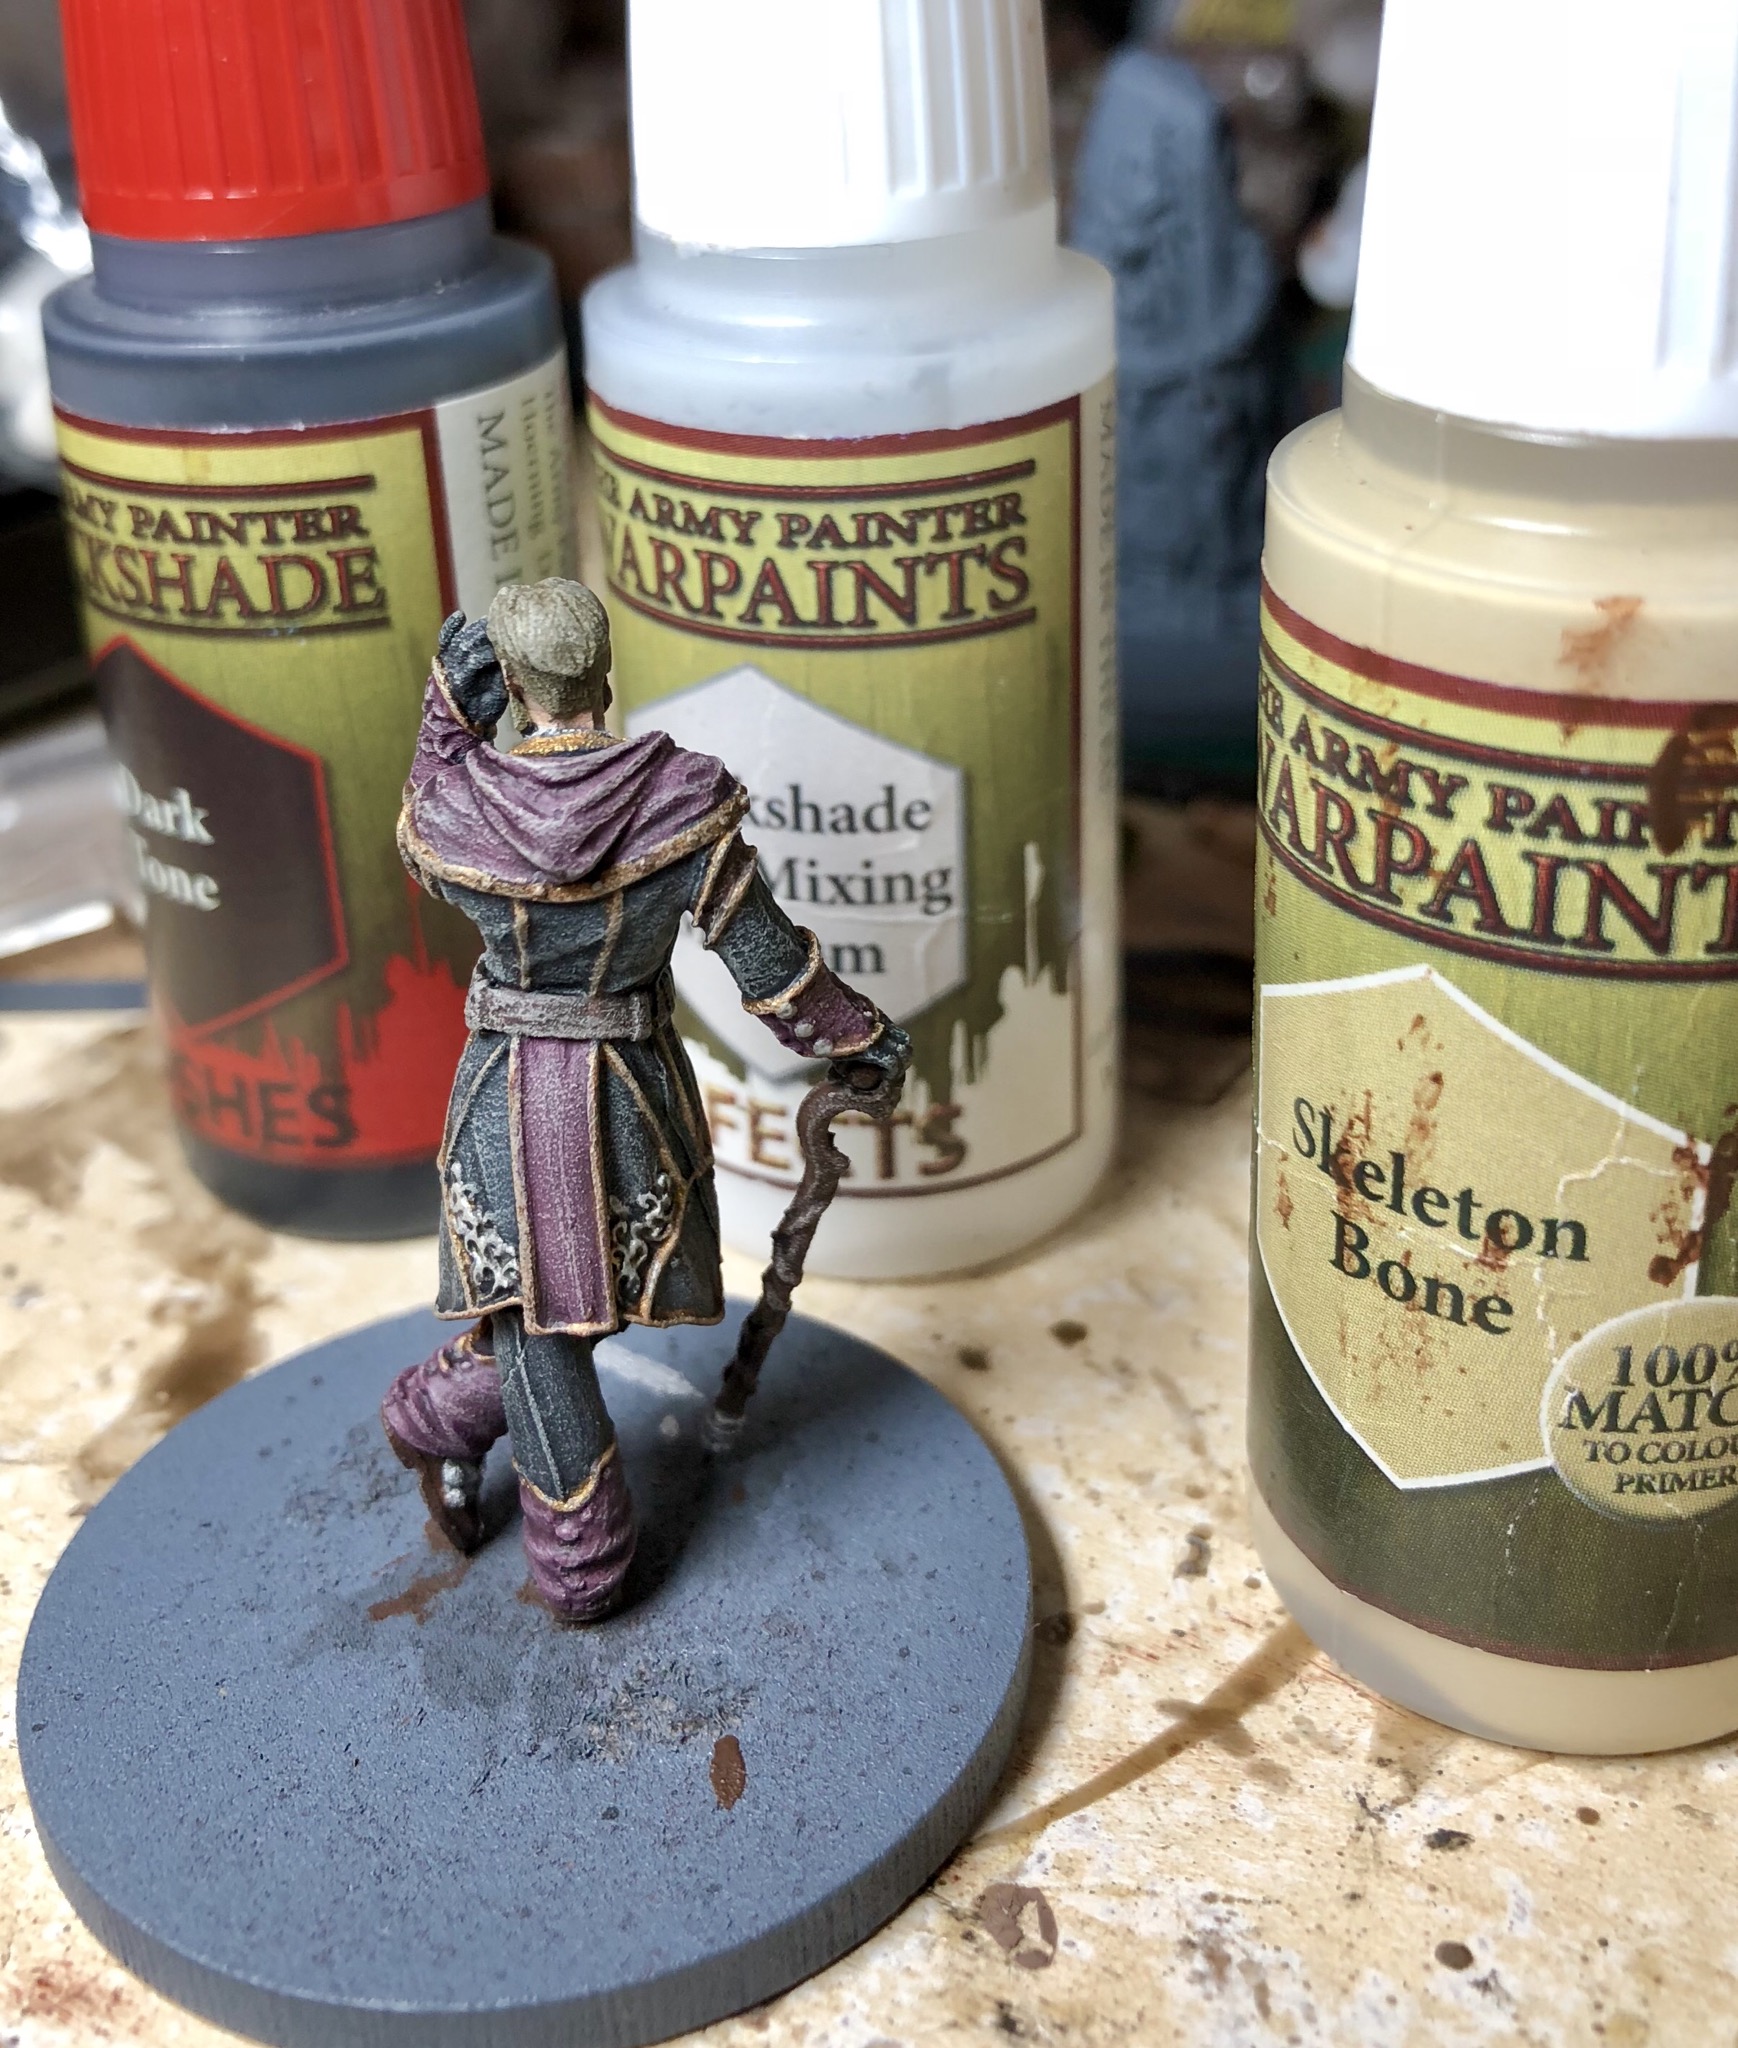
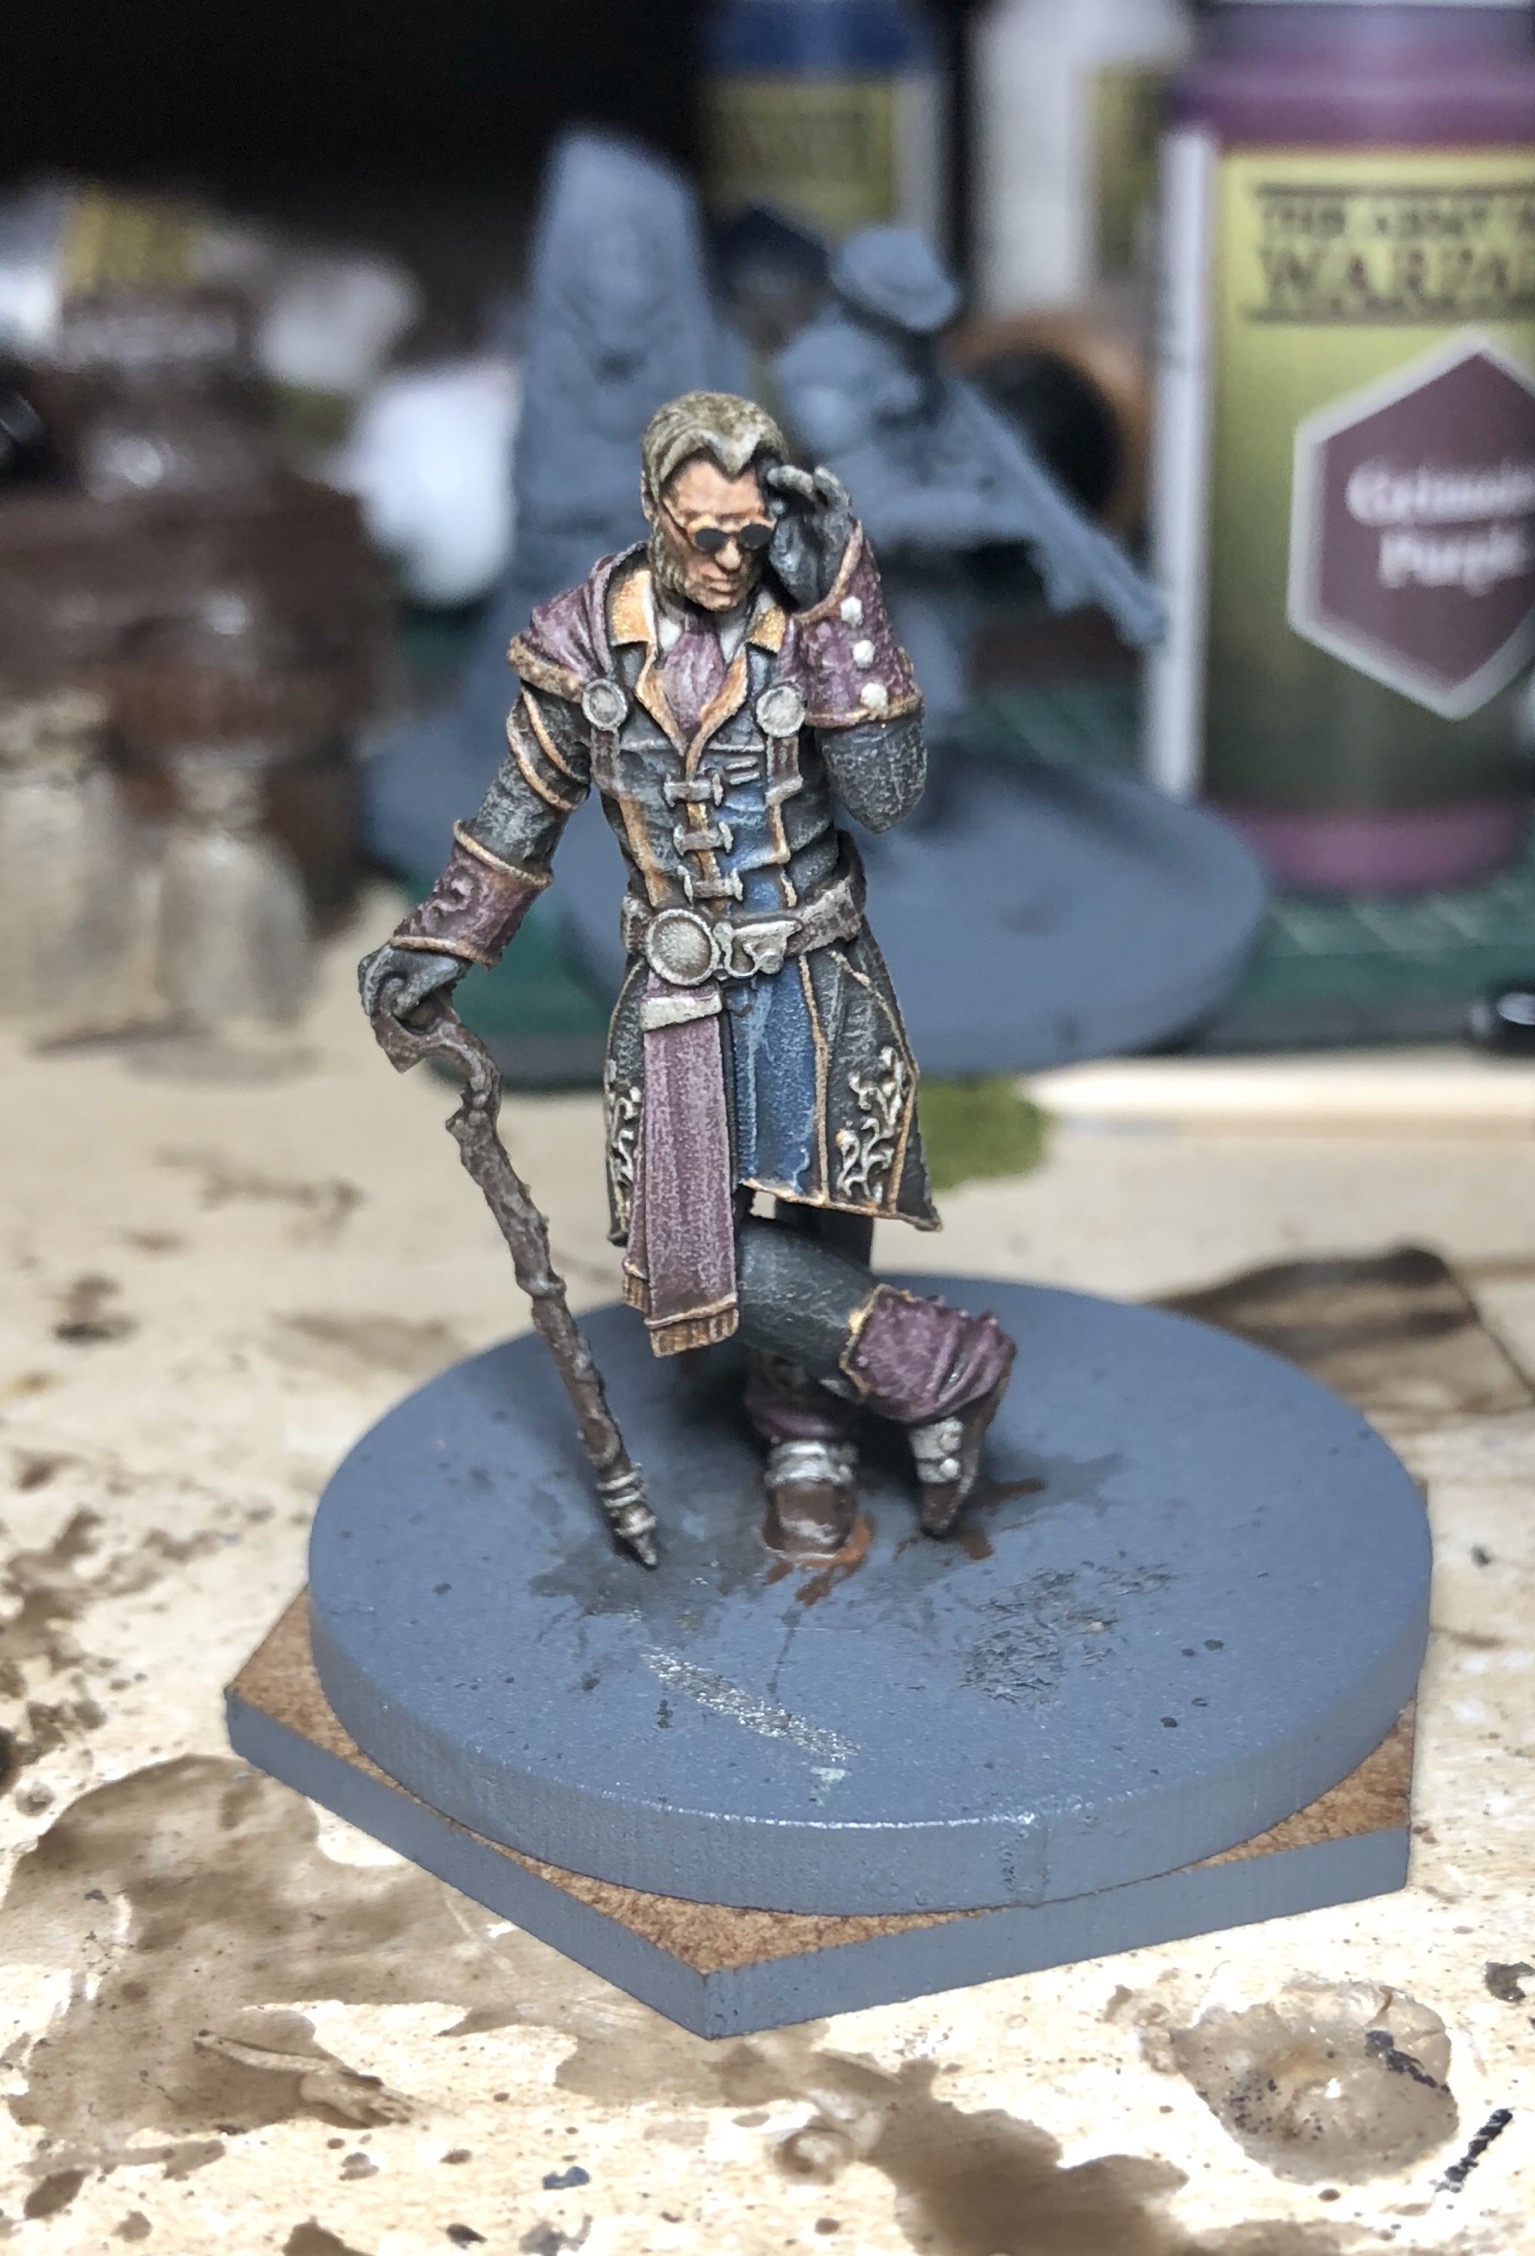
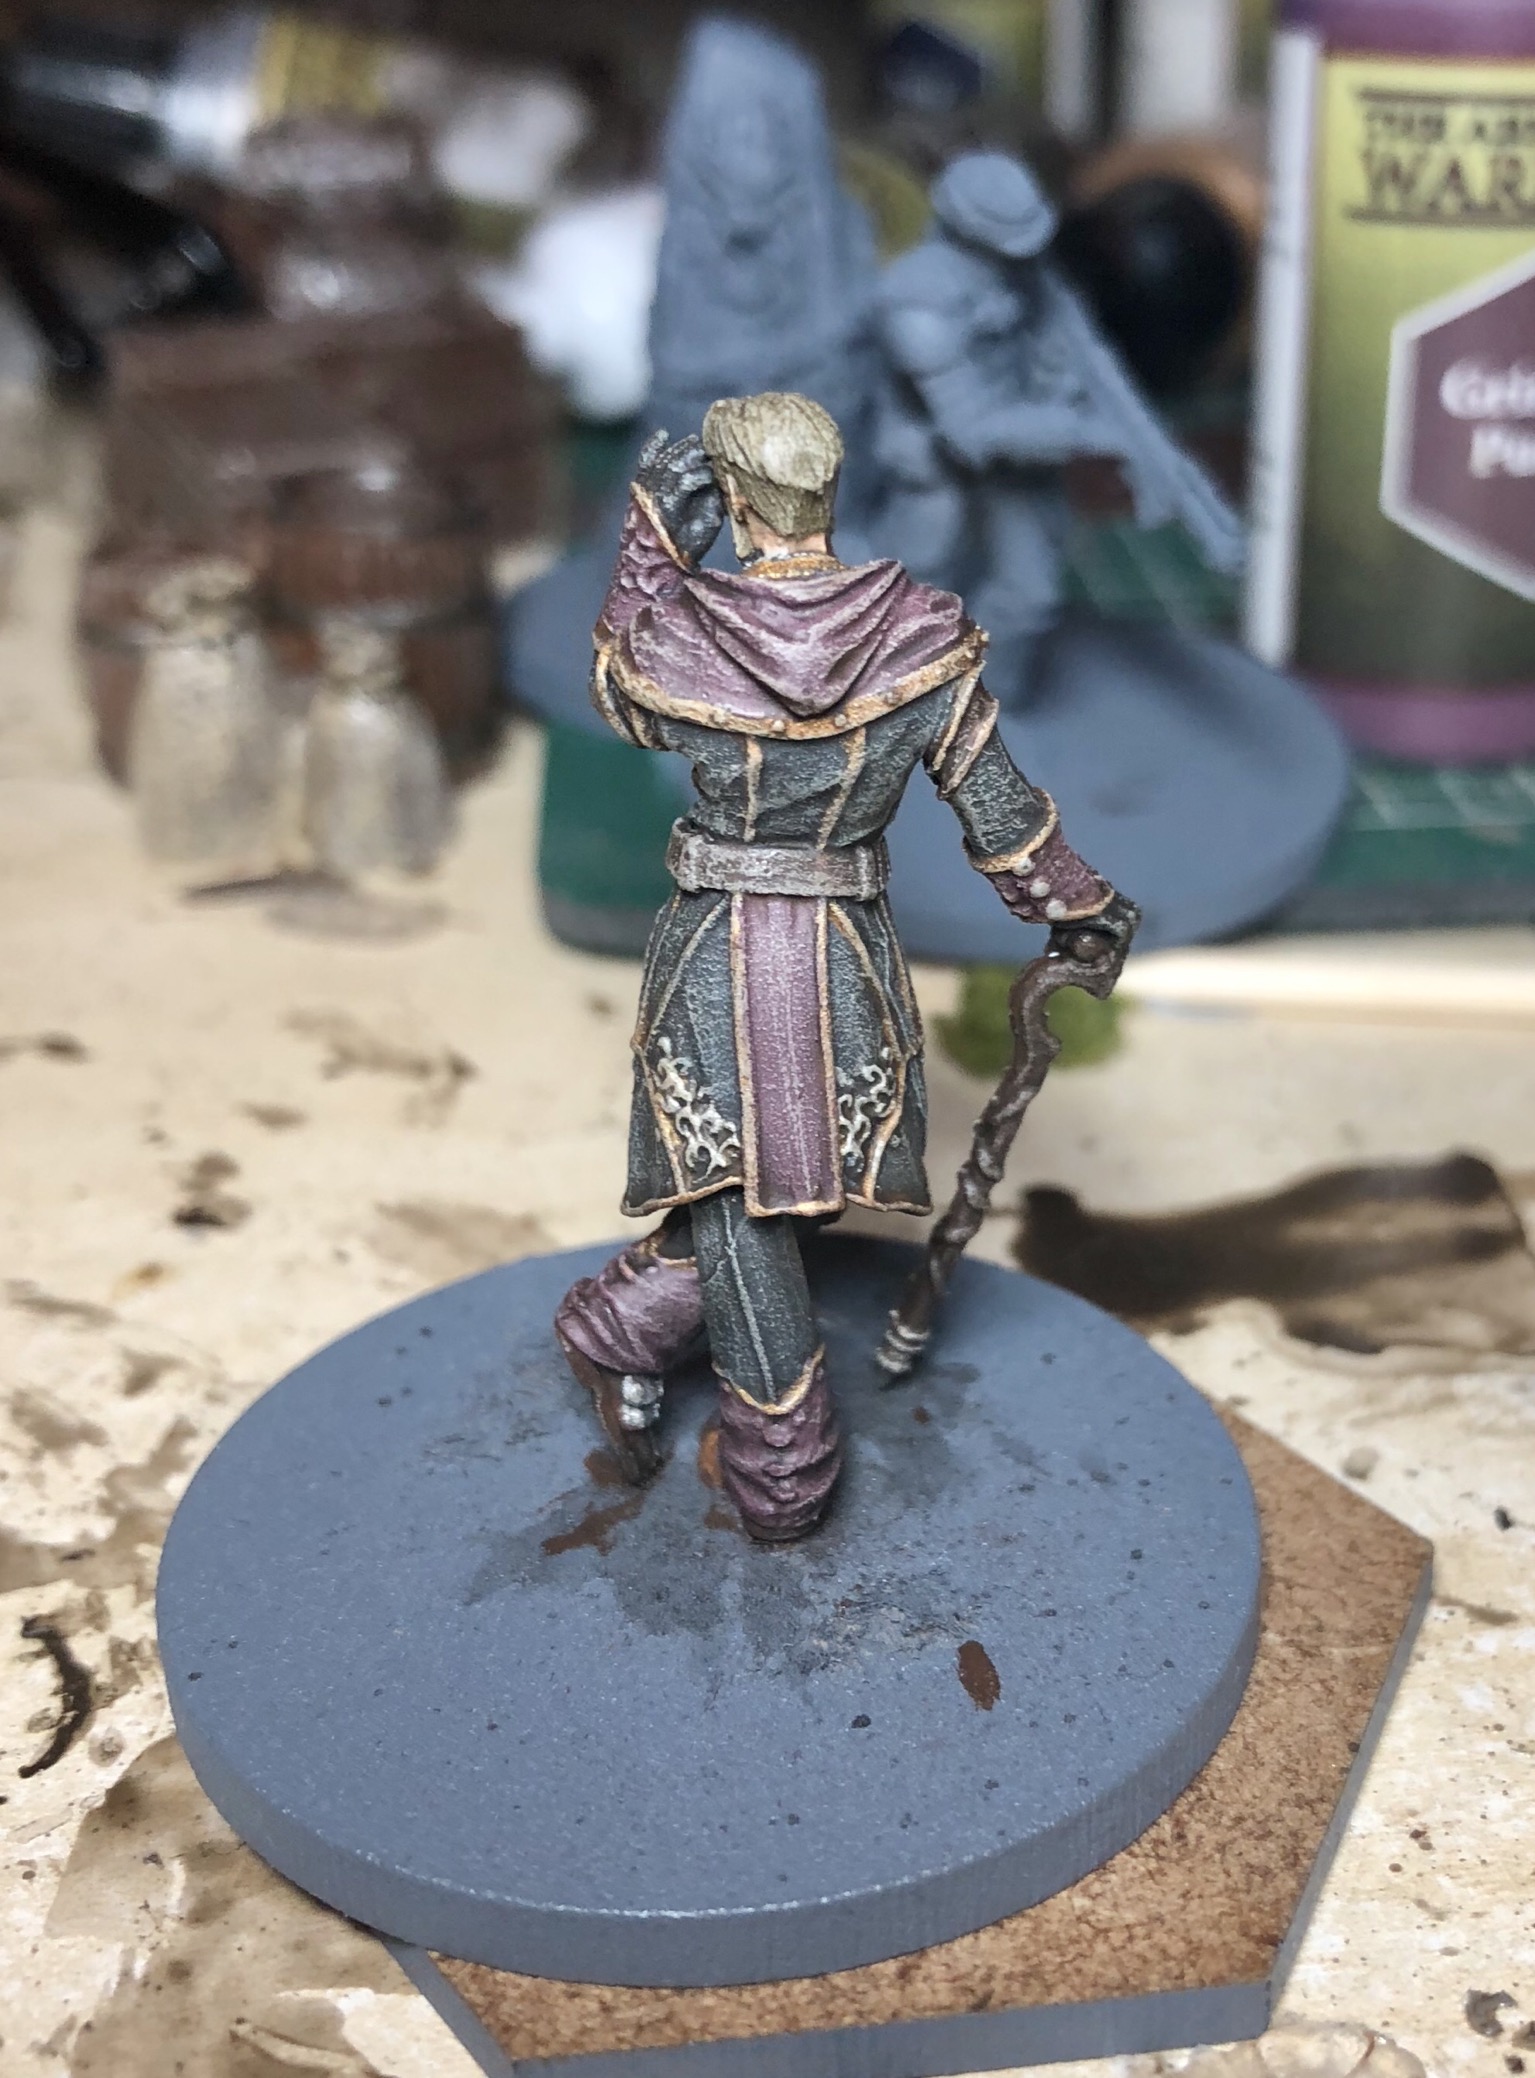
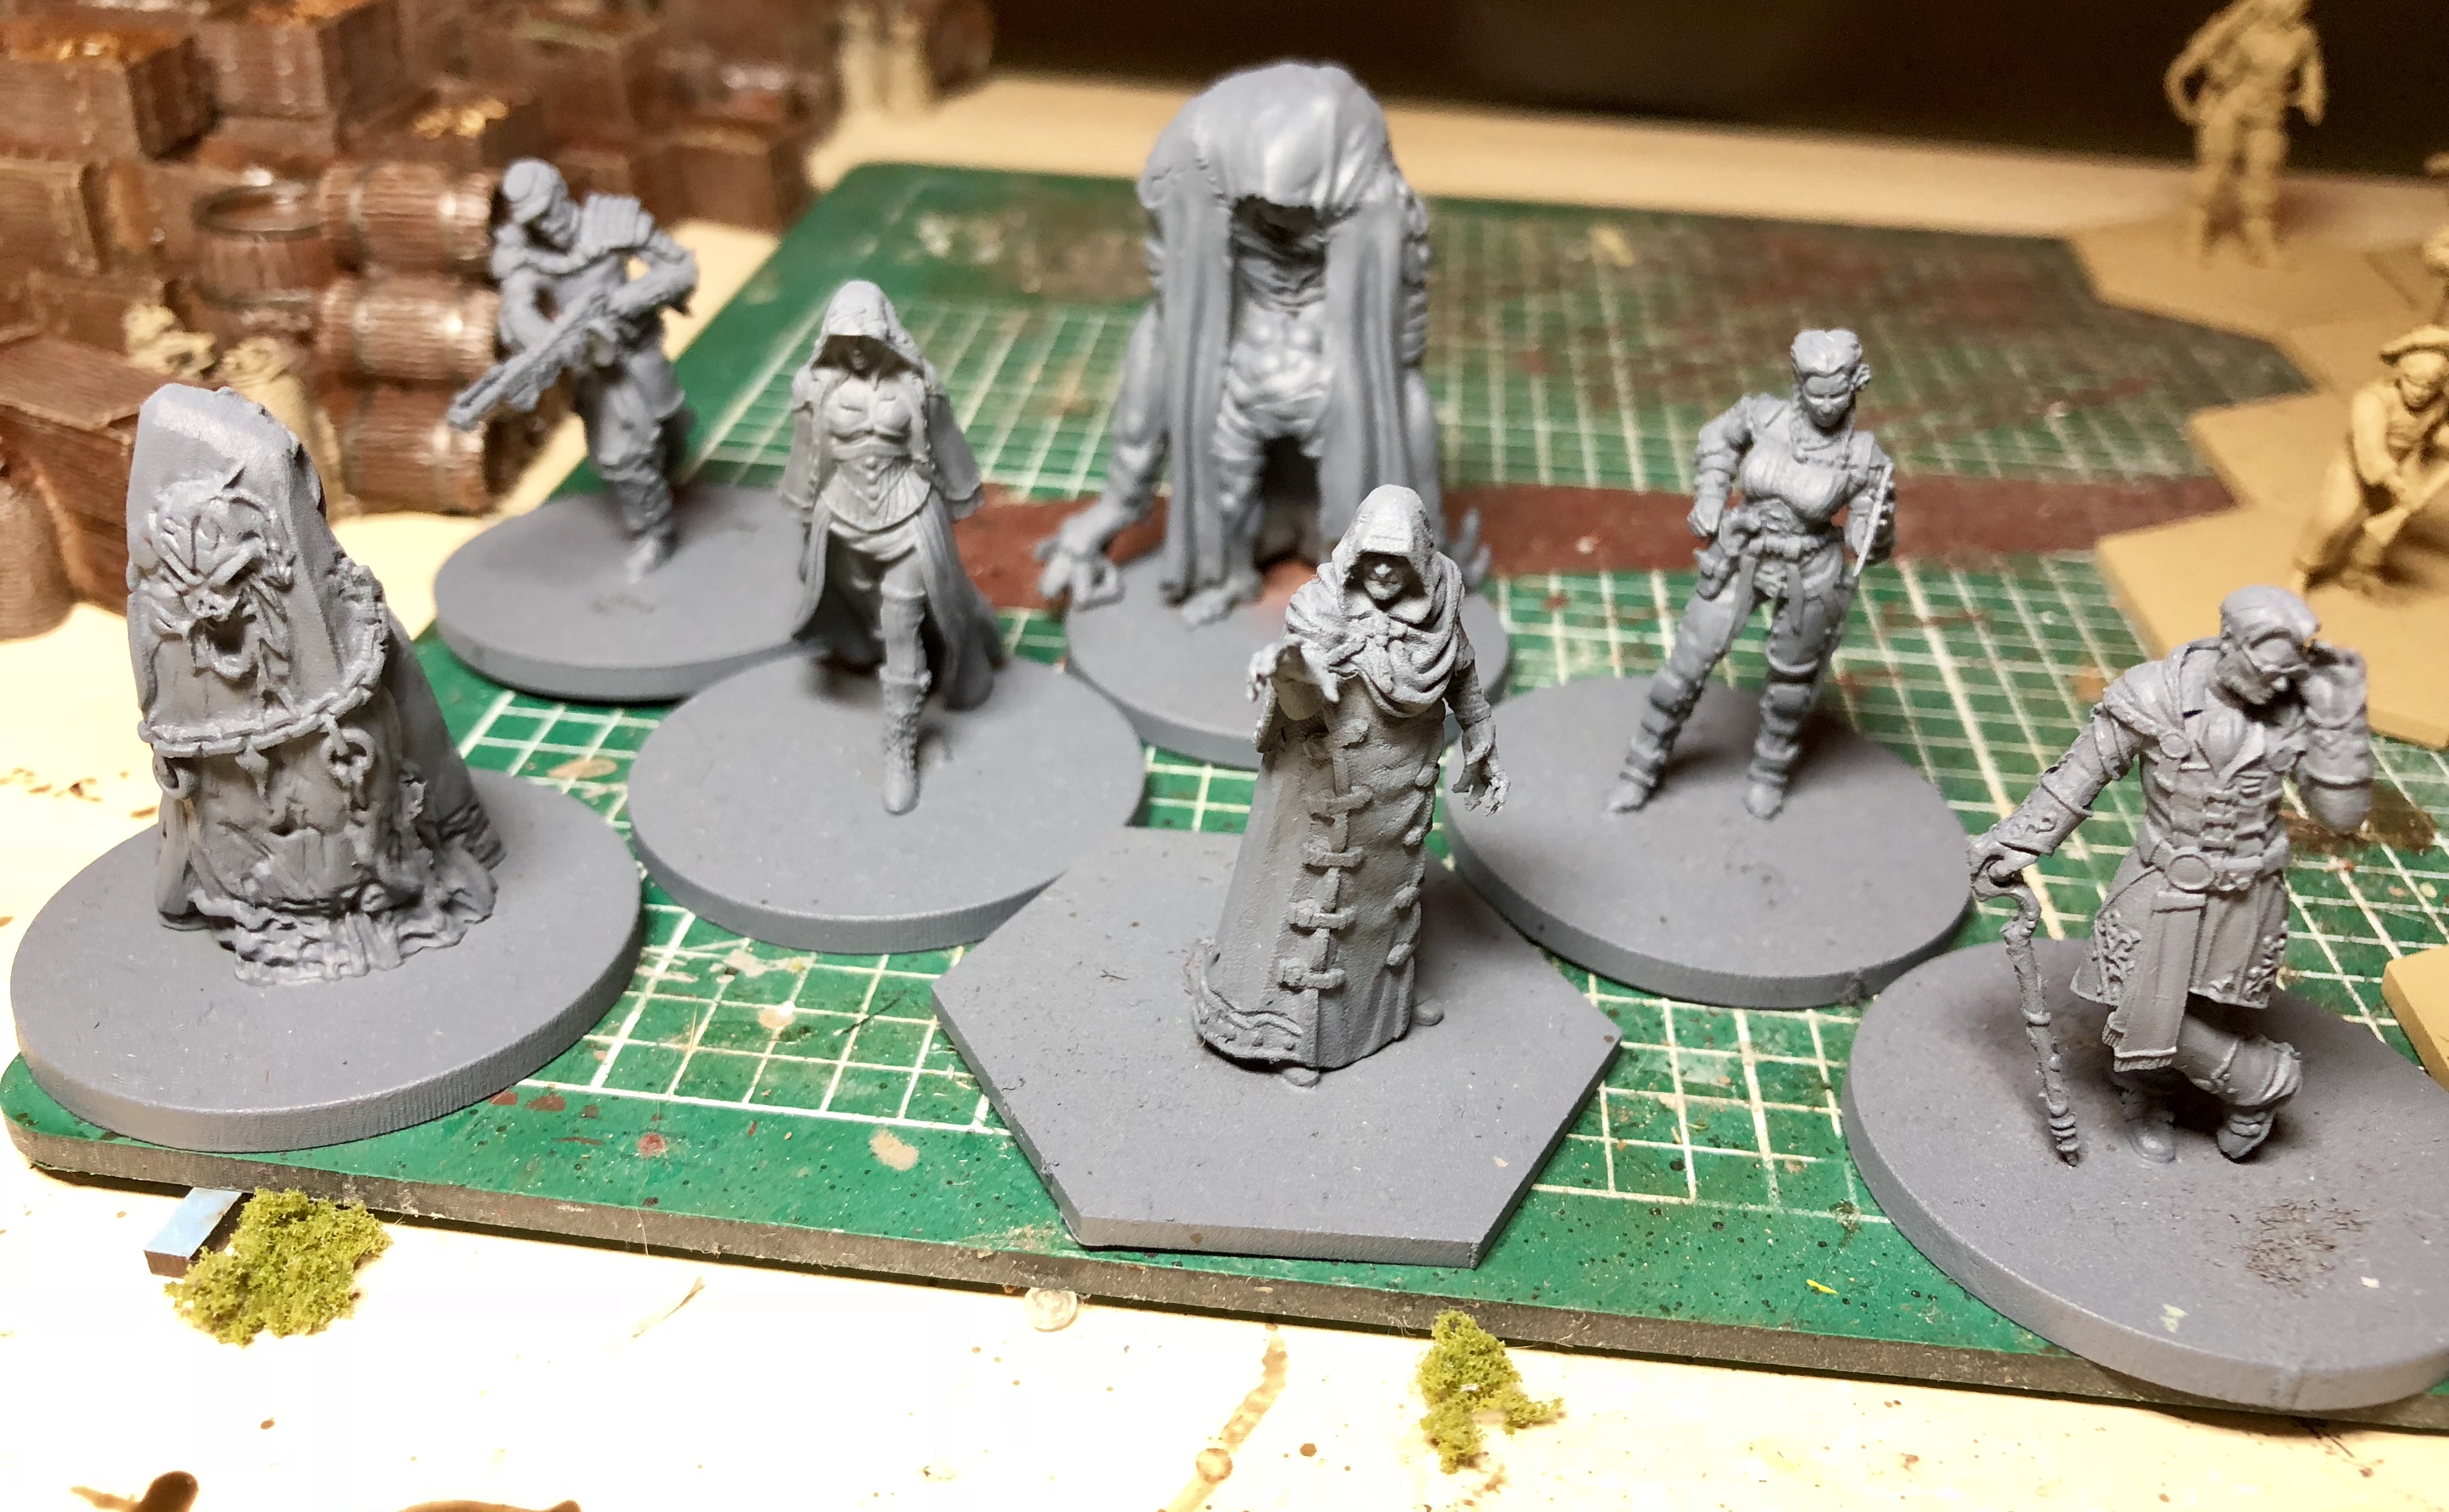 Absolute Power primed and ready
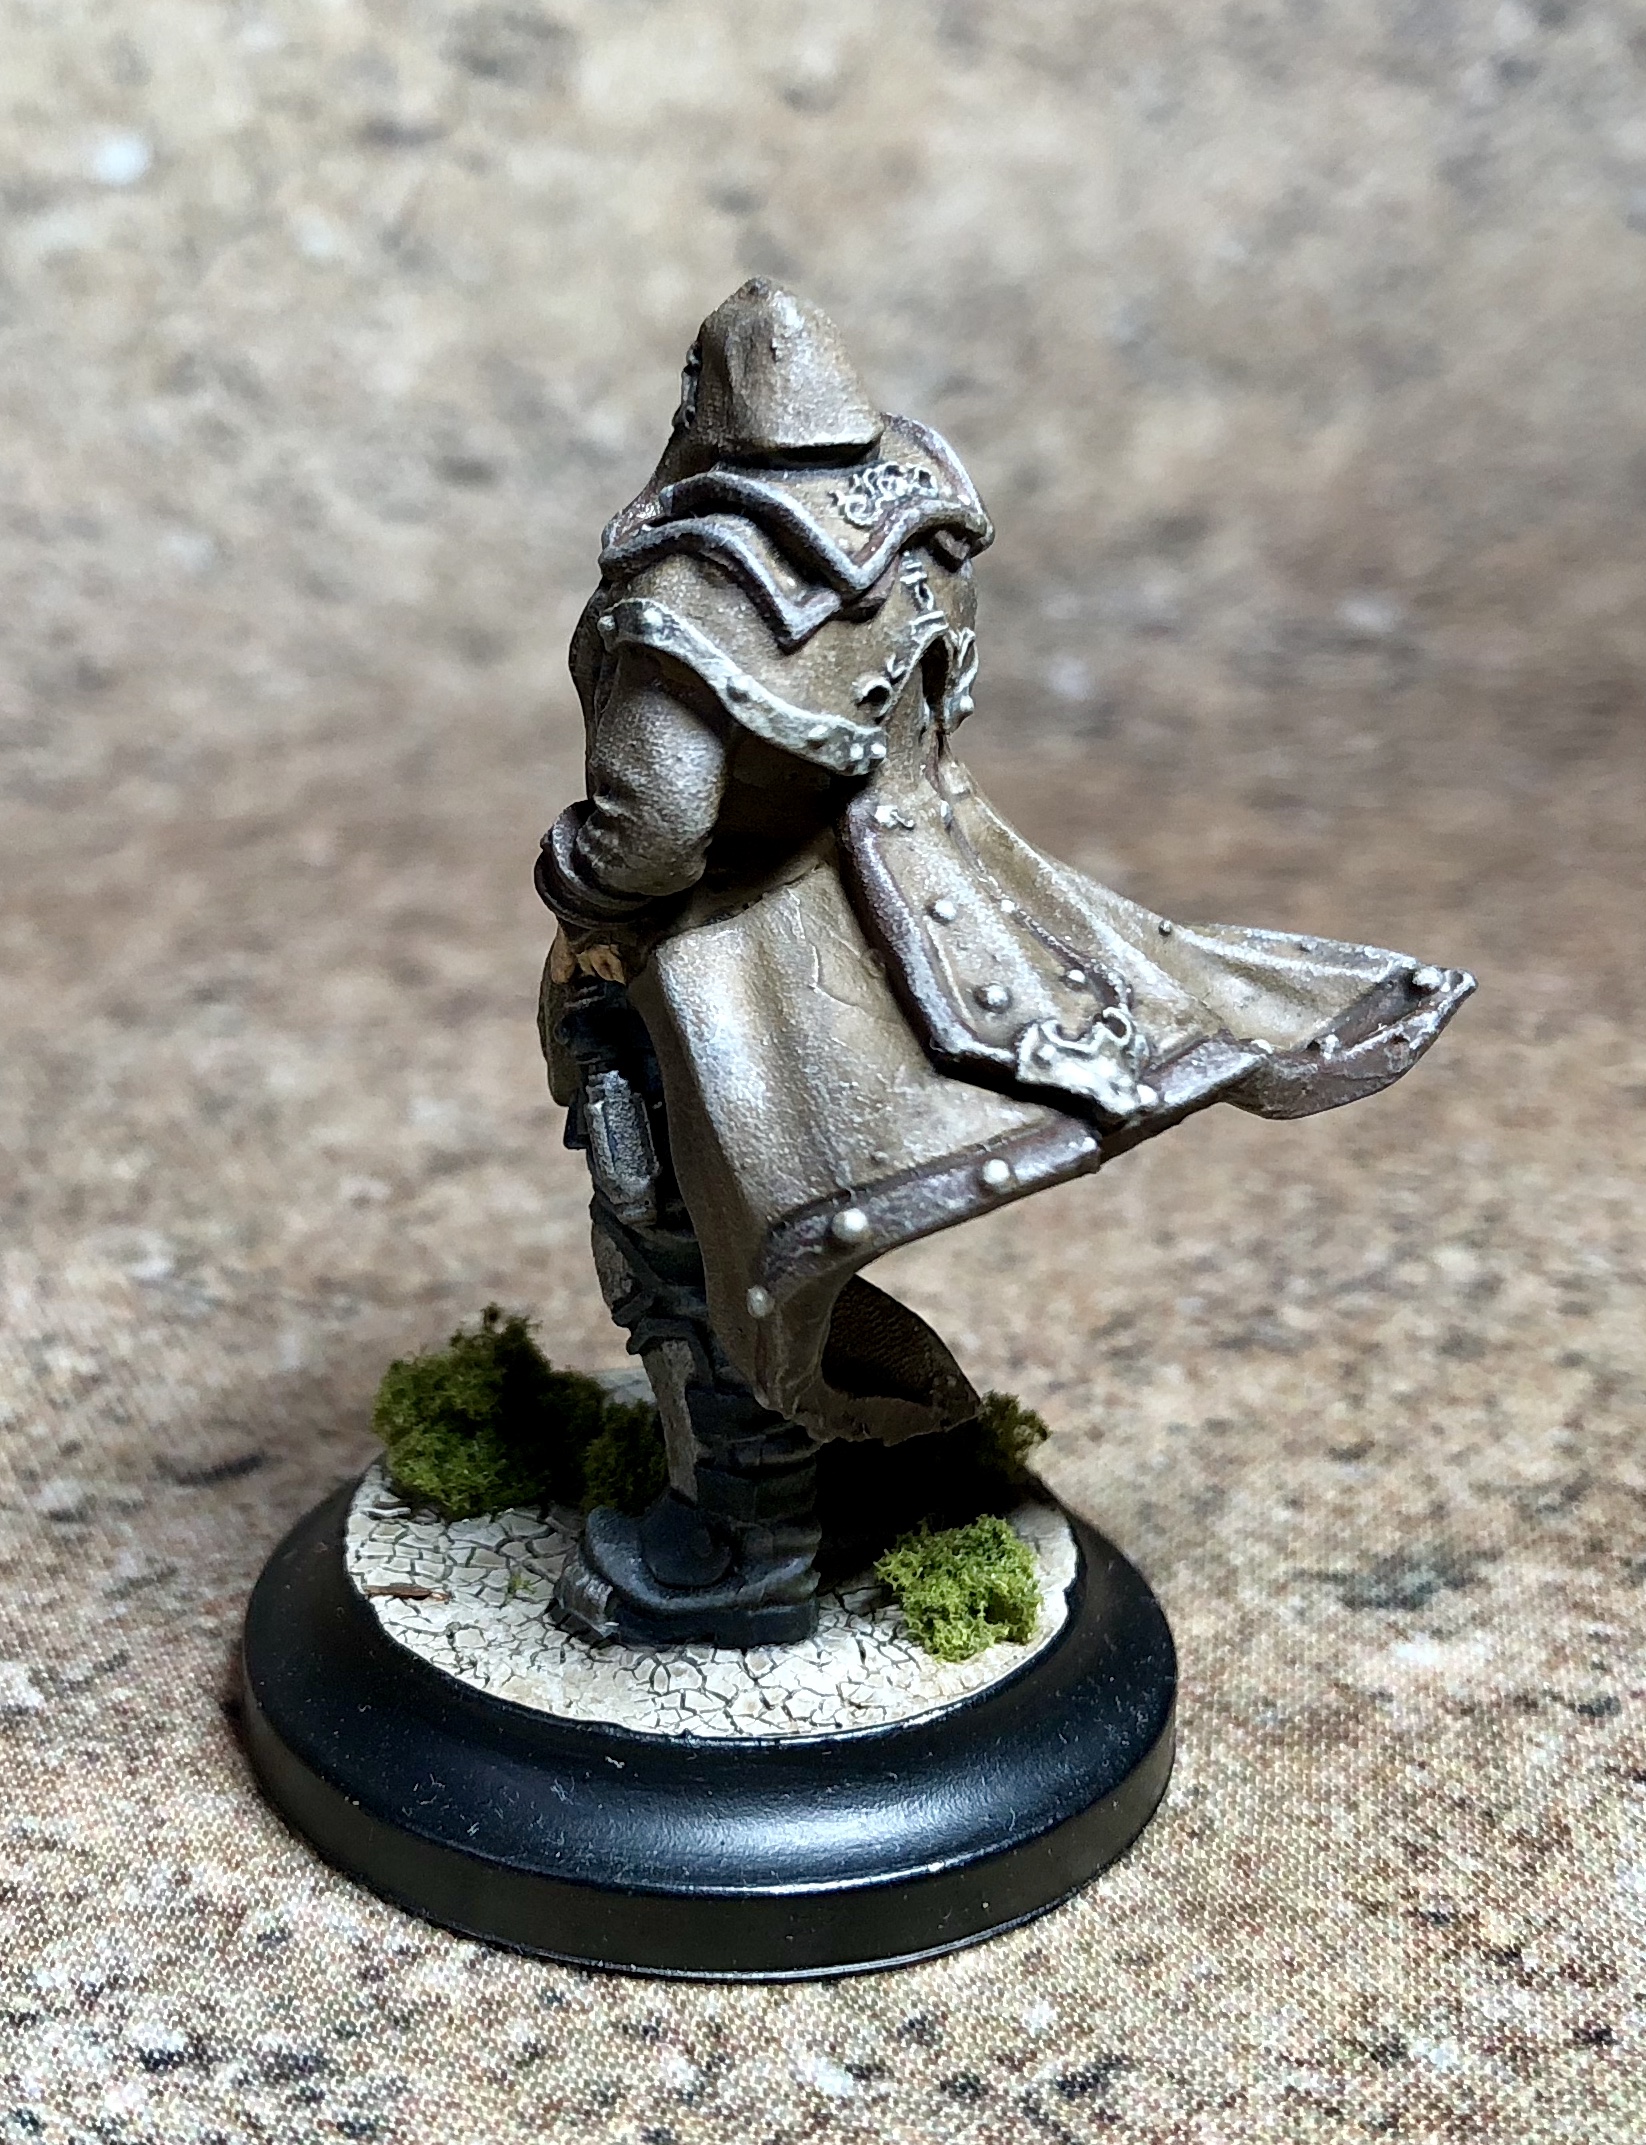
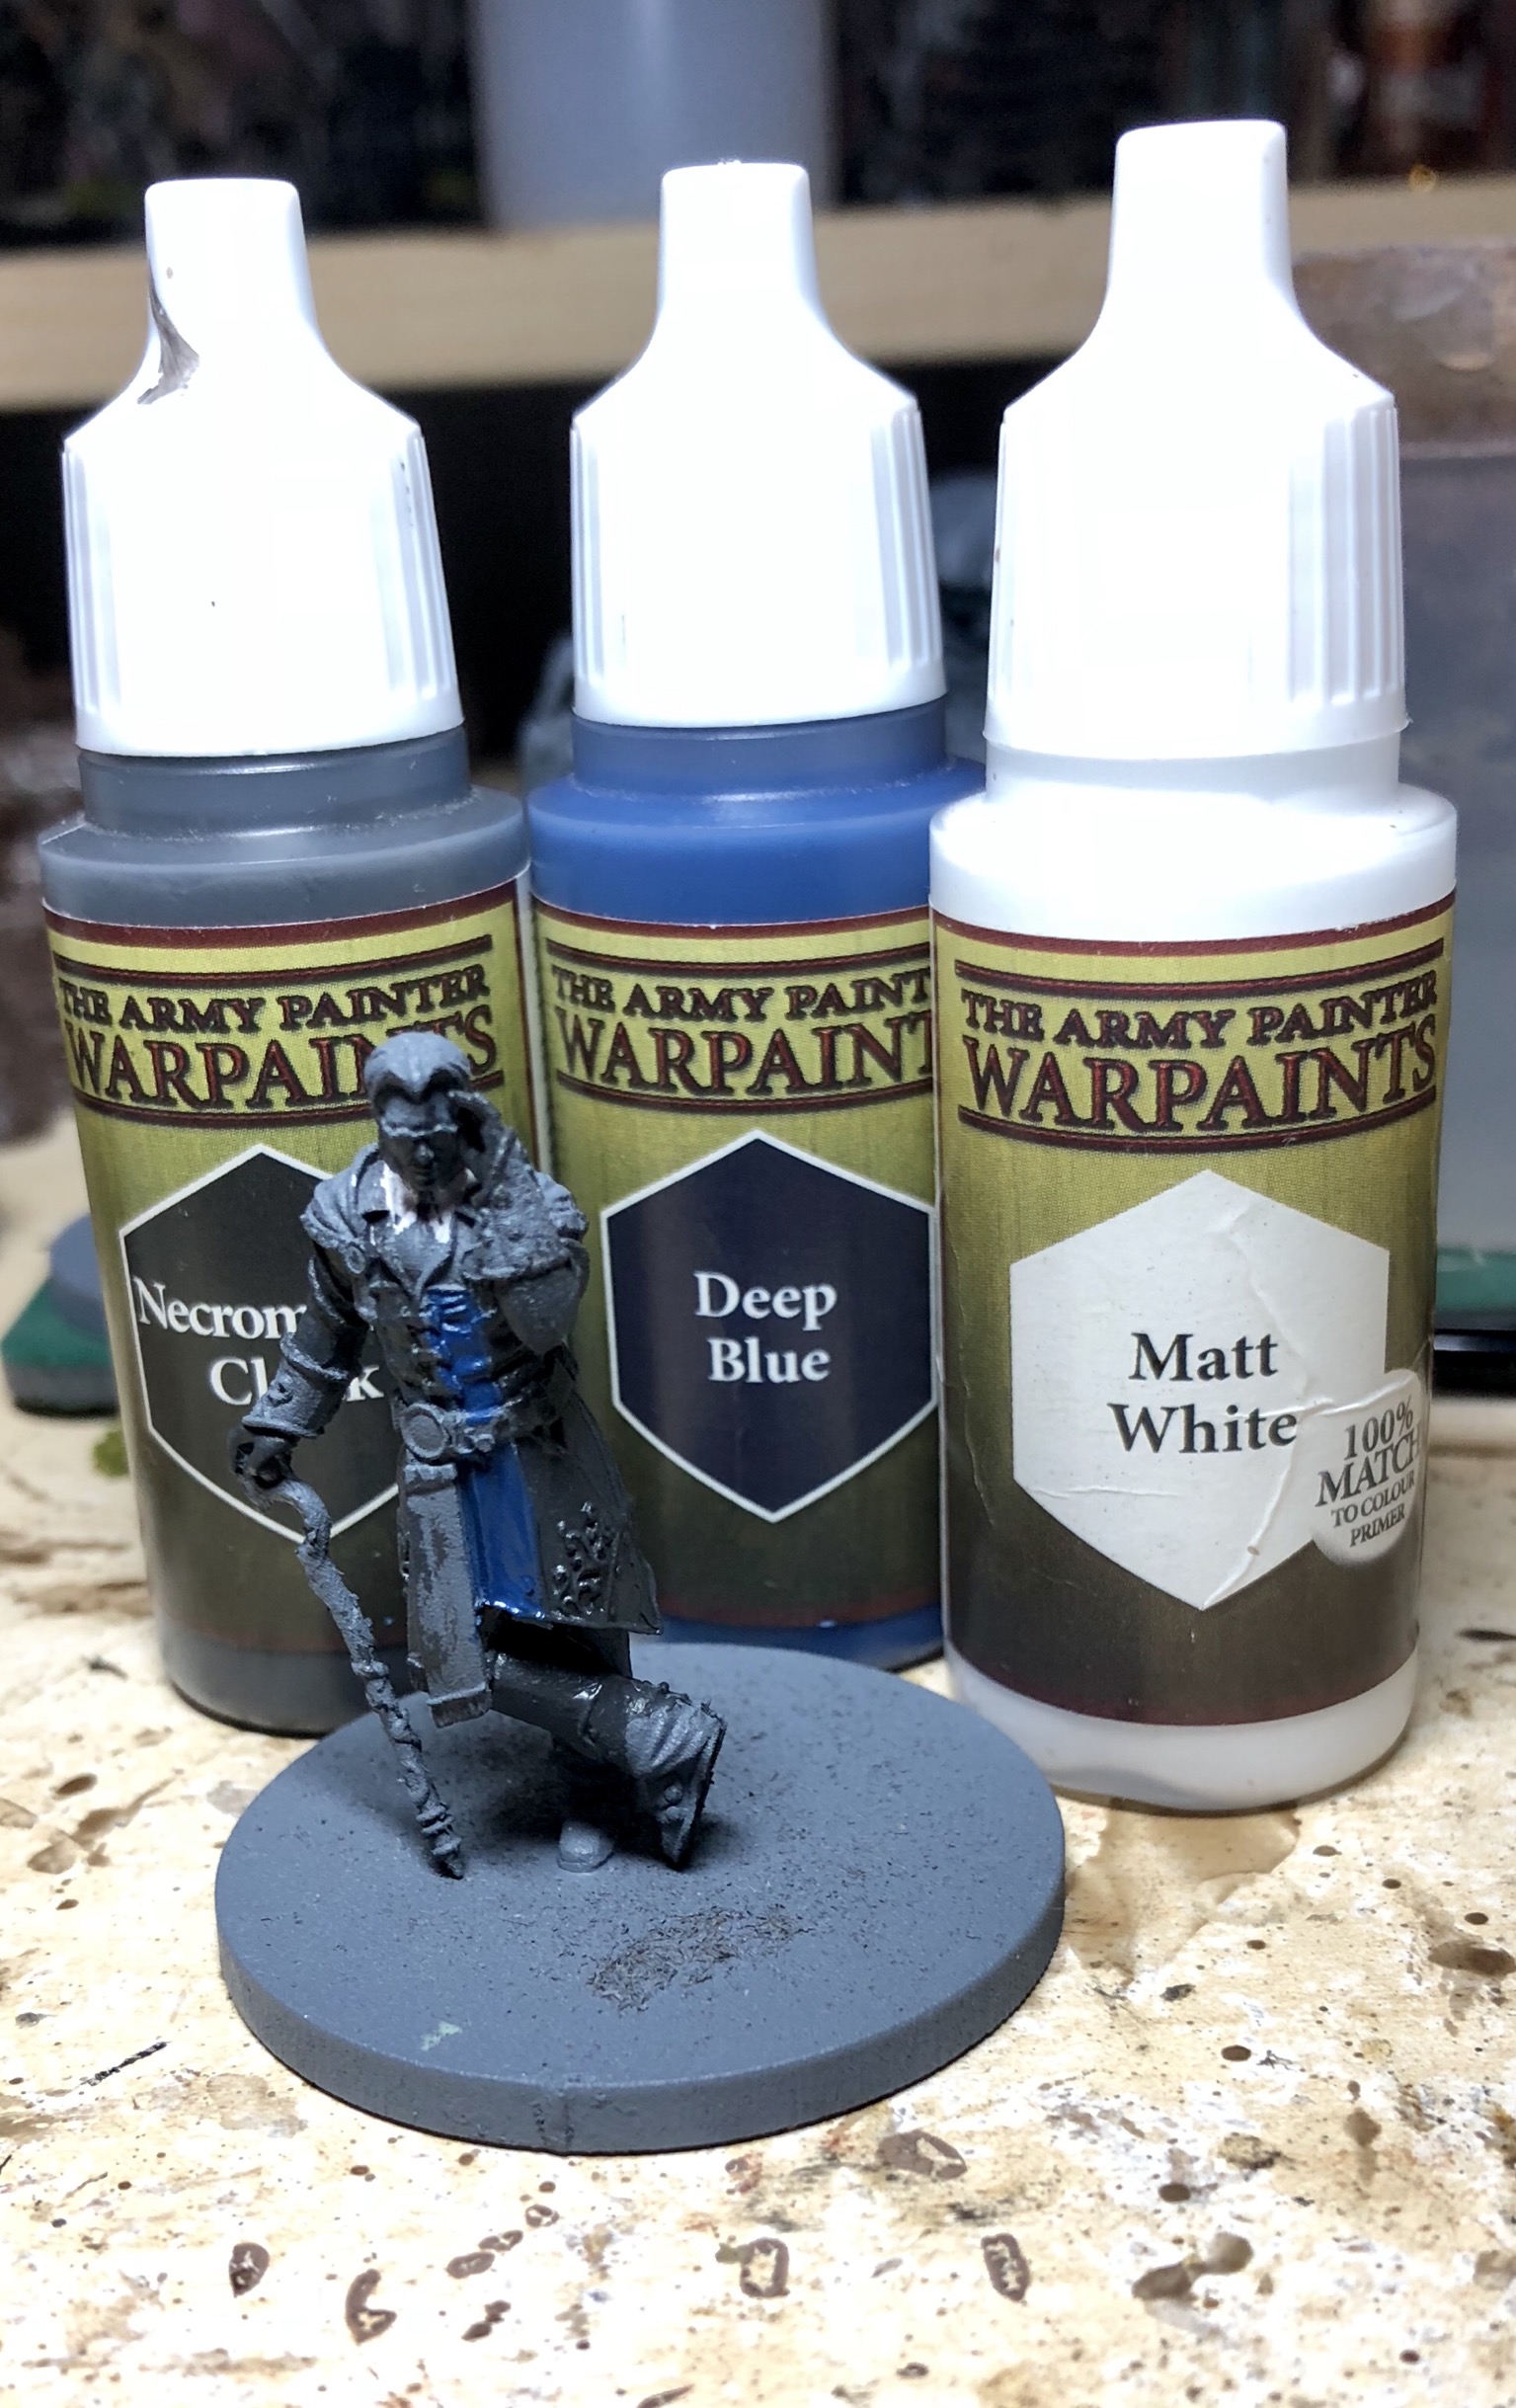
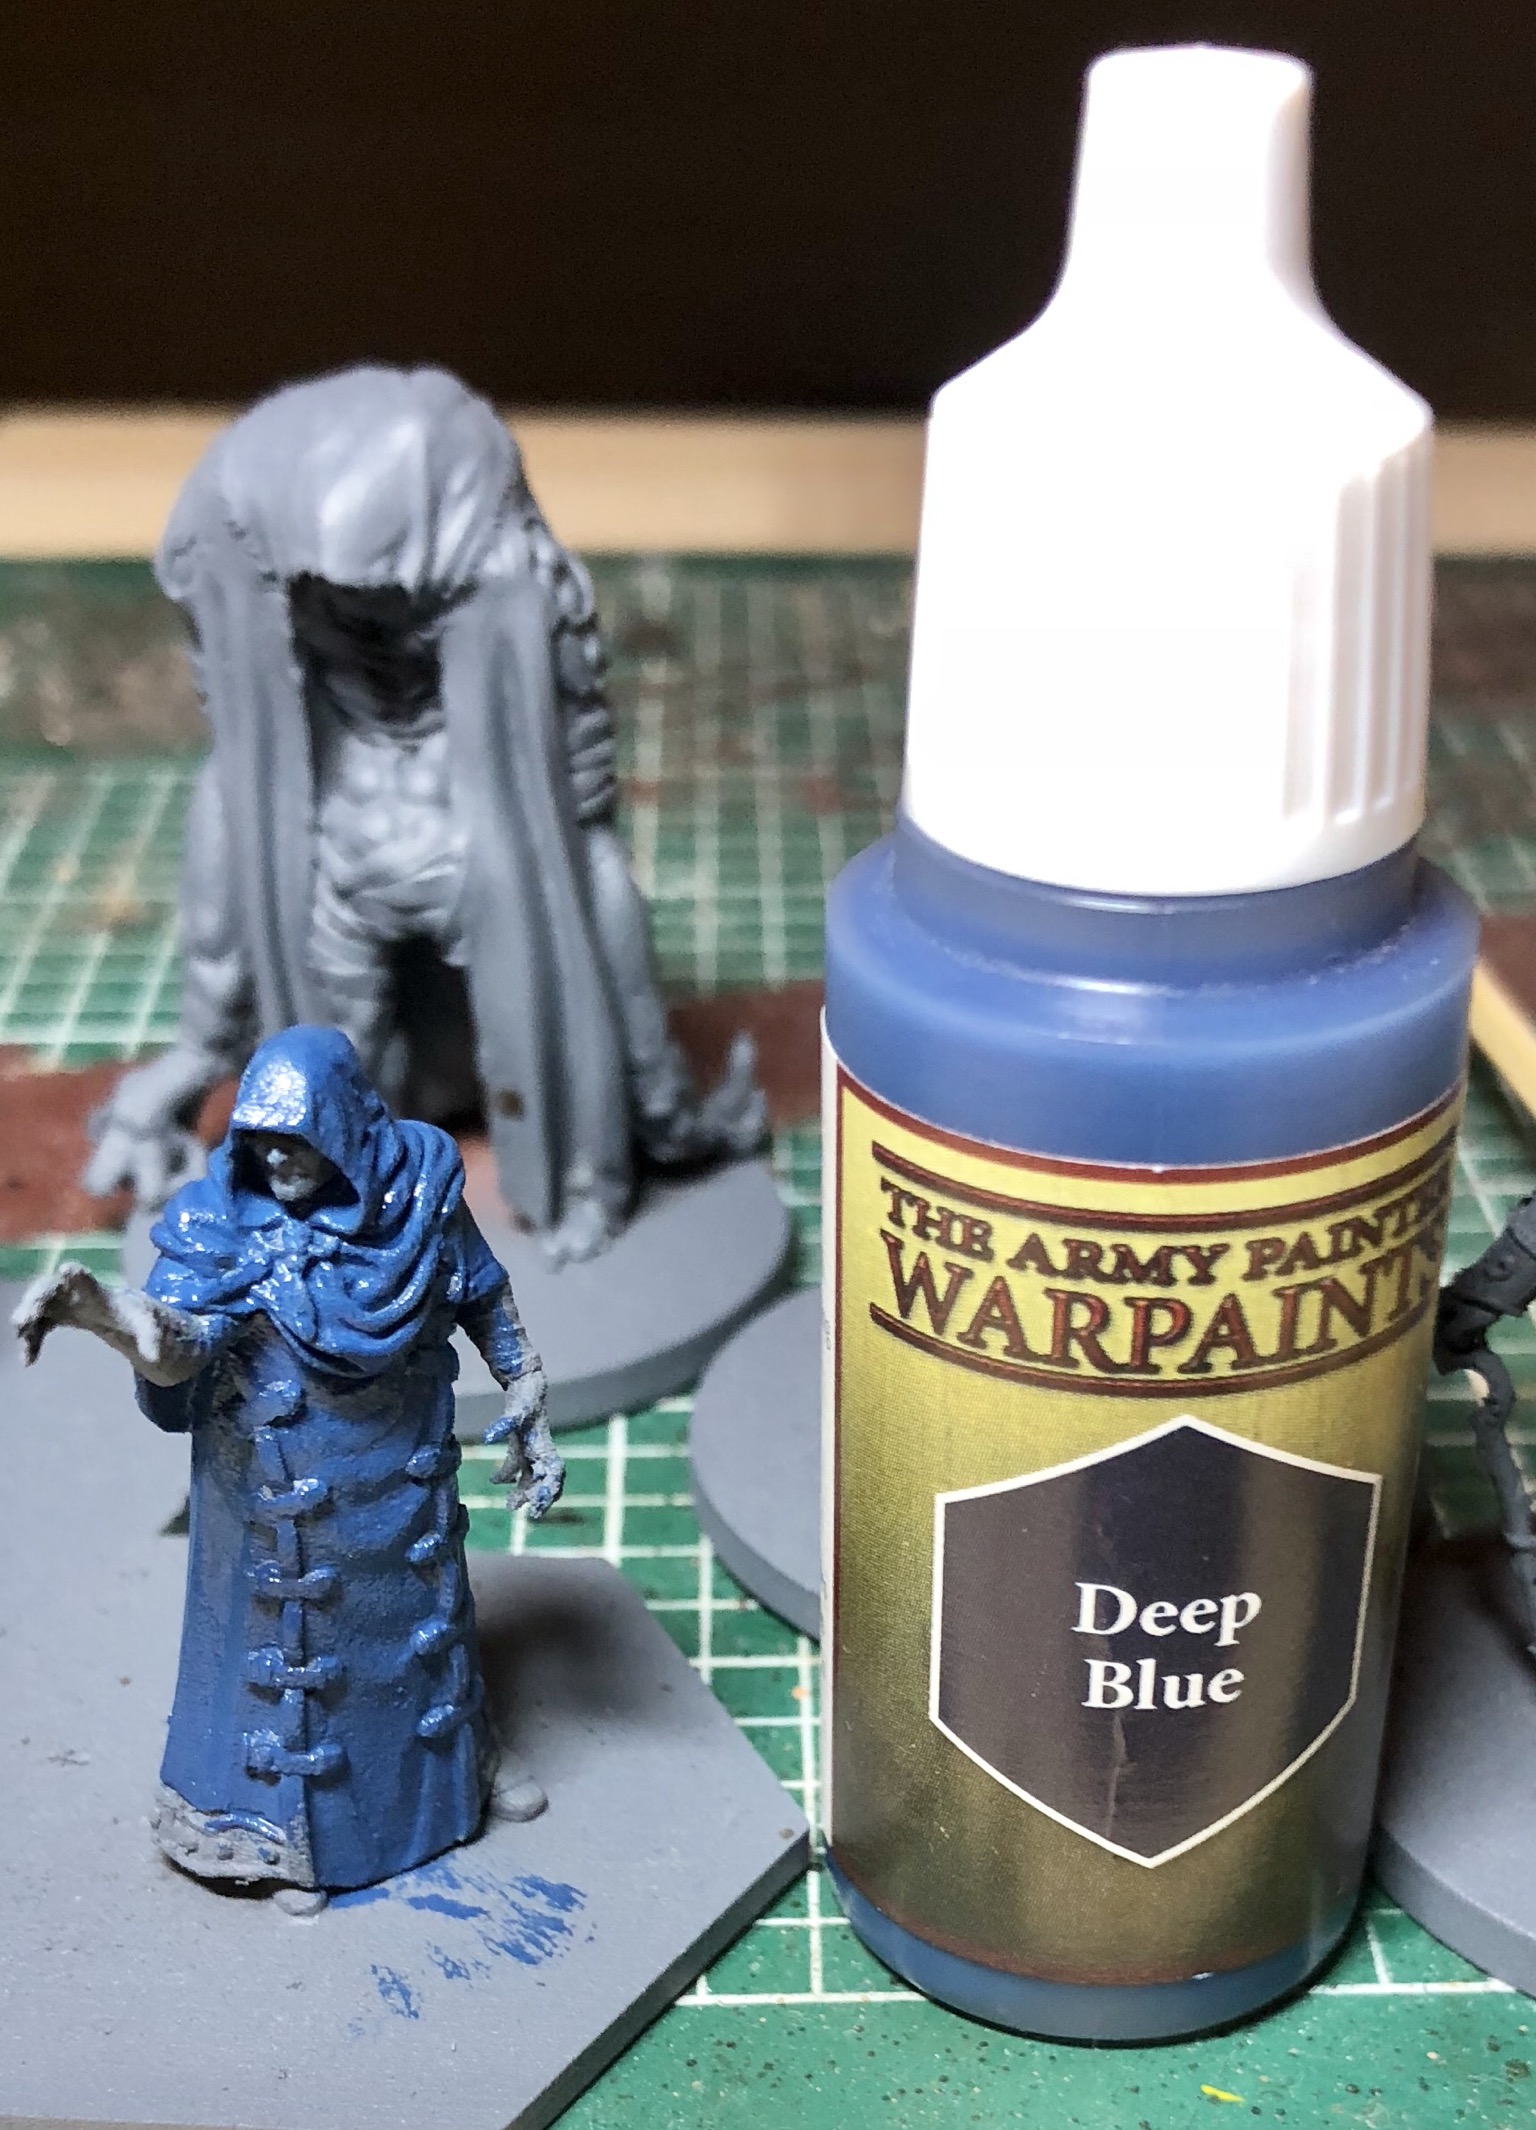 First up, the cloak is given an Army Painter Deep Blue
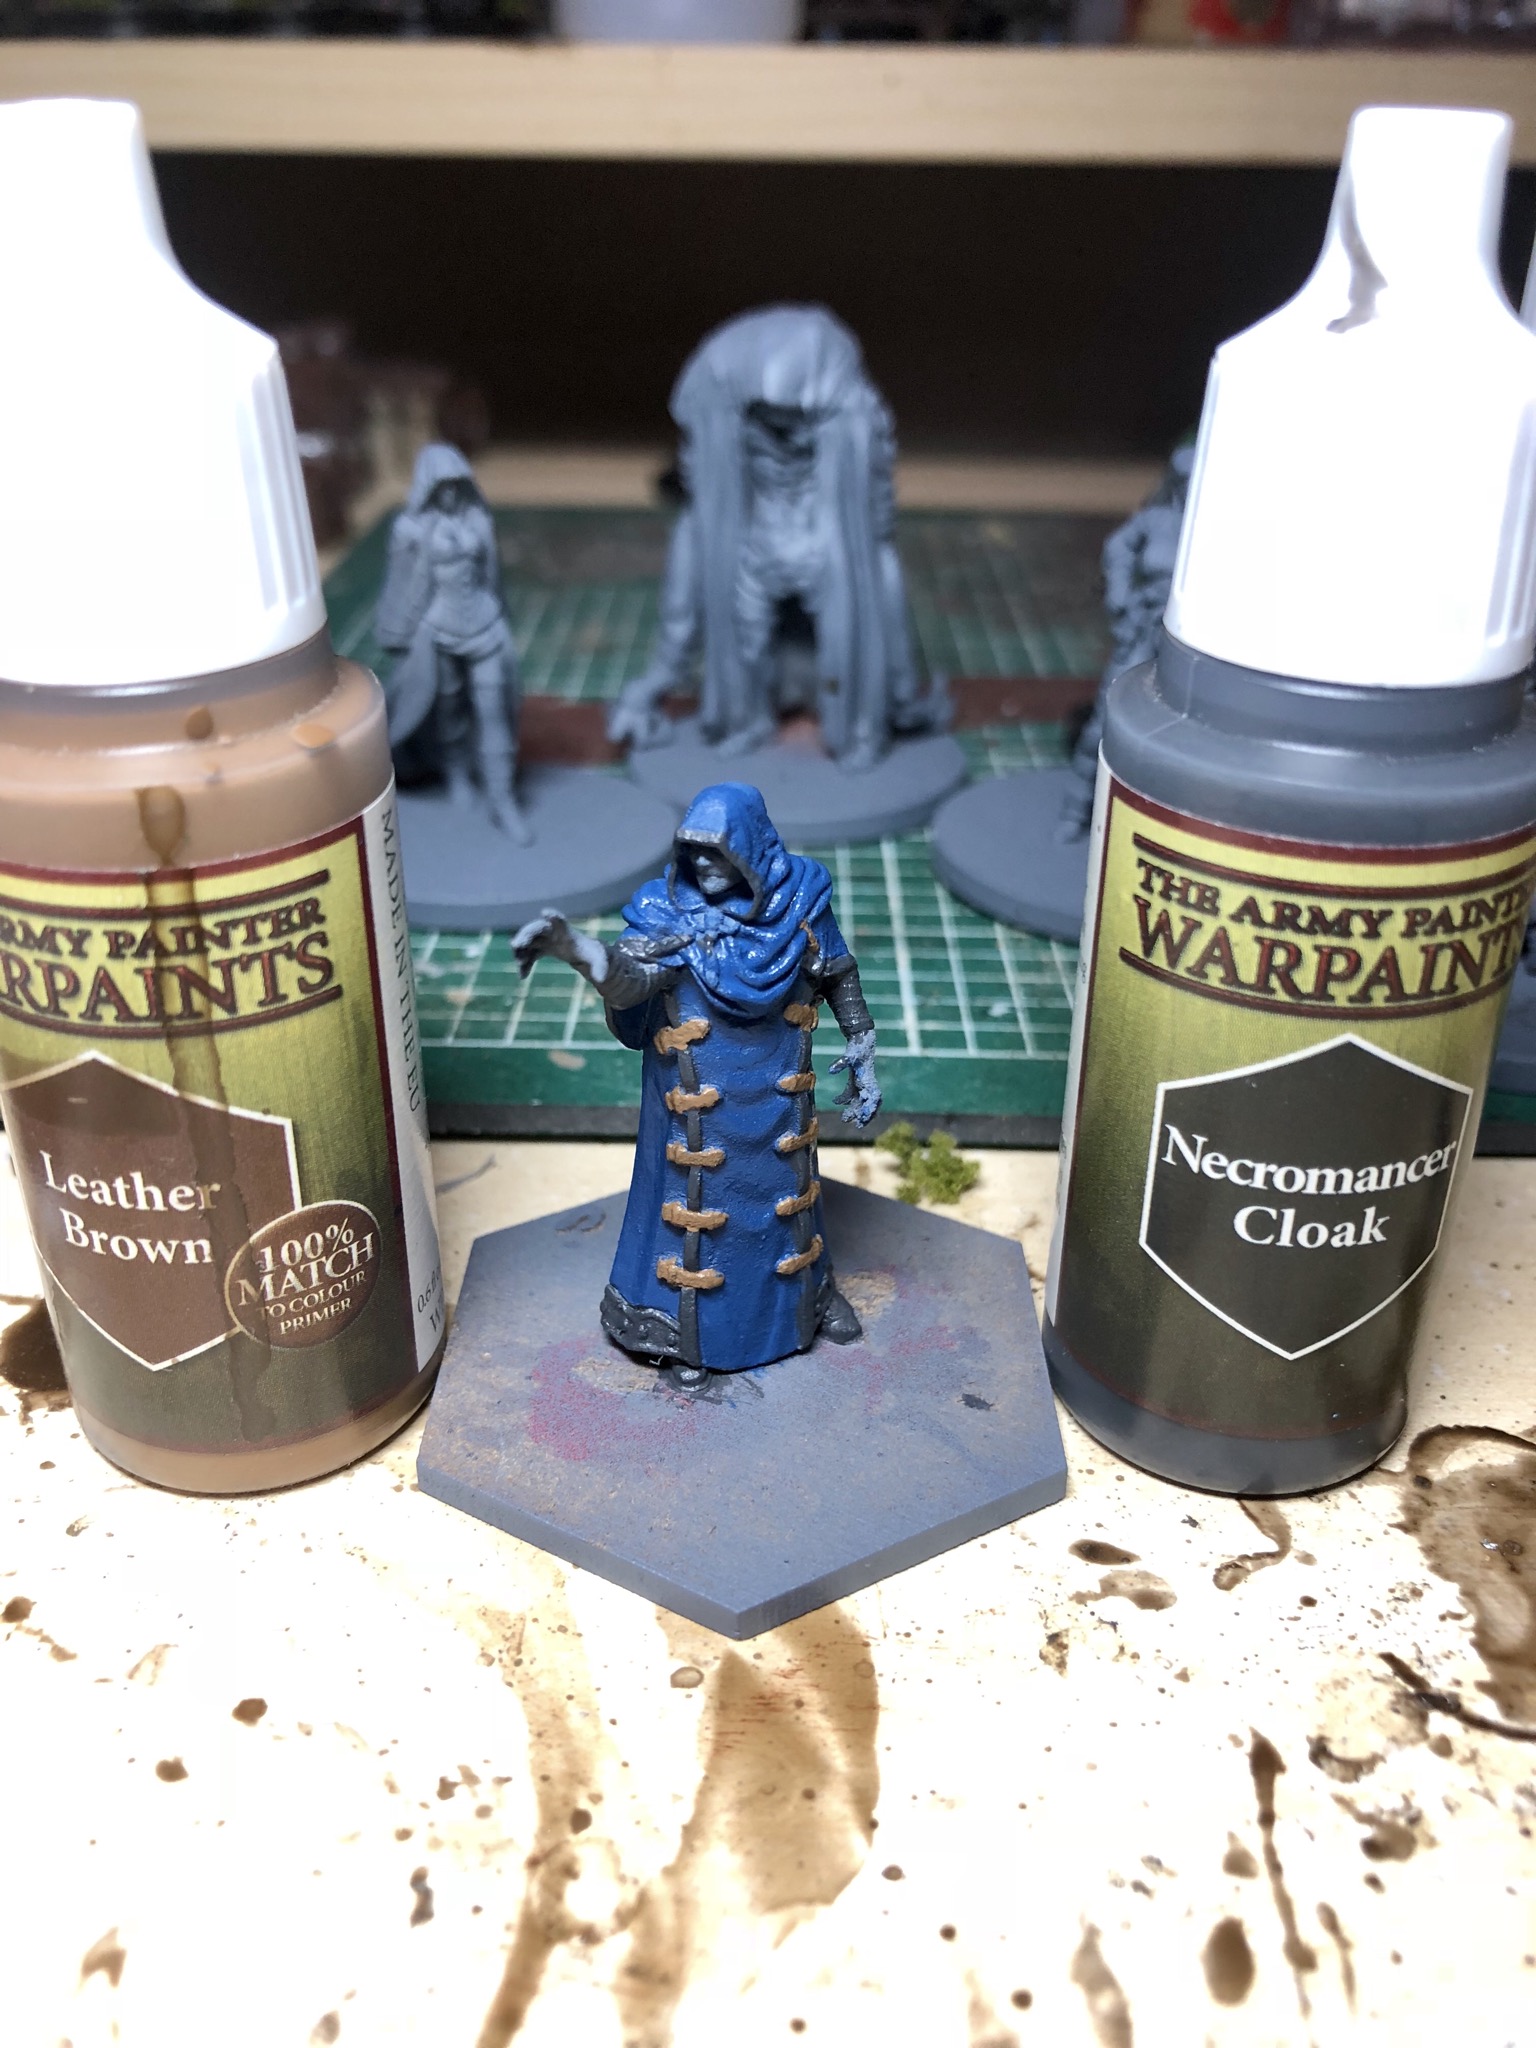 Leather brown for straps
 Elven flesh to keep him nice and pale!
 And moondust for the trim
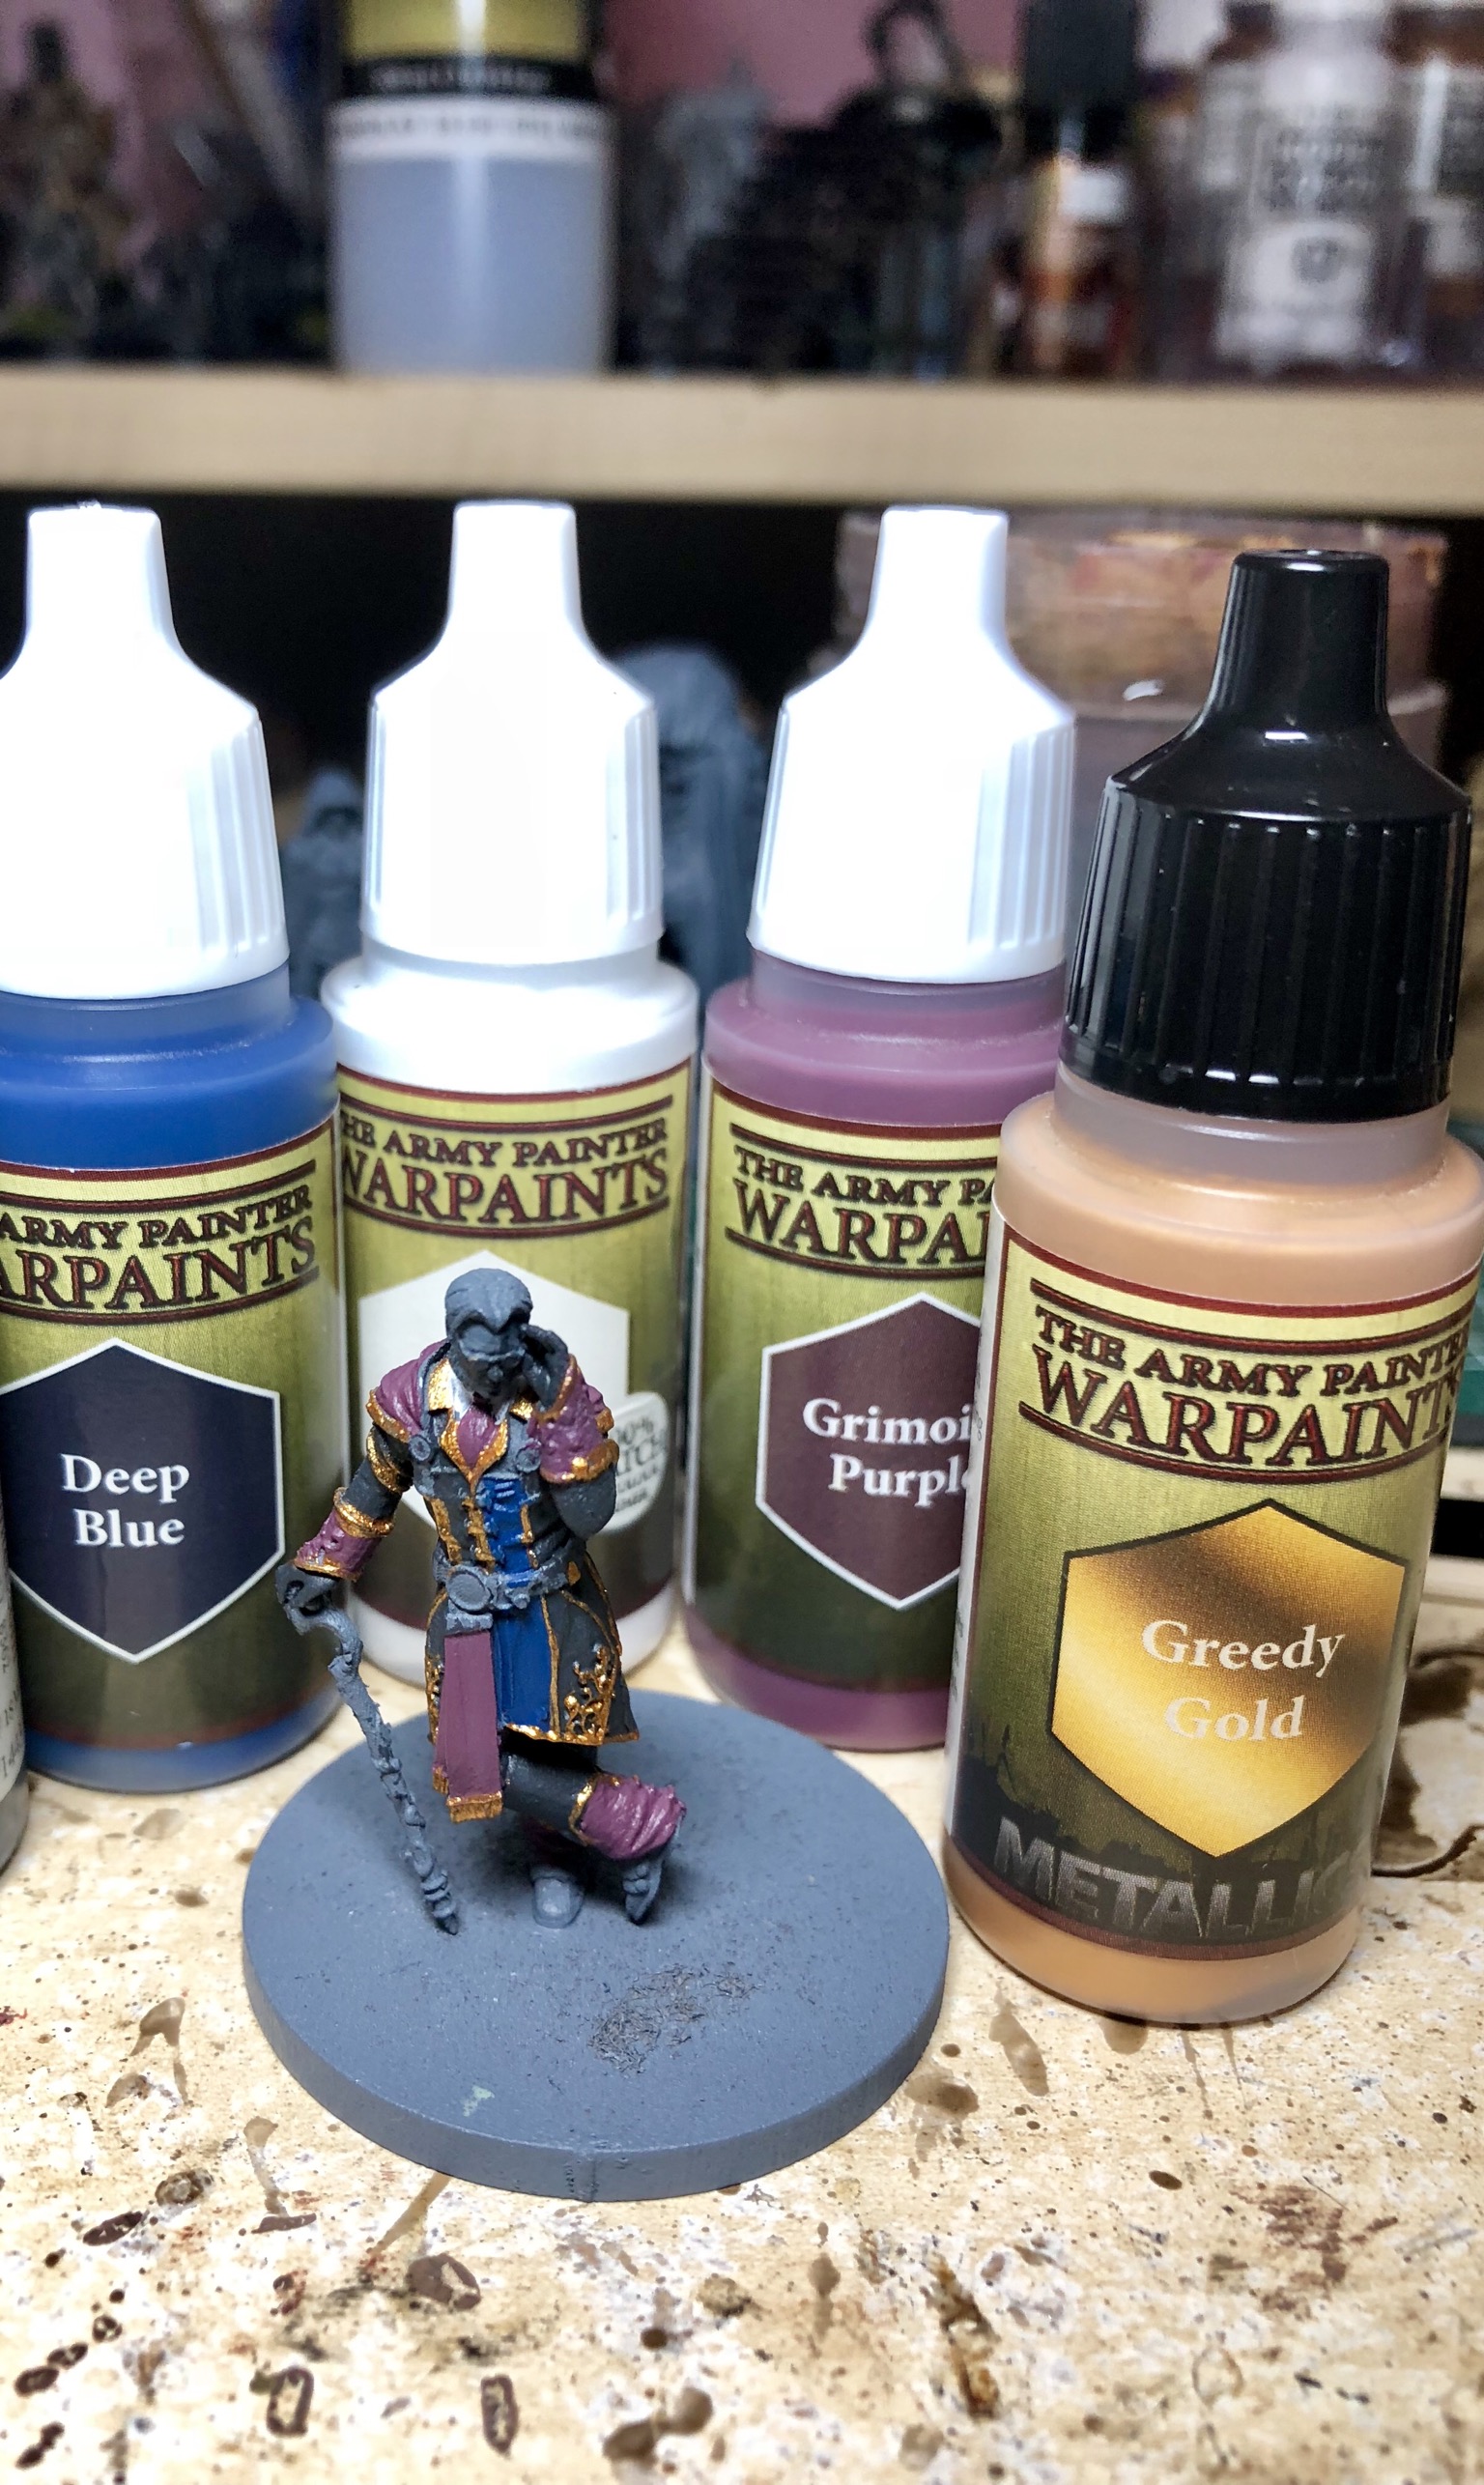
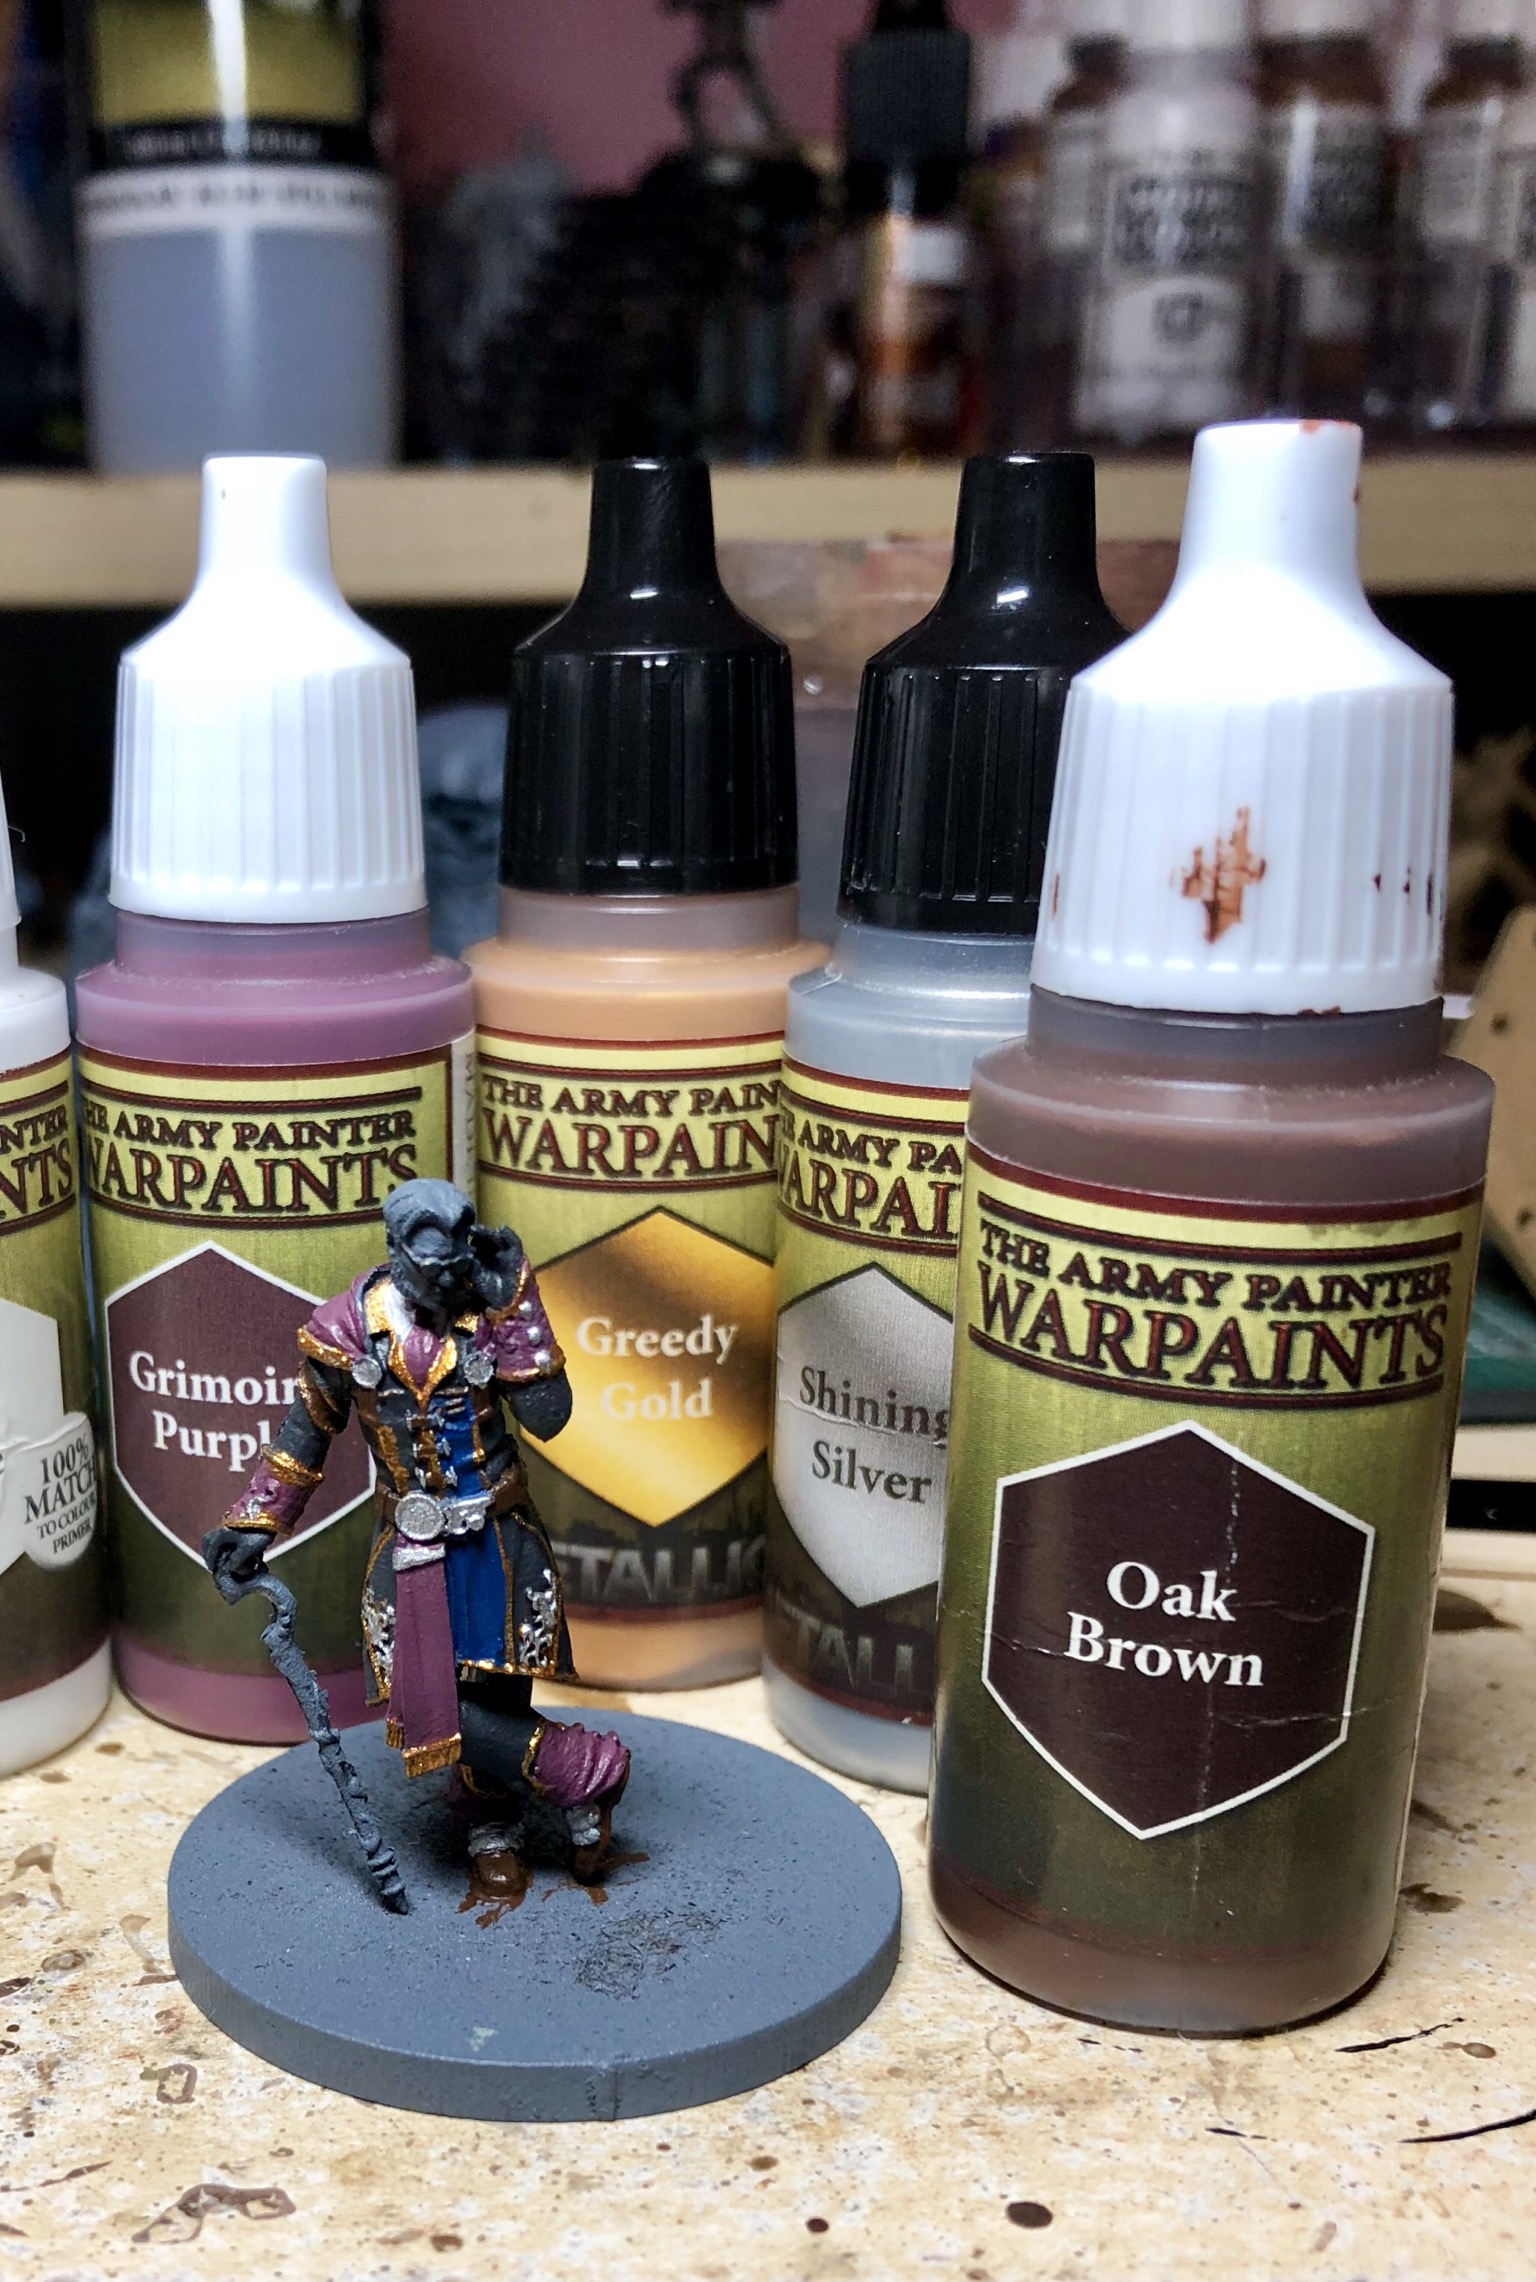
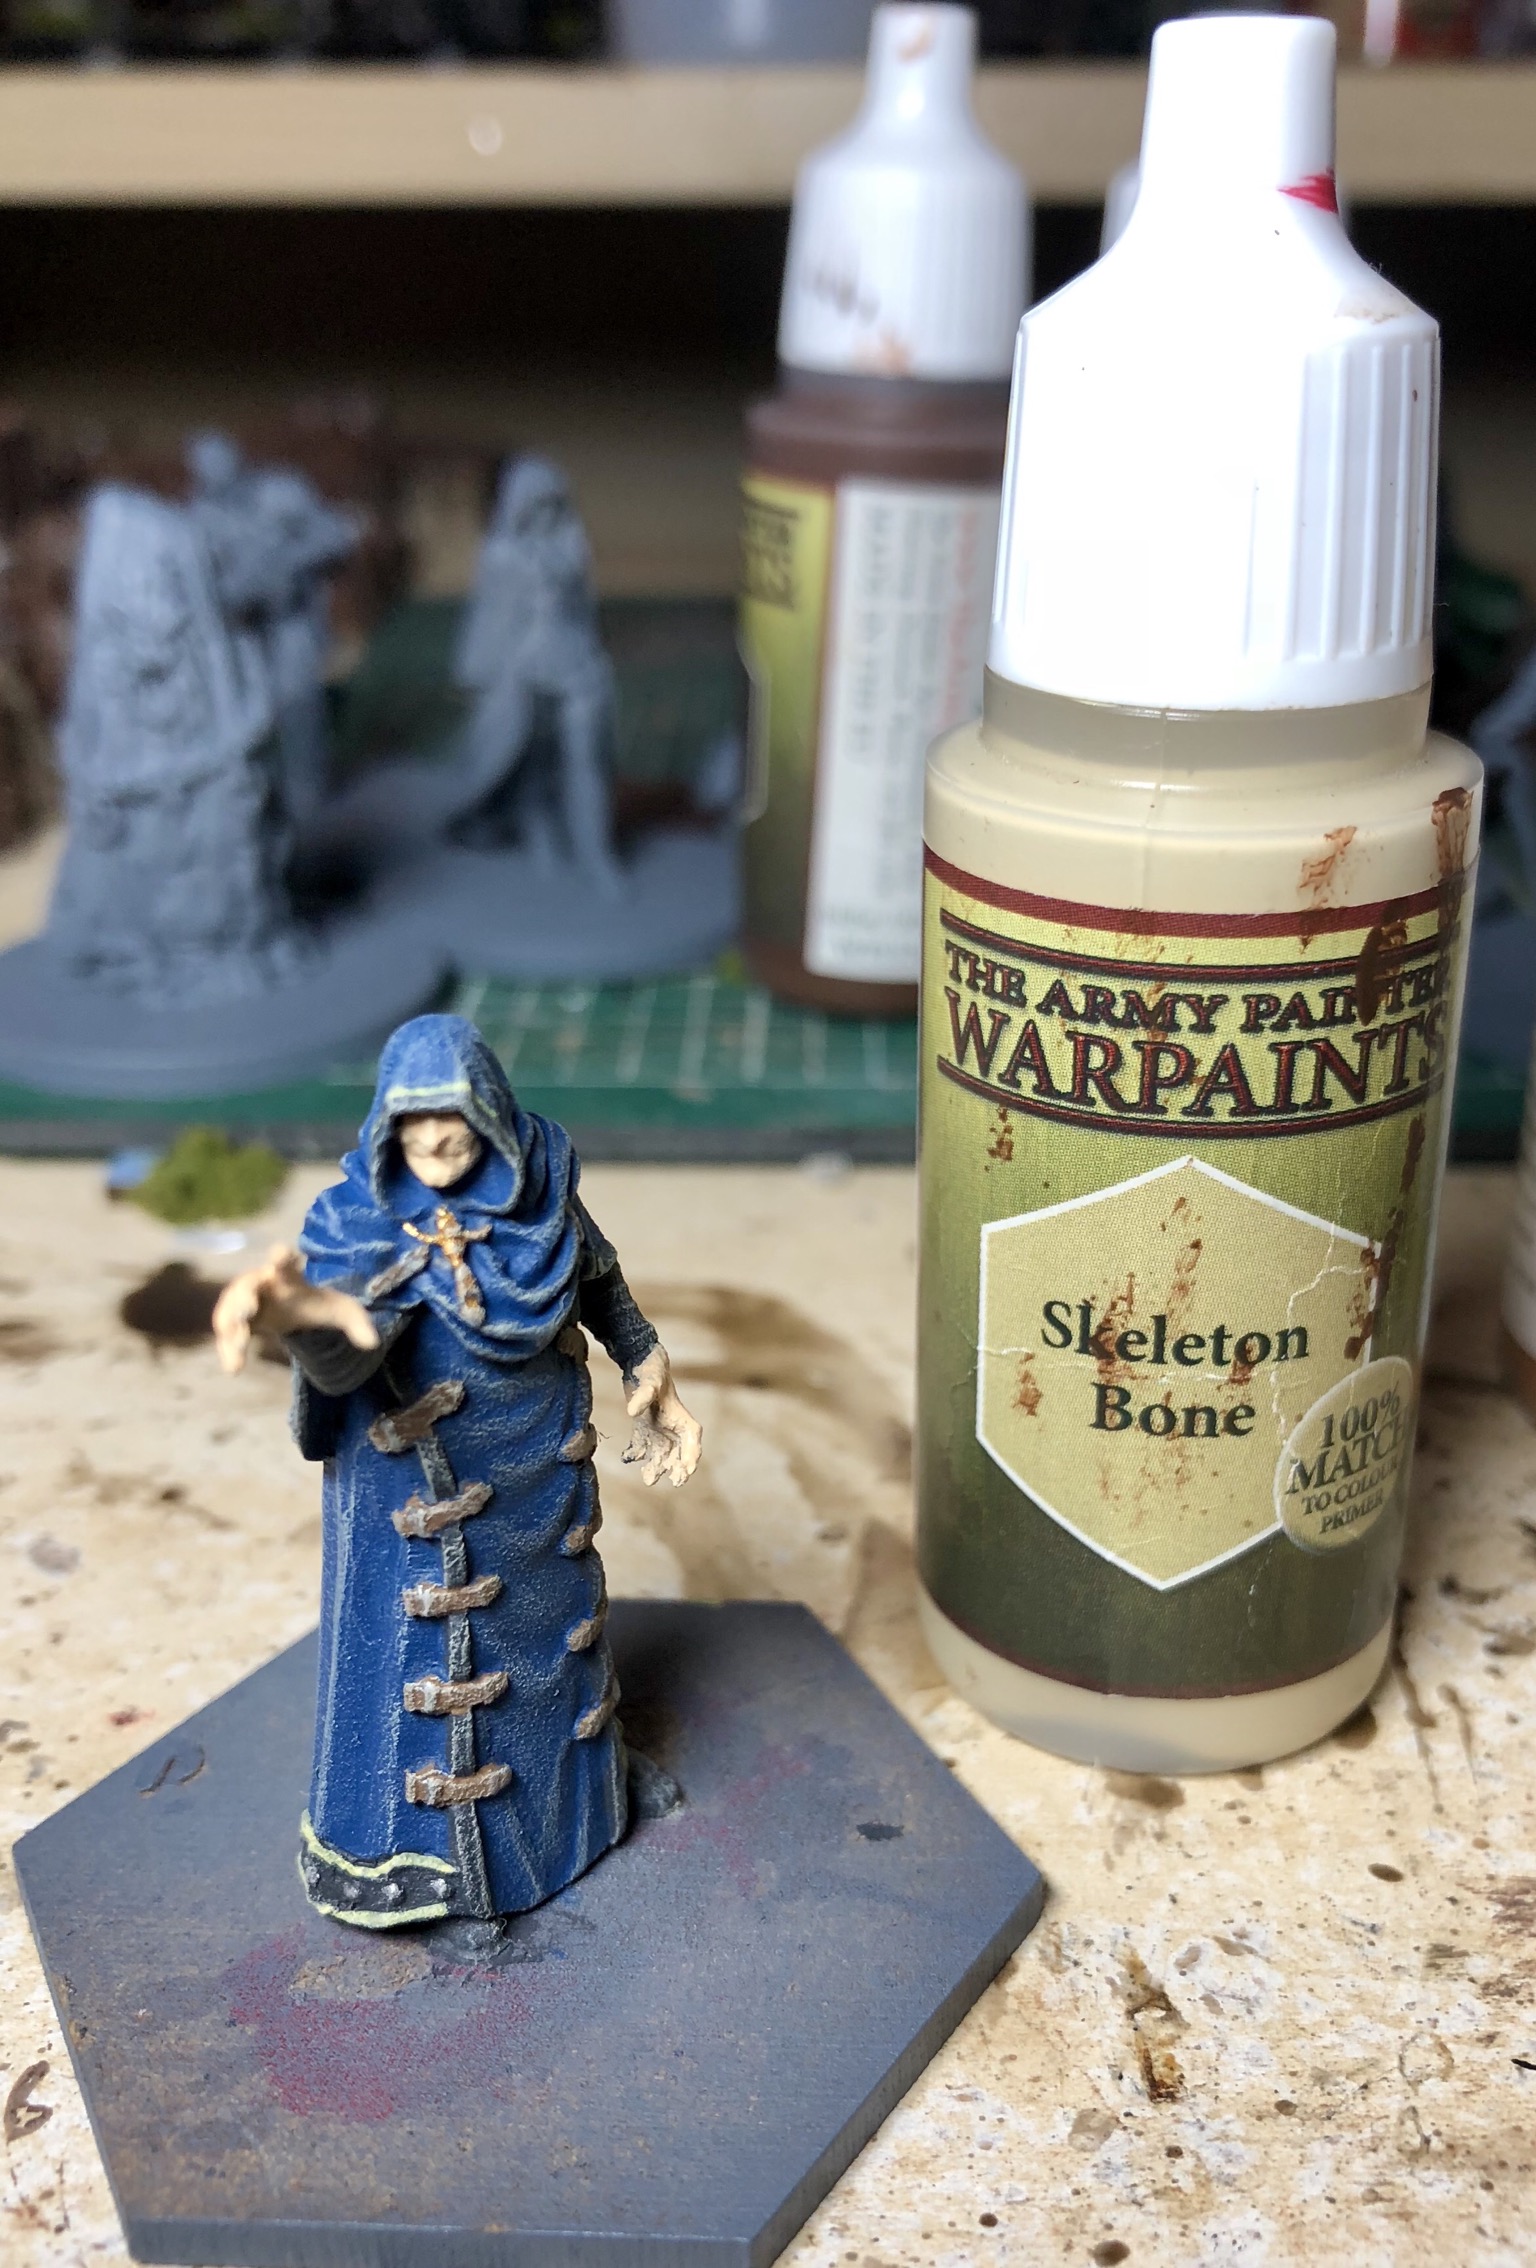 After filling the metal studs and buckles with plate mail silver and the necklace with shining gold a quick Skeleton Bone drybrush
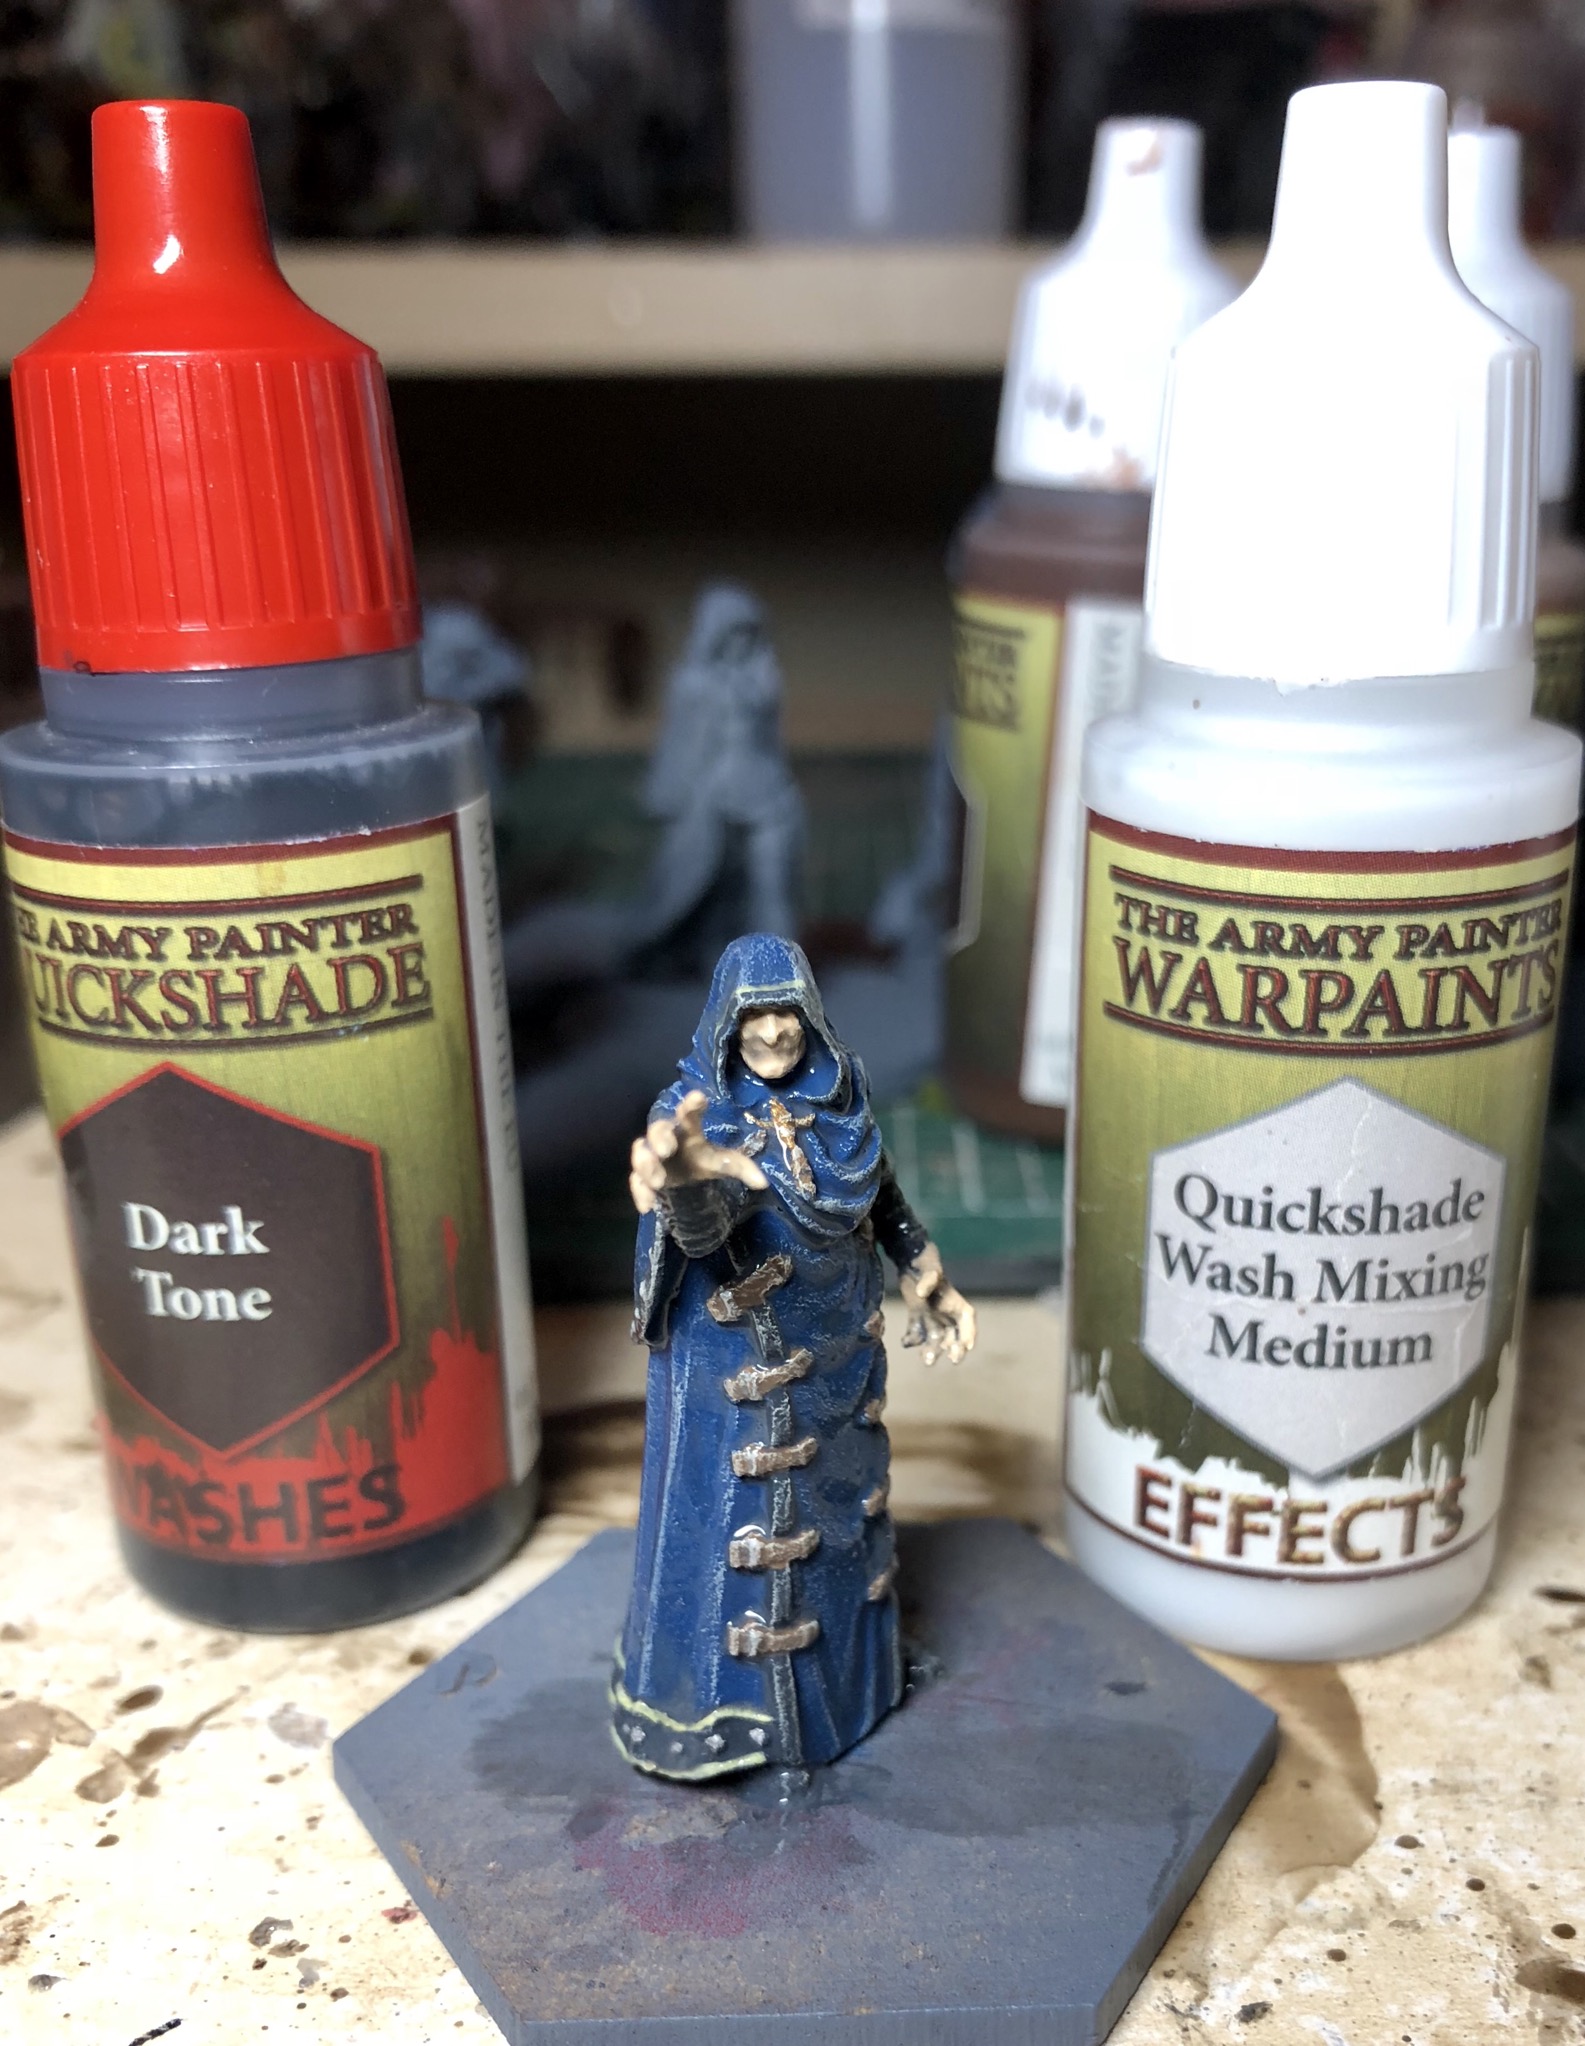

And then a 50/50 mix of quickshade medium and Dark Tone
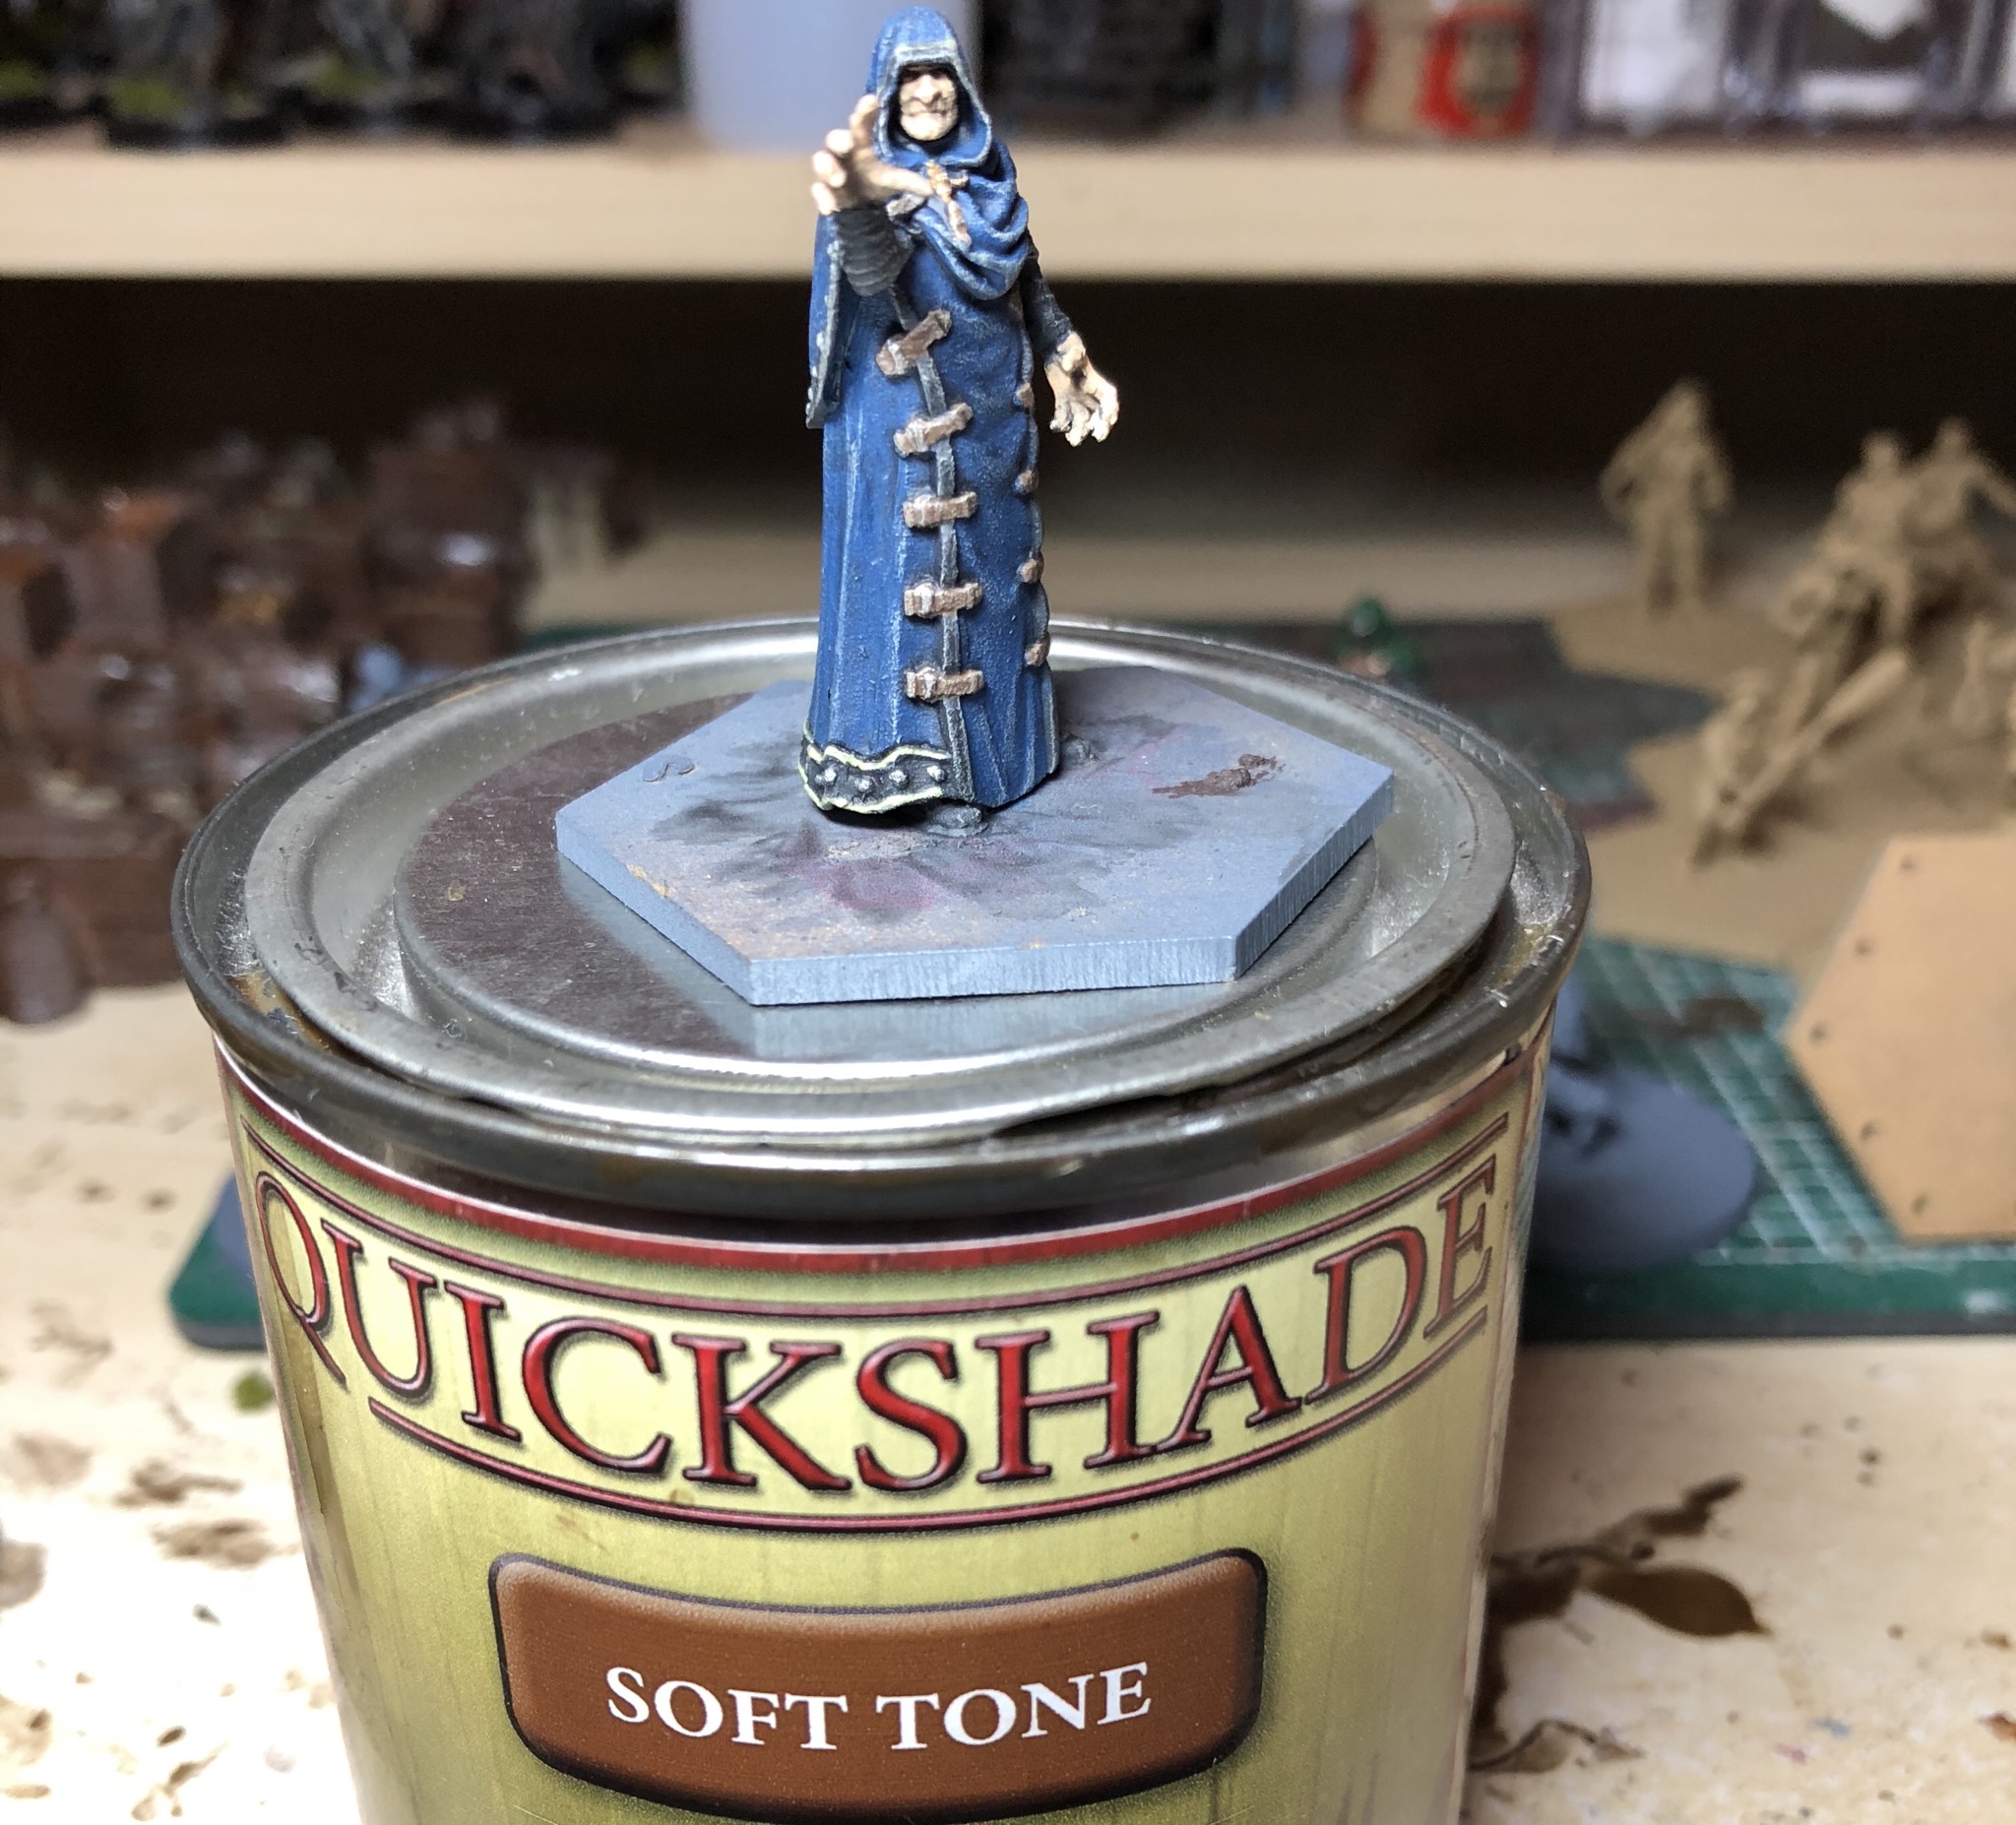
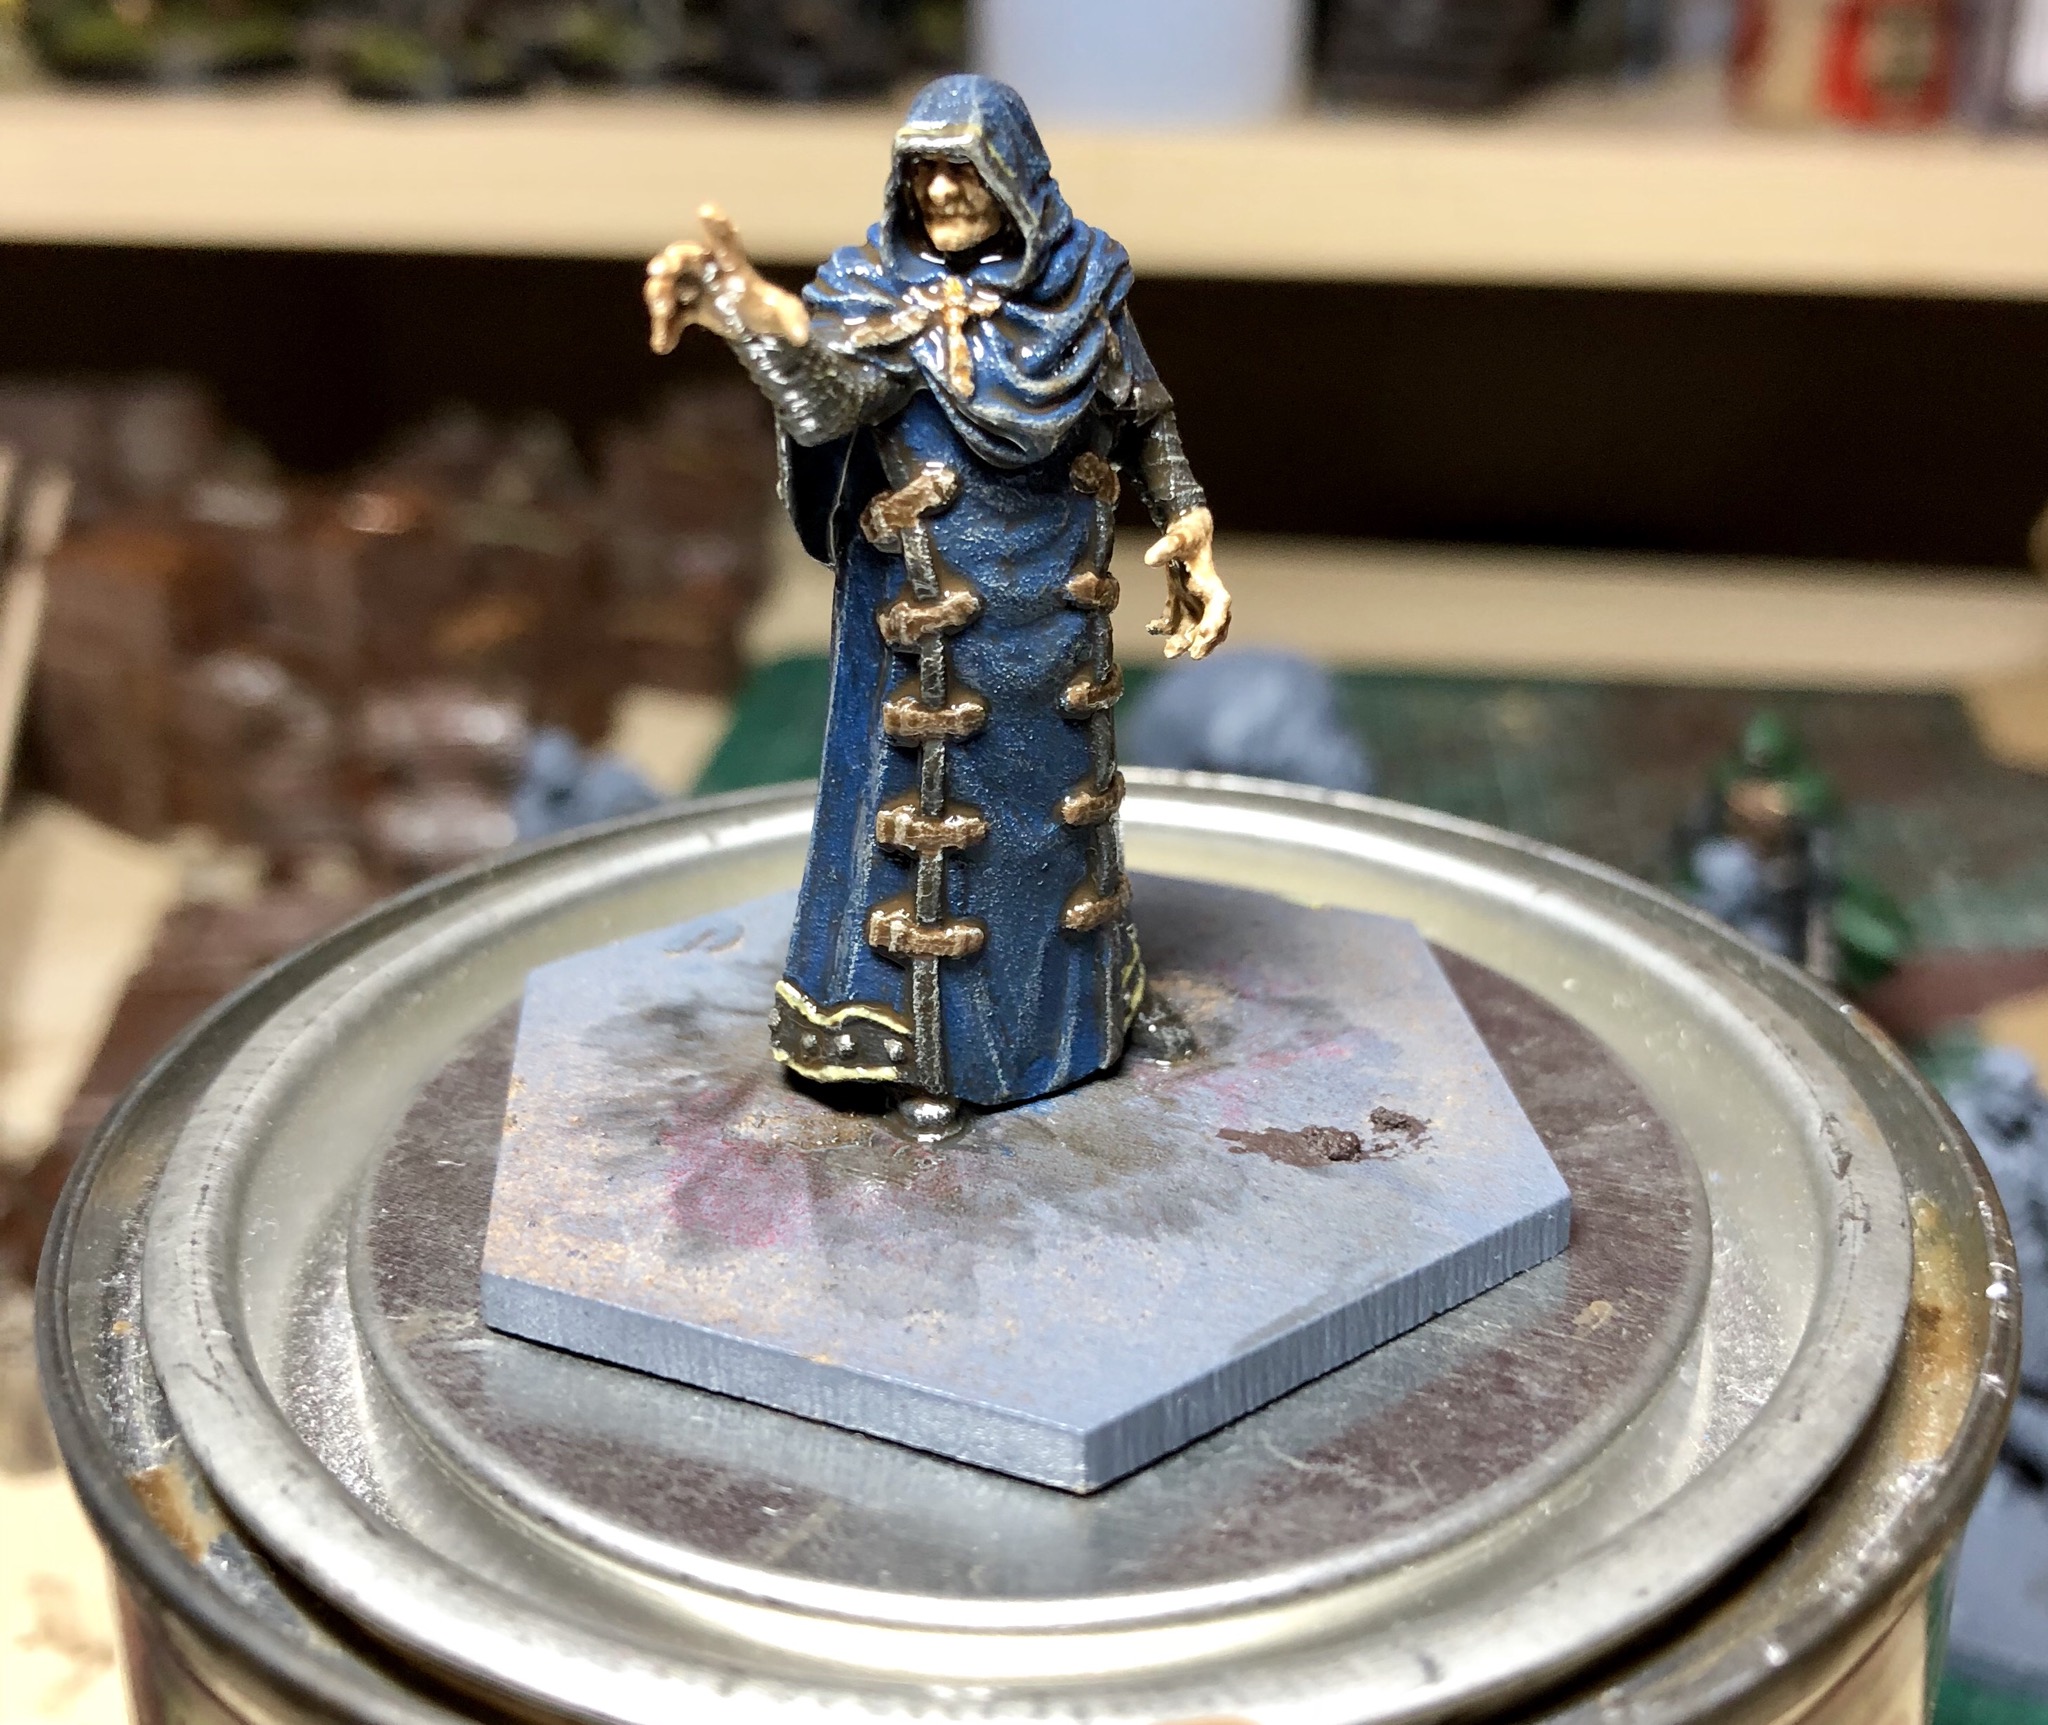

Finally a brushed on coating of Army Painter Soft Tone dip
Bases for the Hex
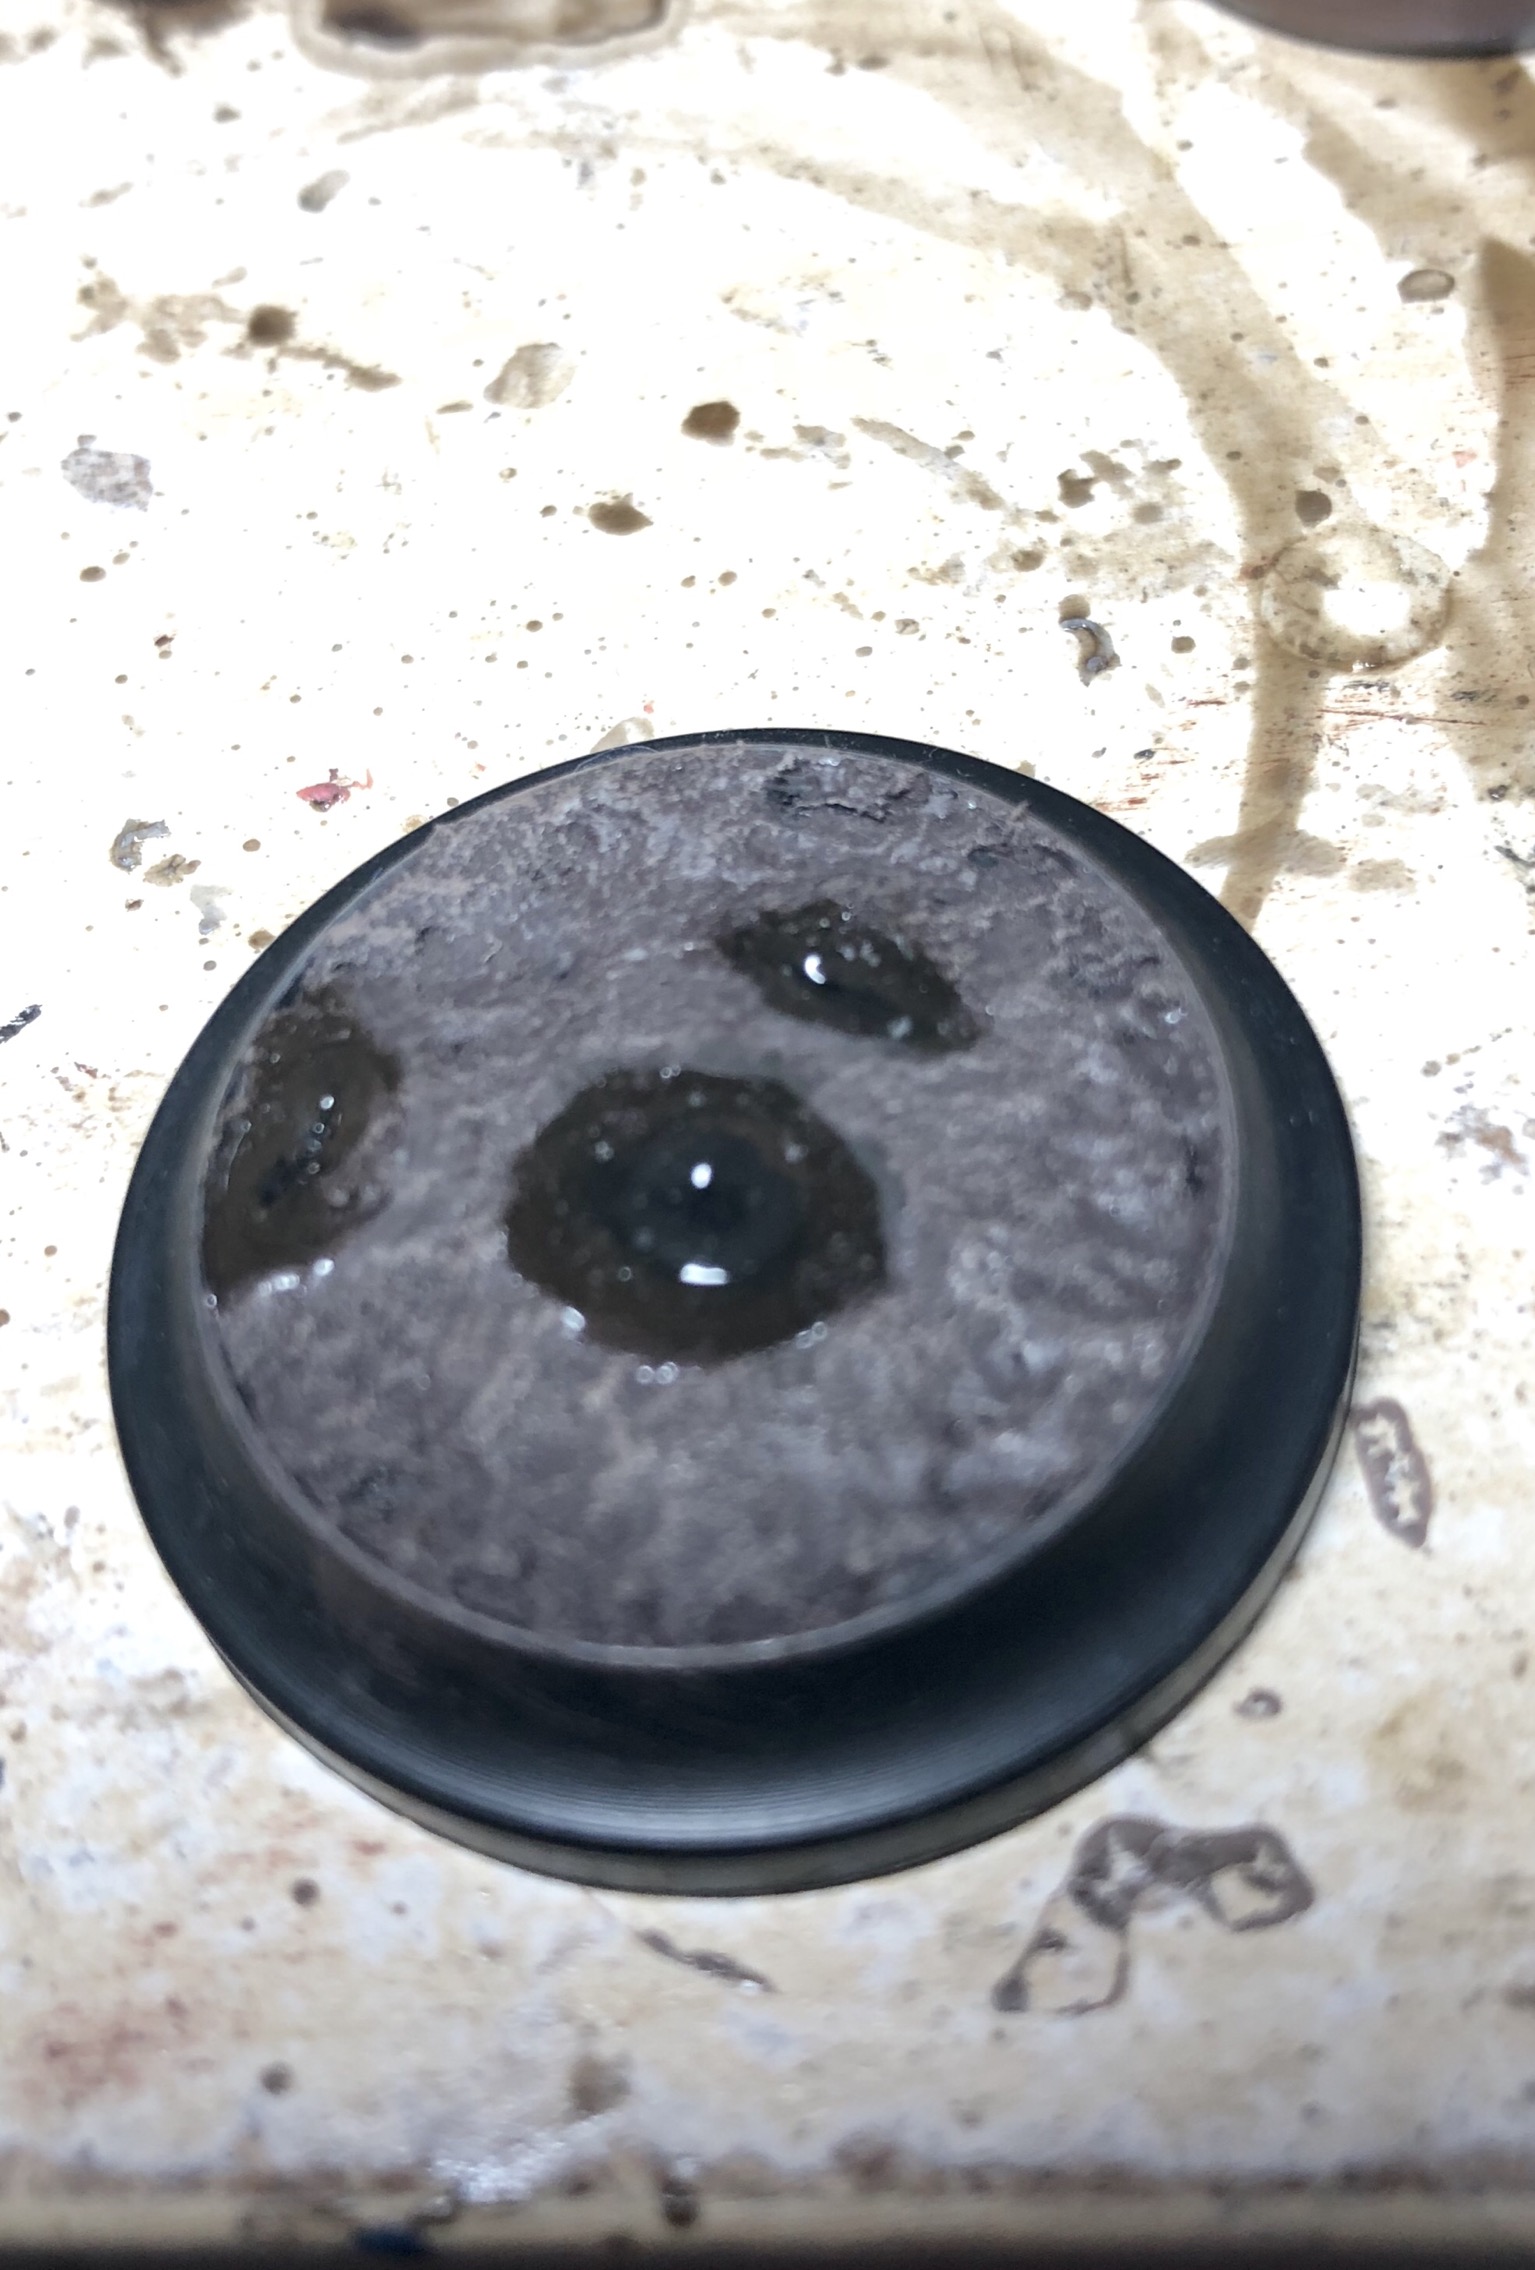
So far ive gone for a dry desert base for my WWX models but for the Hex i want to go for something a little murkier. I want to try a wet mud looking base with pools of standing water. Never tried it before so I thought i’d show the steps as i work out how to do it!
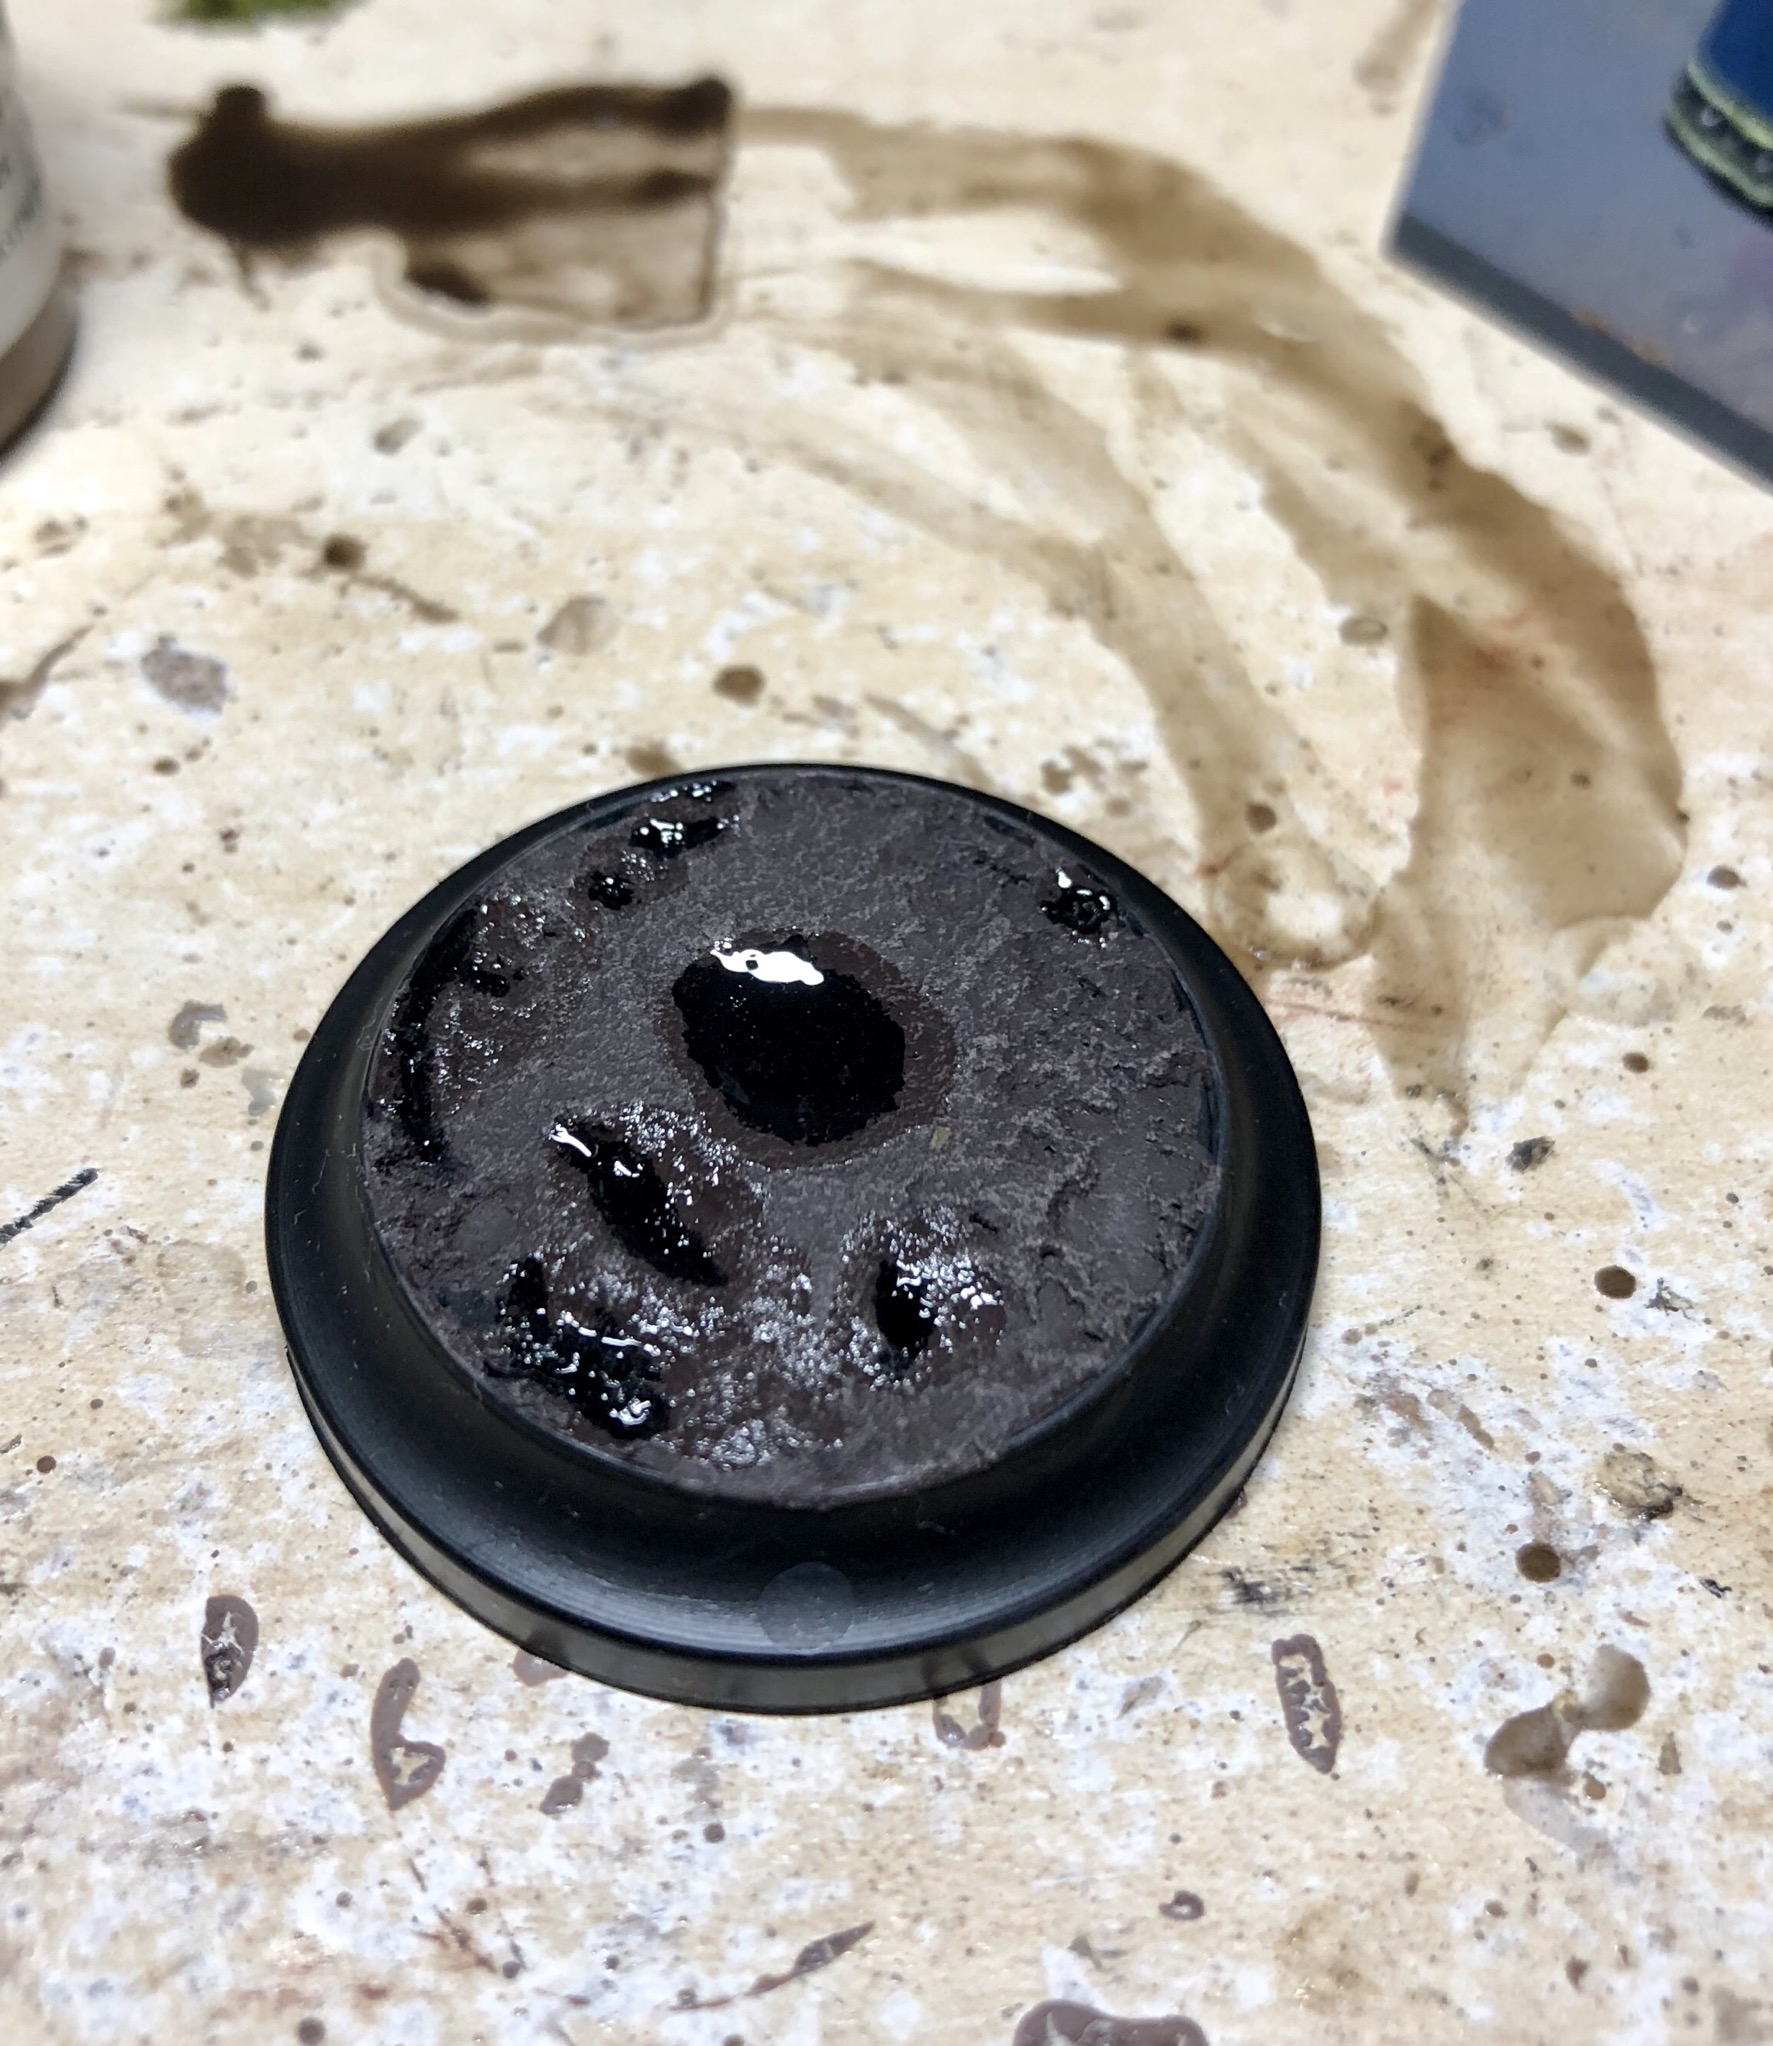
 First up, the base in question. A standard small WWX base
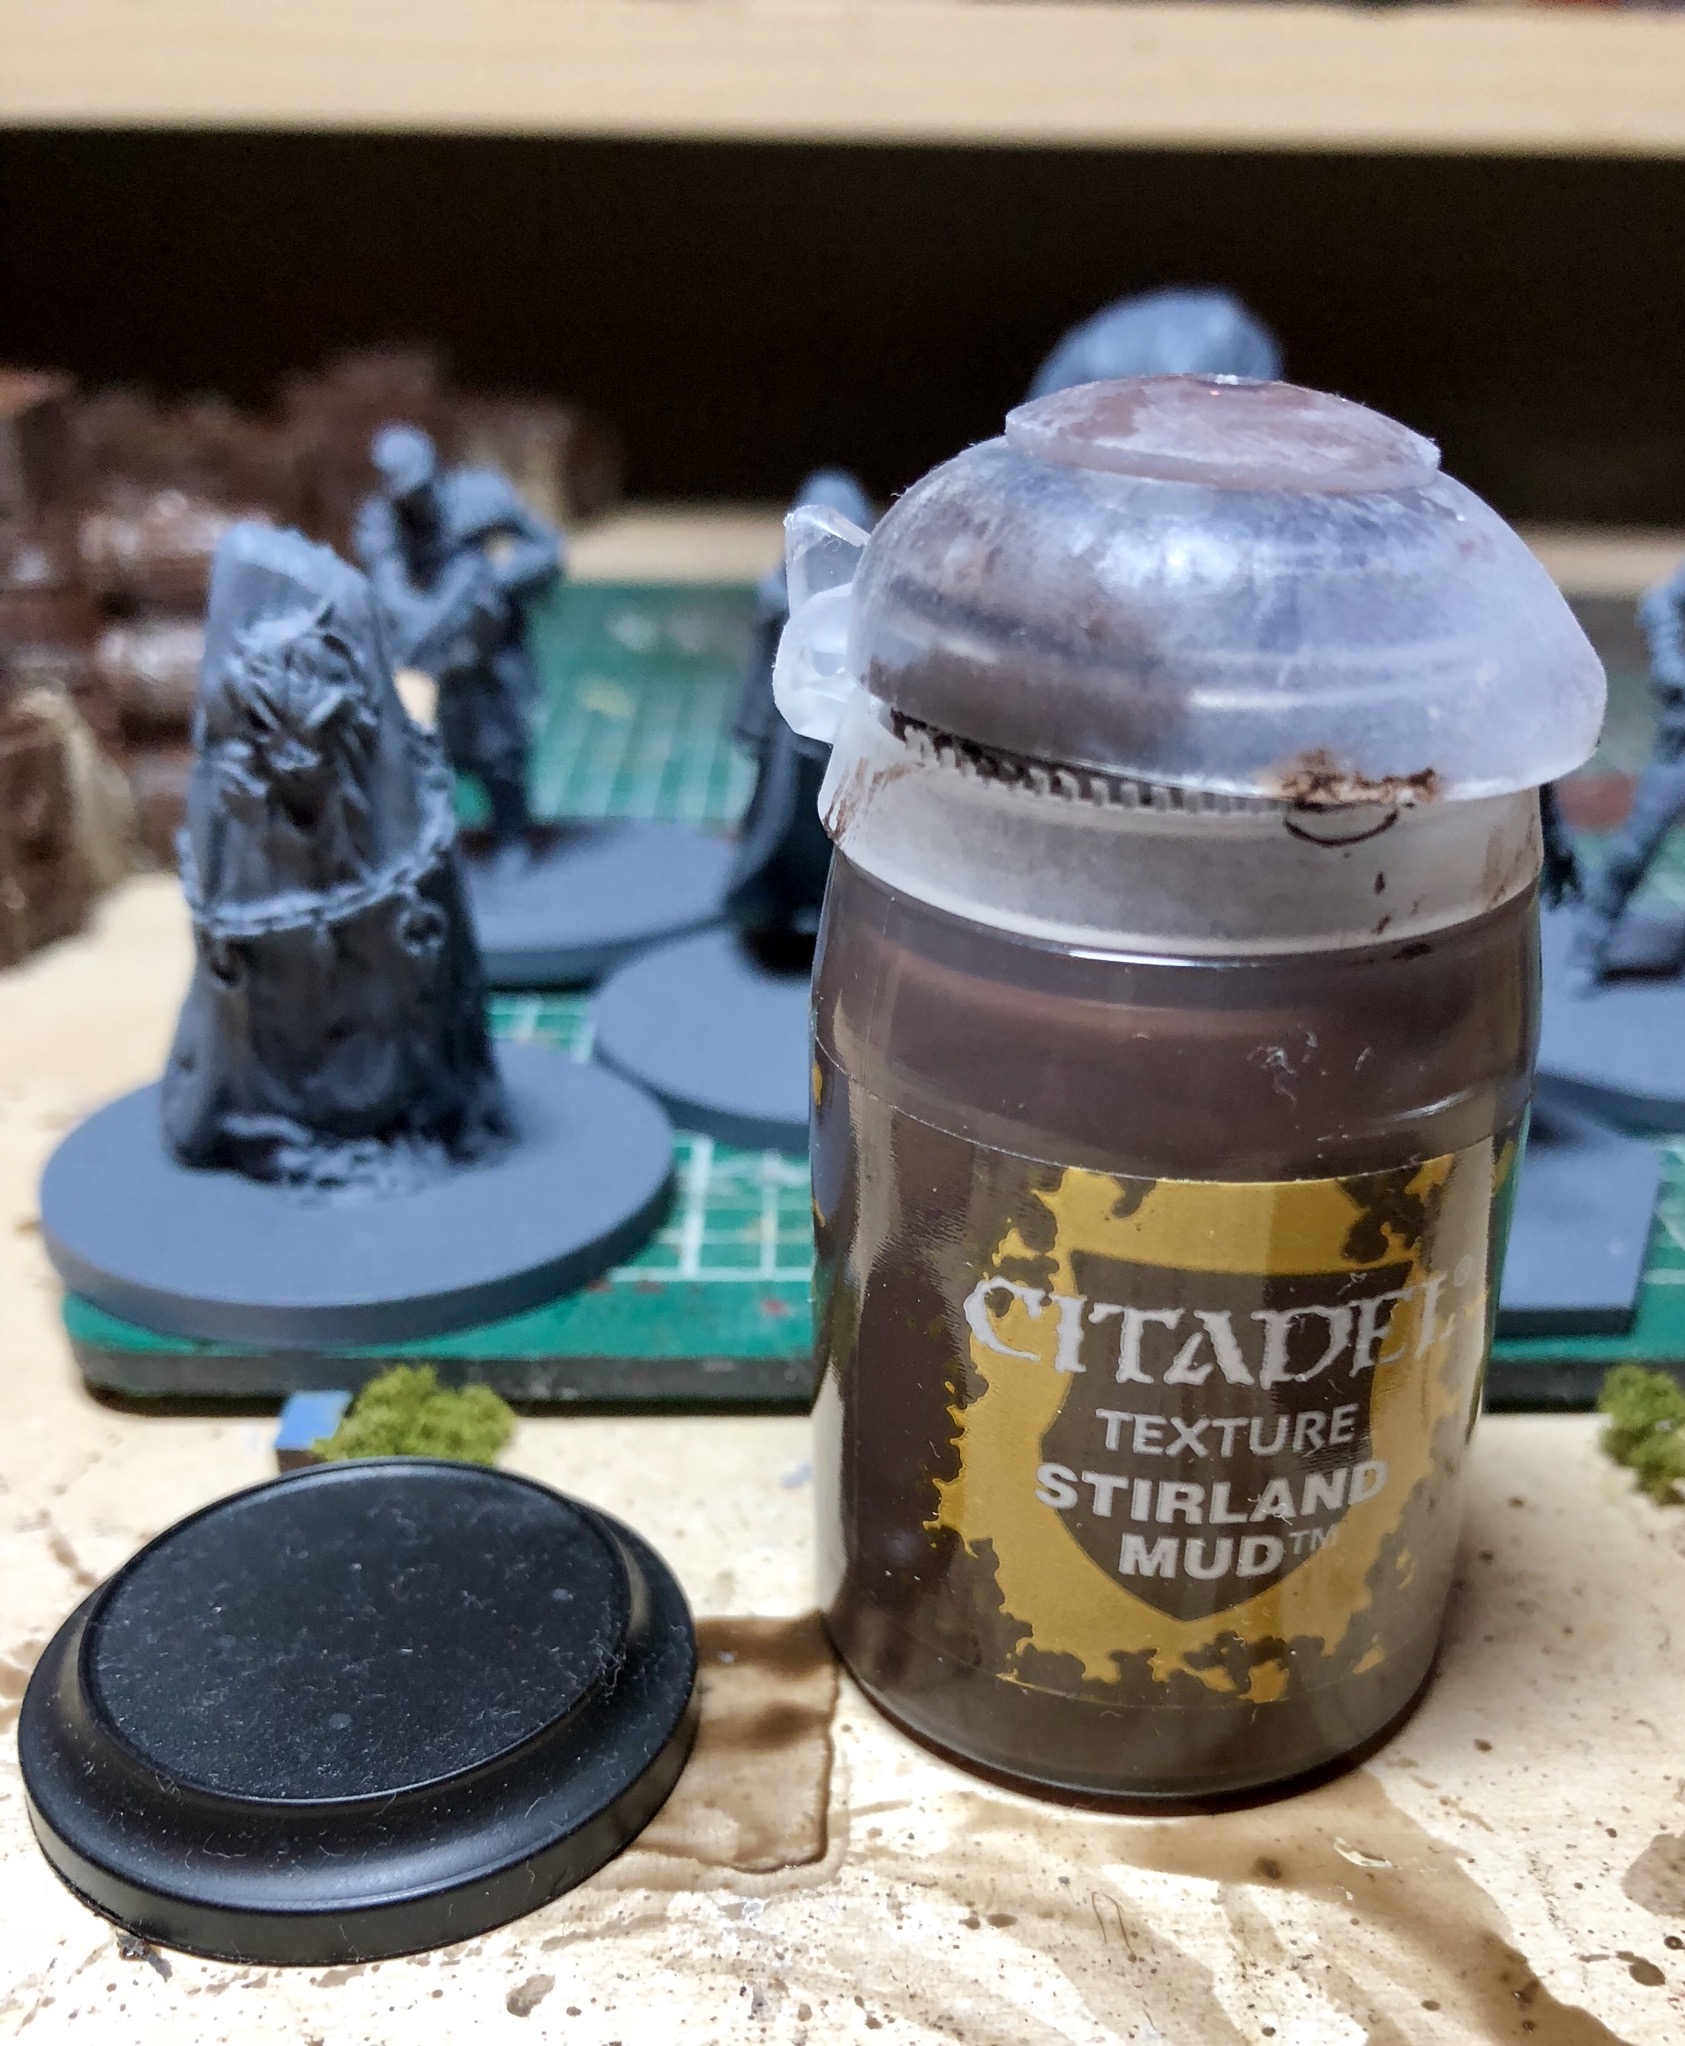 For the start ill use GWs Stirland Mud effect paint to build up the base
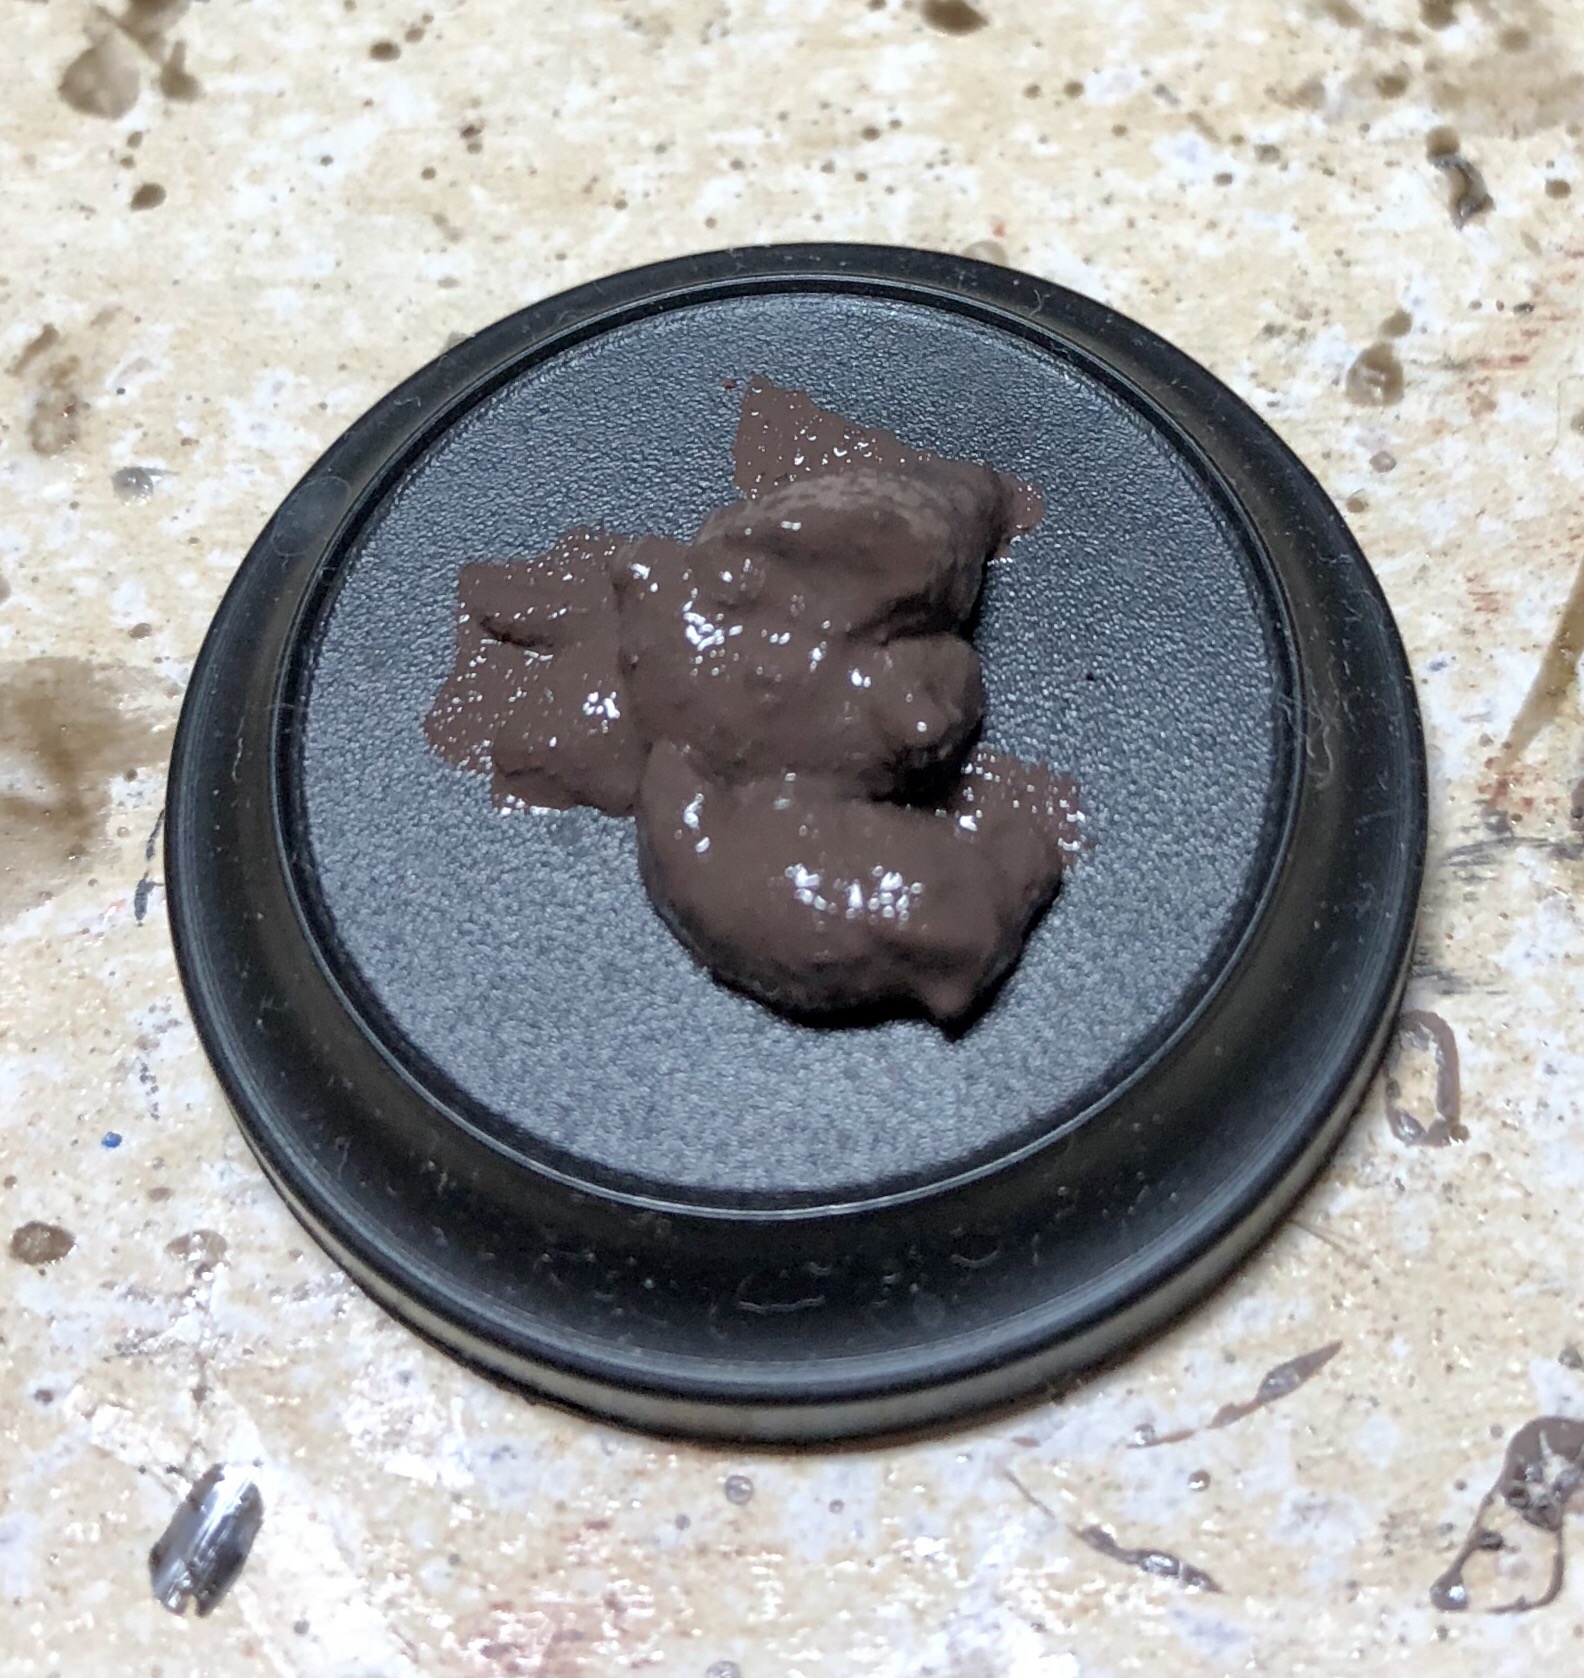 Splodge it on
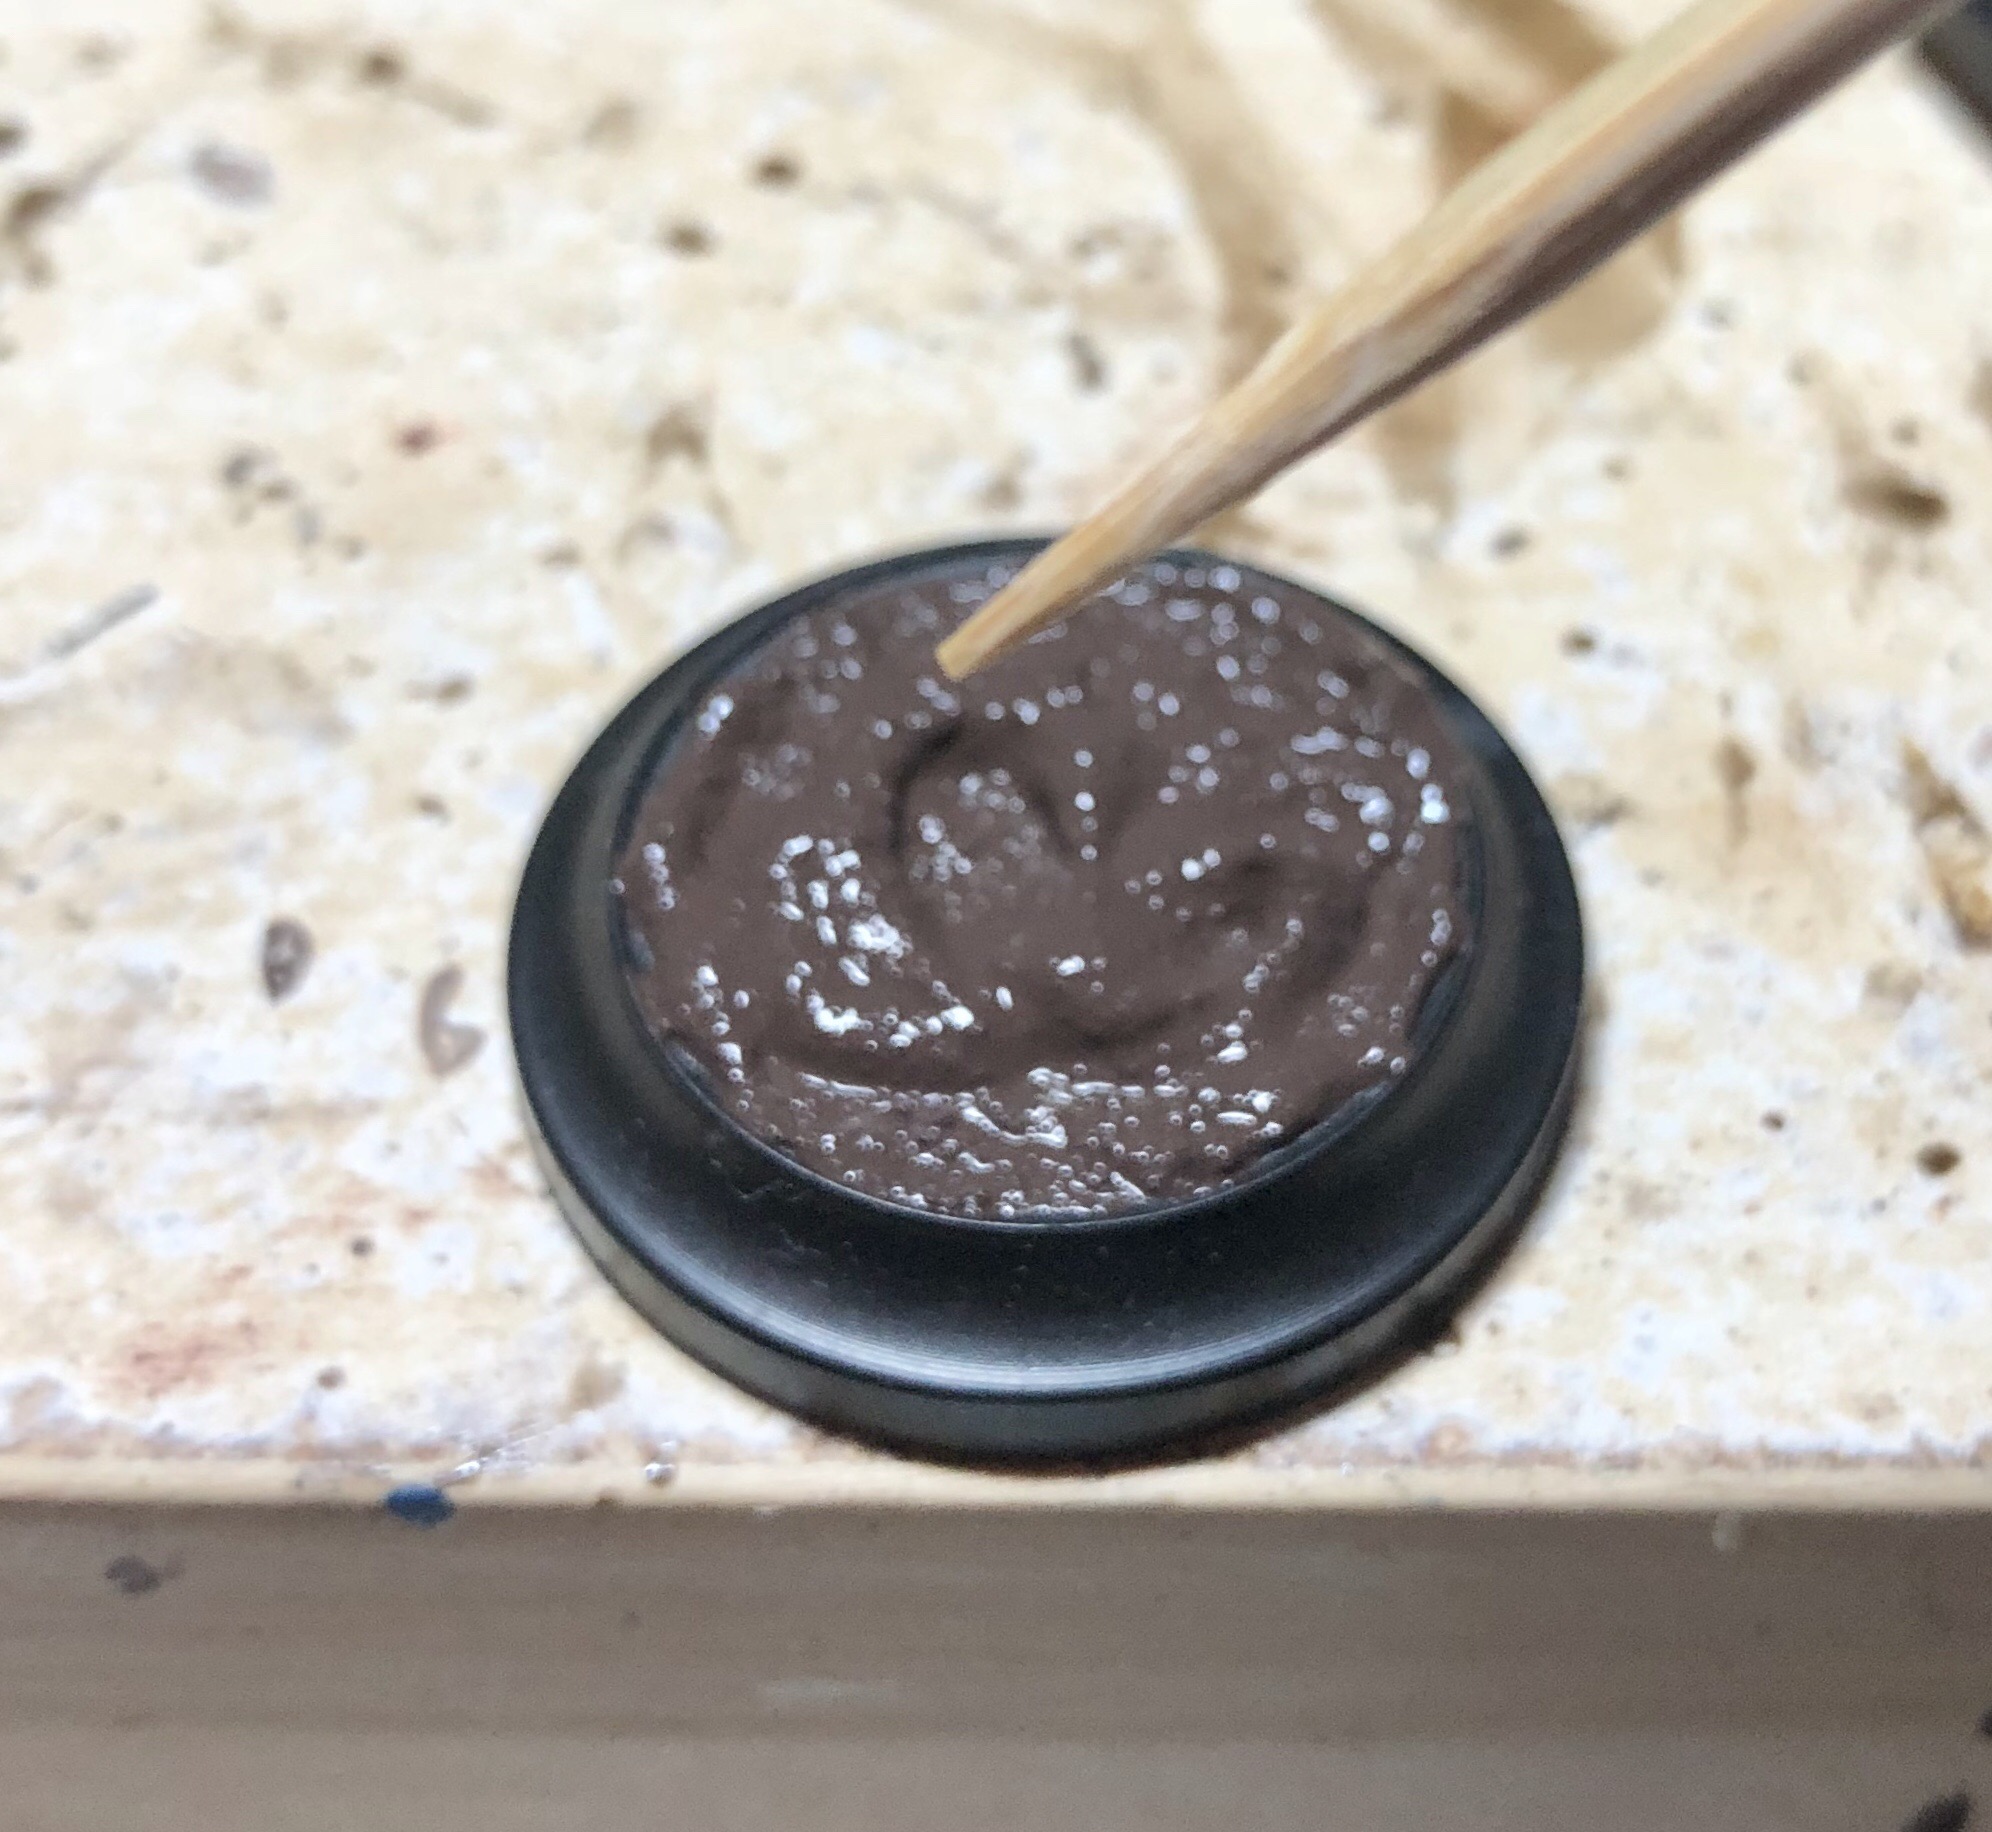 Using a bamboo skewer to move the paint around and create some holes for where the standing water will sit
 That’ll do, just leave it to dry
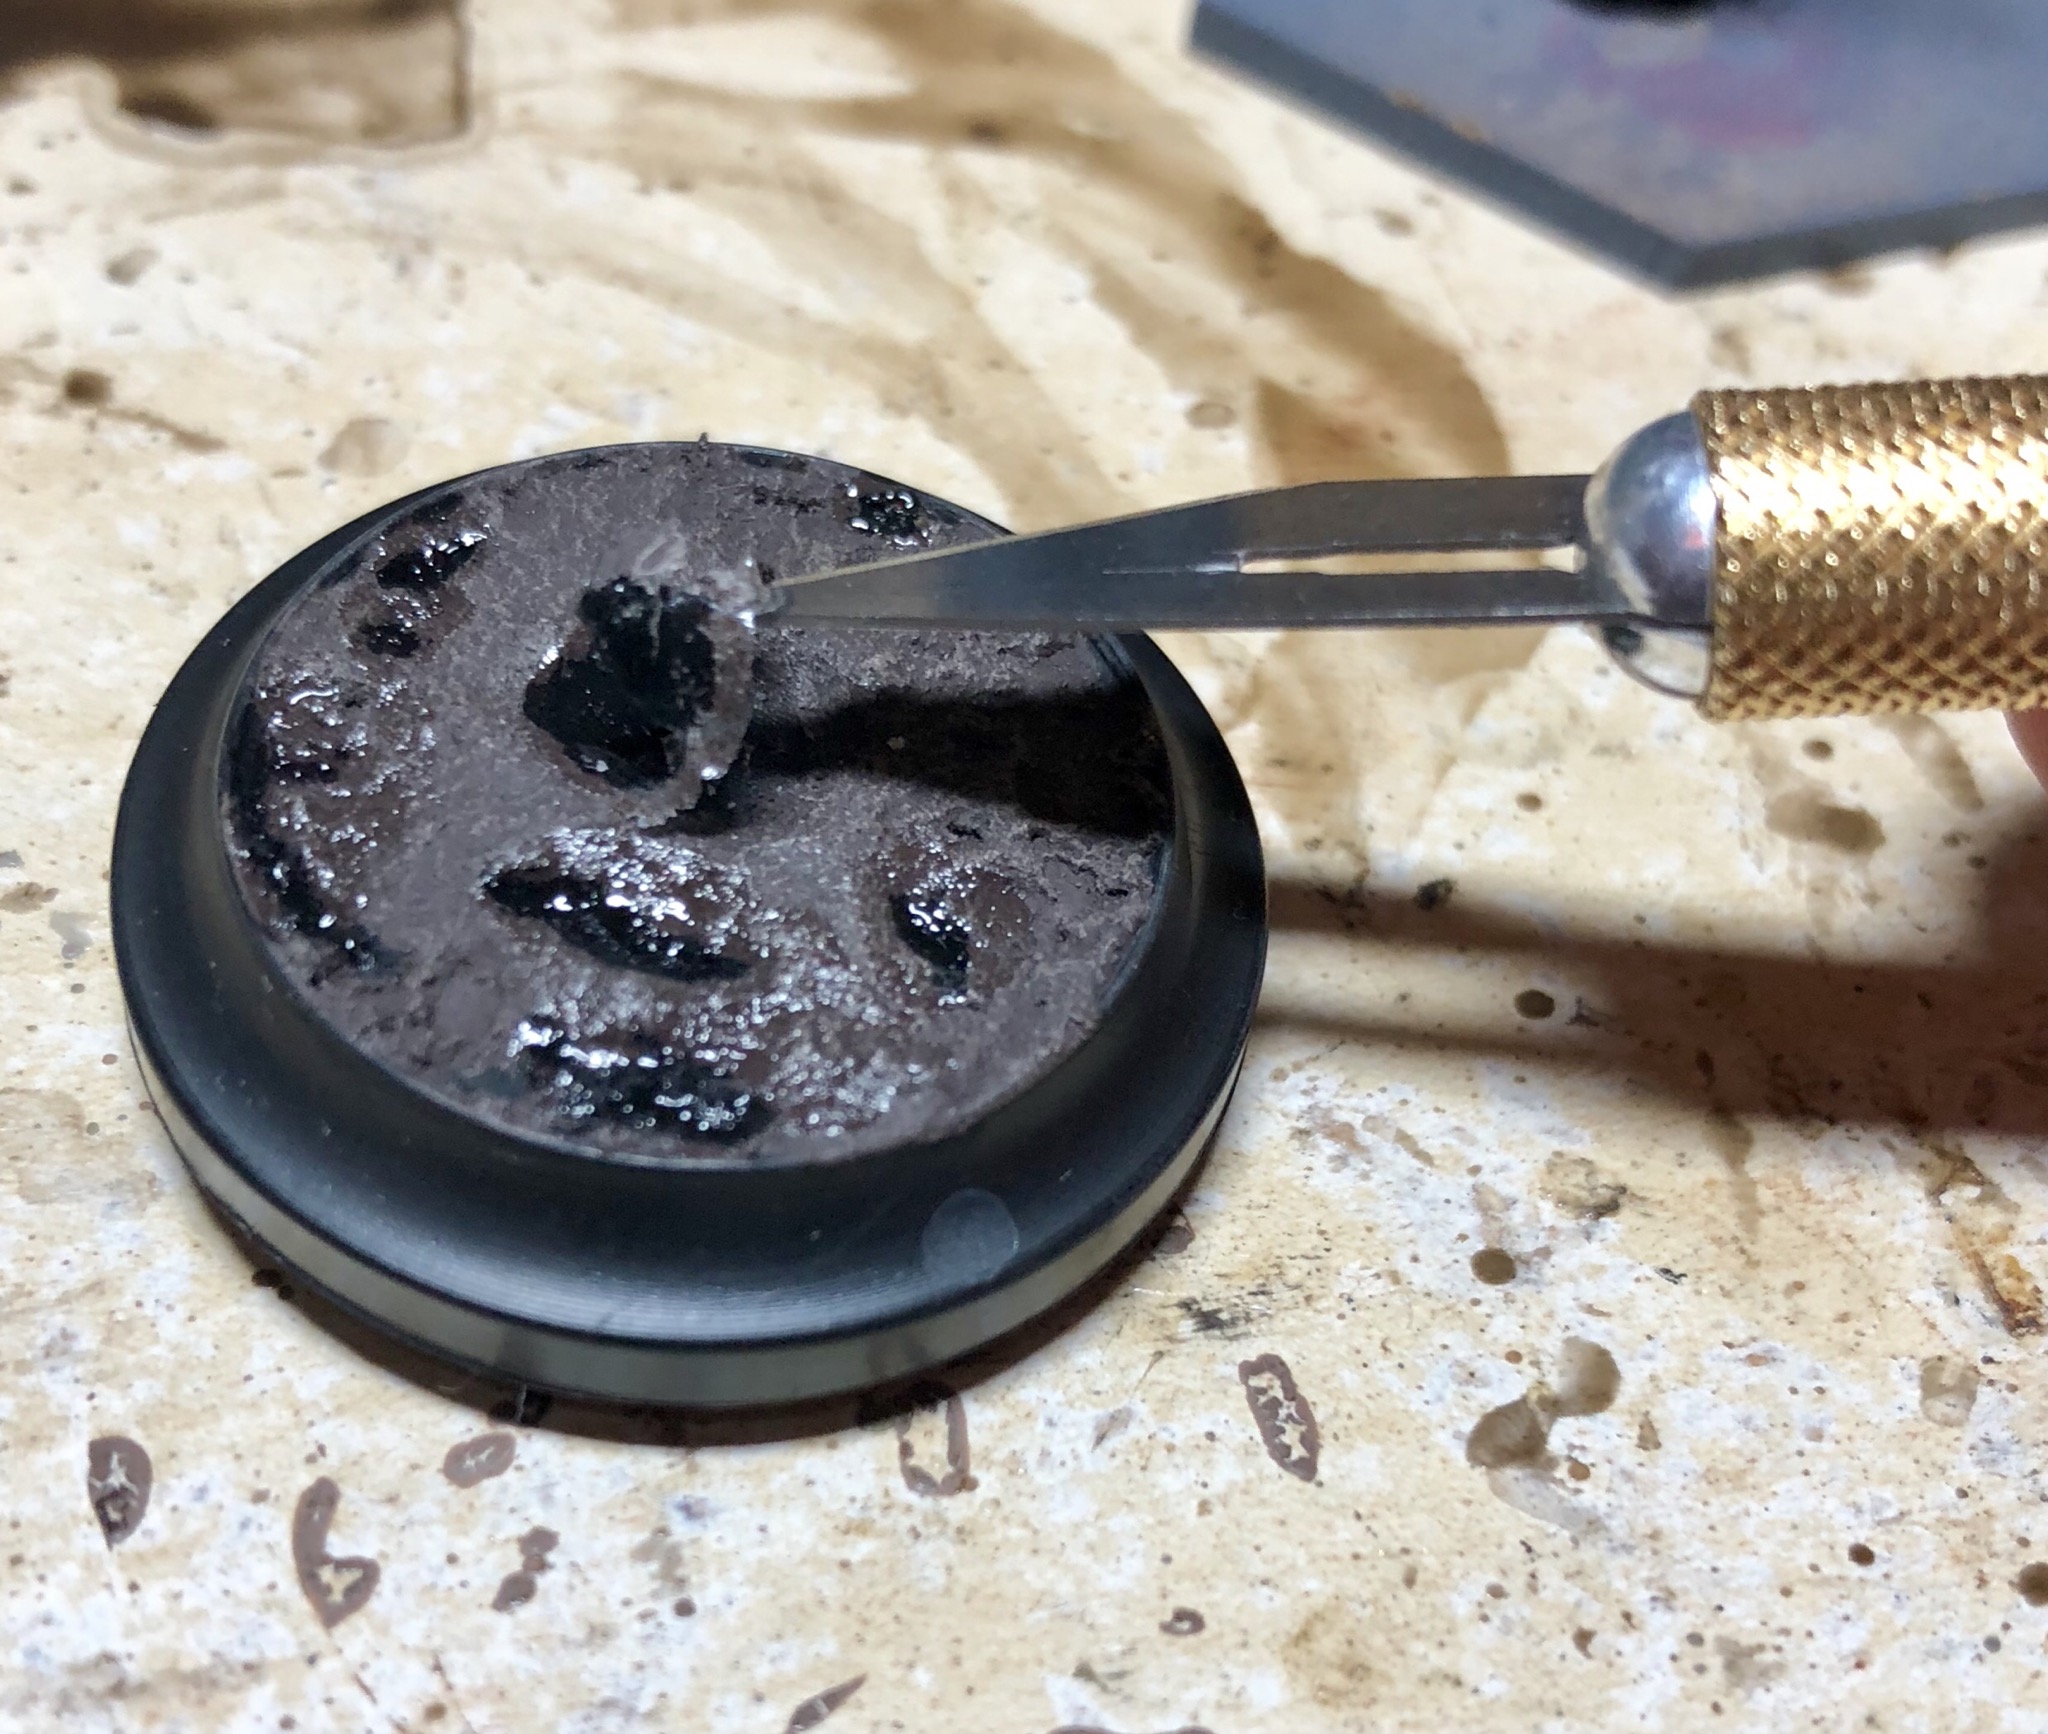
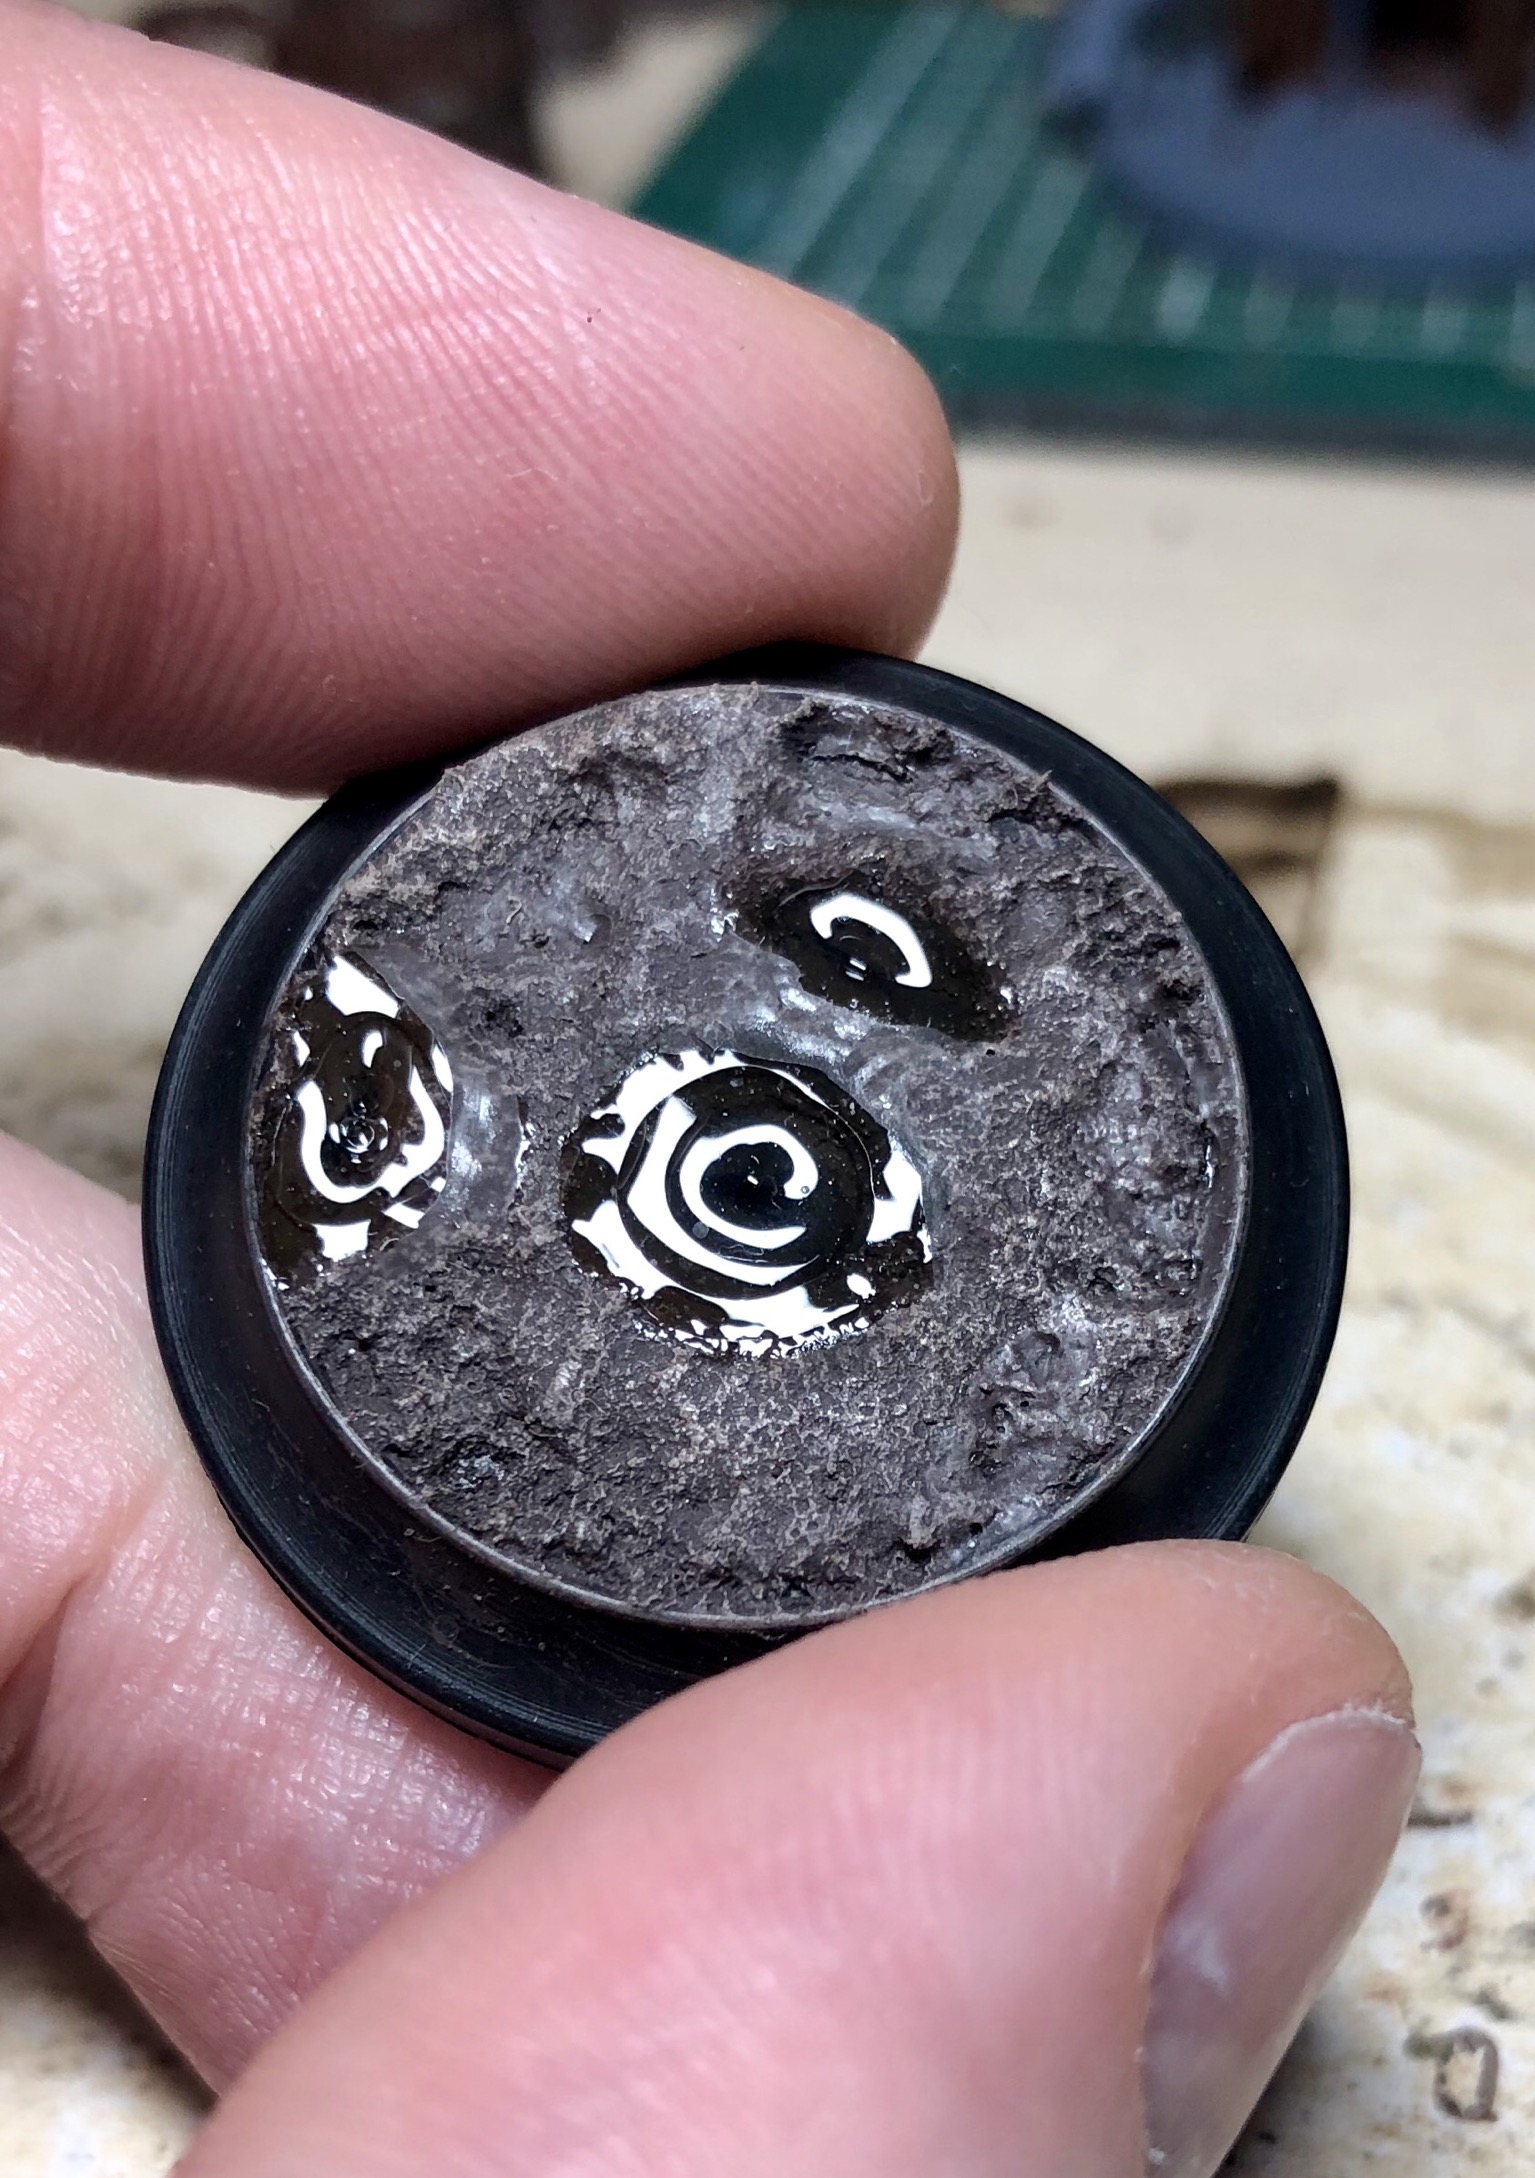
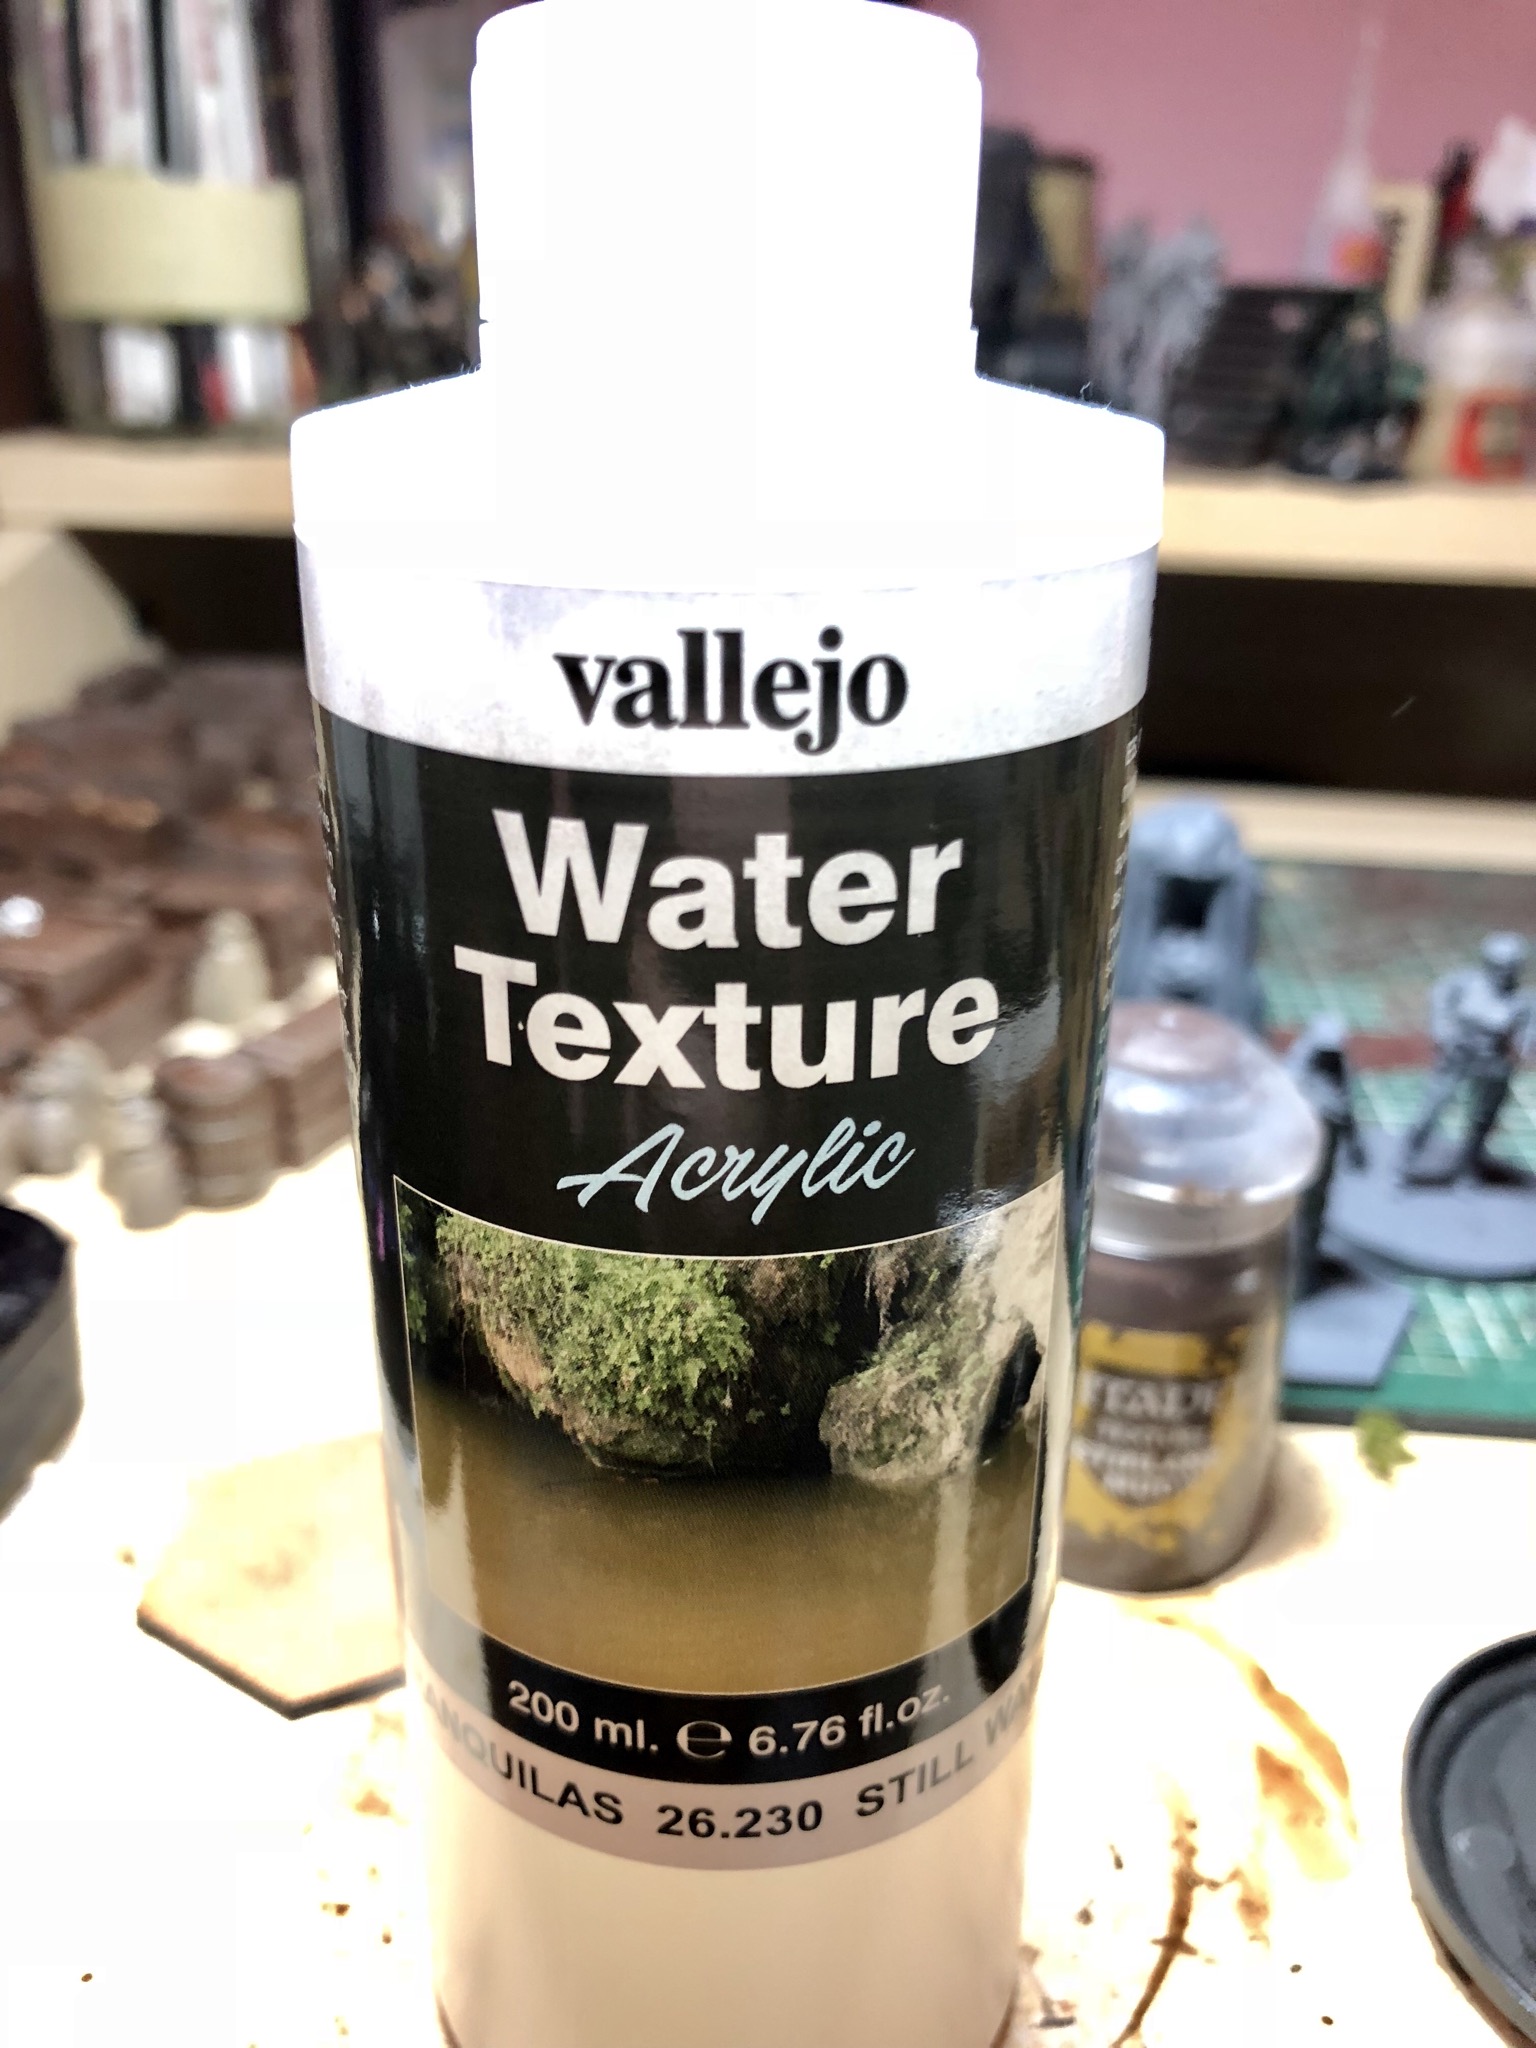 For the water effect im going to use Vallejo water effect. Never used it before so lets see what happens!
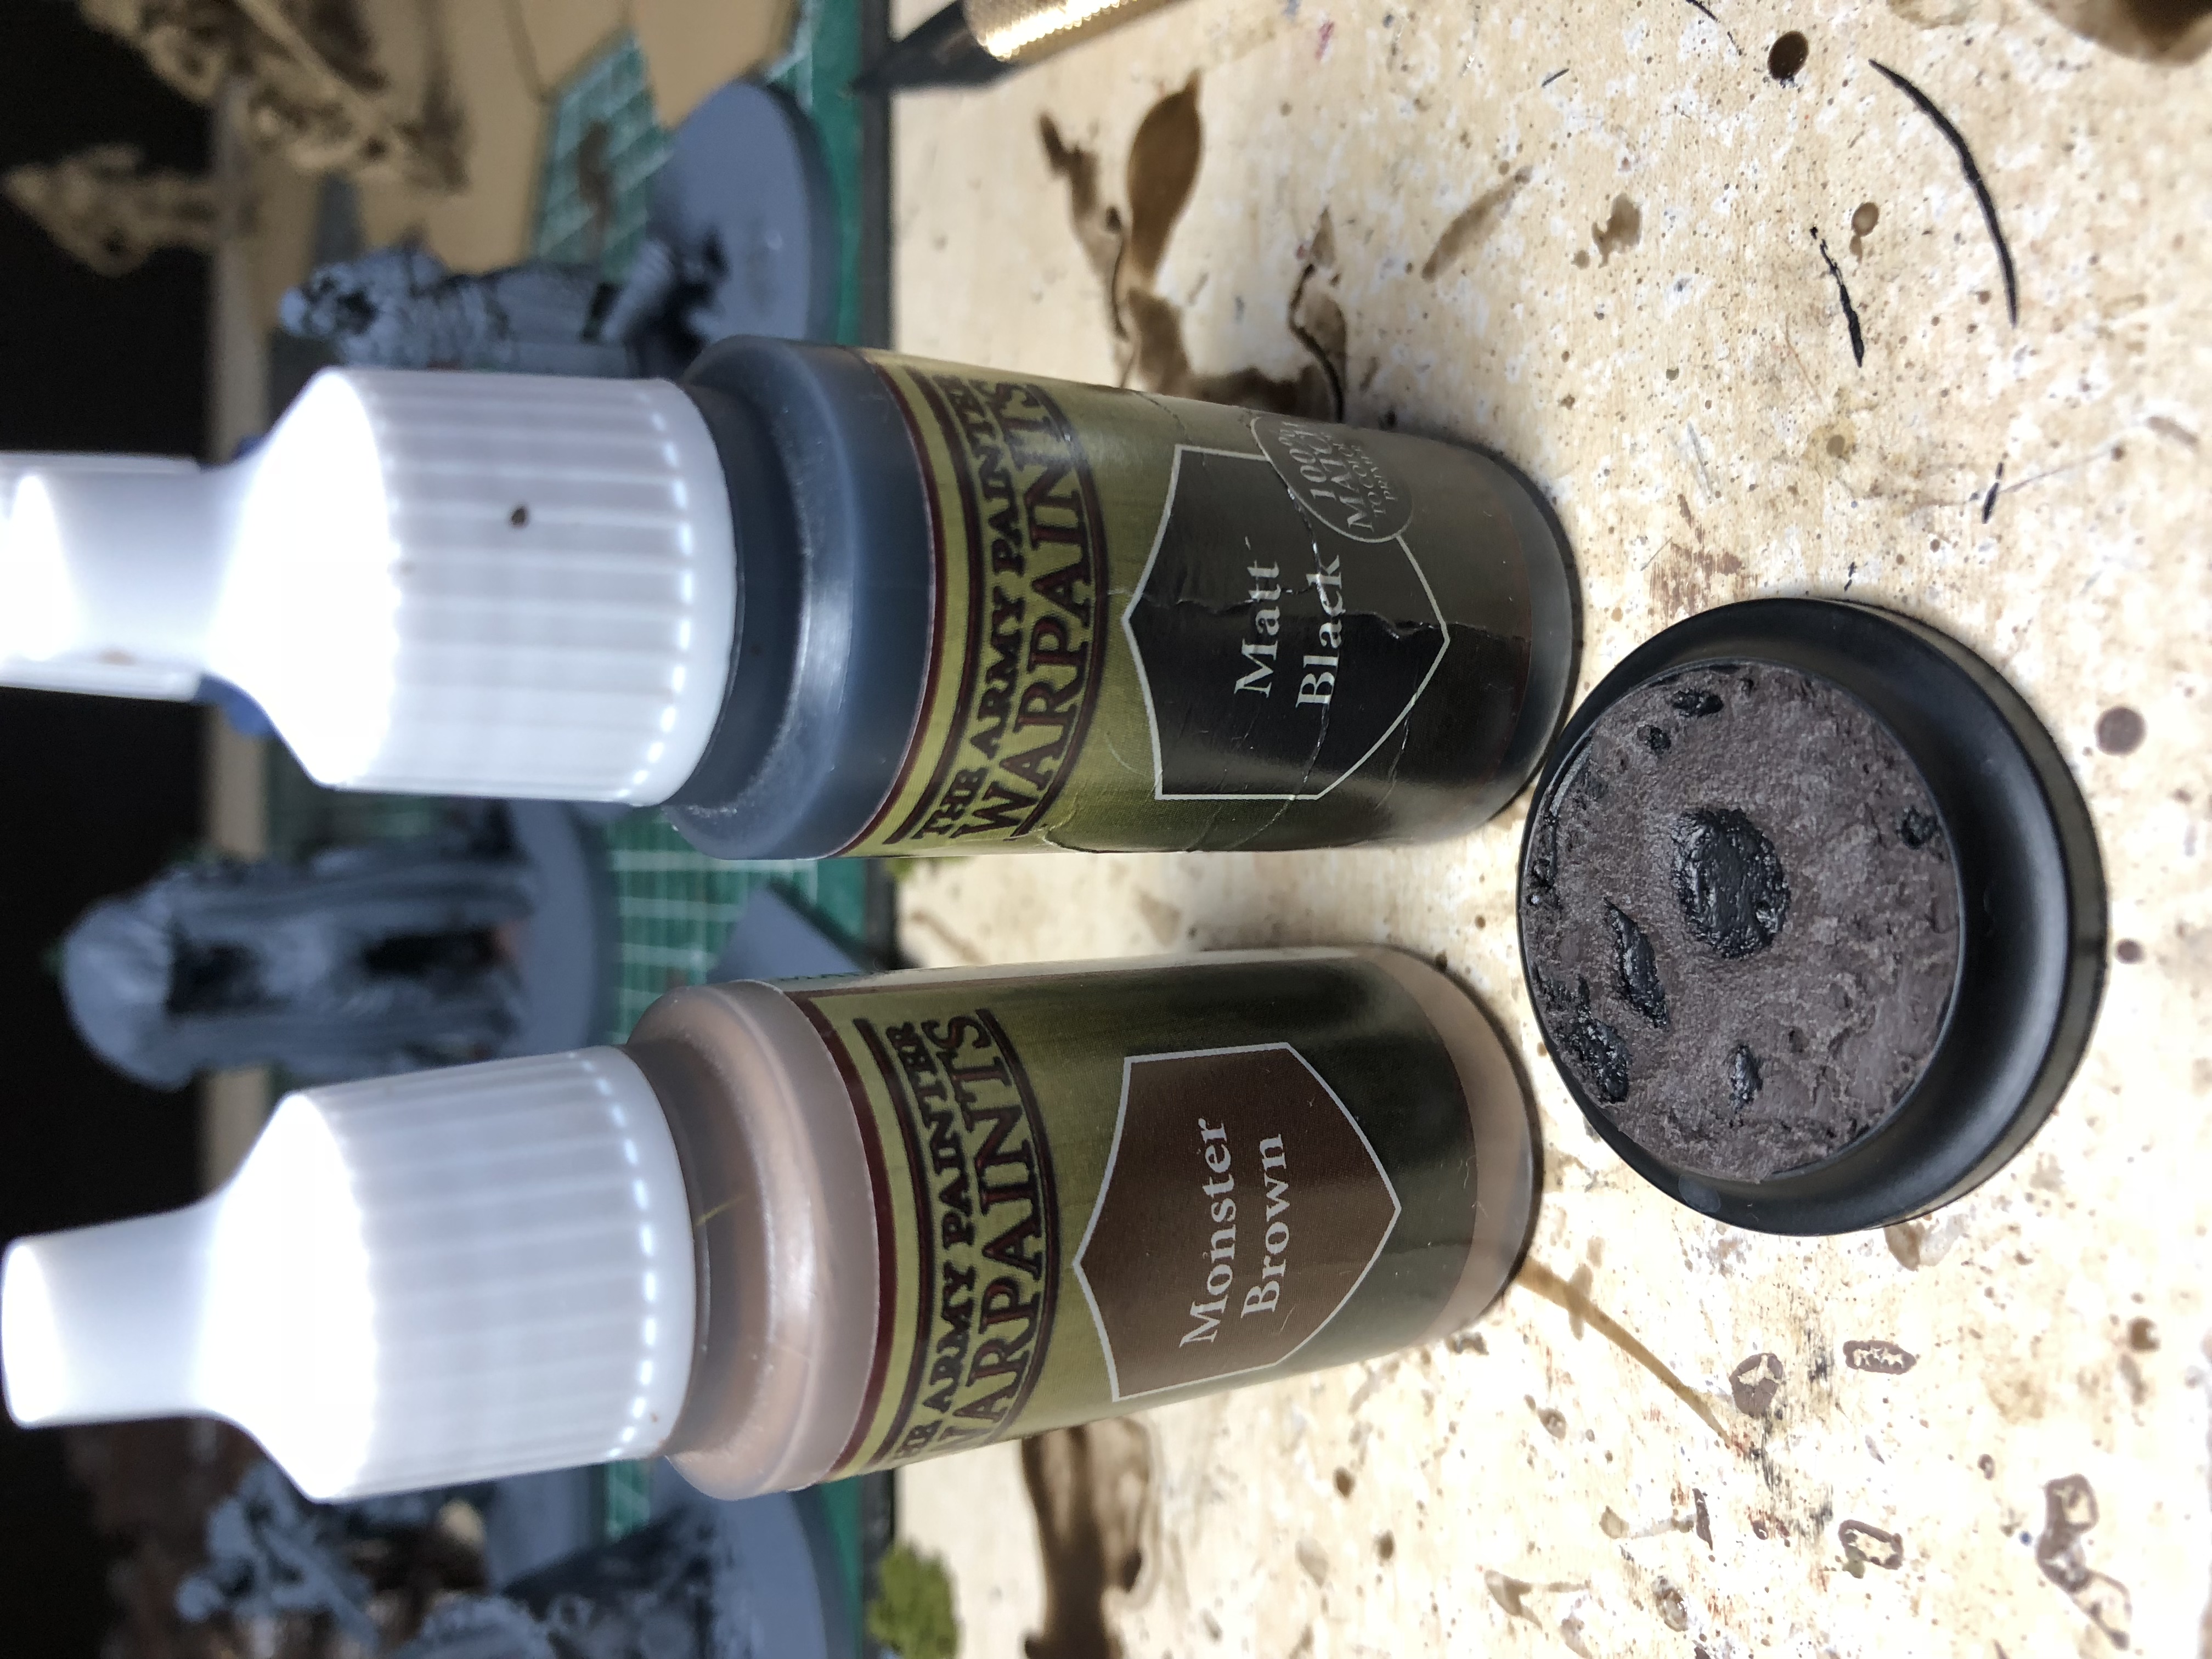 To give it some texture ive given the base a quick drybrush with Monster Brown and filled in the ‘puddle’ areas with matt black. Not sure quite how clear this dries so may be to stark a difference.
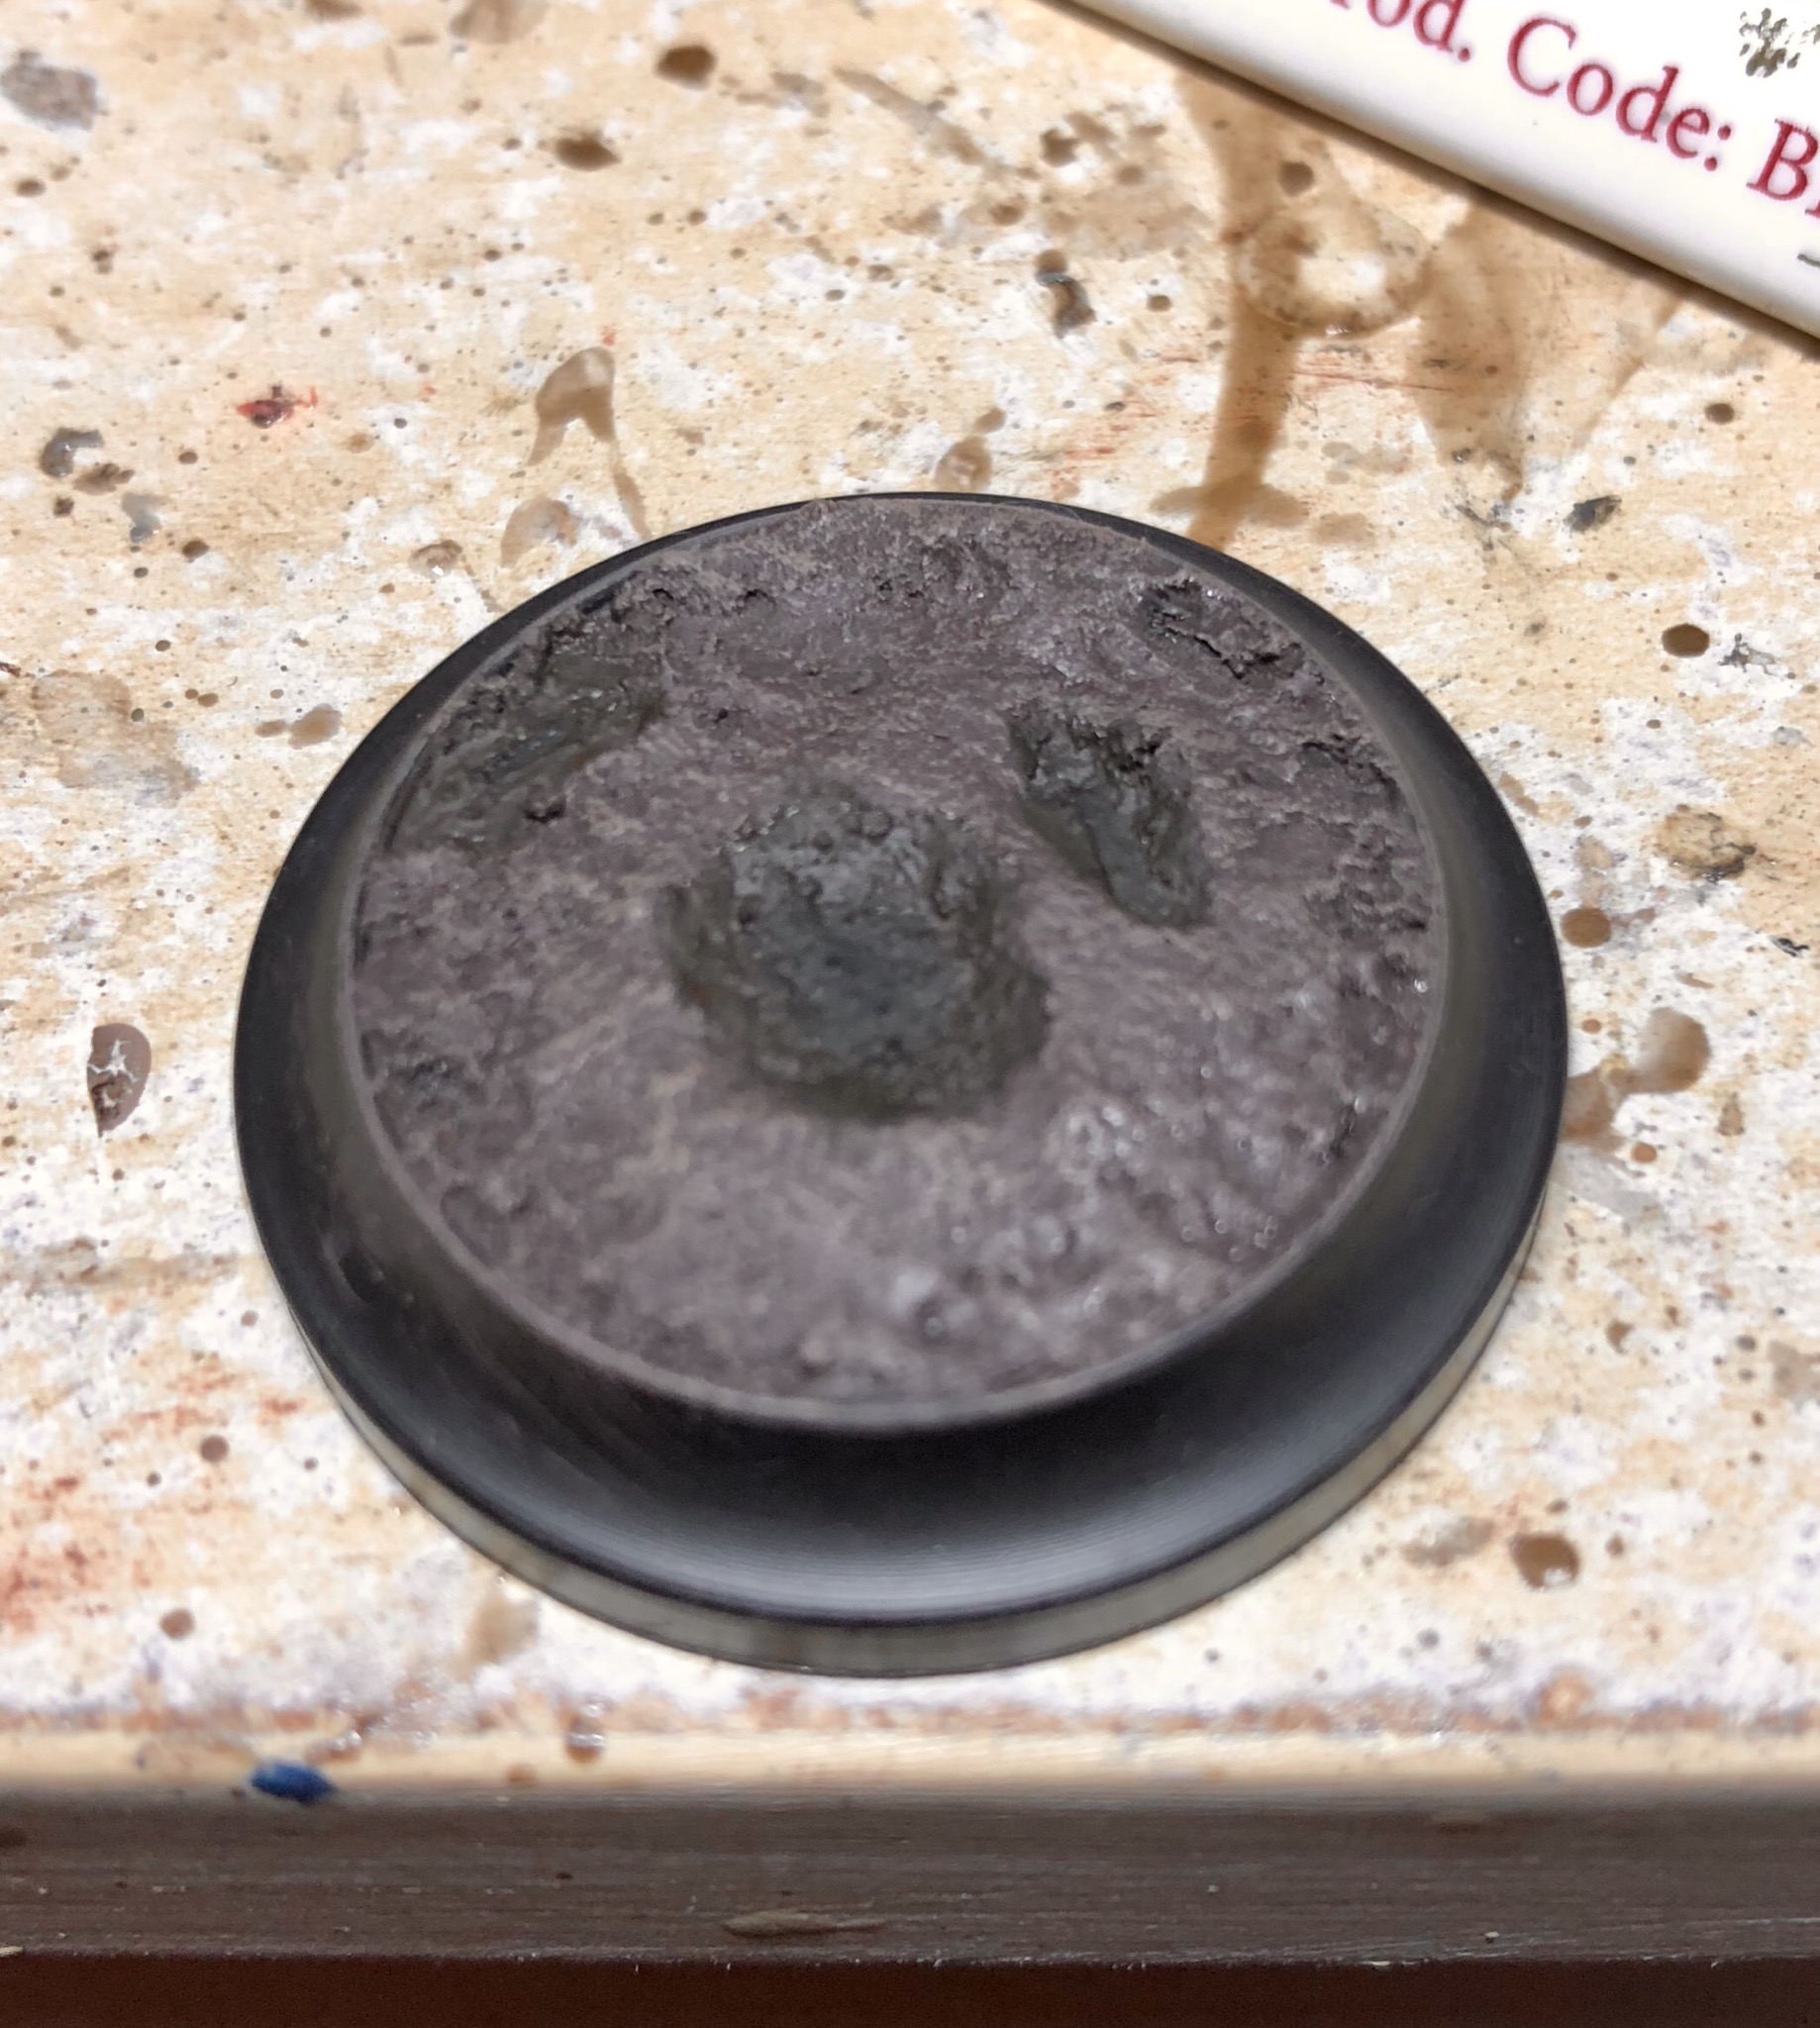
 A quick coat of matt varnish
 Dried
Dried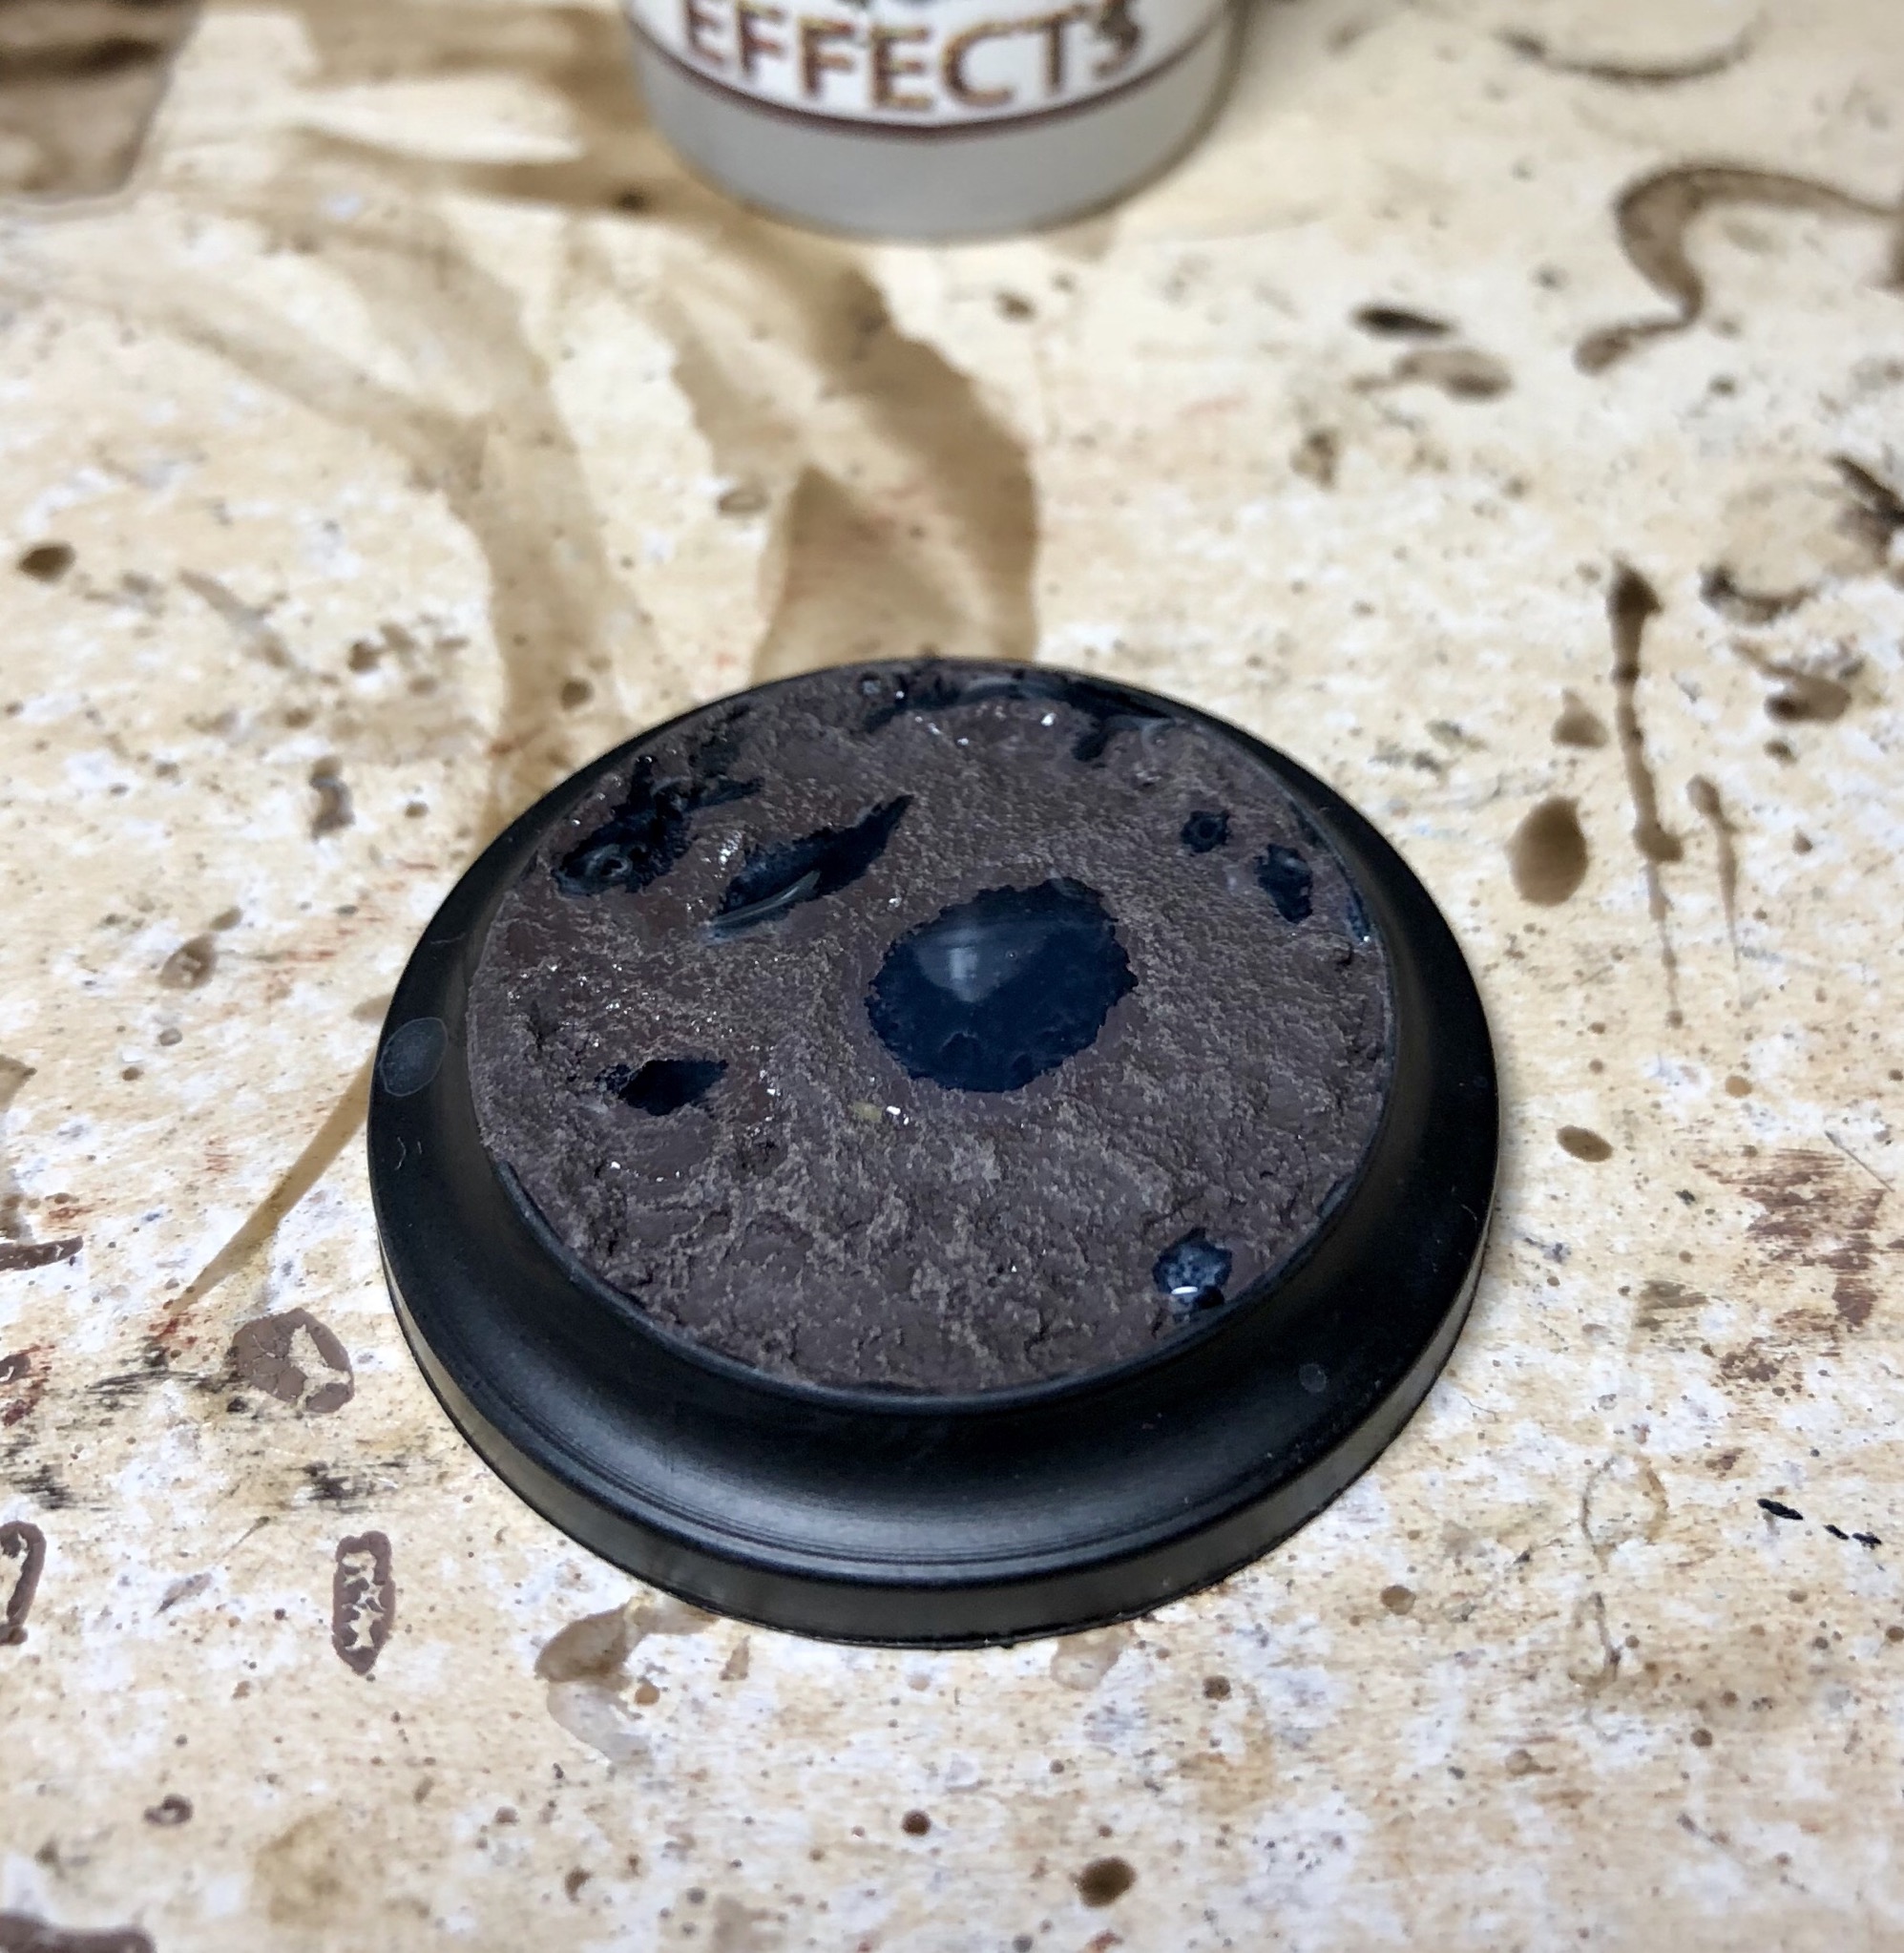 Water effect poured. Little bit tricky to control the flow but will see how it dries!
Bases for the Hex continued
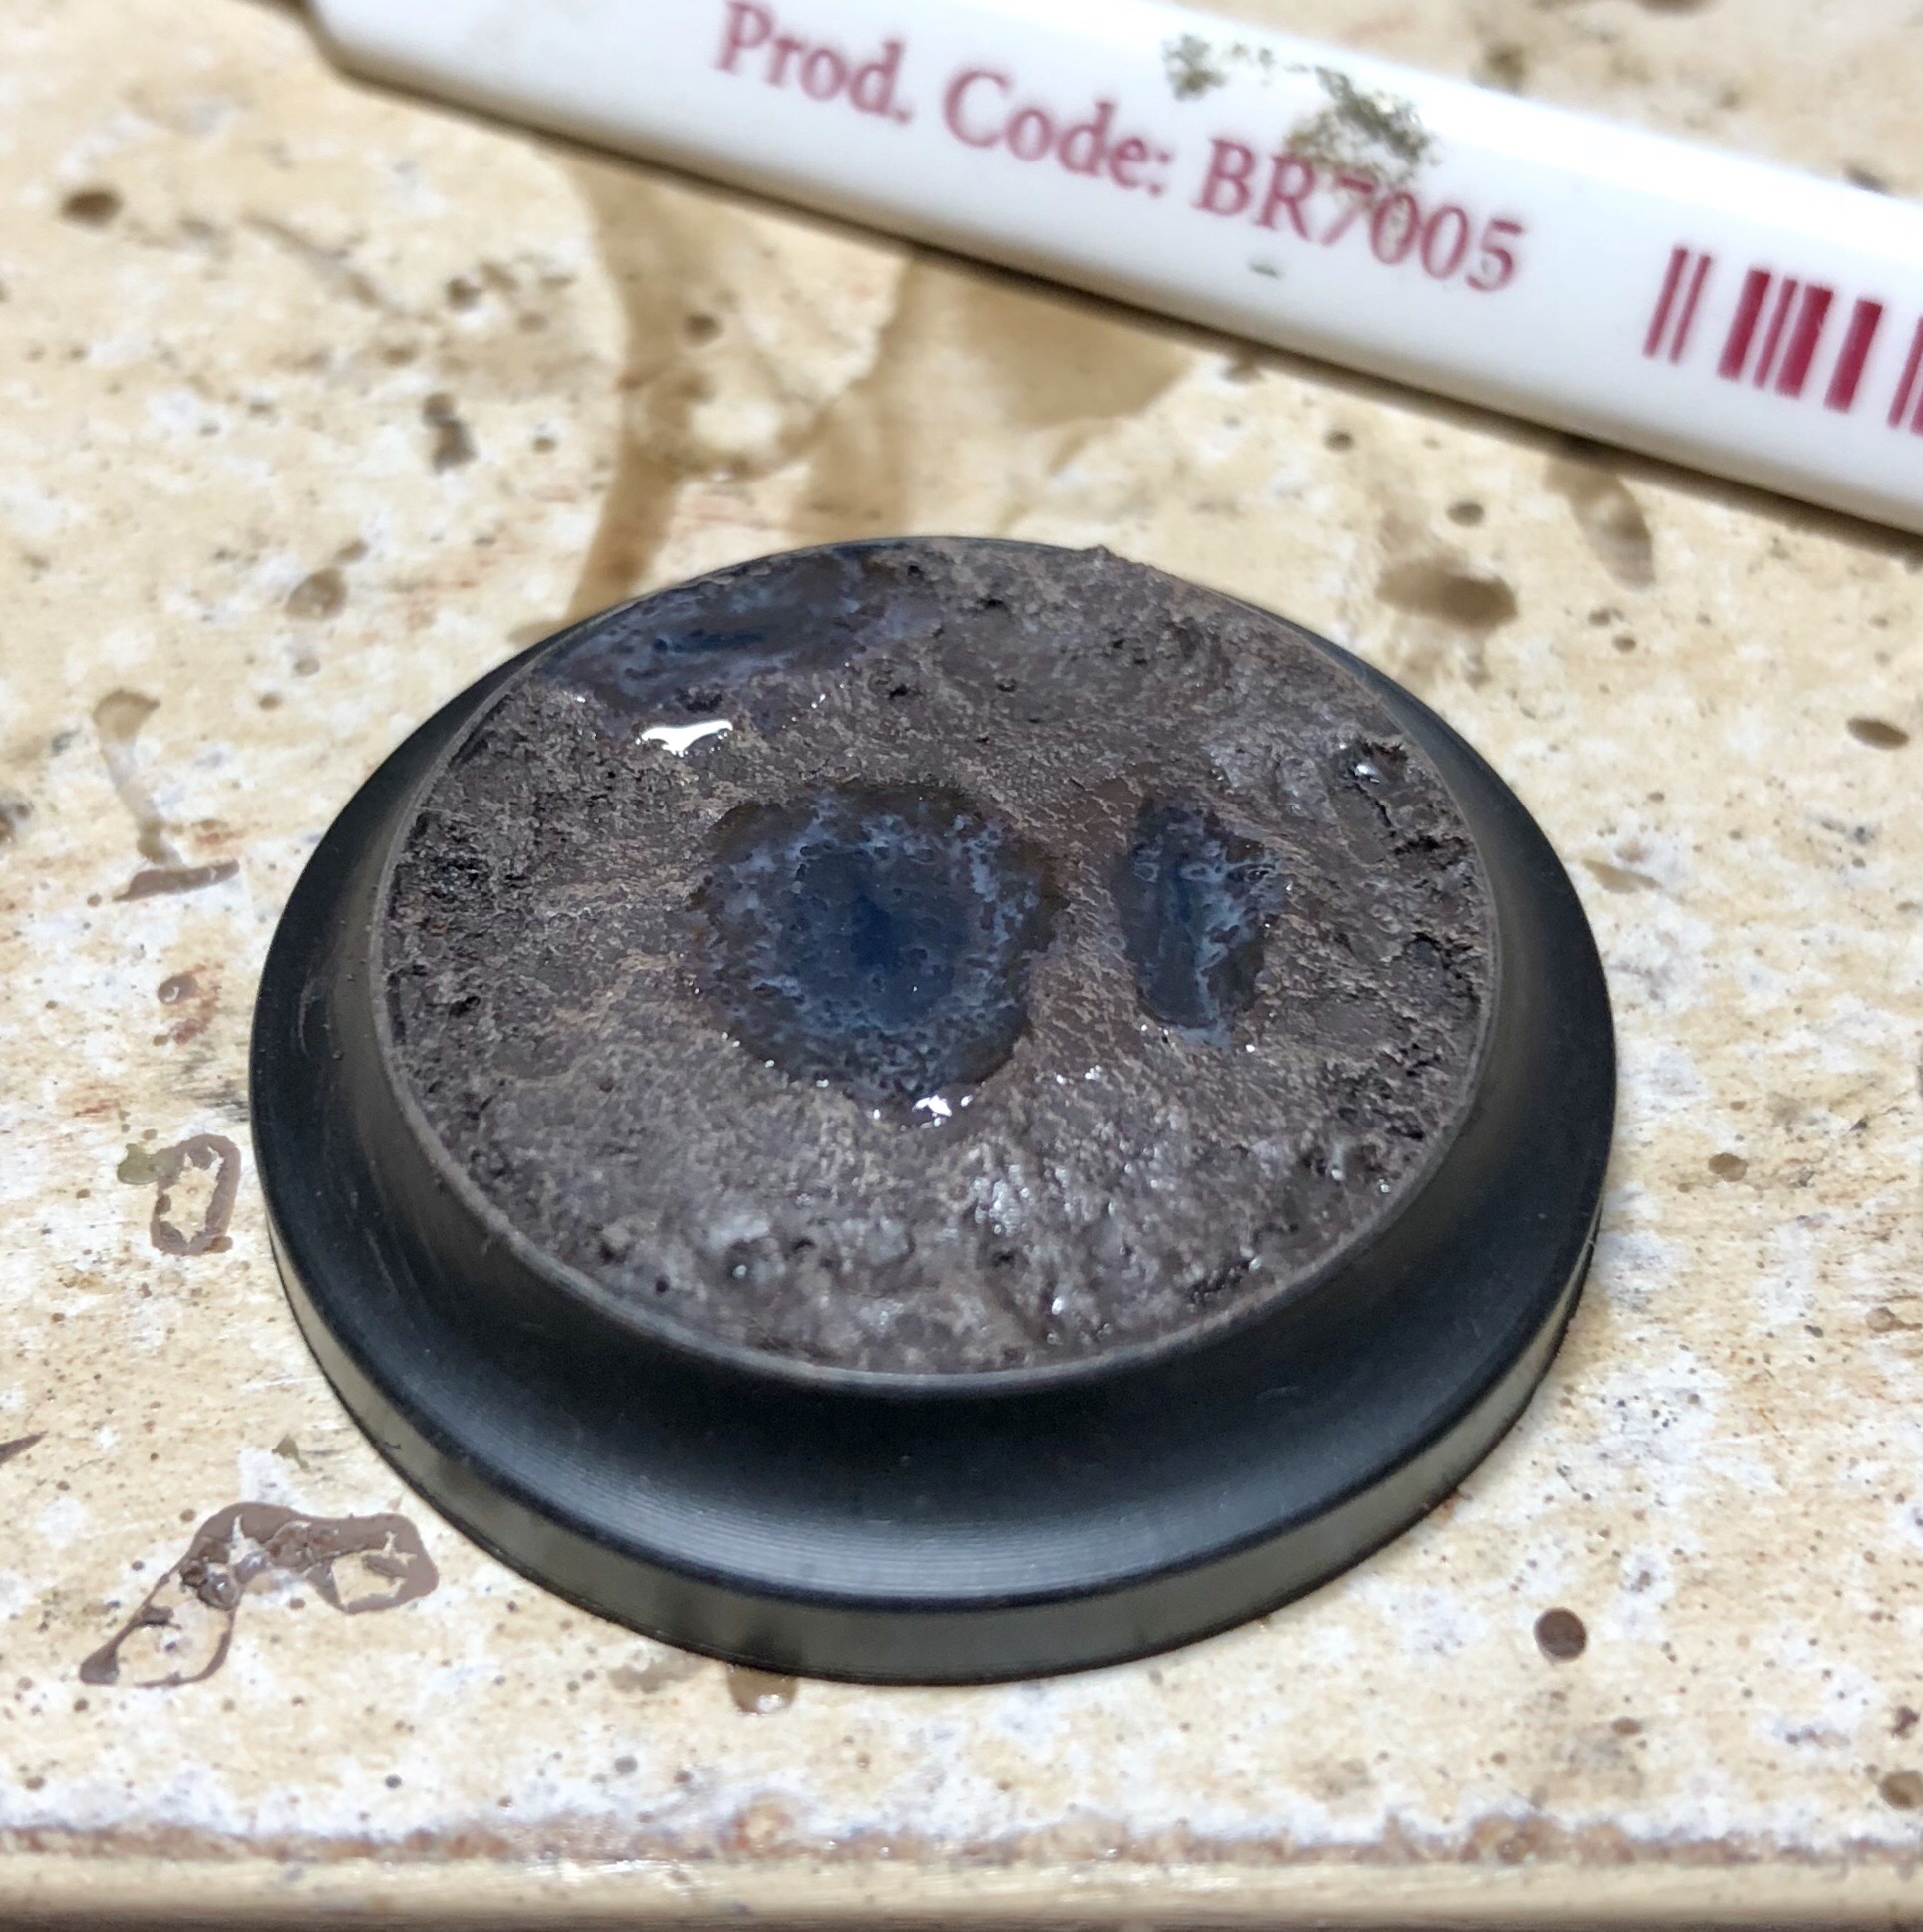
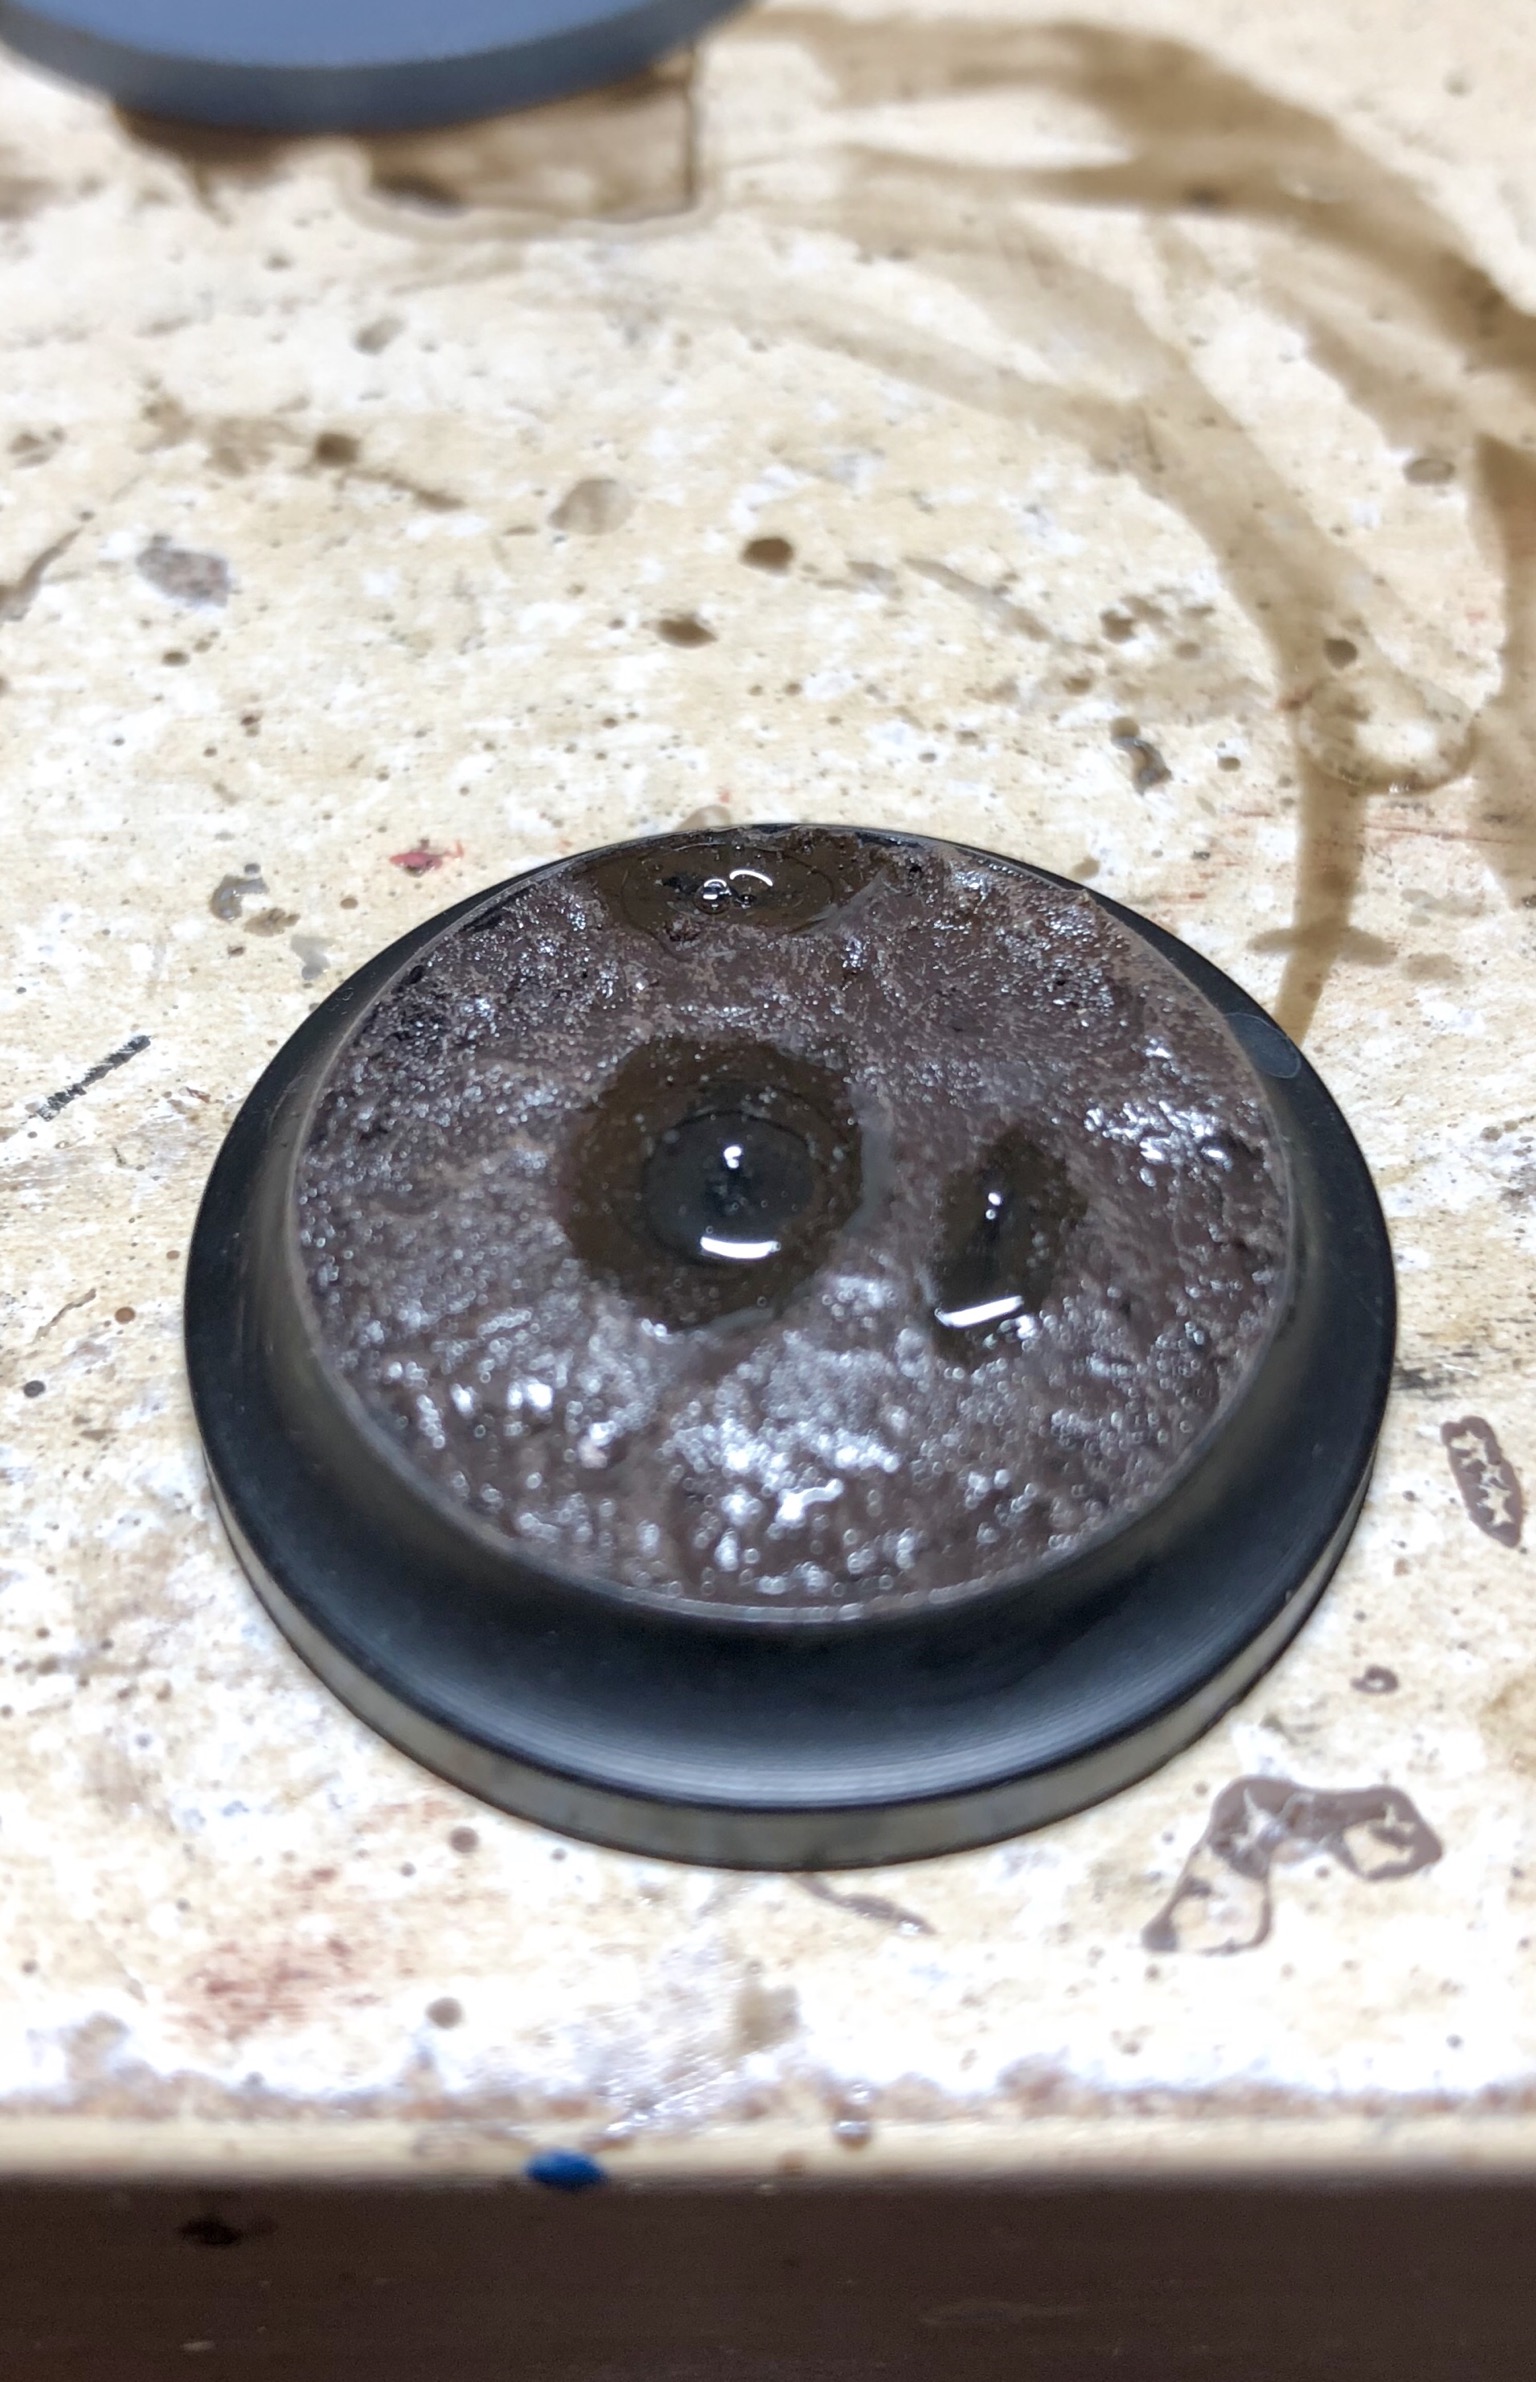
As i feared the black was too stark and as the water effect is very clear it doesnt look to great. Luckily you can remove it quite easily with a scalpel.
So after a quick clean up i mix up some Oak Brown and Matt Black to shade the recess. Hopefully this time itll be a bit more subtle. Worth noting the flow isnt particularly easy to control. Next time i’ll probably go for a bigger area

After applying a few layers, as believe me this stuff SHRINKS when drying, i noticed its wasnt drying flat. Its seems to be following the curvature of the recess. Whilst its not the effect I was after it has created an interesting ripple effect that i think i can work with. Its almost looks like gas is bubbling up. Im claiming that i did it on purpose now!!
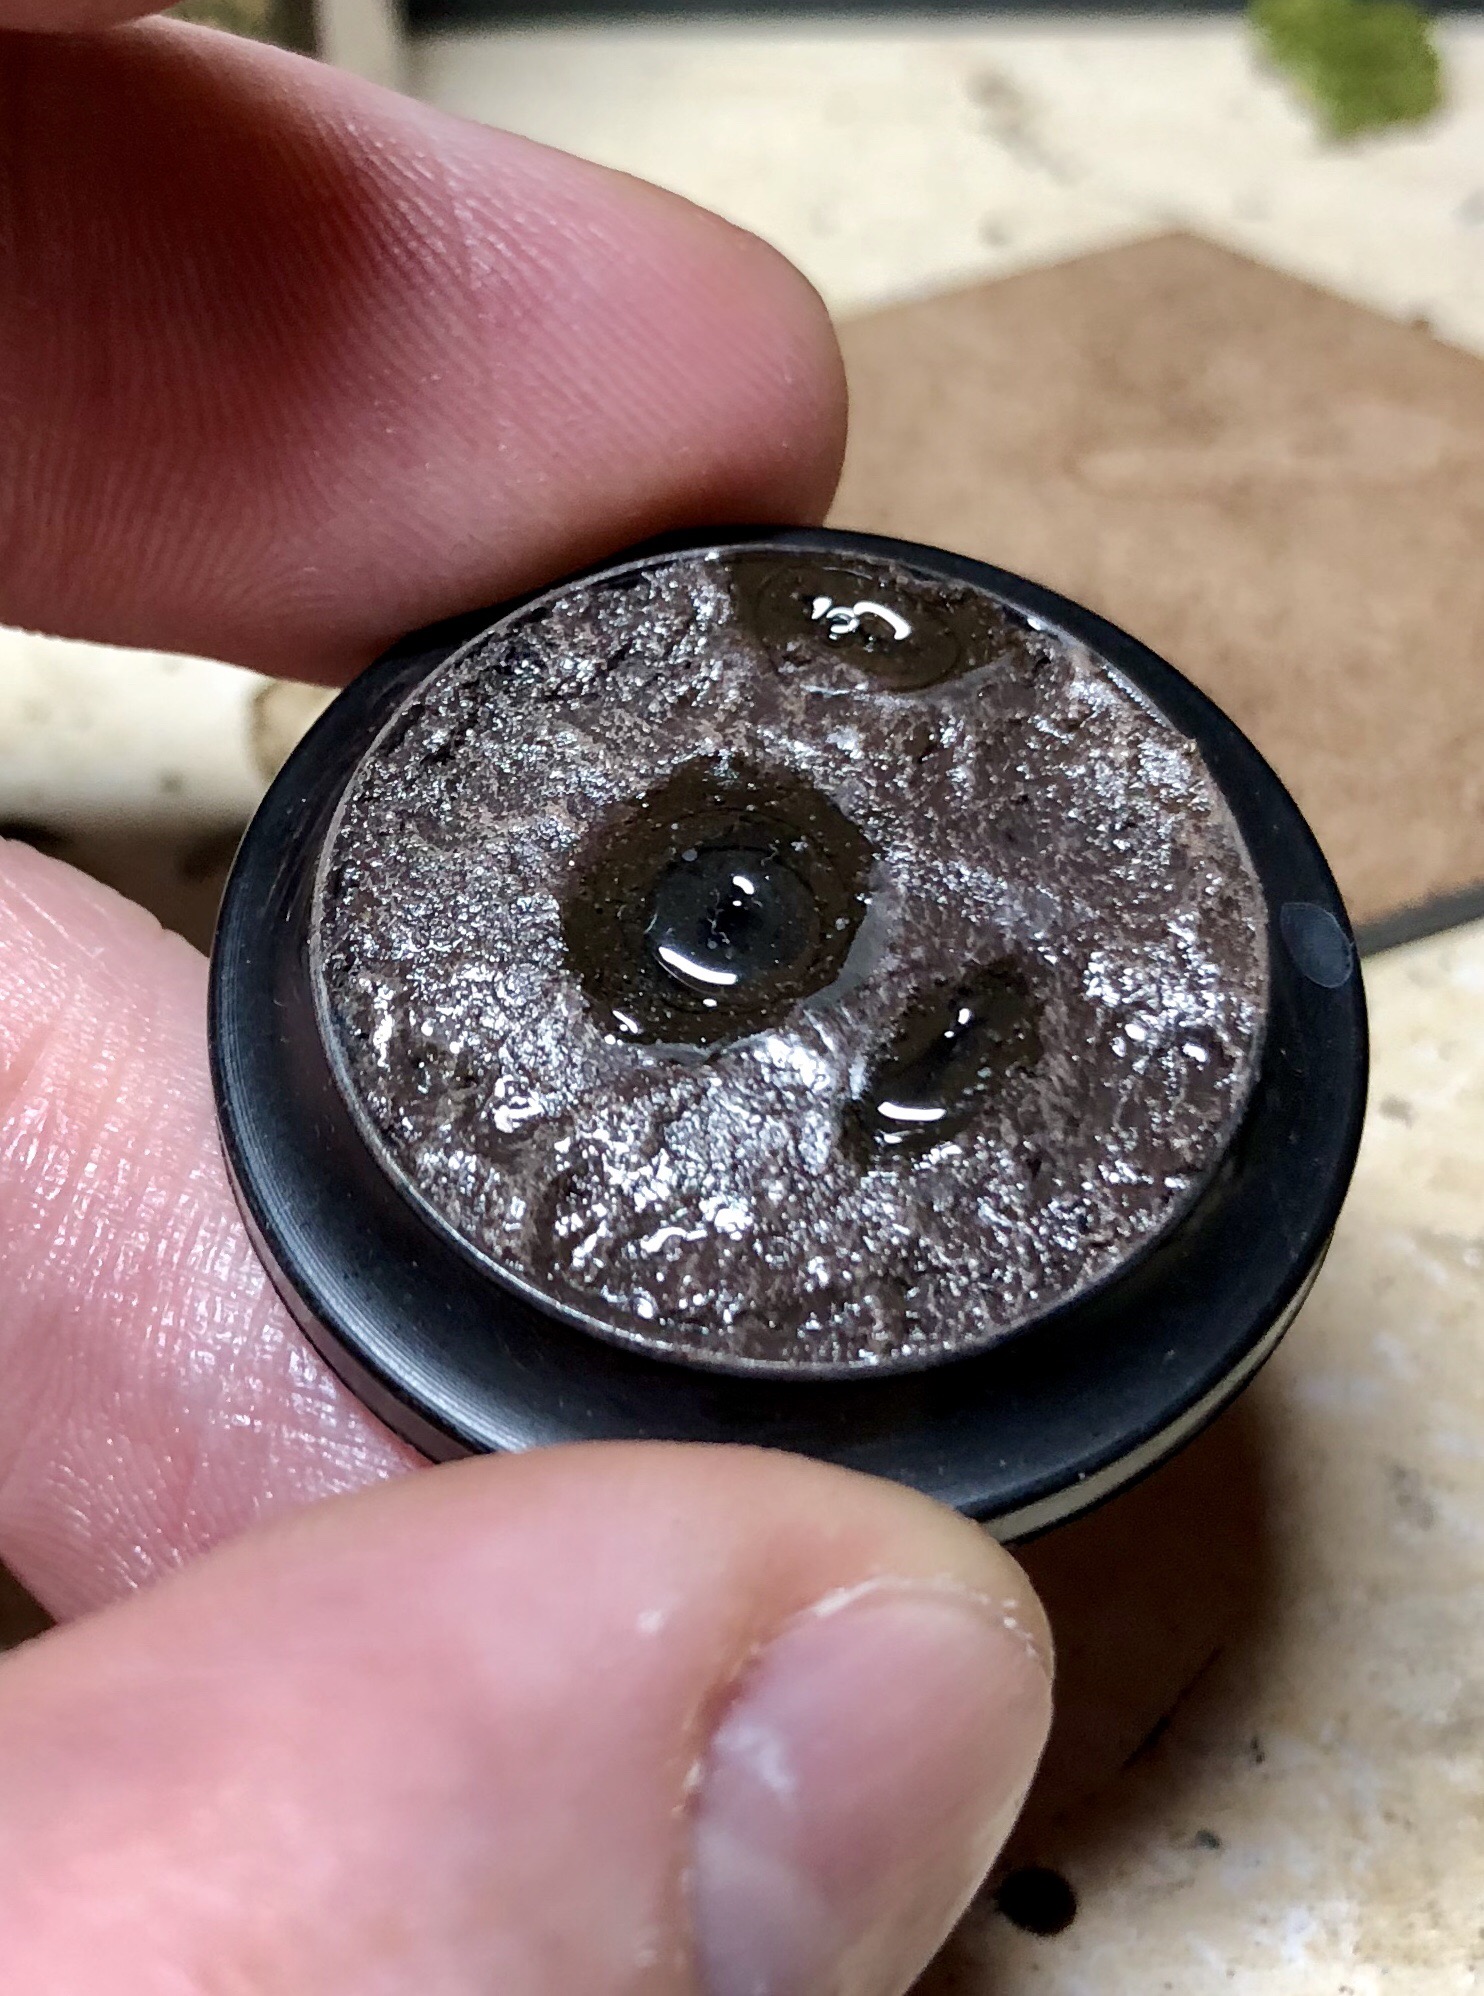
As the final finish seemed to stark between wet and dry i gave the base a brushed on army painter gloss varnish to give the mud a ‘wet’ look. Whilst not a perfect finish i think with a bit of tweaking and adding some tufts / twigs etc it could work
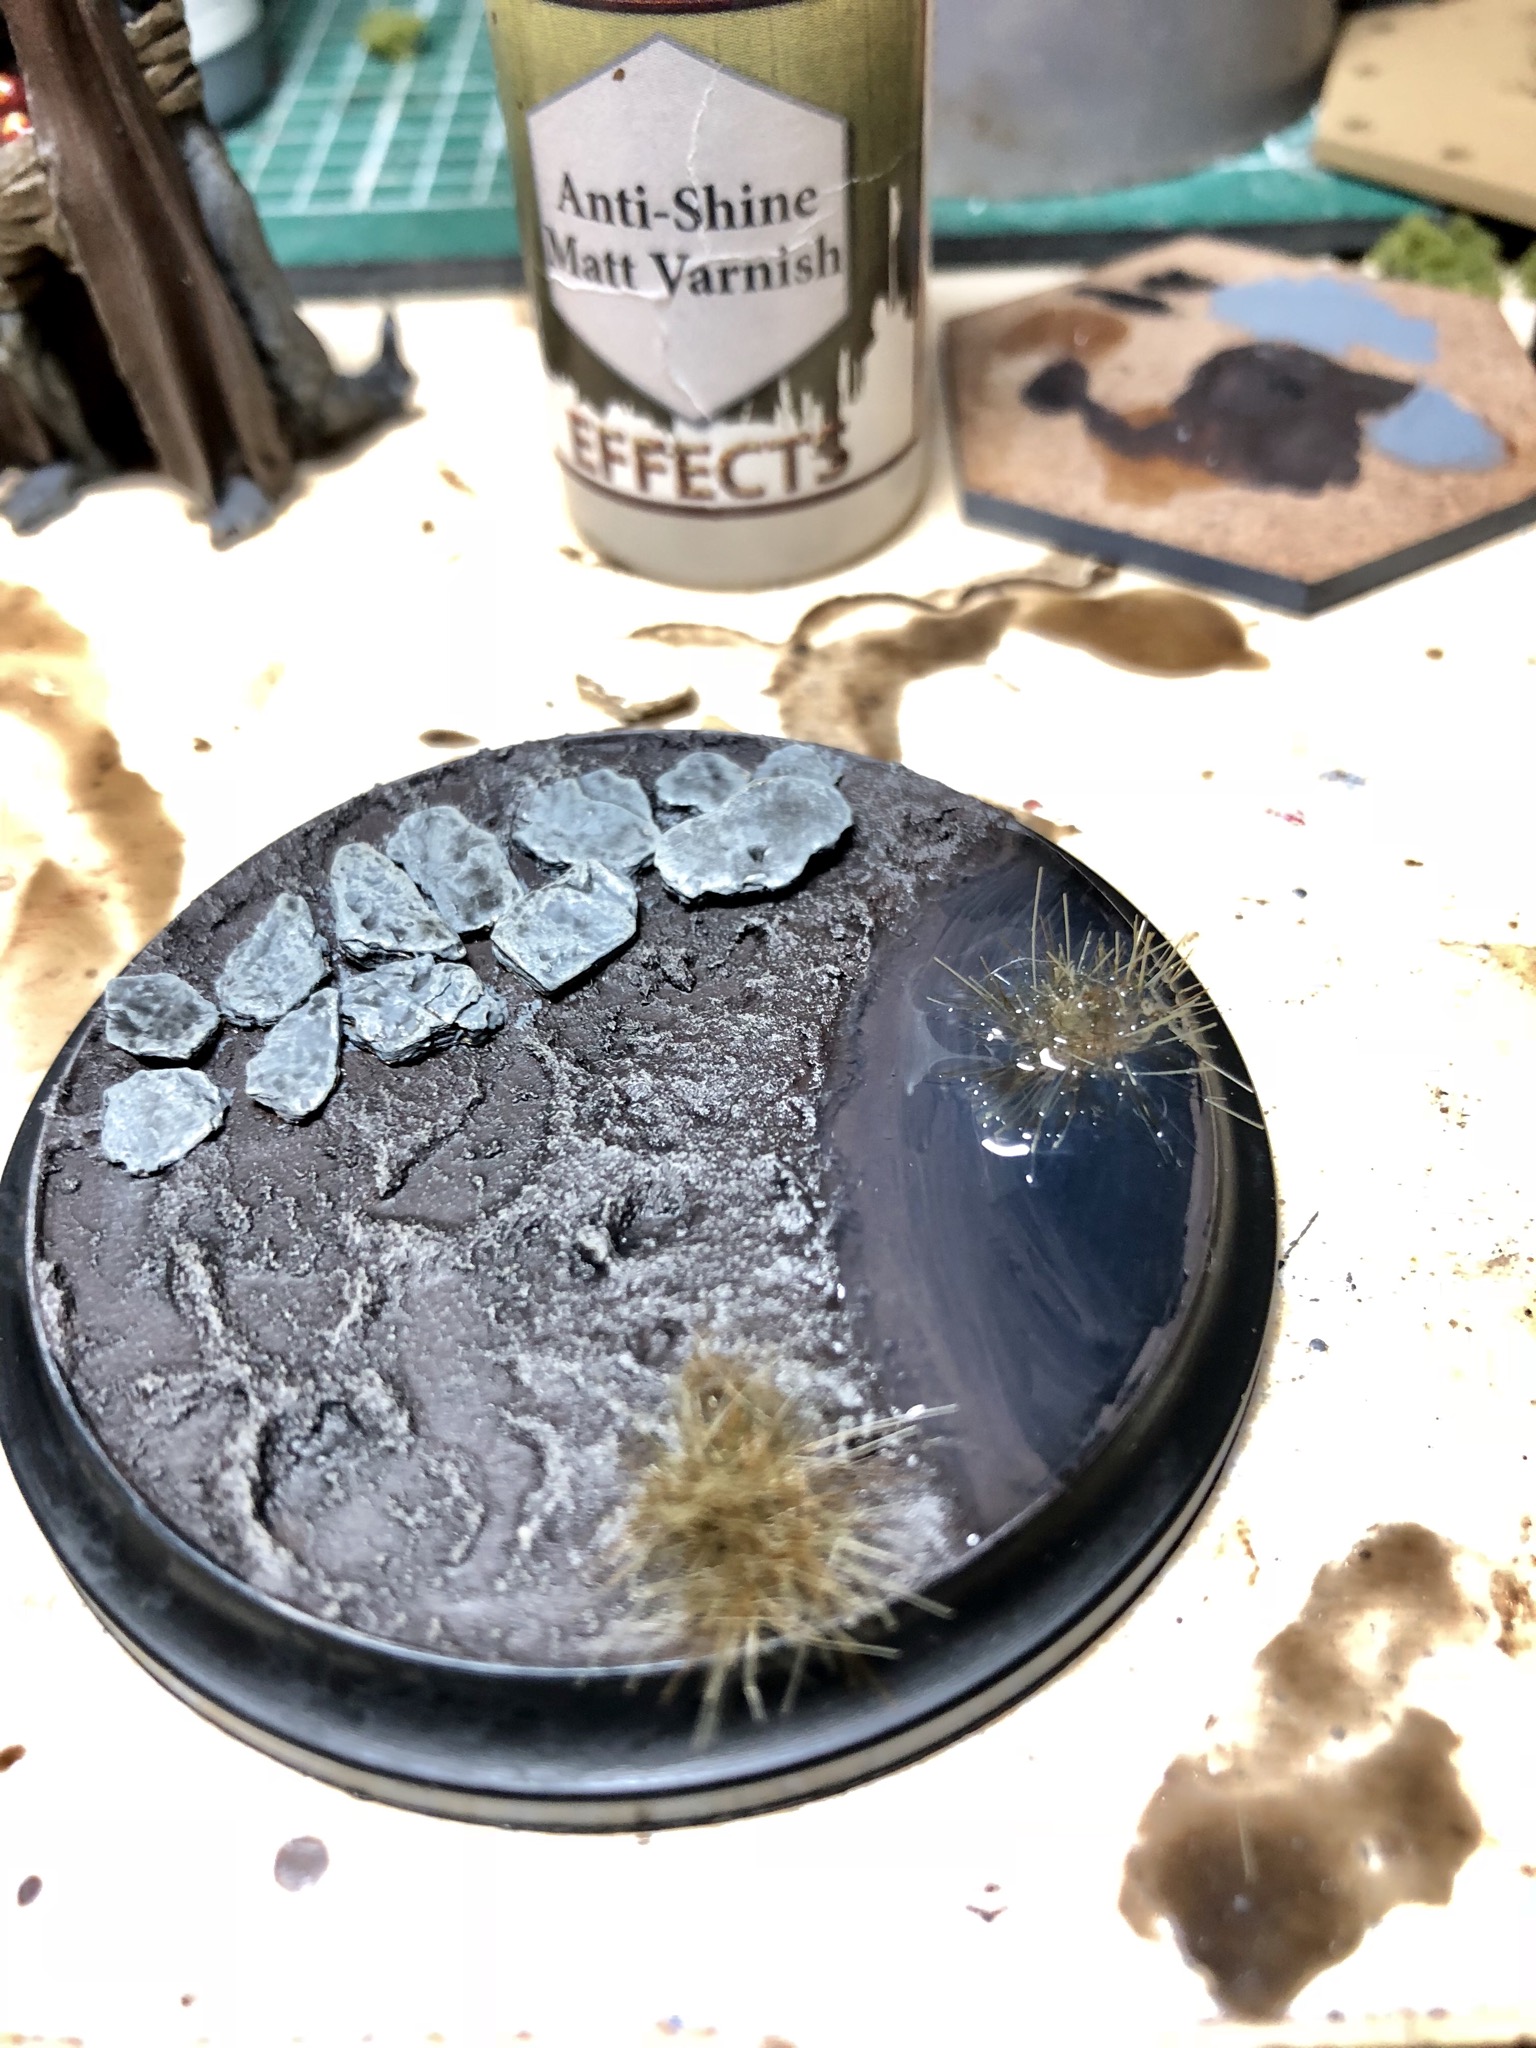
So after my initial experiments i think until i work out how to level the water effect a simple solution would be to make the expanse larger and to break up the area with some swampy terrain. I then got a little carried away and have no decided to theme all the Absolute Power bases as if they were summoning around some kind of dark pool. I also realised that Garratt Morgan is a bit of a show pony and would wierd standing in a puddle in all his finery! Also leaning on a cane in mud is never going to end well! So i decided to add some stones to create a crude path to elevate him from the muck. Goddam this project system and it making me think about basing!!! Heres the final result
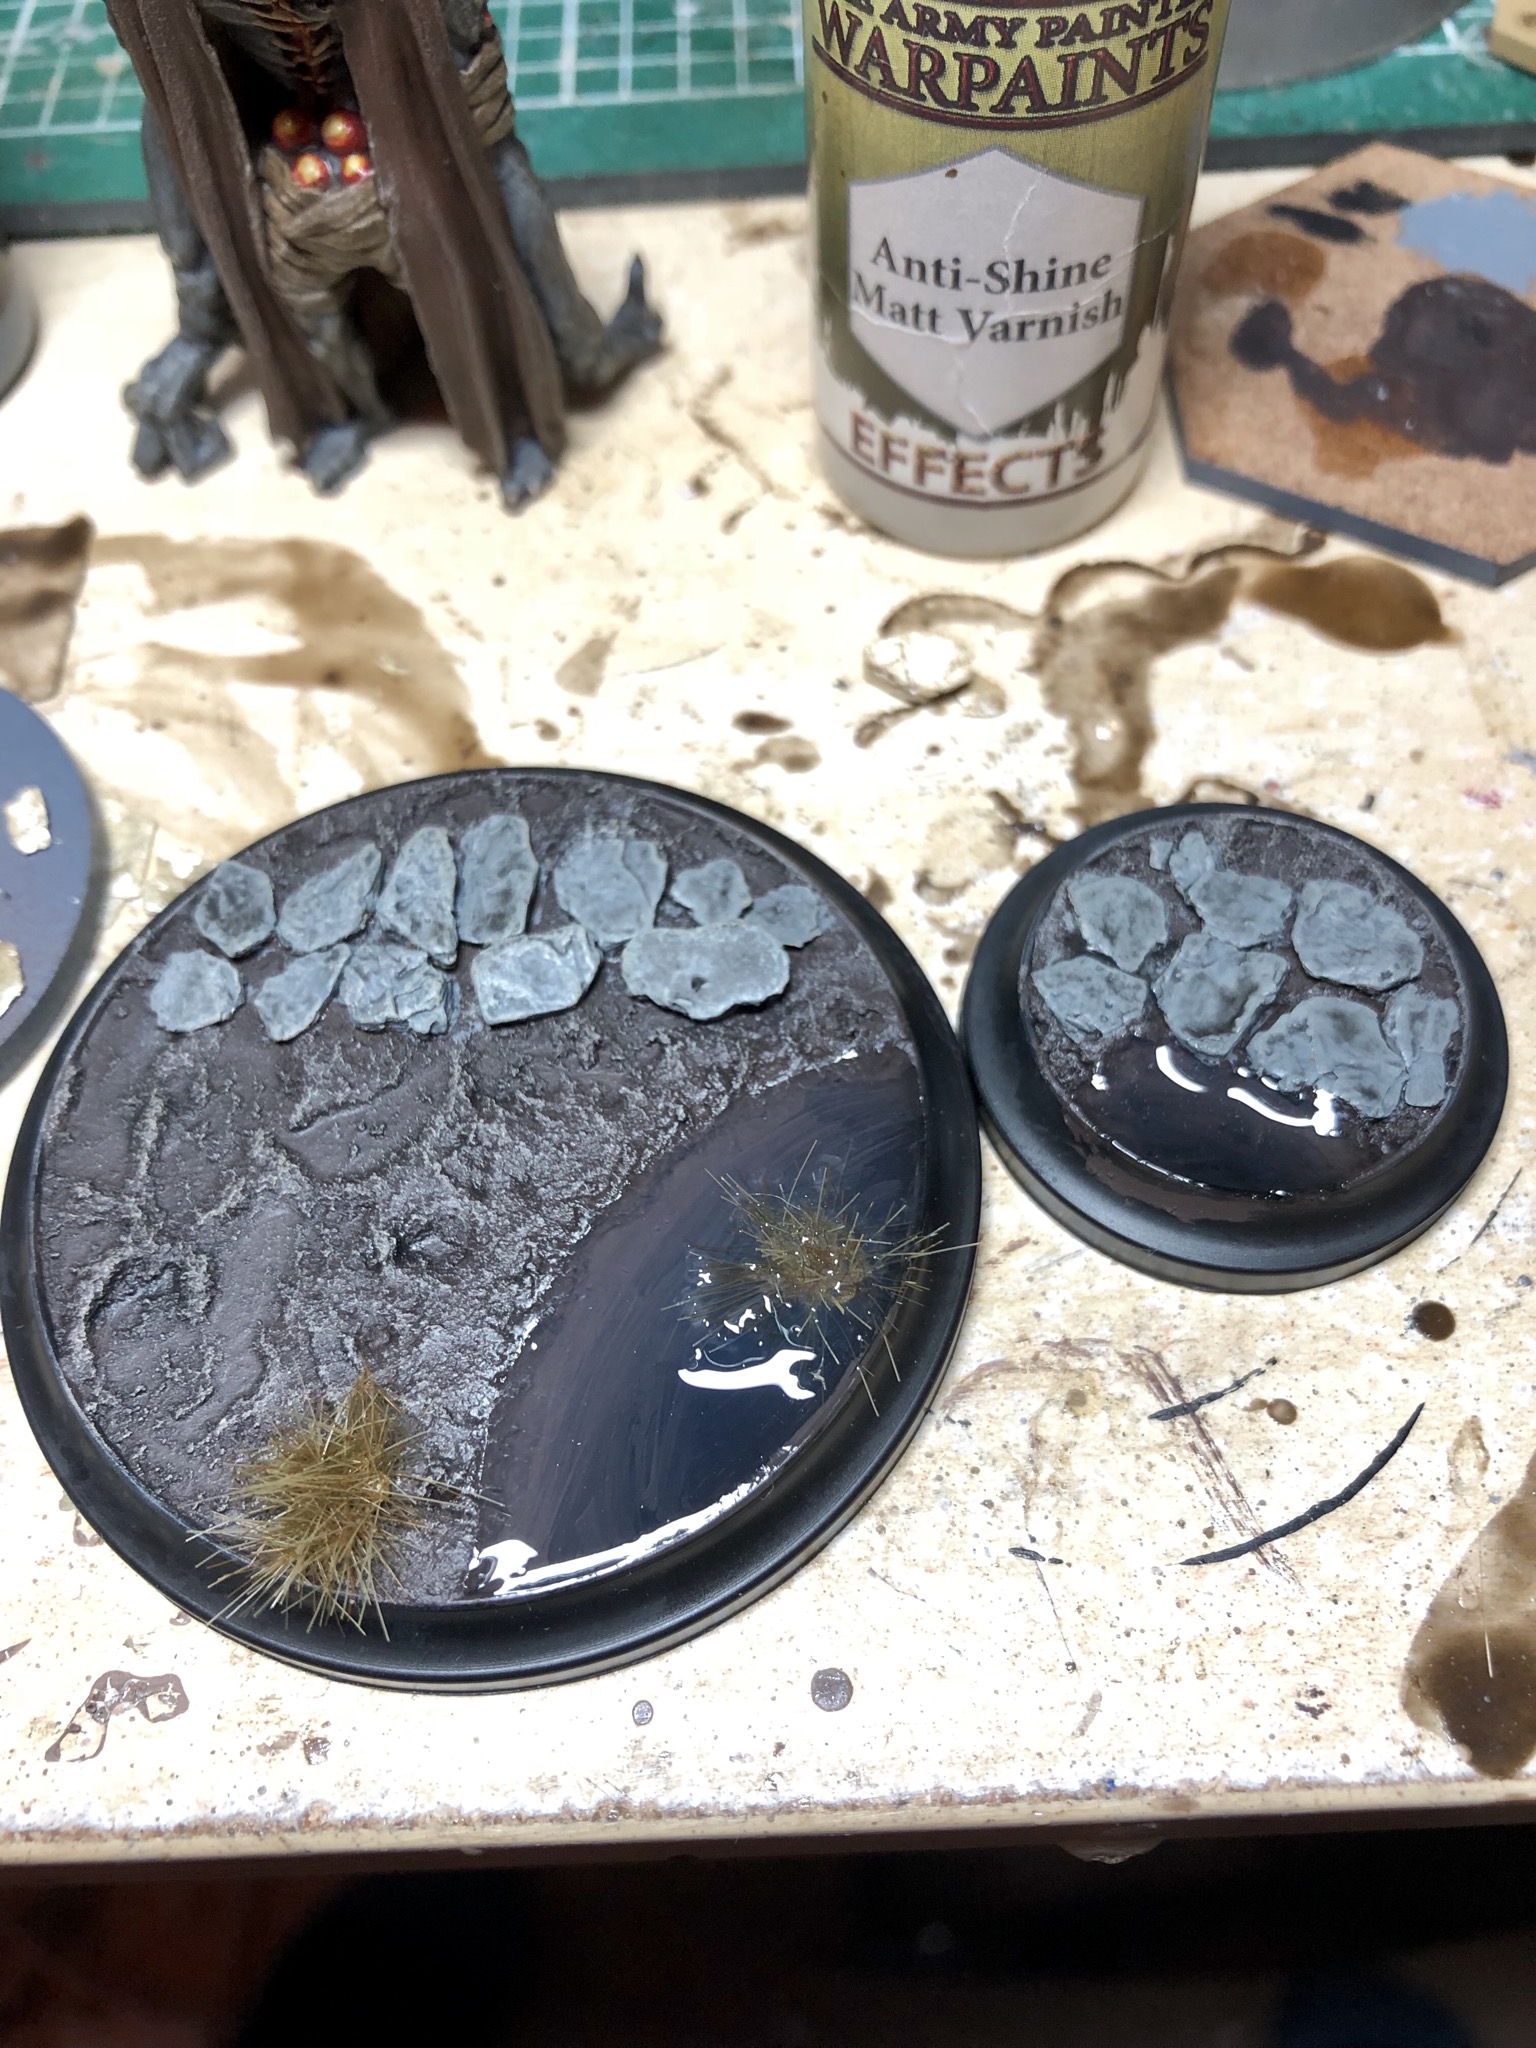 Kreecher and Garratts bases
Next up, Garratt Morgan


First up all the base colours

Skeleton Bone followed by 50/50 mix of Dark Wash and Wash mixing medium.
After a Soft tone dip applied with a brush and a matt coat he’s done!
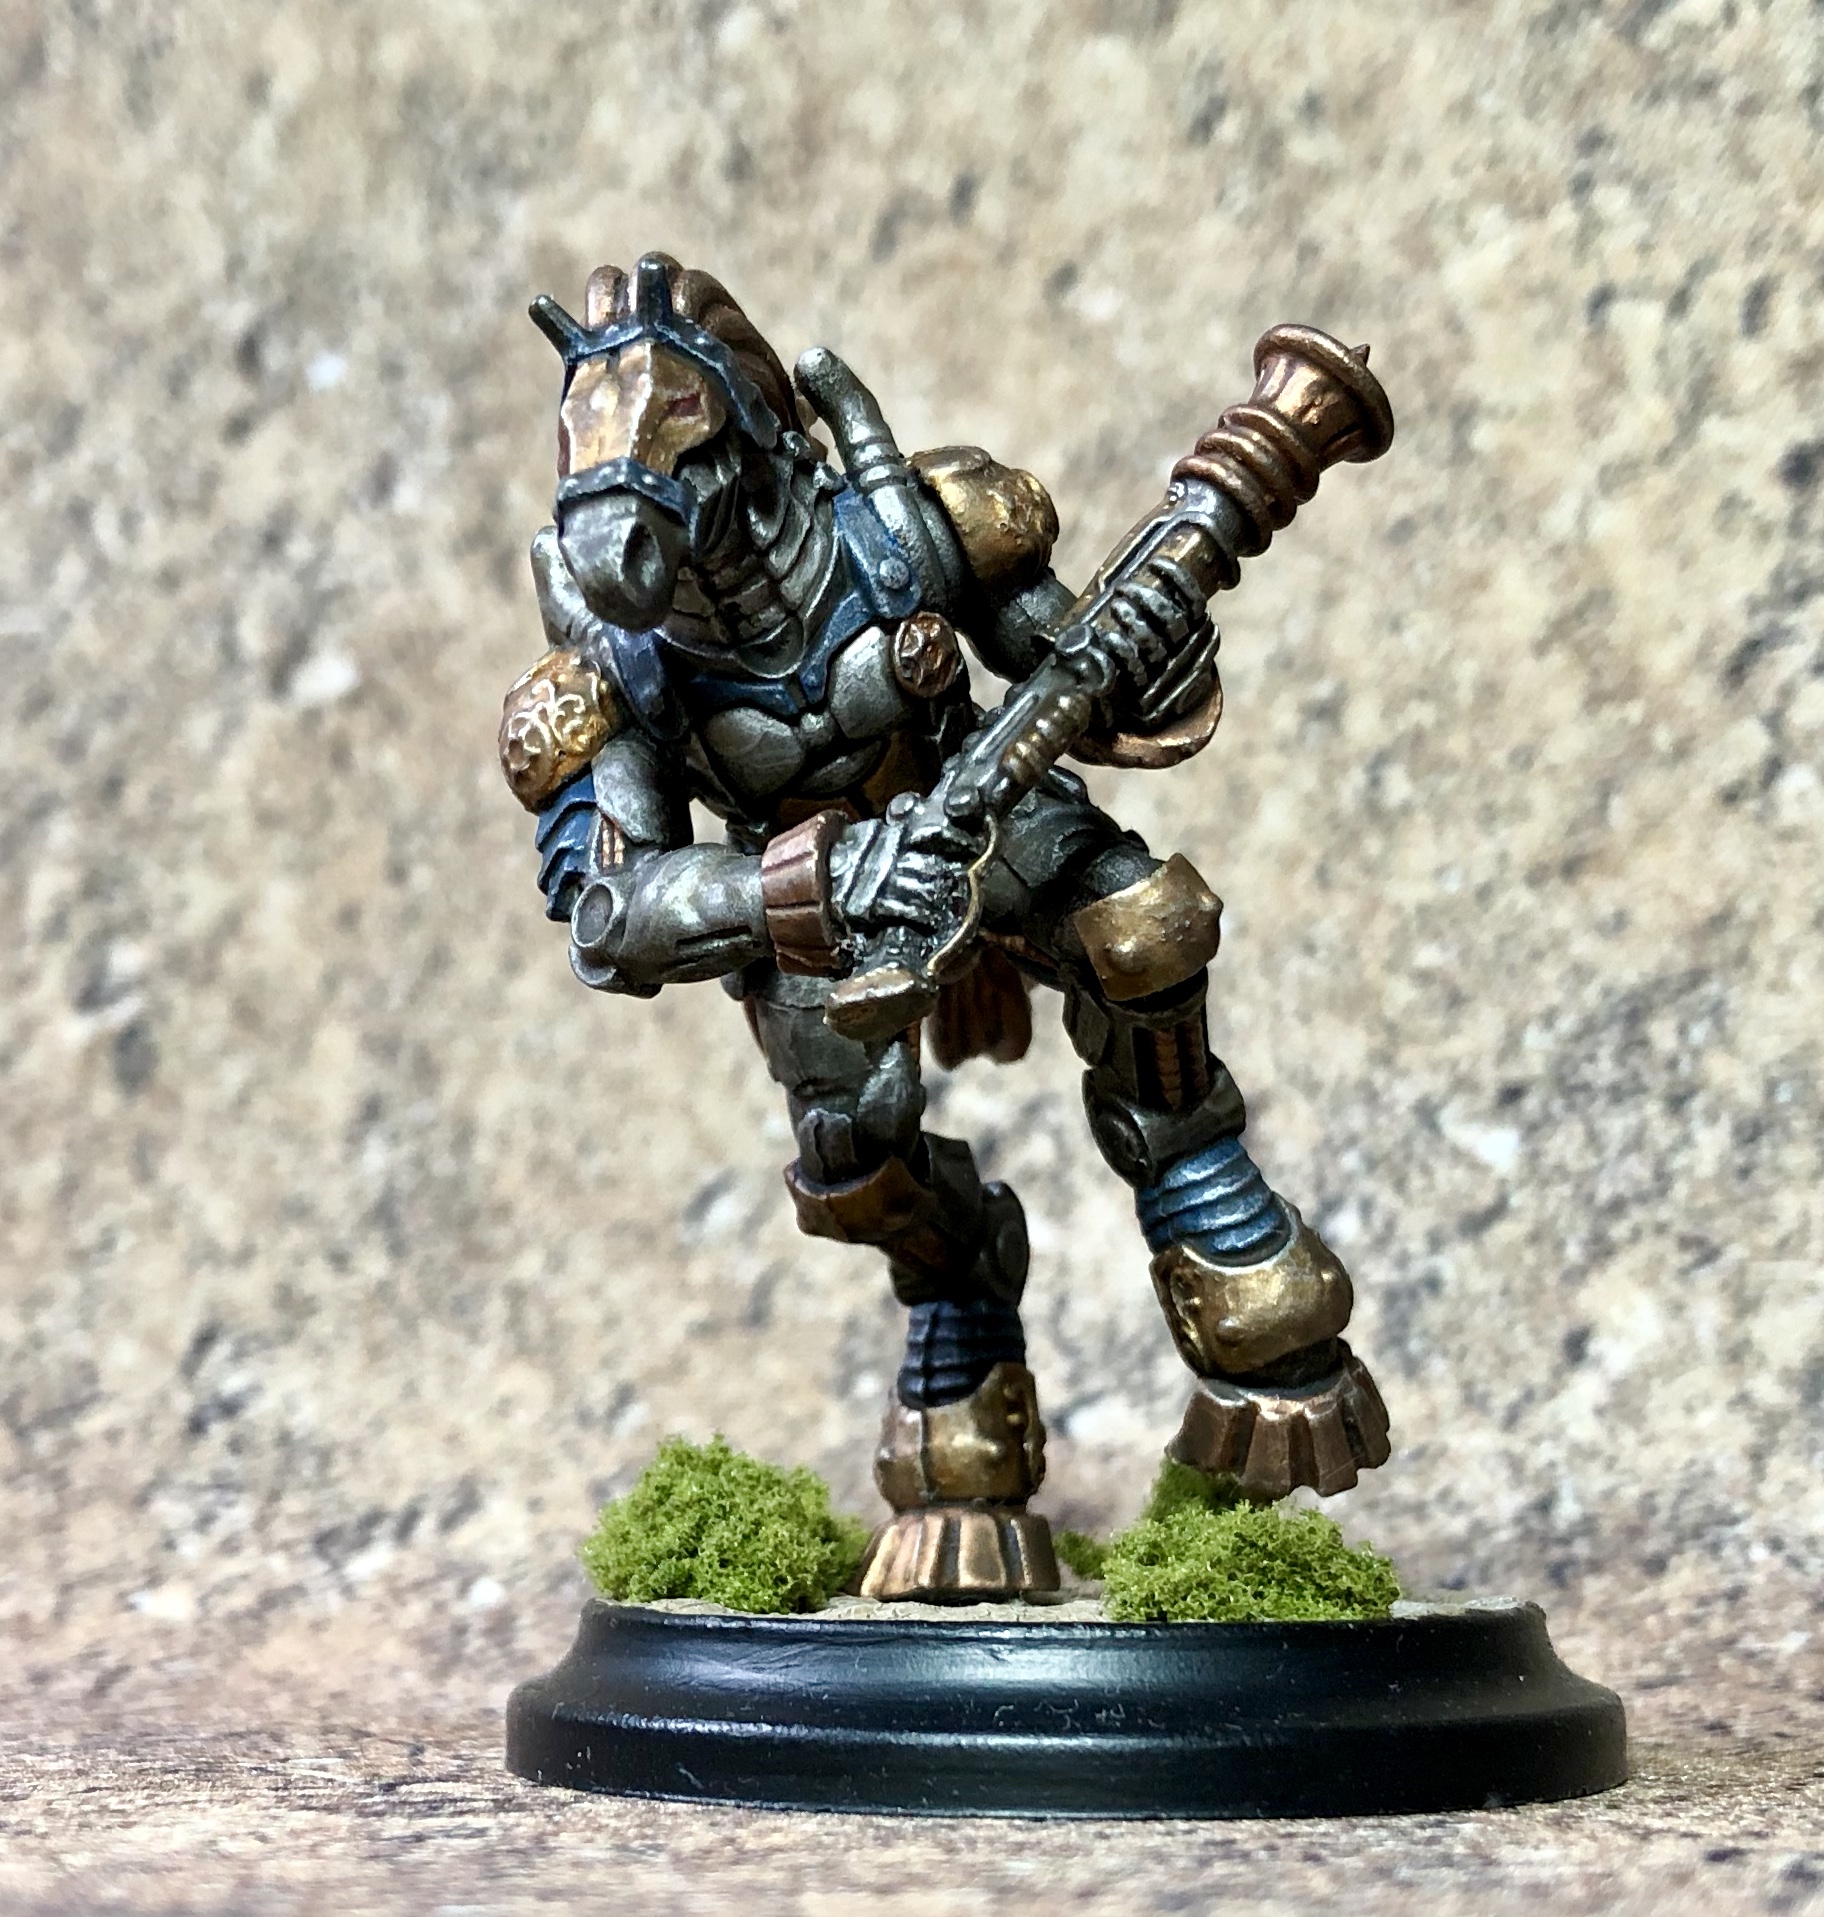
Now for the muscle, its the mighty Kreechur!
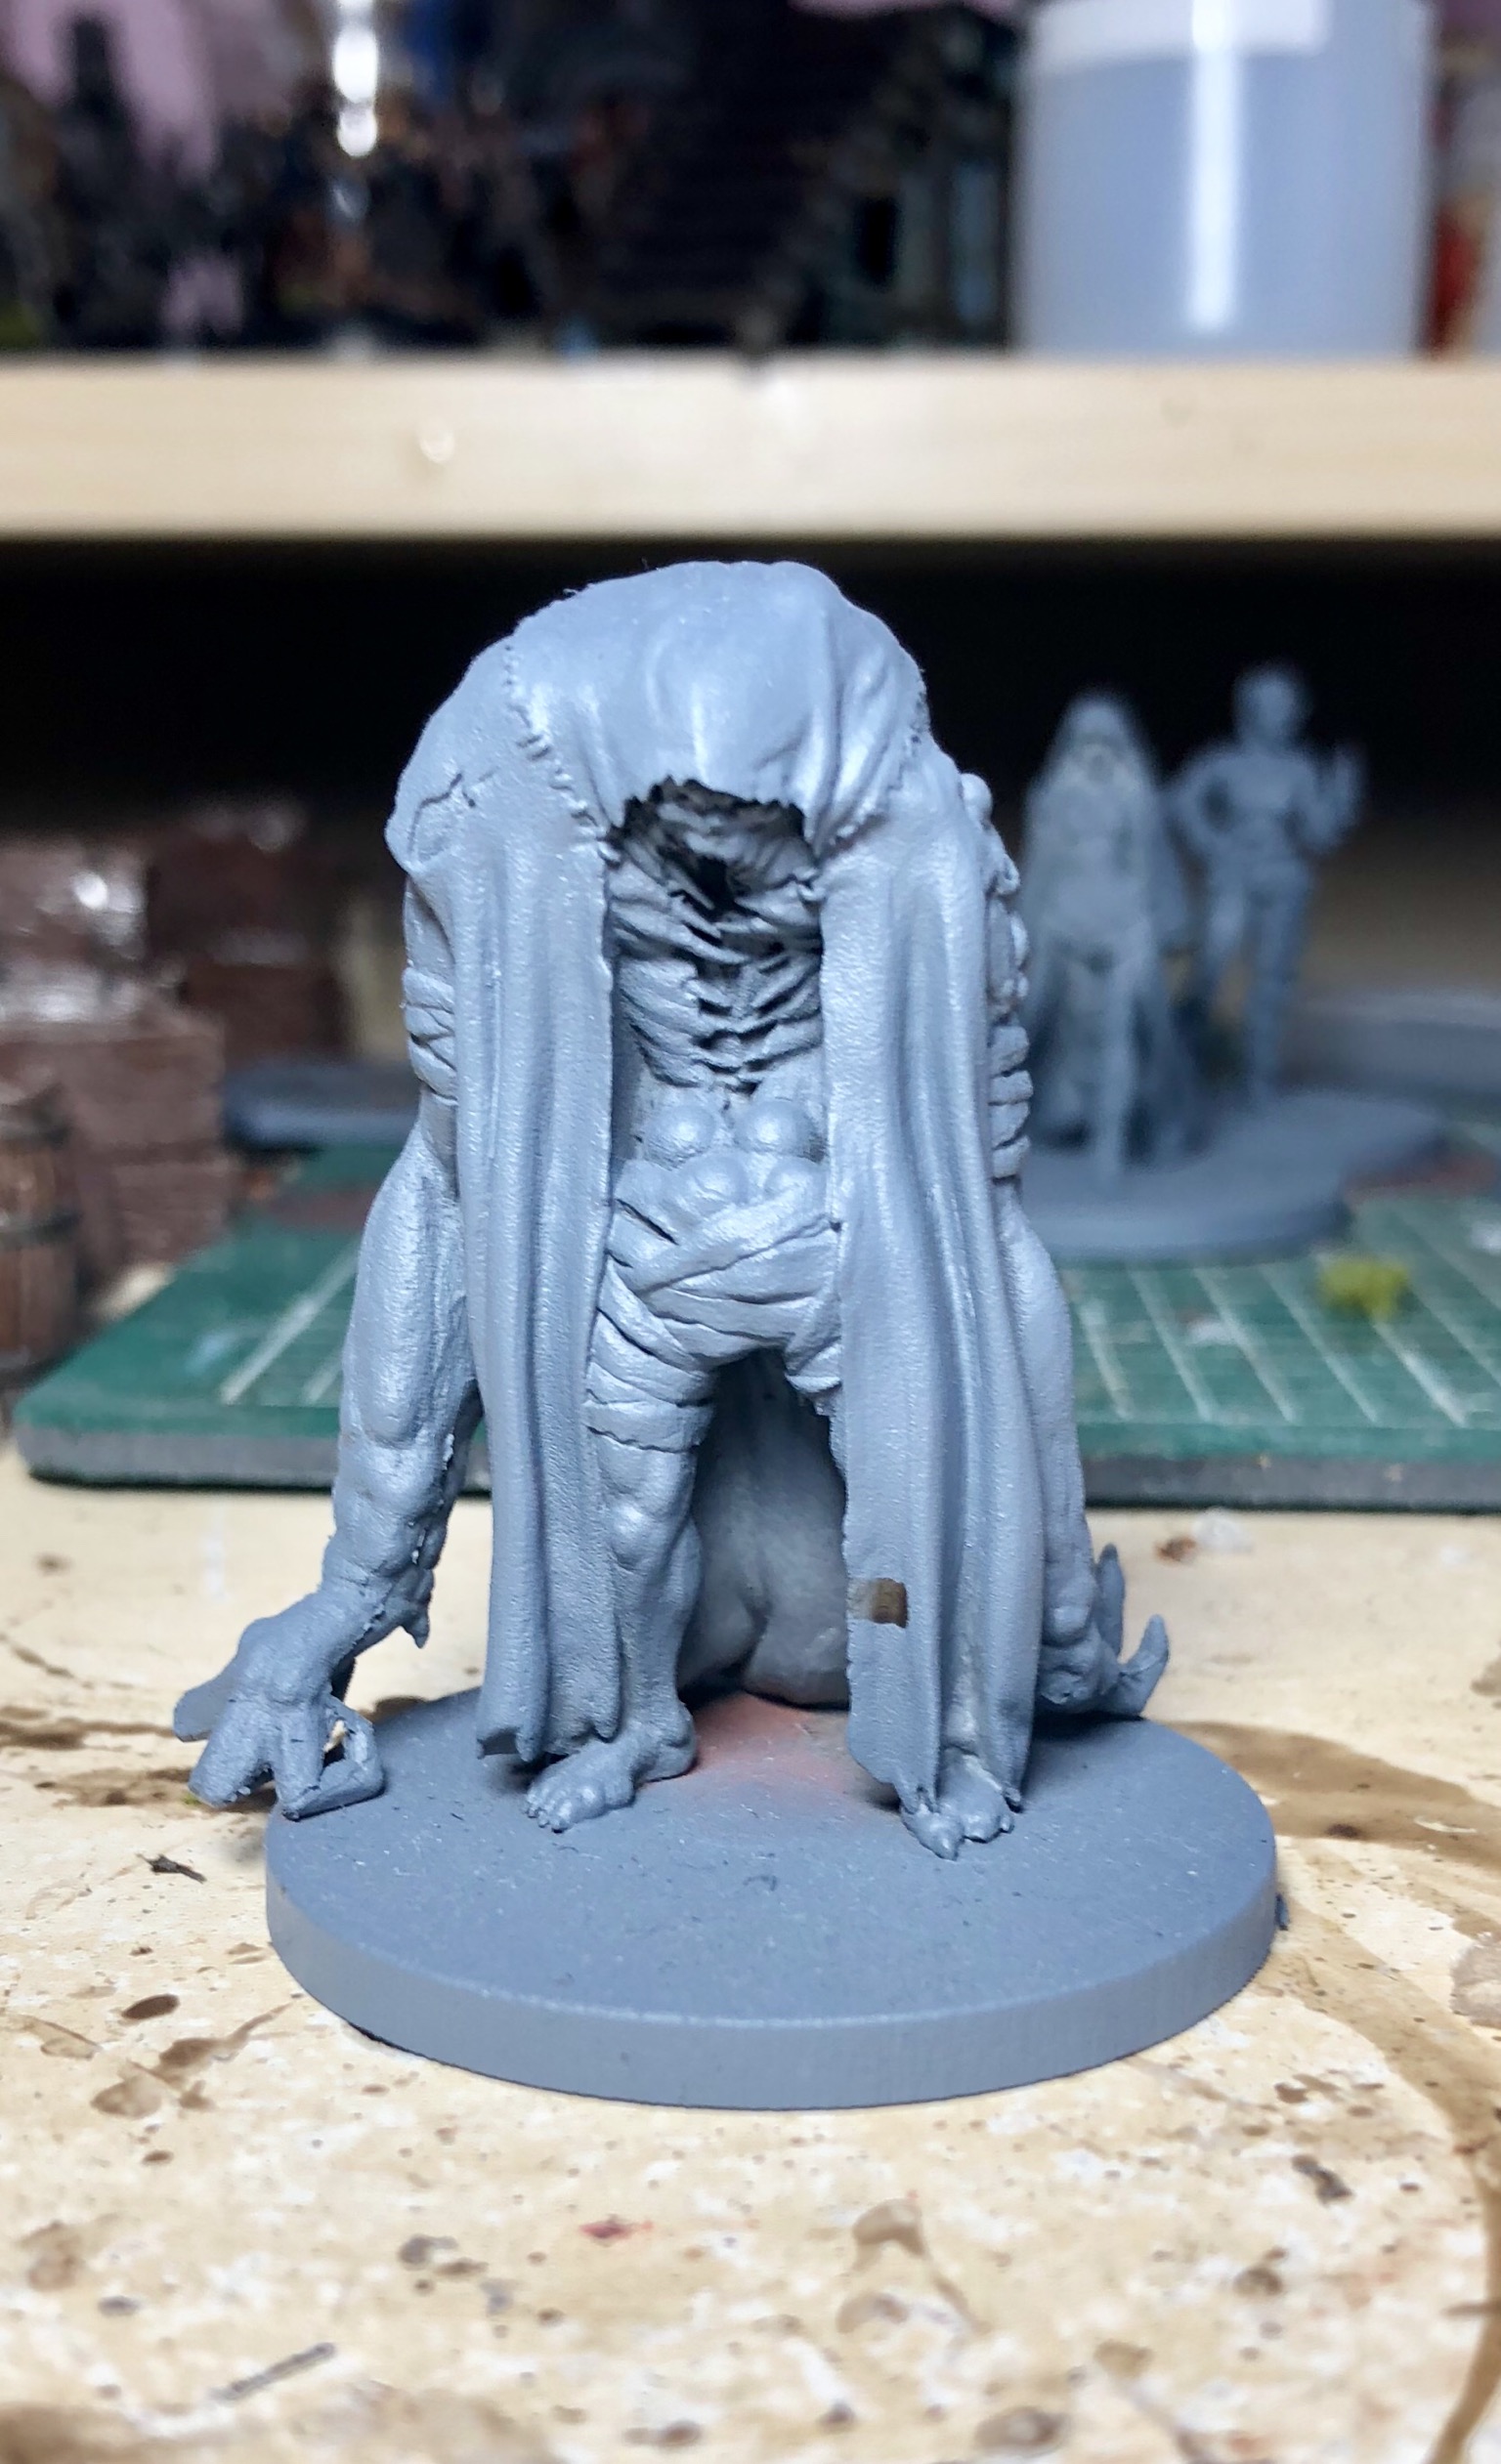
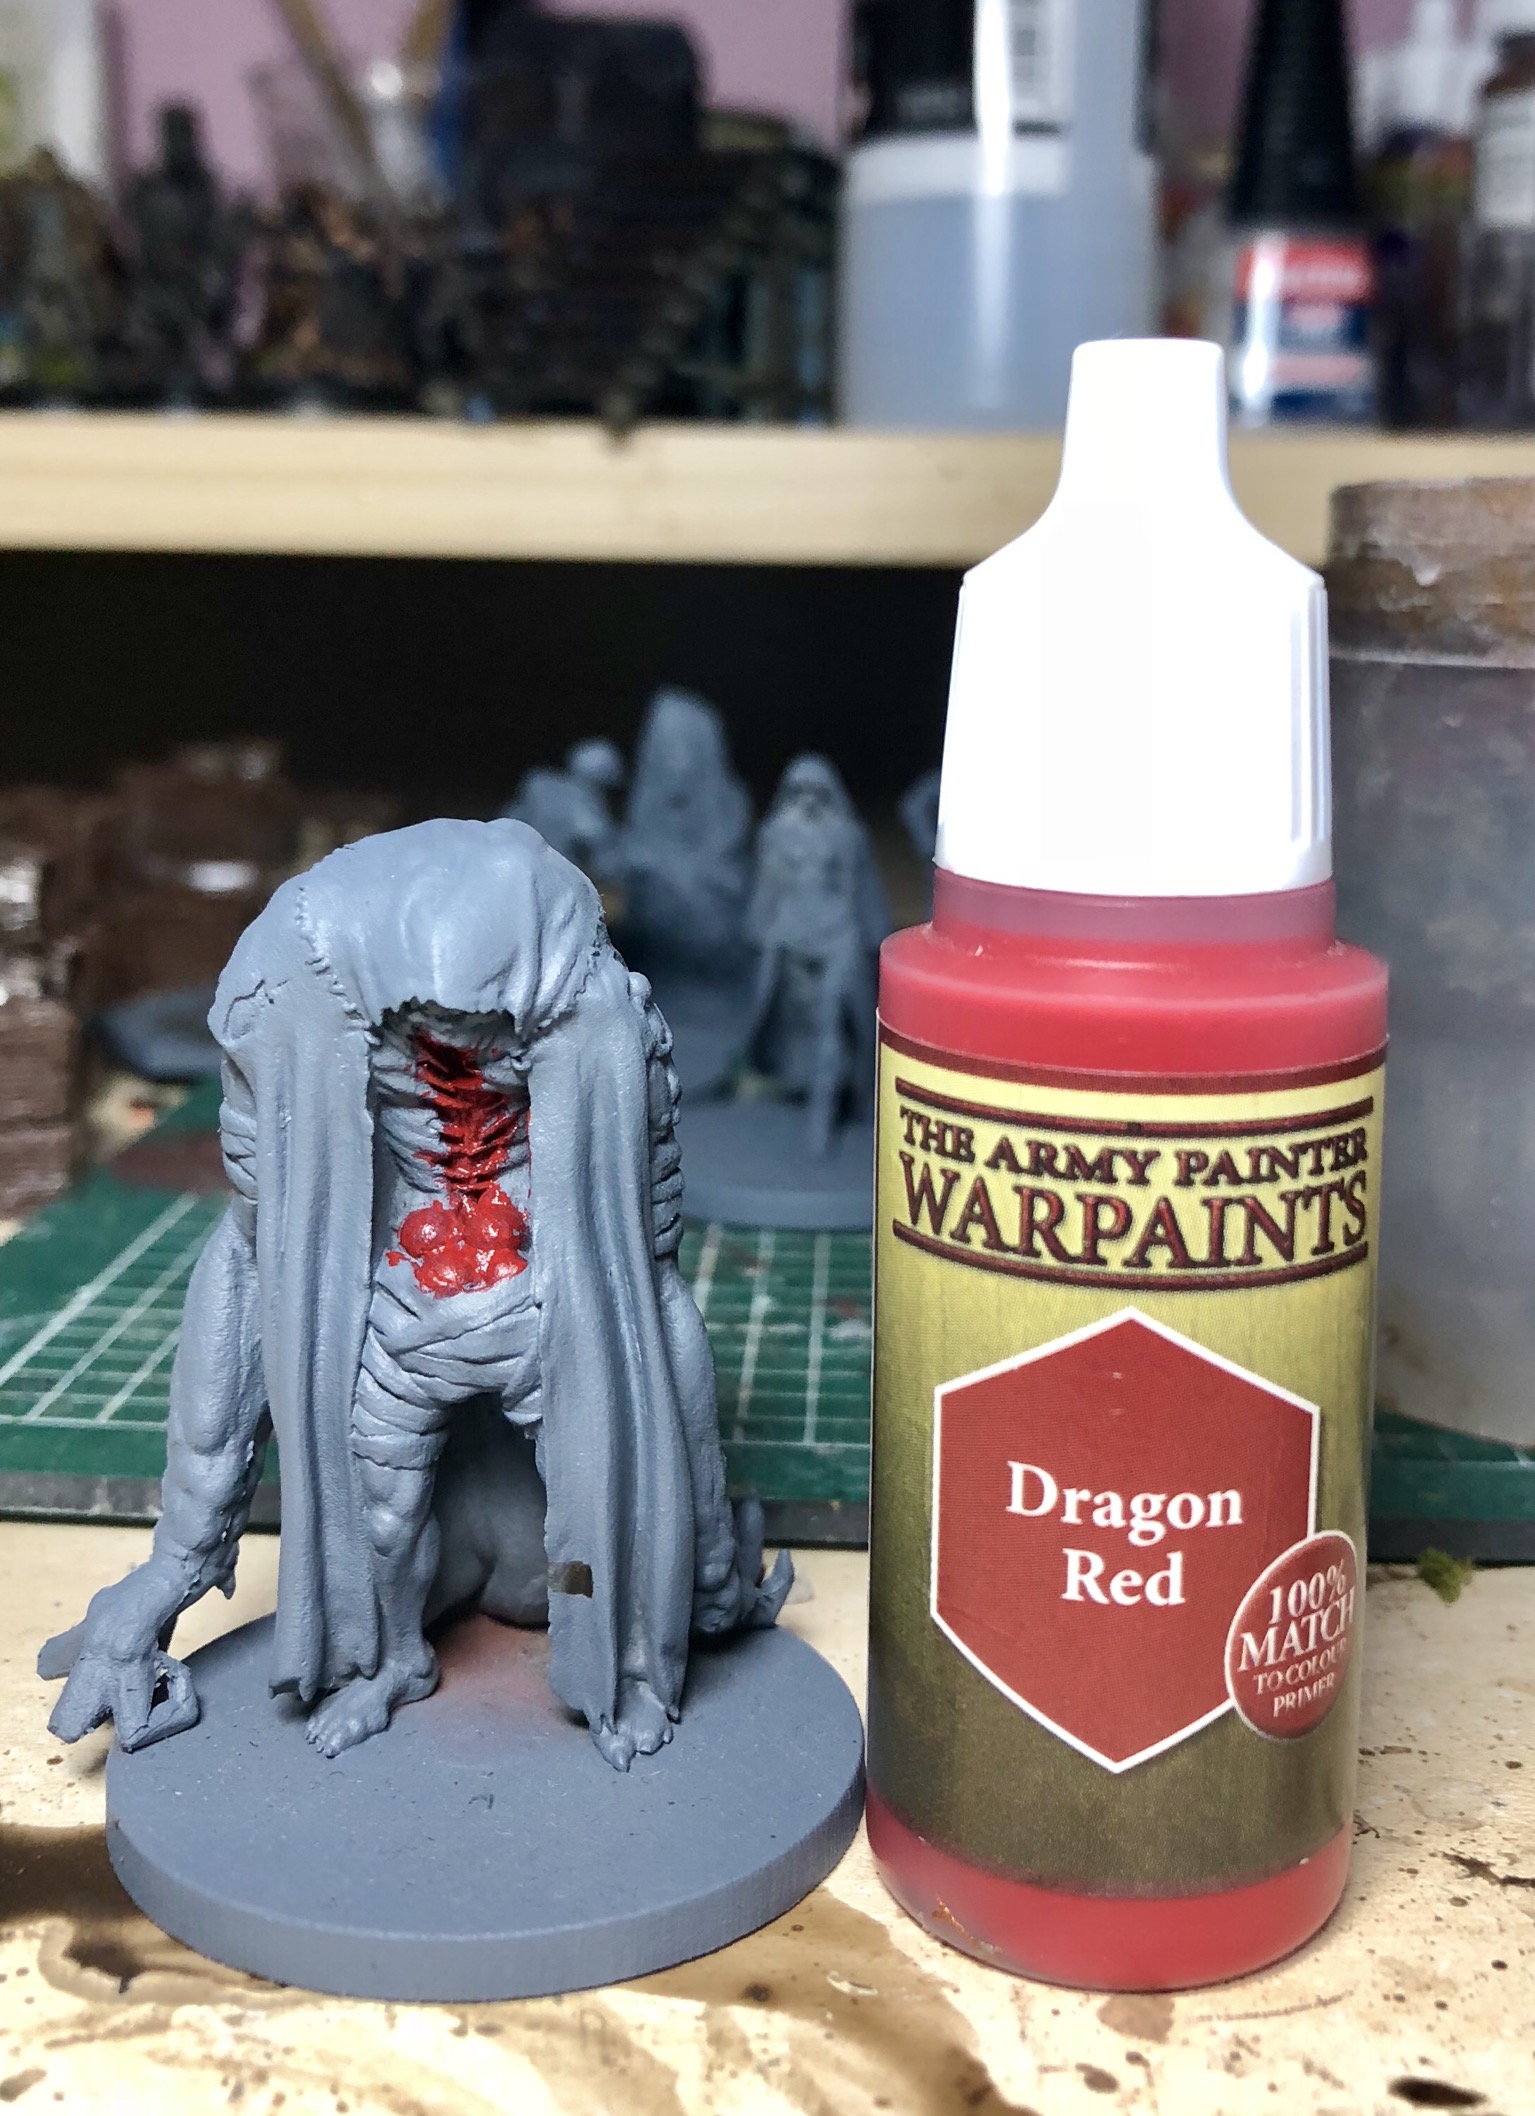
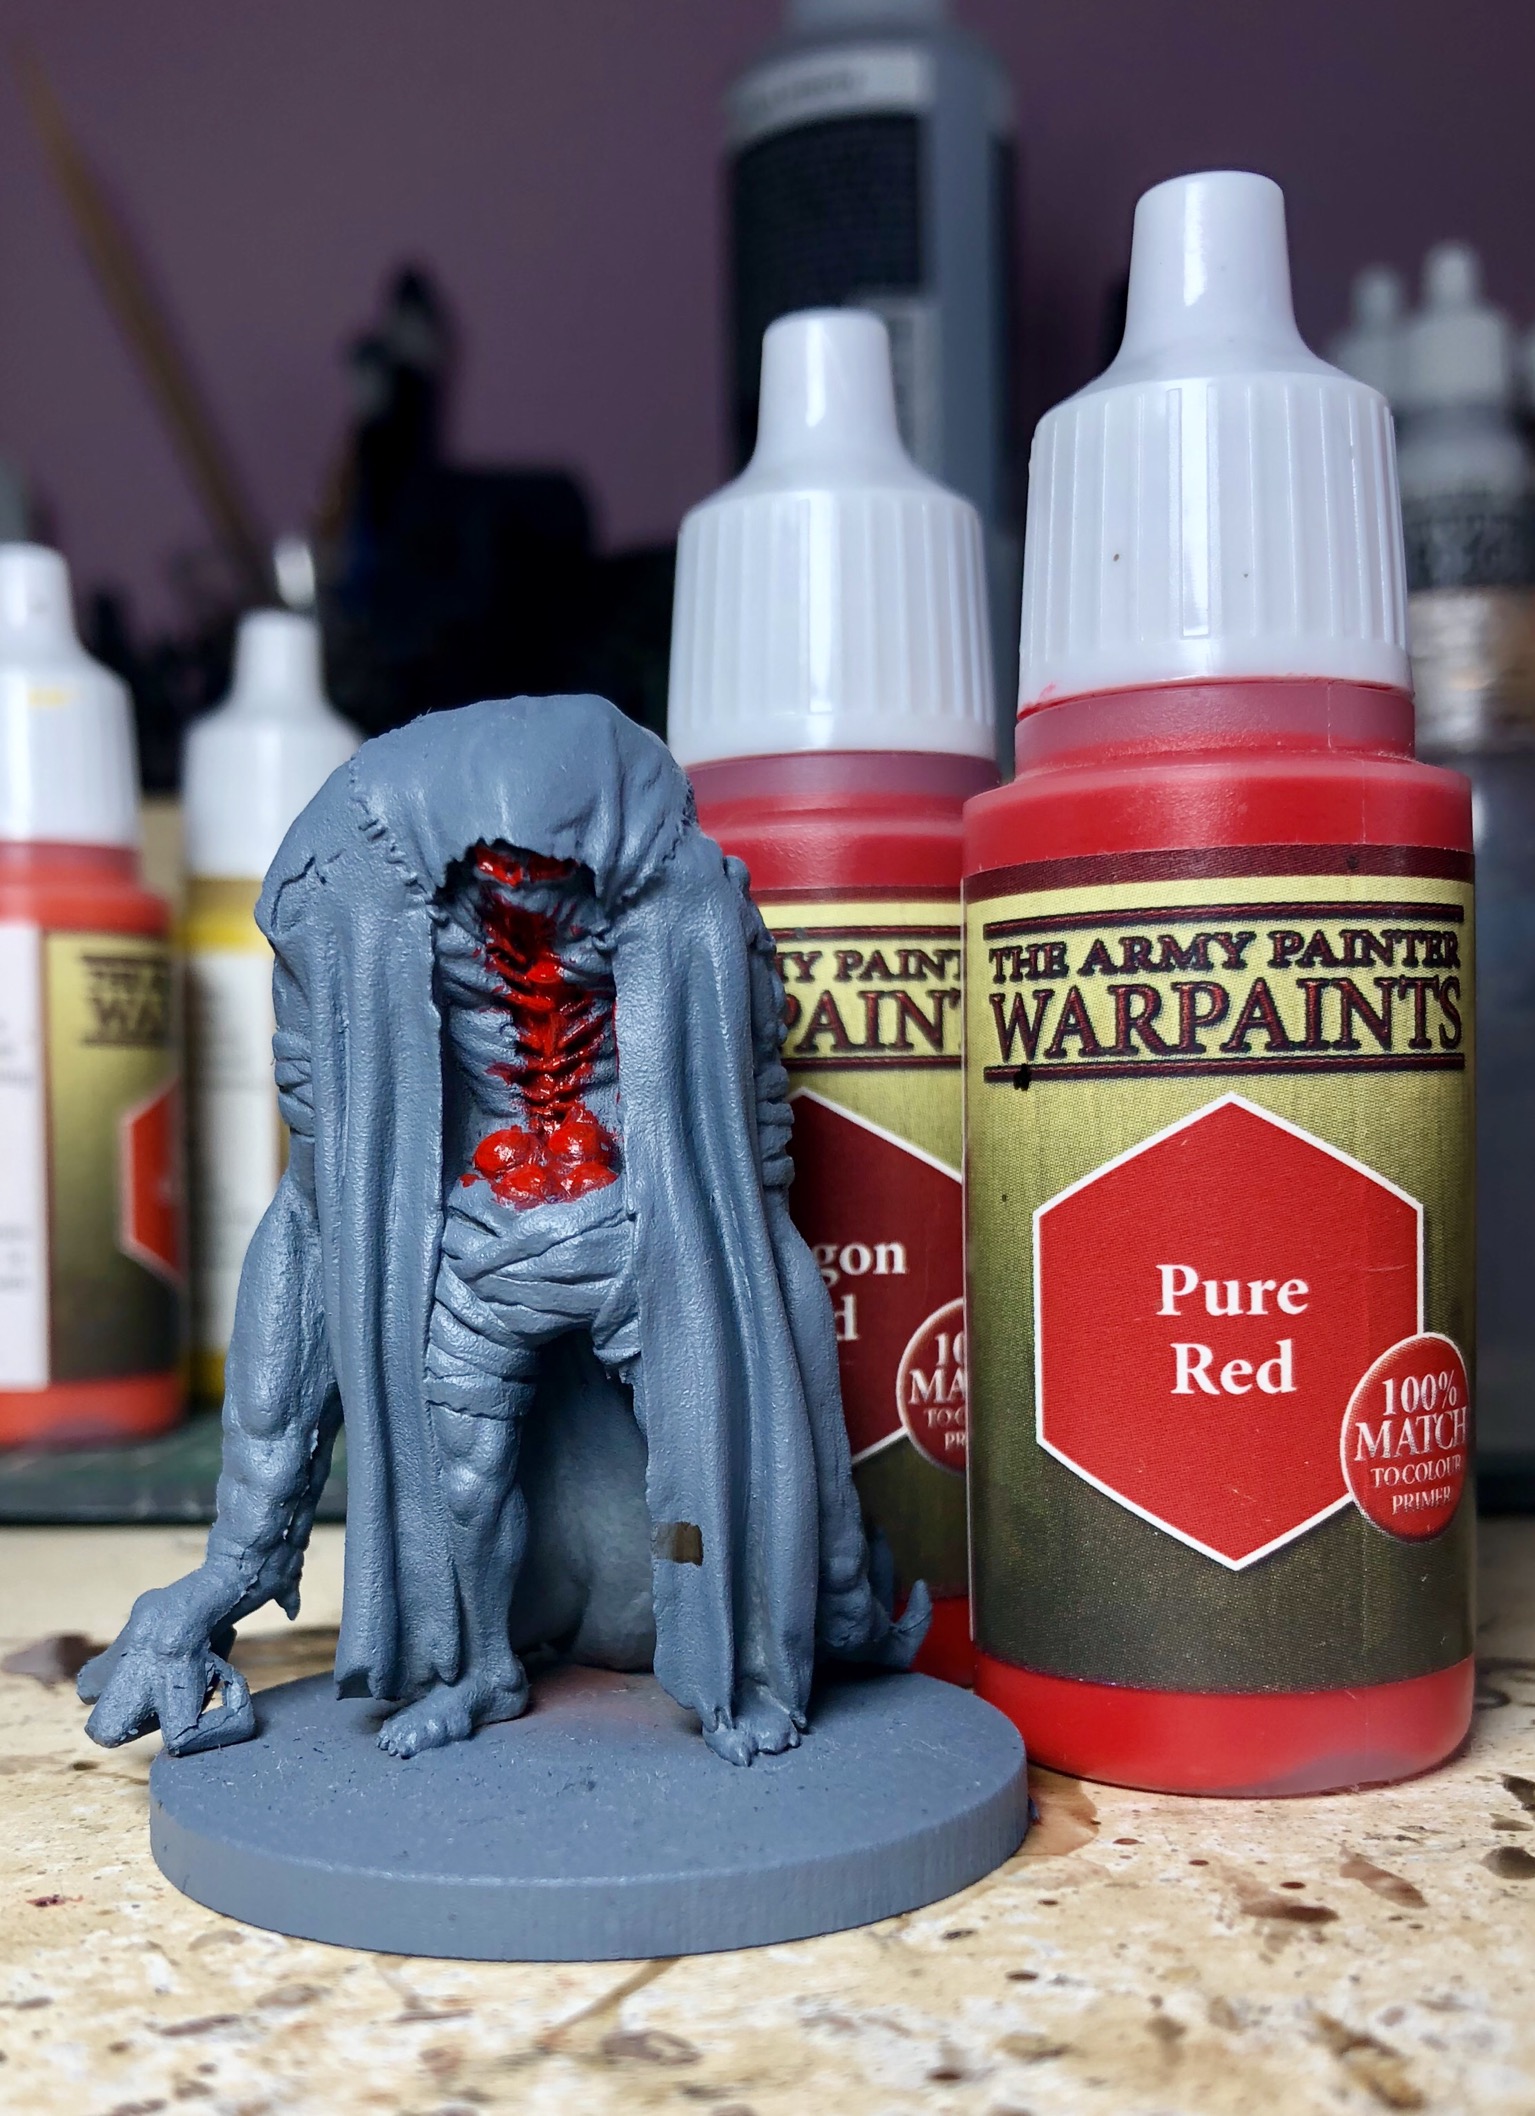
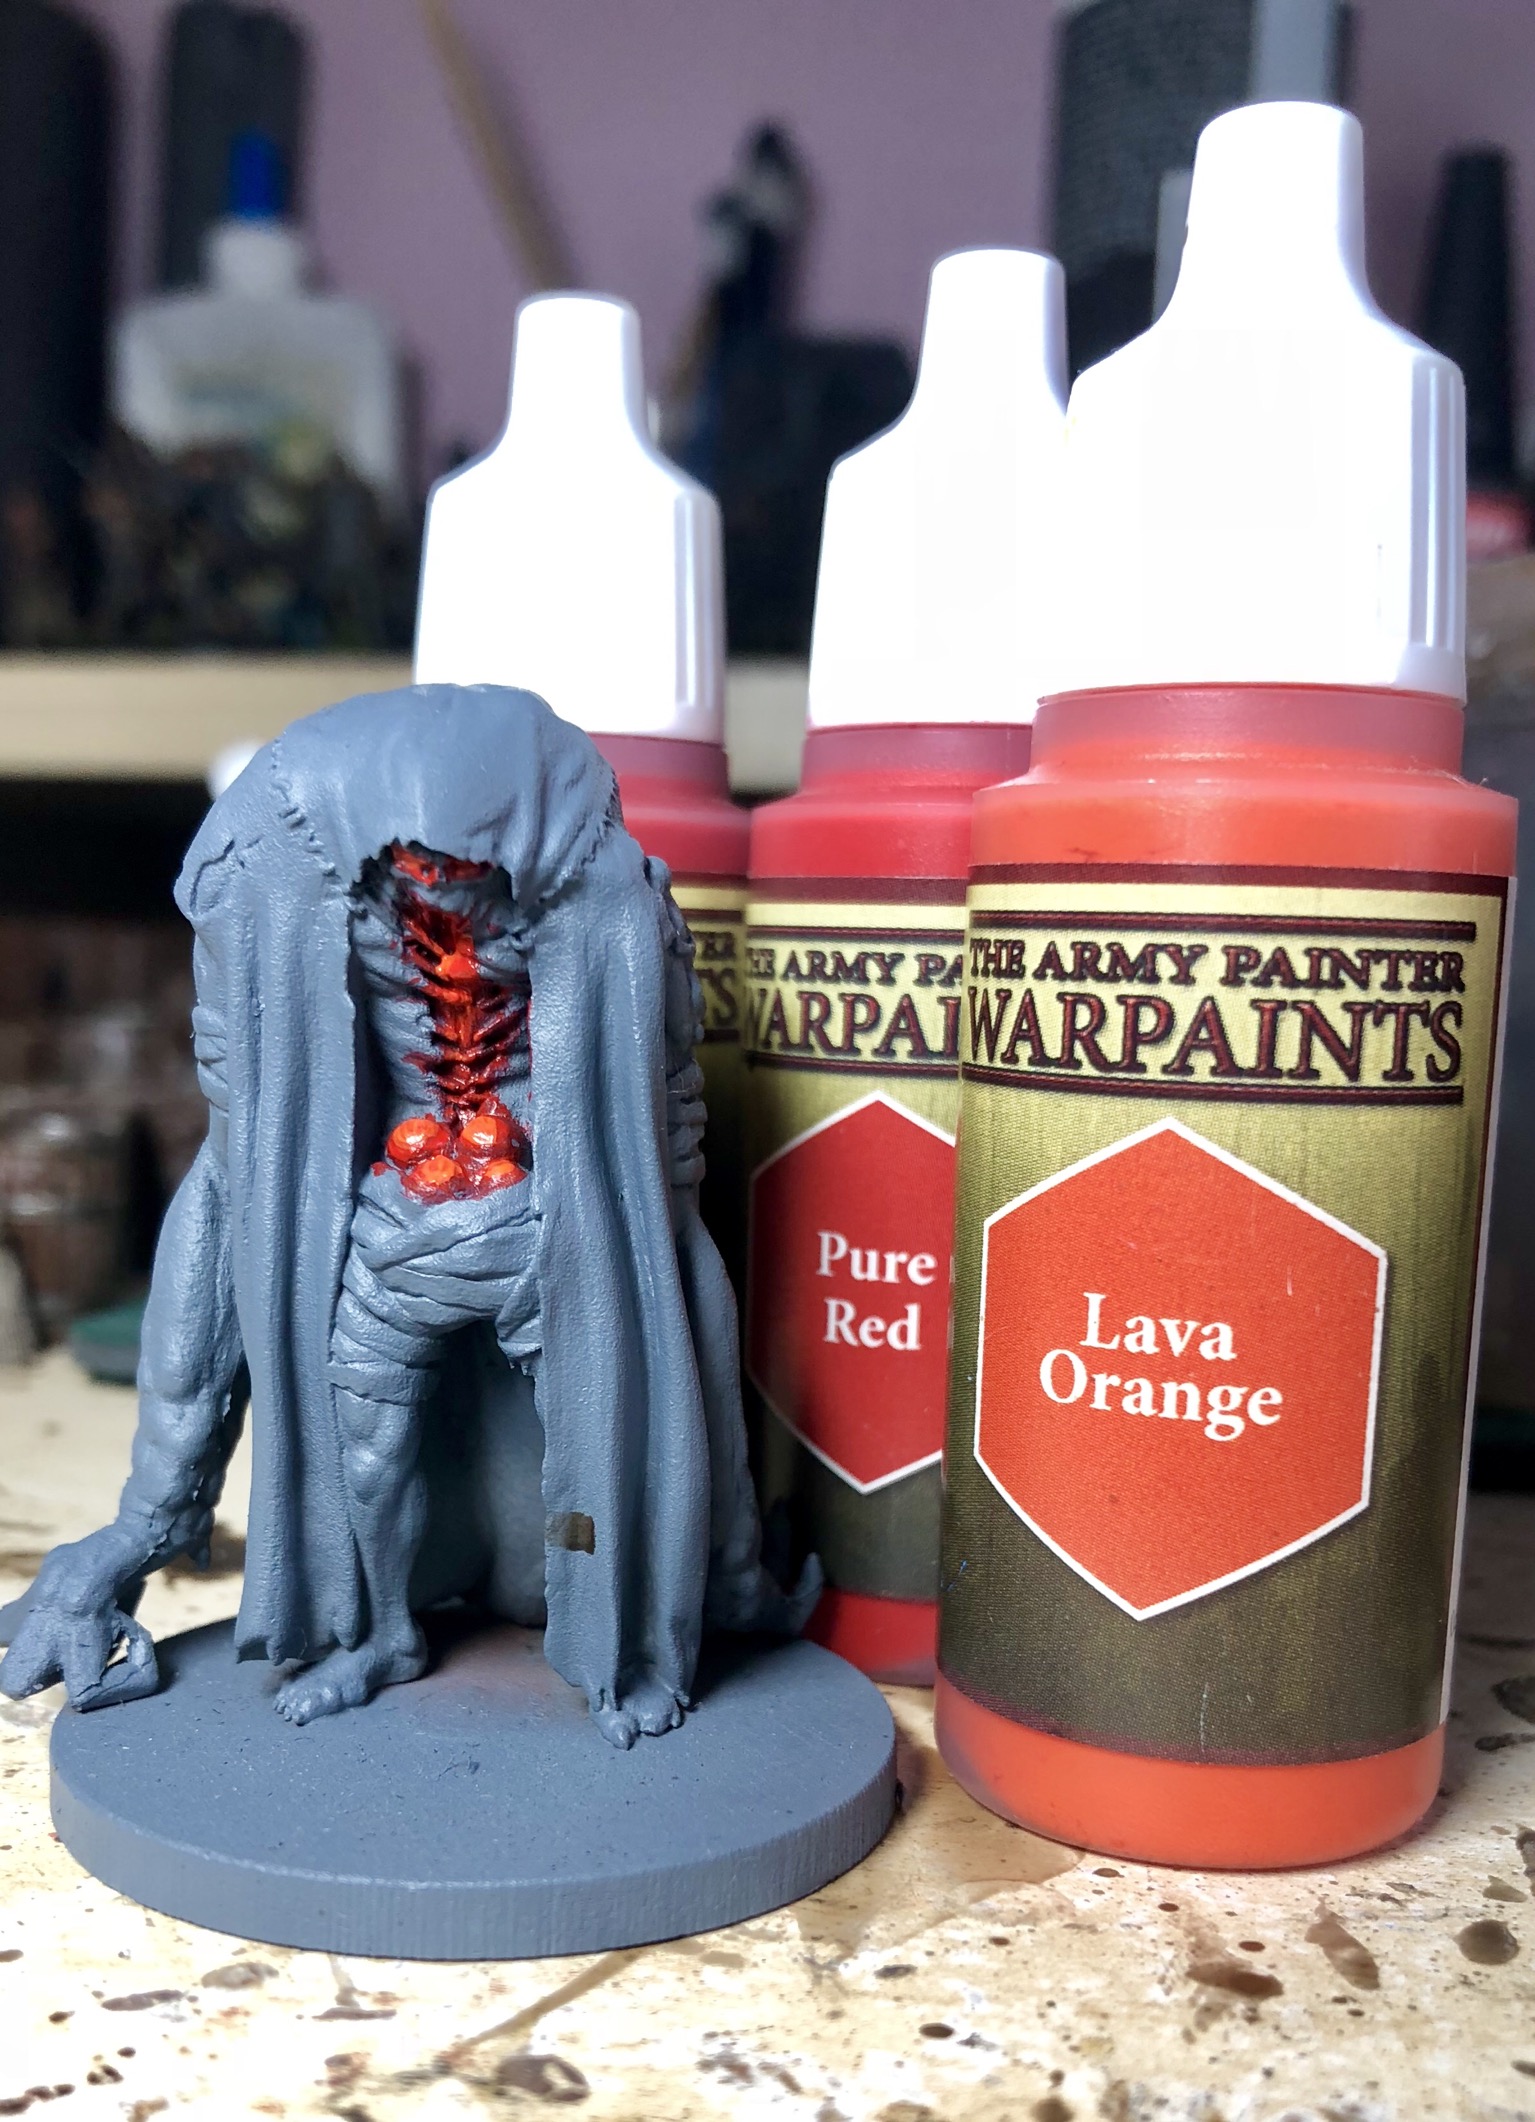
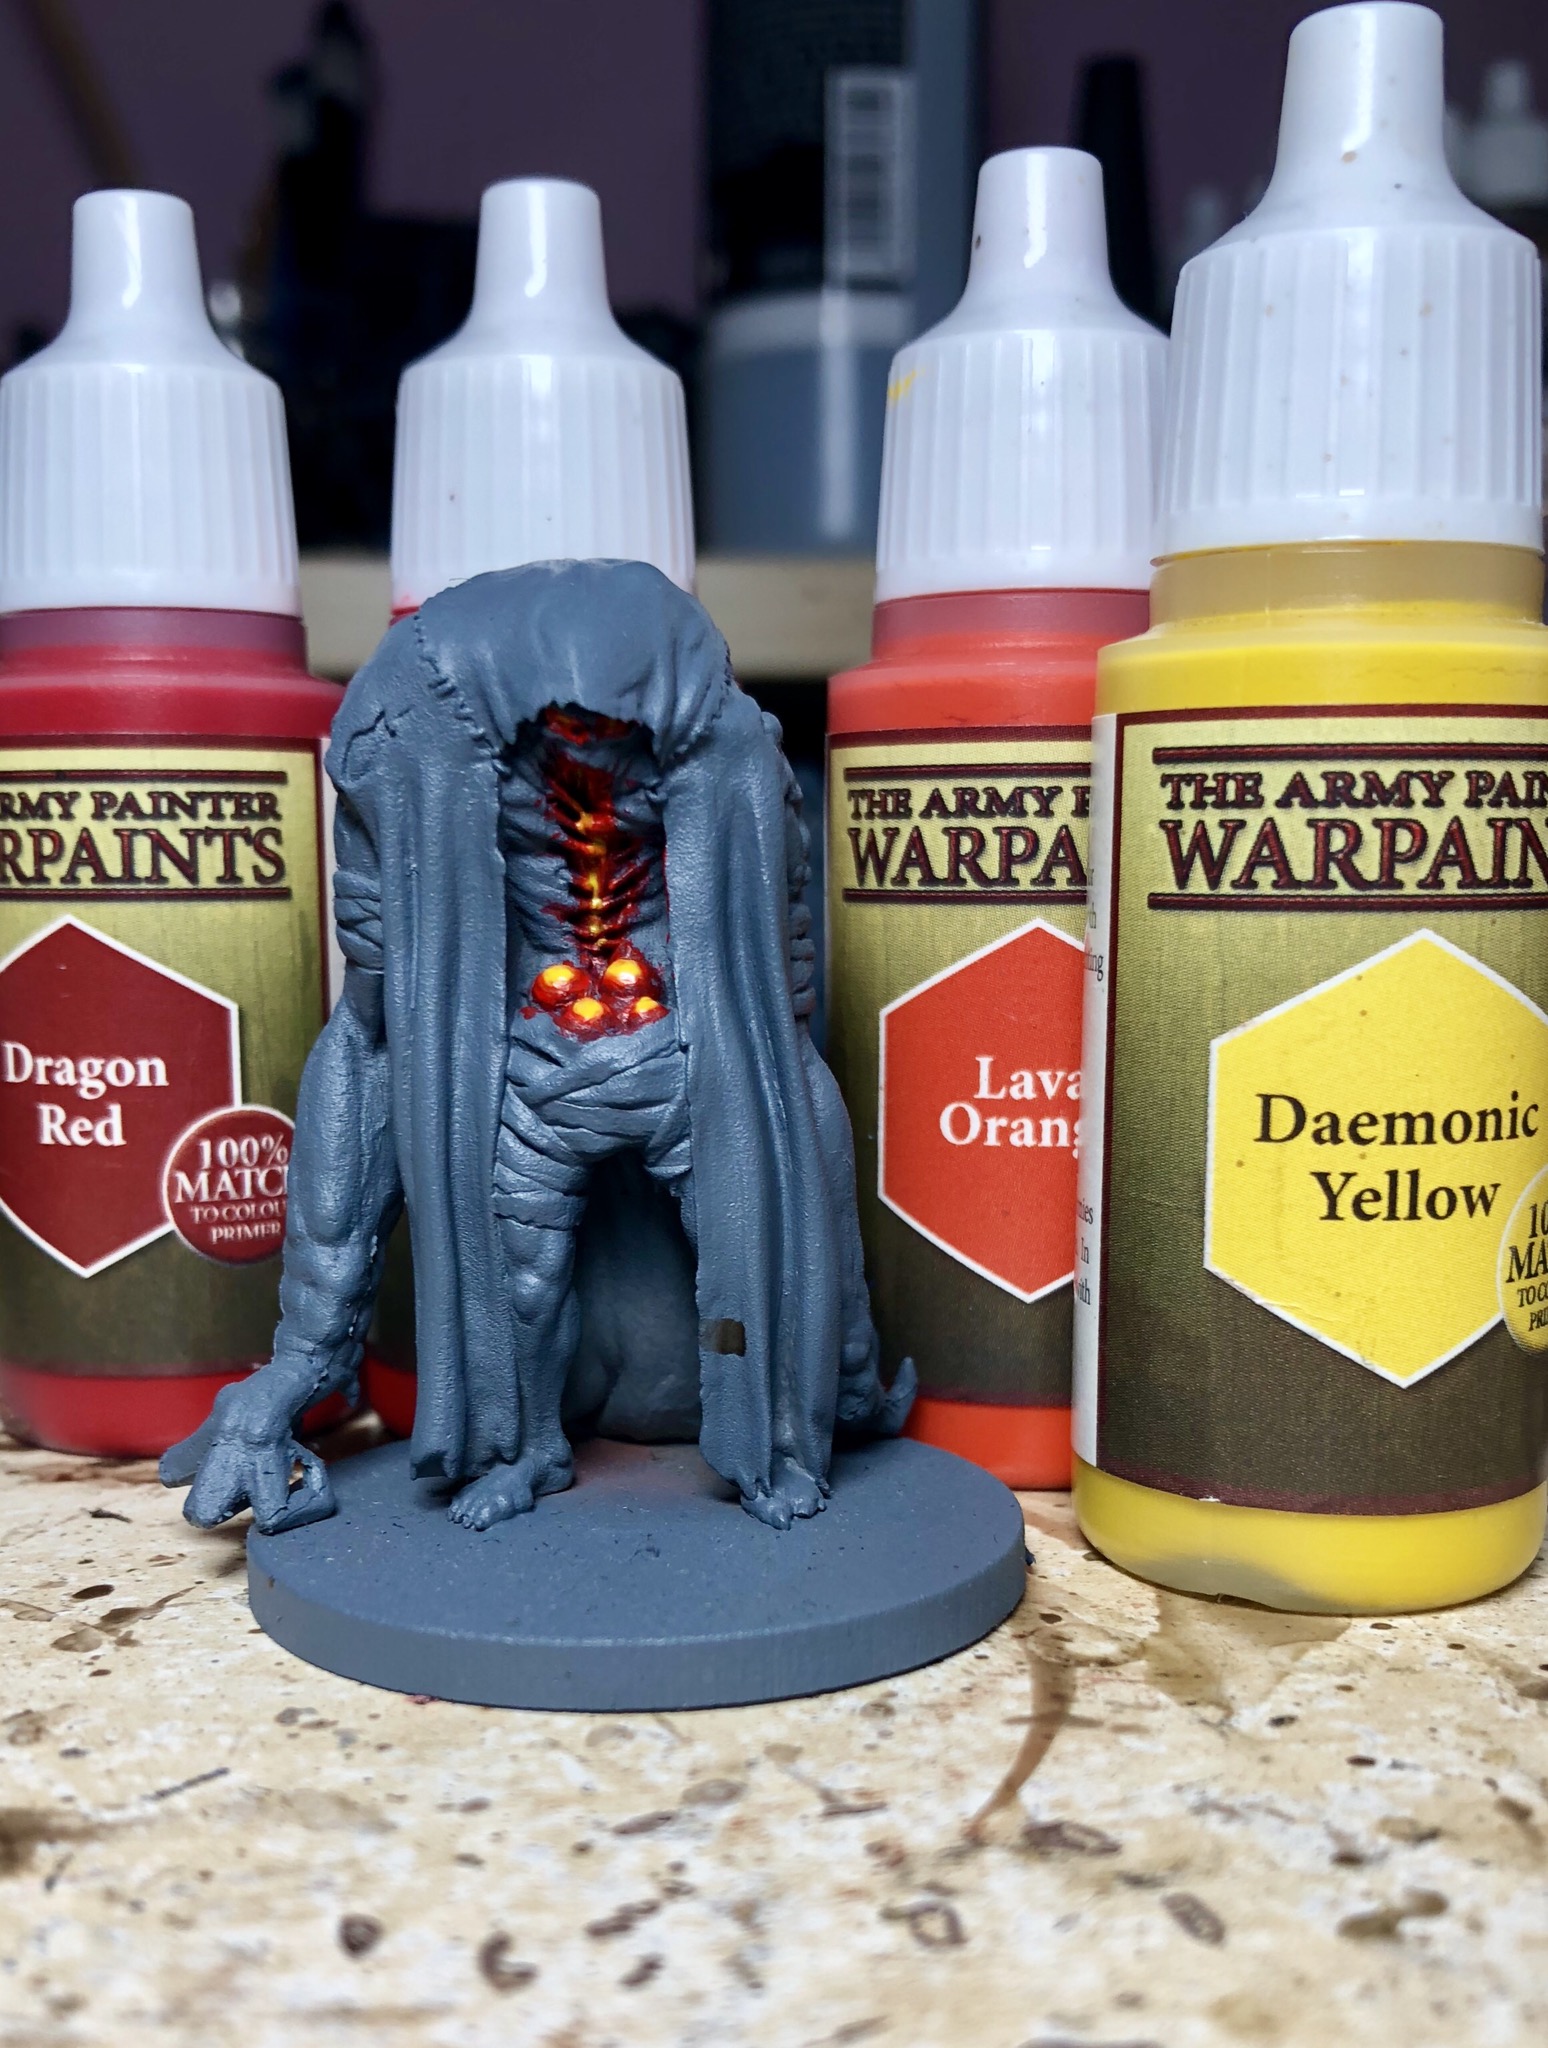
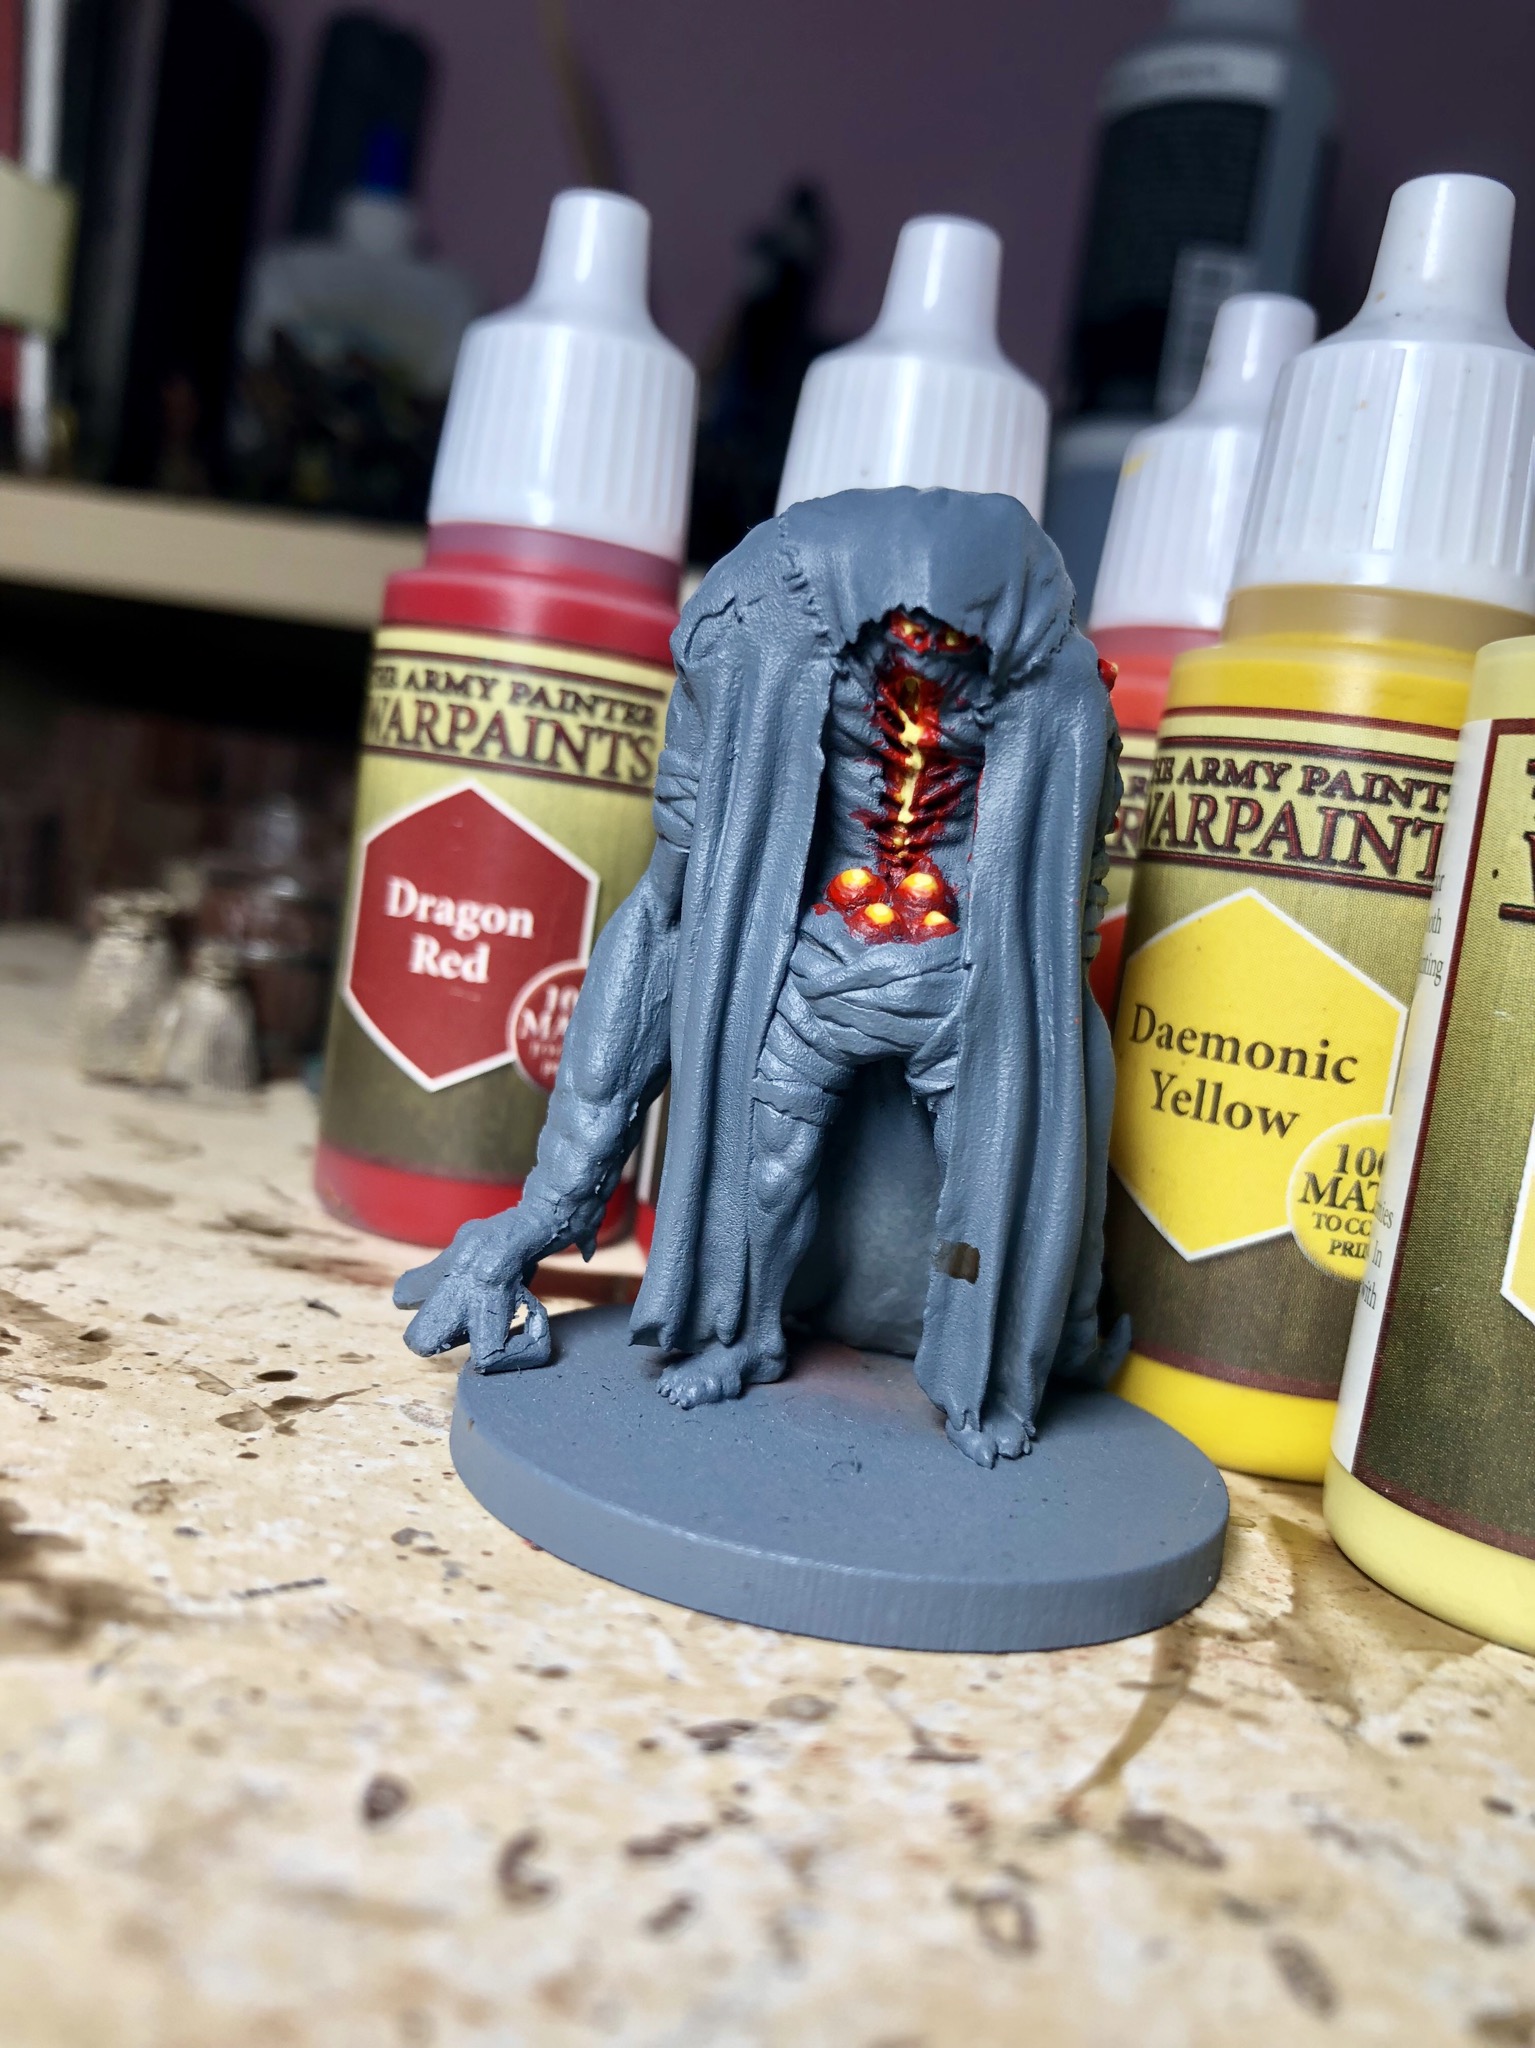
Dragon red, Pure red, Lava orange, Demonic yellow, Moon dust
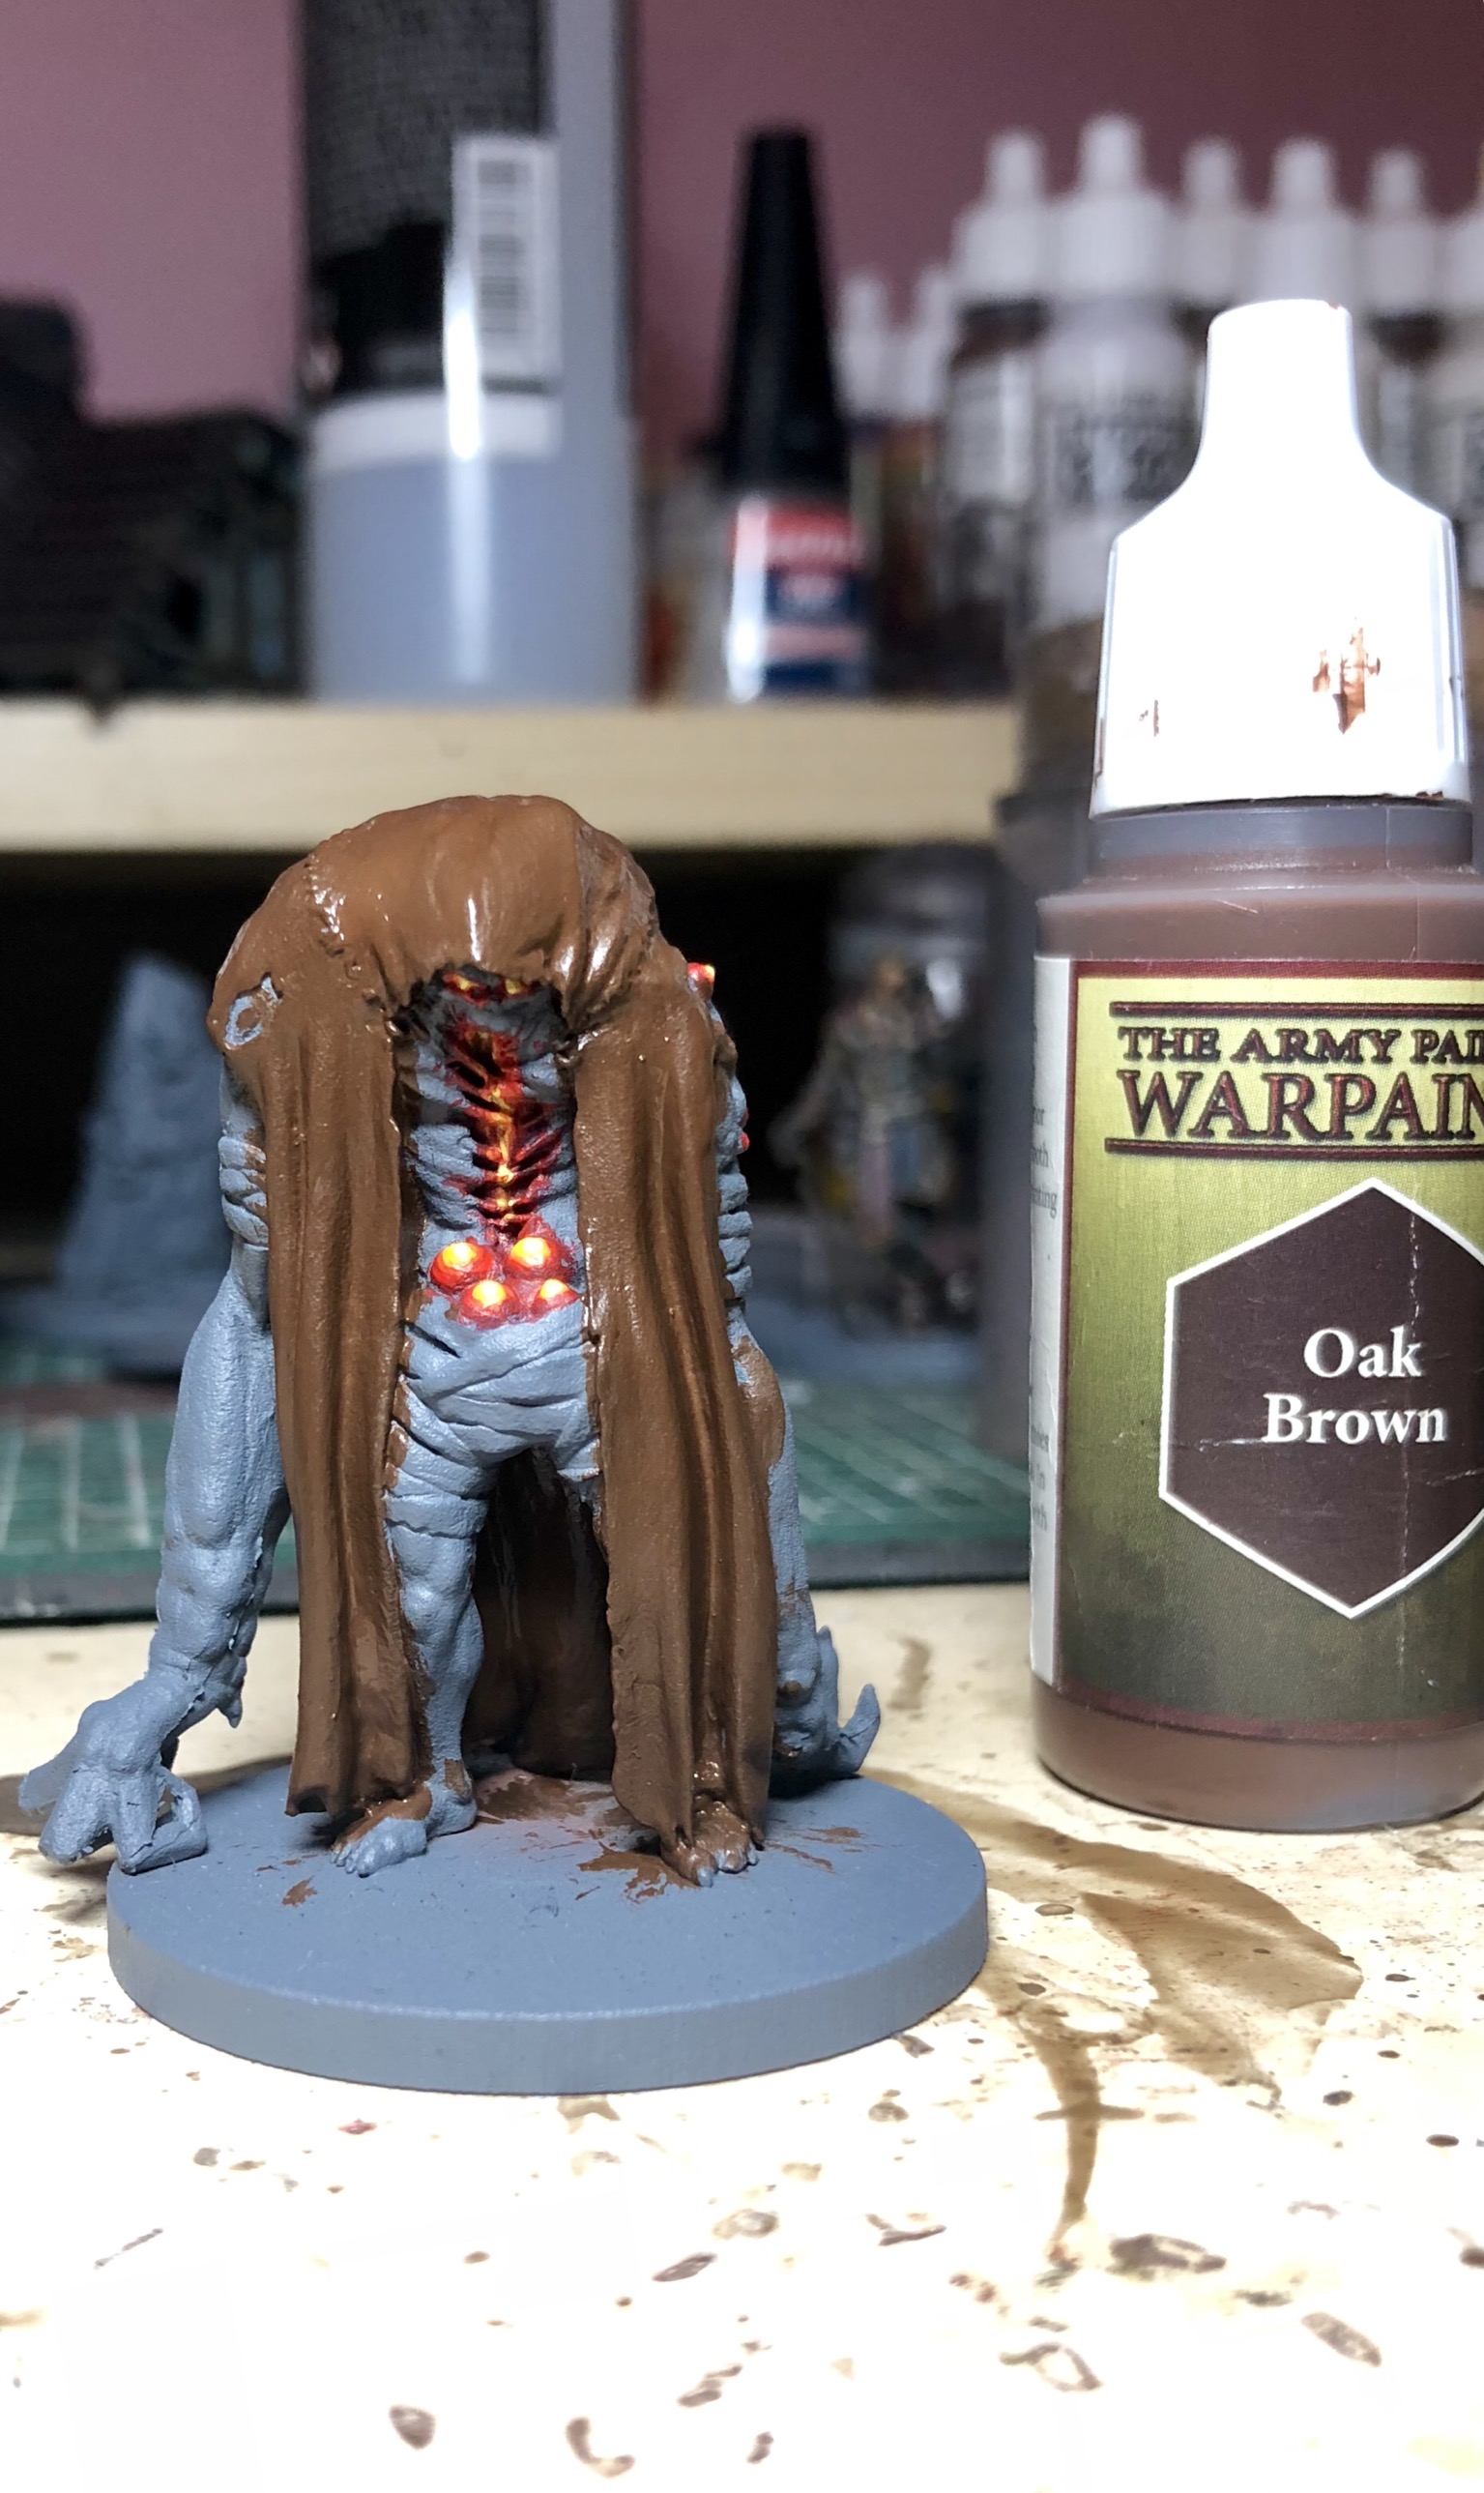
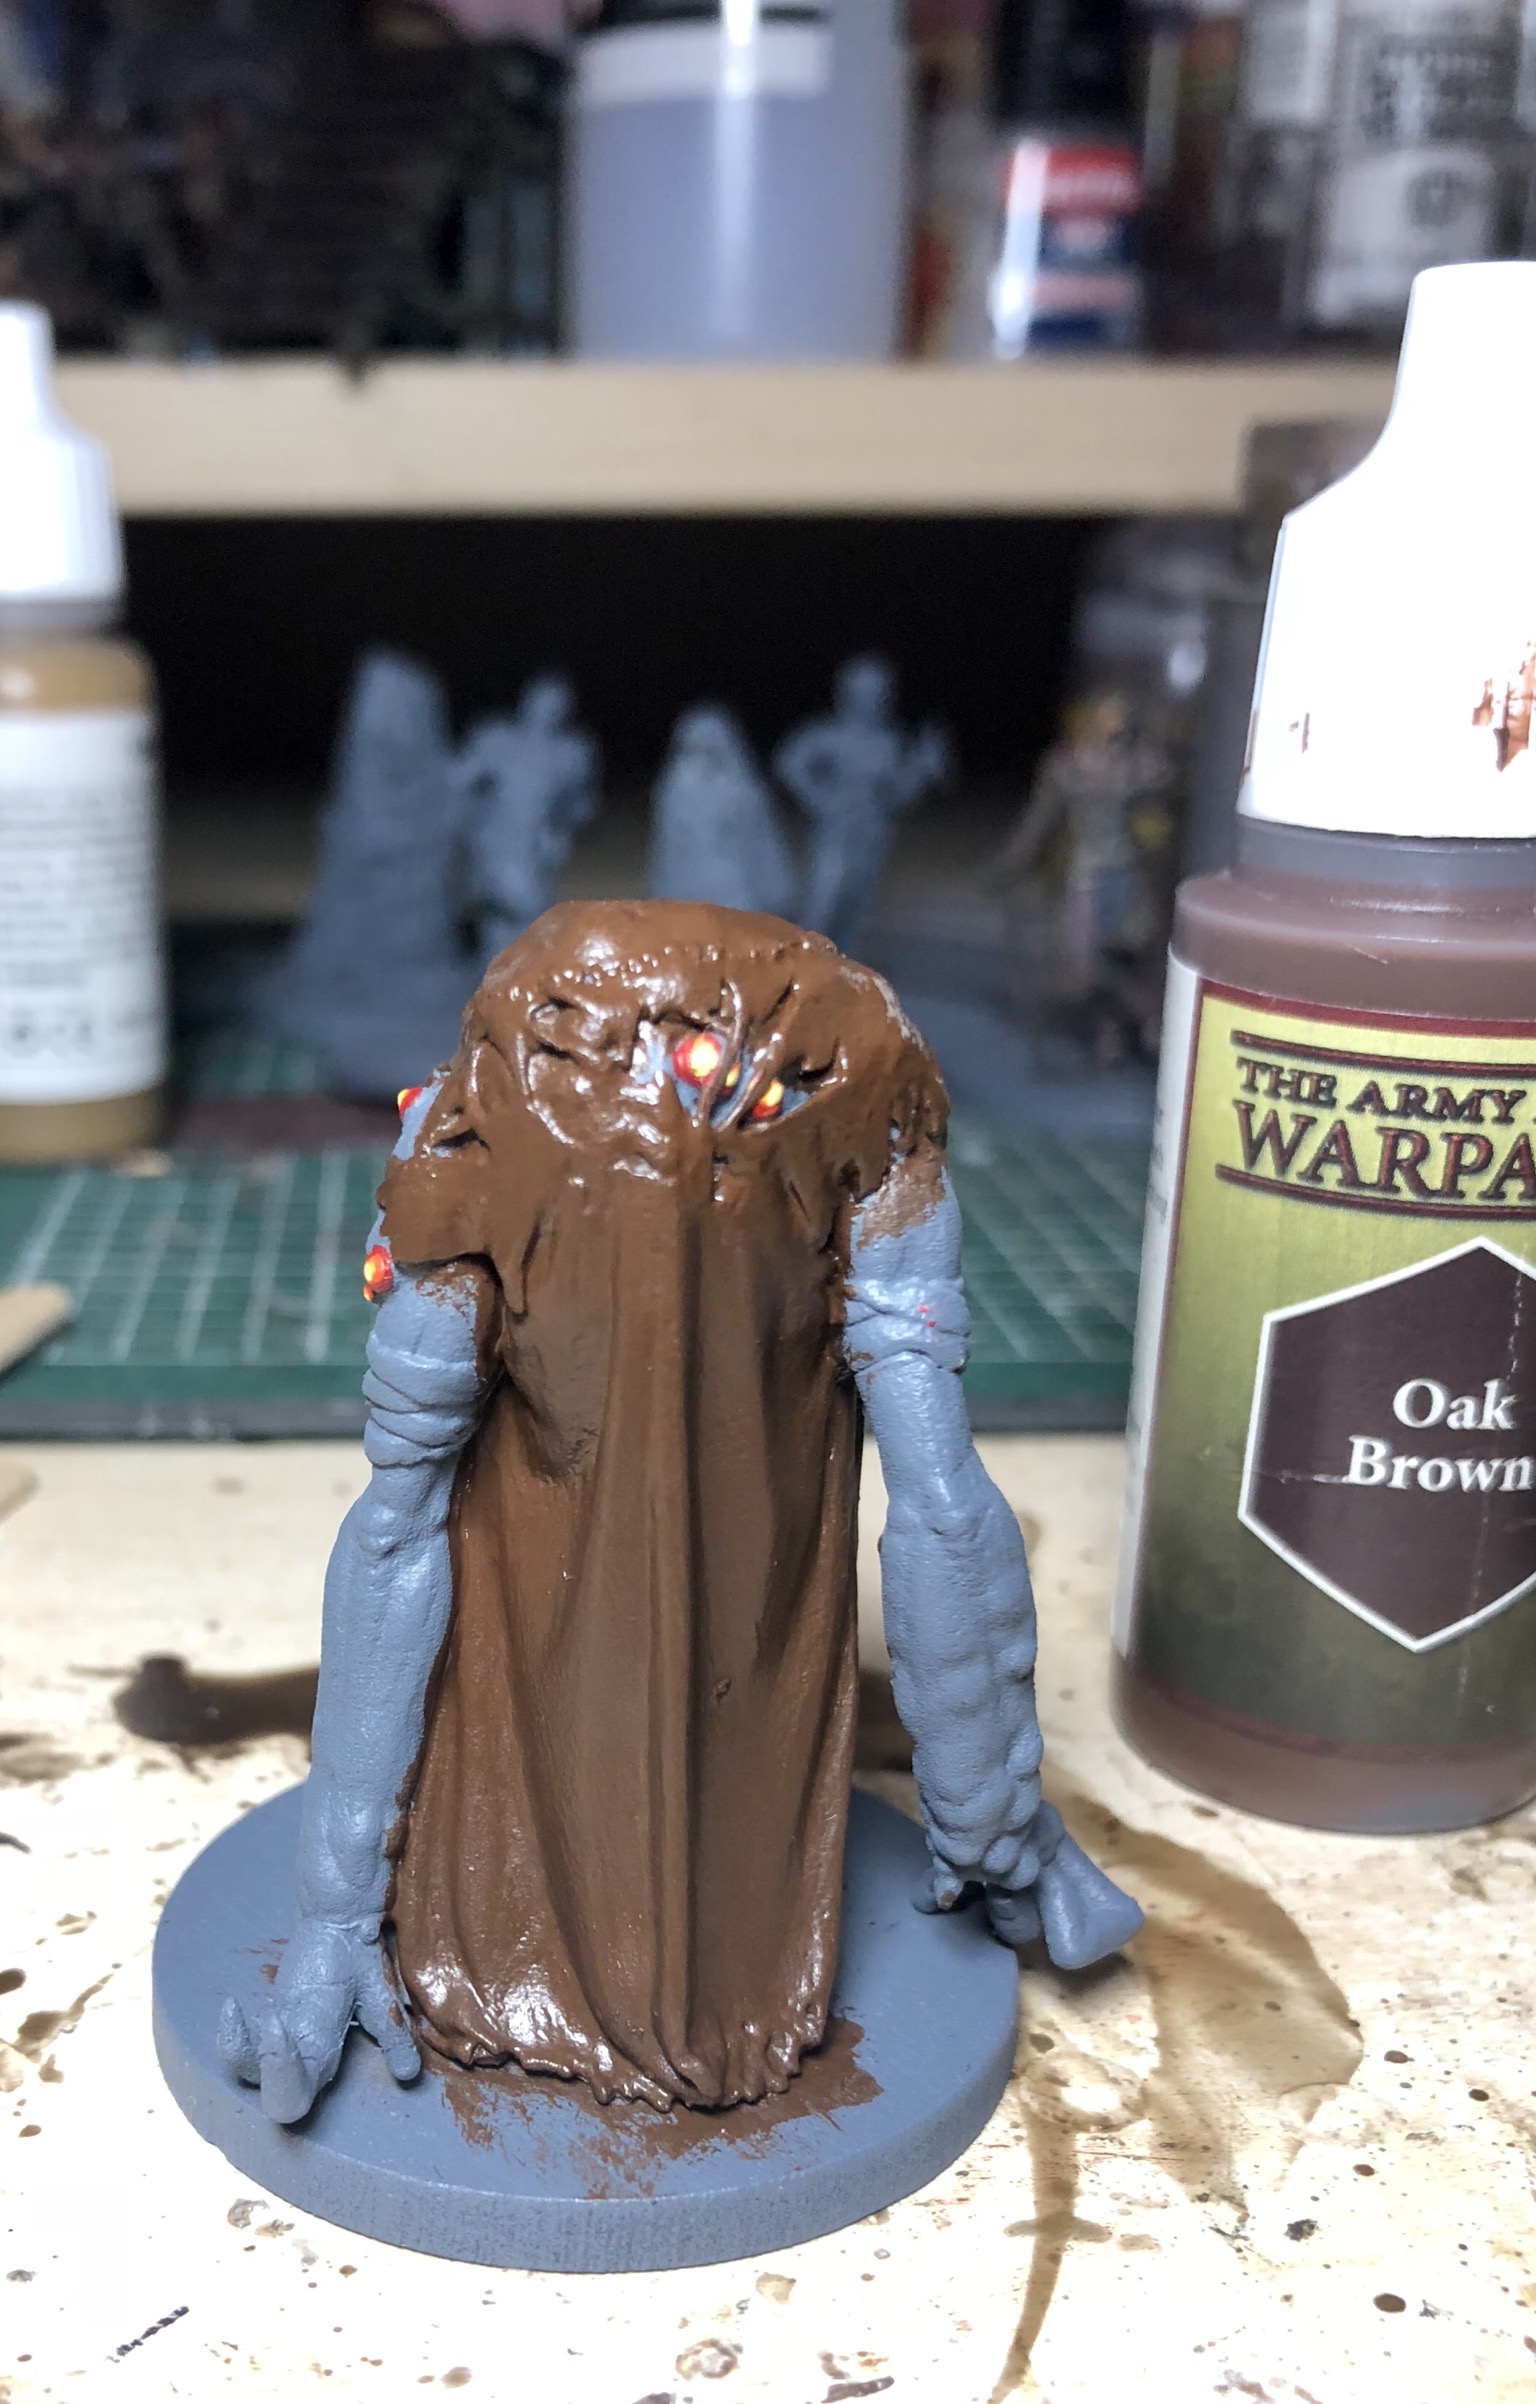
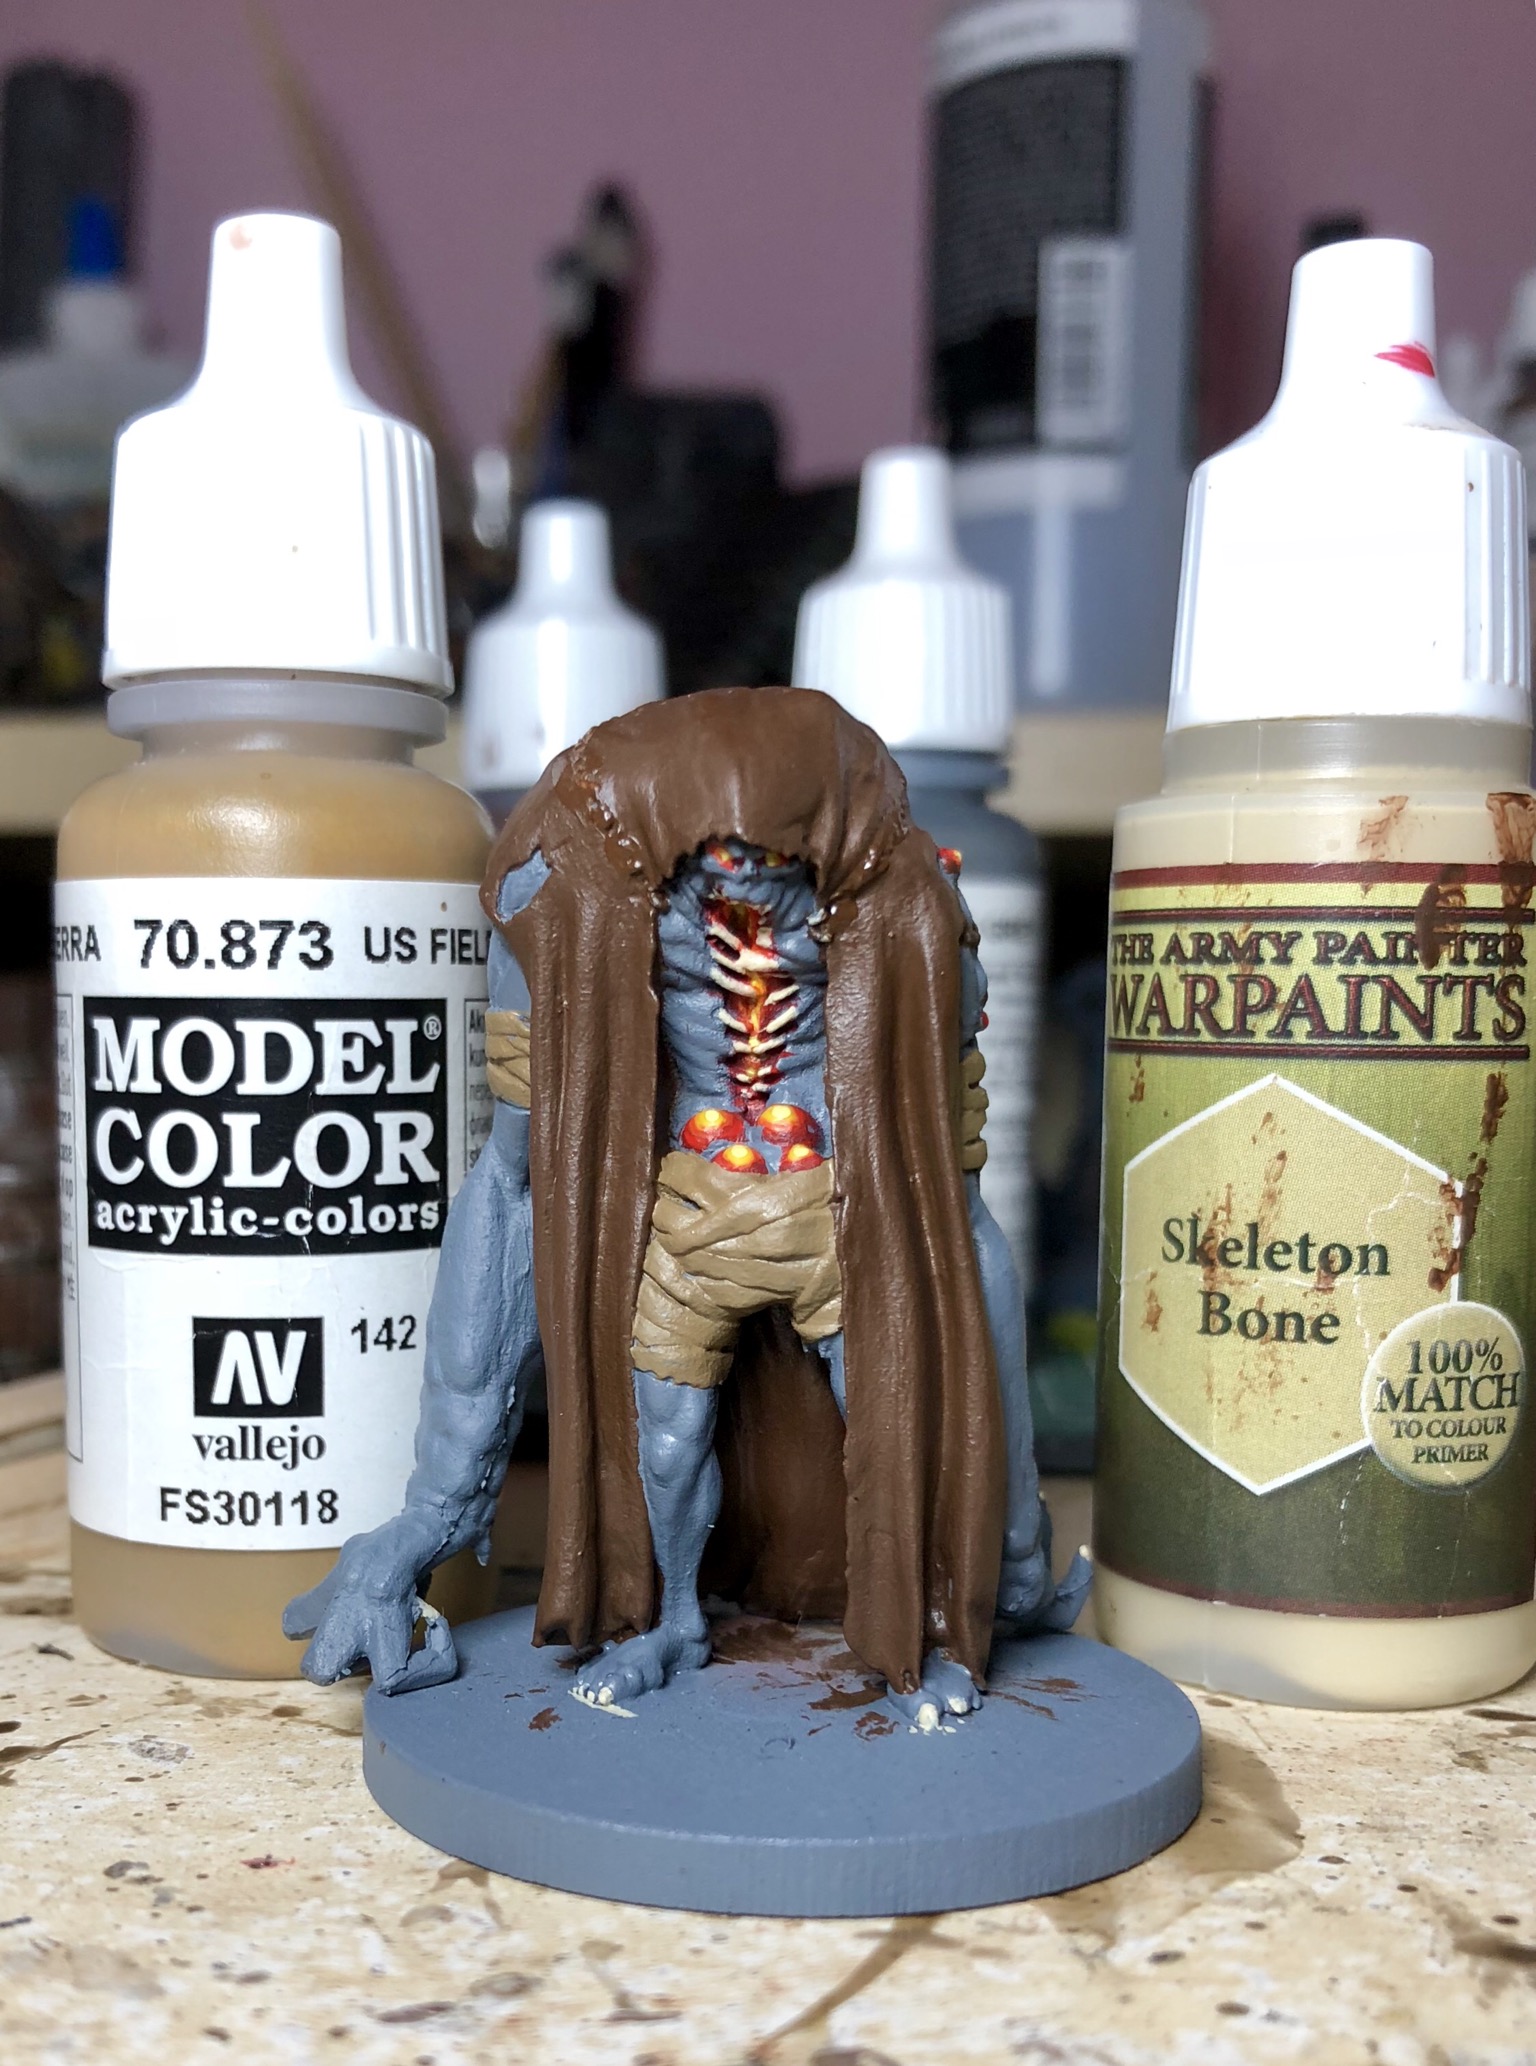
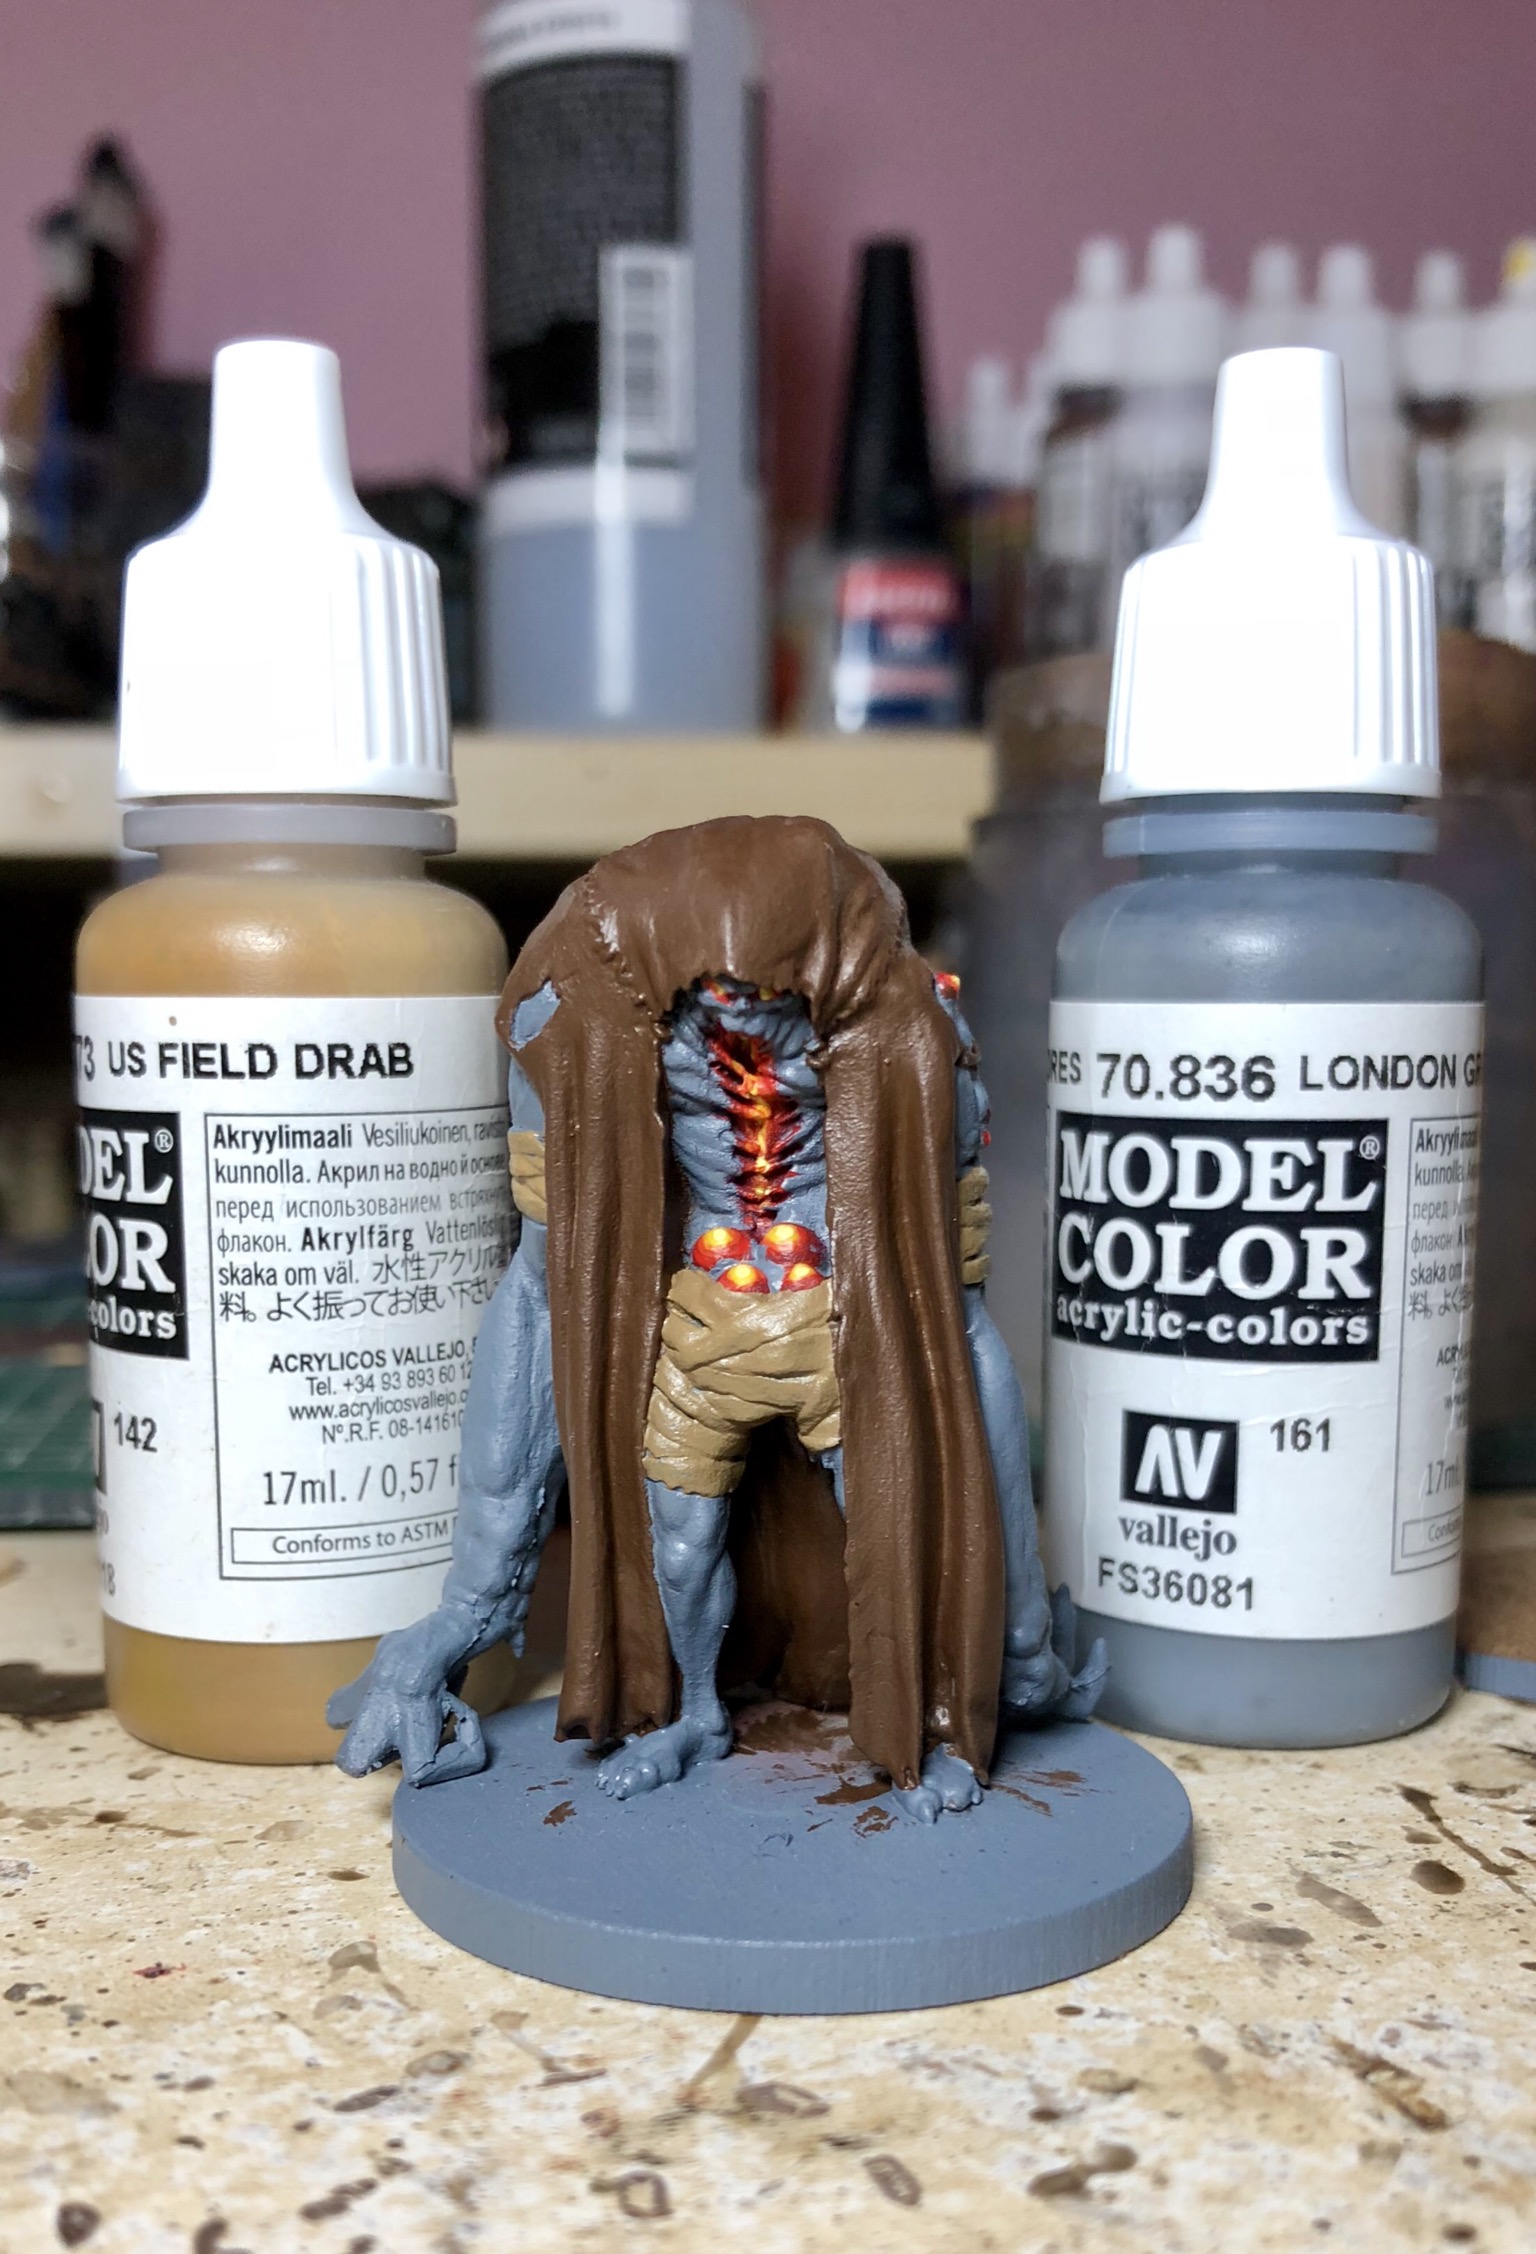
Oak Brown, US field drab, London grey and Skeleton bone