Dan Does Fallout: Wasteland Warfare


Recommendations: 234
About the Project
I'm all in for Fallout. Hobby progress will be documented here!
Related Game: Fallout: Wasteland Warfare
Related Company: Modiphius Entertainment
Related Genre: Post-Apocalyptic
This Project is Completed
The Quest for Knowledge
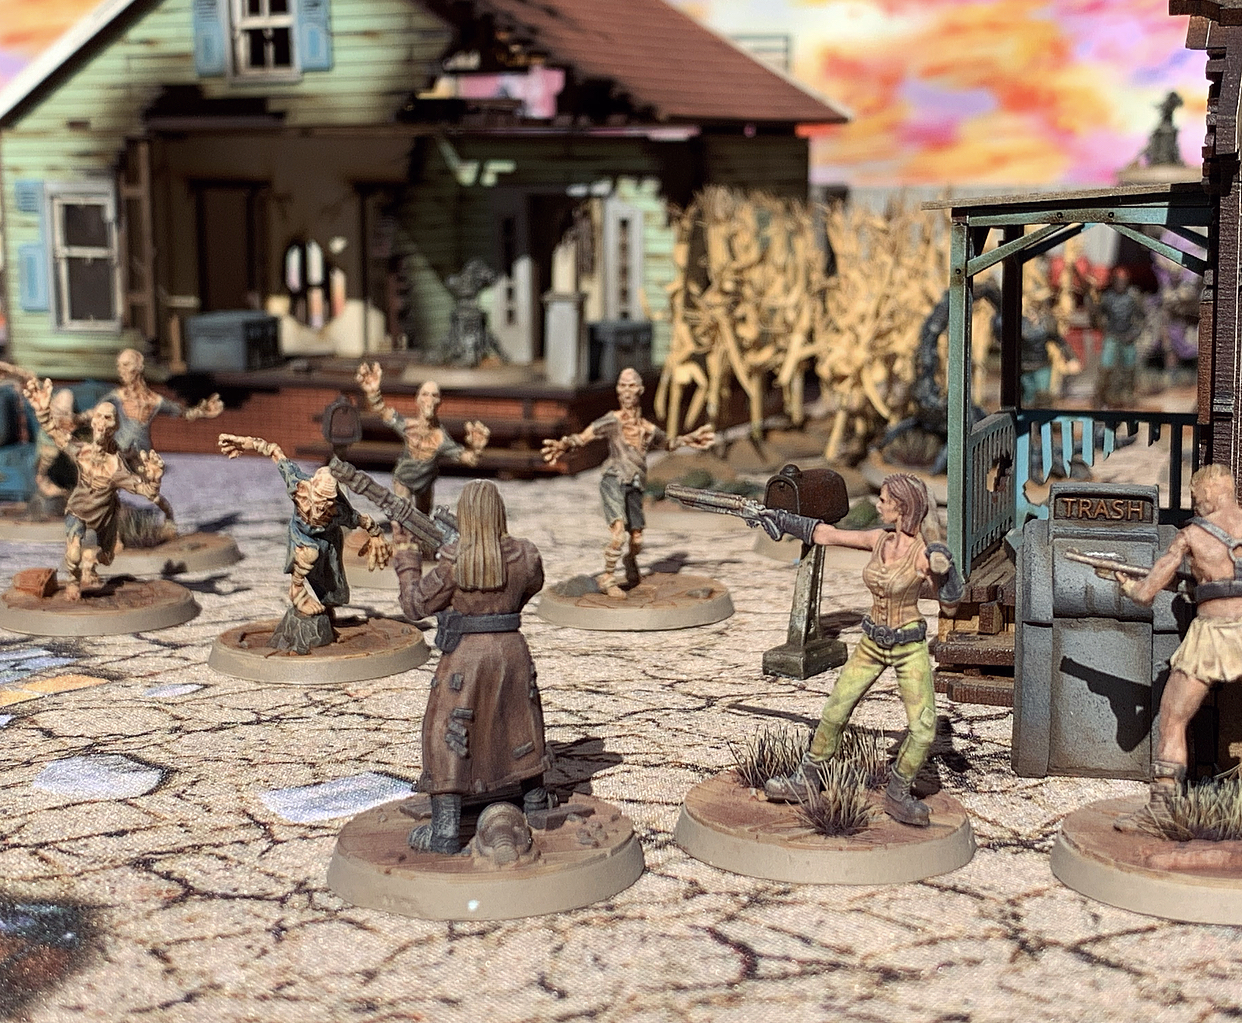
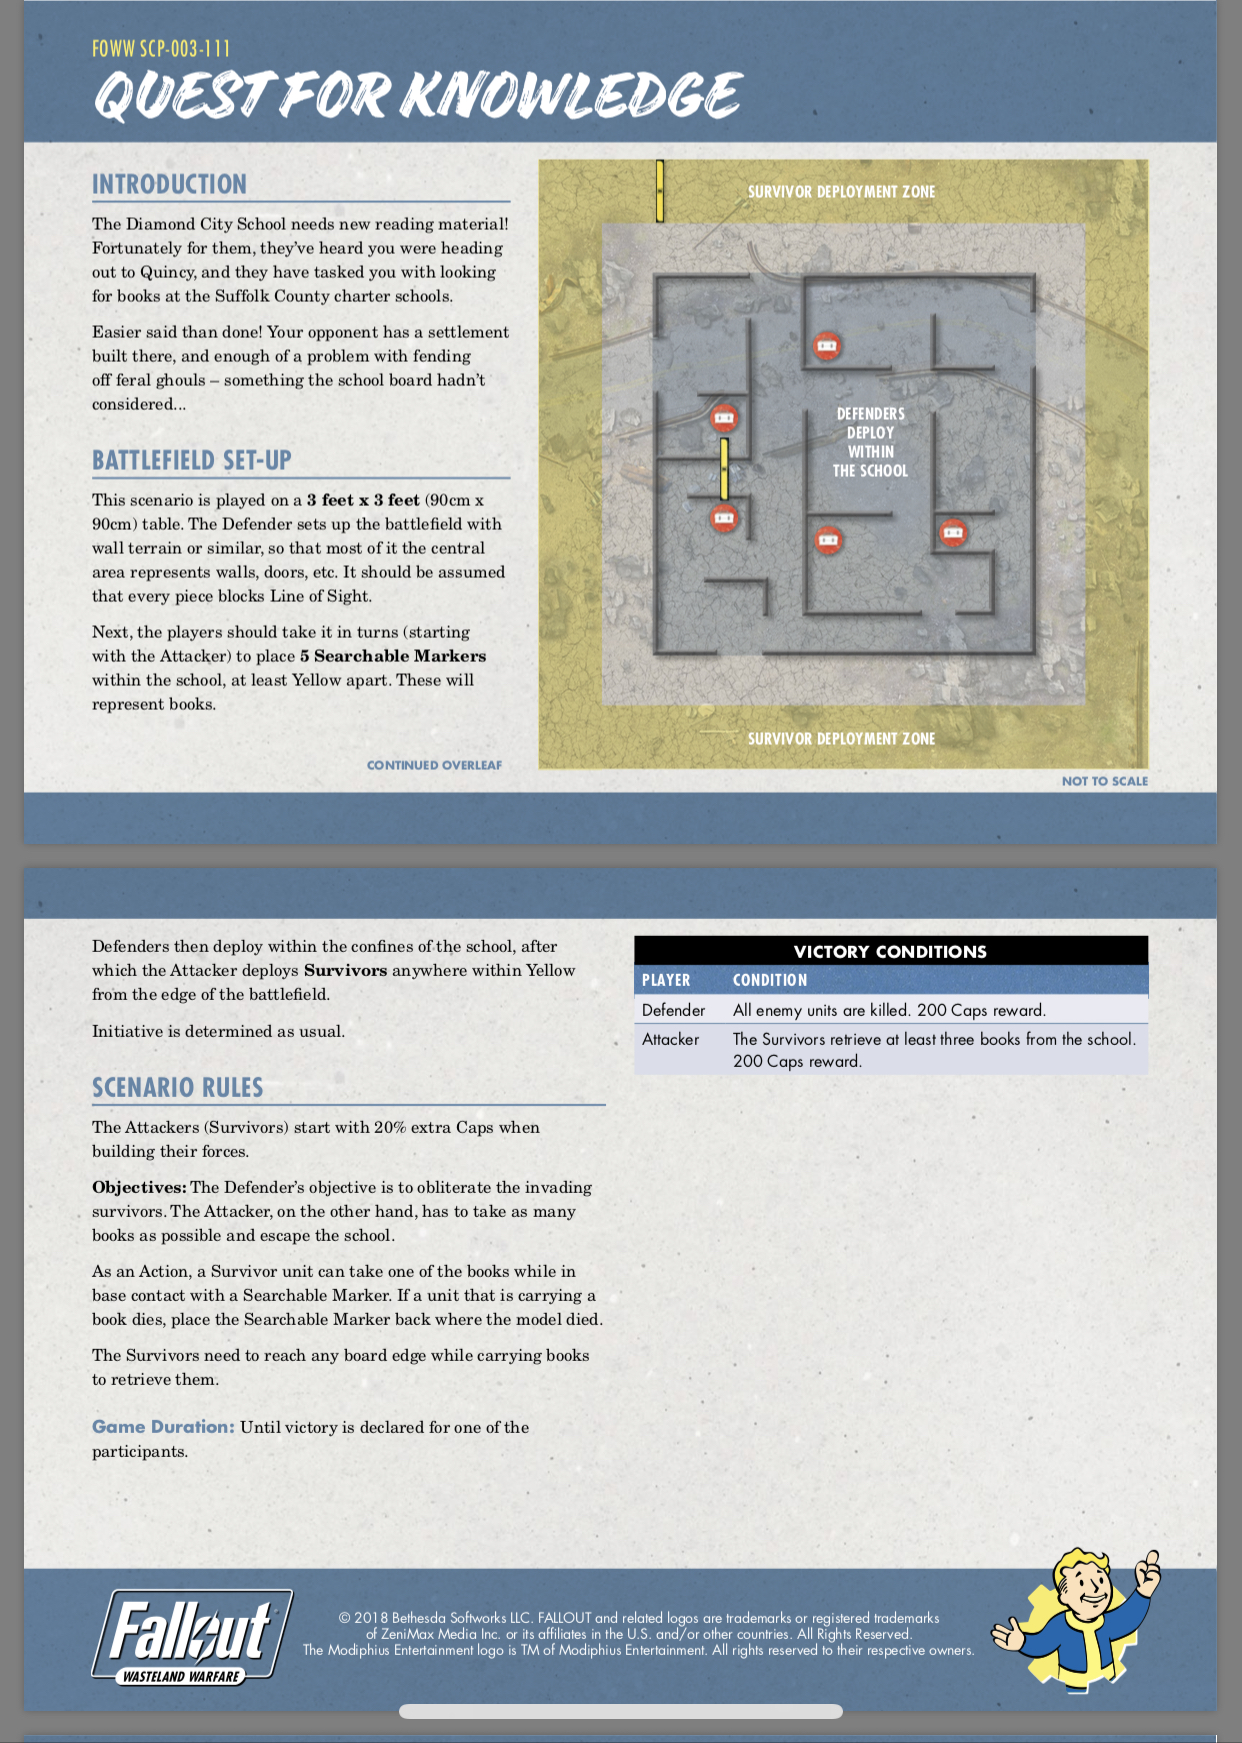 Got some more games on today - Brotherhood of Steel vs Super Mutants. The mutants know not the value of the books in their territory, but they don’t take kindly to invaders....
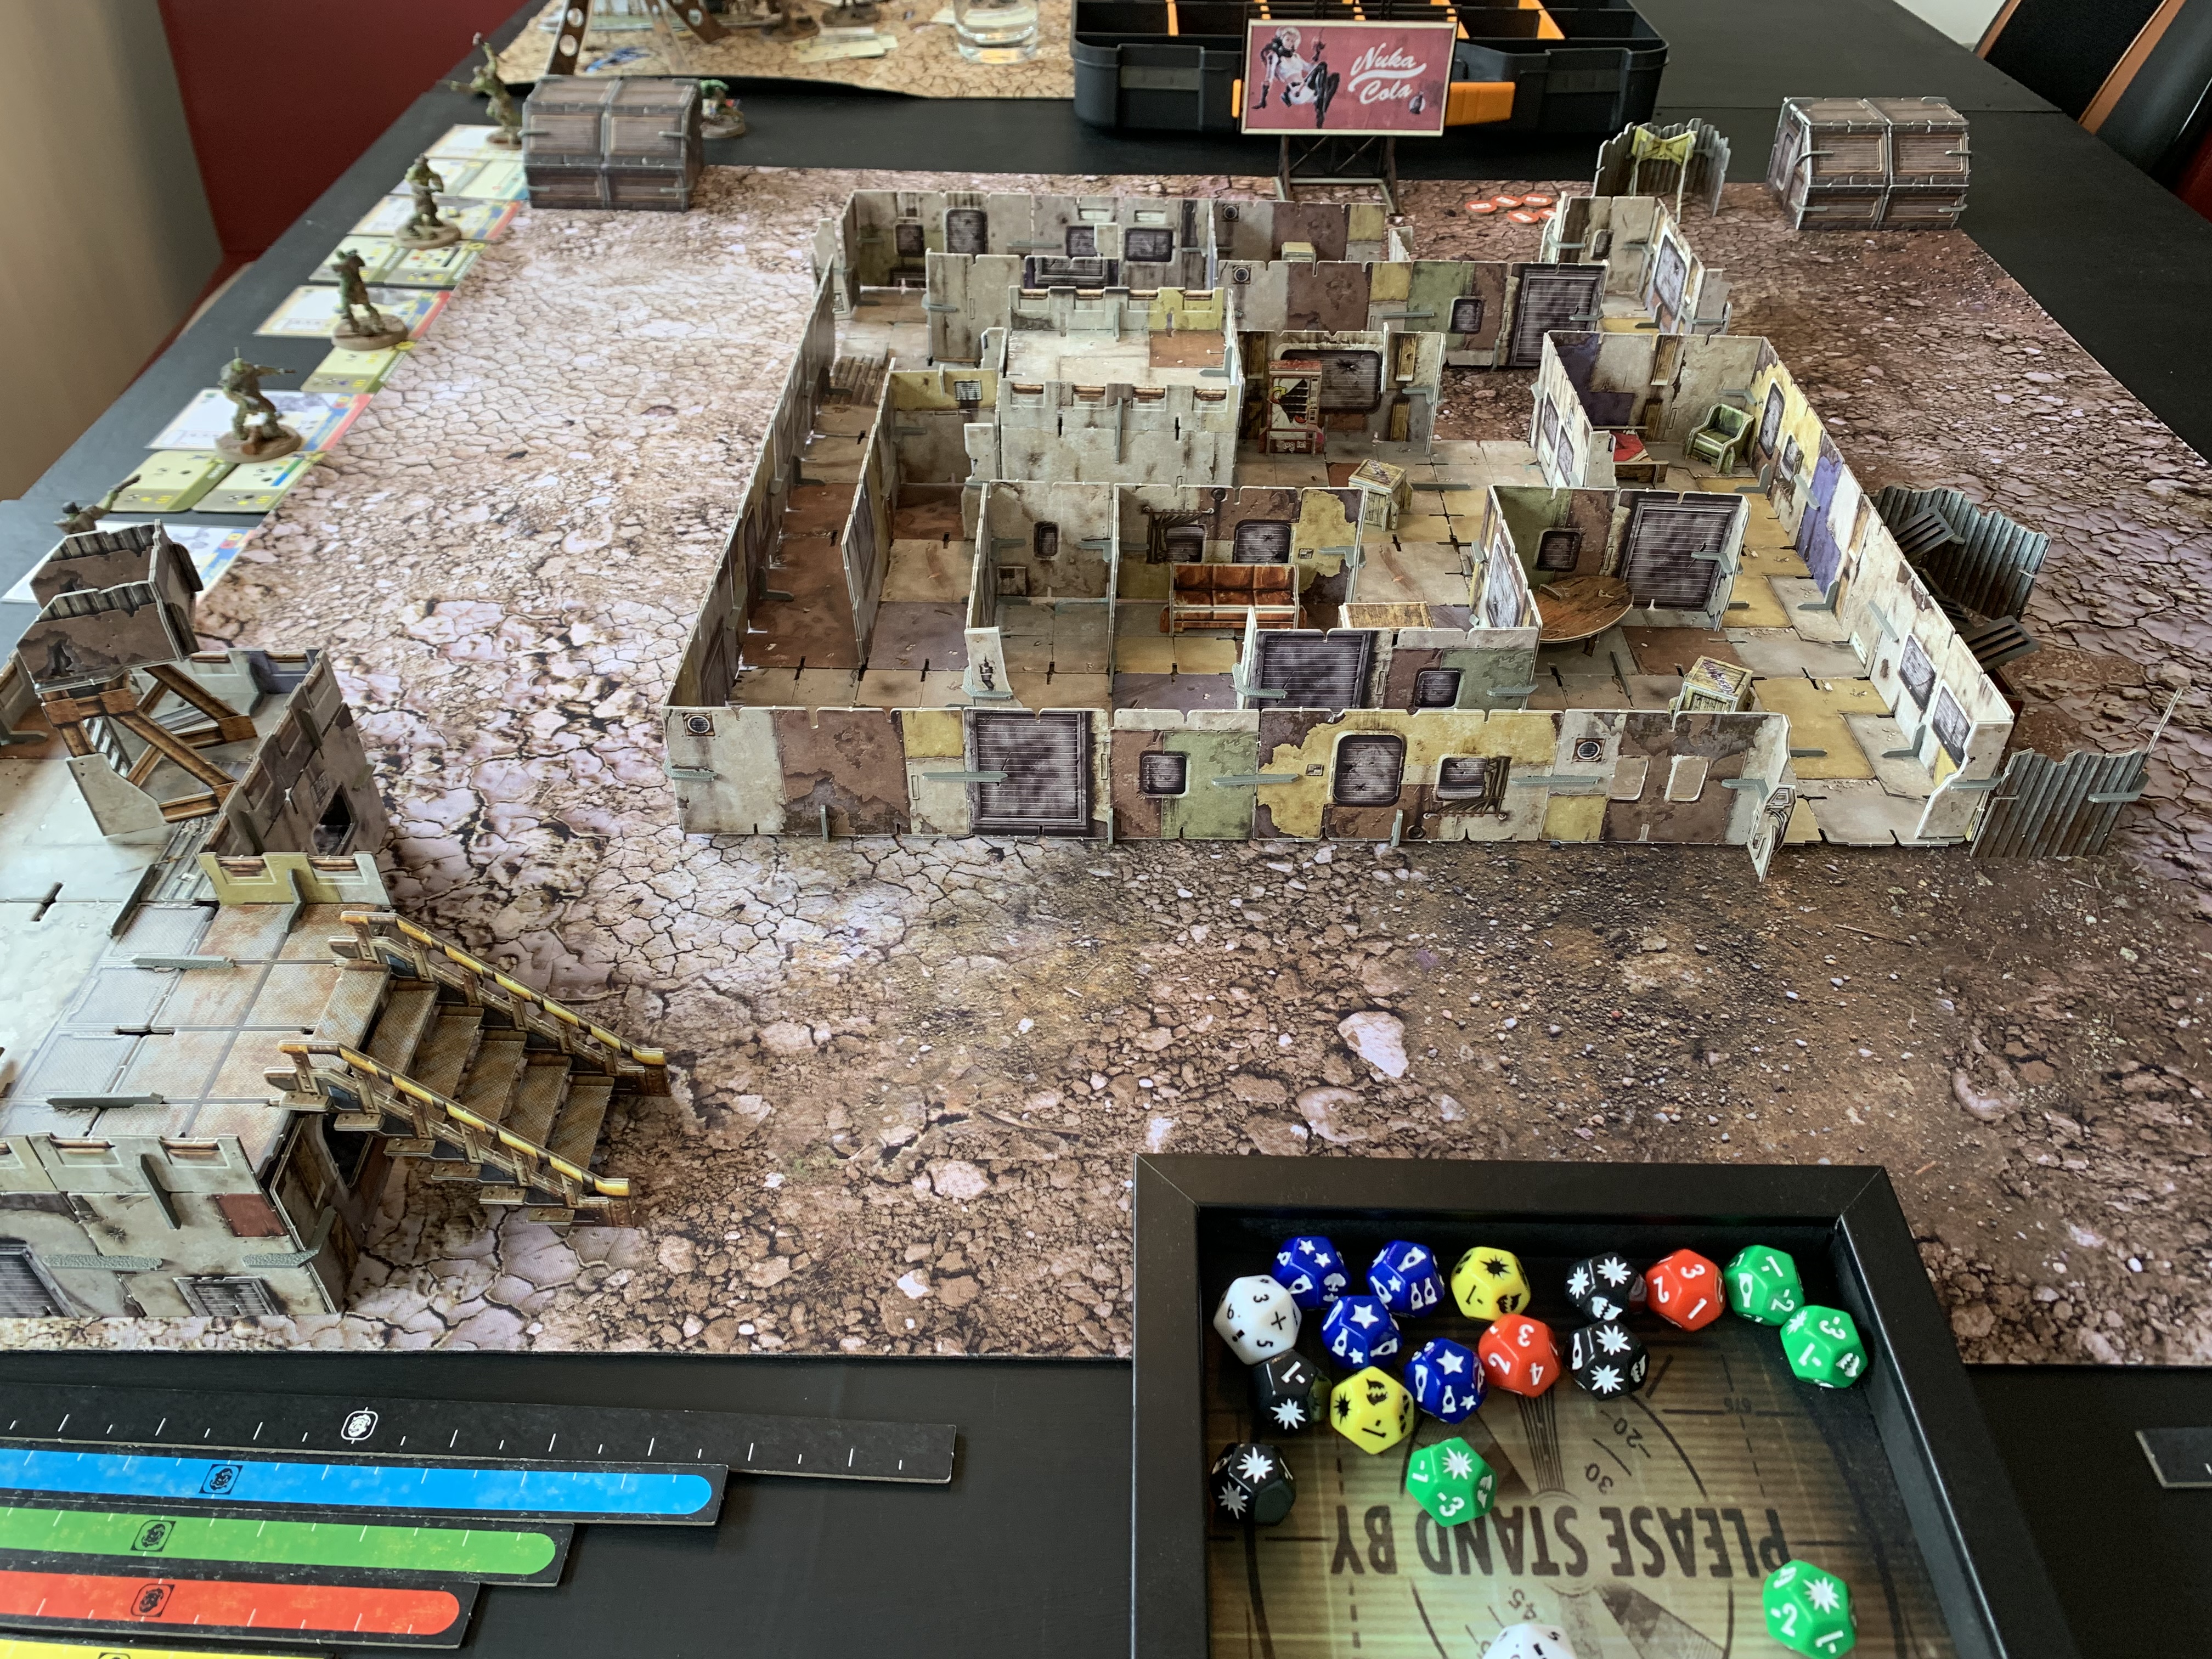 Battle Systems shanty town terrain was used to make the school.
 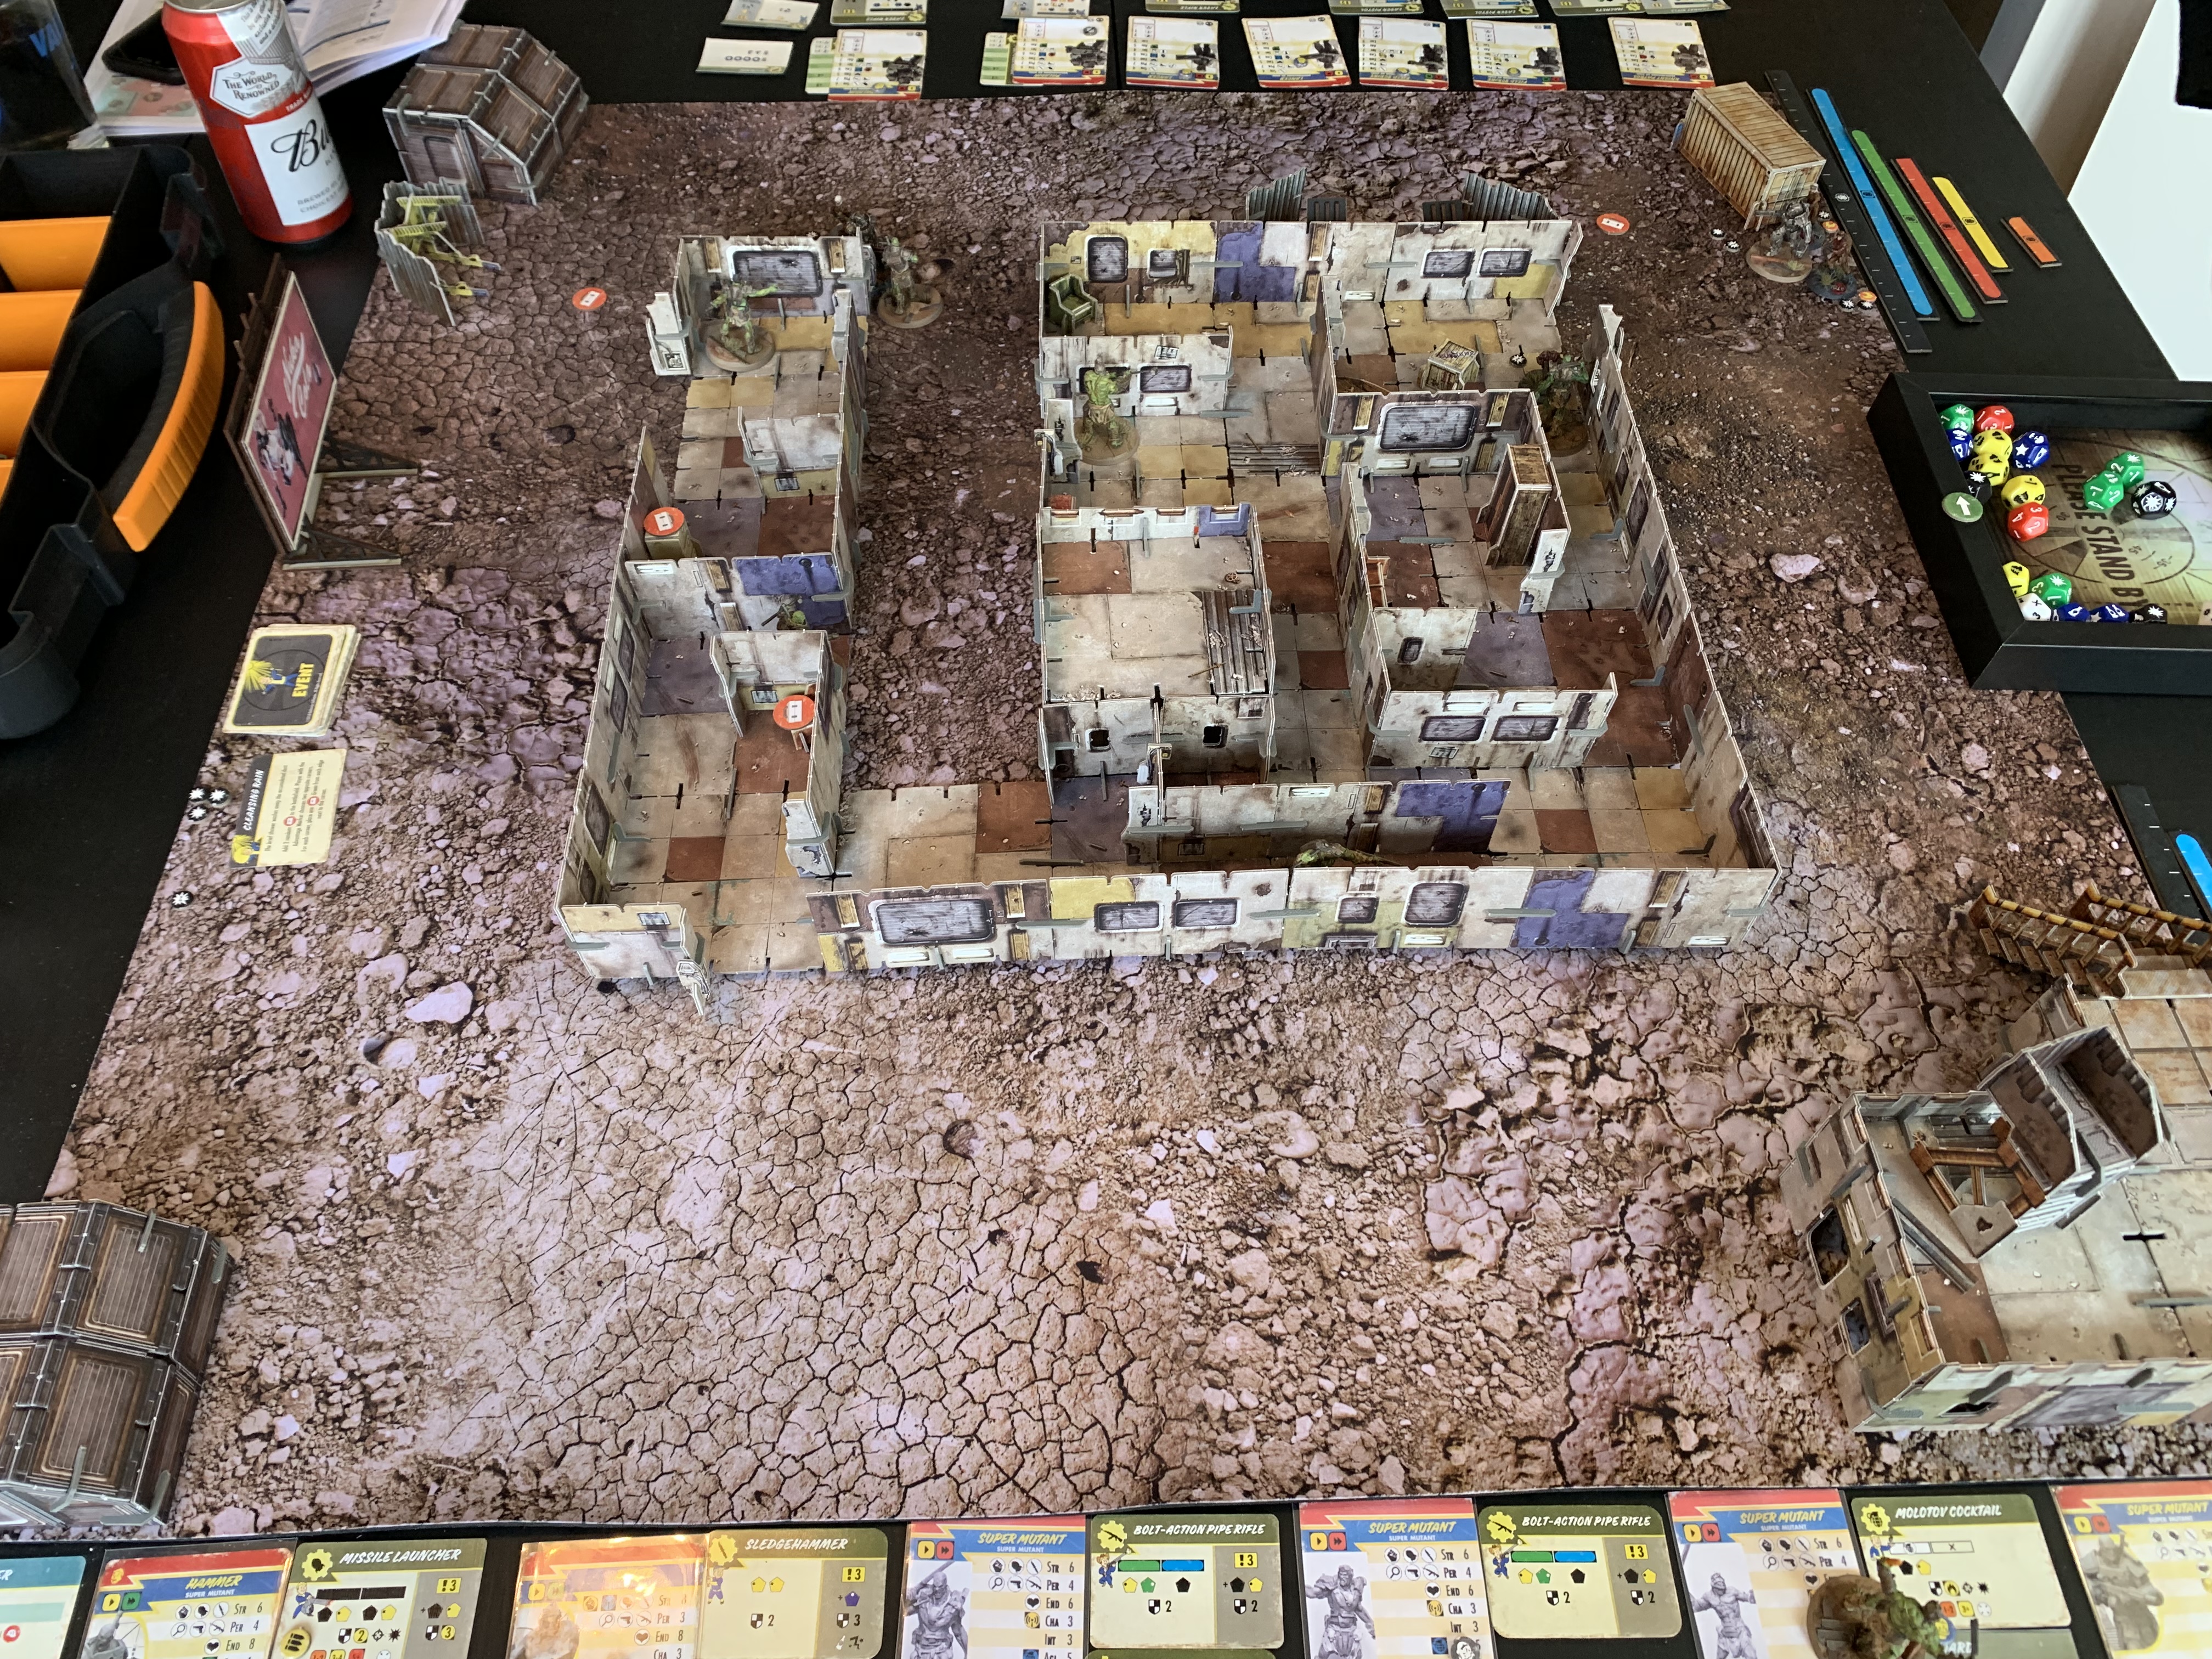 The super mutants were just going about their business, unawares of the approaching invaders.
  One group of BoS approached from the South West.
 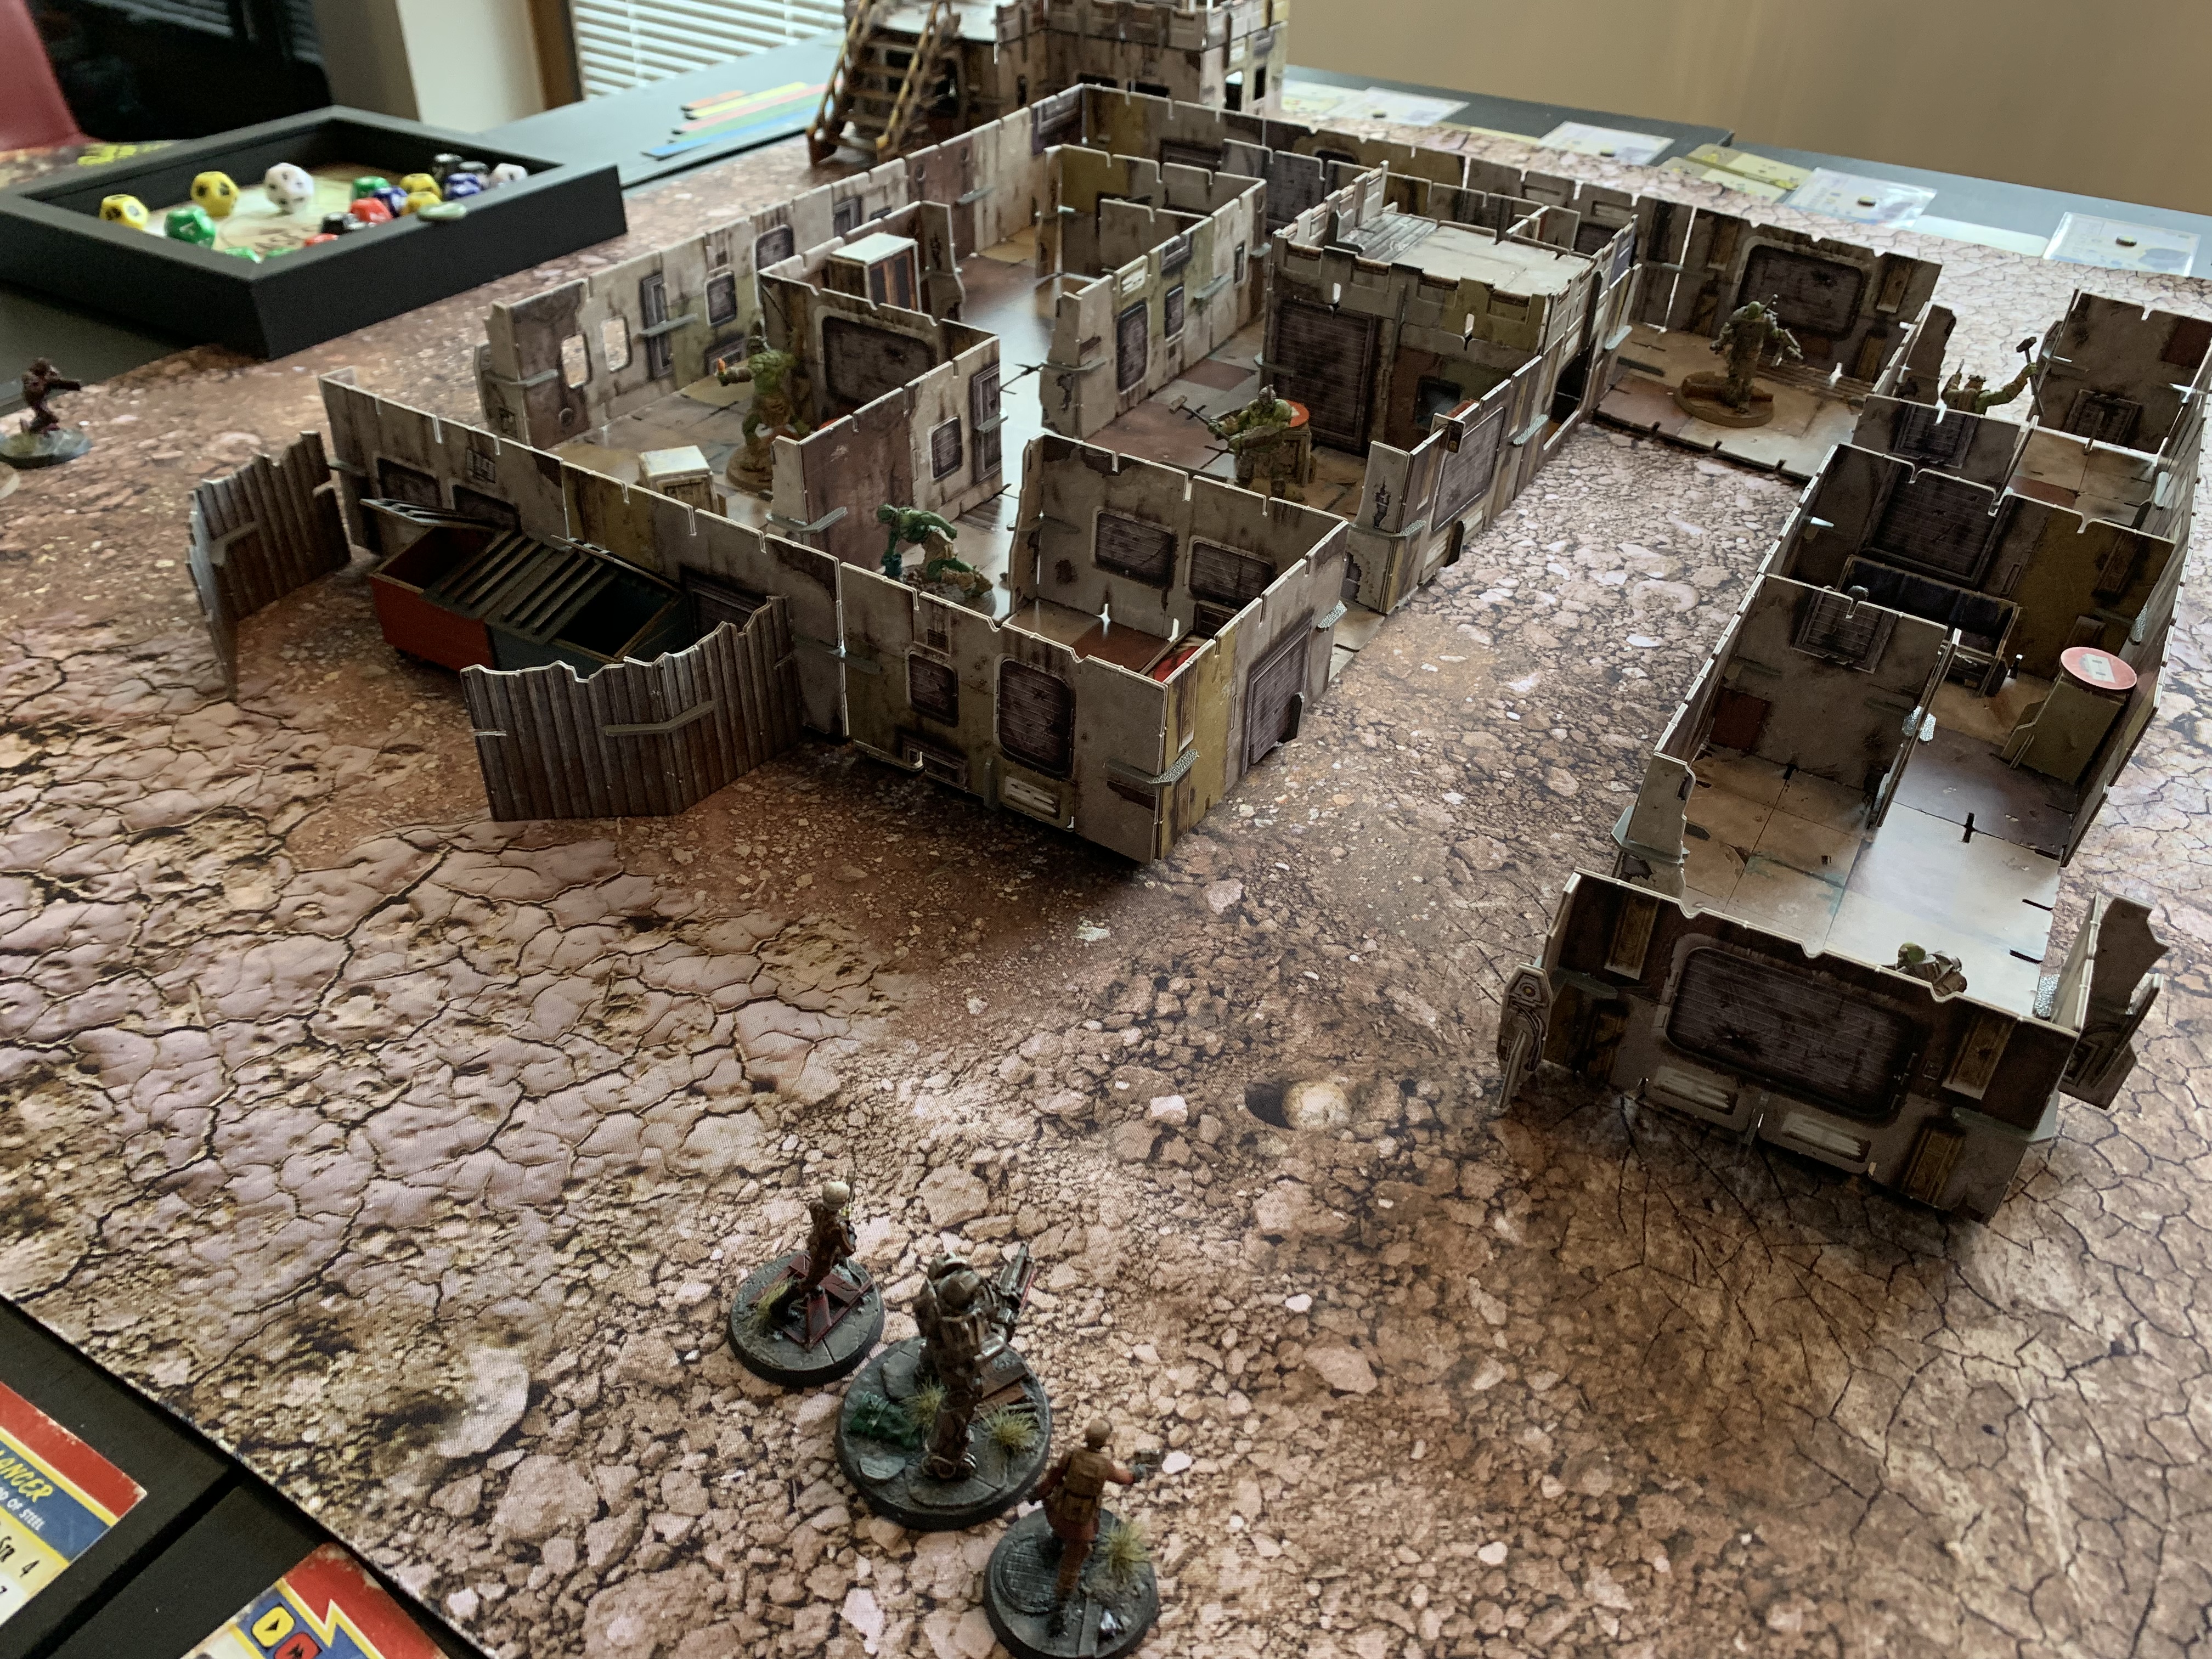 Another from the South East. In hindsight, grouping in this way may not have been the most sensible. One of the muties was armed with Molotov cocktails!
 The palladins provided the power, this one dished plenty of damage but eventually succumbed to weight of numbers.
  The south west approach also started well, several super mutants splattered against the school walls.
 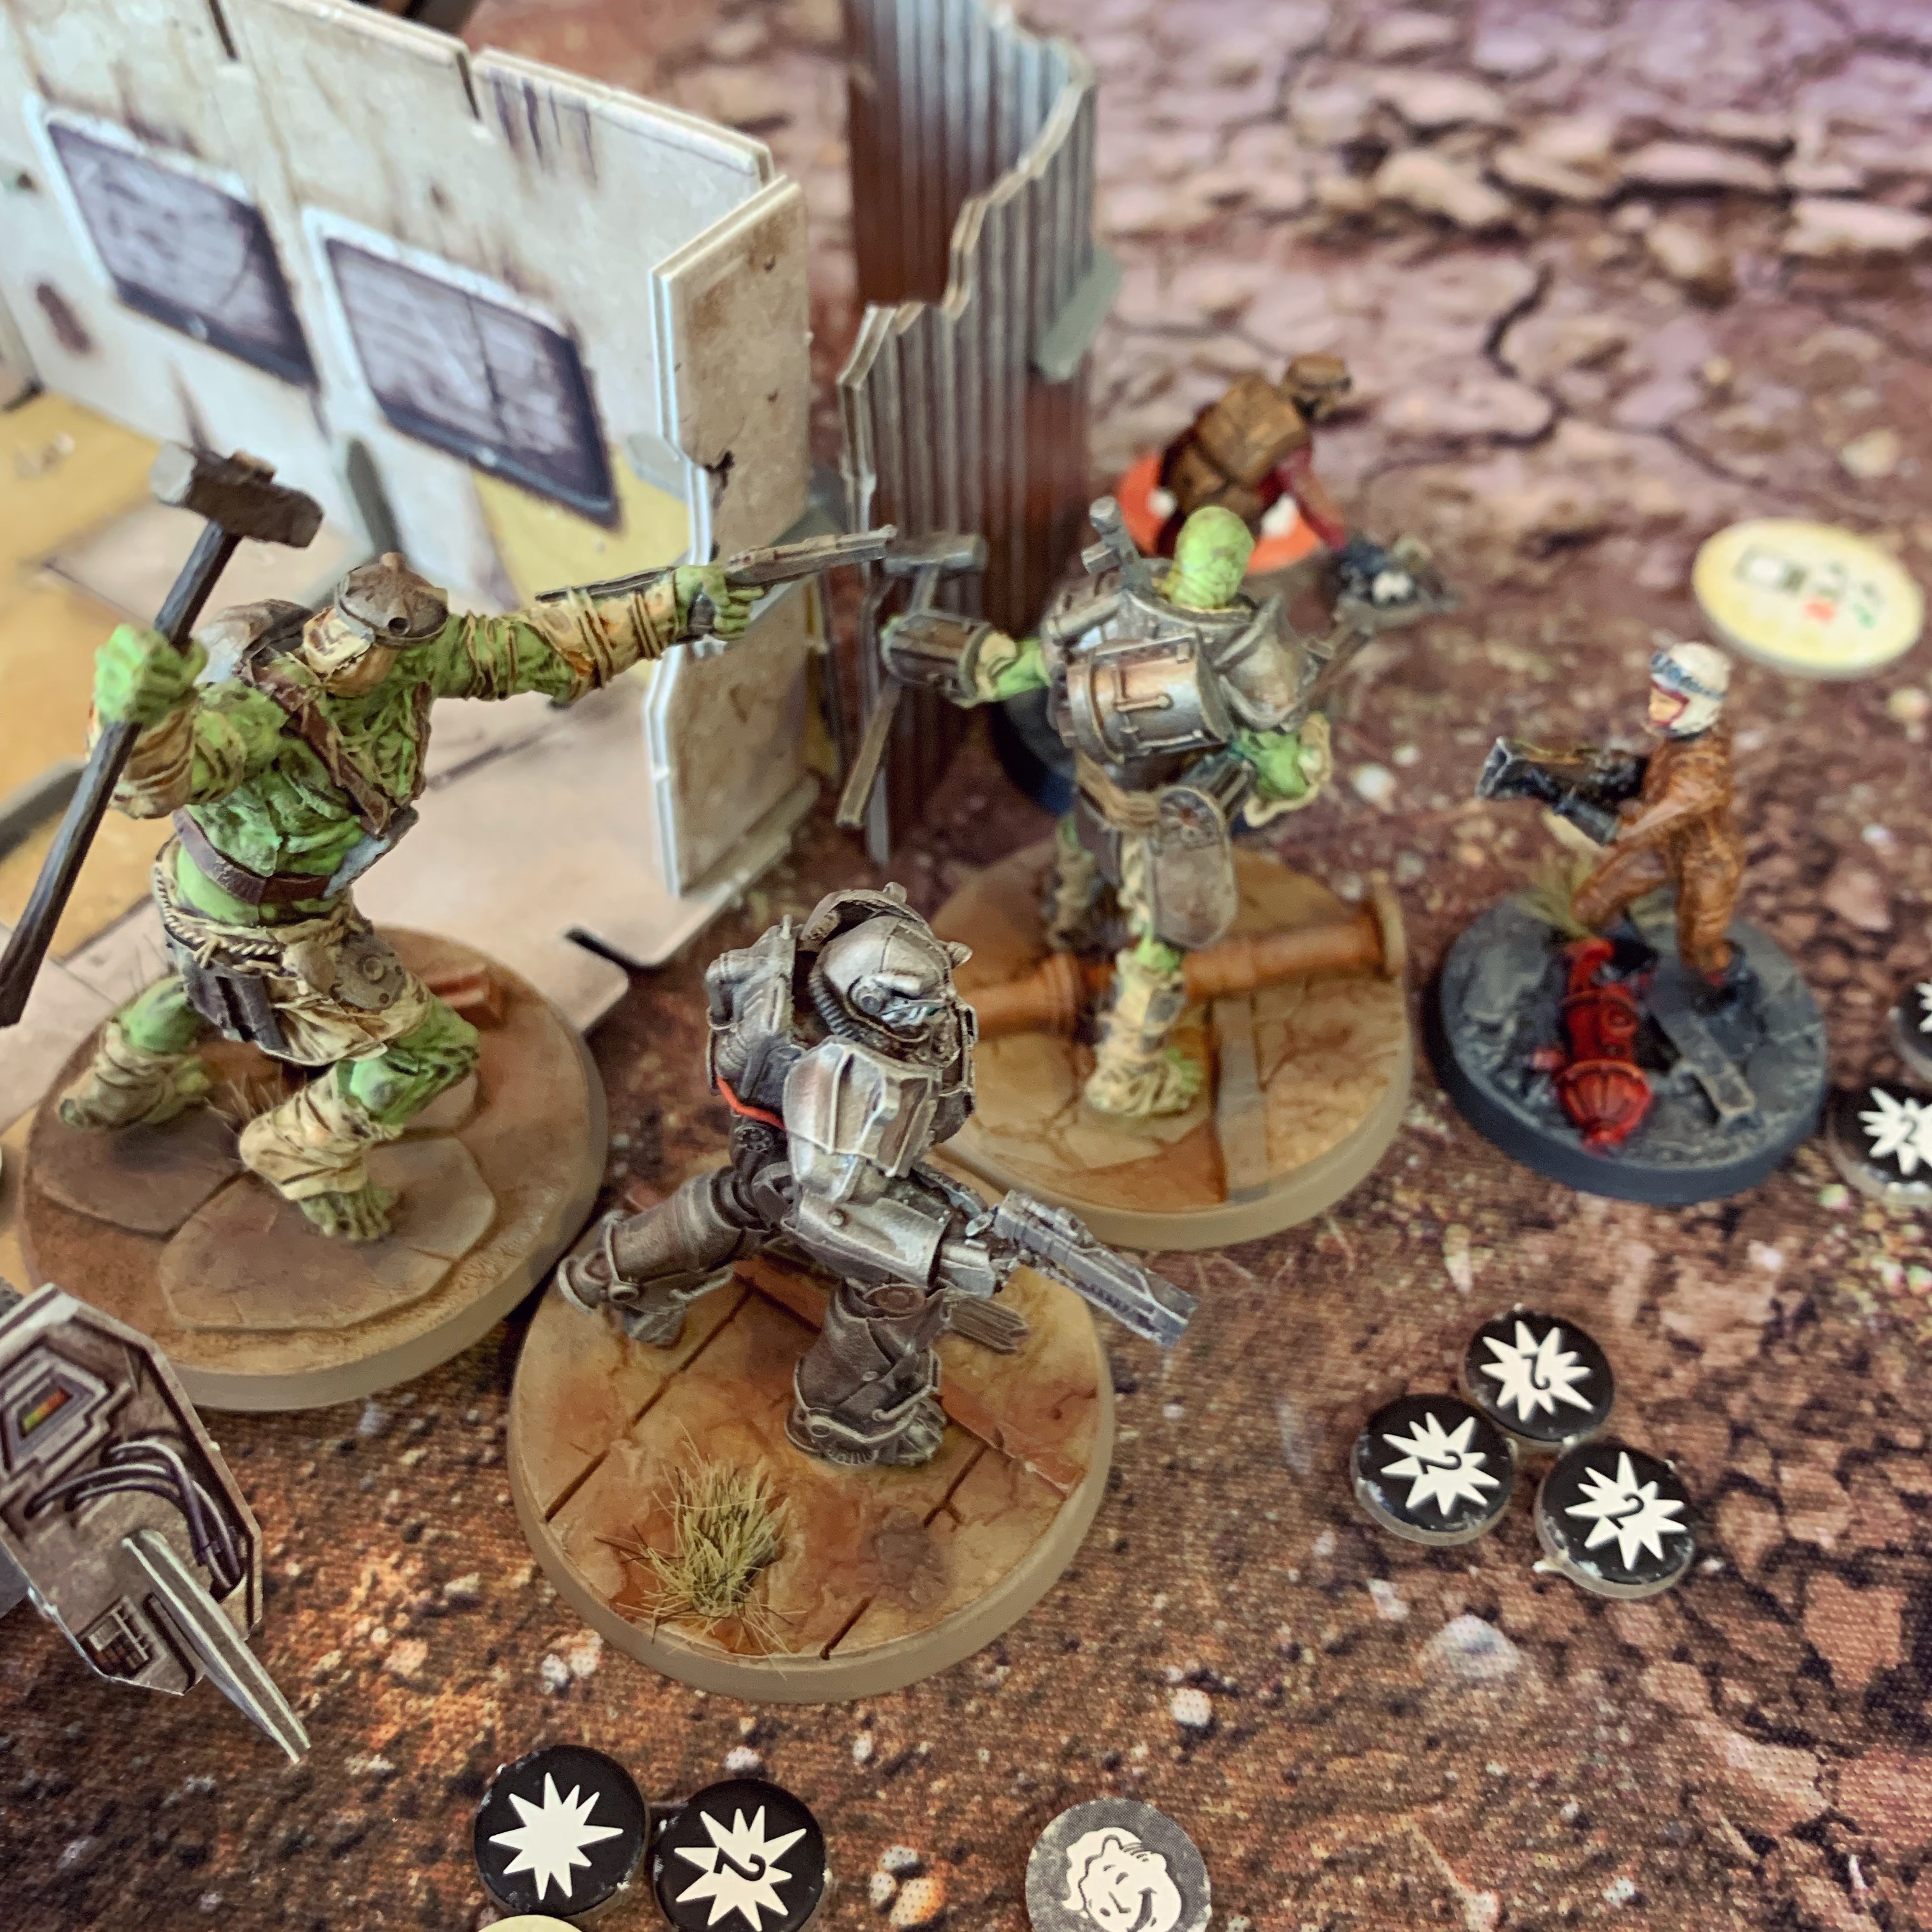 But the Super Mutant Hammer was an absolute beast. Strength 9 with a Super Sledge. Cracked the Palladin open like a fortune cookie. Shortly after it was game over. Mutants went back to trampling over the dusty tomes, unaware of their importance.
 Raiders Assemble at the Old Shotgun Shack
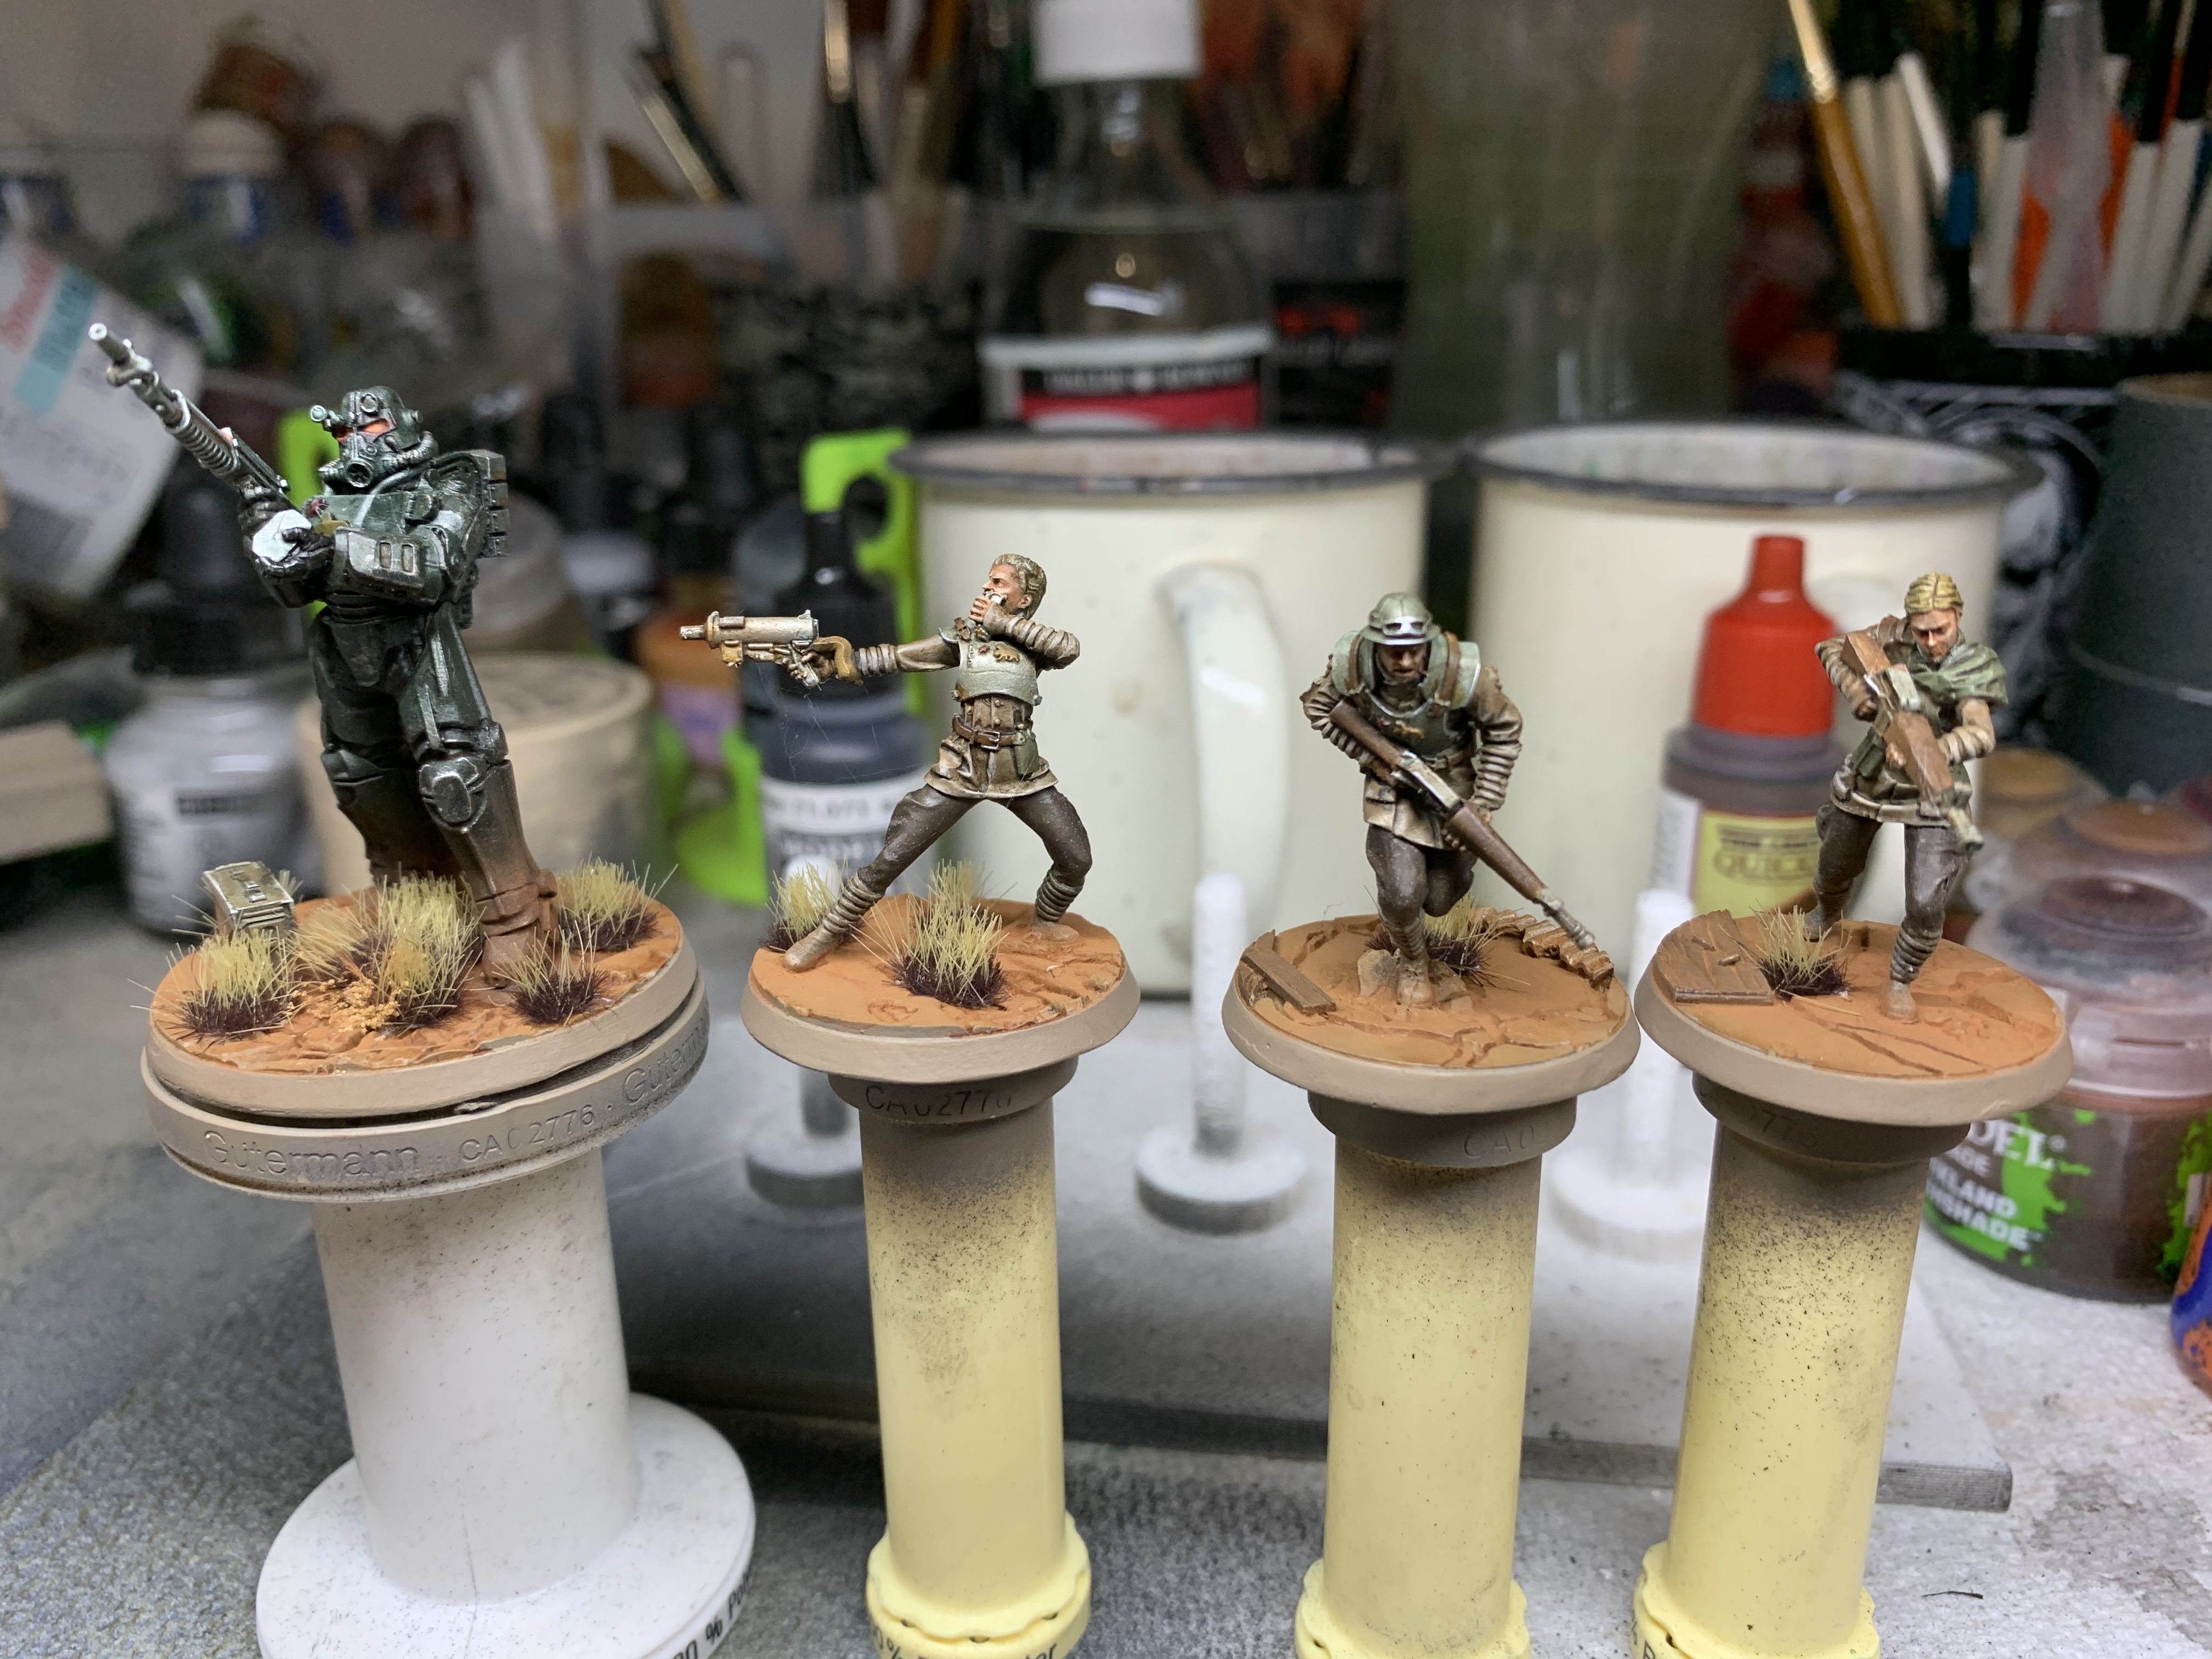
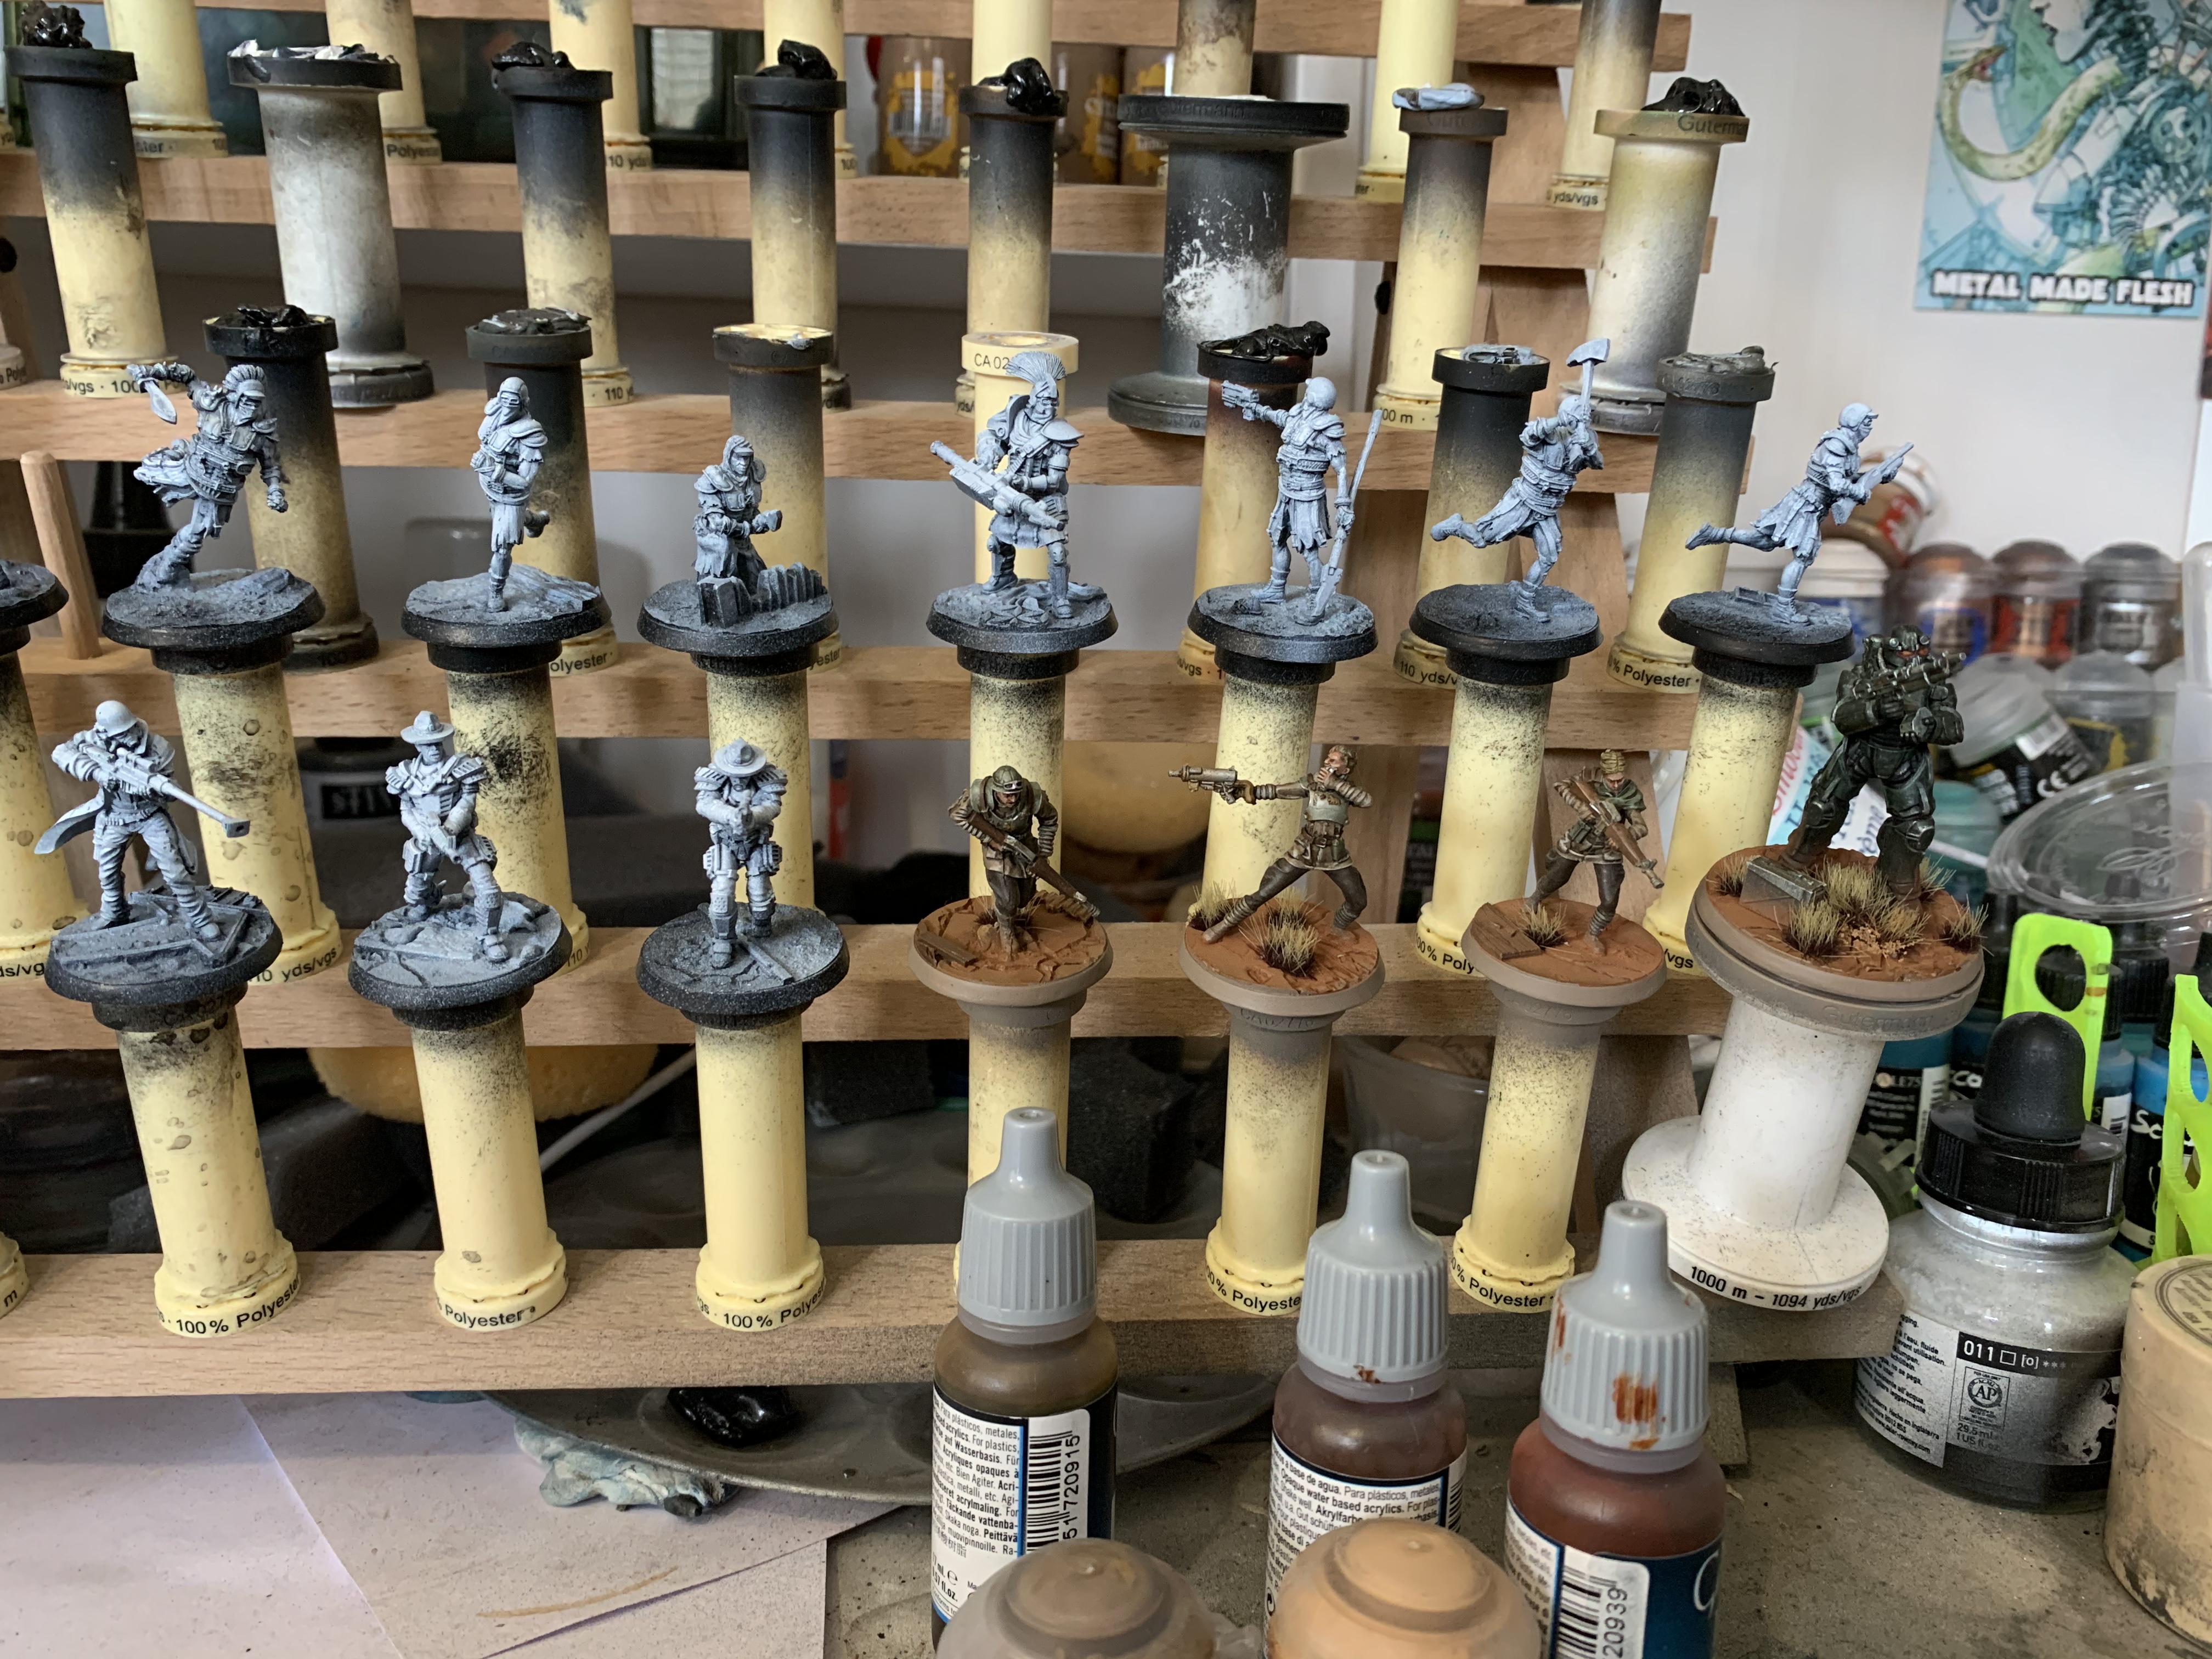
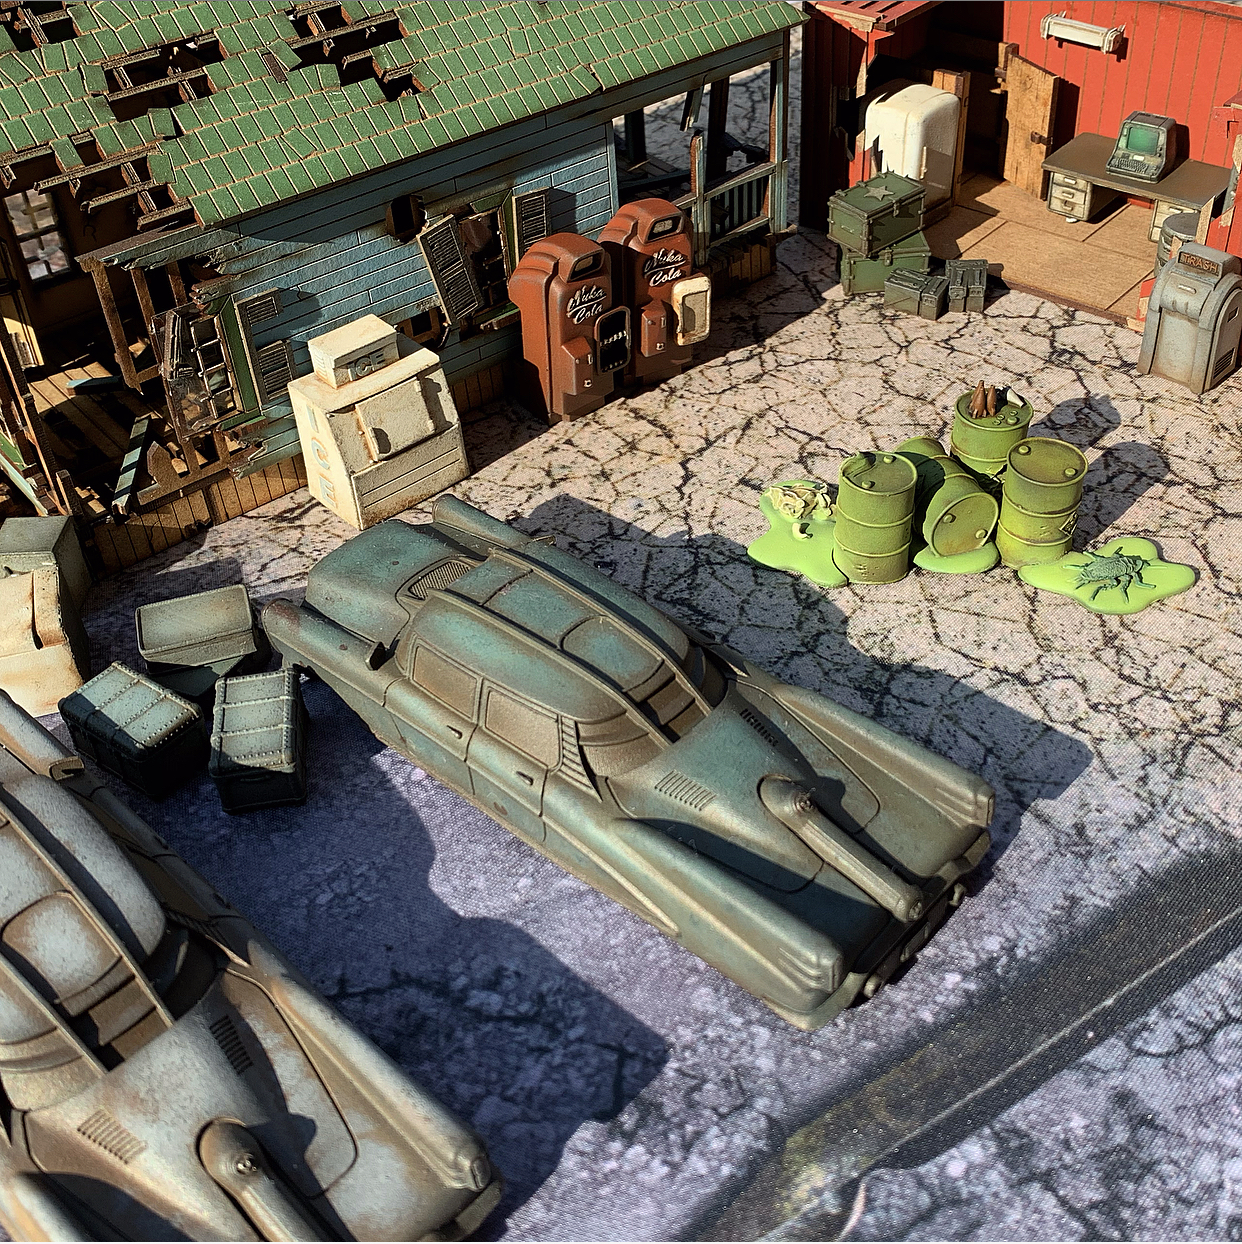
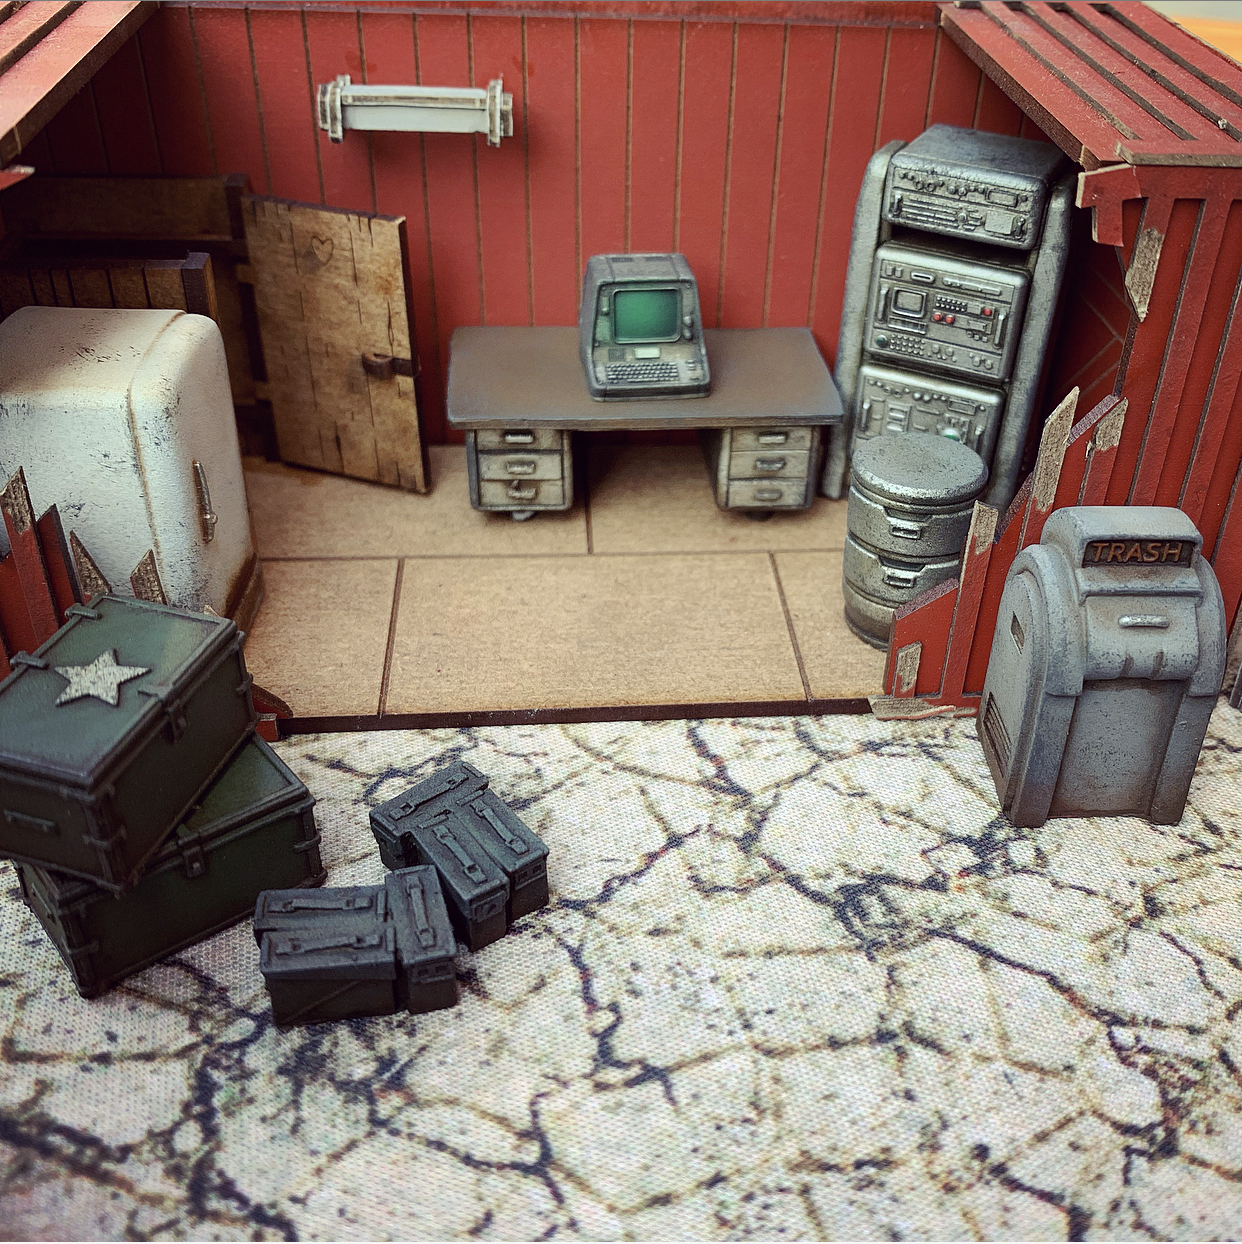
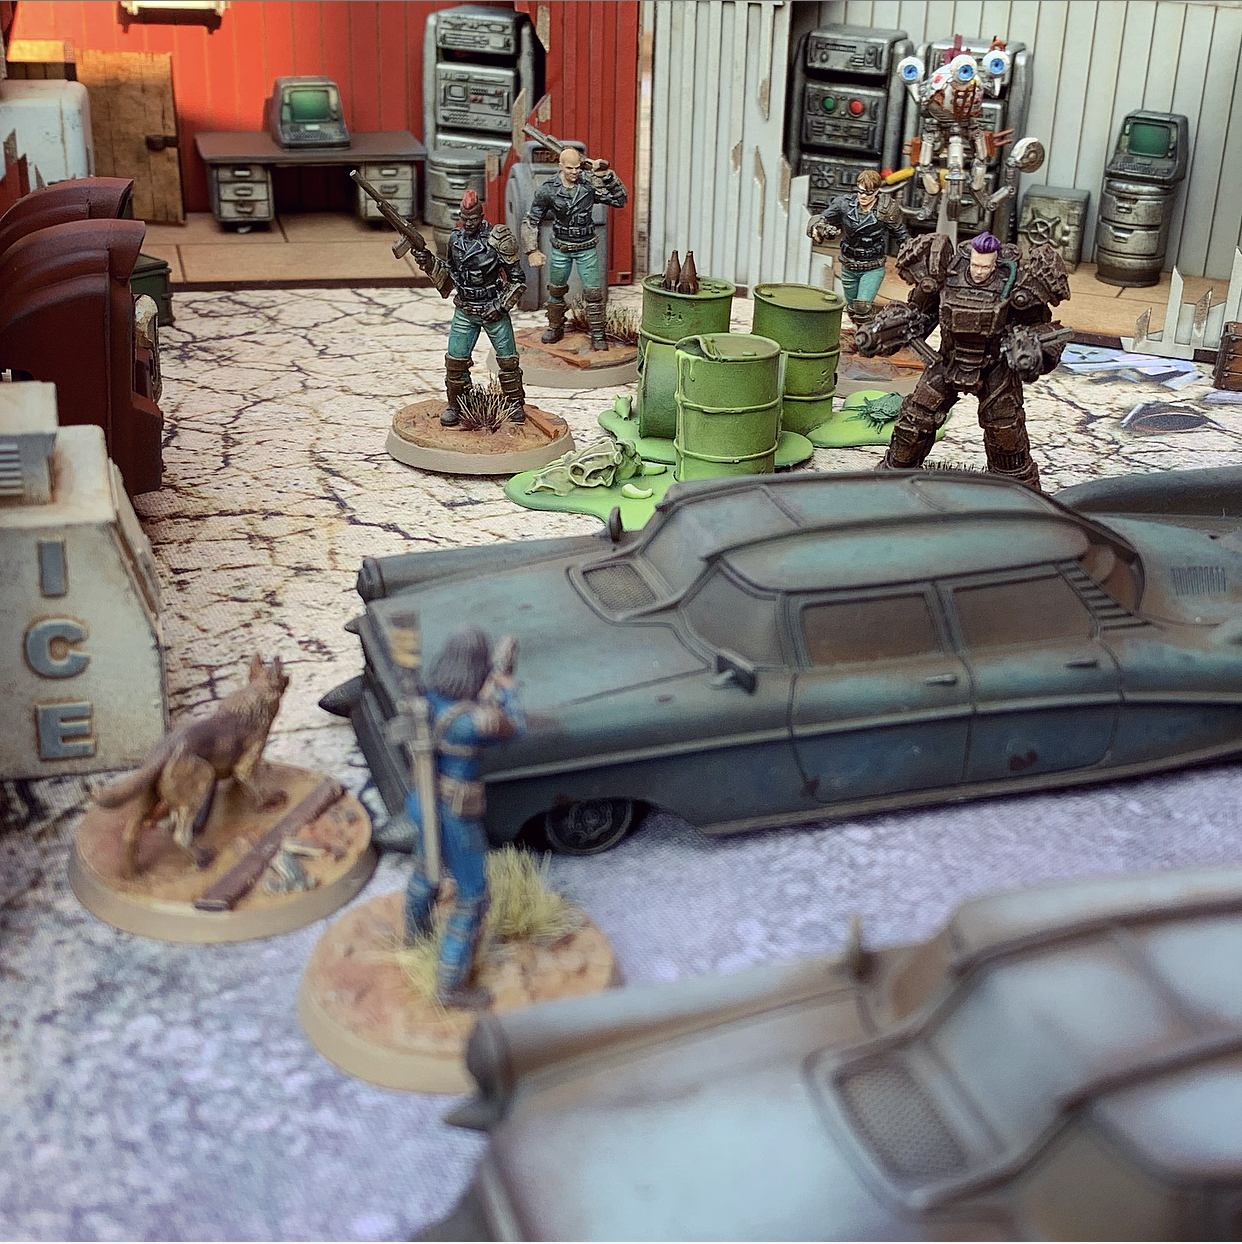
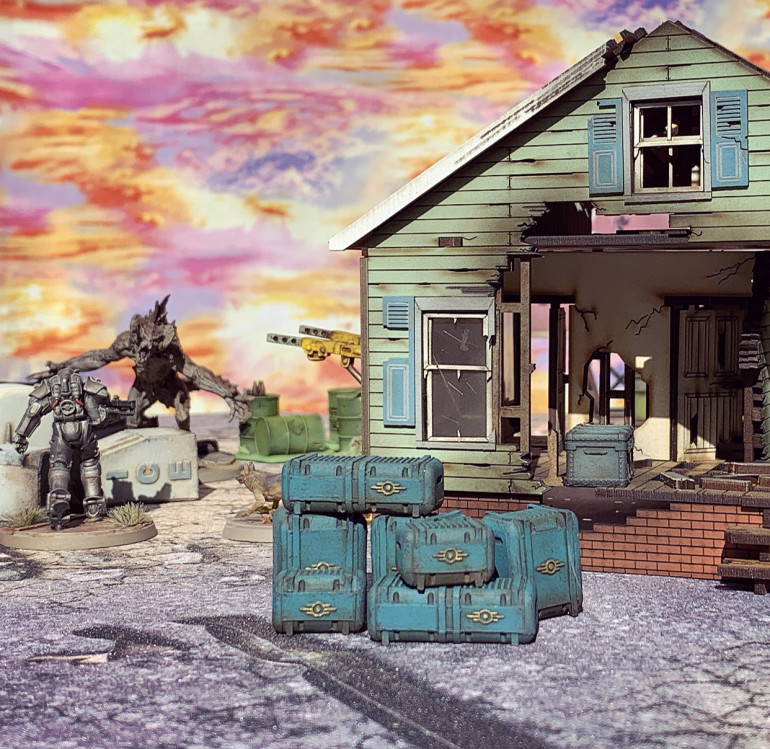
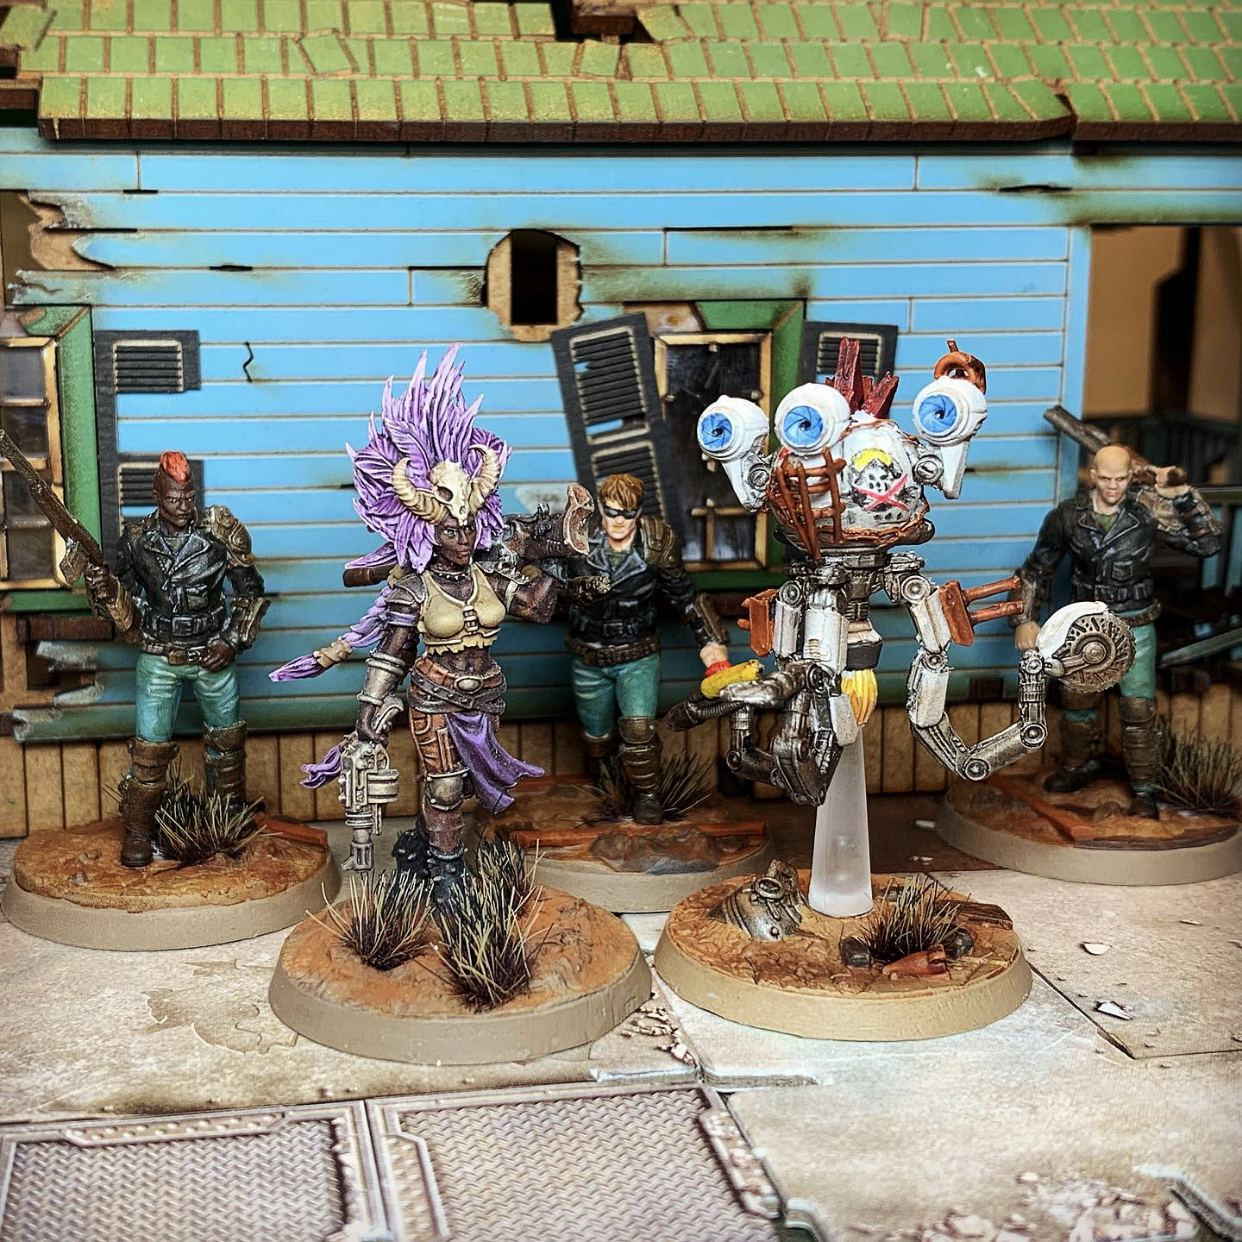 My Raider faction is underway. Led by Rose and Violet (Fallout 76 and Fallout 3 respectively) this is a hardened gang spoiling for a rumble. And it is growing...
Painting Liberty Prime
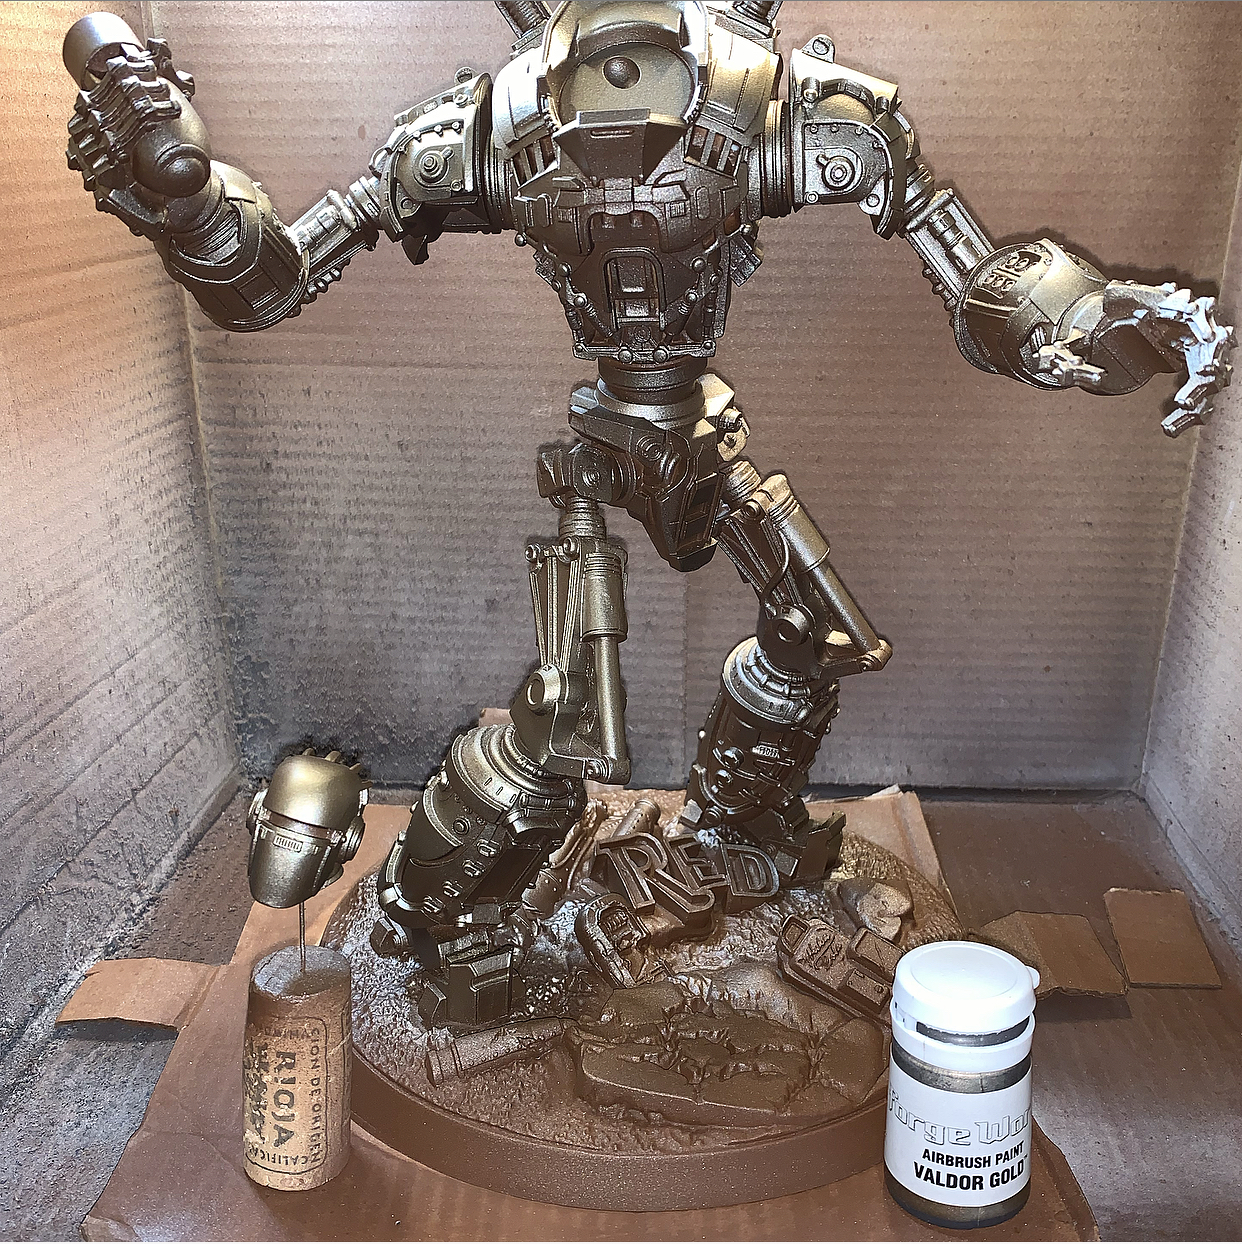
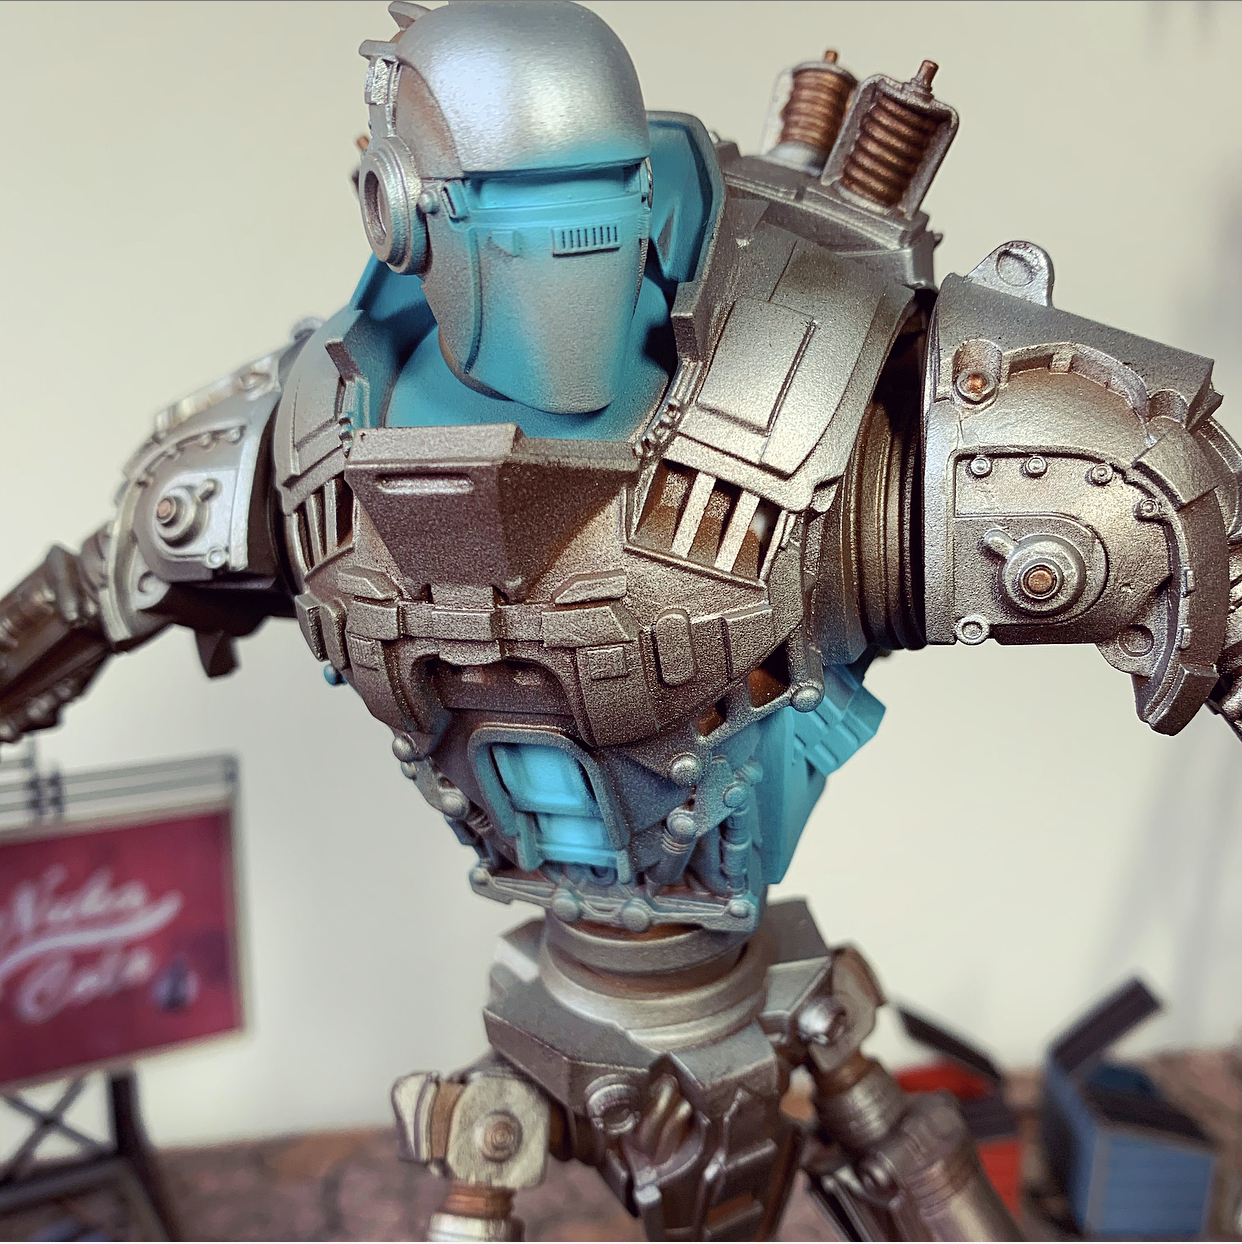
Liberty Prime arrived and everything else immediately got swept aside. My goodness it’s big!
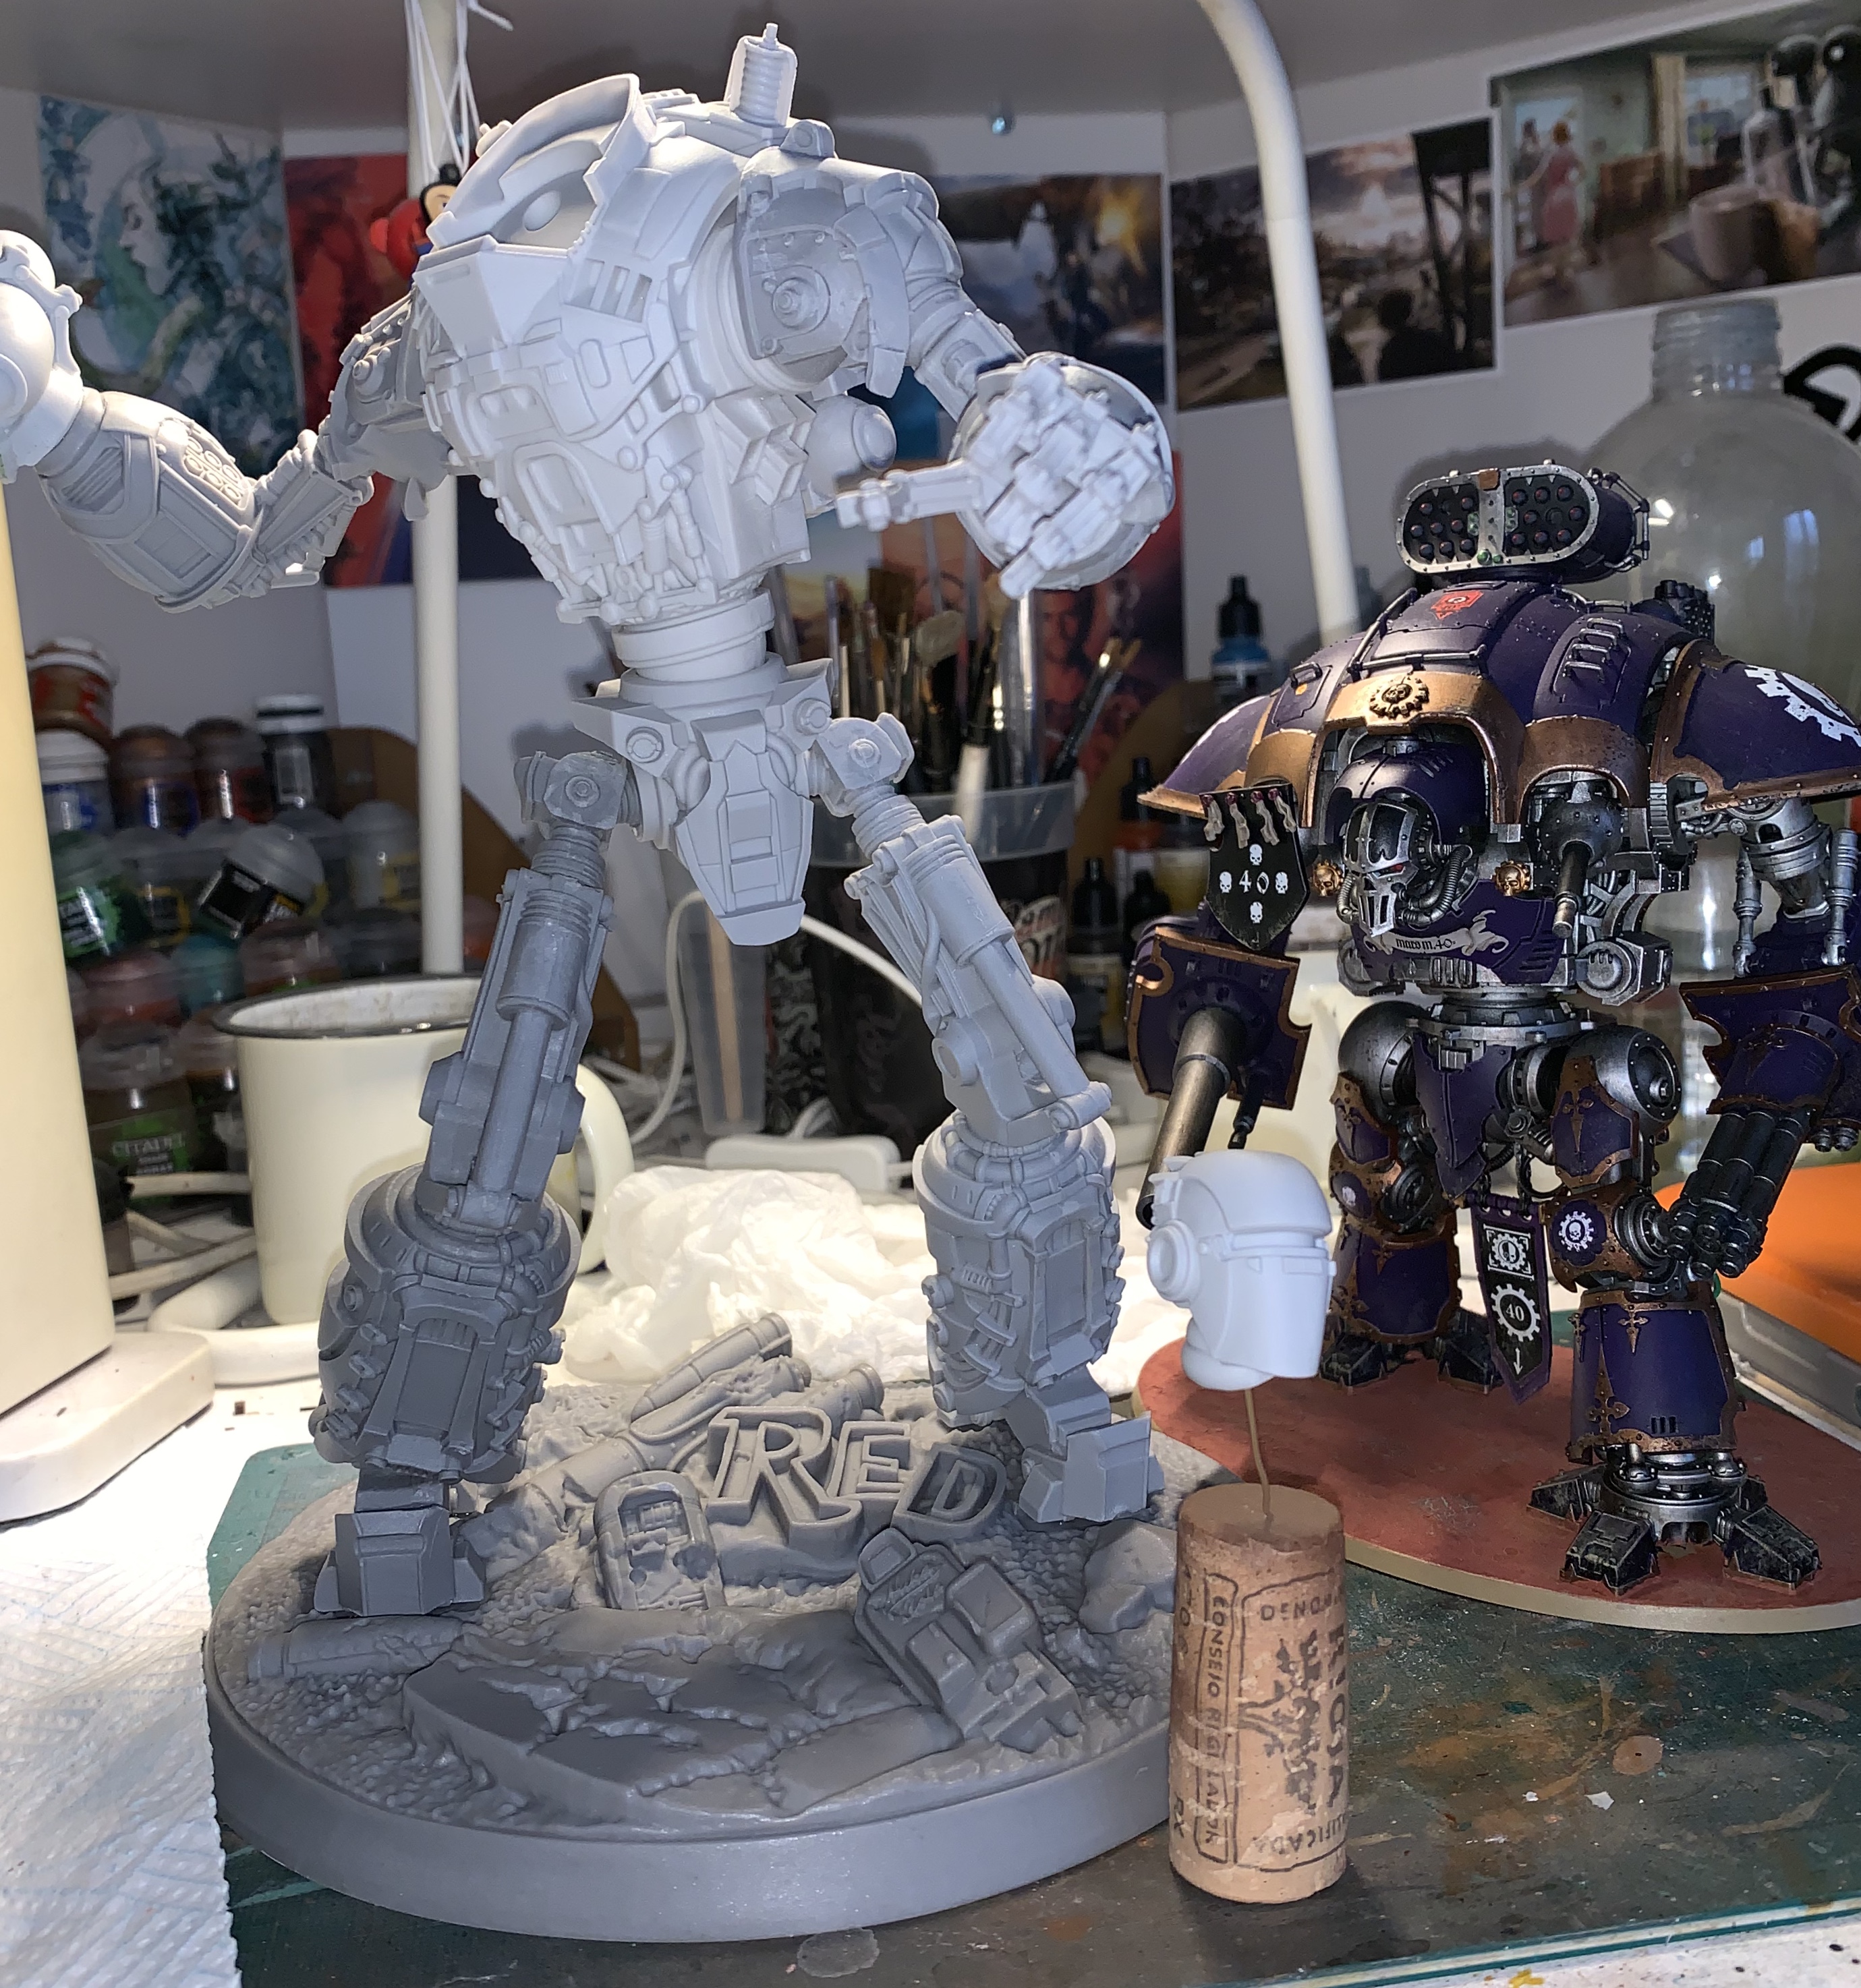 The Knight Crusader hasn’t felt inferior before....hope he’s not a communist!
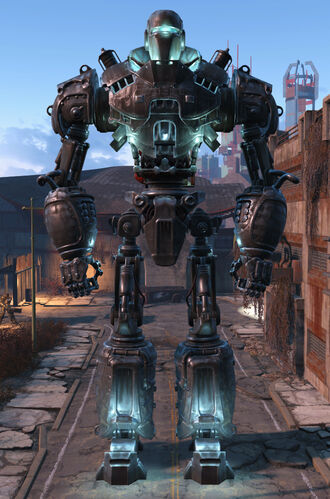 In terms of reference material, Liberty Prime in the video game has a few looks, but this is roughly what I’m going for. Perhaps a bit cleaner as whilst this looks quite rusty, it’s really more lighting.
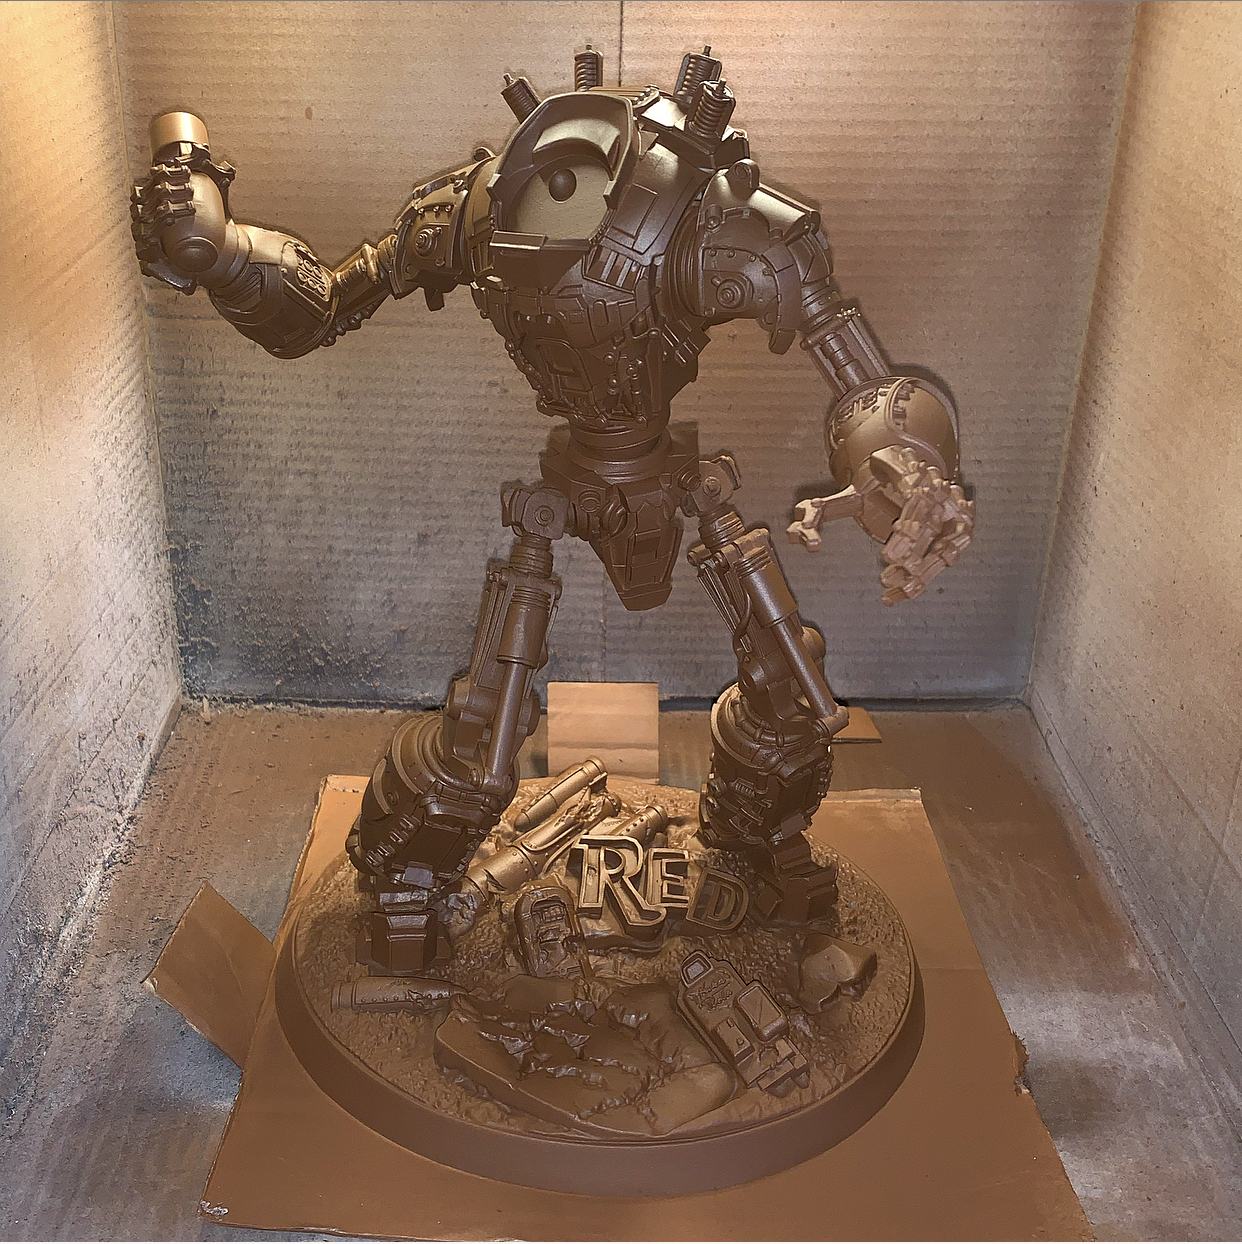
Main painting steps were quite simple:
1. Prime Mournfang Brown spray (GW rattle can)
2. Reverse zenithal (upward) airbrush of Army Painter Dark Tone to darken shadows
3. Shallow but slightly downward zenithal airbrush of Forge World Valdor Gold
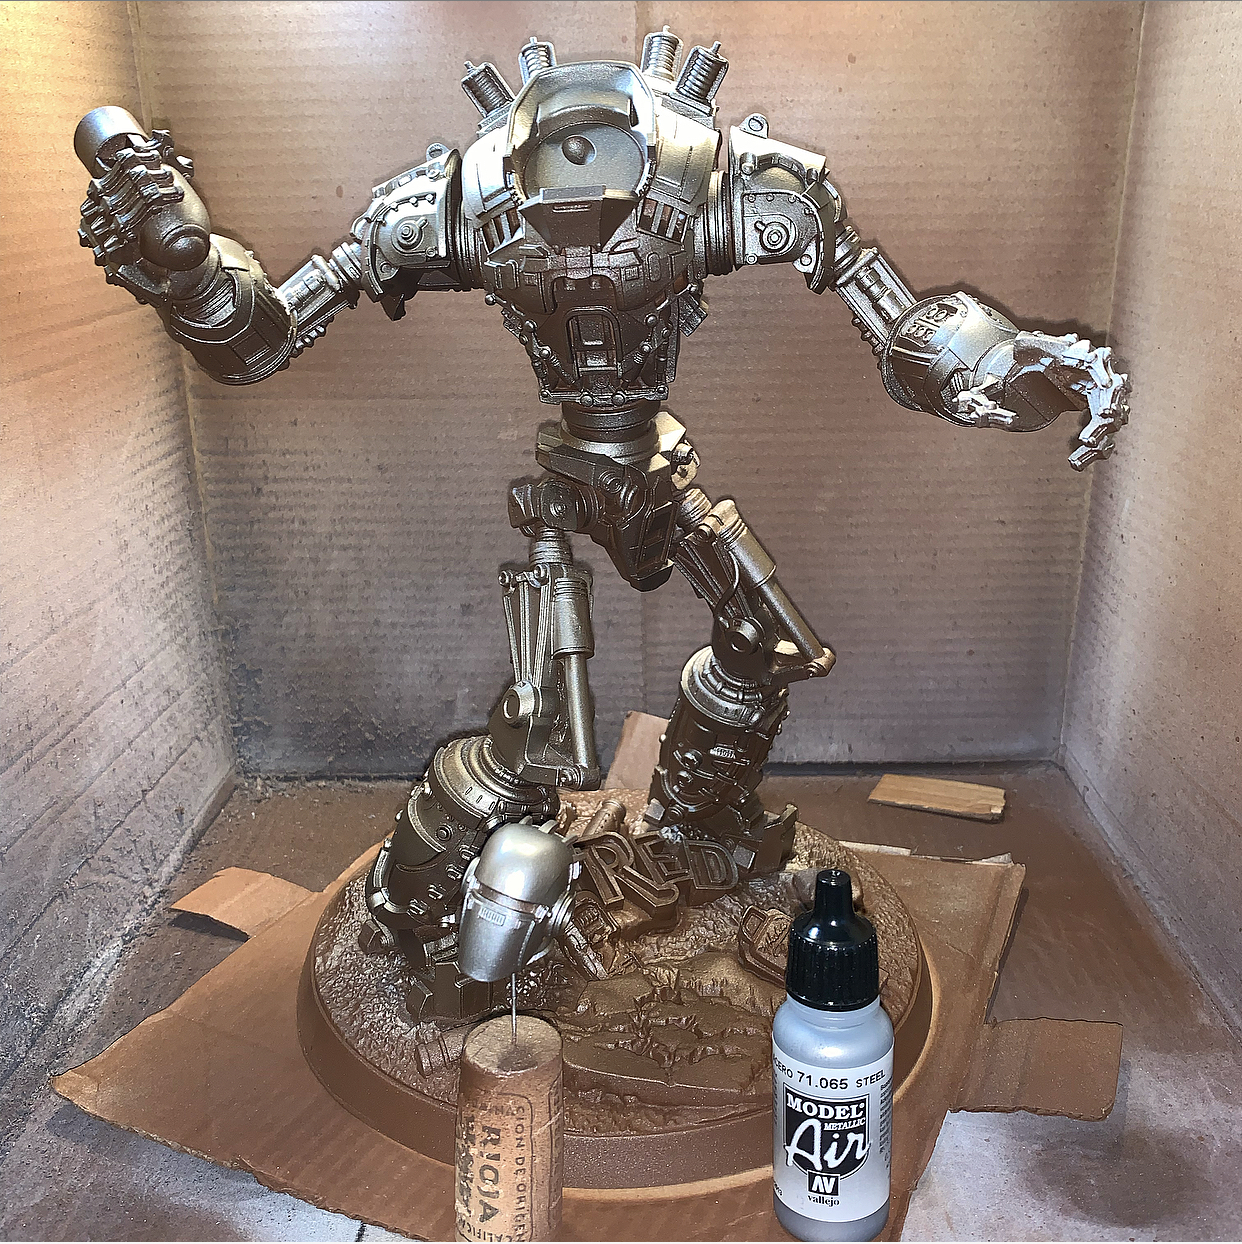
4. 45 degree zenithal airbrush of Vallejo Steel
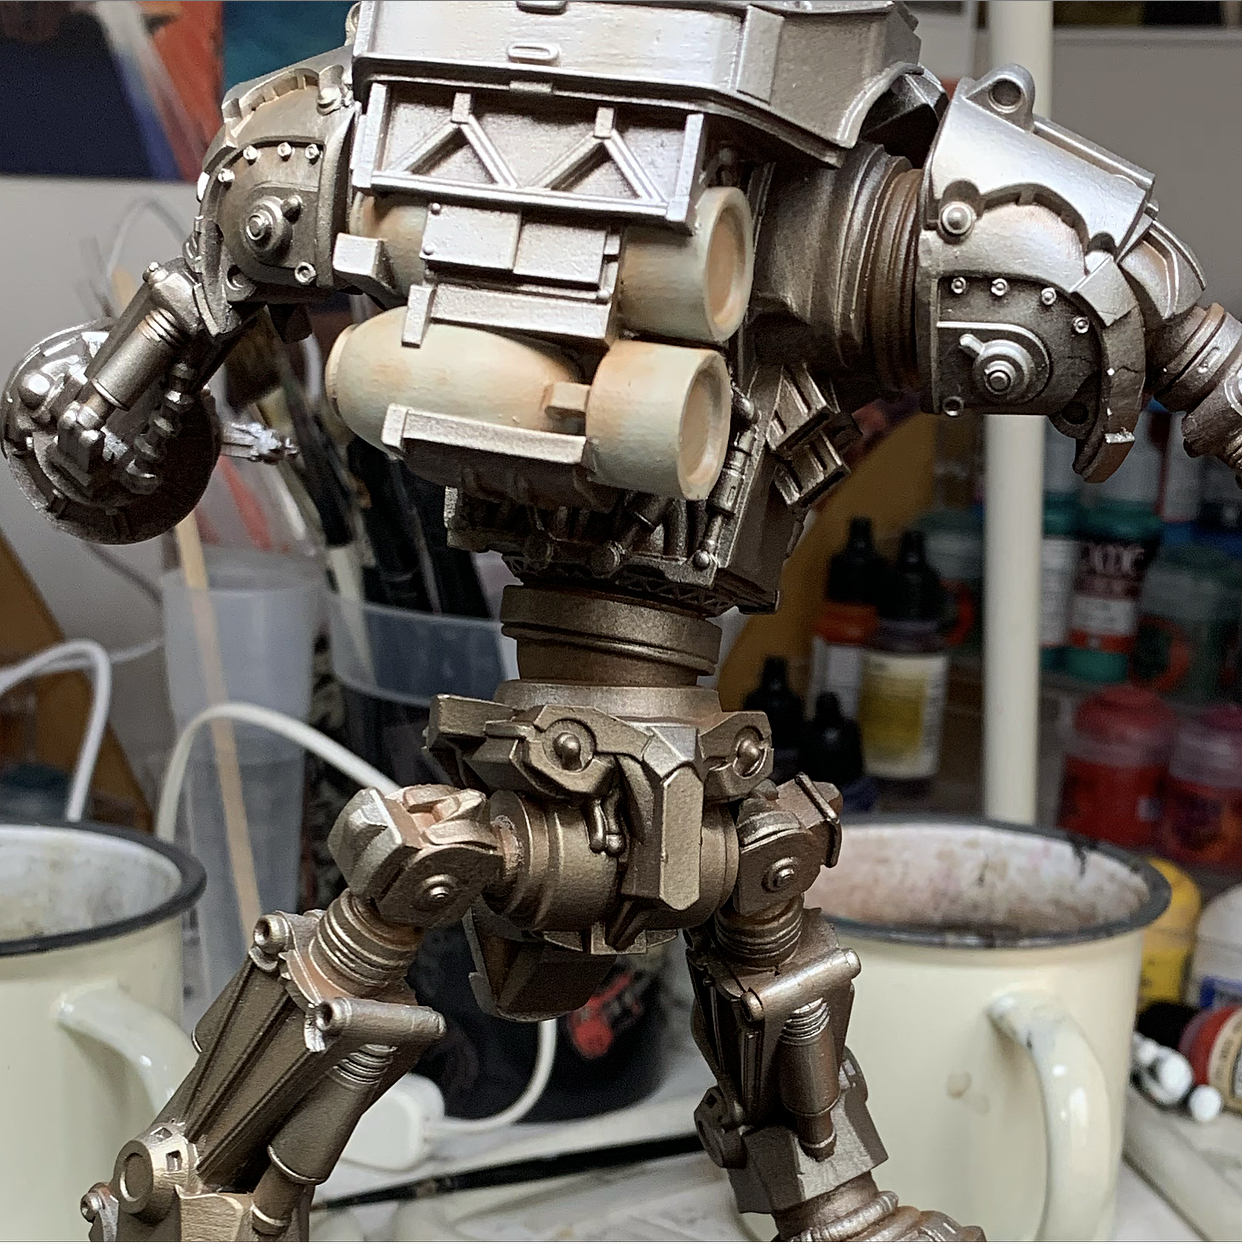
5. Airbrush Army Painter Strong Tone mostly into shadows to reinforce them but also some randomly to grubby it up a bit.
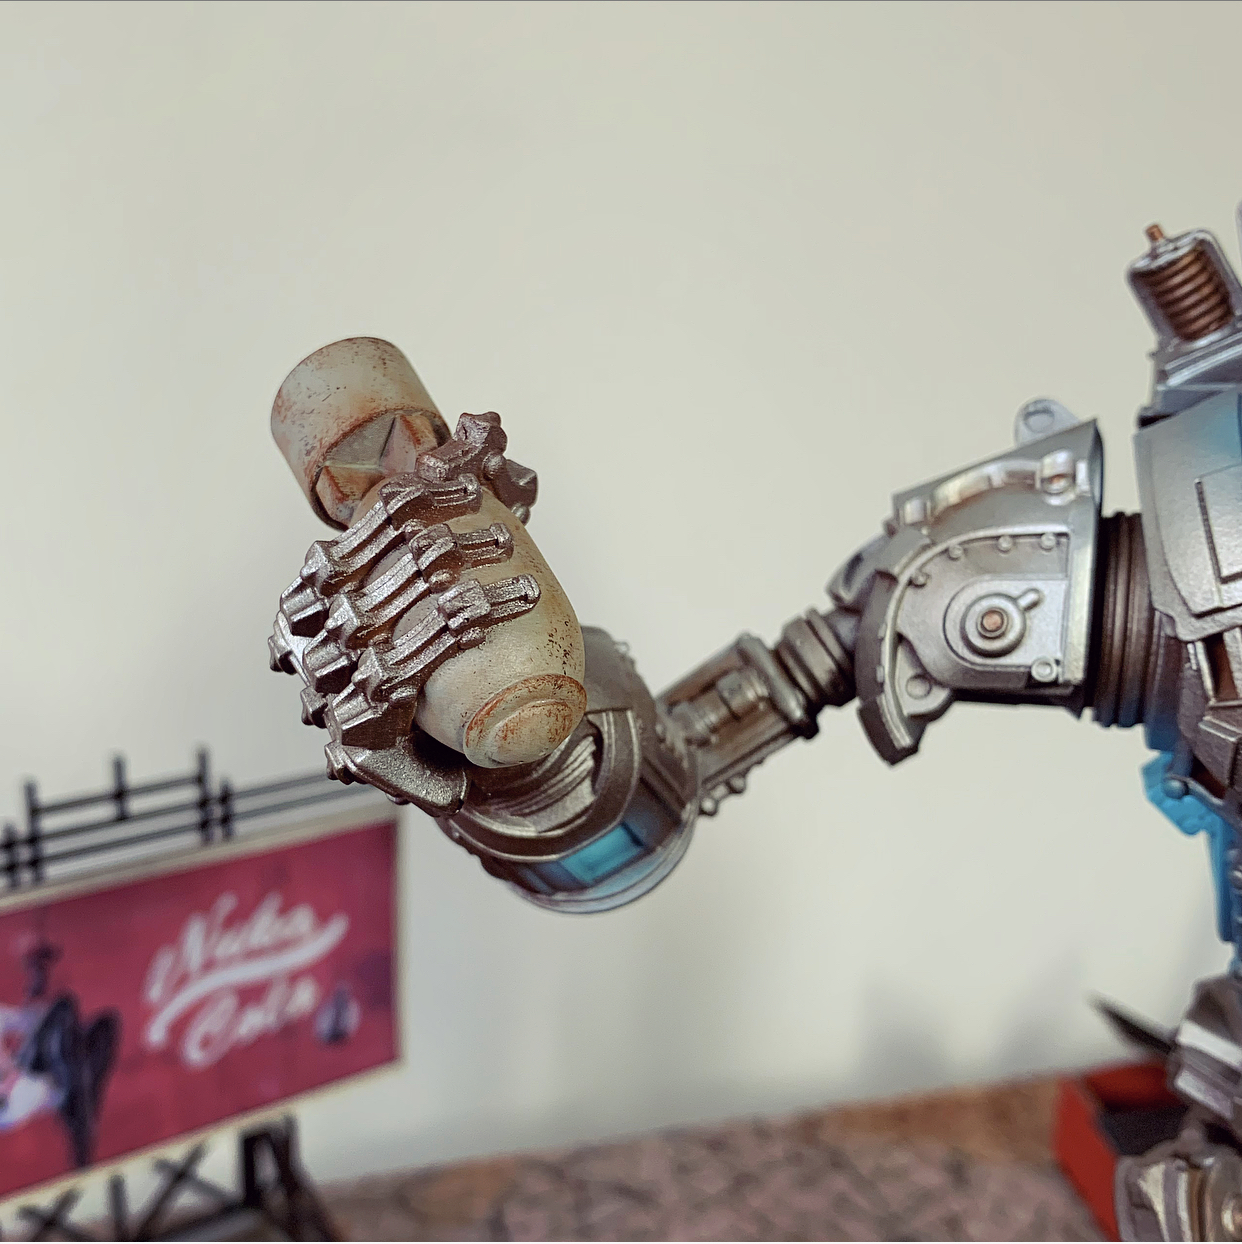
6. Ushabti Bone mixed with a little silver for the bombs
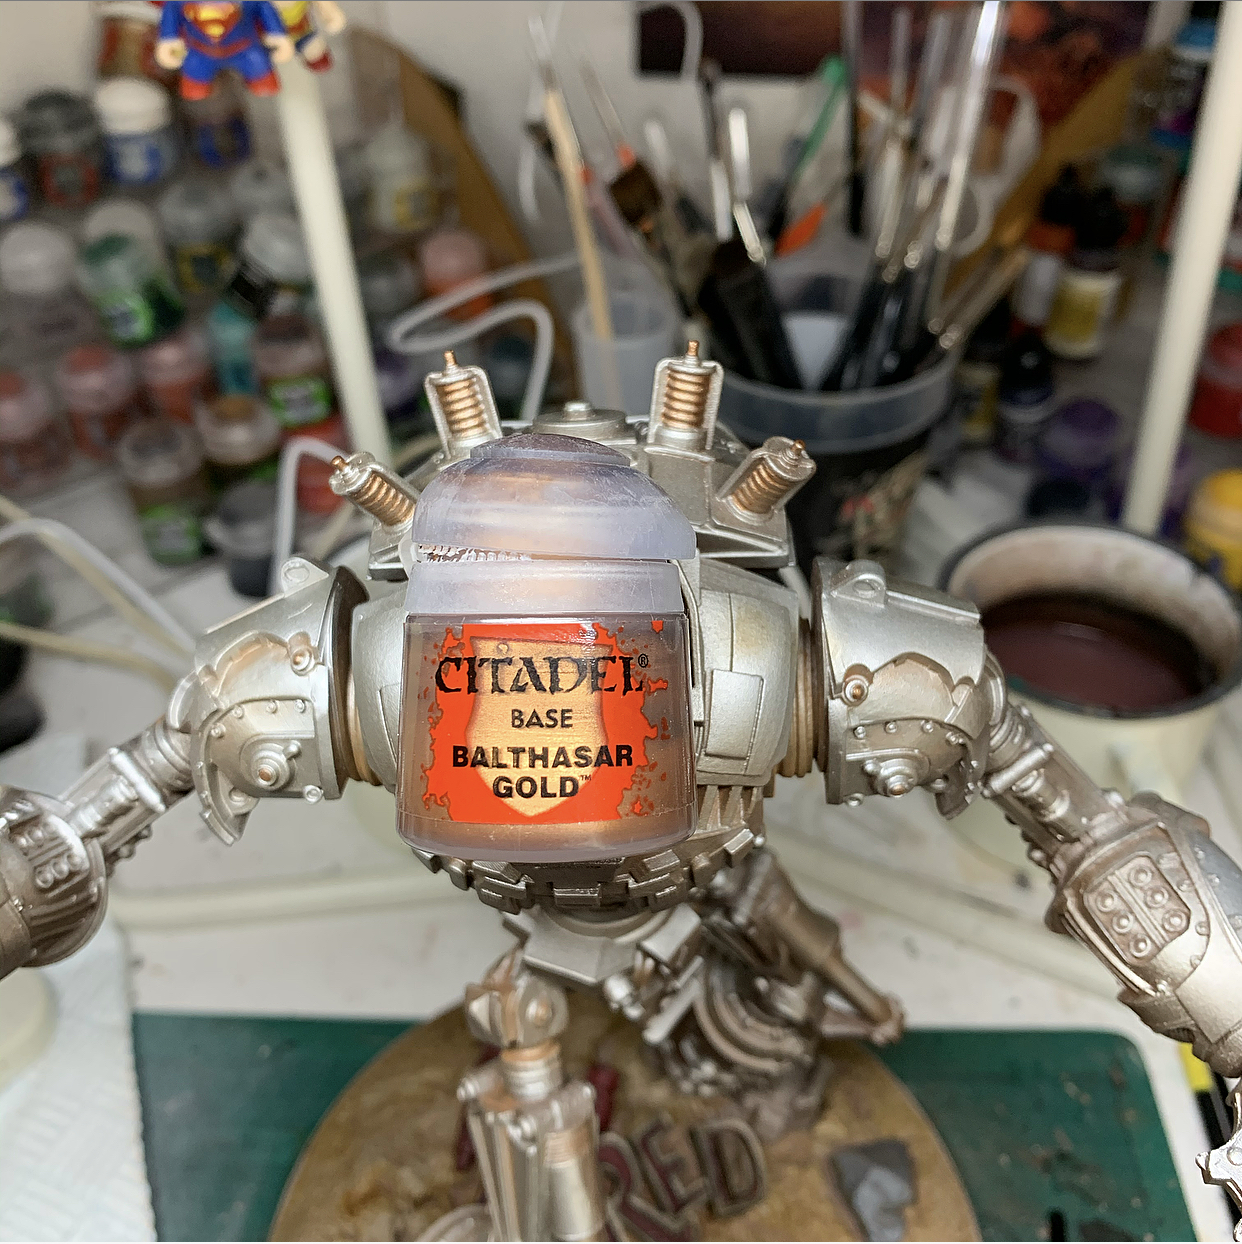
7. Balthasar Gold for the coils and a few random other details
8. Weathering powders to create rust effects. Mainly Forge World rust colours but also a random mud one. I just scoop some out into a jar lid, grab an old brush and just mash it on. The varnish step later will fix it in place.
That’s basically it for Prime himself apart fromr the glow effects to come later.


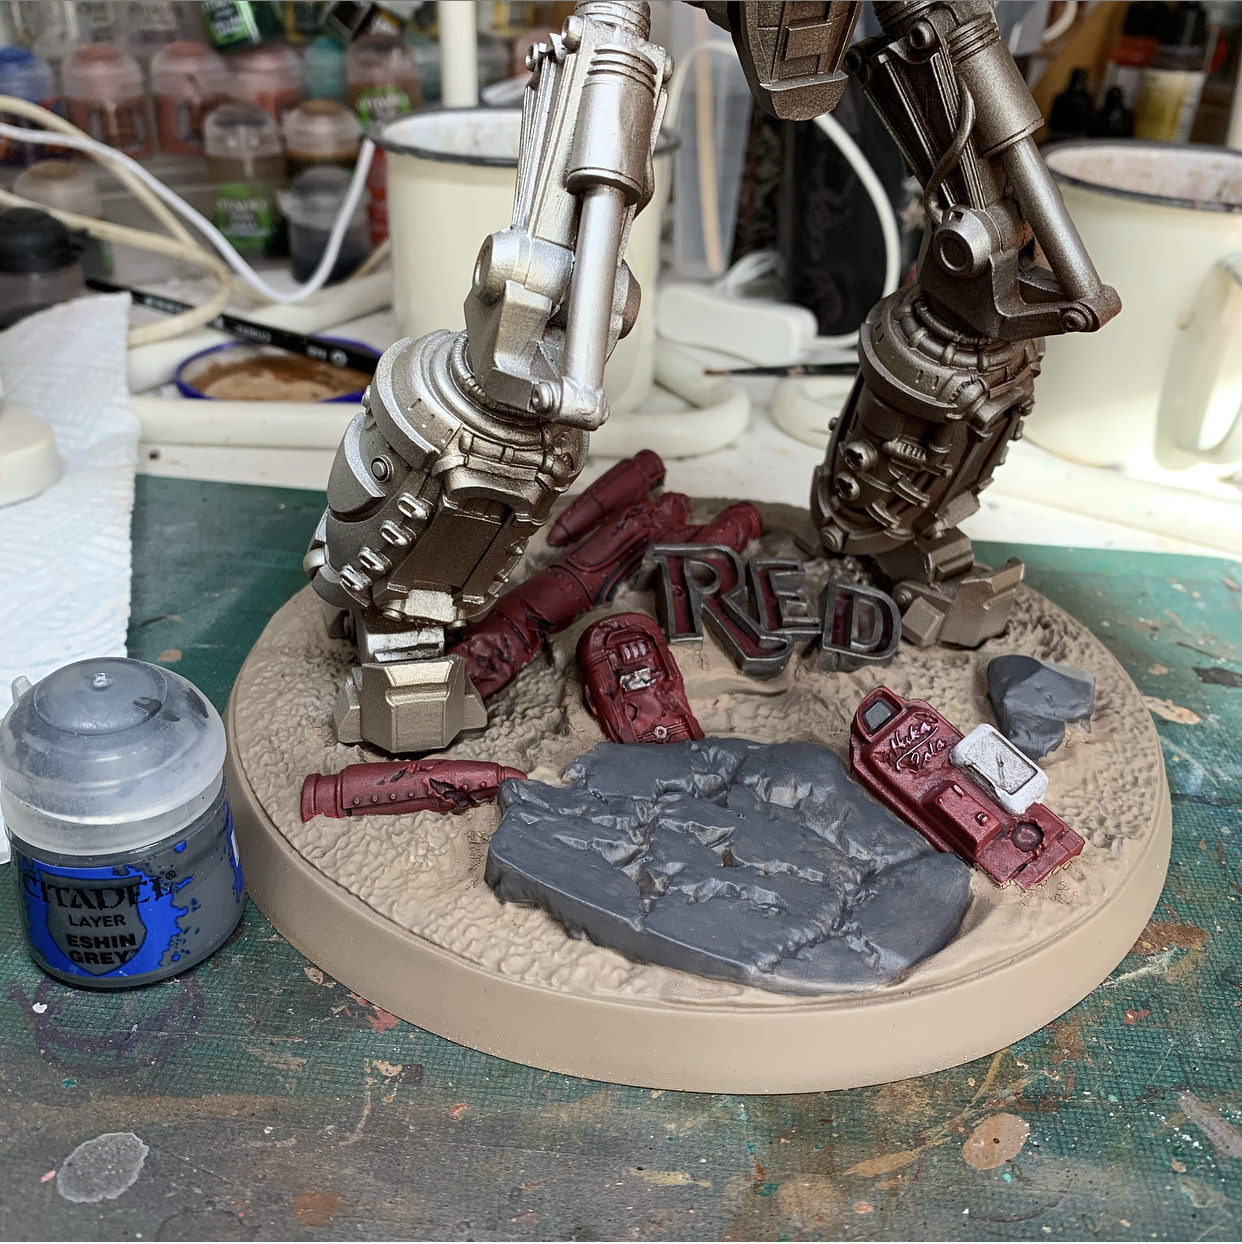
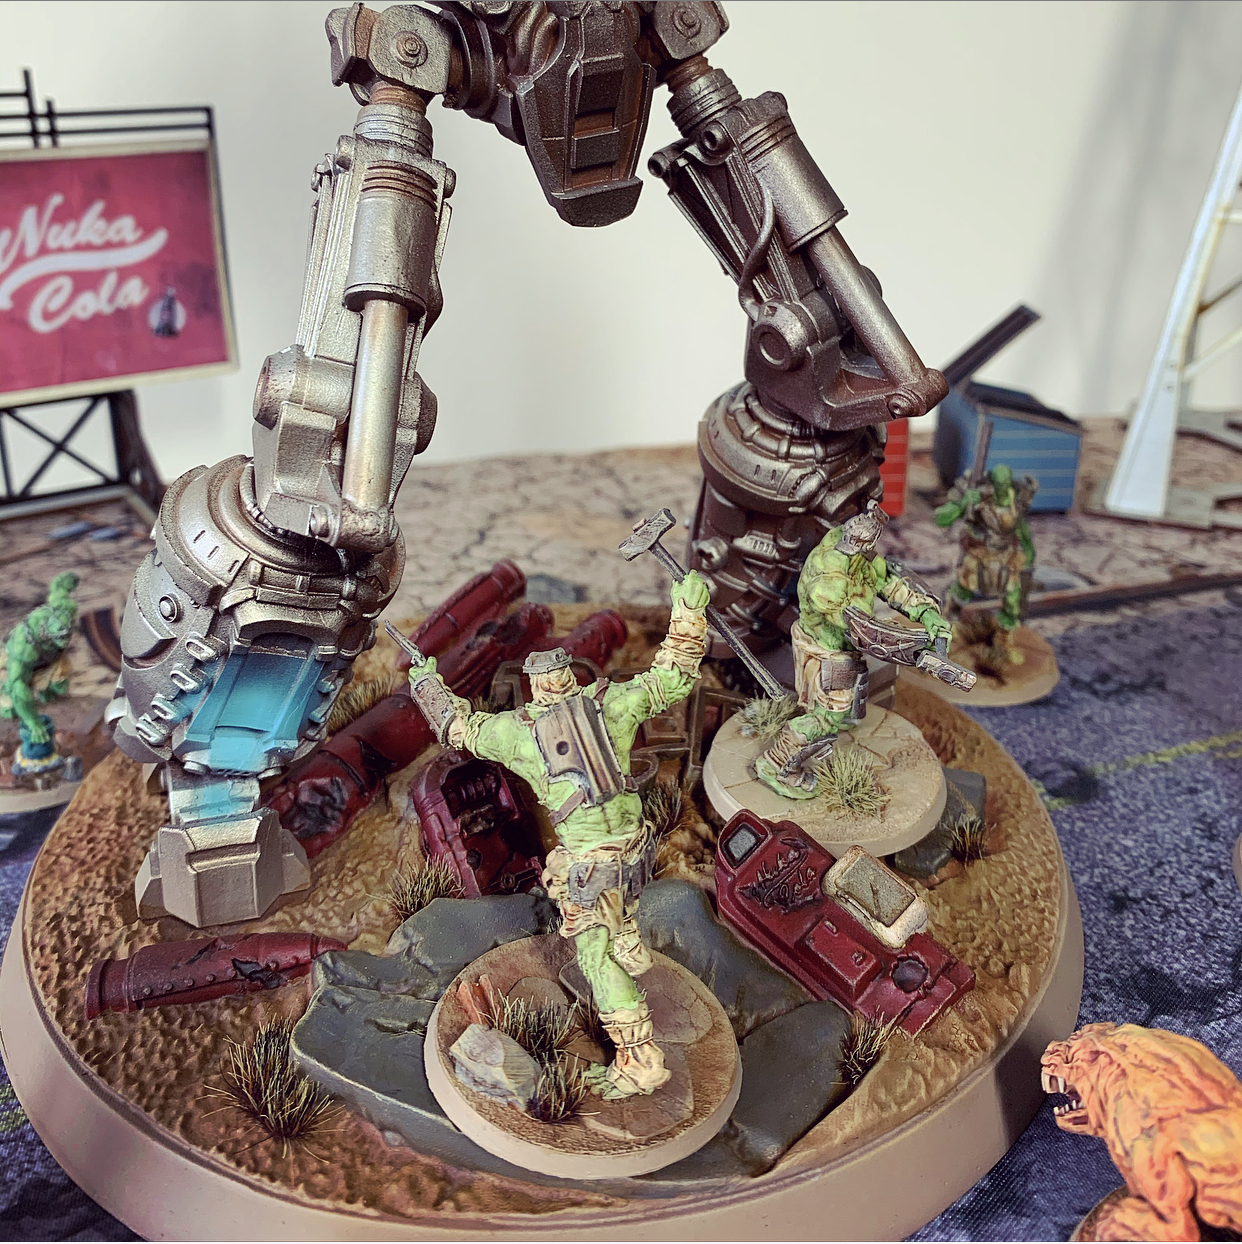
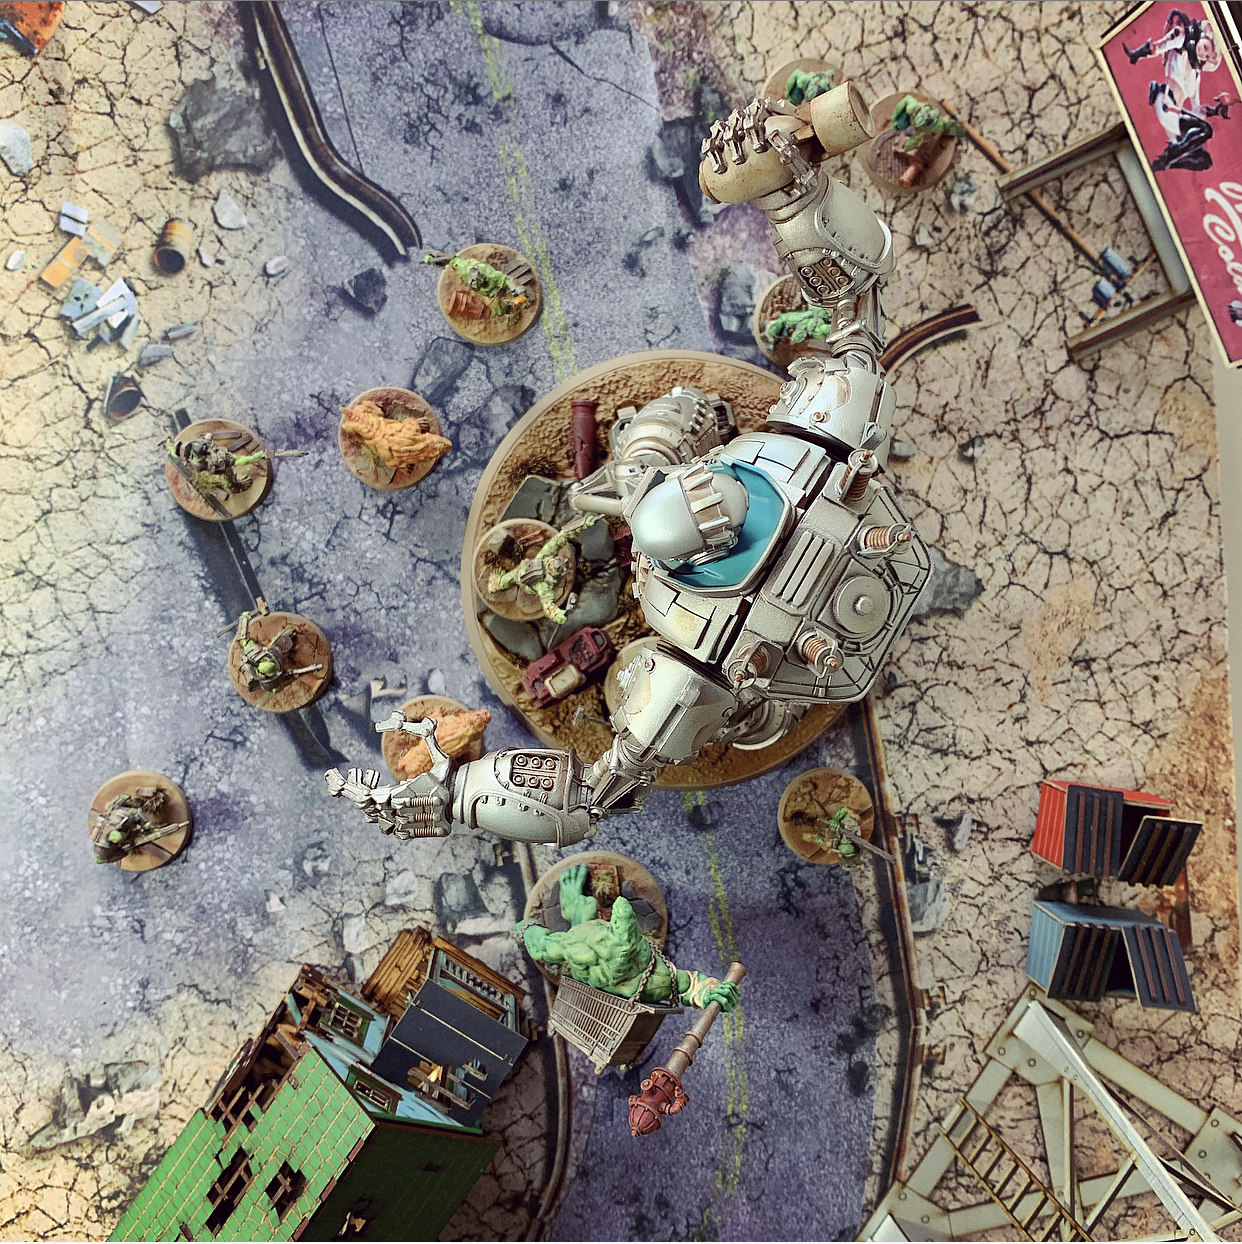
For the base, I went for the same technique as my regular bases, it’s just a lot bigger! Seriously, this think is basically a discus.
I painted the whole thing GW Baneblade Brown then blocked in the first Red, Grey and Silver to come to hand. I then washed the Red Rocket parts with Nuln Oil and the rocks with Agrax Earthshade.
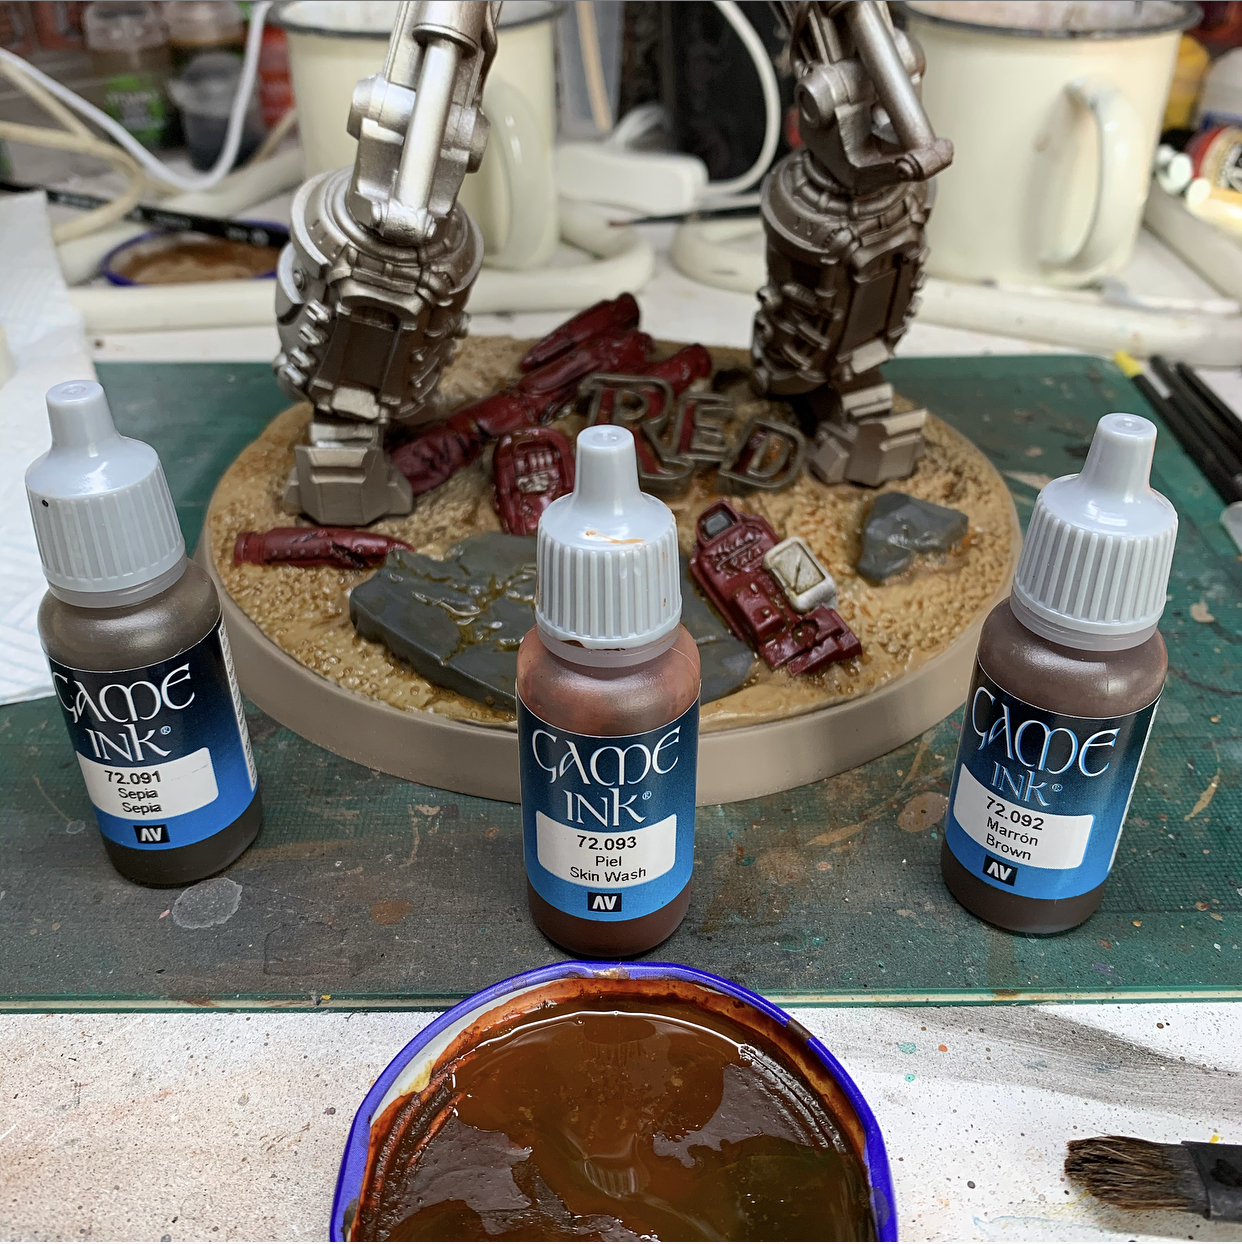
Once dry I then randomly blobbed on some ink washes. 6:1 water to ink. Brown, Sepia and Skin wherever felt right. The skin gives a rusty effect, the brown a dirty effect and sepia somewhere in between. All over the base.
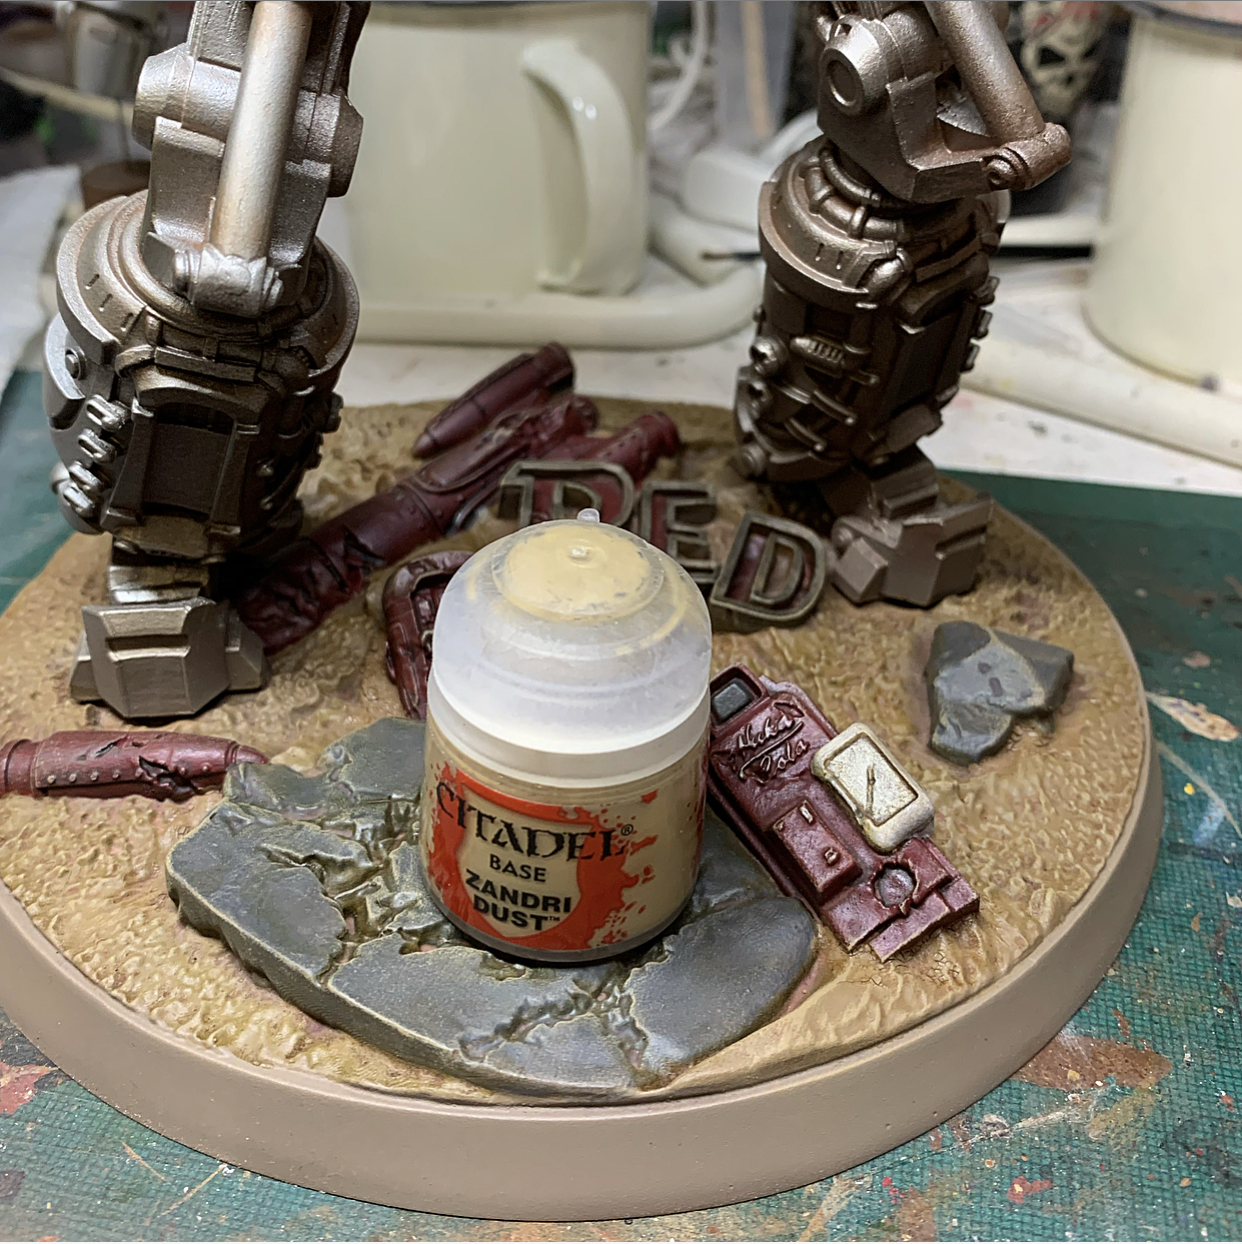
Once dry a light drybrush of GW Zandri Dust, mostly over the ground, very lightly on the items.
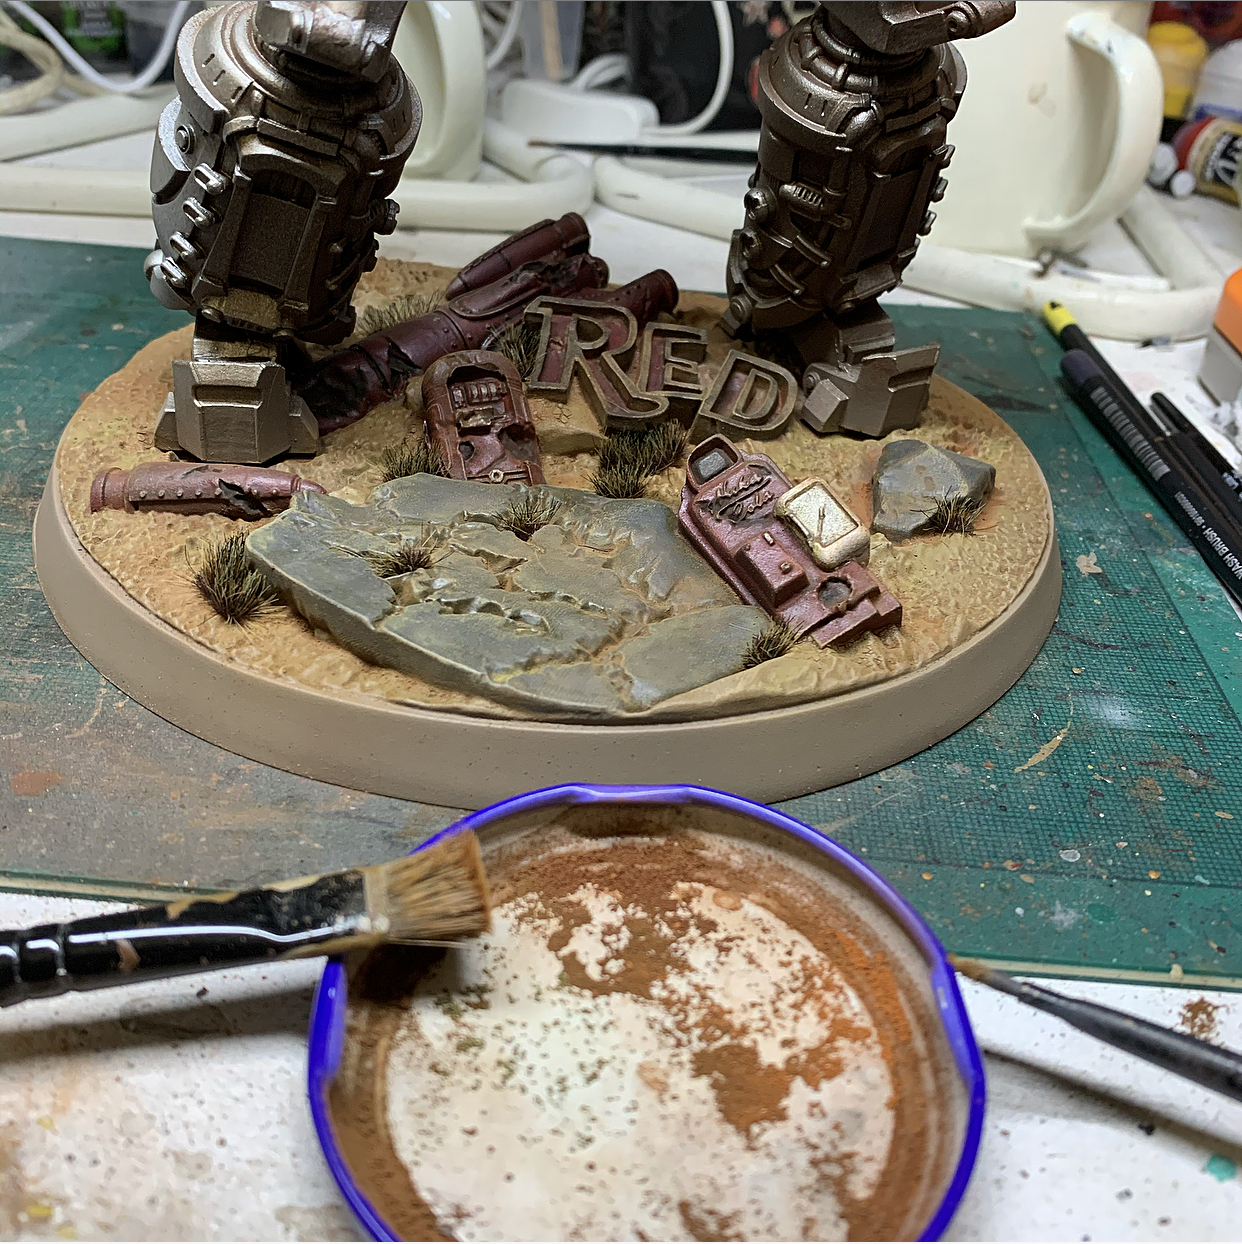
Then the same mashing on of the same weathering powders used above but much more liberally to make it really dusty, rusty, dirty.

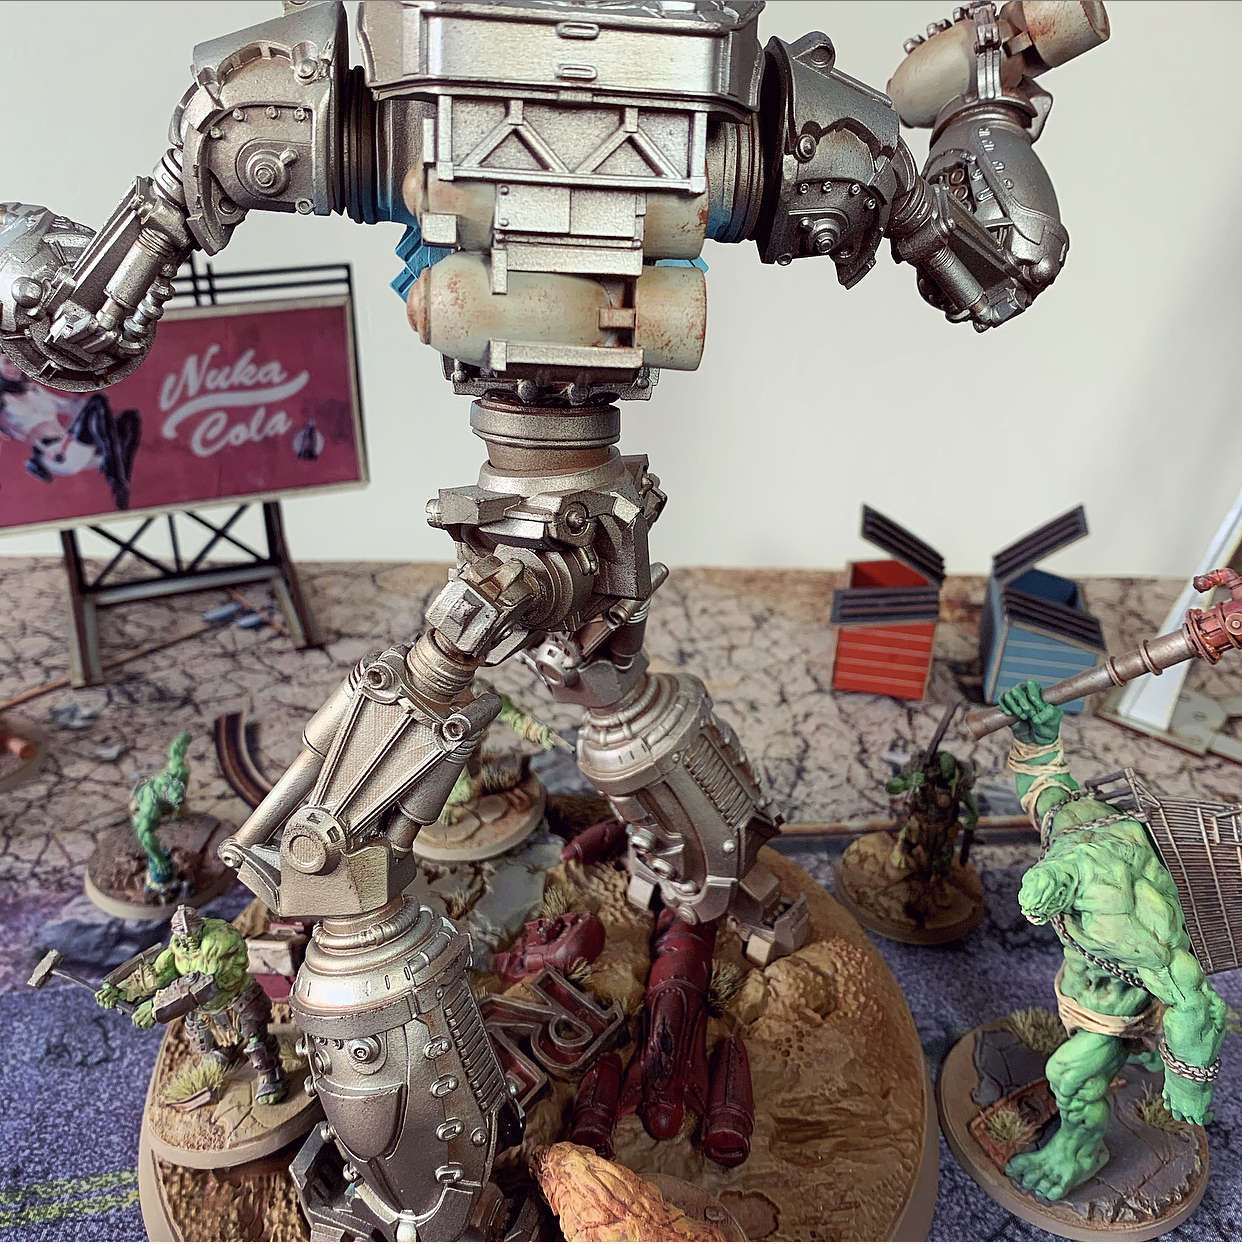
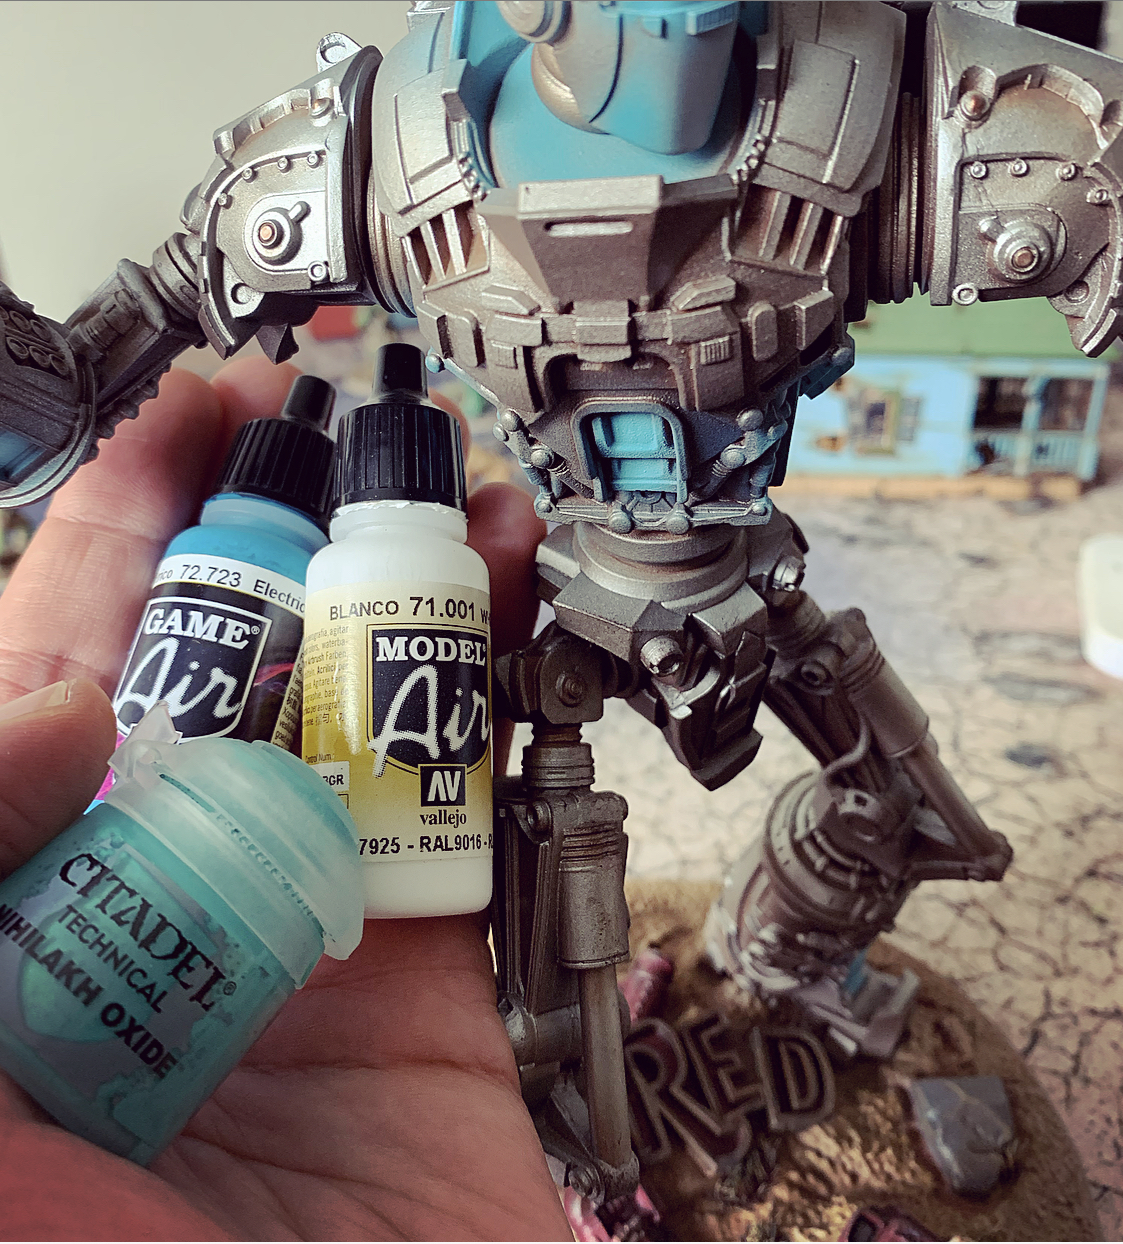 For the glow effects I started with a mix (50/50 ish) of Vallejo Electric Blue and GW Nihilakh Oxide, and gradually added white over several passes more and more focussed on the centre of the light source.
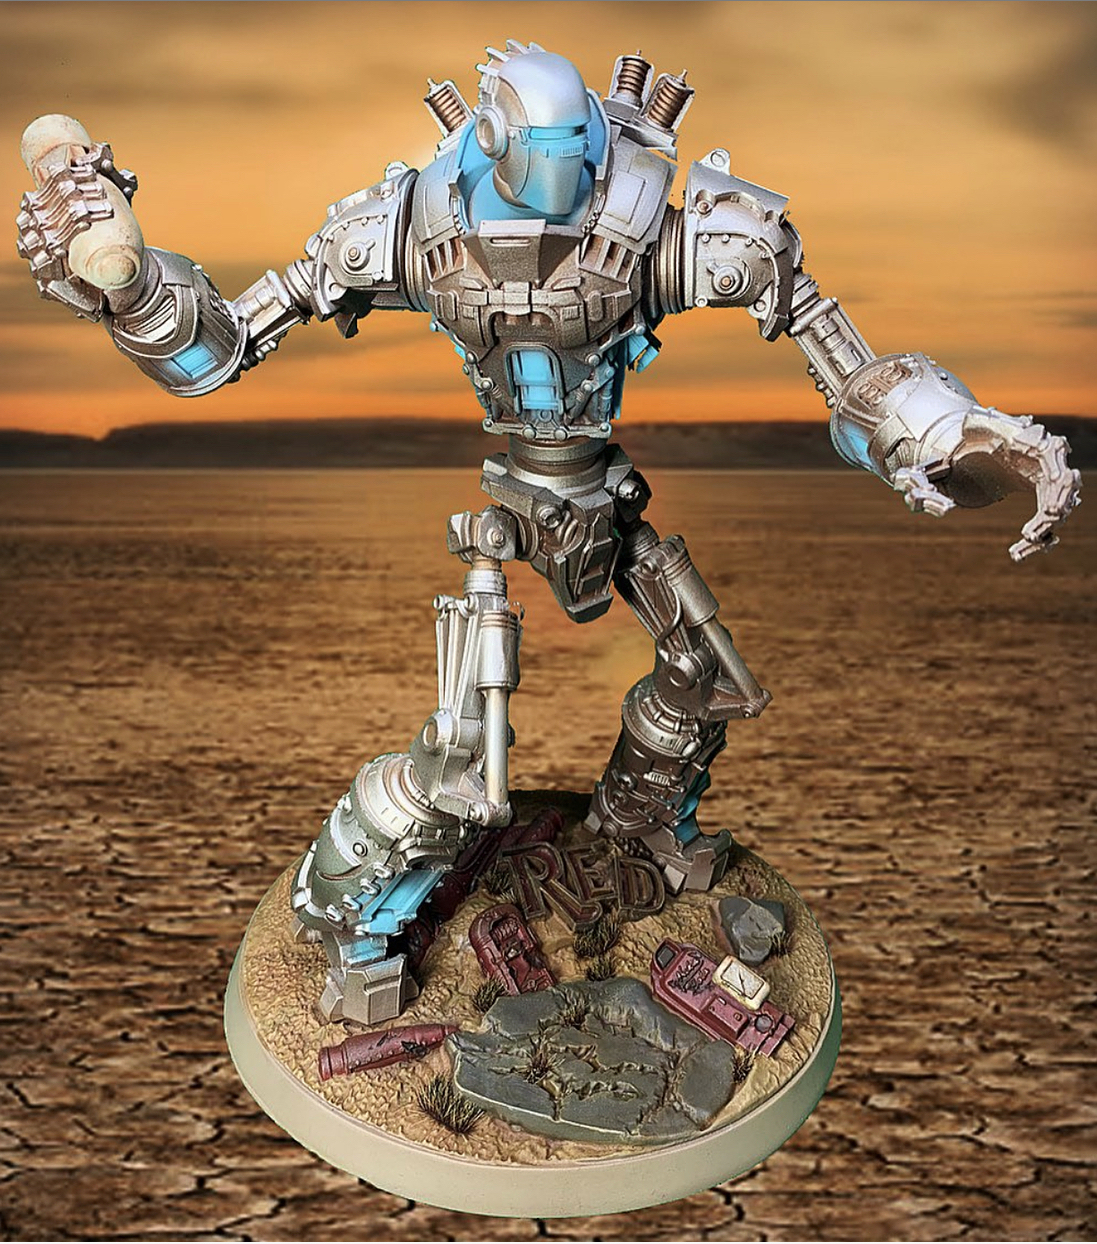 Ready to throw nukes at some commies - “Democracy is Non Negotiable”
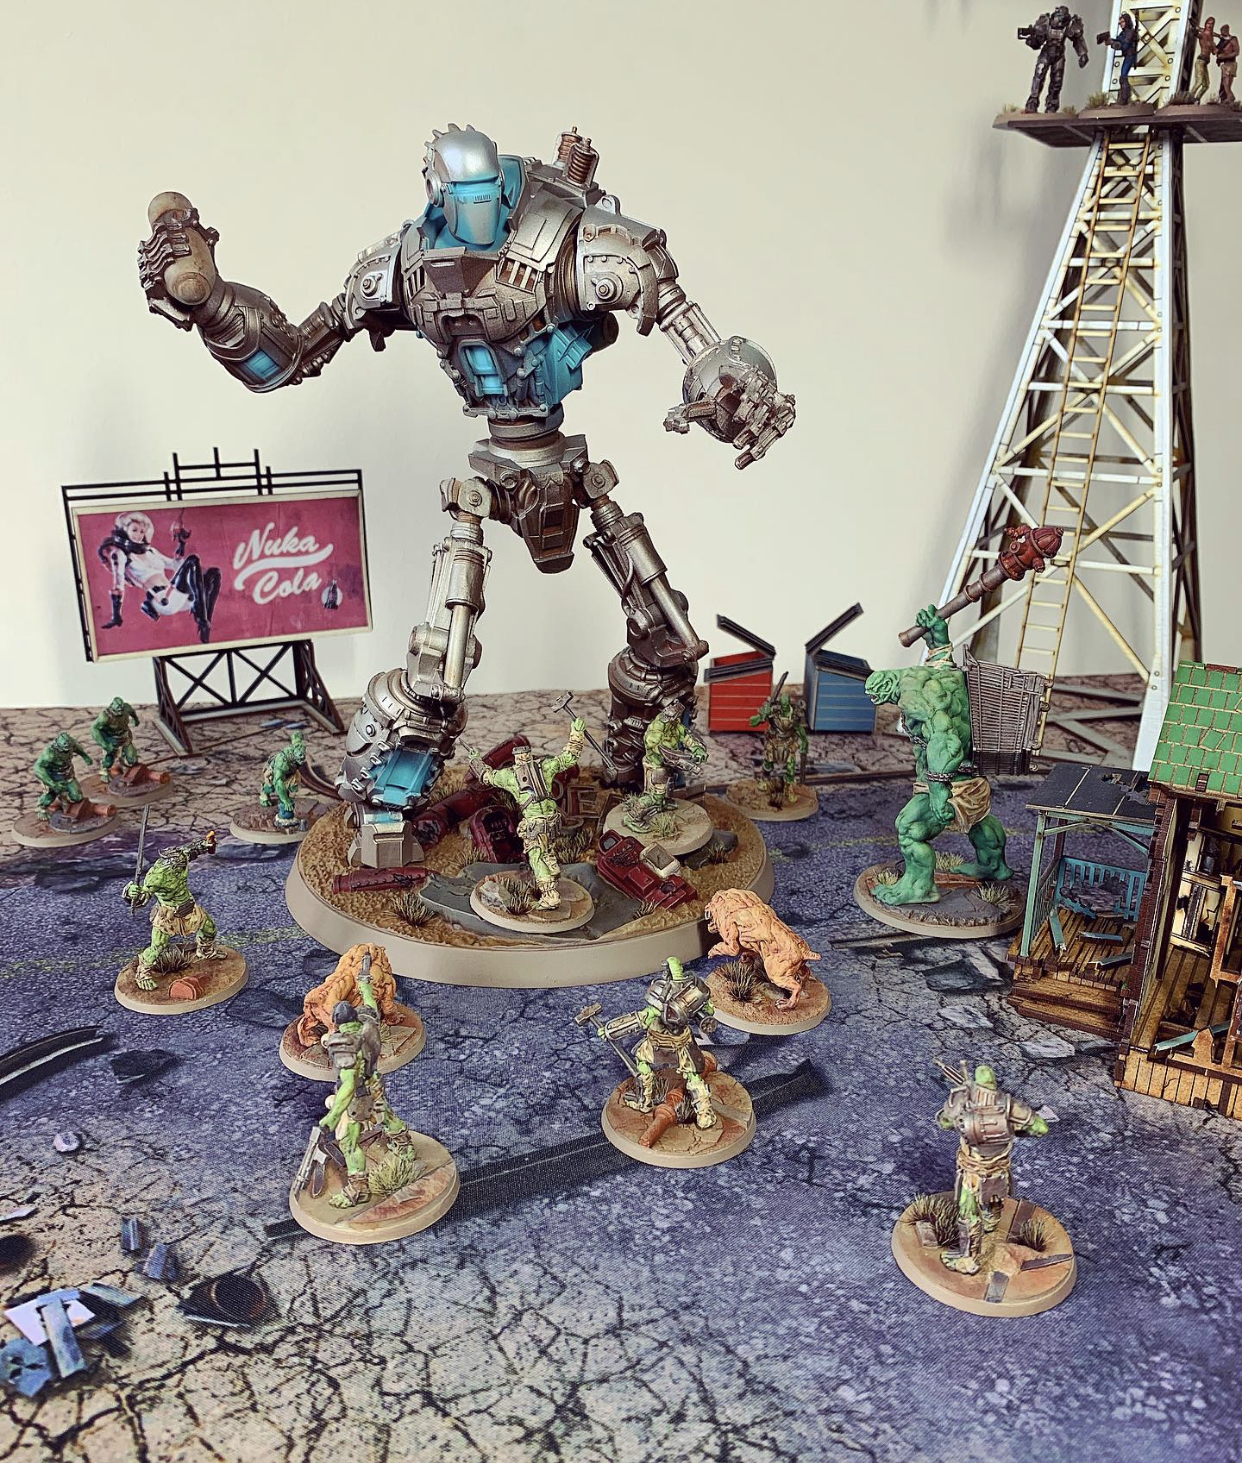
Back to the Wasteland
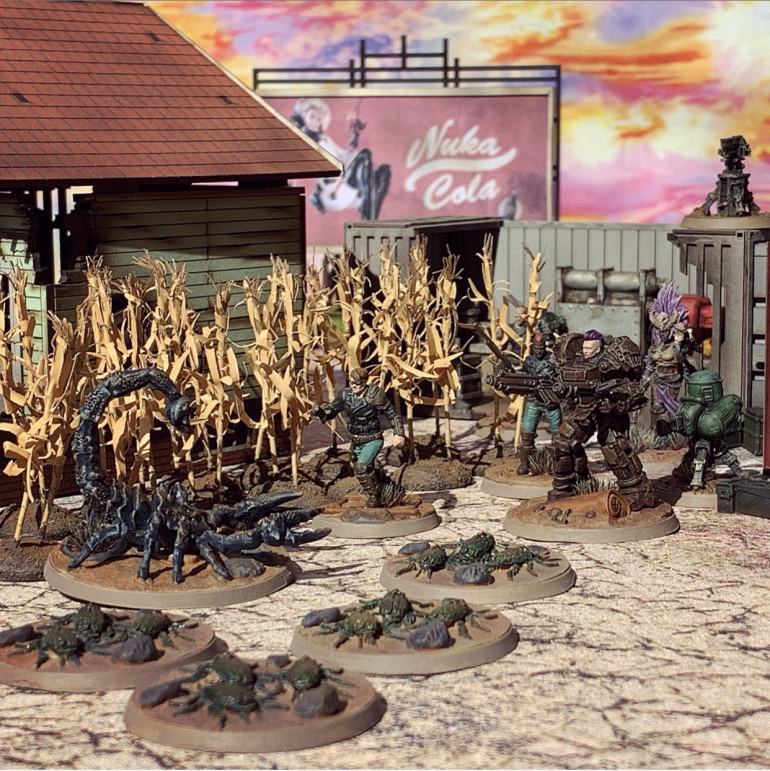
The Fallout New Vegas models from Modiphius have dropped so it’s time to return to this project to add the lovely new goodness!
First thing to do is drop into this project the final pics from last year’s Spring Clean Challenge project, as that one is closed, and this is the ongoing Fallout project.
Let’s just dump these in here before getting onto the new stuff!

The Courier Always Delivers
In this case the courier very much did deliver and he managed it without getting shot in the head, buried in a ditch, and left to trawl the wasteland looking for revenge!
Very exciting and couldn’t wait to get stuck in!

Some initial test painting of the NCR core box. Was a fairly frustrating session in the end for a number of reasons, and I wasn’t sure about the outcome but if in doubt, place them alongside the unpainted ones and they look a lot better!!