


Battlestar Galactica The Thin Red Line


Recommendations: 188
About the Project
This project was originally going to be a game I was designing. However; since Ares's Games beat me to it. Now I am just going to cross over what I was working on into their existing game System. So most of what you will see here are the 3D models I created. Now being printed out for use with BSG starship battles.
Related Game: Battlestar Galactica Starship Battles
Related Company: Ares Games
Related Genre: Science Fiction
This Project is Active
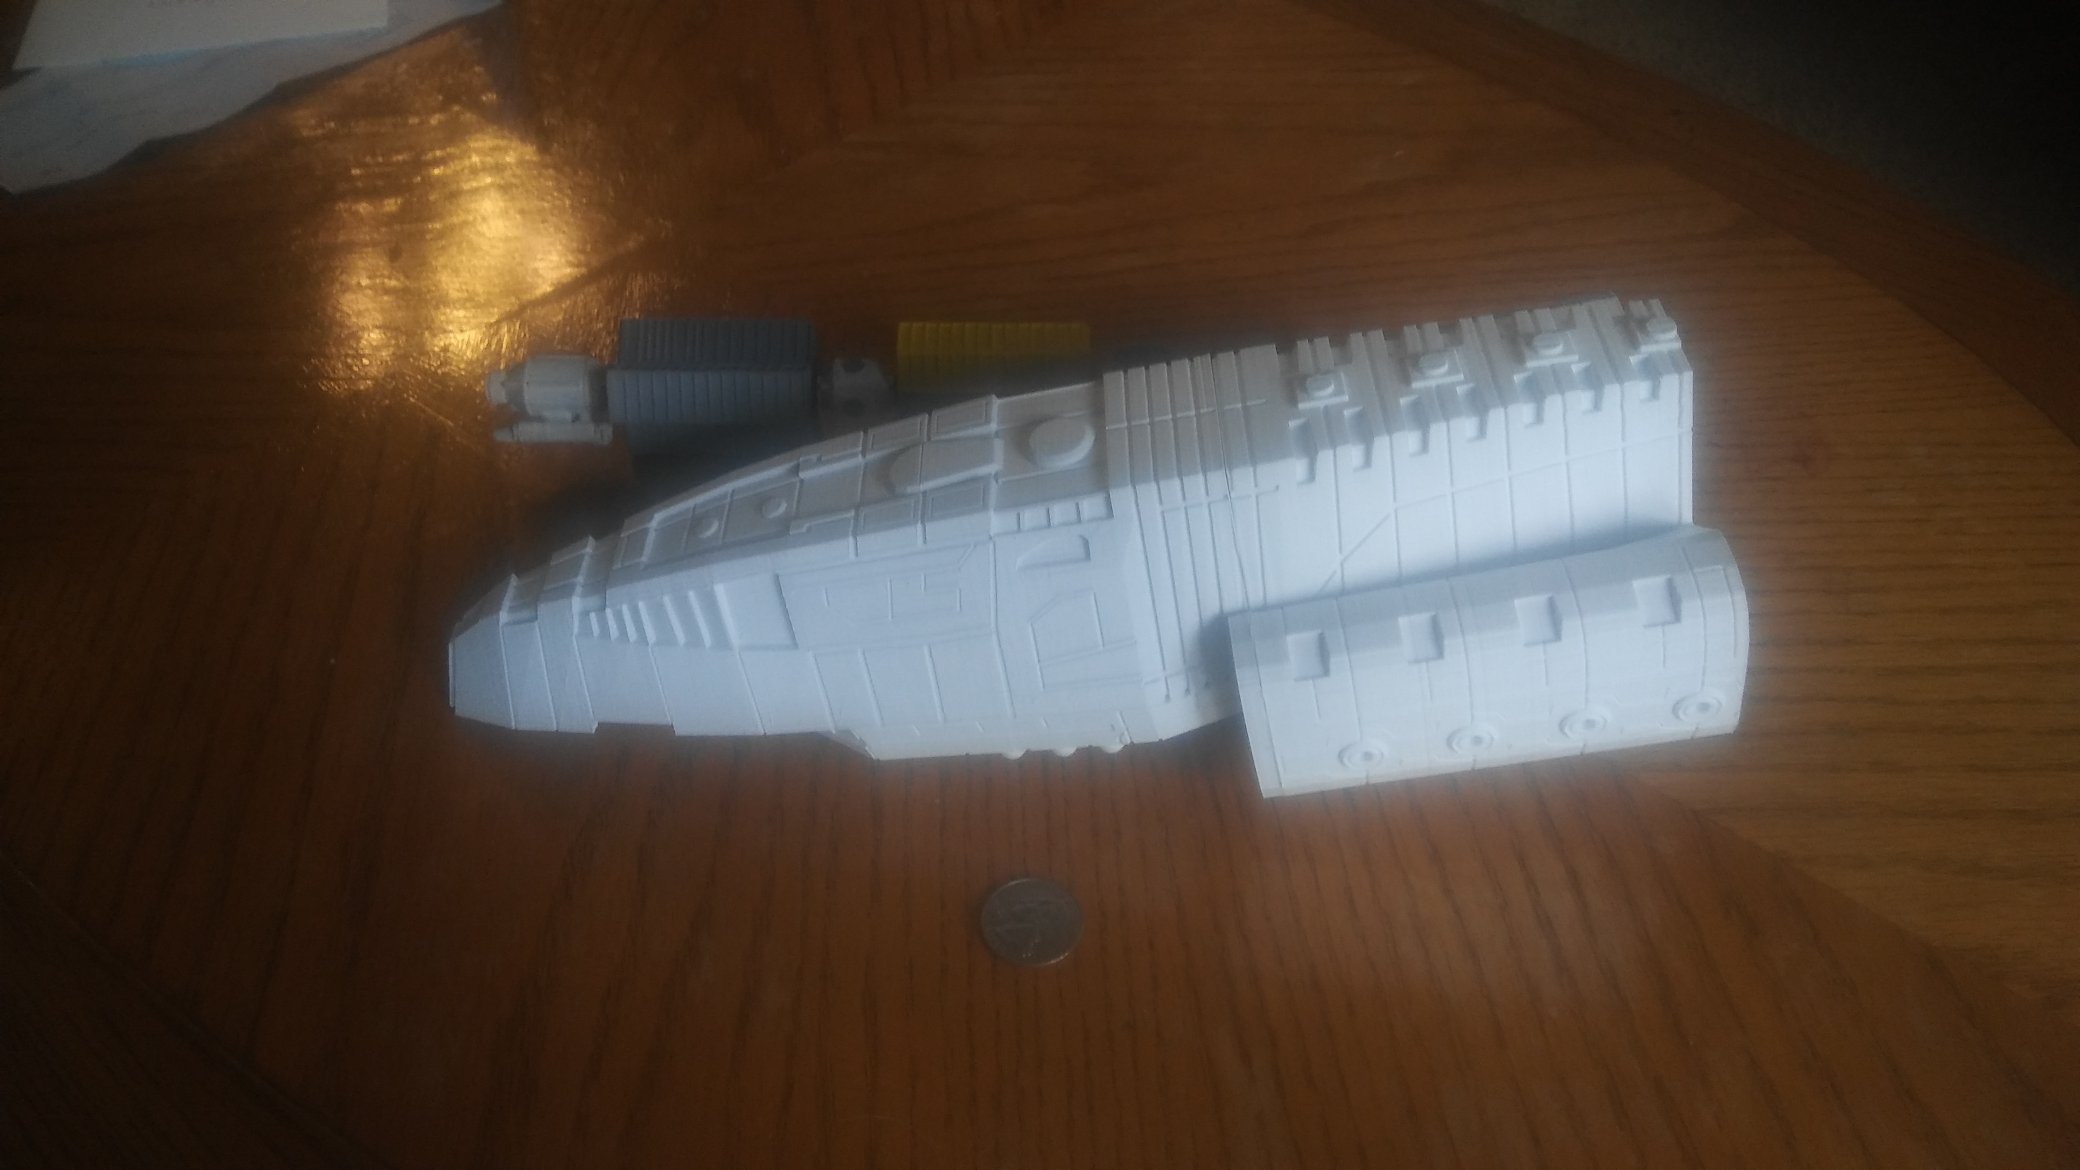
Gemenon Traveller
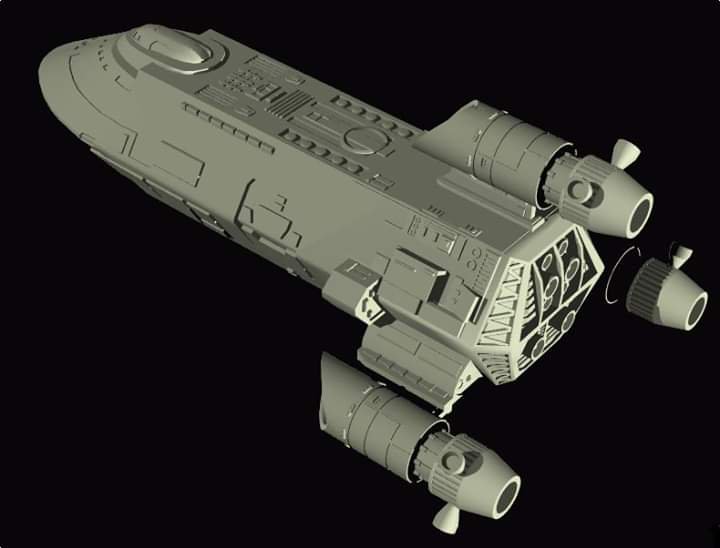 Here is a clearer picture / render of the Gemenon.
 When you design an object to be 3D printed. You want to maximize the best print quality you can get. All FDM printers have the best resolution in the Z axis (Vertical). So by example this ship would be best printed Nose Up.
Now with that in mind, printers have a real hard time with 55 degree angels or more. Some times you can do 60 or 70 degrees but it requires you to do .04 Layer Heightes. But back to the over hangs, some 90 Degree over hangs can work if they are very small 1-4mm’s.
So all those little square boxes you see on the side have a very slight angel to them to help over come dealing with over hangs. Yes you can do supports to stabilize those over hangs but that causes extra print time and often does not produce a smooth surface on the underside of the over hang.
The other way to deal with over hangs, is to cut the model right in the middle of an over hang. So when the model is printed nose up, the cut in half section of the over hang is the base of the print.
But what about the other side of that over hang? Basically the from that over hang to the aft engines is all one piece now. Well simply you still use that cutting section as the base of your next print again going vertical.
Next you have to look for the next trouble area that has an over hang. And Cut the model in half before it. Again by doing this process it eliminates the need for supports and produces a cleaner 3D print.
You just keep cutting up the model this way until its done.
Now you will notice each engine has 3 little nozzles sticking out its side. I order to get those to print. I made sure those can be printed seperately and glued in place later. But this also means you need to build a base for these to be glued to, to make you lifer easier when it comes time to assemble.
In the future I may do a series of screen shots to show this process better.
I use a free program called Meshmixer to do all my cutting of my models.
The road less travelled
 Gemenon Traveller
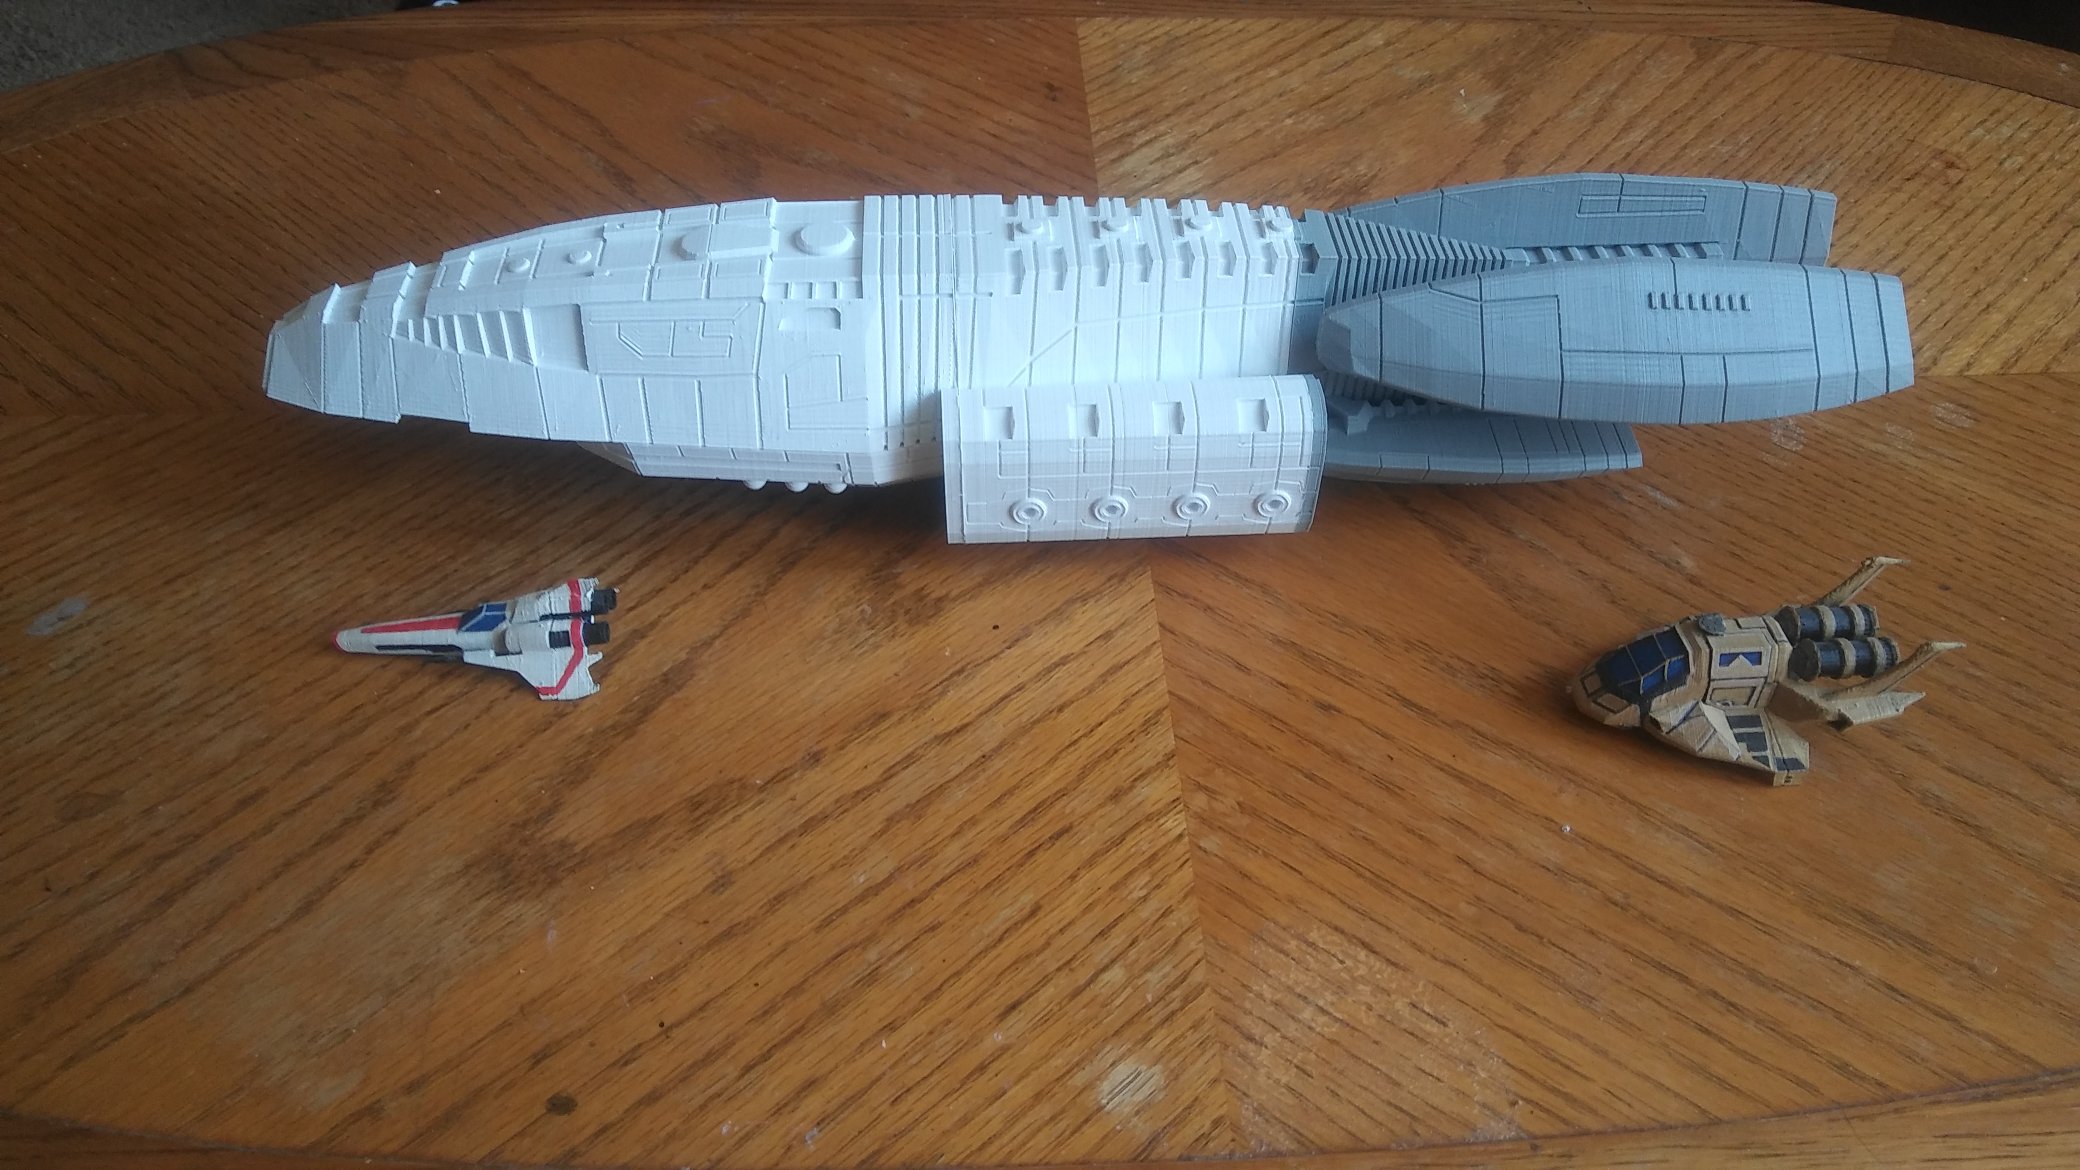
I really needed some Civilian ships to be added into my fleet. Something bigger than a Cylon Heavy Raider but not overly to big.
While I spent the next two weeks printing the Valkyrie. I had a little free time to 3D model the Gemenon.
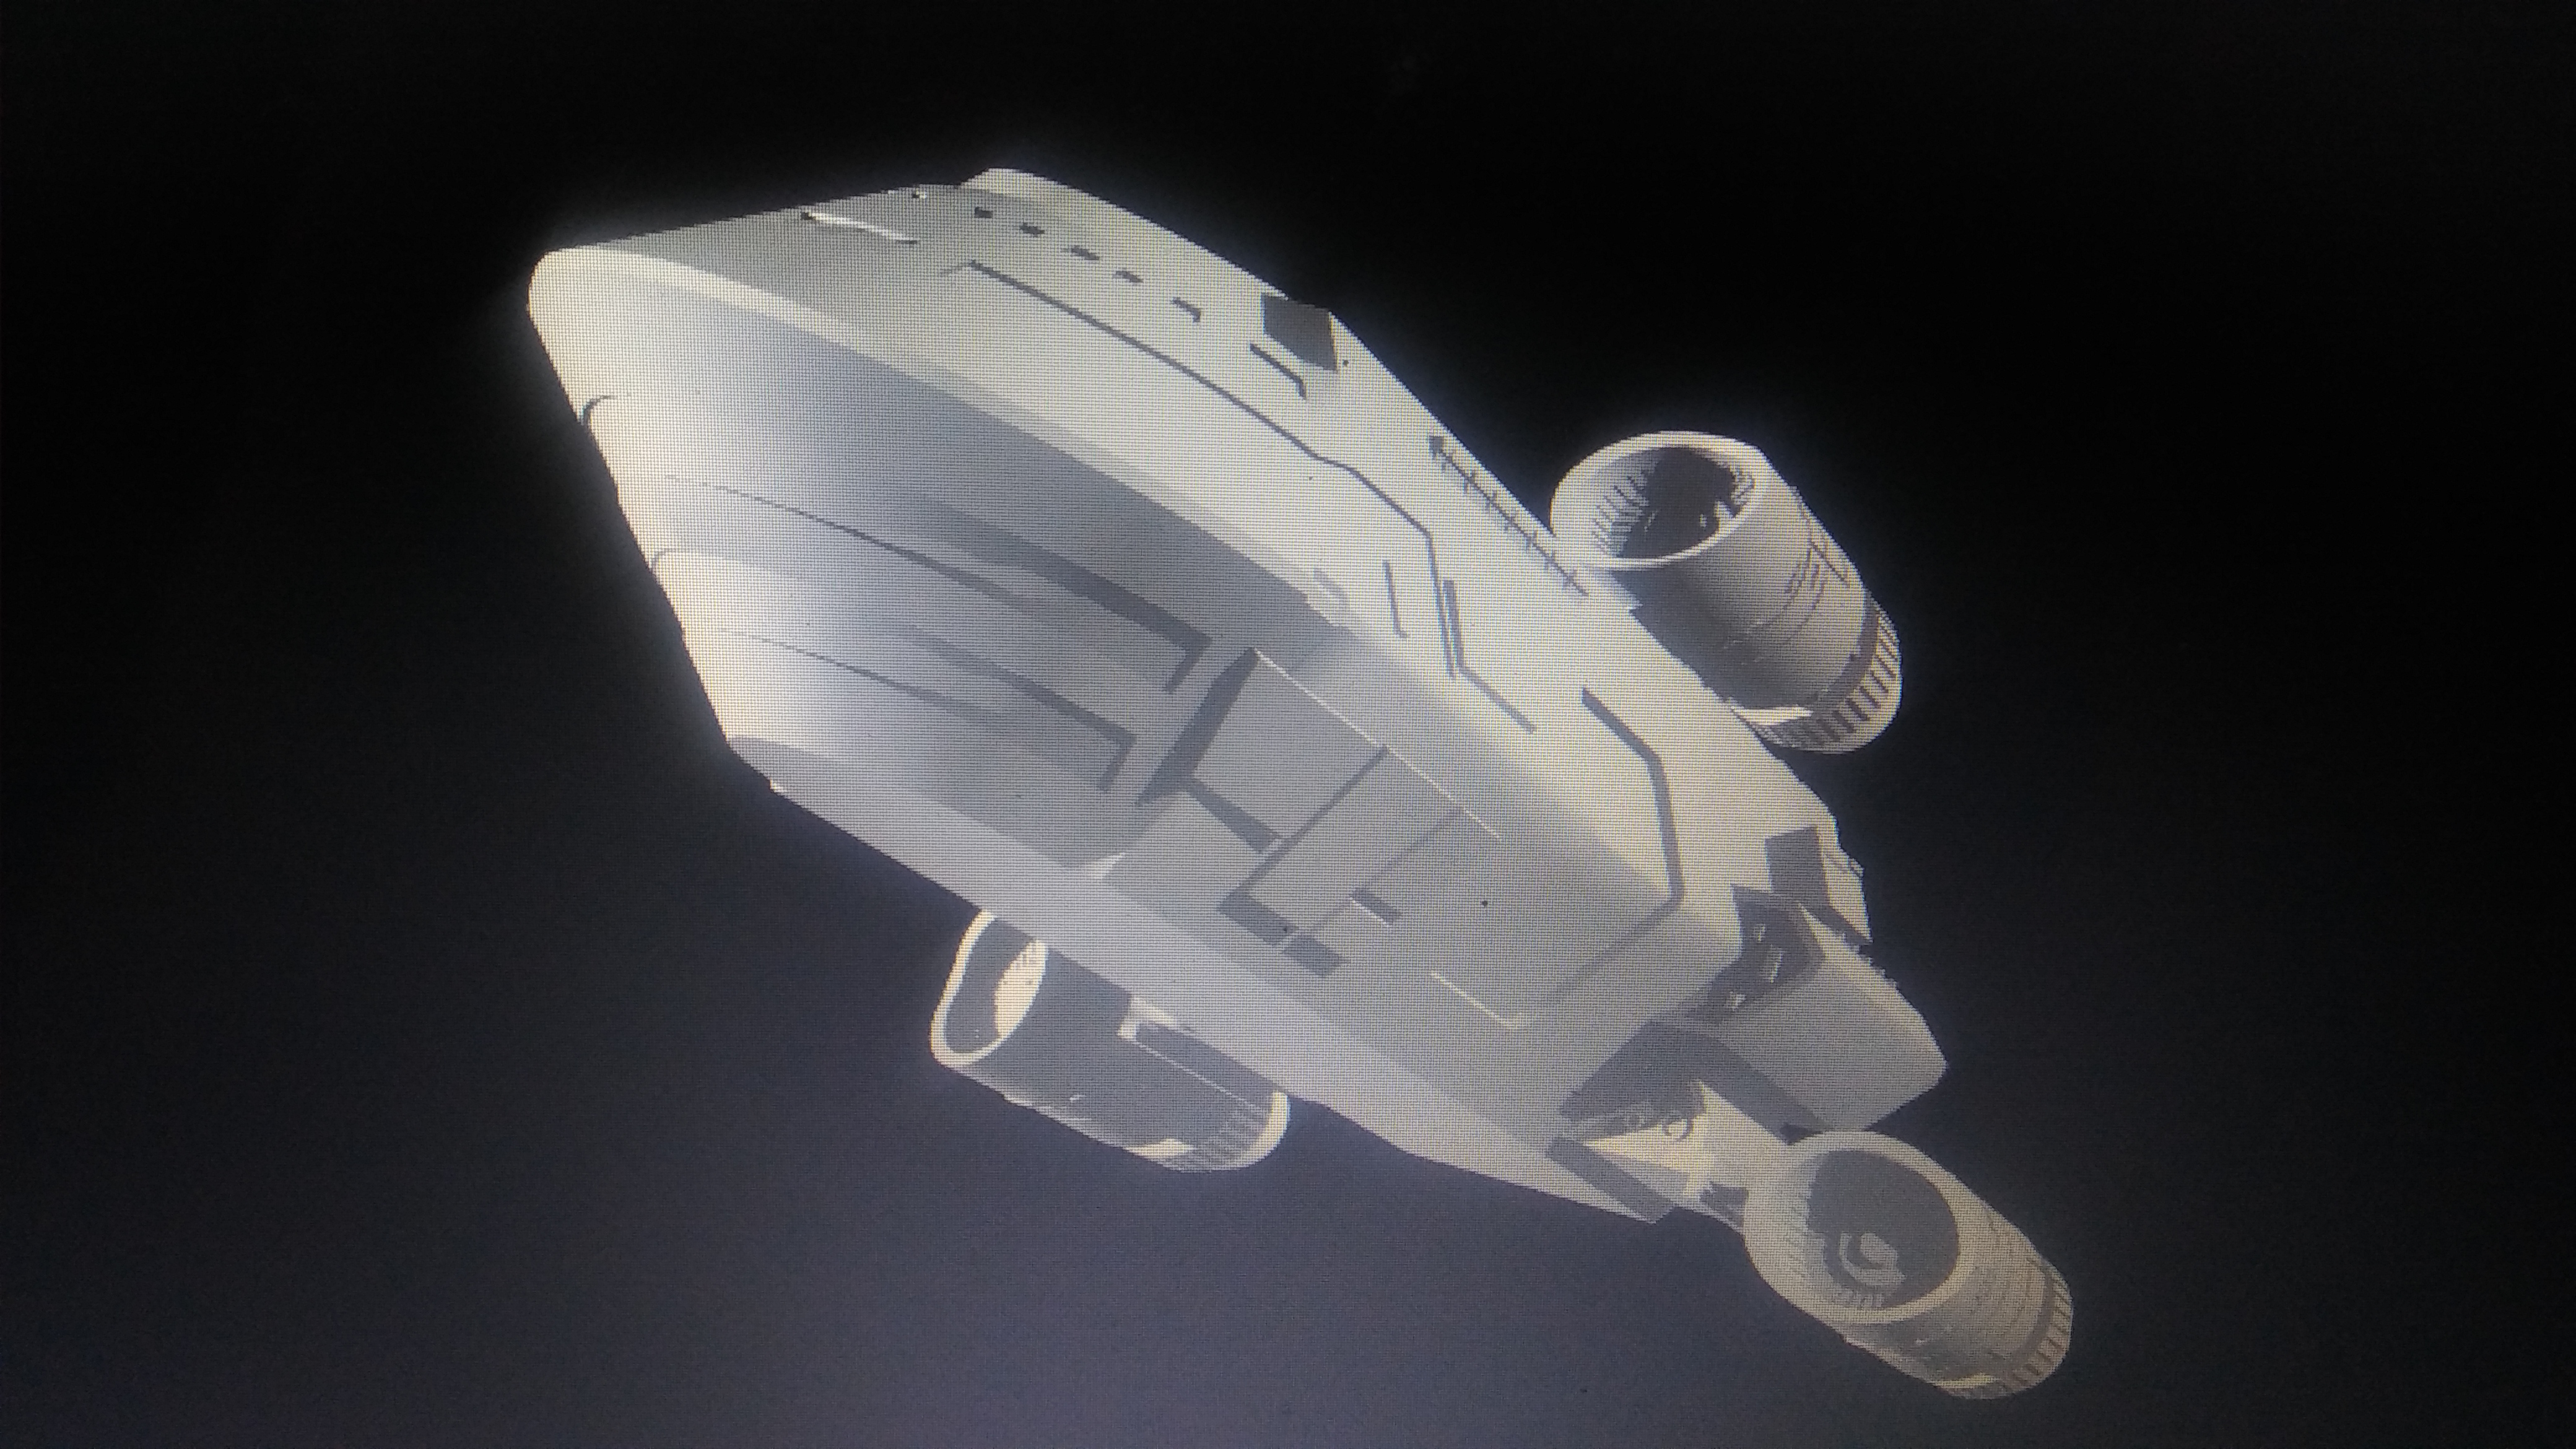
Valkyrie Assemble
Not the best picture since the lighting in the house wasn’t great and I didn’t want a bunch of distractions in the back ground. Most of the seamlines between parts where taken care of filled, sanded and primed. The turrets had 3mm x 2mm magnets put in them. I used a pen drill and did these by hand until the magnets fit flush in the bottom of the turret. Using a 2 mm drill bit, I made the holes that where needed to for only the head of the nail and about 2-3mm of the nail itself to be inserted into the hull.
You would think this would be a fairly fast process but it became a whole night of hobby’ing after work.
Going Forward
This project will seem rather discombobulated for a while. Since there is no way to just delete prior posts and starting over fresh. I will be over writing older posts with the newer content and direction.
It all started with the Mover
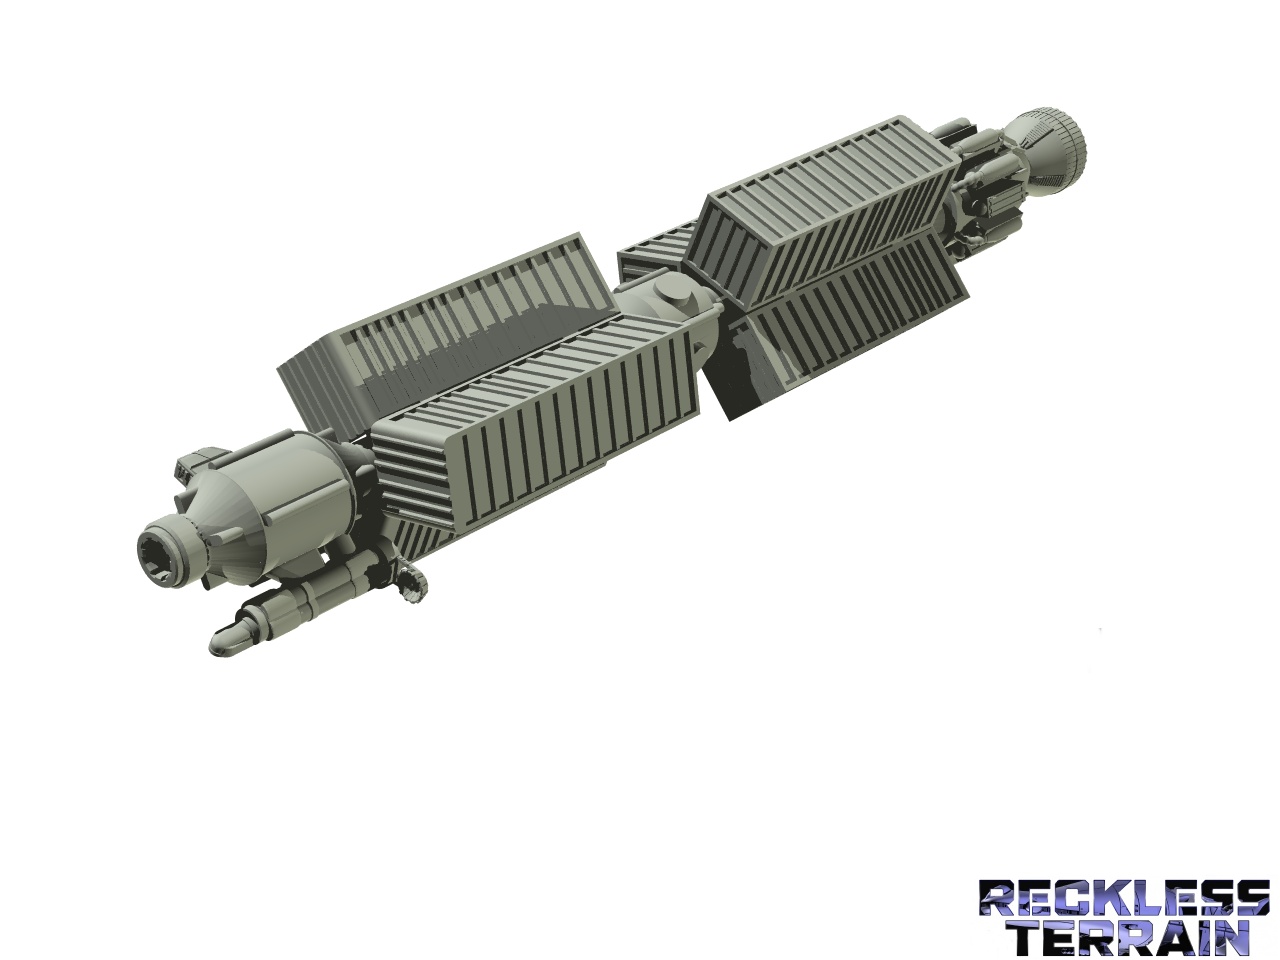 Colonial Mover Render
So after much thought, I decided to shelf my BSG game permanently. Yet I have a ton of 3D models I created that could be used with Are’s Game System.
Then it occurred to me, I should go large scale. At the time no one has vested much effort into doing this yet. And not to sound flashy but I wanted something that would catch the eye of anyone walking by. So I could hook possible future players into the game and game system.
Moving Forward
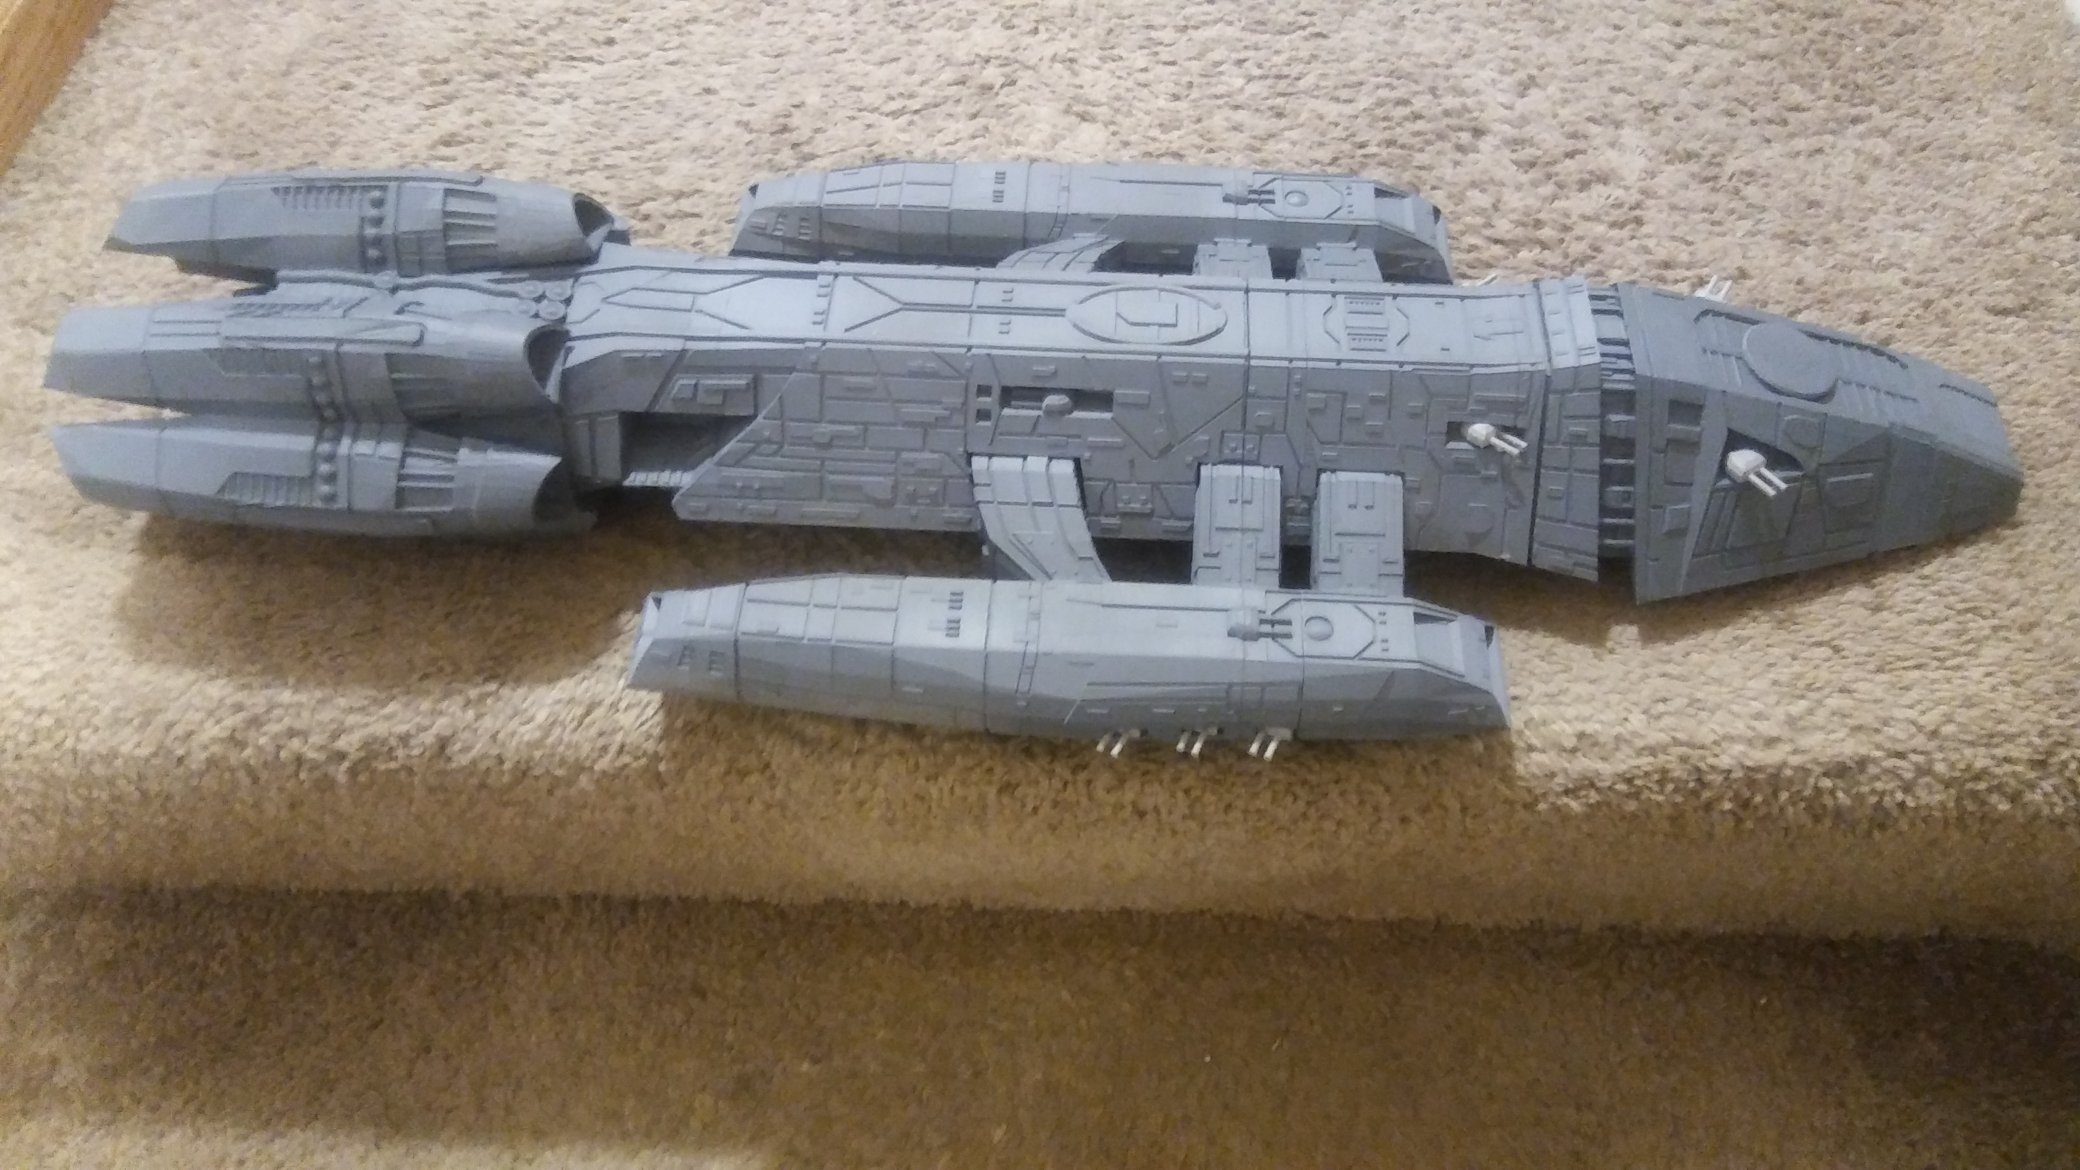
 Test Print
 So the biggest hurdle to tackle is scale. How big is to big? and how small can you still go and get a sense to its size with out taking up a huge chunk of the table.
Again it all started with the Colonial Mover and this would sort of be the base line of size for all the ships going forward. At the time of this photo, my base set of BSG was still in transit so I didn’t have any physical fighter models to line up against it.
So the thought was to make the Mover roughly 3 times larger than the Viper Mk2.
I think we need a Bigger Boat
Since the Colonial Mover was a step in the right direction for me. I thought I should start working on a Large Scale Adamant Frigate. Again, I keep going back to how big is to big? And how long do you honestly want to be printing to create it. My 1st thought way s to make this ship 28 inches long. After cutting up the parts to checking print time, it just didn’t much sense.
Again comparing a 28 inch long Adamant to a 8 inch Colonial Mover would just seem completely off scale to each other. I ended up settling with a 18 inch long Adamant Frigate which I will go into details later.
Now a thing to remember with me and artists in general. Before they finish one project they are already thinking about the next project they want to work on.
Adamant Printed
After 54 Hours of printing I assembled the three pieces together. Again I was still waiting for the basic game to arrive. So I 3D printed and painted a Viper Mk2 and Raptor to give an approximation of scale.


