


![Perfect Historical Wargame Objectives! Victrix Treasures & More Reviewed [7 Days Early Access]](https://images.beastsofwar.com/2026/02/unboxing-victrix-treasures_-chests-_-market-stalls-coverimage-225-127.jpg)


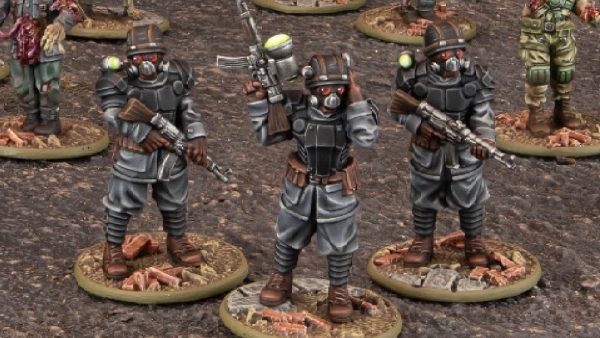
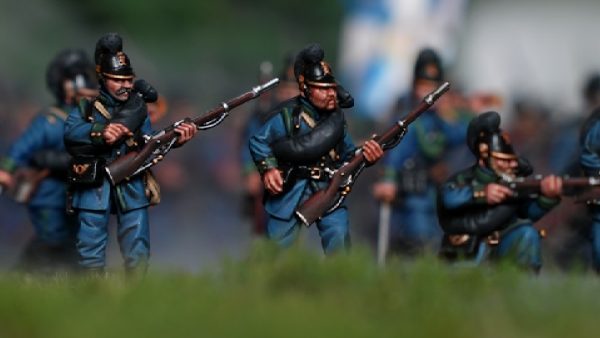
British Bolt Action Army


Recommendations: 66
About the Project
An intermittent log to shame myself into building and painting some of the miniatures that have been sitting still in their cellophane wrapped boxes for about a year... In my defence I am restoring an old neglected 3 storey house single handed, so don't have a lot of free time.
Related Game: Bolt Action
Related Company: Warlord Games
Related Genre: Historical
Related Contest: Bolt Action: Western Desert Boot Camp
This Project is On Hold
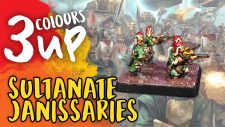
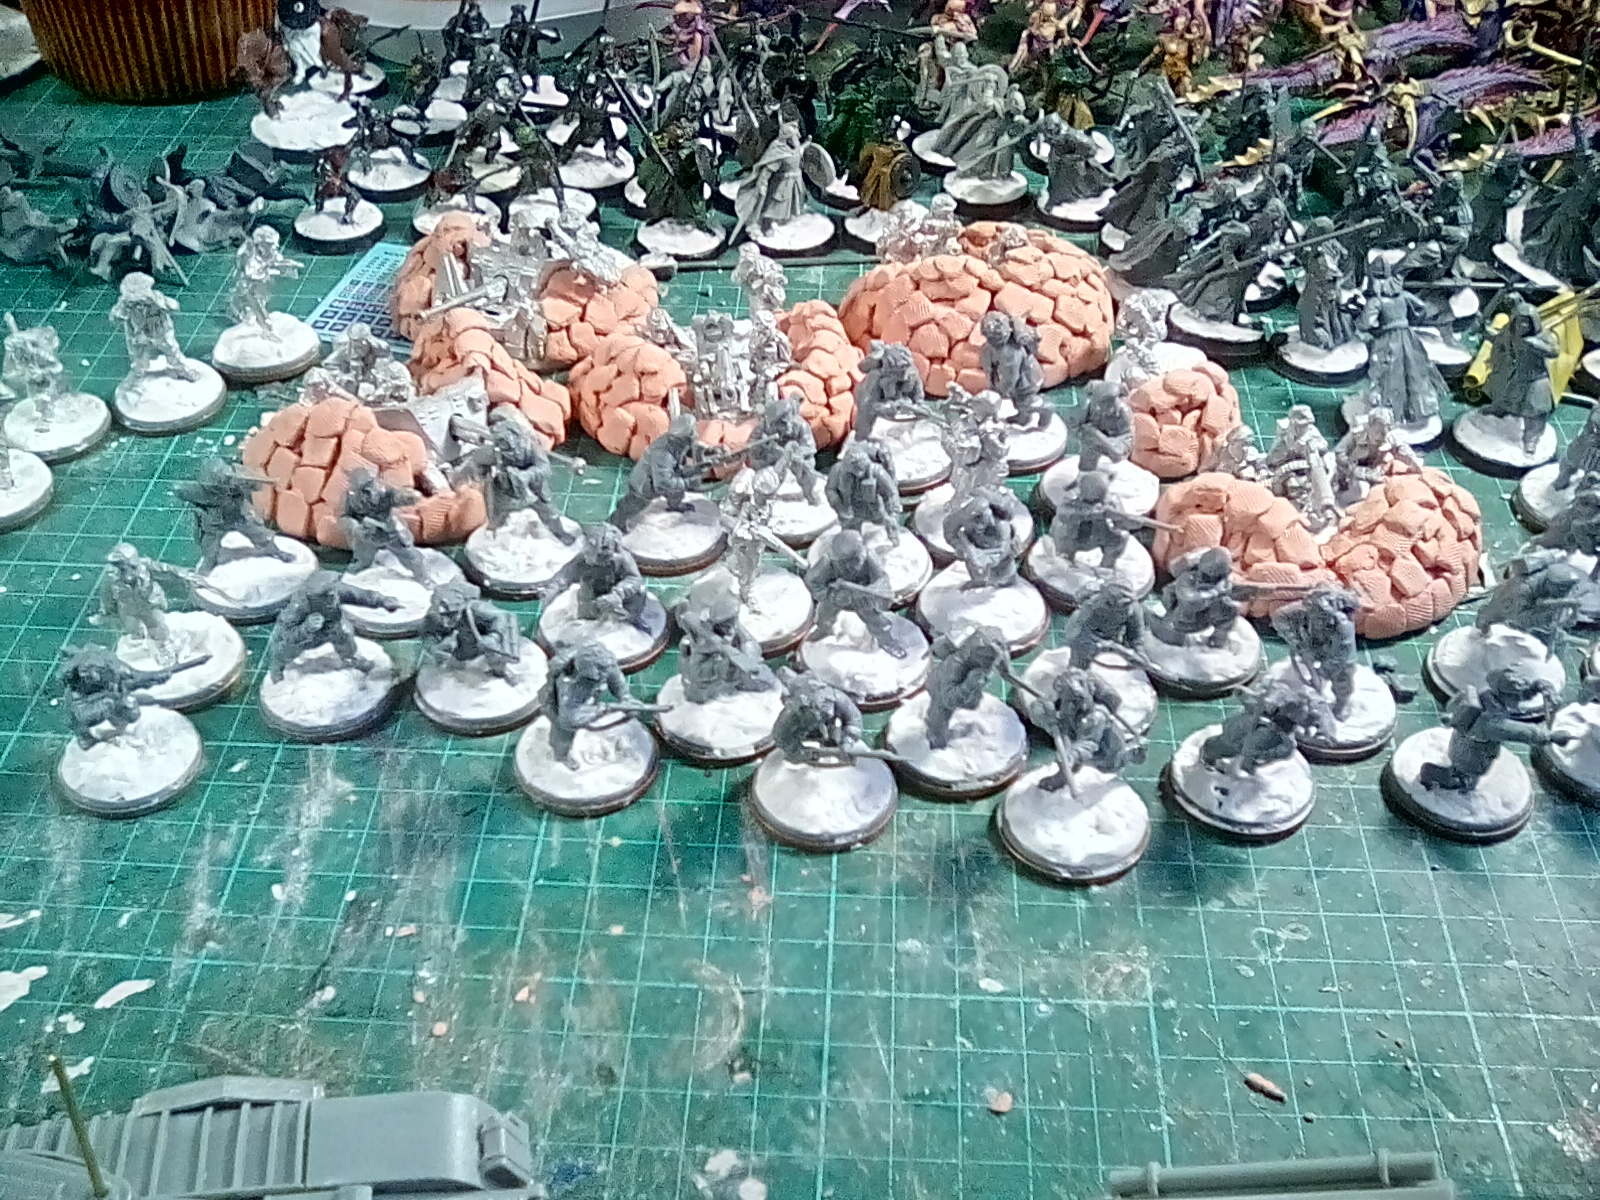
Starting the infantry and finishing filler base sculpting
Quite a simple stage – building the plastic infantry figures, and sculpting the bases using wall filler. Once this has set hard everything will be ready to prime.


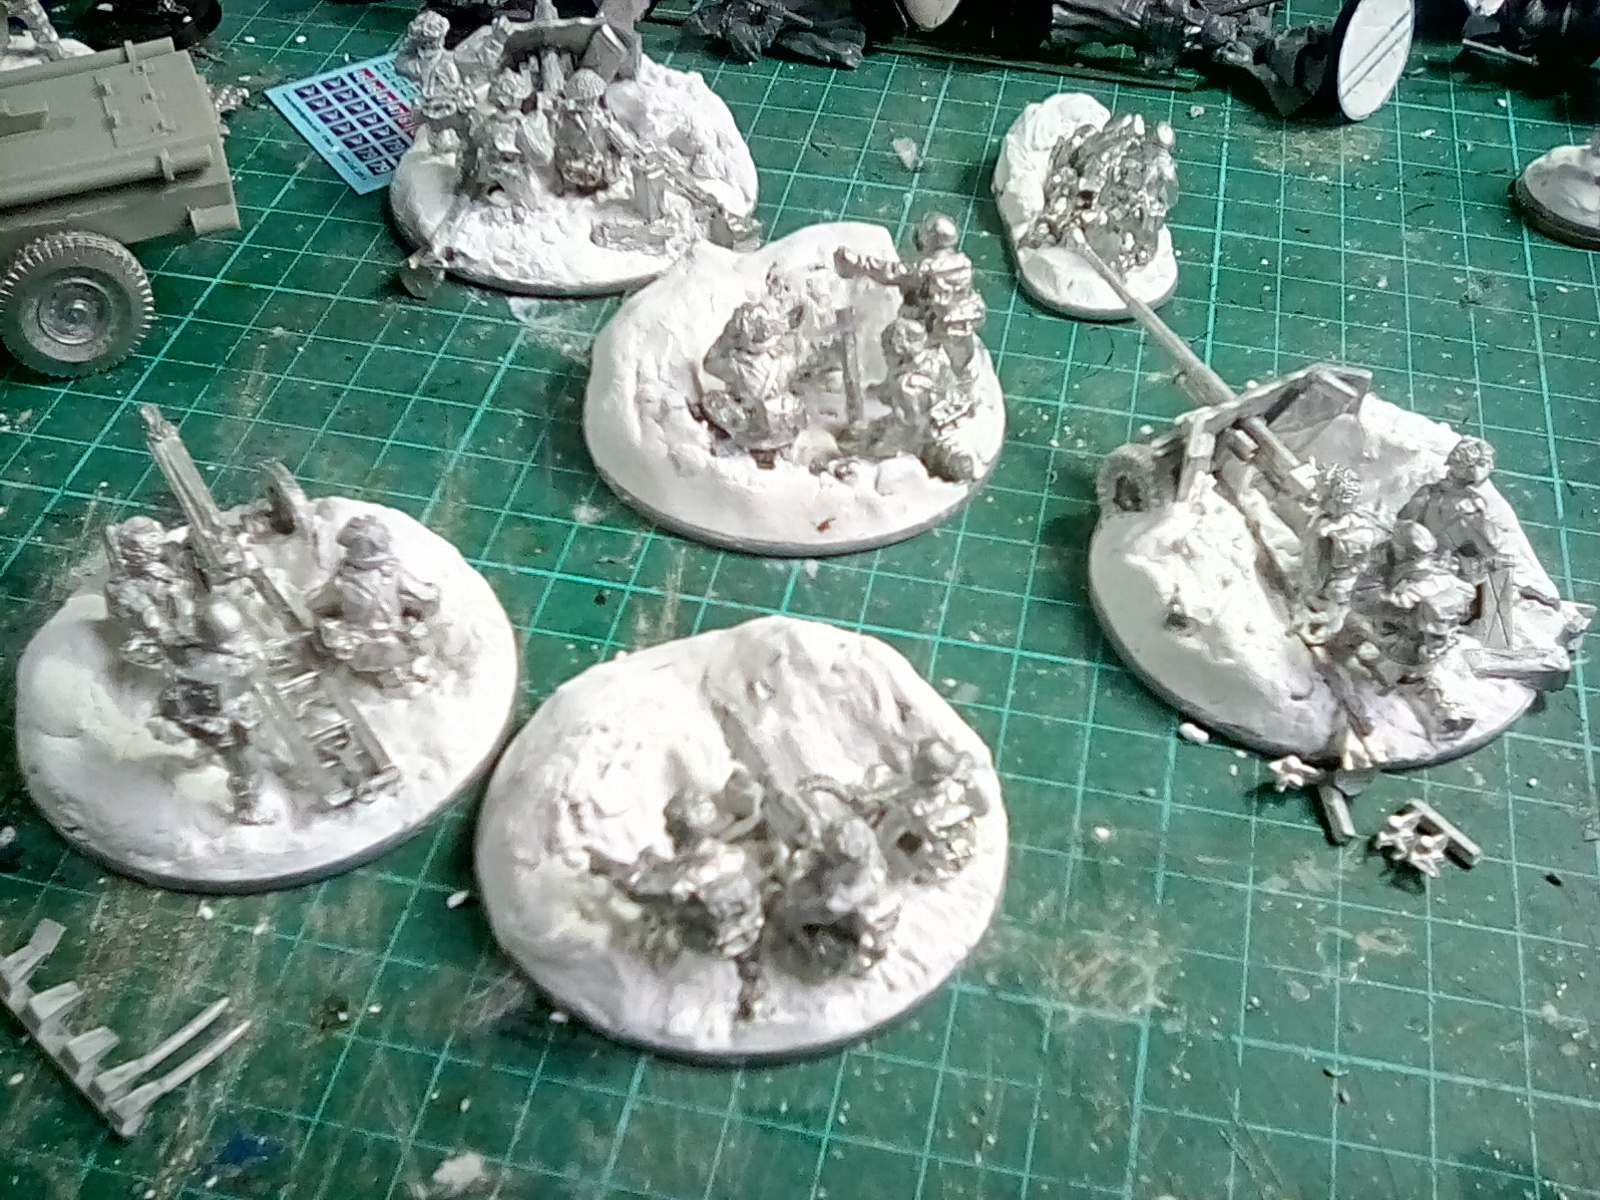
Sandbags
This is something of a leap into the unknown for me, as I’ve never used this technique before… Let’s hope it doesn’t turn into a “what not to do guide”.
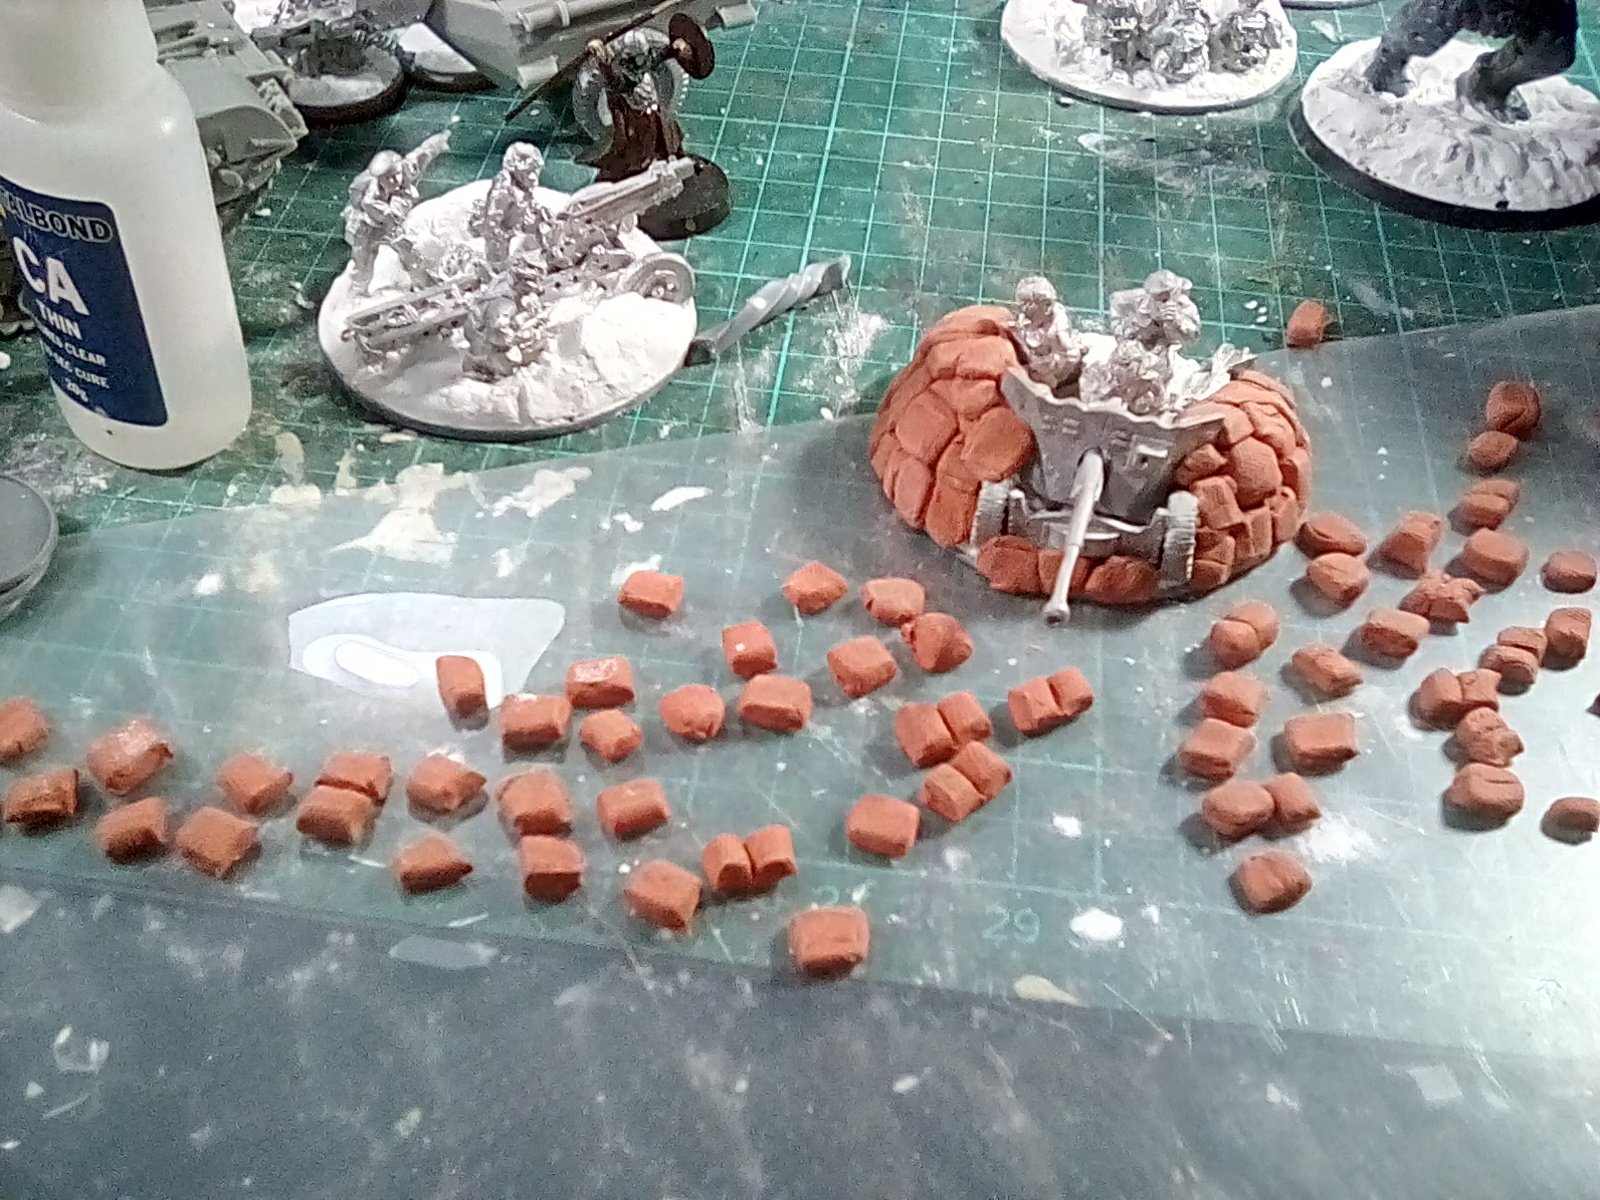
After talking to friends, I decided to use air drying clay for the sandbags around my boot action gun emplacements. There’s not much to show about making the individual sandbags, just cut off some clay and roll a sausage of it to about the width you want, then flatten it – I found using a wood file have a nice texture a bit like the Hessian real sandbags would be made of. Then cut off oblongs about the right size, squeeze them to shape with your fingers, and if you want score seams in them with a sharp knife. All fidley stuff it’s hard to show in a photo…. Plus I didn’t want to get clay all over my tablet 🙂
Looking at reference photos, and thinking about what I would want it someone was shooting at me, I decided to build up the sandbags quite high, but hopefully not so high I can’t paint the soldiers. But I tend to think of I can’t get a paint brush into an area, it probably should be left as dark shadow anyway. I like to paint on a highten ed reality style with lots of deep dark shadows contrasting with bright colours – maybe not entirely historically accurate but striking on the tabletop.
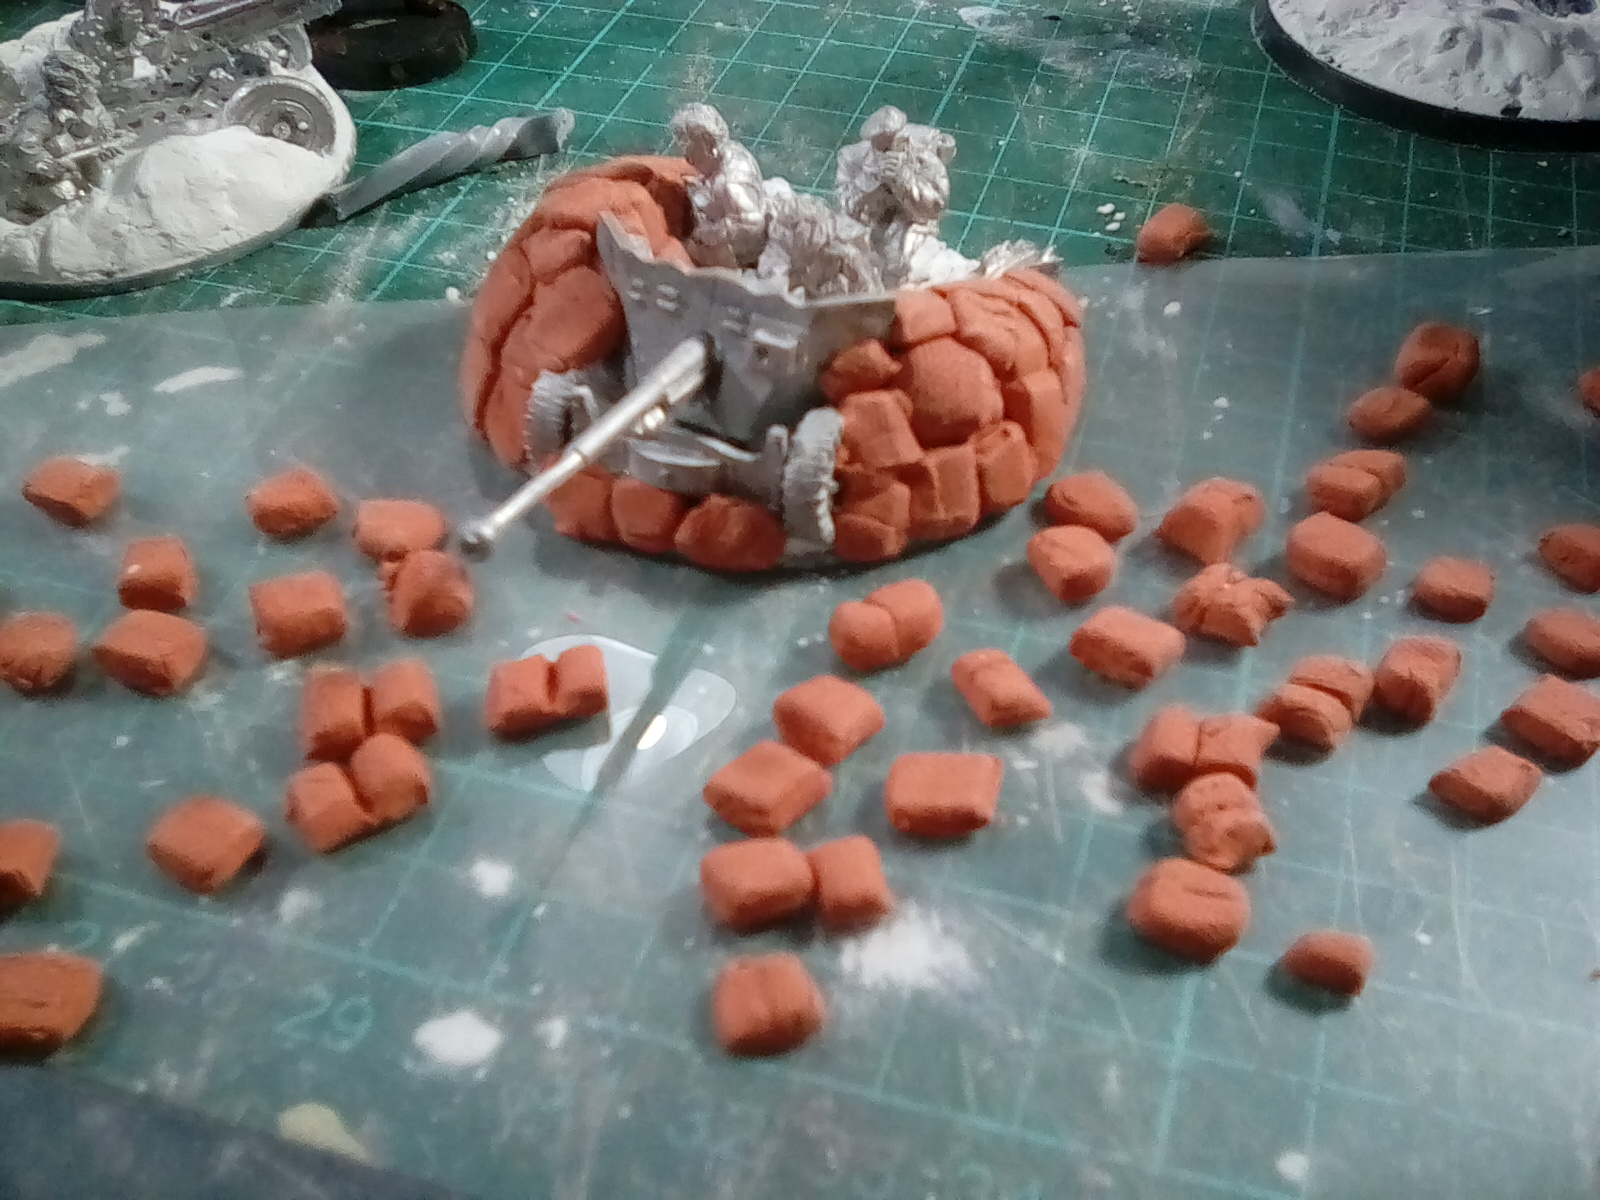
I abandoned my original idea of letting the sandbags harden overnight before fixing them in place, as I realised I wanted to be able to mould their shapes as if the sand was settling in the bags. I also found that the base layer did not stick particularly well to the base, so resorted to using superglue to stick the bottom layer of sandbags down. I’ve tried moulding more clay sandbags on top of these without glue – I’ll have to leave things now to harden and see how well they have bonded together by morning. Hopefully the clay won’t crack while drying!
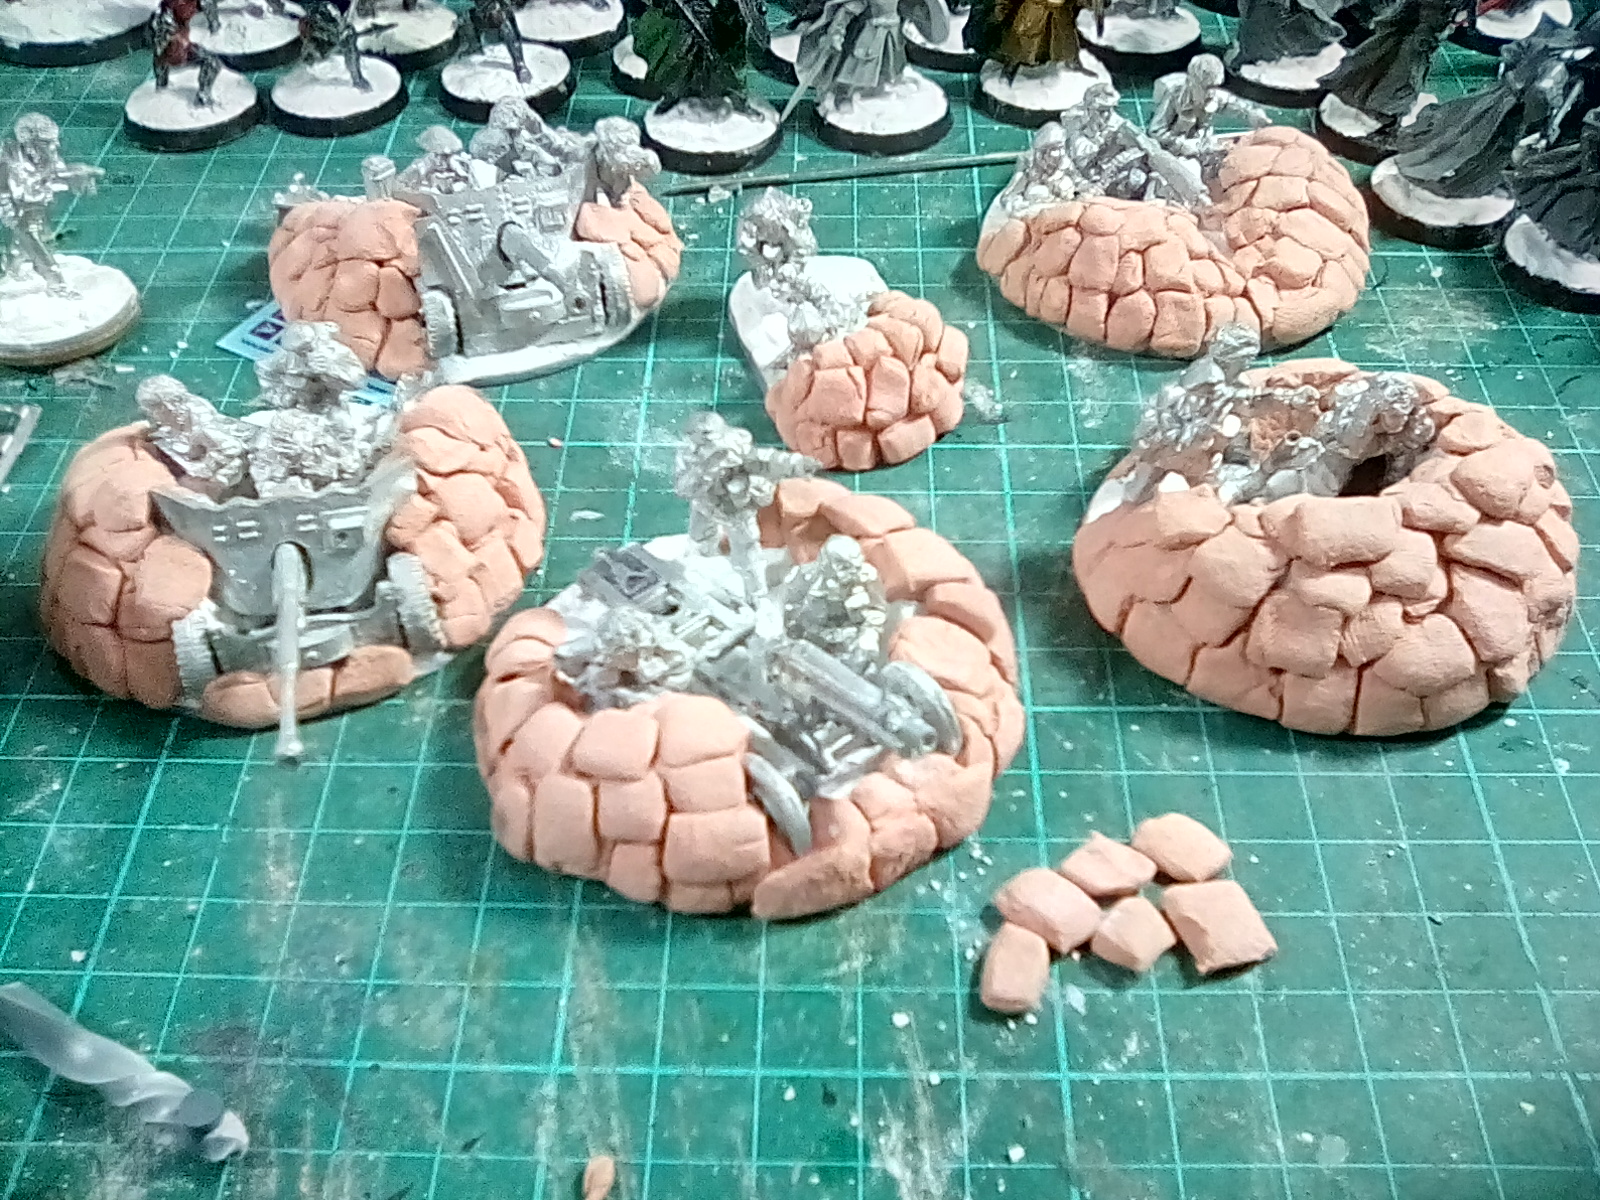
….it’s now actually more than a week later, due to illness and having to fix bits of my house. In a way that worked out well for the project, as after one day the sandbags seemed to be fine, but now problems have appeared that might have ruined any detailed painting. As the clay has slowly hardened it must have shrunk slightly, and the top layers of sandbags have come loose. The lower layers glued to the filler with superglue are fine, but the ones on top of this and just pushed together “wet clay to wet clay” just pop off if touched. I just want a few more sand bags, flopping over the edges to make the piles seem less regular, so I’ll make a few more more detailed clay sandbags and fix those in place with glue.
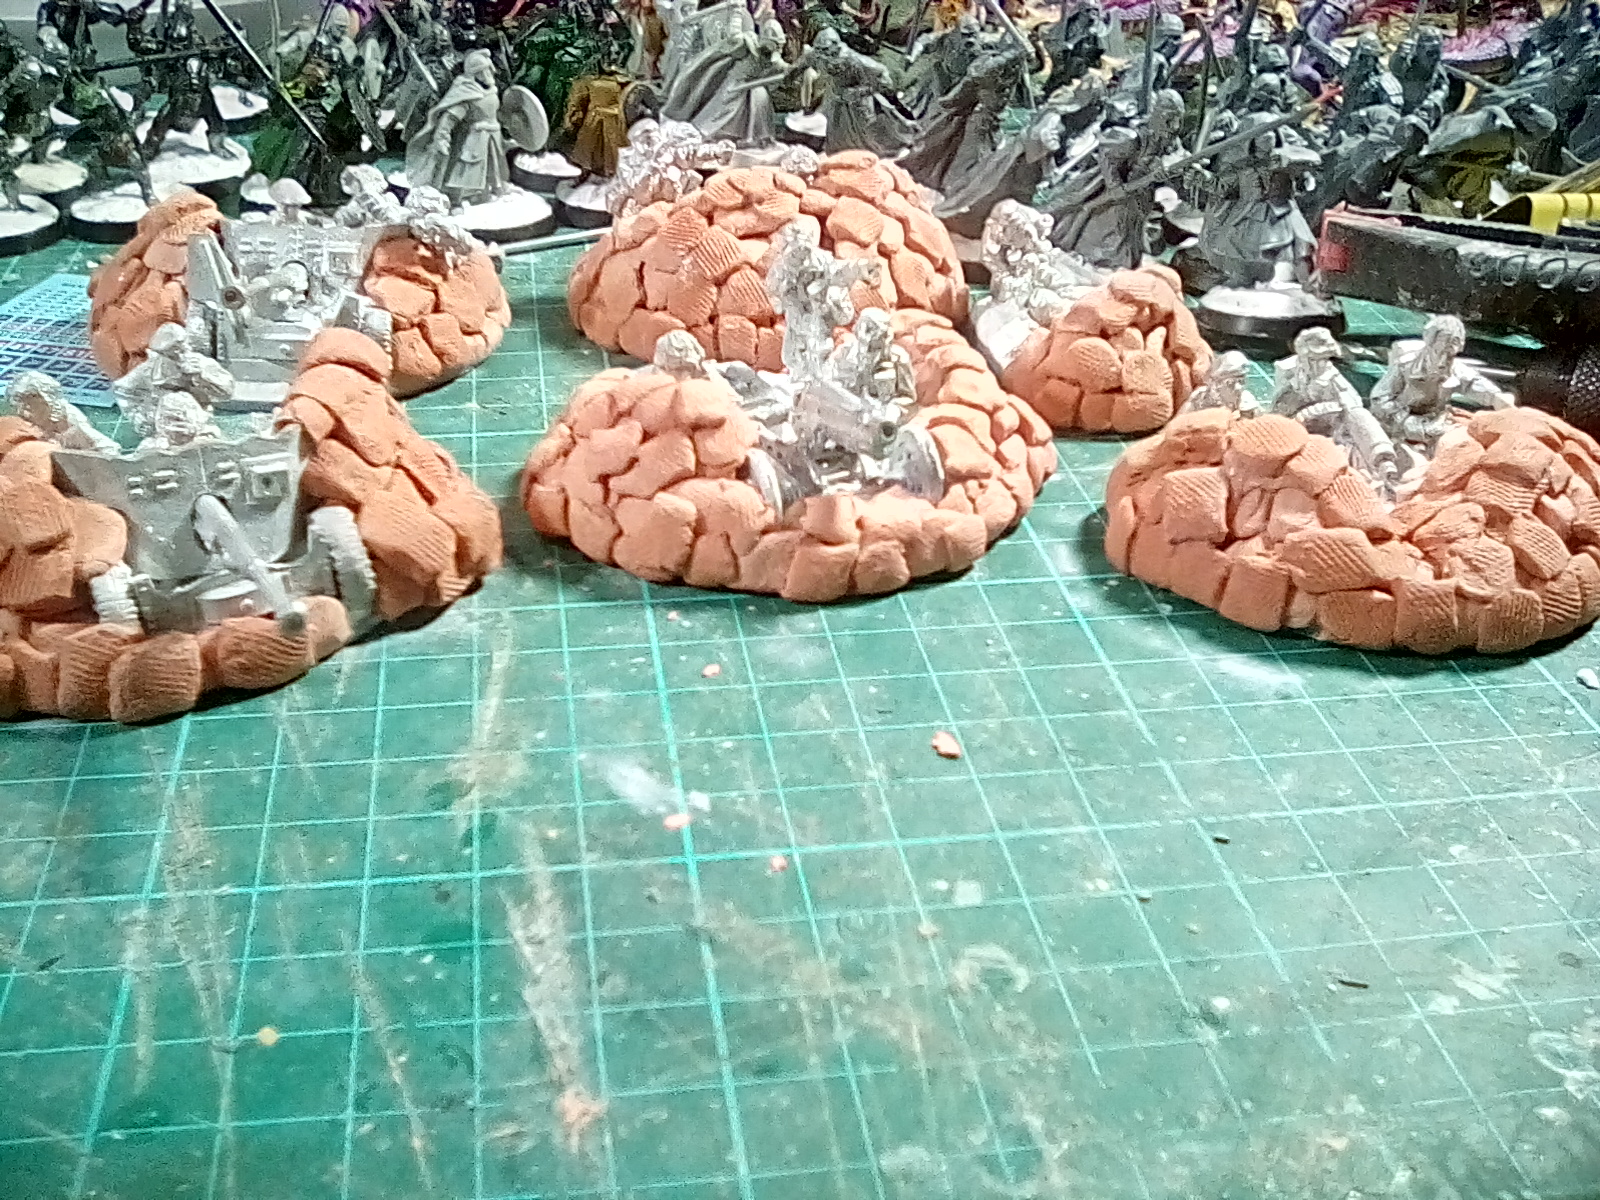
While watching this week’s weekends (so around a hour and a half) I suoe r glued on another layer of clay sandbags, trying to get the m to fool at the edges . I am imagine these being loose sandbags being quickly thrown over mounds of earth, so not as regular as sandbags would be off the front line. I am not sure if you can see this in the 2 pics above, but the new sandbags are a darker colour than kas t weeks ones that are now hard. In retrospect, it is better to make the bags individually and blue them in place while they are still soft and mouldable so you can shape the bags easily with your fingers.
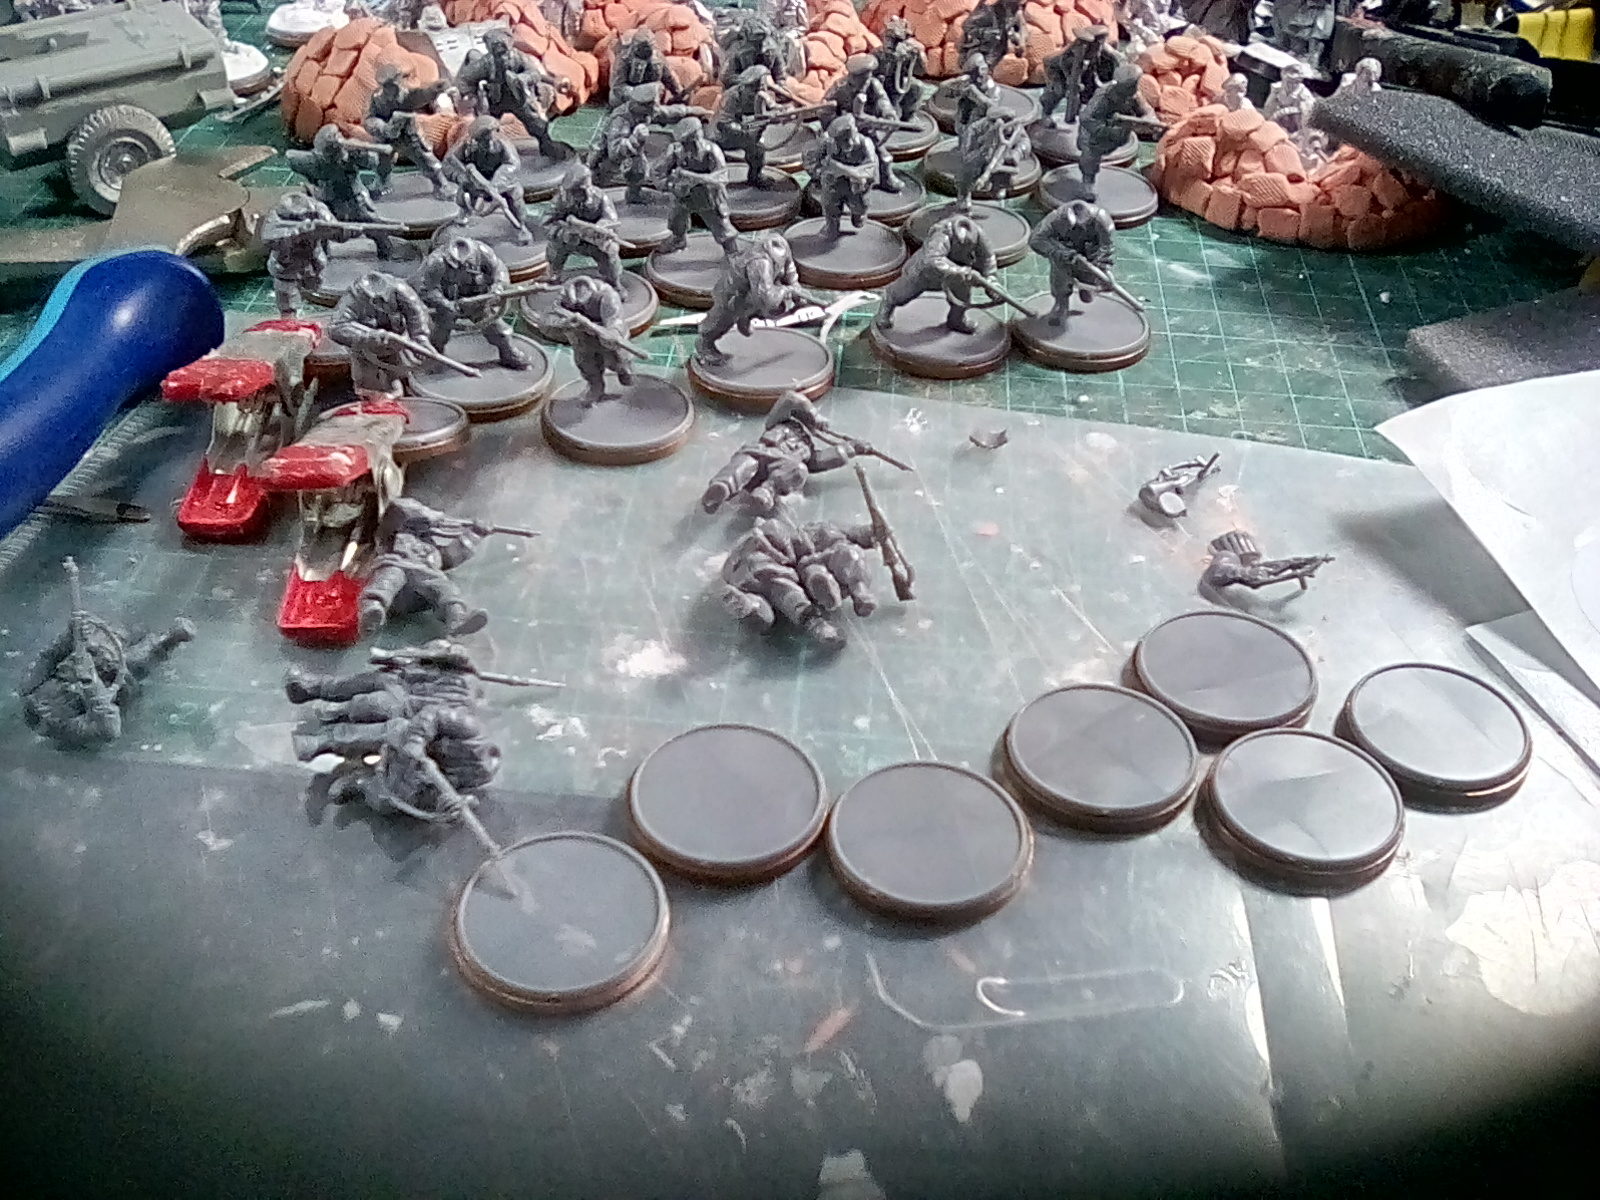
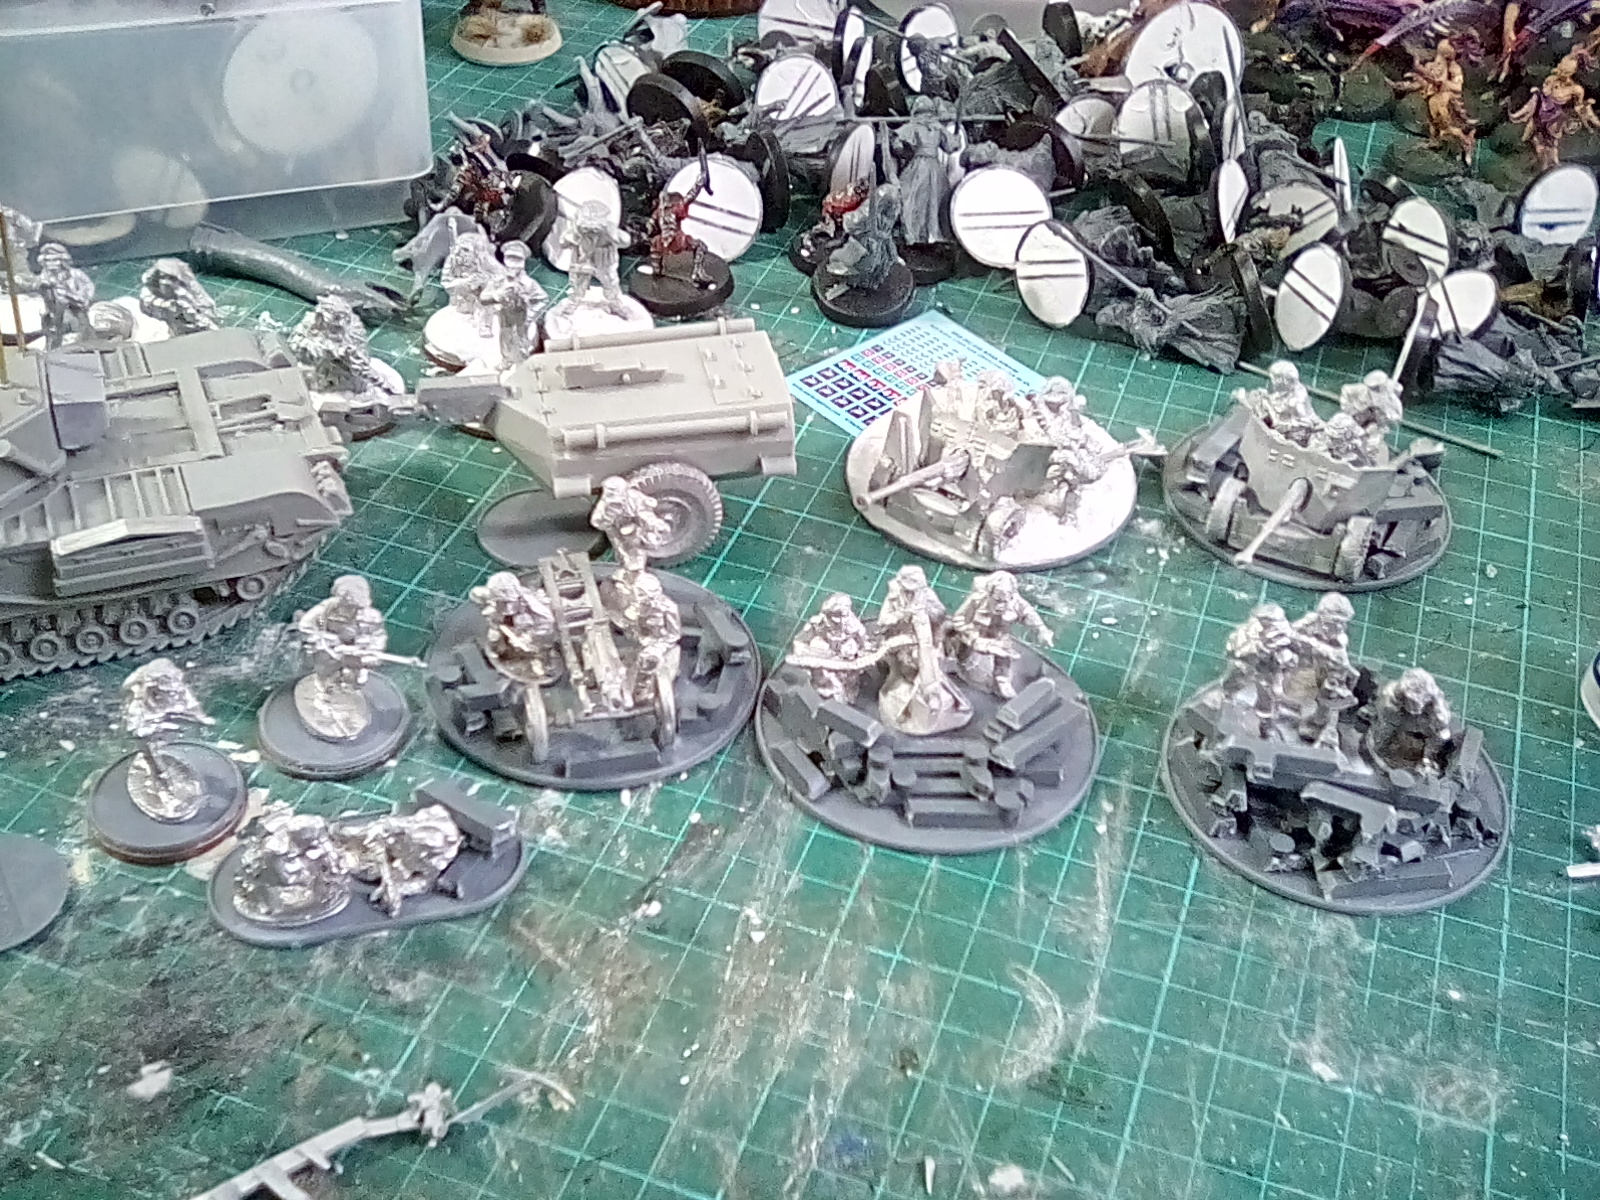
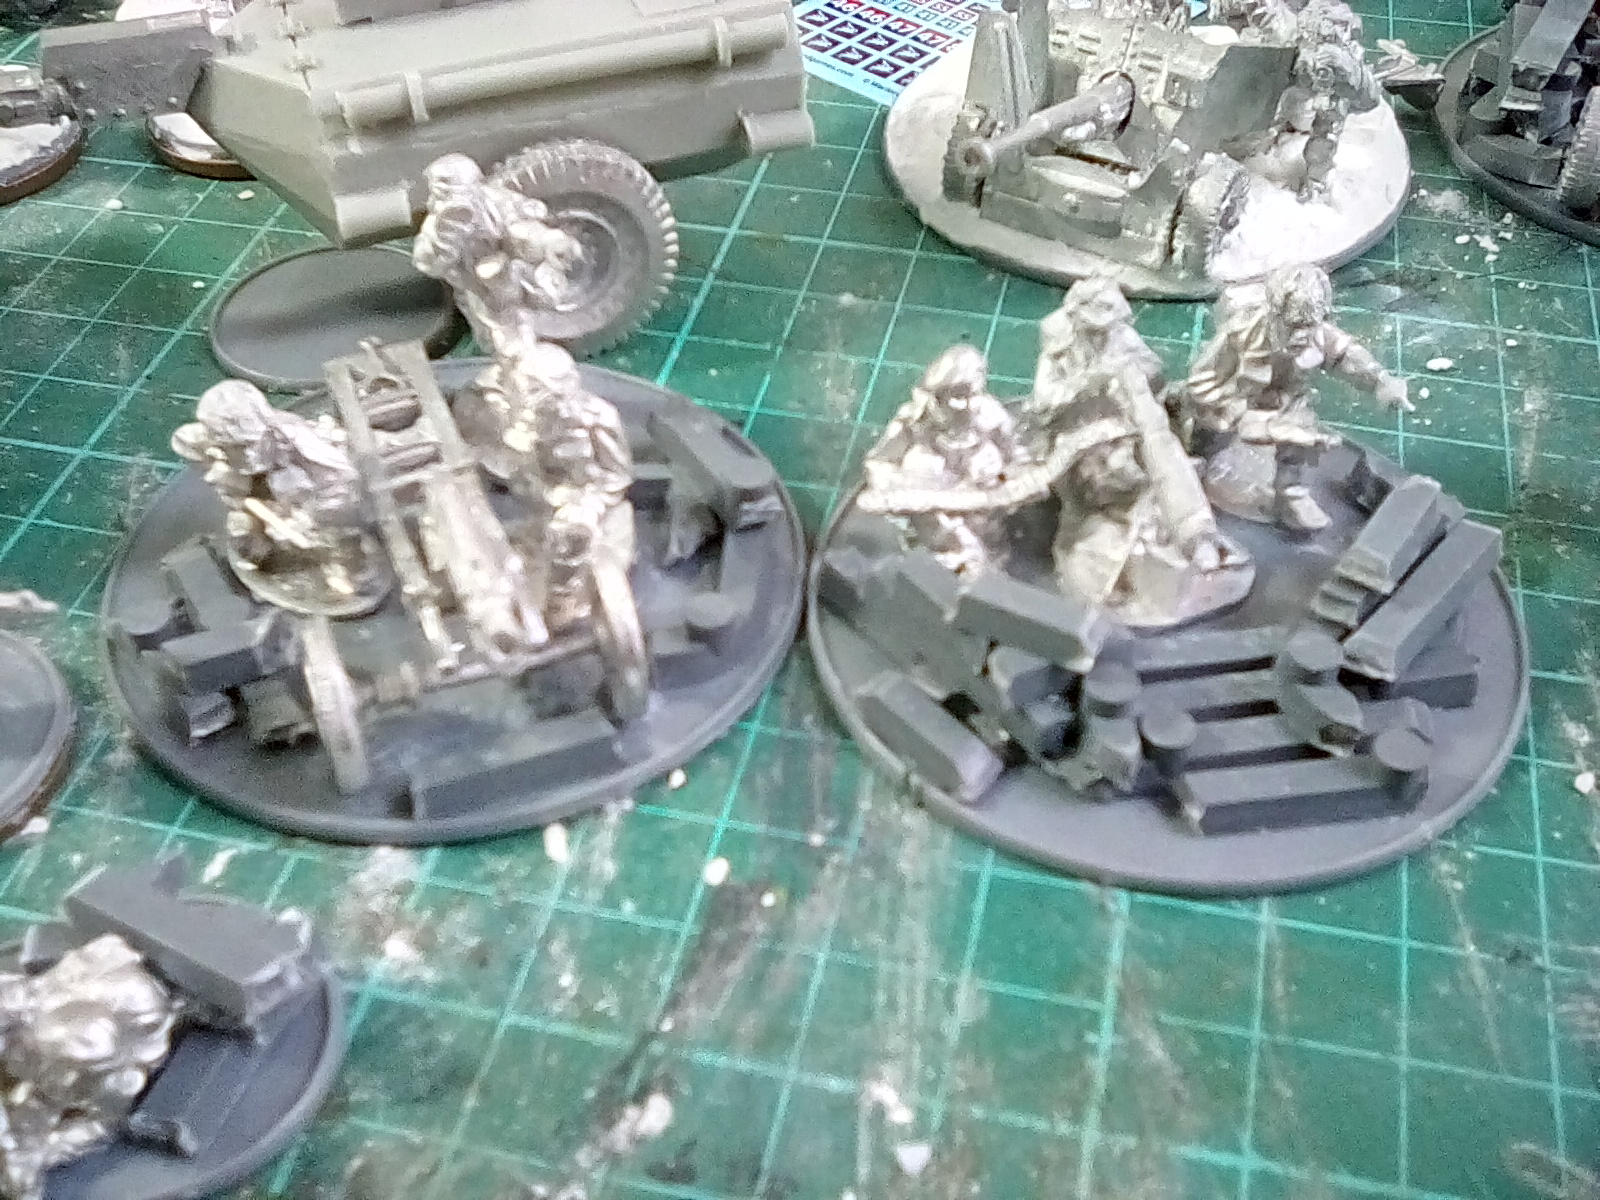
Starting the Guns
First up is a British Army 6 Pounder AT gun. The gun was a little small for the base, so I used bits of plastic sprues to support the middle of the gun’s base struts. When I covered these with filler I bedded the gun well down into “the ground” to make the somewhat fragile model a bit stronger. This also covered the bases of the 3 soldiers glued to the same base. I’m quite tempted to add sandbag s around the gun as well, but haven’t decided yet the best way to do that.
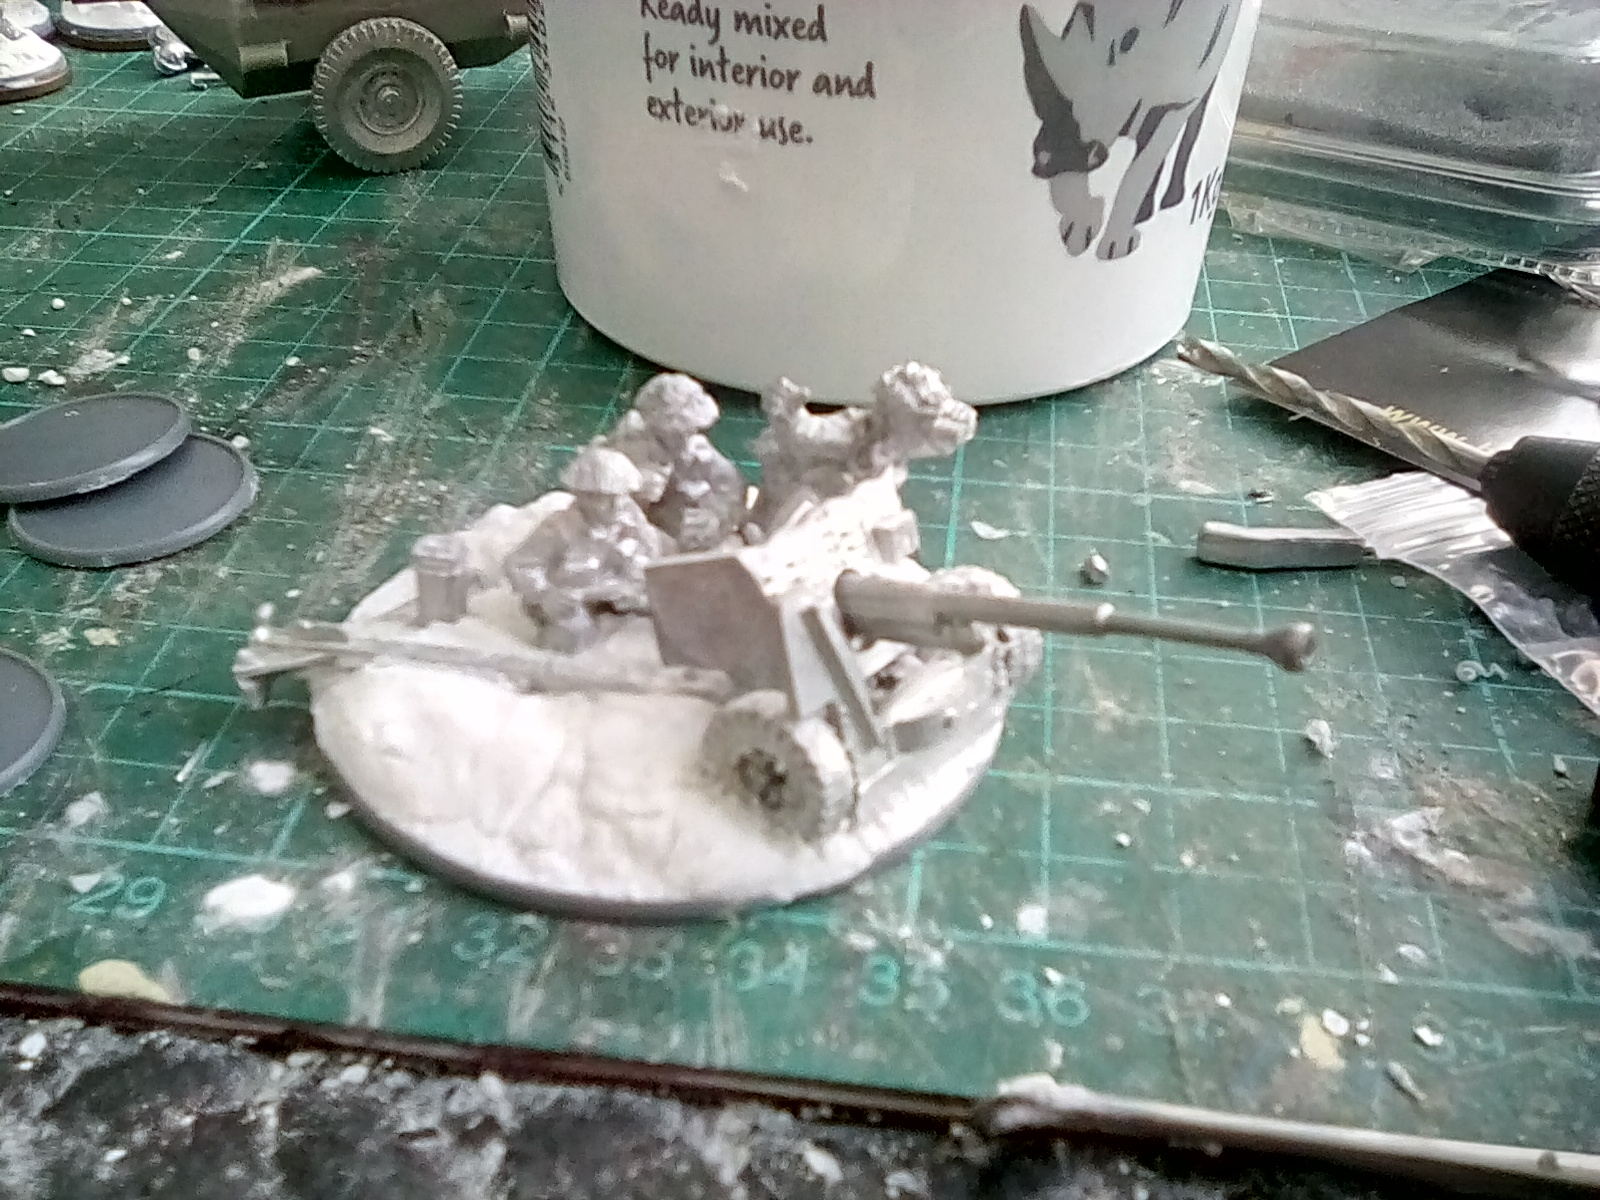
The sharp eyed will spot some of the filler clinging to a few crevices on the figures and gun. Fear not, as once fully dry these little bits brush off really easily with an old toothbrush or cocktail stick. It’s normally a good idea to rub off any little fragile spikes of filler on the base itself with the ball of your thumb before you start priming.
The filler doesn’t really want to be deeper that 1cm or the core of it may never set solid – for deeper bases you need to either need to build the filler up in layers, or build a structure underneath it and cover that – off cuts of old plastic sprues can work well for that.
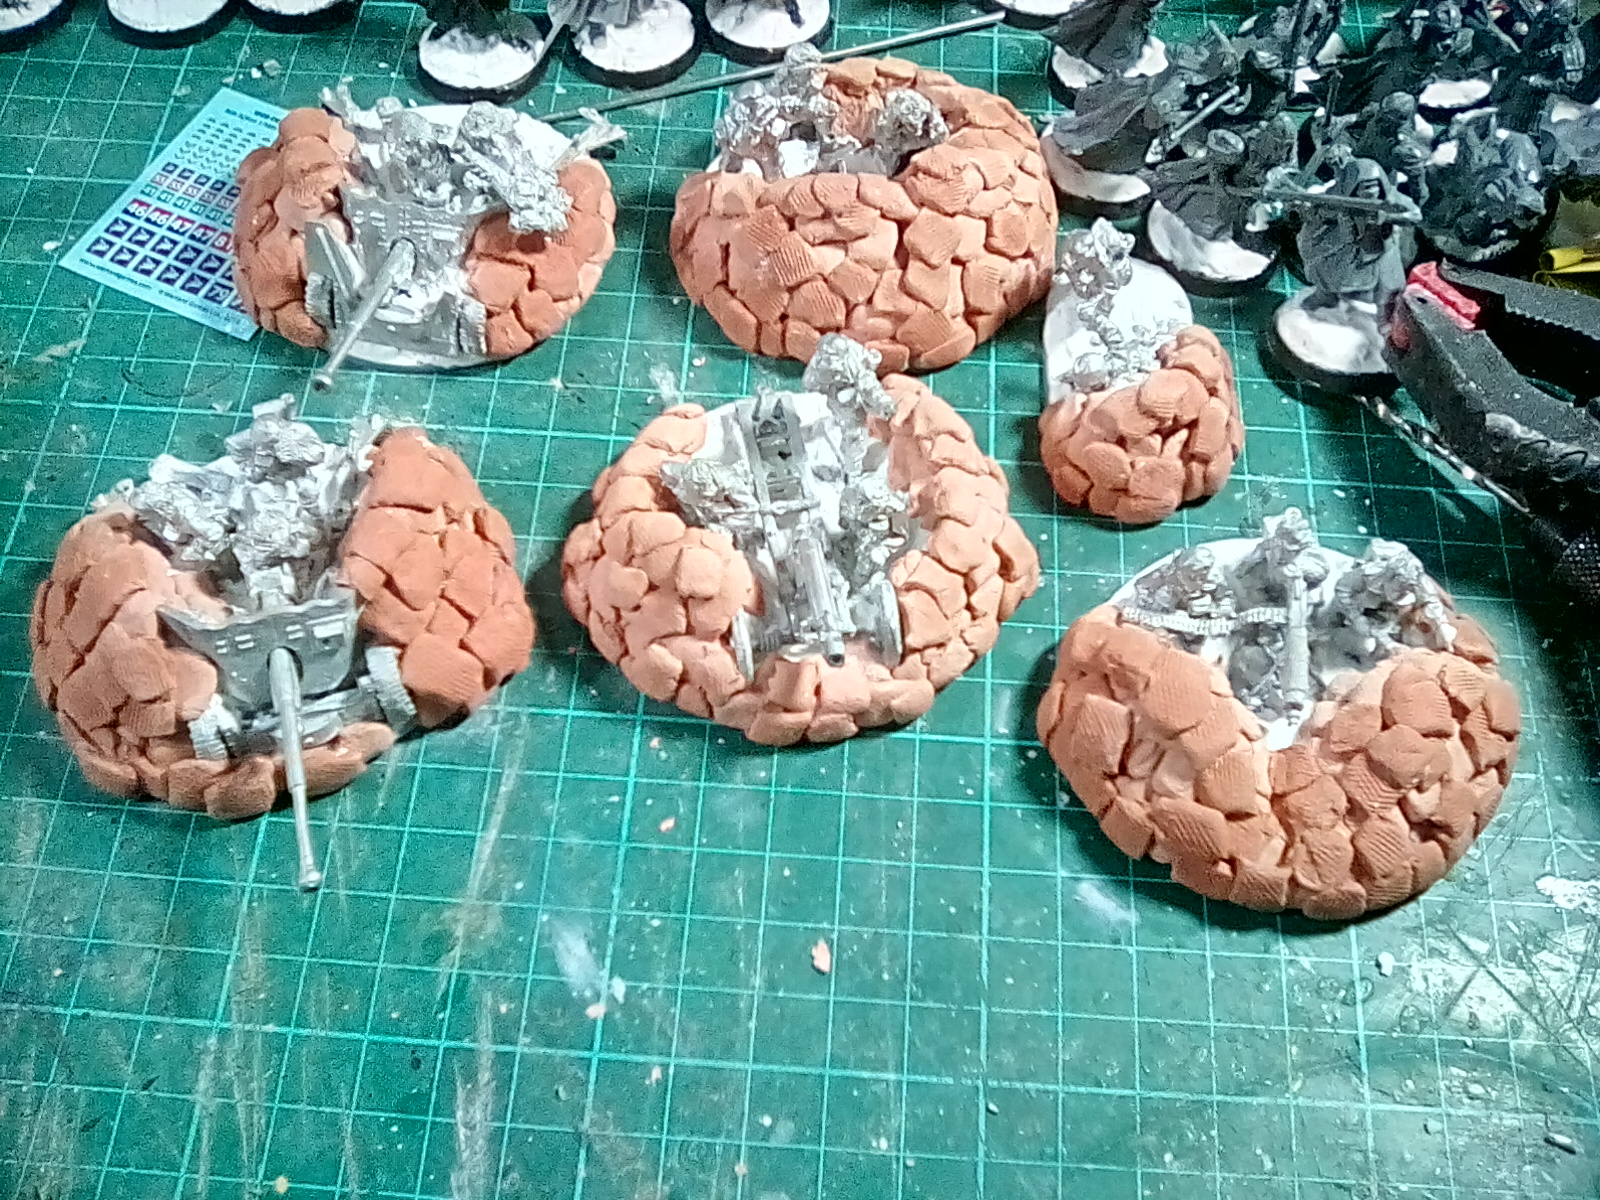
Next up is a British Paras 75mm Pack Howitzer, followed by a Vickers mmg, another 6 pounder and a medium mortar – not an optimised list just what I seem to have acquired over the last year. I have a terrible memory if picking up minis after a few months of playing other games, so I find it useful to stick labels under the bases saying what the unit is. I’ll leave the glue to set for a while, then cover the base with filler like before to bed the gun into the base and hide the soldiers metal bases.

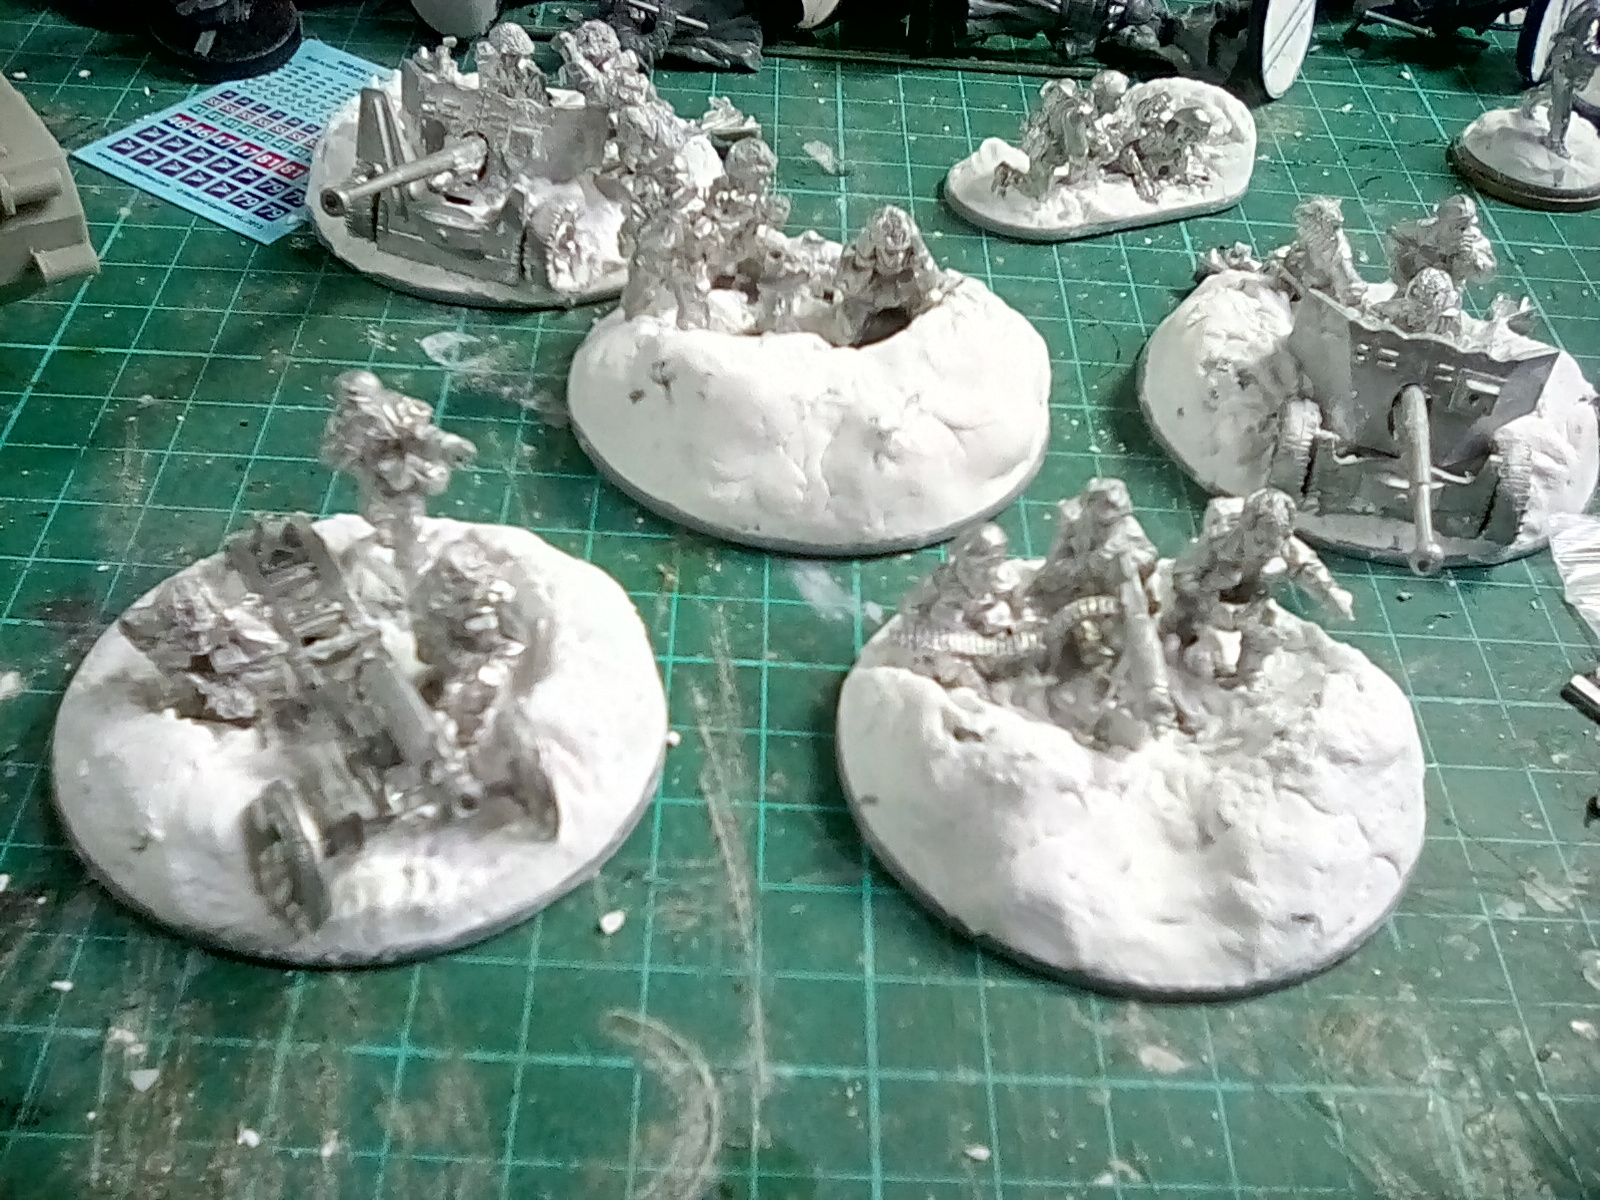
The photos above show how I’ve built a plastic framework of sprues under the entrenchment before covering this with filler. The next stage will be to make a few sandbags to add to the top of these… If I can ever find where I’ve put my Das clay.
The crocodile
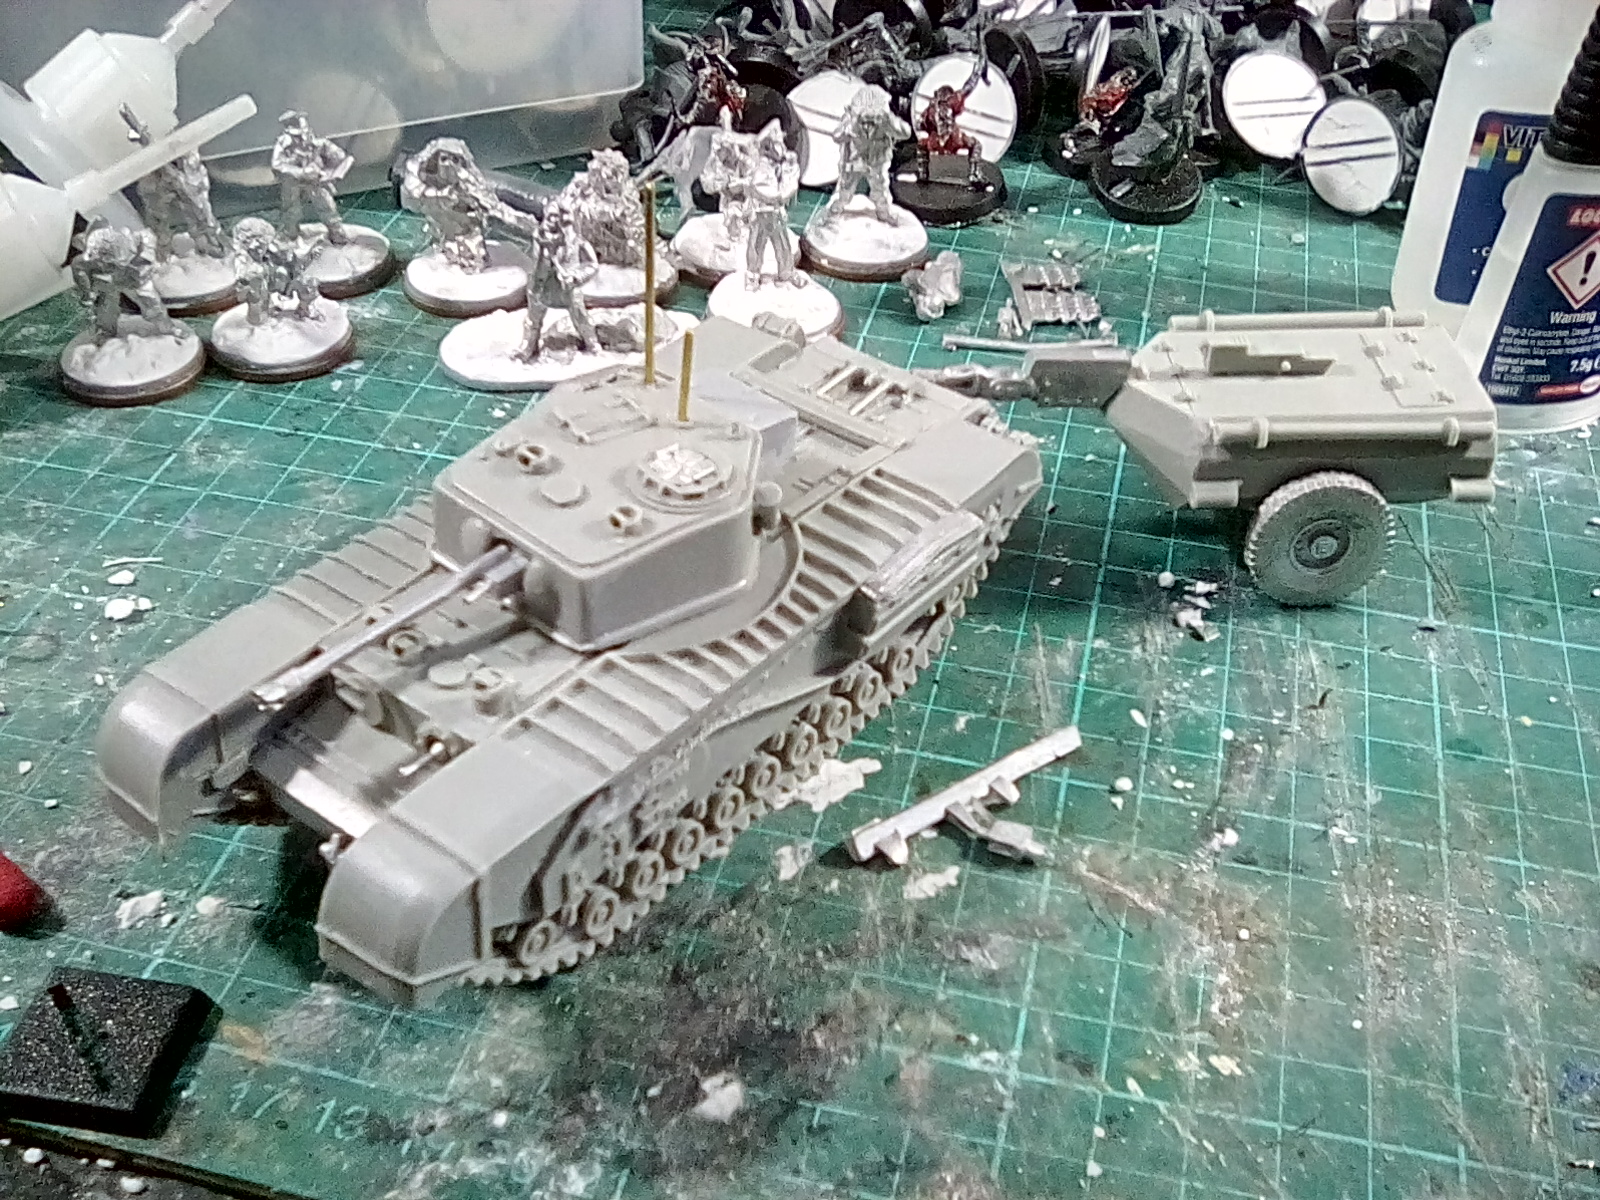
What is a world war 2 army without tanks?
Time for me to start peeping a Churchill crocodile. As this is a resin out it is vital to wash this before doing anything else, to get rid of any grease used to get the parts out of the mould. Just a rince in a sink with a bit of washing up liquid is fine, I like to use a large brush to just get into any crevices.
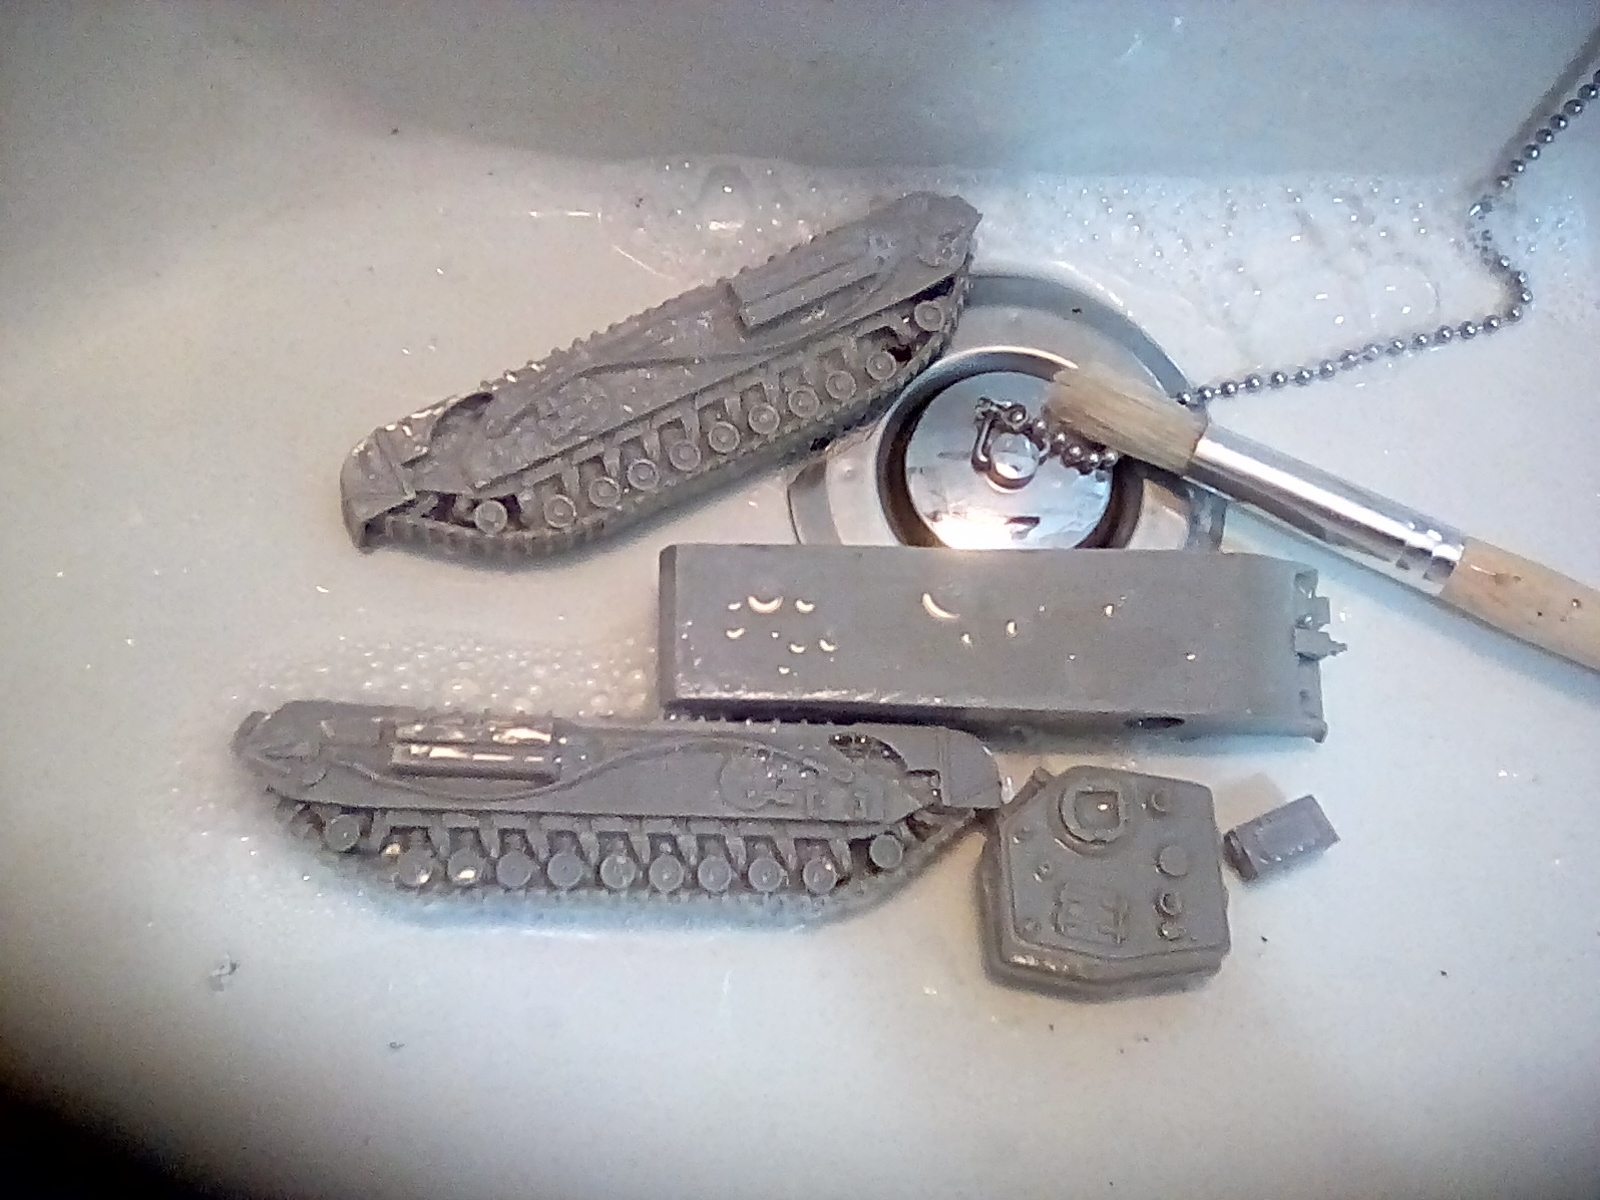
All resin prices tend to need tidying up before assembly, so this is just a matter of cutting off and vent tubes where excess resin has gathered (normally on the underside) and sanding any lumps and bumps flat.
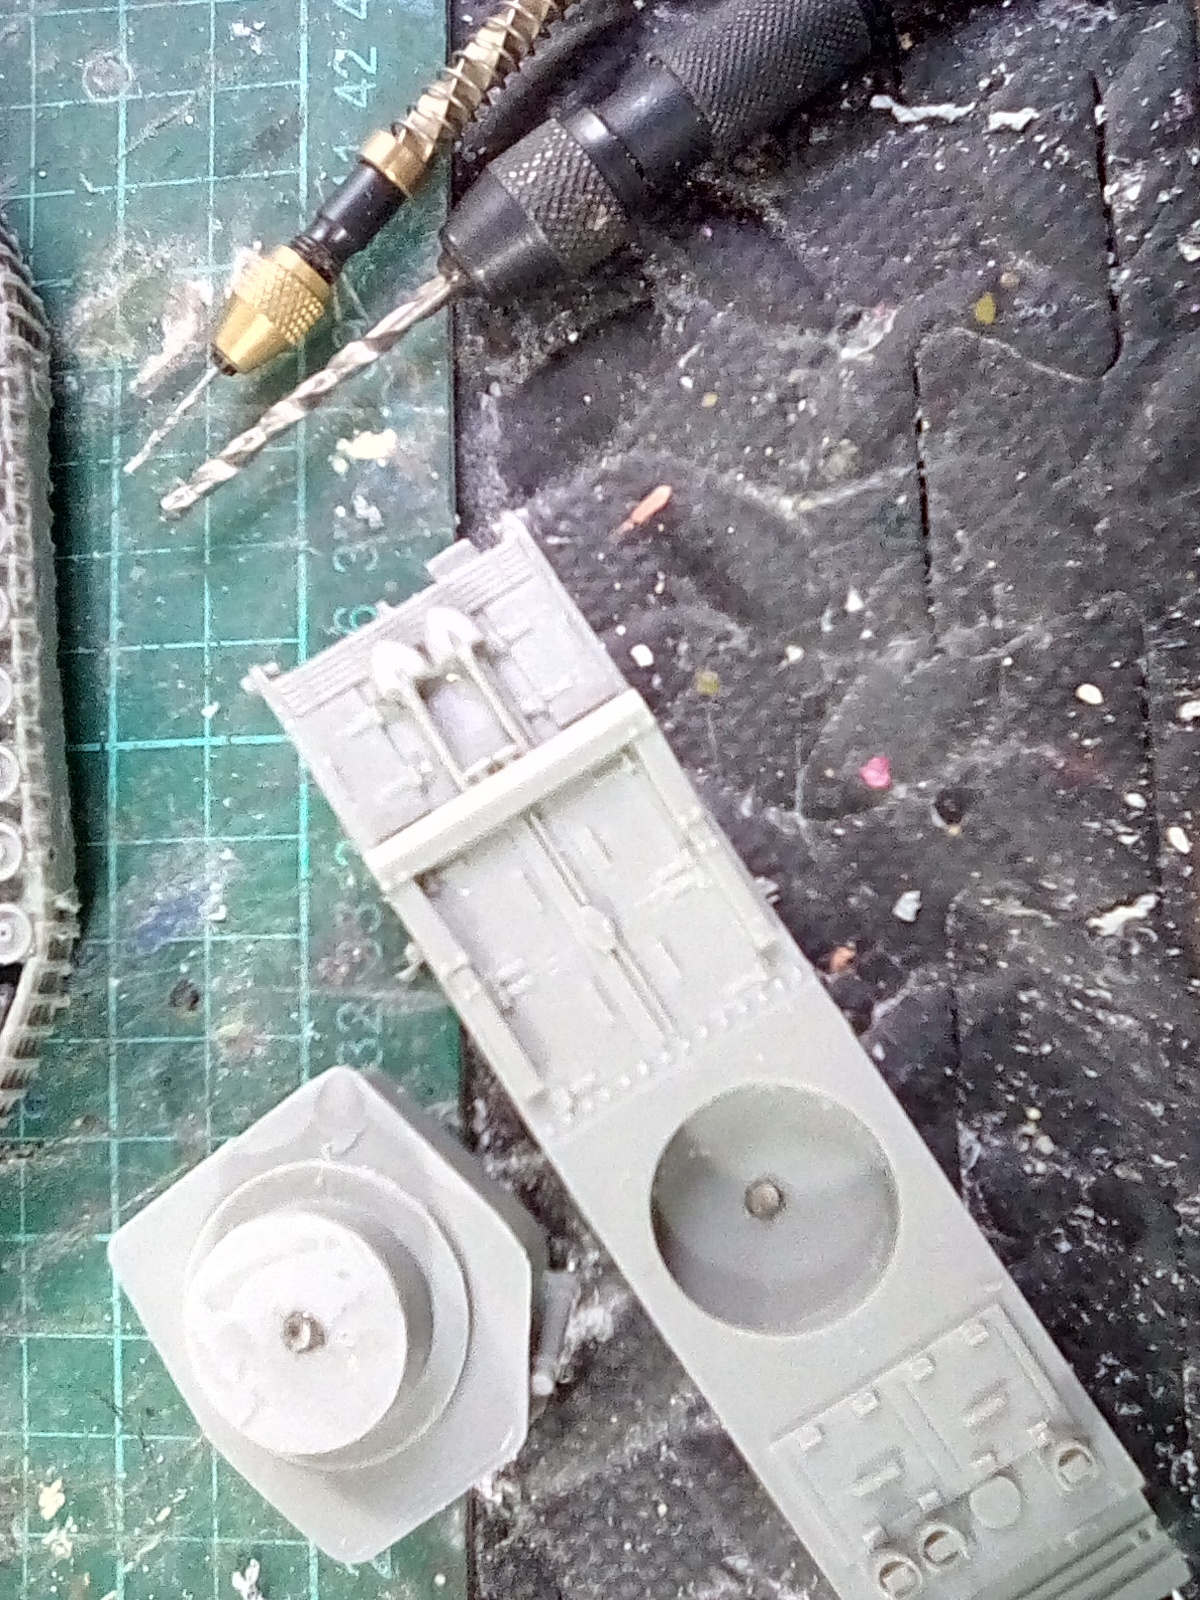
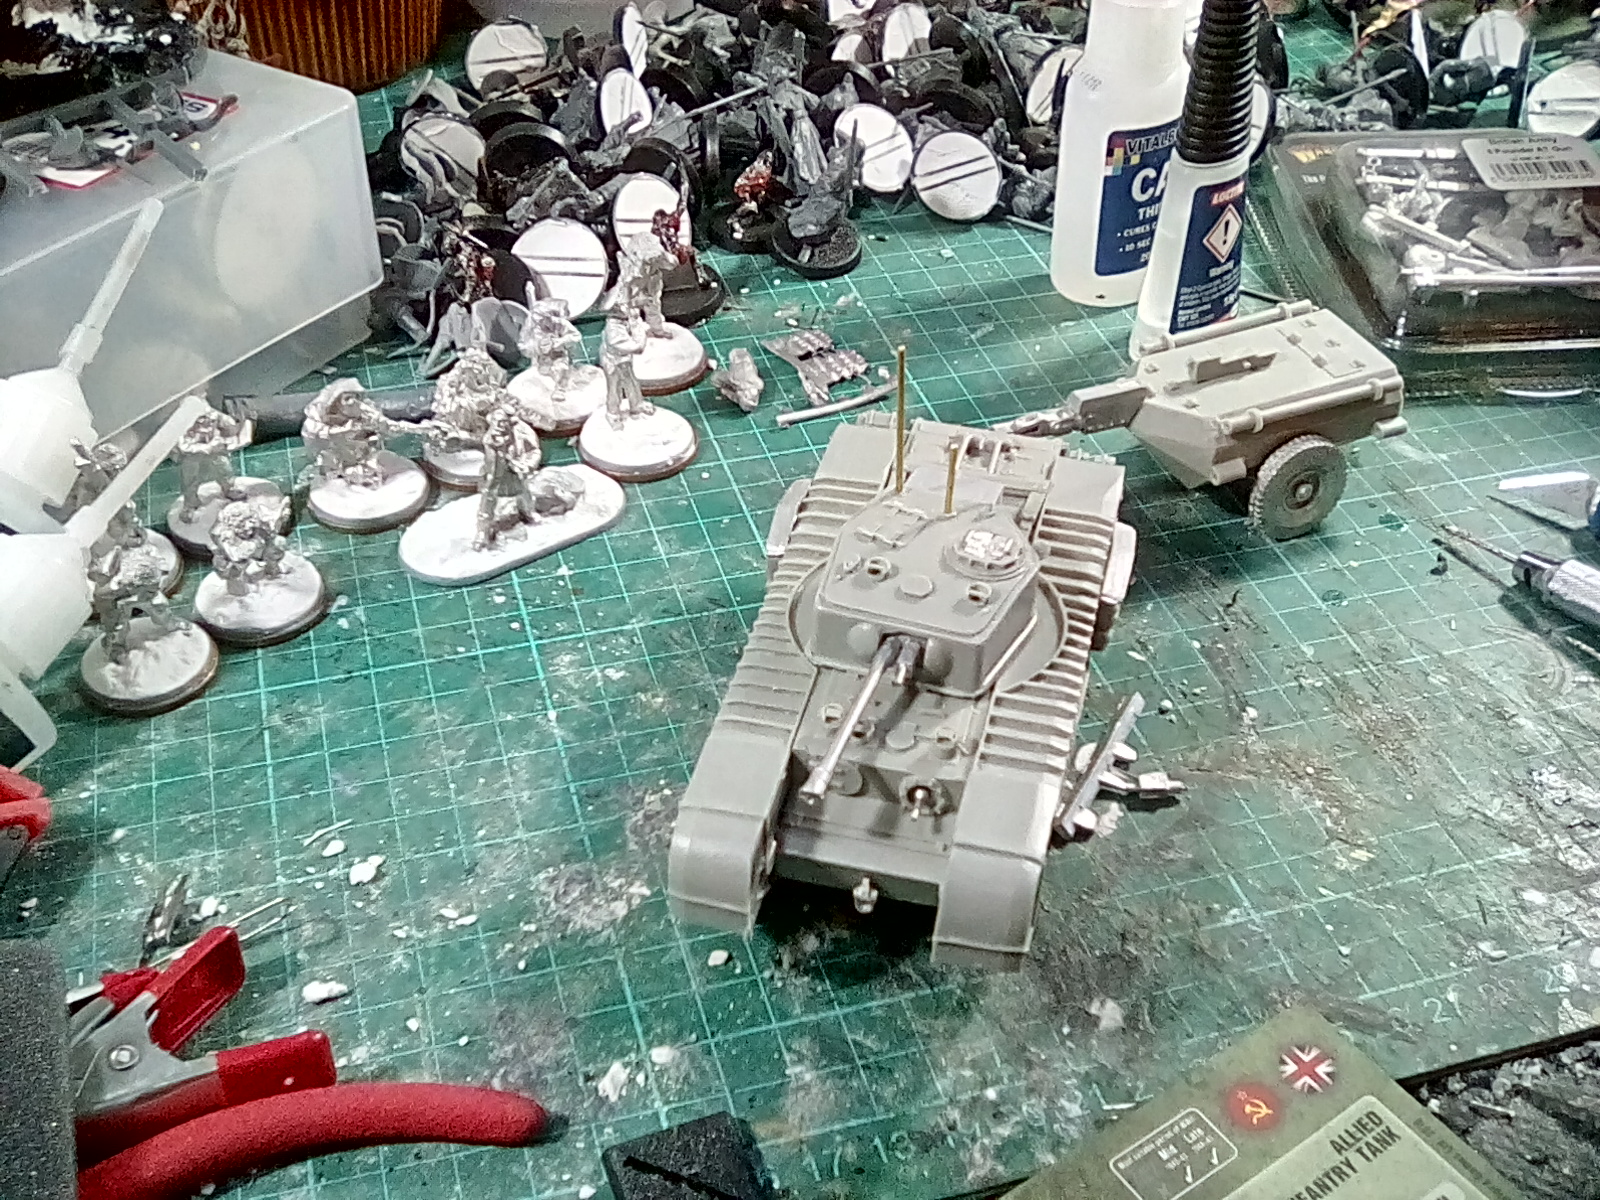
I decided to use magnets on the tank turret, just stop it dropping off if the tank was knocked during a game. This is easily done by drilling a small guide hole with a pin vice, then enlarging this with another drill bit the same size as the round magnets. Just push a couple of magnets into the hole in top of a drop of superglue, making sure all the magnets are the right way around so they attract instead of repelling each other. The turret will still rotate, it just won’t drop off unexpectedly.
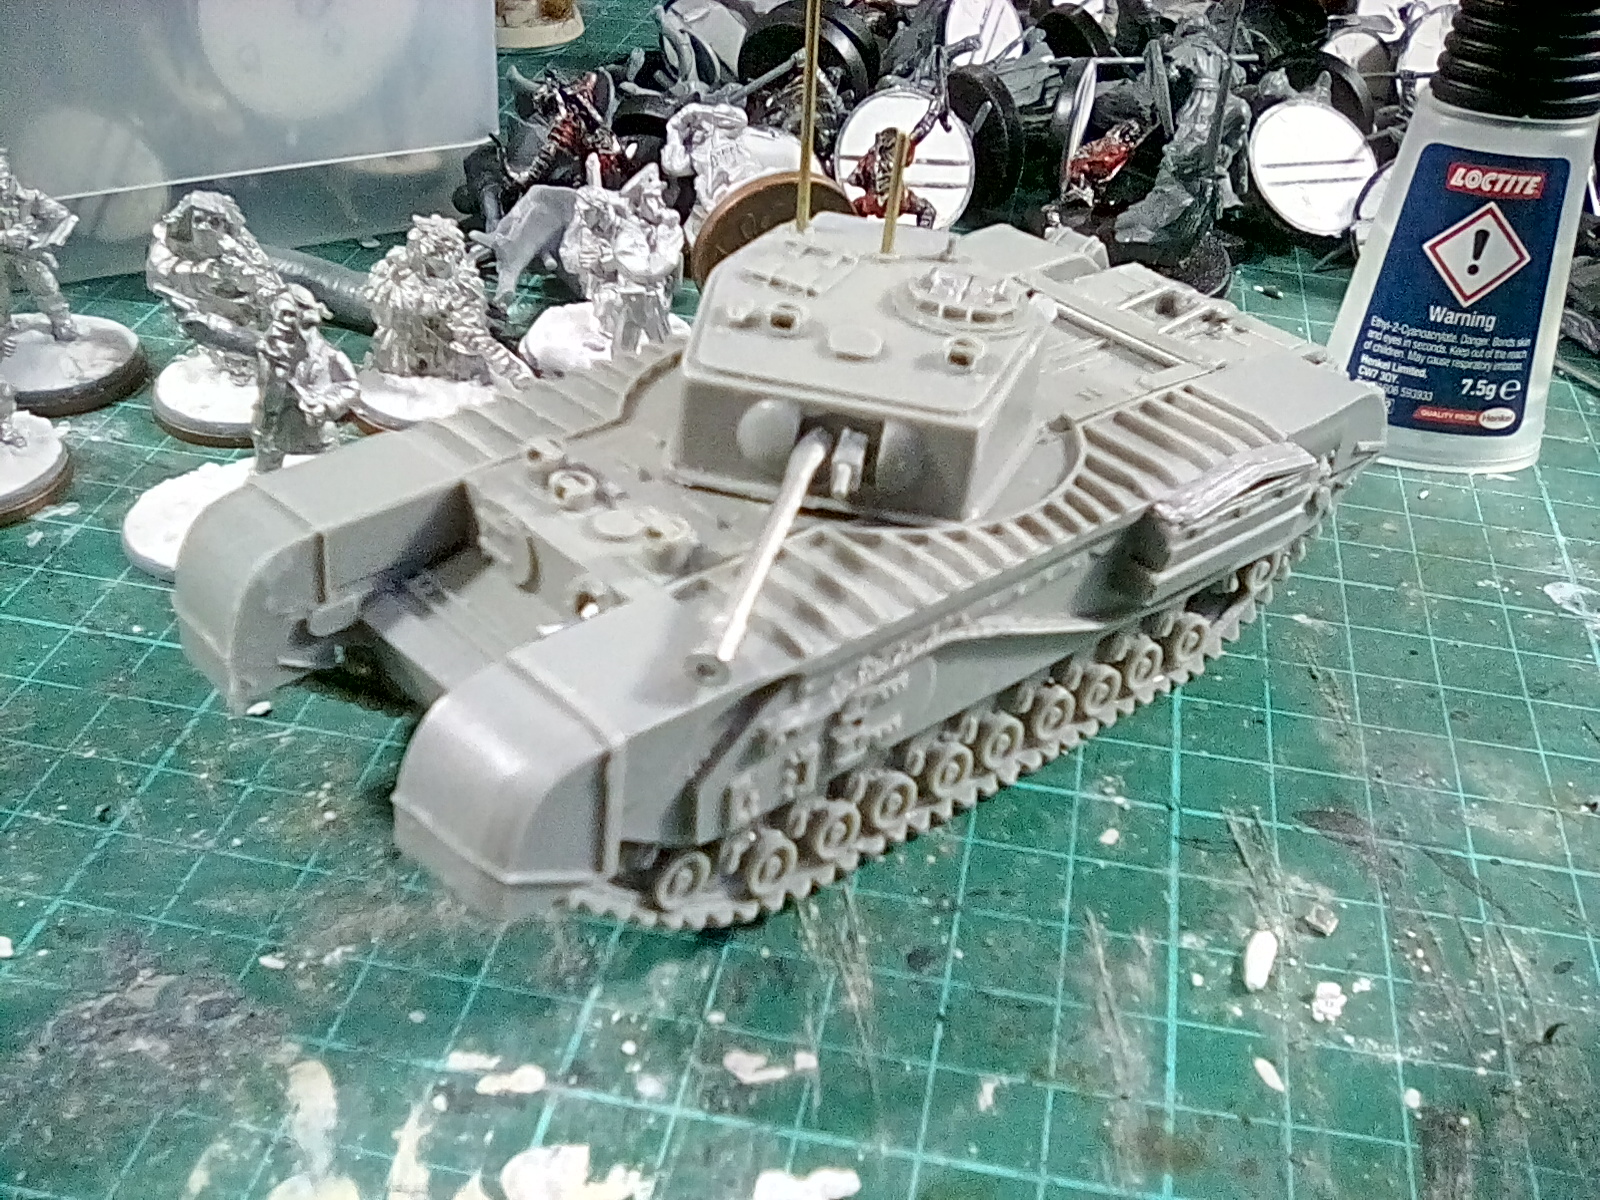
After super gluing on the metal parts, an a couple of thin metal rods drilled into the turret as radio ariels, the main body of the tank is done.
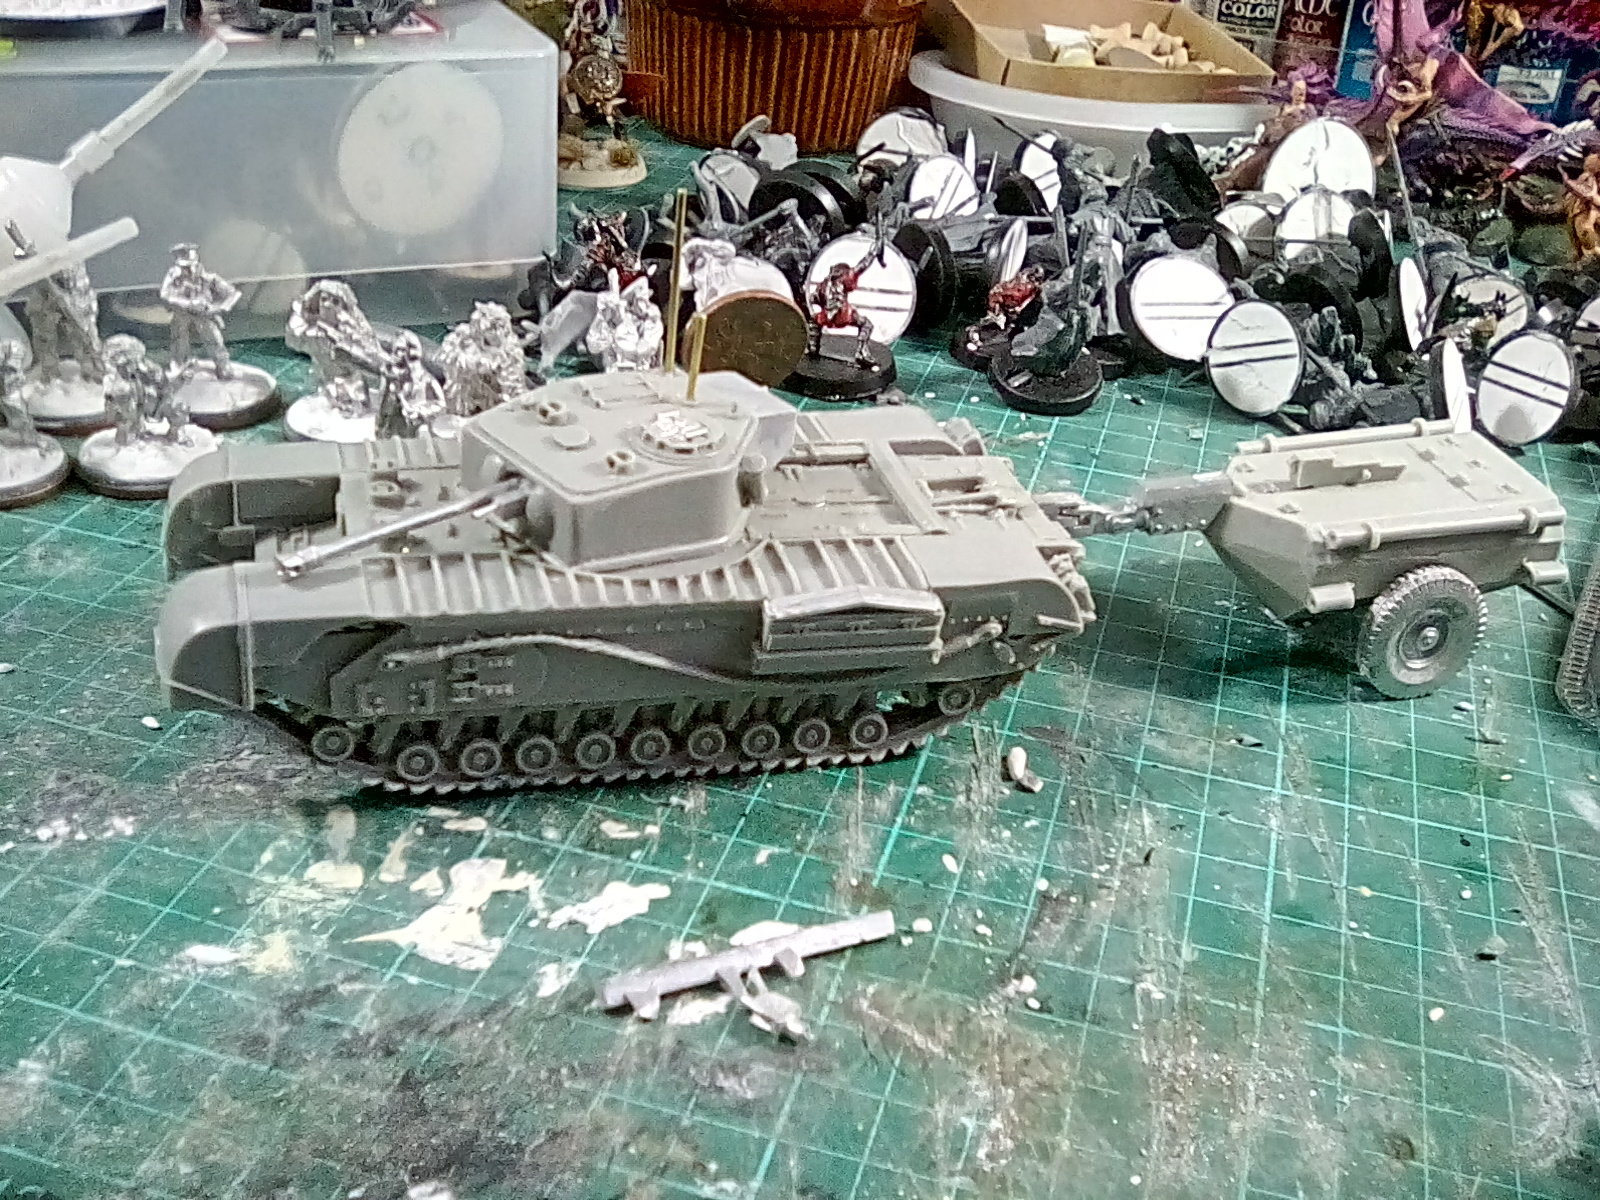
Pretty much the same process to make the fuel trailer. In the end I decided to magnetise the trailer coupling so it could bend without breaking.
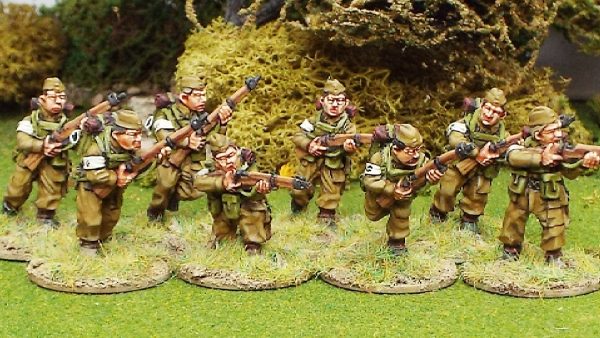
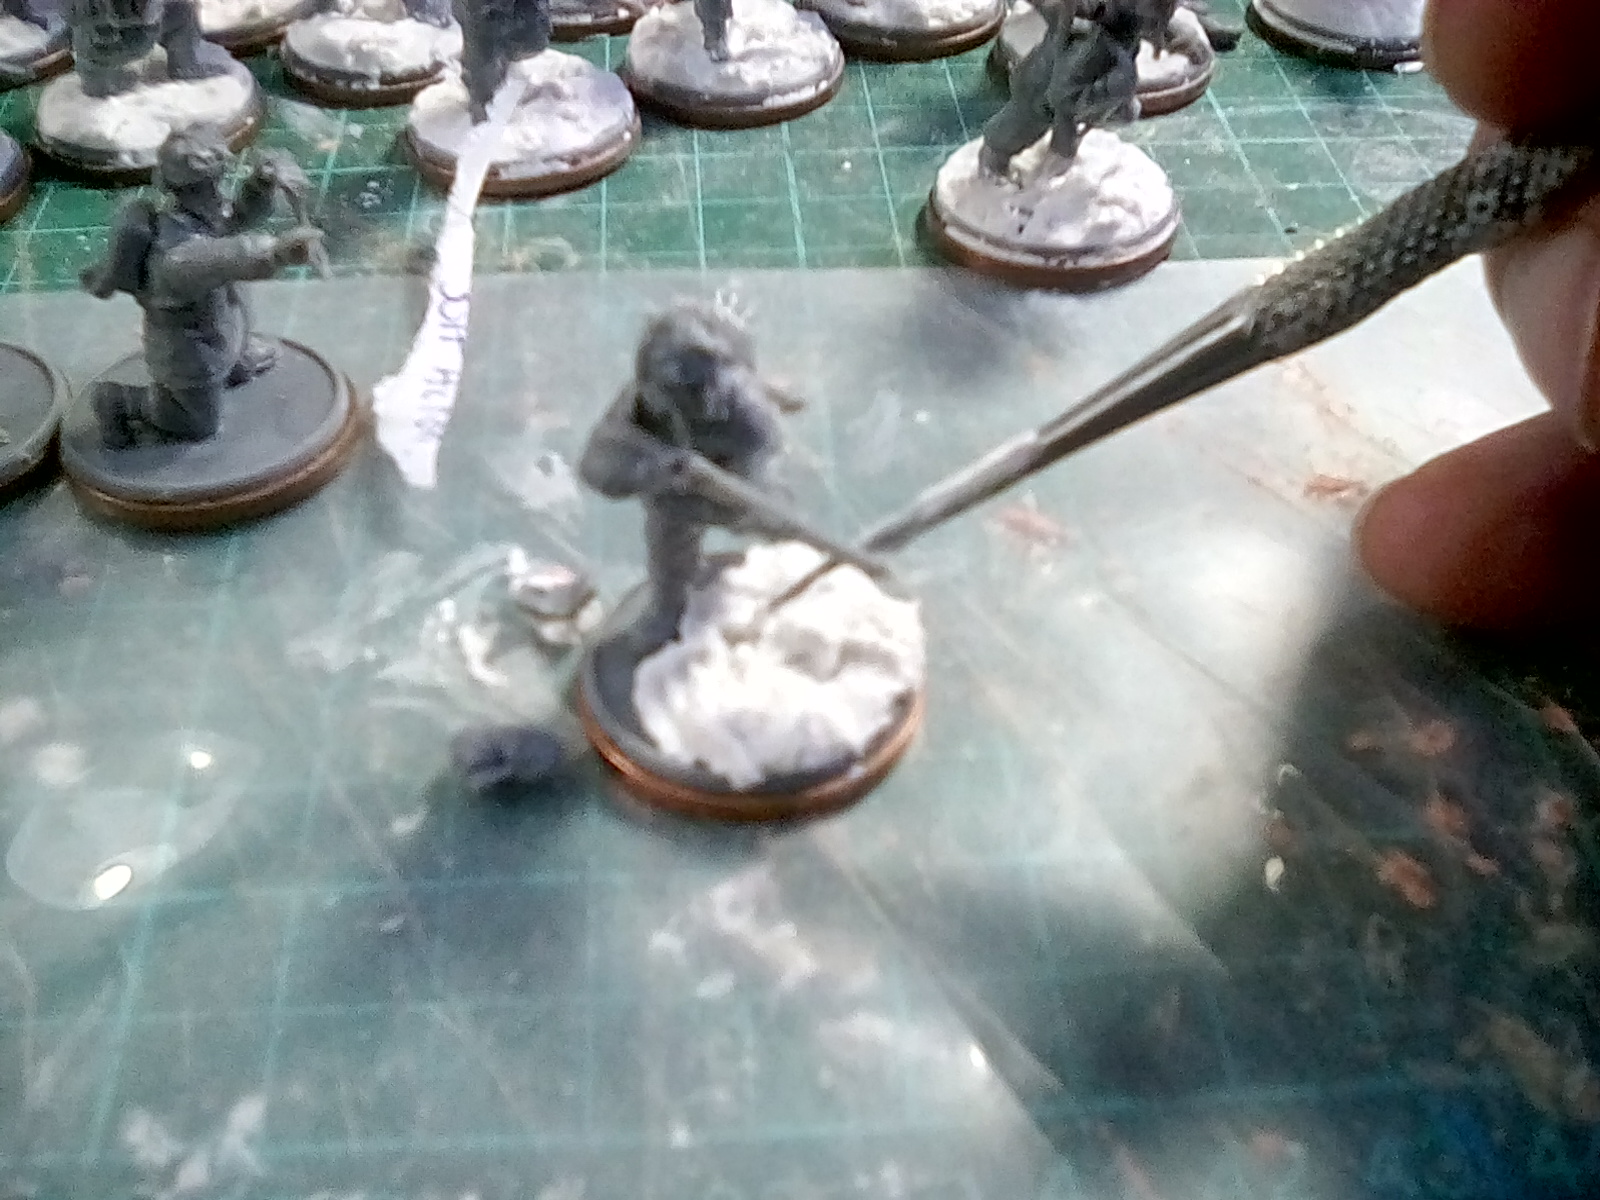
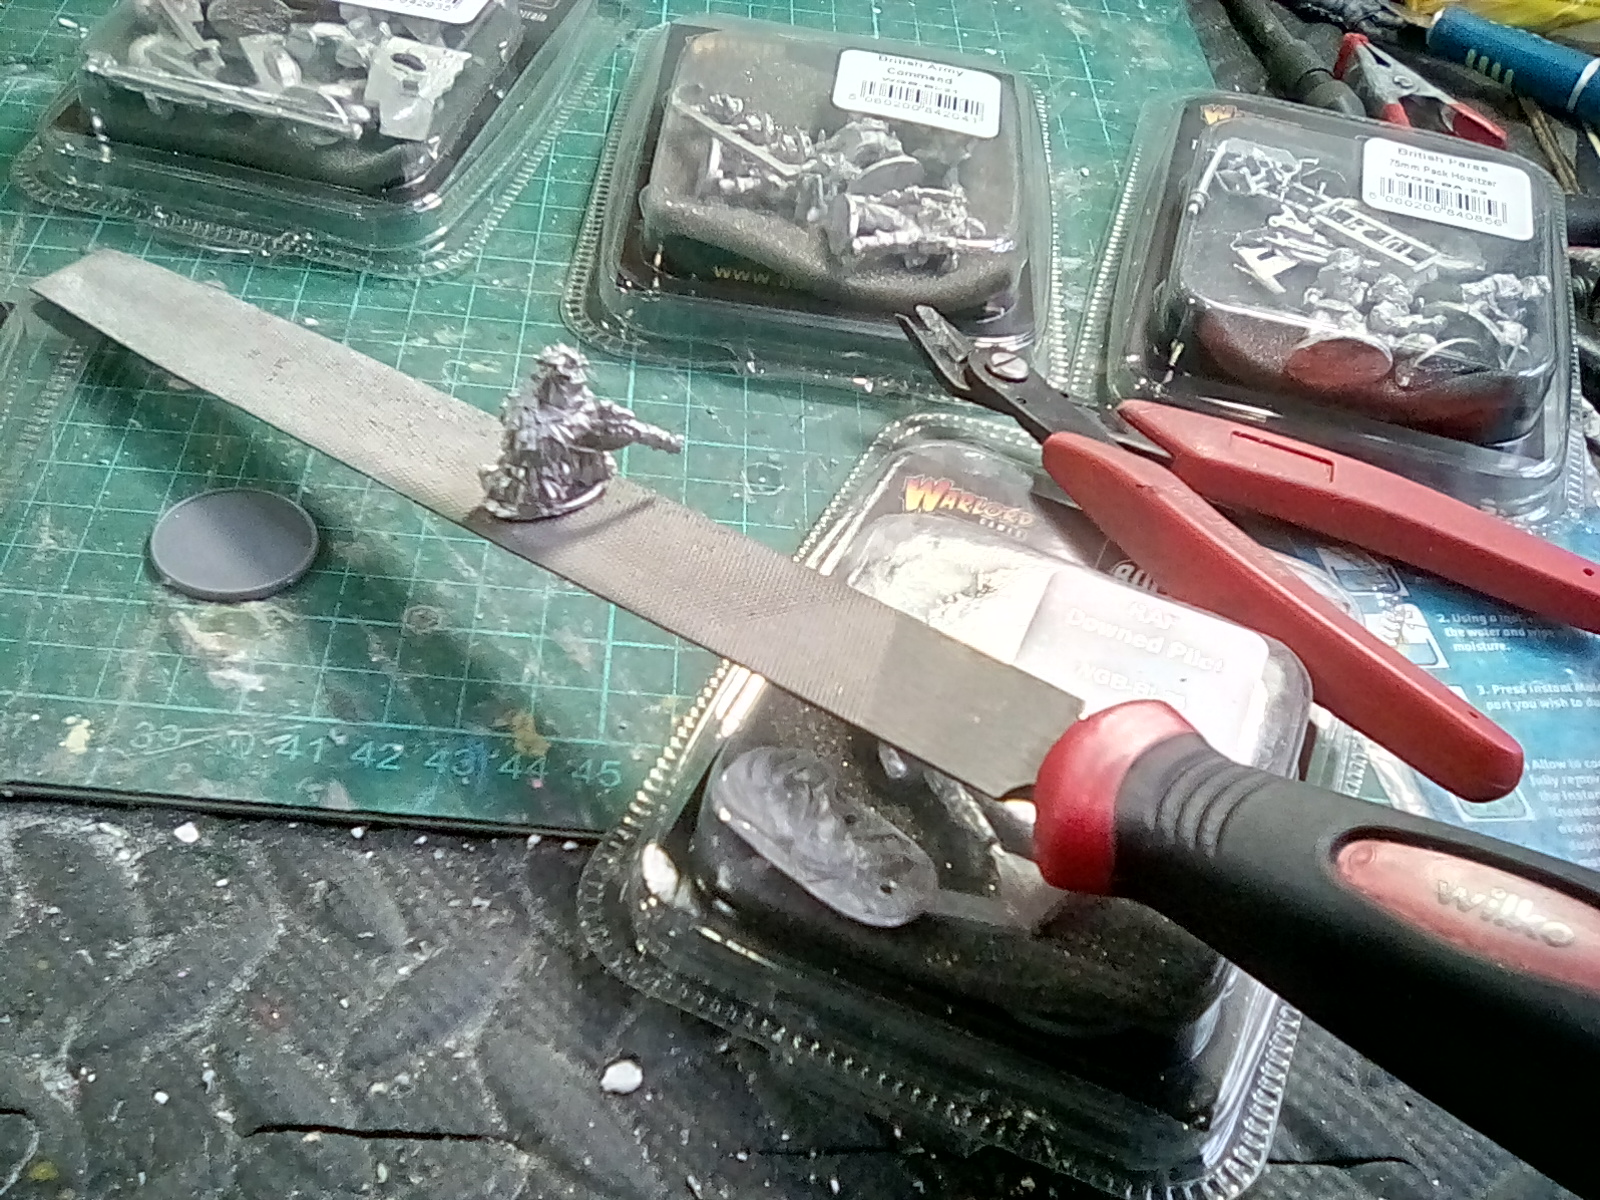
Preparing the blister packs....
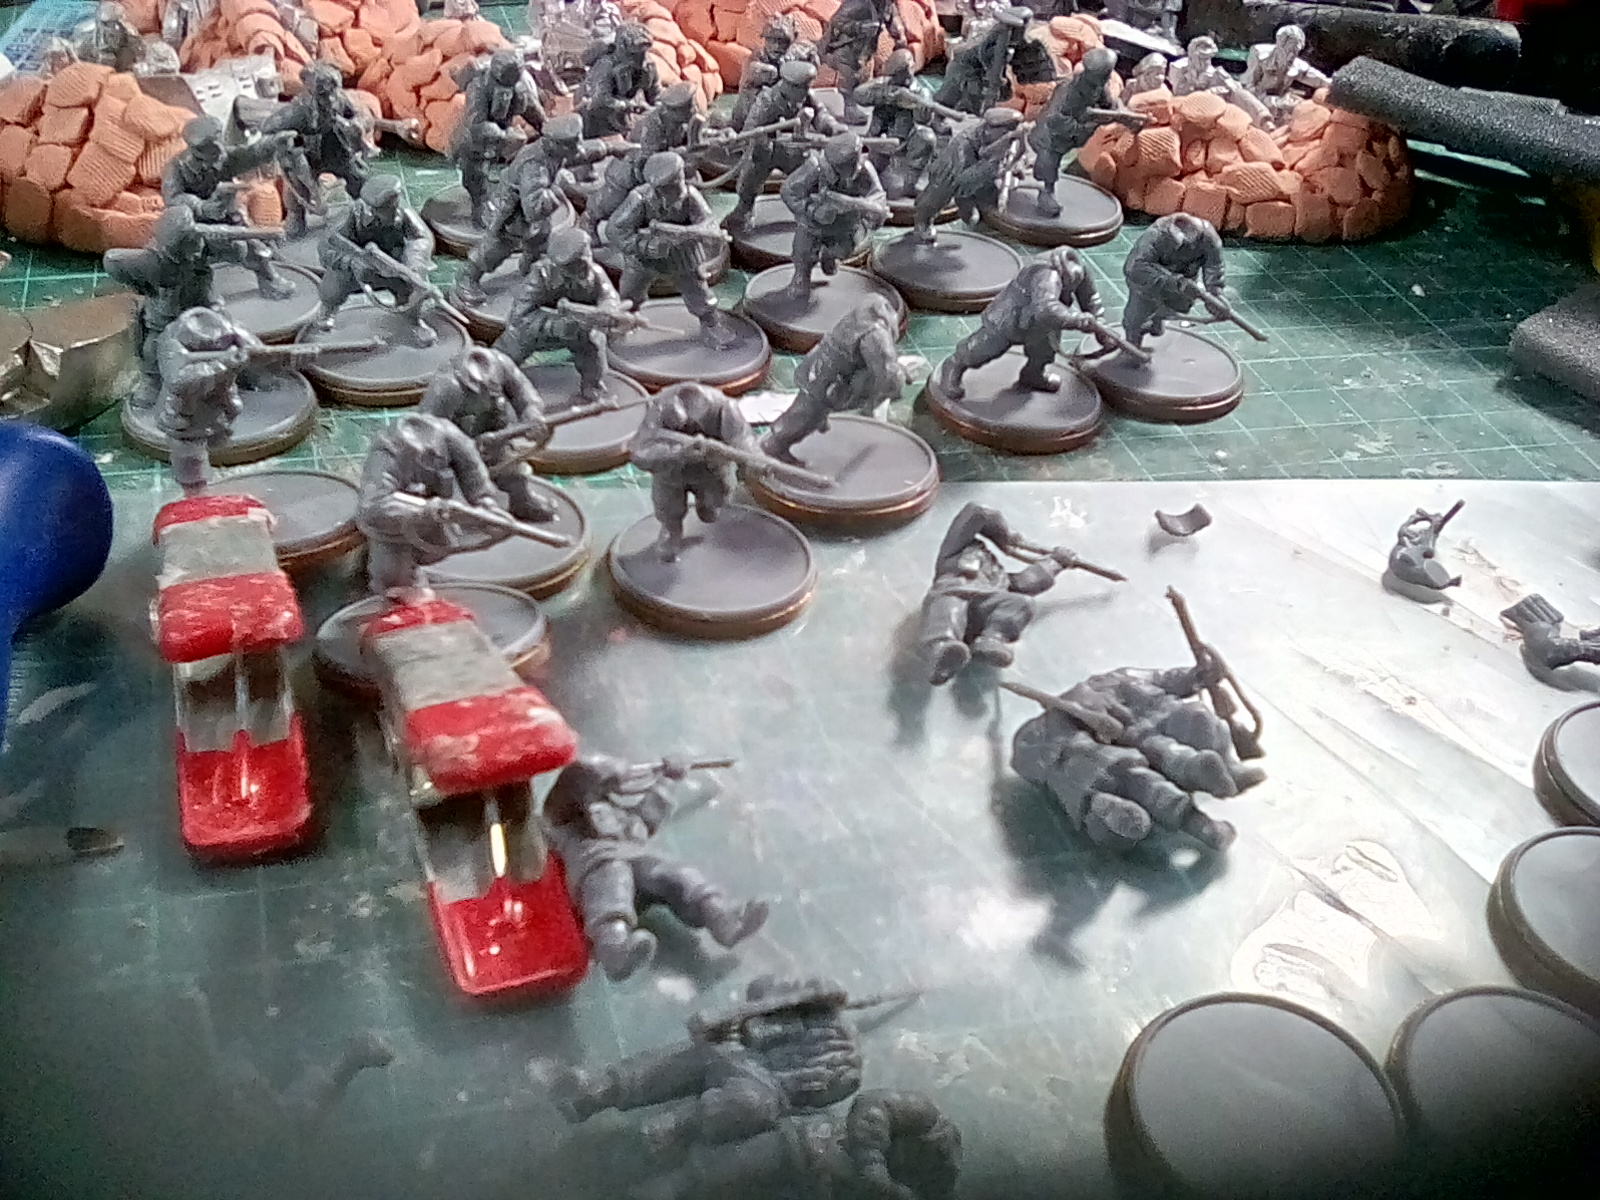
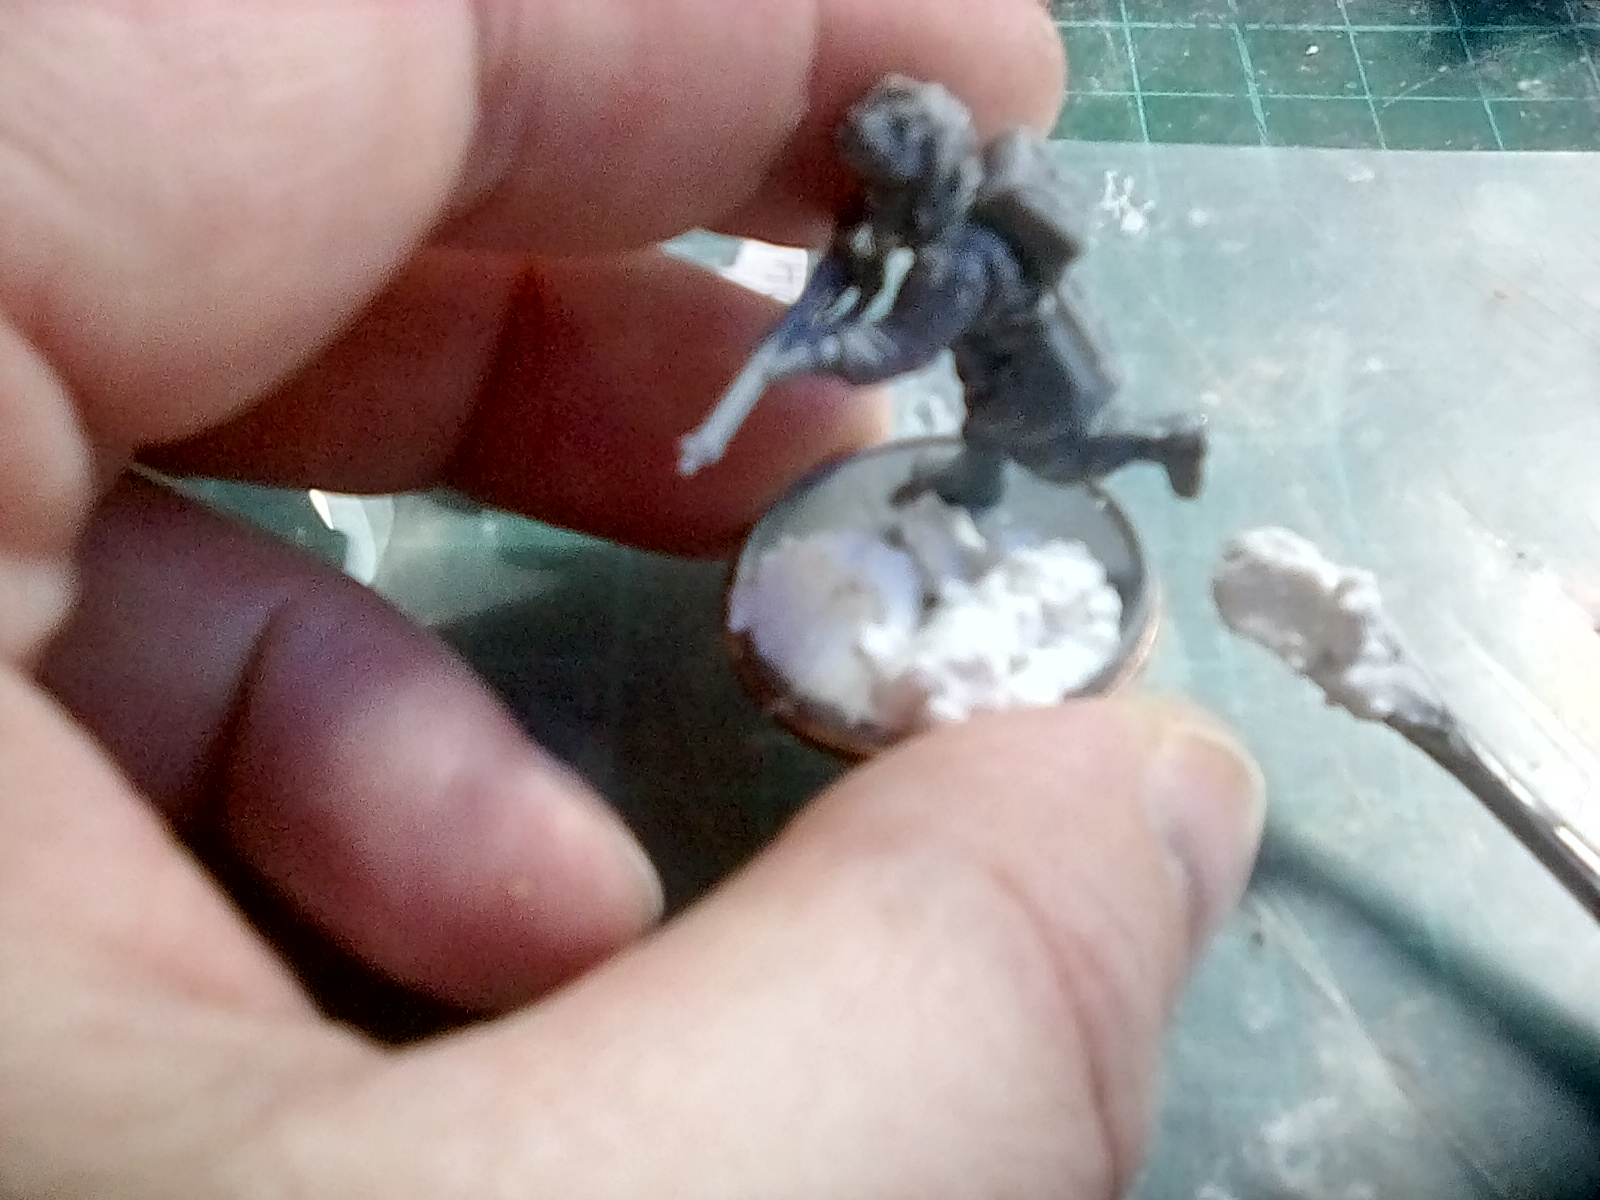
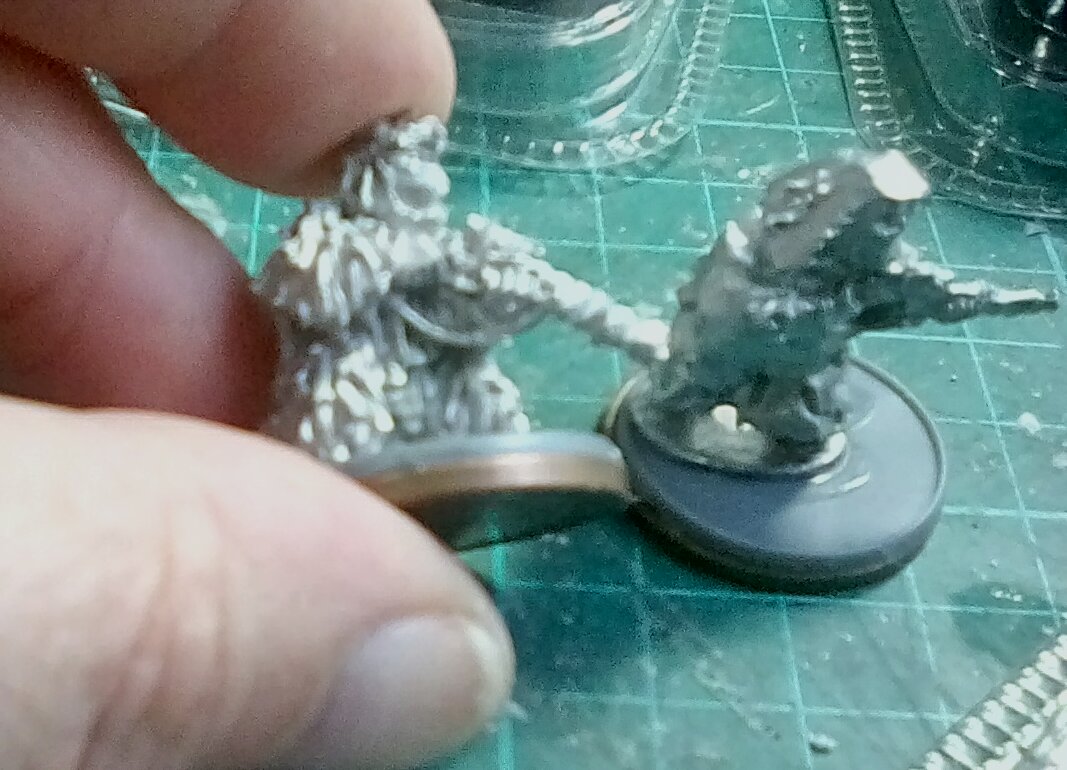
In a cupboard I found a dusty box full of warlord blister packs. Having decided to start with a few small infantry figures, the first job is to fix the figures to a base. Having washed the figures in warm soapy water to remove any mould release grease that would stop paint primer sticking, and taken off any mould lines and spurs of sharp metal with a small modeller file, I flatten the bottom of the figures base with a large woodworking file. I find I get a good flat base by laying that flat on the table and running the model along the file. The flat base is vital to ensure the superglue has a good bond to the plastic base. As I like my figures to be stable and not be too heavy I then glue 2p prices to the bottom of the plastic base, as these tend to be heavier (and cheaper) than metal washers.
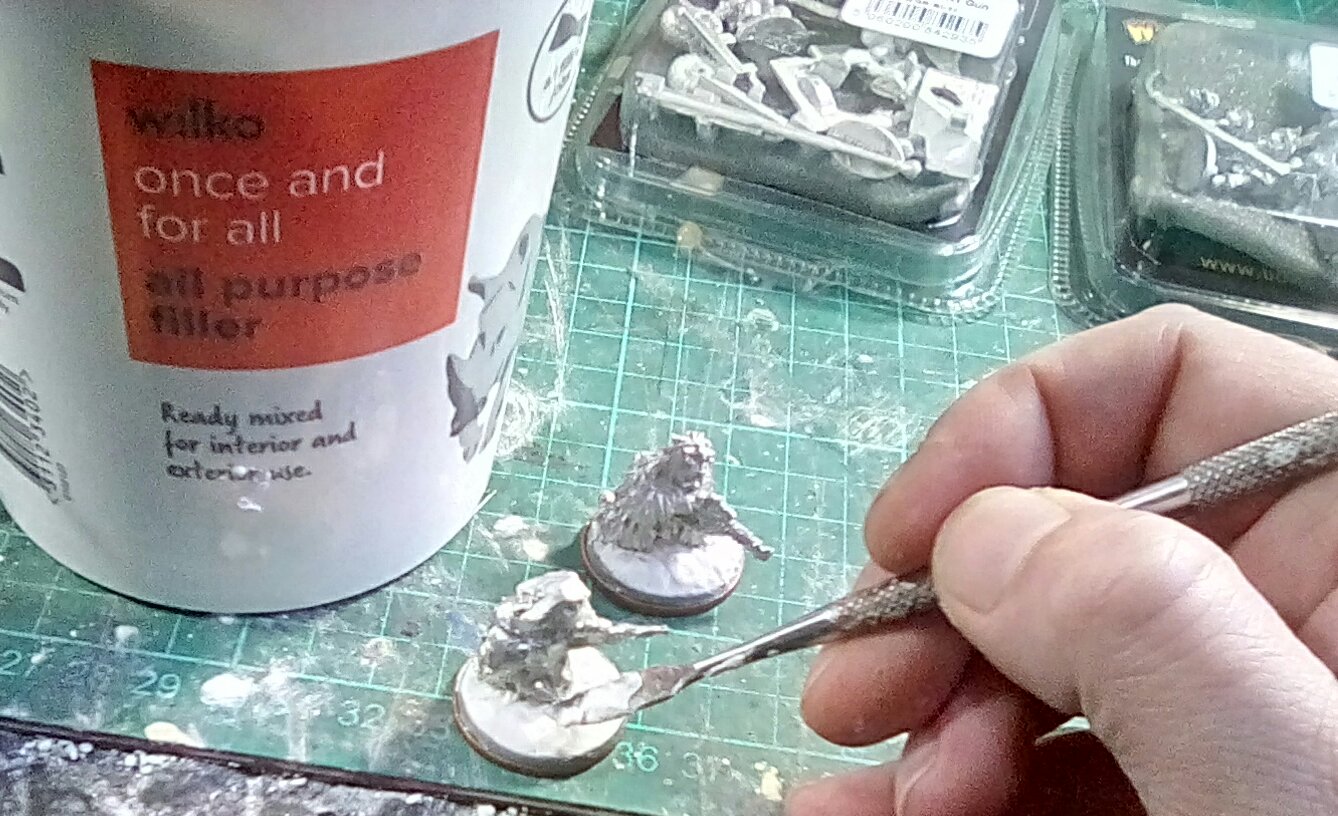
Give the superglue a minute or so to harden, and then you can build up the bases with some all purpose filler from your local DIY store and something to shape it with – I use a metal clay shaping tool but you could use an old screwdriver or a toothpick. I like the fact the filler adds weight to the base, but if you want your models ought and easy to transport these days you can get ultralight filler with microwaves that weighs next to nothing.
This is much cheaper than resin bases and covers up the metal base on the bottom.of the figure. The downside is that you have to leave then about 24 hours to harden before you can prime them. Leave them in the open where the air can get to them – they harden much slower if put in a sealed box with a lid.
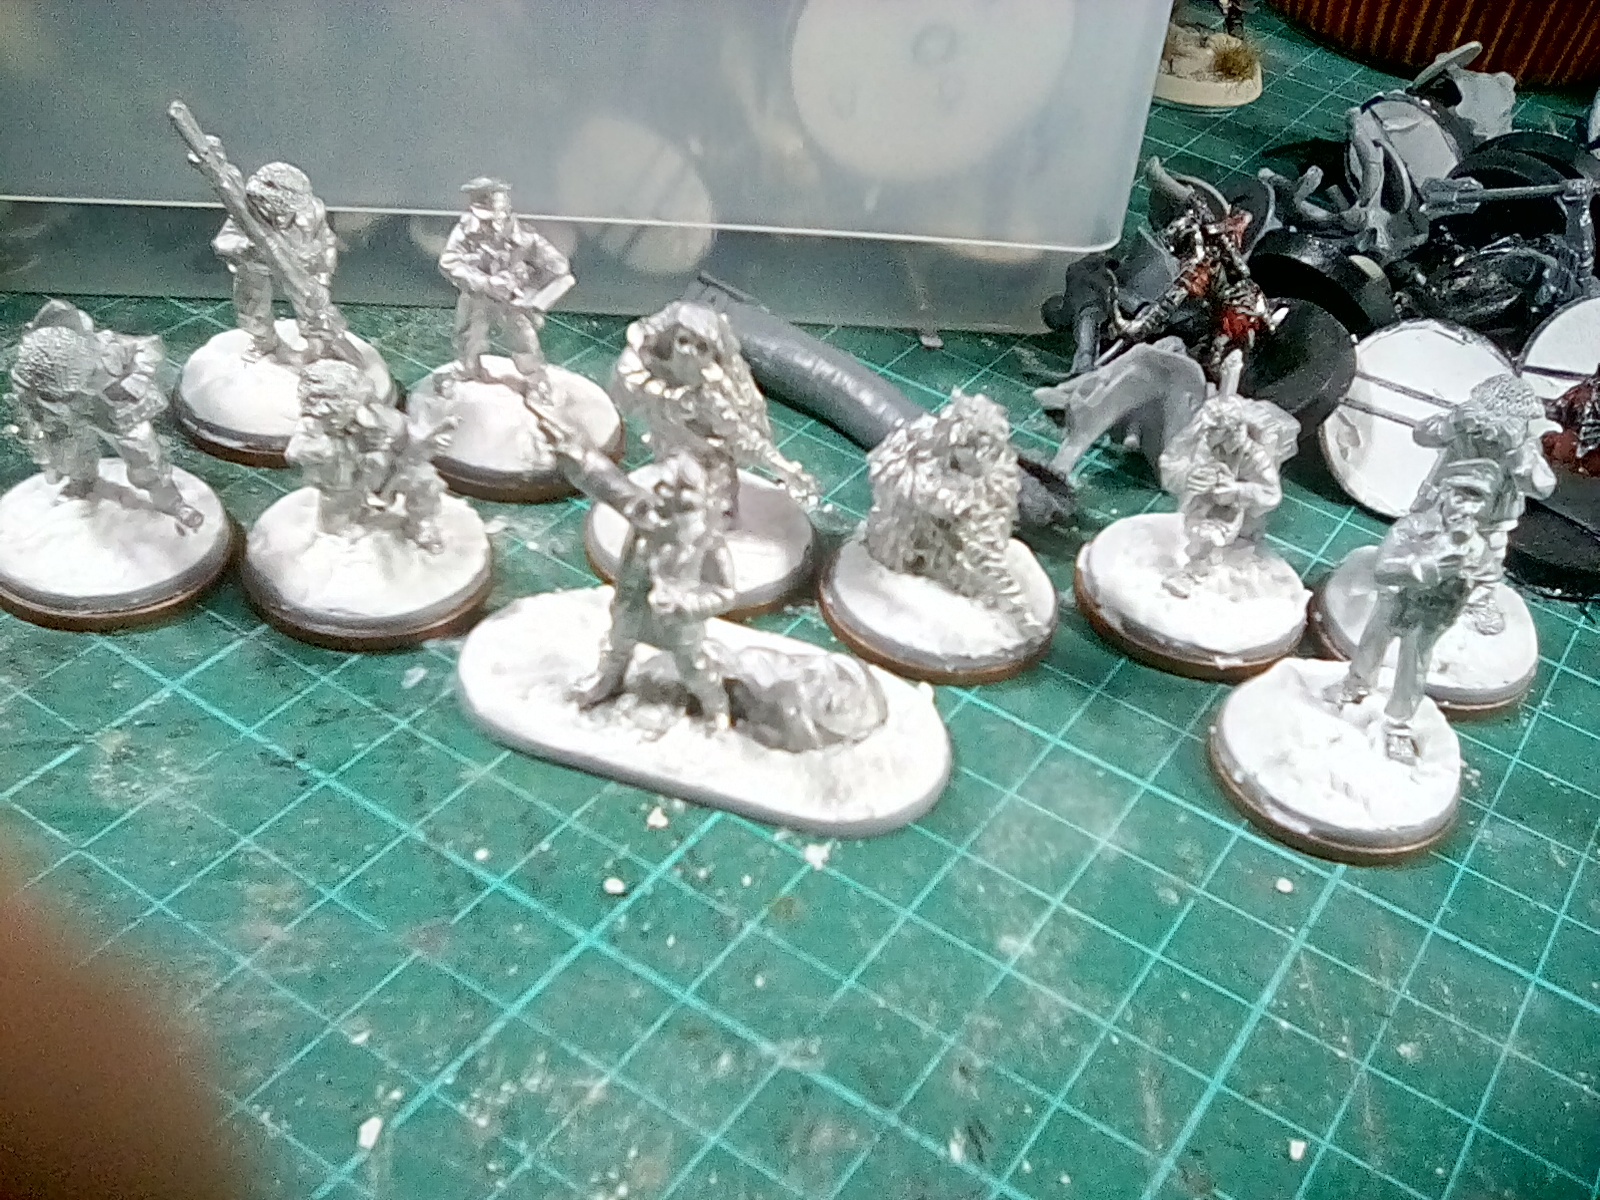
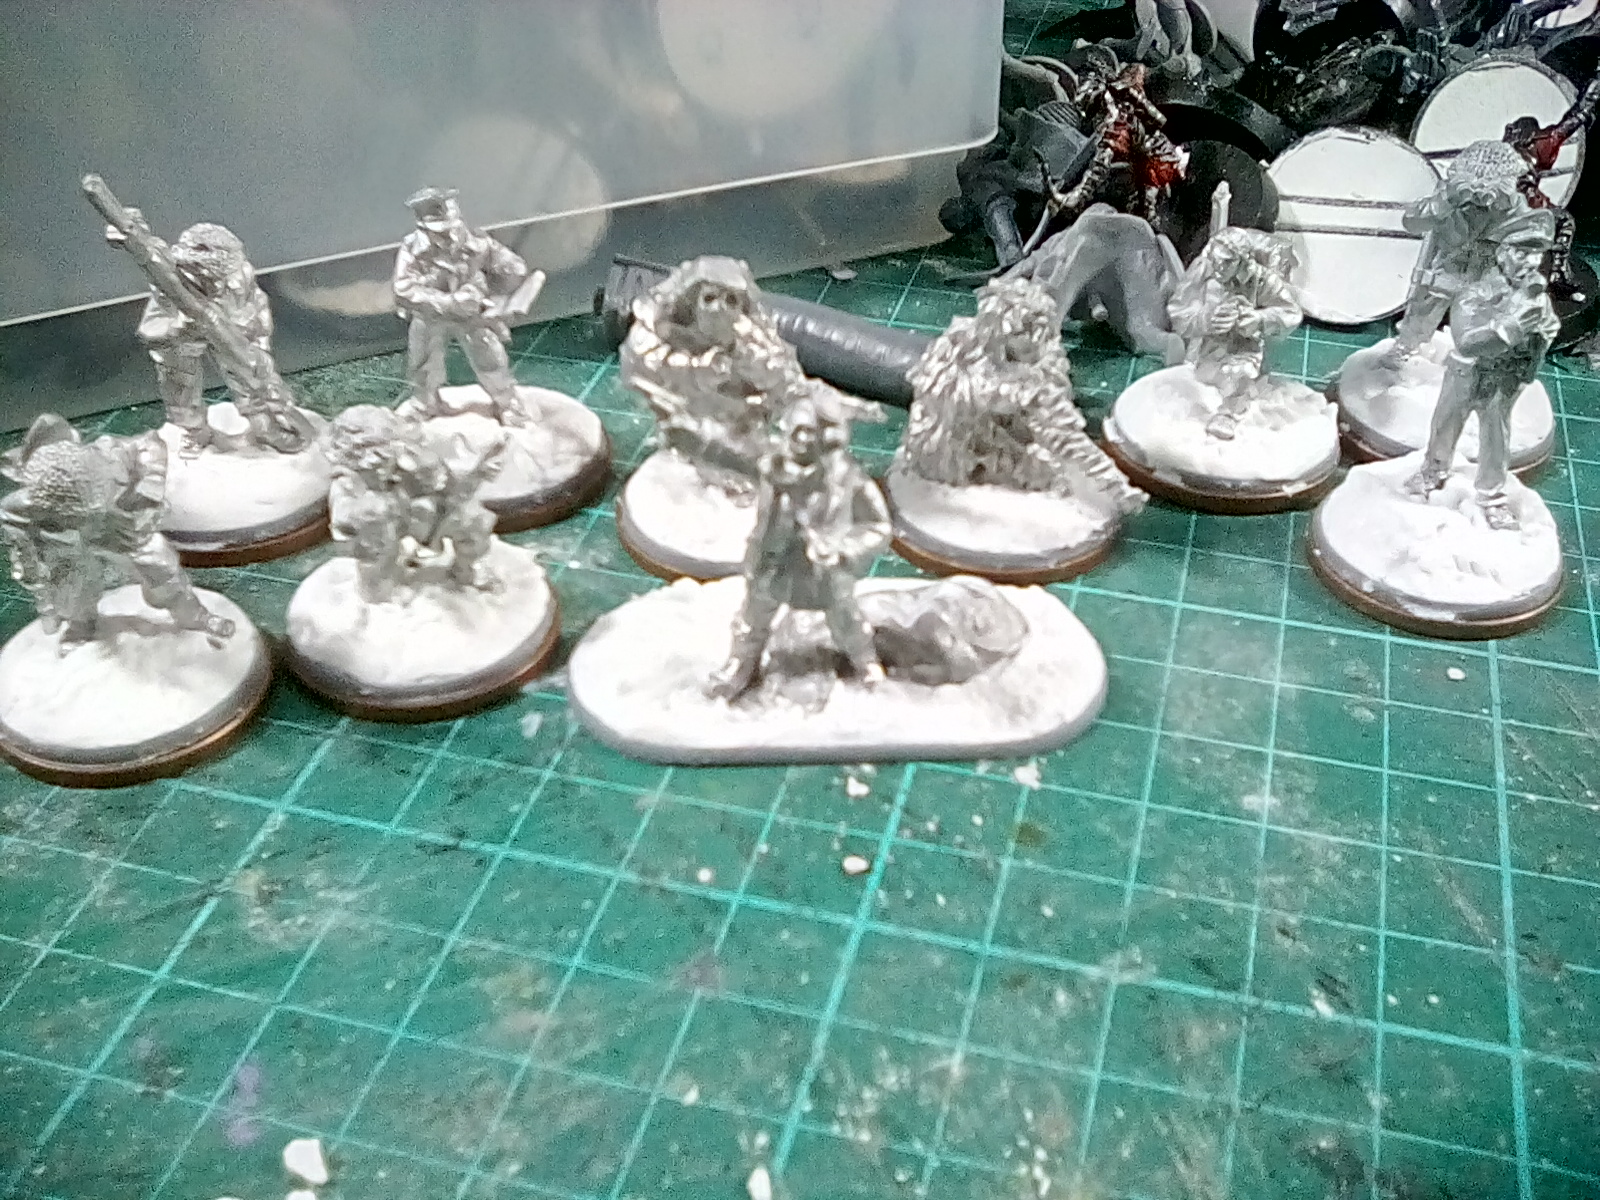
With a few blister packs based, I’ll have to leave these overnight for the white filler to harden enough to be primed.
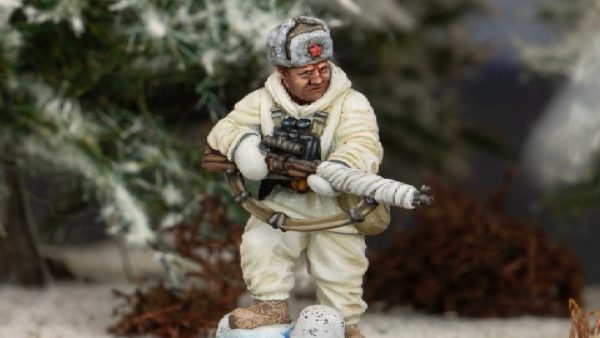
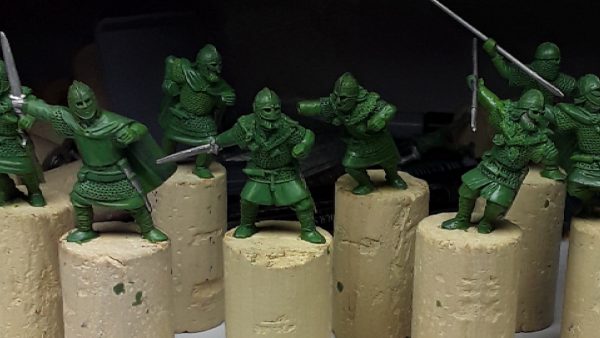
Know your enemy...
In any conflict, it distinctions the forces that oppose you.
My struggle to create a playable British Army for Bolt Action faces many threats….
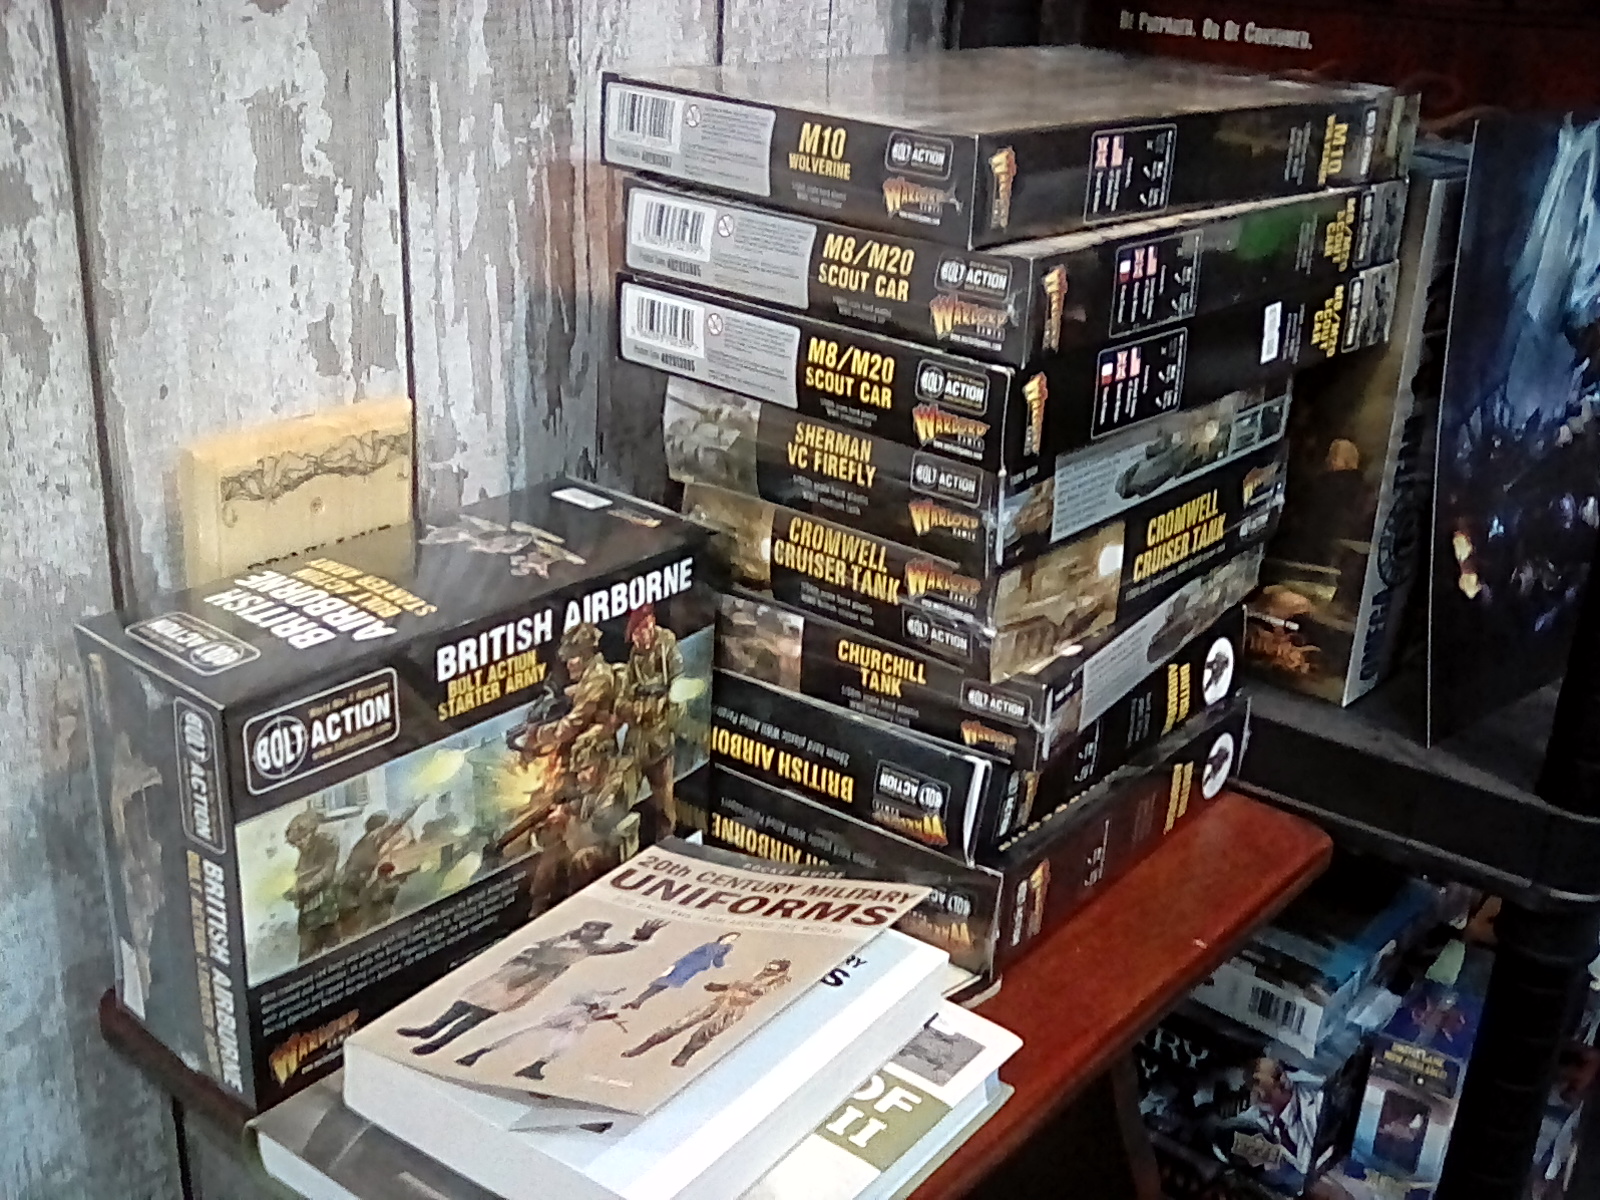
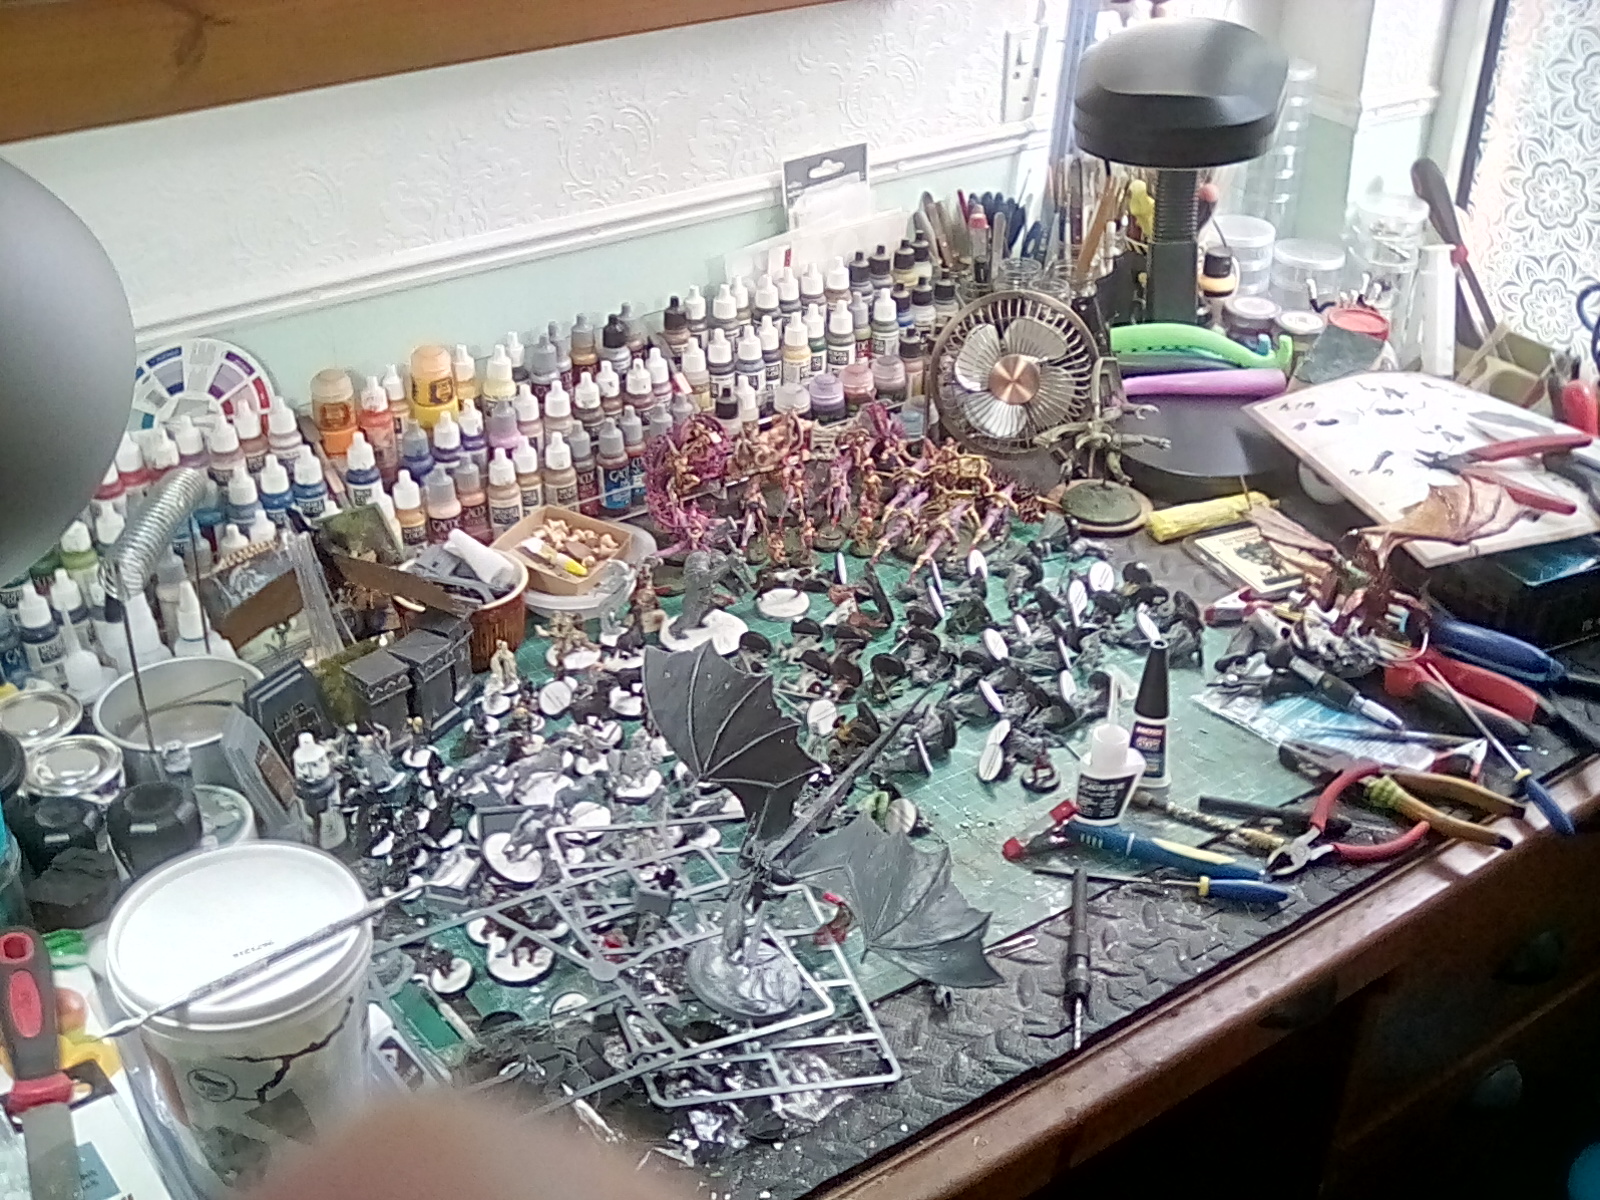
Gathering together my purchases from different rooms, unopened packing cases and storage, I found I had bought much more than I planned, making a dauntingly high pile of unopened boxes. I’ve been impulse buying and searching eBay for the occasional bargain, as well as being lured in by Warlords offers and sales, so it’s not really a coherant force.
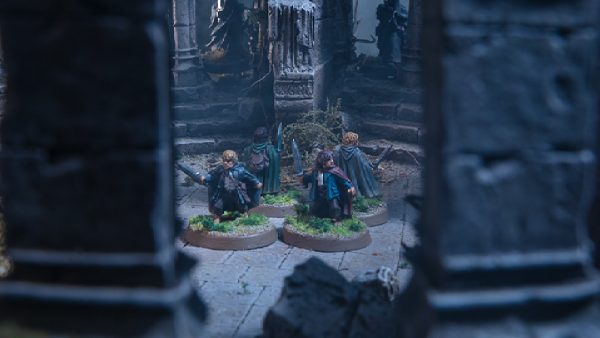
The painting desk is already cluttered with other half finished projects, most notably lots of the ring figures and a half painted Slannesh daemonette army.
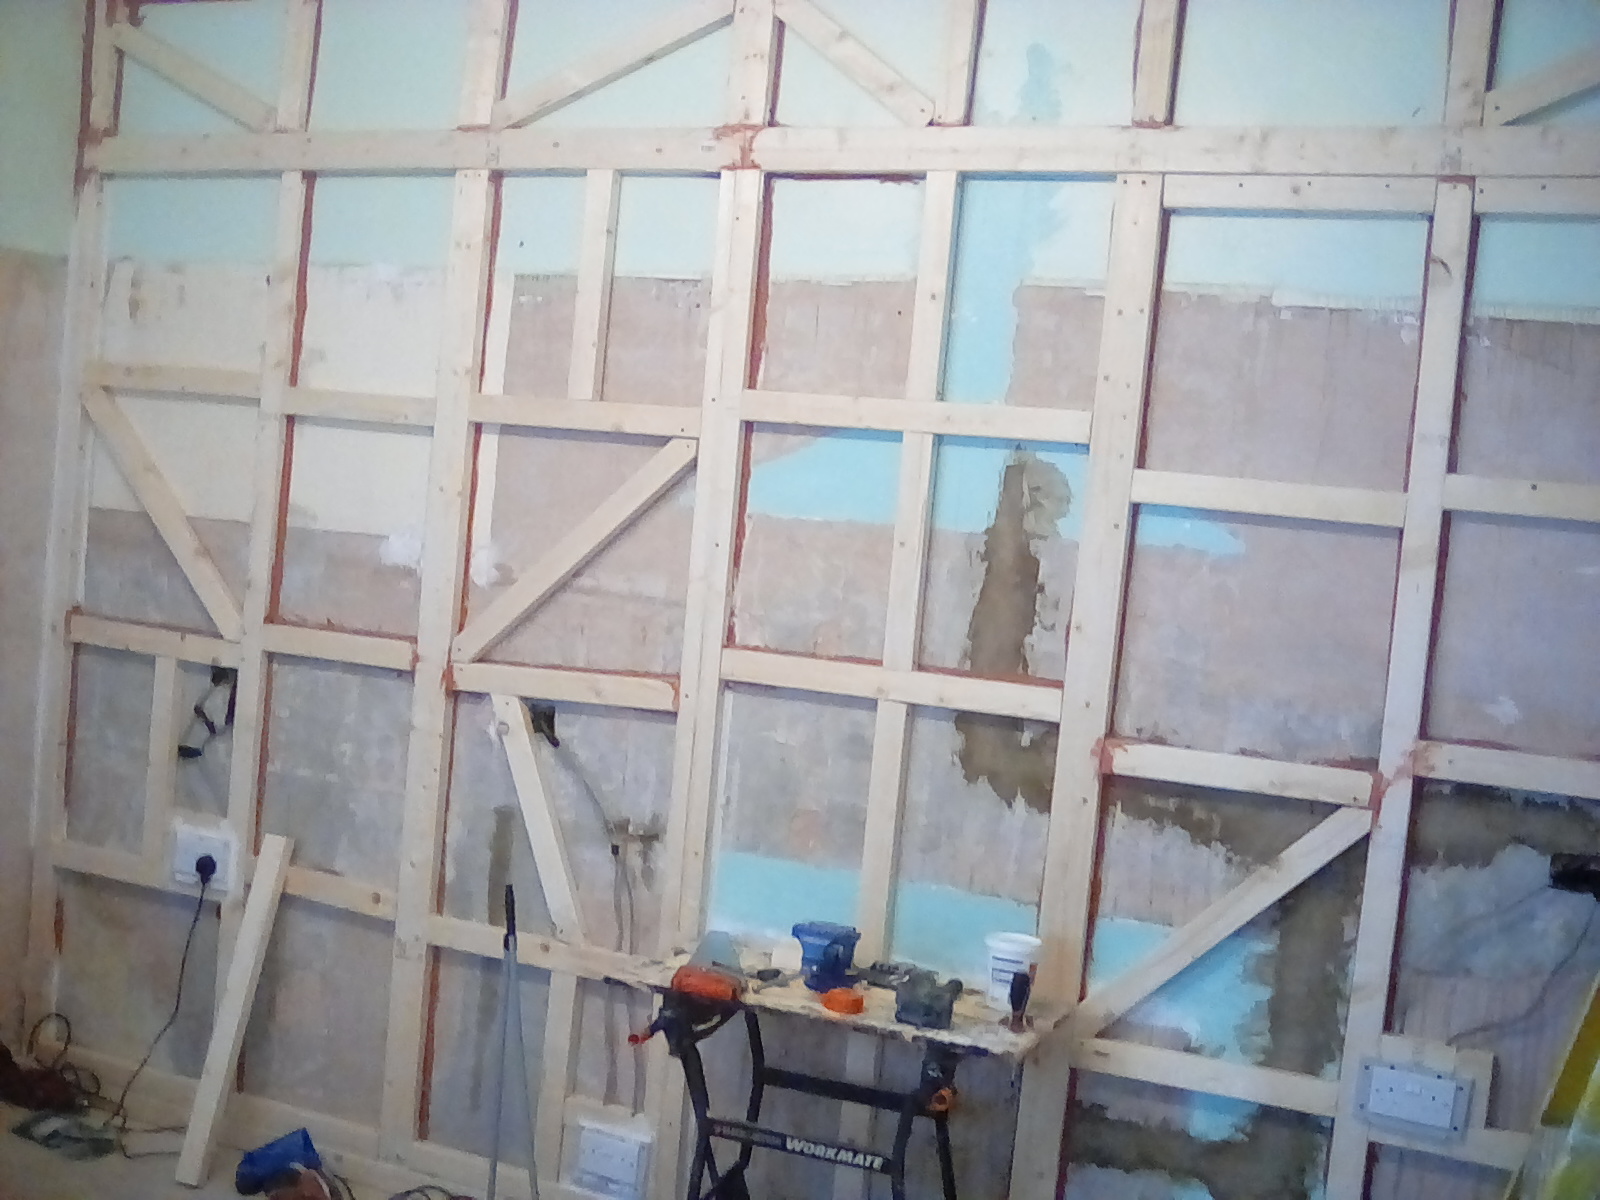
And the biggest hurdle, I moved into a massive 3 storey house, where every single room needs renovating and repairing. The pic of the woodwork shows the sort of thing I am having to do everyday, so I just don’t have a lot of free time most days. I might have to curb my natural inclination to lovingly paint each model in great detail, and cut some corners just to get the army done sometime this century.