![NO Weekender Or Cult Of Games XLBS This Weekend [Updated]](https://images.beastsofwar.com/2026/03/No_Weekender_and_XLBS_this_Weekend-225-127.jpg)


Avernos, the Desert Squirrel.


Recommendations: 594
About the Project
Following a weekend of building, helping, quavers and teaching people how to play Bolt Action, I figured that it was time to finish my own build and get them painted. The nice thing is that we all got the 1000pt army from Warlord Games, so if you decide to take the plunge this can be used as a basis for your own build or to help you steer clear of any pitfalls in the build.
Related Game: Bolt Action
Related Company: Warlord Games
Related Genre: Historical
Related Contest: Bolt Action: Western Desert Boot Camp
This Project is Active
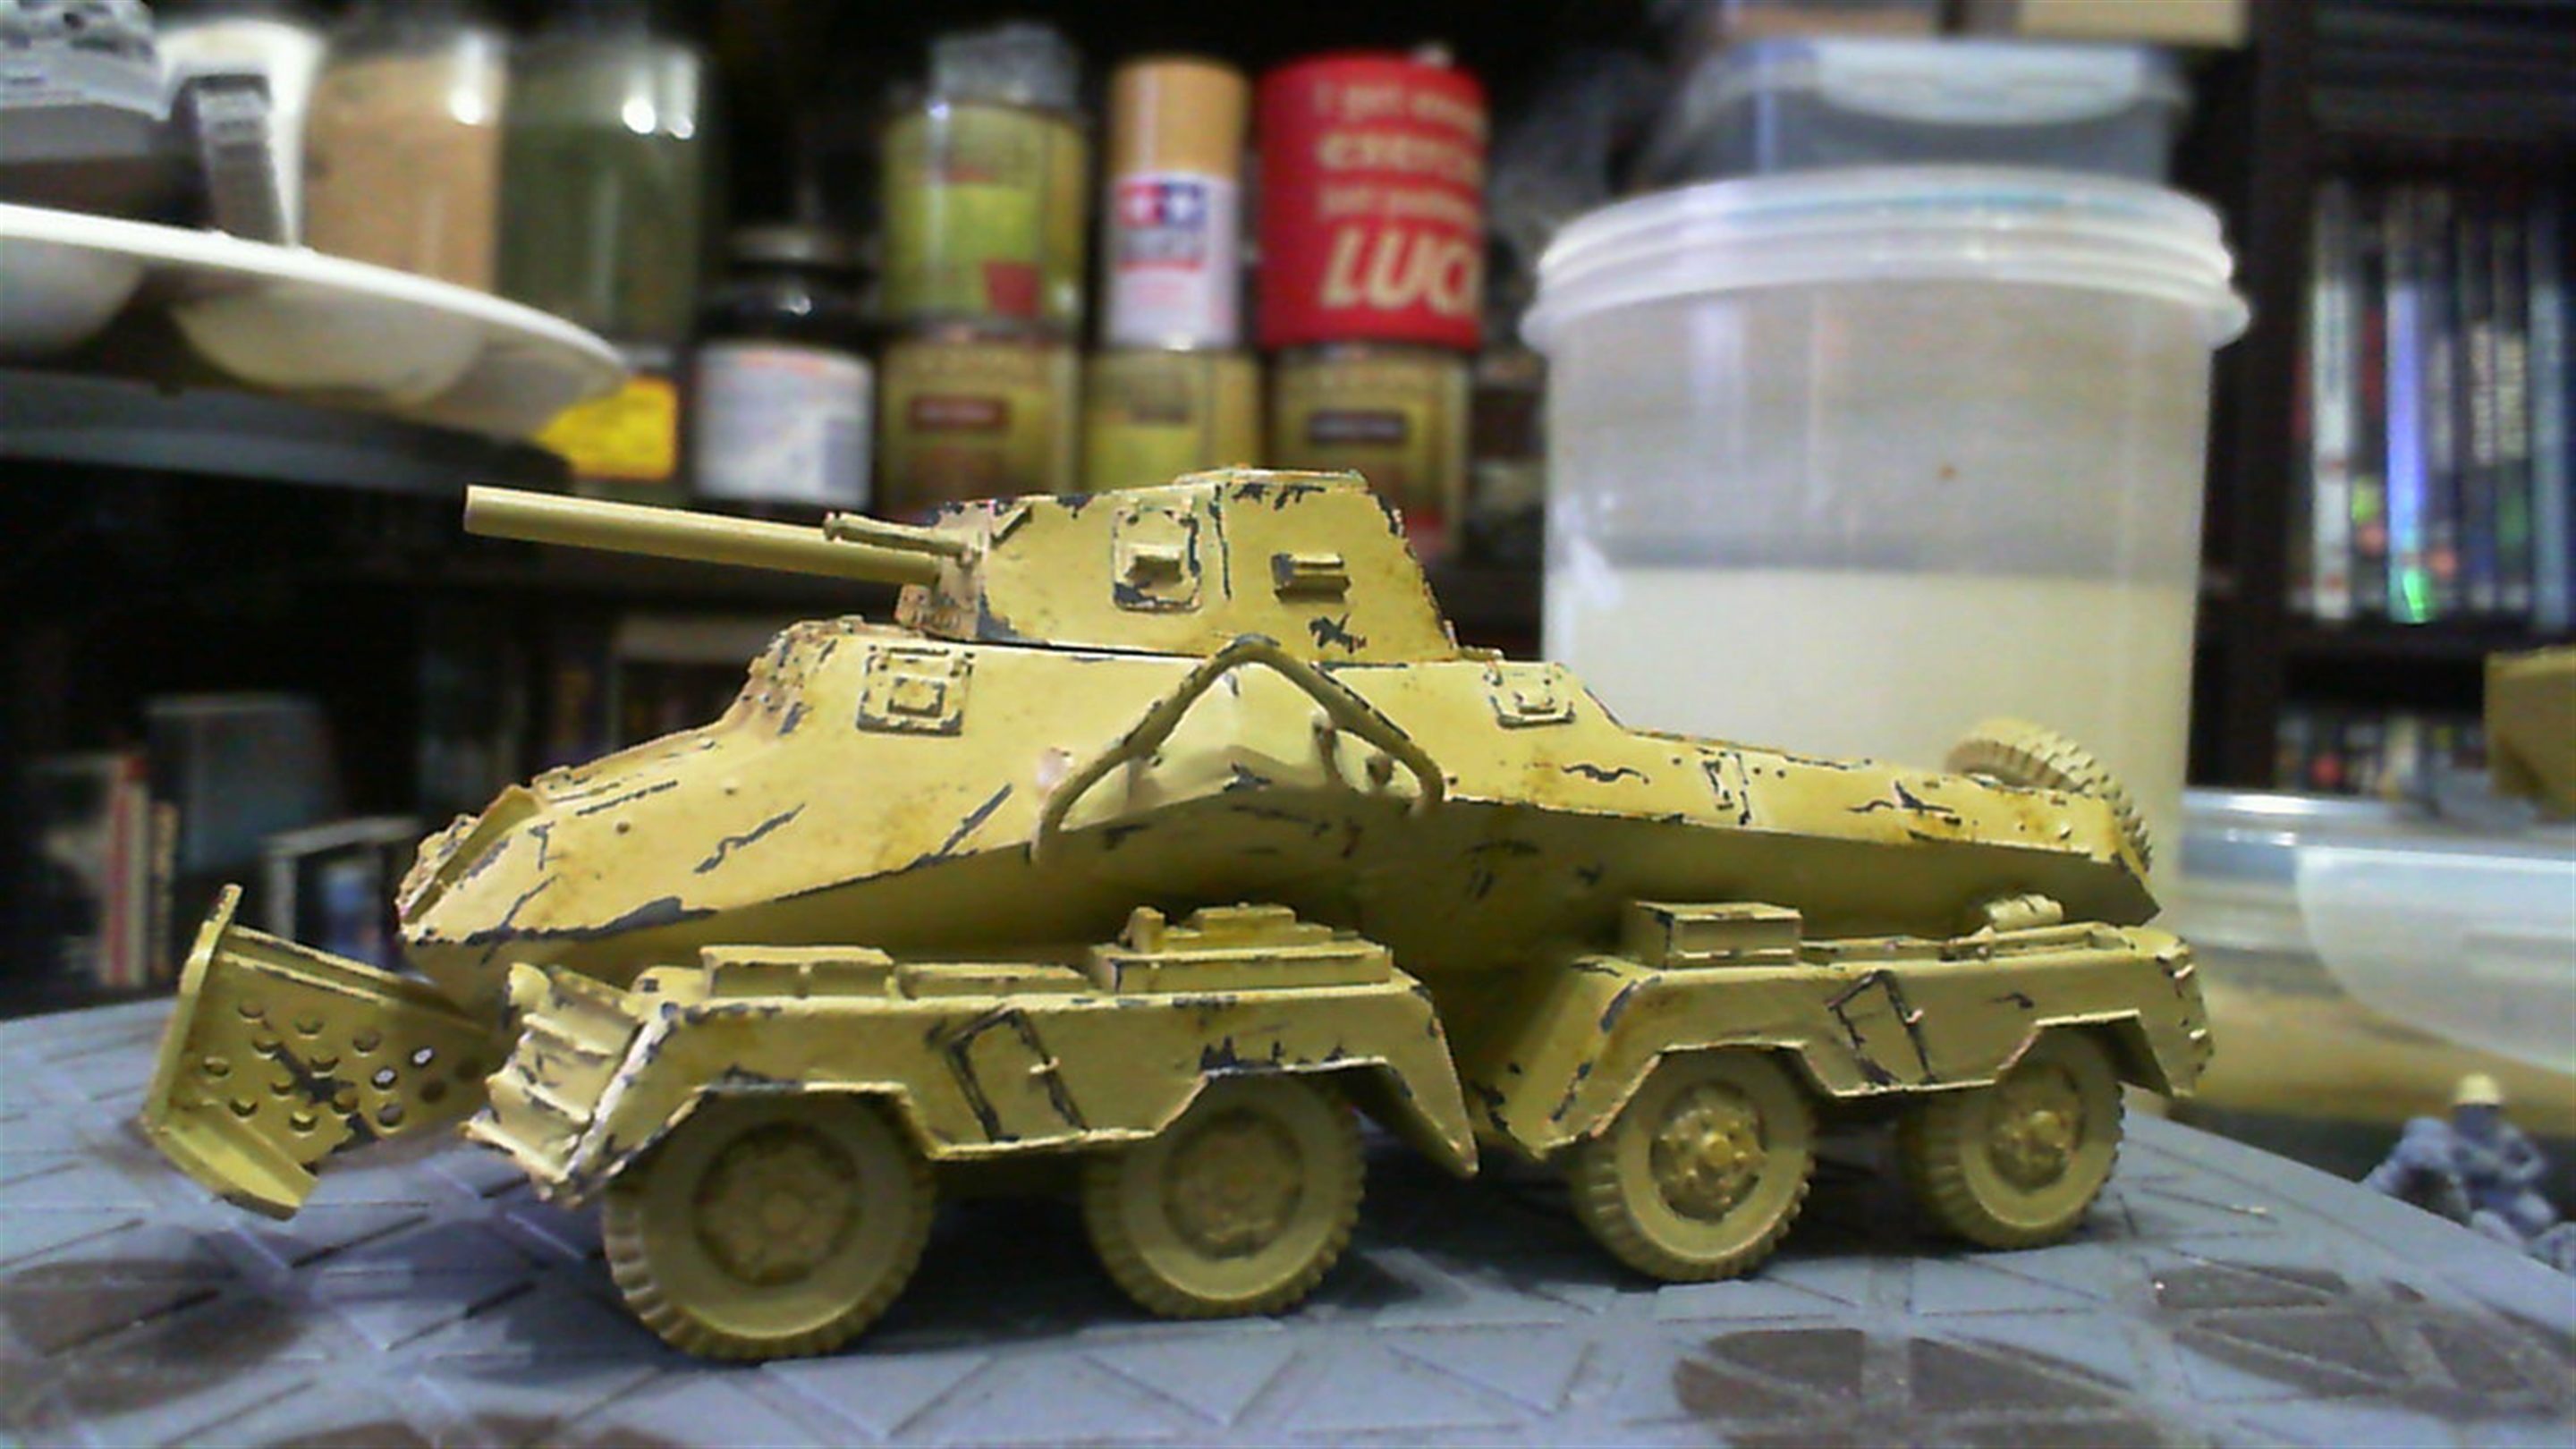
Totally 8-Rad, dude!
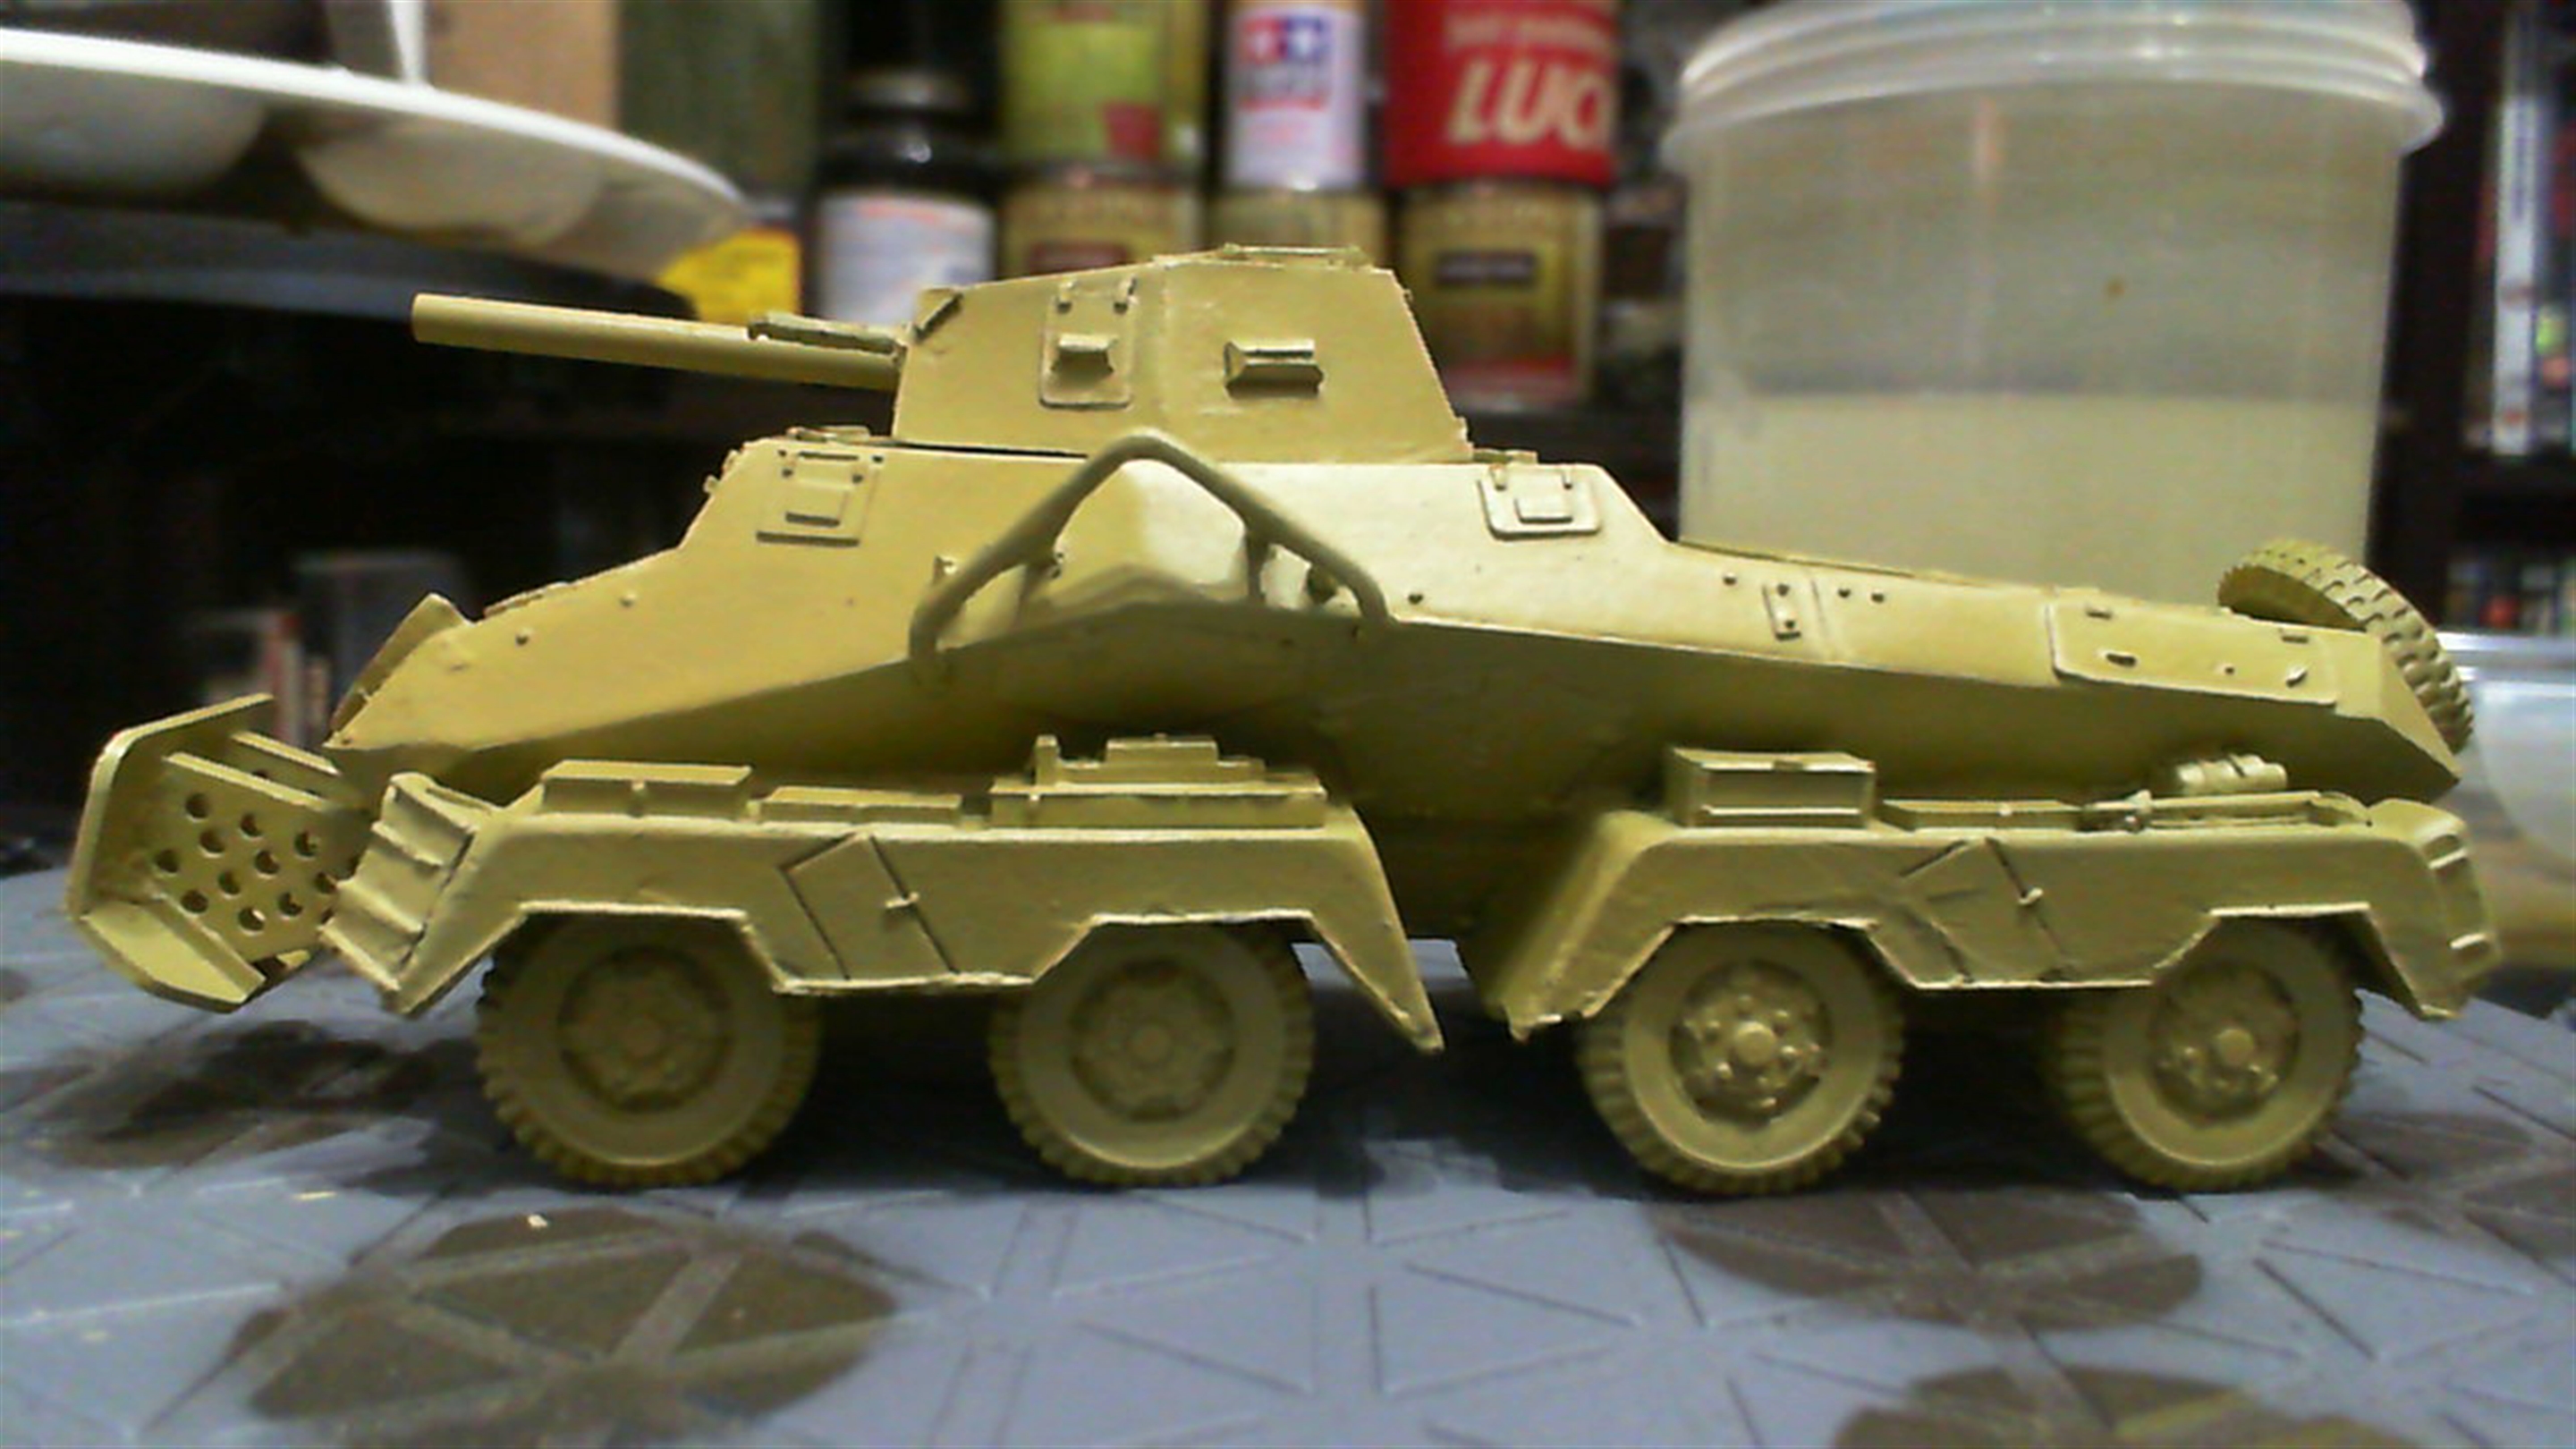
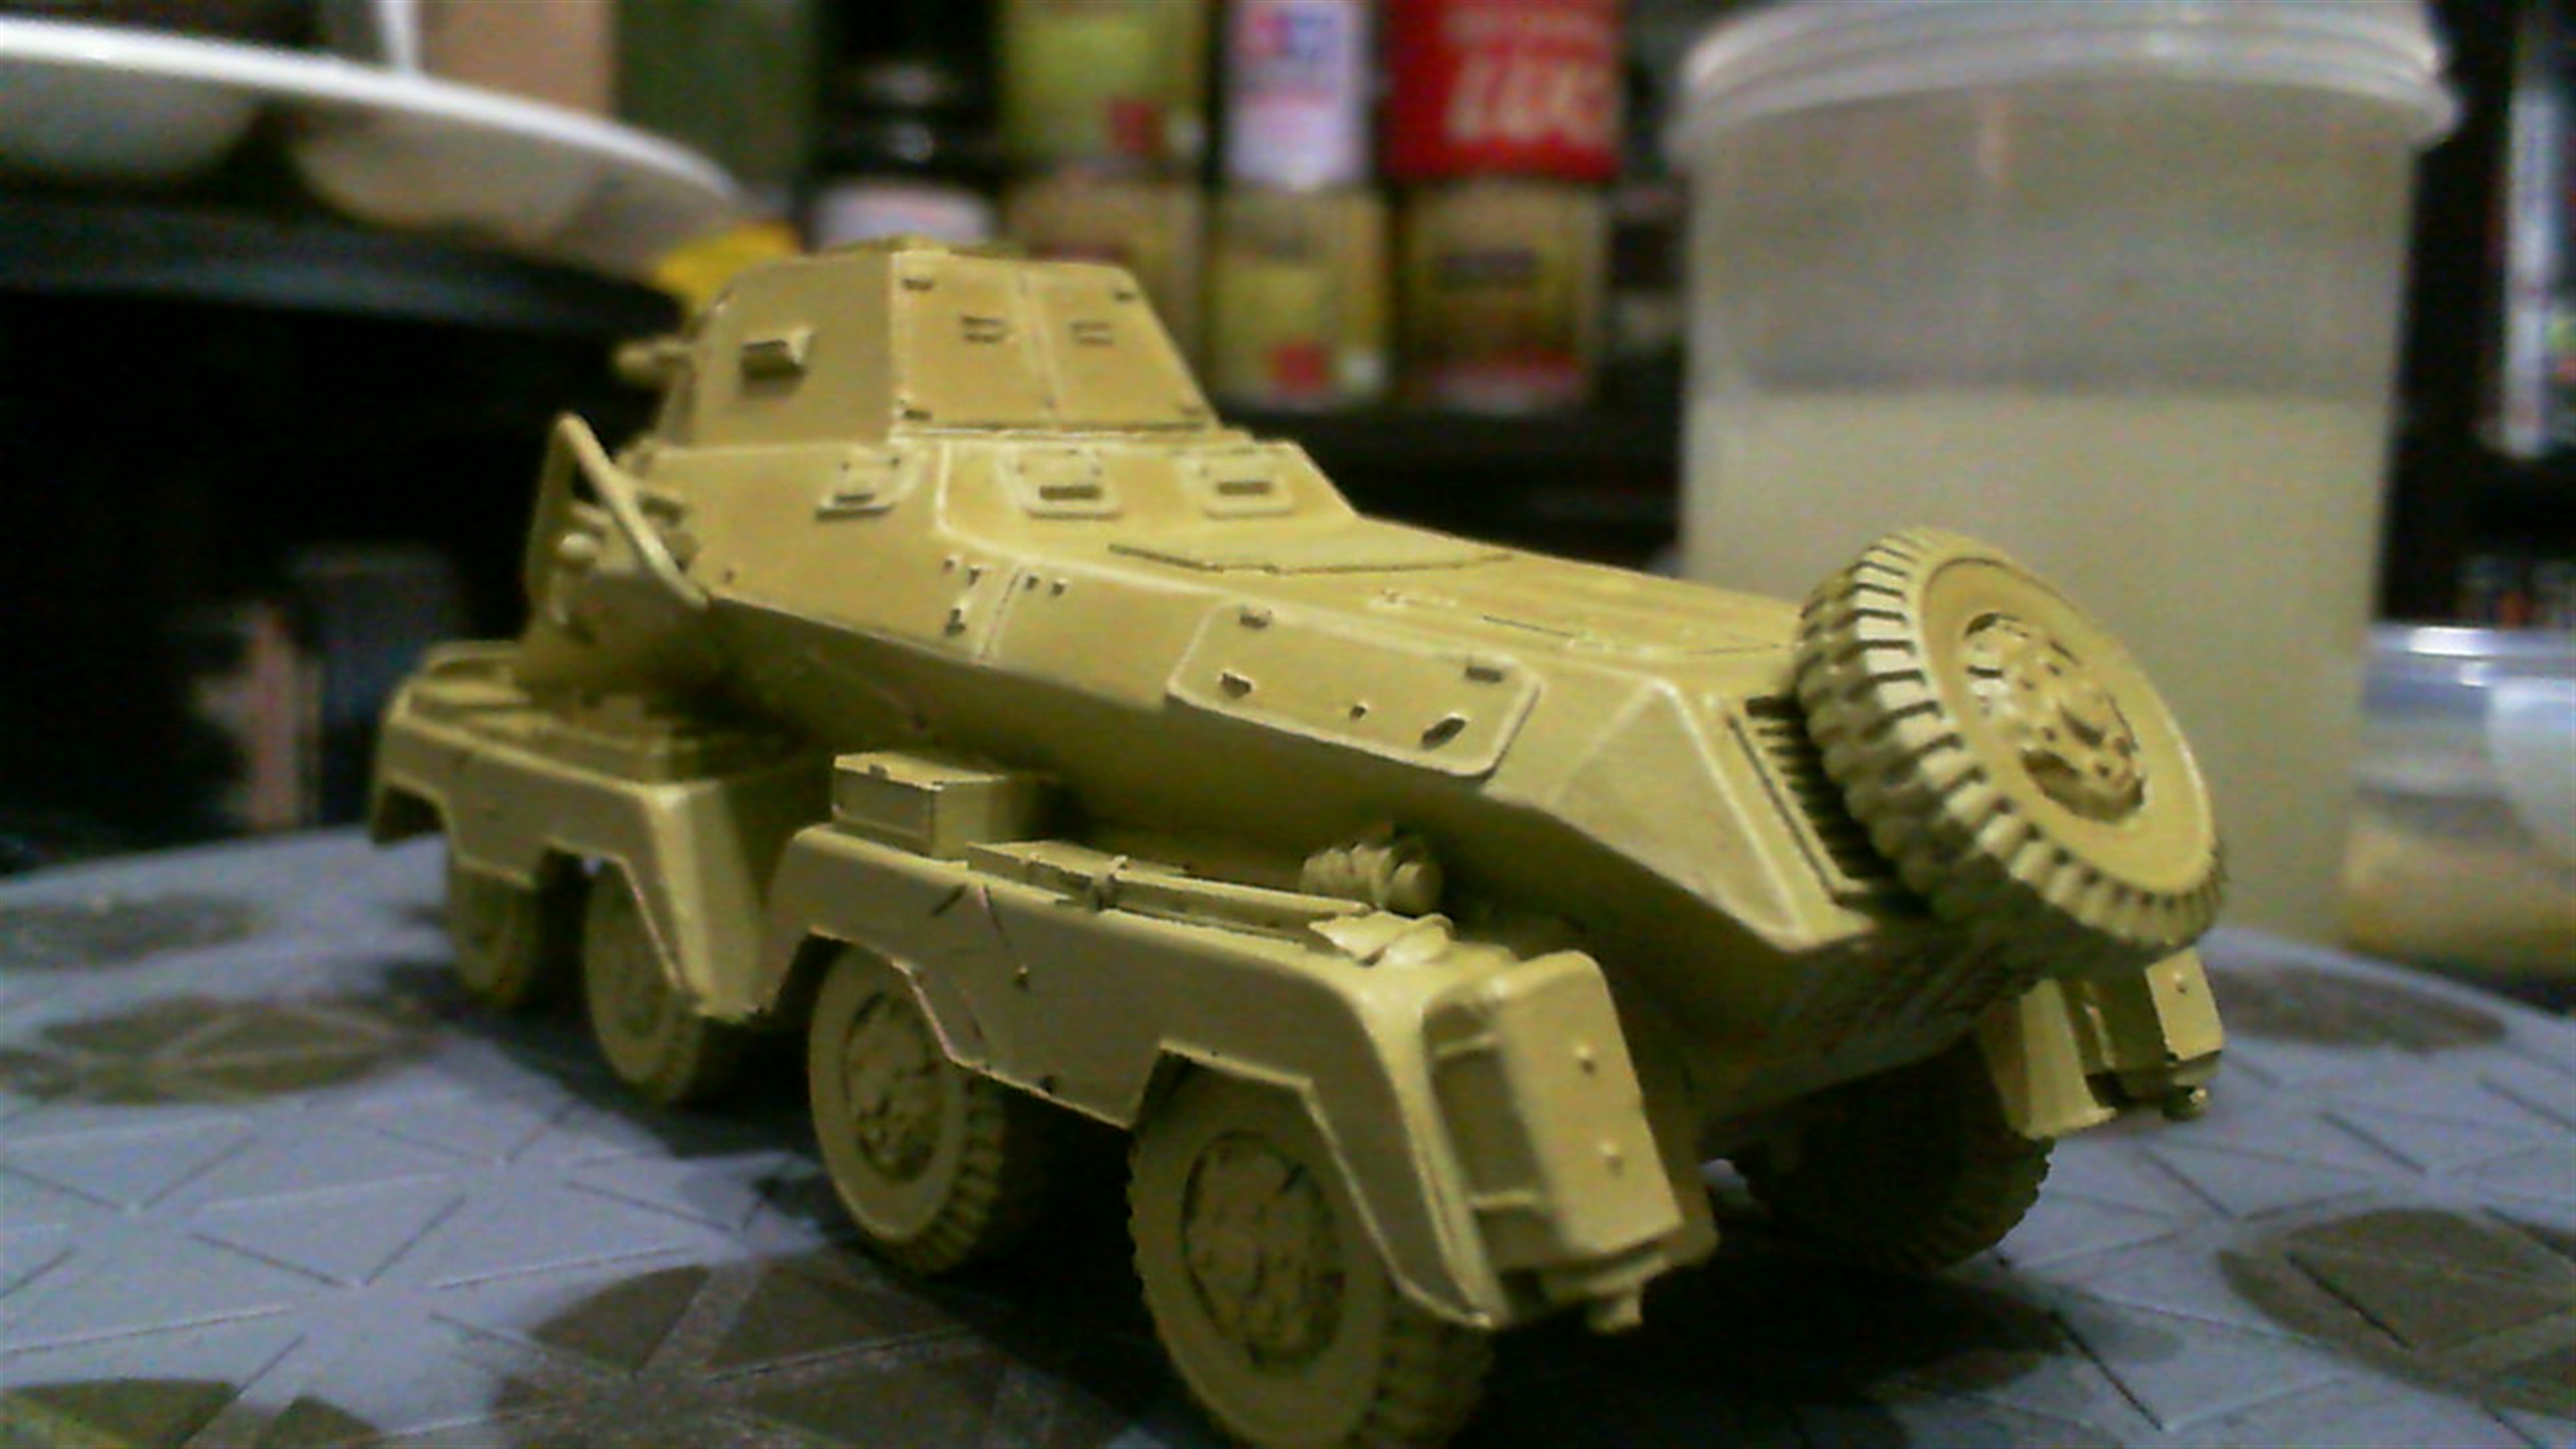
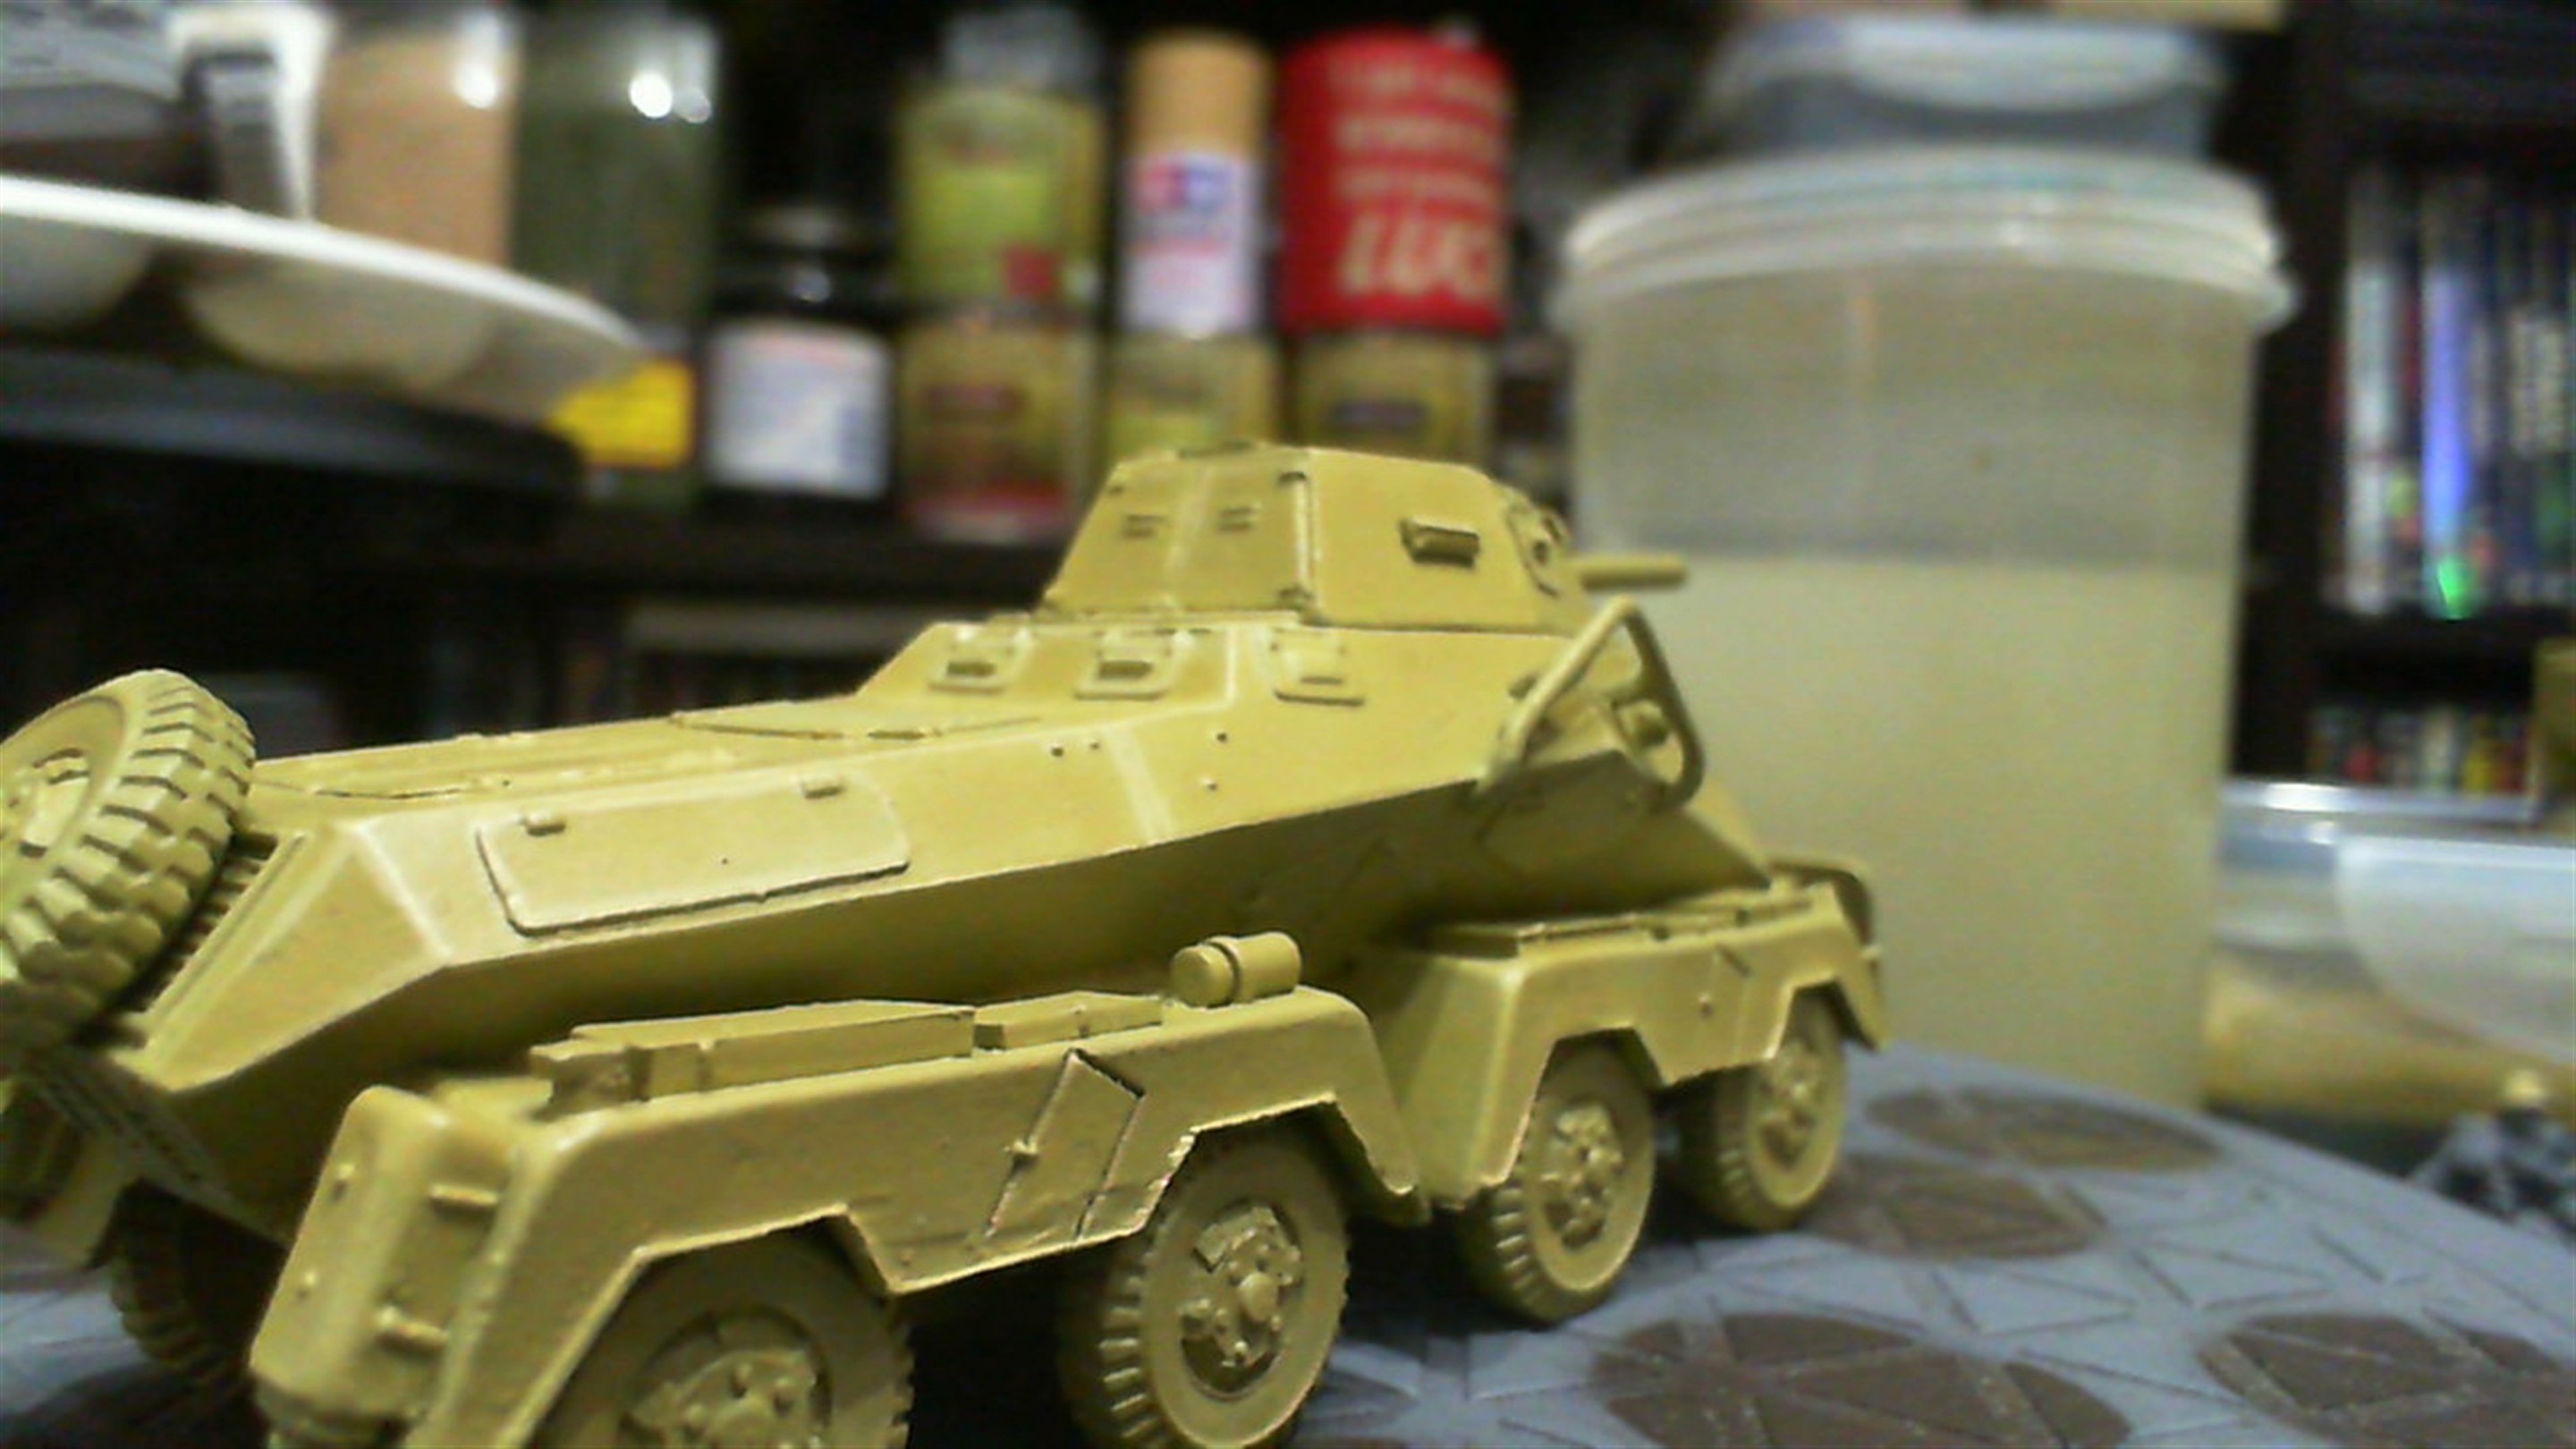
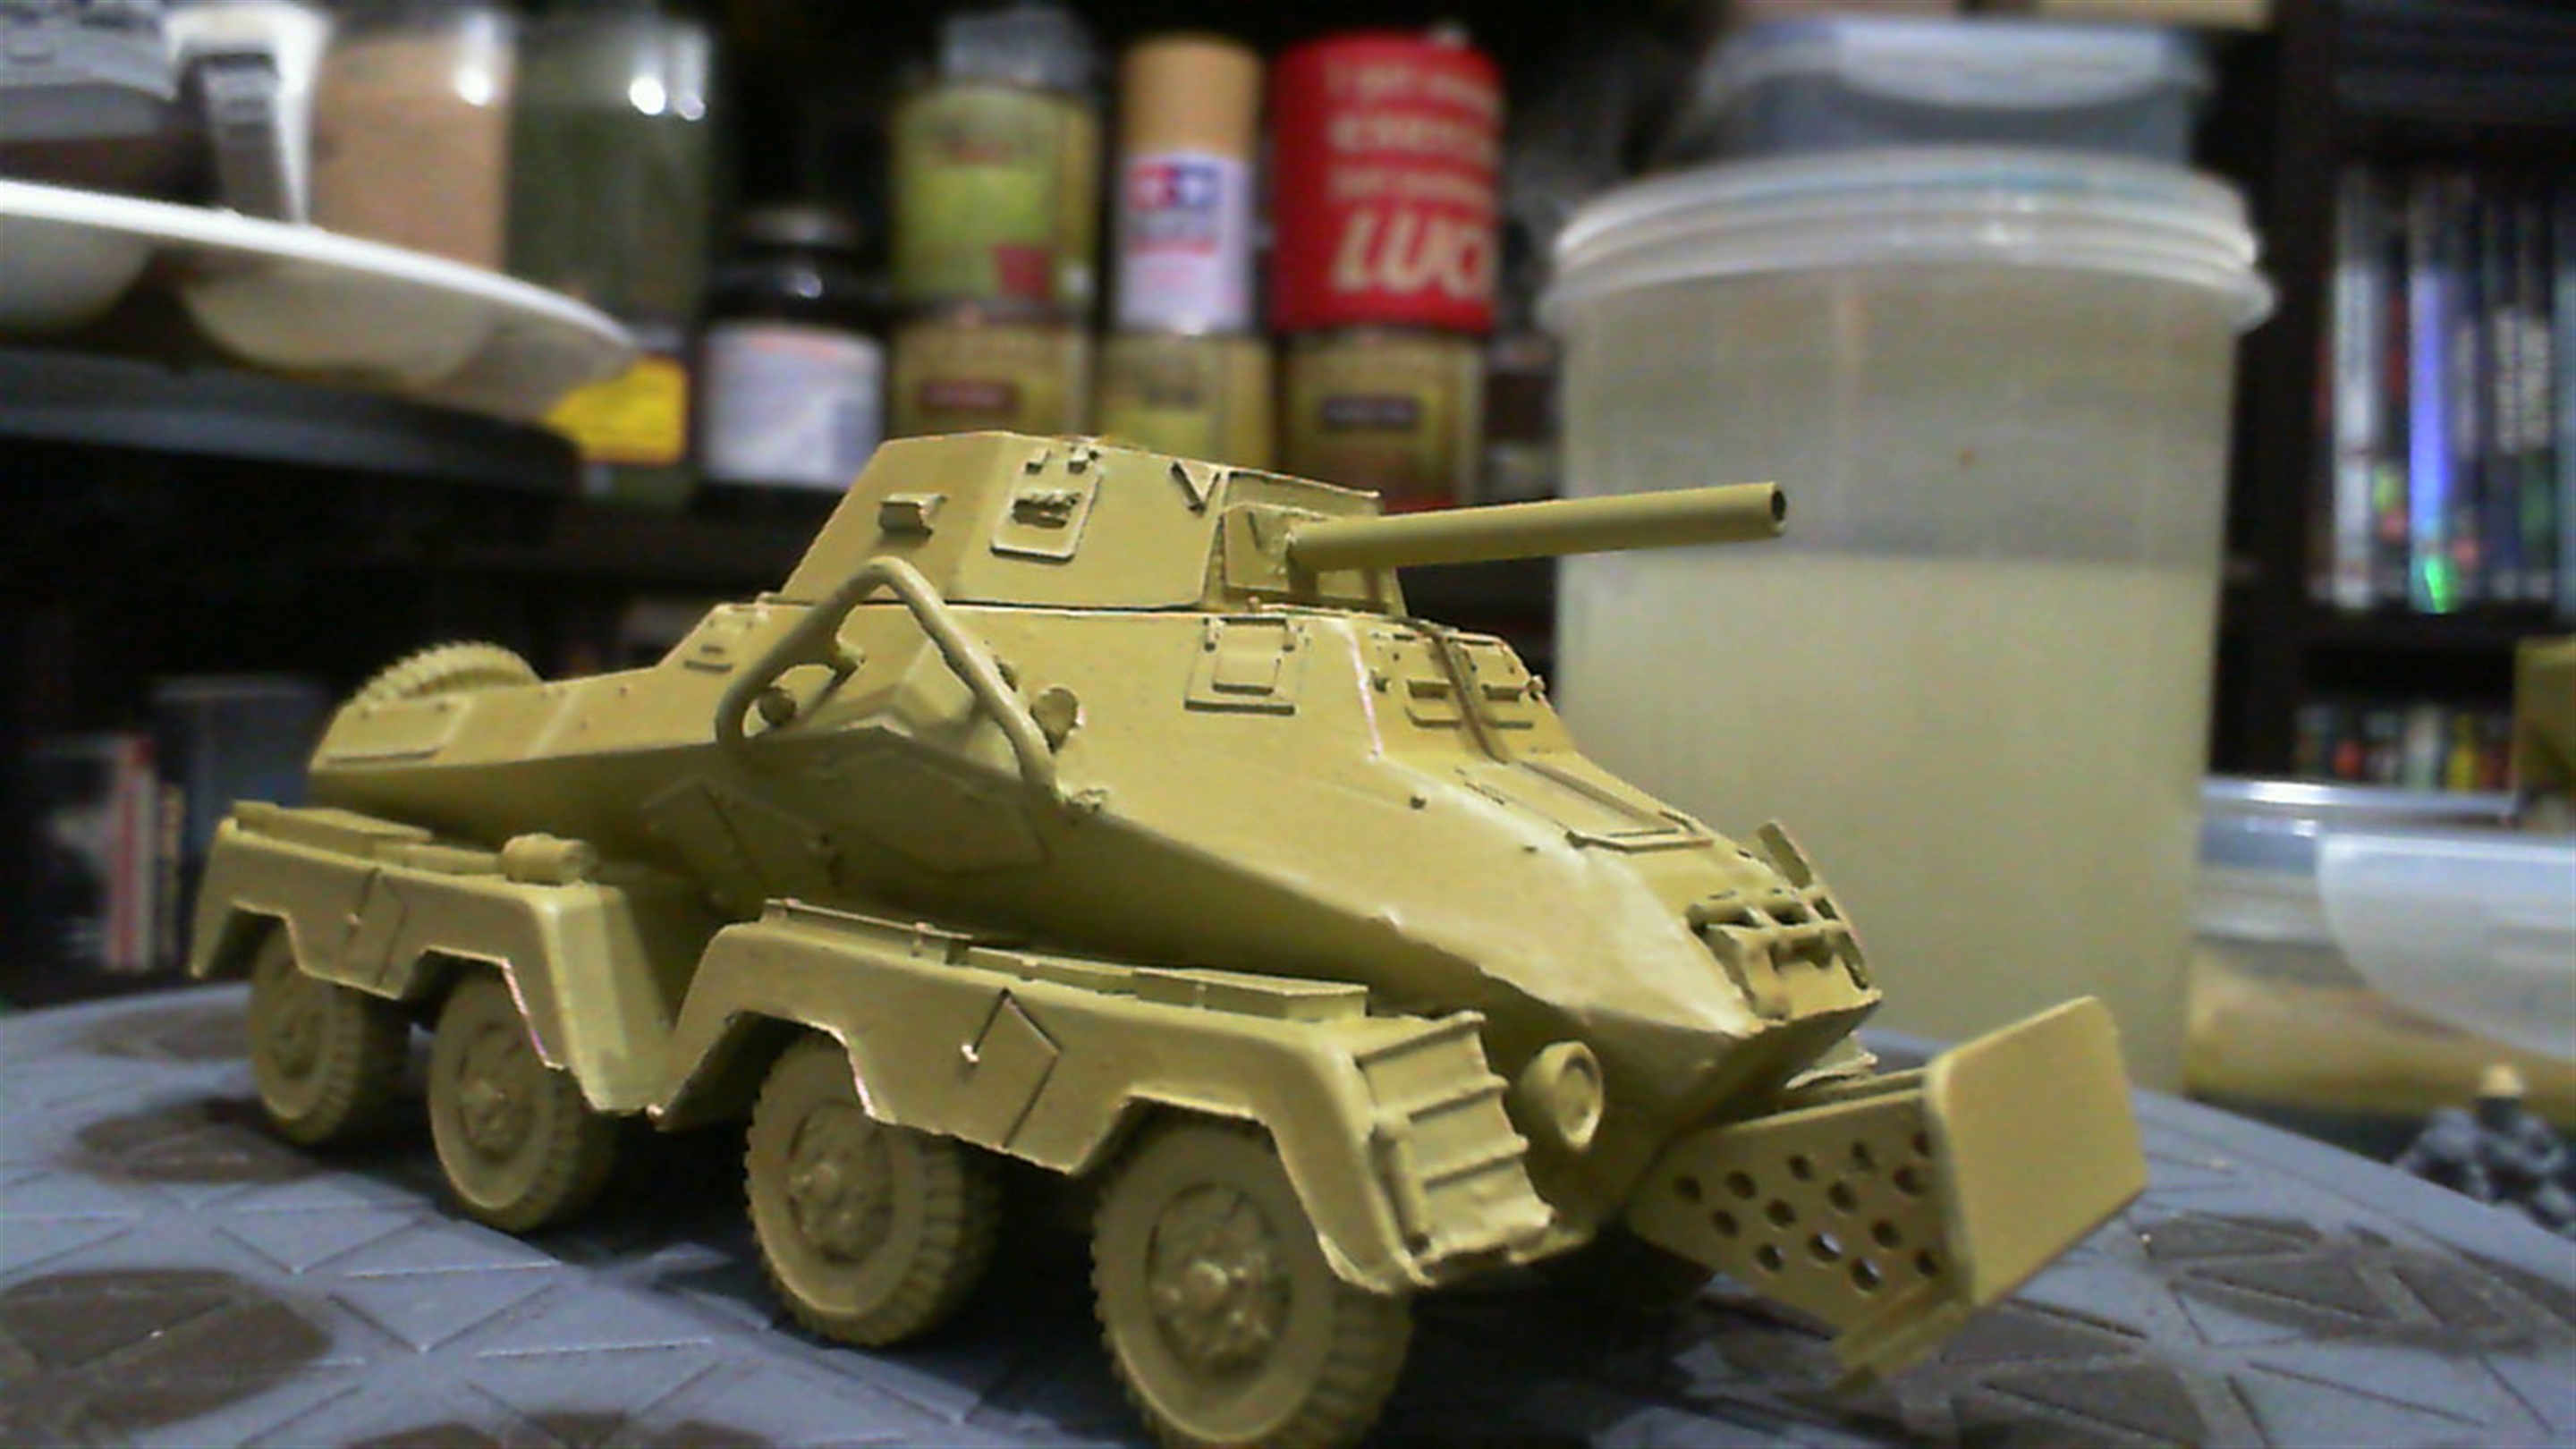
so I’ve started with a base coat of green ochre and highlighted with dark sand before doing an edge highlight on the panels with pure dark sand
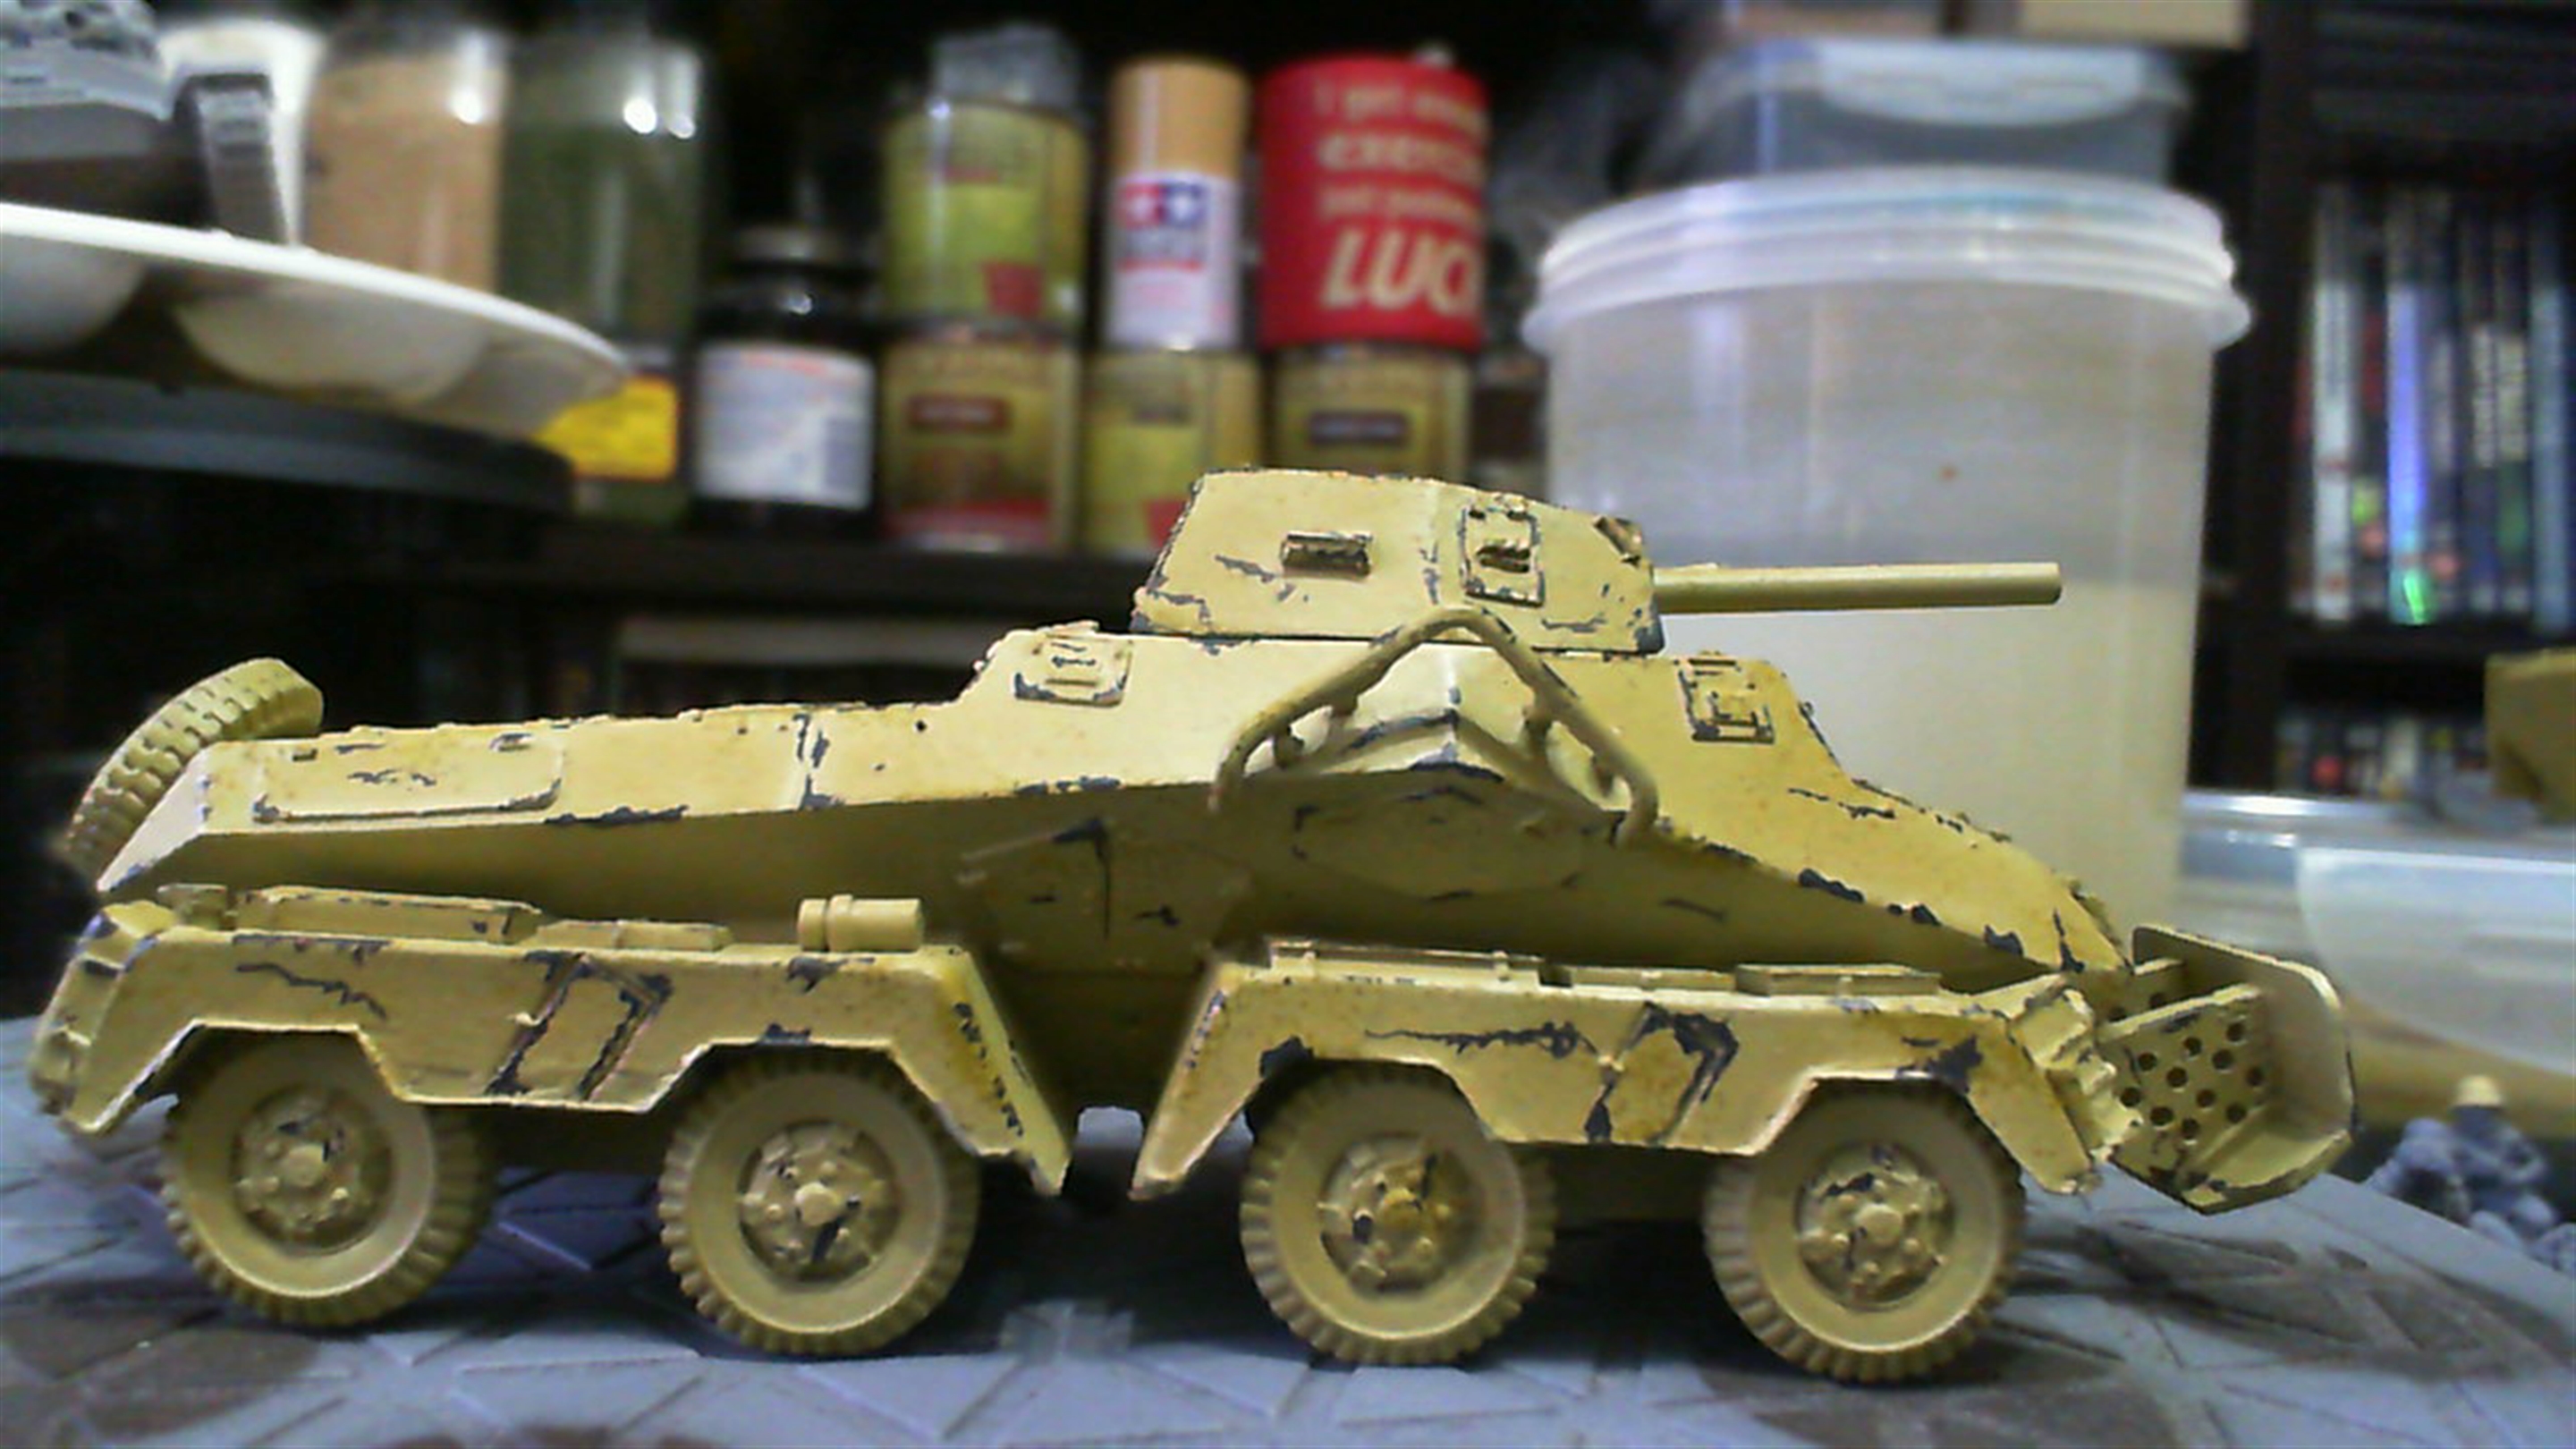

Starting the weathering, before anything else I take the base colour, green ochre in this case and add some sponge chipping just to give depth to the weathering. Then using a thinned down dark grey, I’ve used German Grey from Vallejo to add chips where I imagine they would occur with a brush. Letting it wiggle and dance to get random patterns, but take your time and work in small areas otherwise it looks too unrealistic.
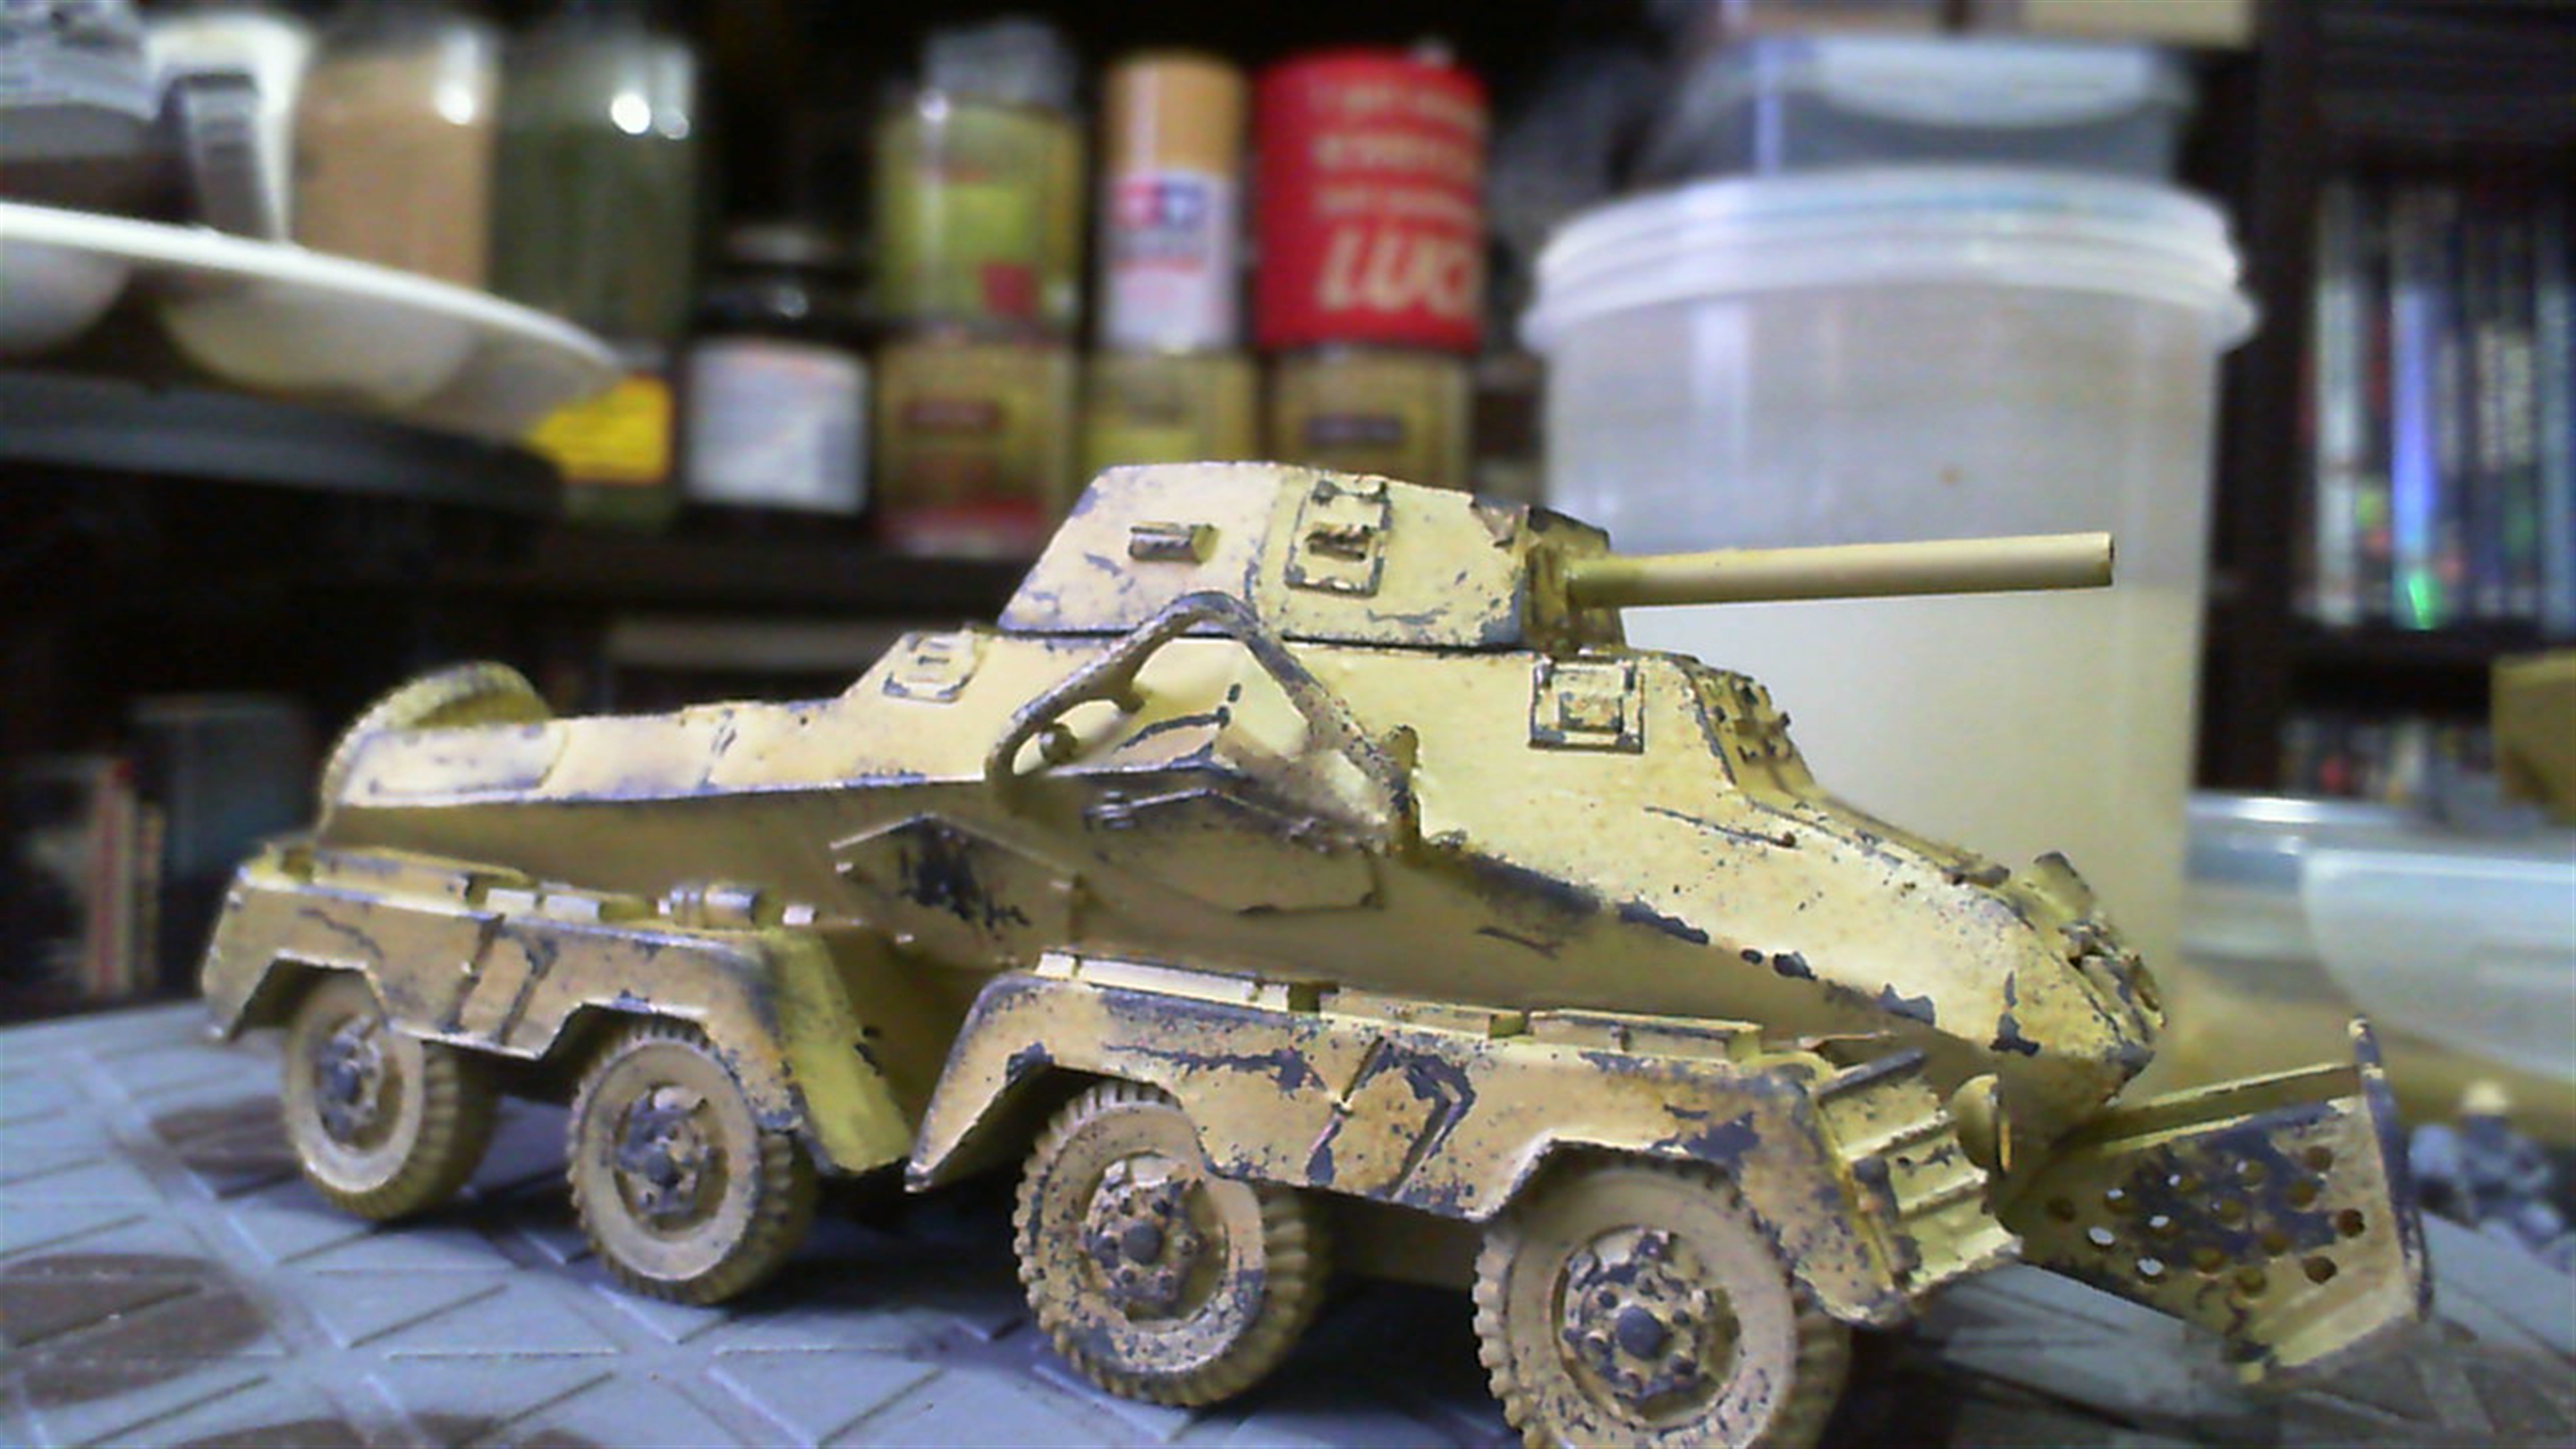
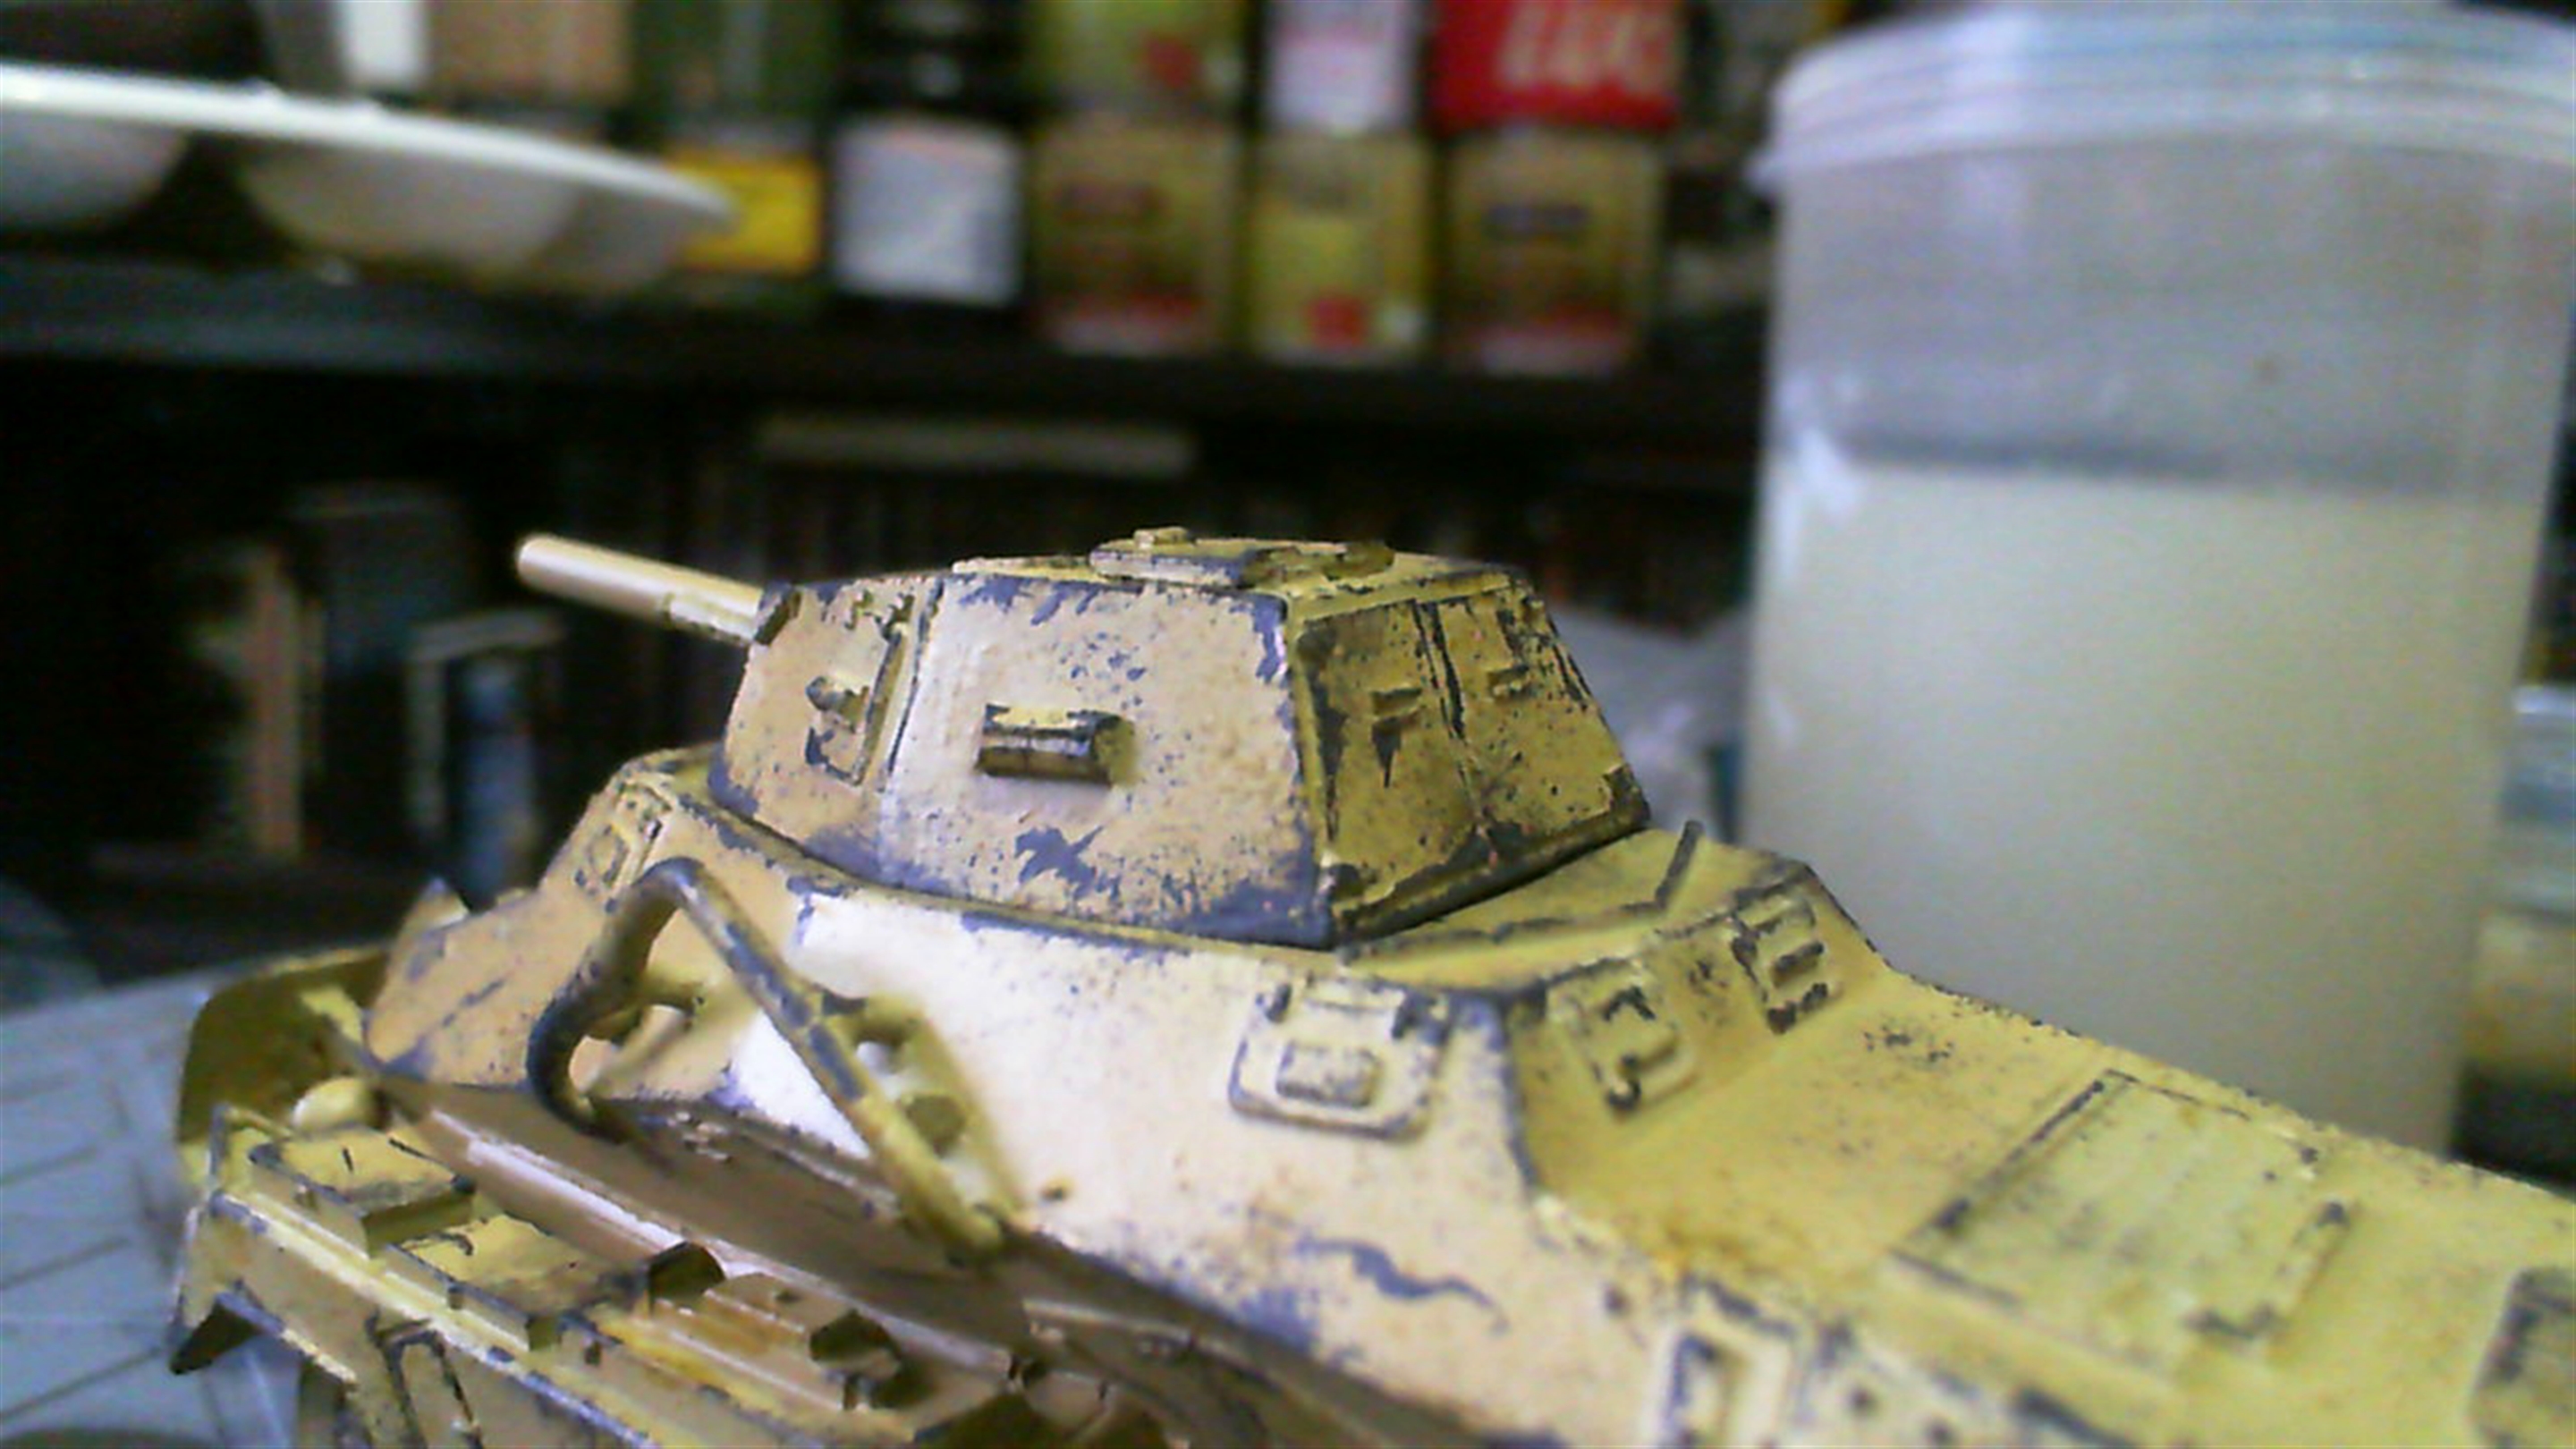
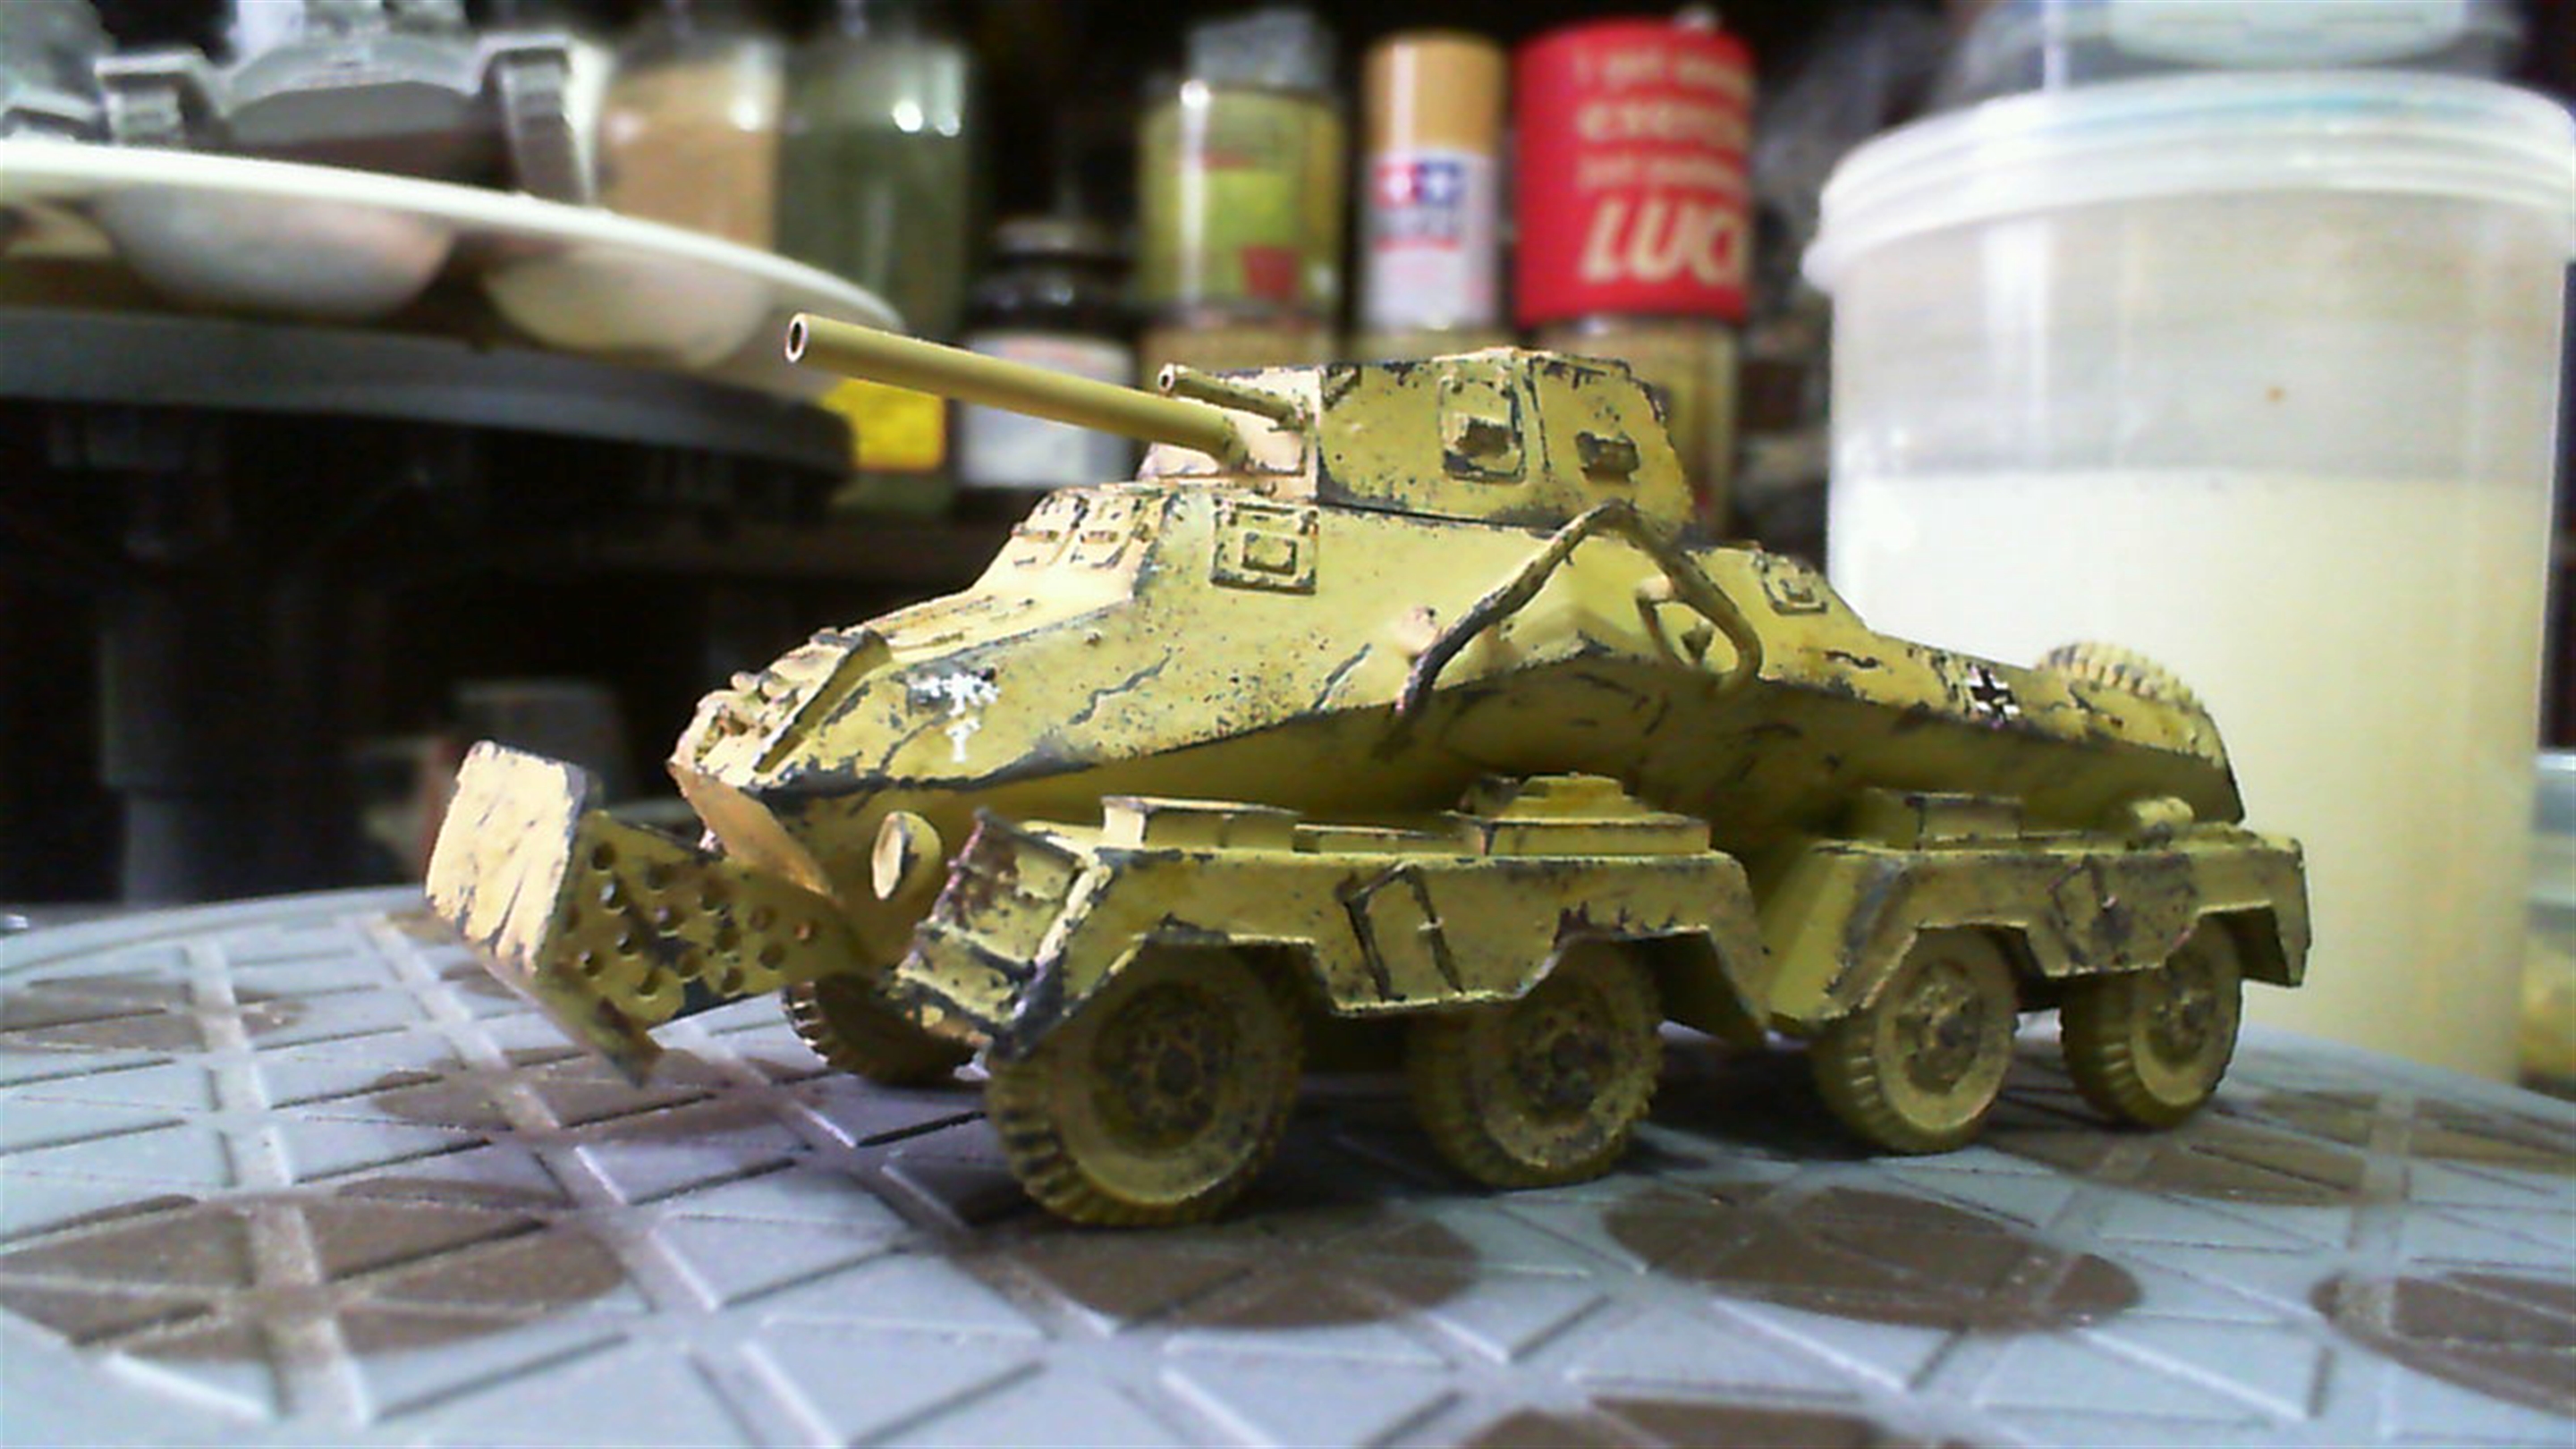
Once that is dry I go back to sponge chipping with the dark grey, focusing on areas that would see a lot of wear, like hatches or places that would be used to access them like rails. Then the whole thing gets a satin varnish to seal and protect it and get ready for the next stage pin washes and tints. Which will be coming next
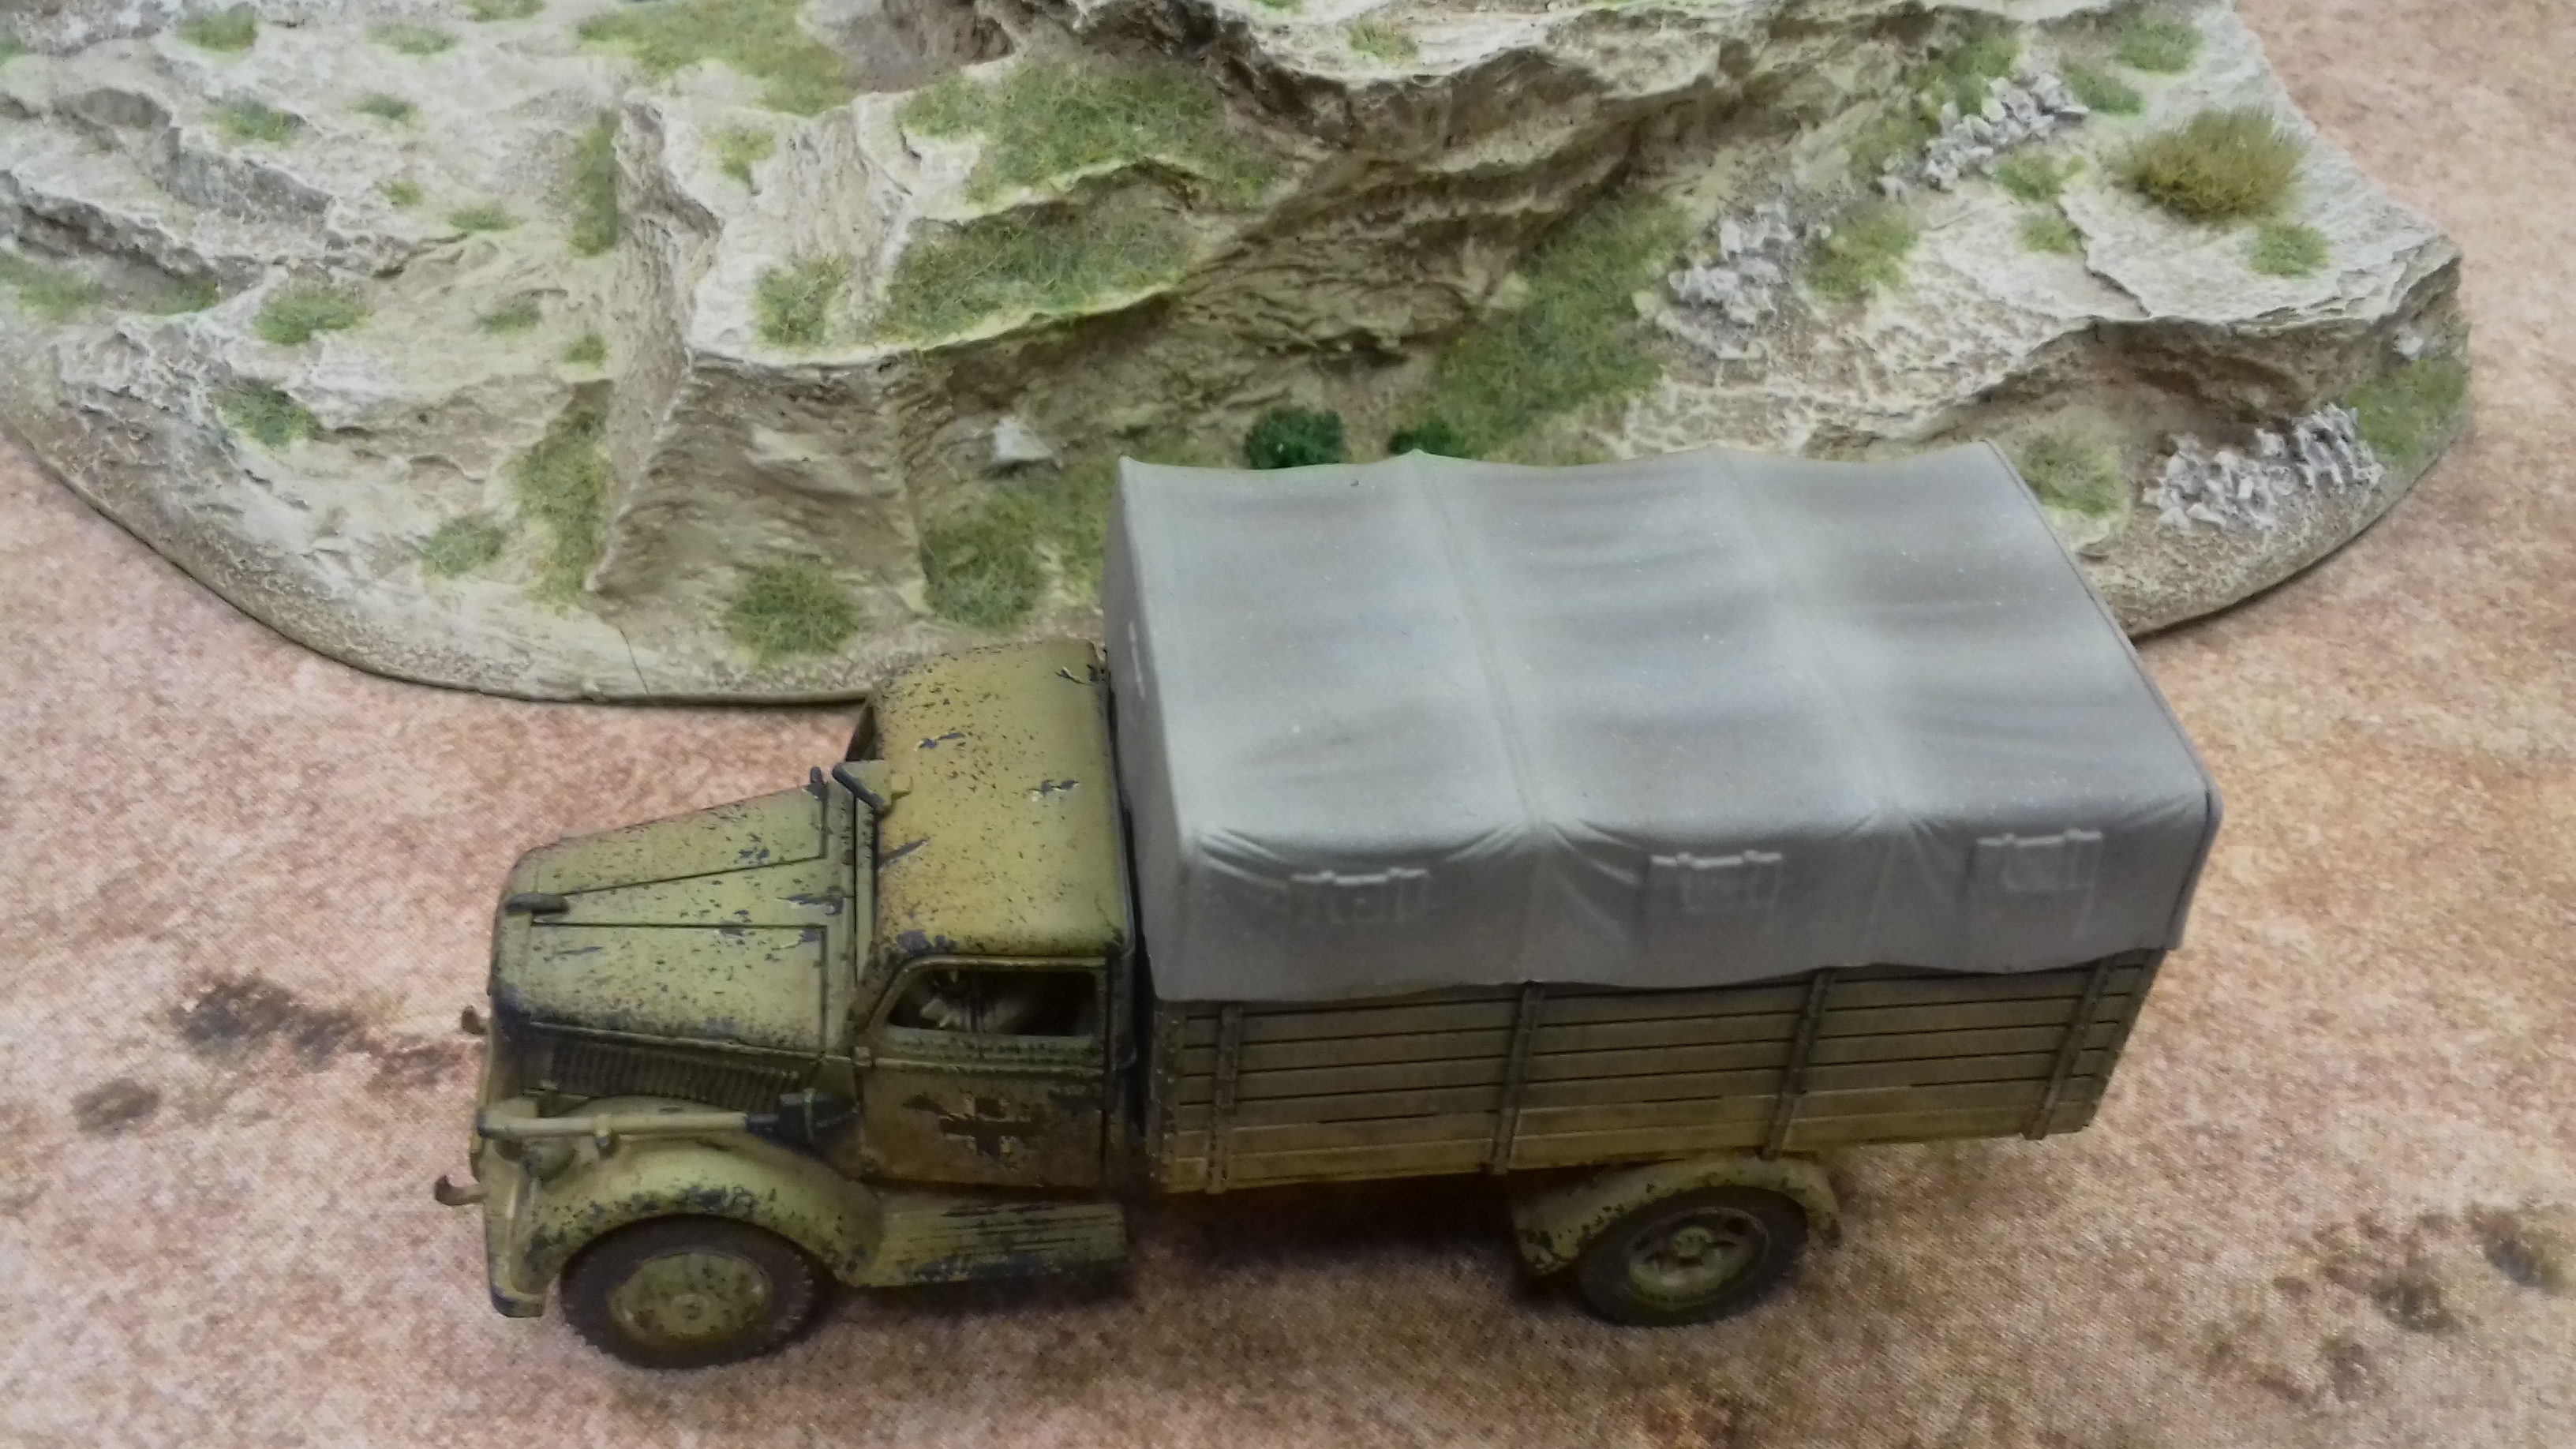
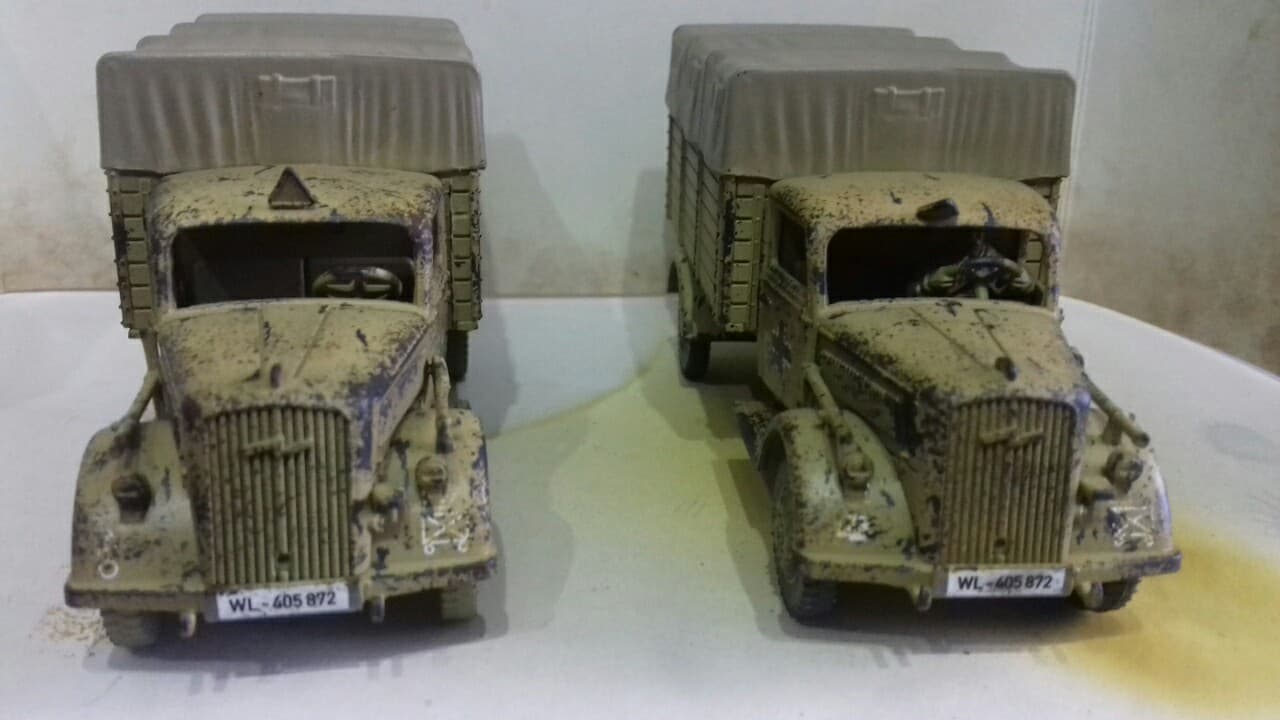
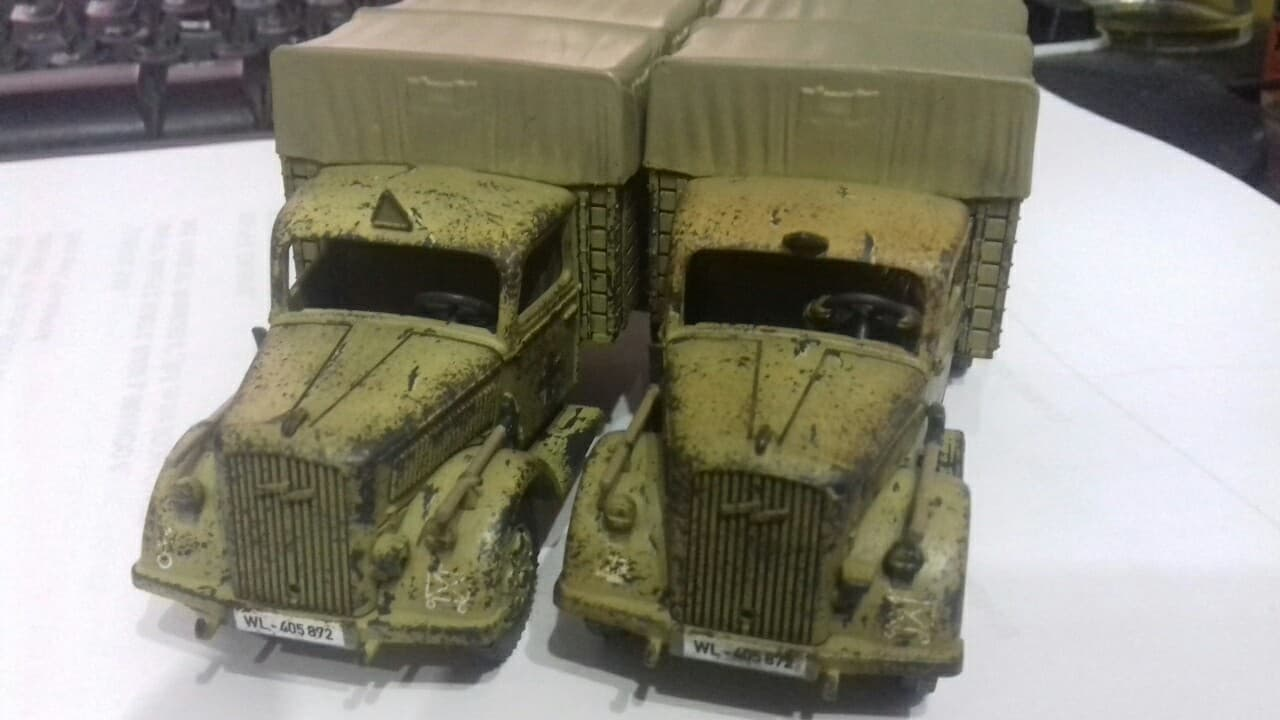
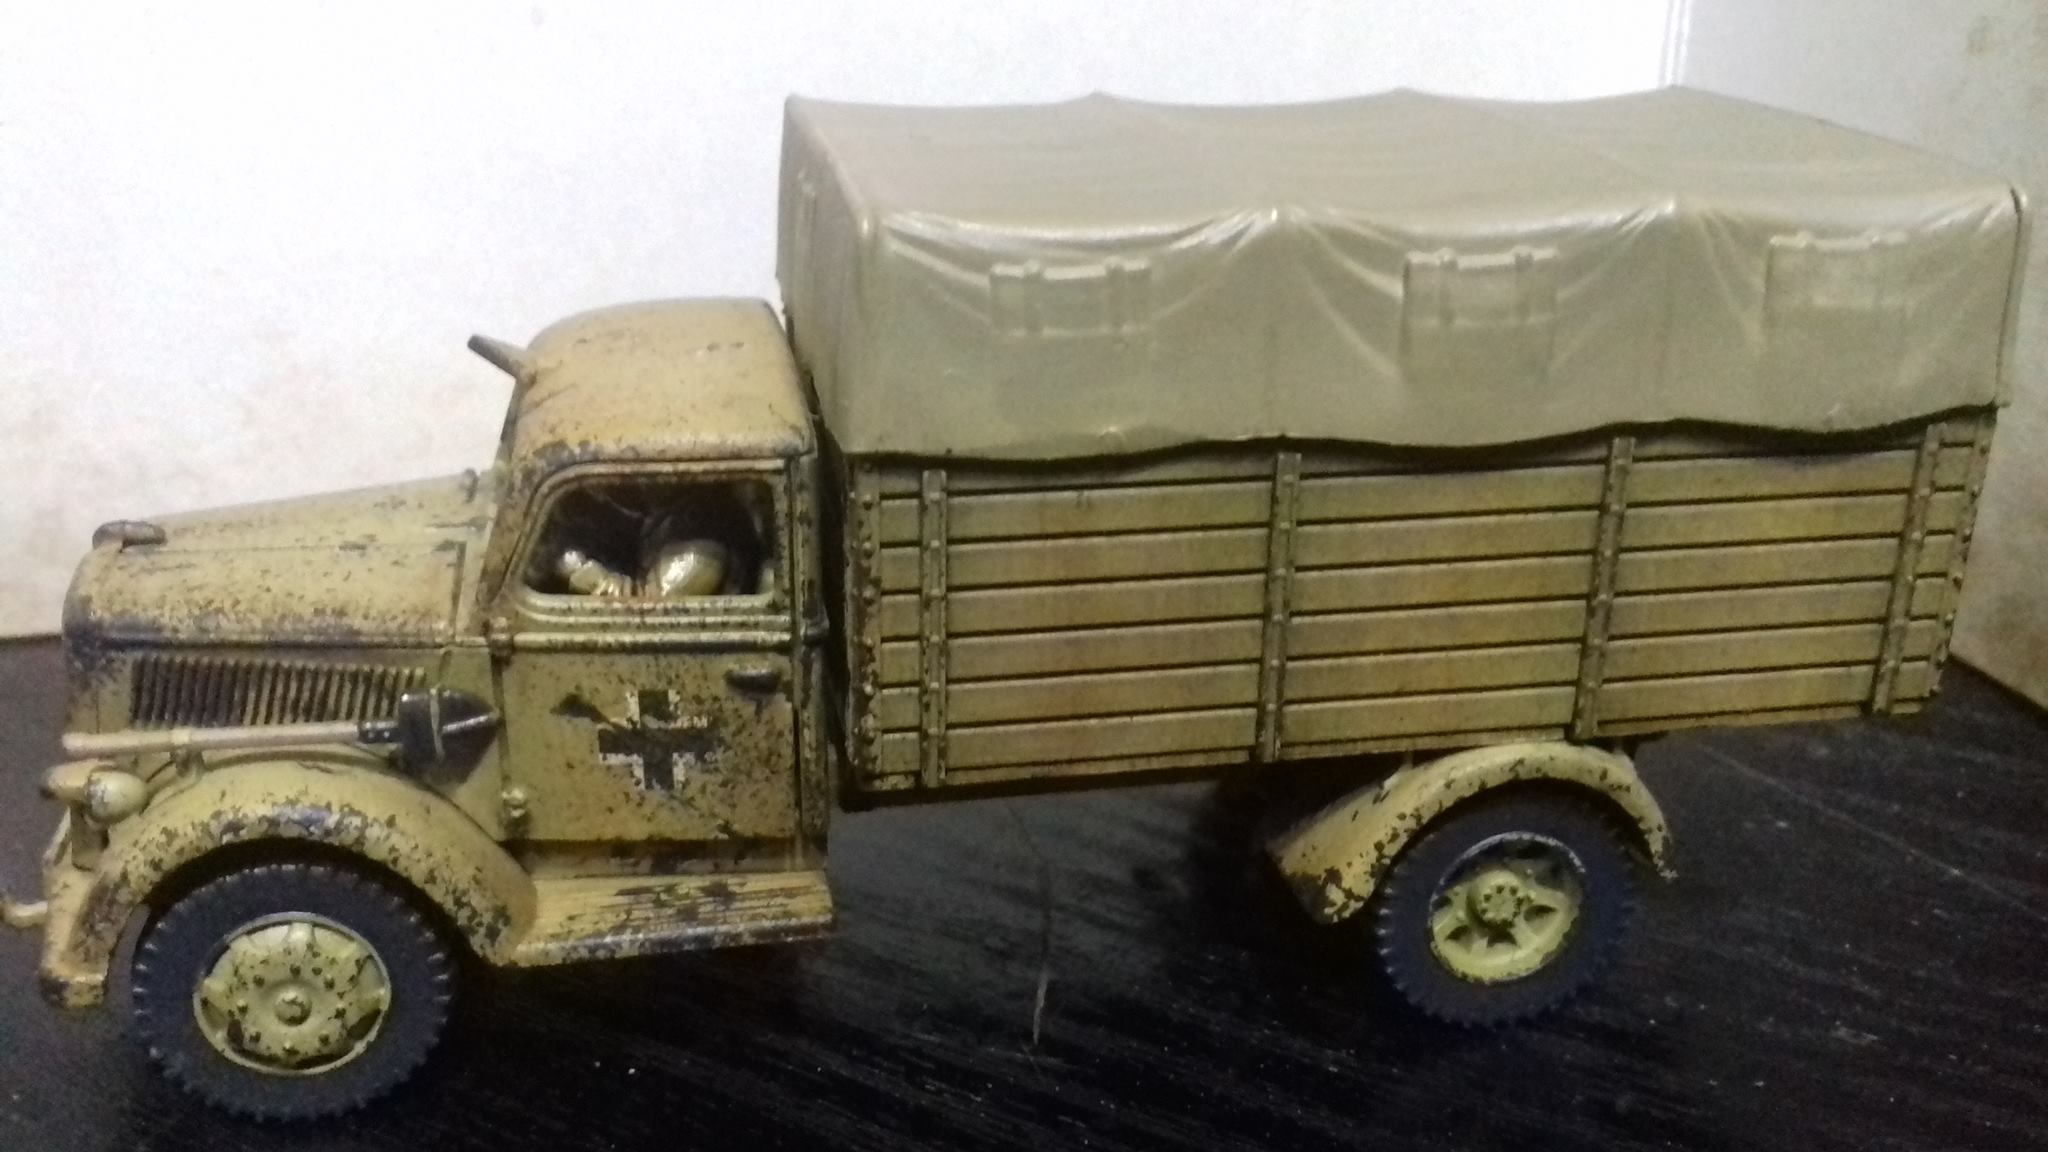
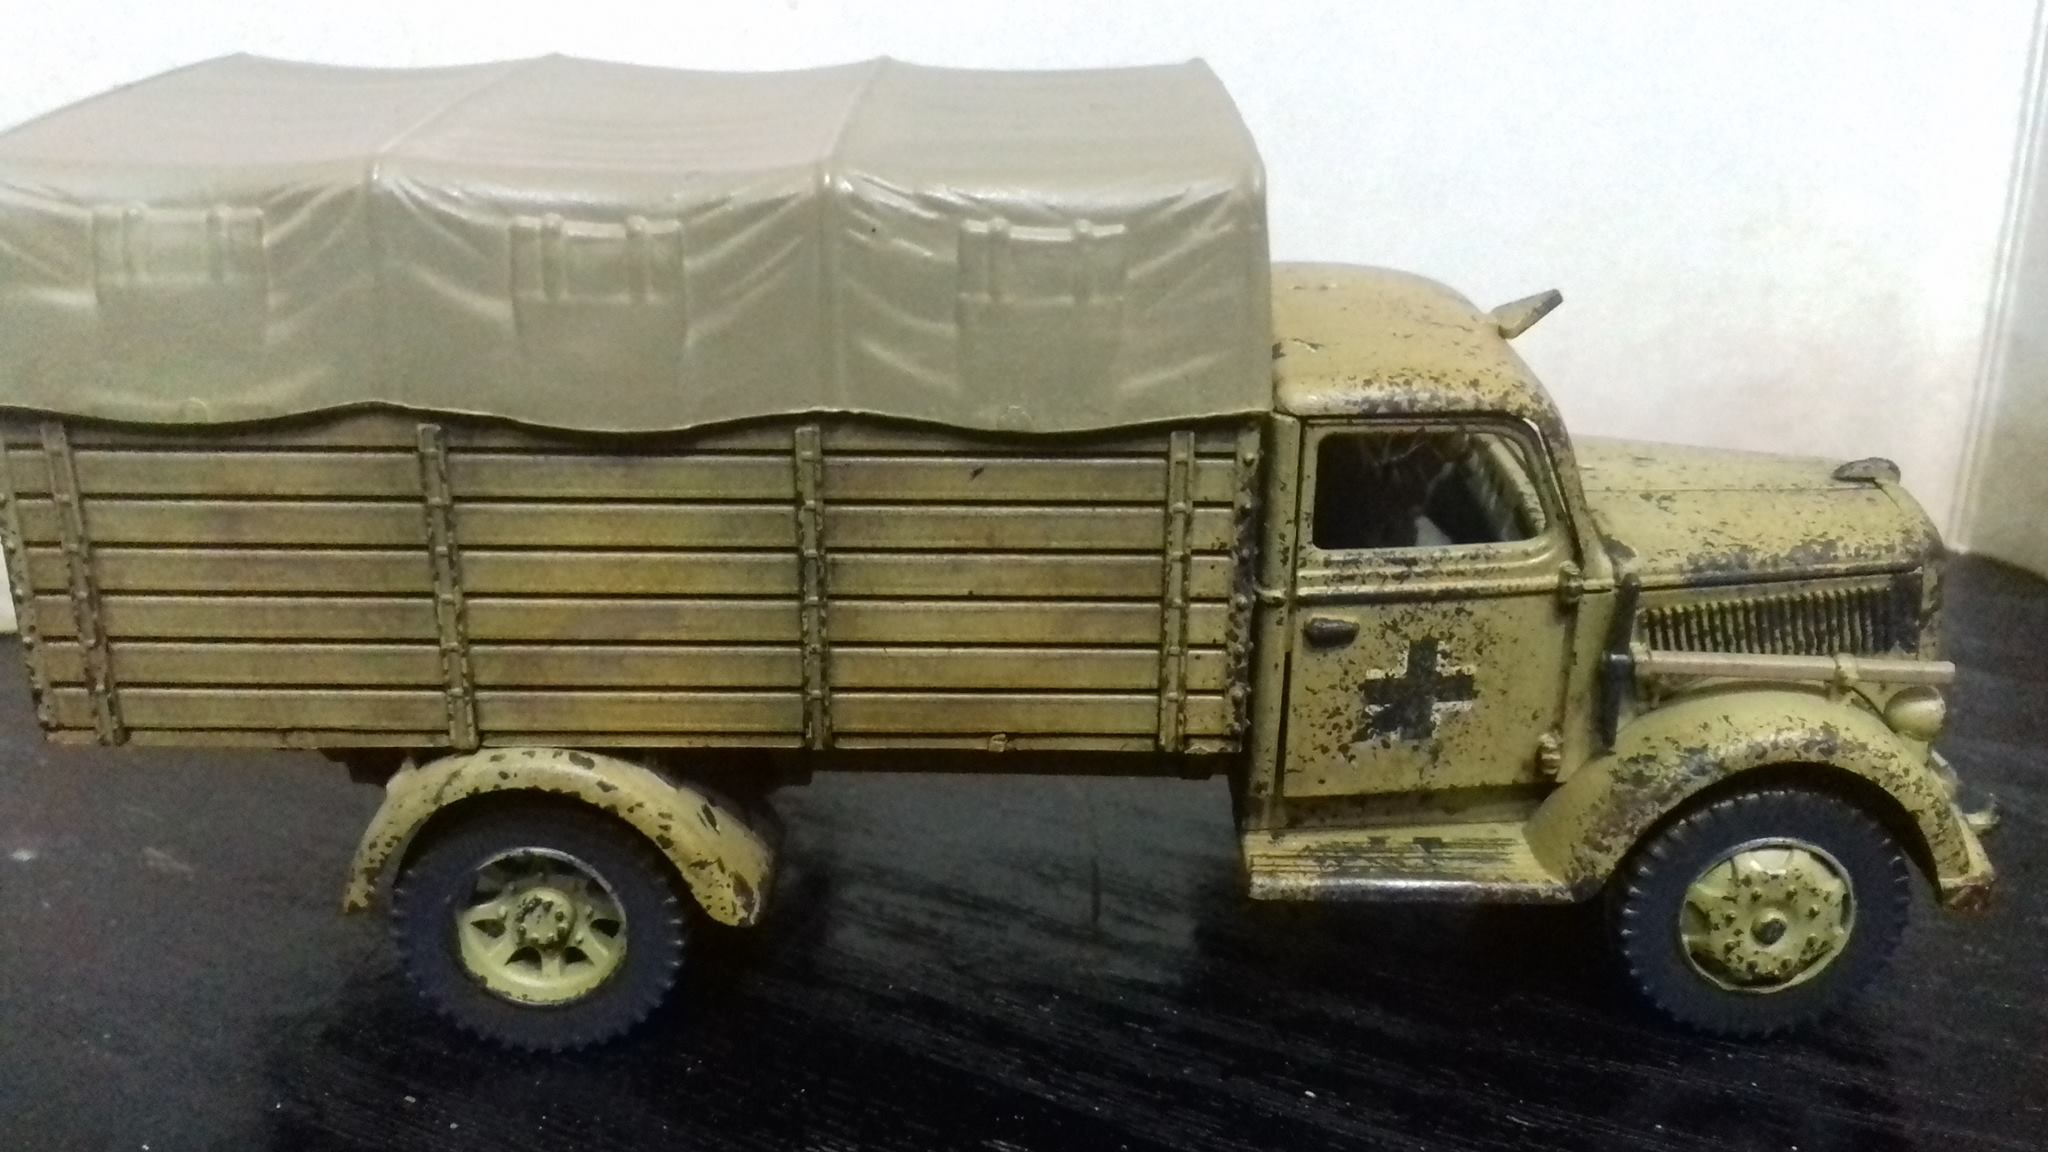
canvas and dust
So I now have one truck with a tint and weathering pigments on it and one without. The canvas has been airbrushed on, in places it’s spotty bit I’m slowly getting the hang of this technological wizardry. A pin wash to pick out the flaps awaits then I’m calling them done.


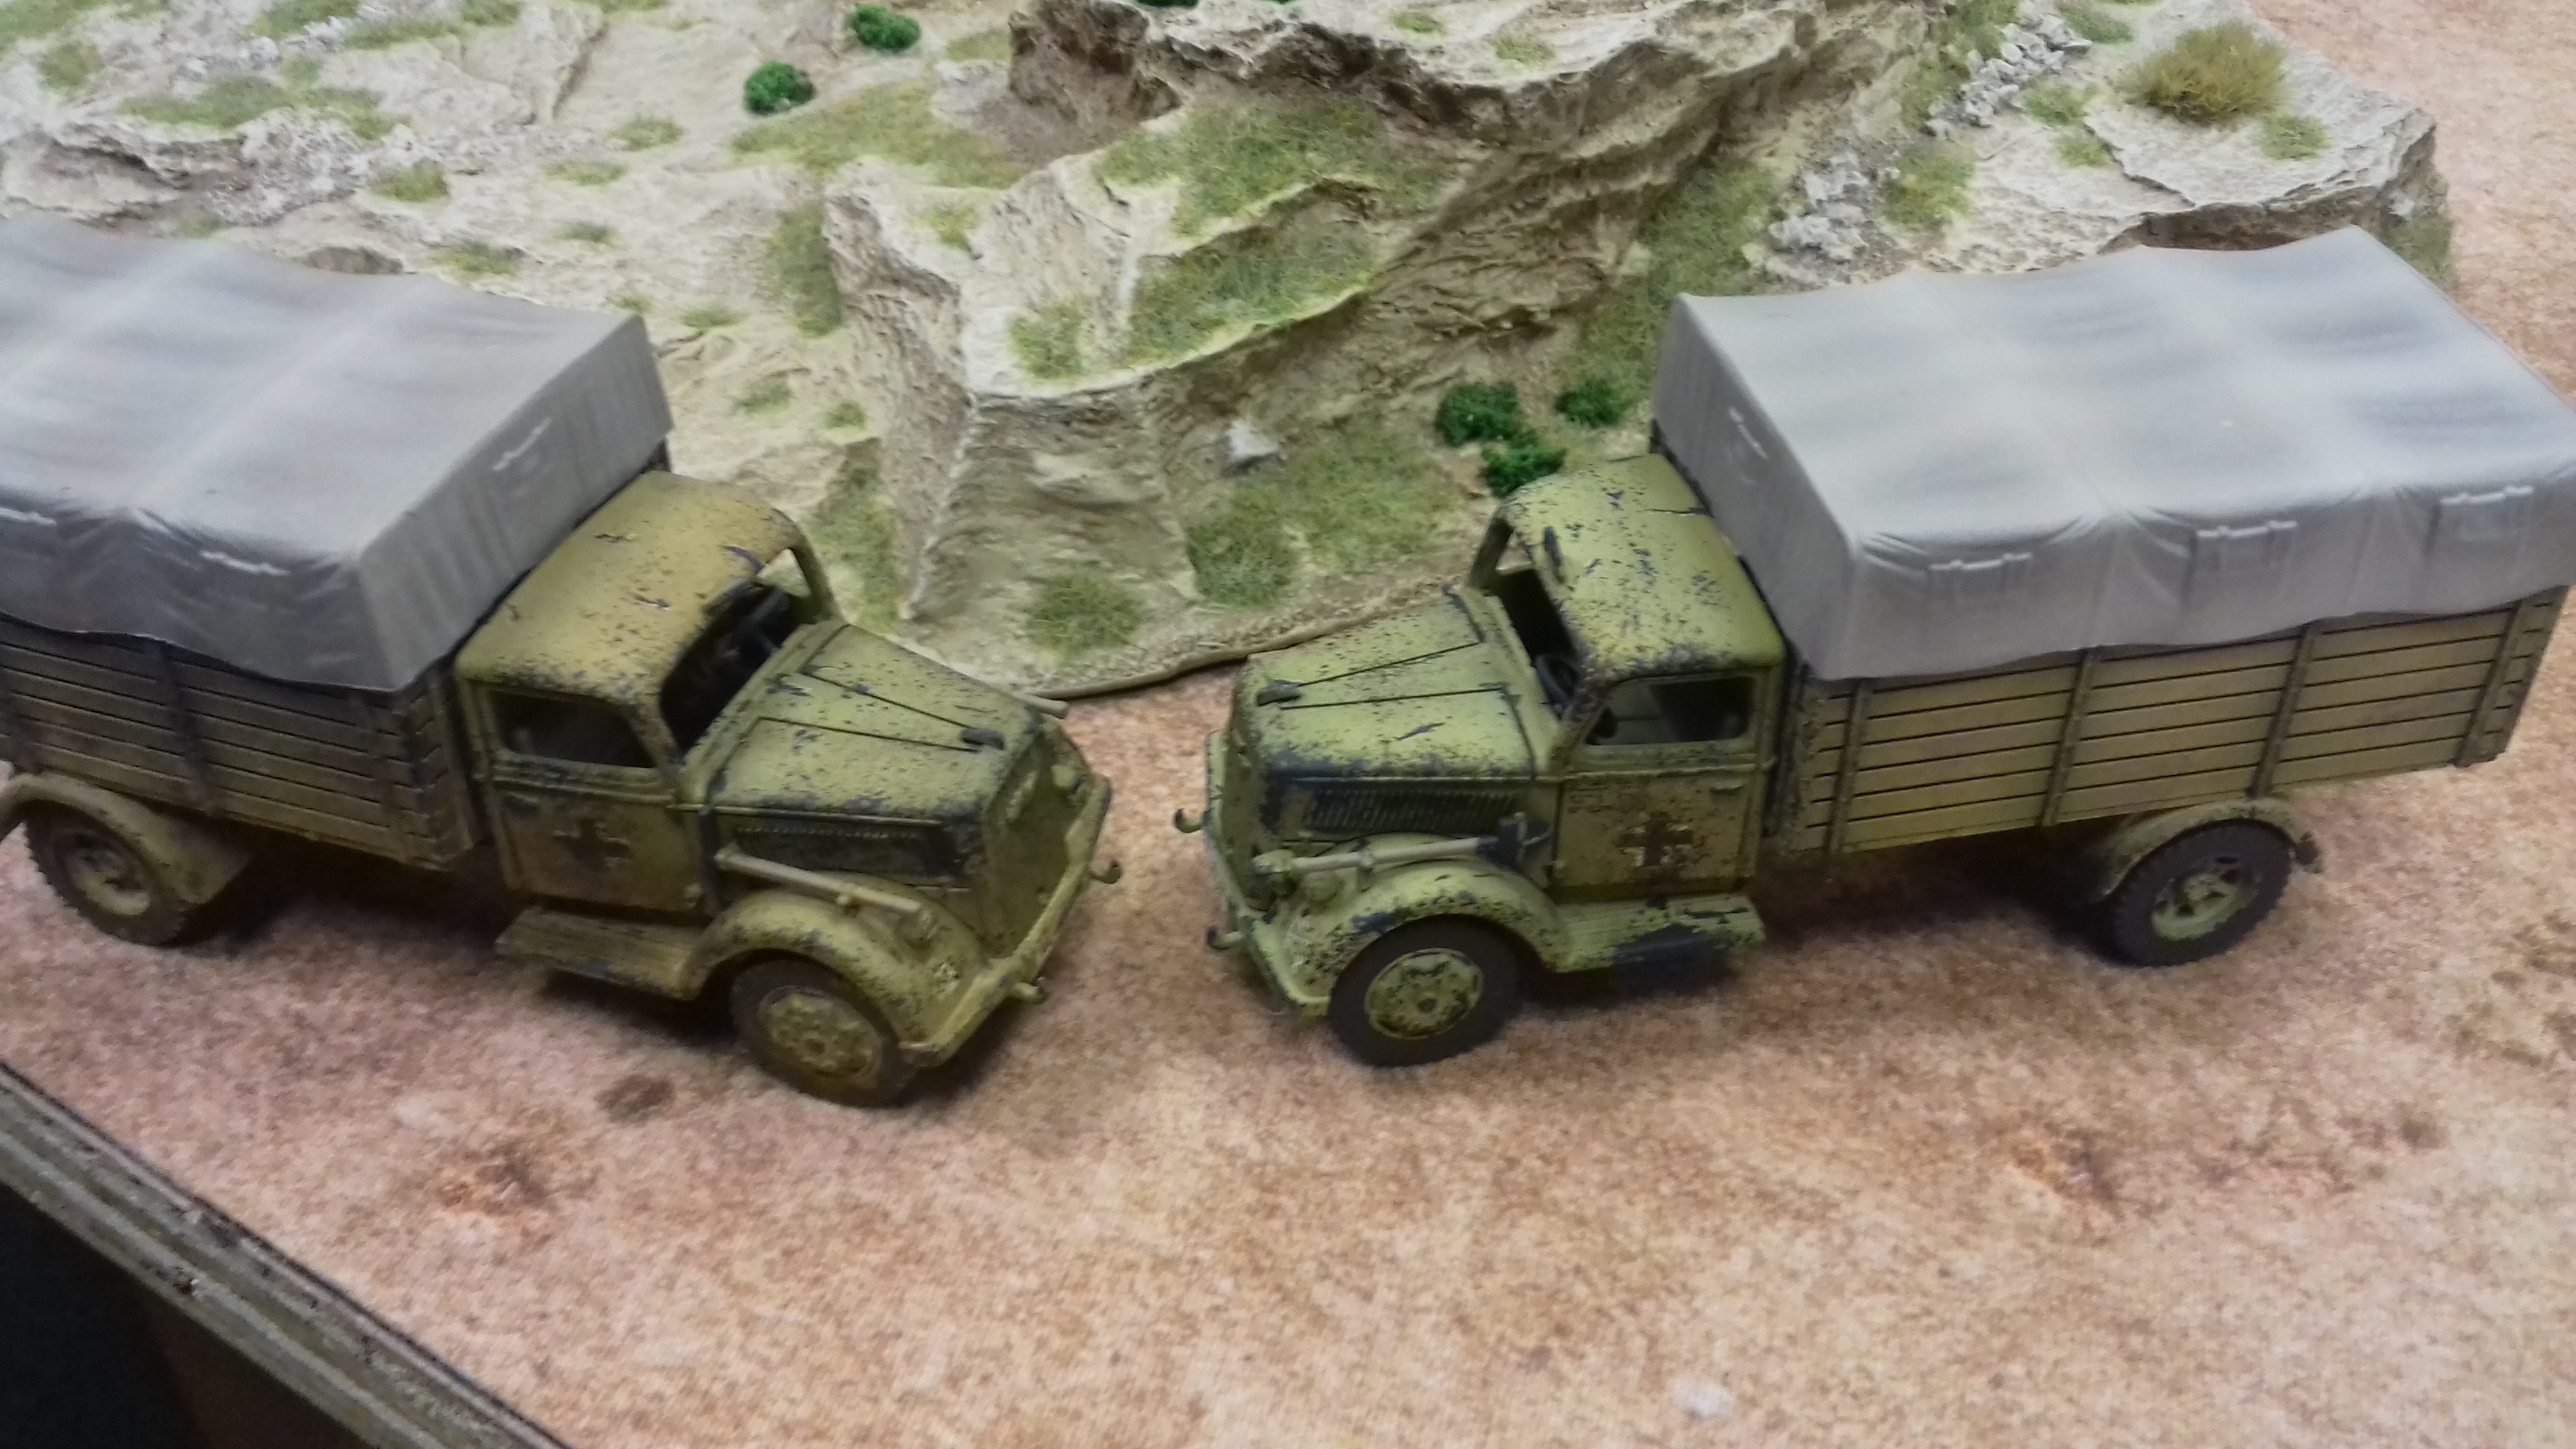
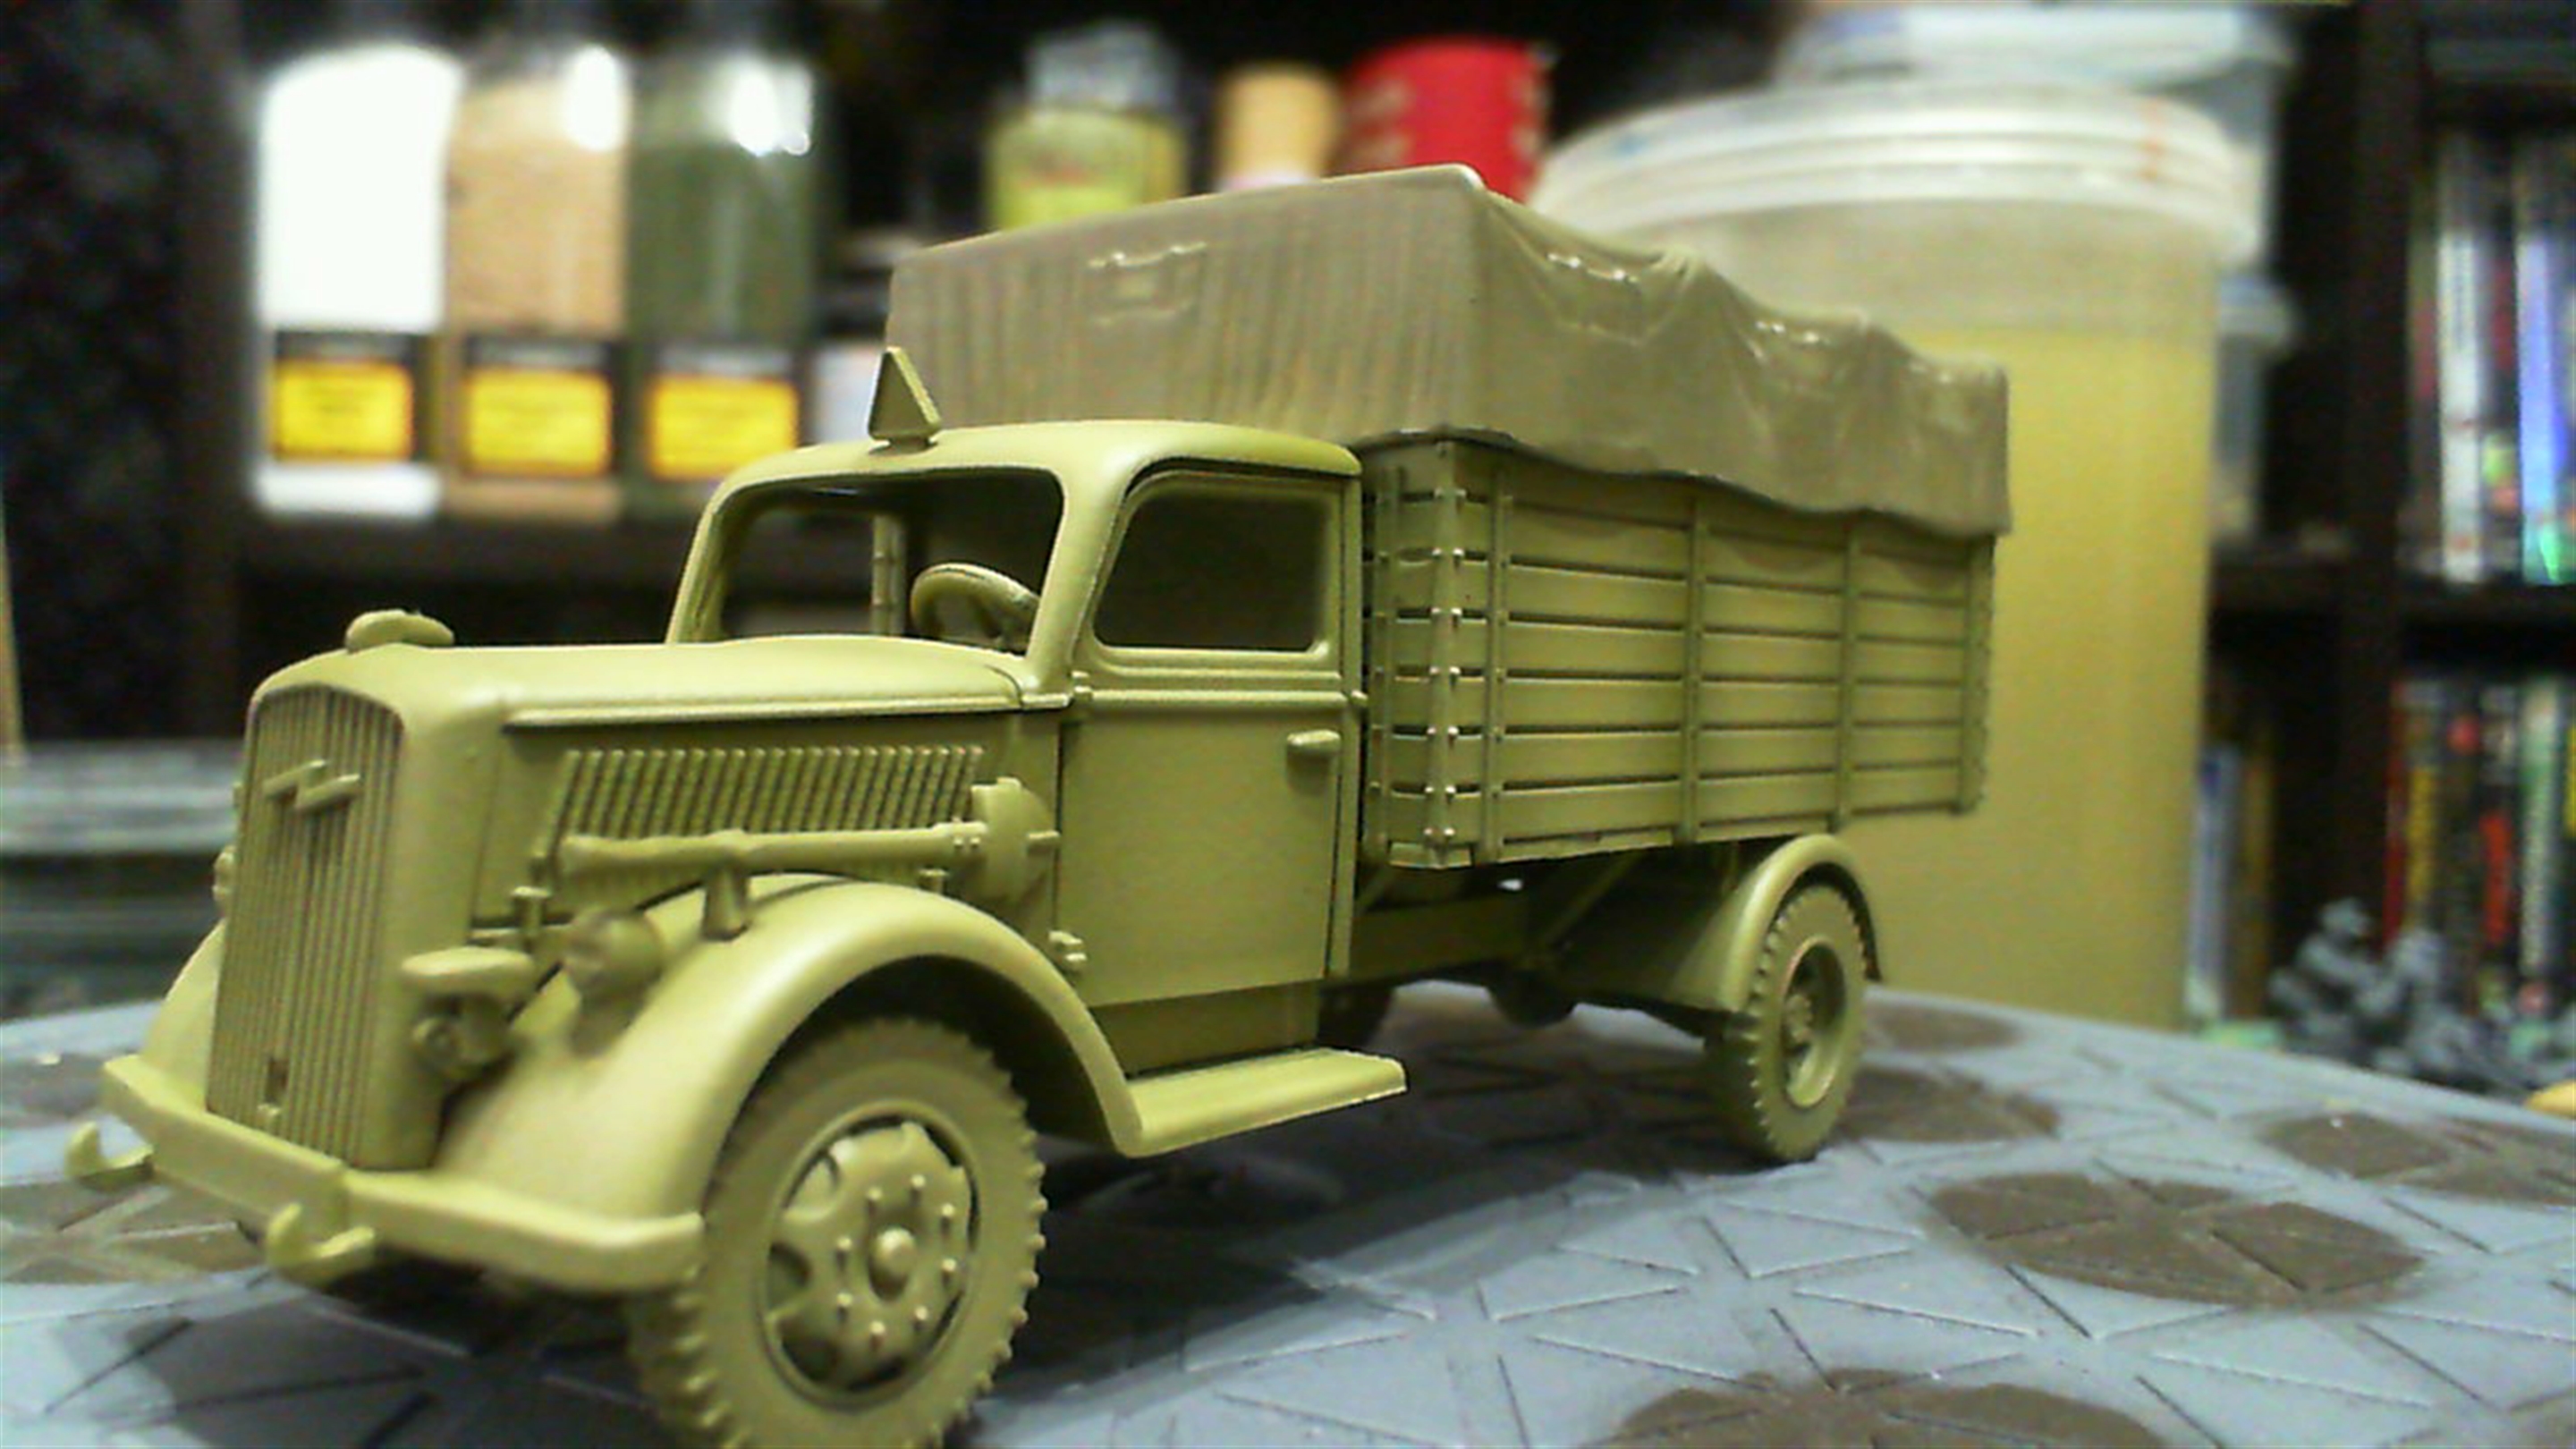
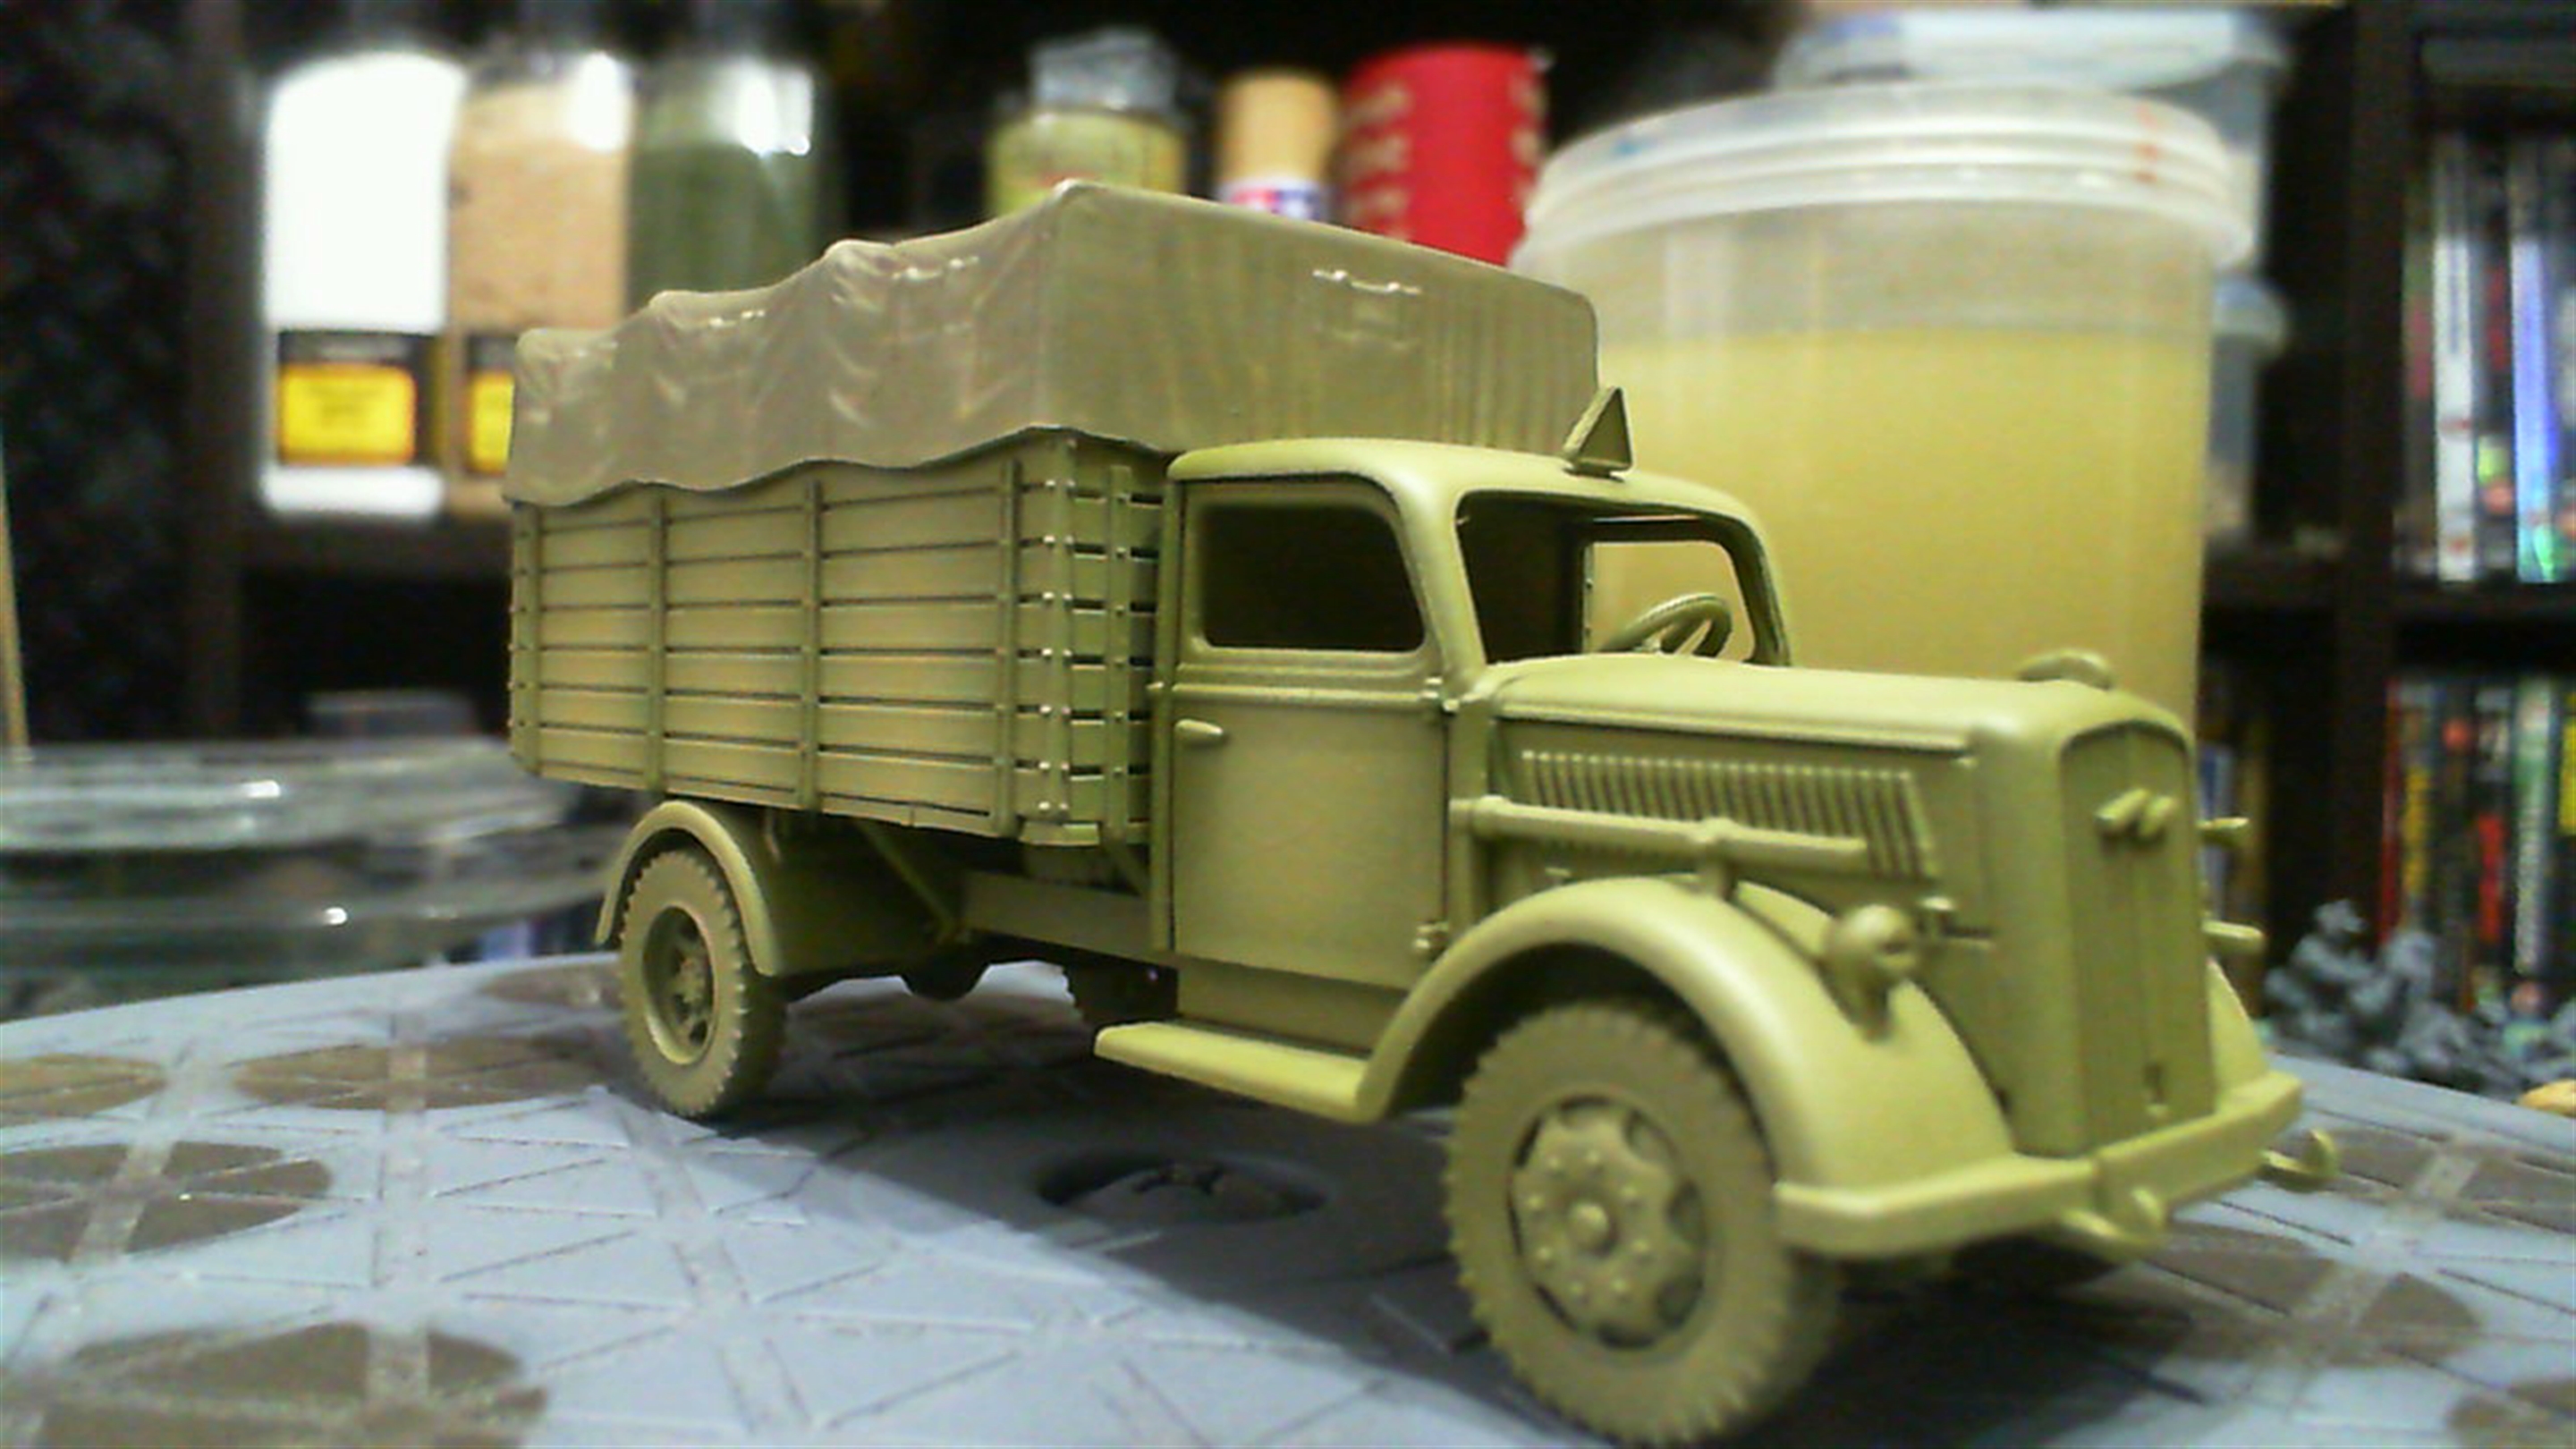
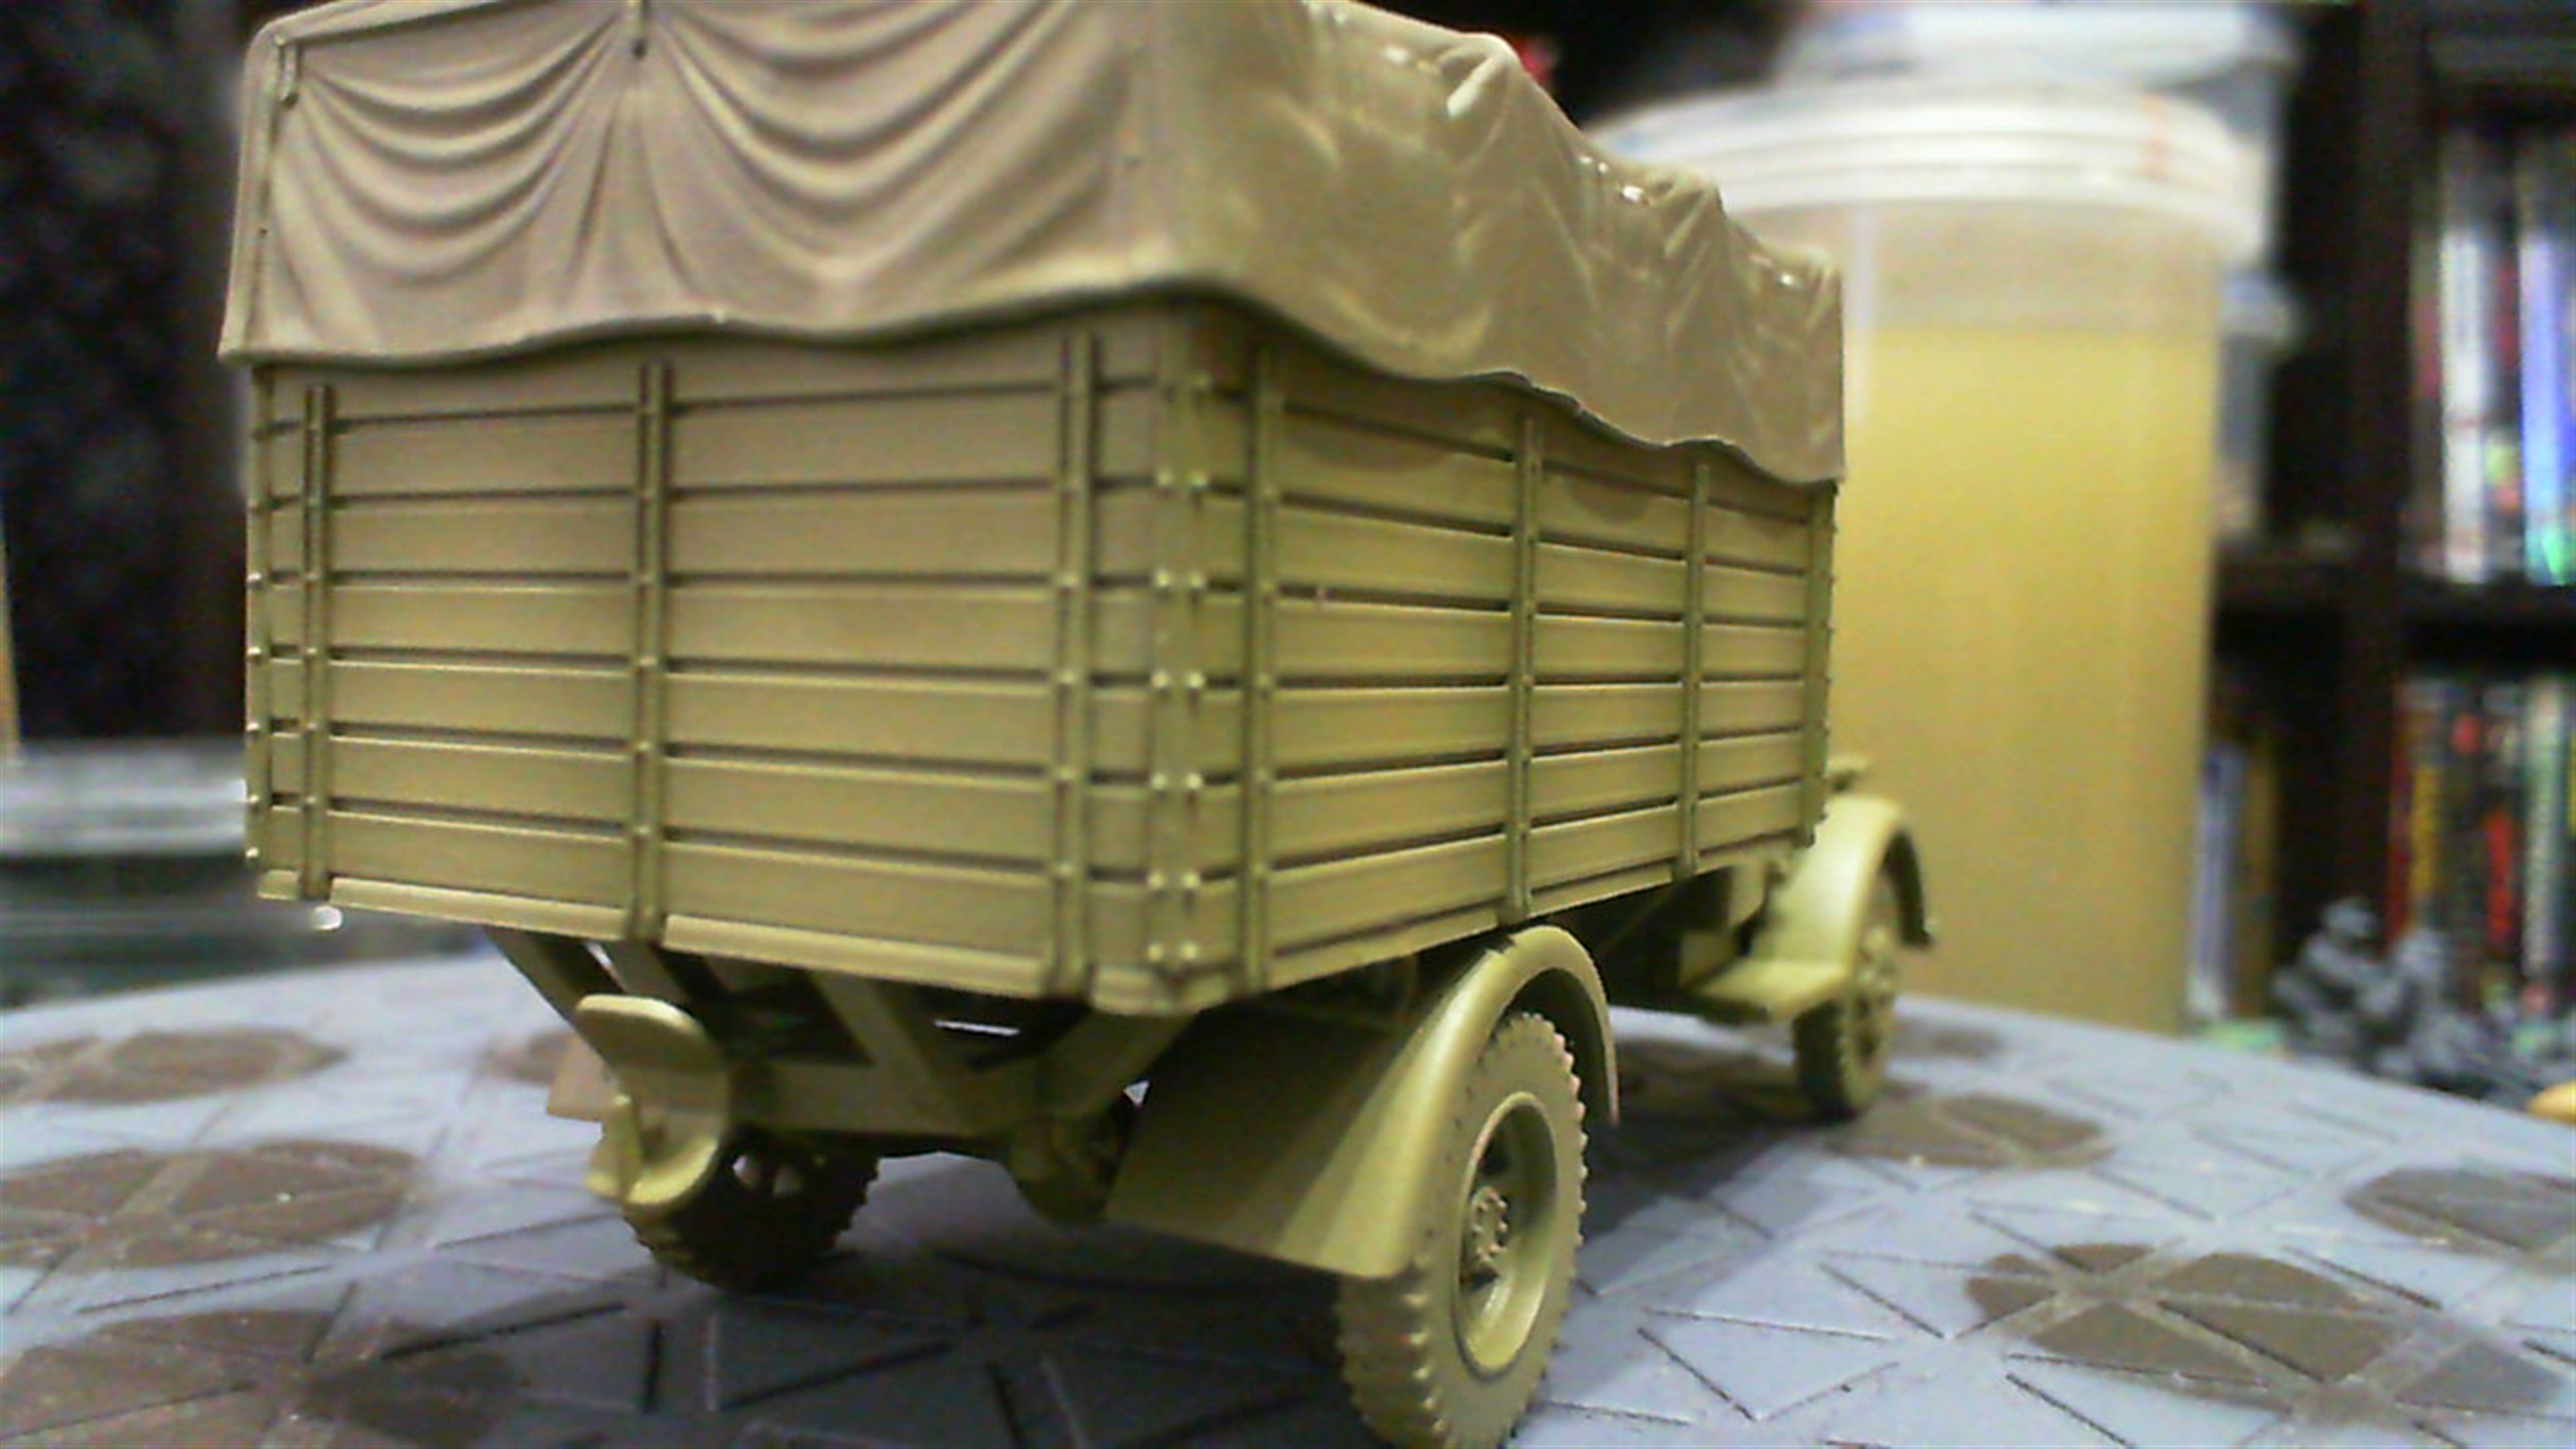
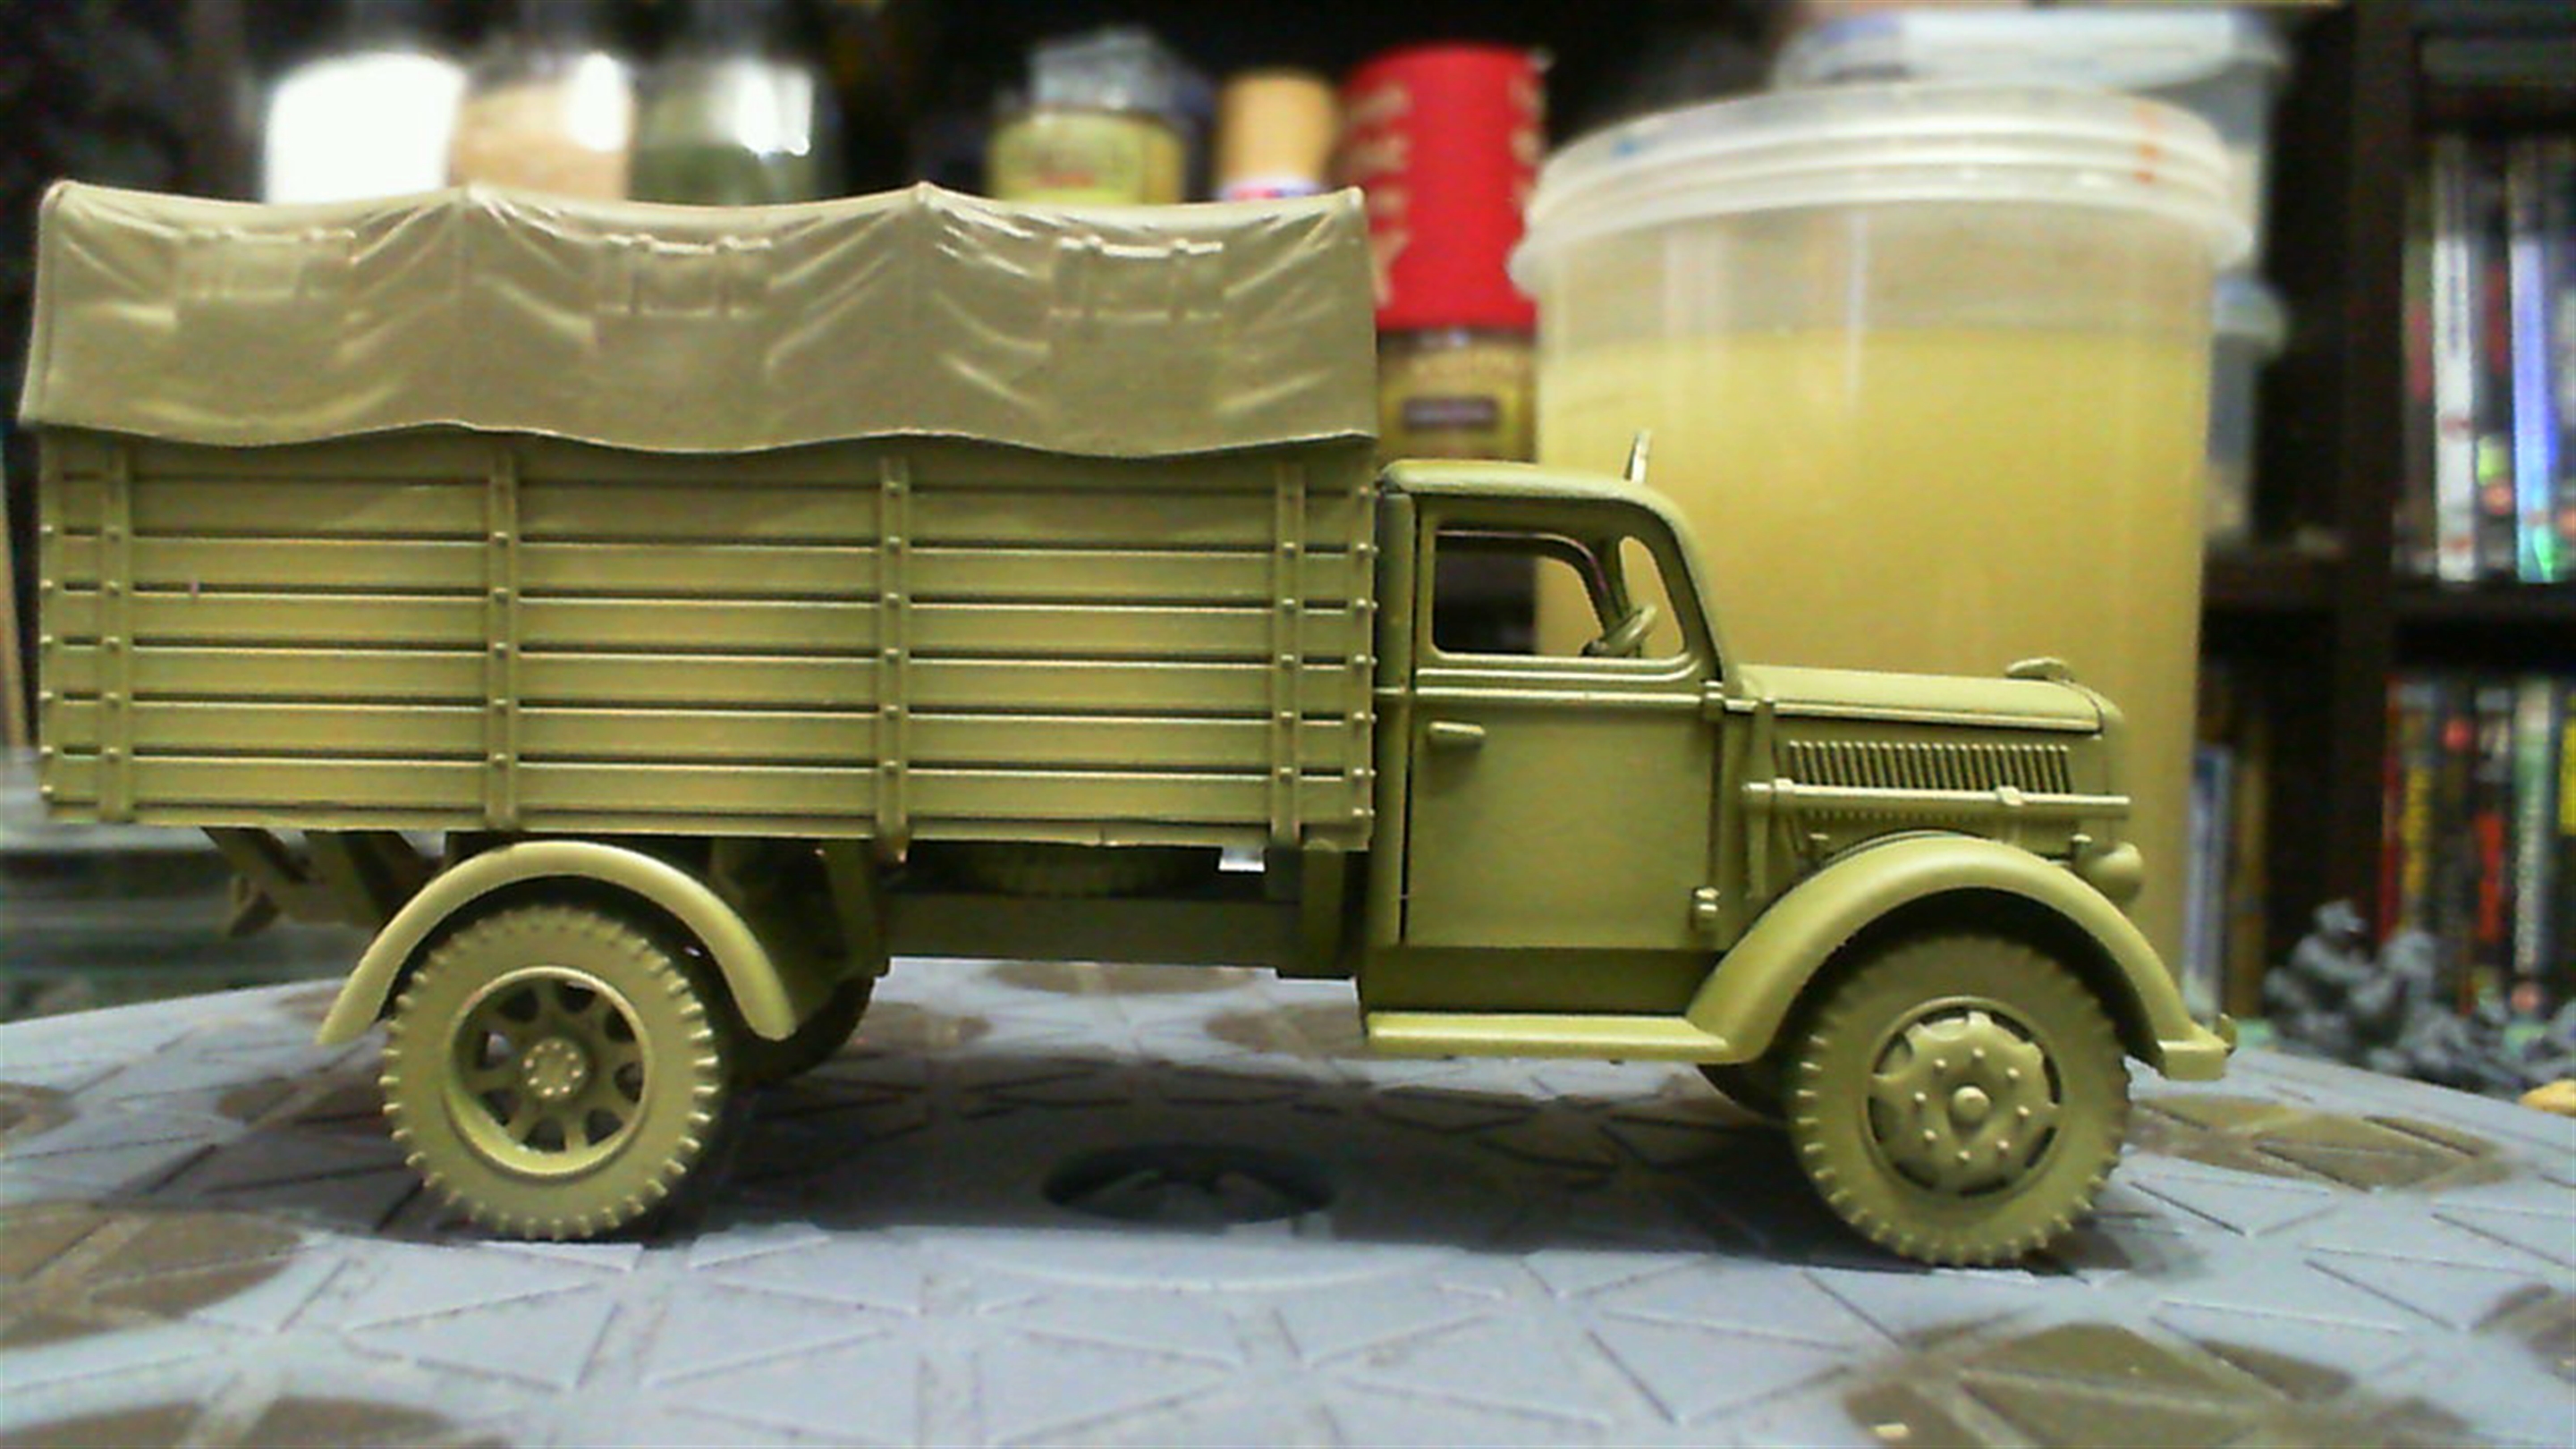
Chip Vans
 fancy a sausage supper?
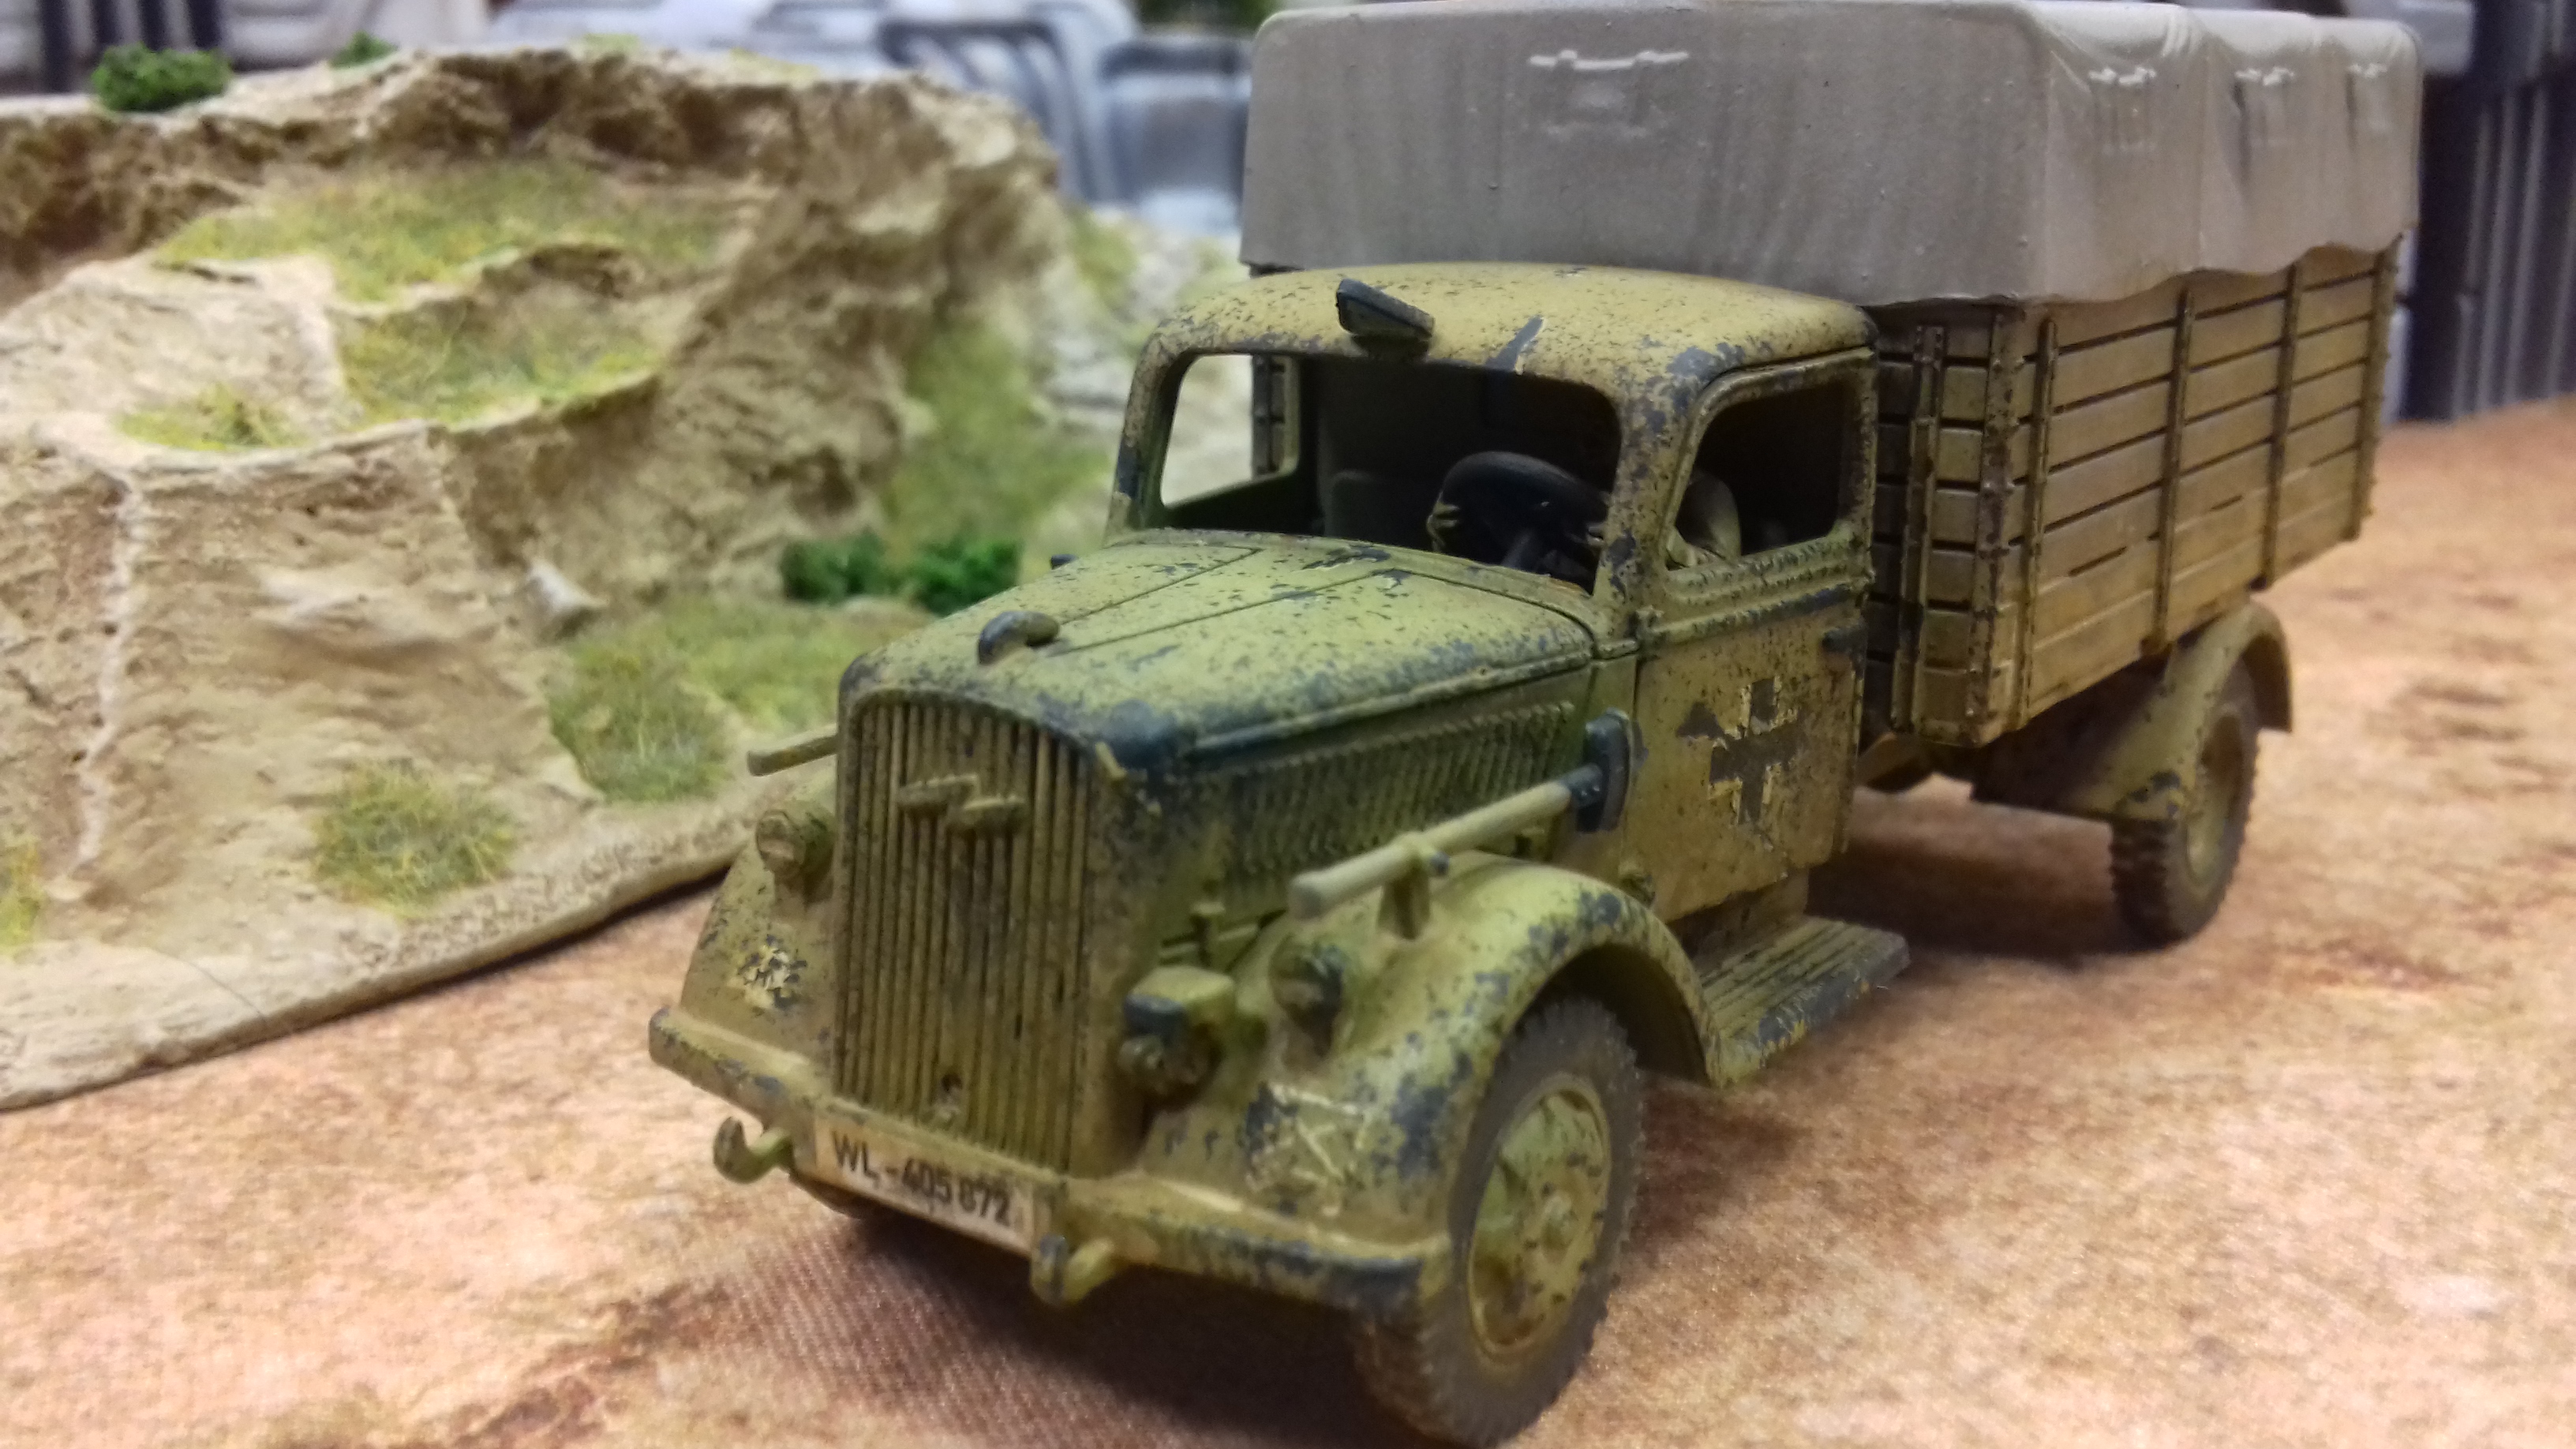
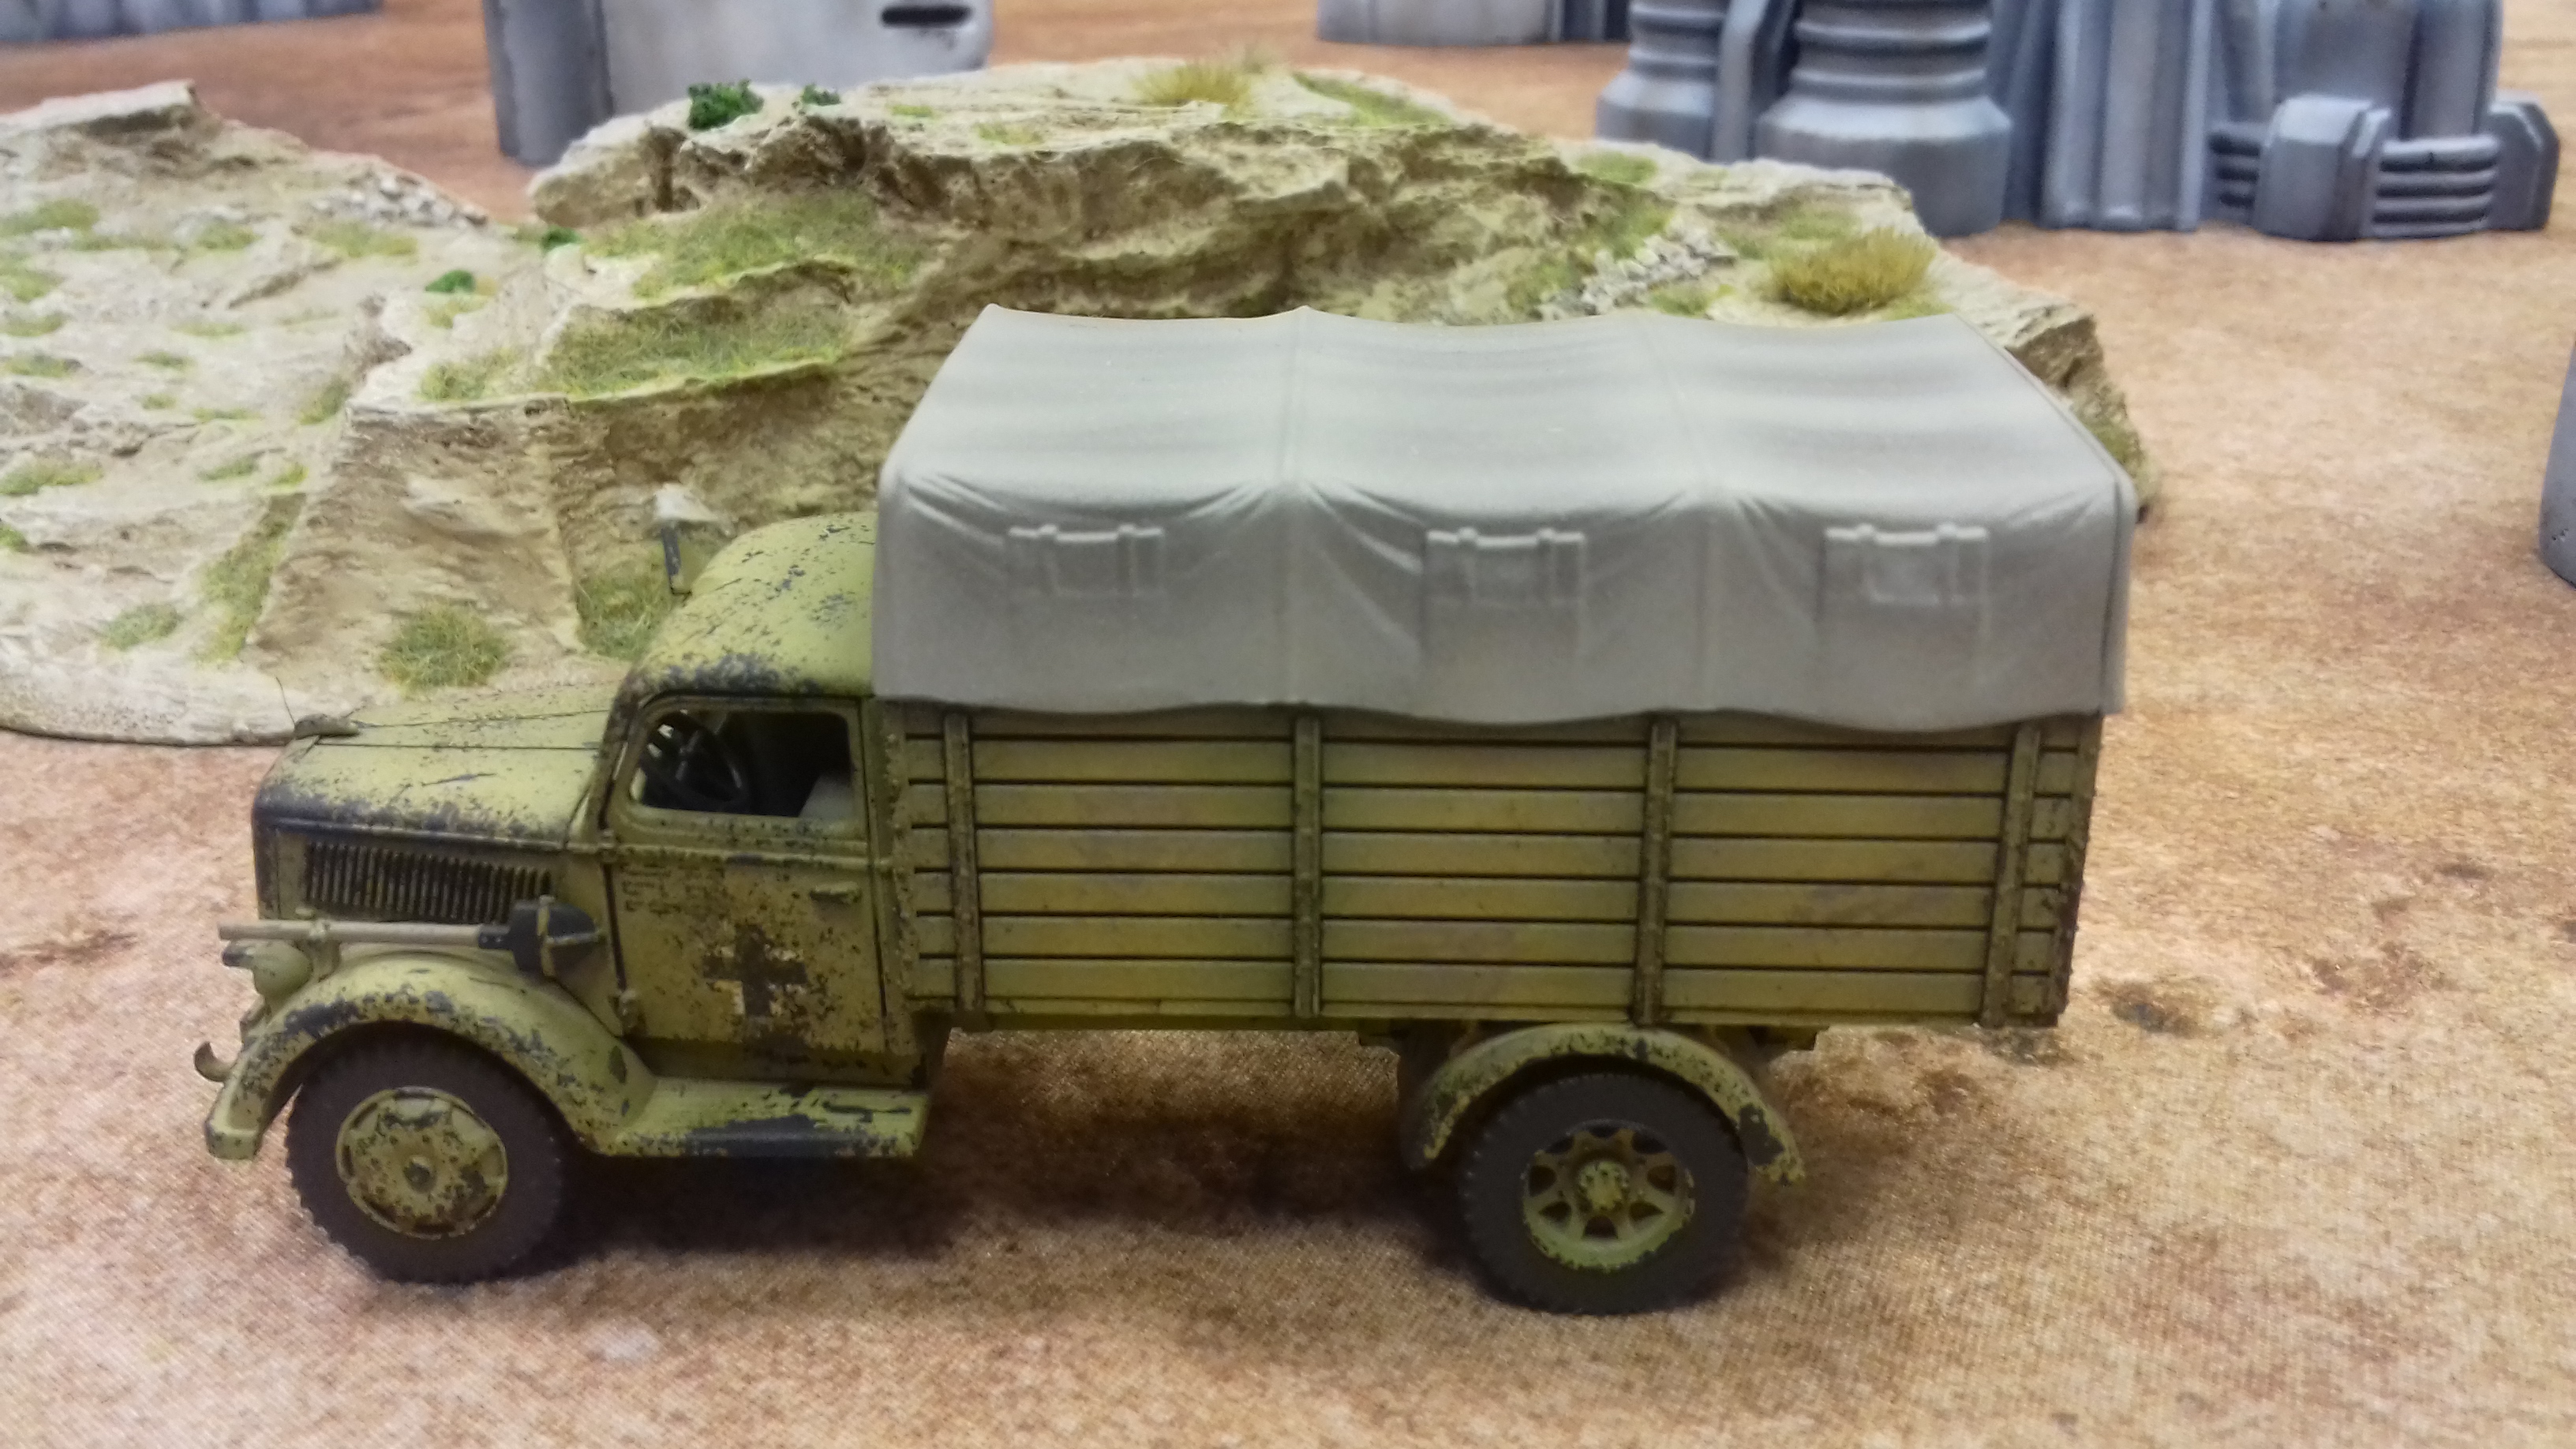
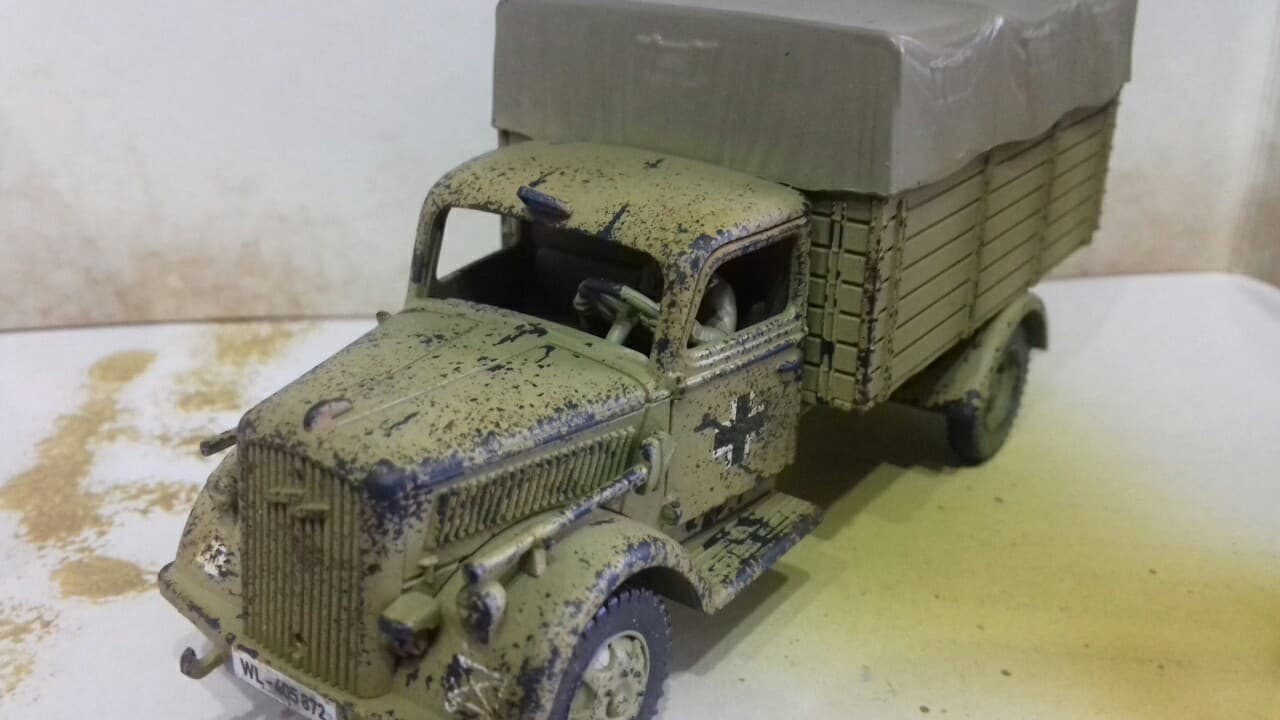
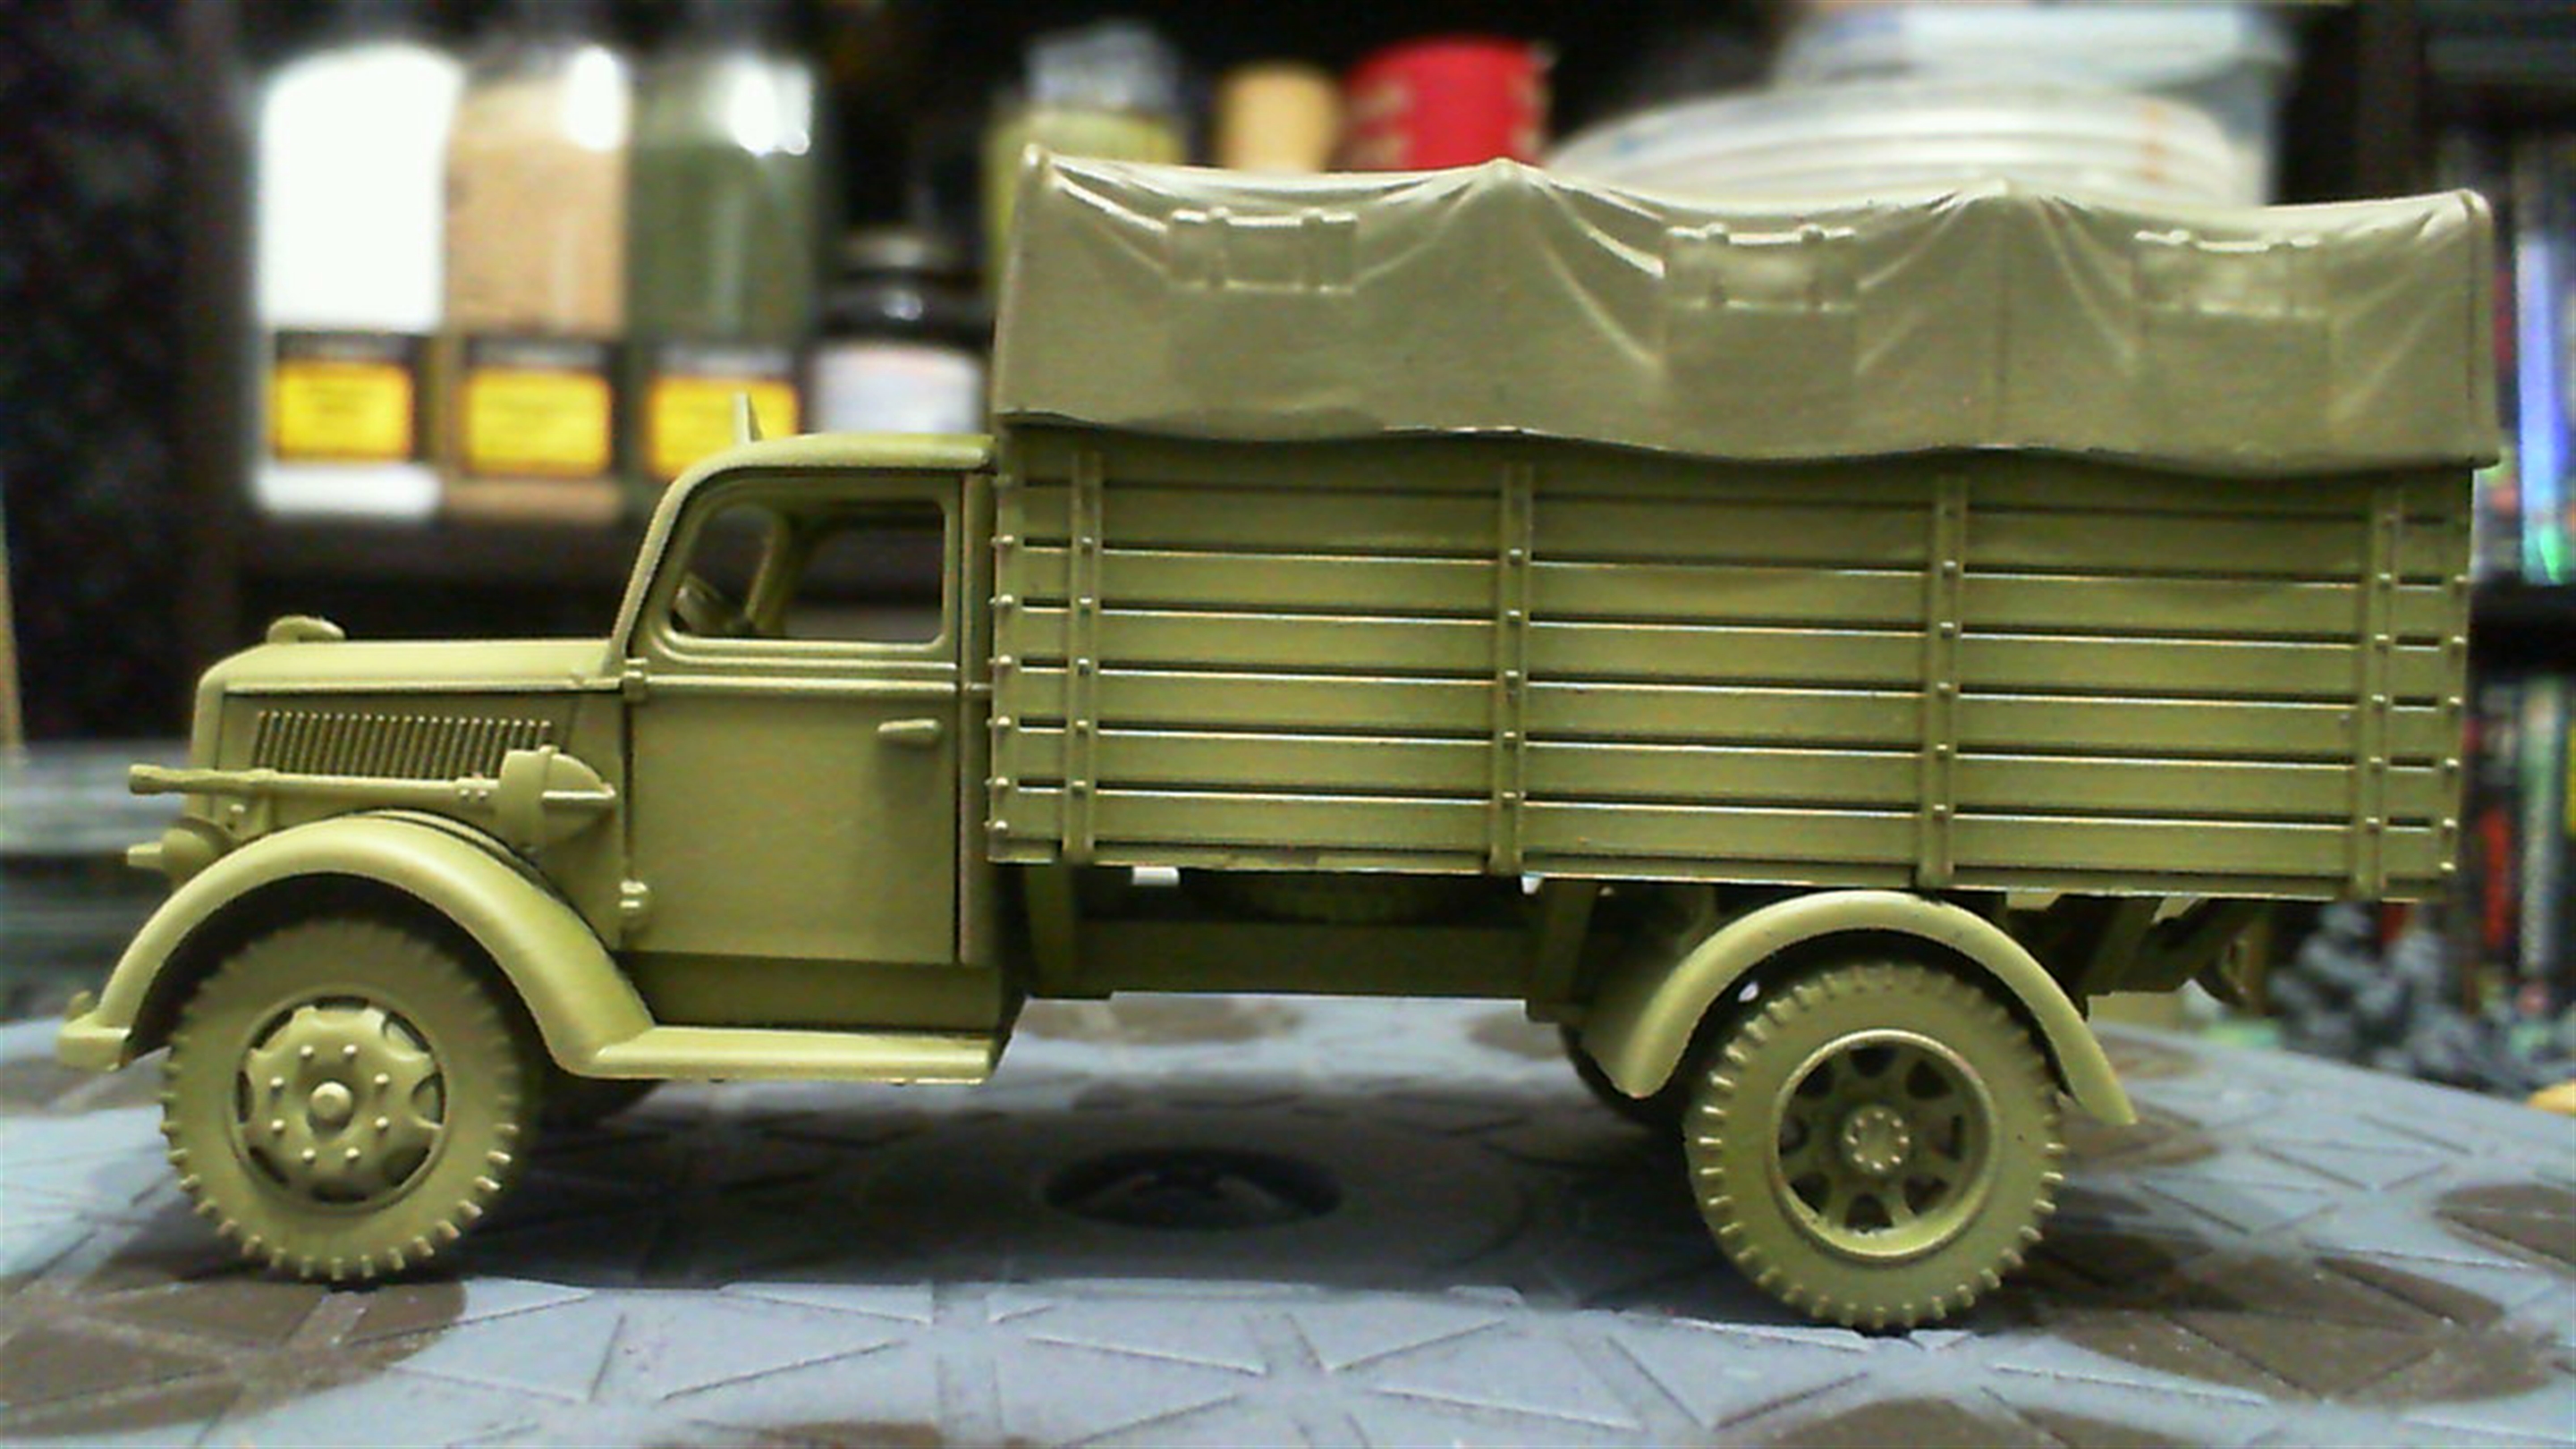
so I’ve been working on my two Opel Blitz to practice techniques I’ll be using on the 8-Rad, and I’m fairly happy with the results.
I’ll do a full tutorial on colours and the like when I am working on the car but for now here are some wip photos of the lorries pretty much done. I’ve the canvas tarp to paint and then pigments for sand and dust to add.
I've been dying for a truck all week!
 so shiny and new
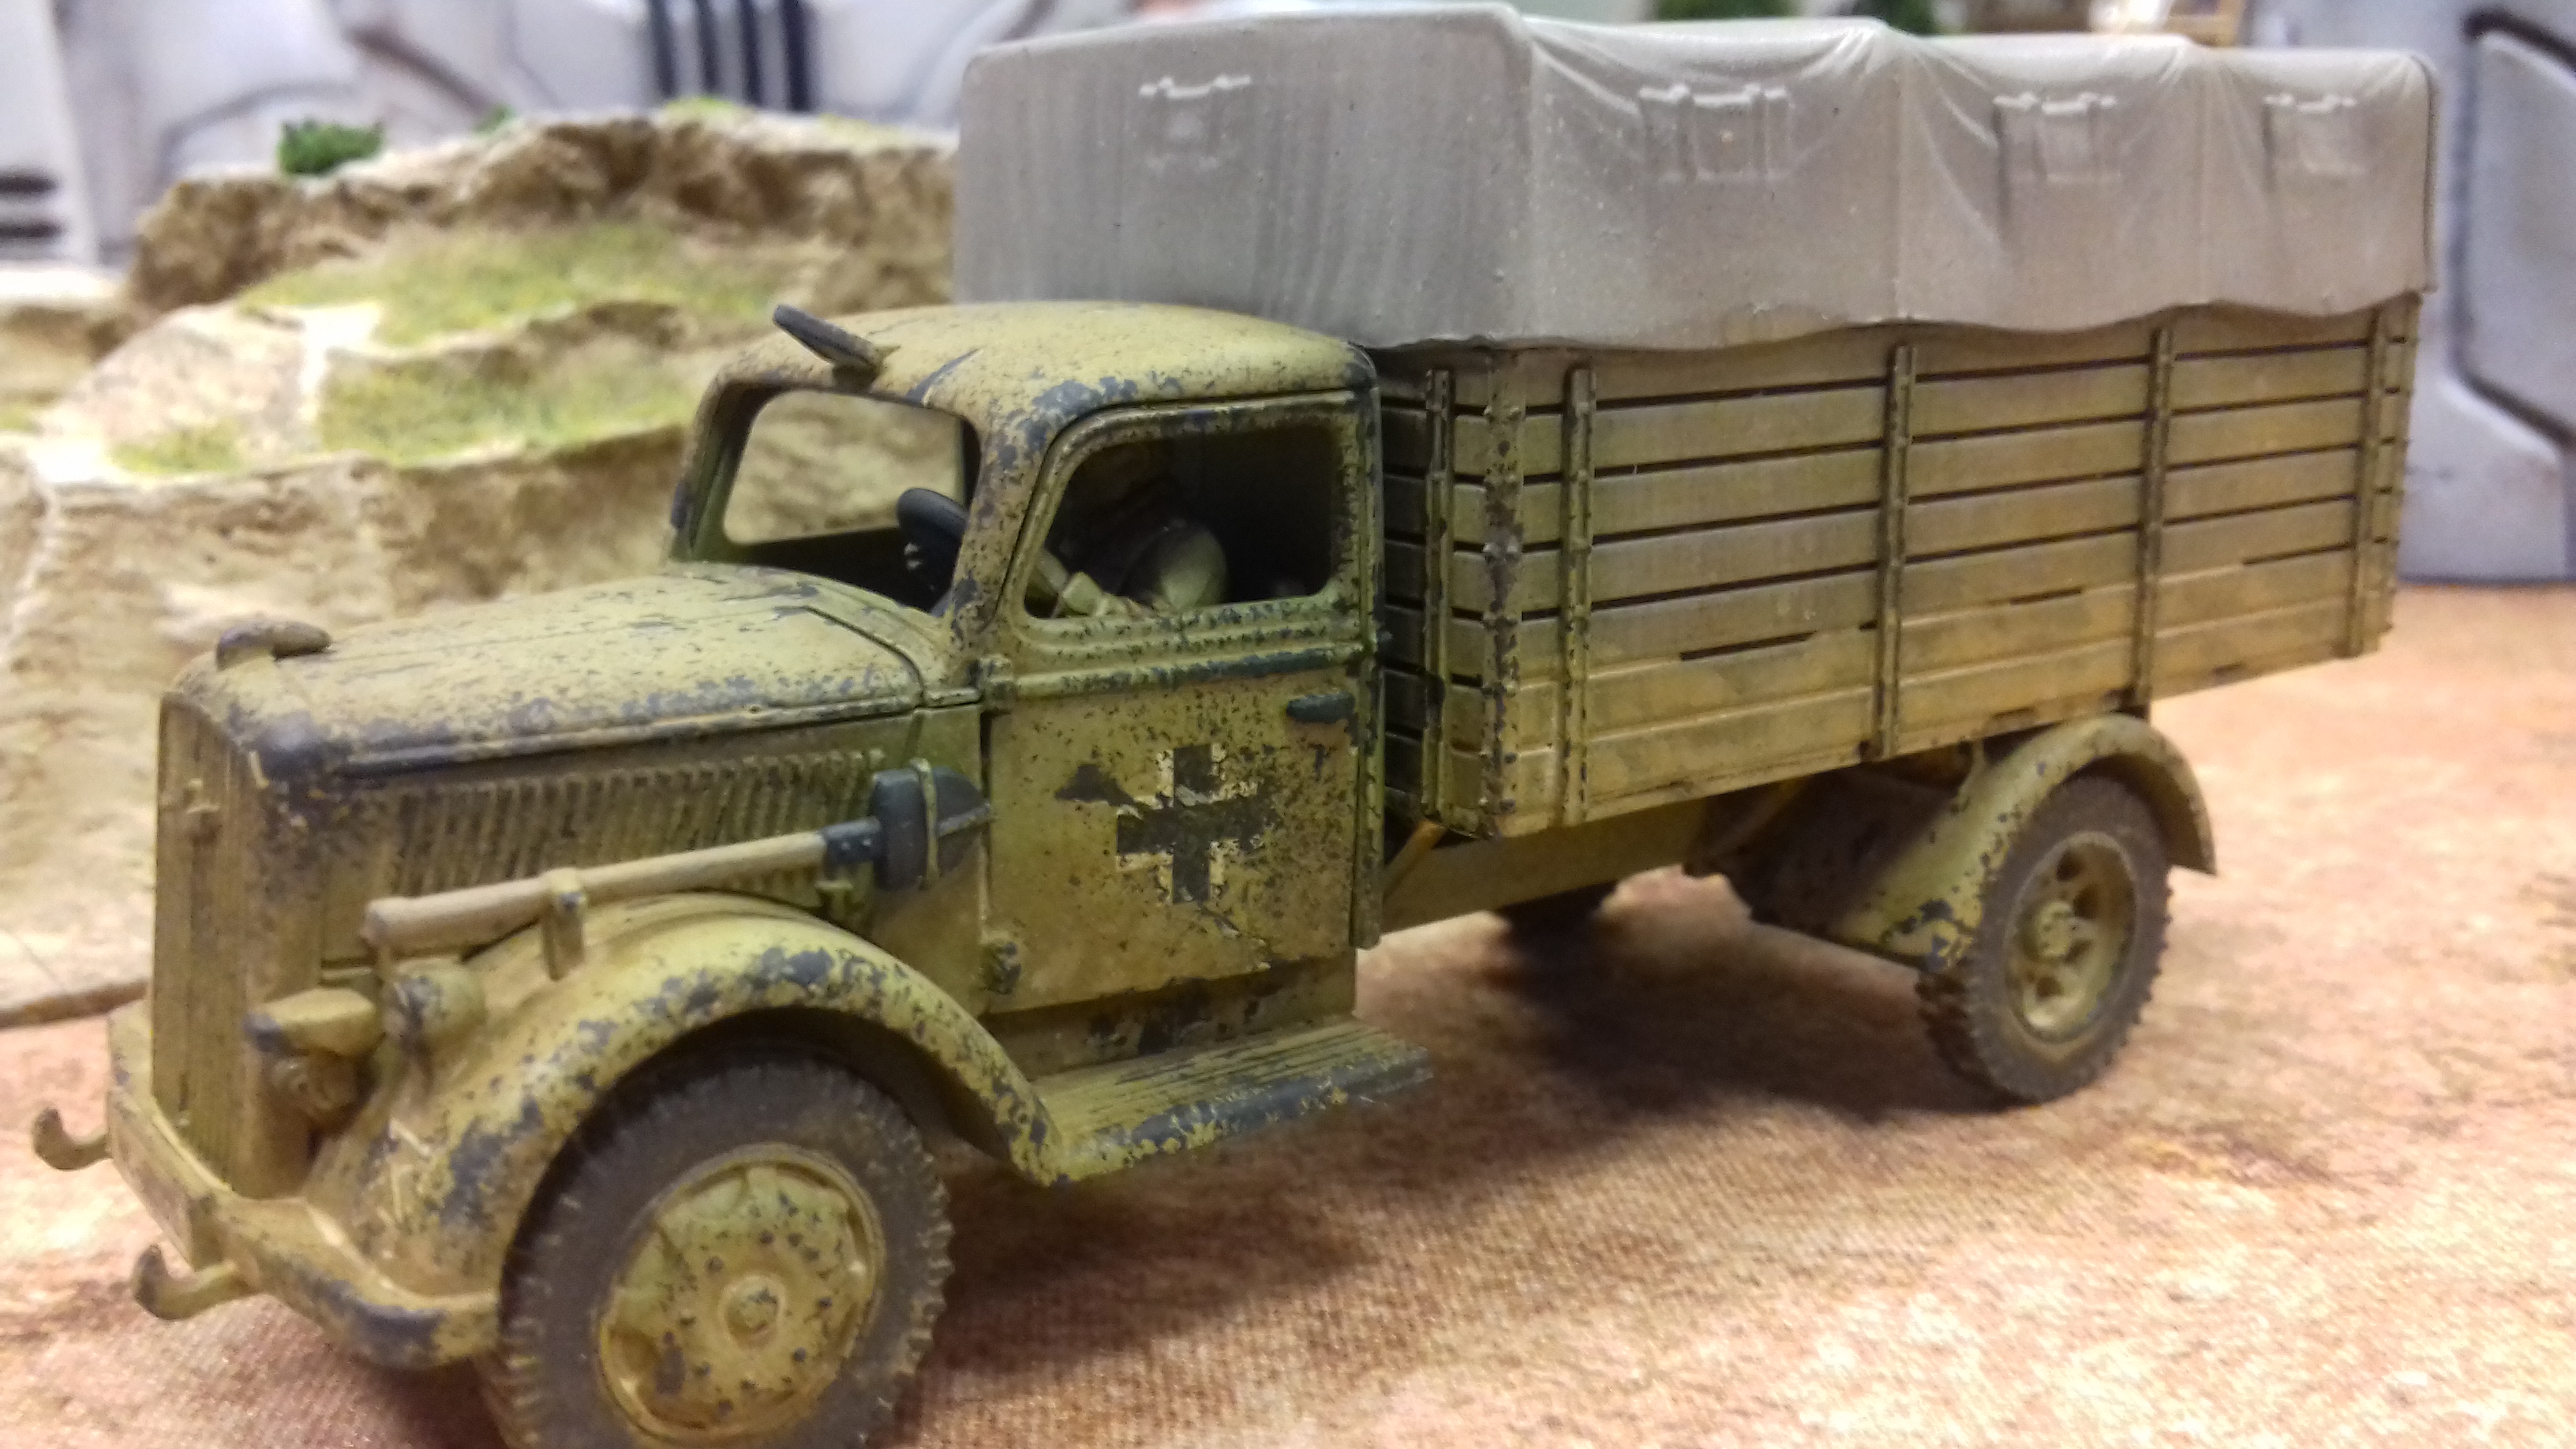
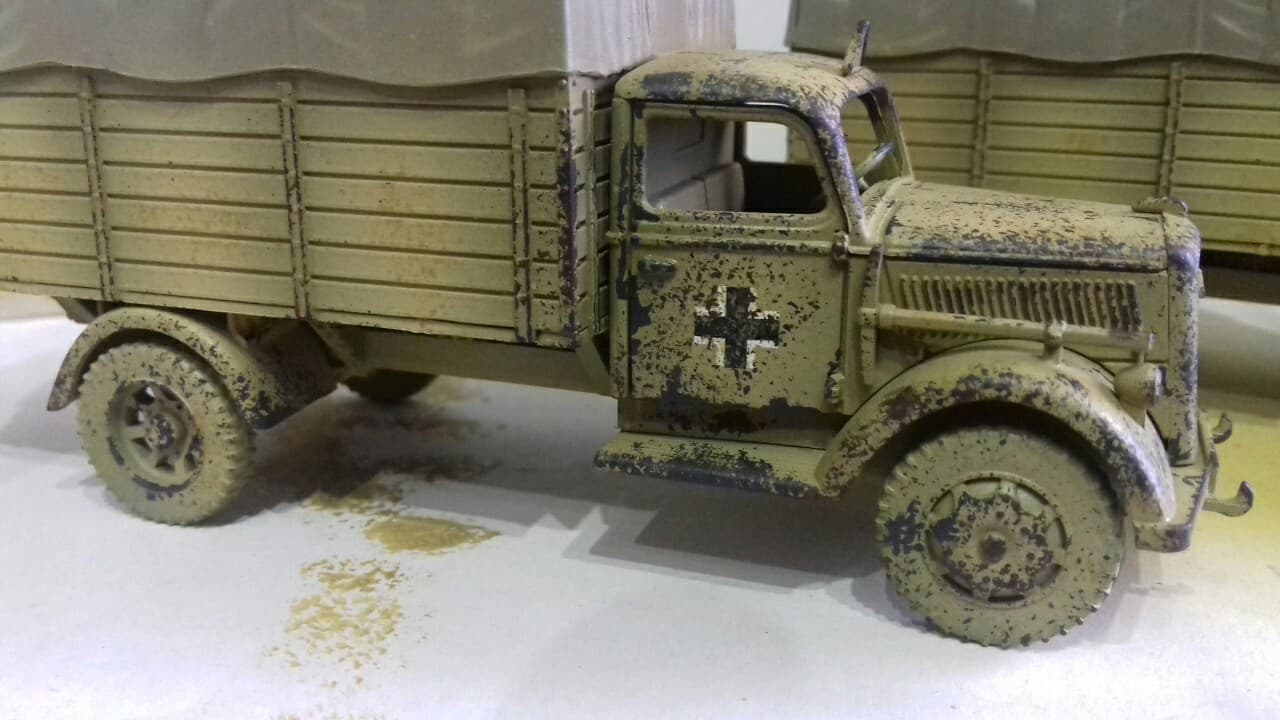
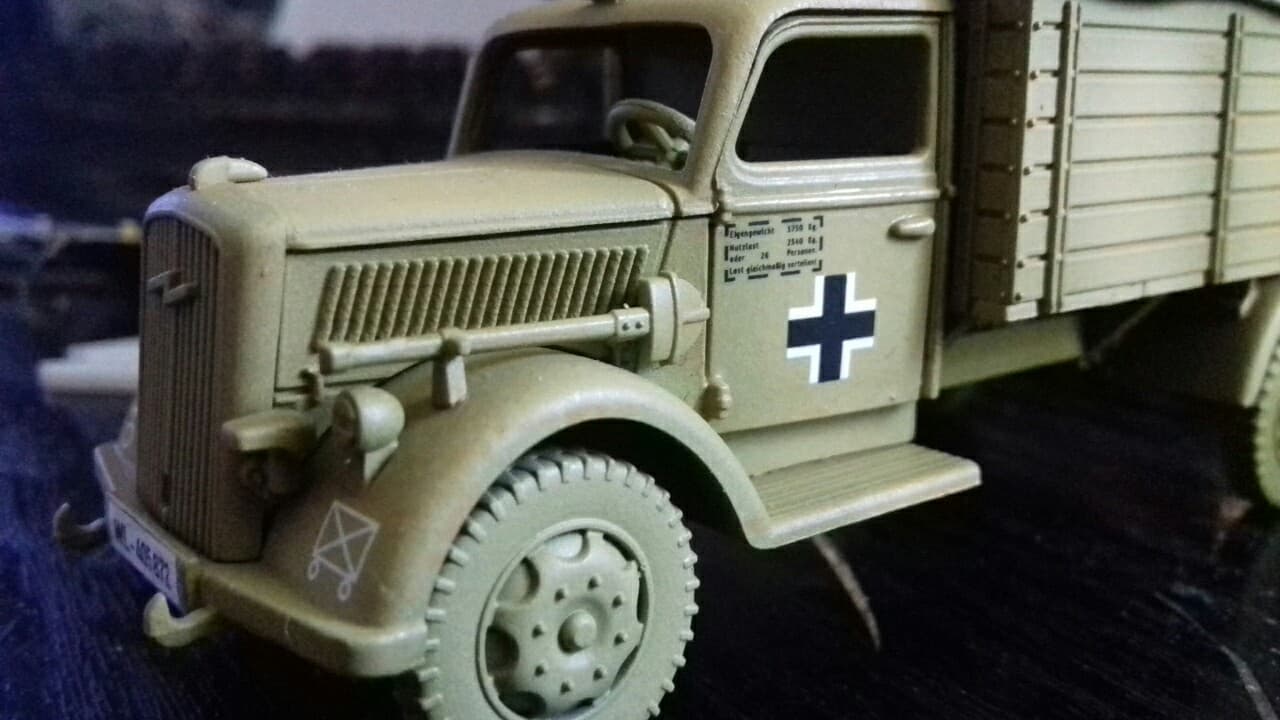
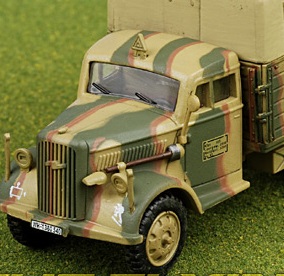
As I am planning on using my trucks for both my Afrika Korps and a late war SS force I’ve chosen to use generic balkenkreuz and symbols. Placement of these can varied massively across units.
The front fenders often held the tactical symbols and/or unit symbols.
The vehicles technical specifications would be found on the doors.
Symbols such as Divisional, Balkenkreuz, the Red Cross could be placed on doors, the side of the rear or even the canvas cover.
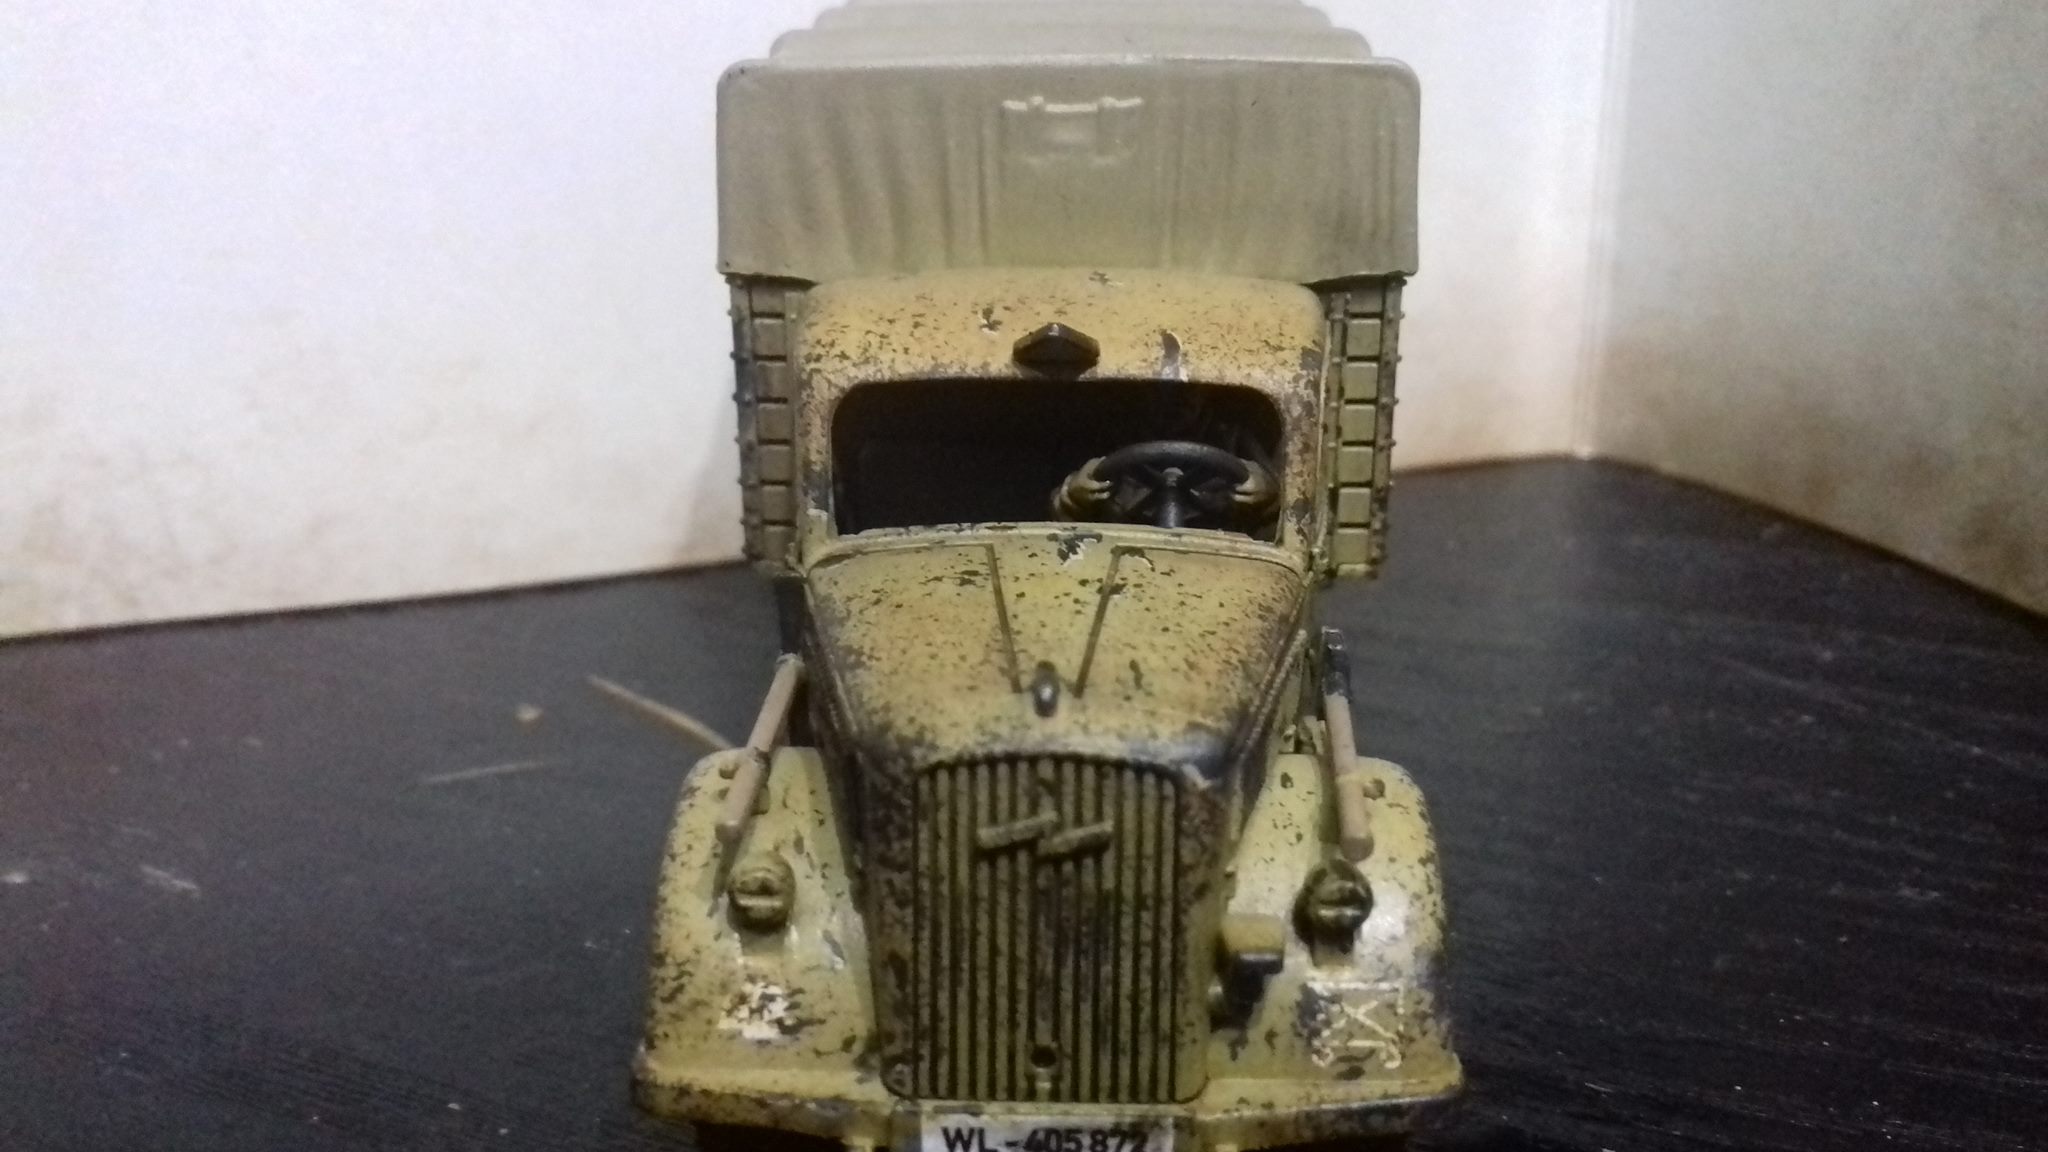
The rear tailgate again could hold tactical or unit symbols.
There are no hard and fast rules and I’ve found countless examples of all or none of these being applied, so don’t worry too much about accuracy.

Divisional Decals!
There are a lot of divisional symbols scattered around the sheet so I’ll try to break them down as simply as possible.
from left to right
2nd Panzer Division 1944 onwards
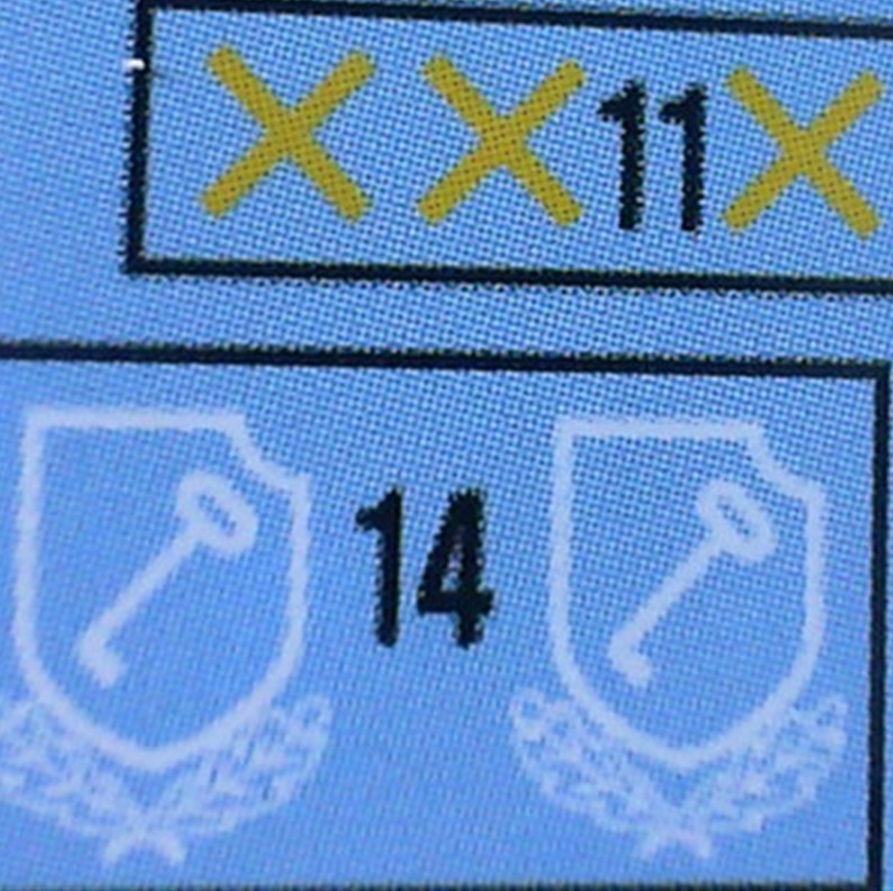
11th Infantry Division
71st Infantry Division
15th Panzer Division (Part of Panzer Army Africa) from 1941-43
90th Light Infantry Division (Part of Panzer Army Africa) from 1941-43, reformed in Italy in 1943 and continued to ’45
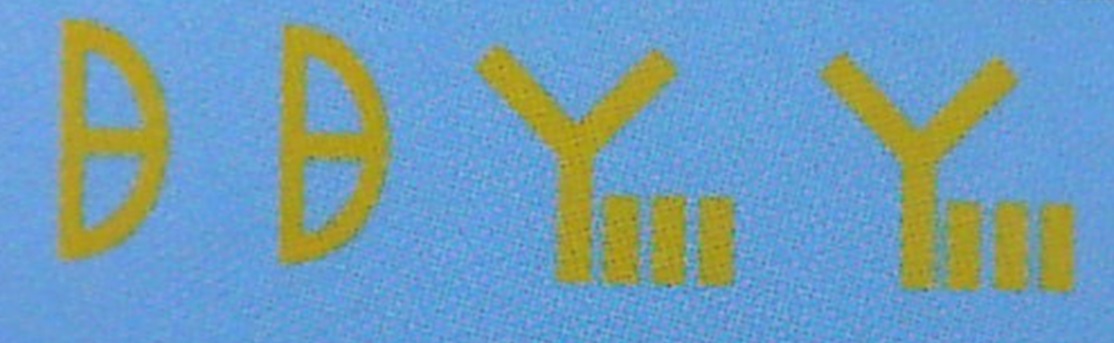
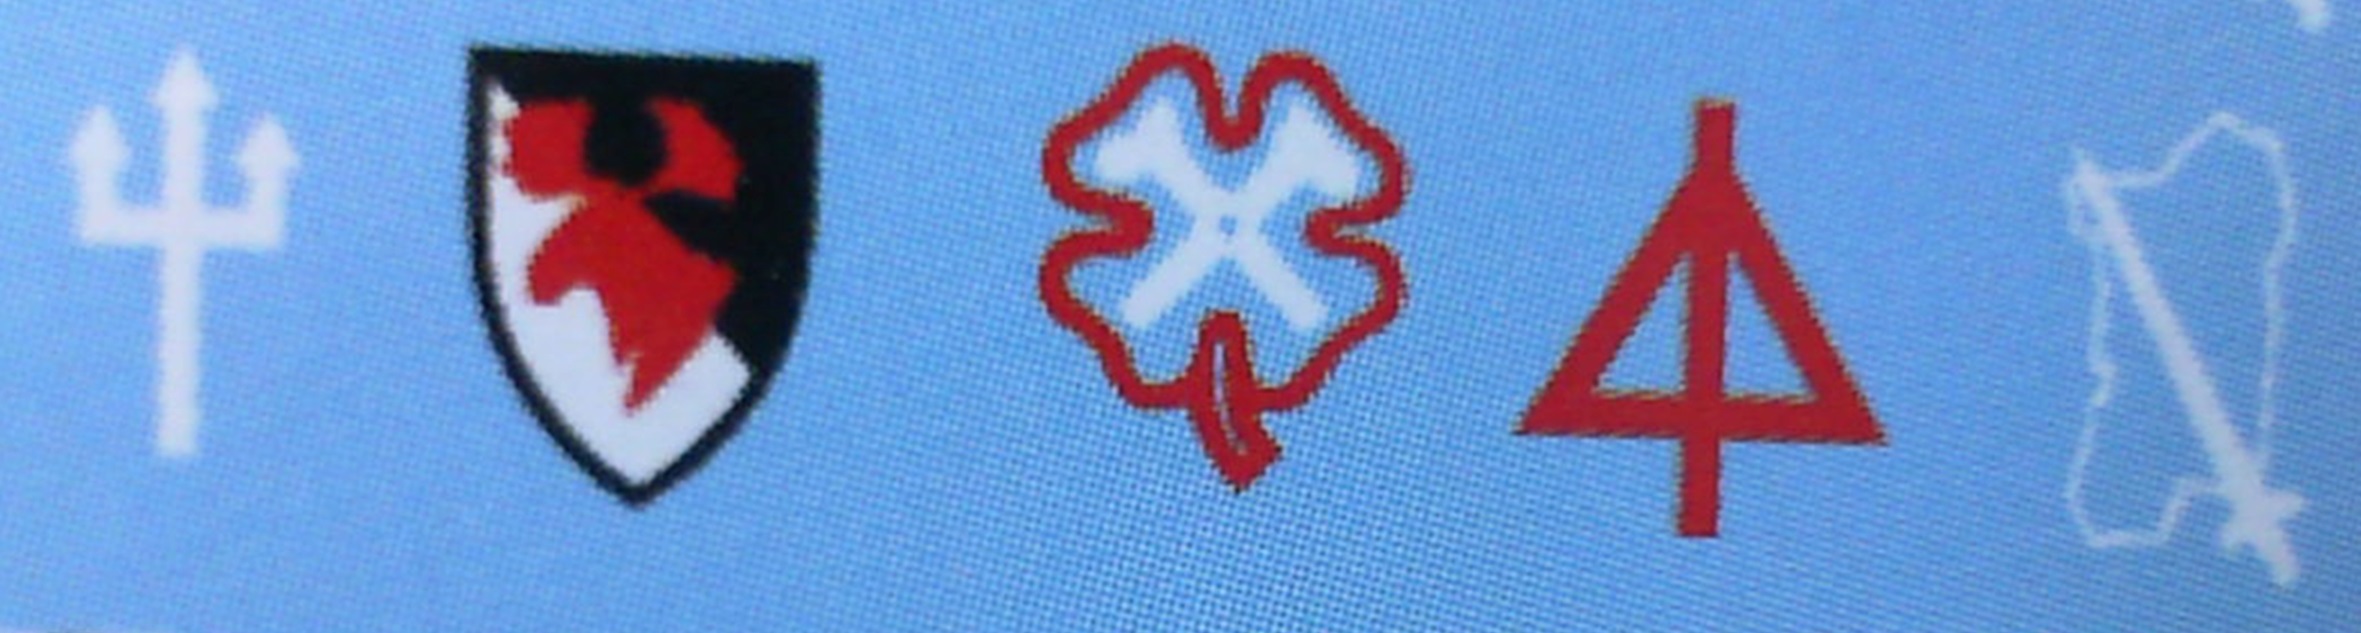
from left to right
21st Panzer Division (Part of Panzer Army Africa) from 1941-43
10th Panzer Division (Part of Panzer Army Africa) from 1942-43
this is two pairs of decals but they can be used to represent 3 Divisions.
the pair of yellow crosses are the 6th Panzer Division from 1941 onwards
a single cross could be cut from this to represent the 5th Panzer Division
the Shield with Key and Oak Leaves 1st SS, originally this had no oak leaves, they were added after Sepp Dietrich received his and so they began being added in 42/43? it’s hard to pinpoint an accurate date, but mid war.
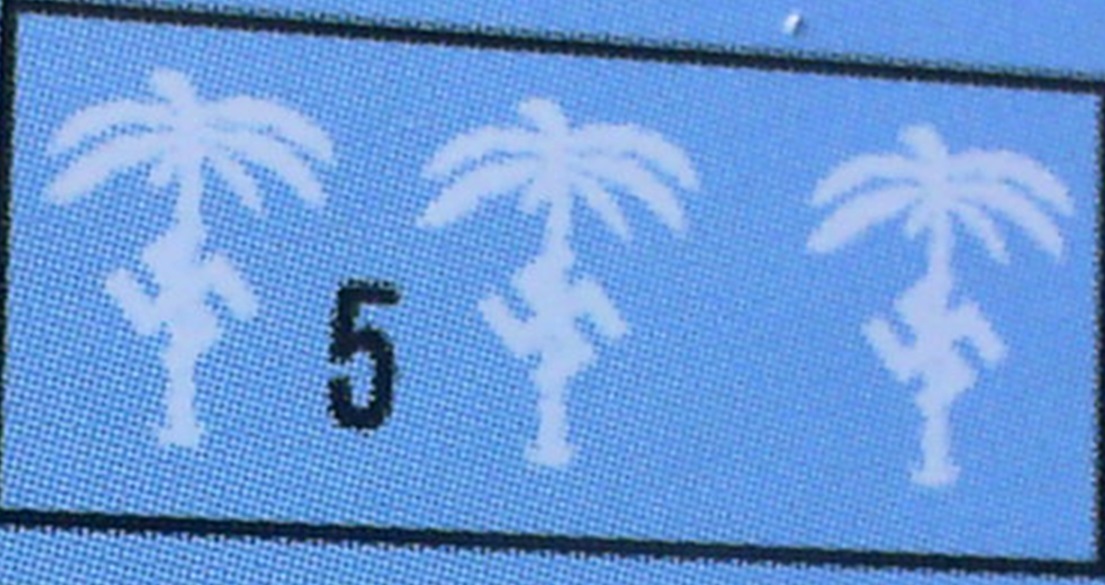
not a divisonal symbol, but the seal of the Afrika Korps was used across the divisions that comprised panzer army Africa.
The Devil's in the Decal!
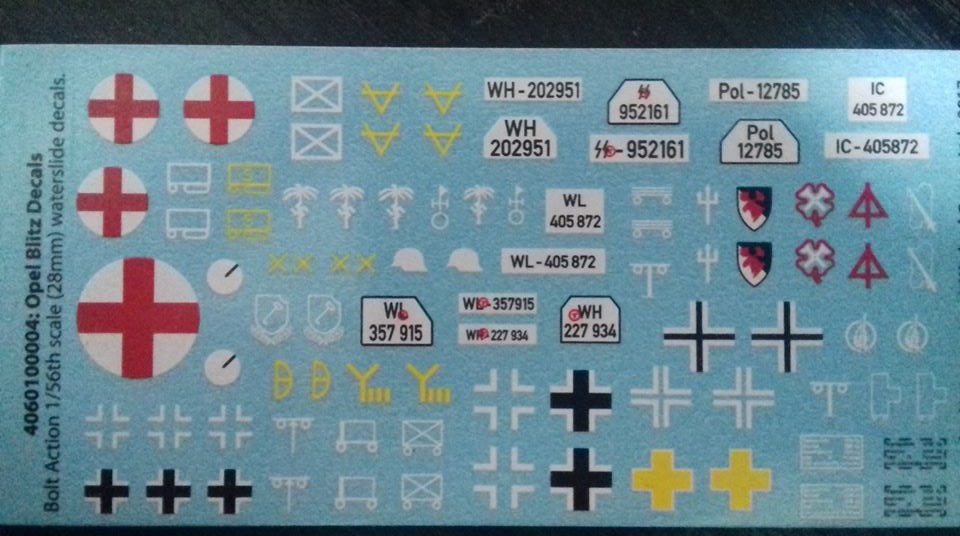 the Opel Blitz/Maultier sheet.
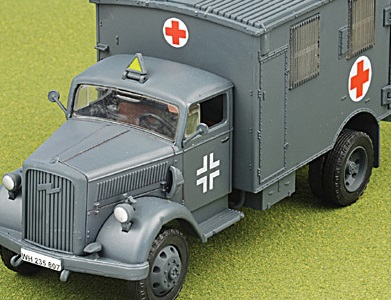
there is a lot going on with this sheet and if you’re new to WW2 it looks like madness. So I shall try to break down what is on there. First off there are a couple of symbols I can’t track down so if you see something I haven’t mentioned it’s because I don’t know it, on that note if you know something I haven’t mentioned please point it out and I can update this. Secondly the big red crosses are for medics and as such need no introduction. So enough chat what’s what?
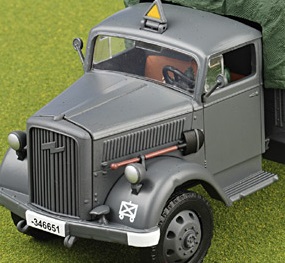
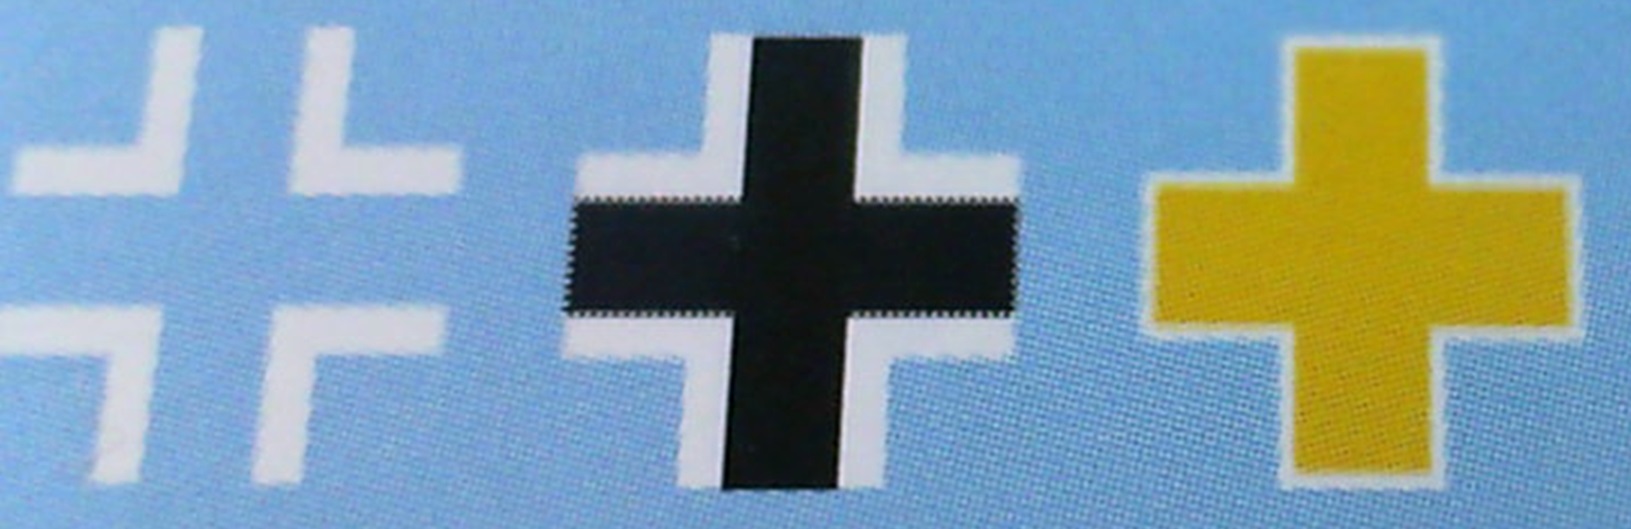 Balkenkreuz
so as you can see we have different versions, the plain white cross is more typical of mid to late war, the white outline with black fill is early to mid and the thick yellow cross is from the polish campaign once they realised a big white cross made an excellent target.
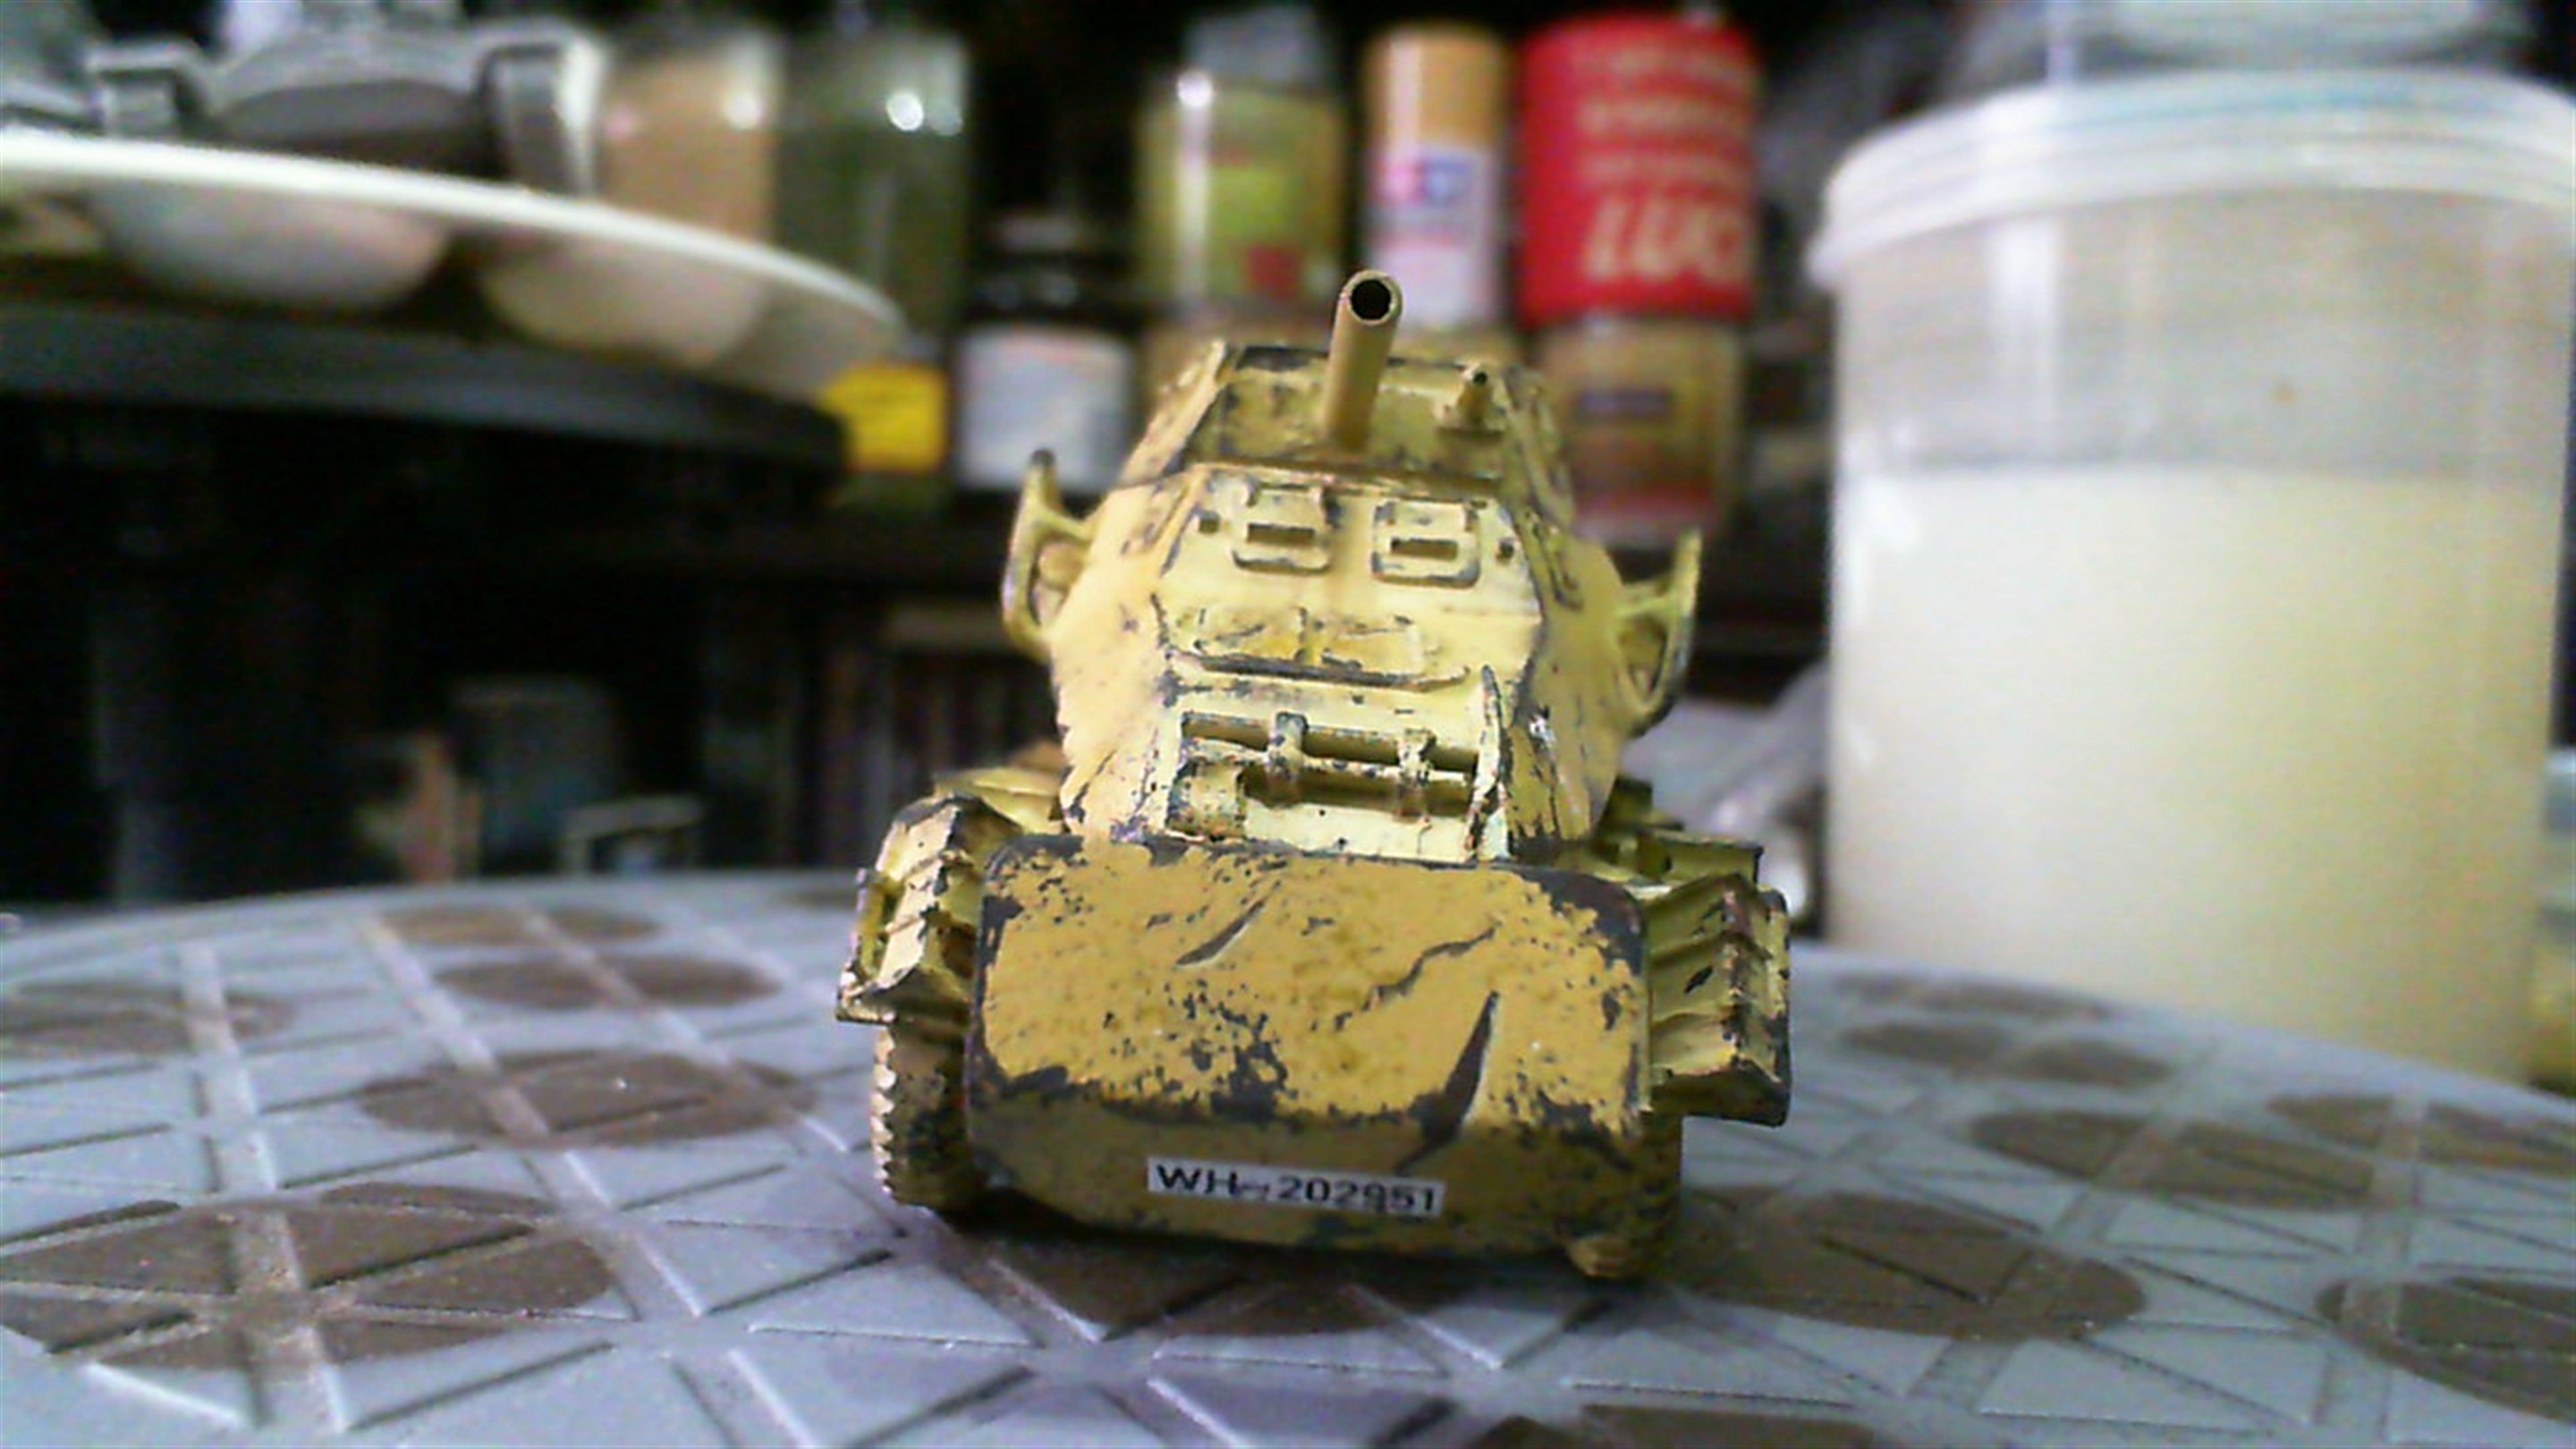
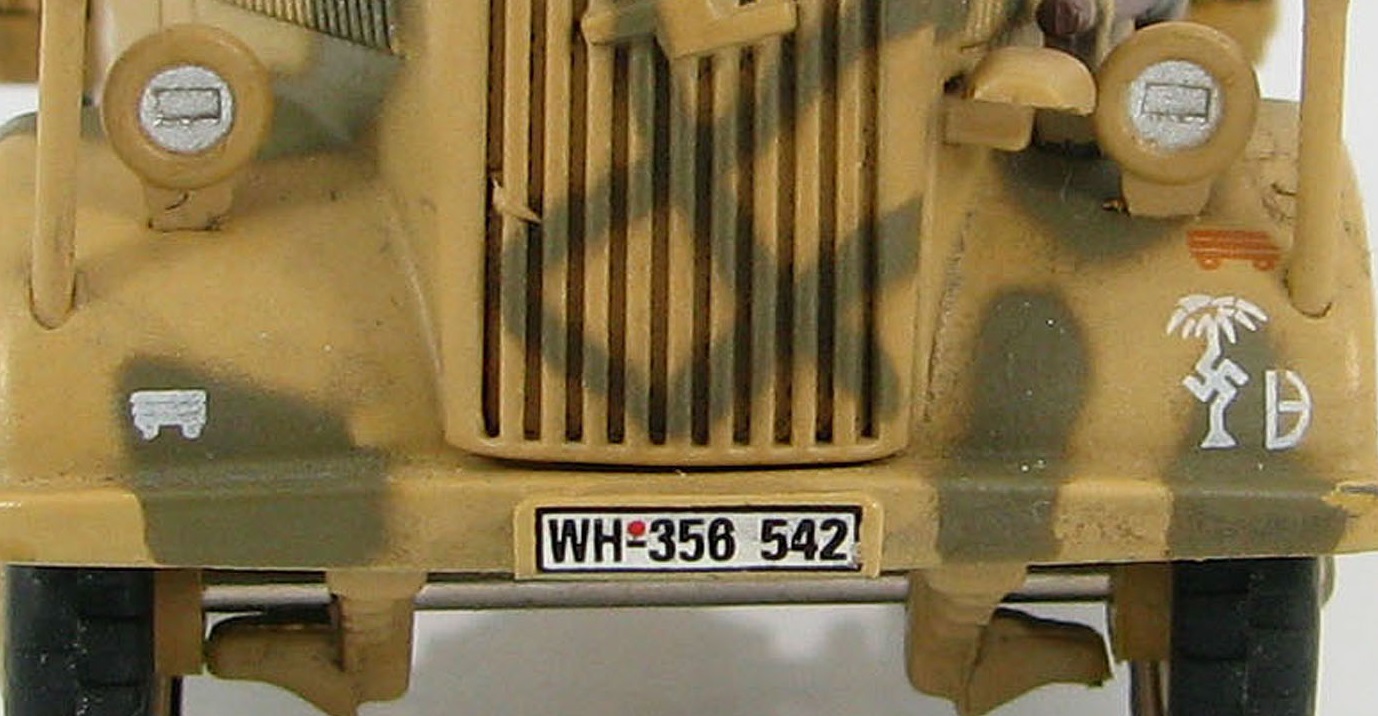
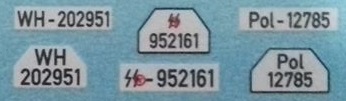 License Plates
the sheet includes various pairs of plates,
WH is for the army
WL is the airforce
SS is for the SS (I know you’re shocked)
Pol is for Police
WM (not on the sheet) is Navy in case you were wondering.
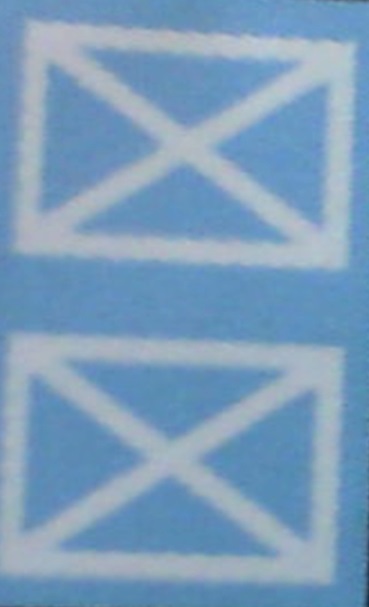
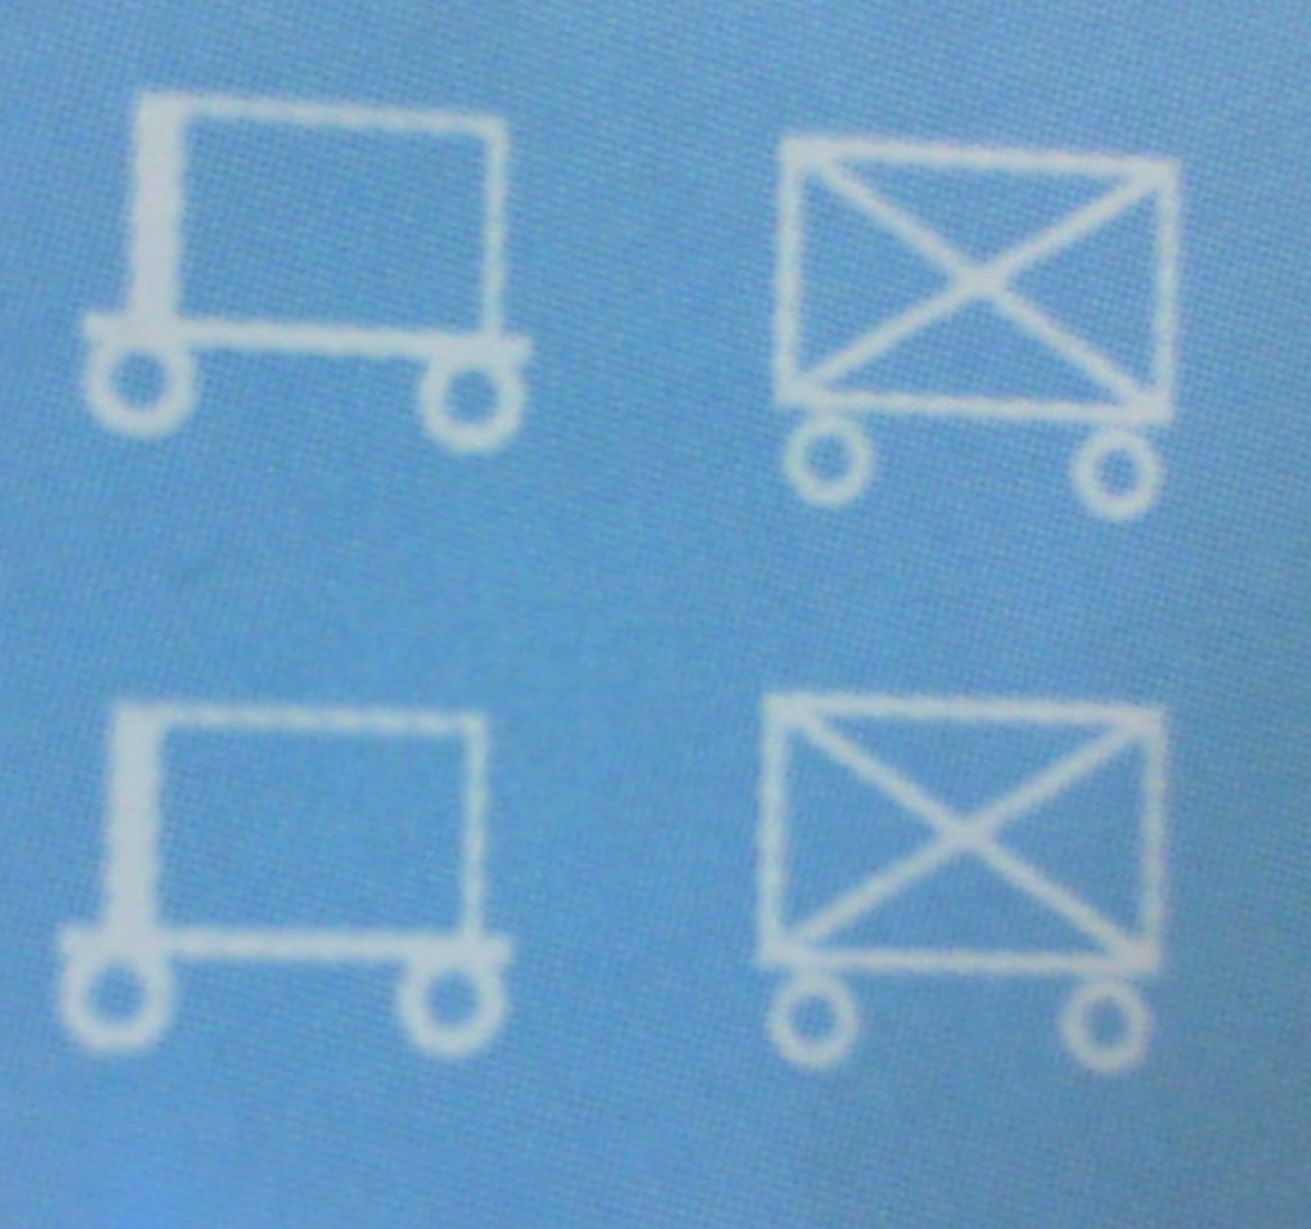


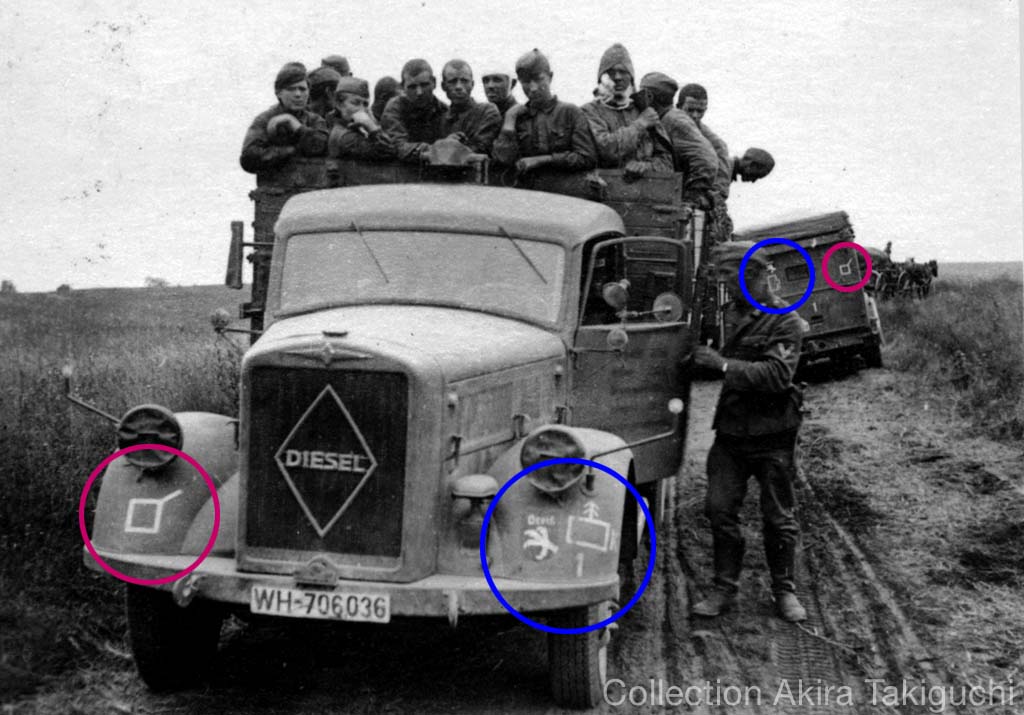
tactical symbols, these are some of the most confusing. These are combined with other symbols to describe the function
So to break it down, if there is a line with two circles below it, it means it is motorised. The rectangles mean infantry, whether crossed or “empty”
So if they have 2 circles below it, it stands for motorised infantry. A single circle and an oval means it’s a halftrack for the Maultier.
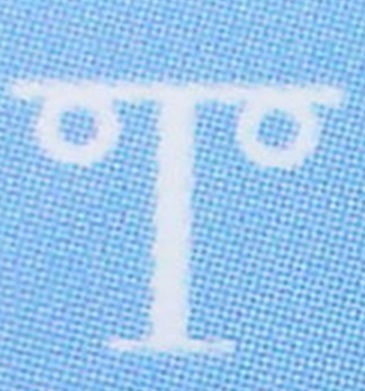
the Tetris like T piece with circles below it means it is part of a motorised signal battalion.
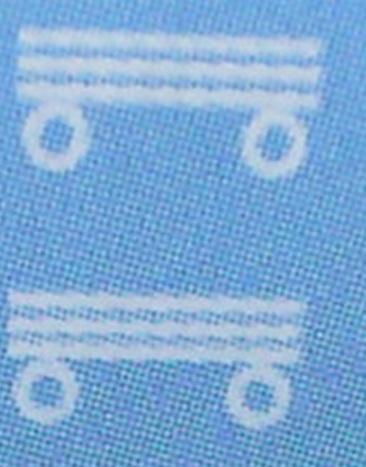
Finally the “motorised” symbol can have multiple lines above it to show it is part of a supply column, or it can rest on top of a vertical line or arrow to show that they are towing various guns.
Lastly there are two sets of vehicle specs depending on the base colour of the vehicle either white or black would be used.
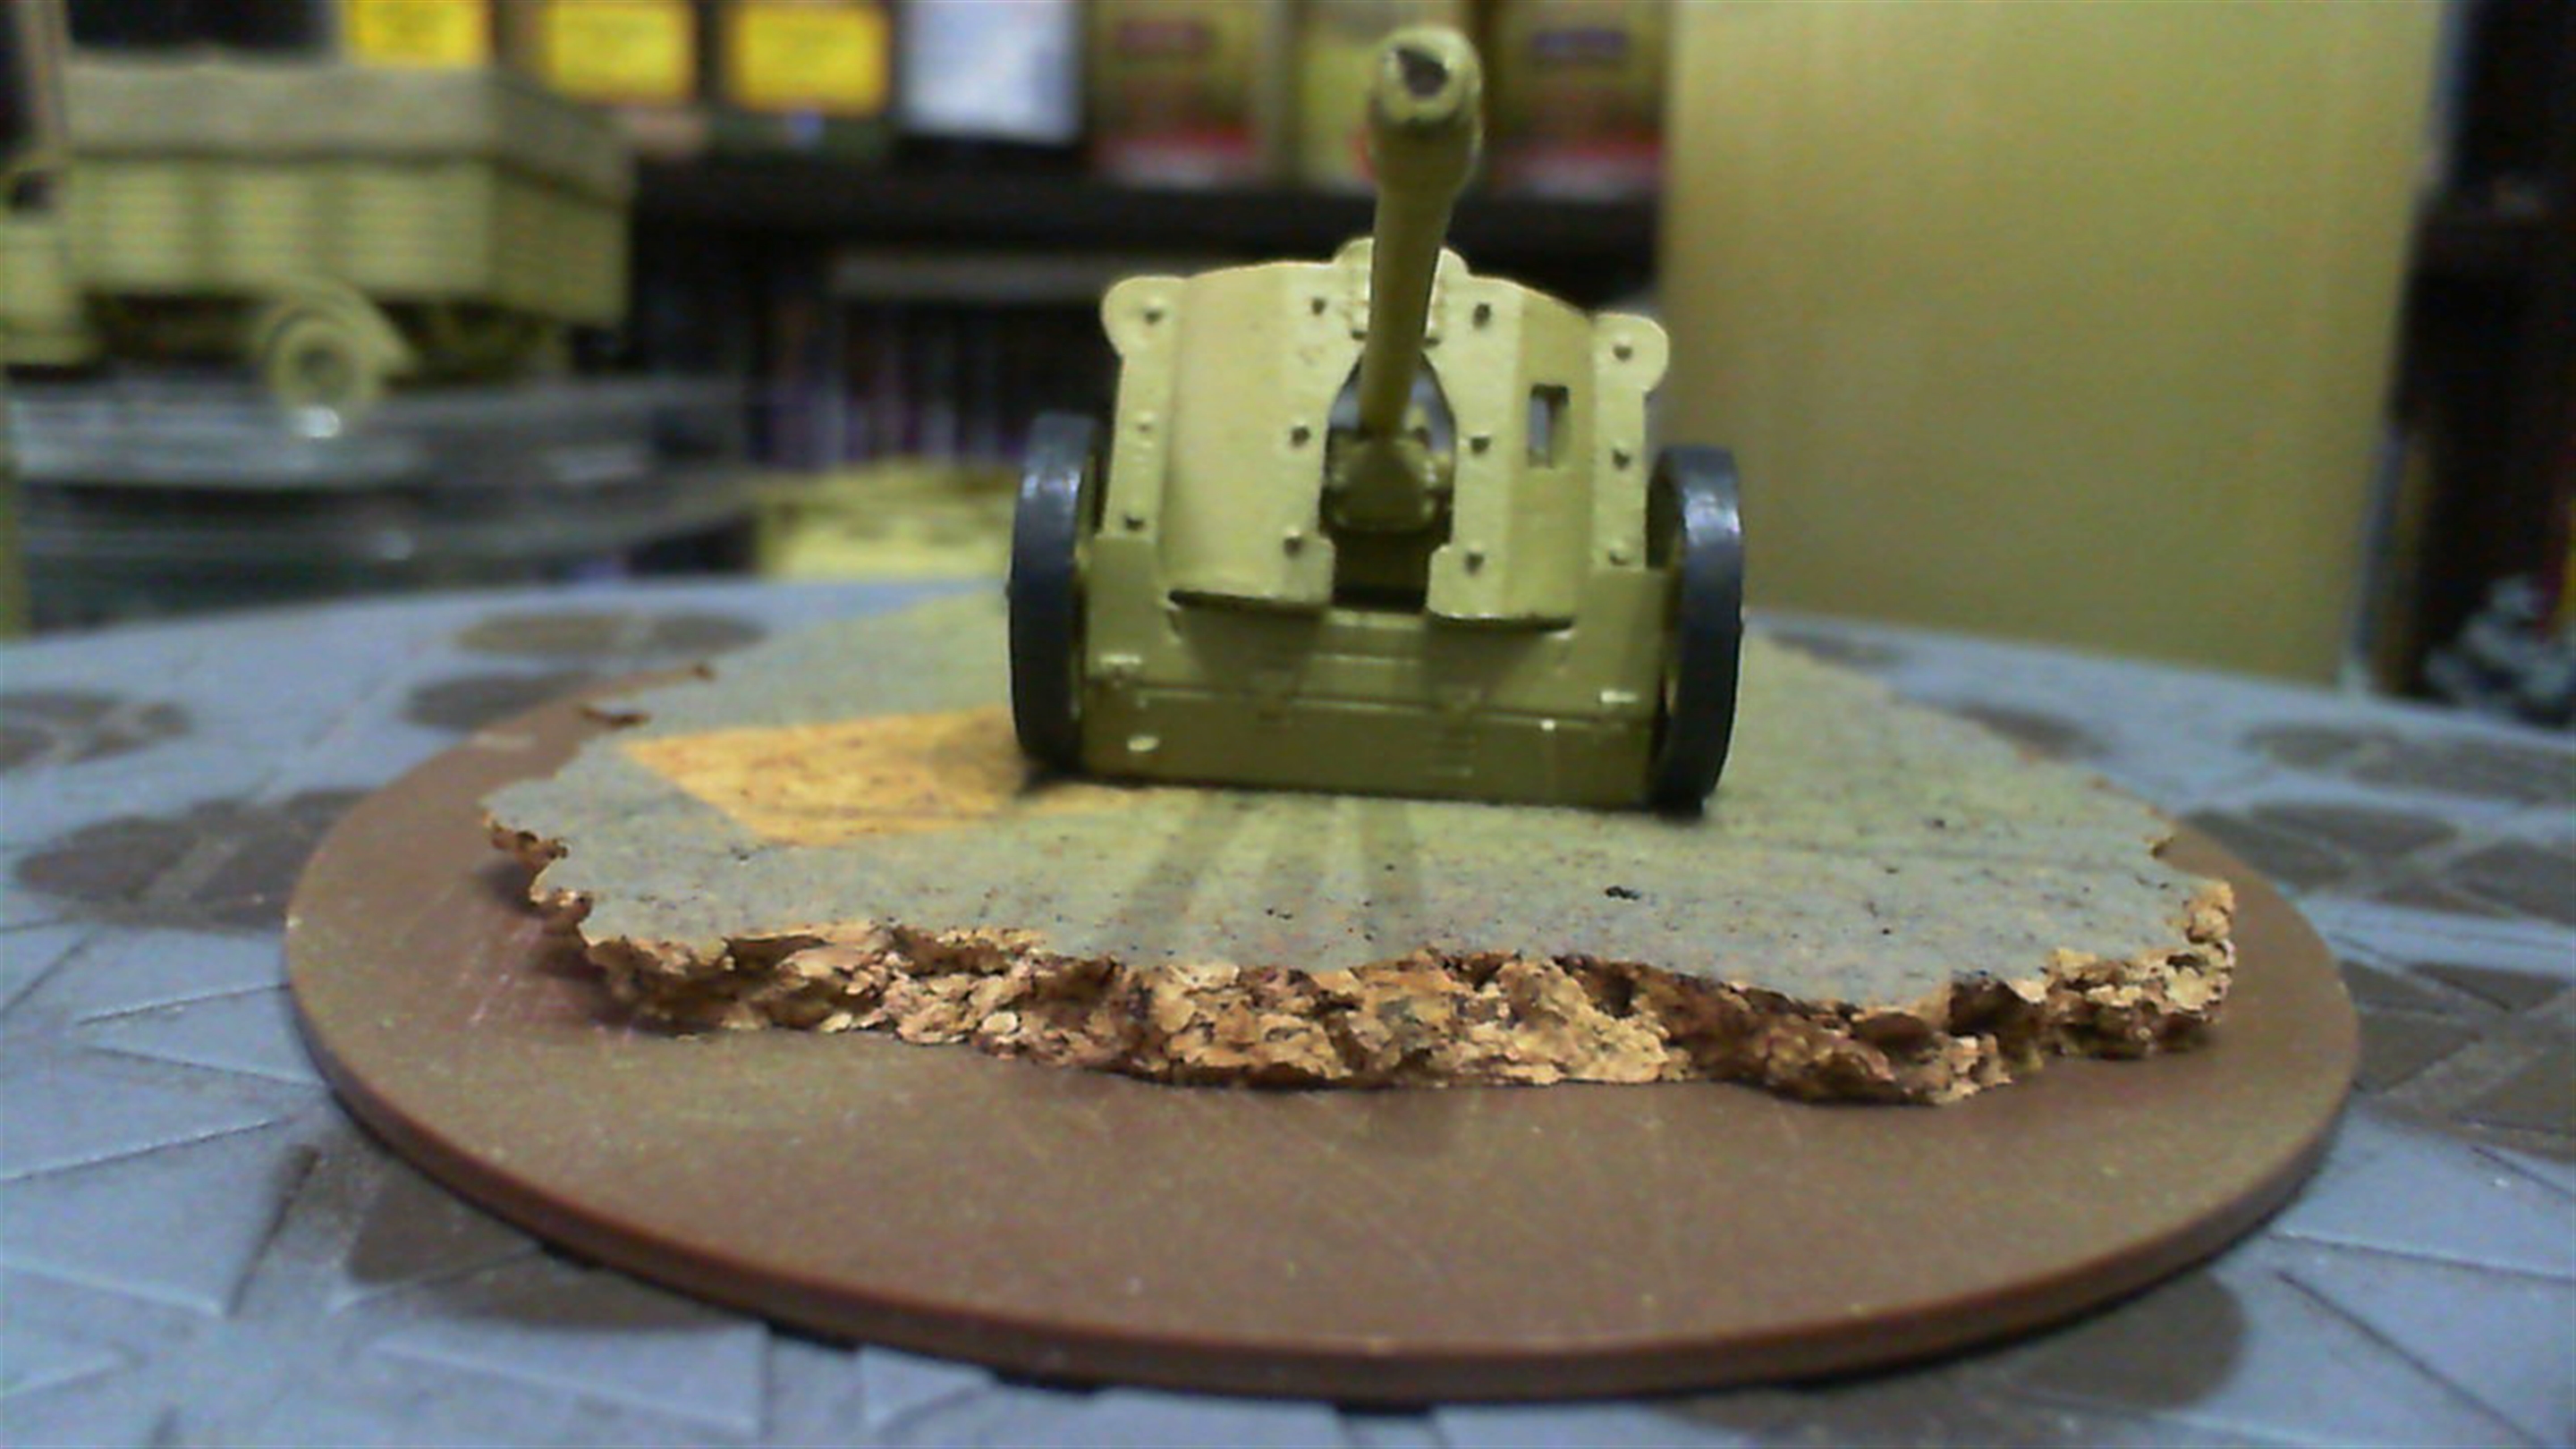
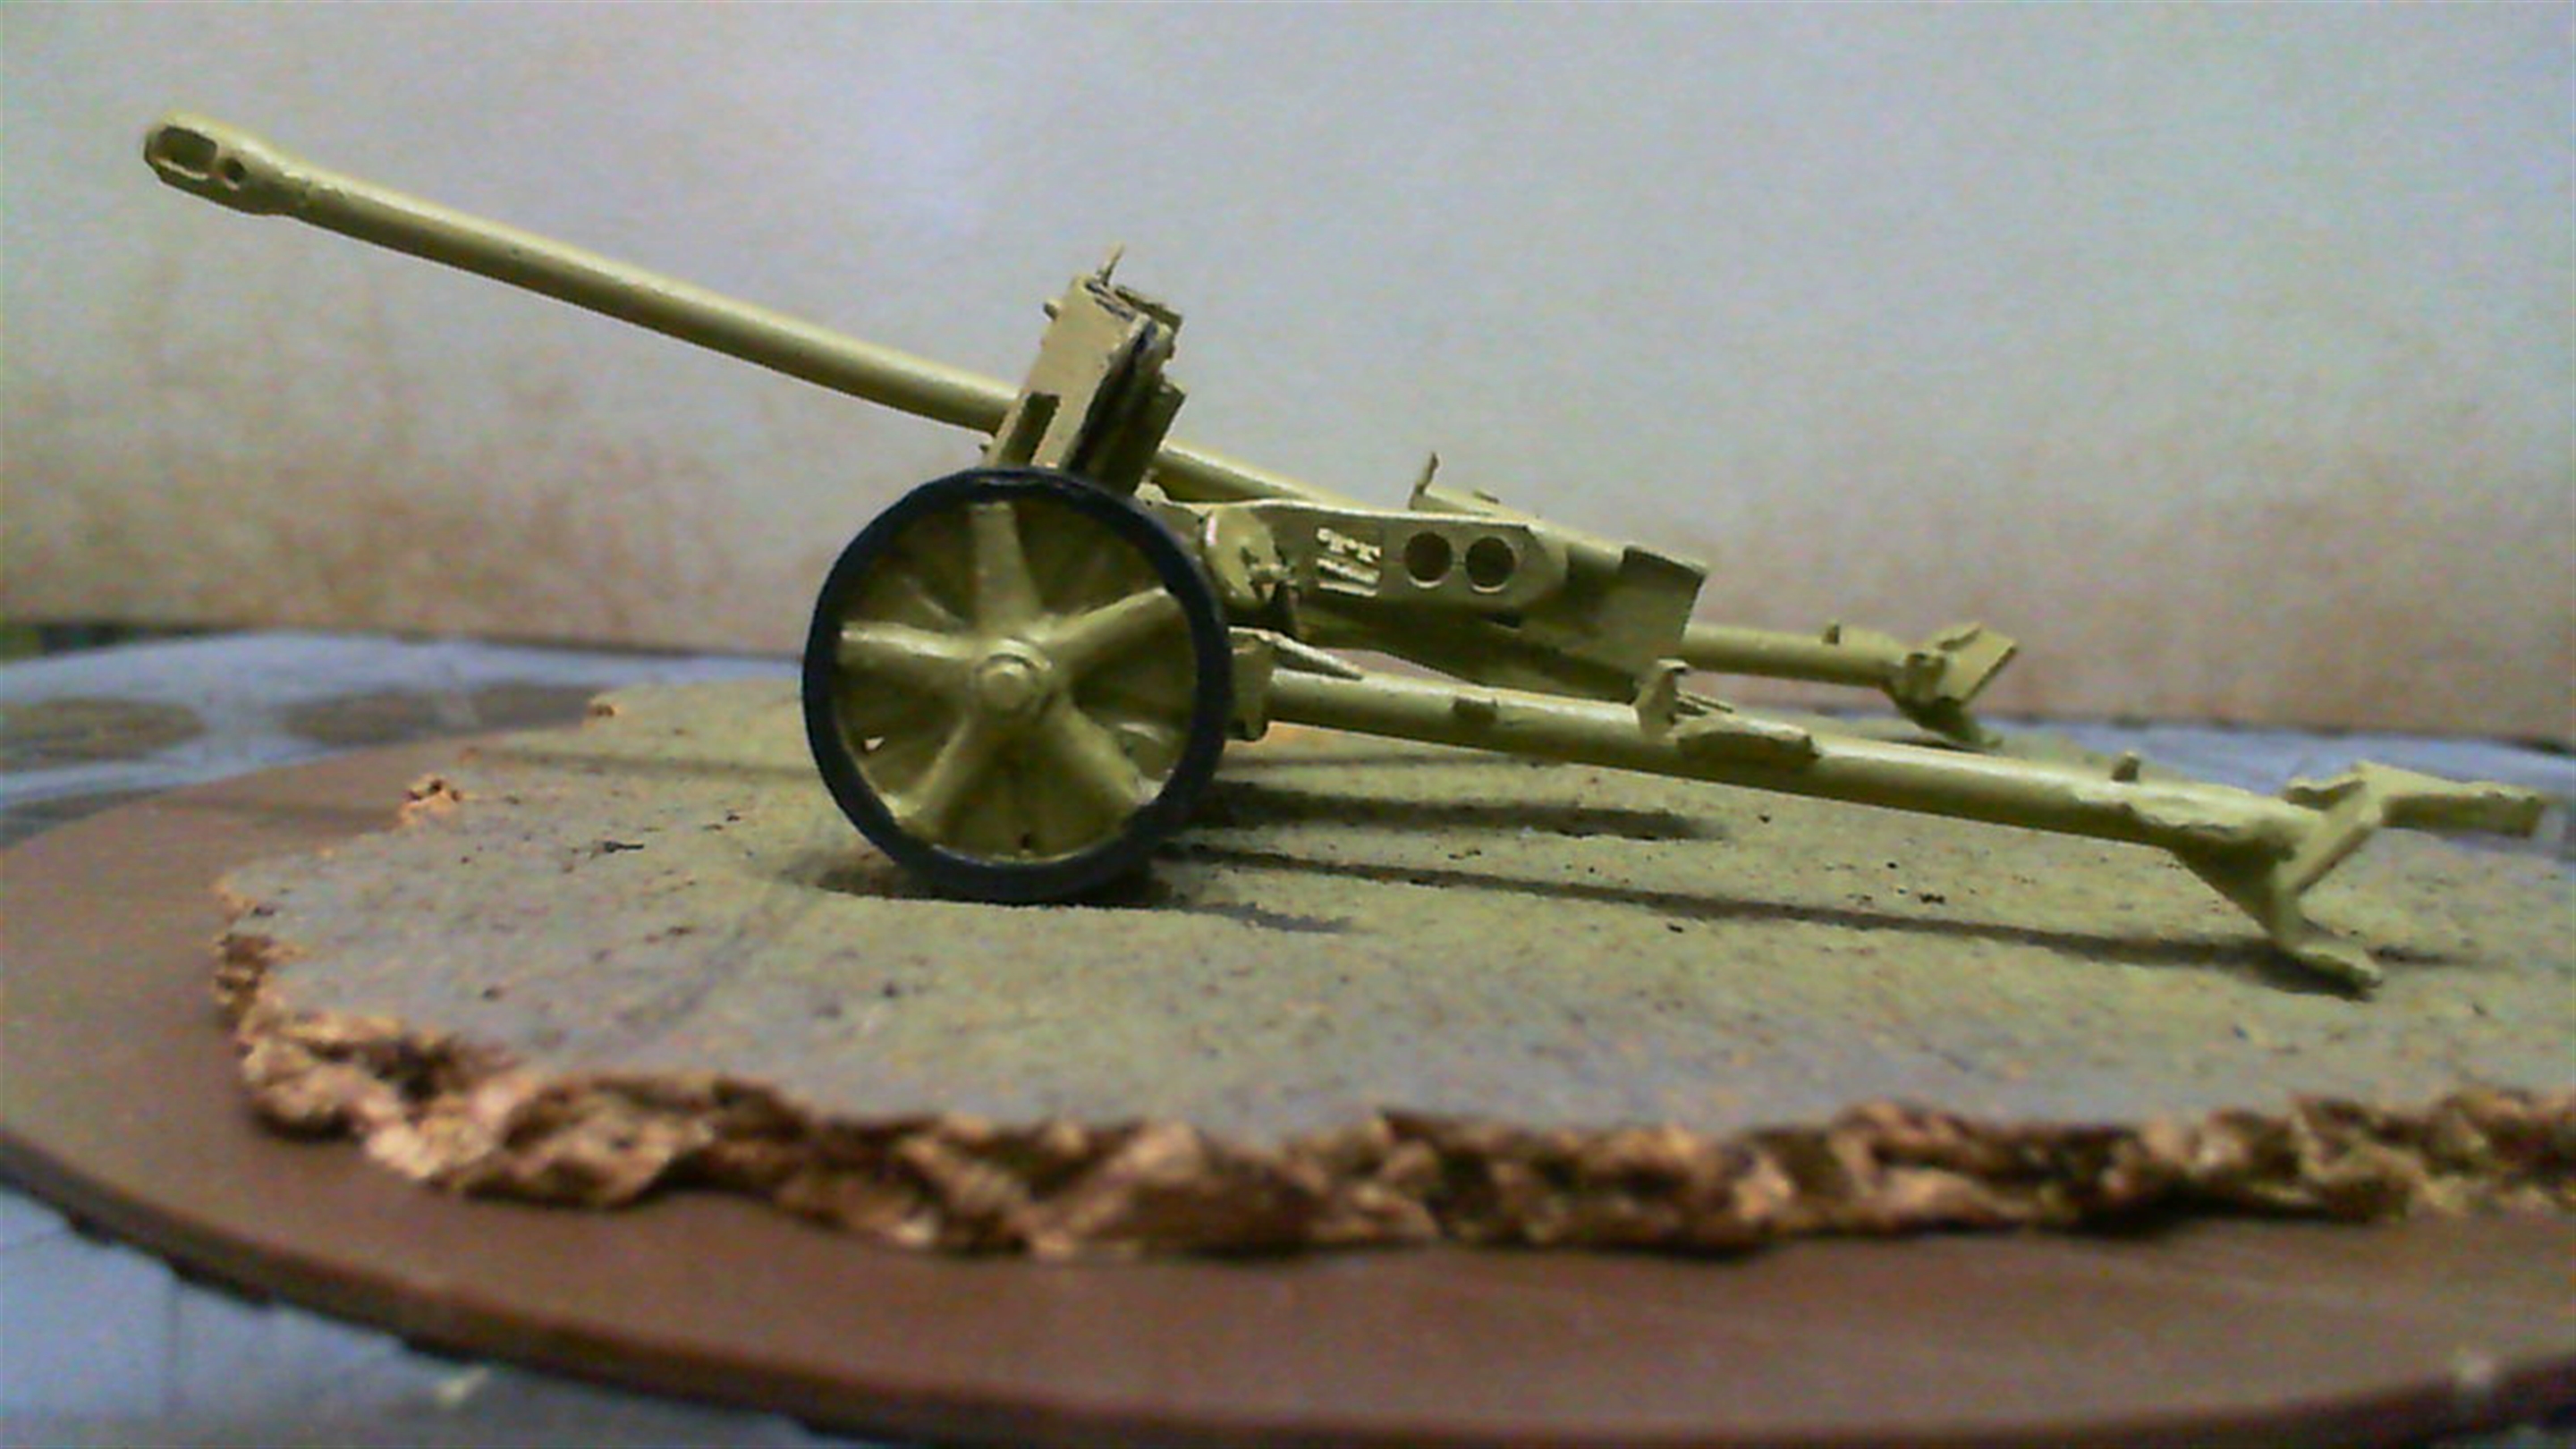
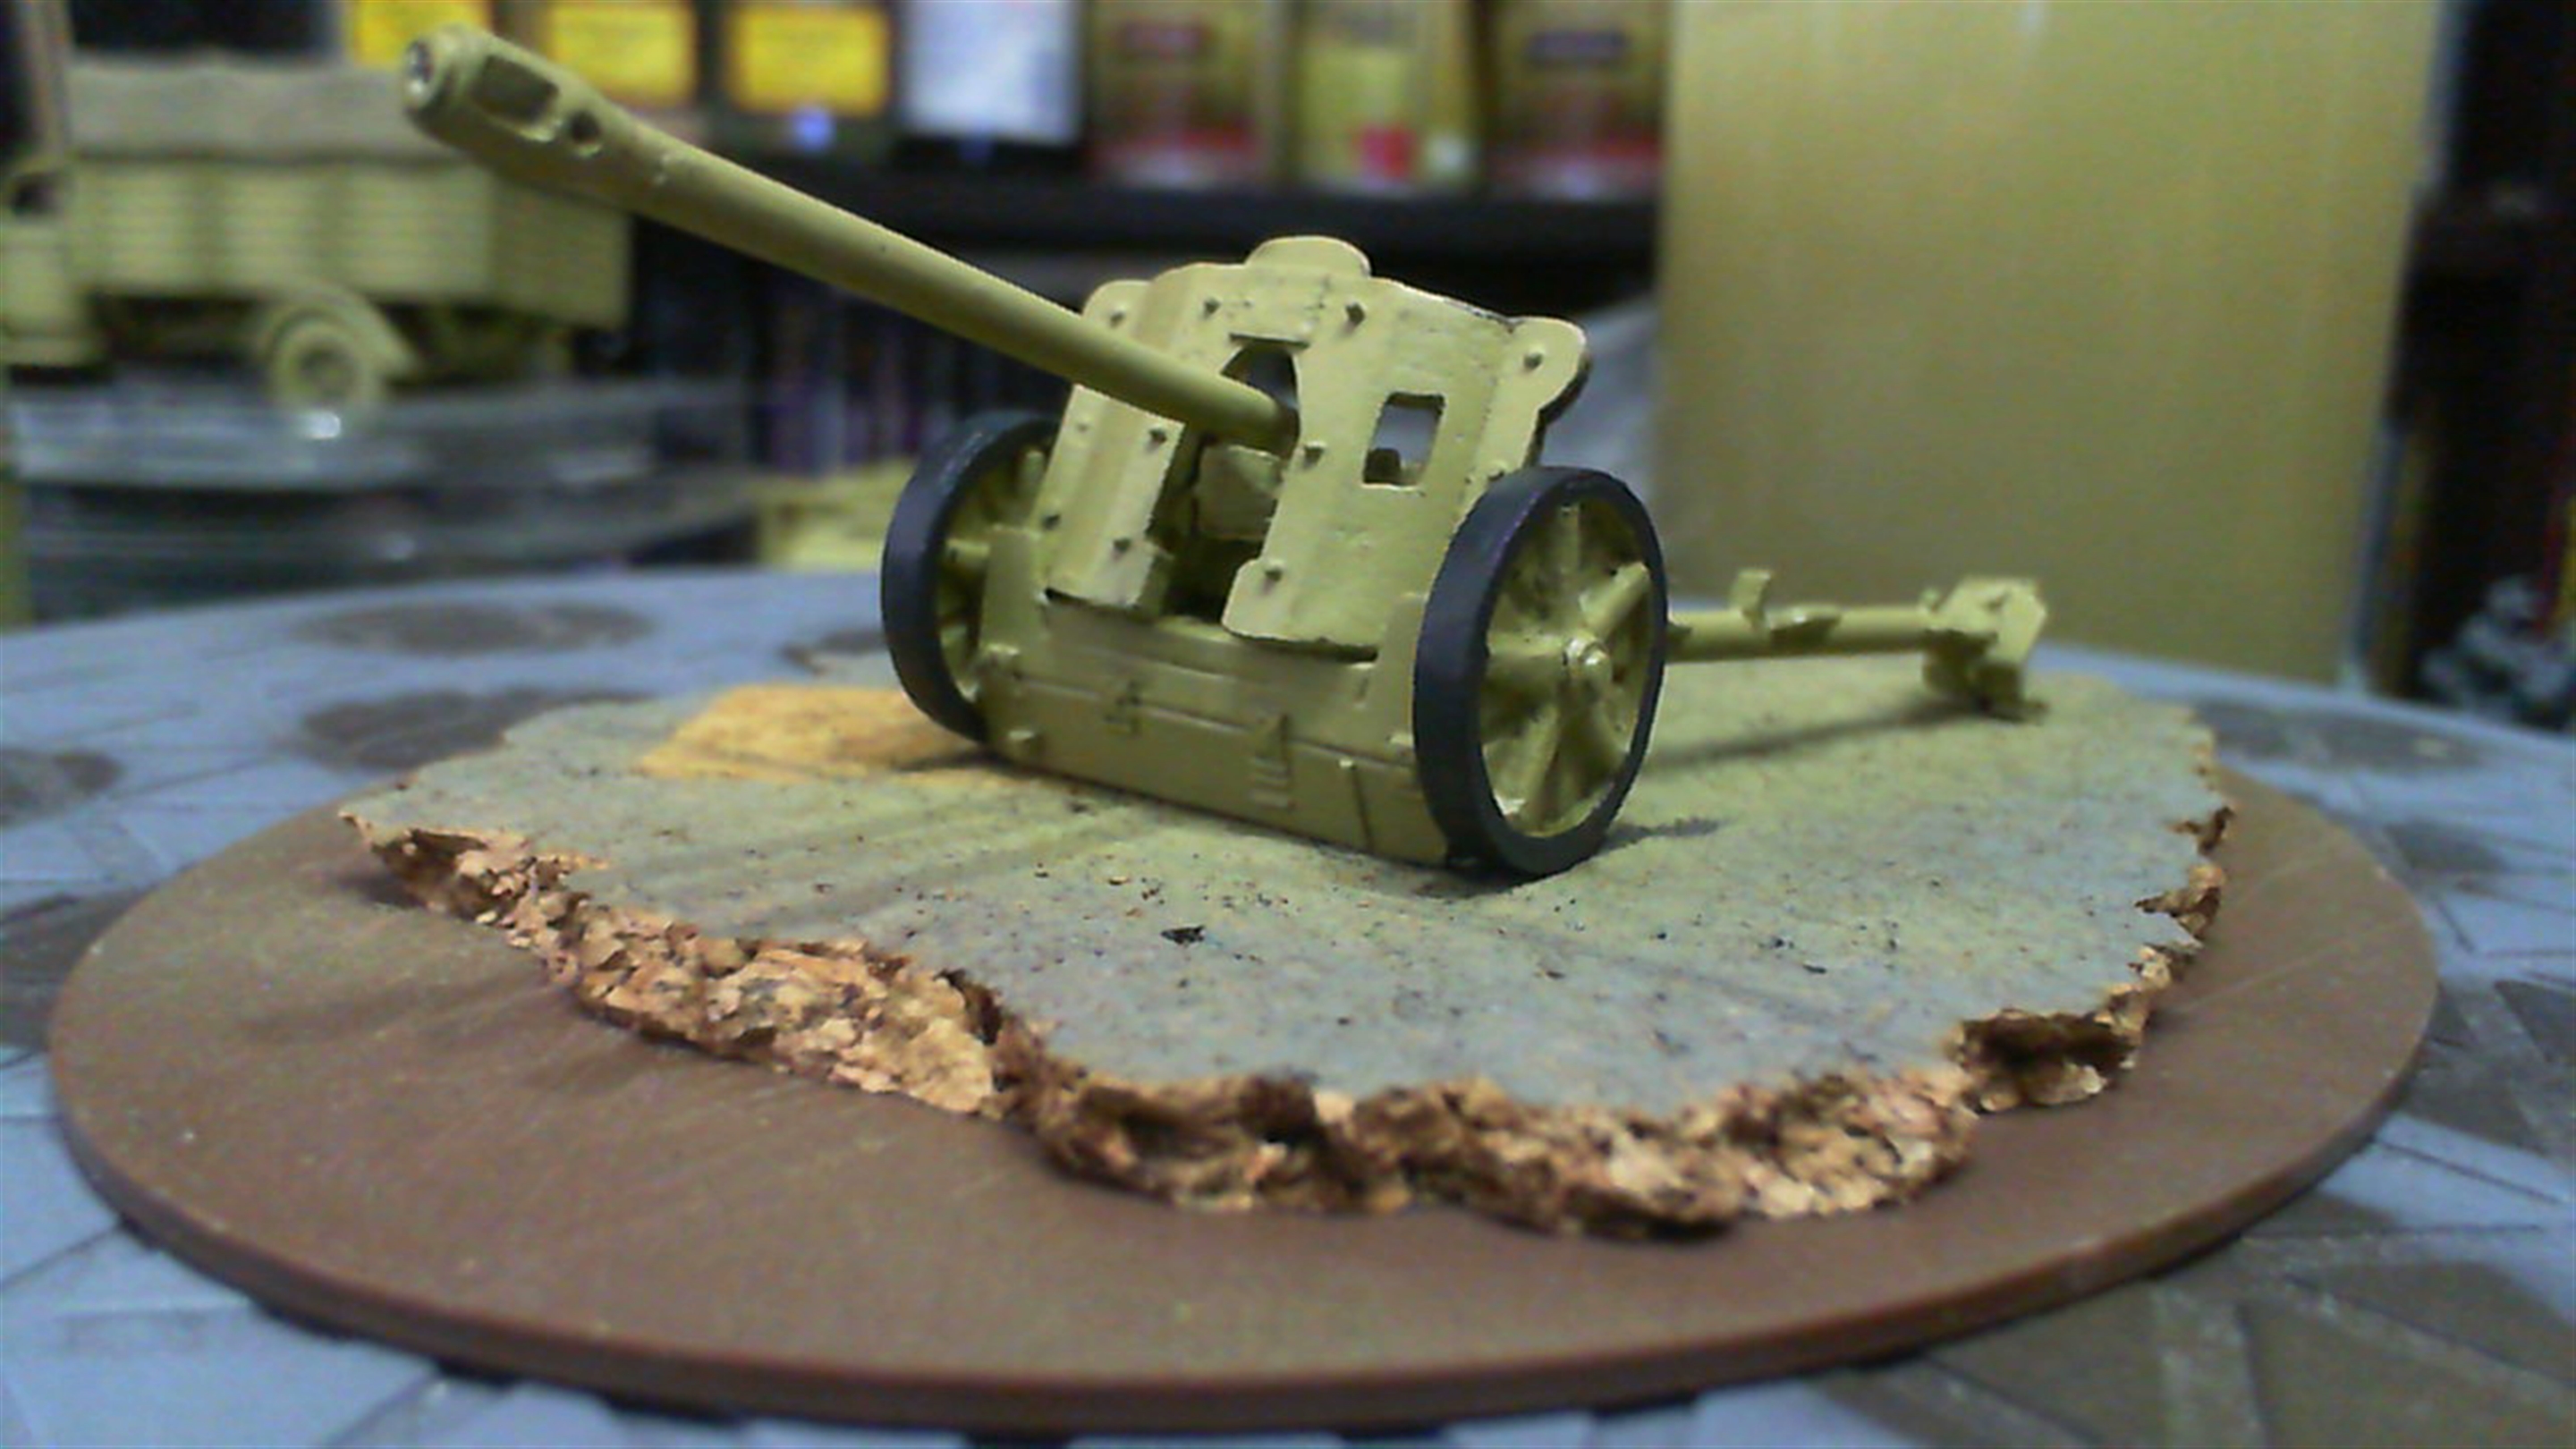
Trucks and Guns
Time to start playing with the big toys. This was also a chance to practice more with my airbrush, little baby steps. If you don’t have an airbrush this can be done with a regular brush.
I’ve just airbrushed the Green Ochre 914 and highlighted with Dark Sand 847, and started to block in the wheels with Dark Rubber 306. So I’ve got the base down and a basic highlight done so I’m at a stage where I can start highlighting and weathering.


Now In Glorious Technicolour
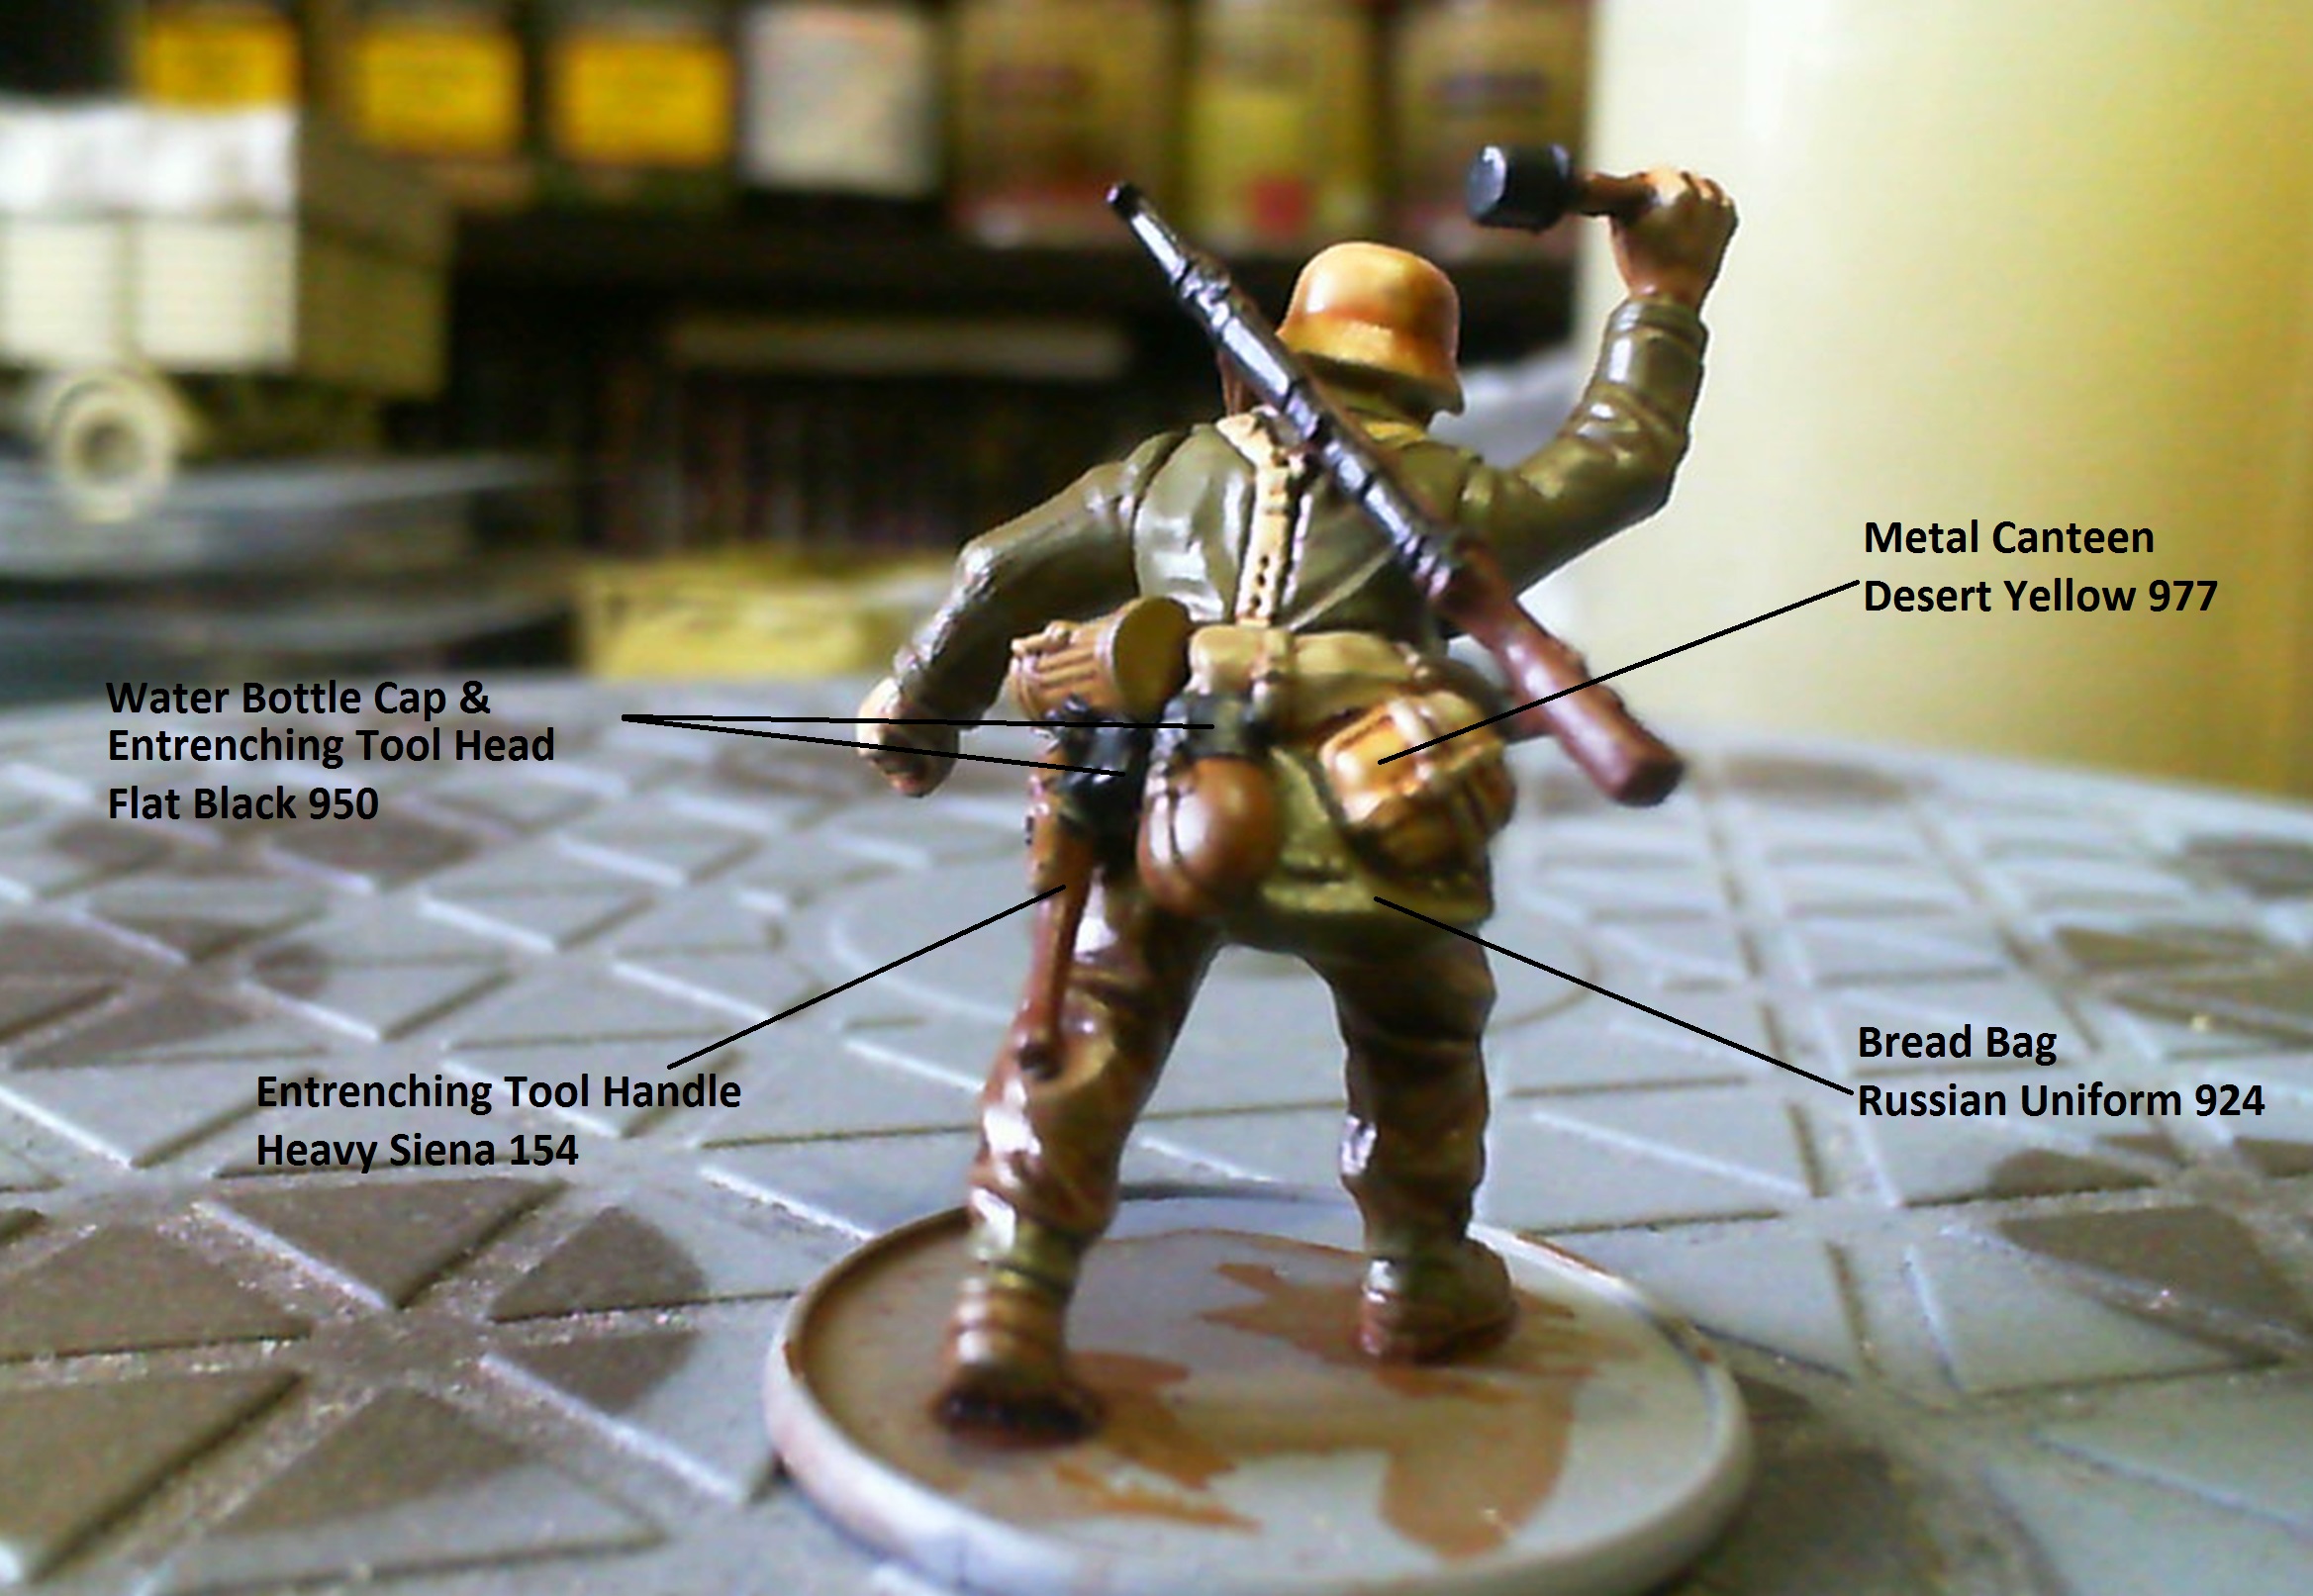
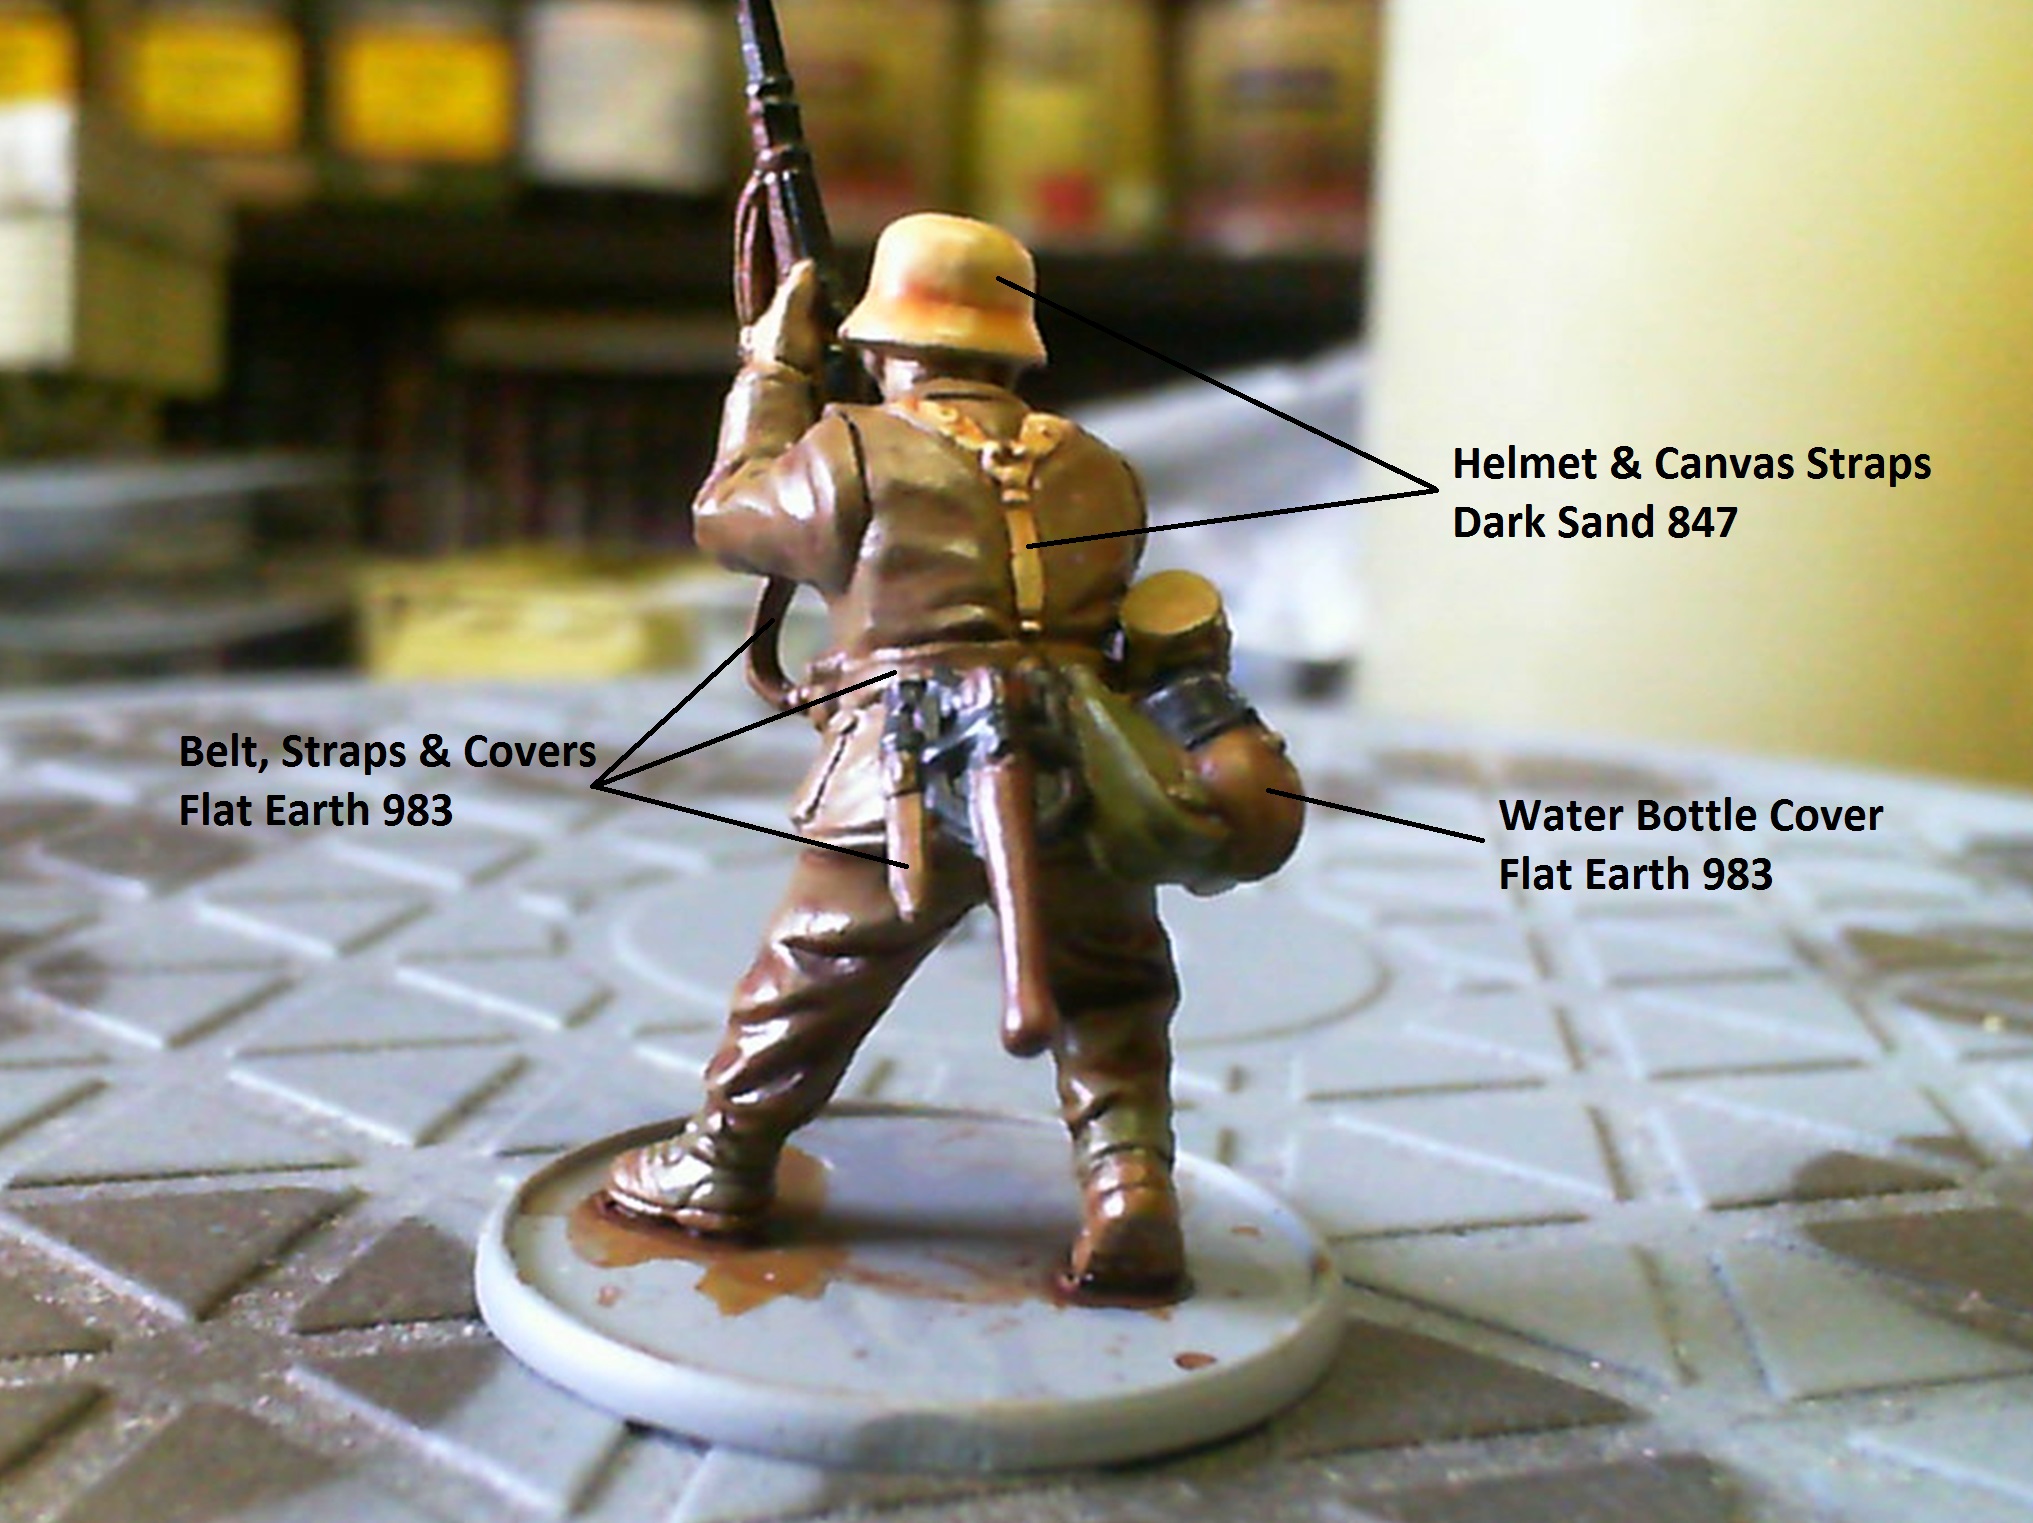
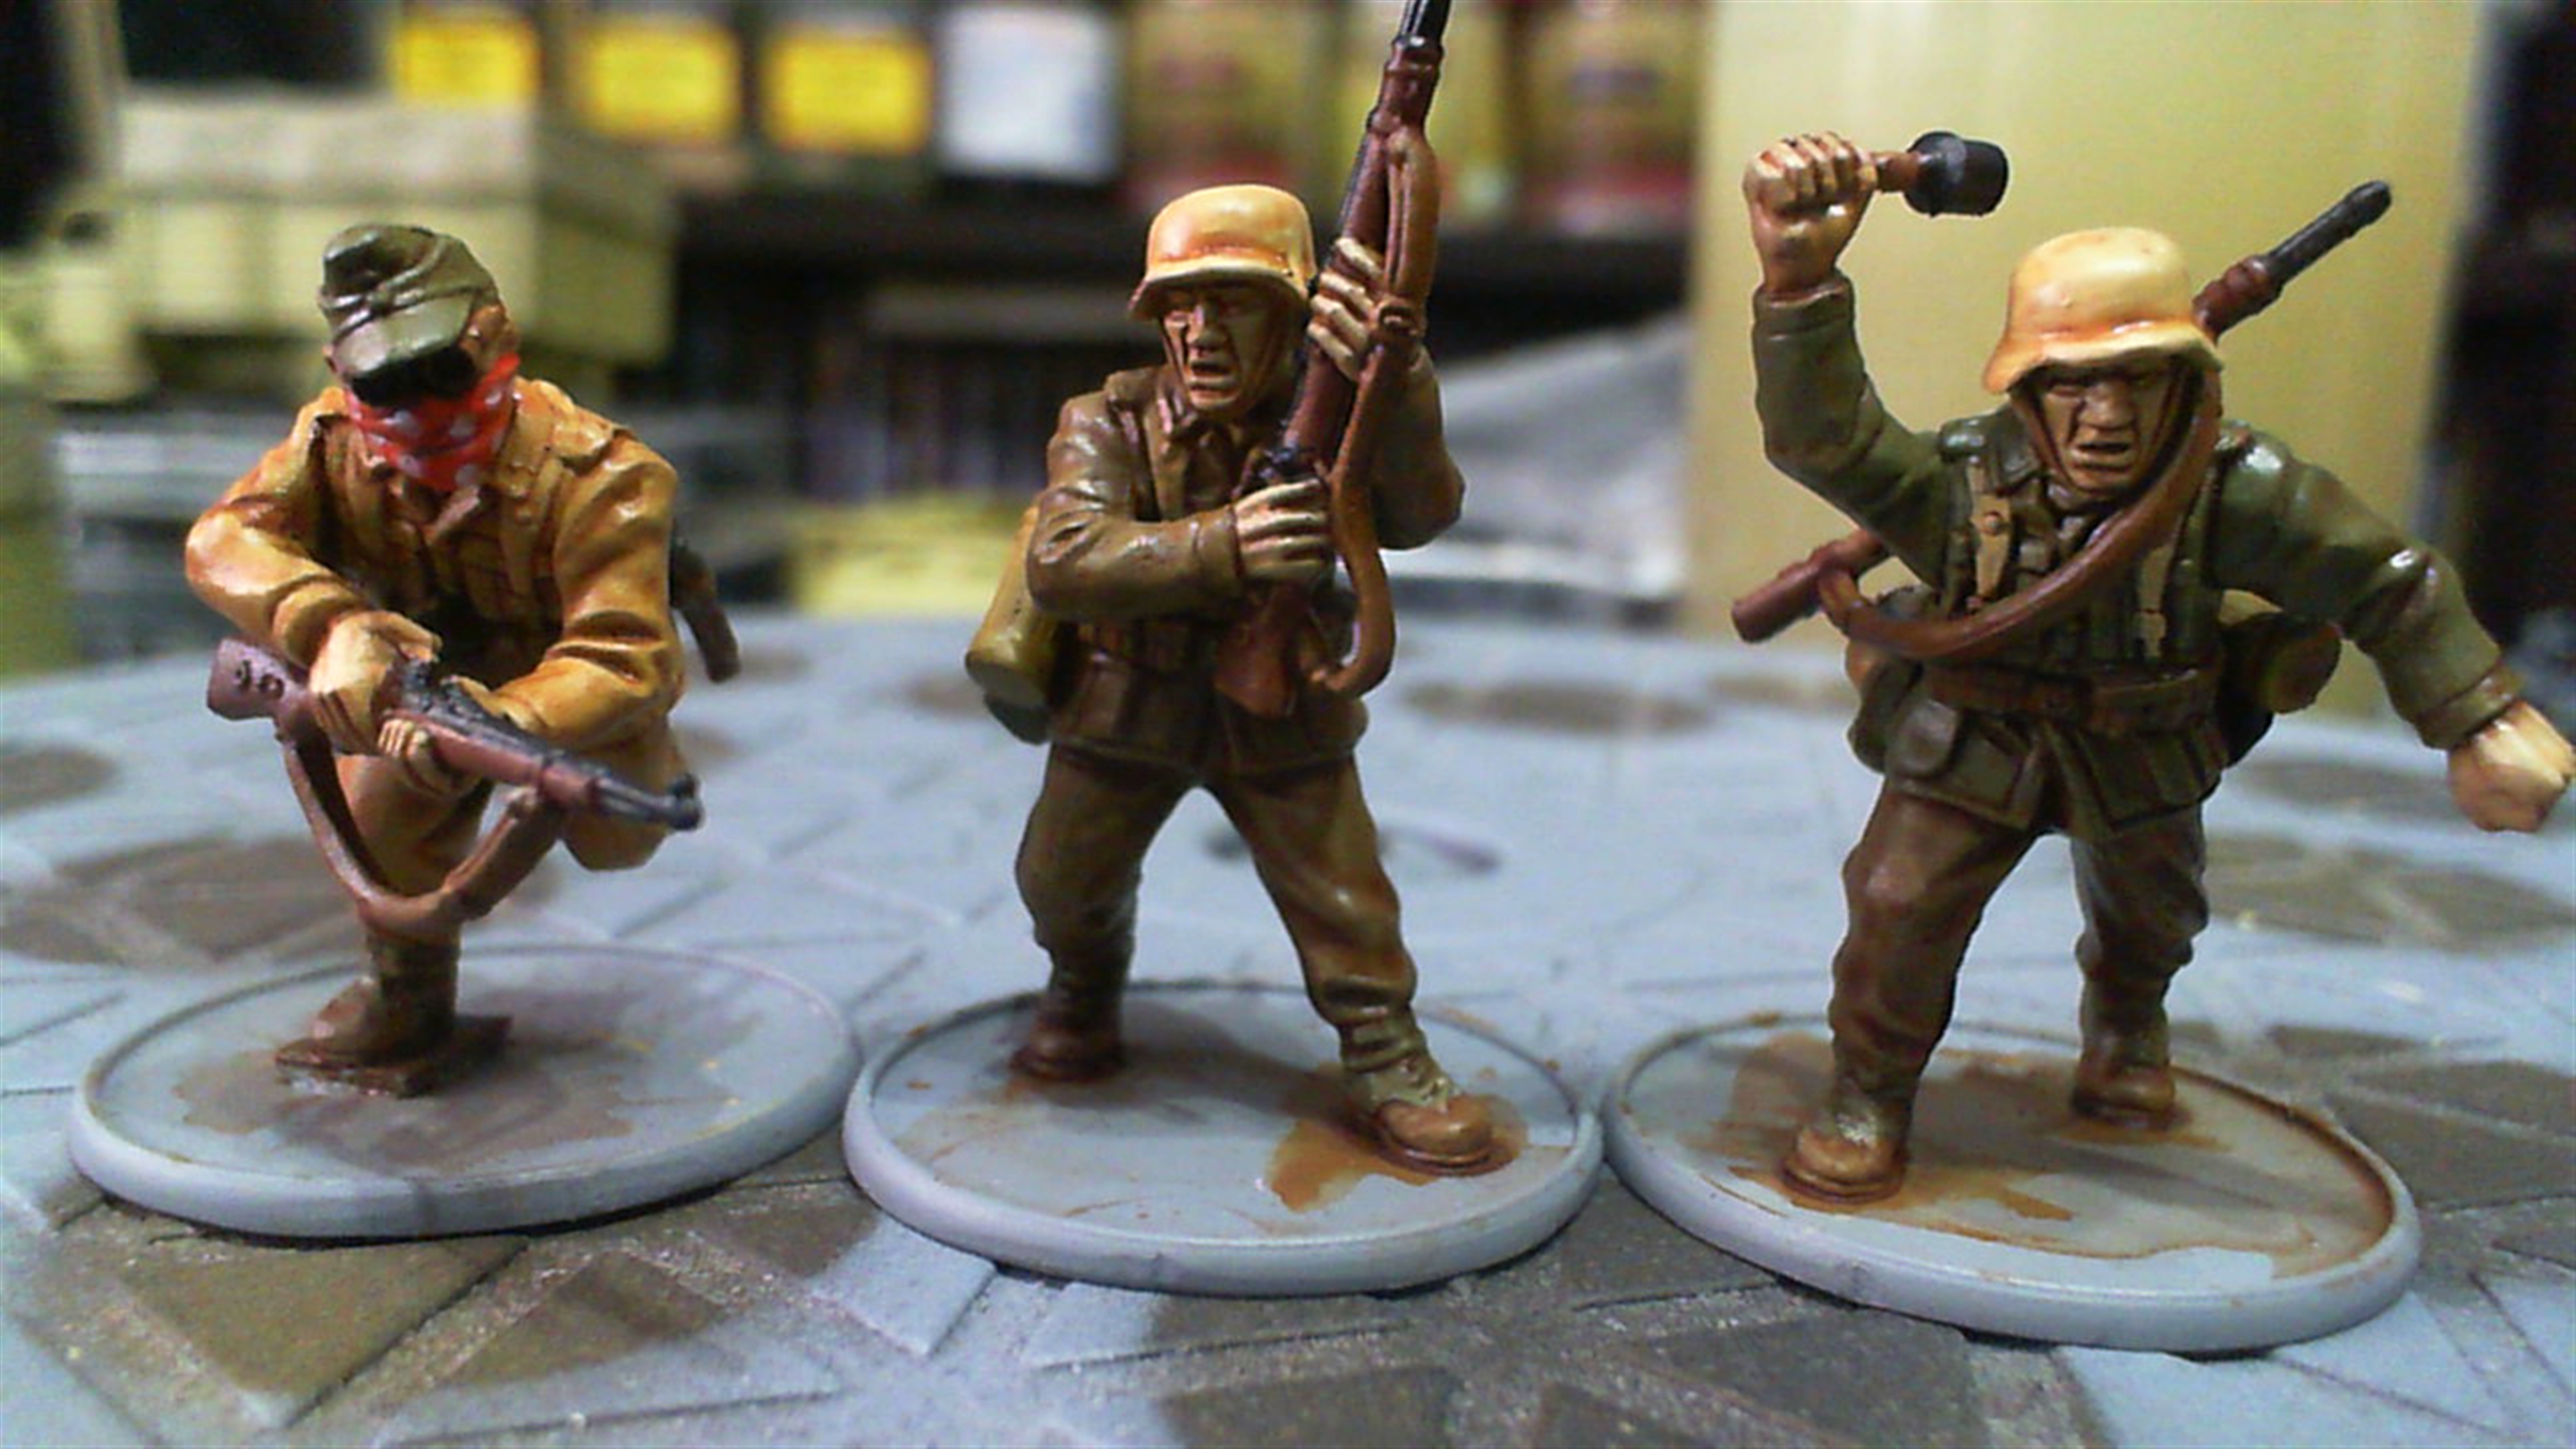 march to the front
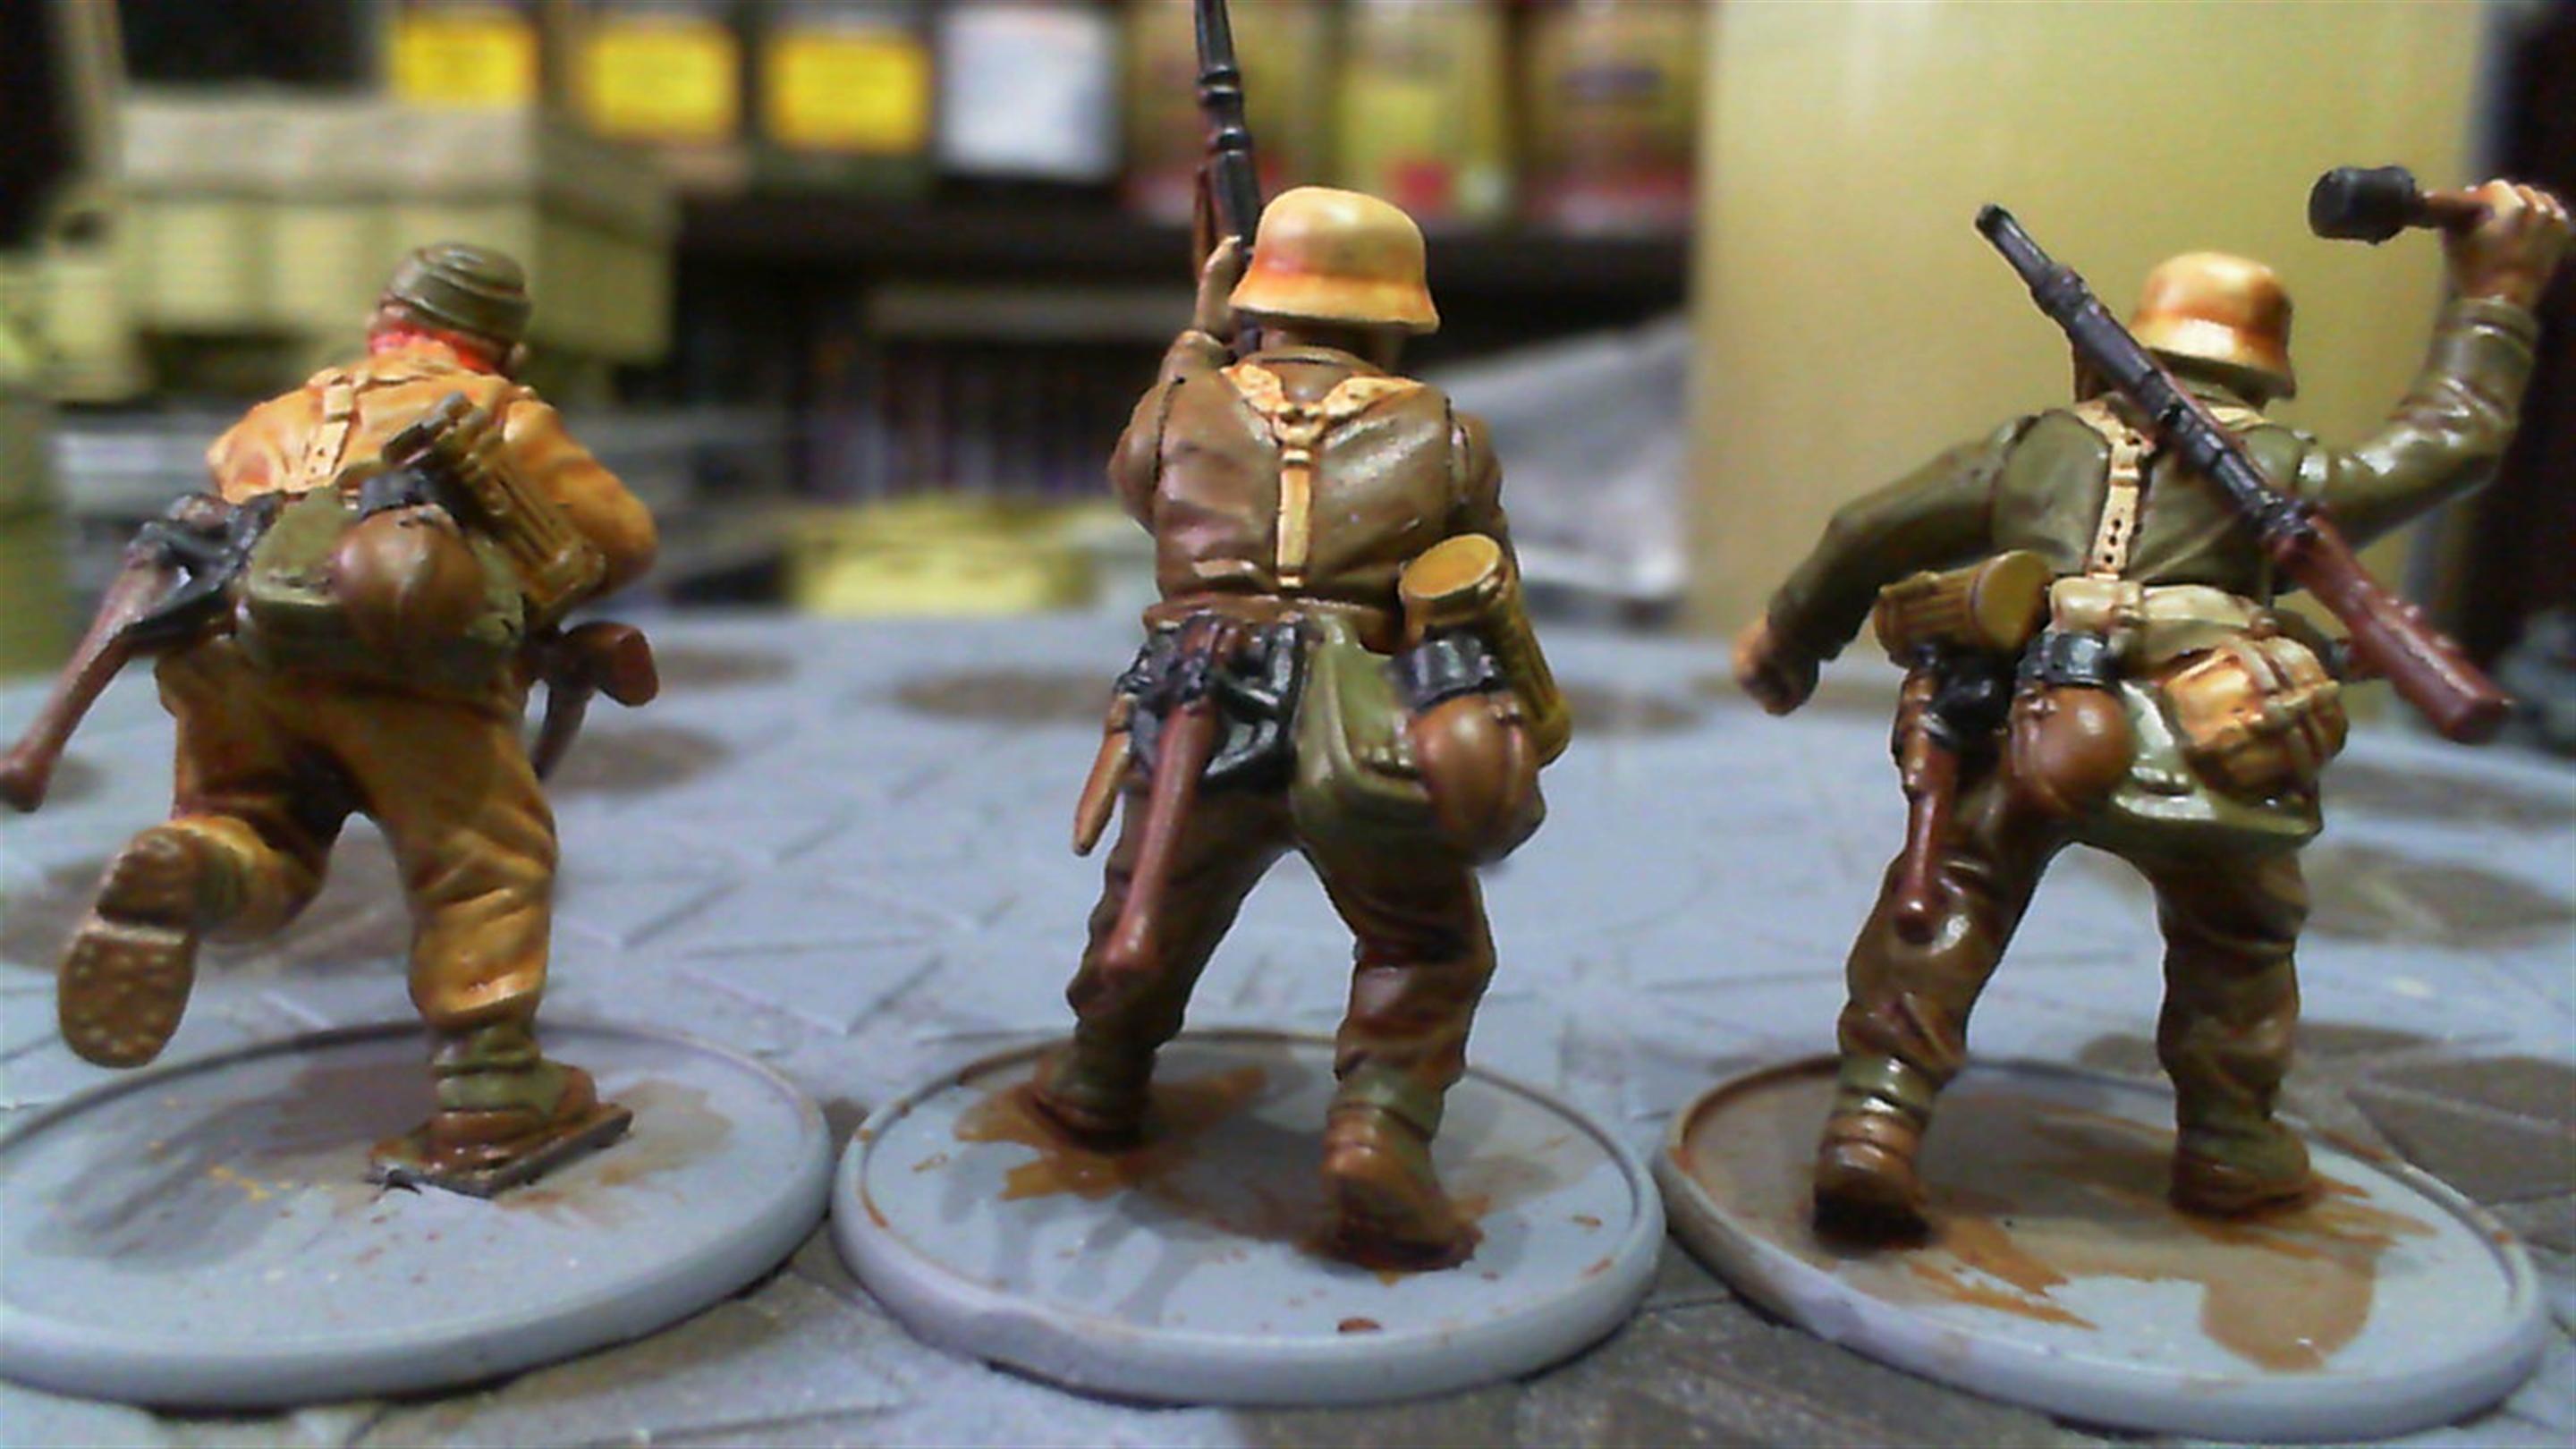 falling back
 With the base colours on and a wash done all they now need is some sand and they’re table ready. I’ll be doing a little highlighting and applying some weathering and decals but I thought this was a good point to show what goes where, especially with the various types of kit.
You can see the three colours of fabric clearly here, the new Khaki, faded Khaki and the olive green, and I’ve mixed and matched these throughout the force. I used the green mostly on the tunics as the trousers had a different pattern and shouldn’t be as baggy as the later style. But I did still include a few to break up the uniforms more.
Sorry for the glare they’ve just been hit with a satin varnish 🙂