Bandua Infinity Train – Large terrain piece


Recommendations: 113
About the Project
About 2 years ago while on a trip back to Canada I picked up the Bandua Mag-lev Train. After 2 years of sitting on my shelf, barely even opened, a close friend of mine here has made a bet with me to see if I can finish the whole train to a reasonable tabletop level by October 31st. The prize? supposedly a box of knights for Adeptus Titanicus. Long time viewer of BoW but first time I have decided to put my own work on the site. I will do my best to give updates on building and painting this beast. As well I will give my rationale for my way of doing things. Currently living in Korea and I work a lot so it will take quite a bit of effort to get this done on time. Let the terrain building begin!
Related Game: Infinity
Related Company: Bandua Wargames
Related Genre: Science Fiction
This Project is Completed
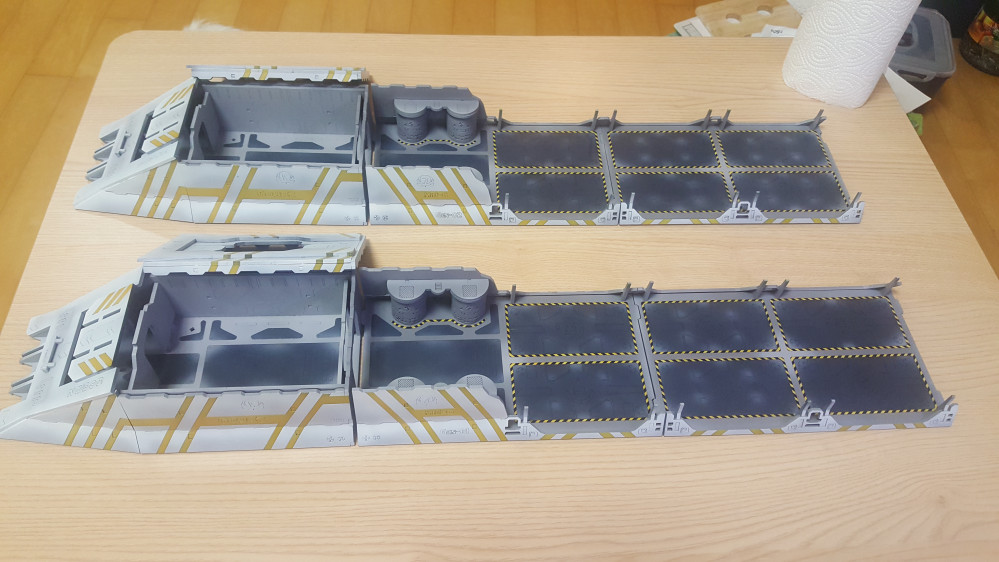
Overall Look
 This is what the project looks like so far. Yellow on the sides is all done. Next will come masking of yellow stripes and hazard stripes. Then base coating of the entire hull.
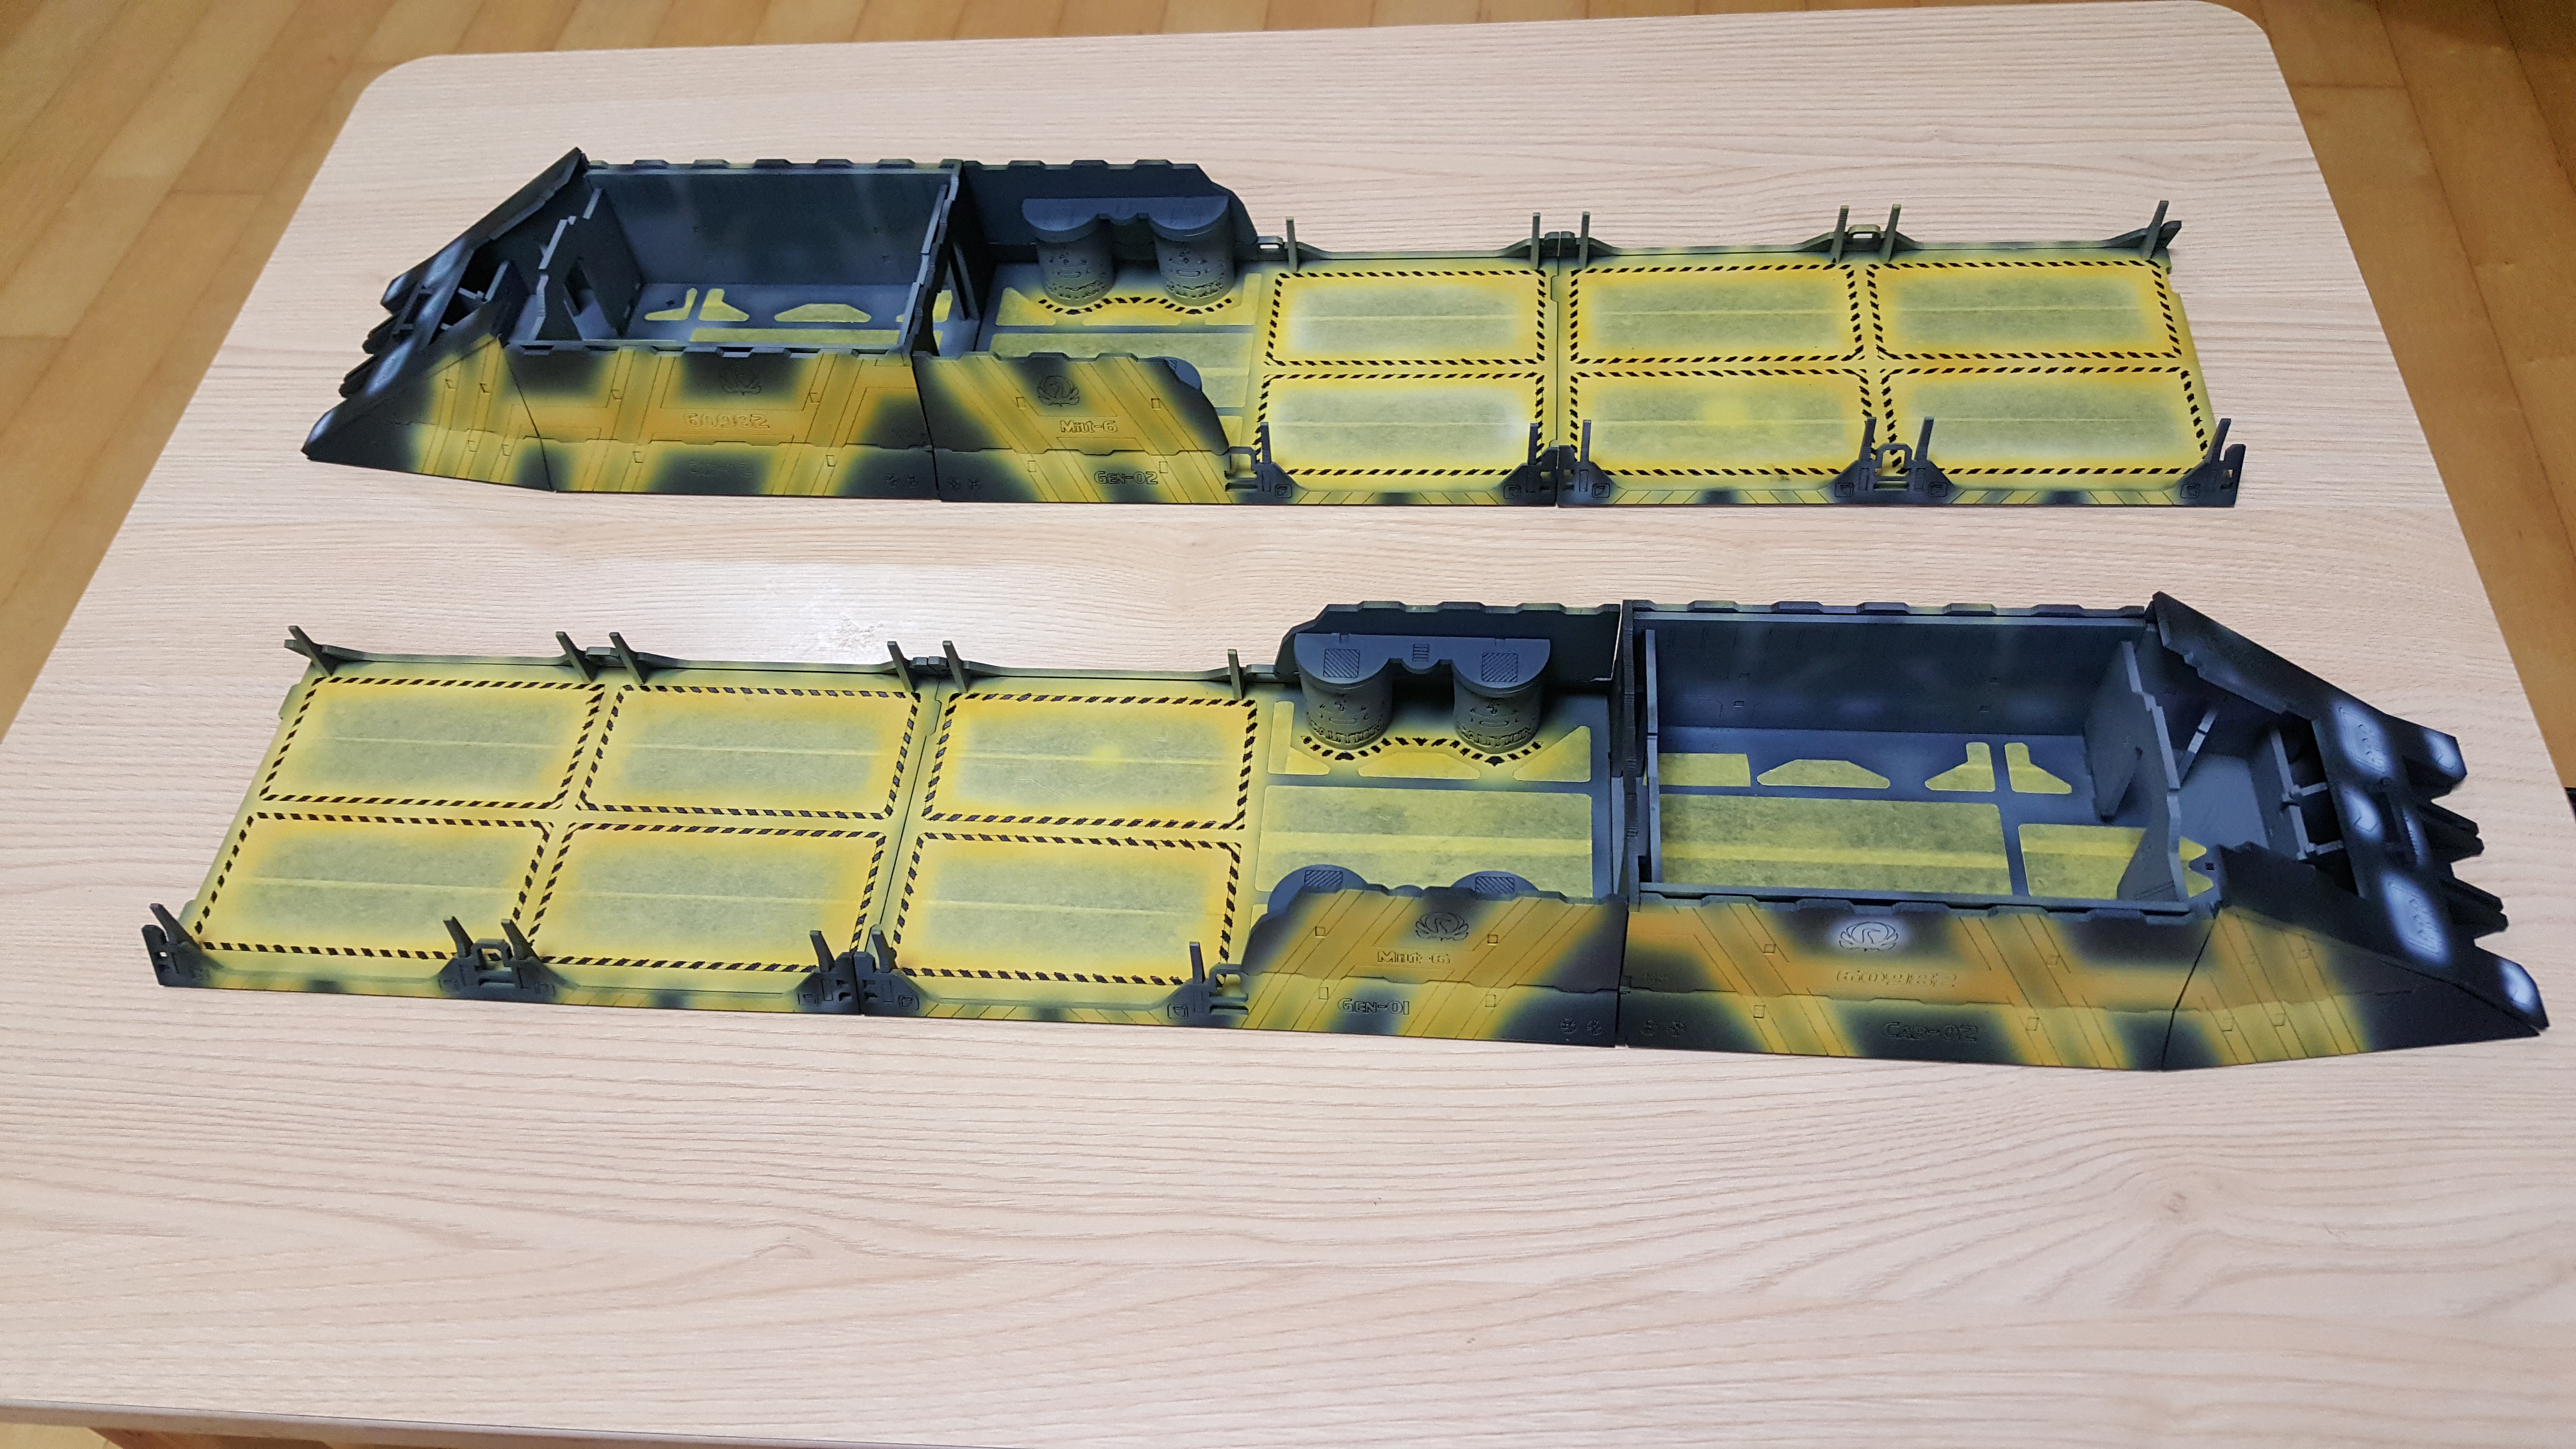
Time is almost up!
Been quite busy with work related stuff, but I have kept making progress. After last post I had to mask off all the yellow which took a lot of time, but is kind of unavoidable.
 Being made aware of the large gaps at the front of the train I went about fixing them.
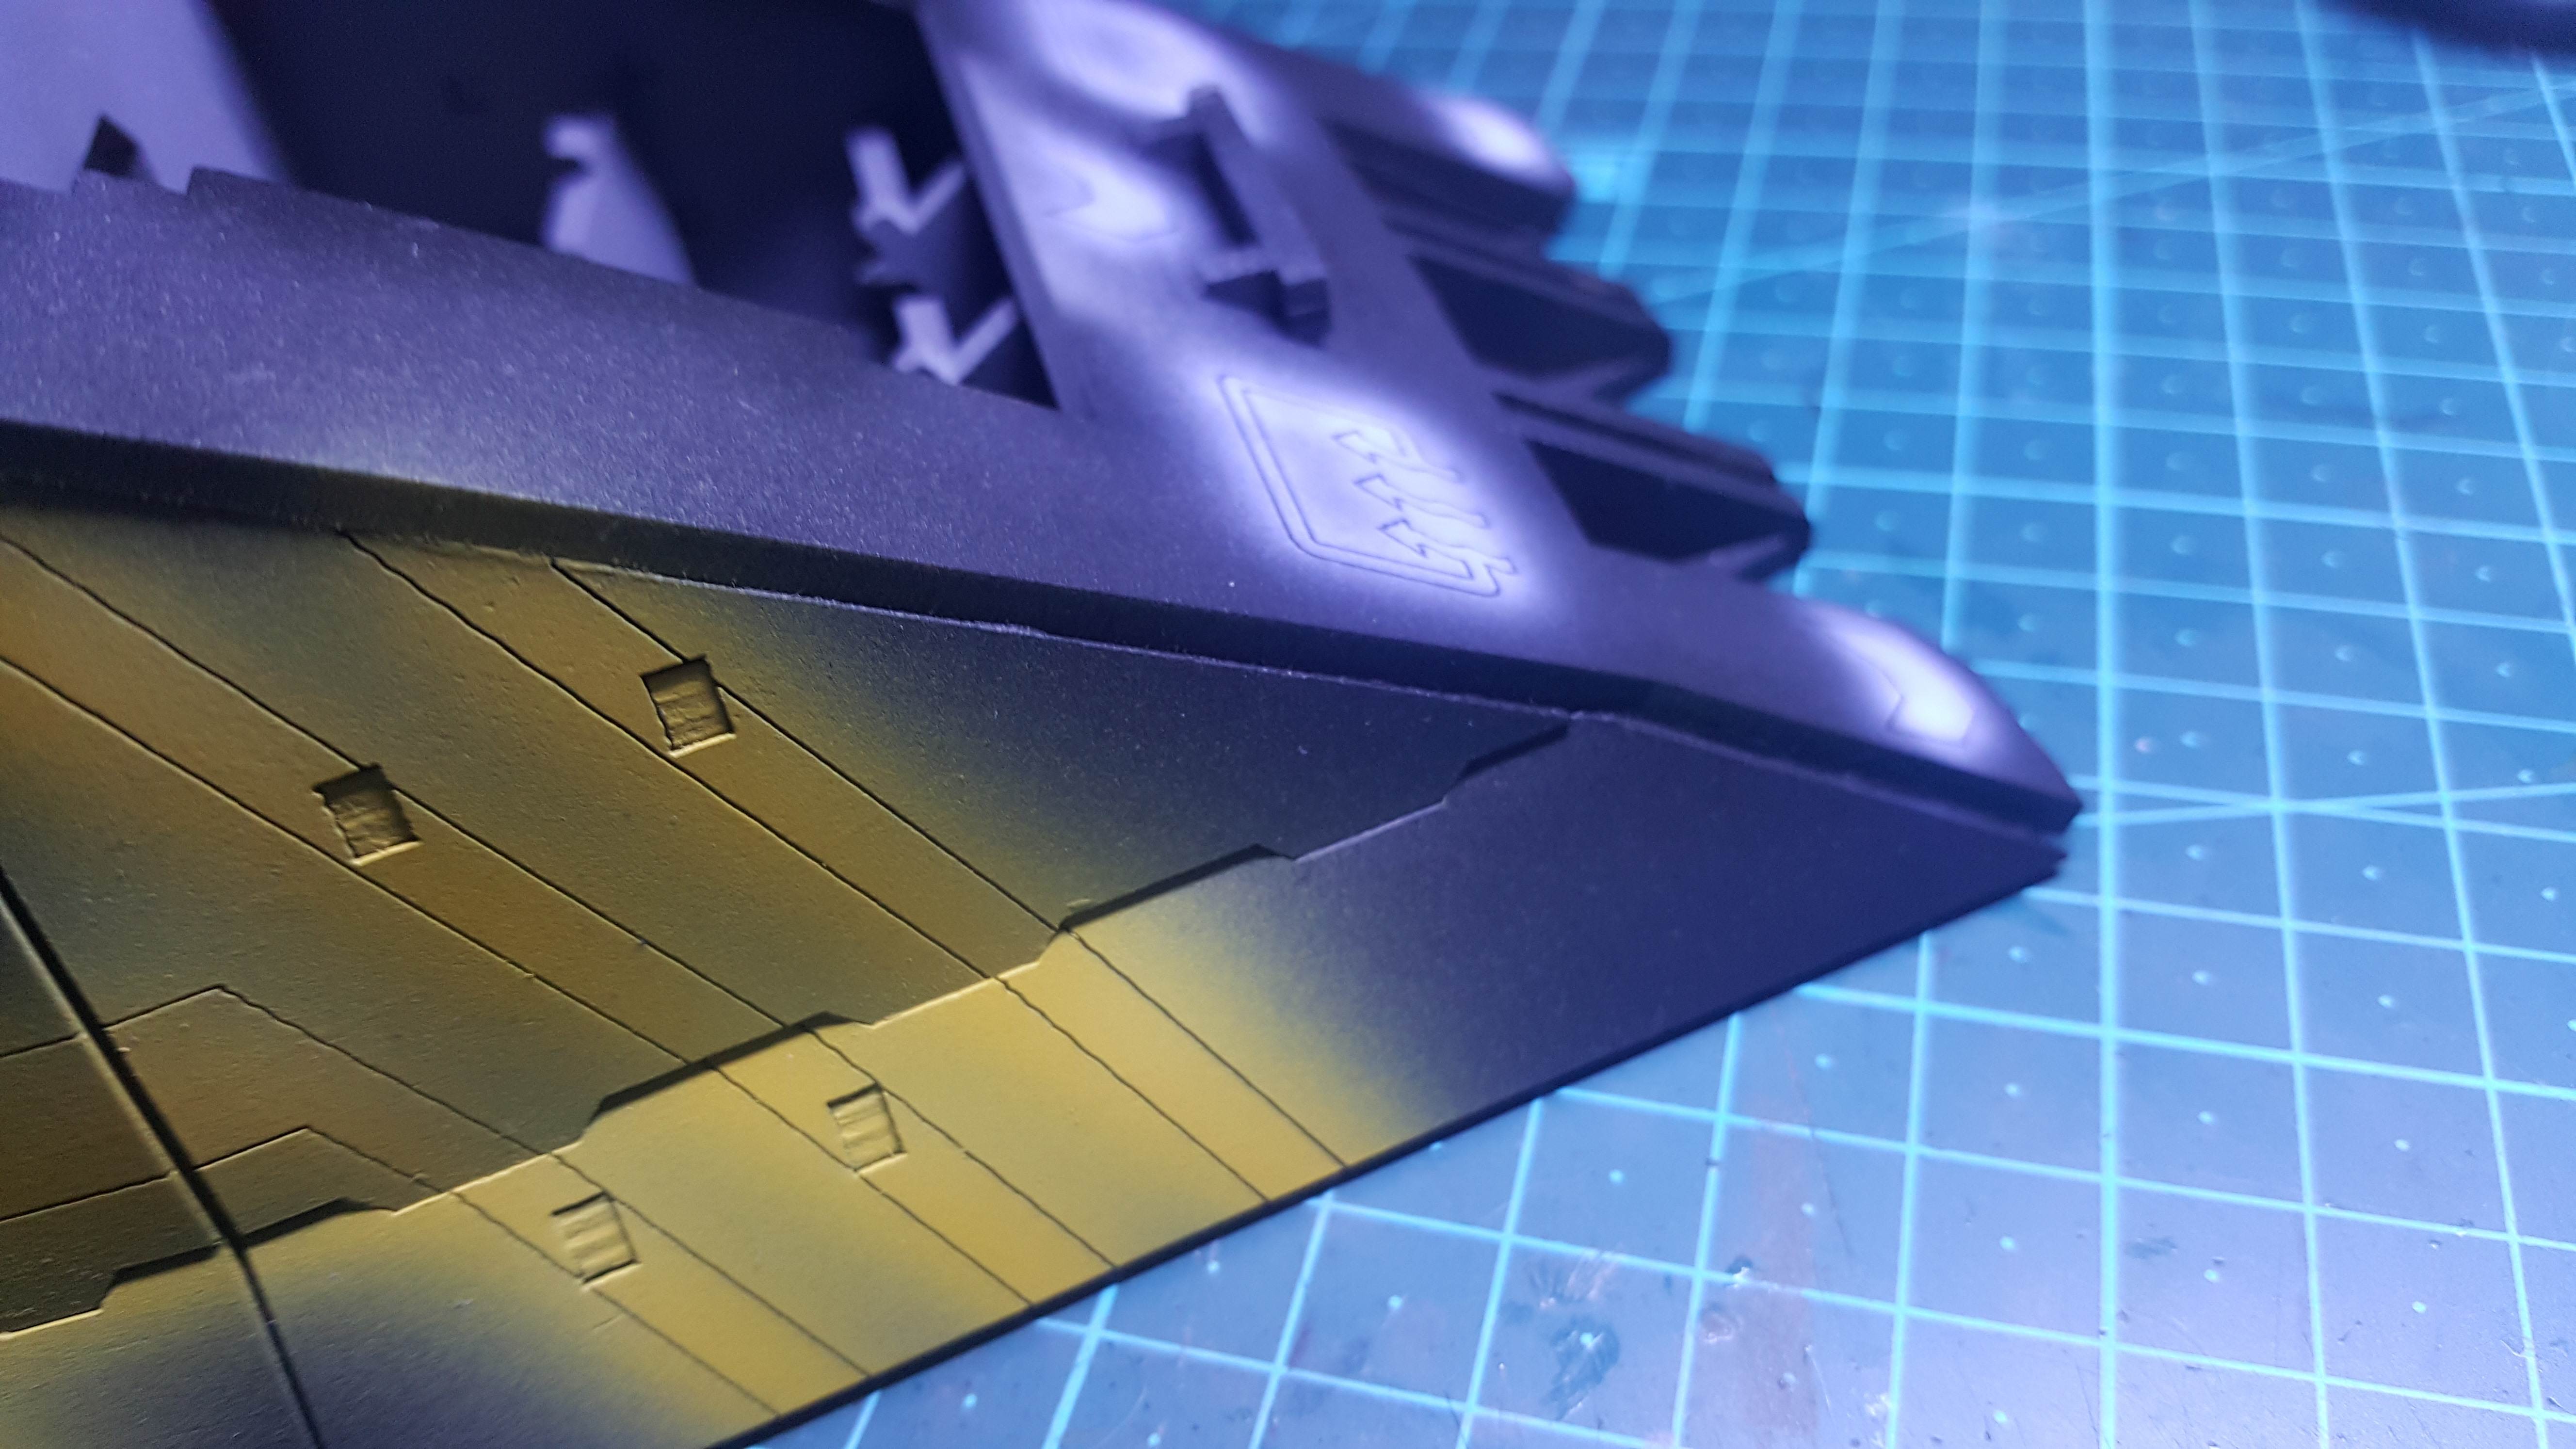 I used Tamiya plastic putting, filled the gaps then after it dried it sanded it down to match the MDF around it. Then I primed over it in black. (Sorry forgot to take pictures of the whole process.
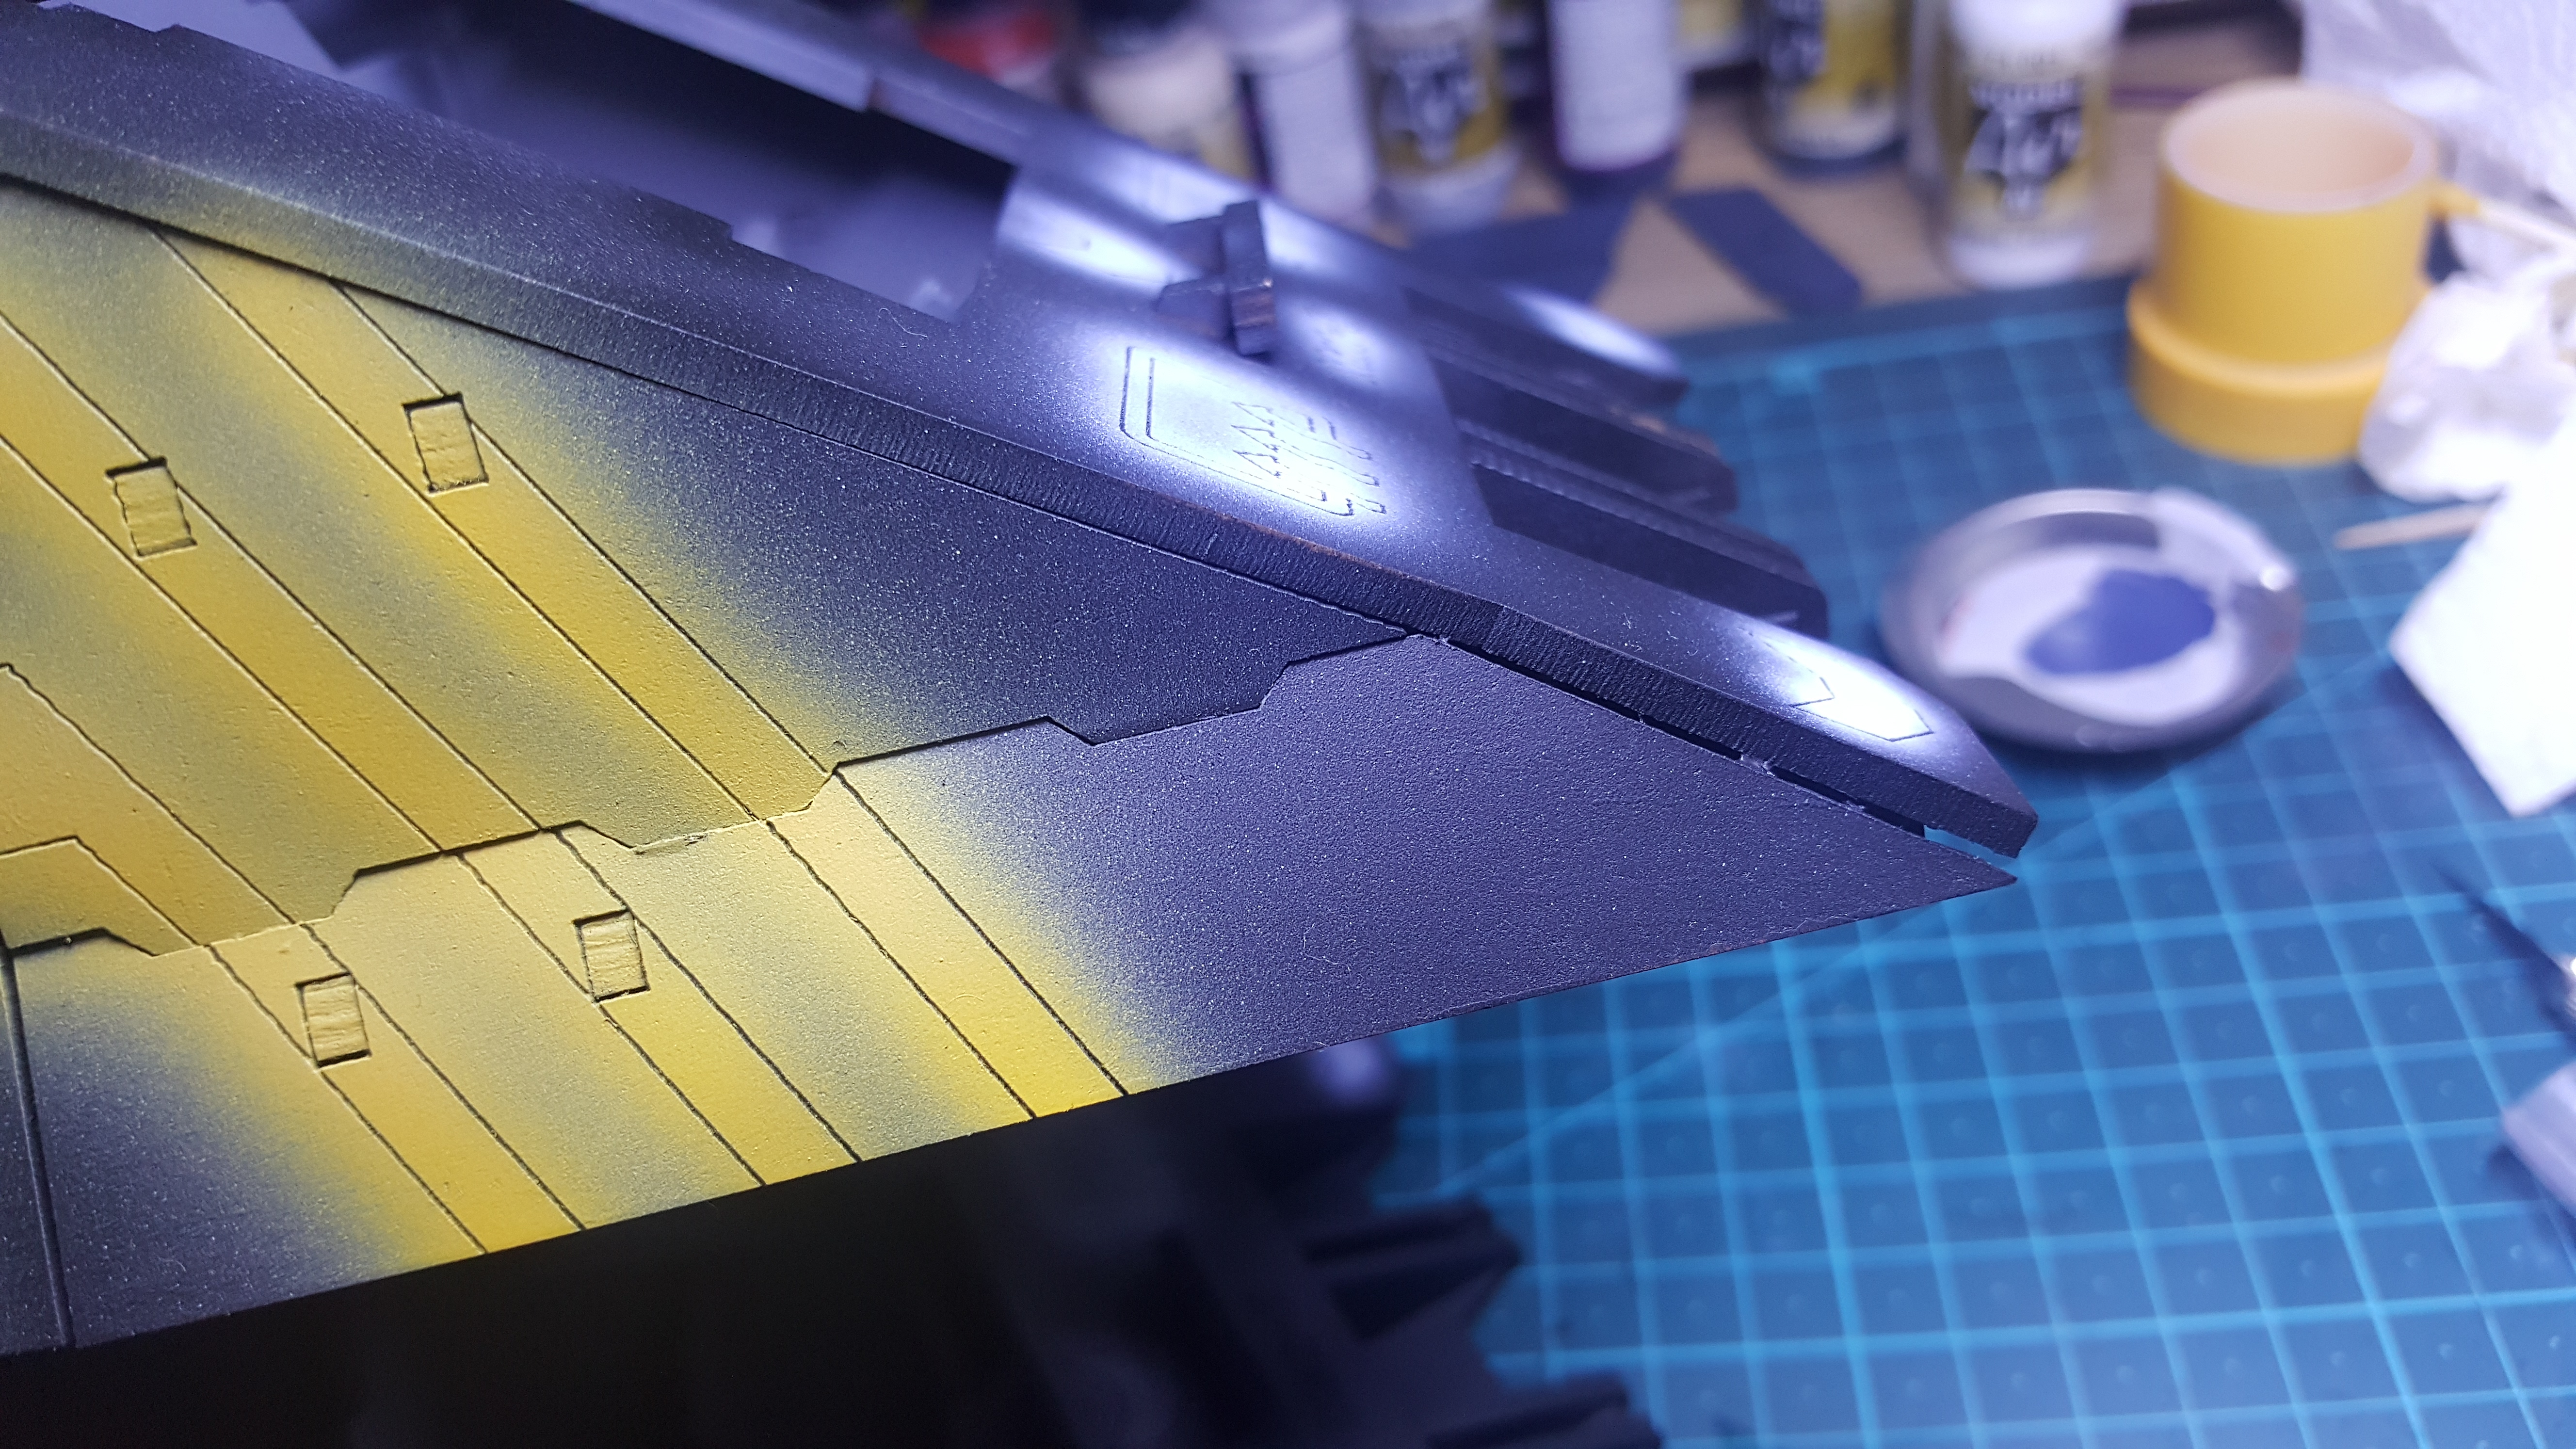
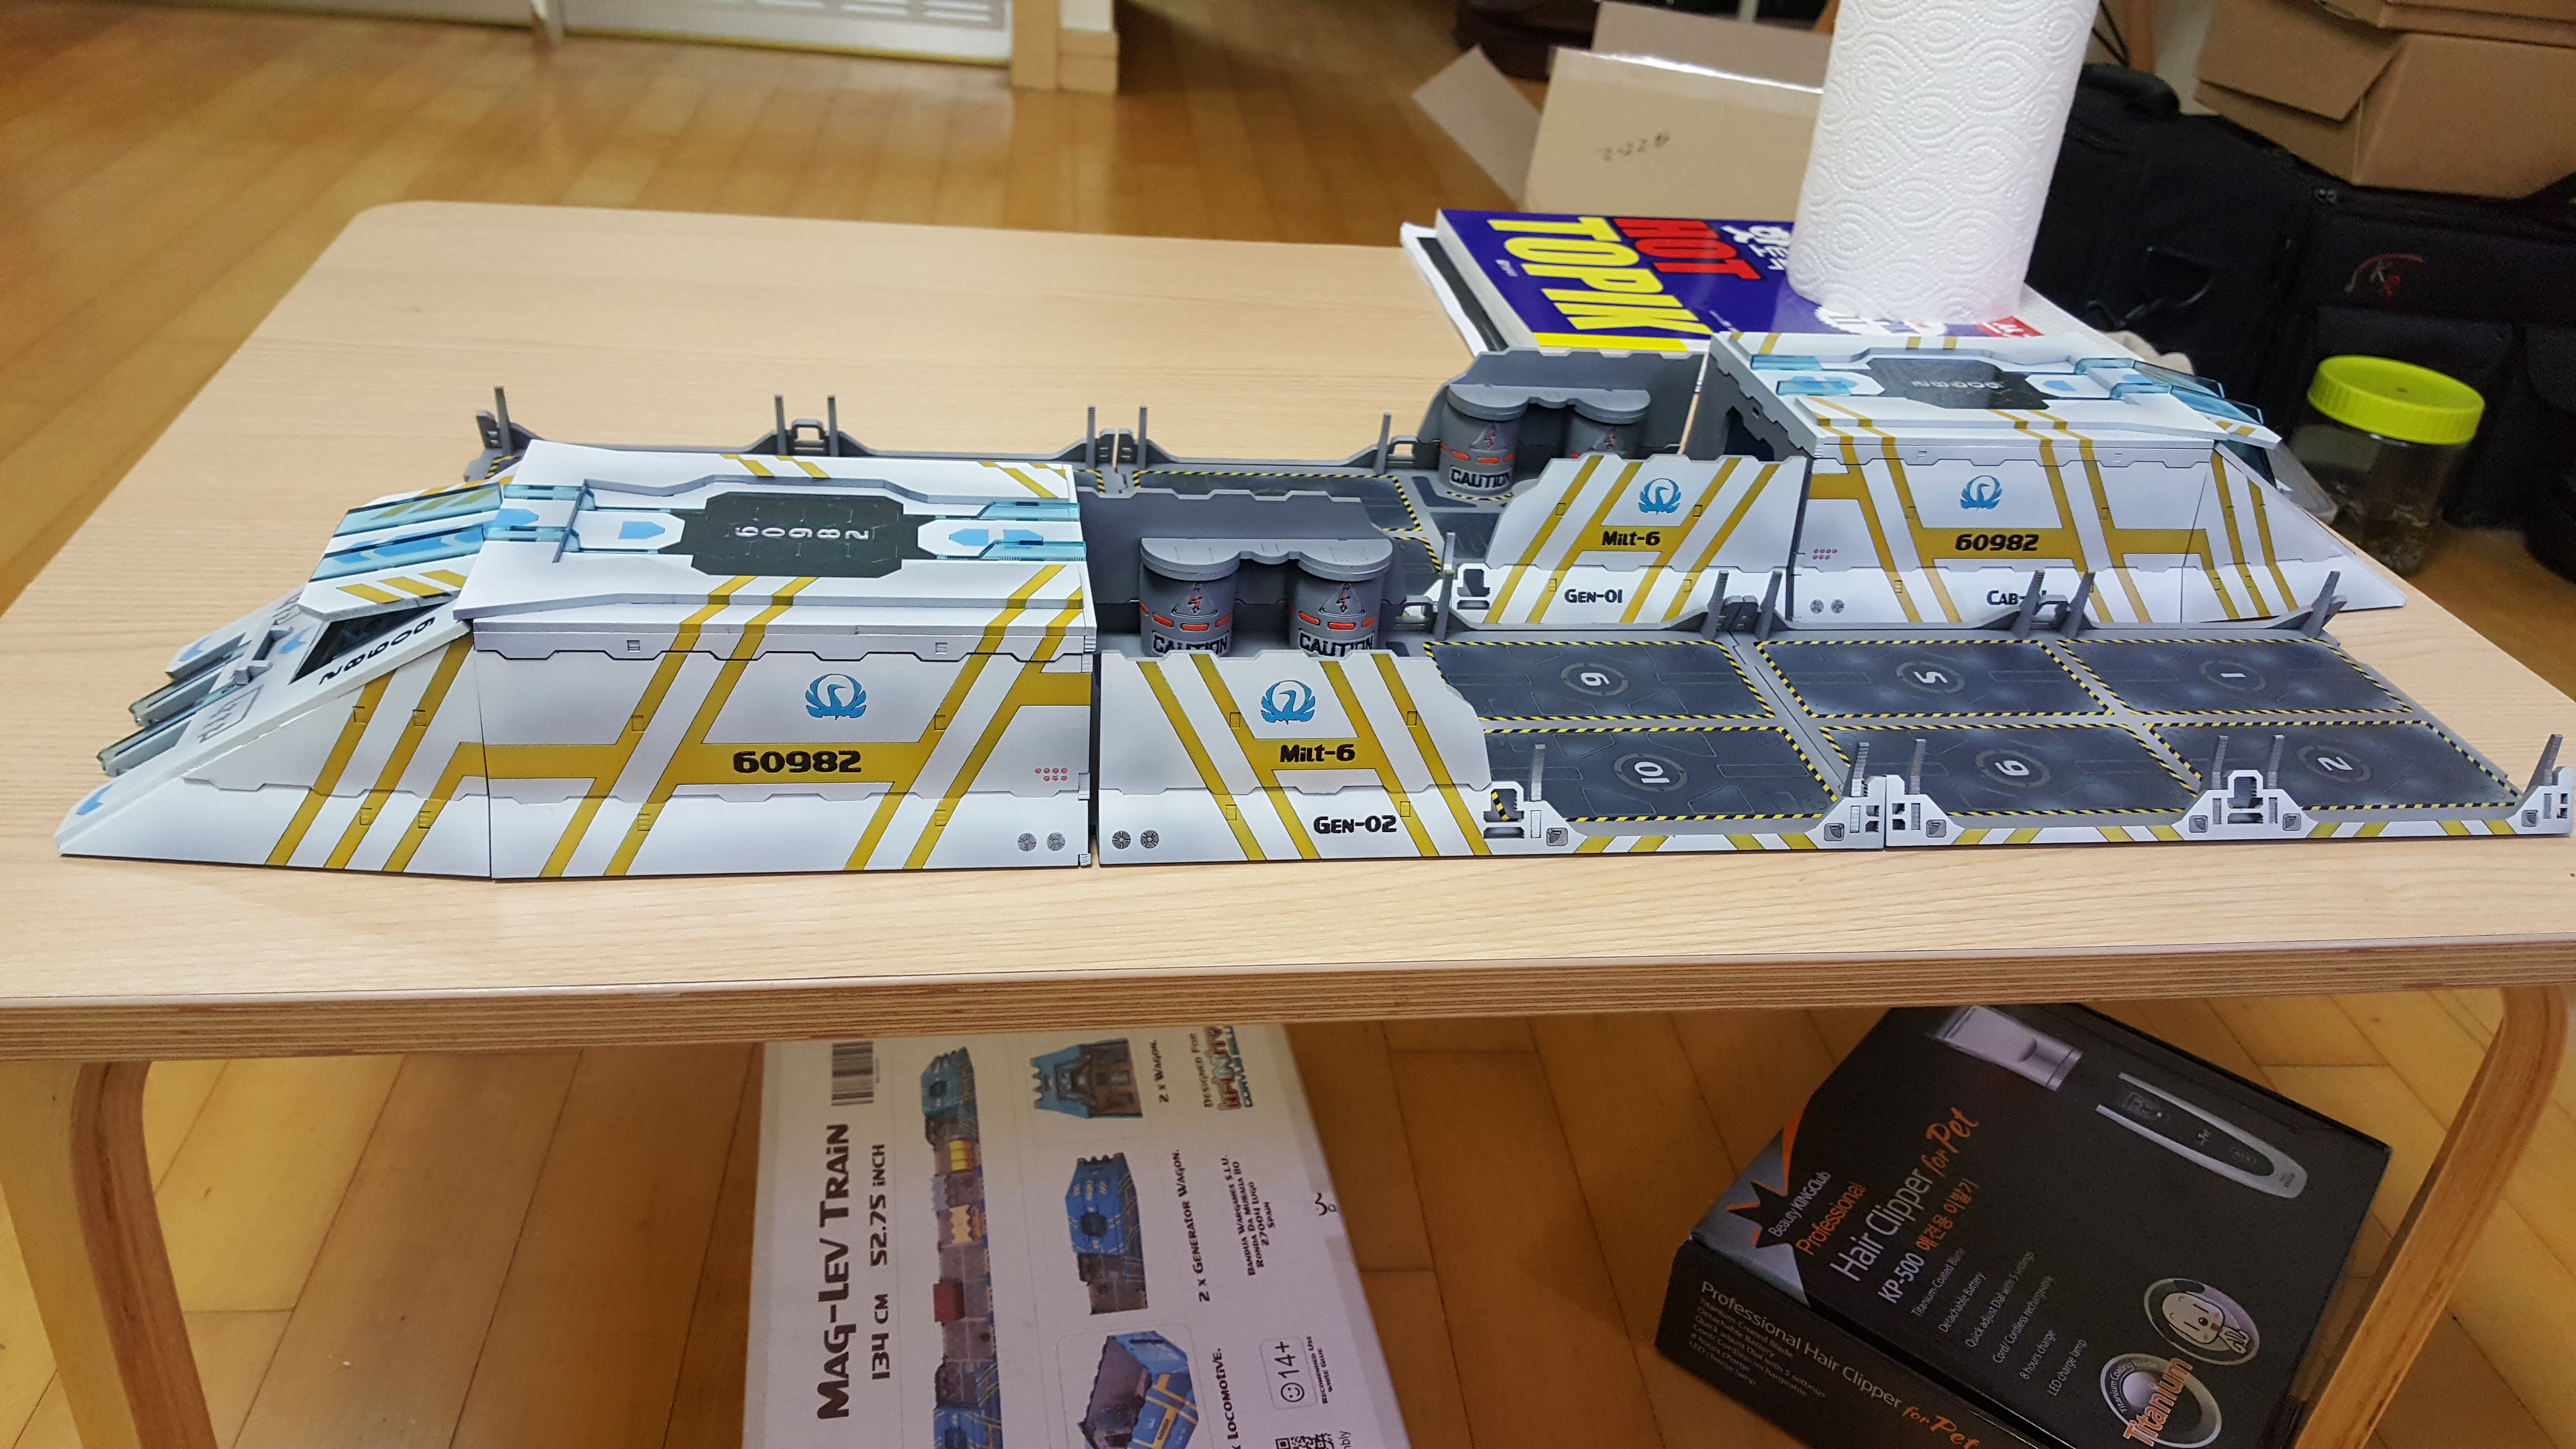
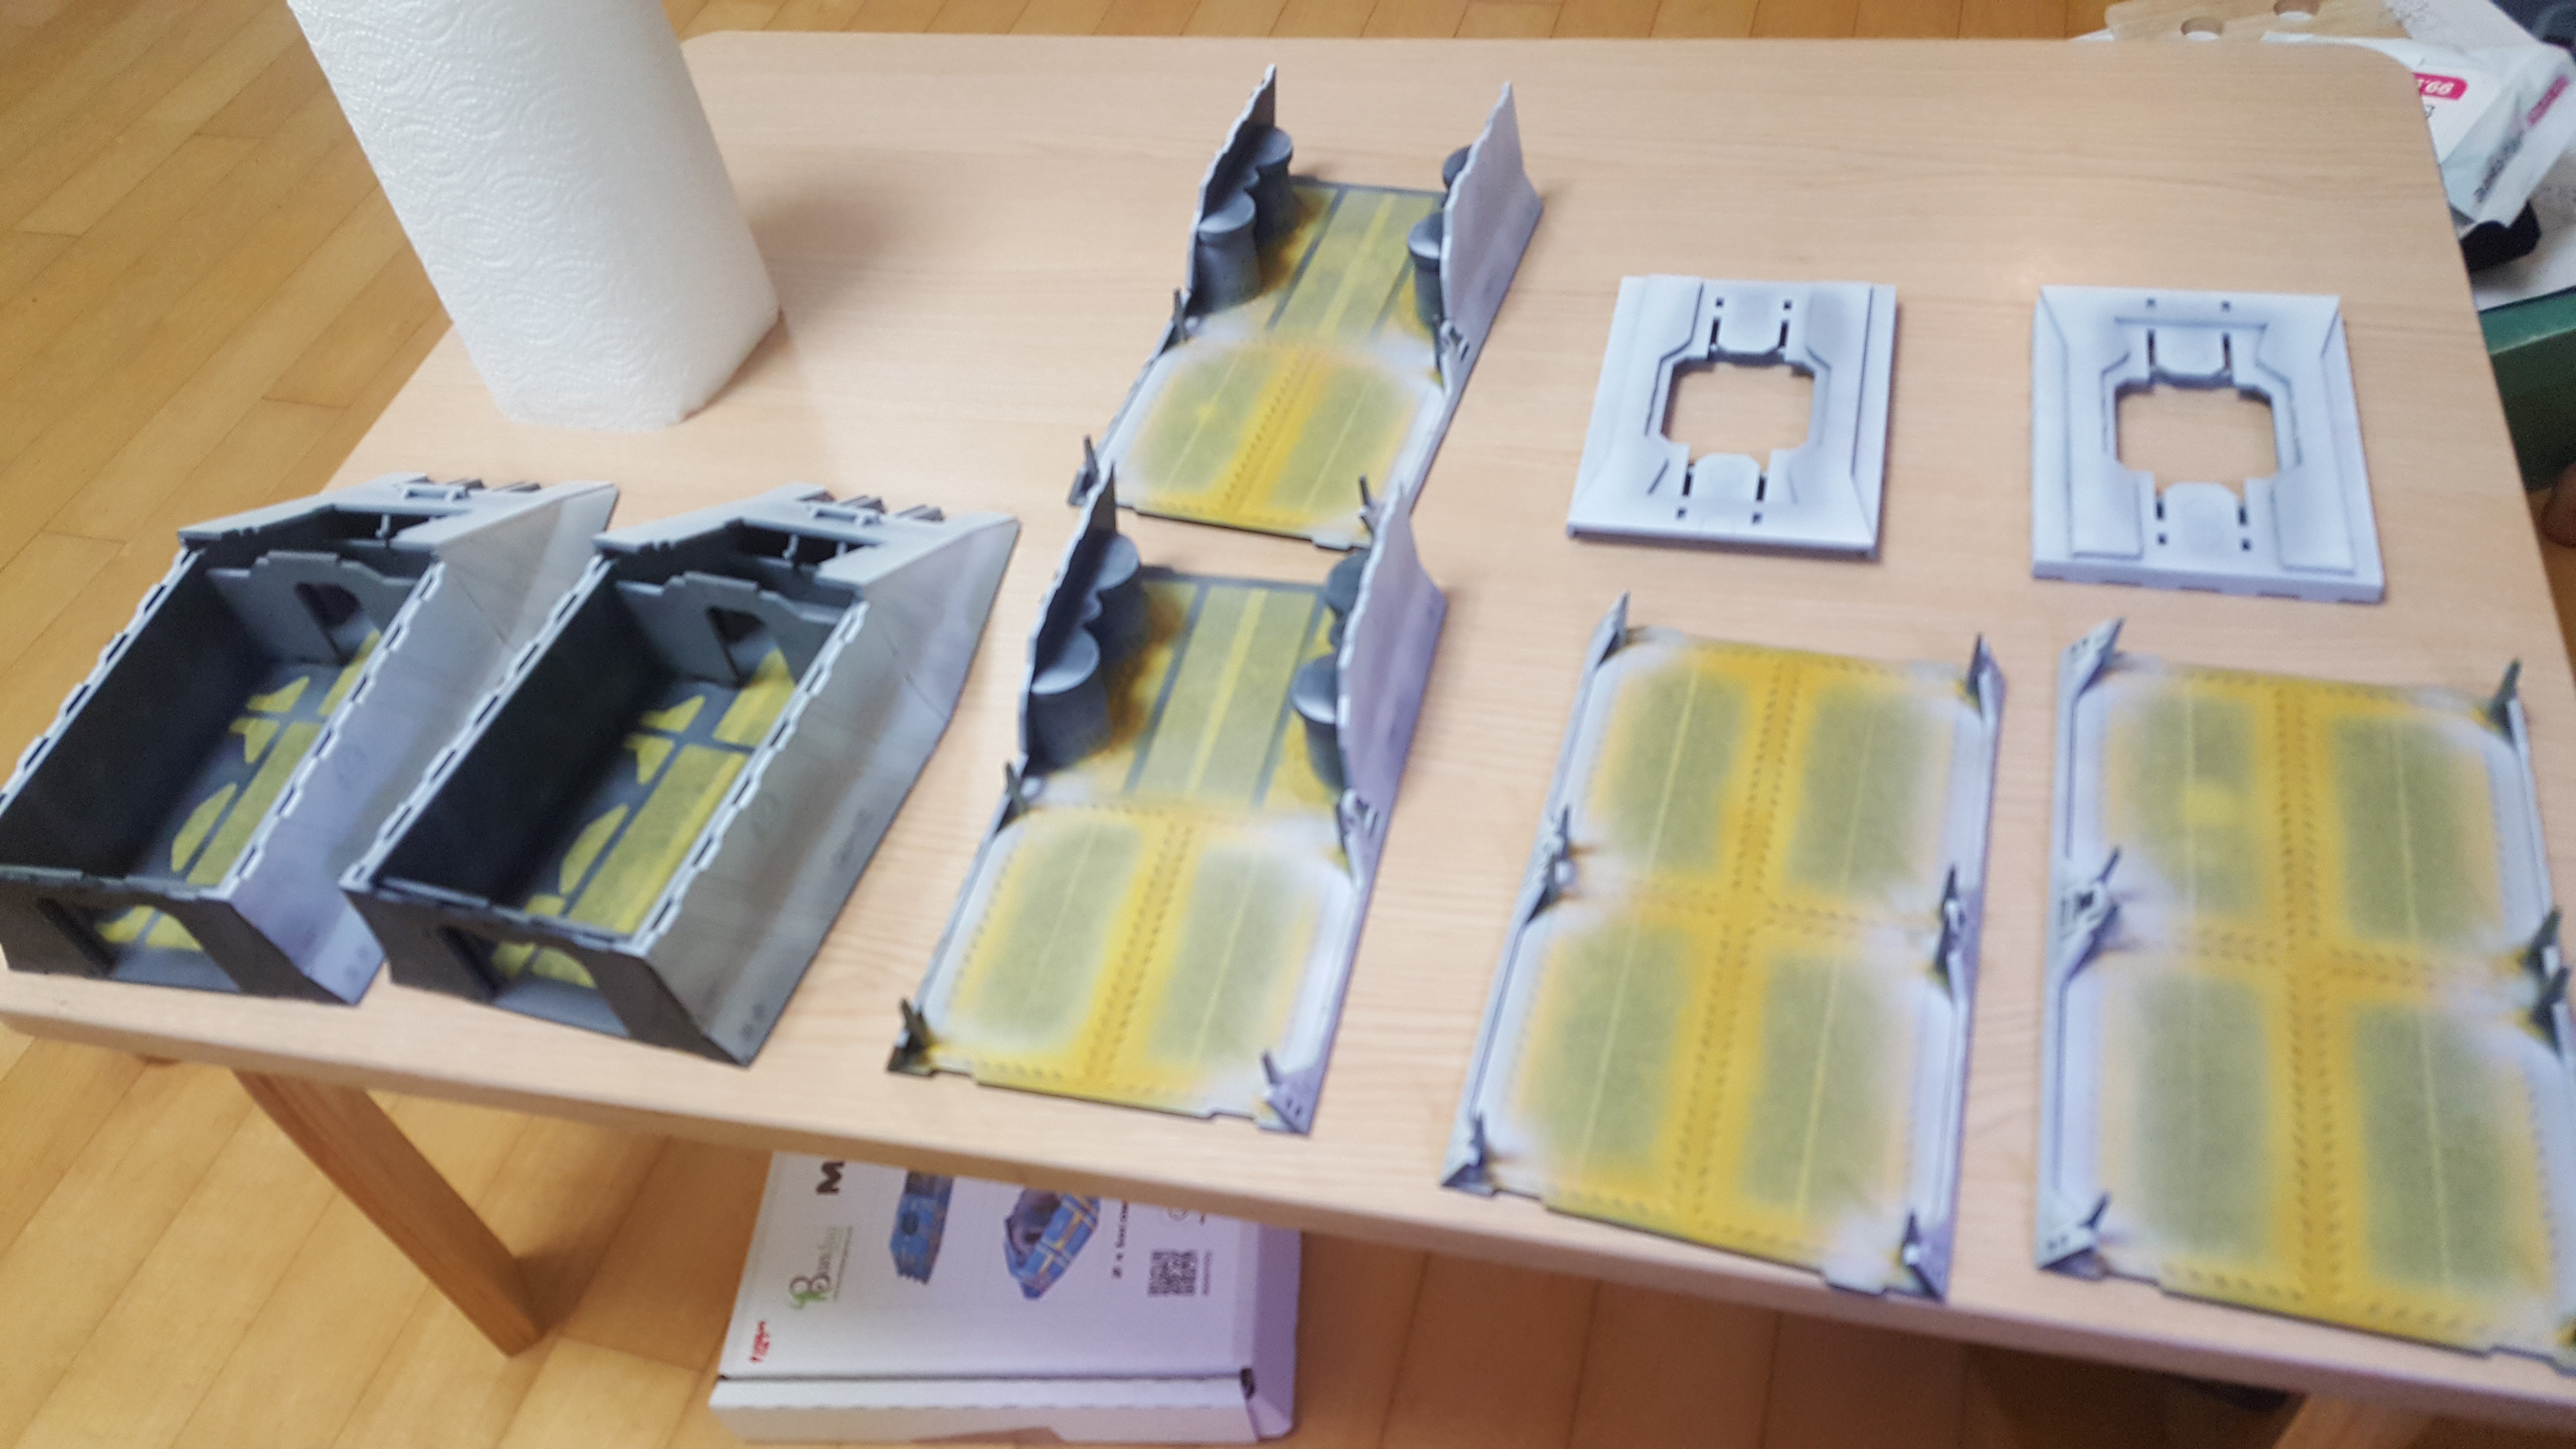 With everything masked I went about painting the exterior with a light grey, then Vallejo Model Air Sky Blue. Finally I airbrushed white (with a lot of flow improver) on the very edges and tops of panels.
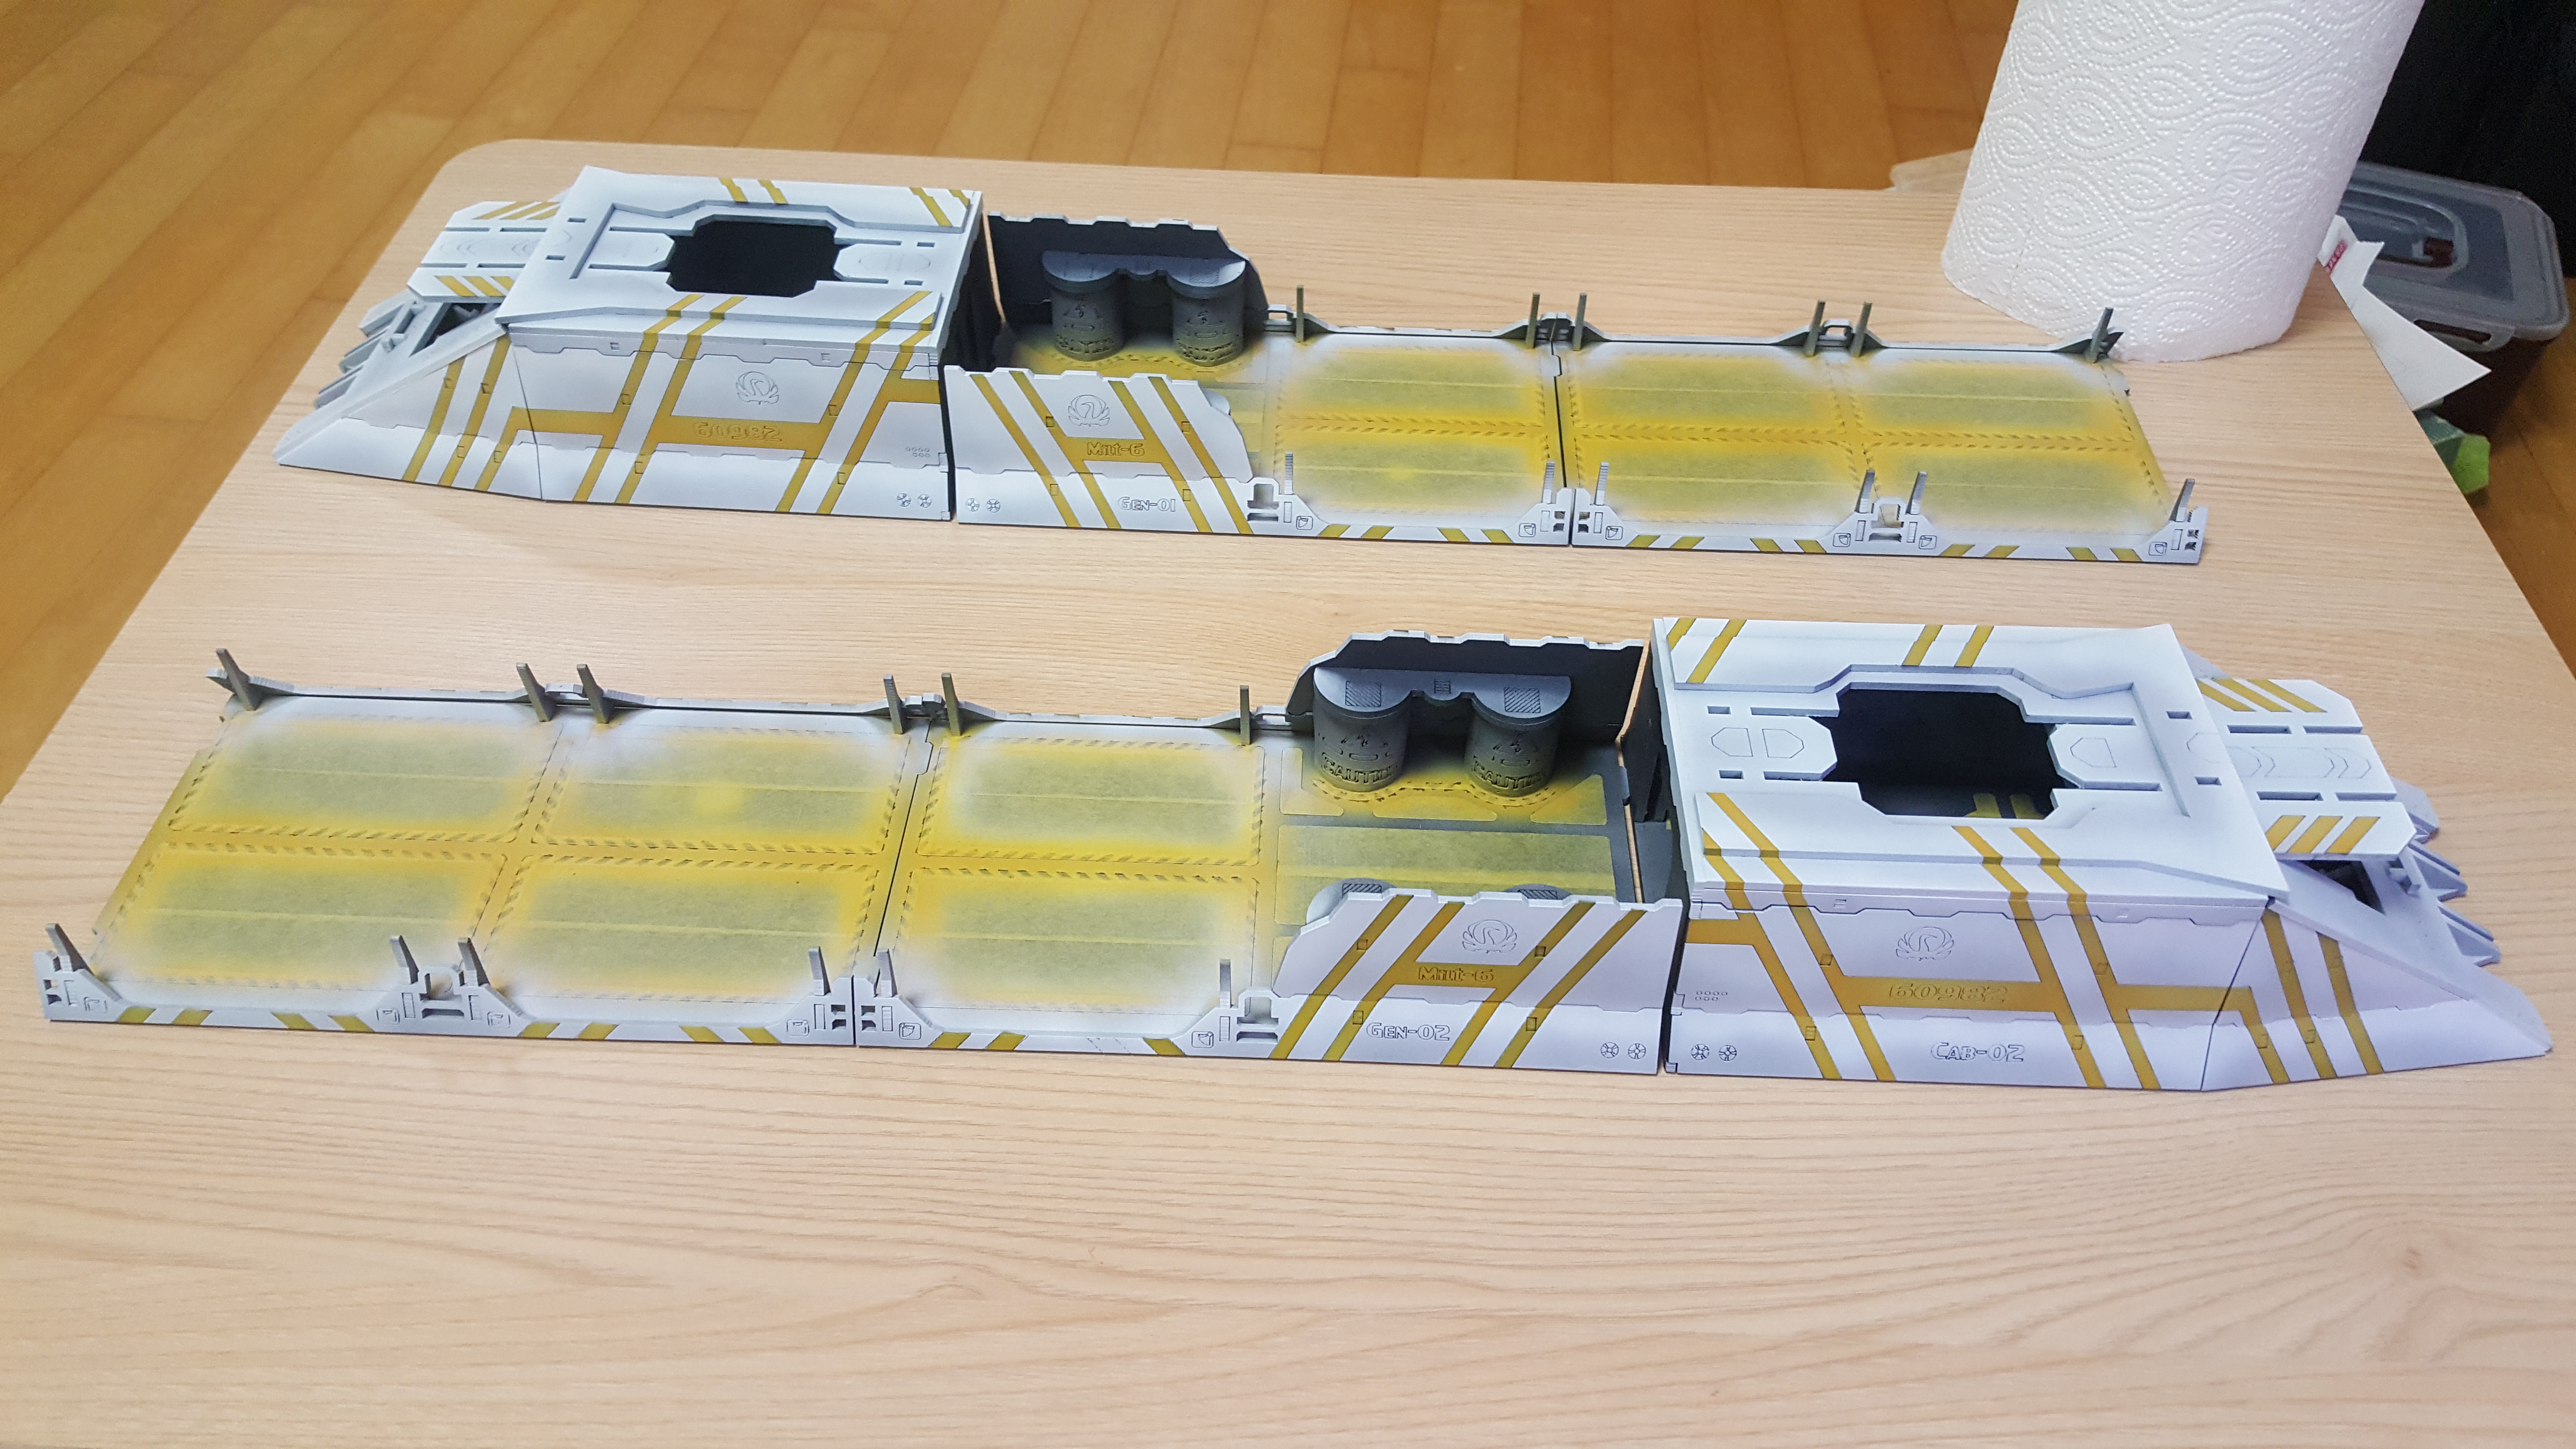 I then removed the masking tape from all of the yellow stripes and got this! I then used vallejo gloss varnish over it and will move onto the interior.
Interior Painted
So I painted the interior area of the cargo bay with mostly cold grey and then stonewall grey.
For the interior area at the cabs, I used more stonewall grey to lighten them up.
Then I removed all the masking from previous steps. Thankfully none of the previous painting had been damaged.
 I had actually masked around the edges before painting the interior, but if you can get the angles right when spraying outward then you can avoid the areas you don't want to paint.
Overall I am extremely happy with how this project has turned out so far. I have 3 days left to go and hand paint in all the details and then seal the entire thing with varnish.
The last step will be gluing in the acrylic pieces.
Done.
Worked non stop to get to this point.
I want to go over what I did more but that will have to wait. For now I need much deserved sleep.
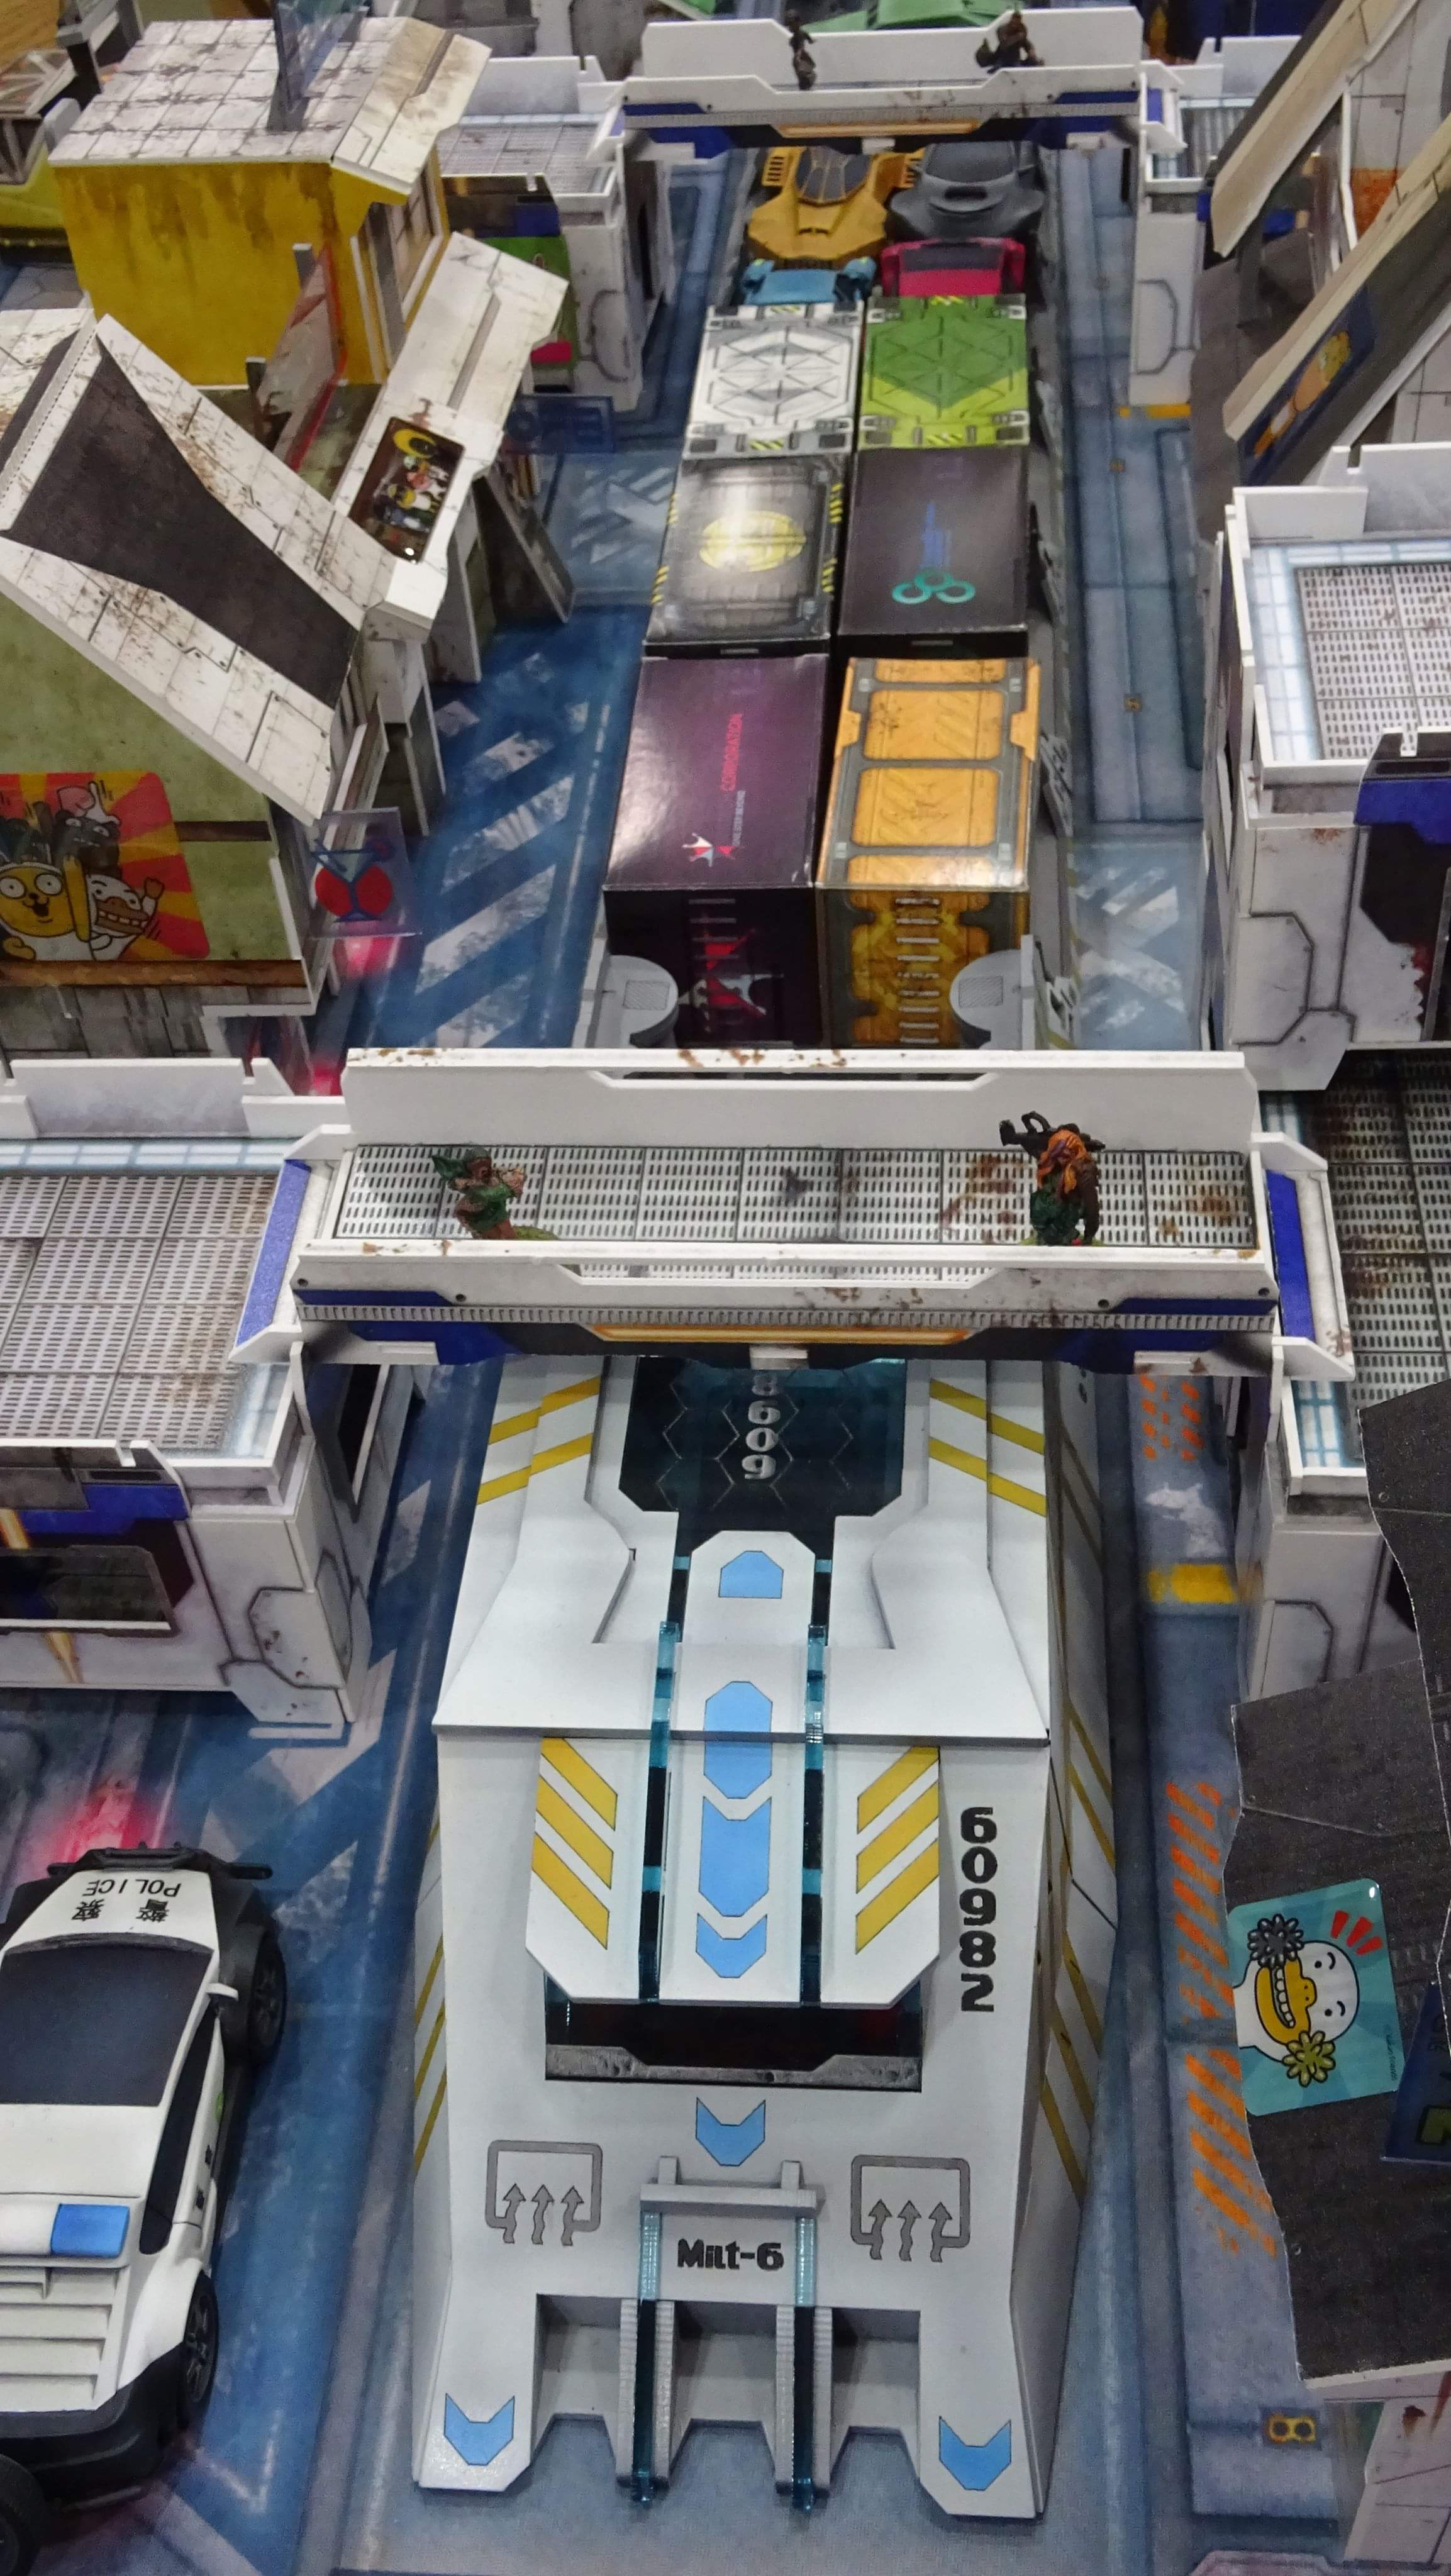
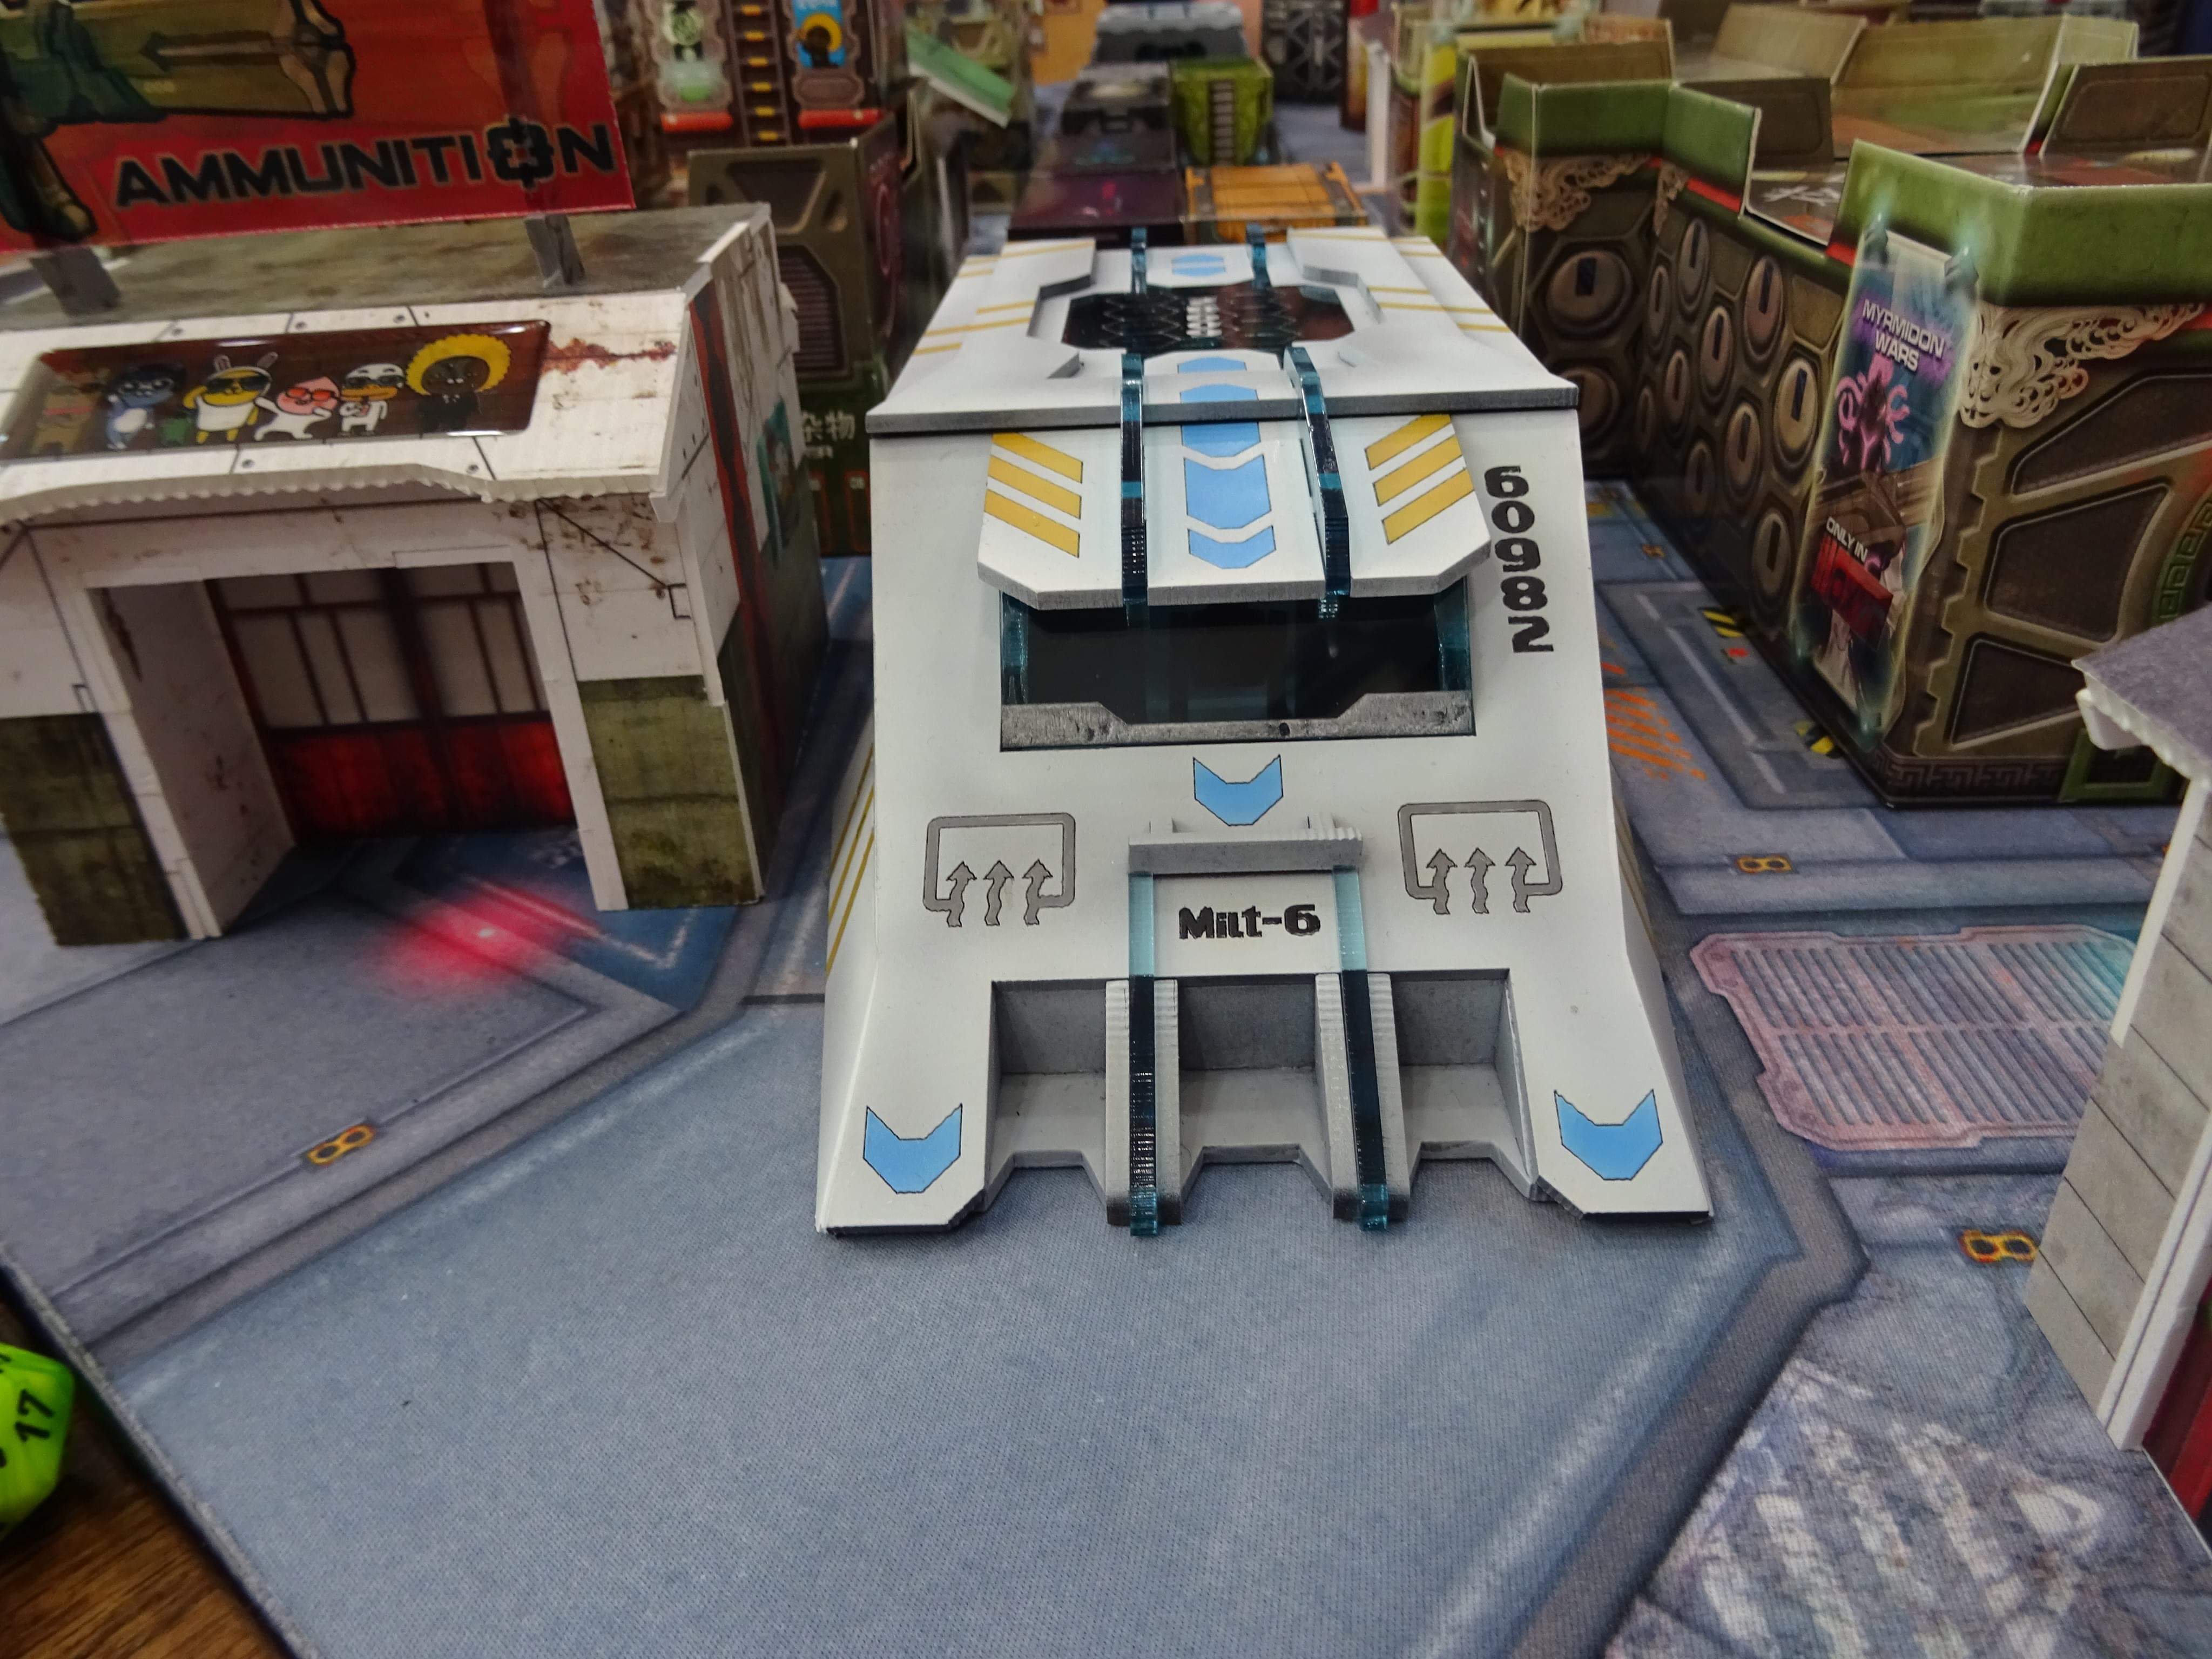
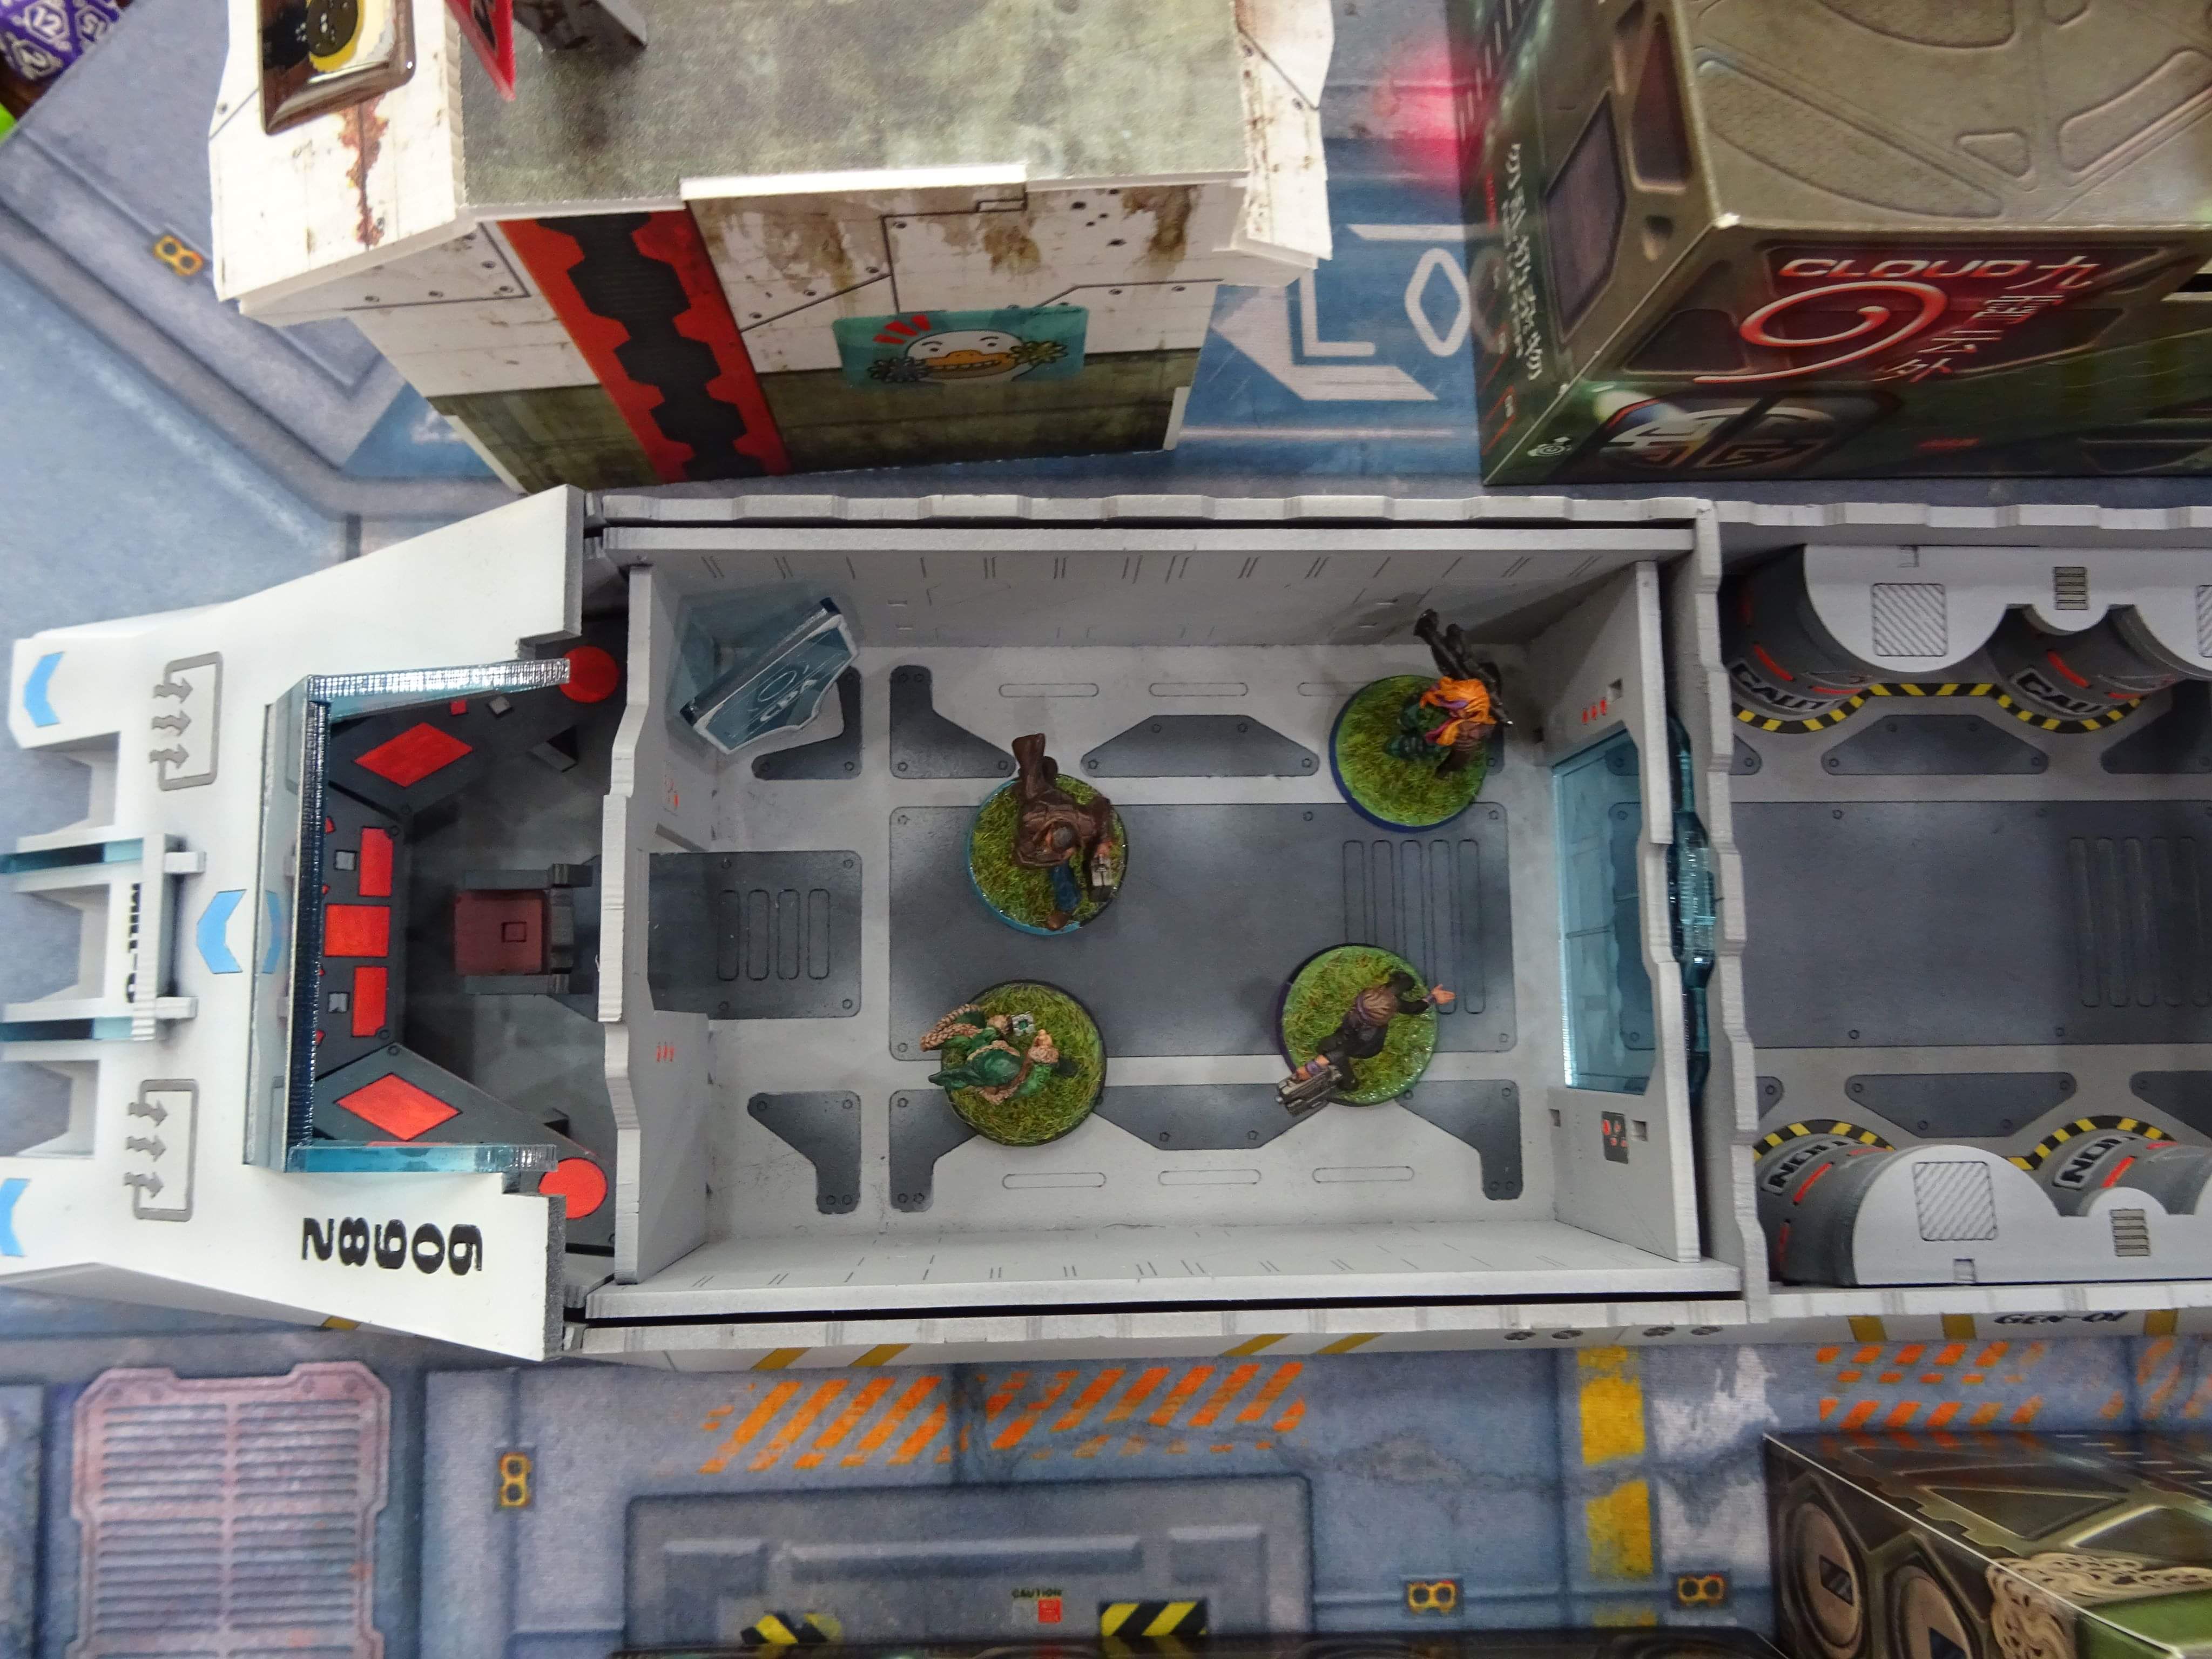
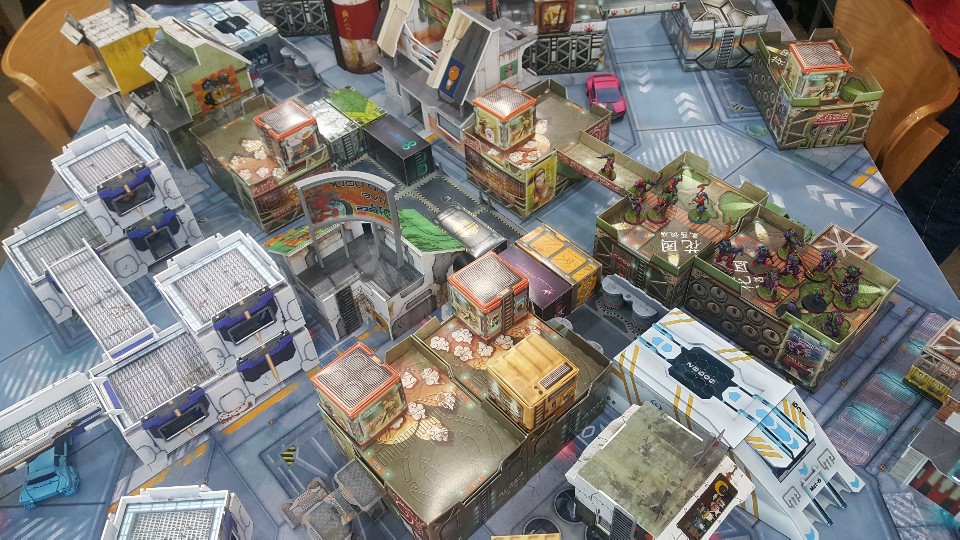
Pics in Action!
Last weekend I took the finished train to the gaming cafe where we play and we setup the table with it. Thought it would be neat to show some pics of it being used.