


Interactive tabletop playing surface (Space Hulk Hobby Challenge)


Recommendations: 404
About the Project
Originally an idea for a two-player digital Blood Bowl game, I am creating a generic interactive playing surface - allowing players to hook up their tabletop miniature games to a tablet or smartphone. This would enable players to compete against a simple AI-based opponent. Excitingly - and inkeeping with the new Space Hulk video game, allowing players to play as either Space Marines or Genestealers - it would also allow two players to compete against each other, over the internet. Work on the underlying technology has been a hobby project for a while. The latest version allows anyone to use the system with their existing miniatures, using nothing more than a simple disc magnet. This competition encouraged me to get my finger out and actually complete the hardware and make a workable, two-player game, to demonstrate the potential of such a playing surface.
Related Game: Space Hulk
Related Company: Games Workshop
Related Genre: Science Fiction
This Project is Completed
Online Space Hulk
 Hall sensors and a microcontroller allow the presence (or absence) of a miniature to be detected
It started out as a series of interconnected terrain pieces, in a Space-Hulk style. Each piece had an embedded microcontroller and an array of hall sensors to detect the presence (or absence) of a miniature above it.
Any miniature could be used, from any range, at any scale. Simply place a neodymium disc magnet into the base, and the miniature can be detected when placed above one of the many sensors in the terrain. Because the sensors are entirely contactless, it even works through different (non-metallic) terrain types.
Laser cutting scenery
 Laser cut mdf and cardboard to create panels
Laser cut walls and floors are relatively easy to create, but often look a bit “blocky” and boring once assembled. So I spent a lot of time cutting out loads of cardboard and thin veneer panels to decorate the terrain pieces.
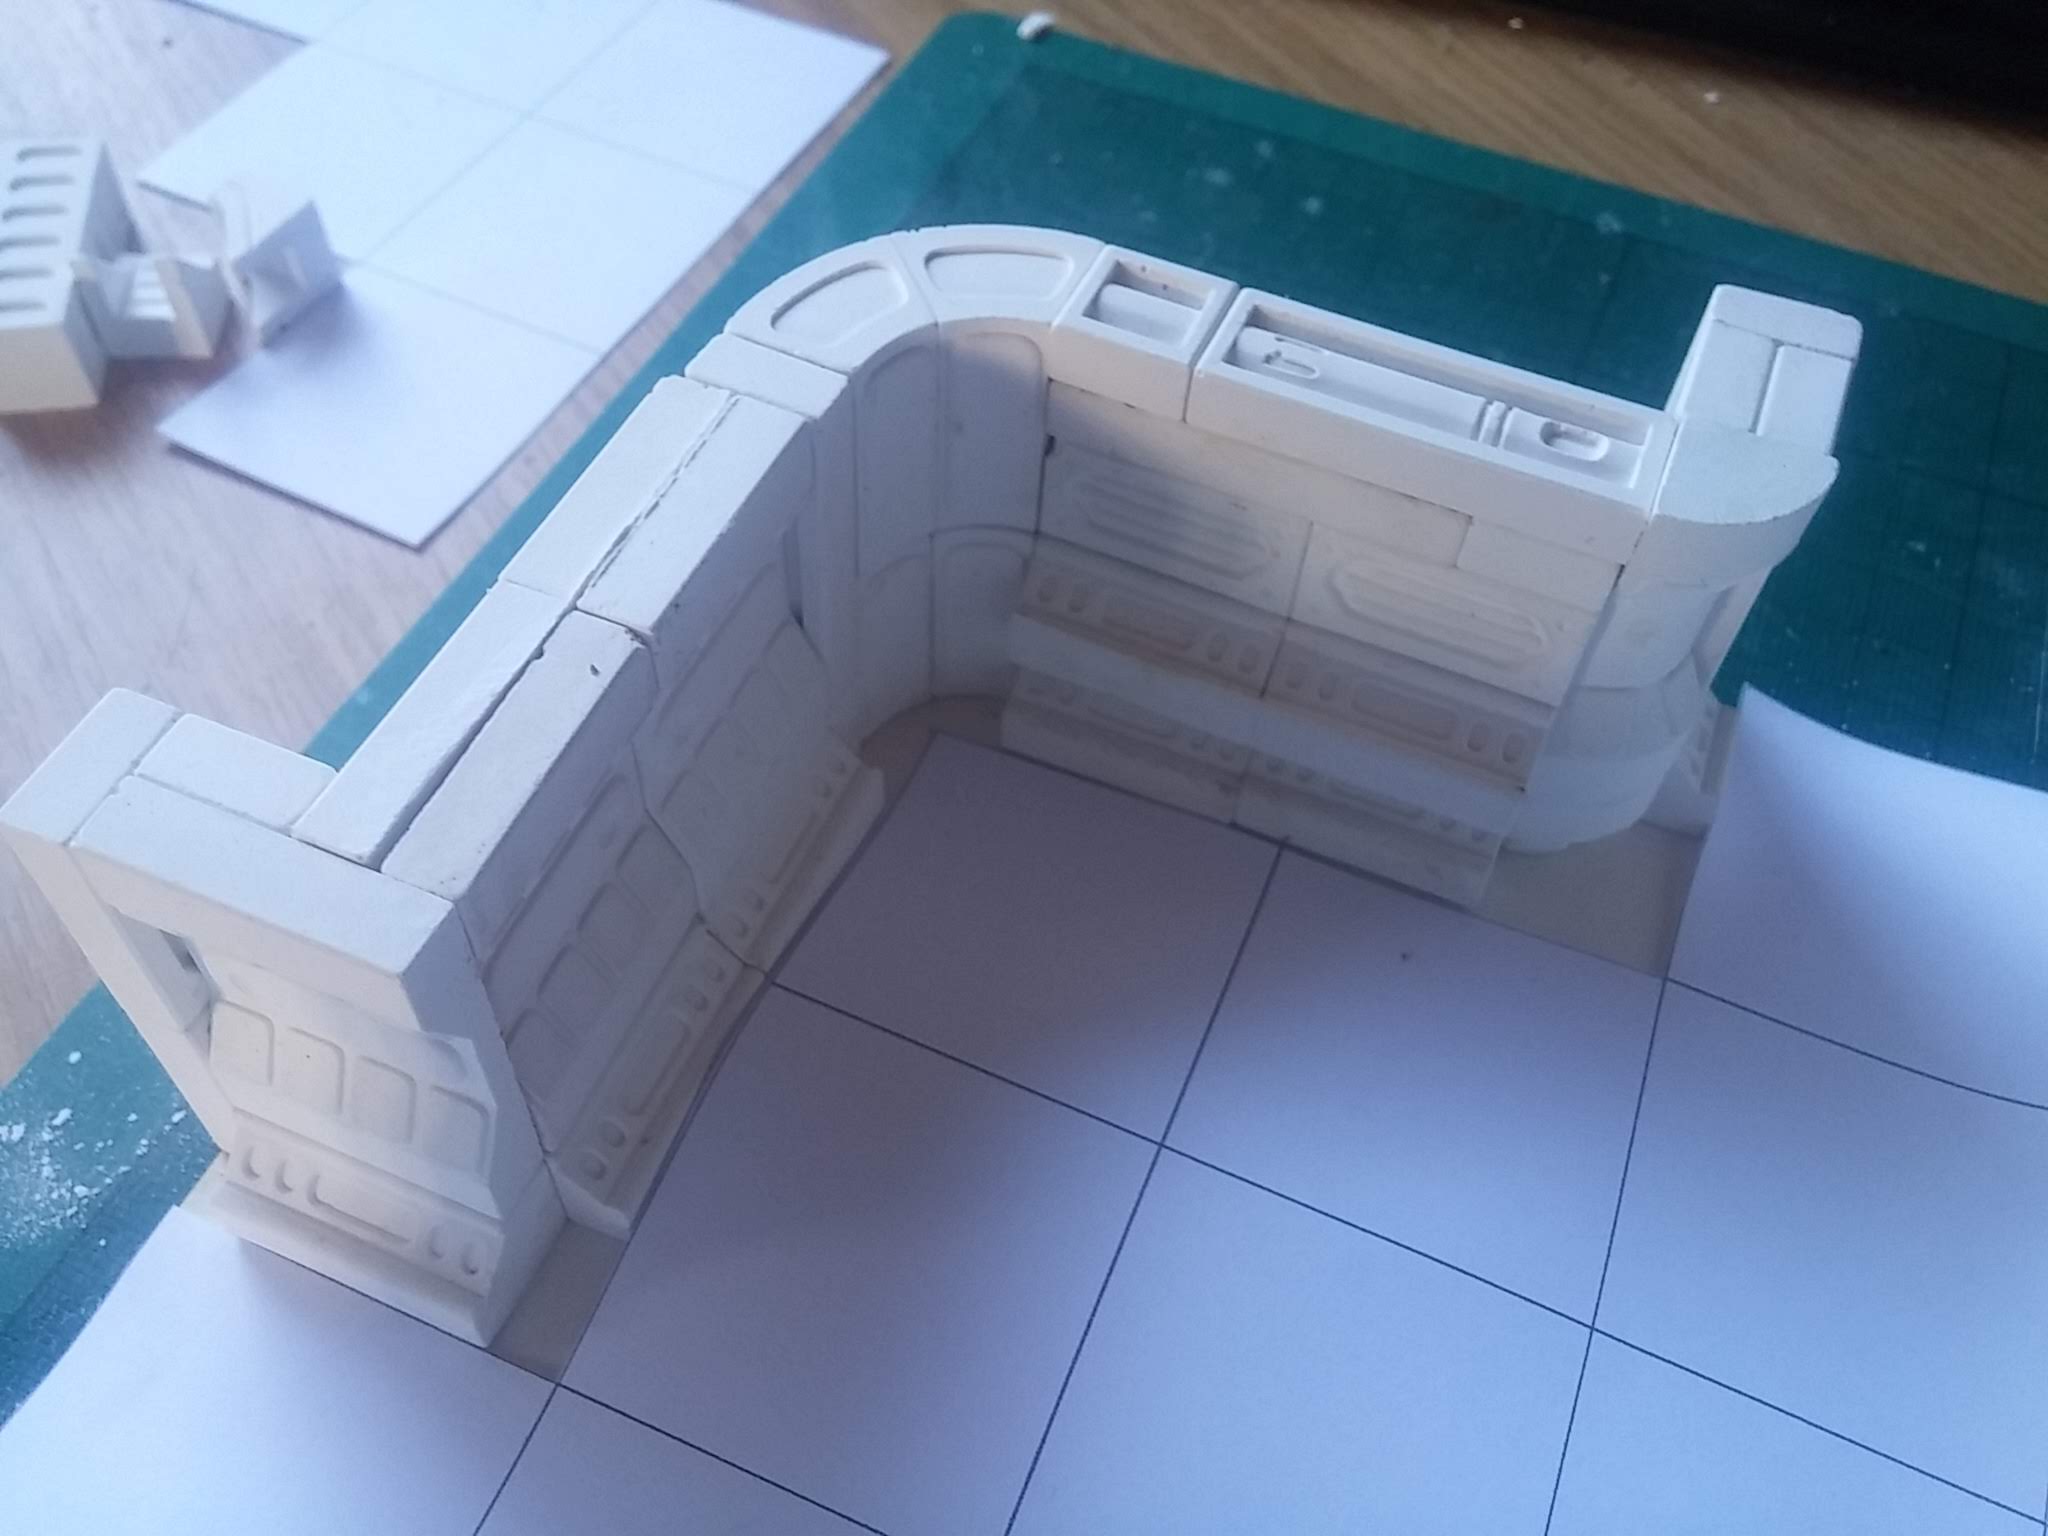
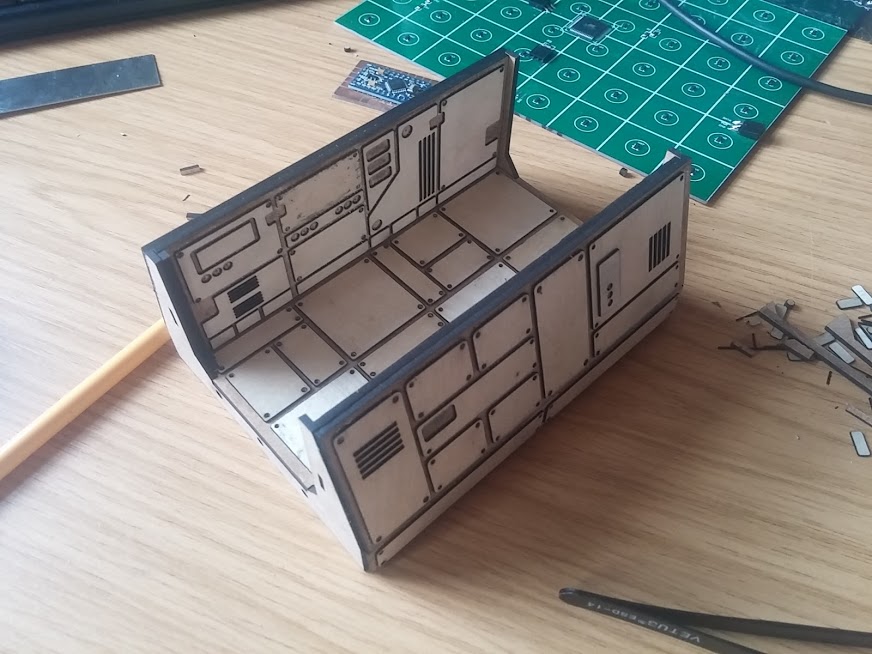 Example of one "room" for Space Hulk
Each “room” for the Space Hulk ship was based on a 4×4 grid. Corridor sections are 4×2 (a 4×4 square with the top and bottom rows removed). T-junctions are a 4×4 grid with the entire top row and the bottom left and bottom right squares removed.
Piece connectors
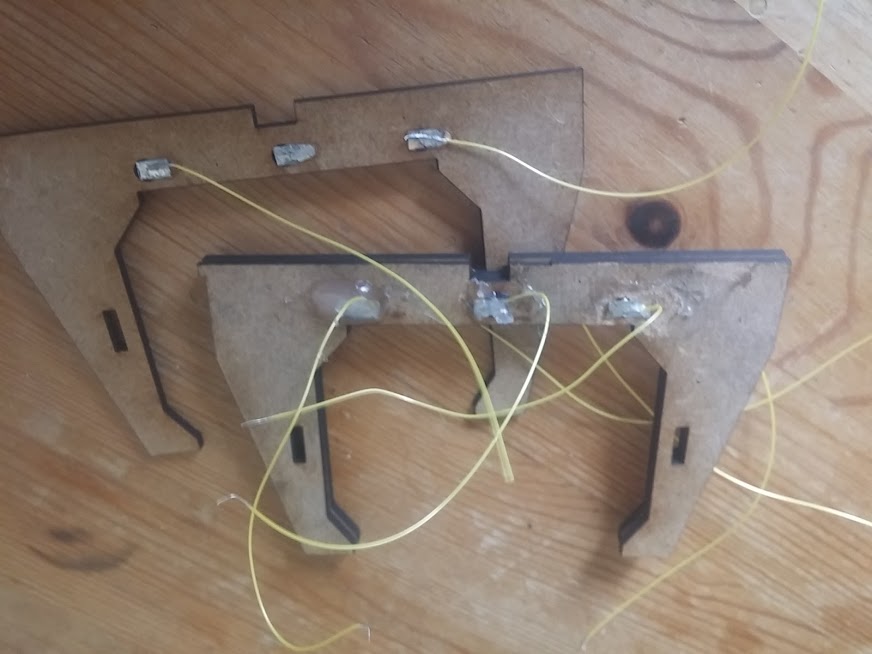 All rooms are connected by "door" pieces
At every edge of every terrain piece are doorframes, into which a three-way connector is added.
Having just three connectors is important, because we can run power/ground on the outside and keep the centre pin for sending/receiving data. Obviously, using four pins (power, ground, TX, RX) would have been much simpler, but then, at some point, we’d end up plugging a TX into an RX, if the pieces were rotated.
It was important to be able to keep to a single-wire system. I used tin-plated steel for the actual connectors, so that wires could be soldered to them, and they could still be joined using small magnets (soldering directly onto a magnet can sometimes cause it to lose its magnetism, as they are easily damaged through direct heat).
Scrap it and start again
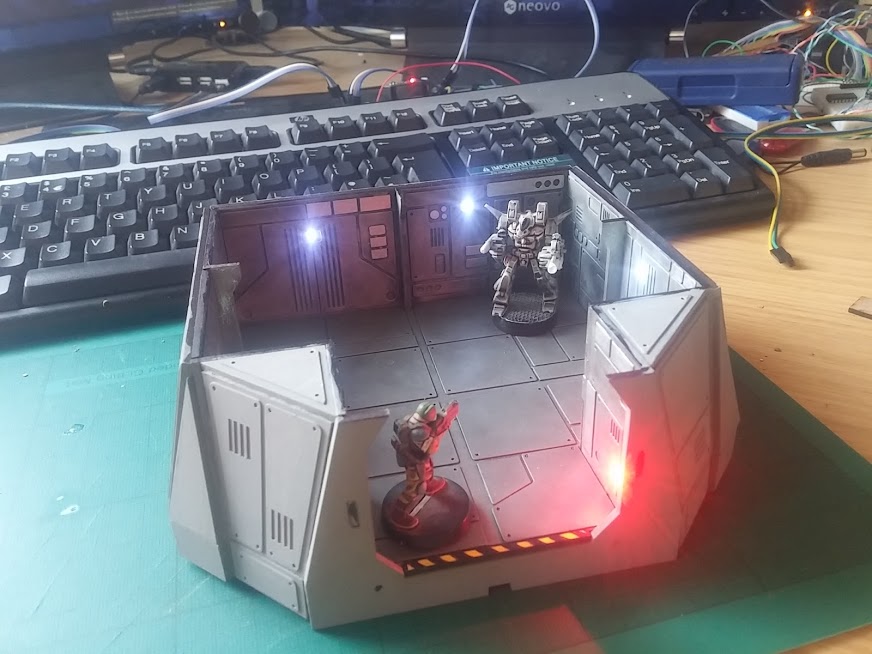 Is there anything that can't be improved by the addition of a few LEDs?
I even added some LEDs to a few of the terrain pieces and could turn them on and off as pieces moved around the rooms. It all looked really impressive.
But it felt like a lot of work, with the door connectors (sometimes a little intermittent unless they were perfectly aligned) and the LEDs – although pretty cool-looking – were little more than a gimmick.
Given the amount of time and effort required to create each individual piece, it seemed a bit of a shame that the whole hardware couldn’t be re-used for other games – should I want to revisit my original idea of a digital Blood Bowl board, a lot of the technology I’d developed would be redundant.
There was only one thing for it….
Scrap the lot and start again!
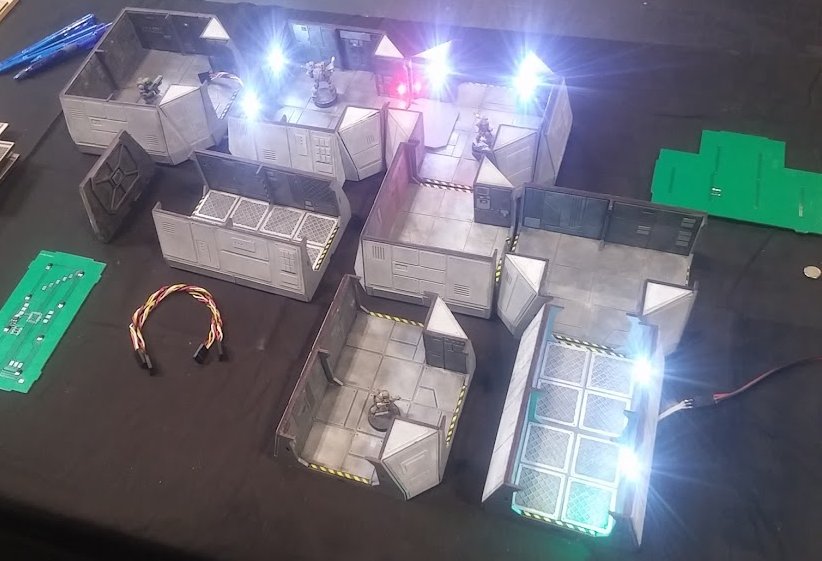
Large format multi-purpose skirmish panels
 Buying 2ft x 2ft PCBs would be *very* expensive! Time to make some...
Originally I made my Space-Hulk-alike dungeon from multiple sections, each with a manufactured PCB in the base (PCBWay does relatively cheap circuit boards and even cut them to shape at no extra cost).
Each piece was not more than 140mm x 140mm.
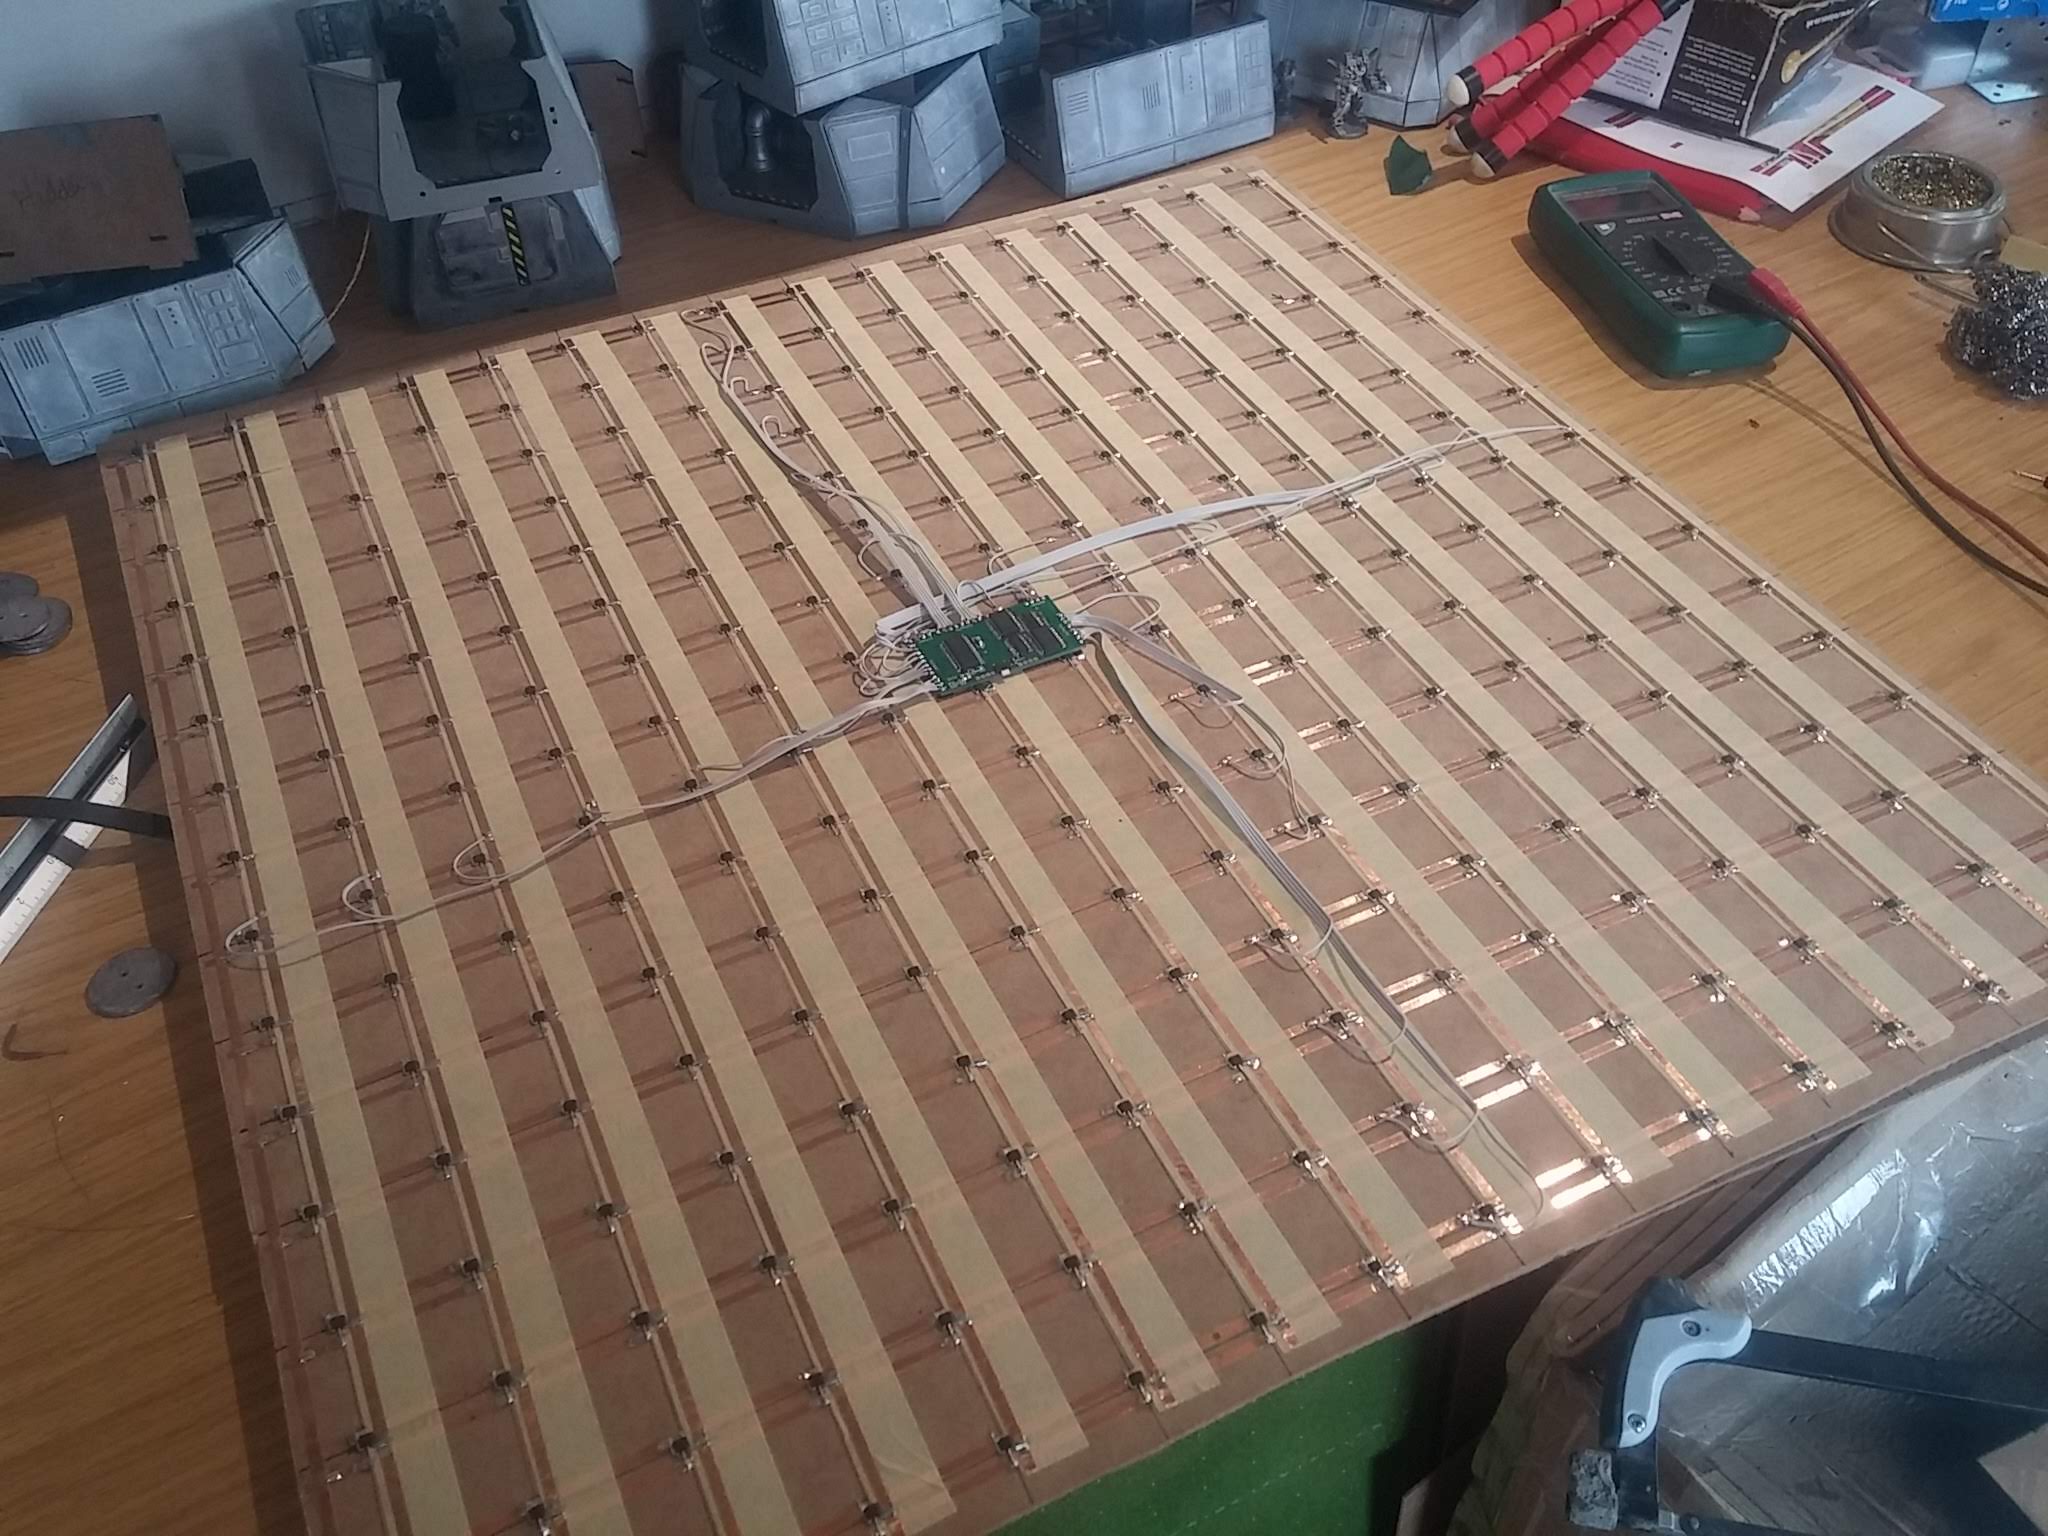
My new, multi-game panels are going to be 610mm x 610mm (simply because thin mdf sheets are readily available in 610x1220mm so are easier to cut to size). But the price per PCB for a massive 2ft square is about £45 per circuit board! That’s before shipping, before tax and import duty, and unpopulated (i.e. not including electronic components). That’s just too spendy!
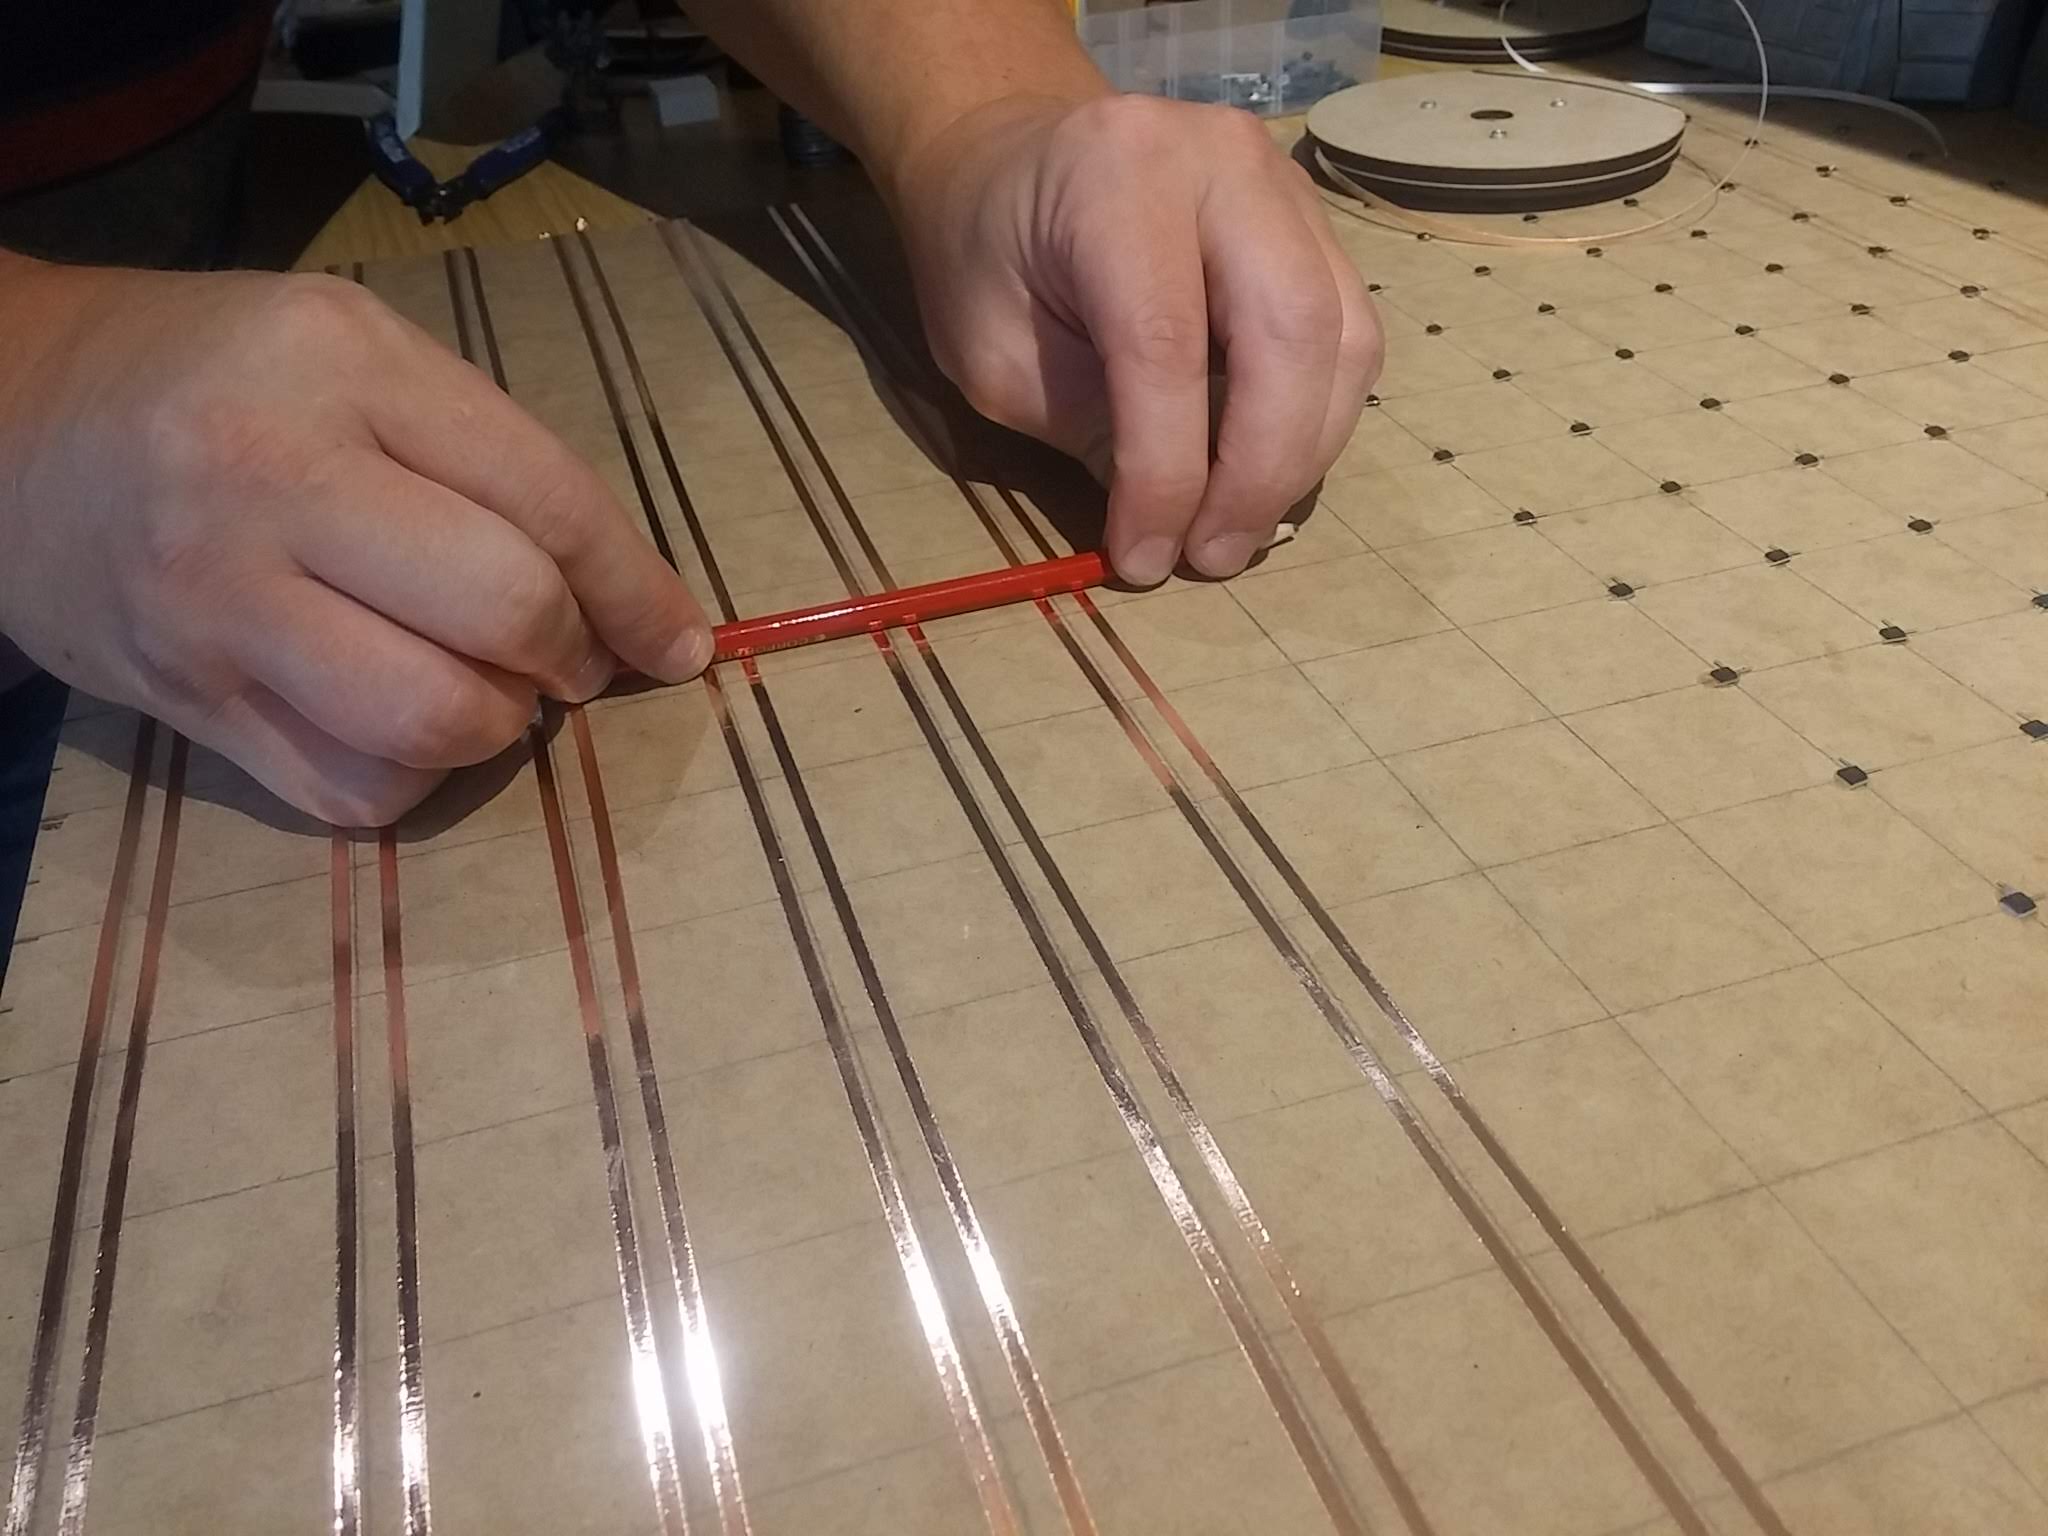 Homebrew large format "circuit board"
Using strips of copper tape (and masking tape to avoid unwanted shorts in the circuit) and some locally sourced mdf I managed to build a base ready for my hall sensors for about £3.00 all in. At least the project was starting to look feasible once more!
 Preparing copper clad board for etching
Etching your own PCBs at home isn’t as difficult as you’d think.
Simply print your (mirrored) design onto magazine paper (the cheaper the better) and iron it onto some copper clad board. Unless, of course, you have (or have access to) a laser cutter. Then you spray the board with matt acrylic paint, and etch away the gaps between the traces.
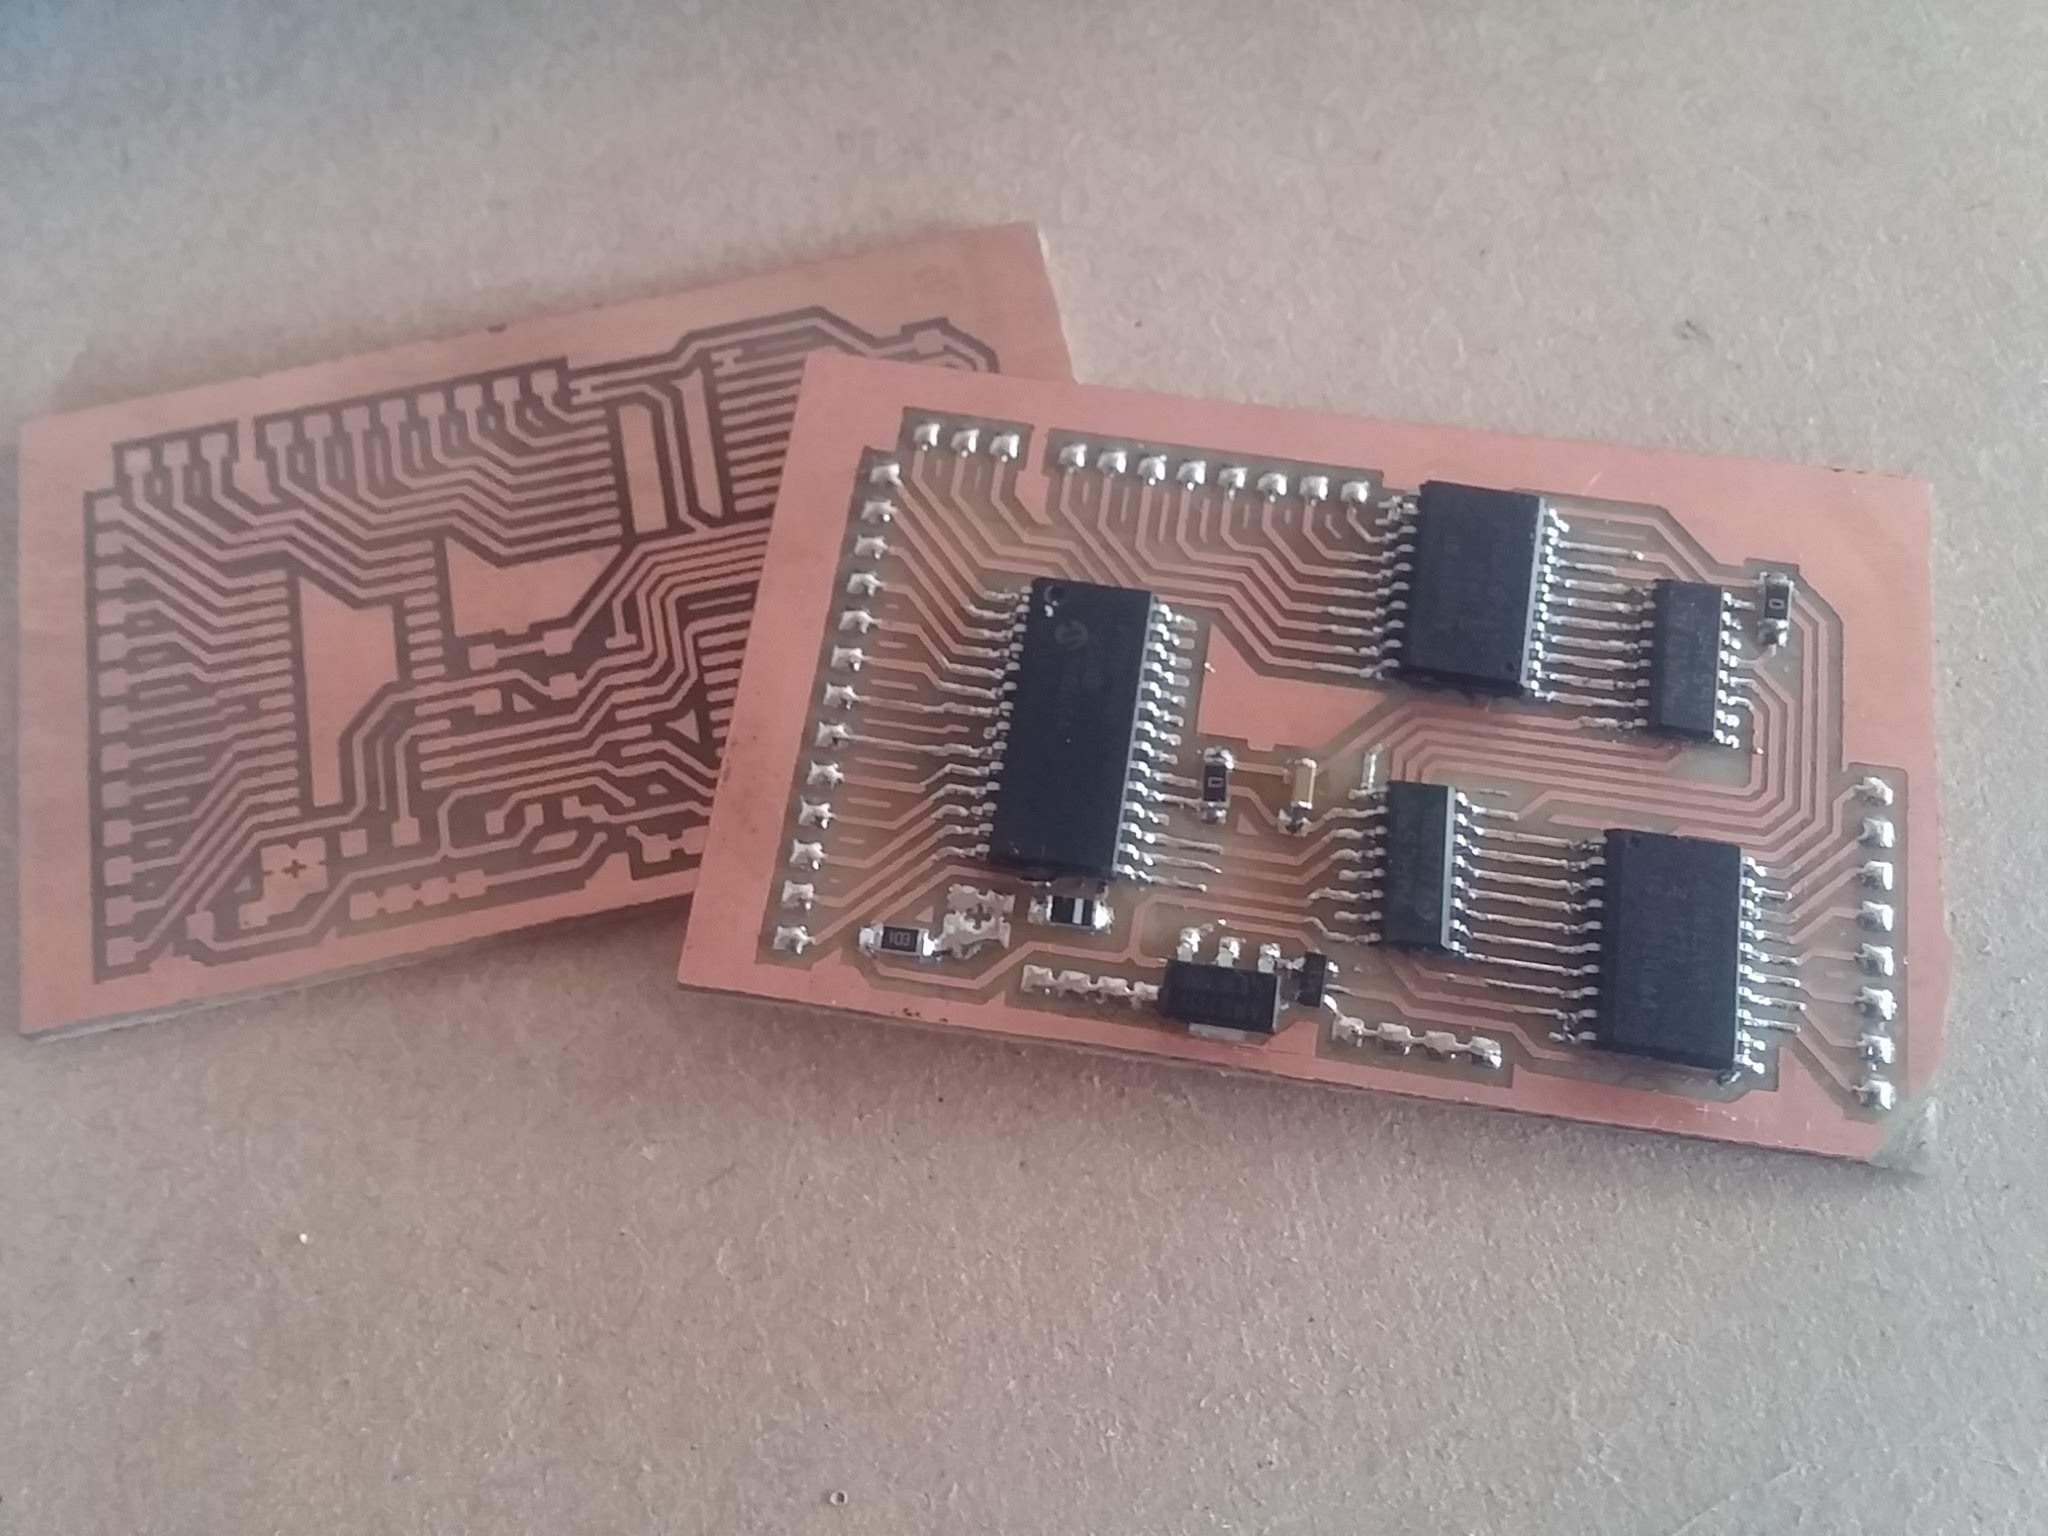 Home-etched PCBs
After throwing the whole lot into some warmed-up Ferric Chloride, it’s just a matter of waiting. I measured it as “the time it takes to make a drink a brew with two digestives”. About 15 minutes.
Once etched, some steady-hand soldering is no more difficult than getting the eyes right on one of your Cadian troopers – sure, it’s tricky, but not impossible.
 Testing circuits can be tediously slow
My original multi-part dungeon used an Arduino in the centre of every single piece. Because the entire map was based on 4×4 sections, this meant that the microcontroller didn’t have to do too much work.
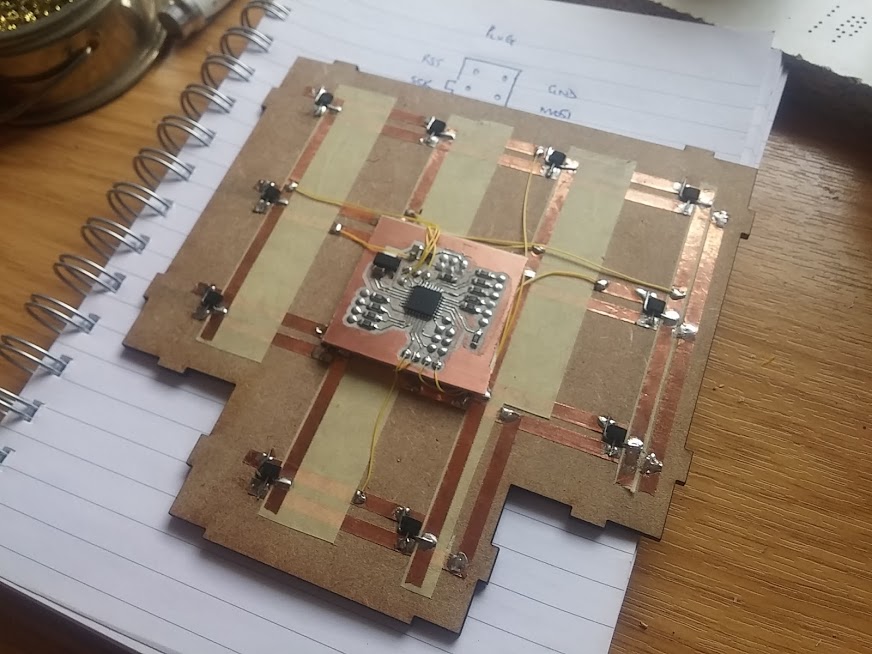
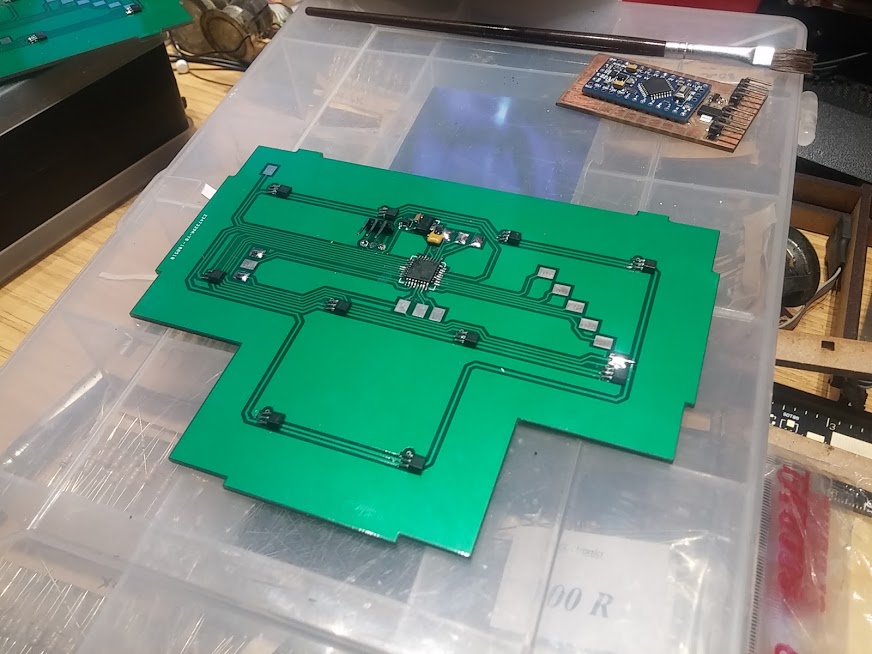
On these larger format panels, there’s a massive 16 x 16 grid. That’s 256 sensors! A simple 8-bit Arduino simply isn’t up to the job on its own. So I went back to my preferred platform and used one of Microchip’s PIC microcontrollers, a couple of shift registers, some current source drivers, and a lot of multi-plexing trickery in code.
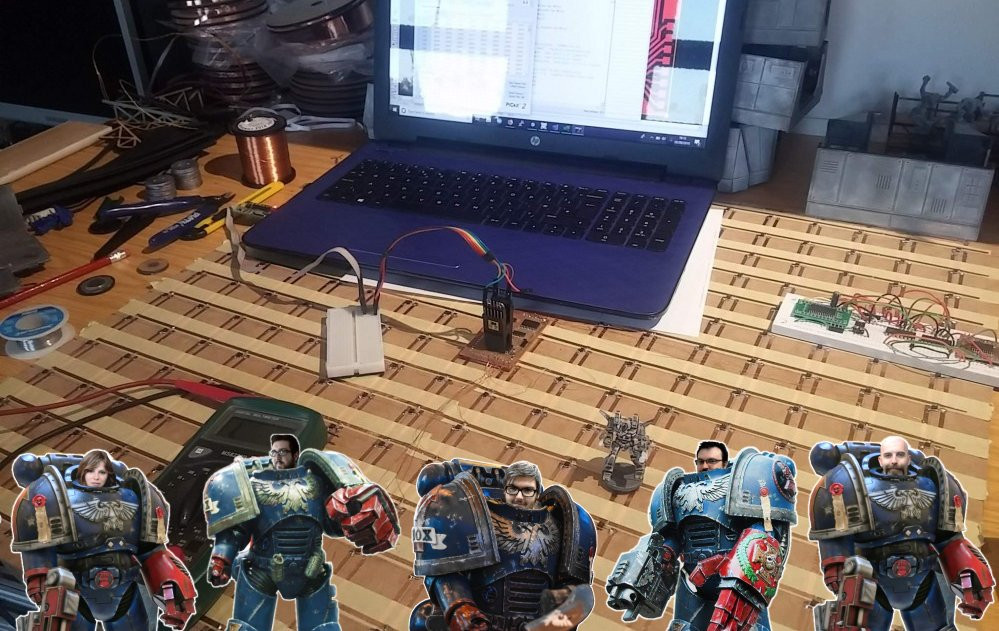
To date I’ve got the panel reporting the square number whenever a miniature (with a magnet in the base) is placed (or removed from) a square in the grid of sensors. Now to get the data into some kind of app…..
Coding is no spectator sport
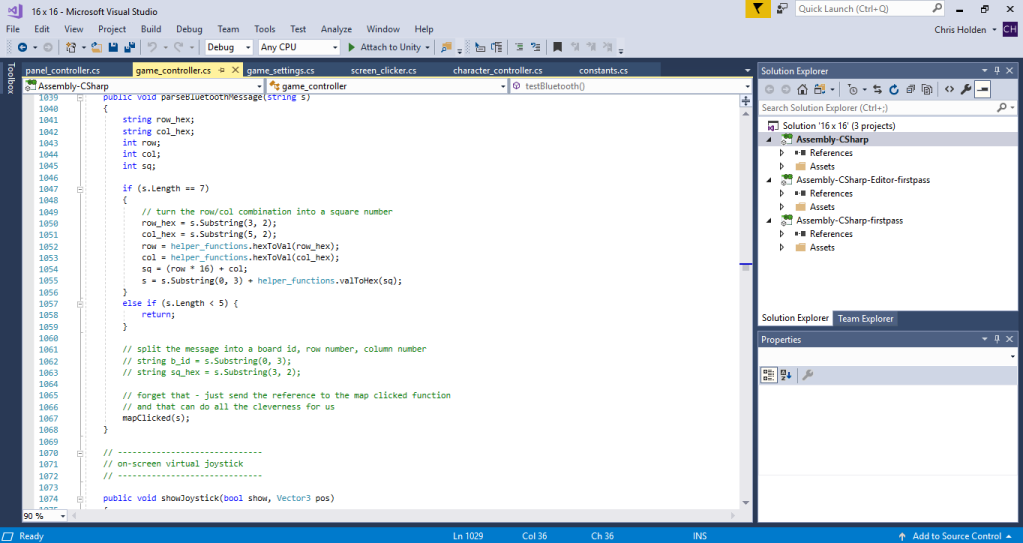
With the hardware built and tested, the long, arduous task of building the accompanying app is ongoing. Coding doesn’t make for much of a spectator sport – it’s just screenfuls and screenfuls of gibberish (unless you, yourself, are a coder, then it’s full of dodgy functions and routines that “aren’t how I would have done it”).
But while the coding is ongoing, there’s still plenty to do on the tabletop.
The hall sensor array can detect neodymium magnets from a distance of about 5mm – 8mm away. As the sensors are placed on the underside of some 1.5mm thick mdf, when the whole board is flipped the right way up, it means we can detect playing pieces when they are placed on the board, up to around 6mm away.
This means that we can place not just a printed sheet of paper or card, to represent our playing area, but actual terrain too!
 Hirst Arts moulds are great for creating terrain to fit on 1" squares
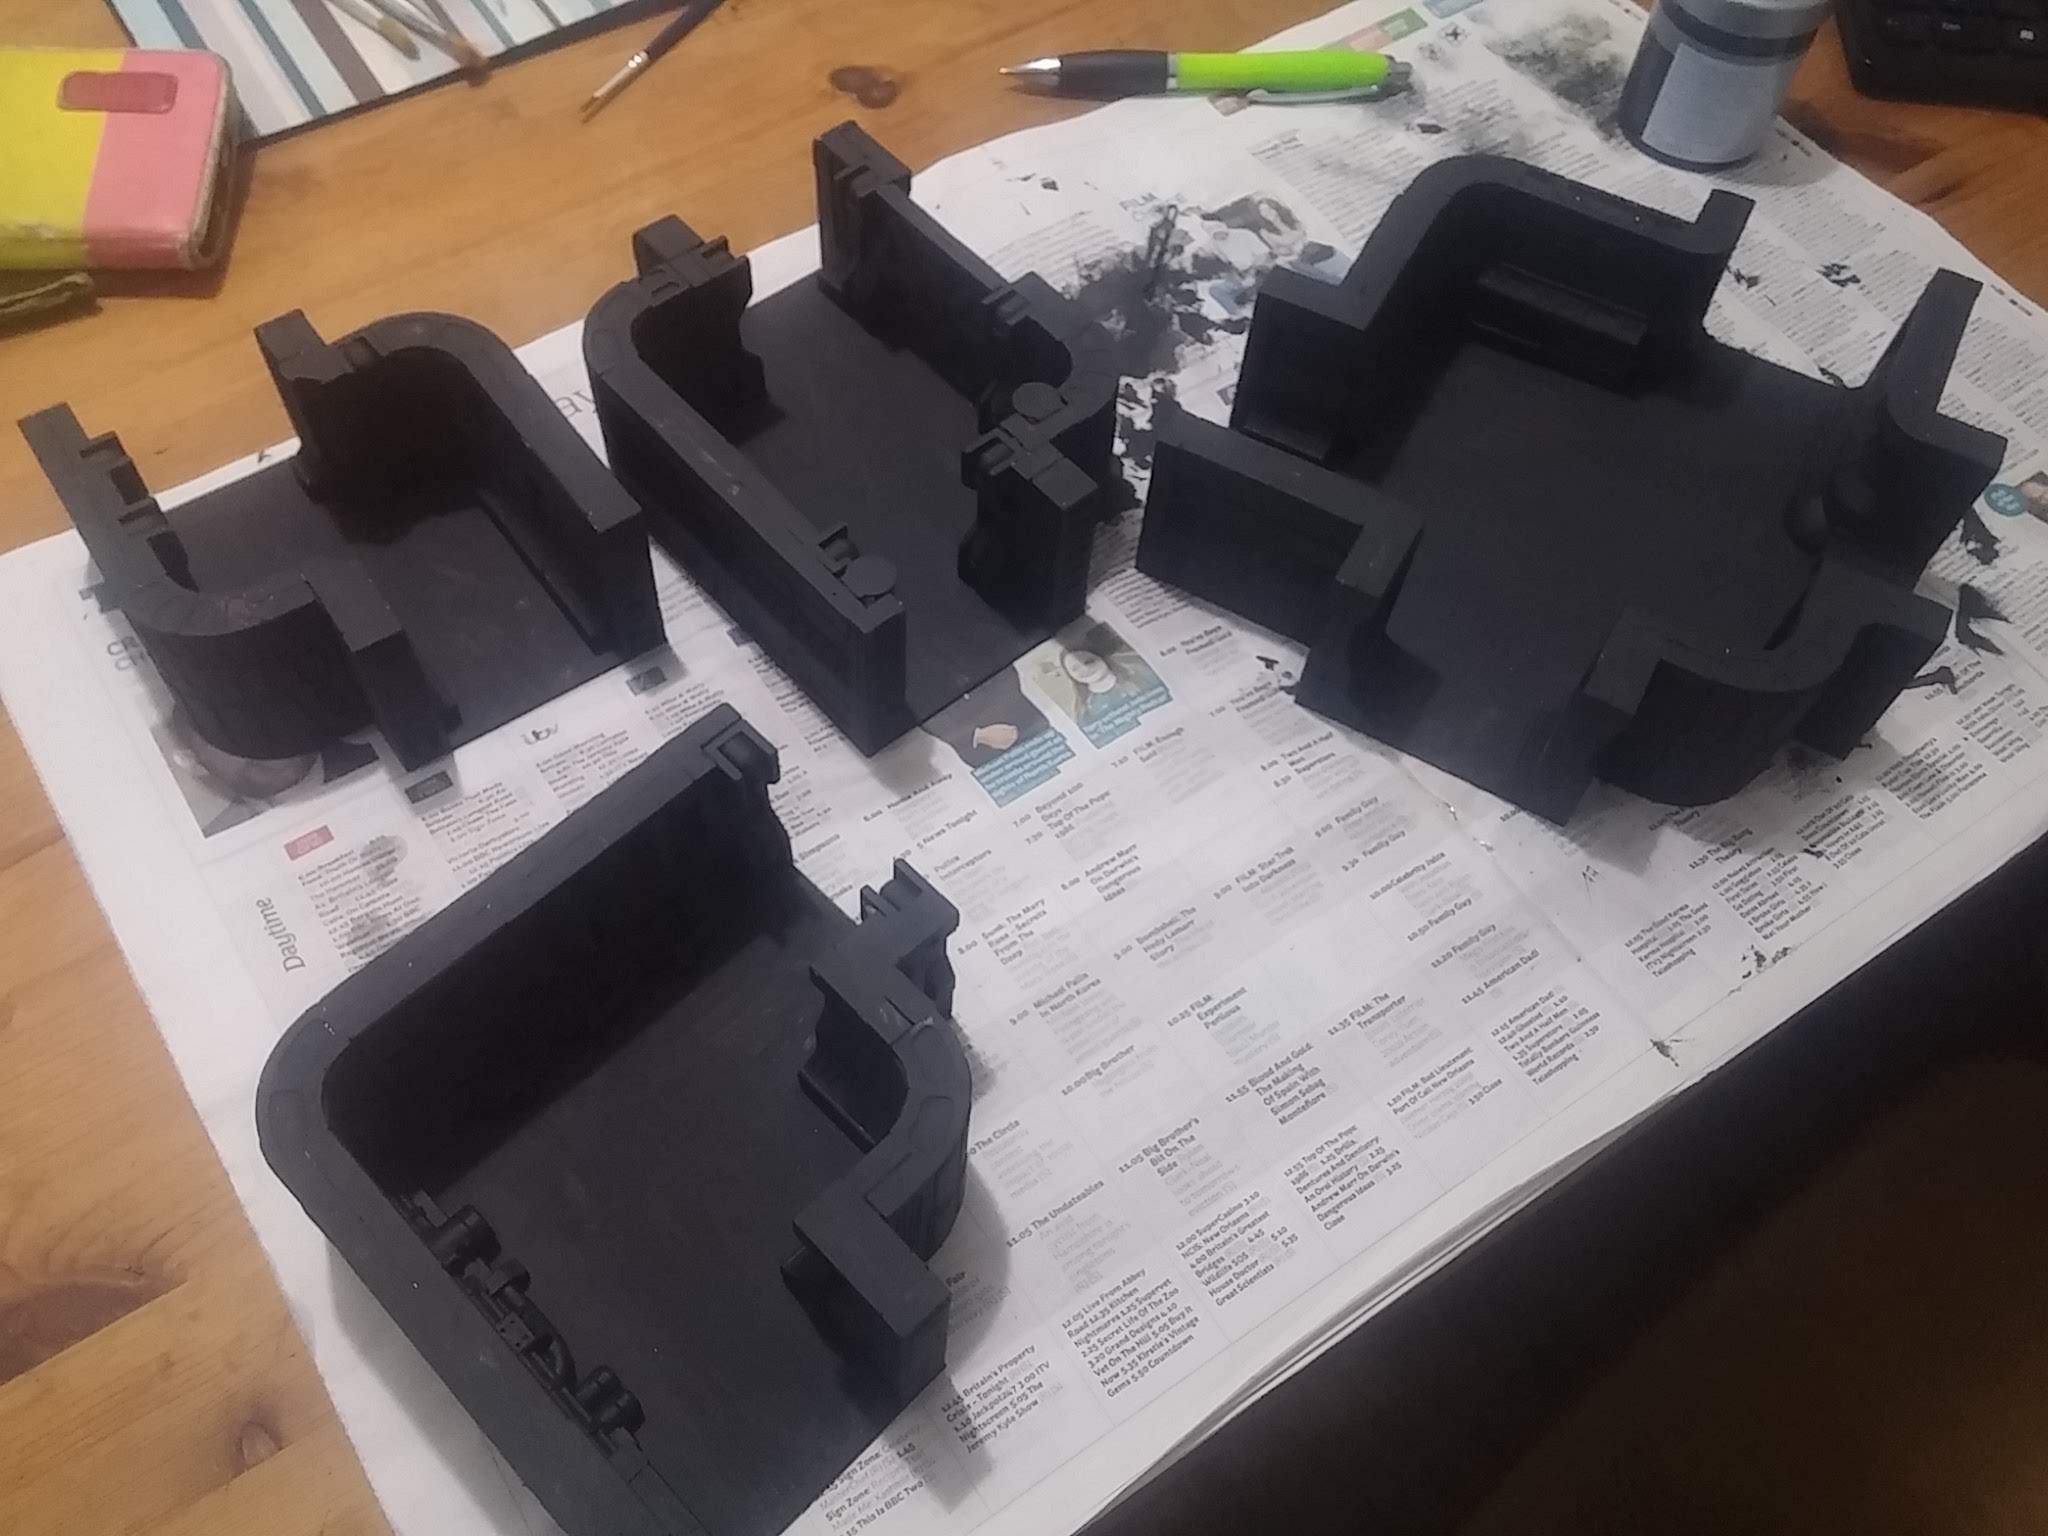
I’ve had a selection of Hirst Arts moulds for a number of years and a few bags of dental plaster (Whitestone) left over from some product prototyping a while back. It didn’t take long to cast up and knock out a few different types of walls for some sci-fi terrain.
I decided that floor tiles might be a little thick, so mounted the wall pieces onto some 1mm thick “mountboard” (the kind of card used by picture framers to mount an image in a frame) and primed in black.
The Hirst Arts pieces are built for a 1″ square grid, and my sensors are placed at 1.5″ centres – but many of the wall pieces are half-an-inch thick, meaning they can be placed at the end of a one-inch section to create 1.5″ pieces.
Alternatively, three Hirst Arts pieces placed next to each other create a 3″ section – the width of exactly two of my sensor squares.

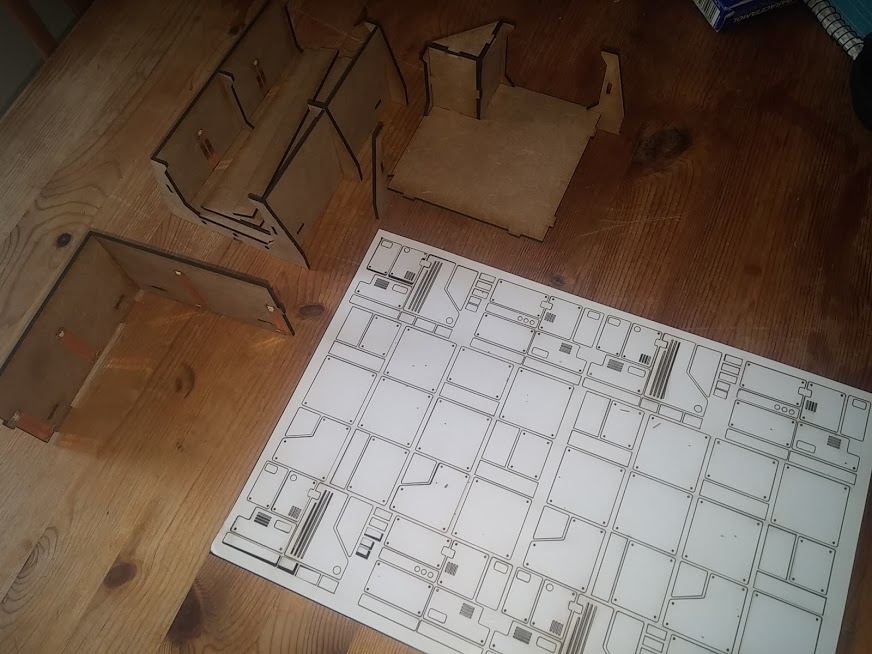
Determined to get the pieces completed this side of Xmas, I favoured a quick drybrush and picked out just a few panels on the wall sections.
Floor panels are to be laser cut from some 300gsm card, drybrushed and glued to the floor of each terrain section.
It’ll be a couple of days before I can fire up the laser cutter, so until then, it’s back to the computer, to get coding…..
Here come the girls (girls, girls, girls)
 Genestealers are girls, right?
Coding is taking up an extra-ordinary amount of time at the minute. To date I’ve got the hardware working (detecting miniatures as they are placed in each square on the sensor array) and data being sent back to a smartphone/tablet over bluetooth.
All very tech-y and pretty nerdy stuff.
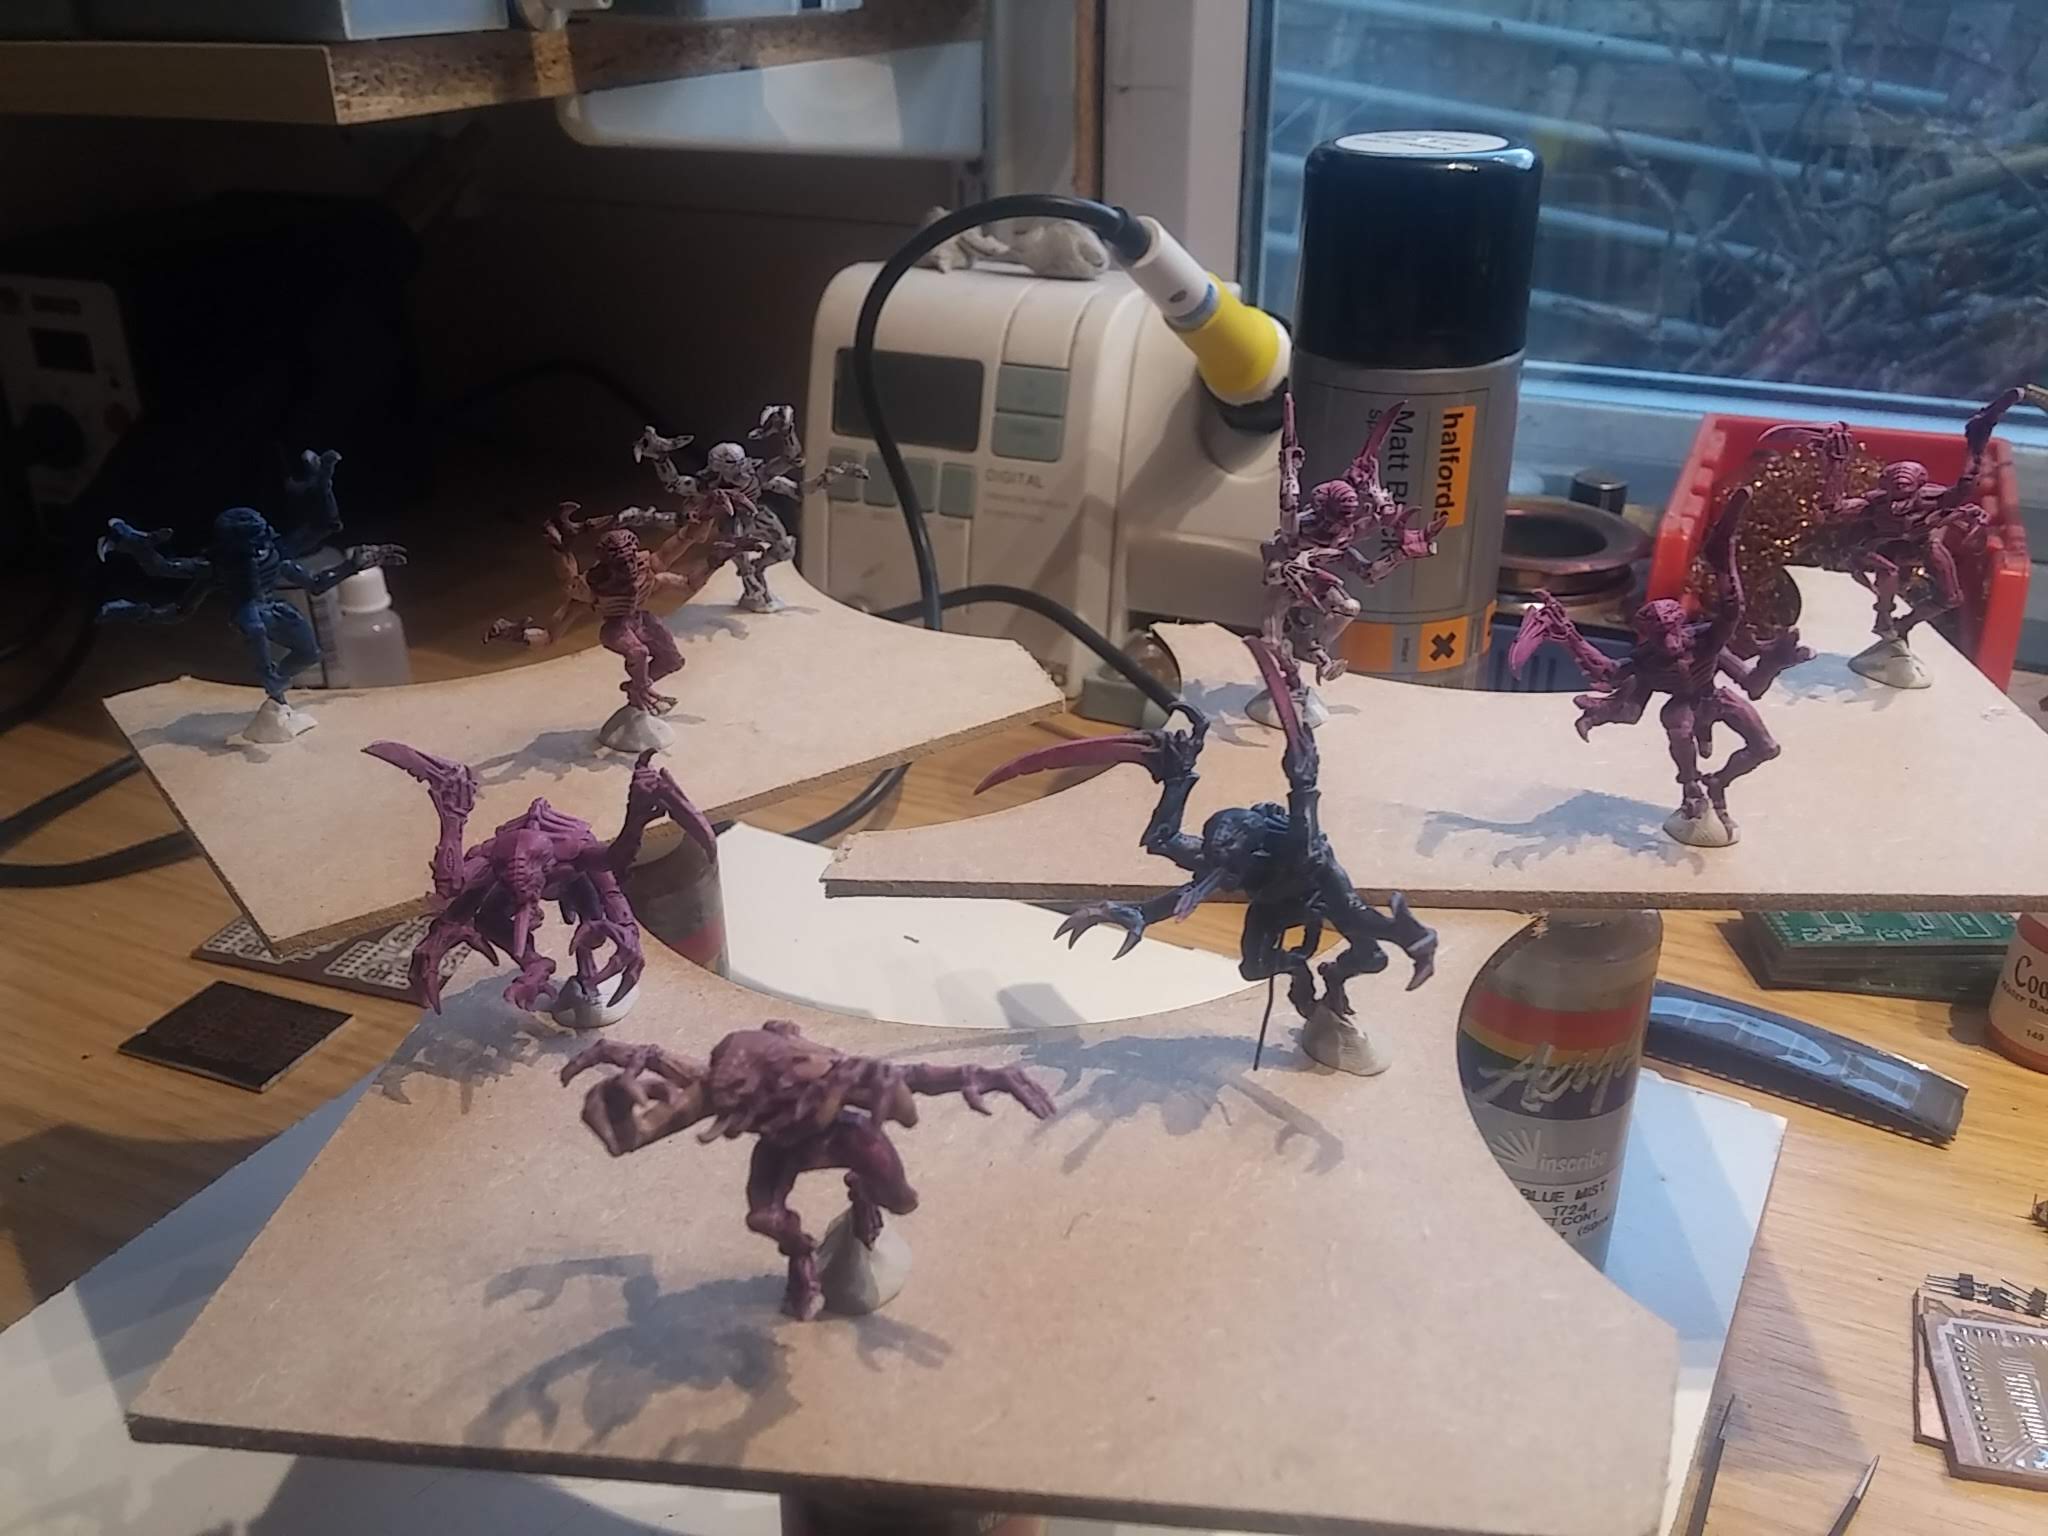
But this isn’t a hobby-electronics project, it’s about making interactive Space Hulk. Which means we need some Genestealers.
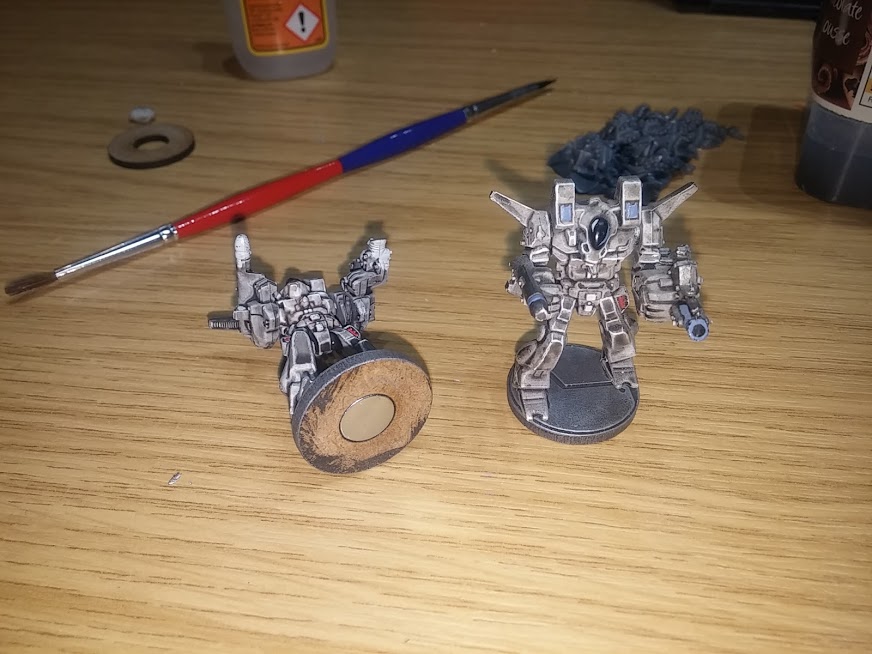
So inbetween building and coding and painting, I hit ebay and bought some (poorly painted) second-hand tyranids. I figured that’s close enough to Genestealers, isn’t it?
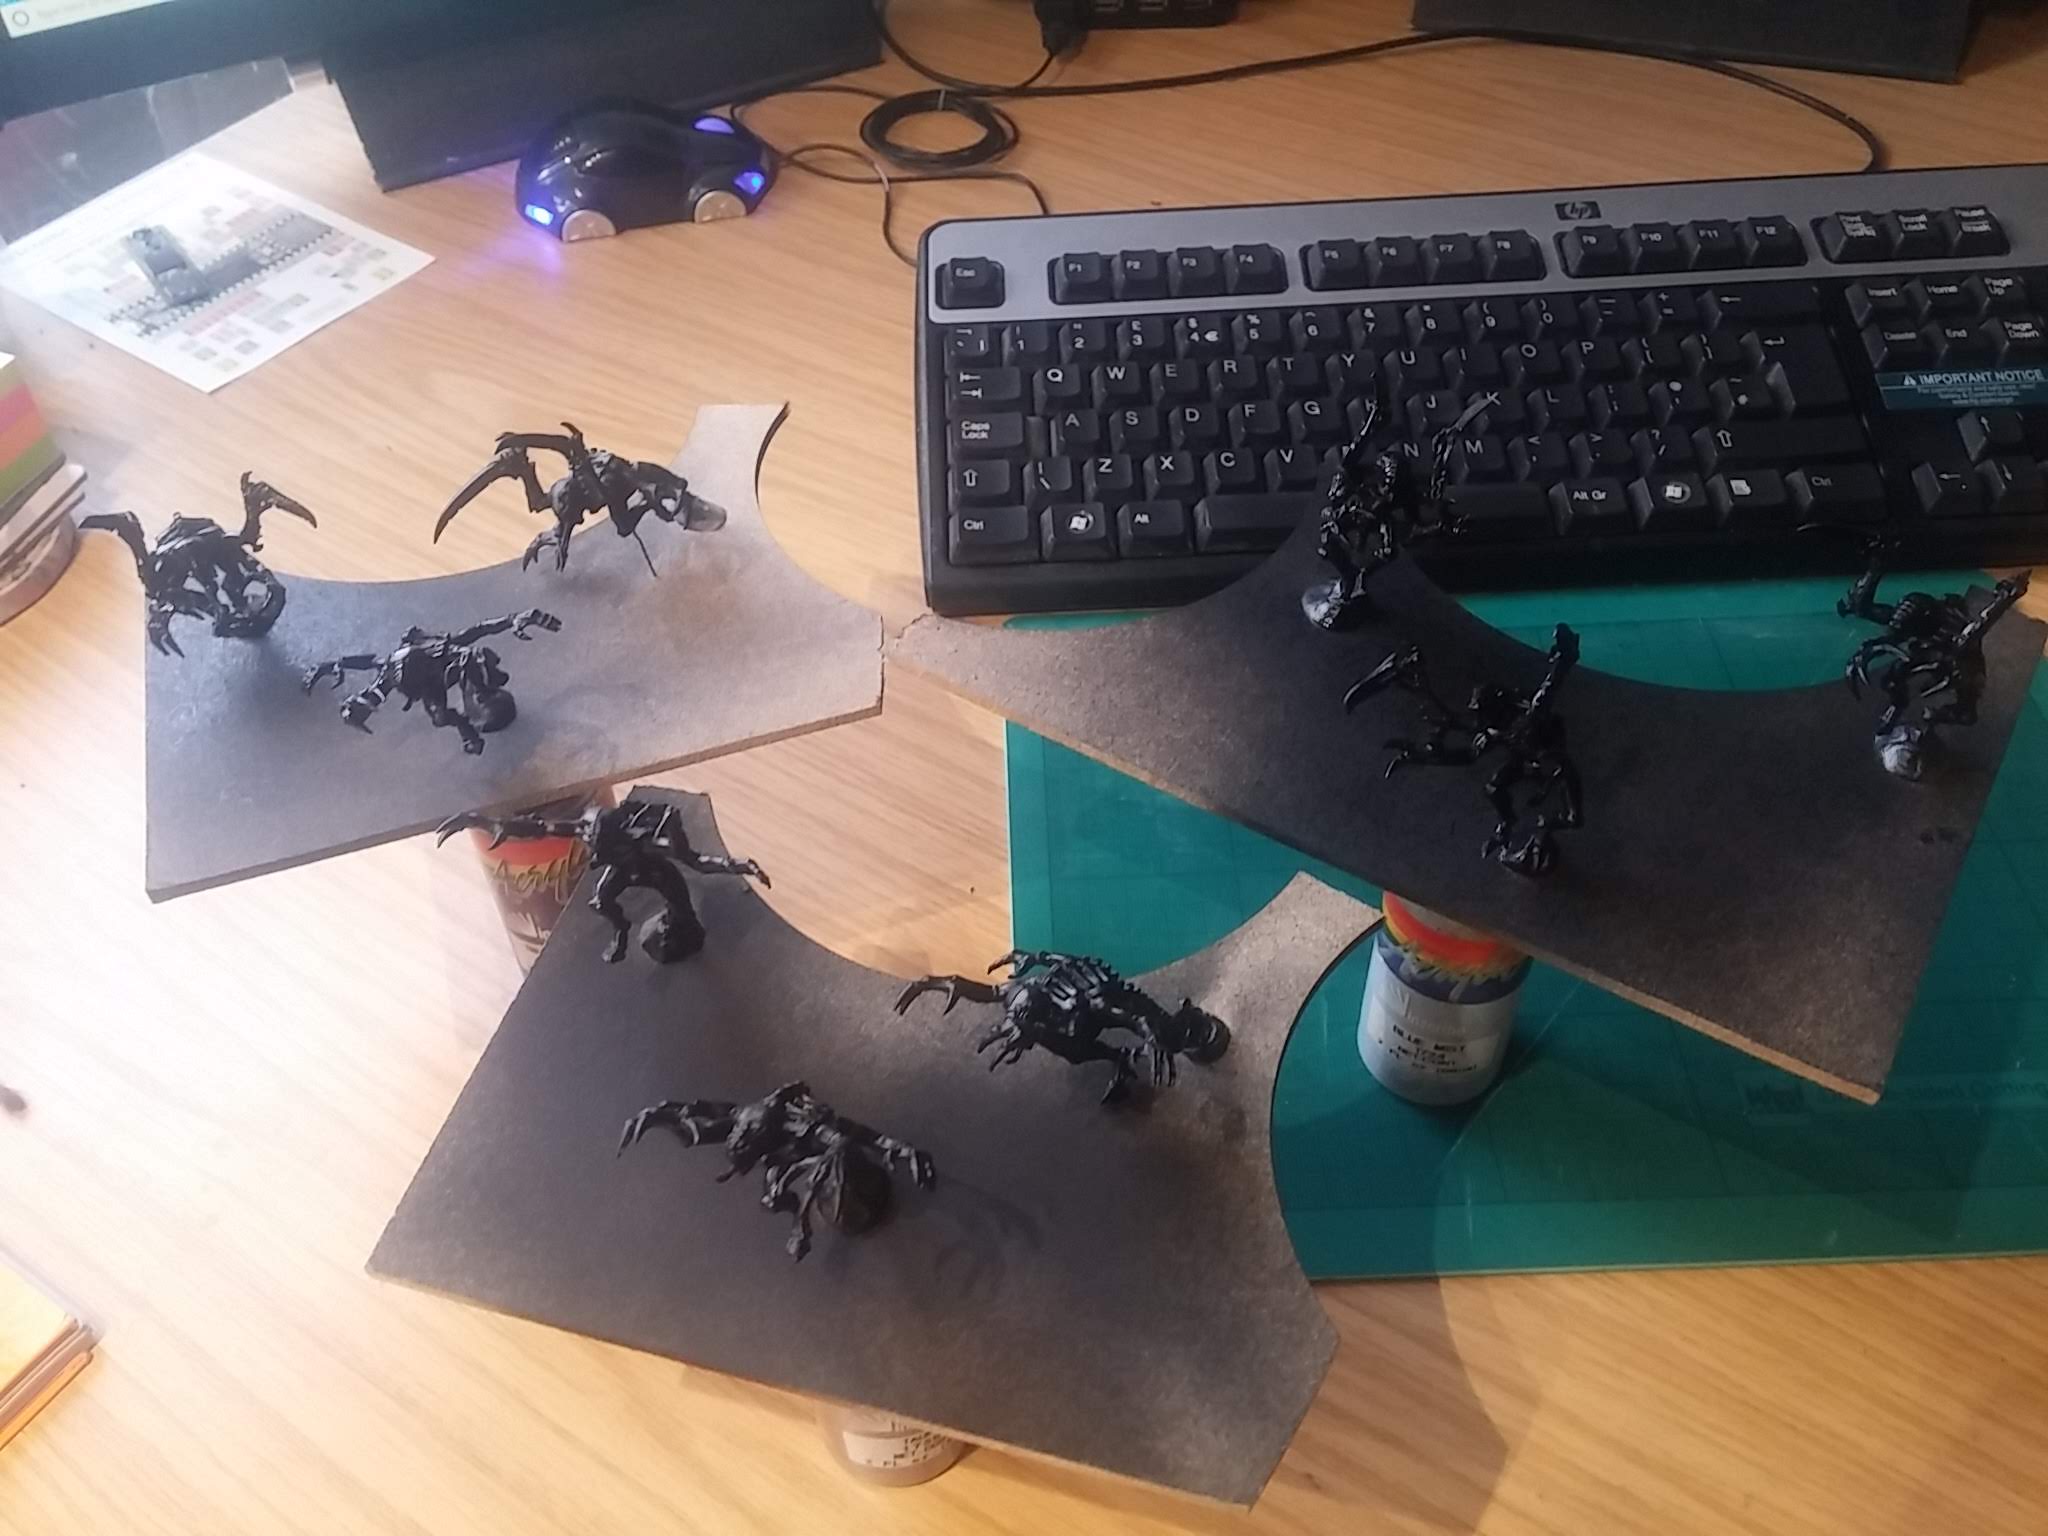 Halfords matt black primer is really quick with great coverage
This project is probably going to go right to the wire (when *is* the closing date, anyway?) so there’s not an awful lot of time to spend on painting miniatures. While in my mind’s eye, any new miniatures always look super-cool with multiple levels of blending, super-precise airbrushing and immaculate detail, the truth is these genestealers are going to get little more than a drybrush of blue over a black base, some flesh/purple on the hands and face and the simplest of basing.
Even just setting up the airbrush seemed like a lot of hassle.
So I grabbed a tin of Halfords Matt Black primer and in just a few minutes, had the whole hoarde base coated. I forgot to open the windows in my workshop, so think I need a lie down now – feeling a little light-headed!
Unity Genestealers
The Unity Asset Store is a great place to buy digital content – not just for Unity but for programming and games development in general. It just so happens that I decided to use Unity to do my games dev after all.
It has a fantastic cross-platform compiler – meaning one code base can be used to create apps for both iOS and Android (as well as Windows, Linux, Mac, even XBox and Playstation!) and it also gives you access to loads of ready-to-use content (such as 3d models, camera shaders, interface designs etc).
I’ve used Unity for a few non-game projects, almost always as a way of providing a smartphone interface to custom-made electronics hardware, via the excellent Bluetooth LE library (https://assetstore.unity.com/packages/tools/network/bluetooth-le-for-ios-tvos-and-android-26661)
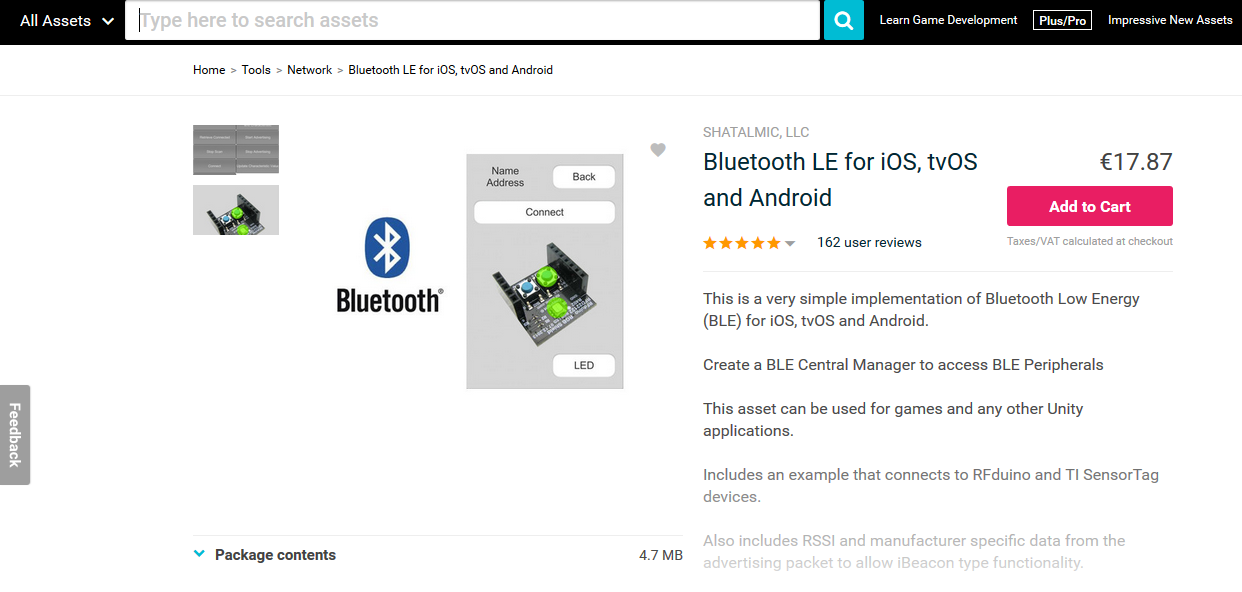 Connecting custom electronic hardware to a smartphone or tablet is easy with BTLE4
Normally I use Unity only for “flat screen” interfaces, so it’s been quite a challenge learning how to use it’s 3D games engine (and then learn how to ignore 95% of it, and write my own code to control the on-screen characters in response to commands from the hardware).
The Asset Store is a great place to find rigged and even animated characters for your Unity games, but, unsurprisingly, there aren’t any GW Genestealers readily available. I guess this is mostly an IP/copyright issue, so I did think about having a go at creating a Genestealer model and rigging it.
After a couple of wasted evenings I decided that
- a) my 3D modelling sucks
- b) animating is really, really hard
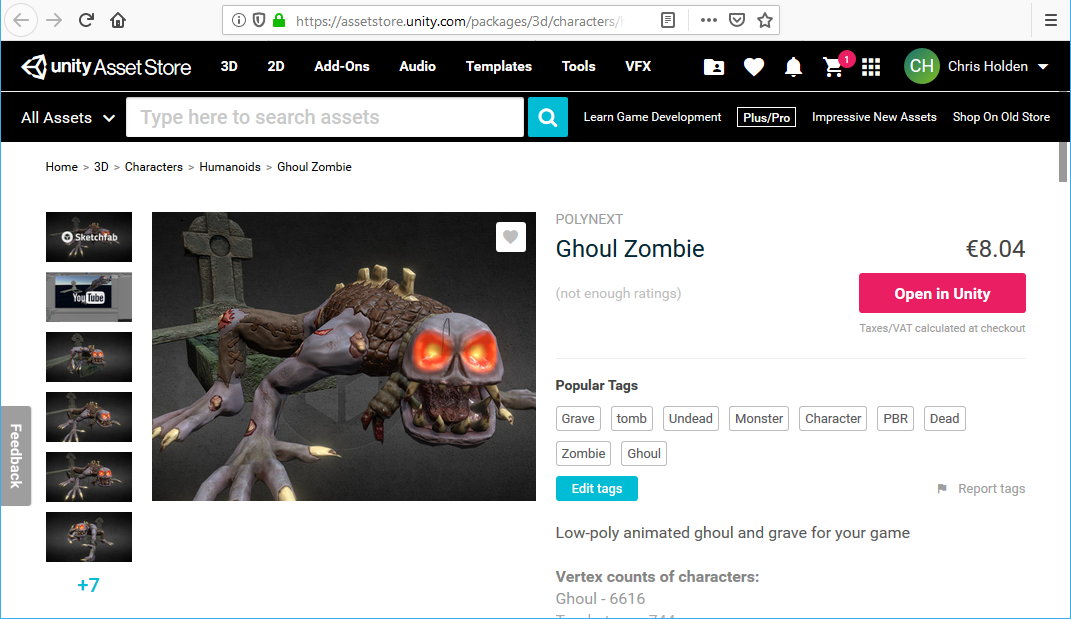
so I deciding to use a pre-existing character, even if it’s not a 100% match. The closest thing I could find was the “ghoul zombie” (https://assetstore.unity.com/packages/3d/characters/humanoids/ghoul-zombie-14477)
I particularly like the “climbing out of a tomb” animation- when set in a sci-fi/spaceship setting, this could look really cool, as the creature climbs onto the space deck from a hole in the floor.
But it’s not quite “Genestealer enough” for me.
The model and the animations, I’ll have to live with. Luckily, assets from the Unity Asset Store come with all the materials and textures that make up the creature, which are easily editable in GIMP or Paint Shop Pro/Photoshop. A few minutes with the clone brush and a bit of colour shifting and I think I’ve got my “genestealer-ish” character for the tablet/digital version of the game….
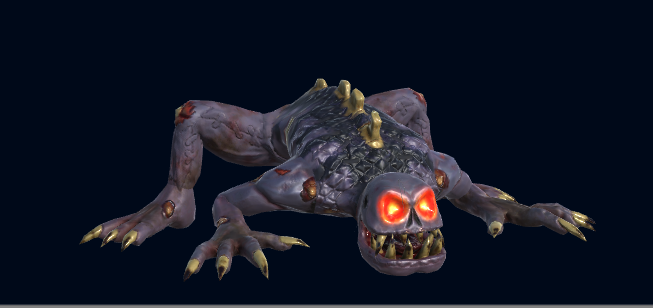
(footnote: the characters are deliberately “low-poly”, not just because of cost – everything in the asset store has a price tag! – but to ensure that the game will run across the widest range of devices. Once I’ve created one set of working hardware, I need to create another, to enable across-the-internet play – and I’ve no idea how old/modern the device my opponent will be using is. By sticking just to low-poly models, that run on even old iOS/Android devices, the greater the chance of it “just working” without requiring a super-fancy graphics card or the lastest CPU/GPU combination).


