Grot Mege Bomma


Recommendations: 213
About the Project
Ok just to let you all know I’ve been working on this for a few months now and started out with the best of intentions by documenting everything I was doing, I just didn’t get round to uploading them. Then things went a bit astray and I stopped work on the project and didn’t take as many note or pictures as I should of when I restarted. So I’ll apologise now for the jump in the middle where you don’t get to see the dozens of attempts to get the fuselage right.
Related Game: Munchkin Warhammer 40,000
Related Genre: Science Fiction
This Project is Completed
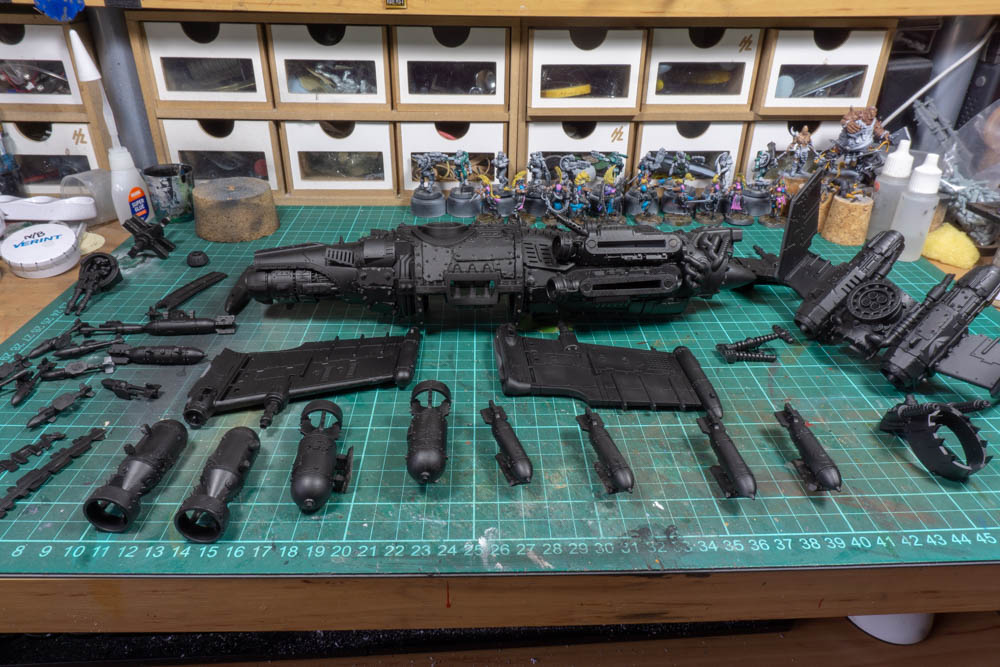
10: Painting – Primer and base coat.
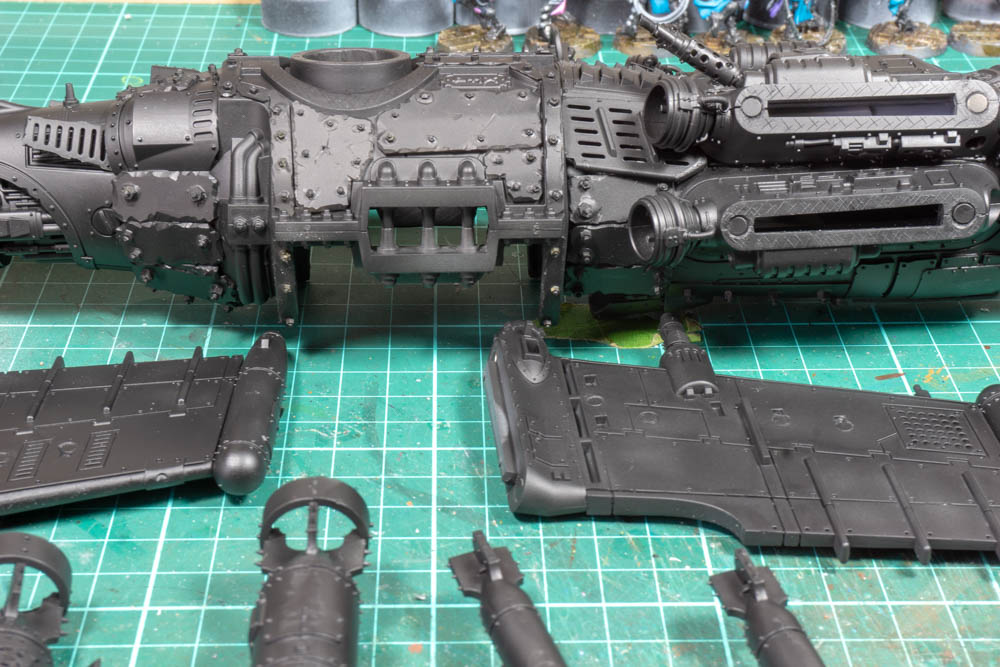
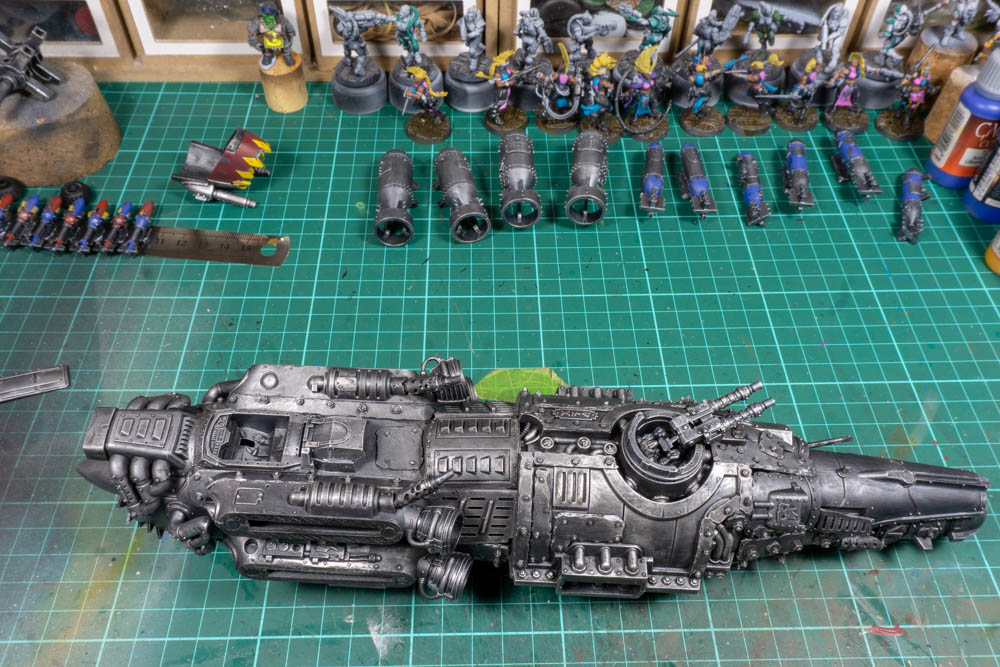
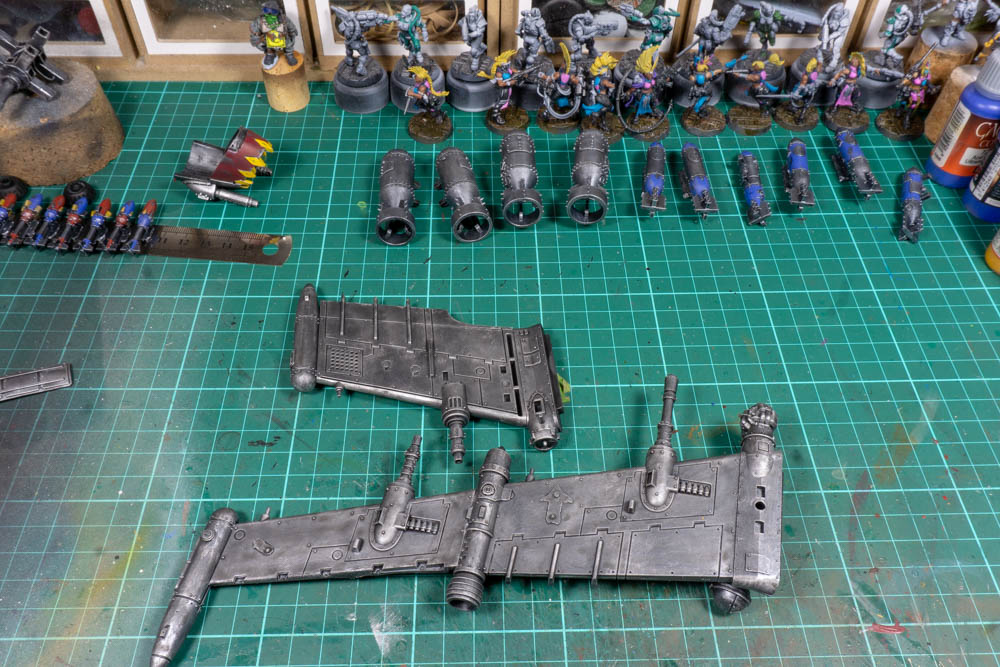
With the model finally finished it’s time to start painting. There’s a lot of surface area to cover with this thing so I started be priming it in black with the airbrush.
Then once the primer was dry it was time to start work on the colour. I’ve got a process for giving my orks a distressed look that takes quite a bit of time to do but it’s nice and simple so I tend to stick with it. I take a dark metallic paint, in this case a Scale Colour Black Metal and use an old GW Large Dry brush and liberally apply it all over the model. I don’t mind a few bits of black remaining and I’m not trying to get the colour into all of the details. Once that is done I then use a lighter metallic paint, this time a Vallejo Steel and using the same brush give everything an light dry brush. Then the last stage of this first part is to give everything a really good wash with Nuln Oil to nock all the colours back.
11: Painting: First round of colour
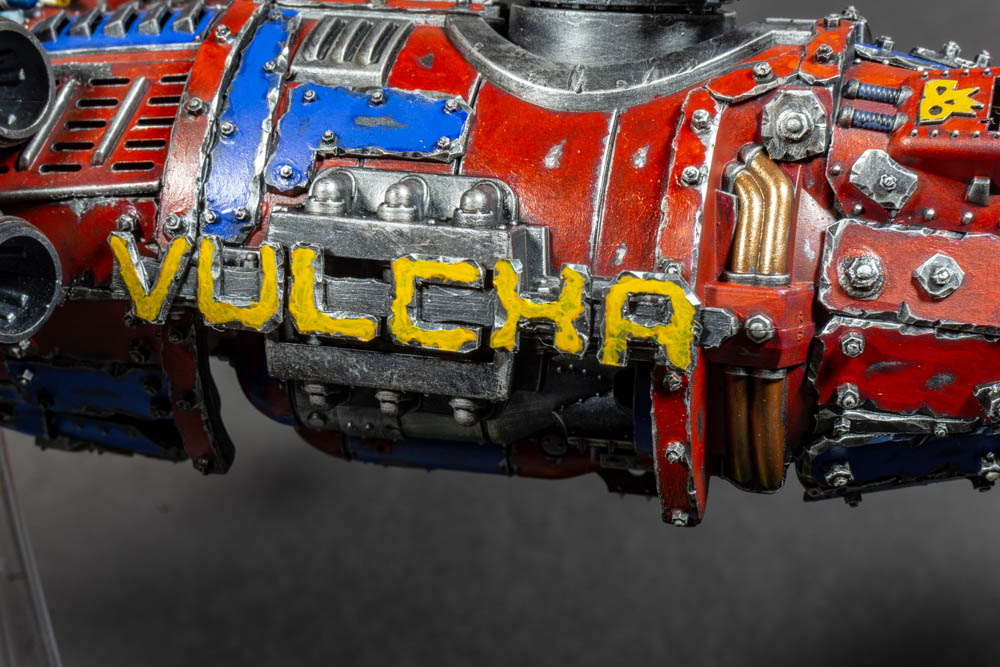
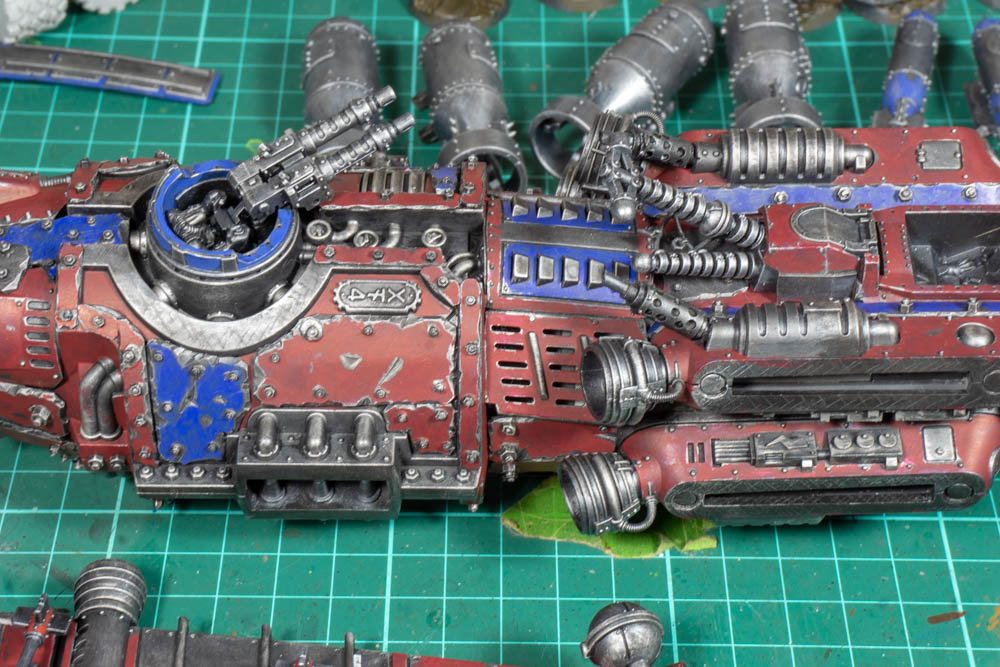
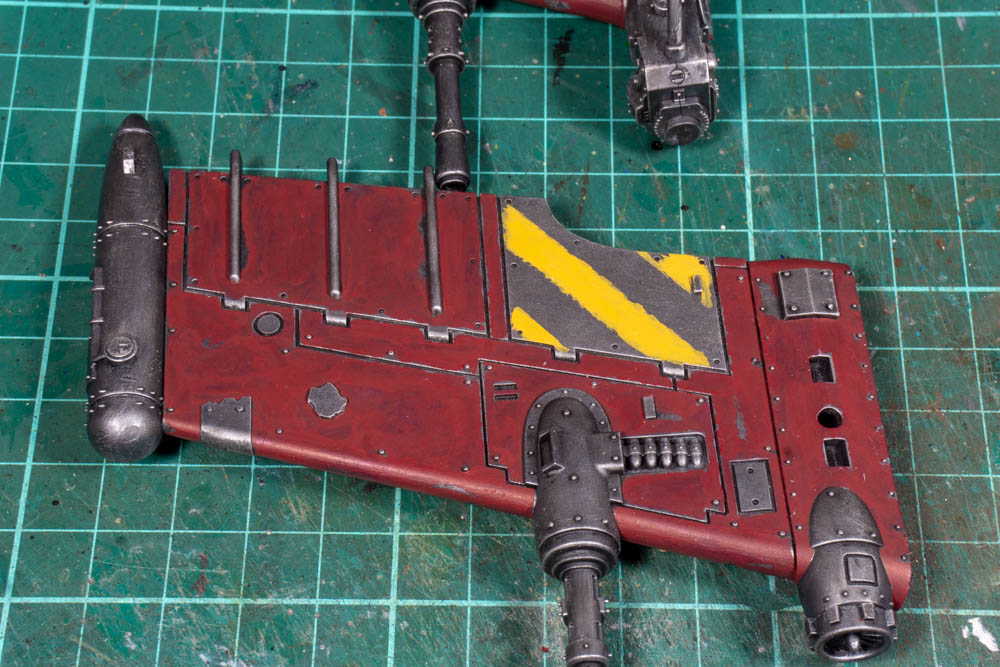
With metallic base down it’s now time to cover most of it with first or the main colours. As this is going to be a speed freak creation the main colour has to be red but to break things up a bit I’m also going to user blue to make it lucky and some yellow which is also a speed freak colour and adds a bit more interests.
For this layer I want to cover most of the metallic colour leave all of the edges a bit rough and also leave a few gaps to look like the paint has been scratched off or worn away. For the red I’ve used Citadel Khorne Red, the blue is Scale Colour Arianrhod Blue and for the yellow I’ve used Vallejo Filthy Brown which is a light yellow based brown. All of this has been done with a large brush but one that has a good point for the details. The trick is to try and make it look like paint isn’t done very well without it actually being a bad paint job.
Highlights will come next but I find that this first coat of proper colour takes a long time but the next layers don’t take anywhere near as long. I hope.
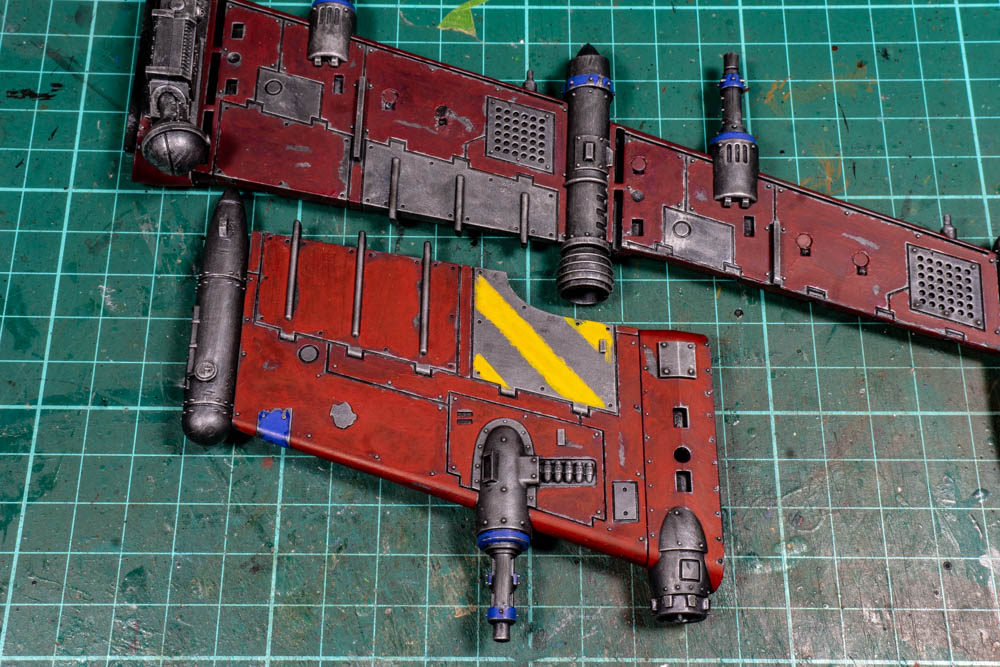
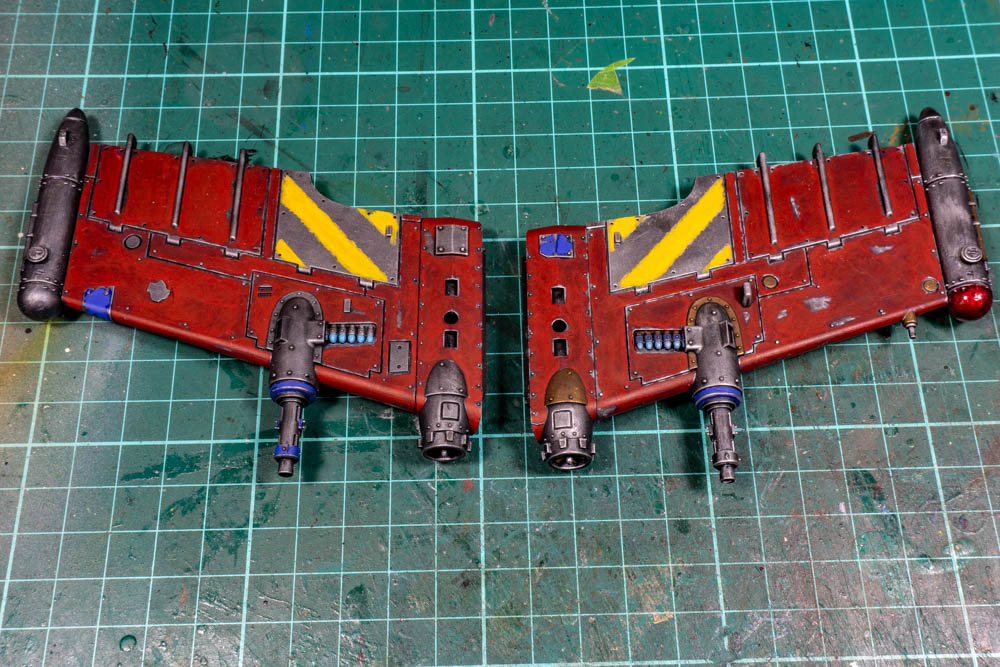
12: A closer look at the first highlight
I’ve been working on the first highlight over the weekend and I’ve made some good progress but I wanted to so a bit of a comparison. I was going to paint up one of the stub wings and the compare with other but I got carried away and didn’t stop to take the pictures. So before I get carried away again here we have a stub wind that has had it’s first highlight of Mephiston red alongside one of the main wings that has it’s base of Khorne red. The aim here is not to cover all of the base colour trying to give the impression that the paint is fading or wearing away. The close ups show that things aren’t really that well blended but the aim here is to get something that looks good from three feet rather than up close as display piece.
13: First highlight finished
The first highlight is now finished and it didn’t’ take anywhere near as long as it did to lay down the base colours. I’m happy with how it’s looking and I’ll be moving onto the details next.

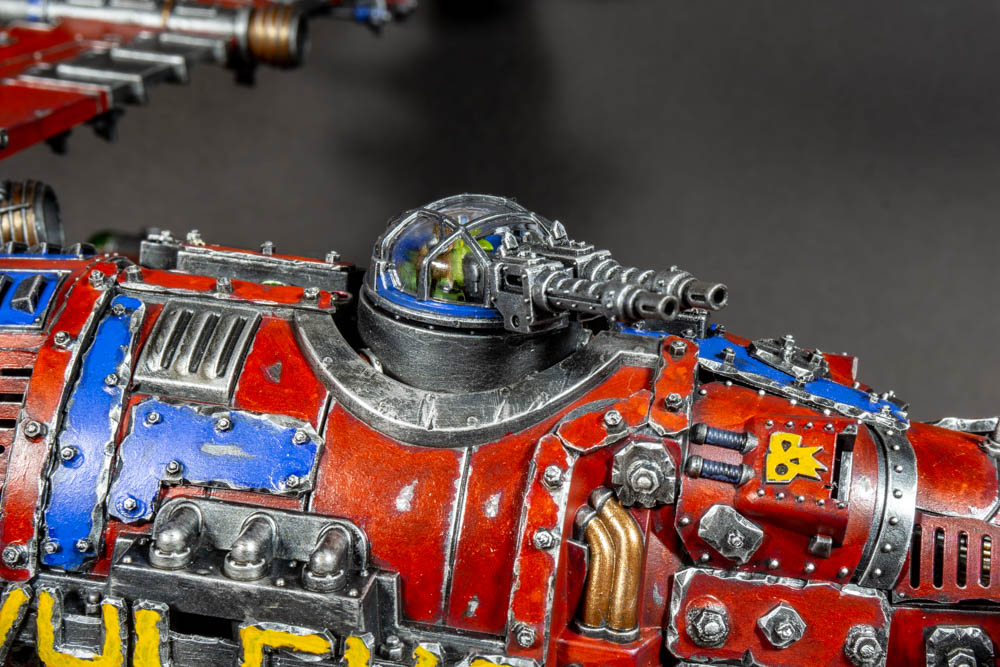
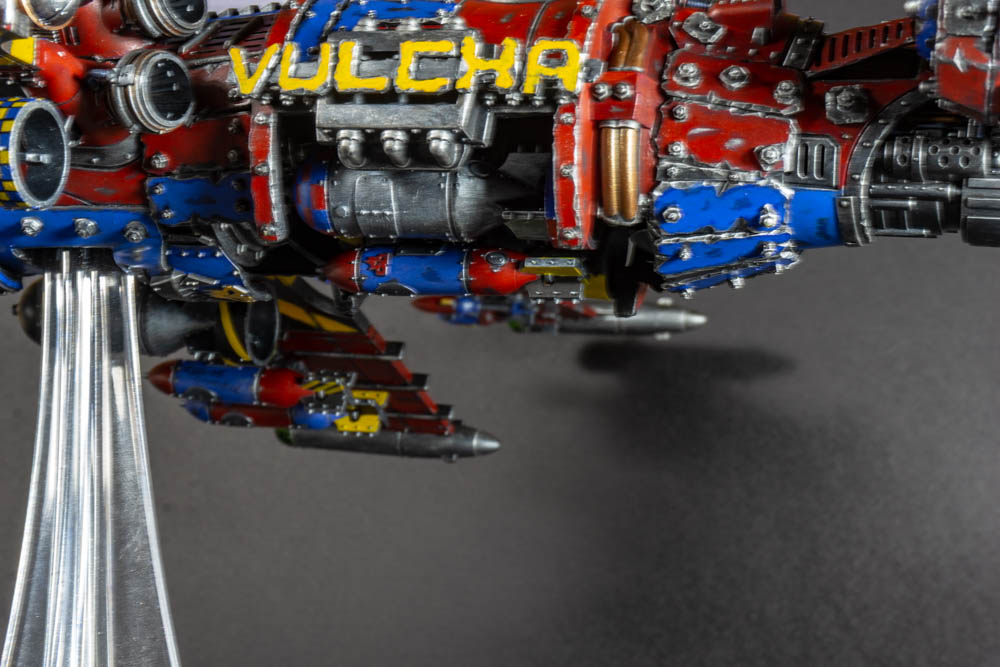
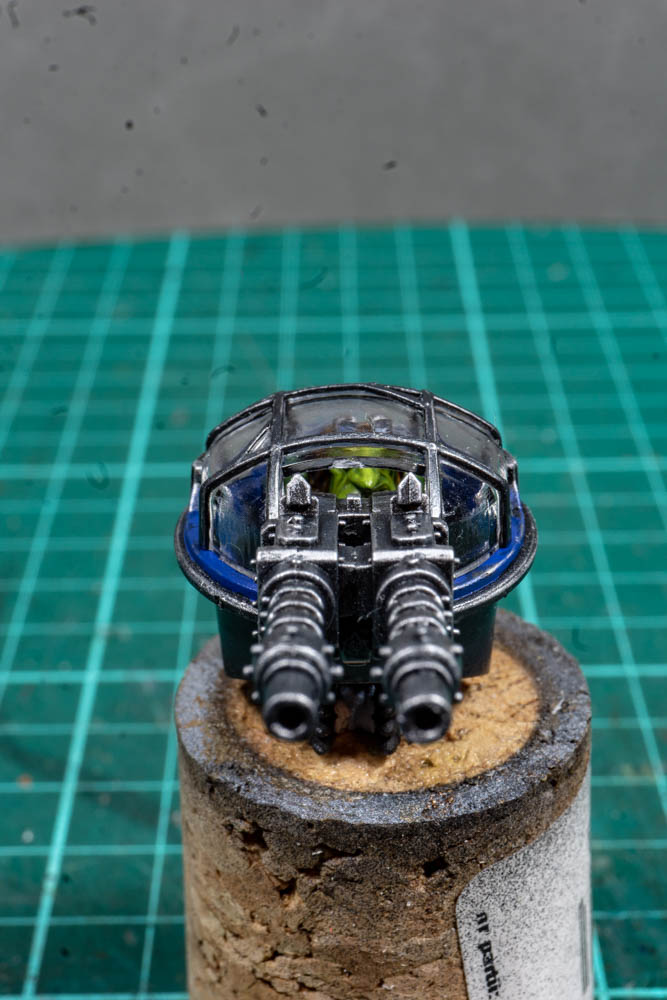
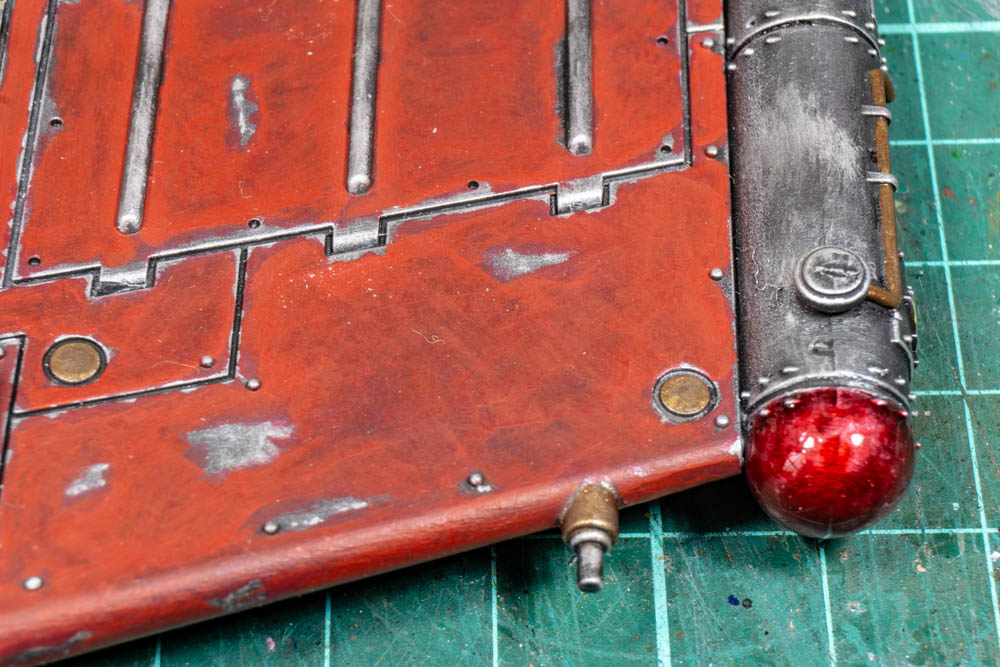
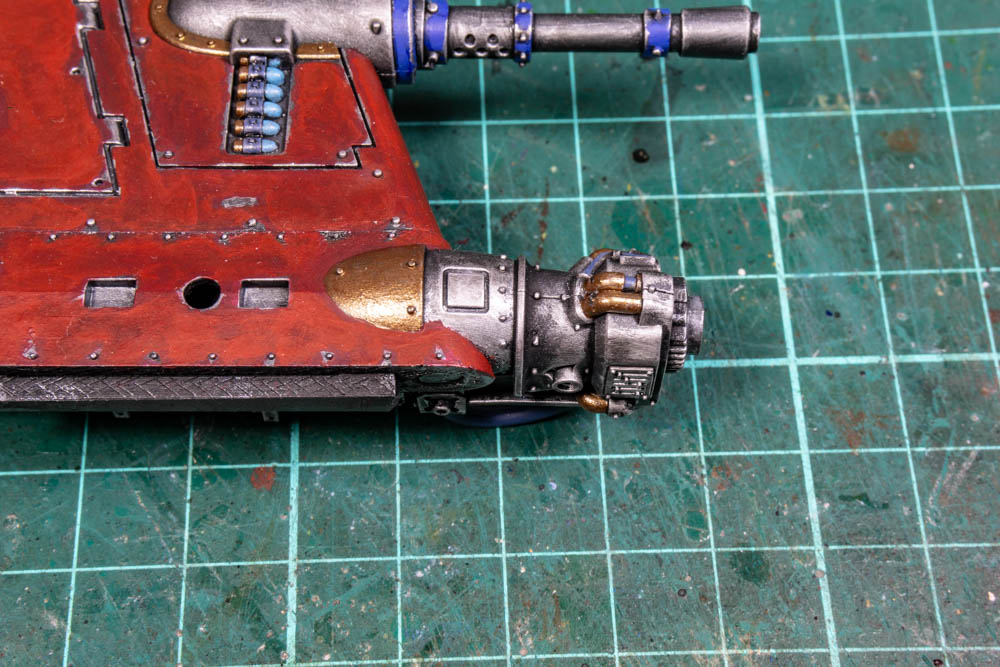
14: Top Gun and Waaahg capacitor
With the first highlights completed I needed to have a change of colour so I’ve been working on some of the details. The first of these is the gunner that sits on top of the bomb bay. It’s a small details but offered a bit of change so at least it’s not red. The hardest part of this has been keeping the metallic lines on the clear canopy neat and tidy.


Next up with have the gubbins that sits behind the cockpit and I’ve decided to christen it as a Waaagh capacitor. I don’t actually know what it is but it looks cool and that’s enough for me. I also wanted it to look very different from everything else so I’ve used badger ghost tints over a metallic to give a somewhat translucent effect. Then I’ve gone over that with a gloss varnish to really make it shine. As this is going to be one of the only places I use a gloss finish it should stand out nicely when everything is finished.


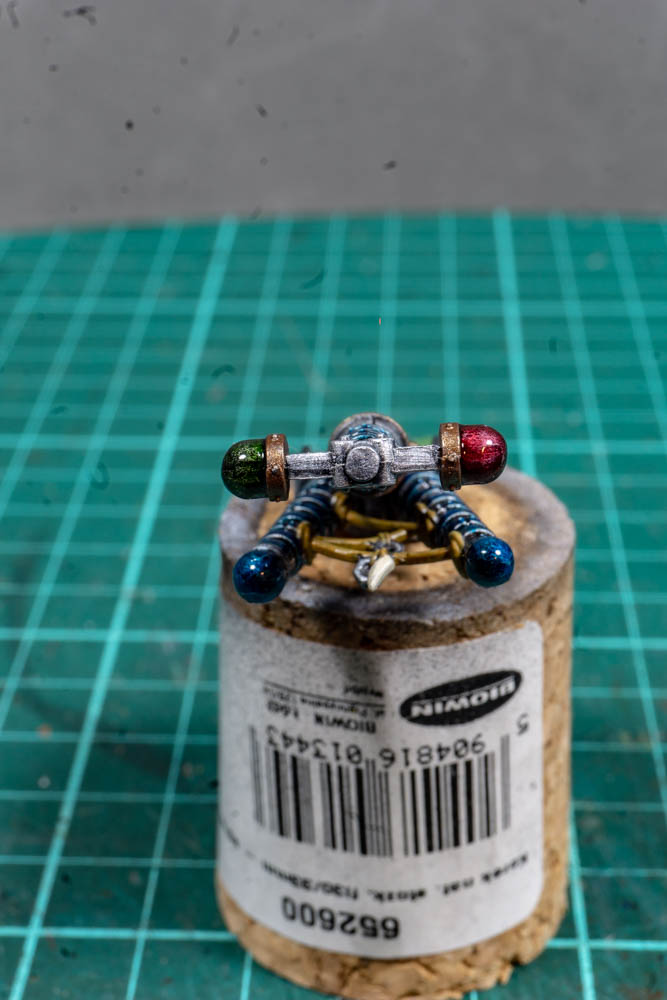
Finally I’ve just noticed the marks on the pictures so I will be cleaning the camera lens and / or the sensor before I add any more pictures.
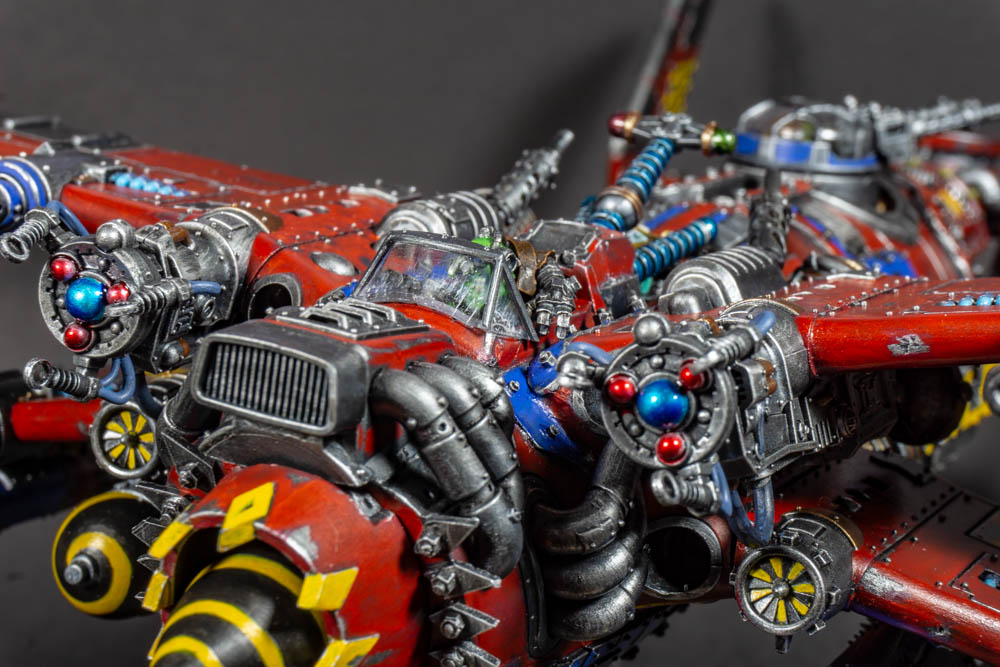
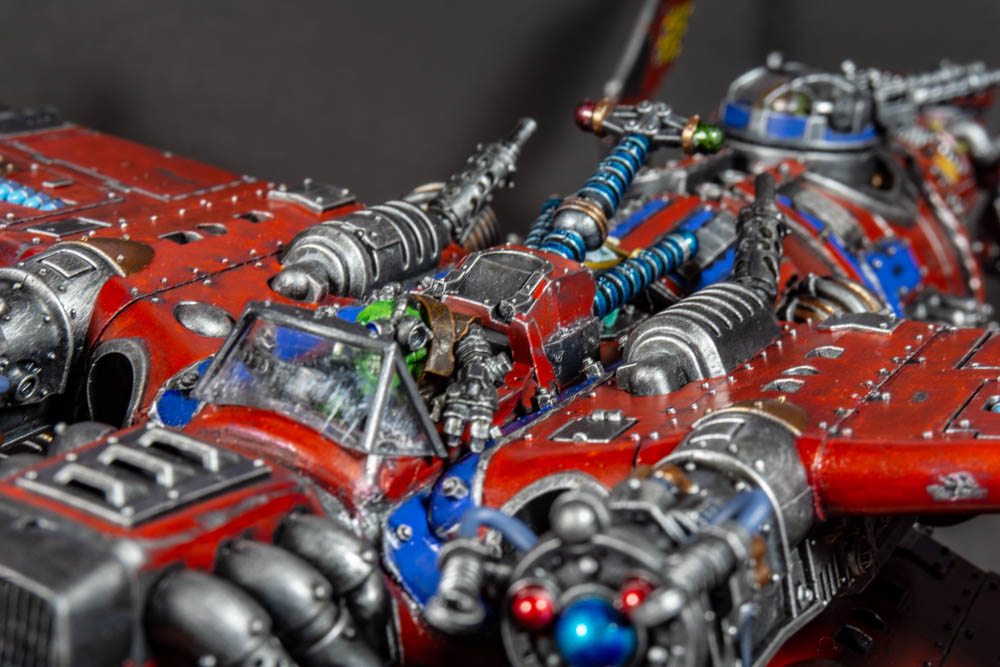
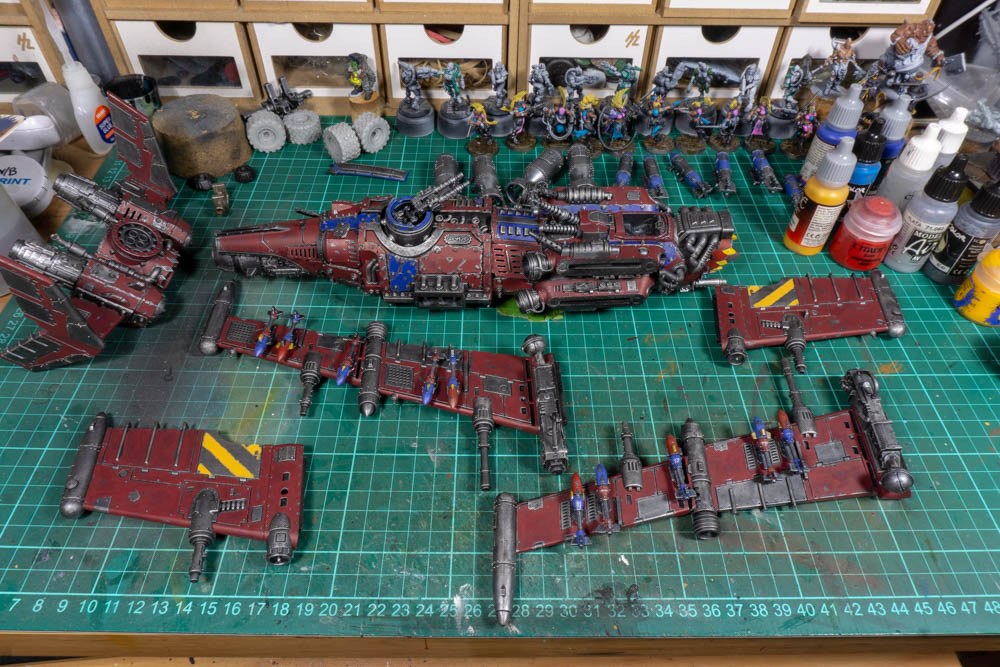
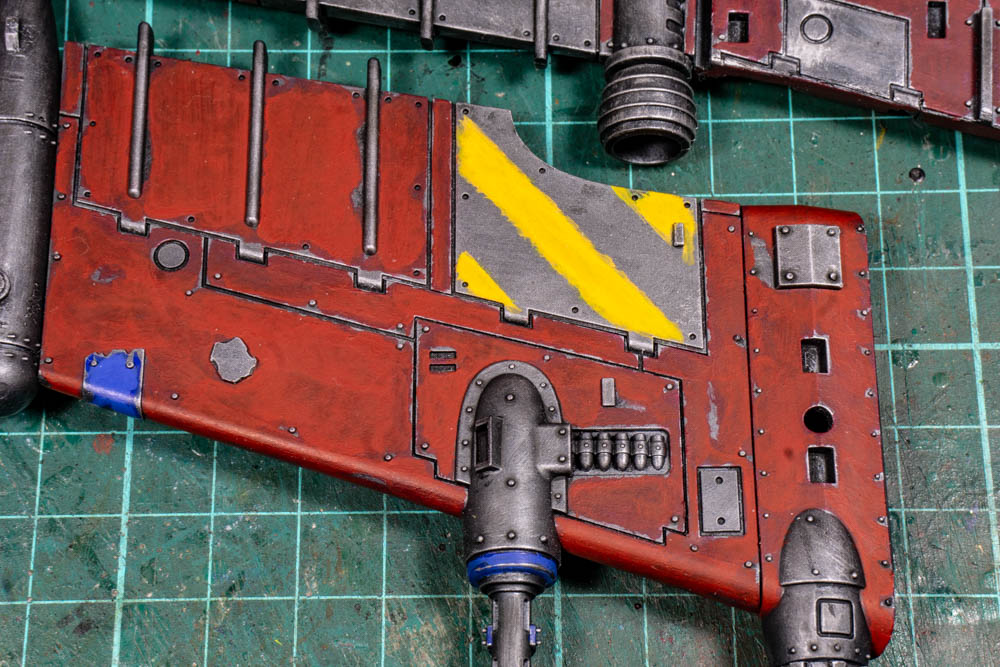
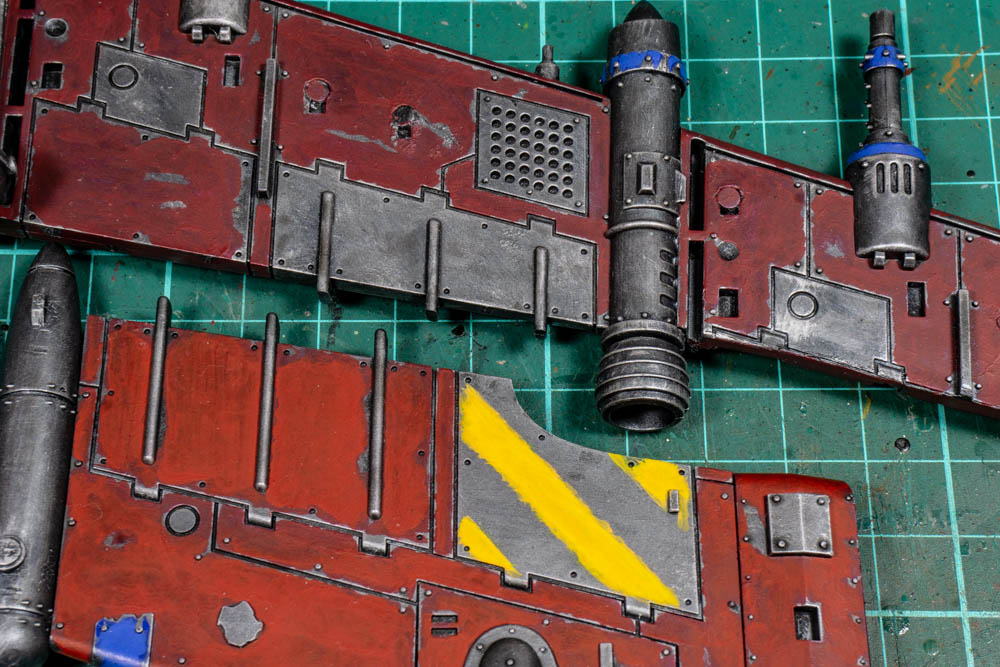
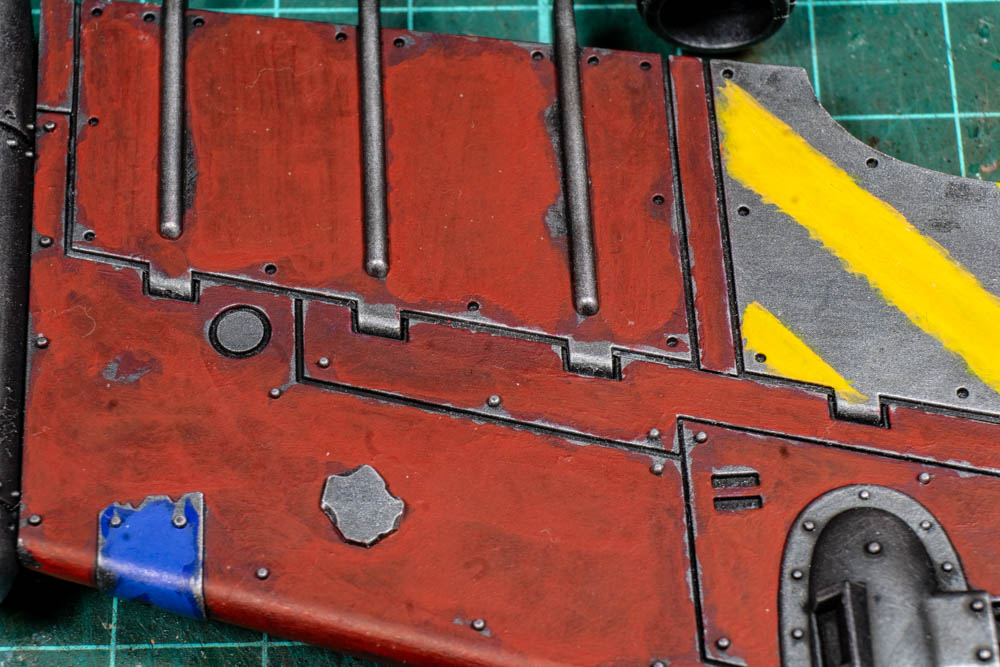
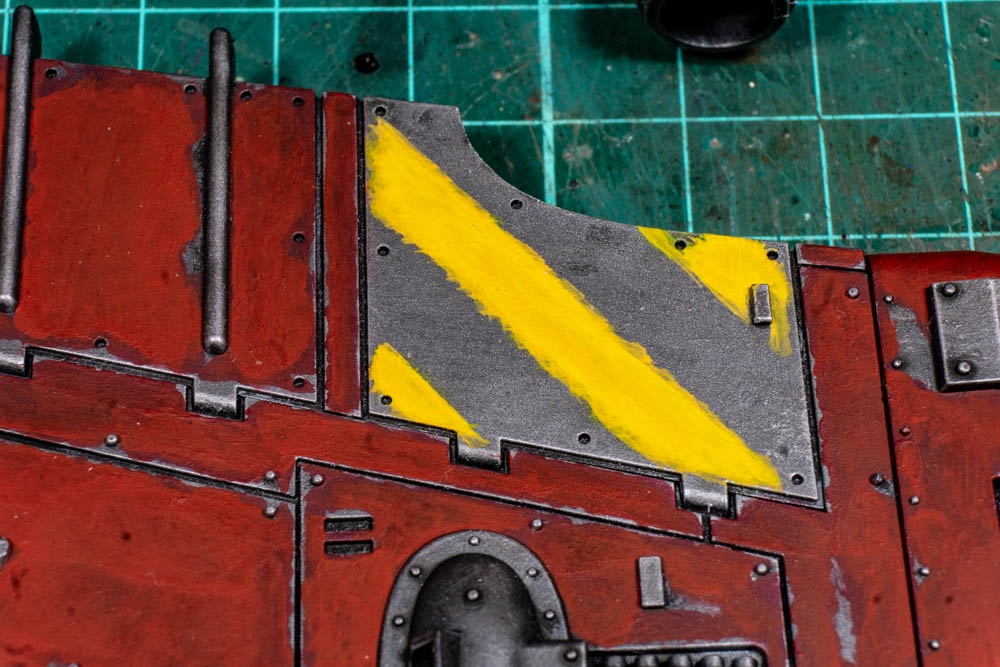
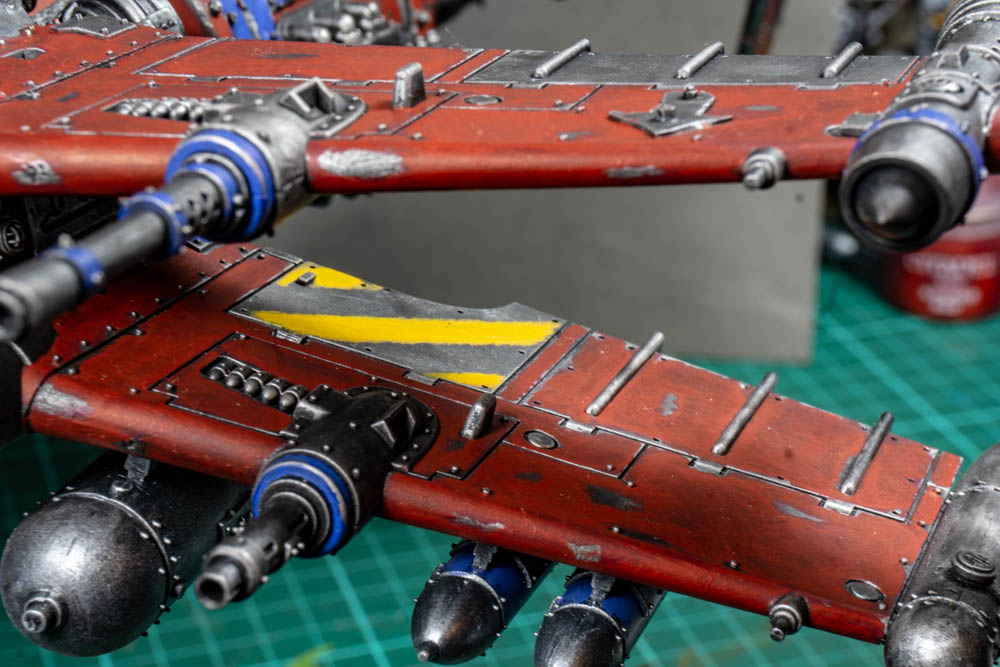
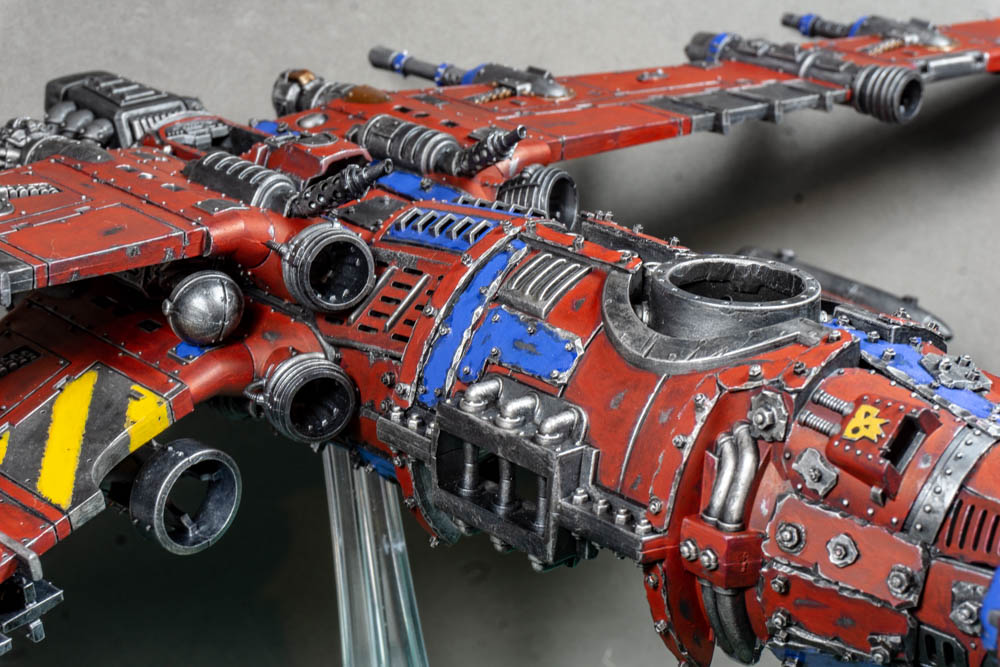
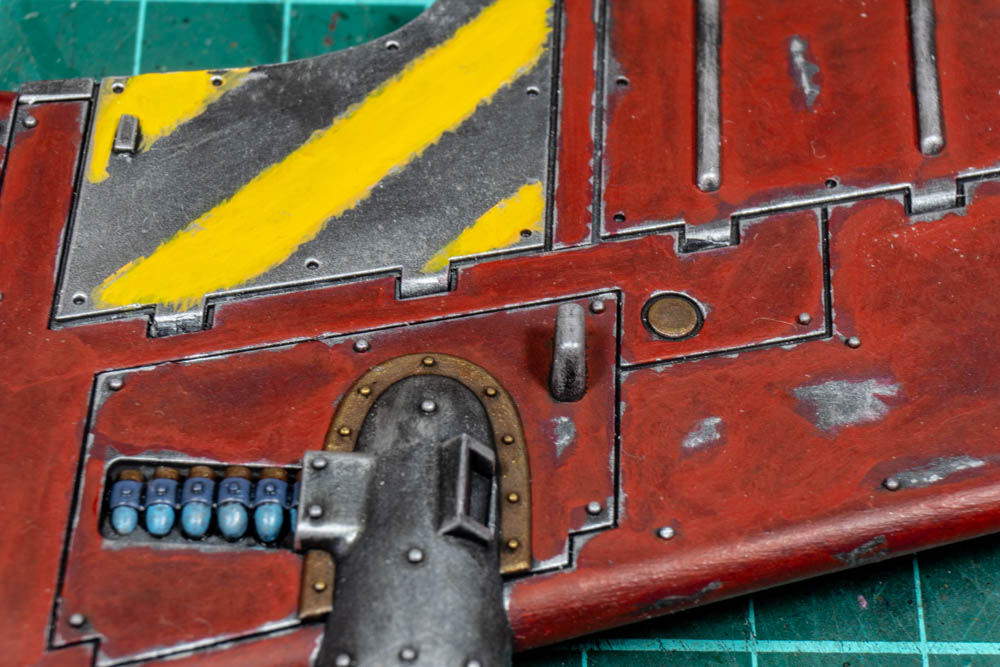
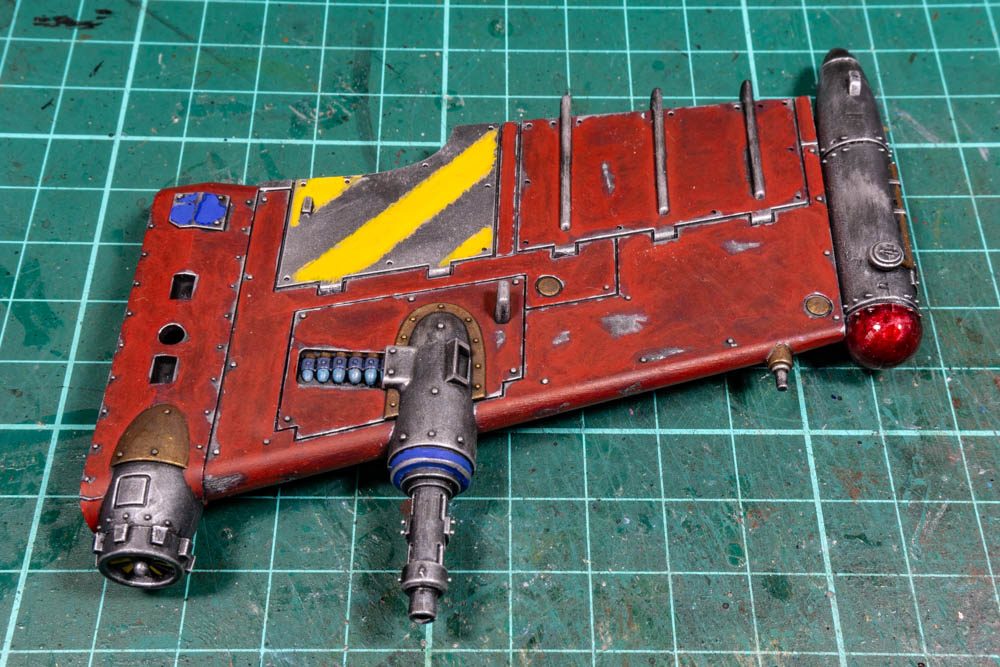
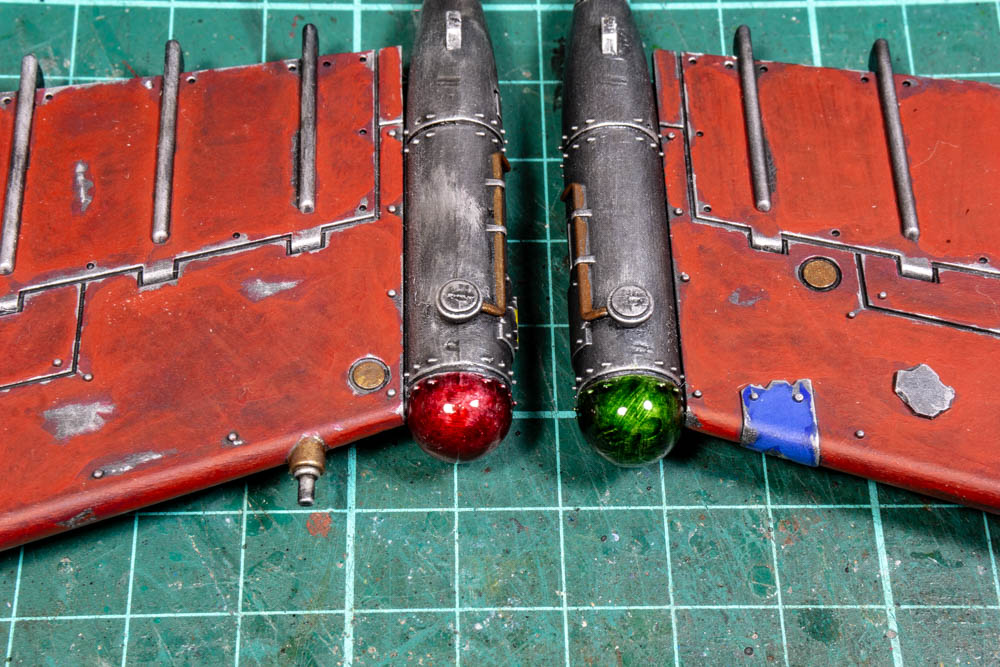
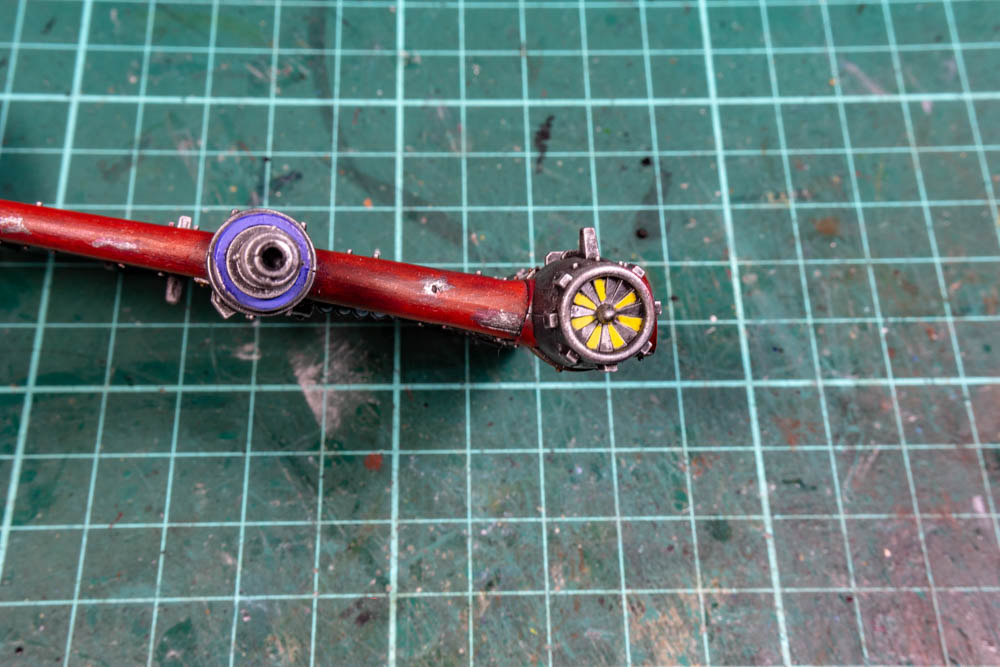
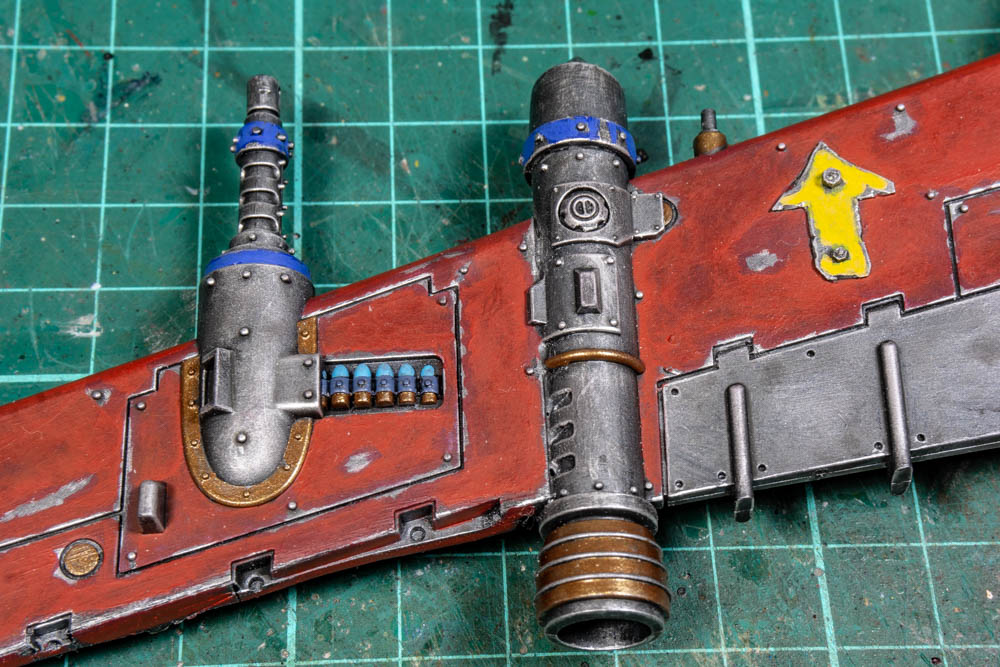
14: Wing details
I’ve been plugging away this week and I’m getting closer to the finishing line. For this updated I’ve been working on the details and edge highlights which has been a slow process. It’s all about trying to bring out the details and give everything some pop. This has mainly consisted of adding silver to those hard edges and then using a few key colours to bring out the details, whilst at the same time trying not to throw in to many colours. I don’t want it to get to complicated.
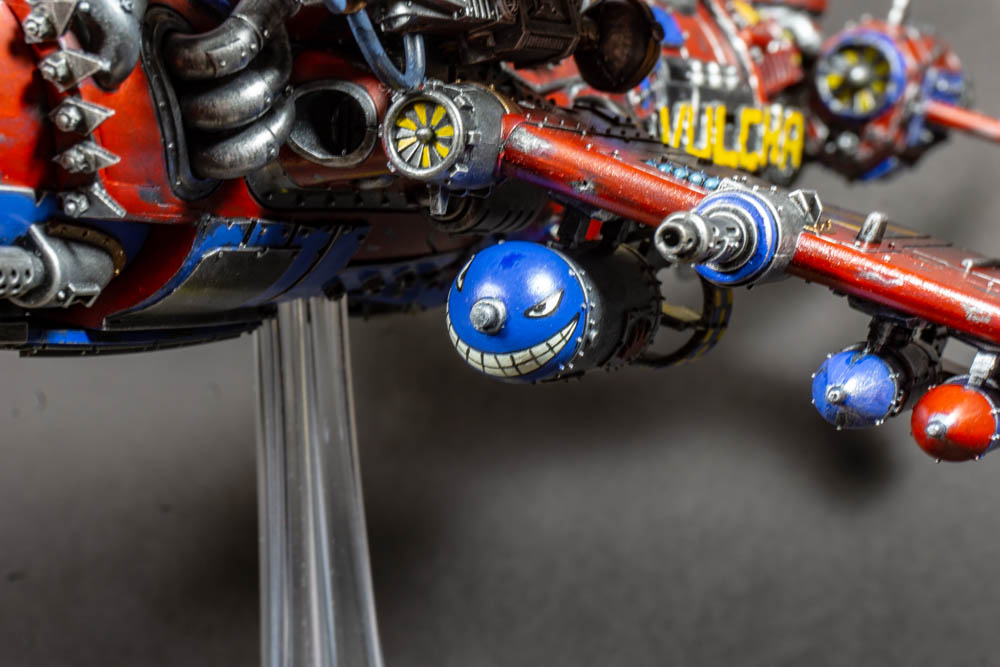
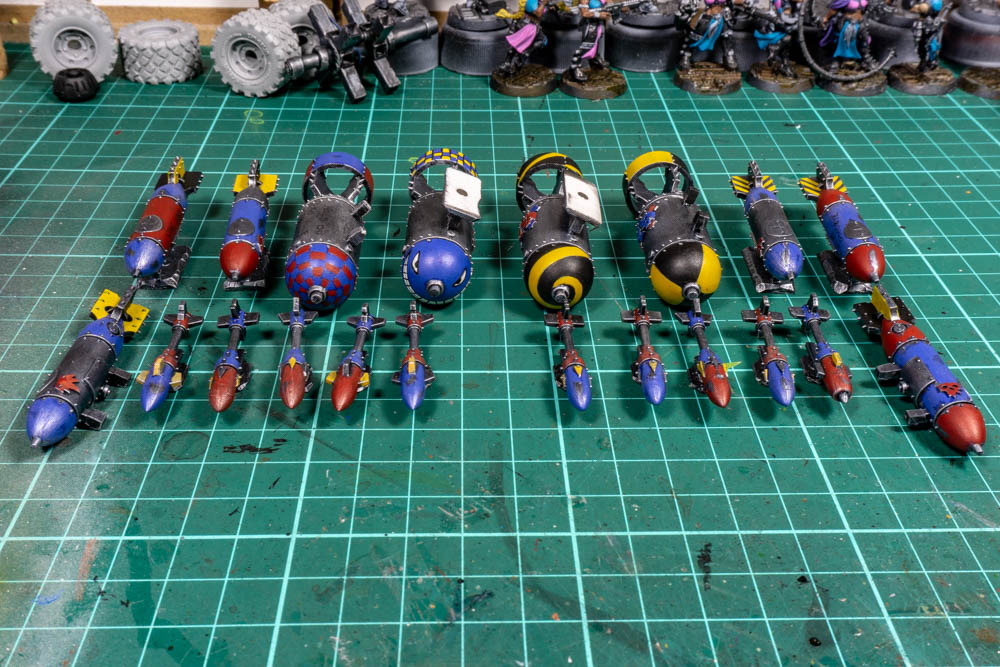
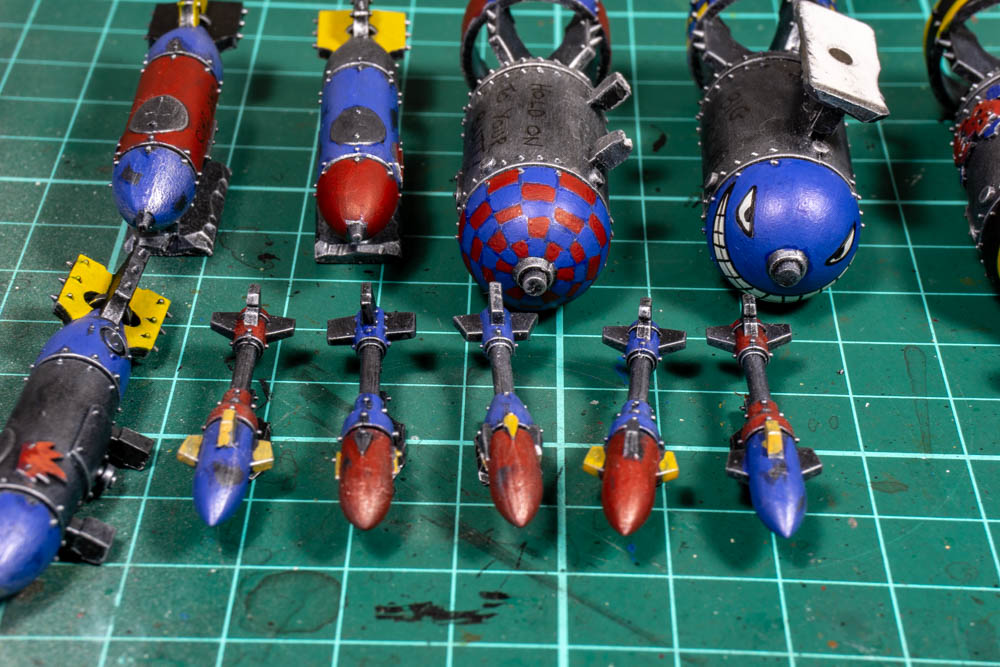
15: Ordnance
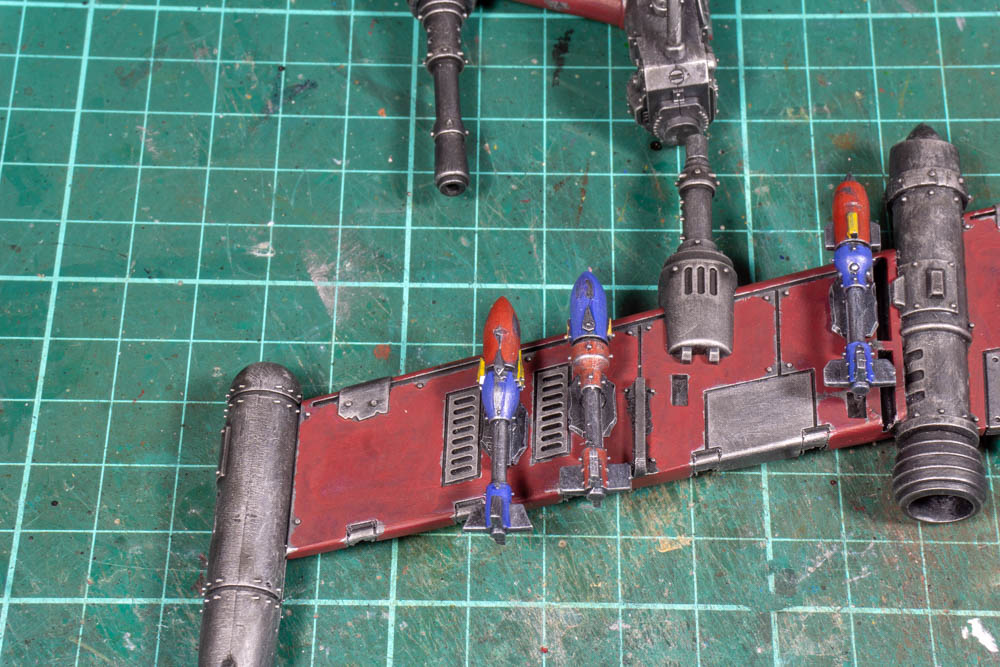
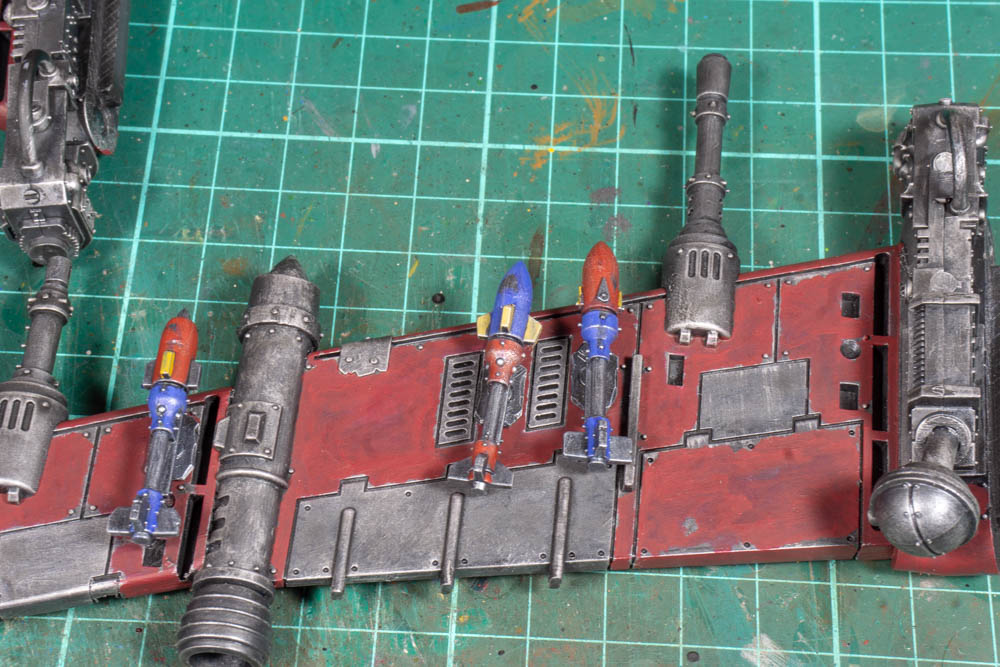
Now it wouldn’t be much of a bomber if it didn’t have bombs, but not just bombs in this case it also has rockets. The model itself can actually carry six big bombs, eight standard bombs and ten rockets. Although I only have four big bombs and six standard bombs. And the entire project started with the bombs so it’s fair to say they are key part of the project.
The level of customisation is linked to the size of the bombs, so each of the big bombs has its own design whilst the smaller ones are a combination of designs. Although each of the bombs does have its own message written on it as that personal touch for whoever it happens to land on.


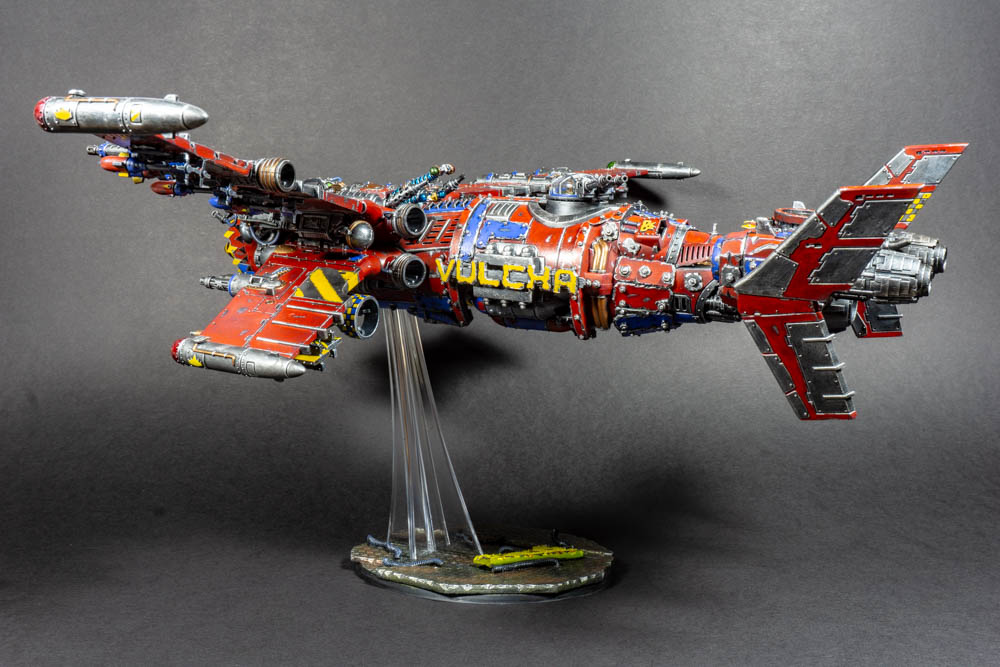
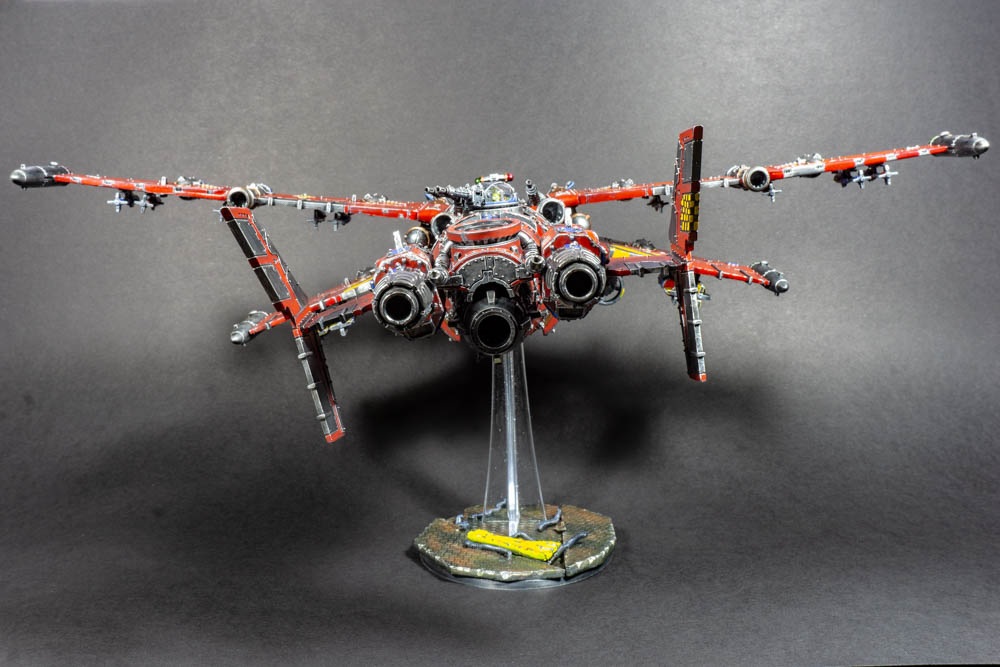
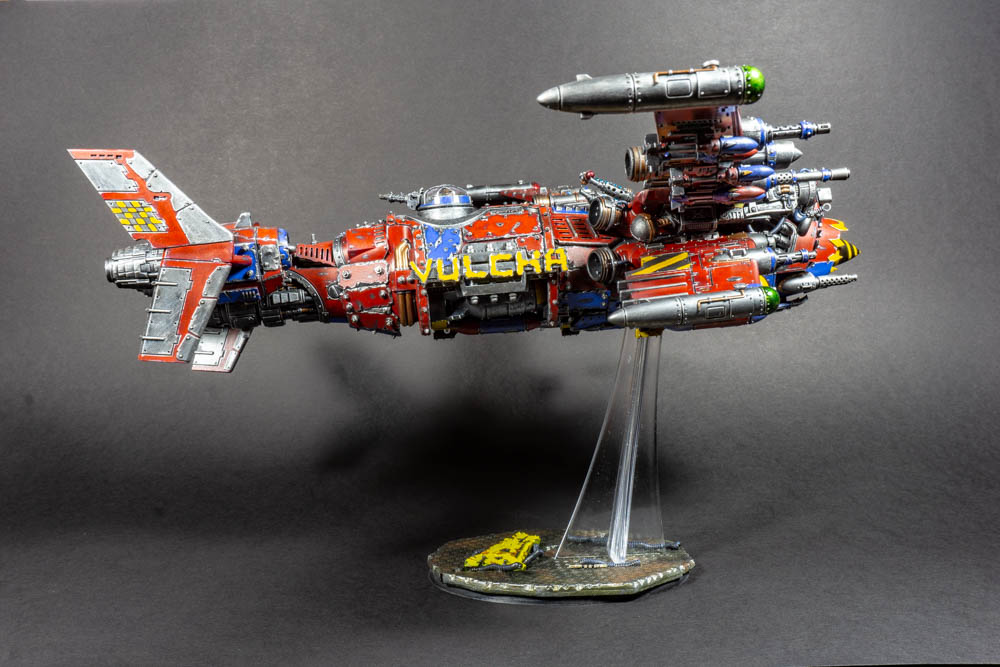
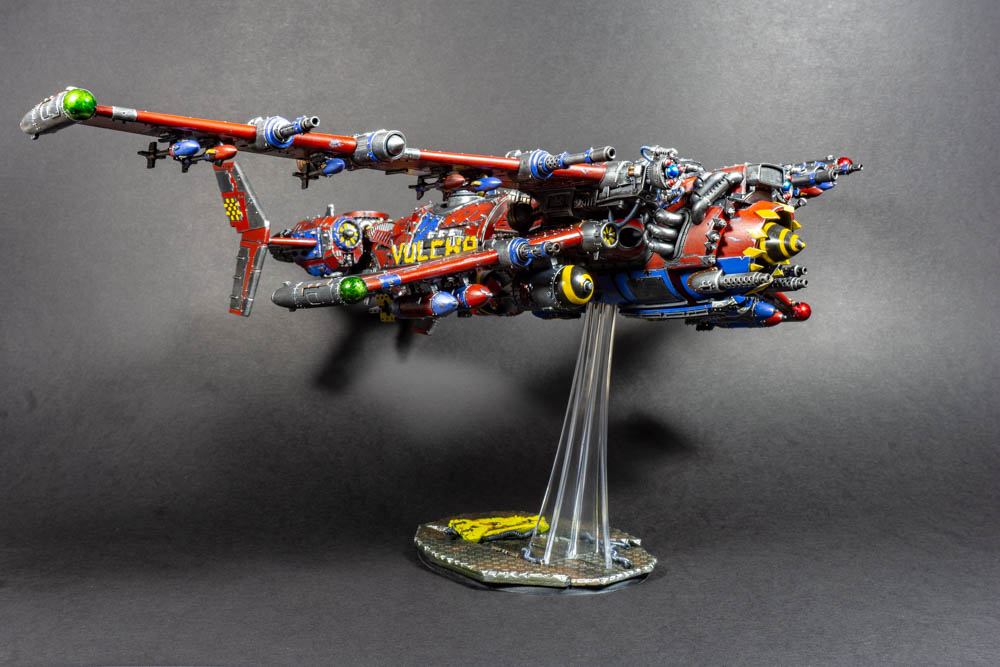
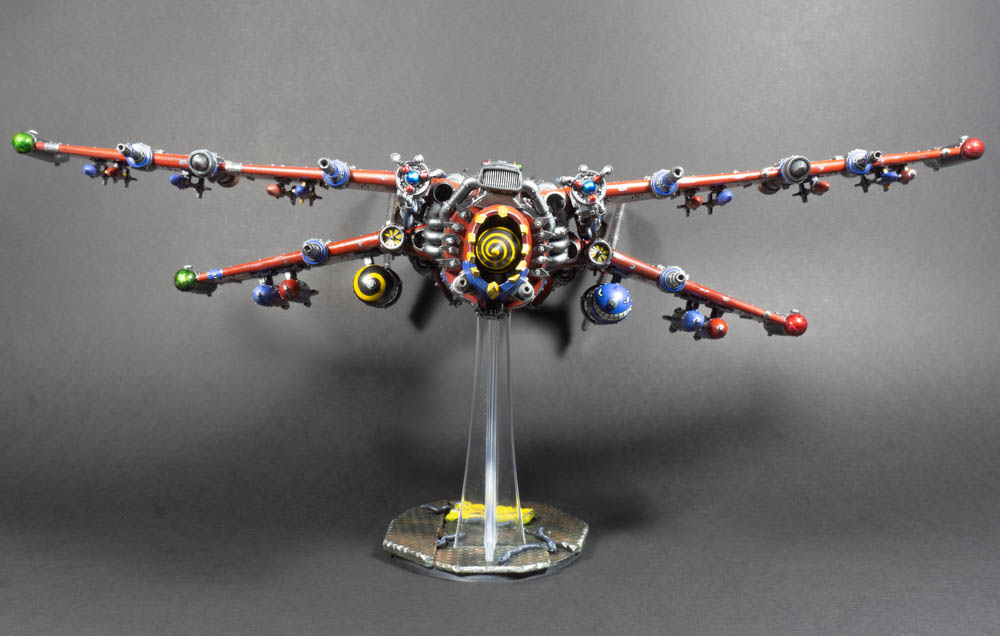
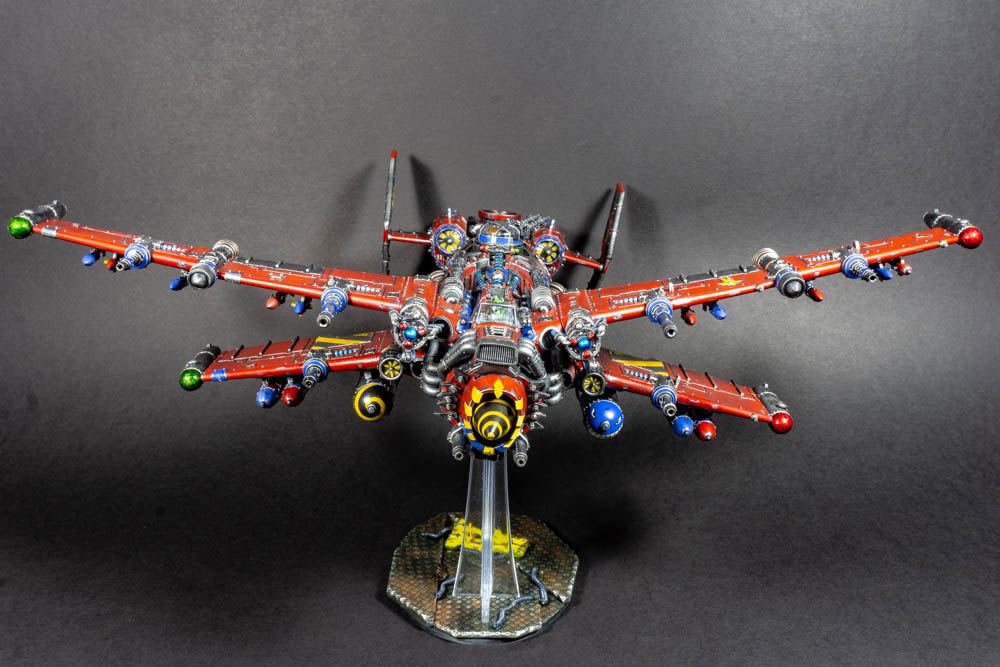
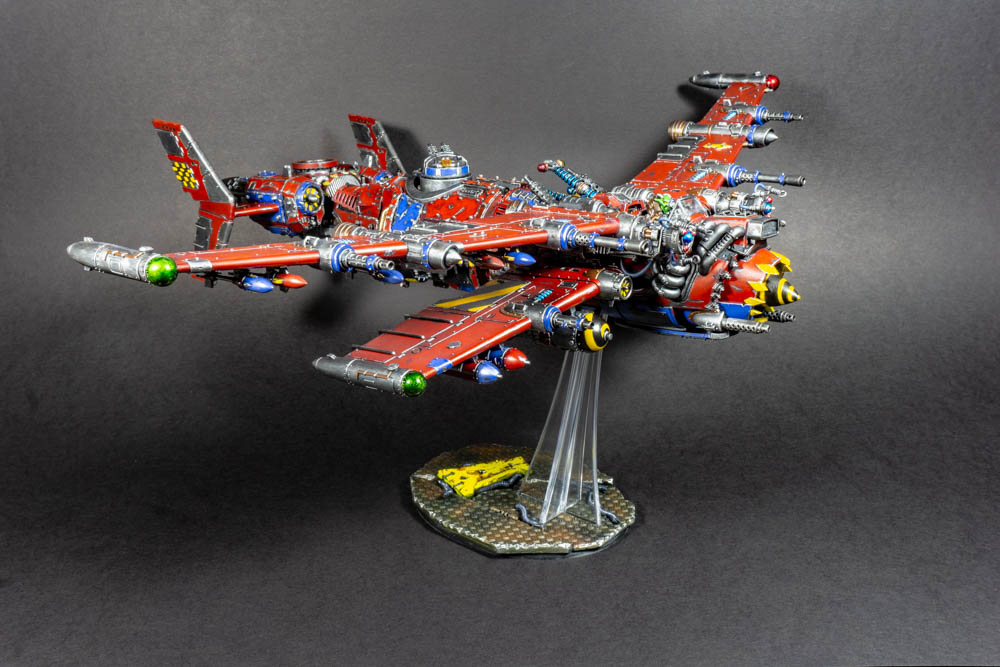
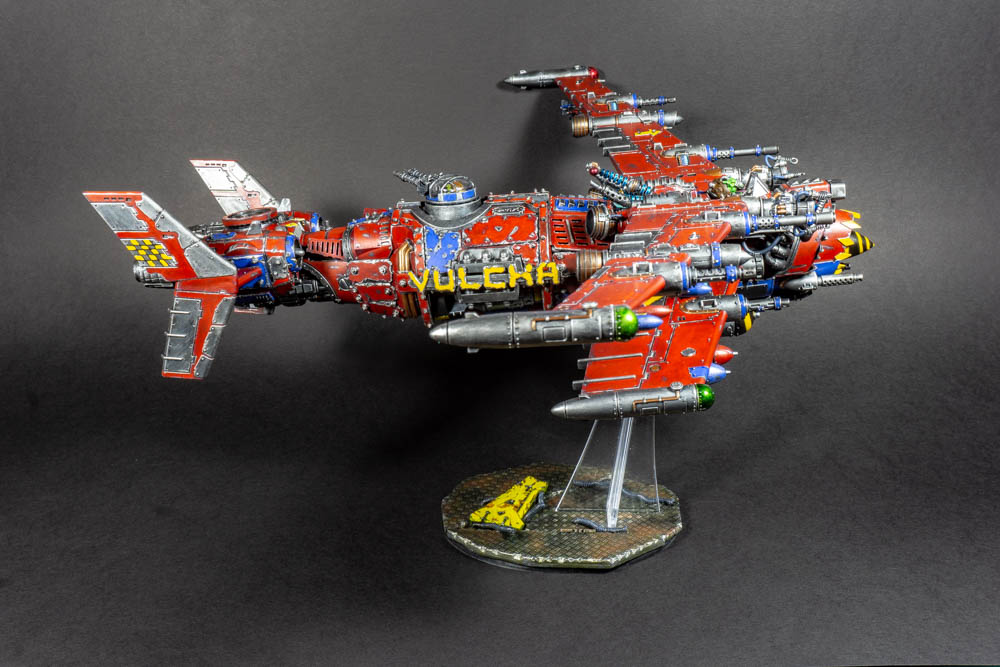
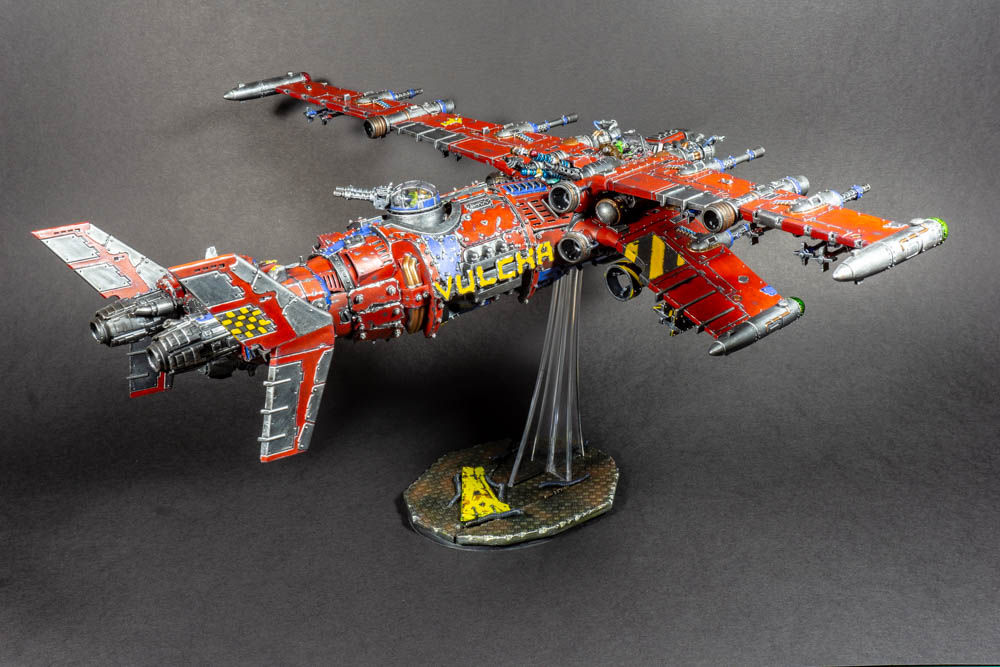
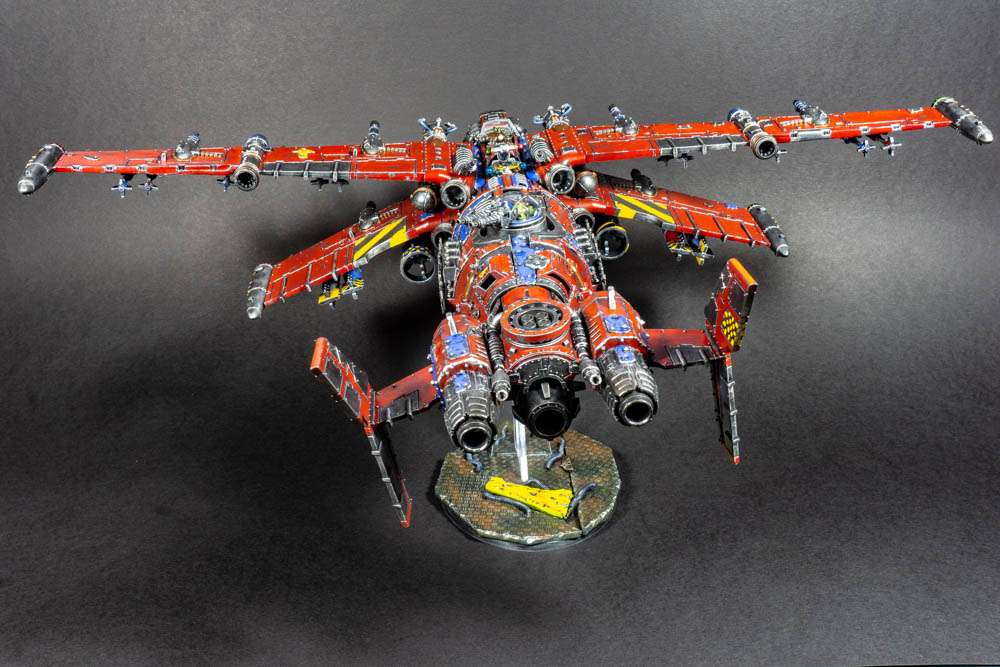
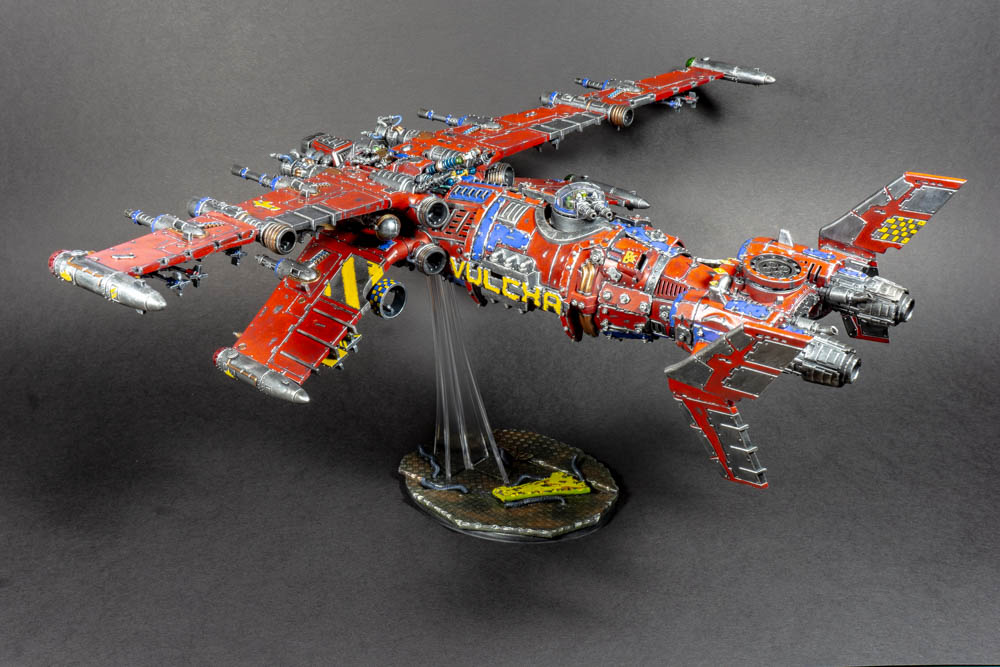
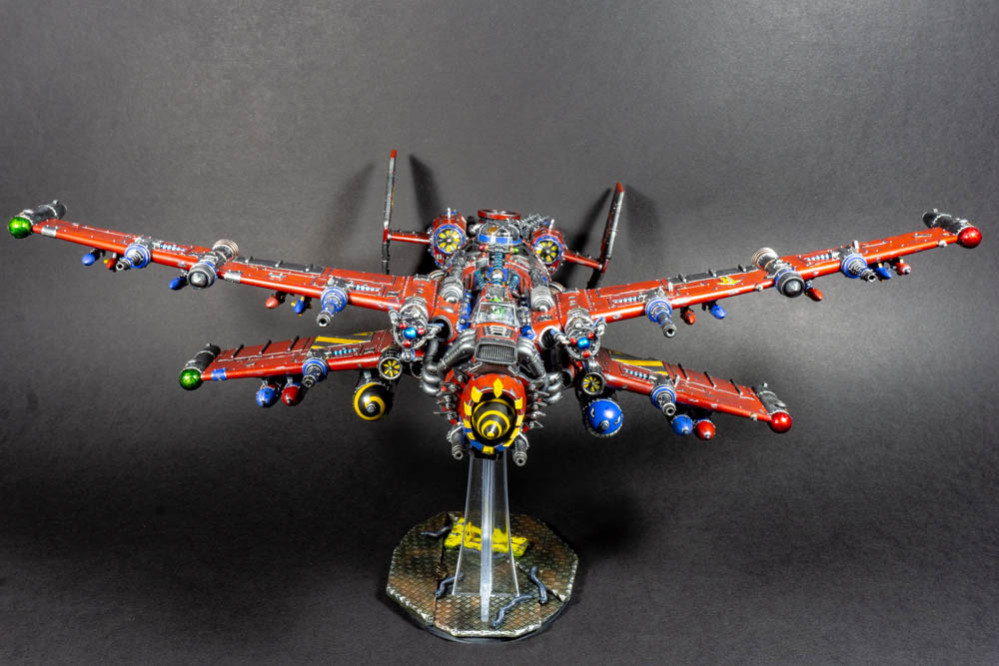
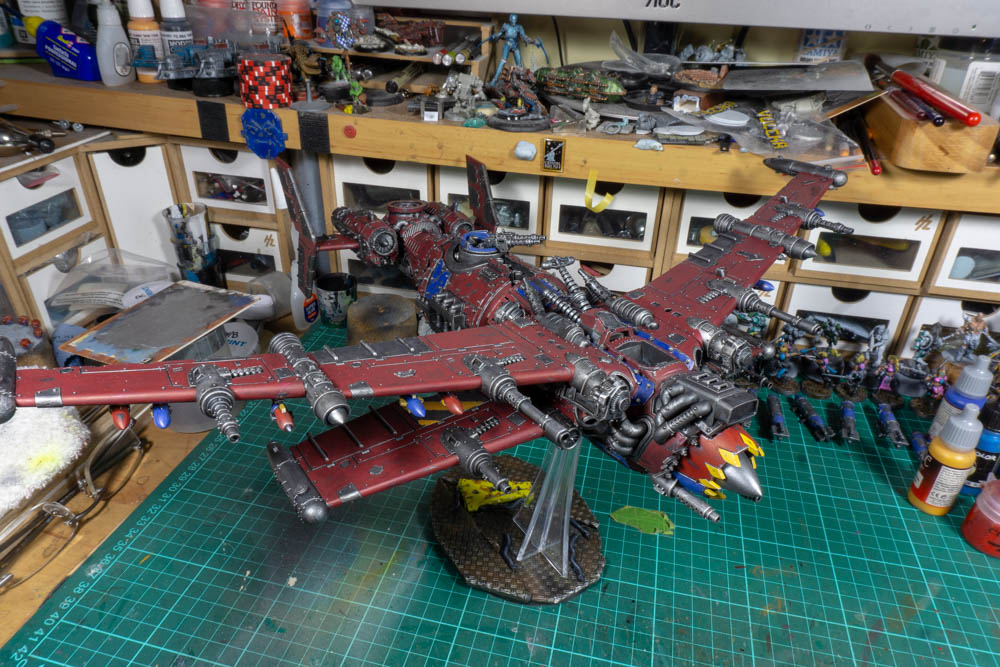
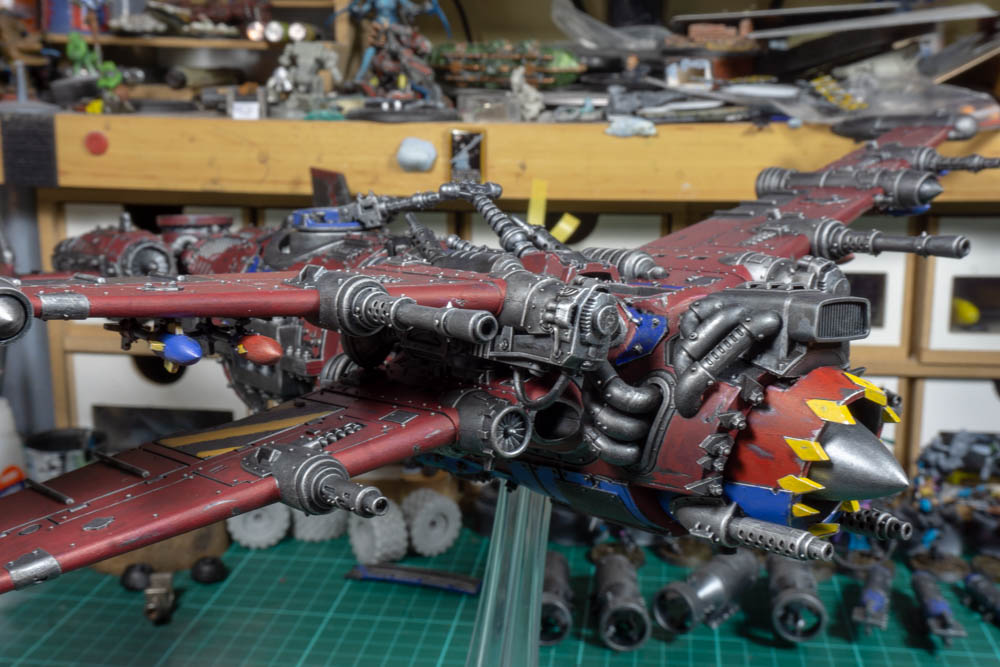
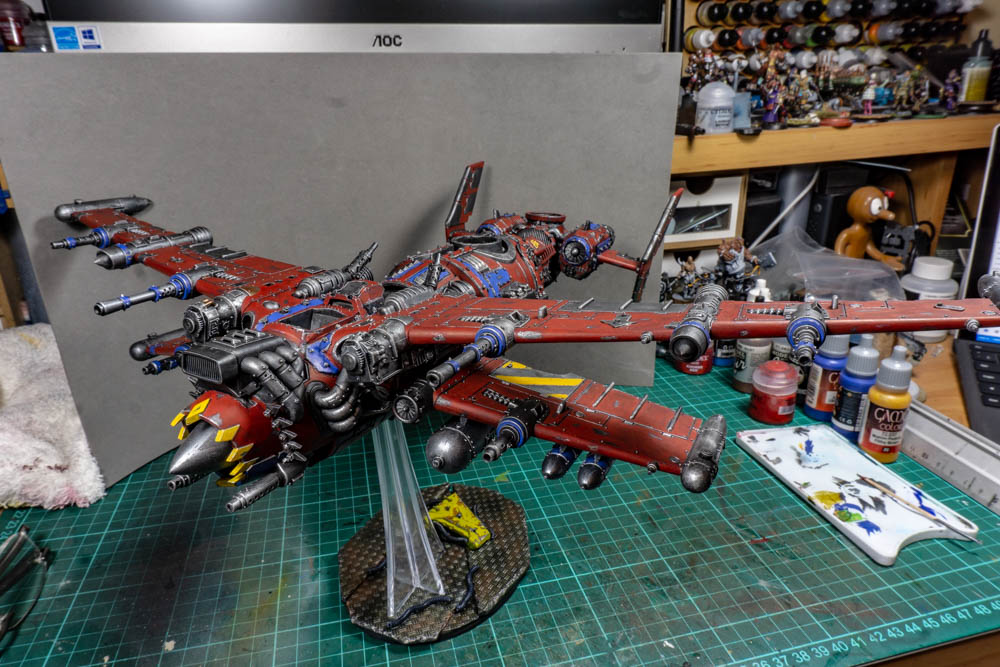
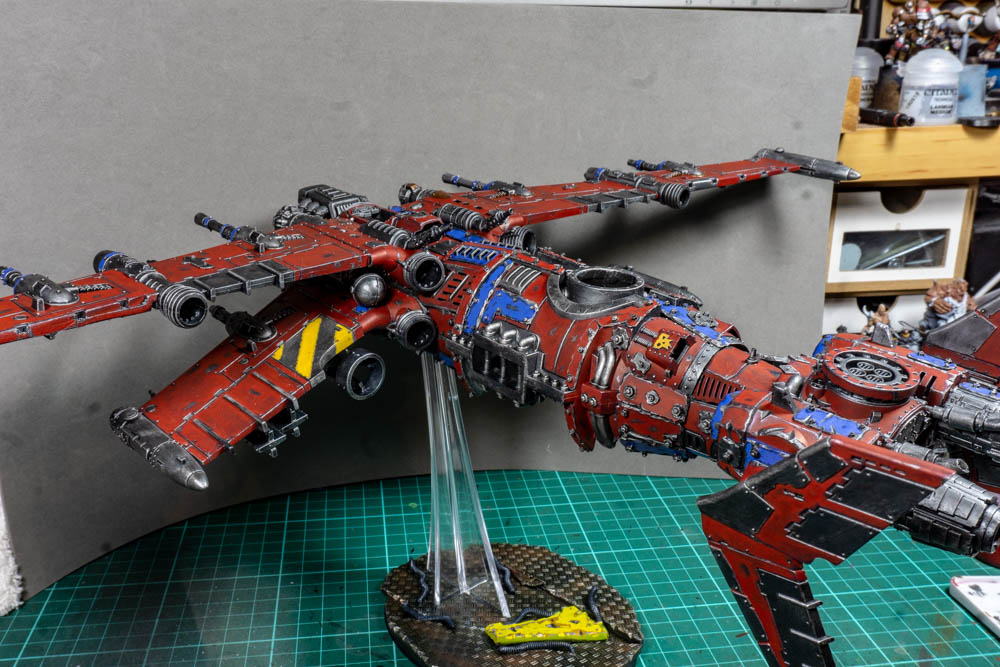
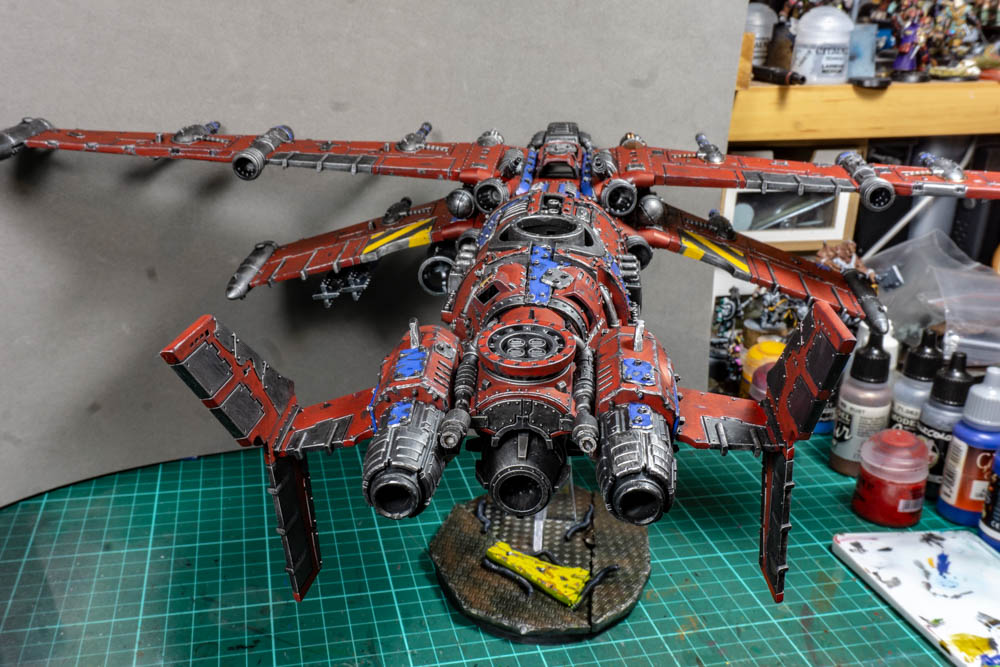
16: Finished
It’s taken me quite a long time to do this build but I’ve got there in the end. The colours may not be to everyone’s liking but I like the cartoon look and there is no denying that it’s going to be fast. I’ve tried to make it look a bit worn and also tried picking out some of the details with different colours without going to over the top. I solved the missing pilot dilemma by using a Kromlech model I’ve had in my bits box for while. Even though he clearly isn’t a pilot I still think if works well here. Now this whole project started with the rotary bomb bay that will hold eight bombs but now that everything is finished you can’t actually see it, but it is there I assure you. All of the bombs and rockets on the wings are magnetises to they can be swapped out or removed when used and it’s got lots of big shootas.
The only thing that I’m not really happy with is that now it’s been varnished it’s a bit shiny. I’ve used the same satin varnish I normally use but for some reason it’s turned out a bit on the shiny size. I can always pick up some mat and give it a once over with that but I’ve been working on it that long now I just want to call it a day. So I hope you all like it and I’ll now have a bit of time to think about the next project.