I love the smell of Prometheum in the morning


Recommendations: 64
About the Project
I backed a Kickstarter by Wargames Model Mods in 2017 for the awesome looking Prometheum Rig. It's such a huge project, beyond just assembling the model so I decided to collate my pictures from the last 12 months into a project. I have found with MDF scenery that it generally works if you view it as a skeleton more than the final piece; you can use them as the basis for something awesome but if all you do is throw some paint on them they just look like painted boxes. So this Project is less about building the model and more about turning it into a piece of scenery.
Related Game: Necromunda
Related Genre: Science Fiction
This Project is Active
It's done. It's finished. The journey is over.
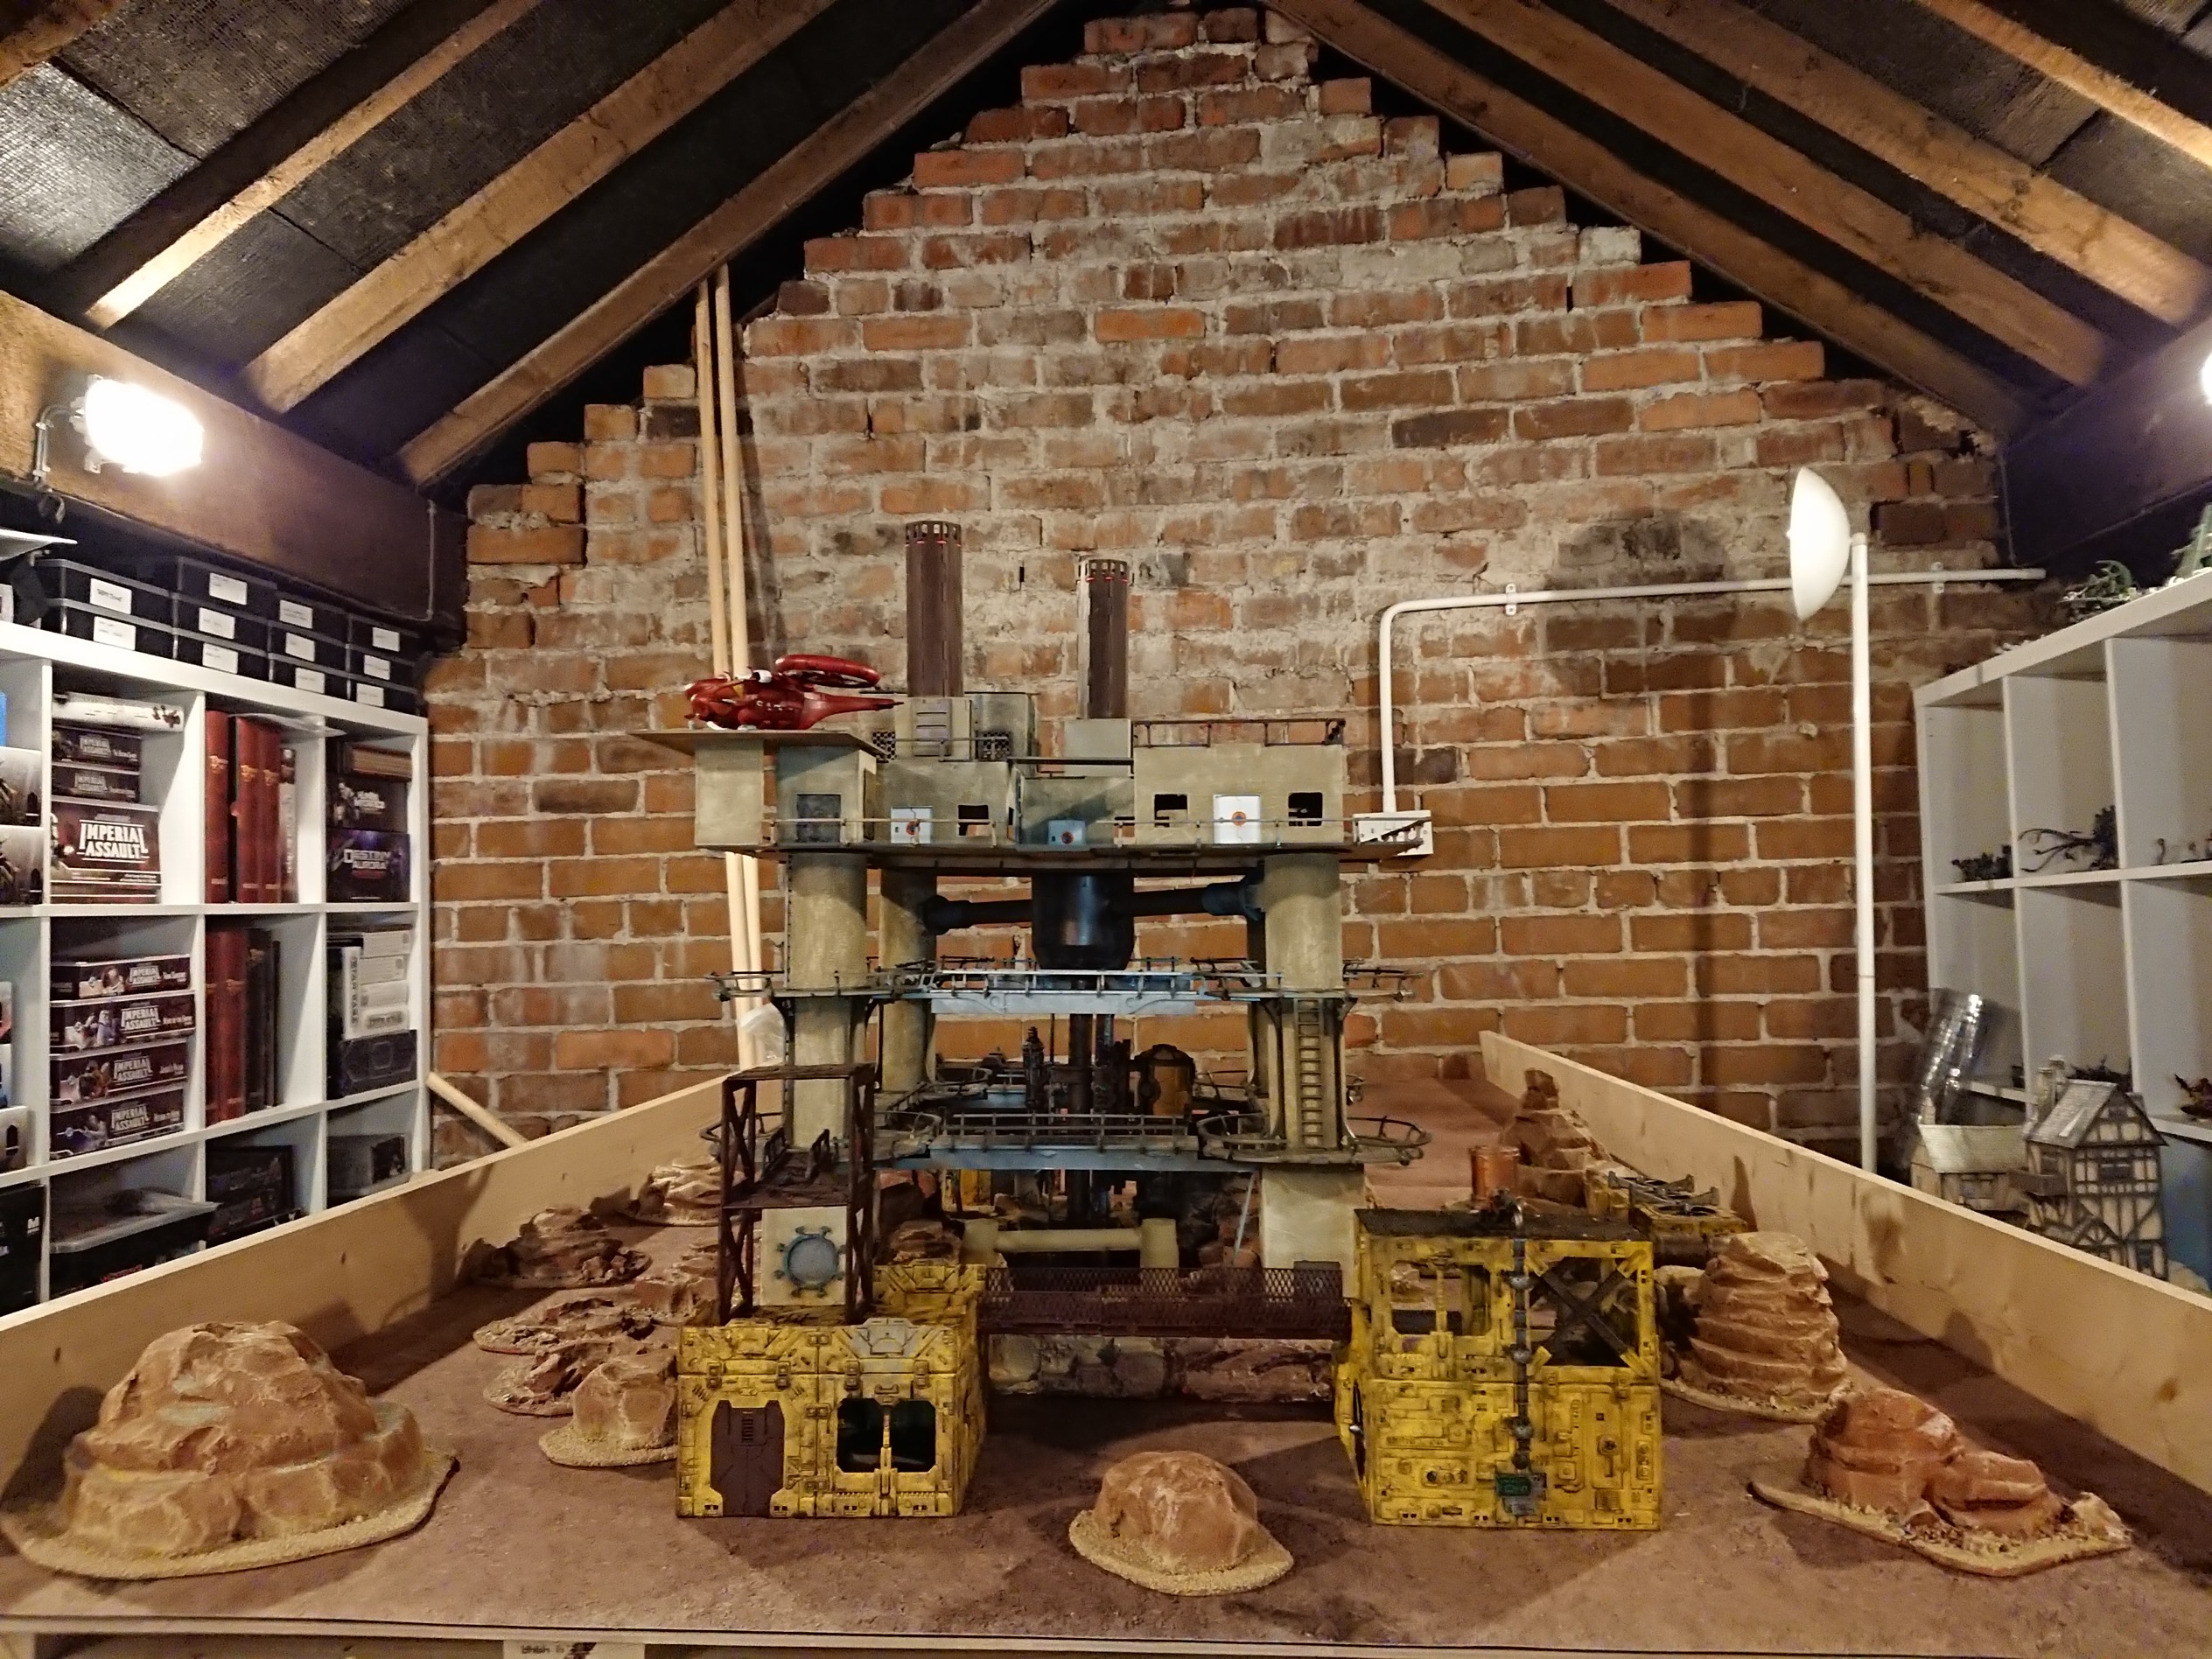
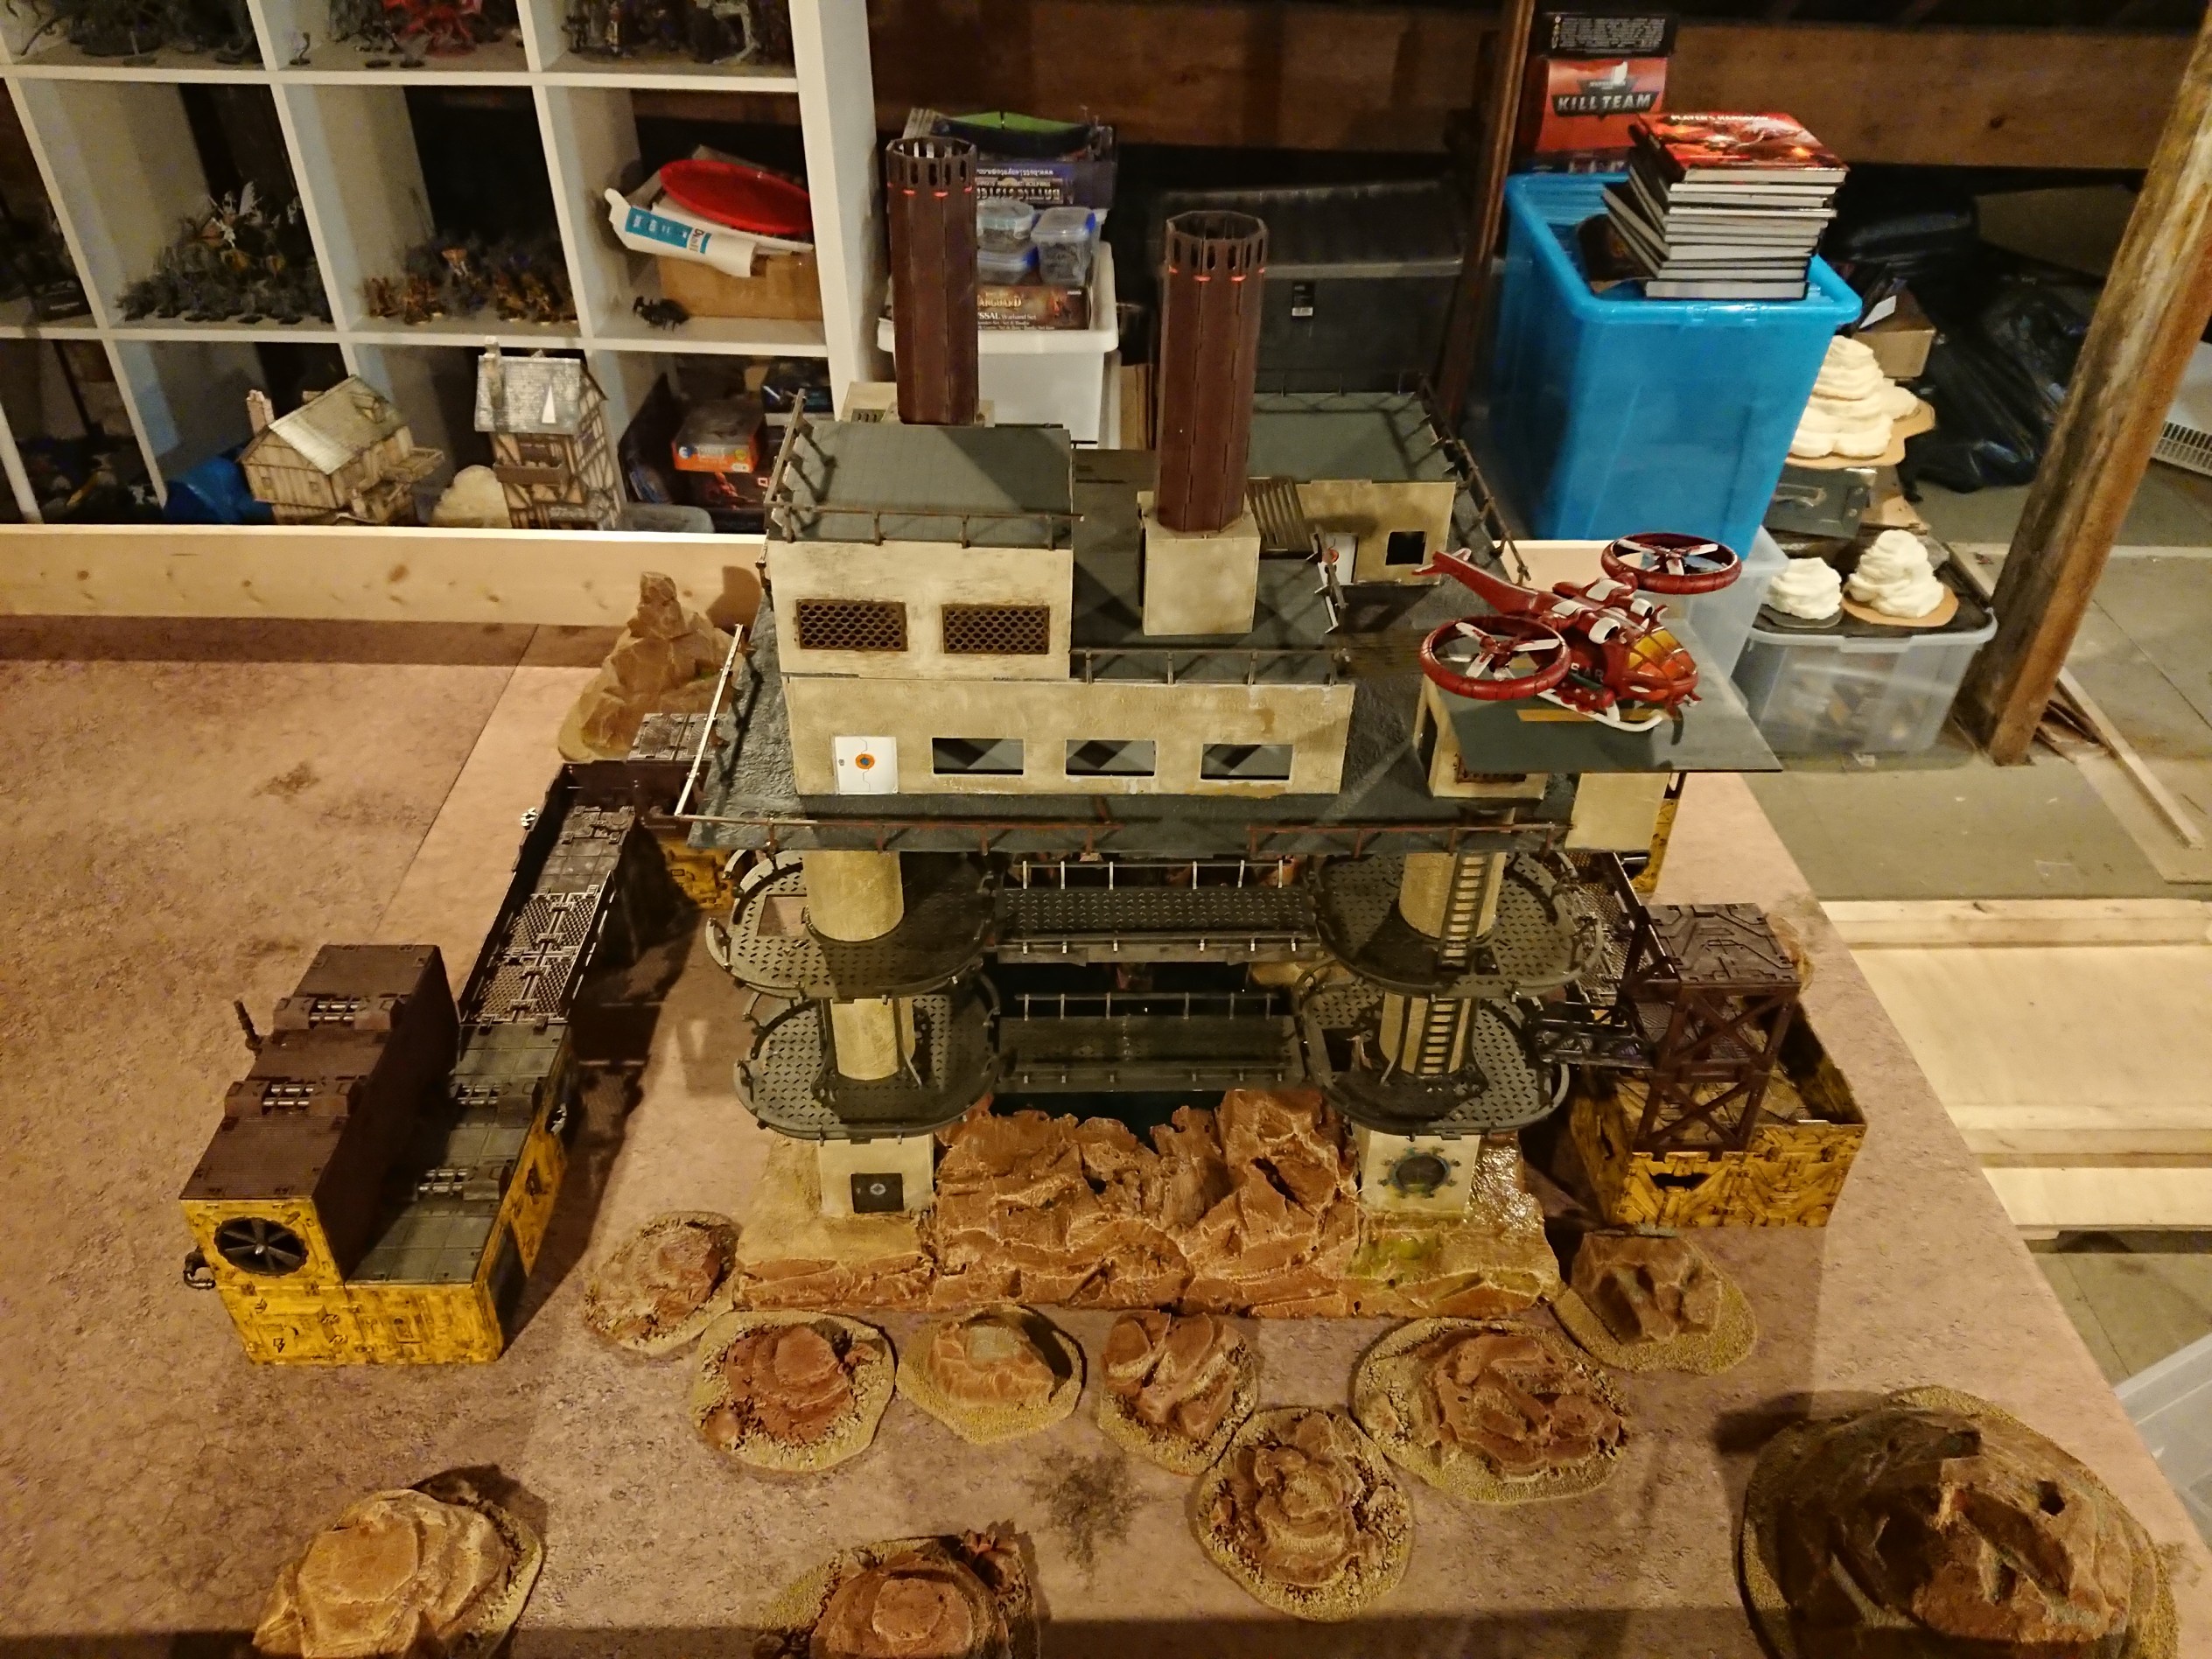
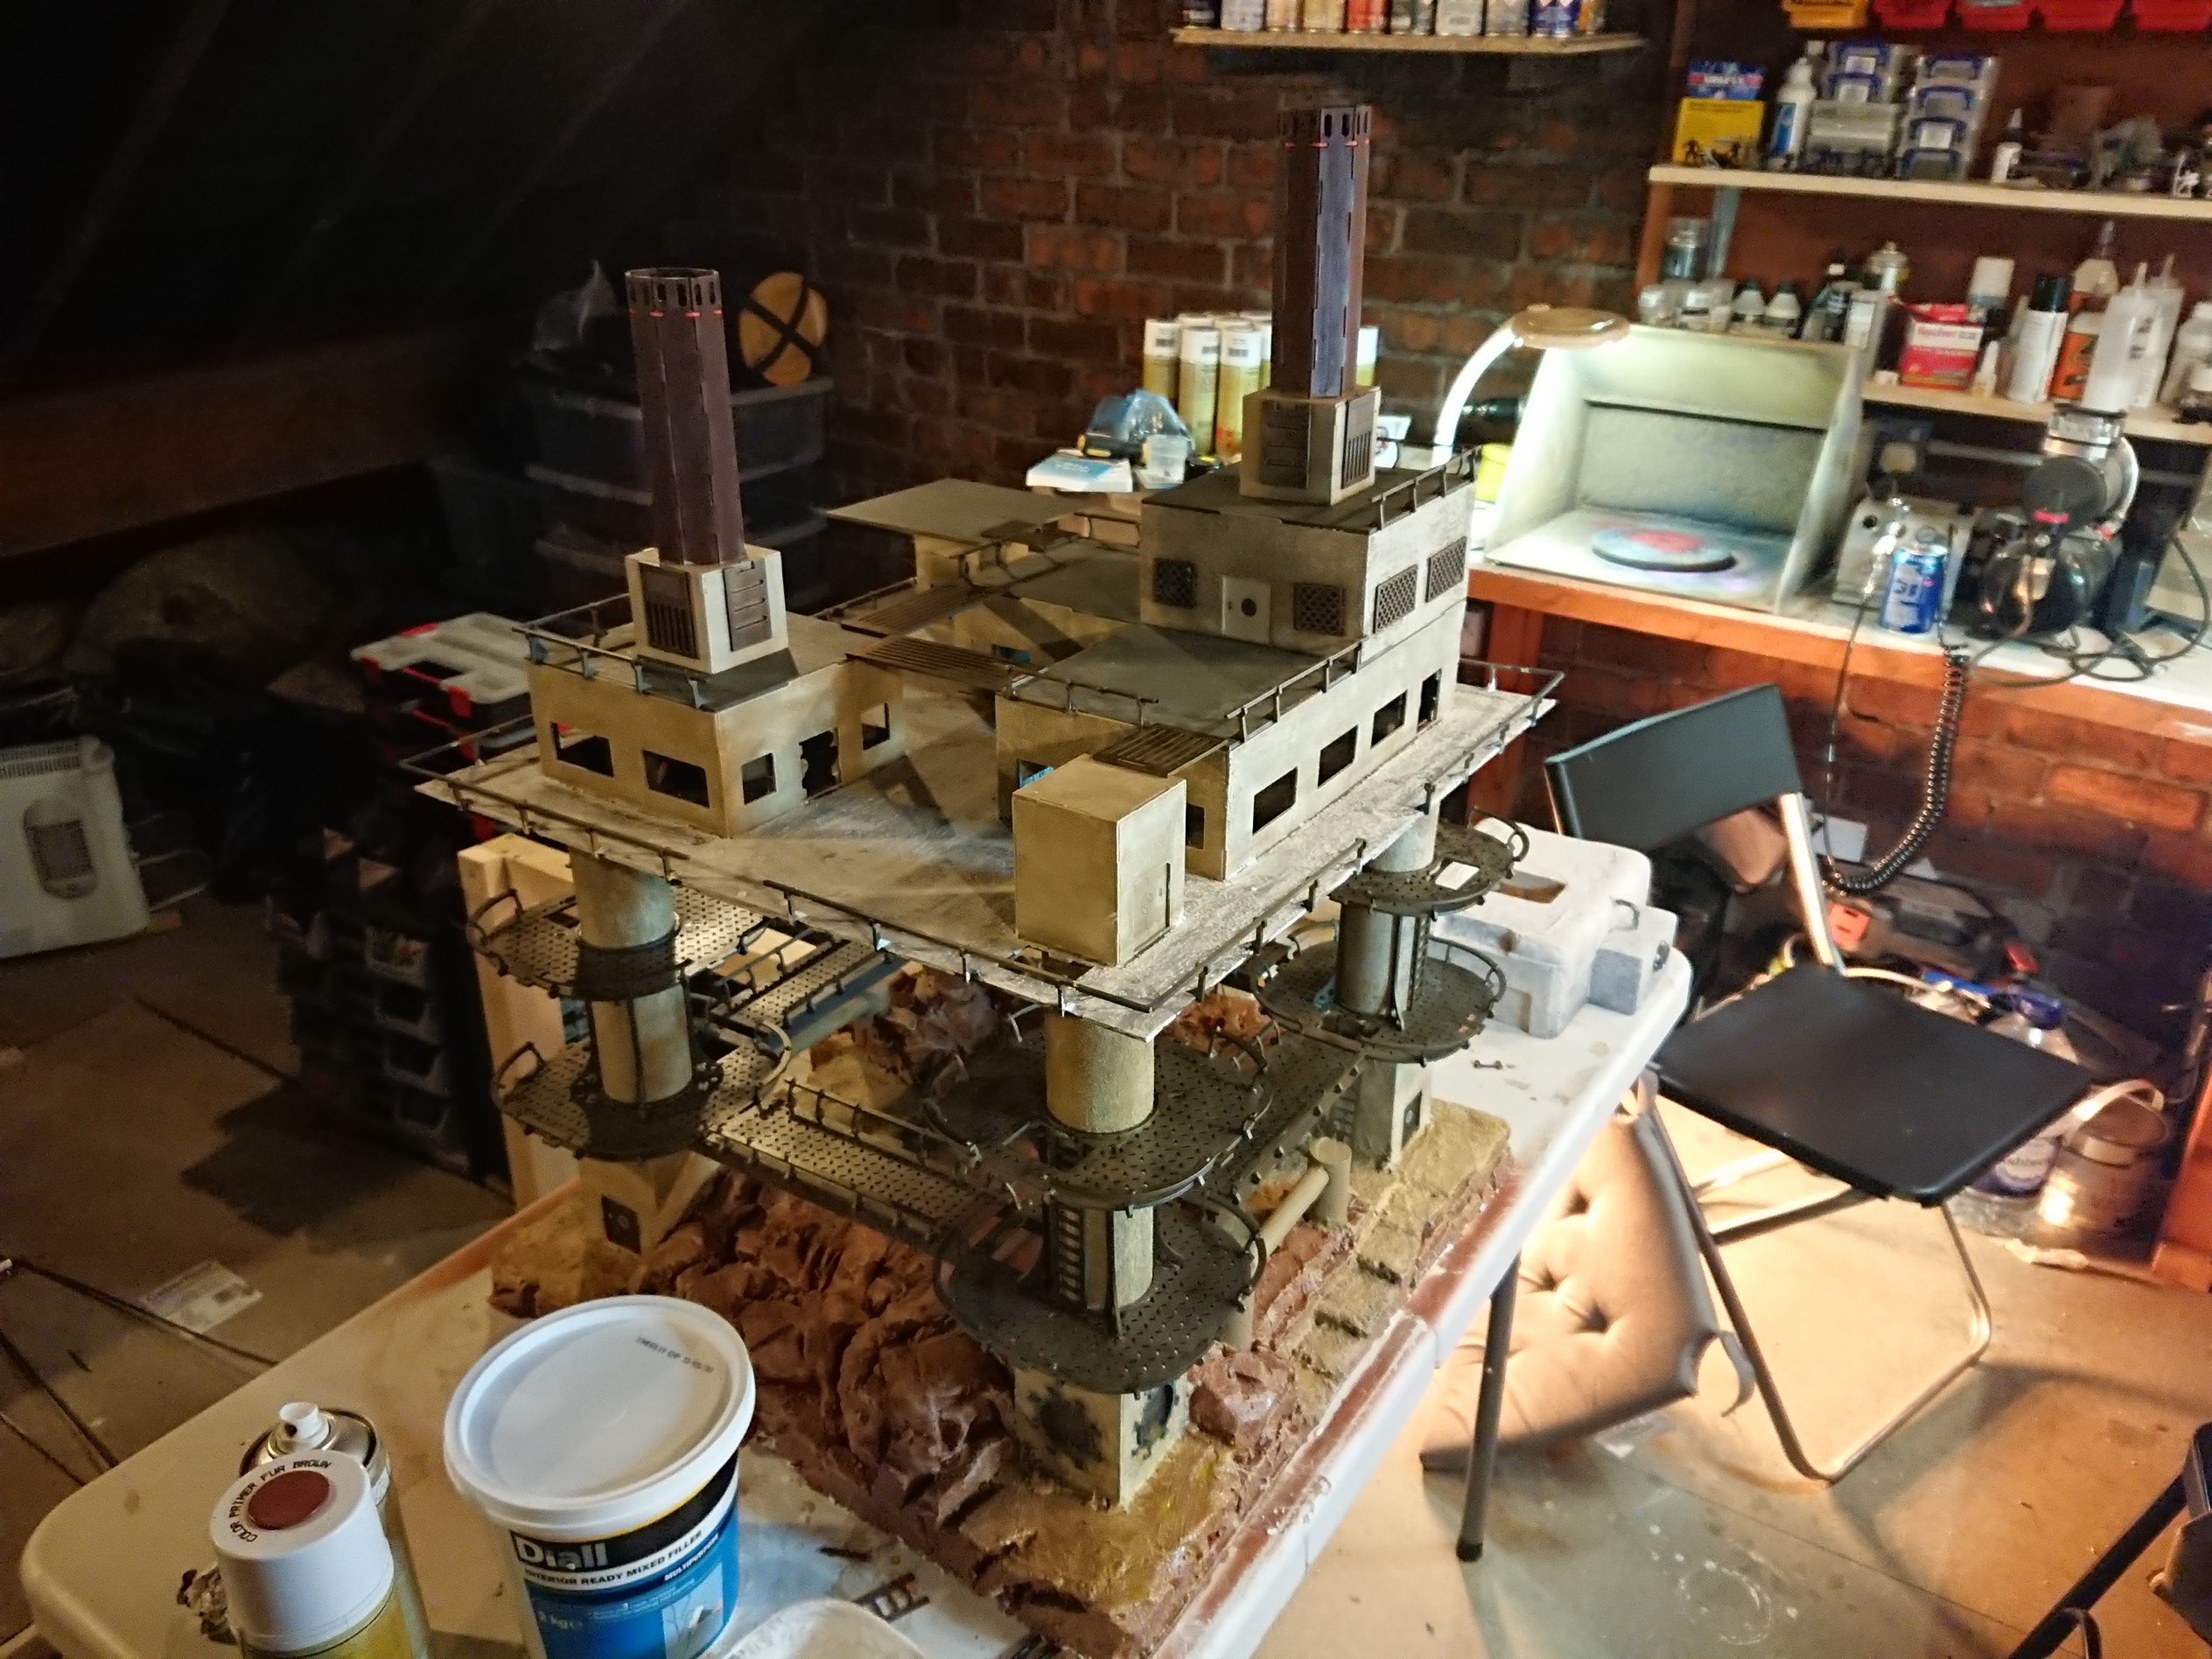
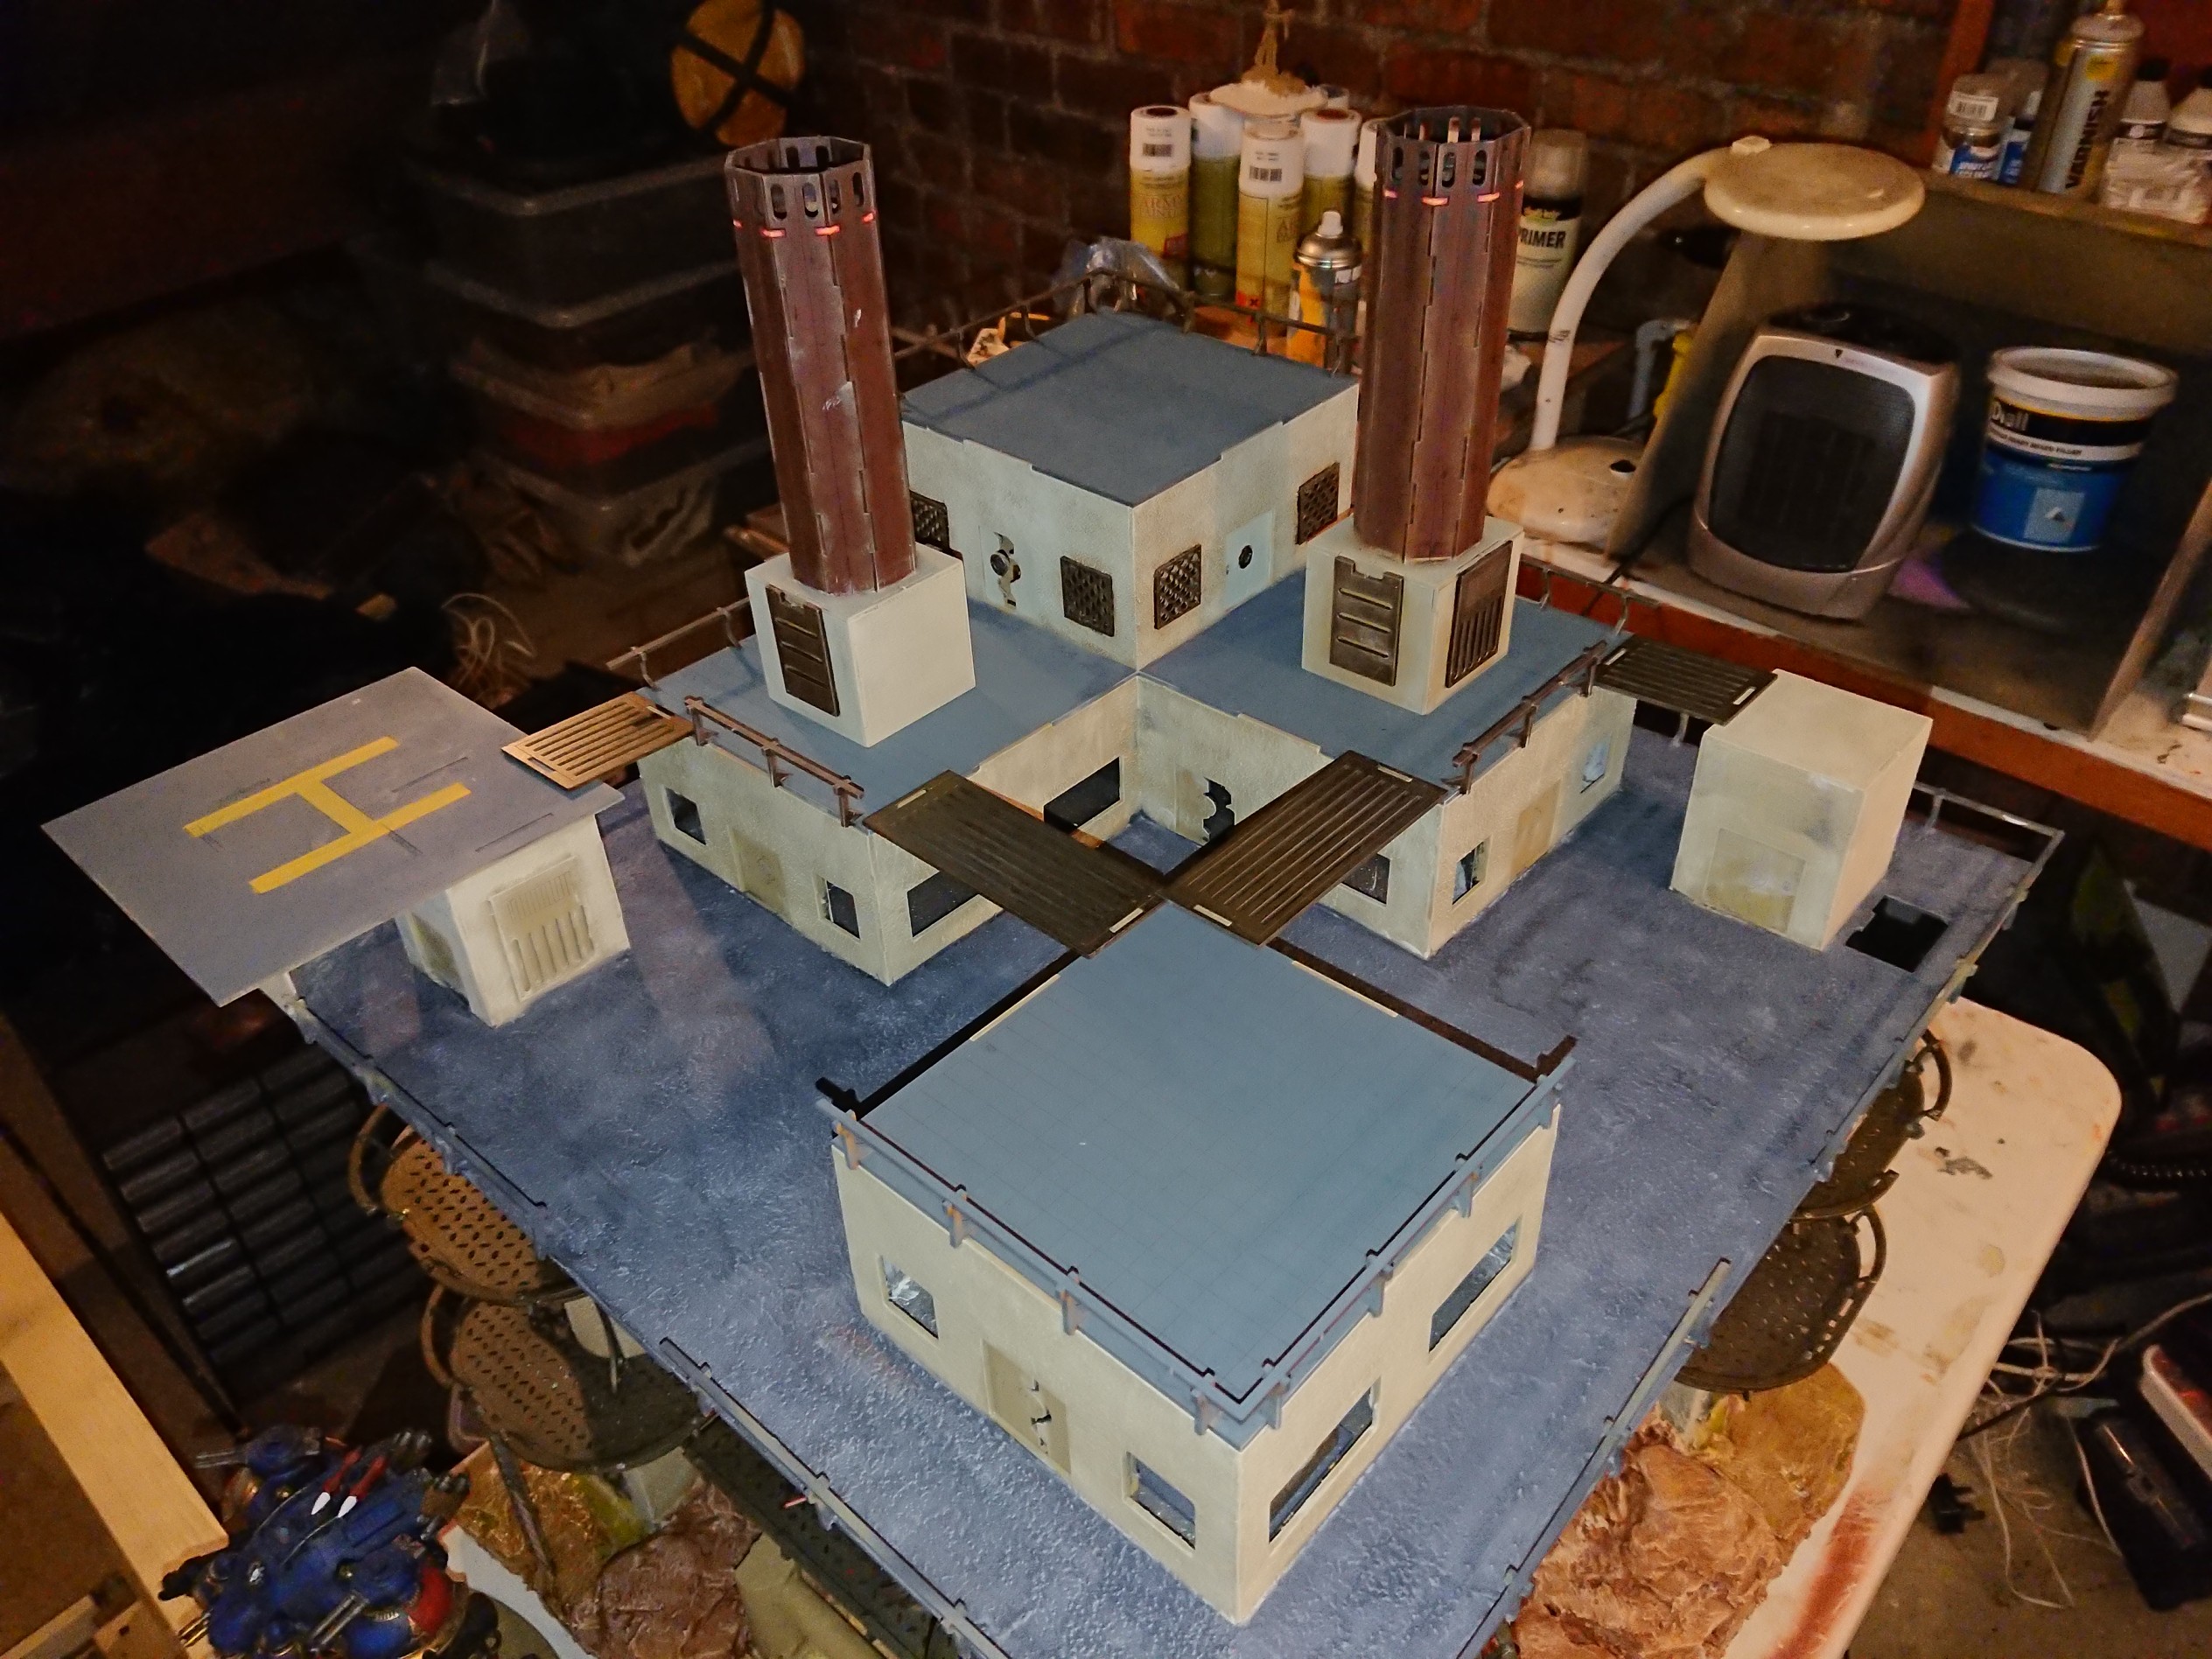
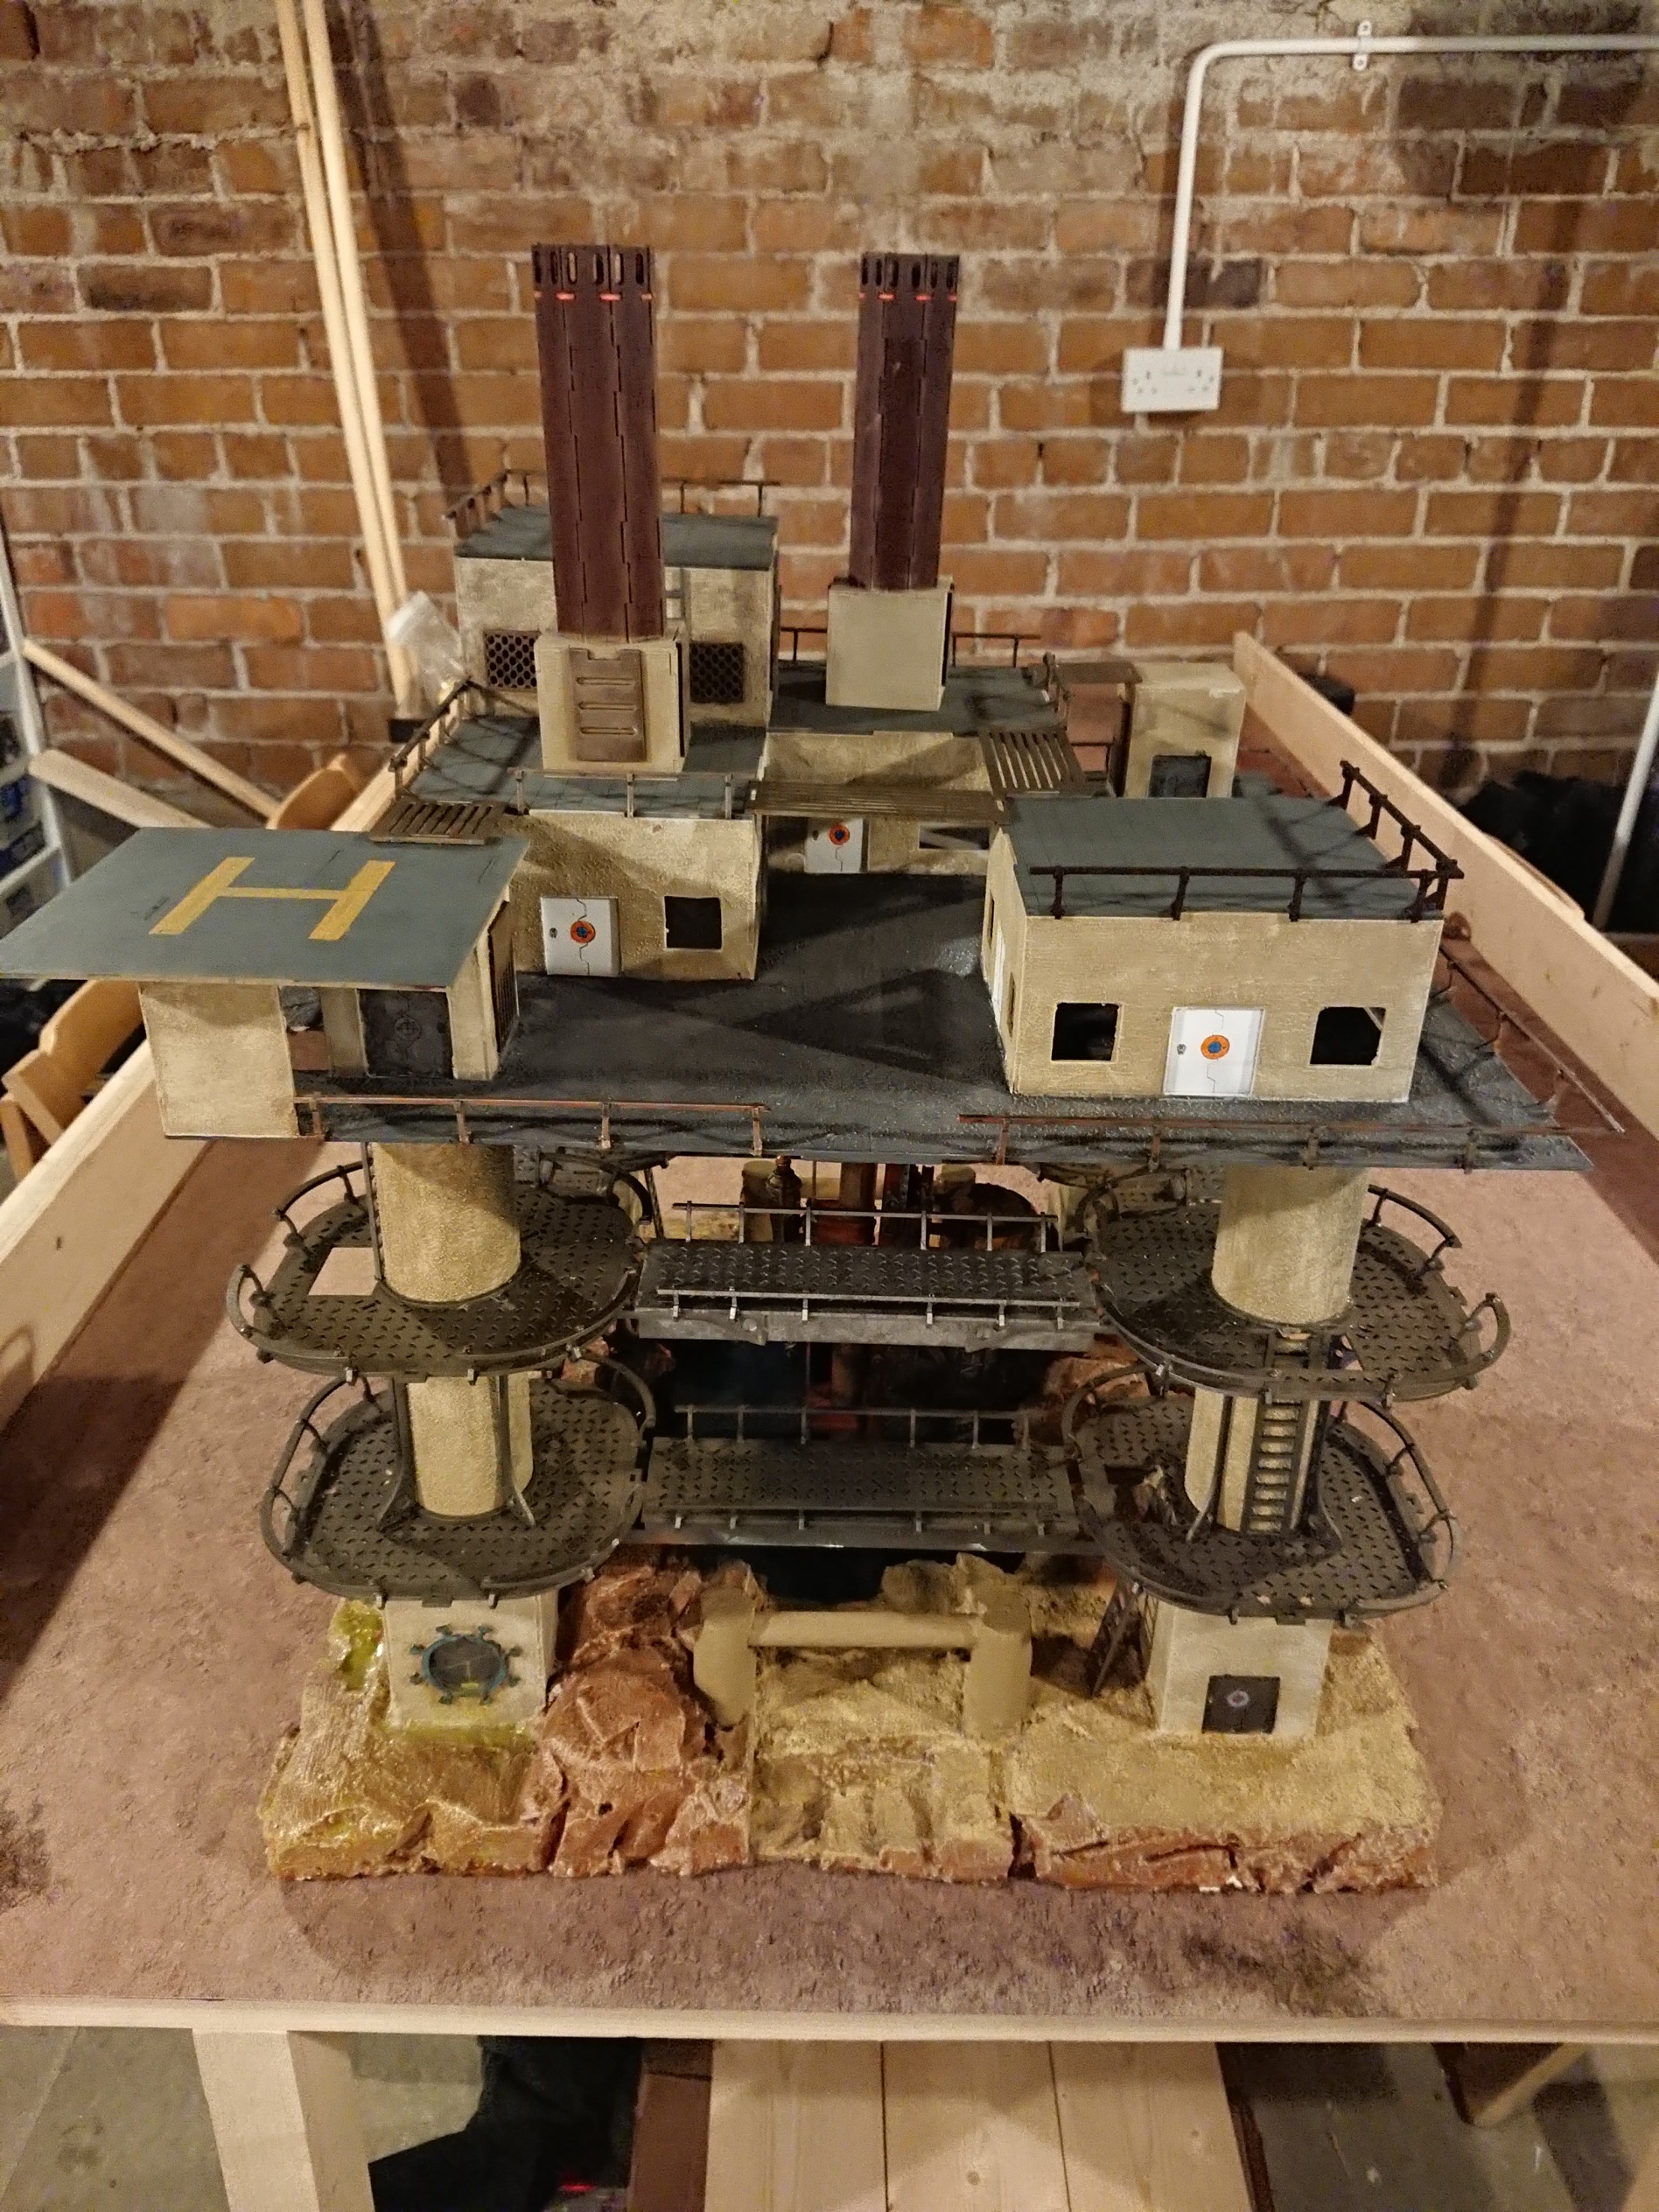 Here's the finished piece in all its glory. It's actually quite hard to see everything that's going on in just a single picture so I will also do some close ups.
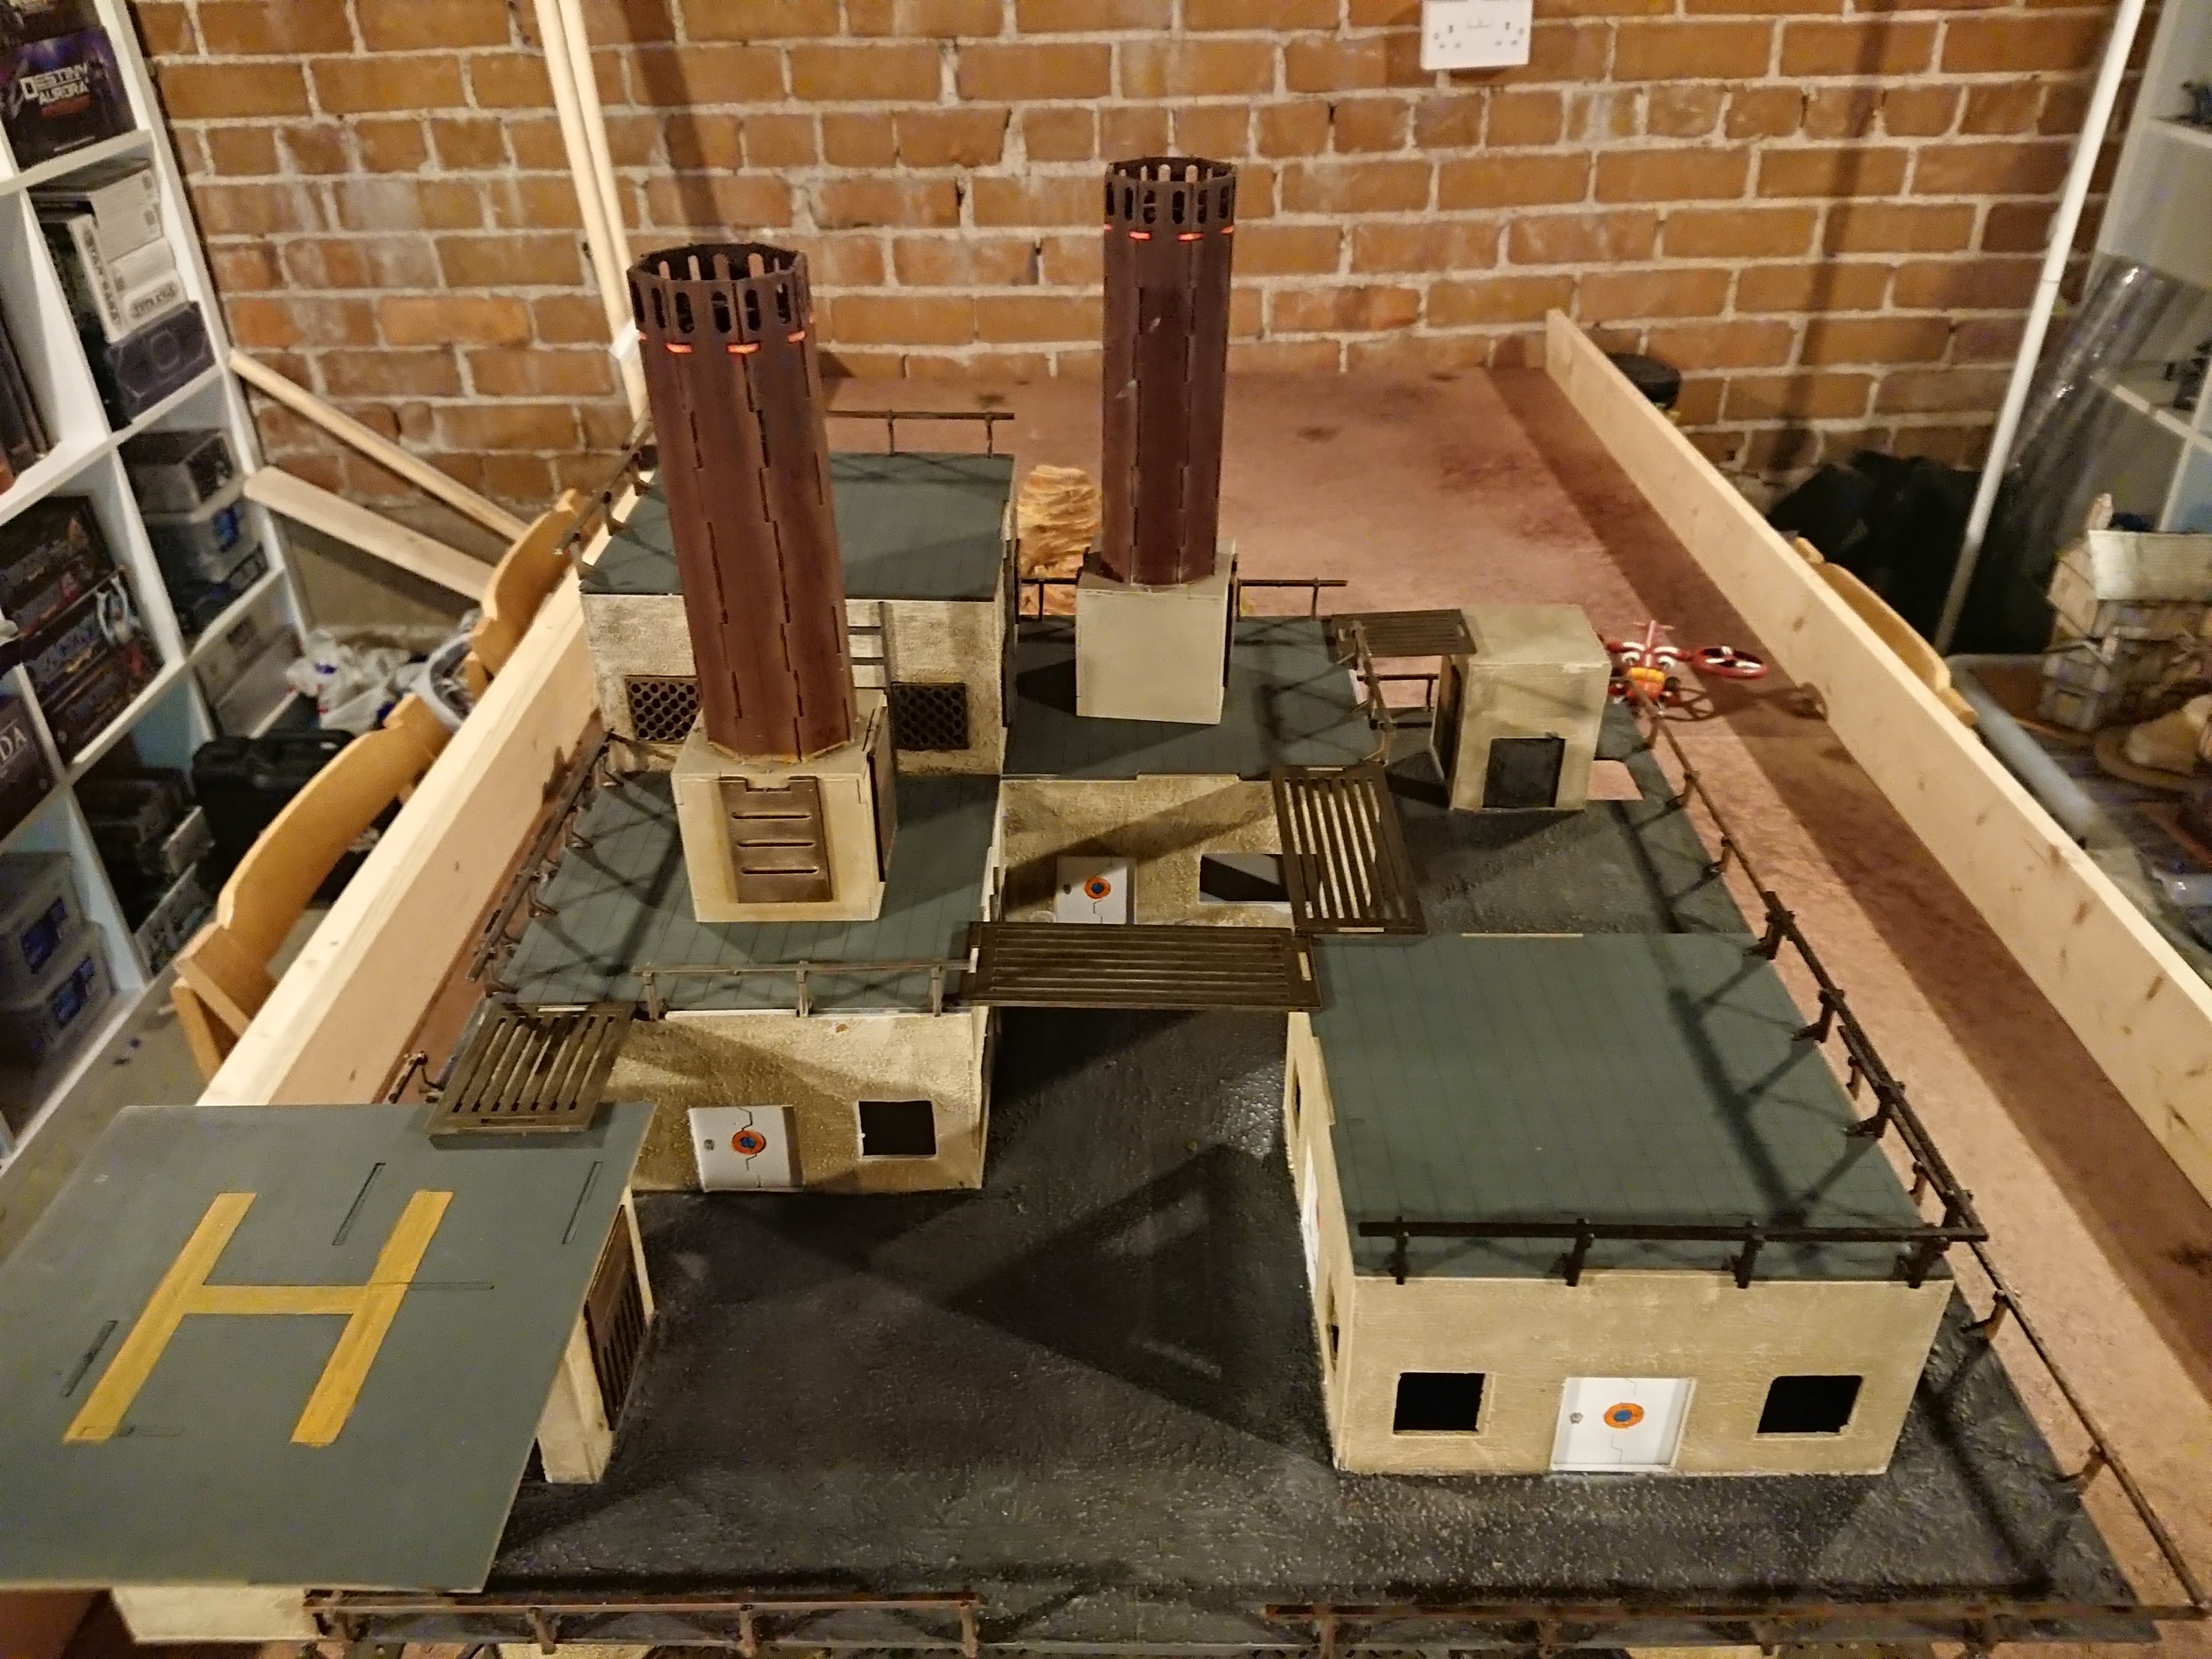 As you can see from the photo, the top platform does look a little barren, however I think all really needs is a little scatter terrain; a few crates, some barrels, maybe the odd computer terminal. Although it's a terrain piece, in many ways it is a self contained board and like any battlefield, it's the scatter terrain that really brings it to life.
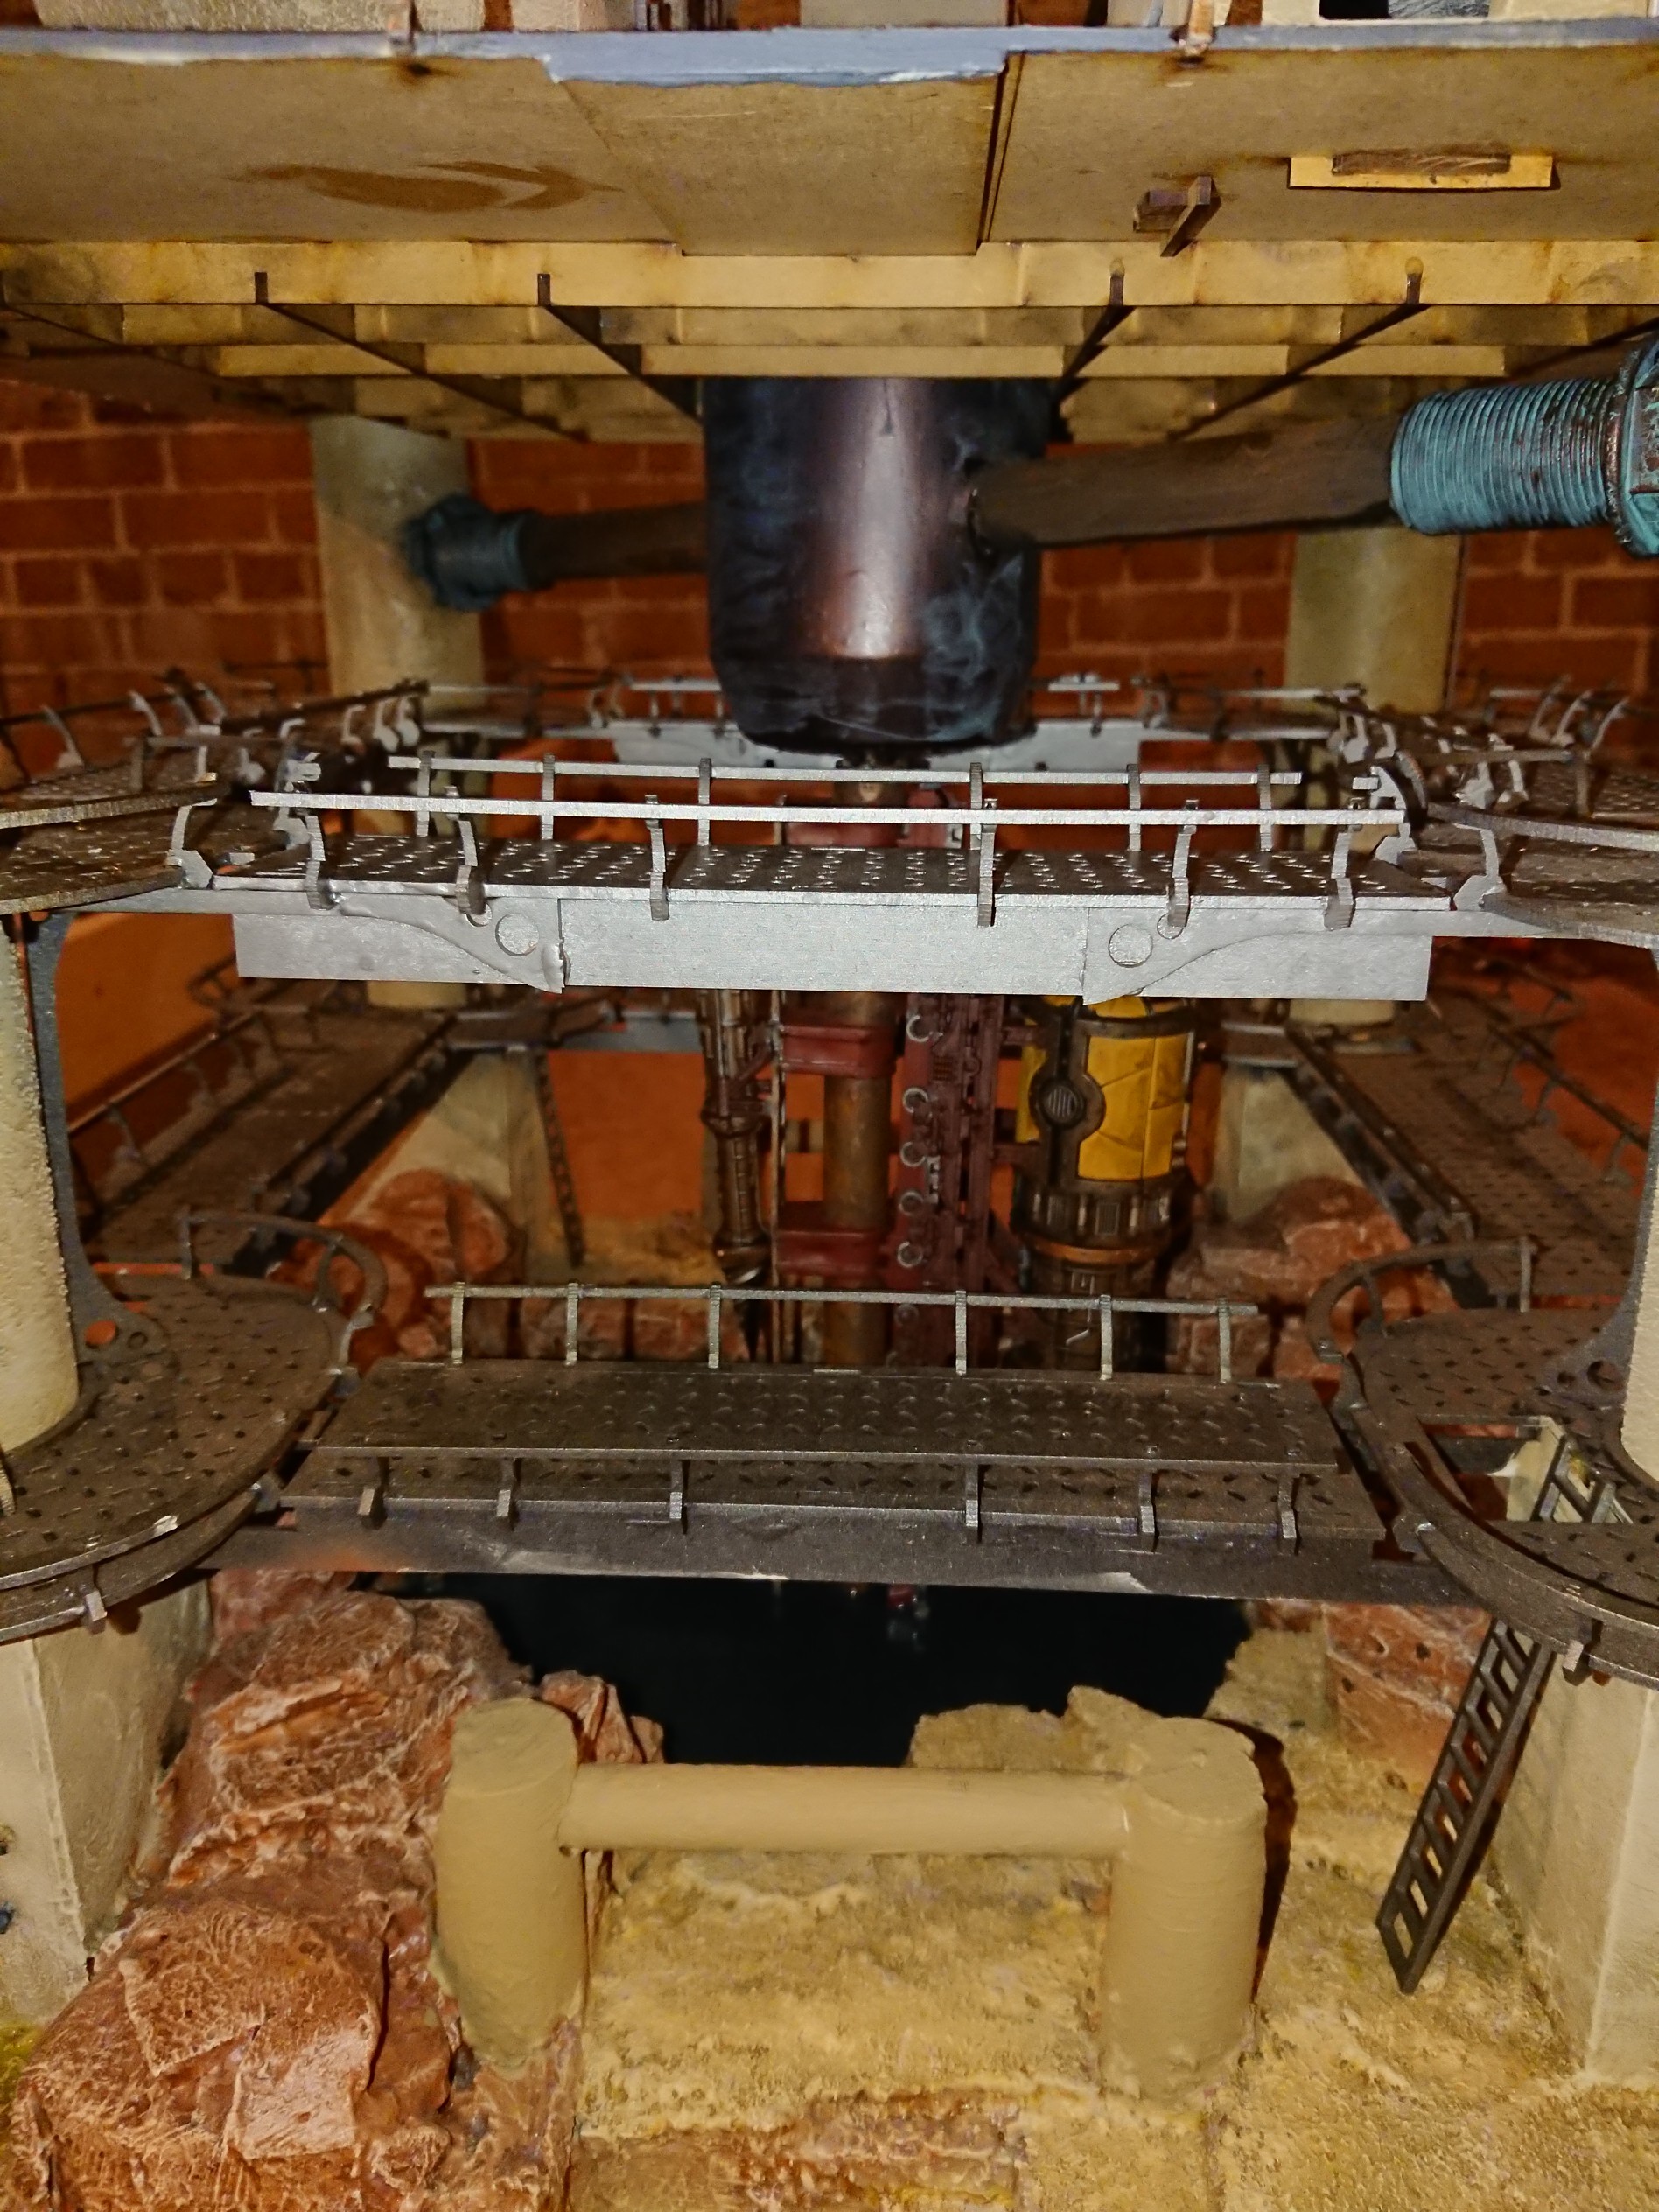 The people at Wargame Model Mods were kind enough to cut me an additional set of walkways as the original only comes with one set. I had to jury rig them to make them work as they're not really designed to fit between the upper platforms. I tested the weight bearing capability and they seen pretty sound, certainly enough to hold metal miniaures. The handle at the bottom is more an item of necessity. At some point, when I actually think of a way to do it, I will probably disguse them as something else. But for now they have to remain as it's the only way of safely moving the piece around (it actually weighs quite a bit and it's also really unwieldy so the handles are essential).
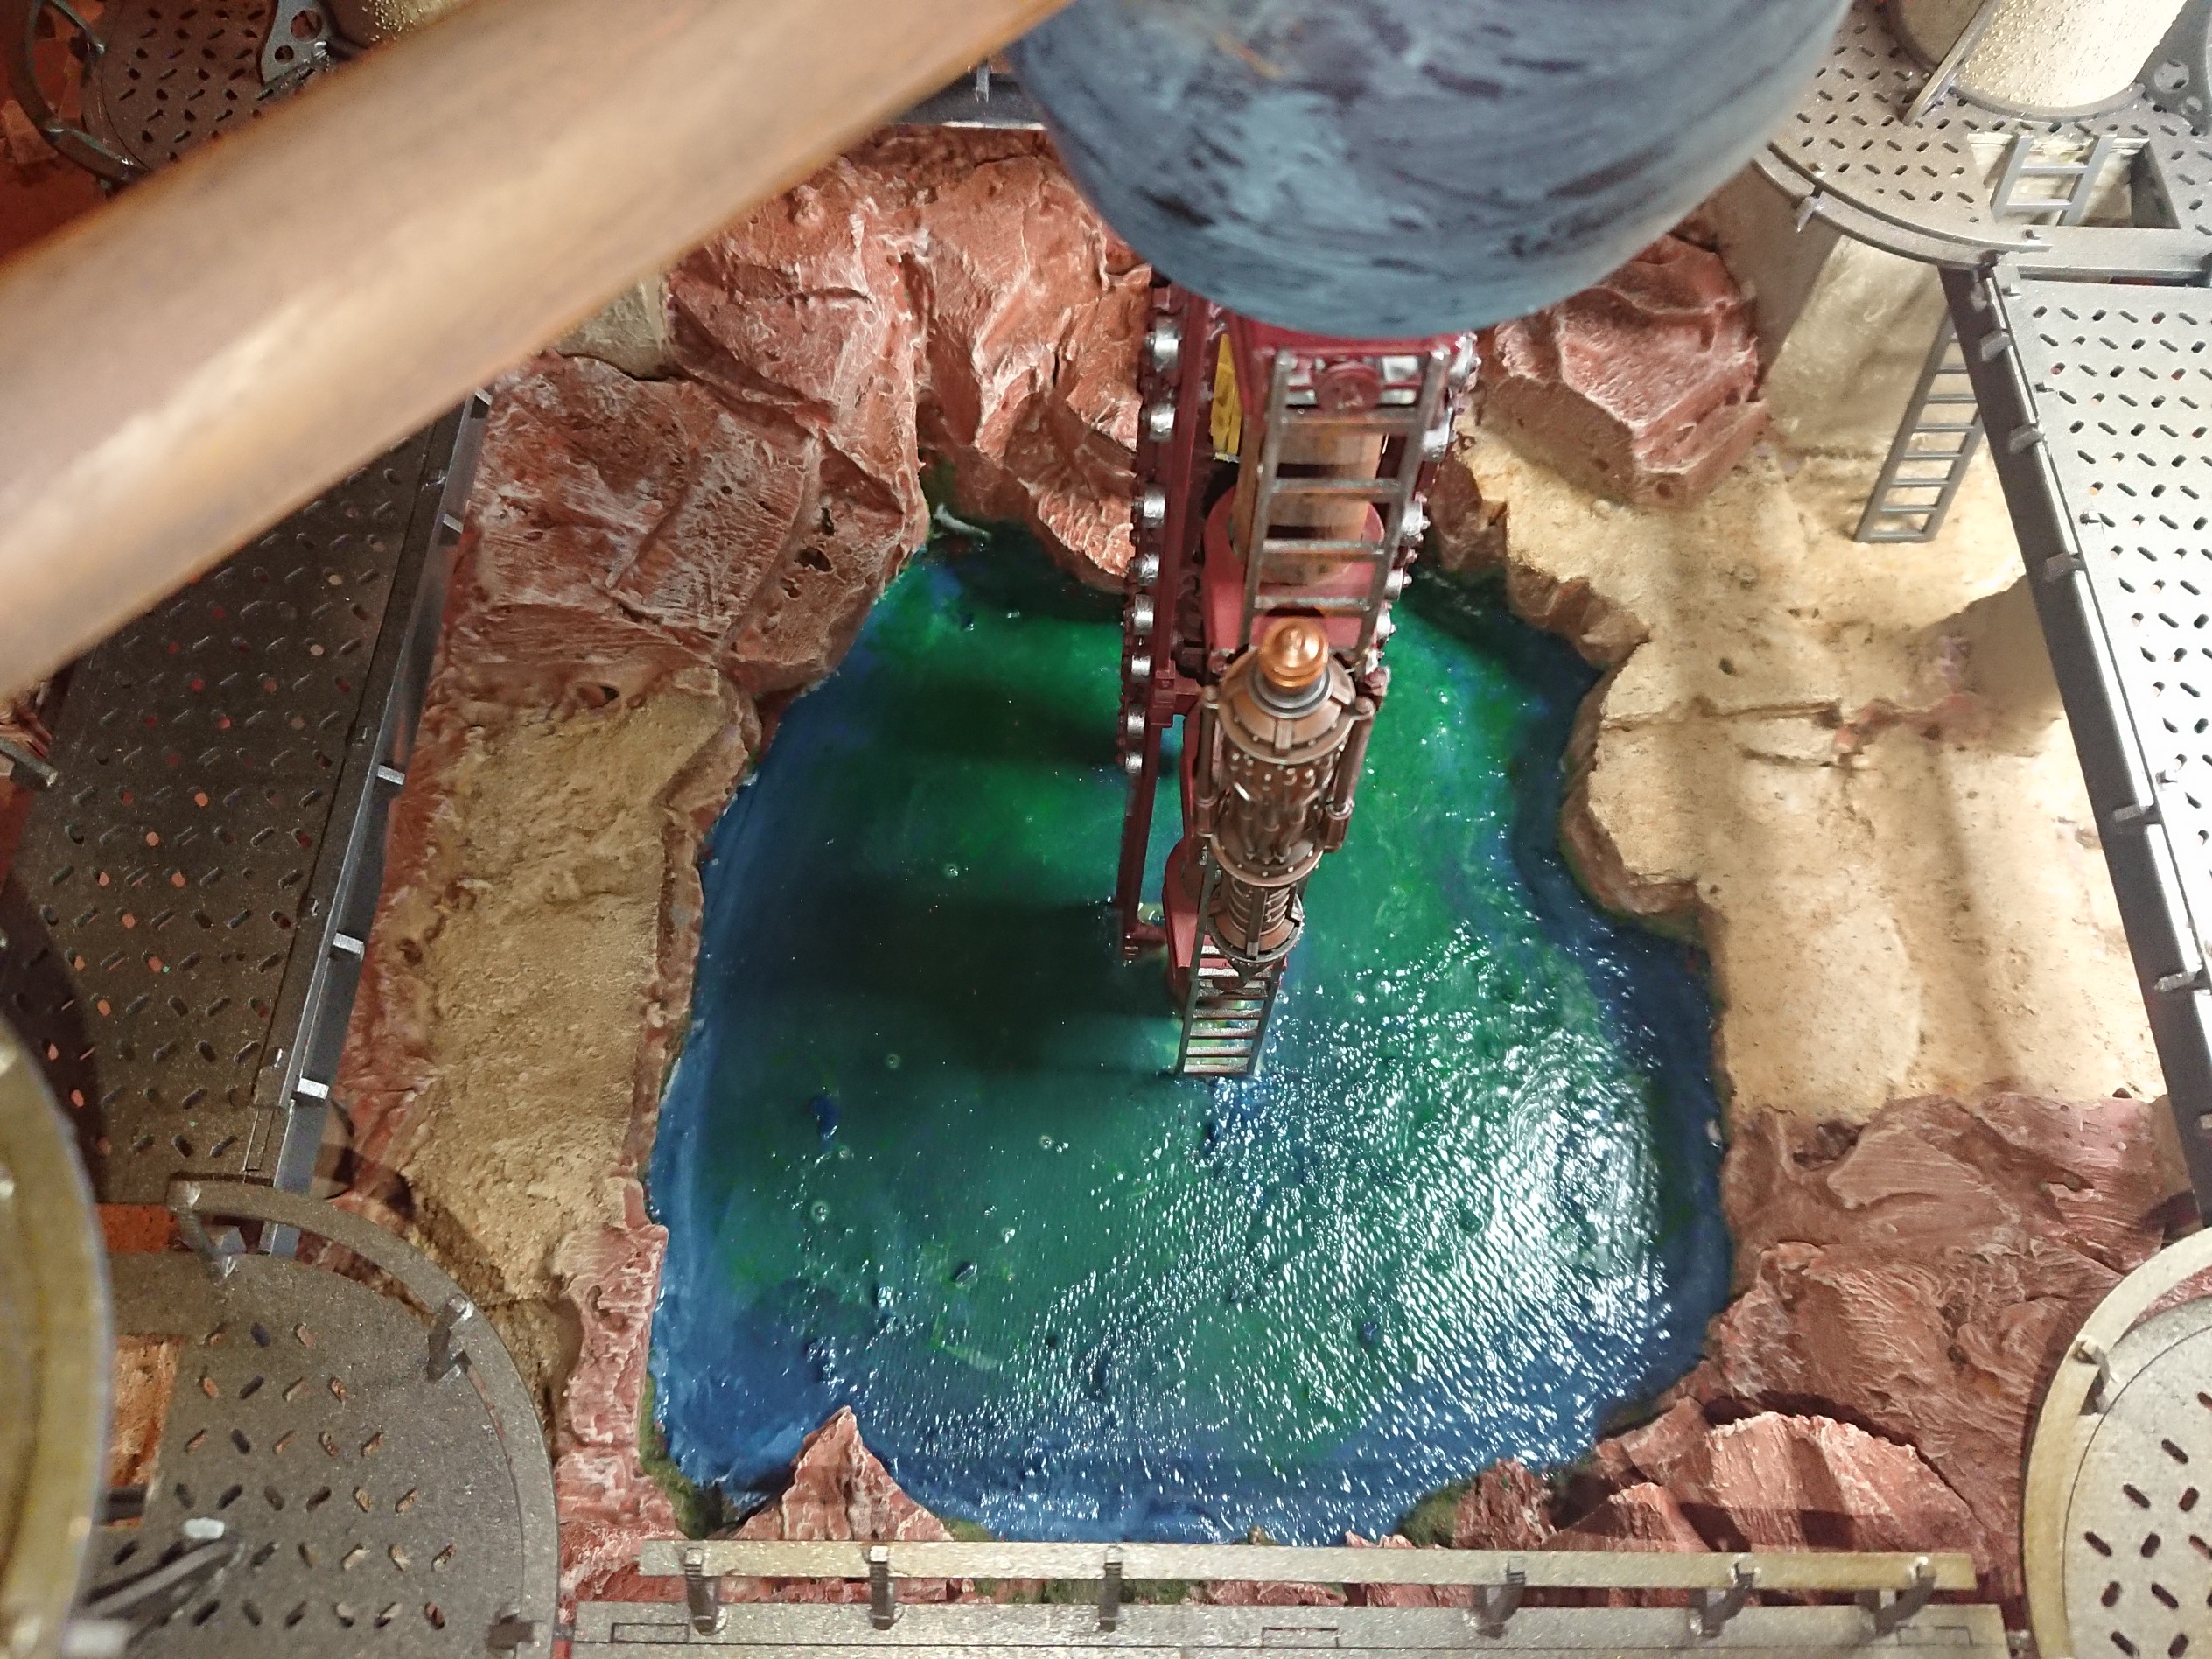
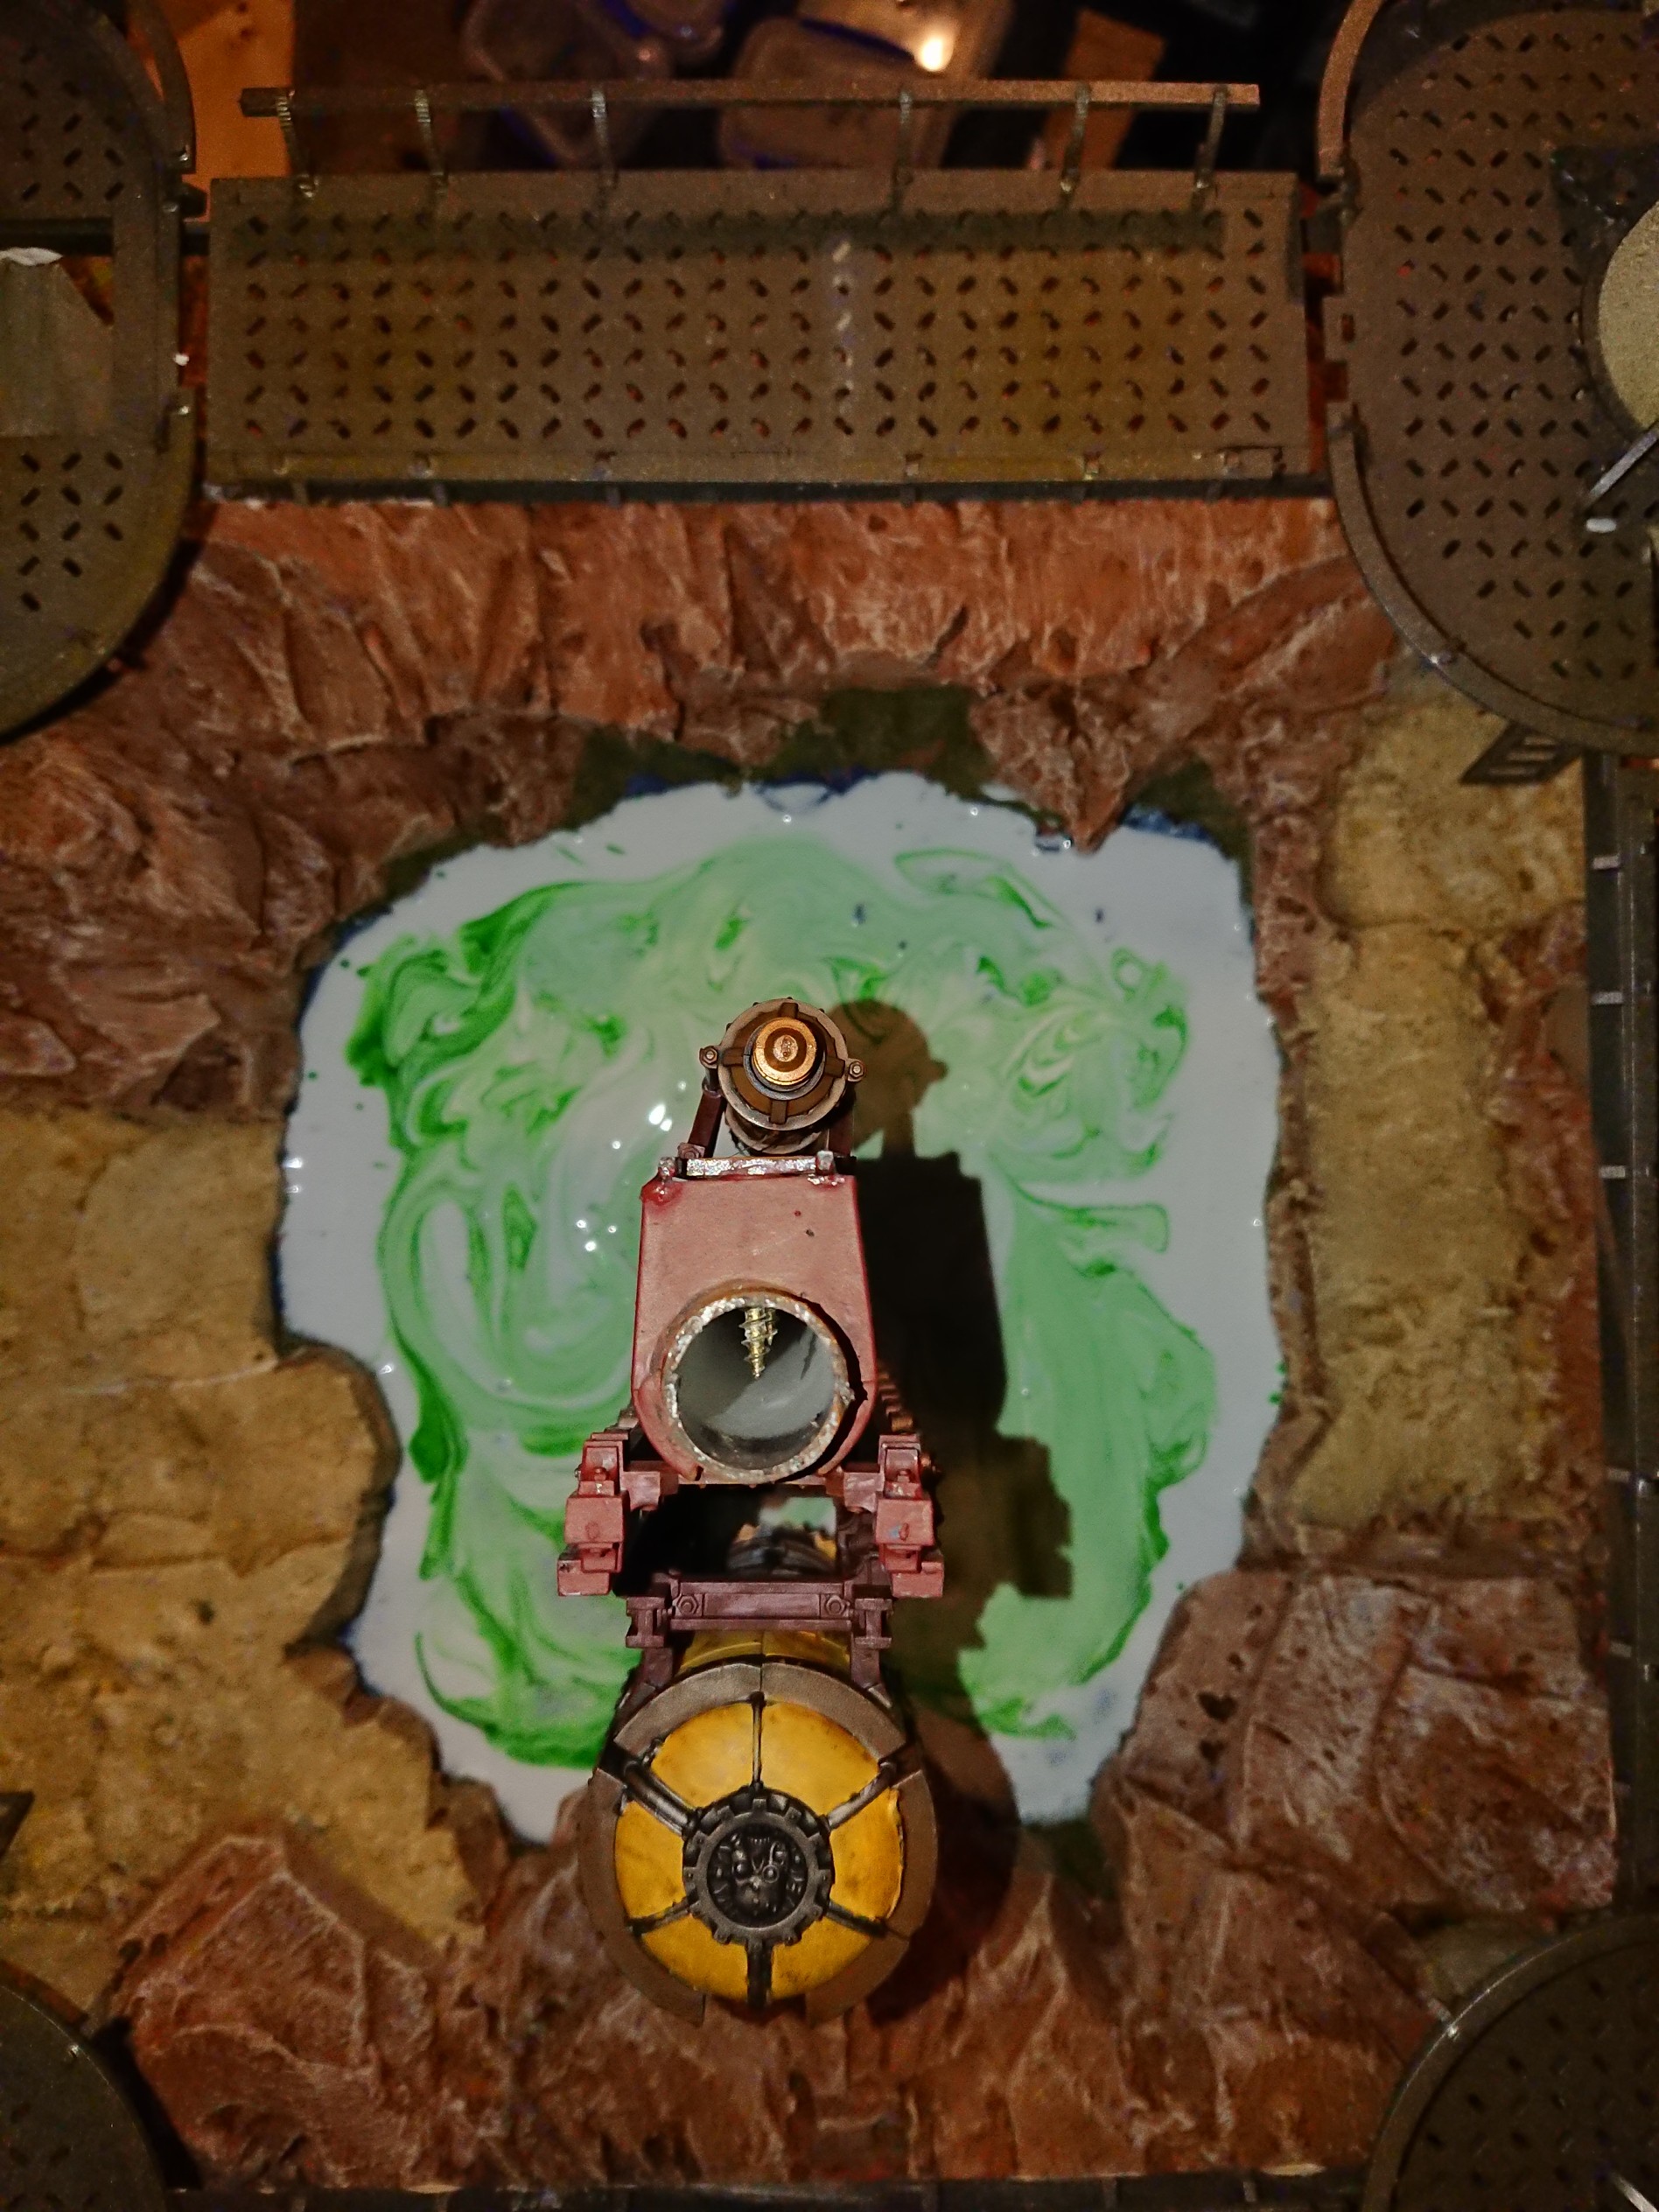
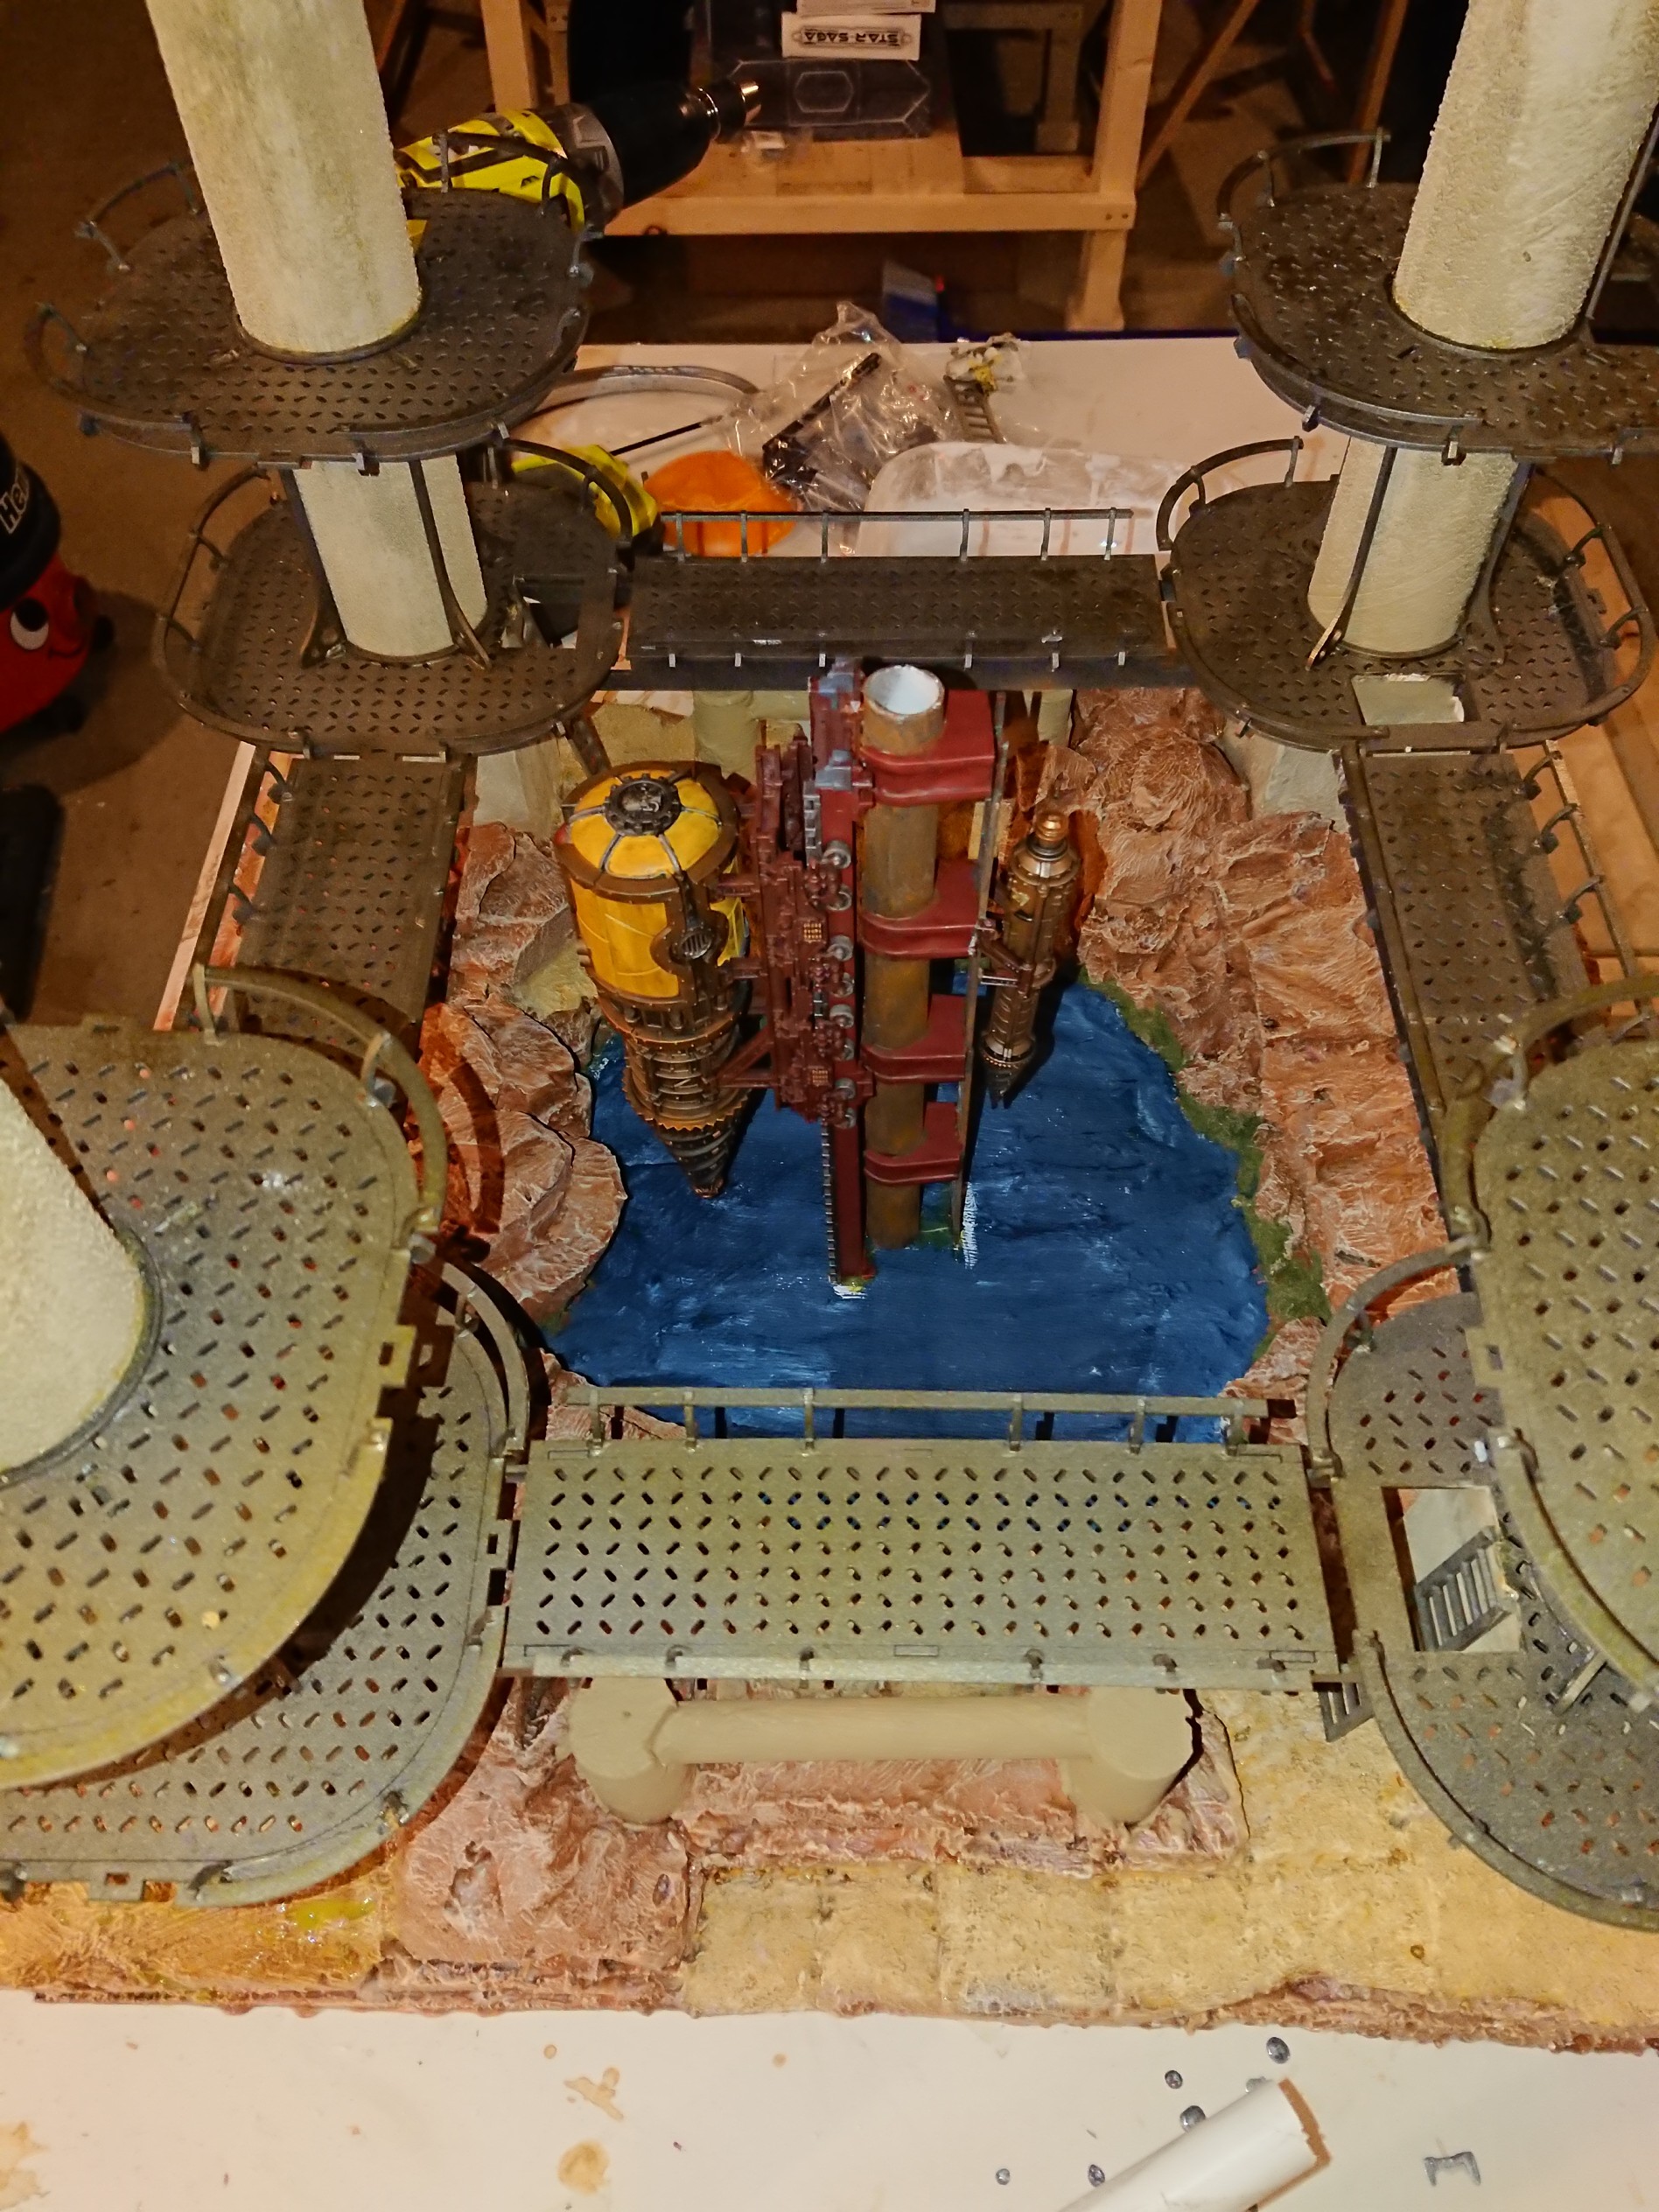
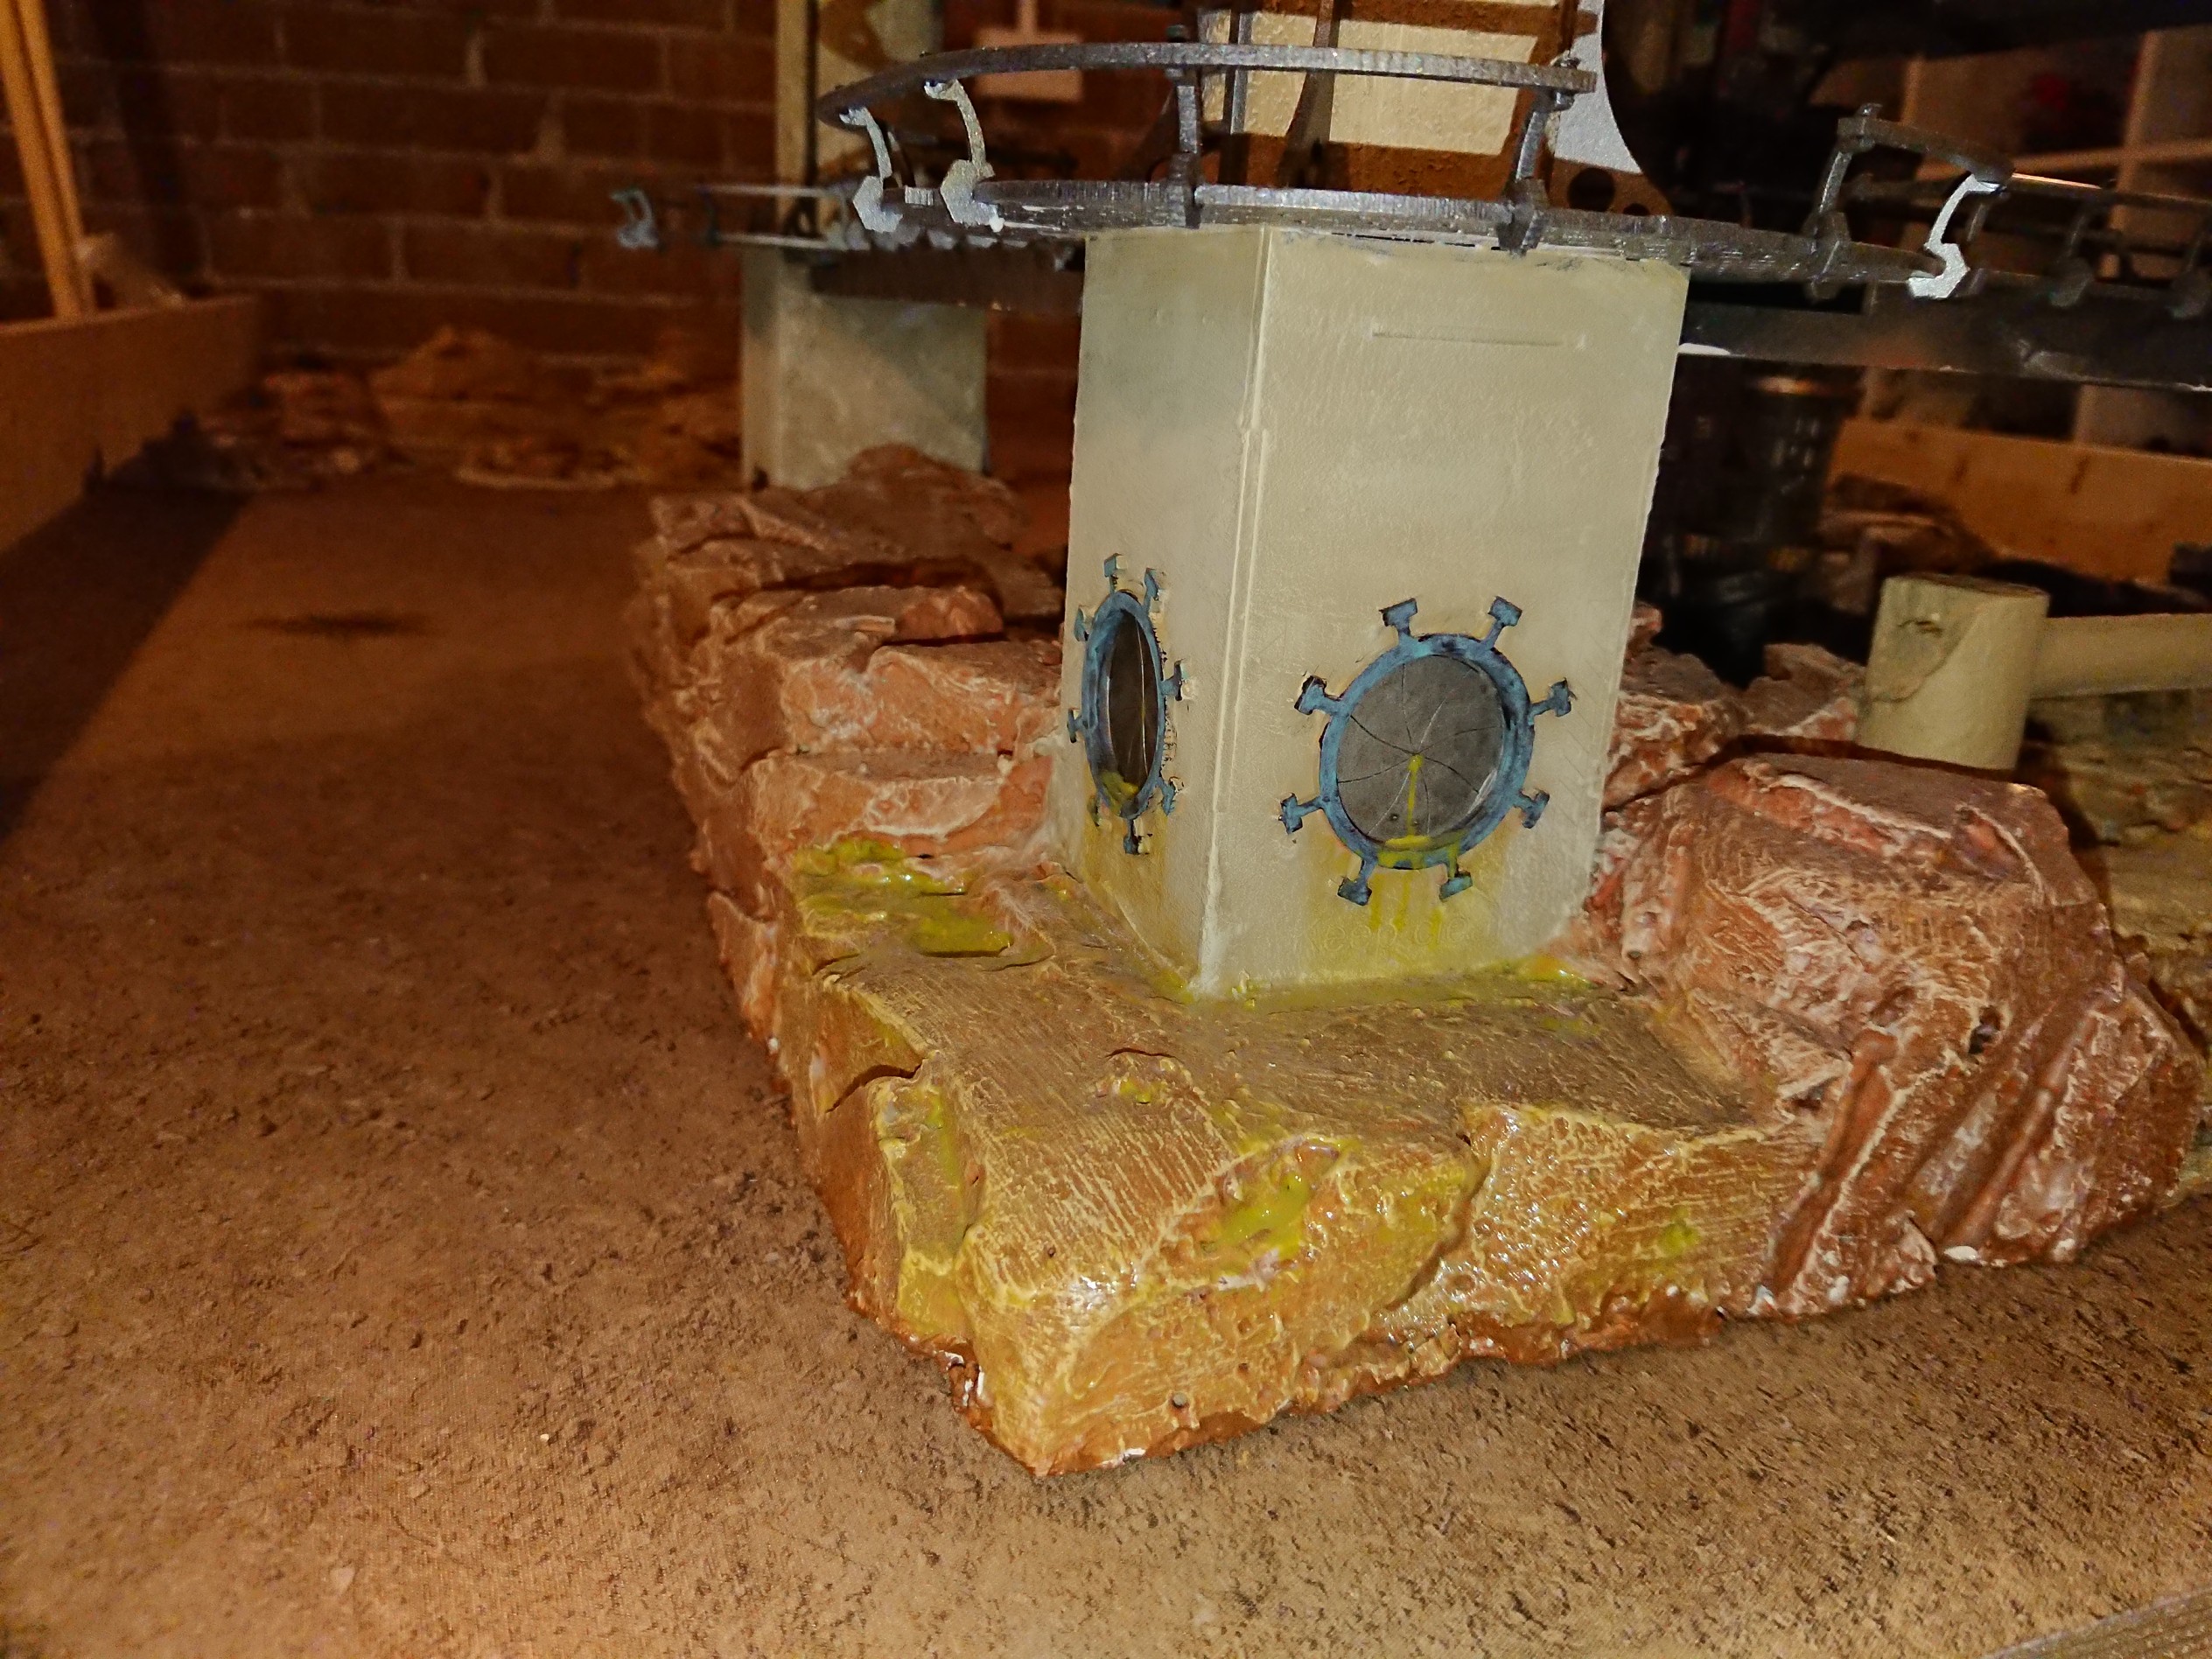 At the base of two of the legs we have these, I assumed that they were some kind of waste output system. So I got busy with the Green Slime. I'm really happy with the result, so much so I am actually considering making some pools of green slime that can be attached to the each corner.
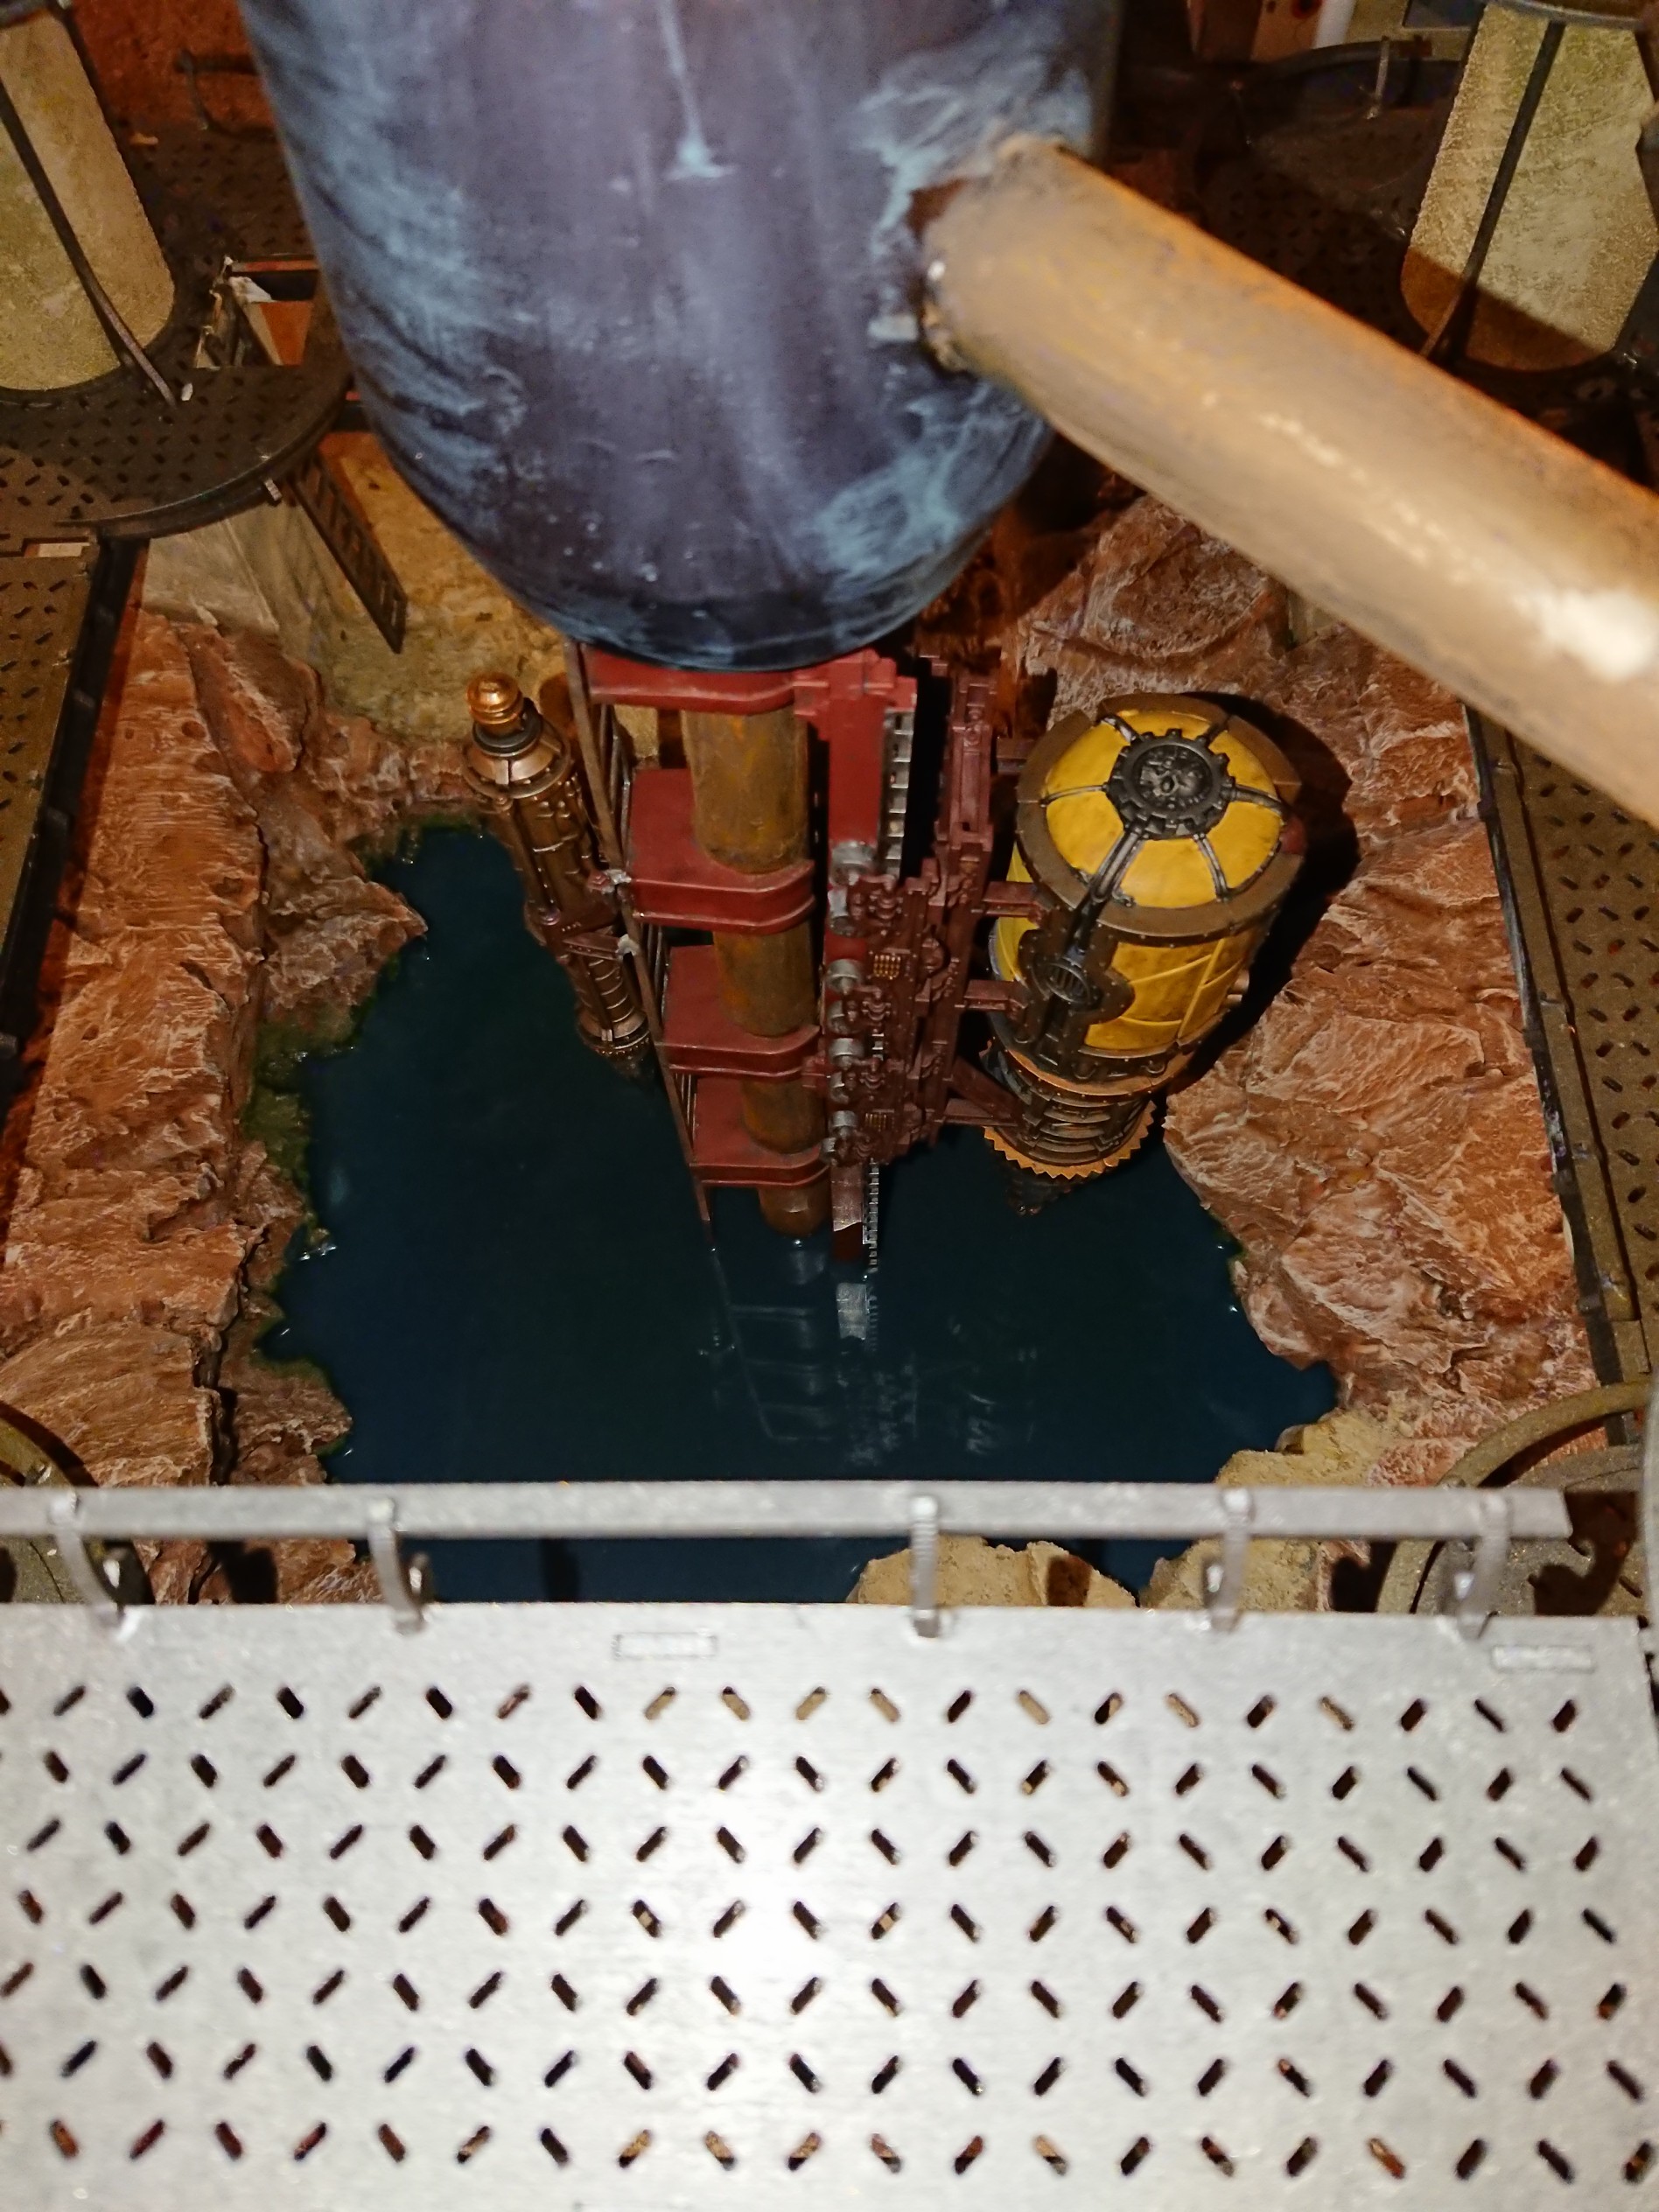
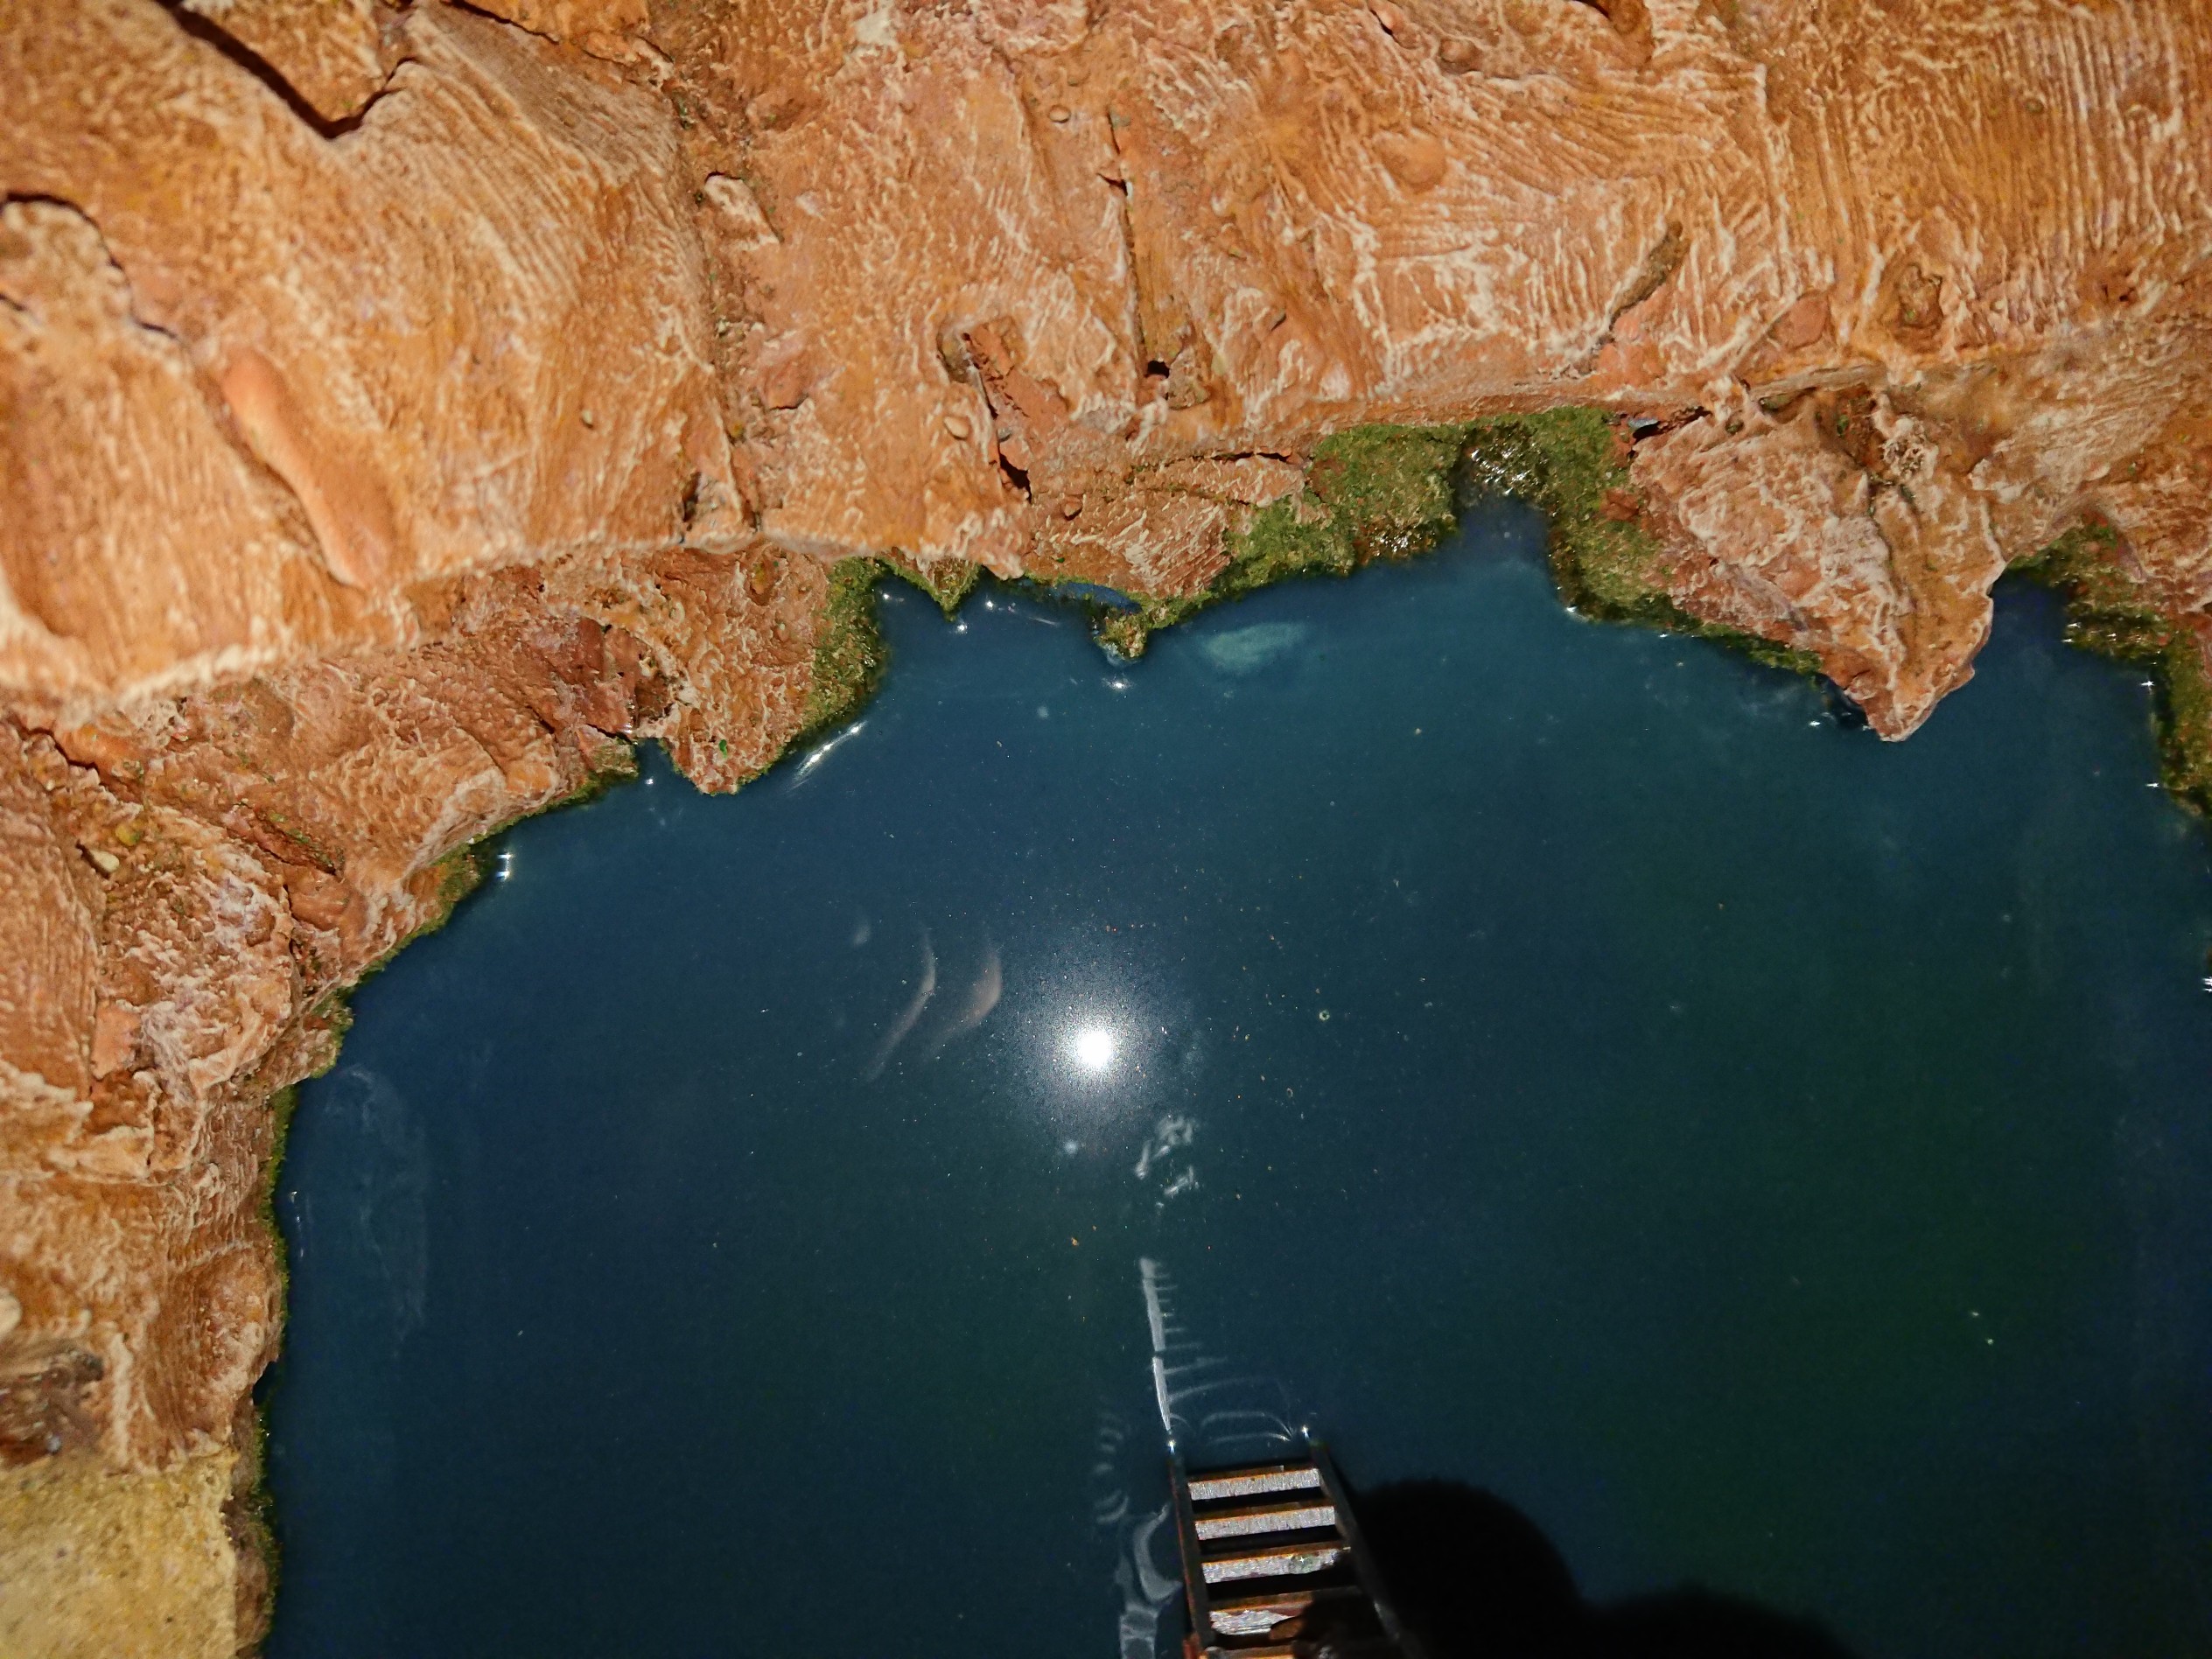
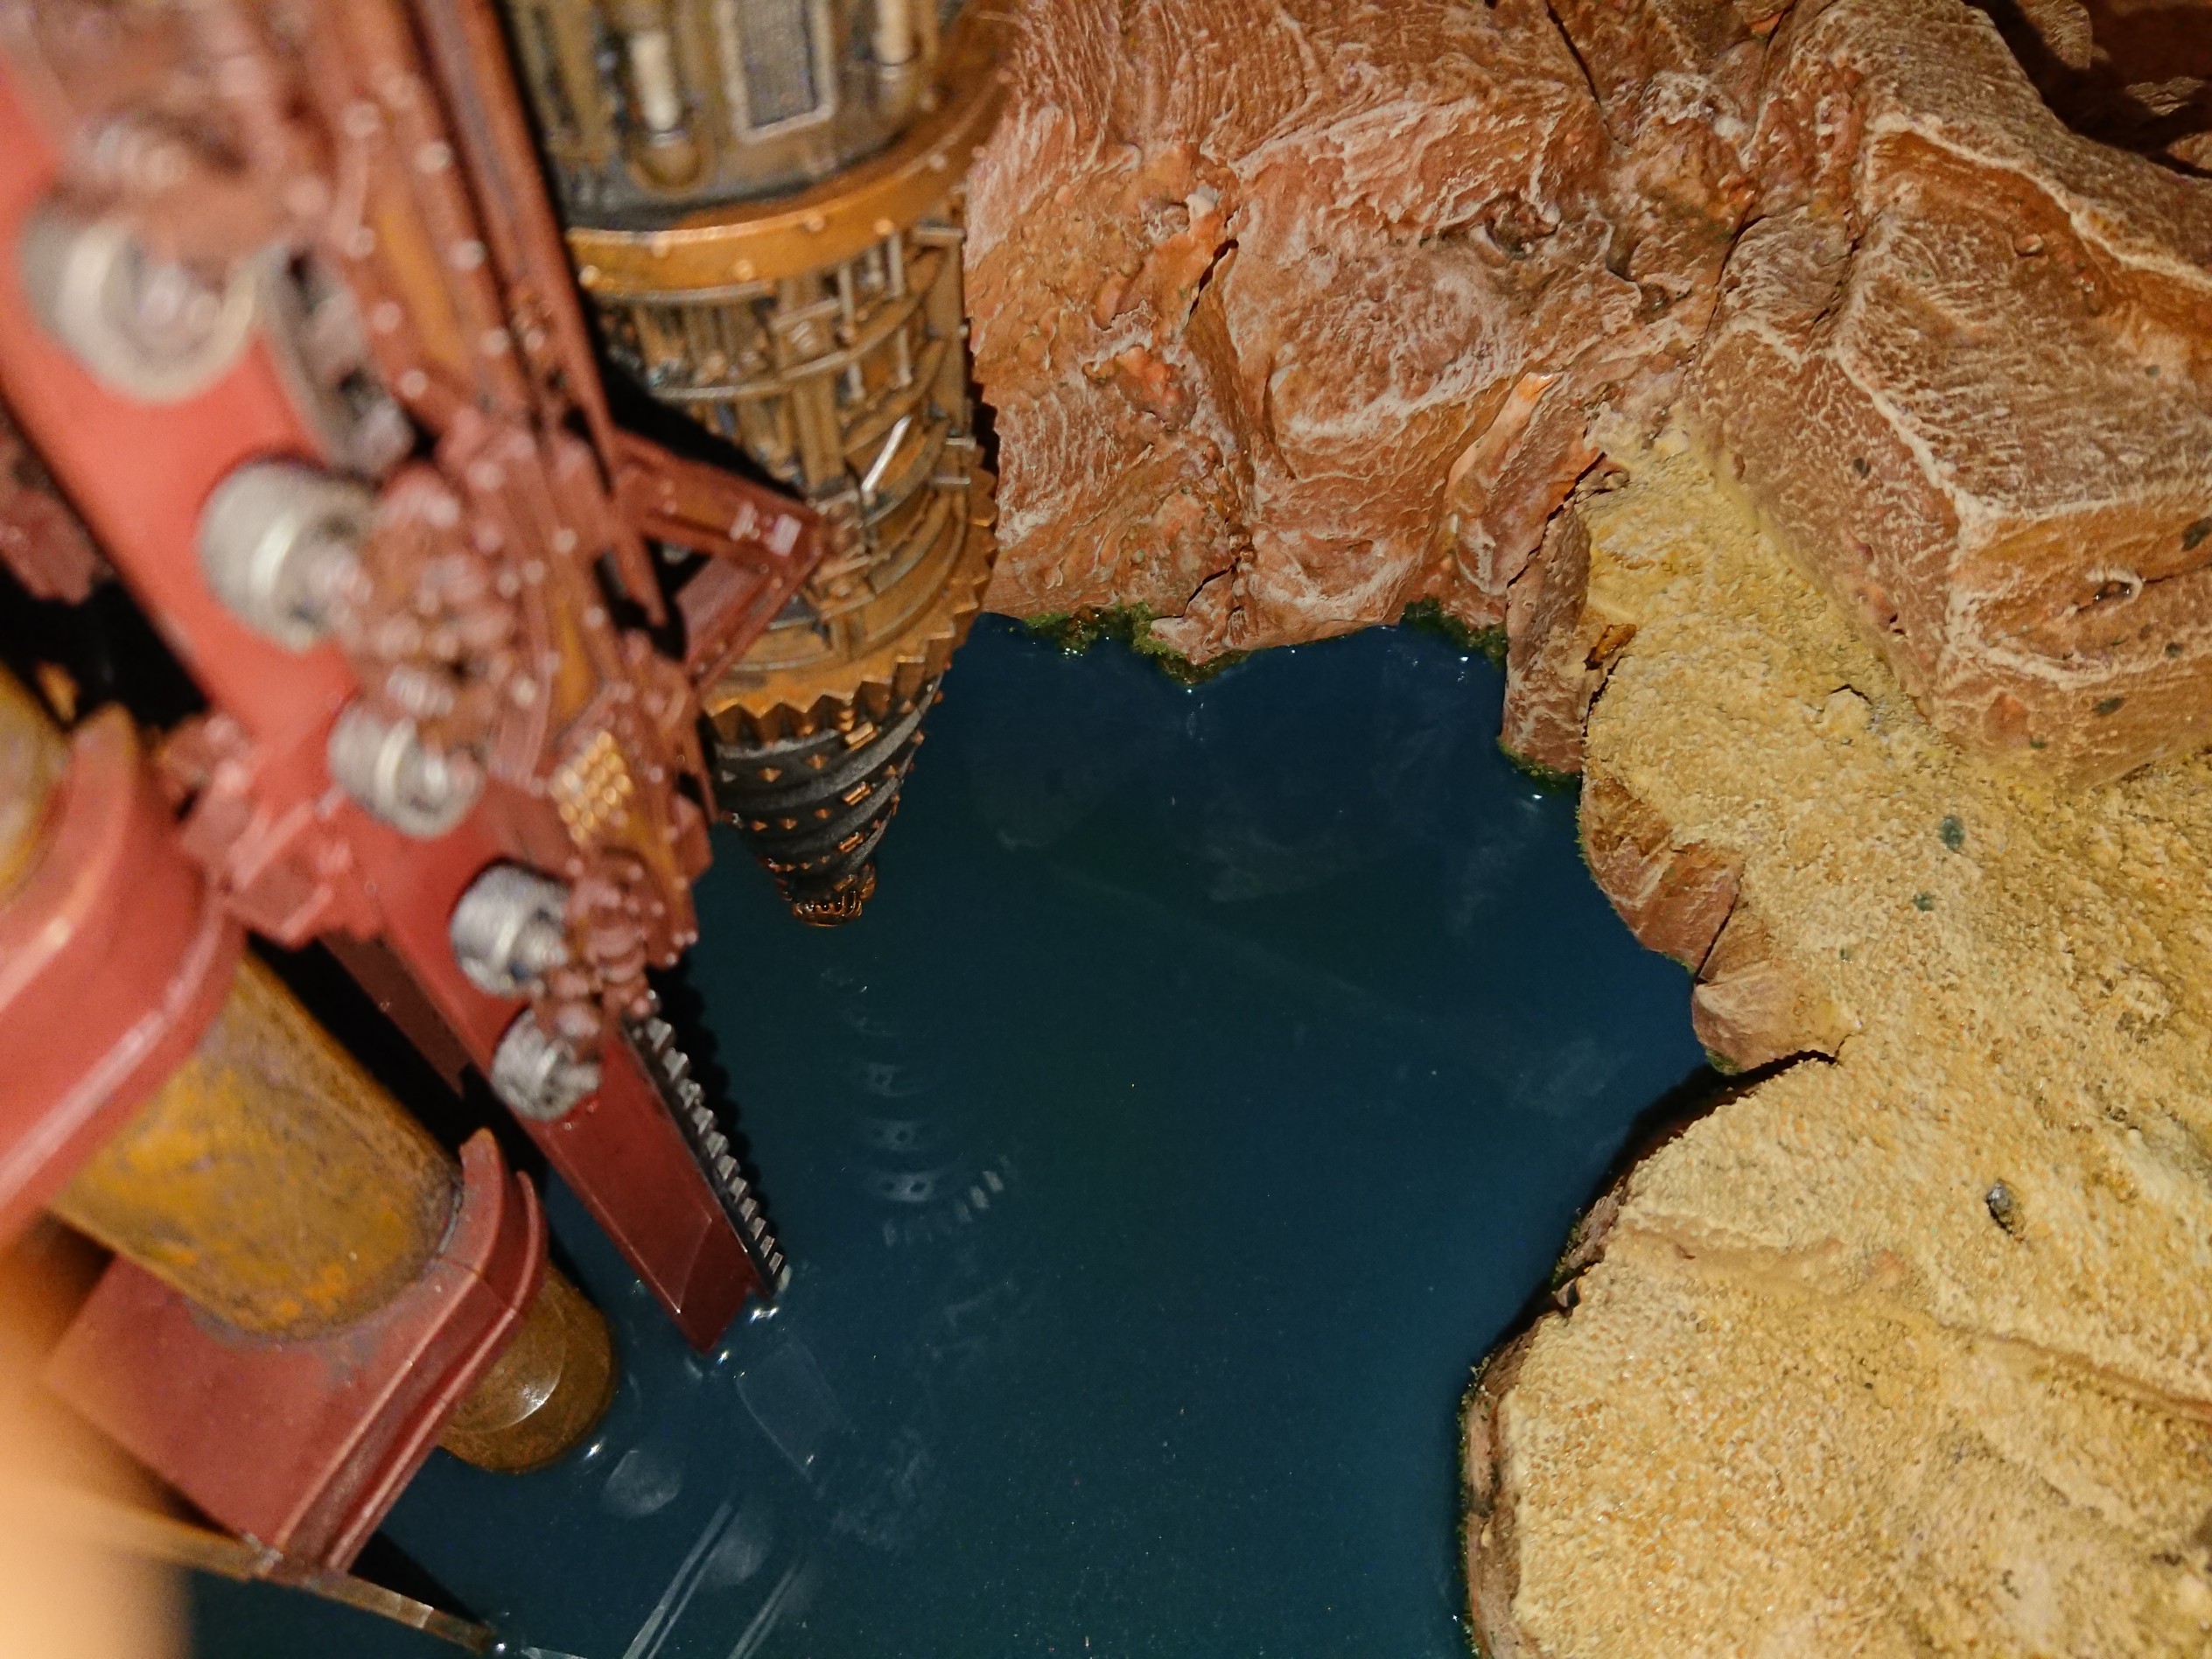
While I am happy with the water effect, in hindsight I wish I had used a lighter shade of blue for the base and added more brown to the water. The last pour did have brown mixed with it but I don’t think it’s visible. Lesson learned for next time though and I certainly don’t think it spoils the piece.
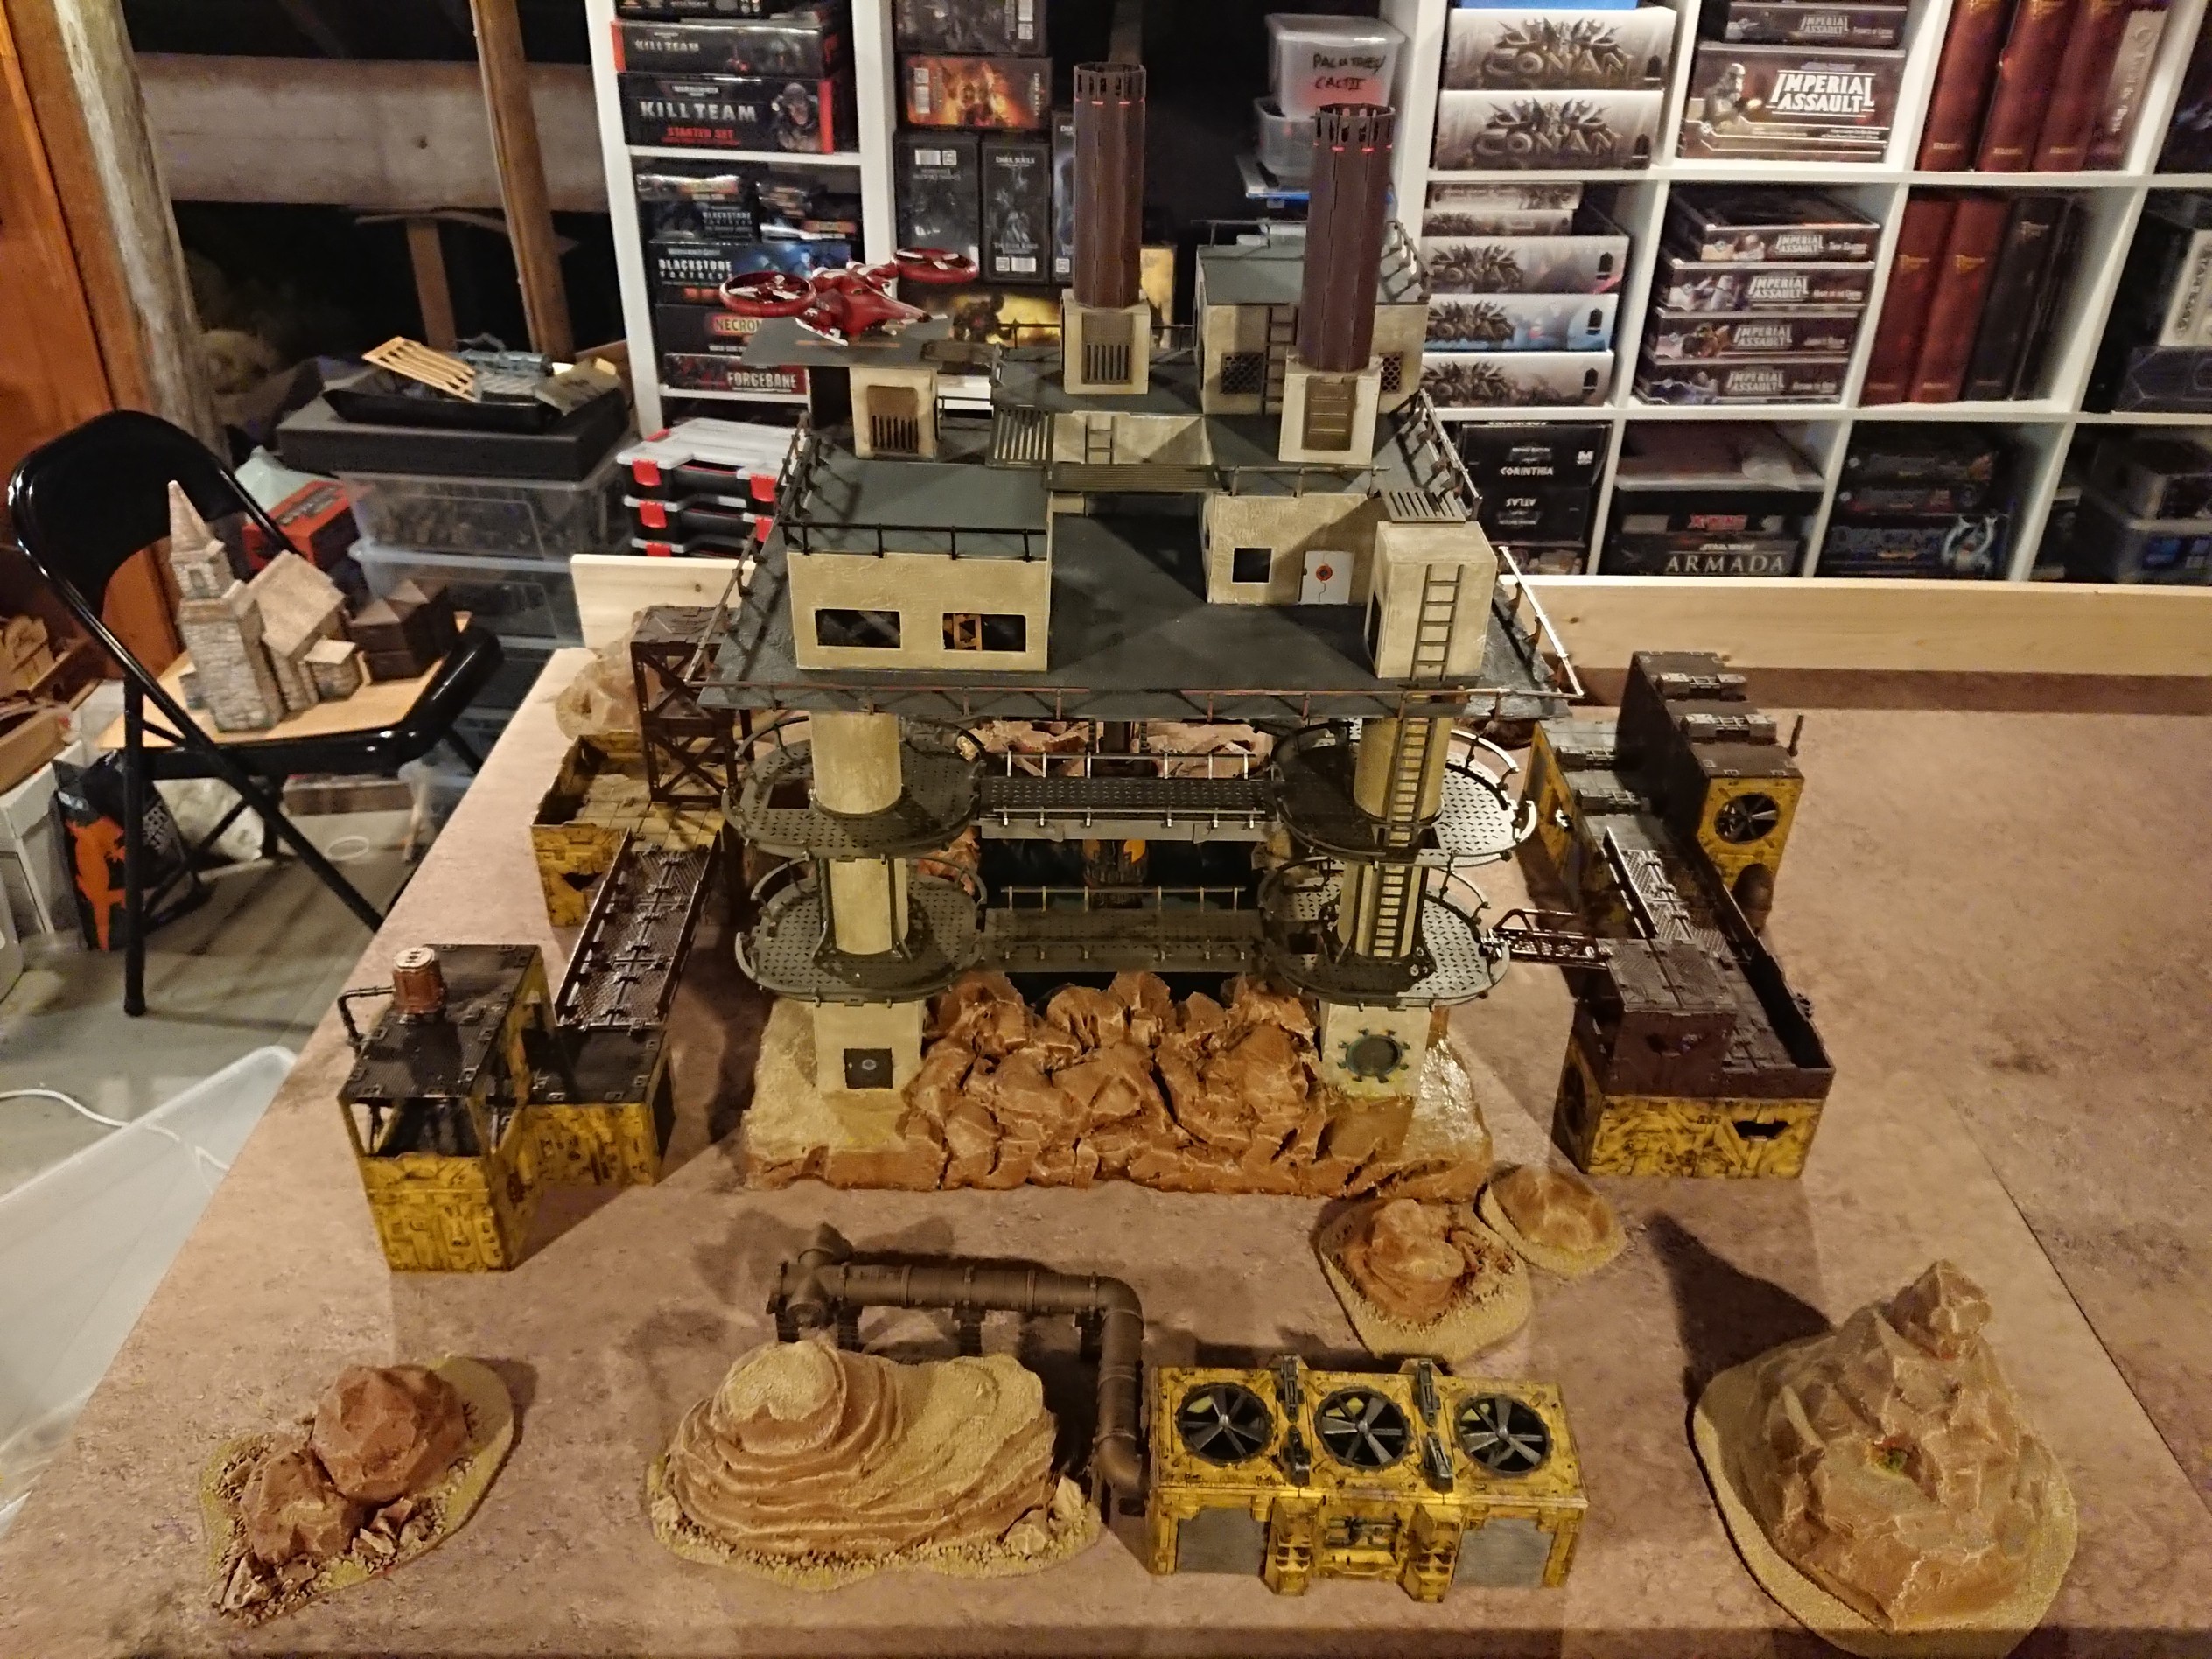

And here it is combined with some of the Mantic Battle Zones scenery. I think it actually works really well with this, especially given that some of the battle zones stuff has a bit of height so the rig itself doesn’t look too out of place.
Progress Update - 25/03/2019
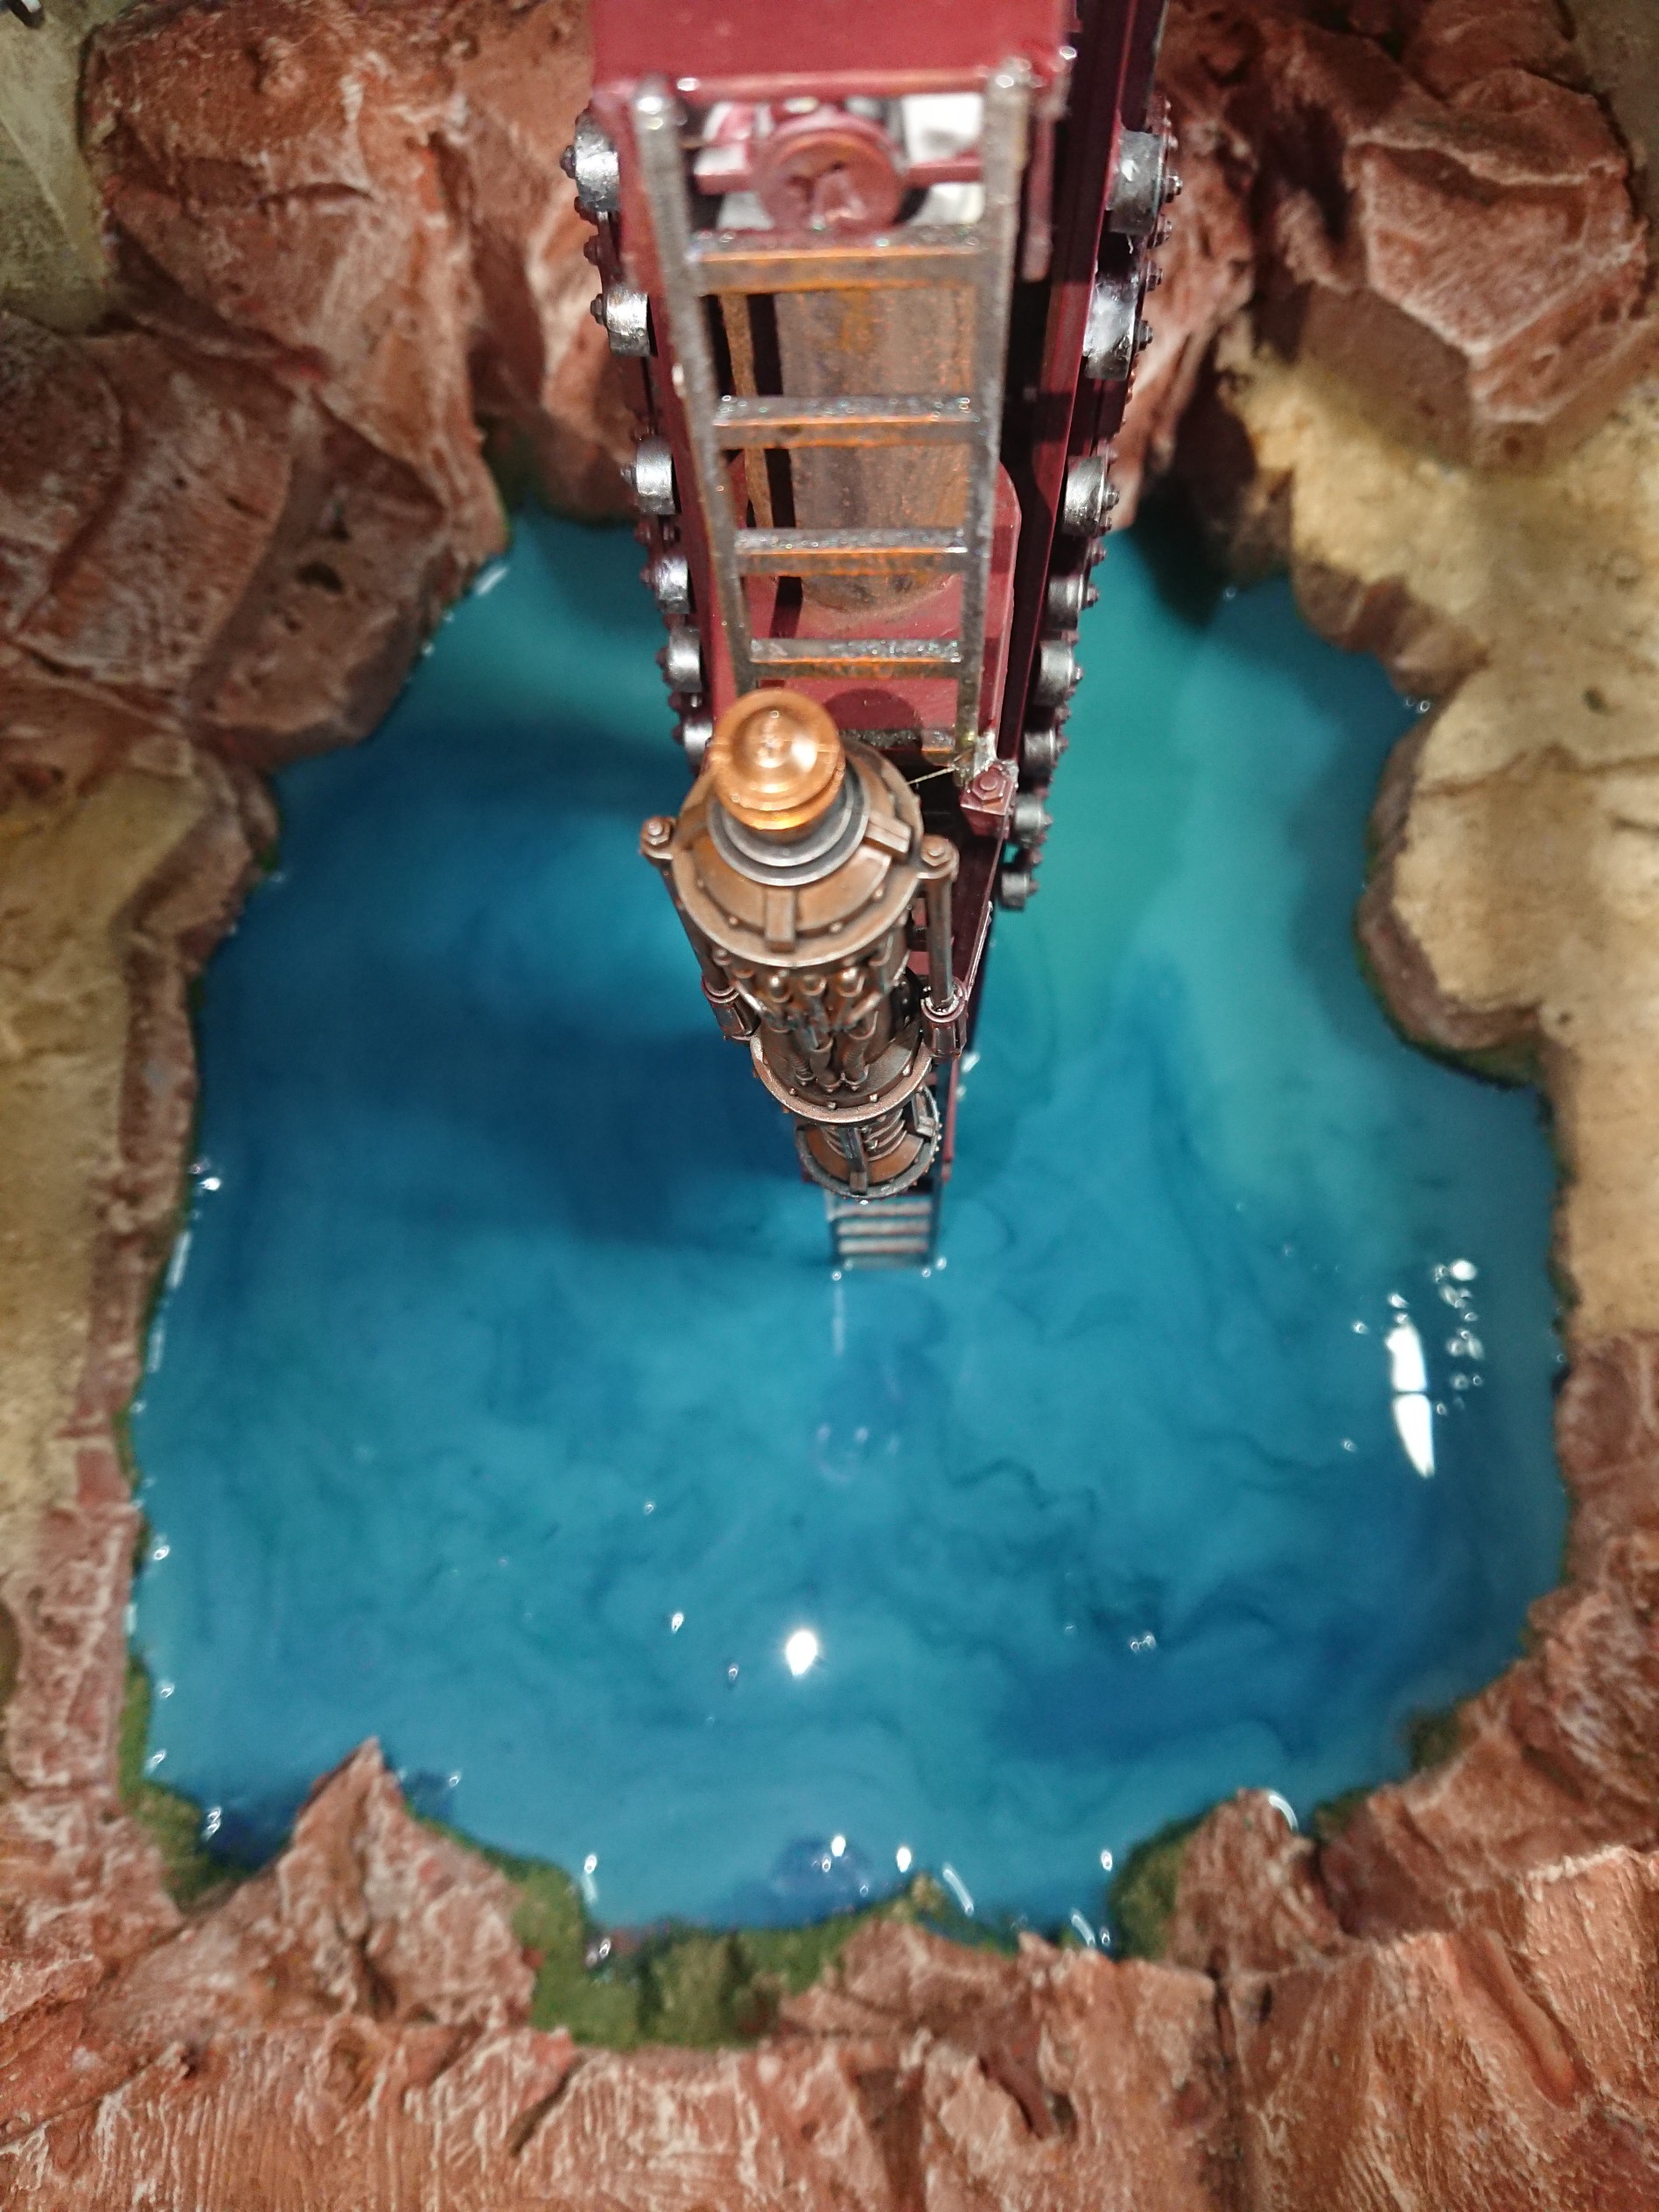
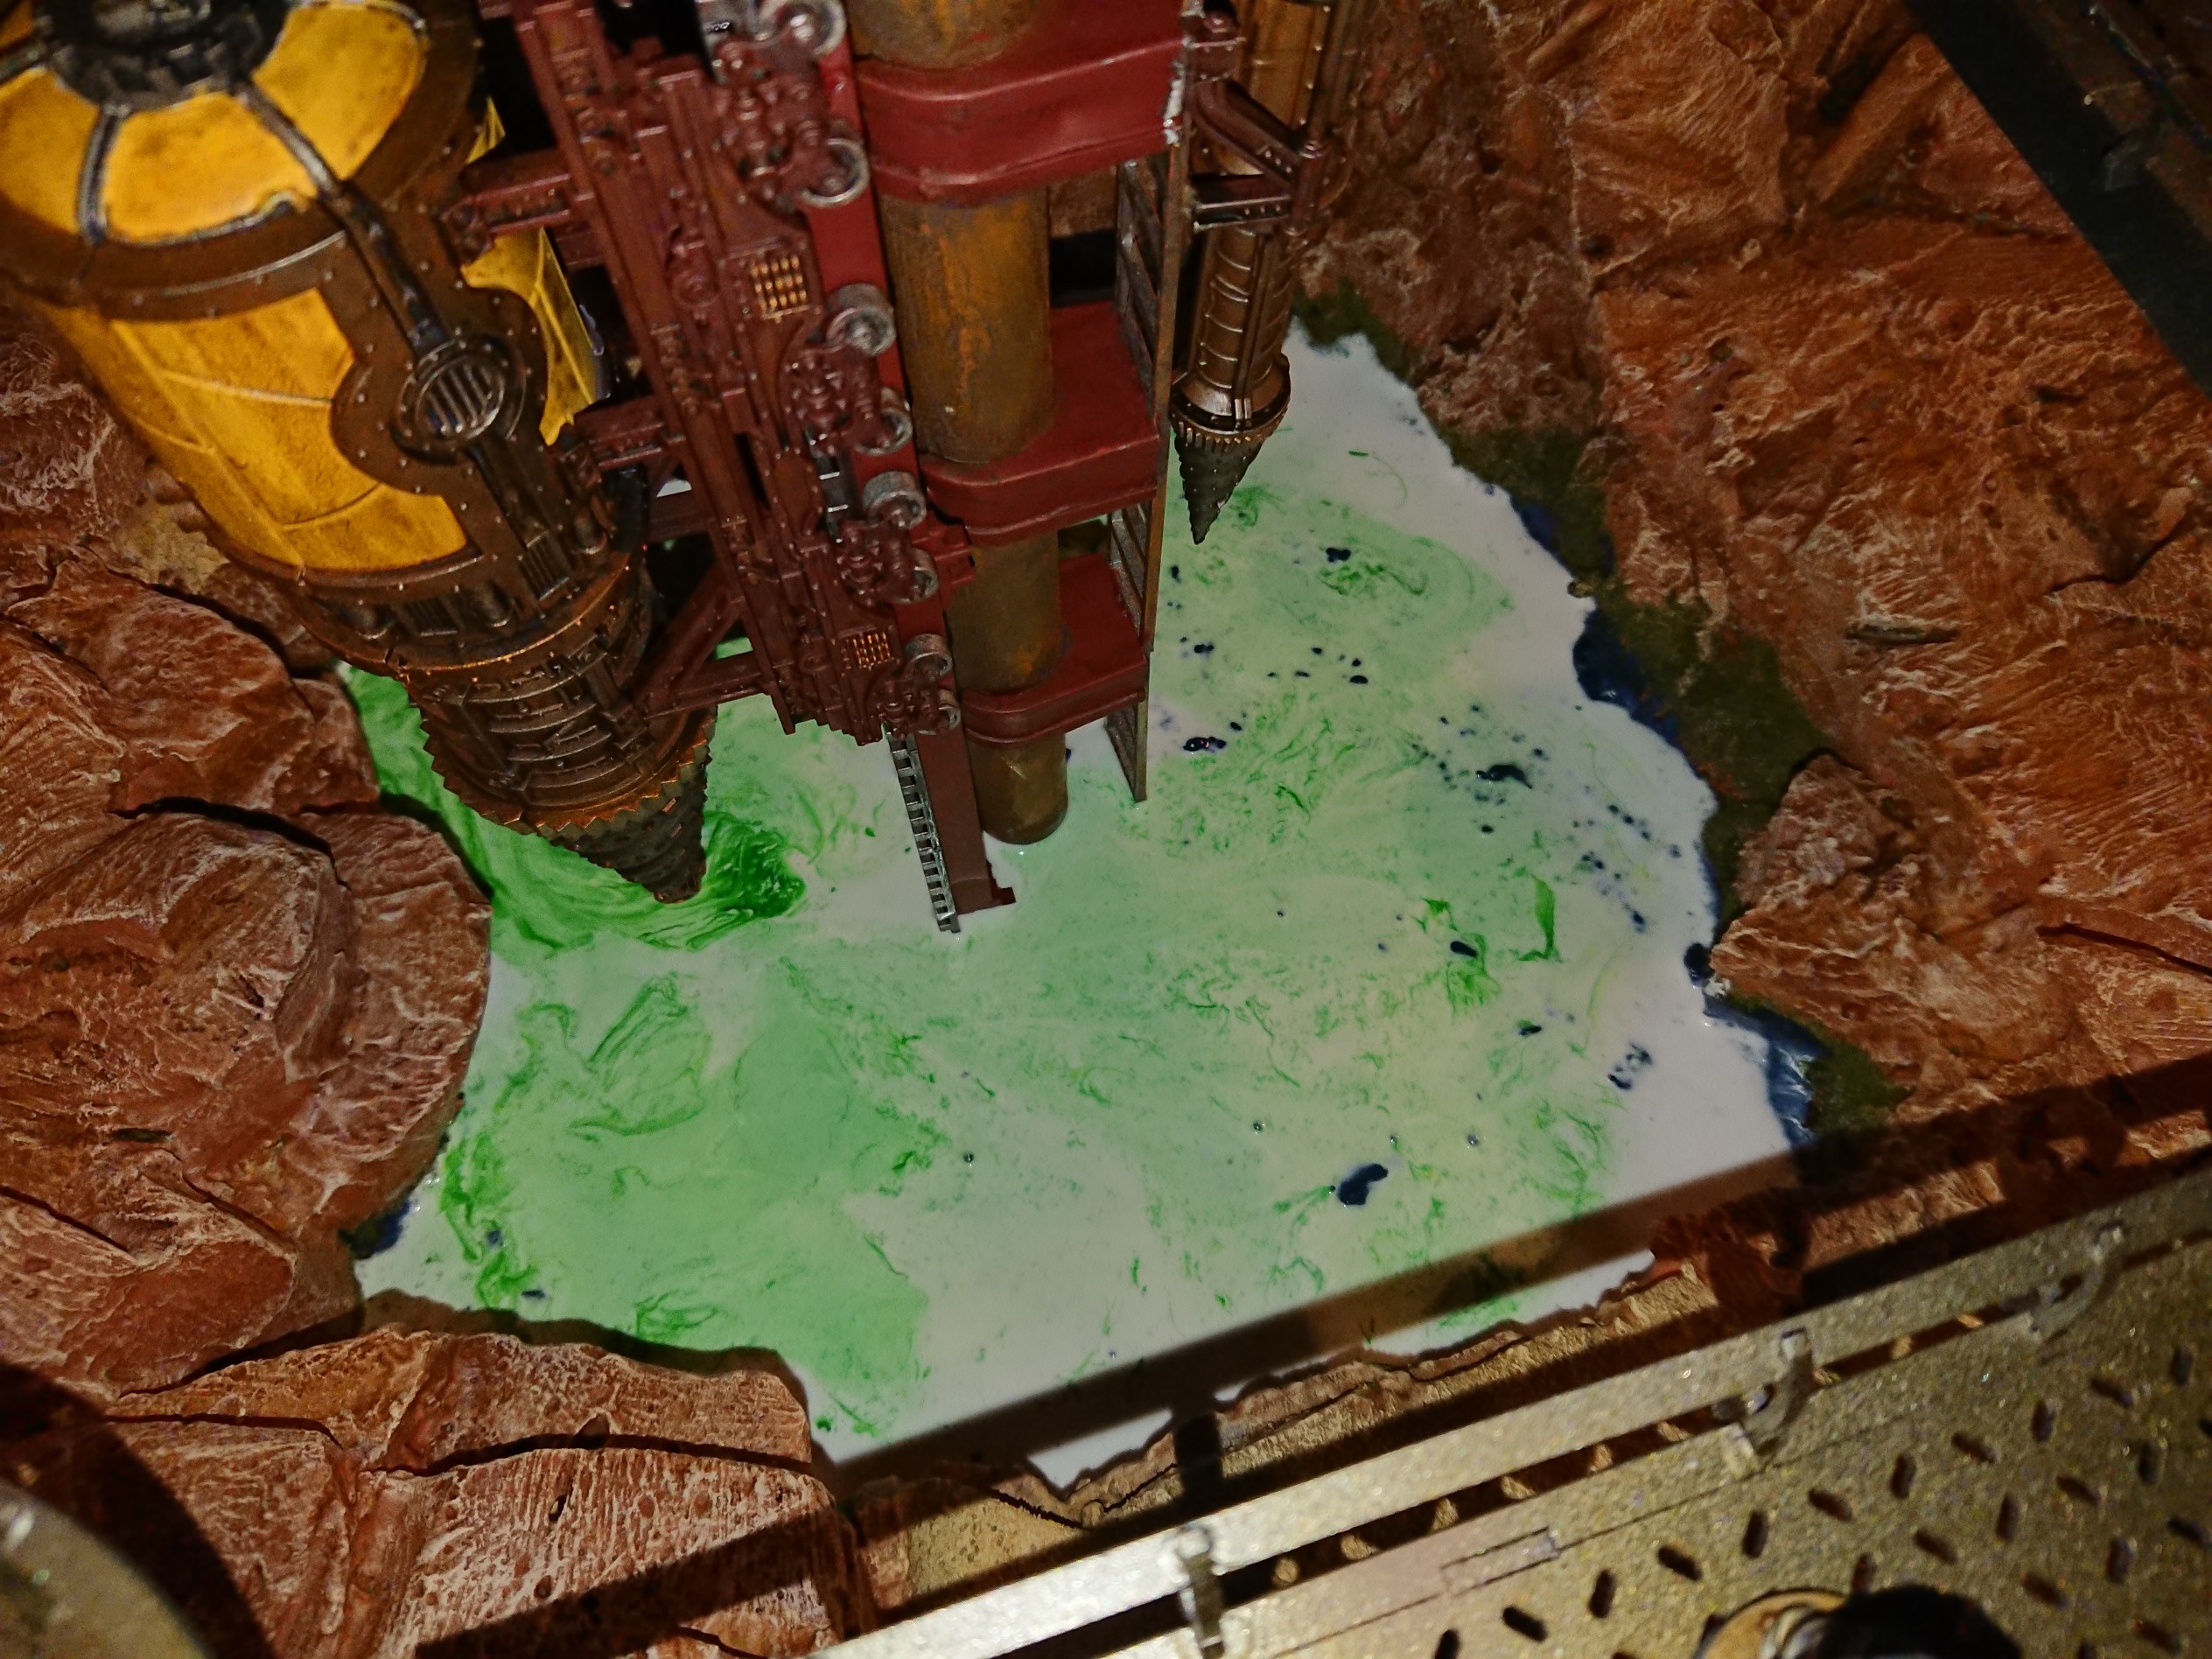
There’s been very little progress tonight but it still feels like there’s so much to show. When I got home from work tonight, the PVA was completely dry. This means I can start adding water effects! This is the exciting bit, even if it can take up to 48 hours to cure 🙁
Before pouring into the crater I poured it into a cup where I added about 4 drops of Citadel Incubi Darkness to the fluid, mixed it up a bit and poured it in. At the moment the swirls look a little weird because it’s quite milky, they will hardly be visible when it dries because it dries clear.
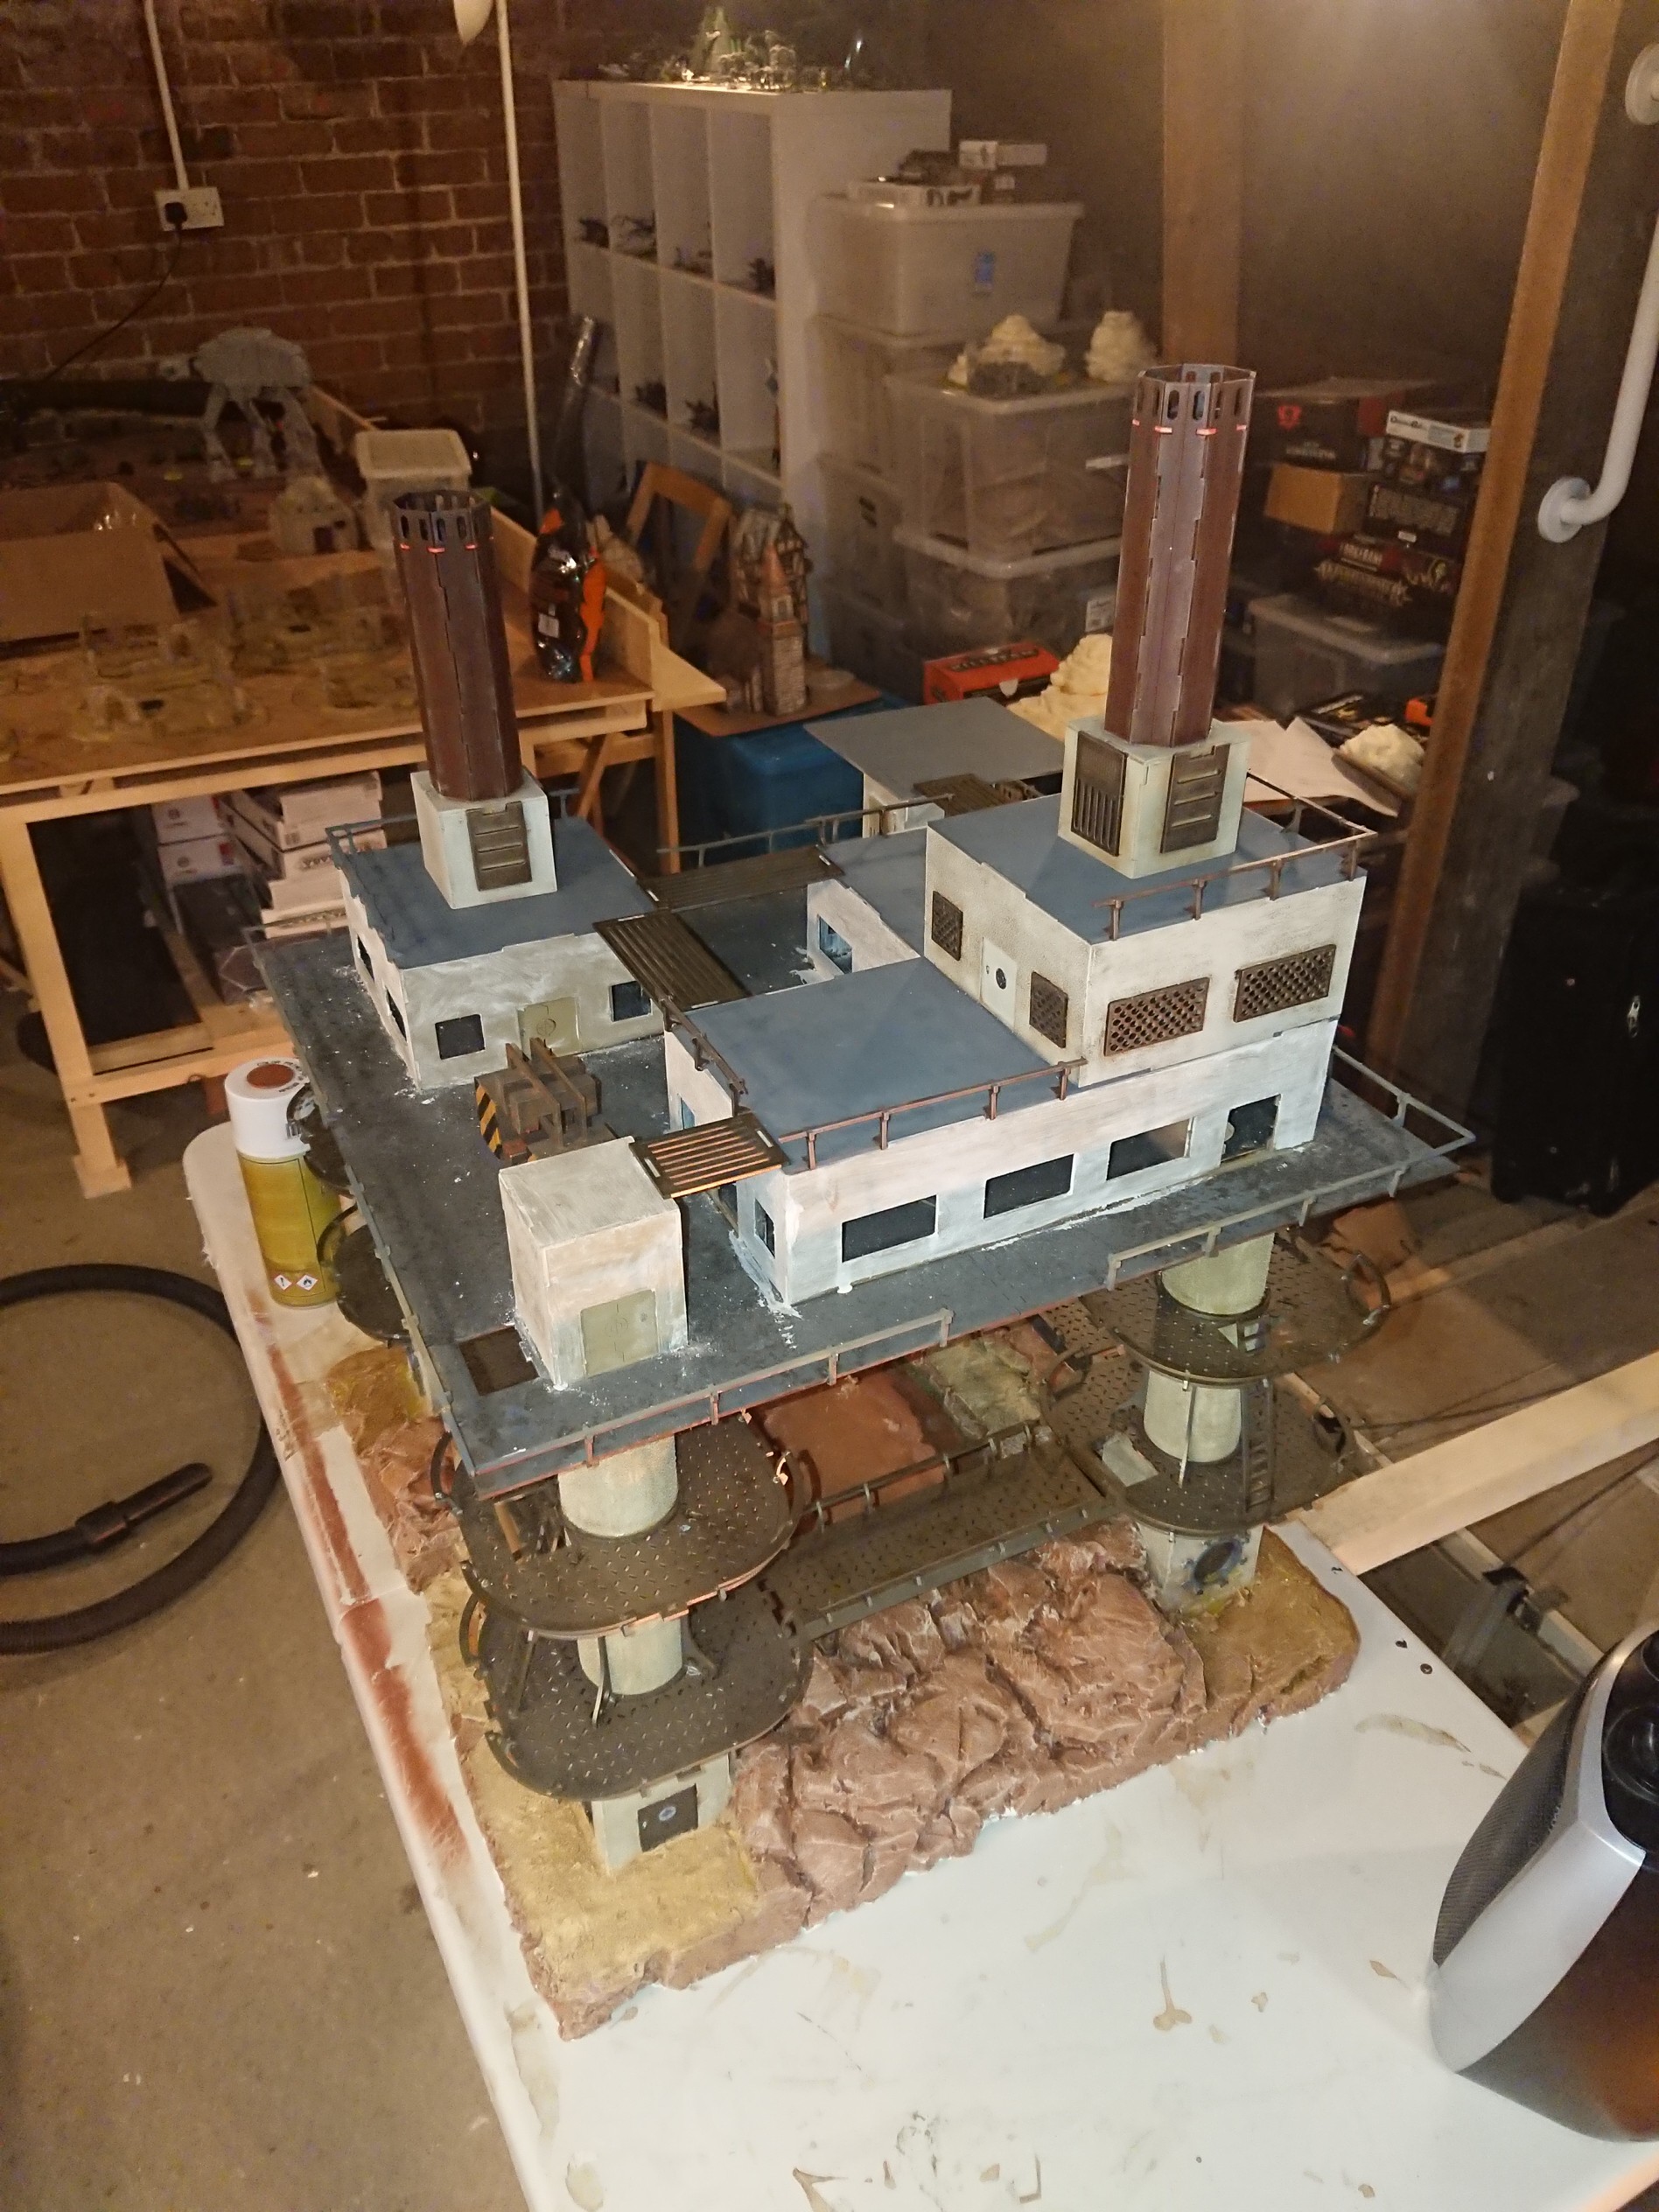
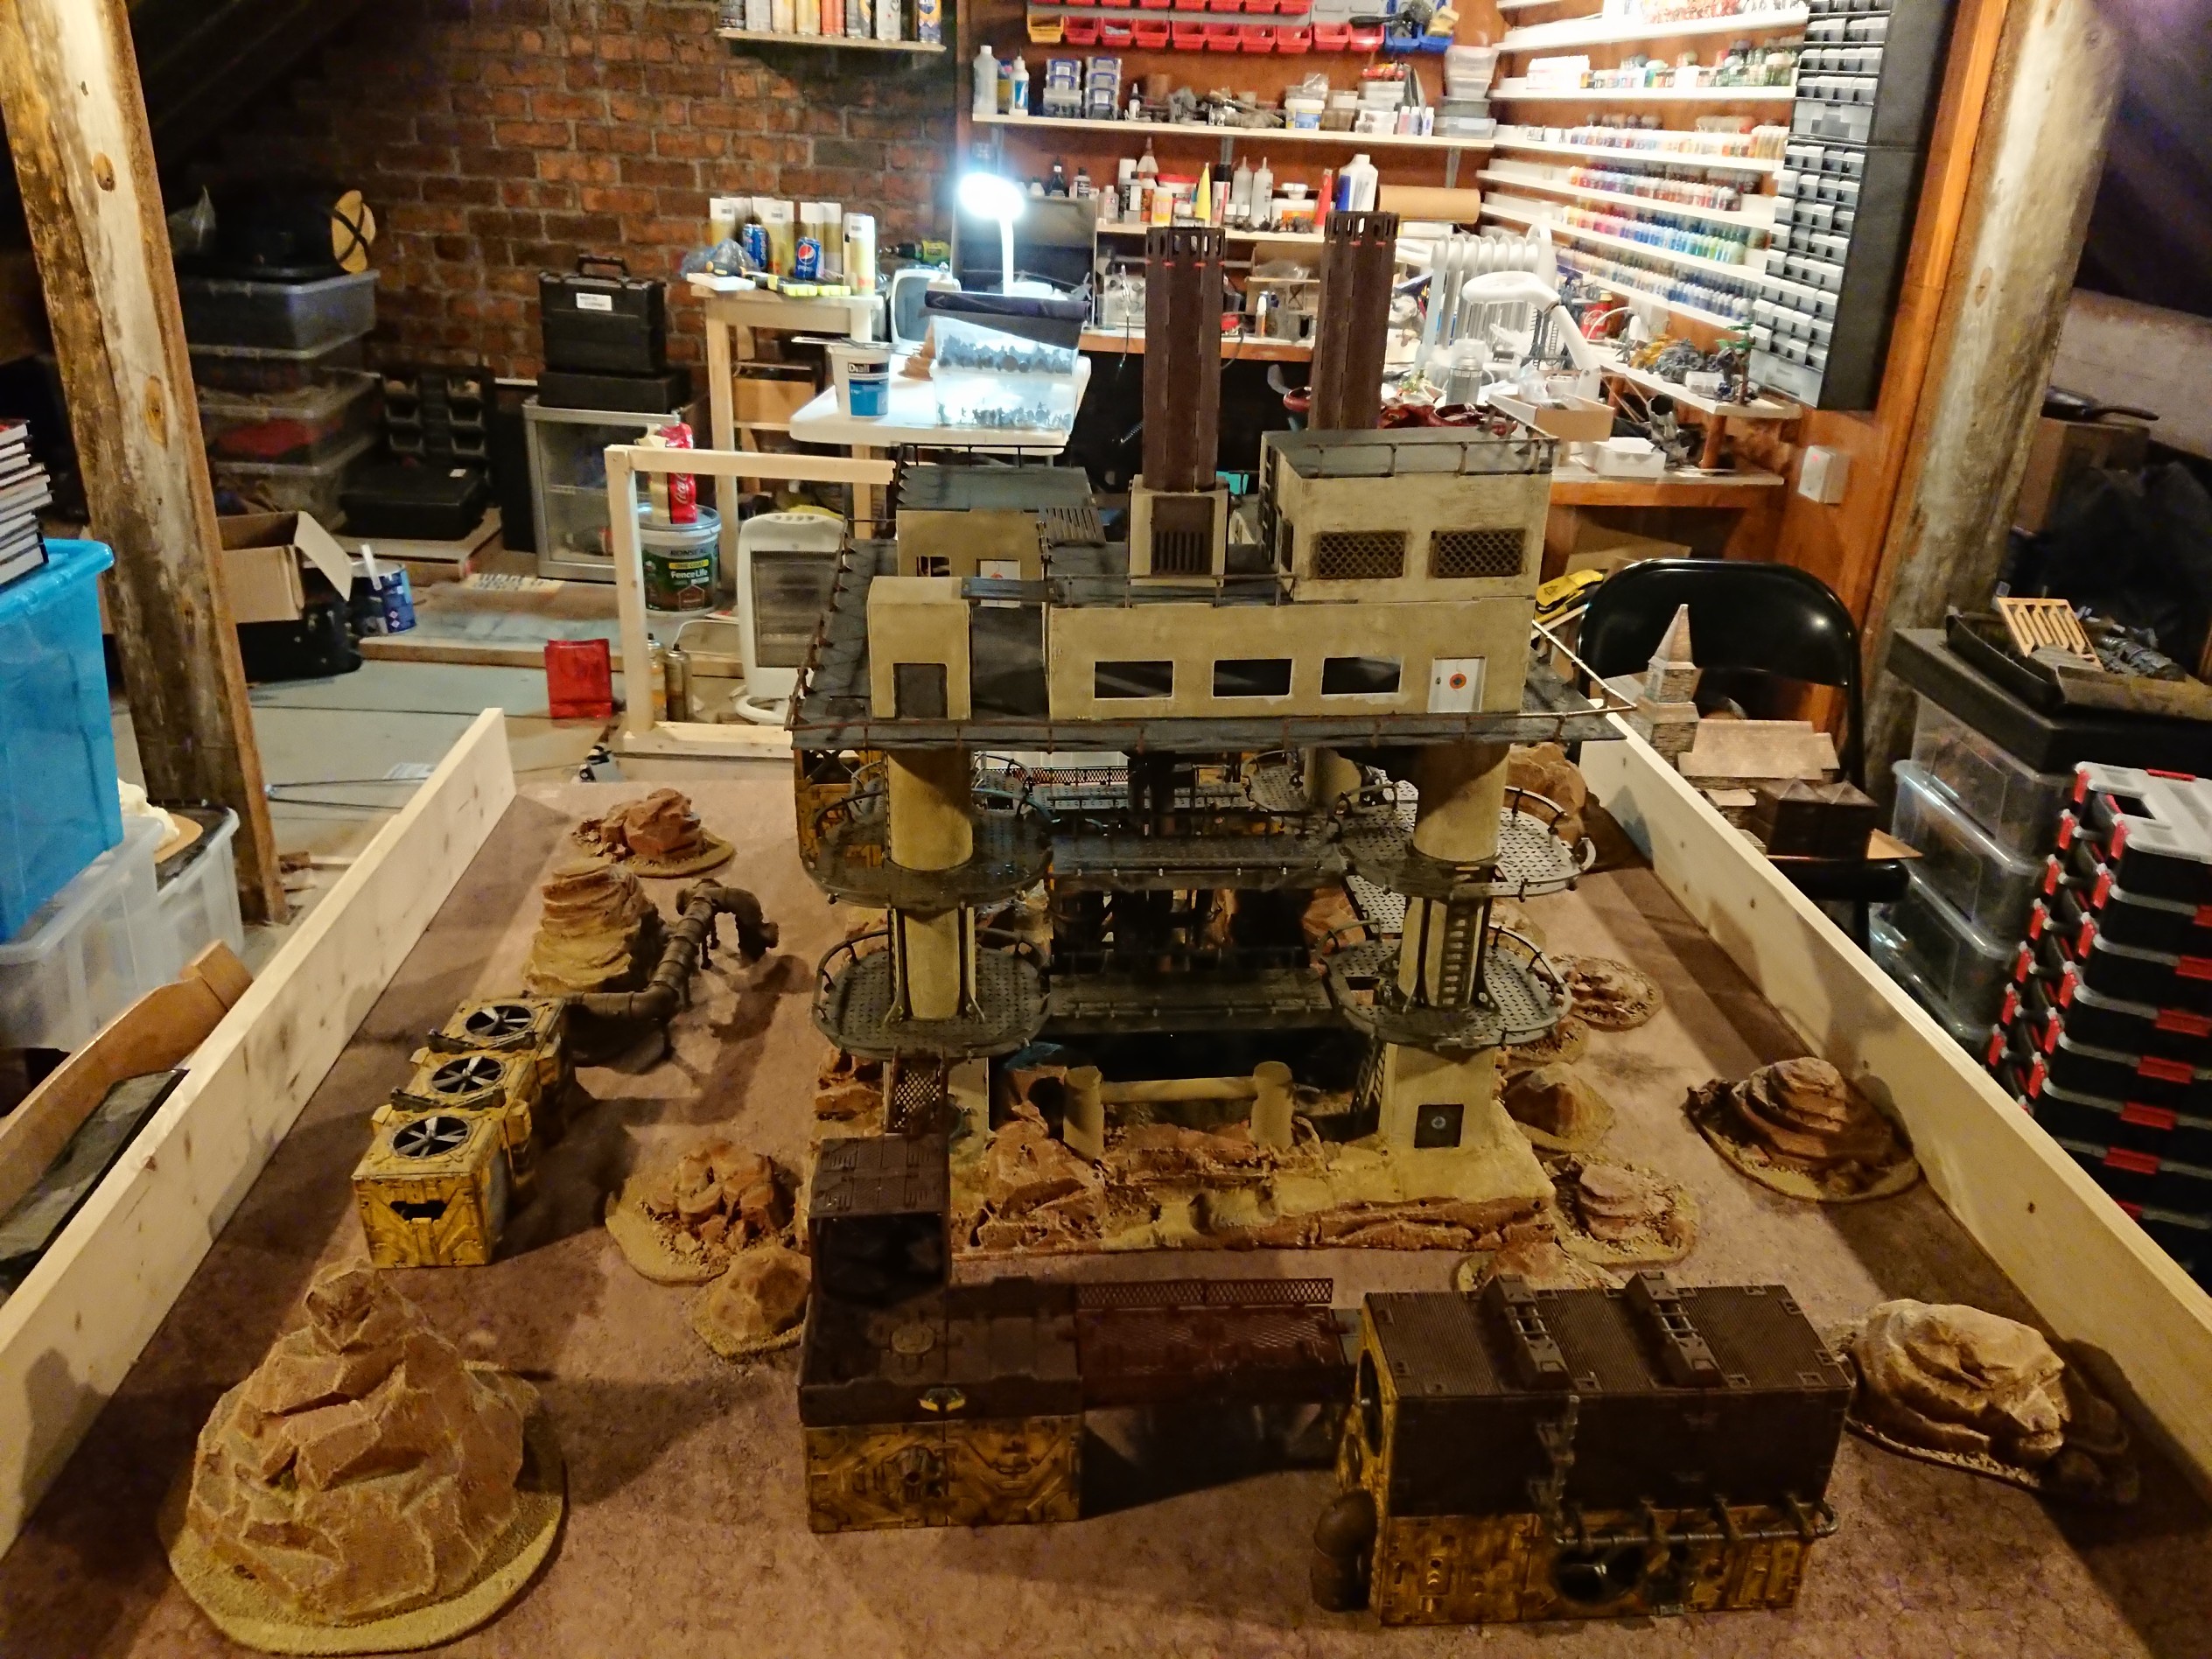
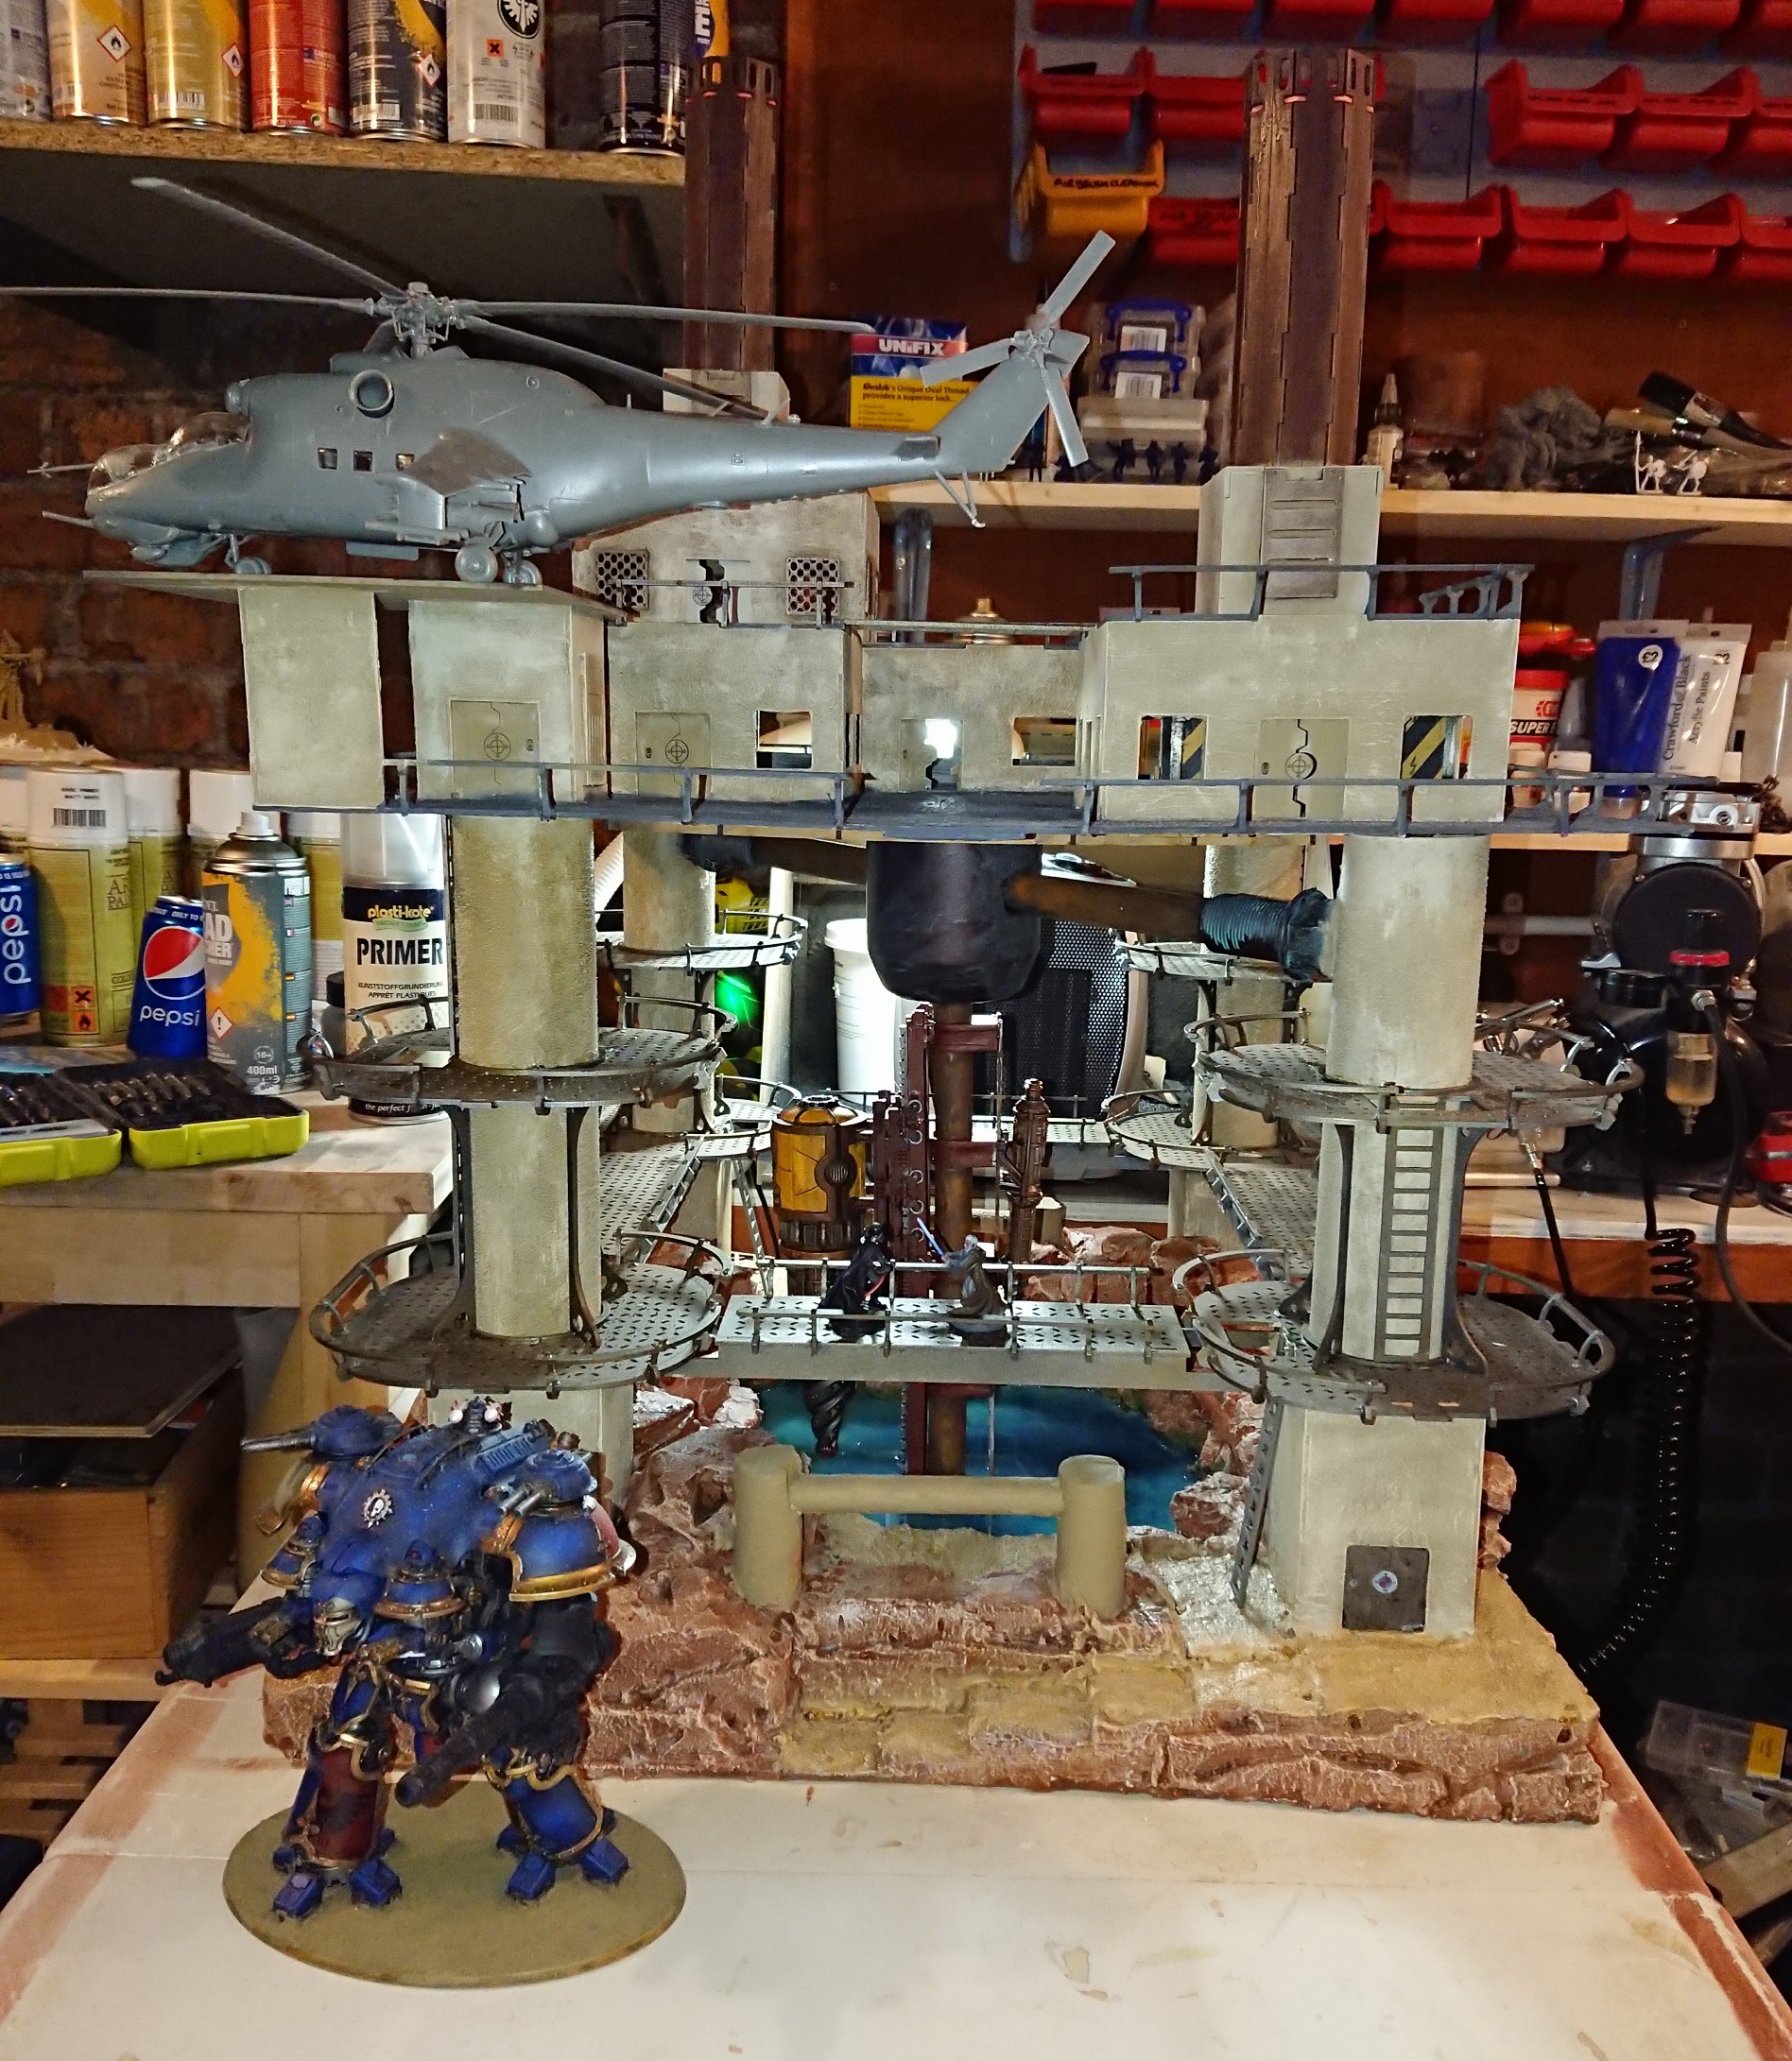
As there’s nothing much else to see beyond the manky water, I thought I might take the opportunity to show you just how big this thing is.
At the bottom you can see a 40k Imperial Knight. On the lower walkway, locked in a duel to the death, are Darth Vader and Obiwan Kenobi. Finally atop the platform on the heli-pad is a 1:48 scale HIND
Progress Update - 24/03/19
Well, it’s been over 24 hours, 8 of them directly under a heat fan, and the PVA still hasn’t dried. I wouldn’t mind but I didn’t add that much, it was a small enough amount that I still had to use a brush to spread it around and get coverage. It’s starting to dry and you can really see the green swirls on the dark blue background. However the water effect I am planning to use will need to wait until tomorrow.

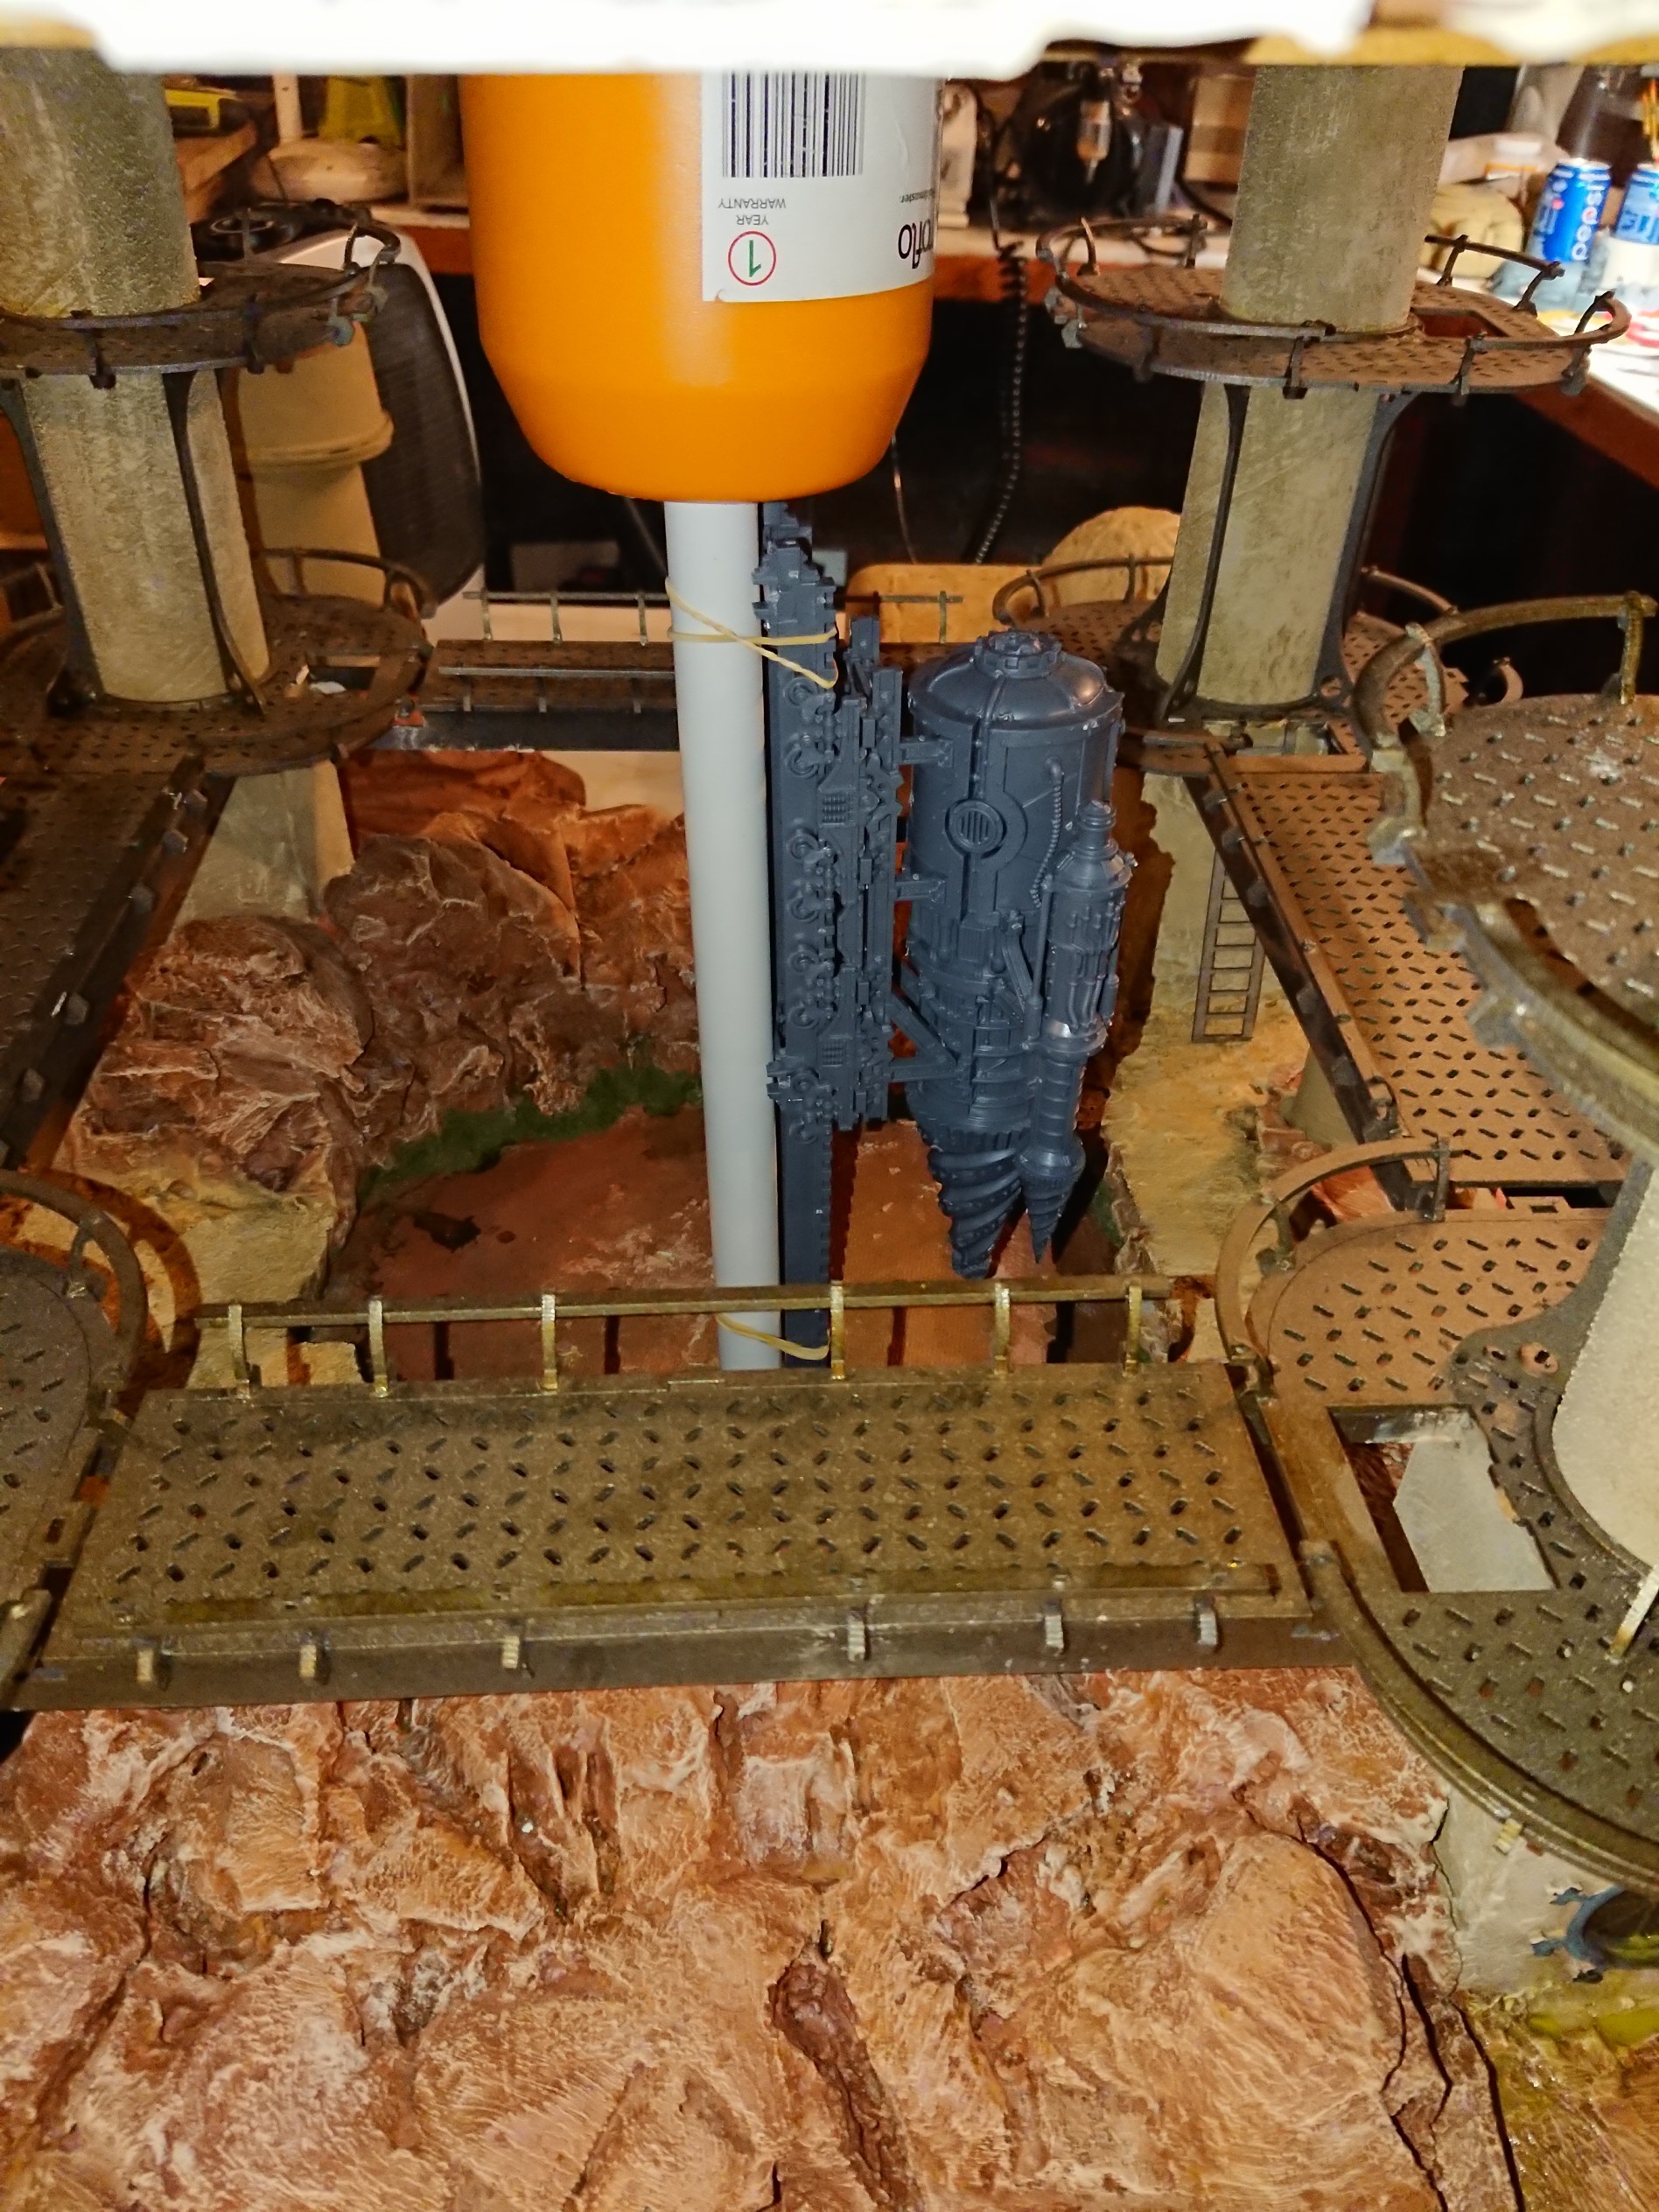
So with progress on the crater not possible I decided to finish off the pipe structure. The pipe was made out of plastic pipe from a DIY store, the tank is half of a cistern float and the end pieces are one of the many connector types available for that type of pipe. I glued the pipes to the upright using contact adhesive and then filled all around it. The tank and ends of each pipe were painted Warplock Bronze and washed with Nilakh Oxide and the pipes with Leadbelcher, Typhus Corrosion and a Ryza Rust drybrush. When you put the platform atop the legs the tank appears to be suspended from it.
Progress Update - 23/03/19
With the drilling assembly glued in place it’s time to start building up a nice water effect. To try and flatten the textured surface of the hardboard, I poured a layer of PVA glue into the crater. Hopefully once it dries it will mask some of that texture before I start adding water effects. To make it a bit more interesting I also added some splashes of Hexwraith Flame using a pipette and mixed it in to the glue to leave a swirly pattern; this should be visible over the blue background when the PVA dries.
Update:
It’s now 18 hours since I poured the PVA glue into the crater and it’s not even close to dry. It has started to dry a little because I can see where it has contracted. I suspect that the temperature in the loft has dropped considerably since yesterday which is why it’s not drying properly. Heat has now been applied.
Up to Date
Because the project was started so long ago, the first 8 parts are pretty much playing catch up. However part 8 effectively brings the project up to date so I will switch format. Future entries will be progress updates as opposed to describing an entire sub-build.
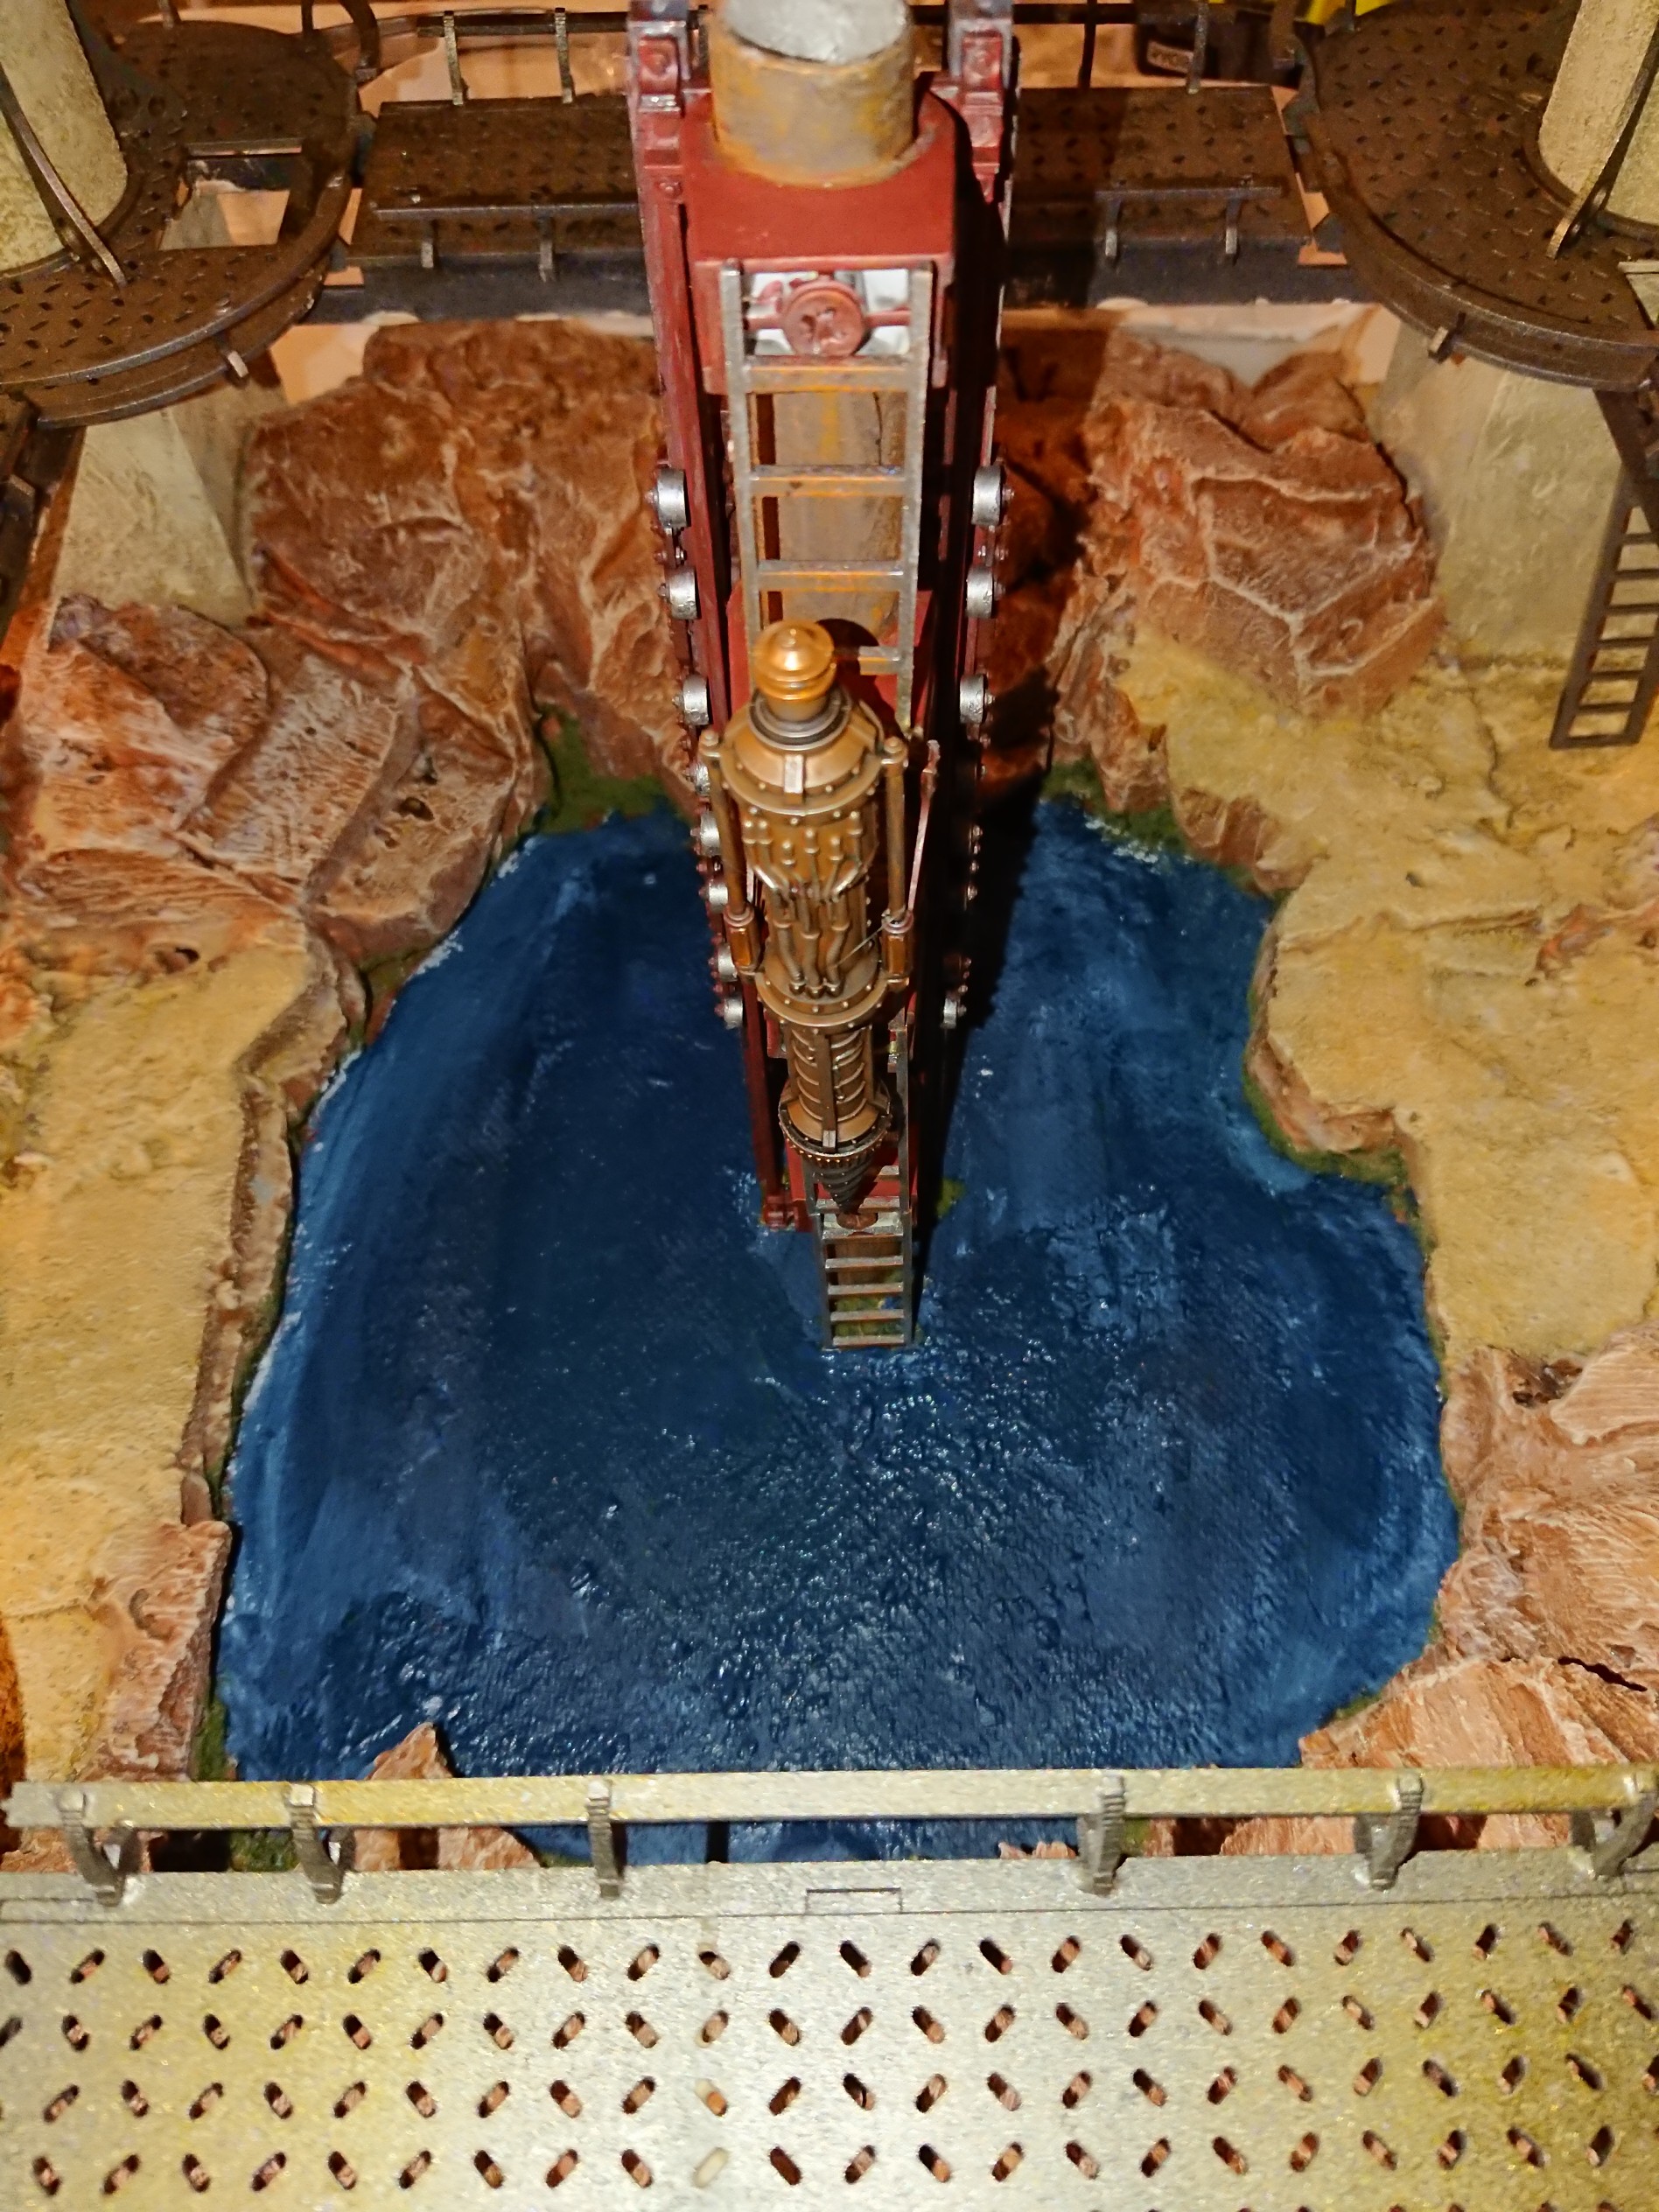
Part 8 – The Drilling Assembly
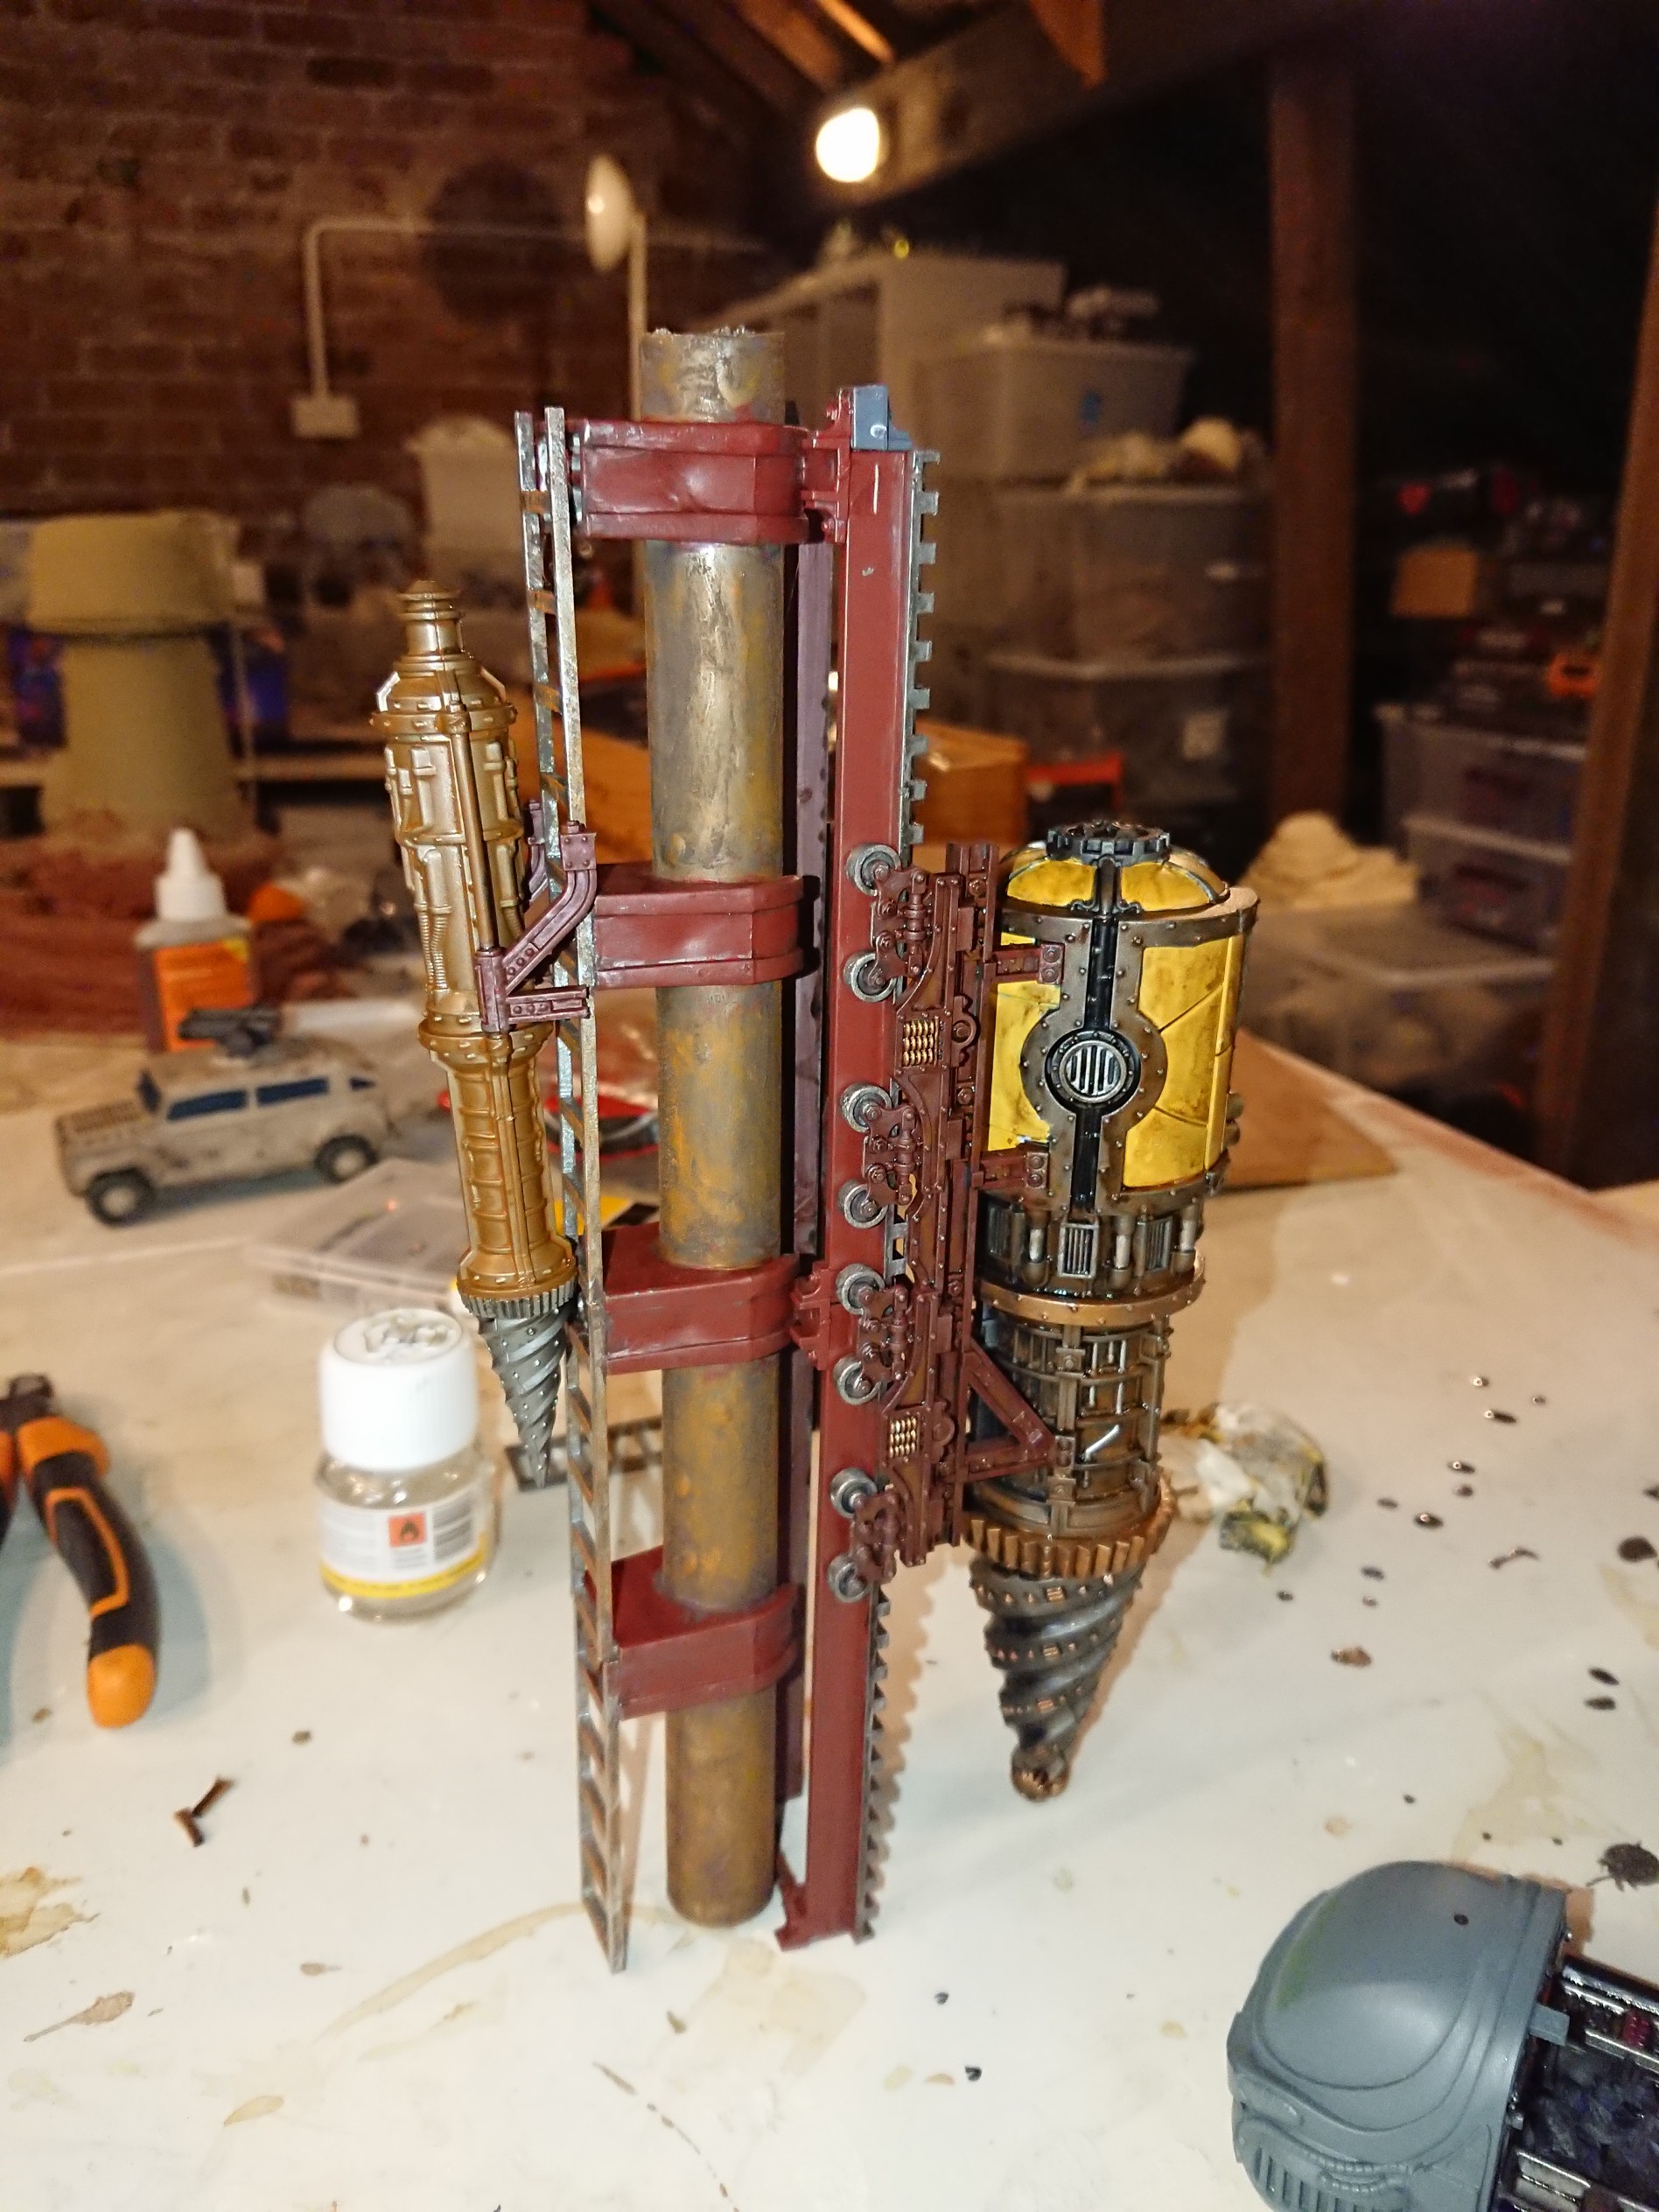
It’s really starting to come together at this stage but that gaping hole in the middle needs addressing. After all it’s a Prometheum Rig and that massive crater didn’t happen on its own. When GW released the Tectonic Fragdrill decided that was a perfect fit for what I was looking for. I didn’t really want the platform it came with, aesthetically it’s not a good match with the rest of the pieces, I just needed the mahoosive drill. However I do have a sizable sector mechanicus collection so they can just be added to that. But the drill can’t really just float in mid air, it needs to be connected to the rest of the platform somehow. So I decided to build my own drilling assembly. To do this I bought some plastic pipe from the plumbing section of our local DIY store. I then used some of the wall clips for said pipe and onto that I glued a series of ladder pieces to create a sort of track. On the other side I glued the track for the Fragdrill. When assembling the drill I didn’t add any of the extra attachments because a drill doesn’t work so well with a smaller drill and a mechanical arm hanging off the side. However I did assemble the smaller drill. I then fastened the small drill to the home made track and put the parent drill onto the official one that came with the kit. To paint it I primed it all with Plastikote Special Primer because that plumbing pipe doesn’t take acrylic paint. Then I undercoated it all with leadbelcher and then gave it a couple of coats of nuln oil to really darken it down. Next I washed the drill with Mournfang Brown, very diluted, to give it a nice oxidised look. I picked out a few details in Ironbreaker, such as the pipes. The red is all done using Vallejo Black Red with some of the, Mournfang Brown wash added to key areas before being washed with aggrax earth, the gold is Balthazar Gold highlighted with Gehennas Gold before also being washed with aggrax earth. Finally the central pipe was wash with Typhus Corrosion and drybrushed with Ryza Rust. This was then glued into the centre of the crater using contact adhesive.
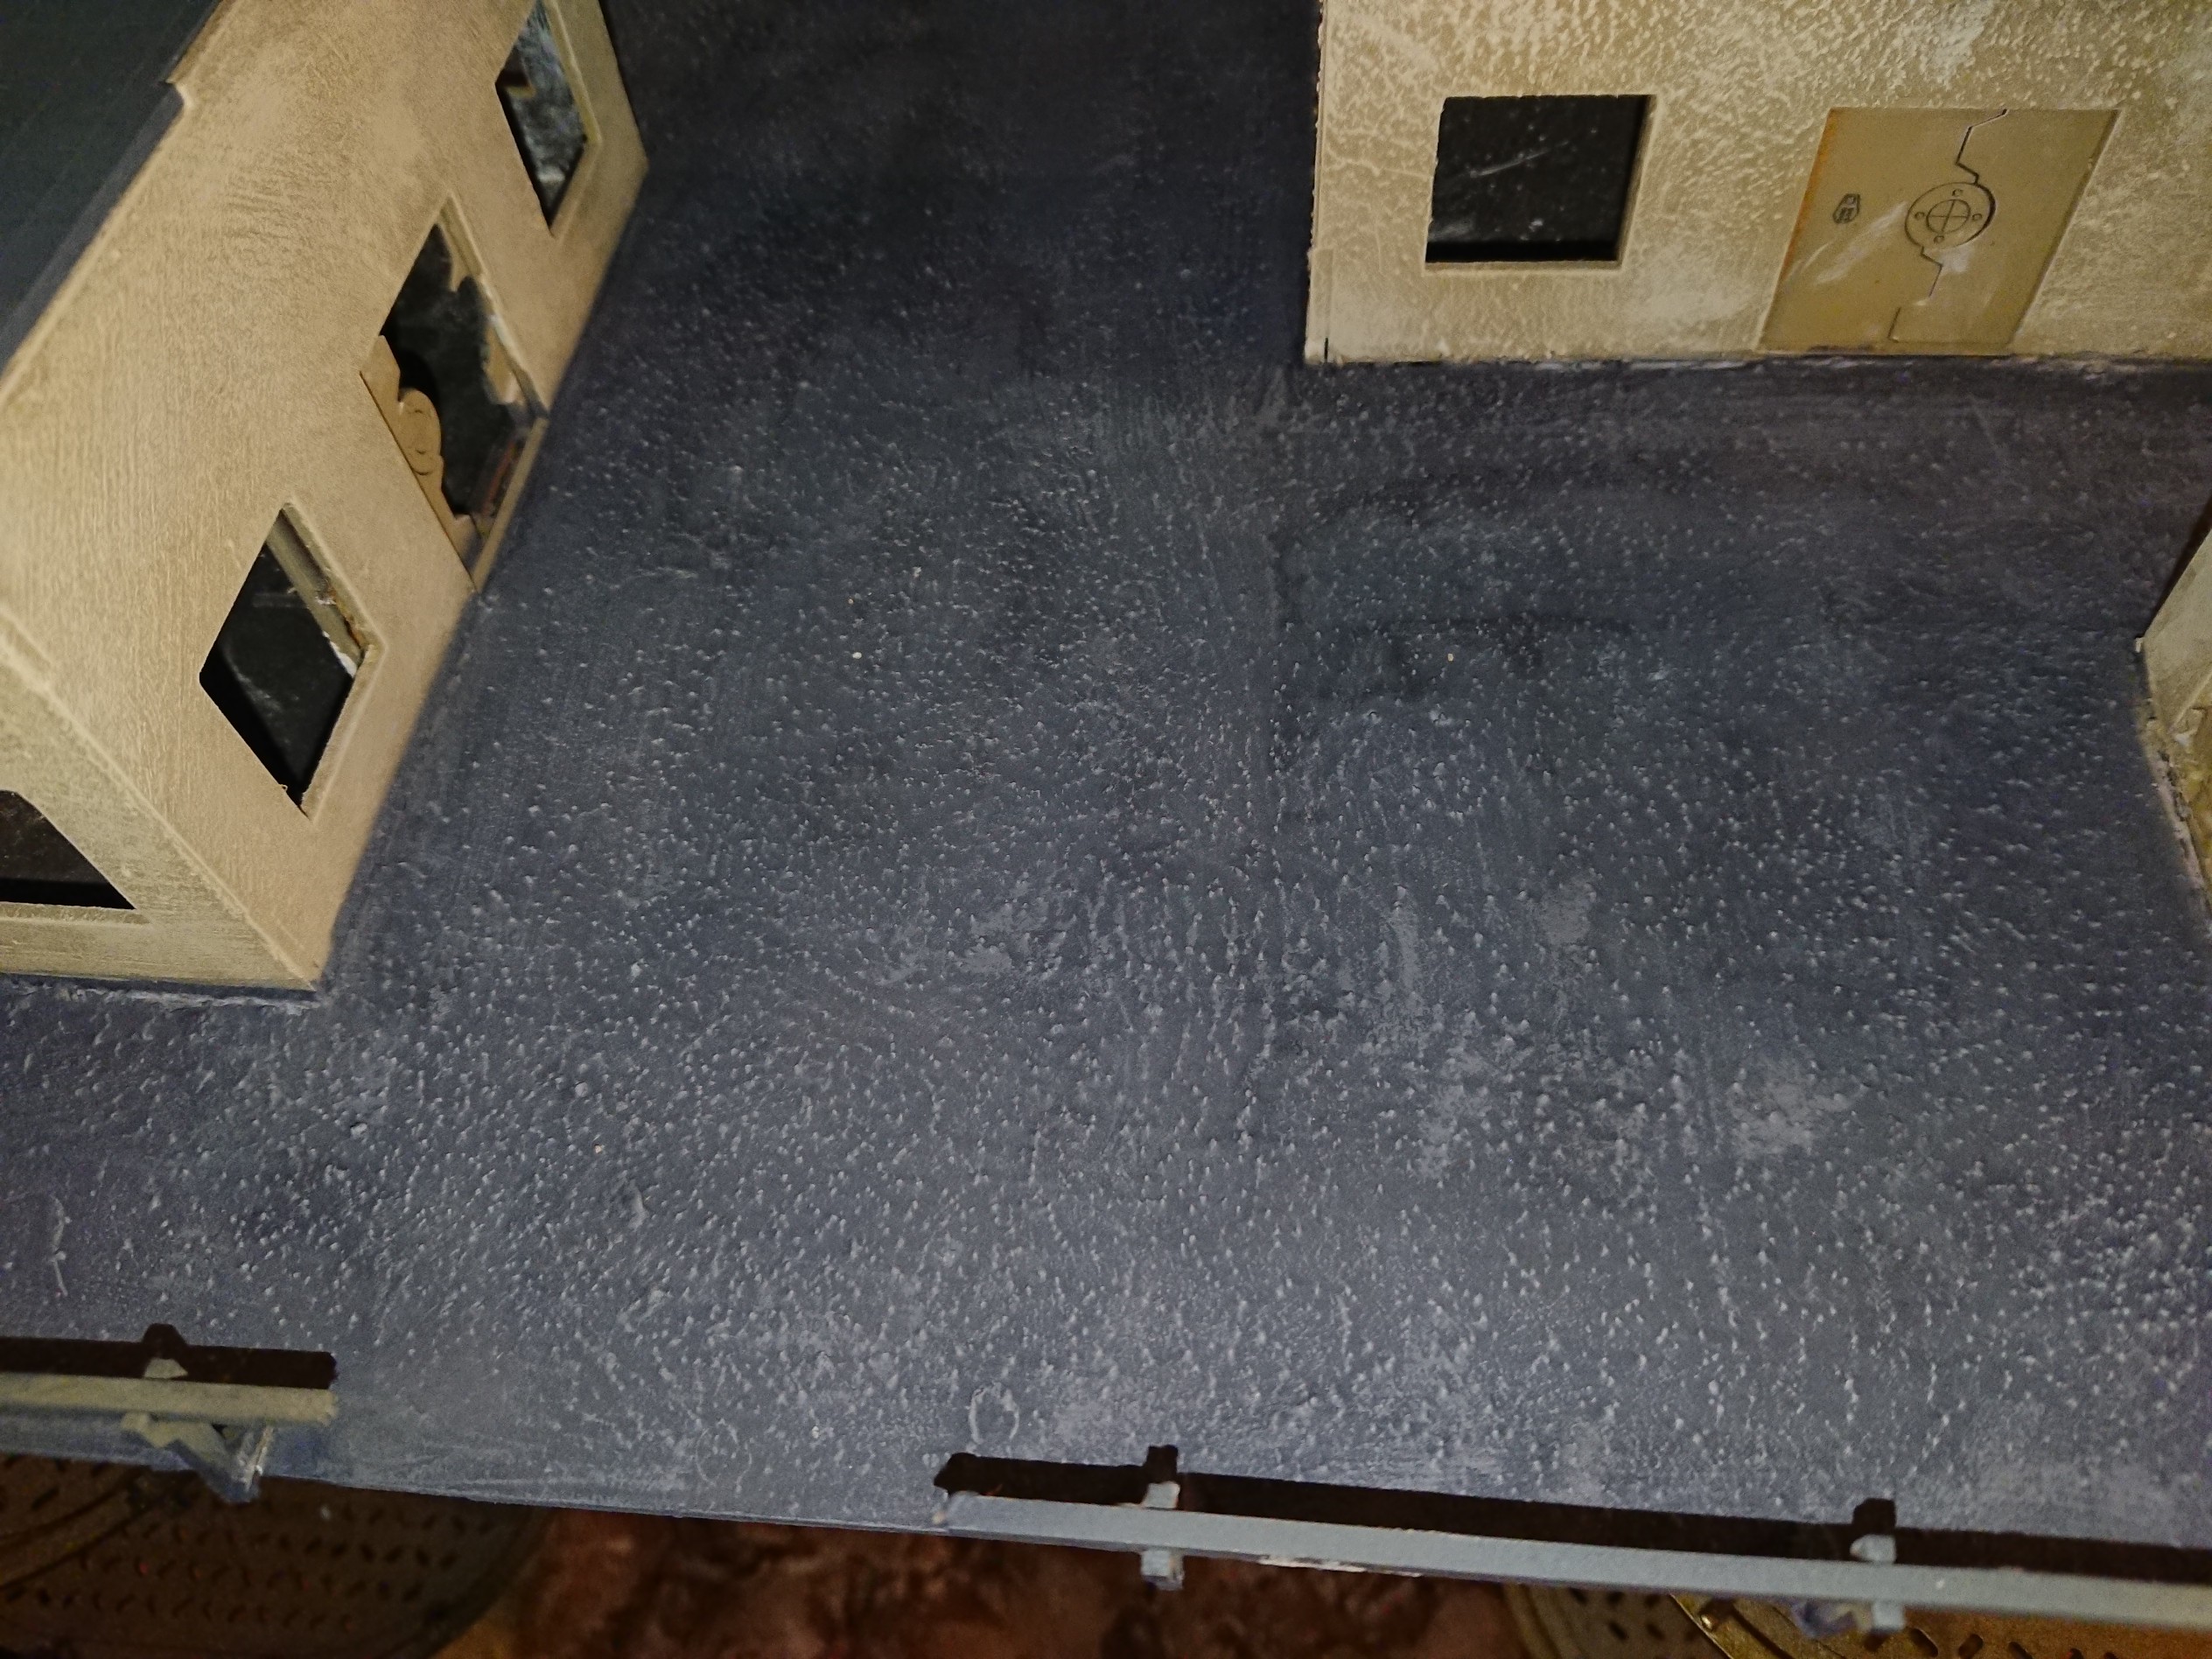
The Eagle Eyed among you will also notice I painted the floor around the base of the assembly blue. This isn’t the finished article, it’s just a base coat on which to build up a water effect.
Part 7 – Painting the Platforms
After the buildings I painted all the flat, platform areas, including the roof sections. The main platform was given a filler wash before being primed with a medium grey (I used Mechanicus Standard Grey). Next I drybrushed everything up using Dawnstone and Longbeard Grey. The last step was a thin black wash to help blend the colours and also to bring out the tiling pattern etched onto the roof sections. It’s quite important to thin the wash for such large flat surfaces, I find you get a very patchy, streaky finish using something like nuln oil straight from the pot. Apart from the doors which I will do later, that pretty much completes the platform
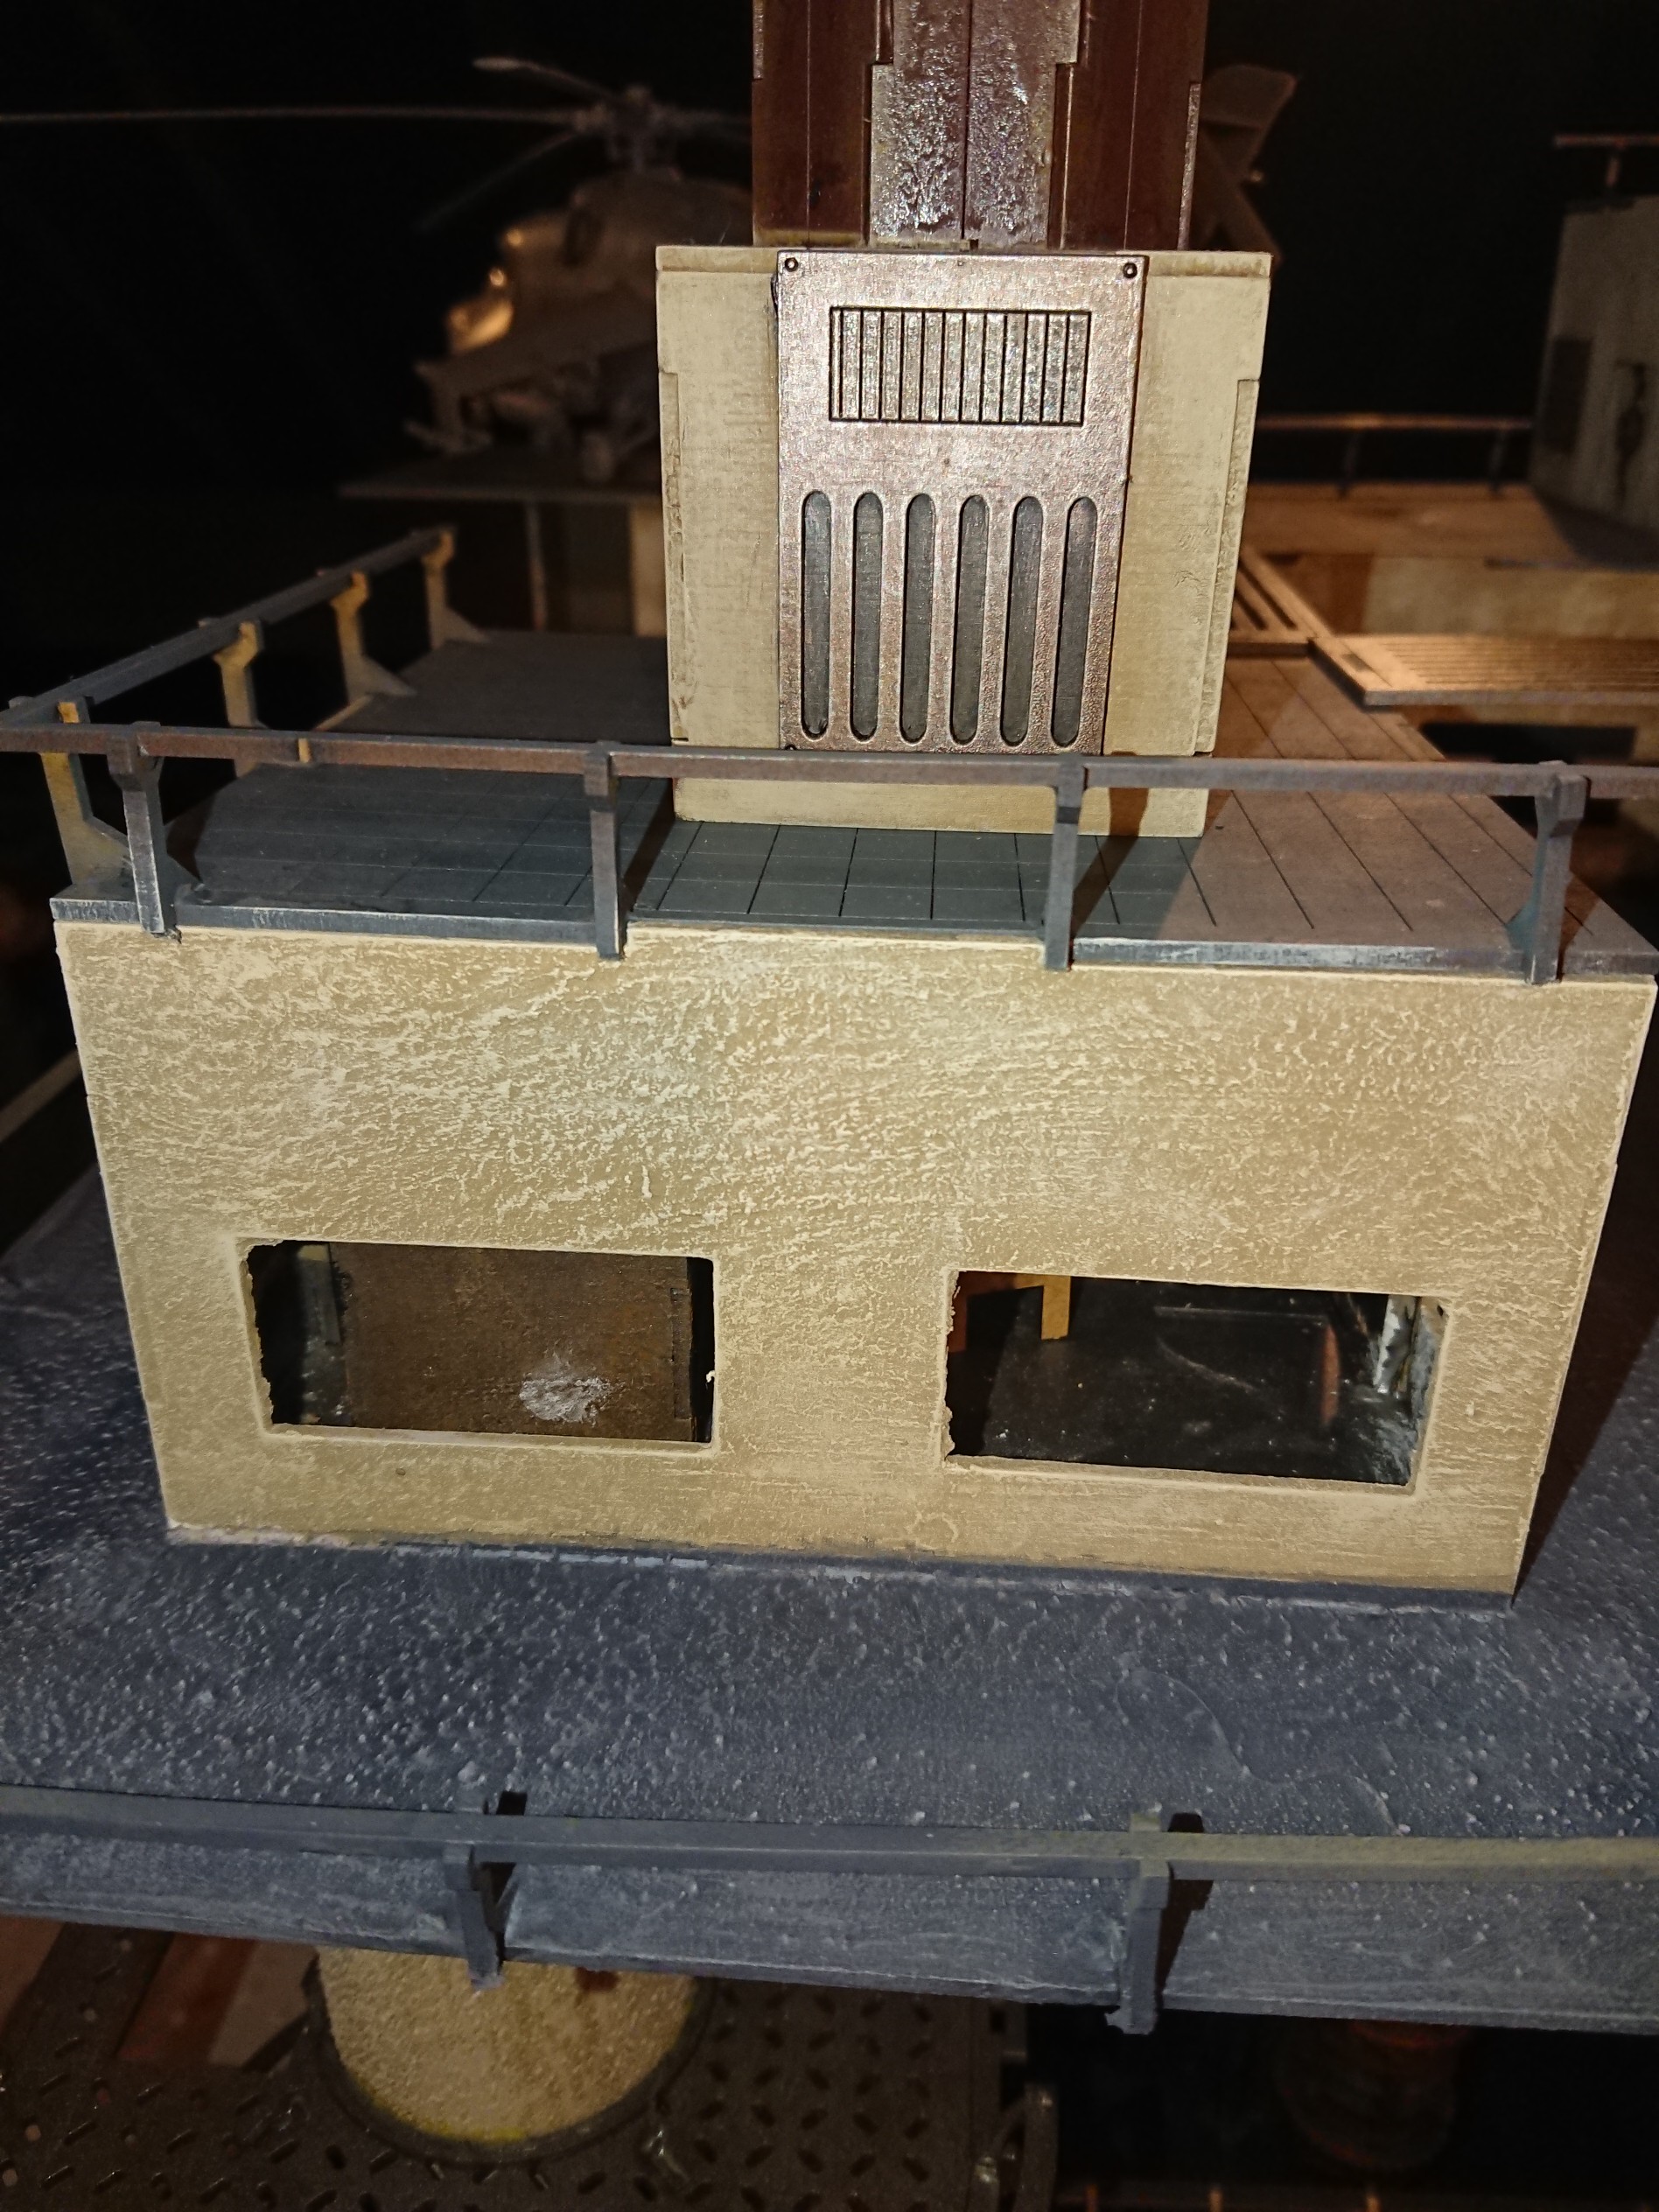
Part 6 – Painting the buildings
With the buildings now ready to be painted the first step was to give them a filler wash to try and fill some of the joints. Once dry these are primed with Zandri Dust and drybrushed up using Tyrant Skull, Terminatus Stone and finally Wrack White. I don’t wash the buildings before drybrushing and this gives them a much paler look – you can get a deeper, yellower look by using a thinned sepia wash but I prefer the paler finish