


Necromunda – the full set – Spring clean


Recommendations: 113
About the Project
Completing the entire box, with both gangs. Scenary is currently primed various colours and ones gang partially assembled, the other still on sprue.
Related Game: Necromunda
Related Company: Games Workshop
Related Genre: Science Fiction
Related Contest: Spring Clean Hobby Challenge (Old)
This Project is Active
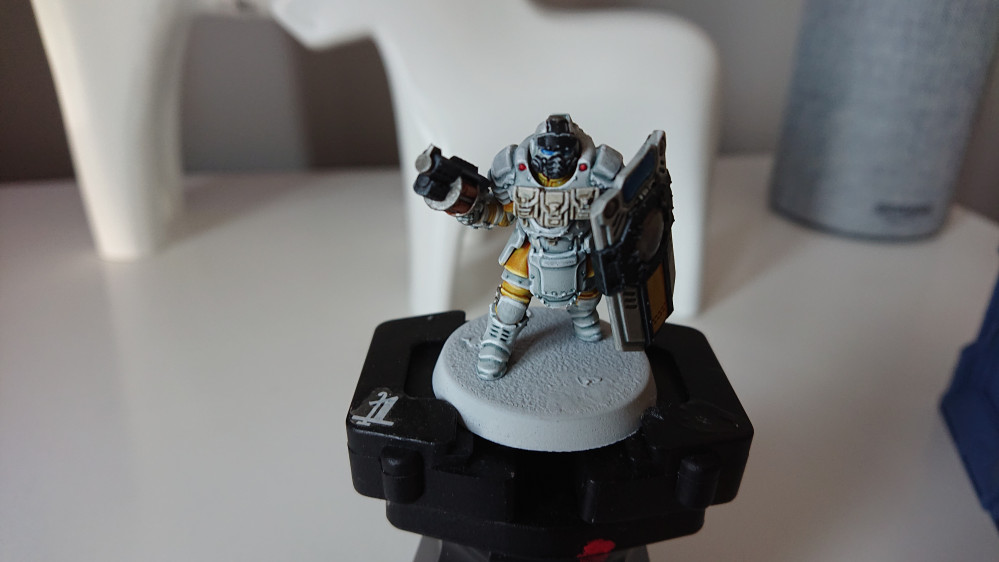
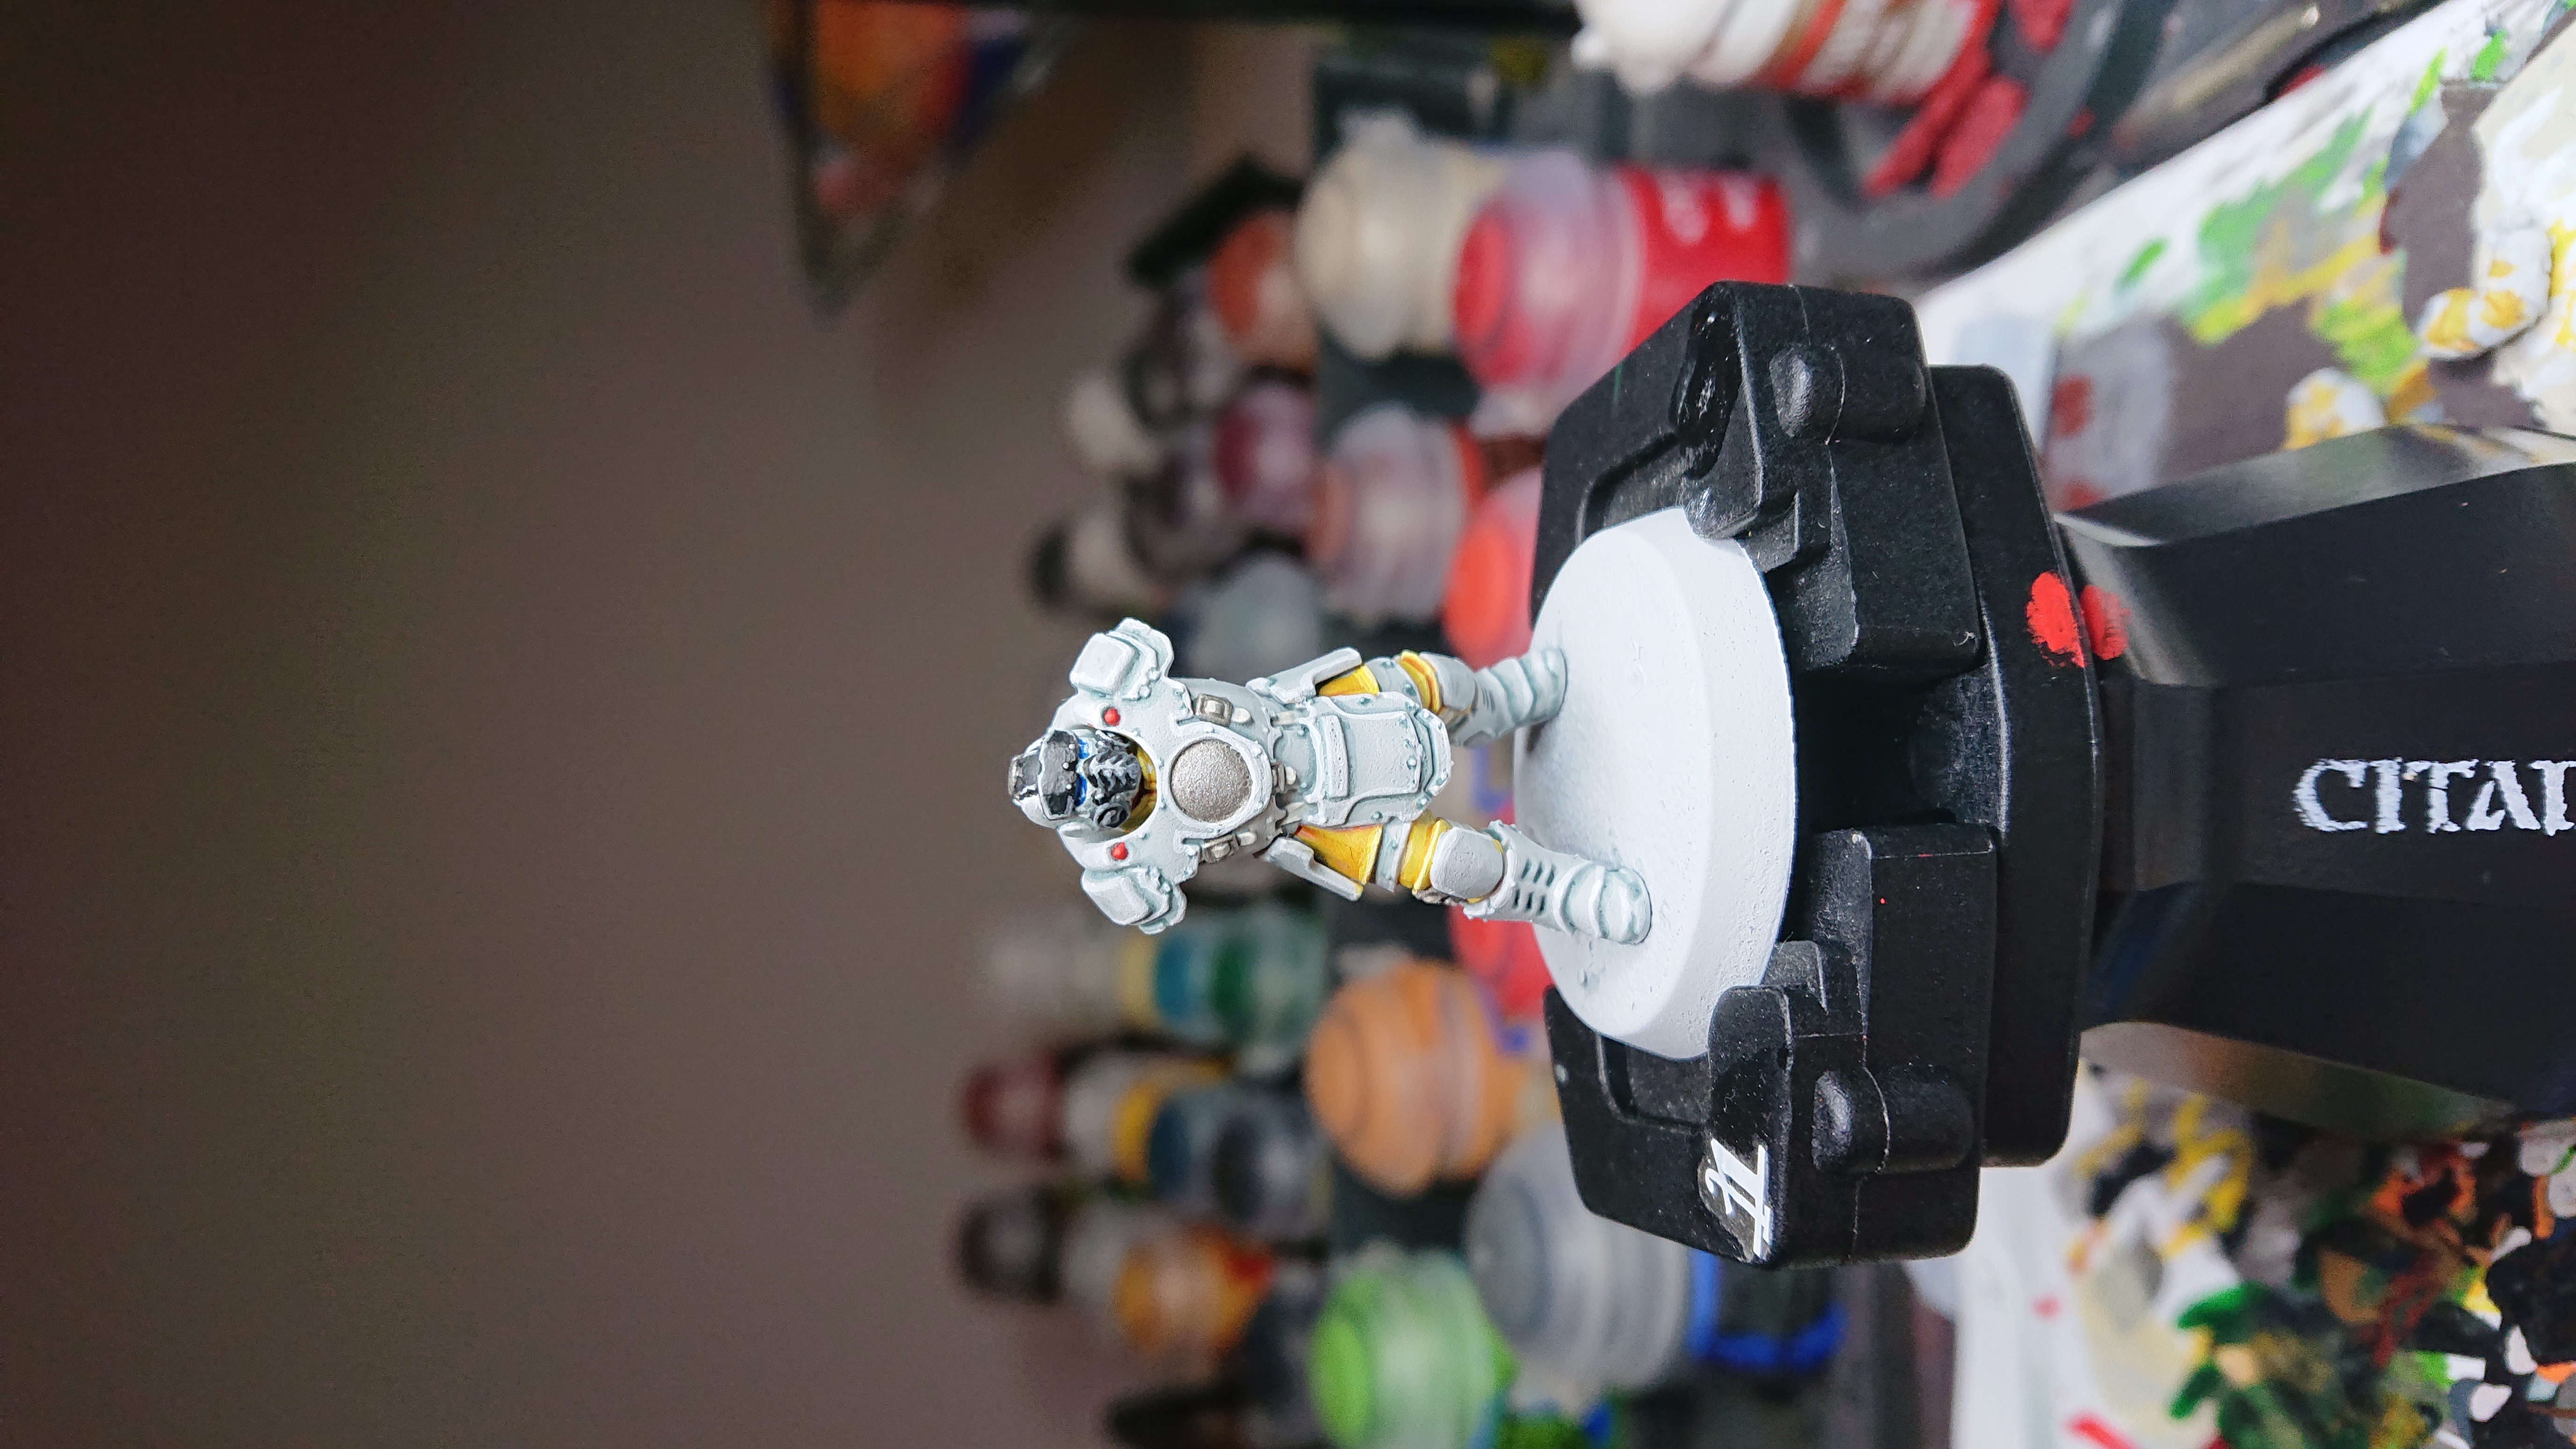
Heavy duty 40k police!
Not complete, but a Paladin subjugator almost done. Just arms and shield to go. I hope to get a couple more completed tomorrow as well.
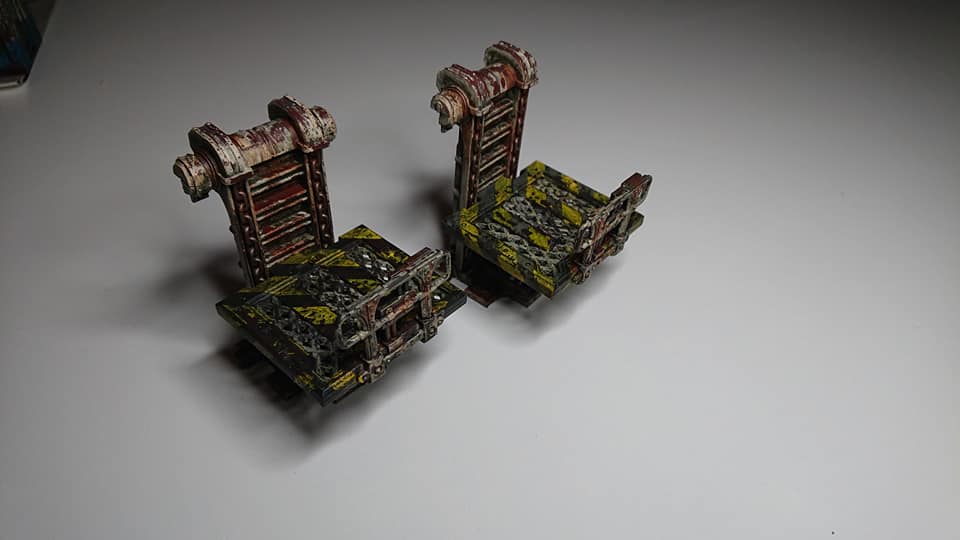
Walls and lifts
It has been a bit slower painting right now for me. They have furloed my entire team except me, so I’m working on my own. There is a bit too much work to allow a lot of painting during the day. Anyway I have finished another lot of terrain. I’m about a third of the way they through the sets I think. No more terrain till I get more paint, so its on with the Enforcers and starting the next gang after that.
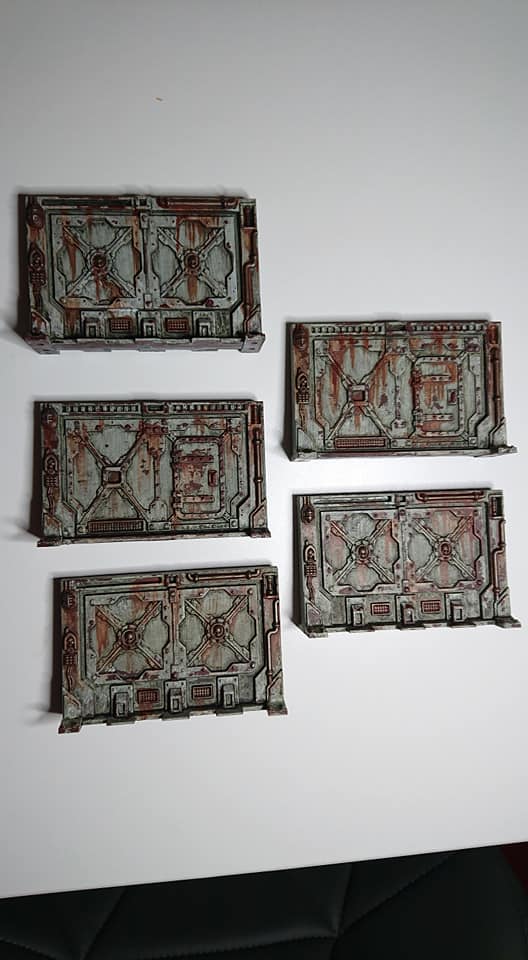
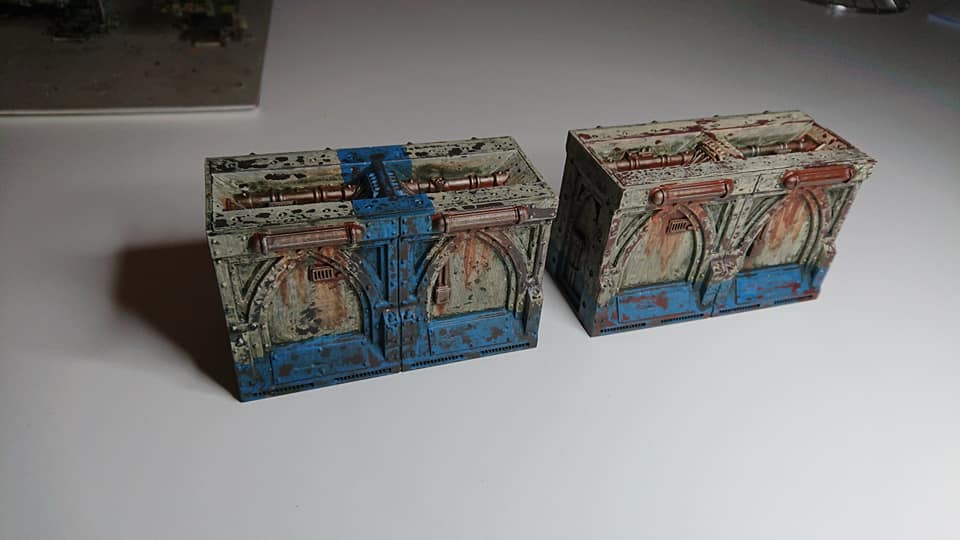
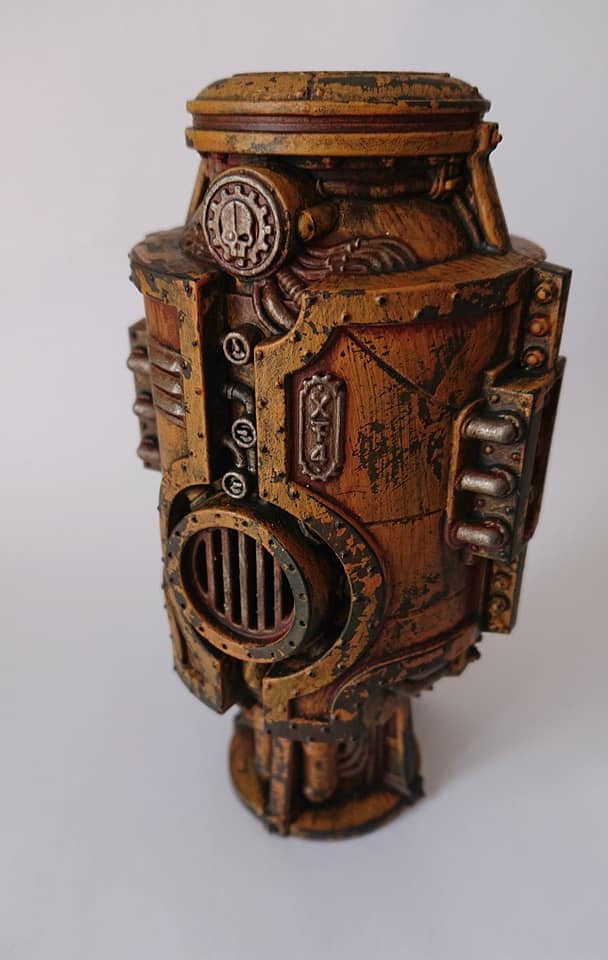
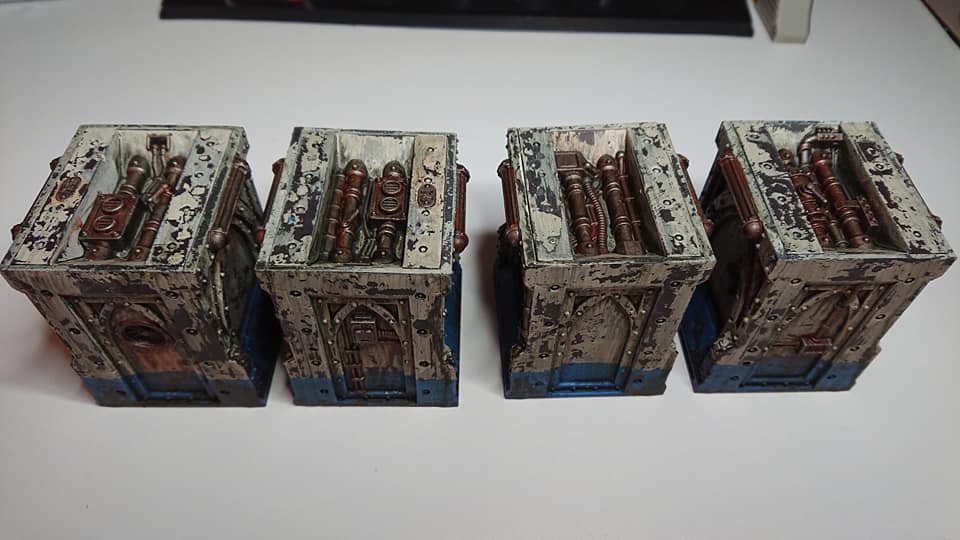
My method of hyper weathered scenary
After looking online for various methods of weathering I have found a great way to do this. I am using mainly AK Interactive weathering products to do this, and they are proving to be great value for the amount of items I have been painting. I hope this is helpful to people but please bear in mind I have only being using this technique for a couple of weeks, so you the way I use this will almost certainly improve over time.
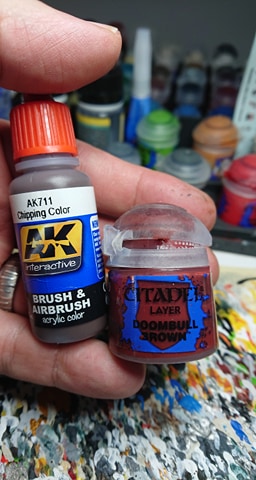 The first thing you need to do is prime the model. I recommend black. This will provide some security if the chipping method goes slightly wrong. Once you have a primed model you should use a priming colour. AK interactive do a chipping colour or you can use something like Doonbull brown. I would say you defeintly need 2 layers of this.
 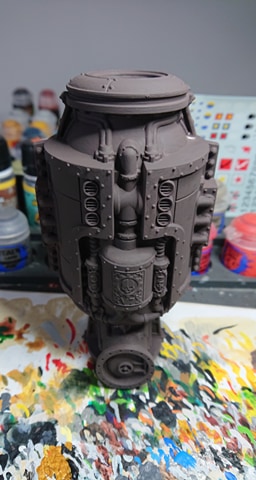 After the base is completed I would advise poutting some sort of matt varnish on. I used GW's purity seal
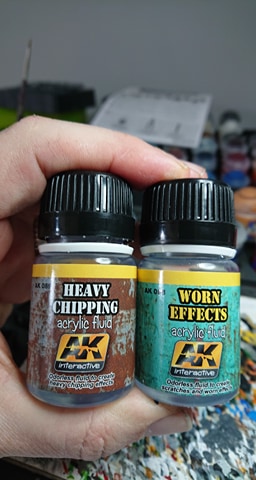 Then the first piece of the weathering process is too give a couple of coats of the chipping medium. I have found very little difference between these 2. But the heavy chipping is supposed to give a even more worn effect.
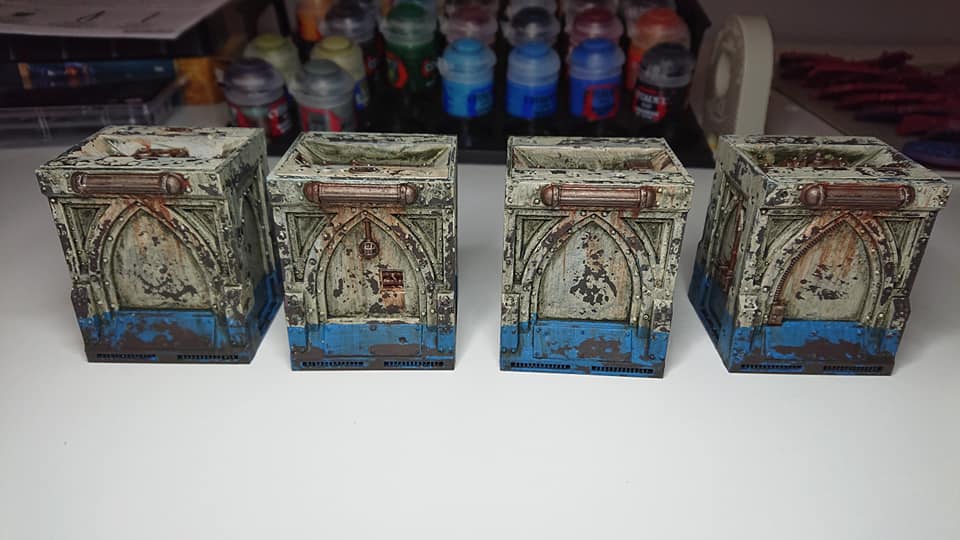
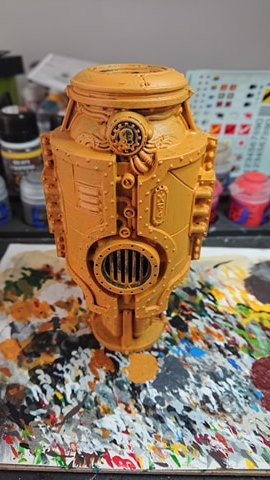 Once the medium is fully dry (can take some time), I gave a top coat of the colour you wan the scenary to be. I would recommend doing this with an airbrush if you can. The paint will react with the chipping medium, so when applied with a brush it drys super fast and can become a bit cloggy. Dont apply more than one coat and dont apply anyhting an already dry top coat. This is important of the chipping will not work.
 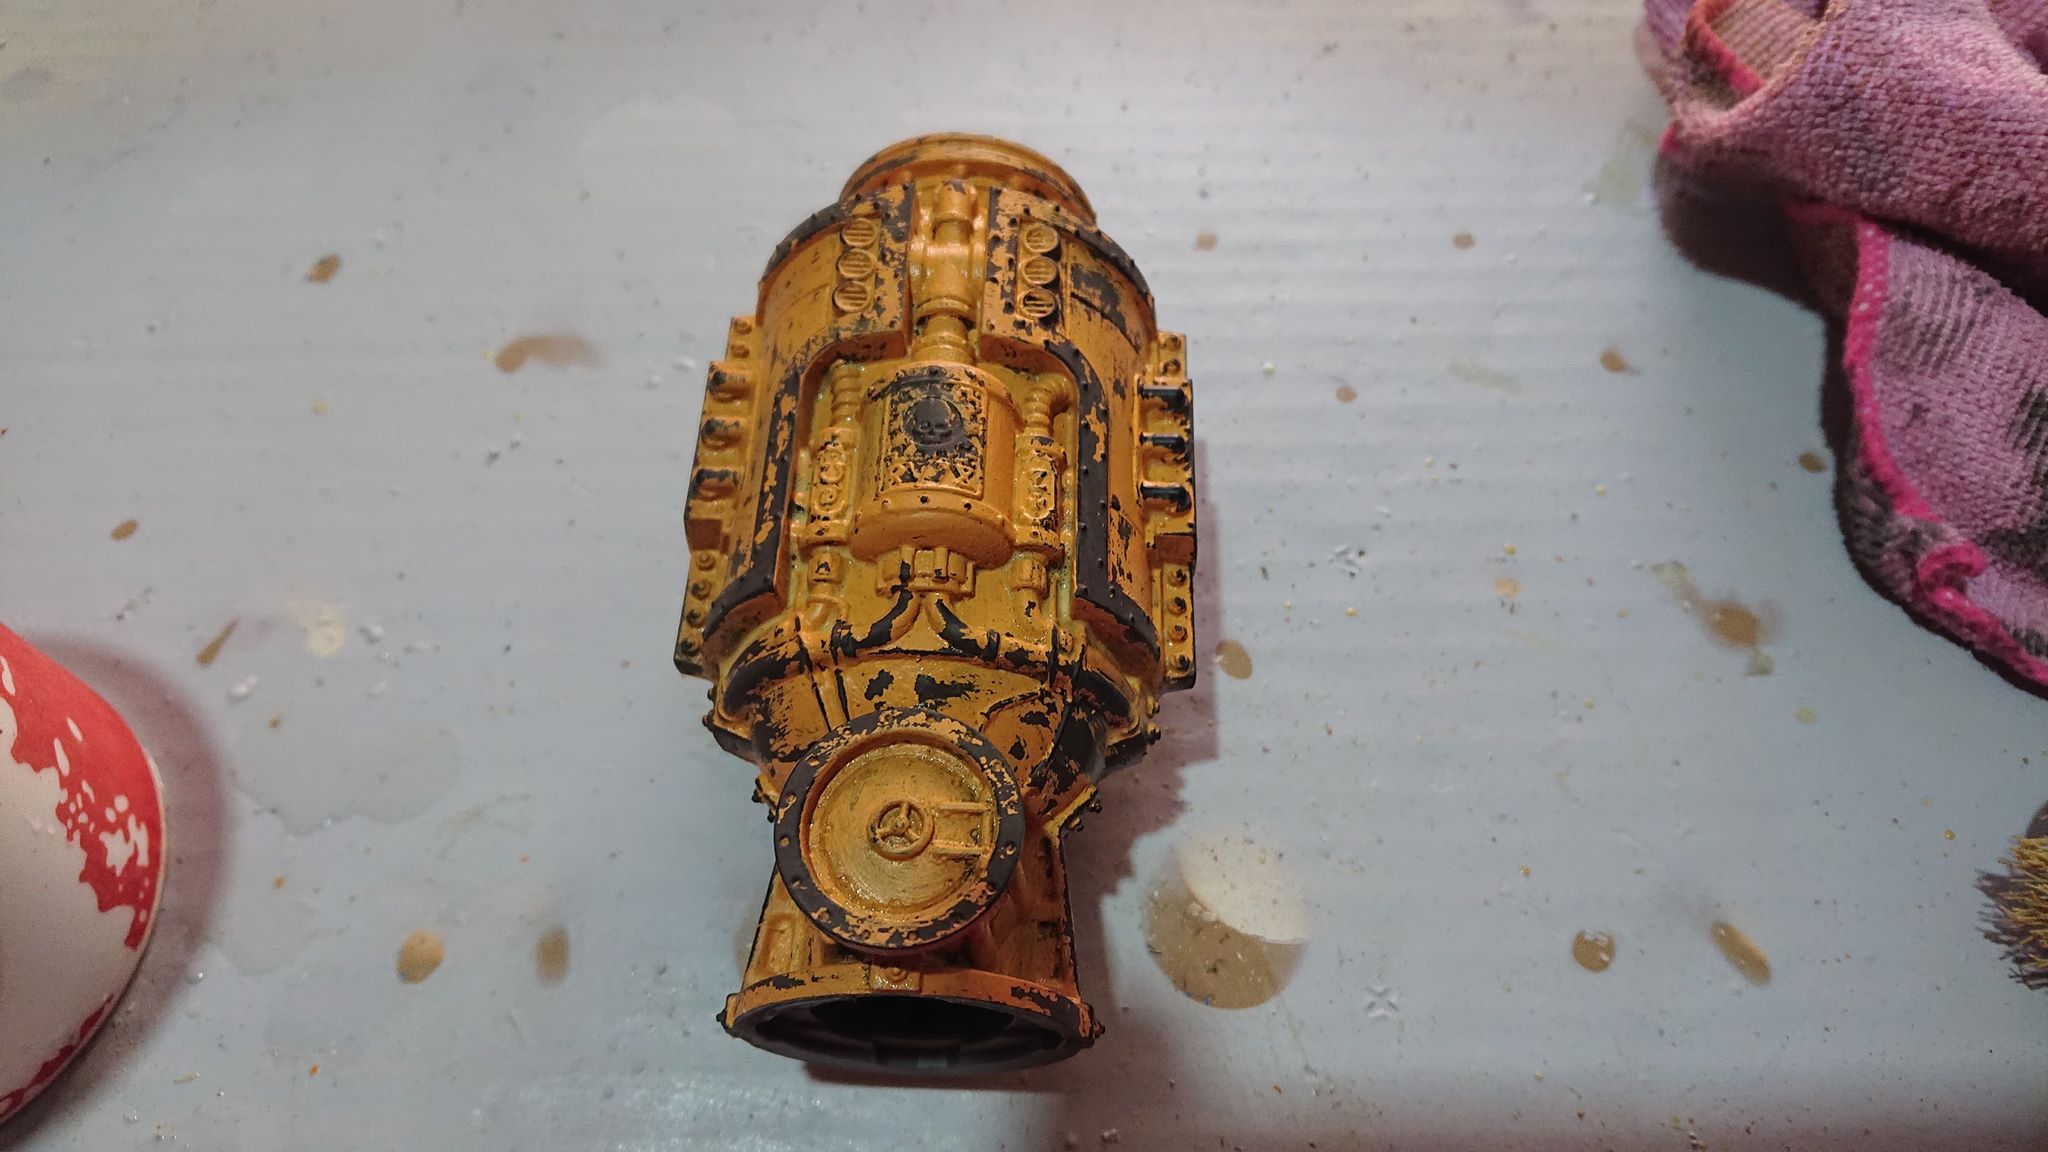 When the top coat has dried it is the fun stage. You will need a hard toothbrsuh of even a scrubbing brush. Wet the piece, allow to sit for a 10 seconds of so, then start scrubbing at the paint. DOnt go too hard or you will tak eoff the chipping base coulour. You want to remove the top coat so the chipping coat shows through. Keep wiping the areas you are scrubbing down with a damp cloth to get rid of the removed paint
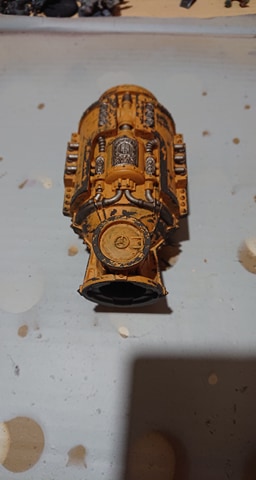 Once you have completed the chipping you should paint any other details on the scenary you want to be weathered. I paint the metalics. I try to use no more than 3 colours on the scenary for simplicity.
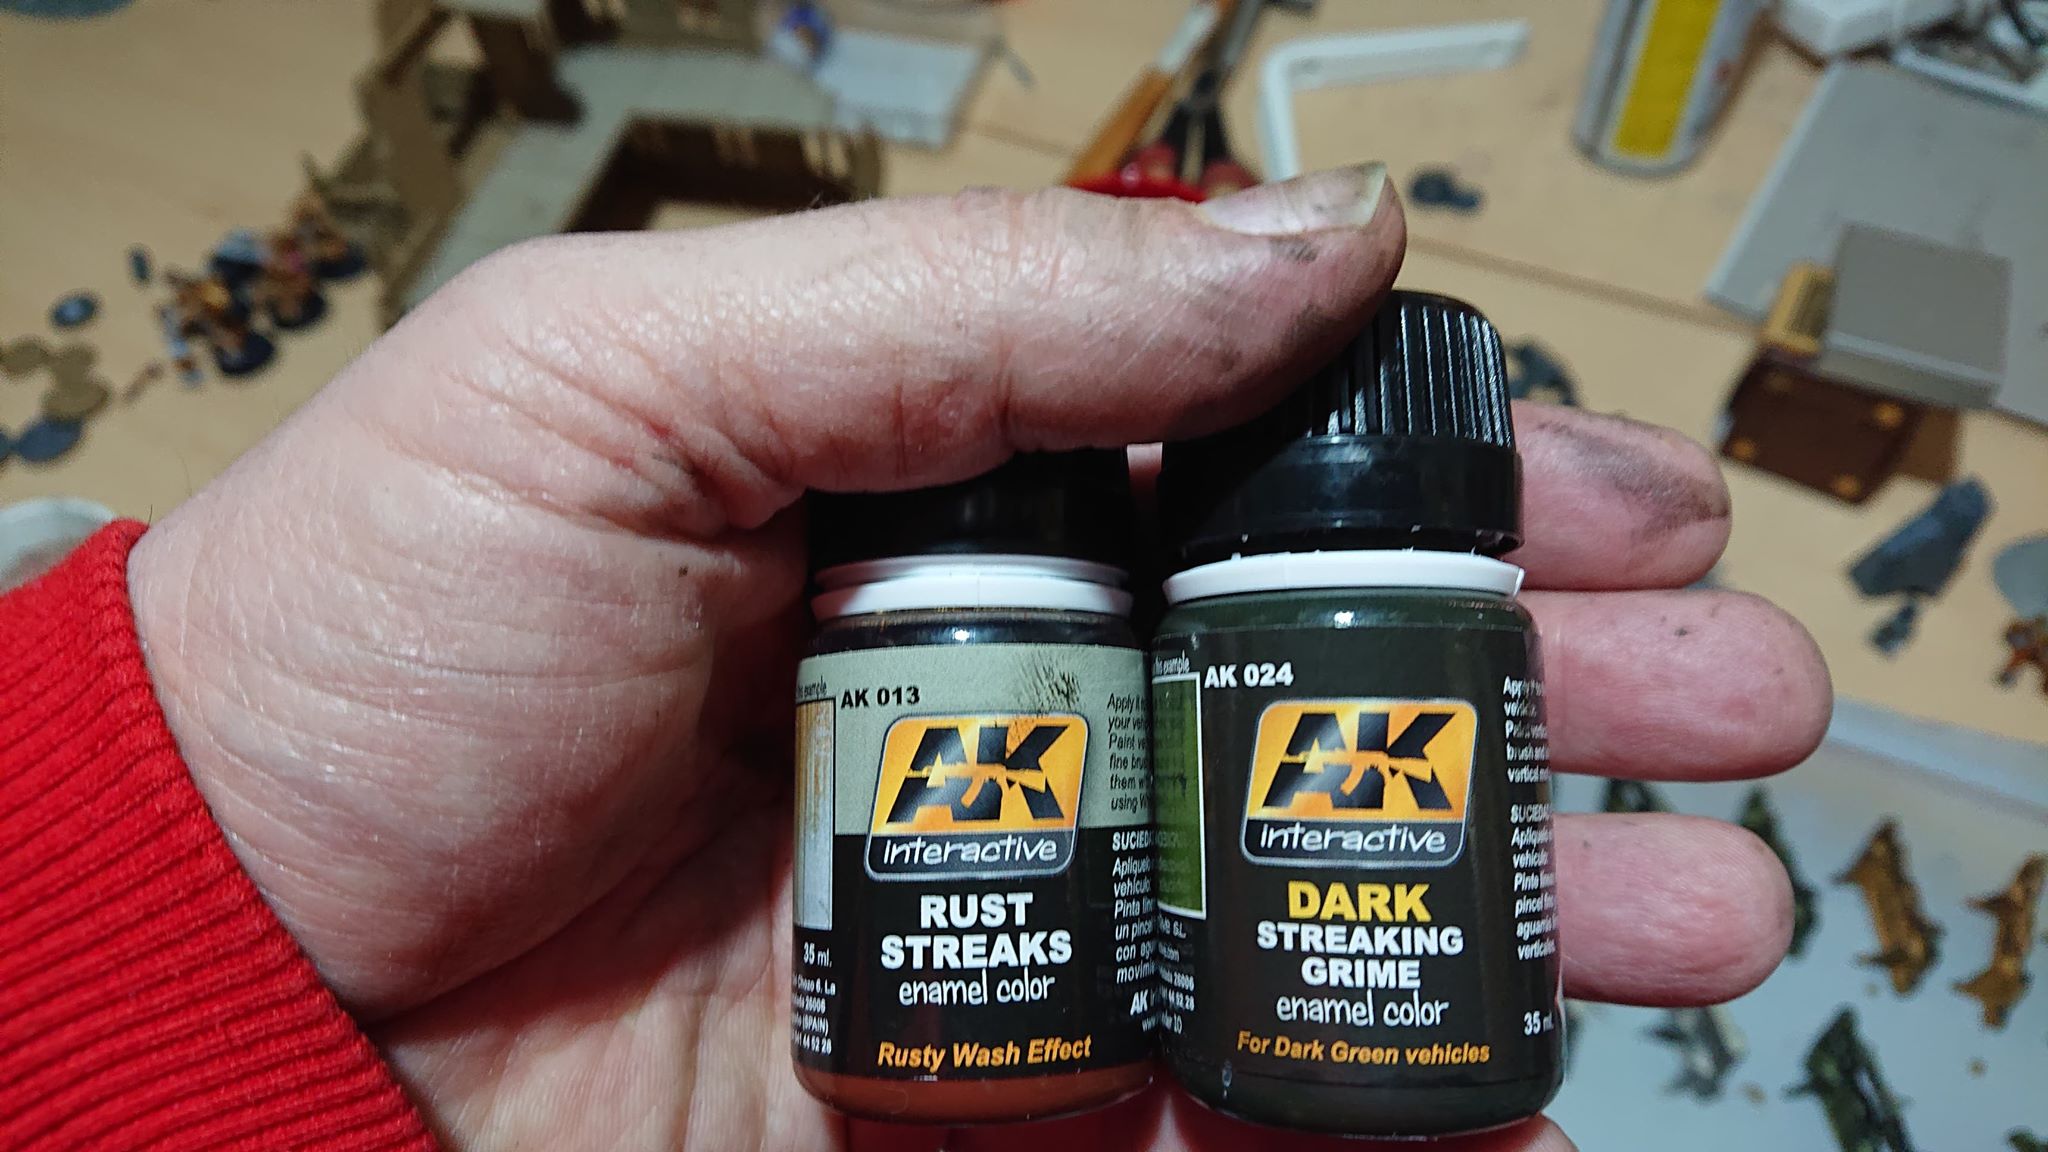 I use both of the weathering washes for the effect I want. Bear in mind these are enamels and you should do this in a well ventilated area as they do smell a bit. You also need white spirits to clean tools.
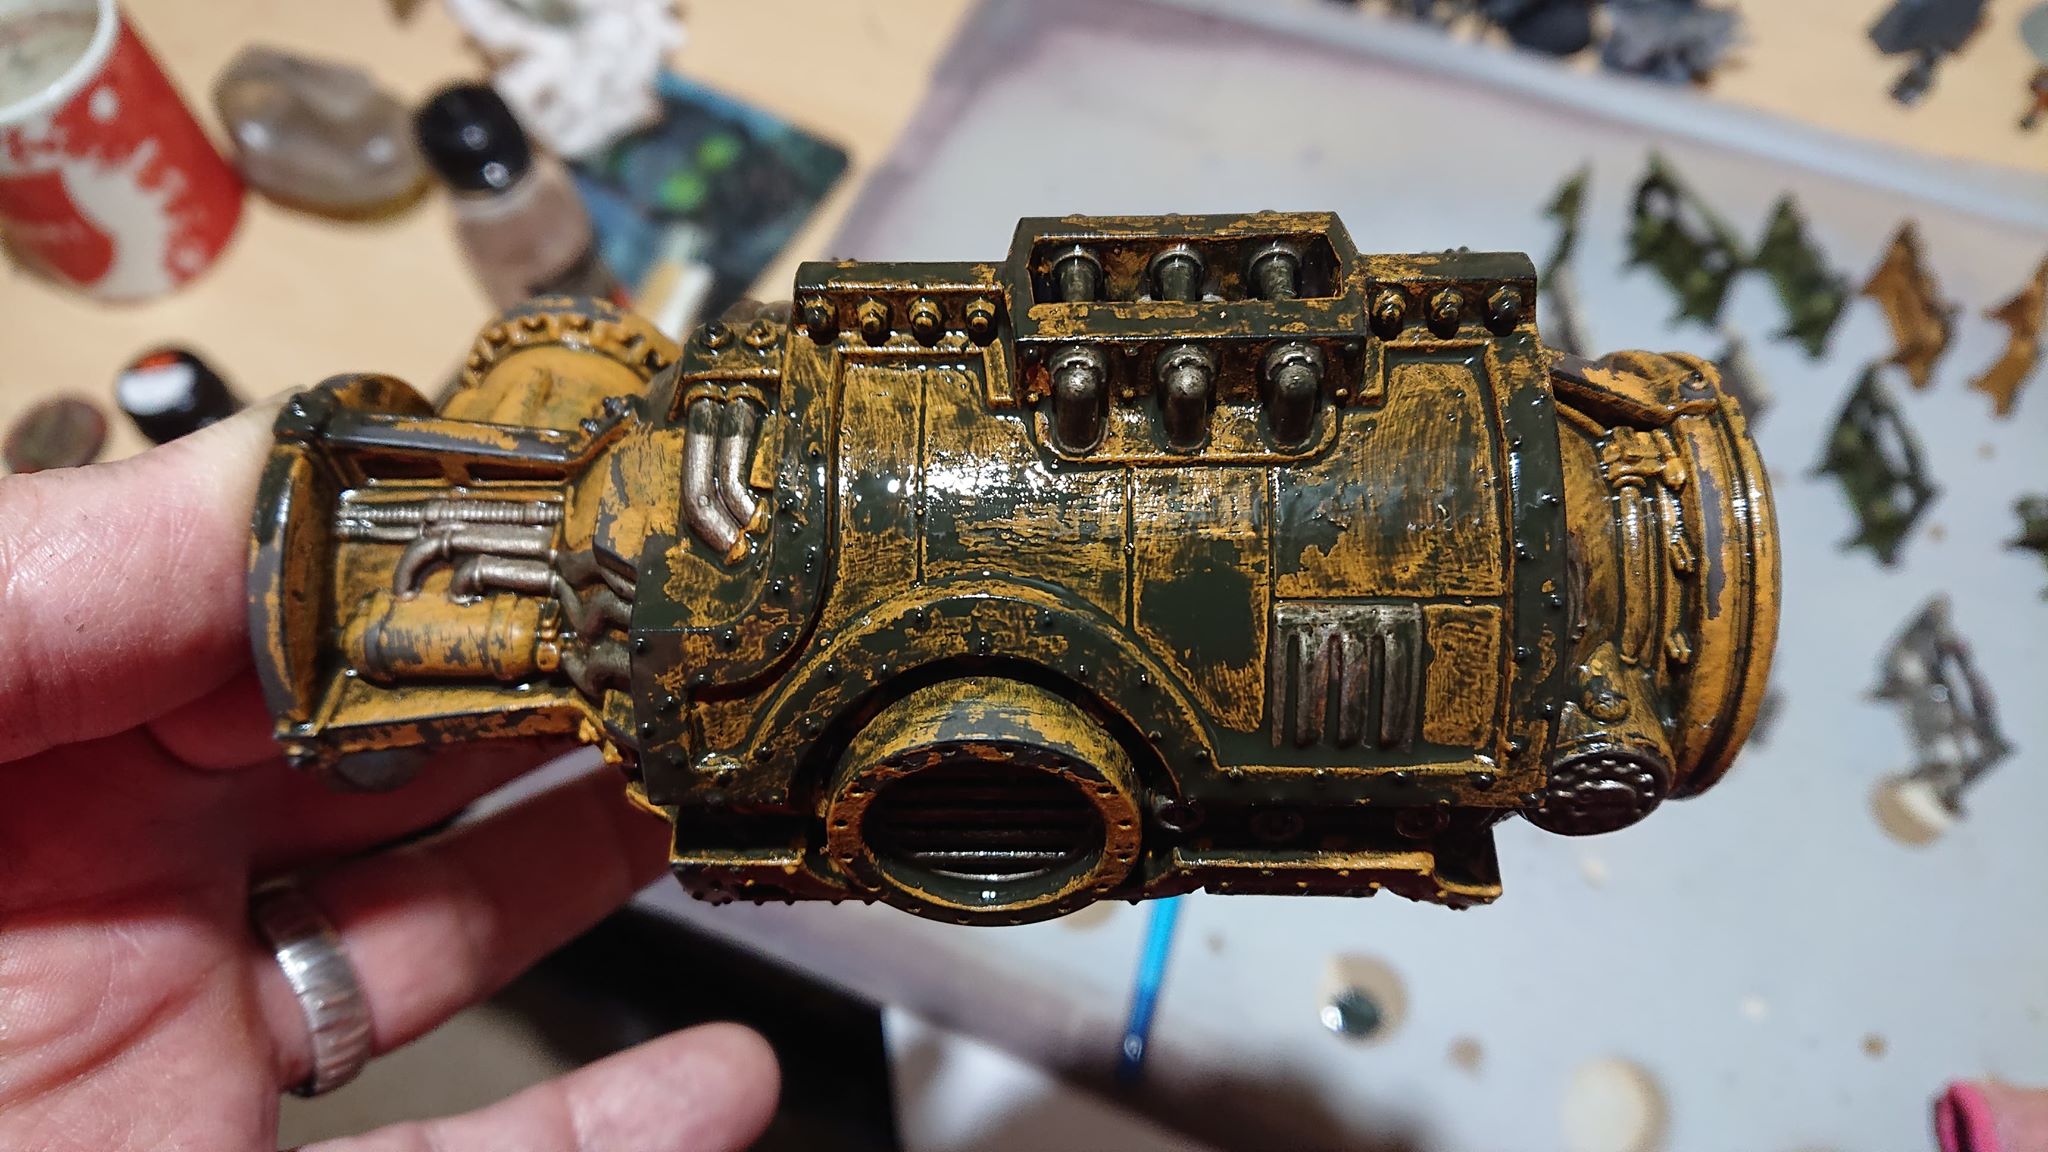 I give the model a heavy coat of the grime wash
 WHile the wash is still wet I use a cloth to wipe of the wash. This leaves a streaking effect so make sure you go from top to bottom
After the first wash is dry, I complete the model by add sparing amounts of the rust wash. Once this is dry I will add a final layer of matt varnish. Overall the mthod if fast, but allowing the model to dry fully between each stage means it took me 2 days to complete this piece.
A catch up post
A lot of my posts from my mobile have not been posted, so here is a catch up of what I have been doing the last few days.
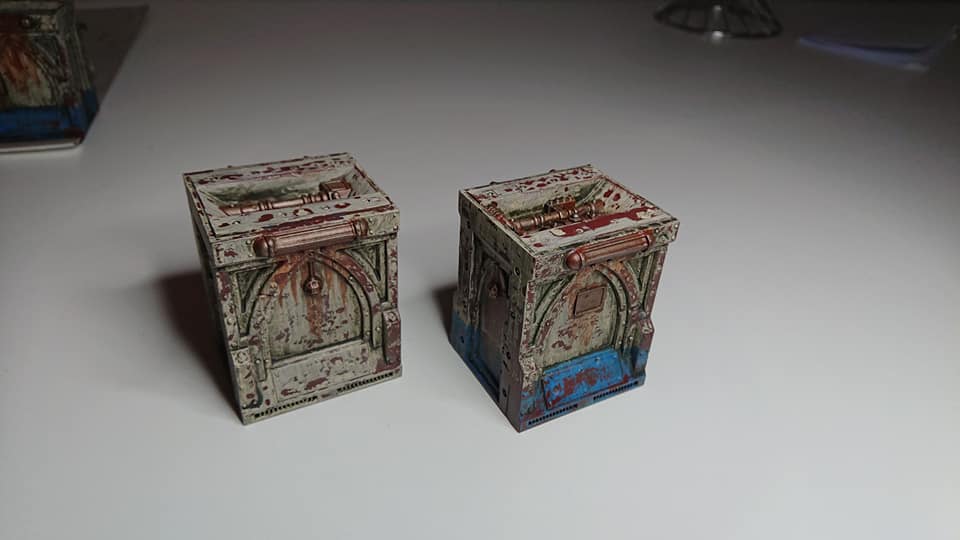
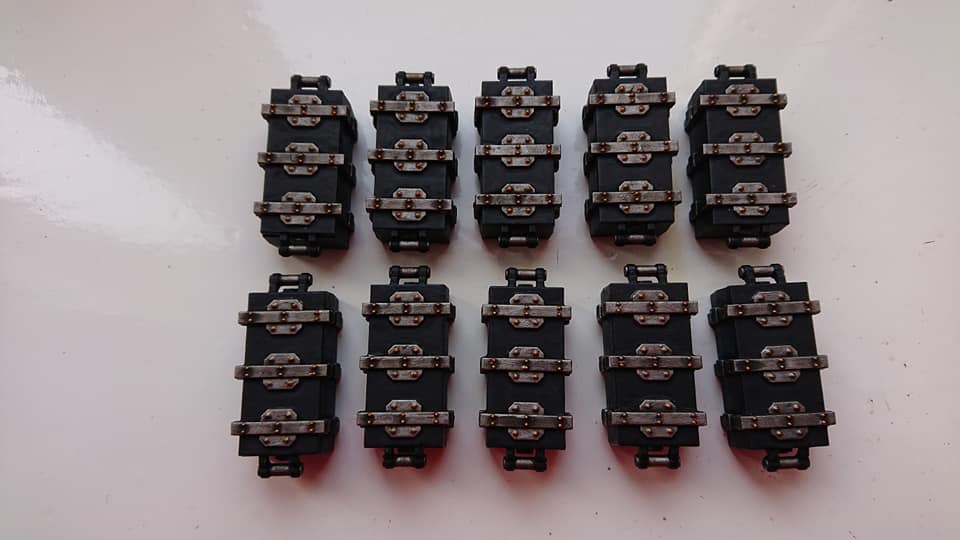
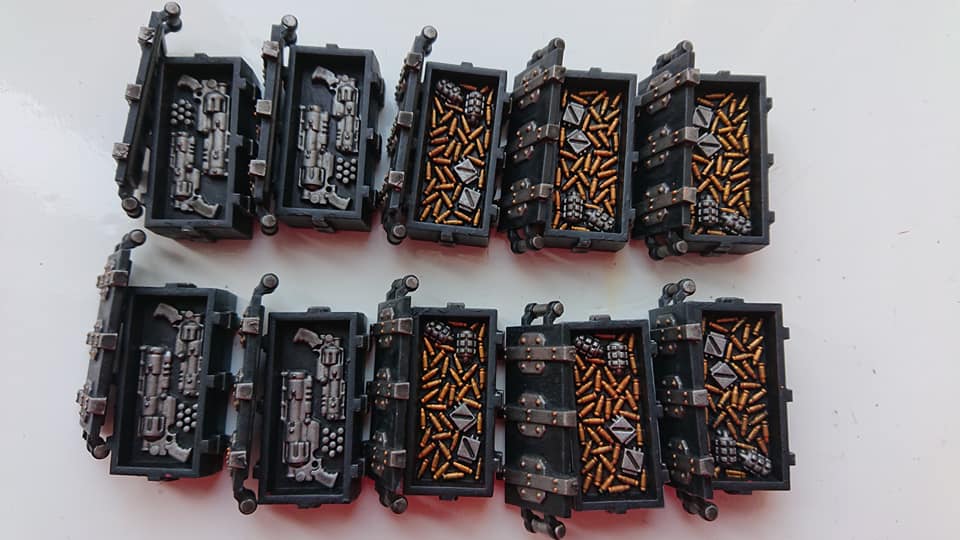
I have completed the first 5 man squad. I have also completed all 10 what I think are objective markers from both box sets. There are 18 barricades which I have completed in the same weathered manner I am doing all the terrain.
Finally I have also completed one of the older pieces of terrain, and I will post a description of the steps and paints I used to complete it. The only issue I have now is that I have run out of the brown base paint and also ironbreaker. I am ordering some more but until it arrrives I have only got a few pieces of terrain I can do.
Until these arrive I will be going to the next batch of Enforcers.
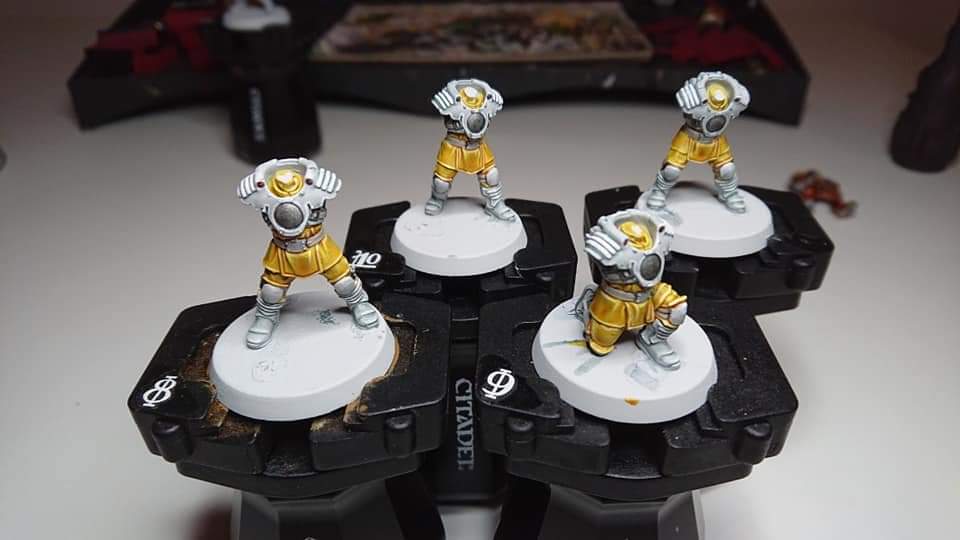
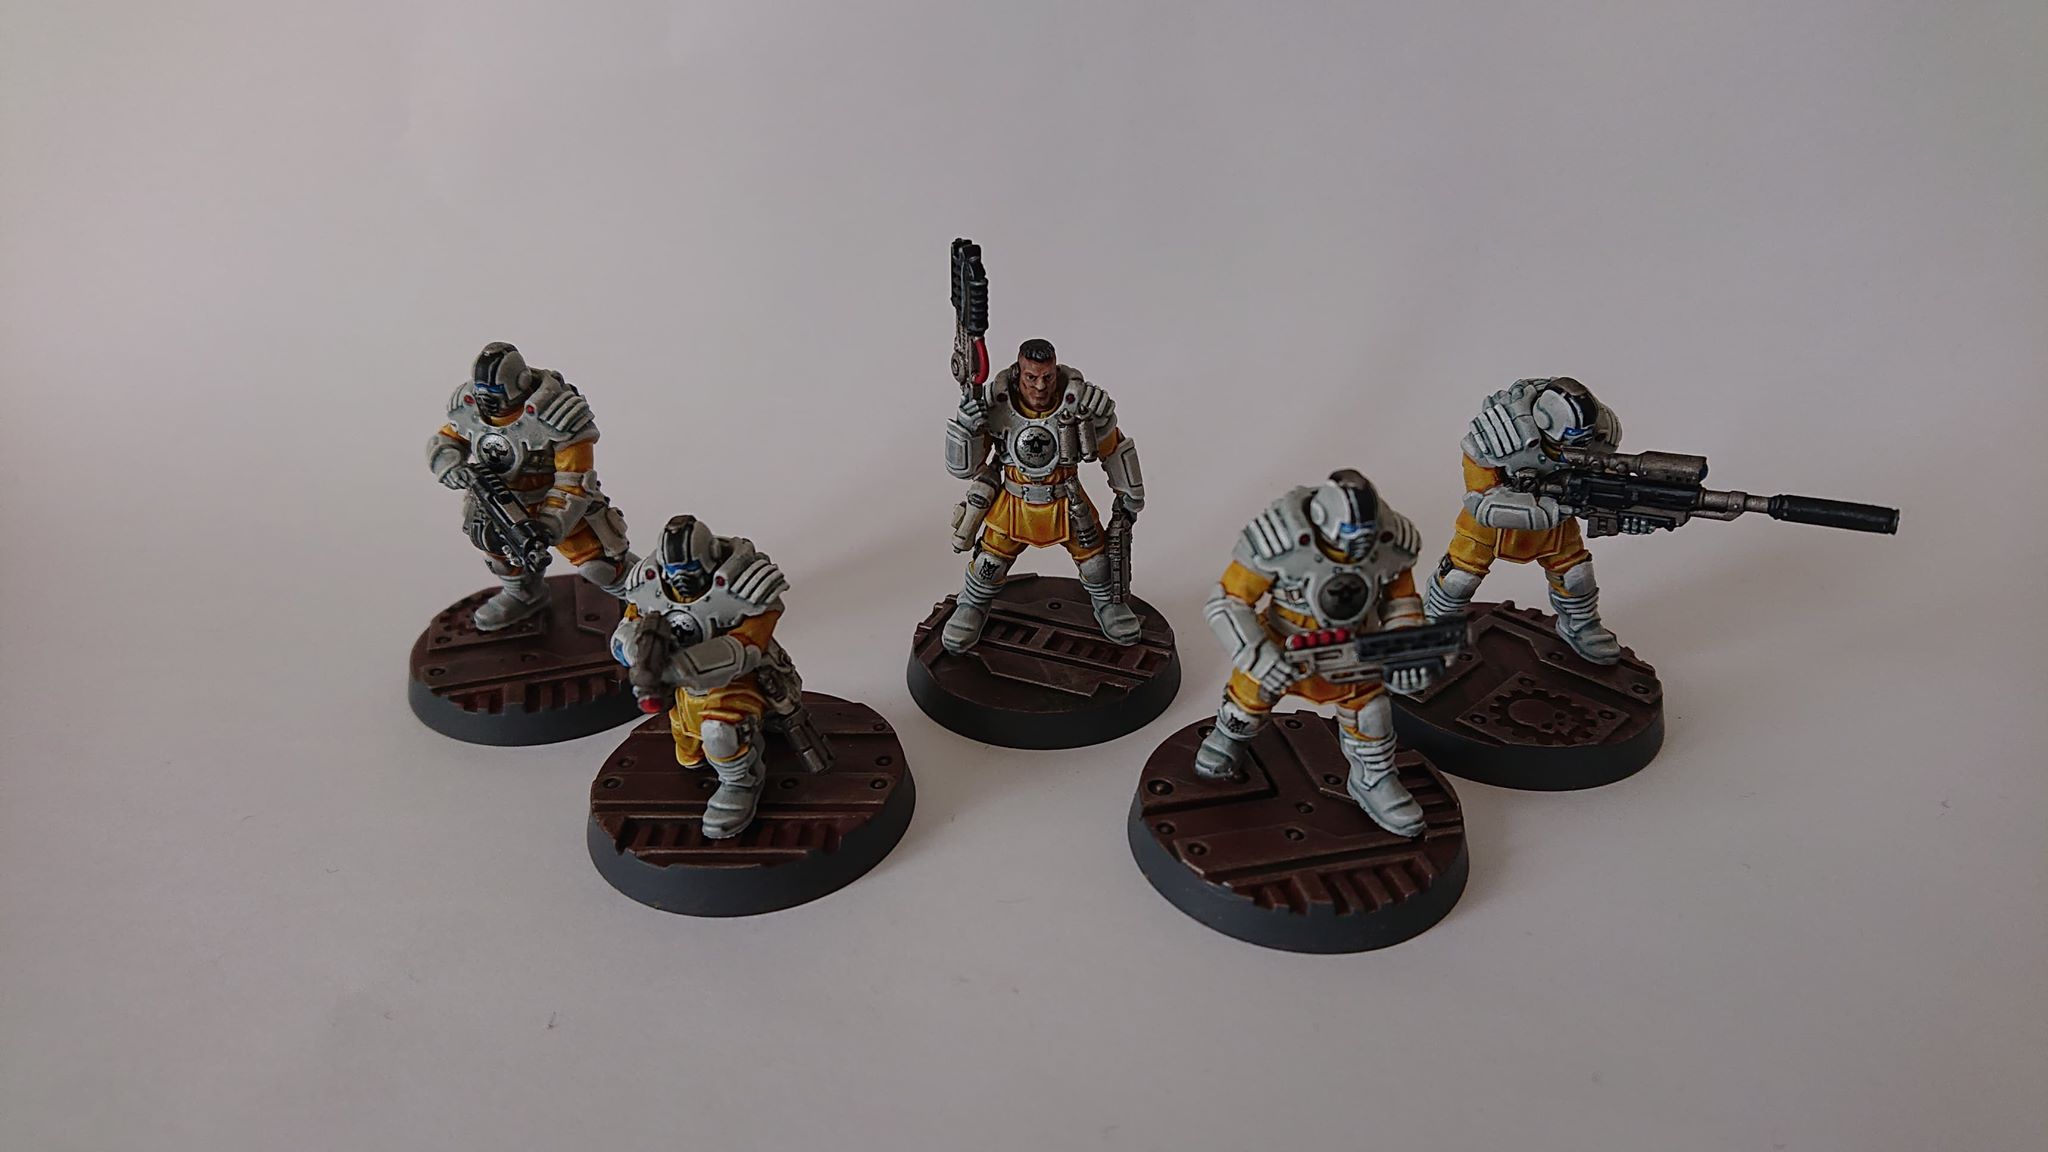 Full 5 man Enforcers complete with bases
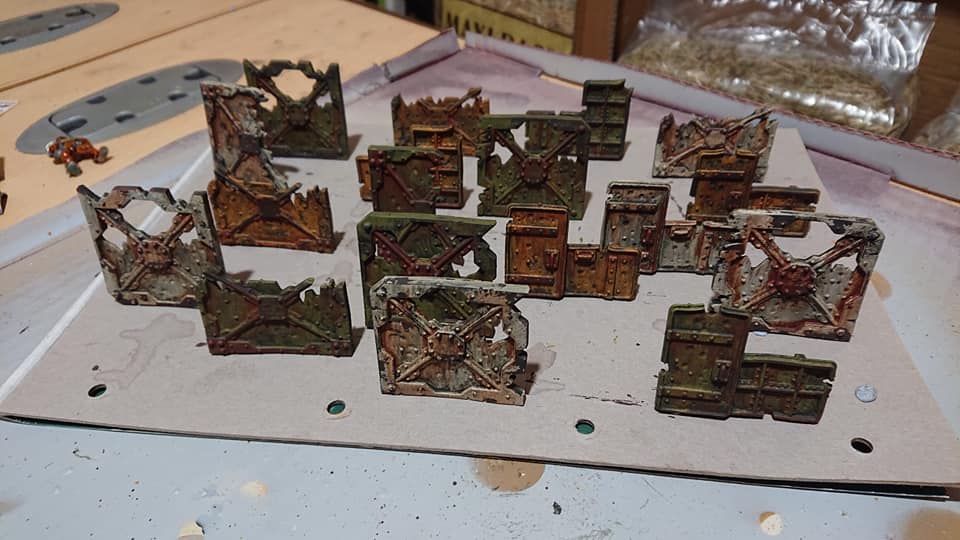

Next step
I will be completing the first 5 Enforcers I think before my weathering paints arrive. Then its on to scenary.
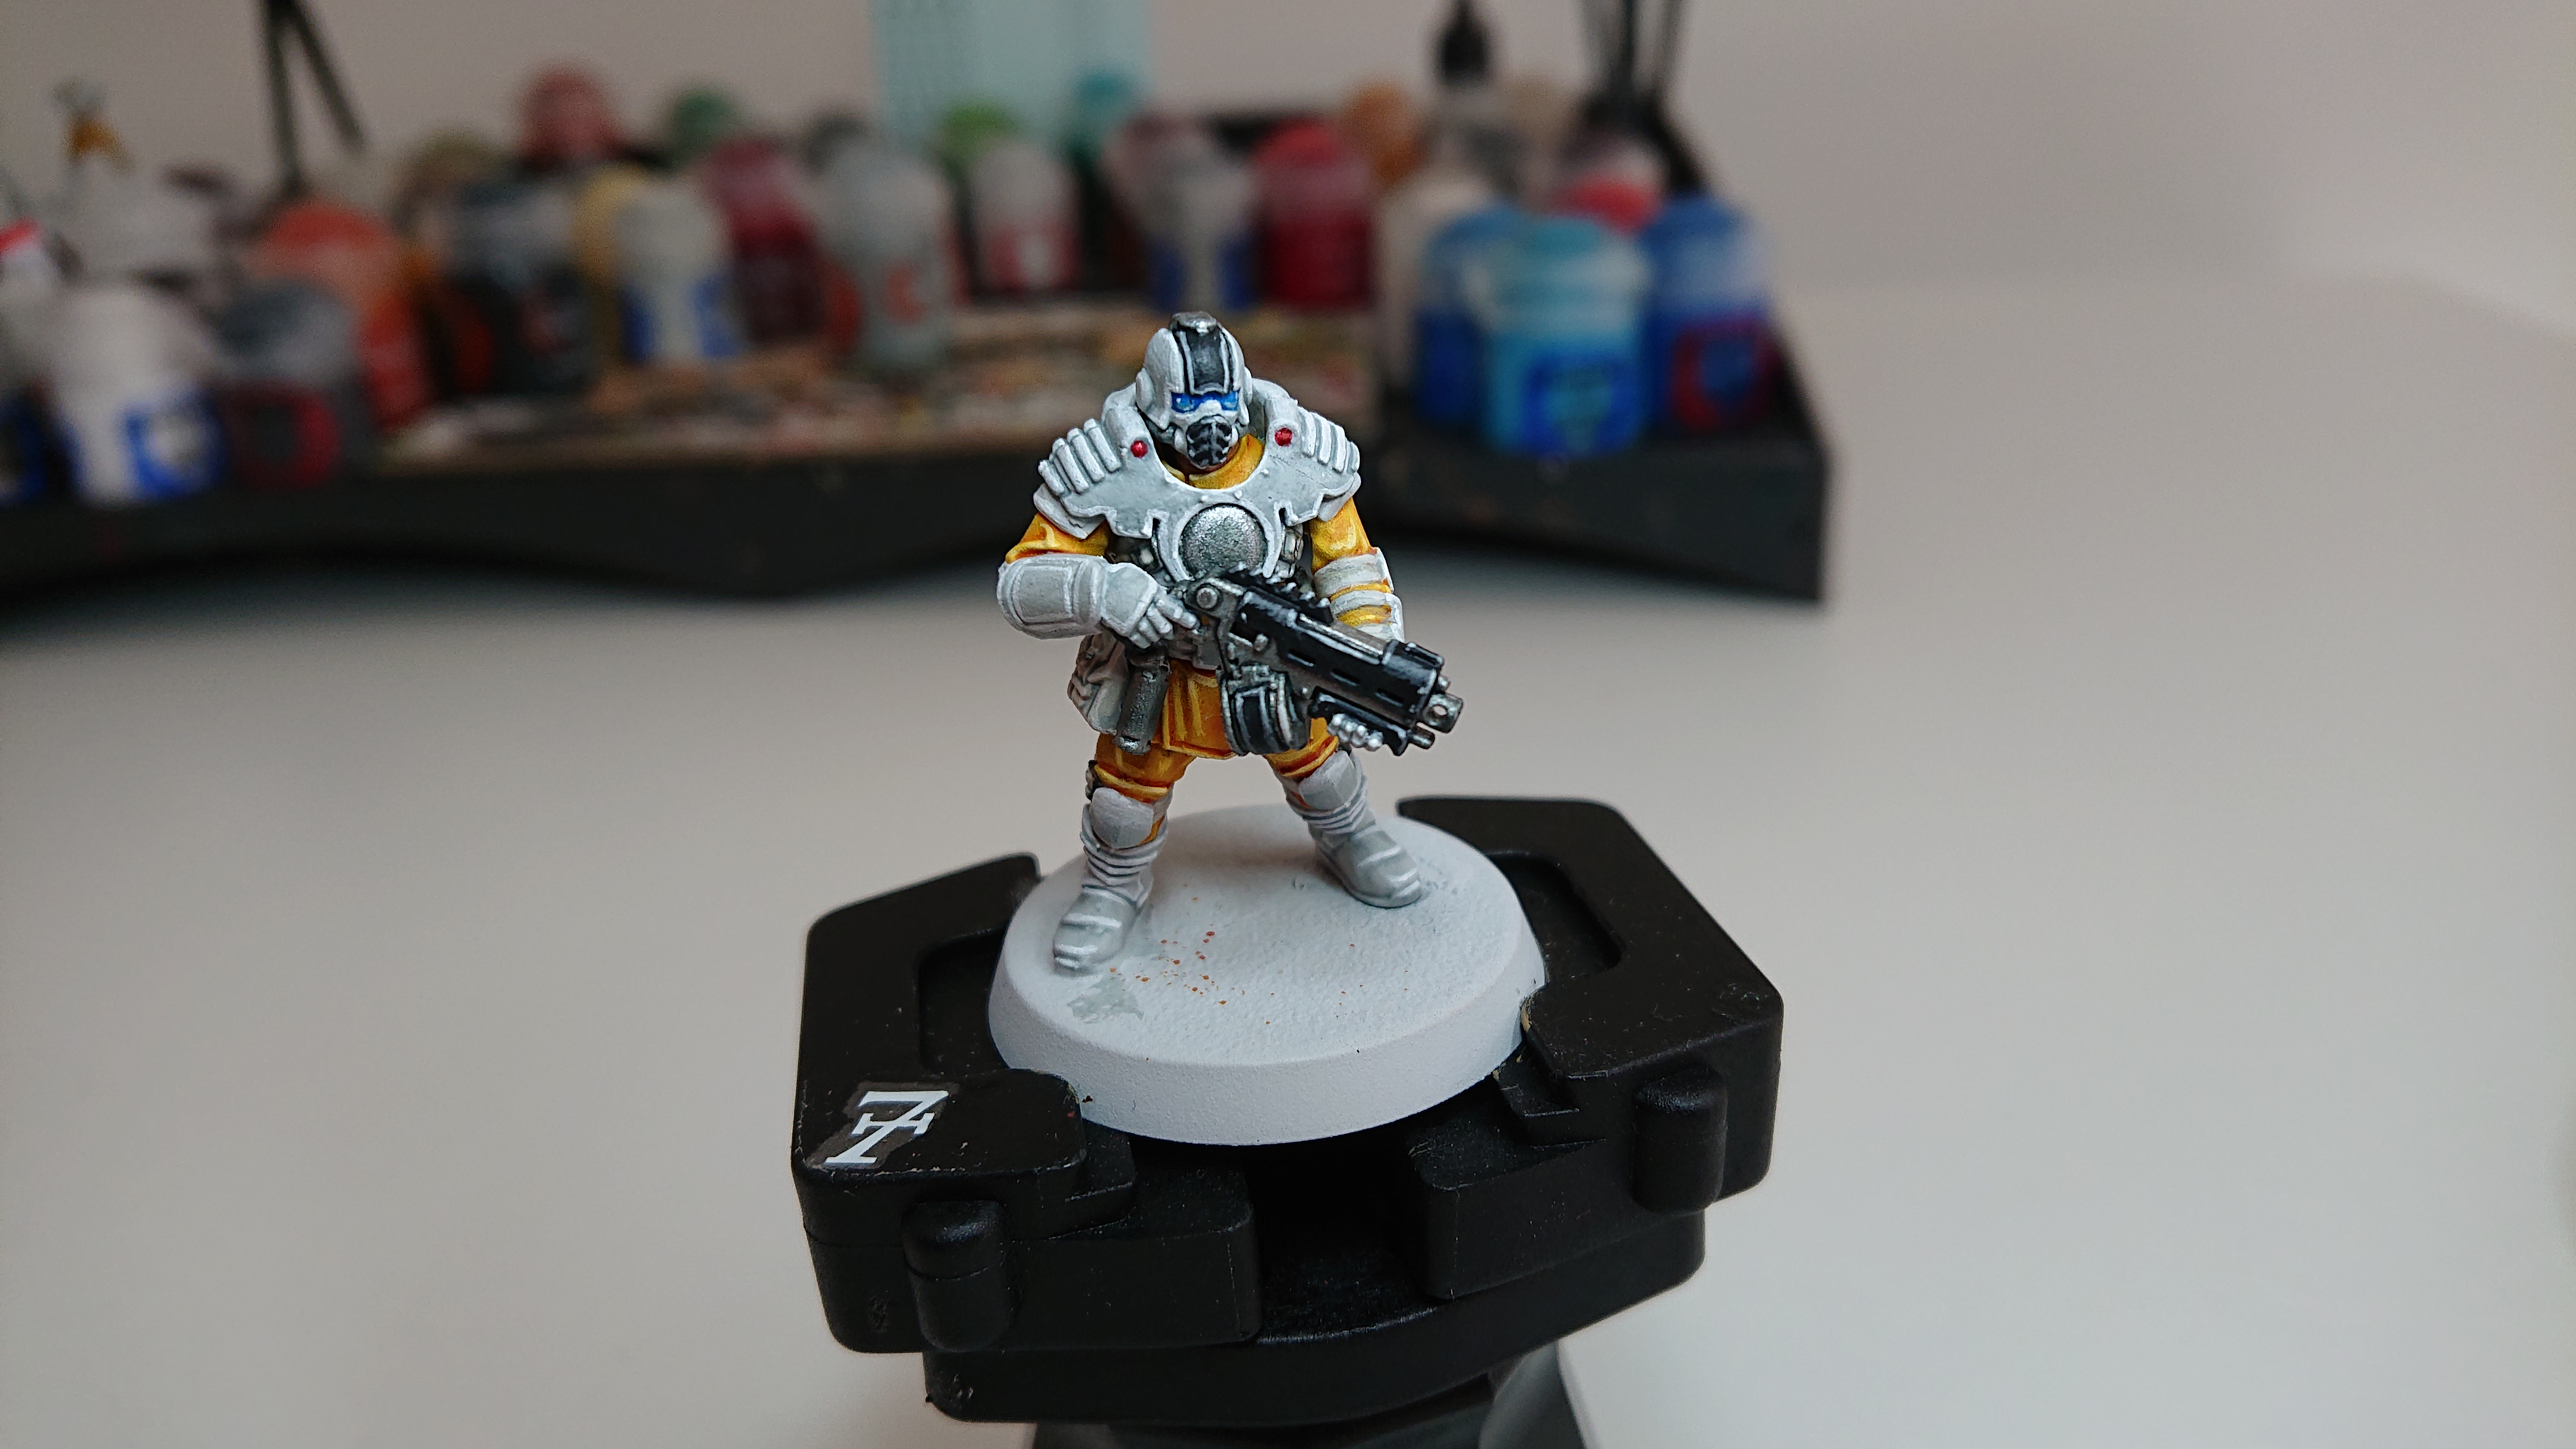
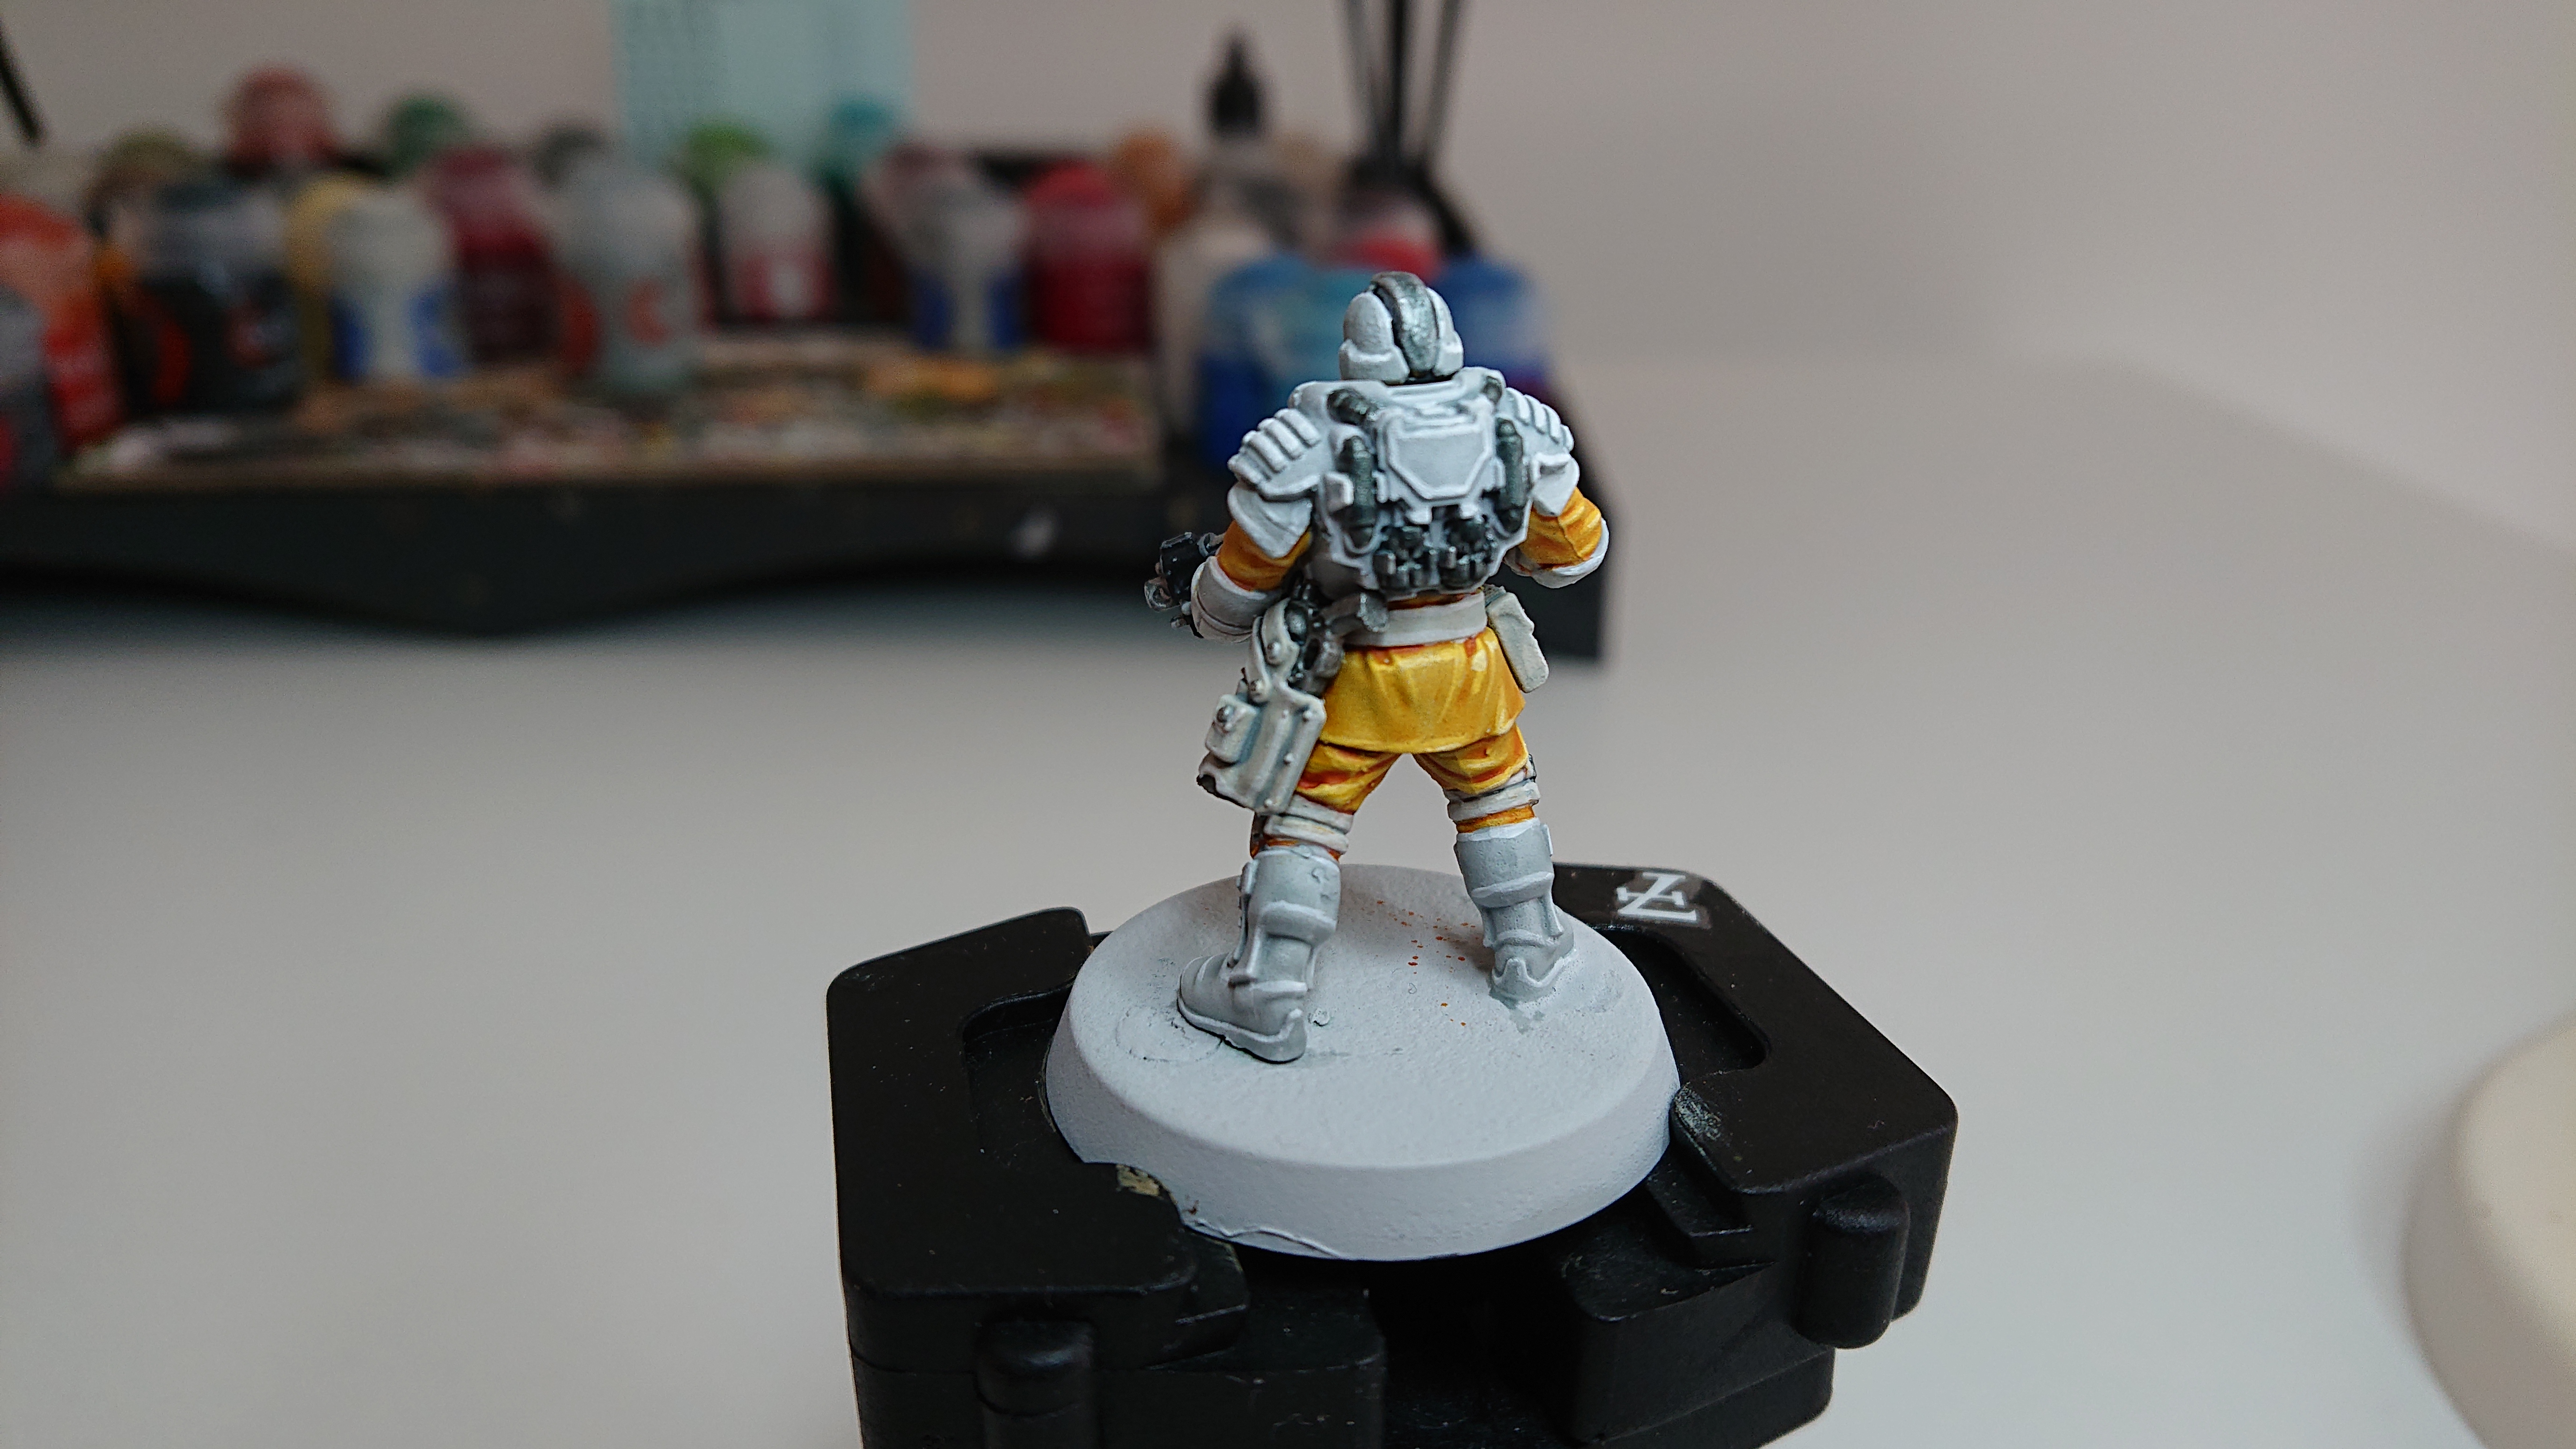
The first test enforcer
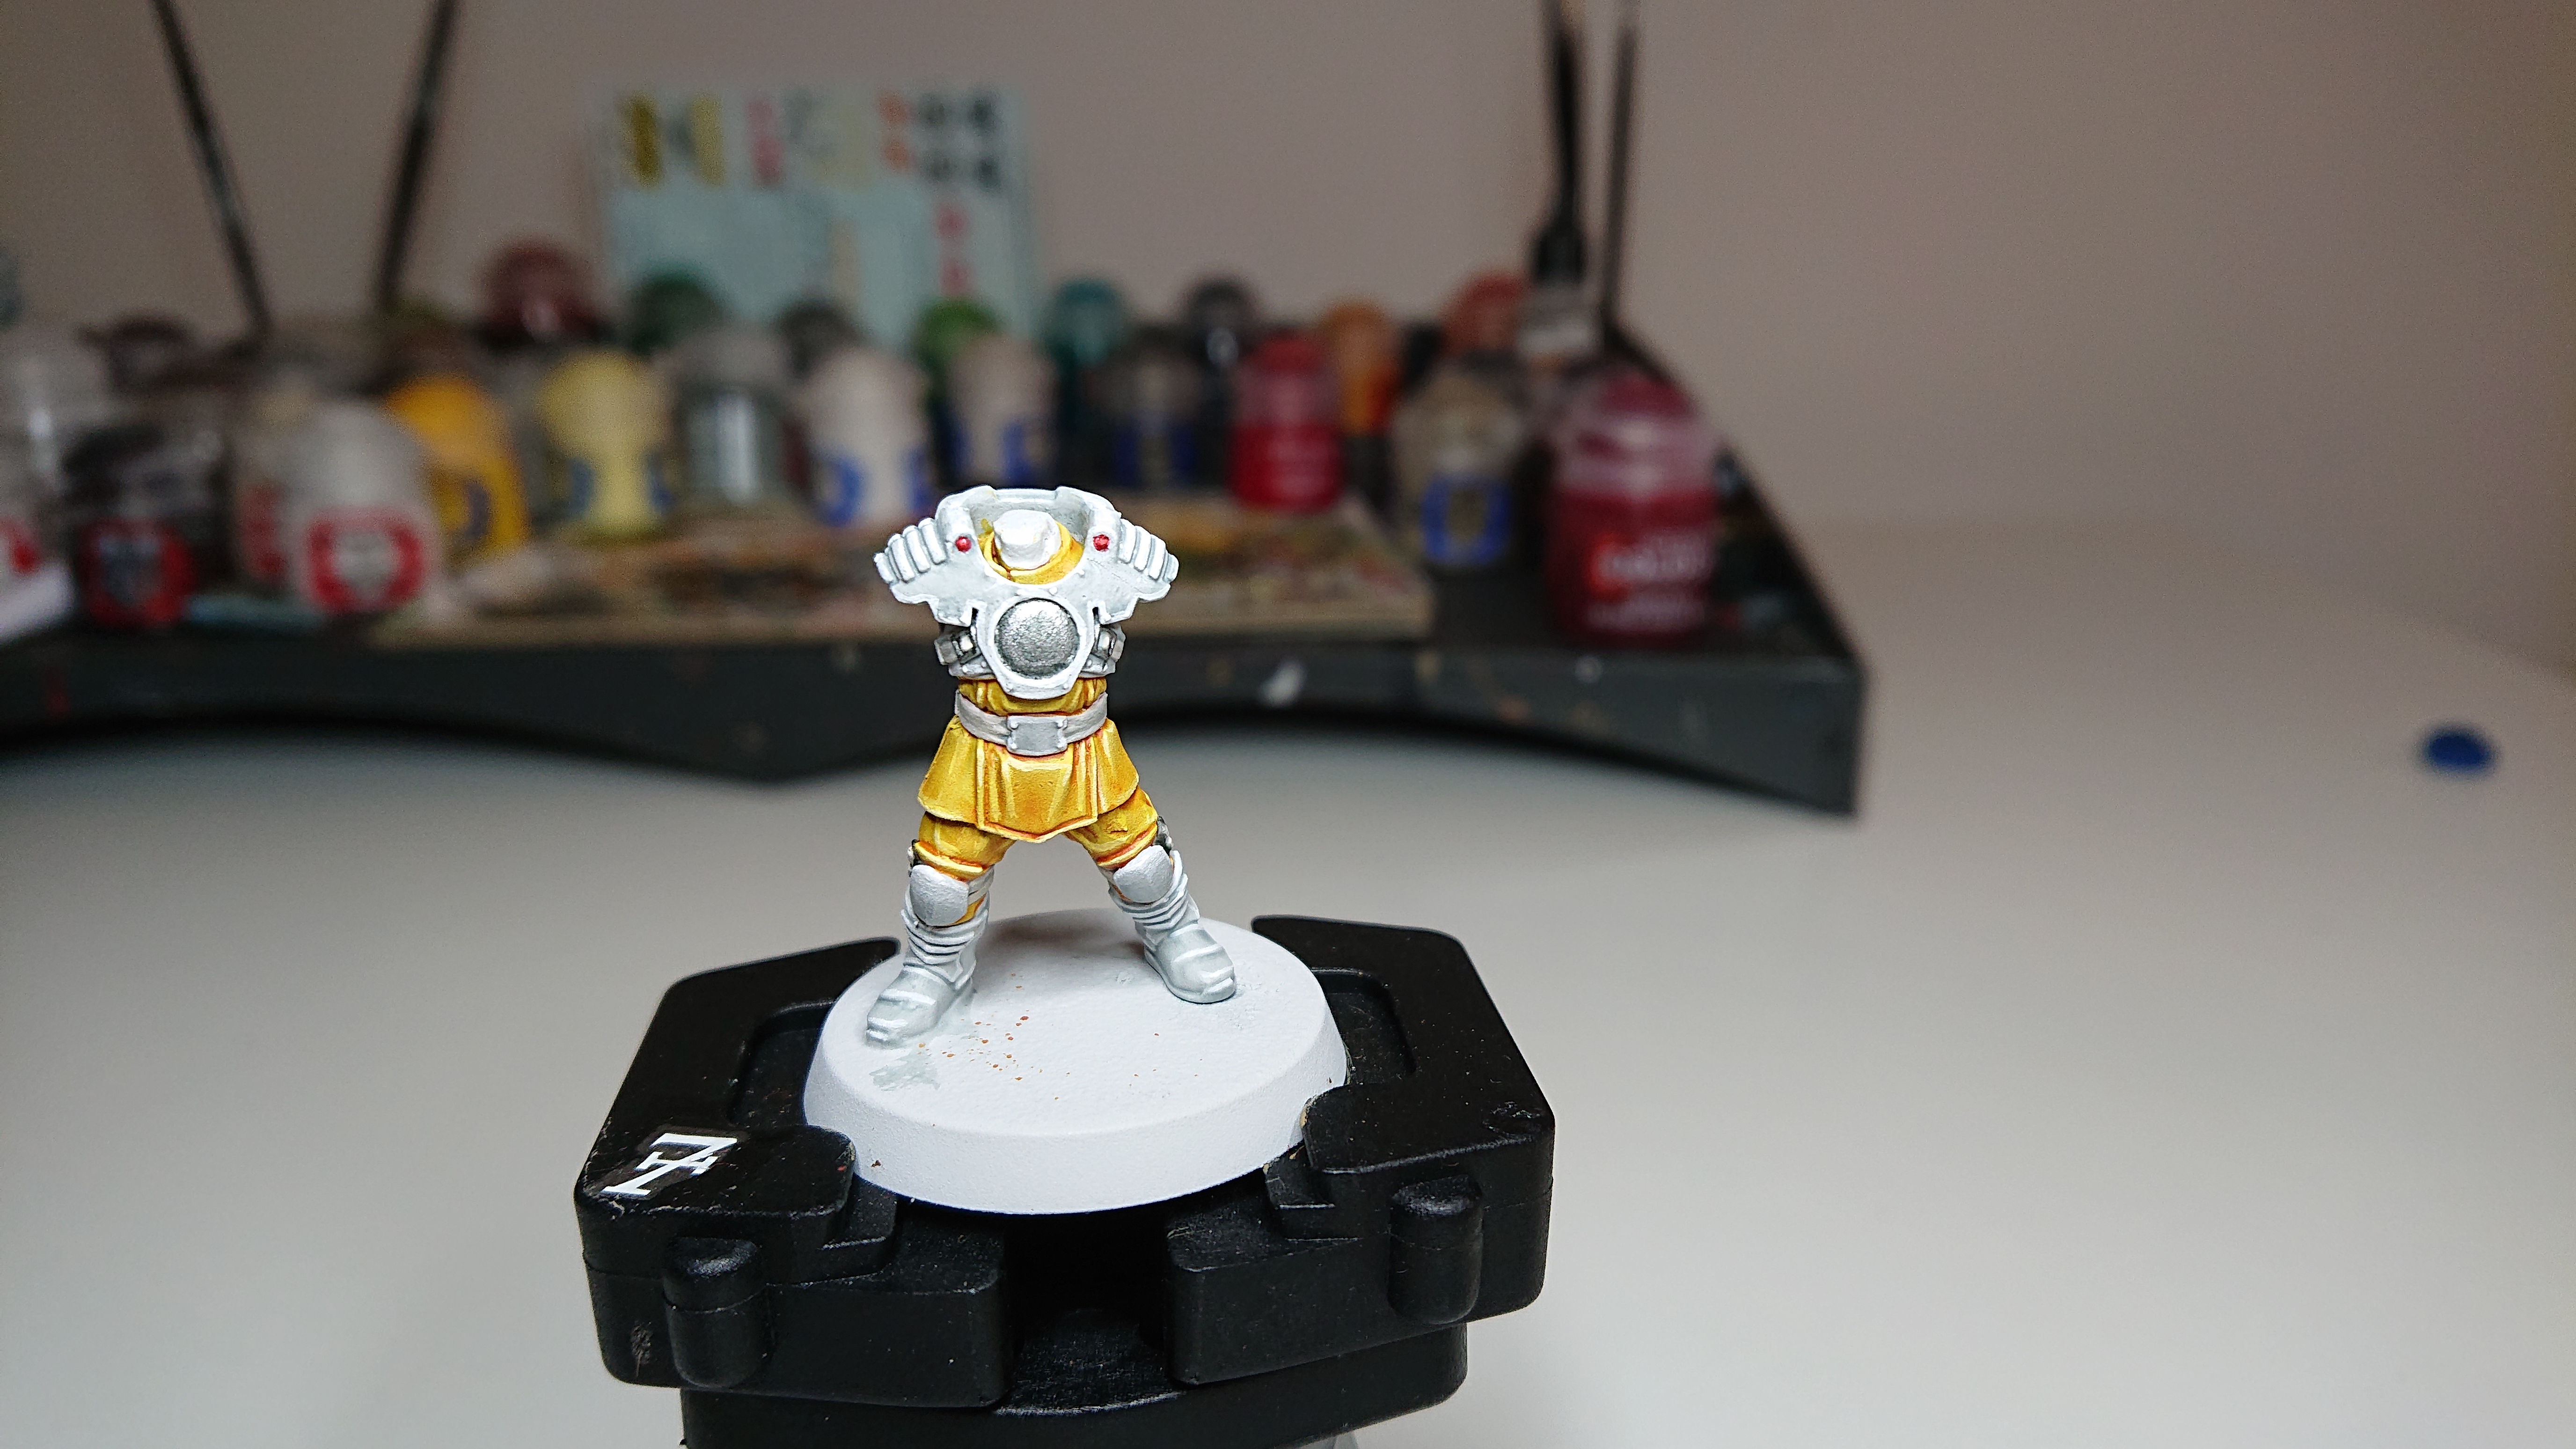
I’ve started on the enforcers first. Here is the first test model for the scheme I’ll be using. It’s painted mainly with contrast and highlights. I recall like the yellow contrast!


