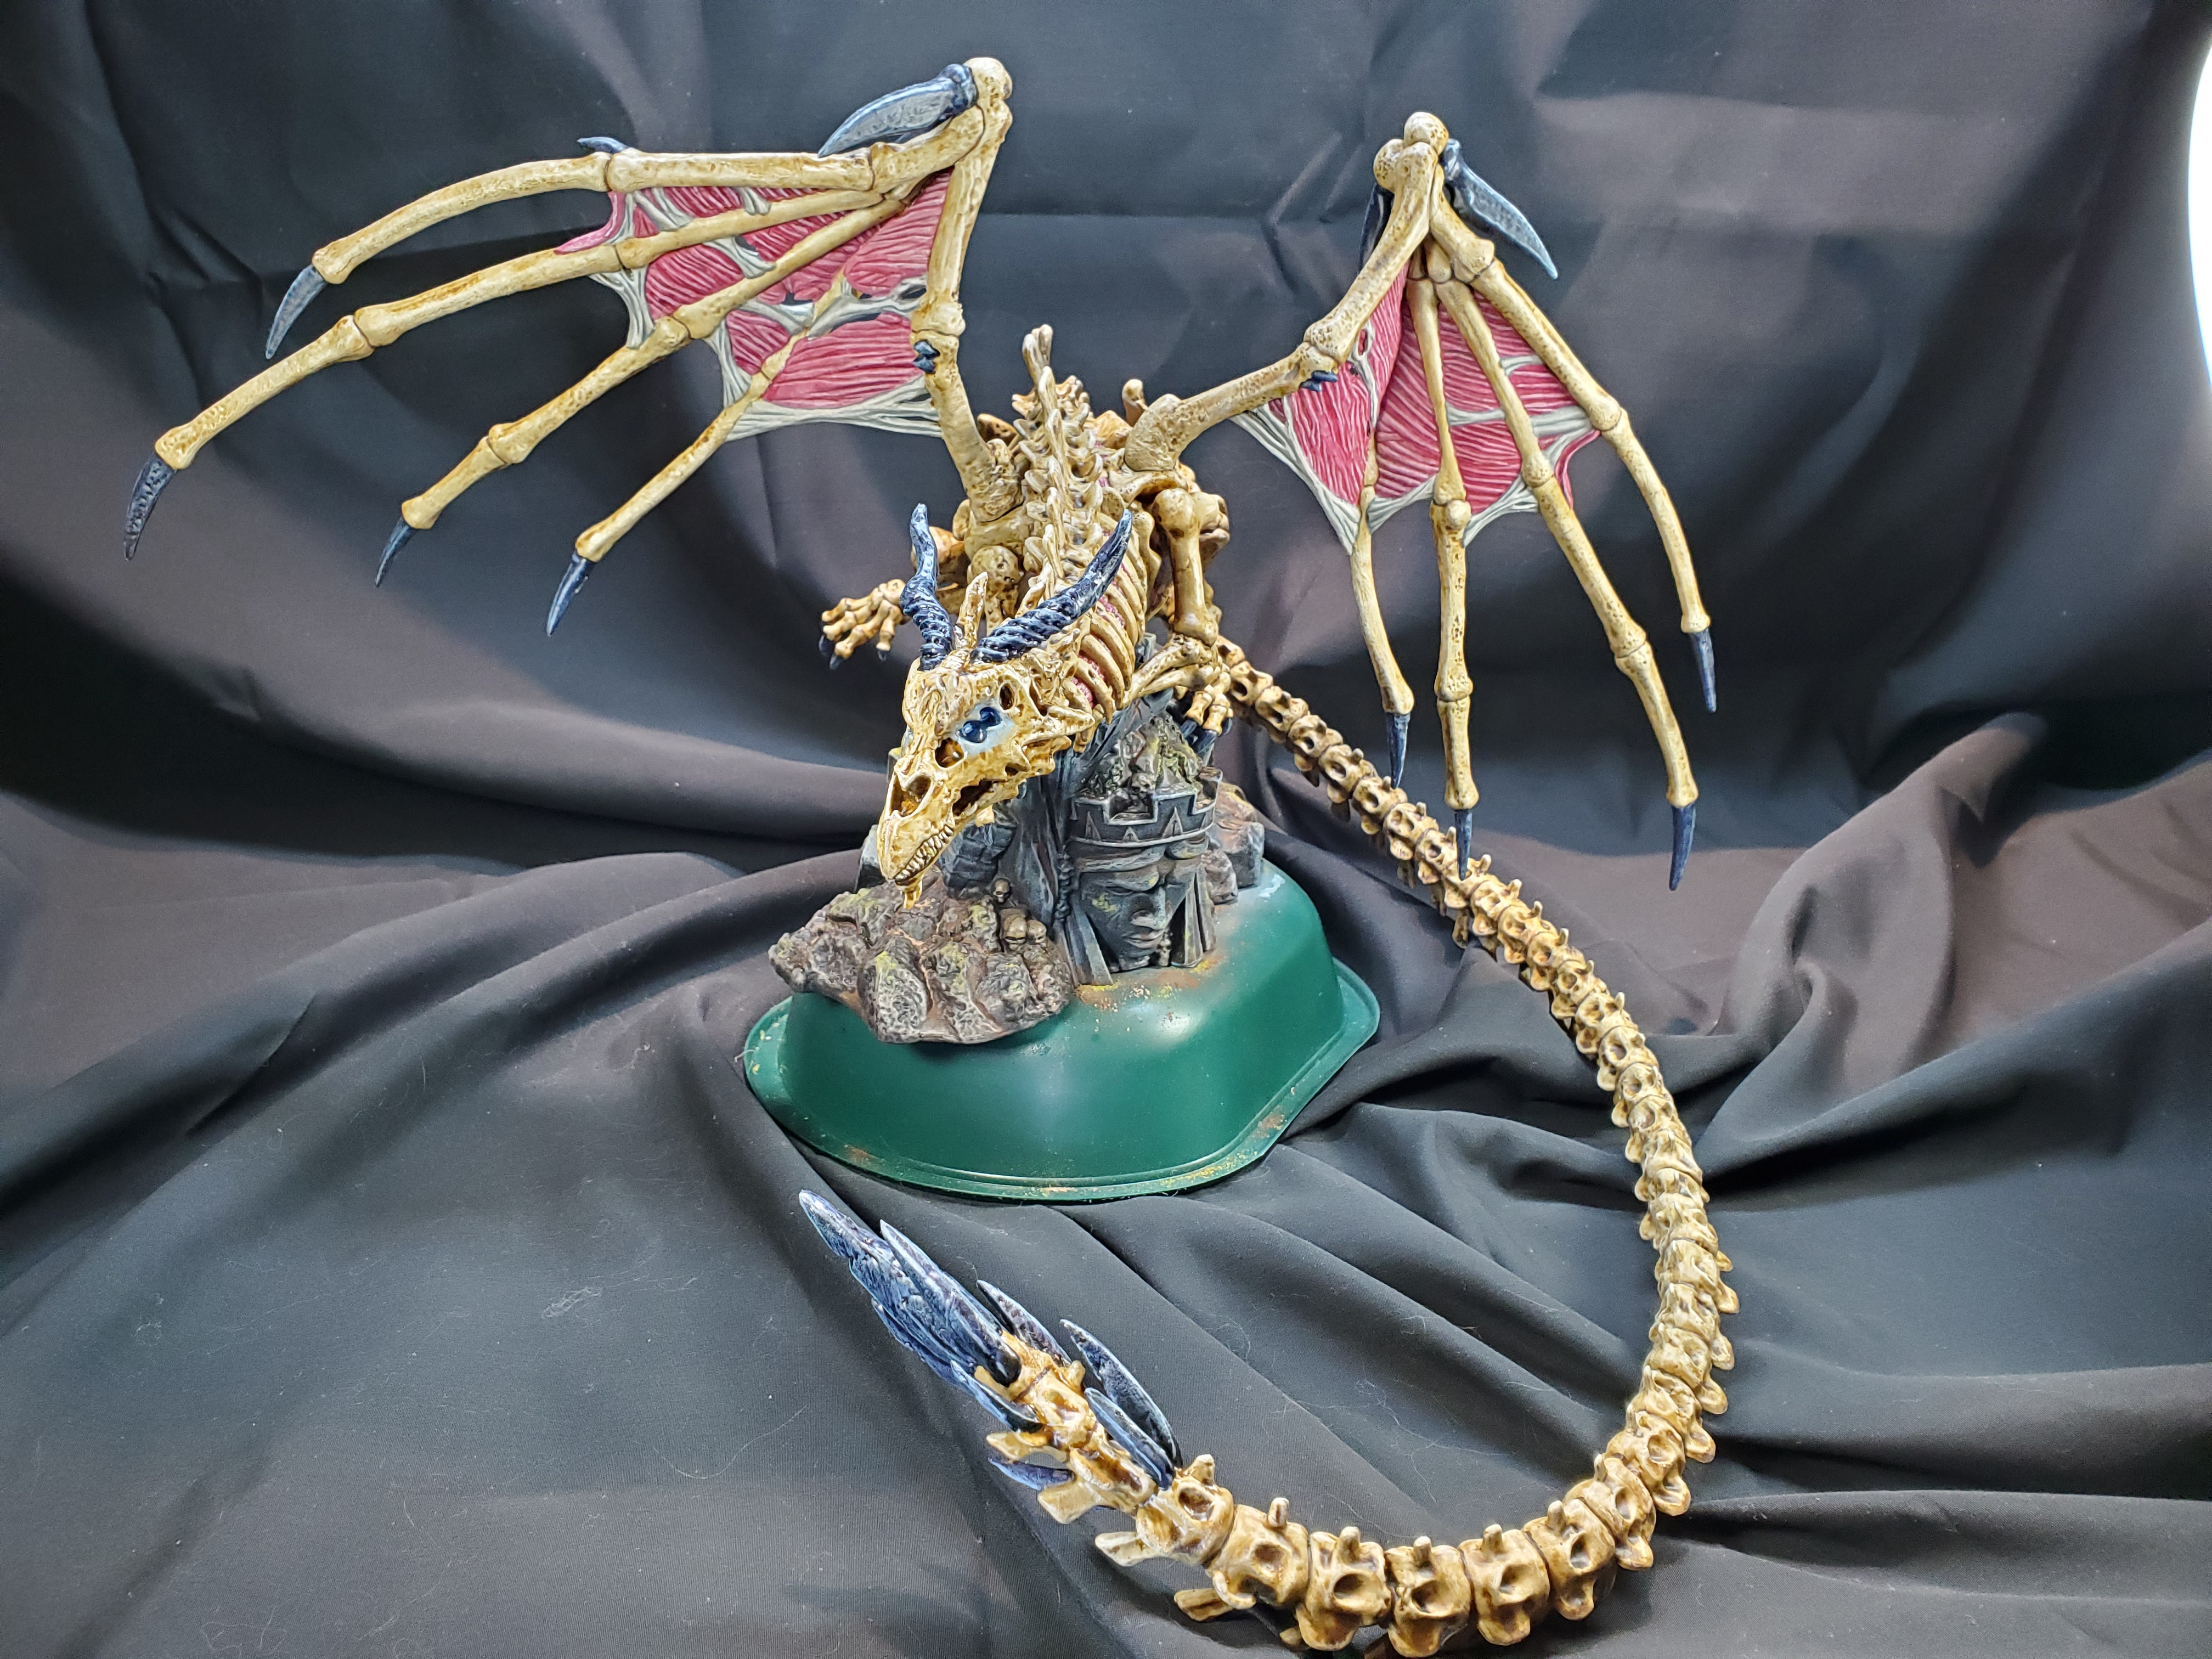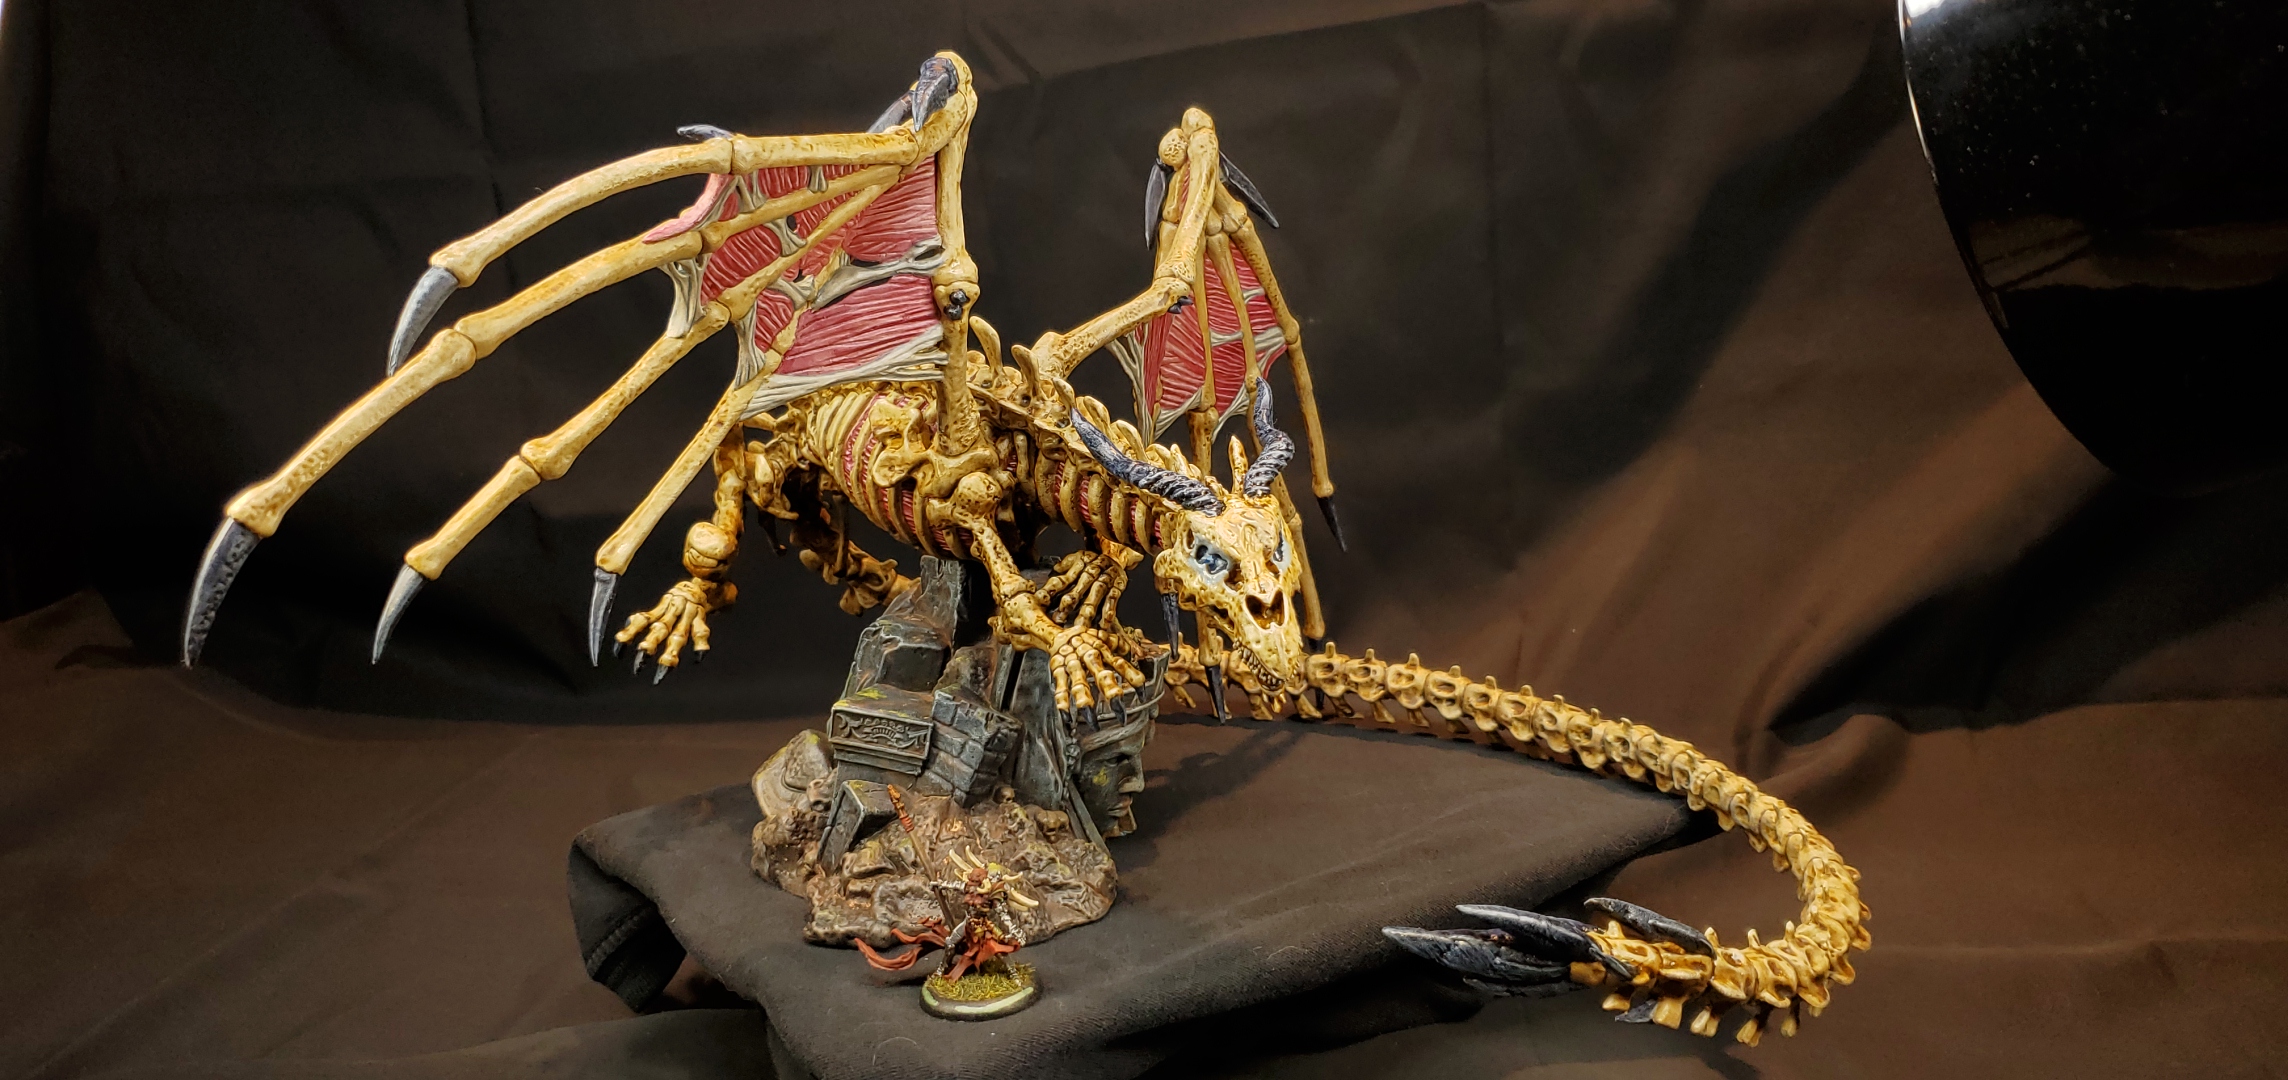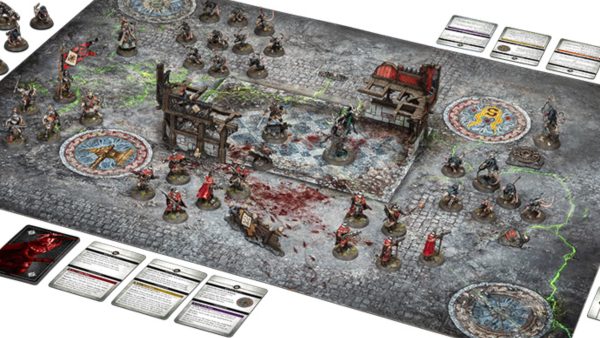


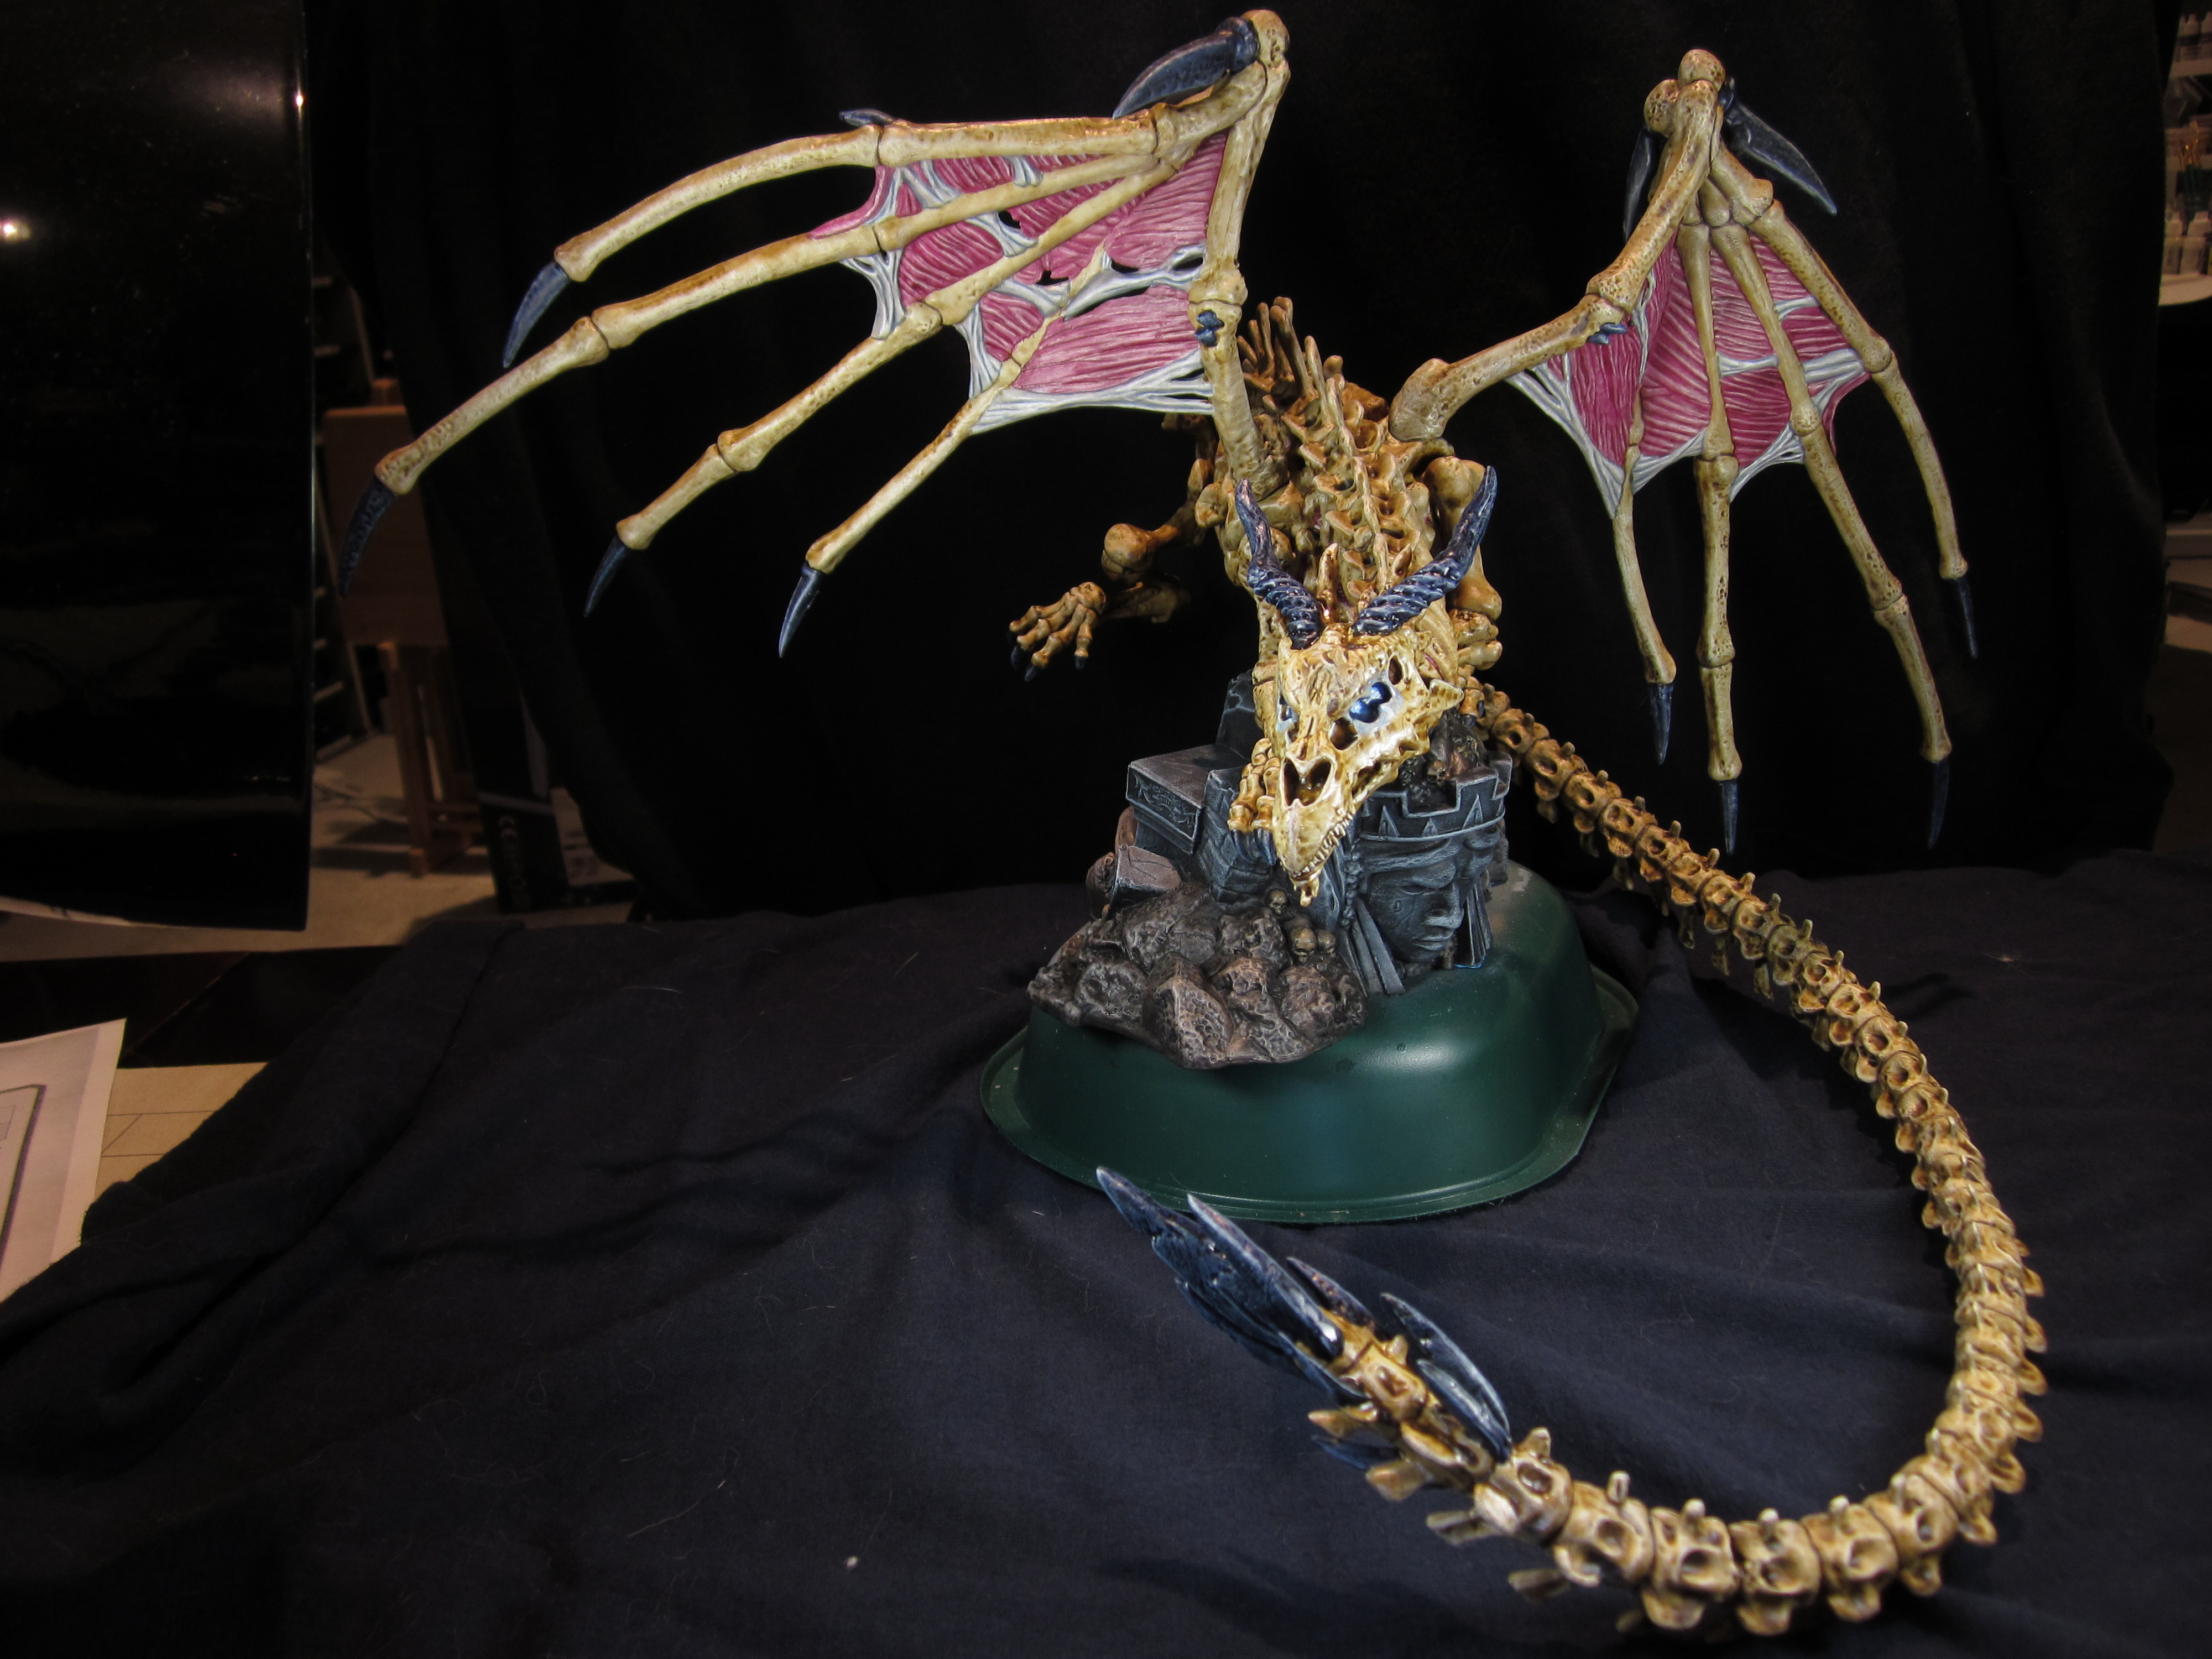
I like big bones and I cannot lie….Kaladrax


Recommendations: 270
About the Project
This project was a coronavirus quarantine challenge from my wife, for the month of May: paint Kaladrax, which we got from Reaper's Bones 1 kickstarter so many years ago and was still in pieces in a box in the basement. It also doubles as my painting challenge for the month from Ghool's patreon.
Related Company: Reaper Miniatures
Related Genre: Fantasy
This Project is Completed
2020-05-25 Glazing, and Lichen experiment
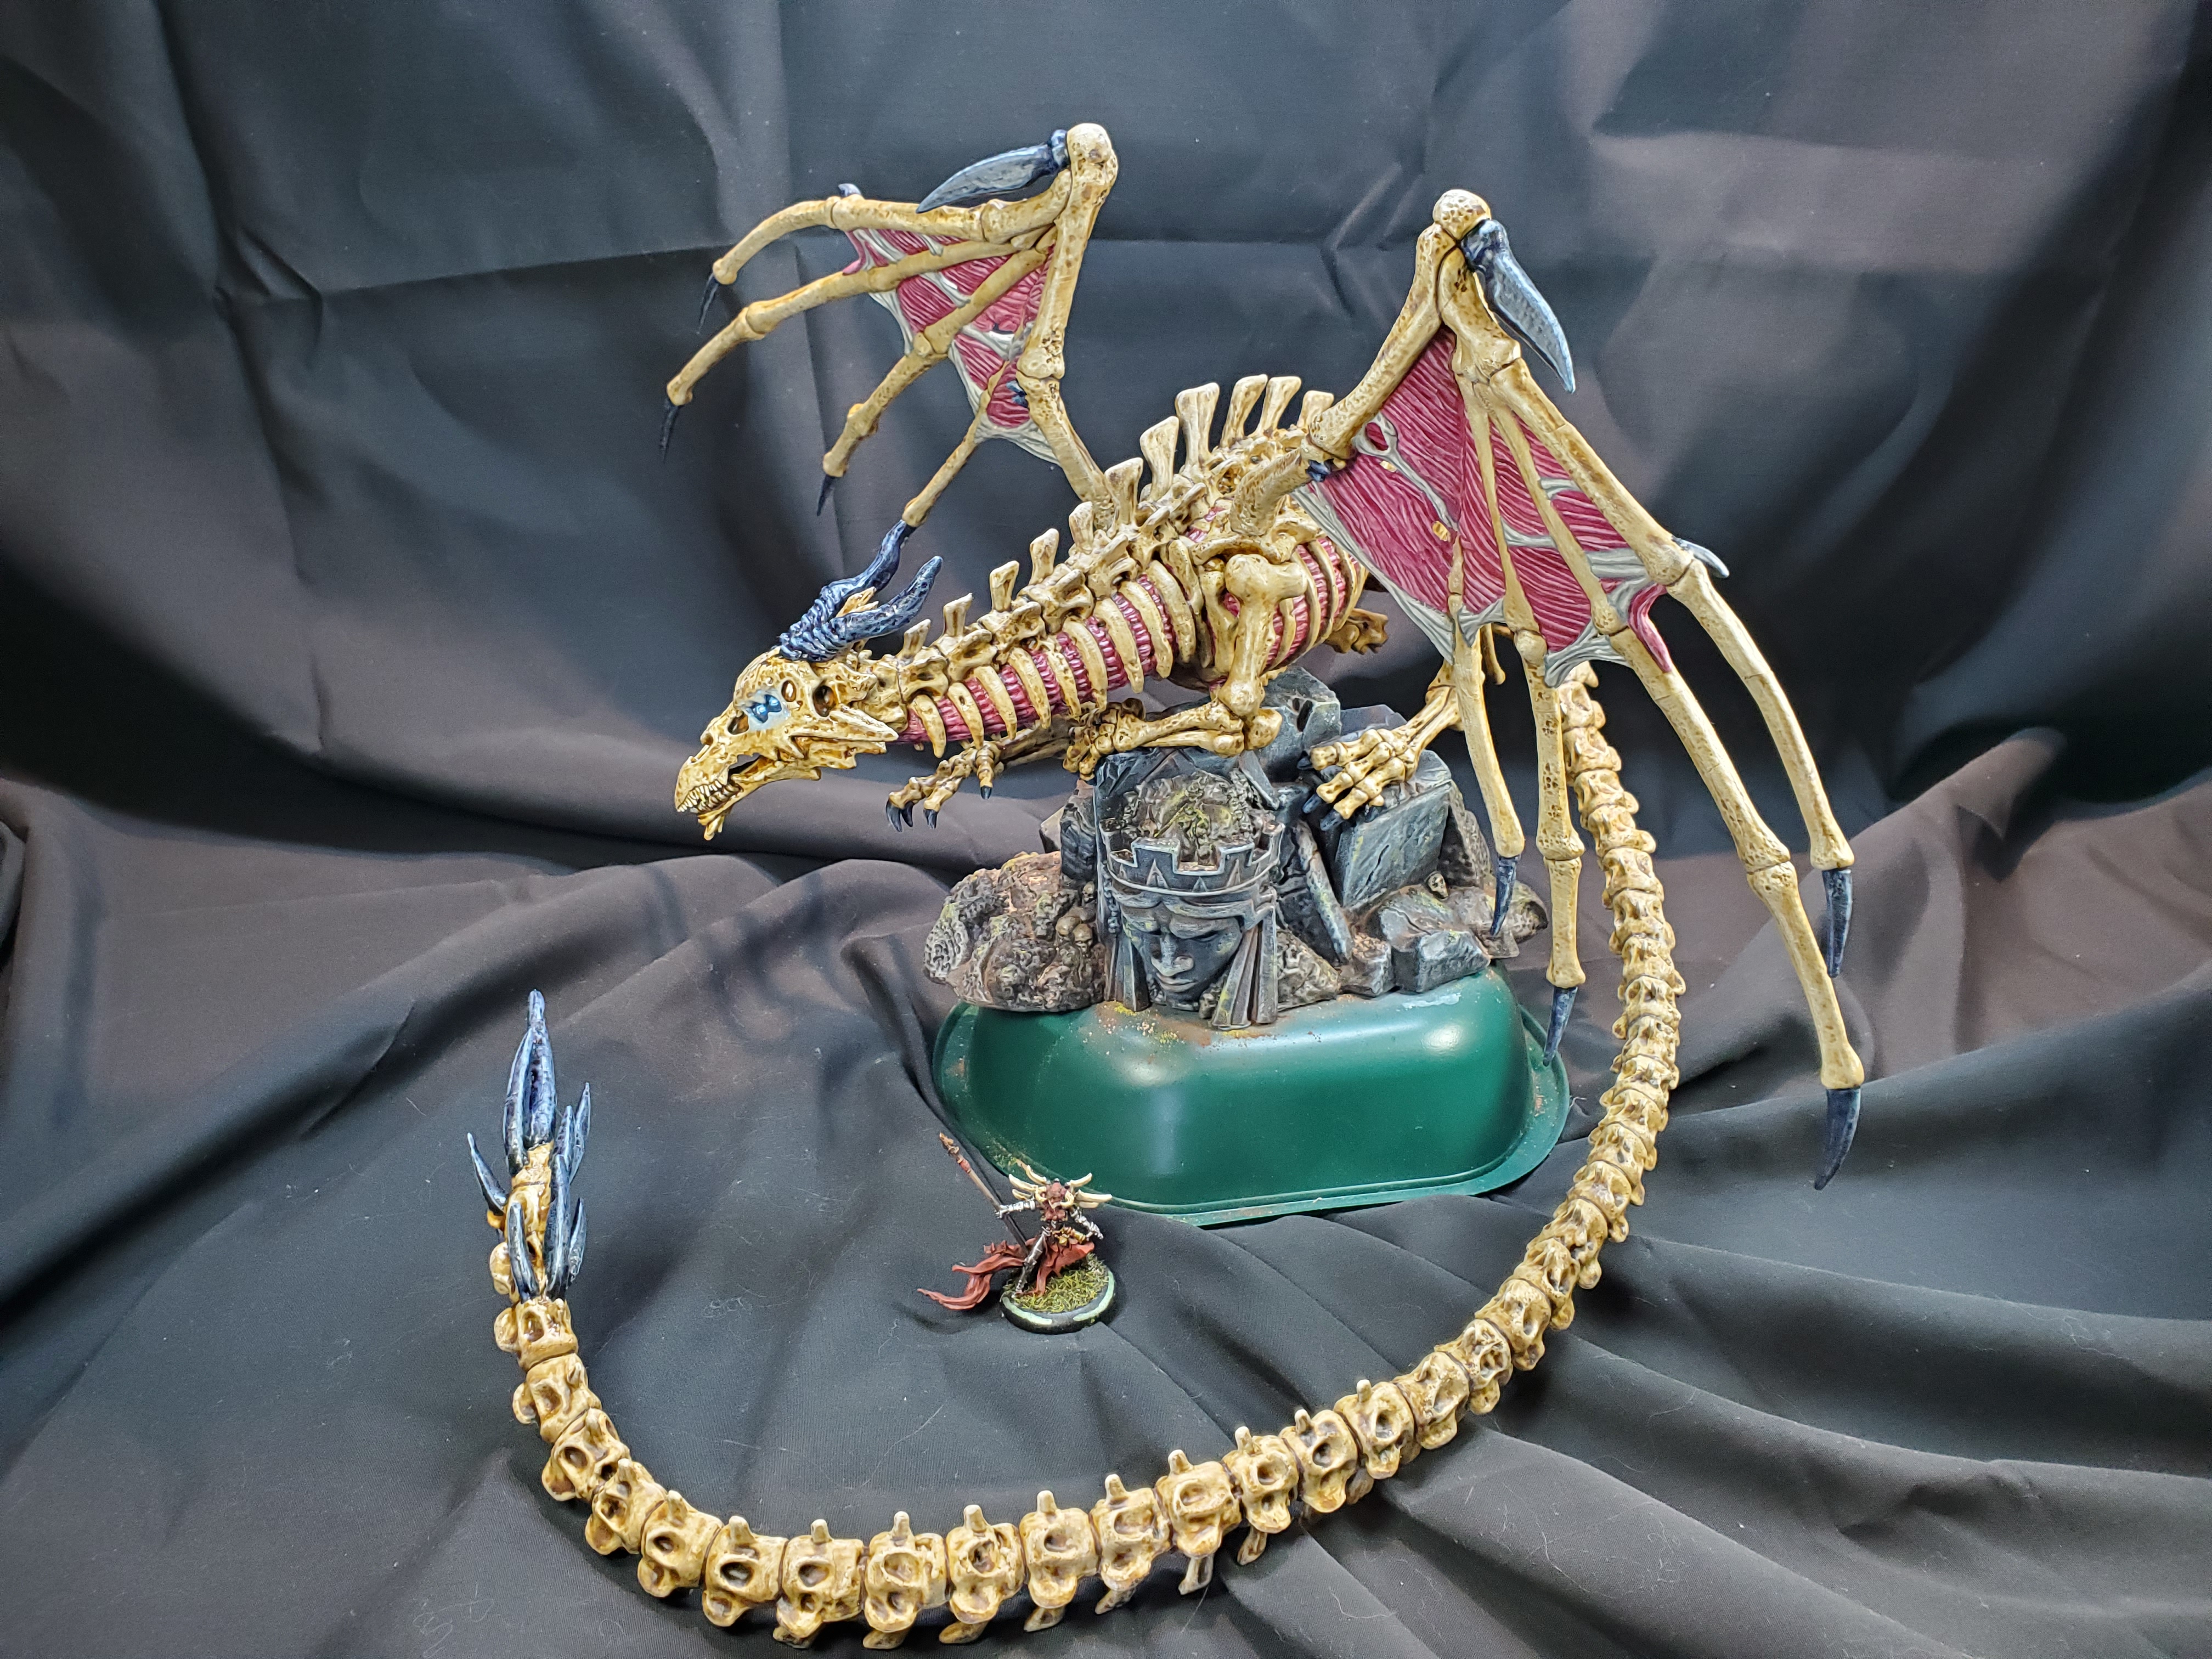
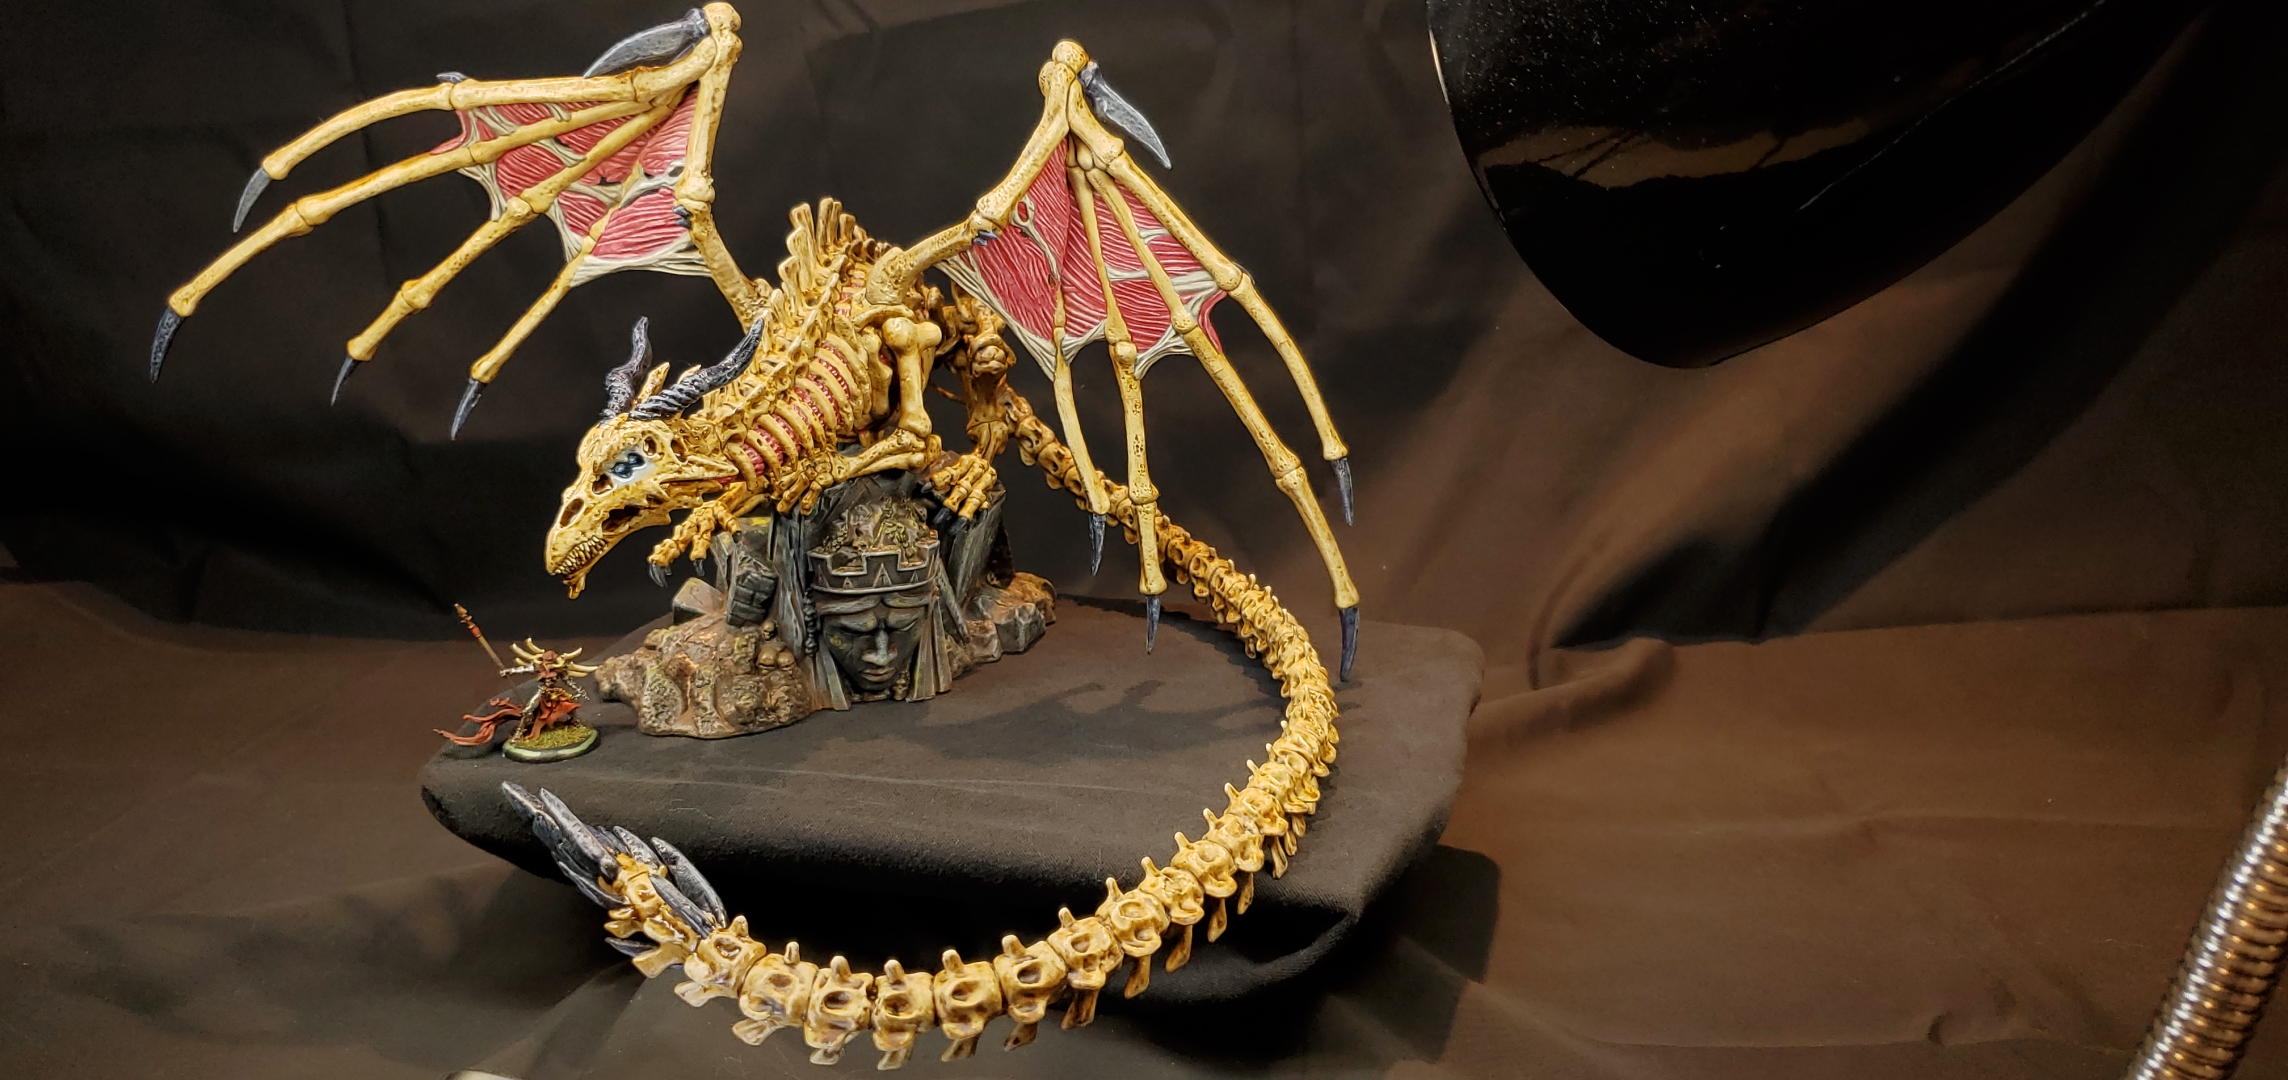
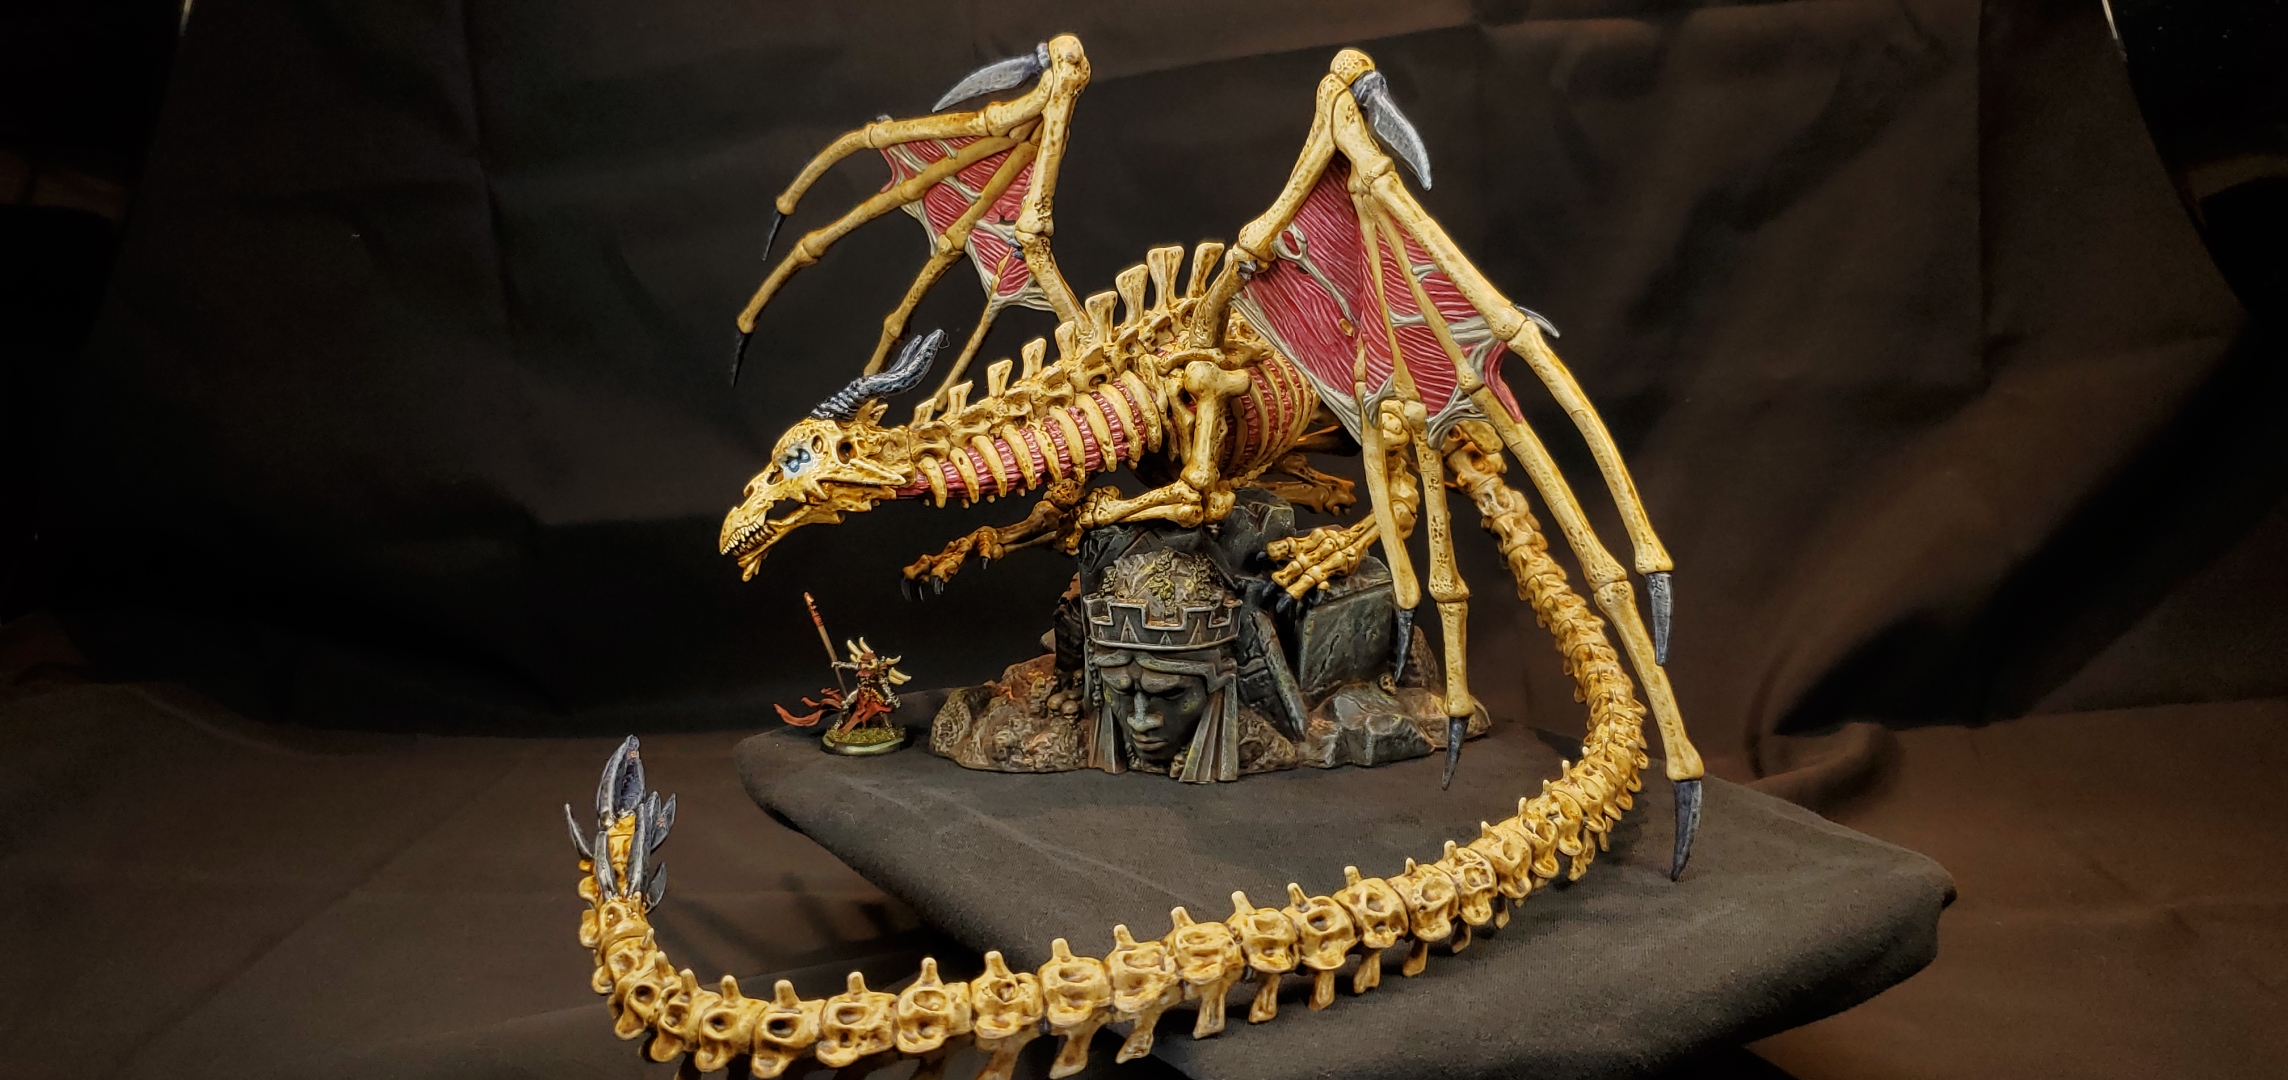
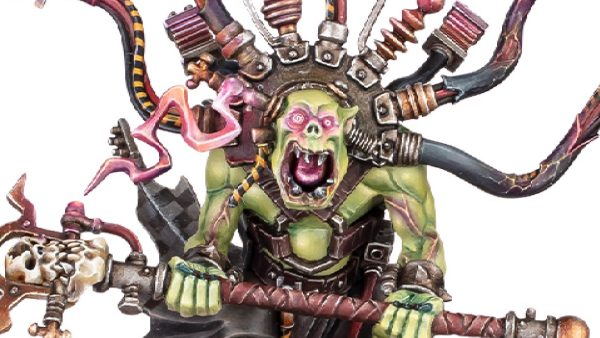
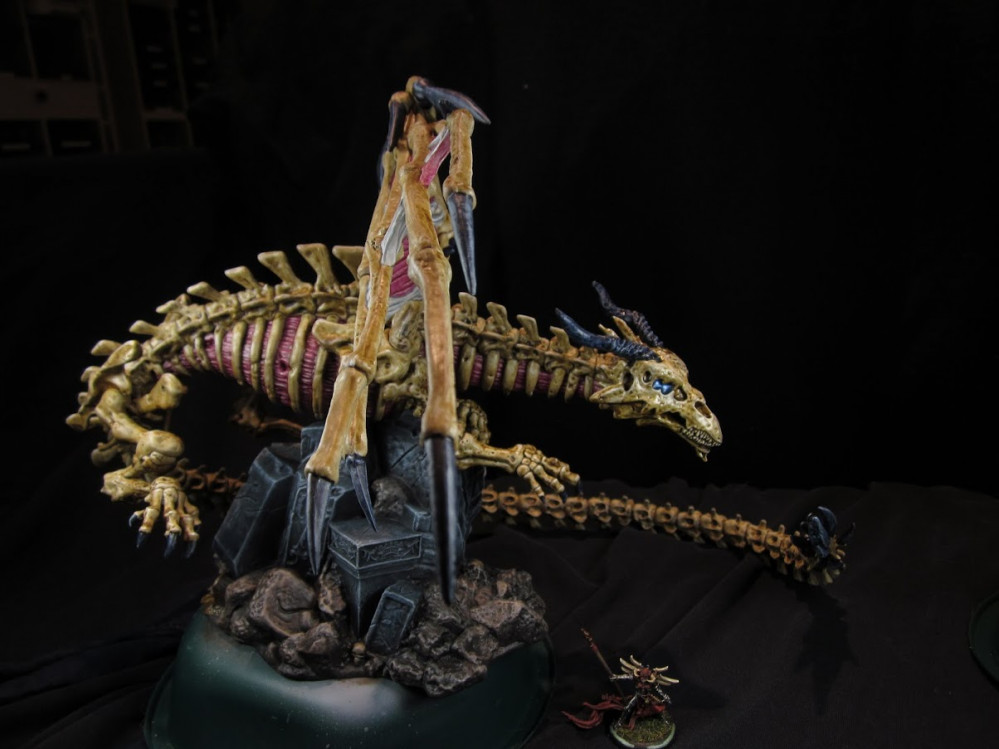
Its been a while since I have glazed glow on something, and its hard to tell until after it dries just how strong the effect will be. I think this is a solid start, likely need another pass with a deeper blue. This first pass is a glaze of Reaper Light Blue, mixed with water and glaze medium.


I am also experimenting with using pigments to try to simulate lichen, to eventually add as more points of interest on the base proper. This is my first time using pigments, though, and has been trickier to work with as precisely as I’d like for simulating lichen. Rust, dirt, and so forth are more forgiving in the final look, I think. The pigments used were Vallejo Green Earth and Faded Olive Green.
2020-05-27 Weathered and Glowing

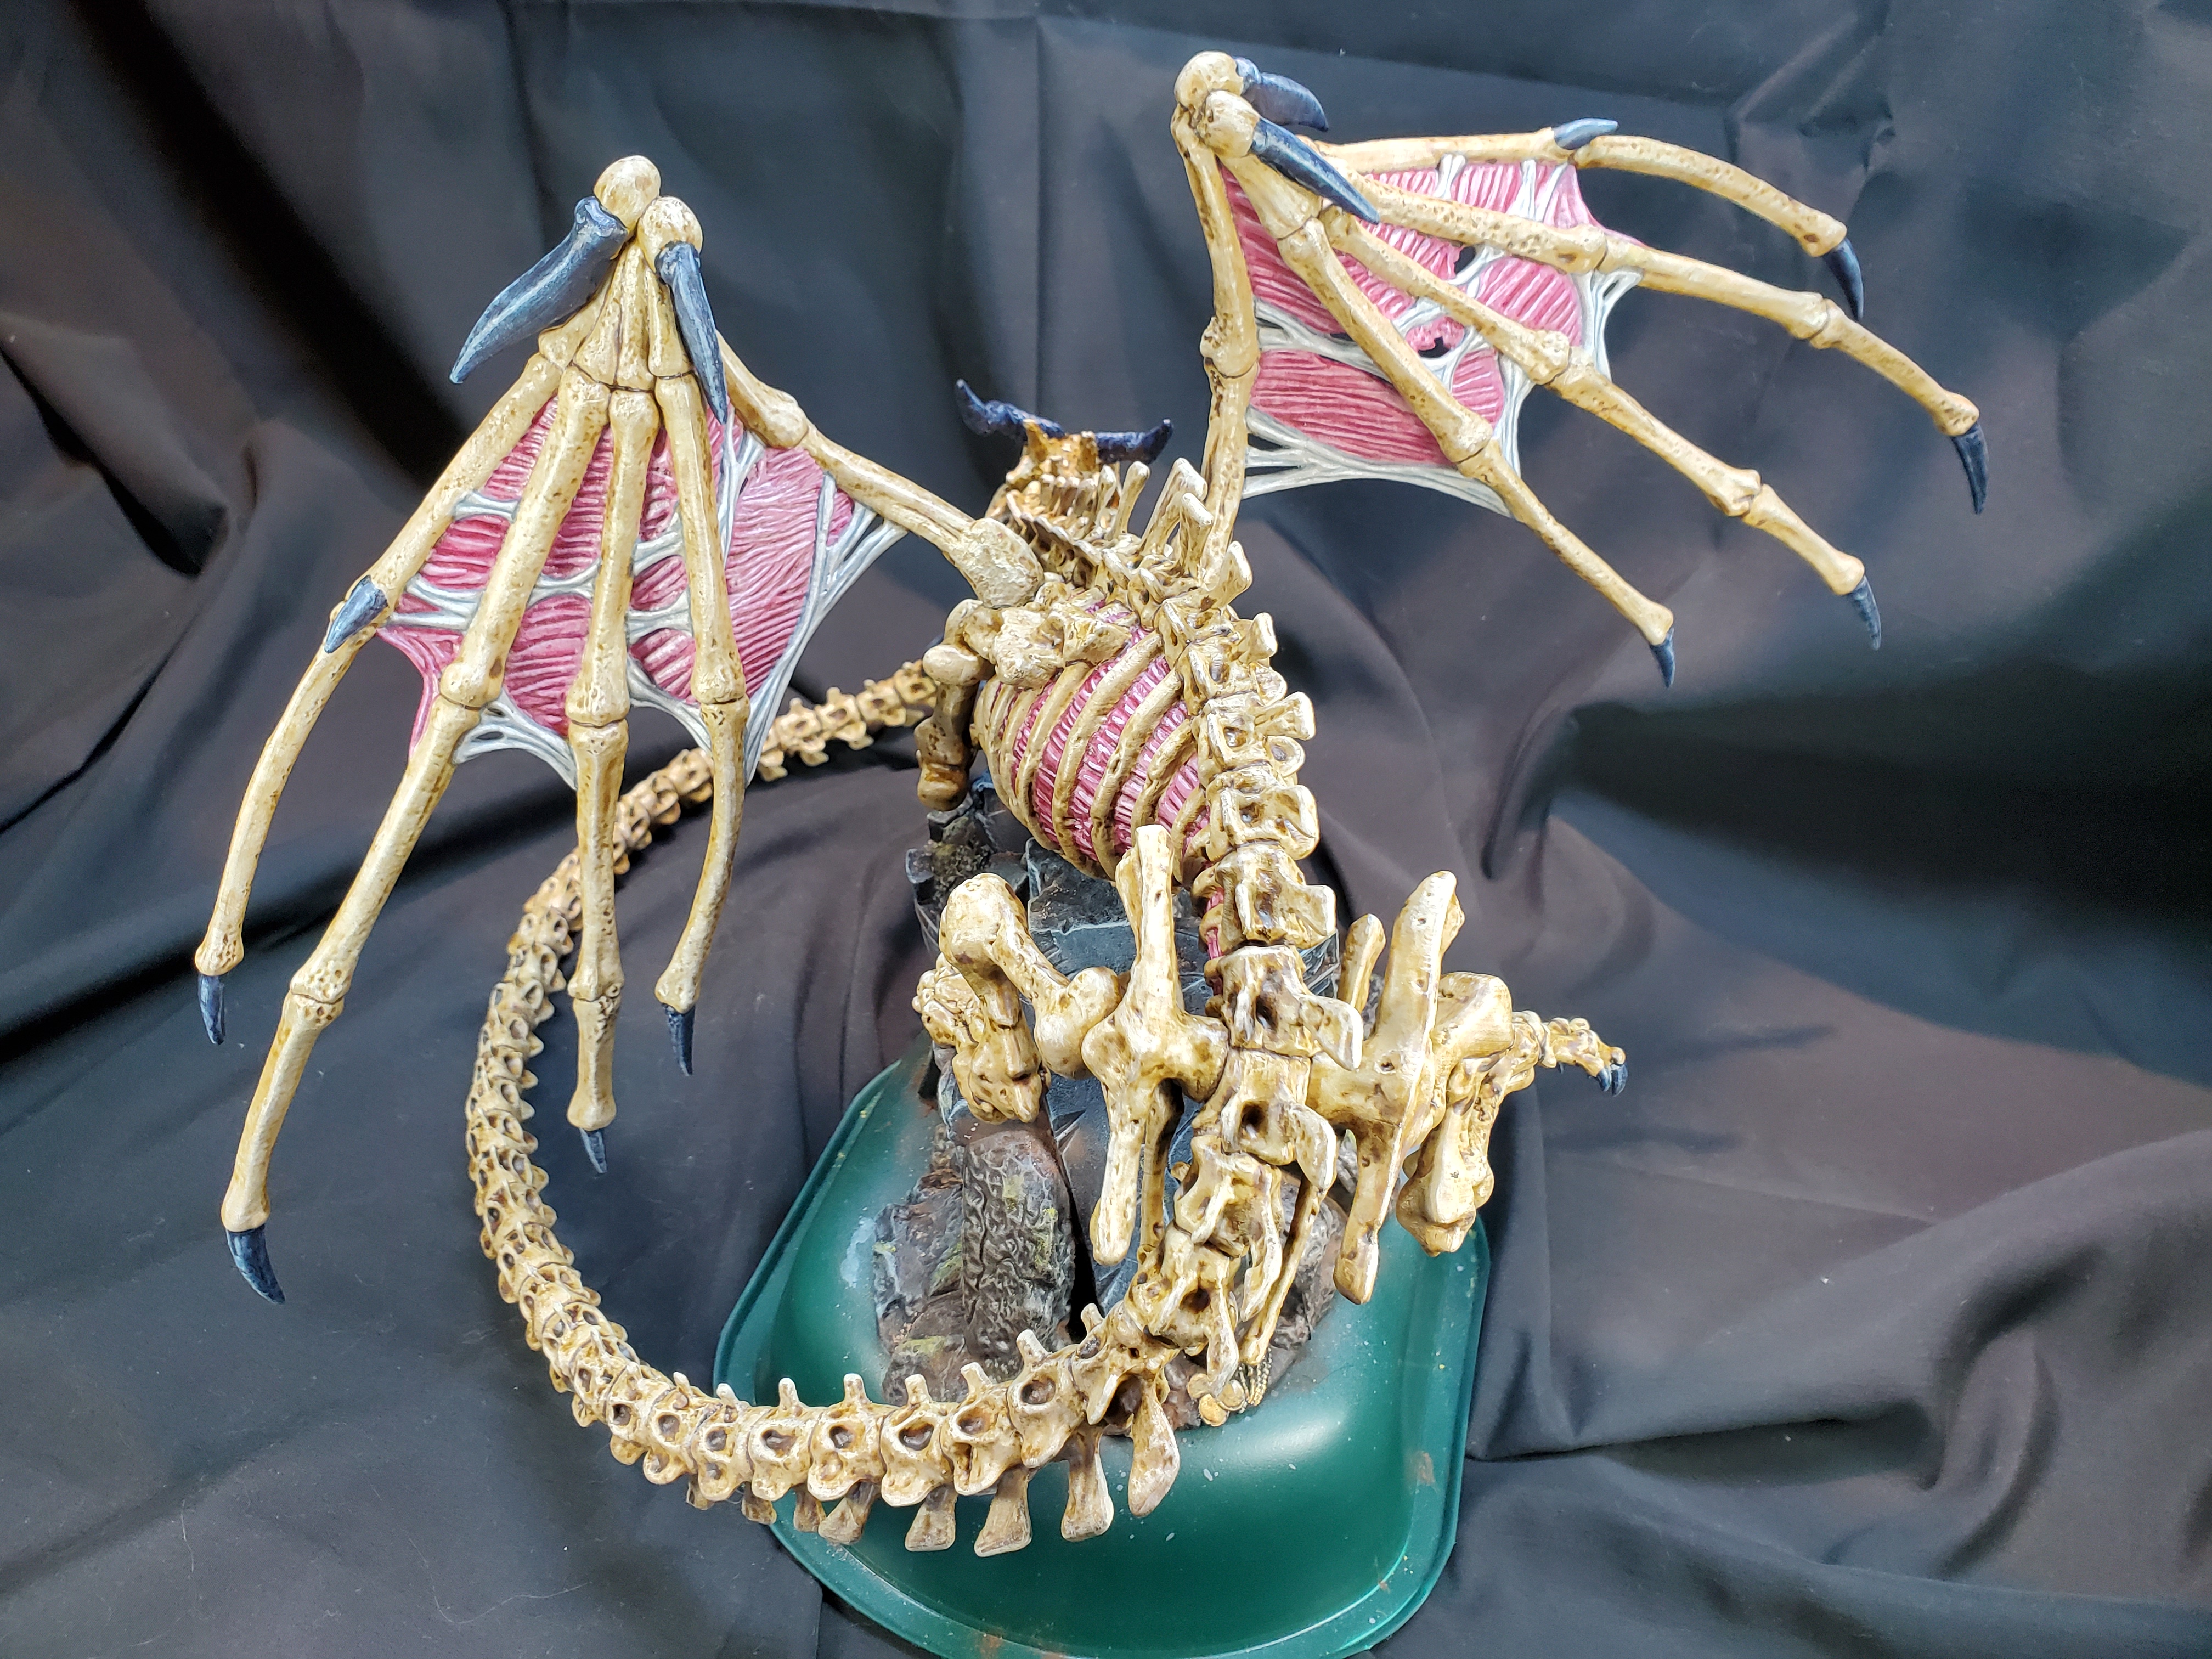
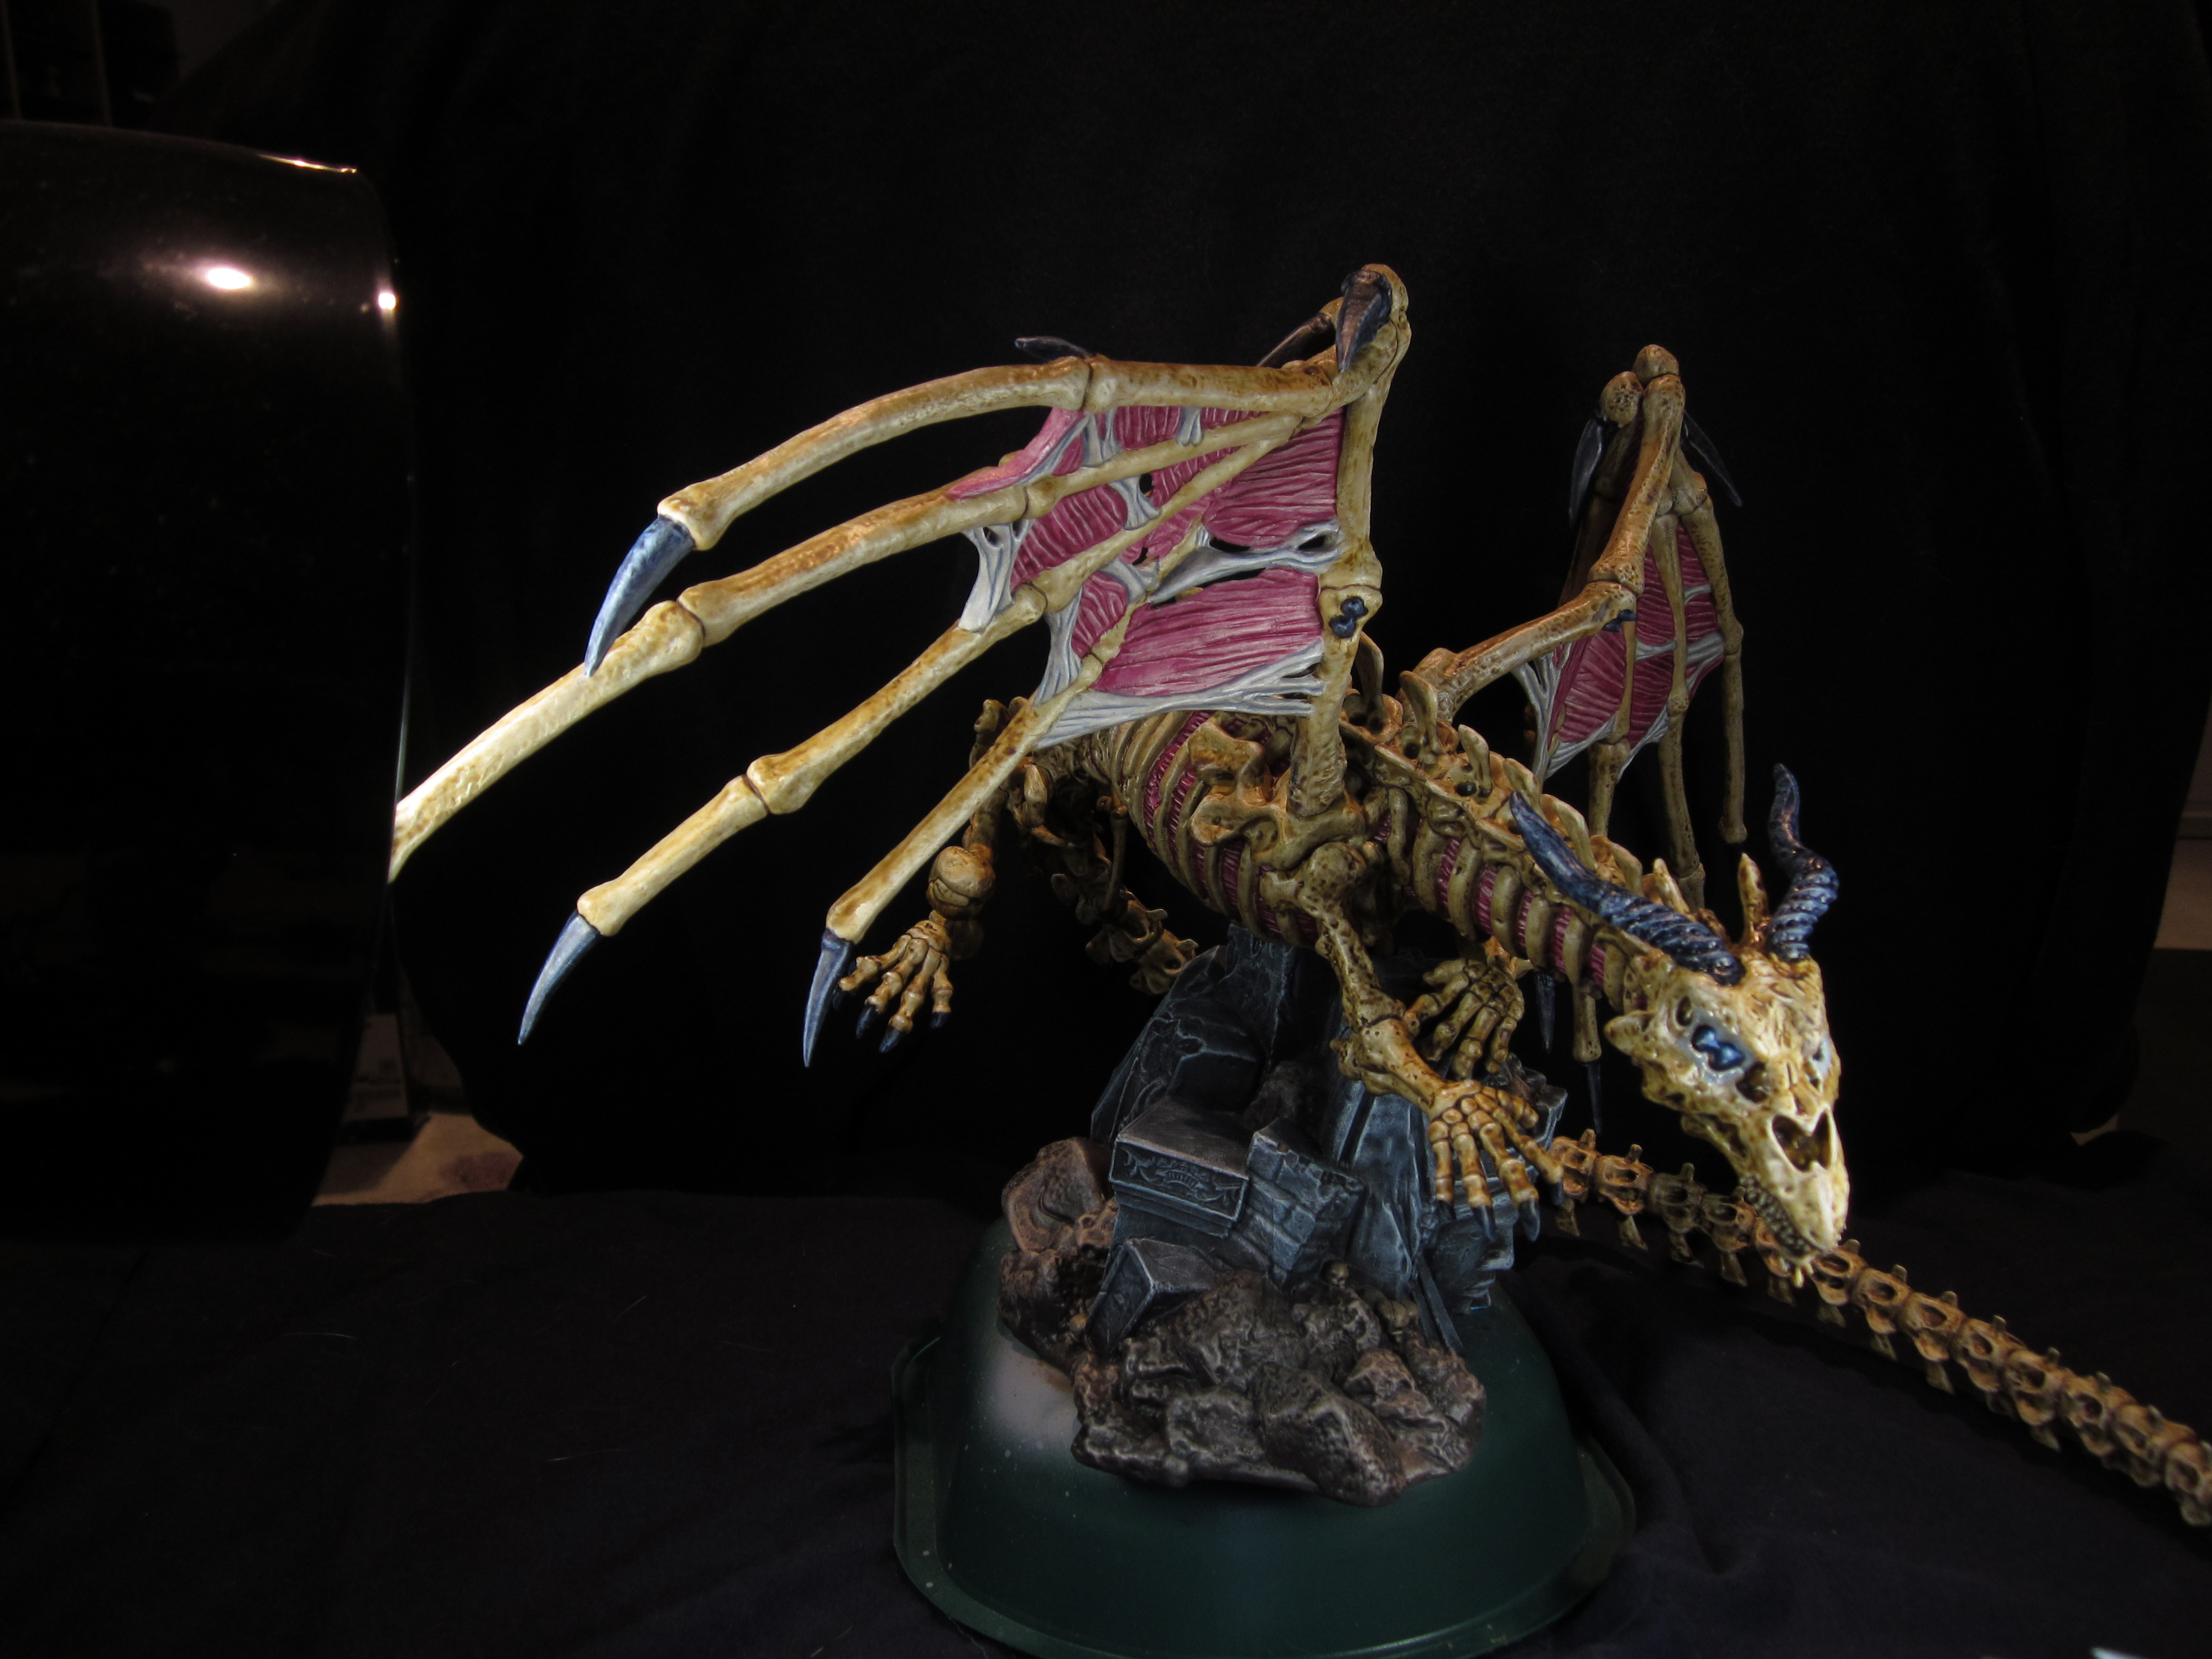
Weathering is one of the hardest step of a project for me, even though I expect the end result will be better. There’s that sense of attachment to how things look ahead of time, and that fear you’re going to mess it up and not be able to fix it.
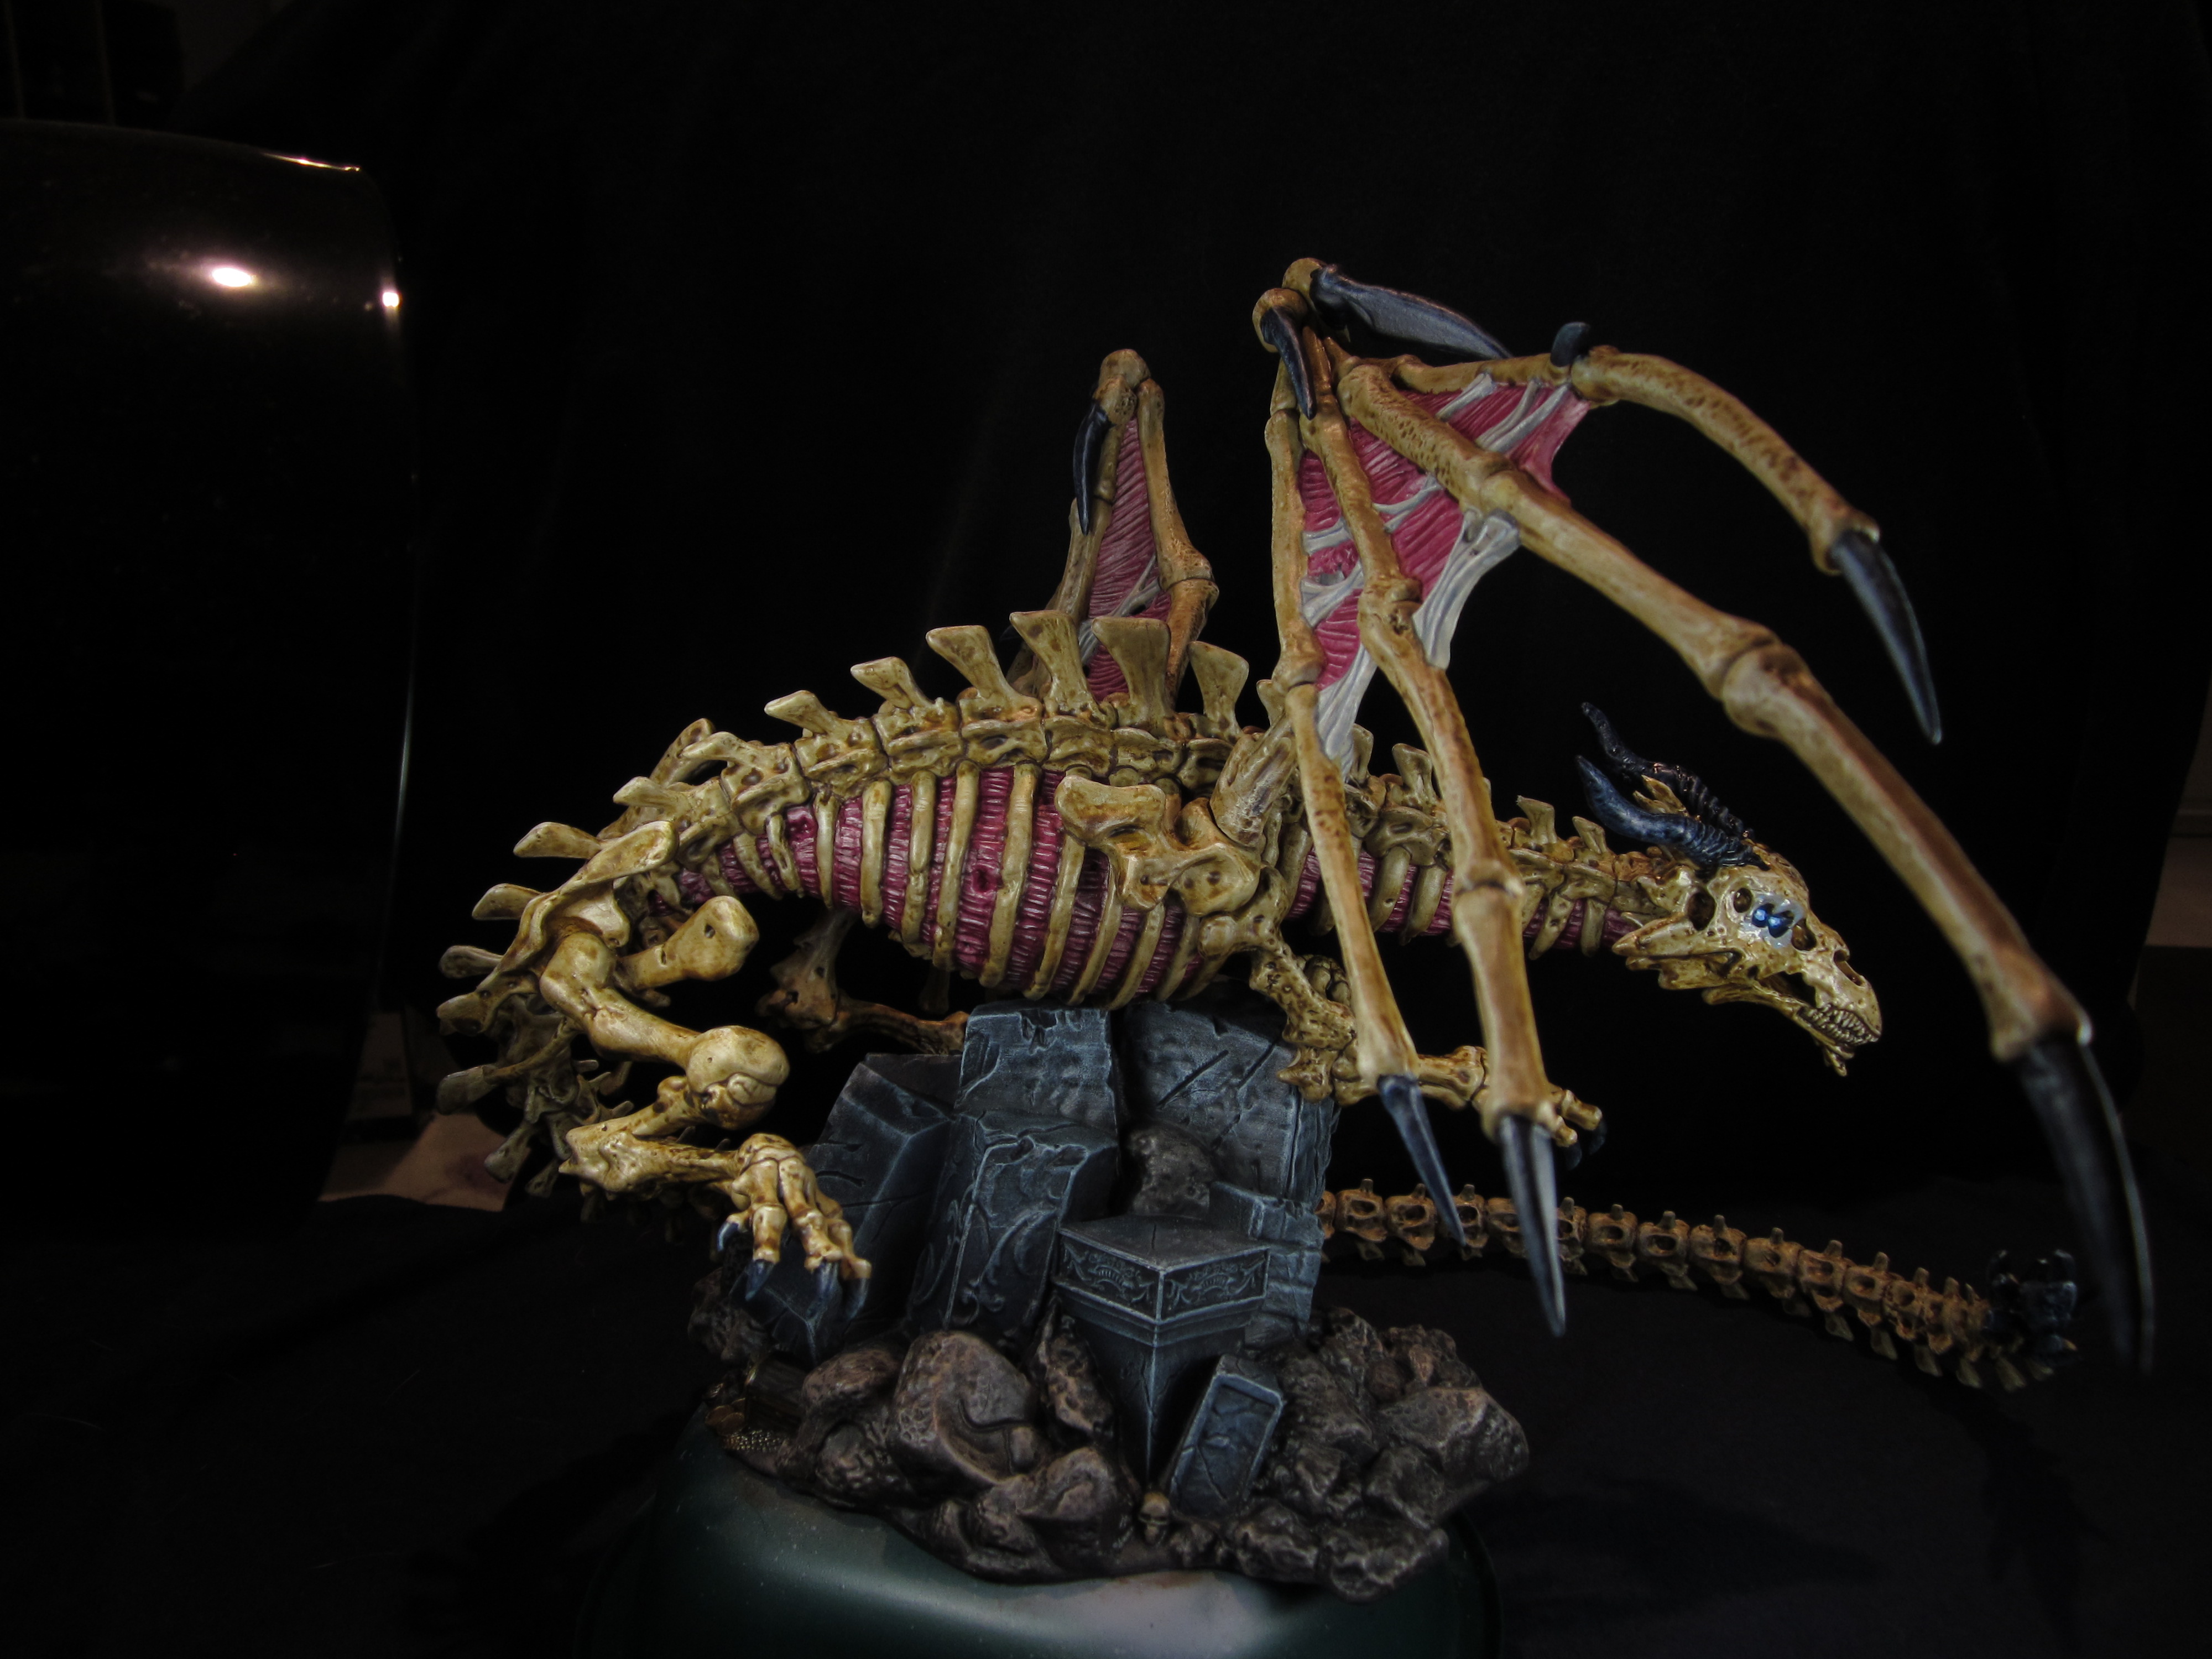
But, I took the leap of faith and dropped some reddish brown Burnt Sienna pigments in recesses of the stones (and some light European Earth pigment on top). For the lichen, I stuck with the darker olive color from my stone experiment.
Lessons learned on pigments. If applying dry from a brush, never wet your brush in the process. Even if you wipe out the water, the residual water we use painting is going to mess up the dry pigment application. I used a second brush to wipe away places where the pigments got messy.
Its also nice that the pigments are more affected by gravity, and for dirt especially, if you brush them off one place, they naturally ended up in other recesses for me further downhill. I used Vallejo airbrush thinner as my fixer at the end. The process was slow for a model this size, but I also didnt have to fiddle with wash consistency, and the Vallejo pigment colors were very natural feeling.
After the pigments, I expanded the blue glaze around the eyes a little bit and tried to deepen it close to the eyes proper.
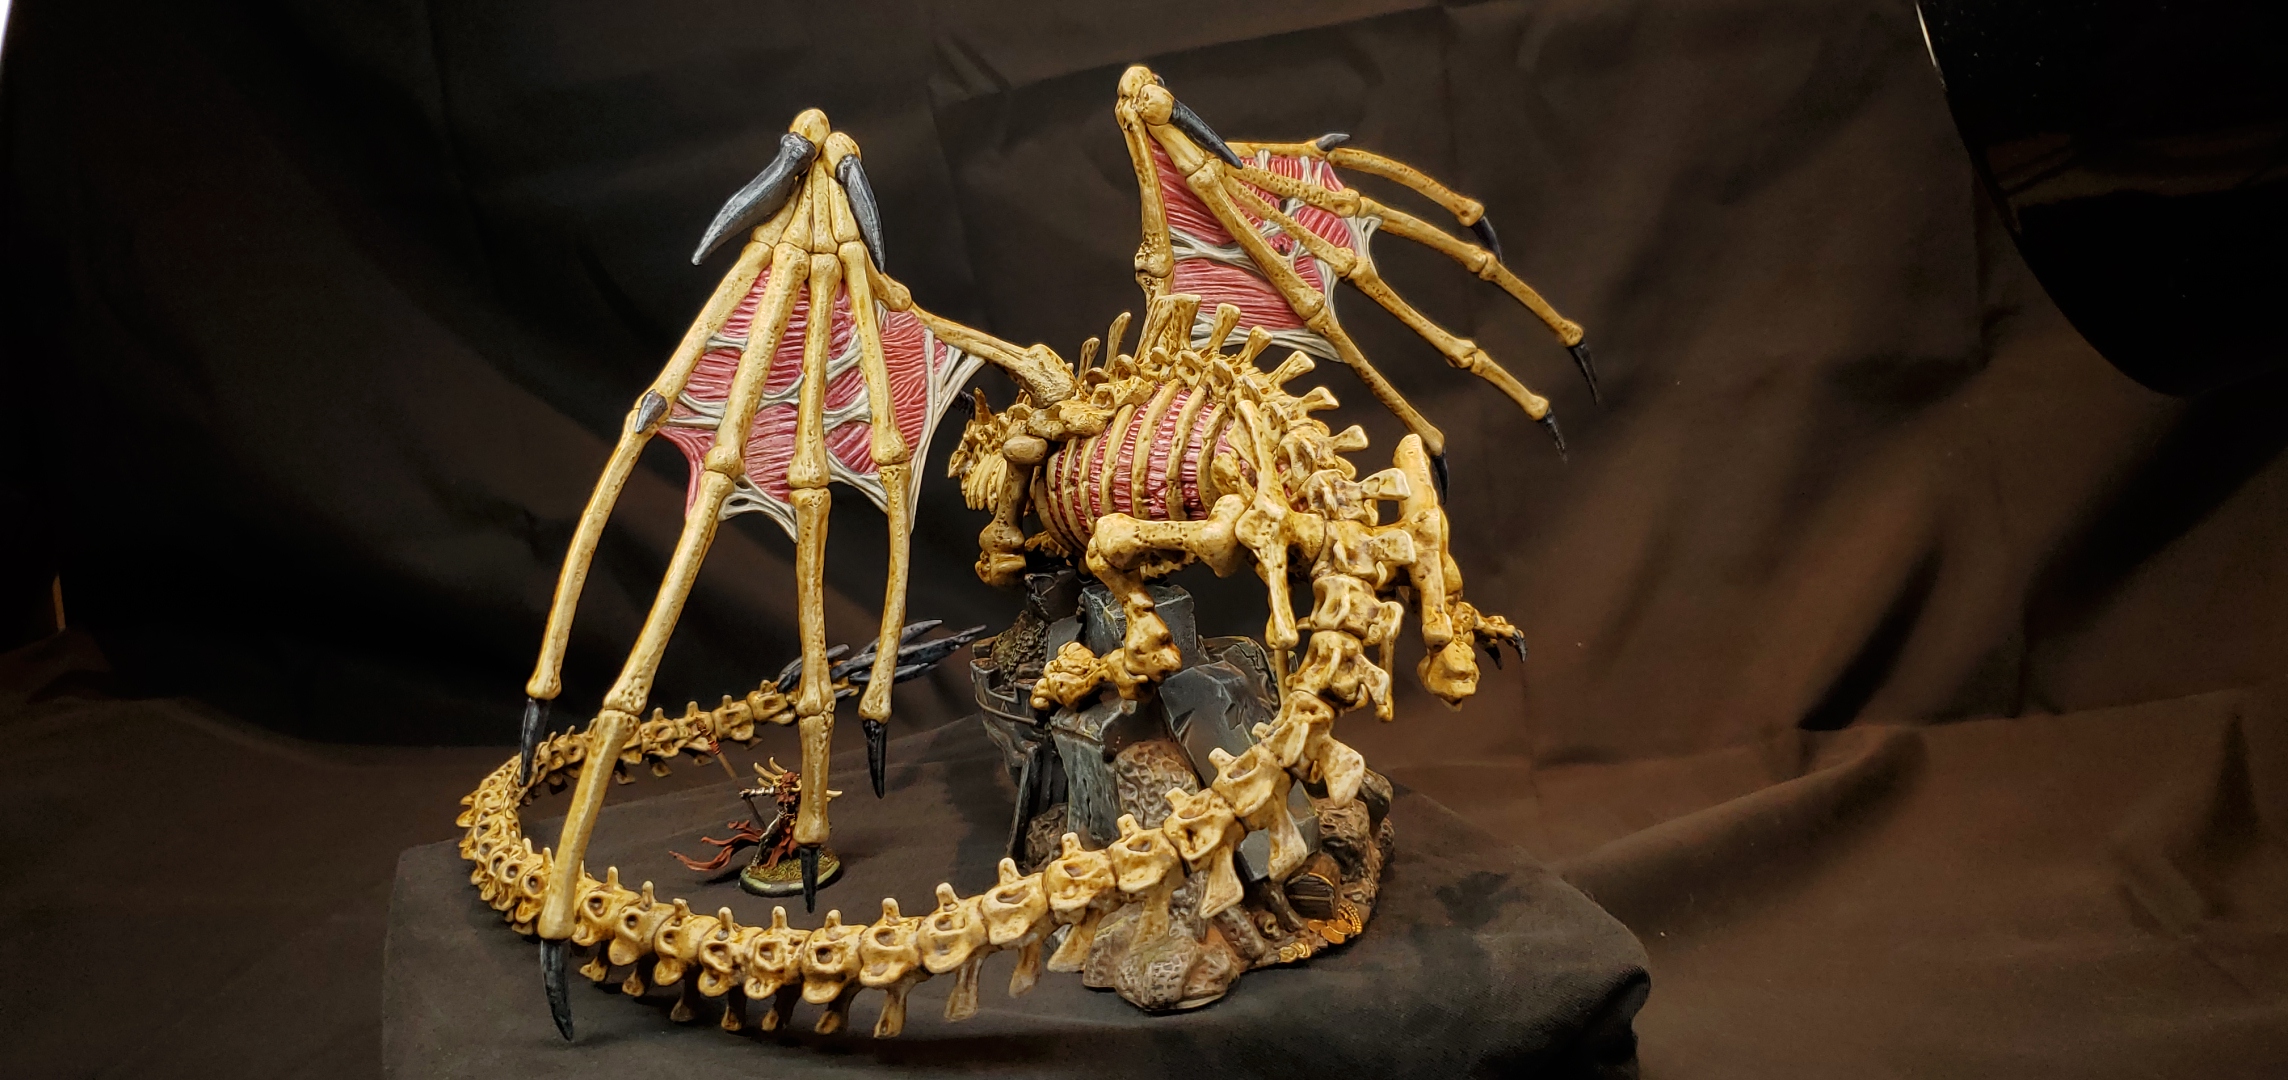
Taking accurate photos of a model this big has been a separate challenge that I haven’t fully solved. I wasn’t able to get the light balance right on my usual digital camera even though I was flooding it with extra light. The photos above and below are from a phone camera, and could use some light adjustment still, but are truer to the colors than I was getting with other methods.
I’m calling this done at this point – there’s always more that could be done, but I am happy with where it stands.