


![1918 Spring Offensive Wargame | Full Rules Overview with John & Gerry (WW1 Tabletop Game) [7 Days Early Access]](https://images.beastsofwar.com/2026/03/unboxing-warfulcrum-games-1918-spring-offensive-review-coverimage1-225-127.jpeg)


Crazyredcoat’s Crazy Compendium of Collected Creativity


Recommendations: 1479
About the Project
Come one, come all! See the most vaguely inconsistent extravaganza that no one really thinks about but if they did they'd be mildly misanthropic about it! Slow off the heels of my last adventure comes a tale so confusing that it's not even remotely tail-like. Here I will avail you all of the many experiments and miniatures I manage to paint over the coming times, or at least some of them. Time is funny like that... Either way, stay tuned for various projects that don't fit into any one larger project like my last foray into this sort of thing. Oh, and watch out for Spiny Norman.
Related Game: Warhammer Age of Sigmar
Related Genre: General
Related Contest: Spring Clean Hobby Challenge (Old)
This Project is Completed
A horse! A horse! My Kingdom for a horse!
 May as well start with a classic joke, hopefully someone gets the reference!
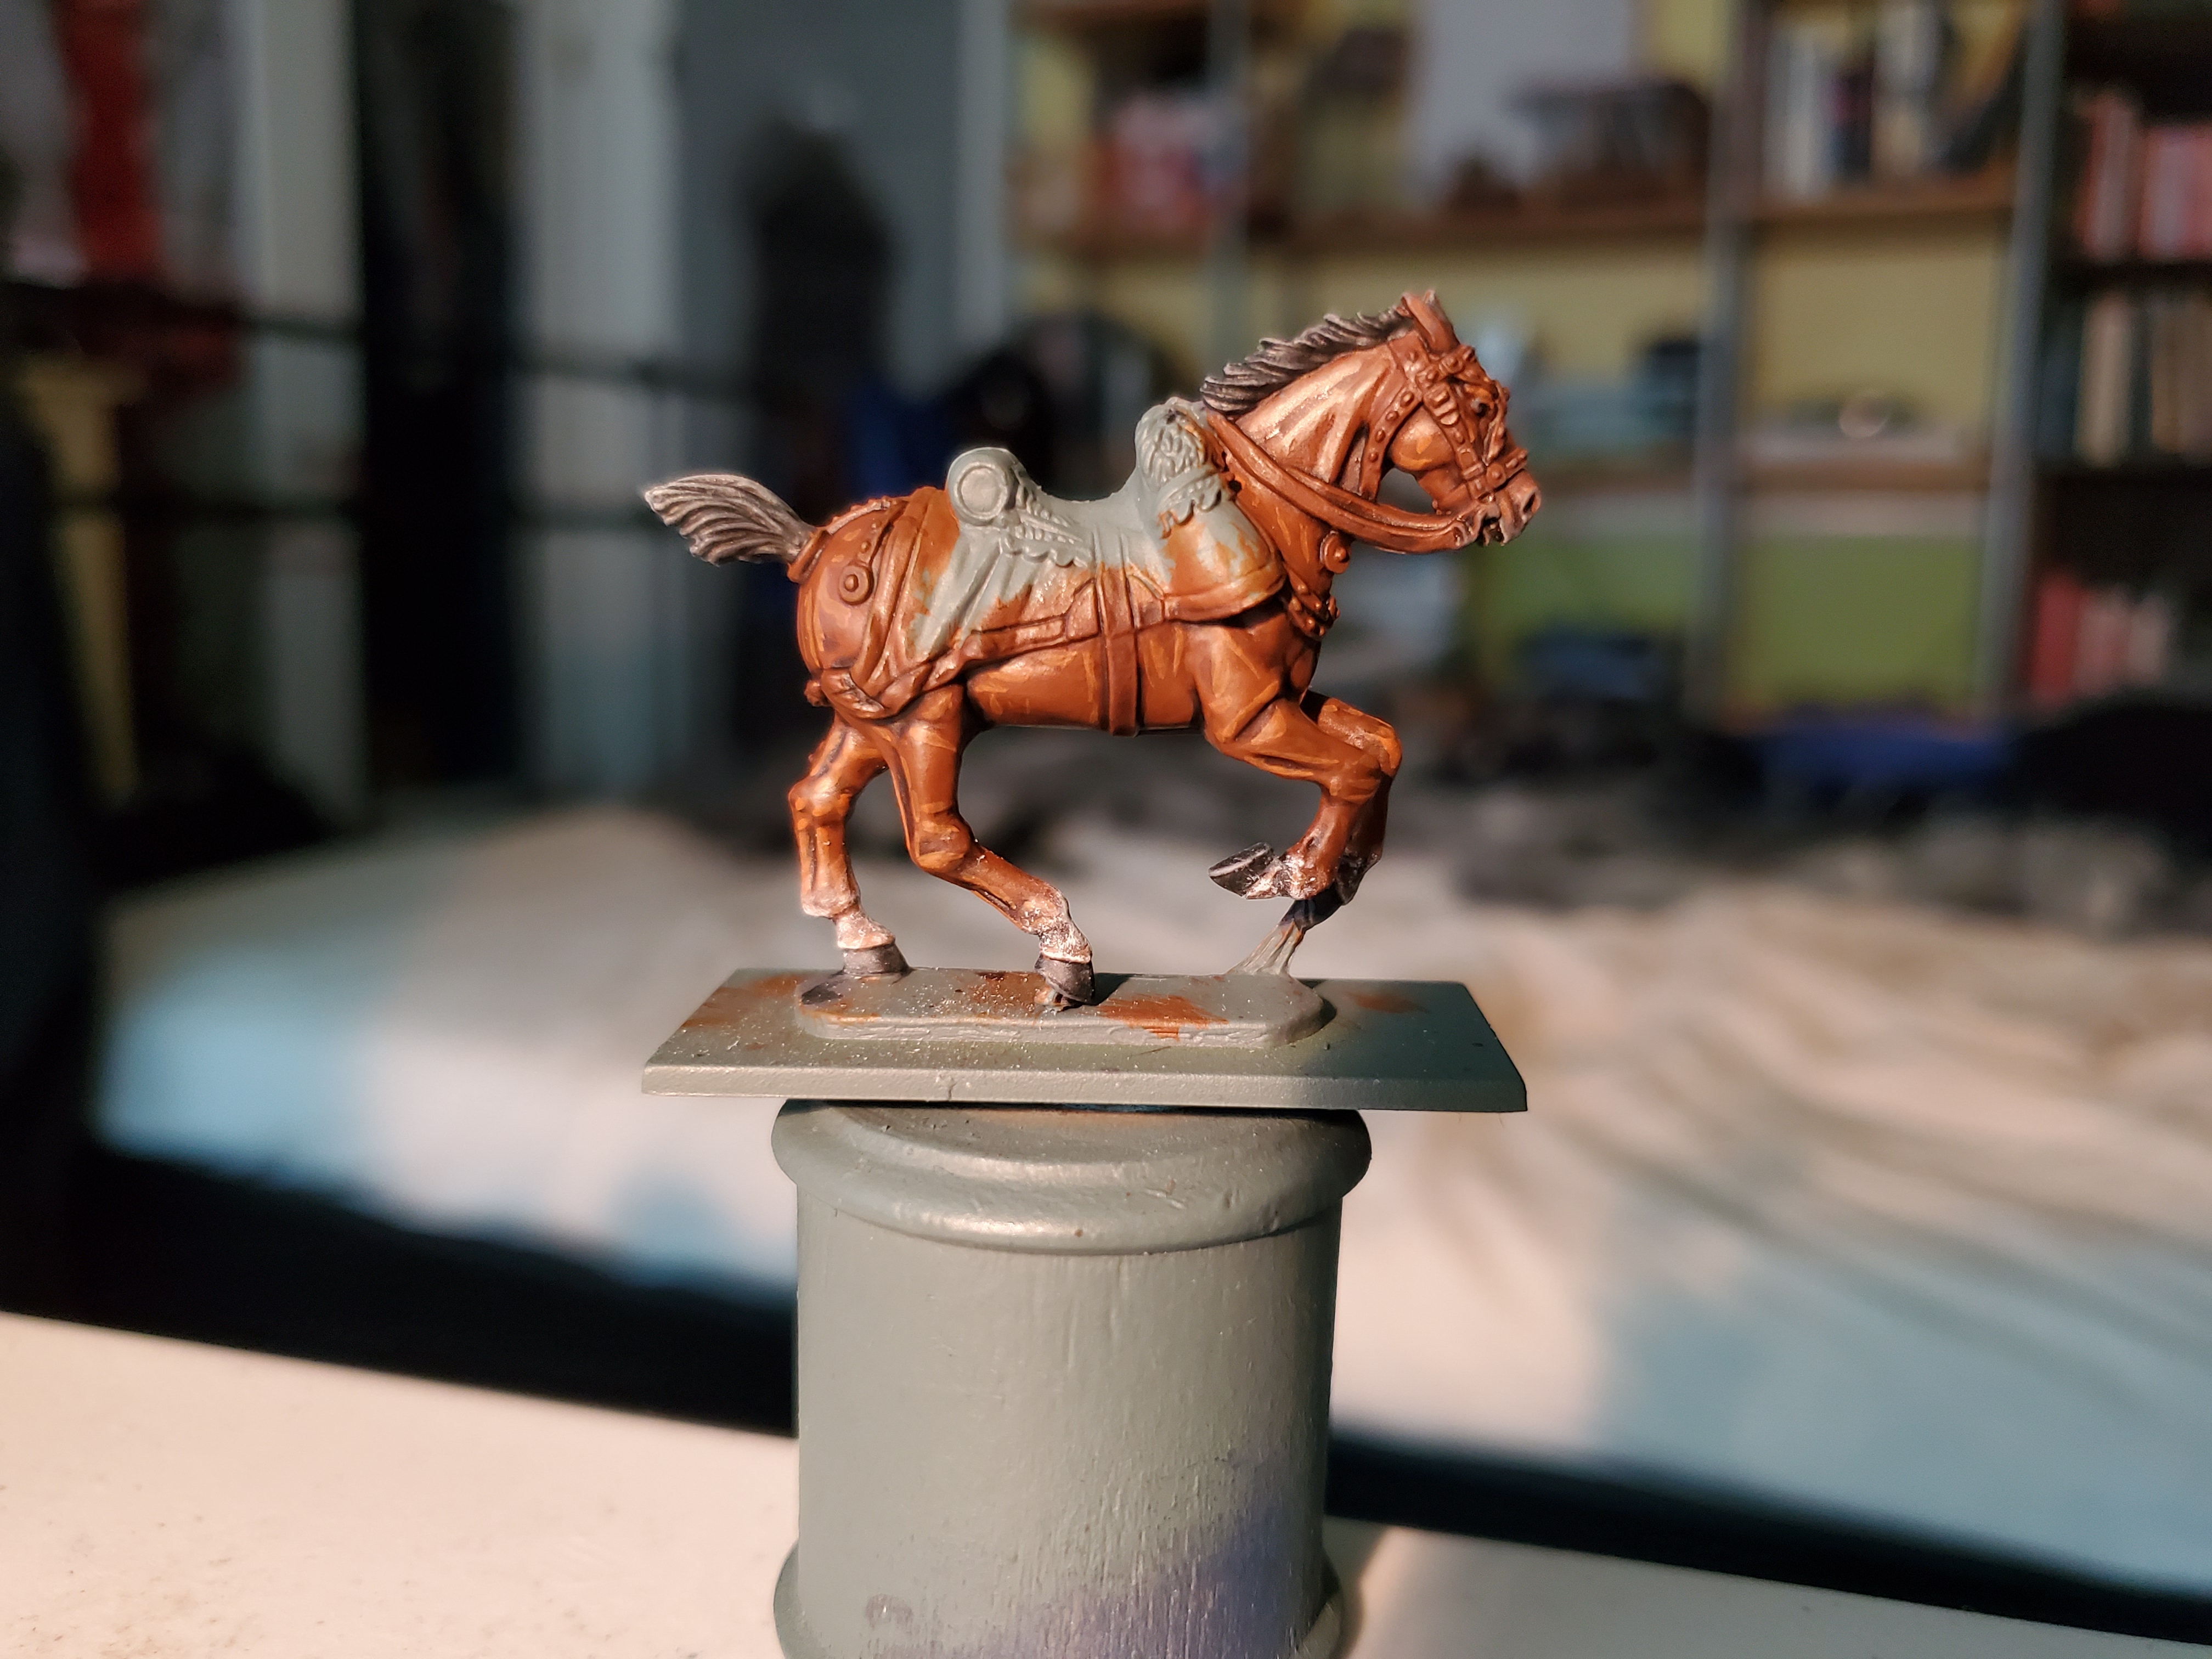
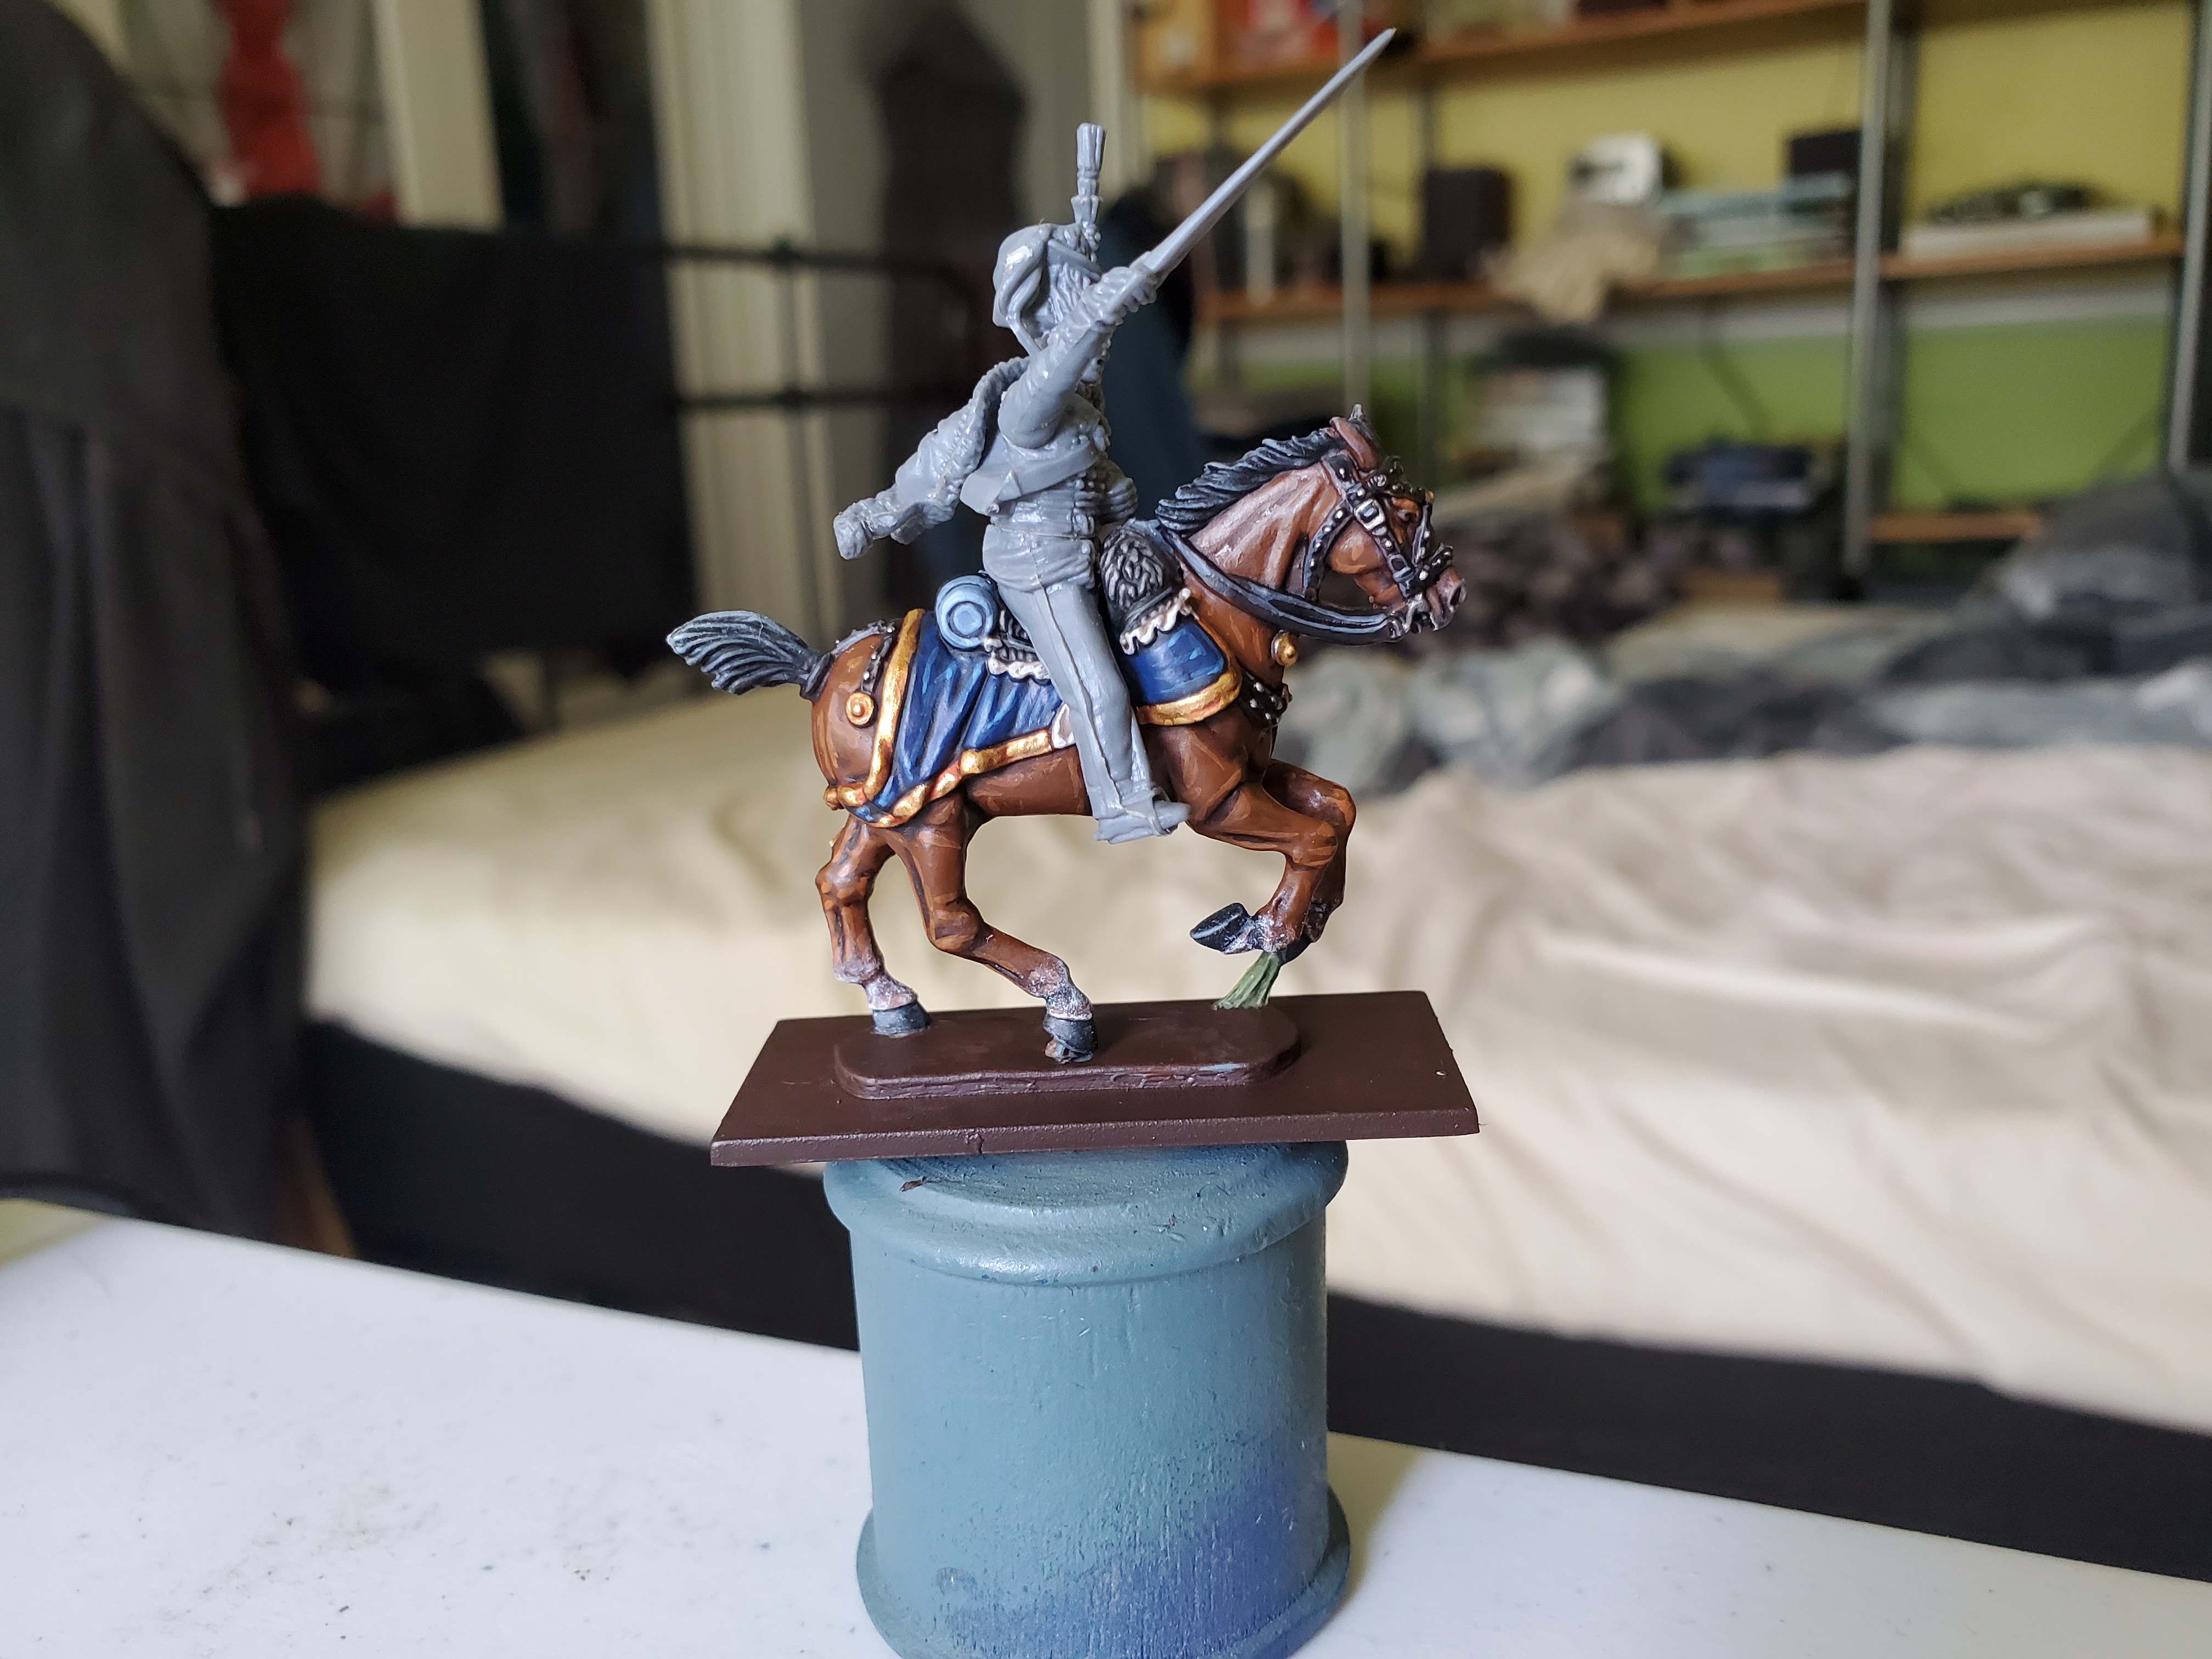
The next mini I am working on will take up a few posts and is a King’s German Legion Hussar from Perry Miniatures (I actually know where this one comes from! Magical!). Thought I’d start with the horse, because it has been quite some time since I painted one. First things first, as this is a historical mini, I need to consider the types of horses used, so I went to artworks of the KGL Hussars.
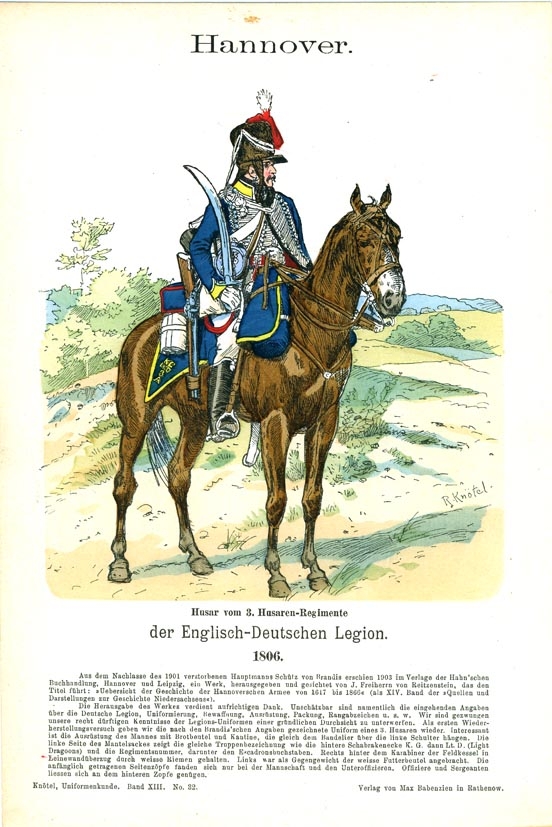 It's even in German! I go above and beyond and in no way just have to fight with the plague that is pintrest playing the 'all images belong to us' game...
The horse pictured resembles the colouration of Bay horses near perfectly so I went looking into that with one thought from my brother; ‘it should have socks!’ So I found some images as references including markings, though I never ended up using face markings, I decided to put the image here for others, if they want to do it.
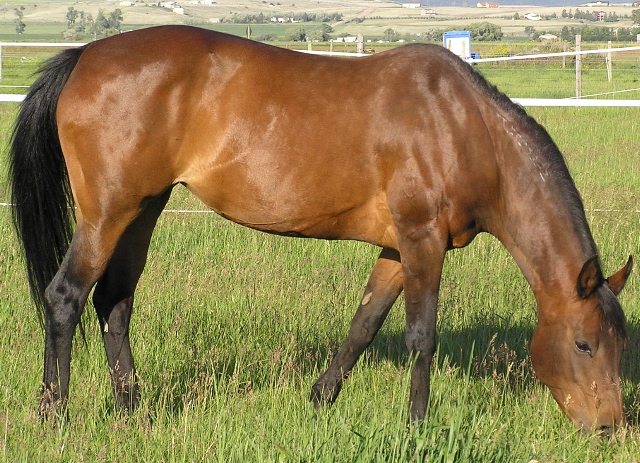


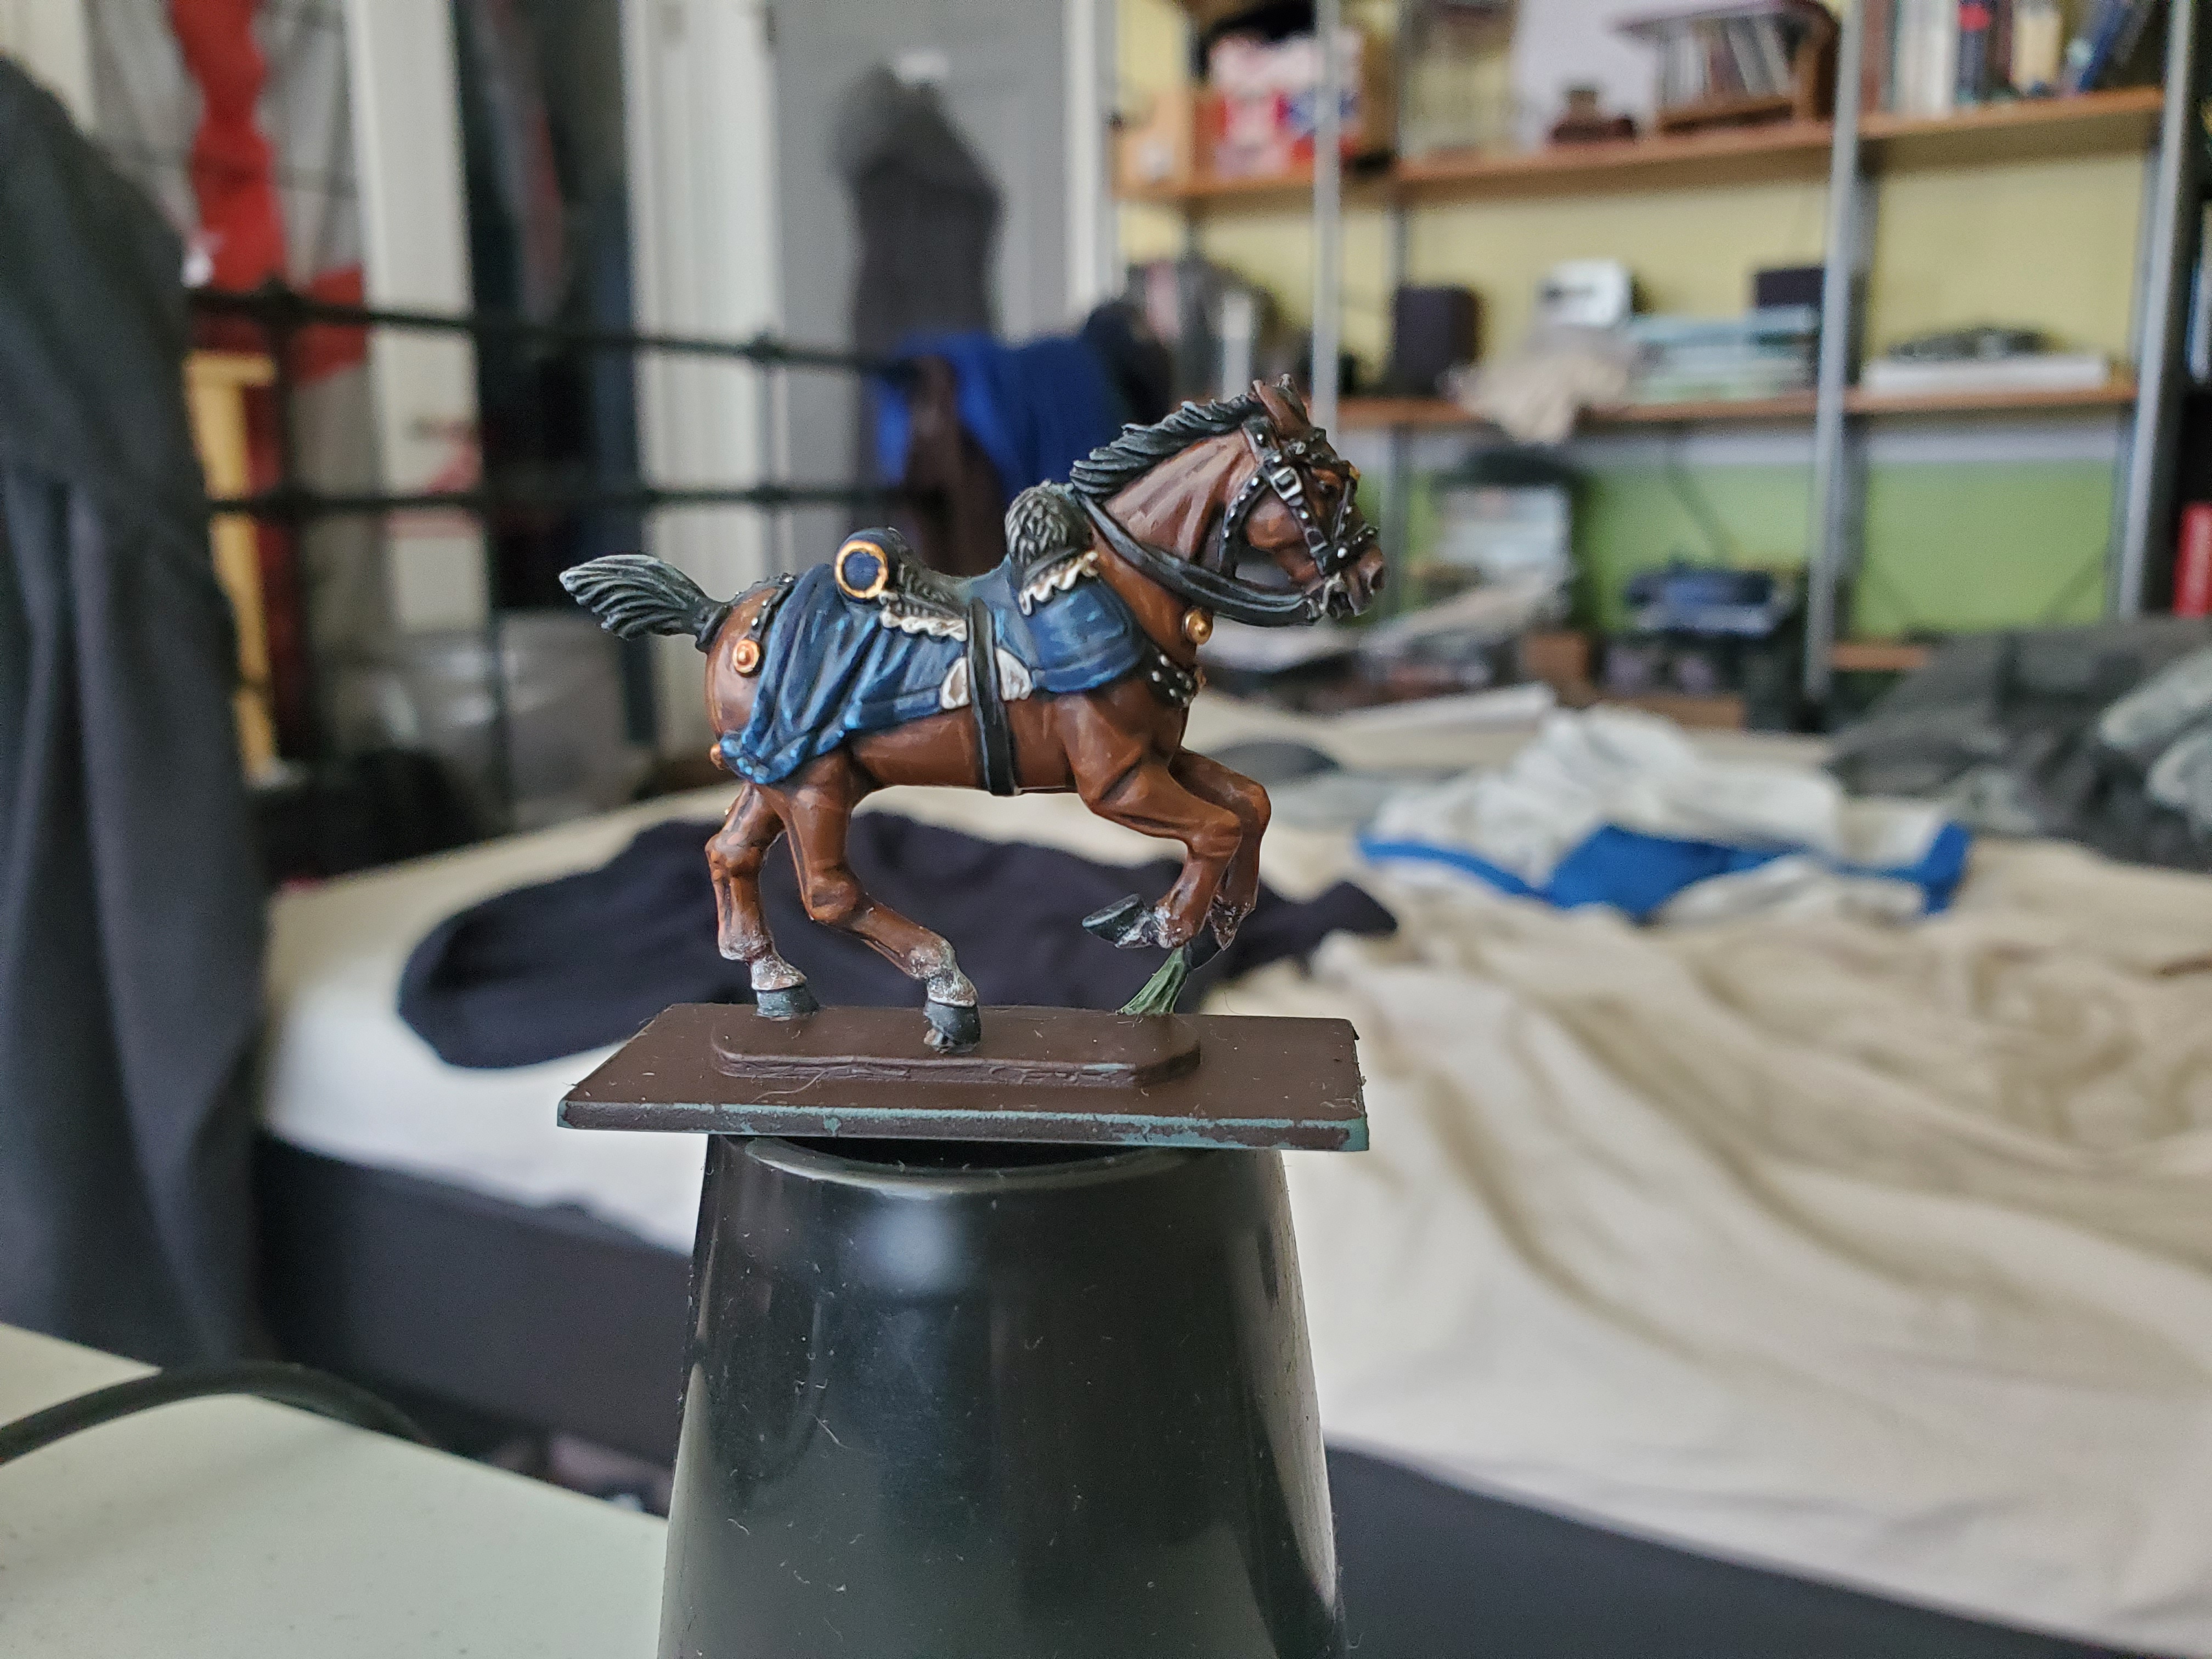
All that’s left is the final (well not final, but final) product! I will do the accoutrements and cloth as a separate post before moving on the Hussar Officer himself.
It's hot outside, so let's put a blanket on a horse.
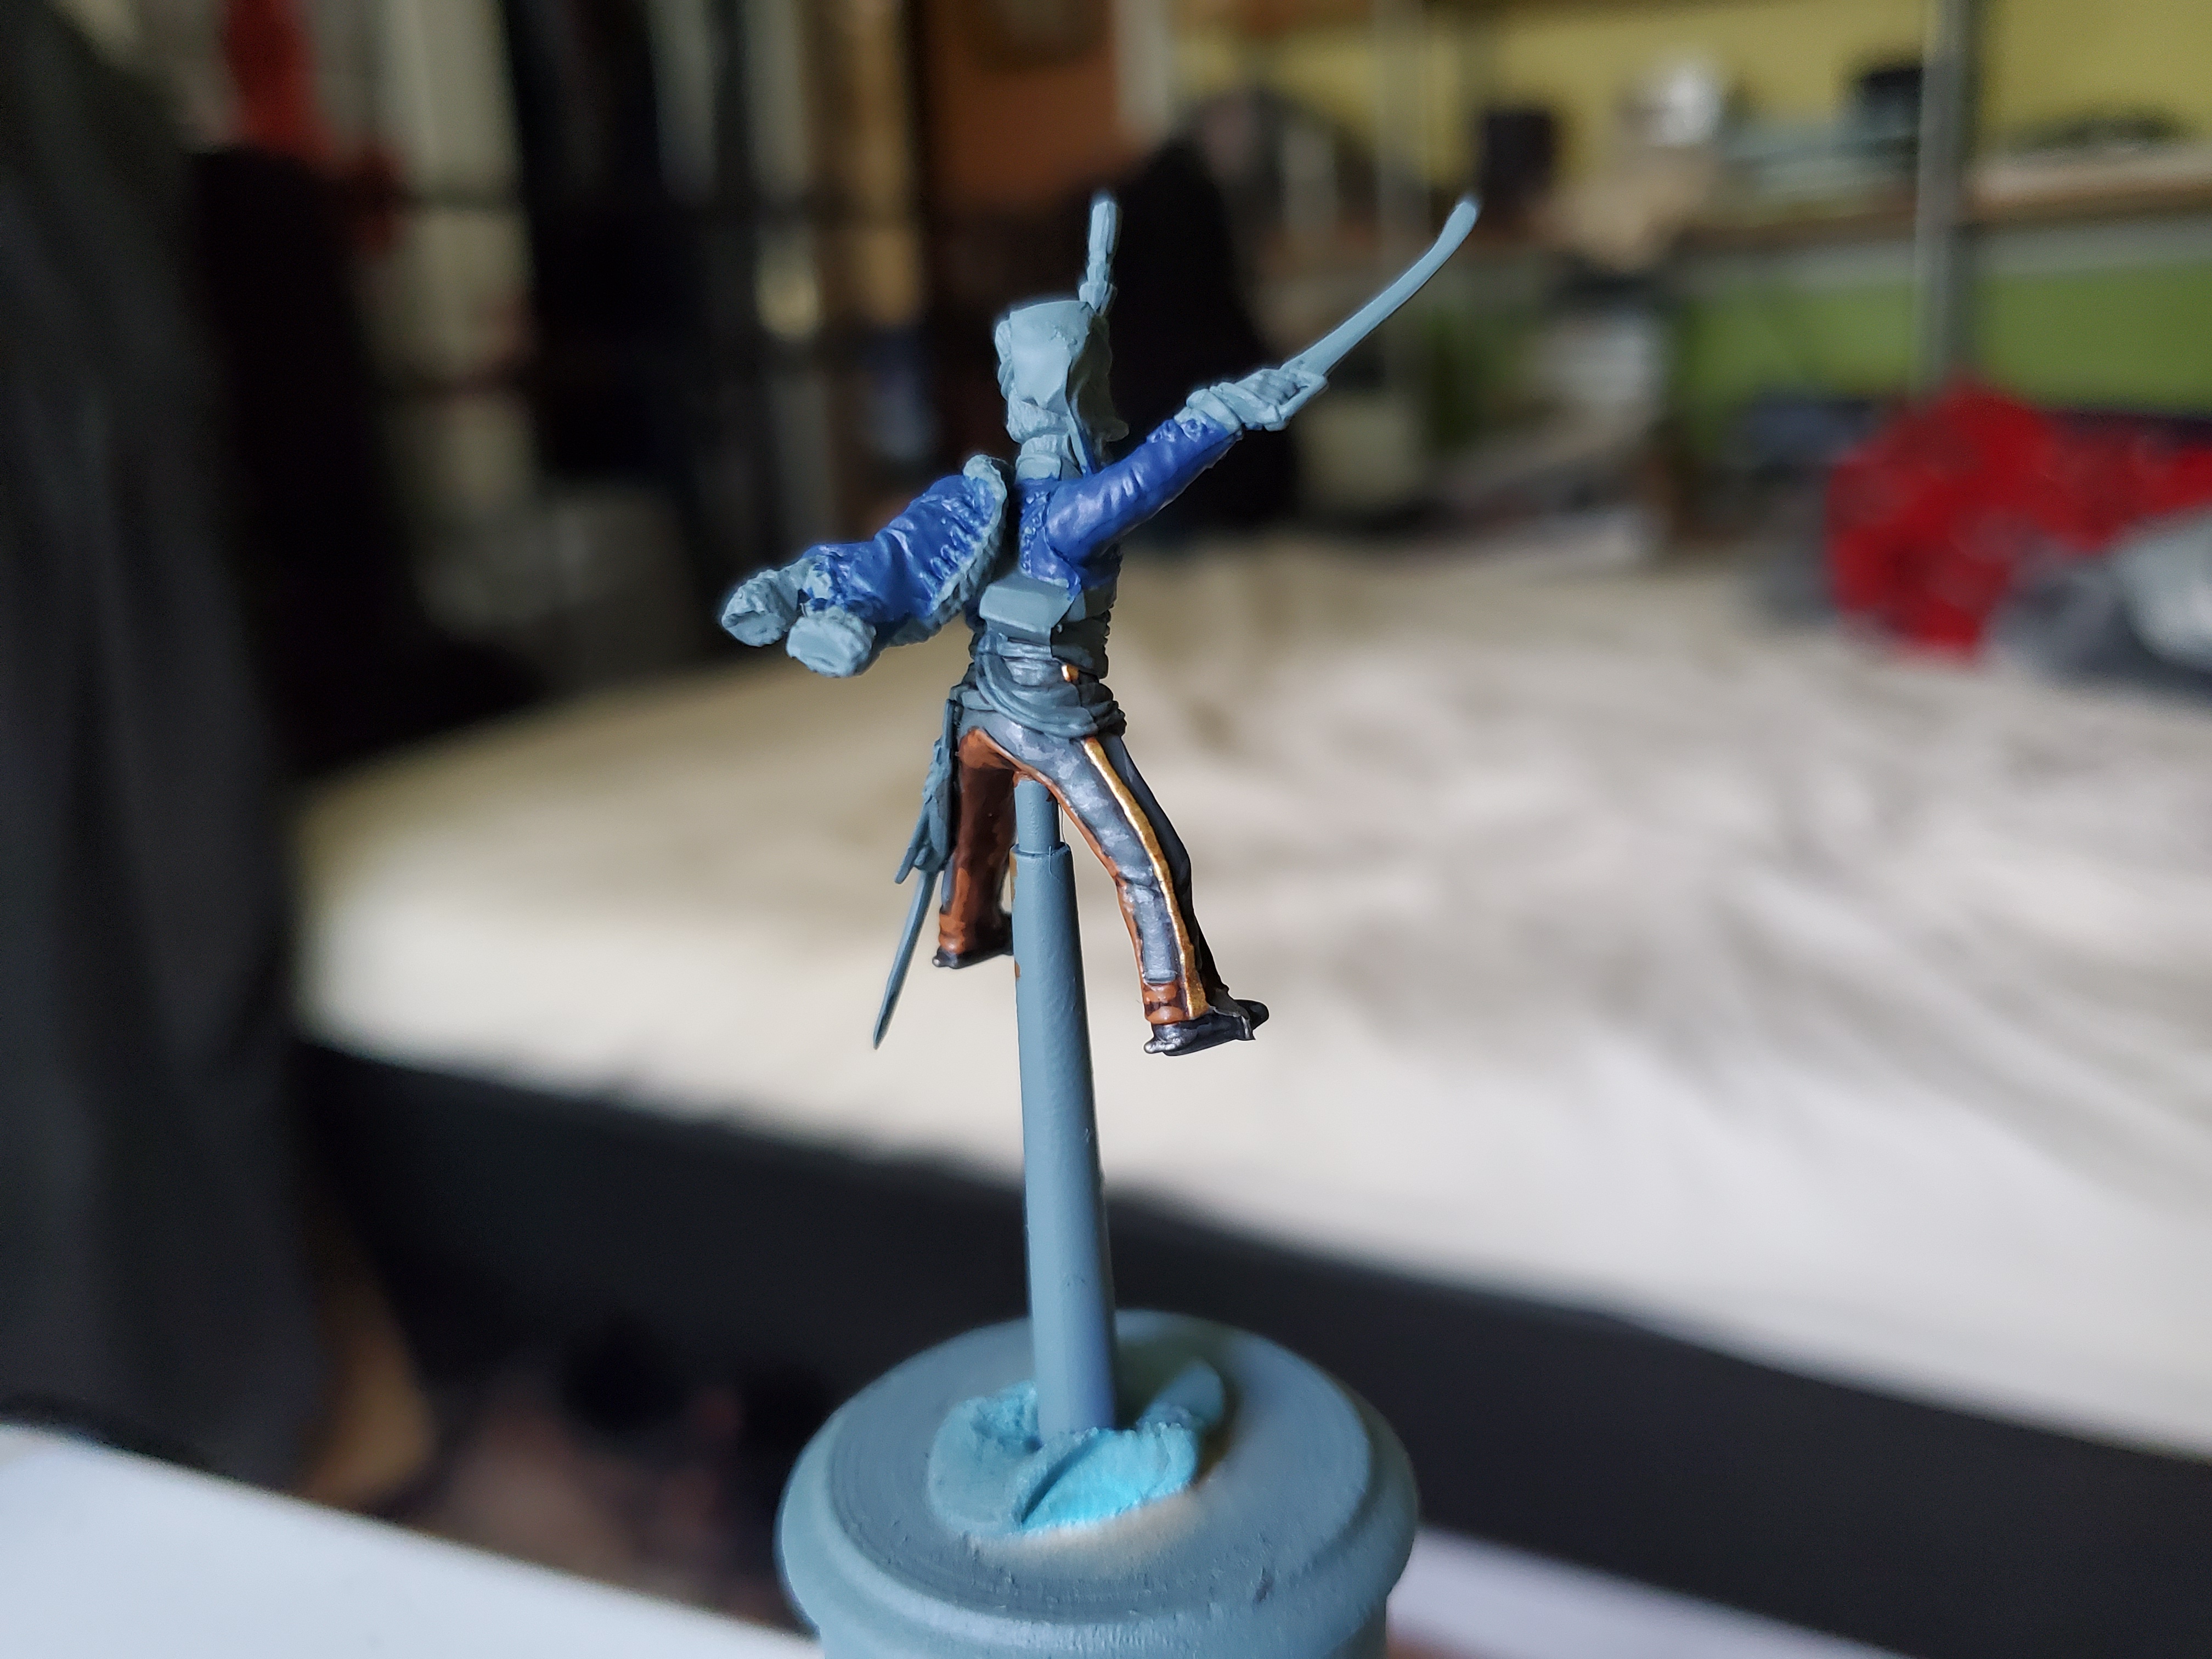
Carrying on from the last post, we have the non-horse bits of the Perry Miniatures Napoleonic British Hussars plastic officer. That’s a lot of words, but with the range Perry has for Napoleonics it’s a good idea to be accurate! On to the researchy bit again! I know it might sound boring, but I like it, so there!
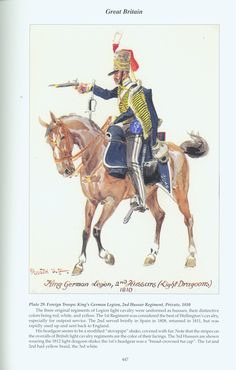 So this picture is almost certainly going to be too small and/or blurry, but it does actually show an officer of the KGL 2nd Hussars, though also calls him a Light Dragoon...which isn't actually correct. But it does show the colours of the cloth and is corroborated by other written sources.
So…yeah… That’s a next to useless image… I was mainly using an image of another painter with his 2nd KGL Hussars, but due to the problems of not knowing how to get permission to share, the best I will give is a link to the image.
http://rogerspaintworks.blogspot.com/2015/07/2nd-kgl-hussars.html
Want to make sure the credit goes where it is meant to be!
There was also a written source that I looked for regarding the 2nd KGL Hussars and found this webpage here ( http://www.napolun.com/mirror/napoleonistyka.atspace.com/British_cavalry.htm#britishlightcavalry ) that gives a whole whack of information on British Cavalry but also uniform differences. Long story short, the lace for the 2nd KGL Hussars was yellow. As was the rule in the army at the time, if the lace was yellow, officers wore gold instead (if white it was silver). Are you all asleep, yet? Probably. Let’s just get to a mini, shall we?
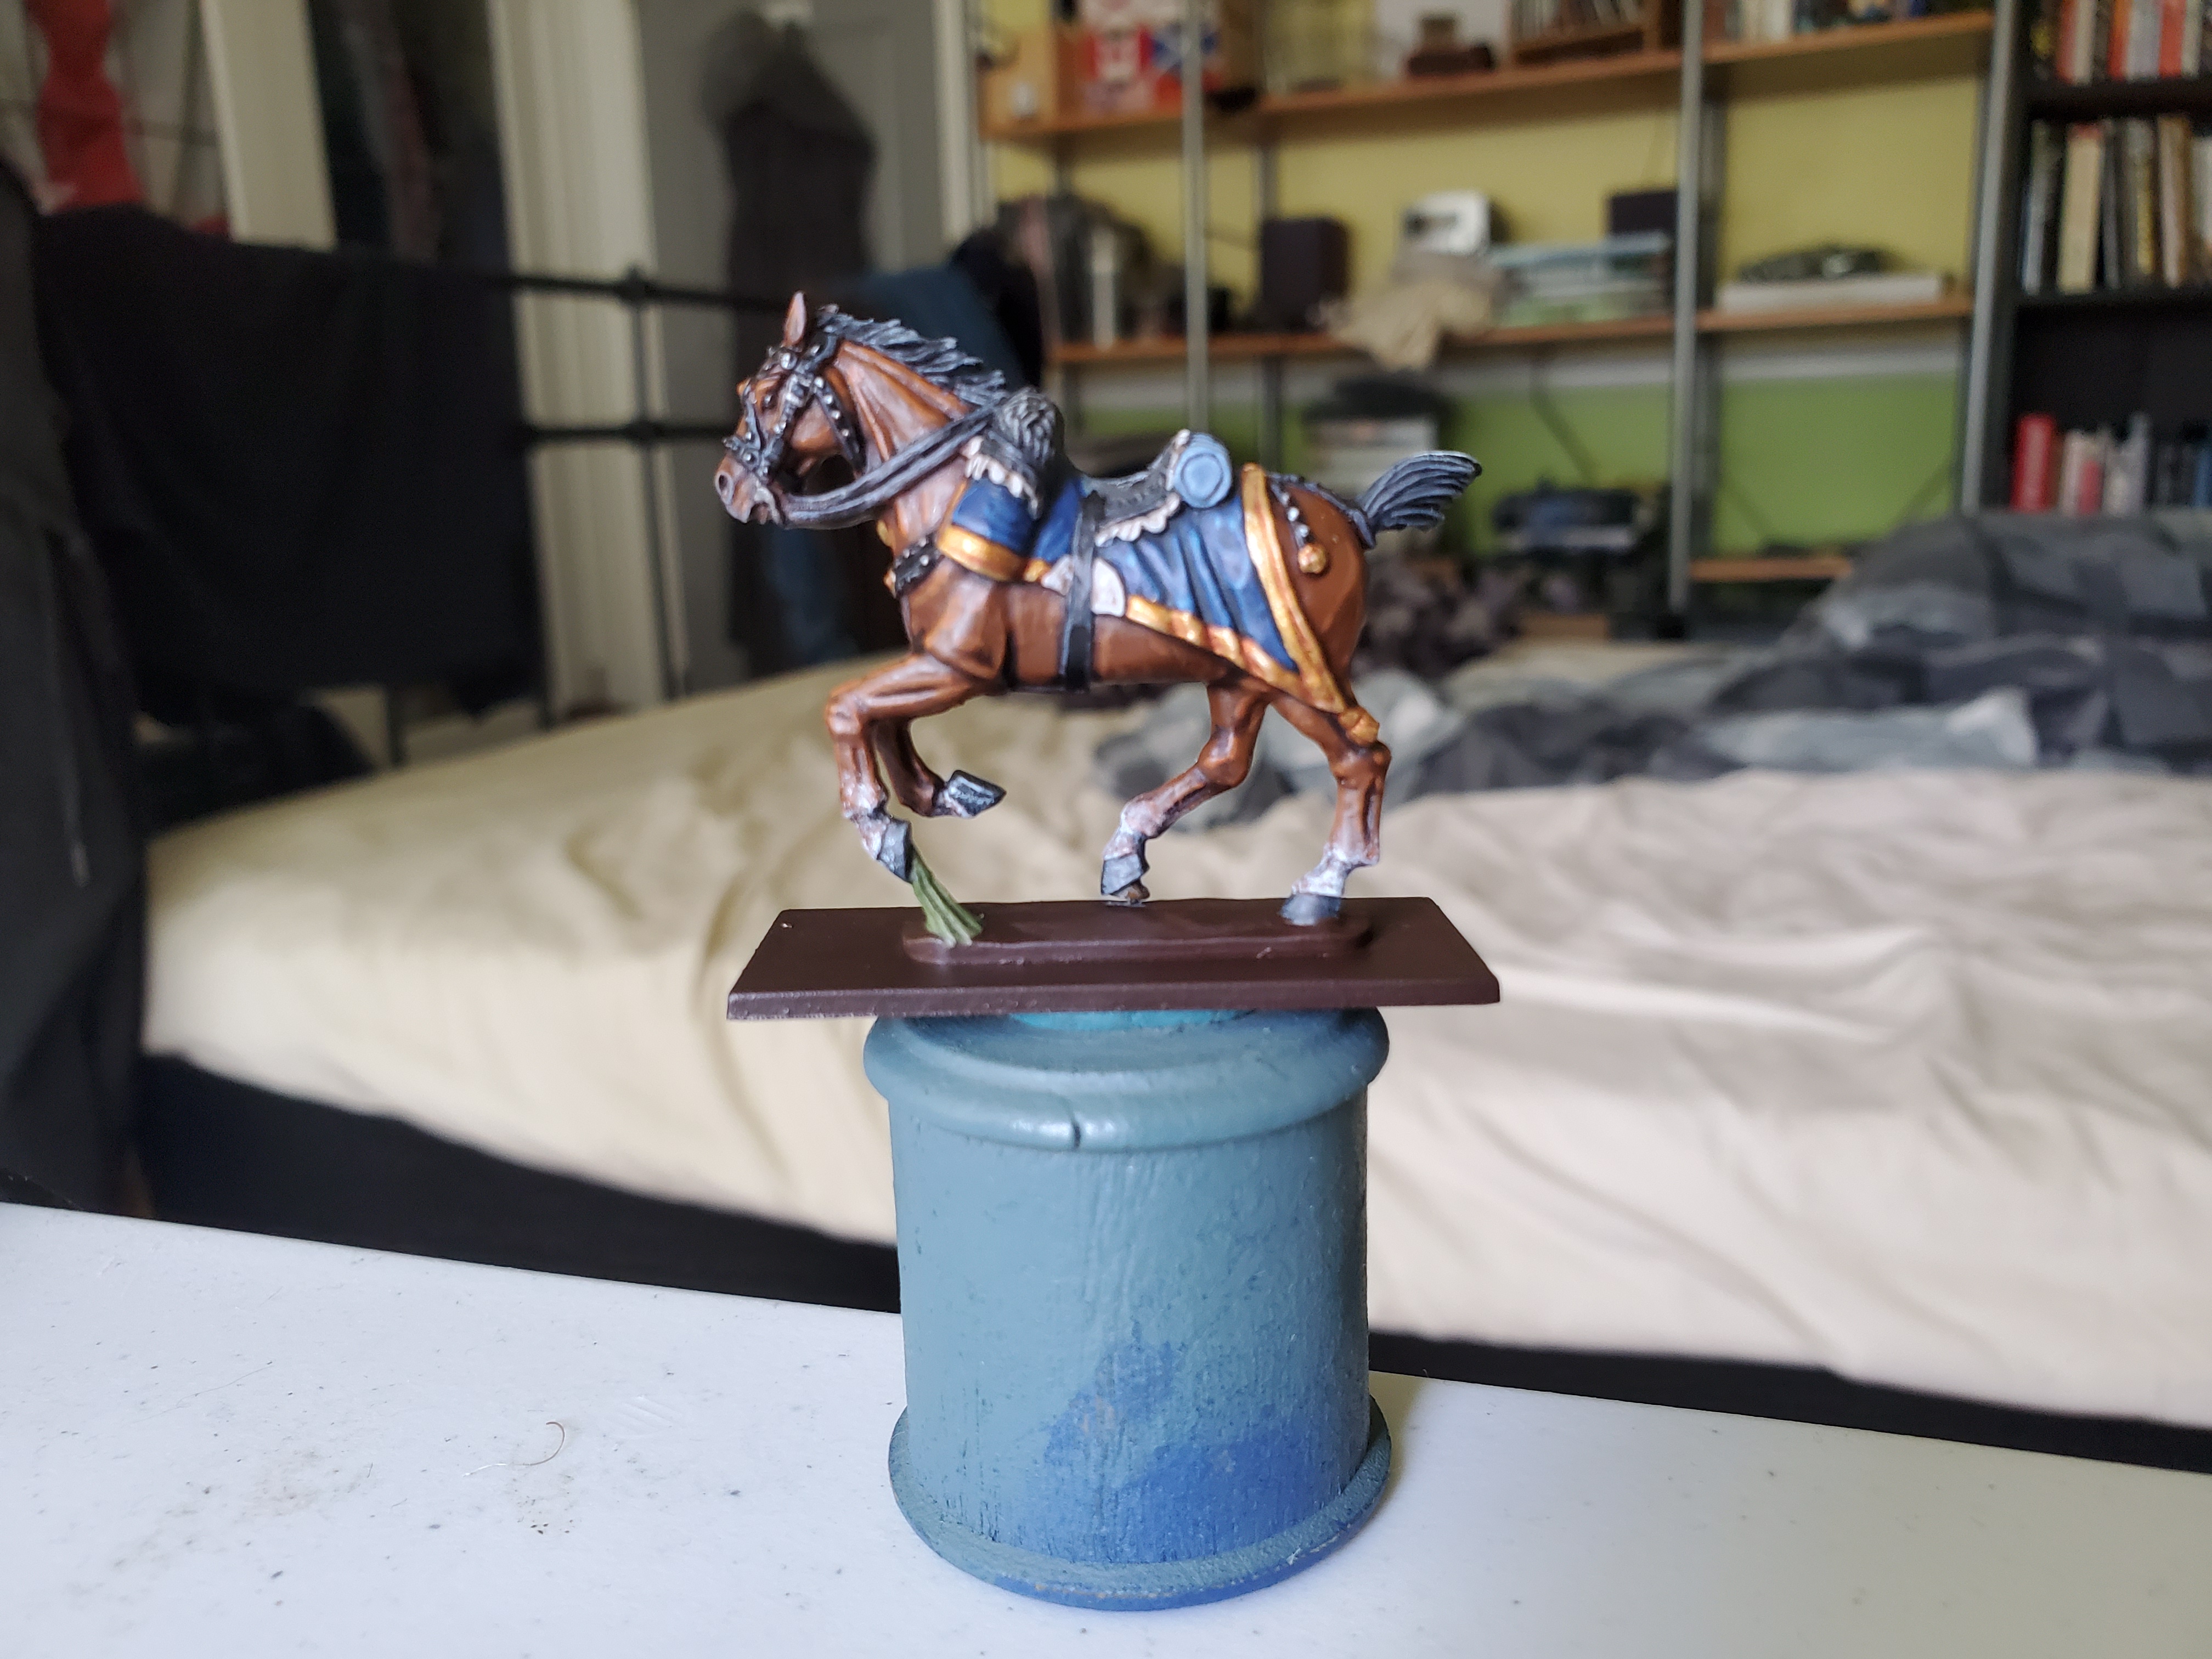
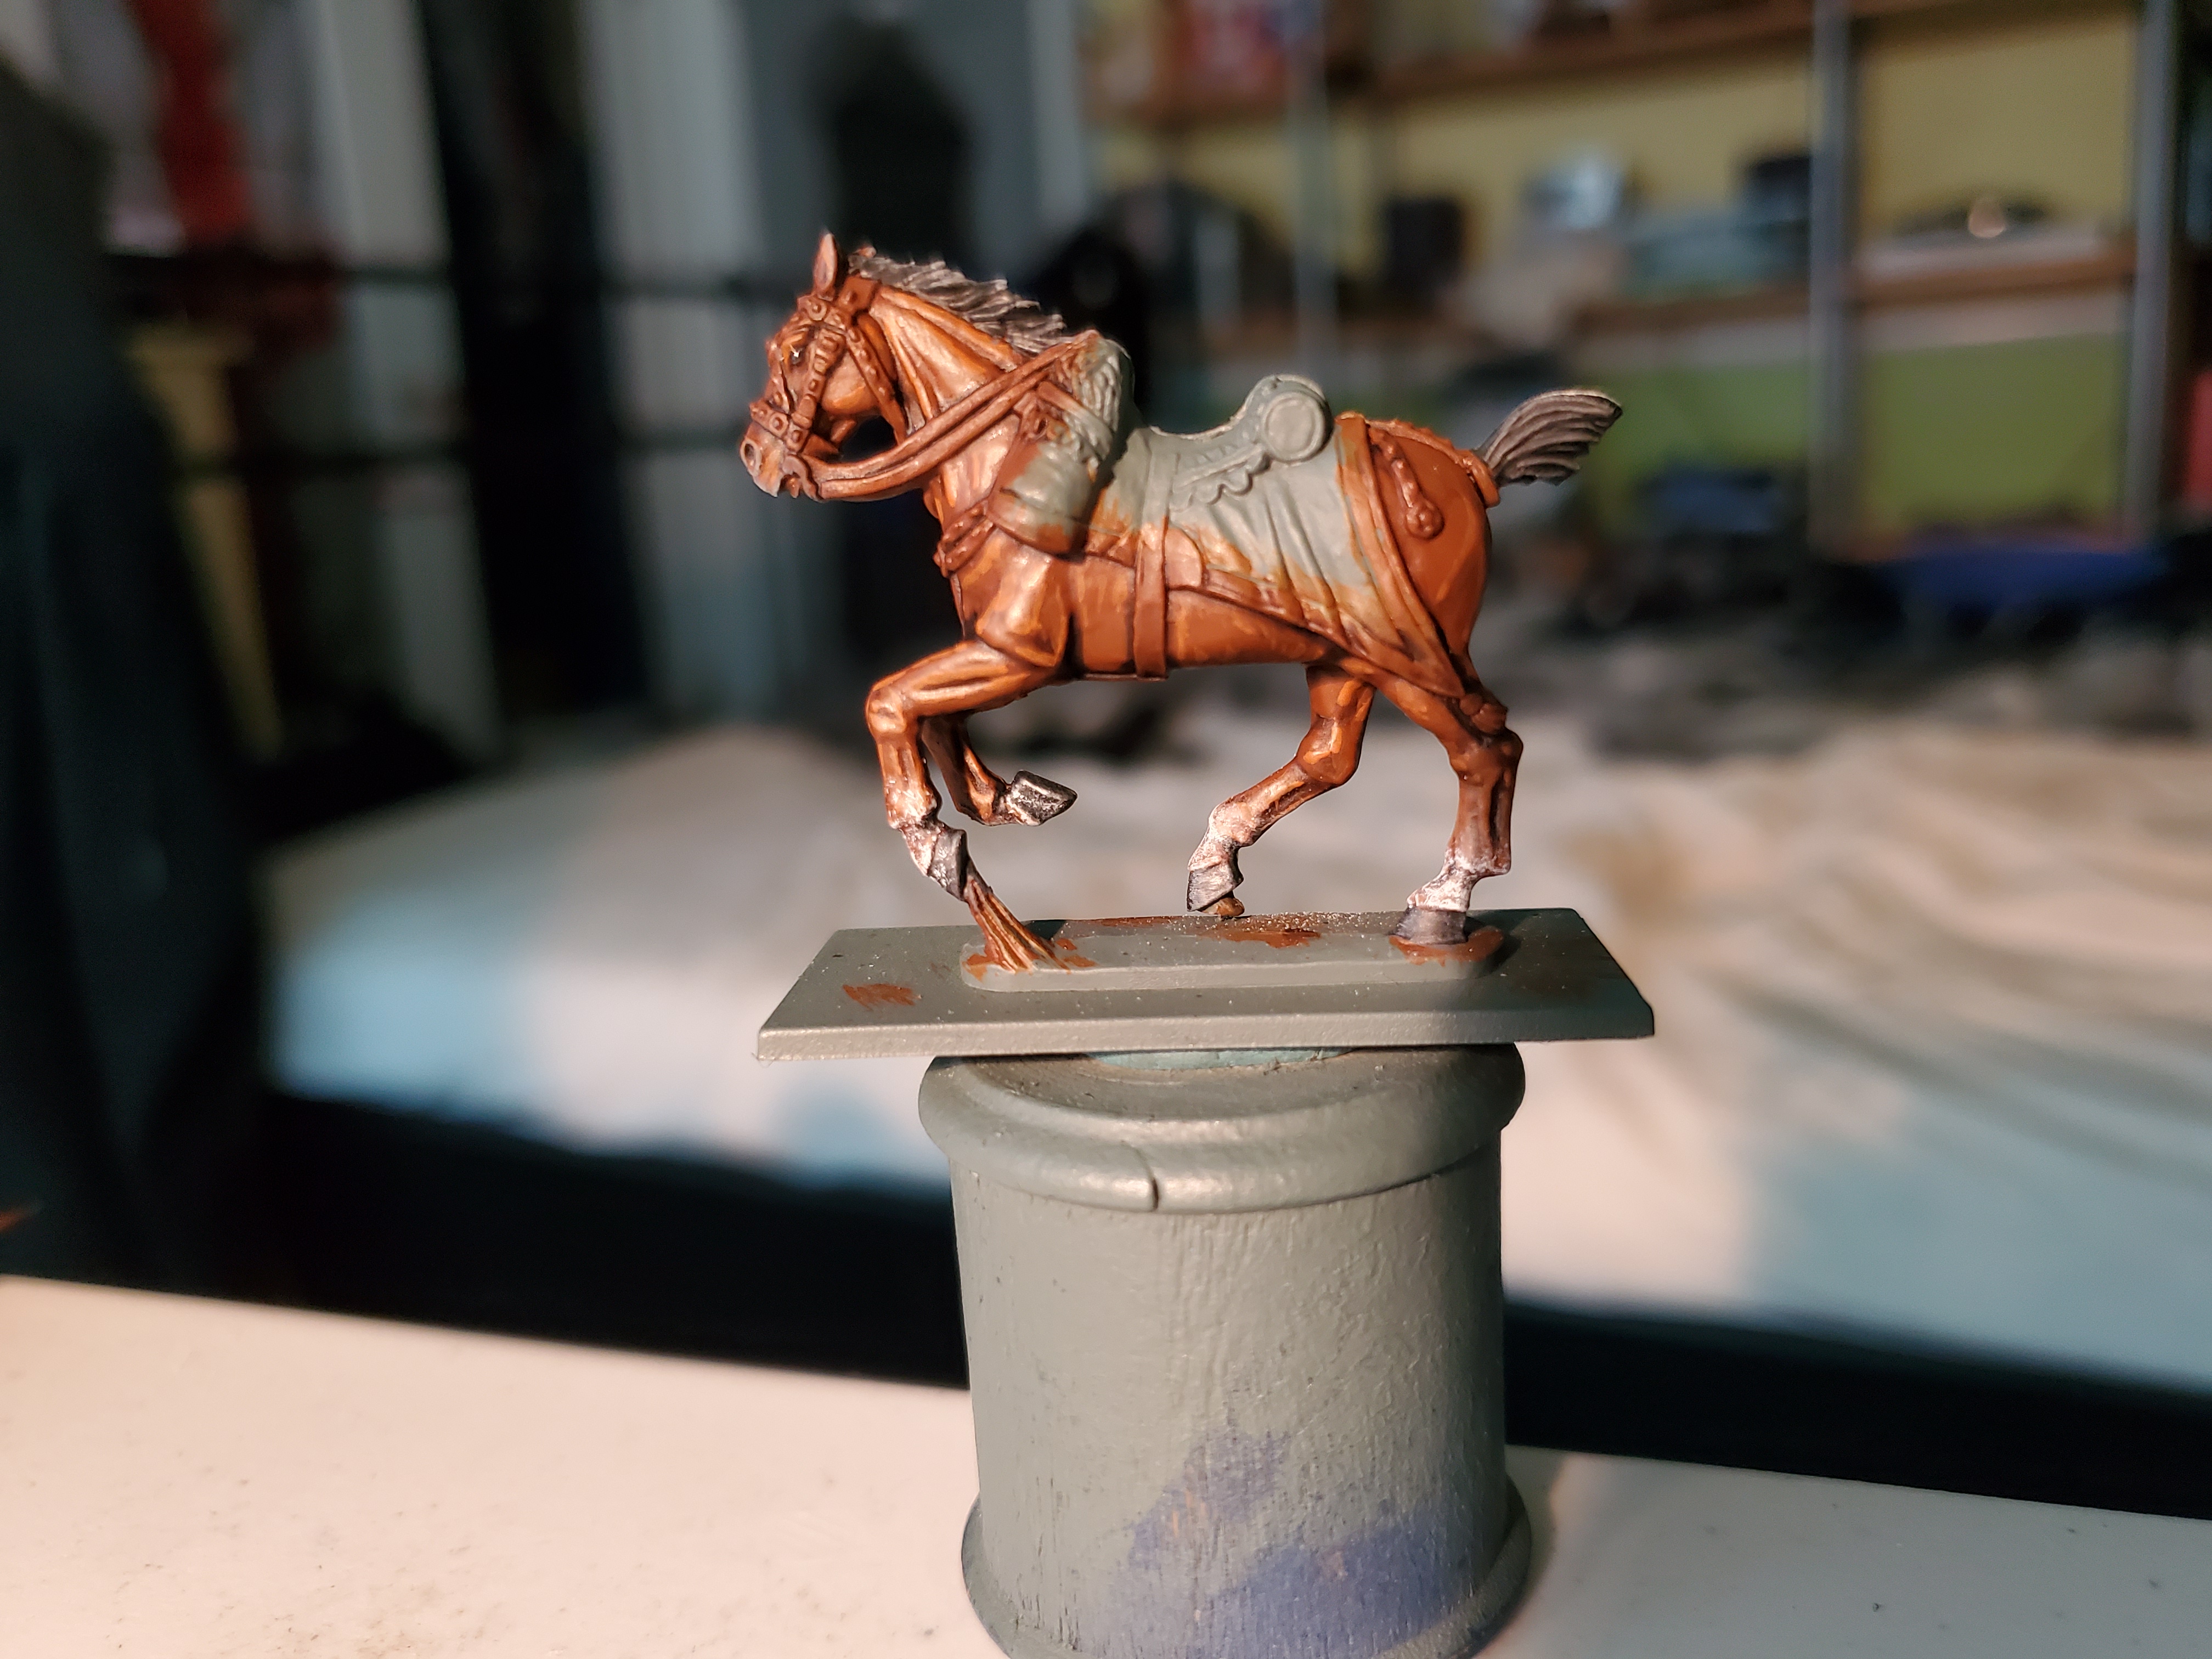
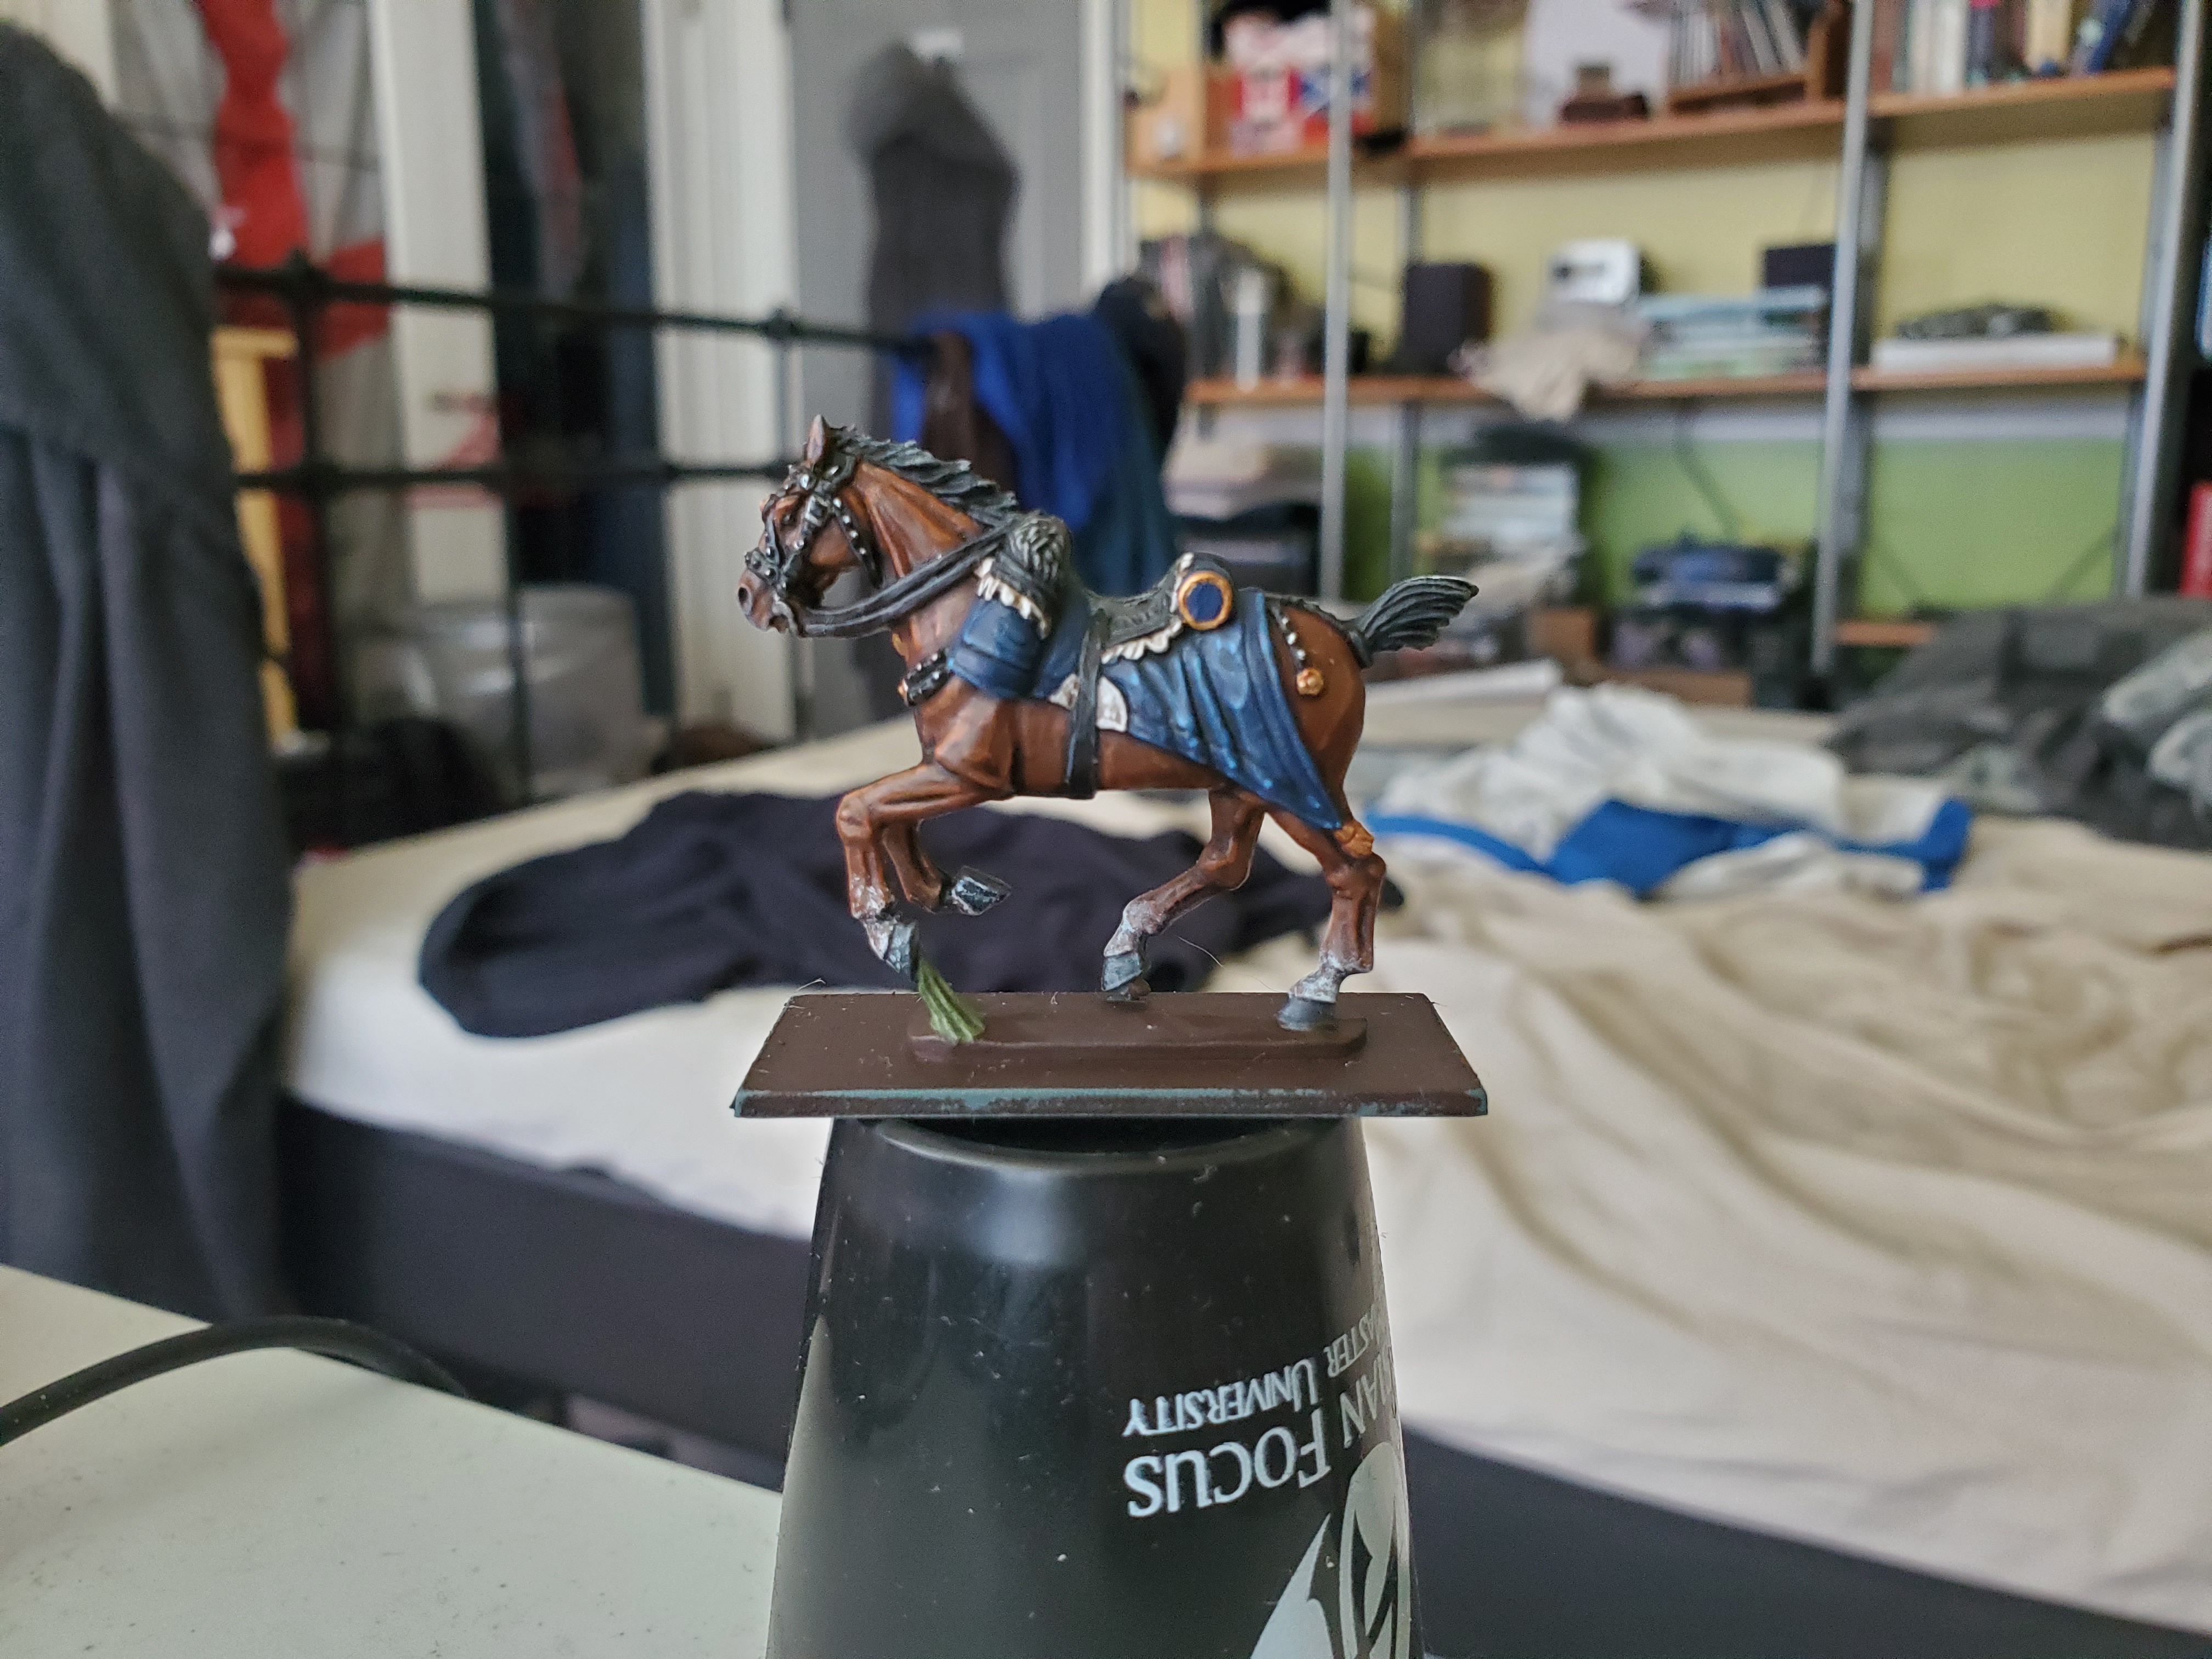
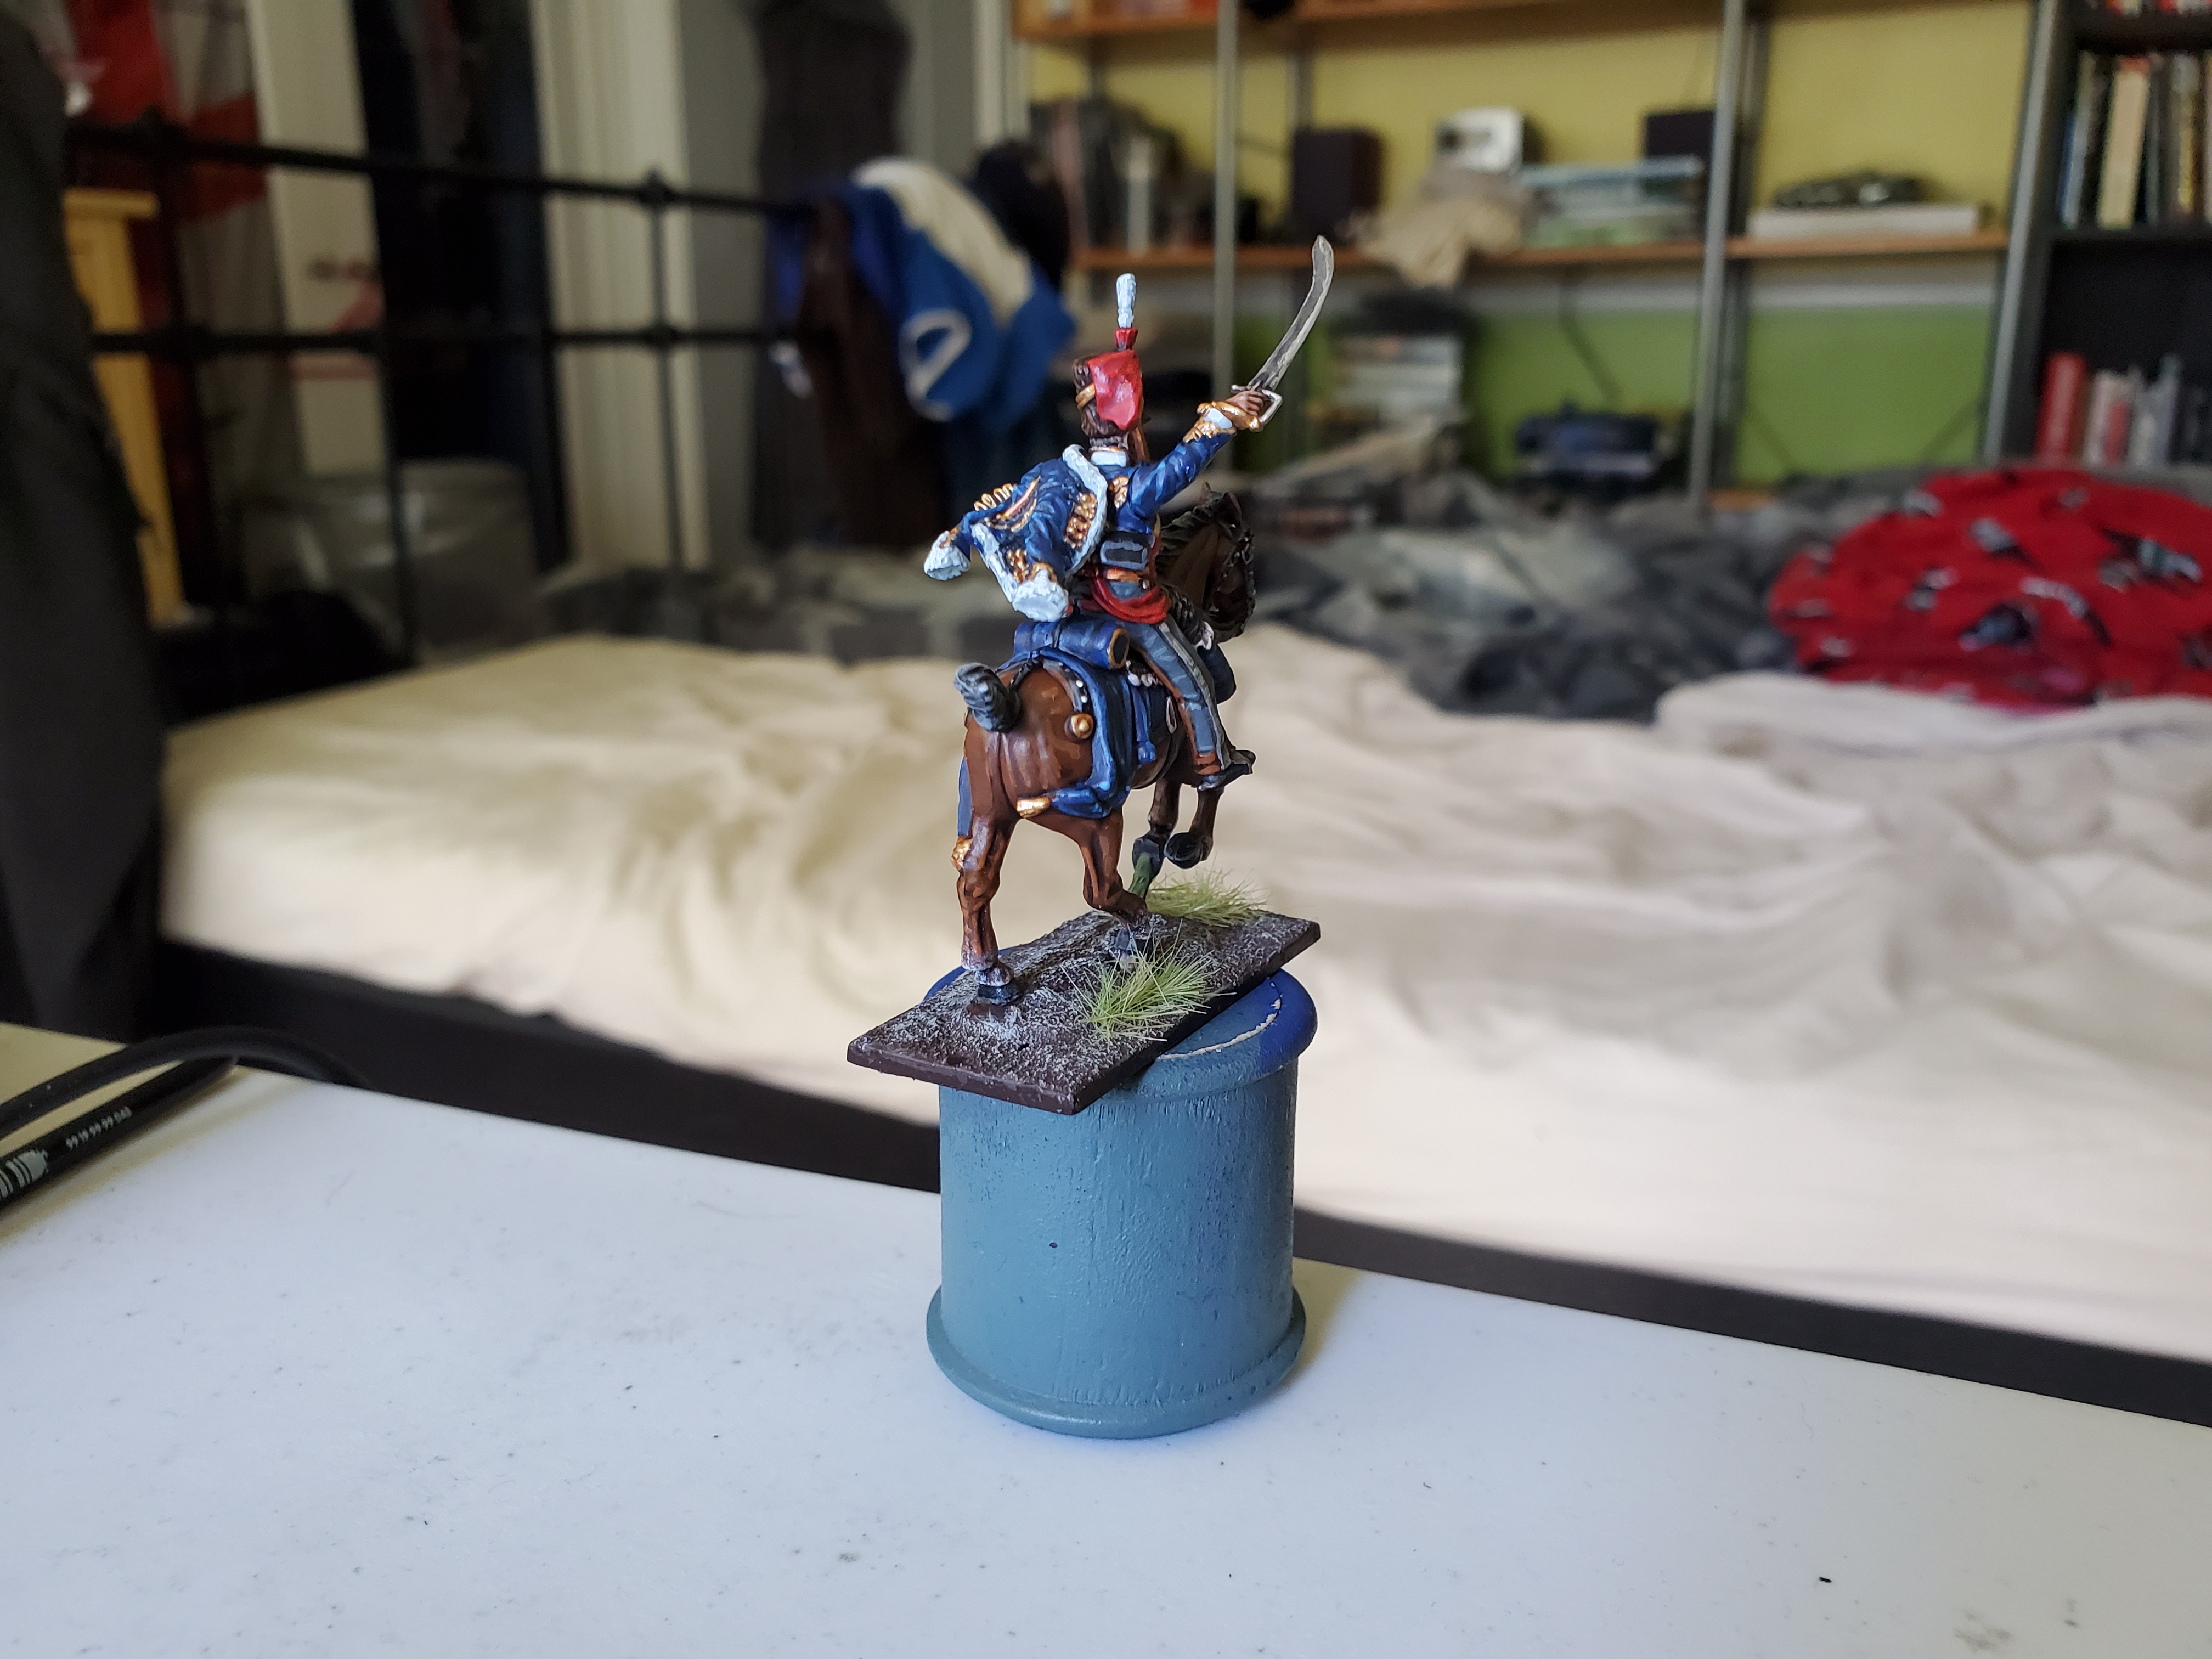
So the tack on the horse is something of a slight improvisation as I couldn’t find specific information about the tack on officer’s horses, but I like the look. You’l also notice the base is not exactly inspiring, but it’s not done yet. A nice flat colour makes it look clean, but until the rider is finished, the horse gets no grass! Speaking of which, here is a picture with the very grey officer on the horse just to show where the model will be covered by the officer’s legs.
And I think that about wraps up the Spring Clean Challenge for this project; though I will continue on after this, have no doubt. Hopefully I’ll still be adding to this when the next one comes along!
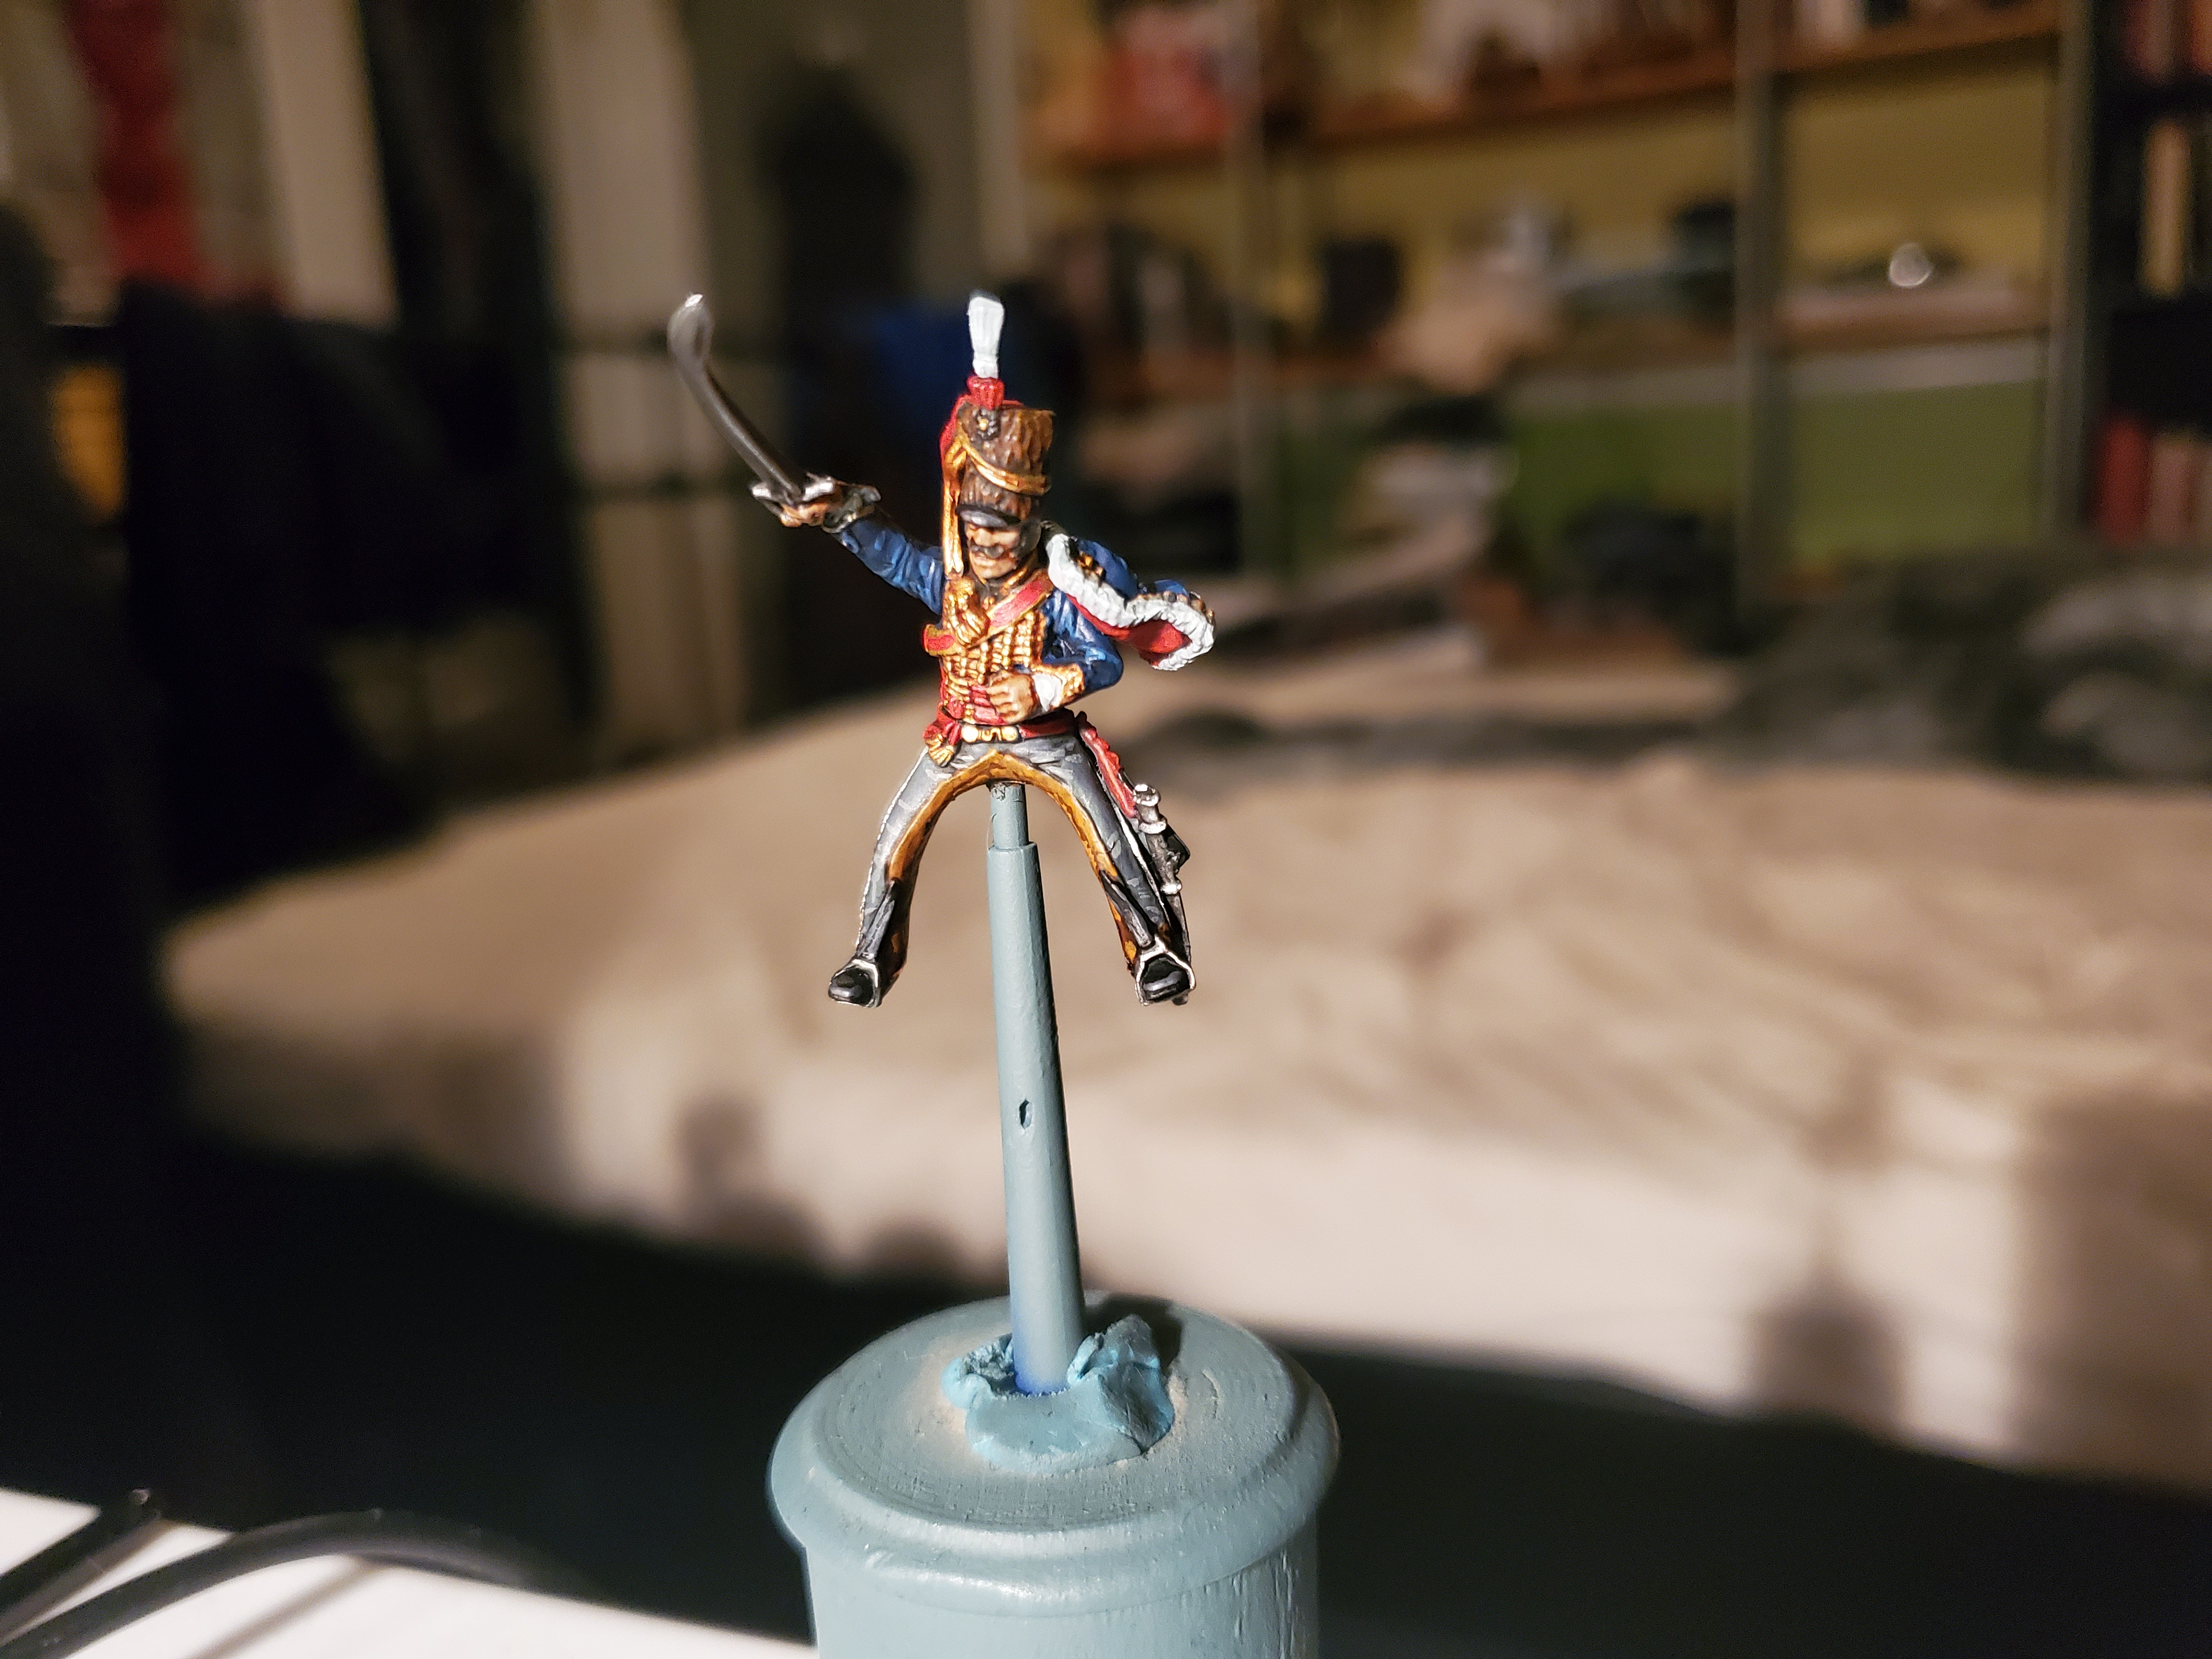
I refuse to make a 'pants' joke; I'm English, dammit! They're called trousers!
It took me a lot longer than I would care to admit to come up with that title. Just not enough good trouser jokes… Such is life…
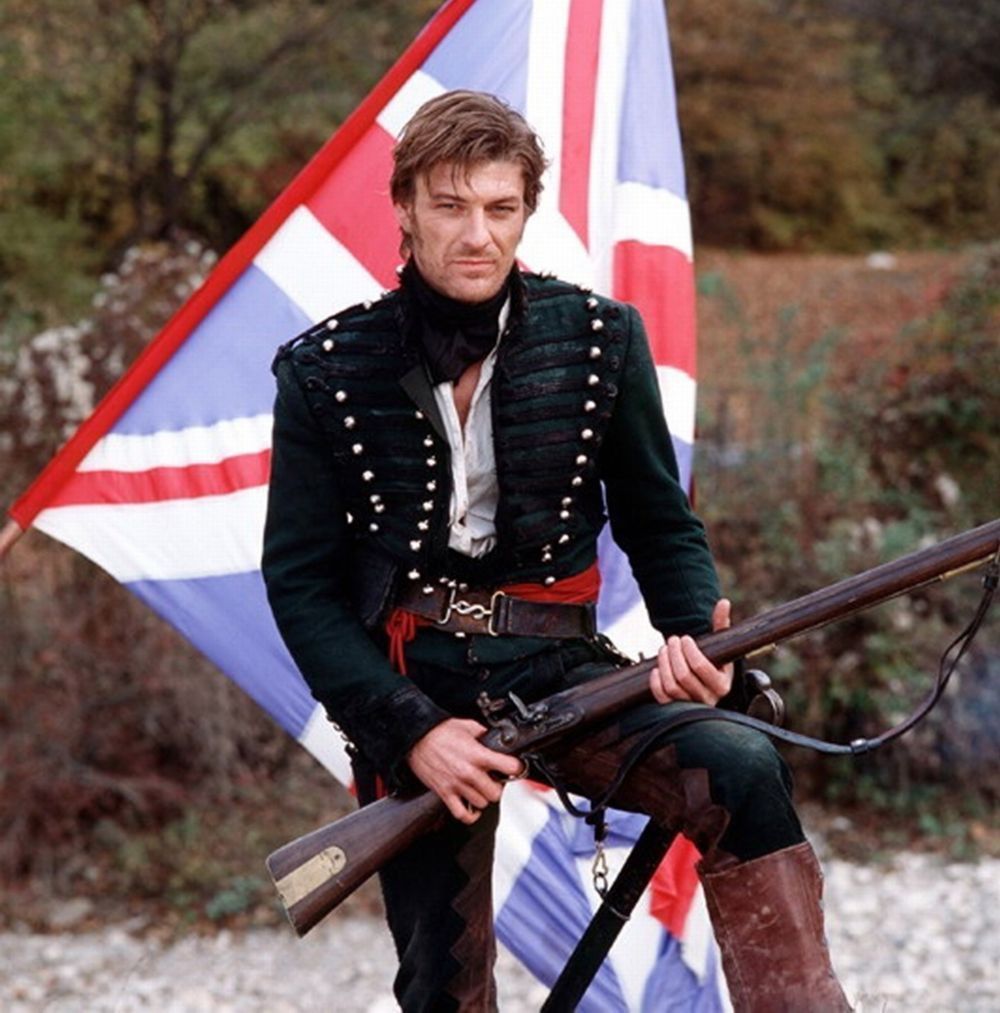
Anyhoo… I promised a rider for the horse, and work has begun! Because a lot of my uniform research is probably rather boring I thought I’d do posts on individual parts so that I don’t spam-post a lot of boring details. Or to be more accurate, I’m not that productive and the trousers were all I managed to do over an entire weekend. So going out of a limb, here, I’m going to assume you have all heard of this chap:
 Insert hilarious 'constantly dying' joke here. Now laugh.
Now Mr. Sharpe is not known for riding horses. In the novels he is not very good at riding them. Read the books. They’re great. However, he wears Rifle Officer trousers here (though again in the books he knicked a pair of a dead Colonel of the Imperial Guard). The thing about Rifle Officers (and actually the first 2 Light Infantry Regiments (43rd Monmouthshire and 52nd Oxford), if I remember correctly*) is that they wore light cavalry pattern uniforms, but in green. The important part about all this, is the leather inserts to the inside leg and cuffs of the trousers. These are to prevent wear on the wool or canvas of the trousers. Long story short, it is going to chafe something awful if you had to ride a horse for a while with the crotch of your trousers worn away… Here’s some actual Troopers and officers showing the various designs that you should be able to make out the leather patches that Perry sculpt into the minis.
*As a small edit, I did further research and found that the 52nd (Oxford) Light Infantry officers wore regular pattern uniforms, whereas the 43rd (Monmouthshire) Light Infantry officers wore regular pattern uniforms, but added a red pellise and slightly different headgear. The Perry twins do an excellent 43rd command!
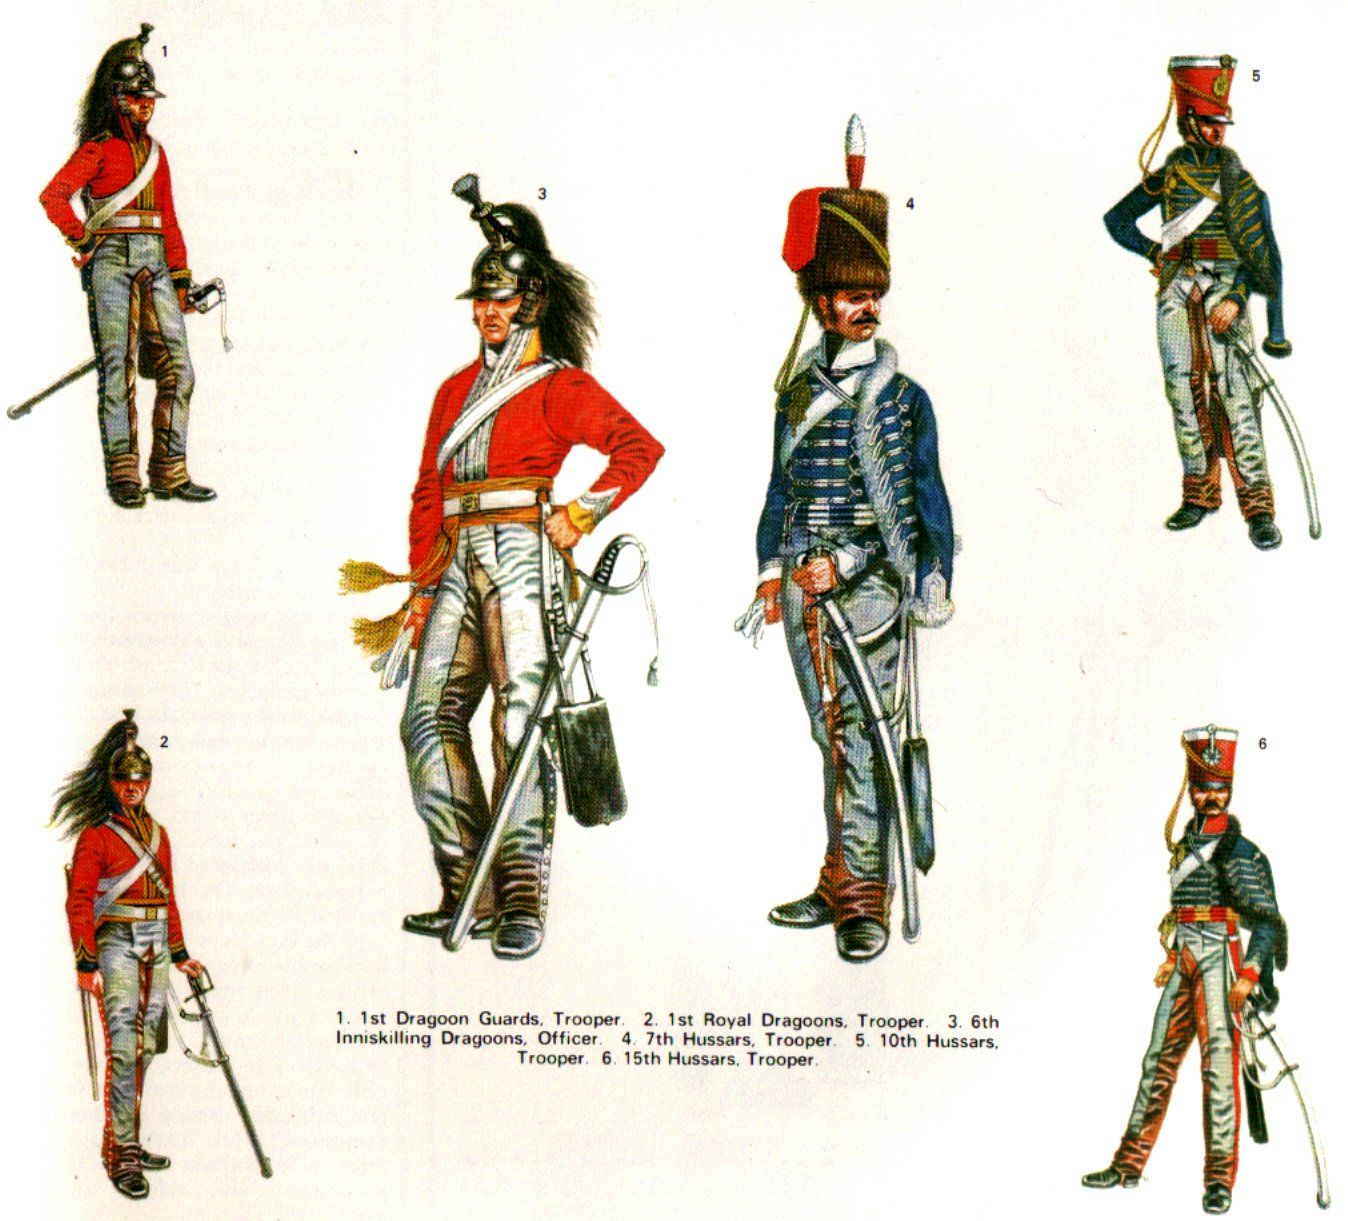 Note that these chaps are from all over the Cavalry regiments...not just Hussars. The red jacketed chaps are Dragoons or Heavy Cavalry!
The trousers themselves can be canvas or wool, with the canvas being white and the wool being a grey colour. The white trousers were worn earlier in the war, but were also usually breeches with high riding boots rather than the grey wool trousers. Cavalry had a stripe running down the legs that coincided with their cording colour (yellow in the case of the 2nd KGL Hussars) which would be metallic for officers. The grey I went for is actually shown on the box art for the Perry Hussars, shown here:
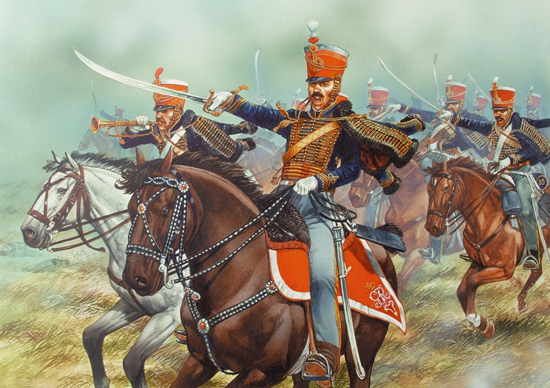 These lads aren't KGL, though; wrong hats!
And here, finally, is the finished piece. Or at least the trousers… Due to the problem of grey on grey, I did basecoat the dolman jacket and pelisse just to make the trousers easier to spot.

Also, as a question to those out there, do you find my reference research a bit daunting/annoying, and would you prefer some more painting tutorial focused posts? I can try and do some sort of middle ground, though Napoleonic British uniforms are something I can just go on and on about for days…
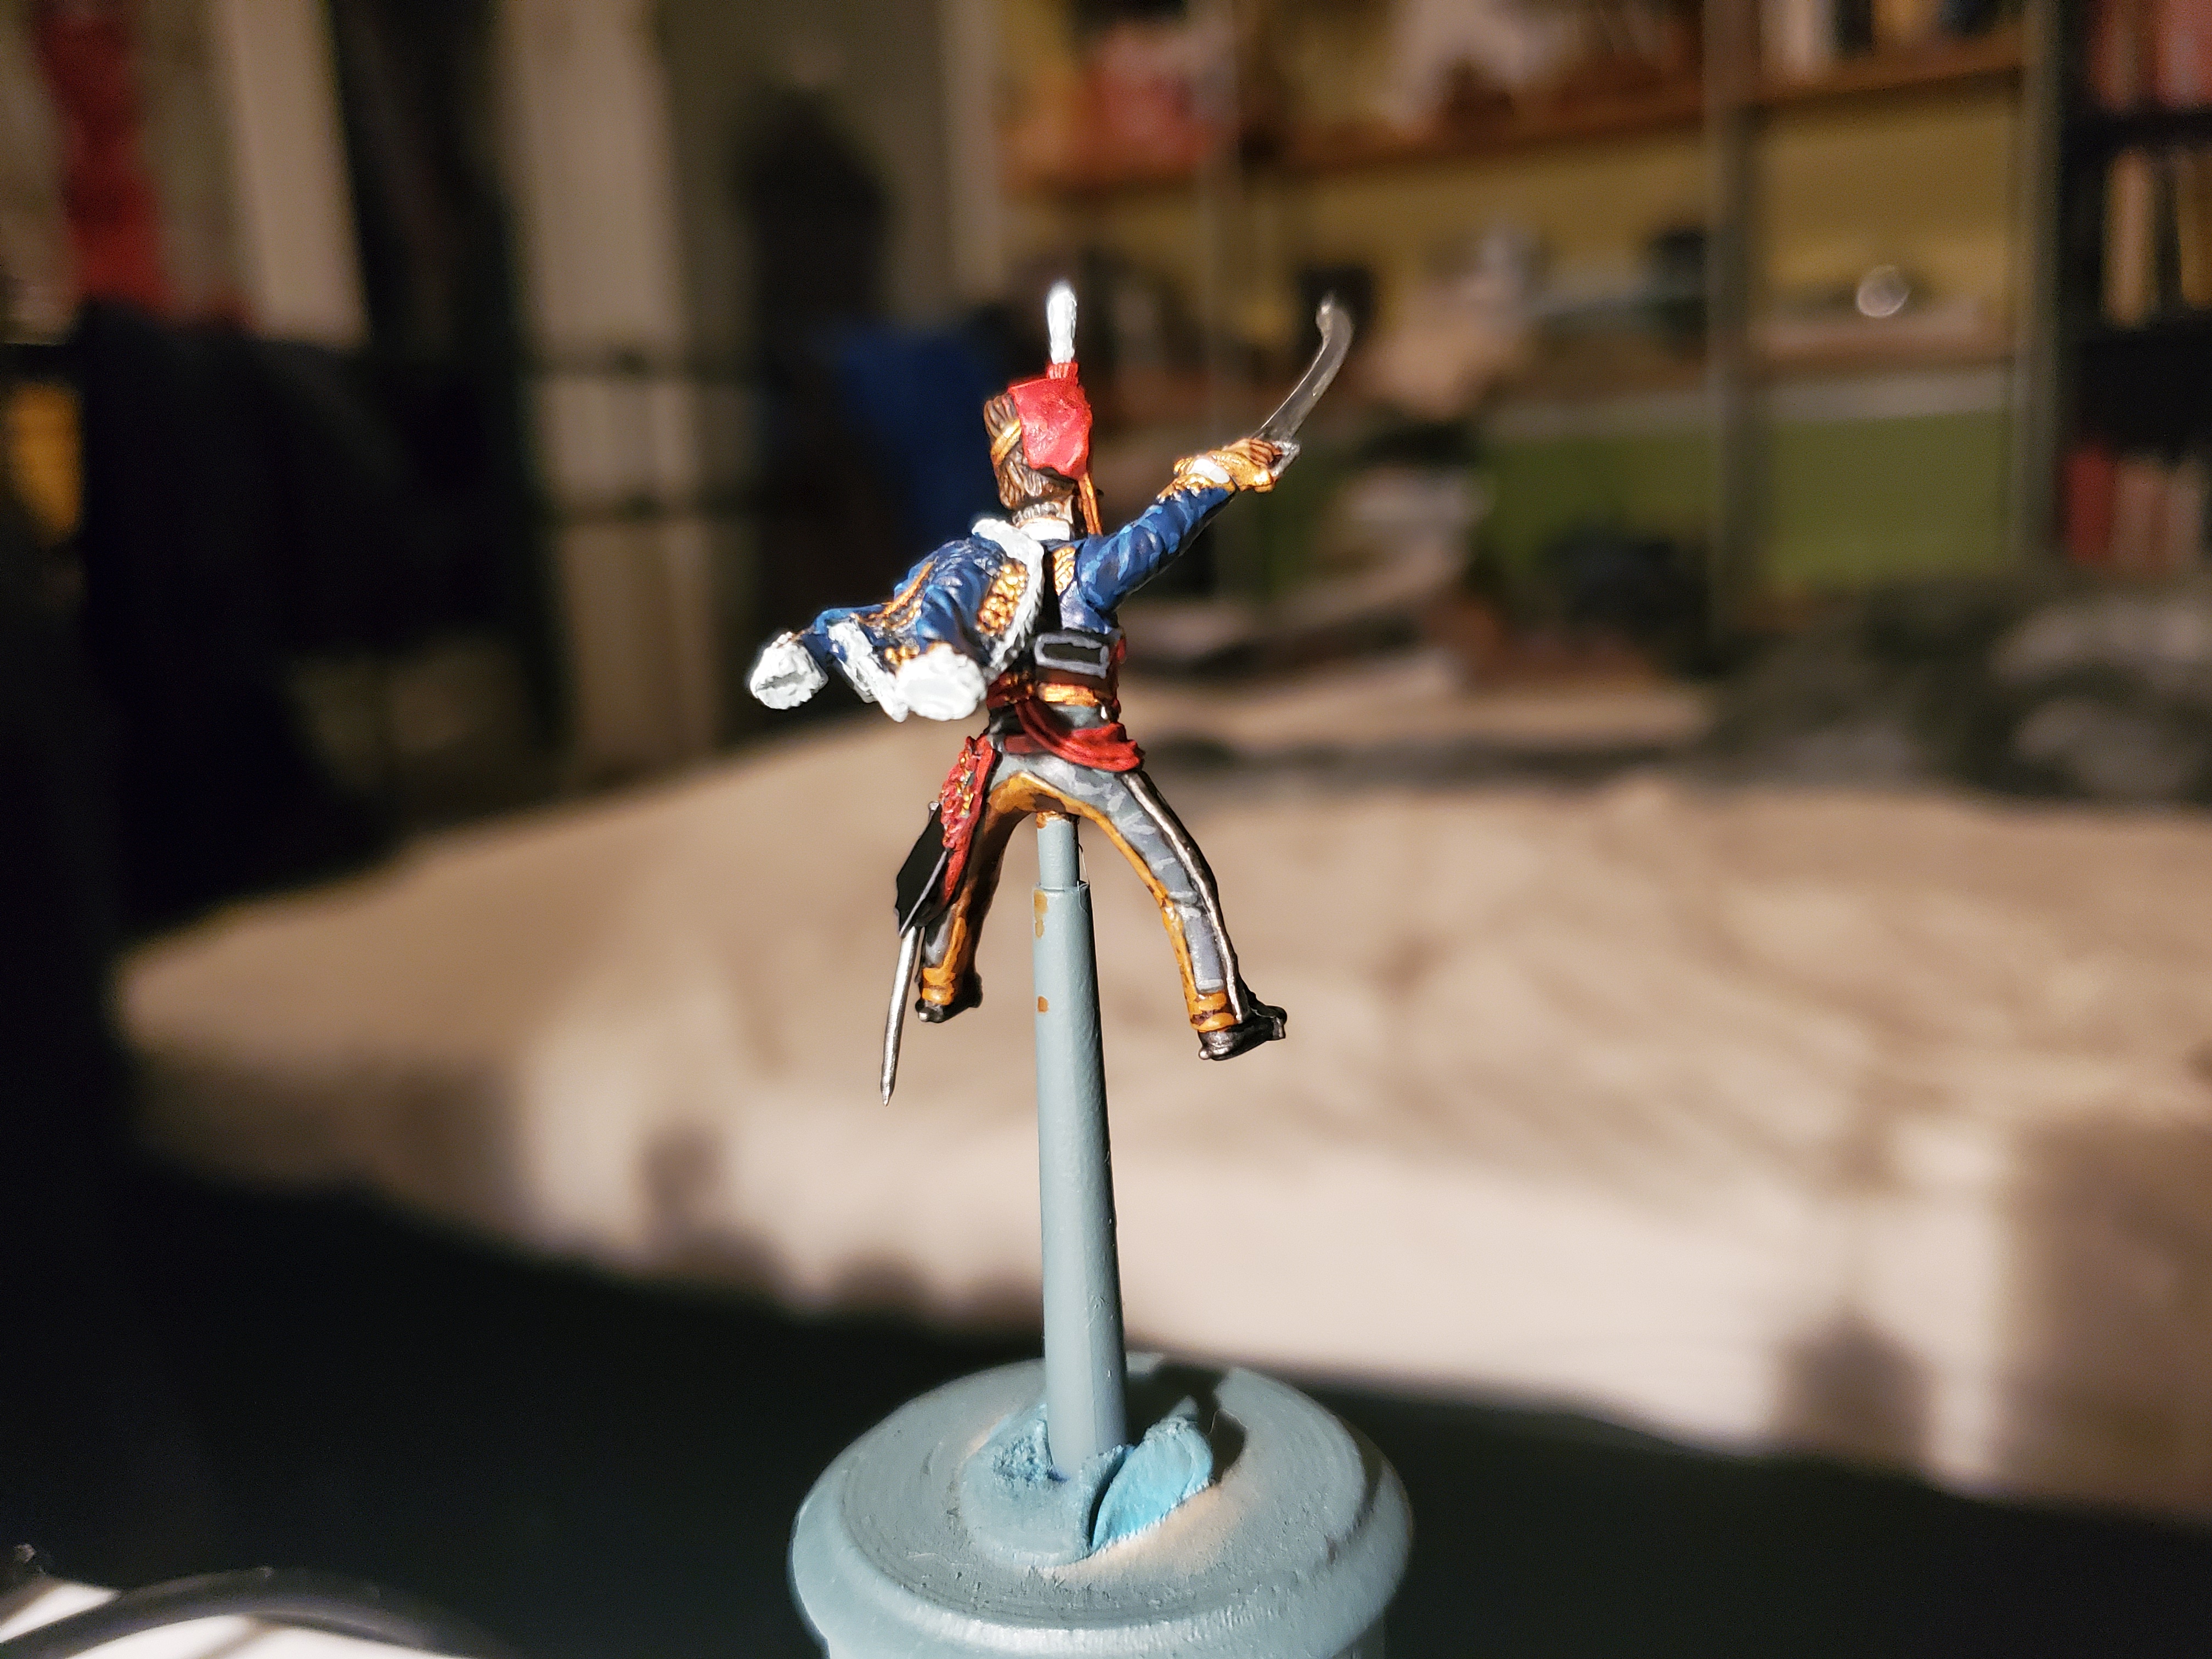
The importance of being Earnest (in research)
Just a short* update today. Long story short, there’s a stereotype that men never read the instructions…though experience has taught me that this is just true; we don’t. Turns out that Perry have a guide in the box for how to paint the riders and saddles and also turns out I made some mistakes. Luckily, a bit of careful painting allowed me to rectify them fairly quickly as most were simple colour changes. The most important part of this was a part of the research that I forgot about with British Cavalry; Campaign vs. Parade.
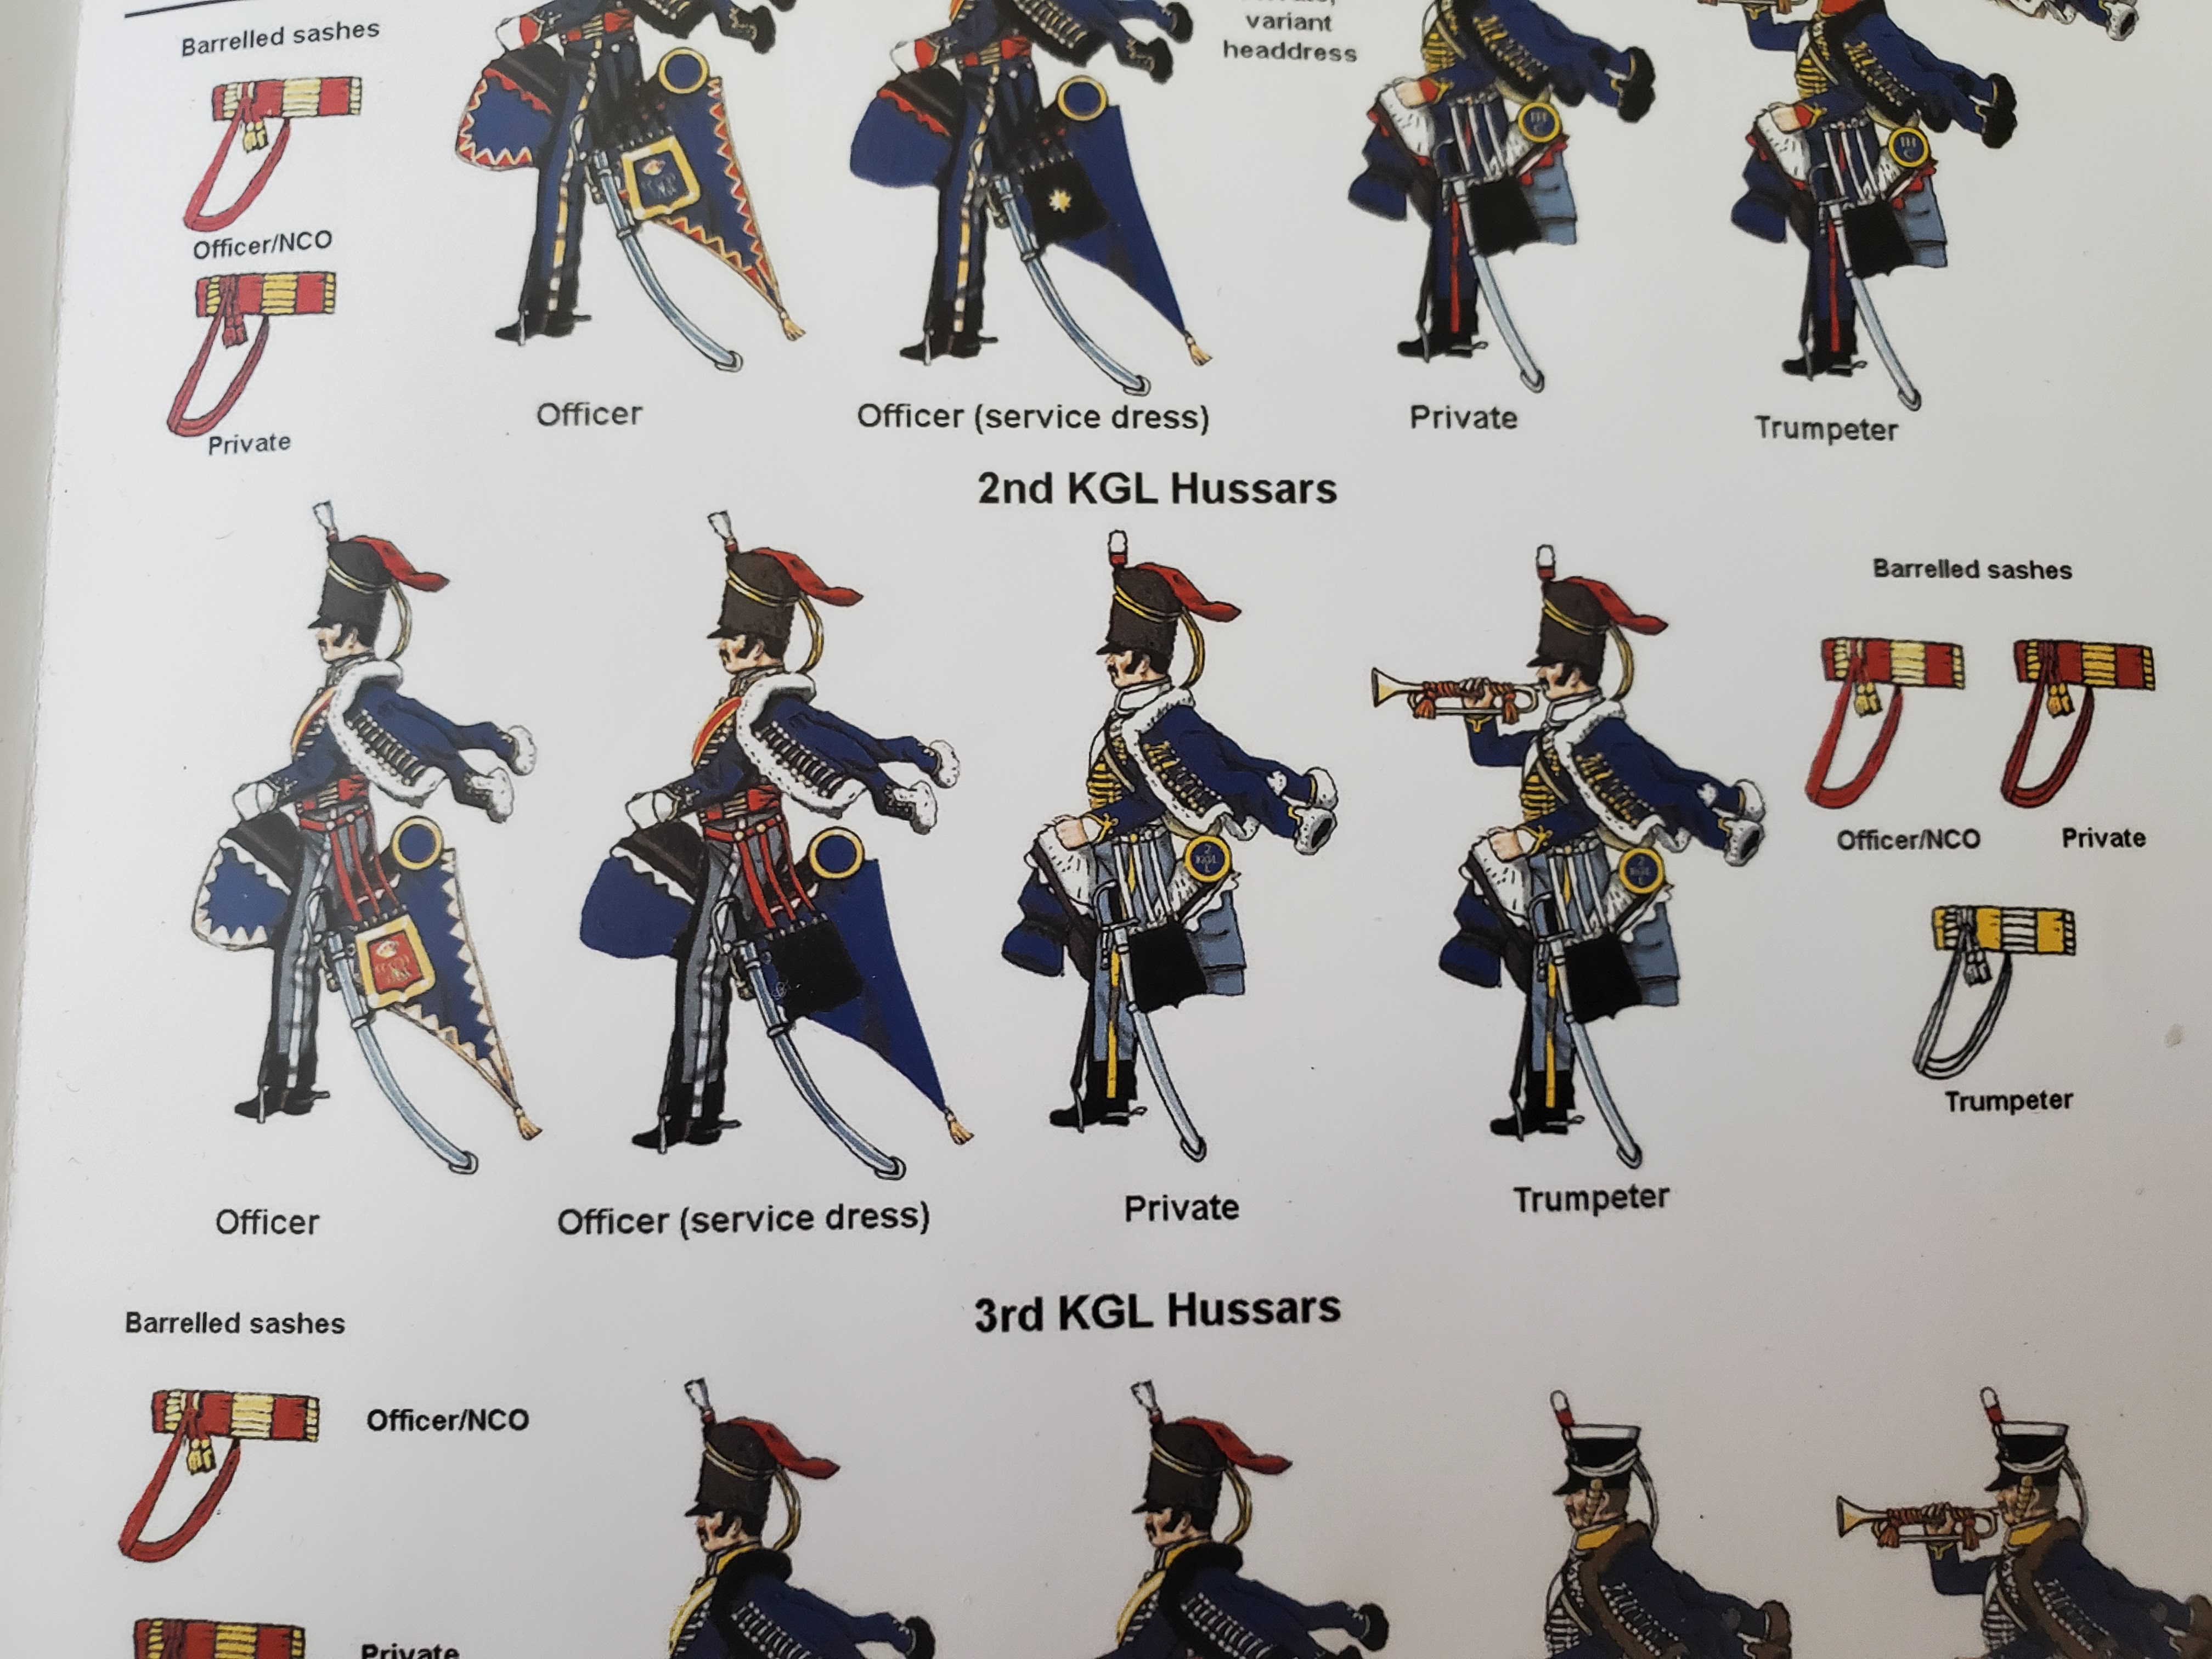 This is a close-up picture of the guide for the 2nd KGL Hussars...wish I'd seen this earlier...
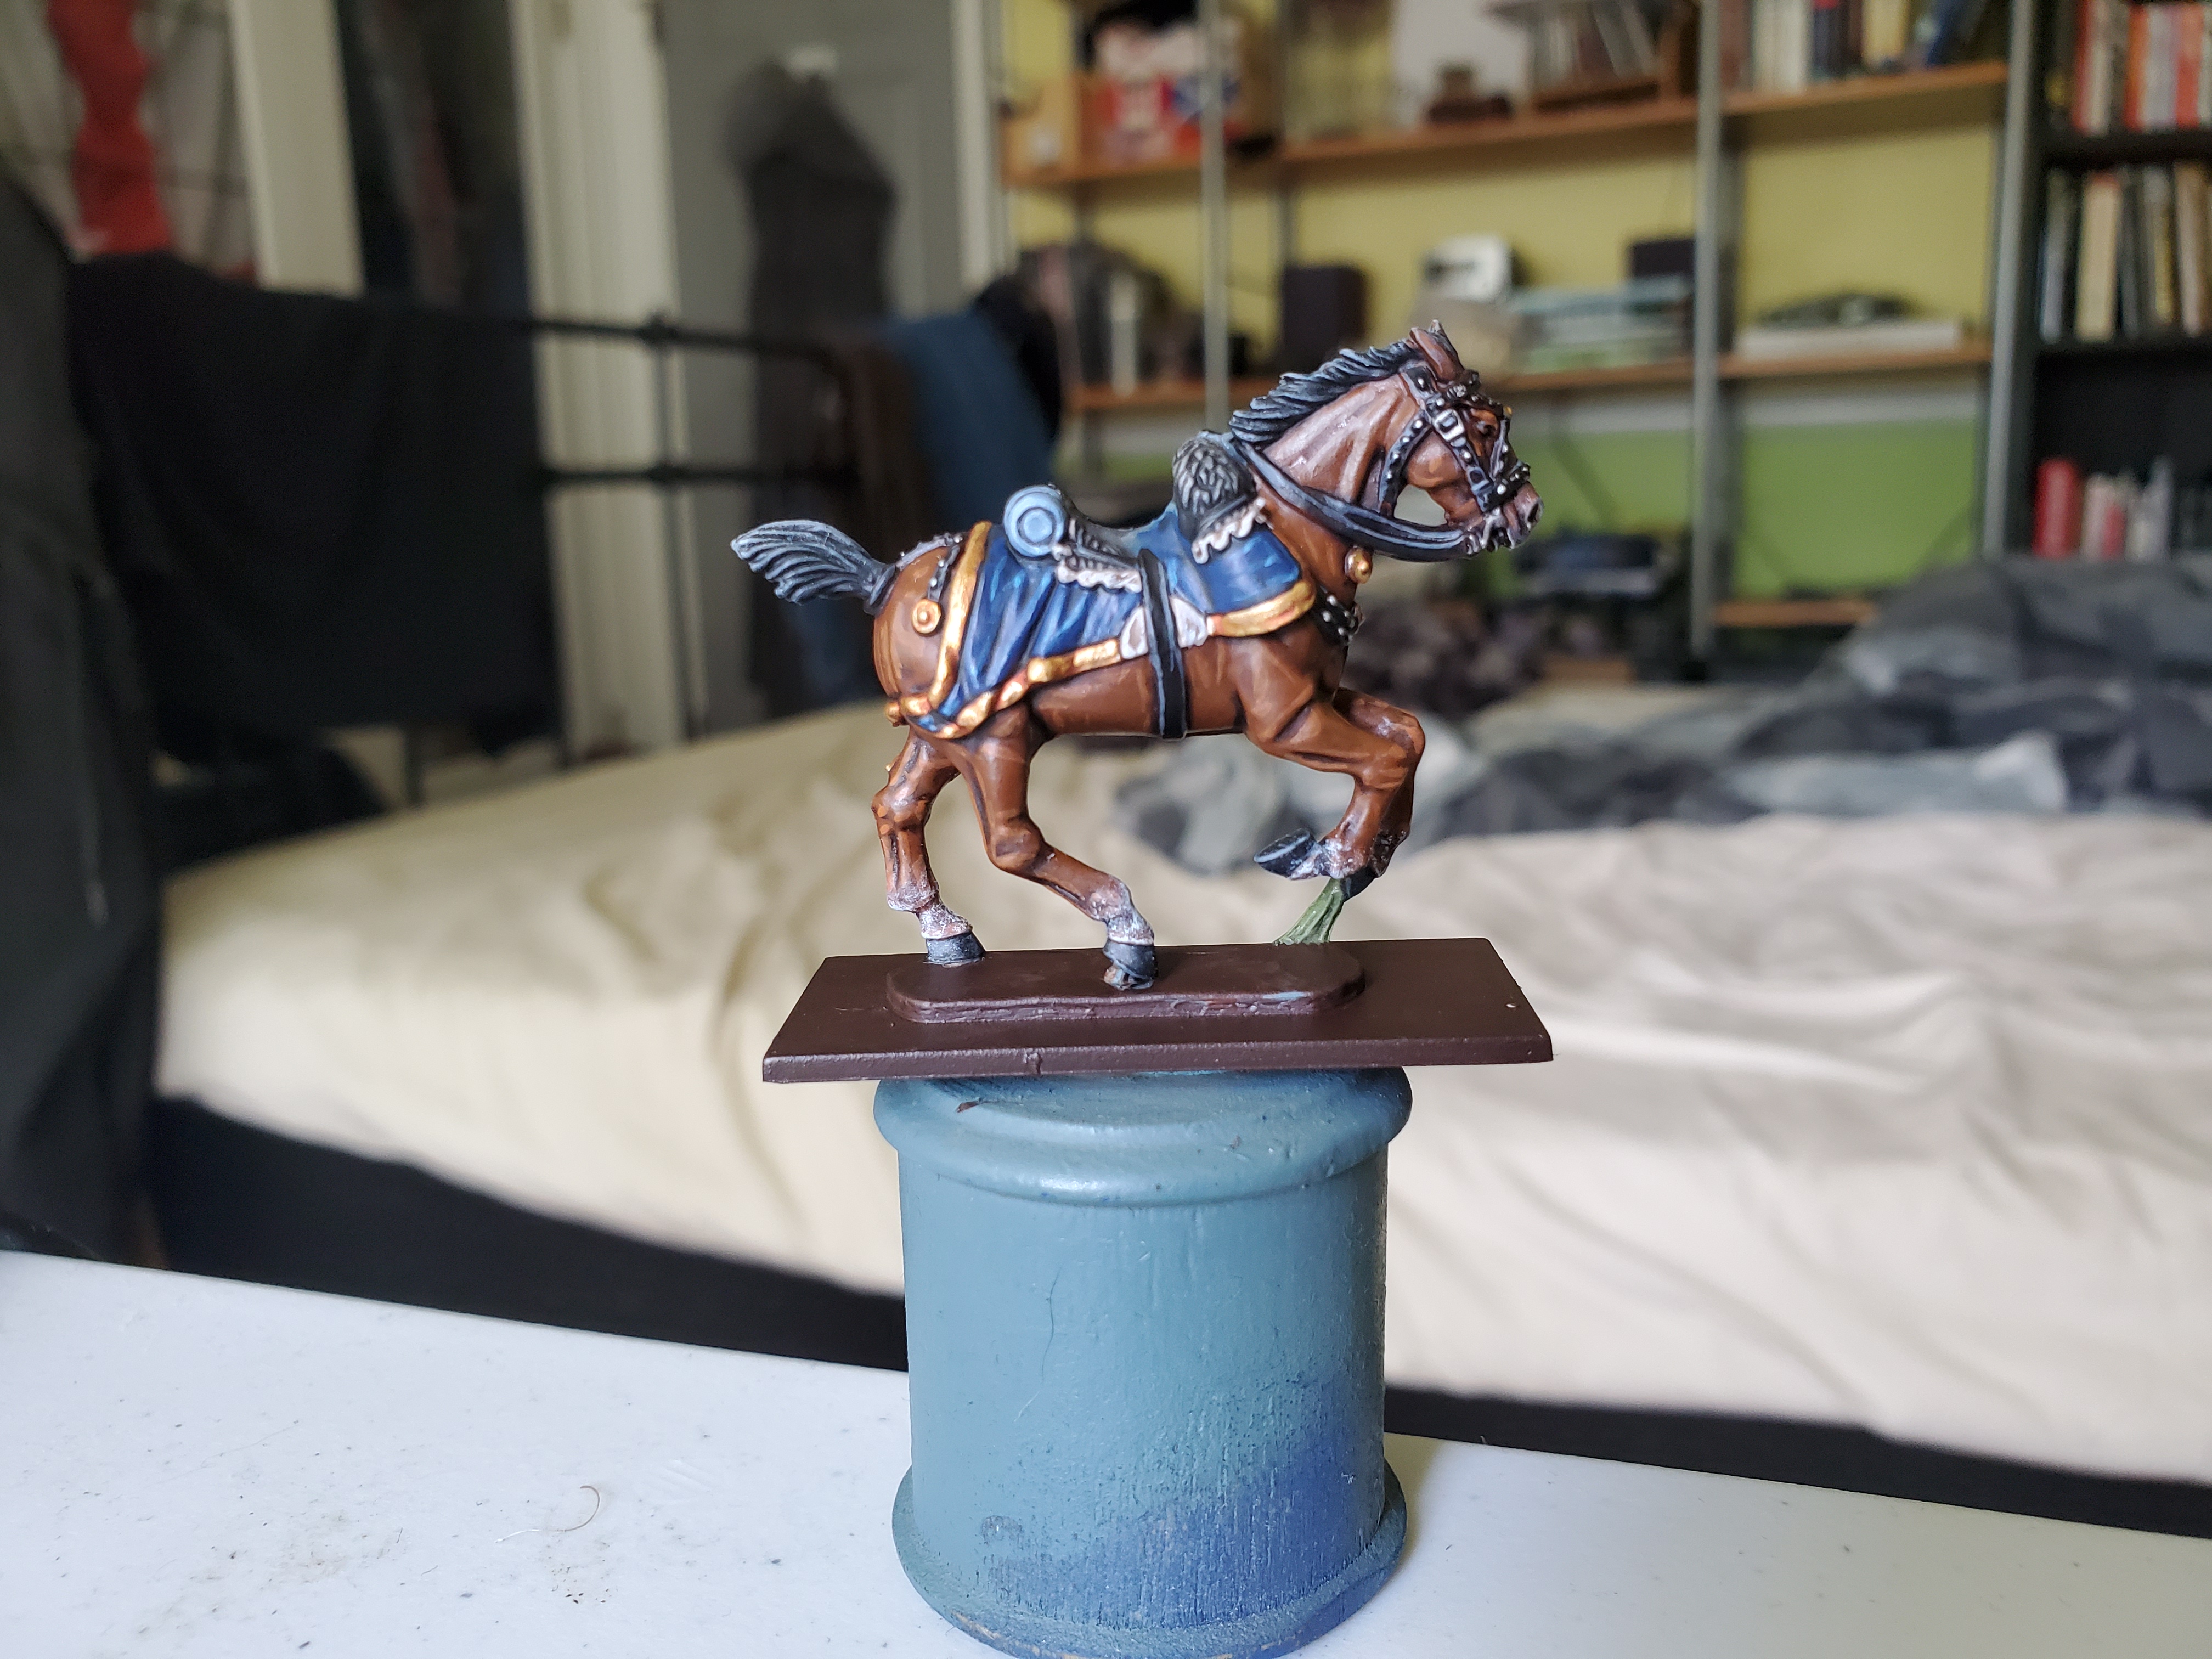
The first, glaring, mistake this shows is the shabraque** which I originally painted with a solid gold band as I assumed it would have been in the same colour of the cording on his jacket, this was wrong on both the service (campaign) example and the parade one…and there was no way I was painting the dags along all the folds. So campaign it is.*** The roll on the back of the saddle was also something I had mistakenly got the colours wrong on. I went for a grey-blue that a lot of British equipment like water canteens and gun carriages were painted in, but it is clearly meant to be the same blue as the uniform. These were both easy enough fixes on the horse and I’ve done that already.
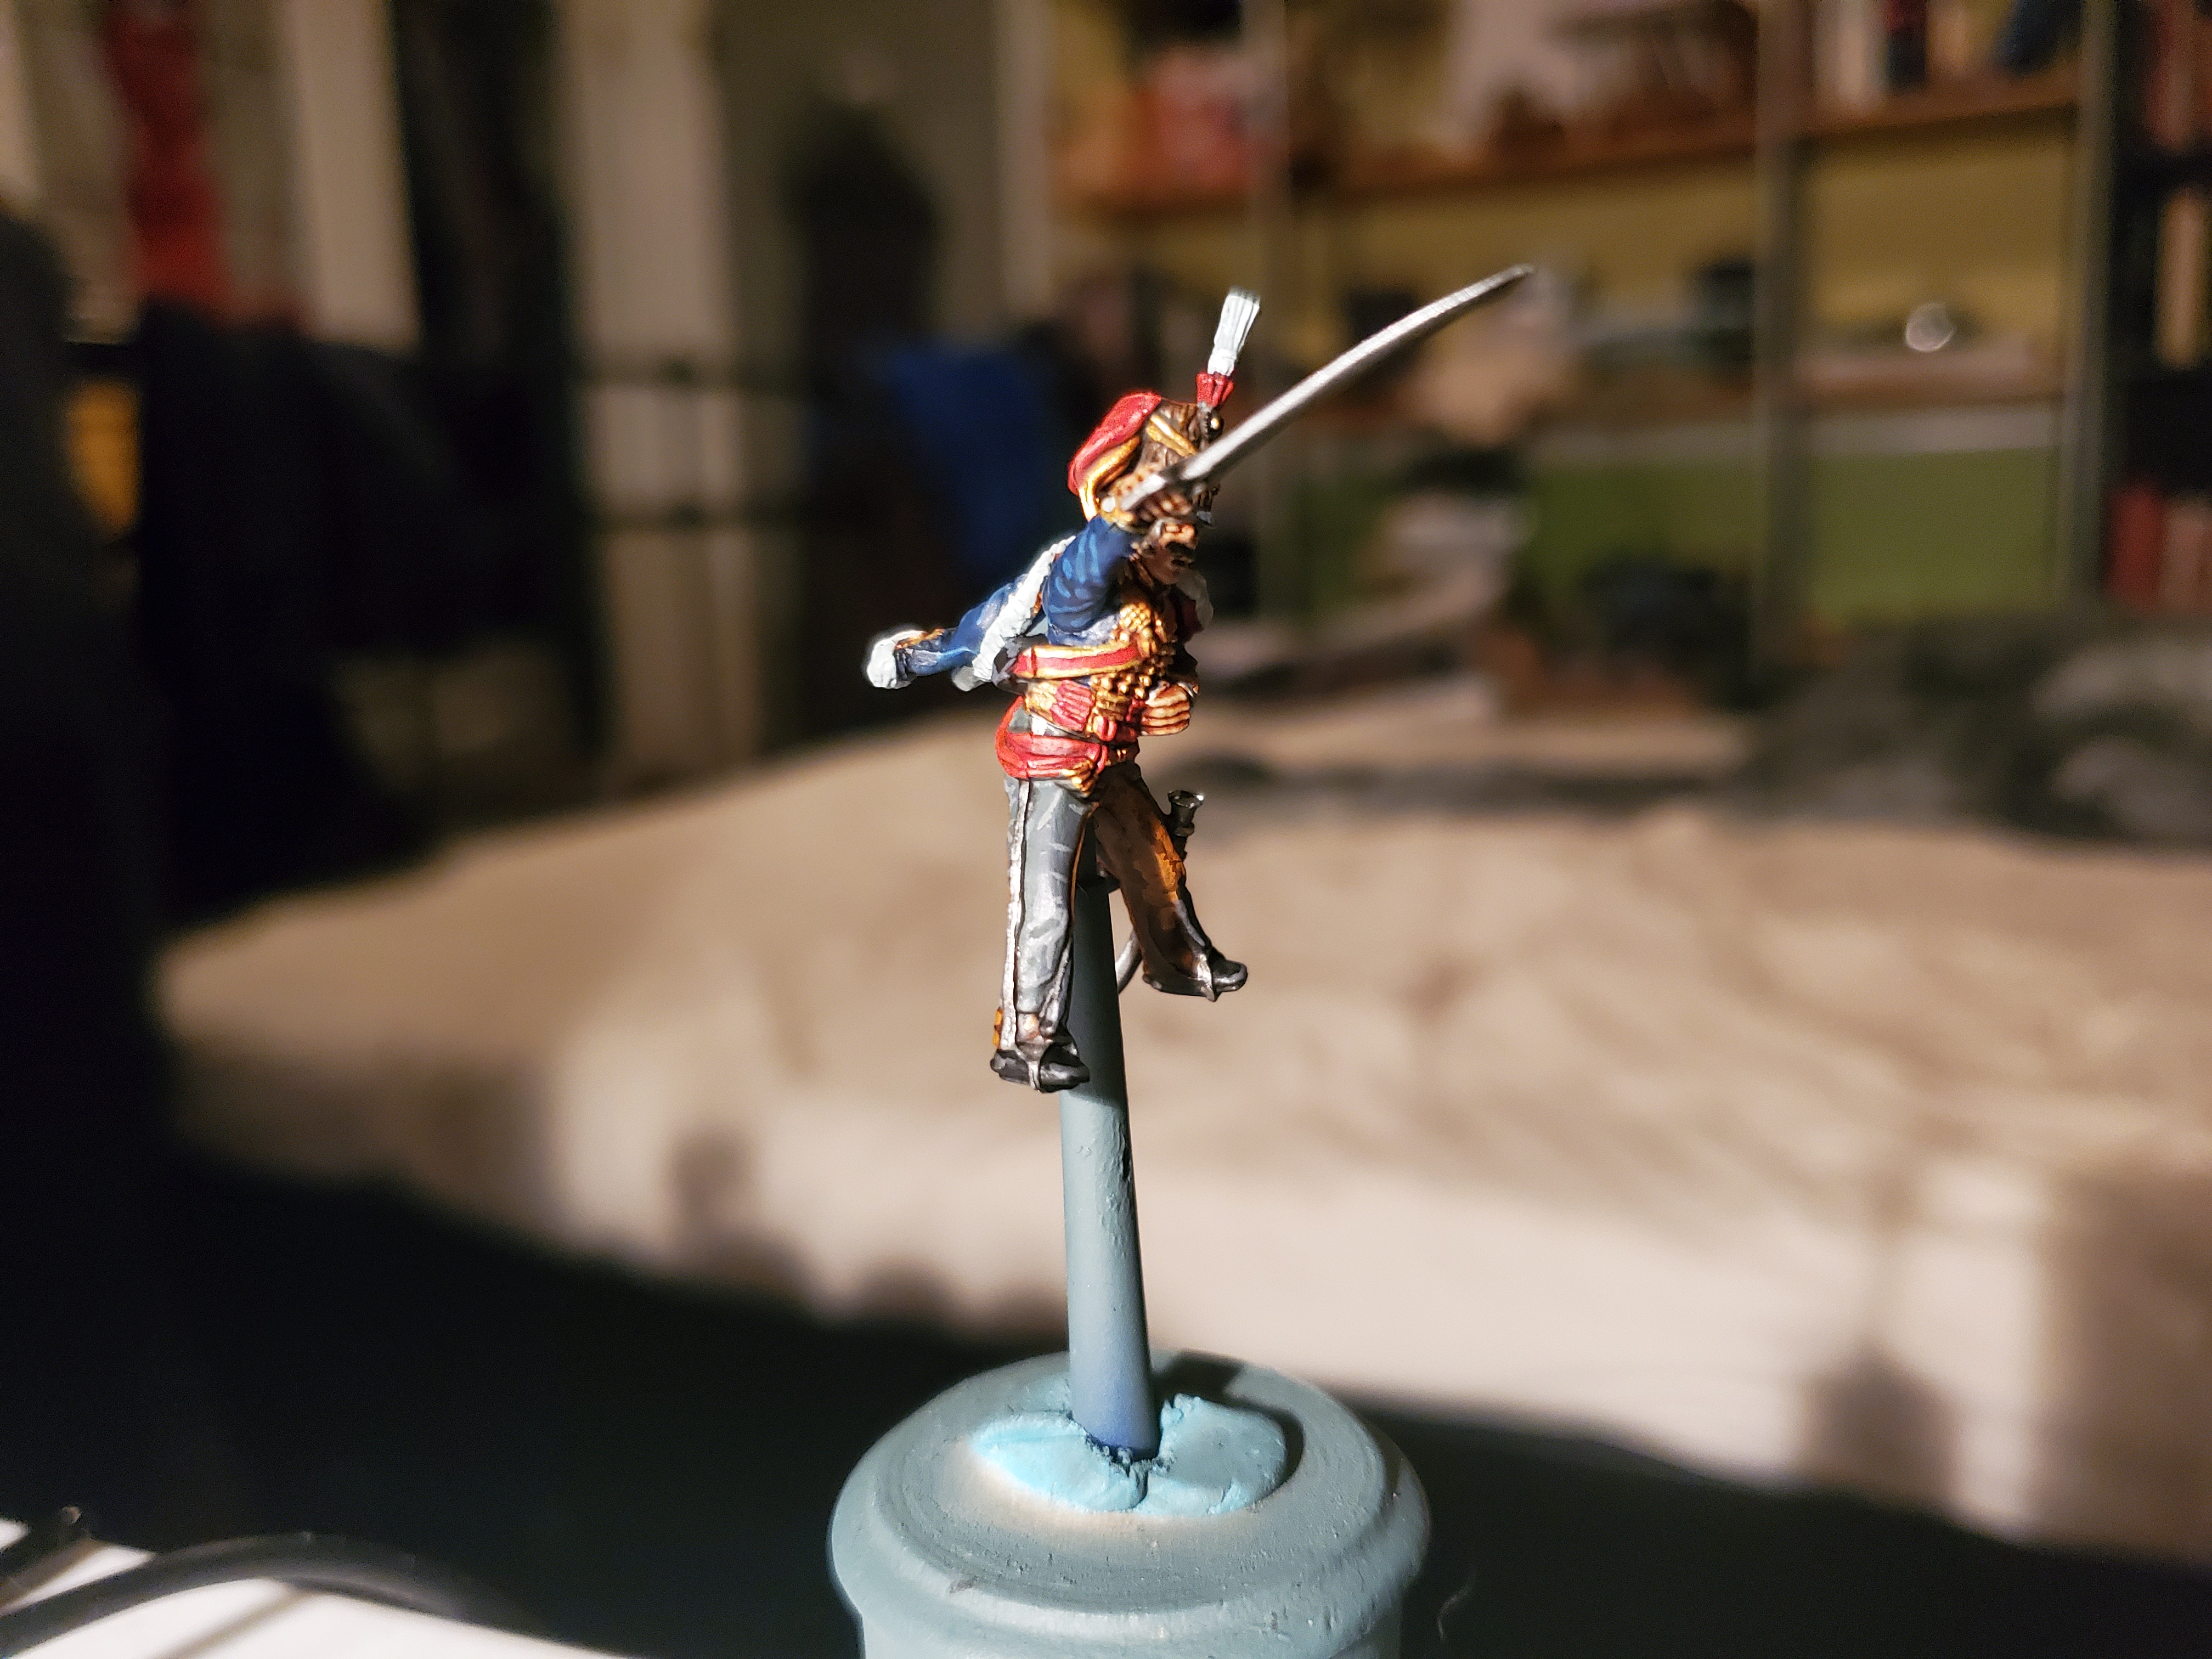
He looks a little less flashy now, but he looks accurate! Or as good as I can manage with what I have. The stripe on the leg of the rider was also an incorrect colour as I, again, assumed they were in cording colours, but alas they are in facing colours**** which, for the 2nd KGL, are white though I did them in silver to be a bit more flashy again. As I’m still working on an entry for the jackets, I will save those images for later, but I thought it’d be a good idea to show where research can sometimes lead you astray…and to check the boxes for some hints…
*Or as short as I get…
**The technical name for the cloth under the officer’s saddle, I knew it had one…
***I do intend to use these chaps on a battlefield one day, after all.
****The colour of the cuffs and collars which denoted regiments in the army at the time.
Into the valley of confusion rode the man with no horse.
When last we saw our hero, he was but a trousered man with a vaguely blue jacket, now he is completed. The previous research all sort of adds up to this chap, so I won’t go too deep into it here. The important thing I will add to anyone wanting to paint their own Napoleonic units (of any kind) is to be wary of regimental intricacies. To take the British Hussars, for example, they all have white cording…except the KGL who have yellow…but then again except the 3rd KGL who are back to white. It rapidly becomes a rabbit hole, but there are always sources to help. I would always recommend the Osprey books on various units, nations, campaigns, ect. They are a great resource and have some damn good artwork. Besides, who doesn’t love books?

Hopefully tomorrow I can have the horse all based up and our friend here glued in place, so expect one last outing of this chap when he’s finally reunited with his horse.
Germanic Professionalism
And now horse and rider are reunited! Ready to take to the fields of Spain to teach the British Cavalry how professionals do the job.* Very glad with how he turned out and quite fun to delve into an old love of mine with uniform research. Shame I neglected British Cavalry of the period; I’ve always been better at the infantry… I may actually use the British Infantry that I have lying around to create a library of sorts of British Infantry regiments. It’ll be fun to put together, I think.
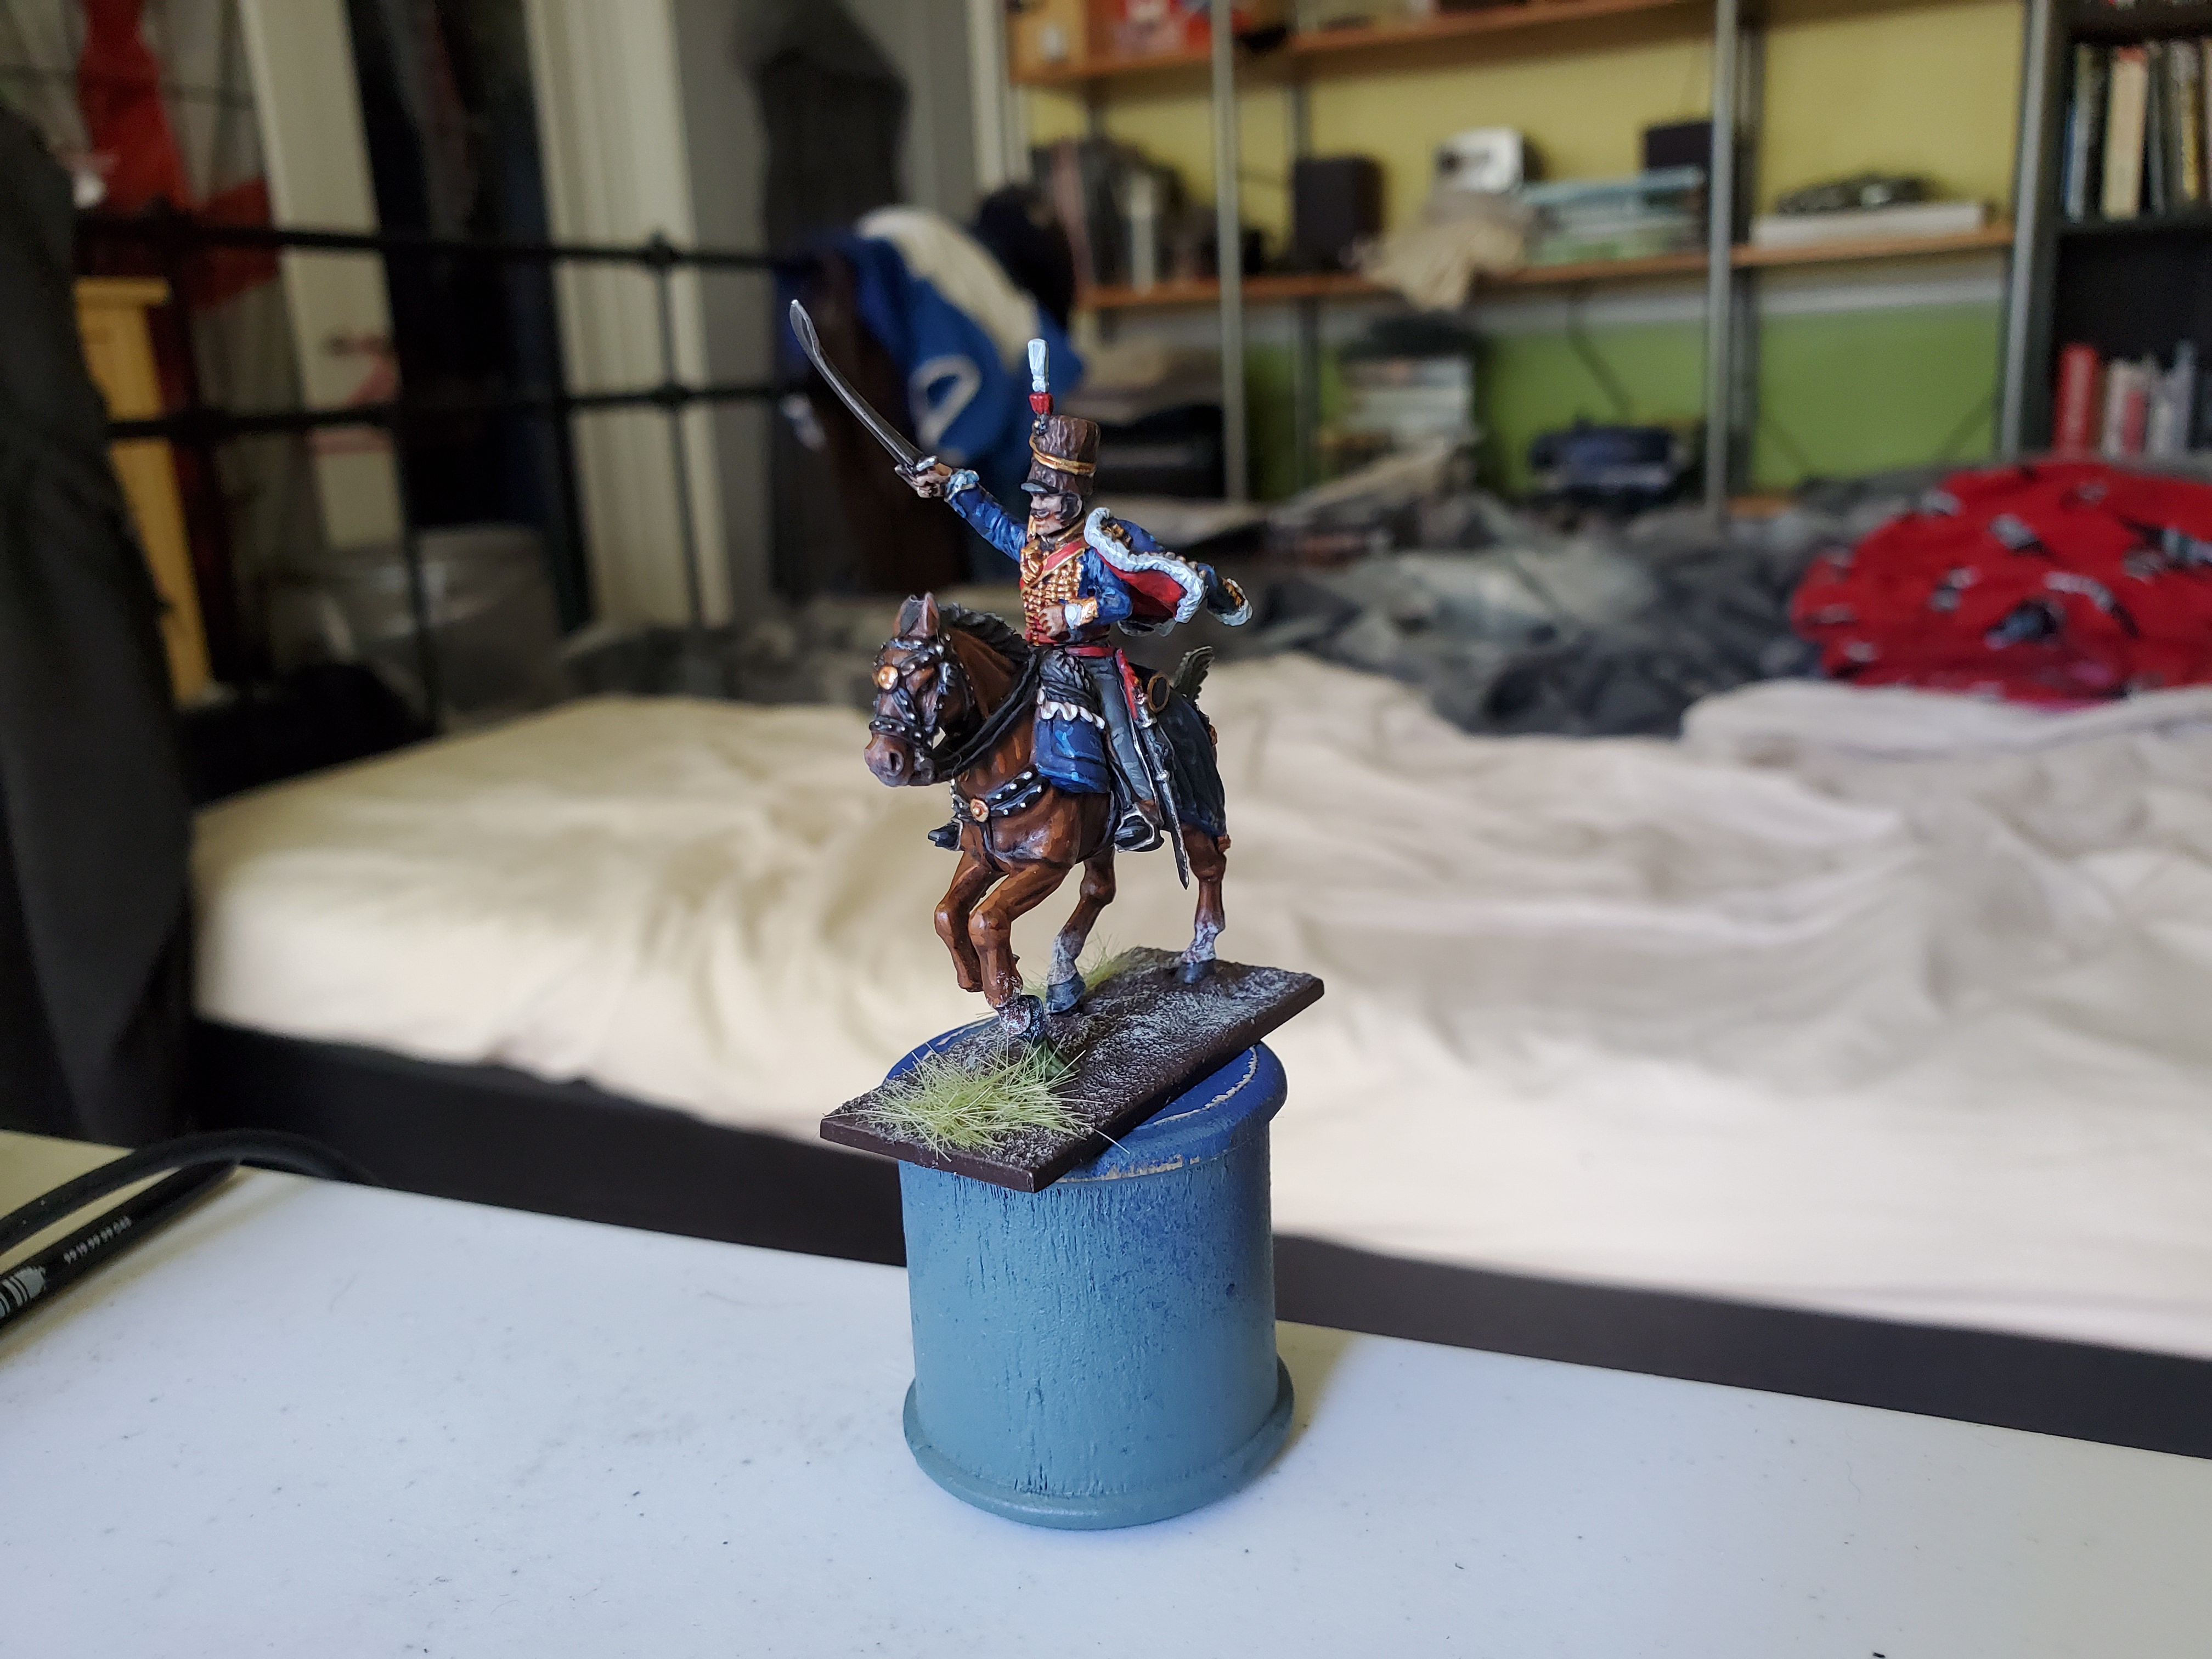

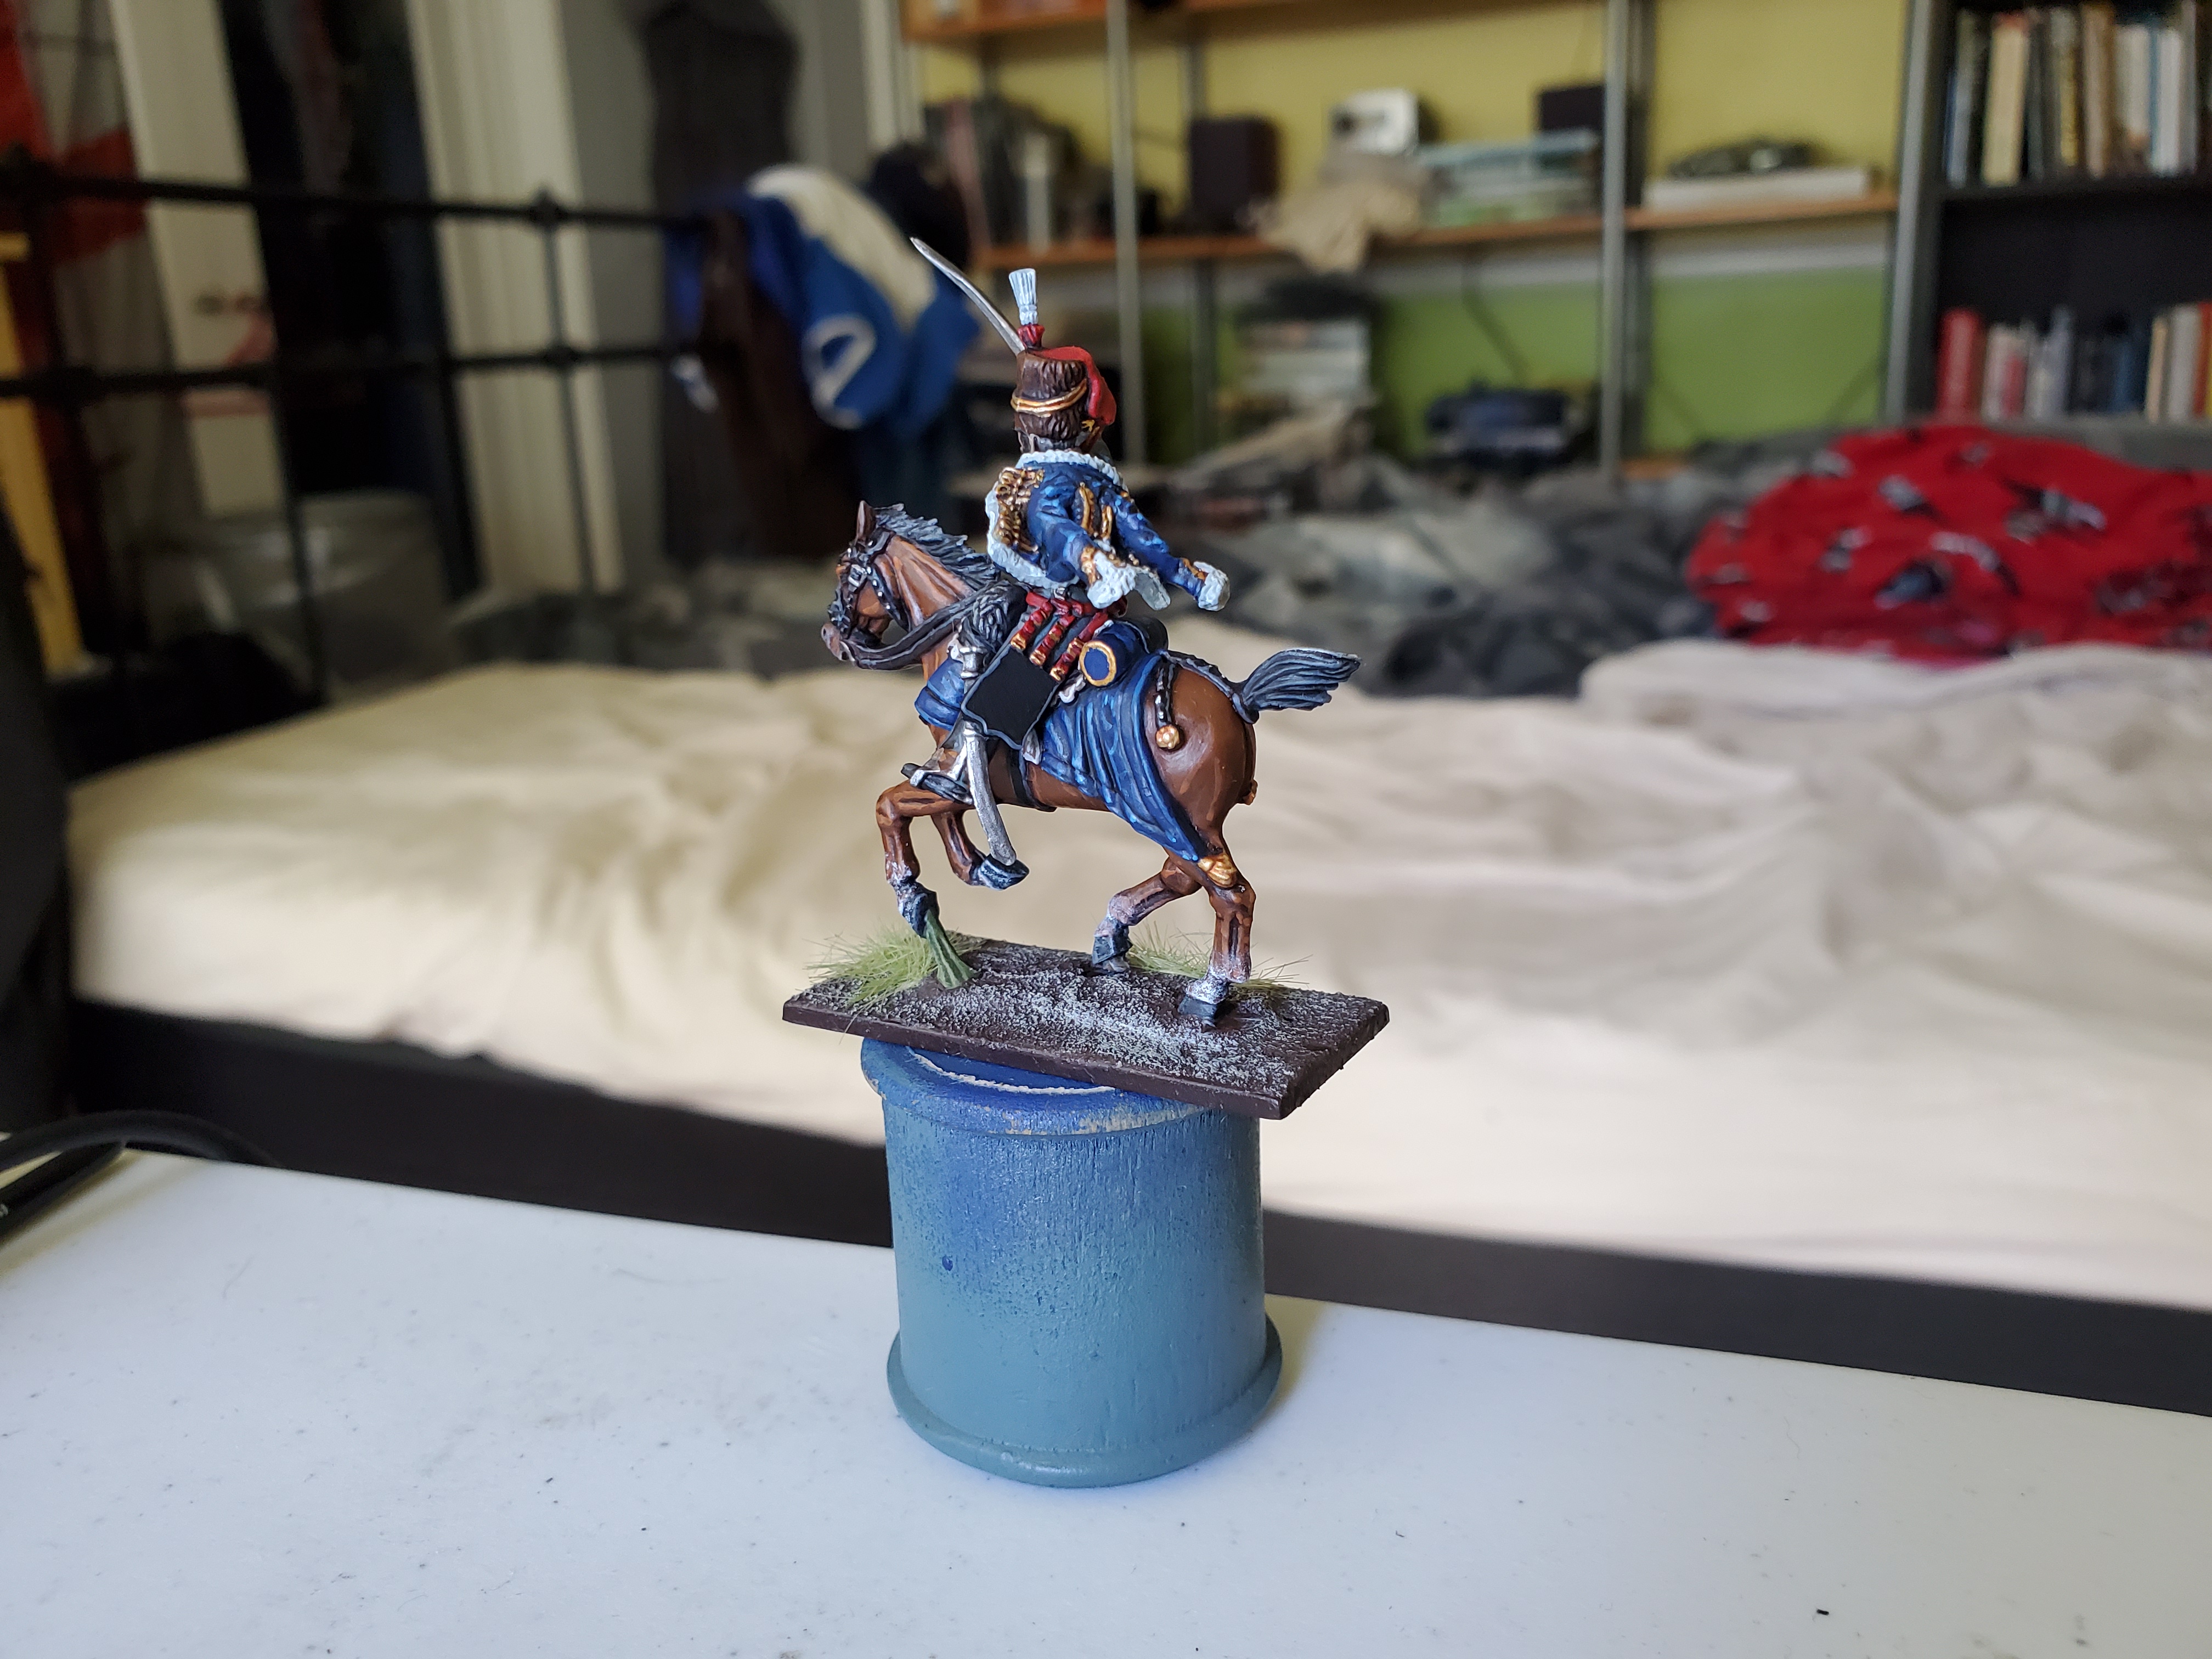
*British cavalry at the time had a reputation for chasing off after the first Frenchman to show up rather that wait for the best opportunity to charge.
My turn for tartan, I guess...
The next project that I’ll be working through is a Highlander during the Crimean War. Following a bit of advice from @scribbs, I’m going to divide these posts up a little bit with this first post focusing on background research and such and the other posts dealing with the more hobby-like things like paint choices and such like. So this chap may take centre stage here for a few posts much like the Hussar before him.
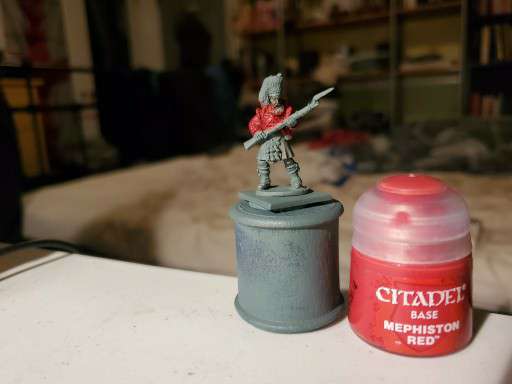
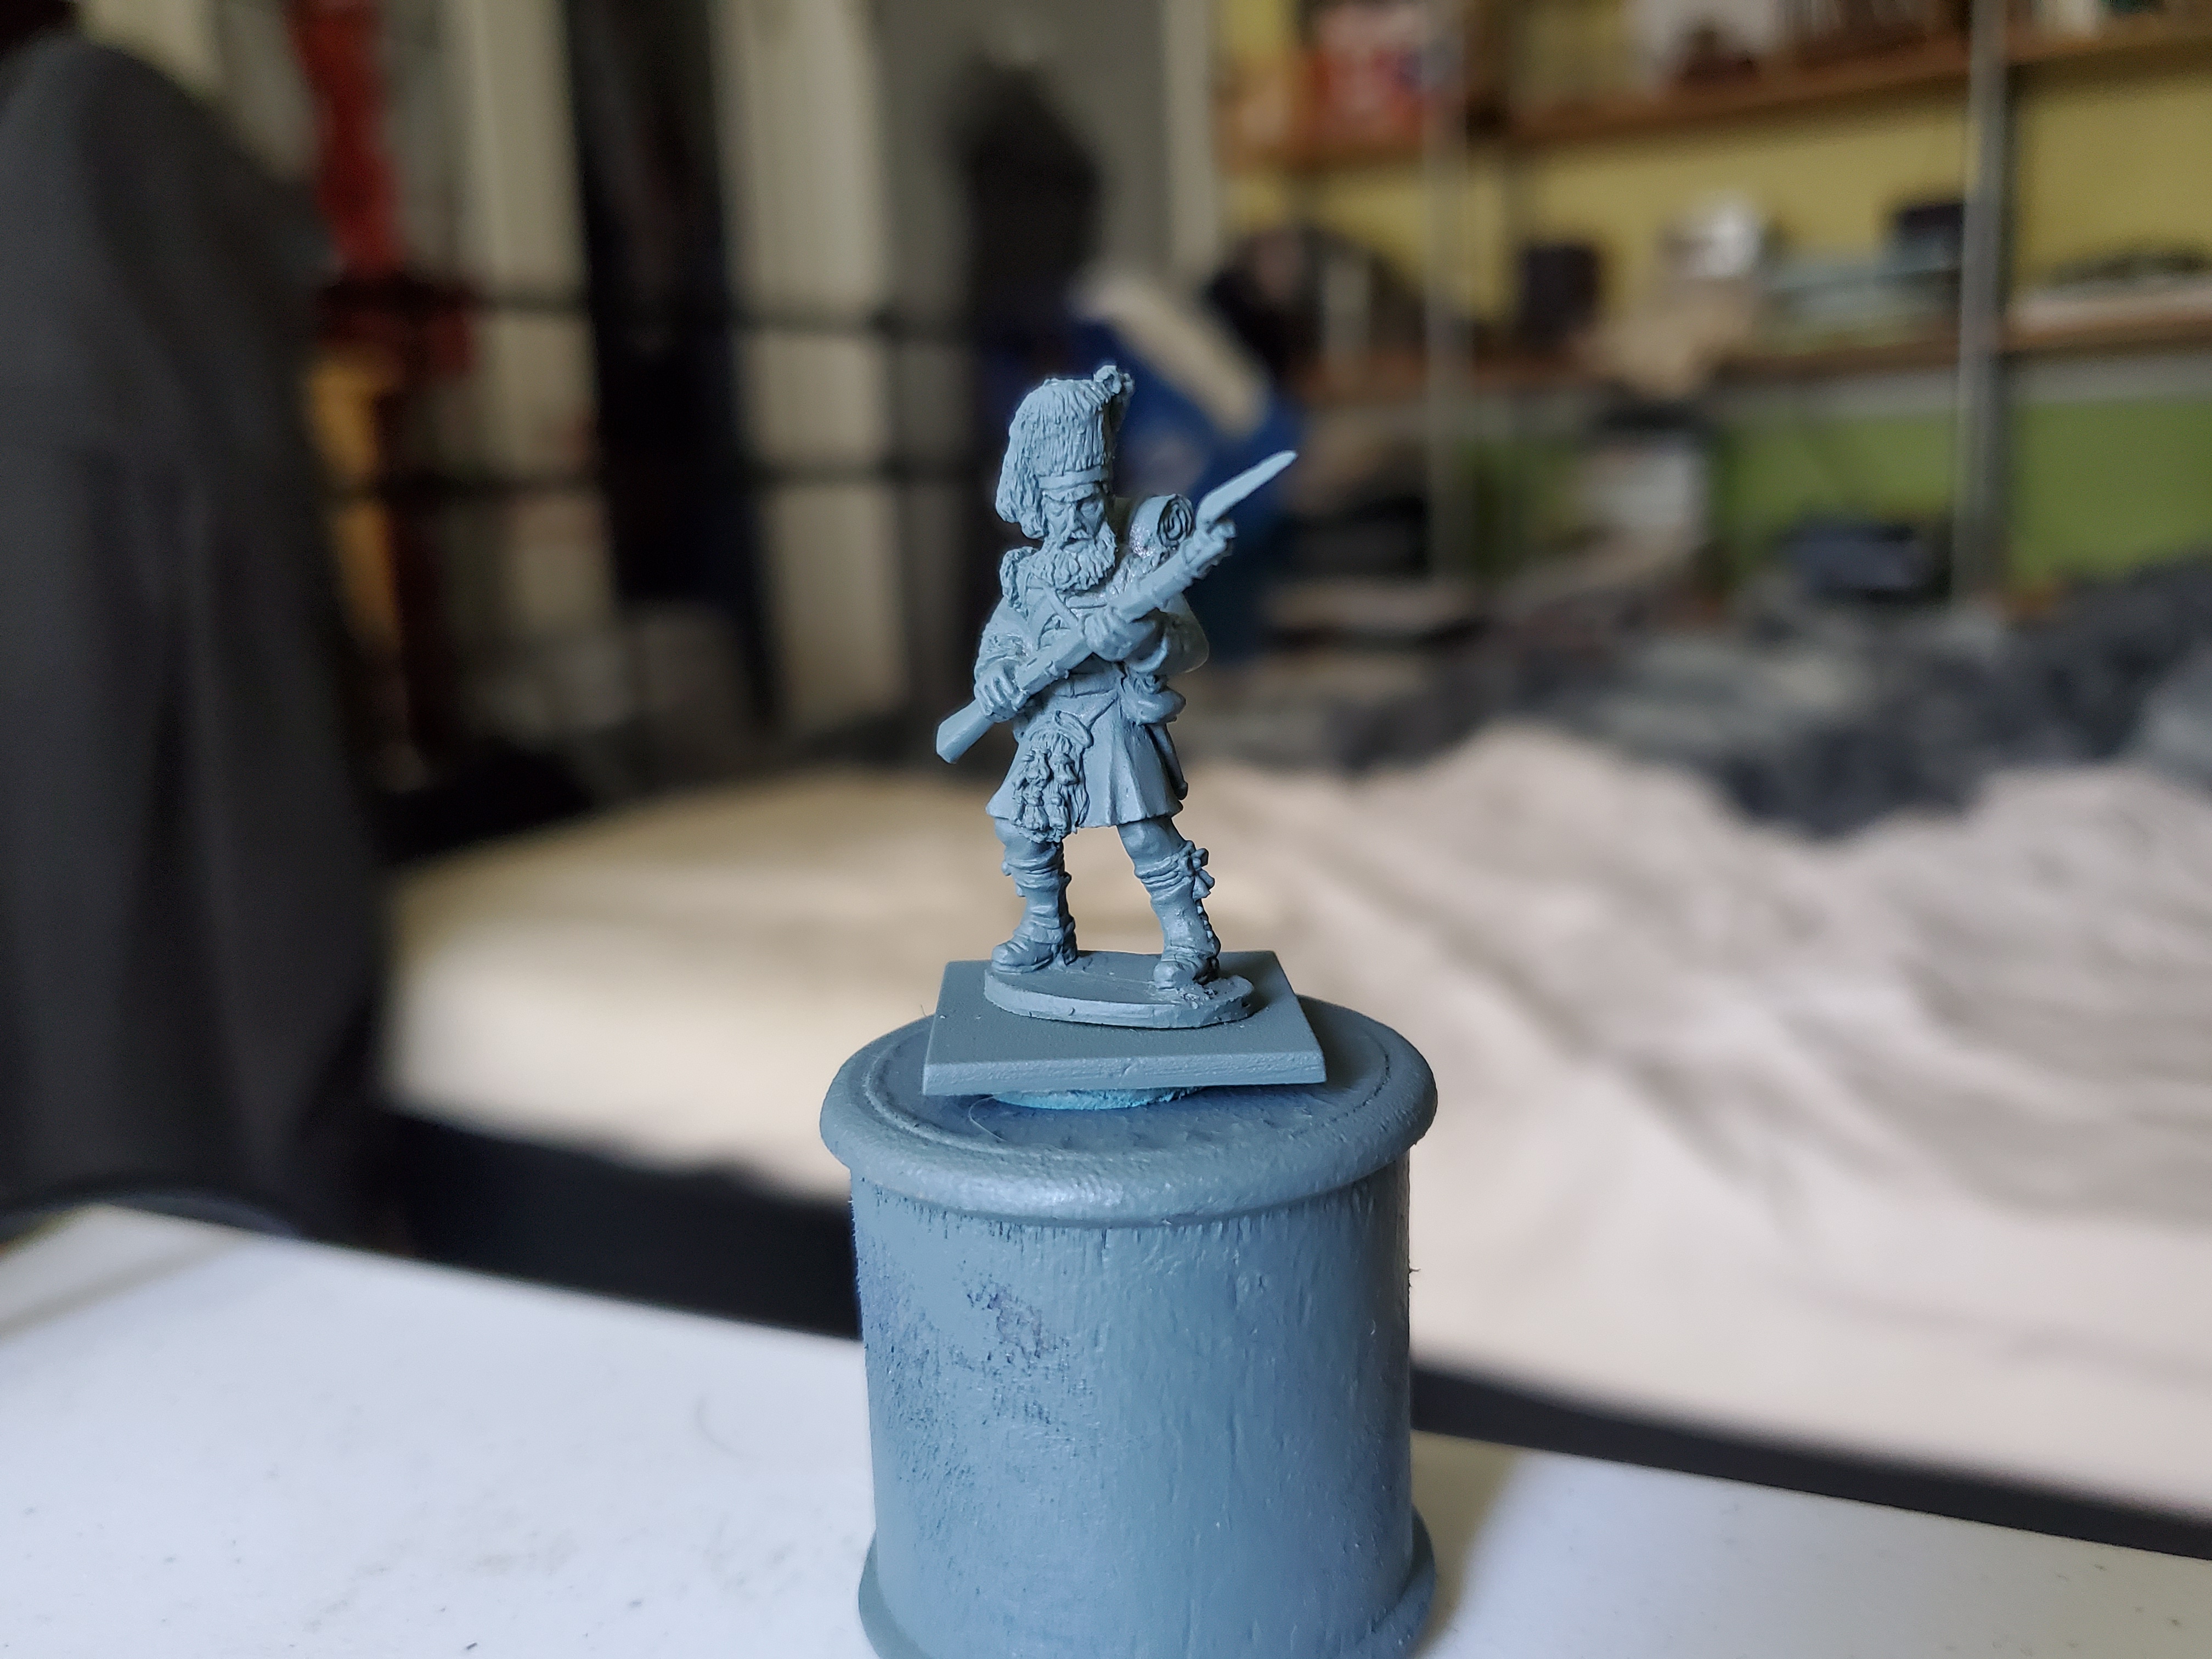 The lad in question! He's a Warlord mini that came free with the first edition of Black Powder that I've had for a while and I've primed him here with GW's Mechanicus Standard Grey spray primer.
The Crimean War is something a little special when working with models. It is, as far as I know, the first war in which we have photographs of soldiers in their uniforms. They’re mostly black a white, and a lot were taken after the war when they returned home to Britain, but we have them. There is only one slight problem with this, though, which is easiest to show with some photographs, so let’s do that quick.
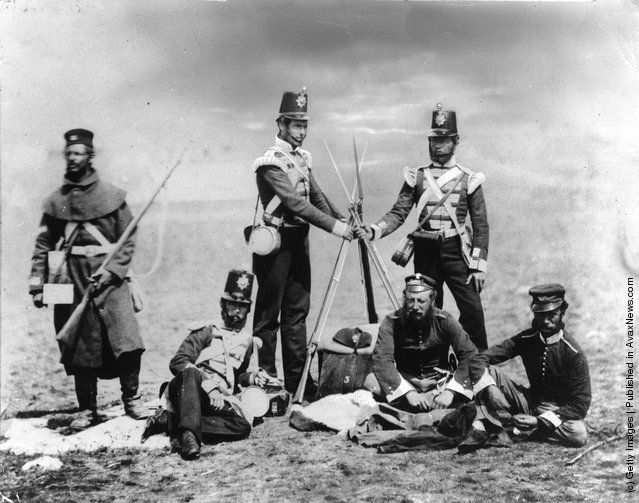
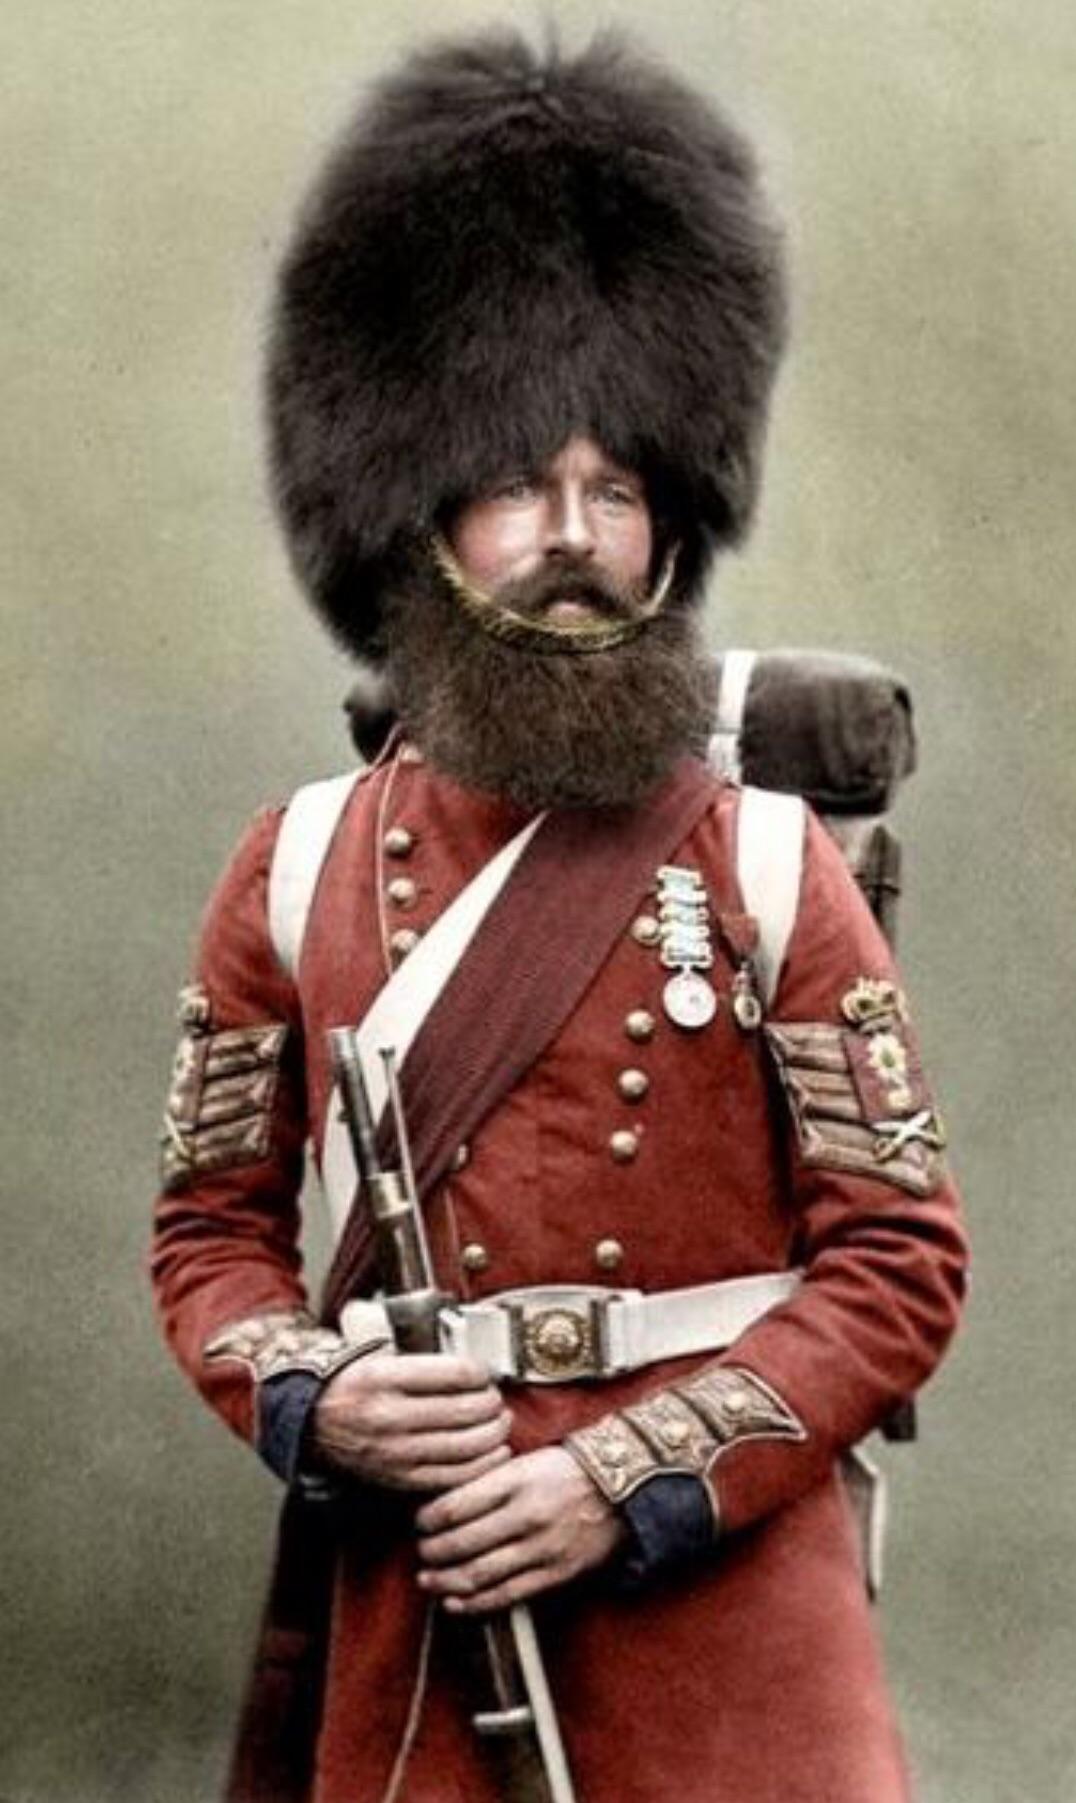
On the left we have a photograph of soldiers in the field, whereas the one of the right is a (fantastically) colourised photo from one of the many photoshoots after the war. The jackets here are not at all similar, and that is because of a change in British uniforms that occurred during the war. Long story short, the British Army has a history of learning it’s mistakes during wars and adapts accordingly. Here it was a simple matter of the tight-fitted jackets with tails was just not as efficient as the tunics that, with a few noticeable changes, are not that different from dress uniforms today. Comparing these uniforms to the uniforms of our chap, it’s obvious that he is wearing the earlier pattern of uniform which means we have to rely more on artwork that using the photos taken after the war. These lads also don’t show any highlanders at all, so let’s move onto some specific details there.
 Photos of reenactors this time, but it does show us the difference and similarities between the highland regiments and the other regiments of foot, but also an important difference among the two highlanders.
Firstly, for anyone interested, the ‘regular’ soldiers here are both wearing Napoleonic style crossbelts, so if anyone wonders why their Crimean War minis don’t have all the belts, have no fear. The two highlanders, though, have some differences that I want to address and have also dictated some choices in painting. First up the facings are different colours, which nicely and quickly tells us these are two different regiments, in fact the kilts tell us that the leftmost highlander is a soldier of the 93rd (Sutherland) Highlanders, and the other is a member of the 42nd, the famous Black Watch. There is also an important detail on the jacket that meant that I couldn’t paint my highlander as a Black Watch man, and that is the taping. Usually at a wargaming scale this part is near inconsequential and shouldn’t affect most hobbyists, but as this mini is going to be a display mini for me I wanted to get as much accuracy as possible, and the taping on my Highland lad is that of the 93rd. Remember, though, that this was a personal choice and any personal choices you may make are up to you. So don’t let anyone tell you how to do your own hobby.
 Artwork depicting the 93rd wearing their earlier uniforms such as they would have worn at the Battle of Balaclava. These types of drawings are very useful for helping with the tartan.
Again, the addition of a beltplate here on the crossbelt may be incorrect, as it does not appear in the photographs, but may also have been reserved for parades. I am not entirely sure, but I could look into it…I may even have a book somewhere… I love books. So this gives us all the basics that we need to paint the uniform of our chap, however he does have a magnificent beard, so that will need some attention. As a Scotsman, I have every intention of painting is in a blazing orange as befits a man of his stature and there is only one place I feel I needed to go for visual reference for that!
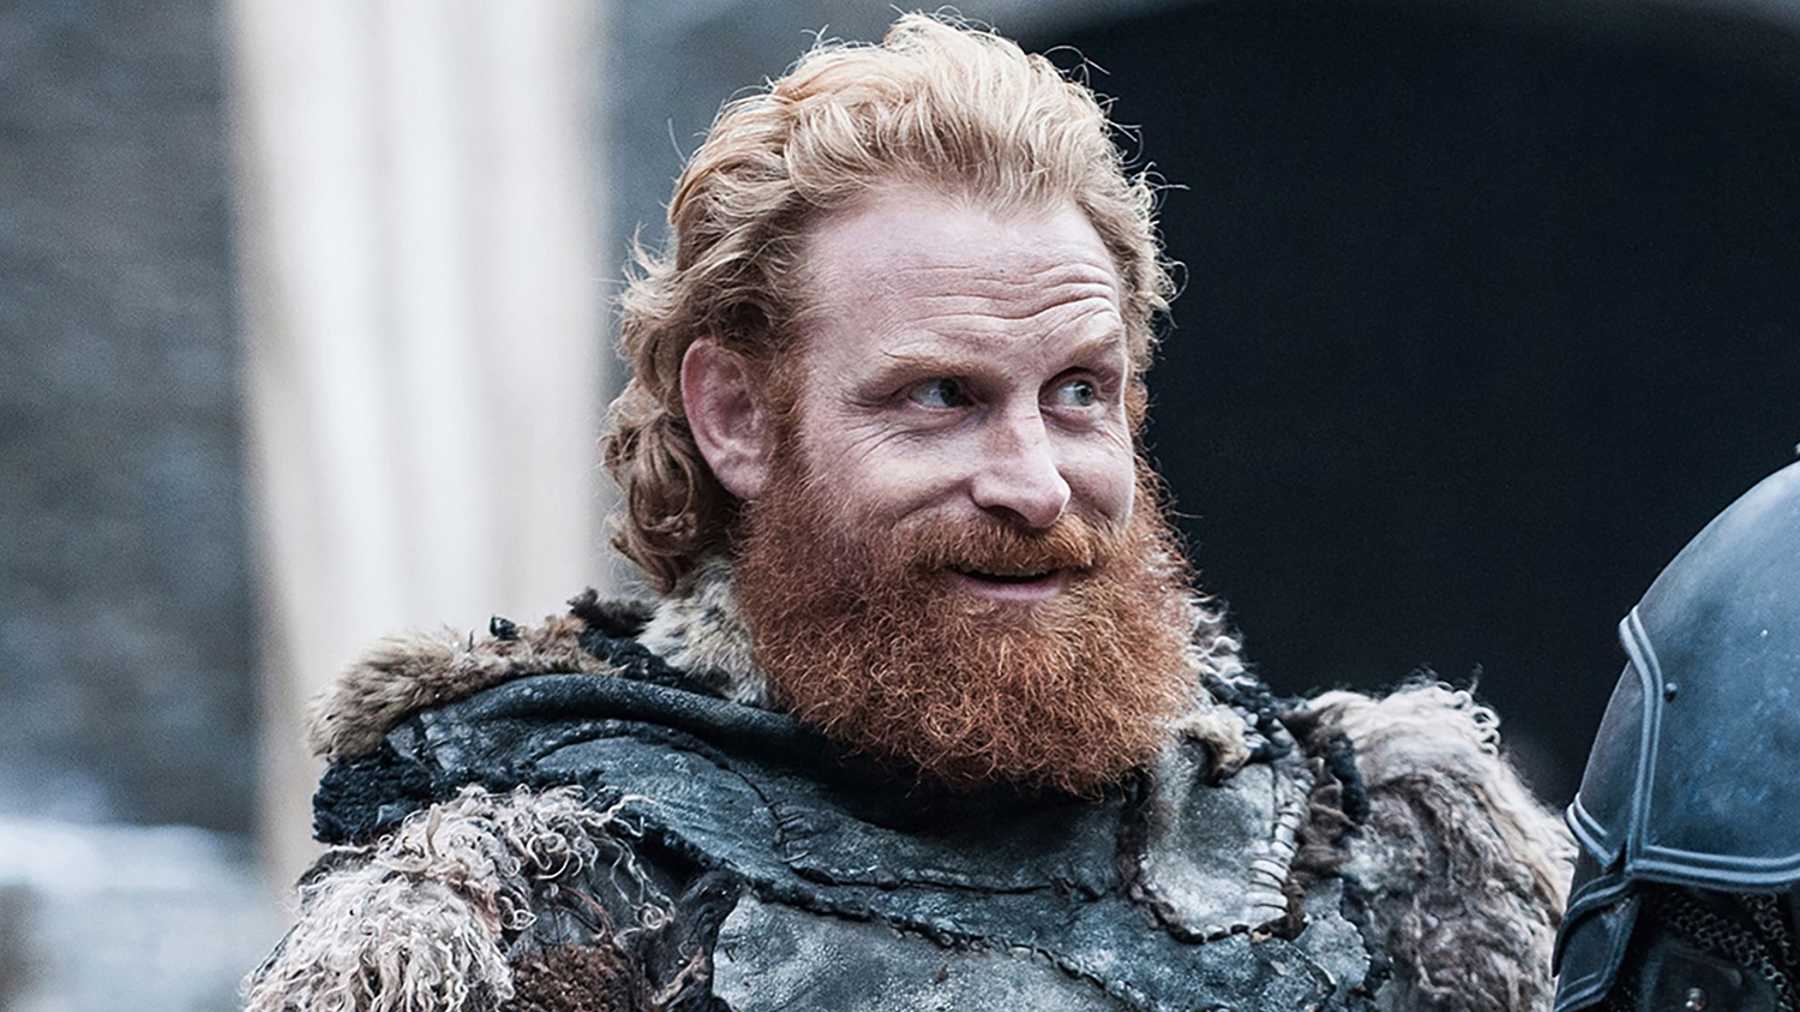 Ginger hair is very easy to make look like a fake colour, so visual references are always helpful.
The only thing that hasn’t really been touched upon now if the rifle (and it is a rifle and not a musket, though sometimes called a Rifled Musket) but as the P53 Enfield is just a simple stock with some brass and steel fittings the only thing to look into is whether or not the metal was blued/browned or ‘in the white’, and that will take no time at all to cover when we get to painting it!
So that about covers it! Stay tuned for more work on the man himself in future updates. I will probably do an entire post on tartan when I get to that…but it mildly scares me, so I may do the jacket first… More is on the way!
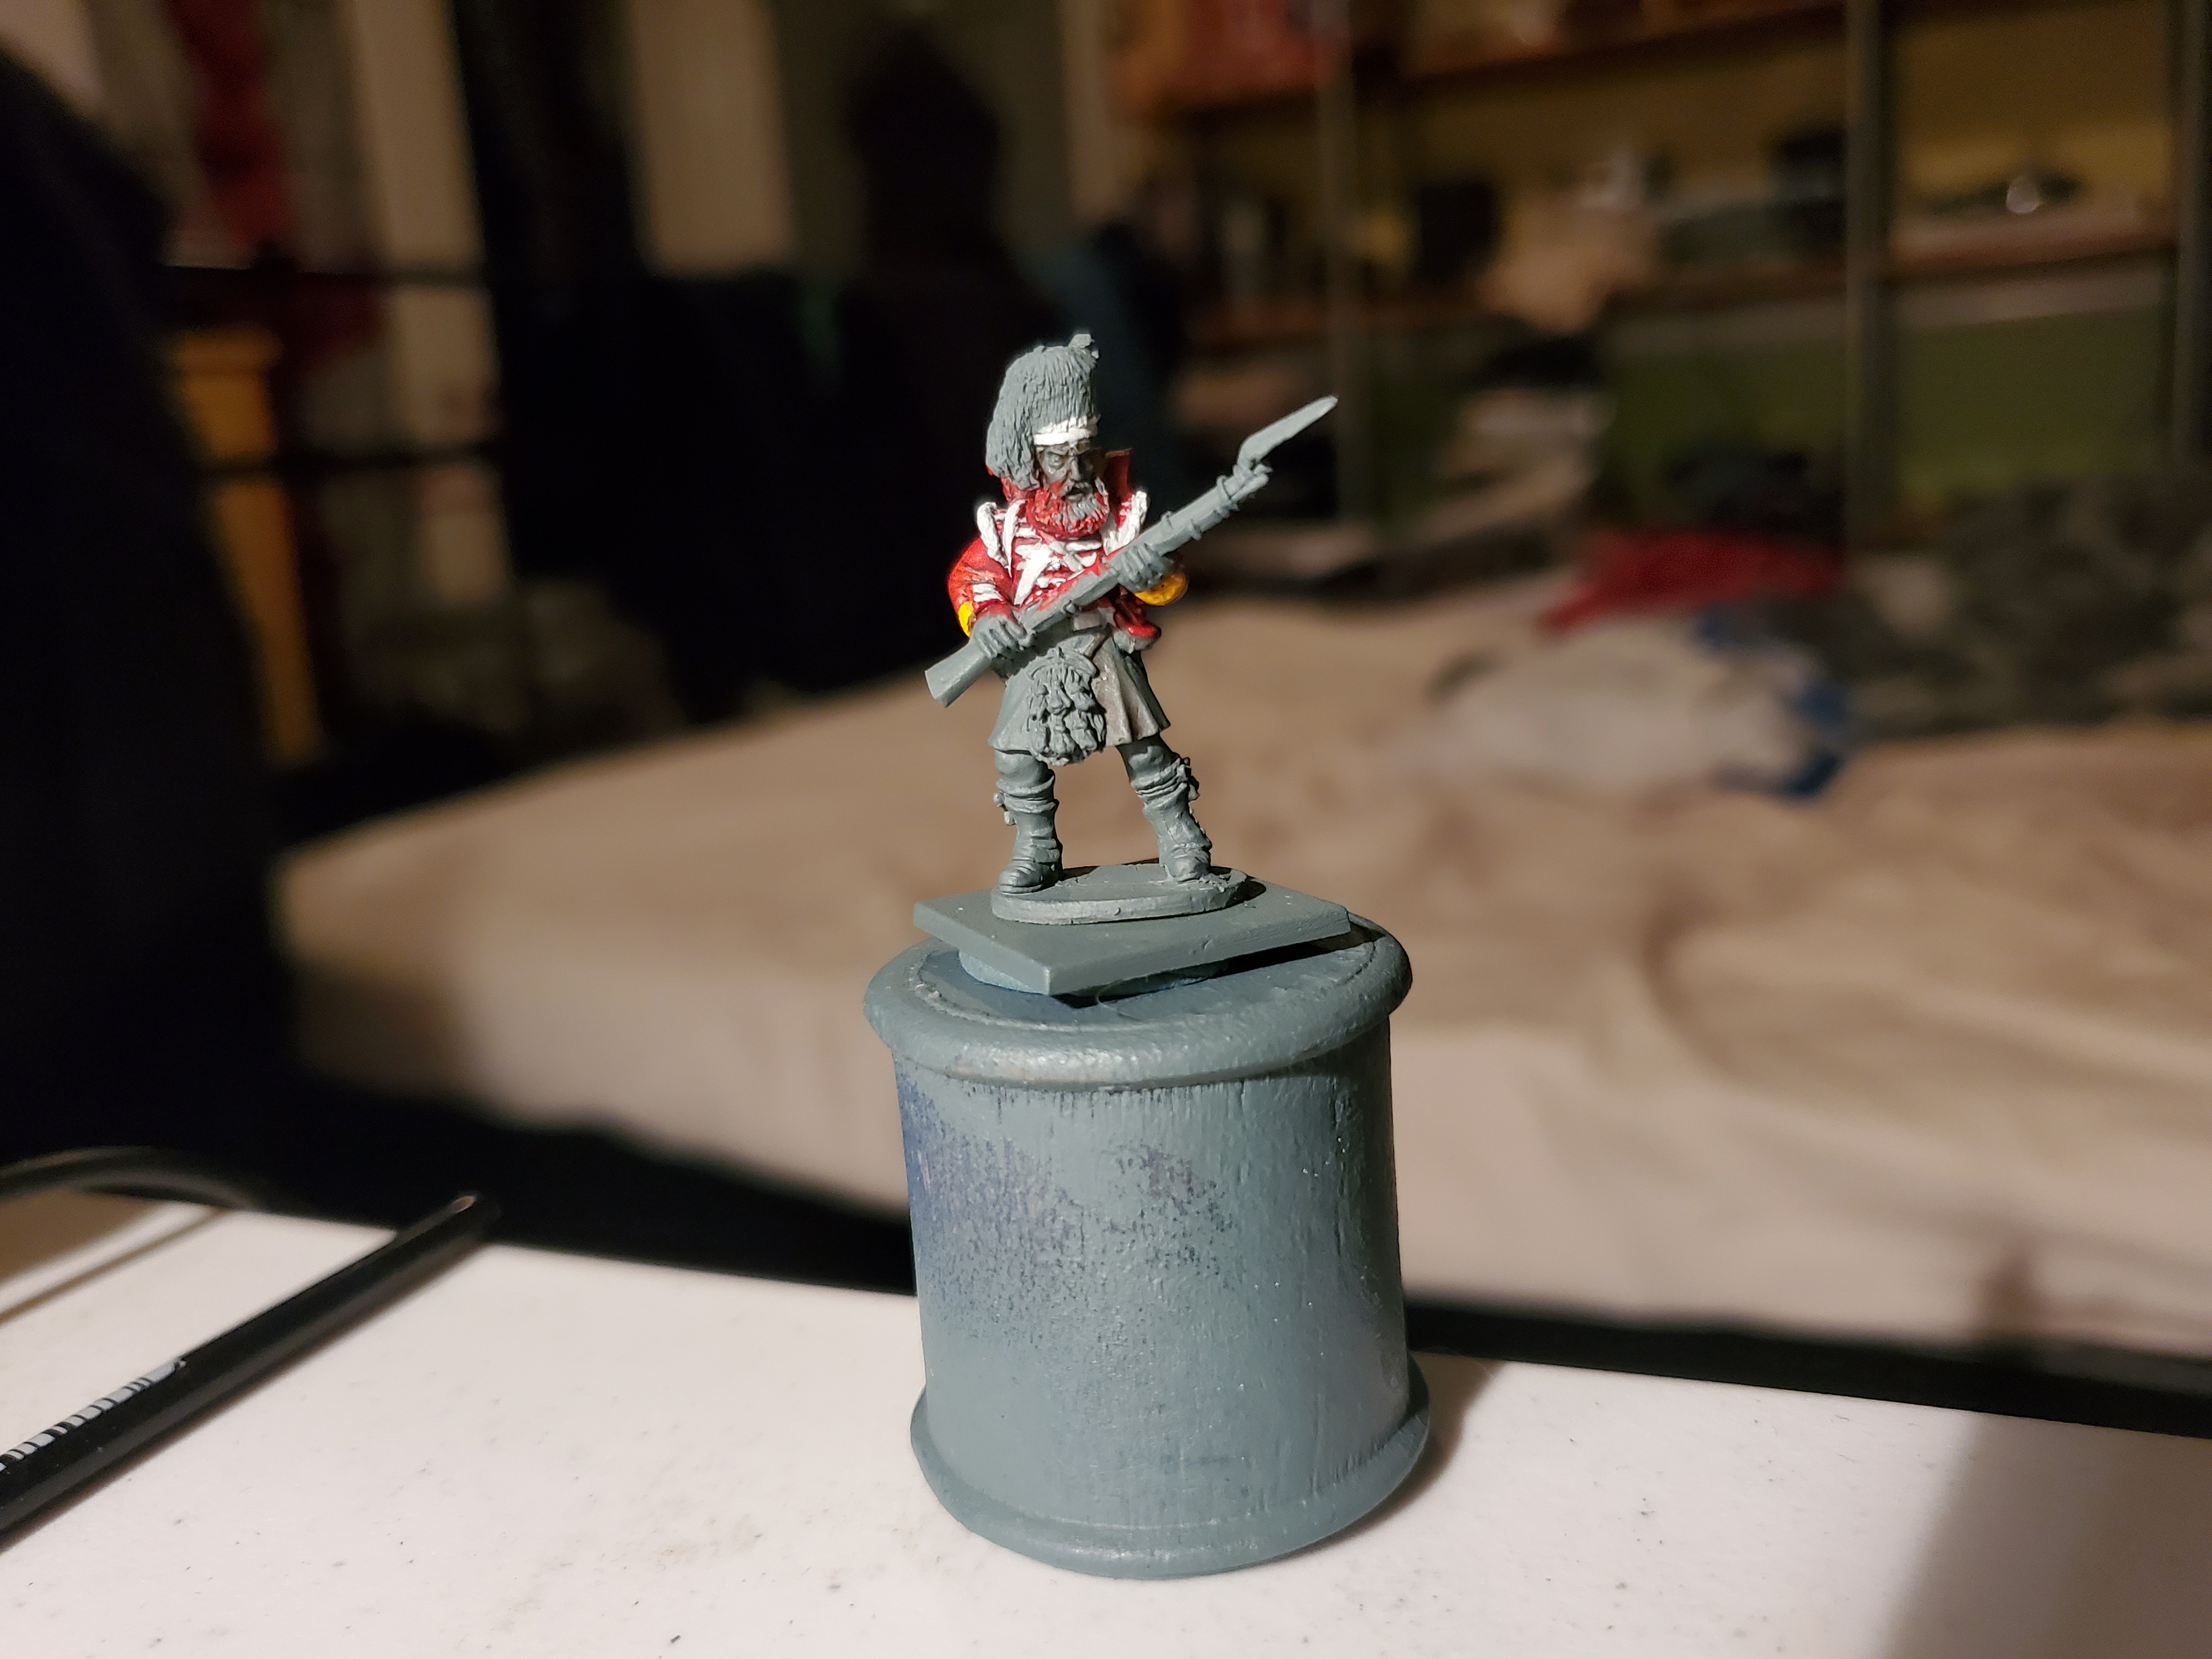
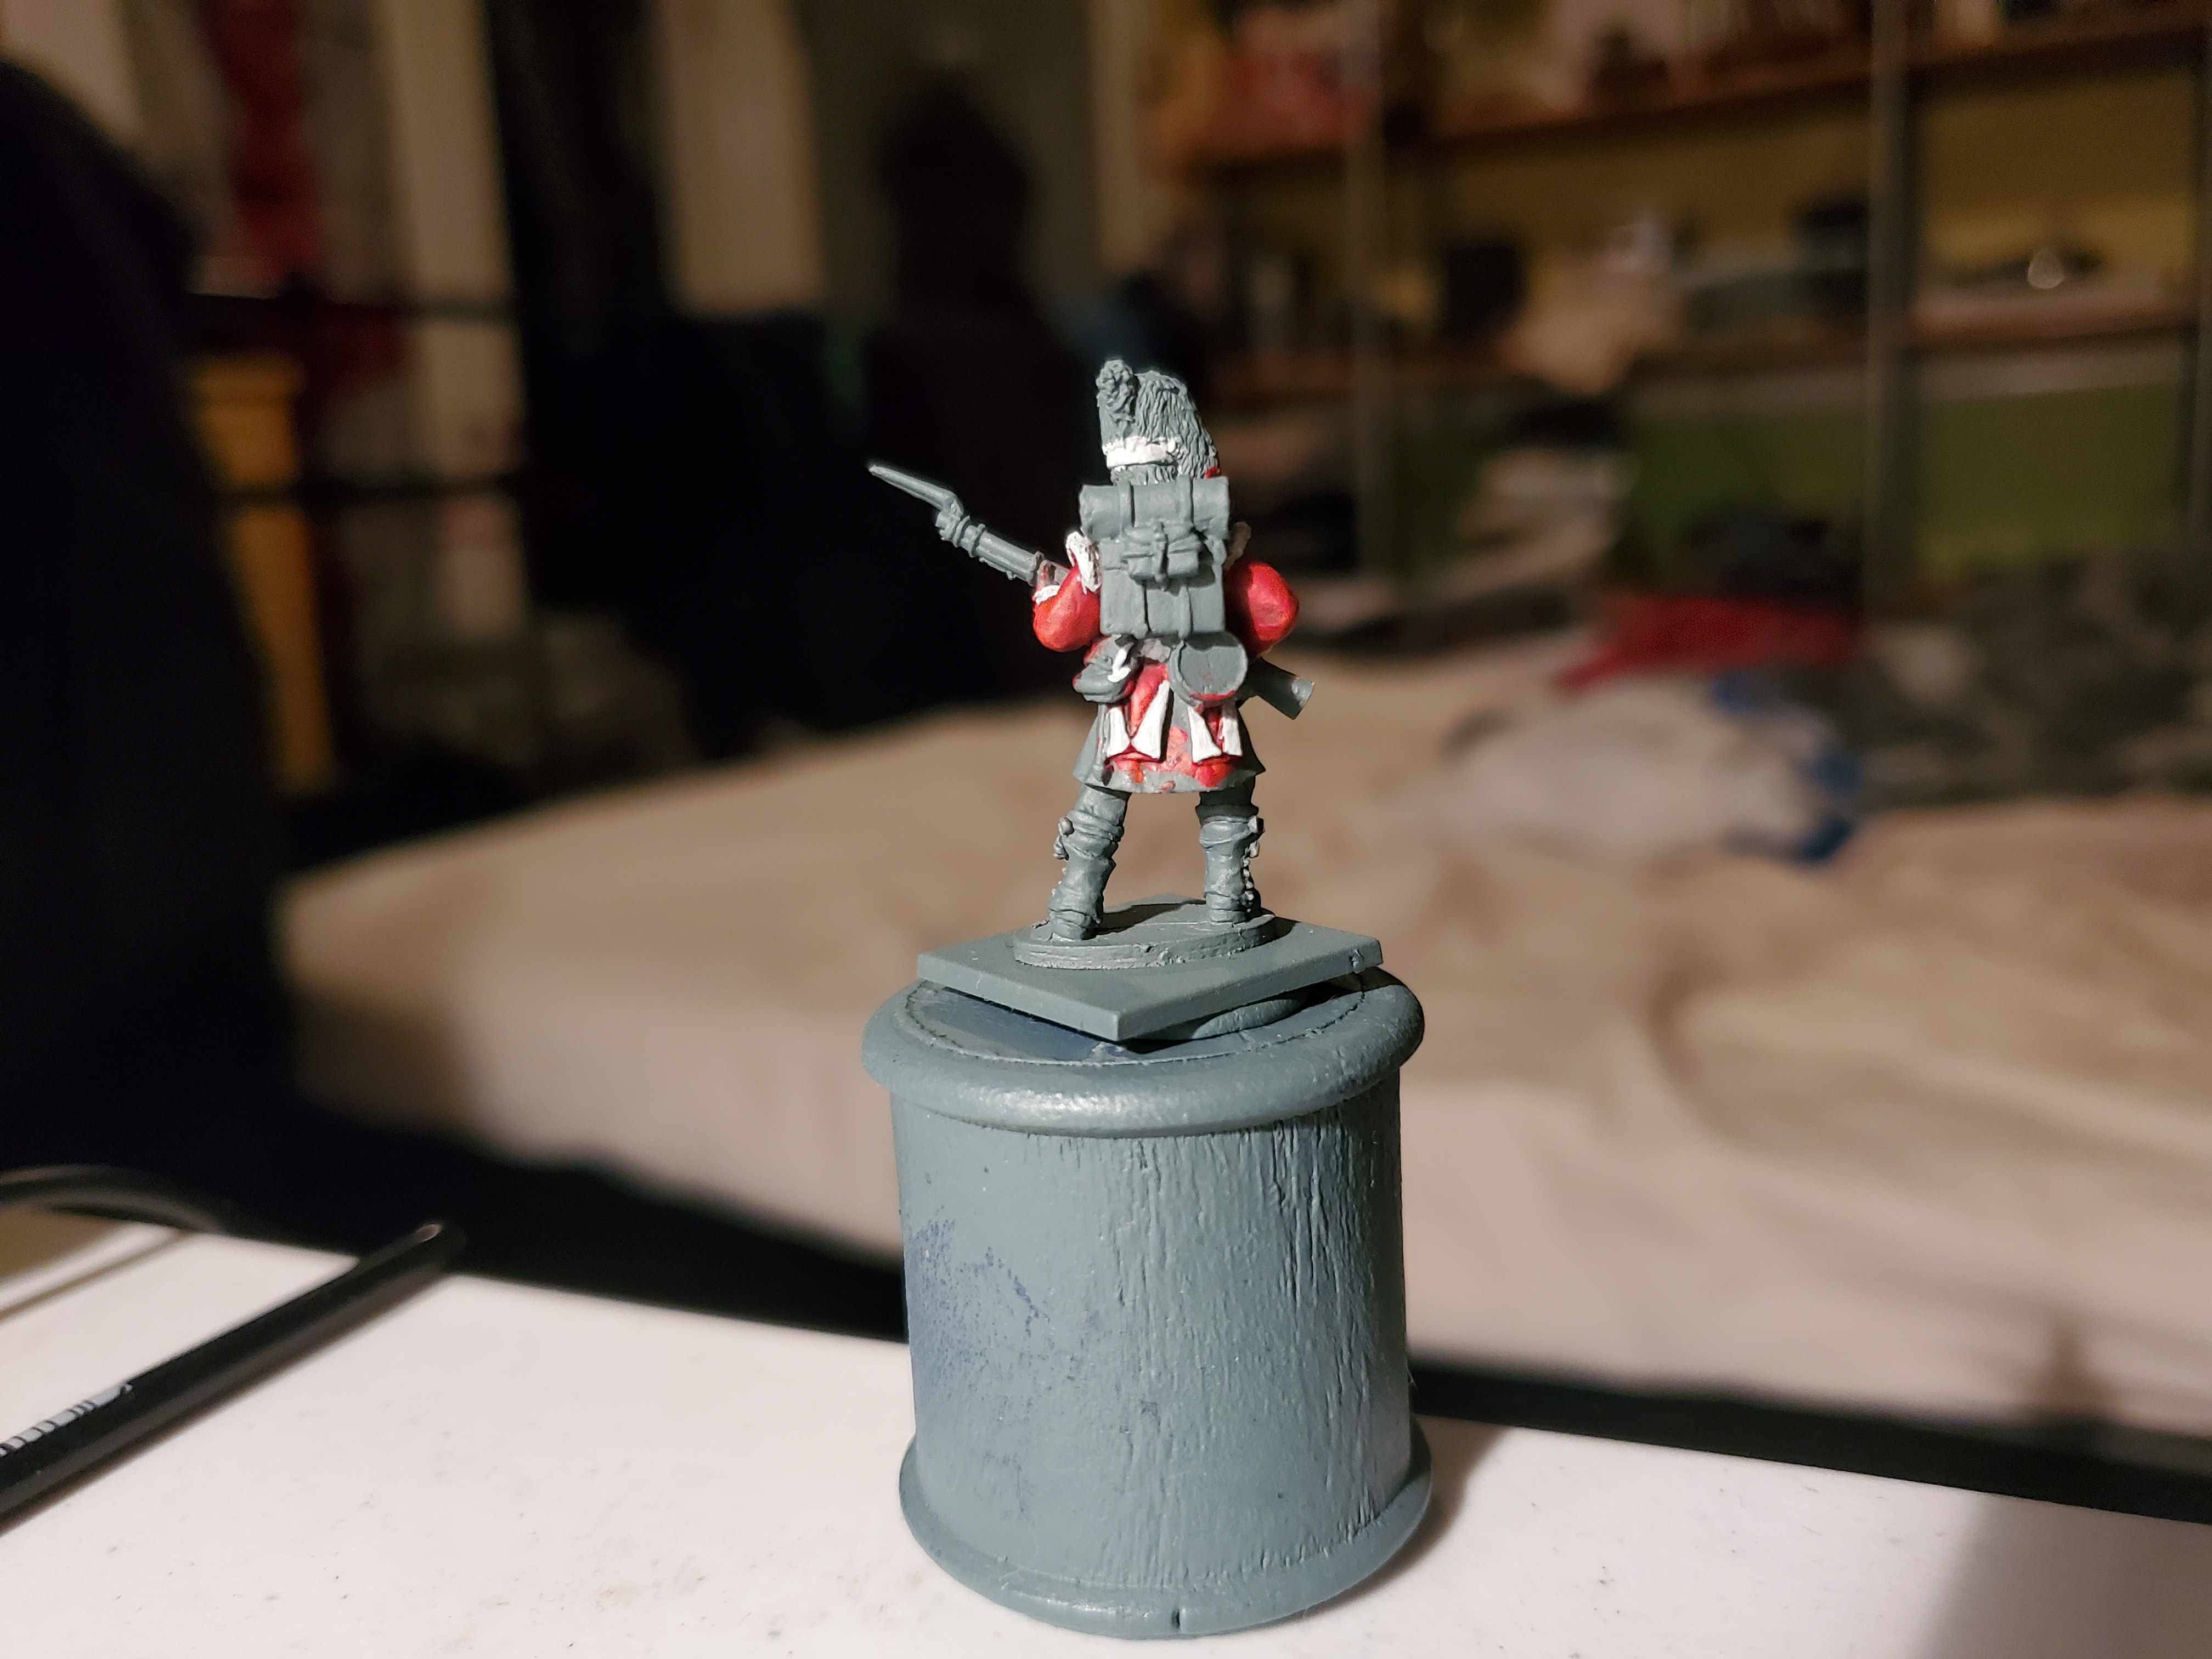
Fetch me my red coatee (no seriously, that's what they're called...).
In the first installment we have started with the most obvious part of the model that is NOT tartan. All colours here were chosen to match the colours and designs of the previous post with the painting steps given here. Nothing too fancy with techniques used here, mostly simple layering and shading. Let’s get down to the steps starting with the red part of the Thin Red Line.

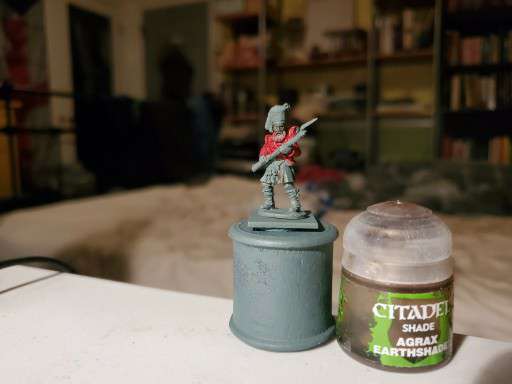
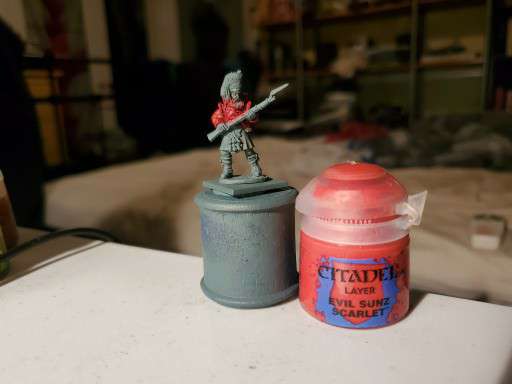
Simple layering transition here beginning with a Mephiston Red basecoated and shaded with Agrax Earthshade (I will get every last damn drop out of that pot!) before brightening up with a layer of Mephiston Red again followed by some edge highlights of Evil Suns Scarlet (which is not doing too well as paints go).
Next up is the taping and white details of the uniform. I also did some of the belting across the chest, but not all of it. This is mainly because it uses the same colour, so I may as well.
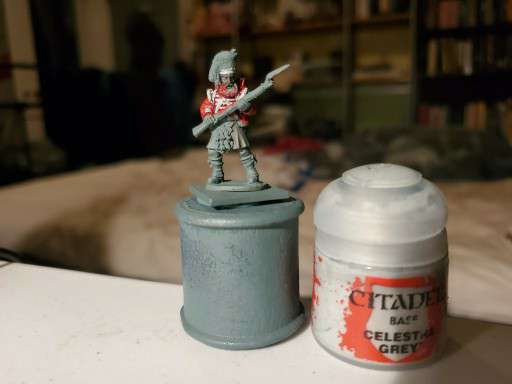
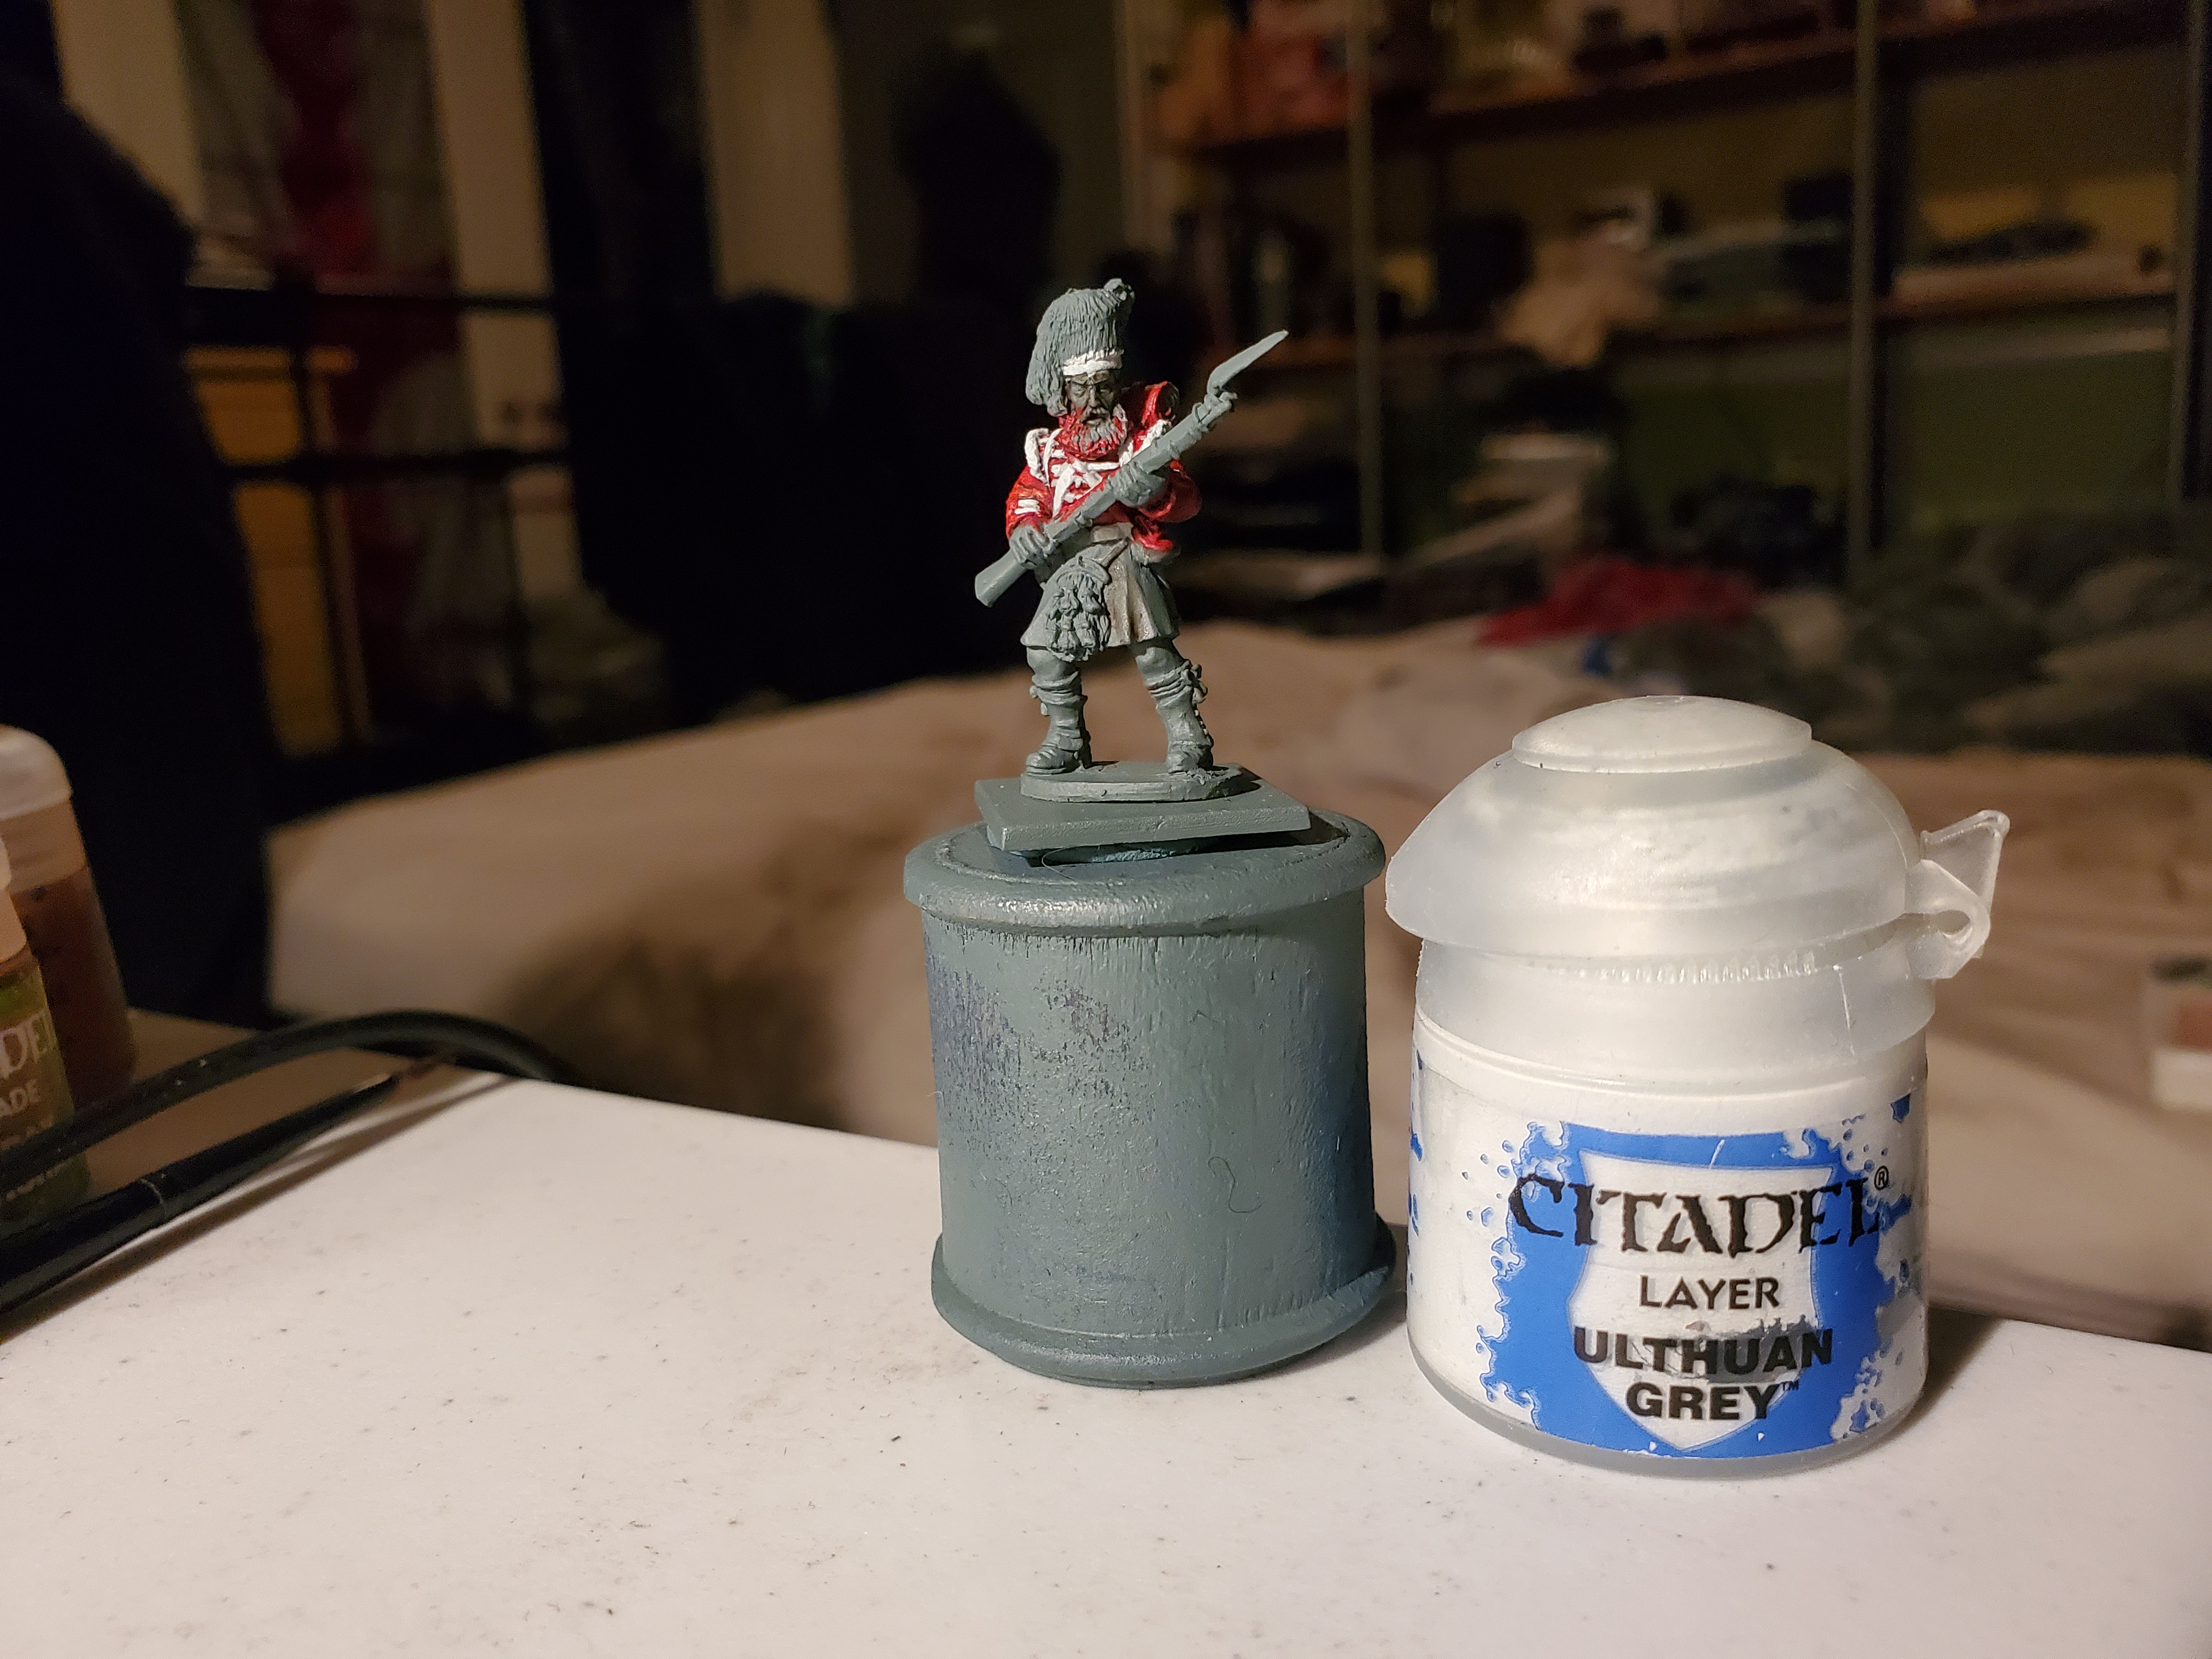
Just simple layering here. First coat was Celestra Grey with a simple layer of Ulthuan Grey. Were this mini a bit larger of a scale then I’d do more detail, but with the rifle held at the charge like this makes is rather difficult to do much more. At some point I also dotted in the buttons that were visible.
Next is the universal regiment indicator; facings!
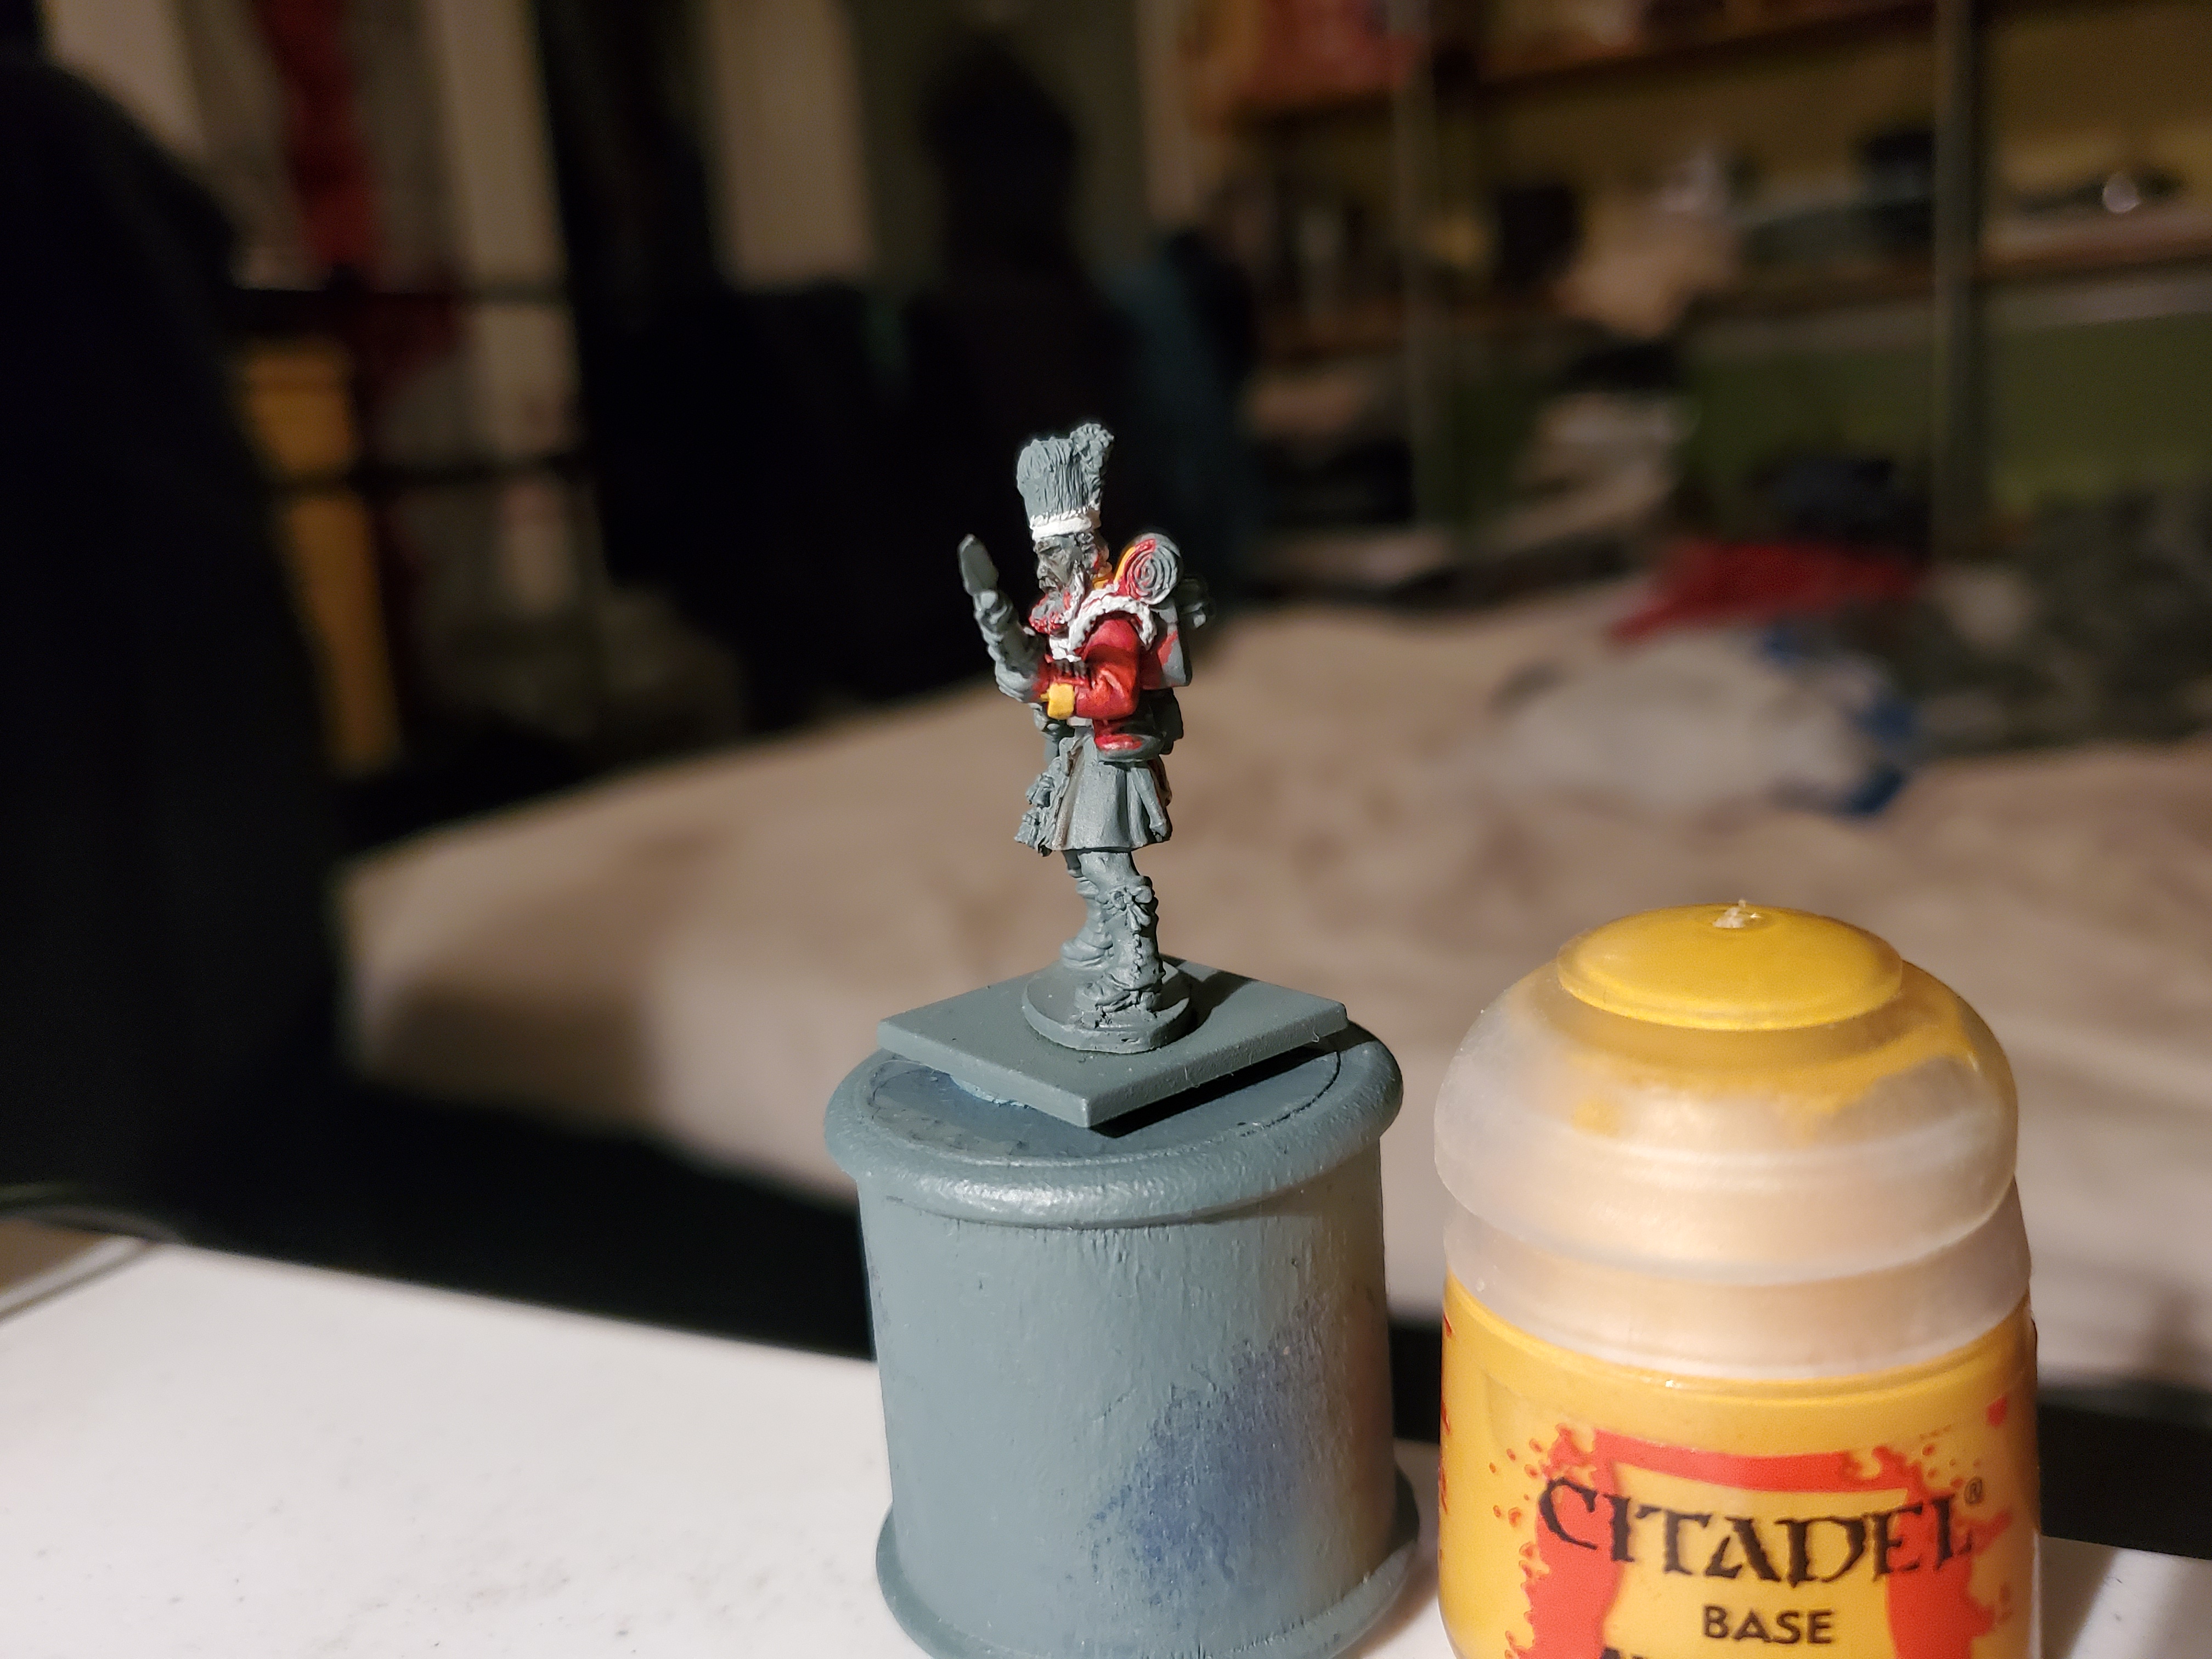
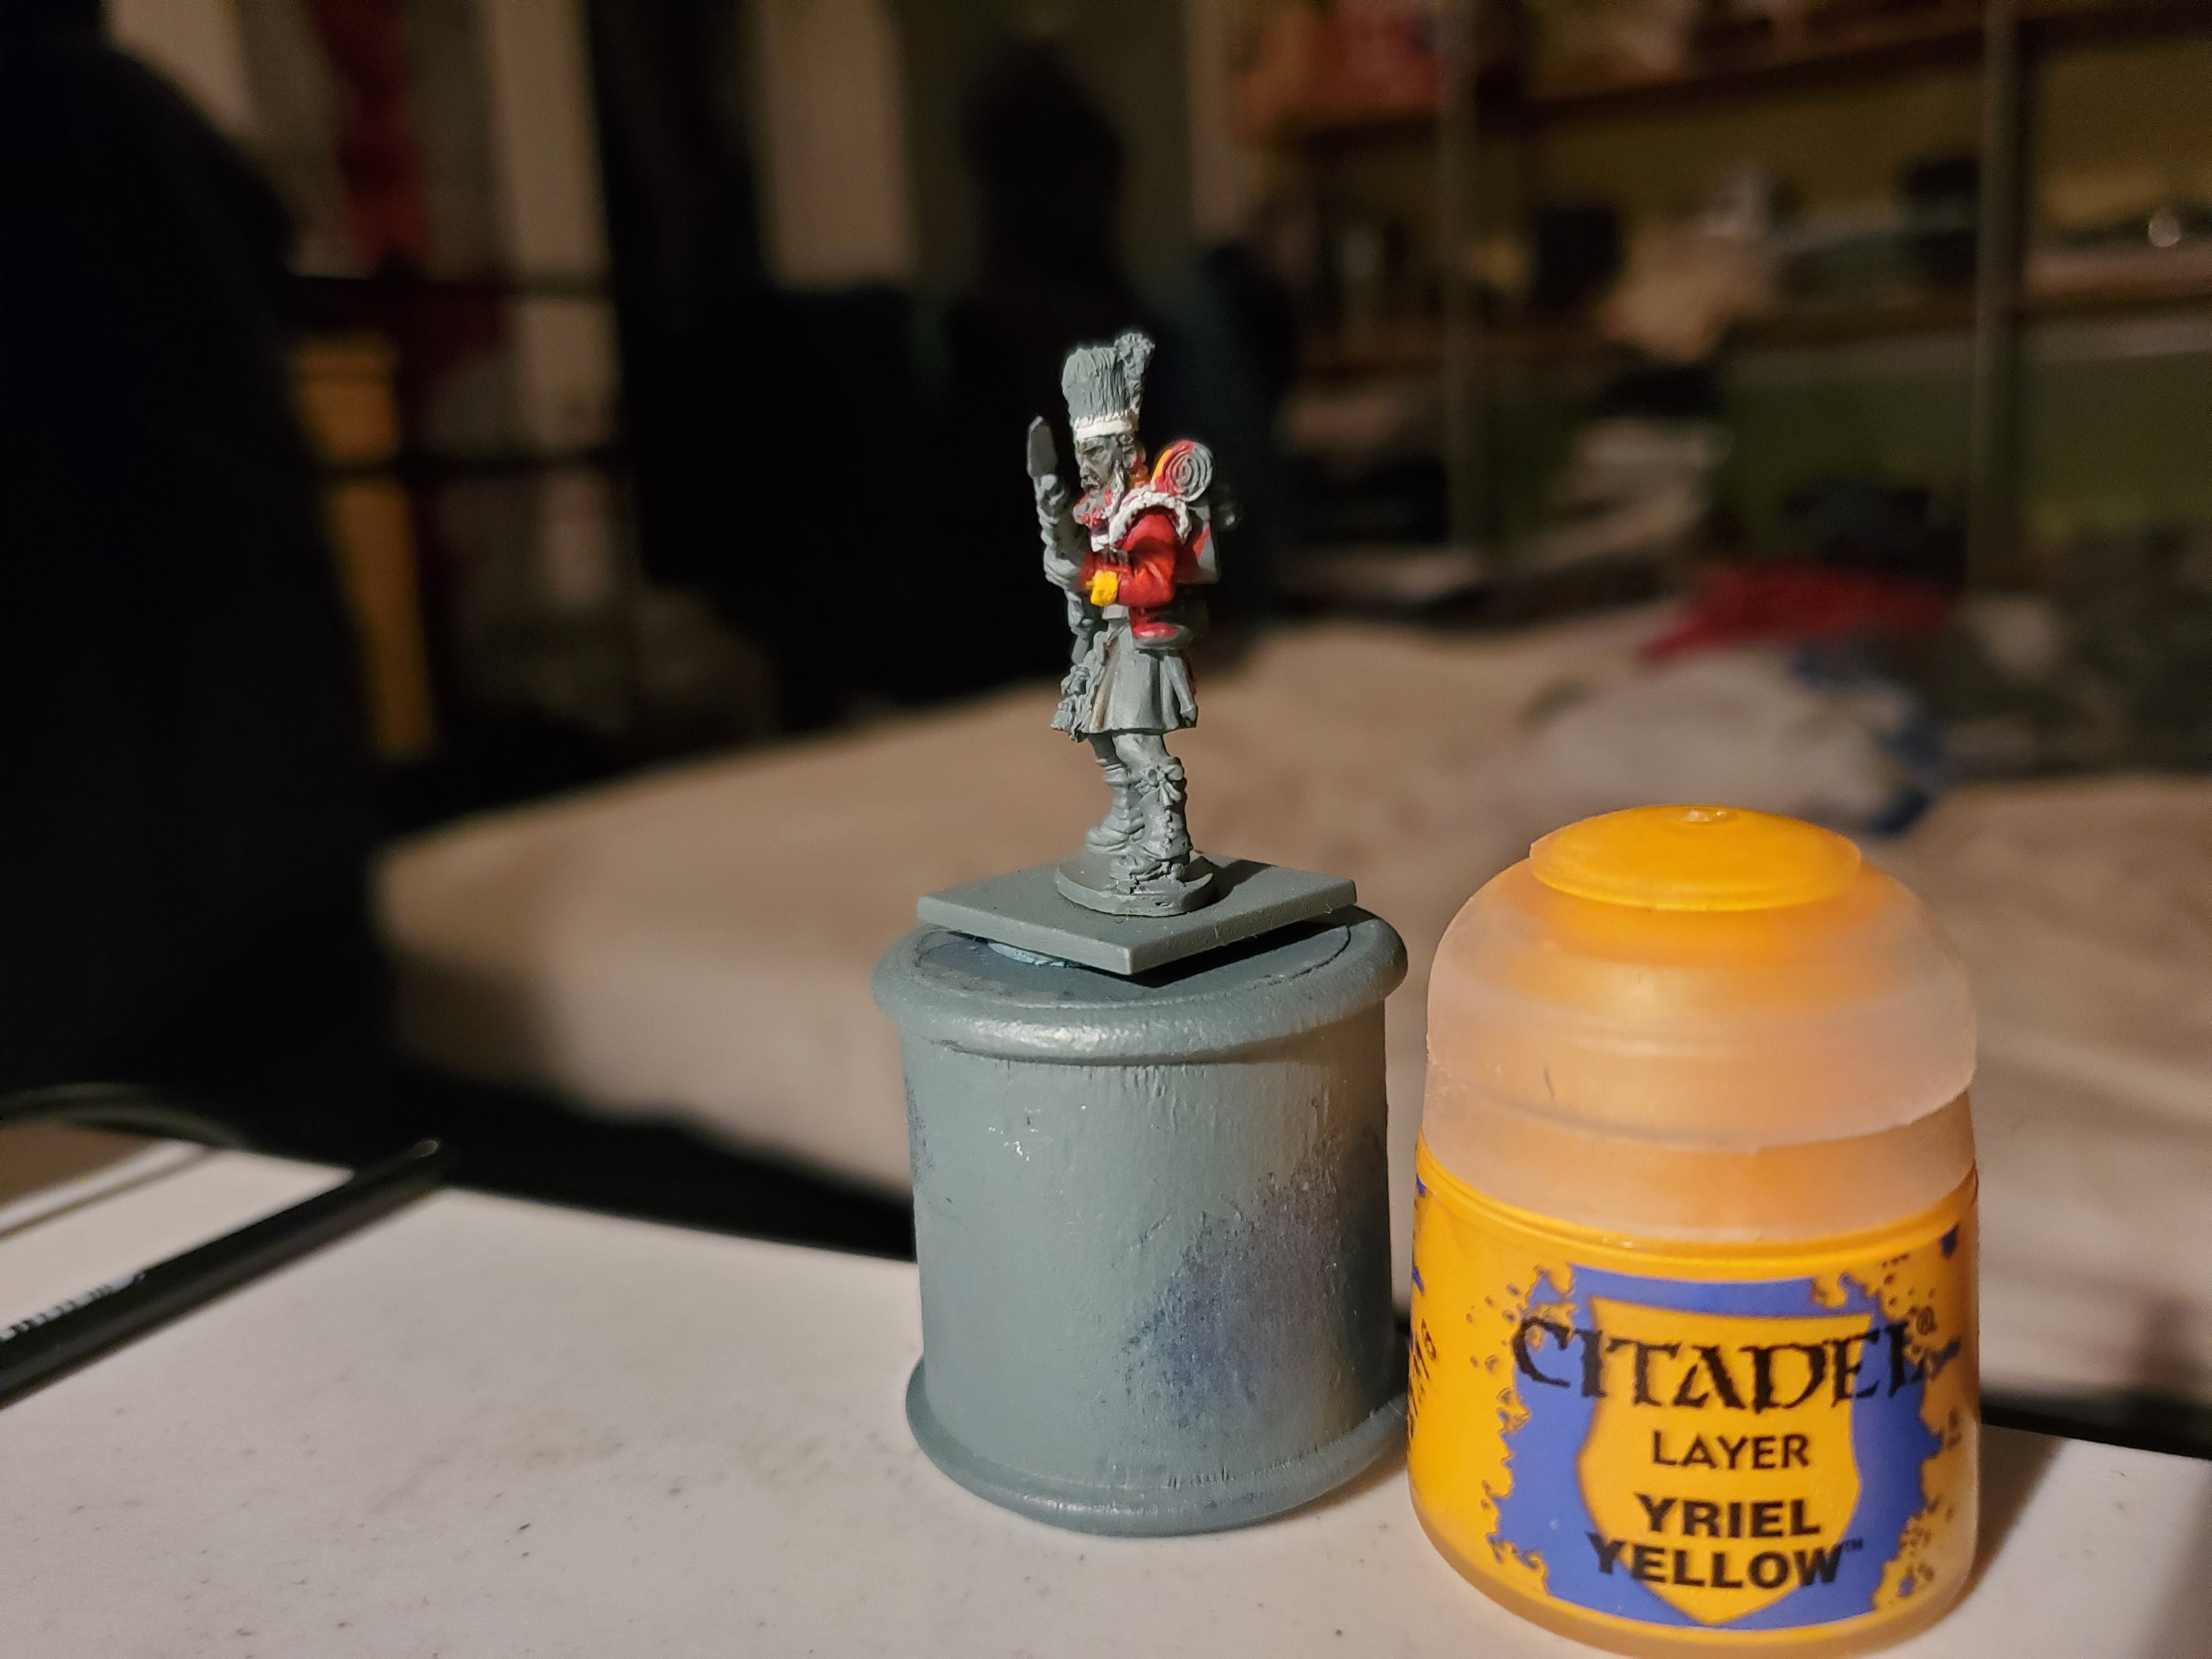
Again, simple layering. The difficult part to reach is the collar, but that is rather difficult to see in the mini. Averland Sunset as a base with Yriel Yellow layered on top. Provided your basecoat is smooth and strong (two thin coats, ect.) the Yriel Yellow shows up very easily in subsequent layers.
And that is the coatee done! Honestly, the tunics would be much nicer to paint, but this has come out quite nicely. Here’s a final shot, complete with Lloyd shot!
Next up we’ll do the tartan, because if I finish much more of the mini it’ll be even worse to paint… Wish me luck!


![StarCraft Tabletop Miniatures Game Pre-Orders Live Now [Updated]](https://images.beastsofwar.com/2026/03/starcraft-tmg-news-cover-600-338.jpg)


