


![Perfect Historical Wargame Objectives! Victrix Treasures & More Reviewed [7 Days Early Access]](https://images.beastsofwar.com/2026/02/unboxing-victrix-treasures_-chests-_-market-stalls-coverimage-225-127.jpg)


Crazyredcoat’s Crazy Compendium of Collected Creativity


Recommendations: 1479
About the Project
Come one, come all! See the most vaguely inconsistent extravaganza that no one really thinks about but if they did they'd be mildly misanthropic about it! Slow off the heels of my last adventure comes a tale so confusing that it's not even remotely tail-like. Here I will avail you all of the many experiments and miniatures I manage to paint over the coming times, or at least some of them. Time is funny like that... Either way, stay tuned for various projects that don't fit into any one larger project like my last foray into this sort of thing. Oh, and watch out for Spiny Norman.
Related Game: Warhammer Age of Sigmar
Related Genre: General
Related Contest: Spring Clean Hobby Challenge (Old)
This Project is Completed
"Catelyn would sooner Lord Umber had seen fit to stay sober, but telling the Greatjon not to drink was like telling him not to breathe for a few hours."
It seems fitting to me that the next model I work on is Greatjon Umber who is a character I have always enjoyed. The quote in the title alone is a good enough reason for me, but also being almost 6’6″ myself he is something of a fun chap that I’d enjoy getting drunk under the table with.
 He's a really nice mini, too, which makes it even better!
This time round, I have made sure that I have caught as many mould lines as can be found and while the plastic used in these minis is not the same as a GW mini, I find that the tools work well enough, though make sure, like the Boltons, that your blades are sharp! There was also a happy accident that will make painting just that little bit easier, too!
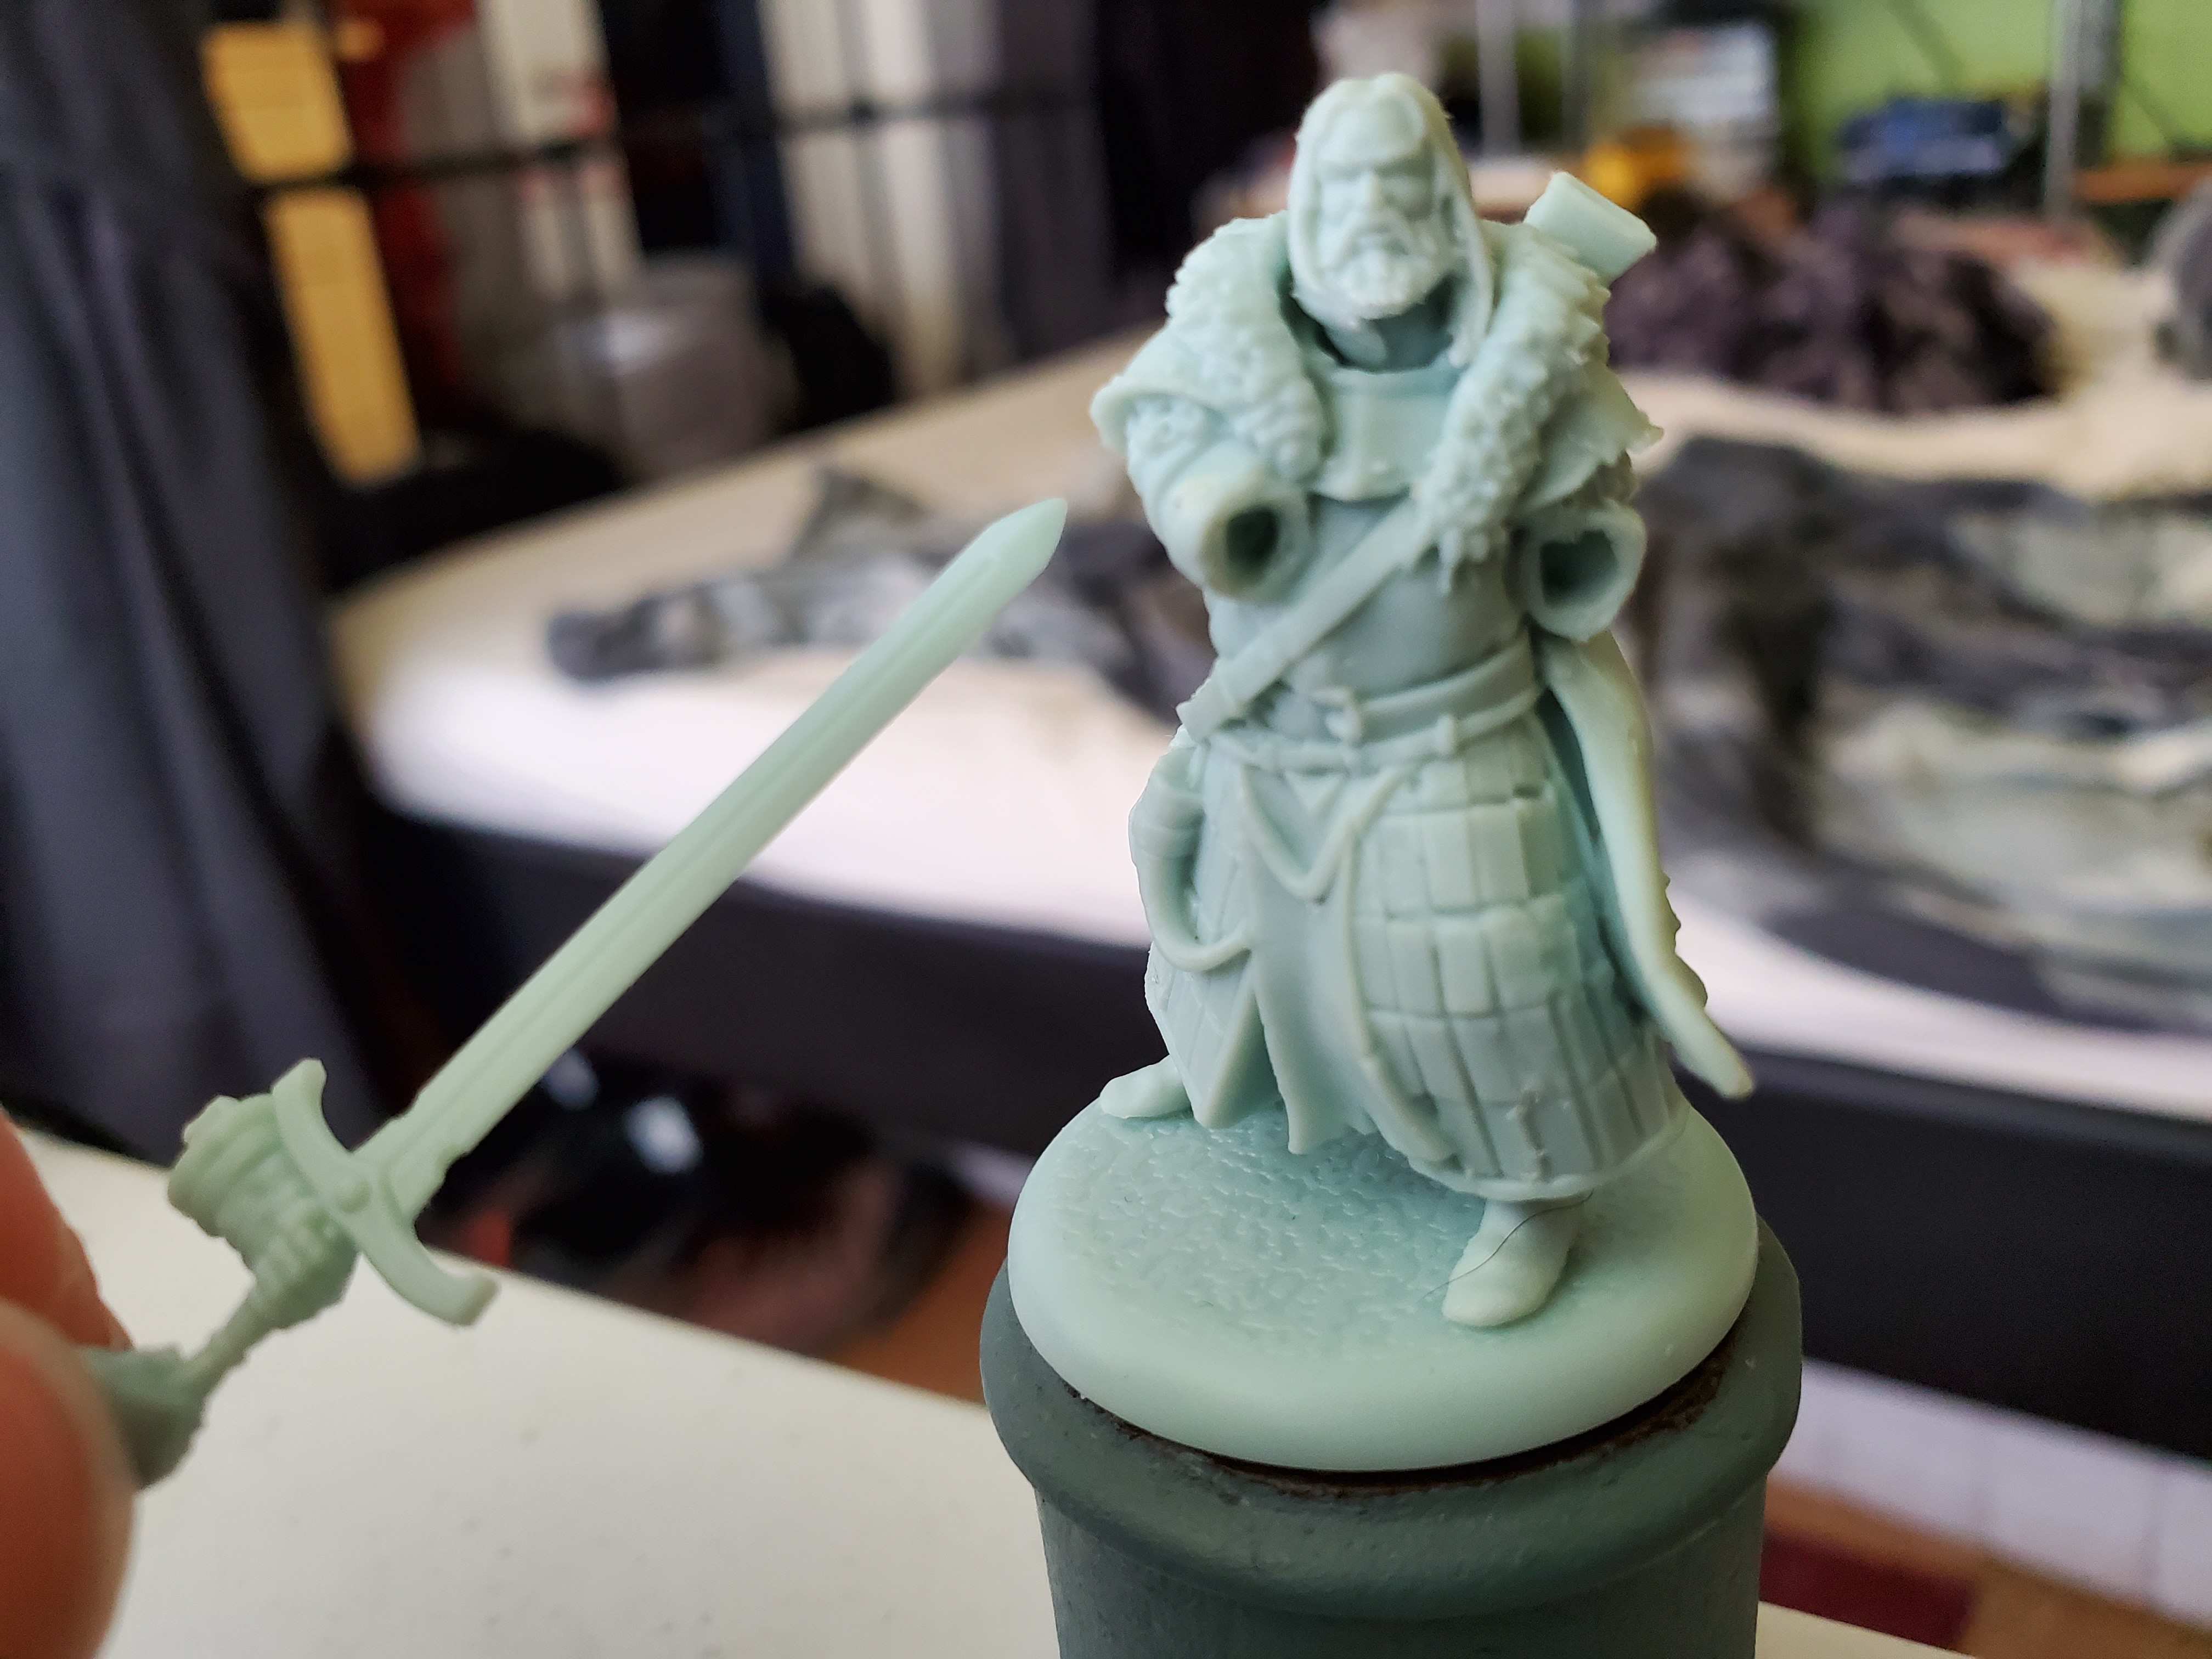 Accidental sub assembly! These minis are supposed to be single piece, but I'm guessing the insane heat during delivery just knocked this a bit loose.
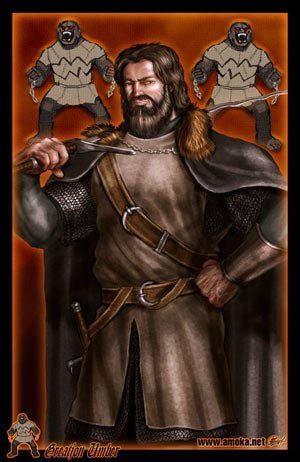
Obviously, this chap will be very similar to the other Umbers I’ve done, but there are a few details that I have decided to make stand out. First off, the bear pelt over the shoulders is going to be either a black or brown bear just to make my Mors Umber look a bit special, still, and the hair colour will have a bit more work to it than the basic berserkers, just to help him look more ‘special’. I pulled a reference picture from the Wiki of Ice and Fire page for the Greatjon just to have some inspiration for the hair, but we will see what I come up with in the end. I could even try basing it off our own Gerry’s hair colour…who knows?
As the vast majority of this mini will be repeats of previous ‘tutorials’, I probs won’t bother too much with going through every step, but once he’s finished we can move on to something else other than Umbers! Perhaps some Starks, or maybe a Lannister or Clegane…how mysterious of me…NOT!
"You shall have one task and one task only, Merrett, but I believe you are well suited to it. I want you to see to it that Greatjon Umber is so bloody drunk that he can hardly stand, let alone fight."
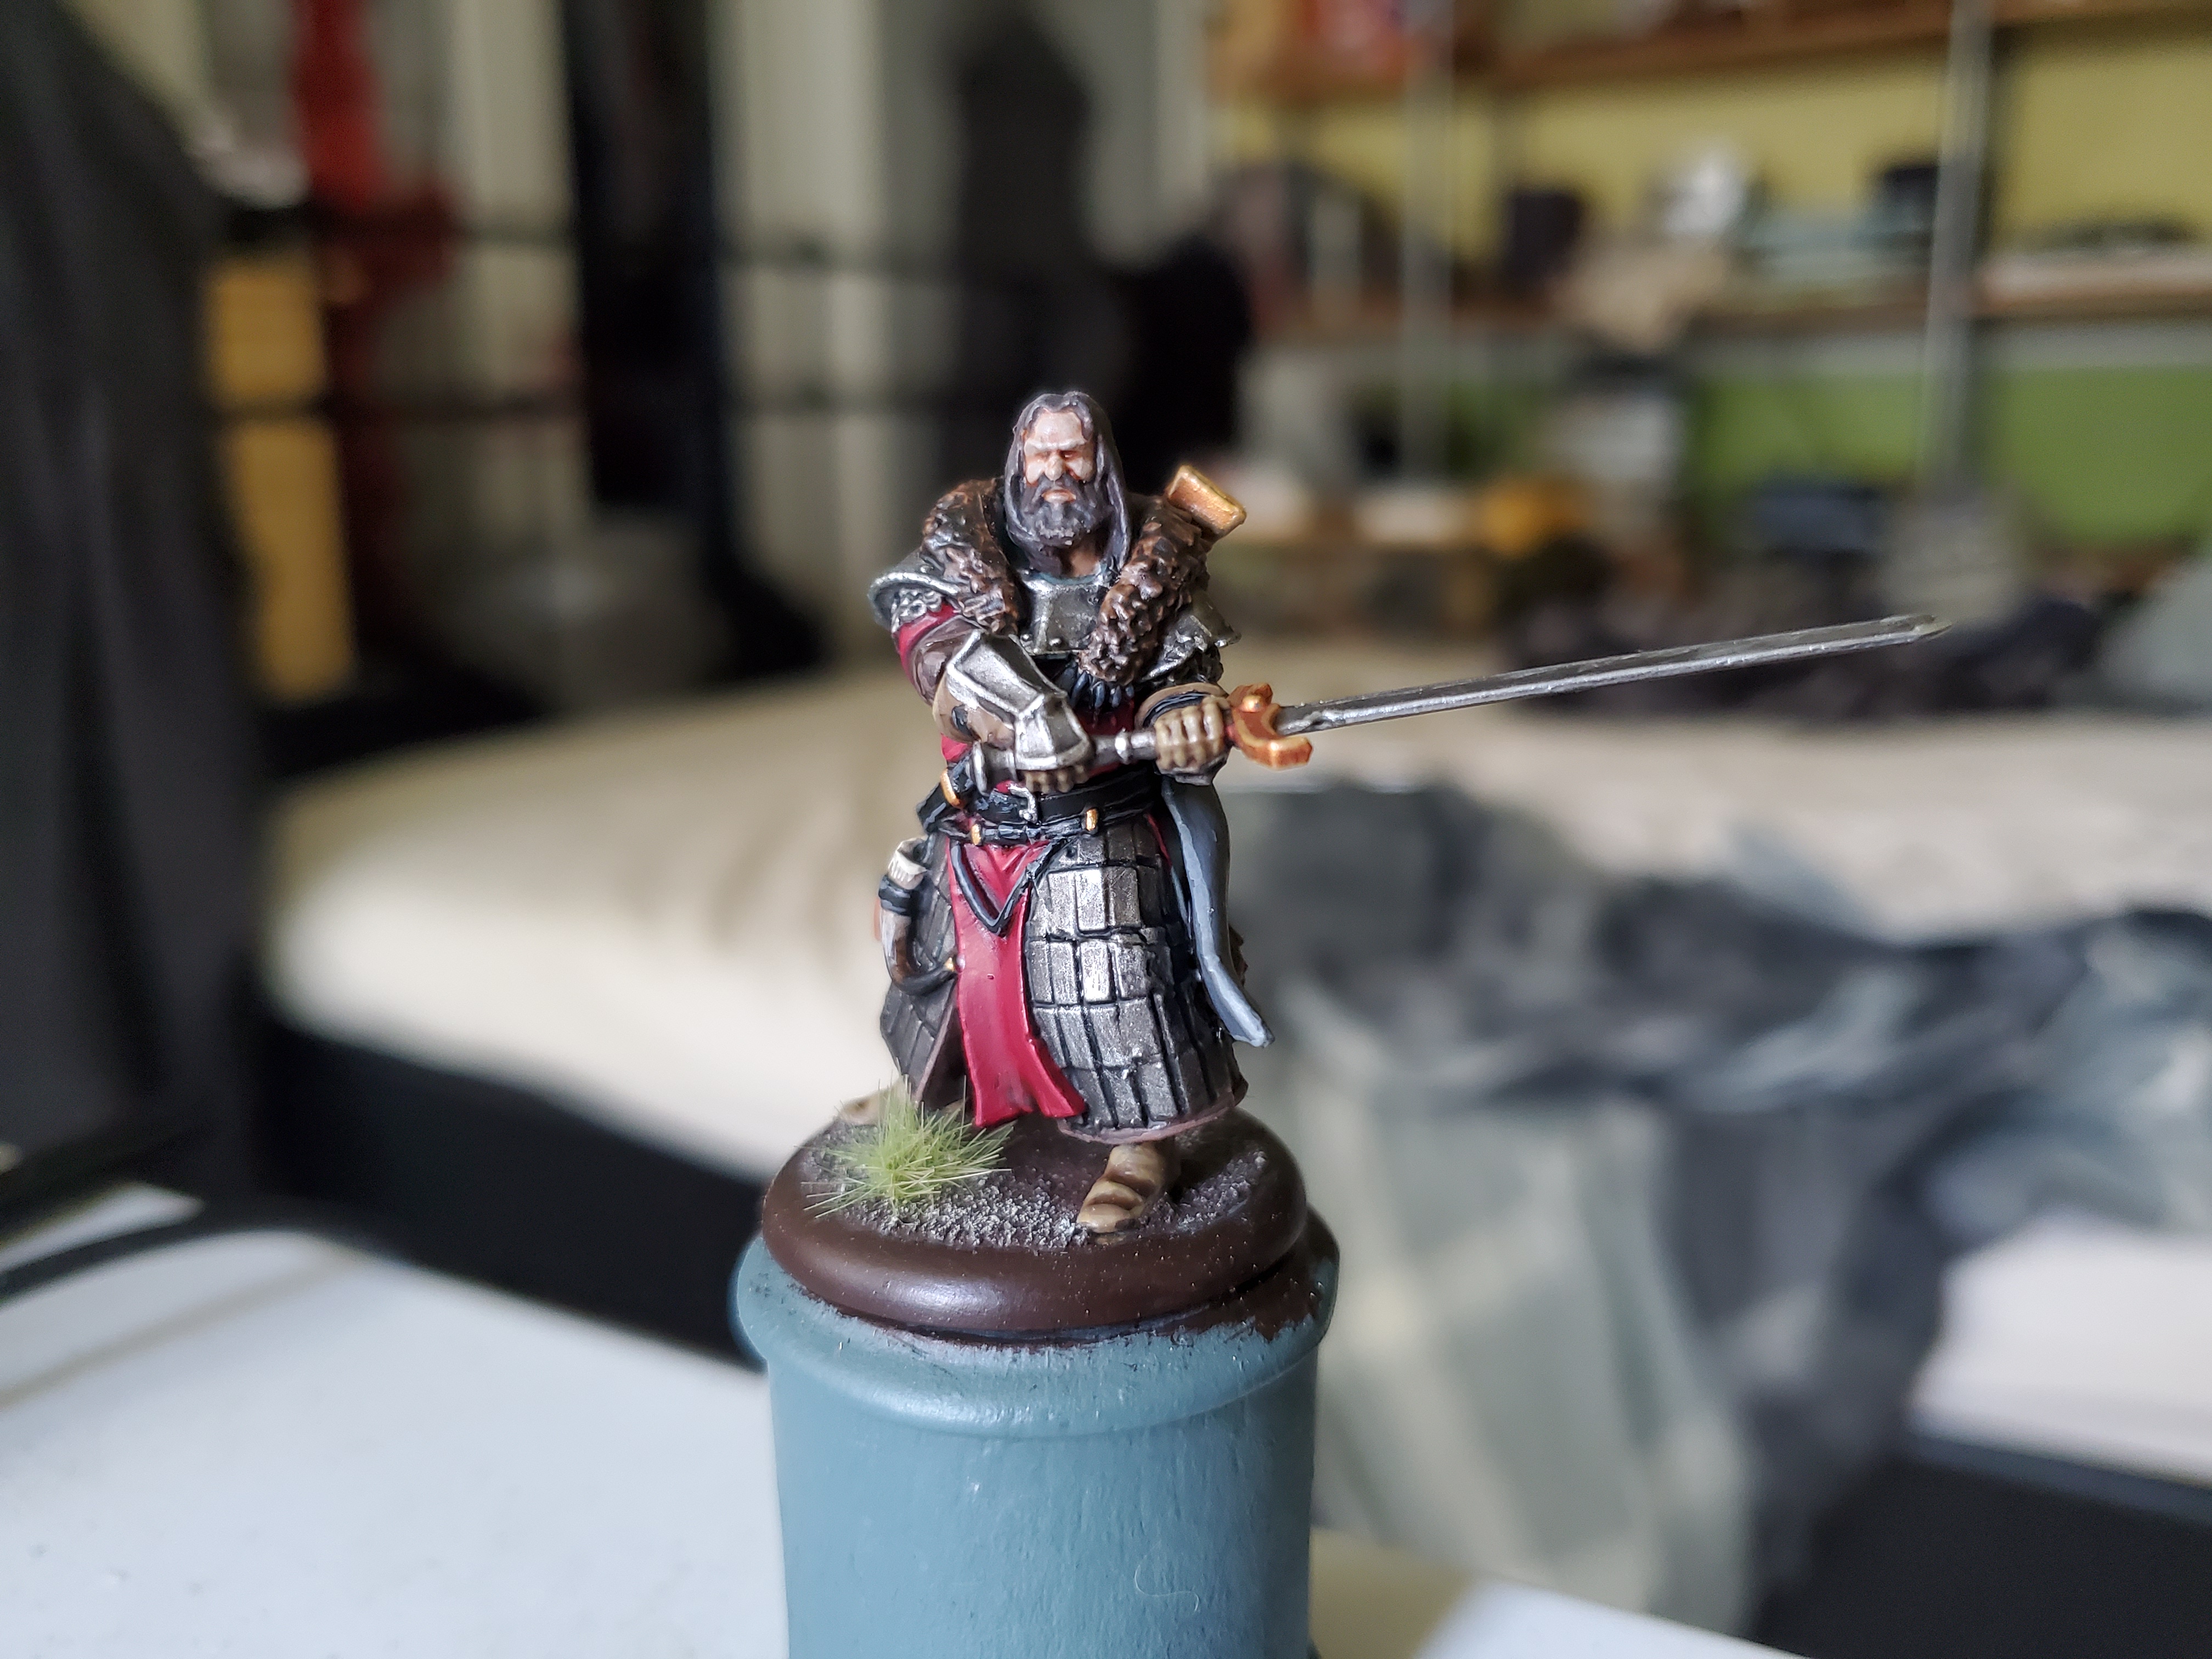
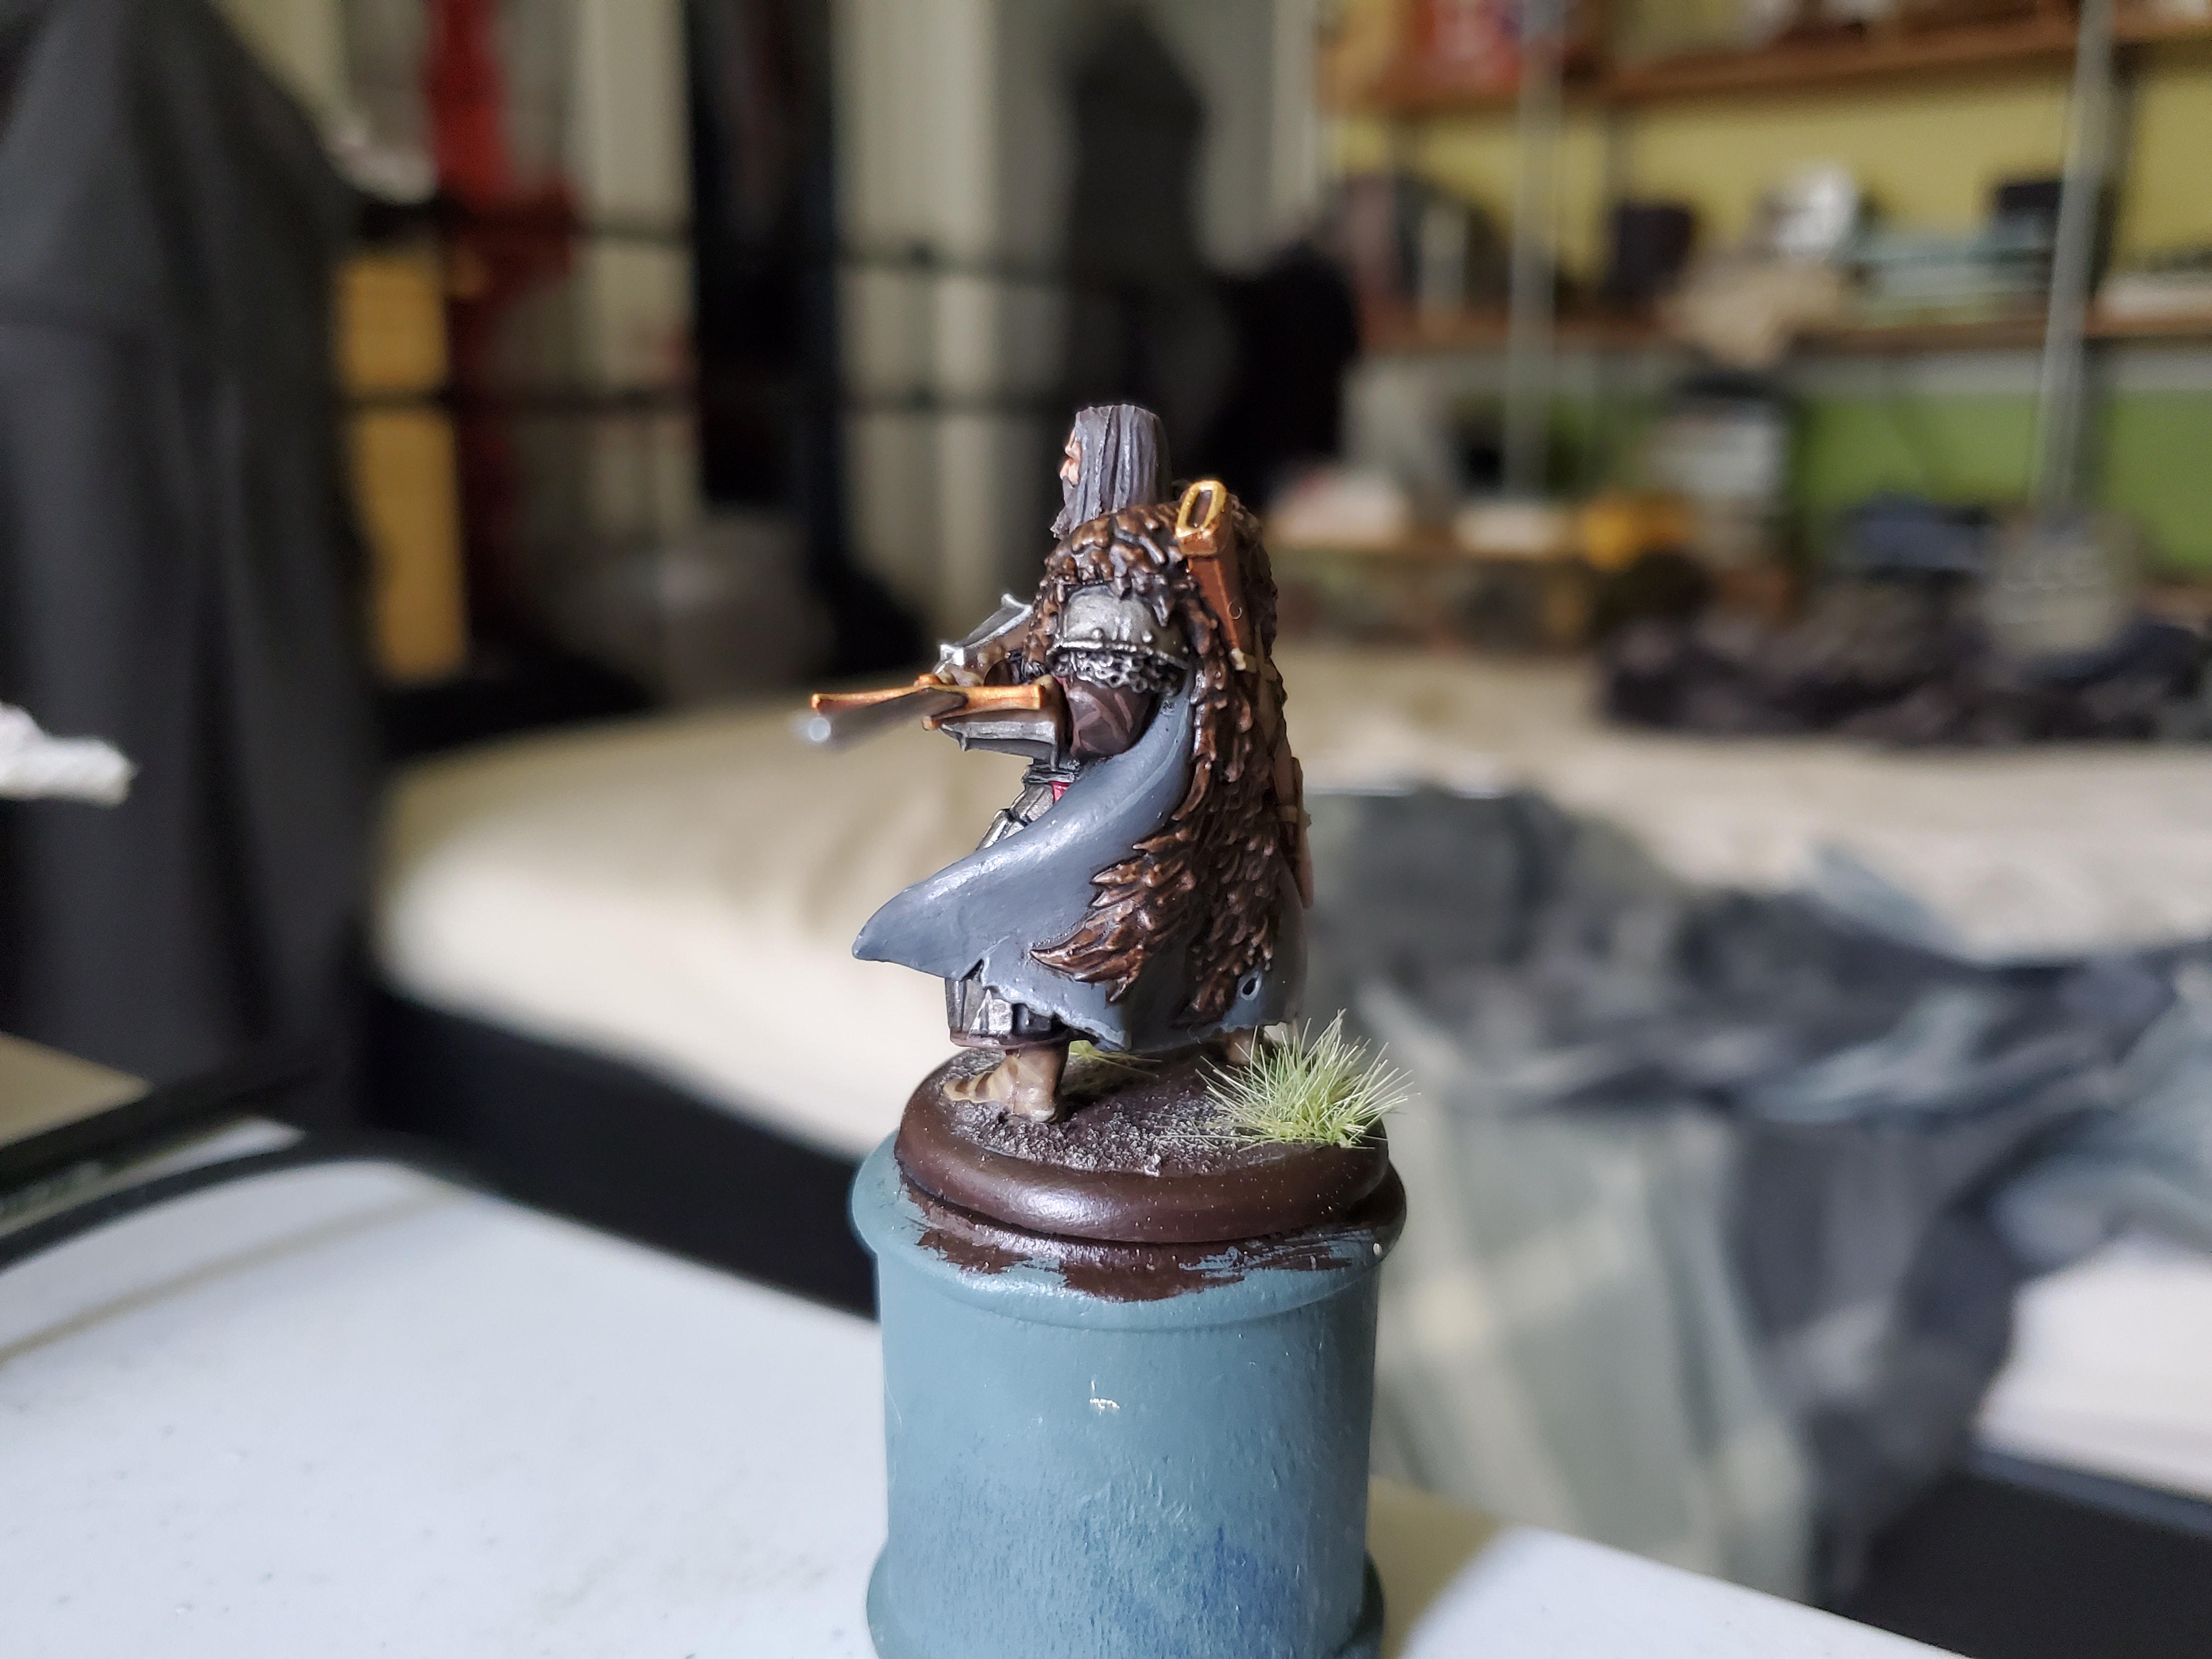
The Greatjon is finished! Like I said before, he was done using pretty much the same techniques as the other Umbers with a couple of differences. The main one is the higher amount of gold dotted around the mini, as he is a Lord of an ancient house of the First Men, so a bit more bling goes nicely. Another notable, but small, extra was the horn hanging off of his belt that I did with some simple ideas that I had. First thing there was a coat of Rakarth Flesh, which was then shaded with Agrax Earthshade. After that I did a thin coat of Wyldwood Contrast from the mouthpiece to just over half way up, then added another thin coat of Black Templar Contrast finishing a bit further down. After that I did some highlights of Screaming Skull that I dragged down the length of the horn in line motions. Last but not least was the hair. I wanted to show a slightly greying look like in some of the artwork of the Greatjon so I started with a base of Dryad Bark, then picked out some strands with Mechanicus Standard Grey. After that I shaded with Nuln Oil and drybrushed some Gorthor Brown across the hair and did a VERY light drybrush with Screaming skull gently across the top of the hair, but you barely notice that.
And that is all my Umbers done! I haven’t decided on what’s next, yet, but I may doing either Tyrion Lannister or start on some of my Starks, we’ll have to see.
"All dwarfs are bastards in their father's eyes."
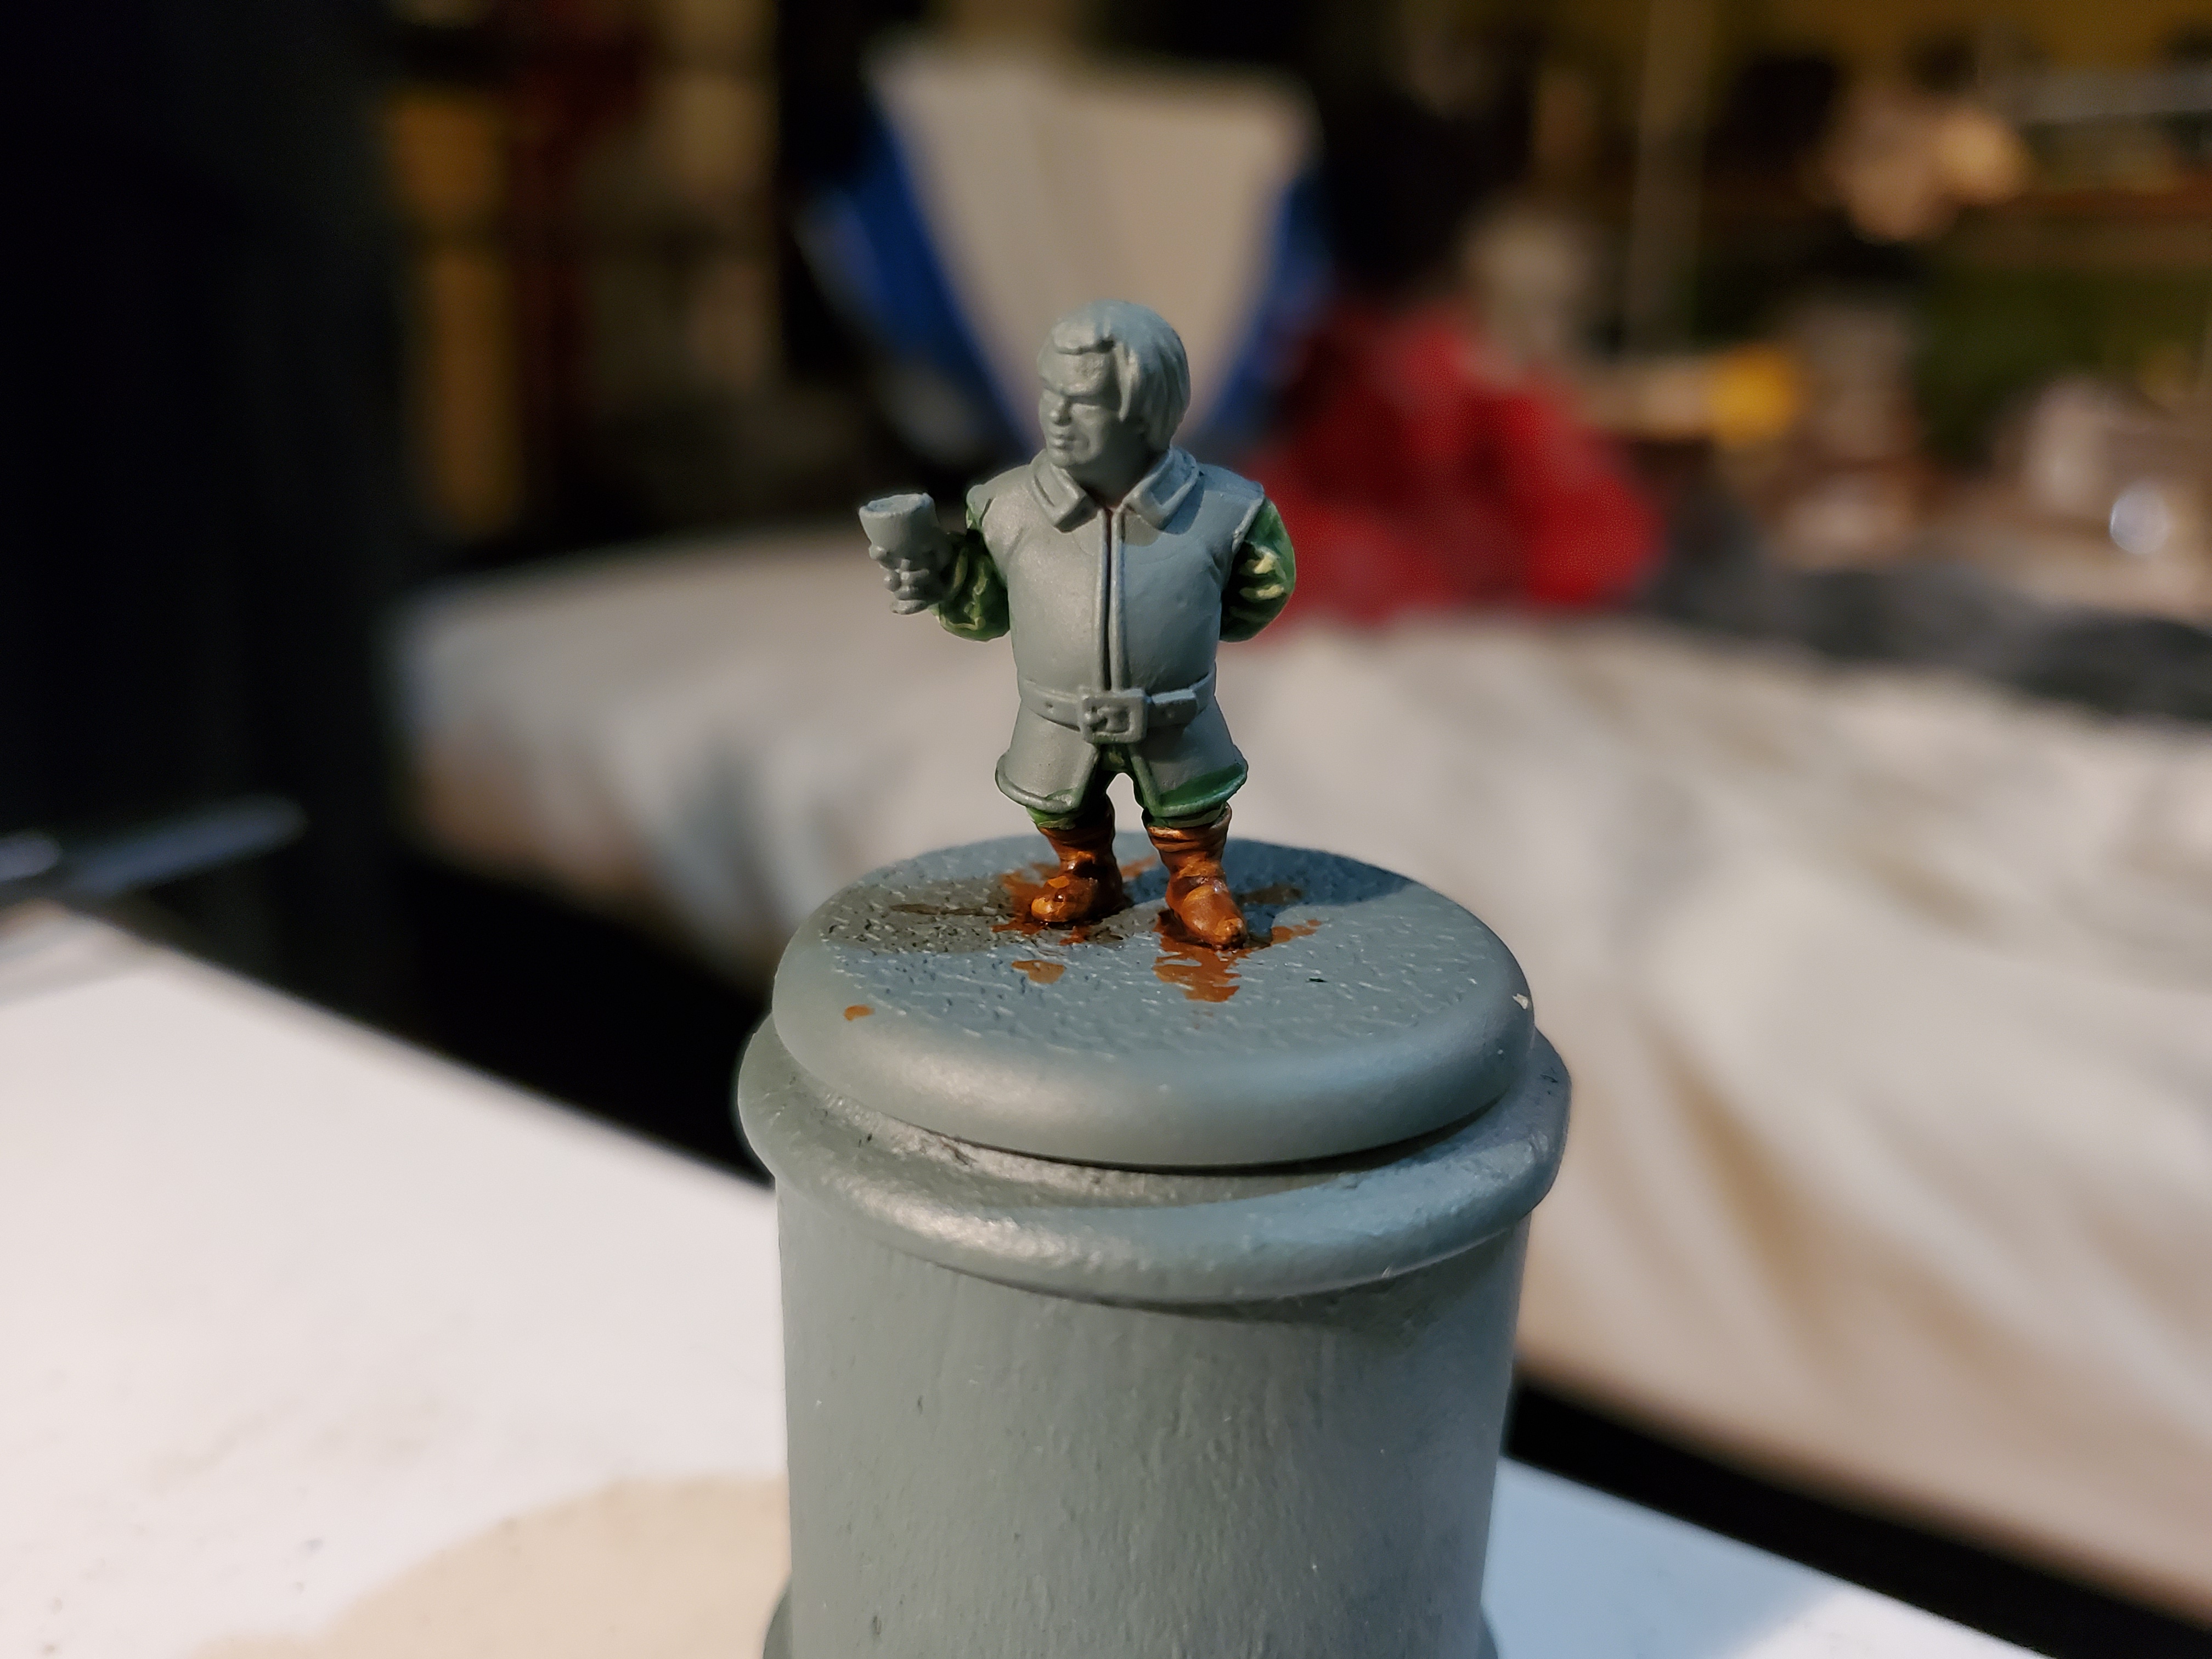
So while I’m waiting for the weather here to cool down (not the European heat wave, but probably the one you lot will get soon), I thought I’d make a short post about my next project; Tyrion Lannister.
 The 'Giant of Lannister' himself!
What I’m hoping for with Tyrion is to give him that Lannister feel much more so than I did with Cersei. Rather than have him just look like a noble at court, I plan to use some nice reds and golds to really play into the colours, though the hair will be done in a similar way to Cersei (as will Jaime when I get to him) though I may not make the skin as ‘clean’ as Cersei just because he is supposed to be ugly even before someone cut off his nose.
 This is the sort of thing I plan to go for.
Once I can get the priming done, work can begin on the Heir to the Rock (seeing as Cersei is a woman and Jaime a Kingsguard, he is legally the heir to Tywin… 😛
This was a double post...ish...an't delete it so just ignore it.
If anyone sees this who can remove this post, please do.
"When you tear out a man’s tongue, you are not proving him a liar, you're only telling the world that you fear what he might say."
Another one down! Tyrion is finished! Purely because I have used many of the same schemes here as before, I did not take as many pictures of the process, but I have a few details of note to go through. Painting Tyrion was almost like painting my old Bilbo mini…though the boots are easier to paint than a hobbit’s hairy feet…
 In order to help tie Cersei into the force, as a whole, I decided to give Tyrion a shared colour and picked out his undershirt and trousers using the brighter greens I used when painting Cersei. The boots use the methods shown in the Umber posts using Mournfang Brown, Agrax Earthshade, and Skragg Brown.
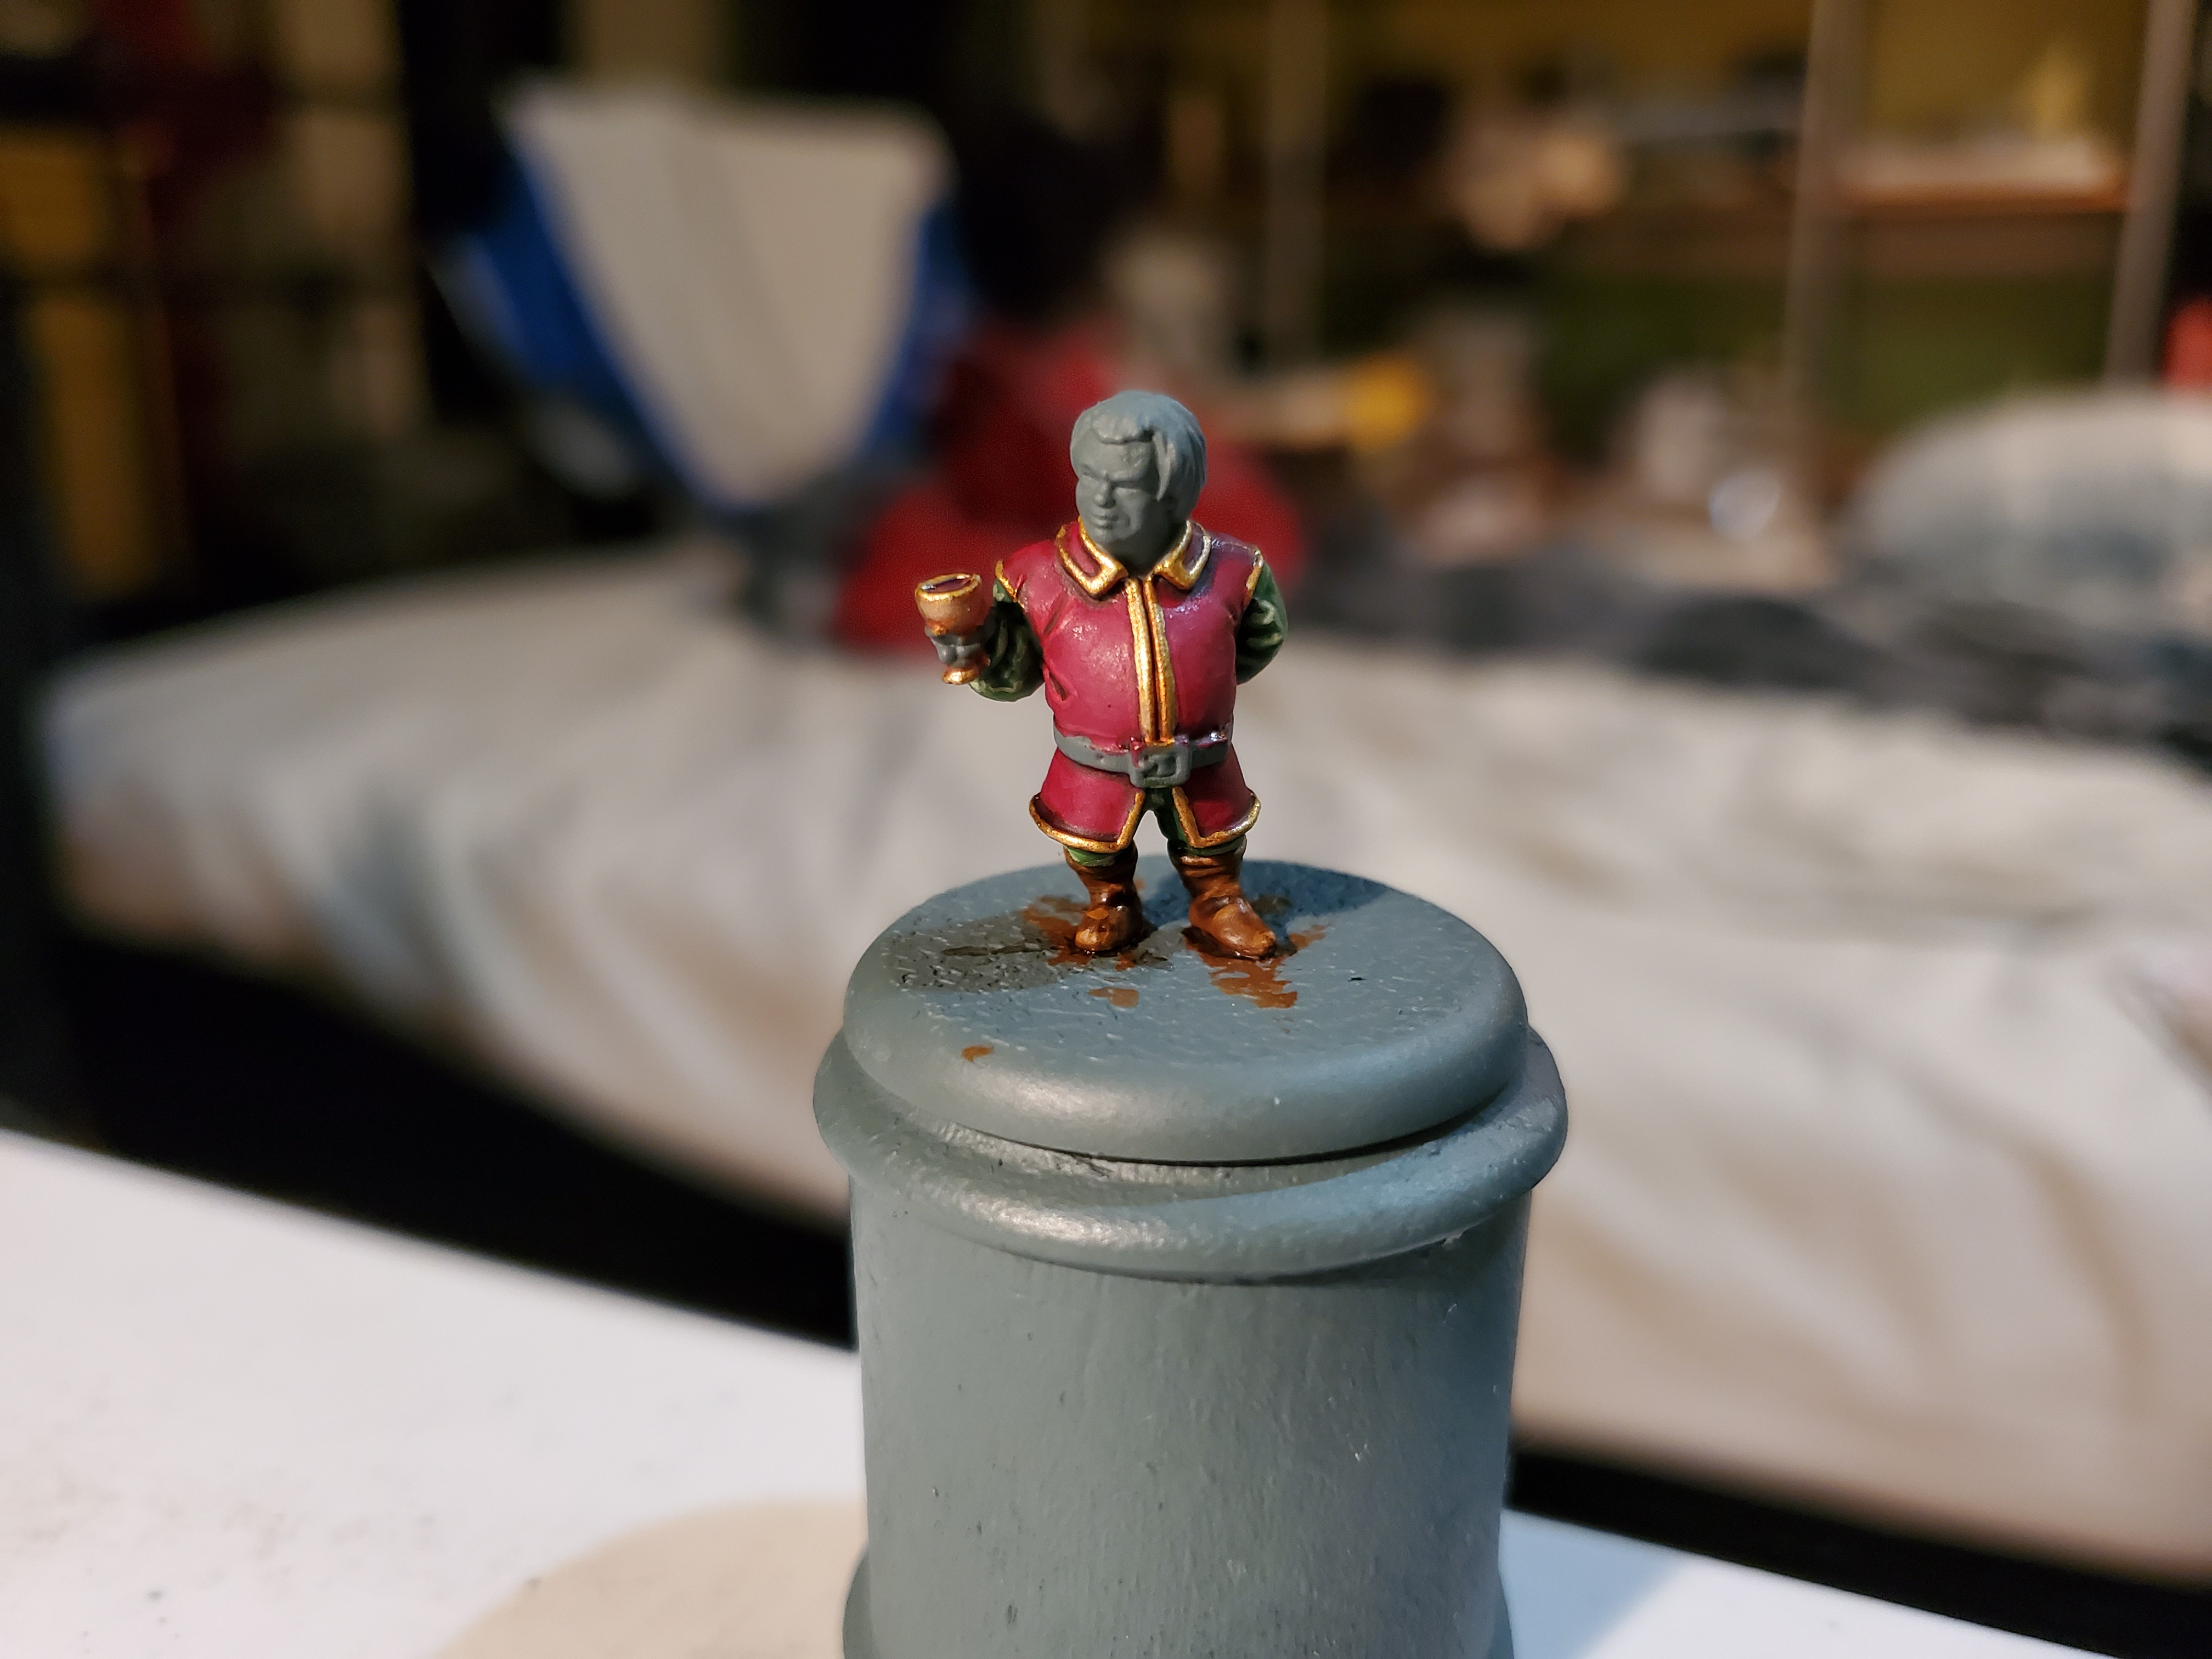 The jerkin was picked out using the same colours as the Umber Tabbards, but that's mainly because I love this tone of red. The methods were exactly the same as listed with the Umbers, though. The gold trim was a simple Retributor Gold with a shade of Reikland Fleshshade between the two lines on the breast and on the goblet, then a quick highlight of Liberator Gold.
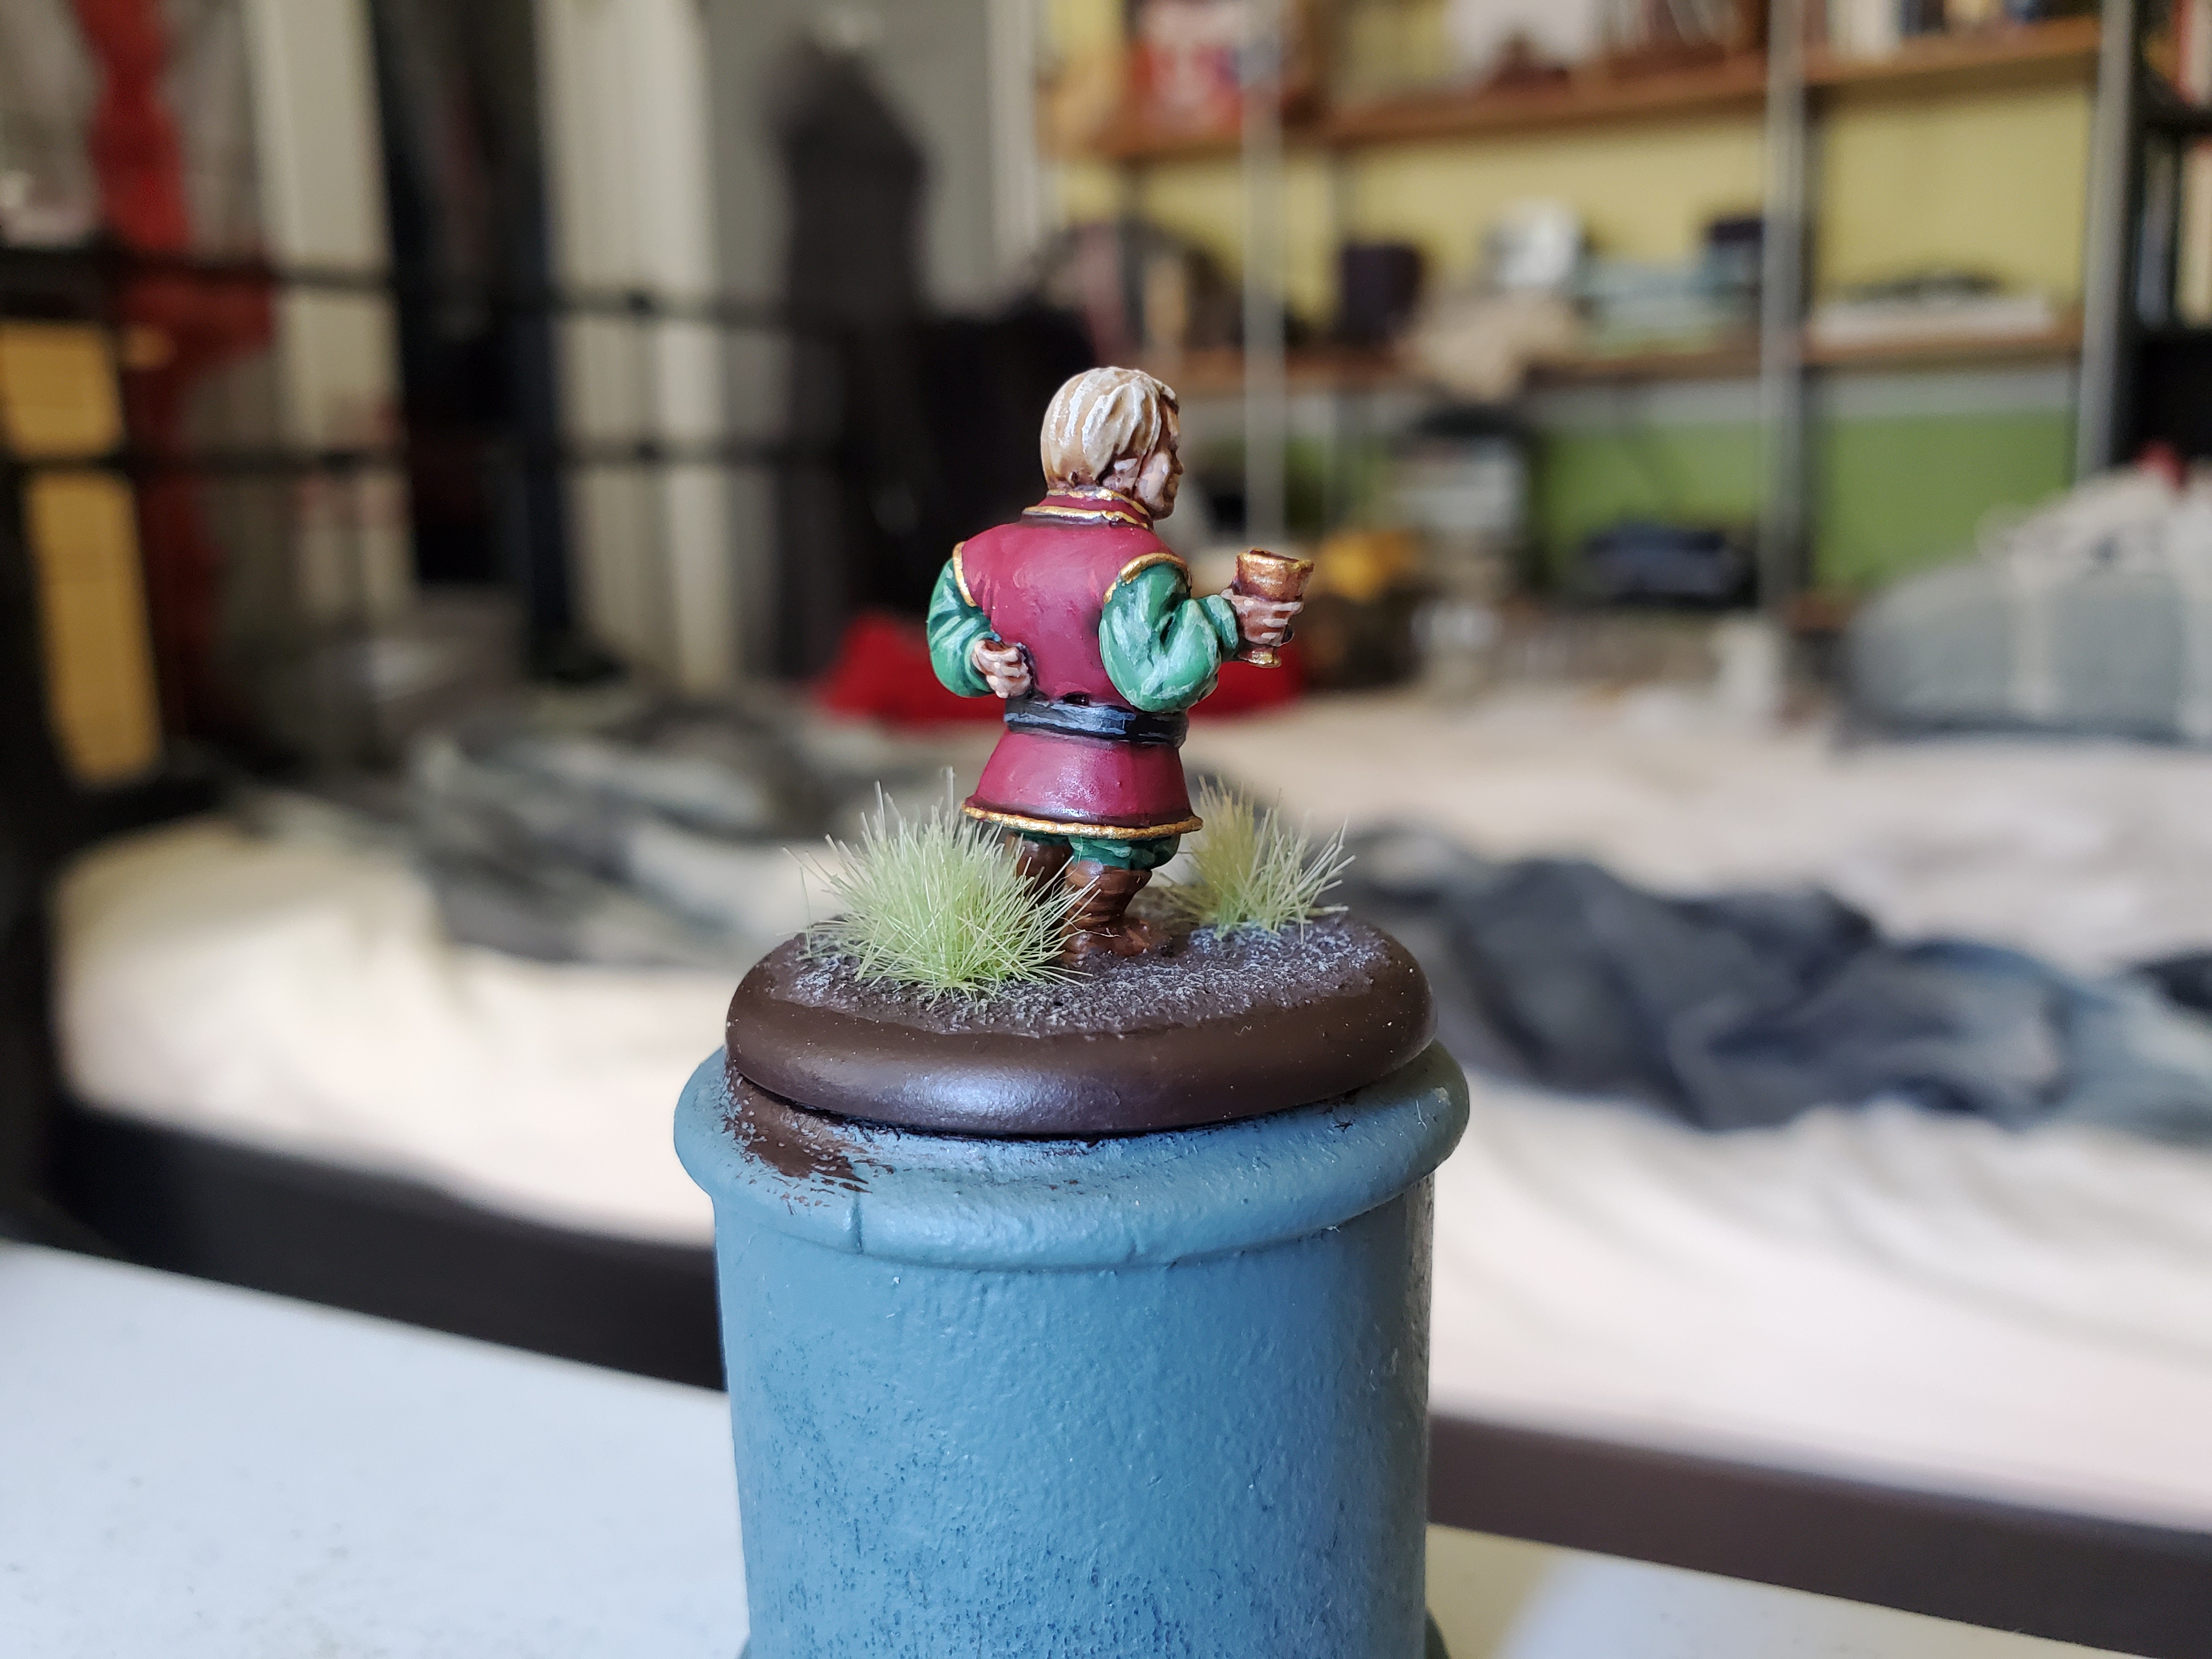
 The wine in the goblet was done with a base of Khorne Red followed by some broken circles of Wazdakka Red before being covered with a coat of Druchii Violet shade before having a thick-ish coat of 'Ardcoat Gloss Varnish put on top. I think it works out quite well for some fine Arbor Red.
 Then the other details were put on. The belt is the same as the Umbers, the hair the same as Cersei. The skin was originally going to just be the Contrast I used on the Umbers, but it dried a bit patchy for some reason, so I tidied it up a bit with Kislev Flesh and Palid Wych Flesh. The ring on his finger was also picked out with Soulstone Blue gem paint, just to give it that little bling. Then based as the others and we're good to go.
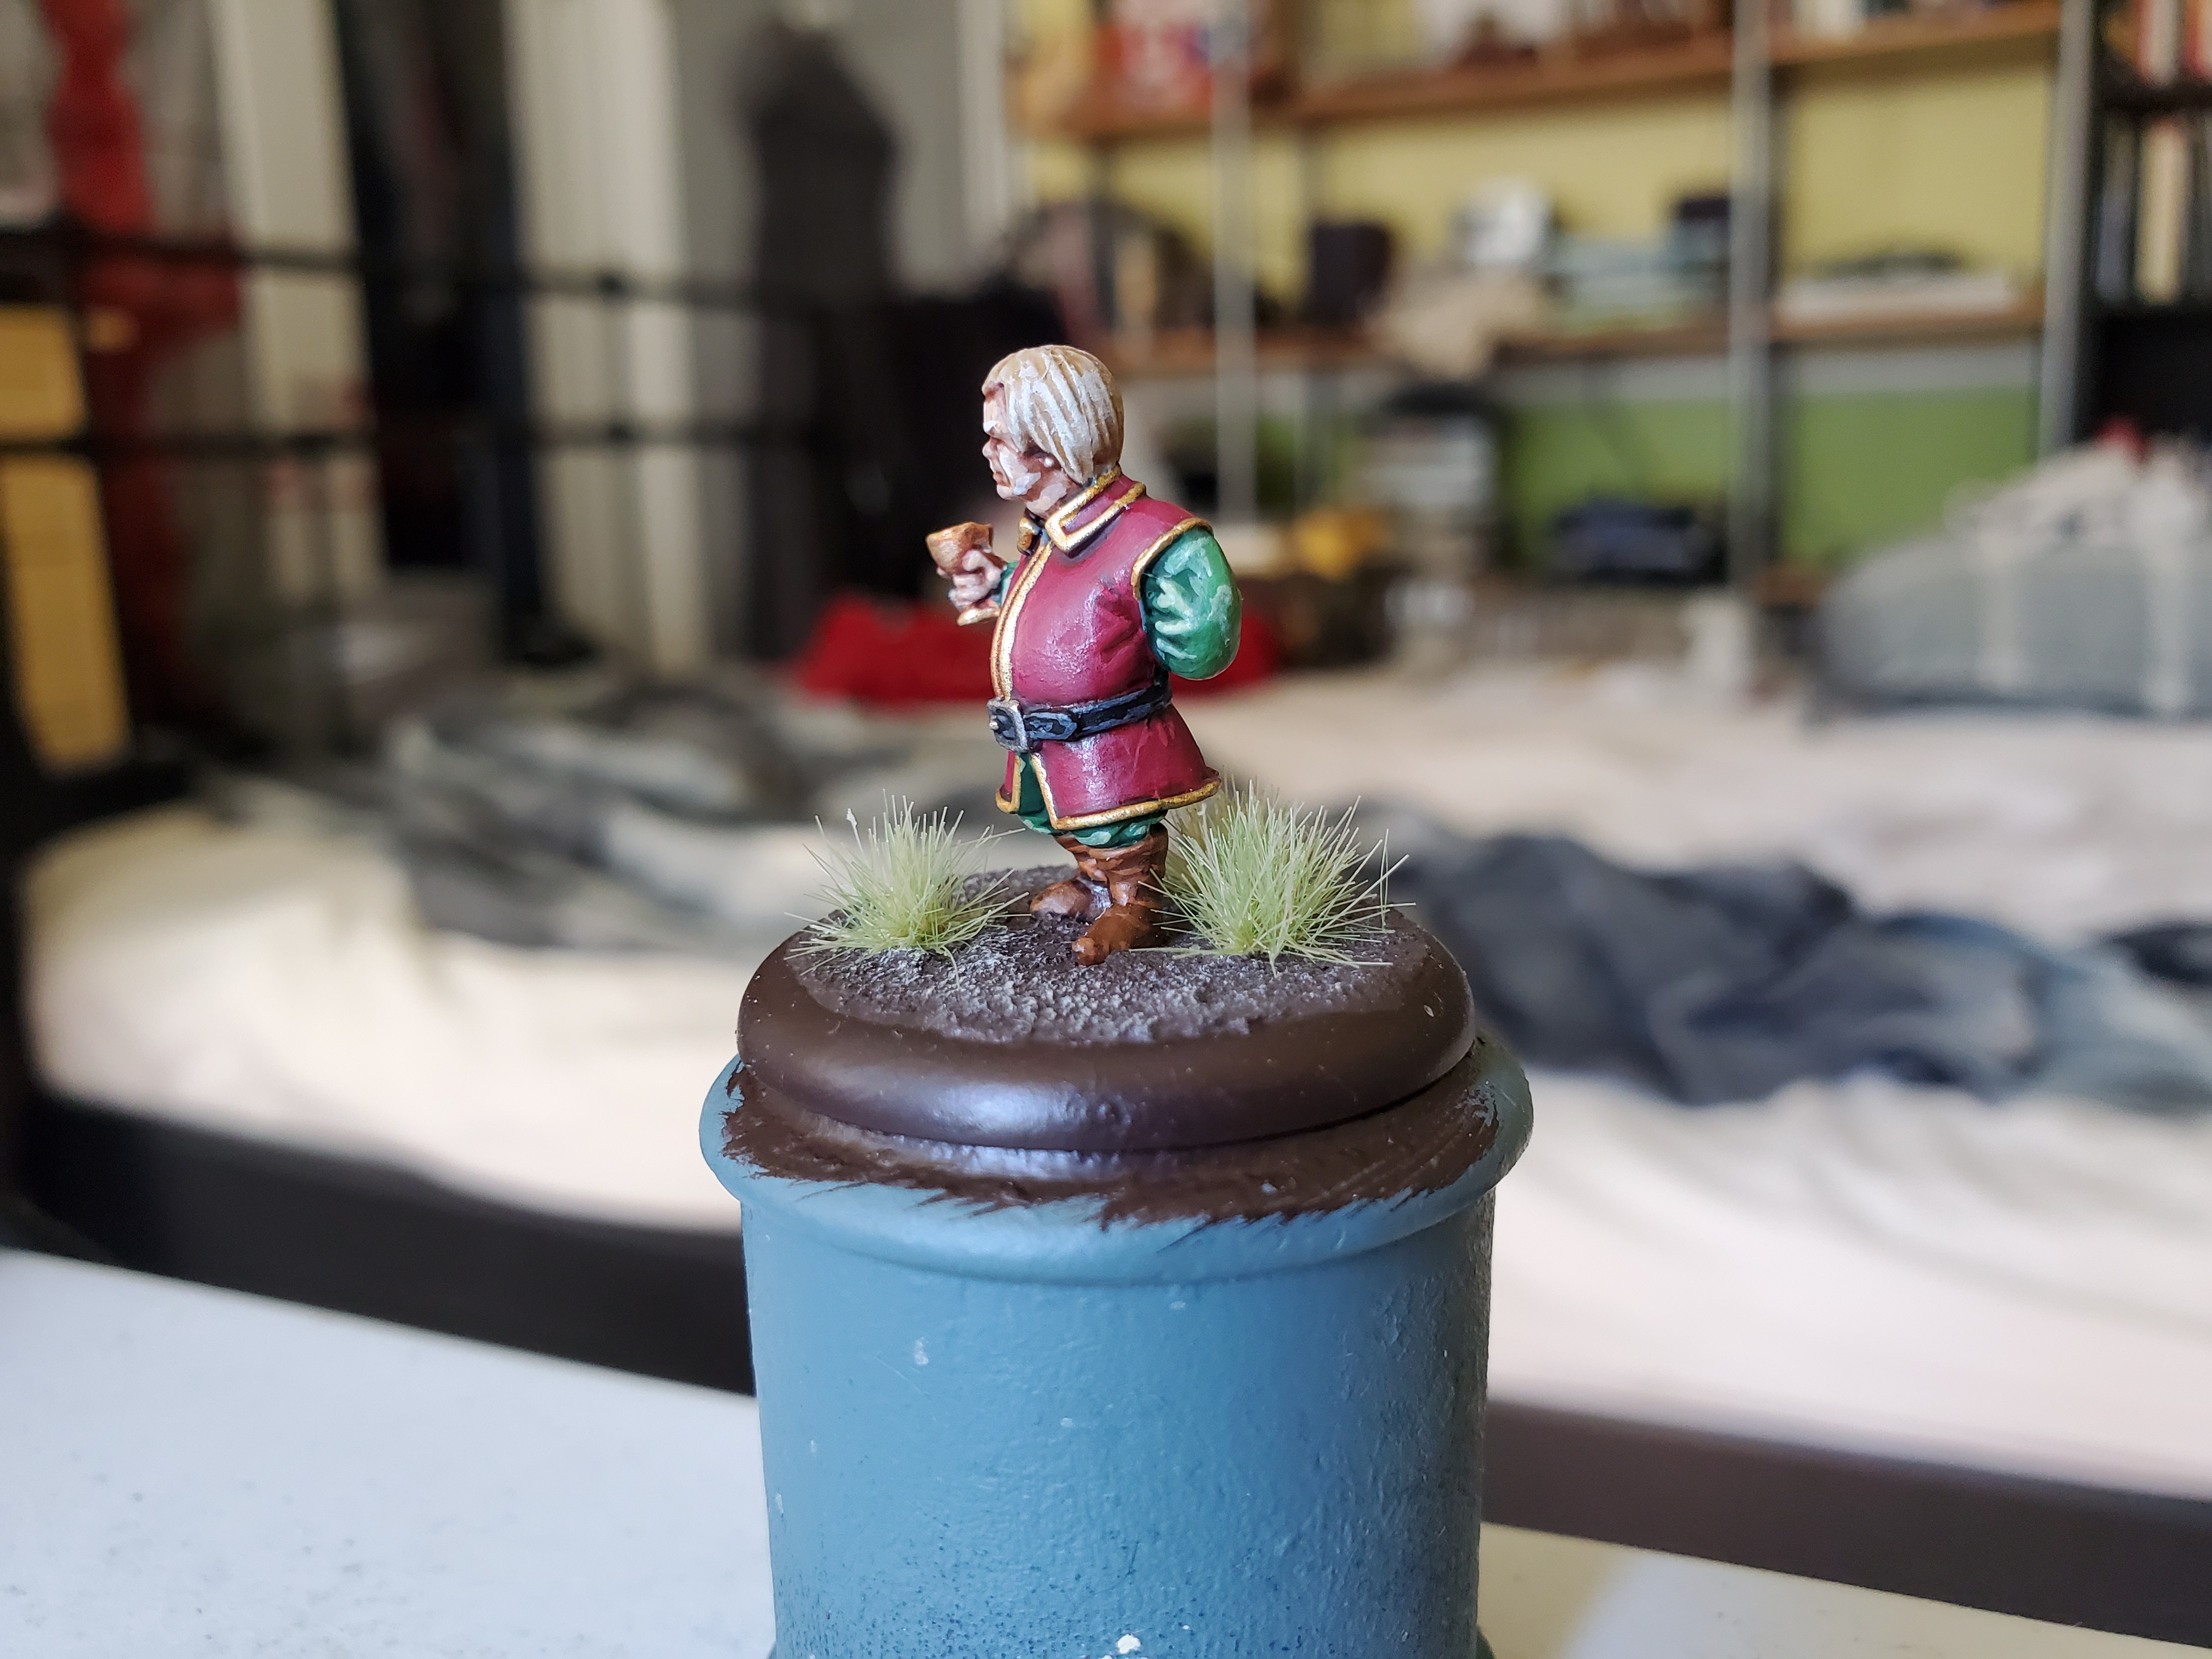
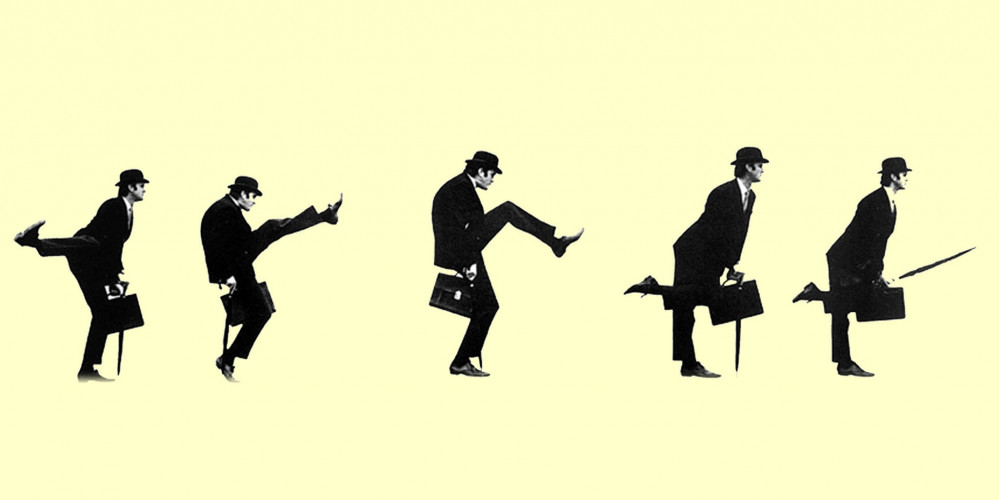
 And a Gerry Shot! This took me way too long to actually get this out of focus... Way too long...
Next up will be Robb Stark, the Young Wolf! Expect a research post relatively soon where we will discus what colour white actually is!
"There sits the only king I mean to bow my knee to, m’lords. The King in the North!"
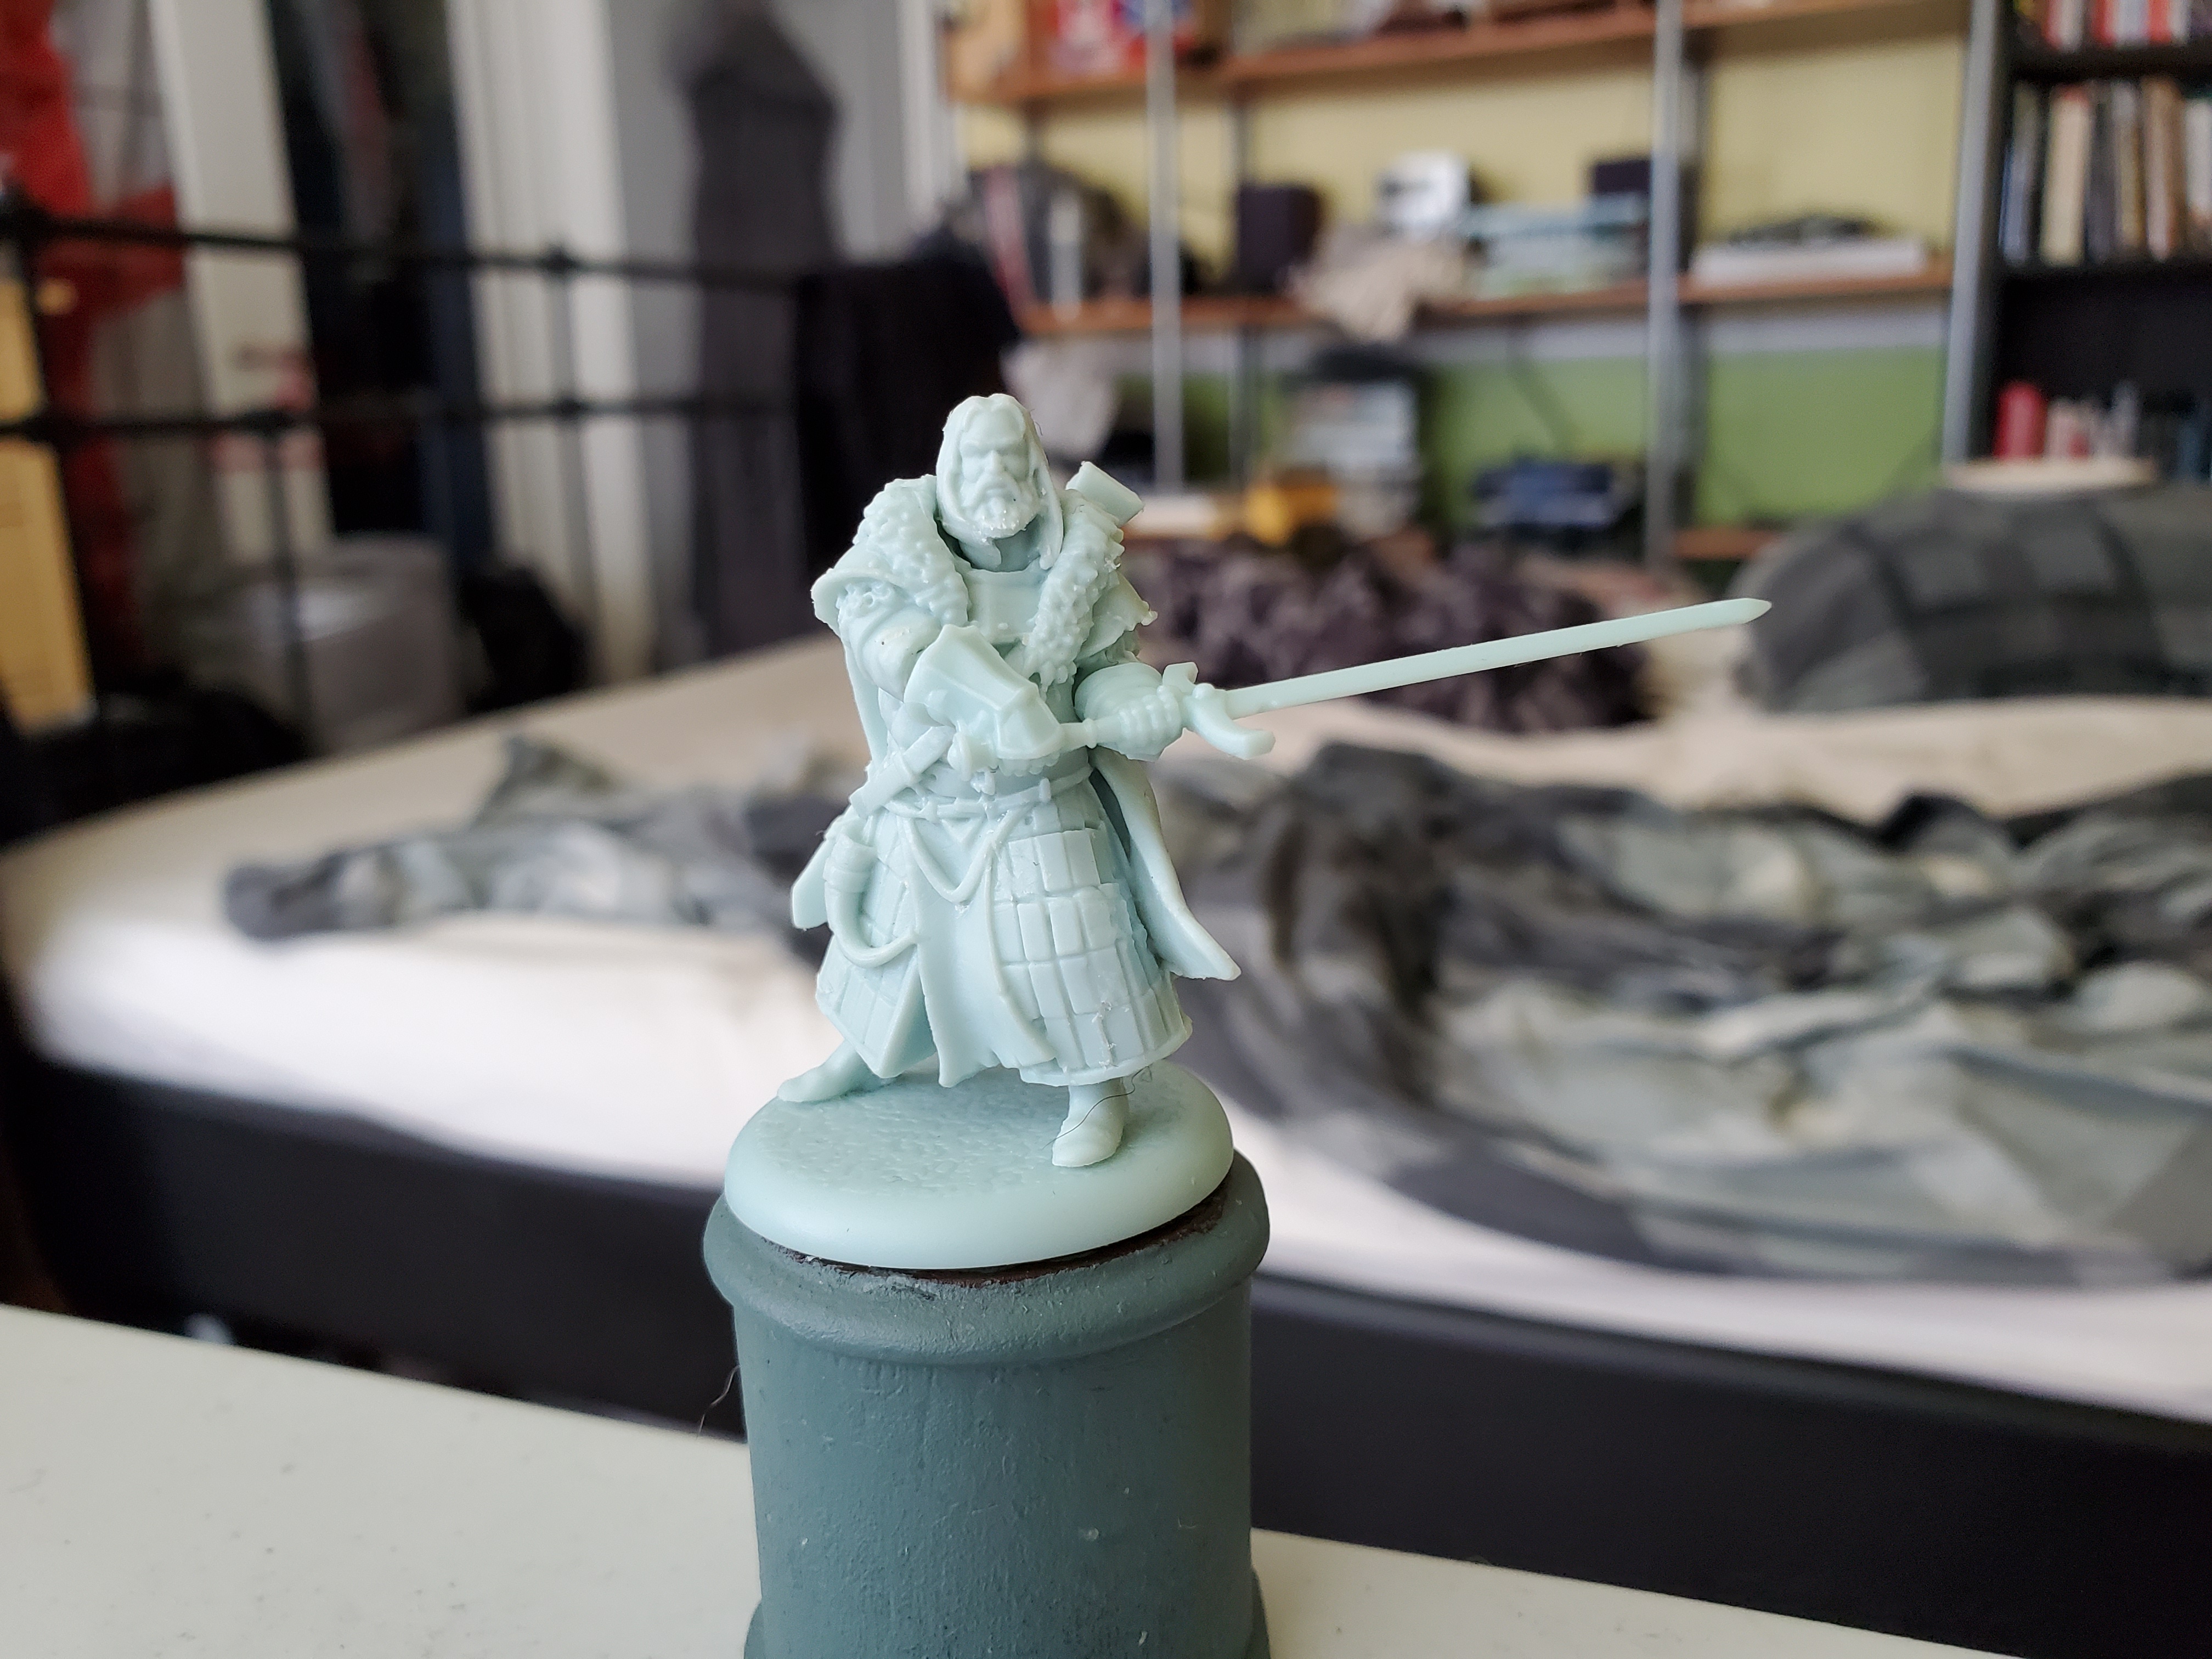
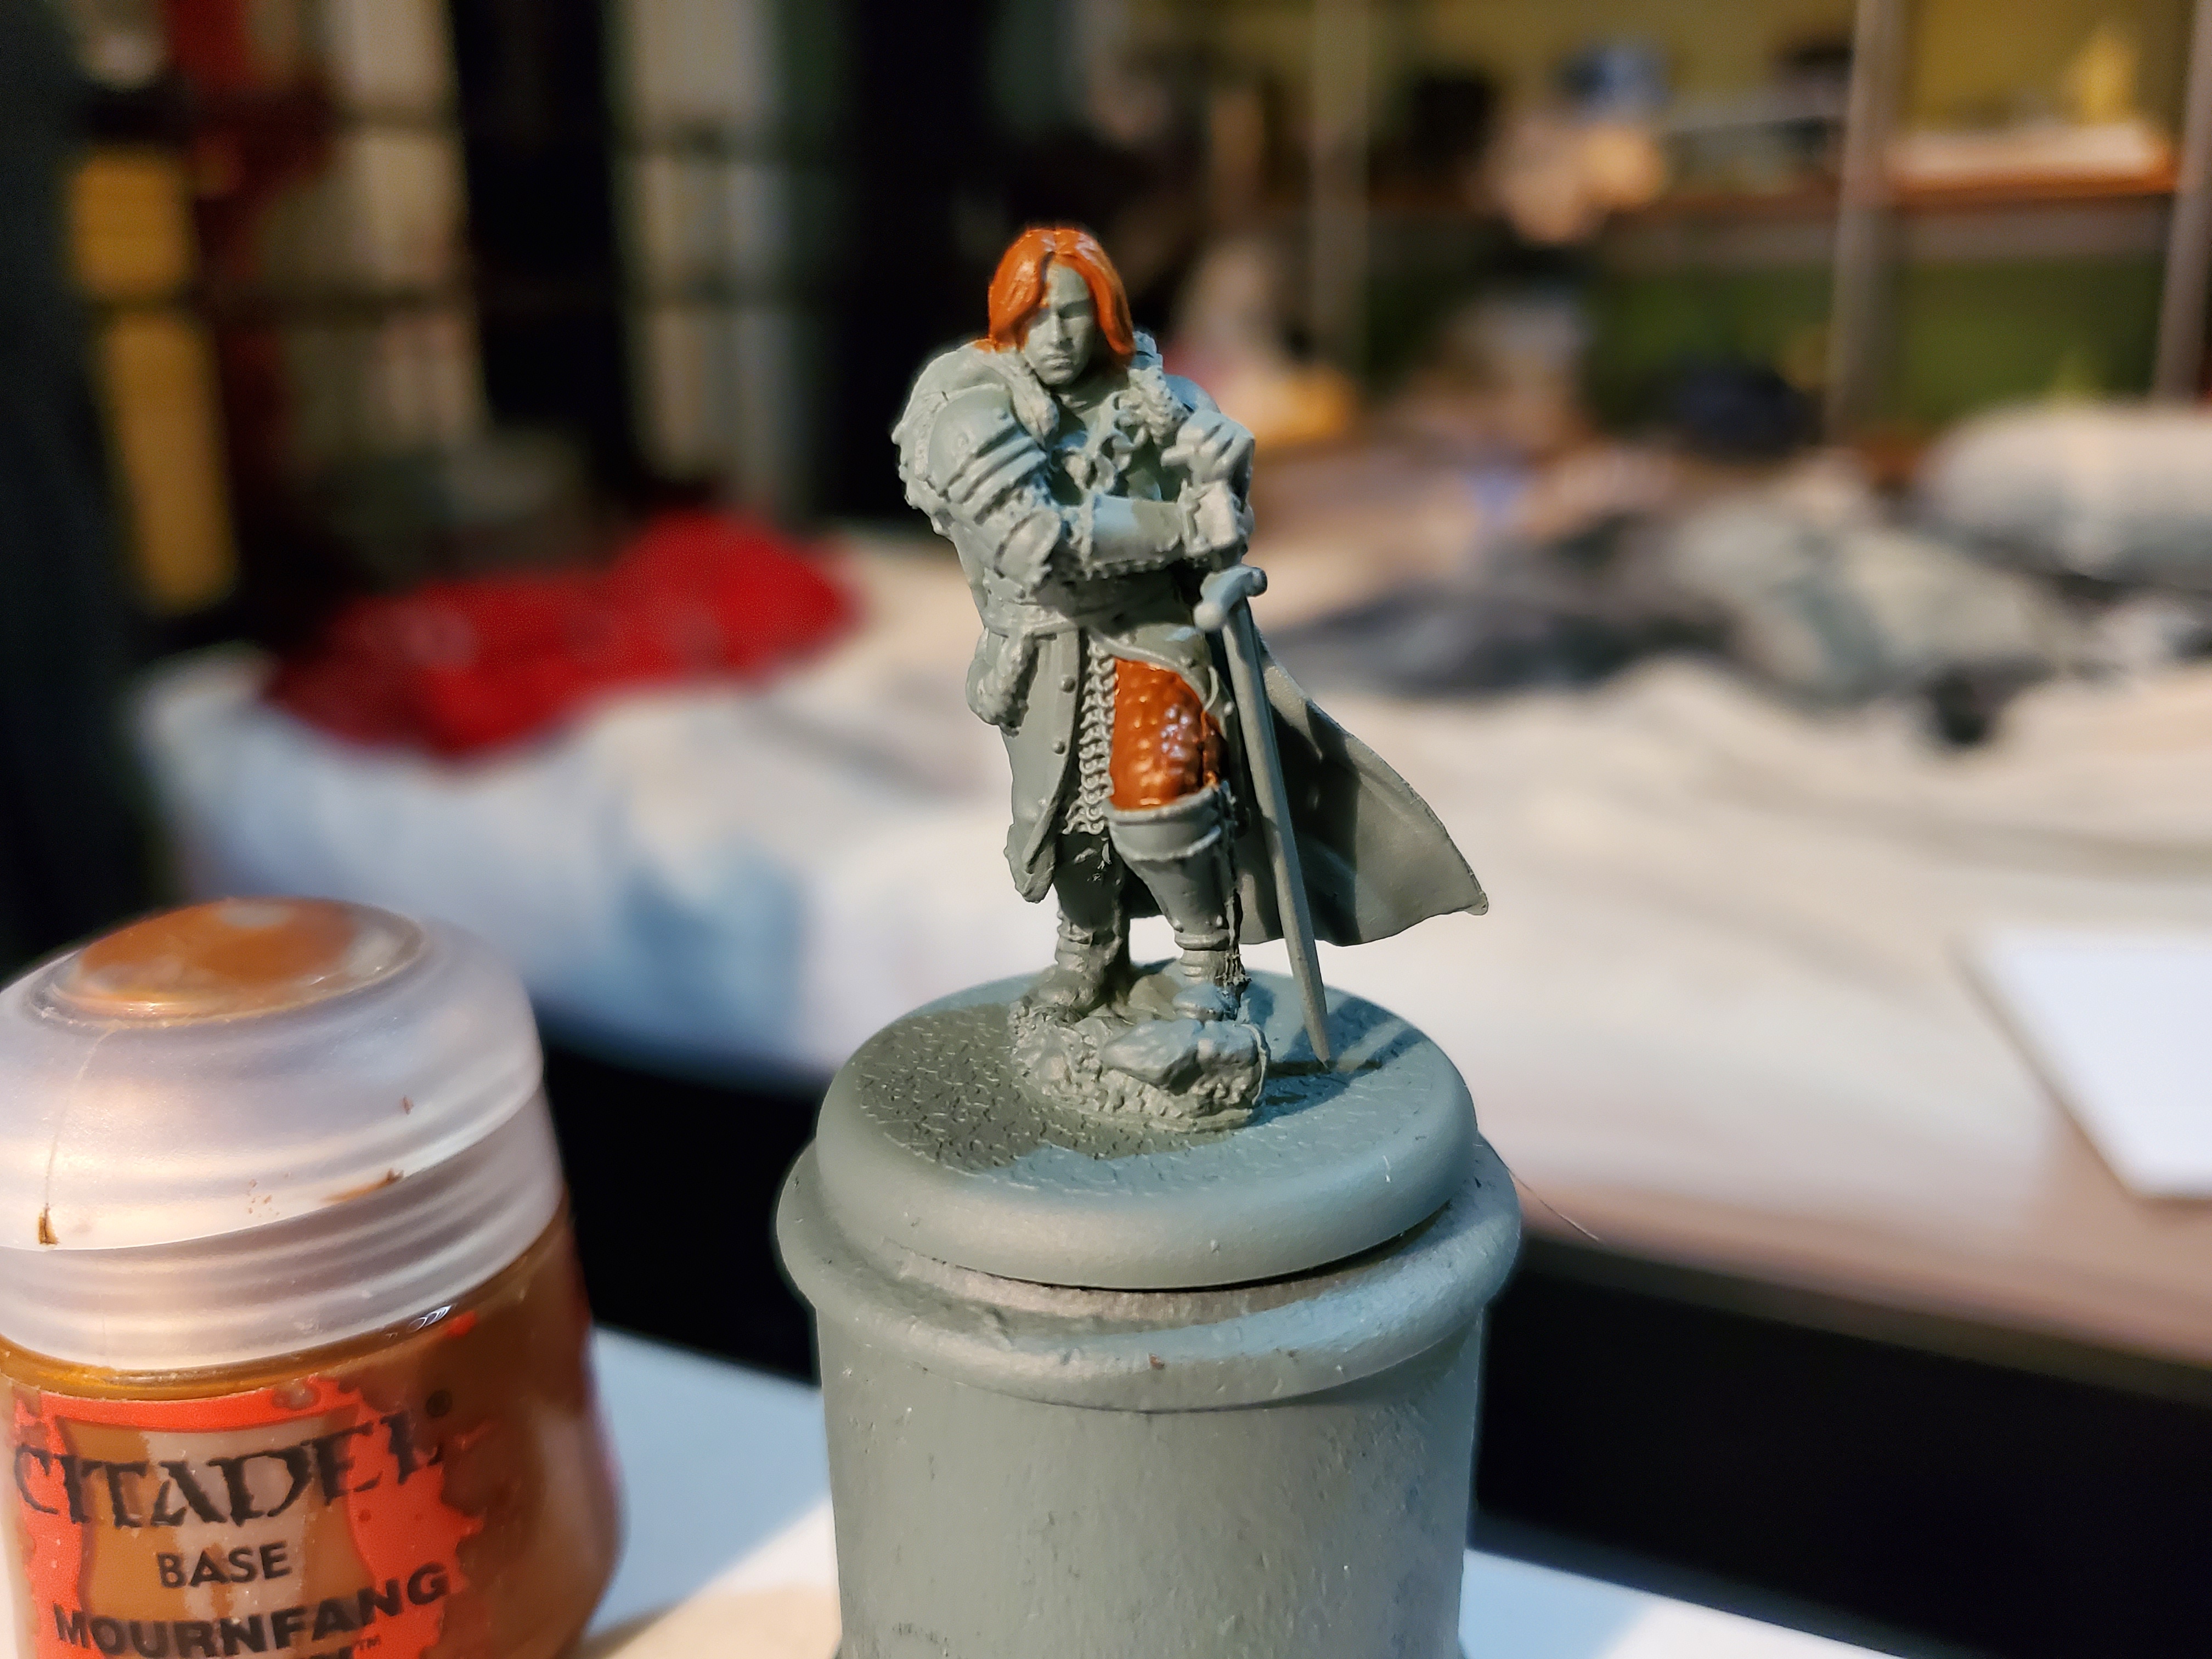
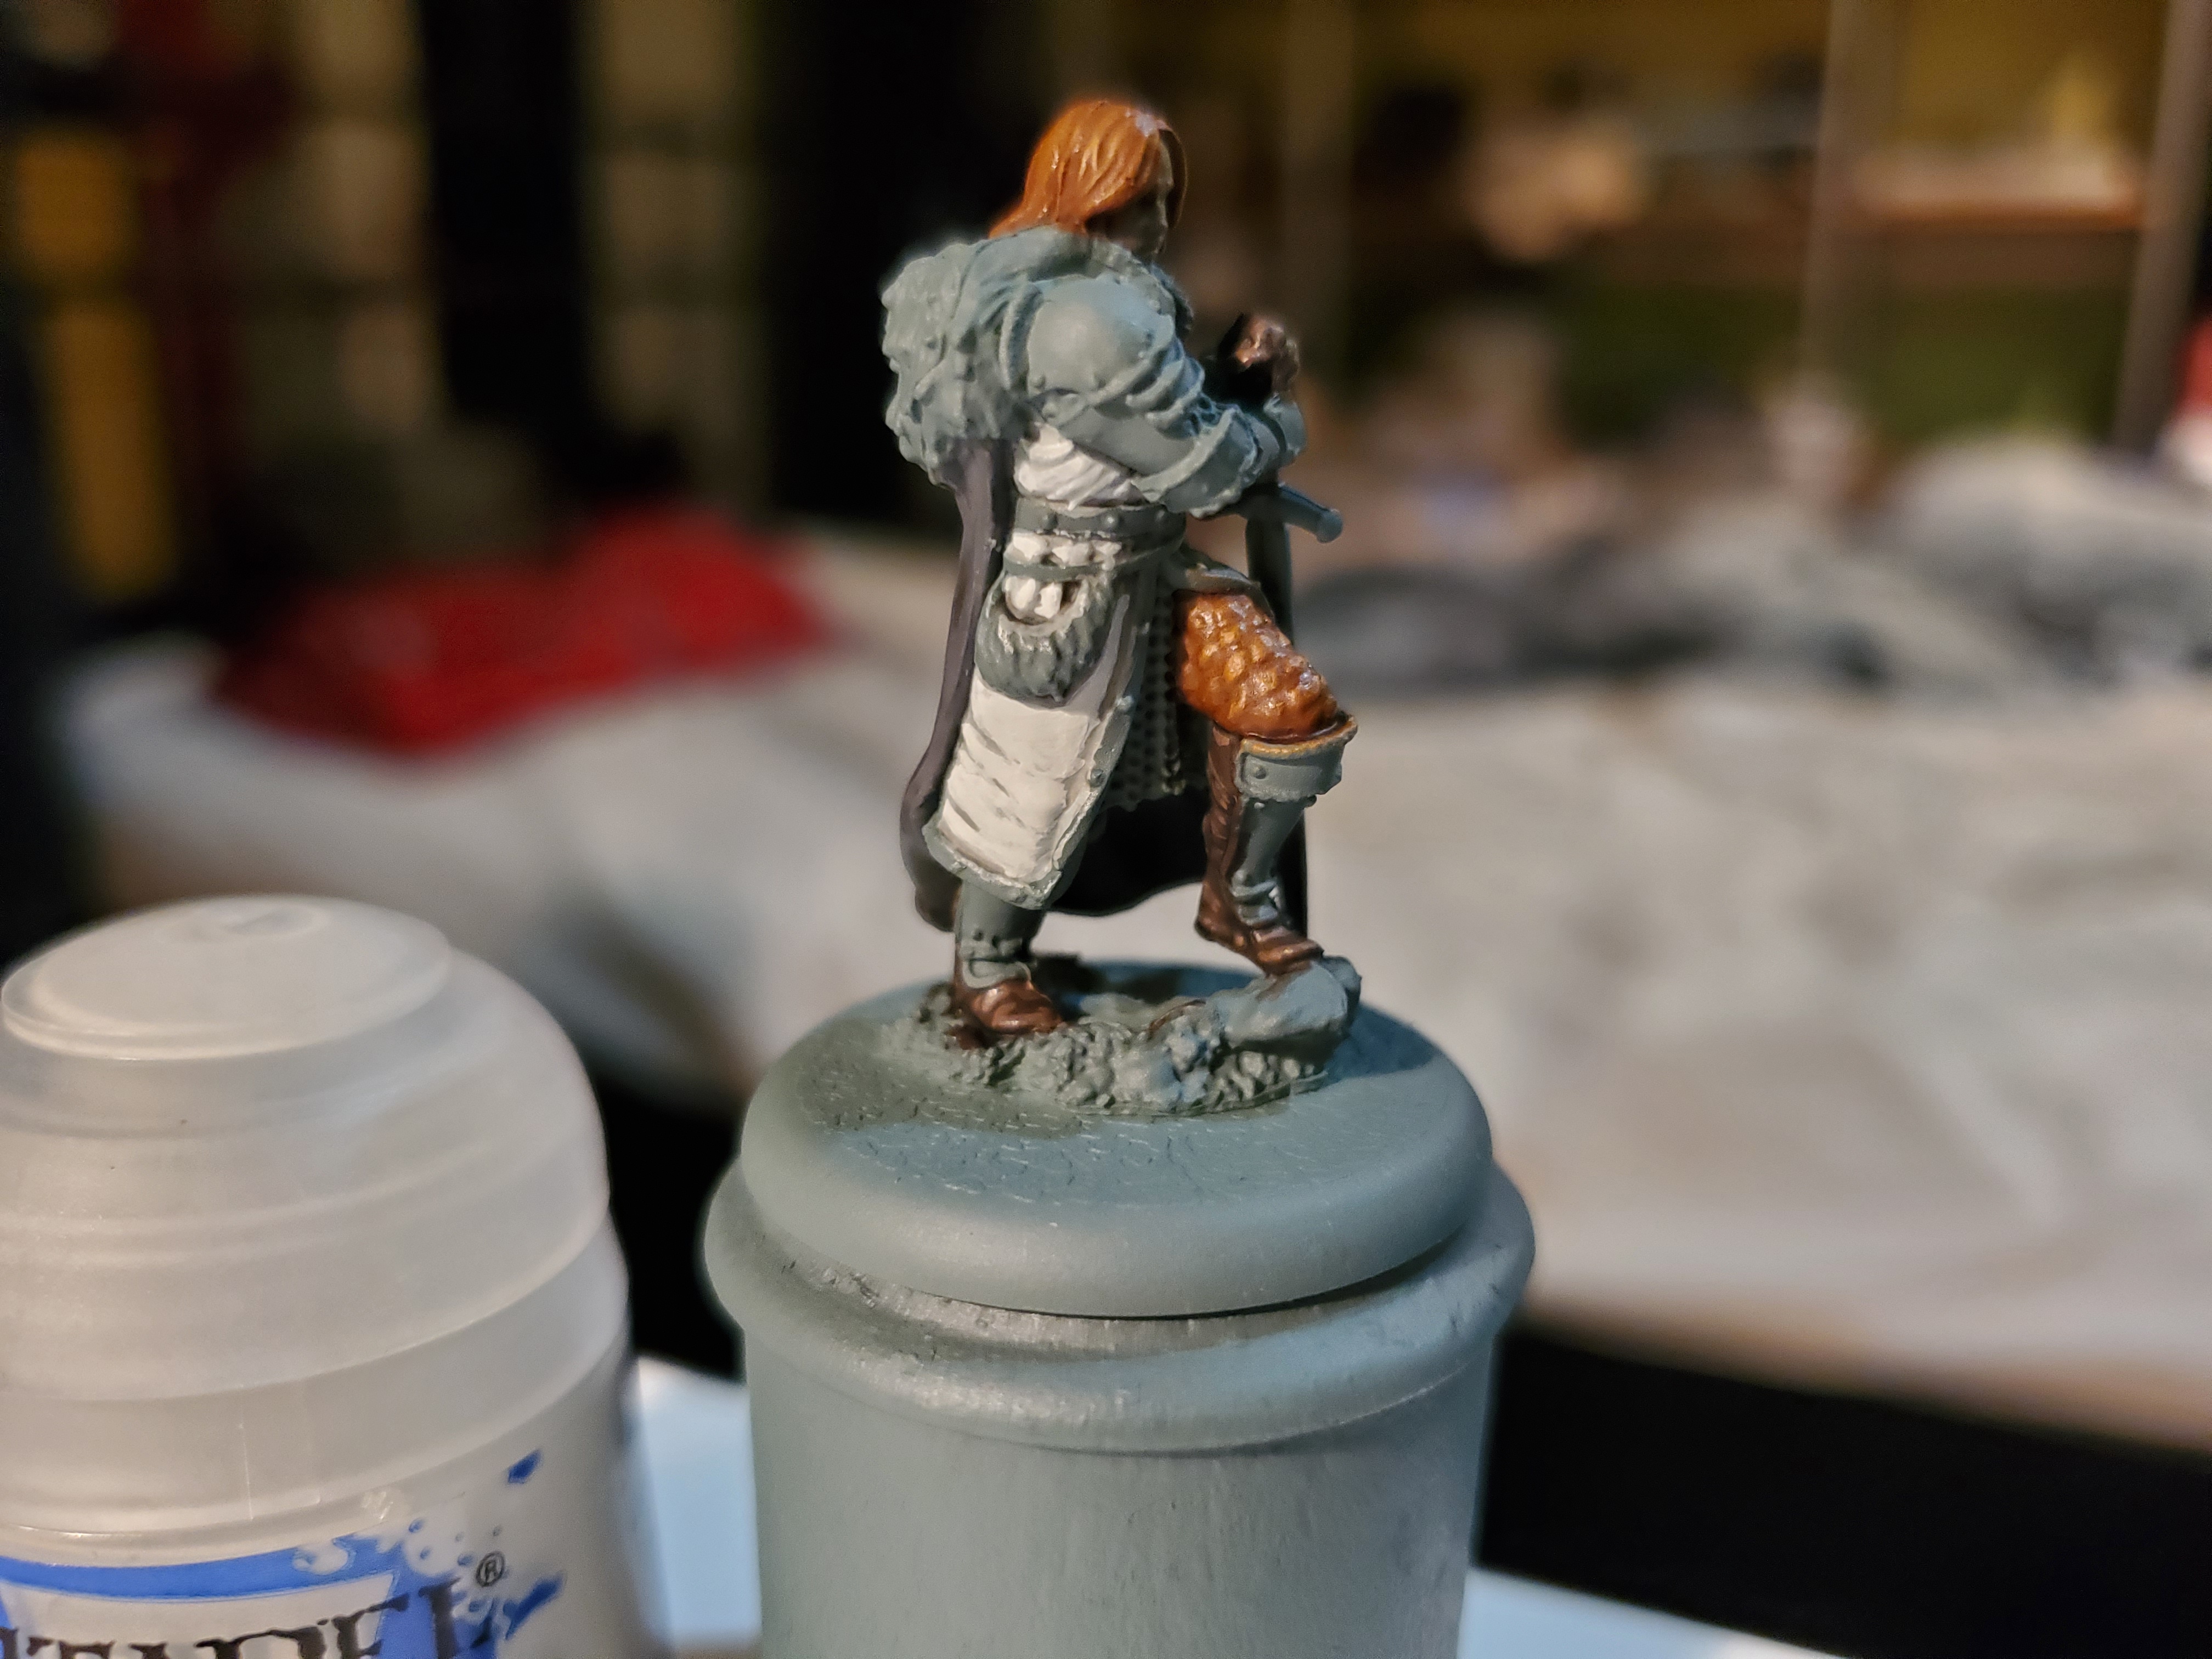
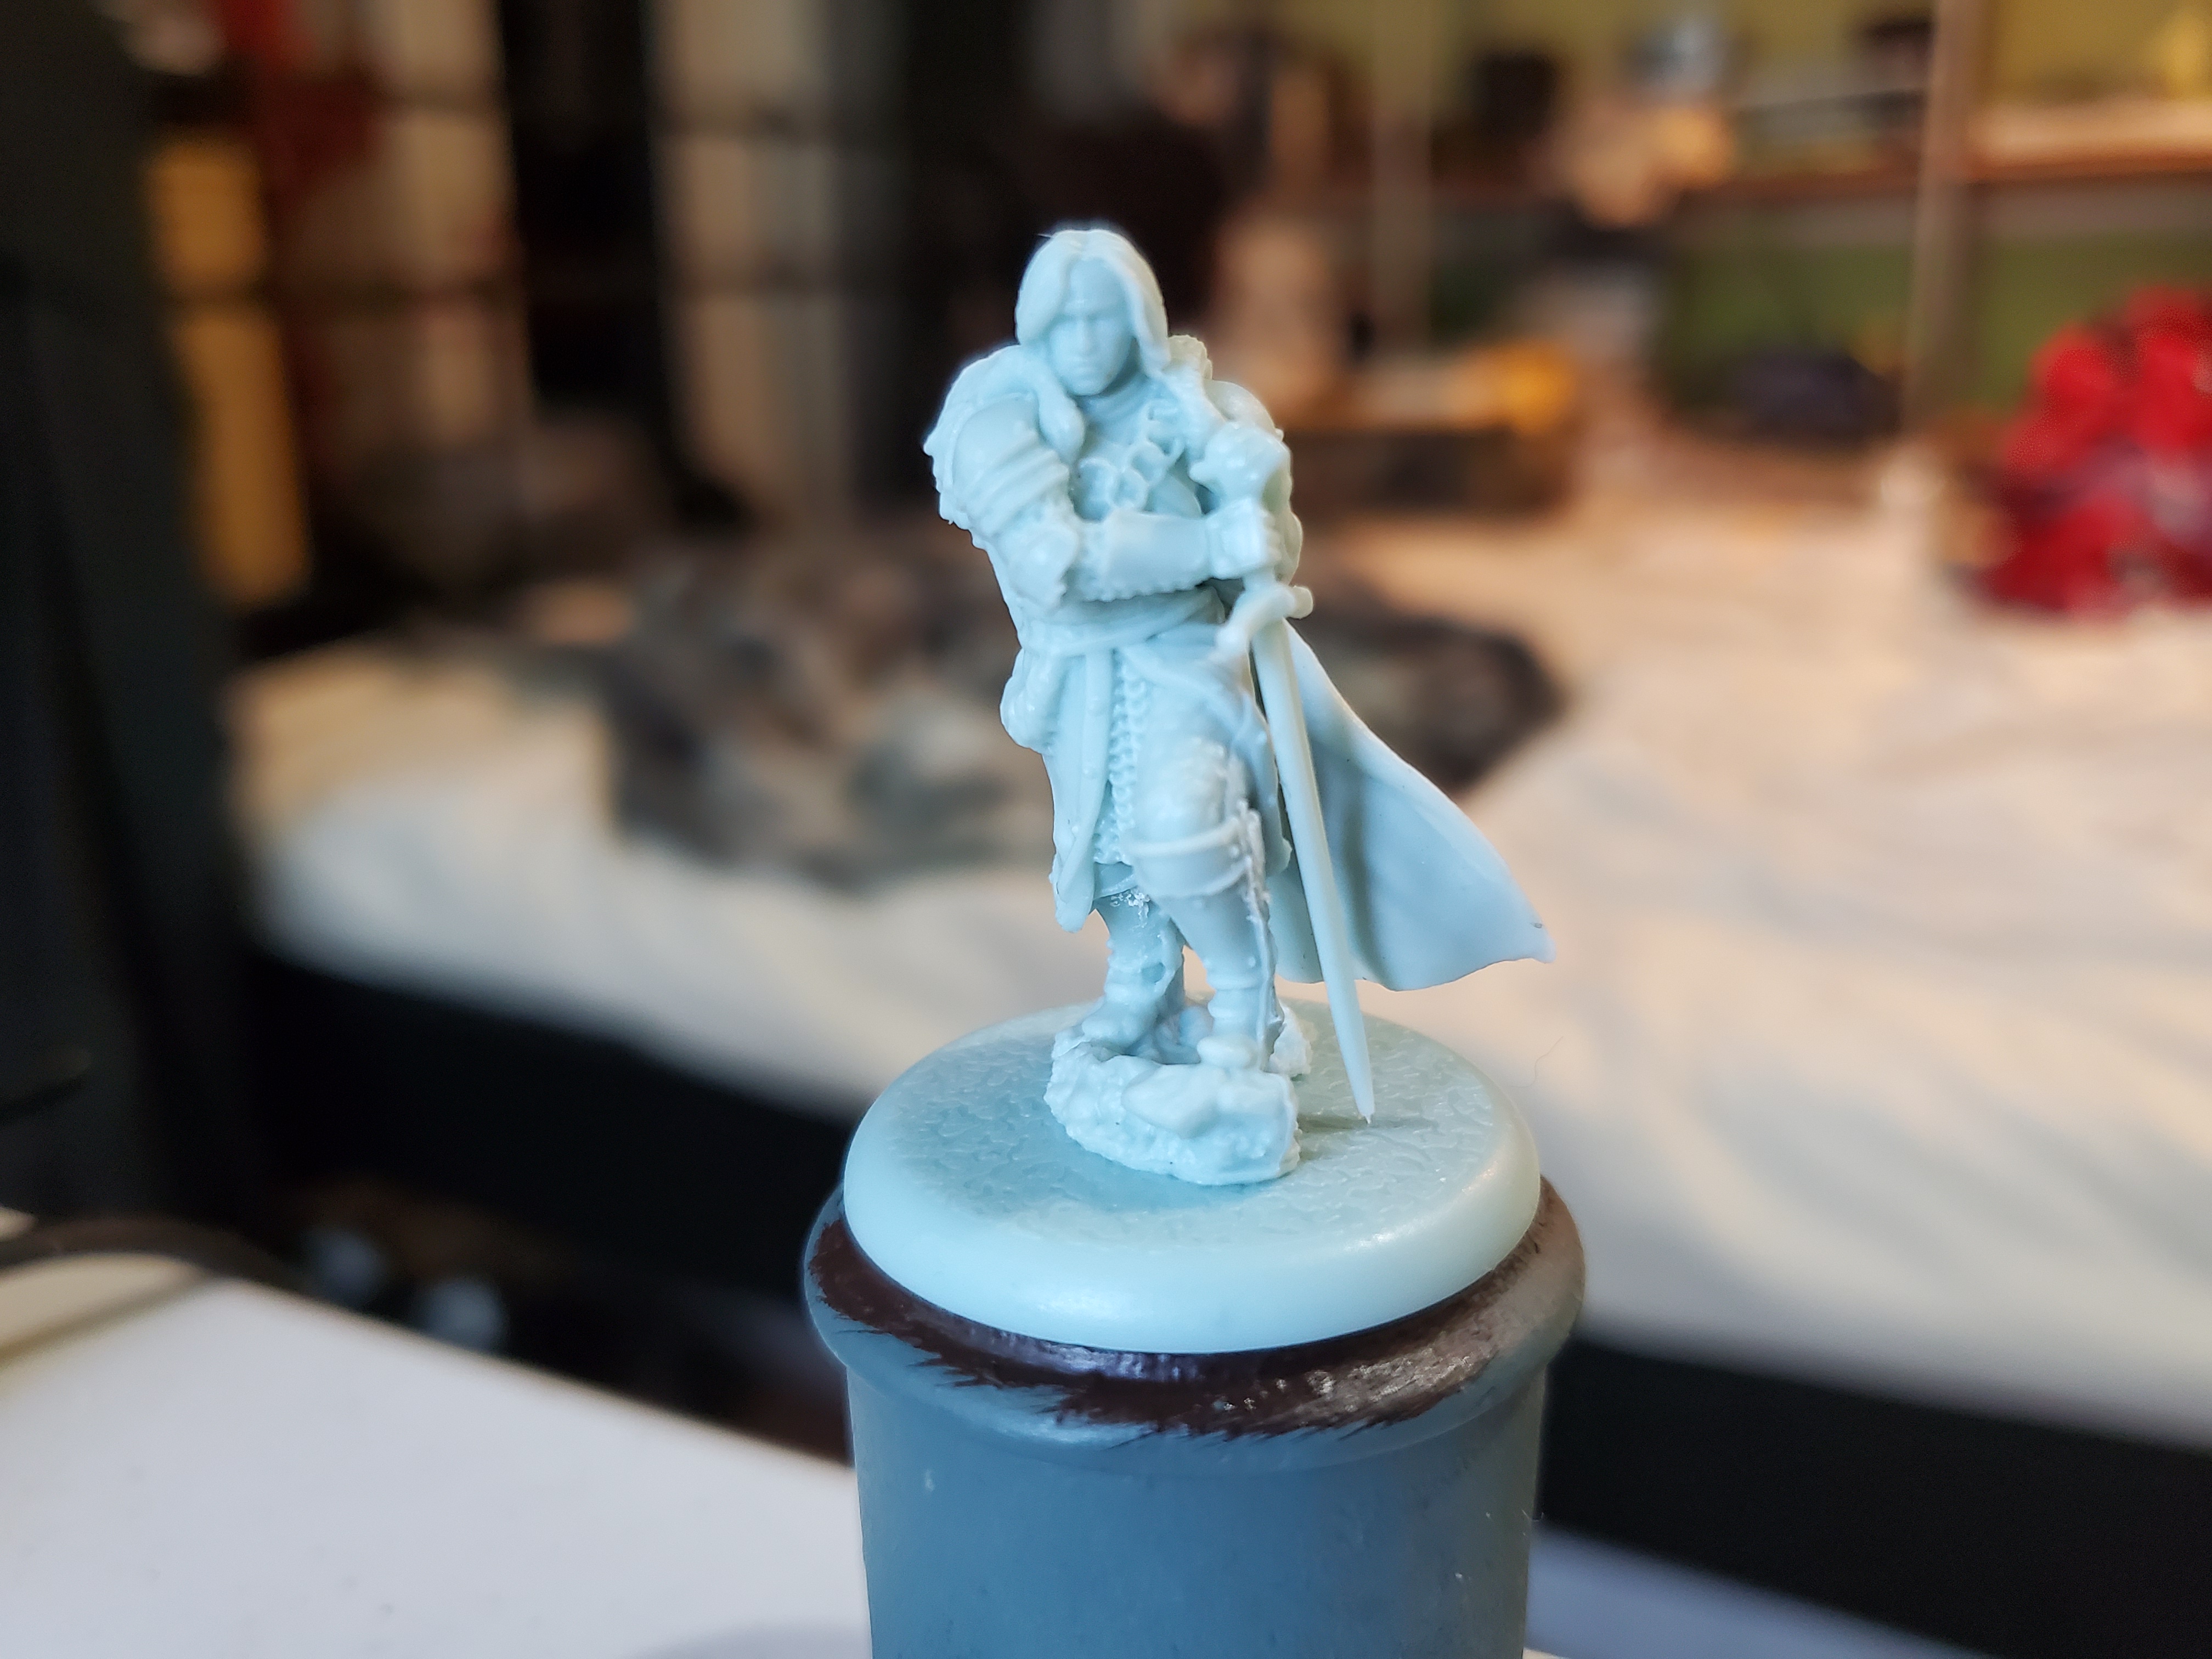 The Young Wolf.
Up next is Robb Stark and the first Stark that I’ve worked on. With that in mind there’s a few things to look at, mainly regarding colour. I’m still not done getting rid of all the mould lines on the mini…though the mono-pose nature of these minis does make that a little tricky. The first thing we need to look at is the colours of House Stark.
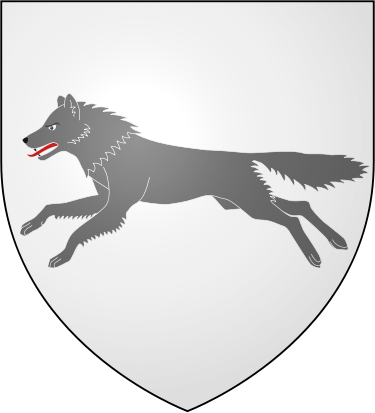 The Coat of Arms of House Stark is described as "A running grey direwolf, on an ice-white field (Argent, a direwolf courant cendrée)"
The important thing here is ‘ice white’. I have noticed that many depictions of Stark colours change this to ‘blue grey’ and I’m not sure where that came from. My assumption is that the ‘ice’ part of the description makes people think of glaciers that do have that lovely blue hue to them (glaciers are amazing, if anyone needs reminding) but if you google ‘ice white colour’ most of the colours are a pure to slightly grey-white and this is the colour I plan to go with for Robb’s tabard and, by extension, the tabards of my Sworn Swords…unless I decide that some of them are Mormonts…we’ll have to see. The white colour is a bit of a pet peeve of mine, but what’s life without a little pedantry every now and then?
VERY important point here; this is my choice with my minis, everyone can do whatever they like the look of with their minis and should in no way be discouraged or feel that they have done wrong. Blue-grey tabards look good, I just prefer a literal adherence. Remember that it’s YOUR hobby. 🙂
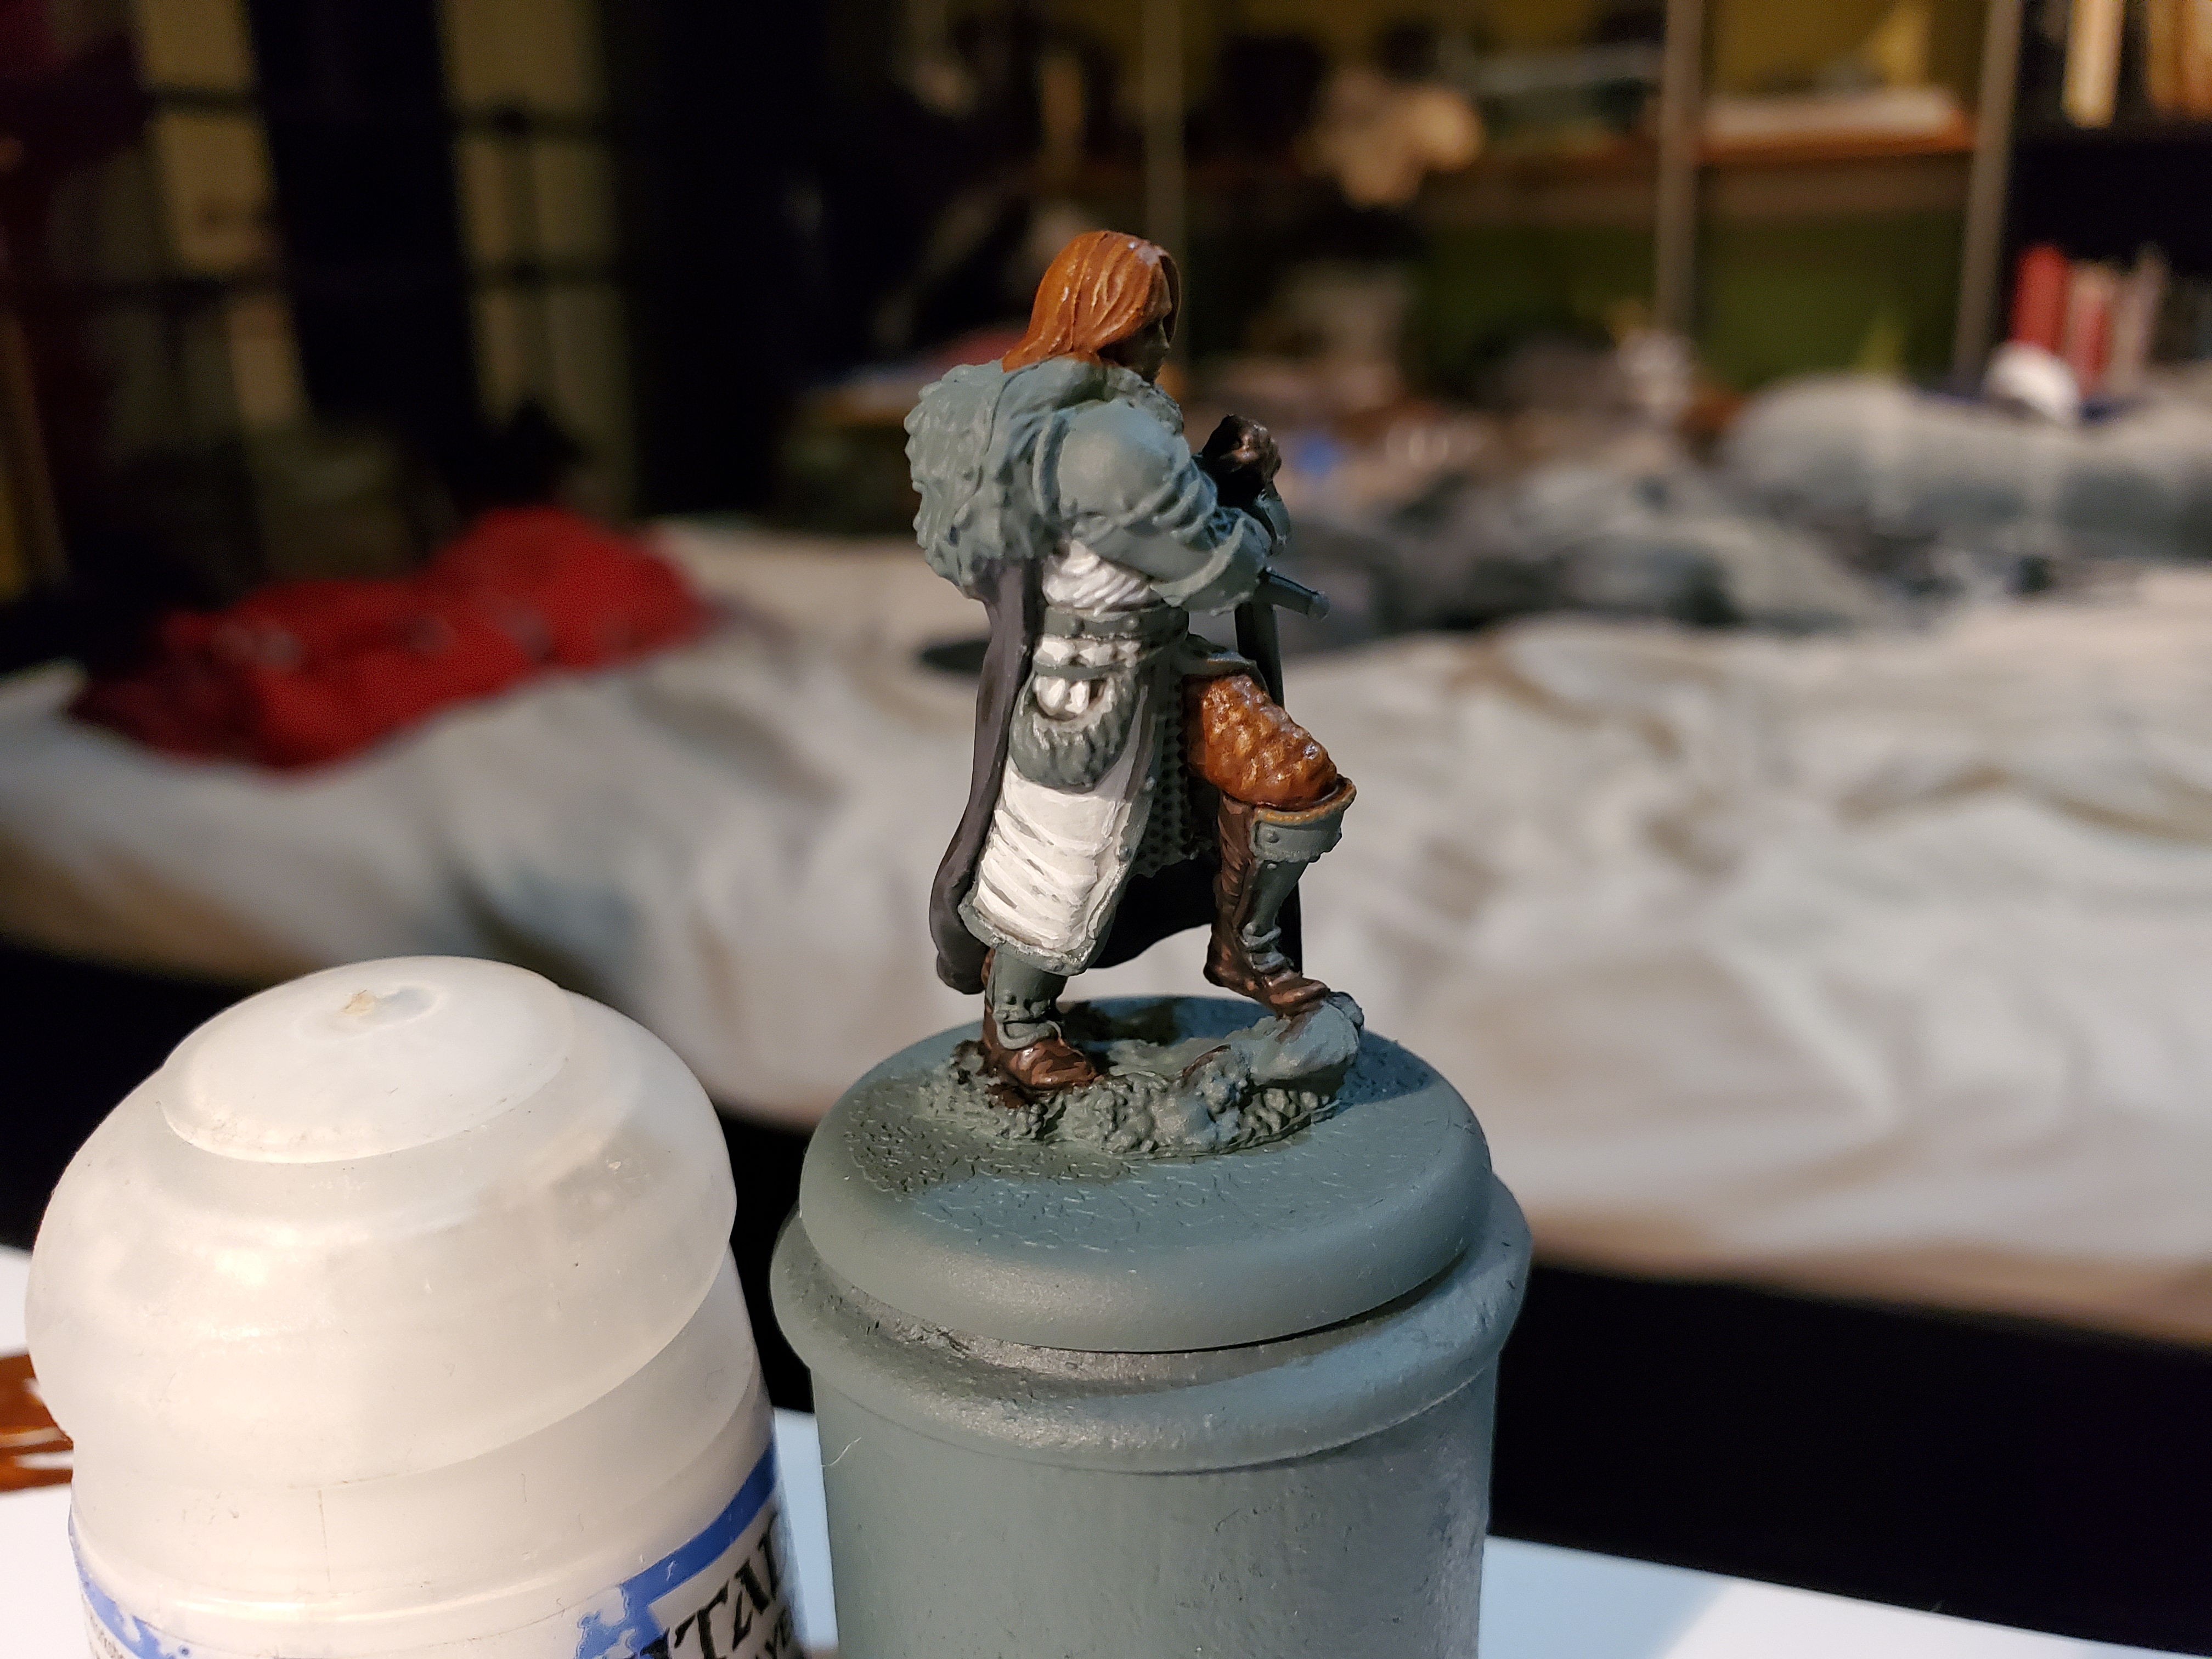
 Robbs appearance in the book is a little different to the TV series...
As I’m aiming for a closer-to-the-books approach, Robb’s appearance is very different. One of the defining factors of the Stark children is that they, largely, resemble their Tully mother than their Stark father. Another reason for Catelyn’s resentment of Jon Snow, who is very much like a Stark. Robb, Bran, Rickon, and Sansa are all described as looking like Tullys, whereas Arya and Jon look like Starks. This is actually quite helpful as it allows me to dabble in more brighter colours and help move away from the darker colours of the TV series. As per normal, I’m going to reserve pure blacks for belts and small details on Robb just to help make the Northmen very distinct of any Night’s Watch I may get in future…after the Greyjoys, of course… Well, back to struggling with mould lines…
"He won the war on the battlefield and lost it in a bedchamber."
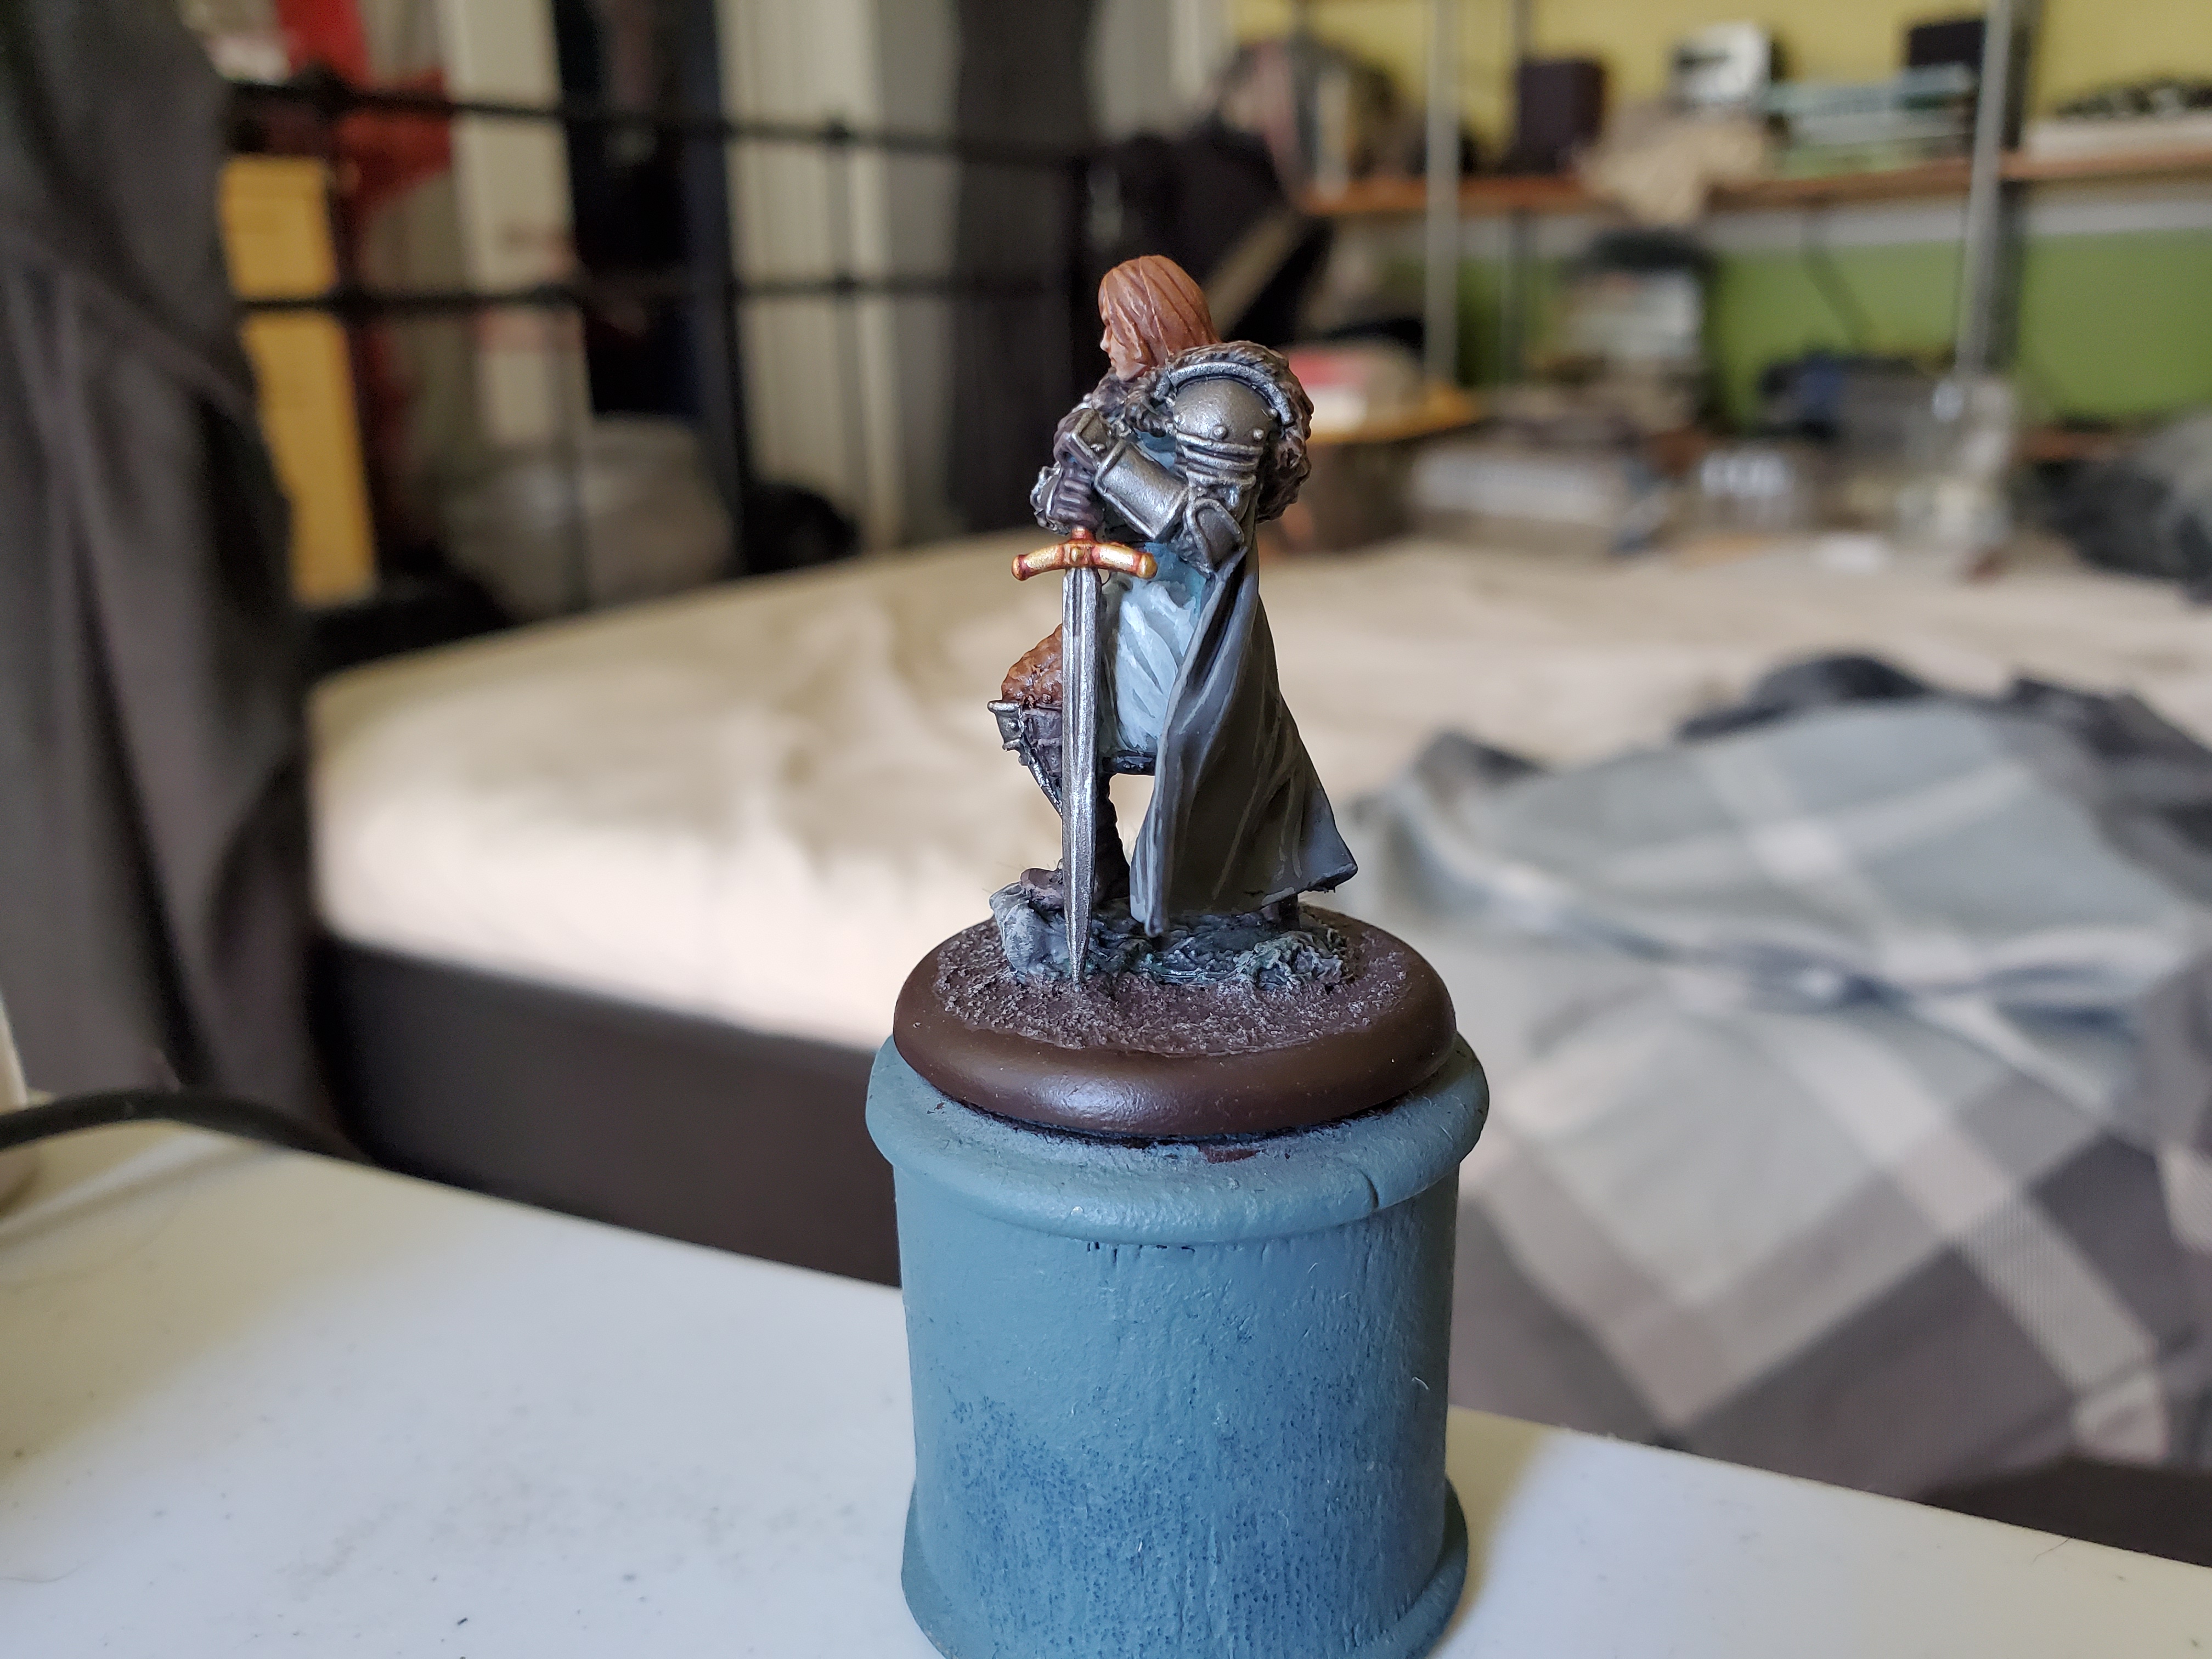
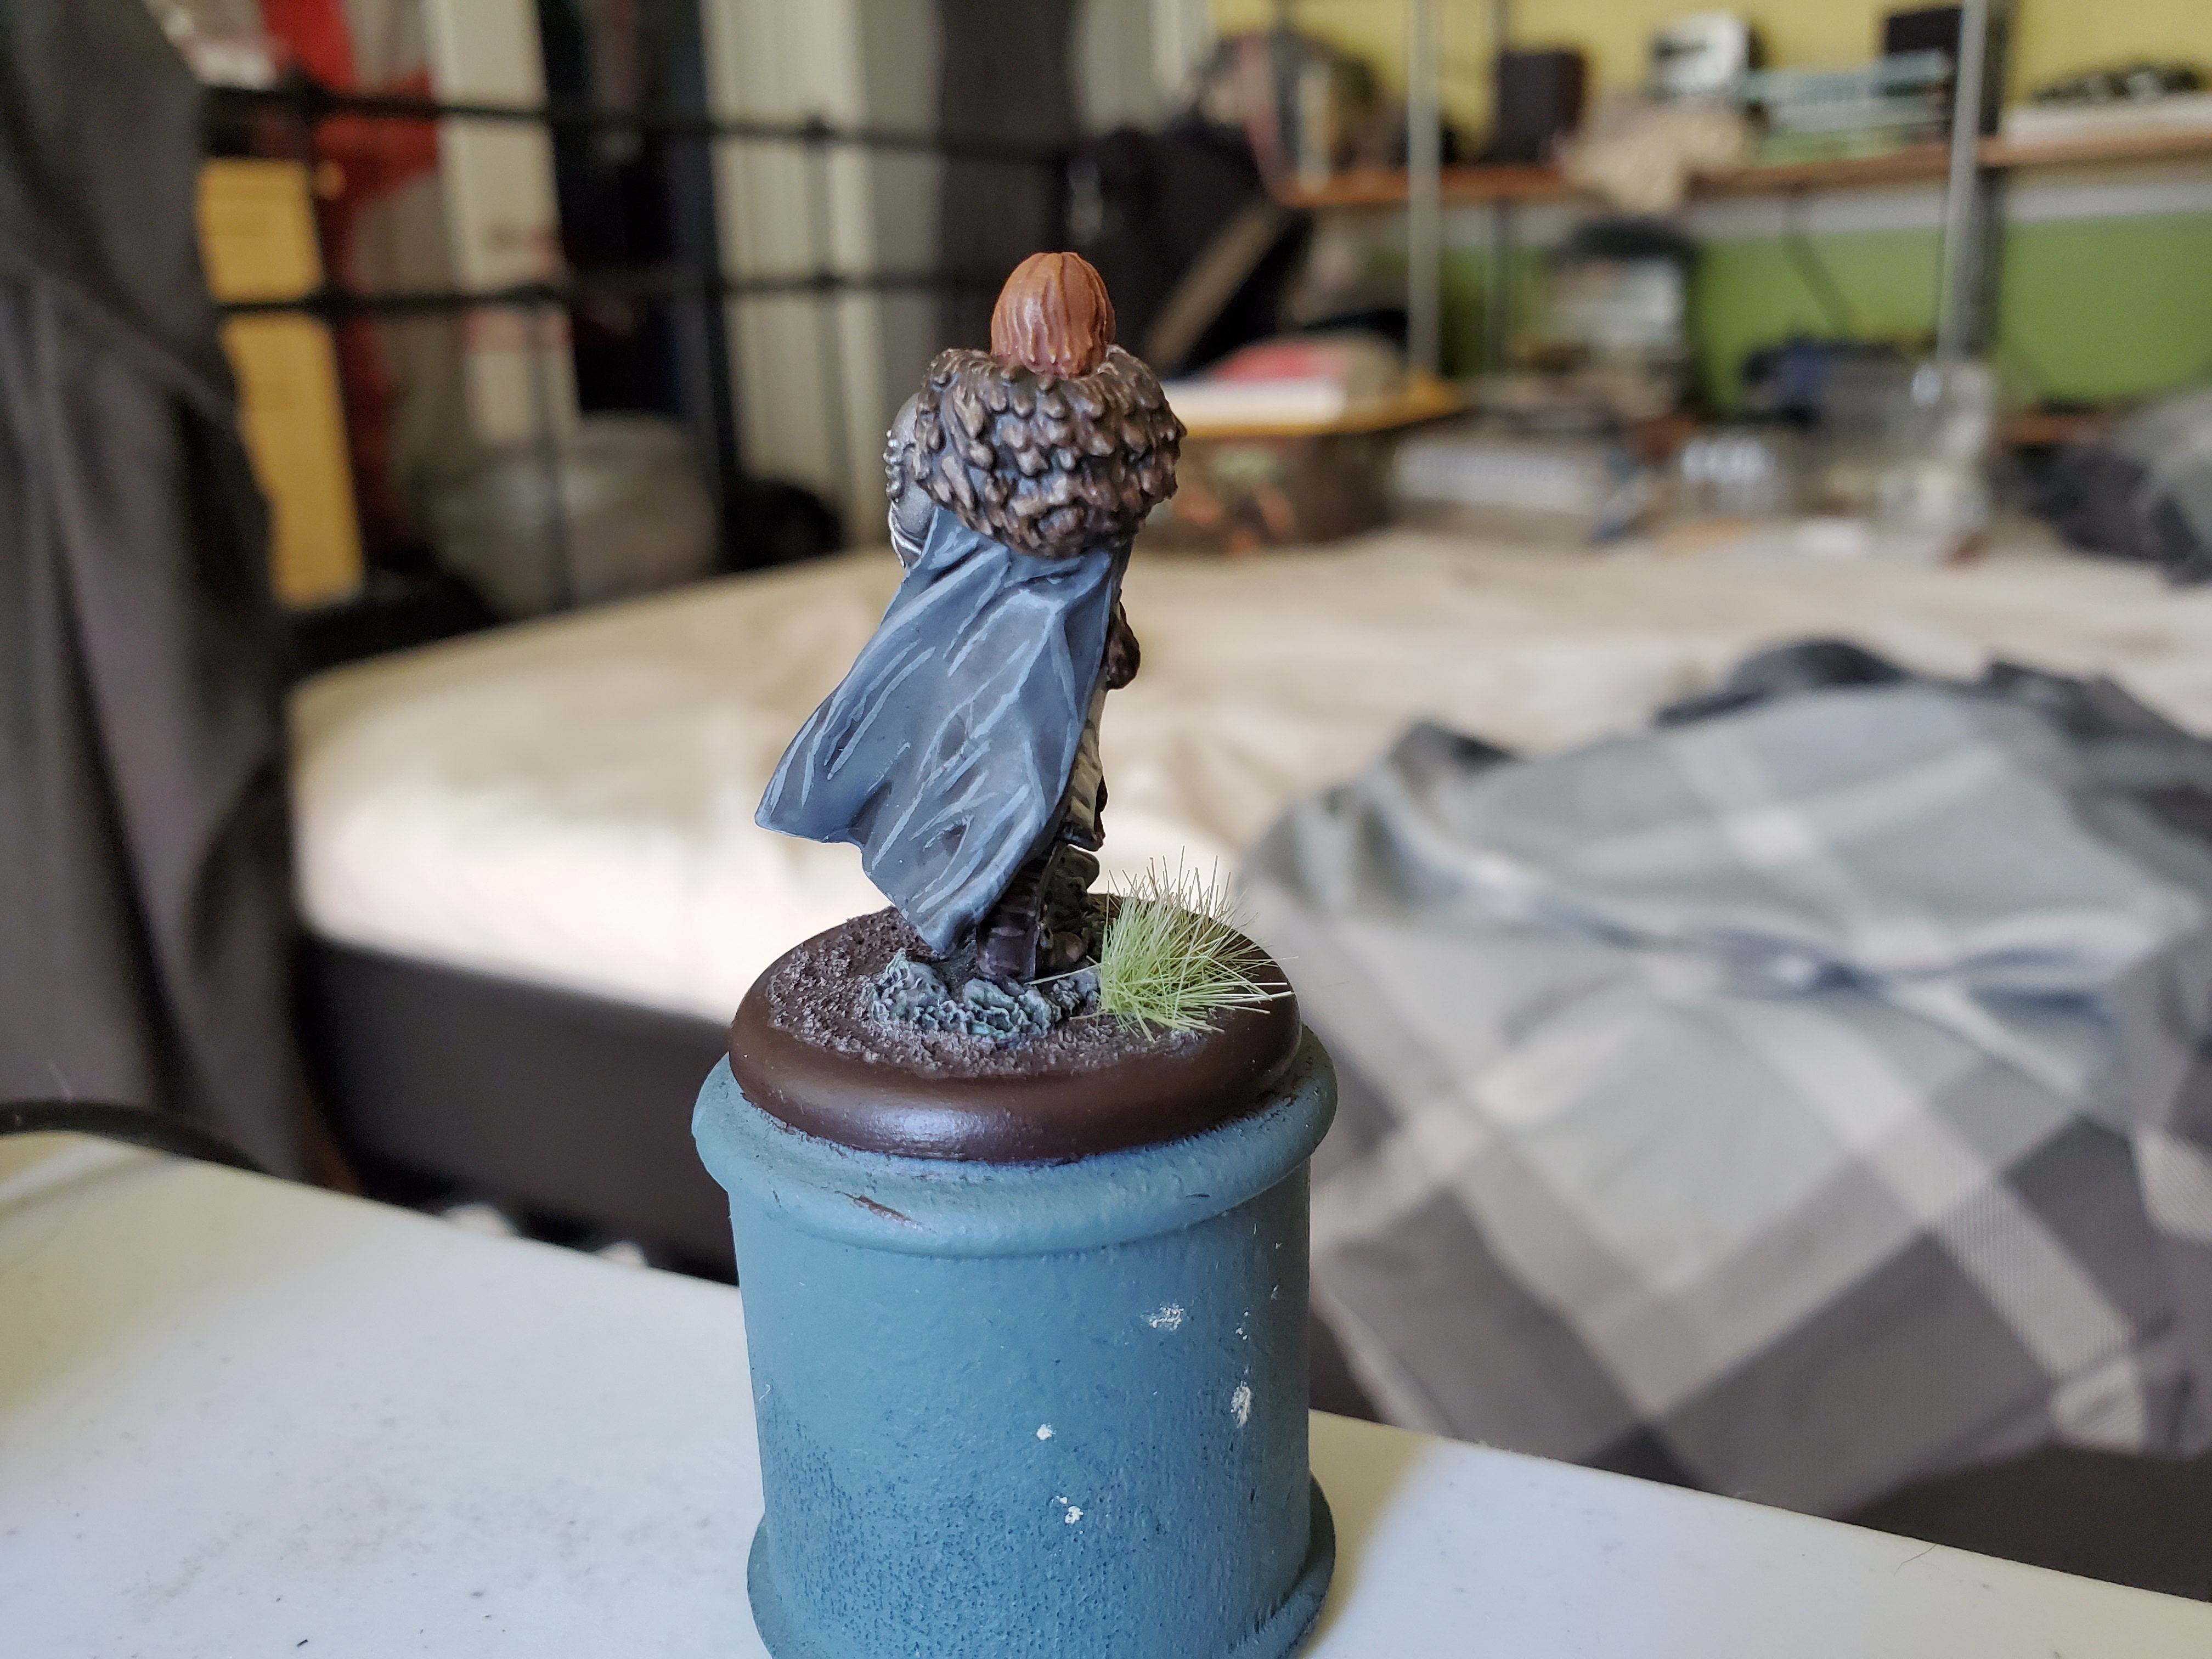
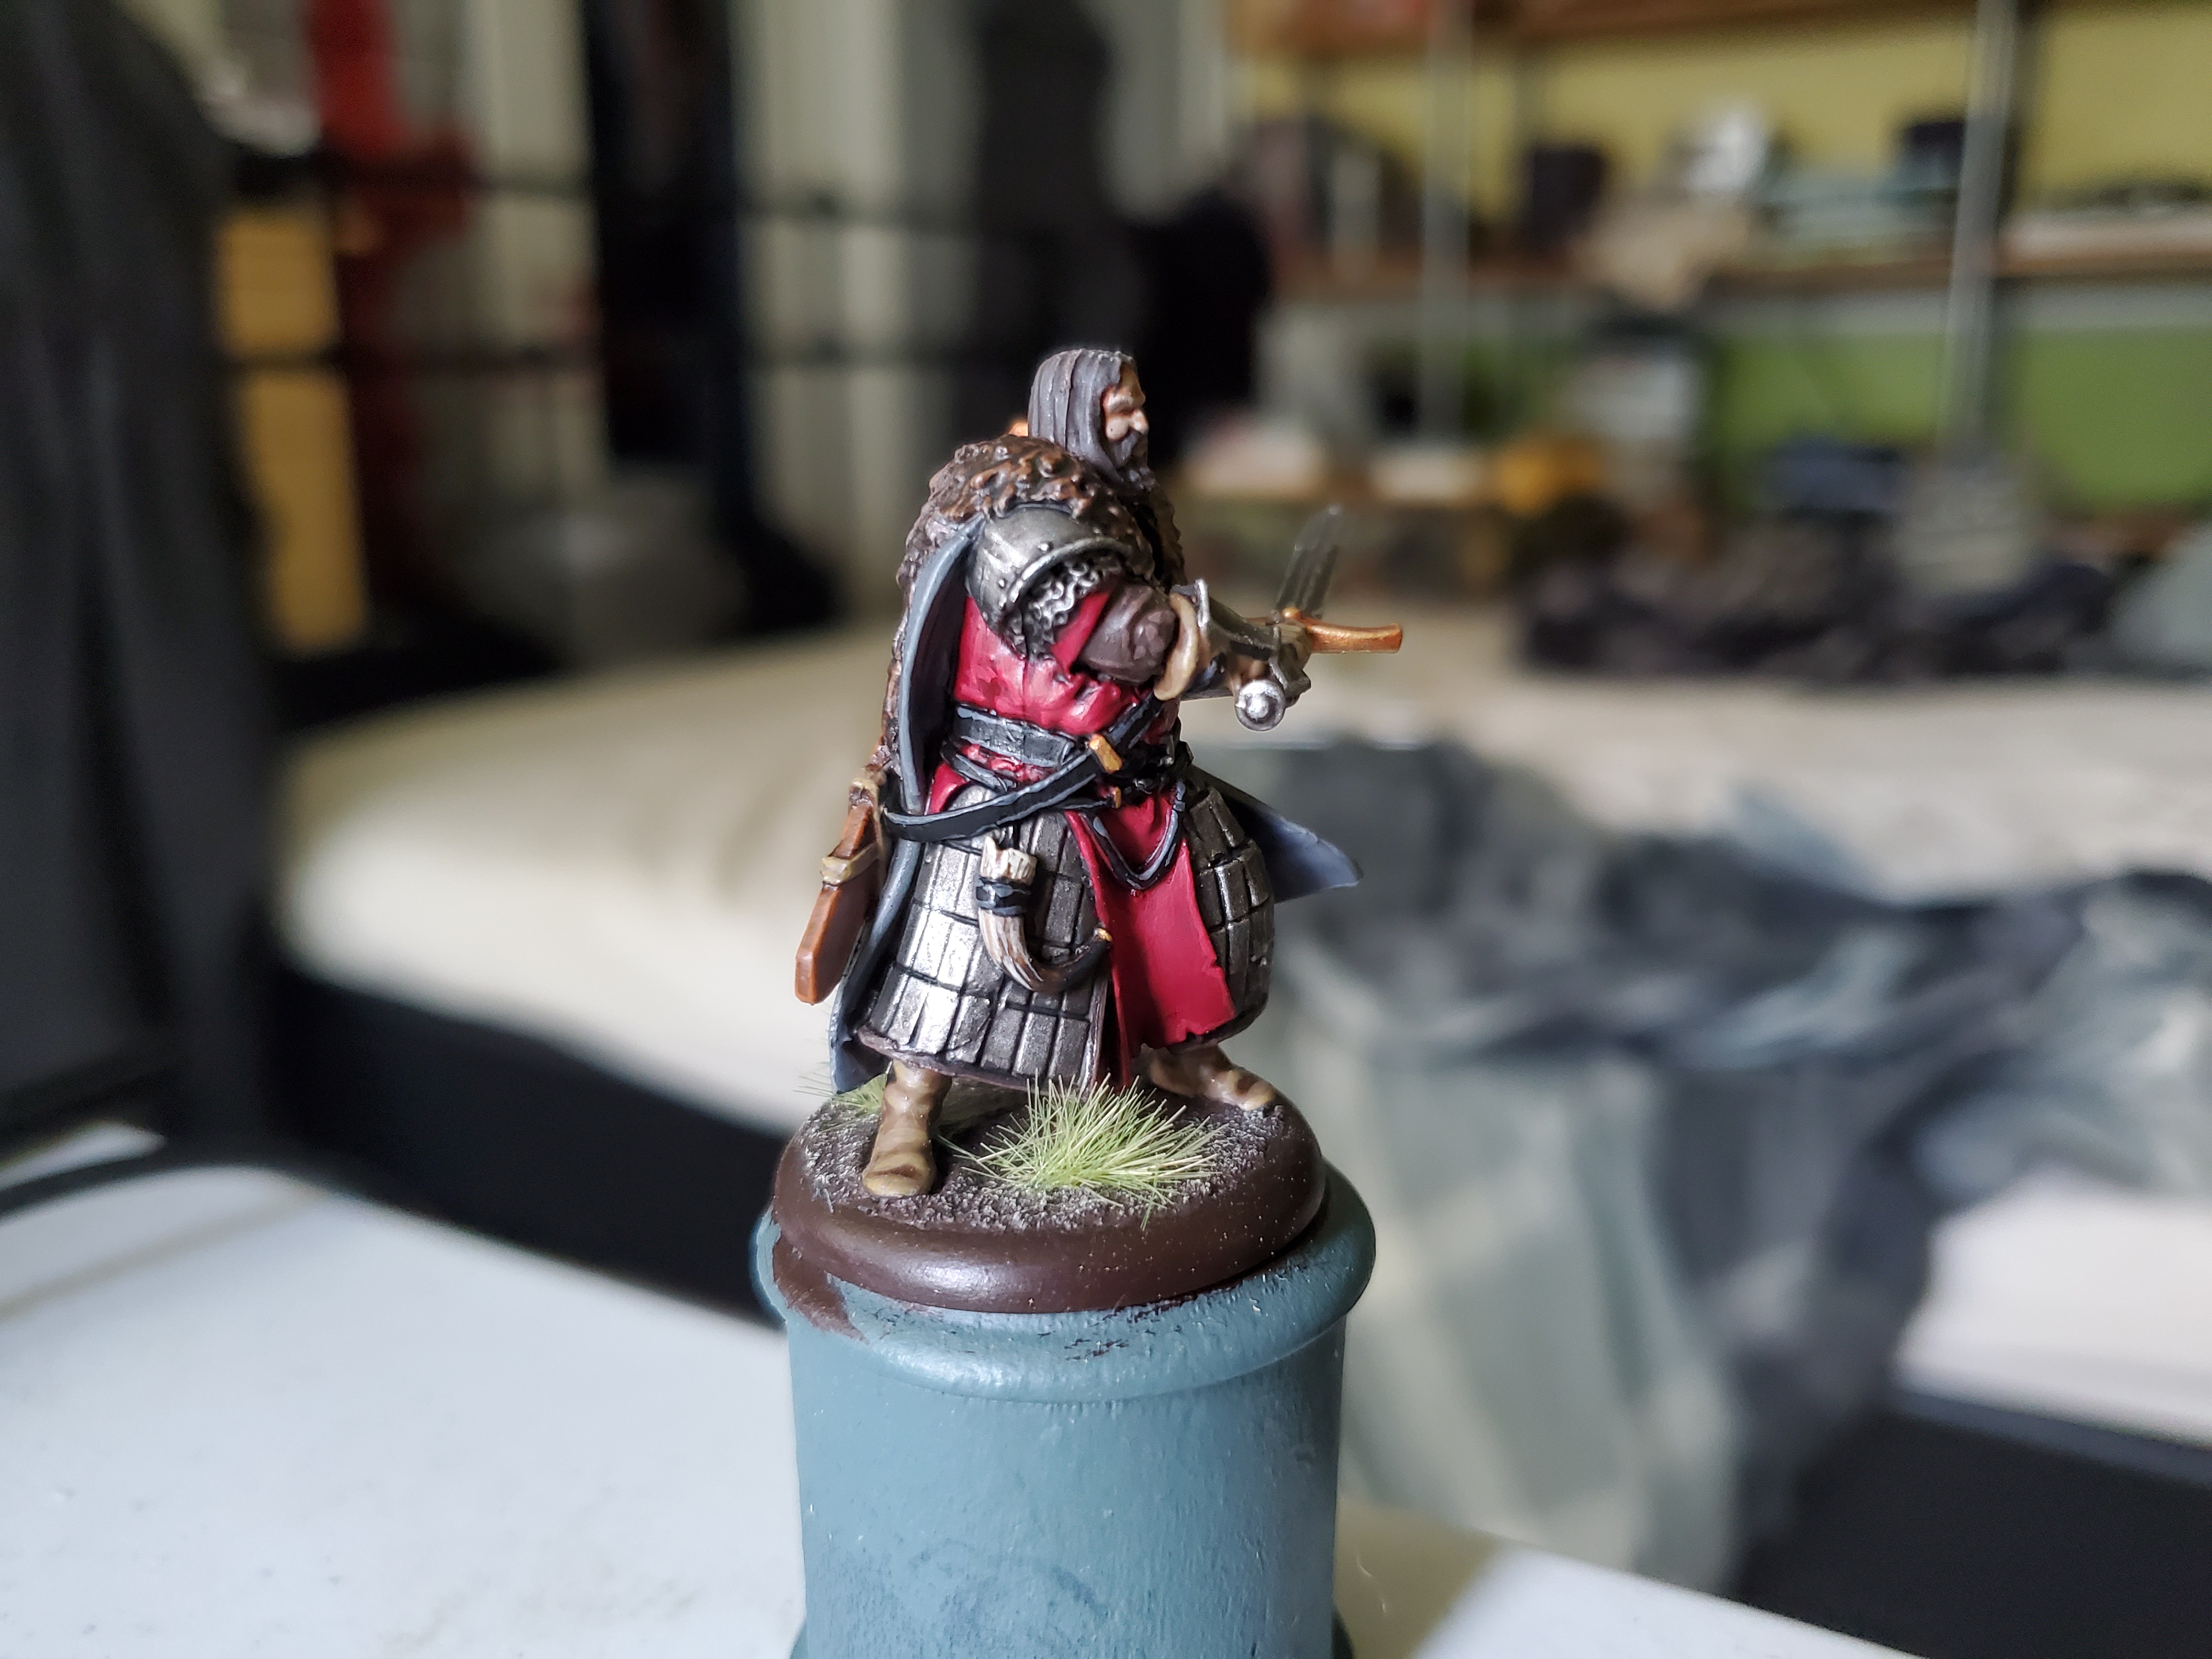
The Young Wolf is done! I didn’t do too many step-by-step pictures again because a lot of the colours are similar or identical to many of the other previous posts, but as I did go on a bit about certain colours I will go over them now.
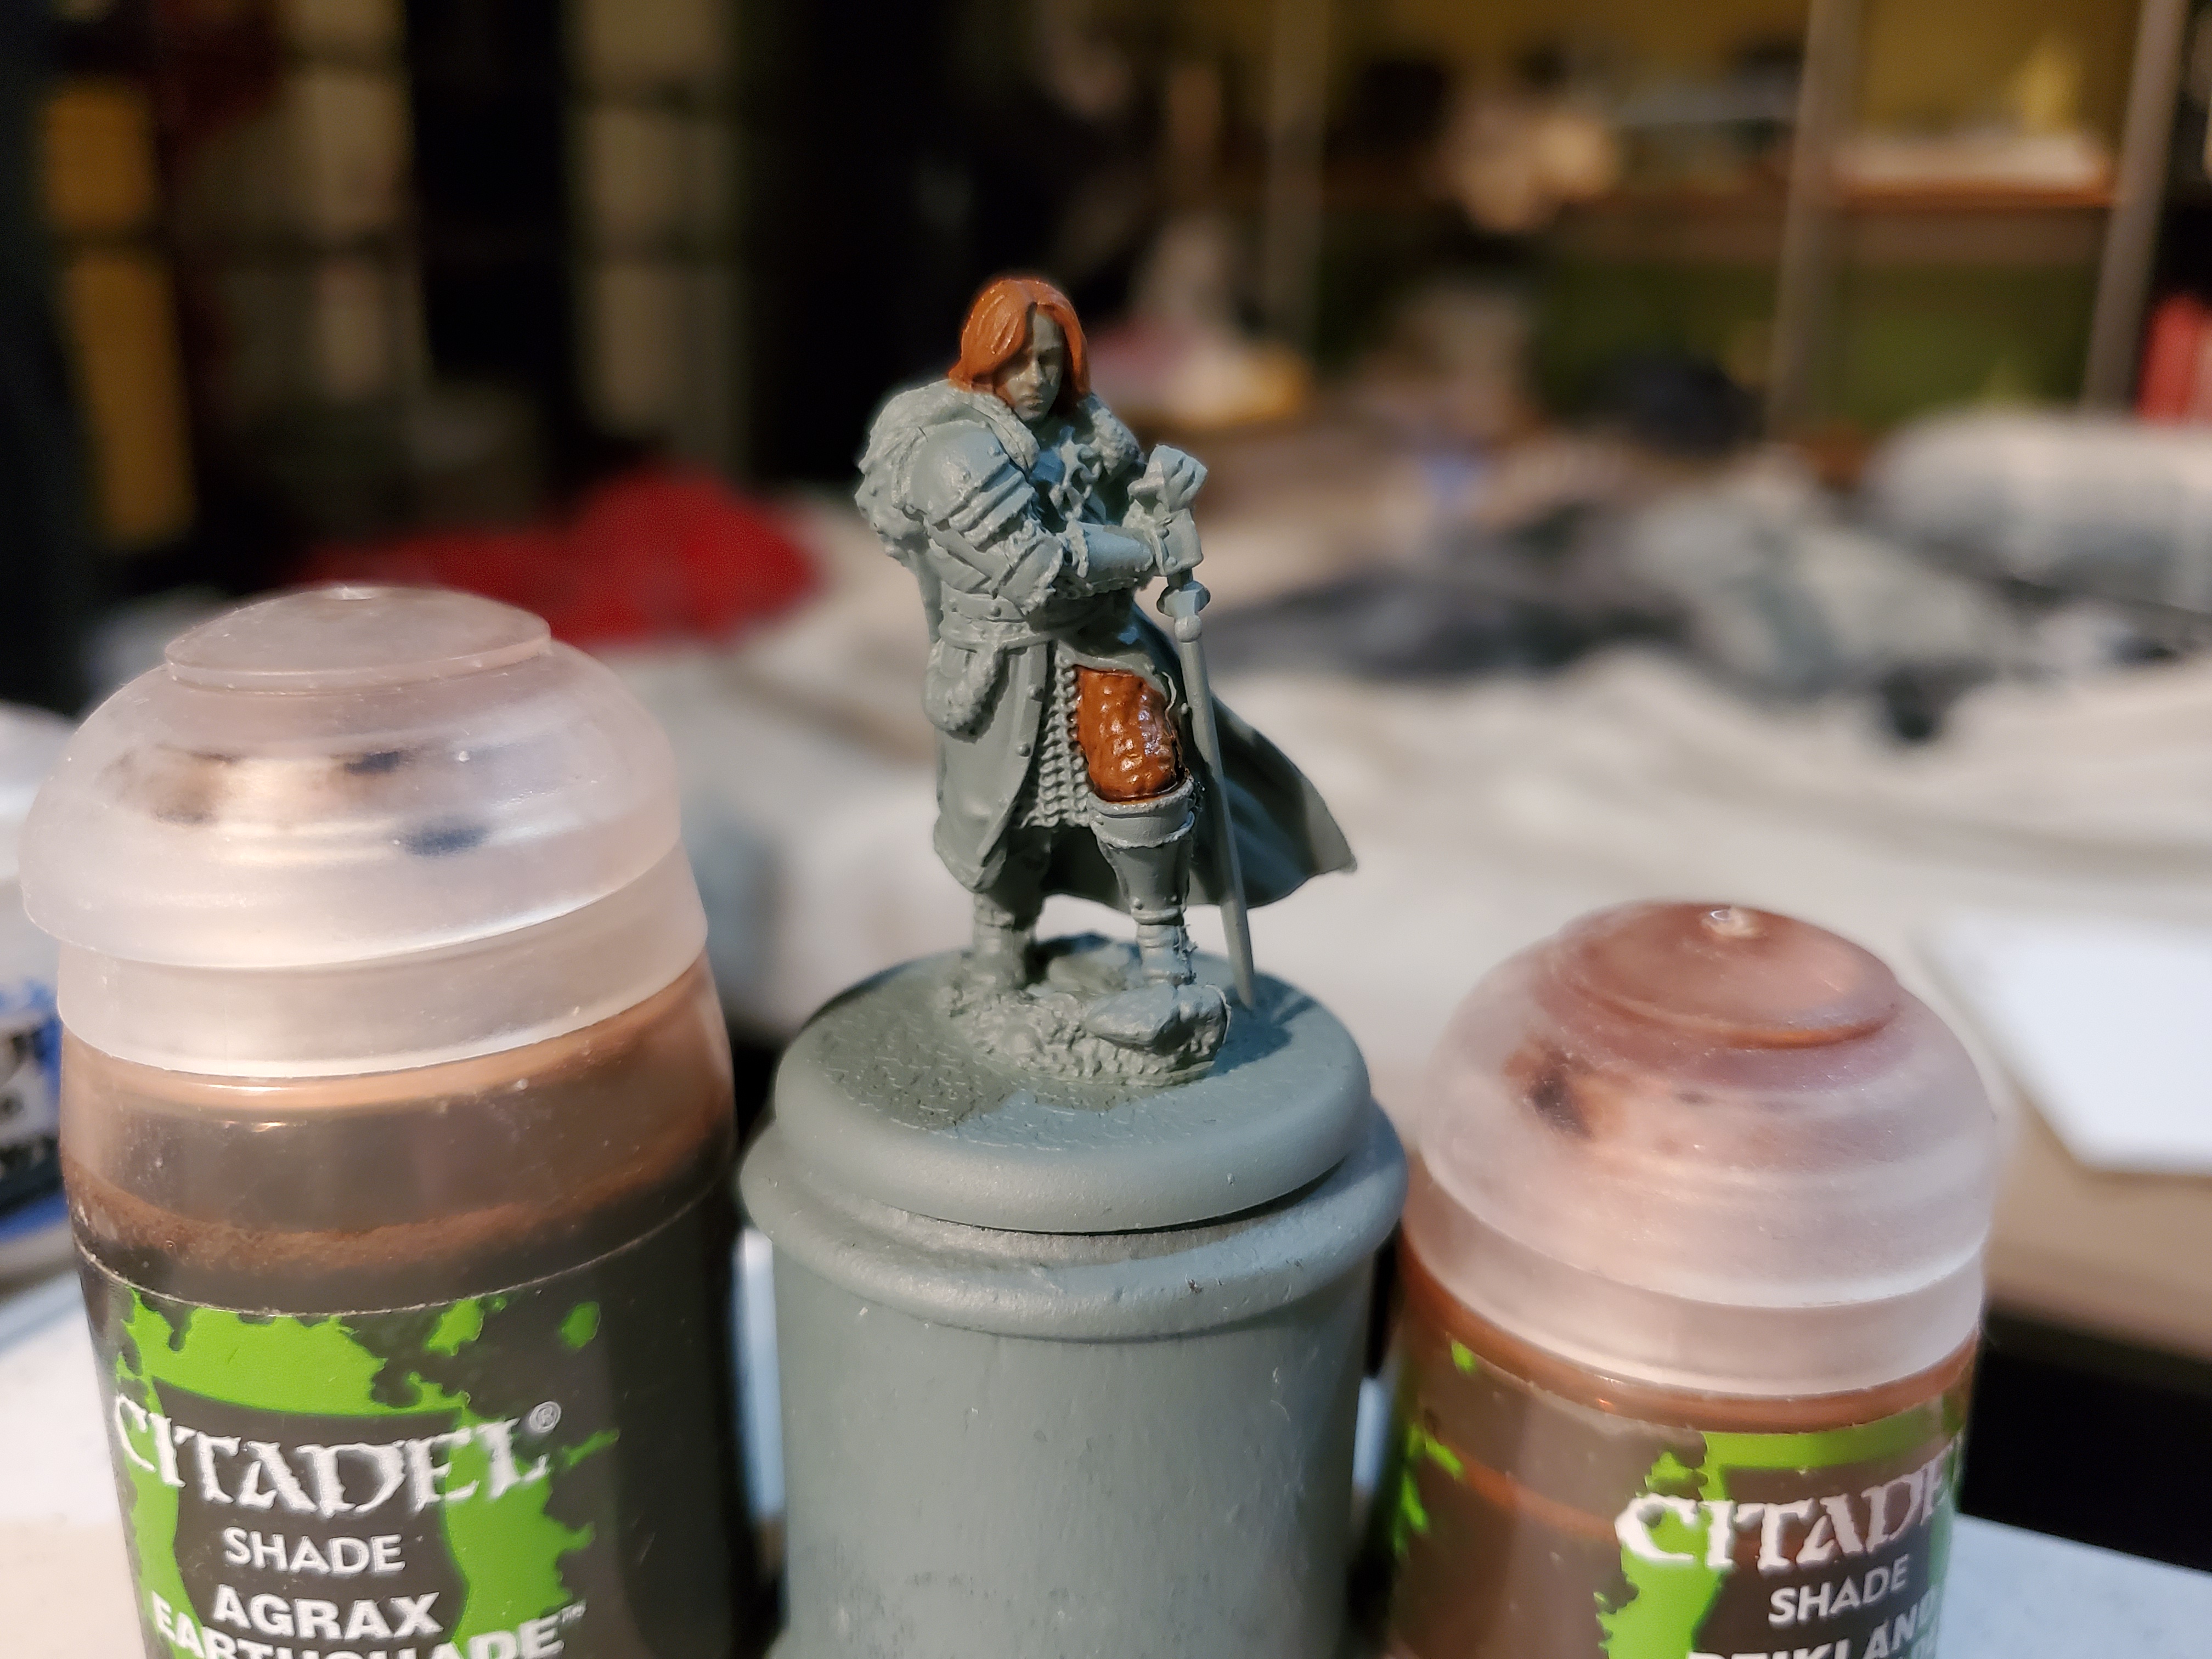
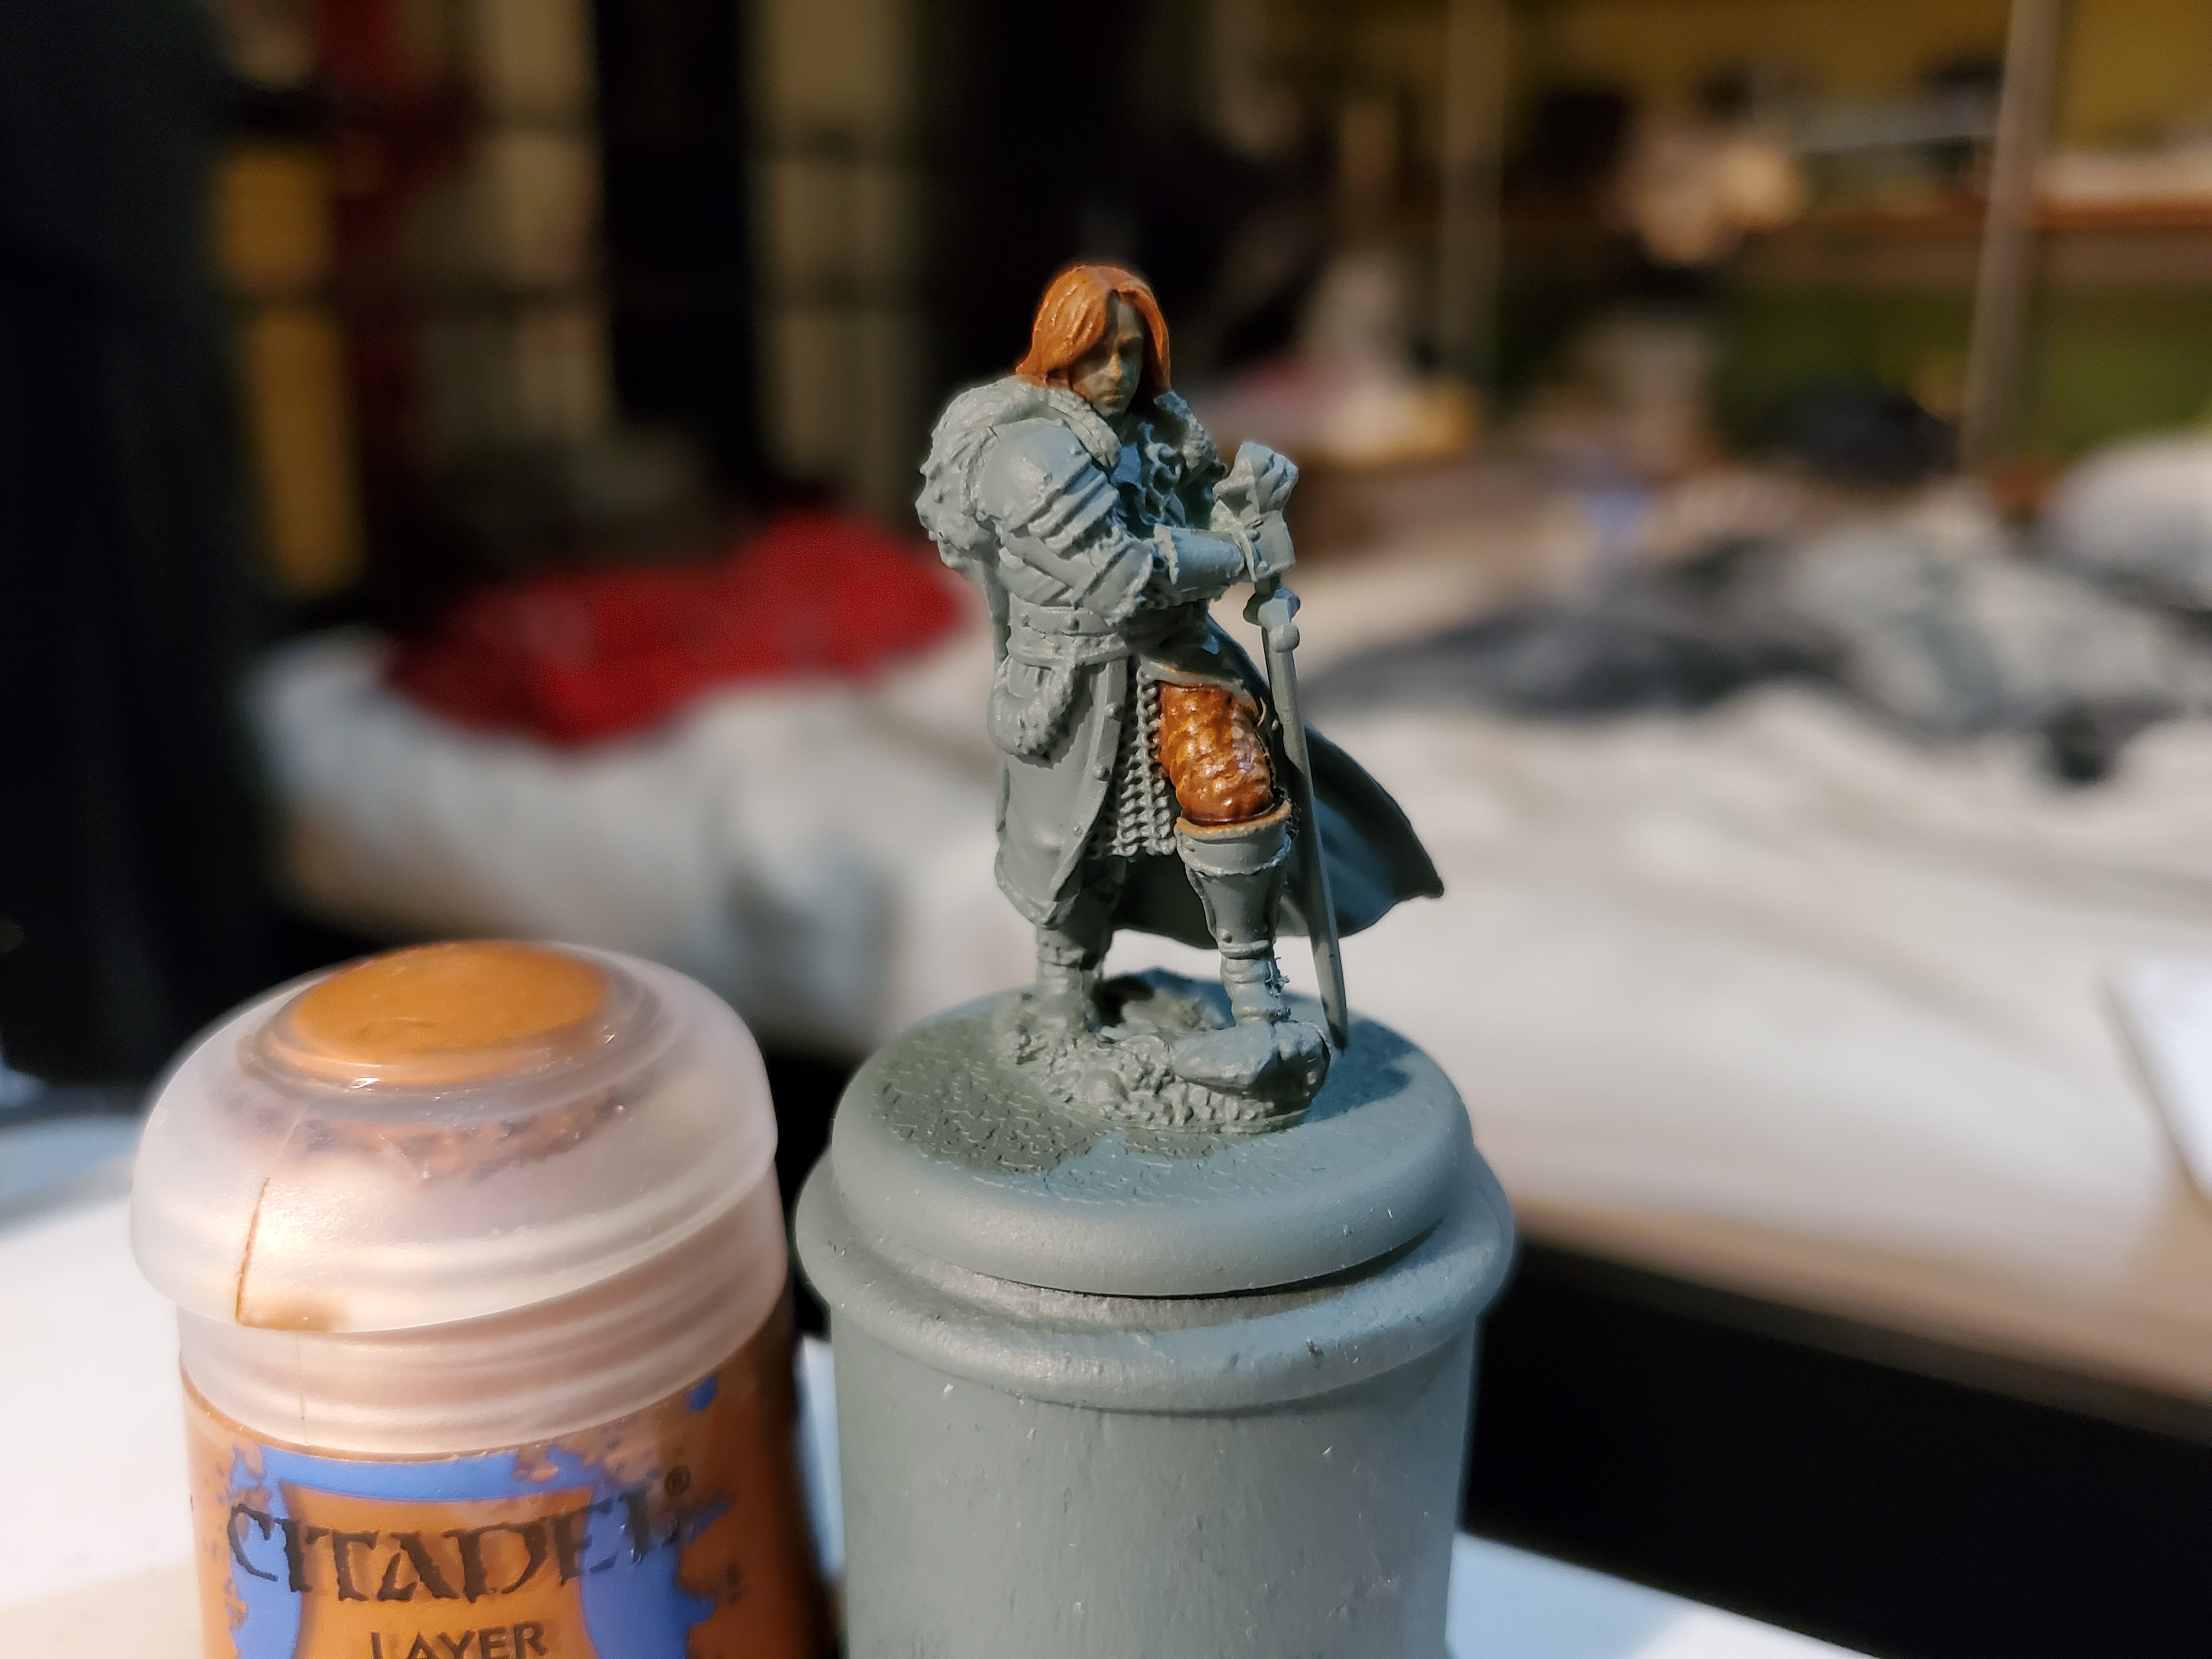
While this set is primarily to show of the hair, it does lean a little into some details that I thought I’d go over. First off, I think the colour is a good match for auburn hair and was a simple base/shade/drybrush, so simple enough and quick. I will save this method for the other Tully coloured Starks. As you may have noticed, though, there are two shade paints in the picture. I did the padded trousers in the same base colour as the hair (Mournfang Brown in this case), but wanted to try and give a different tone to each. My hope was to manage this with two different shades, so I used Agrax Earthshade for the clothing and Riekland Fleshshade for the hair. The difference is subtle…so subtle it may not even show up in the ‘good lighting’ pictures, but I like the overall effect. In order to put more of a red colour to the hair I could have tried Carroburg Crimson, but I thought that might be too red…I still wanted it to look natural after all. Long story short, if you want to replicate this colour I don’t think it matters too much which of the shades you use.
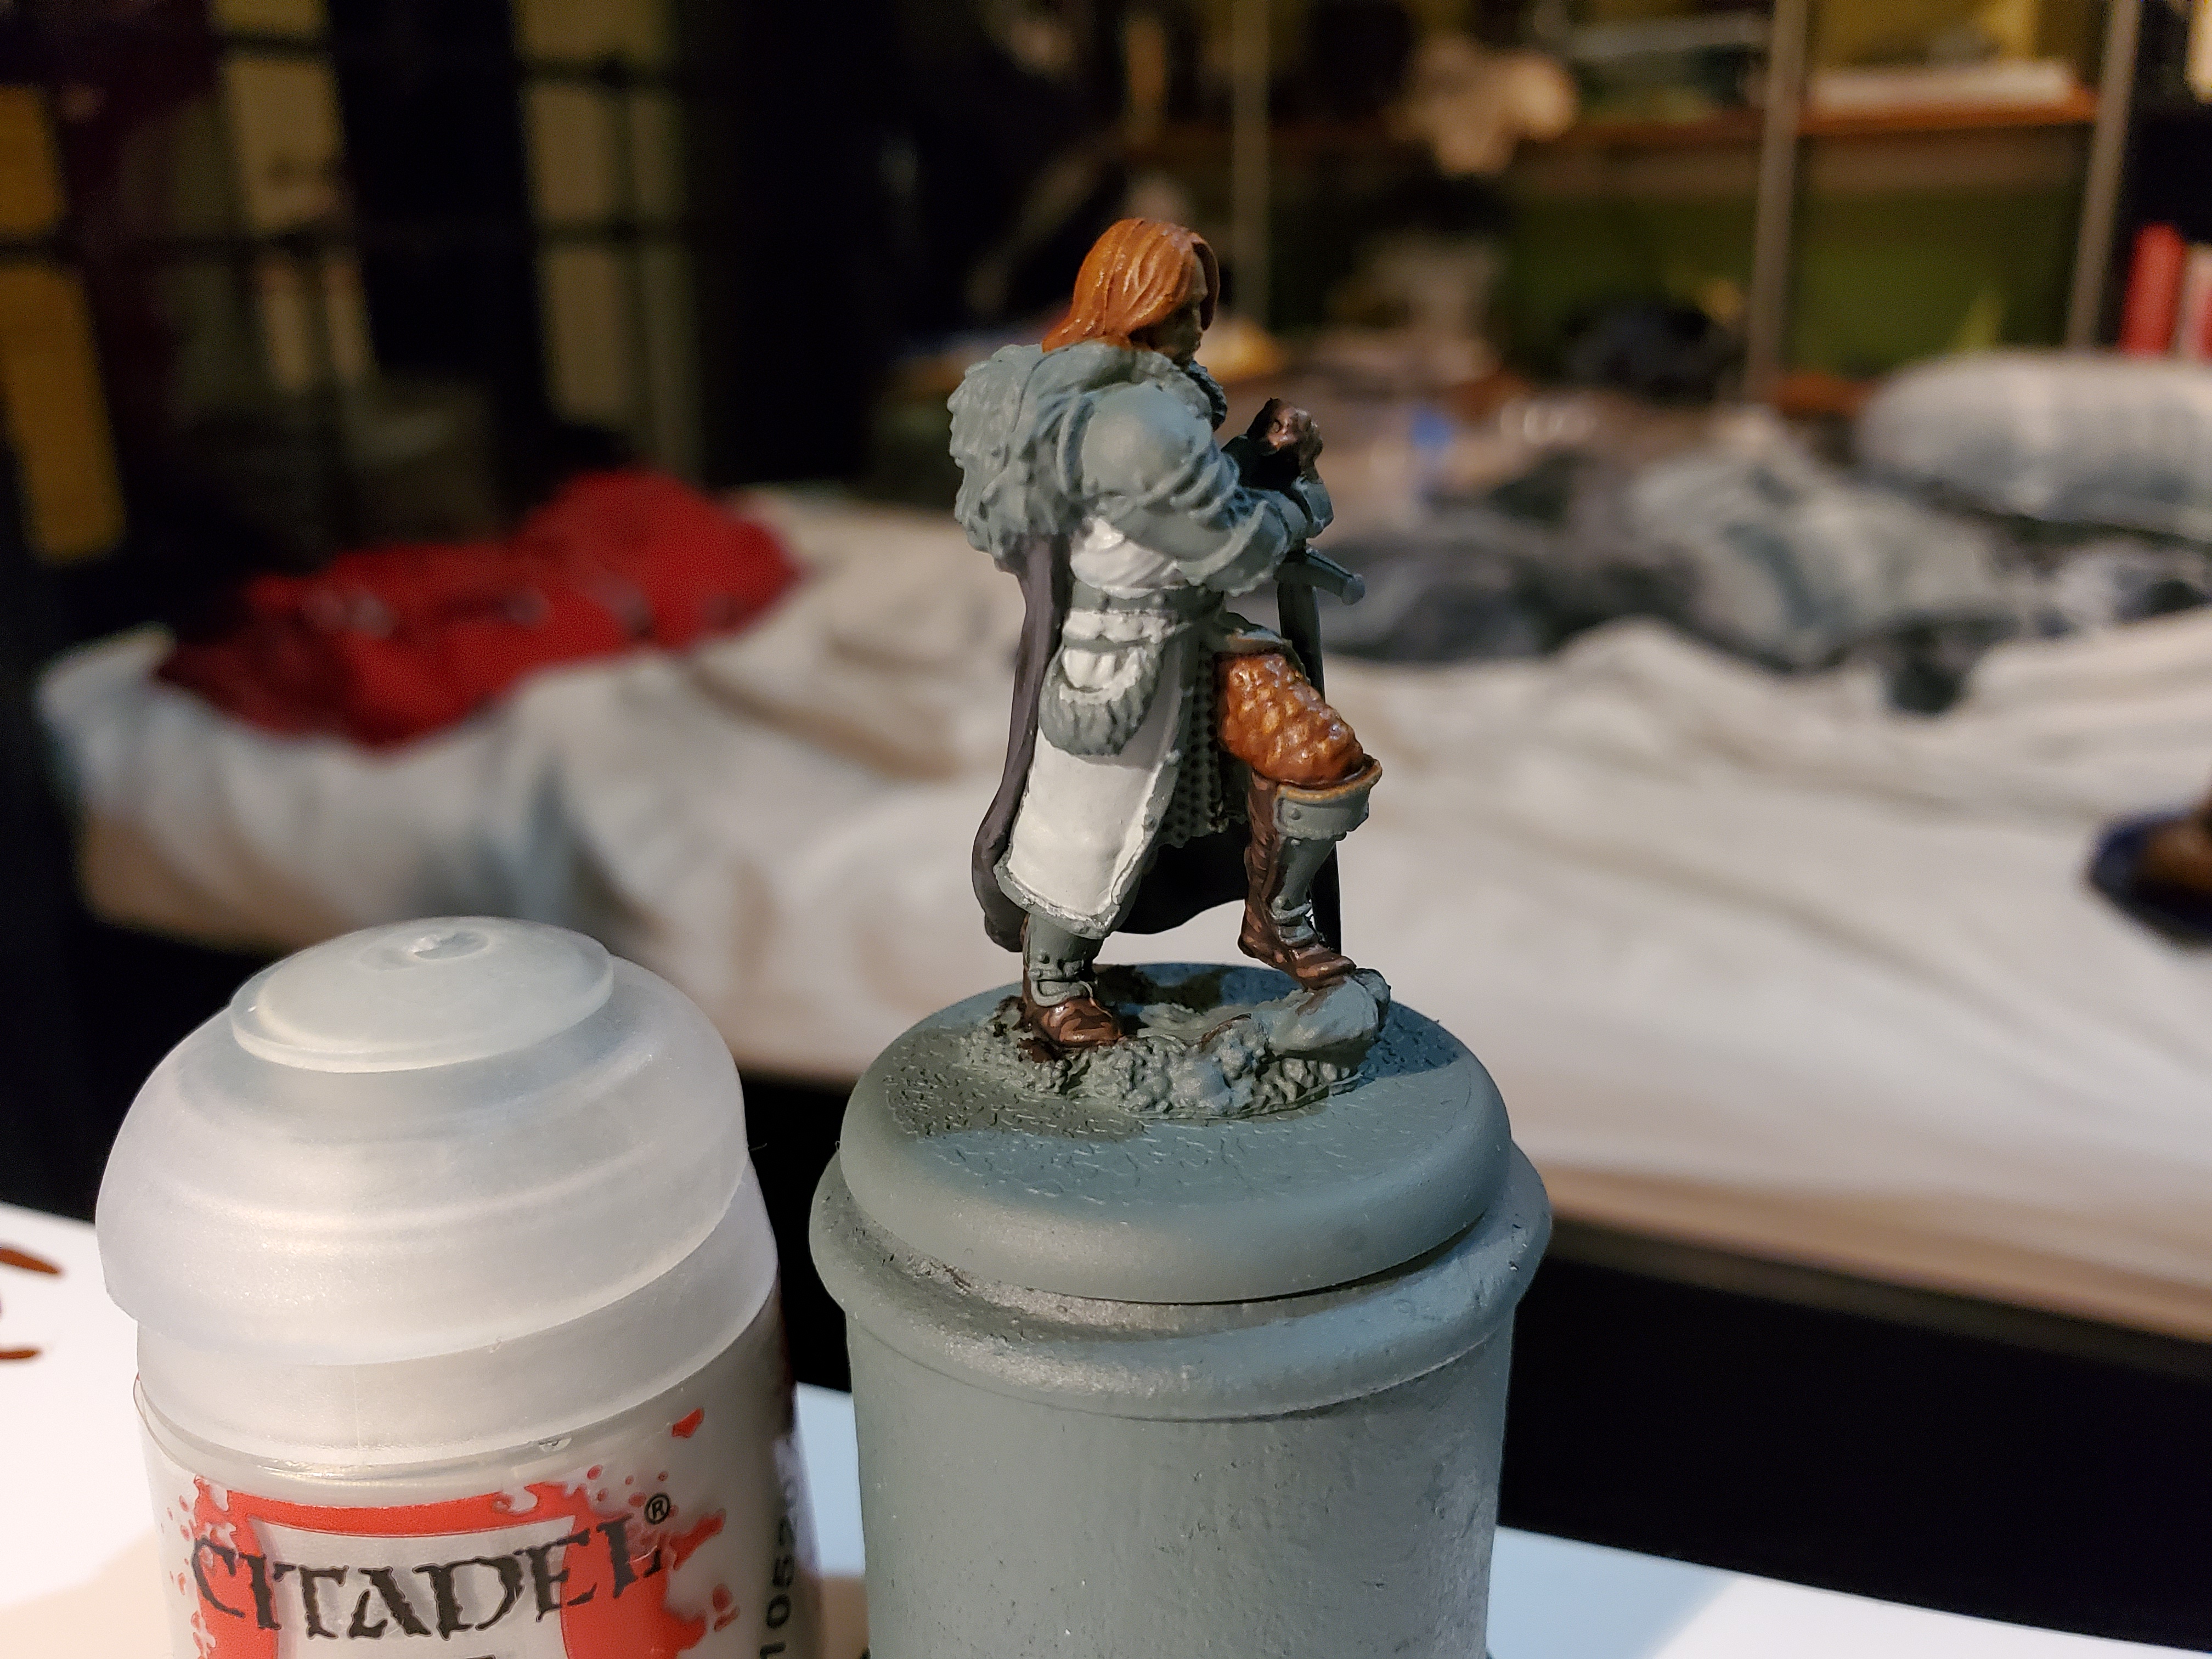

The next important thing to cover is the white. Painting white can be quite tricky; took me years to get used to it. However, there is one very simple rule that can be stuck to; start with an grey. That’s what I did here with Celestra Grey. Smooth coats are your friend here, so thin the paints and apply multiple thin coats (and praise St. Duncan of the Thin Coats) and take your time. After applying the Celestra Grey, I decided to shade it using a 2:1 mix of Lahmian Medium to Nuln Oil. This makes it much more subtle while still remaining bright. There are many shades and colours you can use here, in the past I have made my own shade from very thin The Fang for a slight blue tint, but you can also use some thinned brown shades for a dirtier look. After the shades I layered some Ulthuan Grey, again thinned, smooth coats, then finally edge highlighted with White Scar, but any pure white will do there.
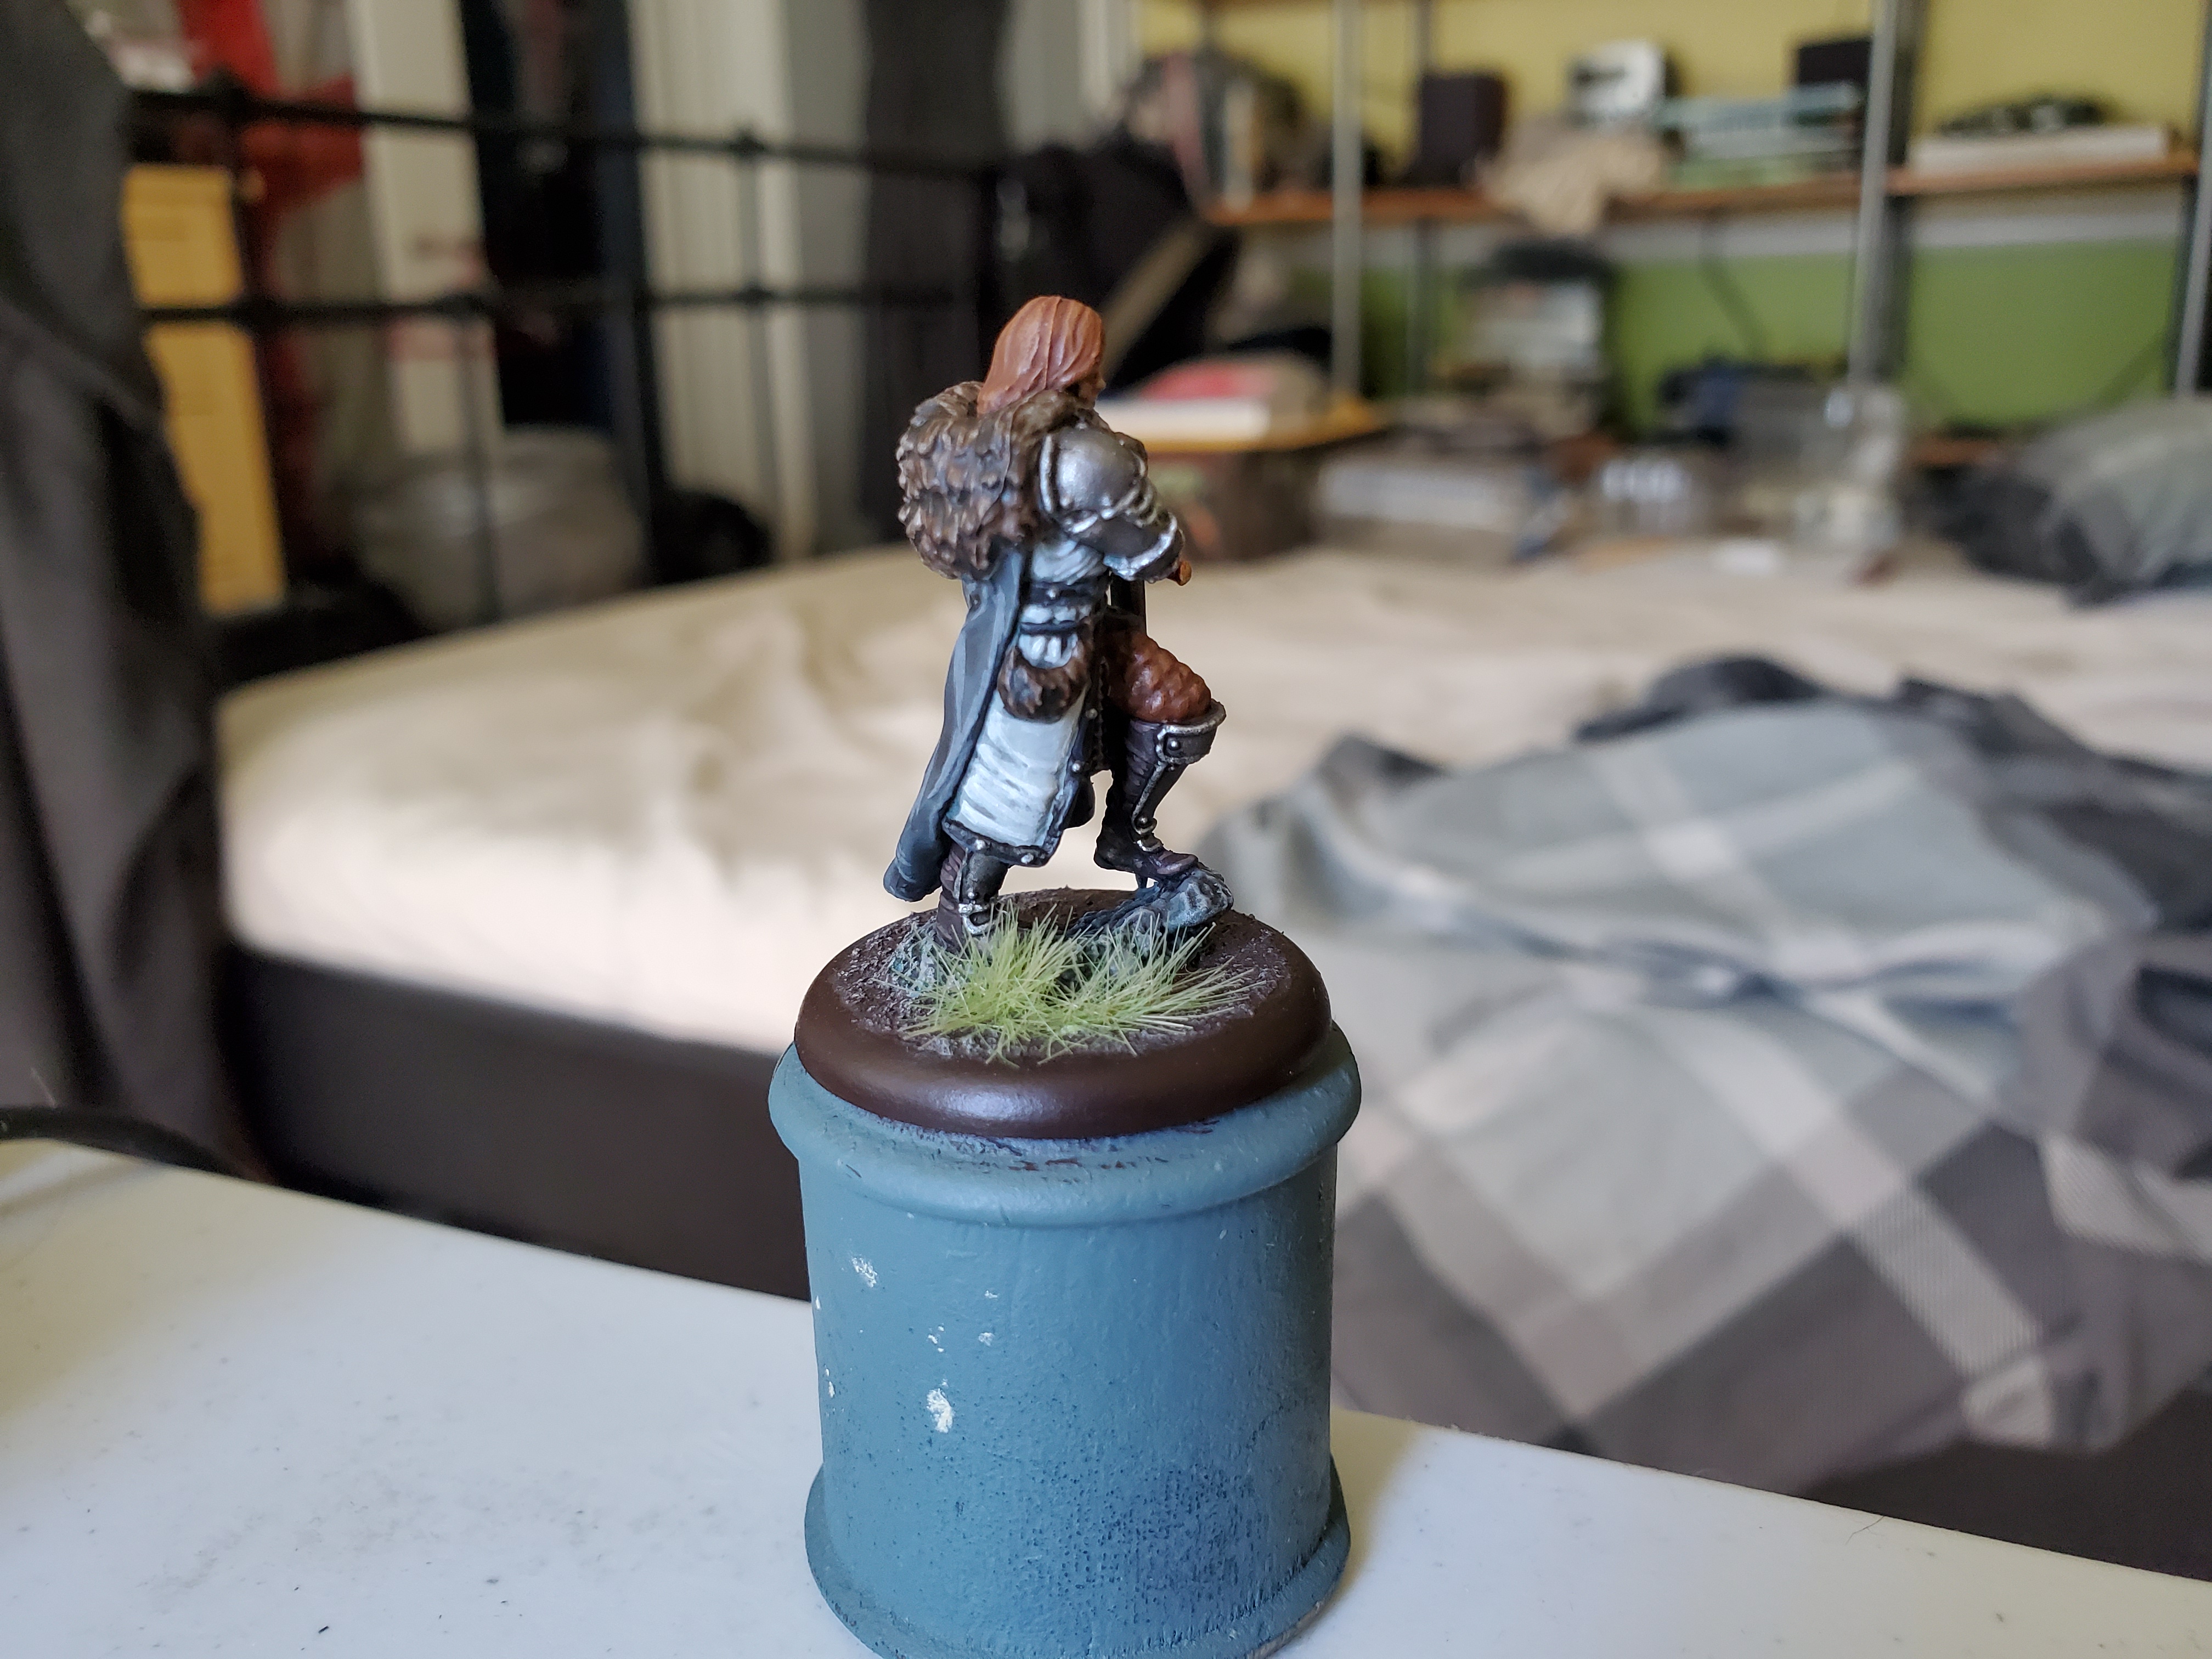
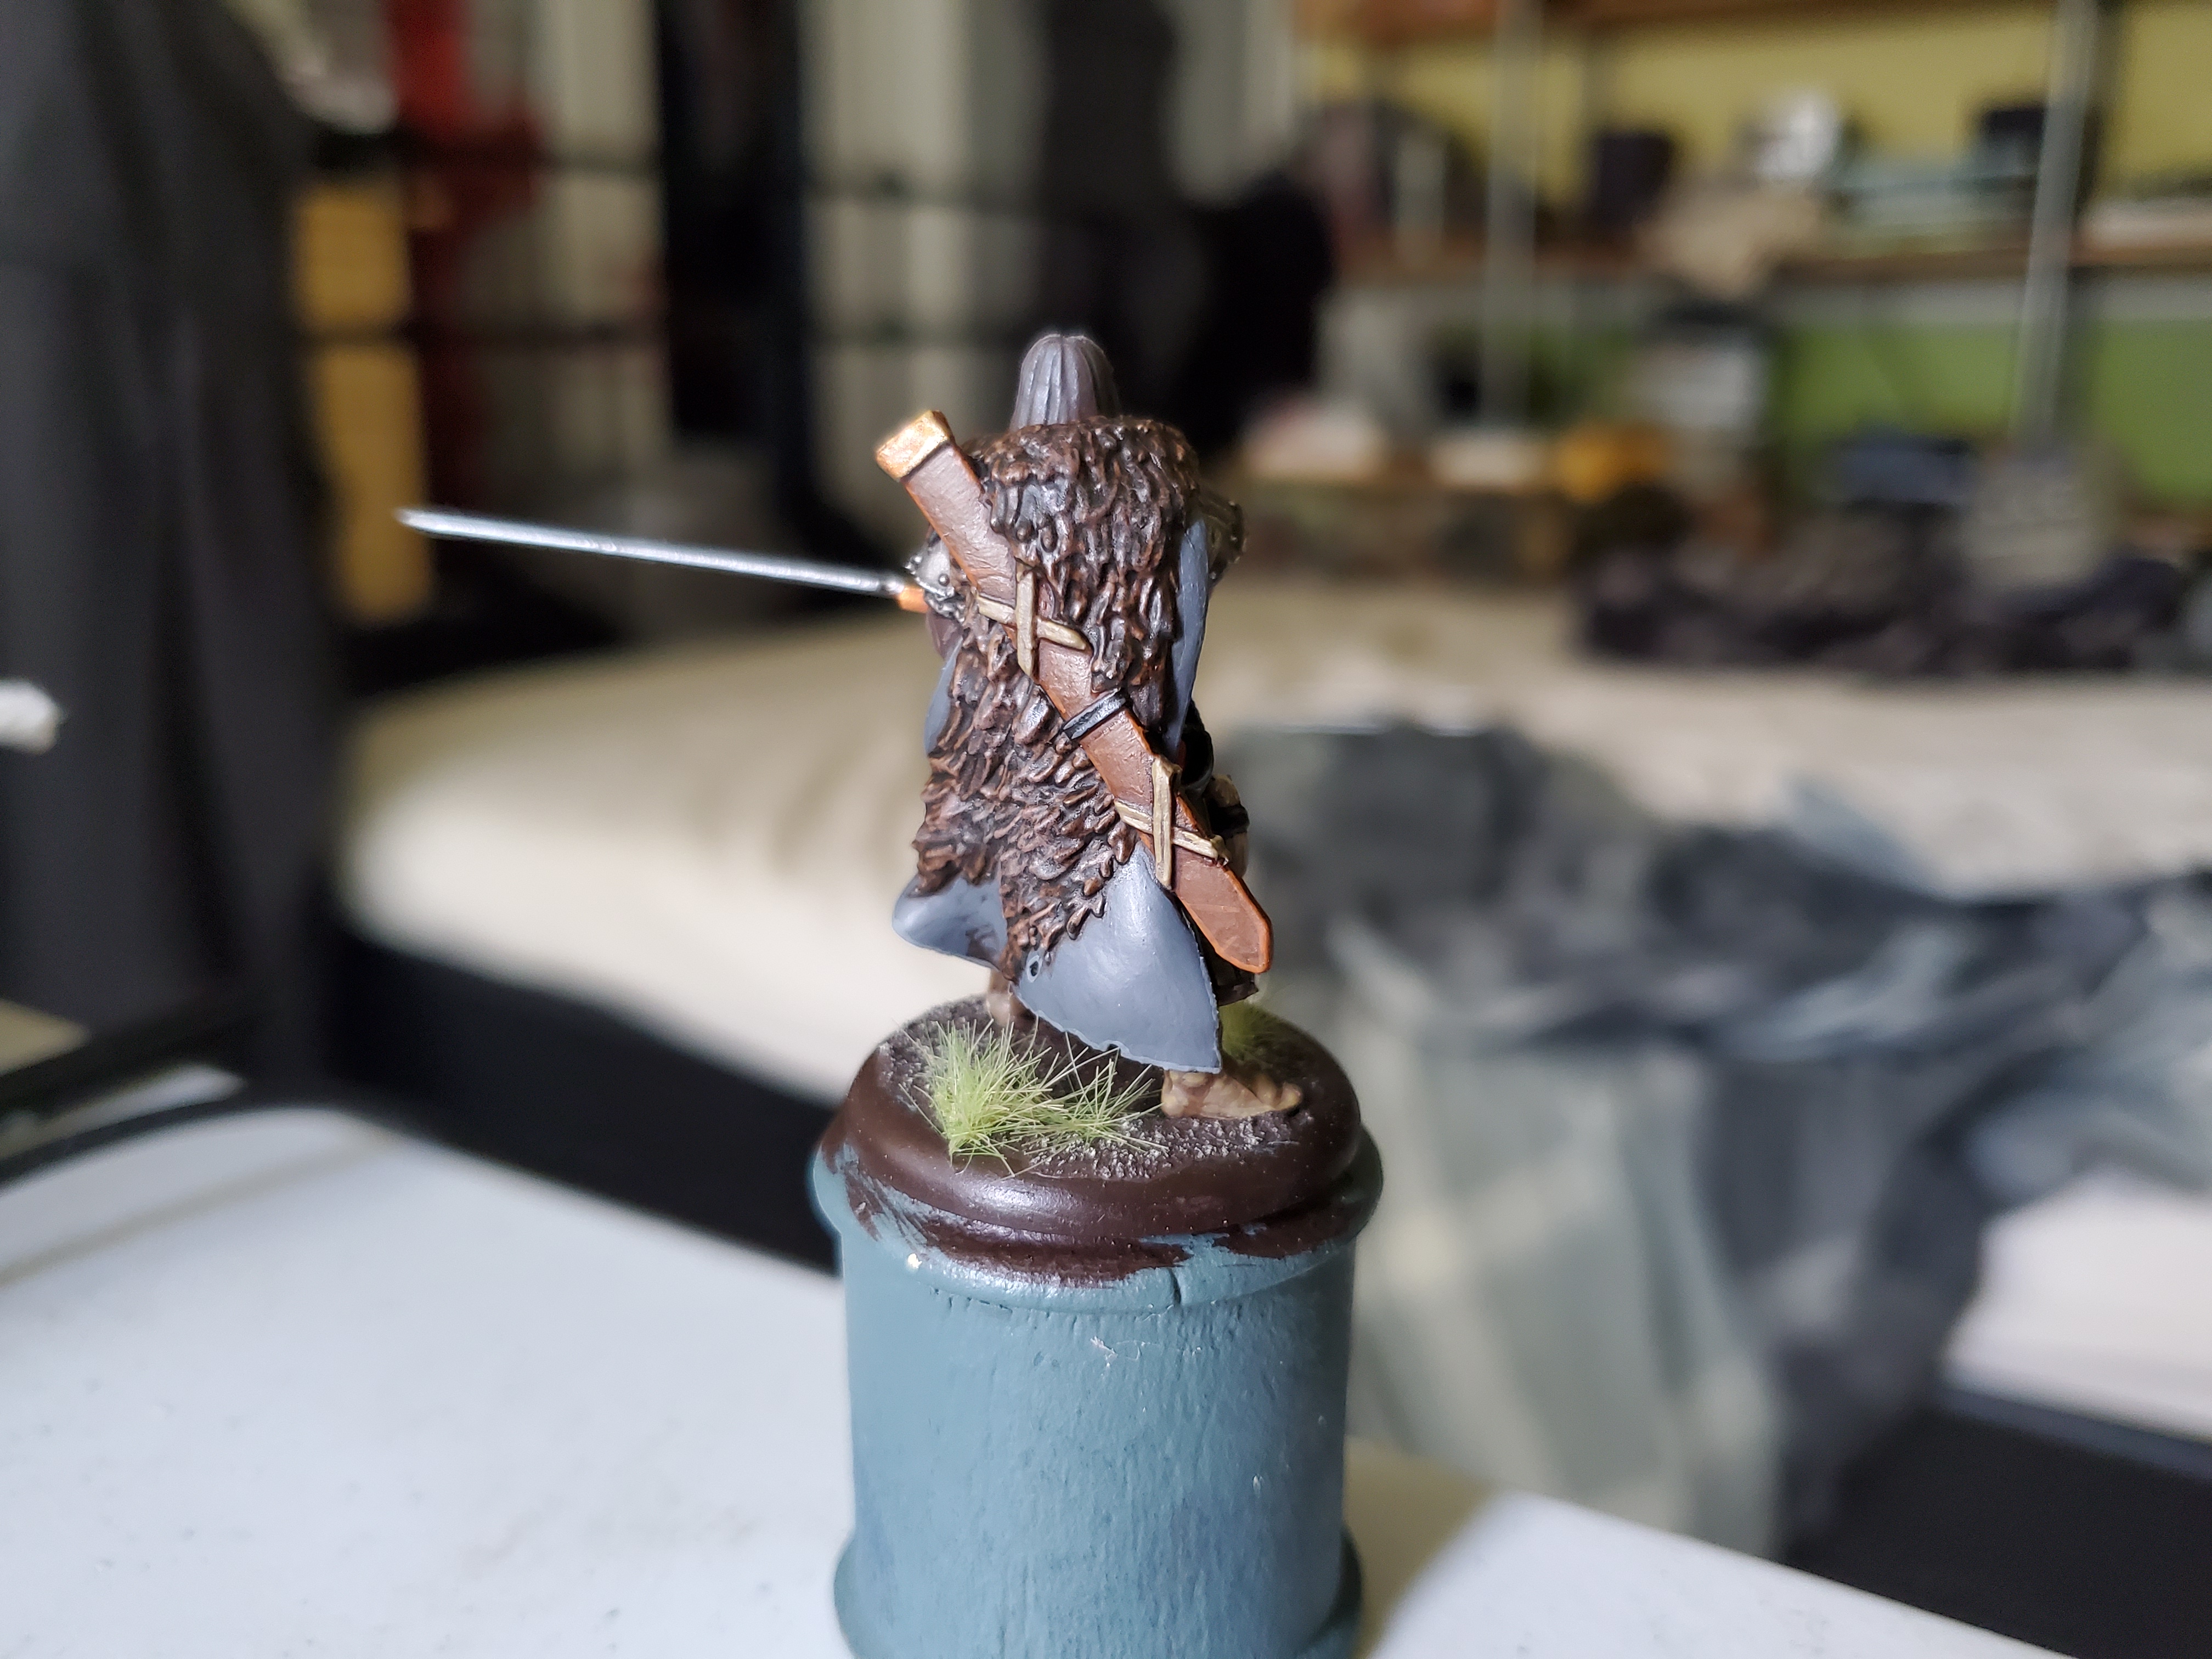
 The King in The North!
I must say that I have learned quite a lot in painting these minis so far. First off is having to work around no ability to do sub-assemblies…as that is how I usually deal with difficult to reach parts. The biggest issue with this now is mould lines in those places so I’m getting used to recognising when something is just invisible and what I can and can’t get away with. With this mini, in particular, I think the alternate sculpt with the sword raised would be a little easier to paint, but I think I’ve done well enough here.
Here are some final shots before I head off and try and work out what to do next…