

![Atomic Tank – The Robot Wars Review | Fast-Paced 10mm Sci-Fi Wargame [7 Days Early Access]](https://images.beastsofwar.com/2026/01/unboxing-hydra-miniatures-atomic-tank-the-robot-wars-coverimage-225-127.jpg)

![246 Dwarves in One Box?! | Wargames Atlantic Dwarven Host Unboxing & Review [7 Days Early Access]](https://images.beastsofwar.com/2026/01/unboxing-wargames-atlantic-epic-fantasy-battles-dwarven-host-coverimage-225-127.jpeg)


Making a fist of Indomitus


Recommendations: 660
About the Project
This is my journey through painting the Indomitus box
Related Game: Warhammer 40,000
Related Company: Games Workshop
Related Genre: Science Fiction
This Project is Active
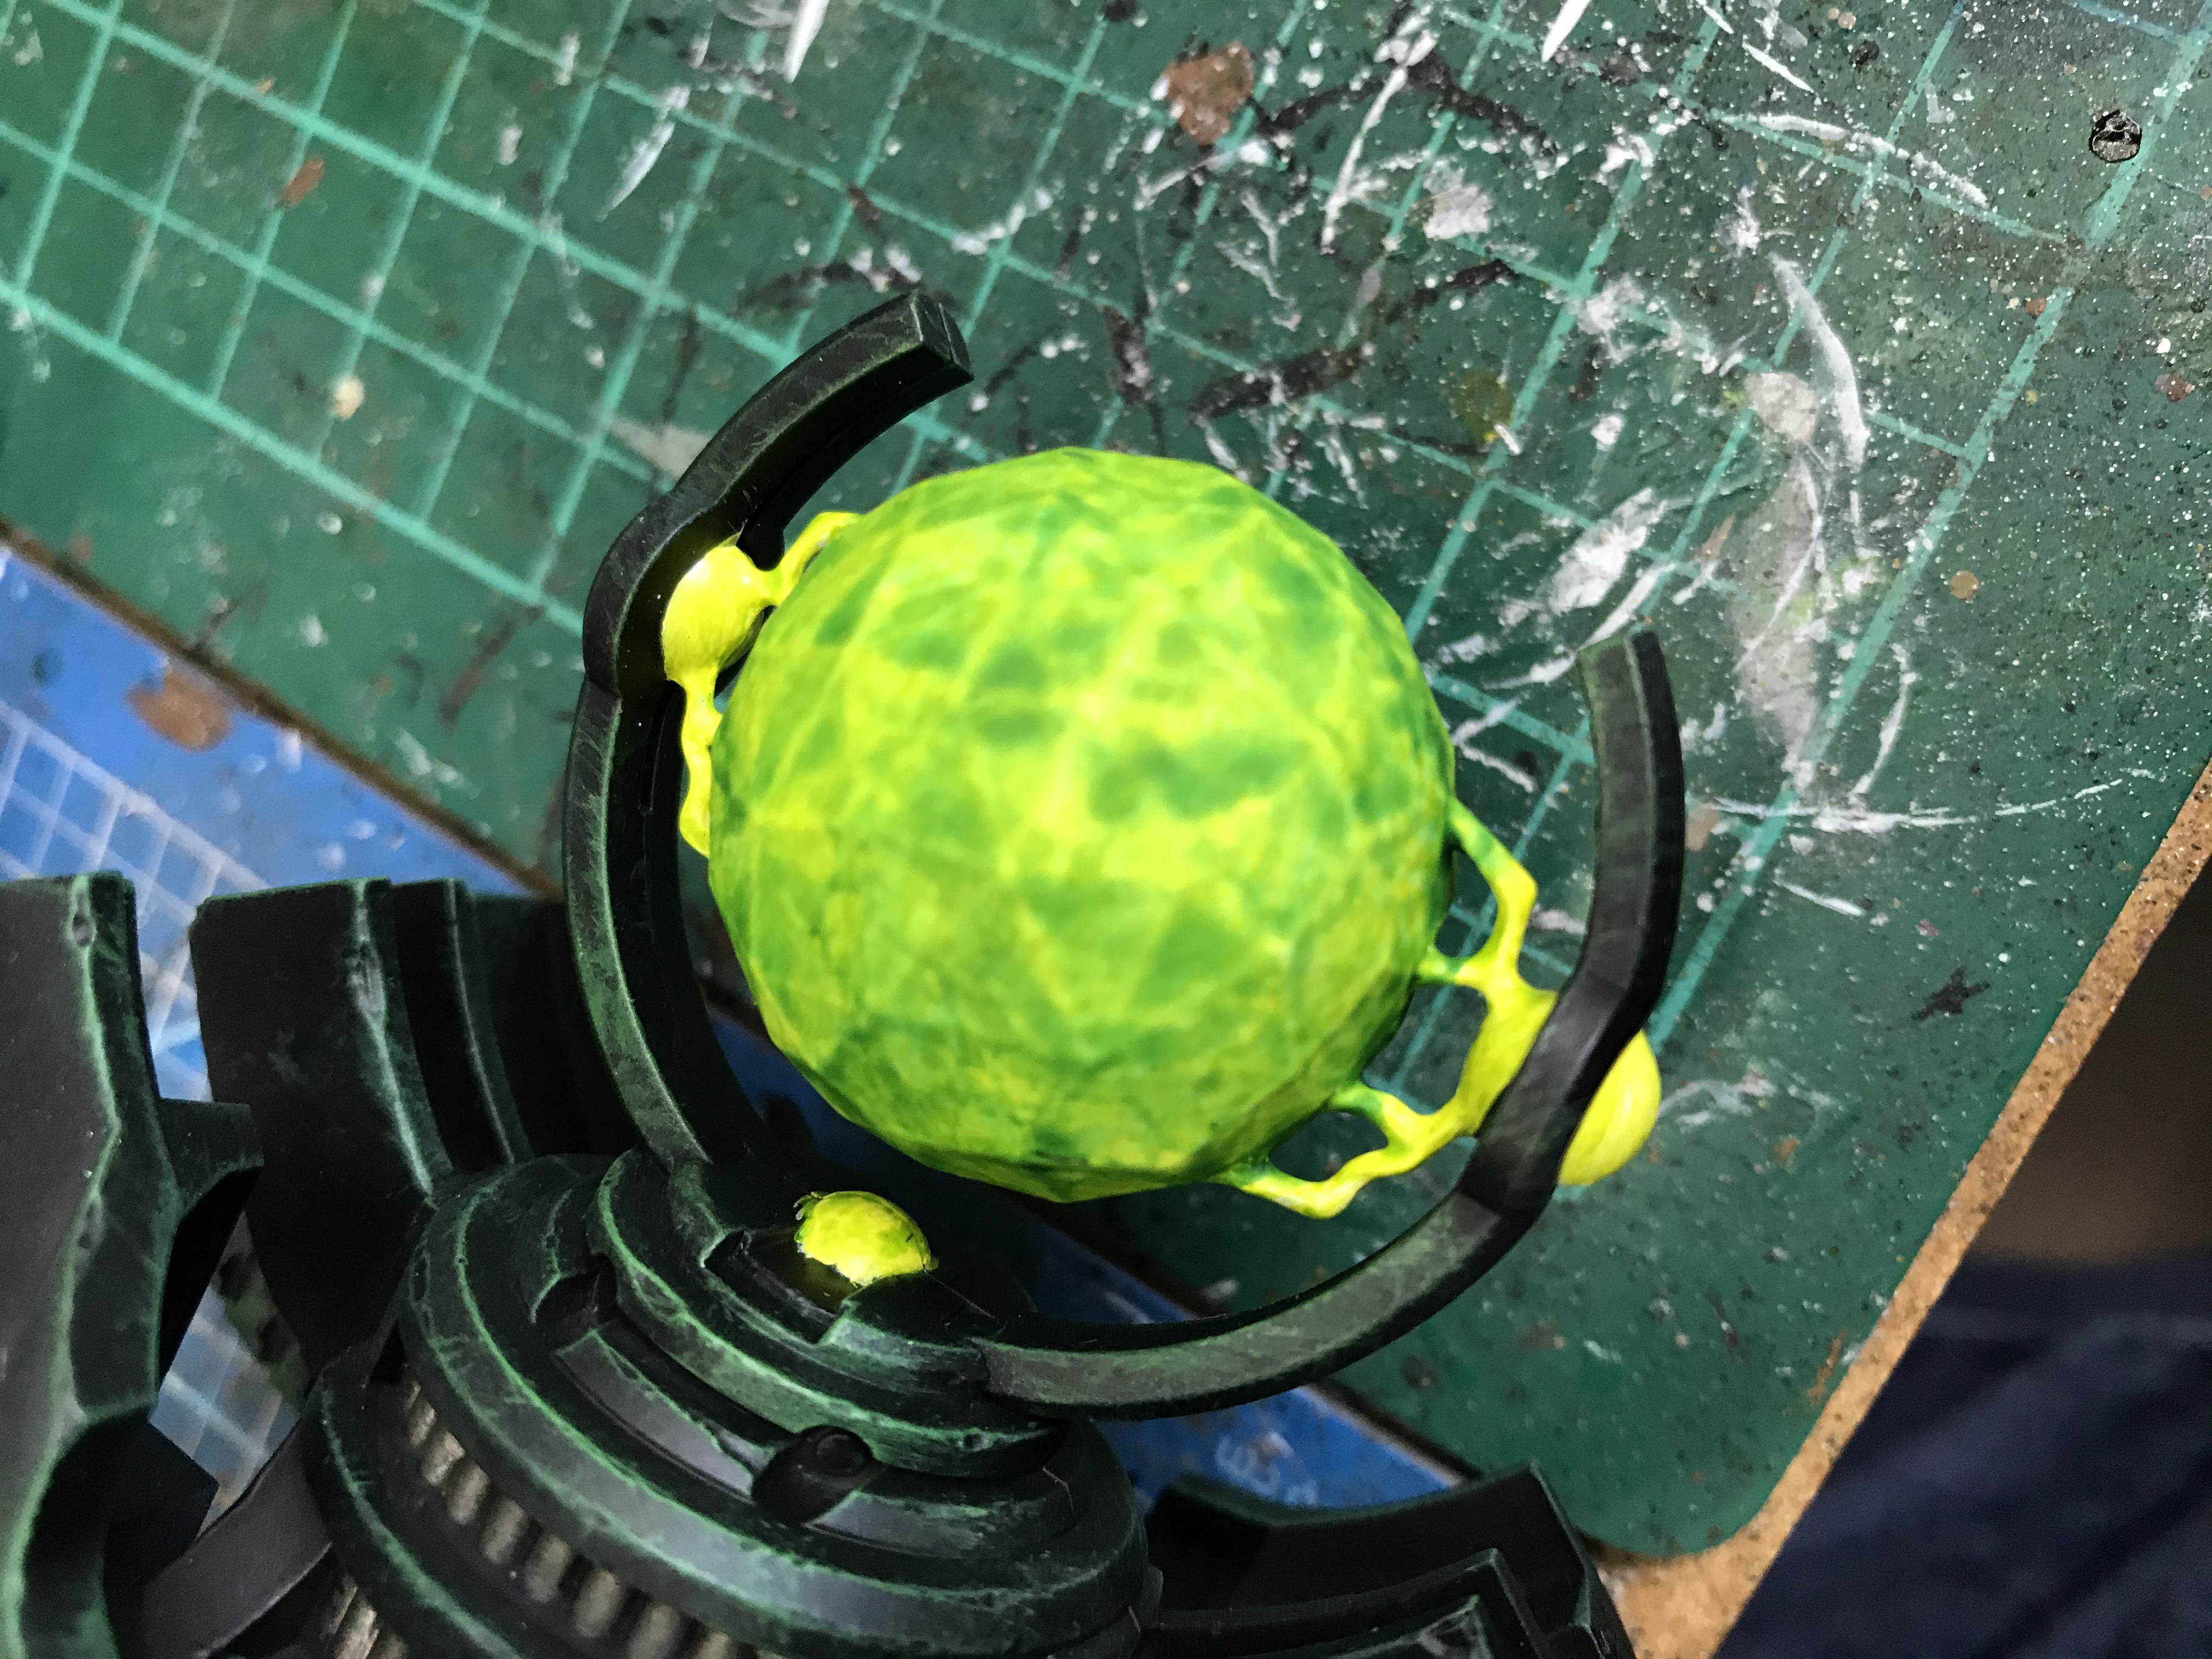
Golf ball woes
Nearly there with monolith but I attempted to used ork flesh mixed with contrast medium in the golf ball of doom and ended up with a blotchy mess. I am going to have to redo that, I am also dealing with the base which seems to have quite a warp to it.
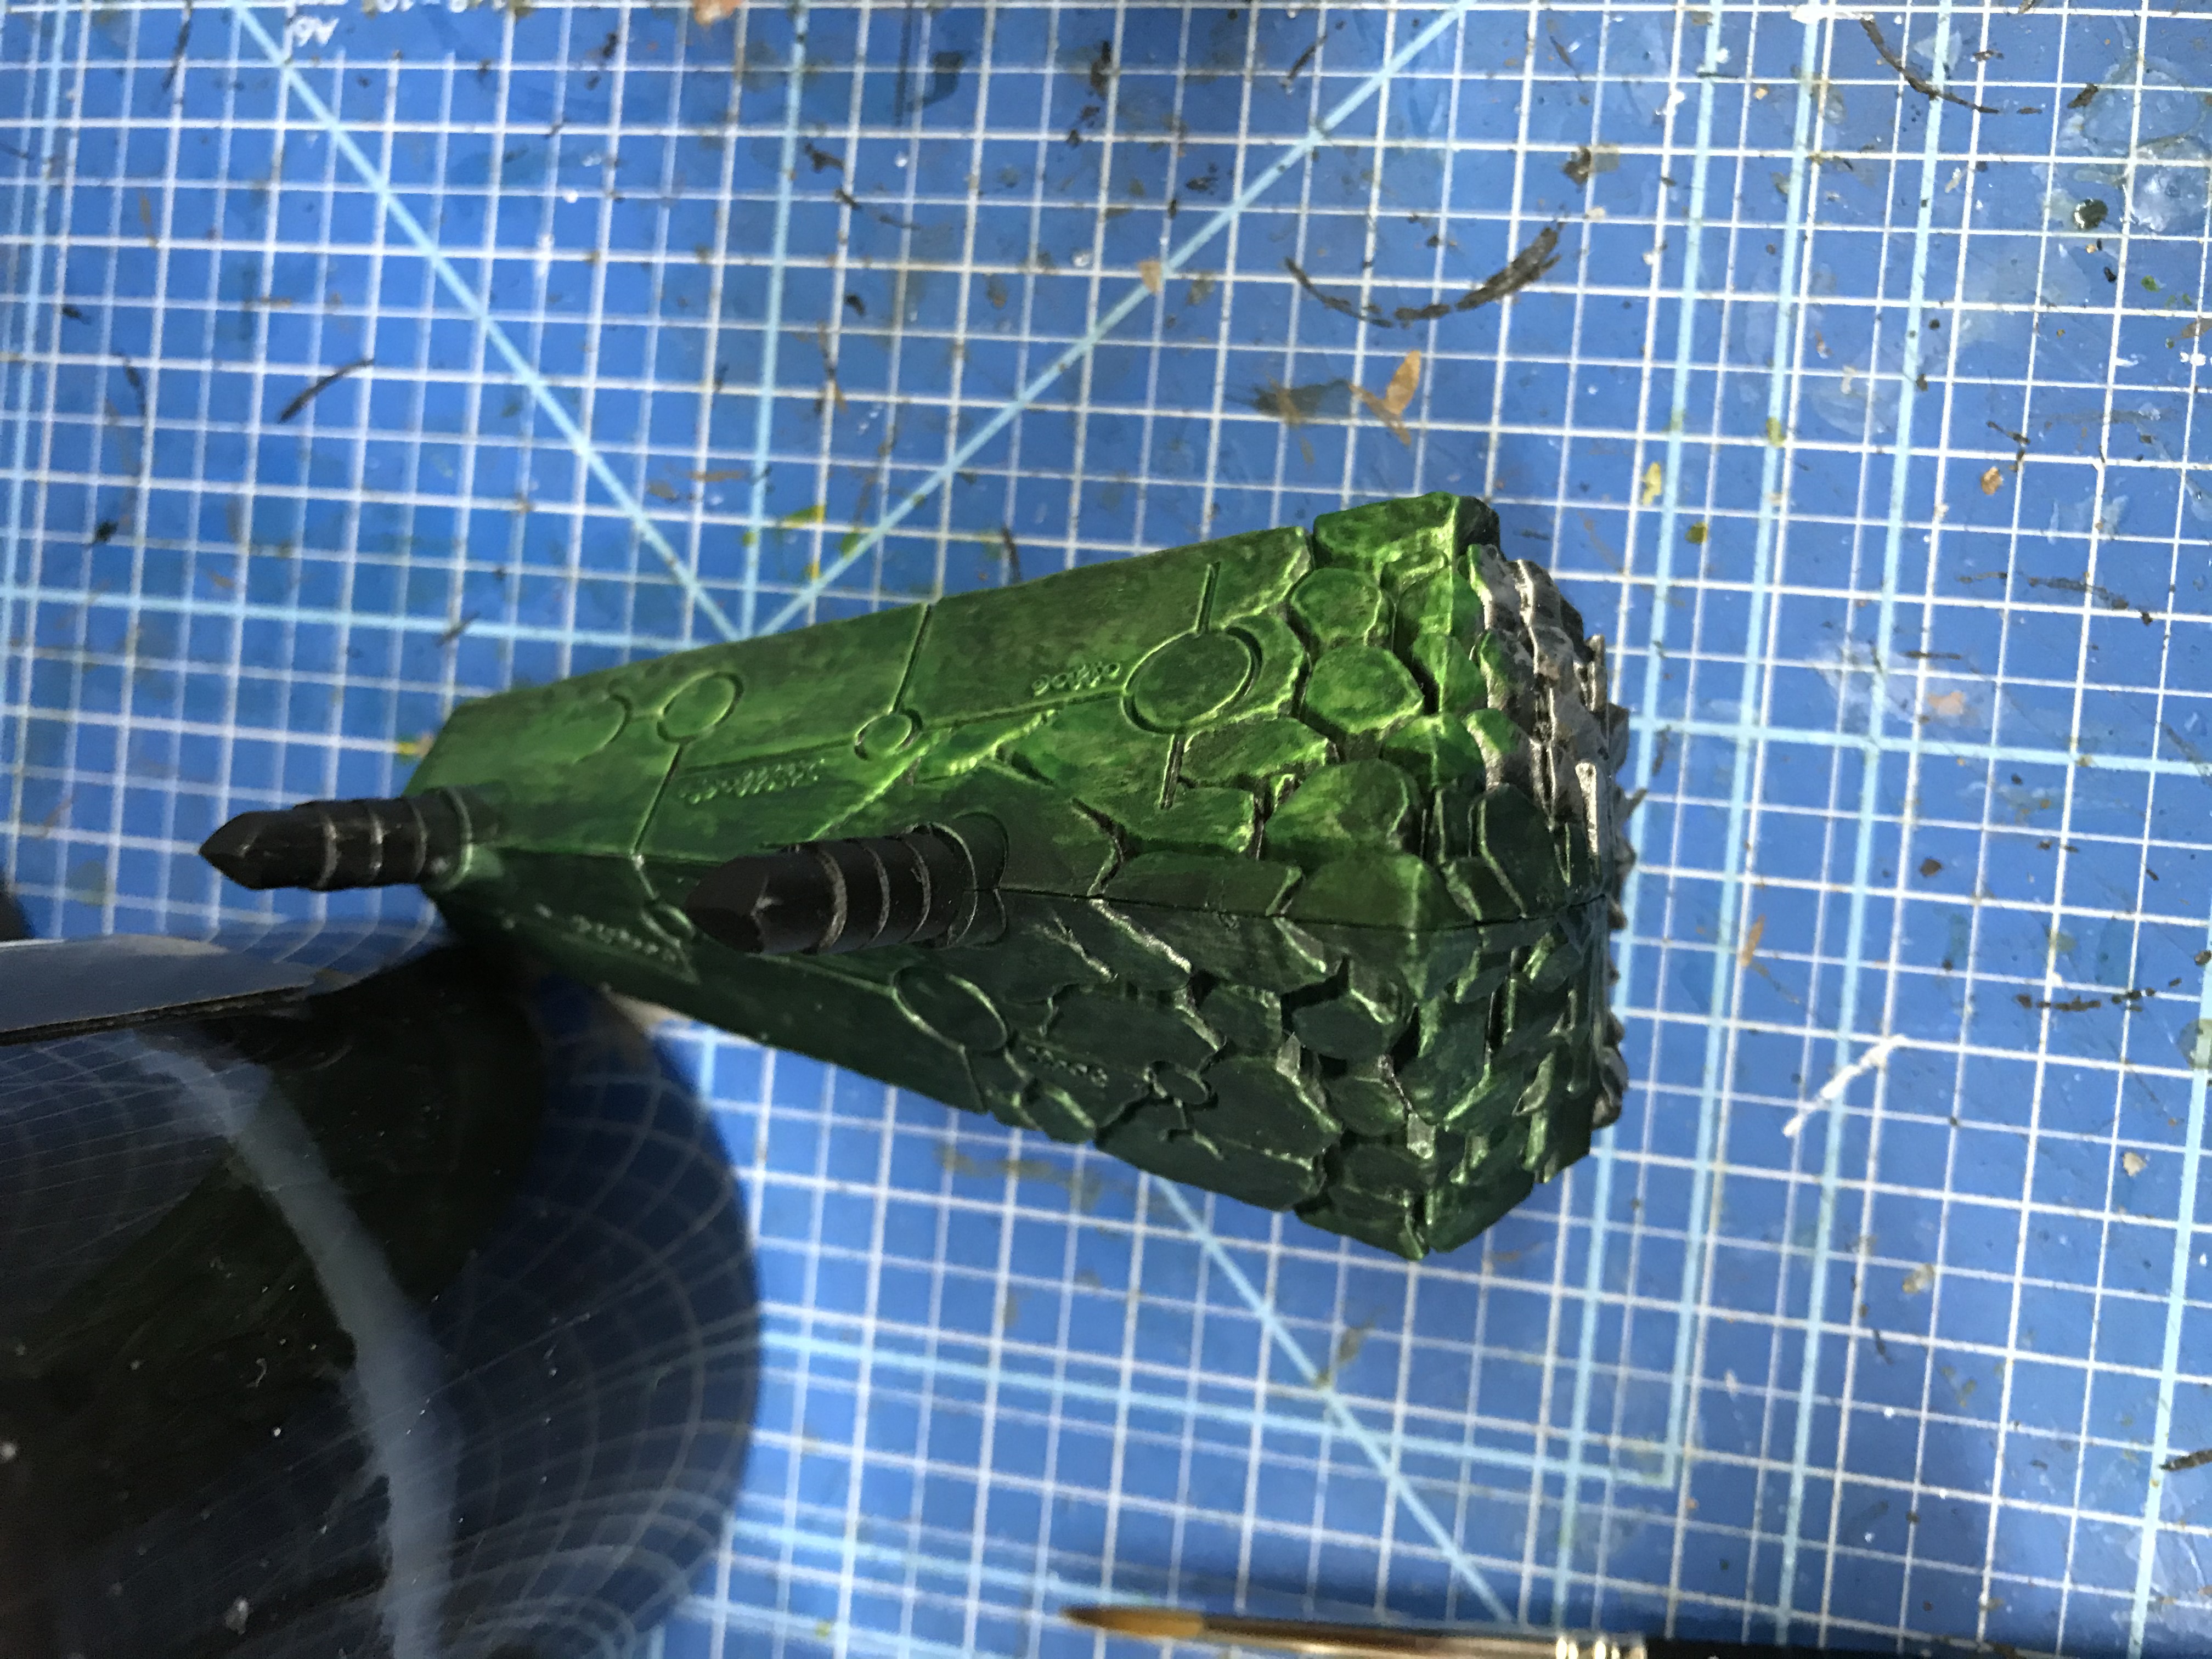
monolith Part 3

The edge highlighting is done with warpstone glow and then a bit of moot green, the three spires up the sides are picked out in leadbelcher as are the joins on the scarab arms and tail.
A good start
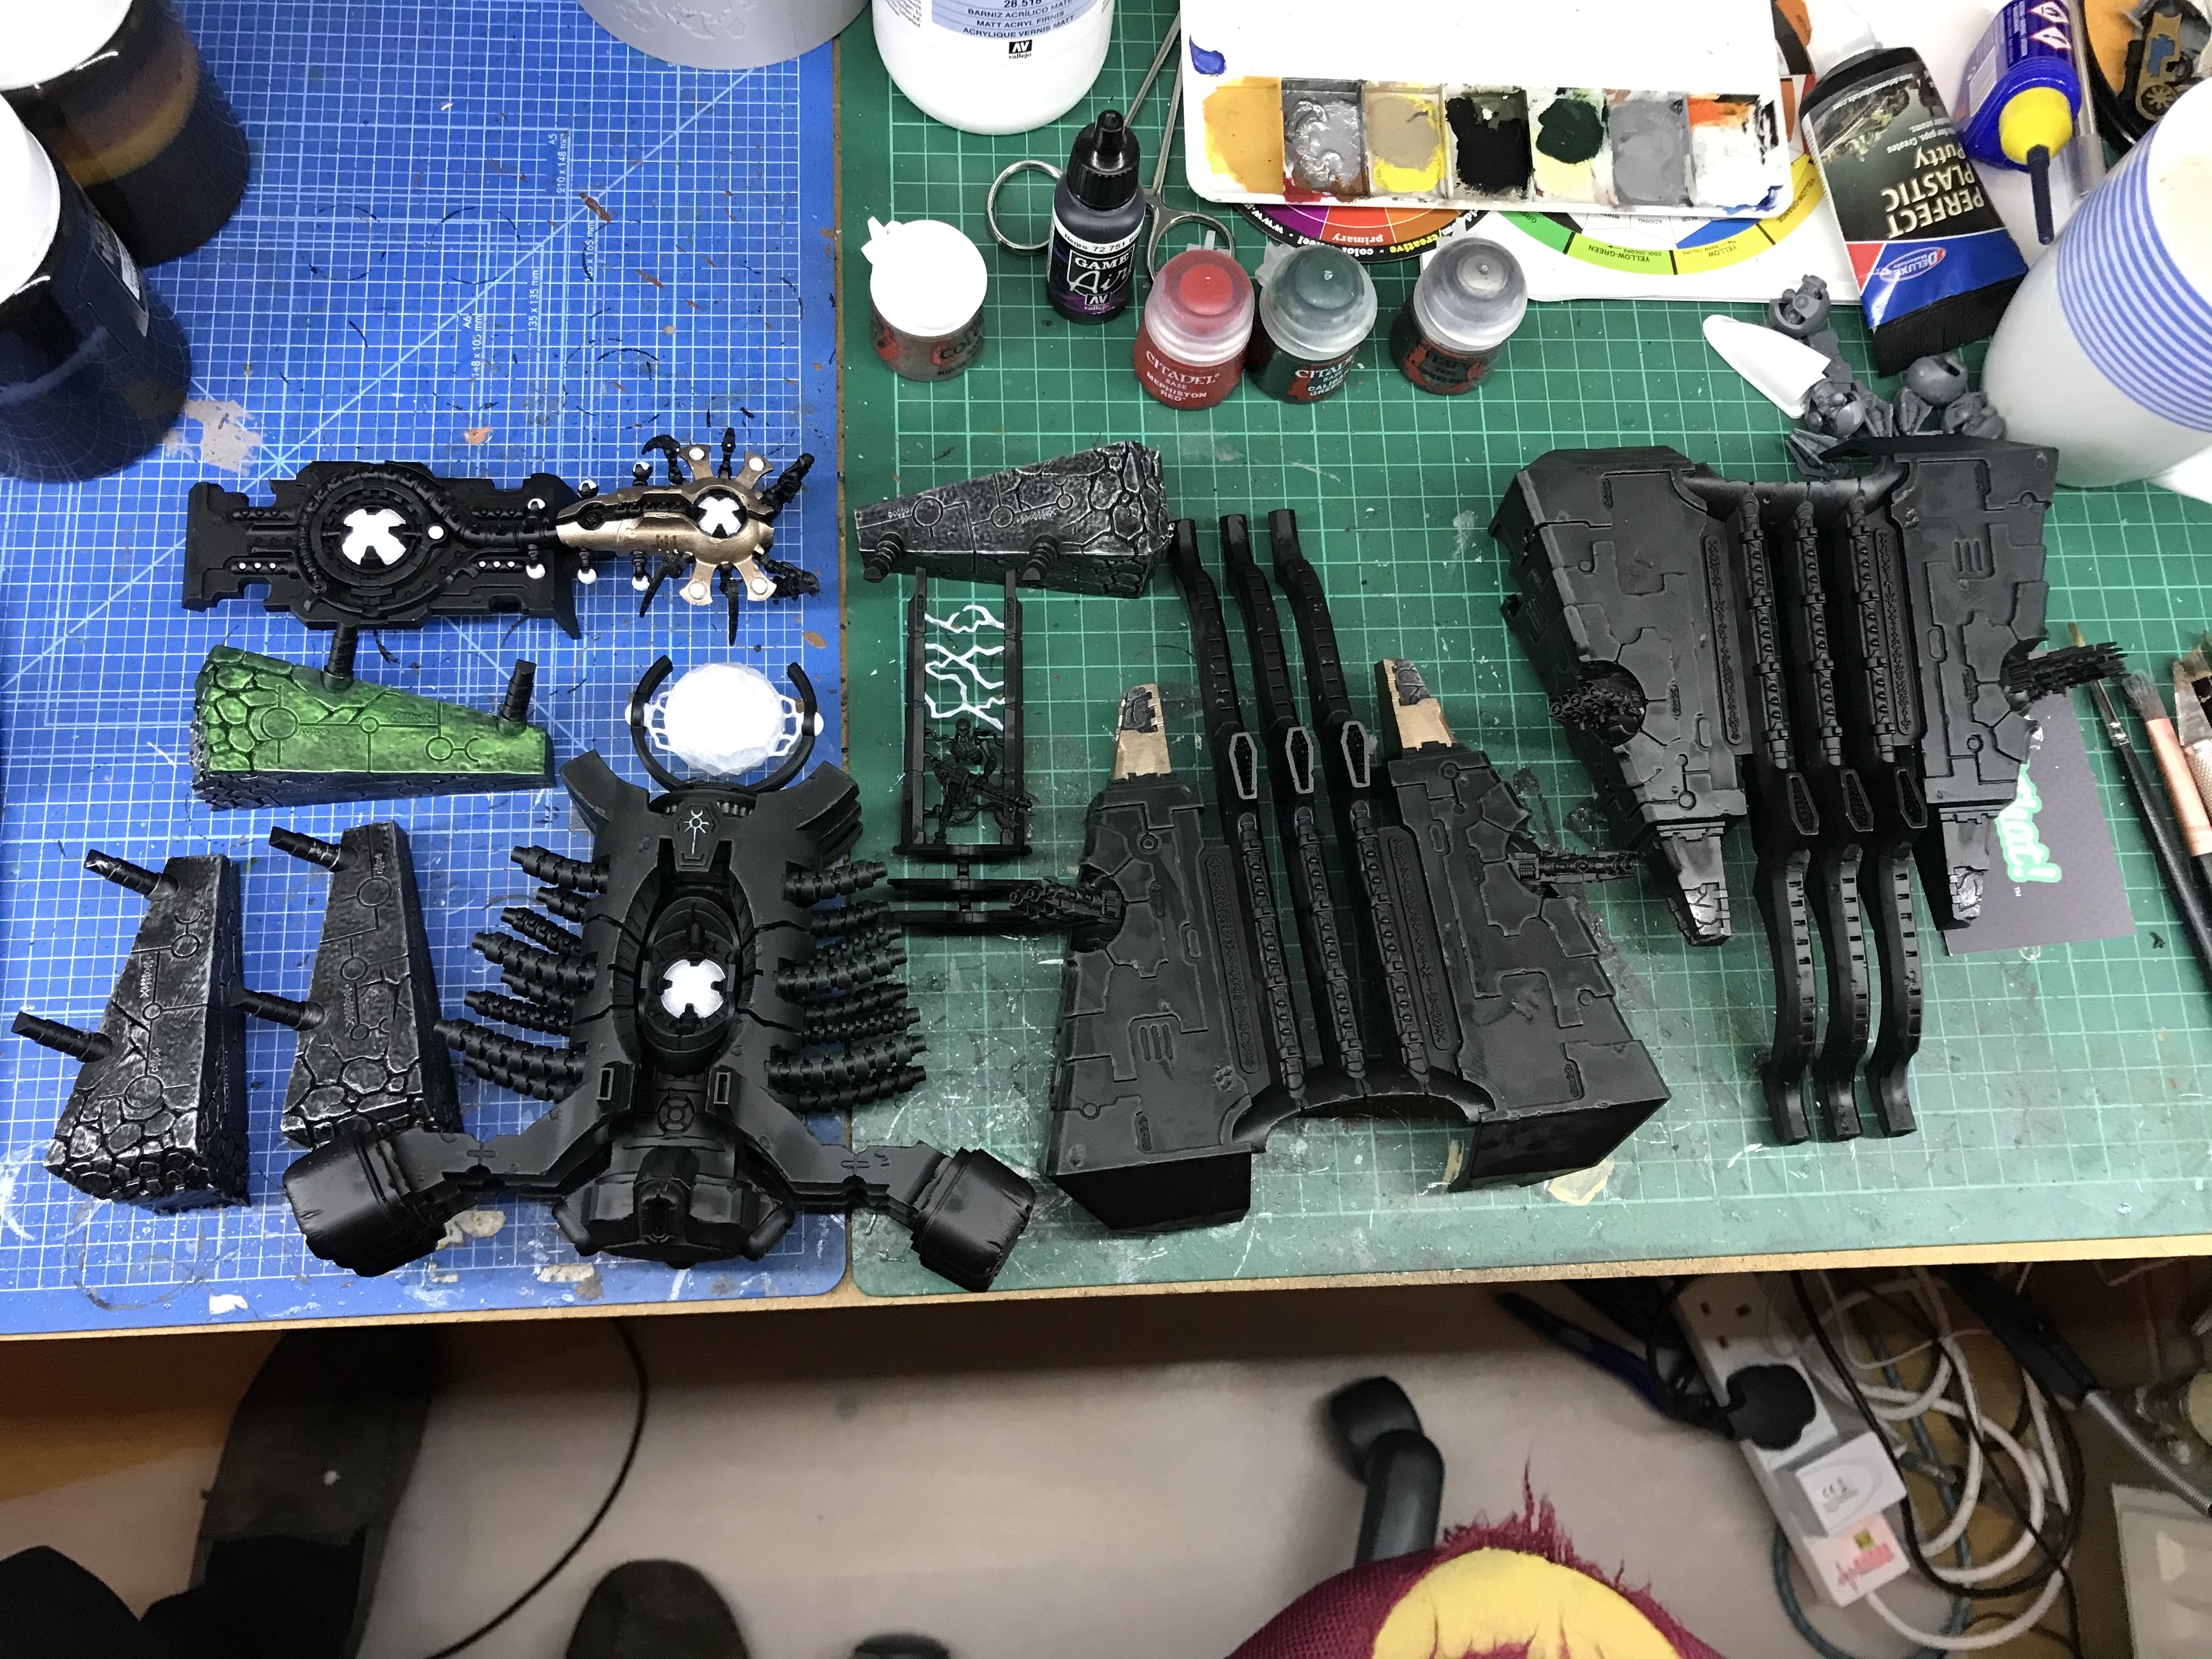
Some progress made with the monolith, all primed with the finest halfords black. I have decided to go with the old school necron look and give it a green edge highlight. The glowy green bits will be white with tesseract glow over the top.
Below is my experiment with blackstone colouring, prime black over brush with vallejo chrome and then use dark angels green on the left and warp lightning on the right. I haven’t decided which one to go for yet.
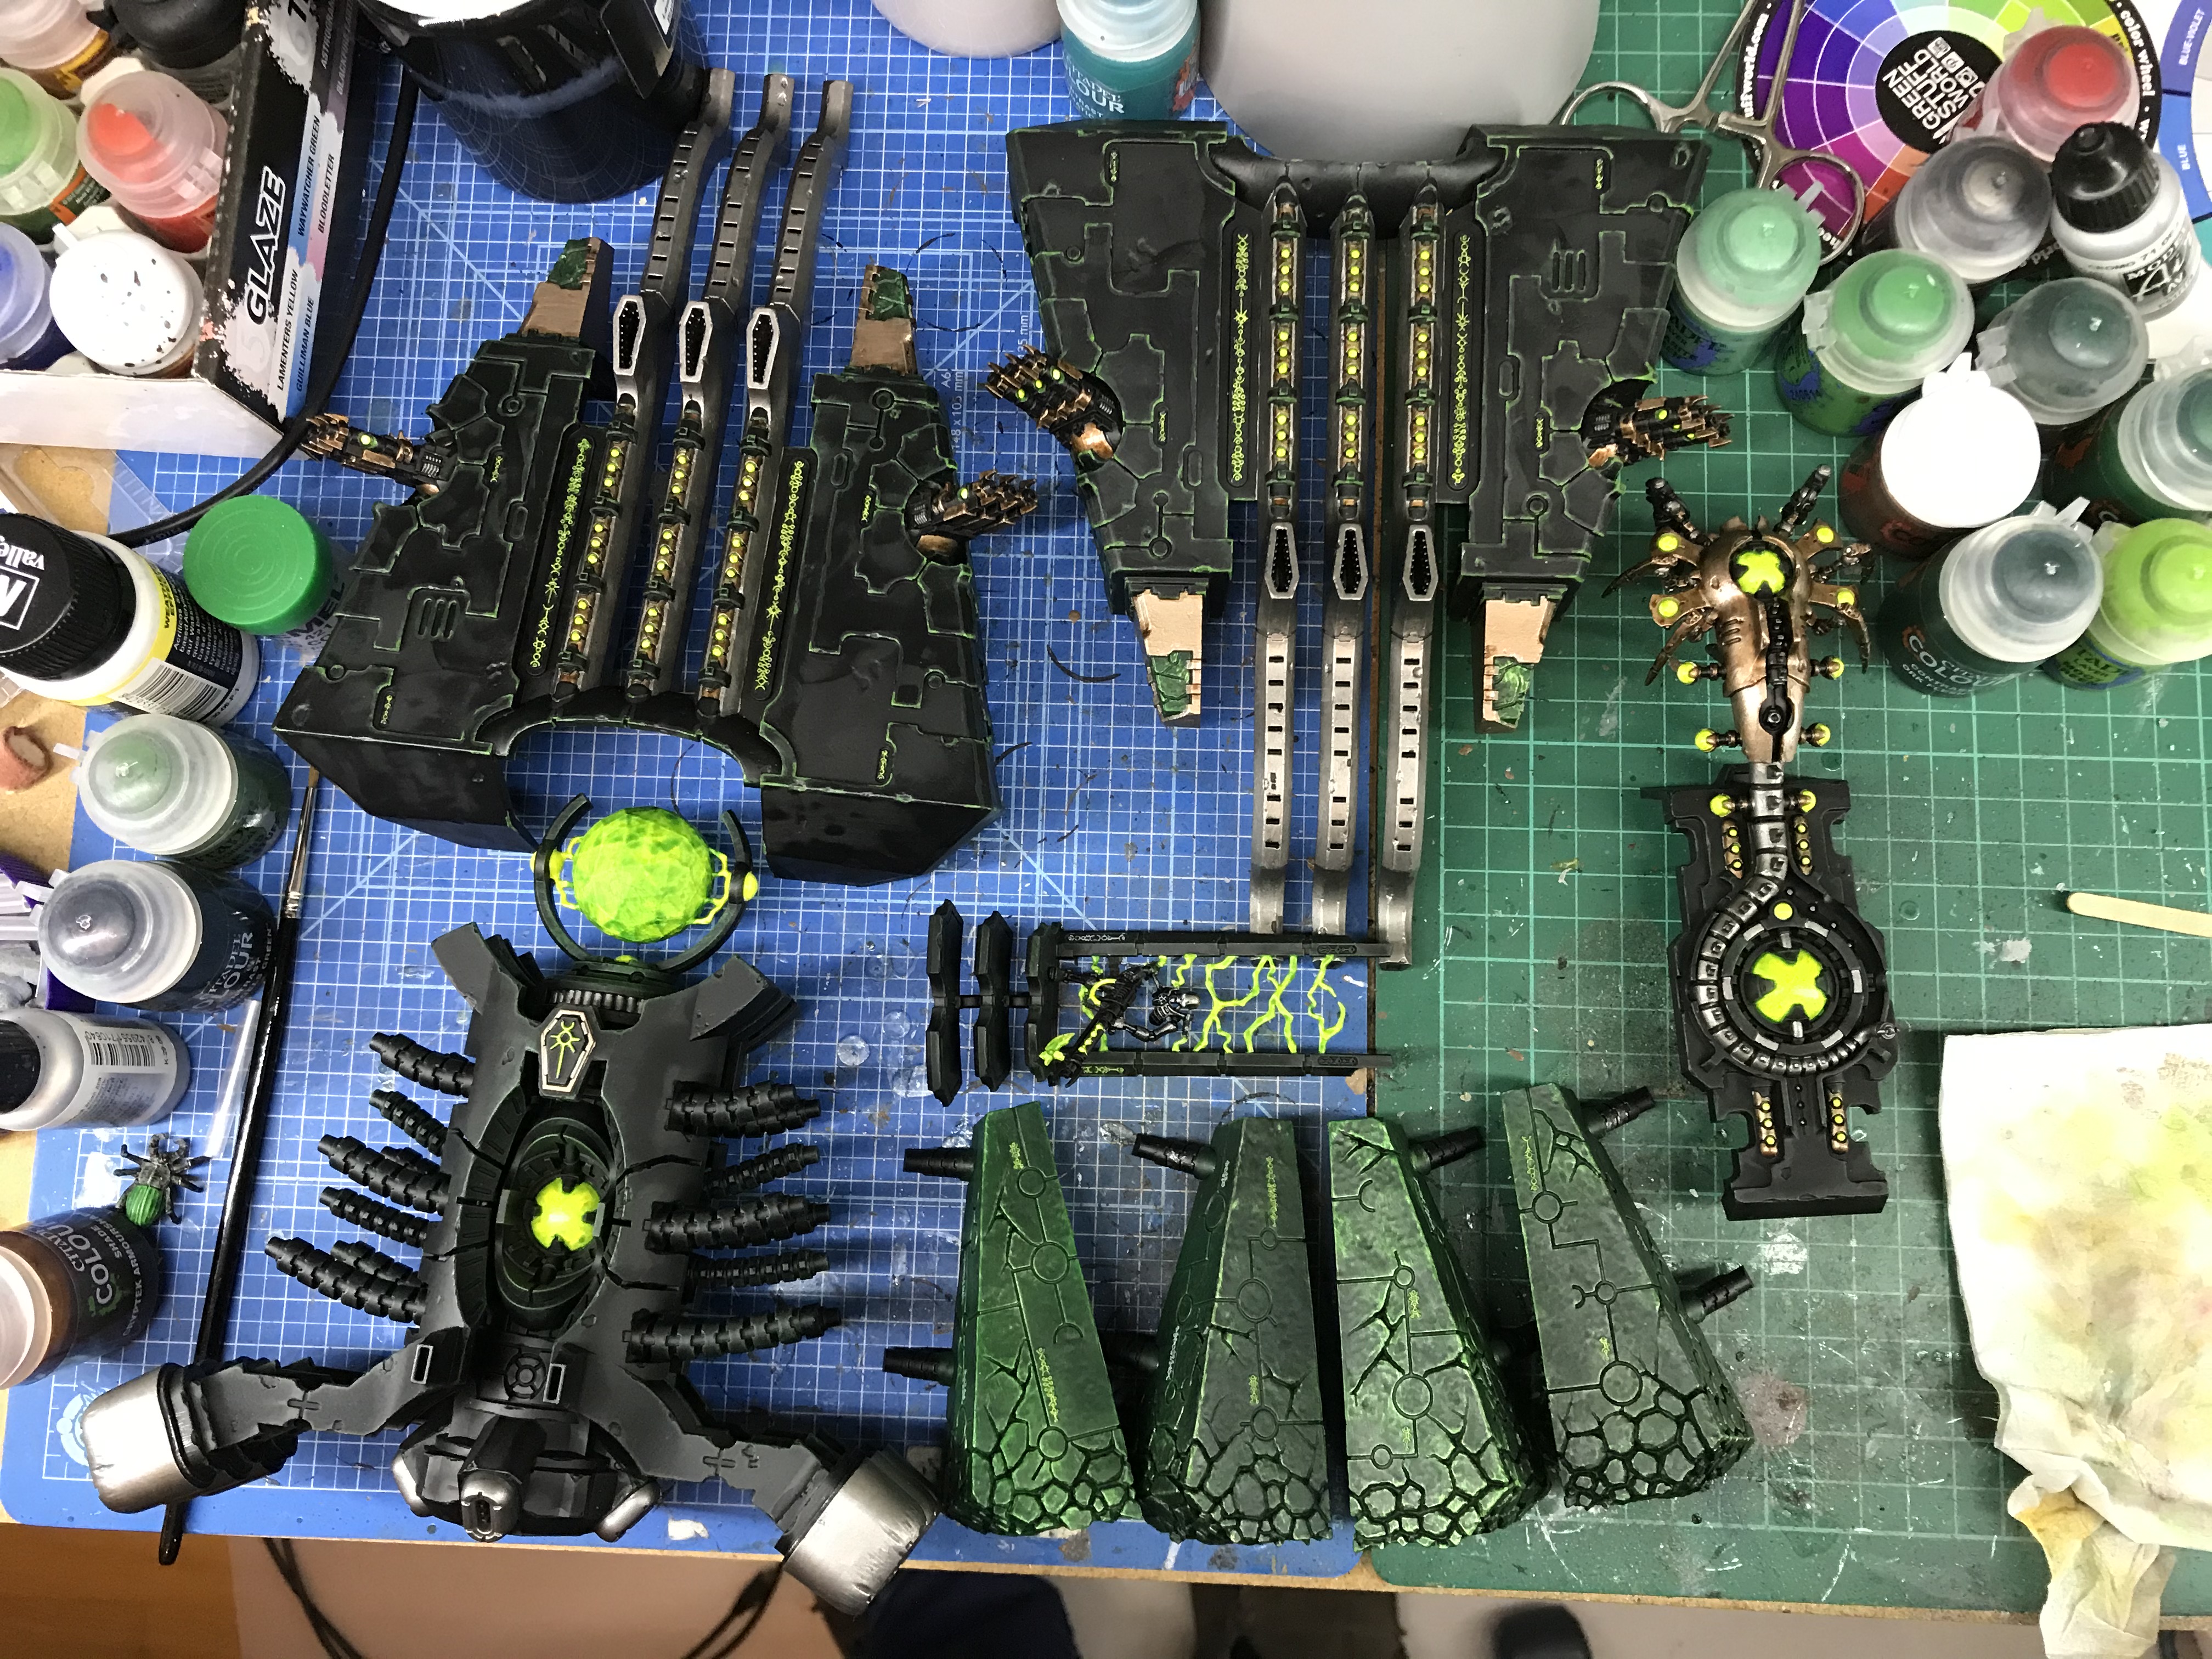
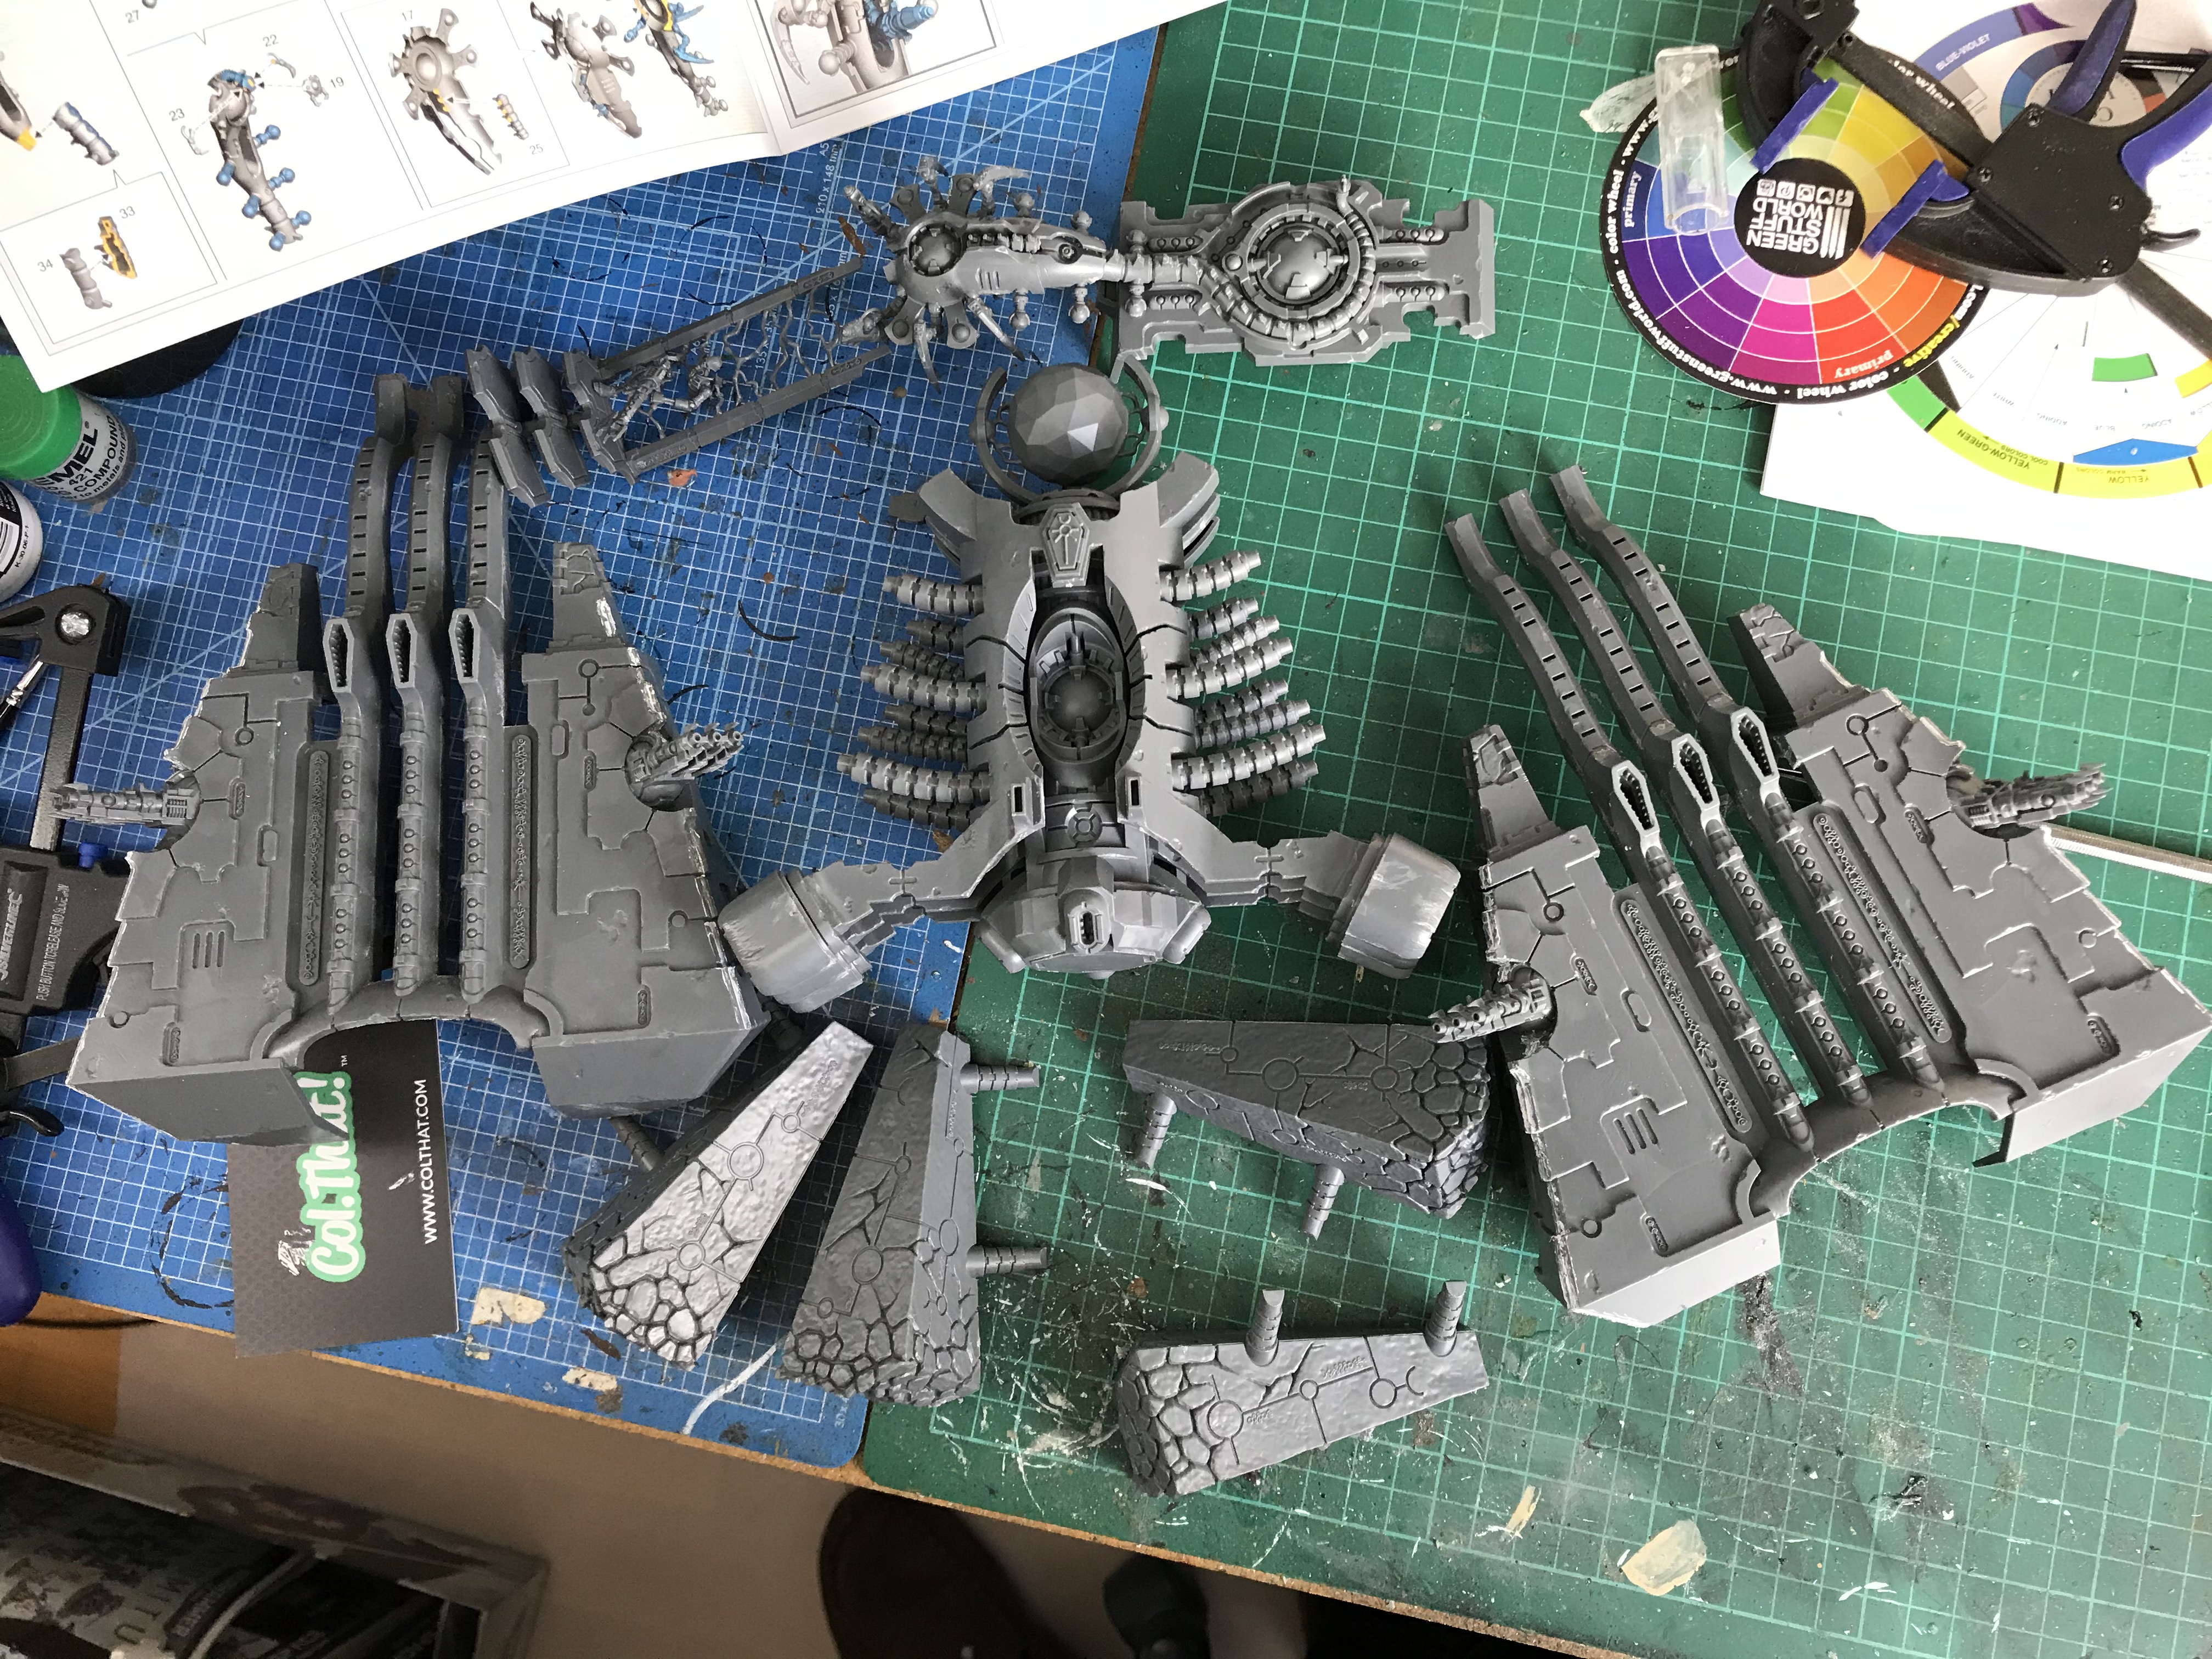
Time to go big
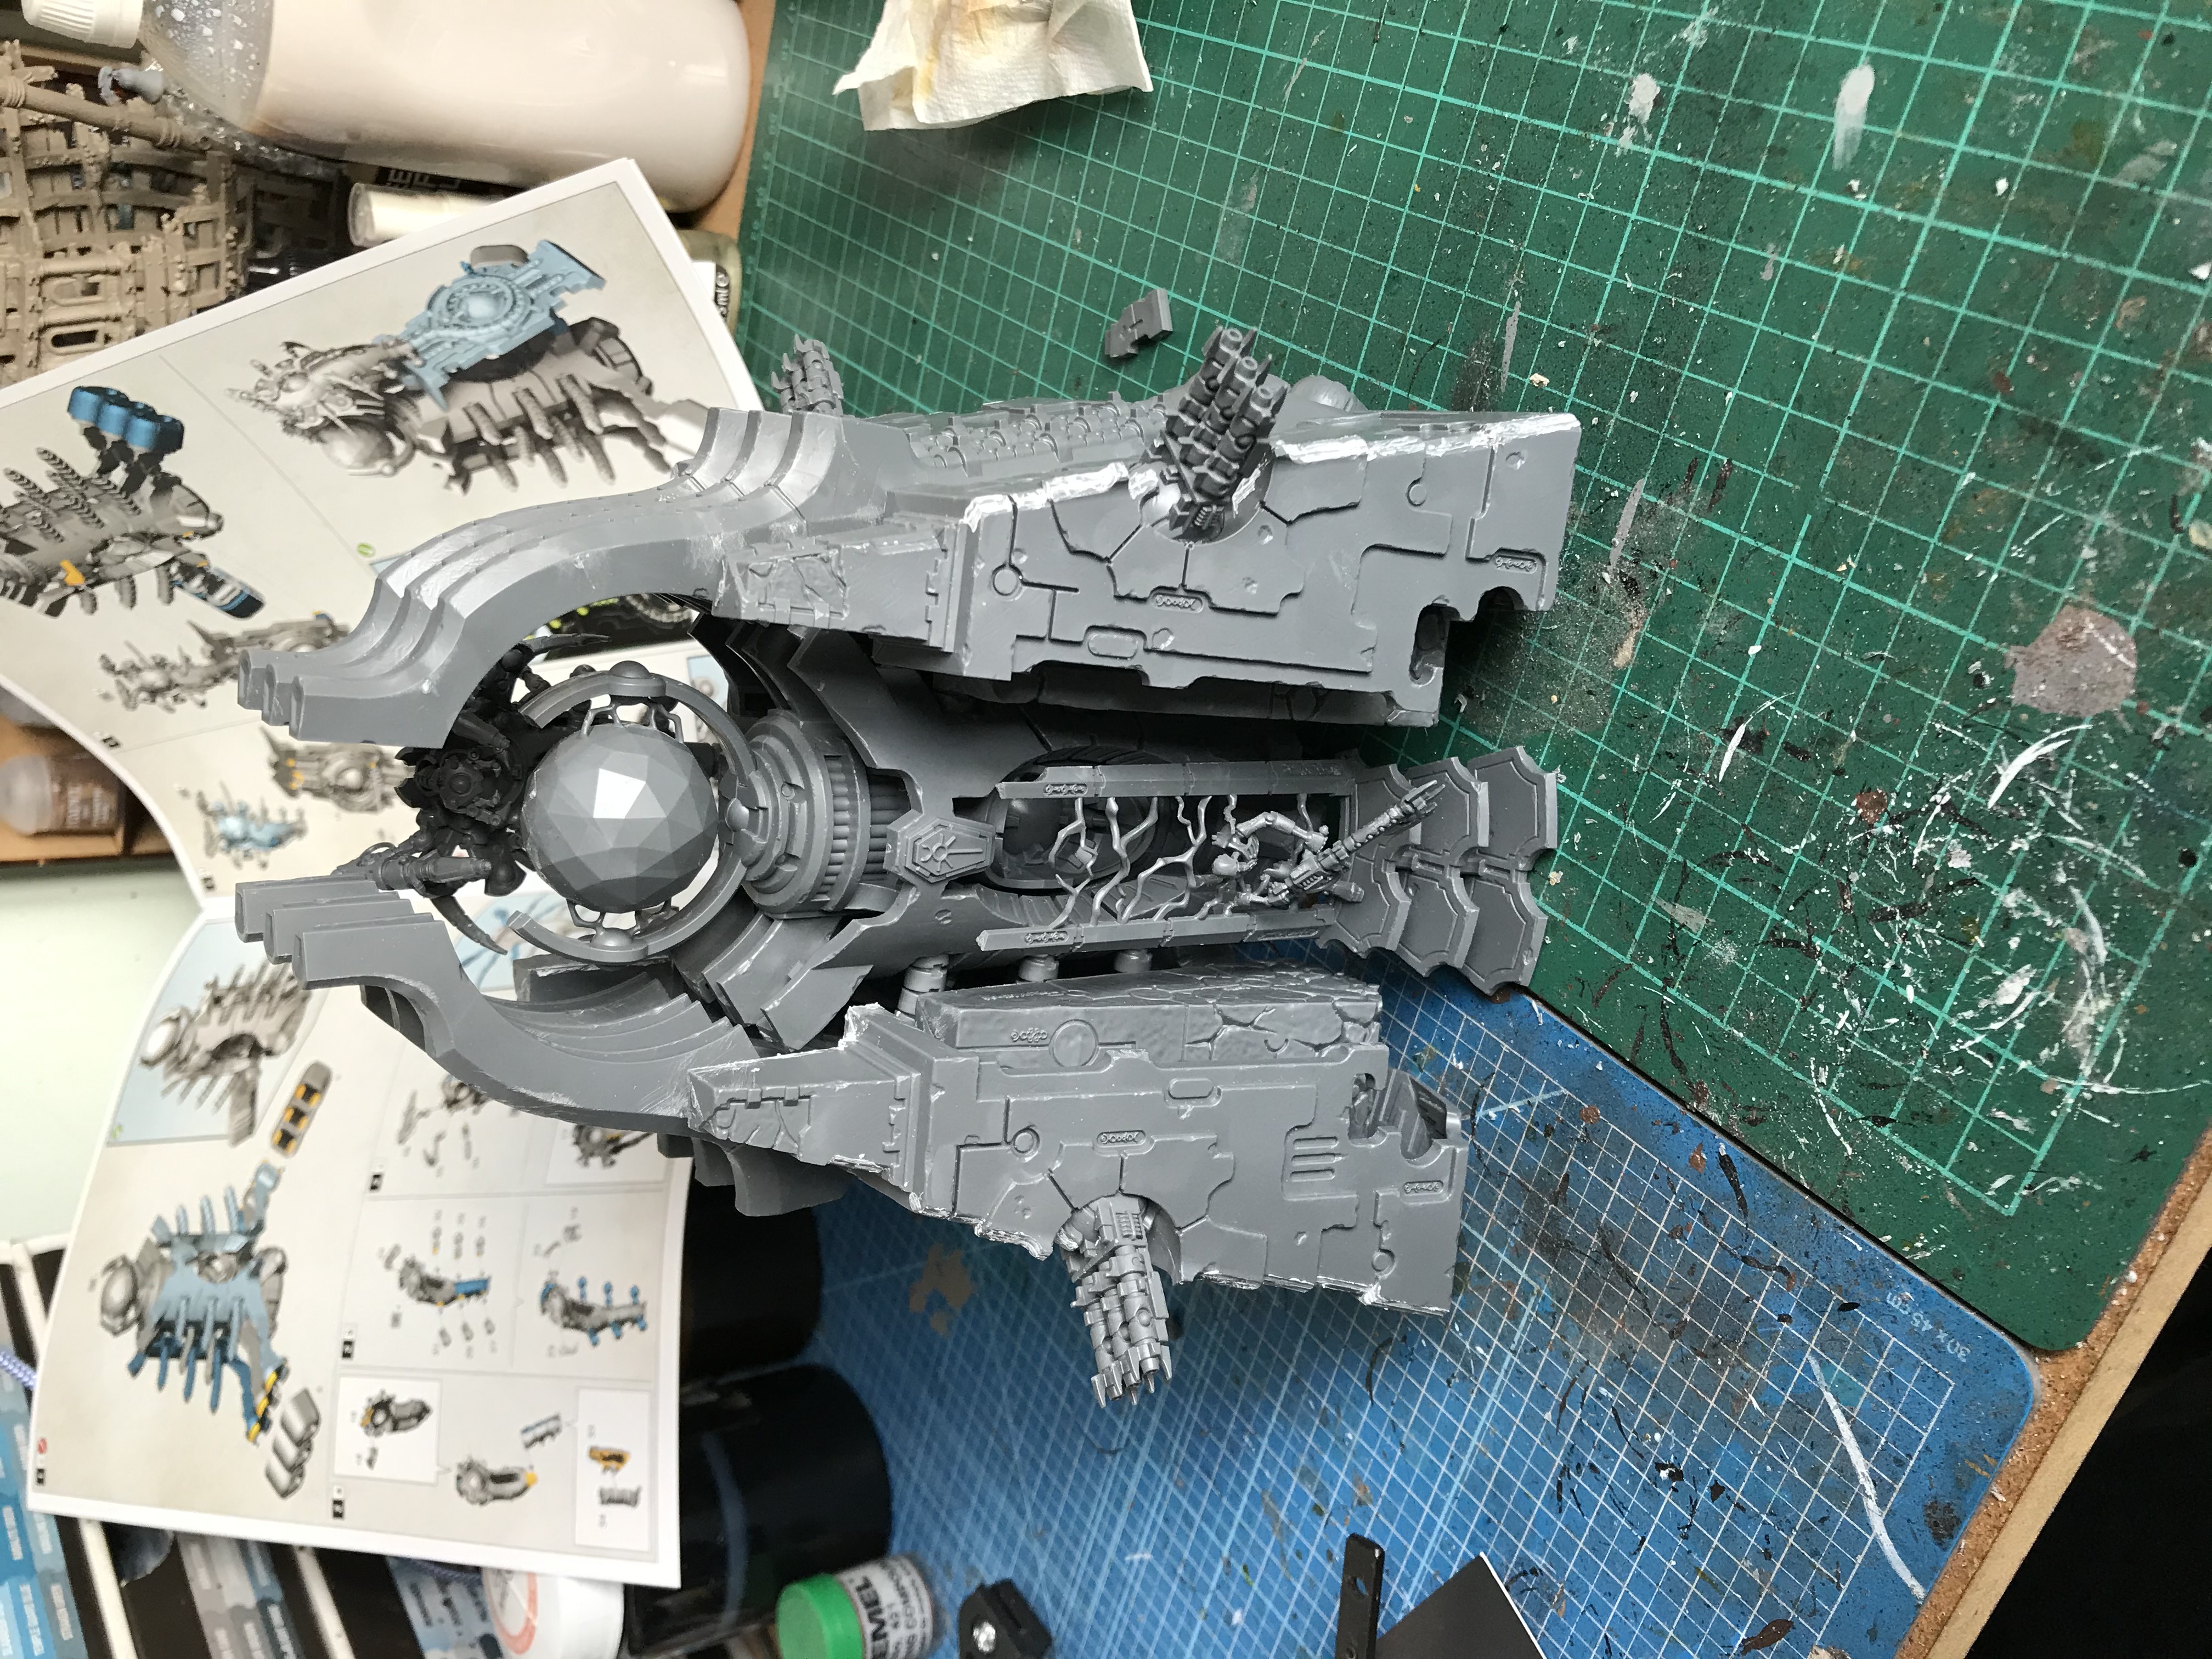
I recently order the new monolith from the OTT store (thank you store team) as I never had the original one I though I would give this a go.
I have kept it sub assemblies as shown below as you can see all the insides so I thought this would make it easier to paint. I was going to magnetise the corner weapons but there didnt seem to be an obvious way to it so I just went with the gauss flux arcs.
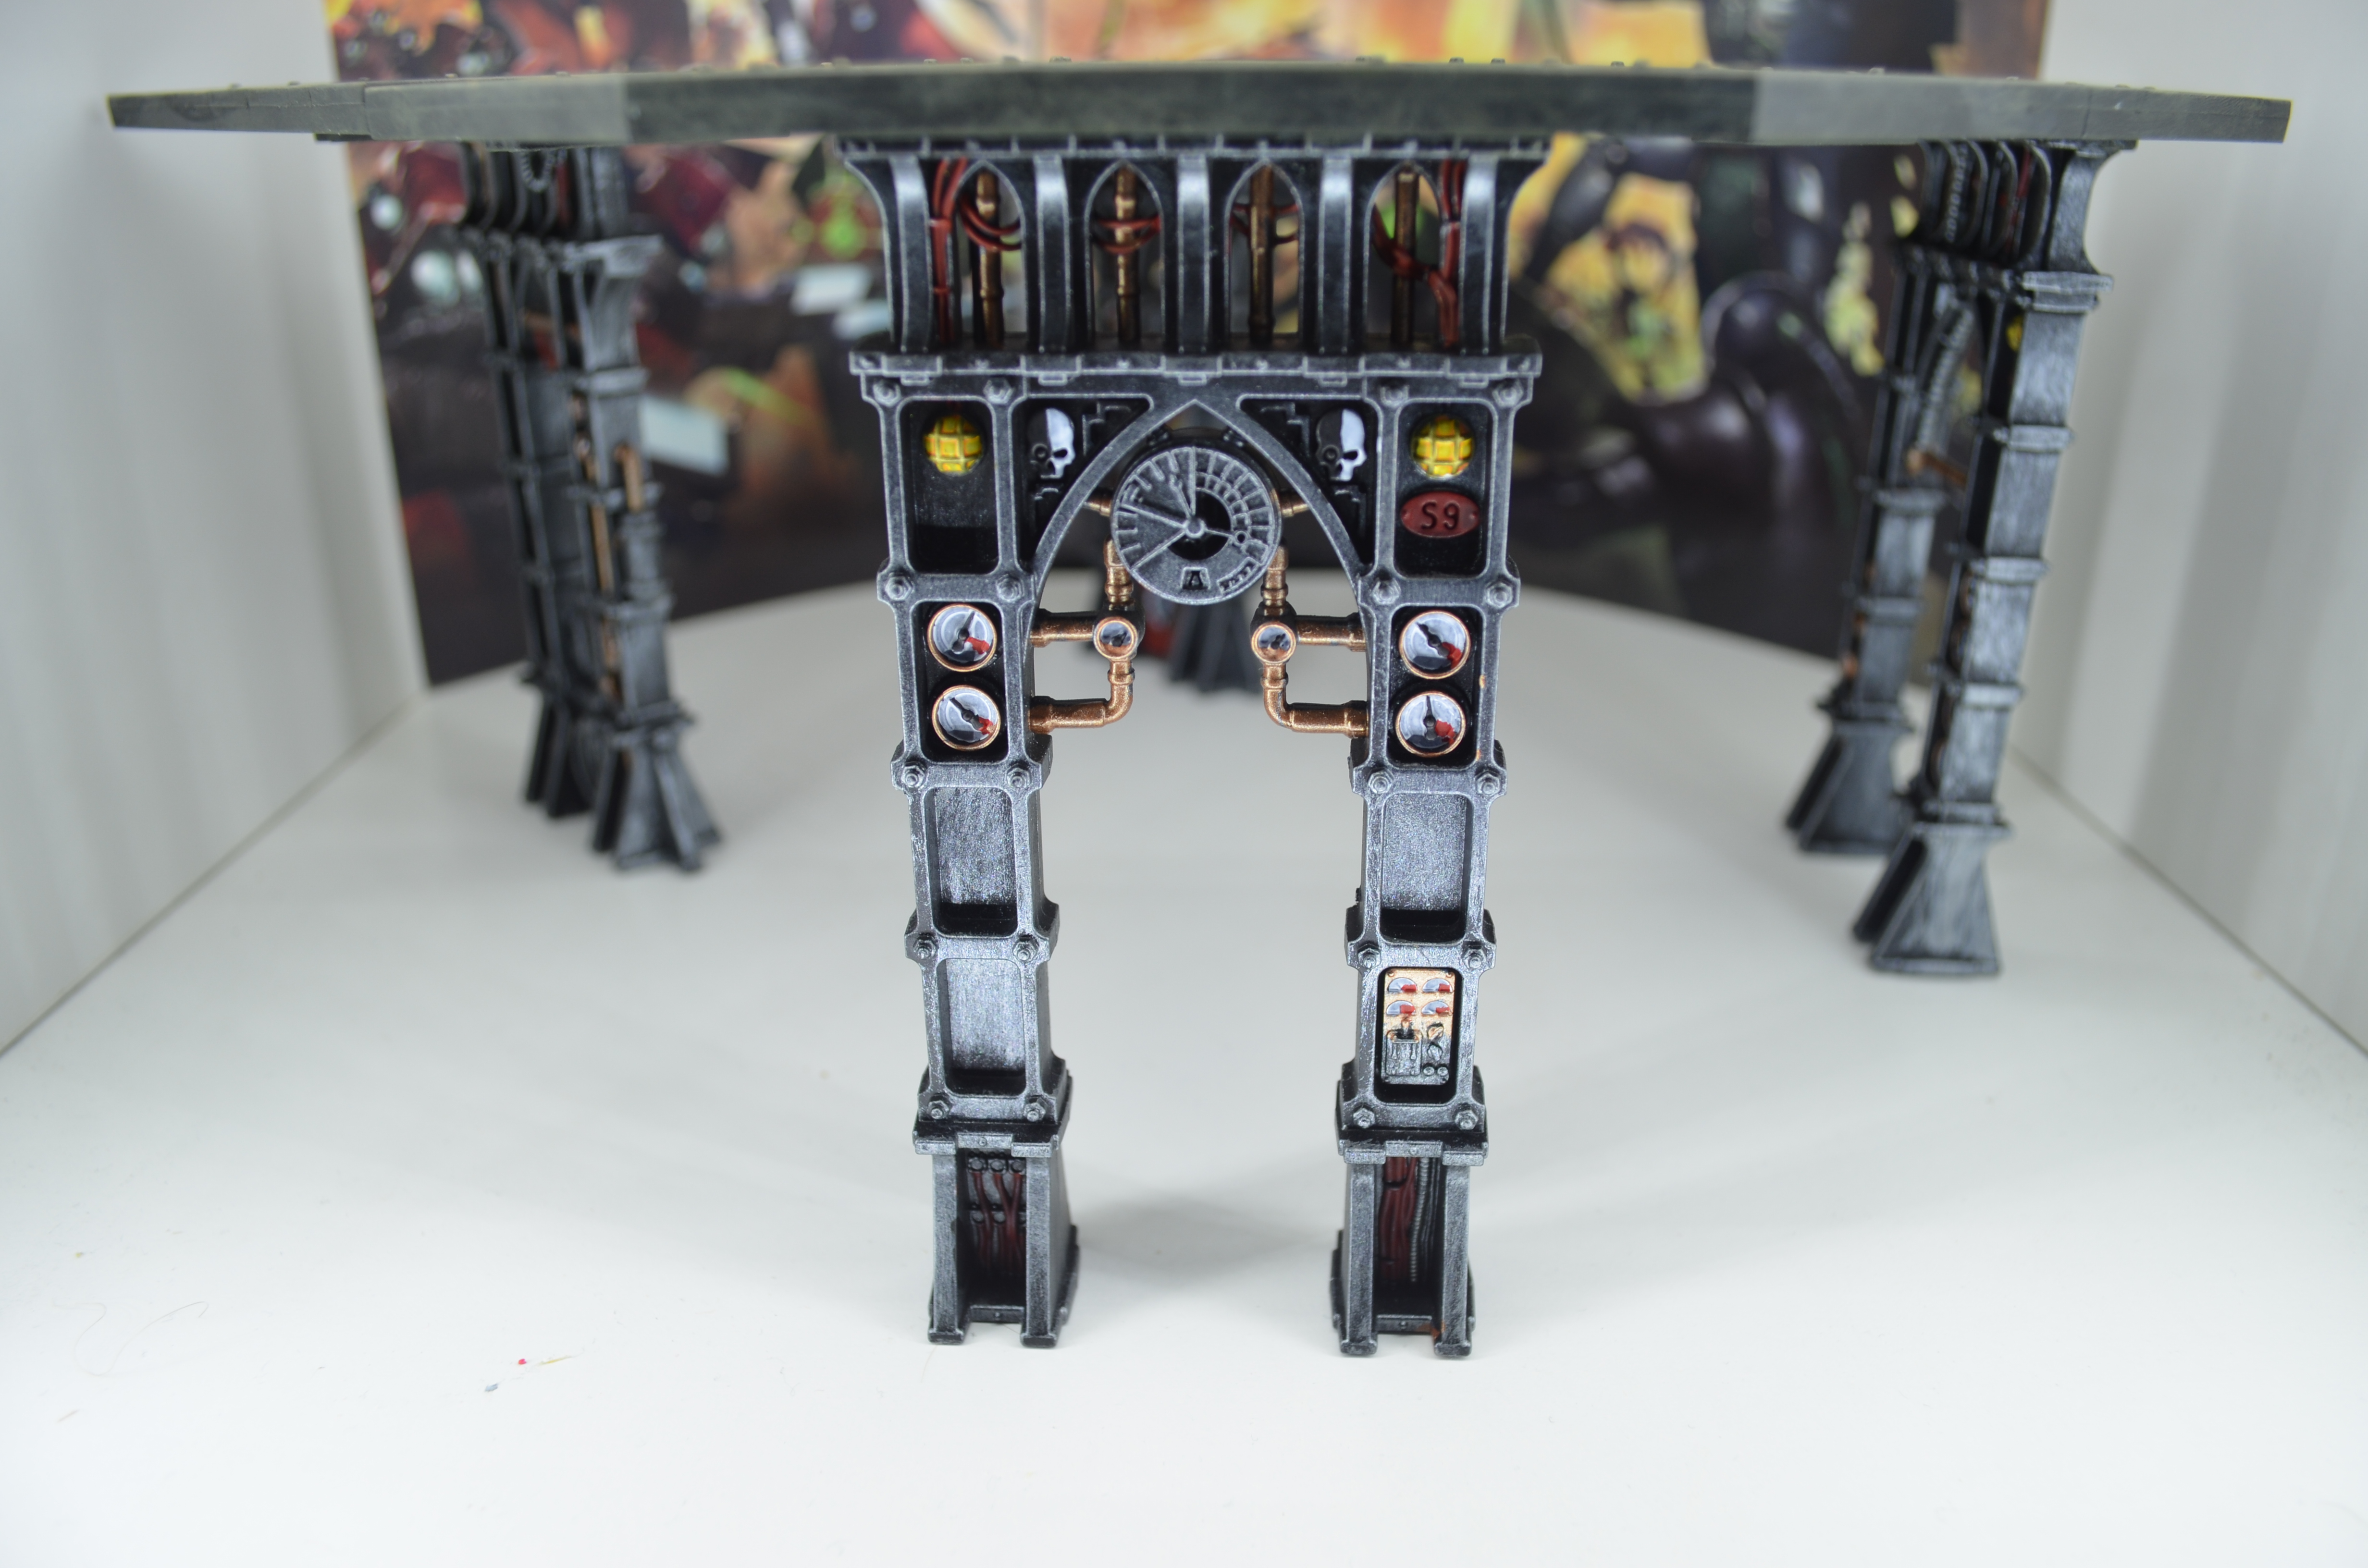
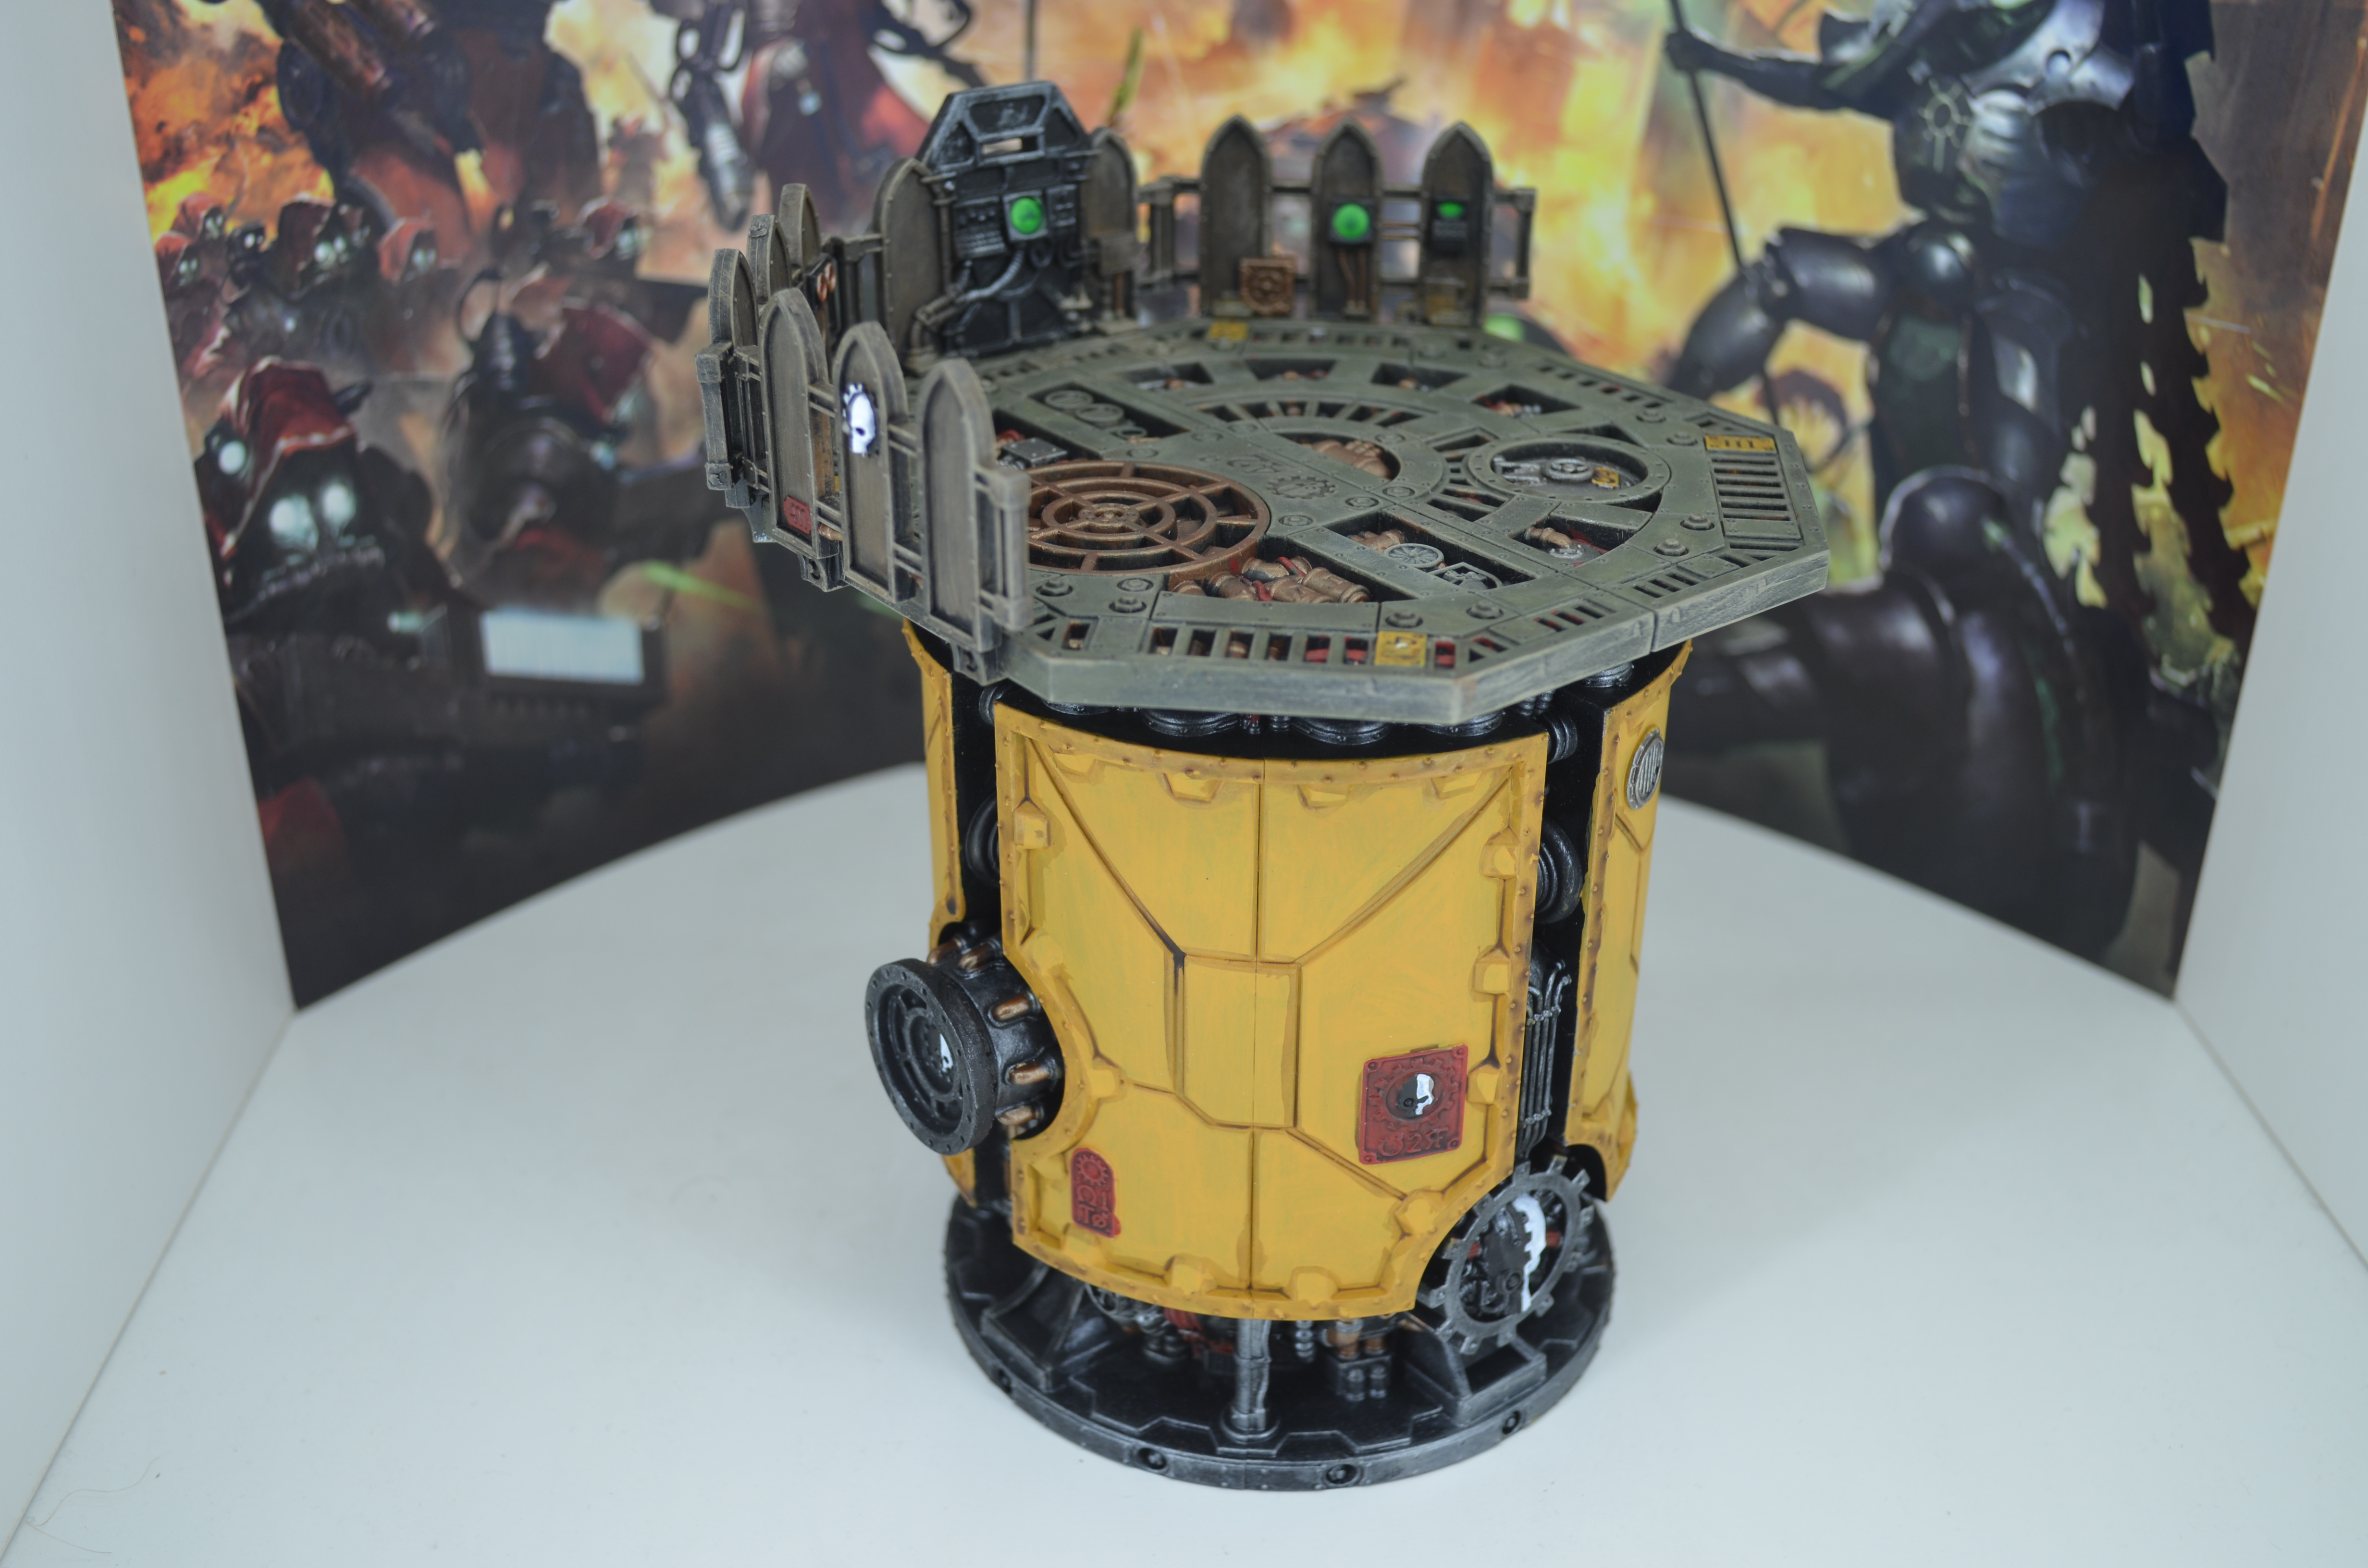
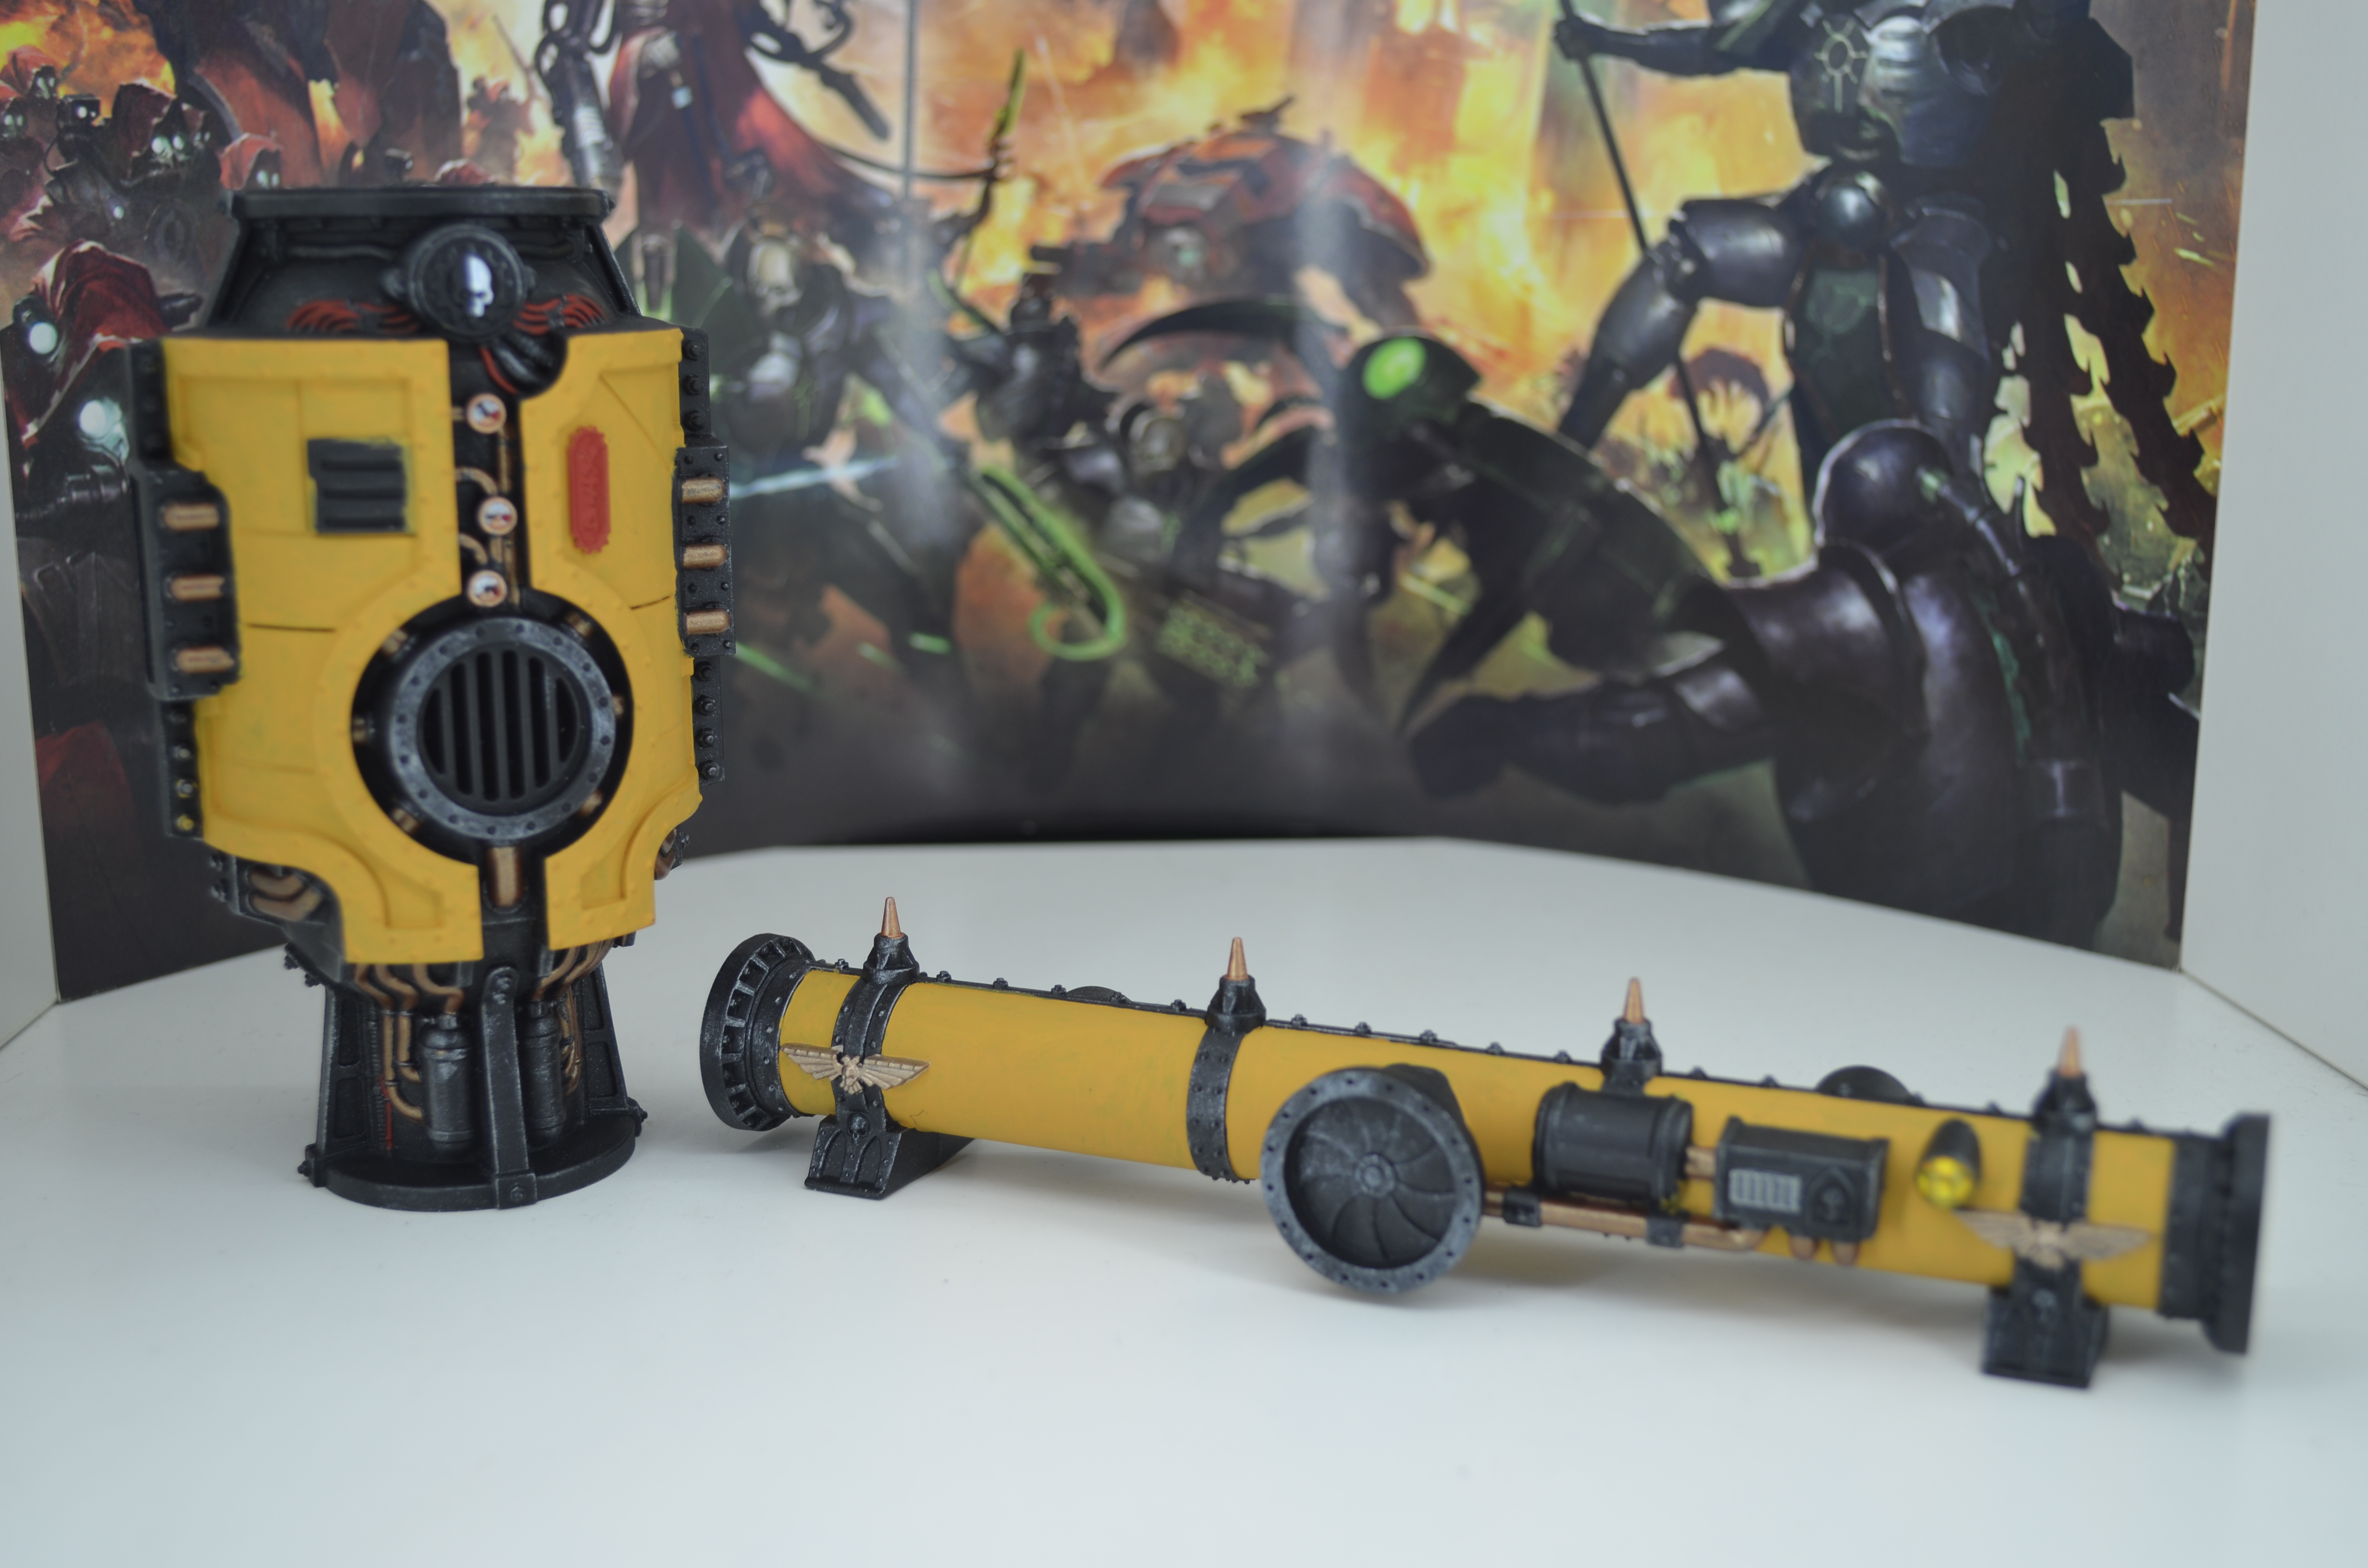
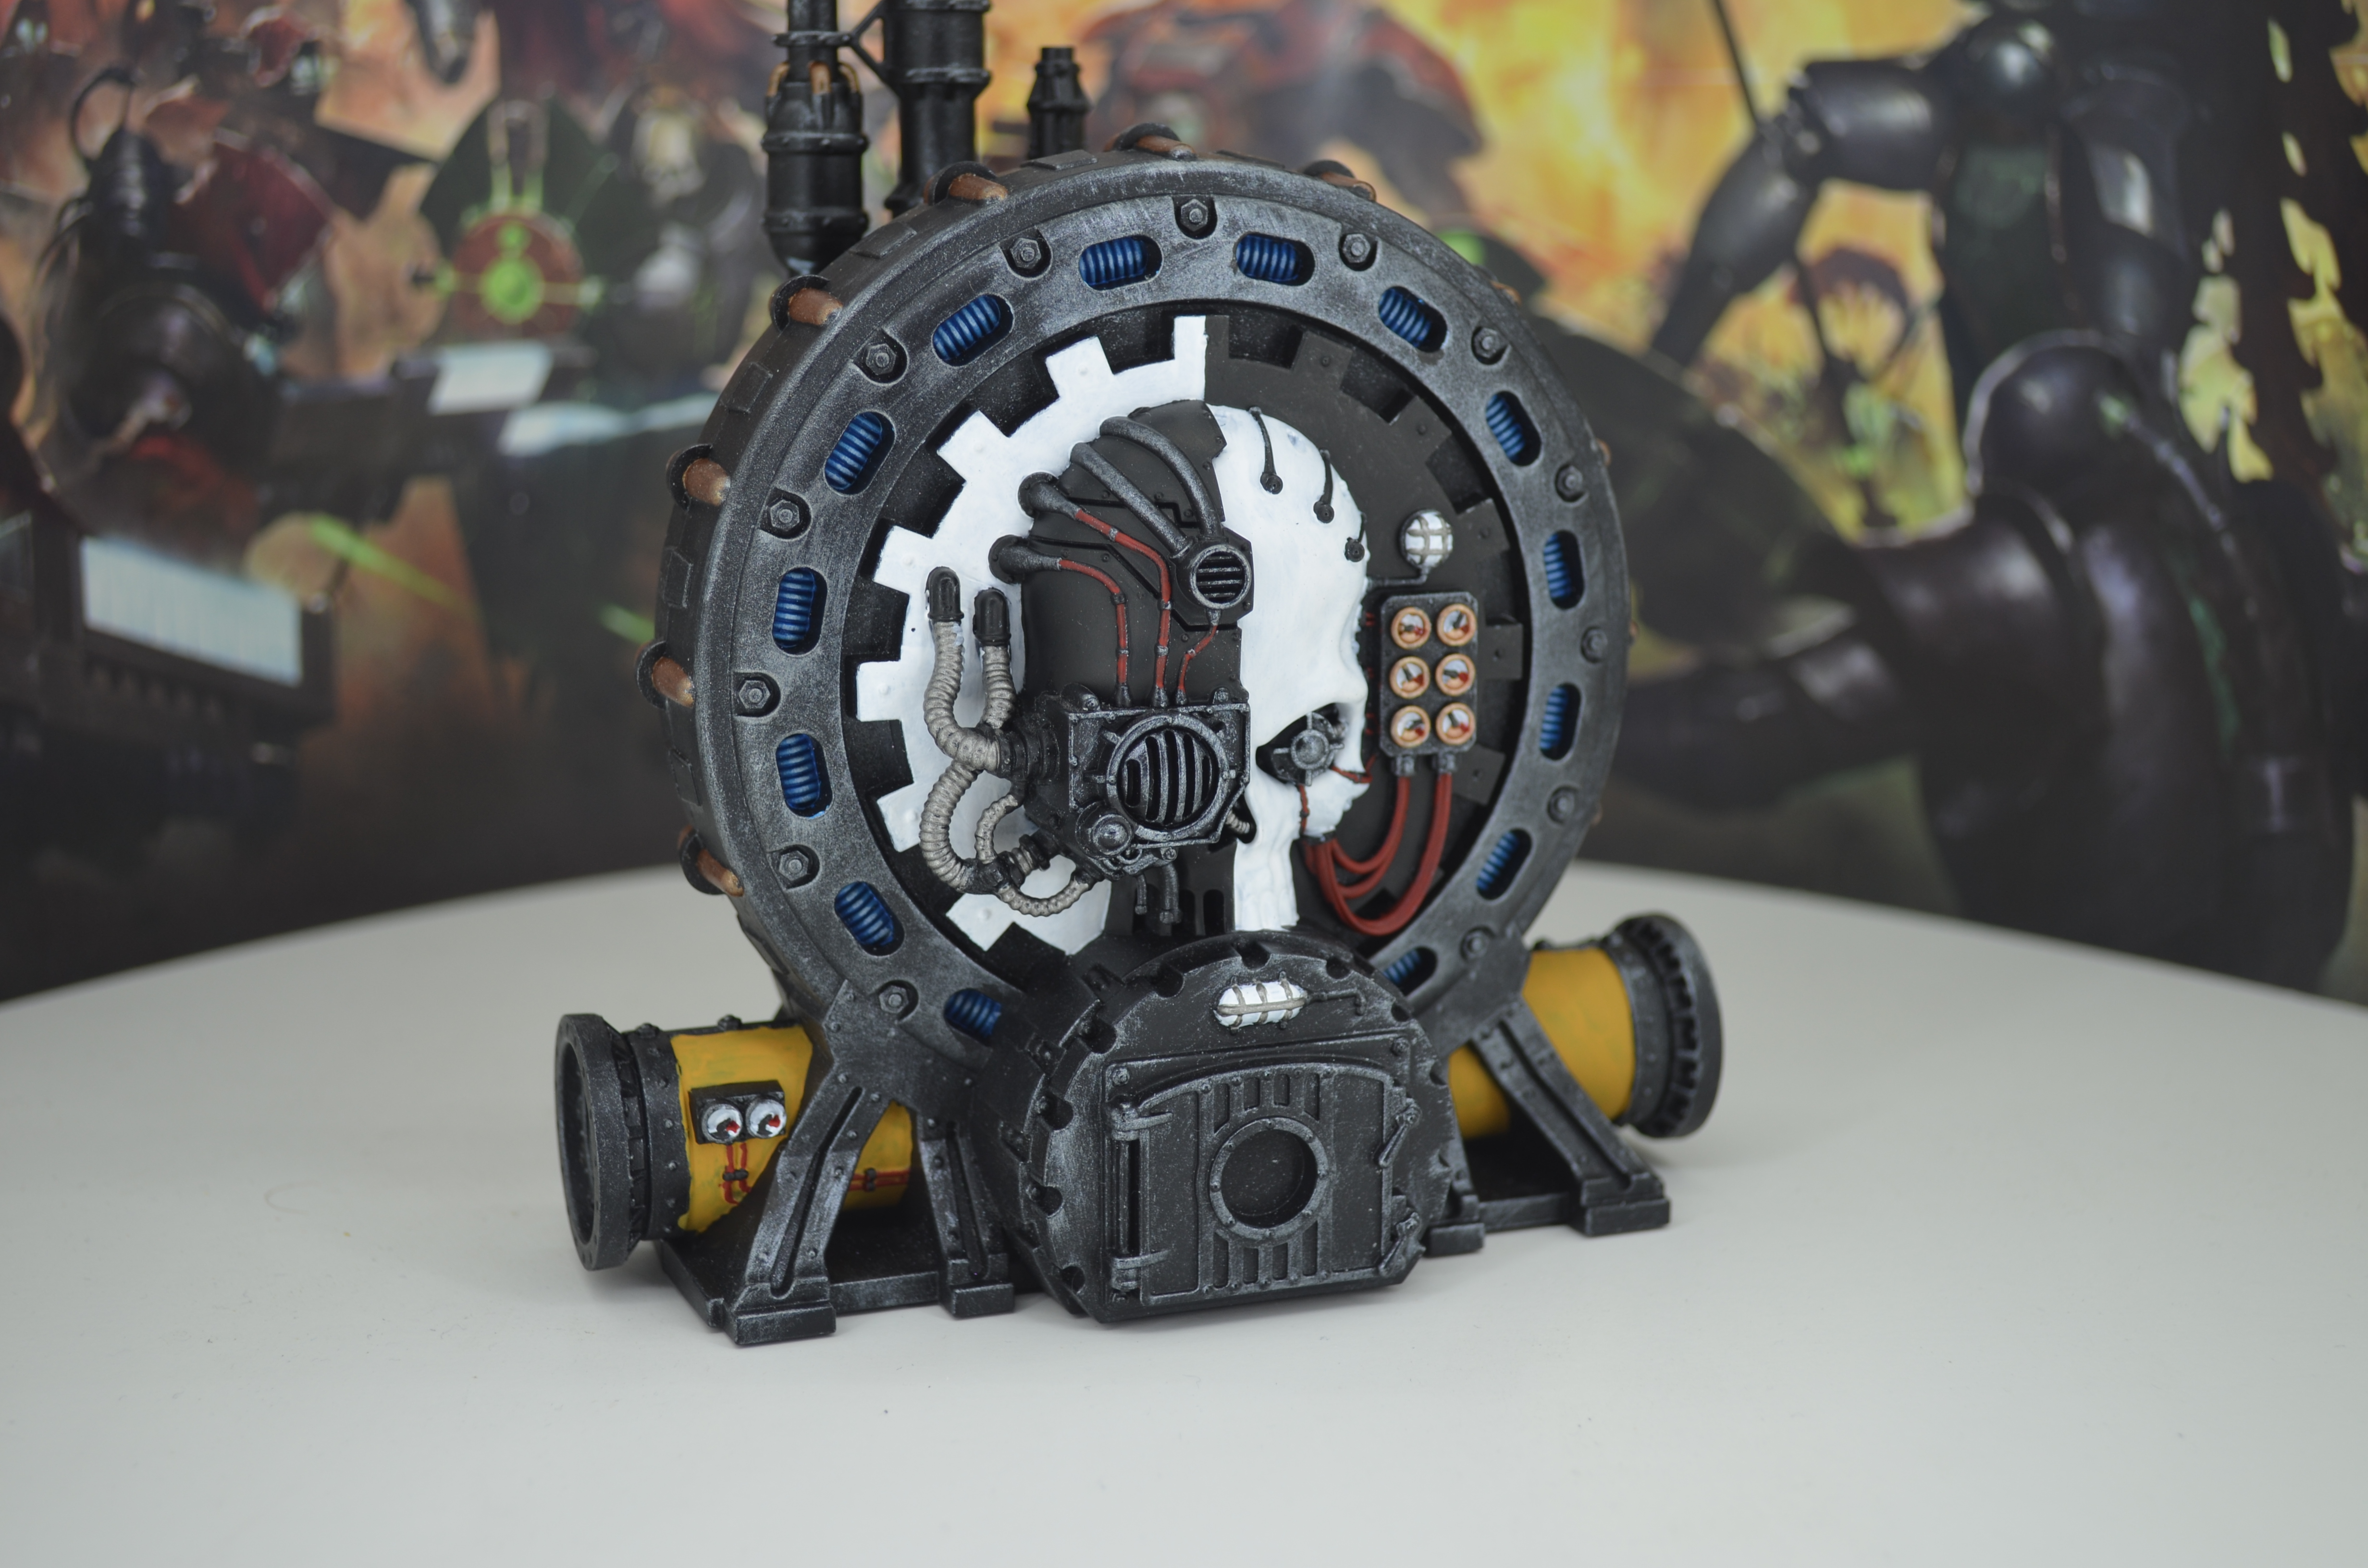
Moving on
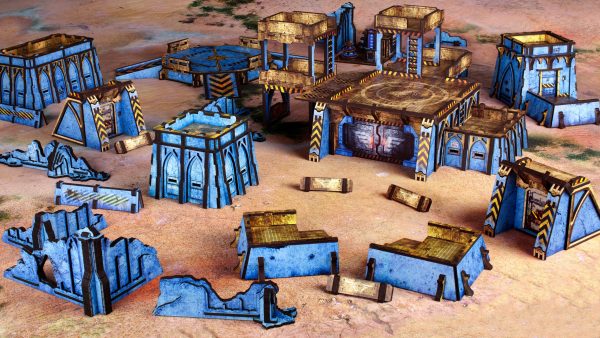
So moving on from Indomitus I have been painting some Mechanicus terrain I have primed for ages.
For the paint scheme I have mostly followed this but with a few changes:


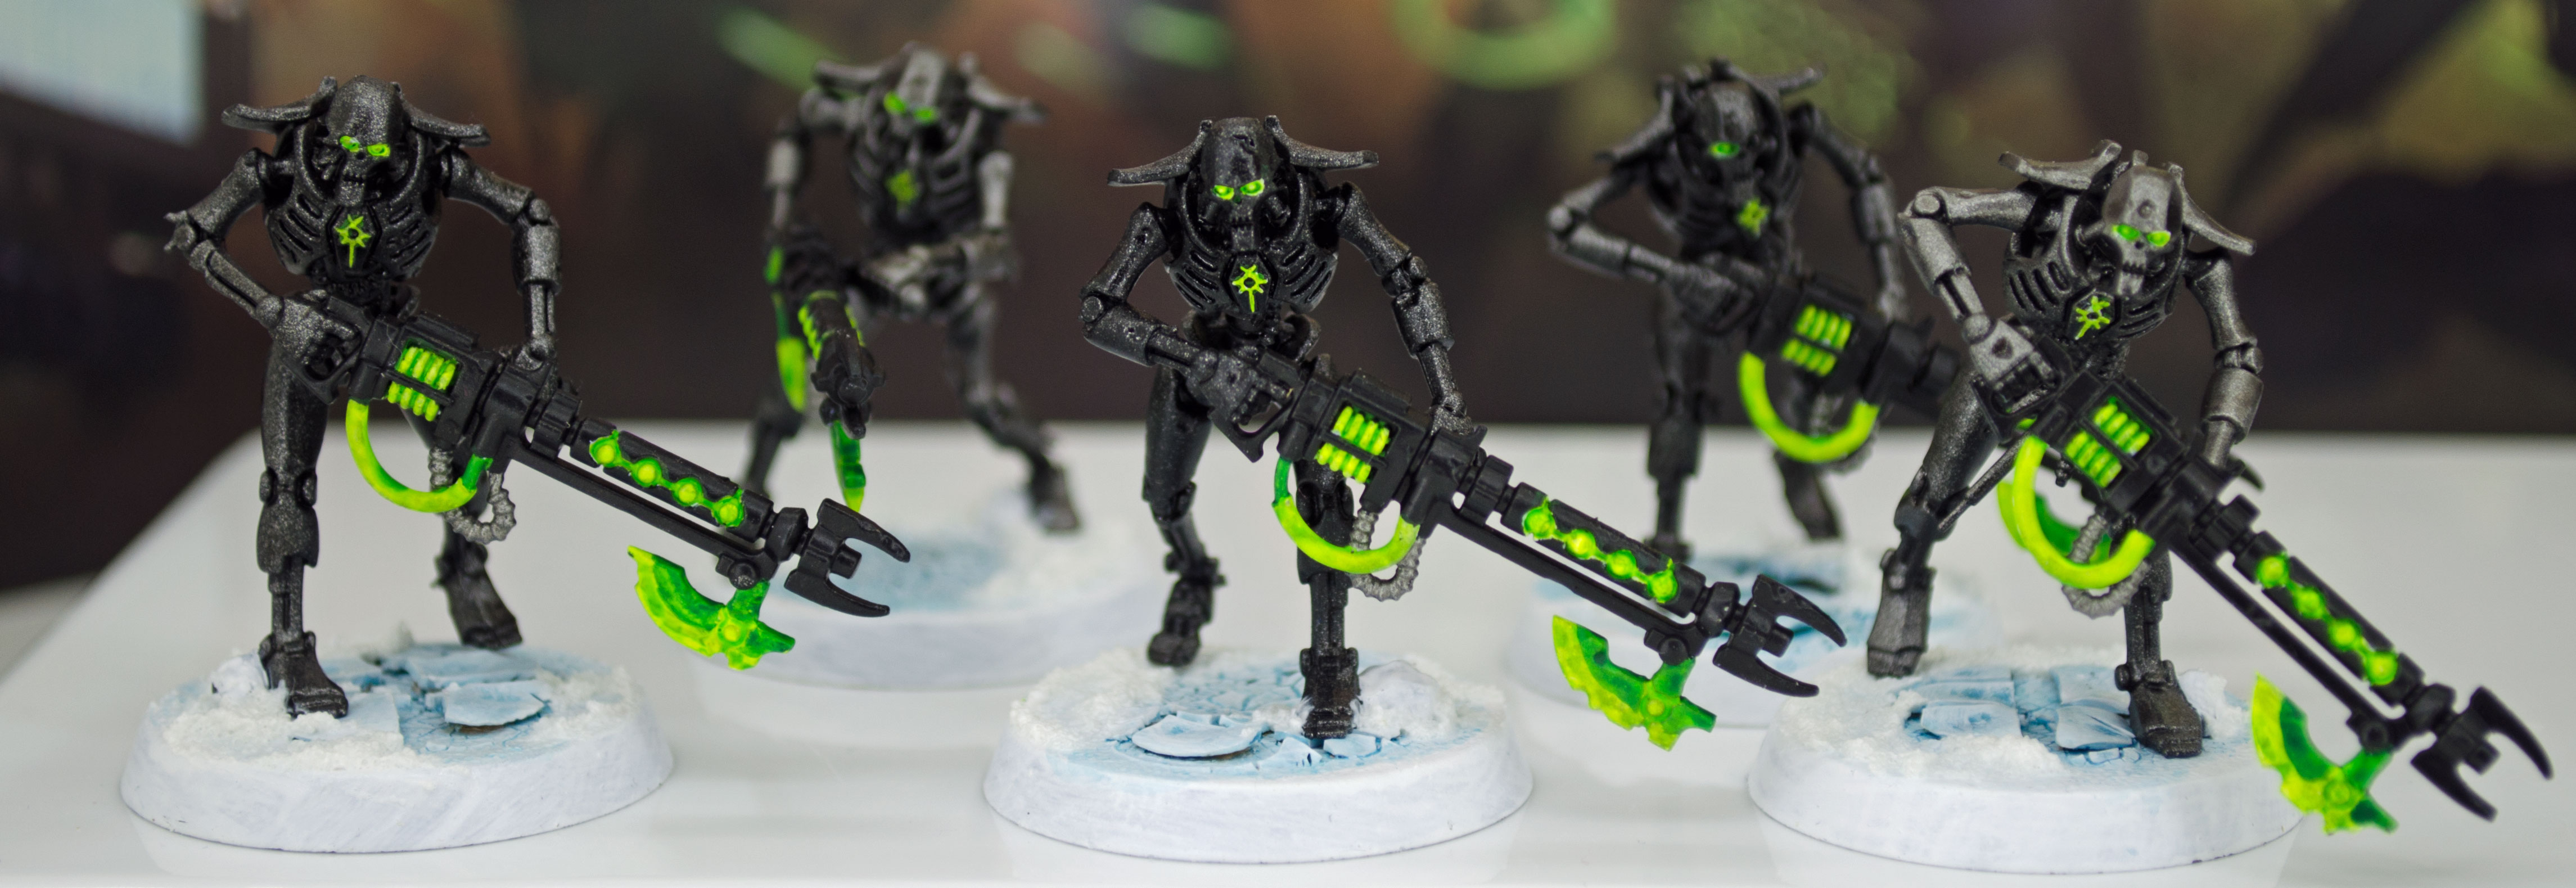
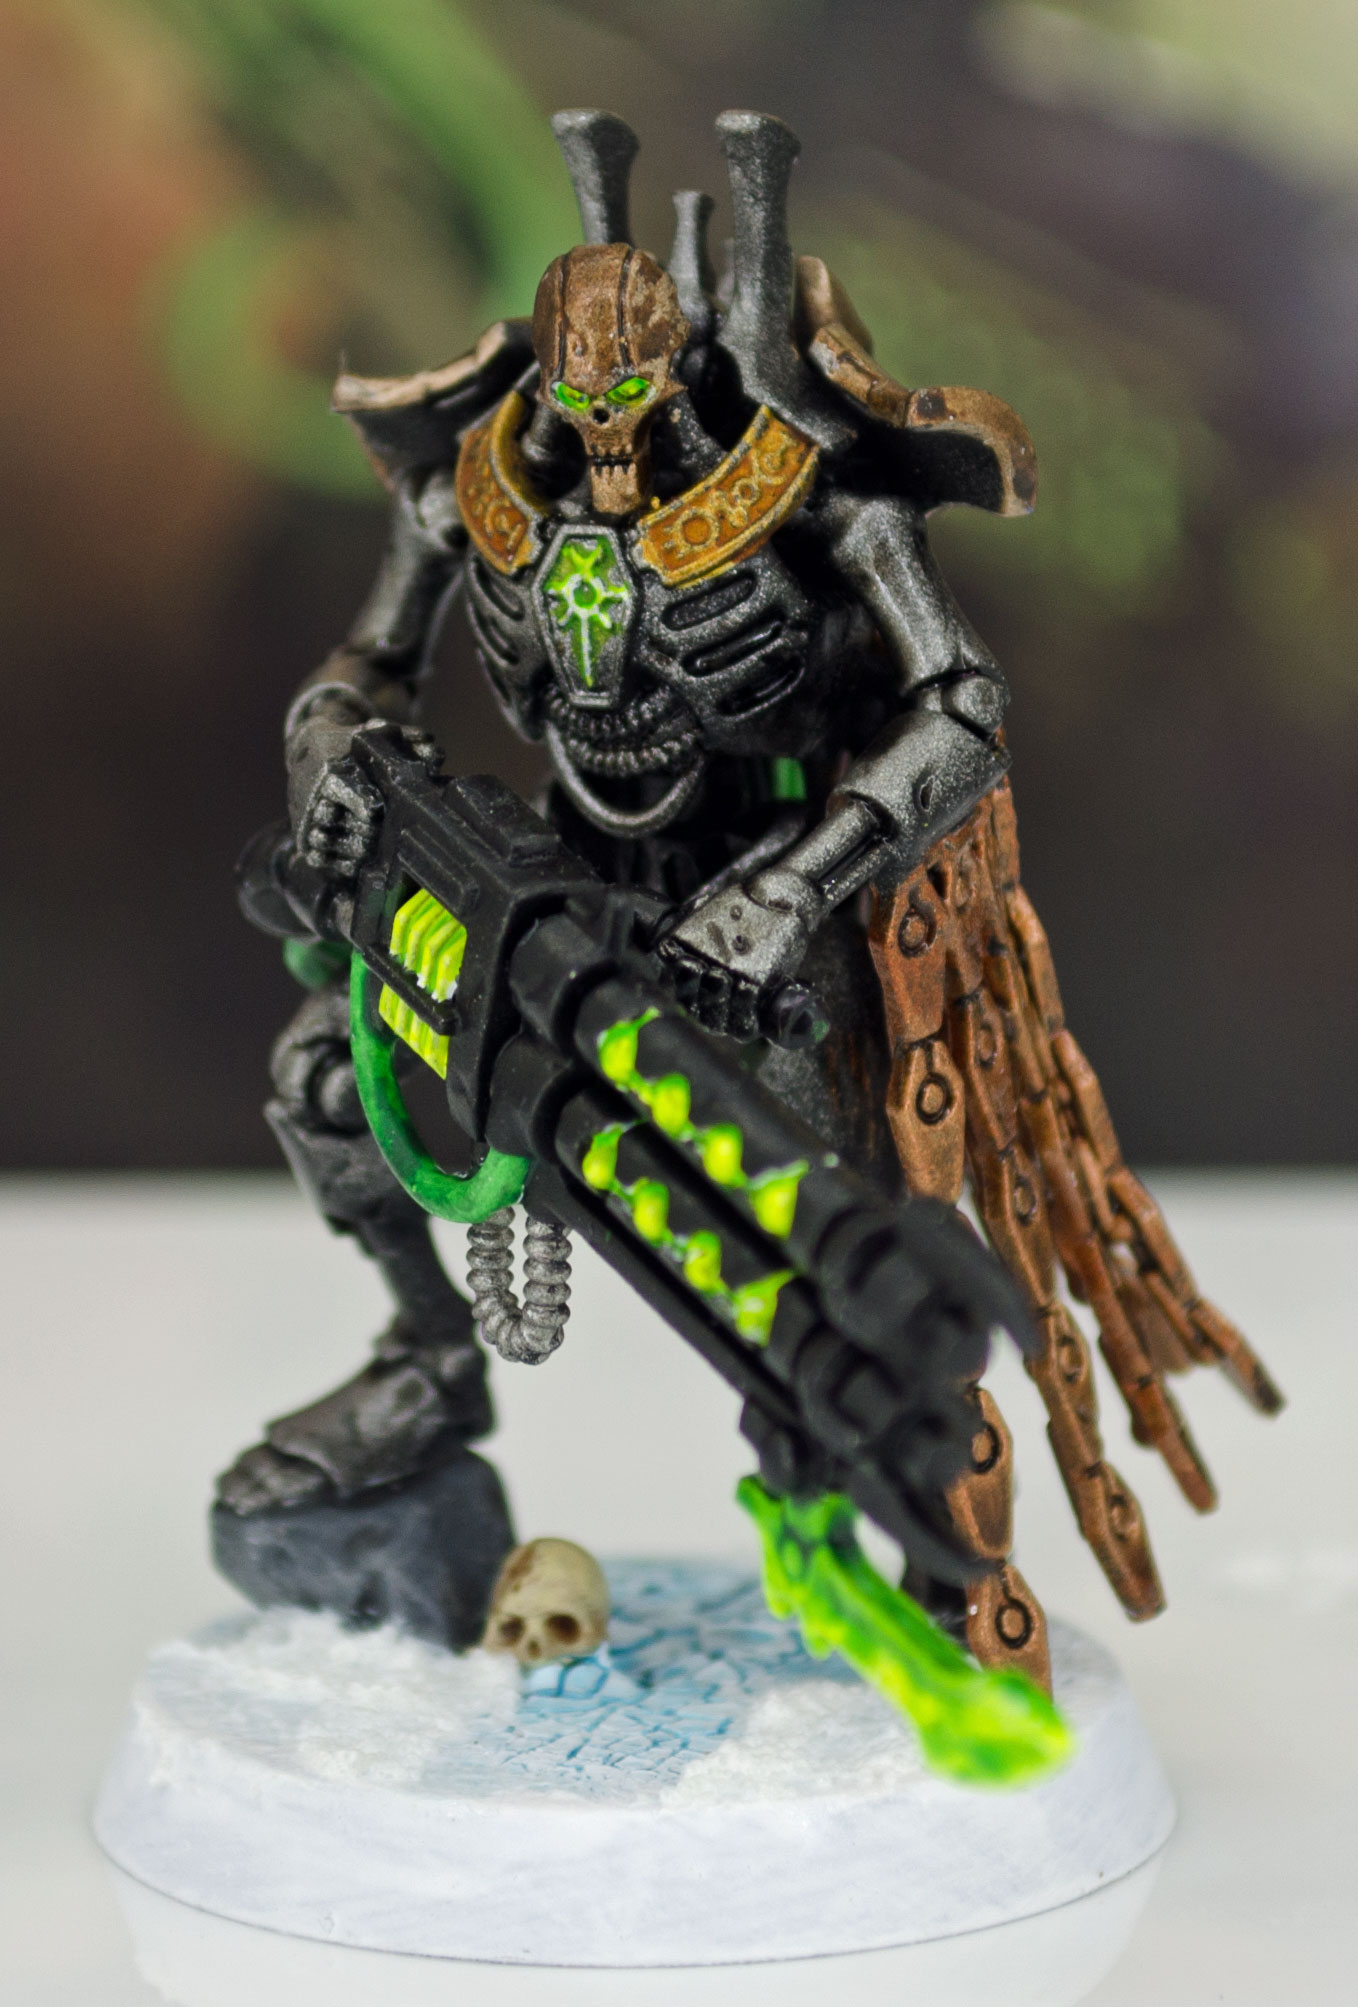
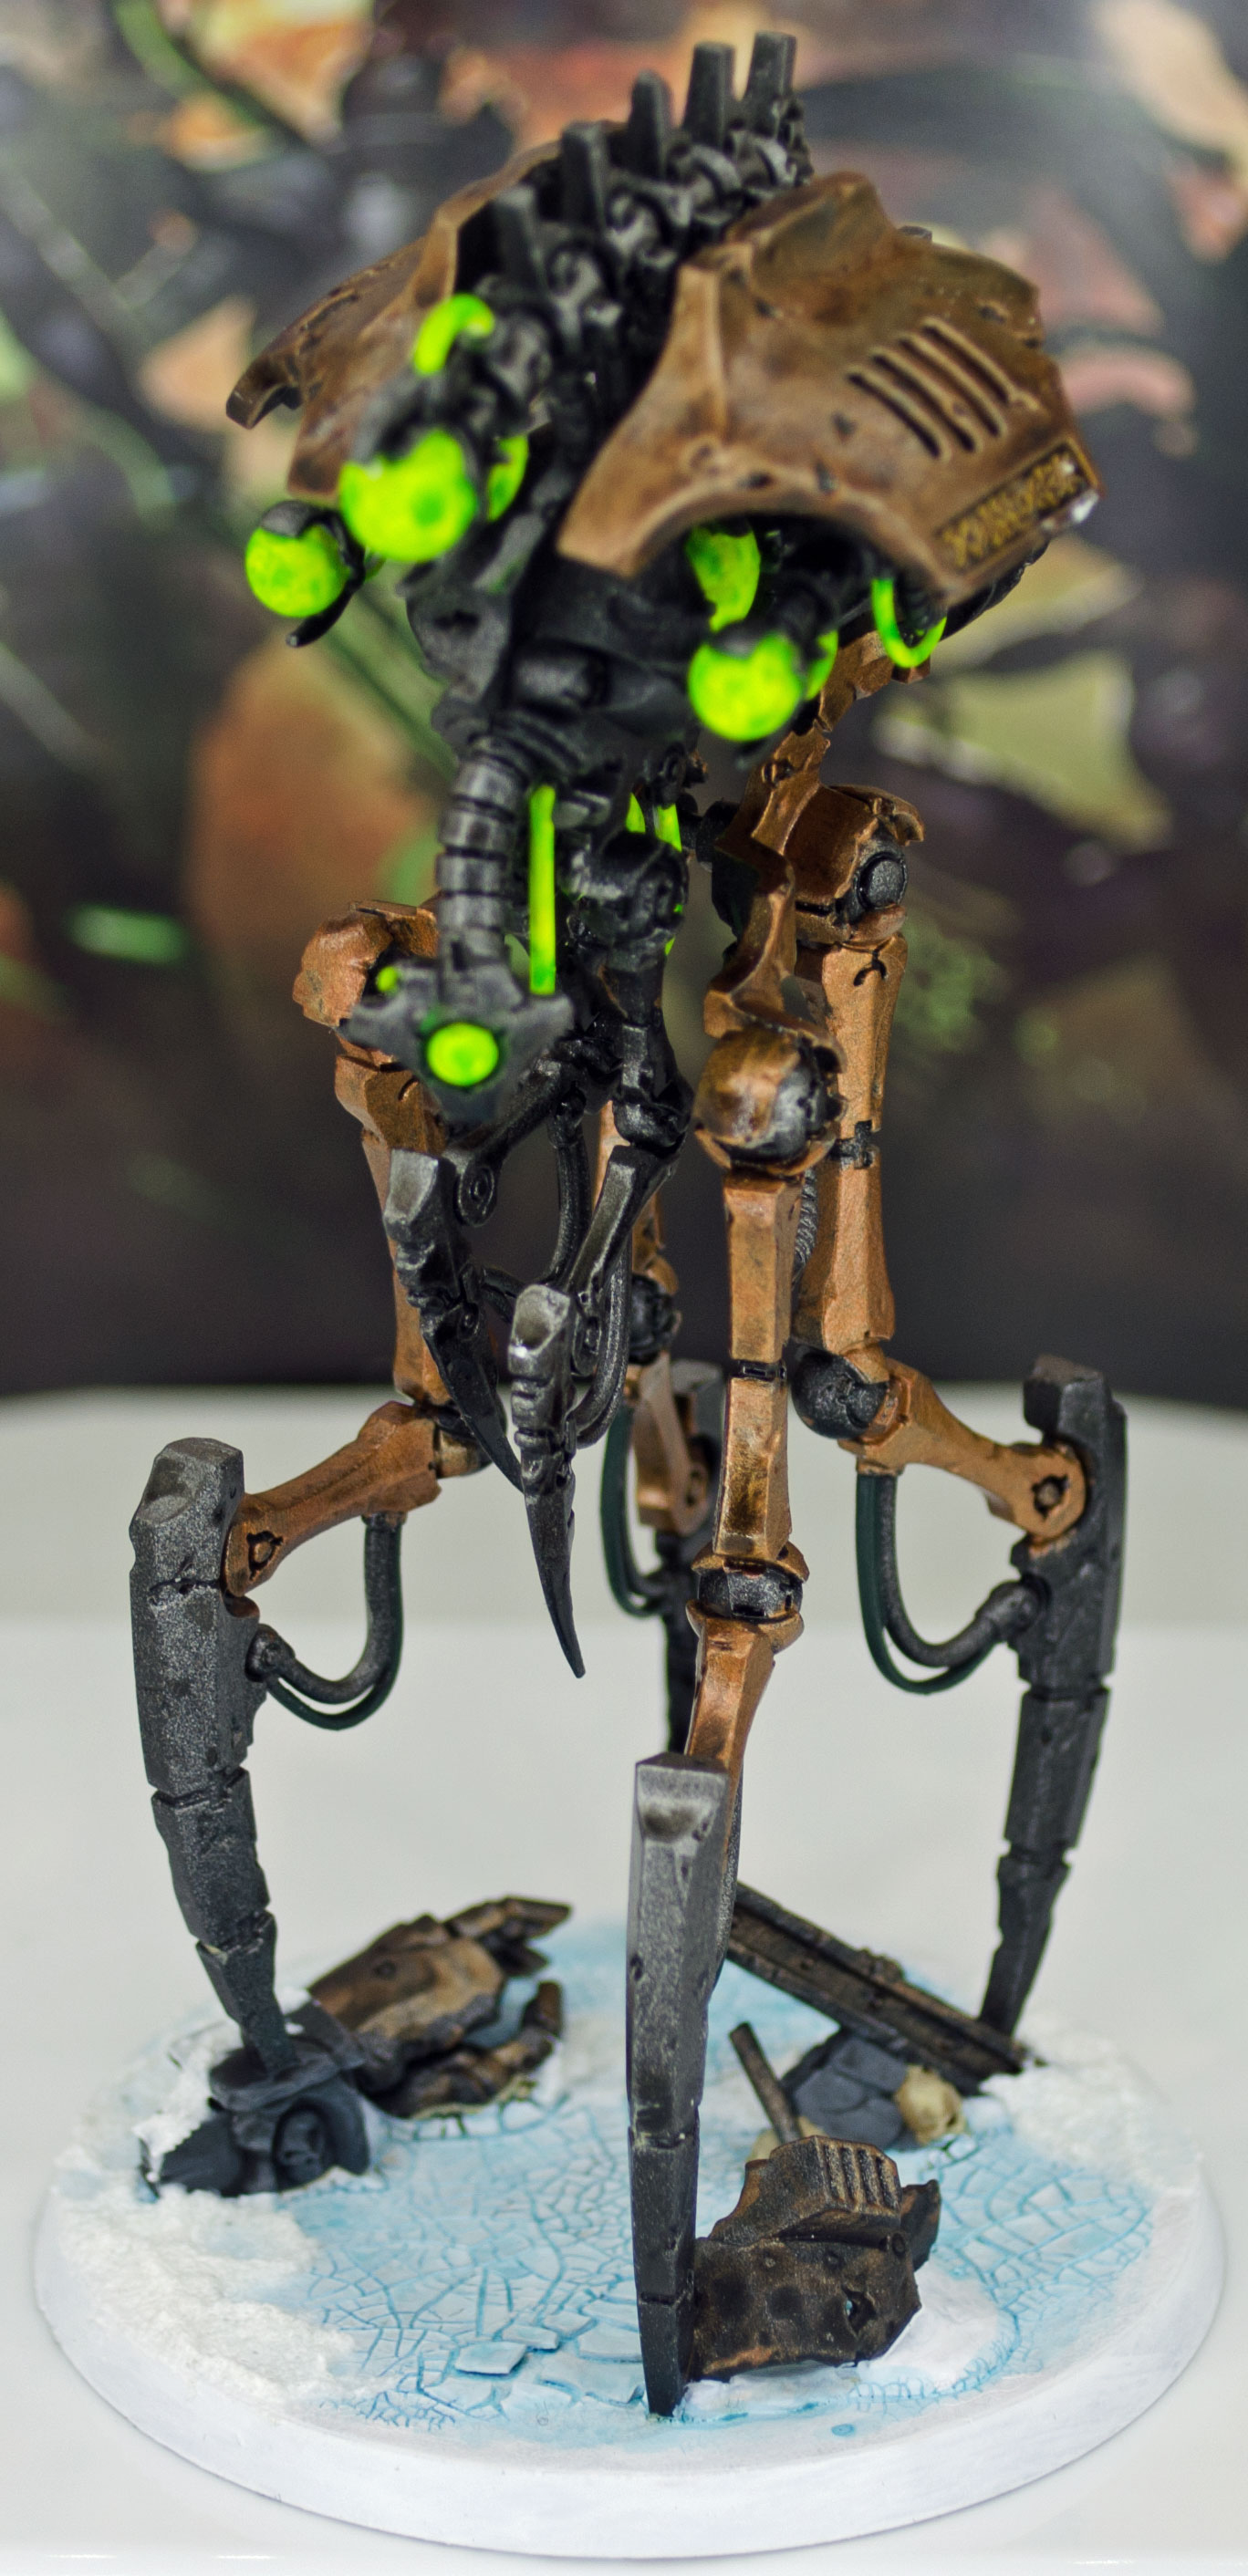
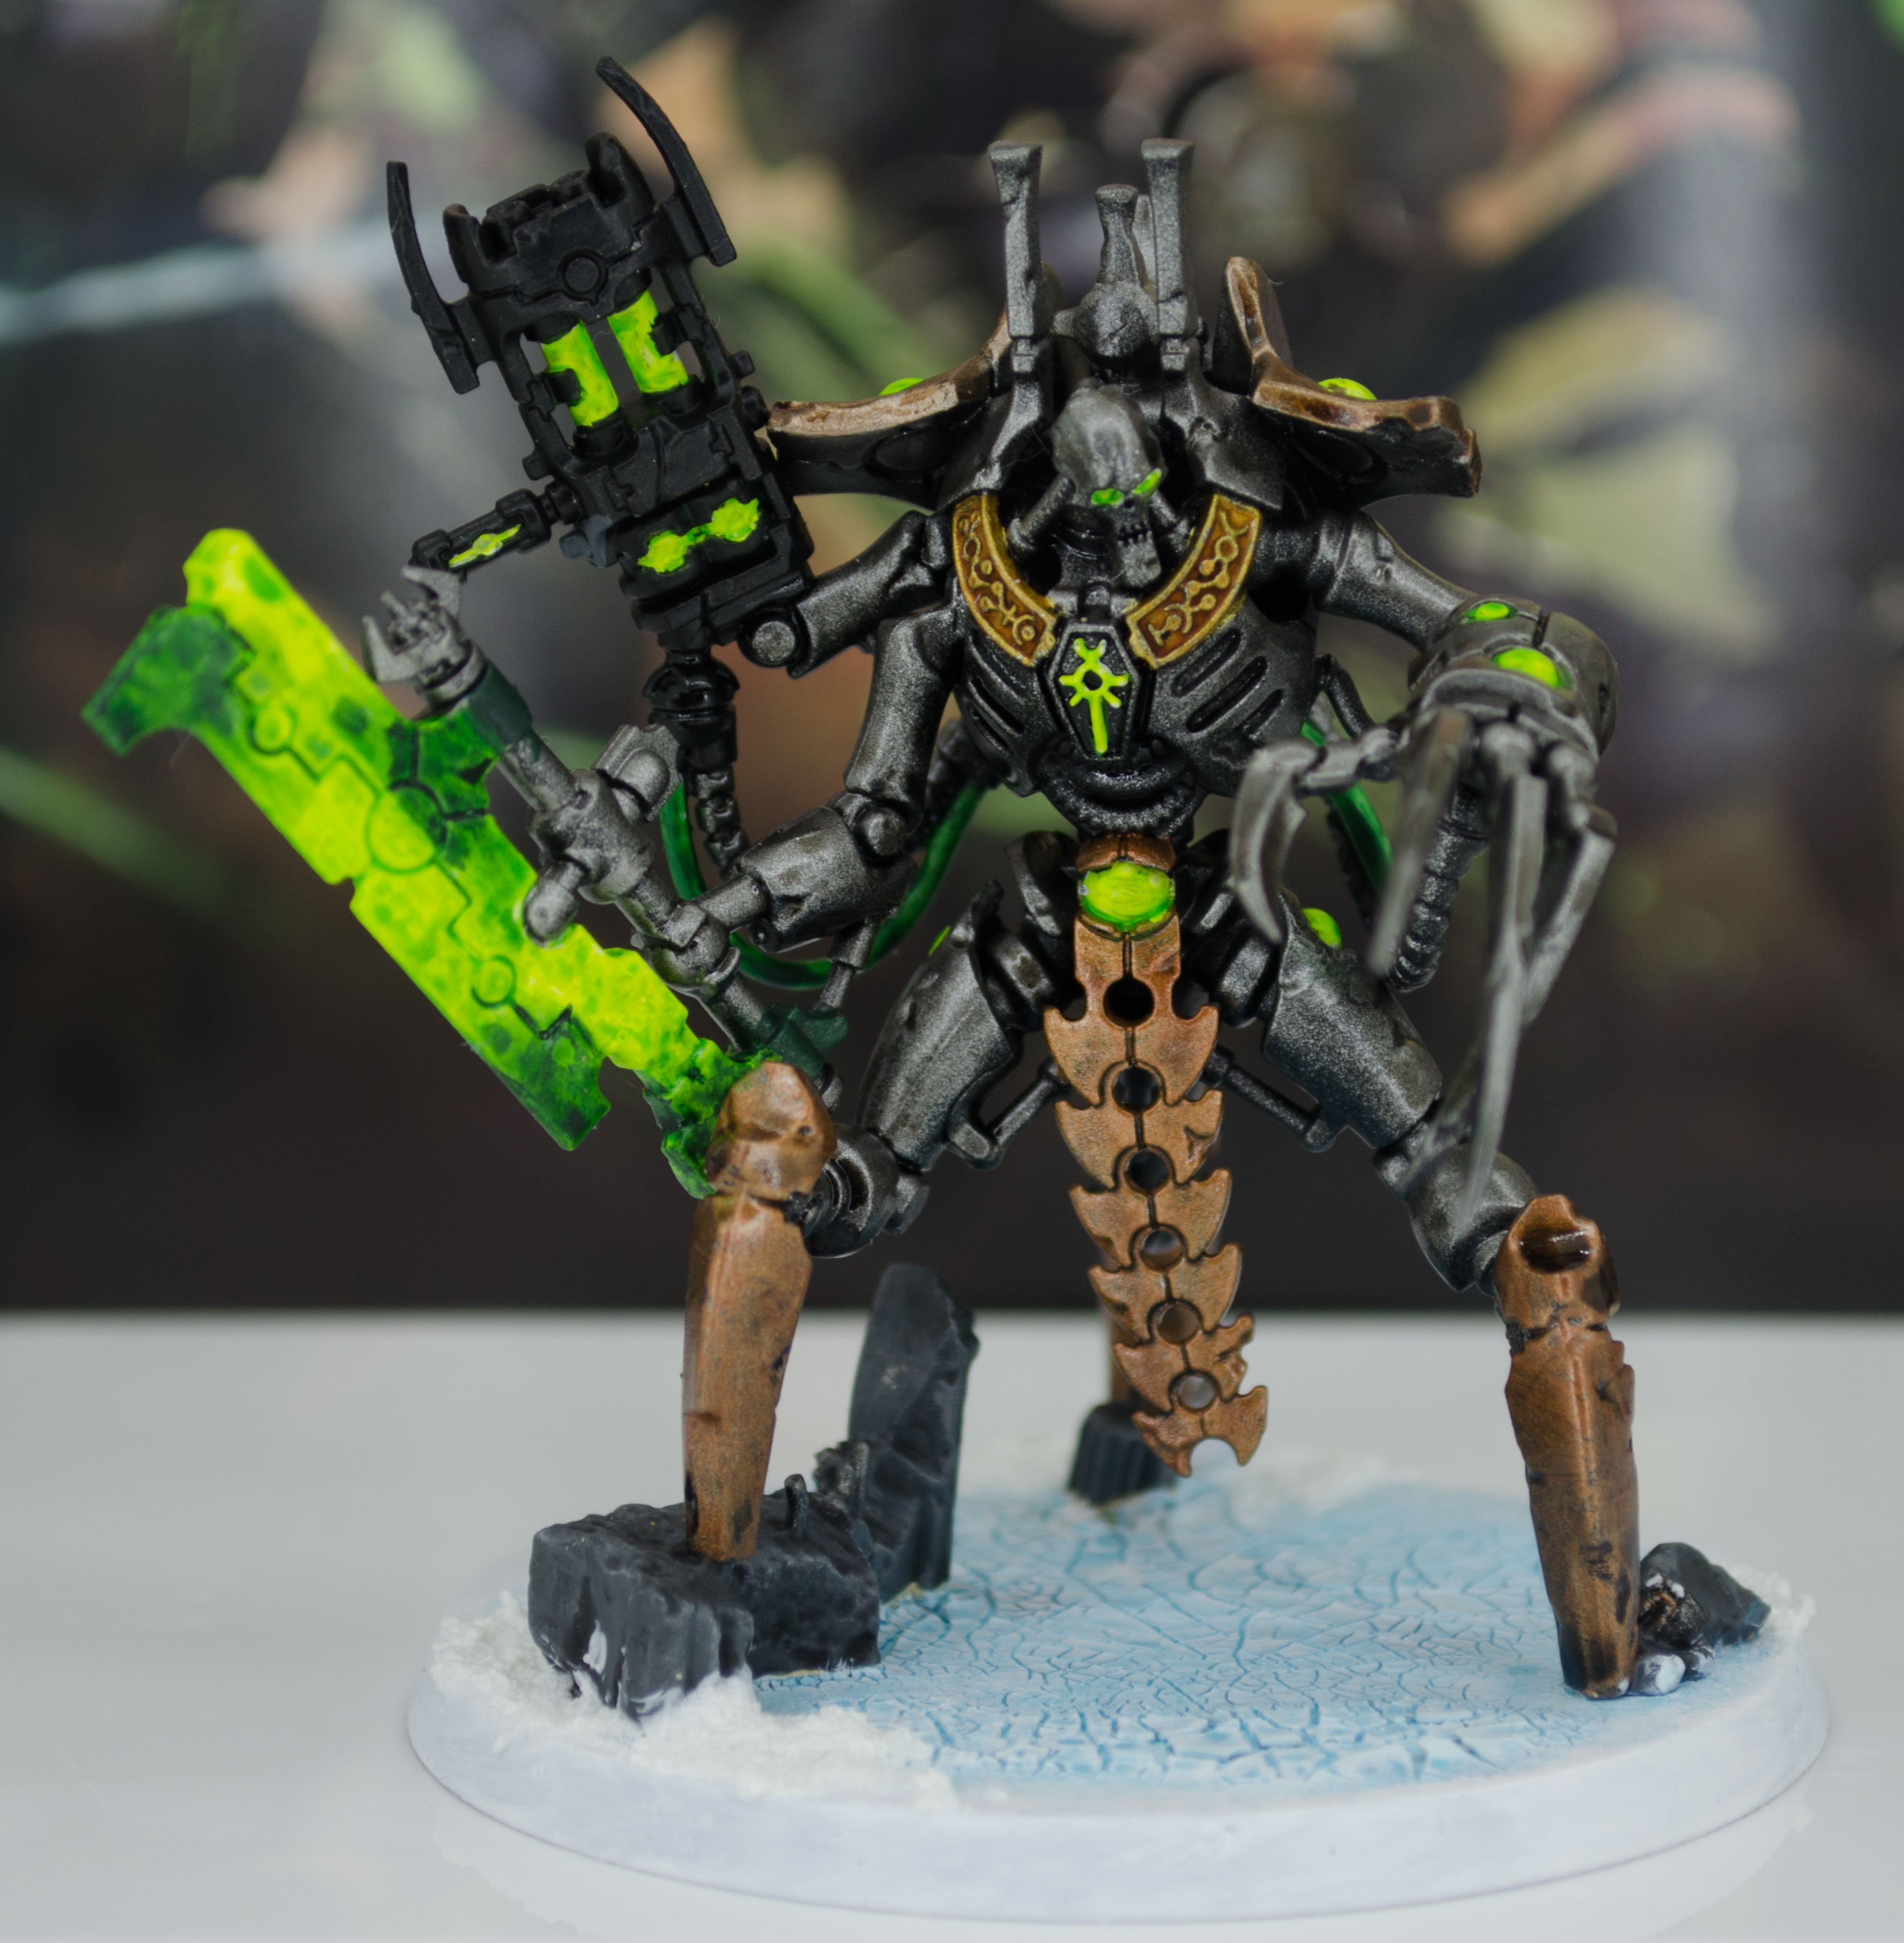
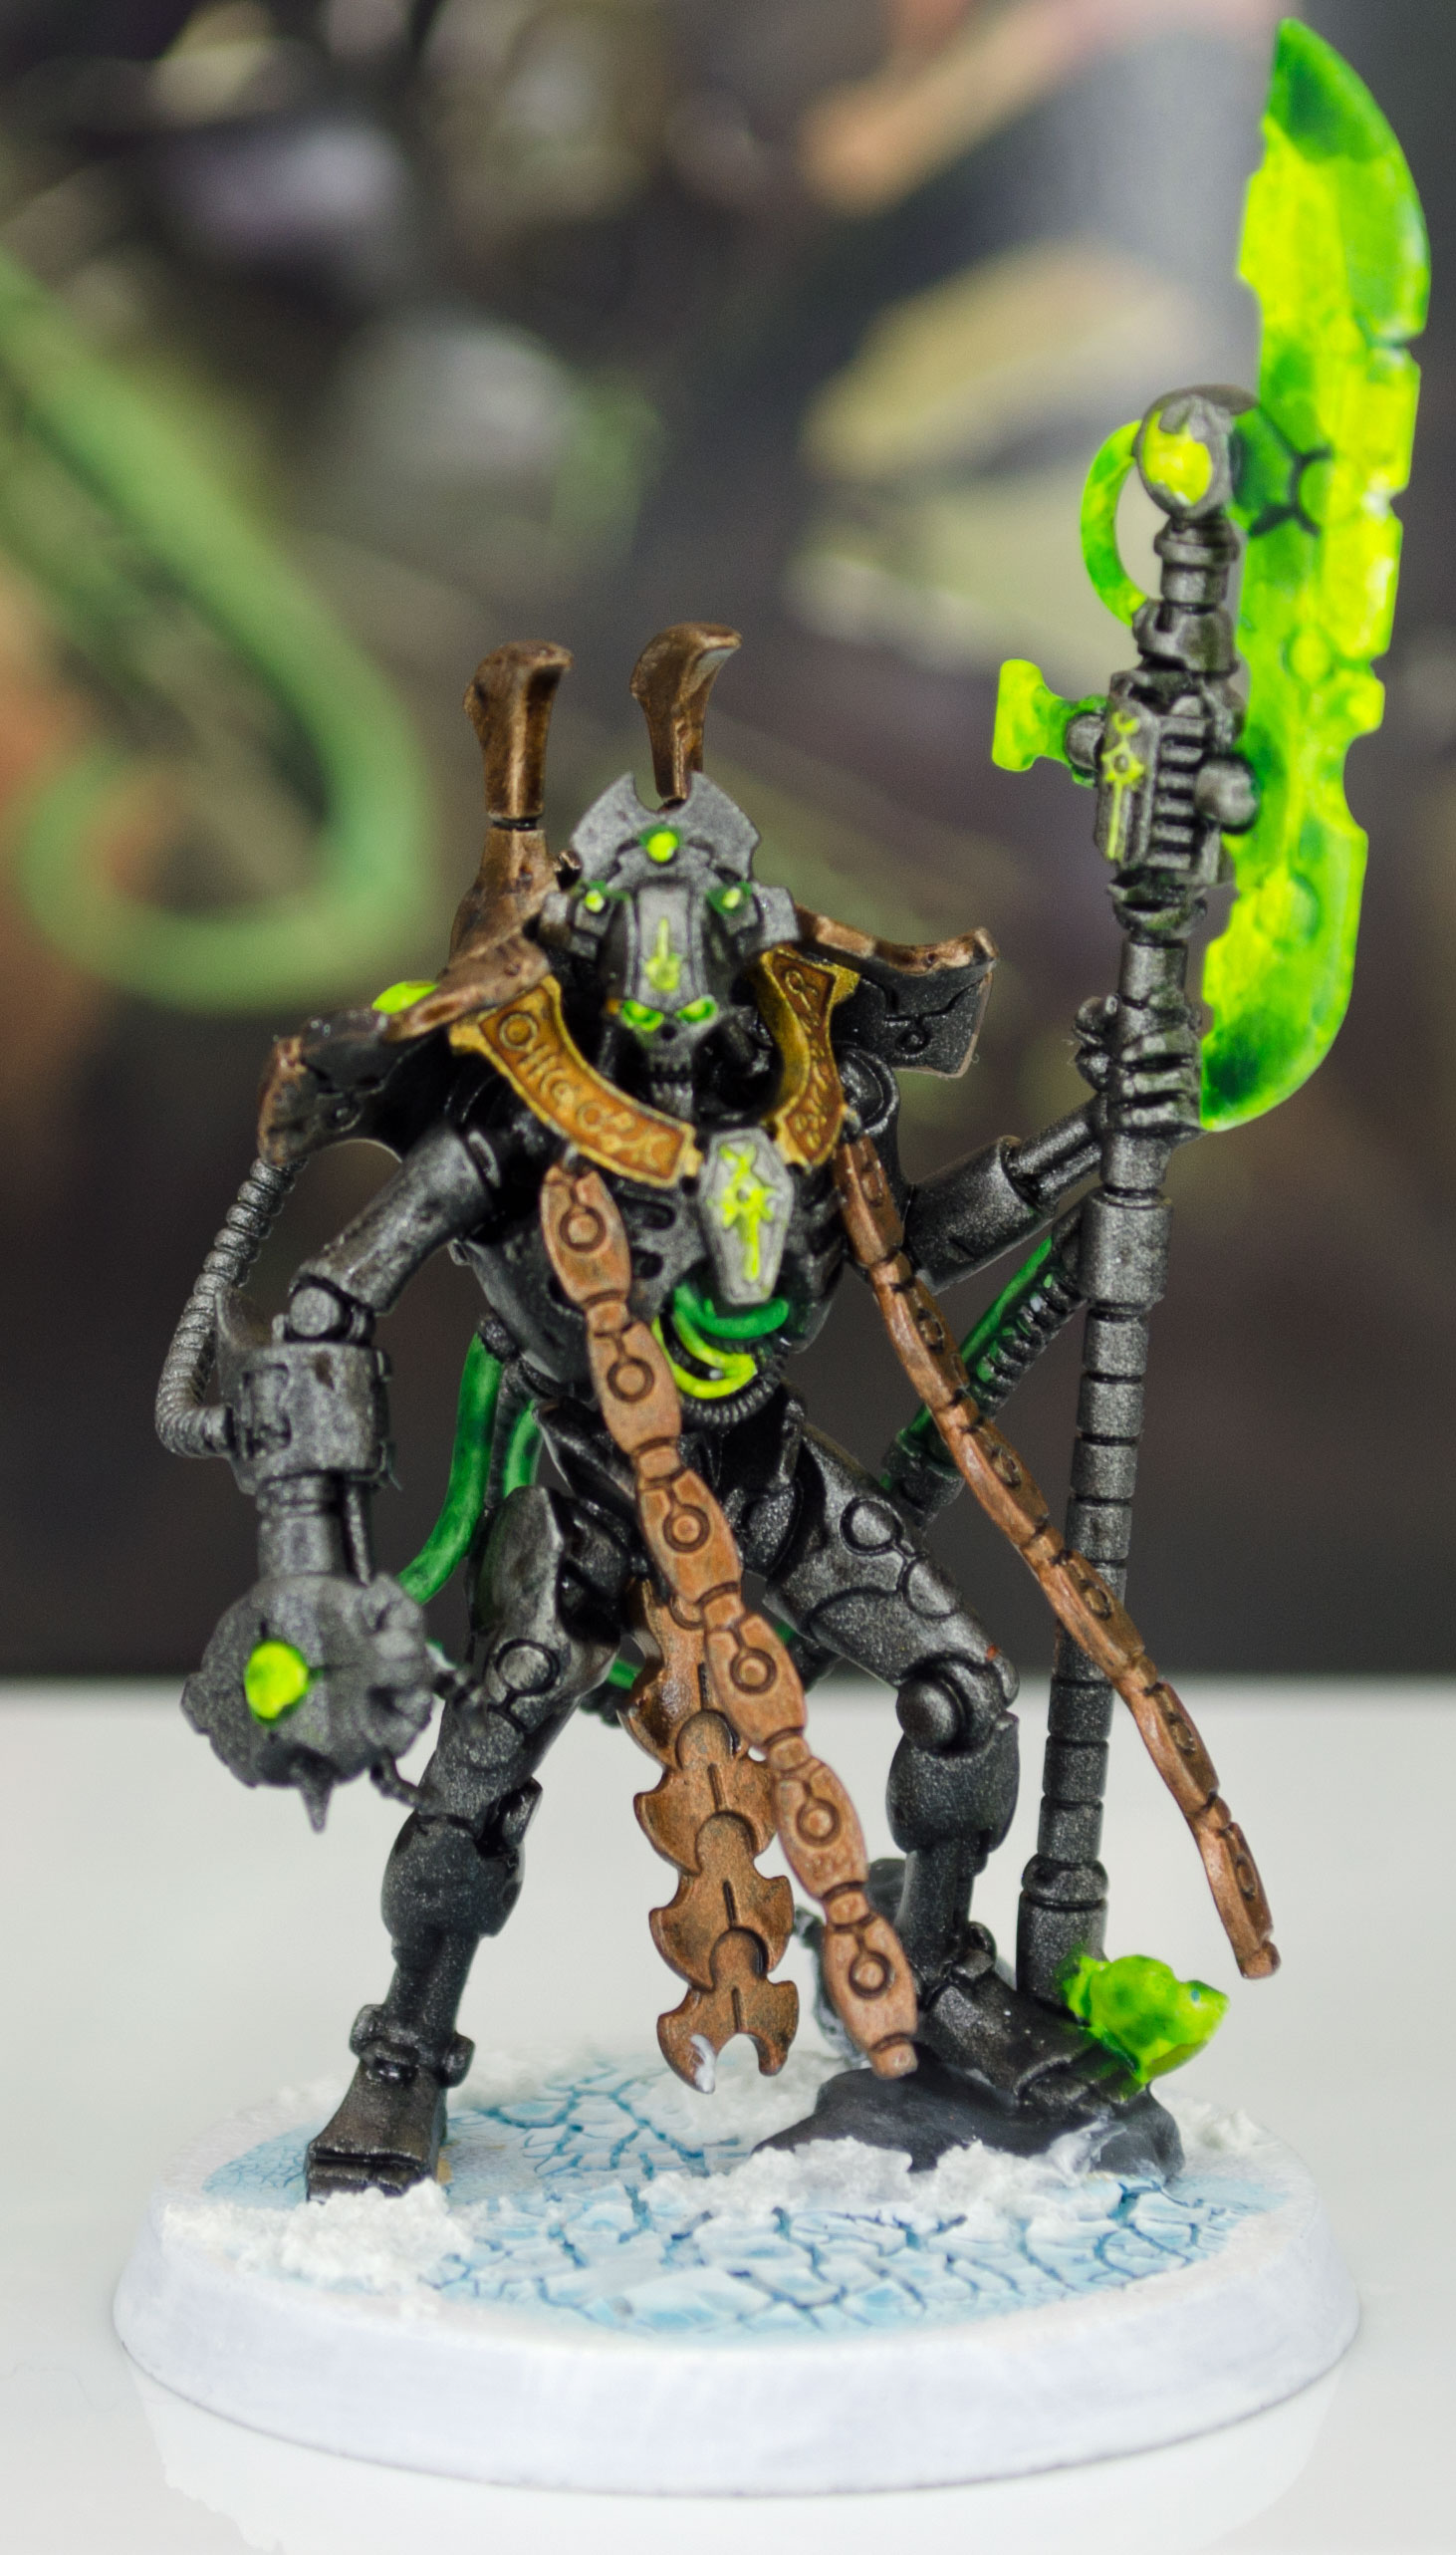
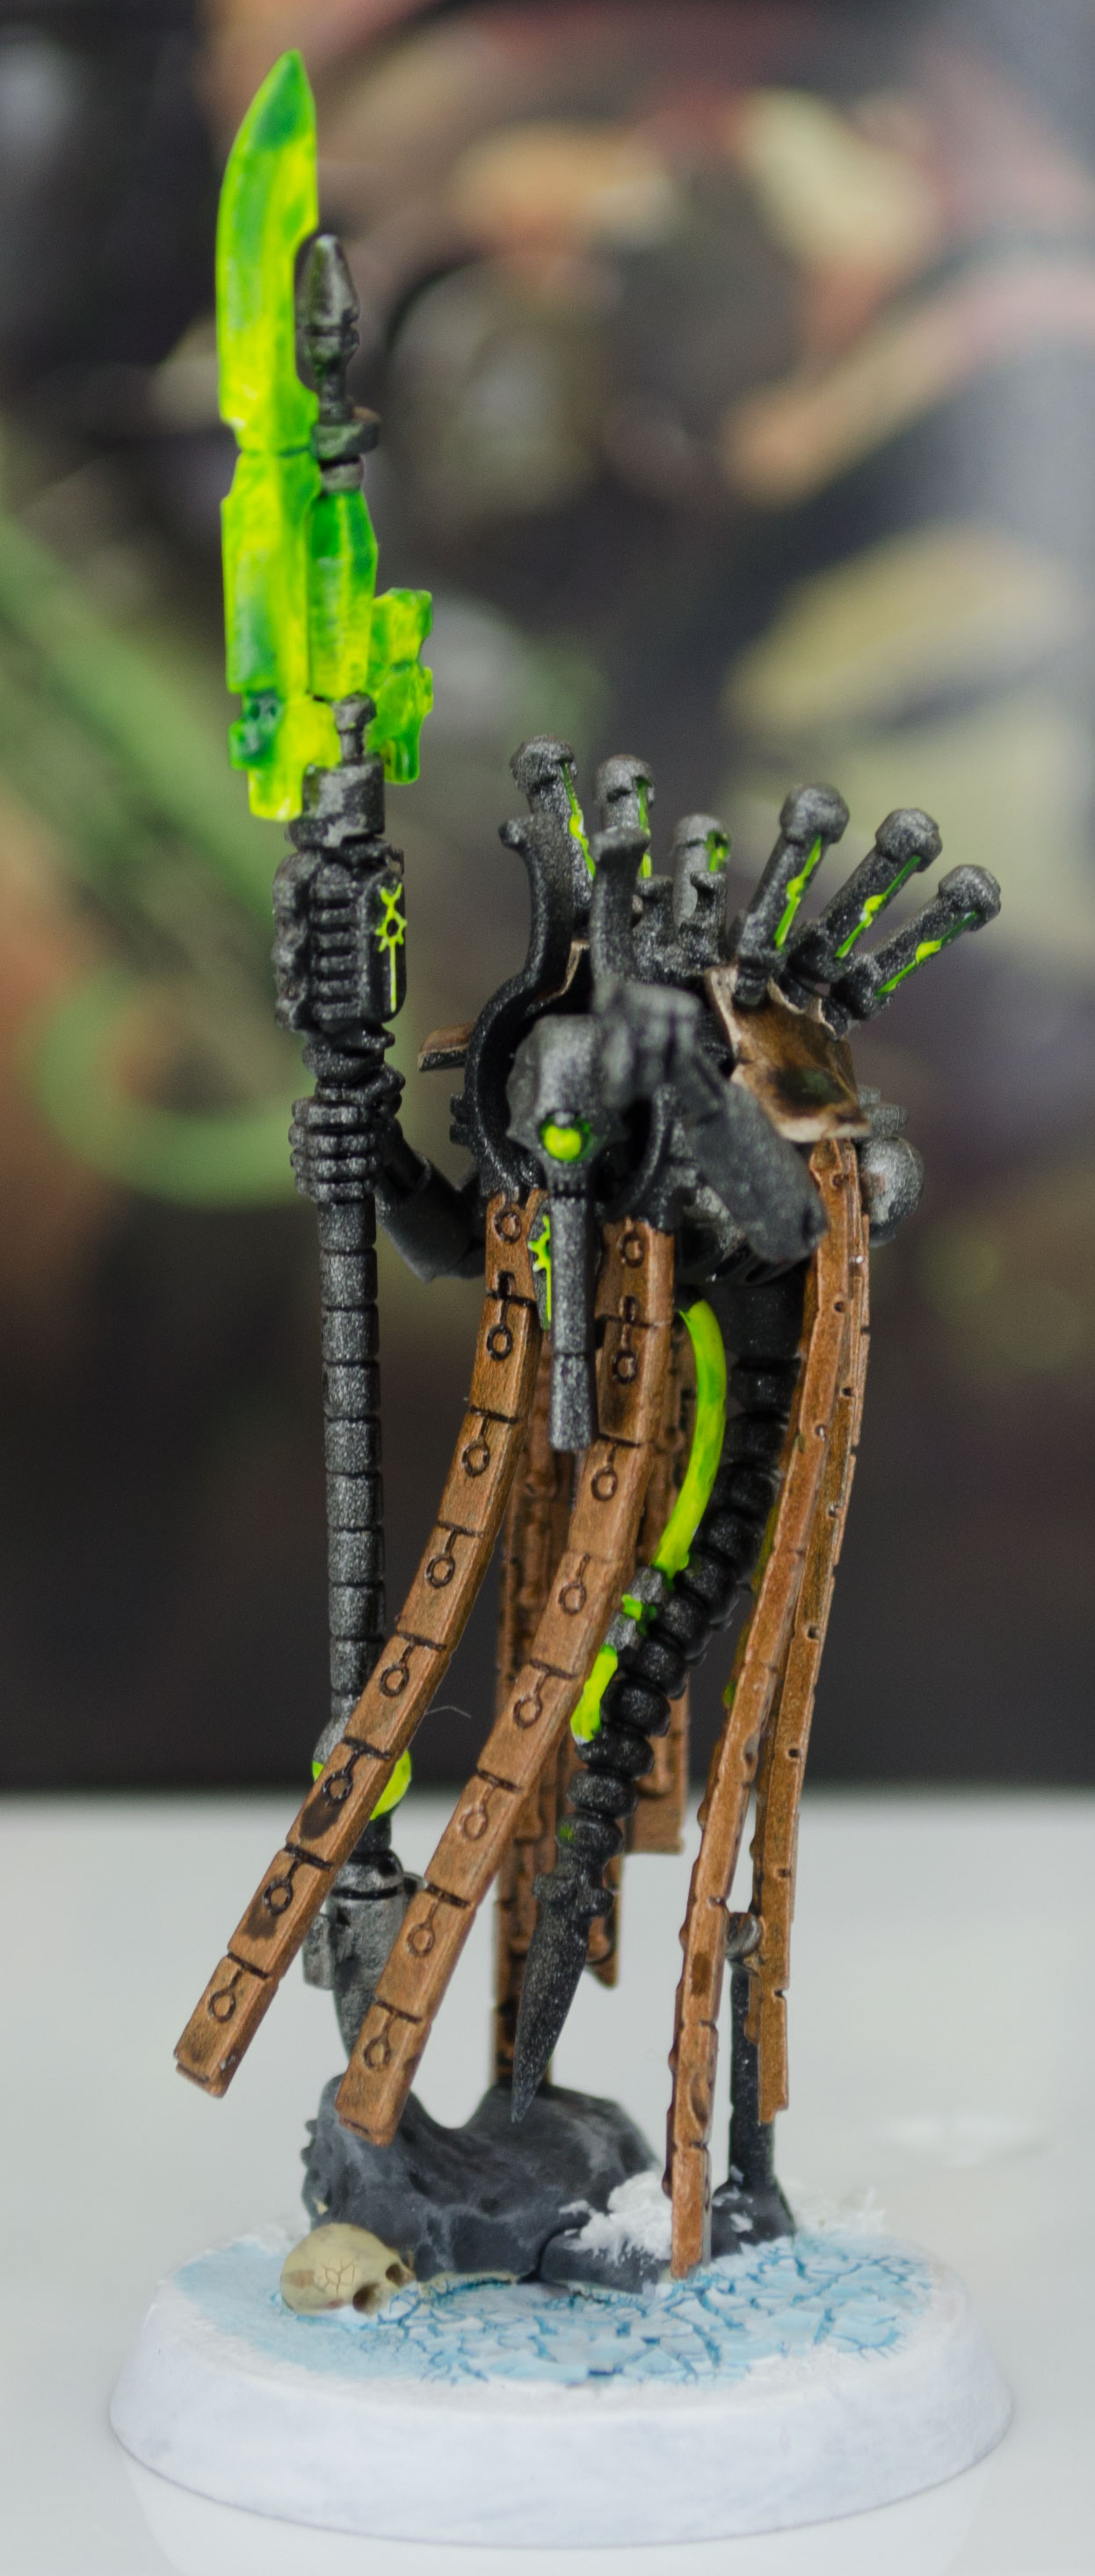
Necrons Done
Here are some shots of the necrons with the new photo setup, I think I need to work on the depth of field but any advice would be gratefully received.

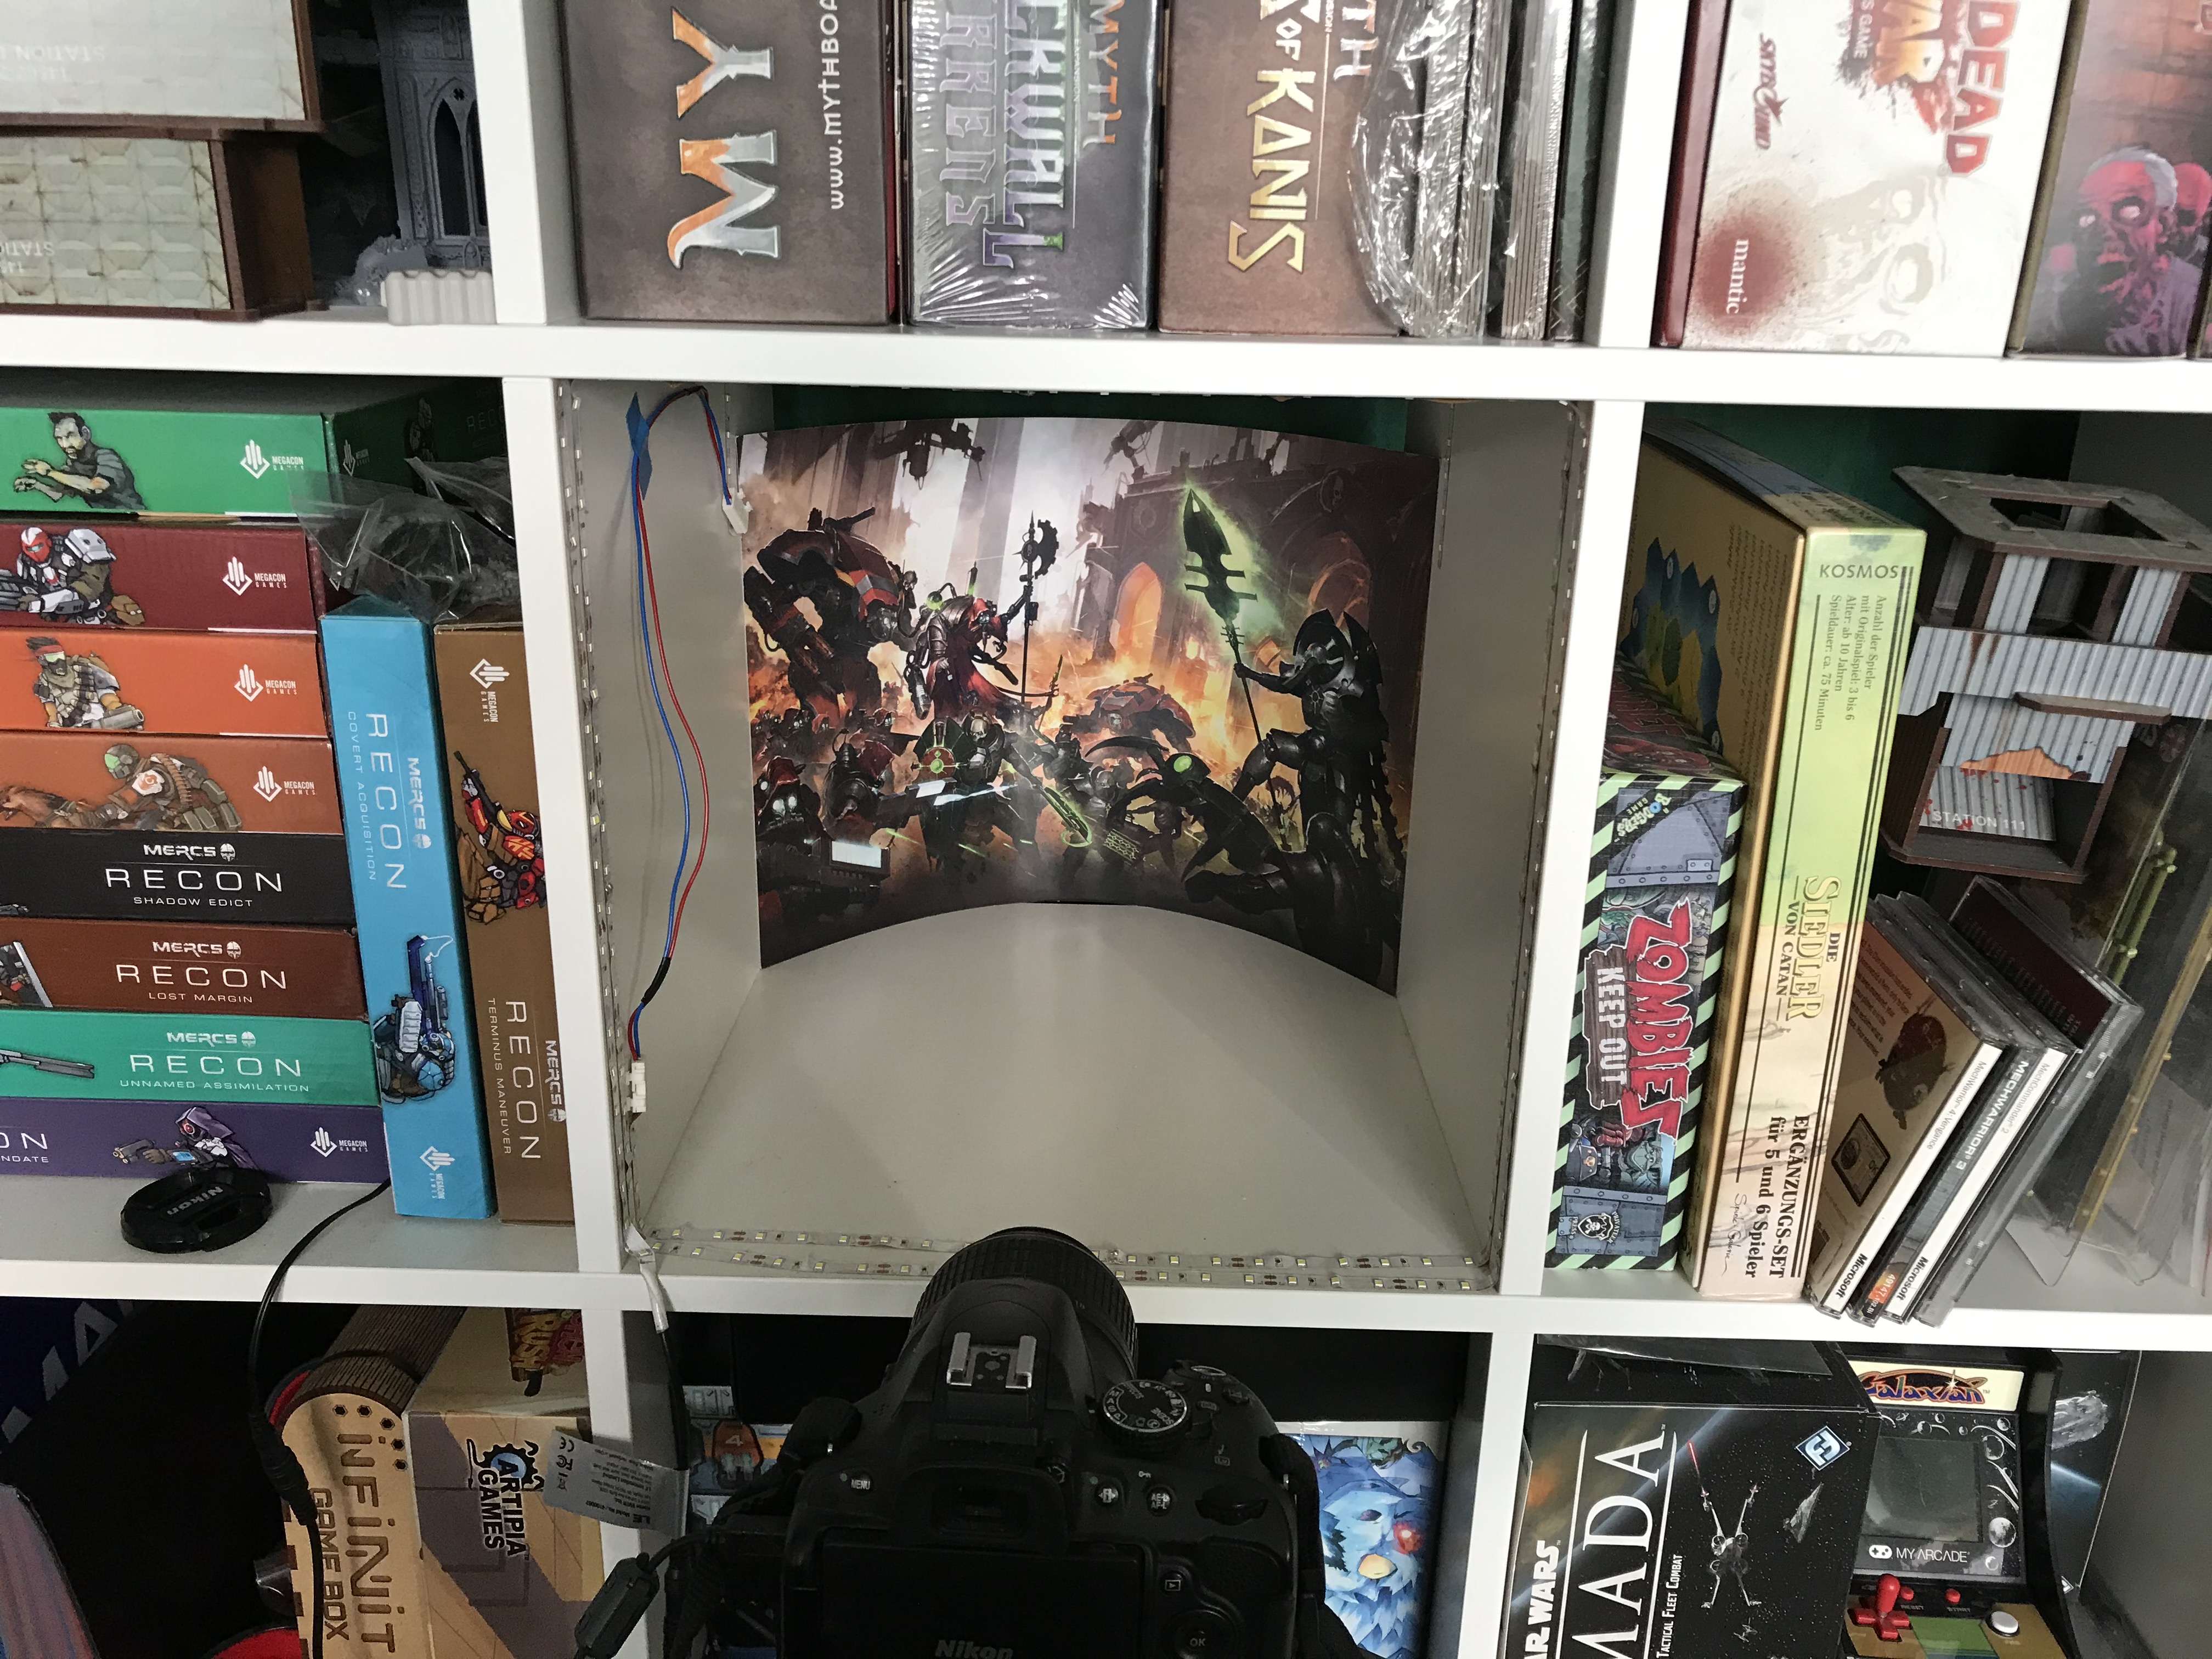
Better Photo's (possibly)
So I decided to try and up my game with the photos and build a permanent photo box, the fold up one I have is always collapsed and I cant be bothered with setting it up for a couple of shots.
So in one the squares of an Ikea unit i have added some daylight LED strips and used the artwork from one of the many GW boxes as a backdrop, this can be replaced by anything should the need arise. I have also switched to using my DSLR camera and sticking the photos through photoshop elements.
Here are some shots of the stepup taken with an iPhone 7

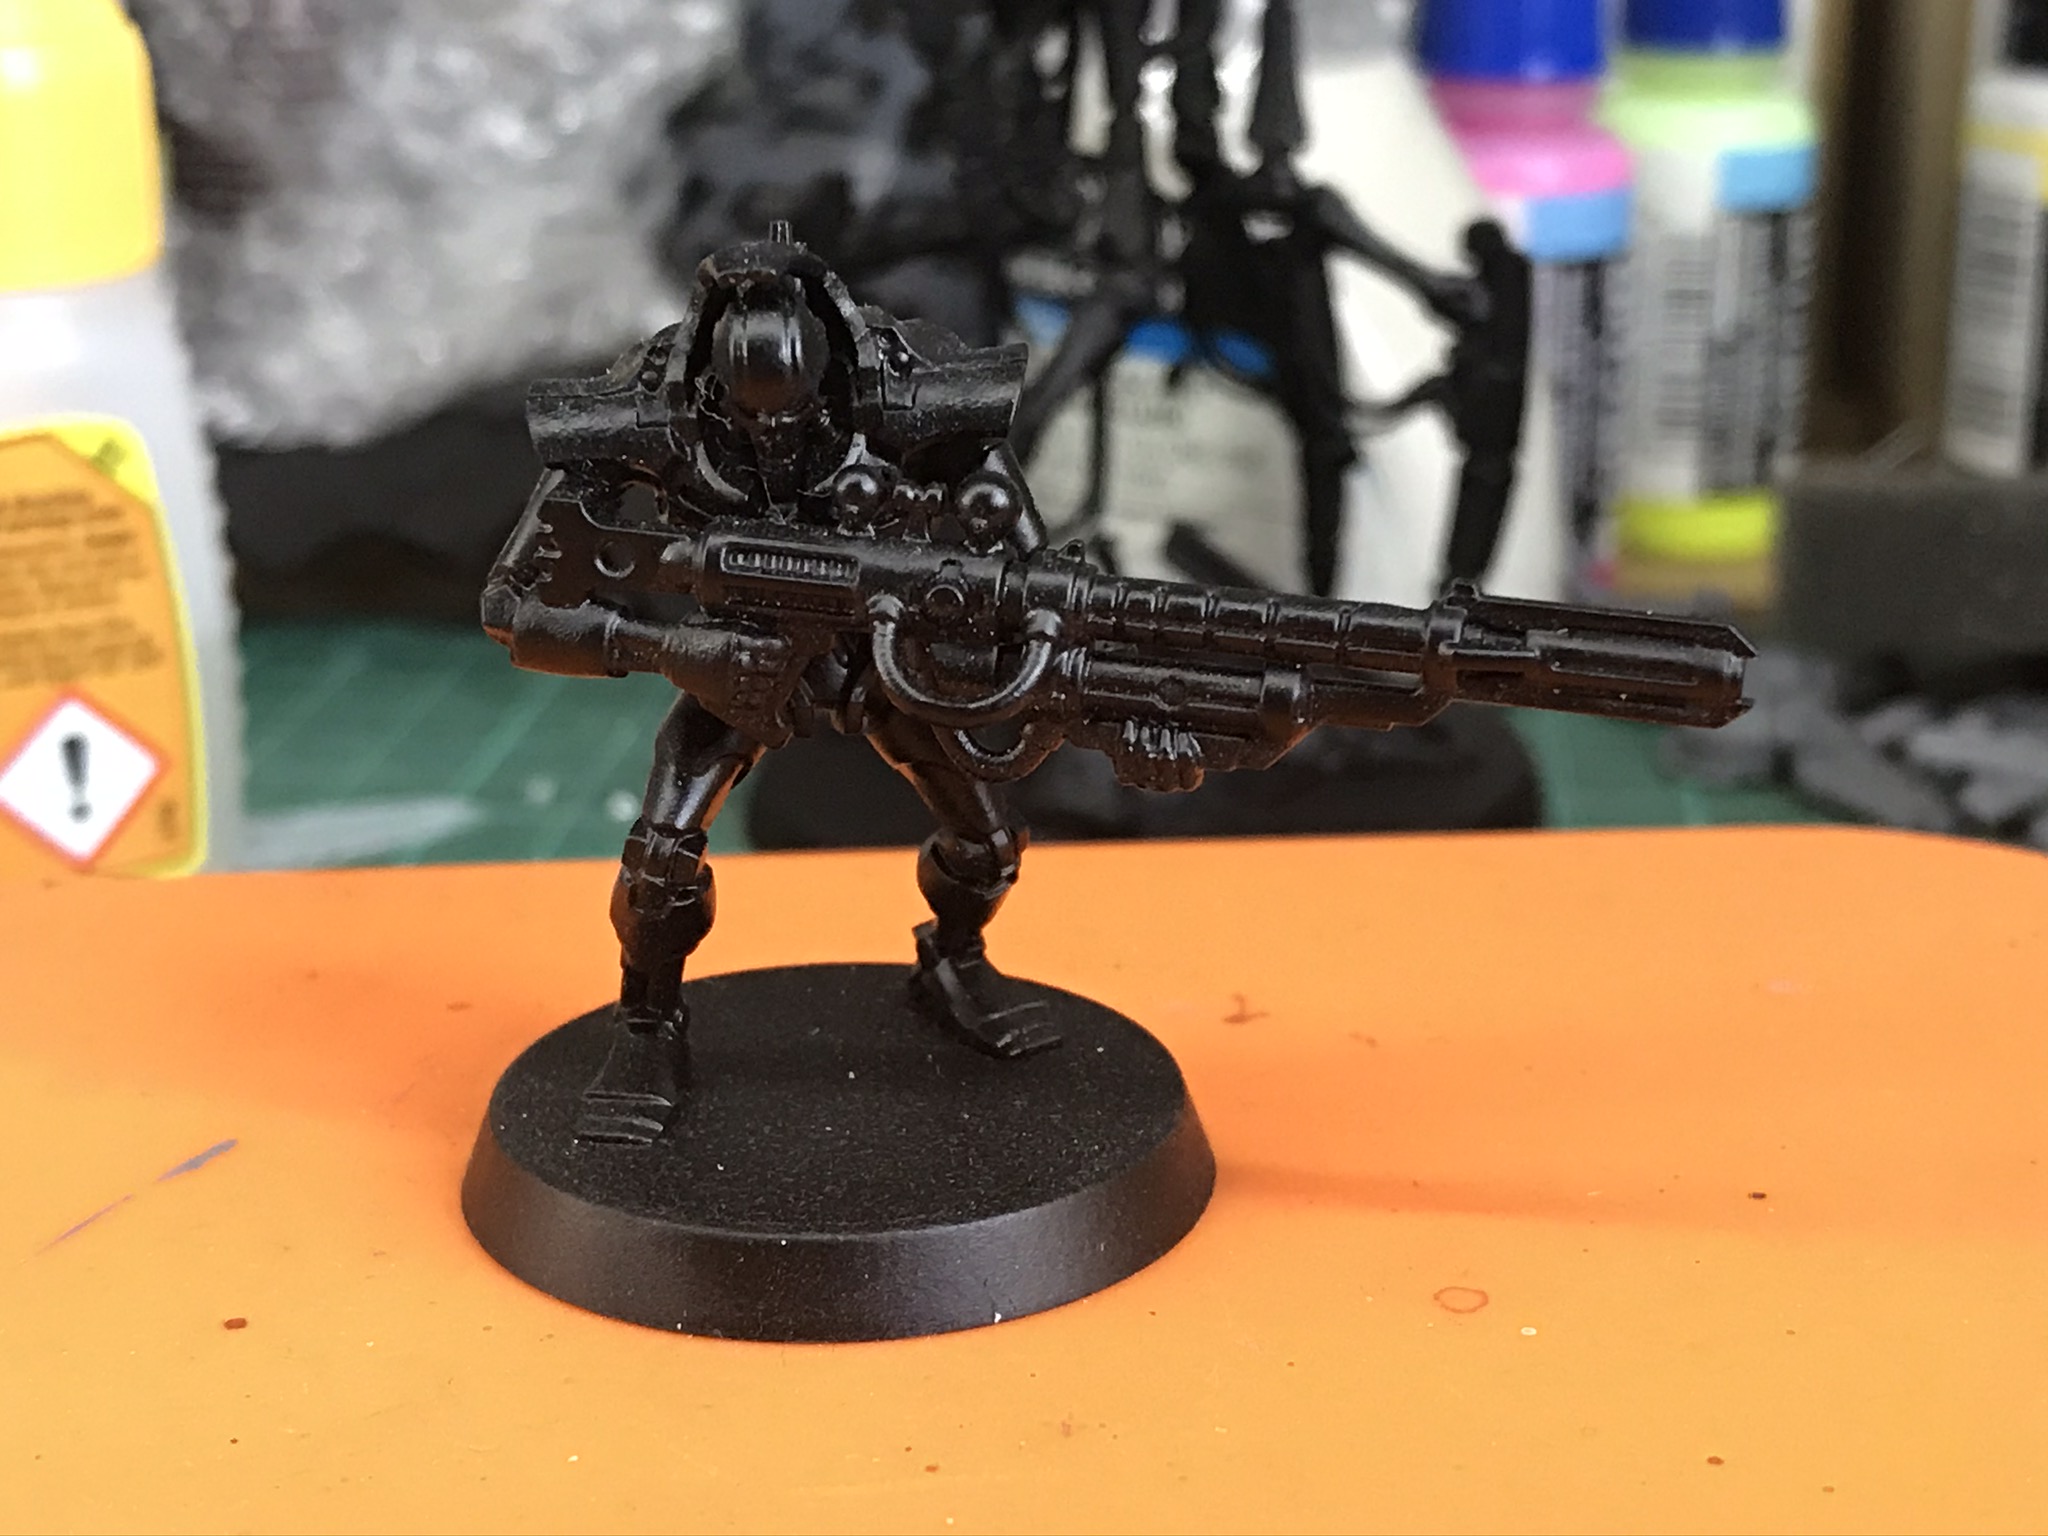
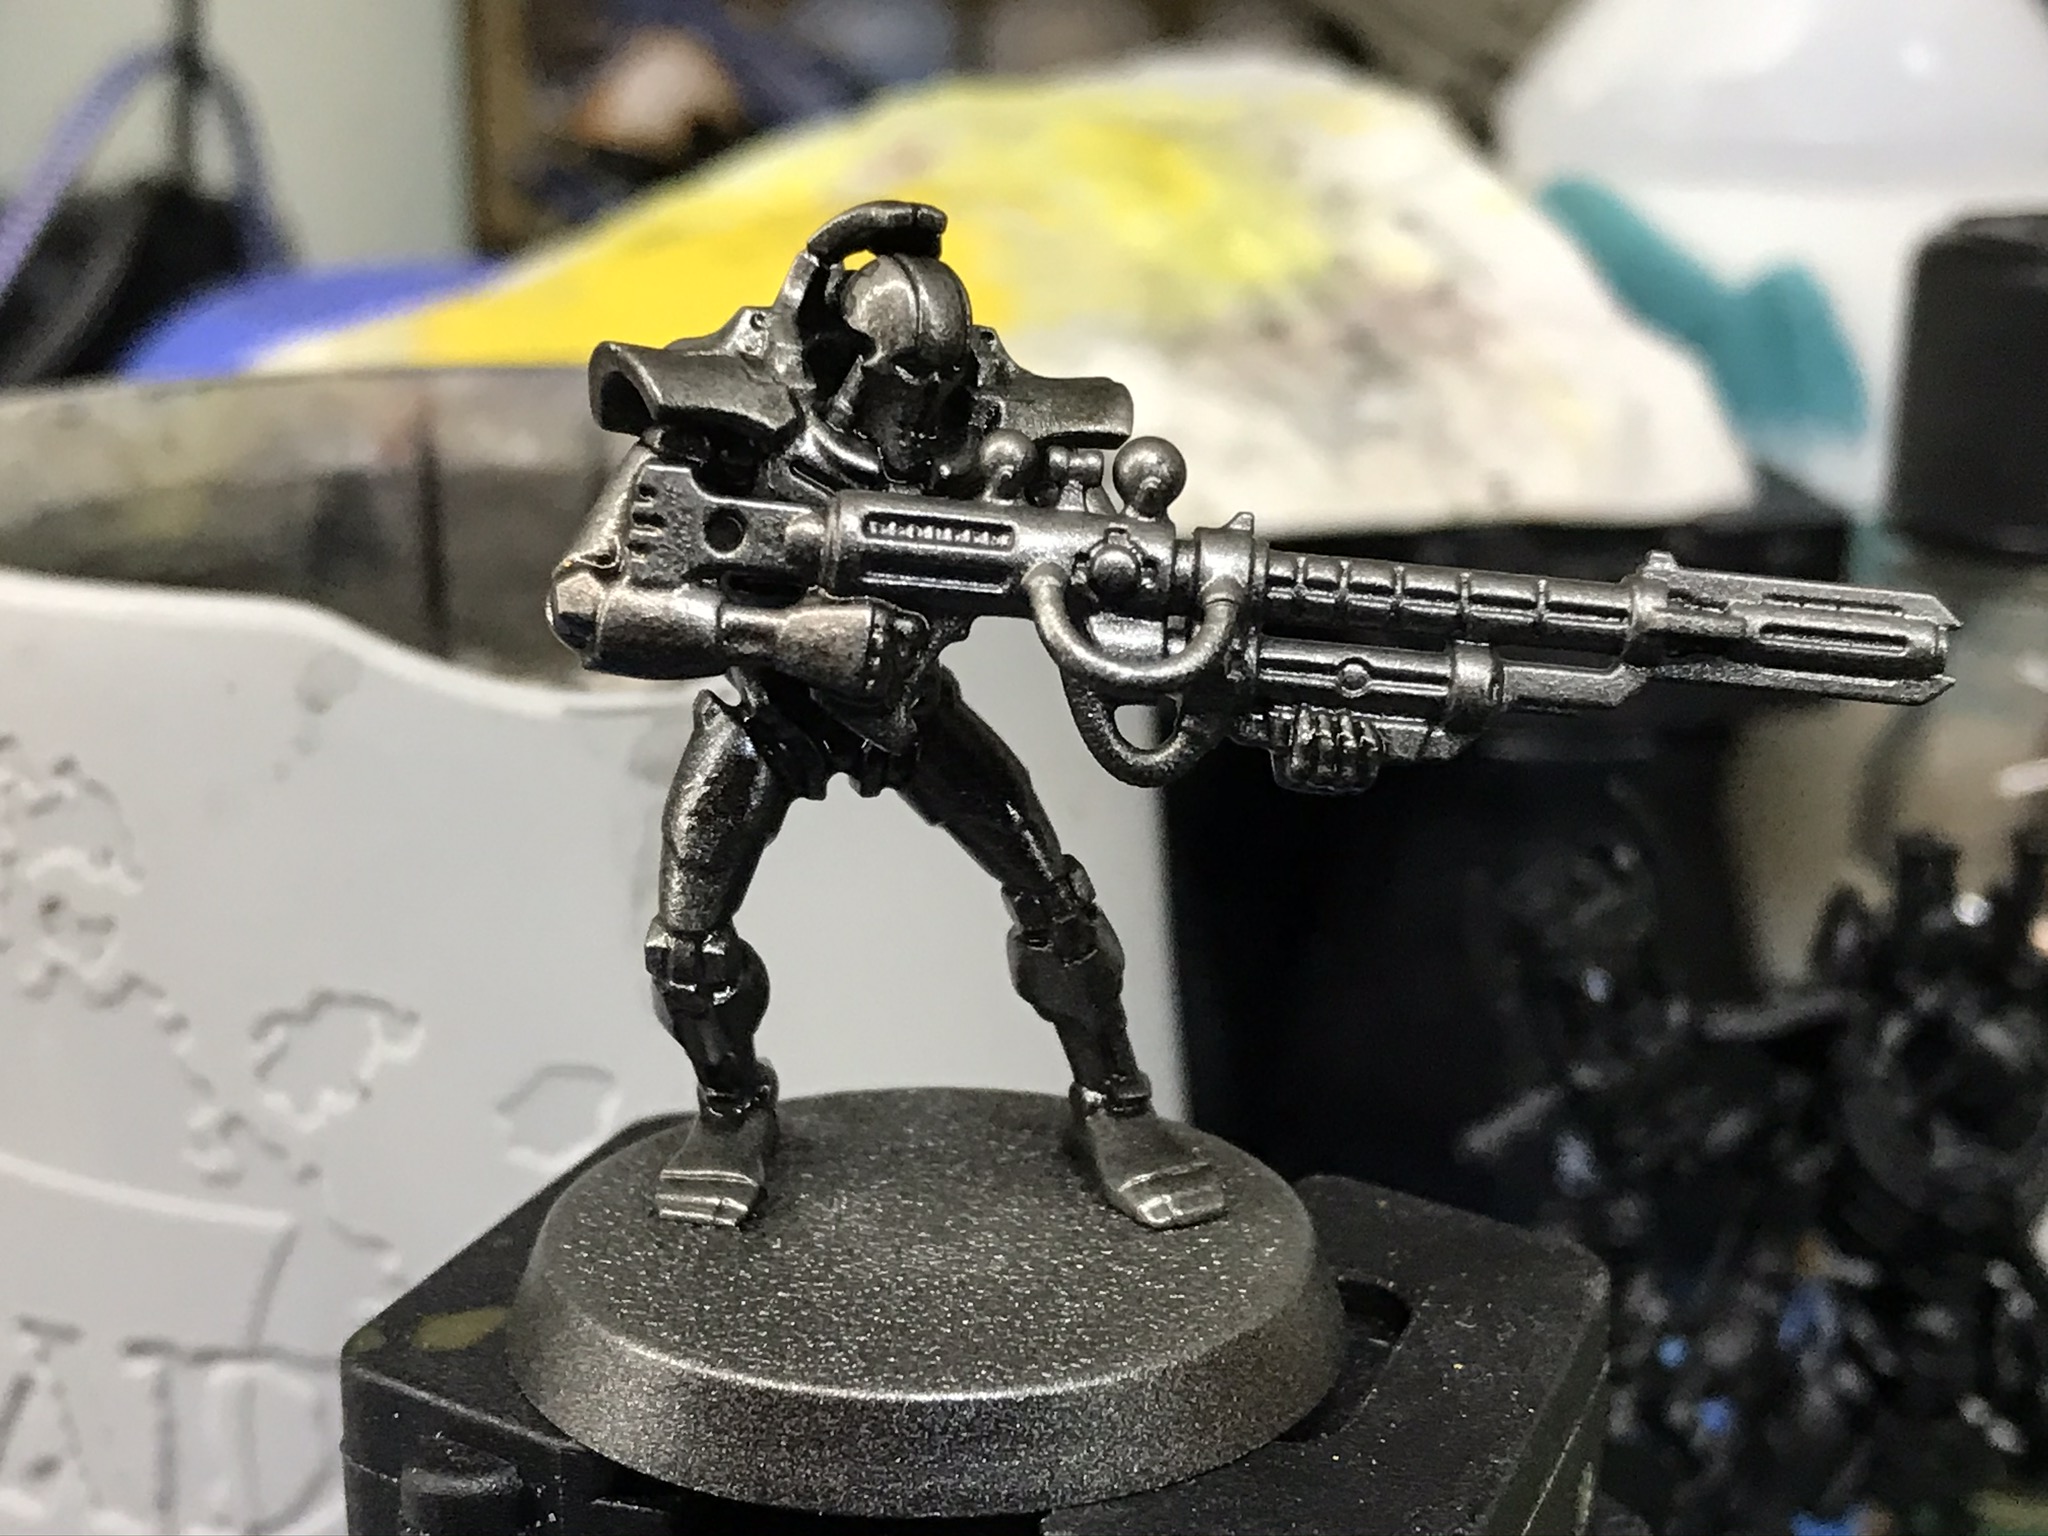
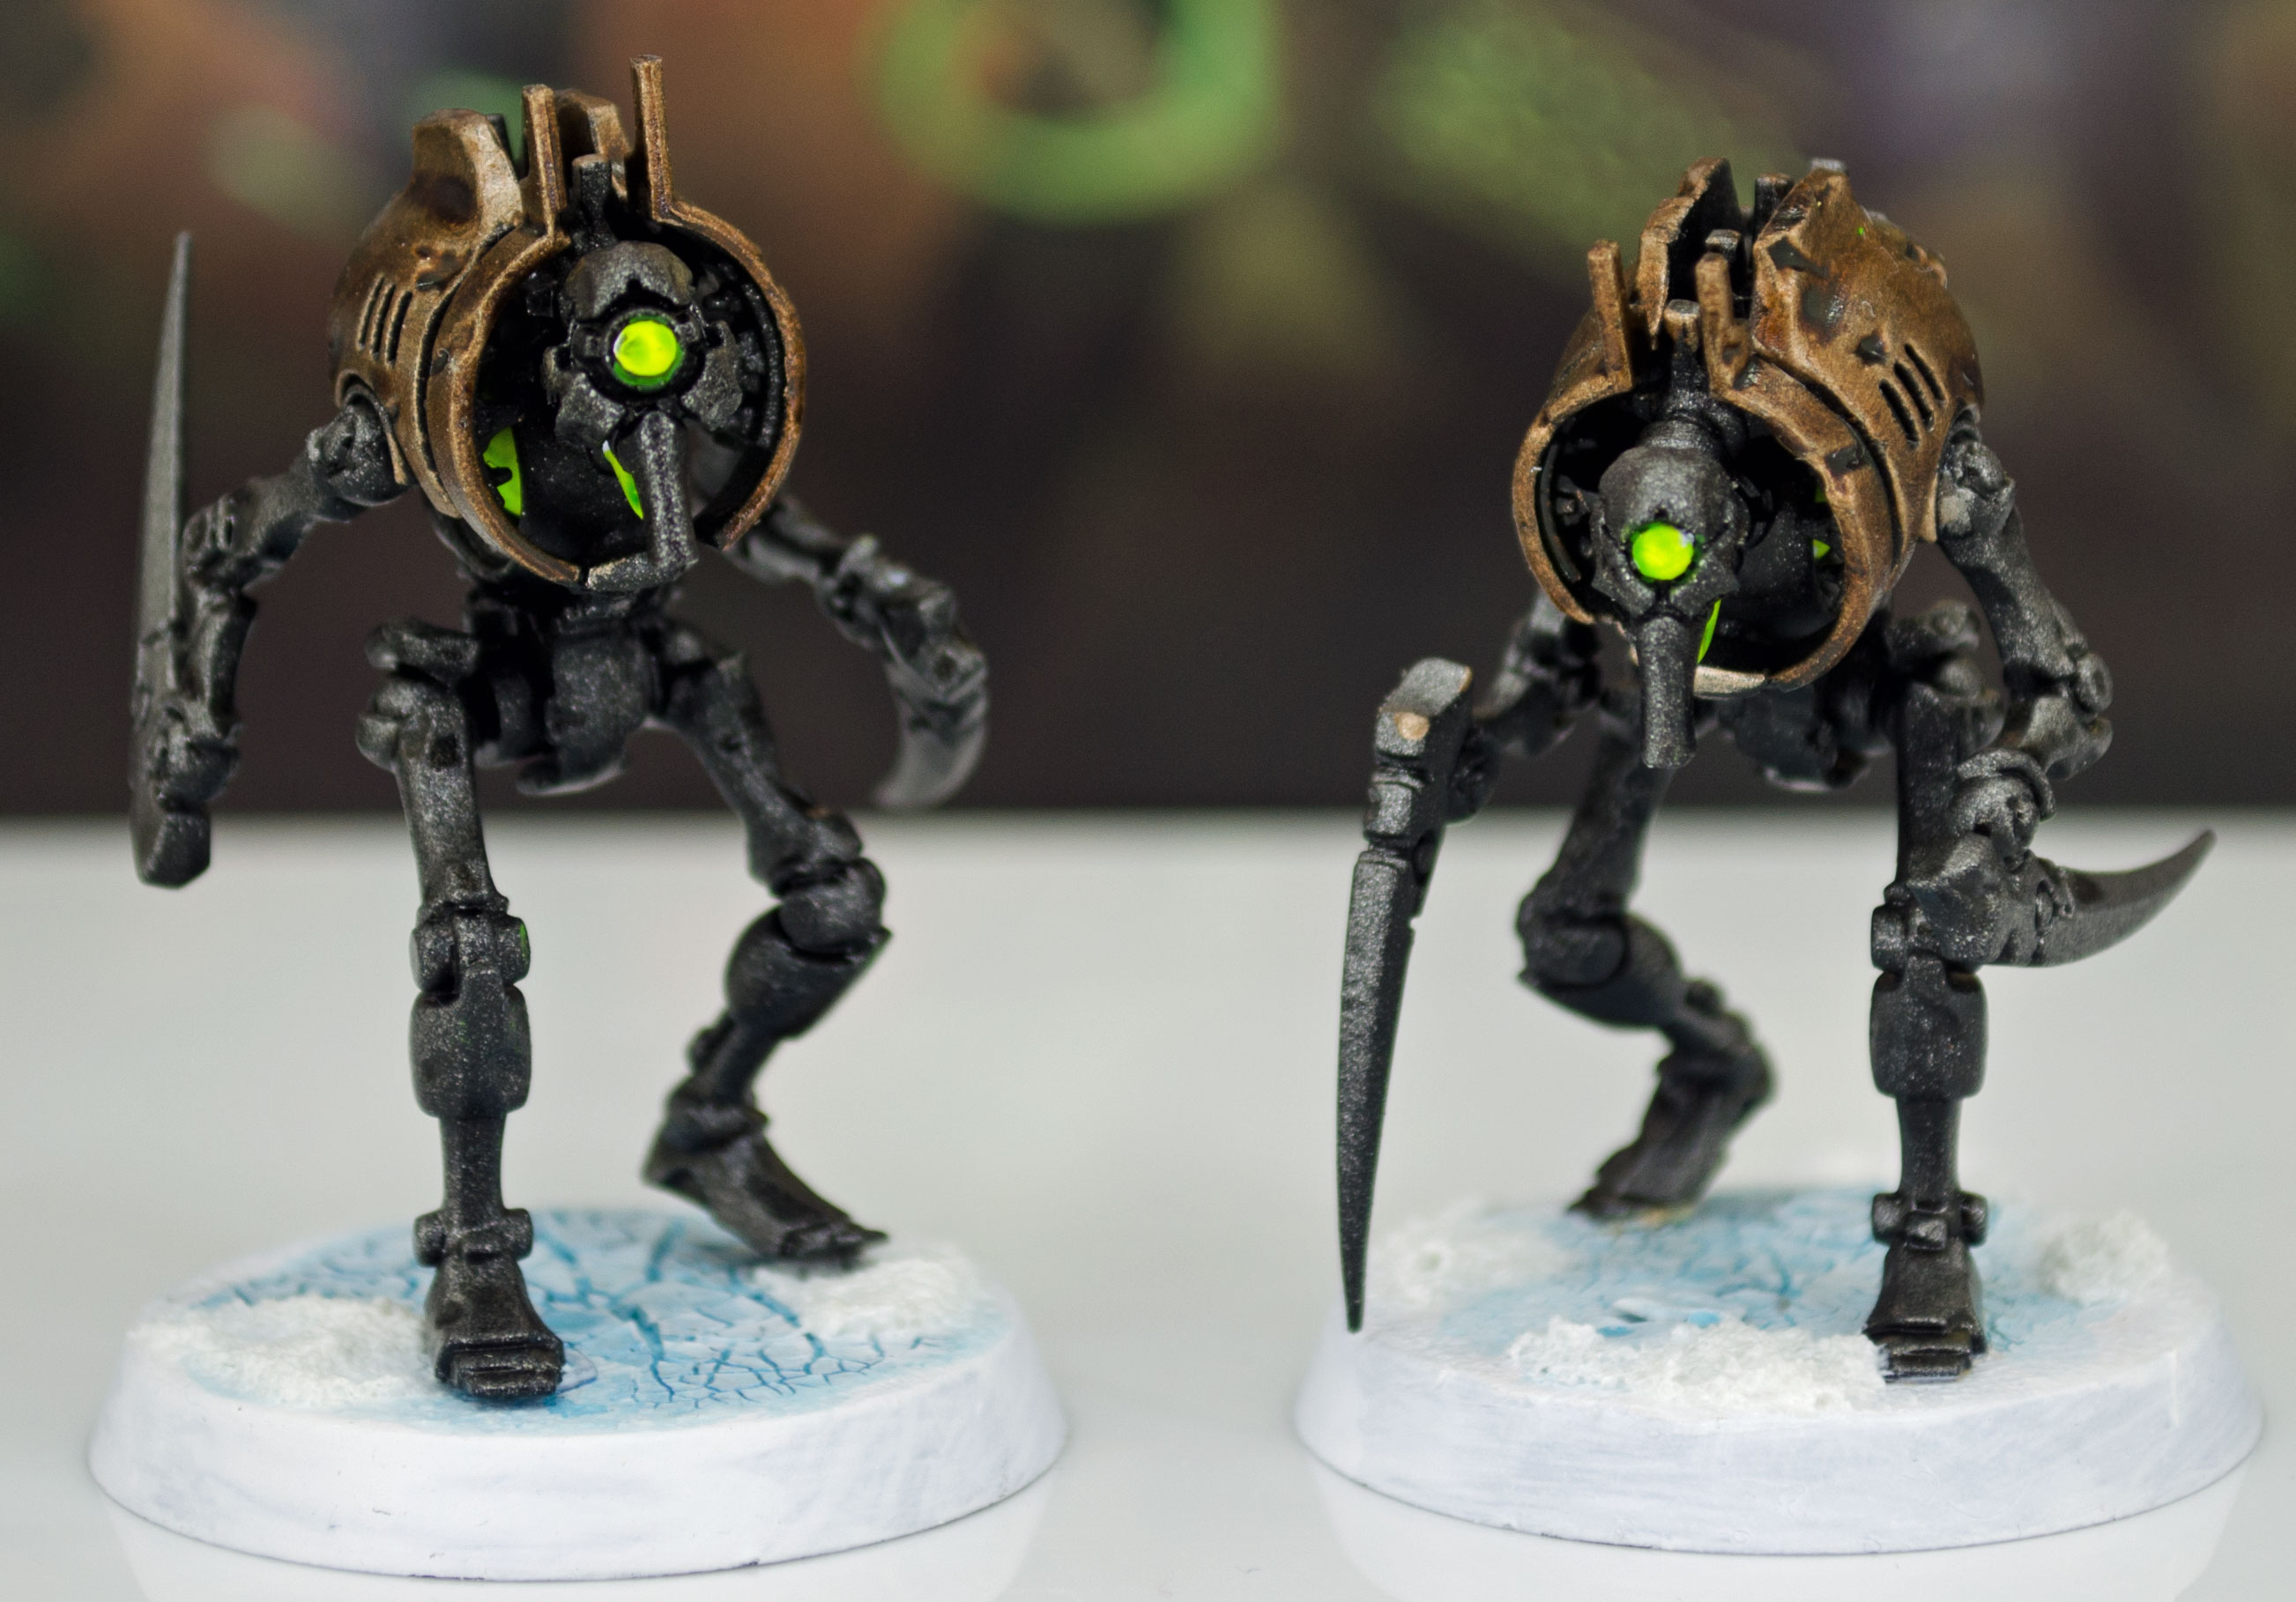
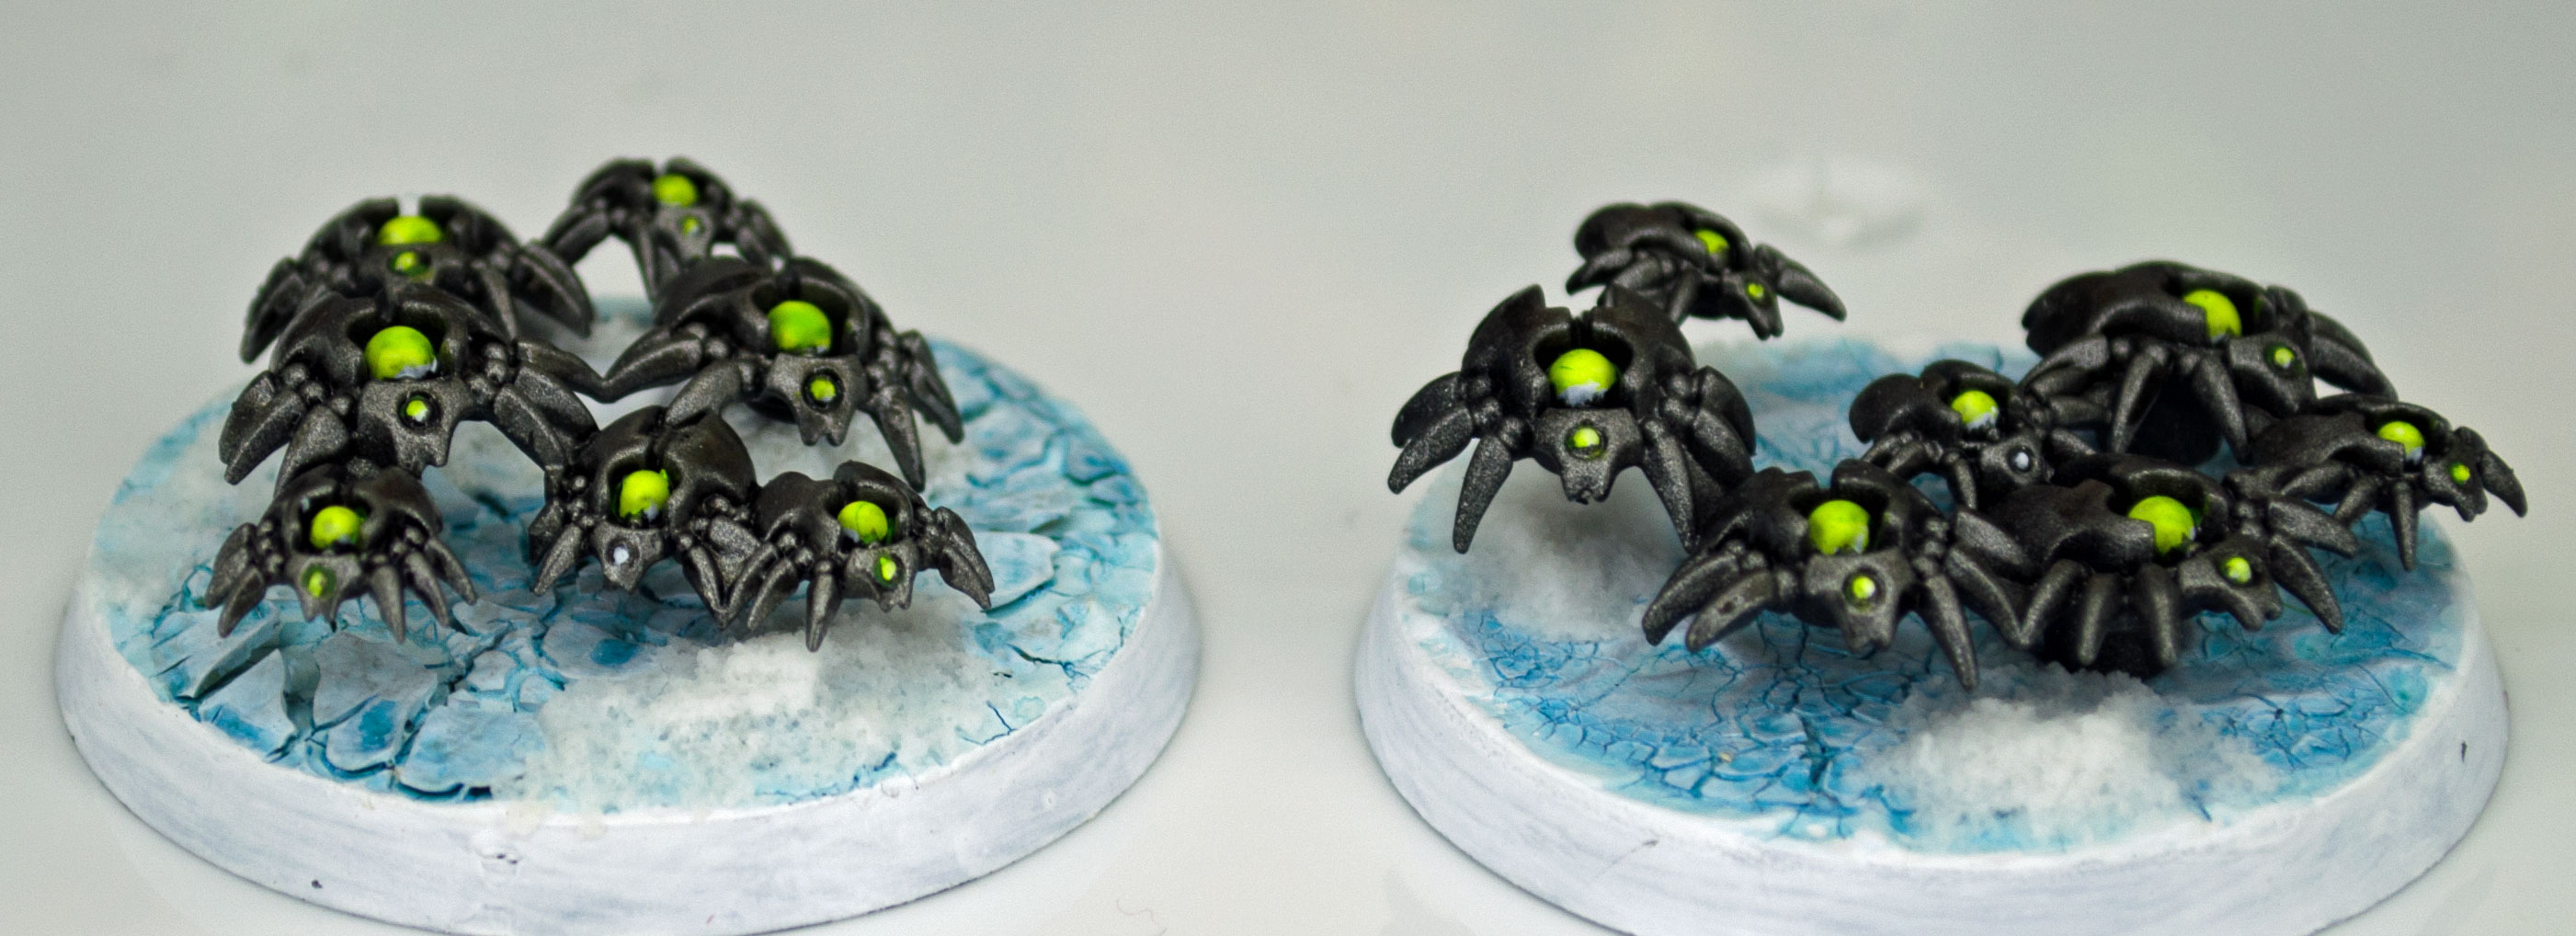
Beginning the Necrons
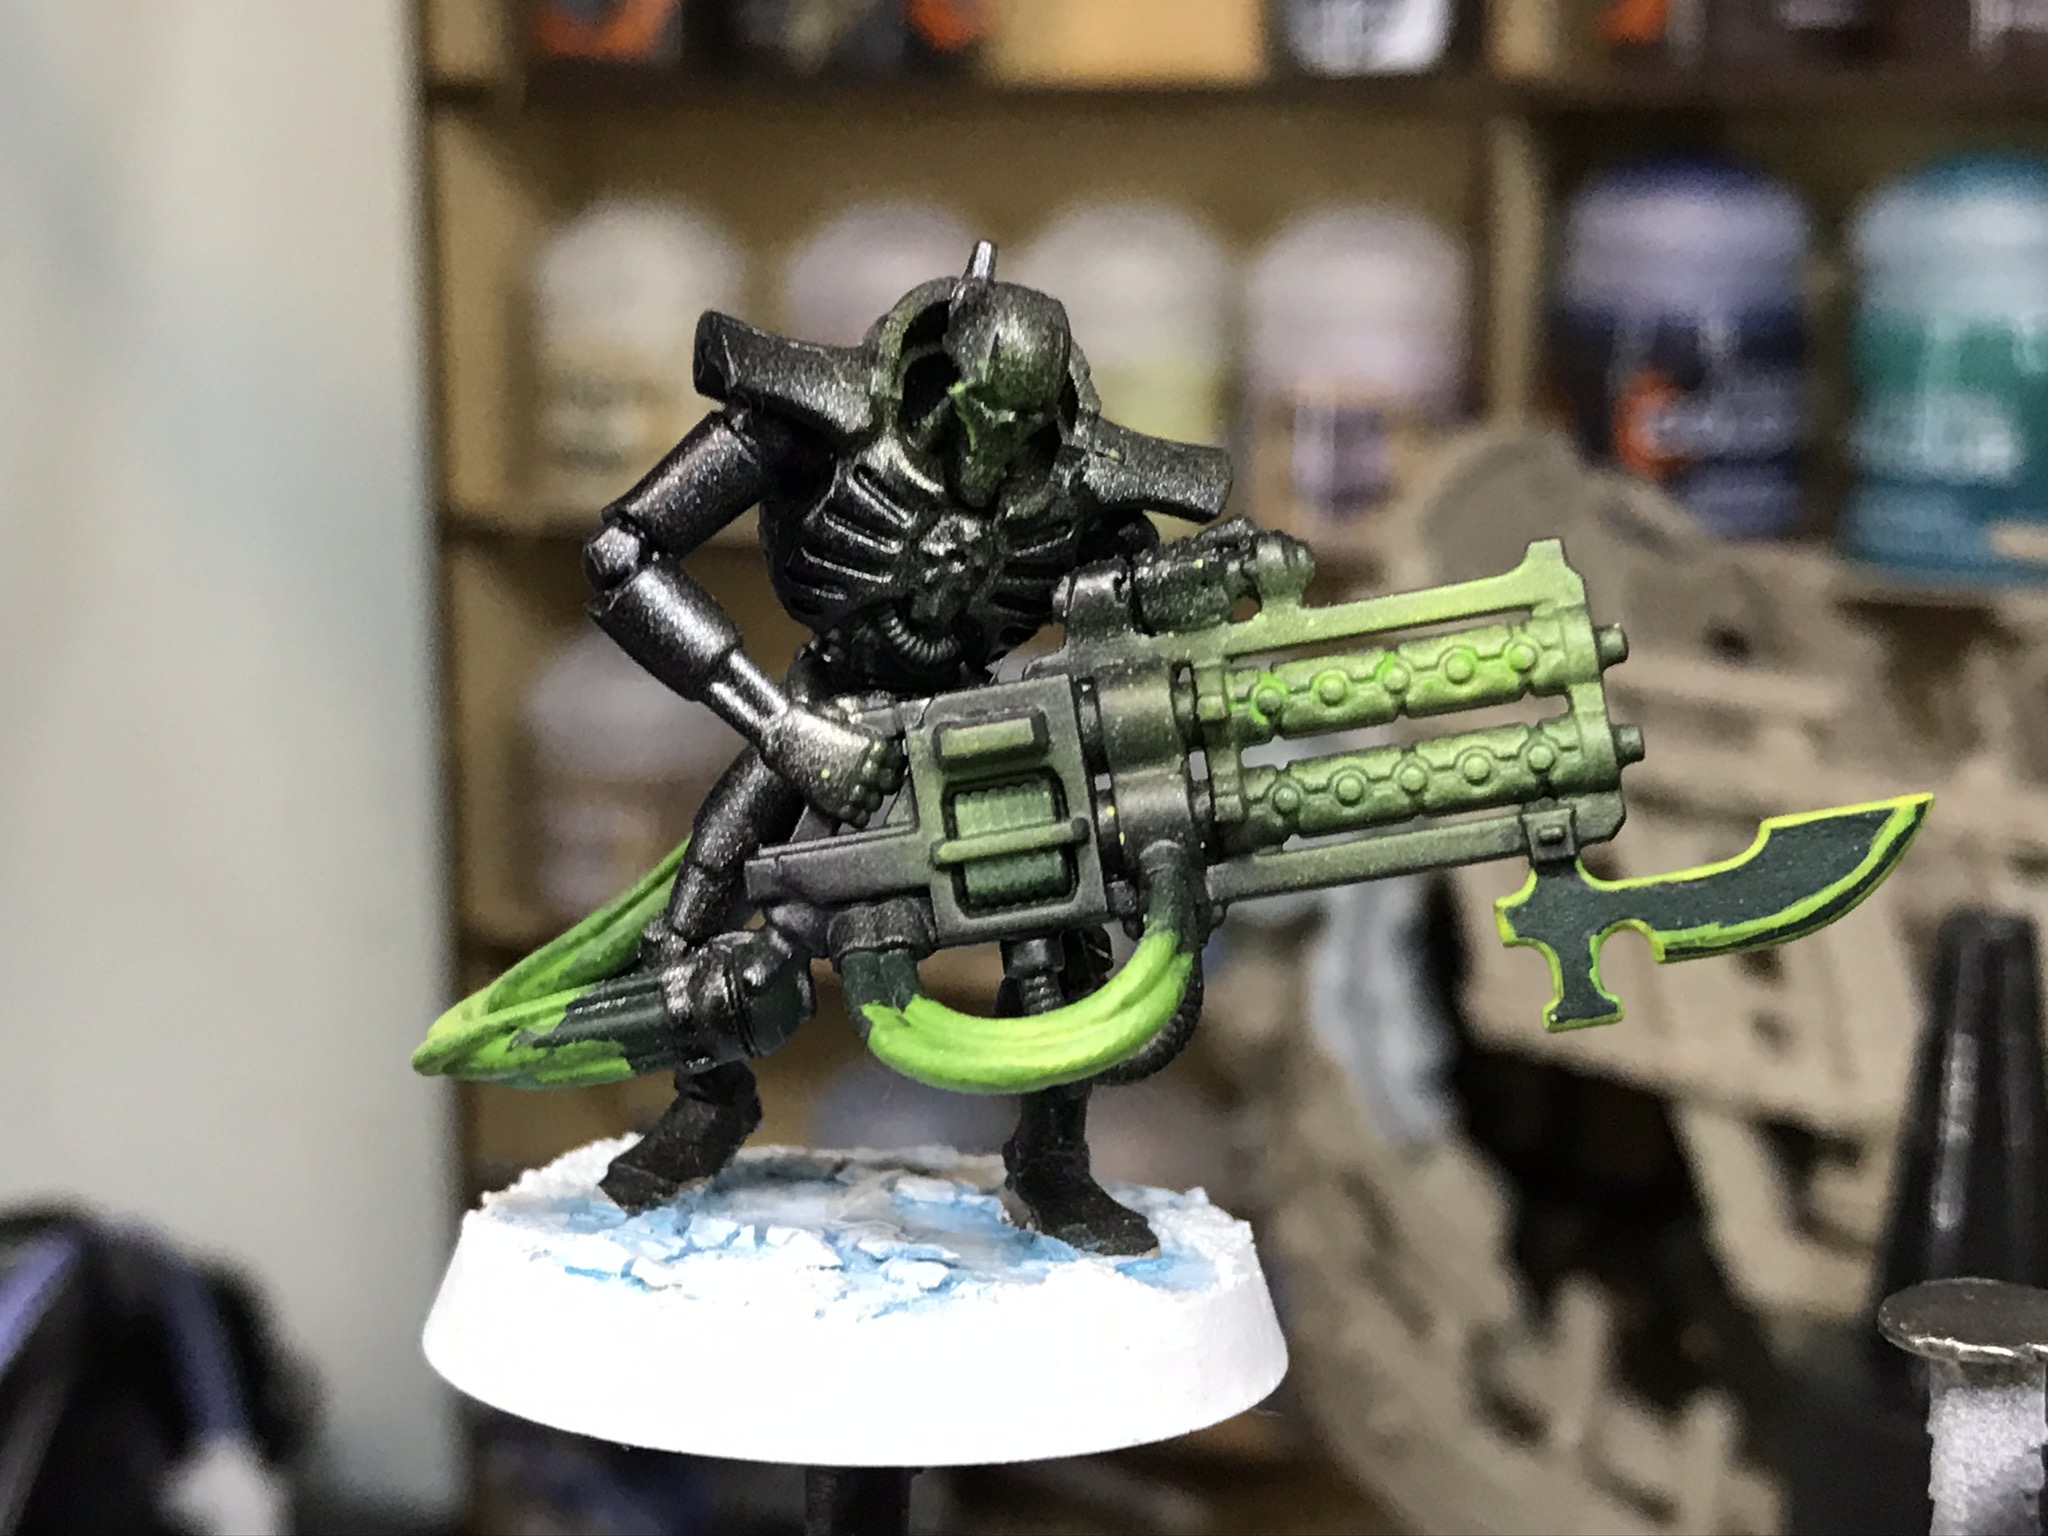
I already had some necrons so I wanted a paint scheme that would fit in with those, so I came up something but it would mean a bit of work on the existing ones.
Basecoat of Black, and the a zenith spray with leadbelcher from a can. The Gloss nuln oil over the necron and straight black for the gun.
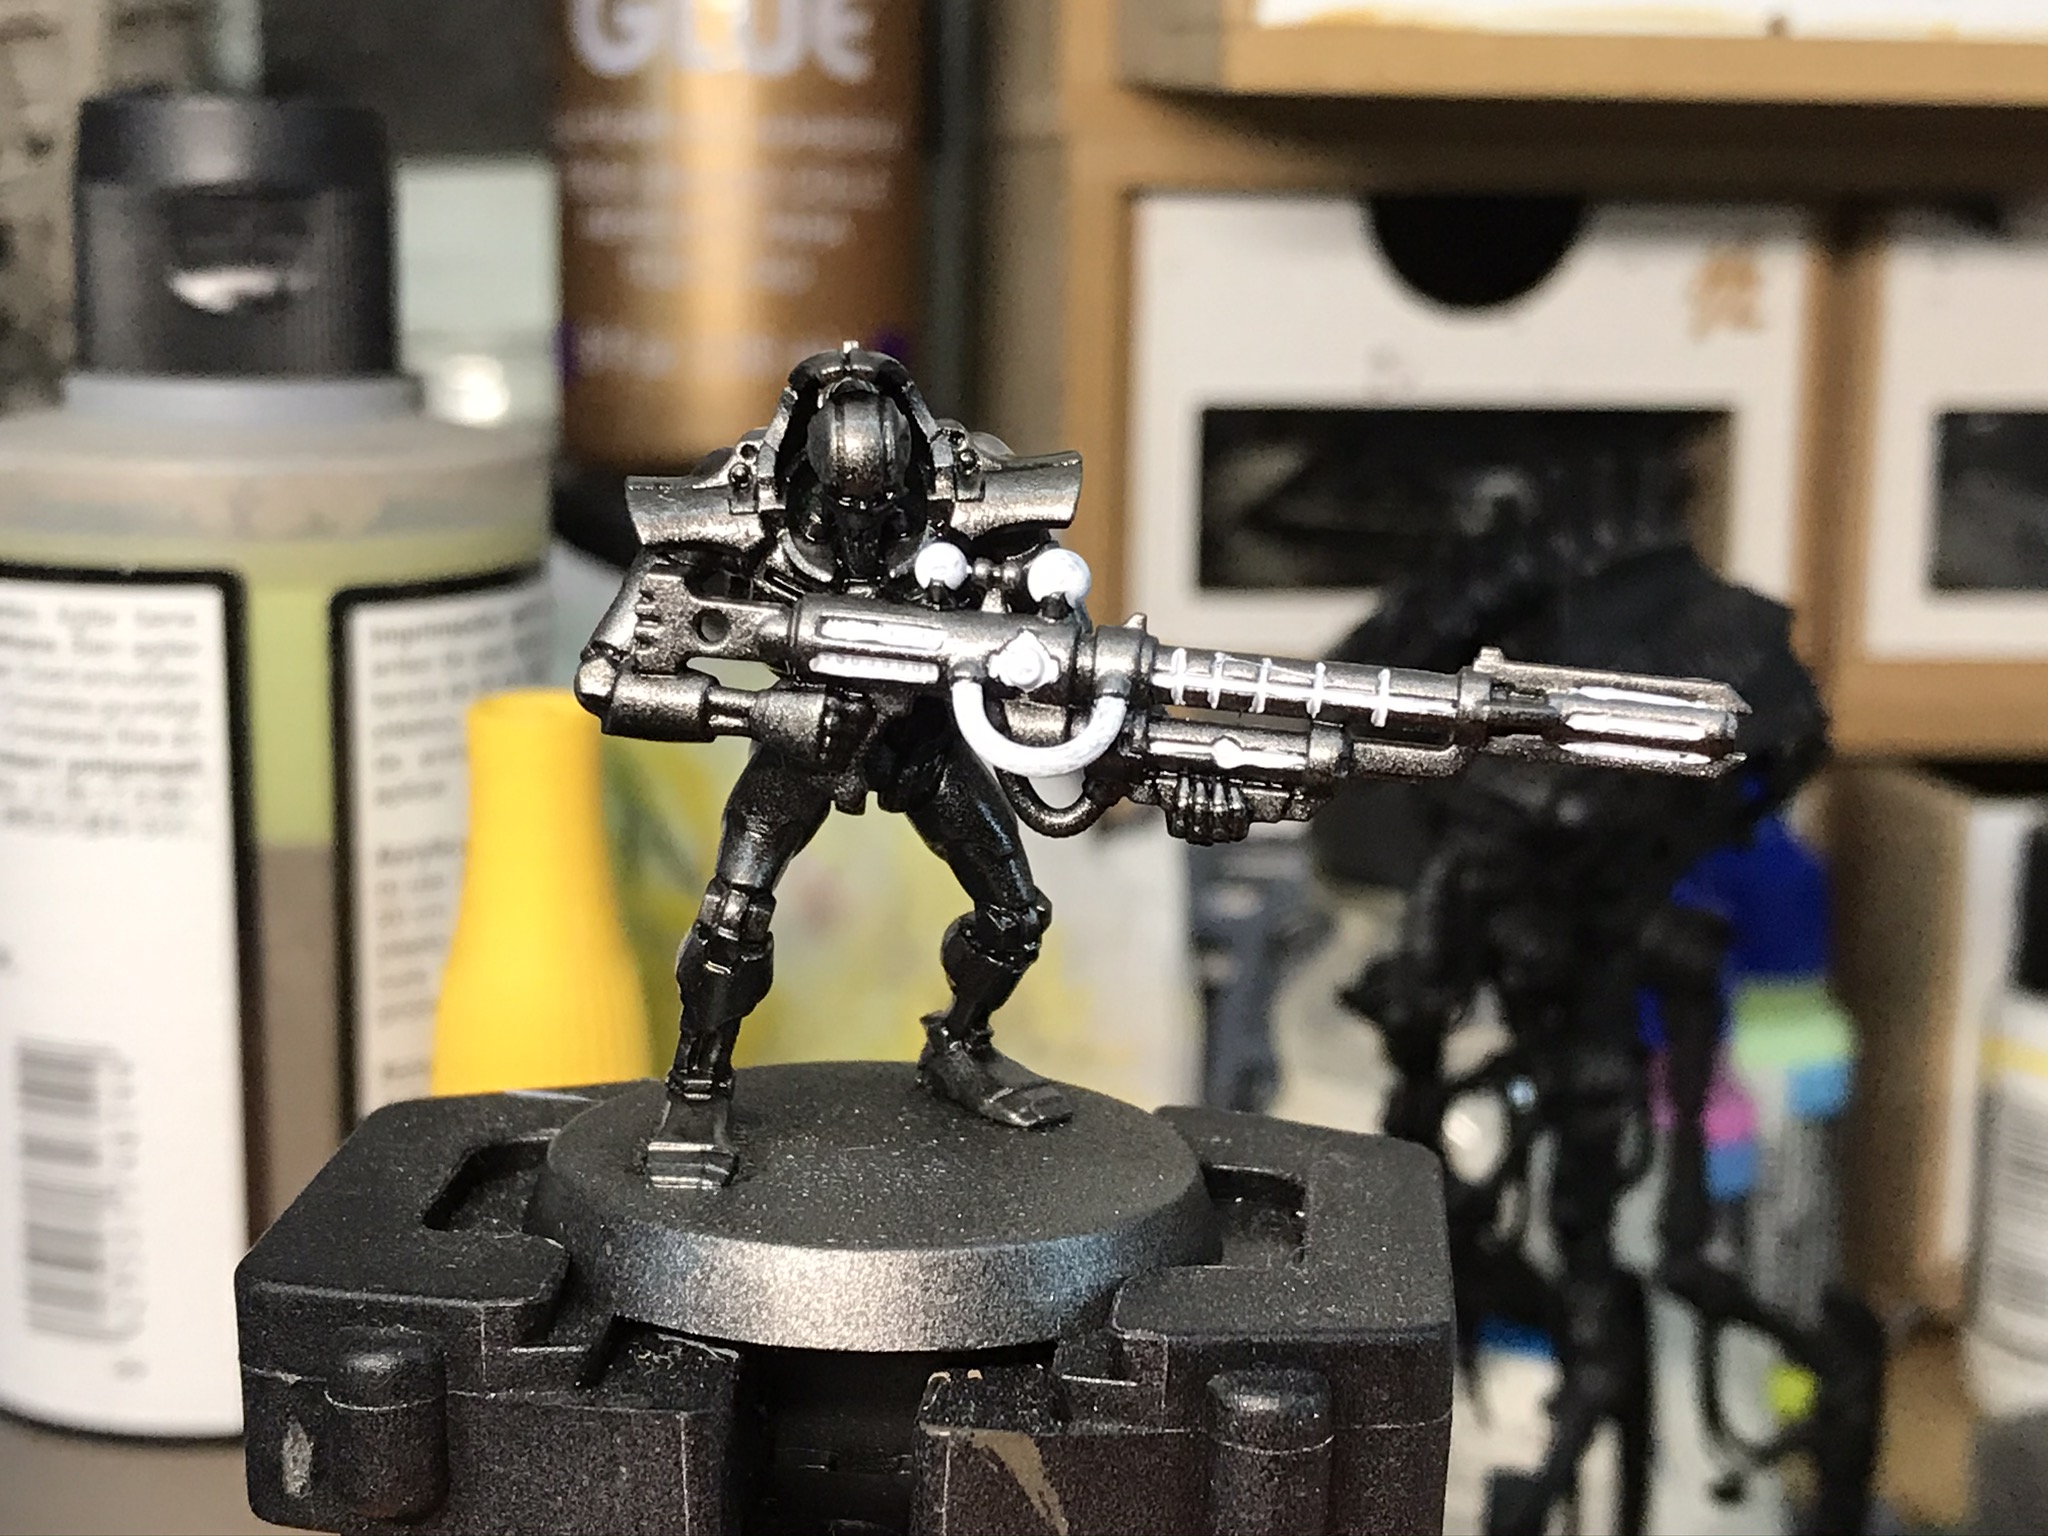
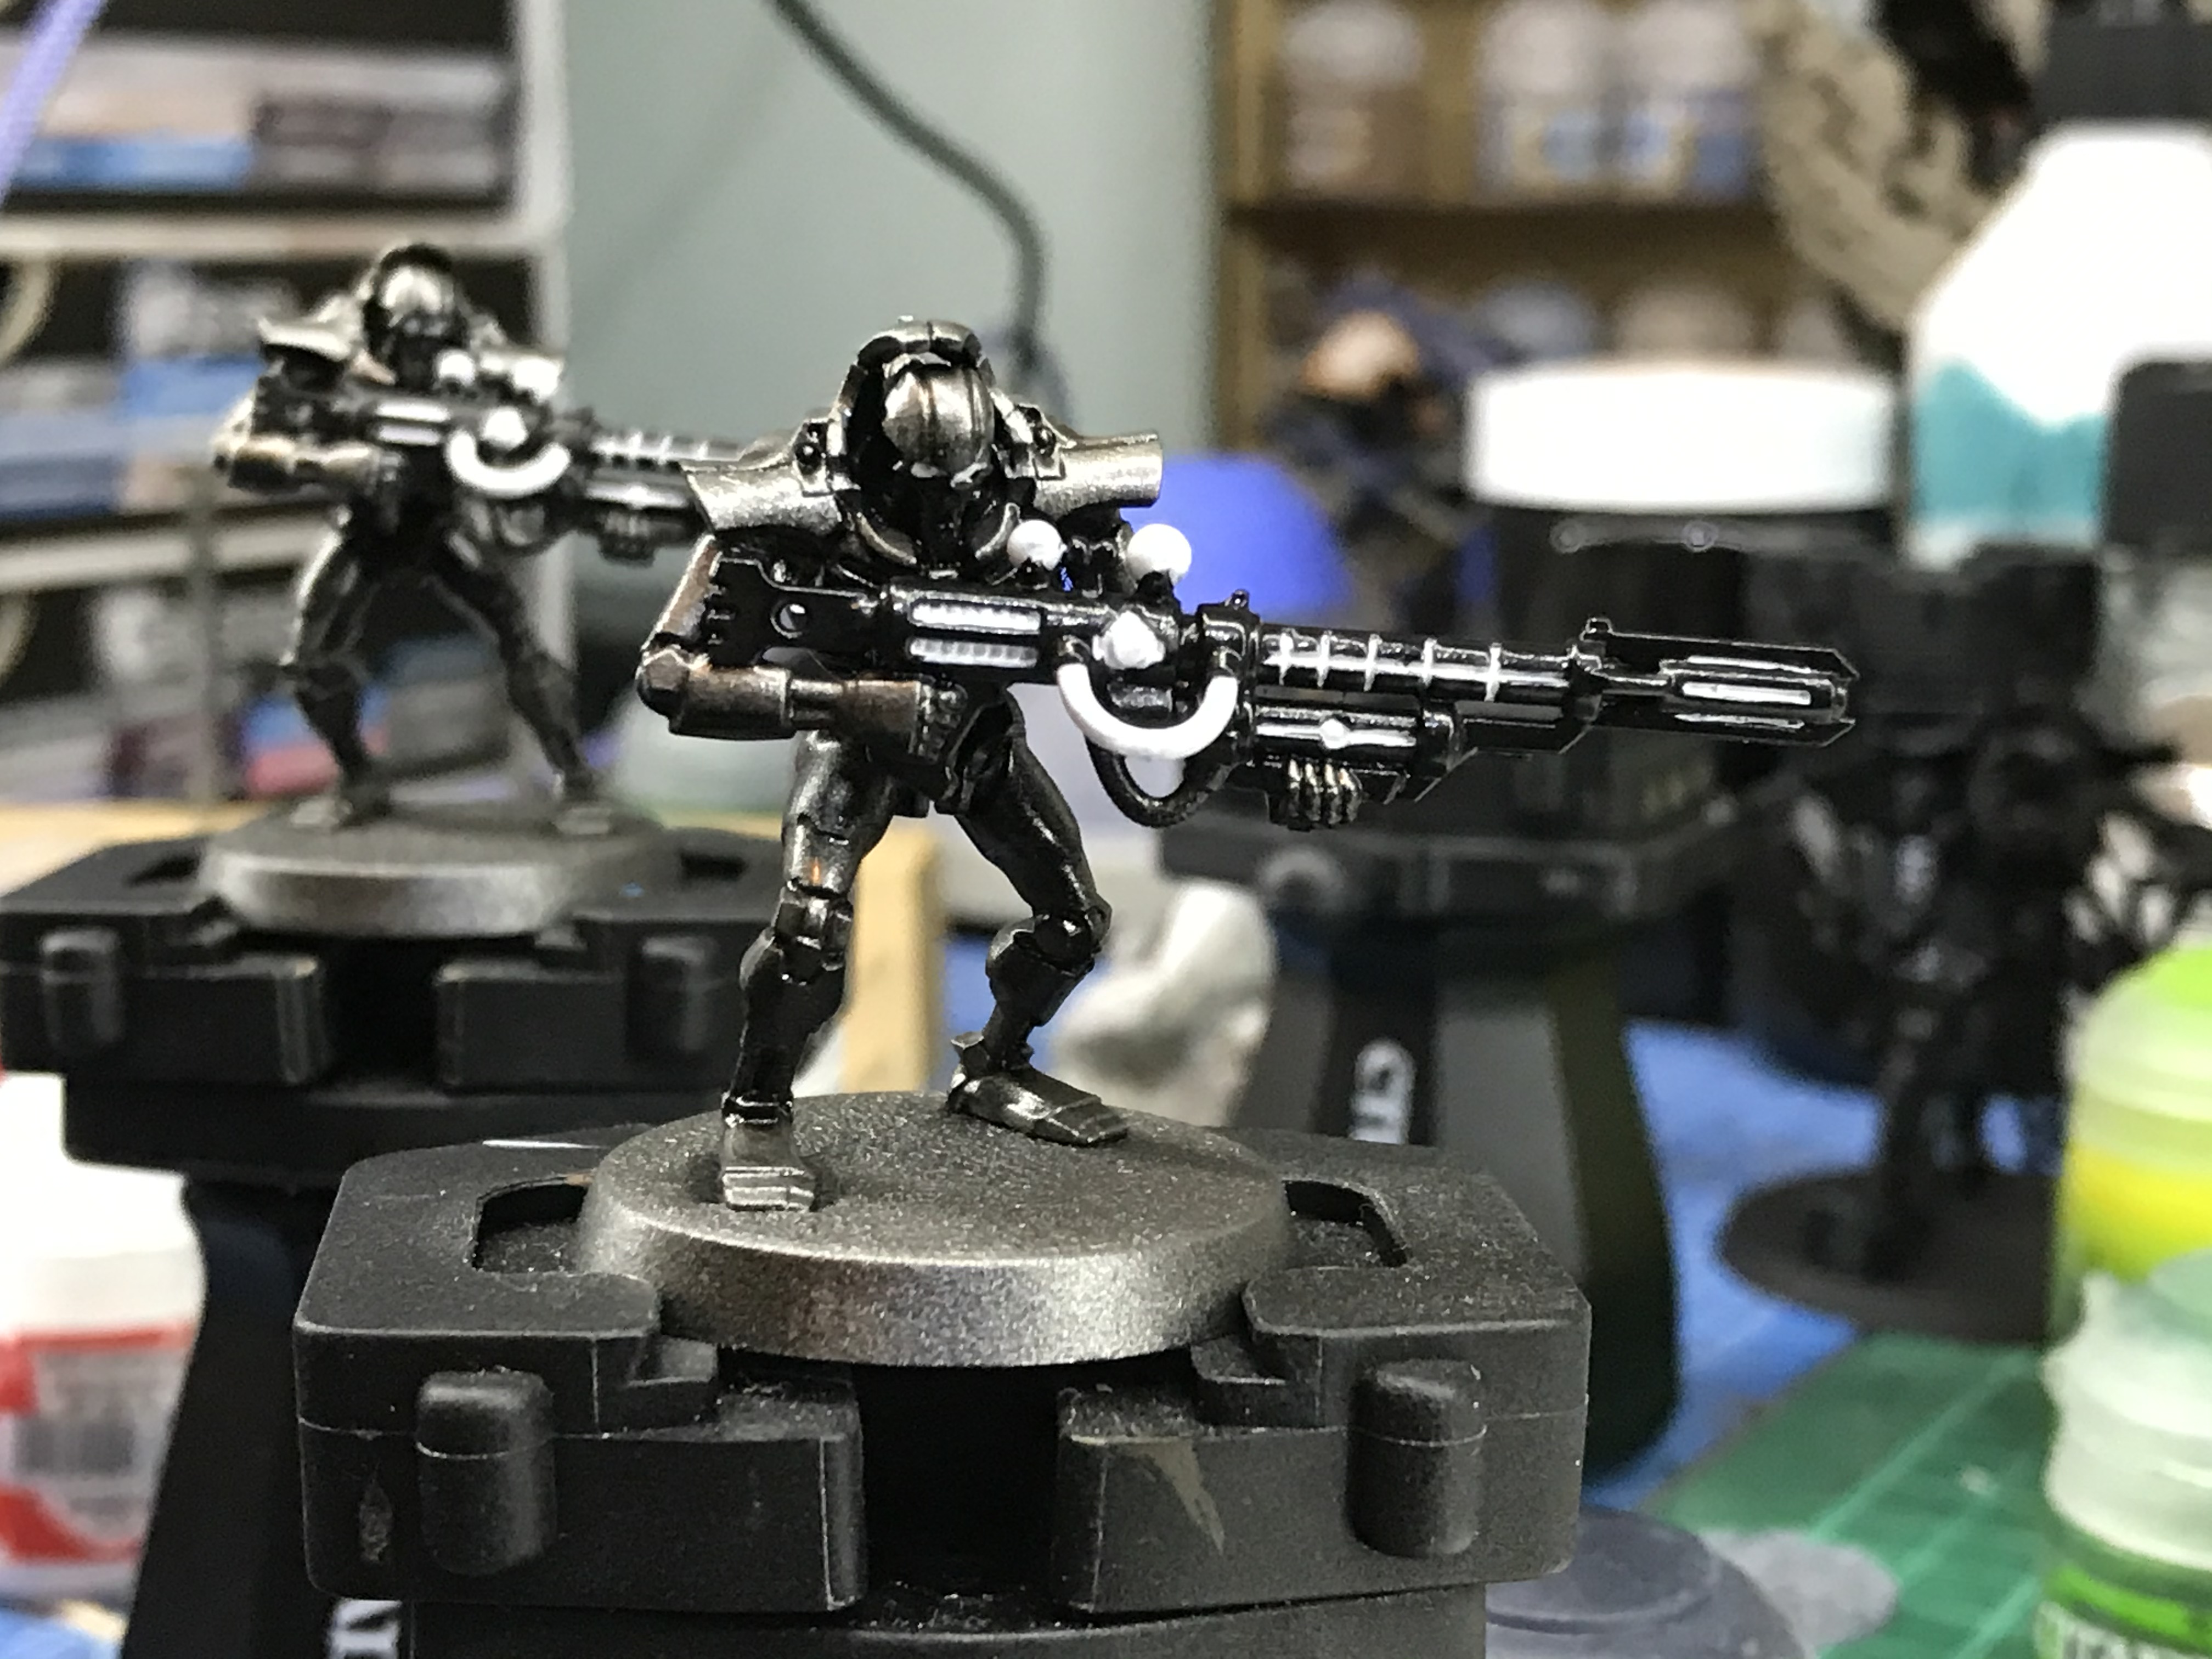
Then I pick out all the area’s I want to glow green and paint them with a white, and then hit it with tesseract glow.