Blitzkrieg Project


Recommendations: 450
About the Project
Little Lockdown project to help support my FLGS and to keep me sane
Related Game: Bolt Action
Related Company: Warlord Games
Related Genre: Historical
This Project is Active
Step 14: Adding Mobility
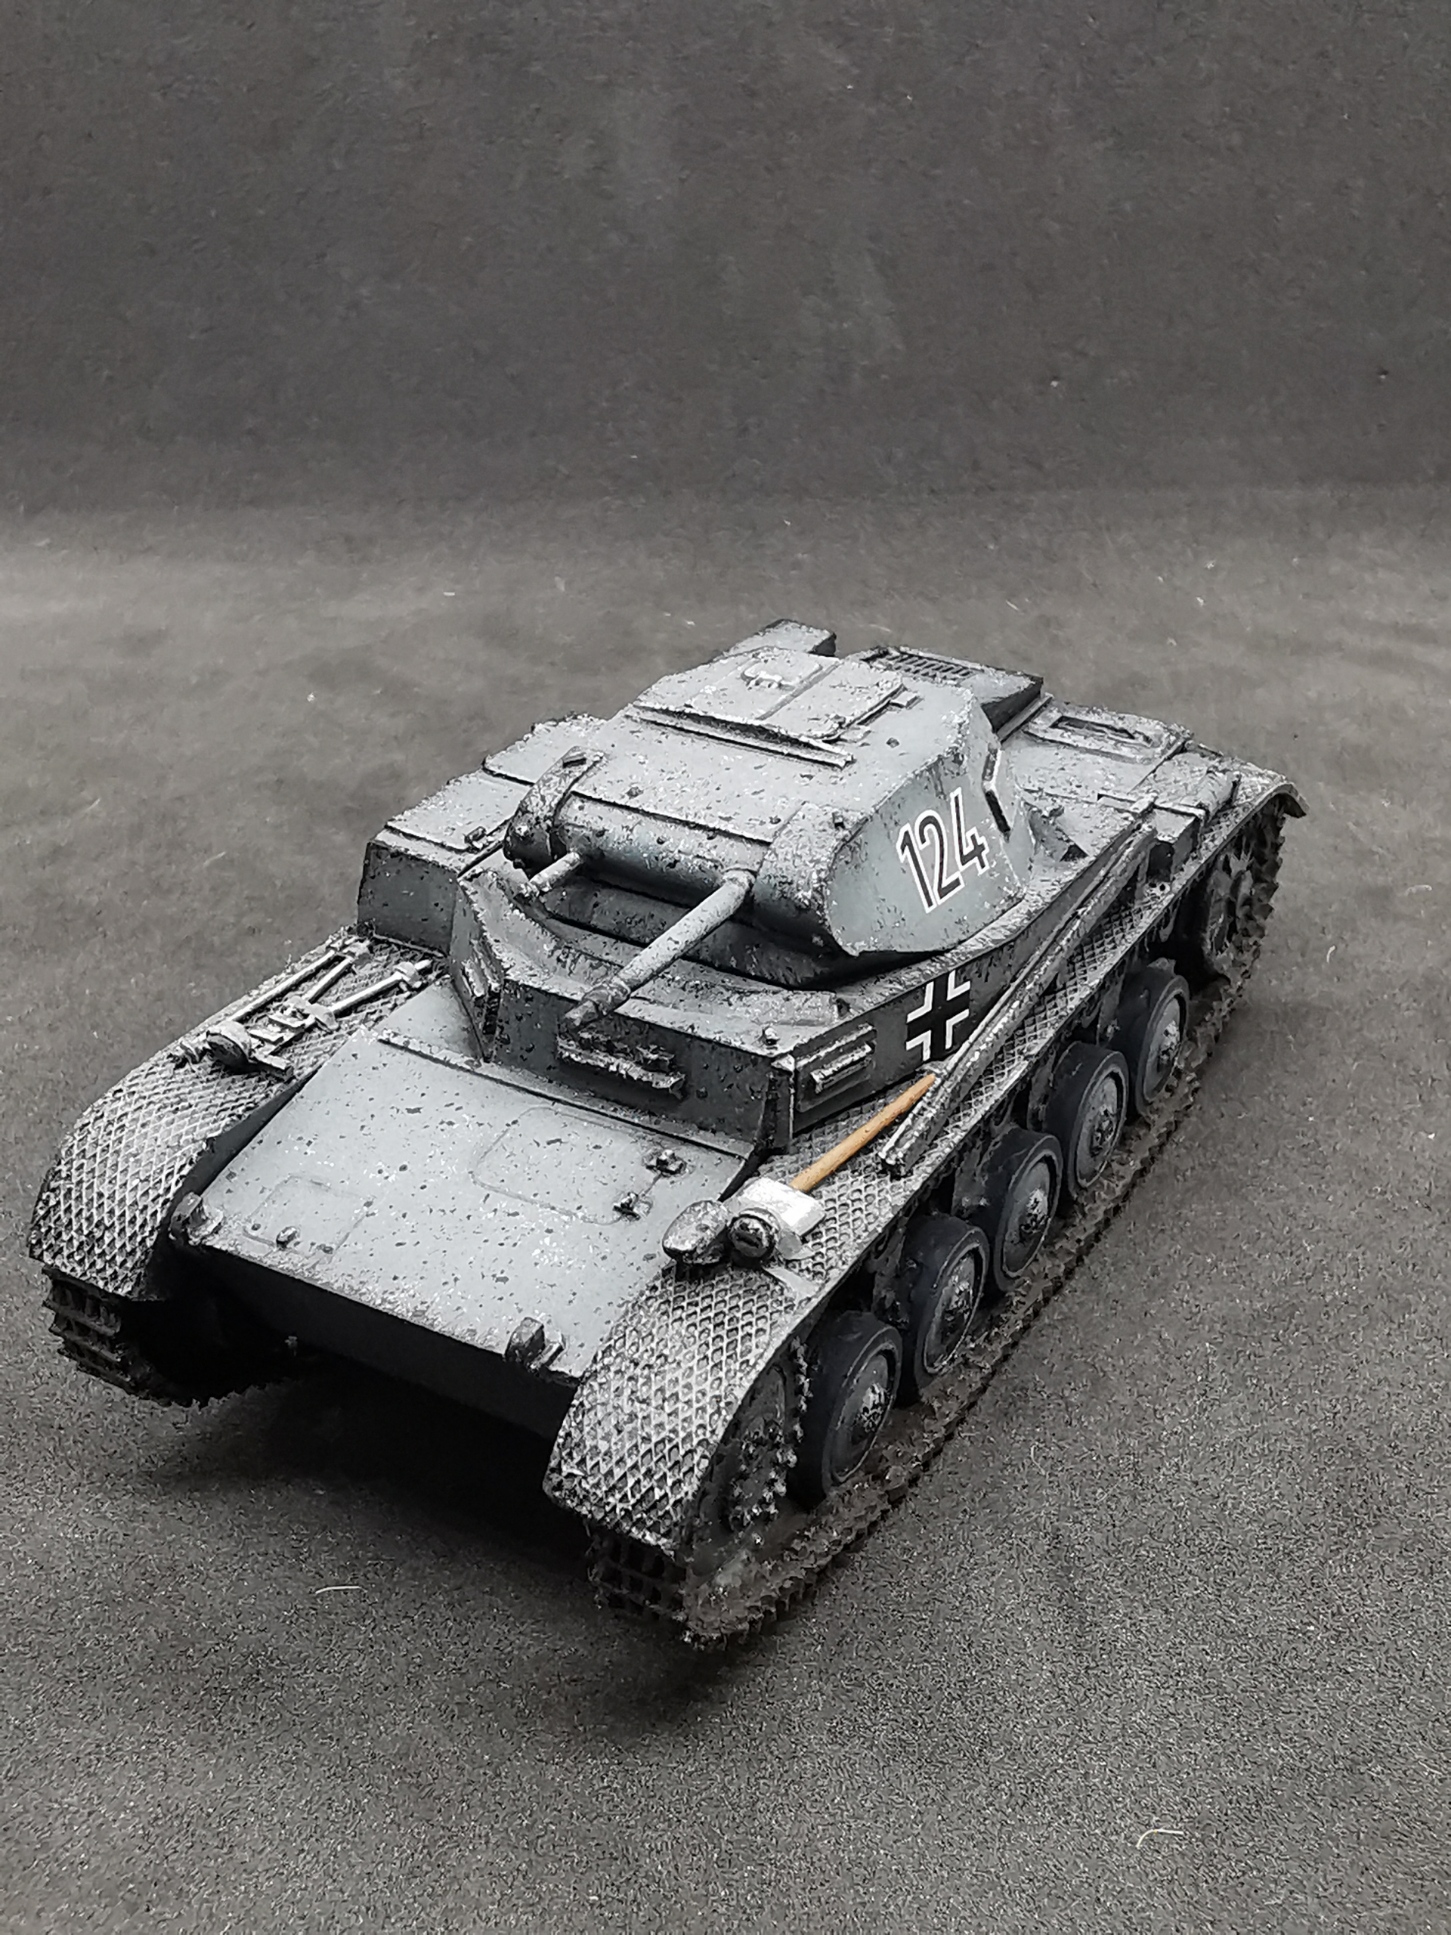
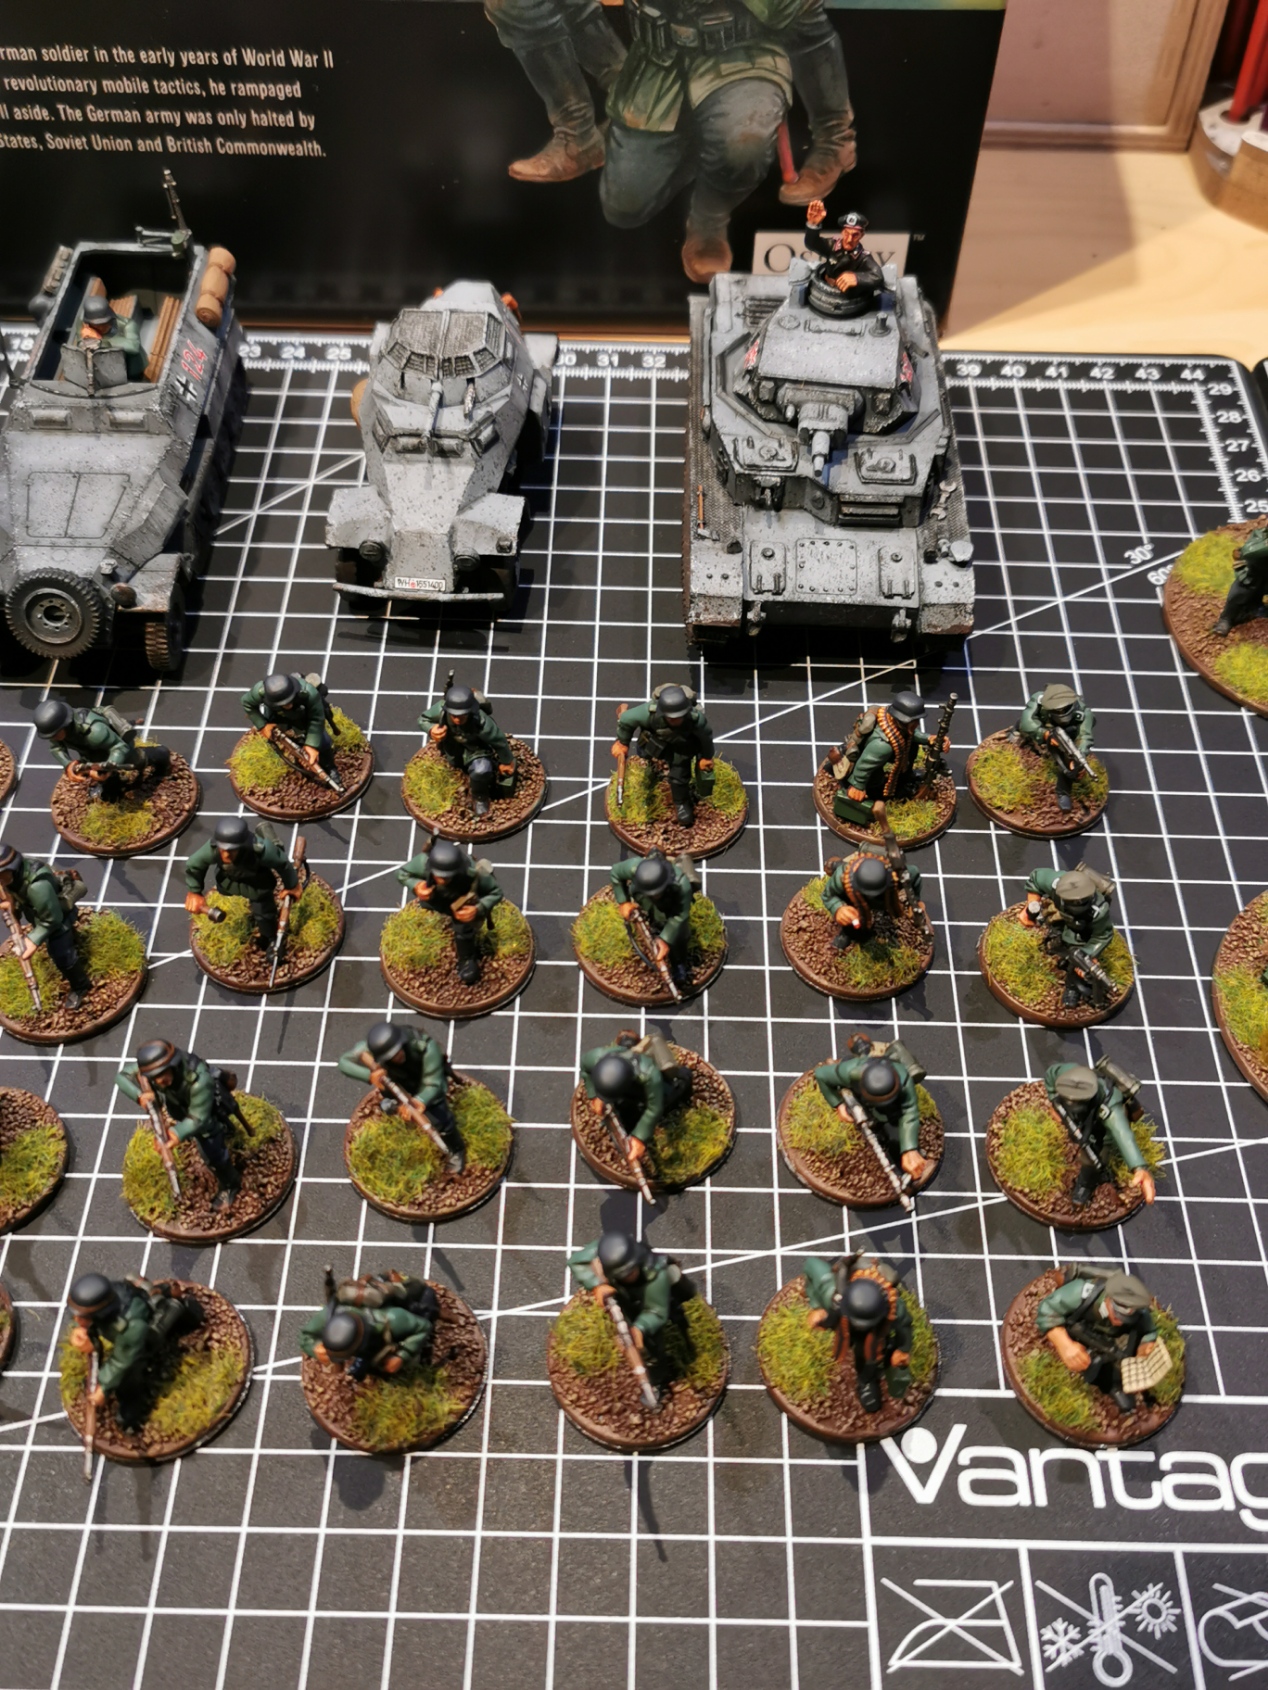
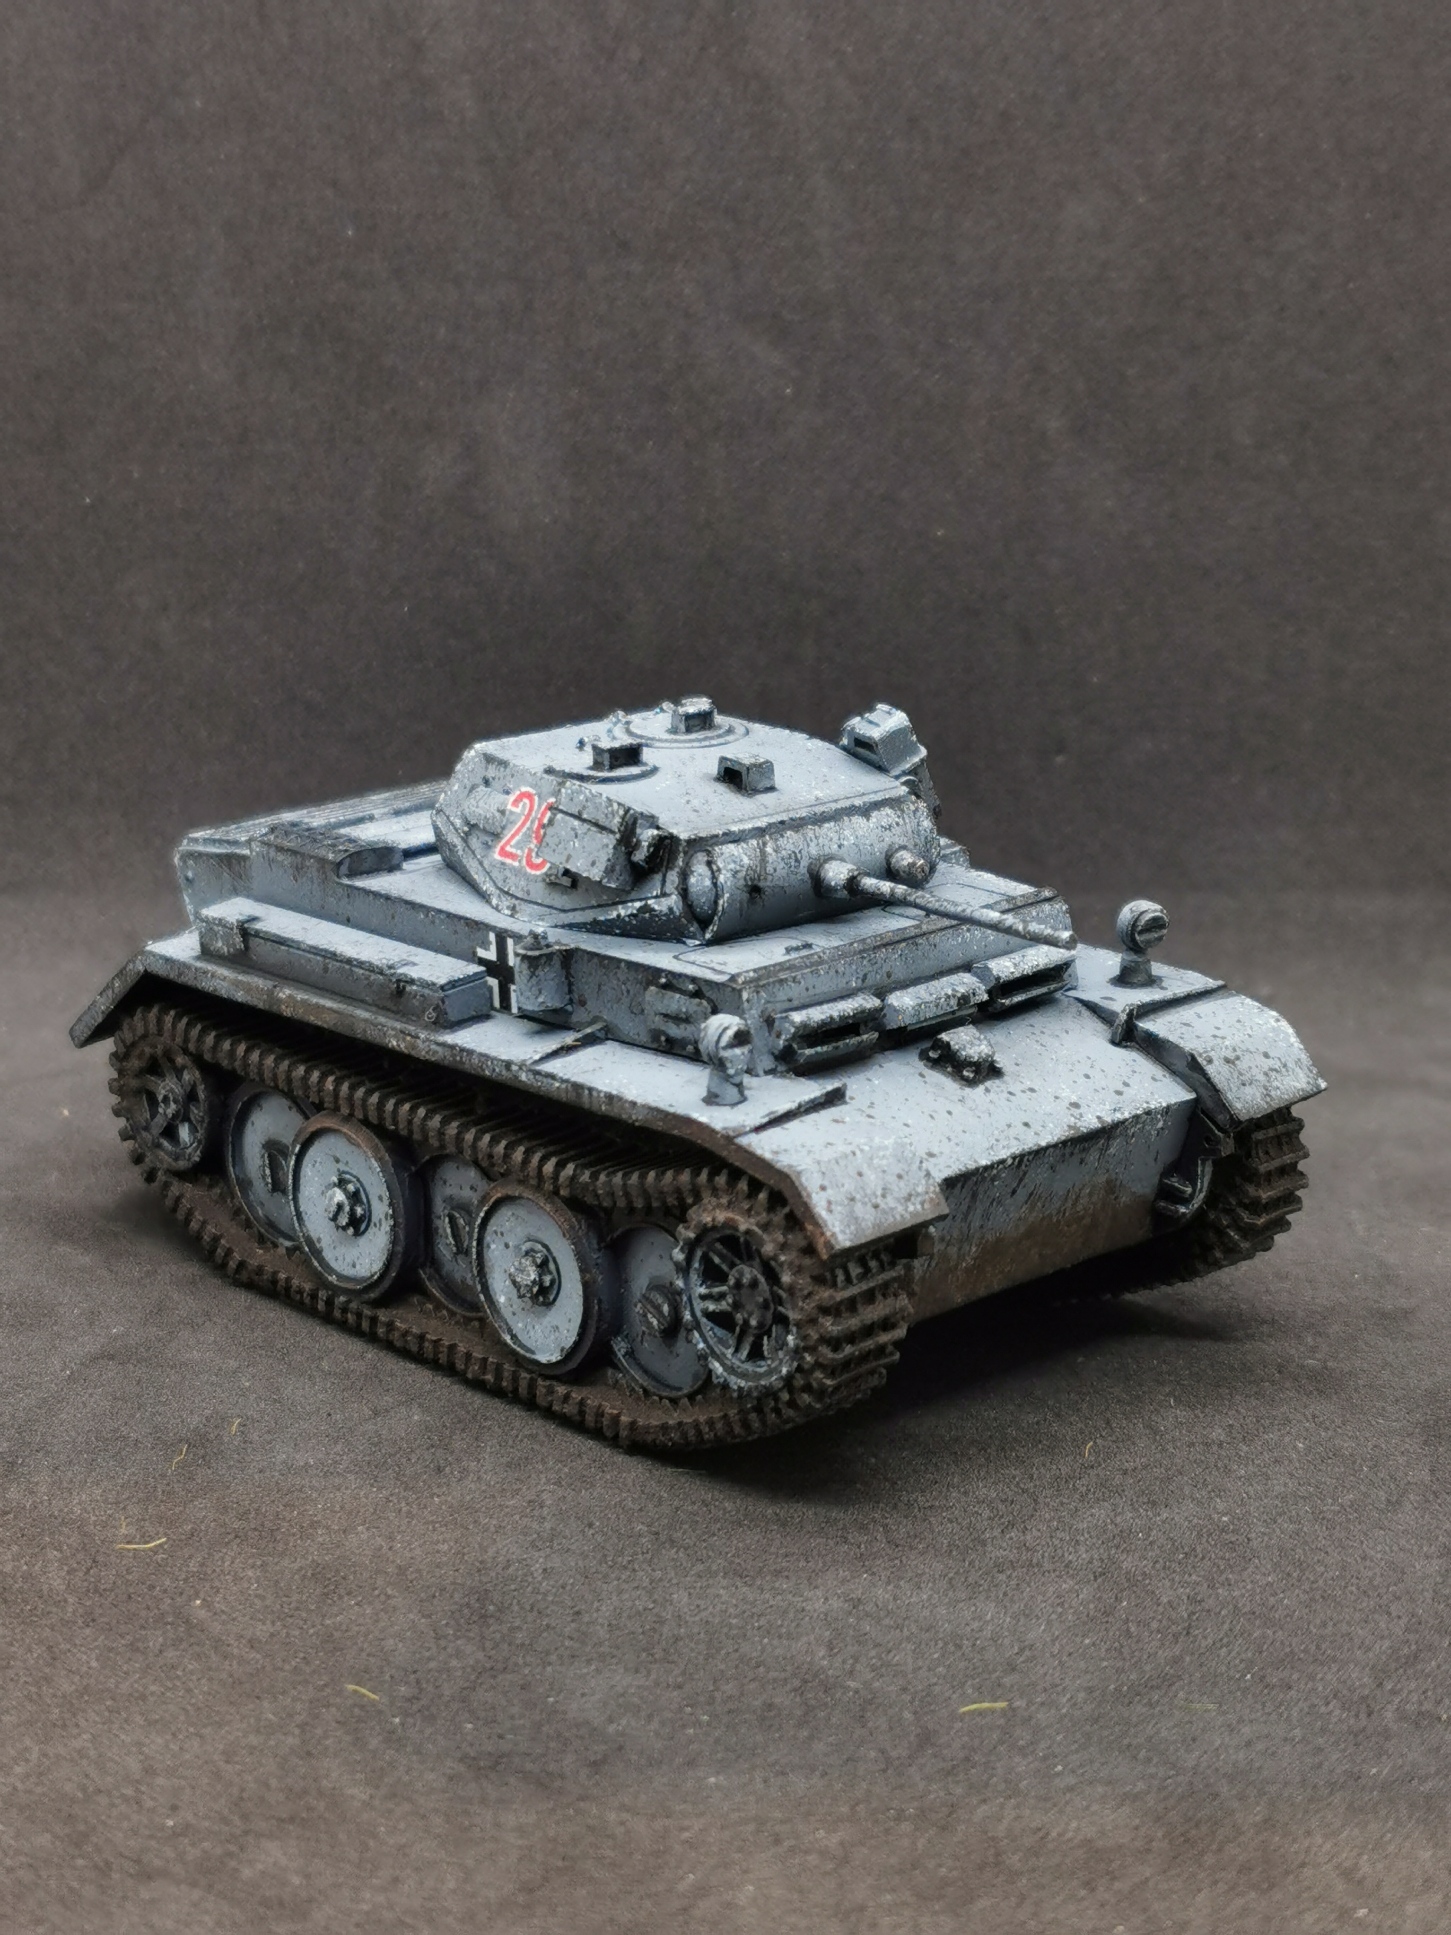
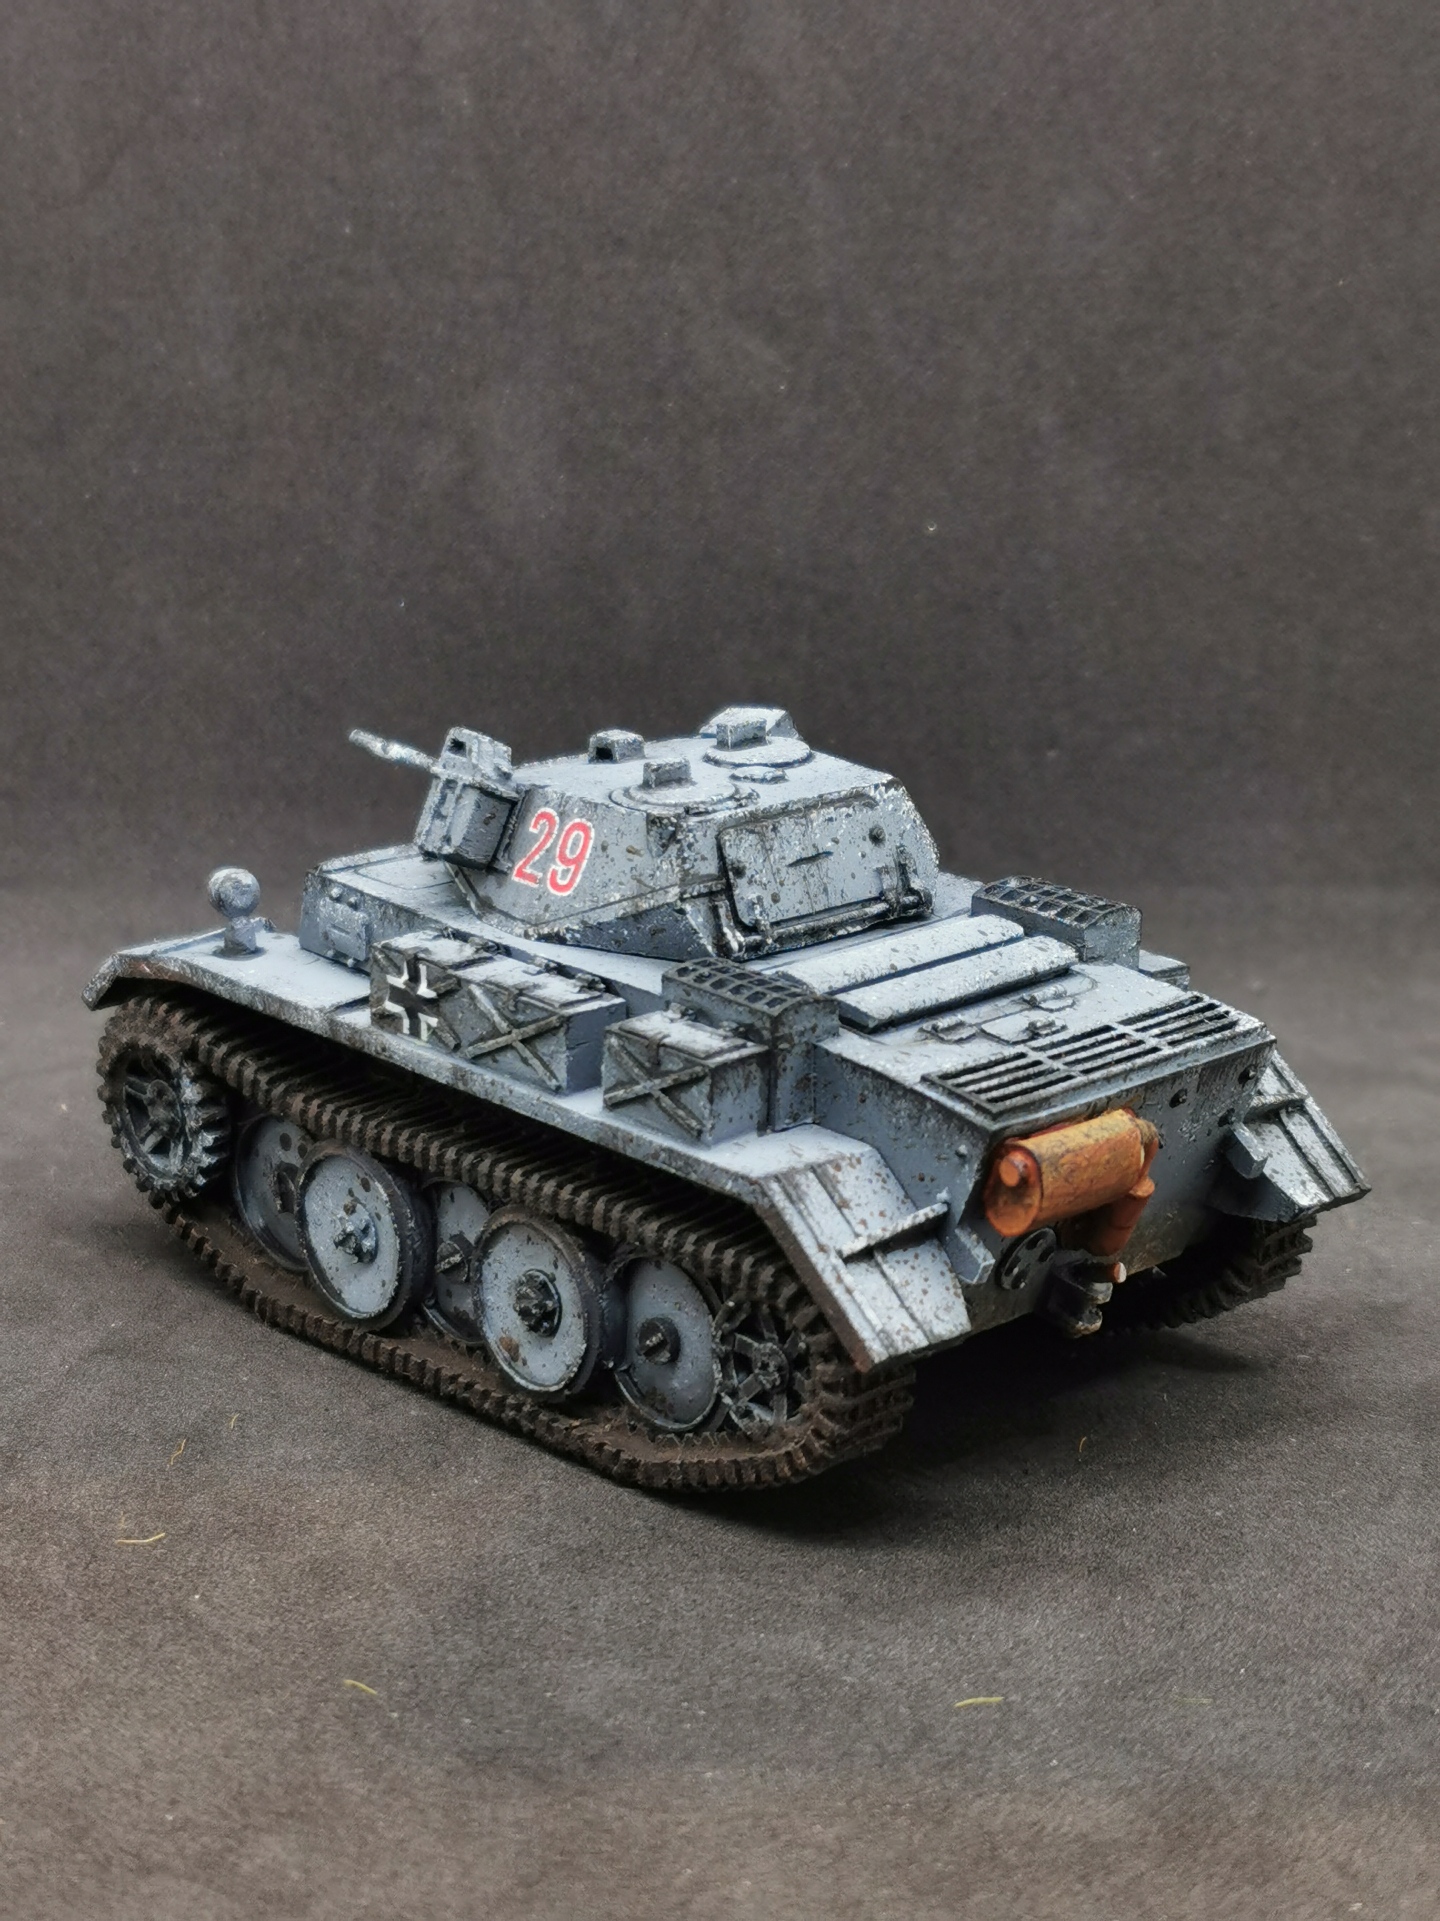
So the idea behind the Blitzkrieg tactic was hitting hard and fast. For the hard part I already added a lot of fire power (with more to come – don’t you worry) but for the fast part the SdKfz 222 could use some help in form of a fast armoured tracked vehicle with enough fire power to scare away enemy scouts: here comes the Panzer II freshly assigned to my German battalion.
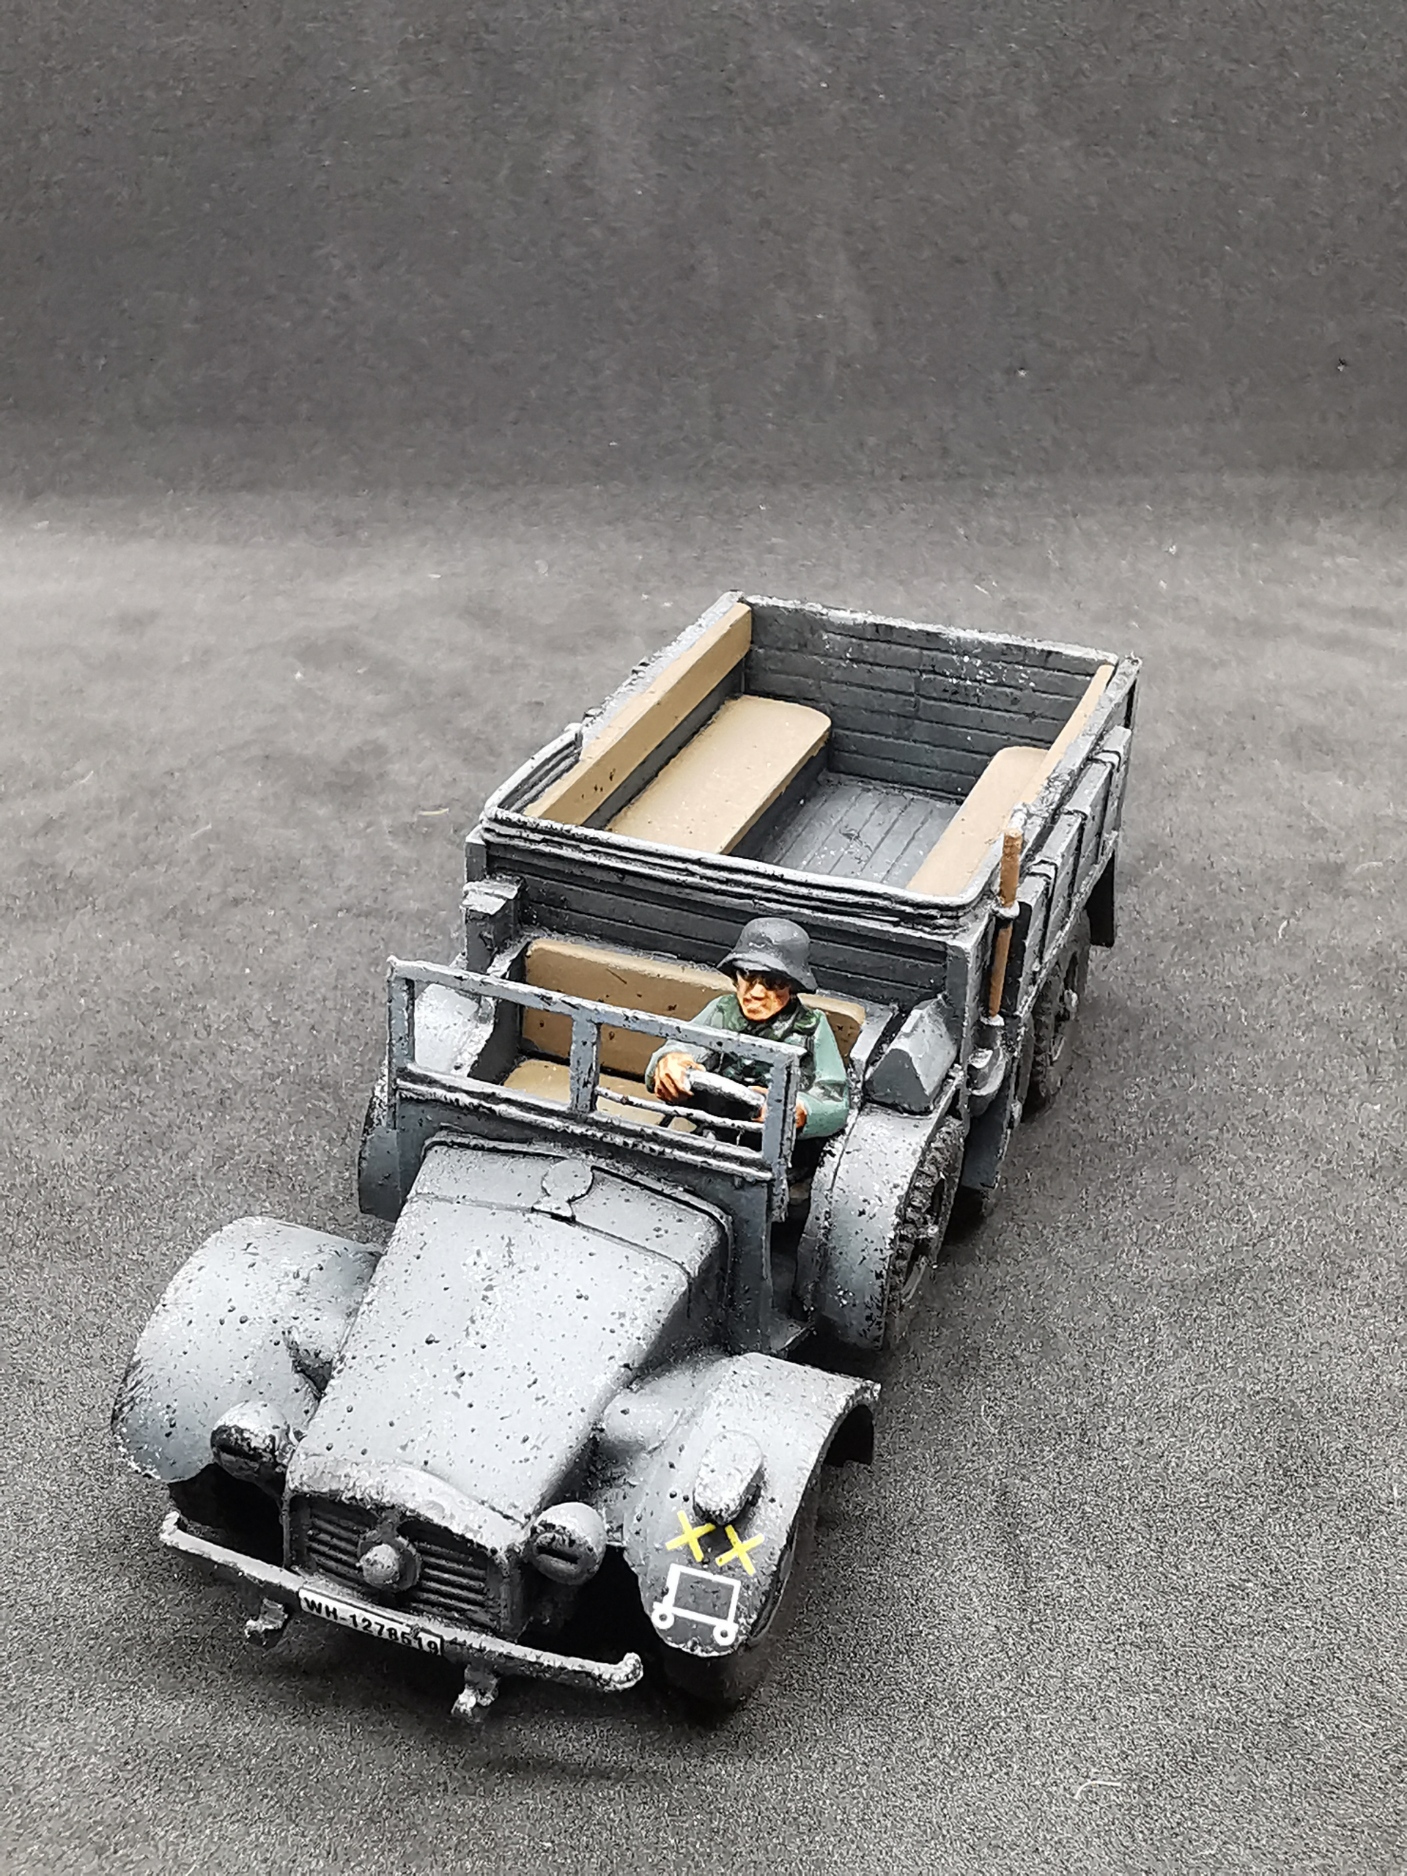
Fast advance also means fast supply or mobility for infantry fighting alongside the tanks, so it was time to add a supply truck to my force: the Krupp Protze.
It could transport ammunition, fuel or repair supply to the tanks in the field or deploy infantry to quickly move around troops where they are most needed or to keep up with the tanks to redeploy them to the front – a real workhorse of my army!
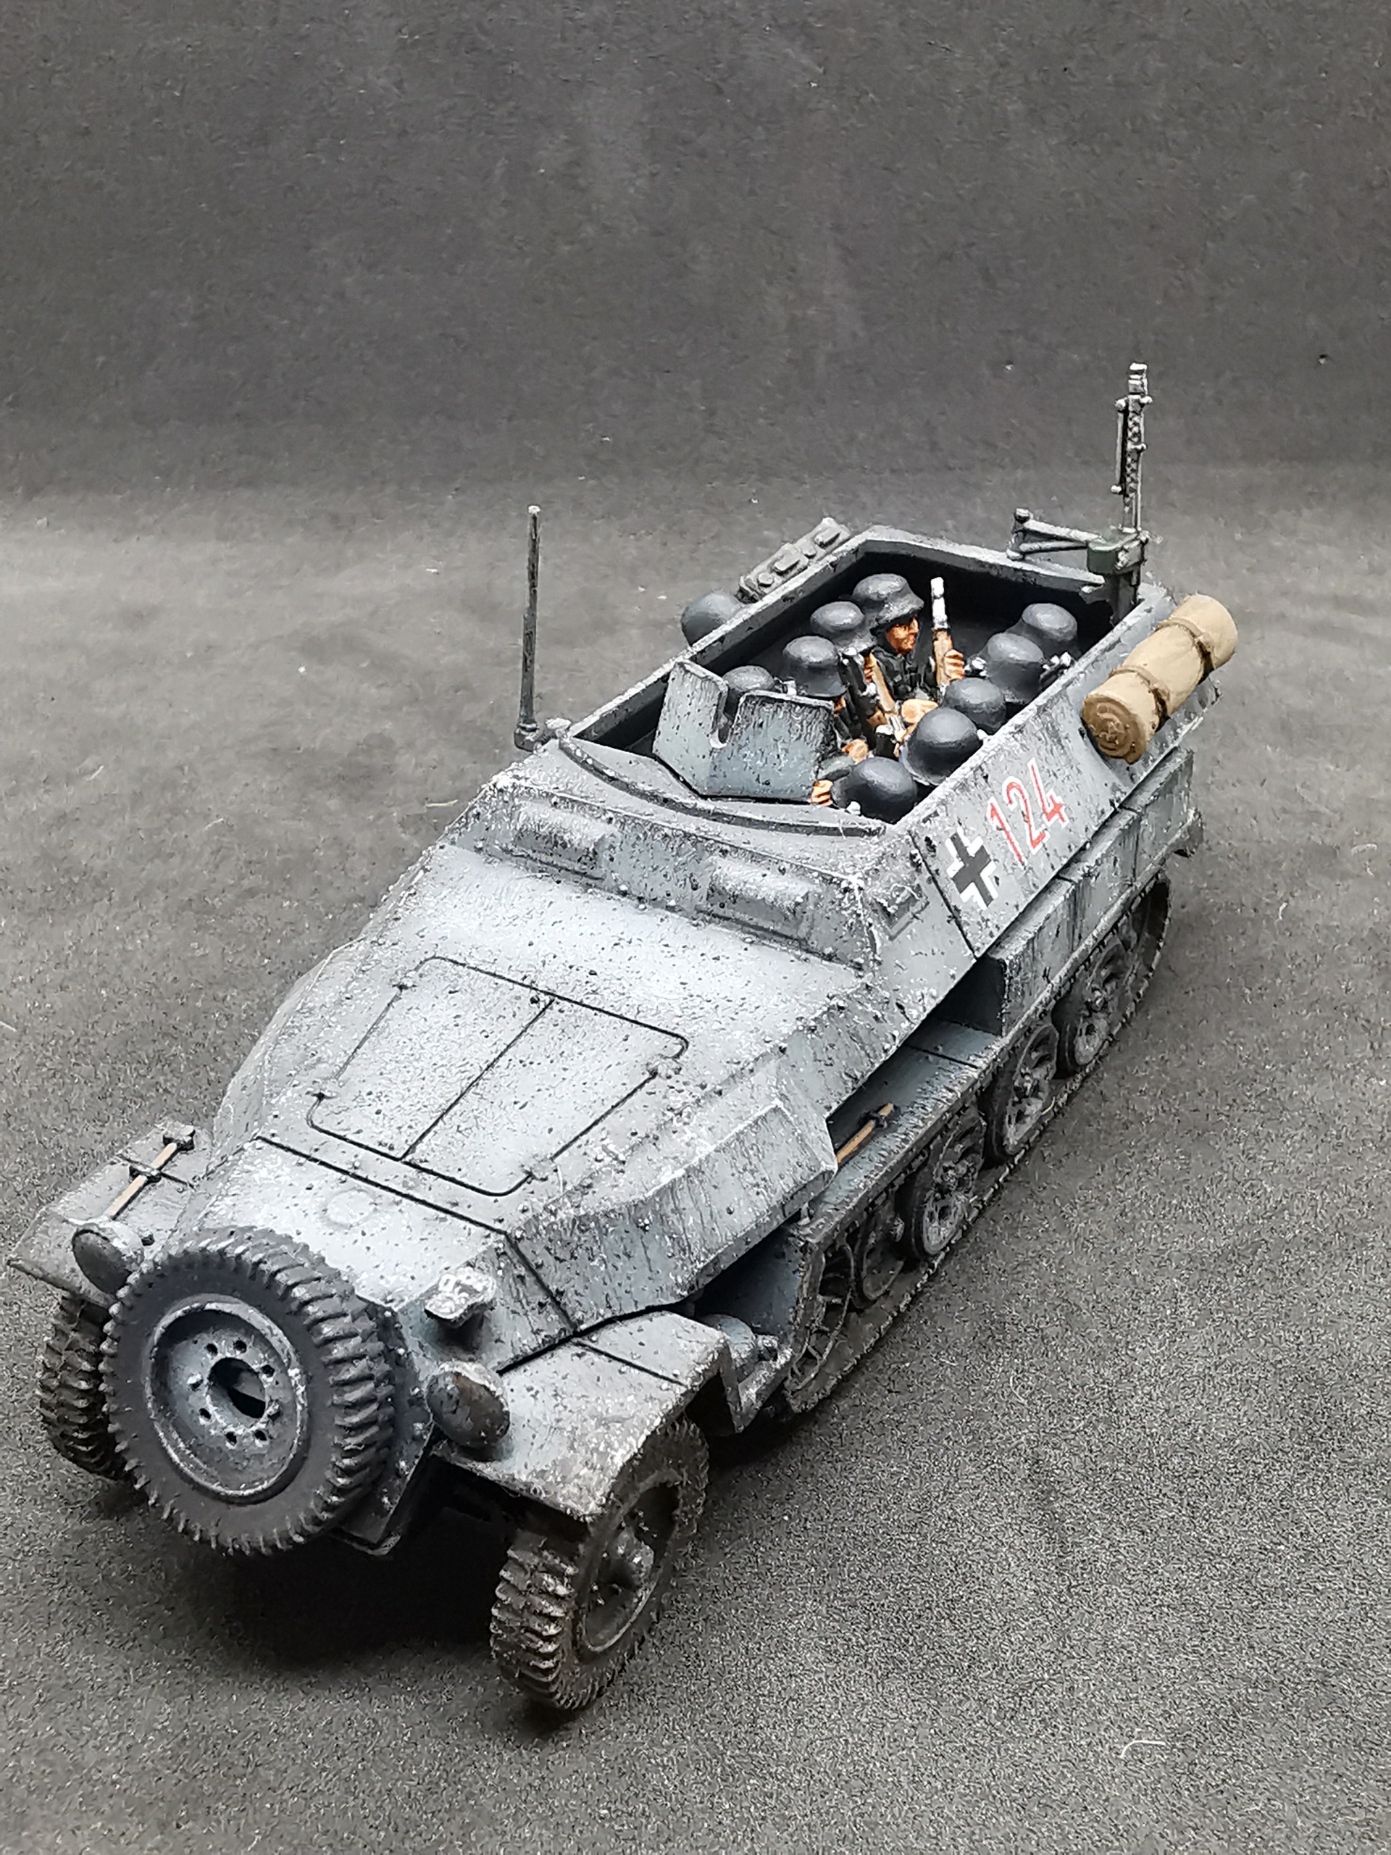
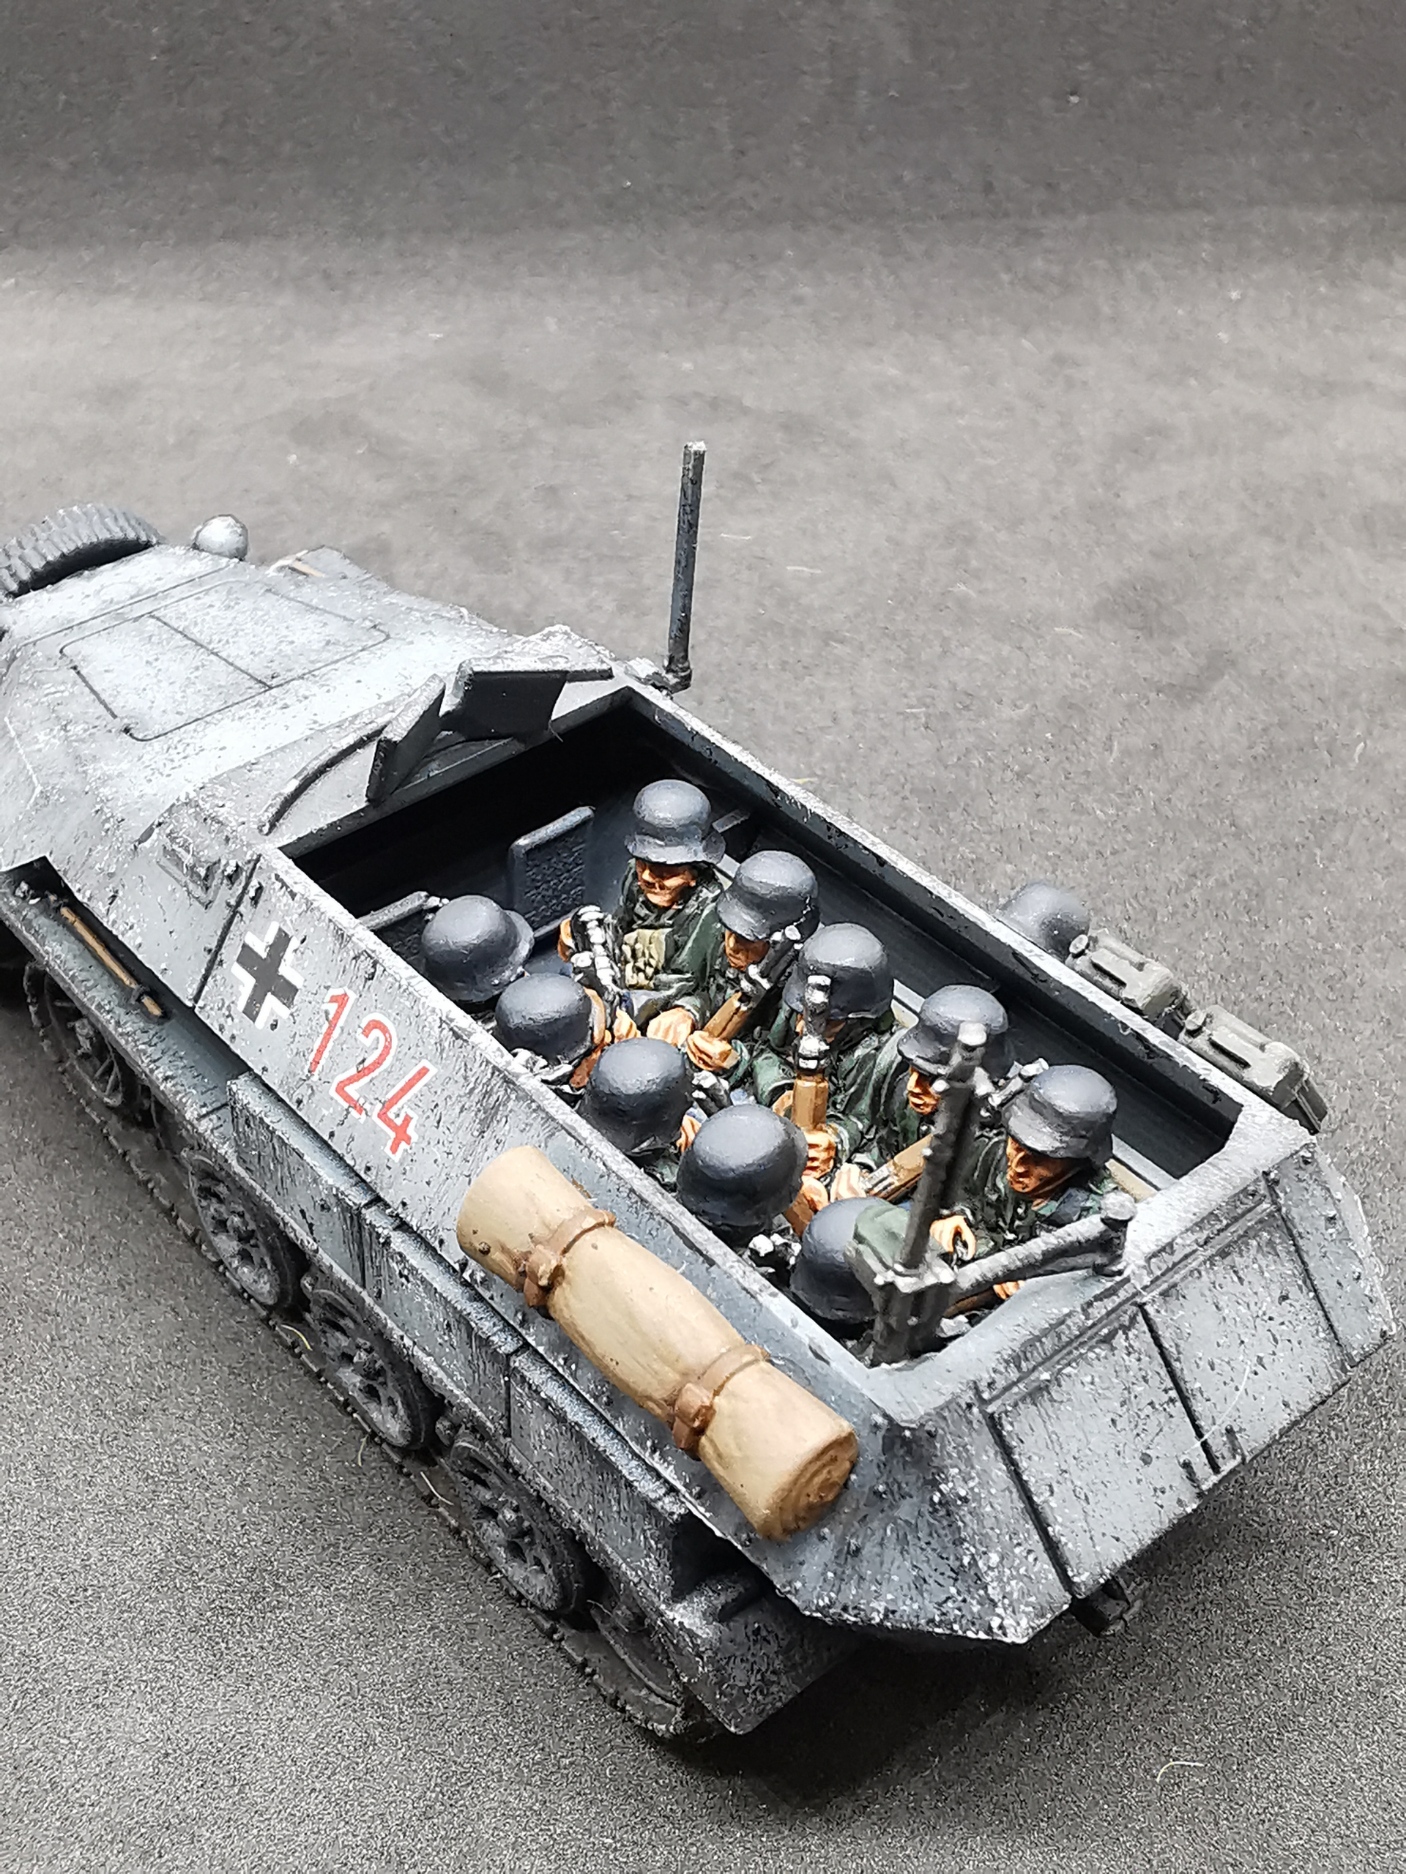
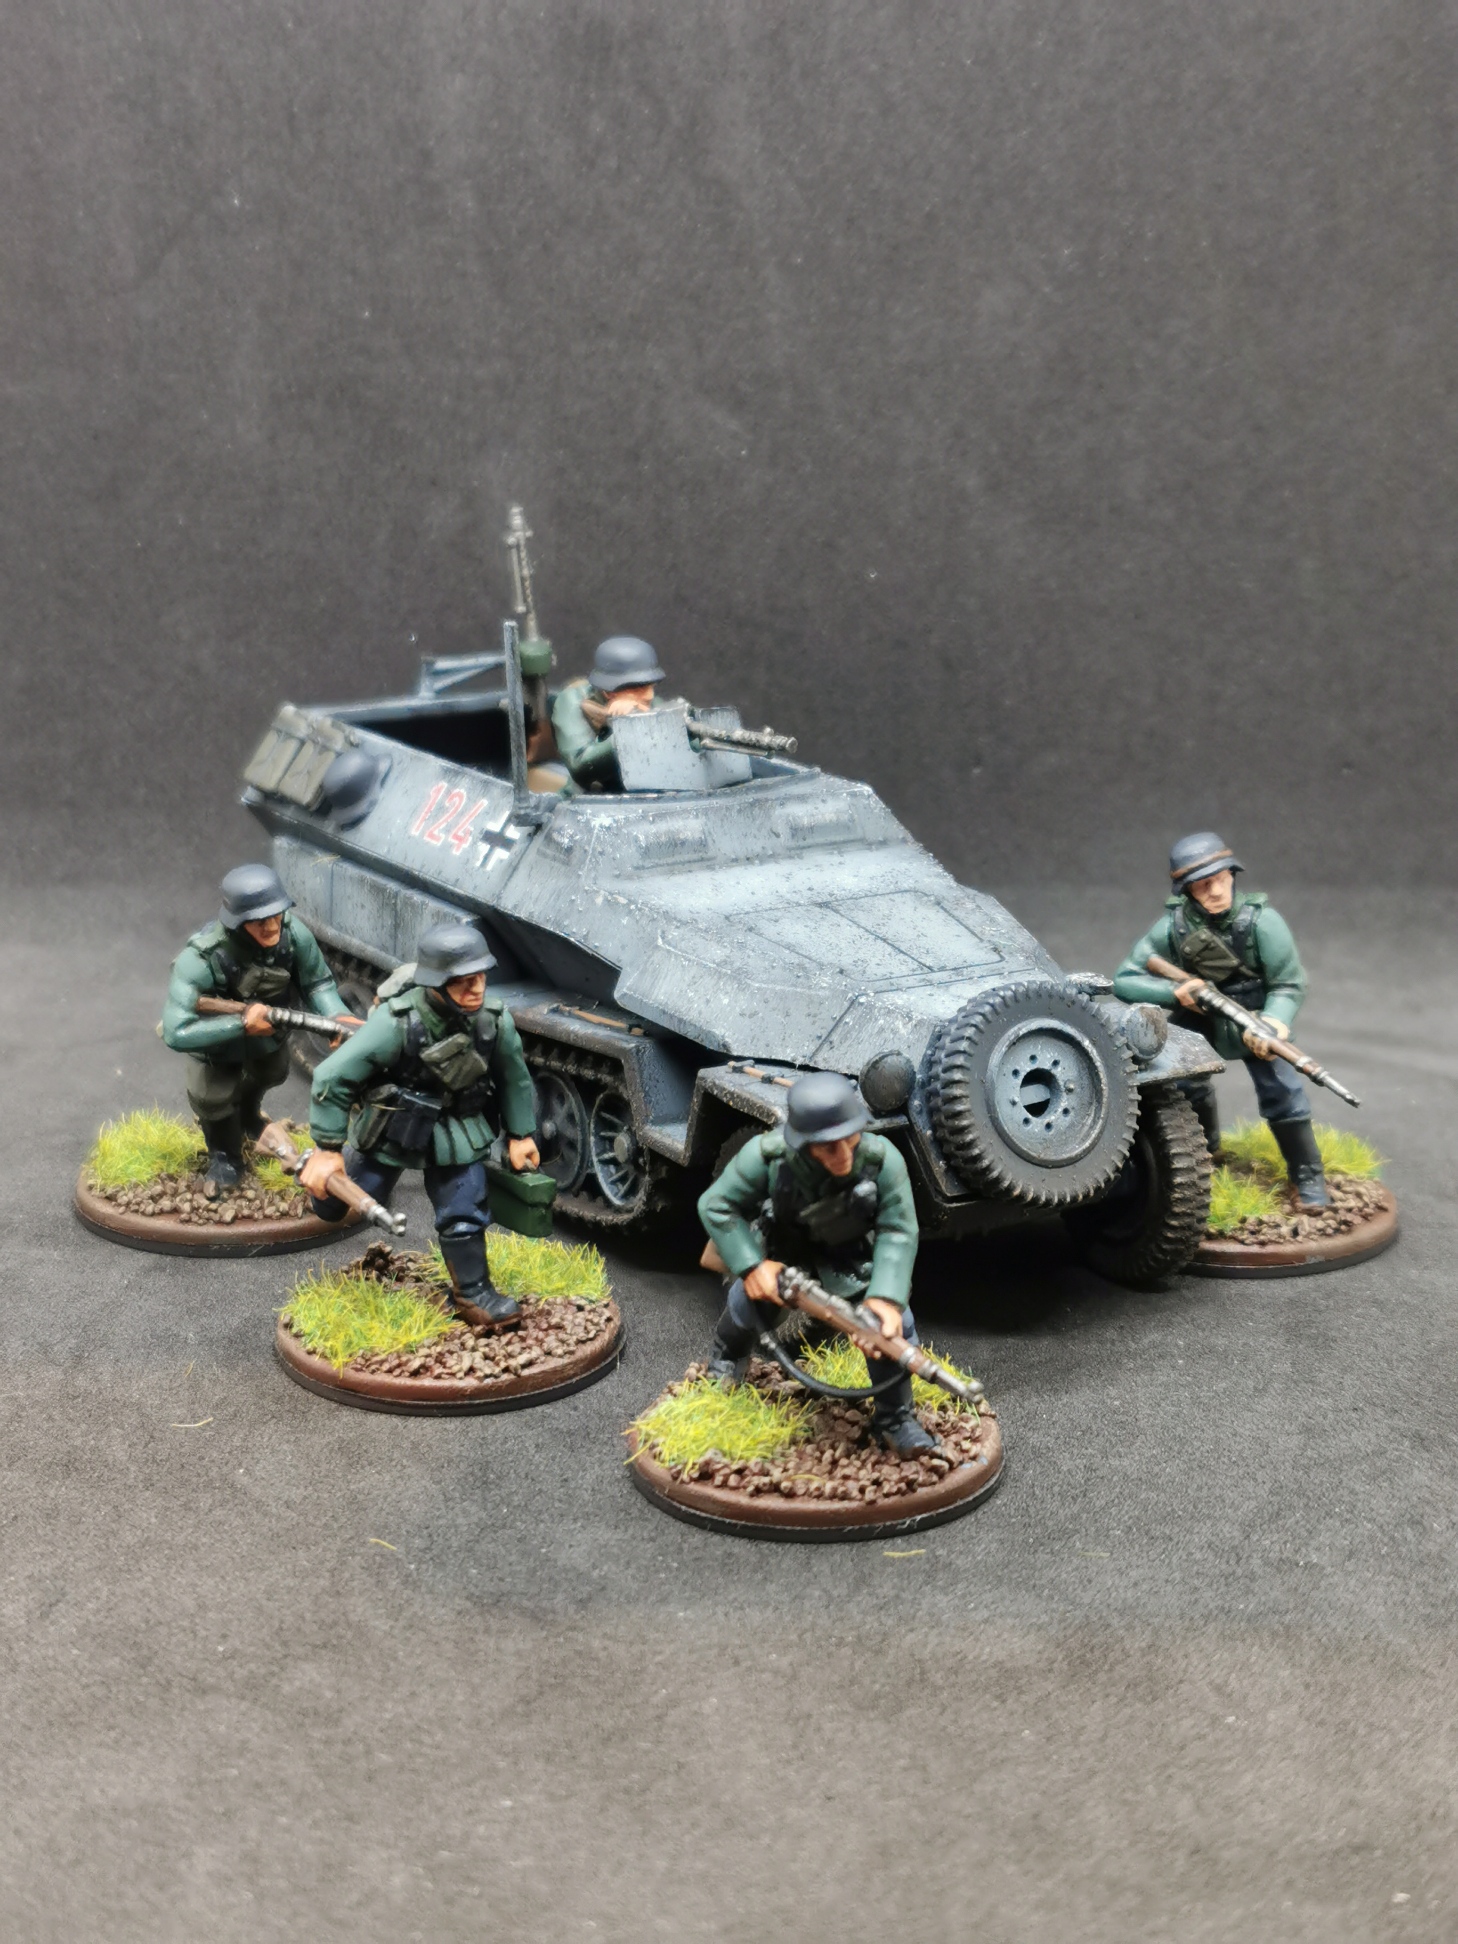
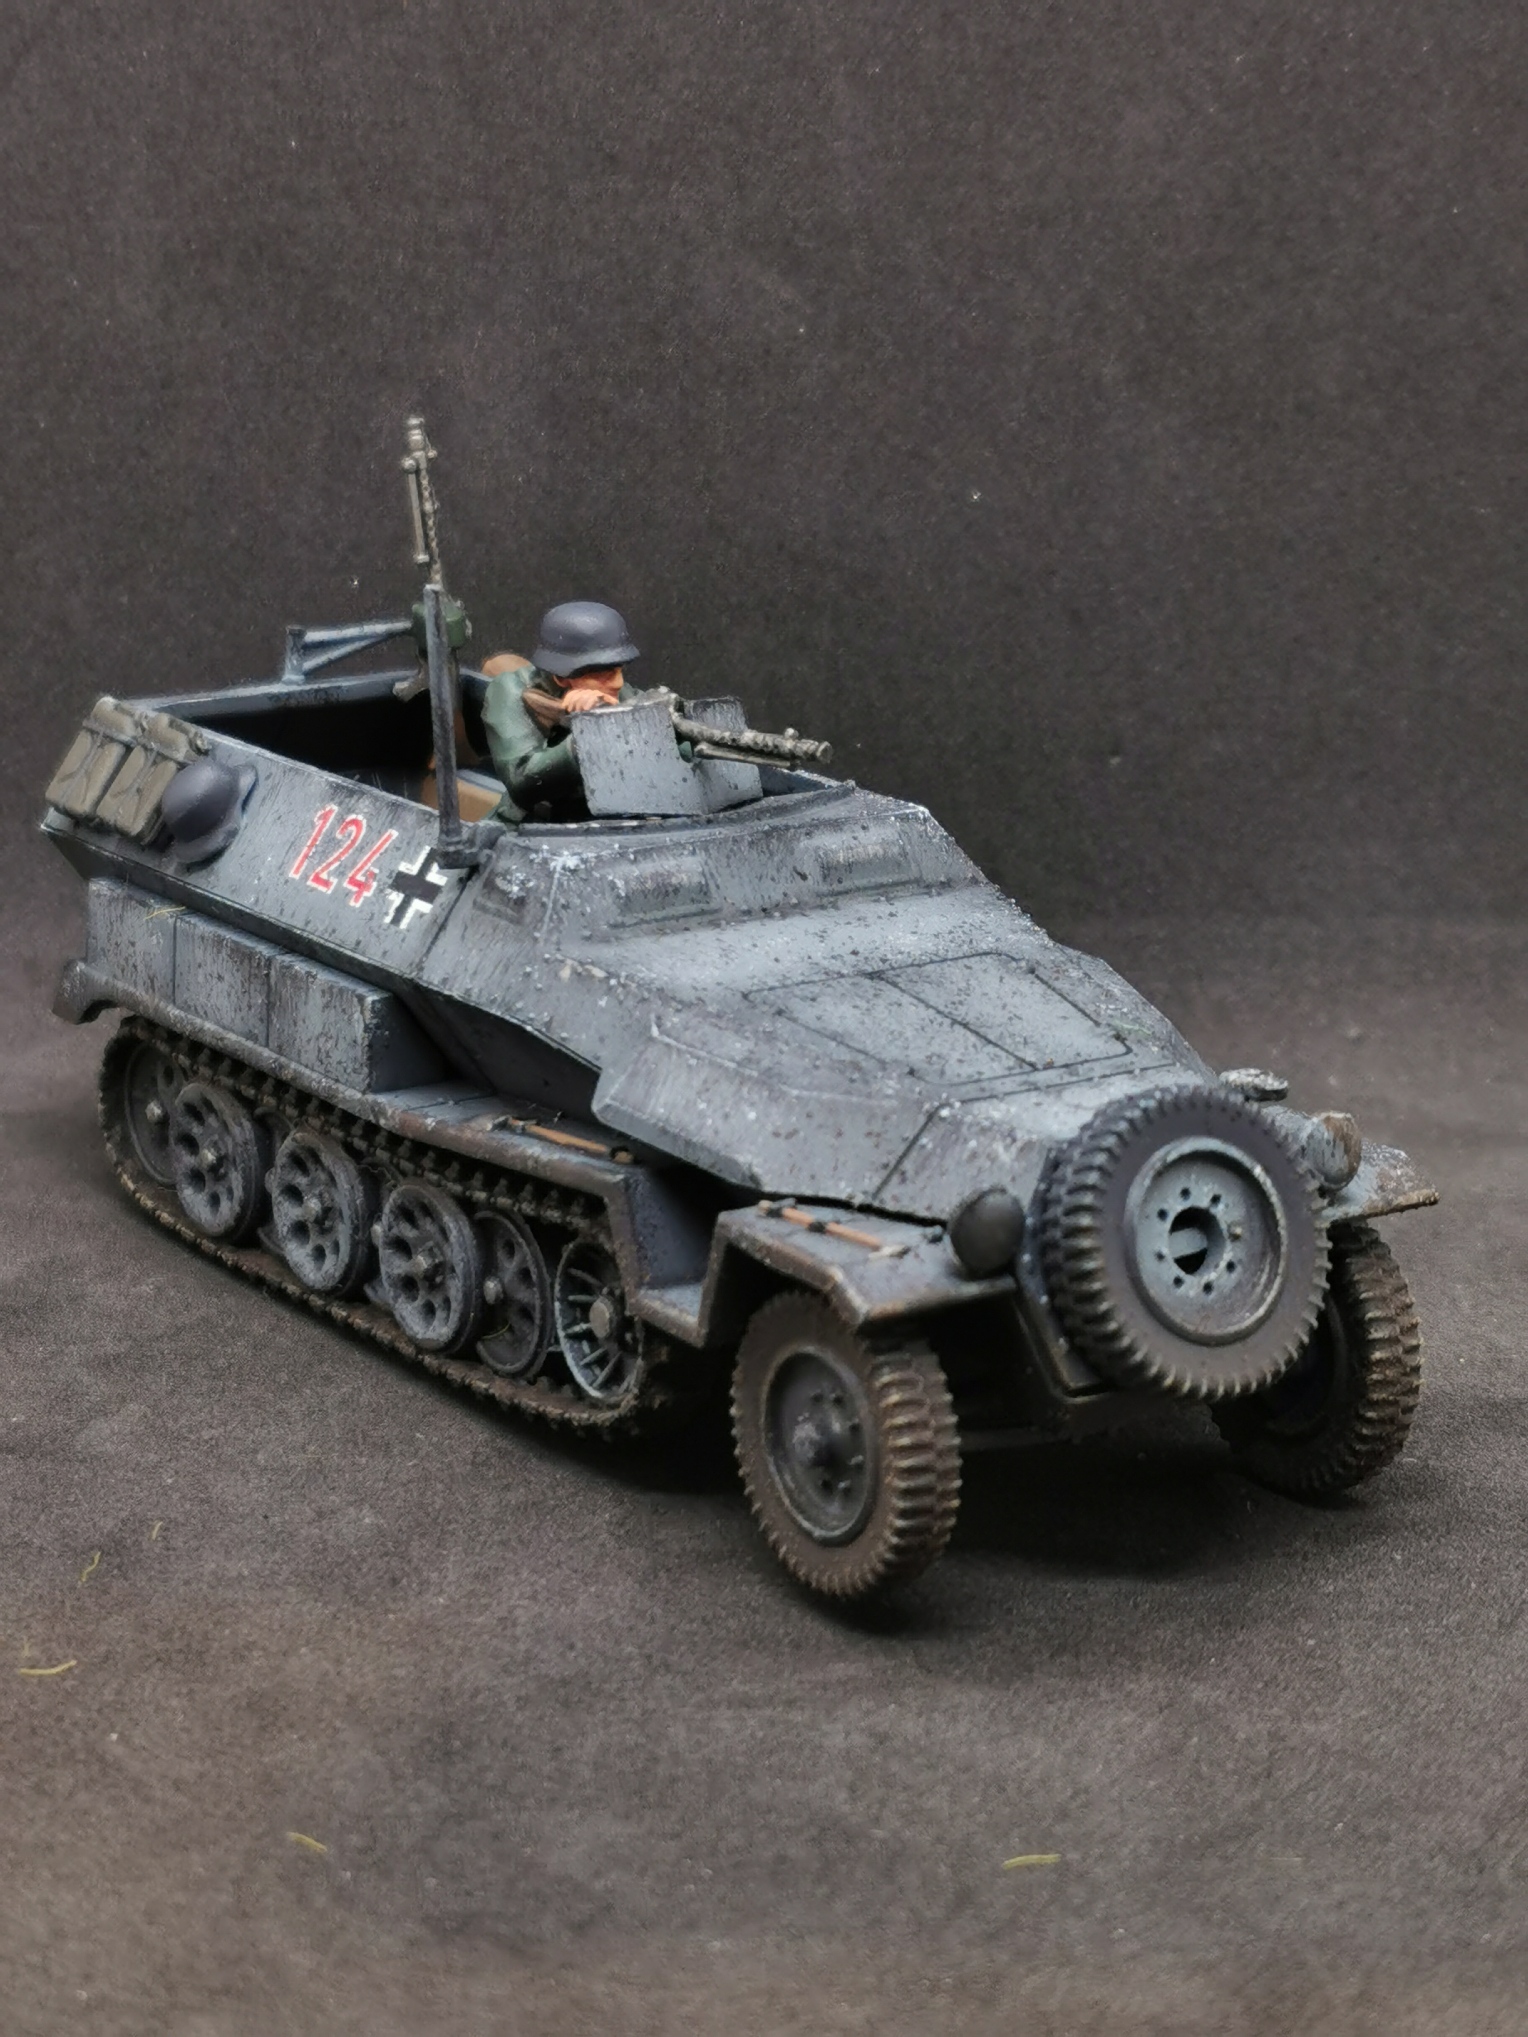
Speaking of deploying troops to the front the SdKfz 251 halftrack combines mobility with light armor and firepower to securly deploy troops. To represent that I added a seated infantry squad to my halftrack which can be swapped with the original gunner.
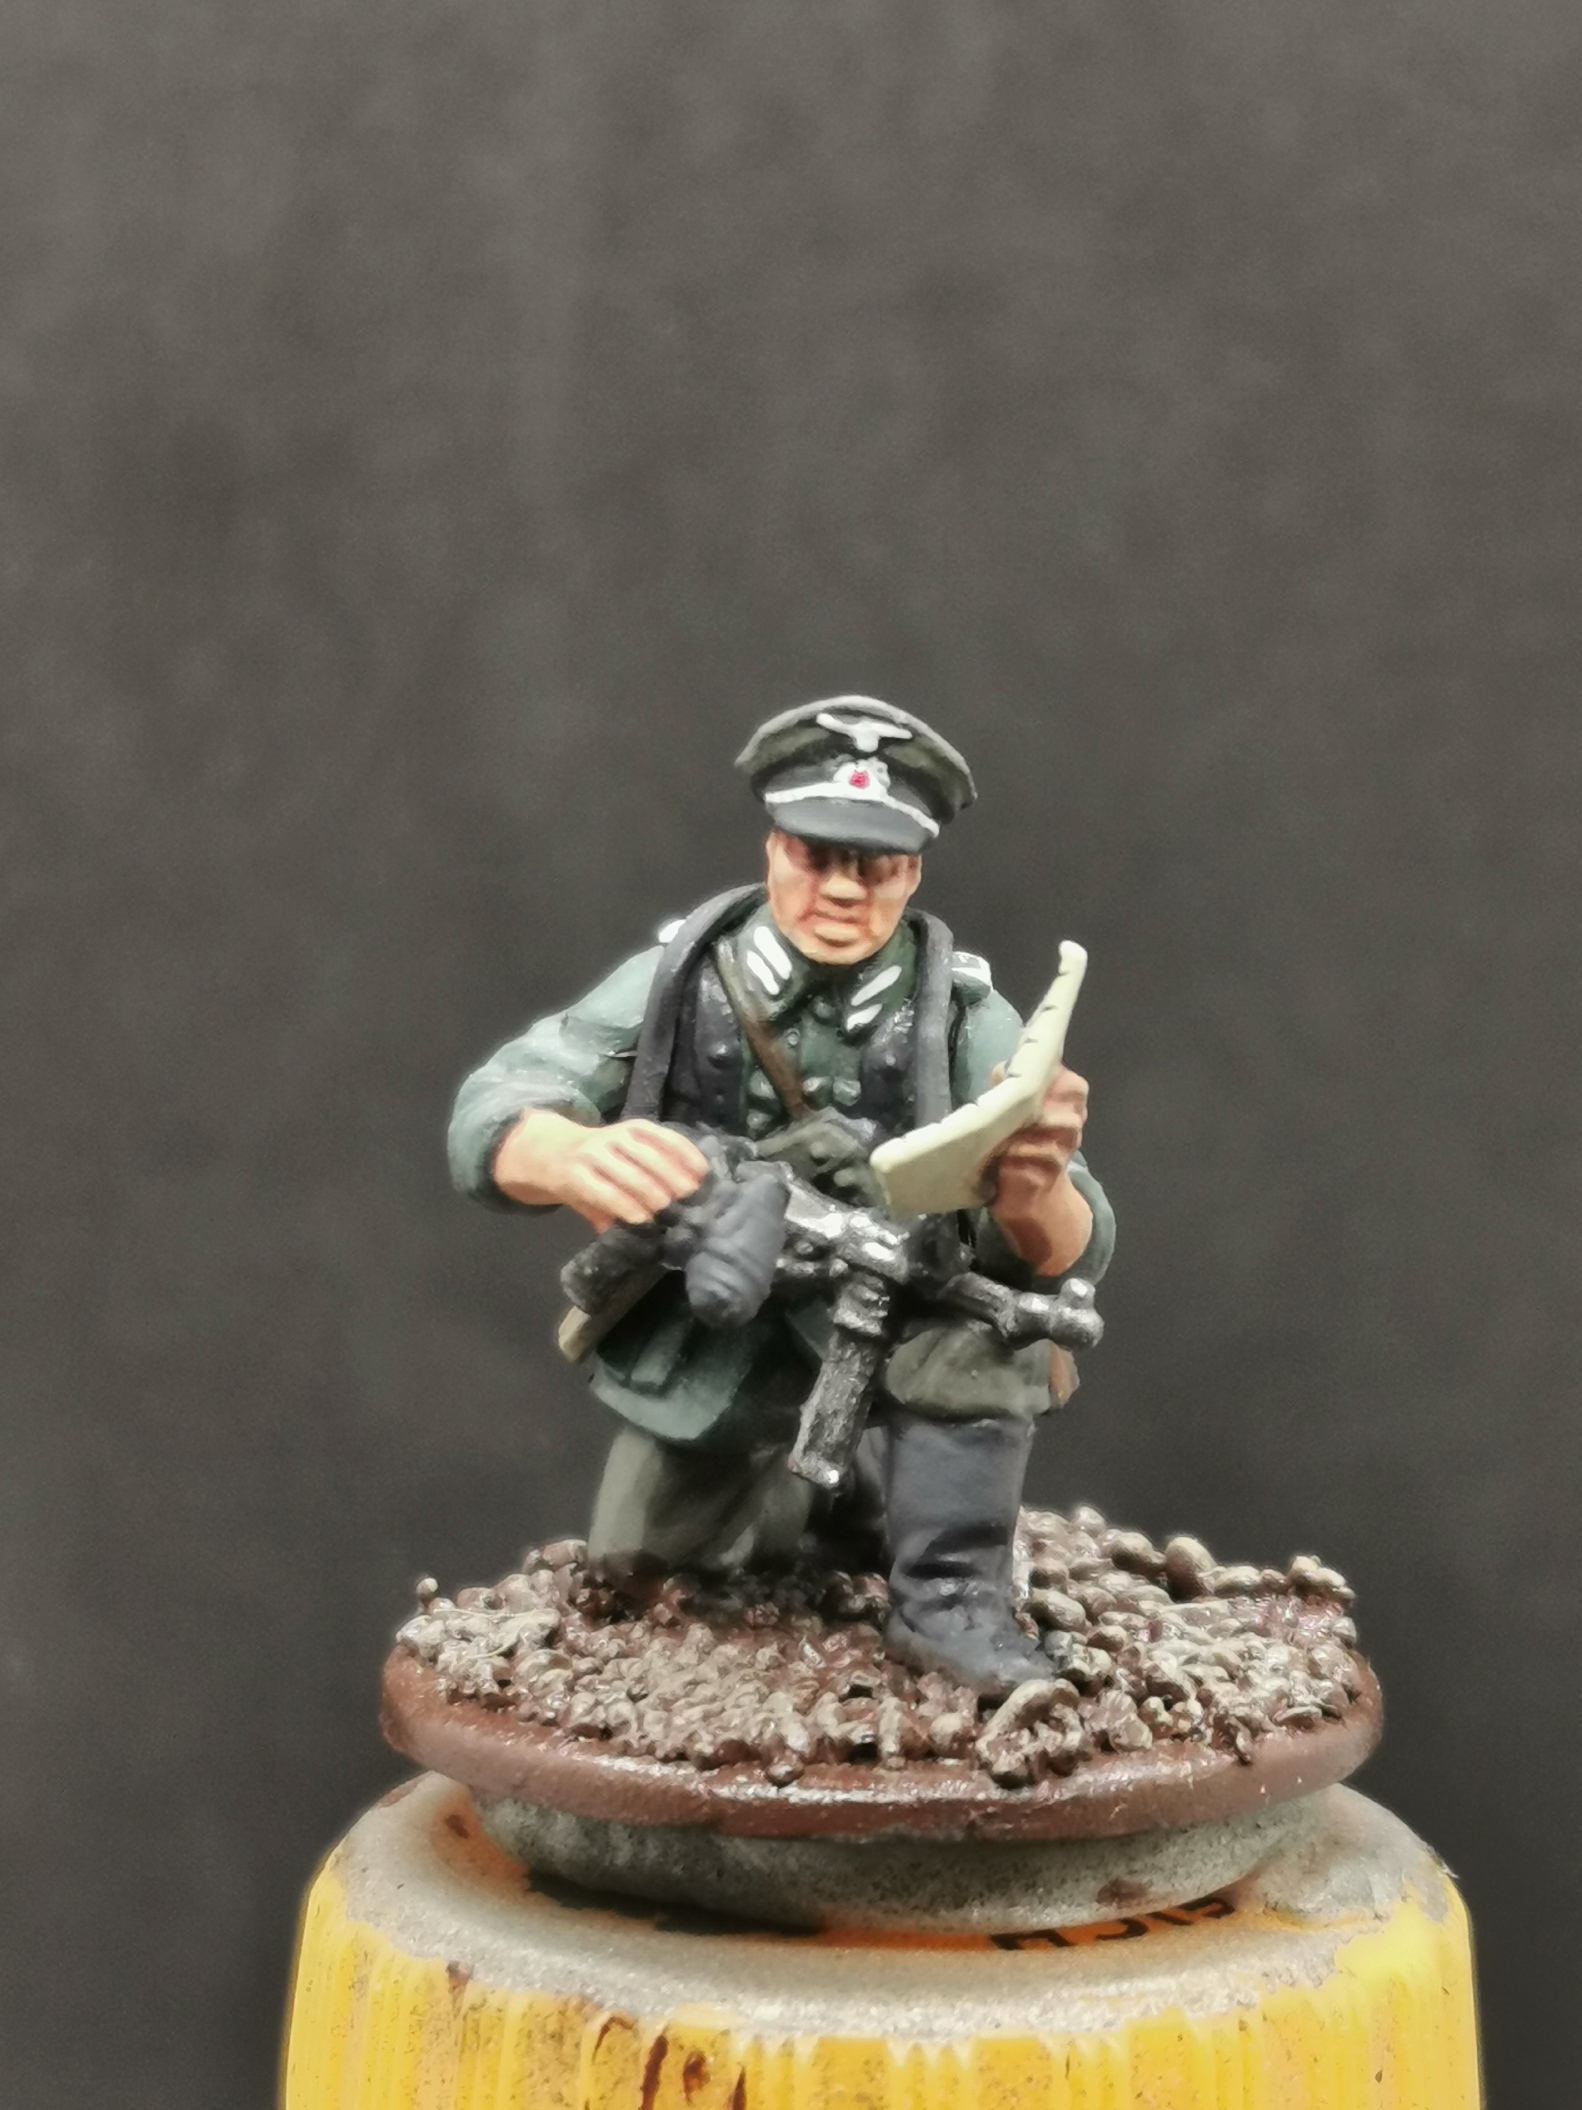
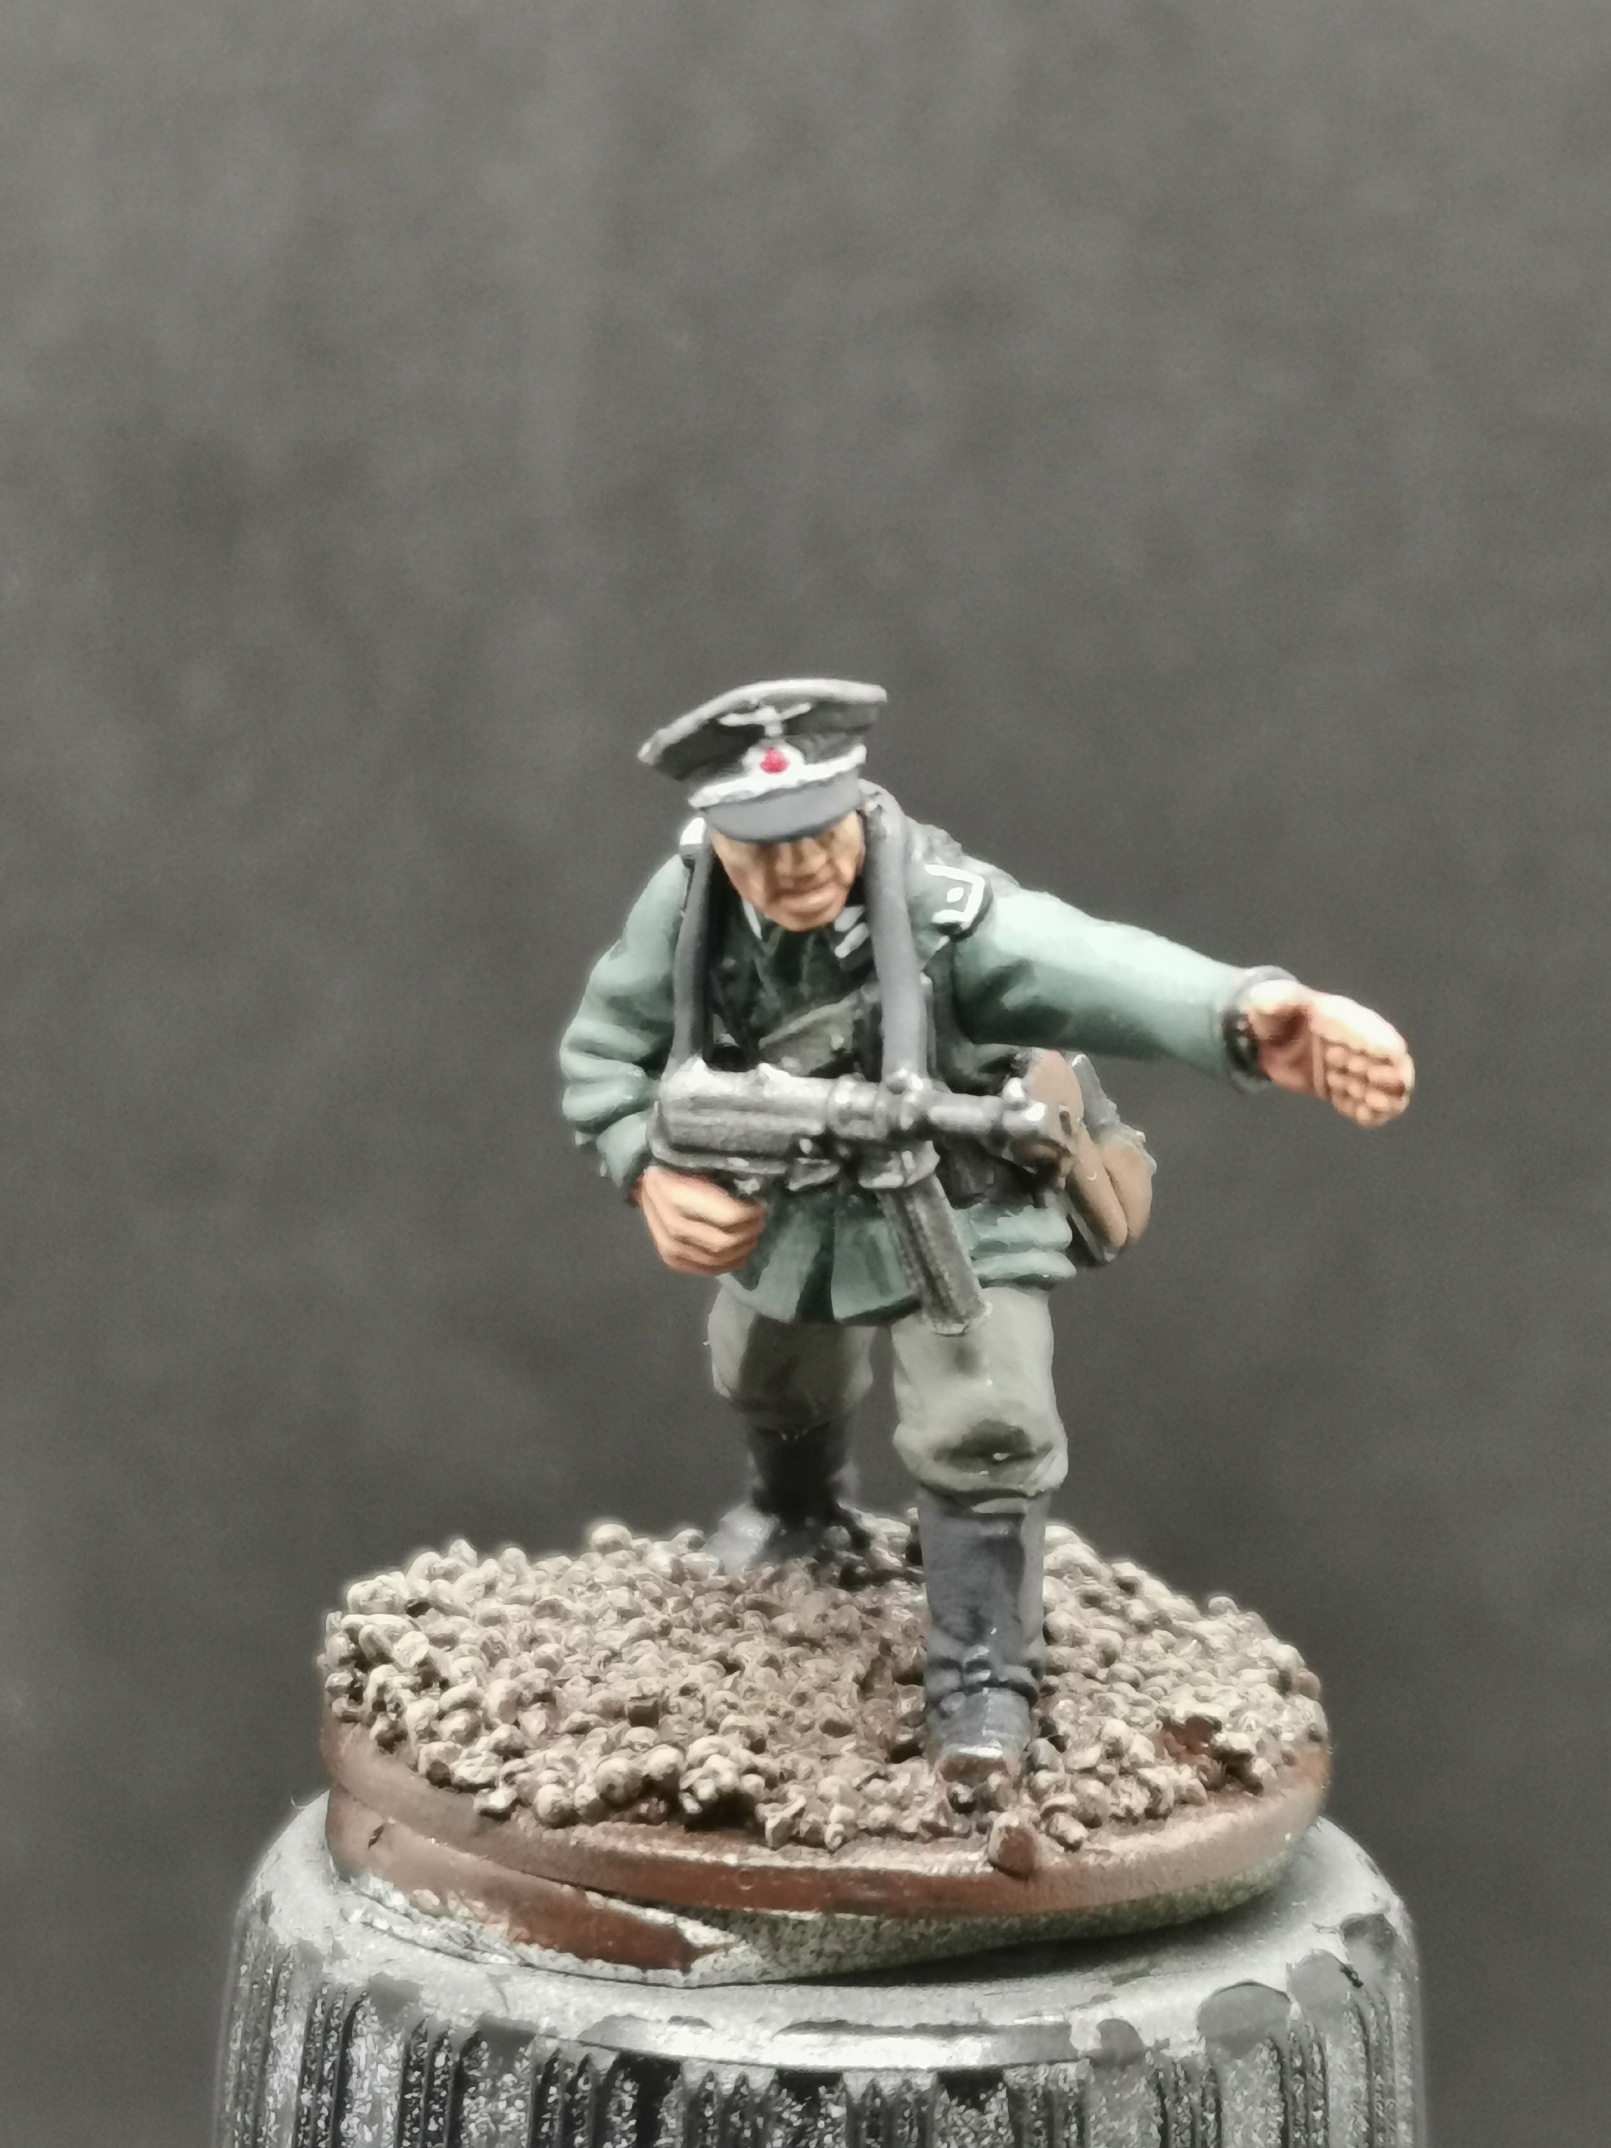
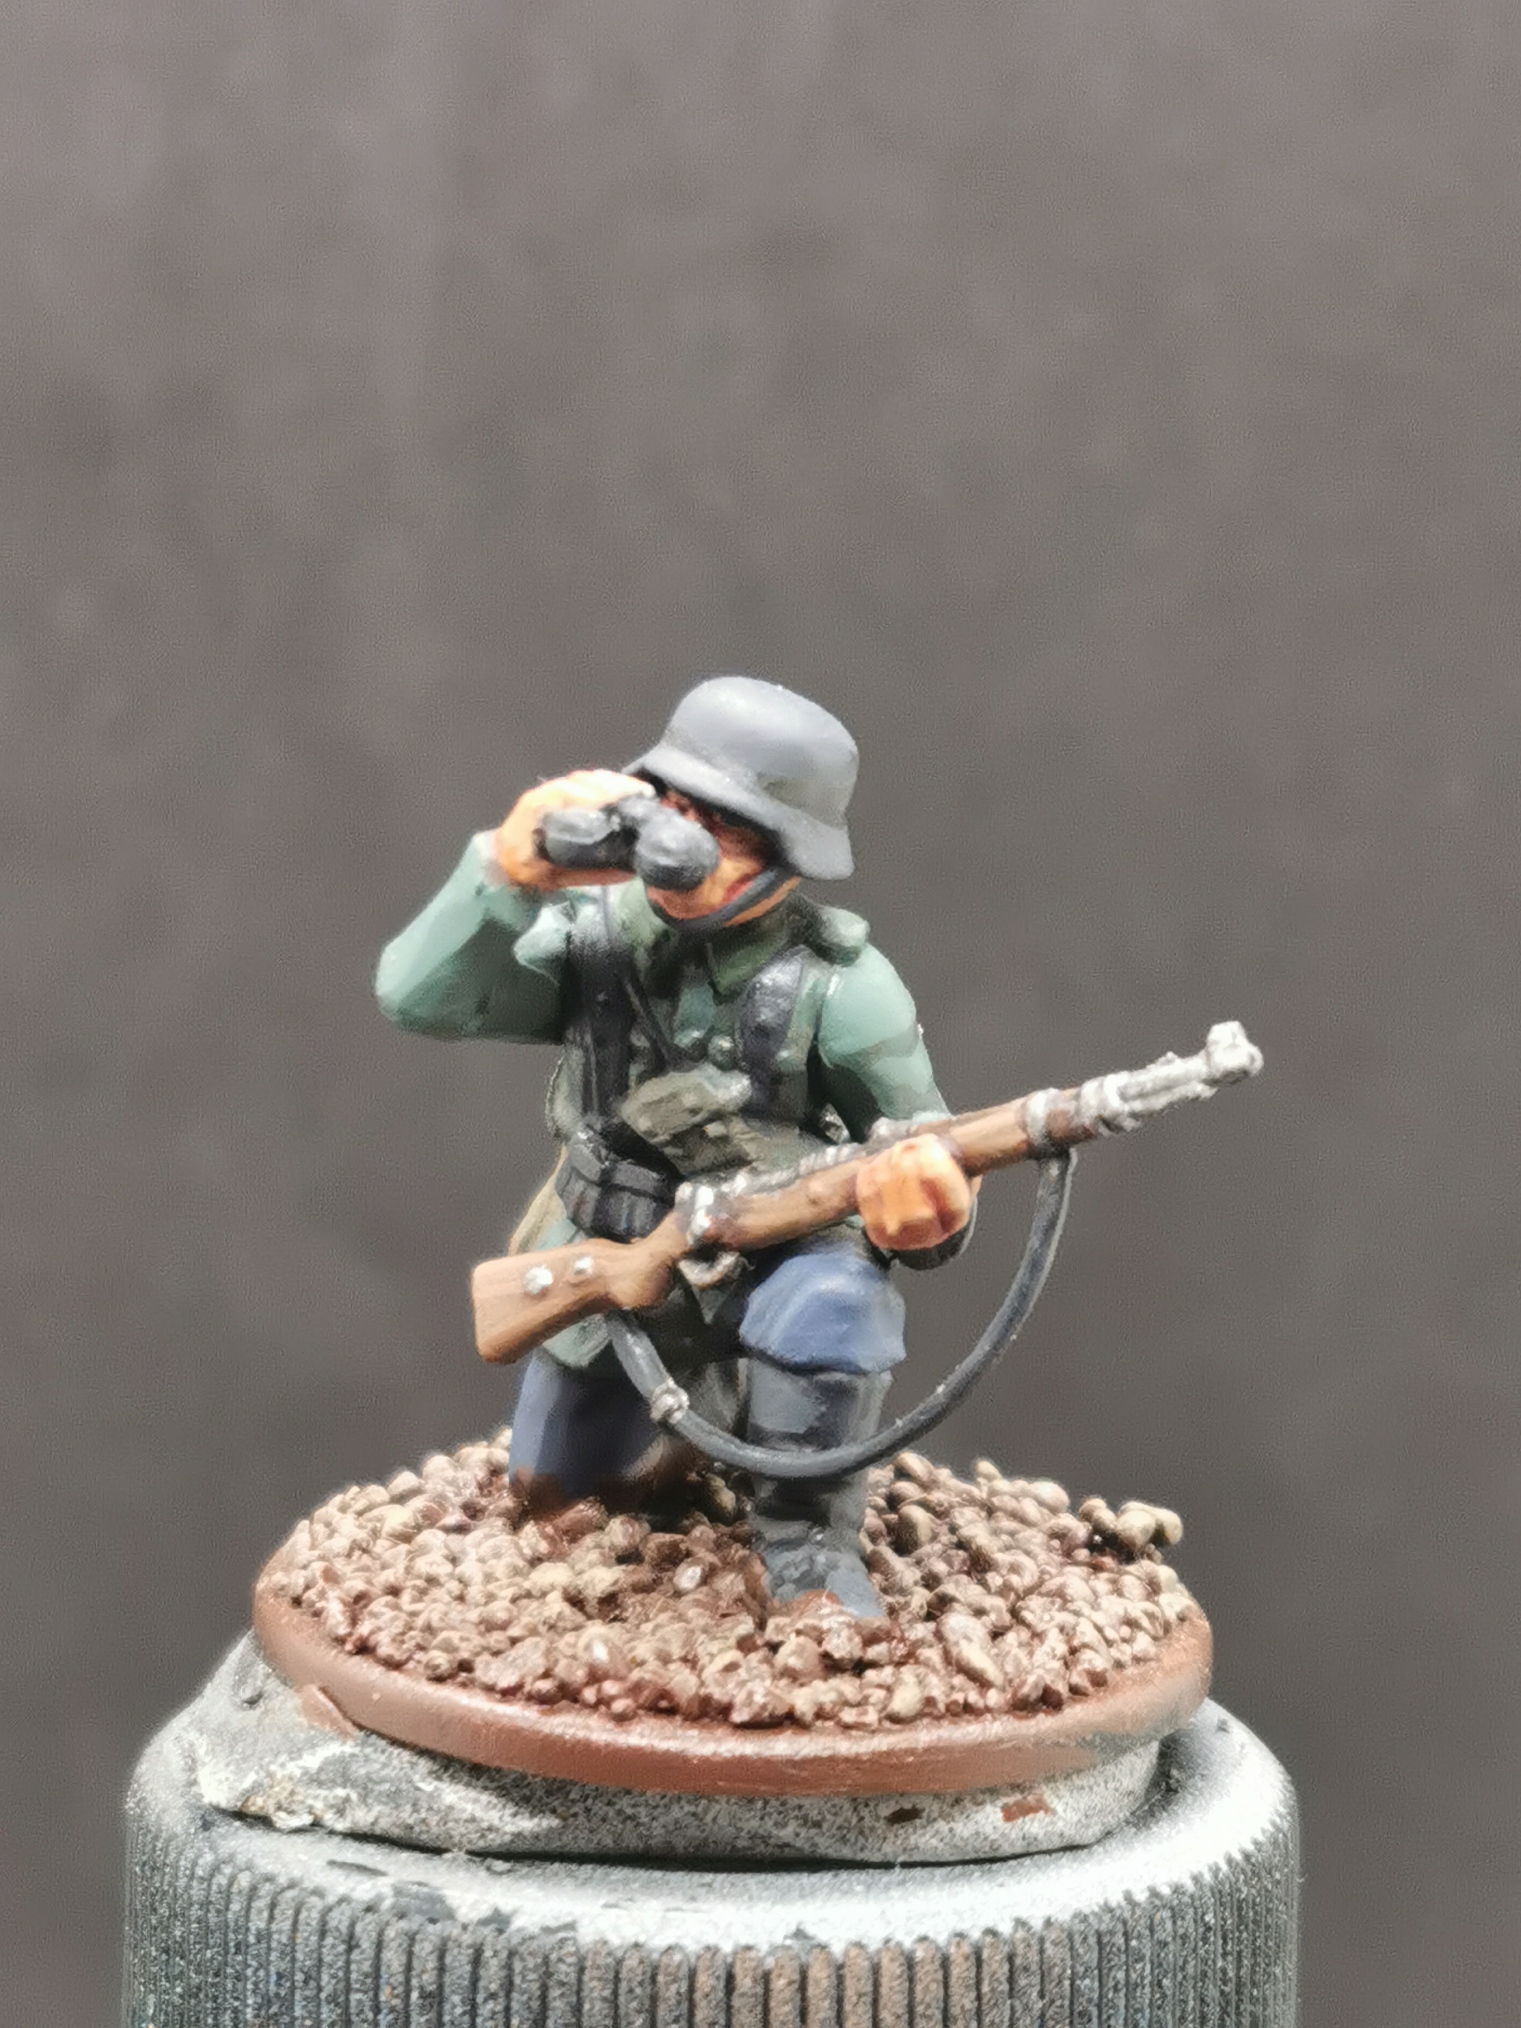
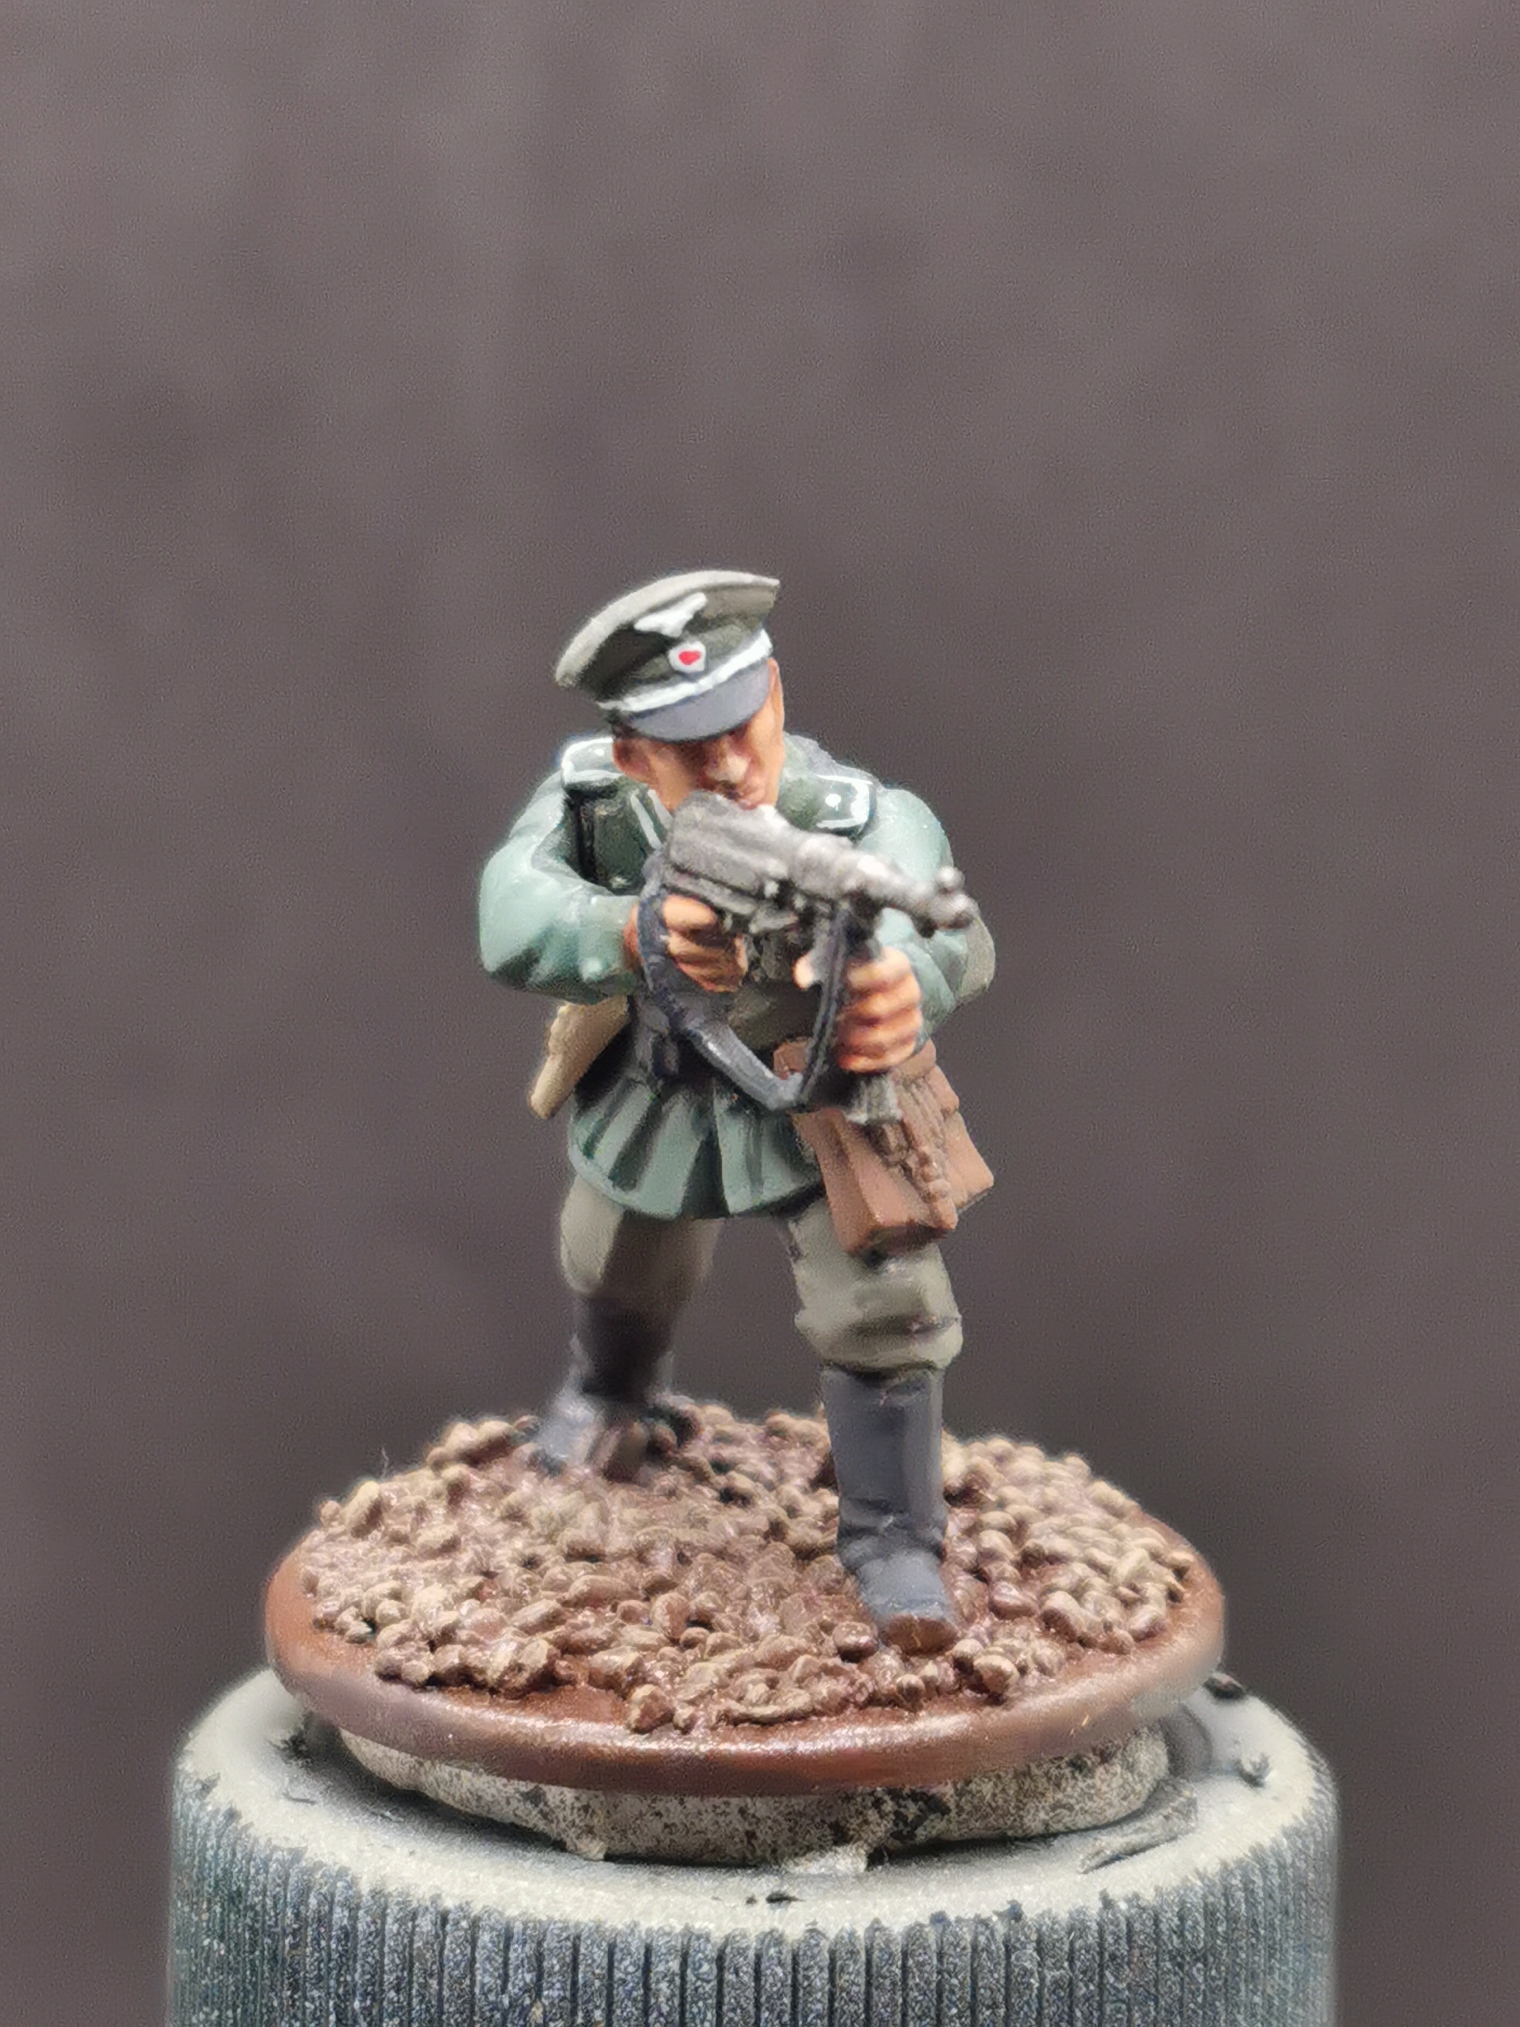
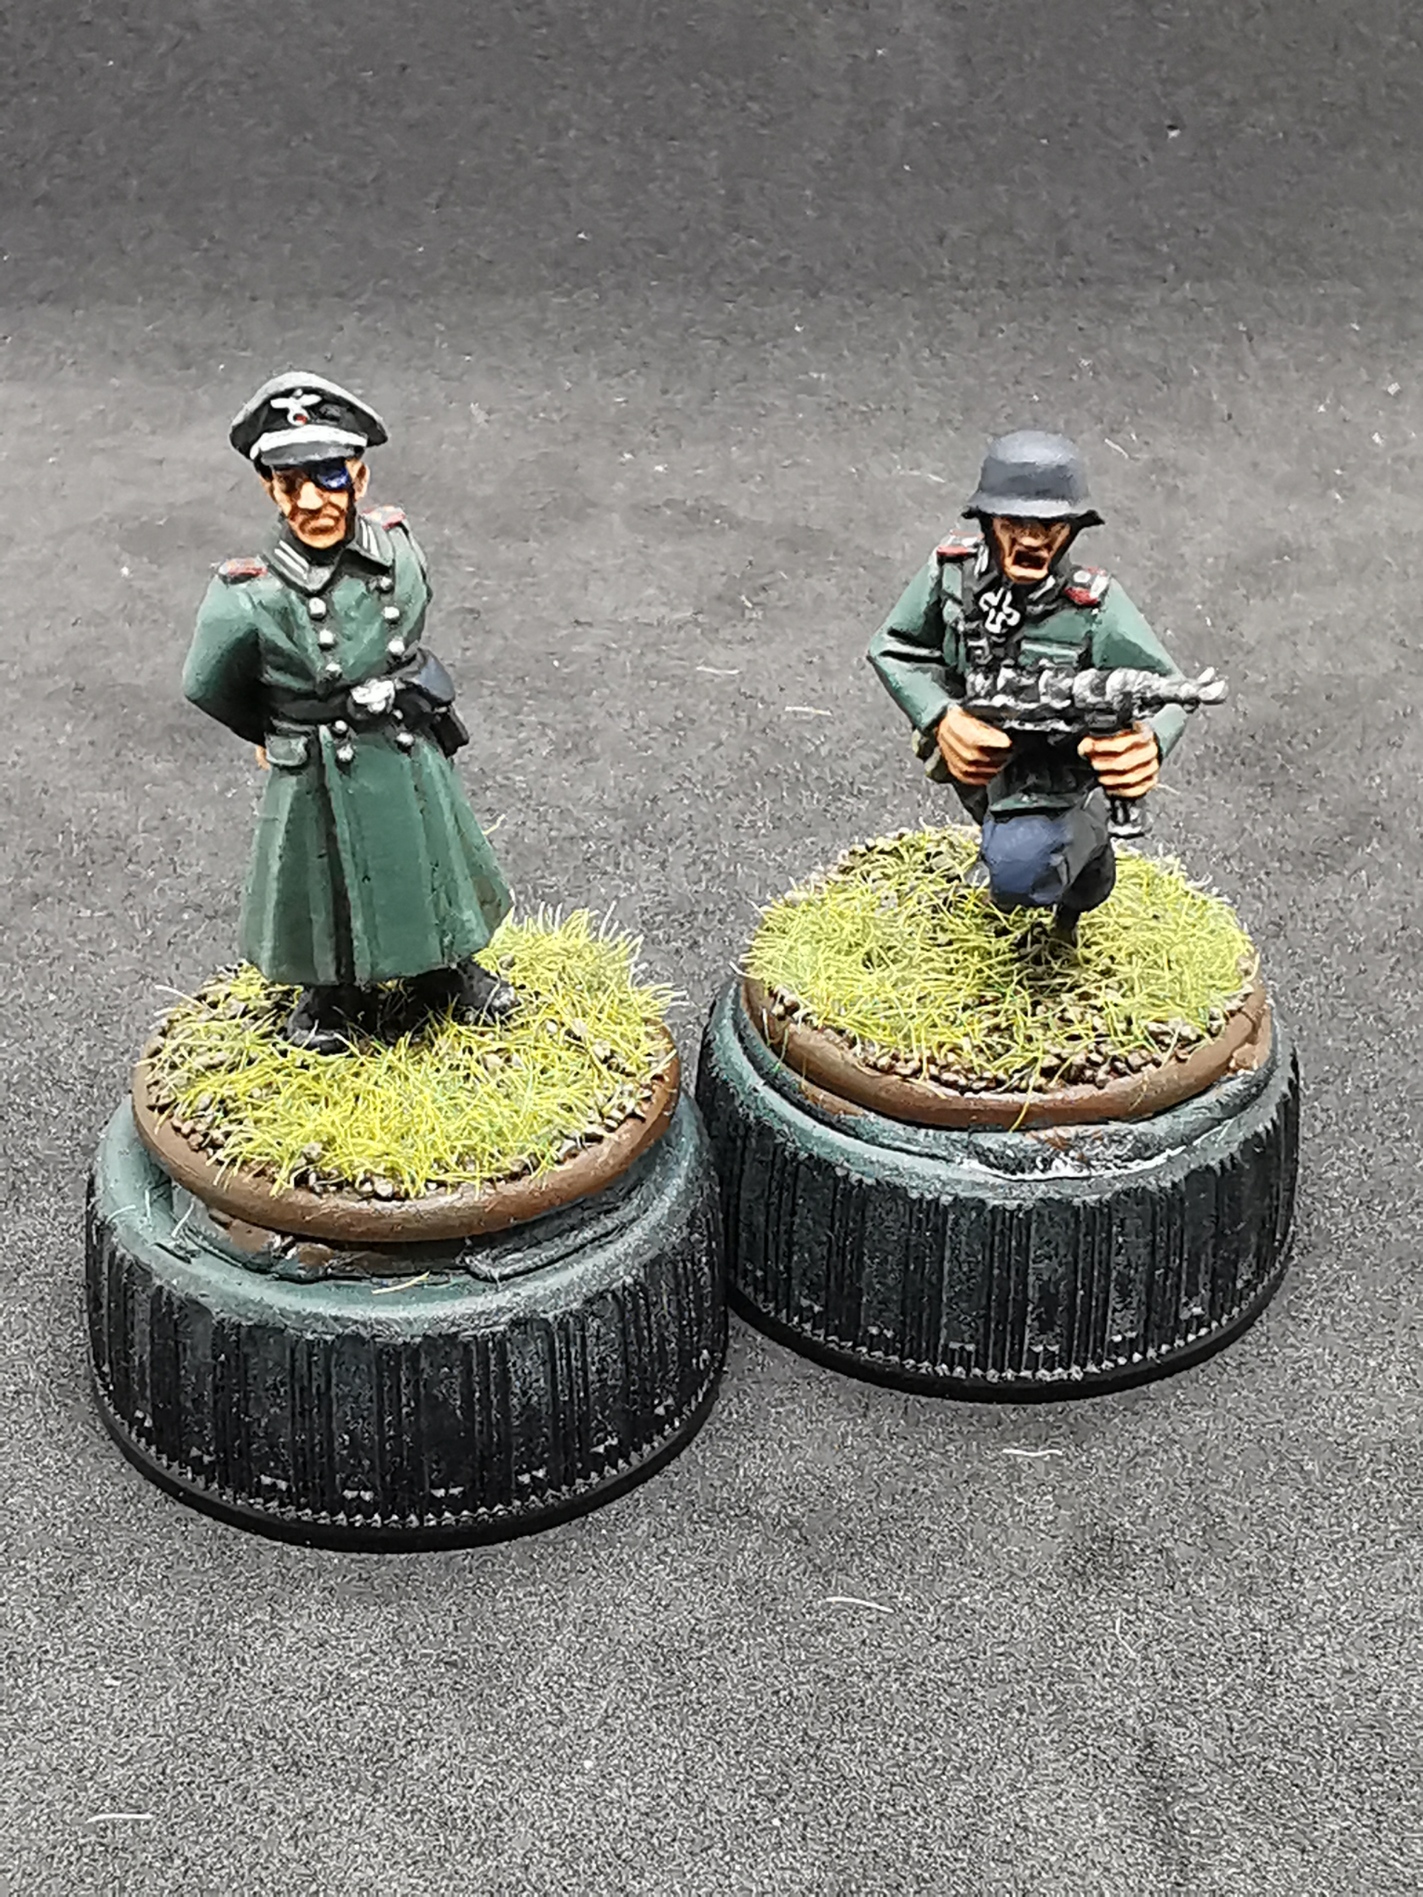
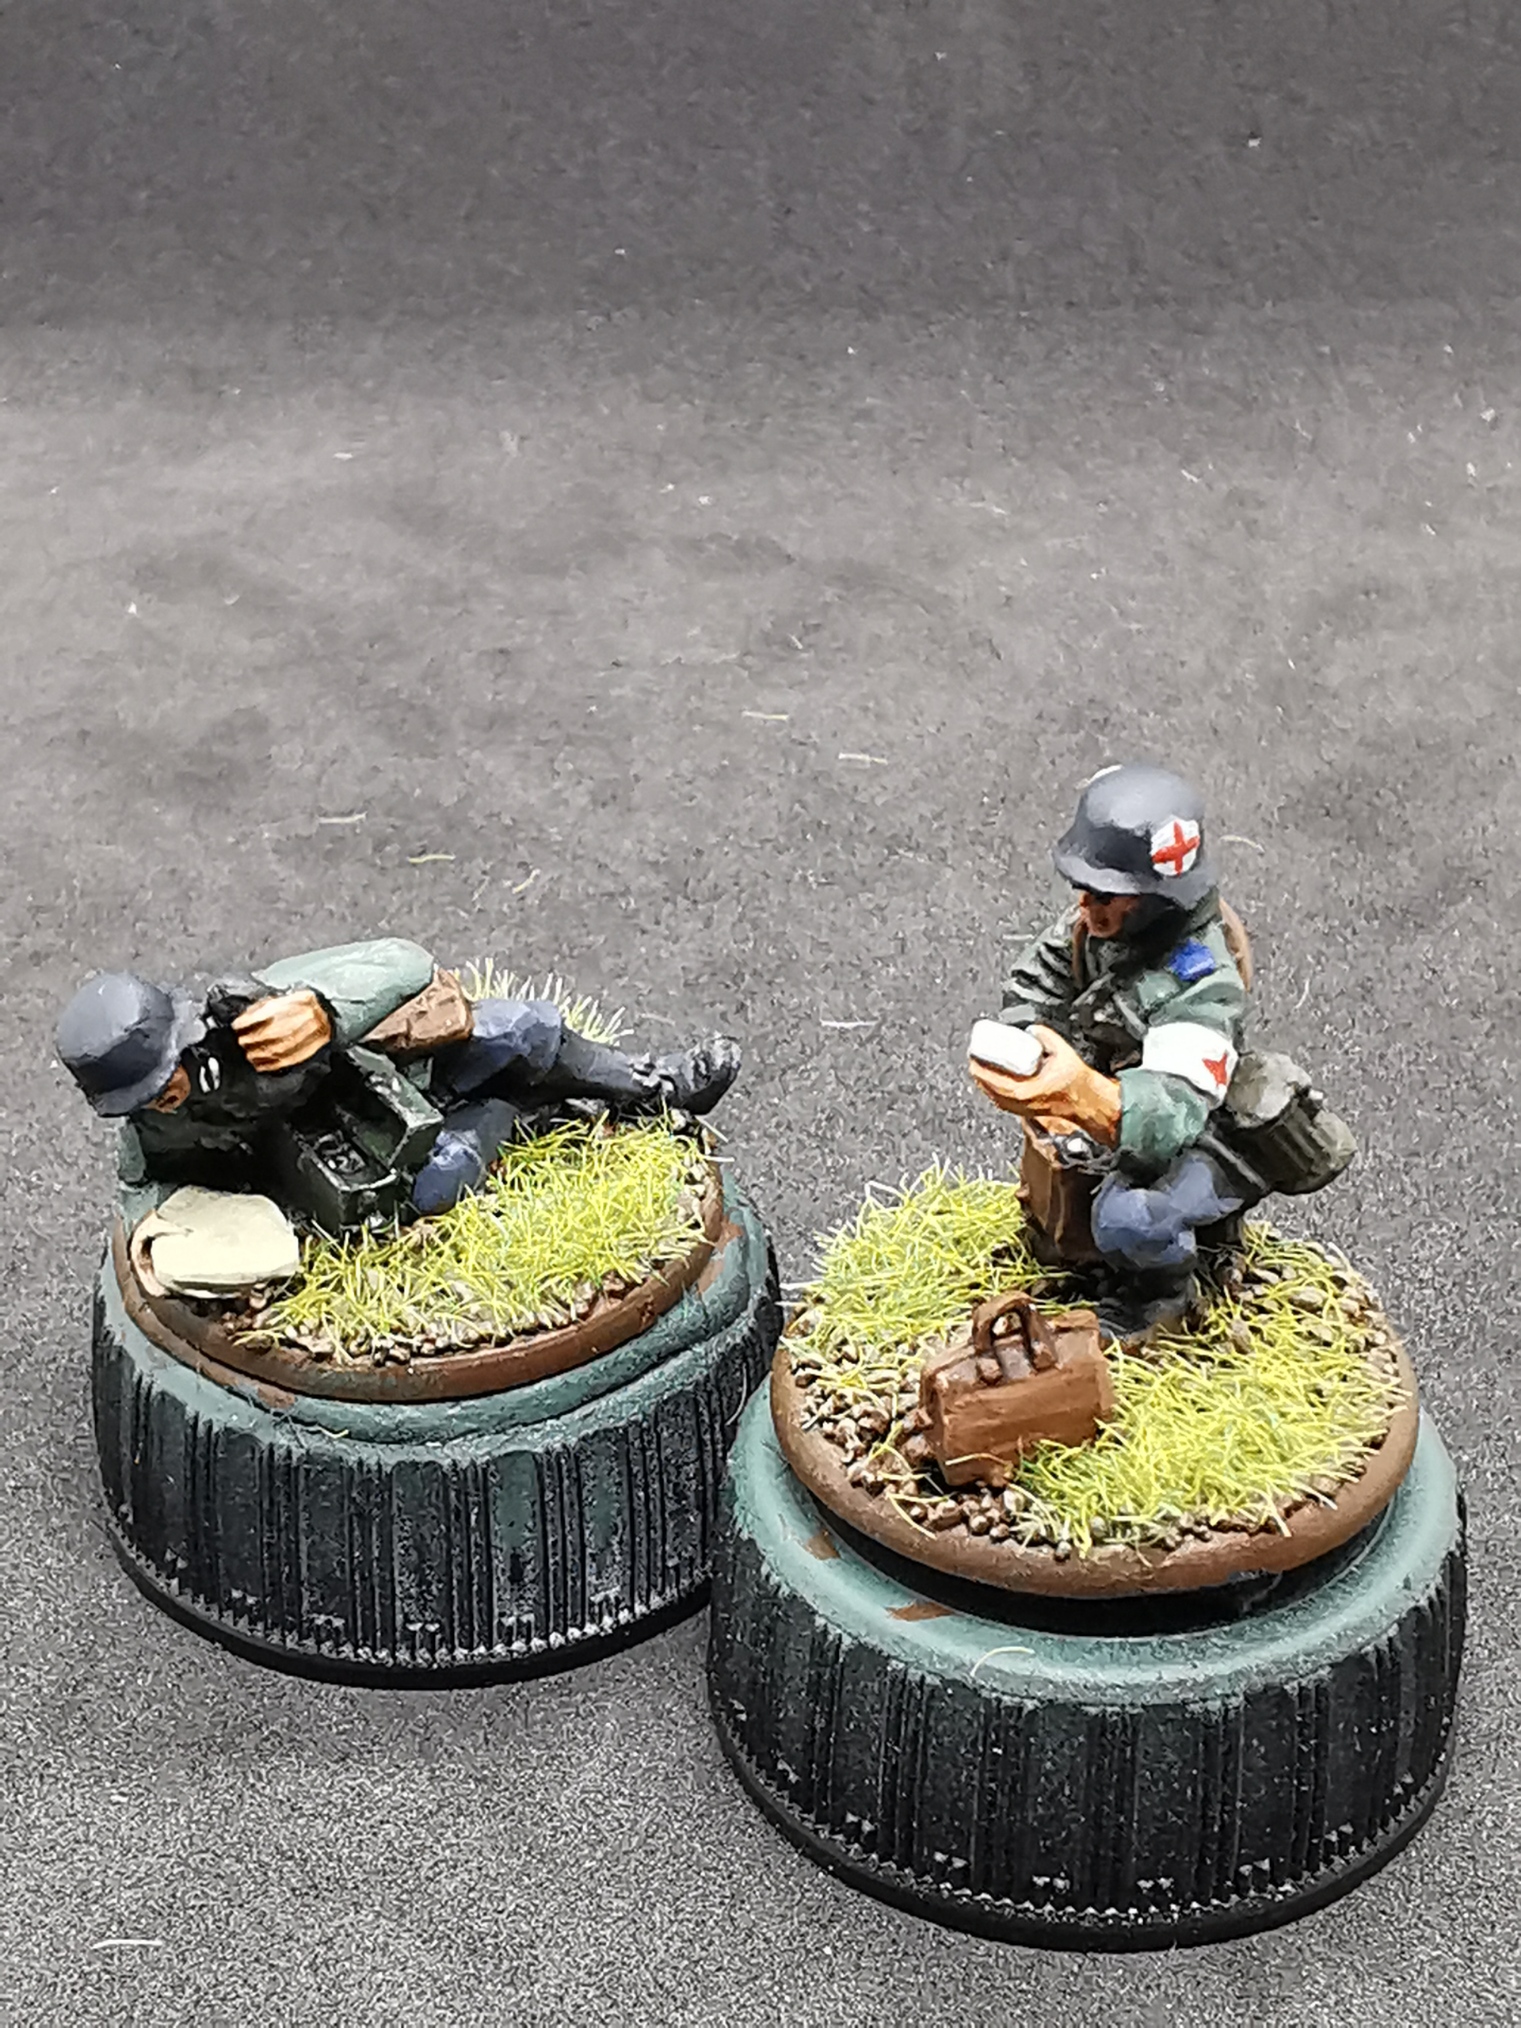
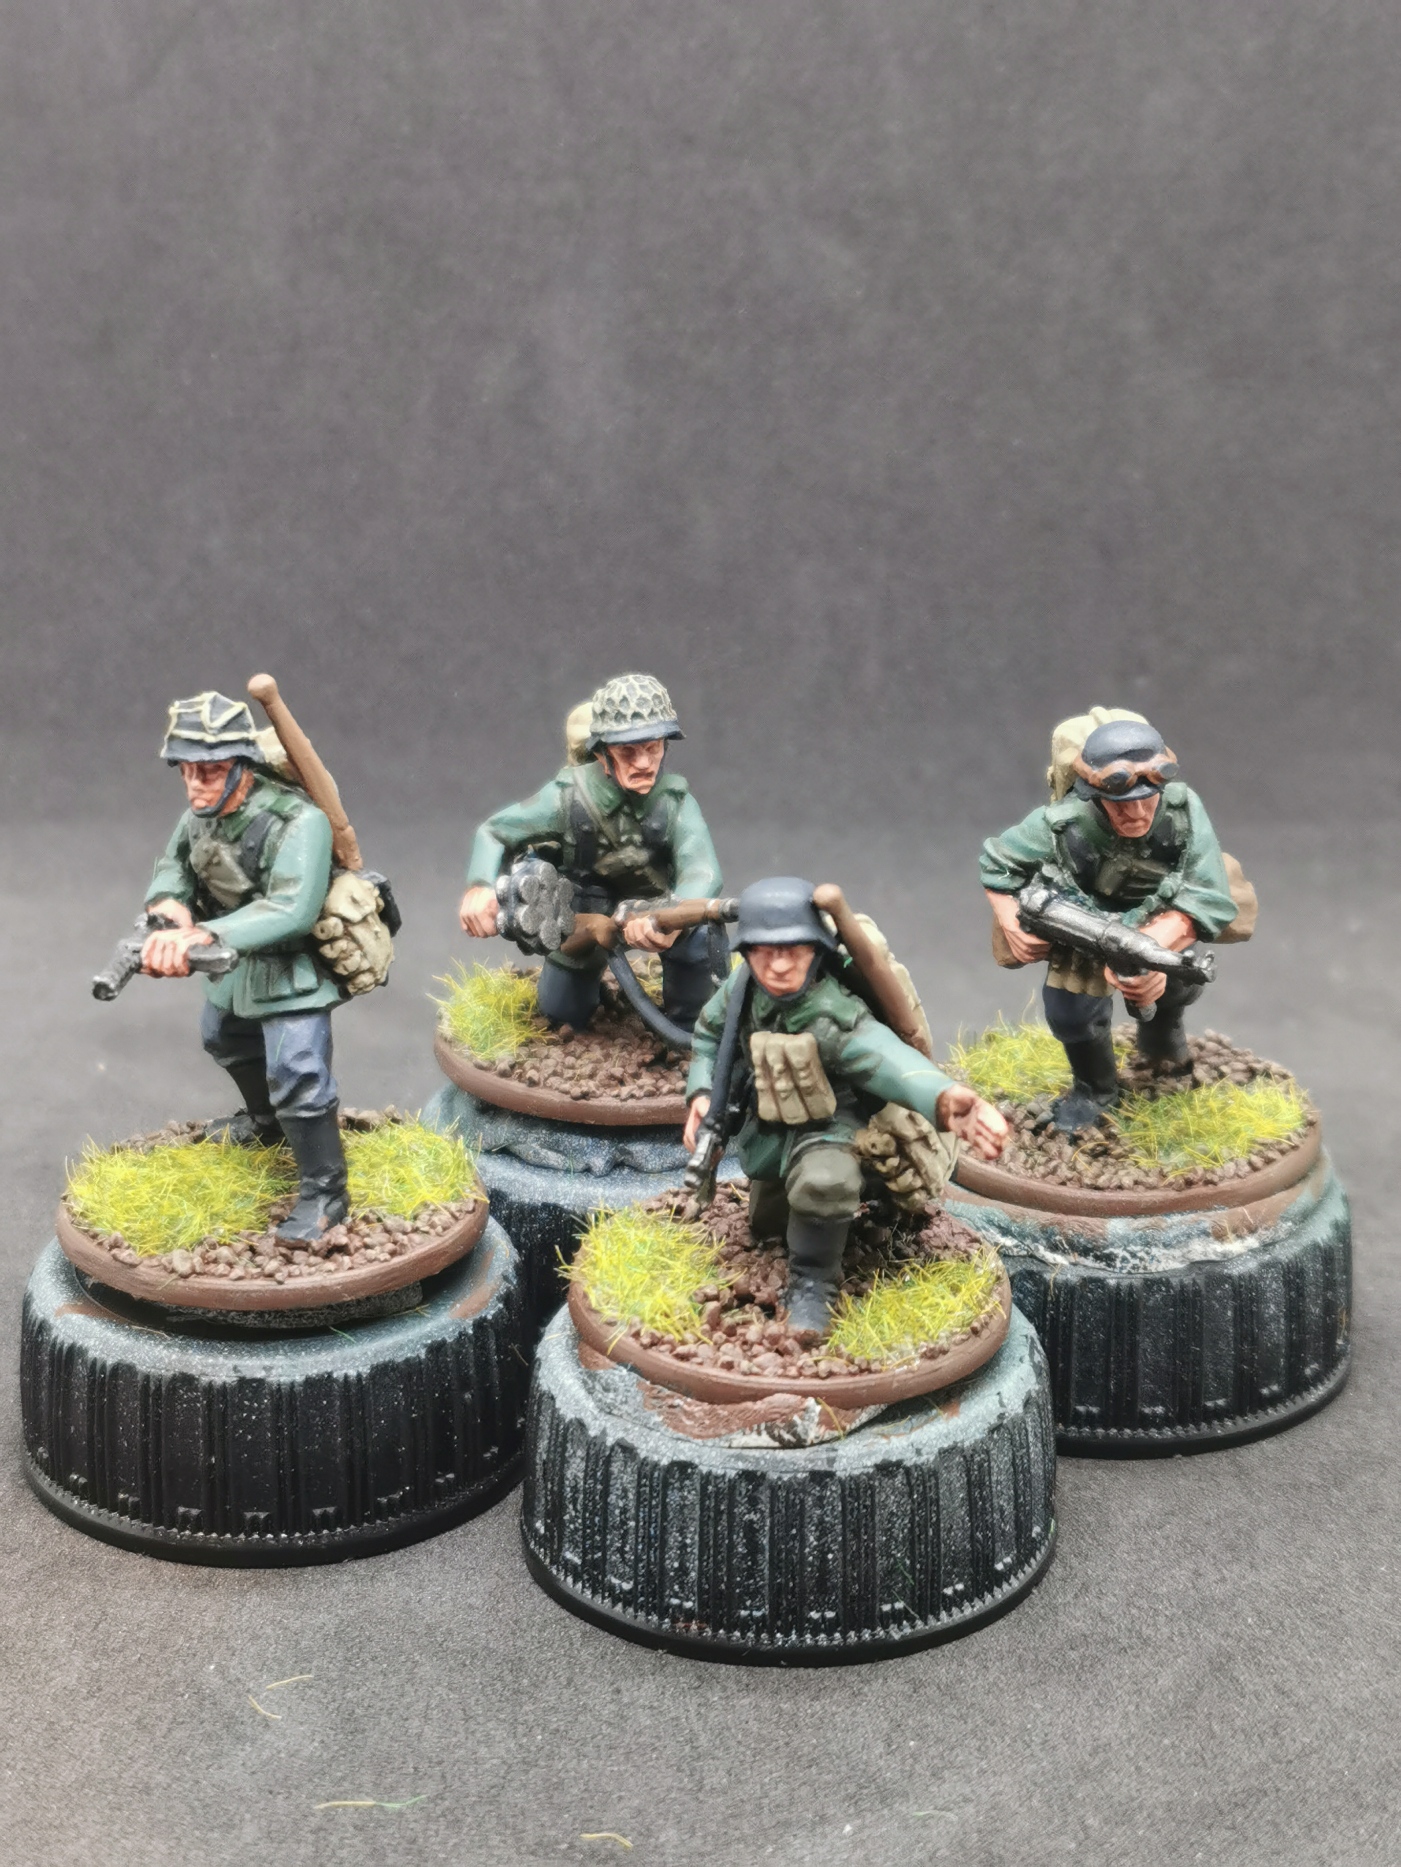
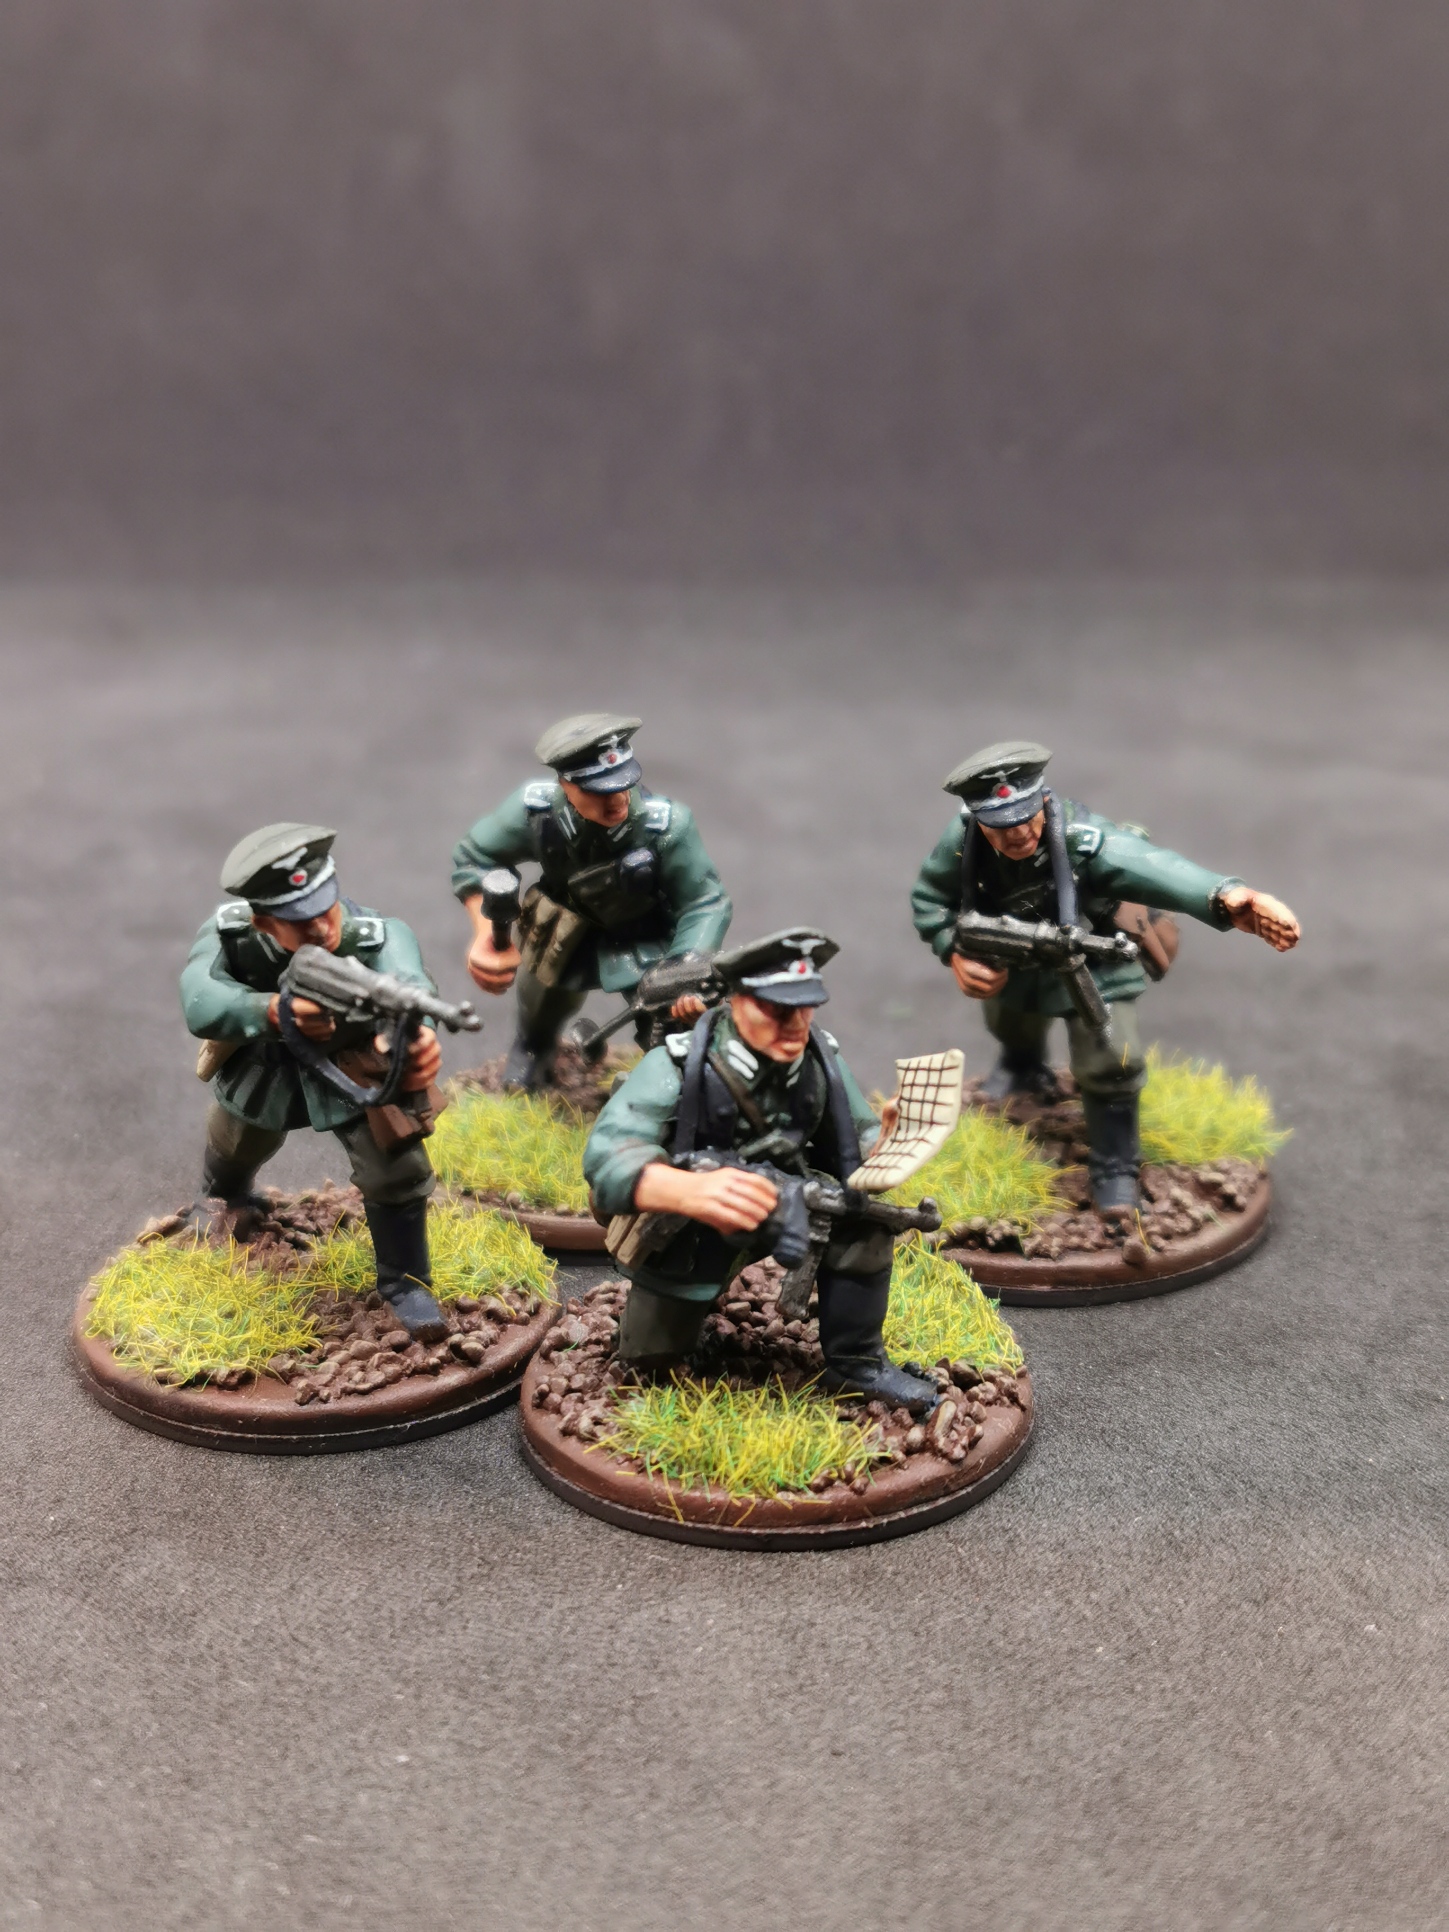
Step 13: Getting someone with a plan... (adding HQ)
Stillgestanden! ———- Here comes the officer, an NCO, a Medic and an Observer/Radio operator. I really like the officer model with the monocle giving it a lot of character! ———- Rührt euch!
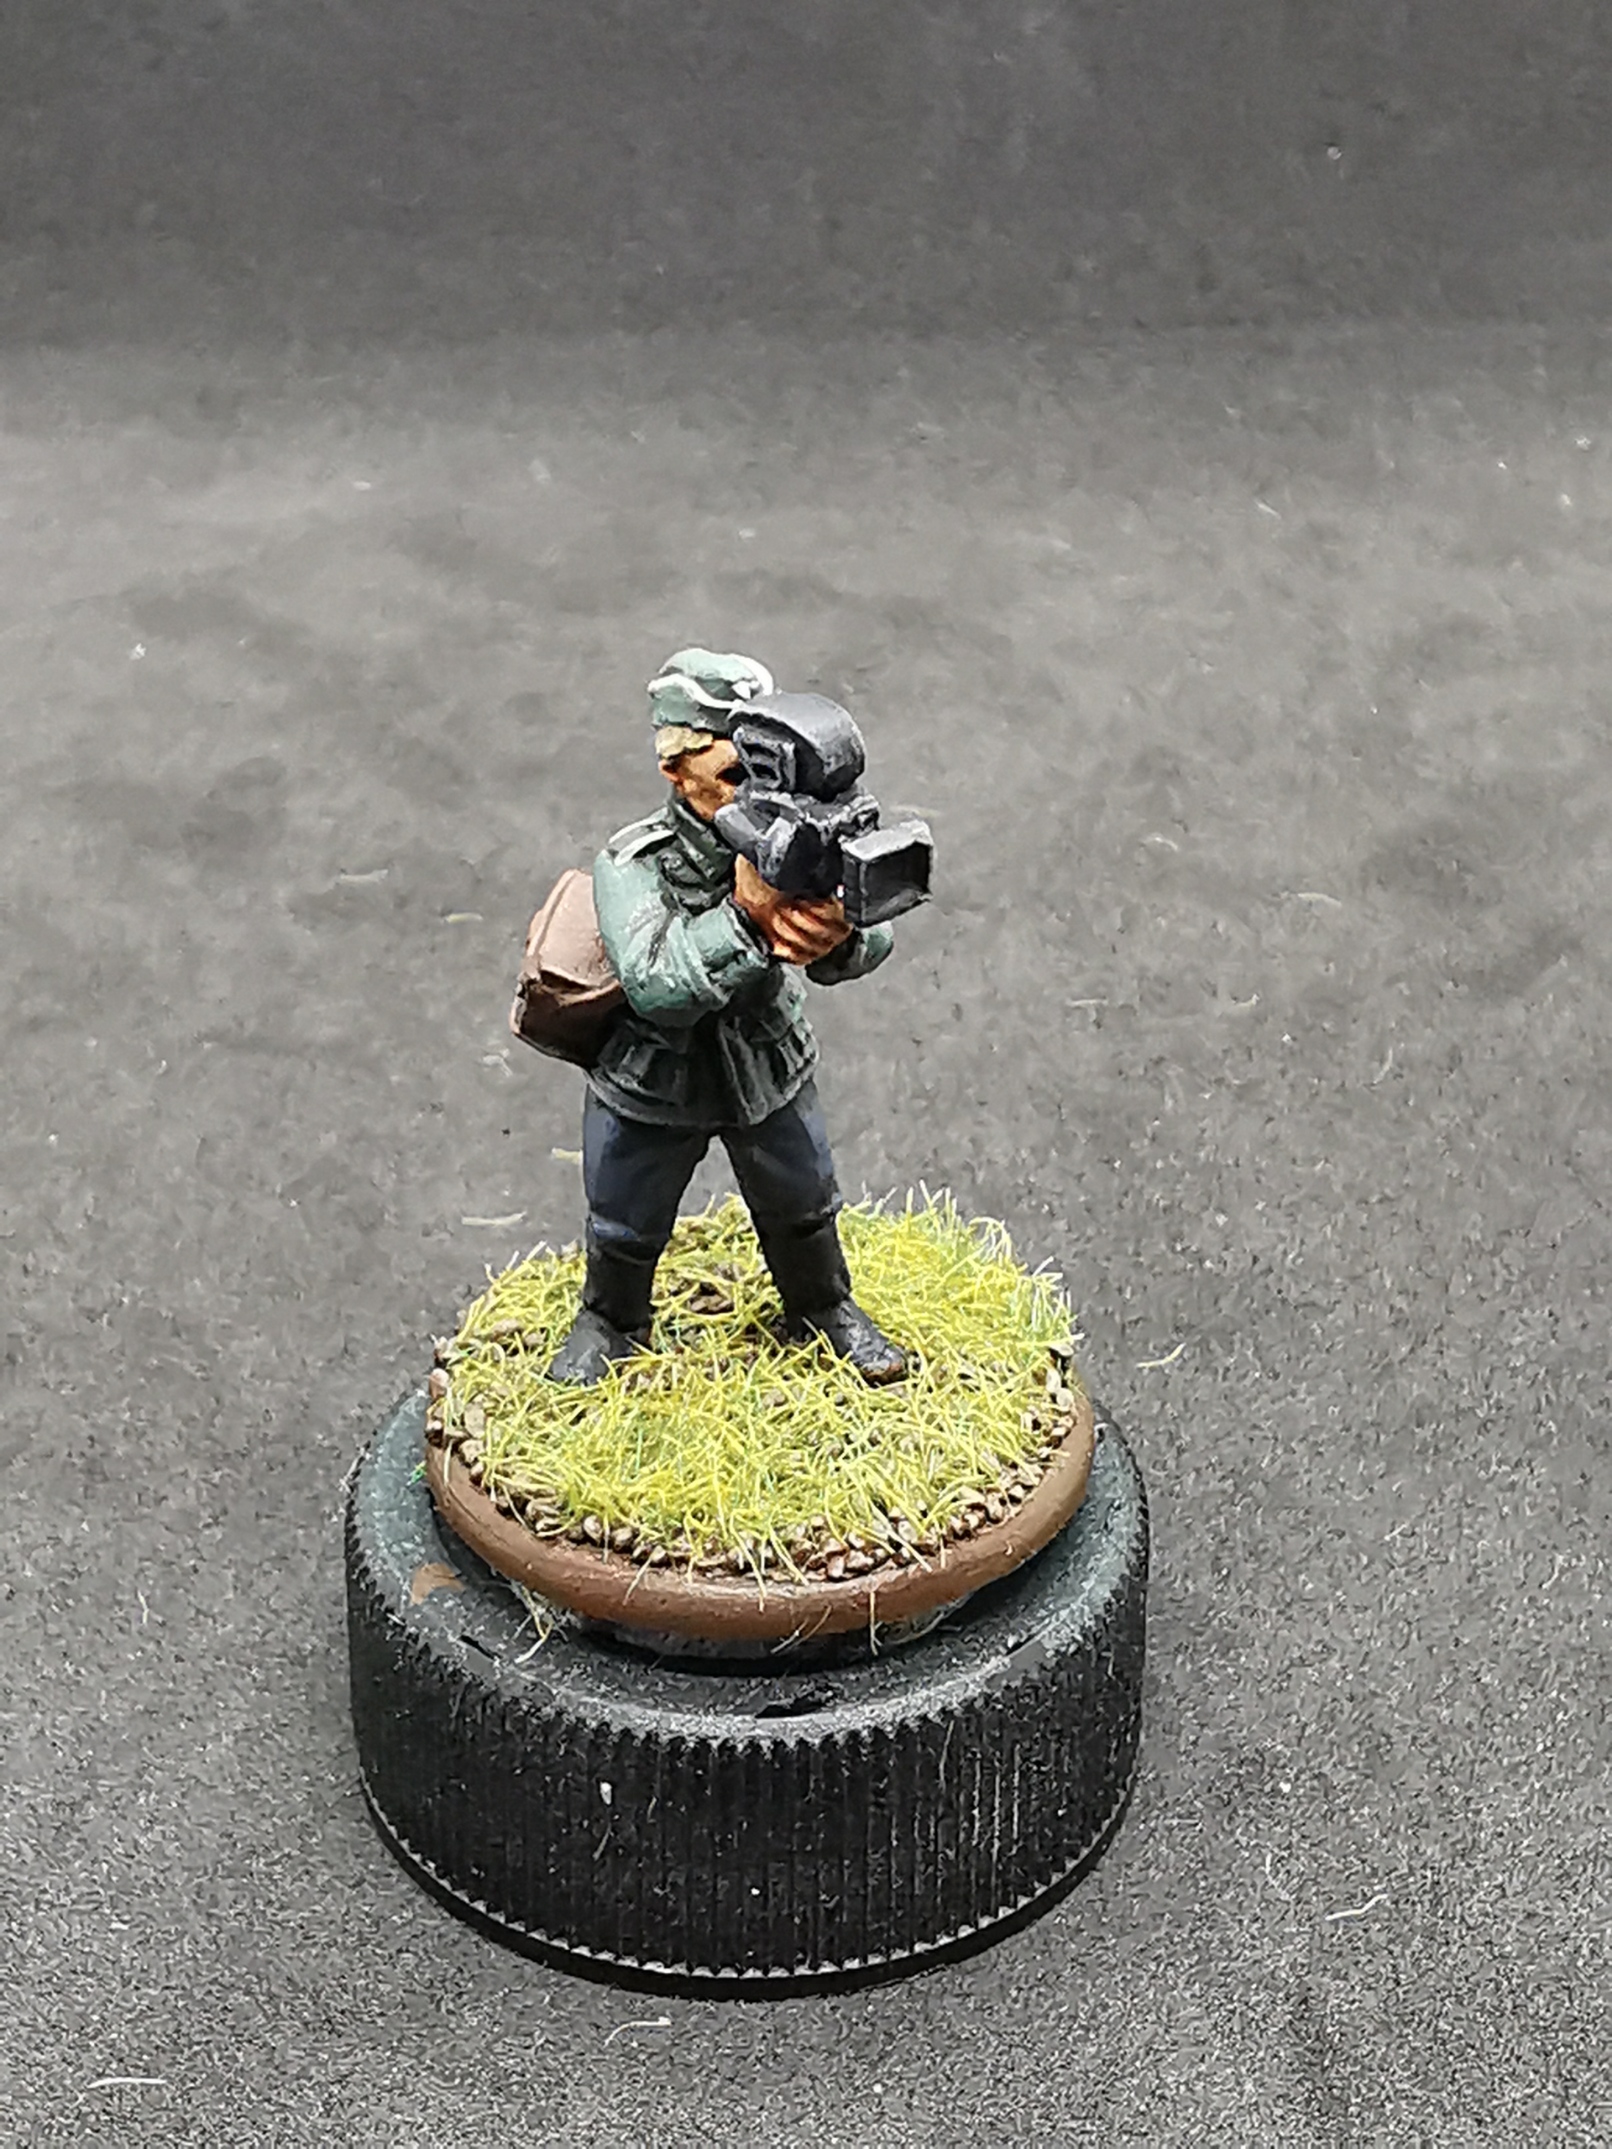
I also added a cameraman of the Wochenschau keeping track of all the successes happening on the front to boost moral on the homefront.
——— Uuuuuuuuuuuund Kamera läuft!
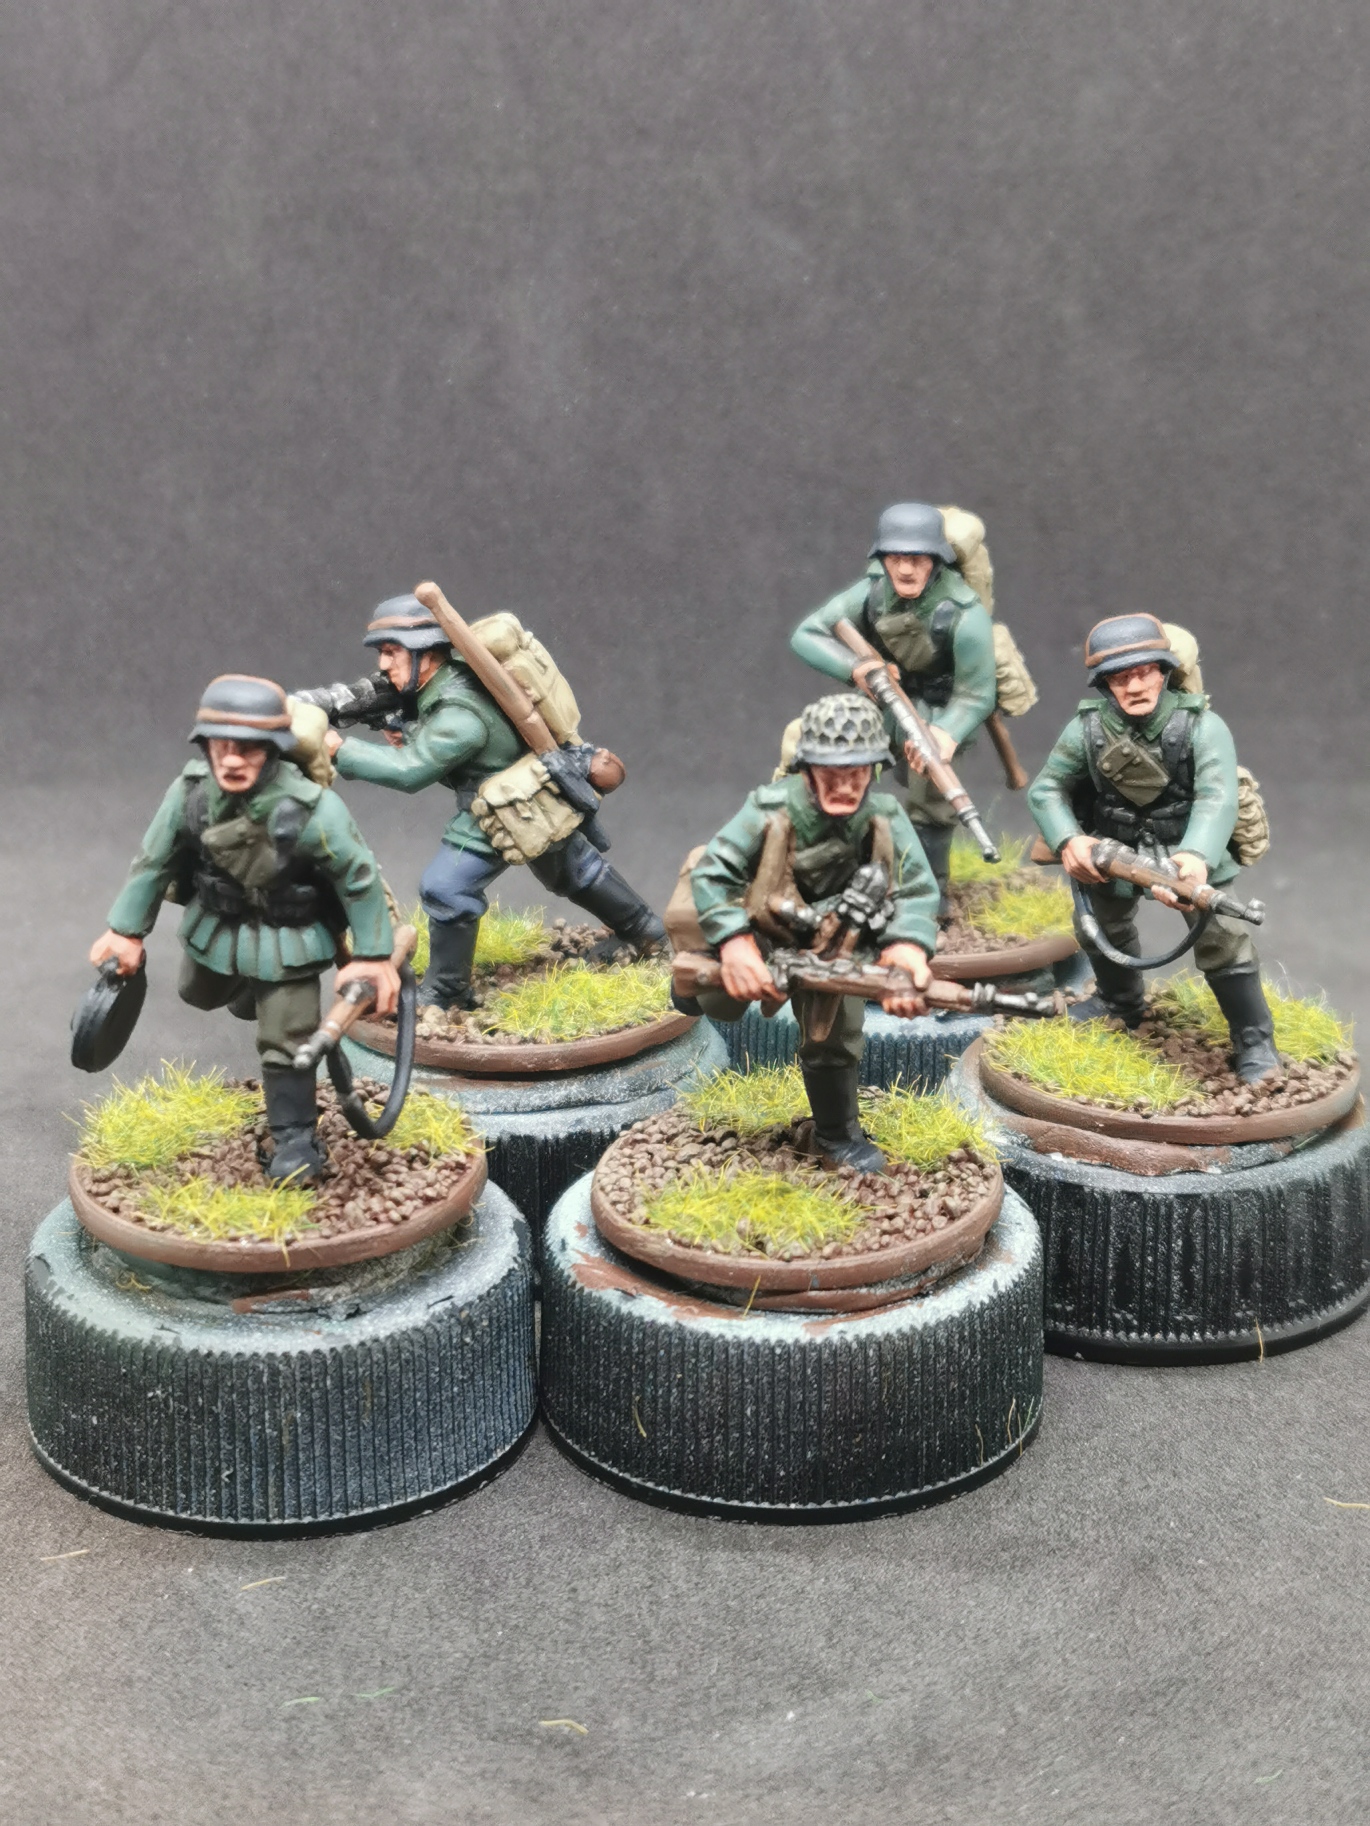
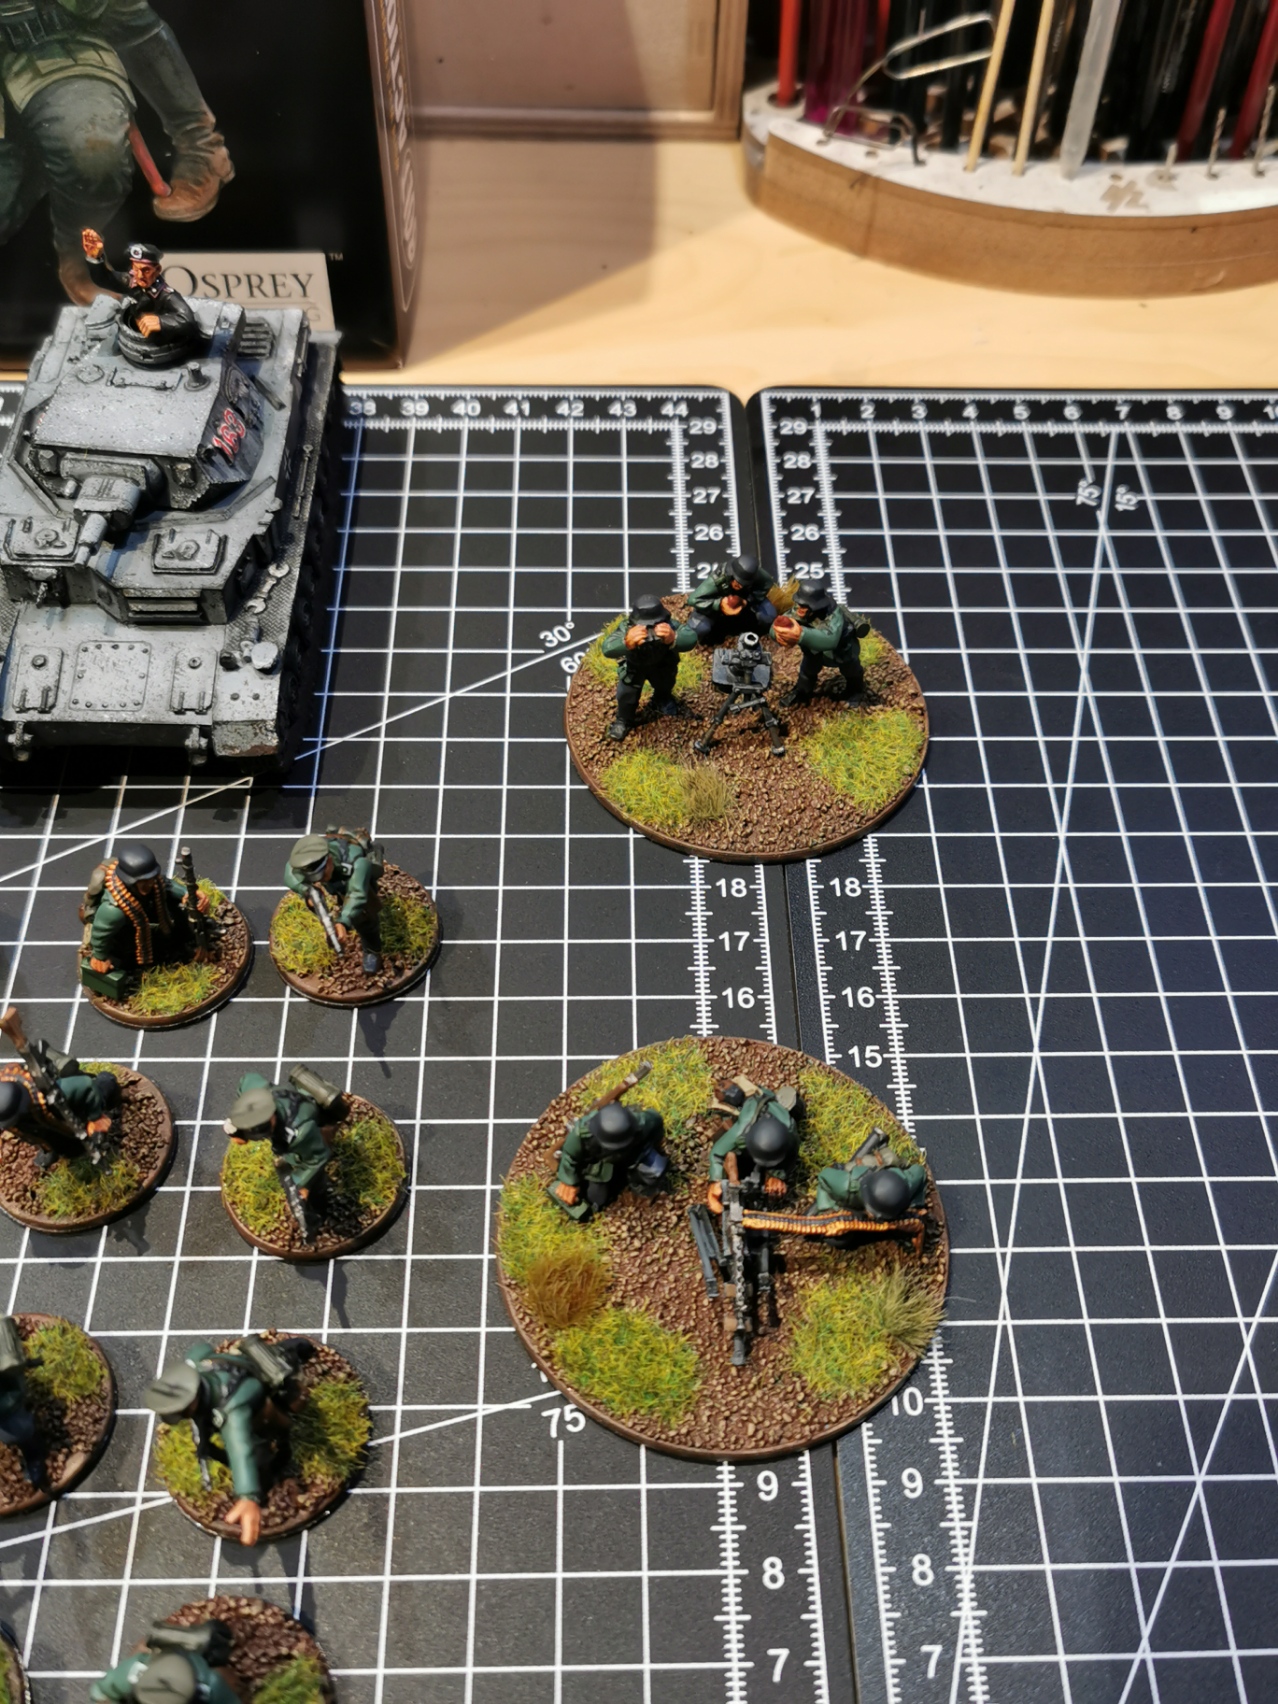
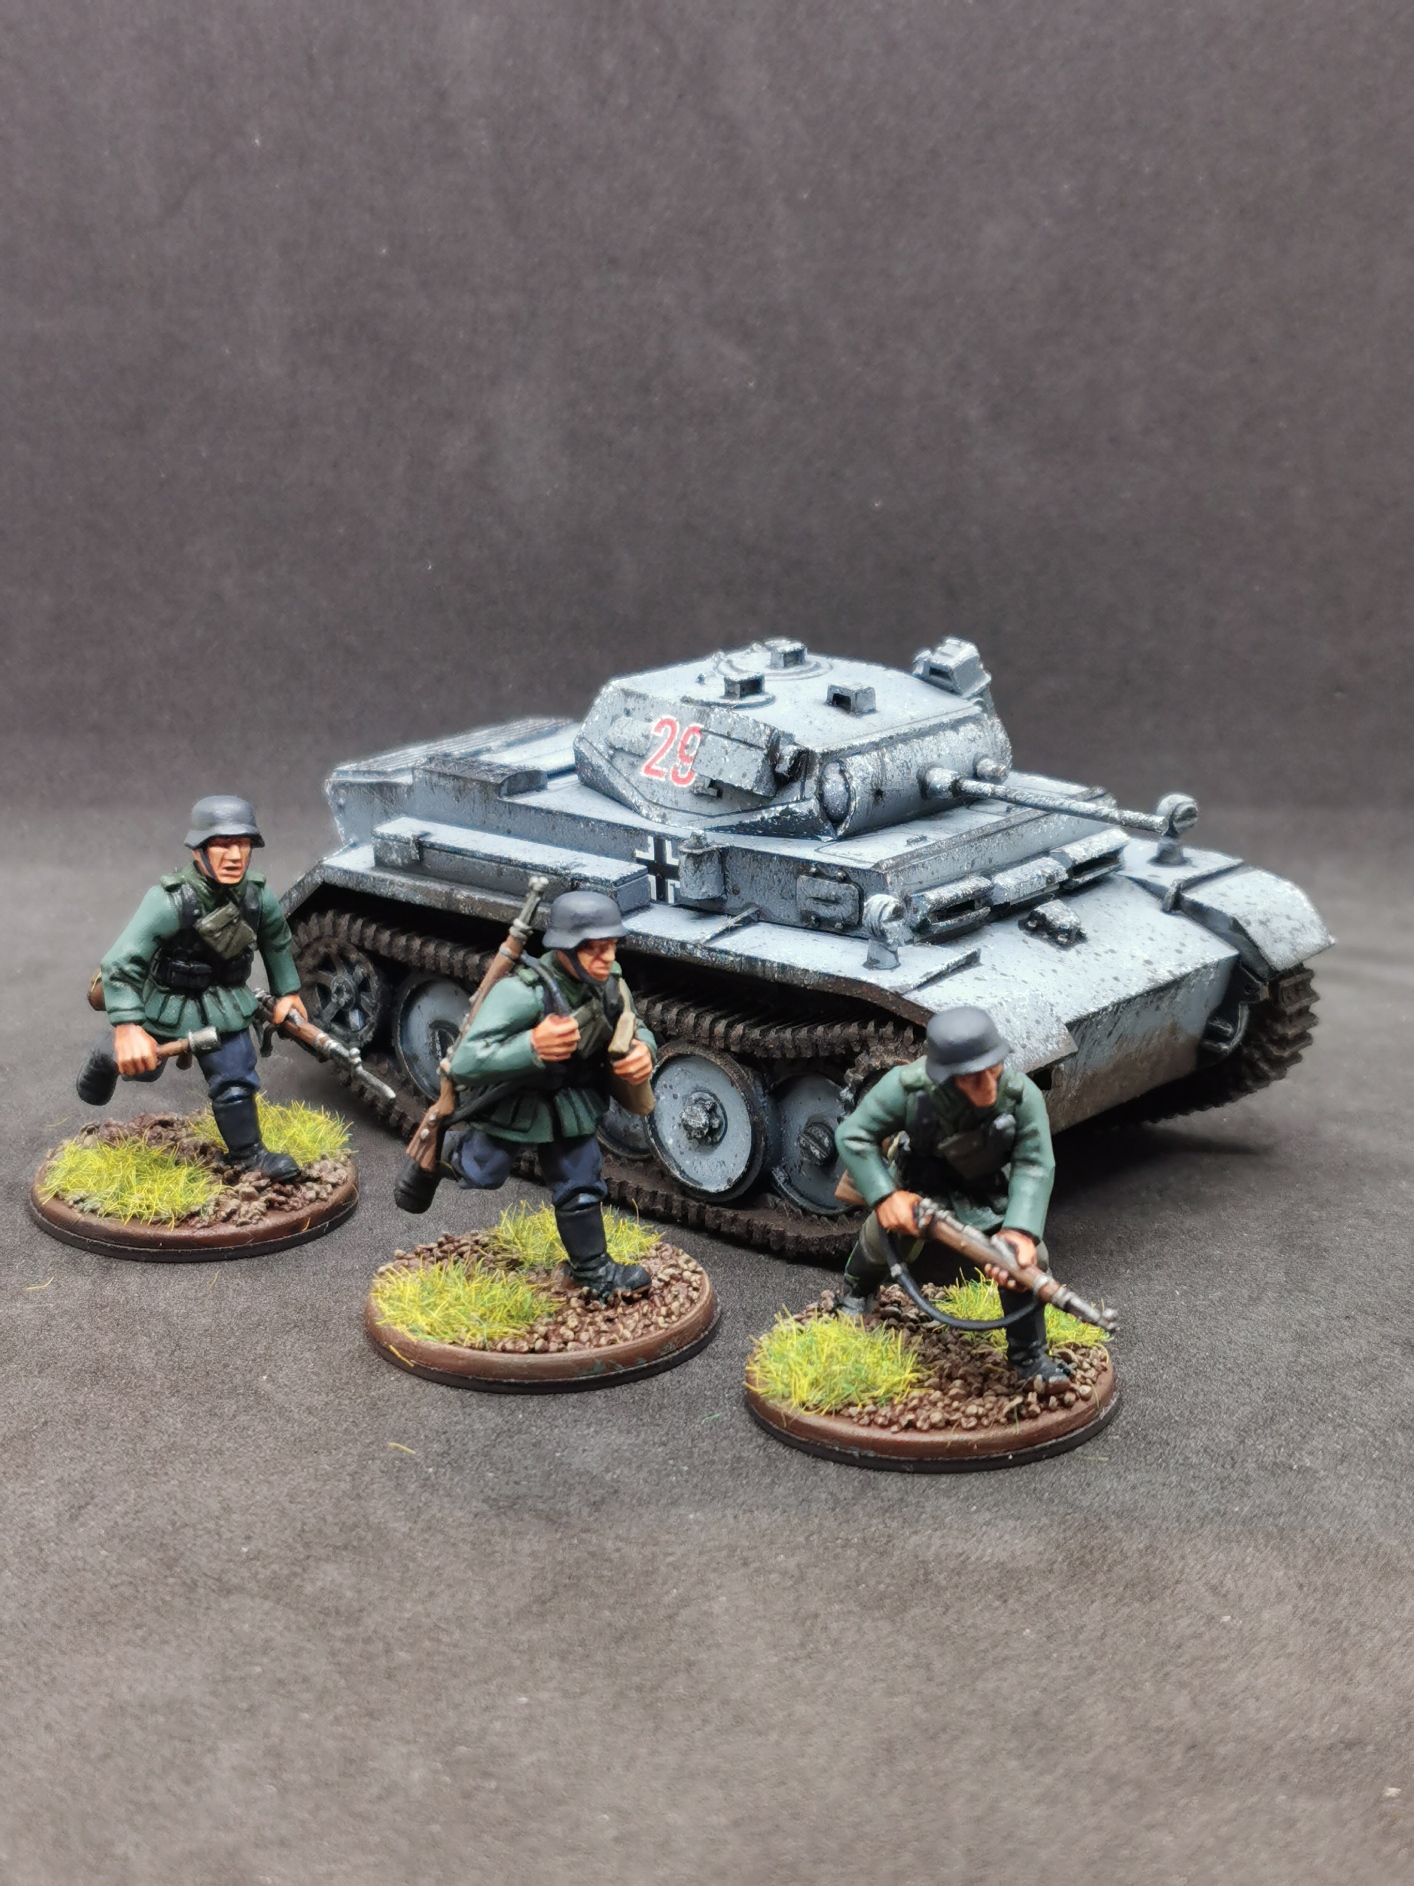
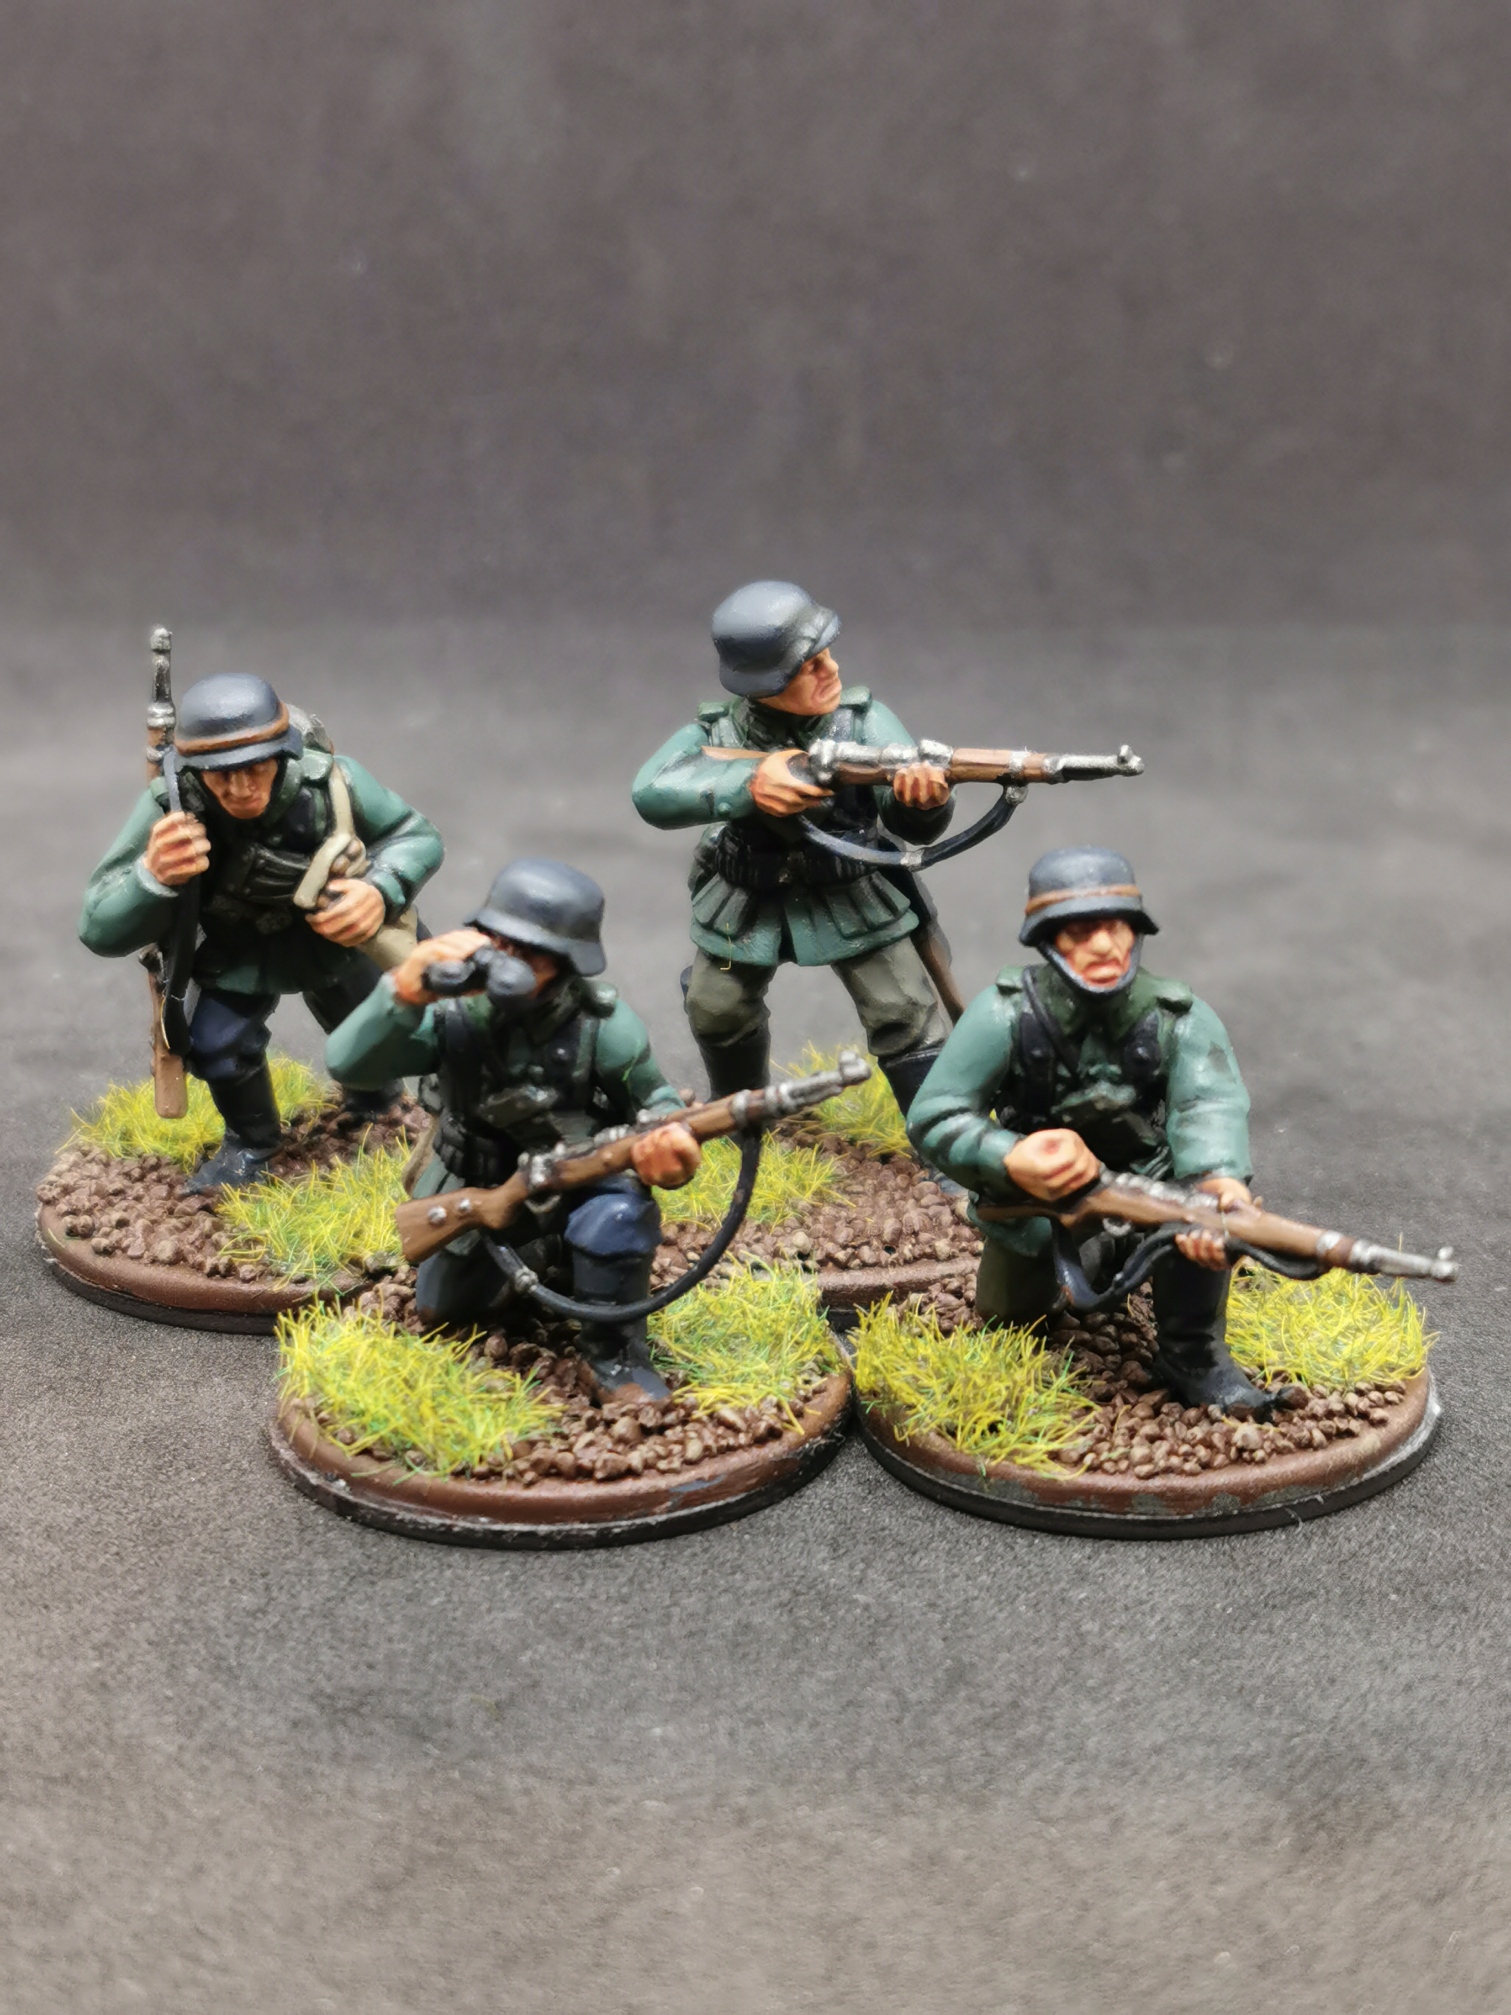
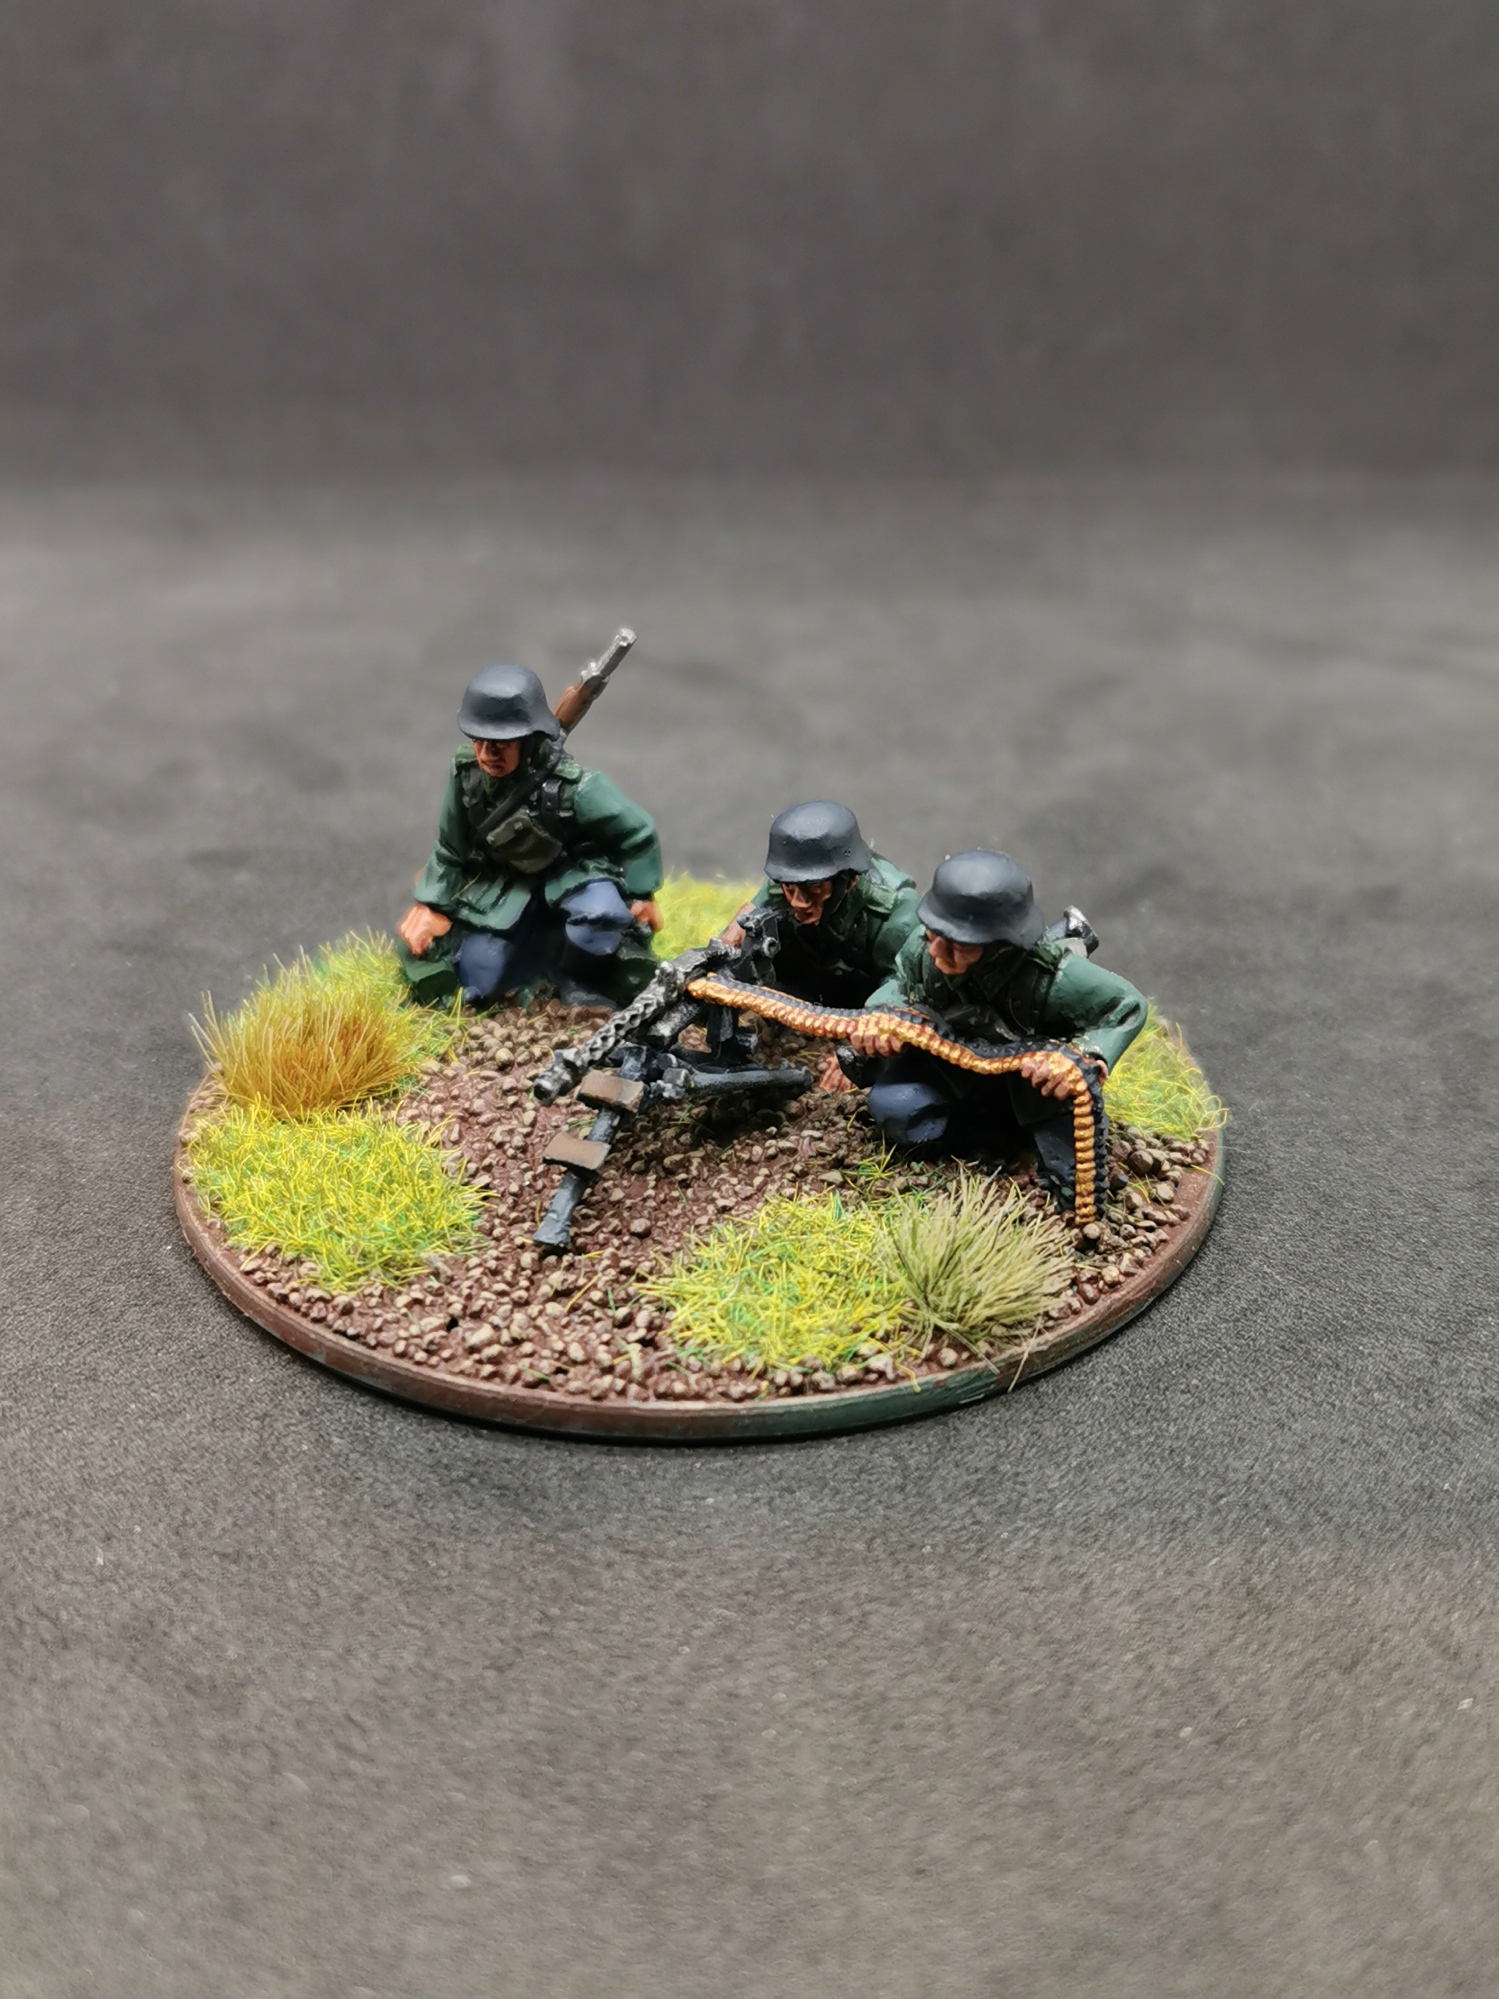
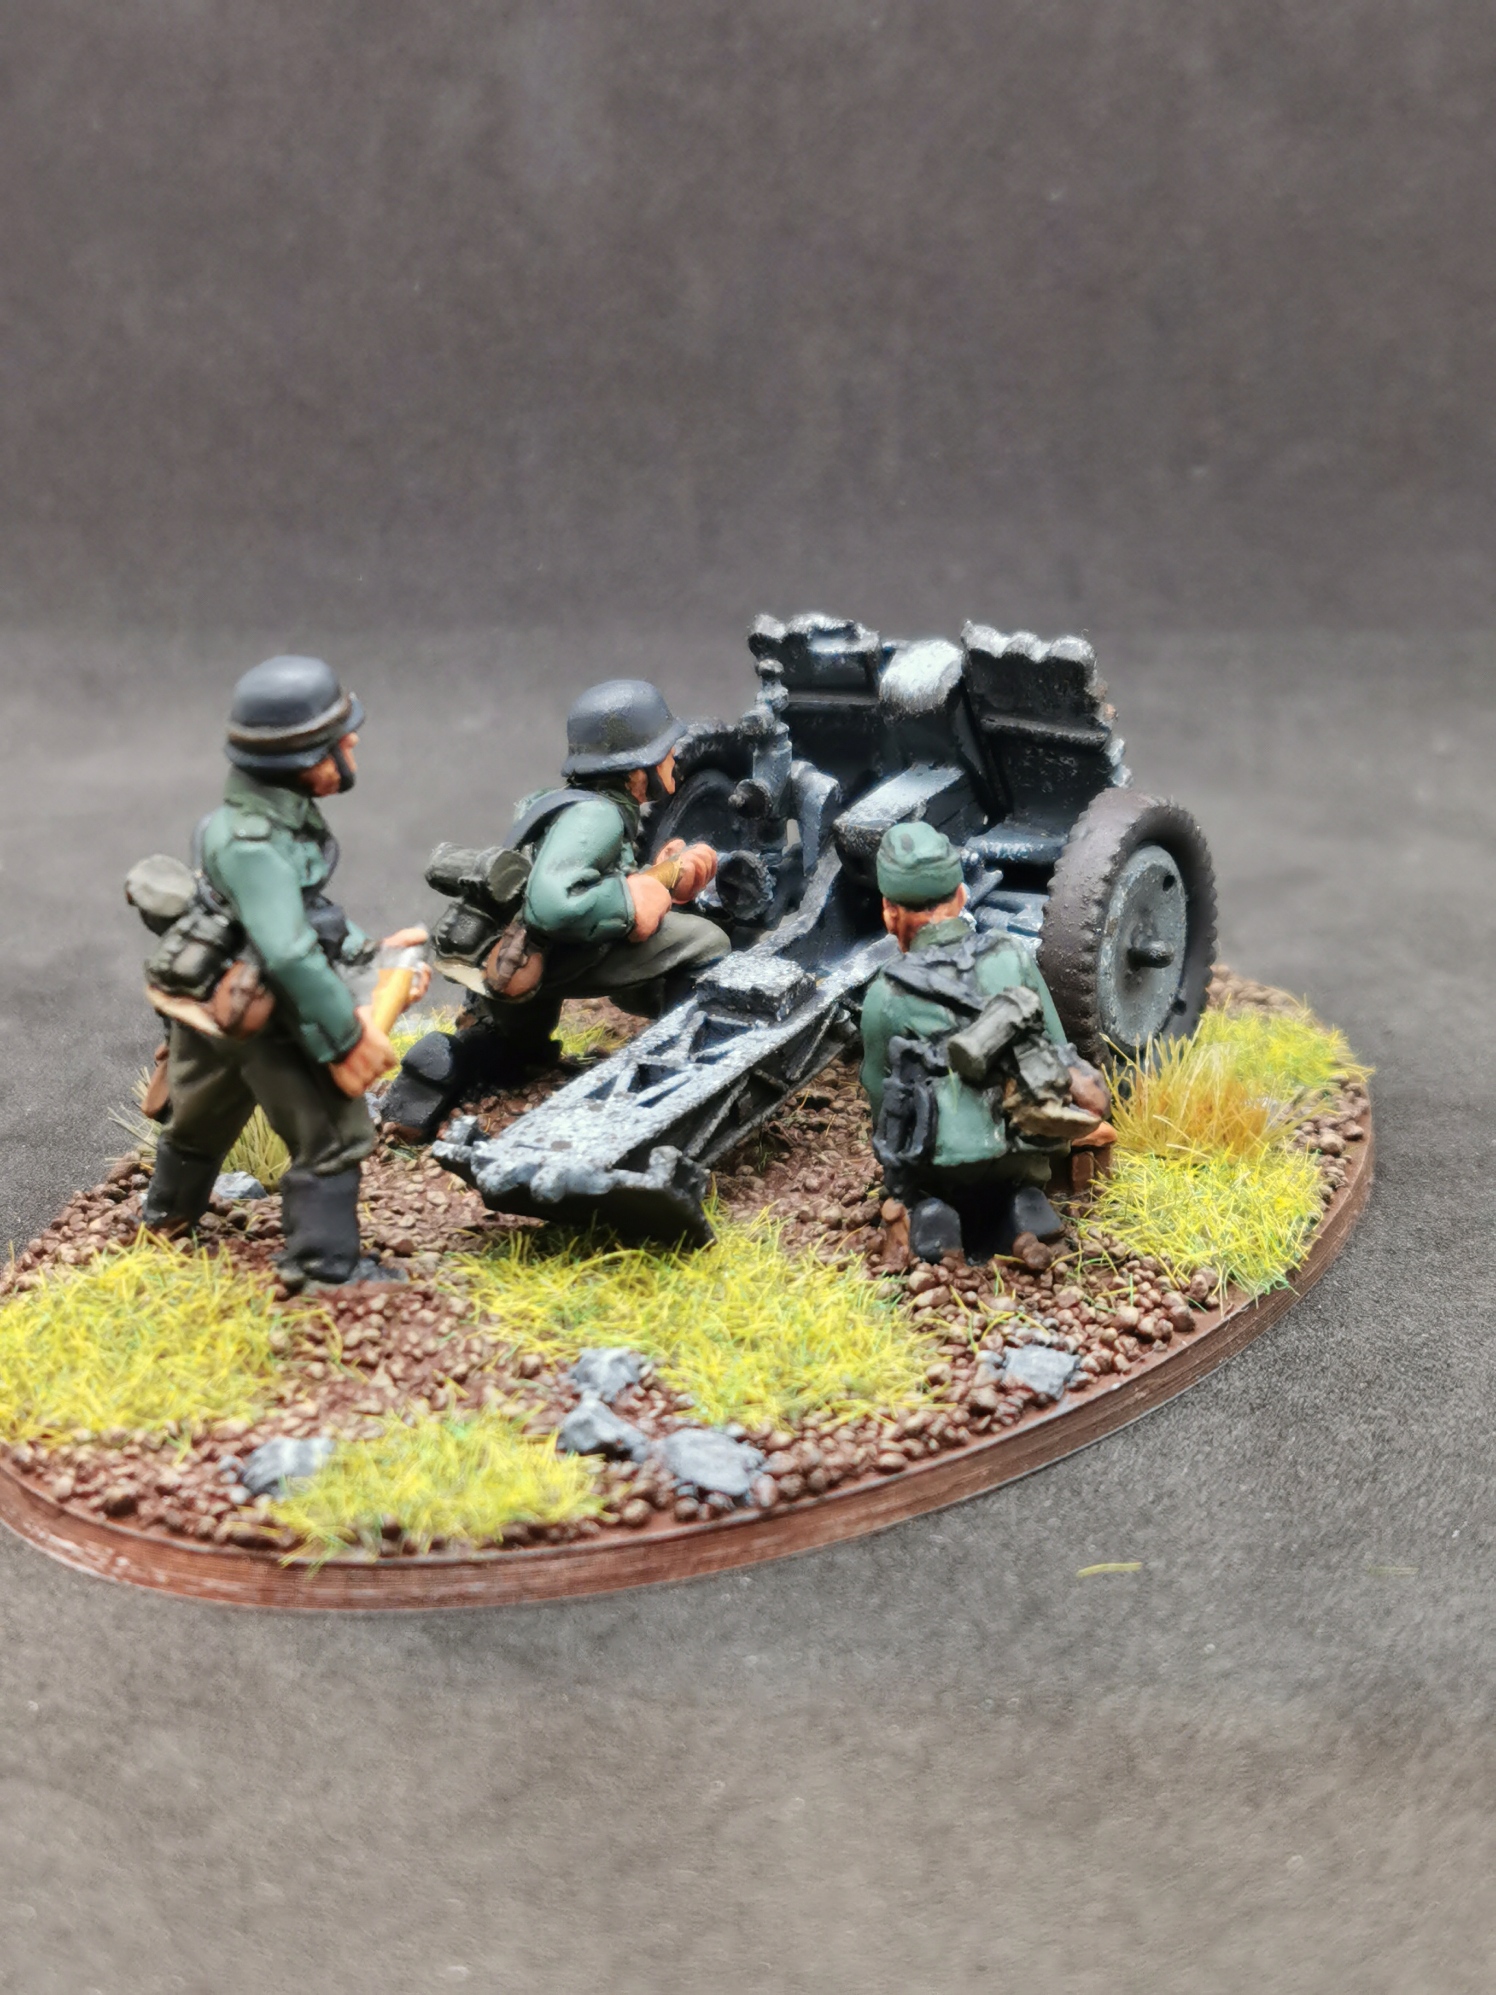
Step 12: Adding Support Units
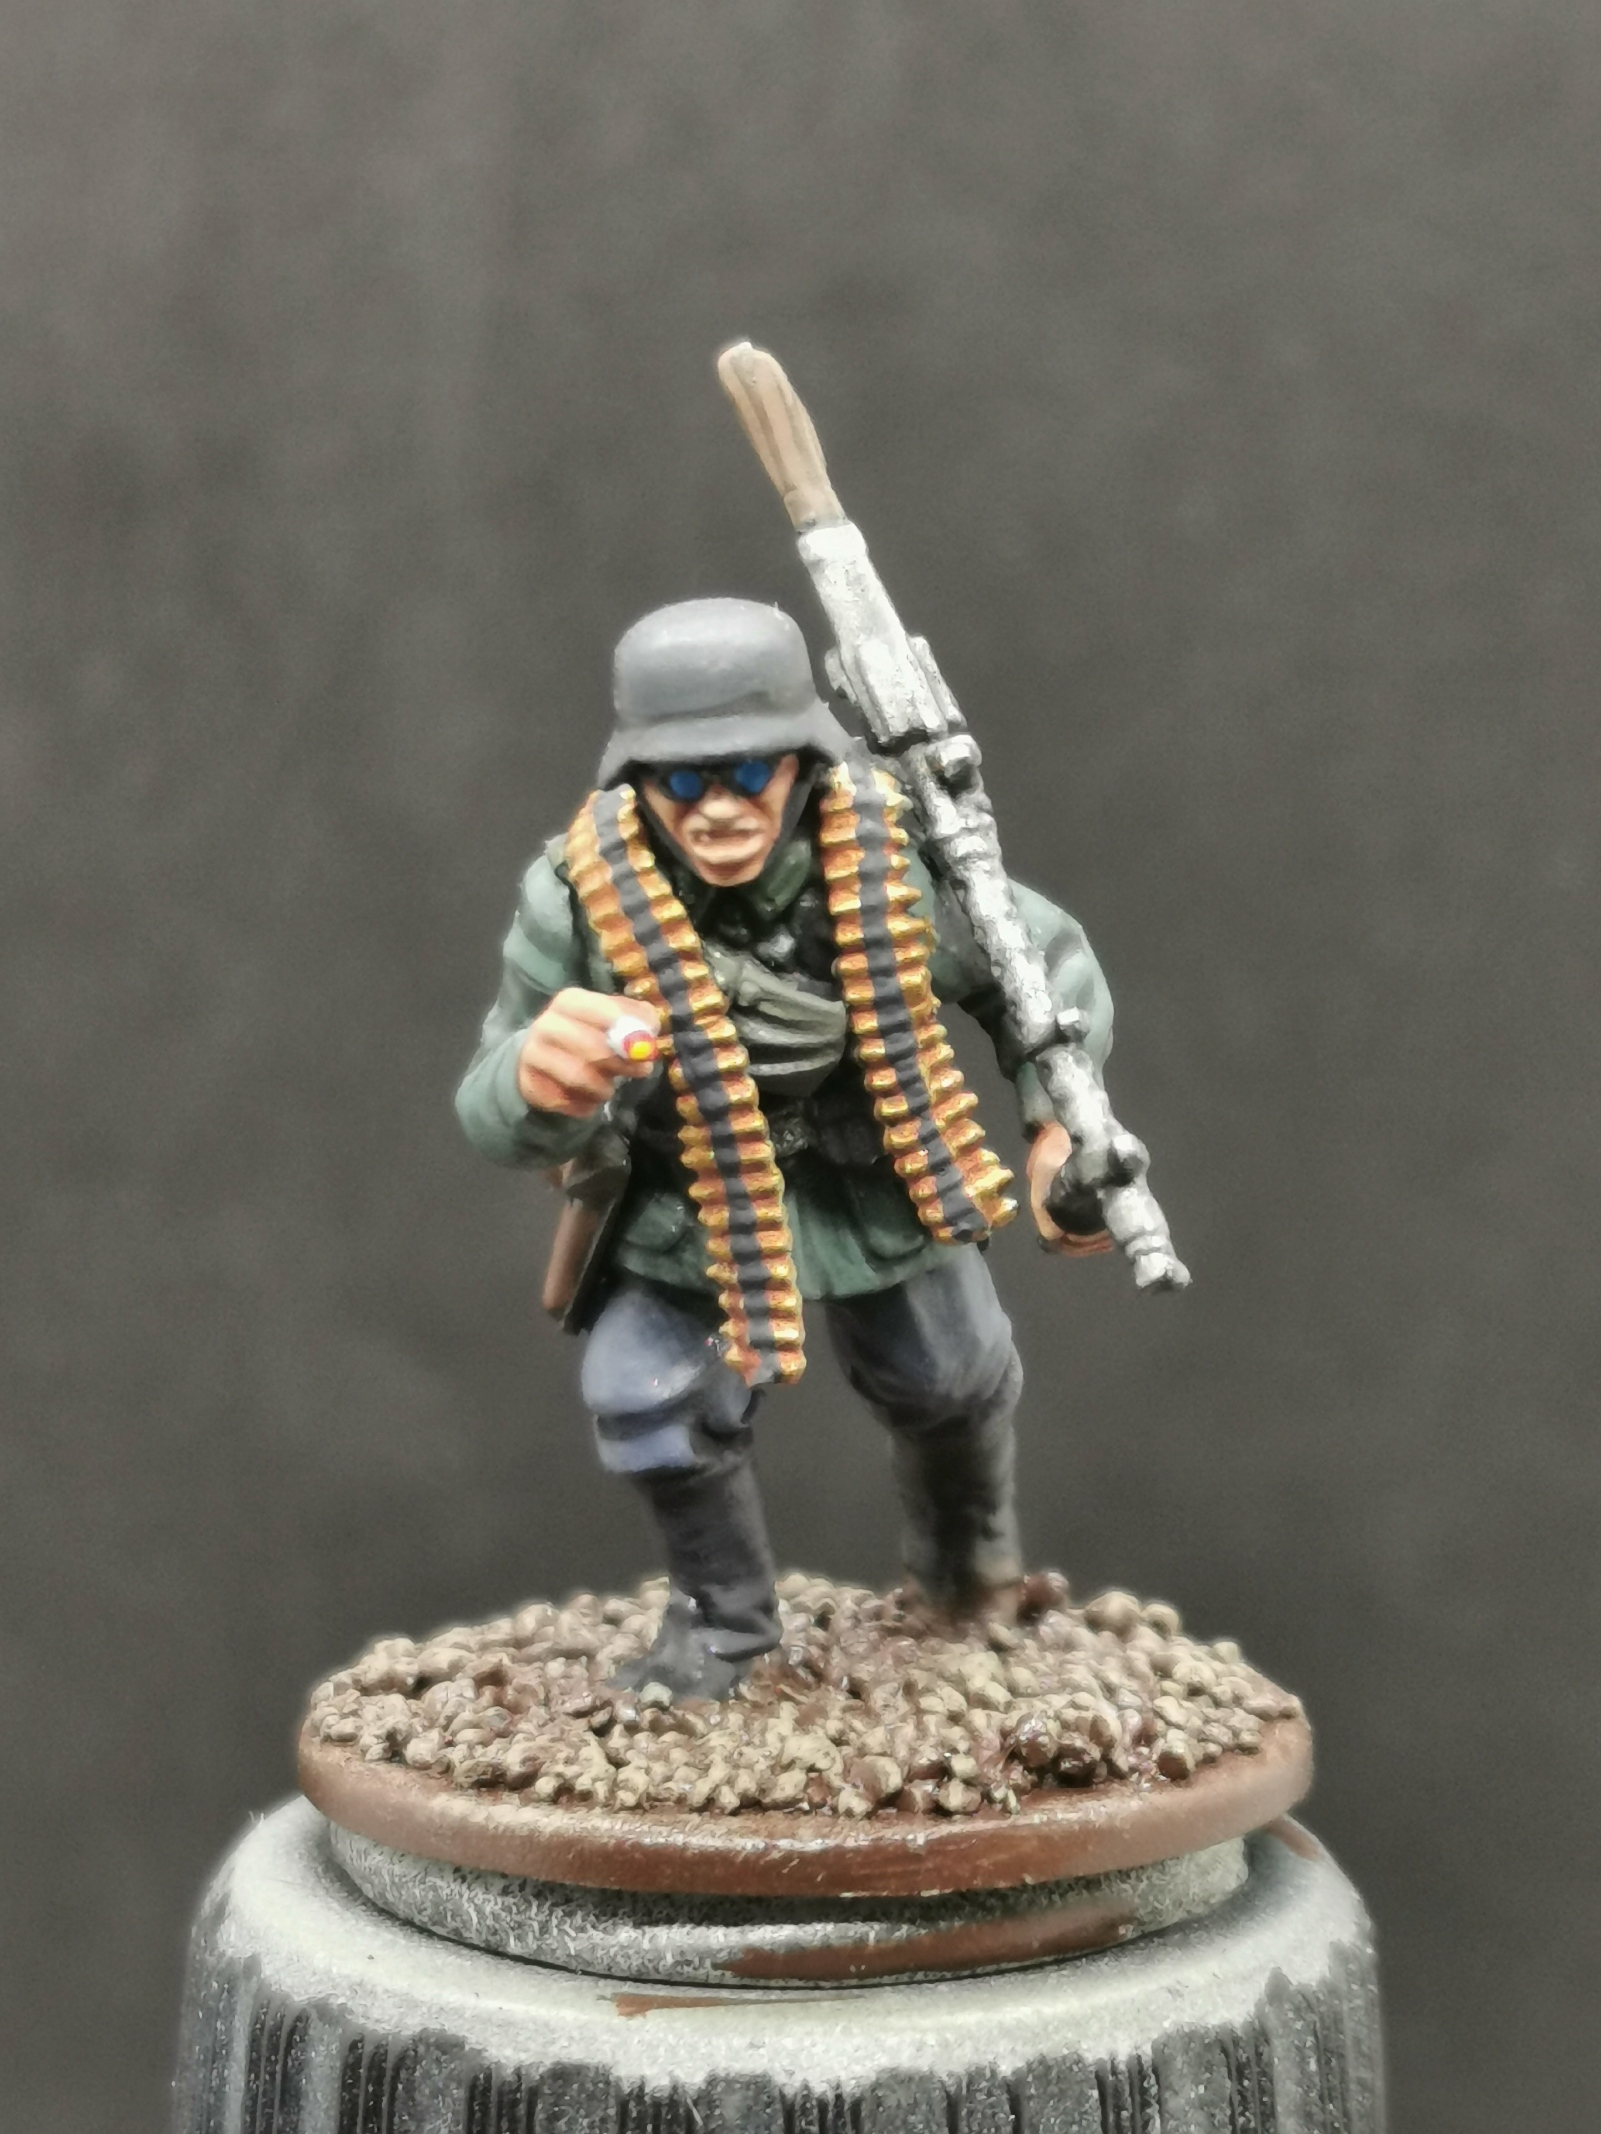
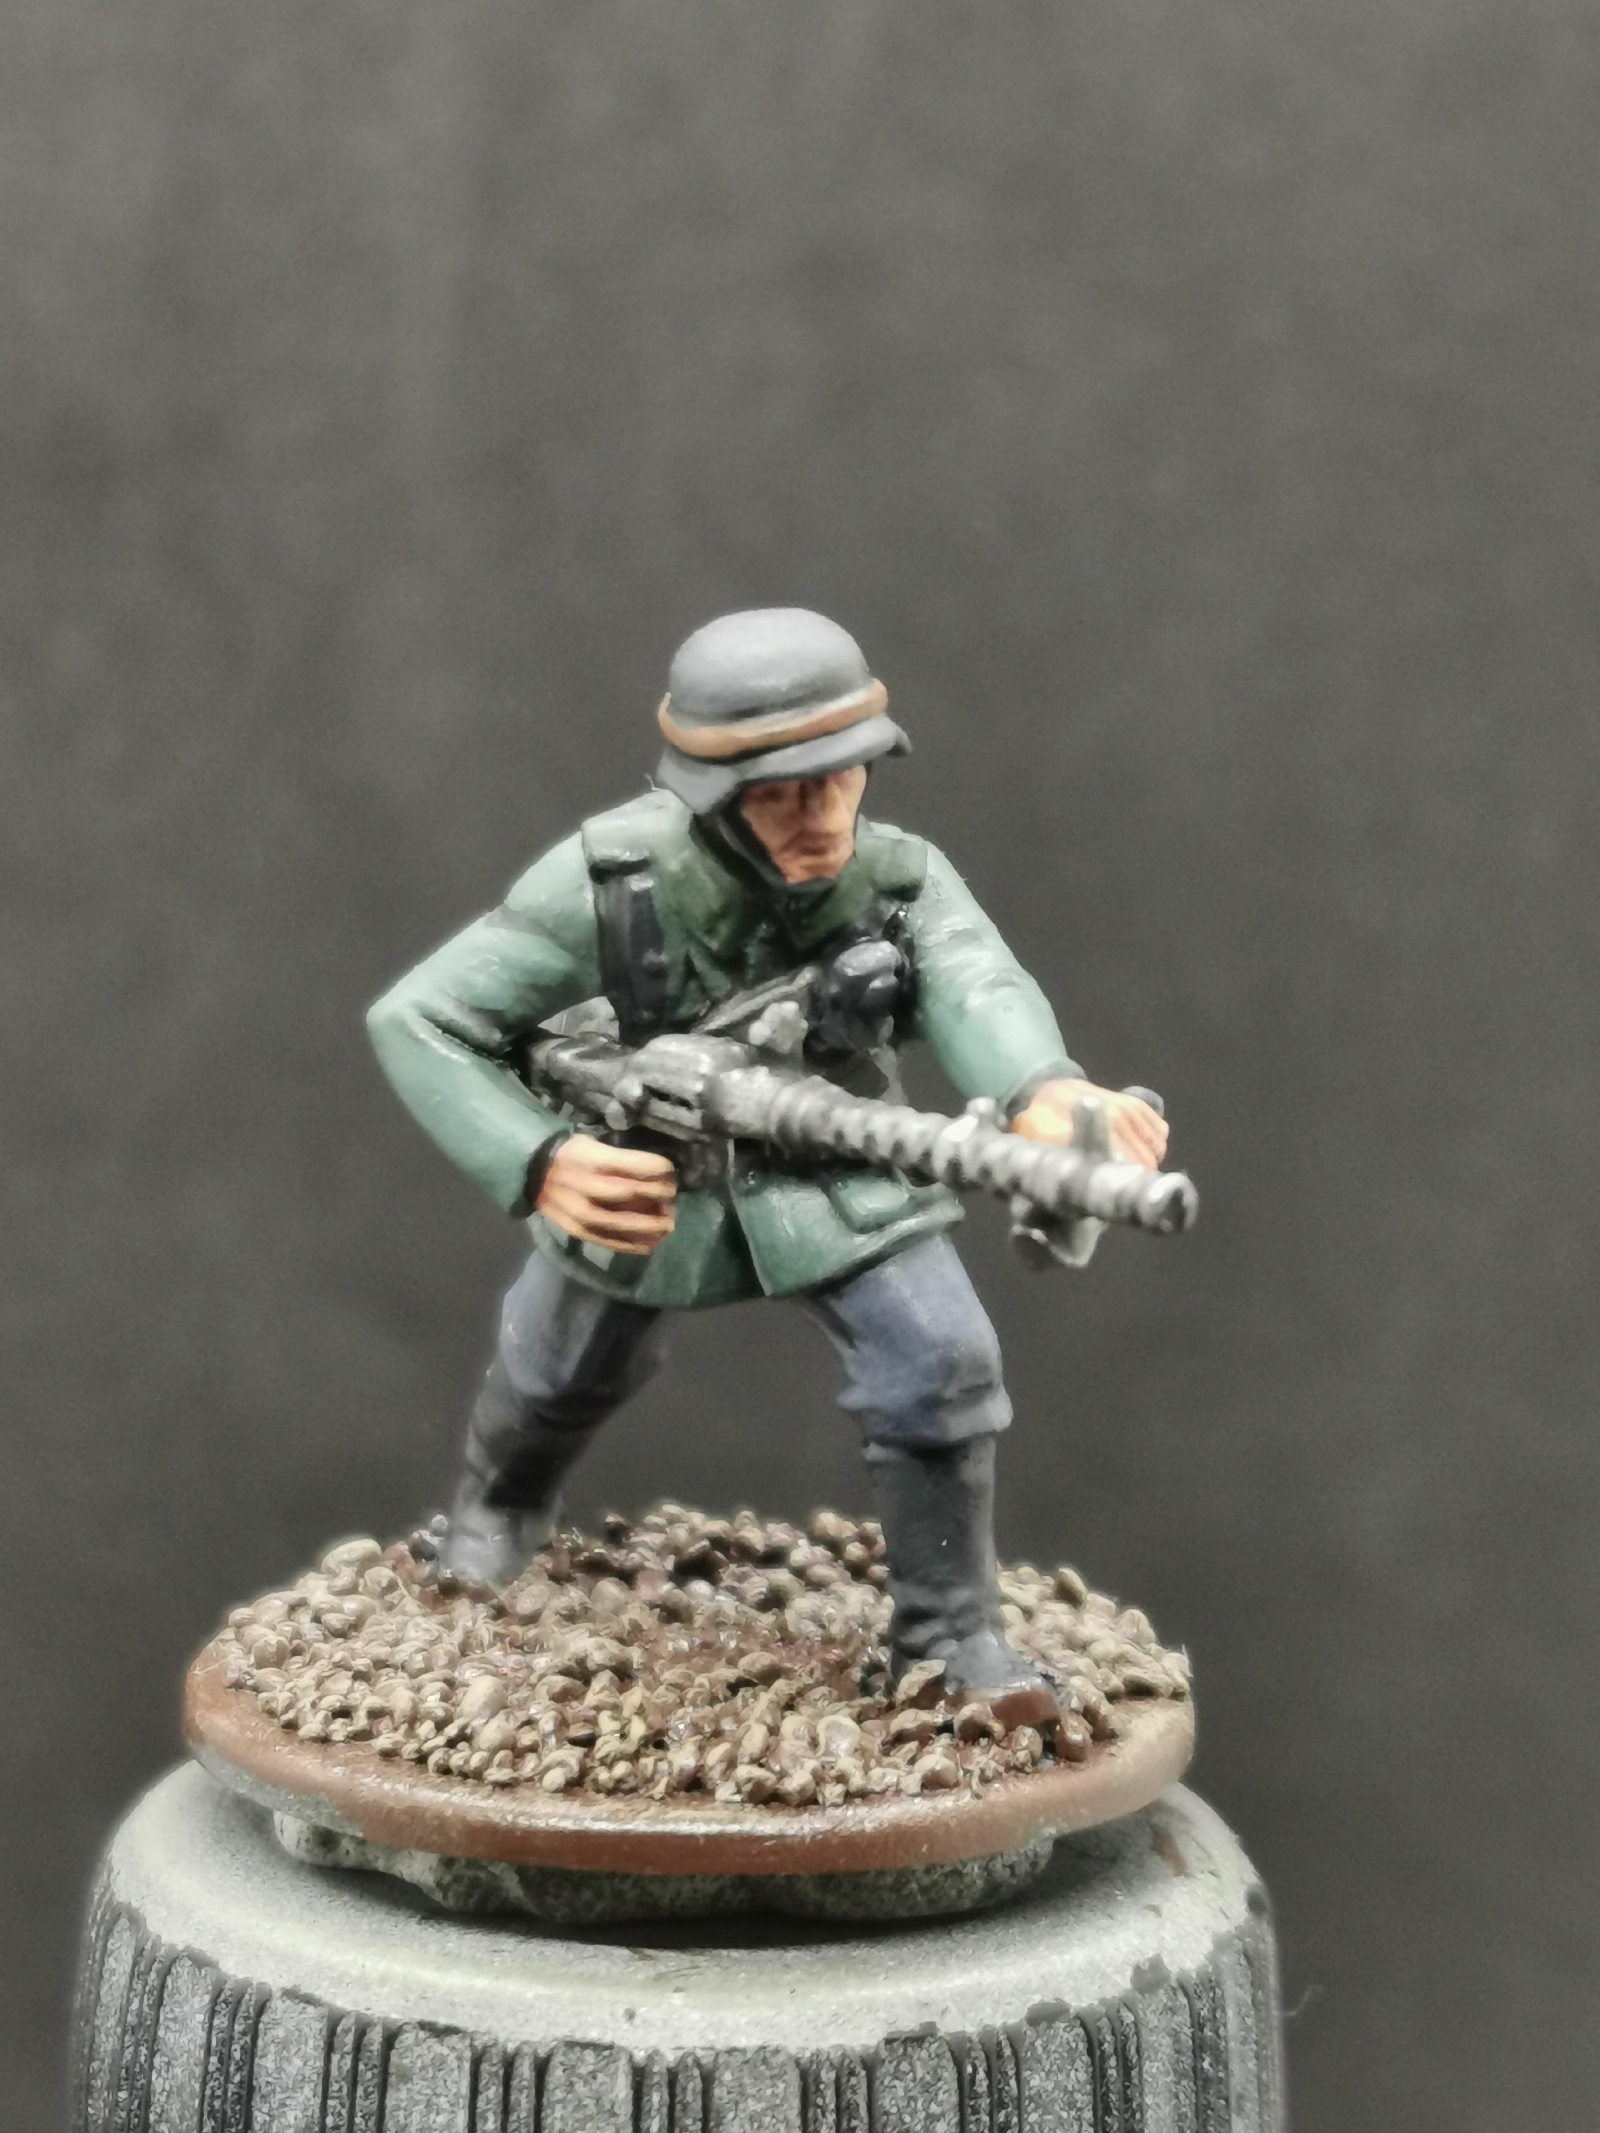
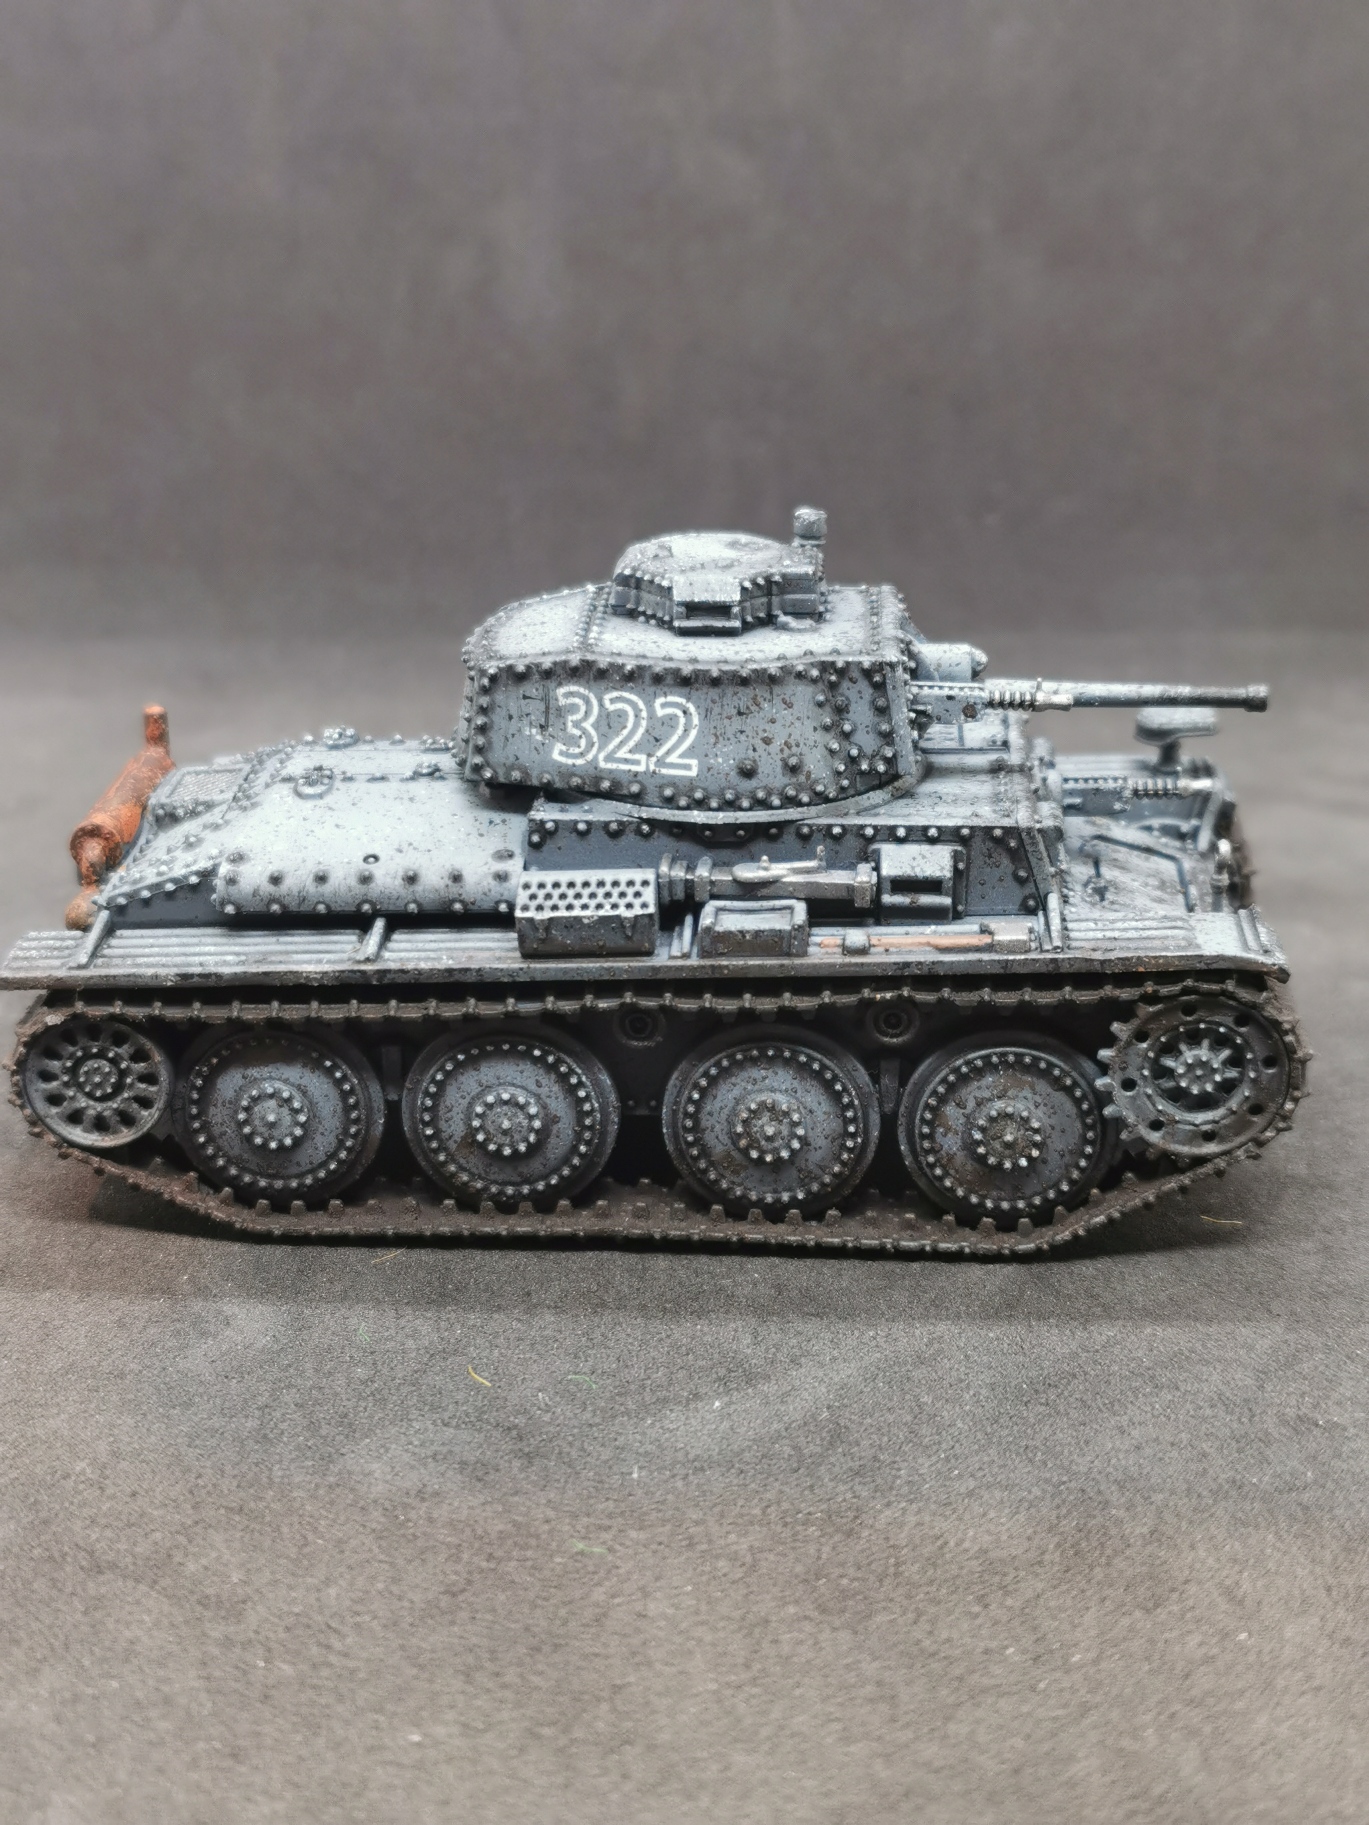
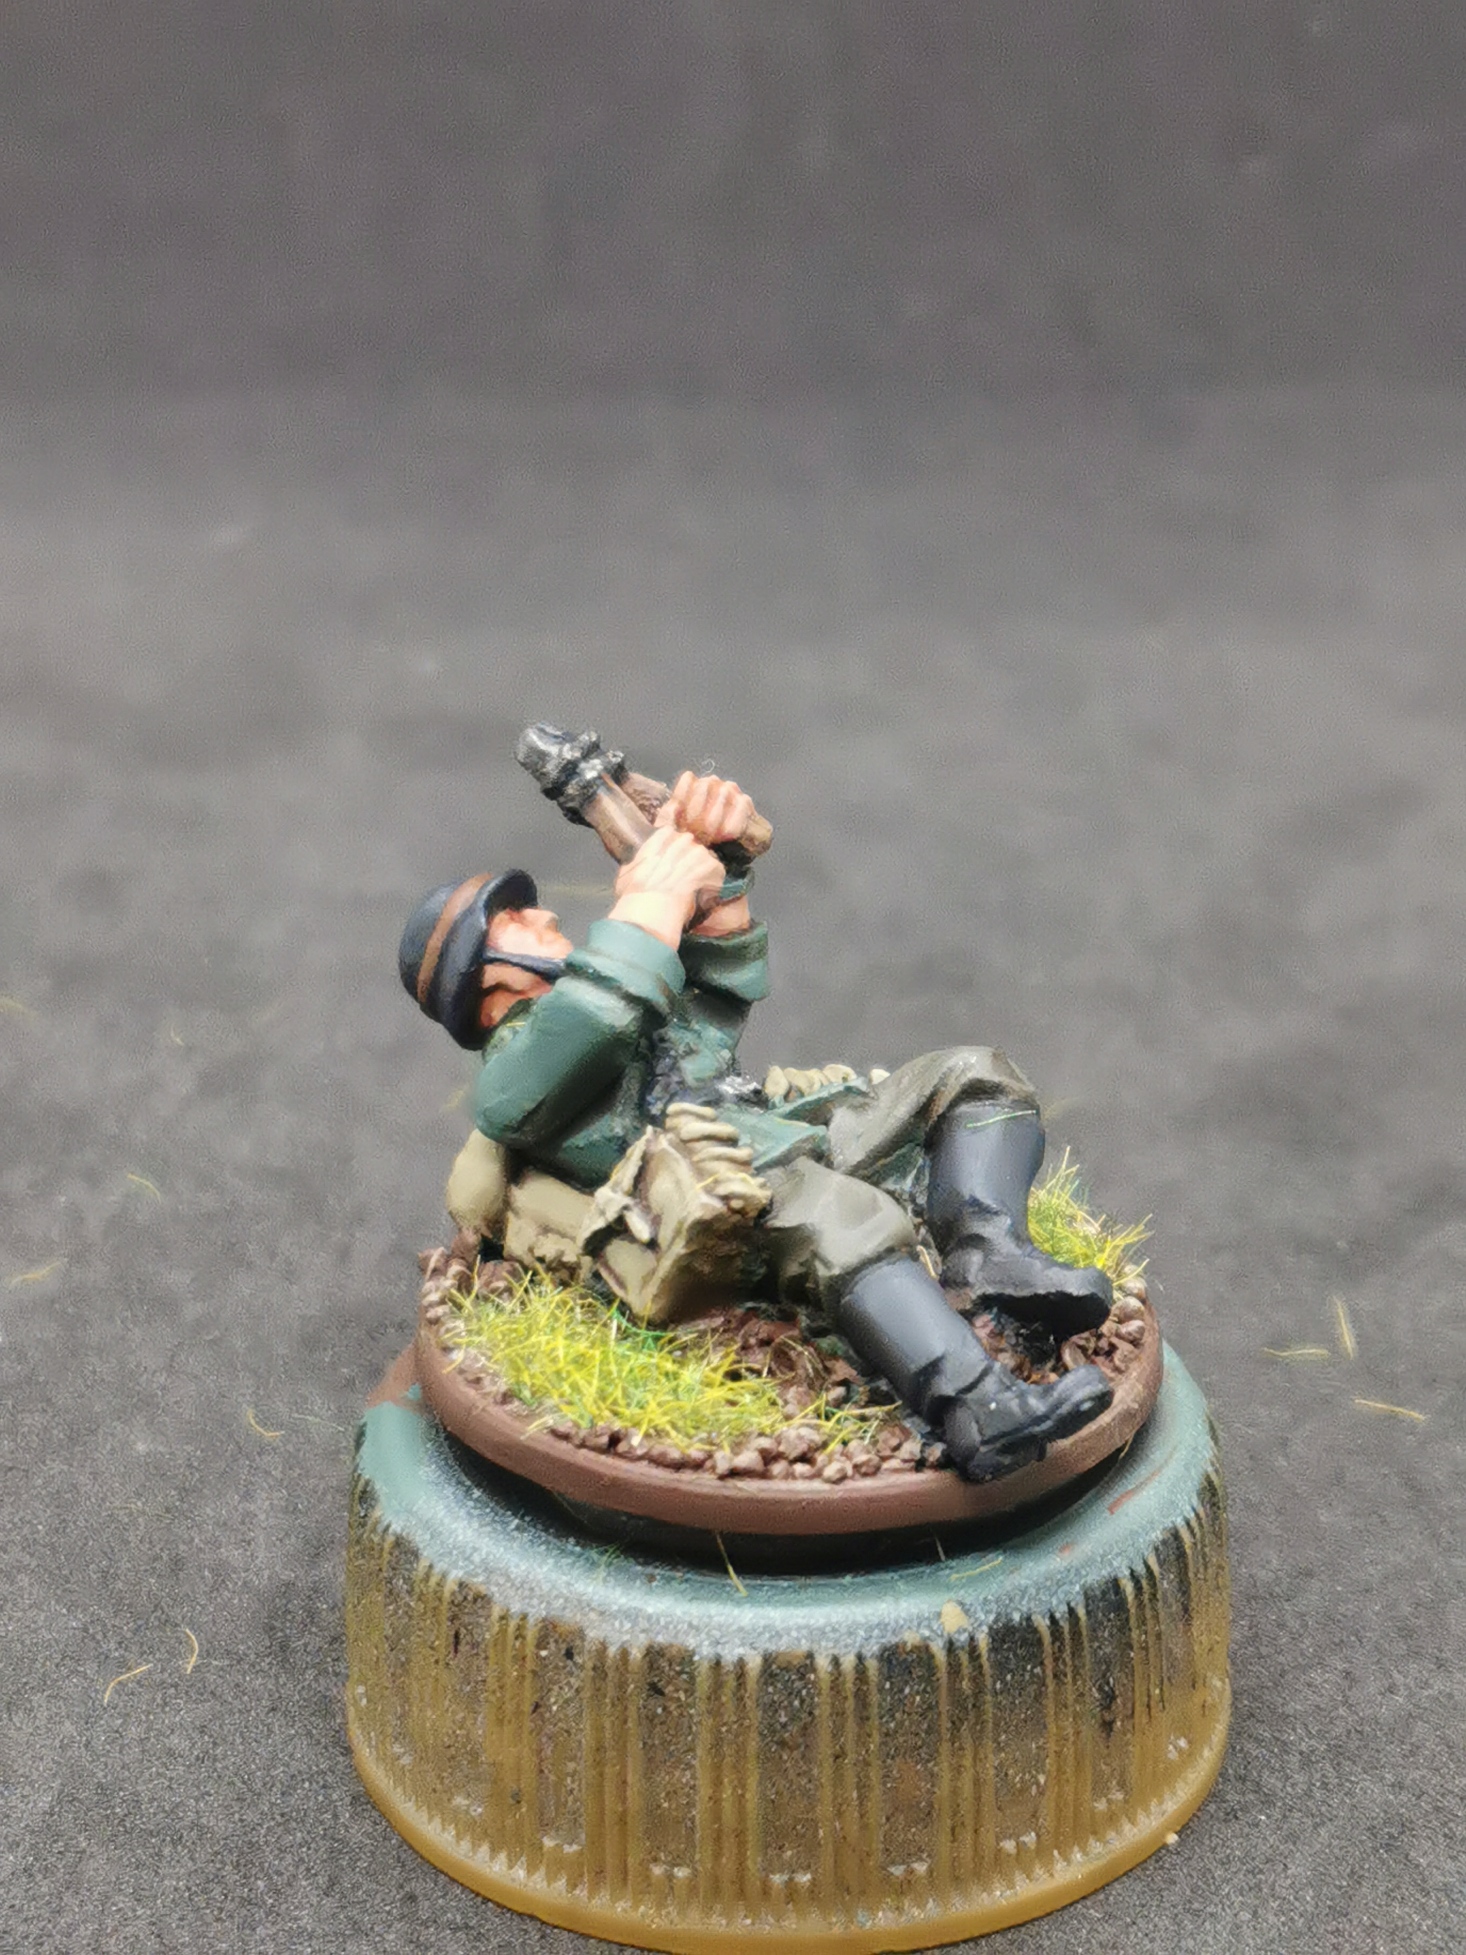
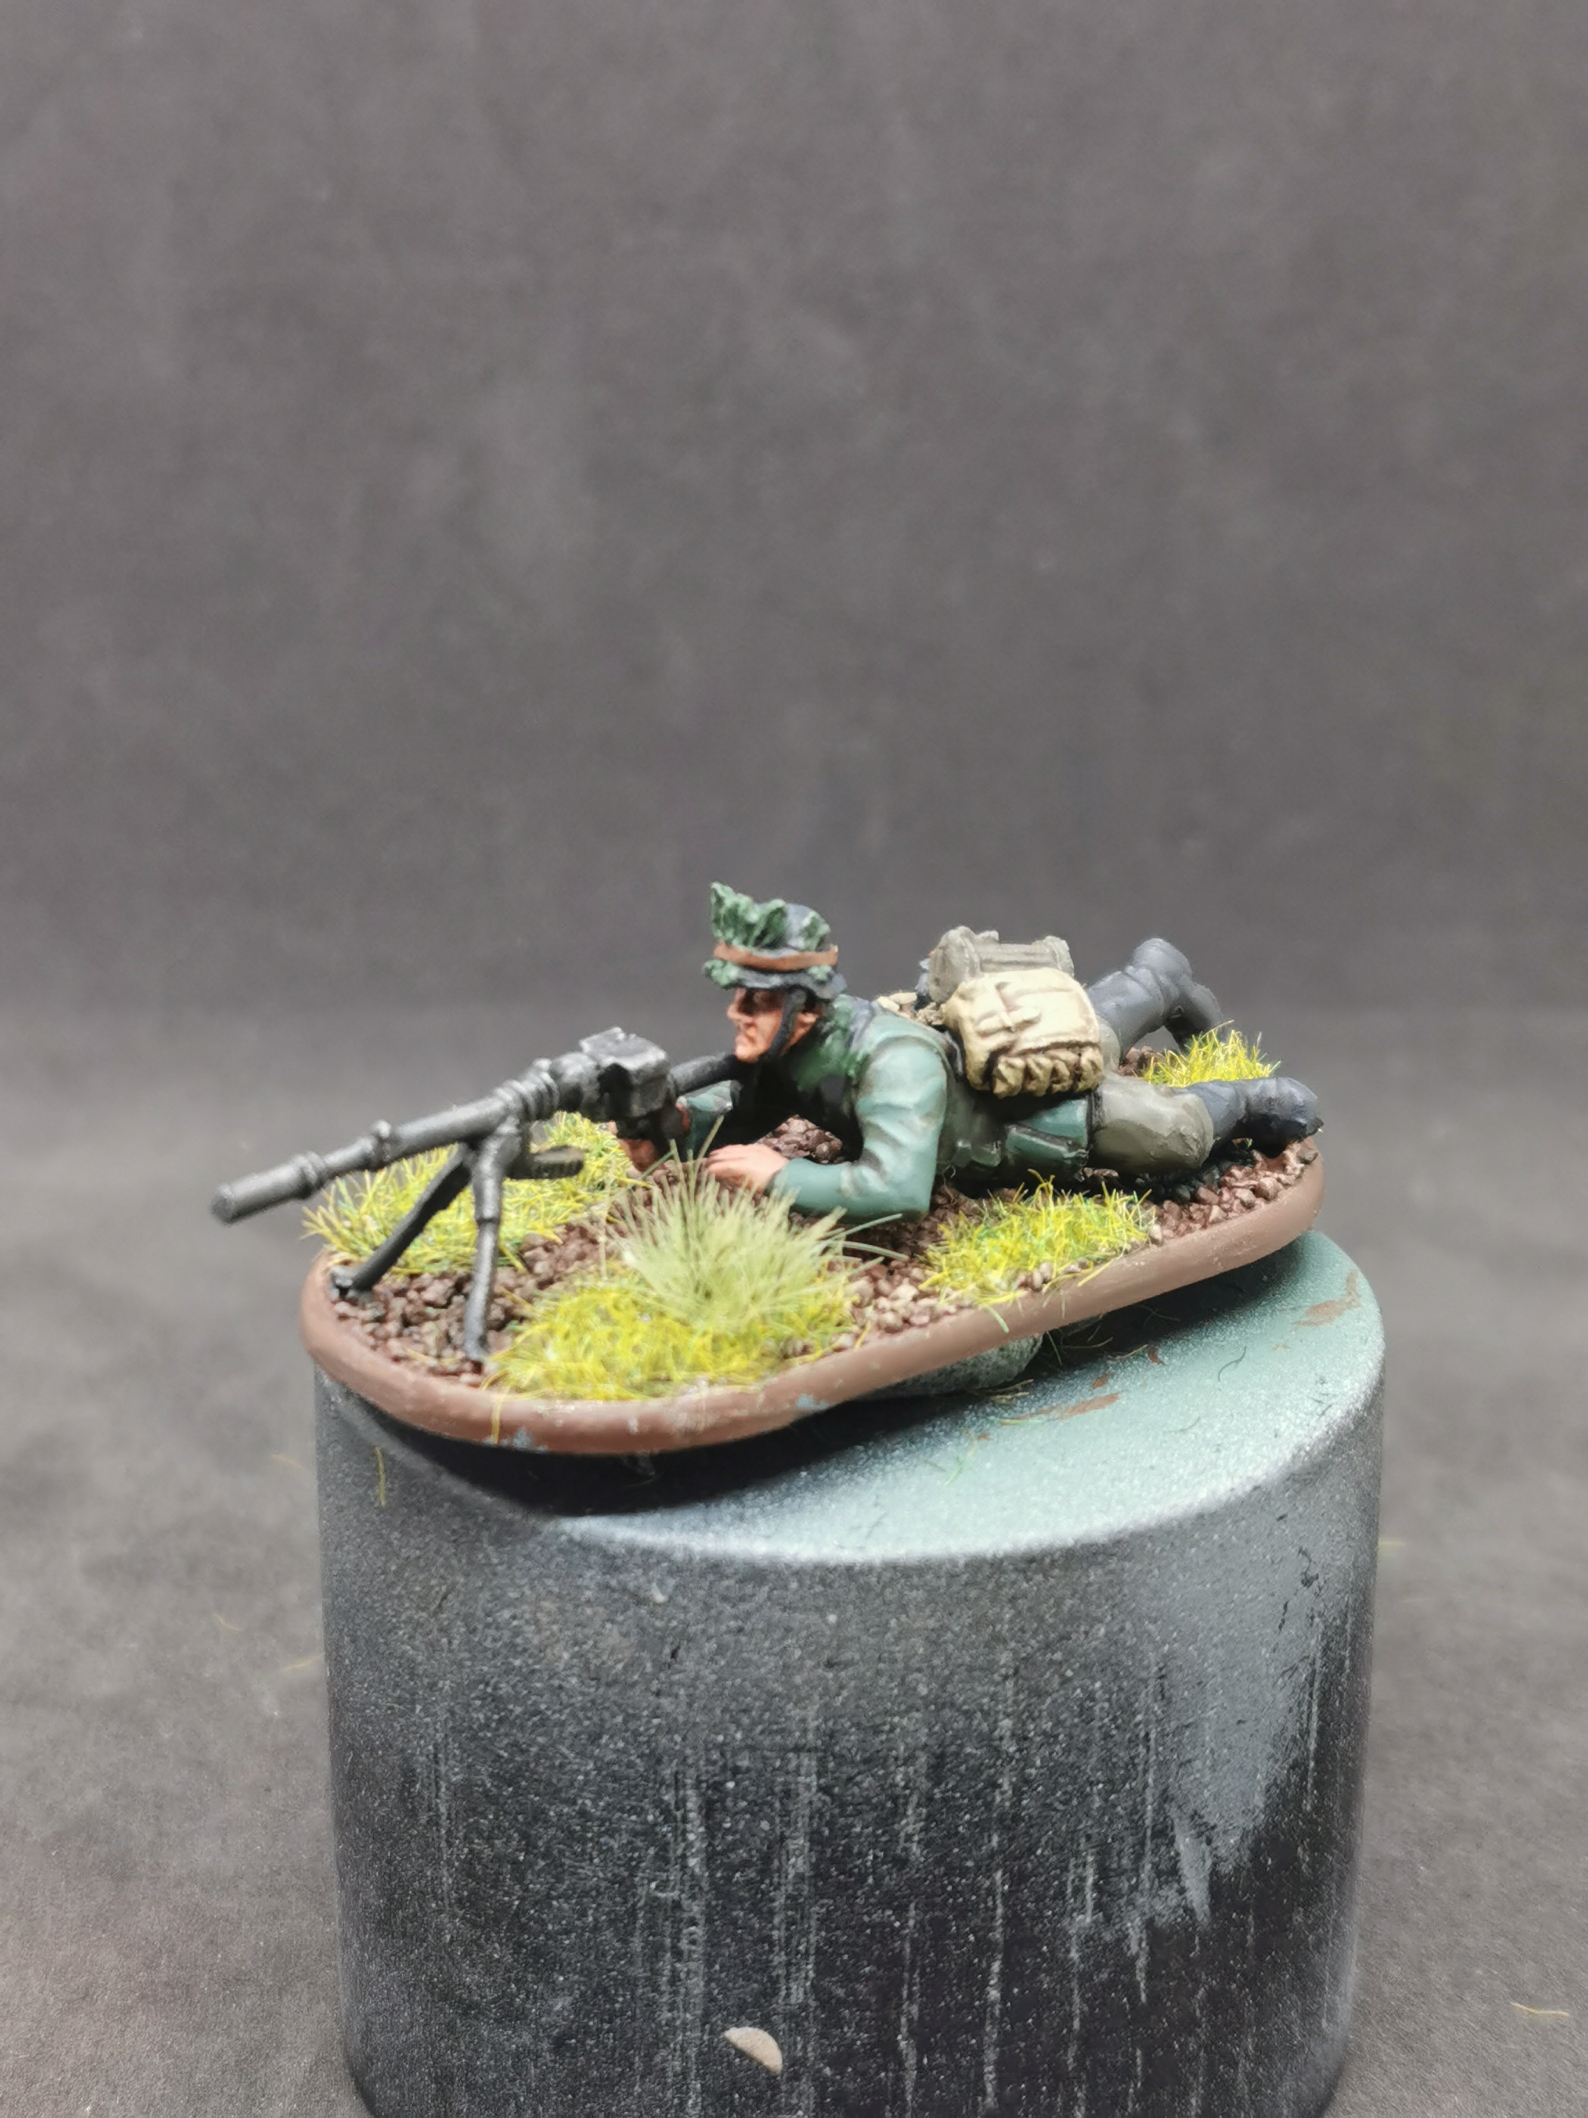
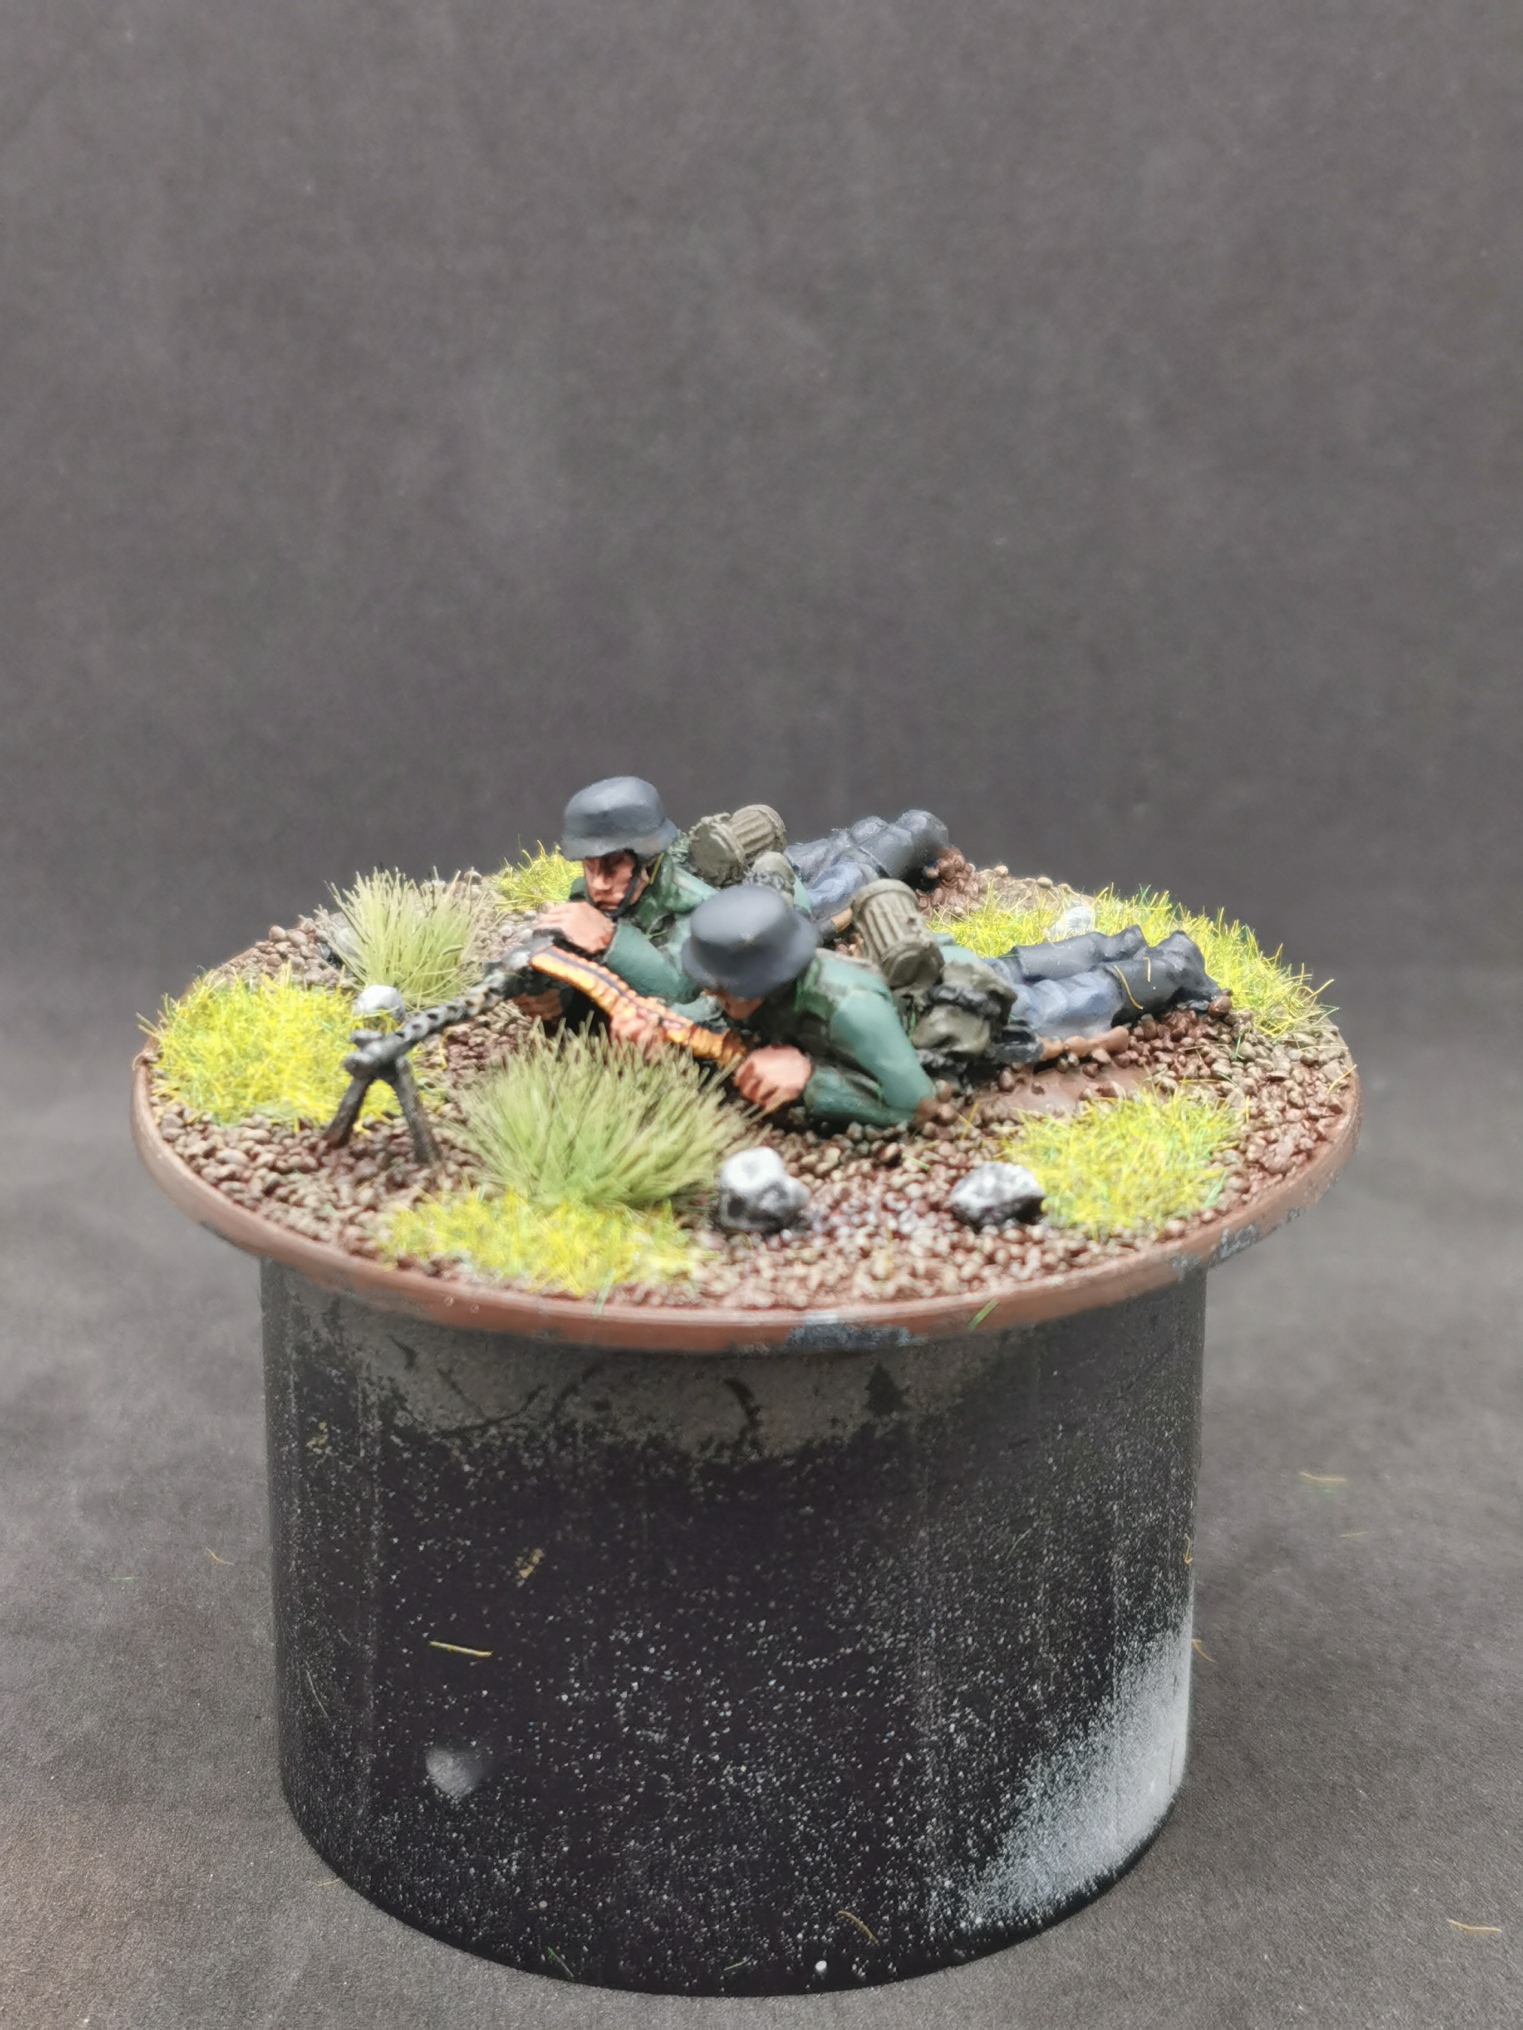
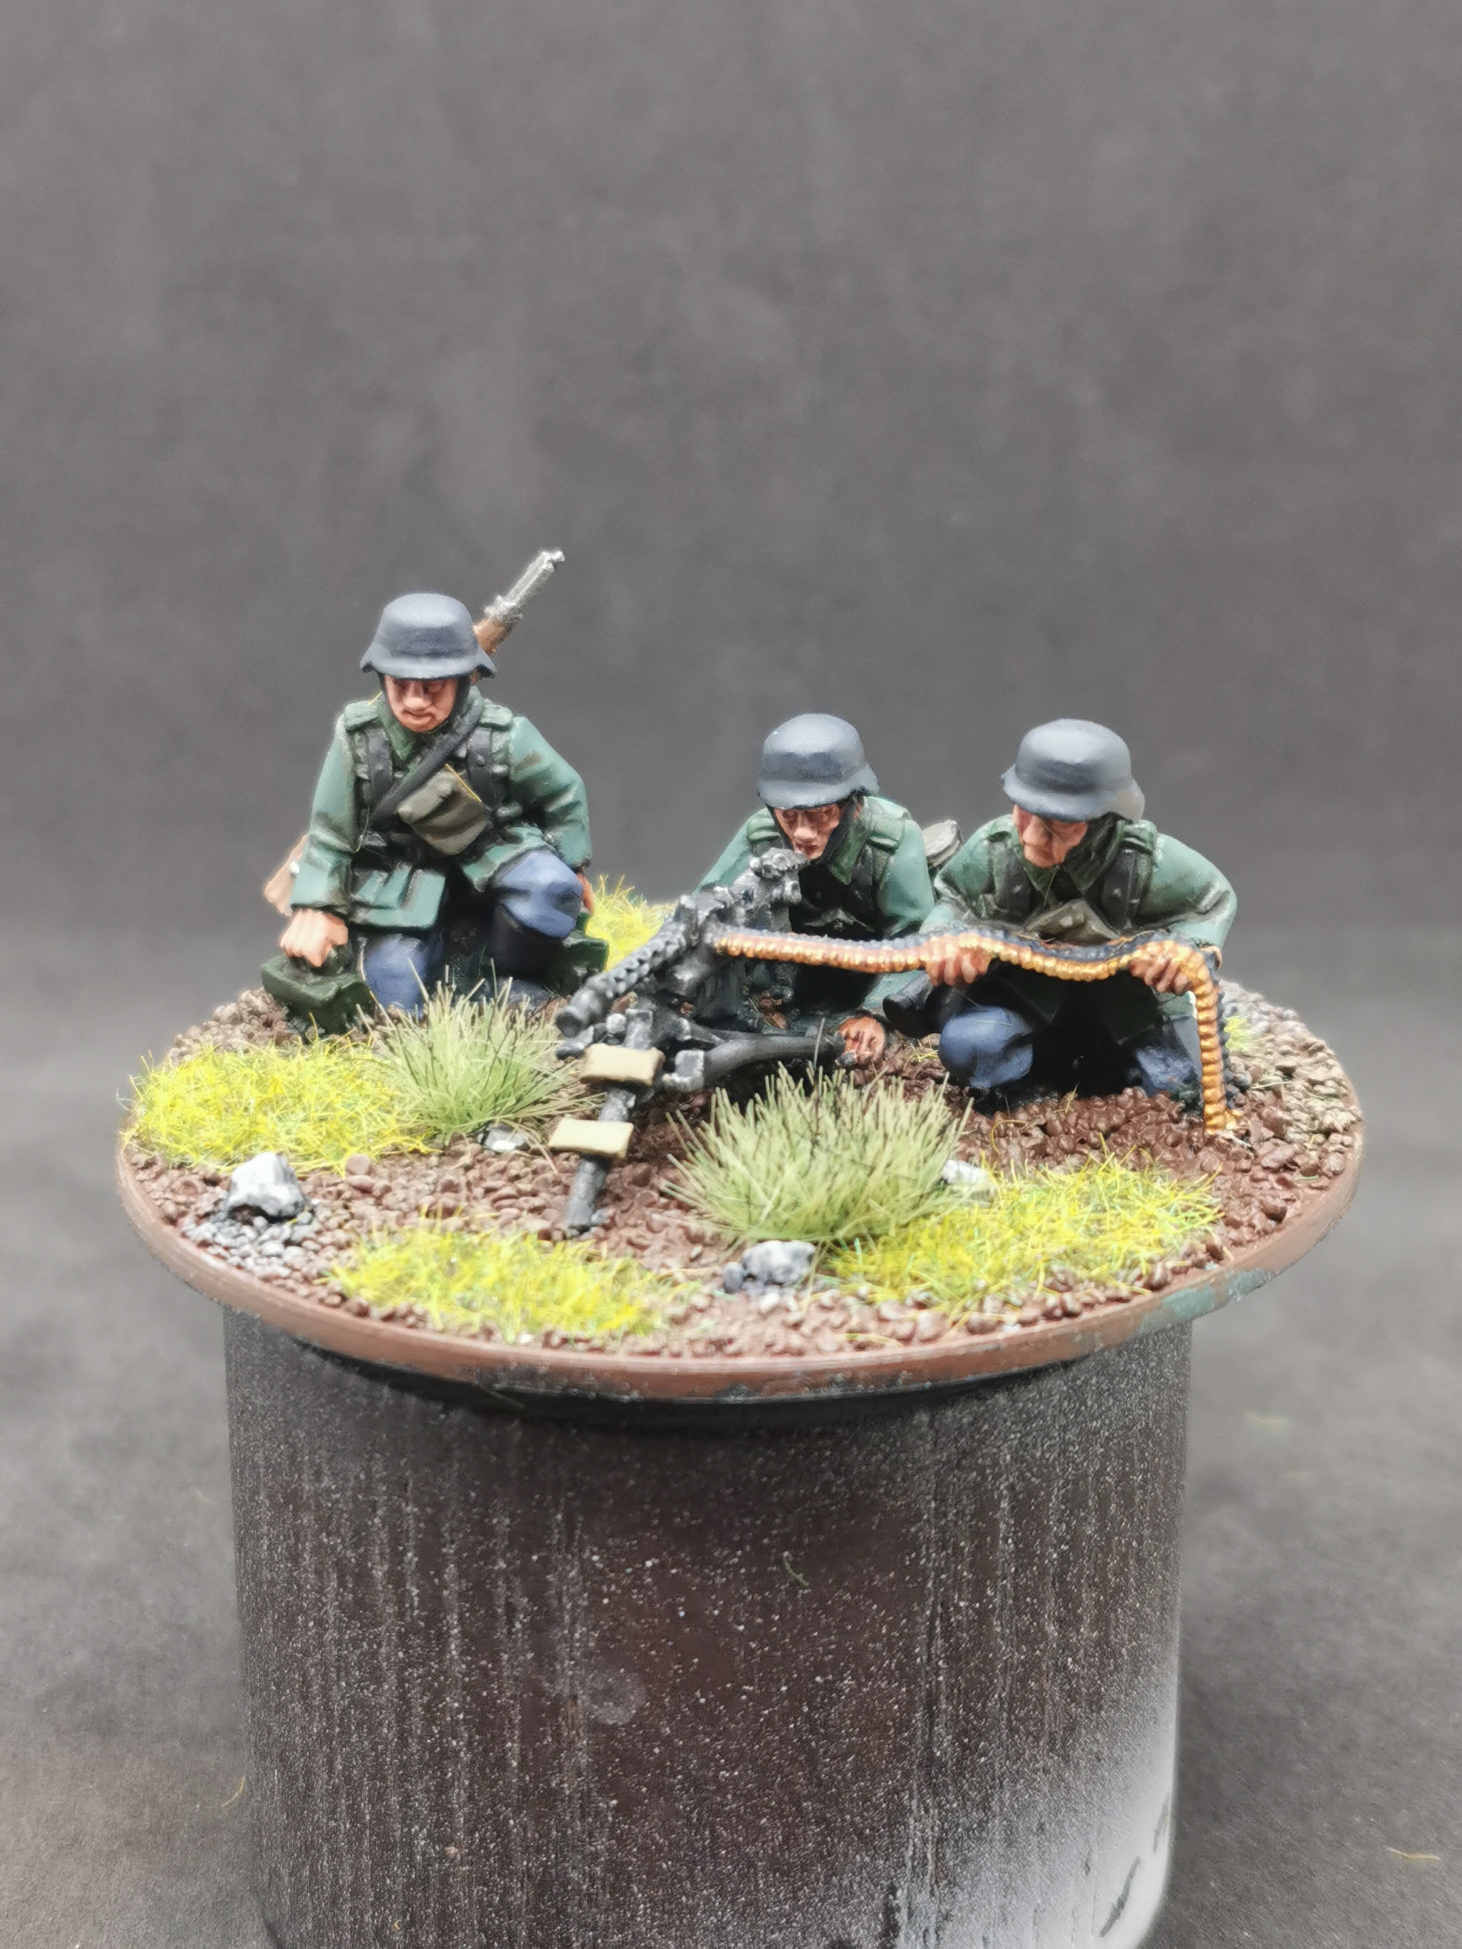
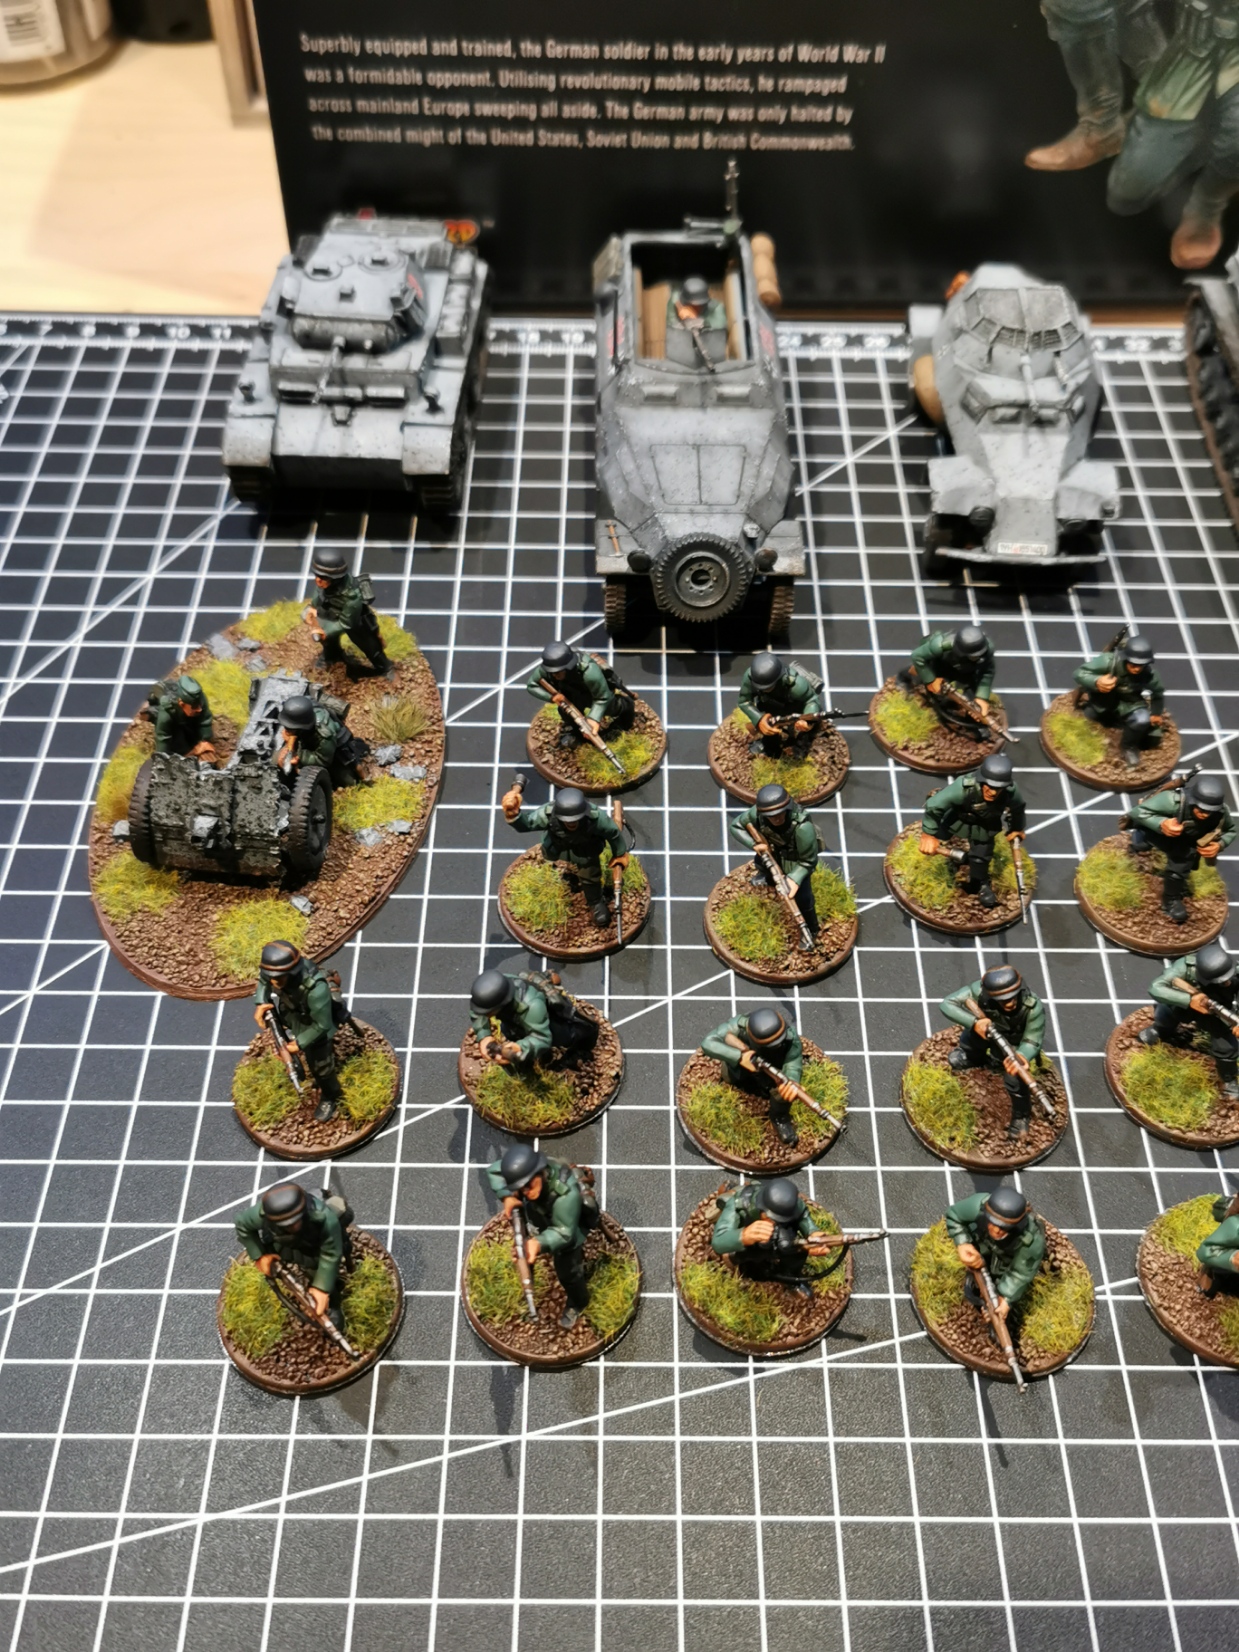
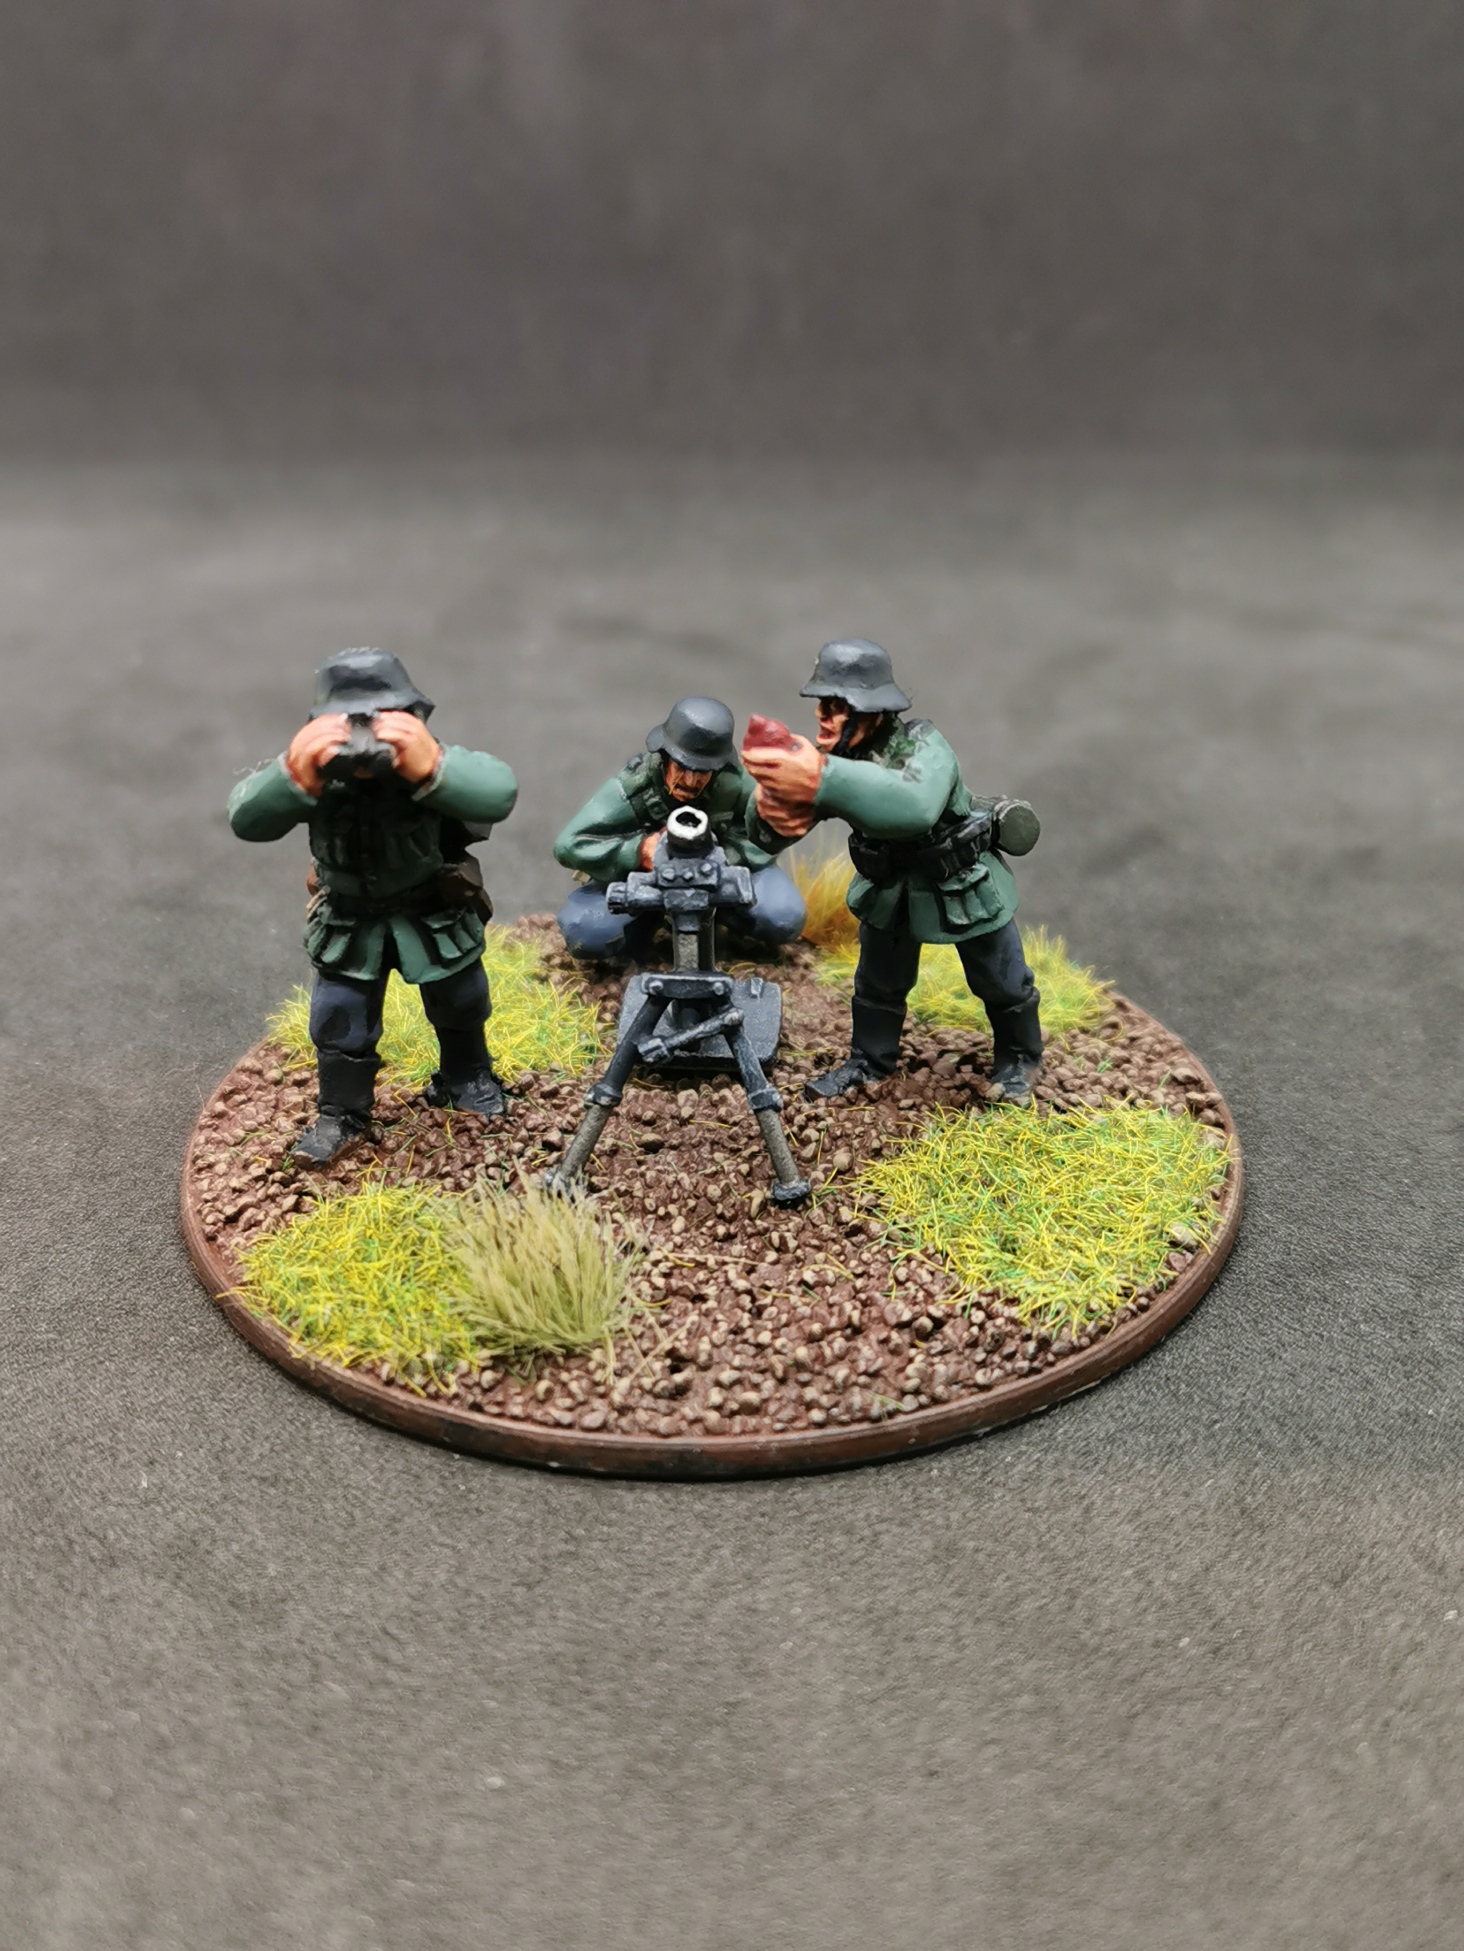
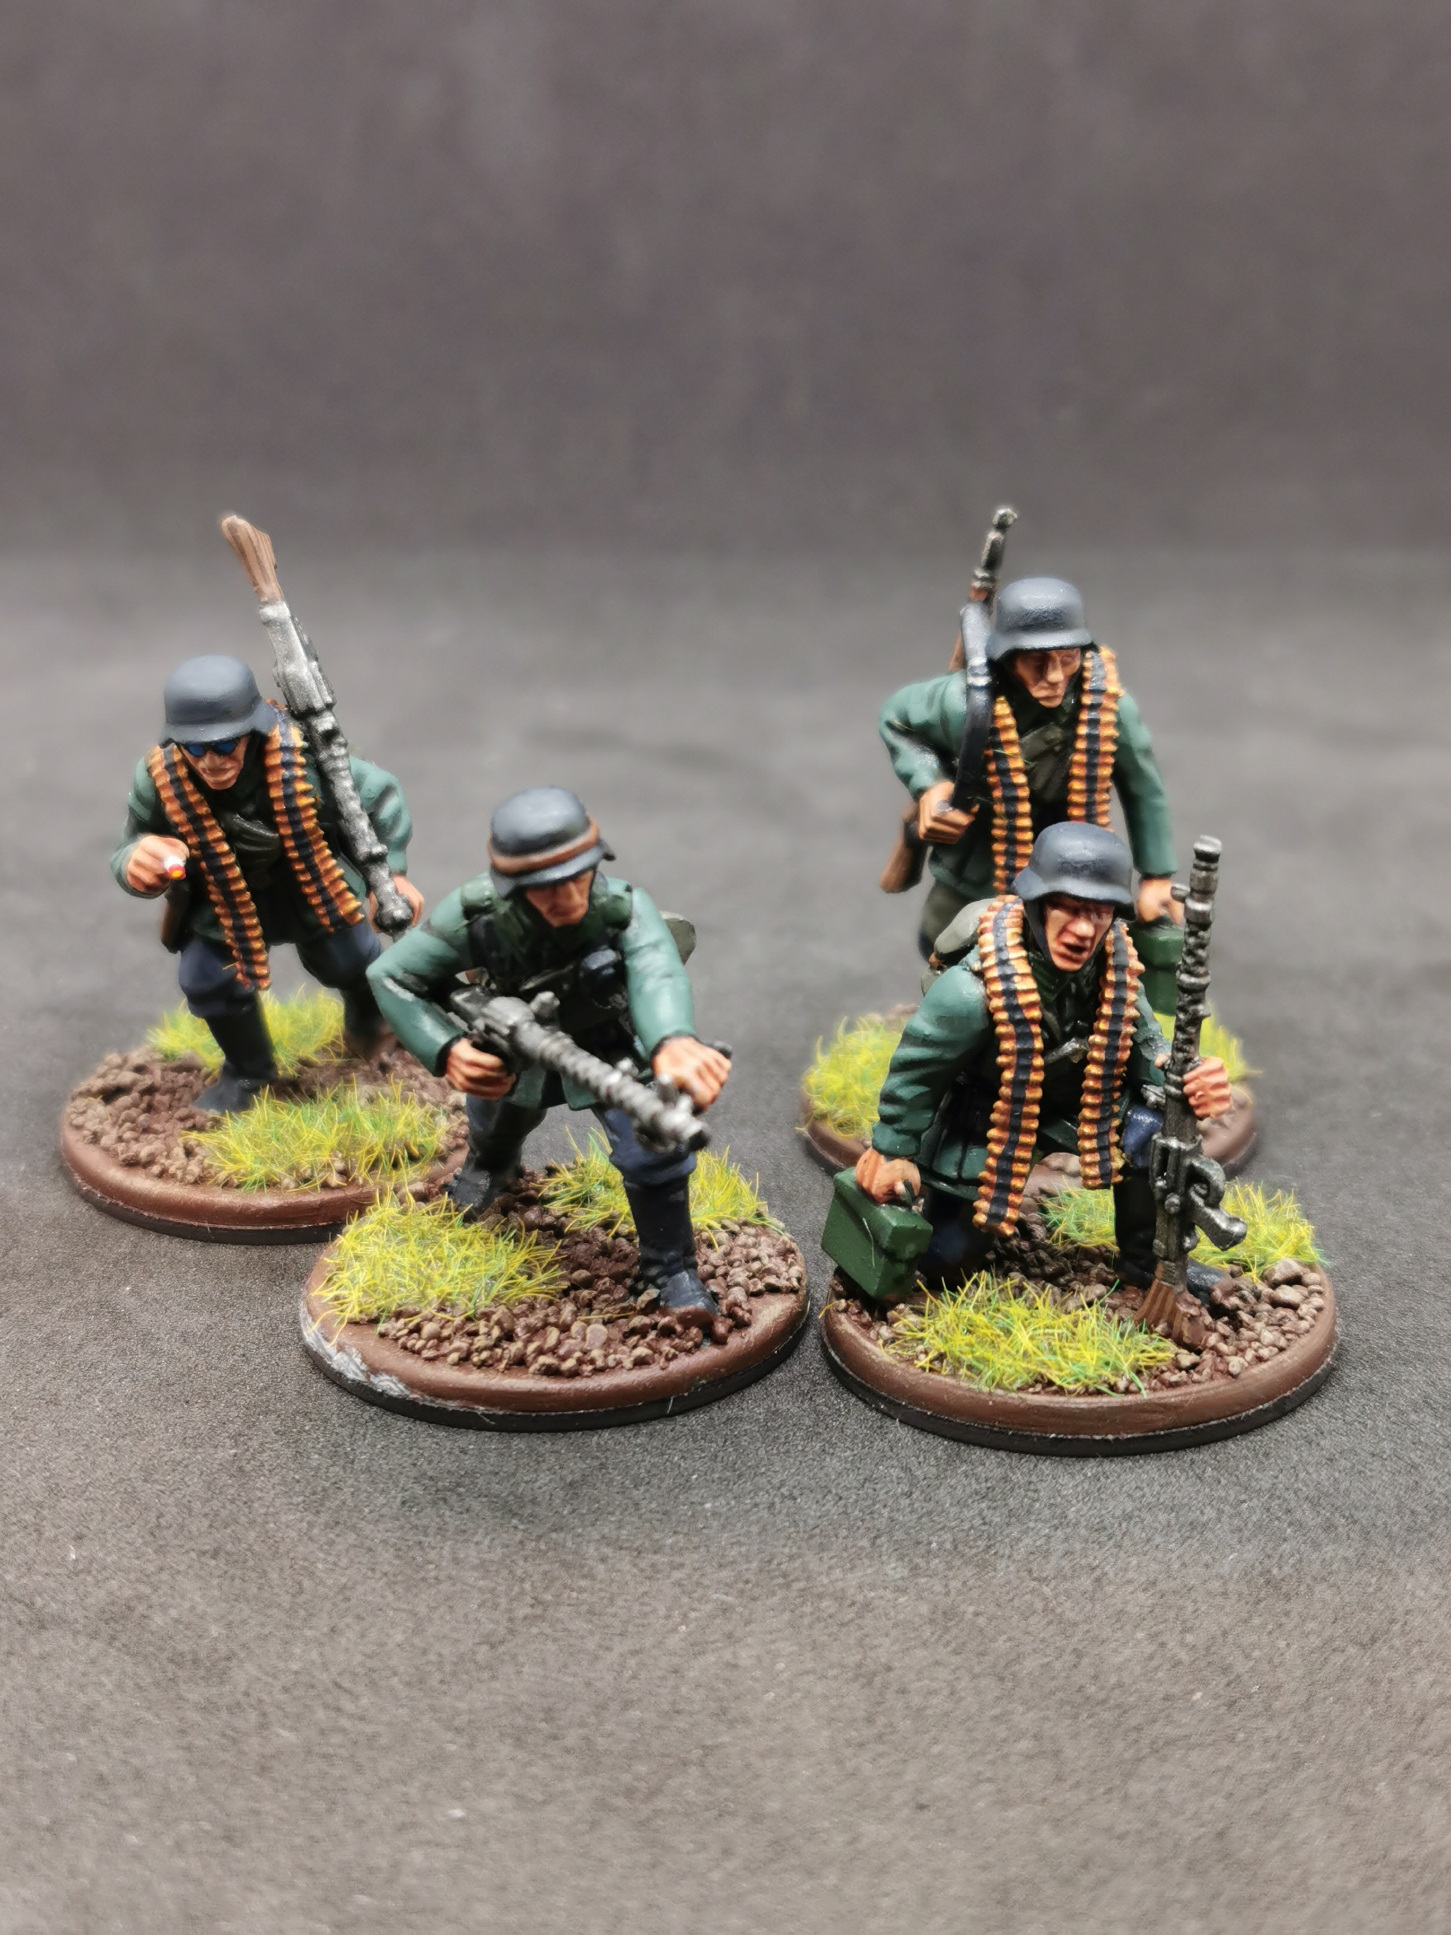
The next step for me was to add support units to my existing force and I wanted to start with some iconic troops of the early war campaigns. The iconic Panzer 38 (T) was a no brainer. For some covering fire I added three MG 34 teams, one as LMG, one as MMG and a two men team redeploying.
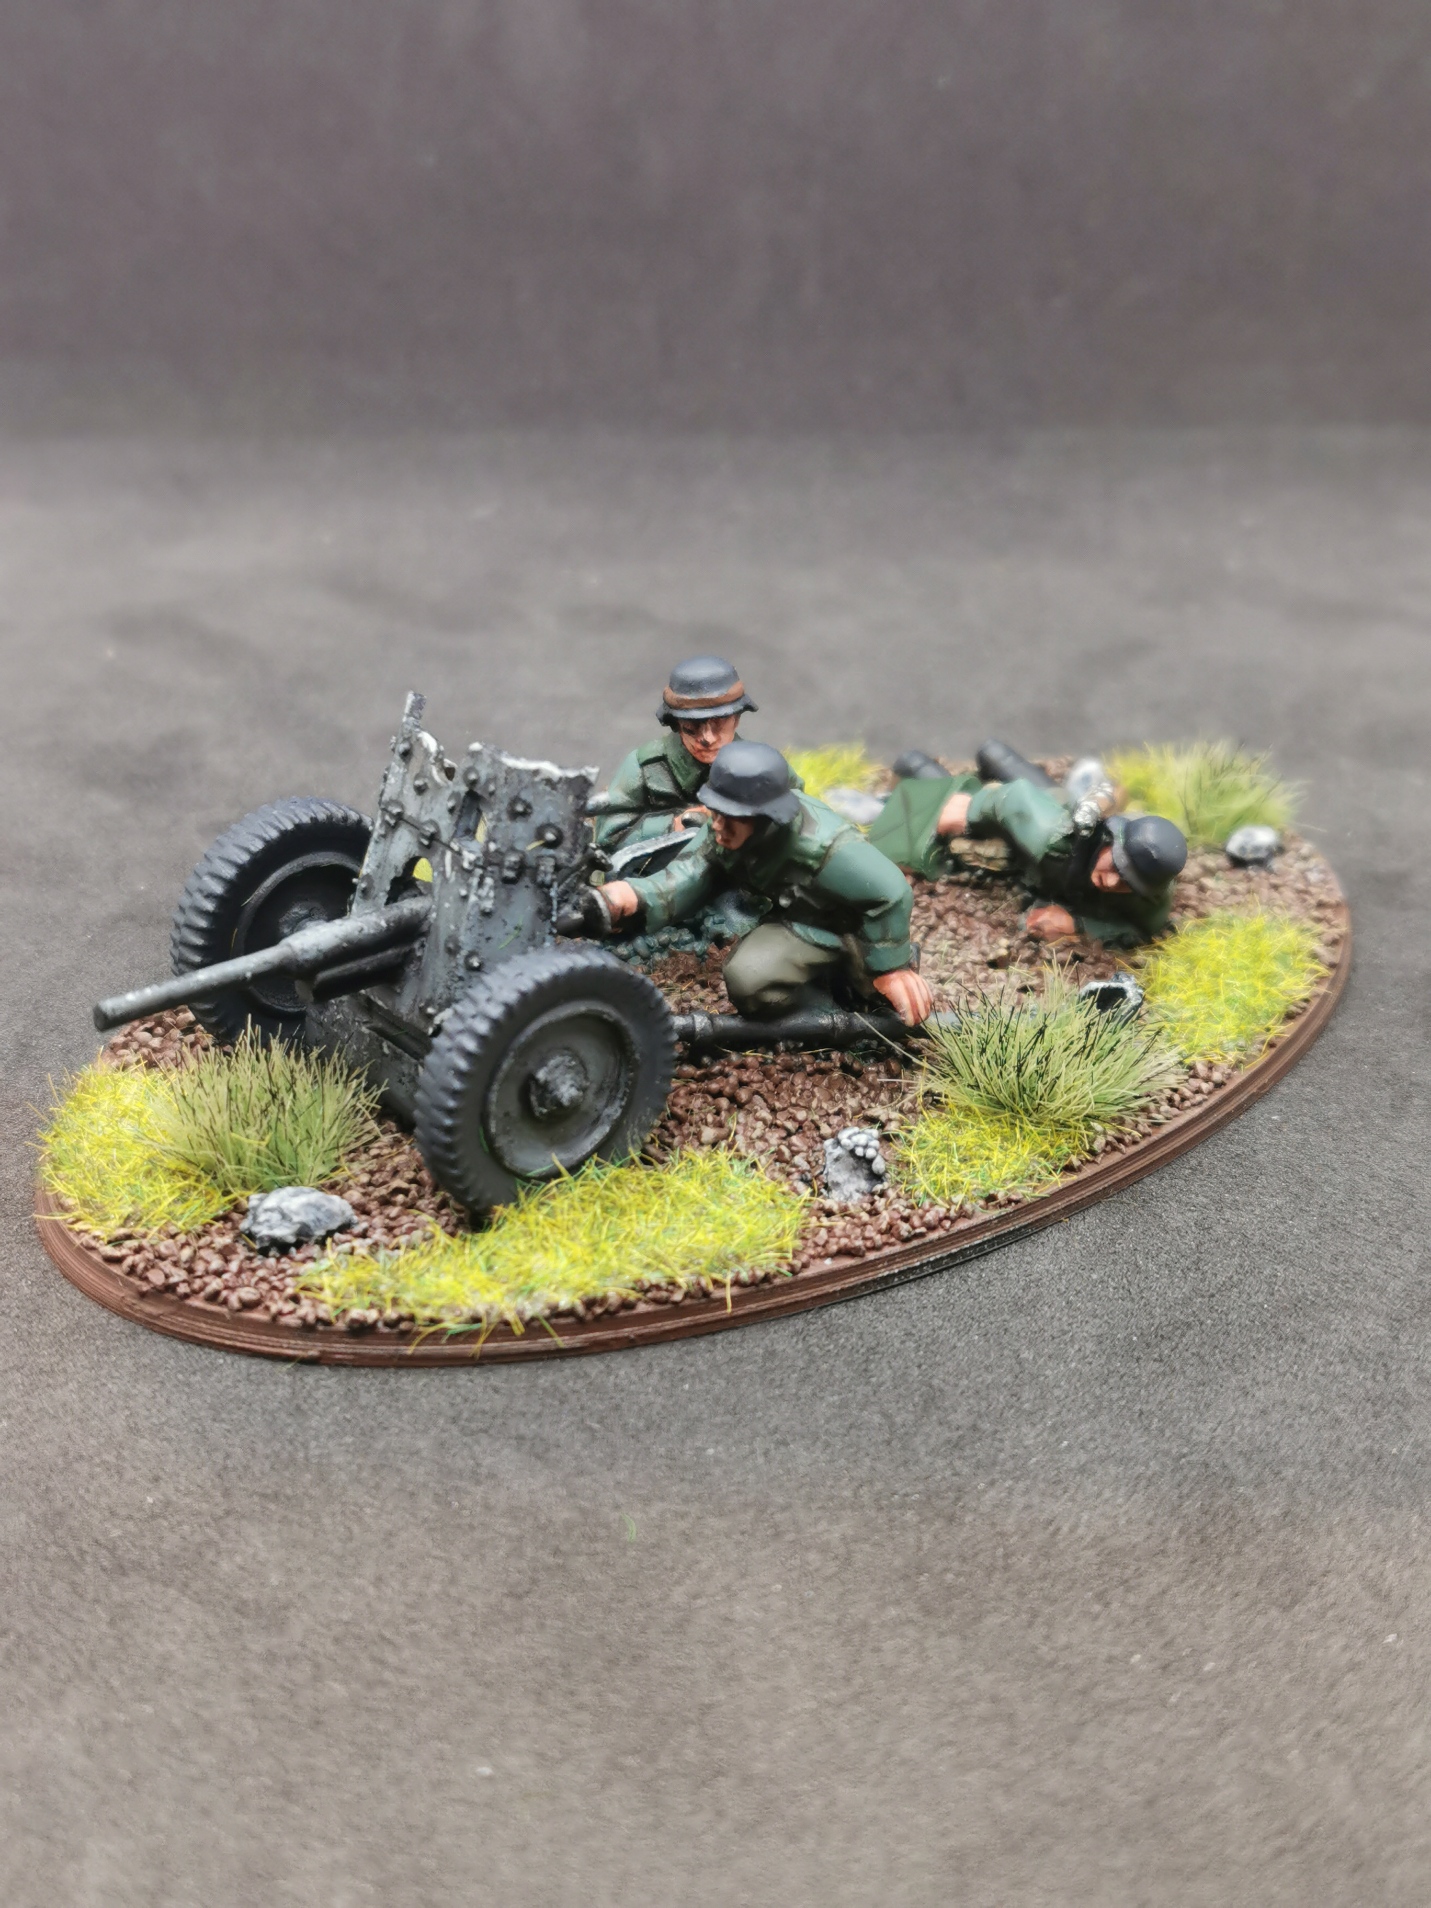
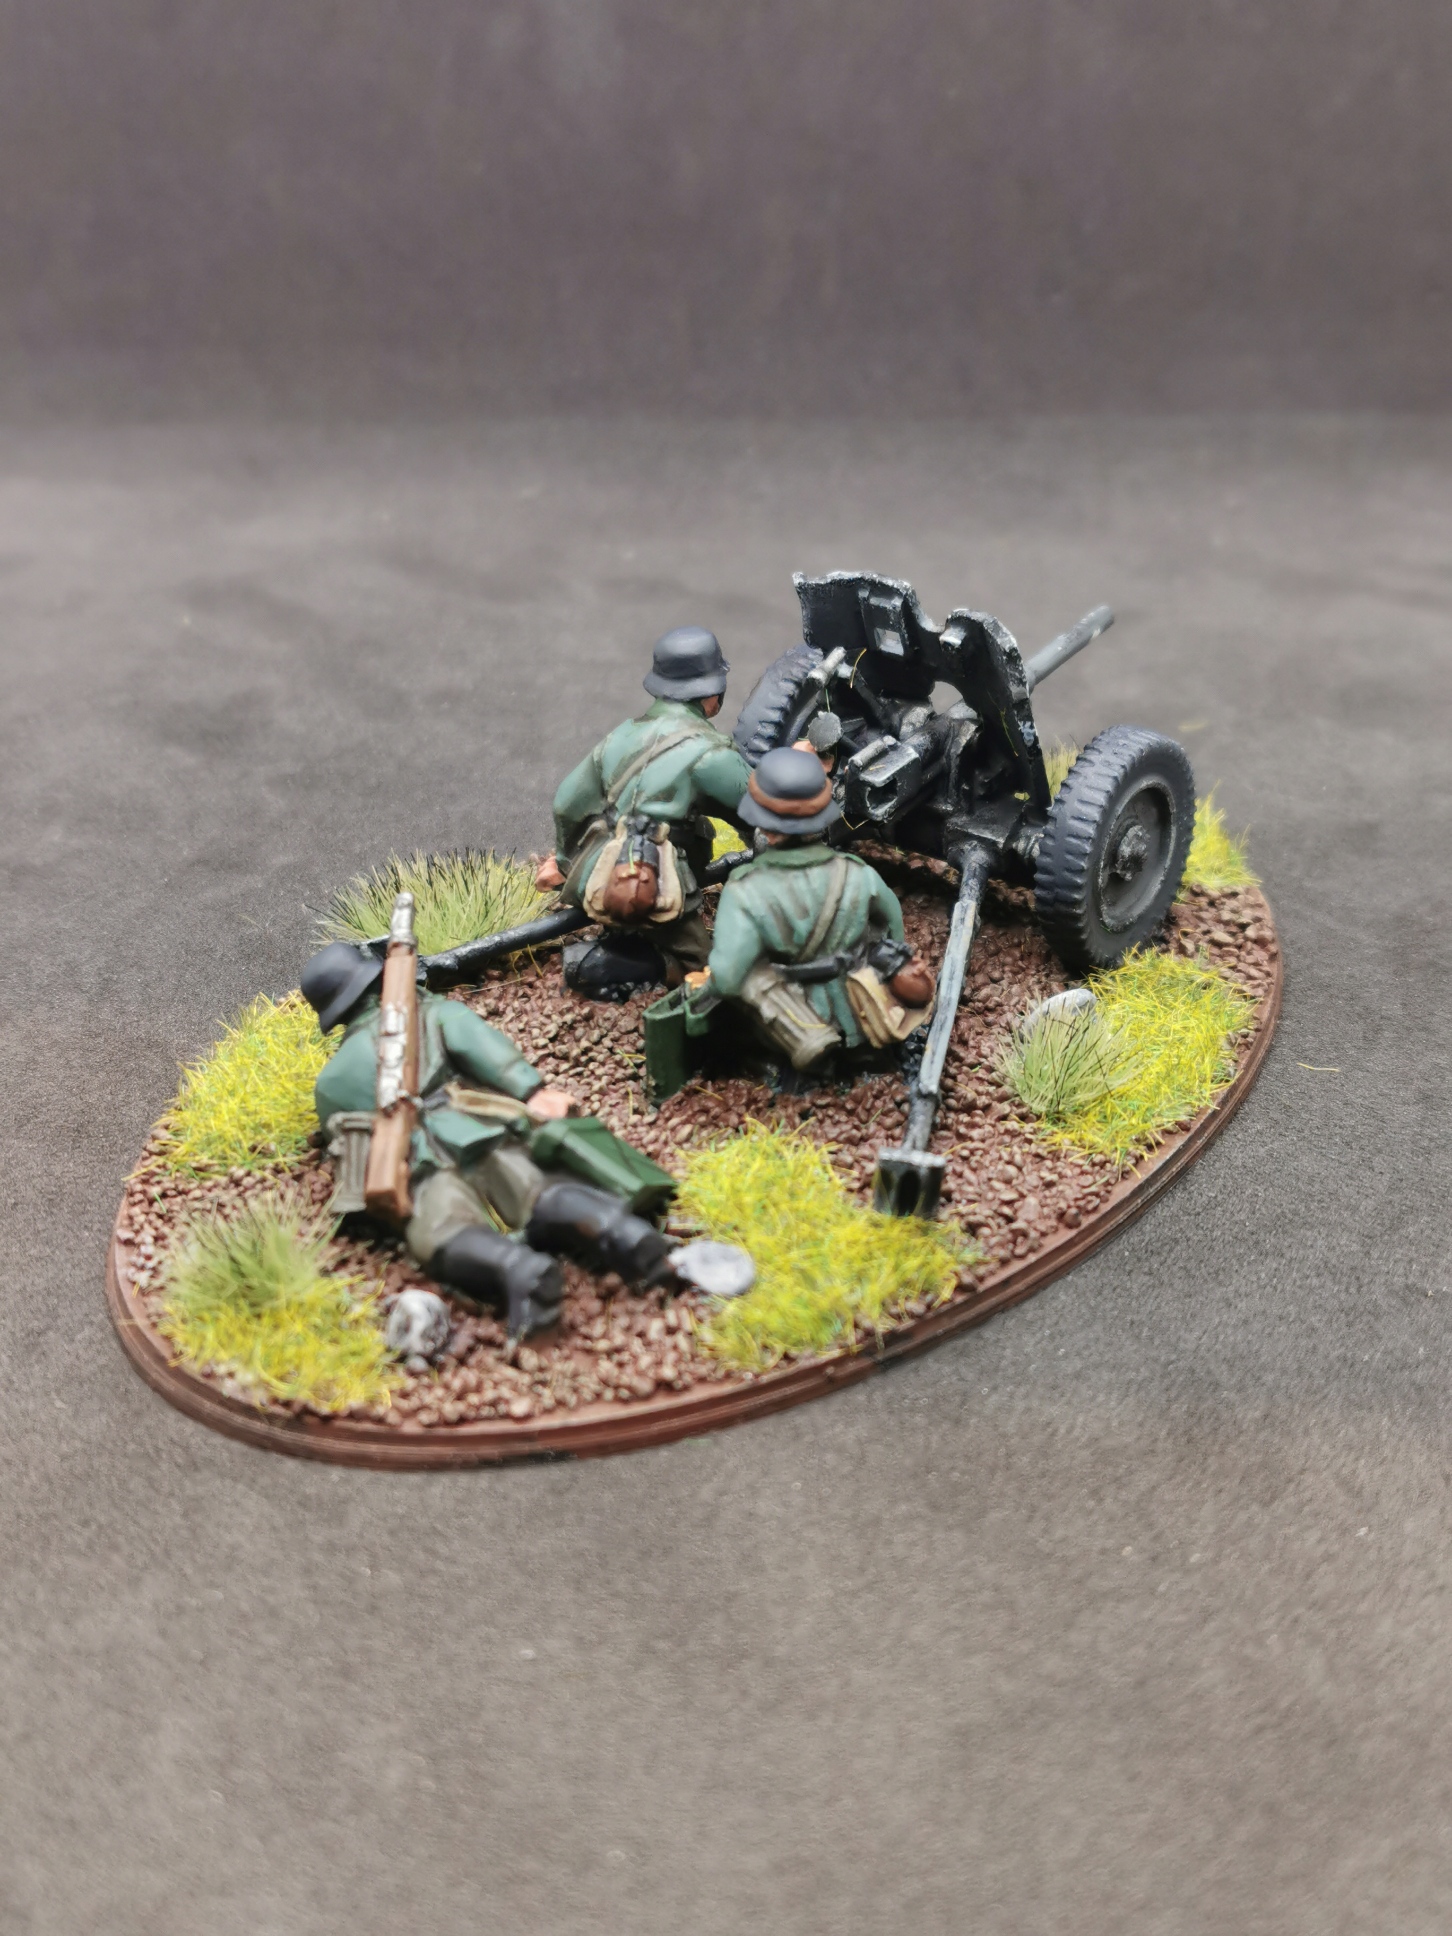
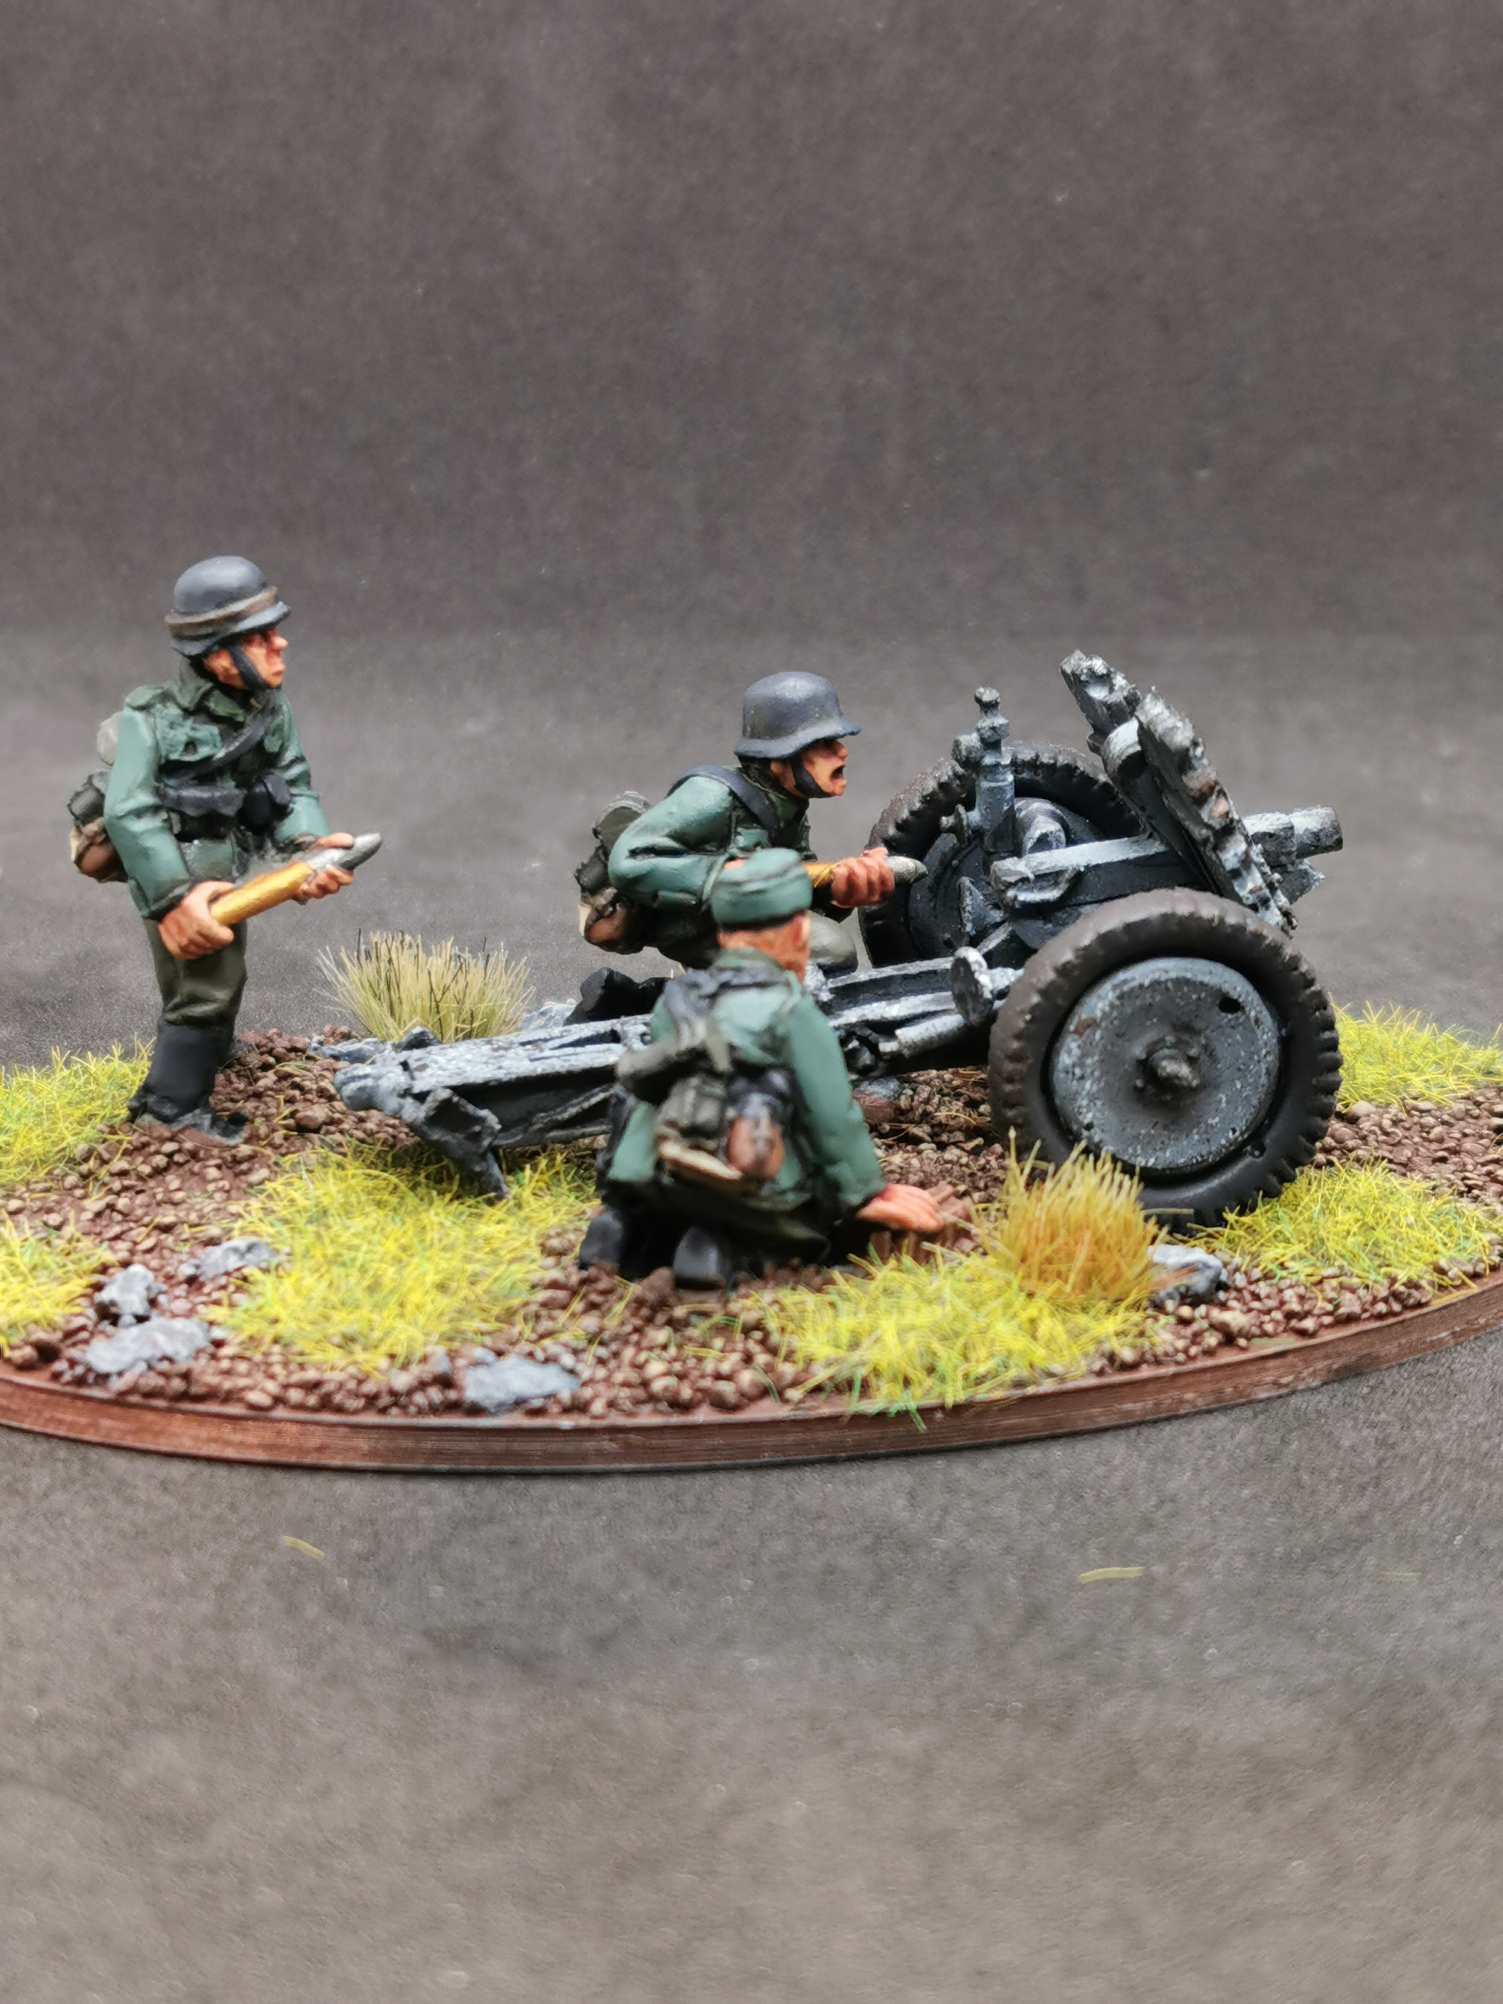
For even more firepower I added an AT Gun and chose the PAK 36 with its 3,7cm calibre.
To support the existing strikeforce I aslo added a unit of pioneers to ensure a quick advance by clearing all objects in the way.
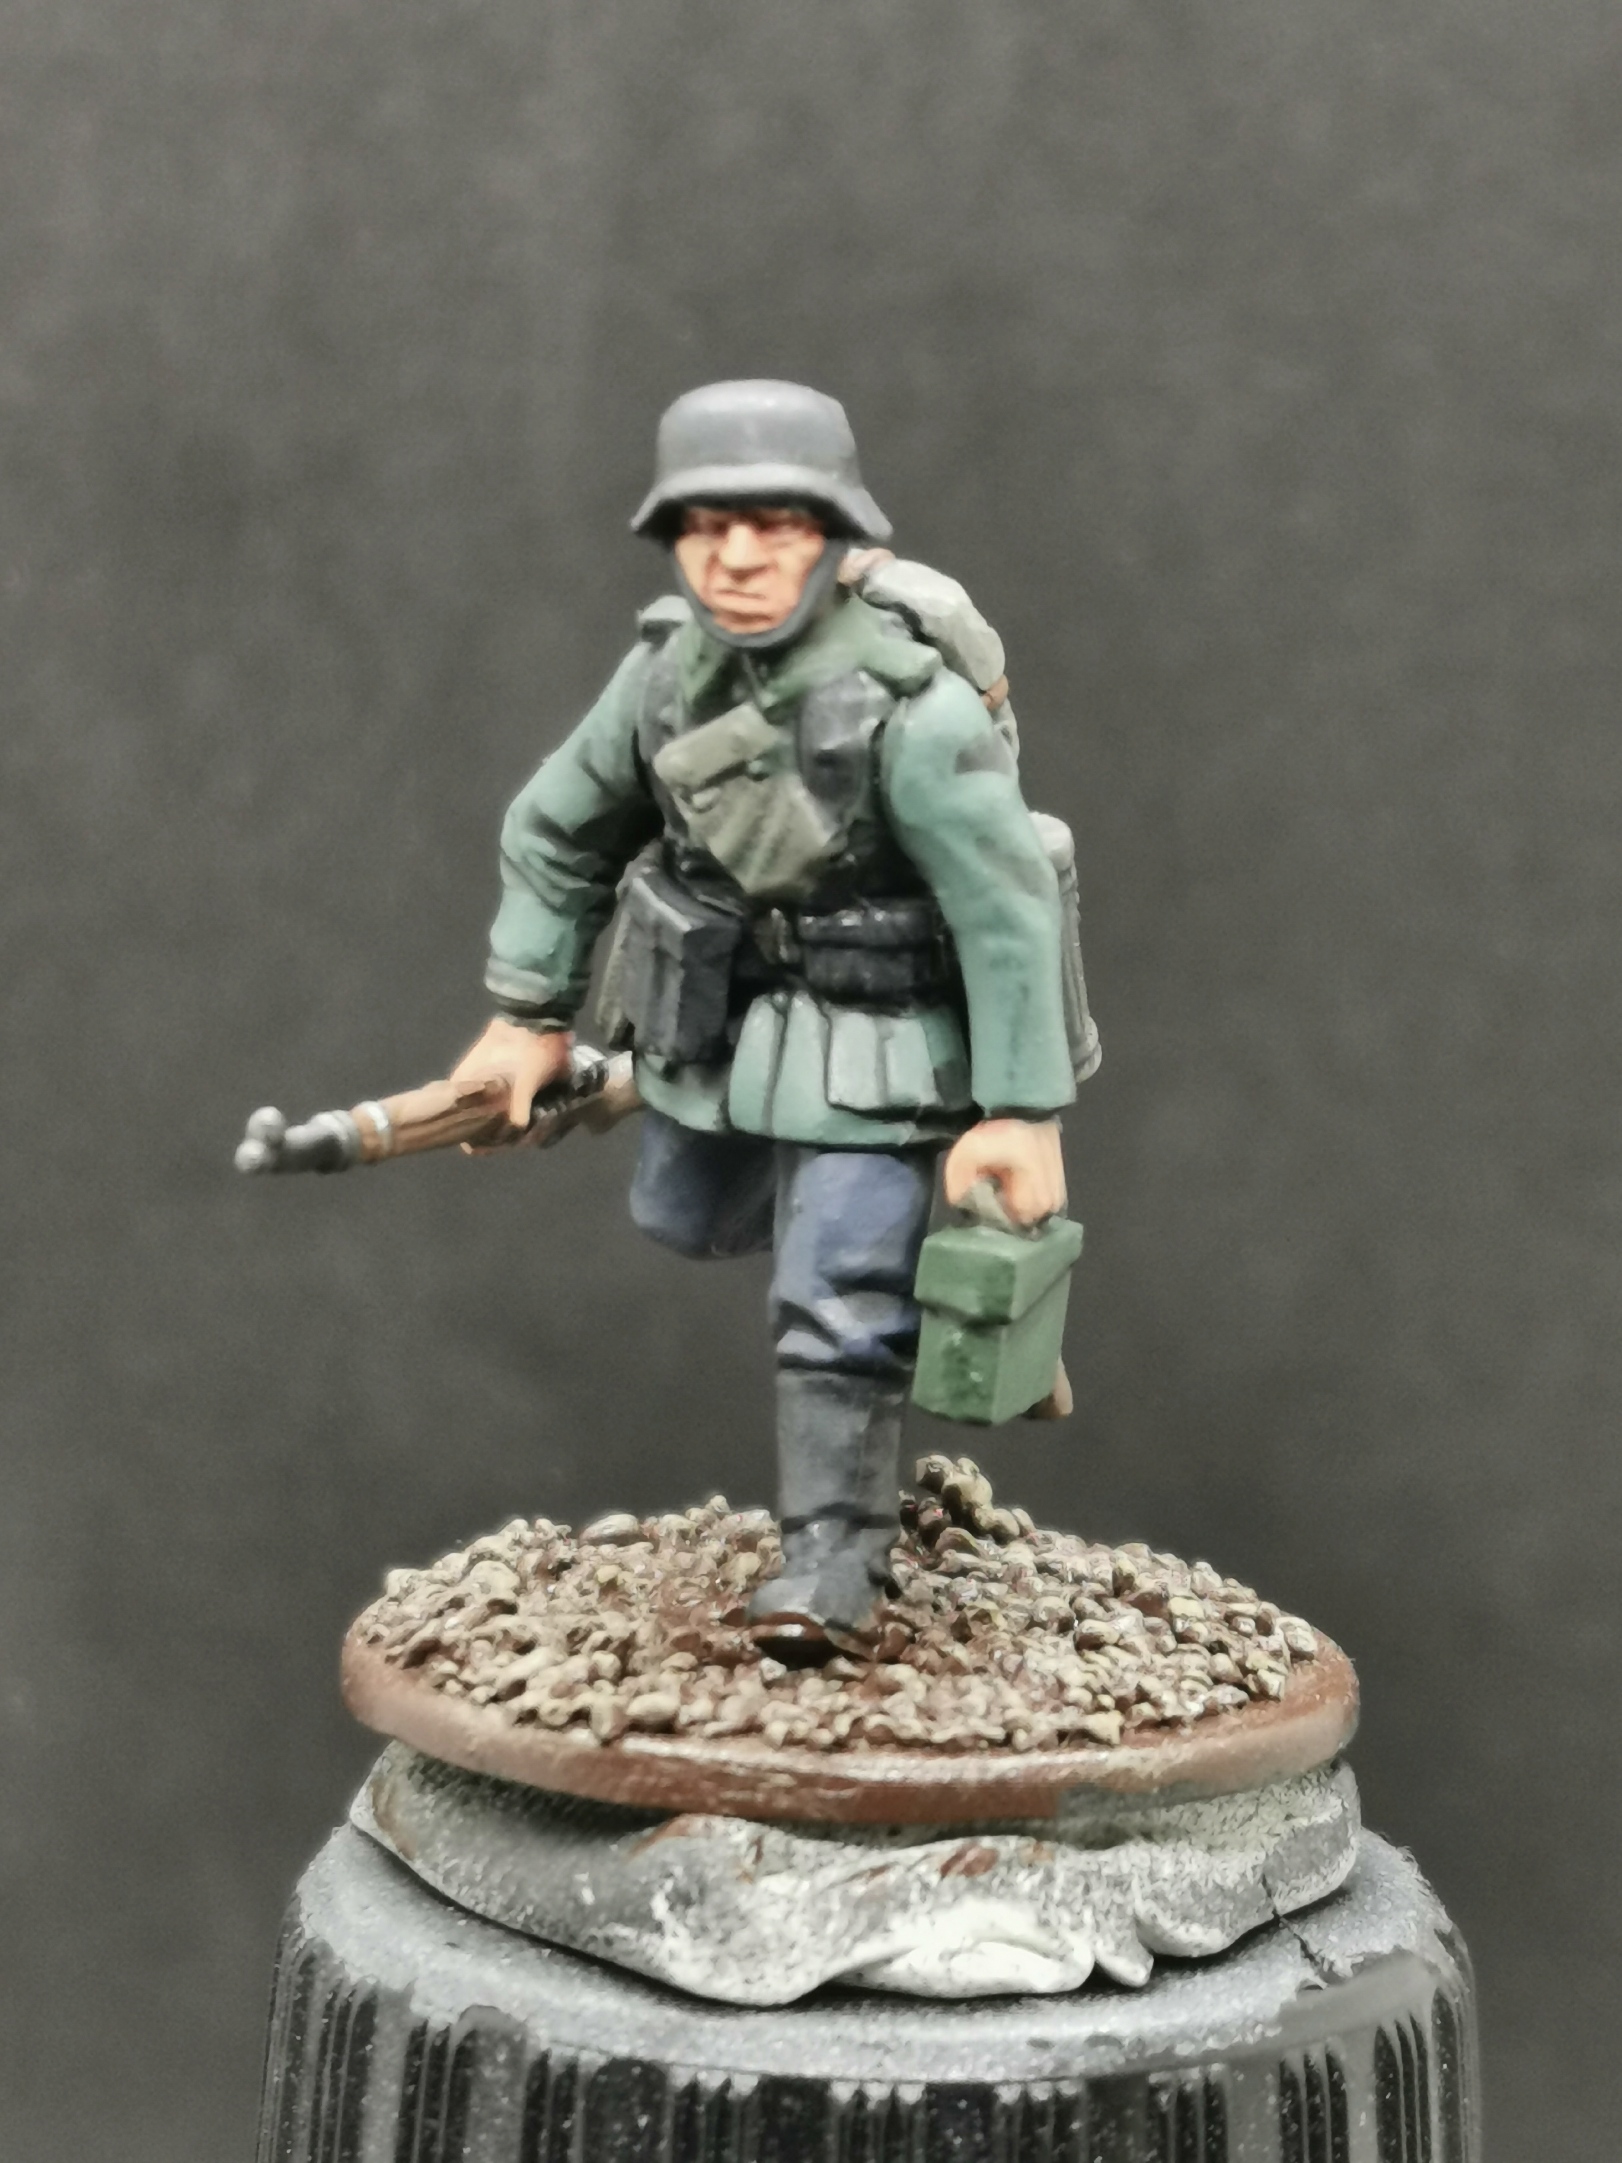
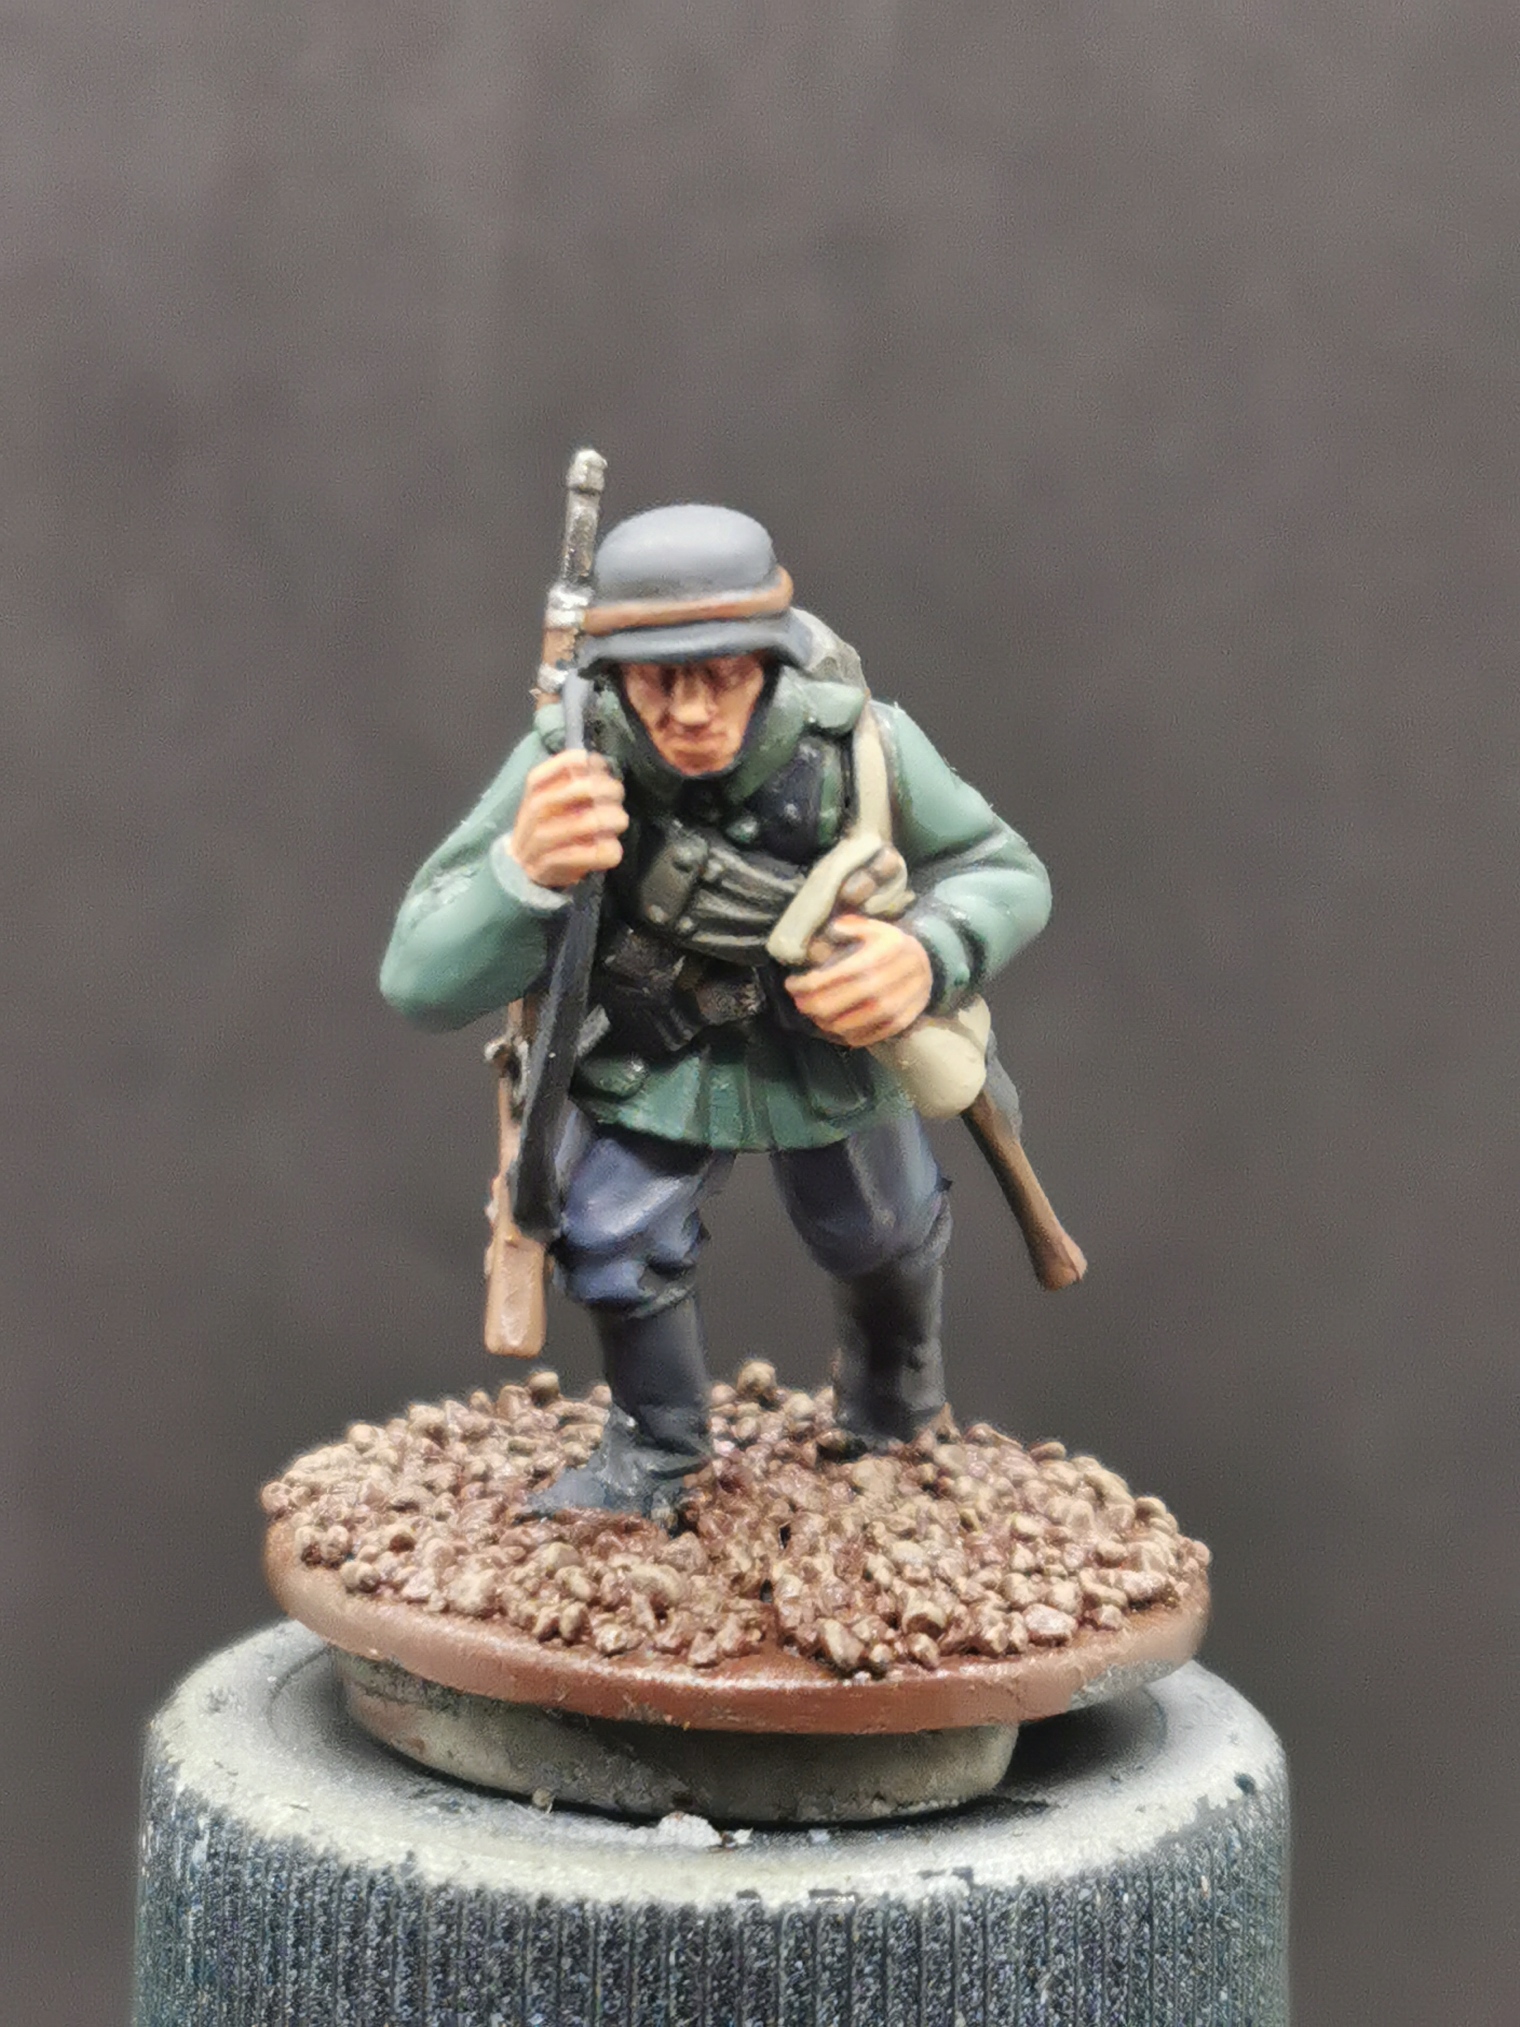
The minis were painted using the same colour scheme posted earlier with the exception of the additional bags and backpacks wich were painted using VMC 70.988 Khaki, washed with Citadel Agrax Earthshade and highlighting back up with base colour and 50:50 mix of Khaki and Citadel Ushabti Bone.
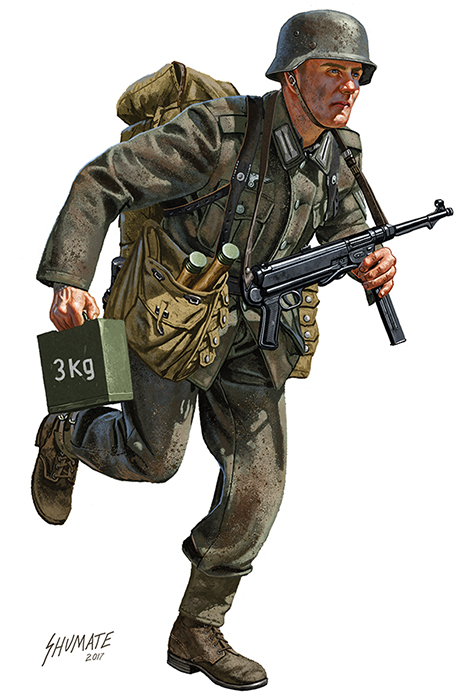 Source: DeviantArt.com
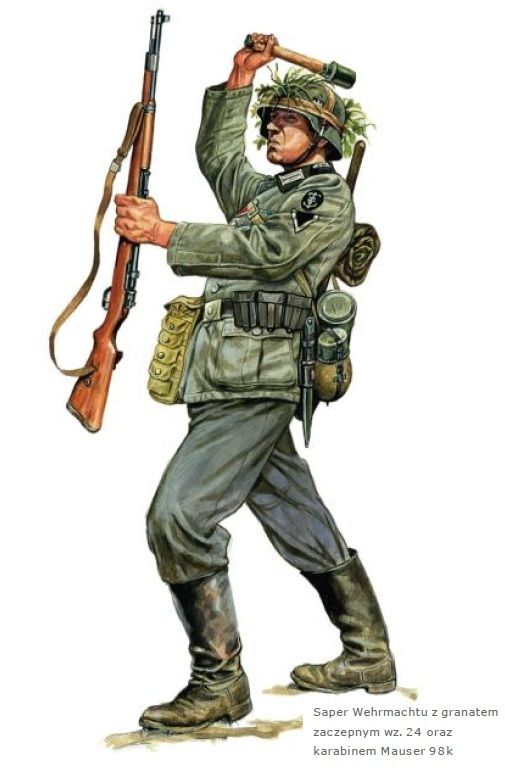 Source: Pinterest.com

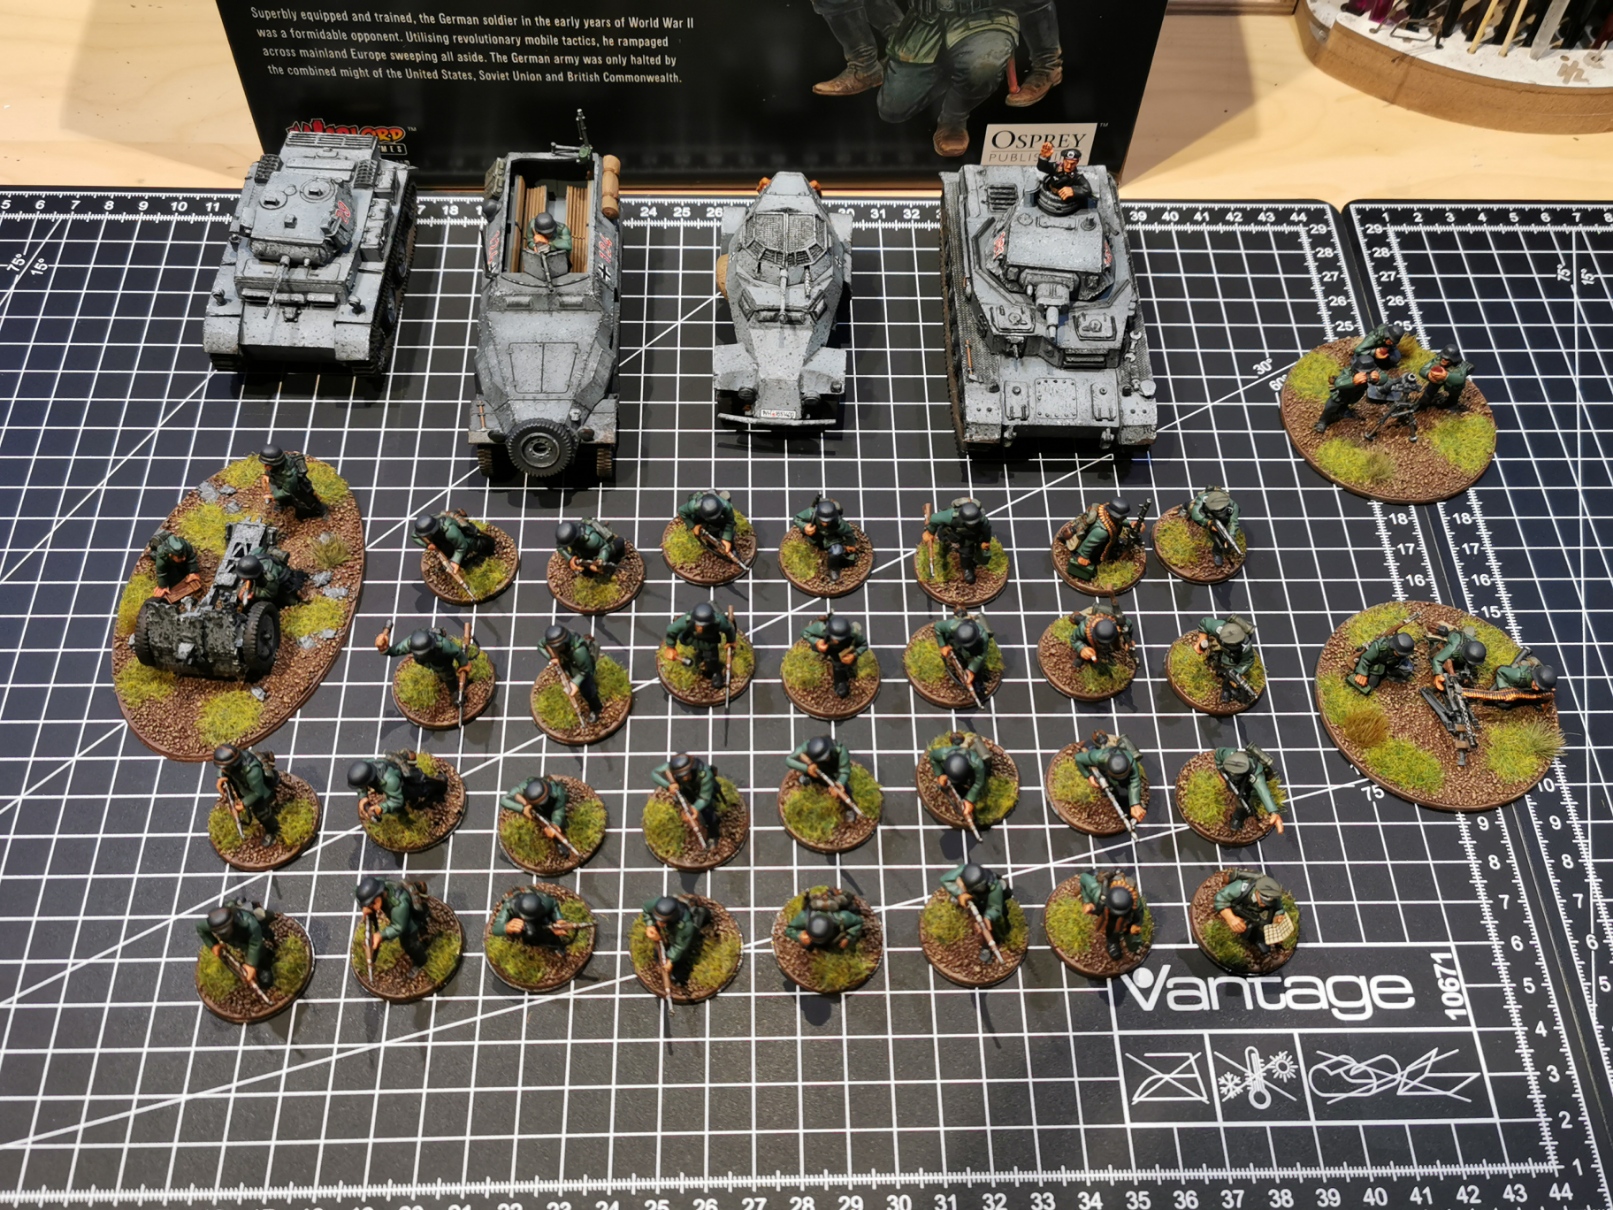
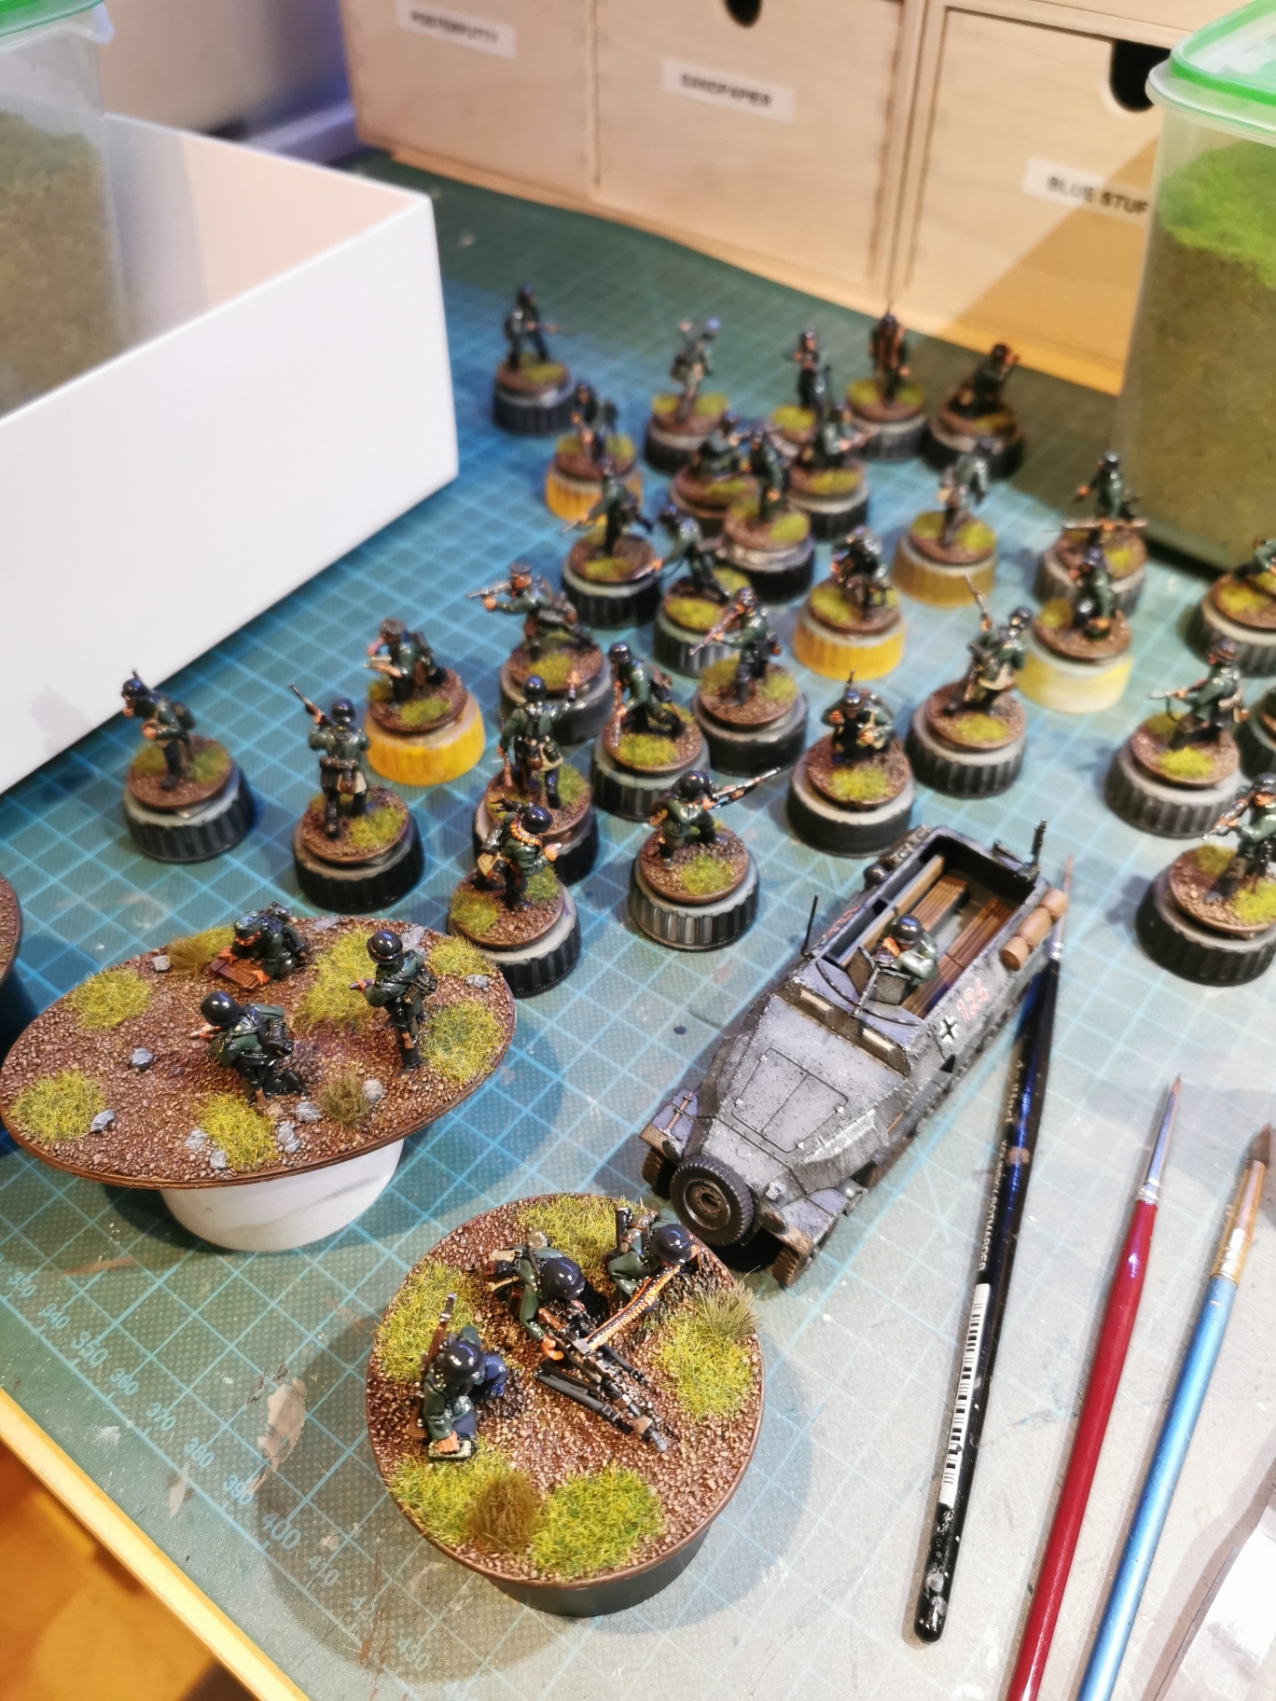
Step 11: Overview
Here are the obligatory full army shots on cutting mat…. Enjoy!
I’ll be adding more troops to my army so as the starter army project is finished I will continue on the Blitzkrieg project as a new Lockdown is on its way after Christmas and I already have some expansion ideas – SO STAY TUNED!!!!
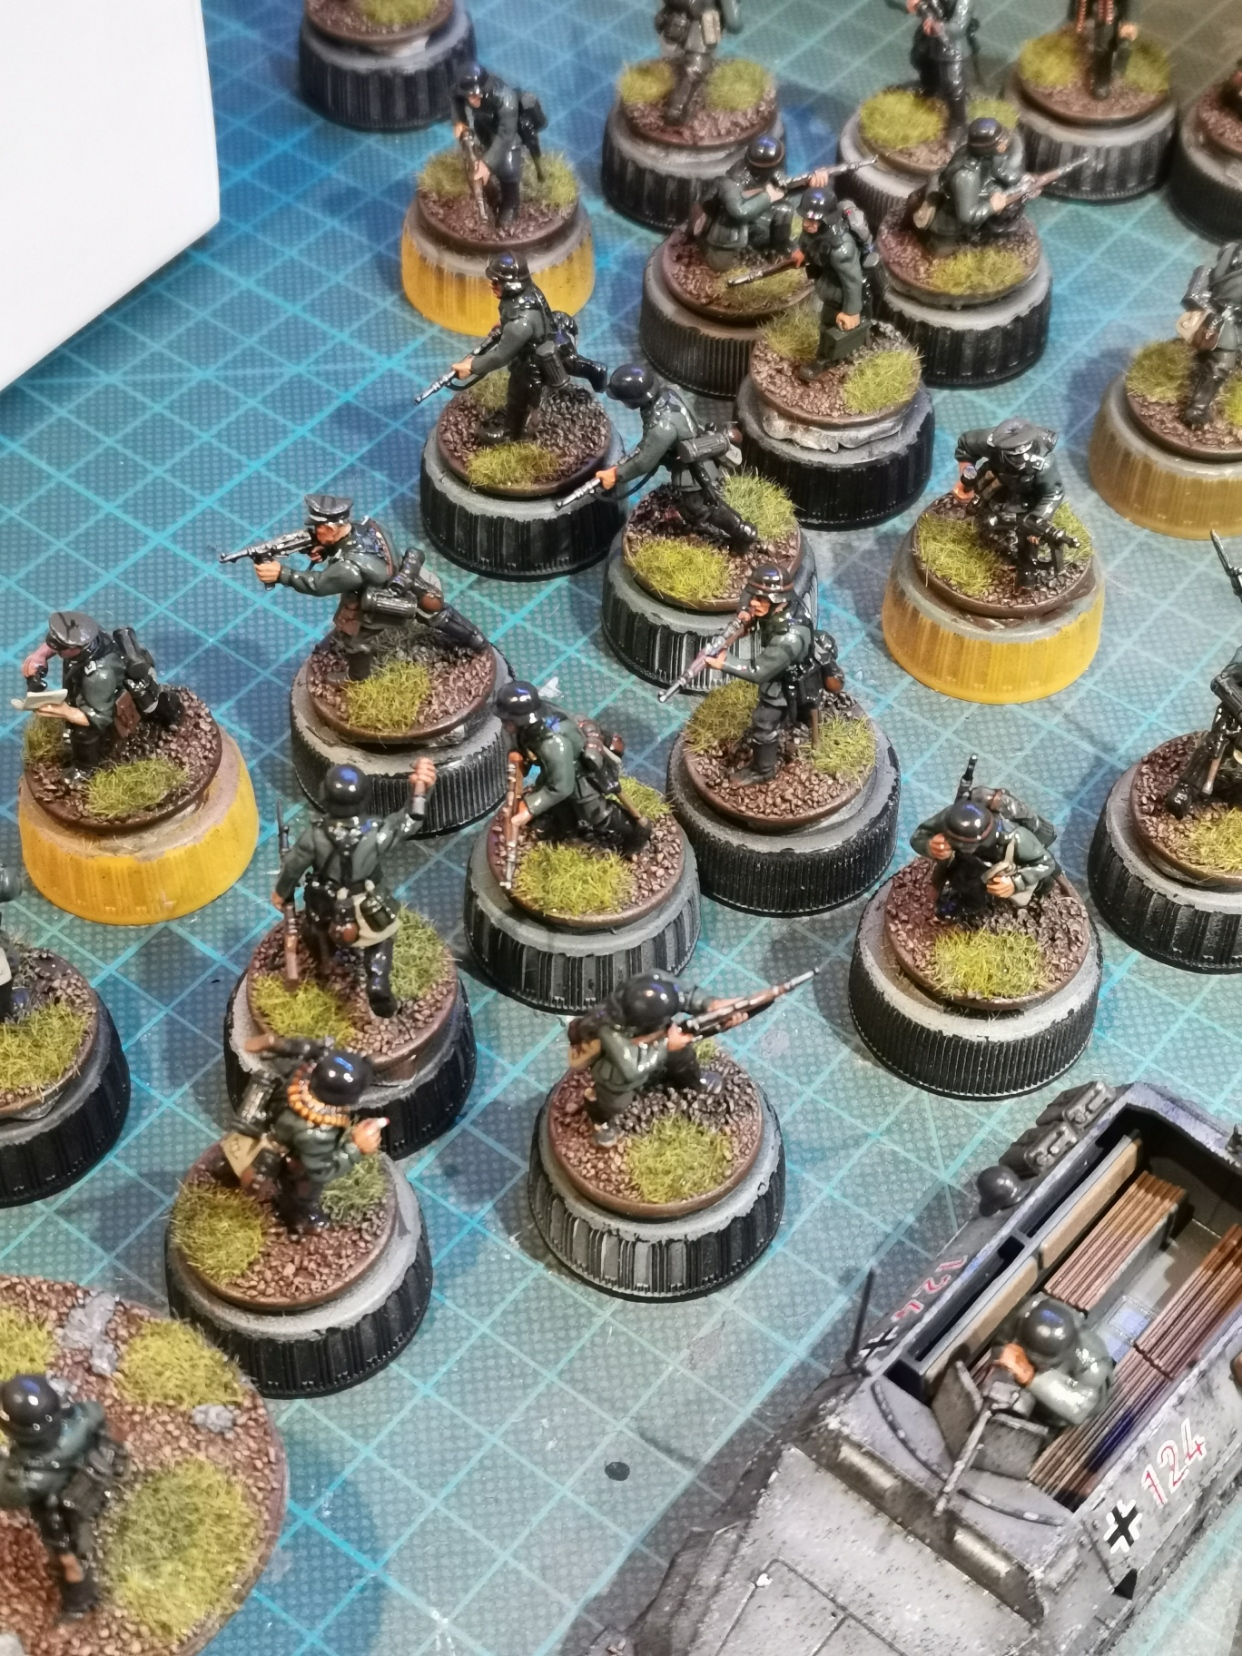
Step 10: Action shots!
There is nothing more satisfying than some action shots of the newly painted minis! Aaaaaaaaaaaaaaaaaaaaand ACTION!!!
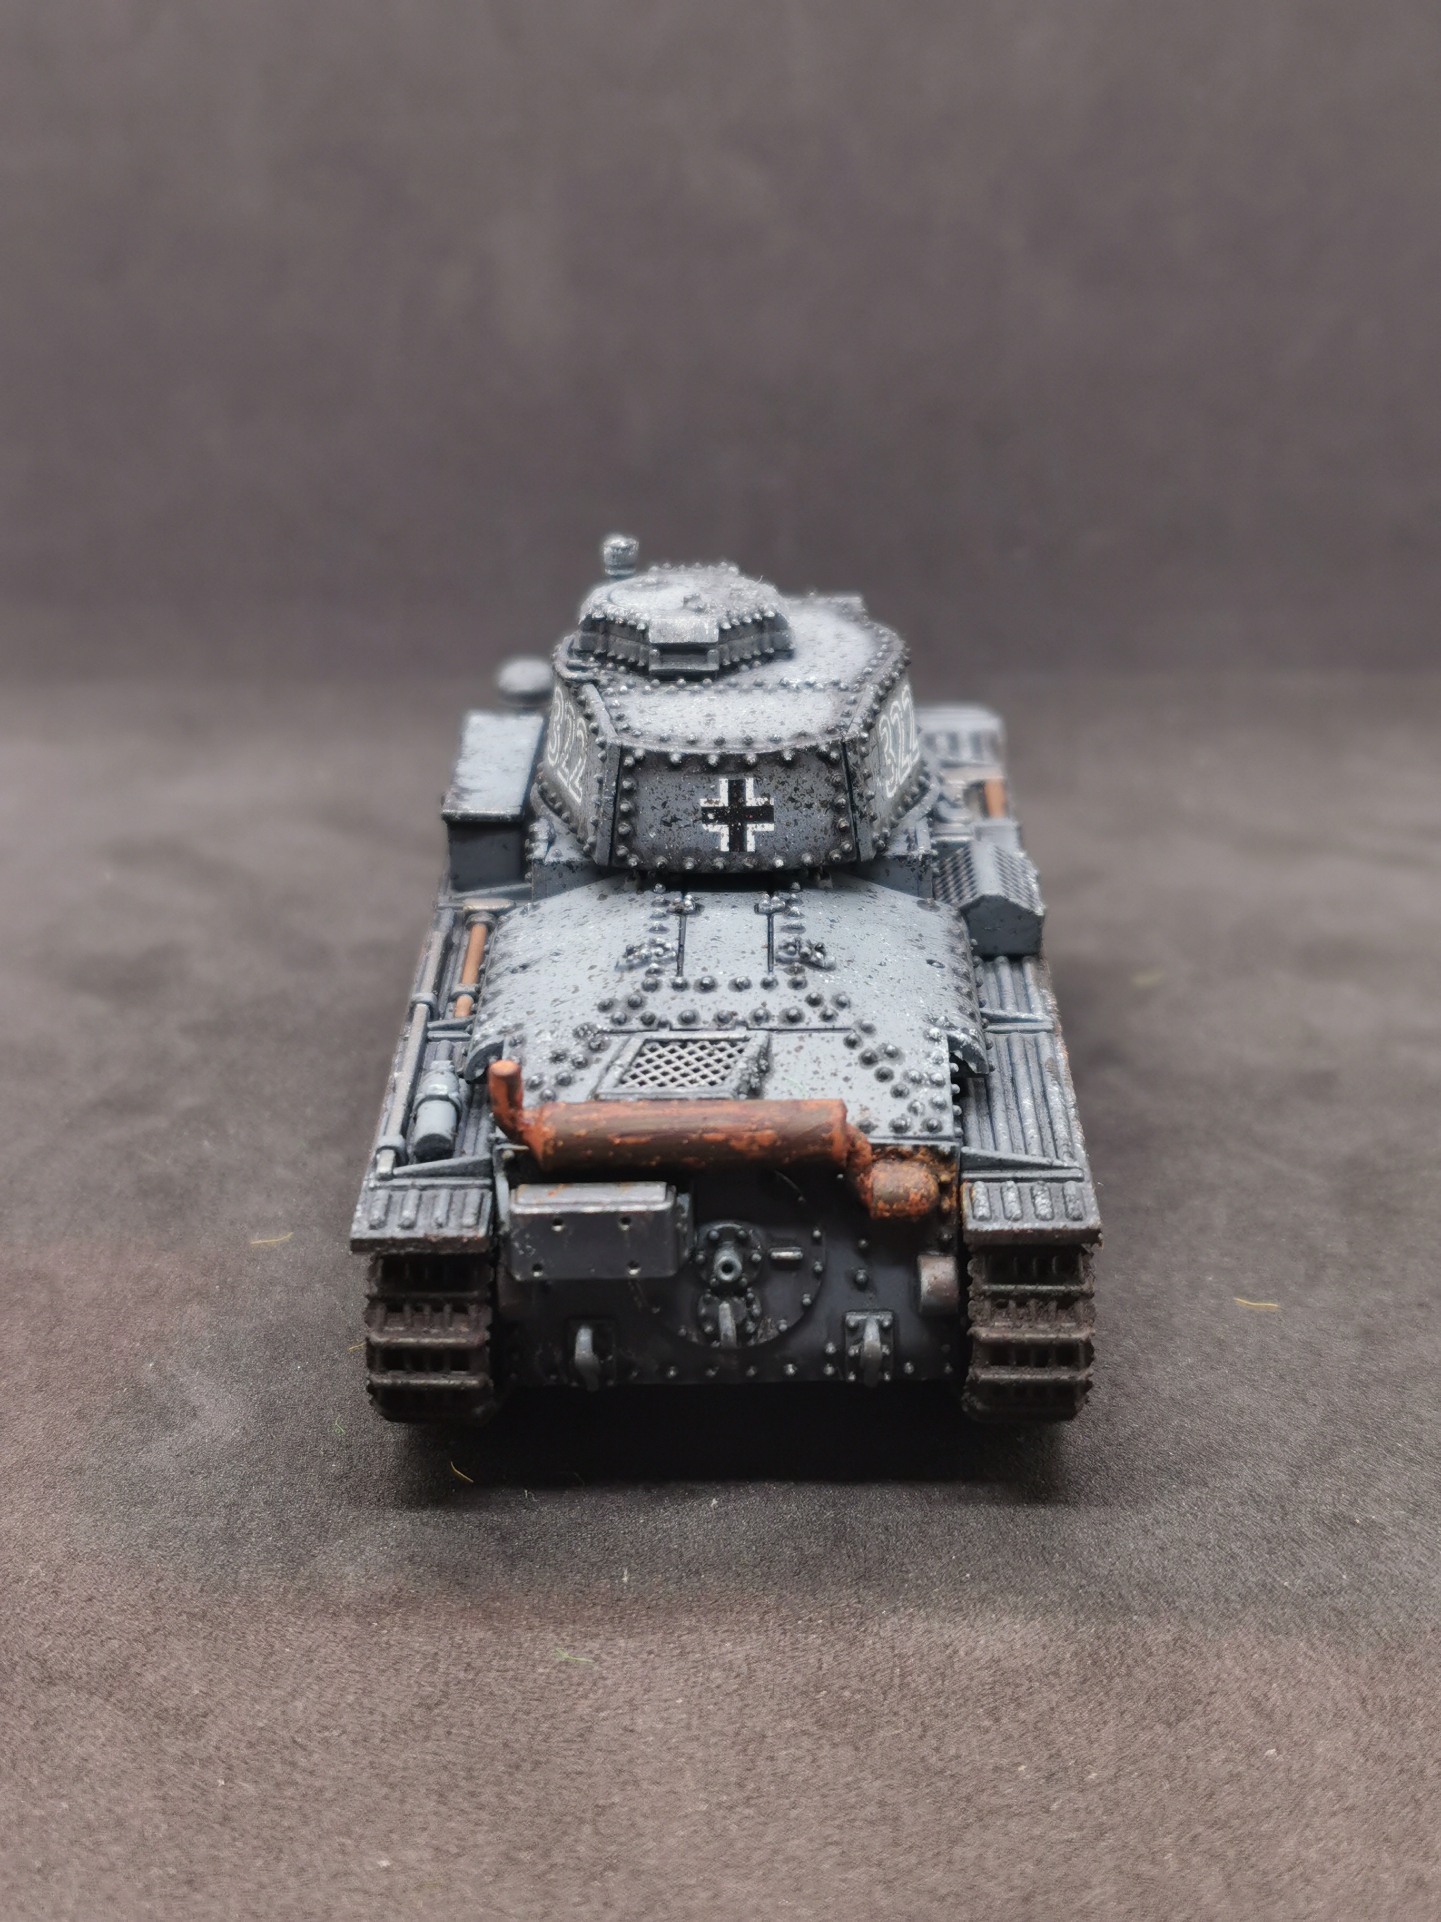
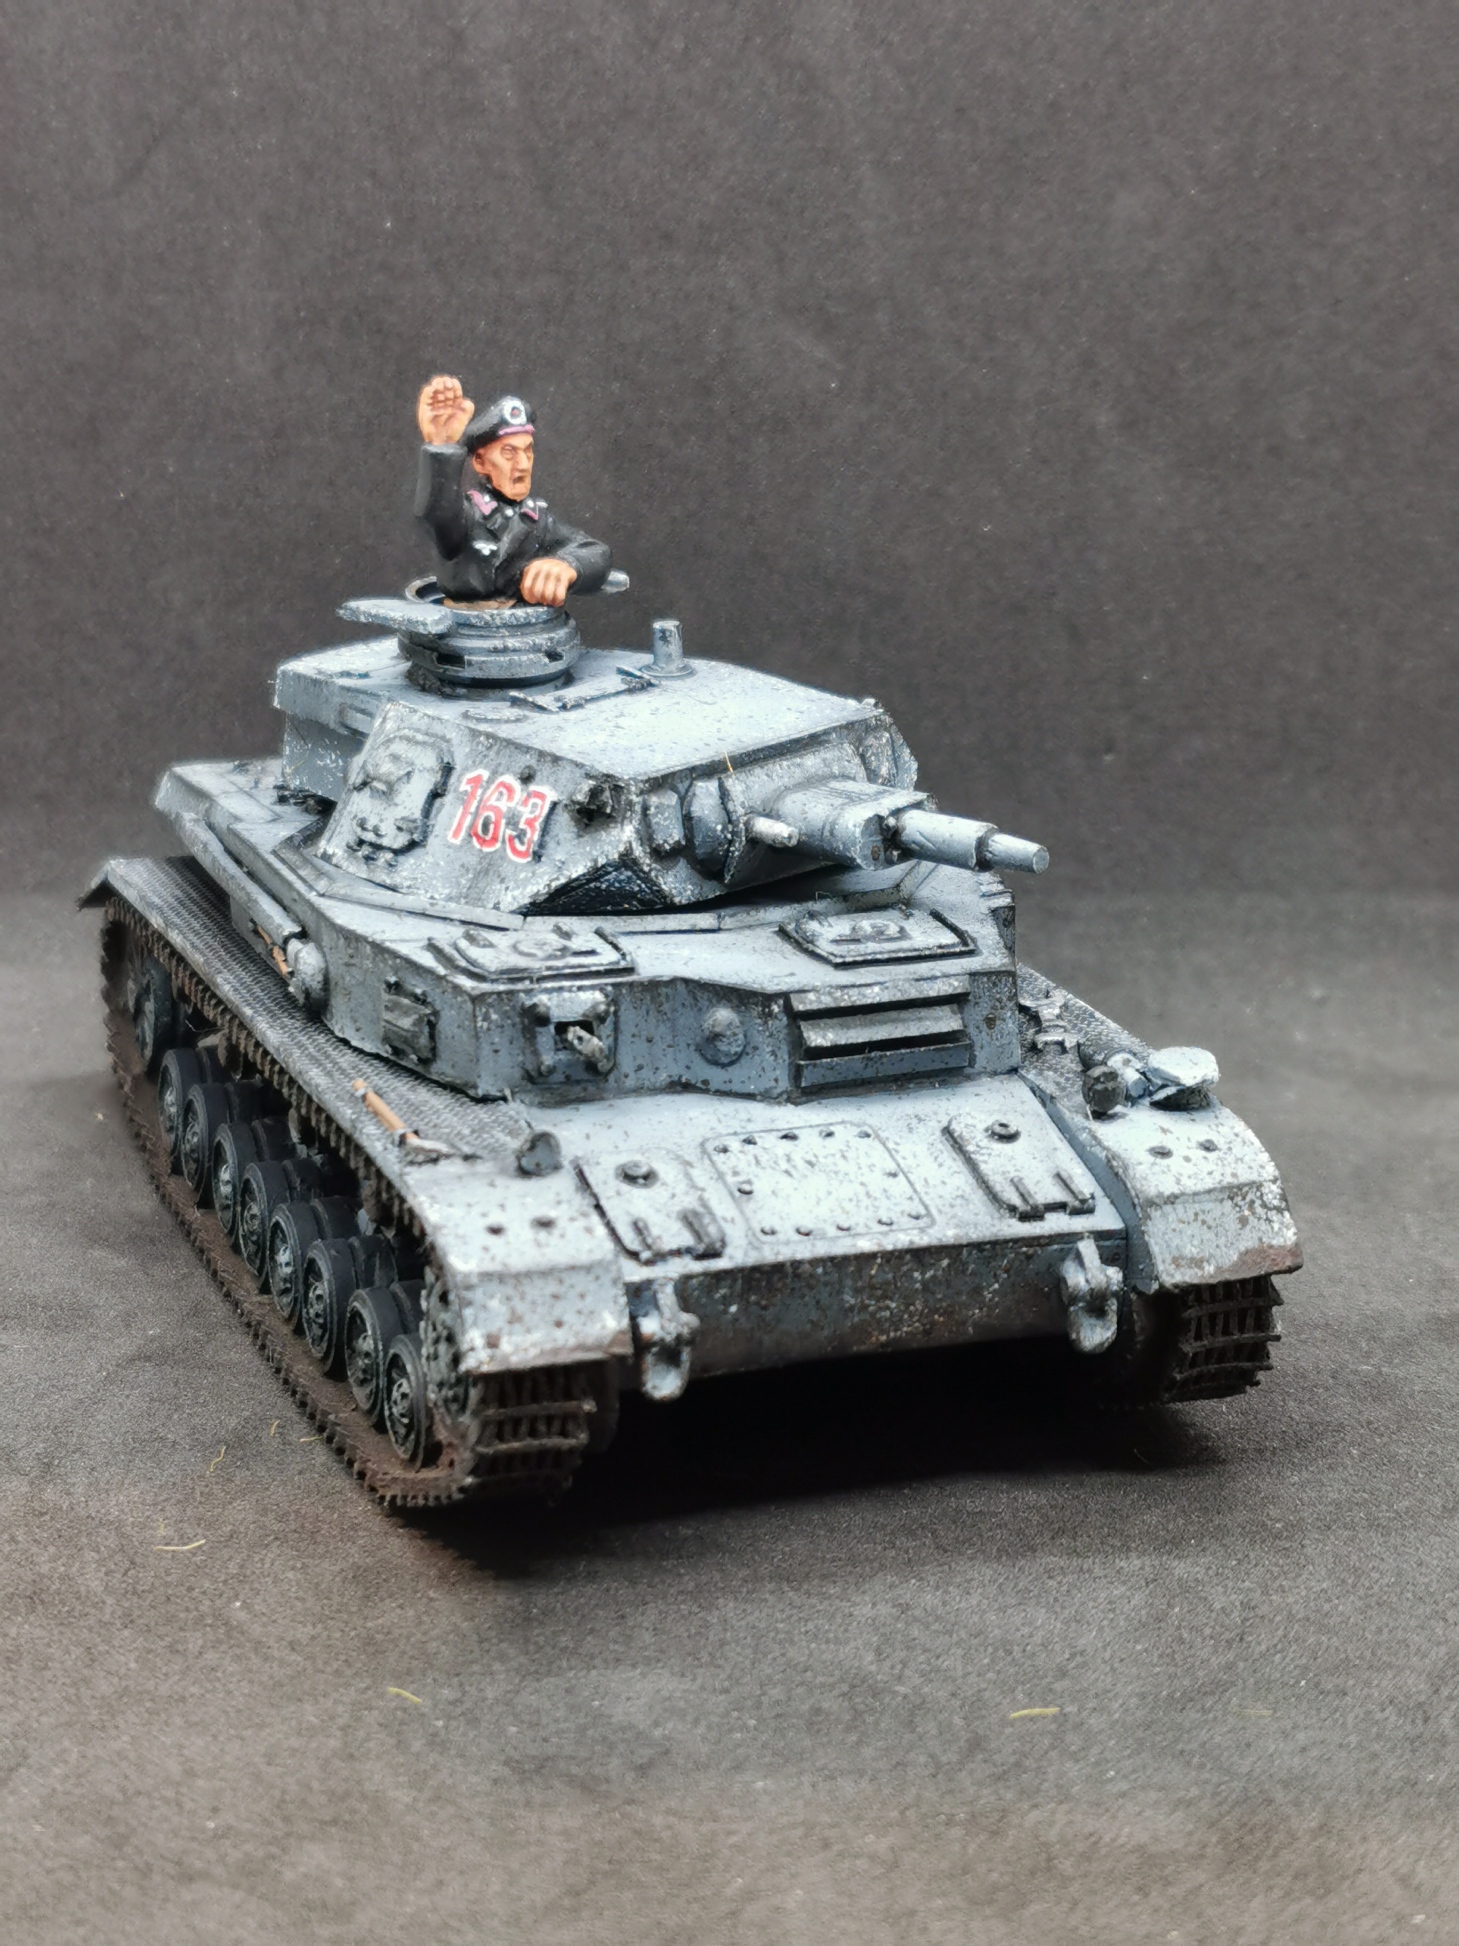
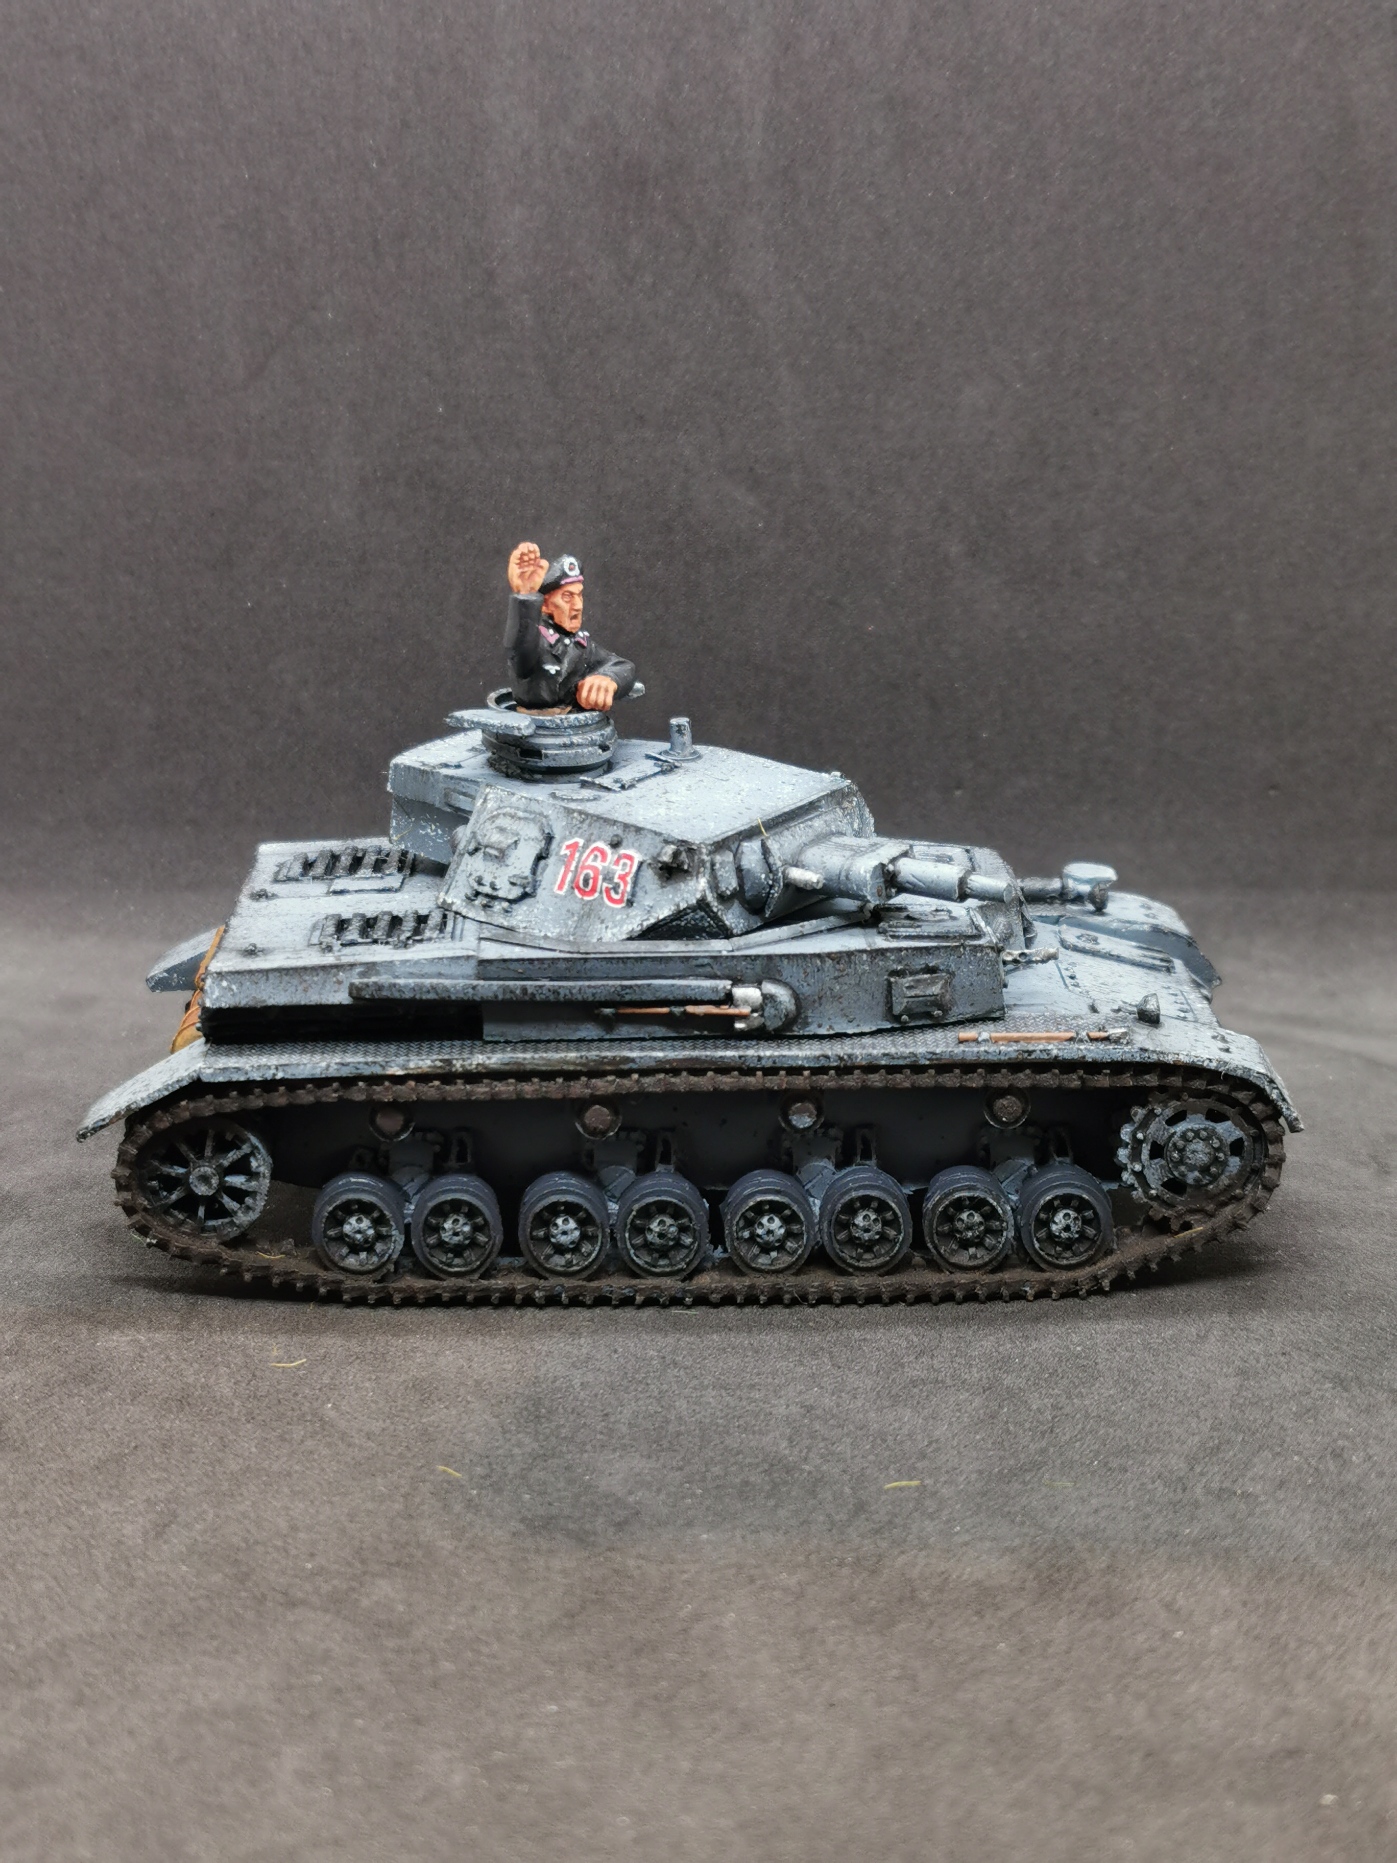
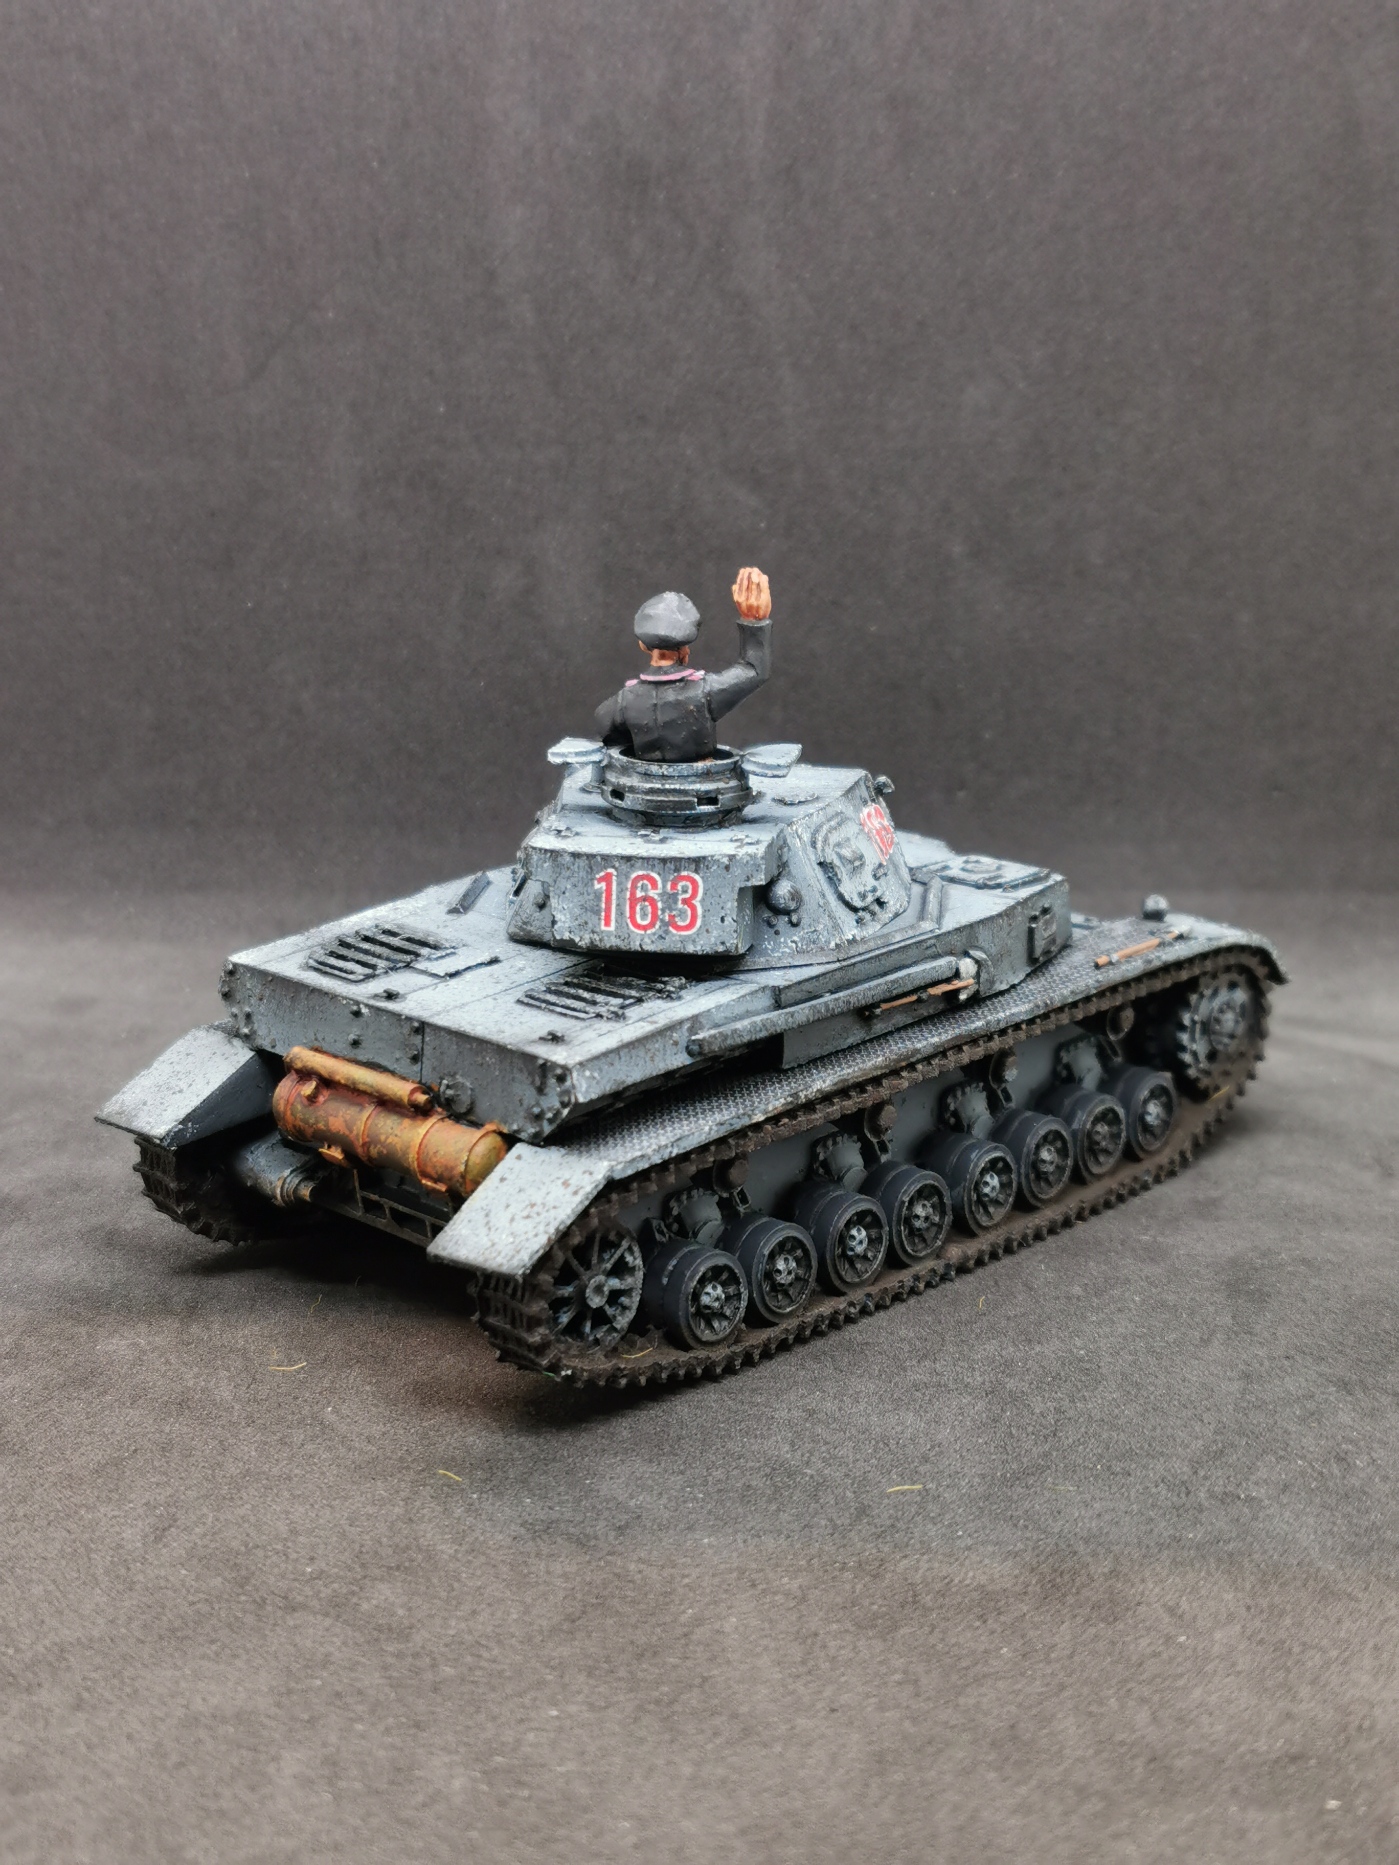
Step 9: Roll out!
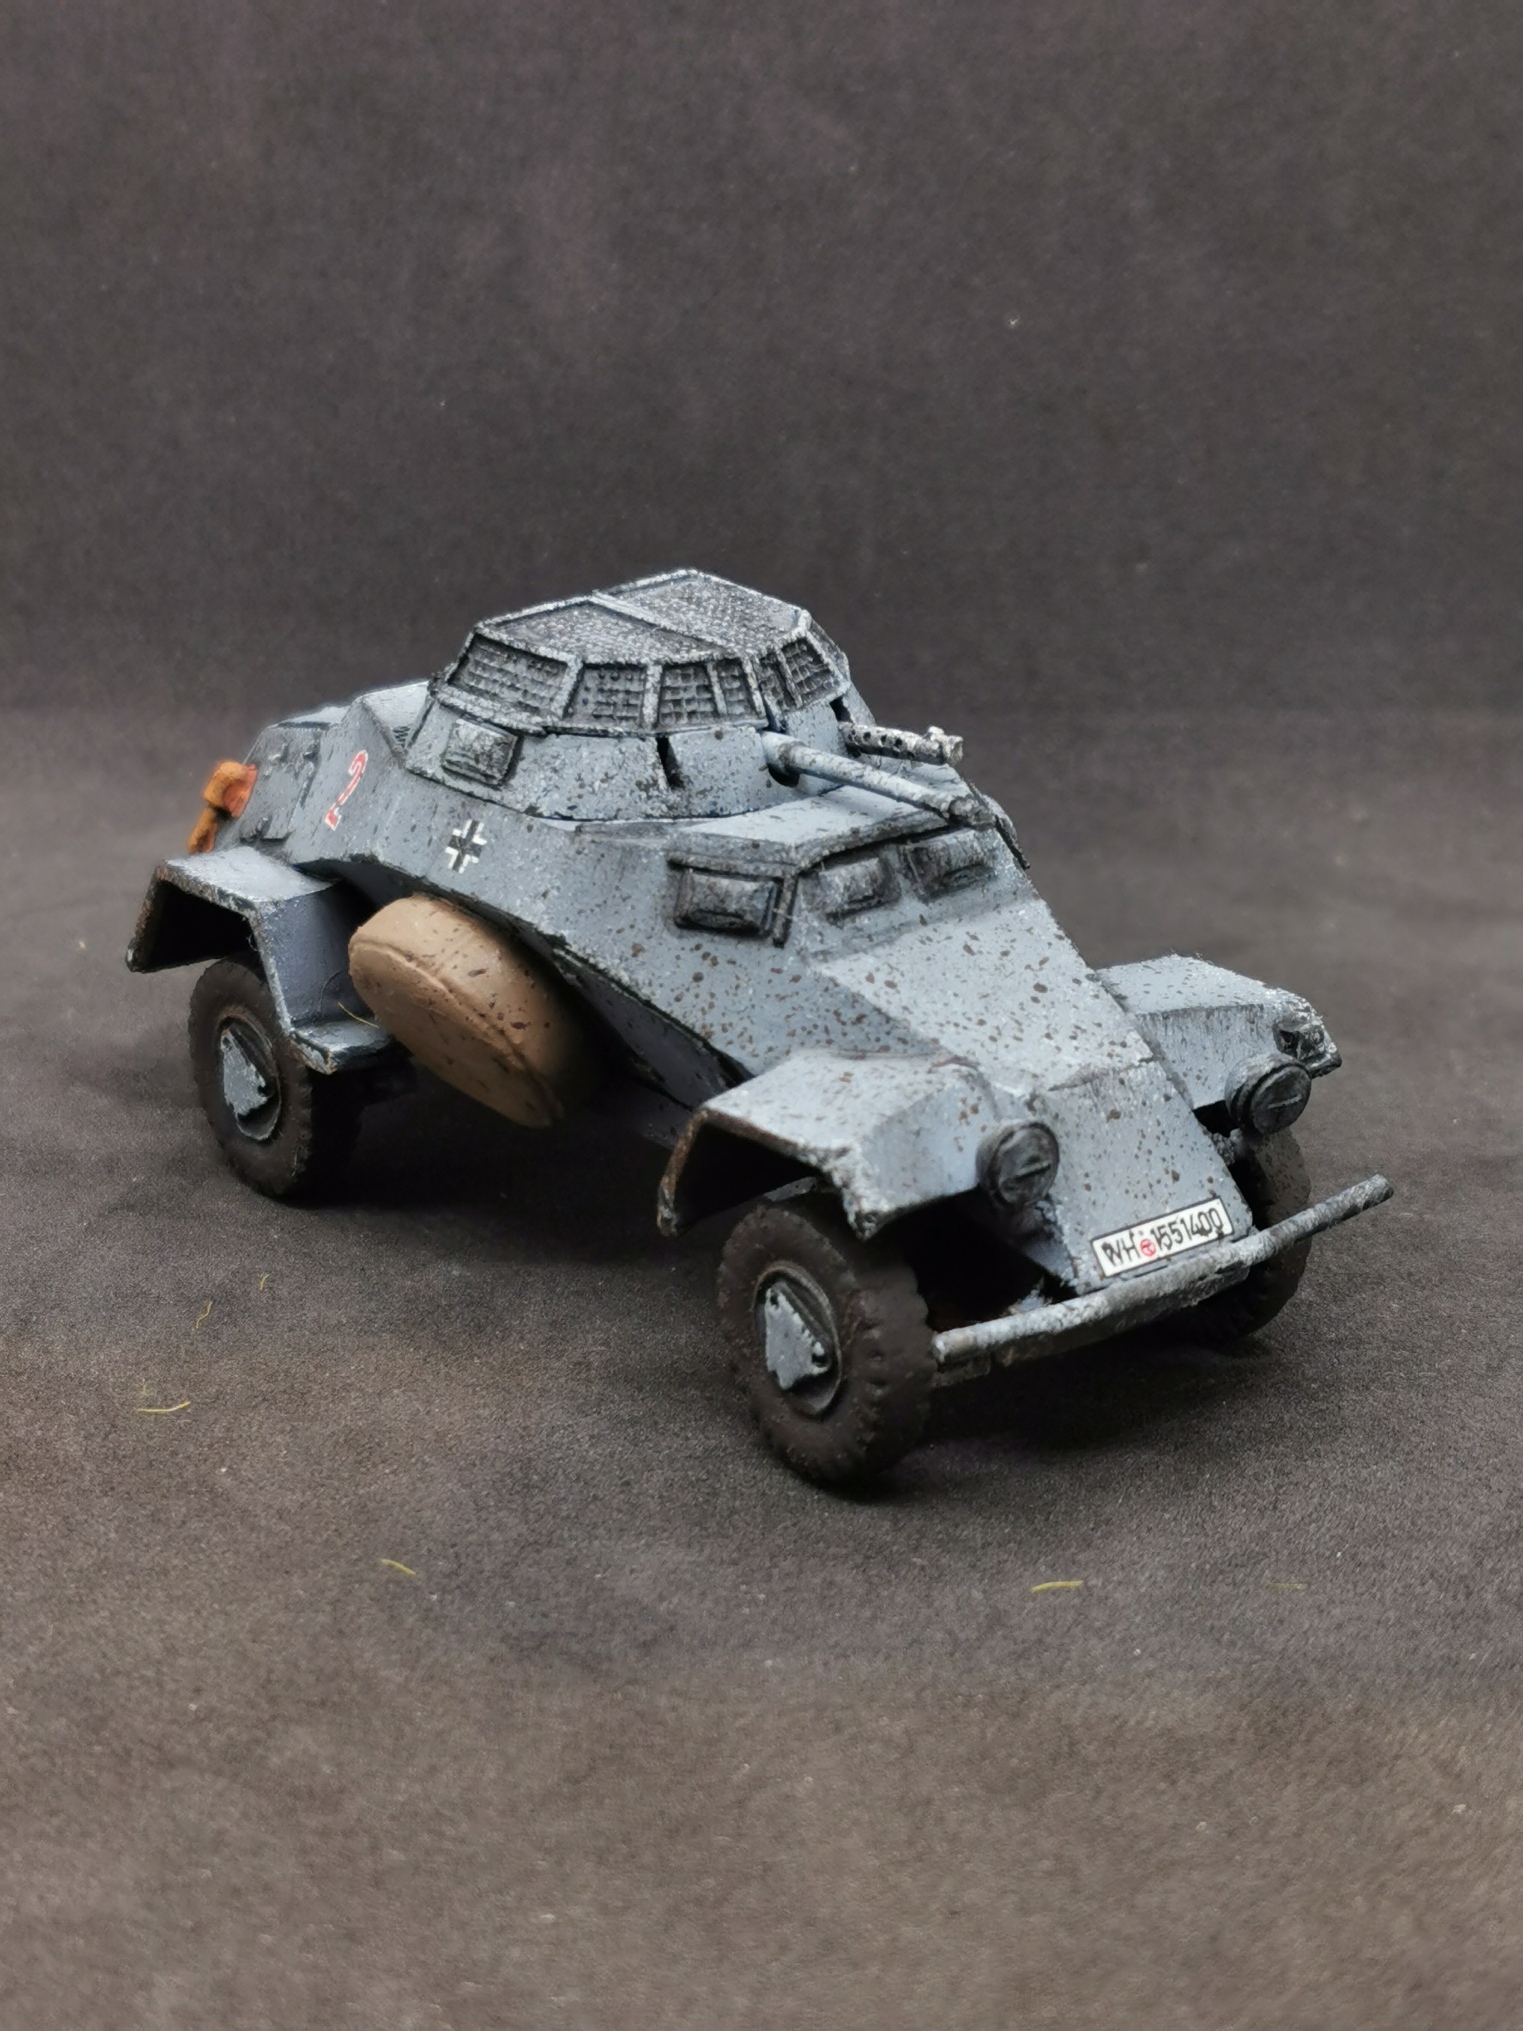
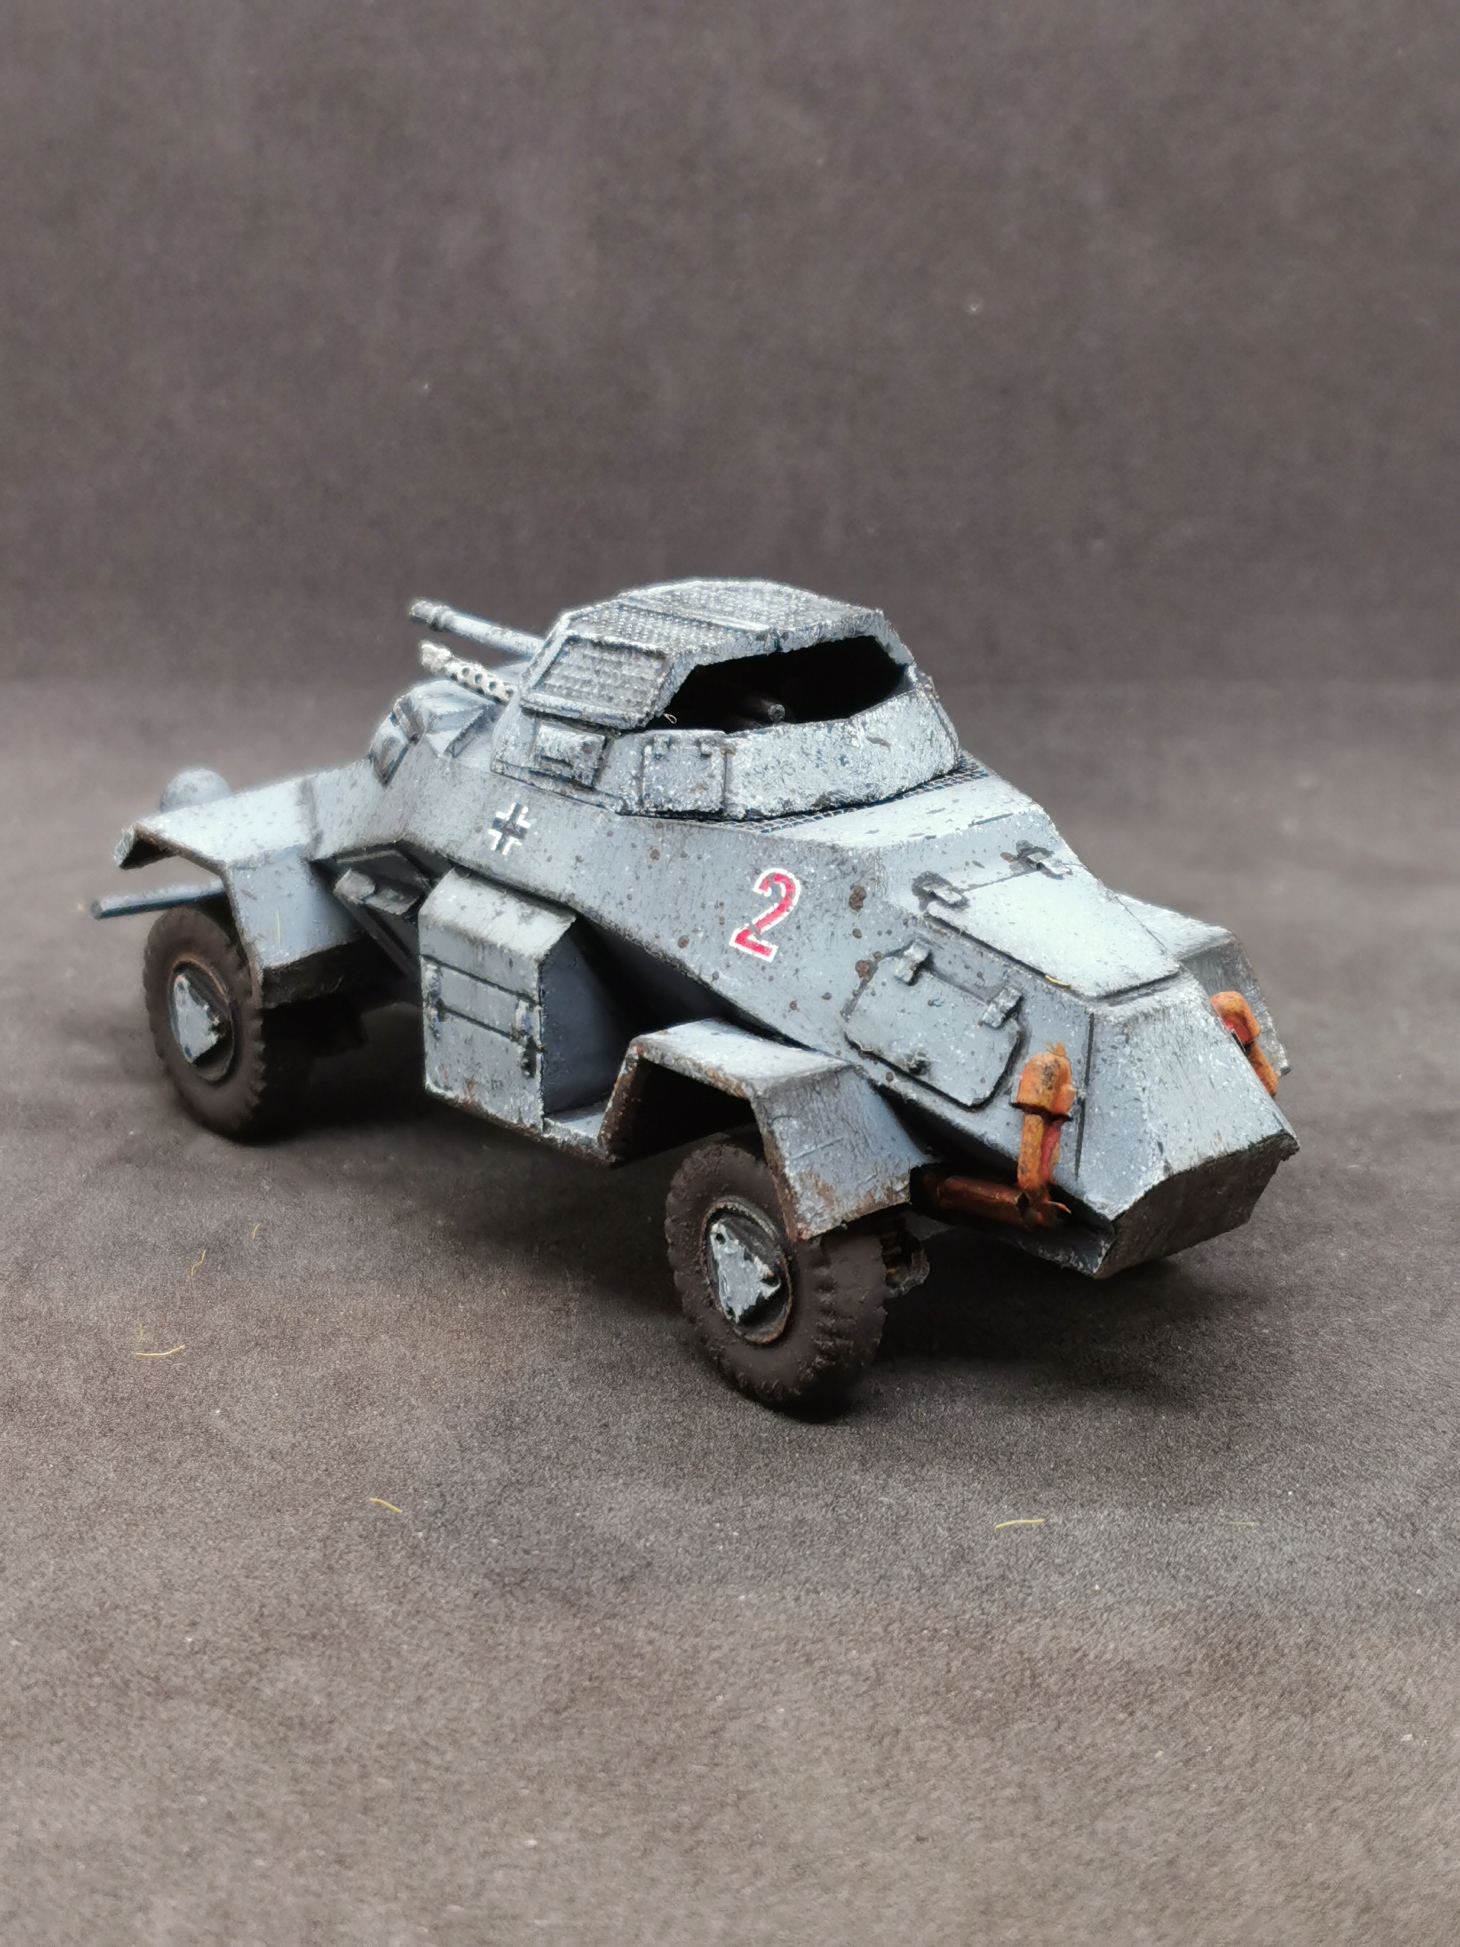
I painted the rest of the armor in the same way as the hanomag and also did red markings on the rest of the vehicles to keep some kind of unity.
I found a great website to help how german vehicles were marked during WW2:
https://www.flamesofwar.com/Default.aspx?tabid=110&art_id=287
The Tank comander was basecoated with VMC German Grey followed by two coats of Citadel Nuln Oil. The typical pink markings on the tank crew uniform was painted with a mix of Citadel Mephiston red and Citadel White scar.
The other markings were painted using Citadel White Scar.
The rust on the exhaust pipes was achieved using dirty down rust.
Step 8: Getting ready to flock!
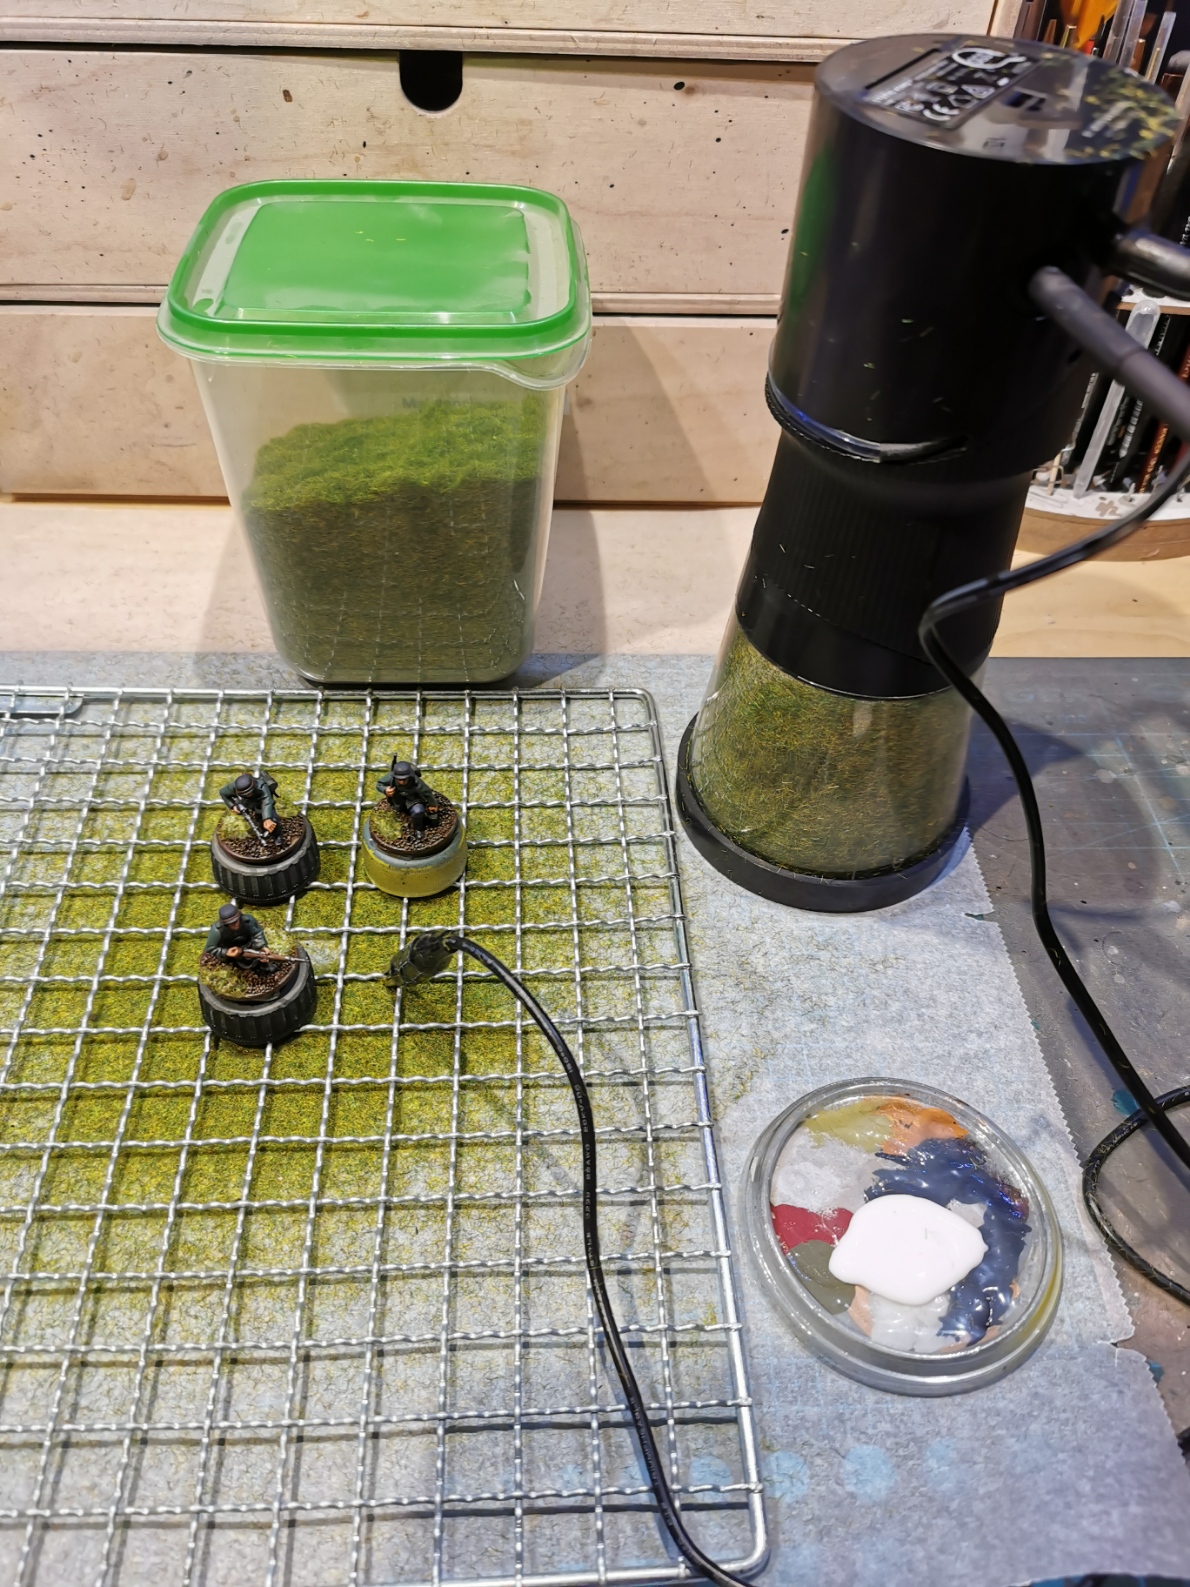
Since the minis were all fully painted I started flocking the base and putting on some tufts on the larger bases to make them more interesting to look at. I always do this step in bulk so that the mess this makes is a one time clean up afterwards.
I use baking paper on the table surface to collect all the static grass the gets left over. On top of the paper I put a metal grid on top which is a wiping grid I got from the colour department in the hardware store. I put the electrical clamp from my Woodland Scenics Static King on the grid creating a static field which helps the grass flock to stand up straight. As glue I used undiluted PVA spread with a wet brush on the base.
Thes last step was a coat of gloss varnish on the whole mini followed by a coat of matt varnish to remove the shine from the previous coat.
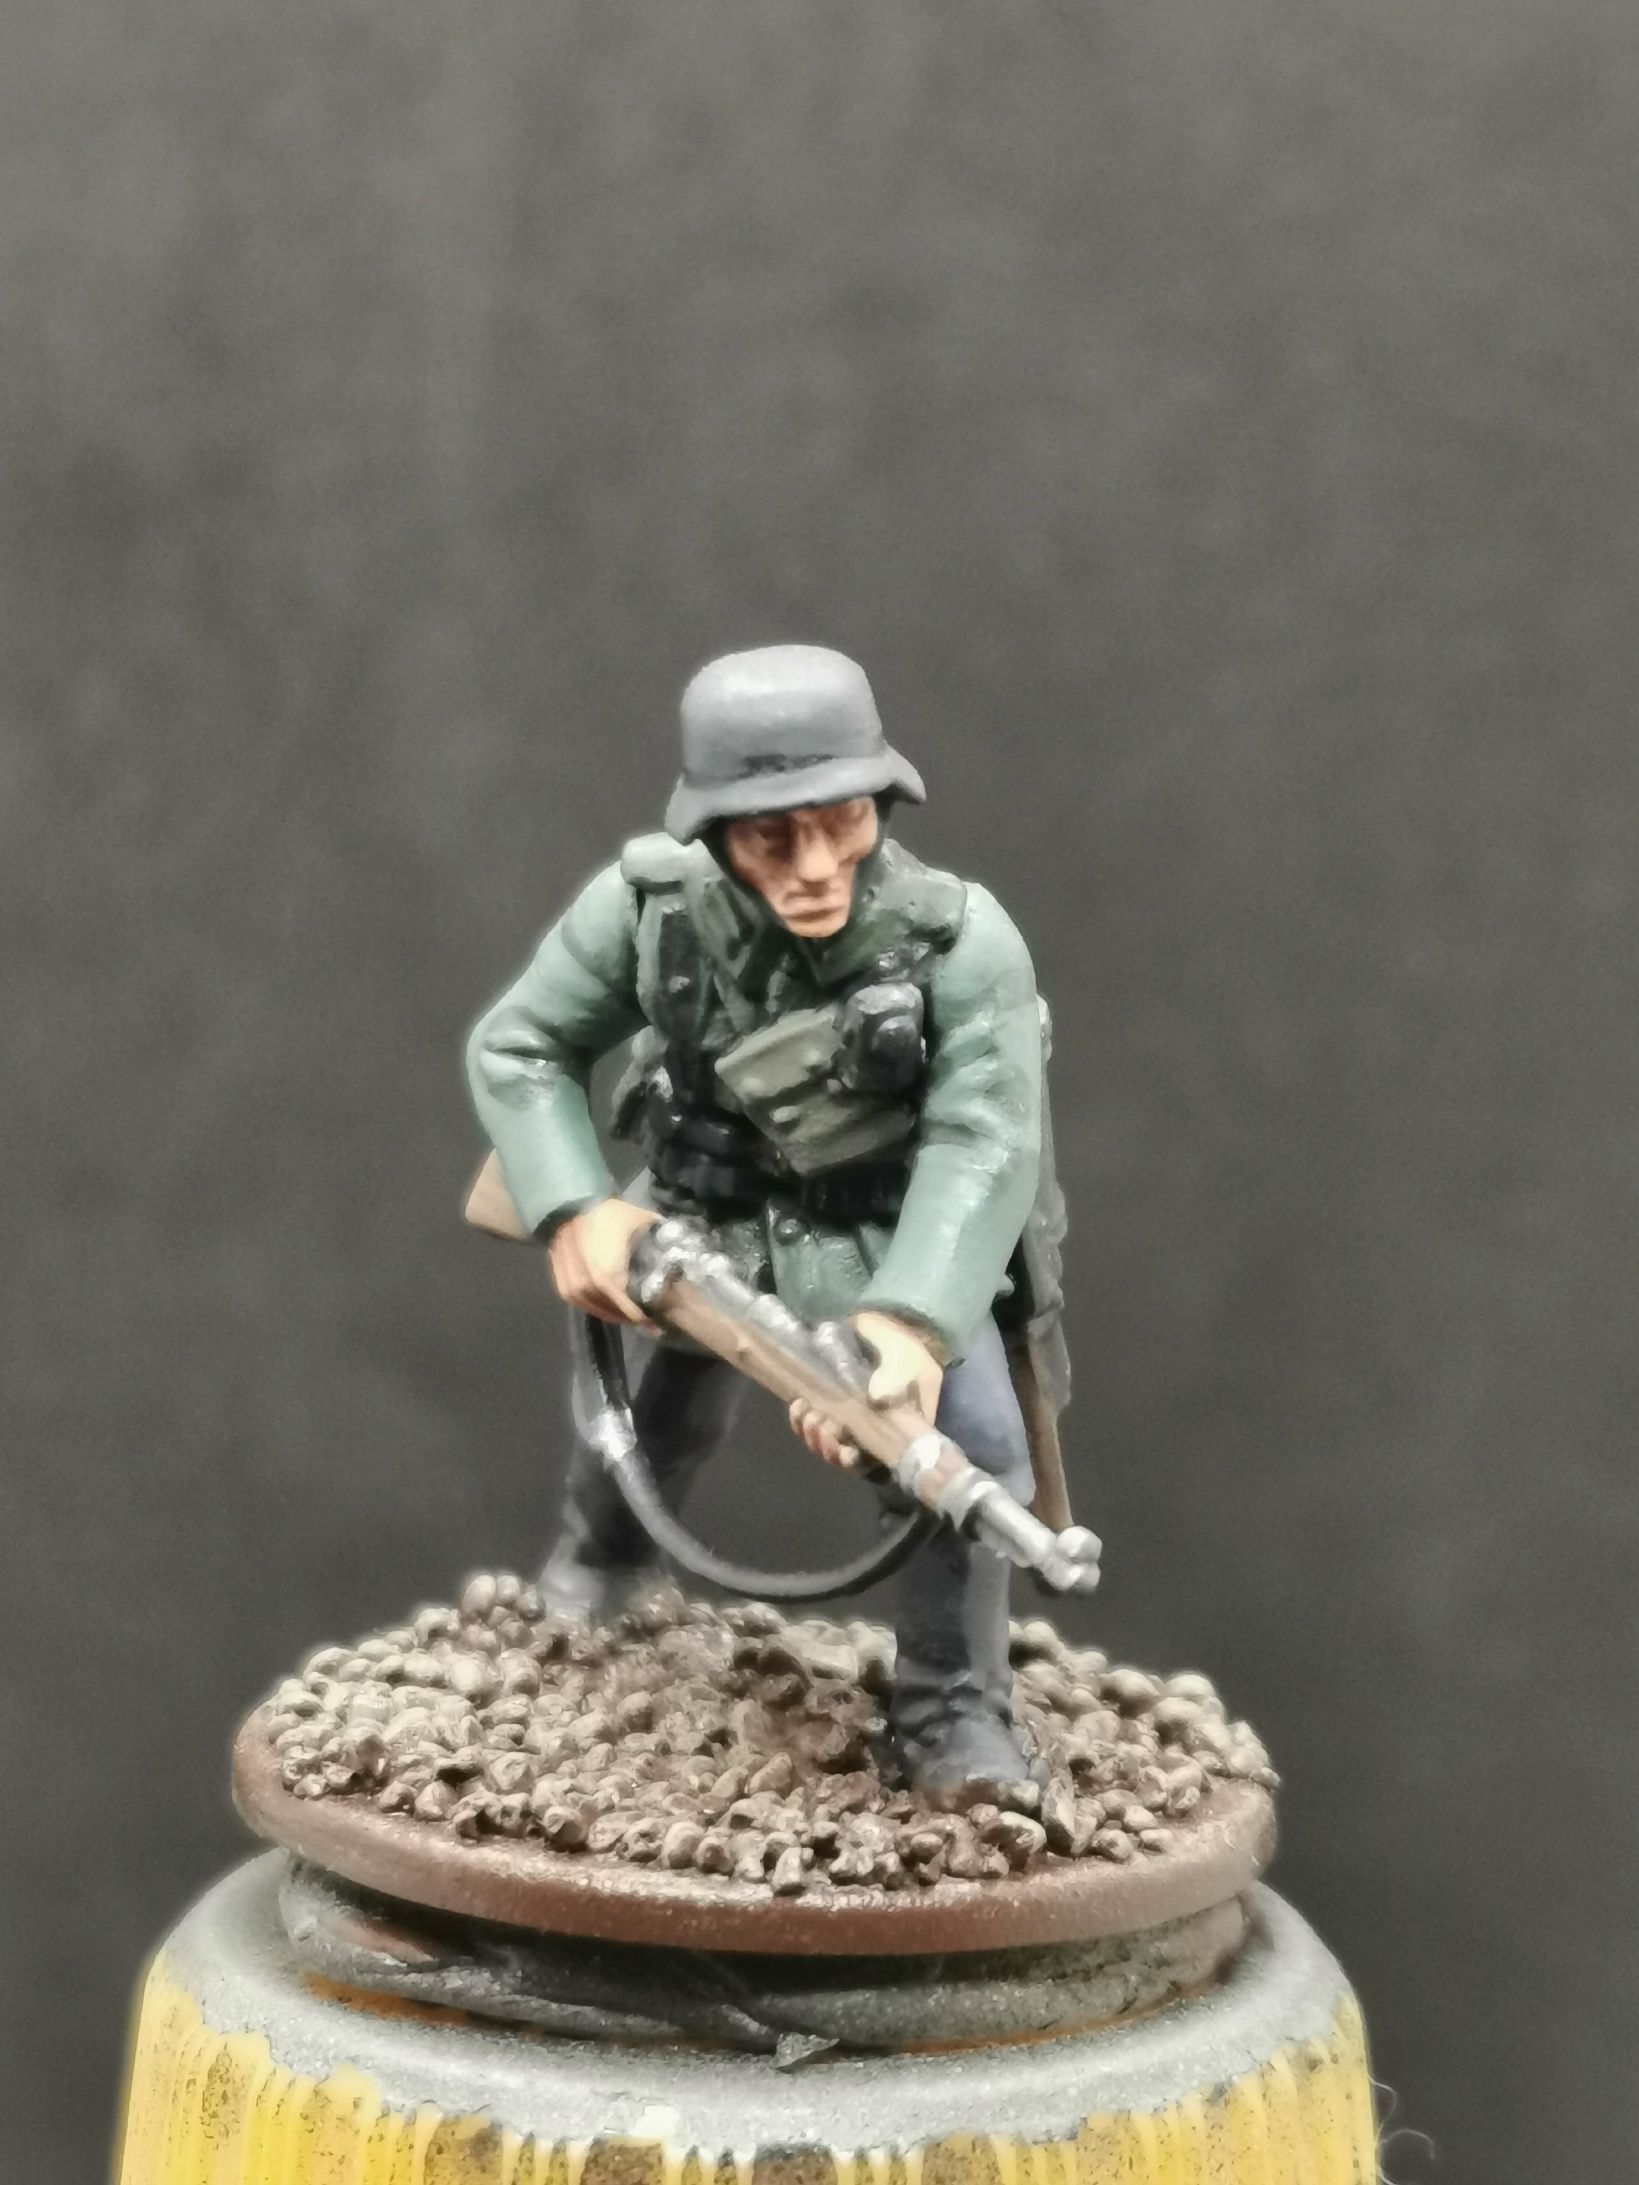
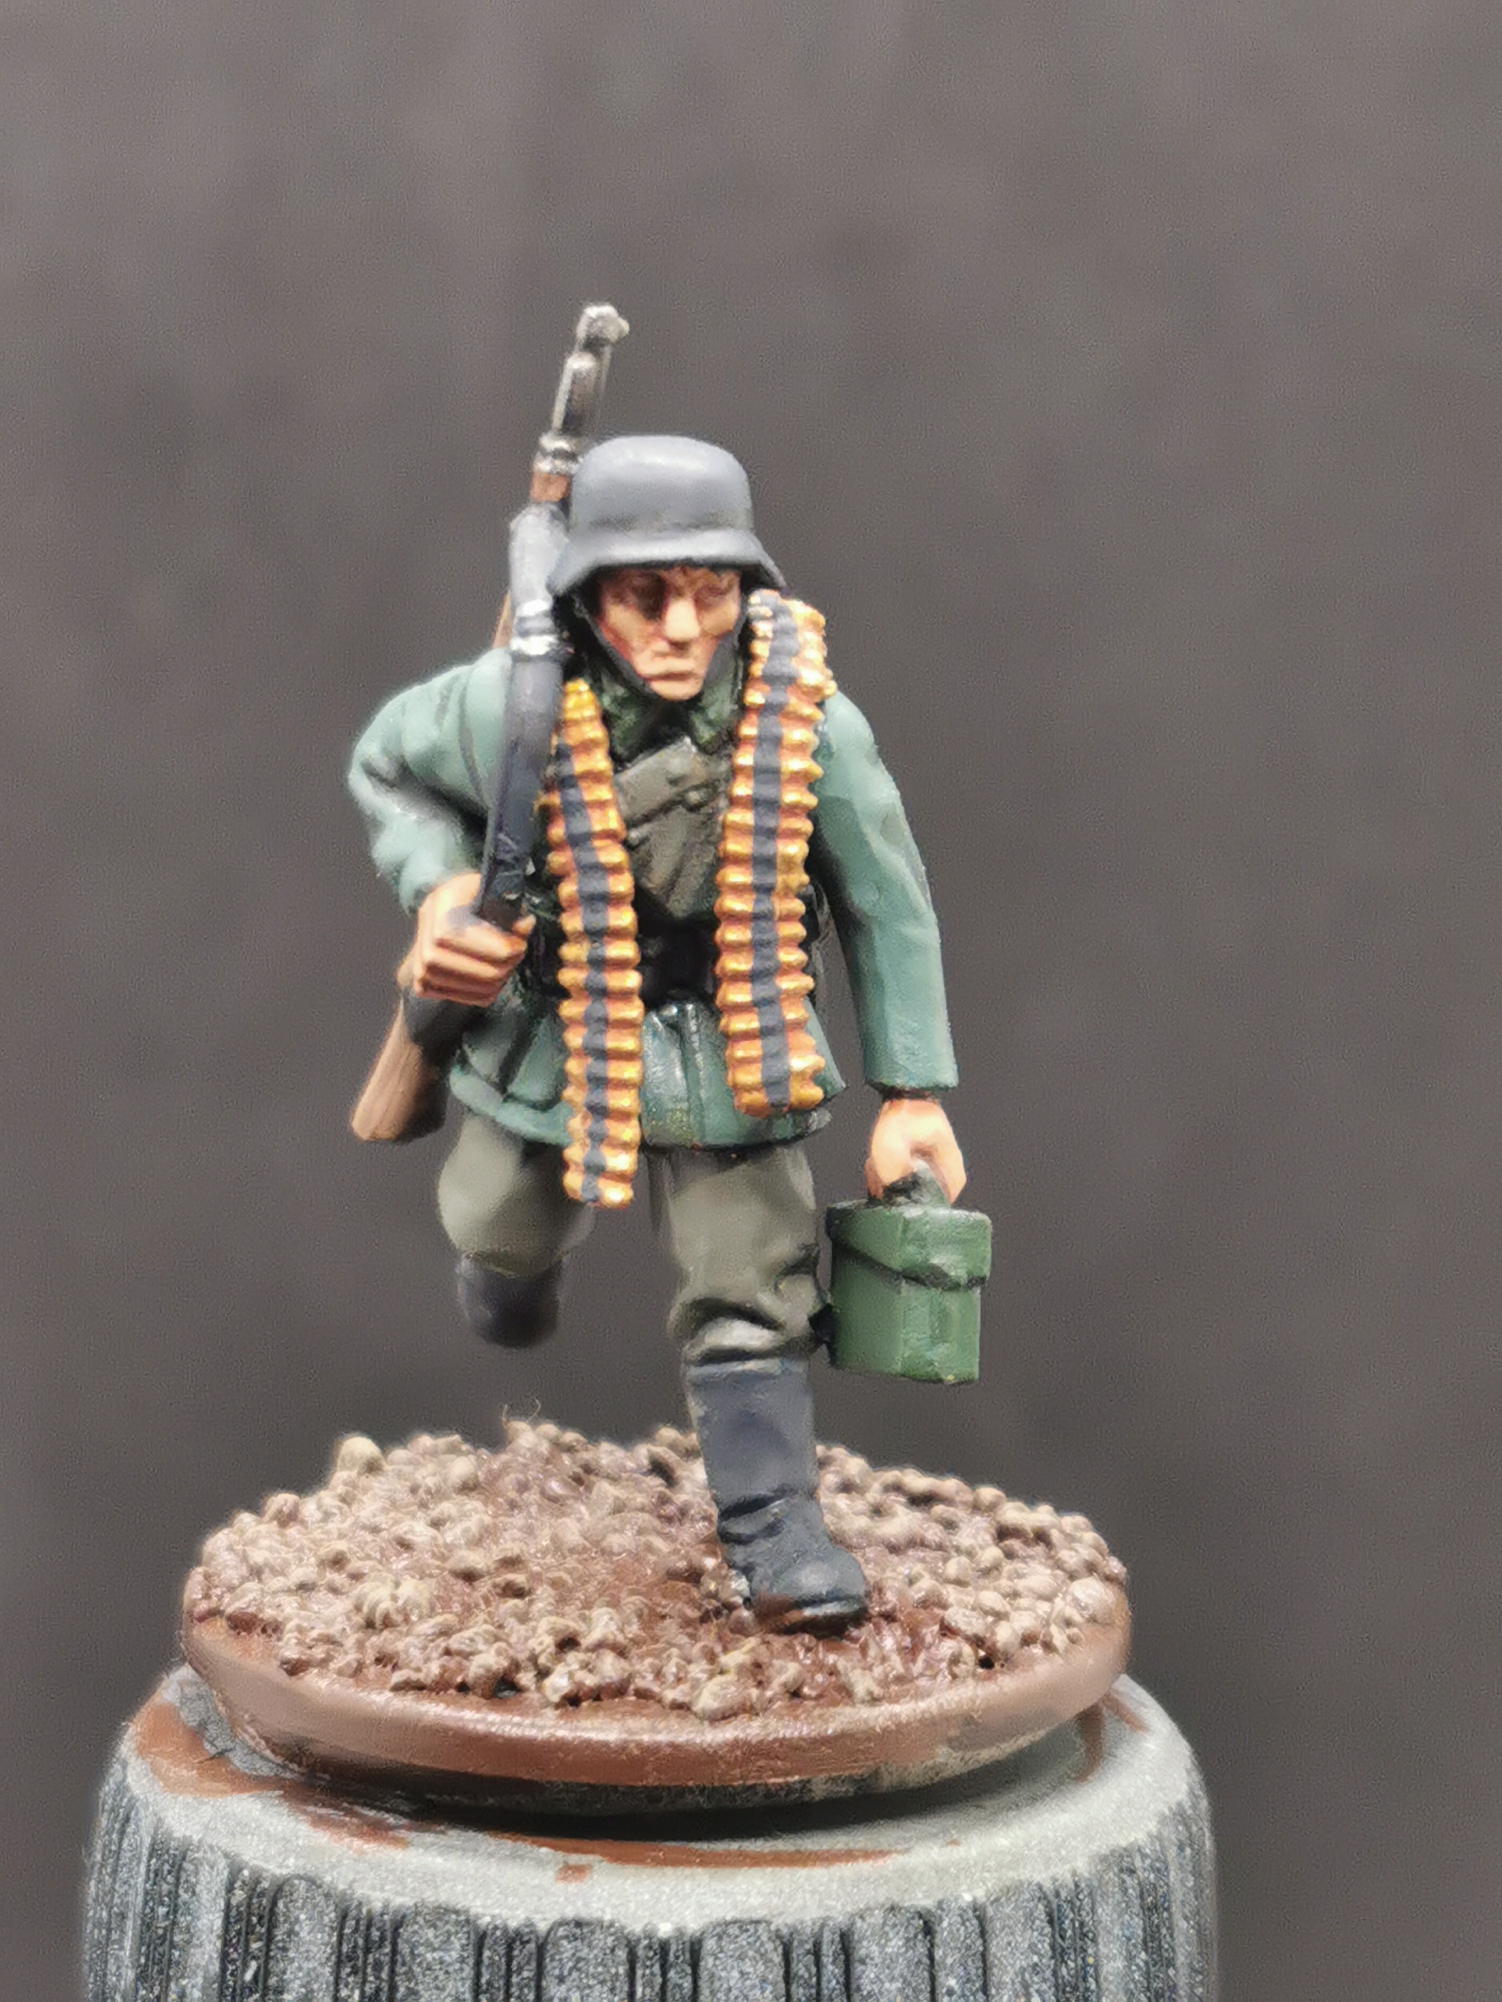
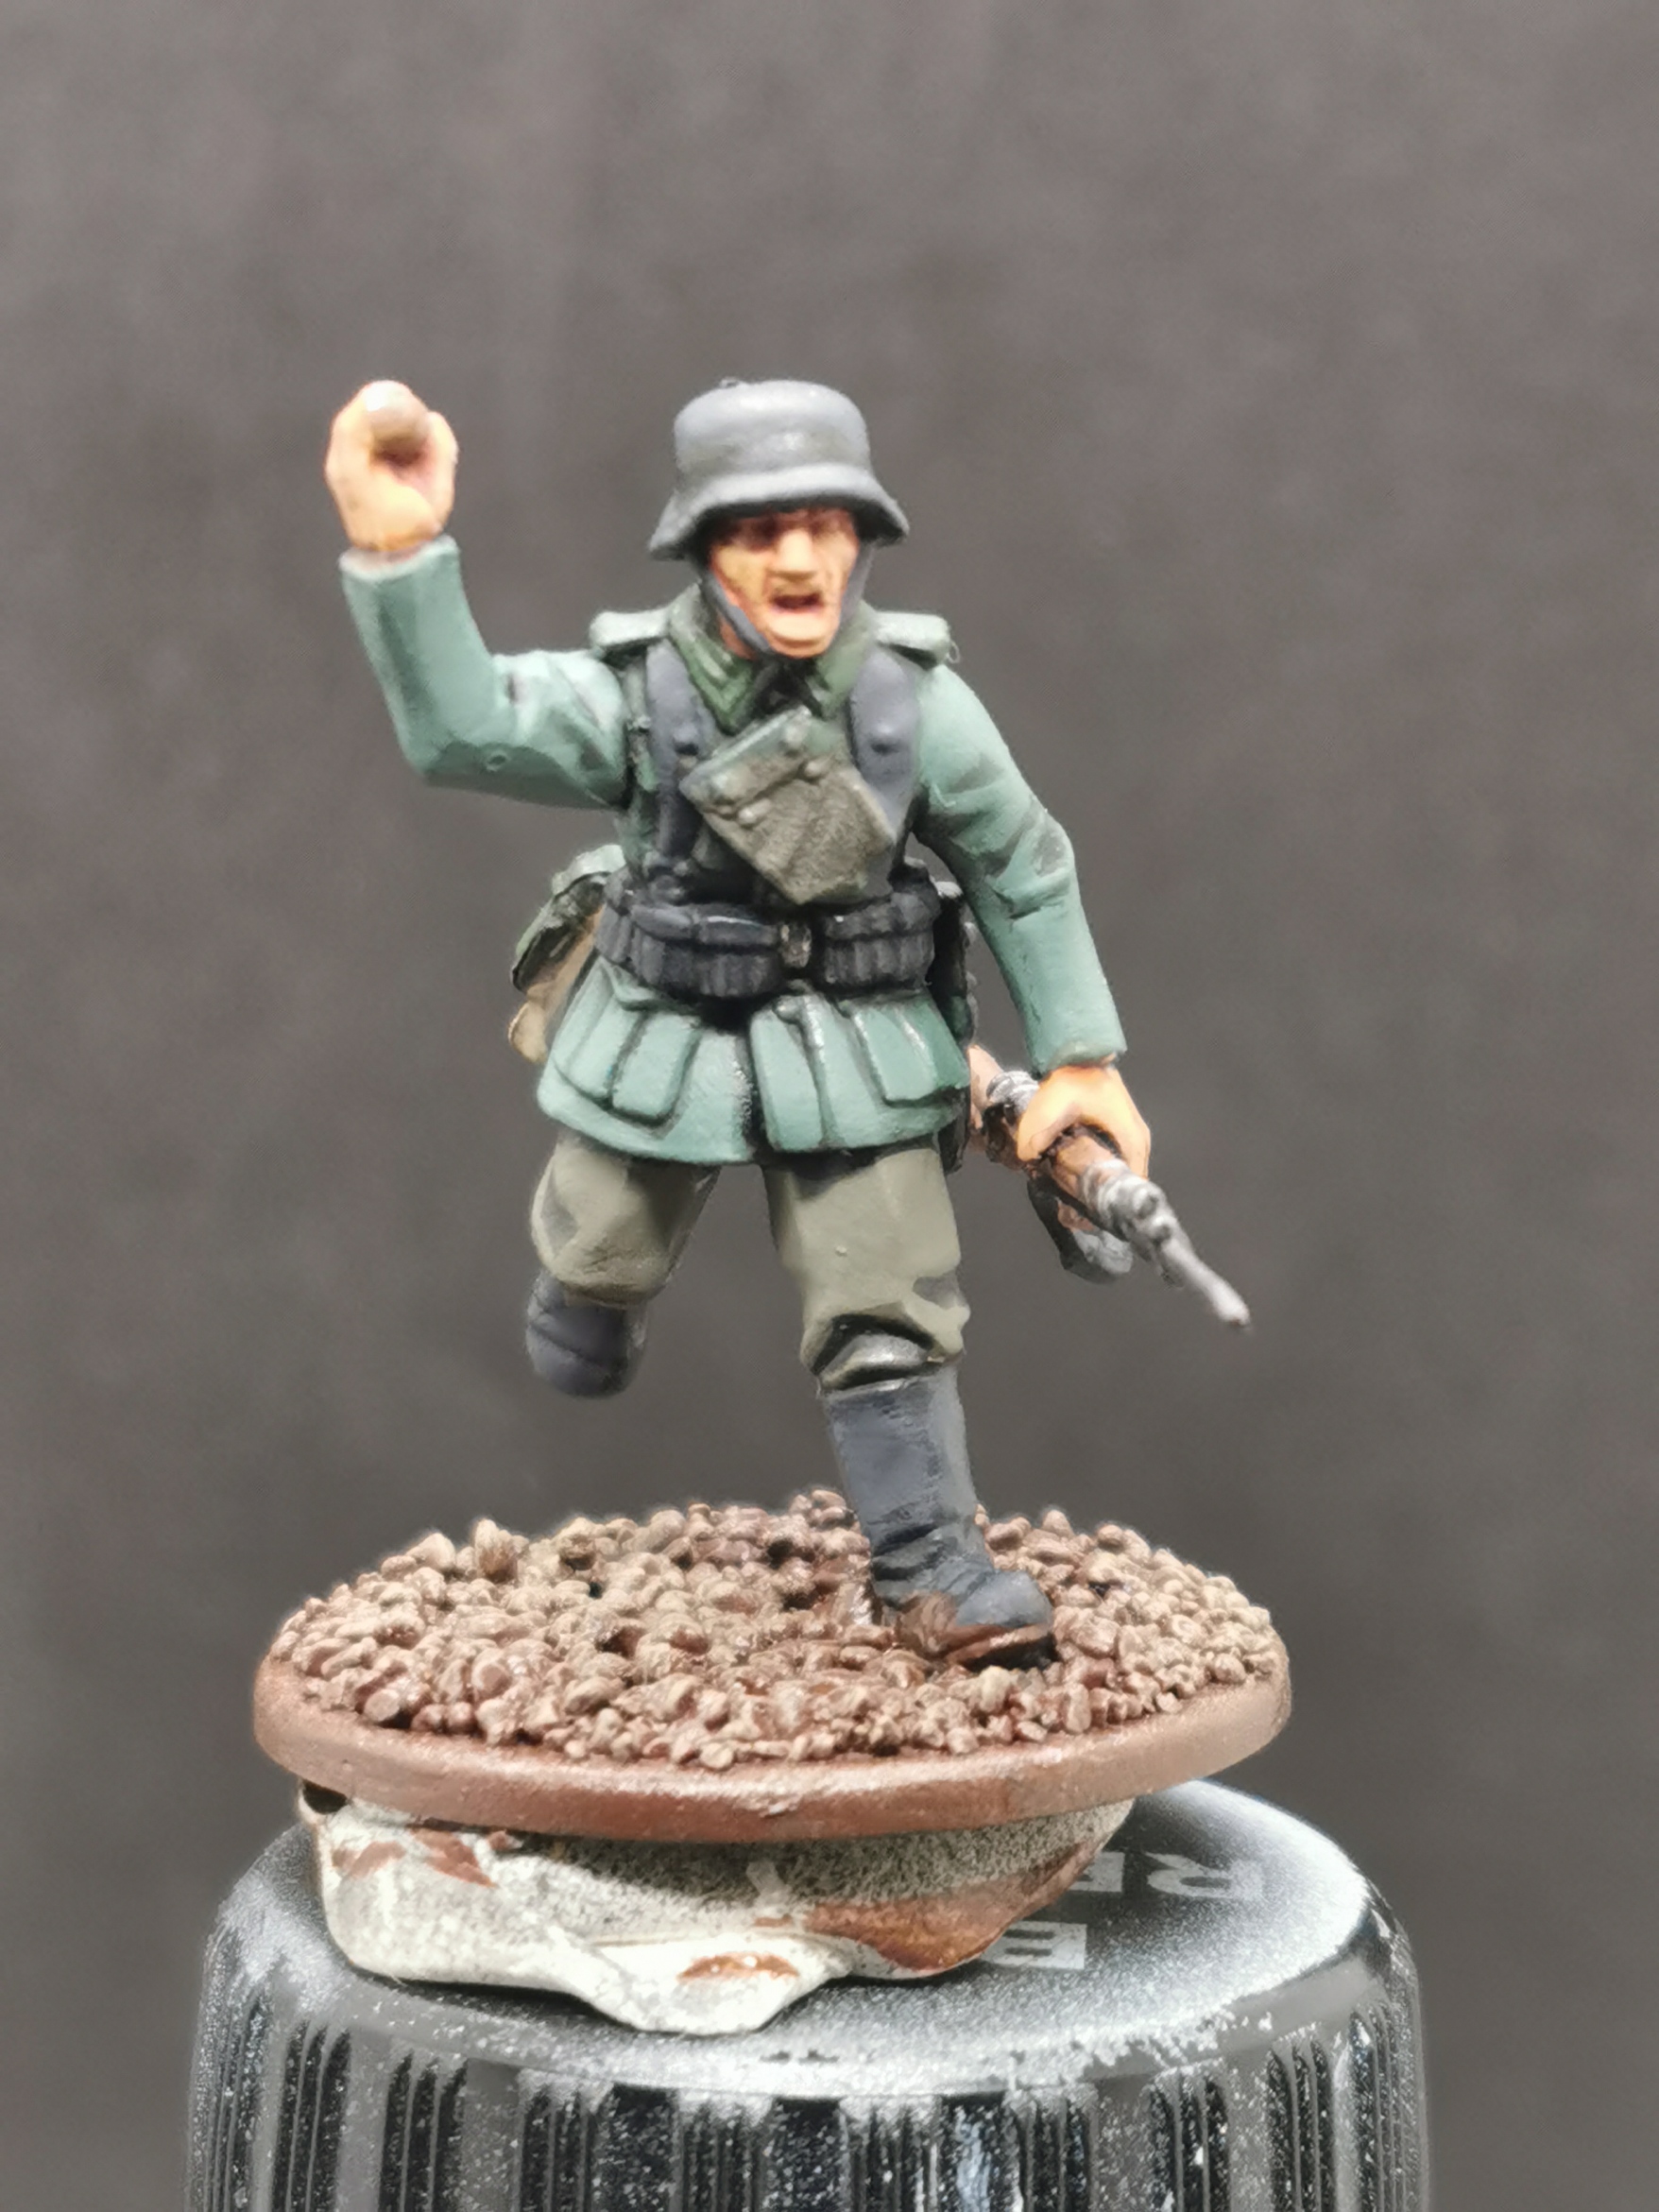
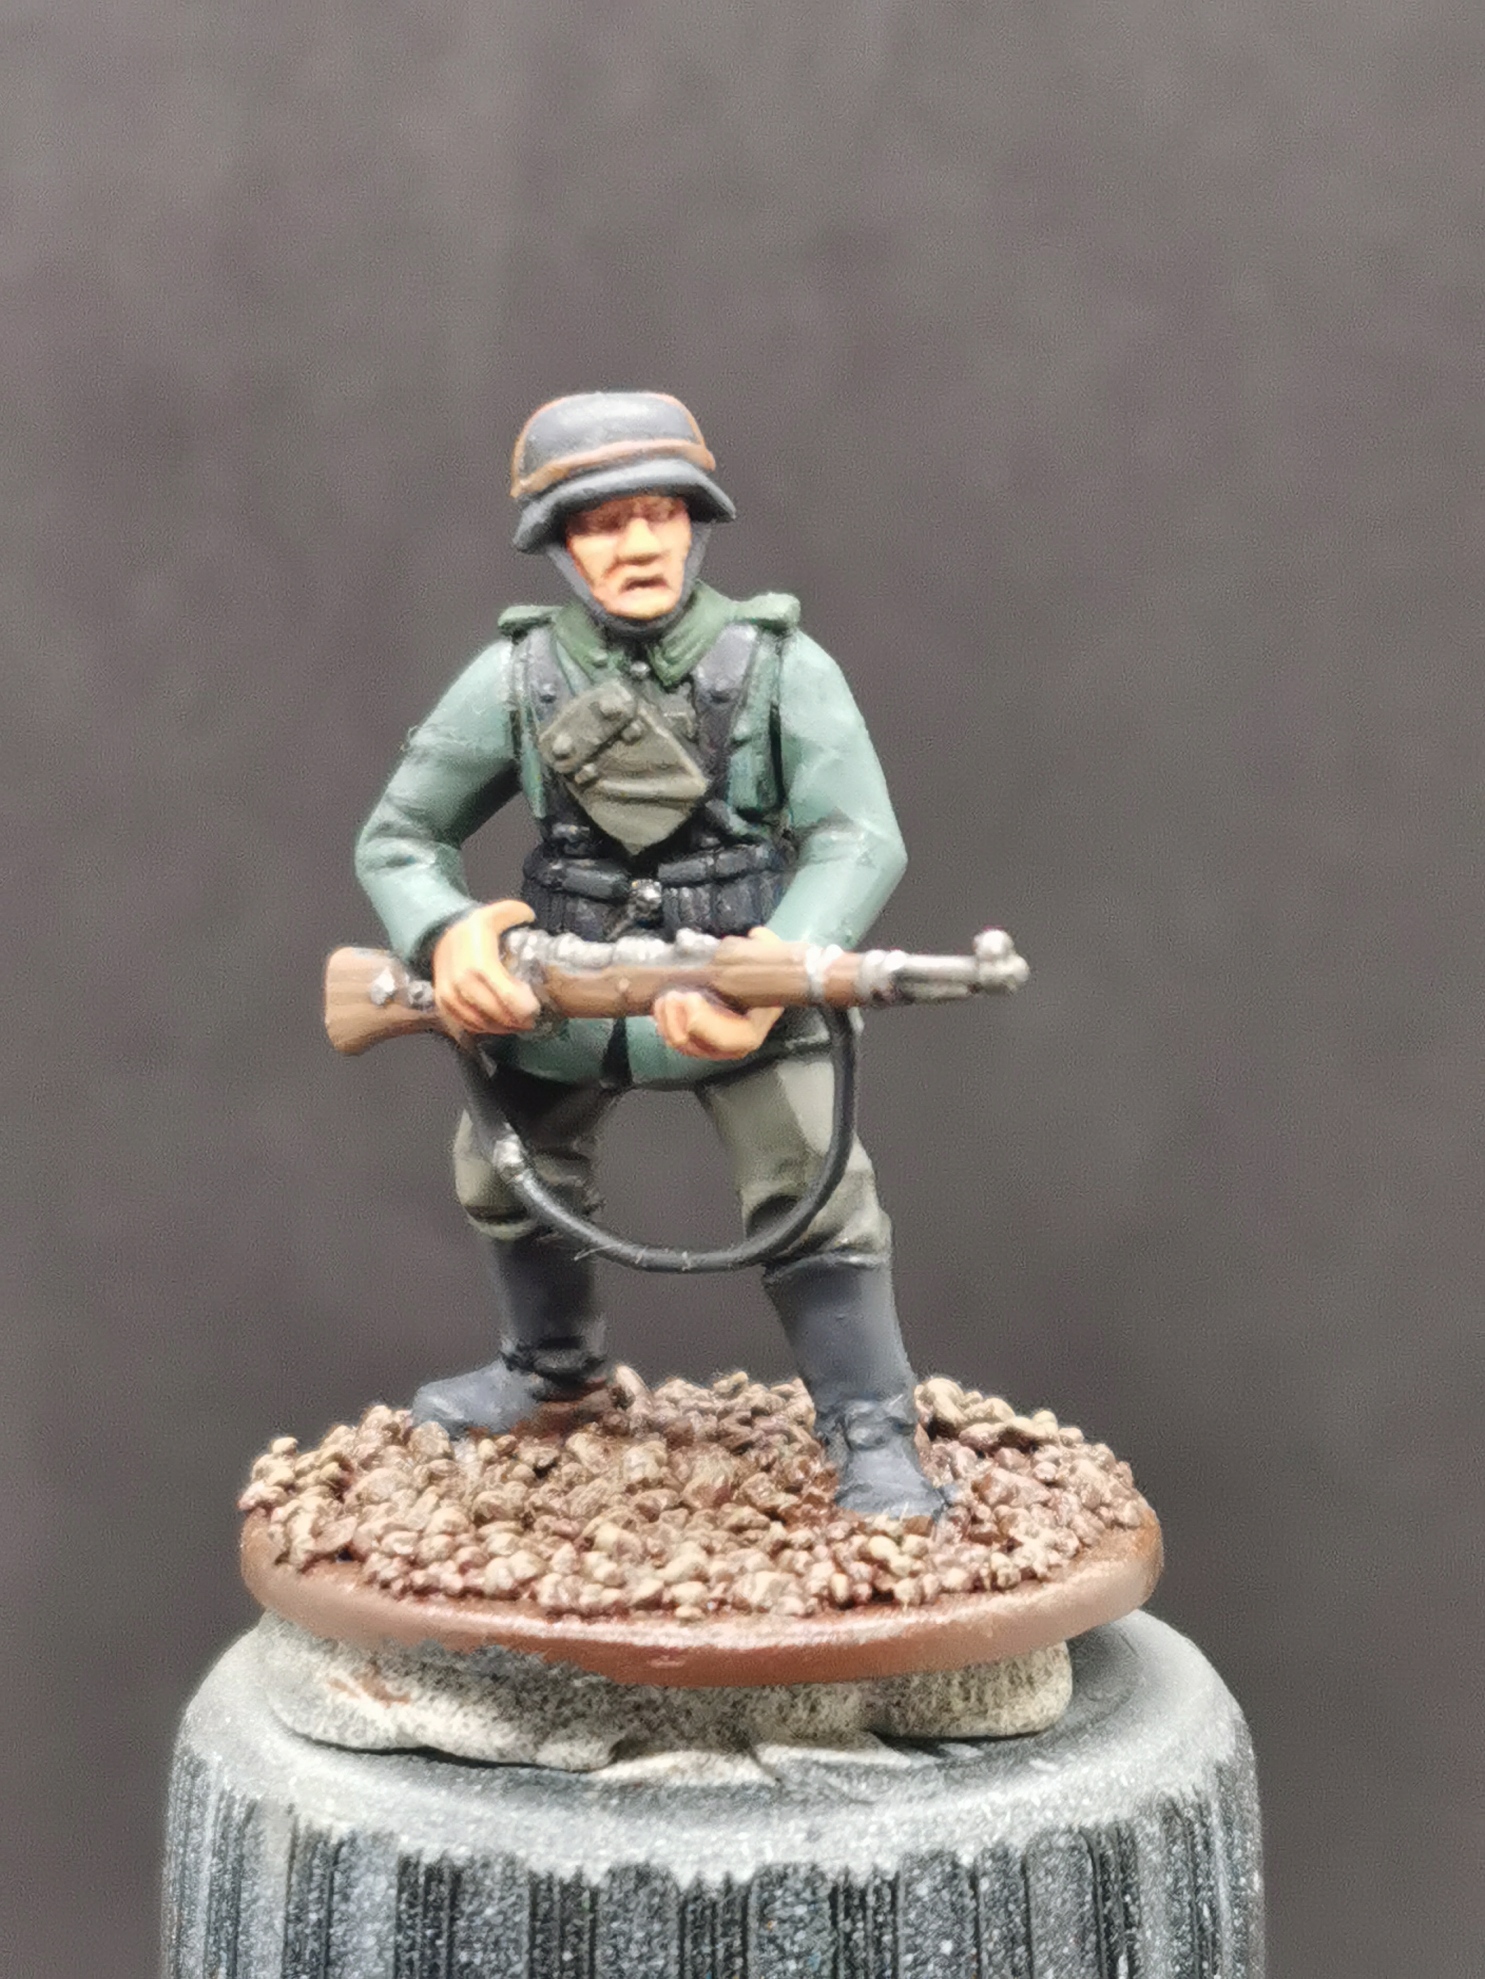
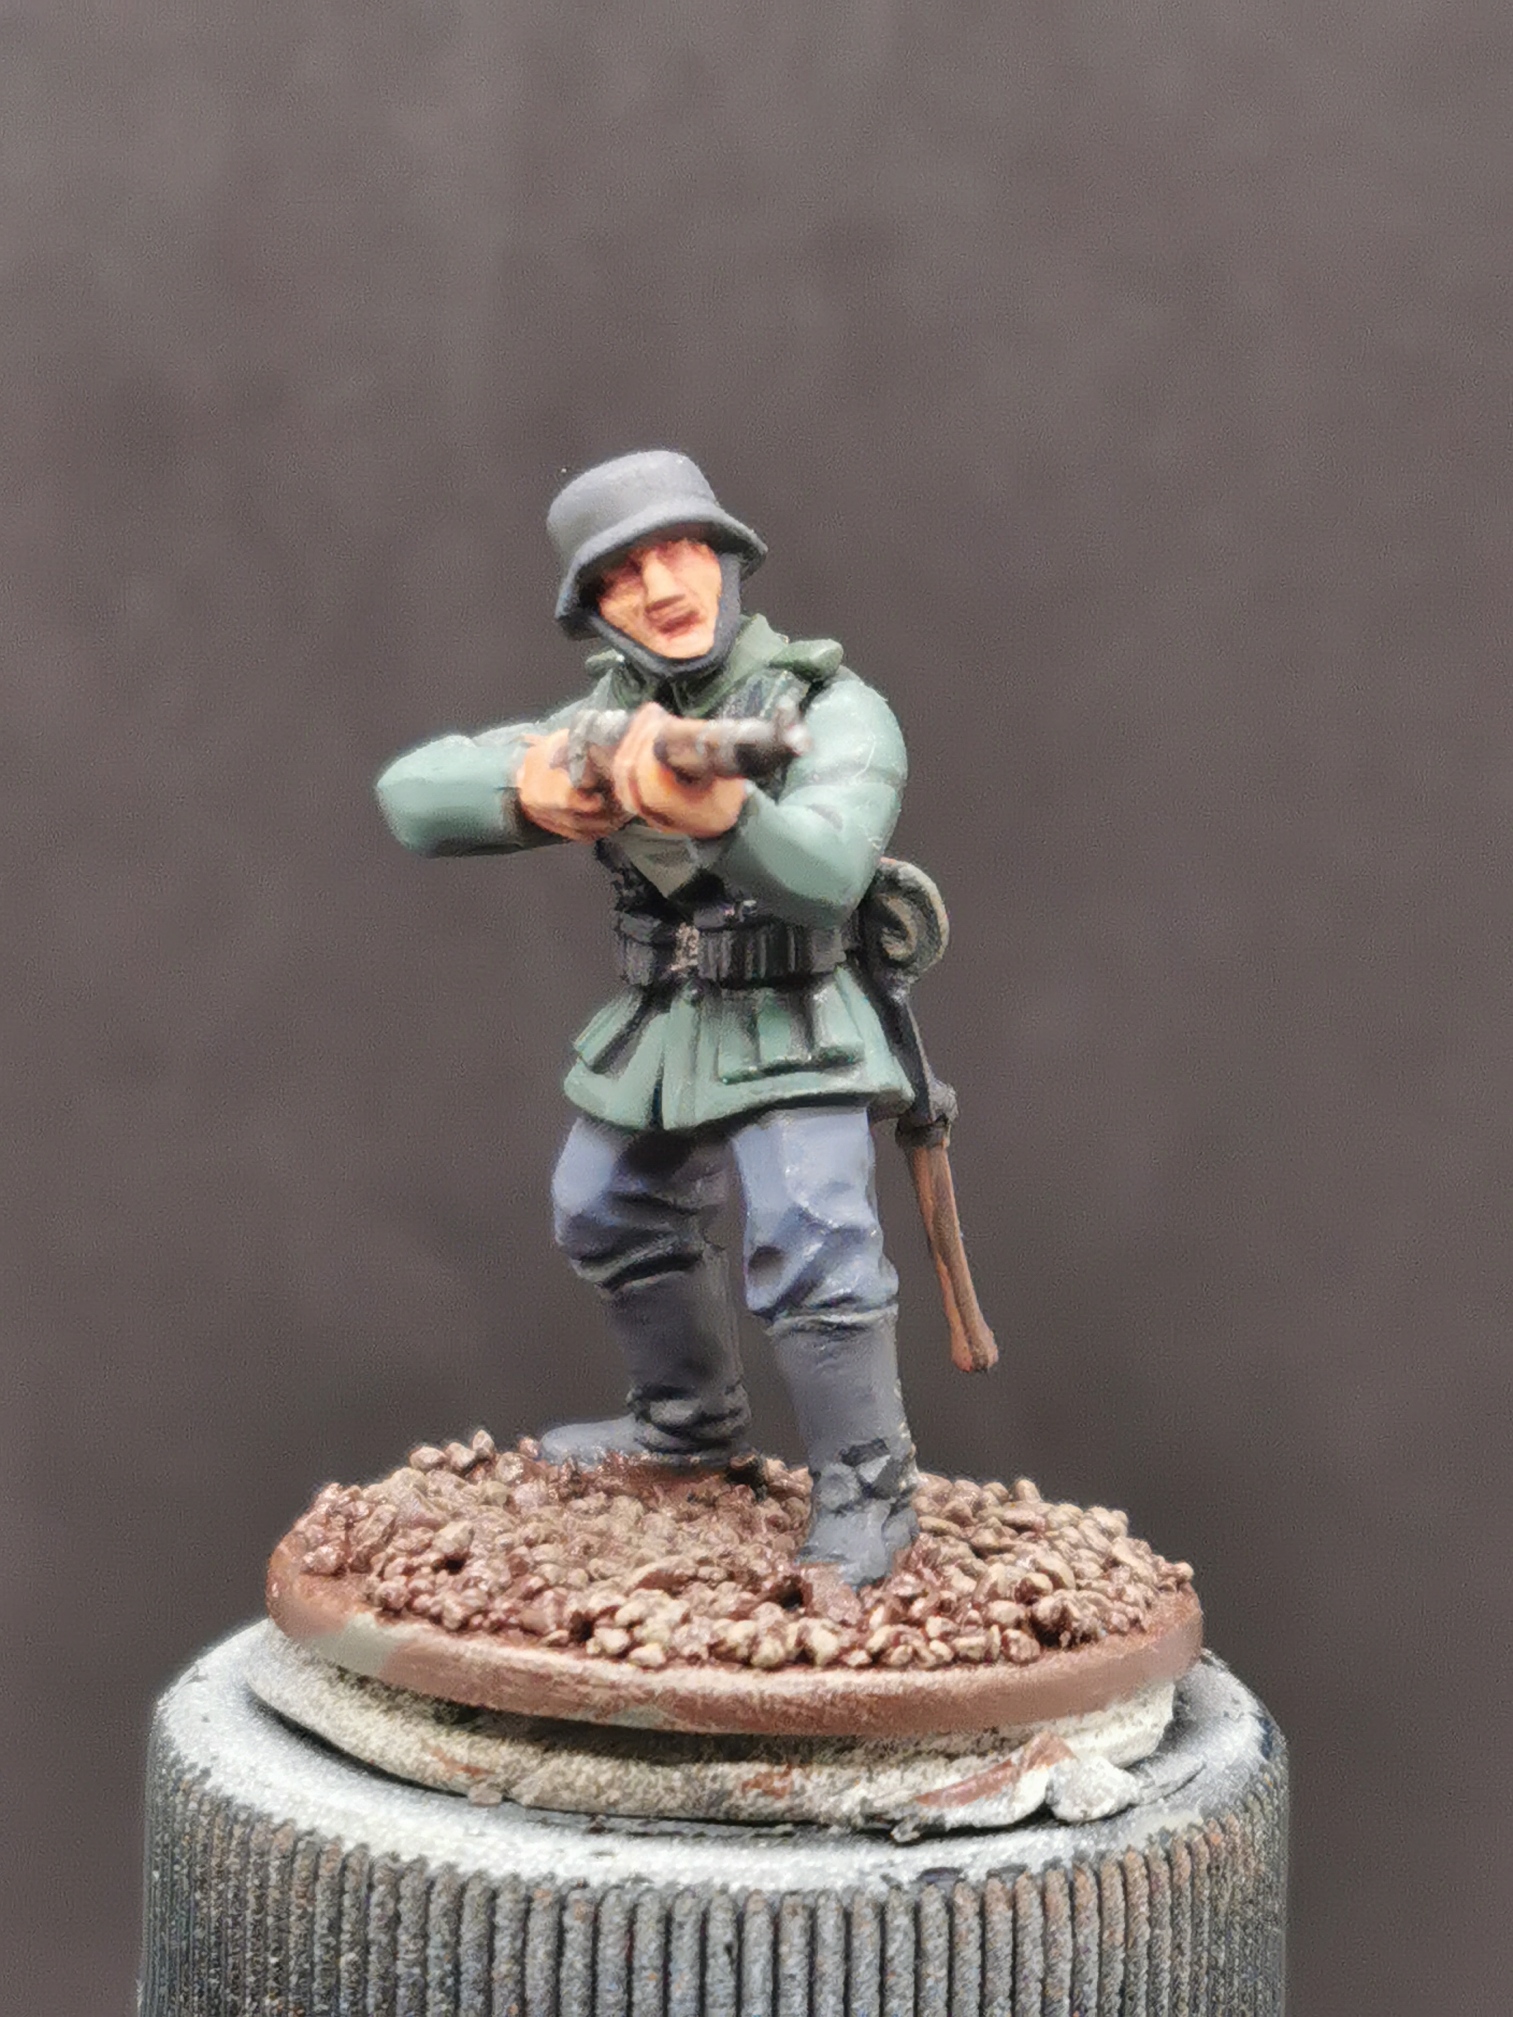
Step 7: Finishing first infantry squads
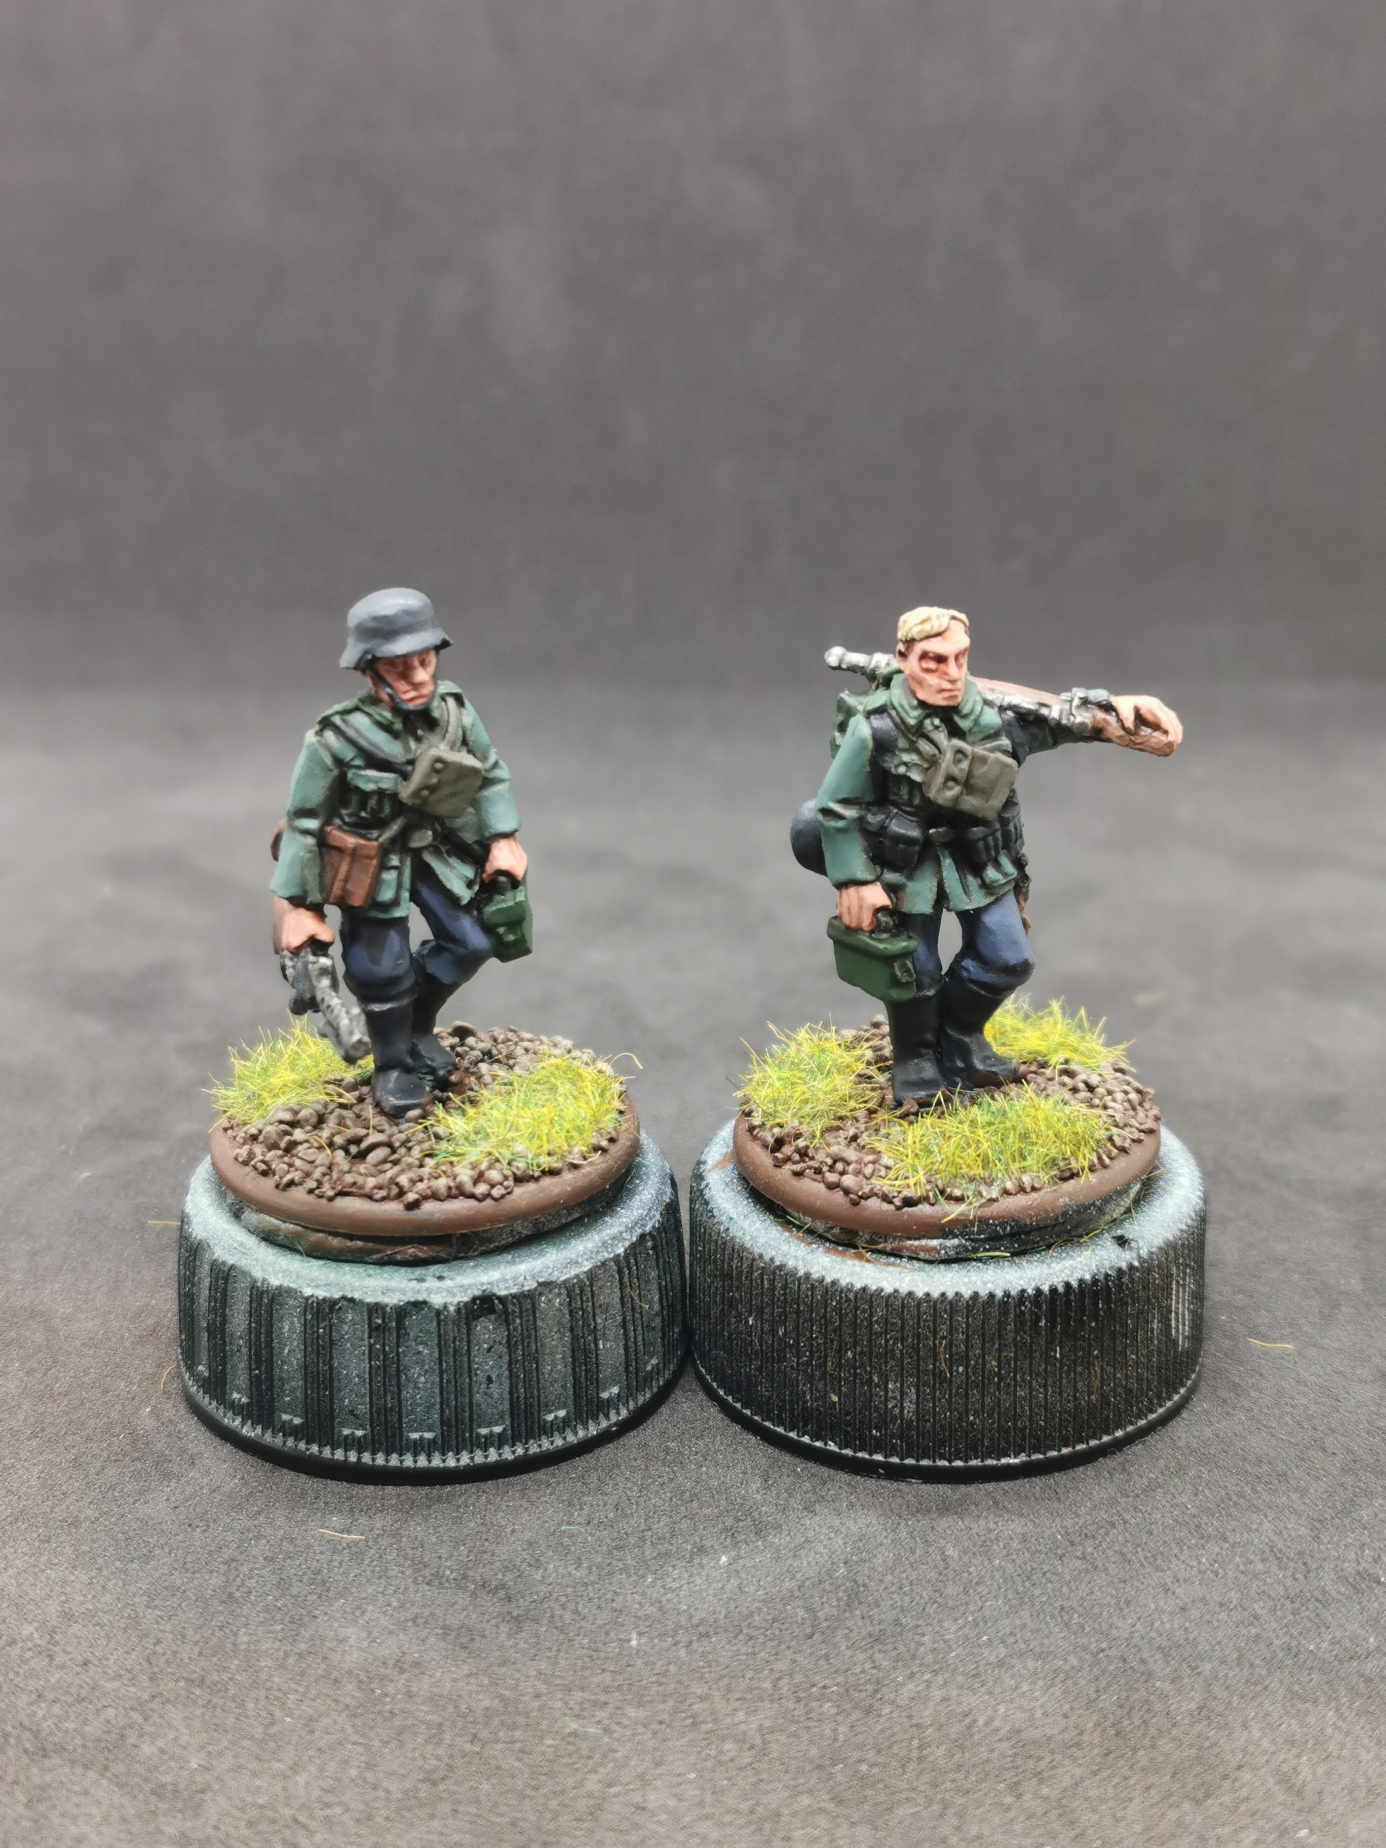
Here are some closeups of my first squads of Germans. I’ll do the flocking of the base at a later stage because it is always a huge mess on my desk and I want to make them all in one go.