
![Atomic Tank – The Robot Wars Review | Fast-Paced 10mm Sci-Fi Wargame [7 Days Early Access]](https://images.beastsofwar.com/2026/01/unboxing-hydra-miniatures-atomic-tank-the-robot-wars-coverimage-225-127.jpg)
![246 Dwarves in One Box?! | Wargames Atlantic Dwarven Host Unboxing & Review [7 Days Early Access]](https://images.beastsofwar.com/2026/01/unboxing-wargames-atlantic-epic-fantasy-battles-dwarven-host-coverimage-225-127.jpeg)


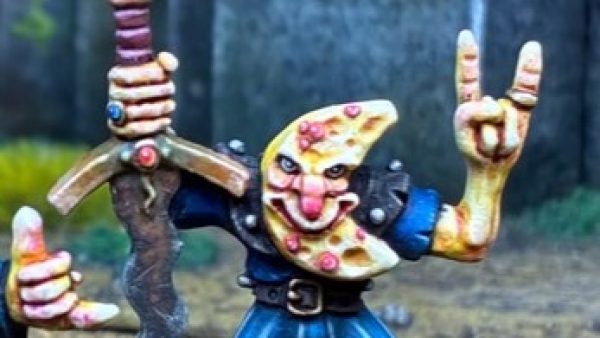
Painting the Reikland Reavers


Recommendations: 145
About the Project
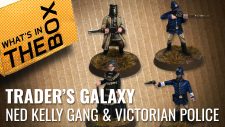
This is my first attempt at painting a Blood Bowl team, motivated by my gaming group starting a remote play league (via video). I had primed the 2016 core box Reikland Reavers so they are my first targeted team. I will post a step-by-step process so as anyone who like the look of theses guys can follow along.
Related Game: Blood Bowl
Related Company: Games Workshop
Related Genre: Fantasy
This Project is Completed


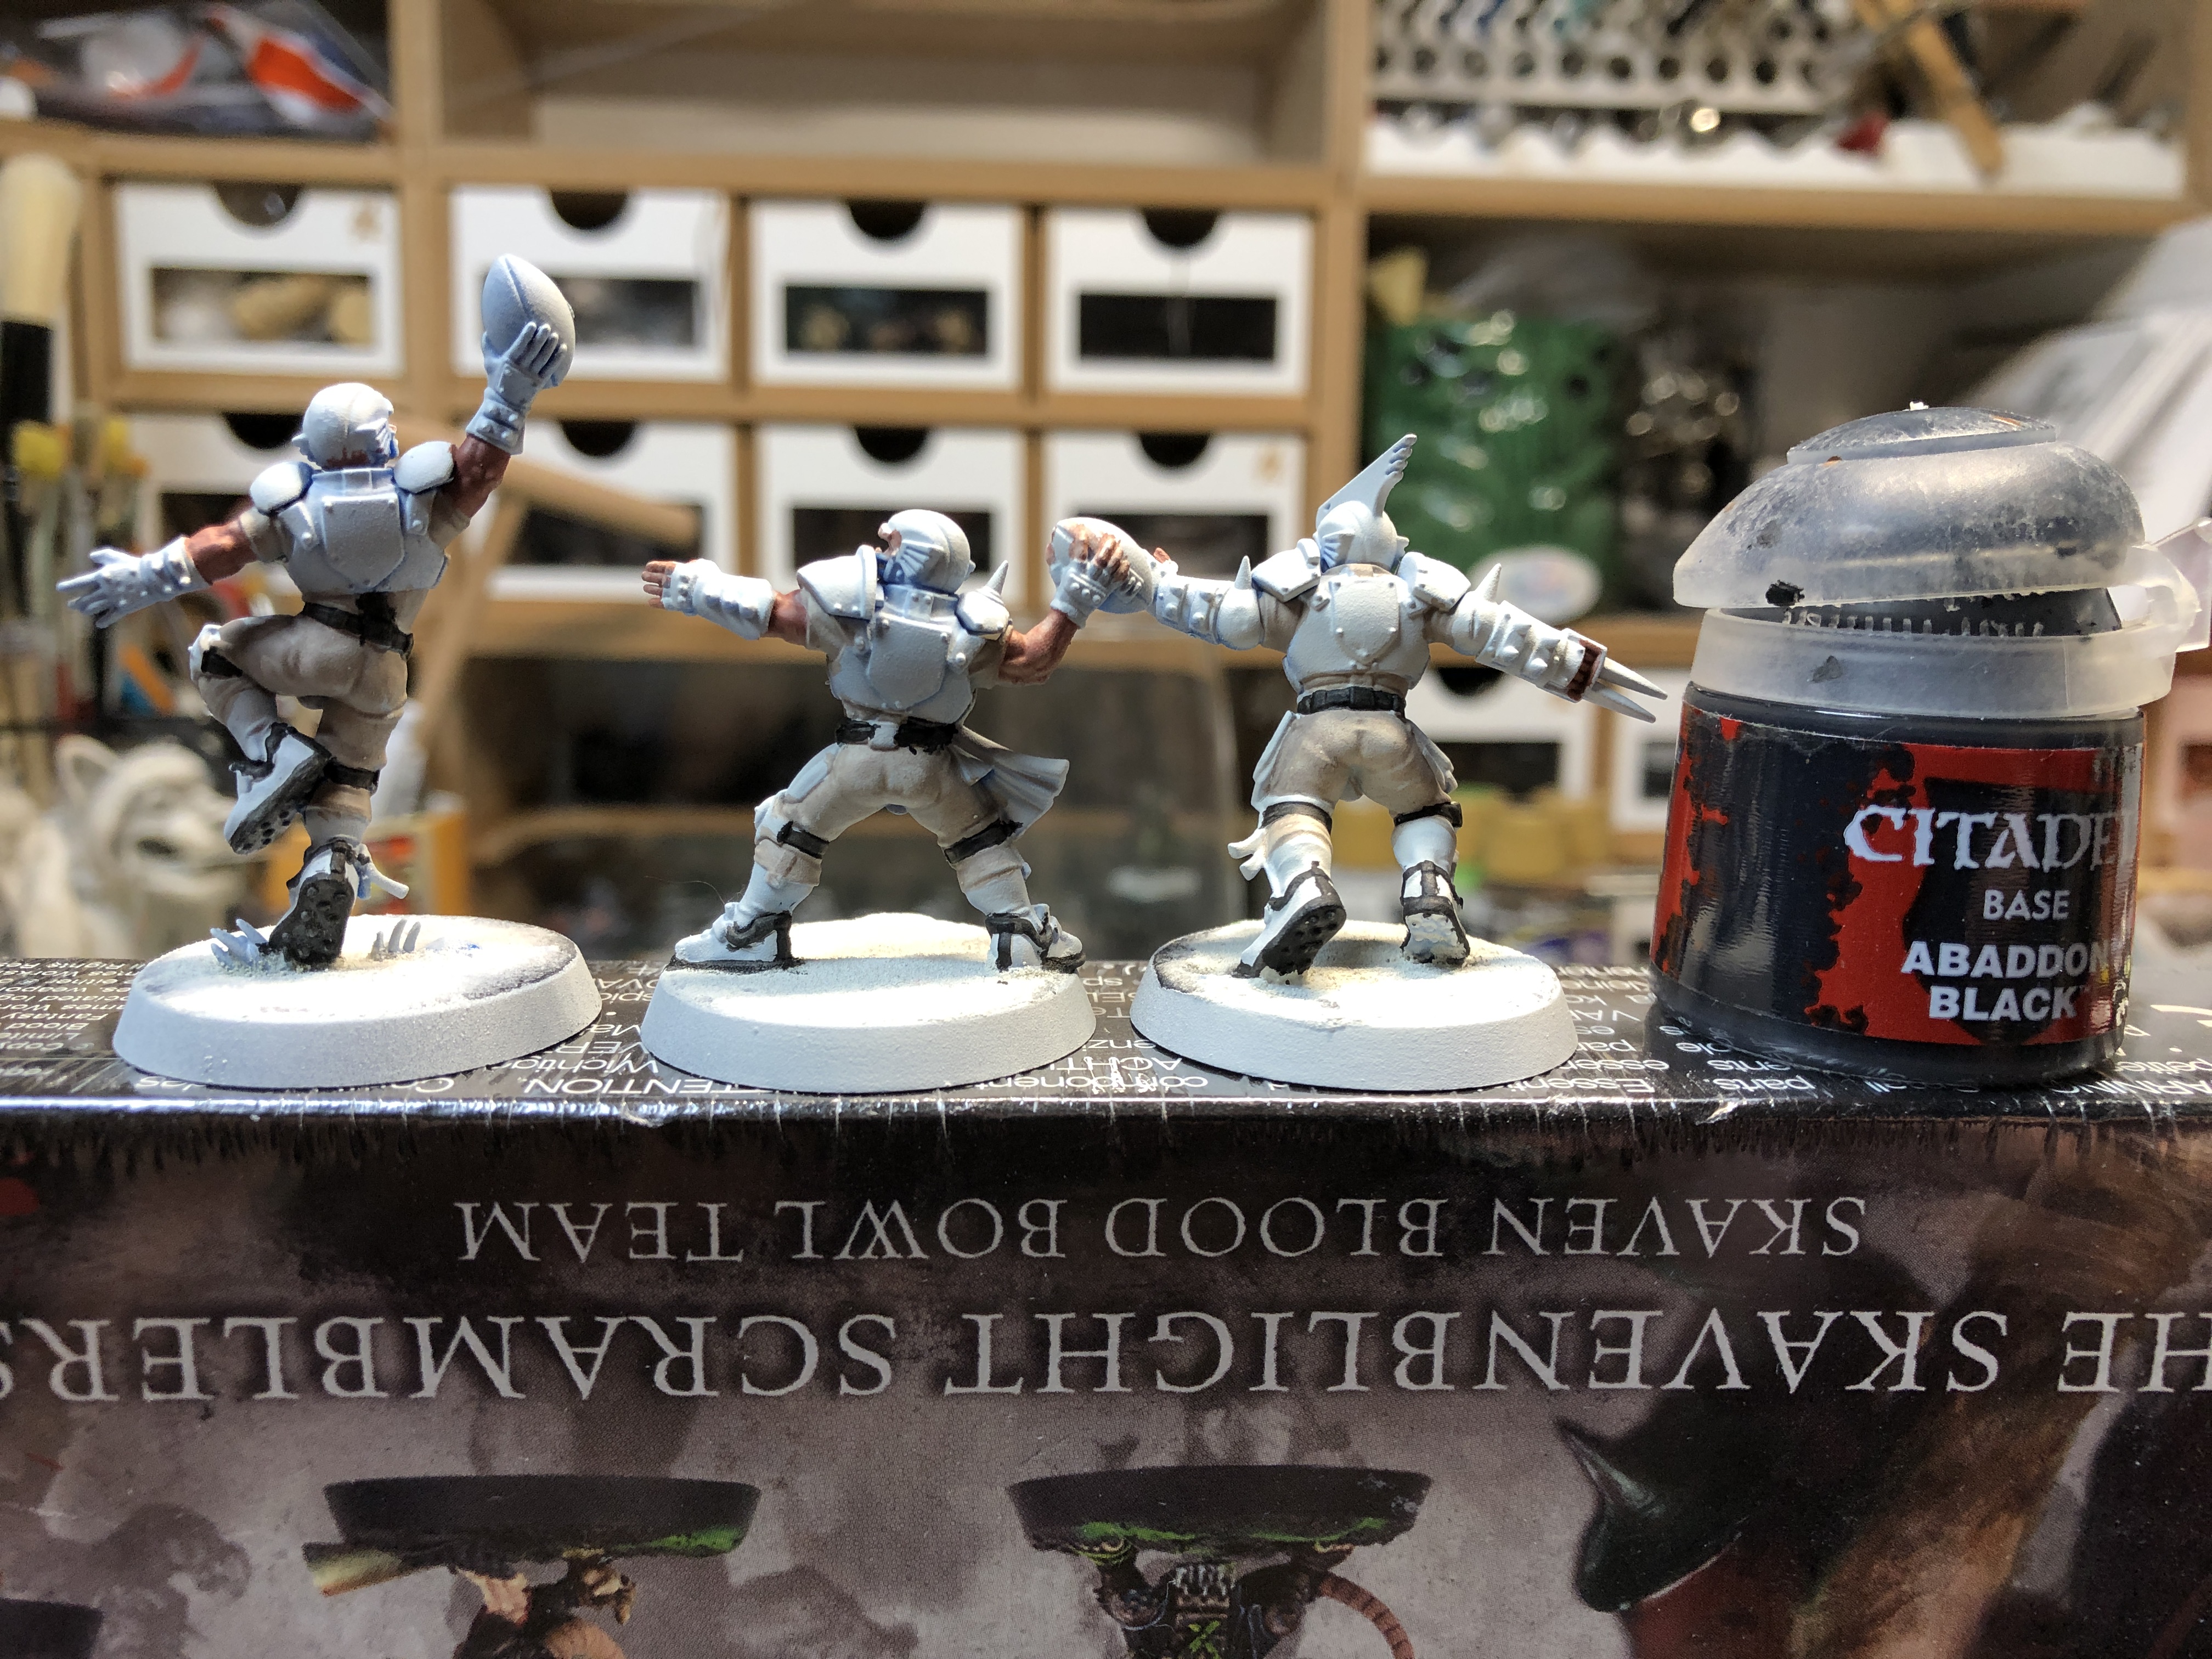
Part 1 - Base Colors
 The Reavers have been assembled, based and primed since 2016. I created the base with baking soda and I must say my 2016 technique as less than perfect.
1 – Painting the Skin and the Shirt/Pants
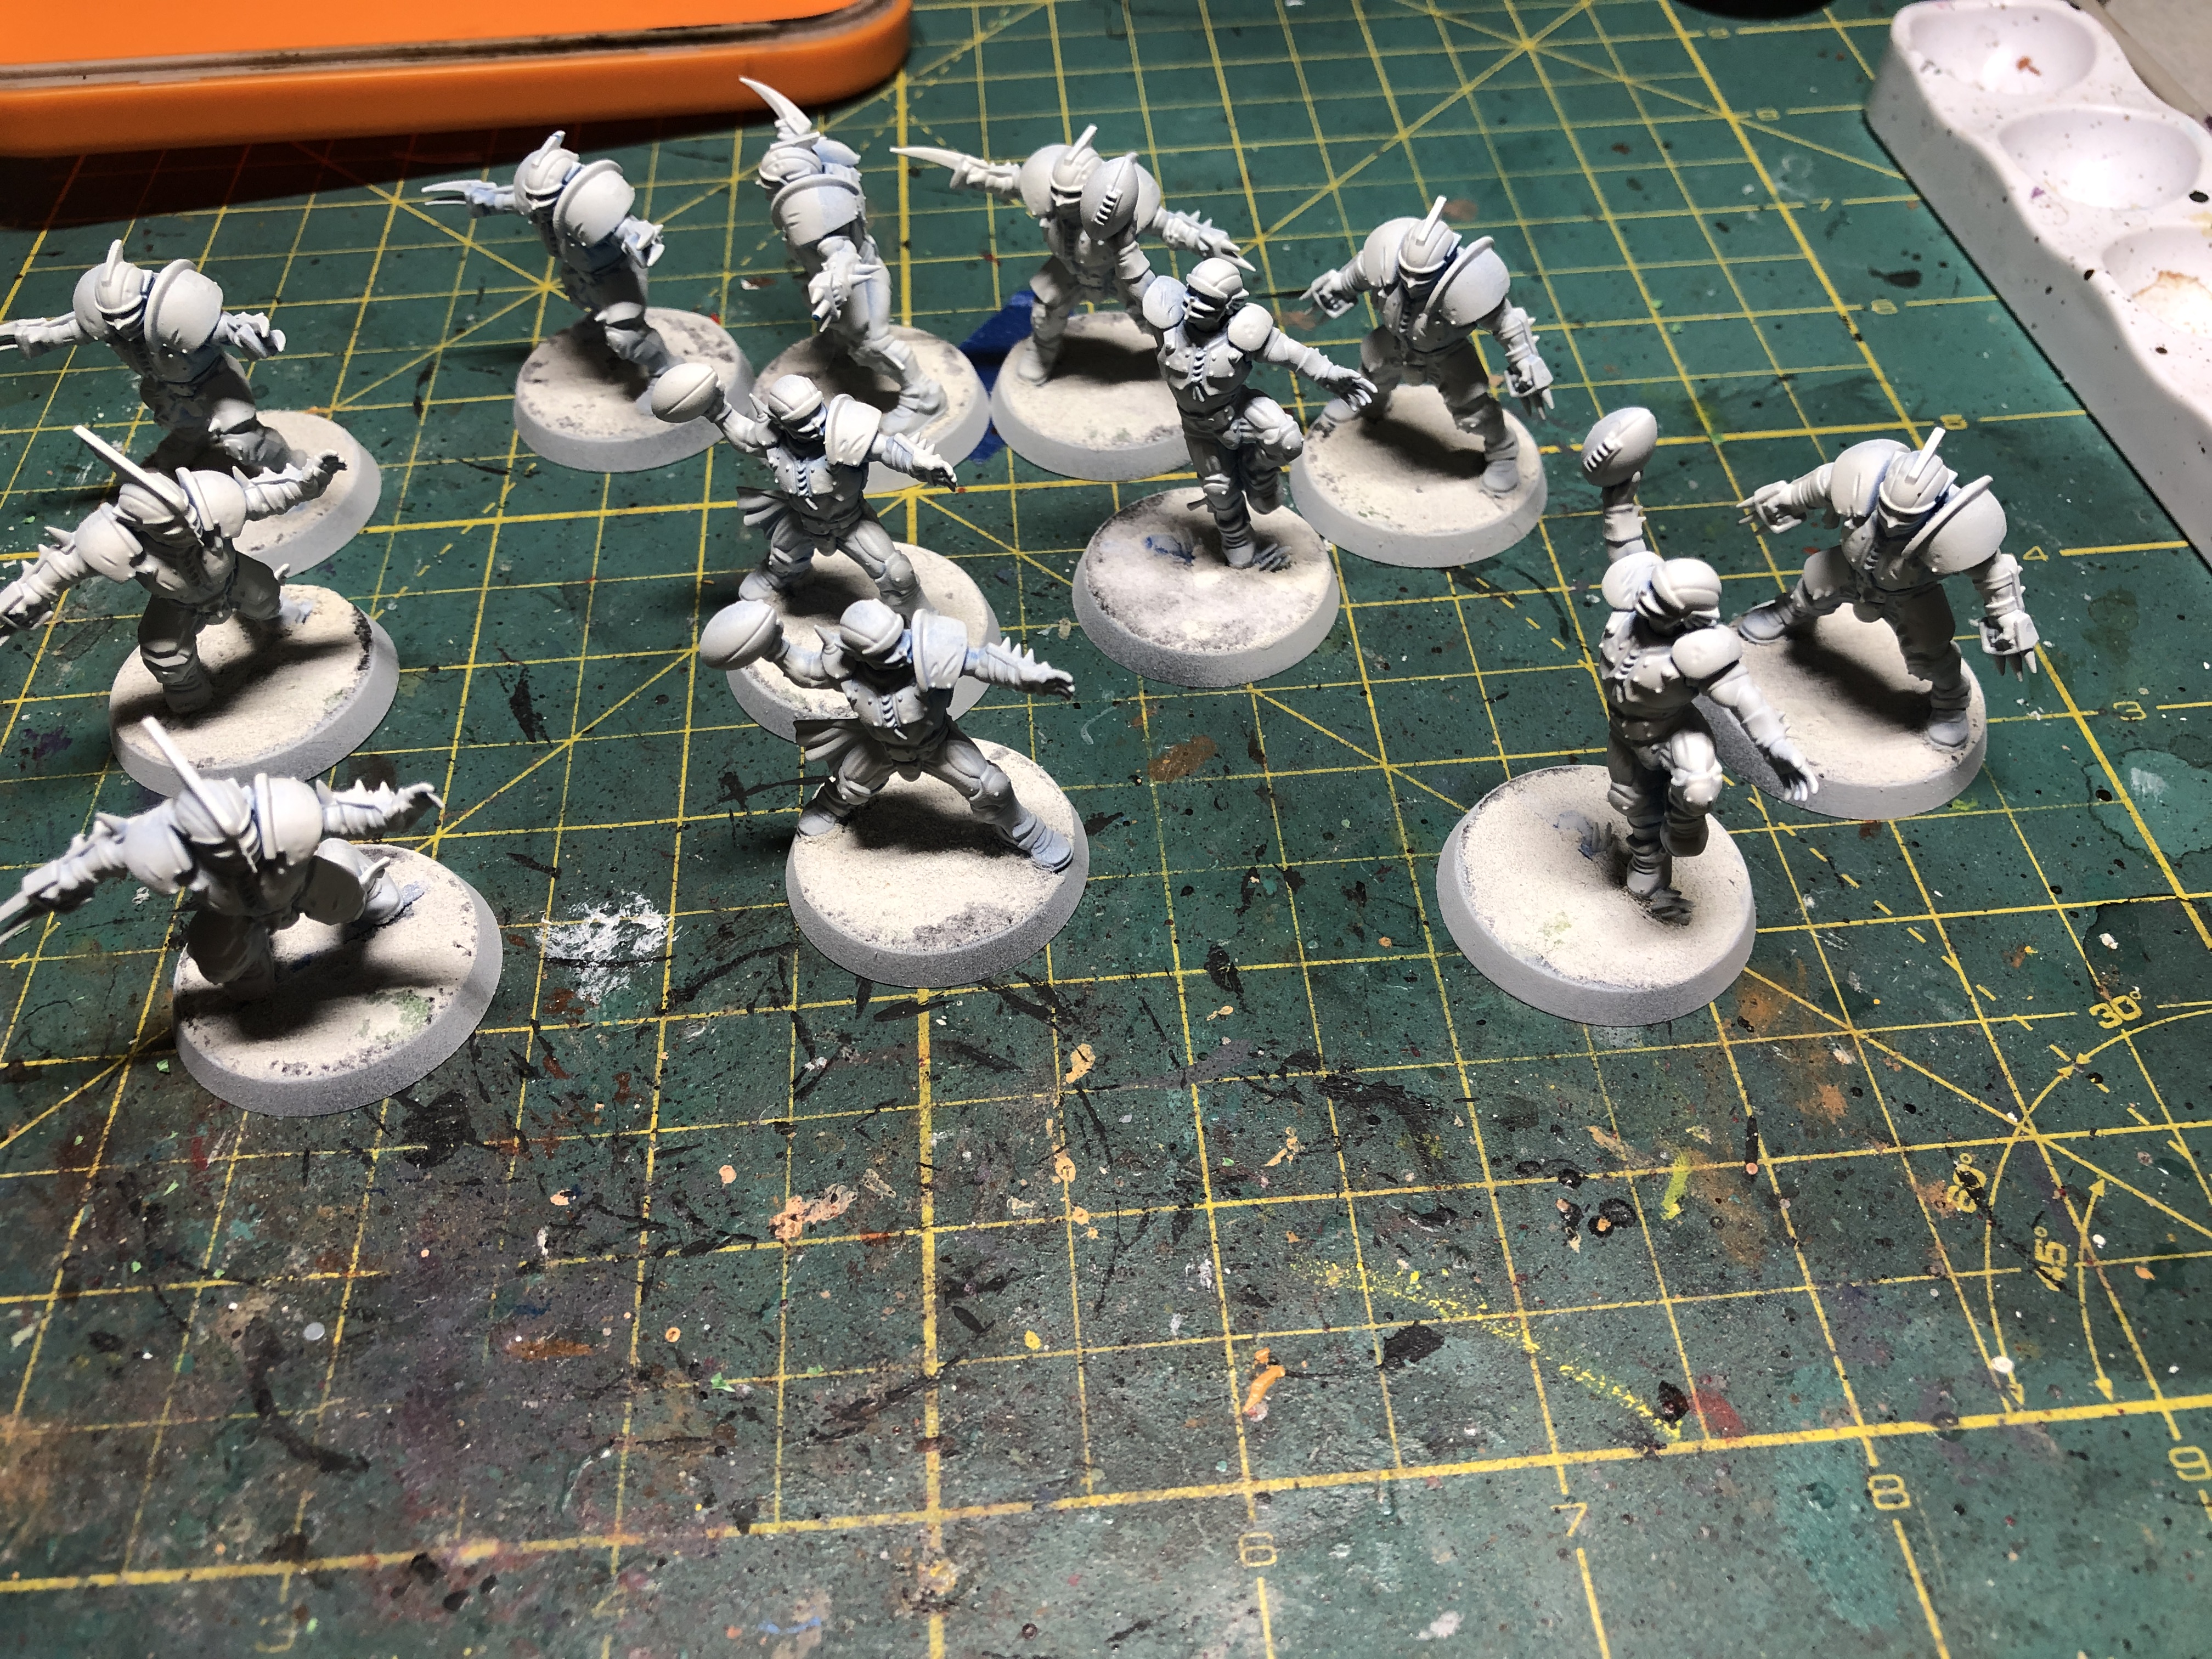
I always try to paint miniatures from the inside out and thus started with the skin.
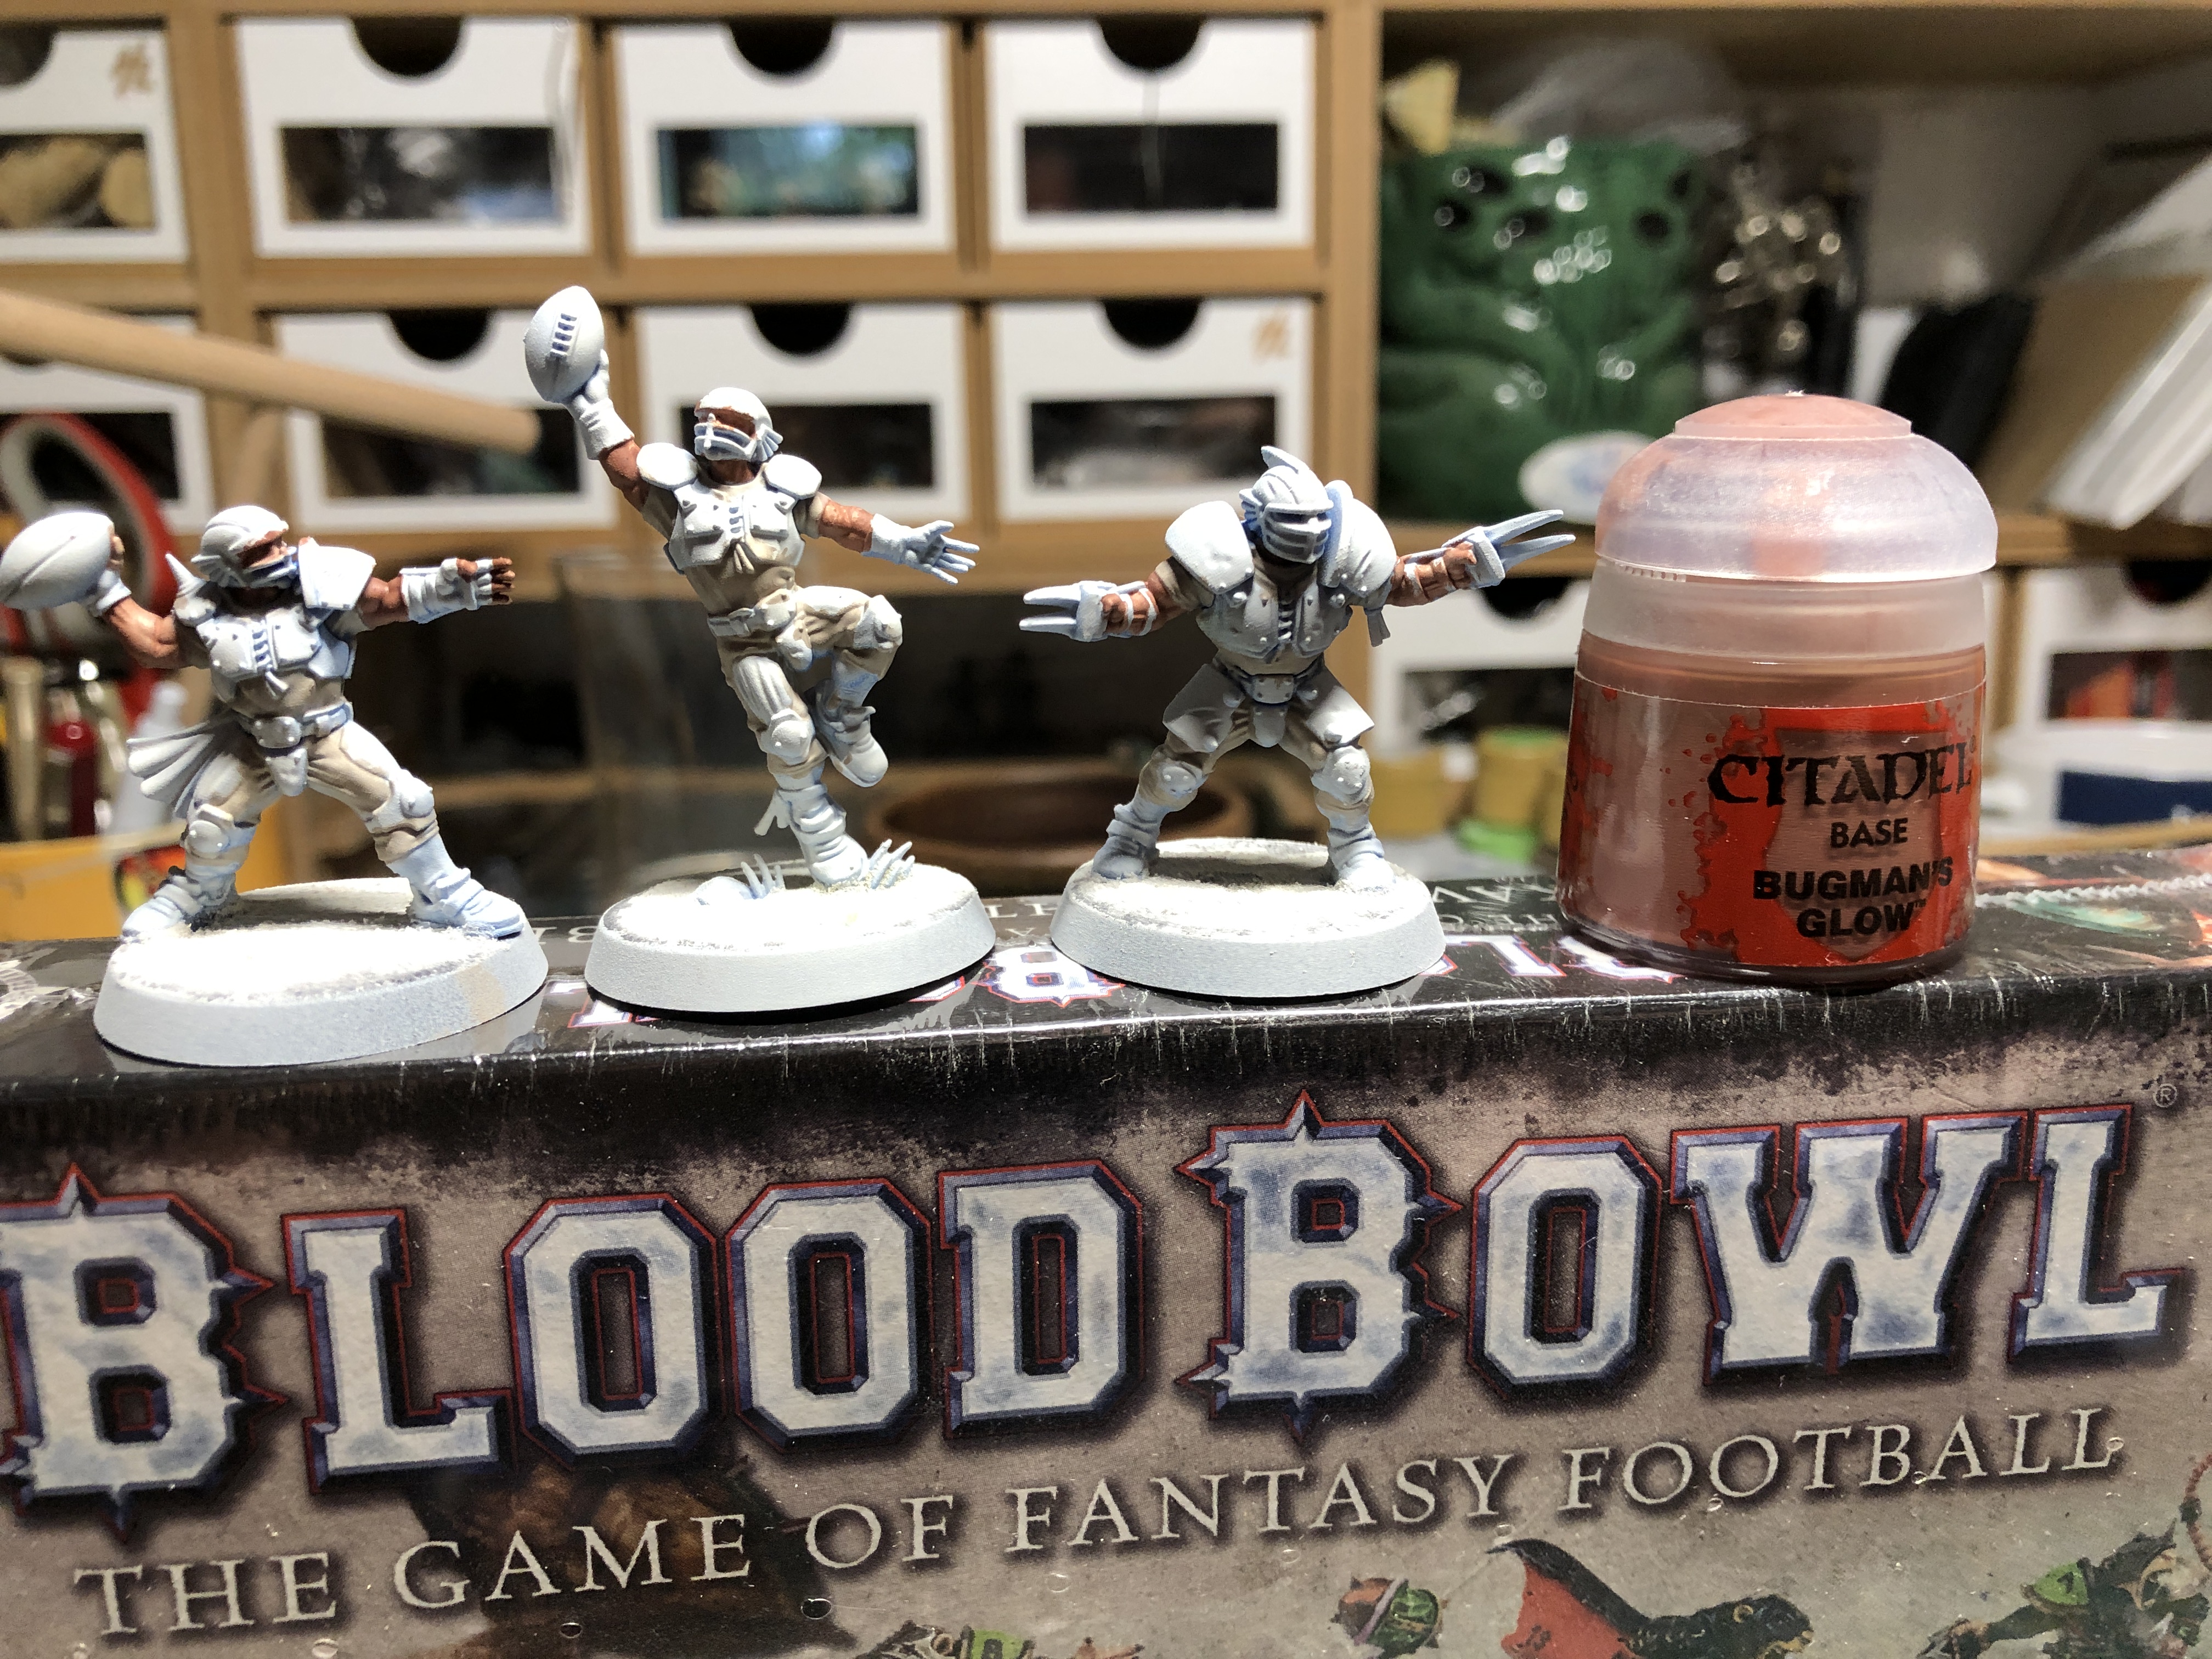
 Pants and shirts are painted Rakarth Flesh
2 – Painting the Belts and Straps
In retrospect, I should have painted the belt and straps after the uniform but it turned out ok in the process.
 Also apply black to the shoes linings and soles.
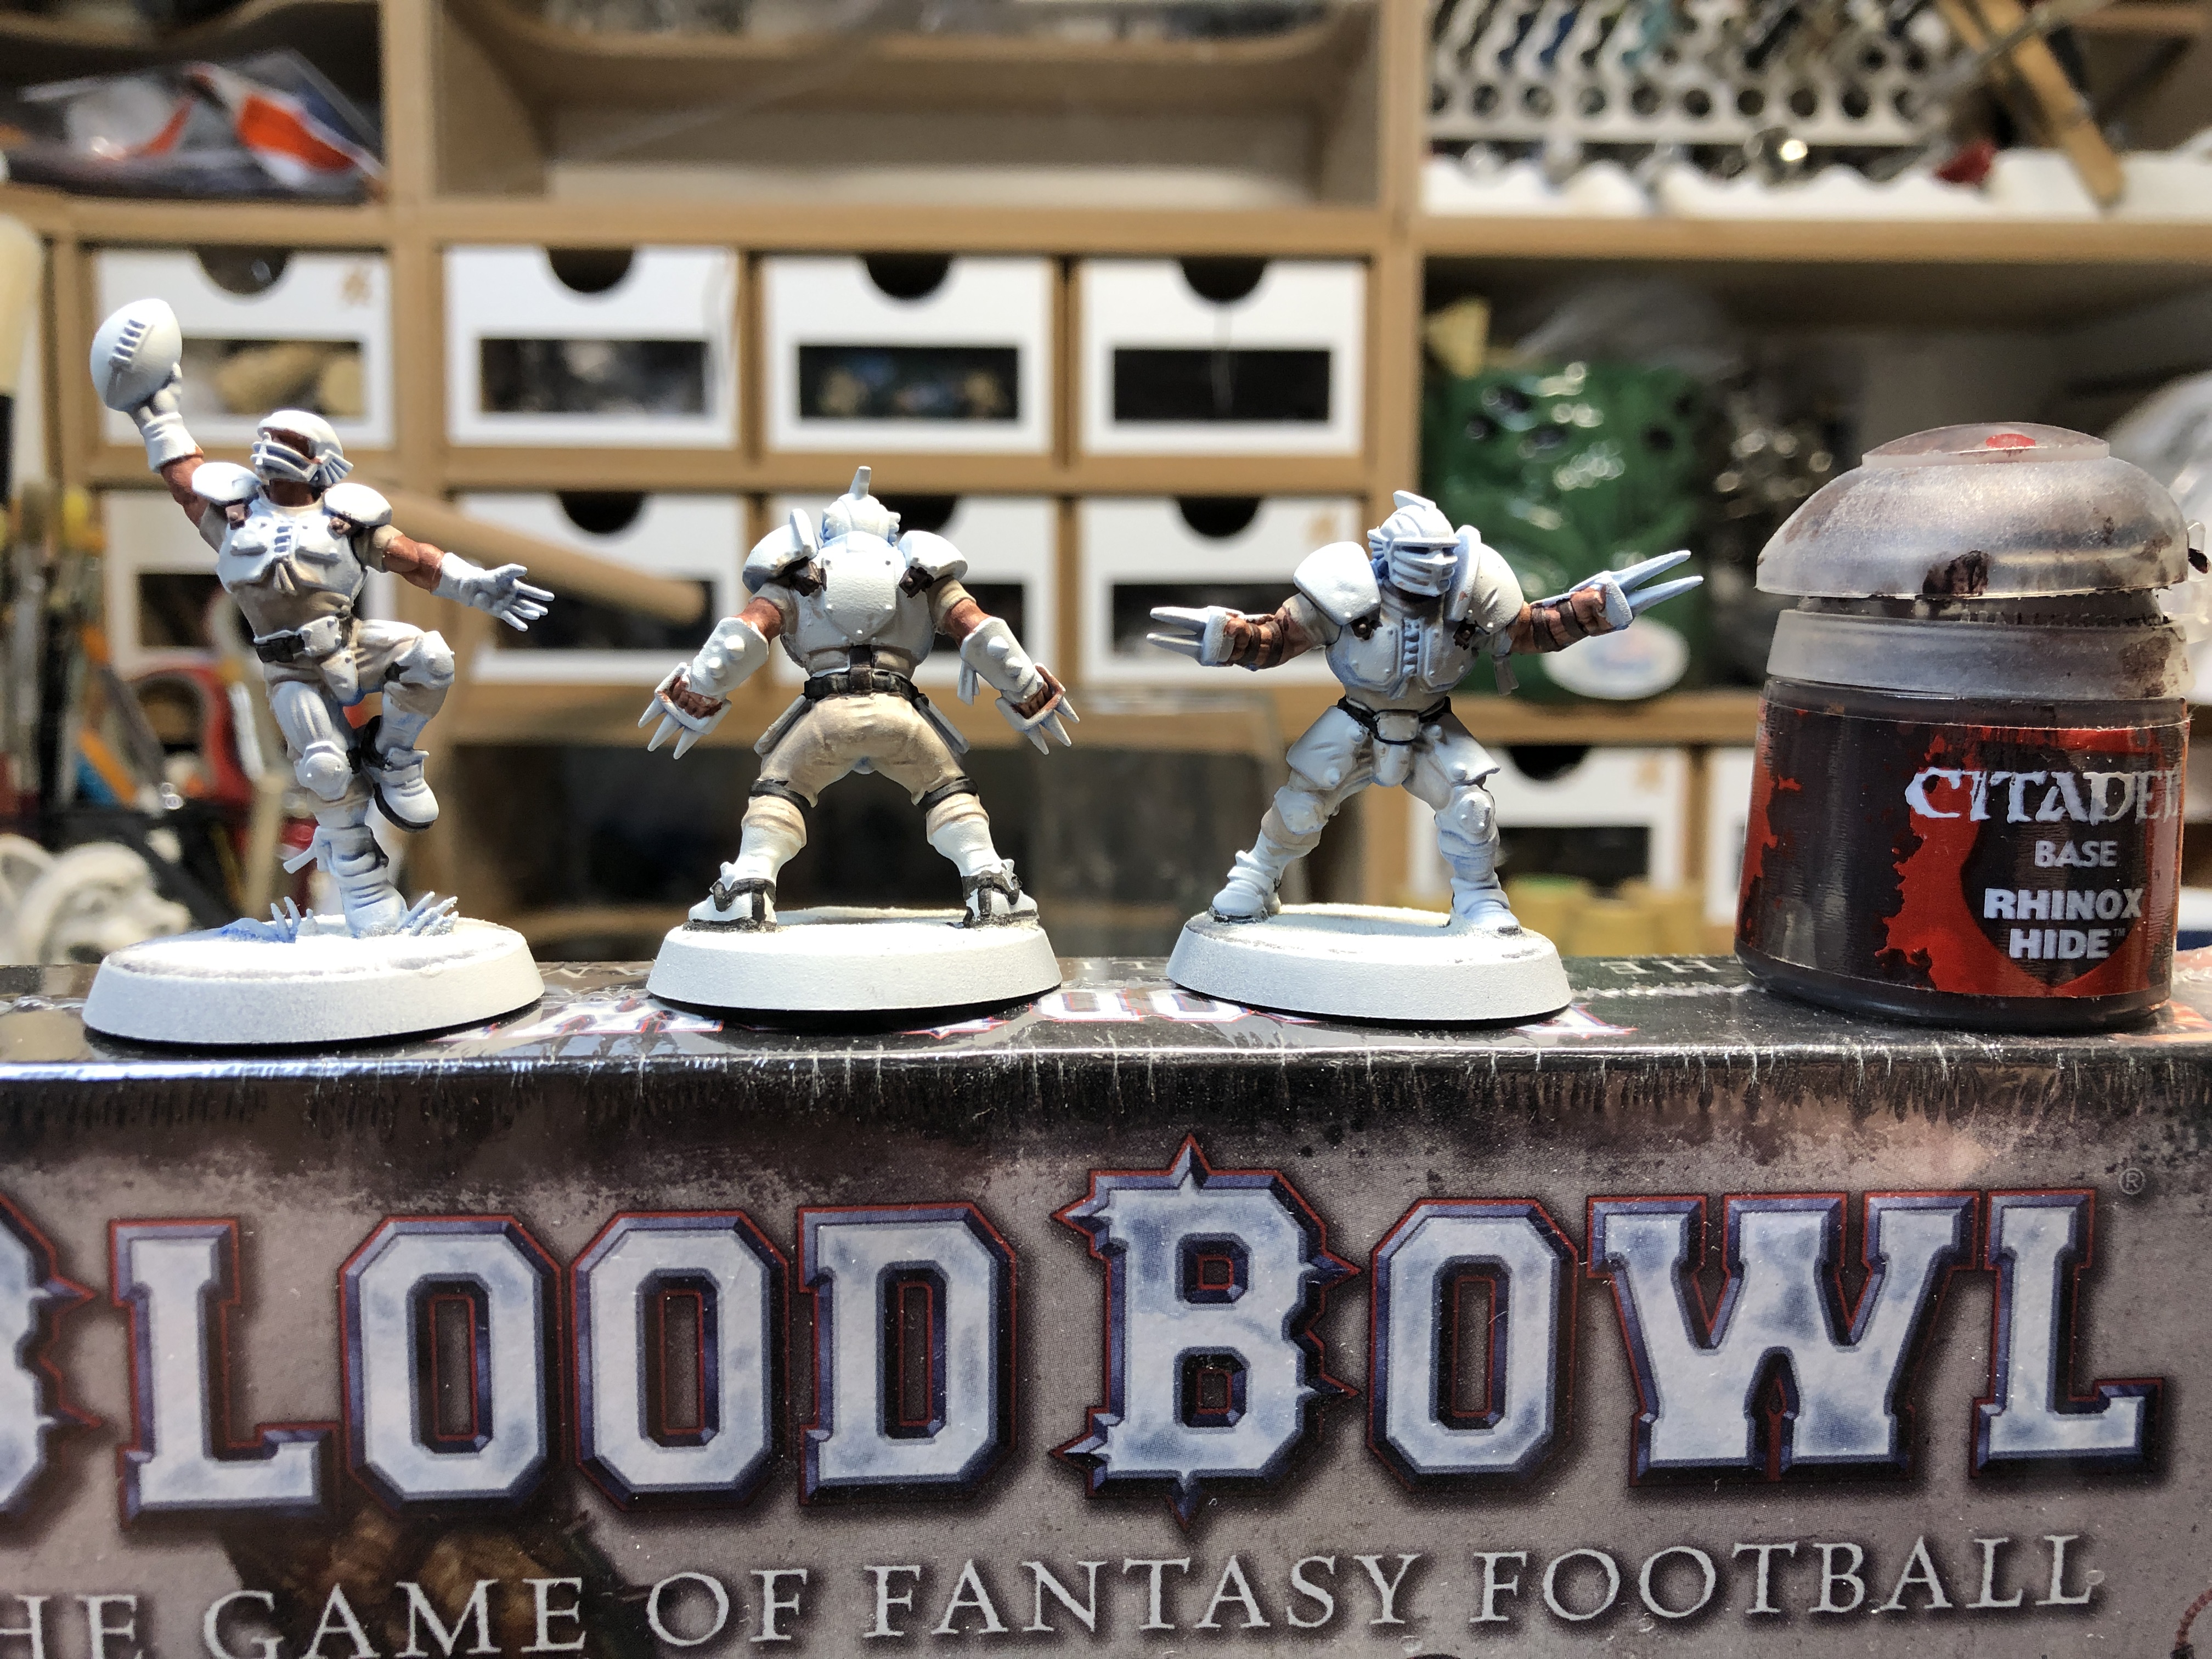 Rhinox Hide gives a solid leather base for the armor straps, Also paint the balls in the same color.
3 – Painting the Uniform
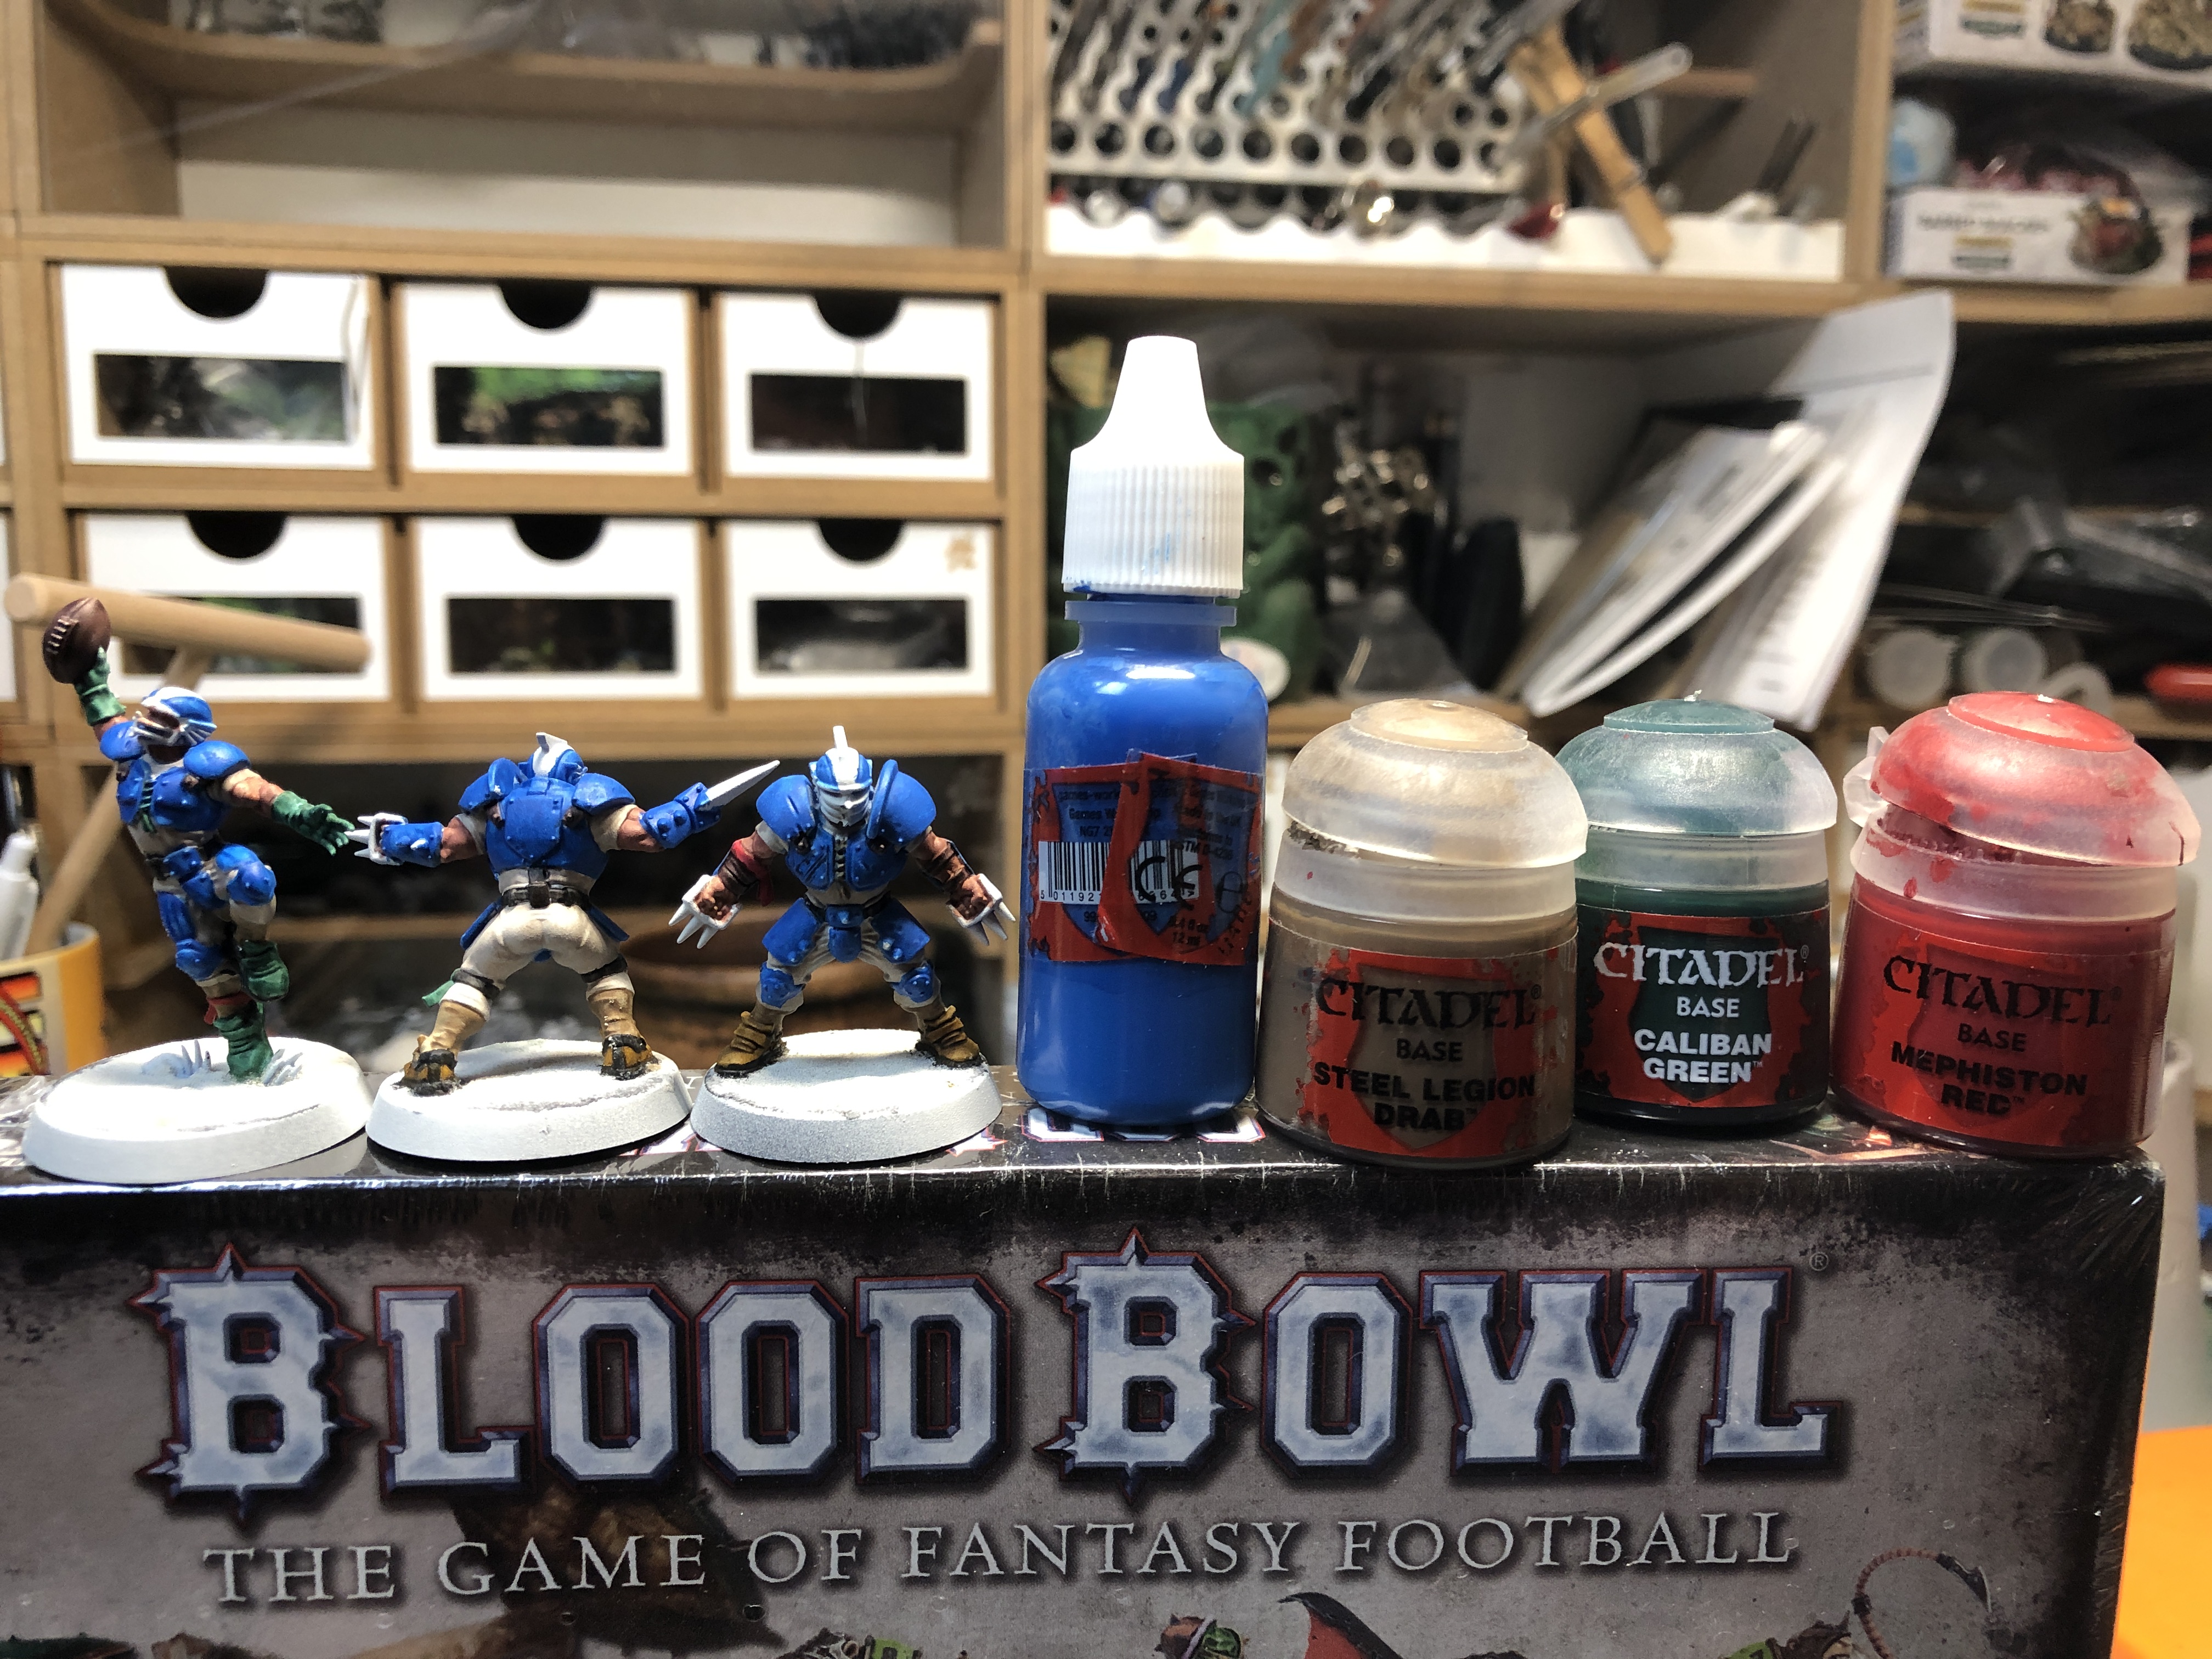
Painting the base uniform blue was definitely the mosts time consuming task so far. Try applying the bulk of it with a larger brush and finishing details with a finer brush, processing the miniature in a chain fashion so as to accelerate the process.
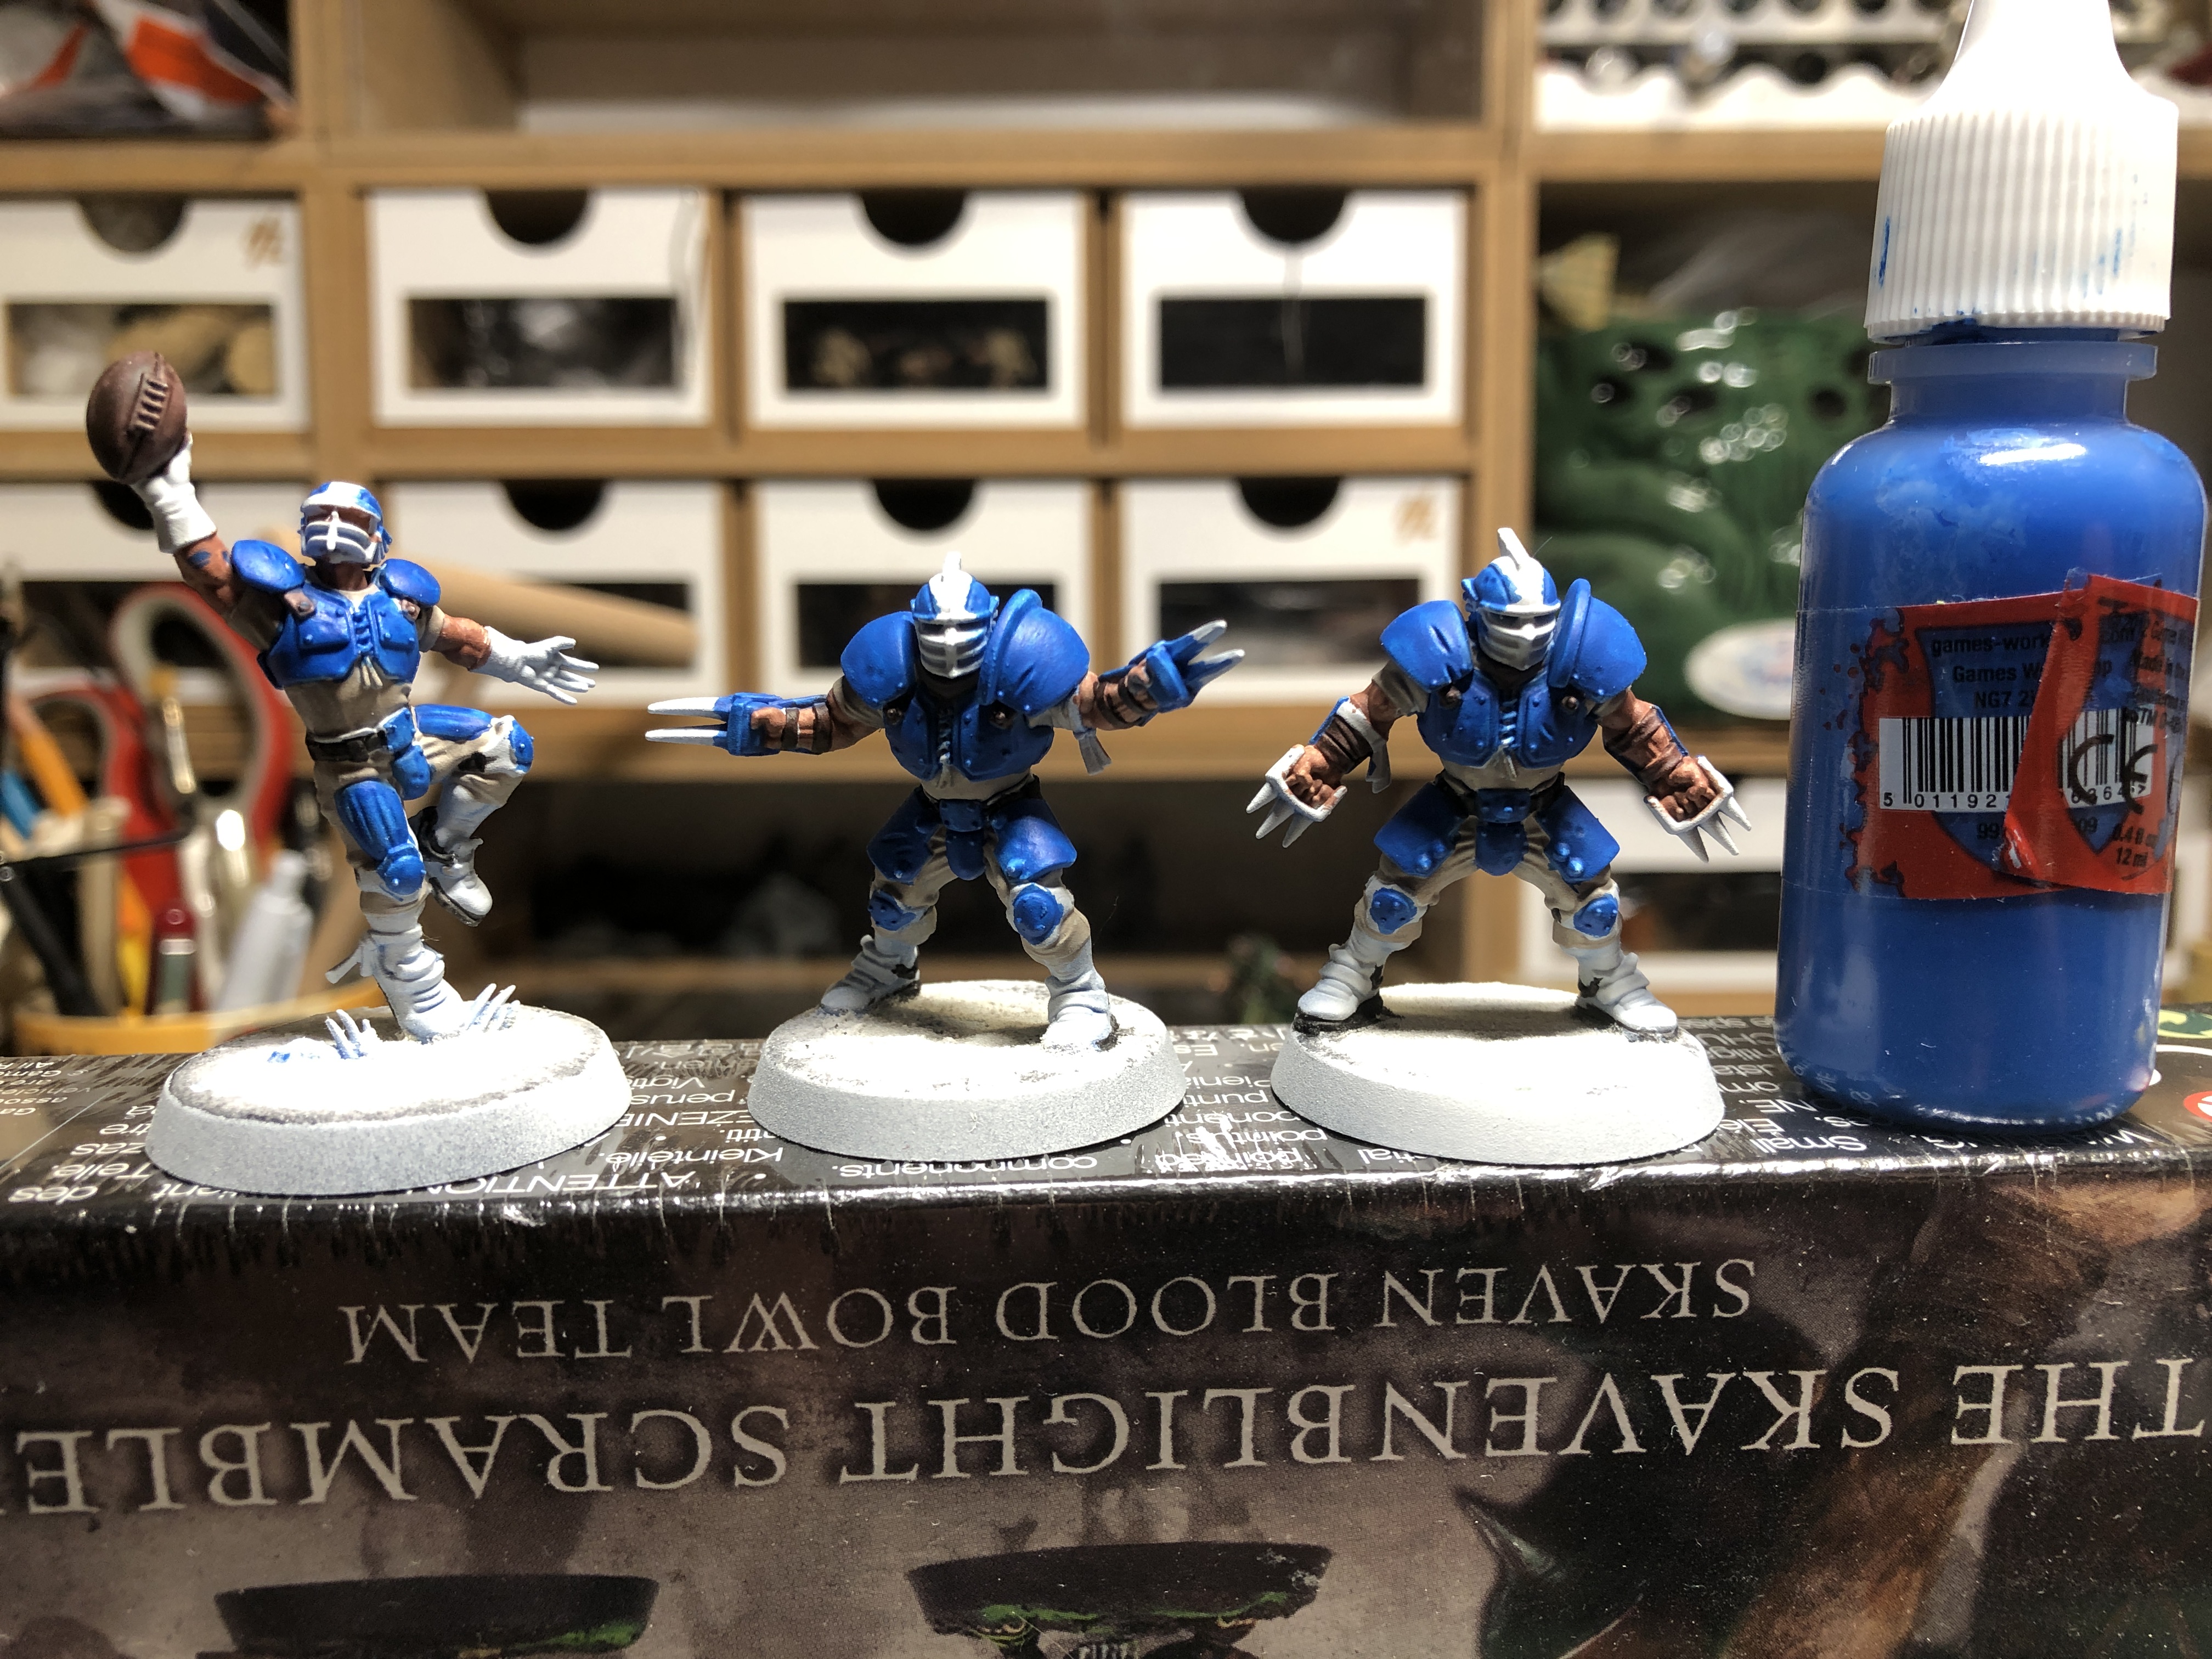 Caledor Sky from GW
4 – Shoes, Gloves and Cloth
I decided to paint most shows using one of my favorite contrast paints, Snakebite Leather but also picked more colorful schemes for the thrower and catcher, to create some diversity.
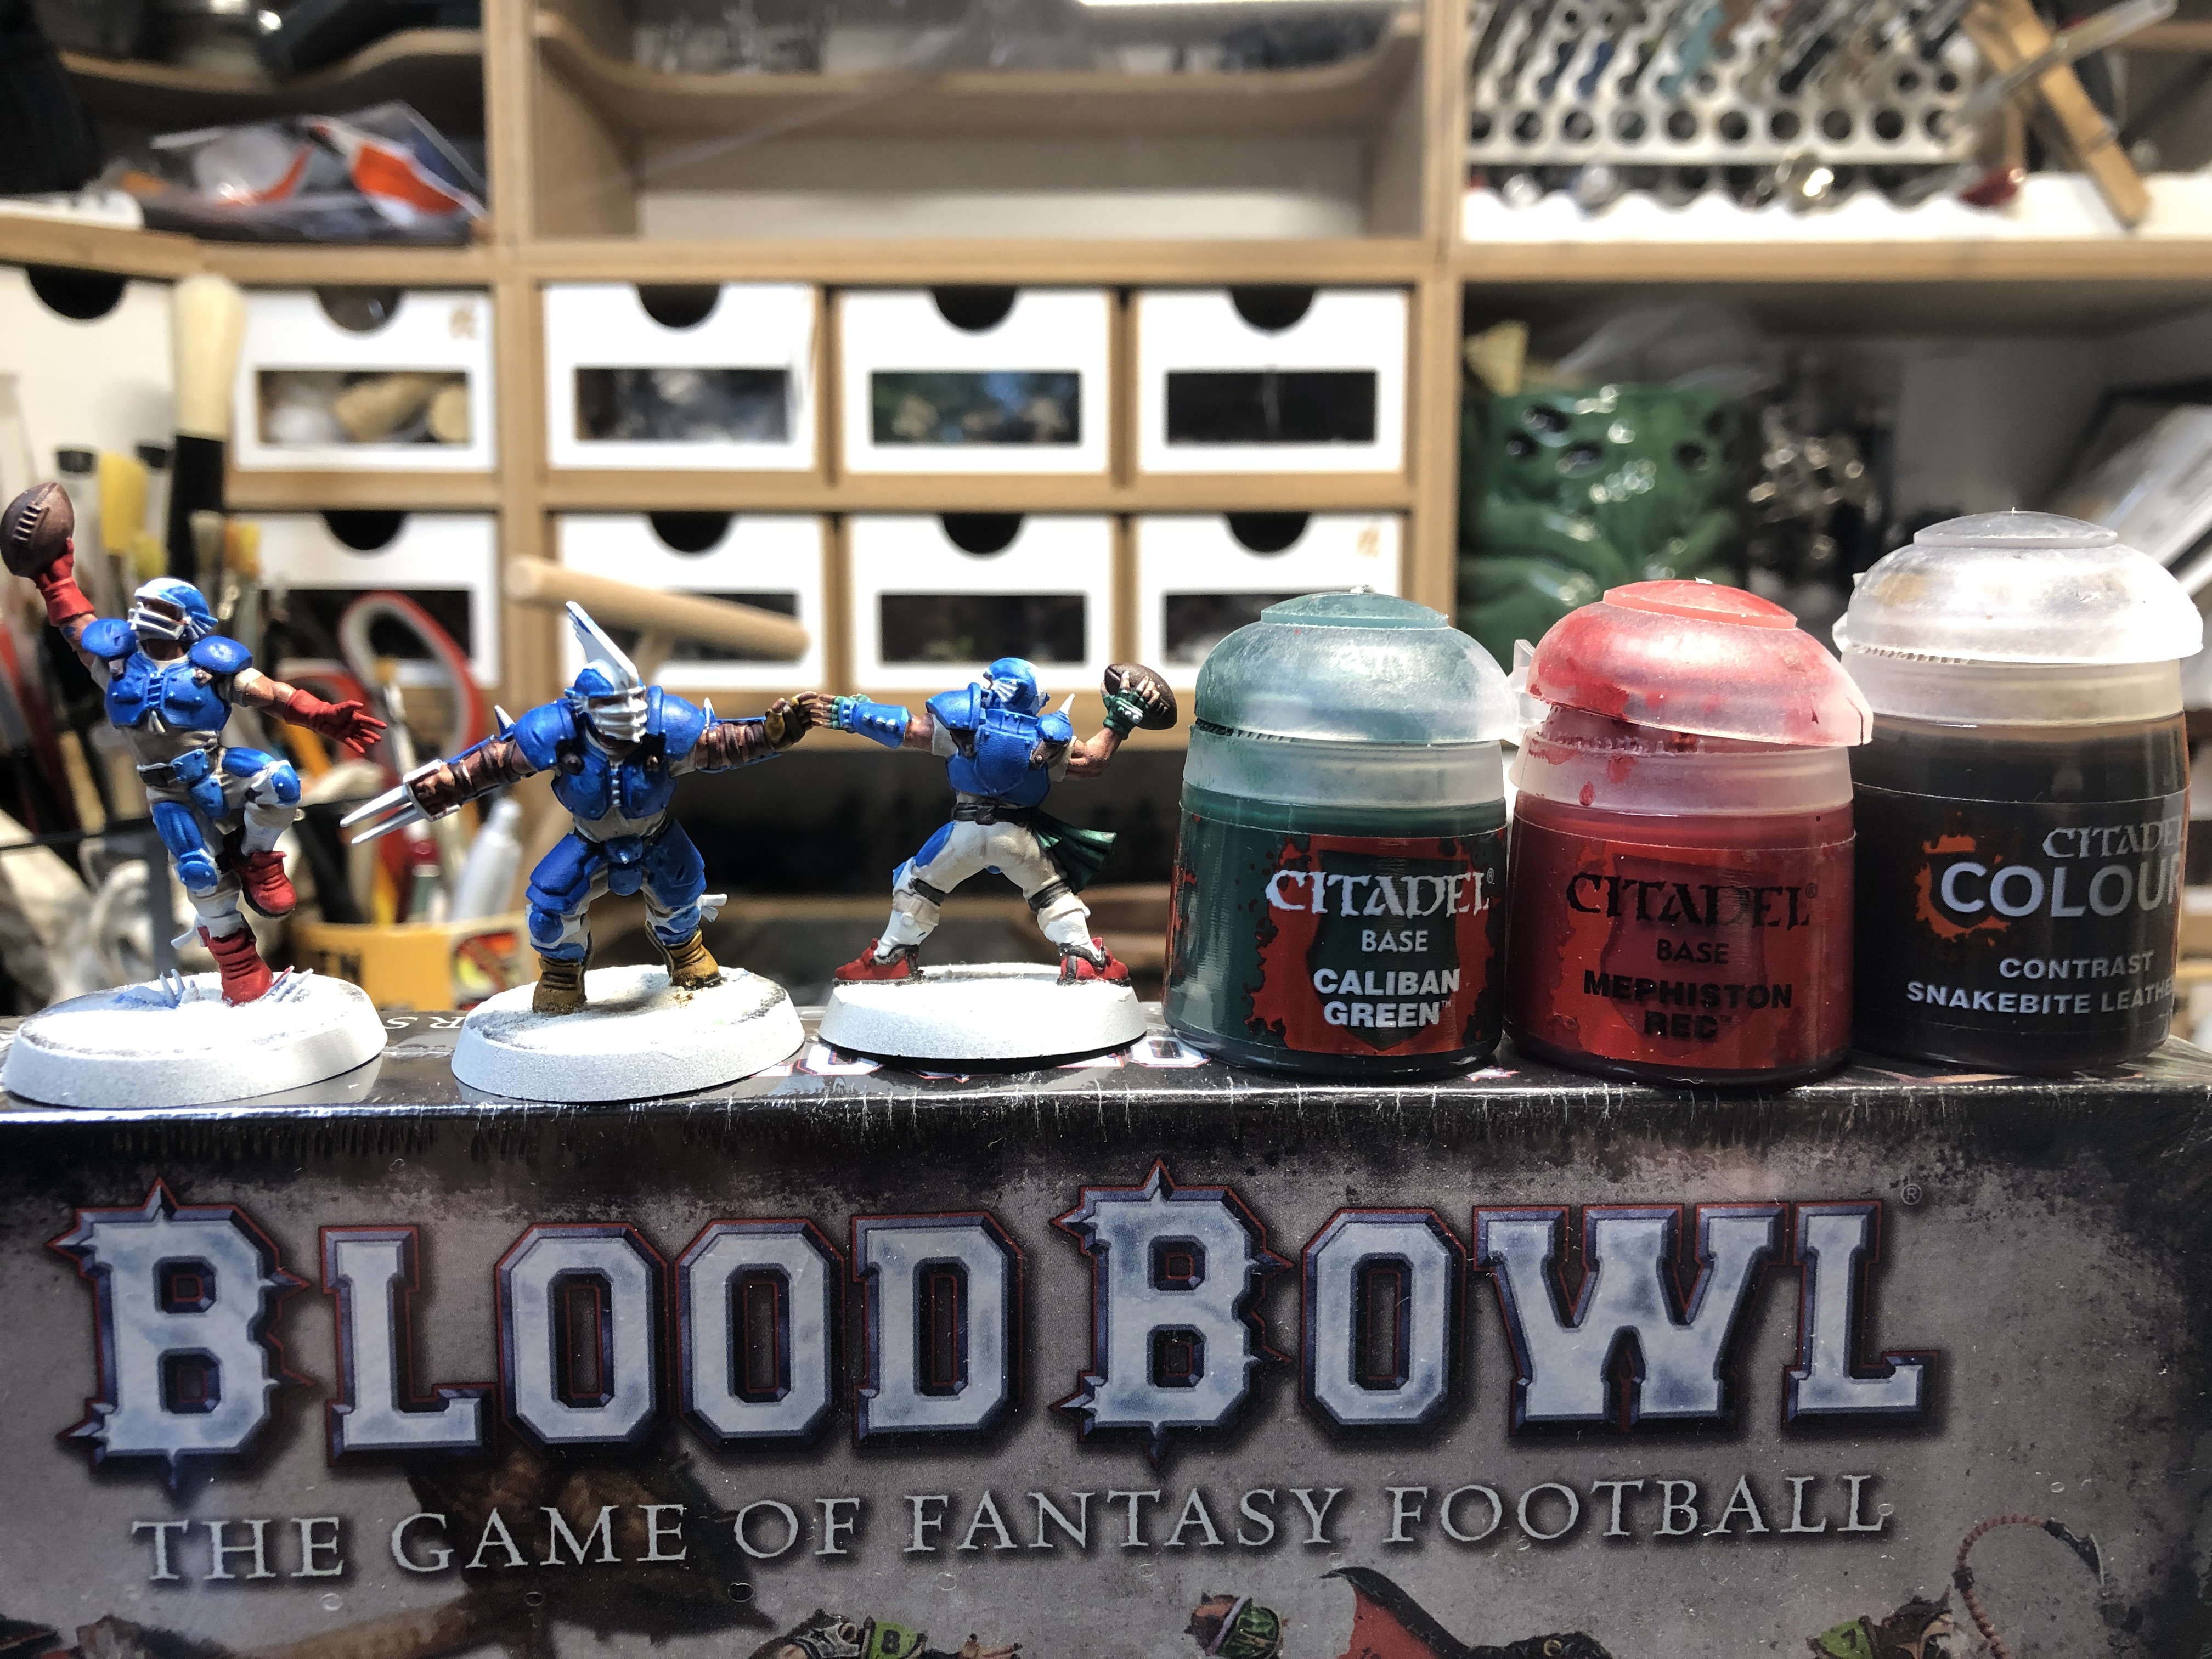
 I also changed my mind and went with Caledor Sky for the kneepads. That could have been handled in stage 3.
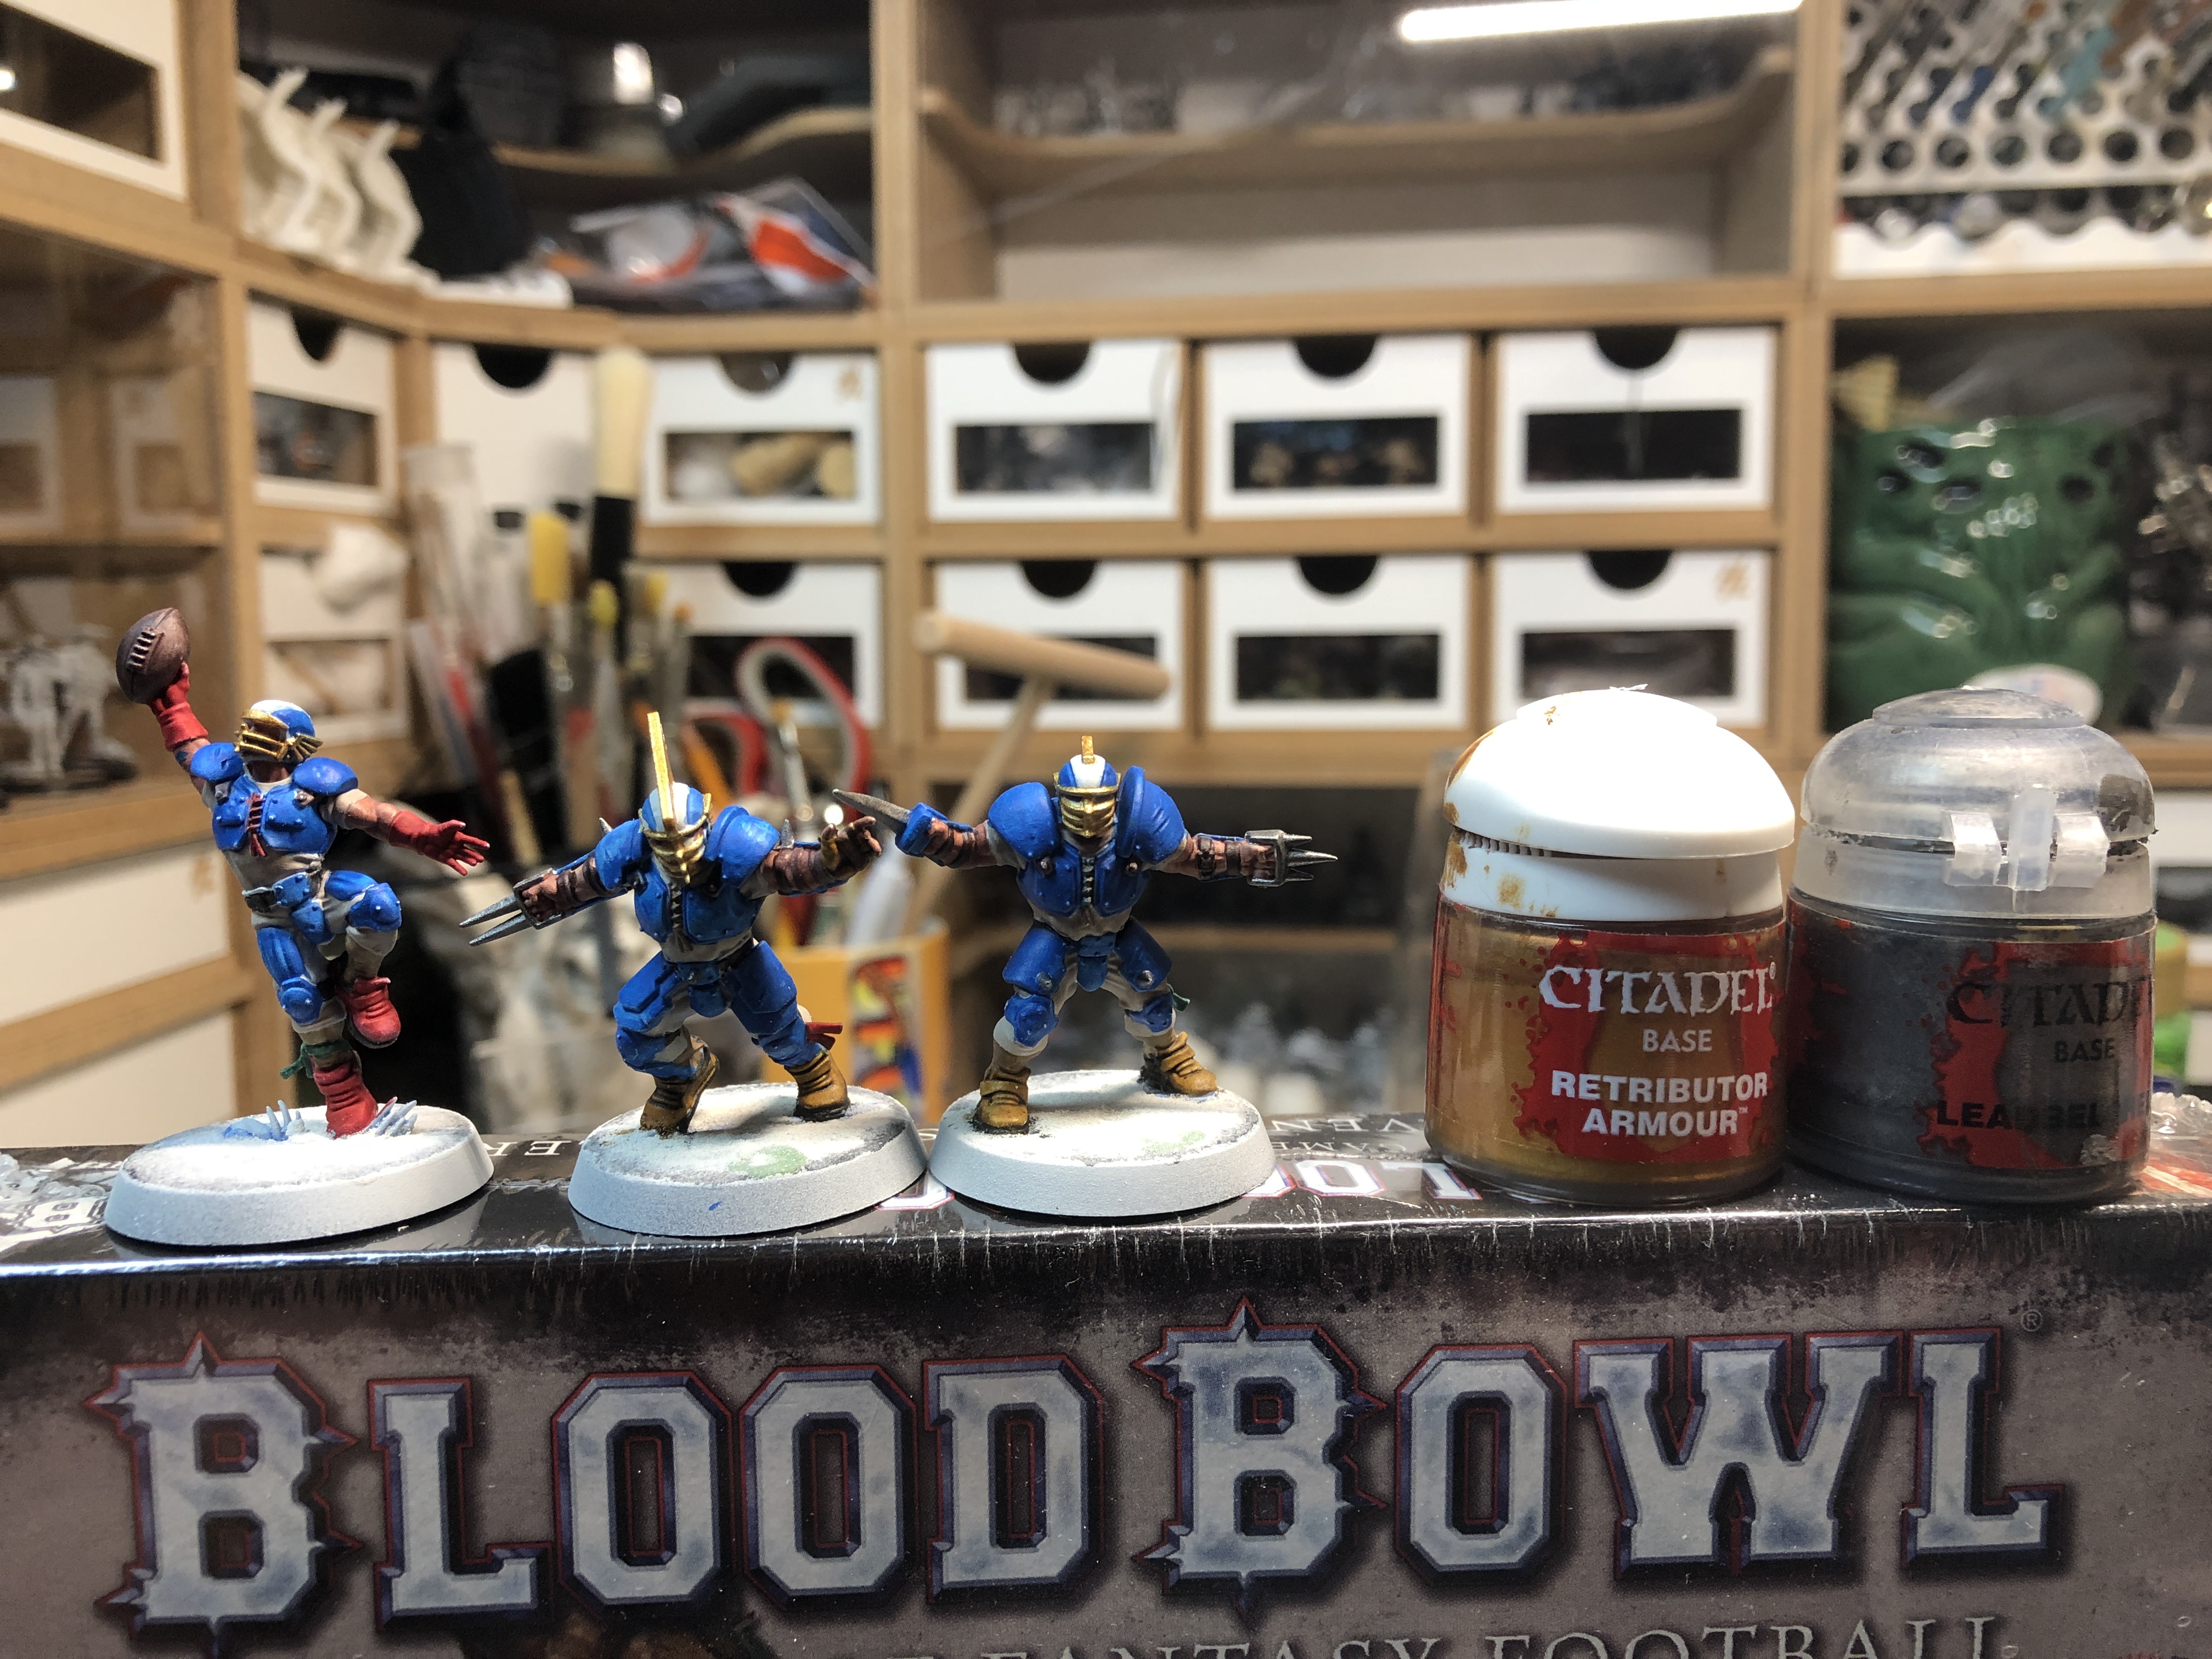
5 - Finishing with the metal parts
I always try to finish with the metallic part of a miniature, except if it wears prominent armor. Helmet crests were painted gold and other metallic bits in Leadbelcher, including straps and such.
Next, shading…
Part 2 - Shading
After blocking the base colors, it is now time to apply shading to the miniatures. Make sure to leave every wash to dry for at least a half hour (1 hour is better).
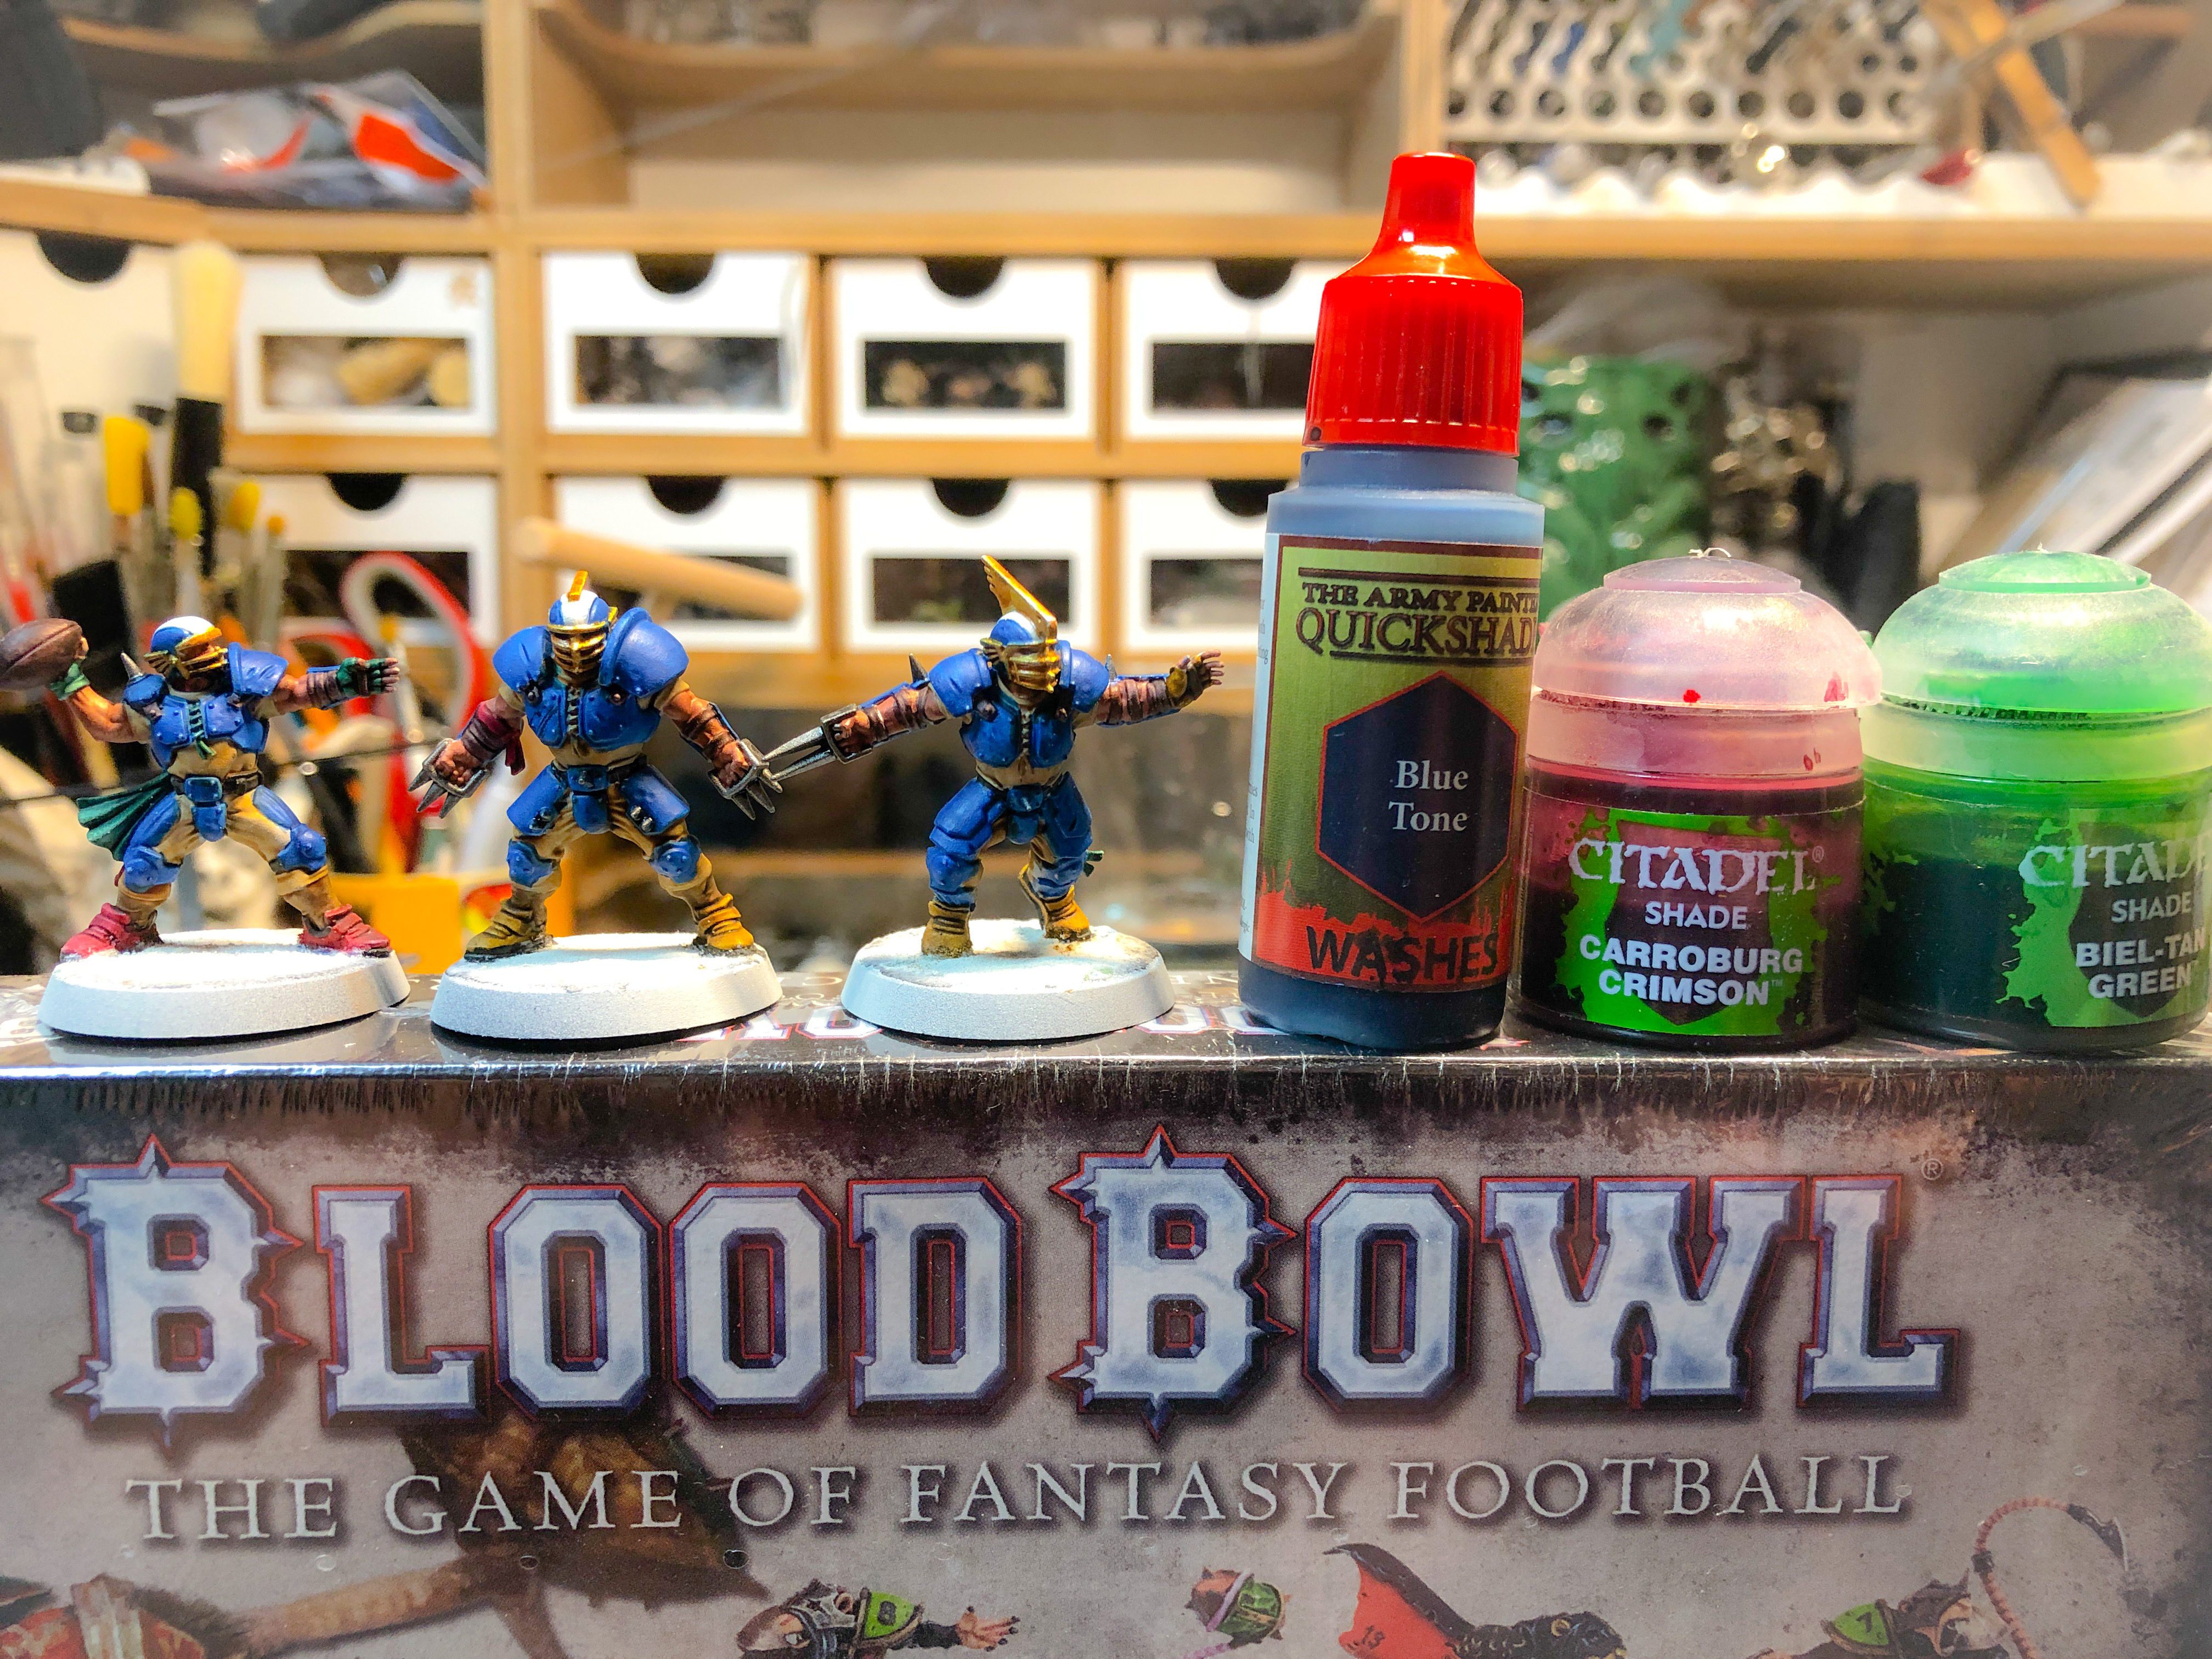 The uniform, shoes, cloth and gloves were given blue, red and green washes respectively.
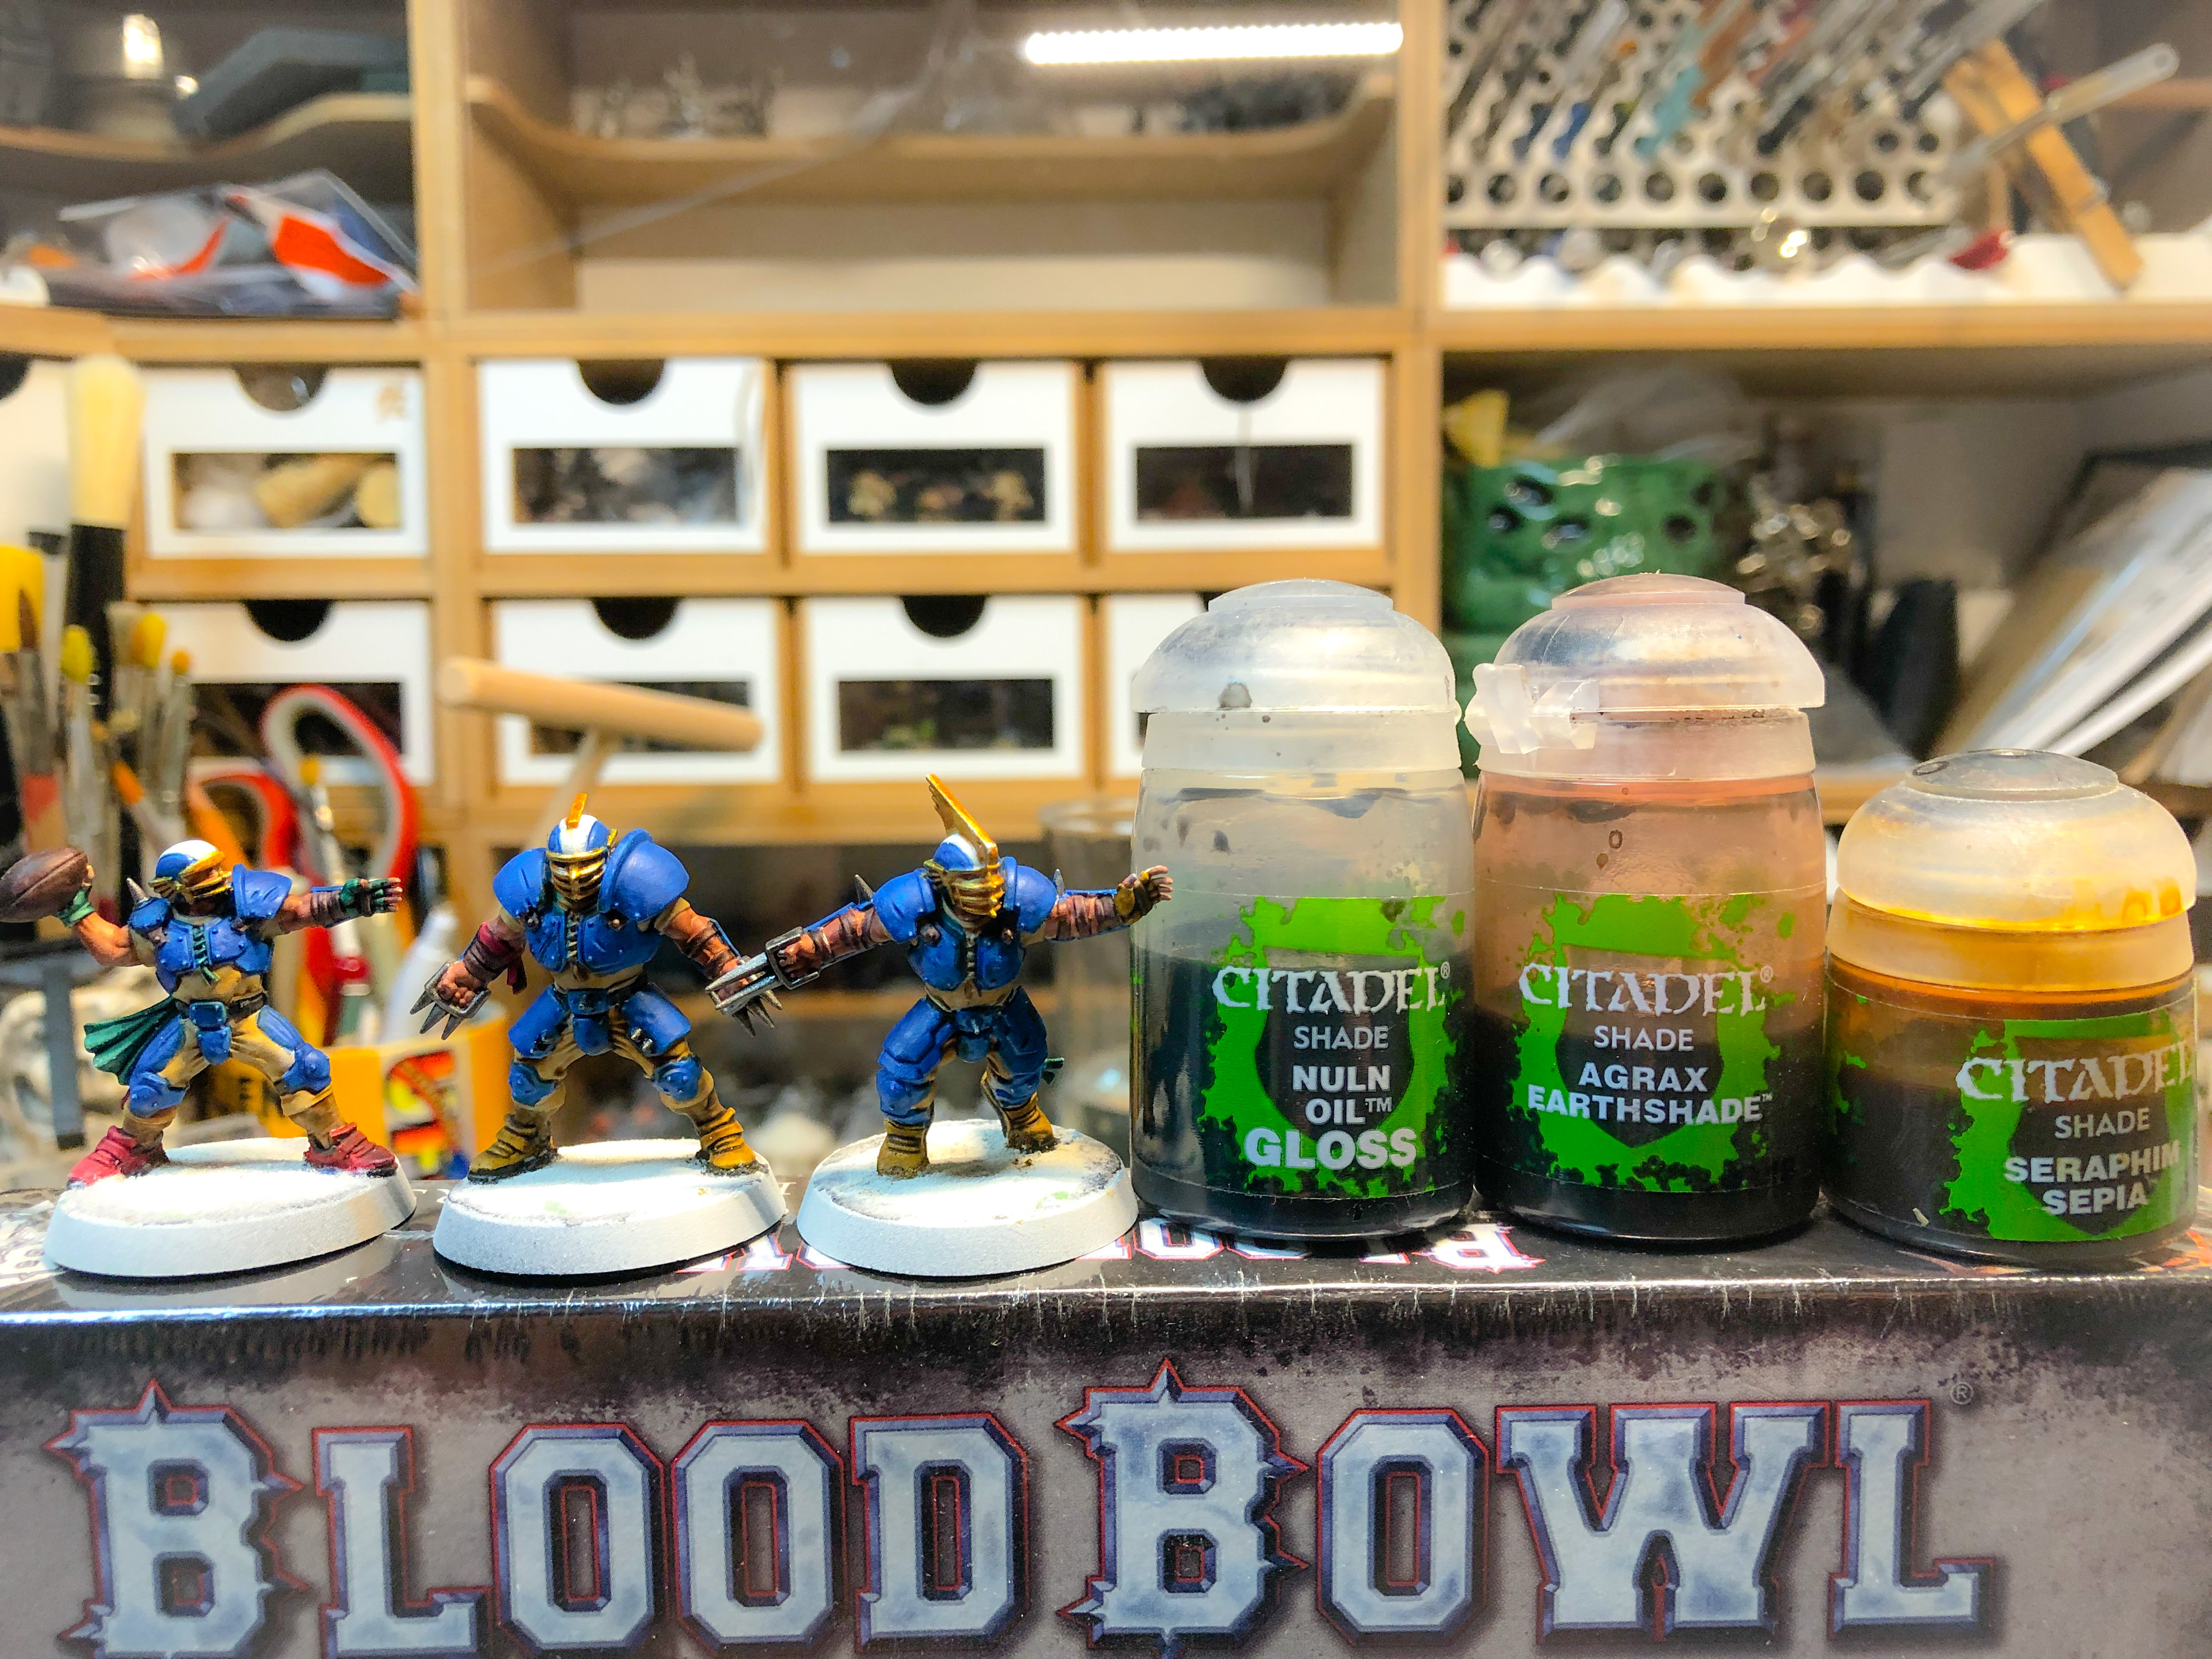 Pants and shirts were given a wash of Seraphim Sepia, leather straps were washed with Agrax Earthshade, steel surfaces received a wash of Nuln Oil Gloss and golden surfaces were washed with Fleshwash Gloss
Part 3: Highlighting
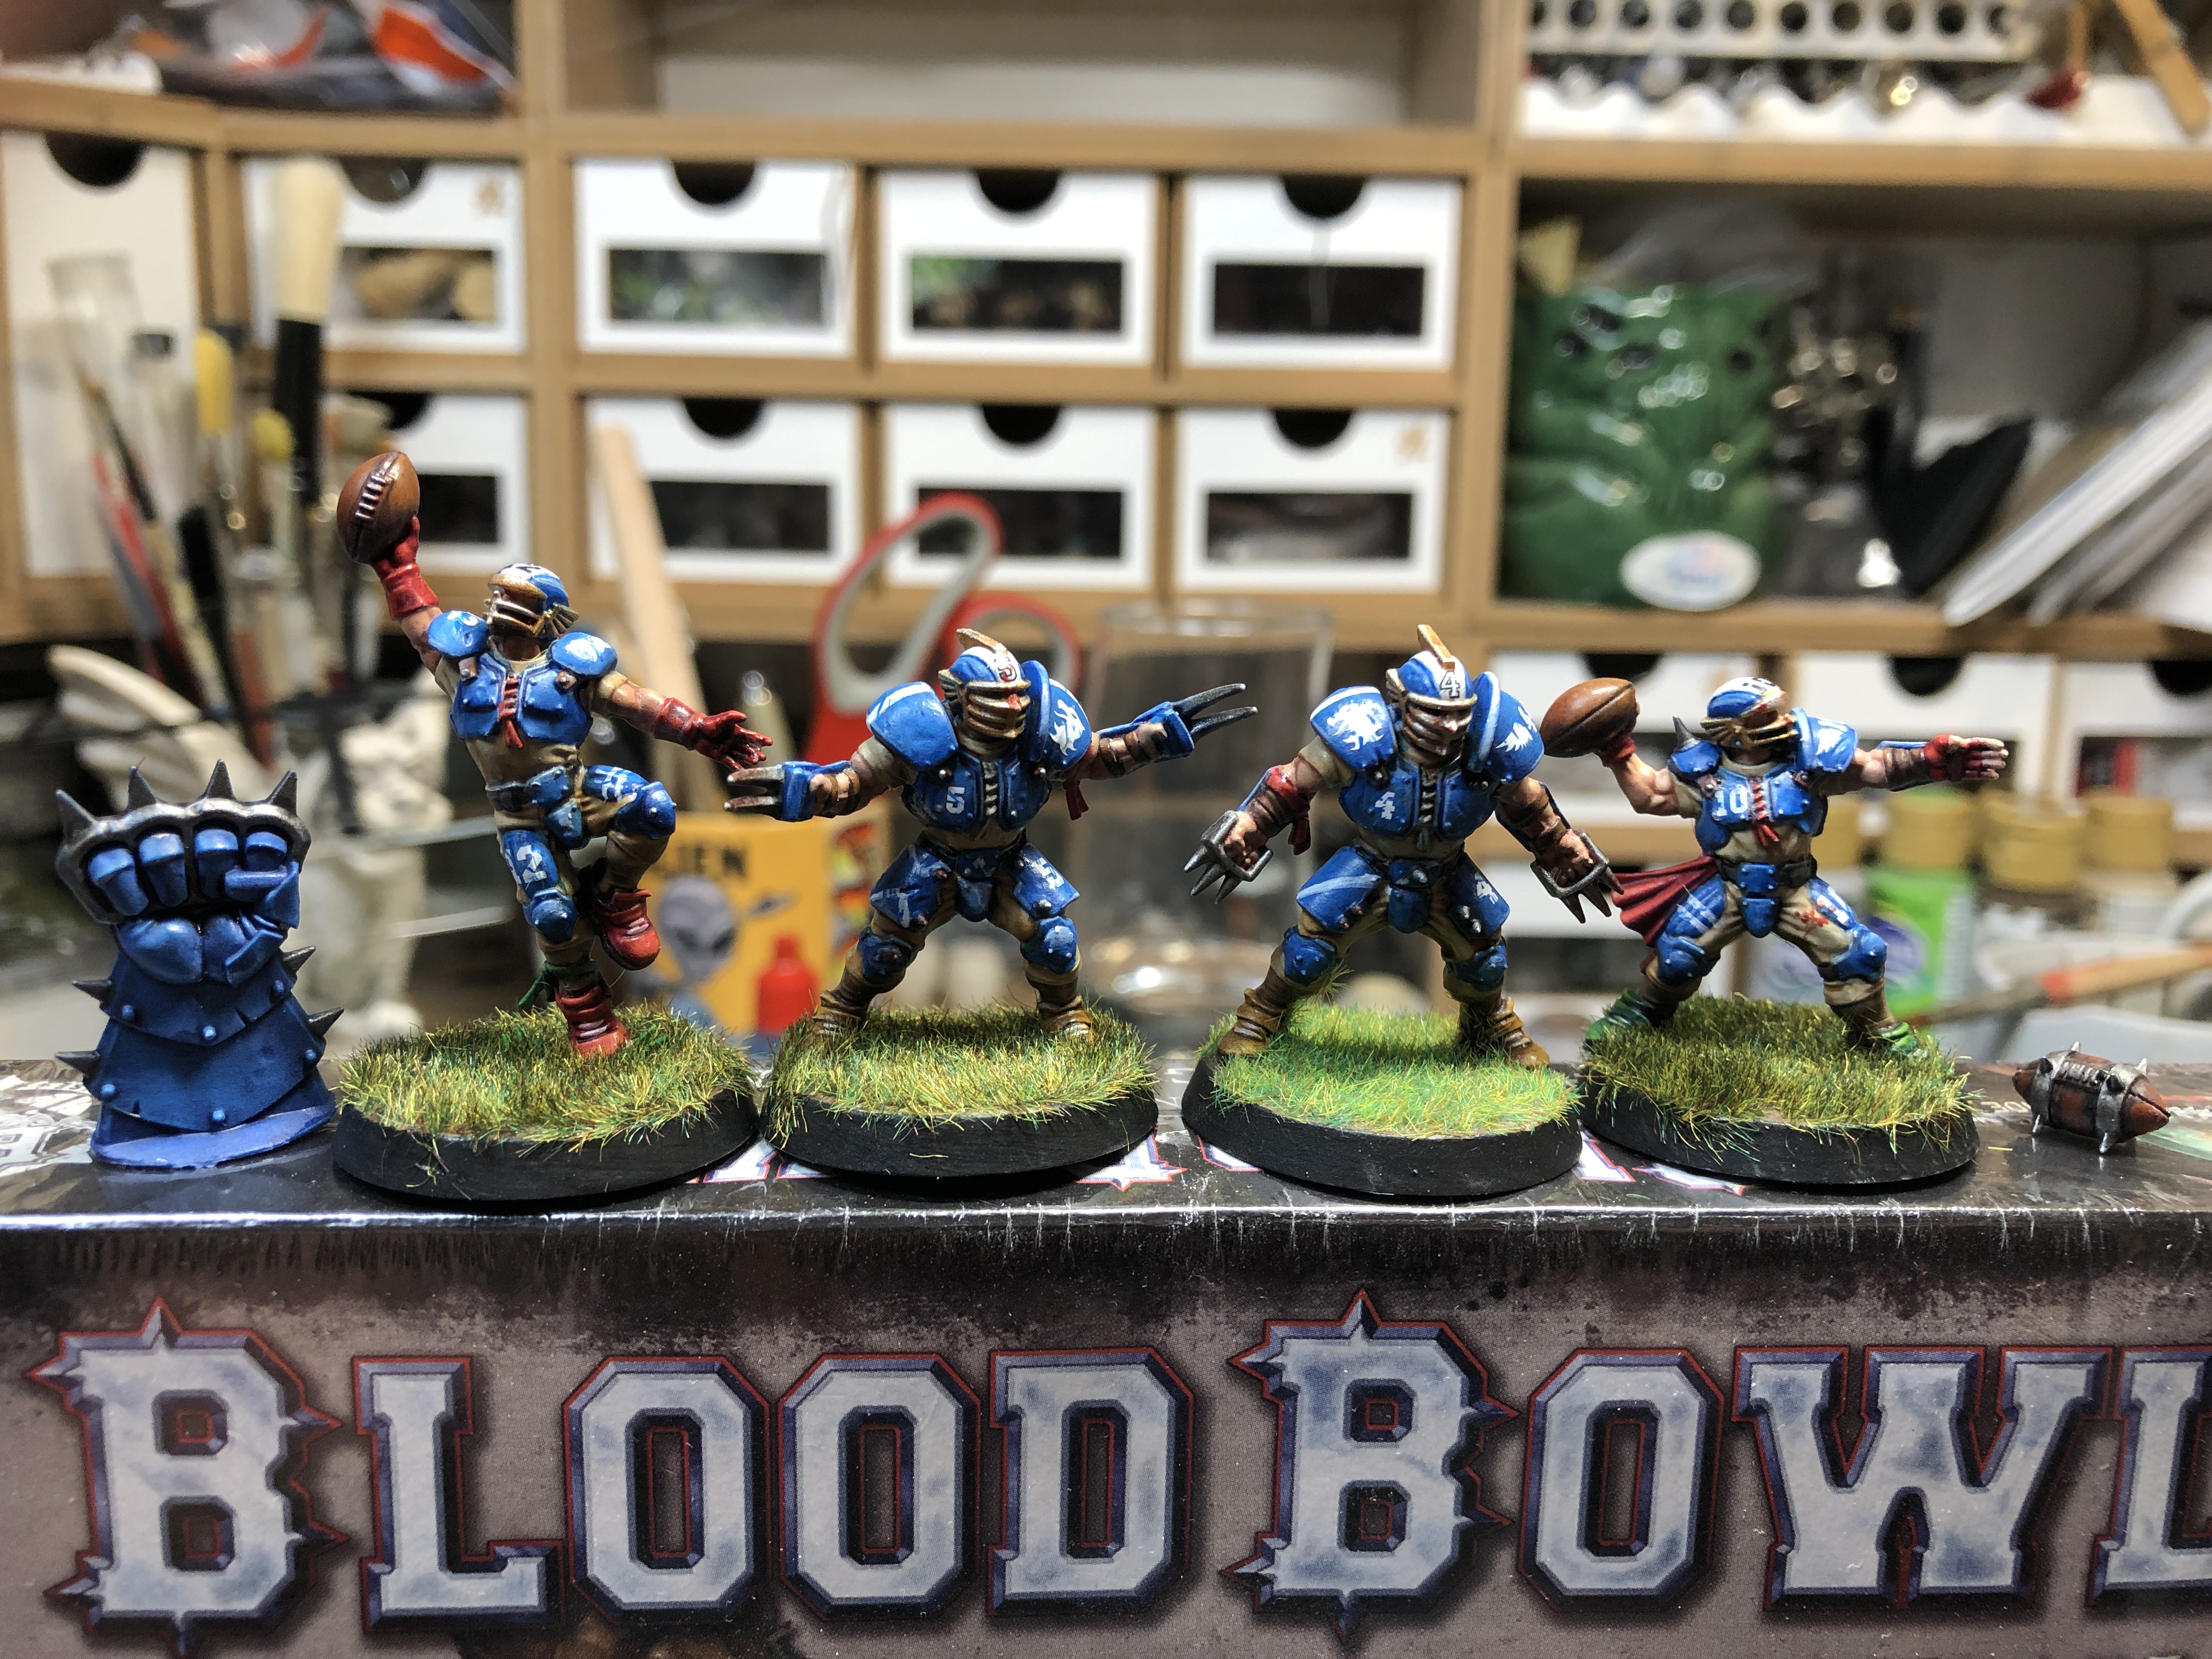
Highlighting the miniatures was by far the most time consuming phase as all had to be done by brush, given the fact the proximity of surfaces made the use of dry brushes almost impossible.
 After the skin was highlighted with a lighter fleshtone (not displayed), the armor flaws were corrected before the socks, gloves and shoes flws were corrected (see colors above)
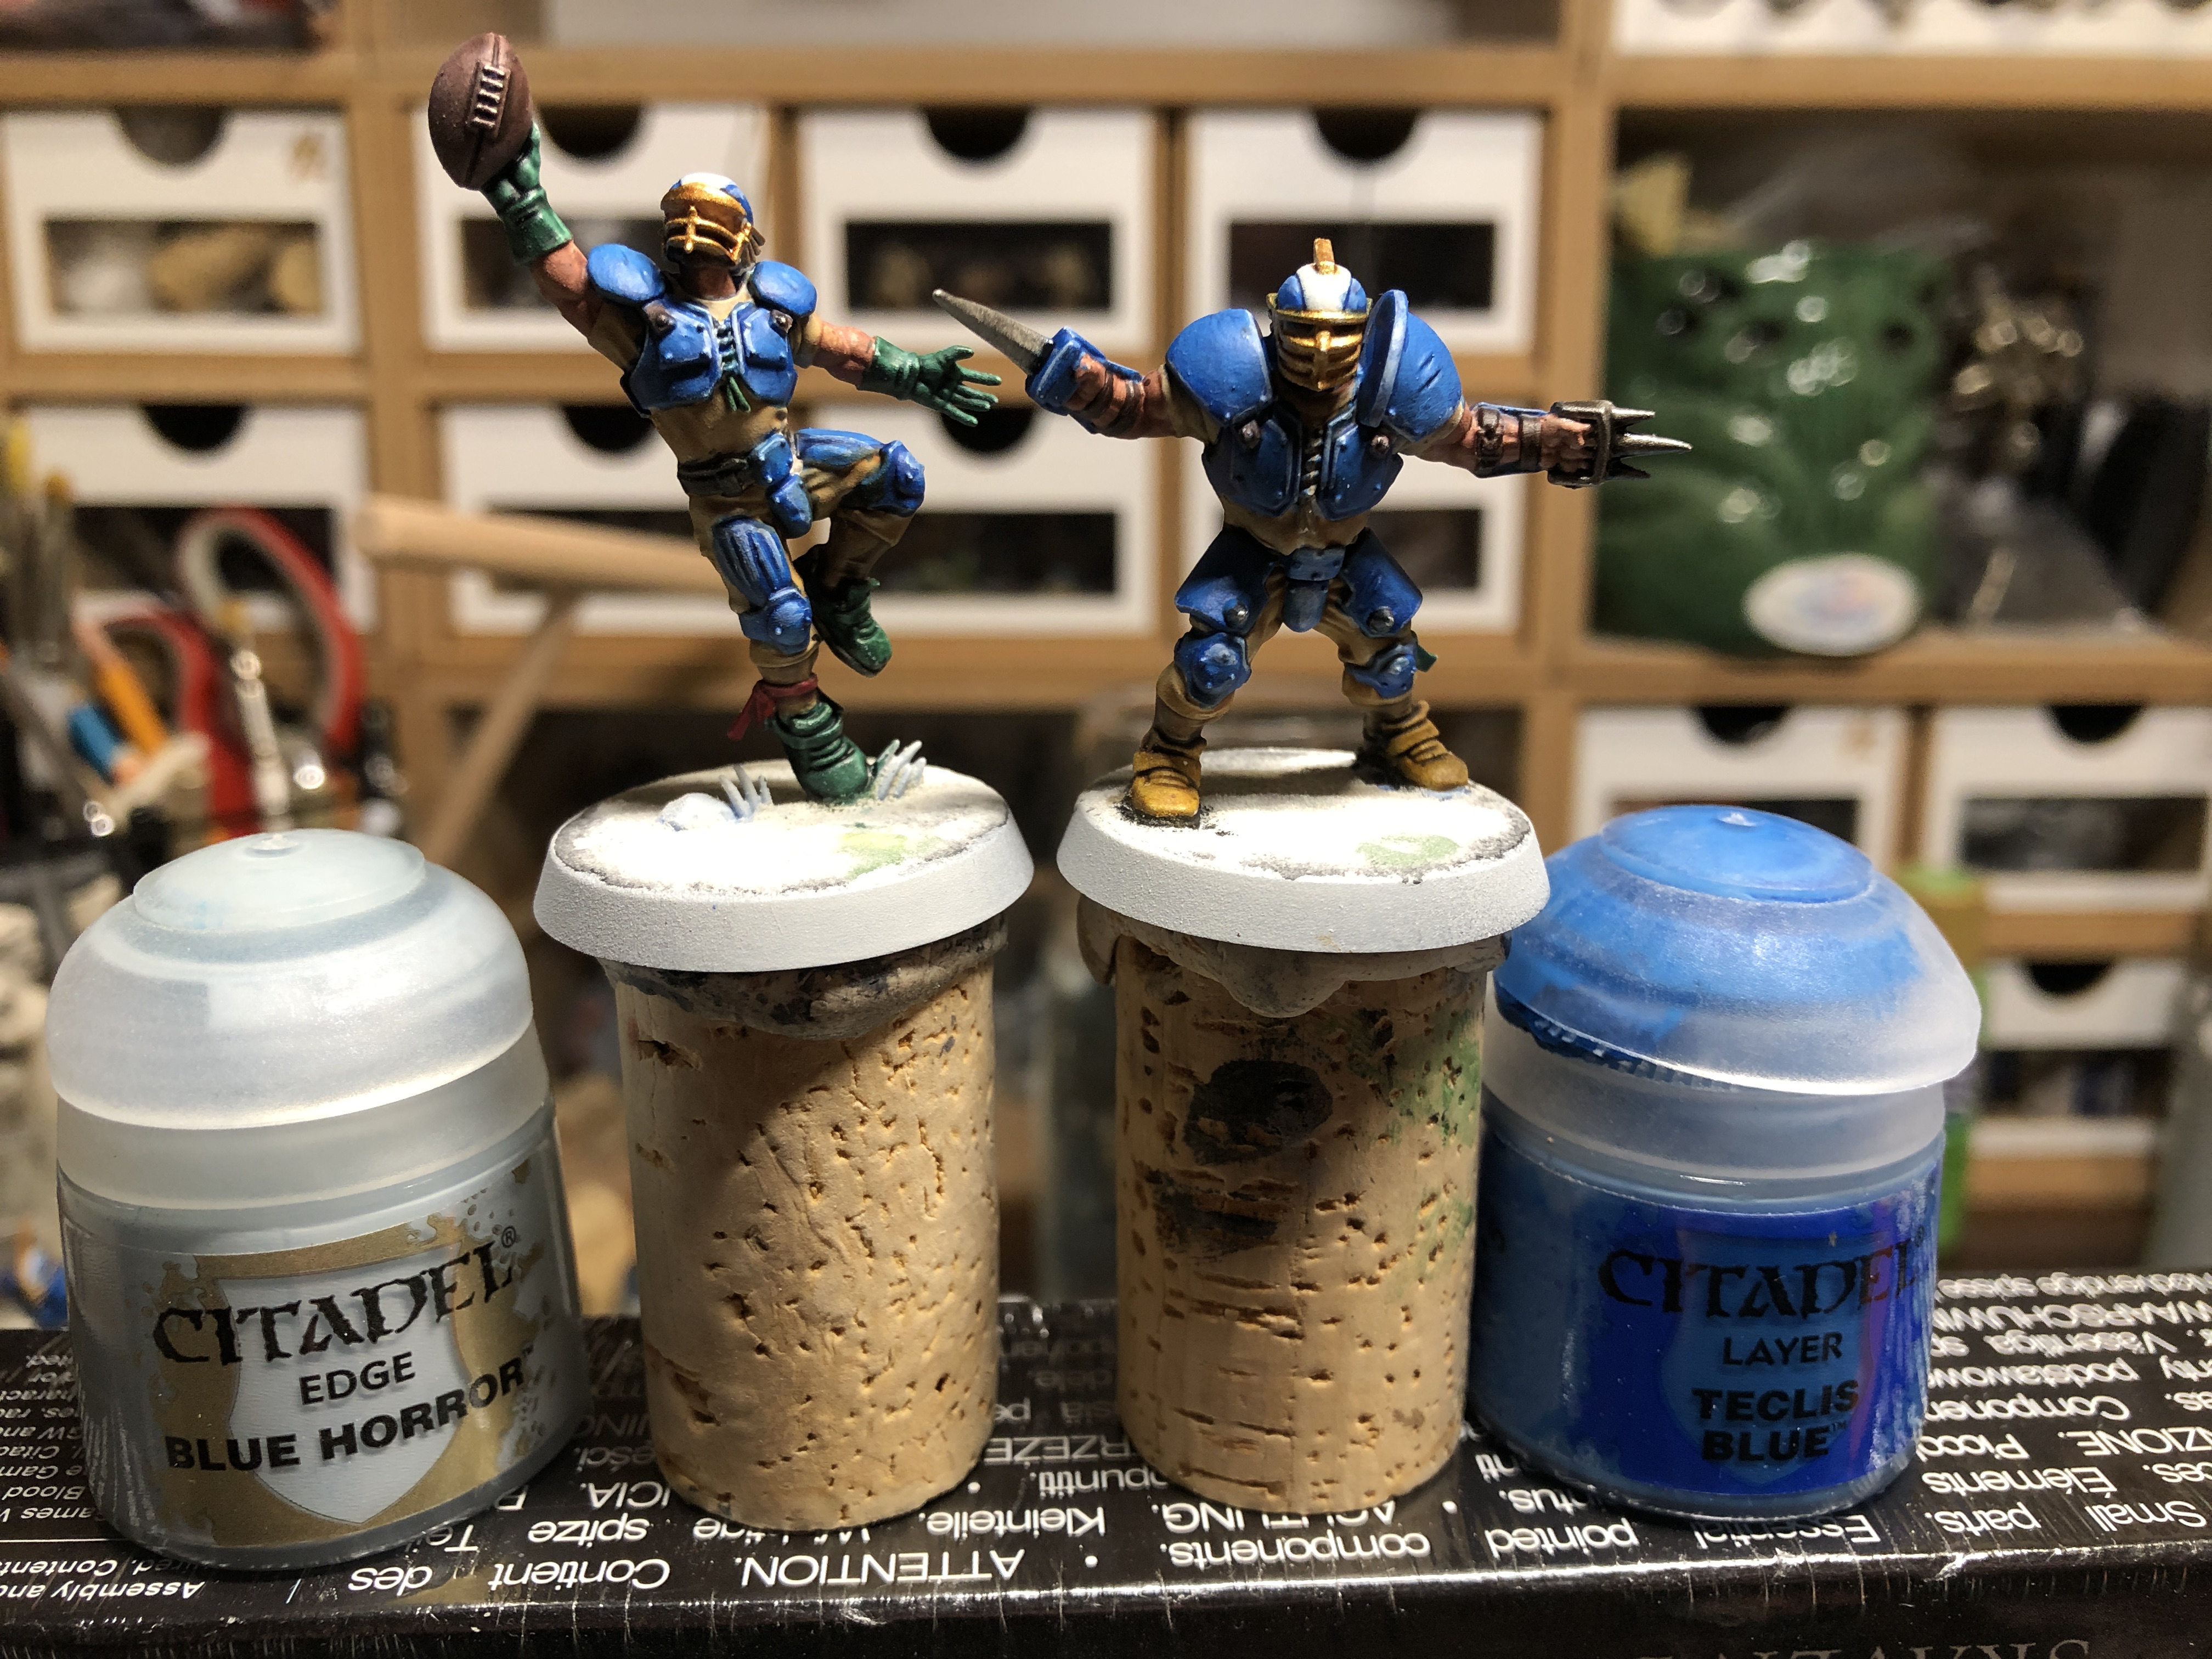 The armor was then highlighted with Teclis Blue and edged with Blue Horror
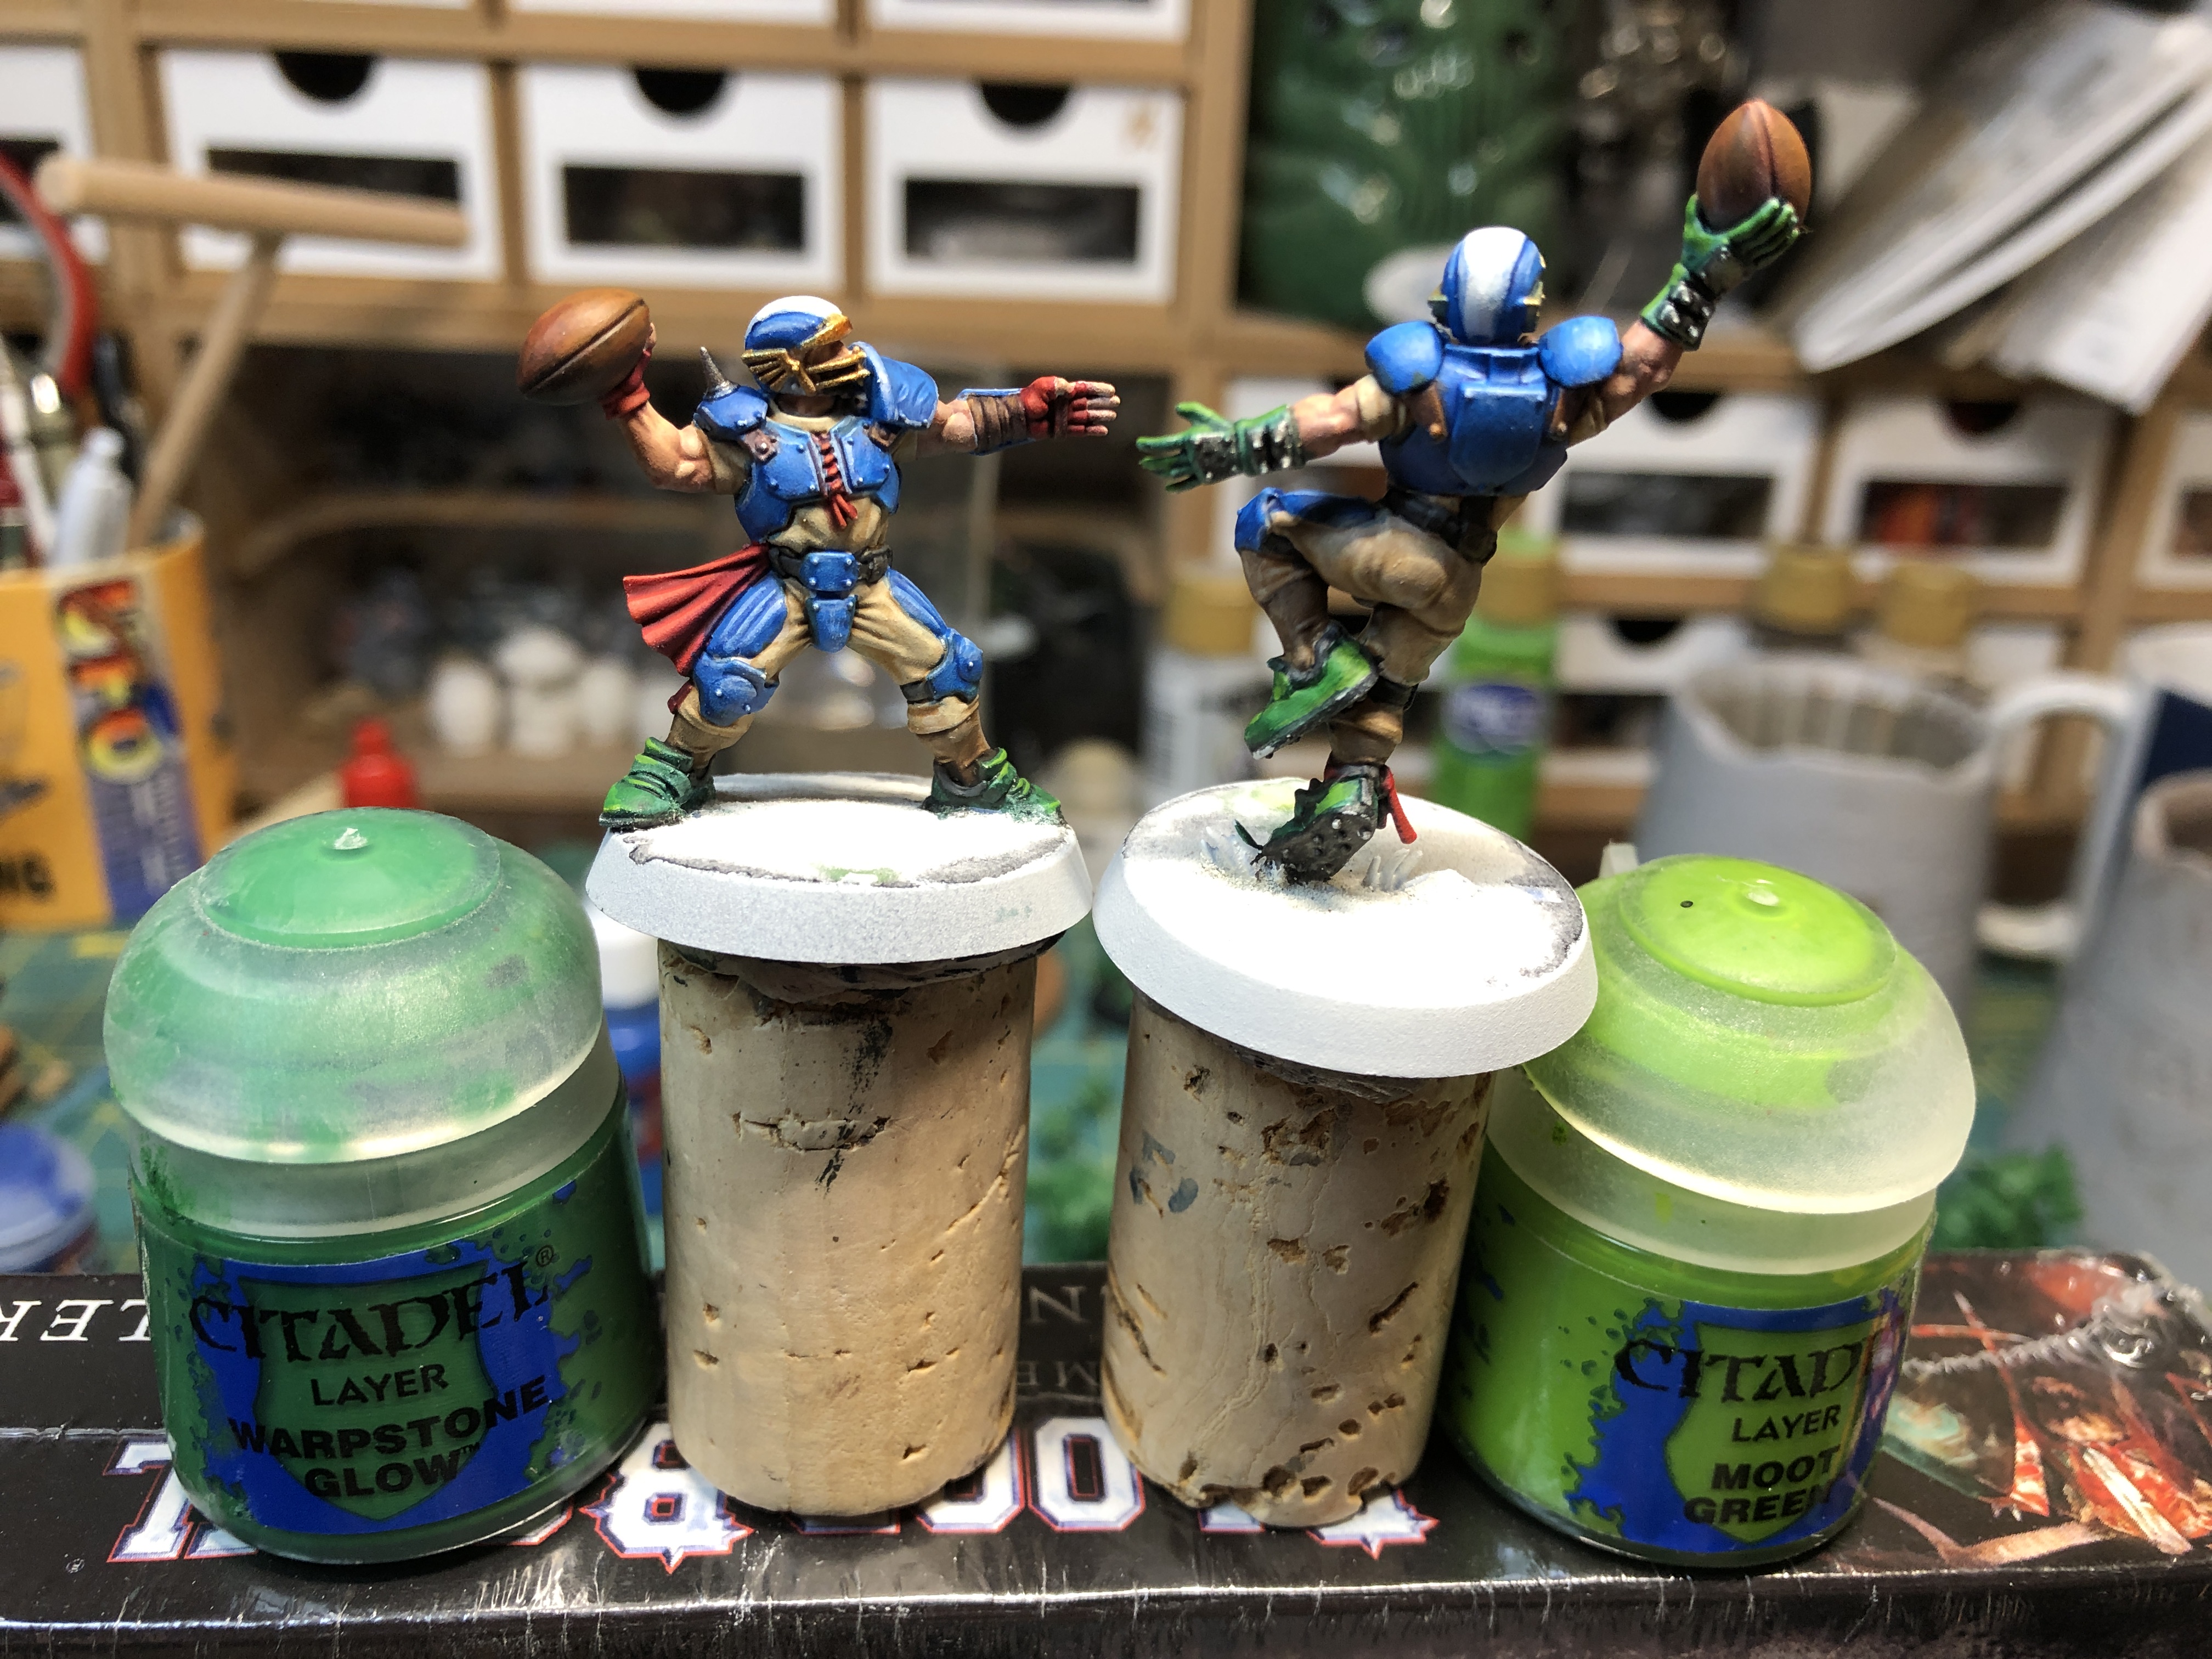 Green shoes, gloves and cloth were then highlighted with Warpstone Glow and edged with Moot Green
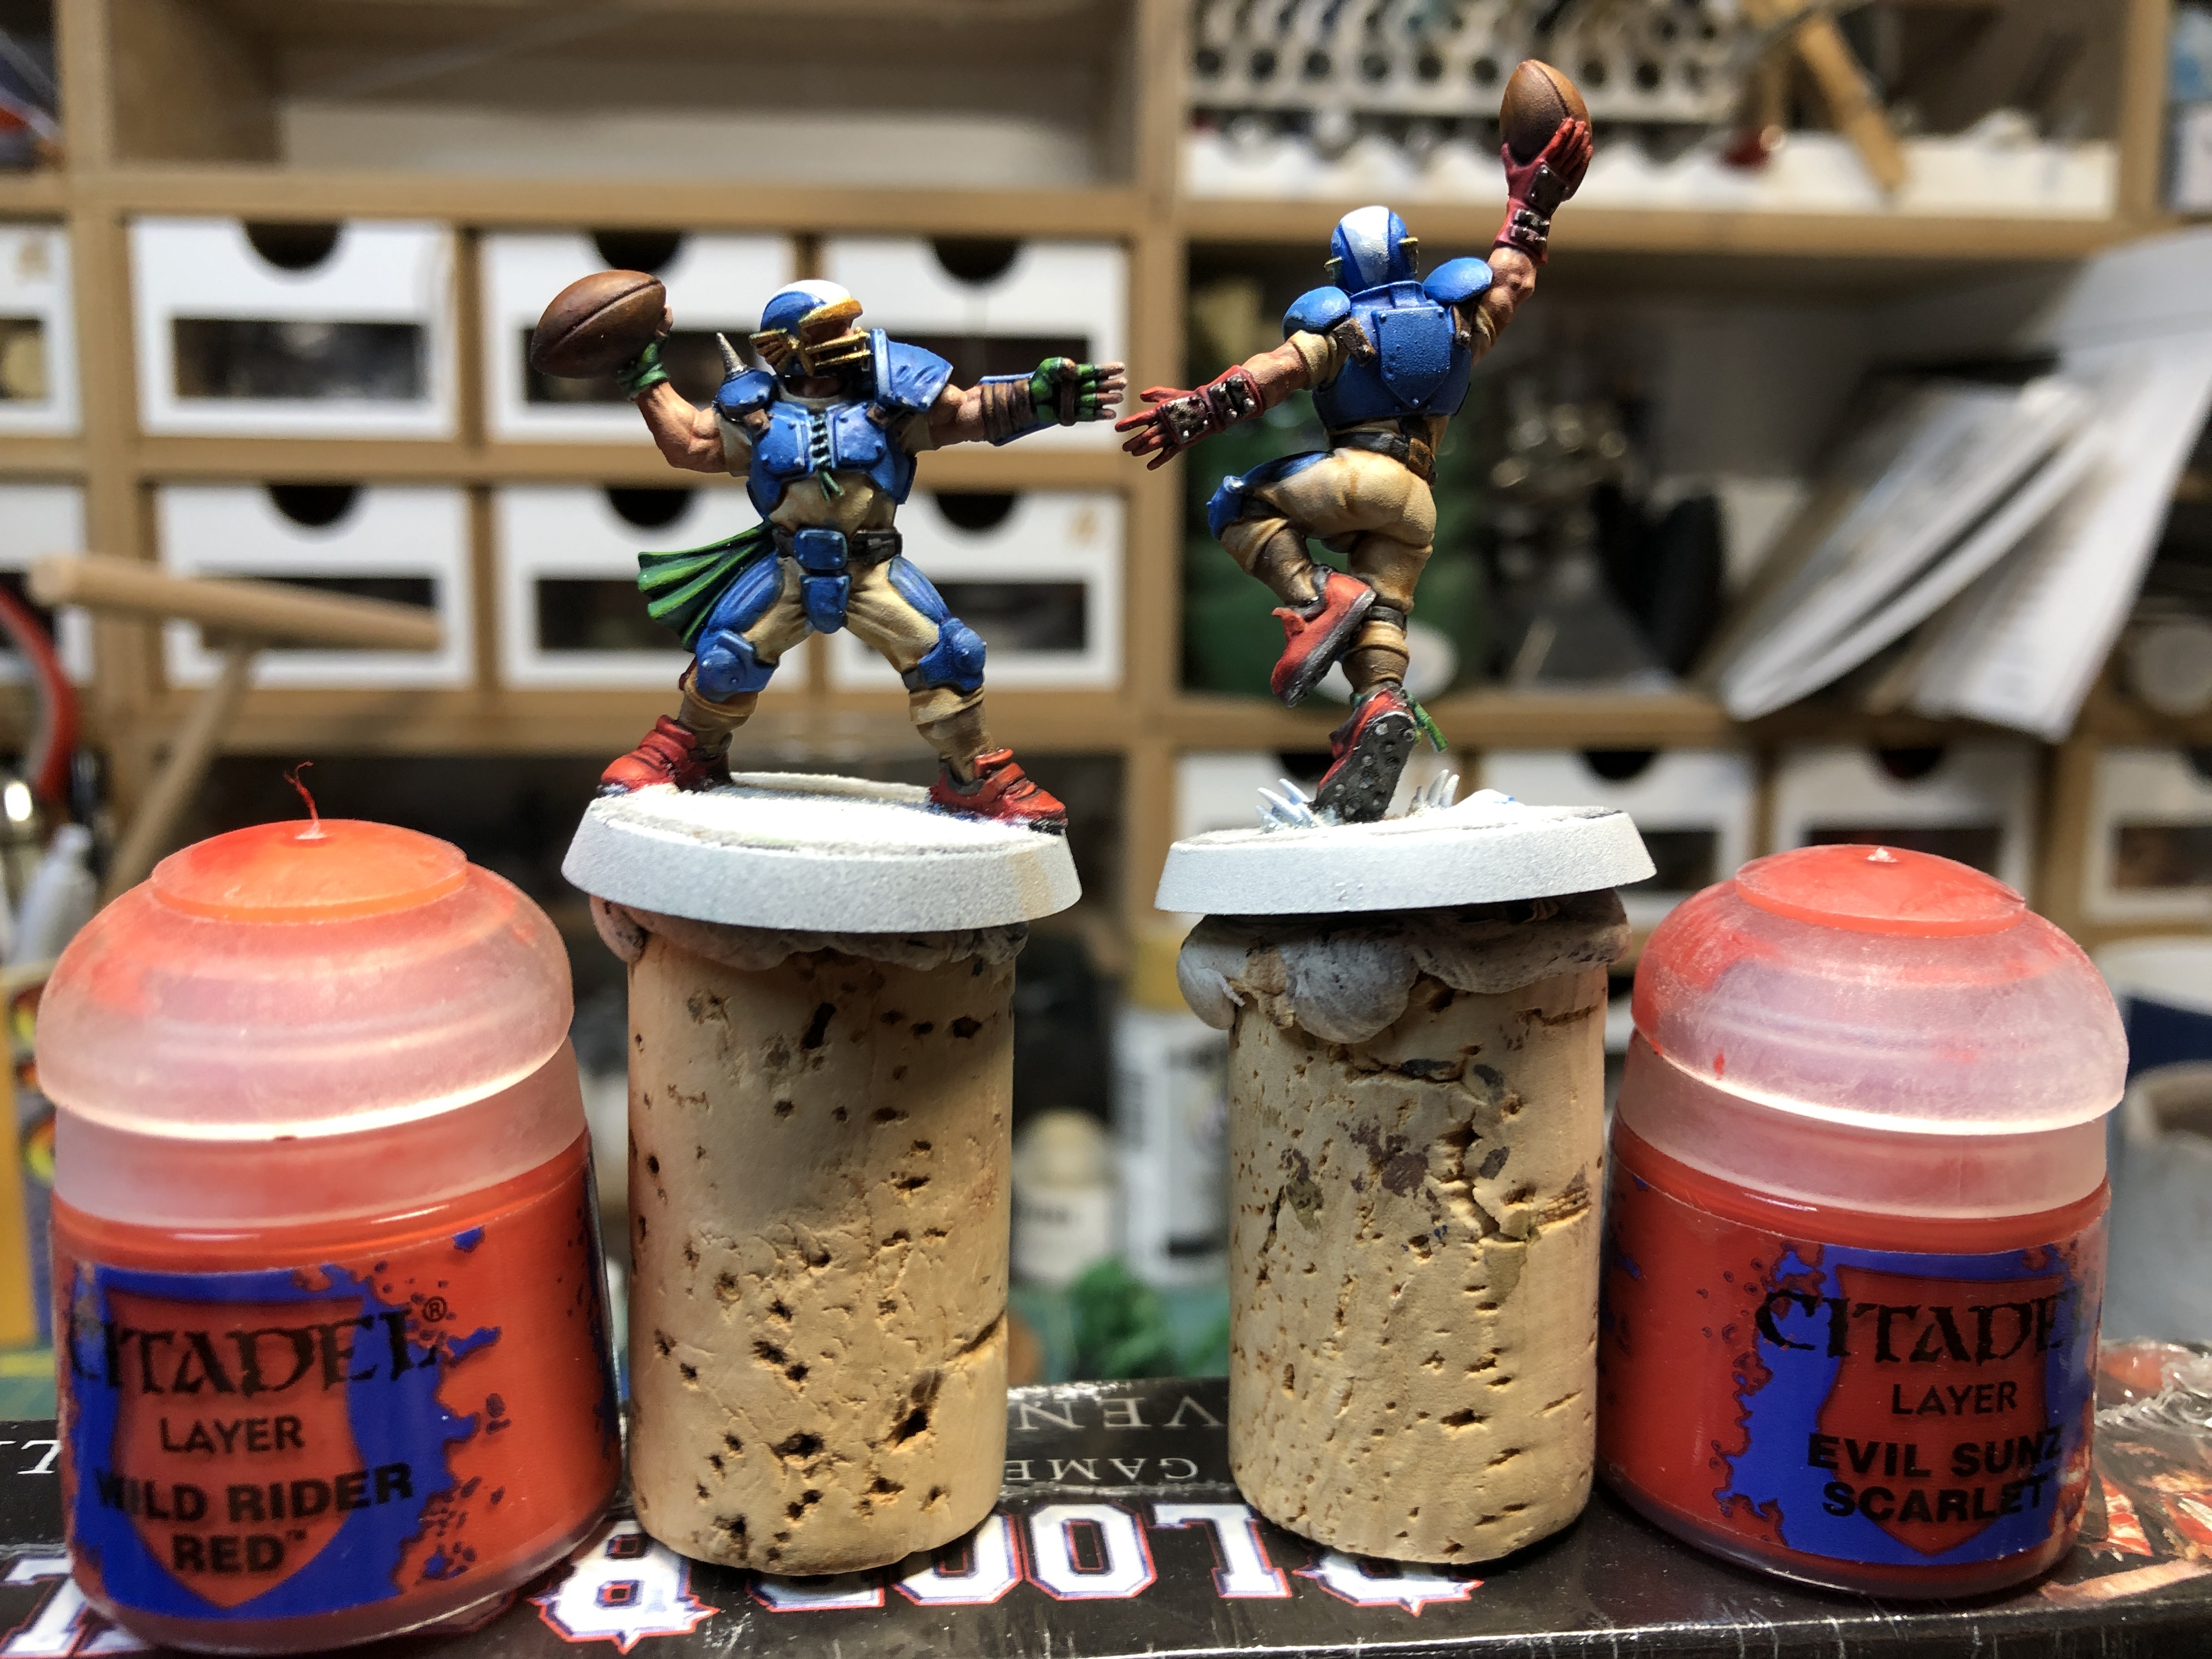 Red shoes, gloves and cloth were then highlighted and edged (see colors above)
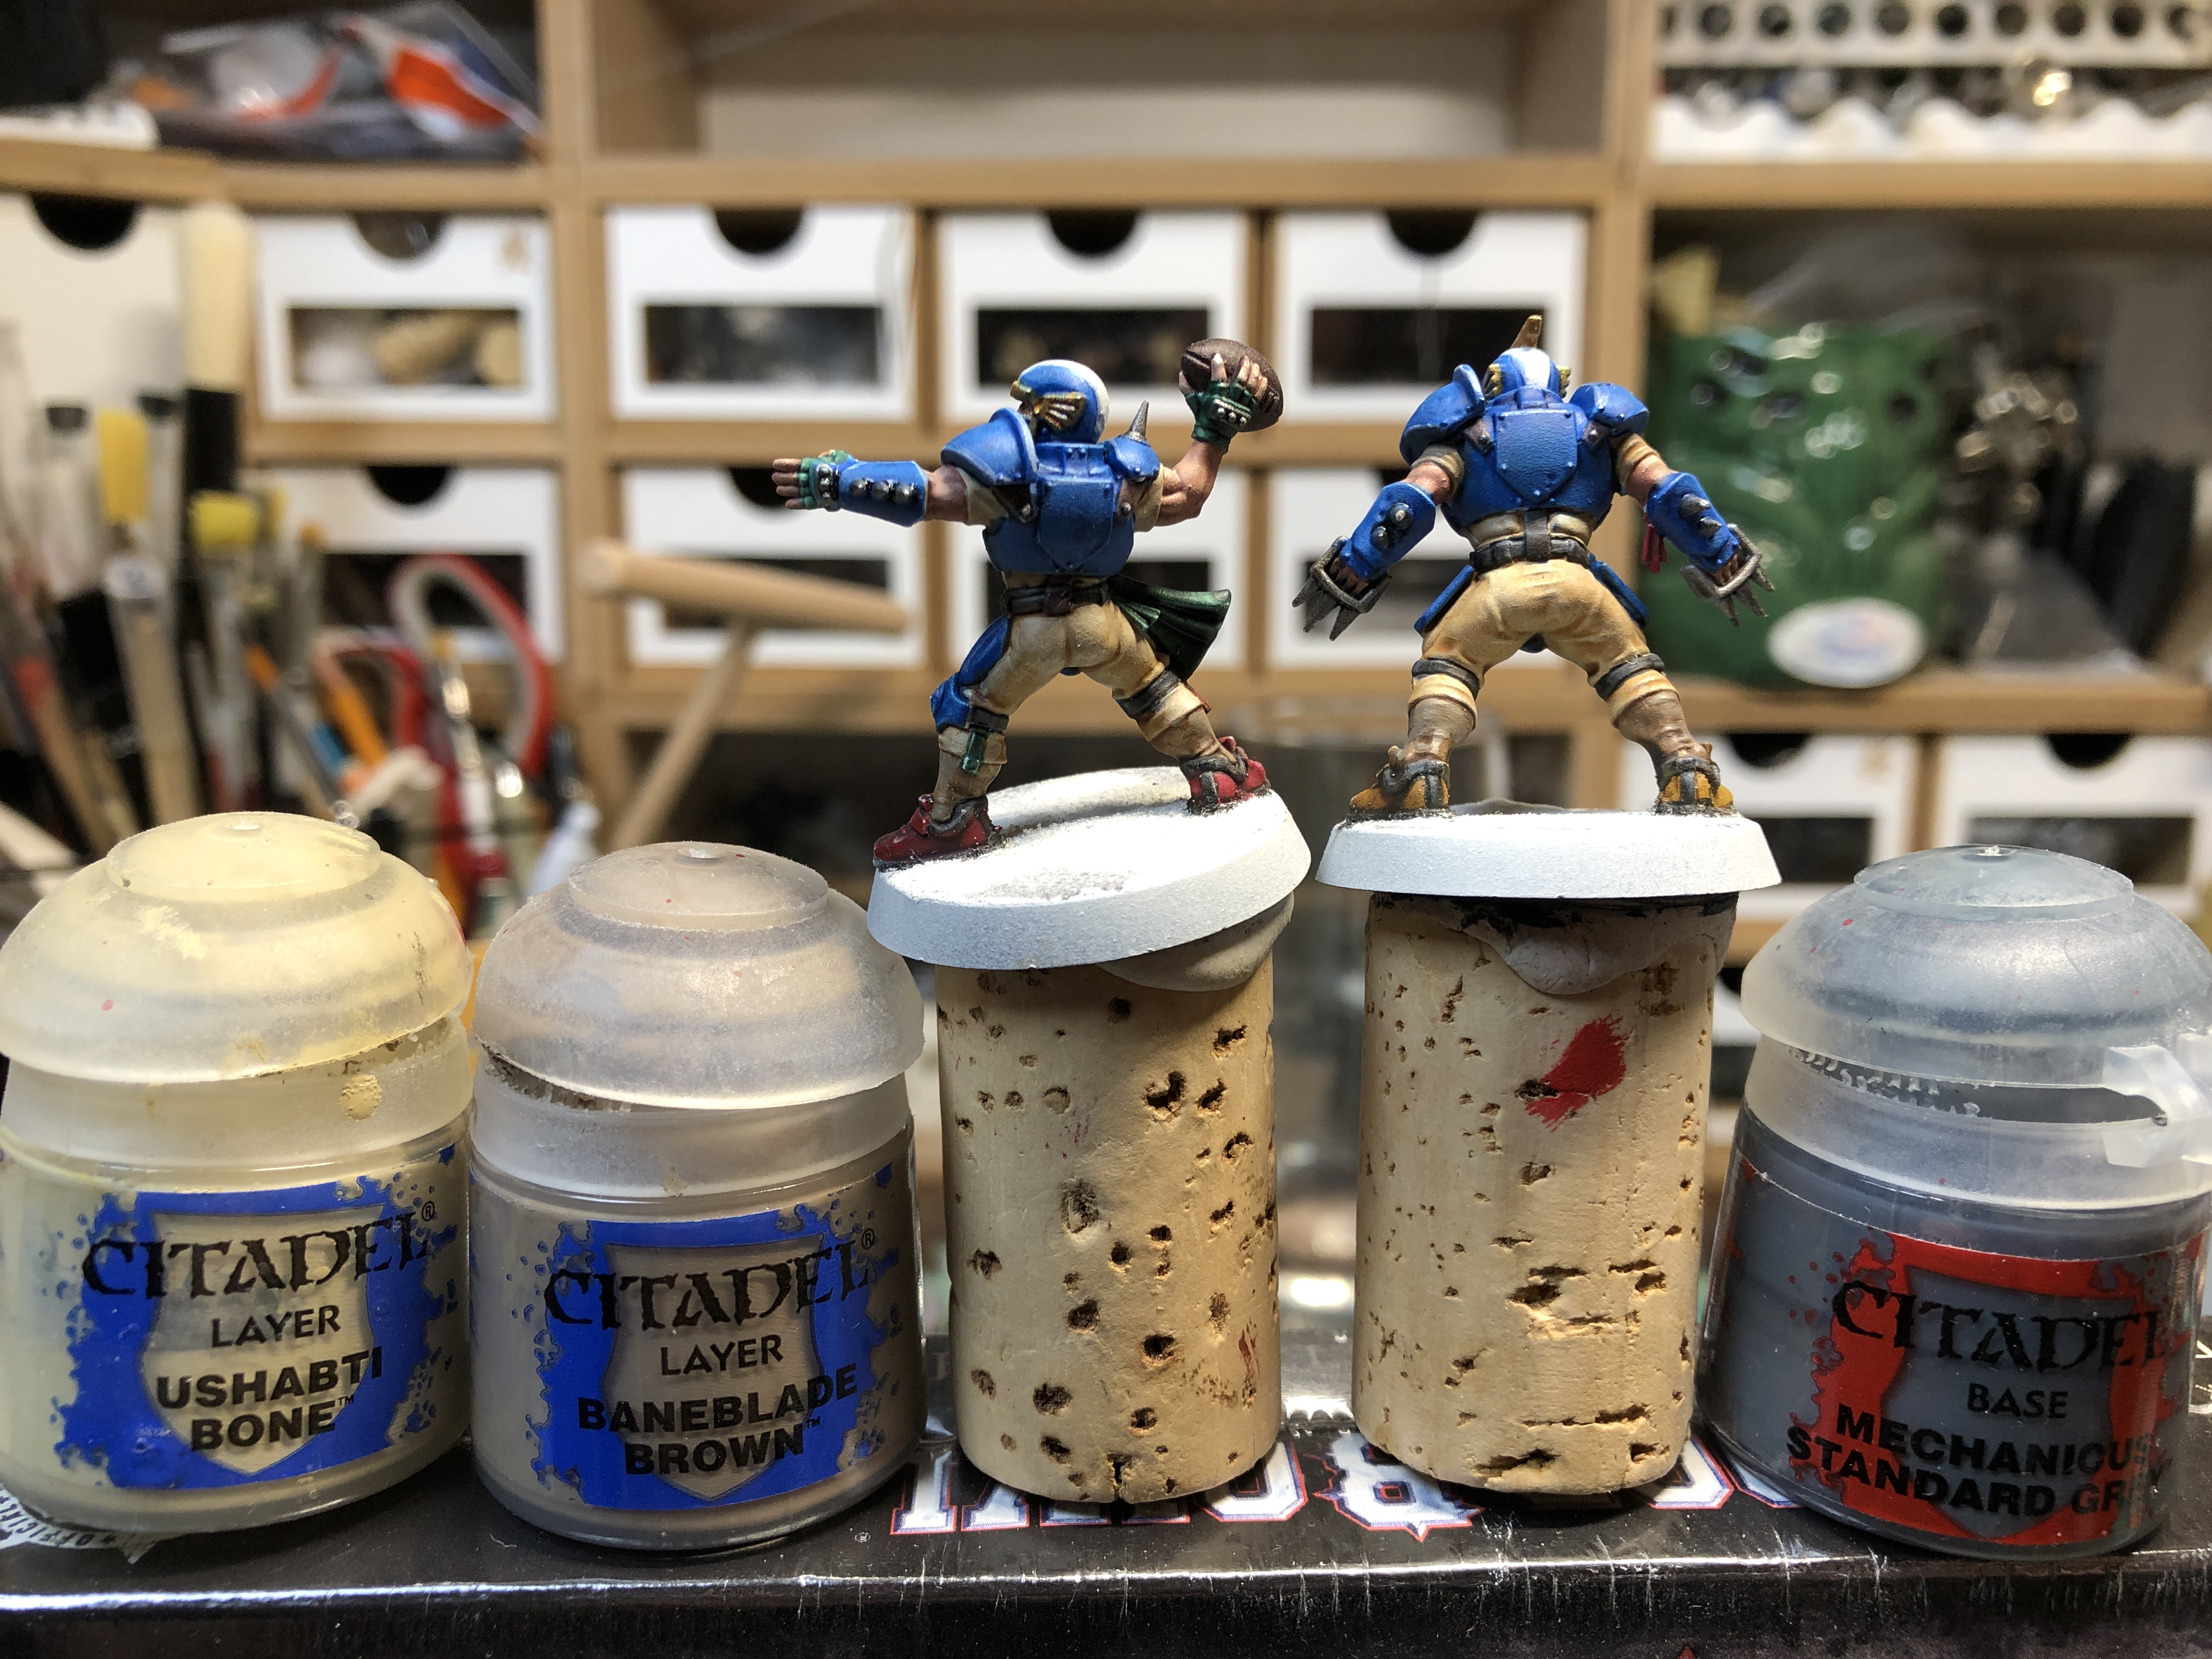 Ushabti bones was used to highlight pants and shirts, while Baneblade Brown was used for socks highlights. You my want to personalize your players by changing socks colors. Finally, Mechanicus Grey was used to highlight shoes soles and lining as well as belts.
 Steel and golden metallic areas are highlighted with Stormhost silver, mainly as edge highlights.
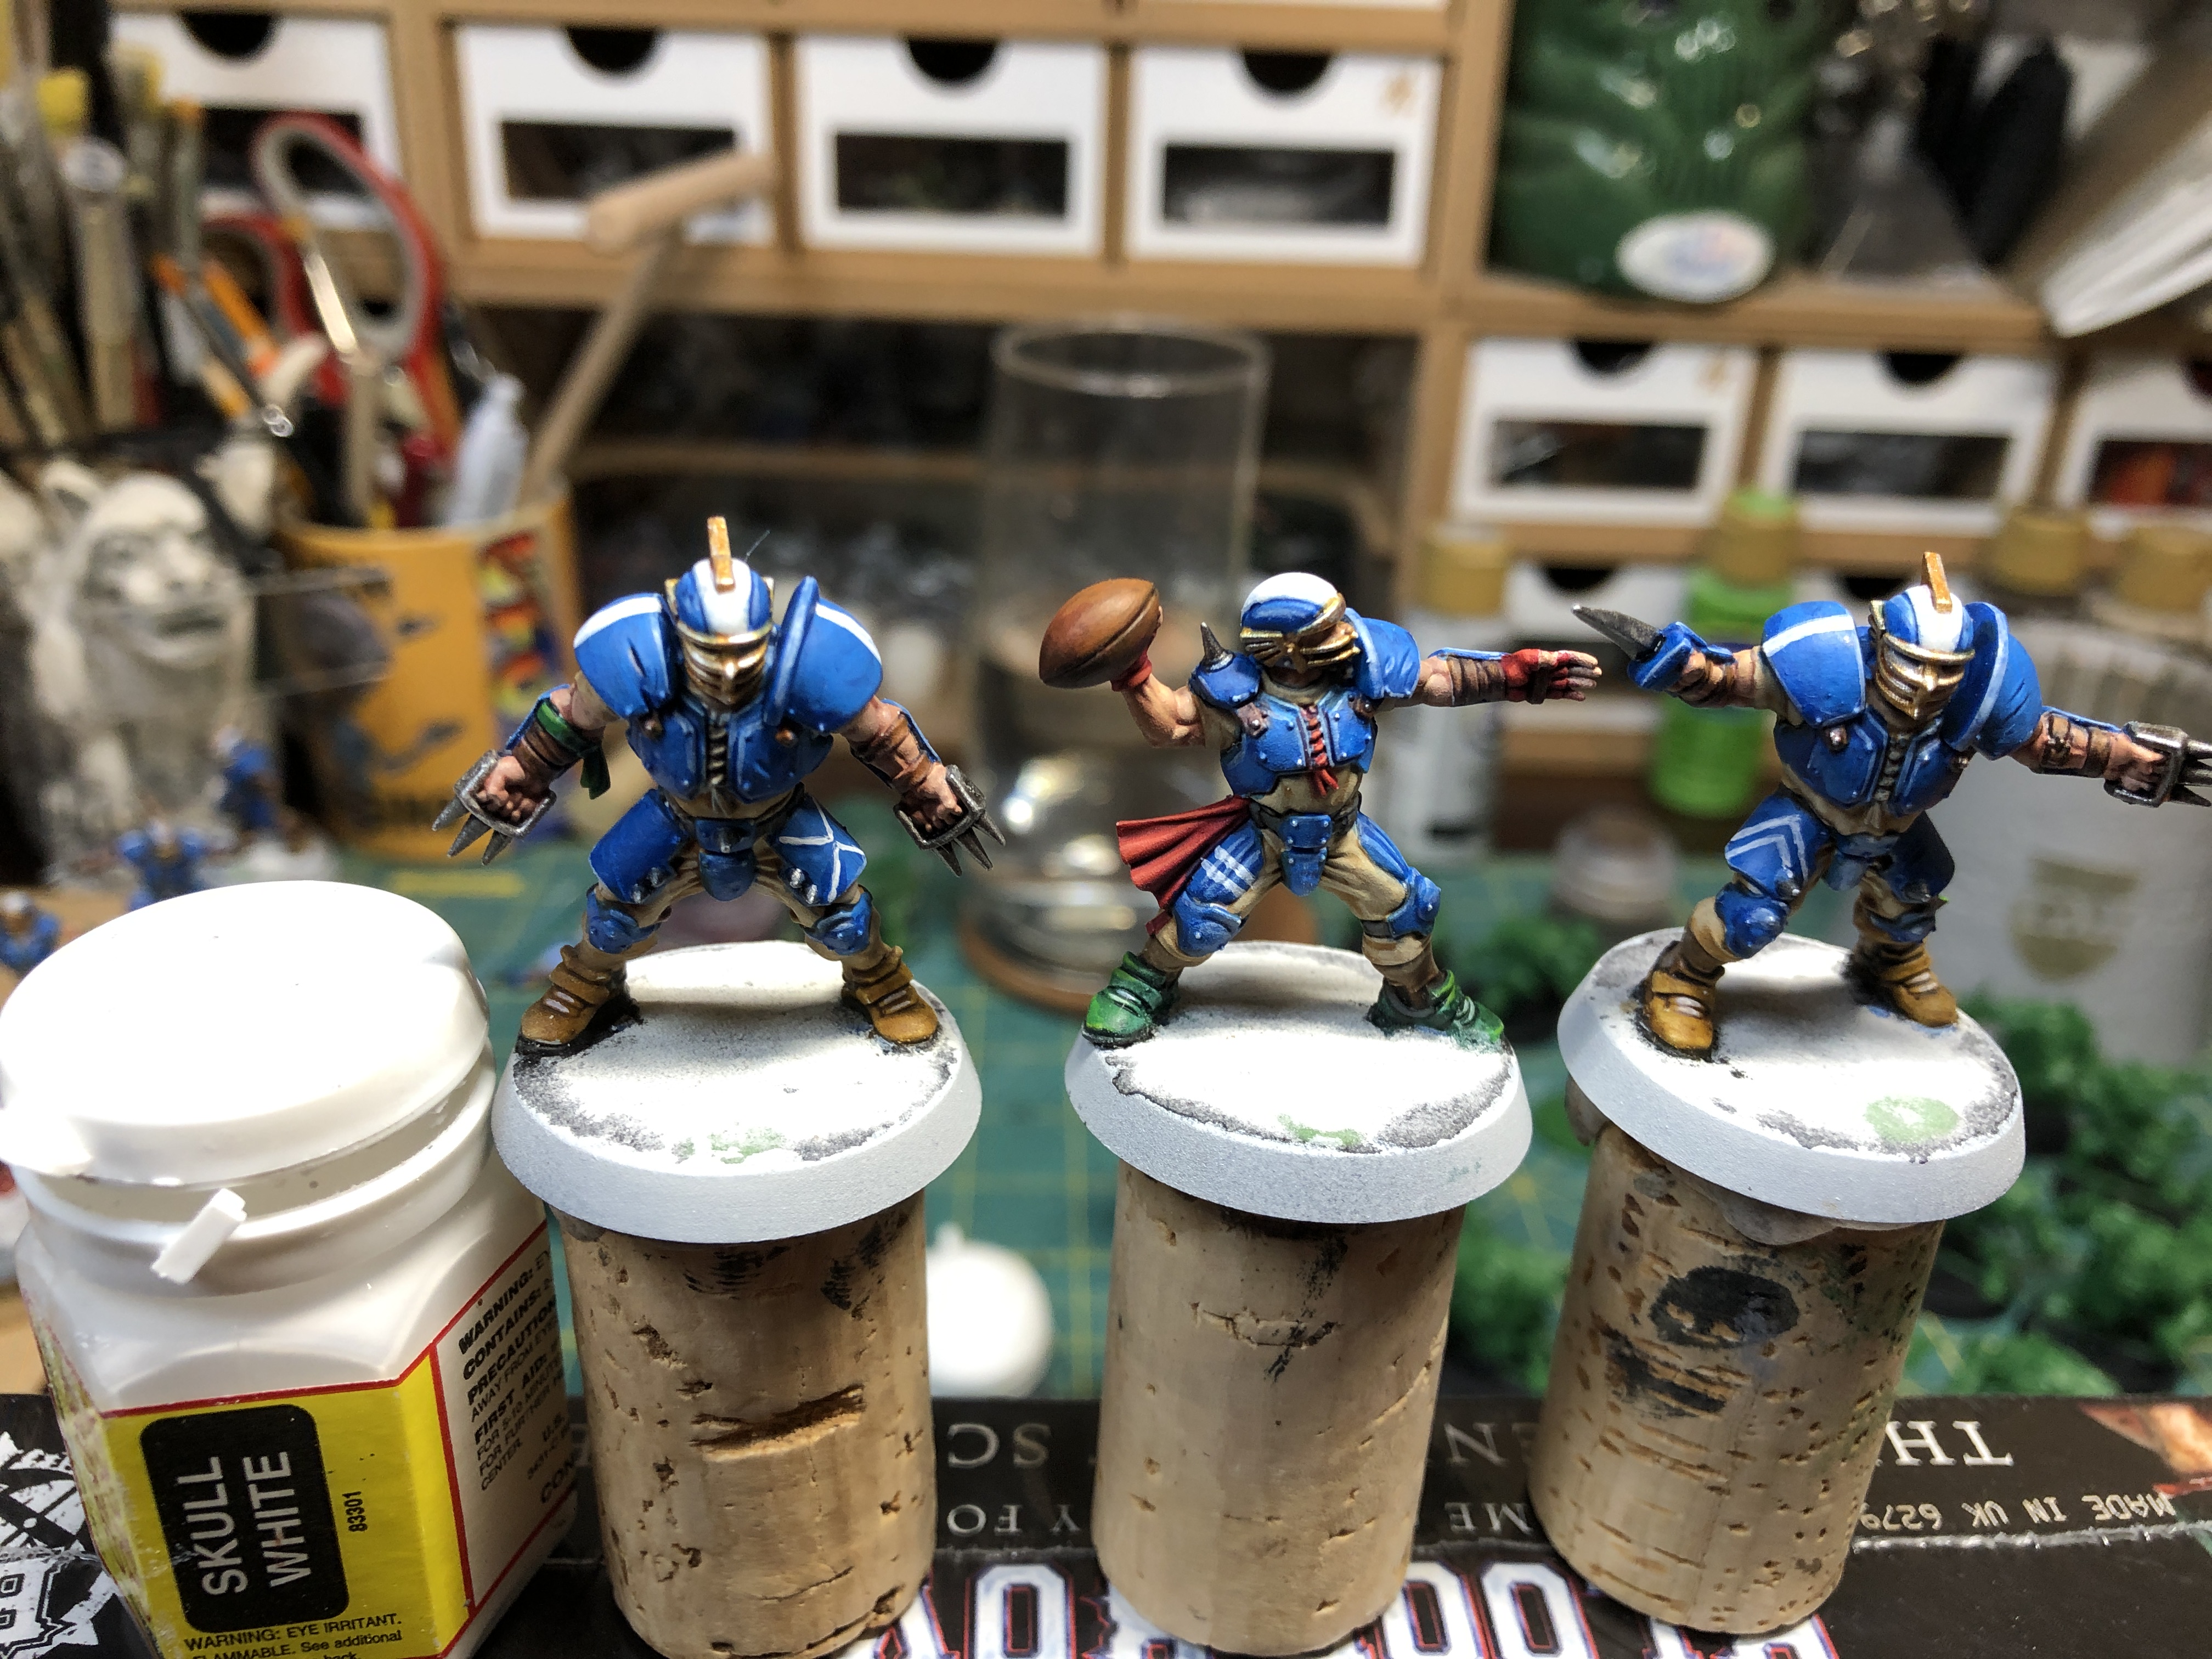 Finally, stripes are painted using white. Uses a small, long hair brush to do so, making certain to apply paint thin enough to flow effortlessly. Touch one hand to another so as to lower the effects of shaking.
Part 4: Finishing Touches
 Apply the decals carefully, preferably by using Micro Set and Micro Sol to ensure they remain in place and adapt to the miniatures bumps and crevasses. Then use the original armor color (blue) to scratch the decals less is more!)
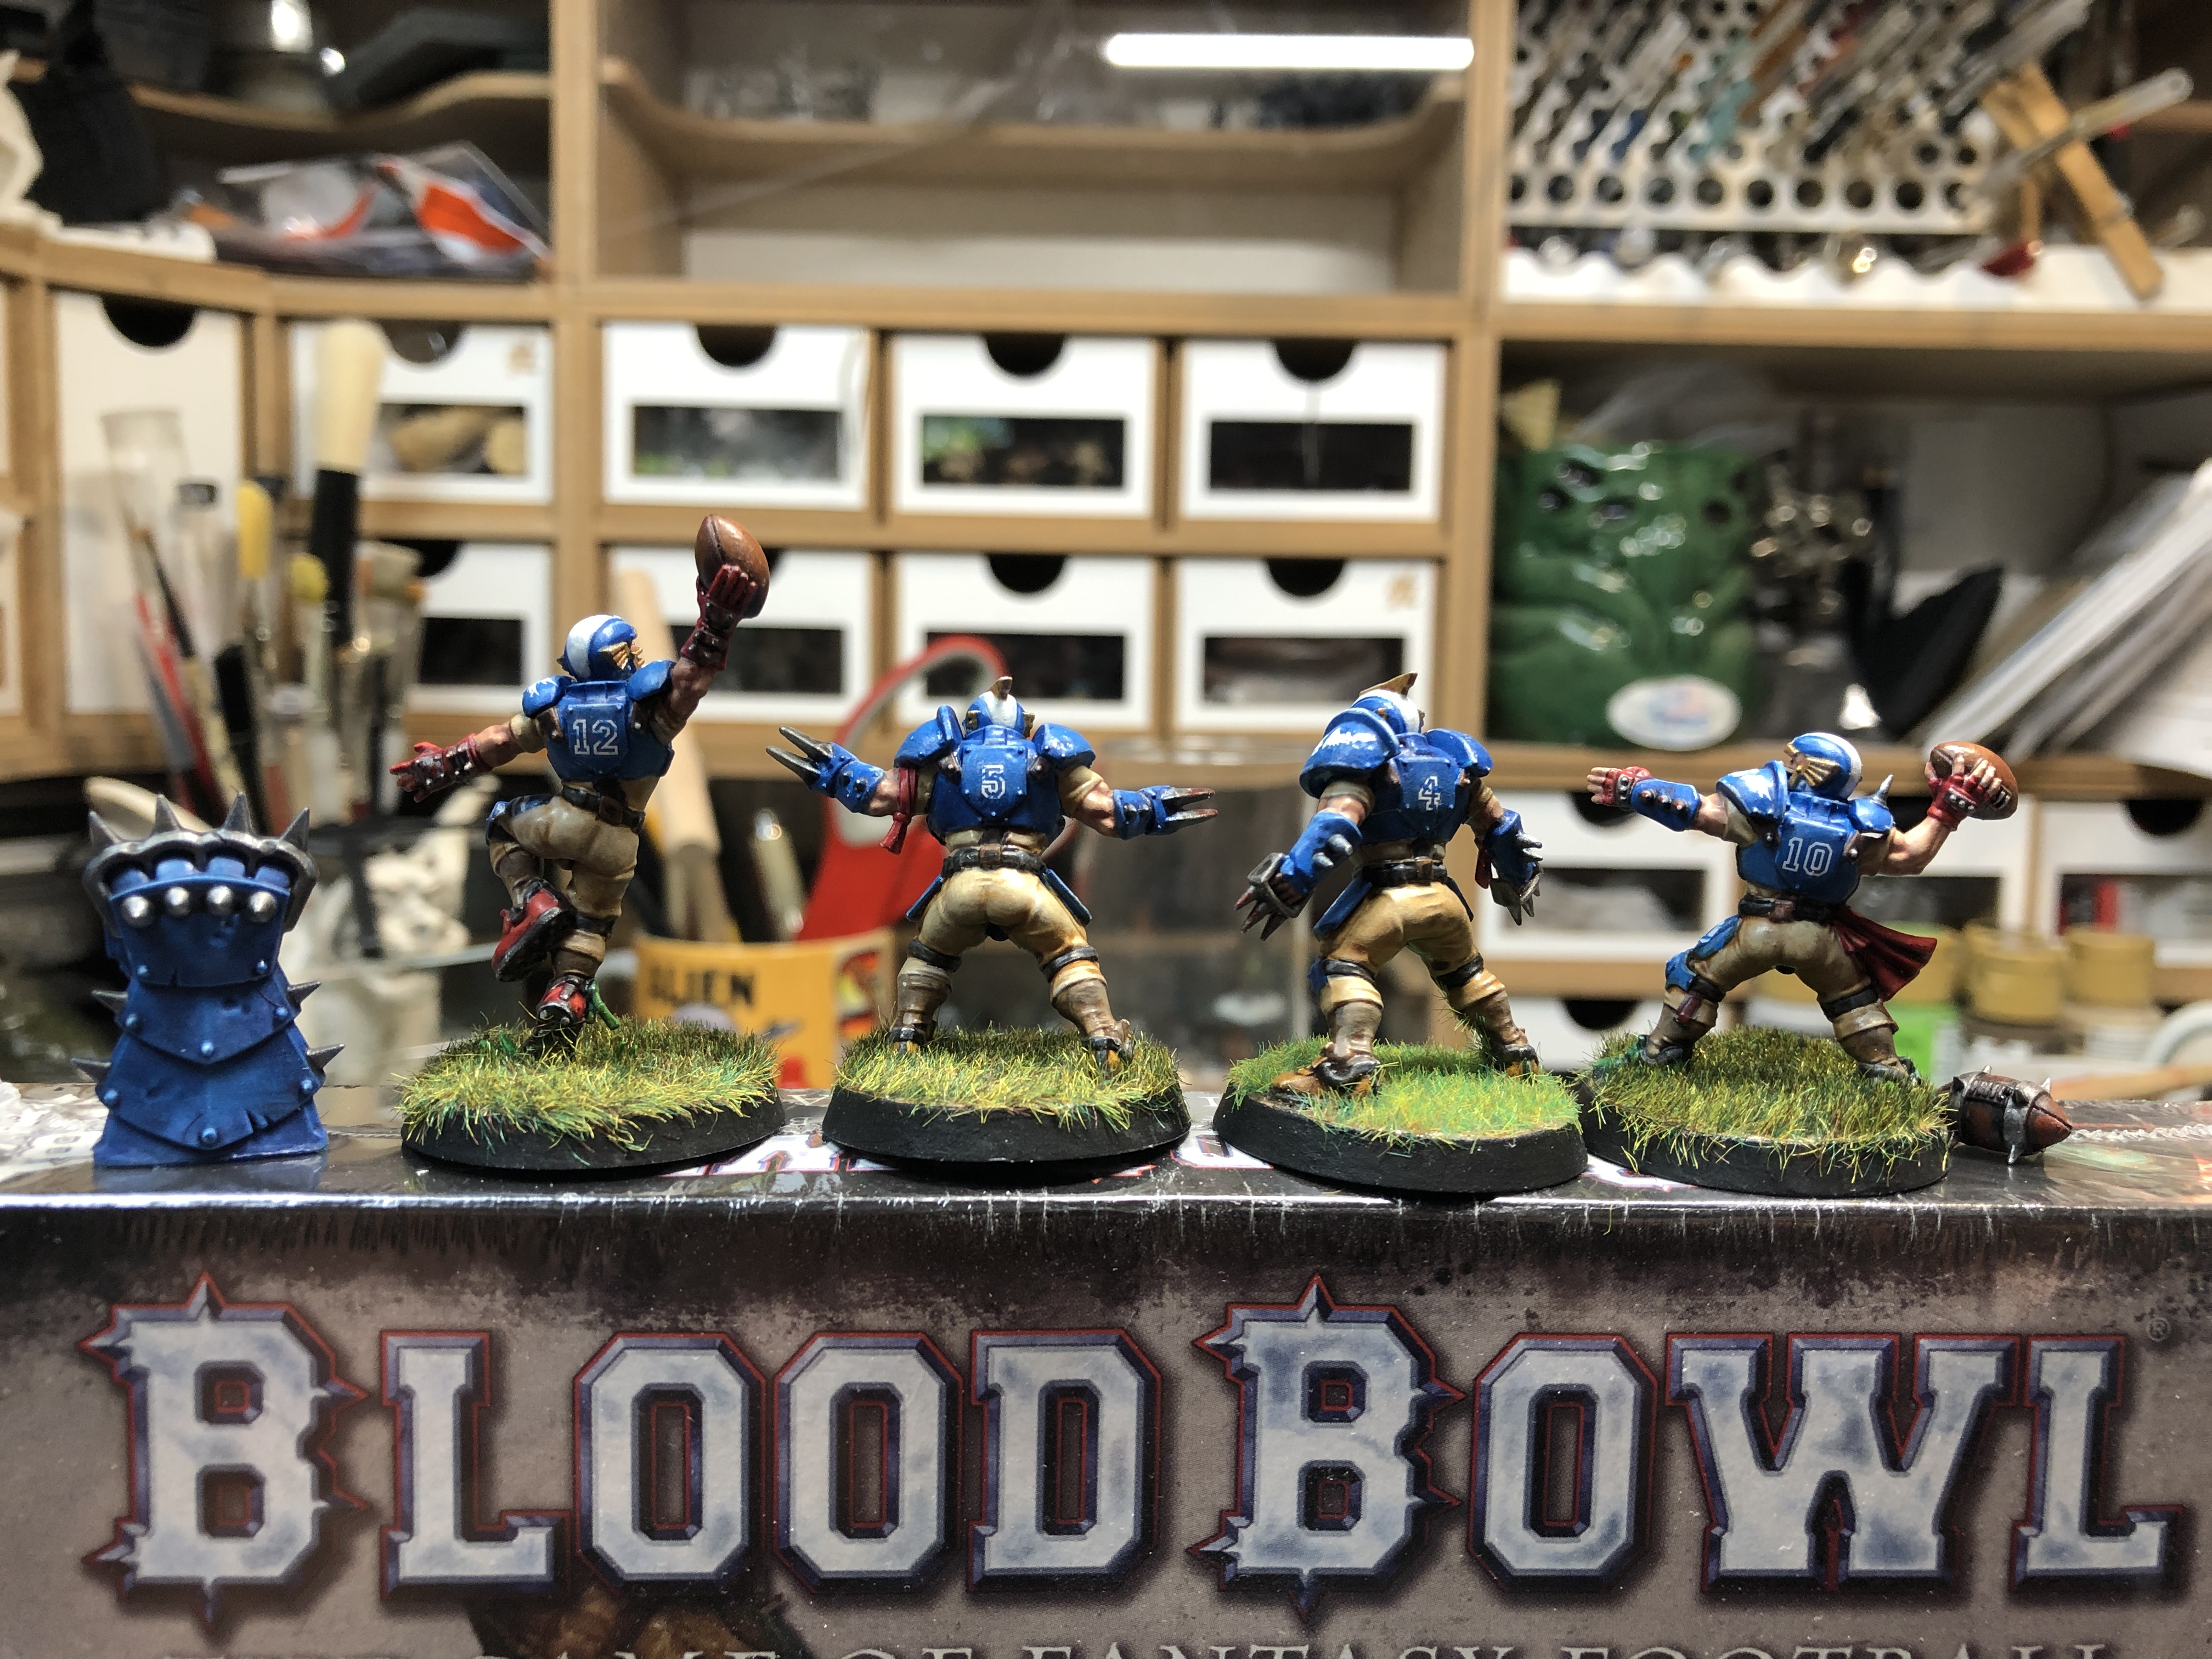 Bases were covered with a mix of baking soda then painted with a home made wash of brown craft paint and covered (with various level of success) with grass applied with a electrostatic applicator (not a fan for my first time using it, will probably reverse to flocking in future teams).
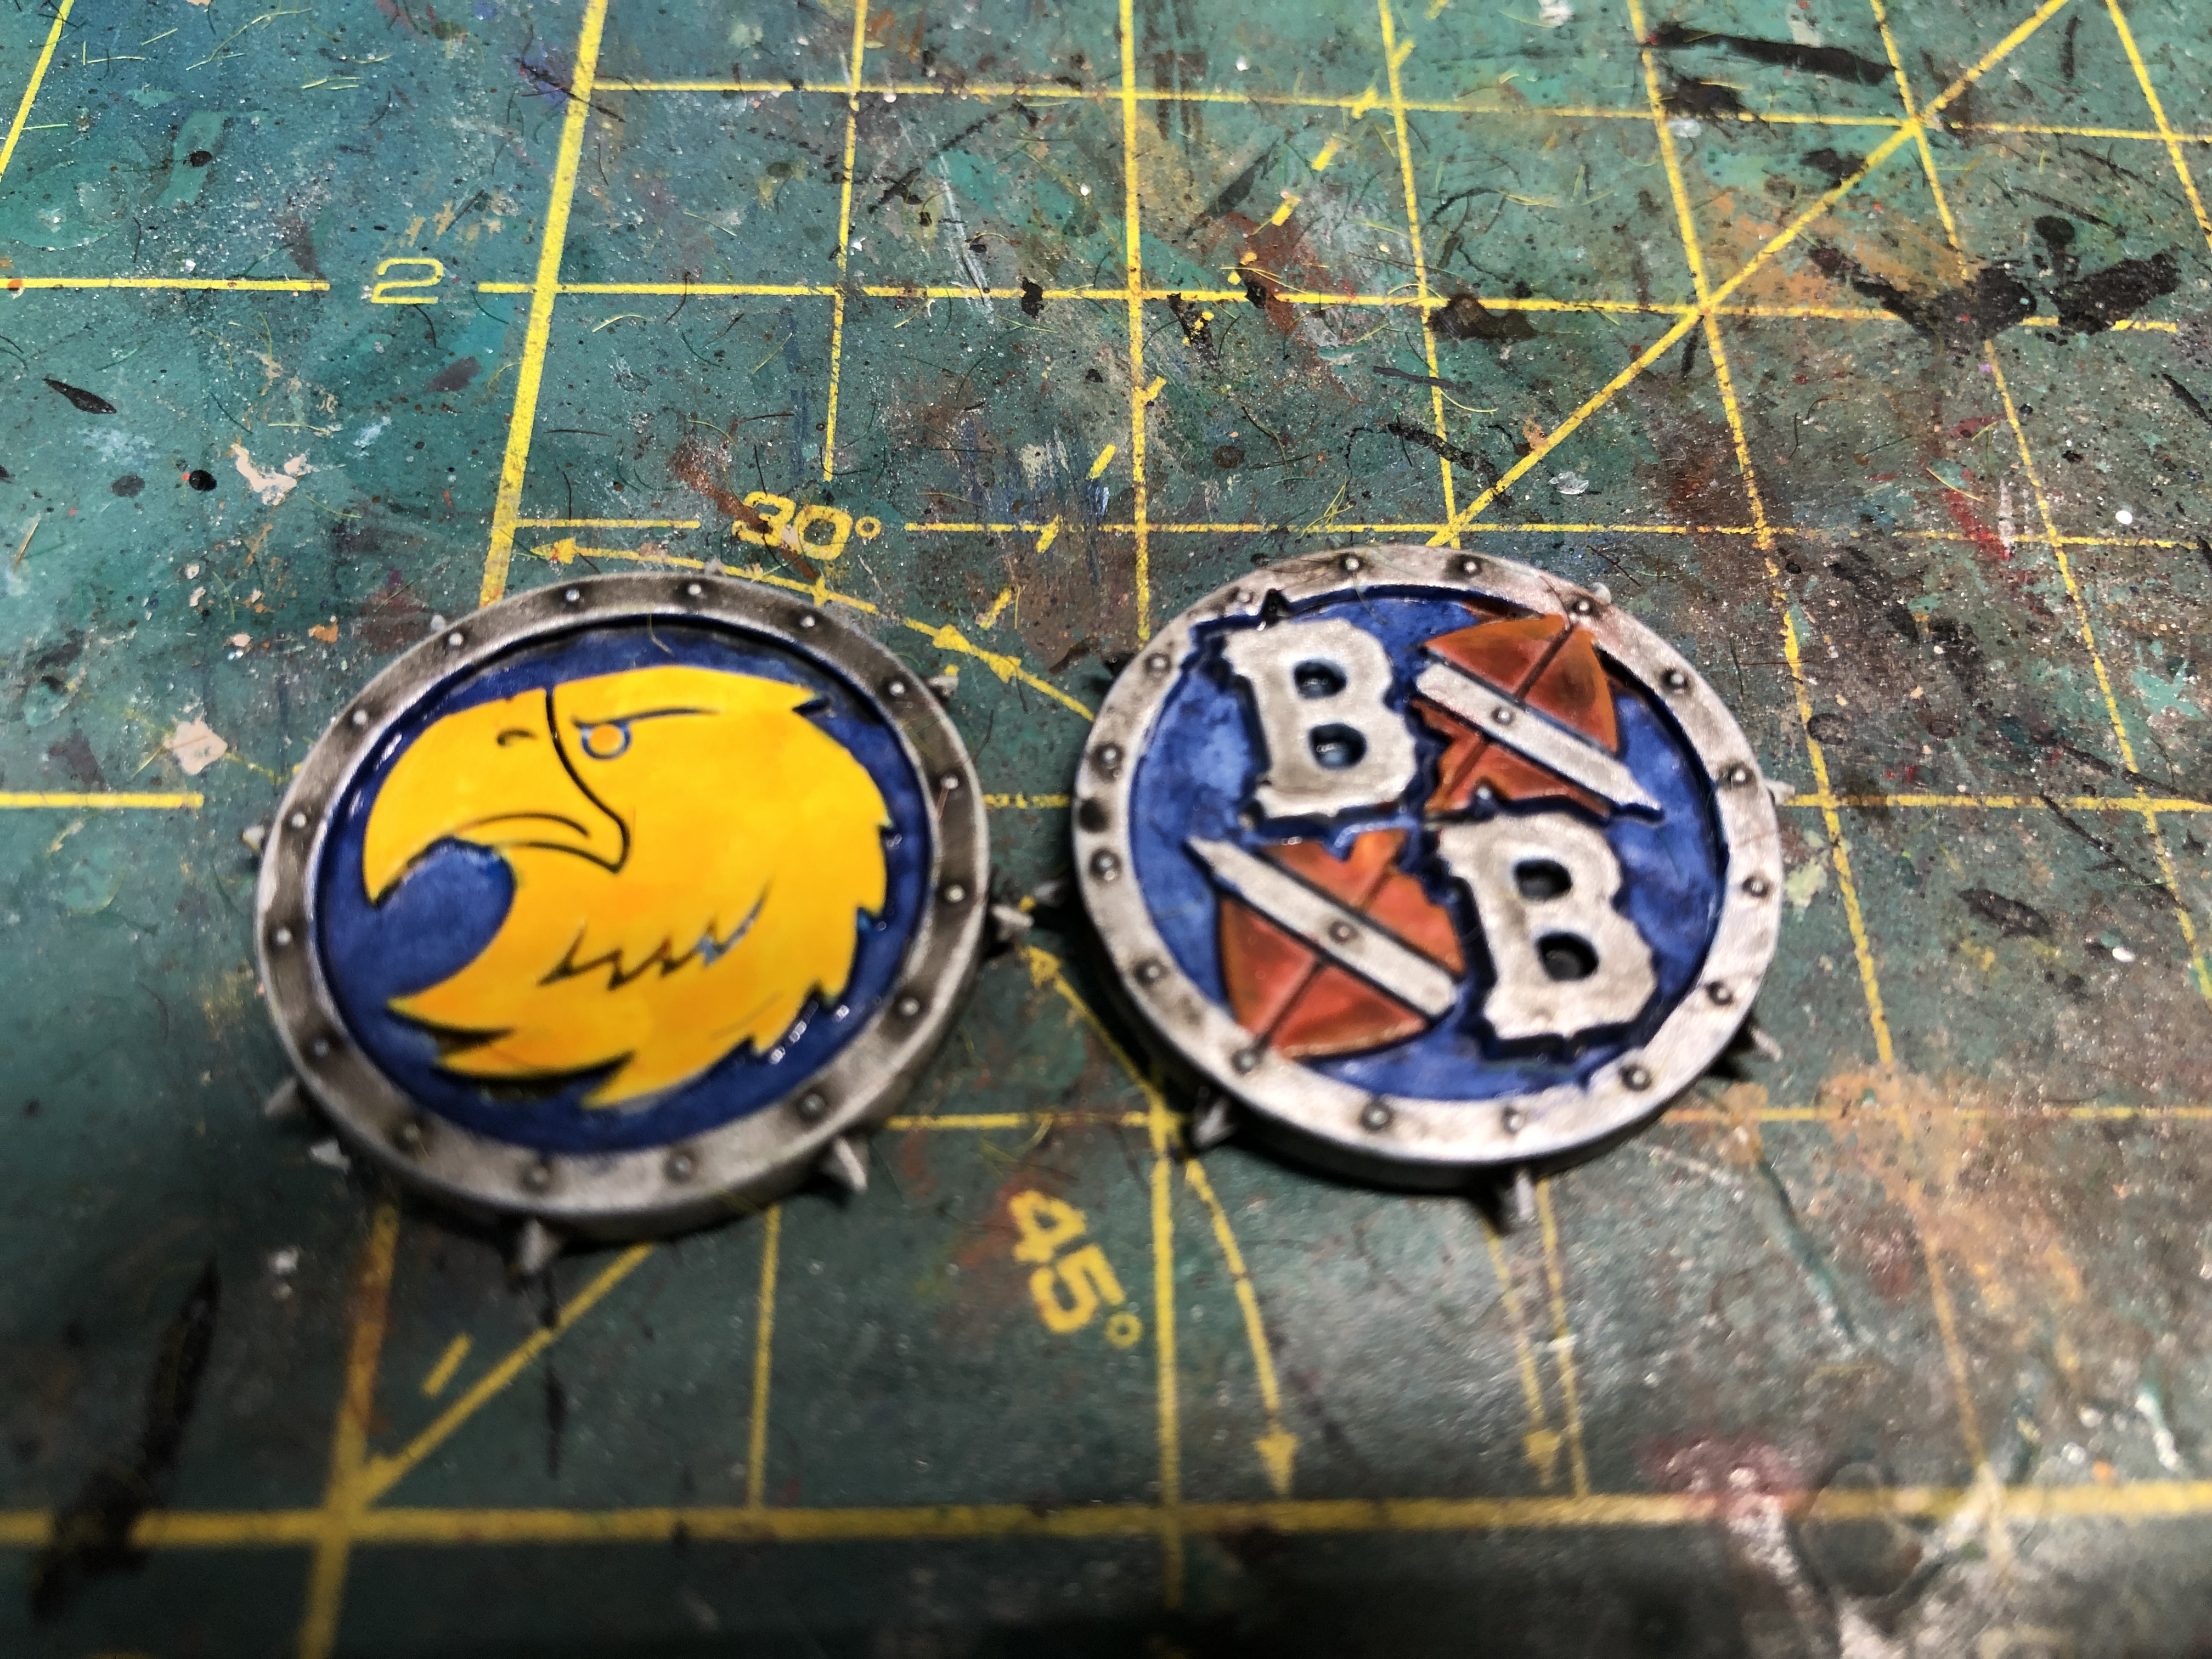 Do not forget painting the coins, markers and balls (which are a pain given their t9iny size. I suggest sticking them in sticky tack, painting one side and reversing).
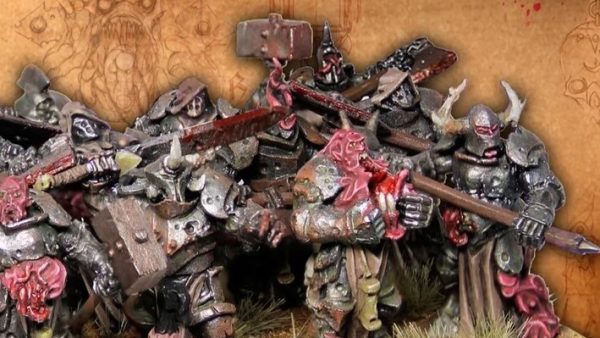
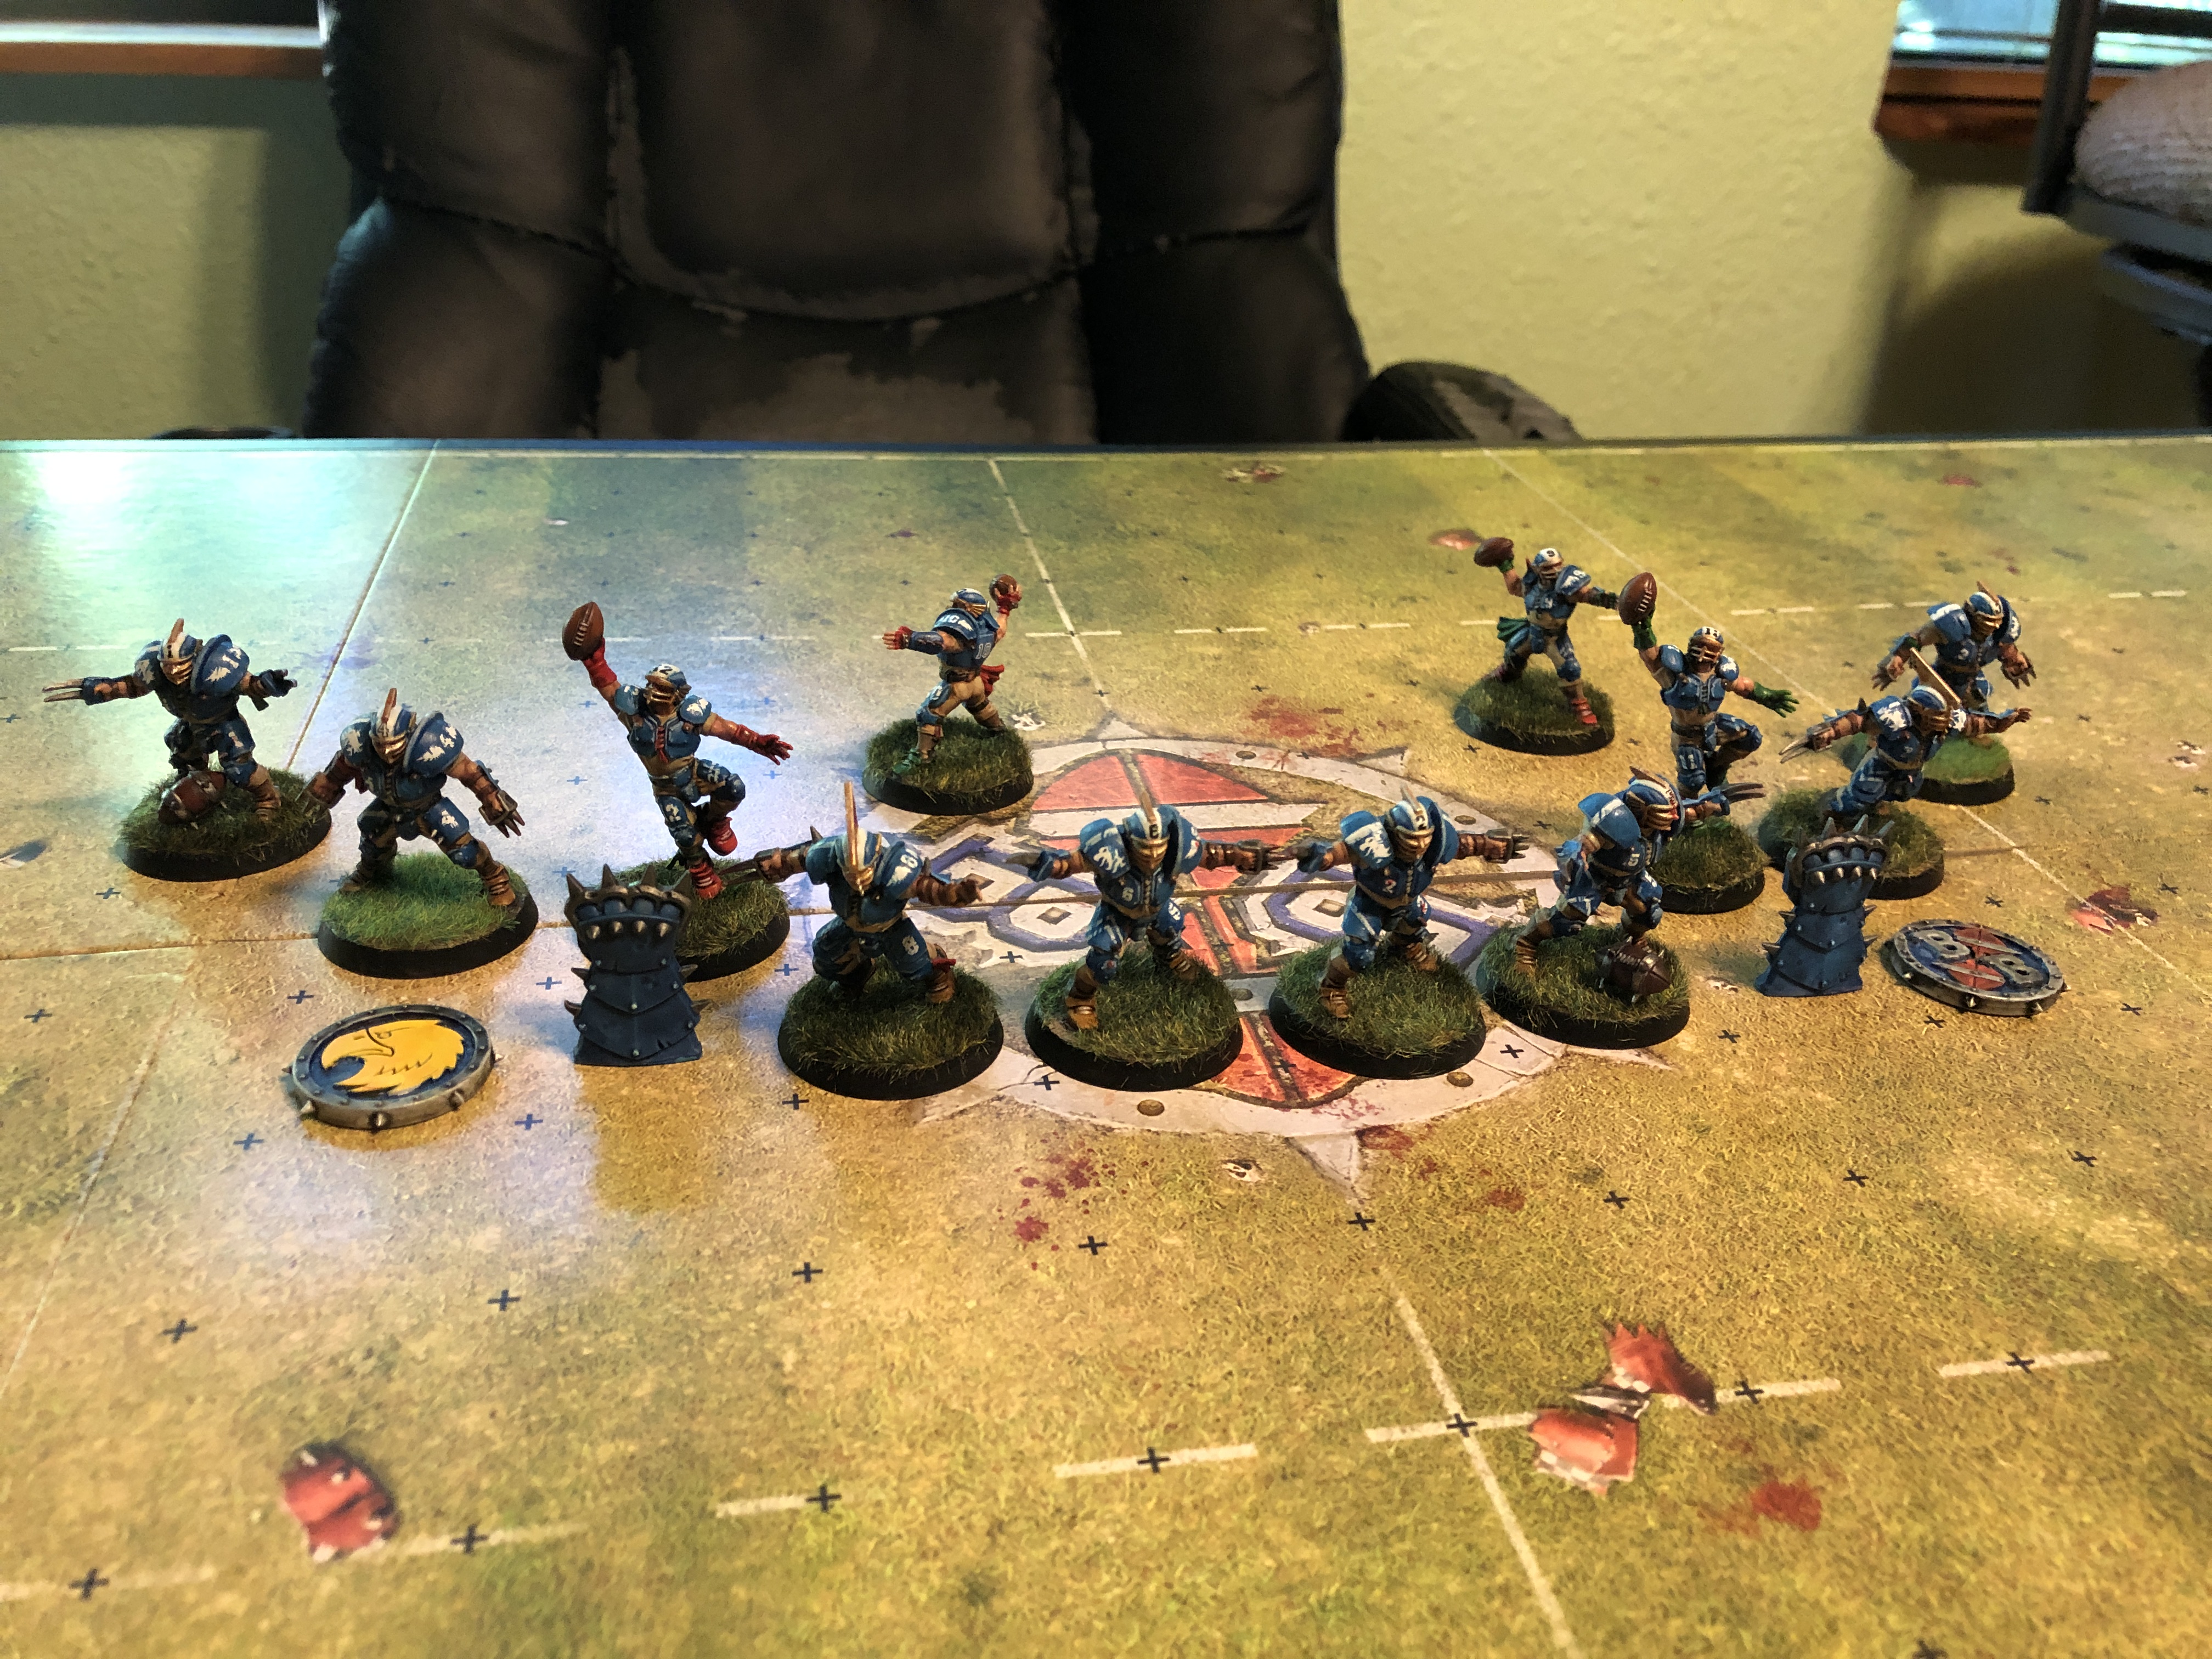 The Reikland Reavers are ready, to grab the championship cup!