


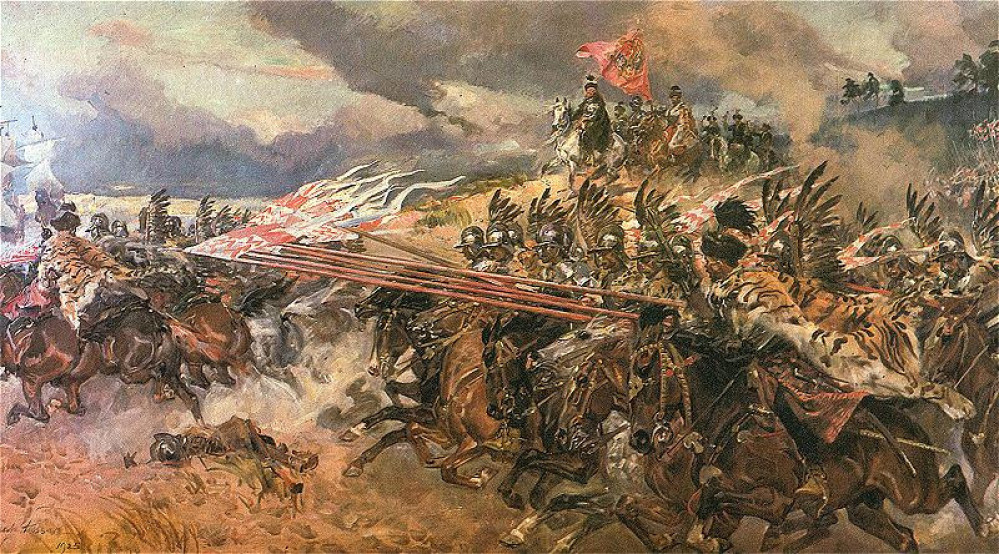
Husaria – Building a Polish army for the 1620s


Recommendations: 2003
About the Project
This project describes my efforts to build a 1620s Polish and Lithuanian Commonwealth army, including the famous Polish ‘Winged’ Hussars. I will cover the historical research, choosing the miniatures, build and painting the miniatures, and finally hopefully playing with the army. (N.B. Since starting this project I have added a couple of further projects to the system. One contains opponents for the Poles, the Swedish army. I had been adding entries about these here but it was a perhaps bit confusing. See here for the Swedish project: https://www.beastsofwar.com/project/1798825/ . I also started a project for the set up a of demo game planned for Salute 50, using the Poles and Swedes, here: https://www.beastsofwar.com/project/1798842/ .)
Related Game: Pike & Shotte
Related Company: Warlord Games
Related Genre: Historical
This Project is Active
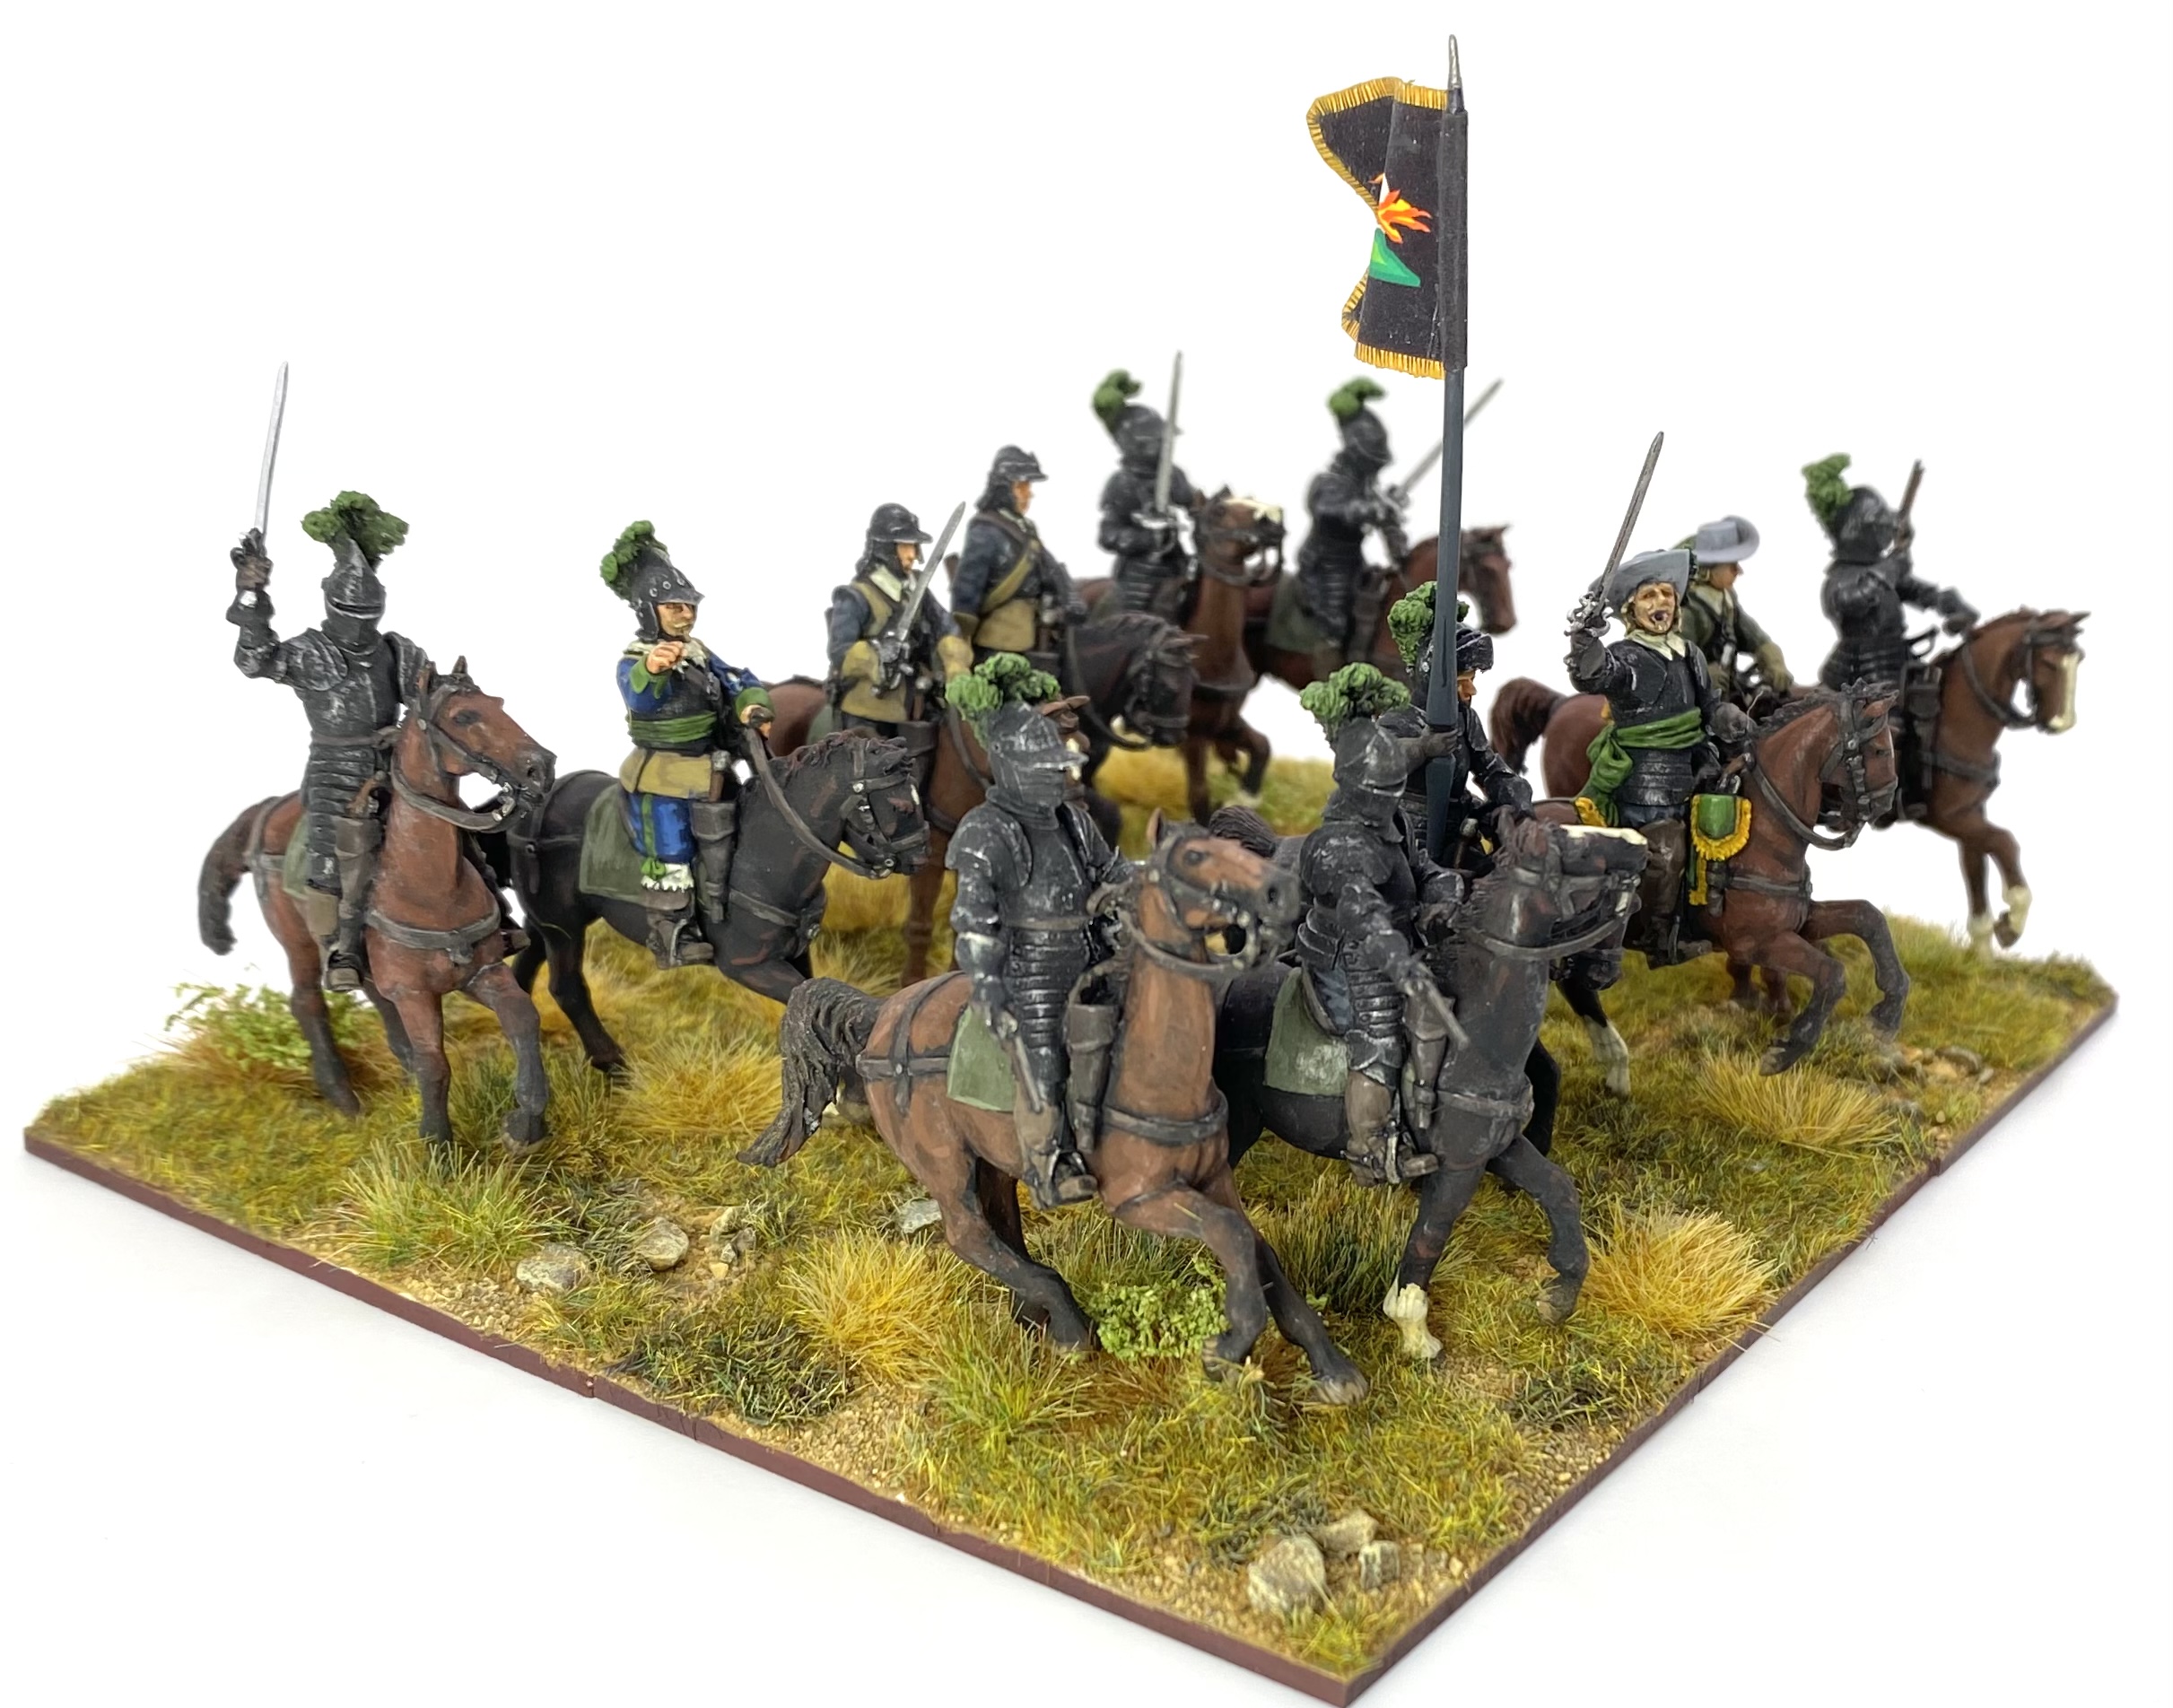
Åke Tott’s Cuirassiers - Part 2
In this entry I get on to painting the Avanpost Cuirassiers.
As the weather was wet I couldn’t spray prime the figures outside, as I normally would, and so I primed the figures by brush. I typically use Humbrol Enamel paint for brush priming as it gives a really good base to paint on top of. In an attempt to have an easier to use product (i.e. you don’t need to clean the brushes in white spirit!) I have been using this product from AK Interactive and it works really well – very matt and good adhesion to the figure; metal, plastic and metal.
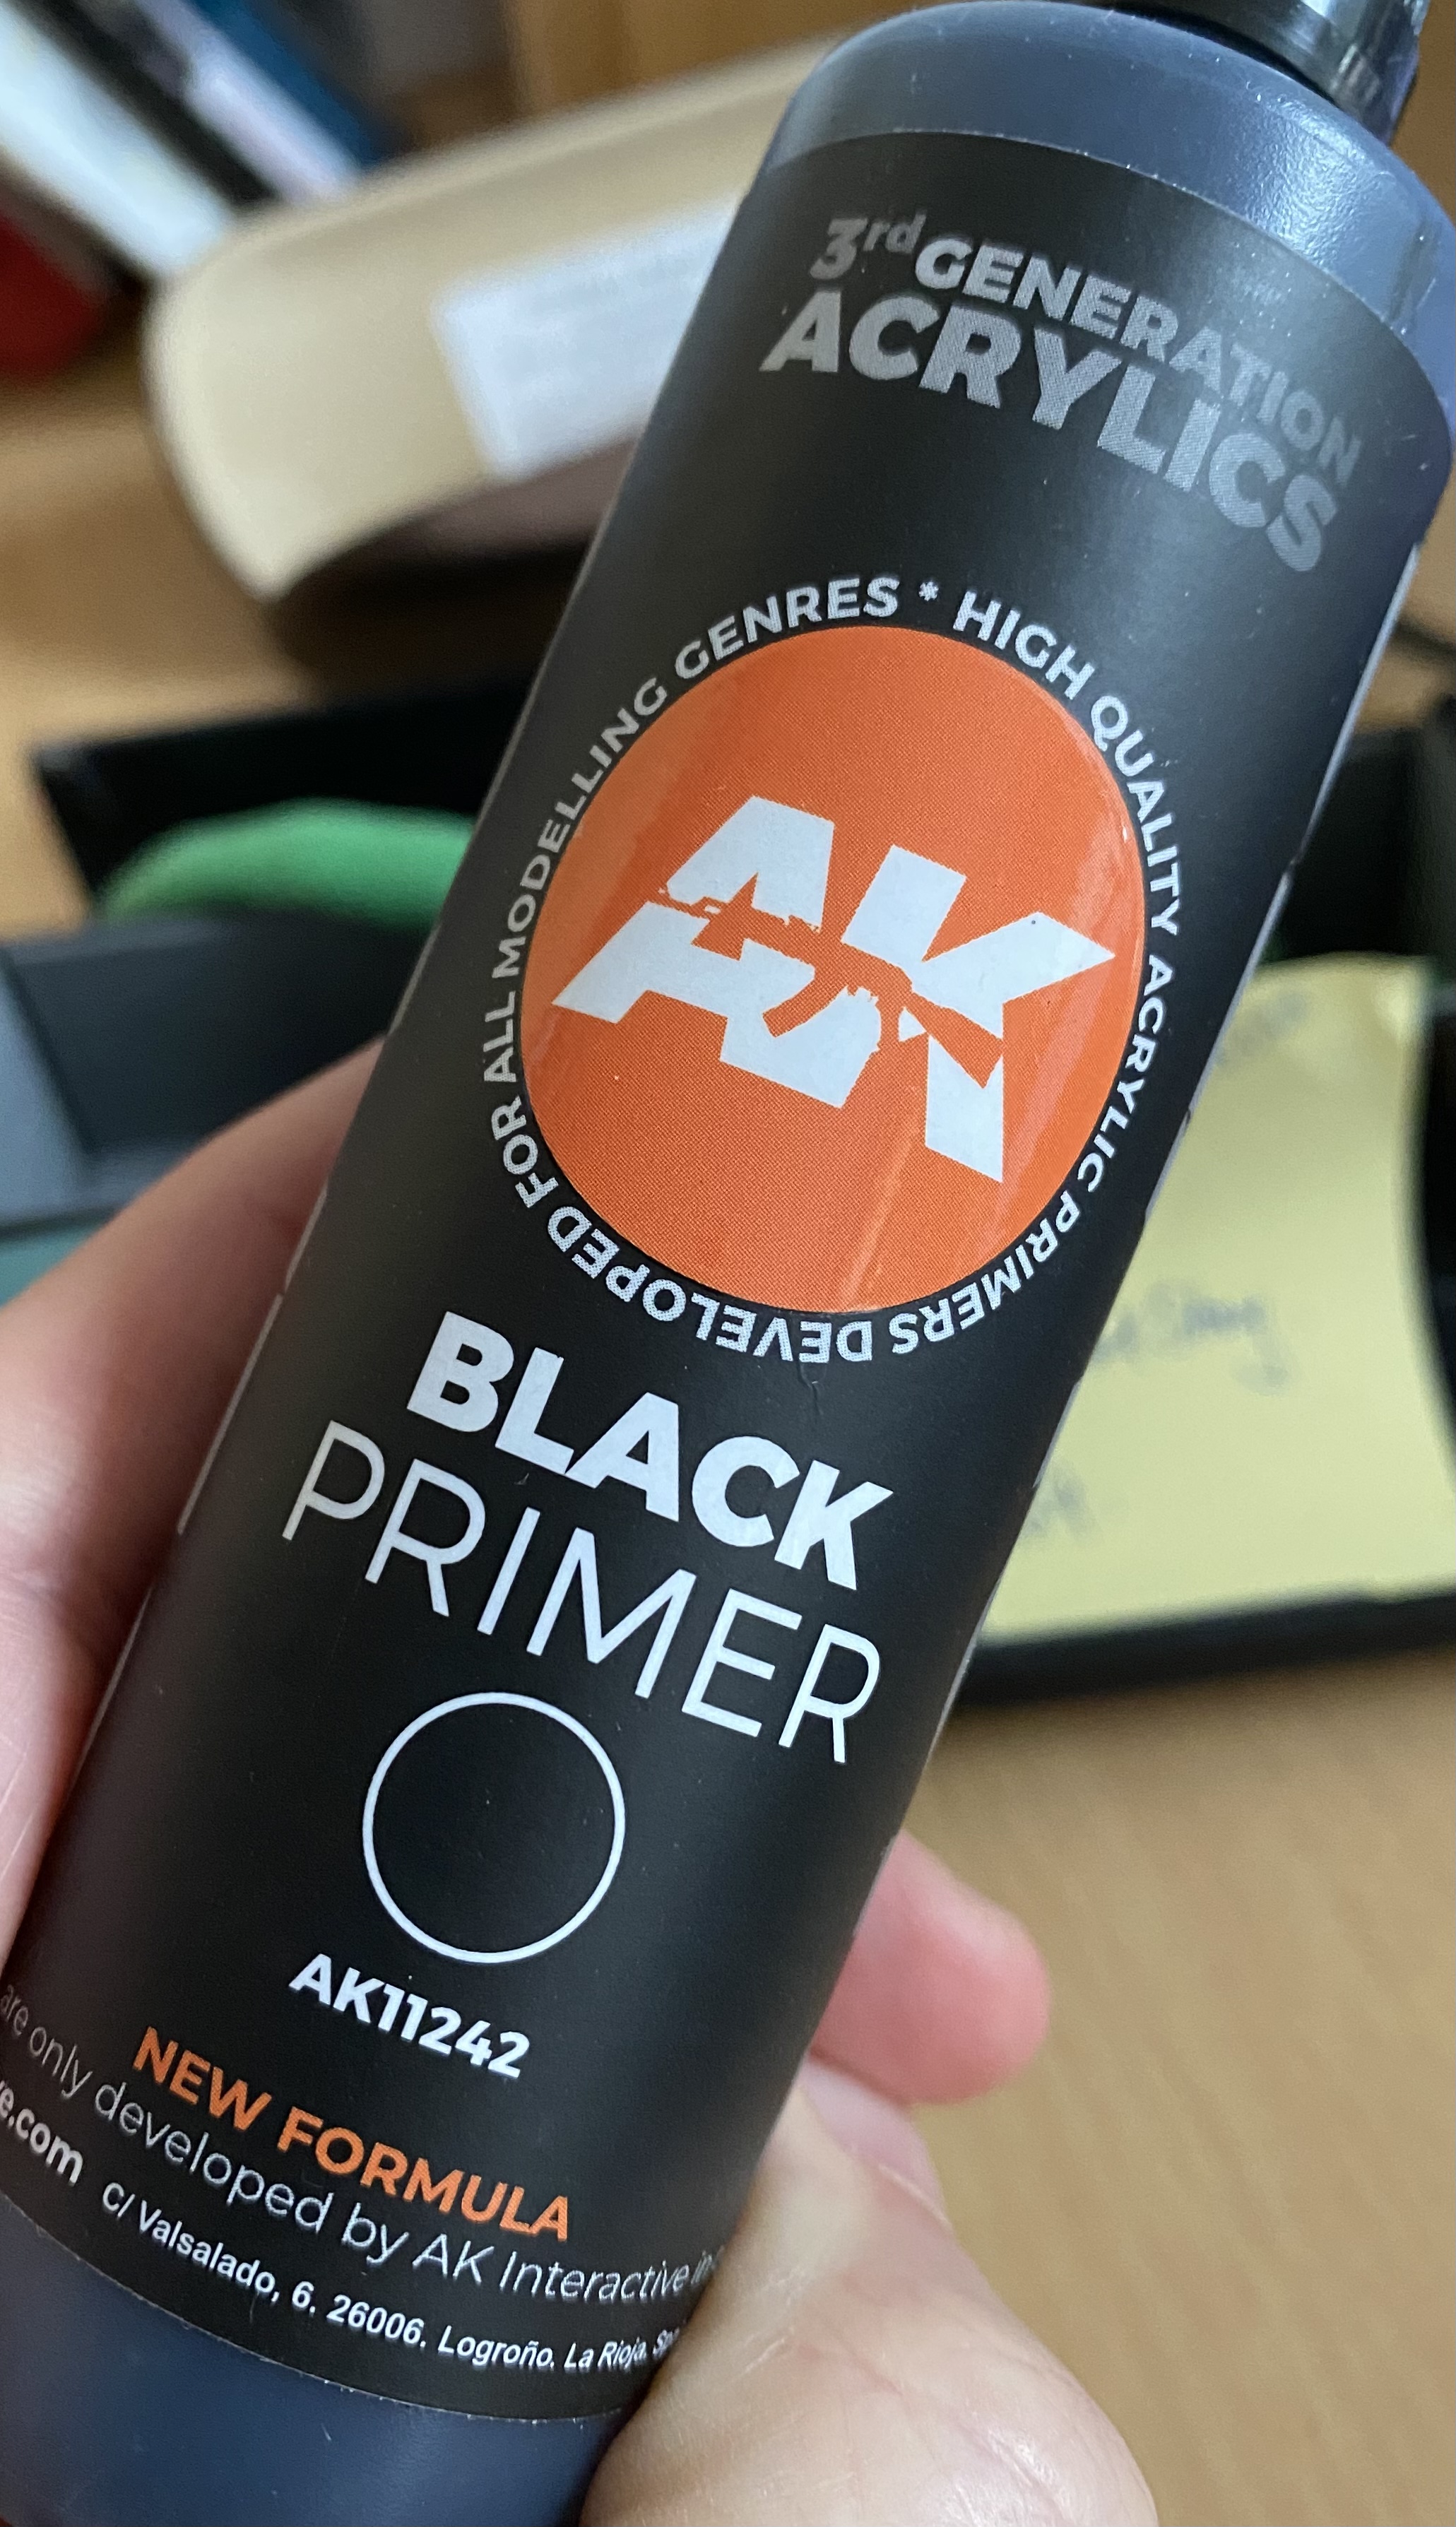 AK Interactive Black Primer - for airbrush or bristly brush!
Åke Tott
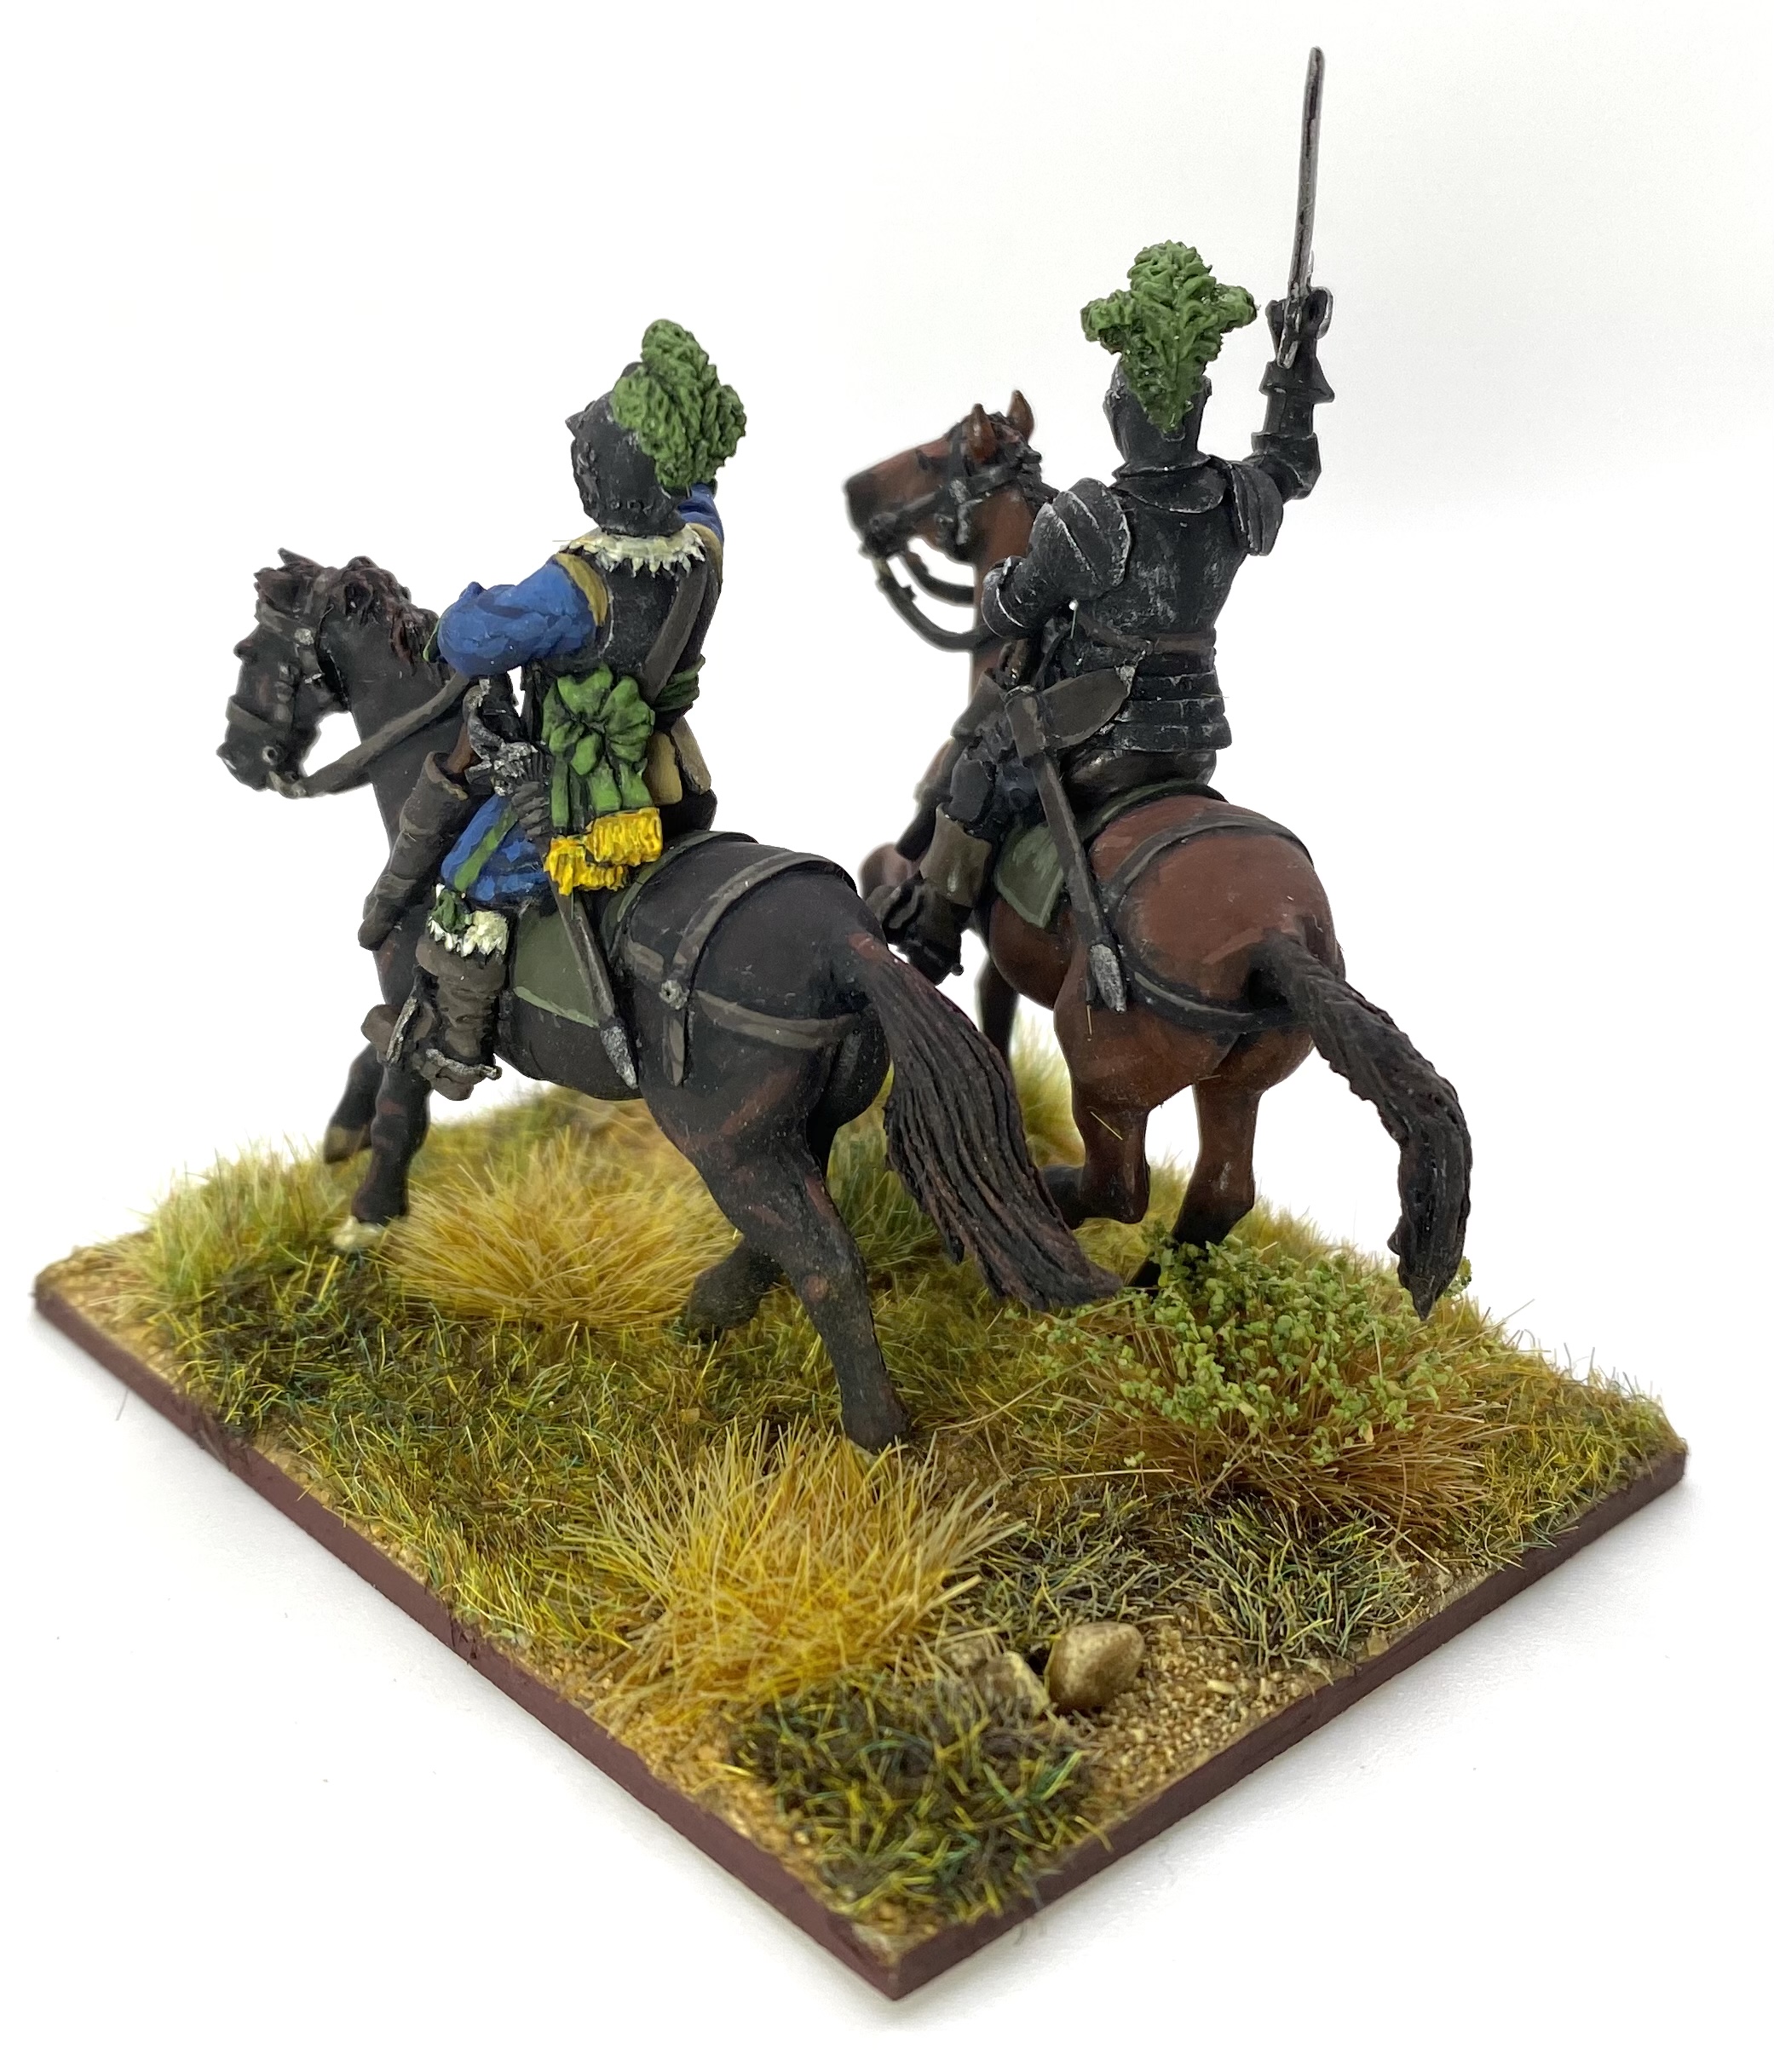
After painting a few brightly coloured units I decided to paint this unit as a complete contrast. Swedish (and German) troops’ armour was typically blackened in this period, to protect the metal. I therefore kept everything else on the figure also in very dark tones. I think this gives the unit an ominous look. For a cavalry standard I chose to use one that is attributed to Ake Tott’s regiment.
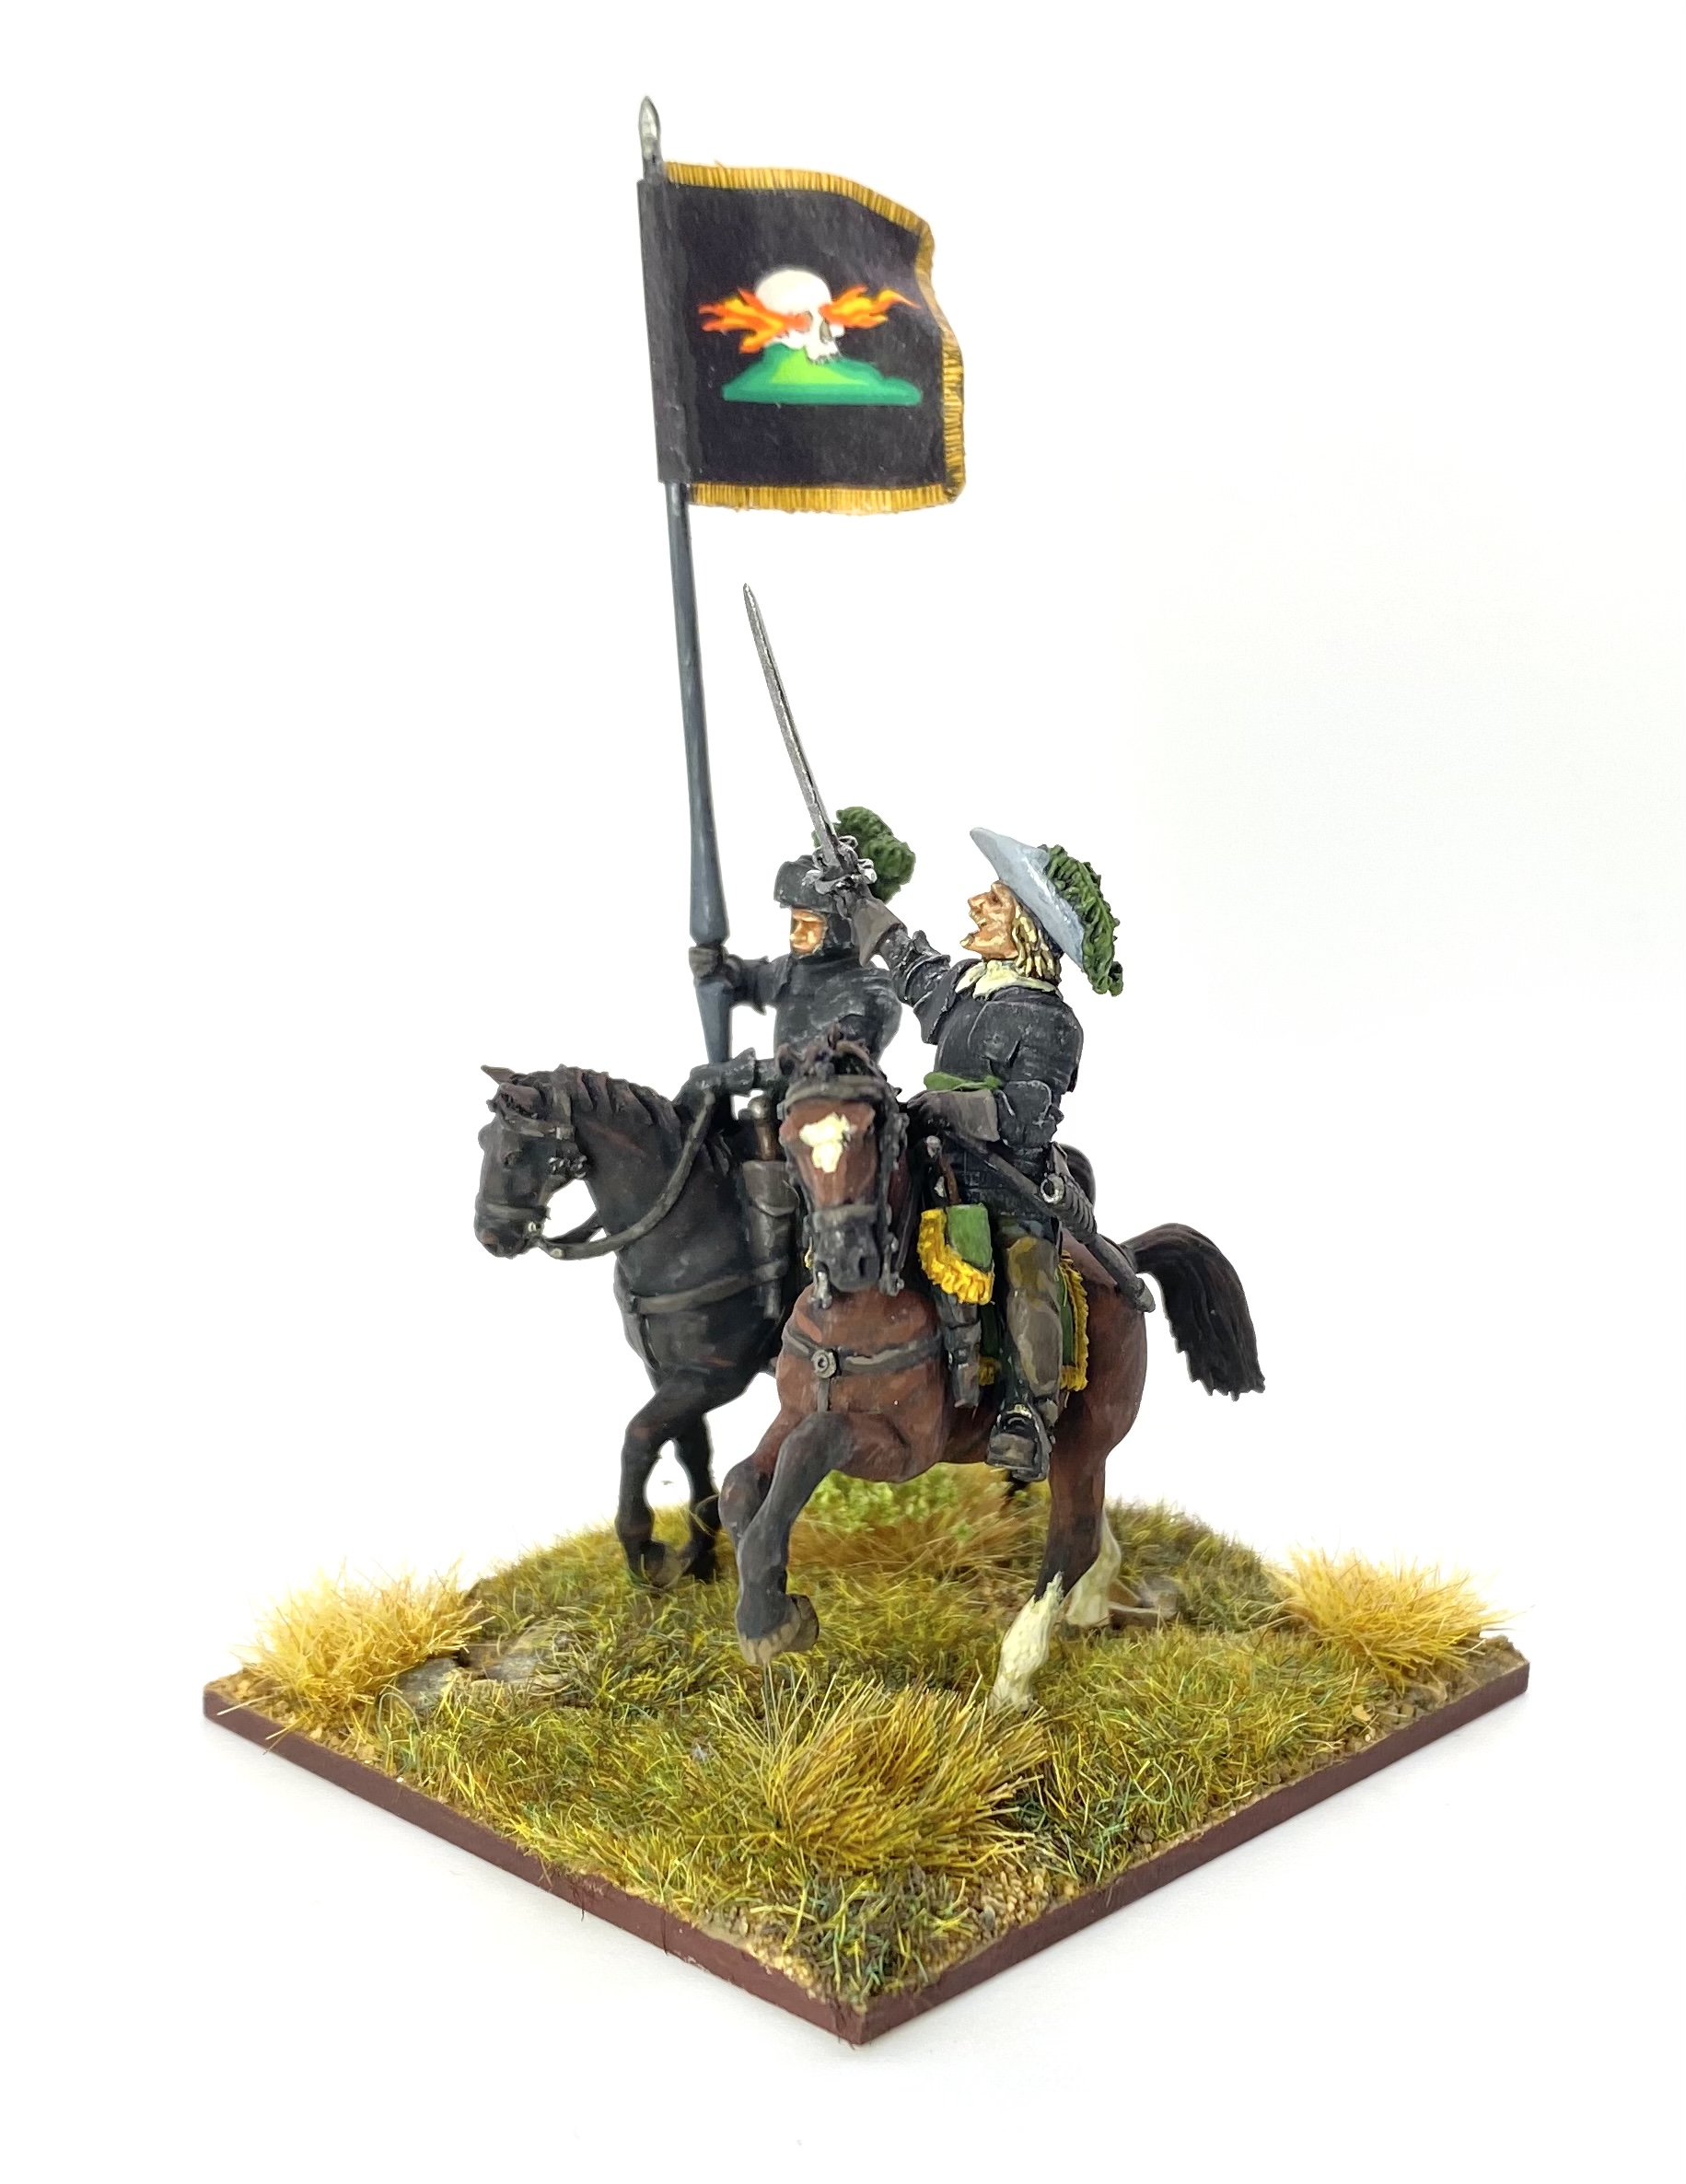
As his name could be interpreted as ‘death’ in German, Ake Tott played on this theme with his regiment’s standards, using a black field and a skull motif. Who doesn’t want a flag with flames bursting from a skull’s eye sockets?! The flag is from Flags of War.
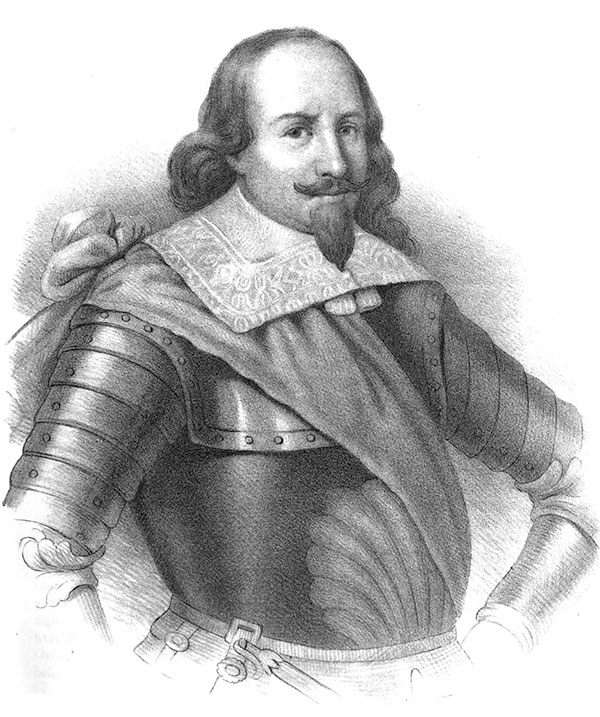 Åke Henriksson Tott (1598–1640)
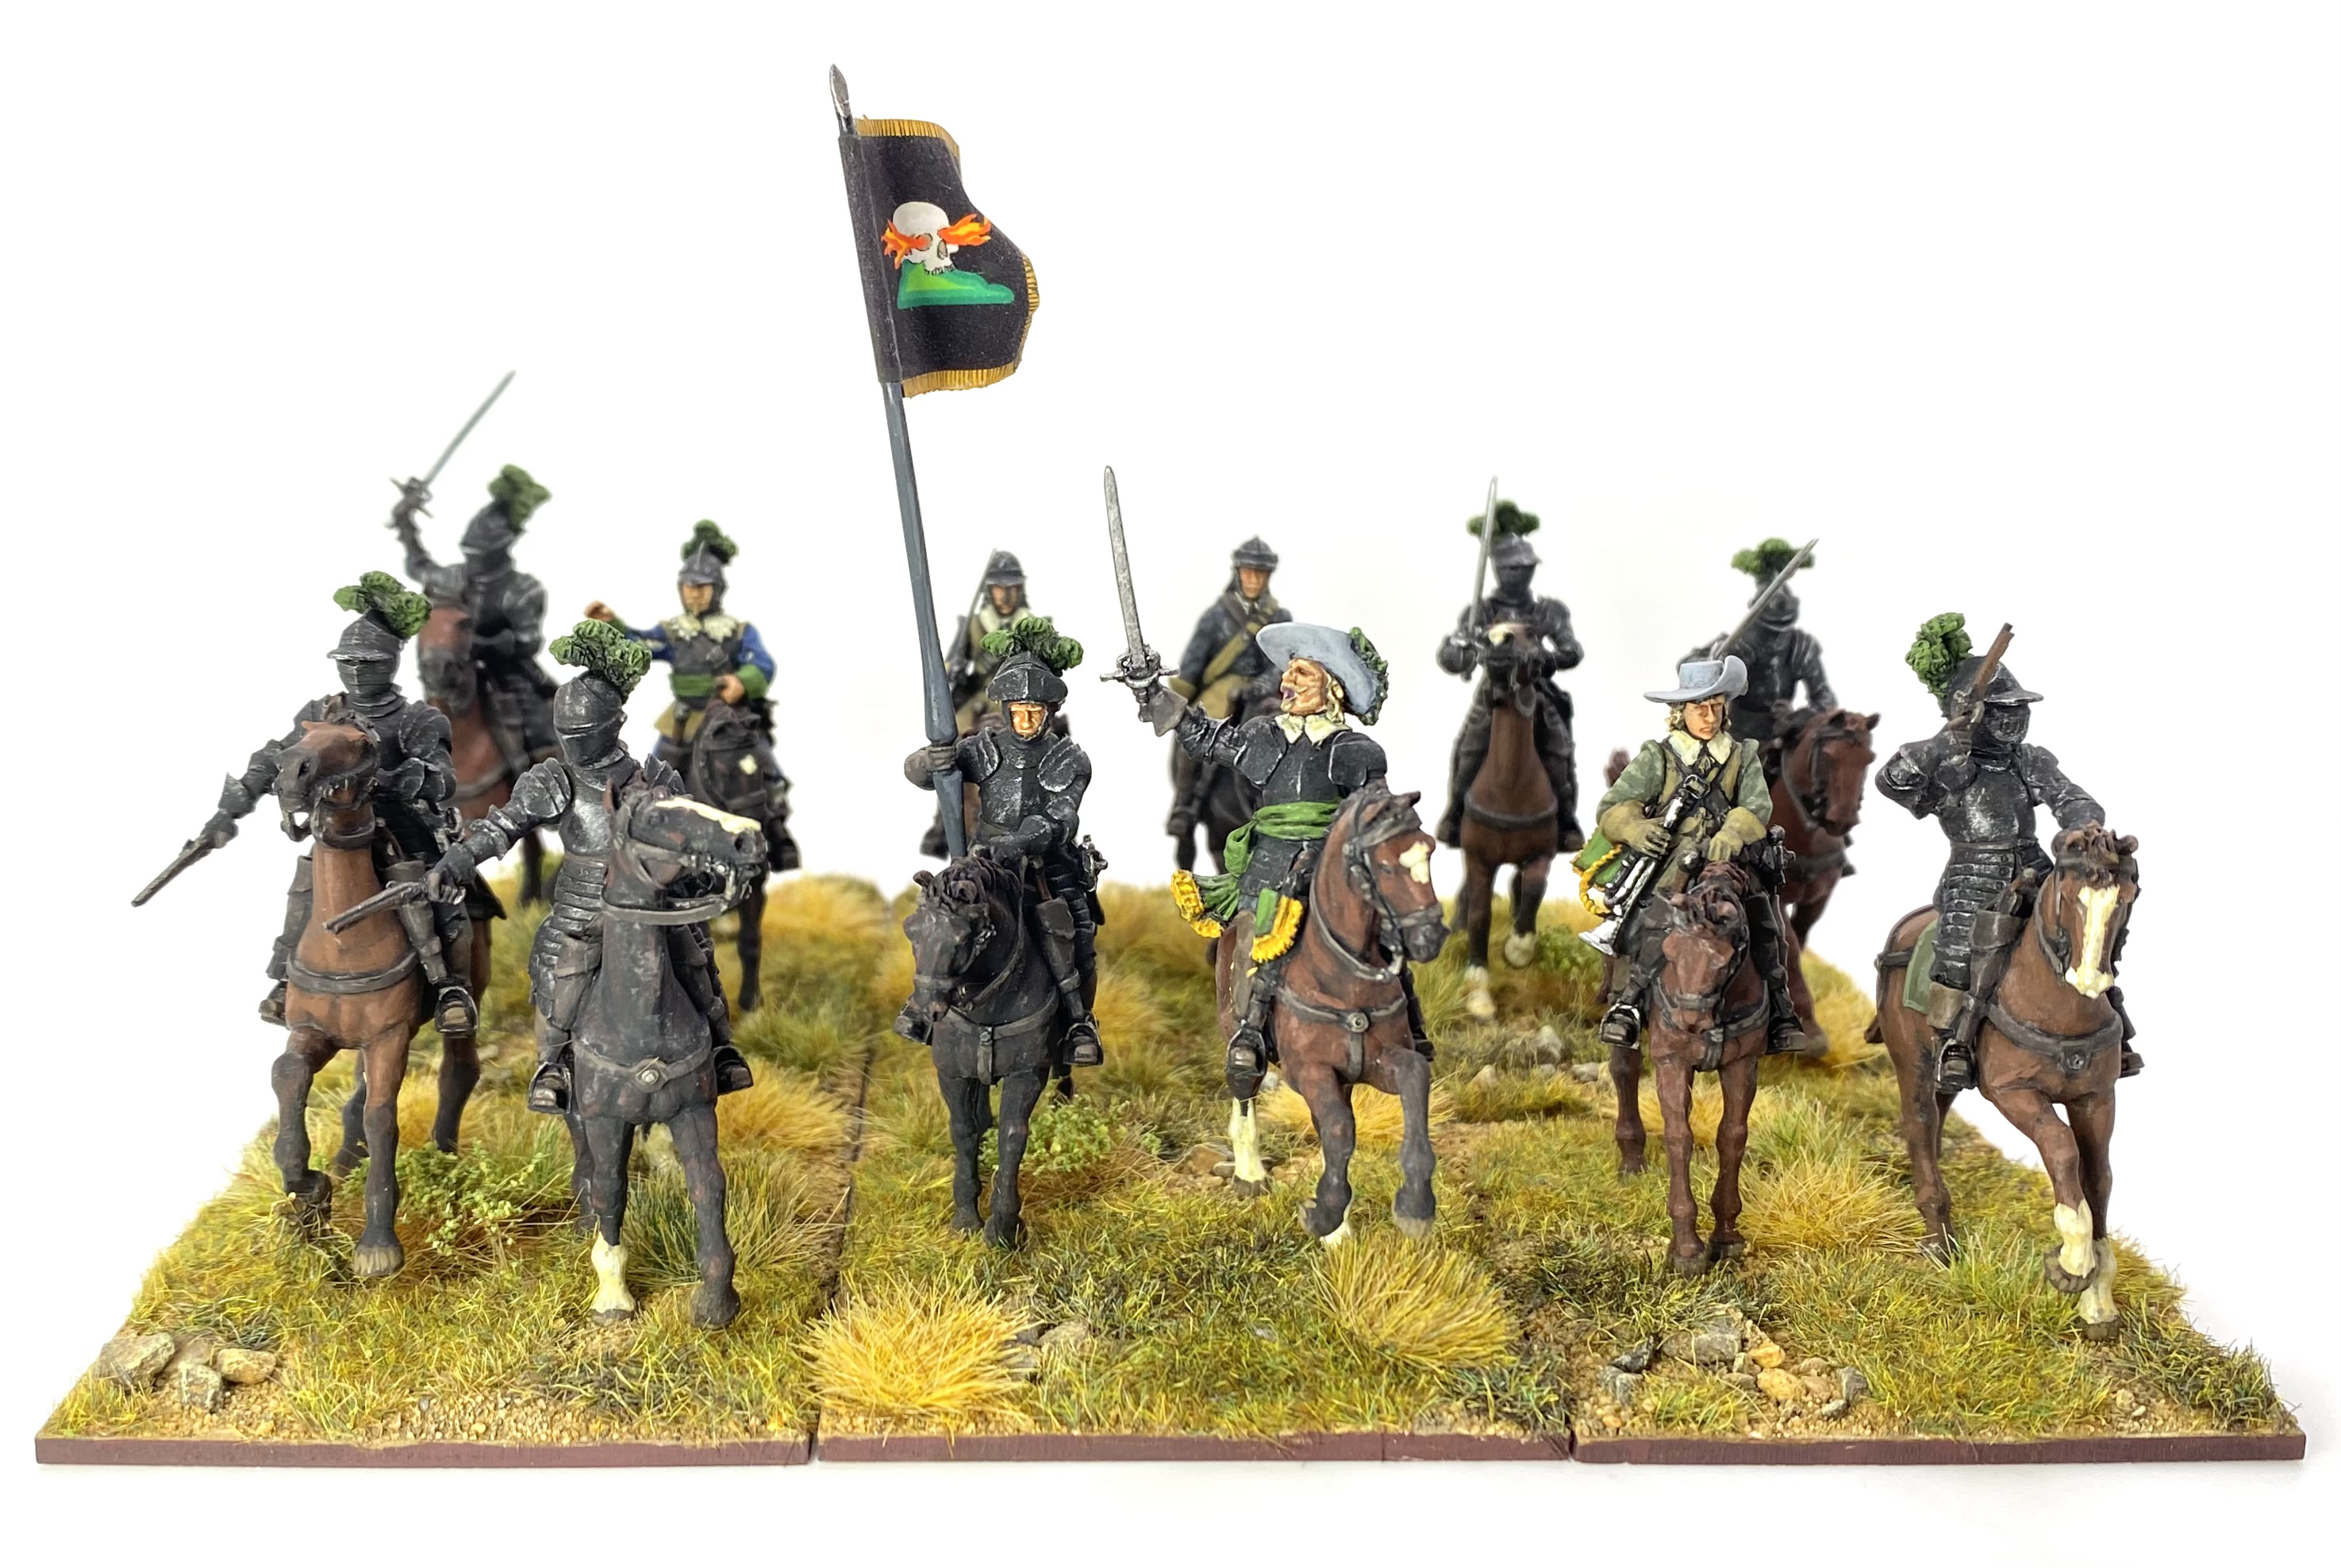
Here is the completed unit:

Conclusion
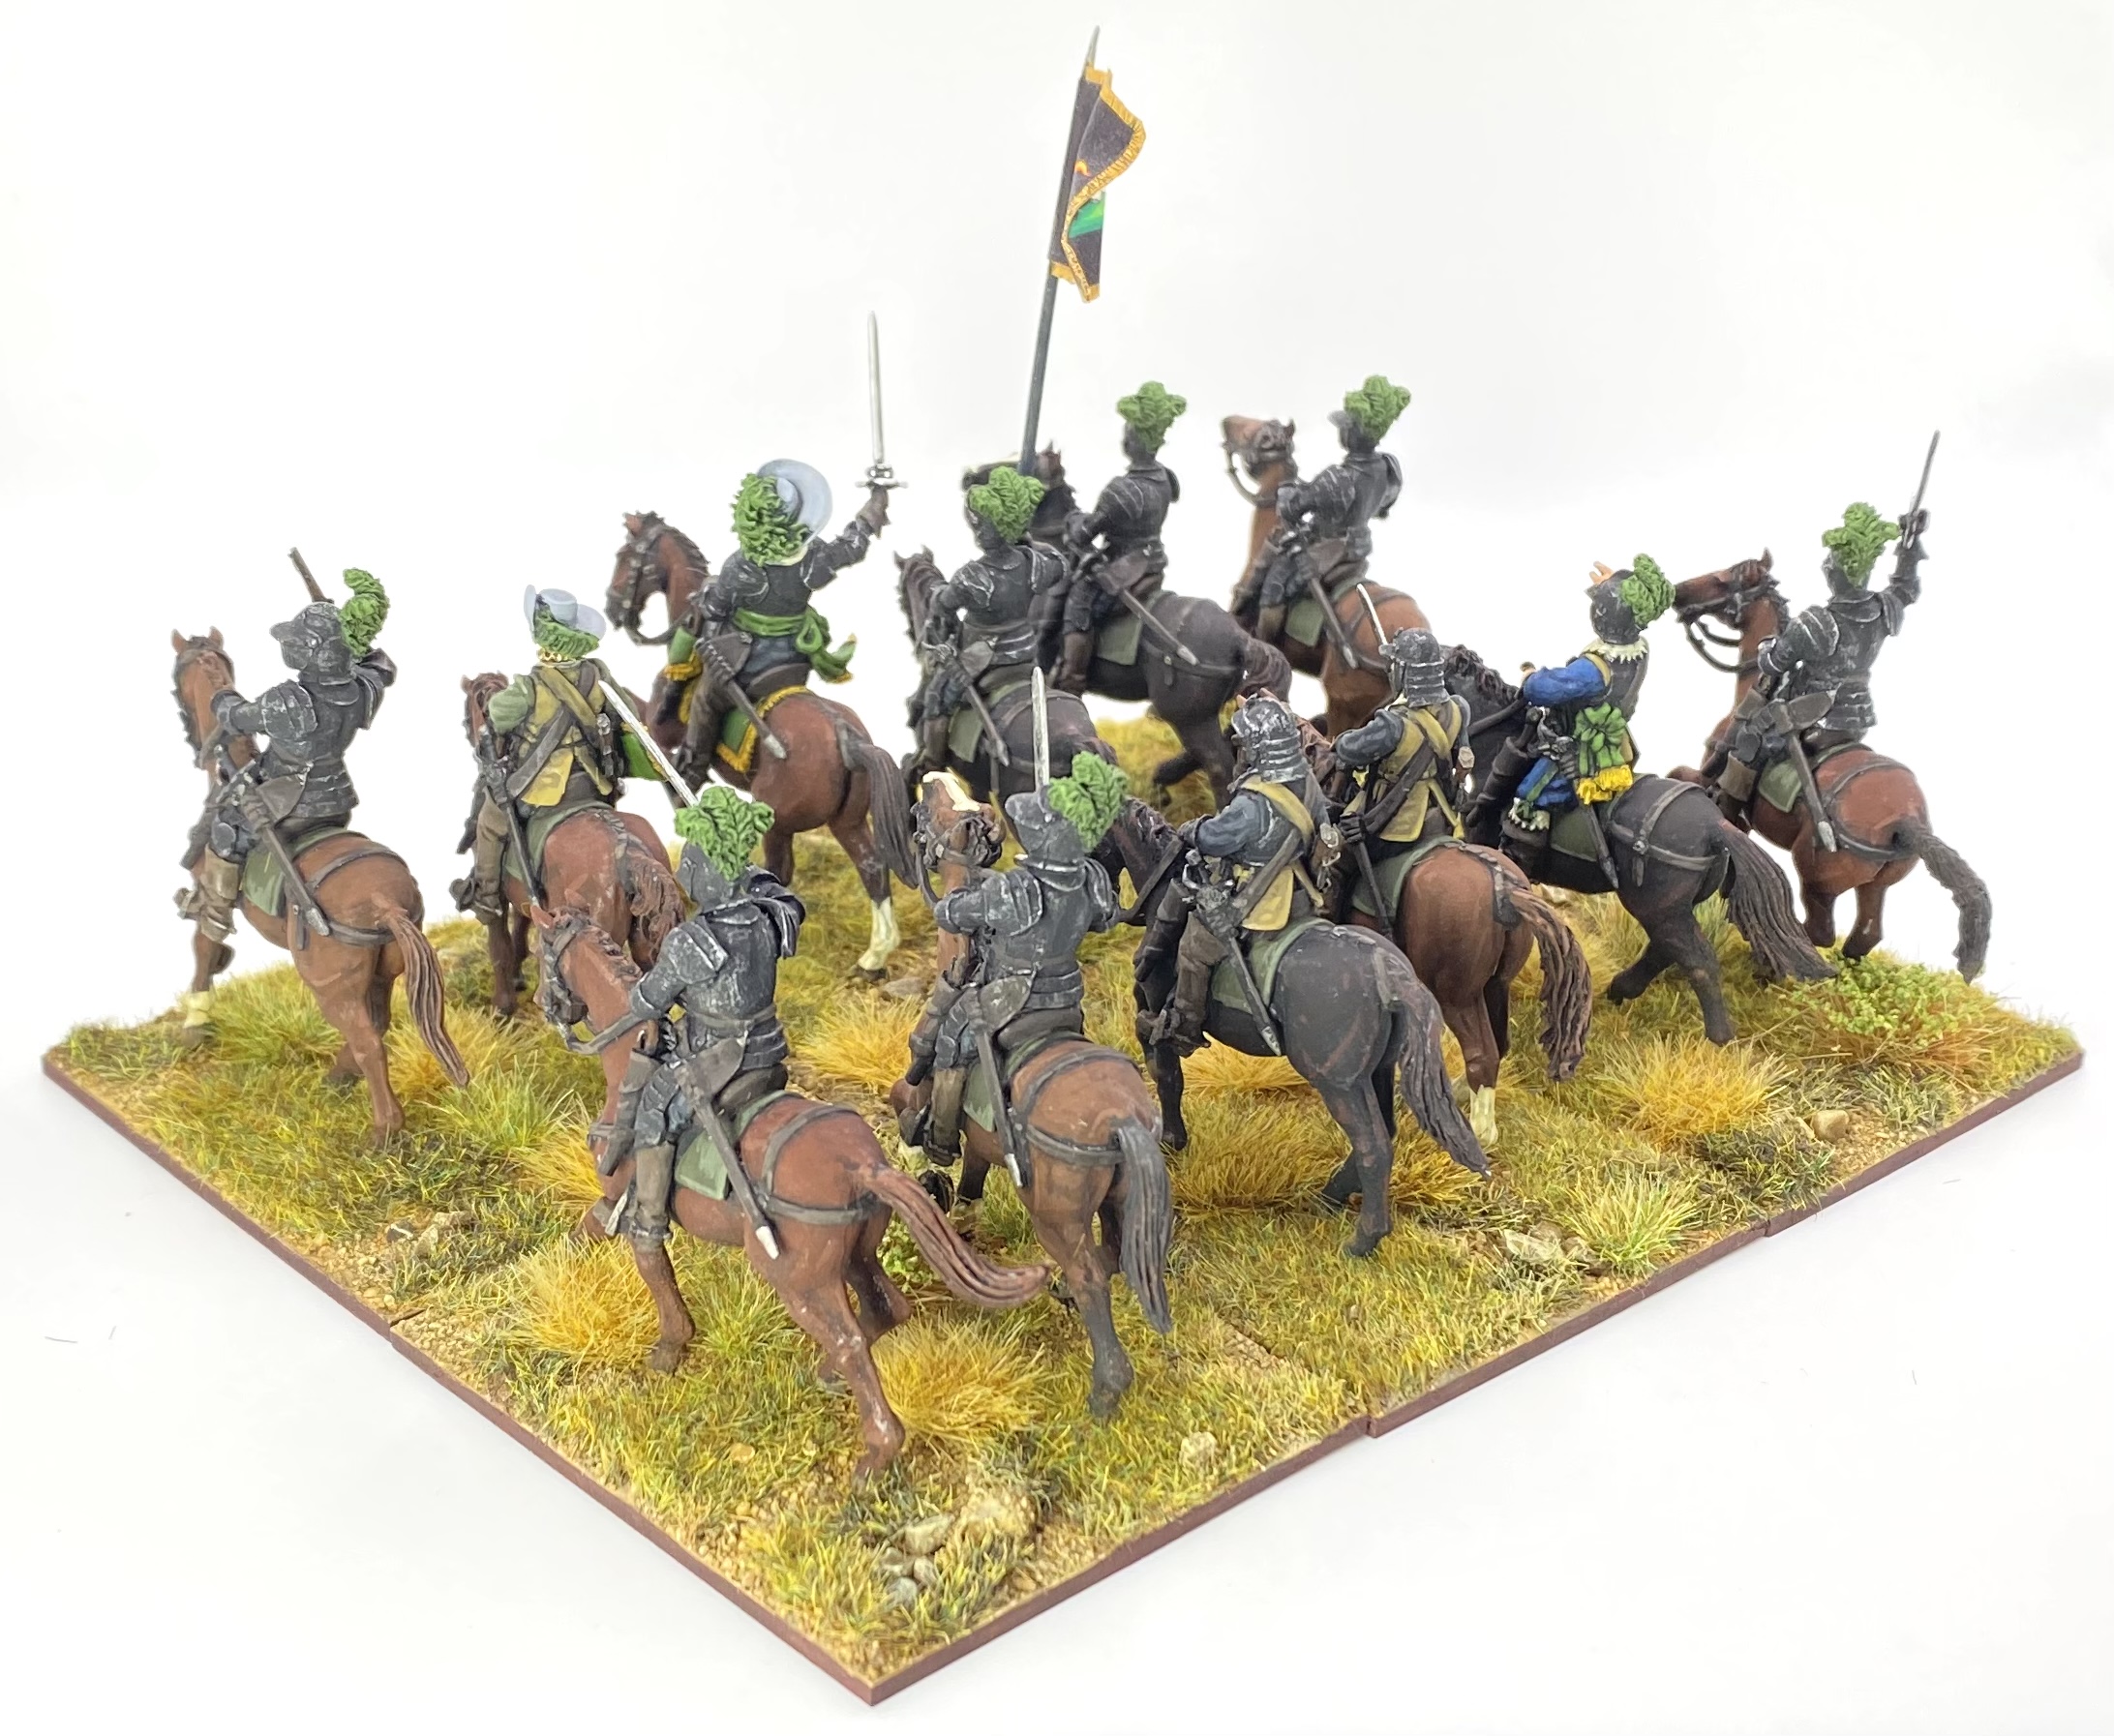
These Avanpost figures were an absolute joy to paint; such crisp detail and beautifully sculpted figures. I’m not sure that I would mix the horse figures with other manufacturers in the same unit, but I have used the riders in the same unit with Warlord, Perry and TAG. I enjoyed this unit so much that I have ordered another unit’s worth from Mezzer’s Minis.
Some more close-ups.
Next time will be back to the Poles!
Åke Tott’s Cuirassiers - Part 1
A slight detour for my project this time. Rather than the Poles themselves this entry focuses on a unit of the Pole’s adversaries in my Swedish army; Åke Tott’s cuirassiers.
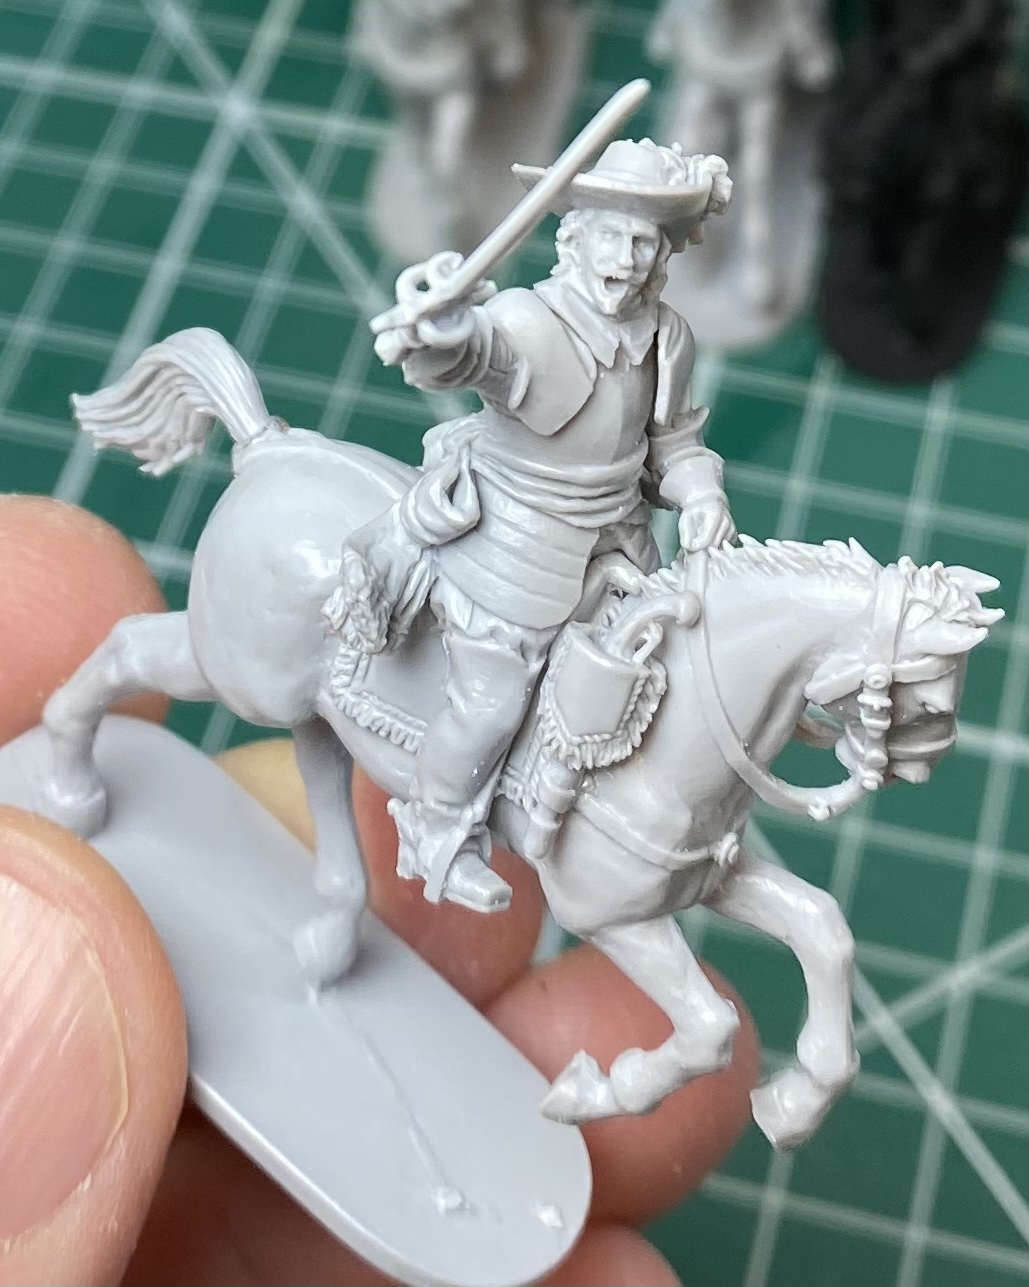
 28mm Cuirassiers from Avanpost Miniatures
I was inspired to create this unit after seeing the new cuirassier figures from Avanpost Miniatures (available from Mezzer’s Minis in the UK link). I’ve written before about the superb detail on the Avanpost figures and these cuirassiers are no exception.
History
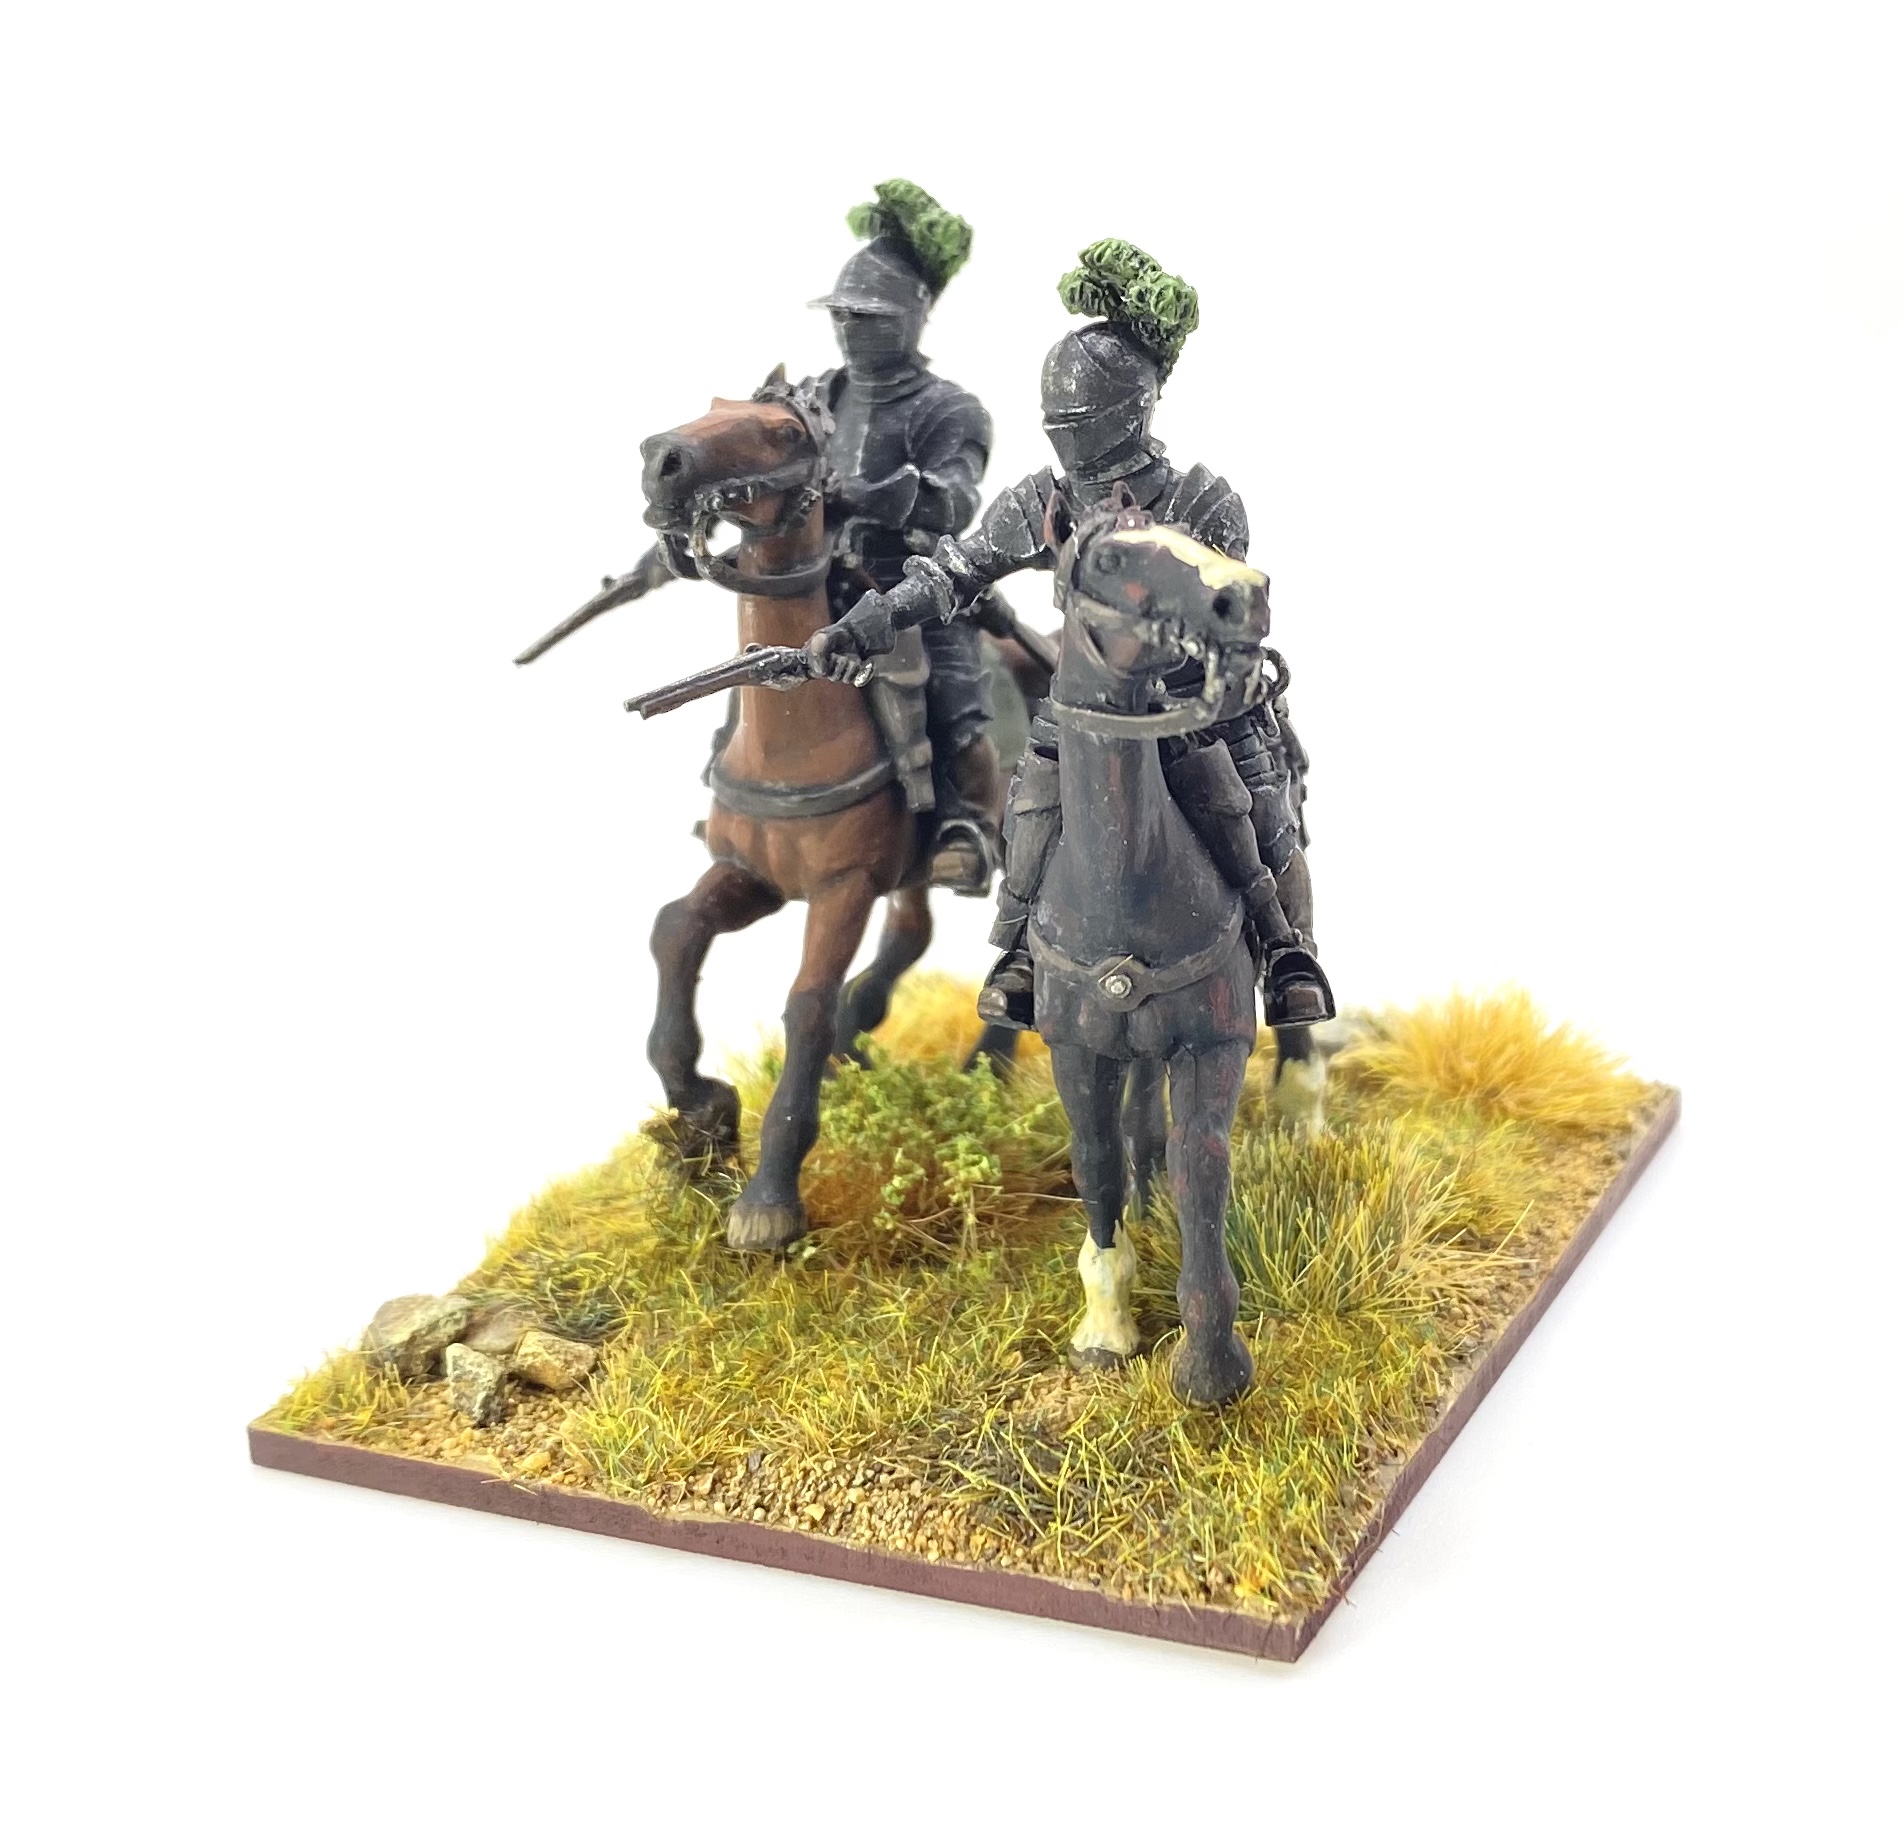
Cuirassiers were the supreme shock troops in many armies in this period. Encased in three-quarter armour, riding large horses, and armed with swords and pistols, they were fearsome opponents on the battlefield. As the Swedish king, Gustav Adolph, built up his army in the 1620s he decided he needed more of these heavy cavalry in his forces, particularly when he had to face the dreaded Polish Hussars. By the battle of Dirschau in 1627 there were several companies of cuirassiers in the Swedish army, although how complete their armour was is not clear. It is not uncommon in this period for a unit of cavalry to be raised as cuirassiers, but for them to be missing parts of the armour expected for cuirassiers. This may be because the armour wasn’t available, or because the troops ‘lost’ those elements that were uncomfortable to wear over a campaign.
I’ve chosen to represent this unit with a fair proportion of figures in the classic cuirassier three-quarter armour, but one or two figures, relegated the the rear rank, are less armoured perhaps representing newer recruits.
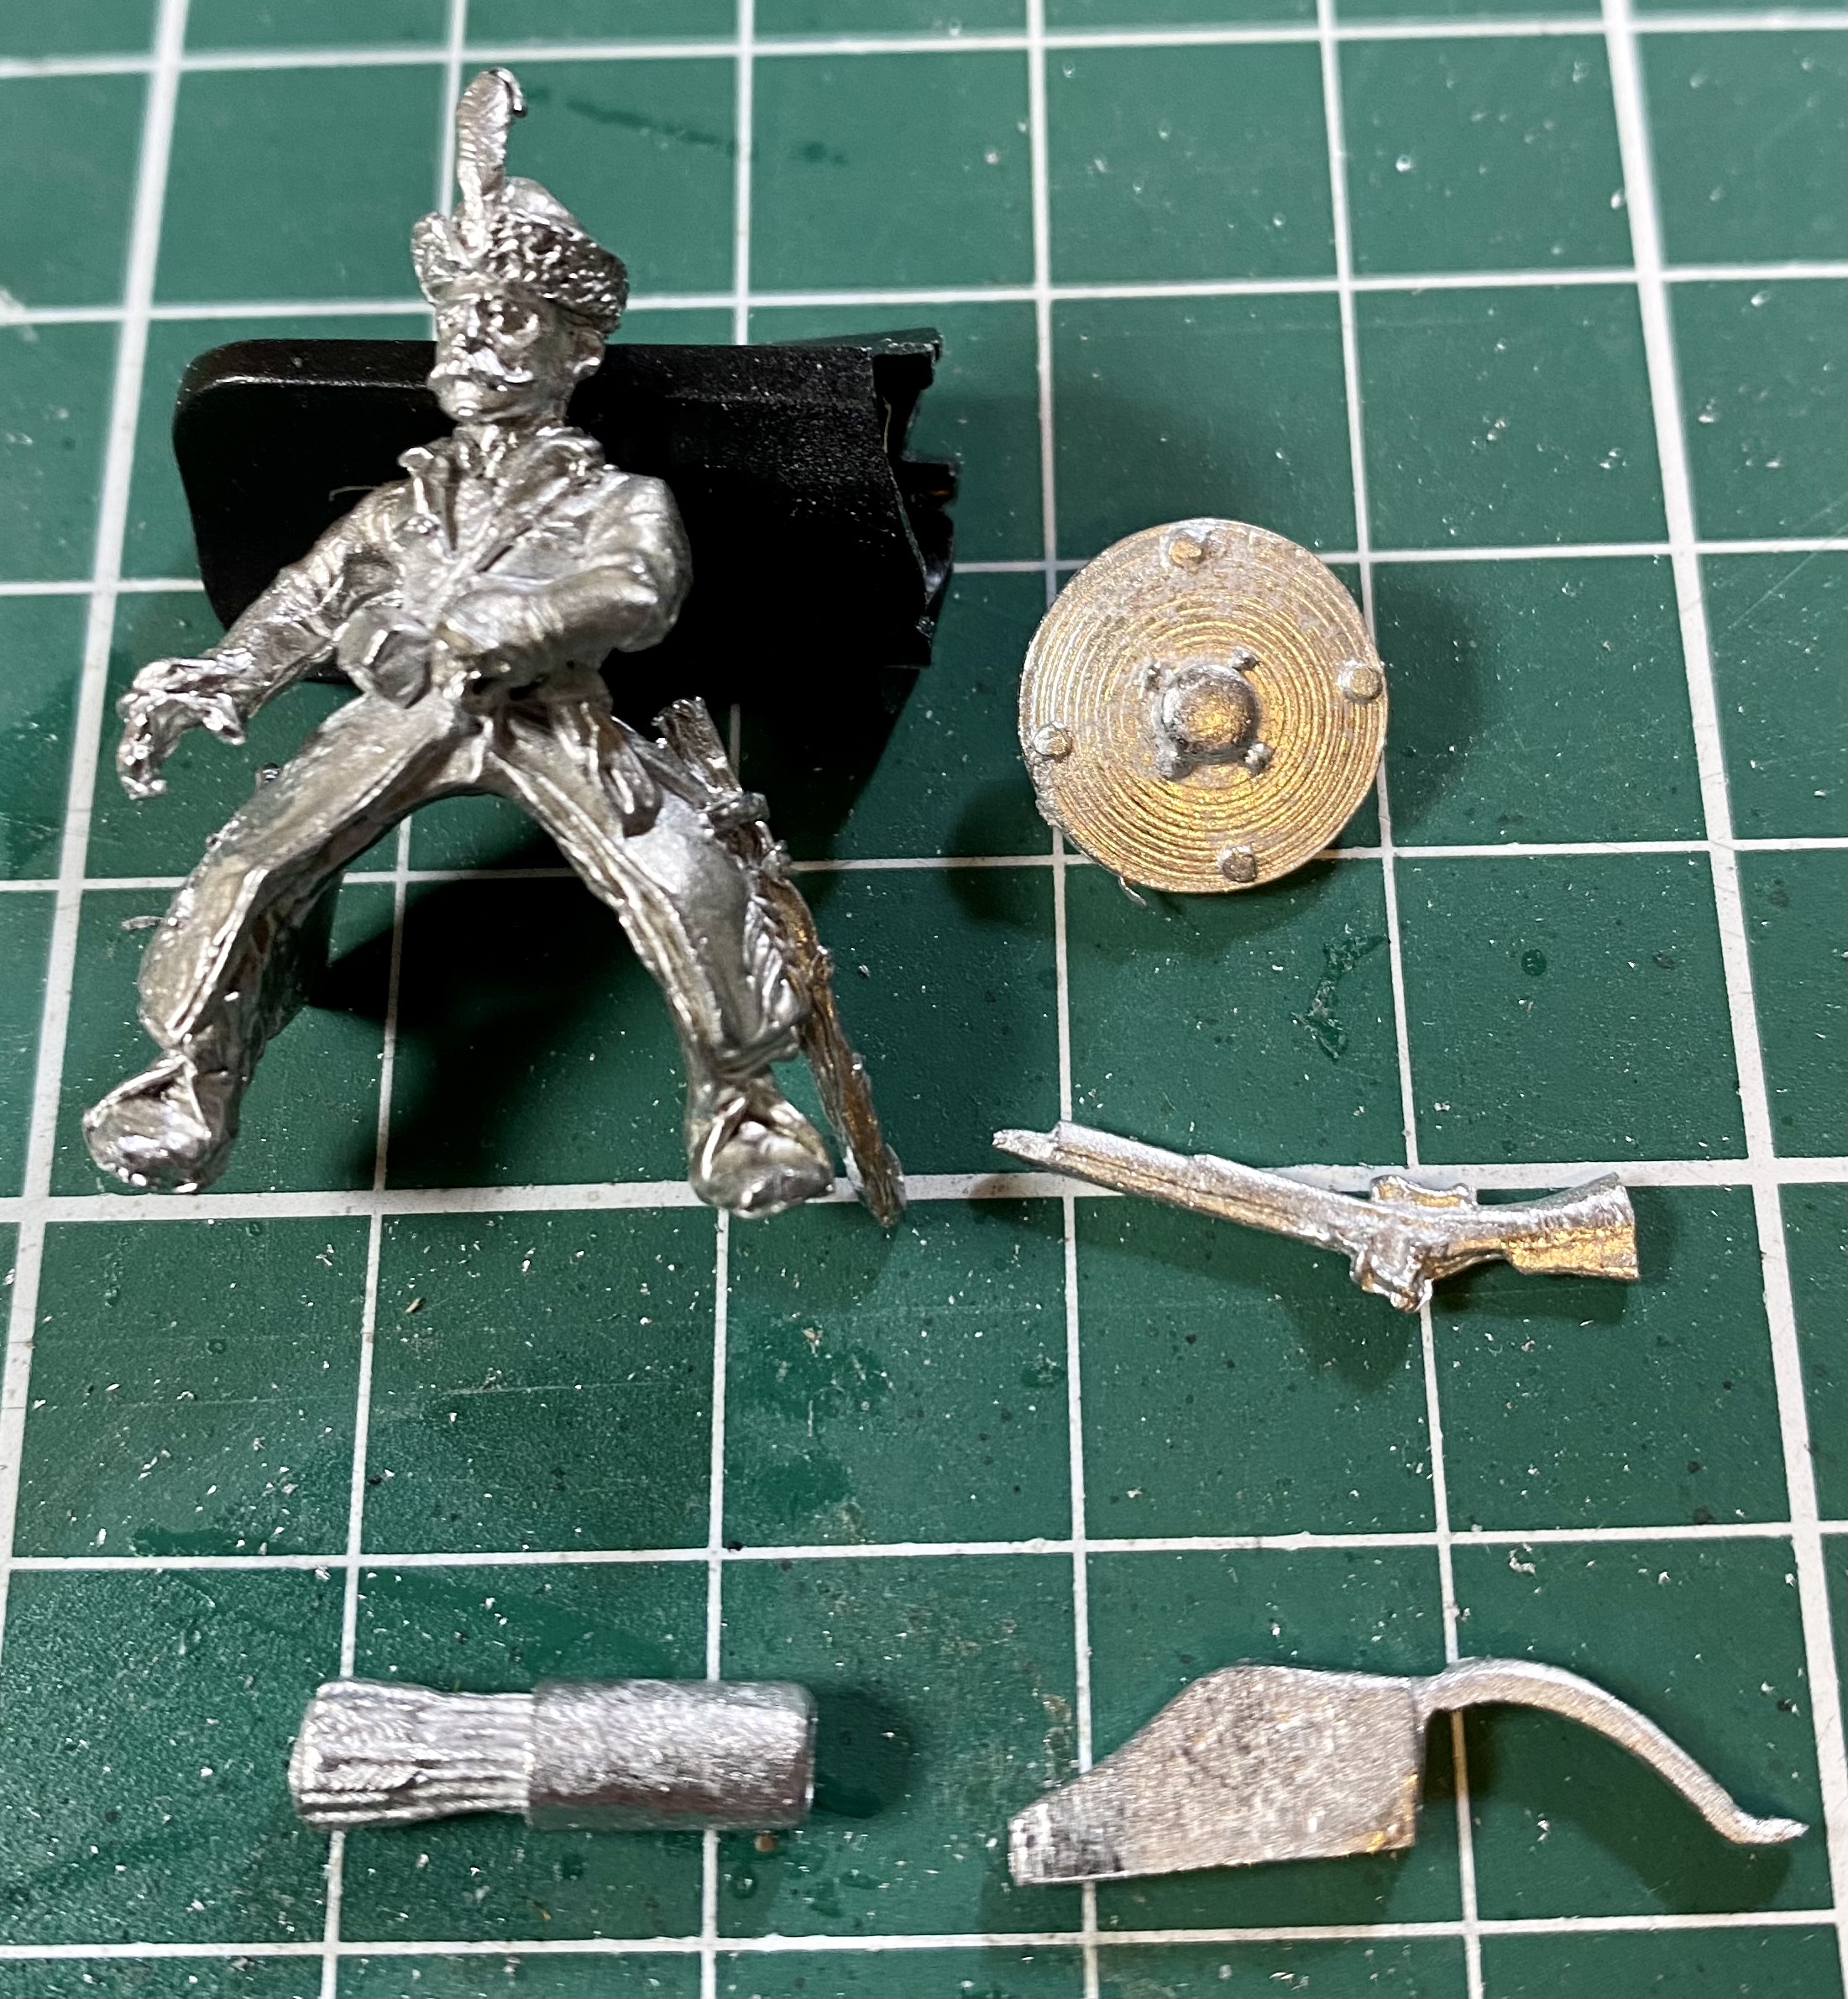
Avanpost Miniatures
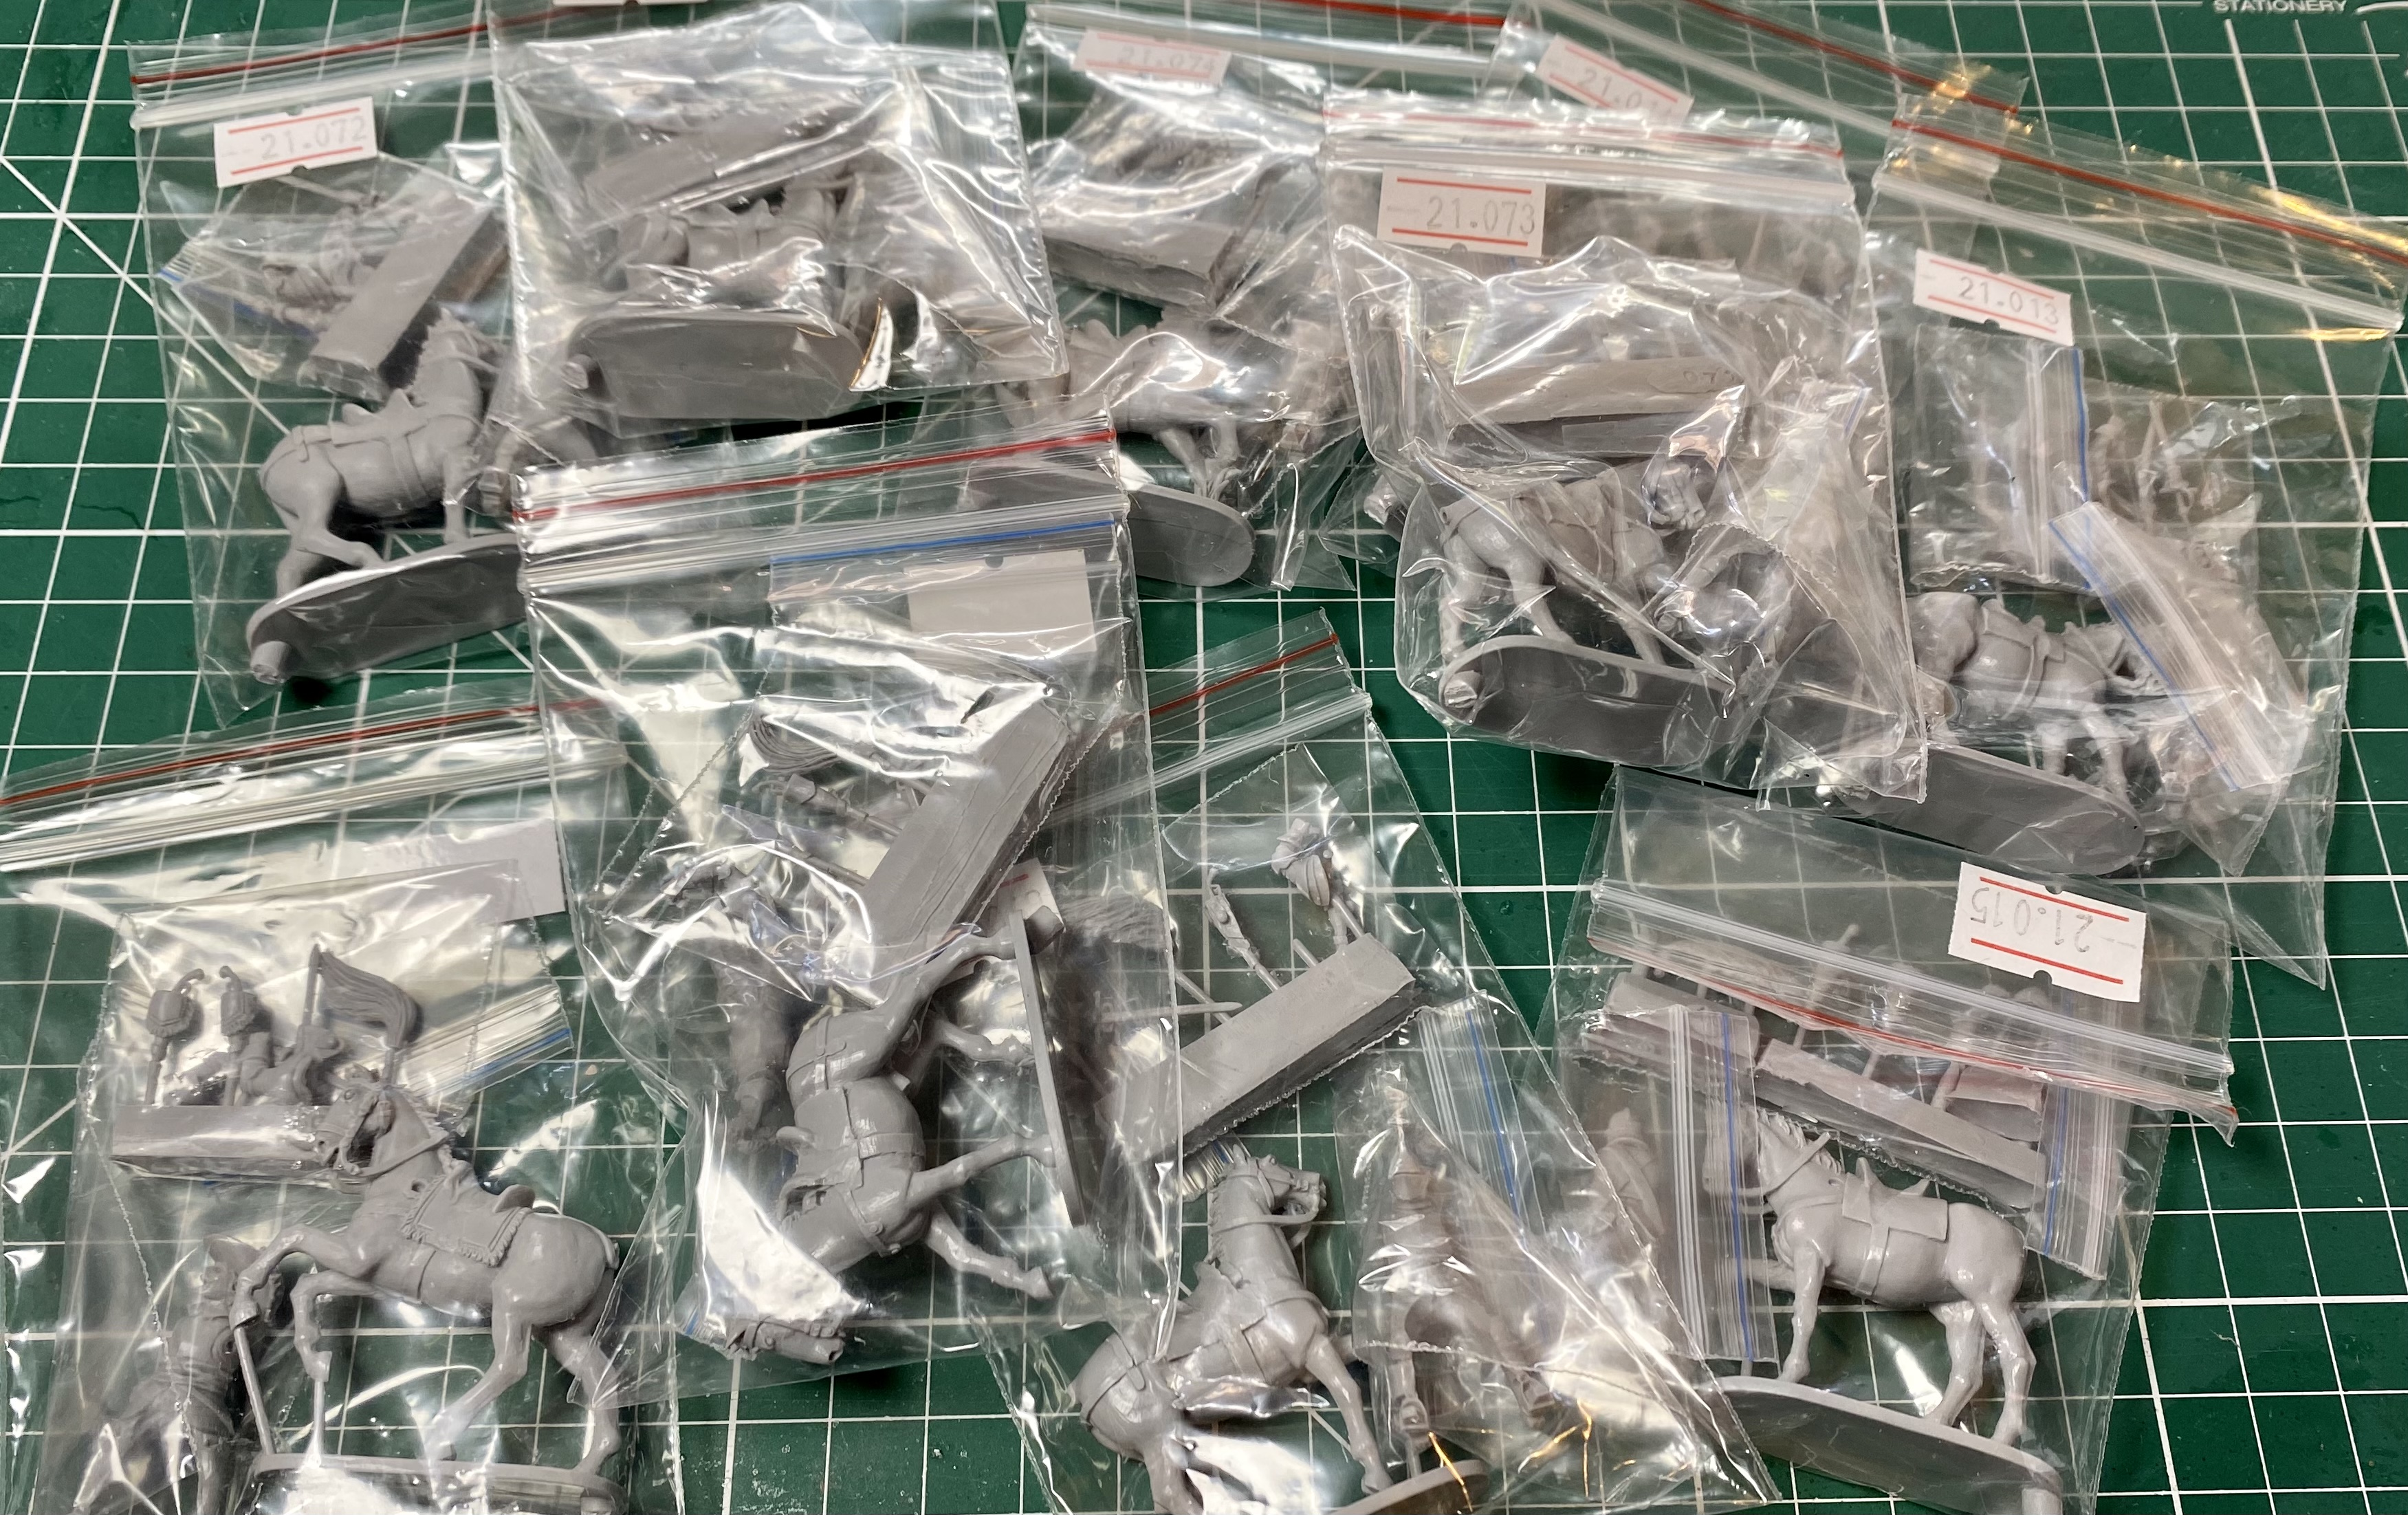

The Avanpost figures are bought individually and each comes in a small zip lock bag. Most require some assembly; typically arms and scabbards. You can see in the picture the typical contents for a bag.
I would recommend giving the resin figures a wash in warm soapy water to get rid any residue from the production process. I used a large, child’s paint brush to make sure I could get in to all of the nooks and crannies as well as being gentle with with the thin resin pieces. You need to be gentle with the swords and scabbards in particular.
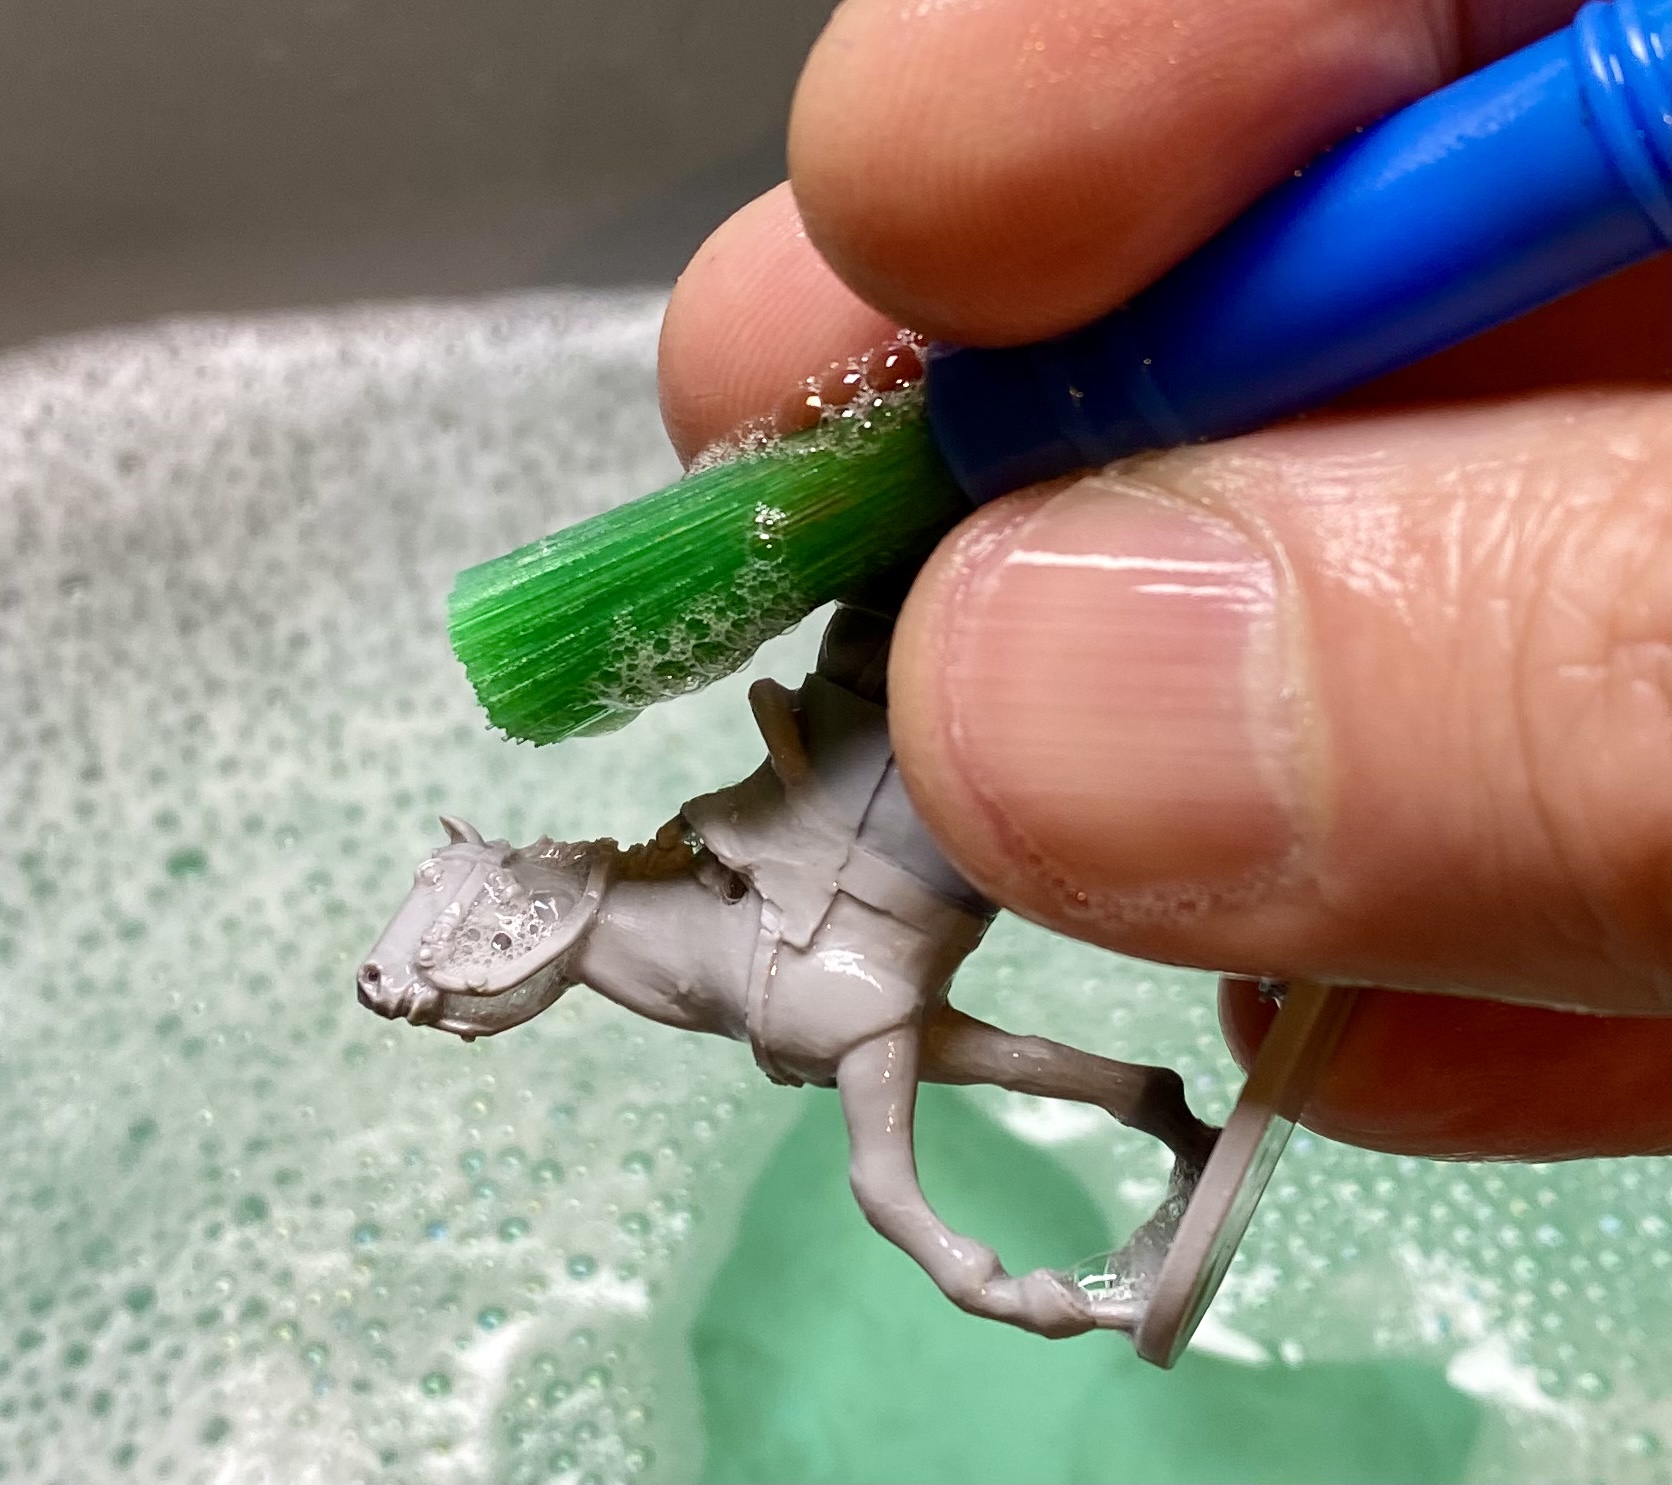
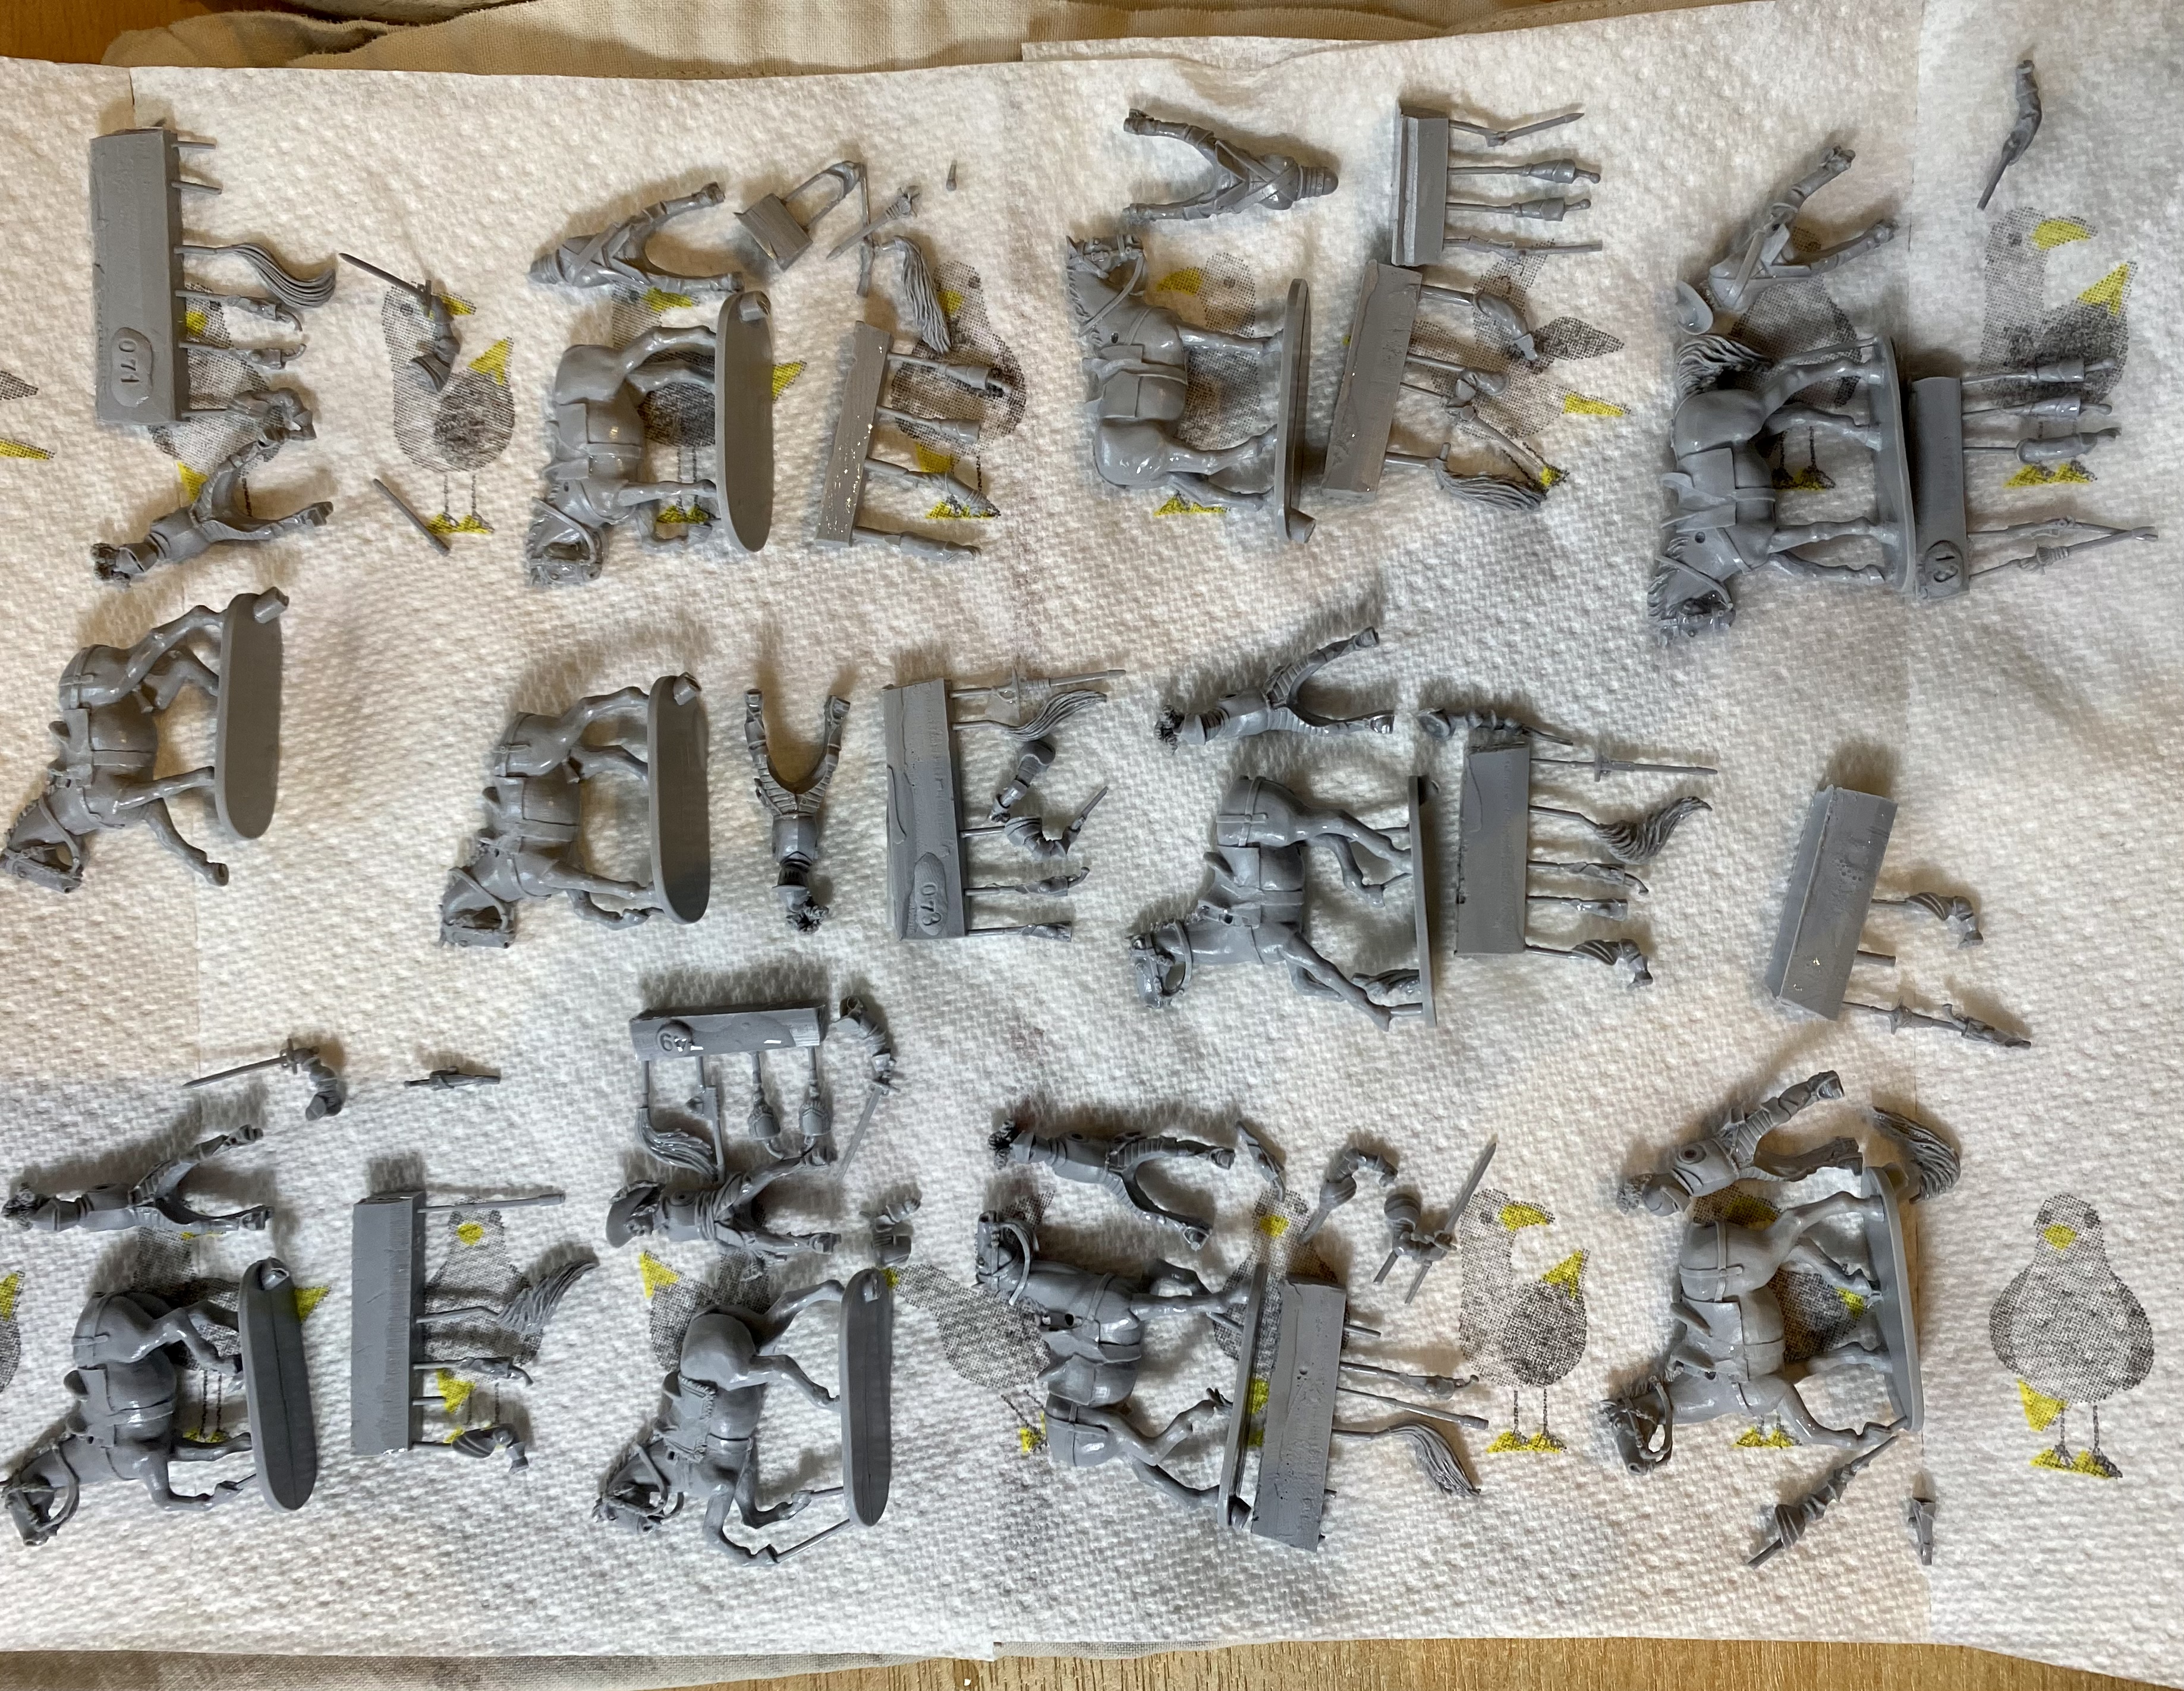
Once washed, and dried on paper towels, the figures are very easy to assemble using small amounts of super-glue. There are not many options for varying pose without resorting to scalpel and putty, but as there is a good selection of different figures available, this isn’t a problem. Here are a few of the figures made up.


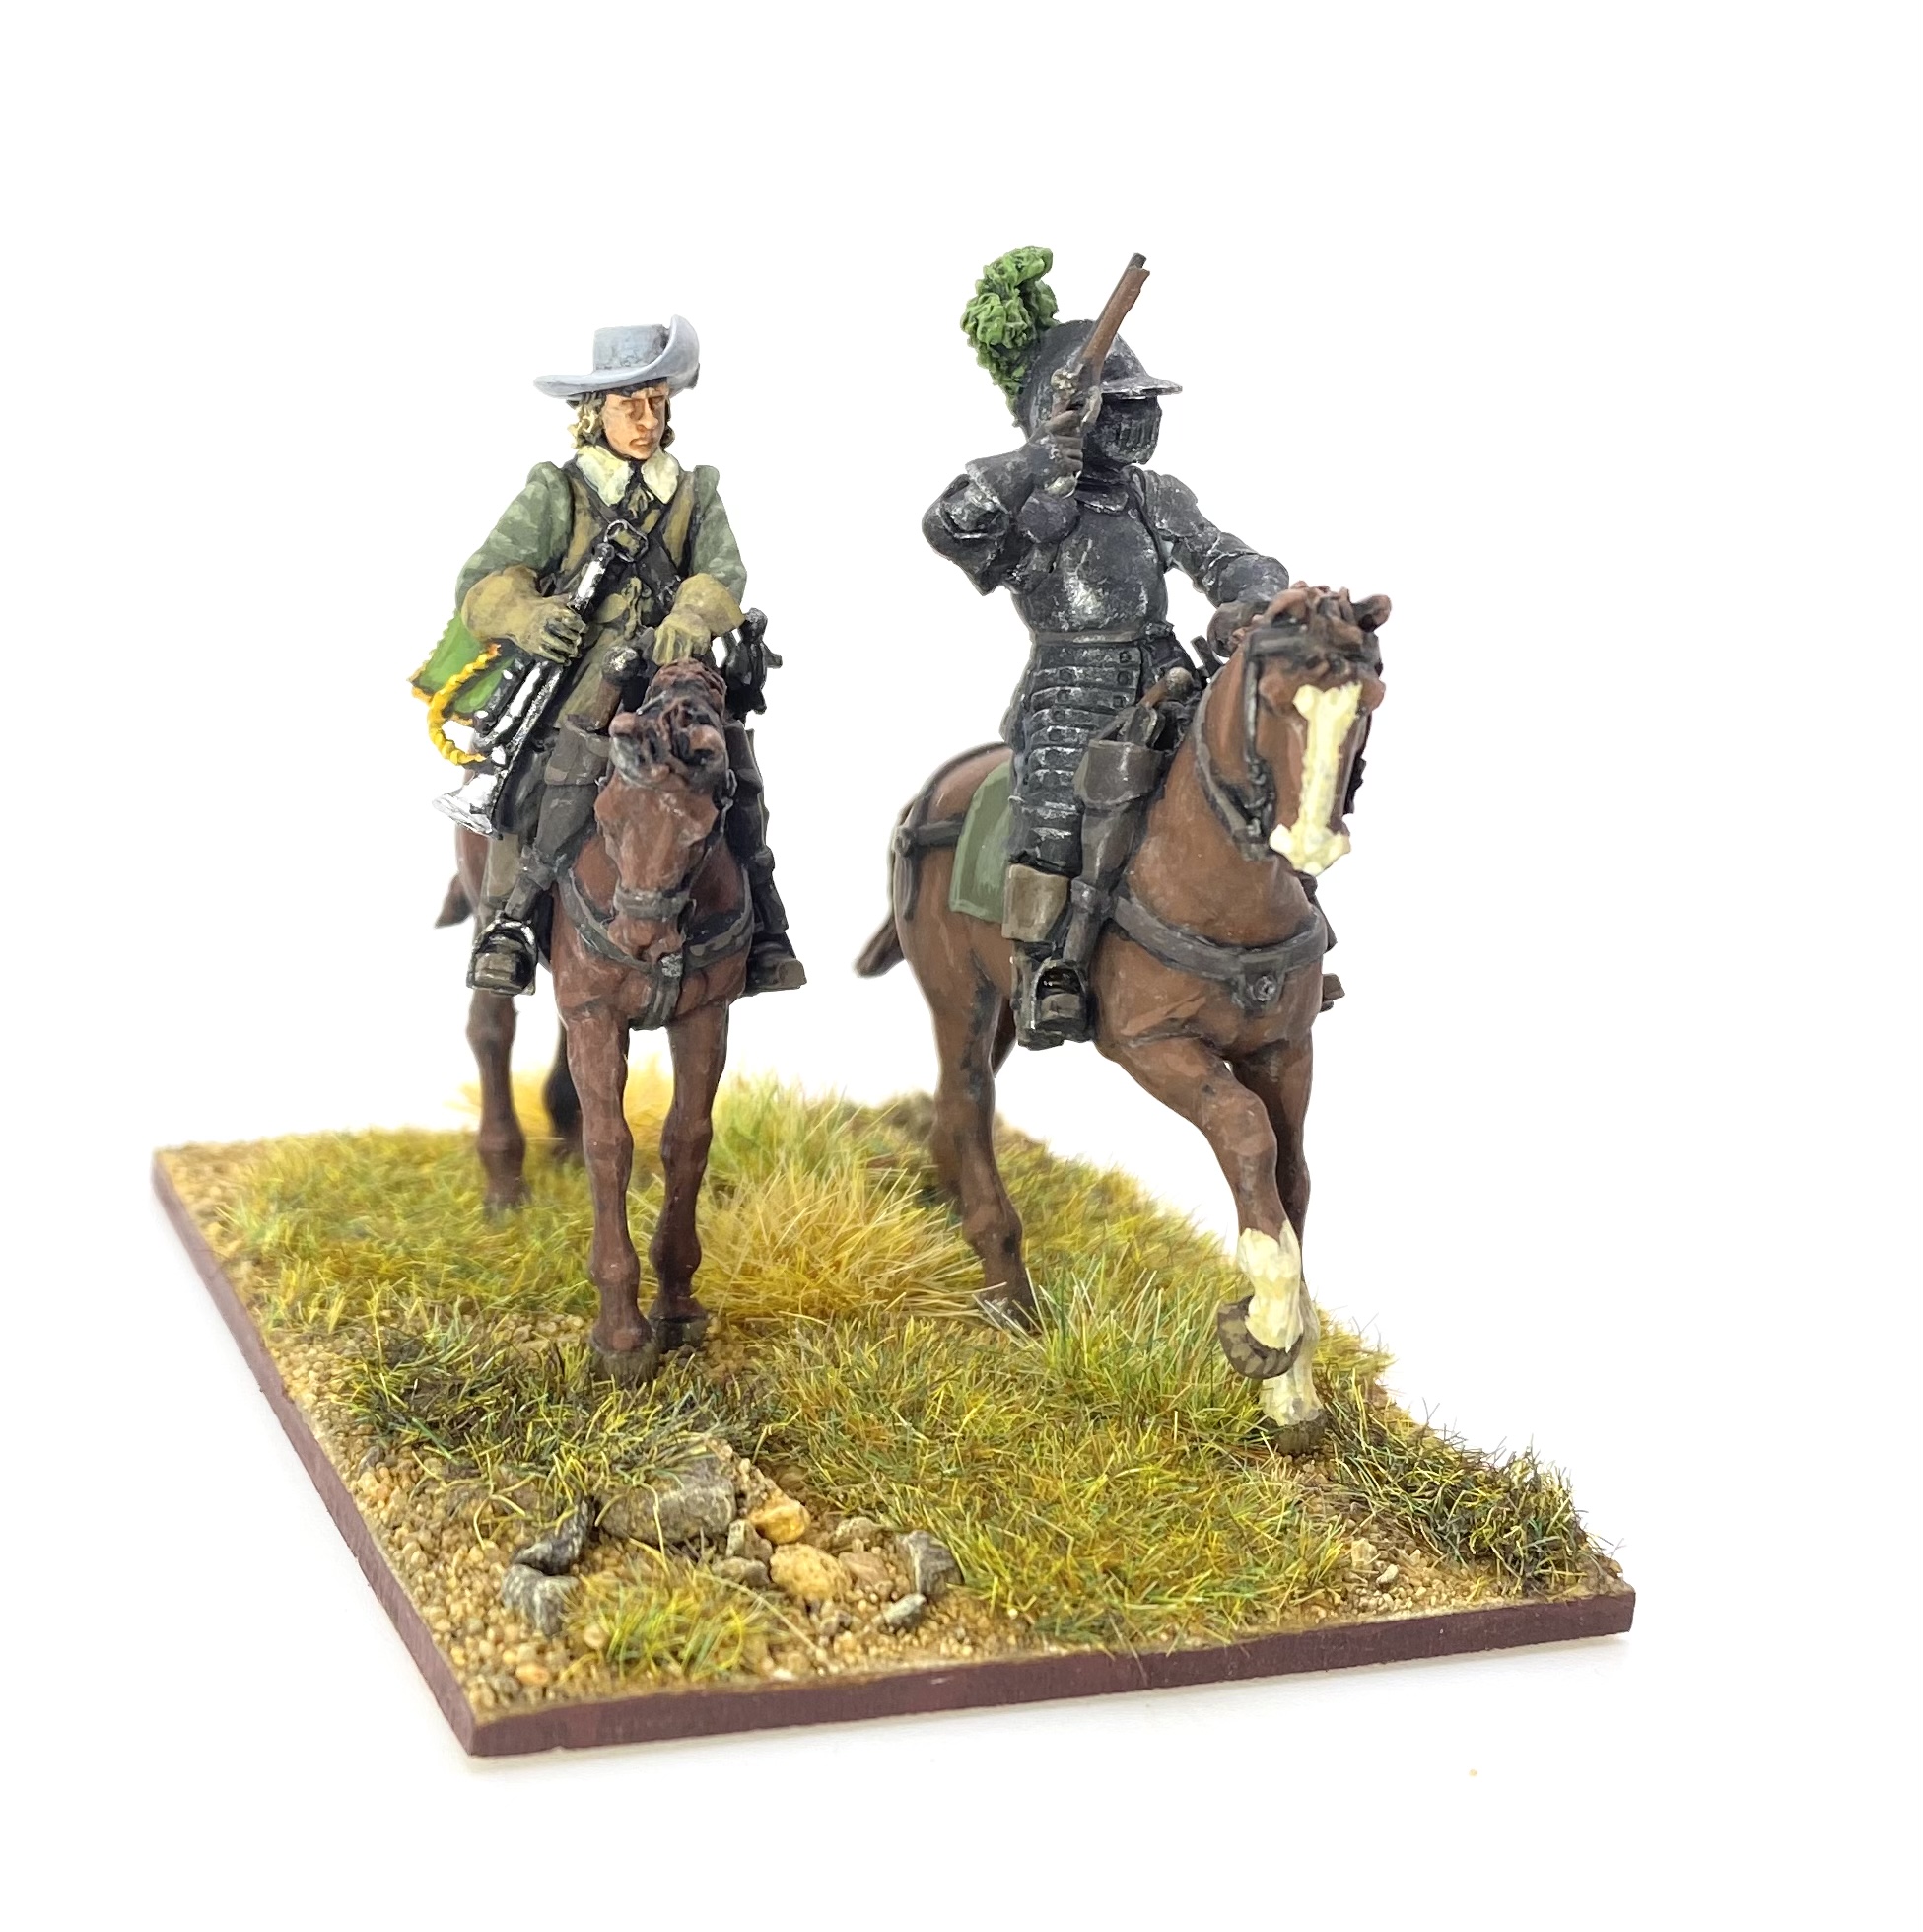
Avanpost don’t currently offer a trumpeter figure so I added an arm from the Warlord plastic Pike and Shotte cavalry sprue that is holding a trumpet, with a smidge of green stuff to match the figure.
In Part 2 I will cover finishing off with some paint.
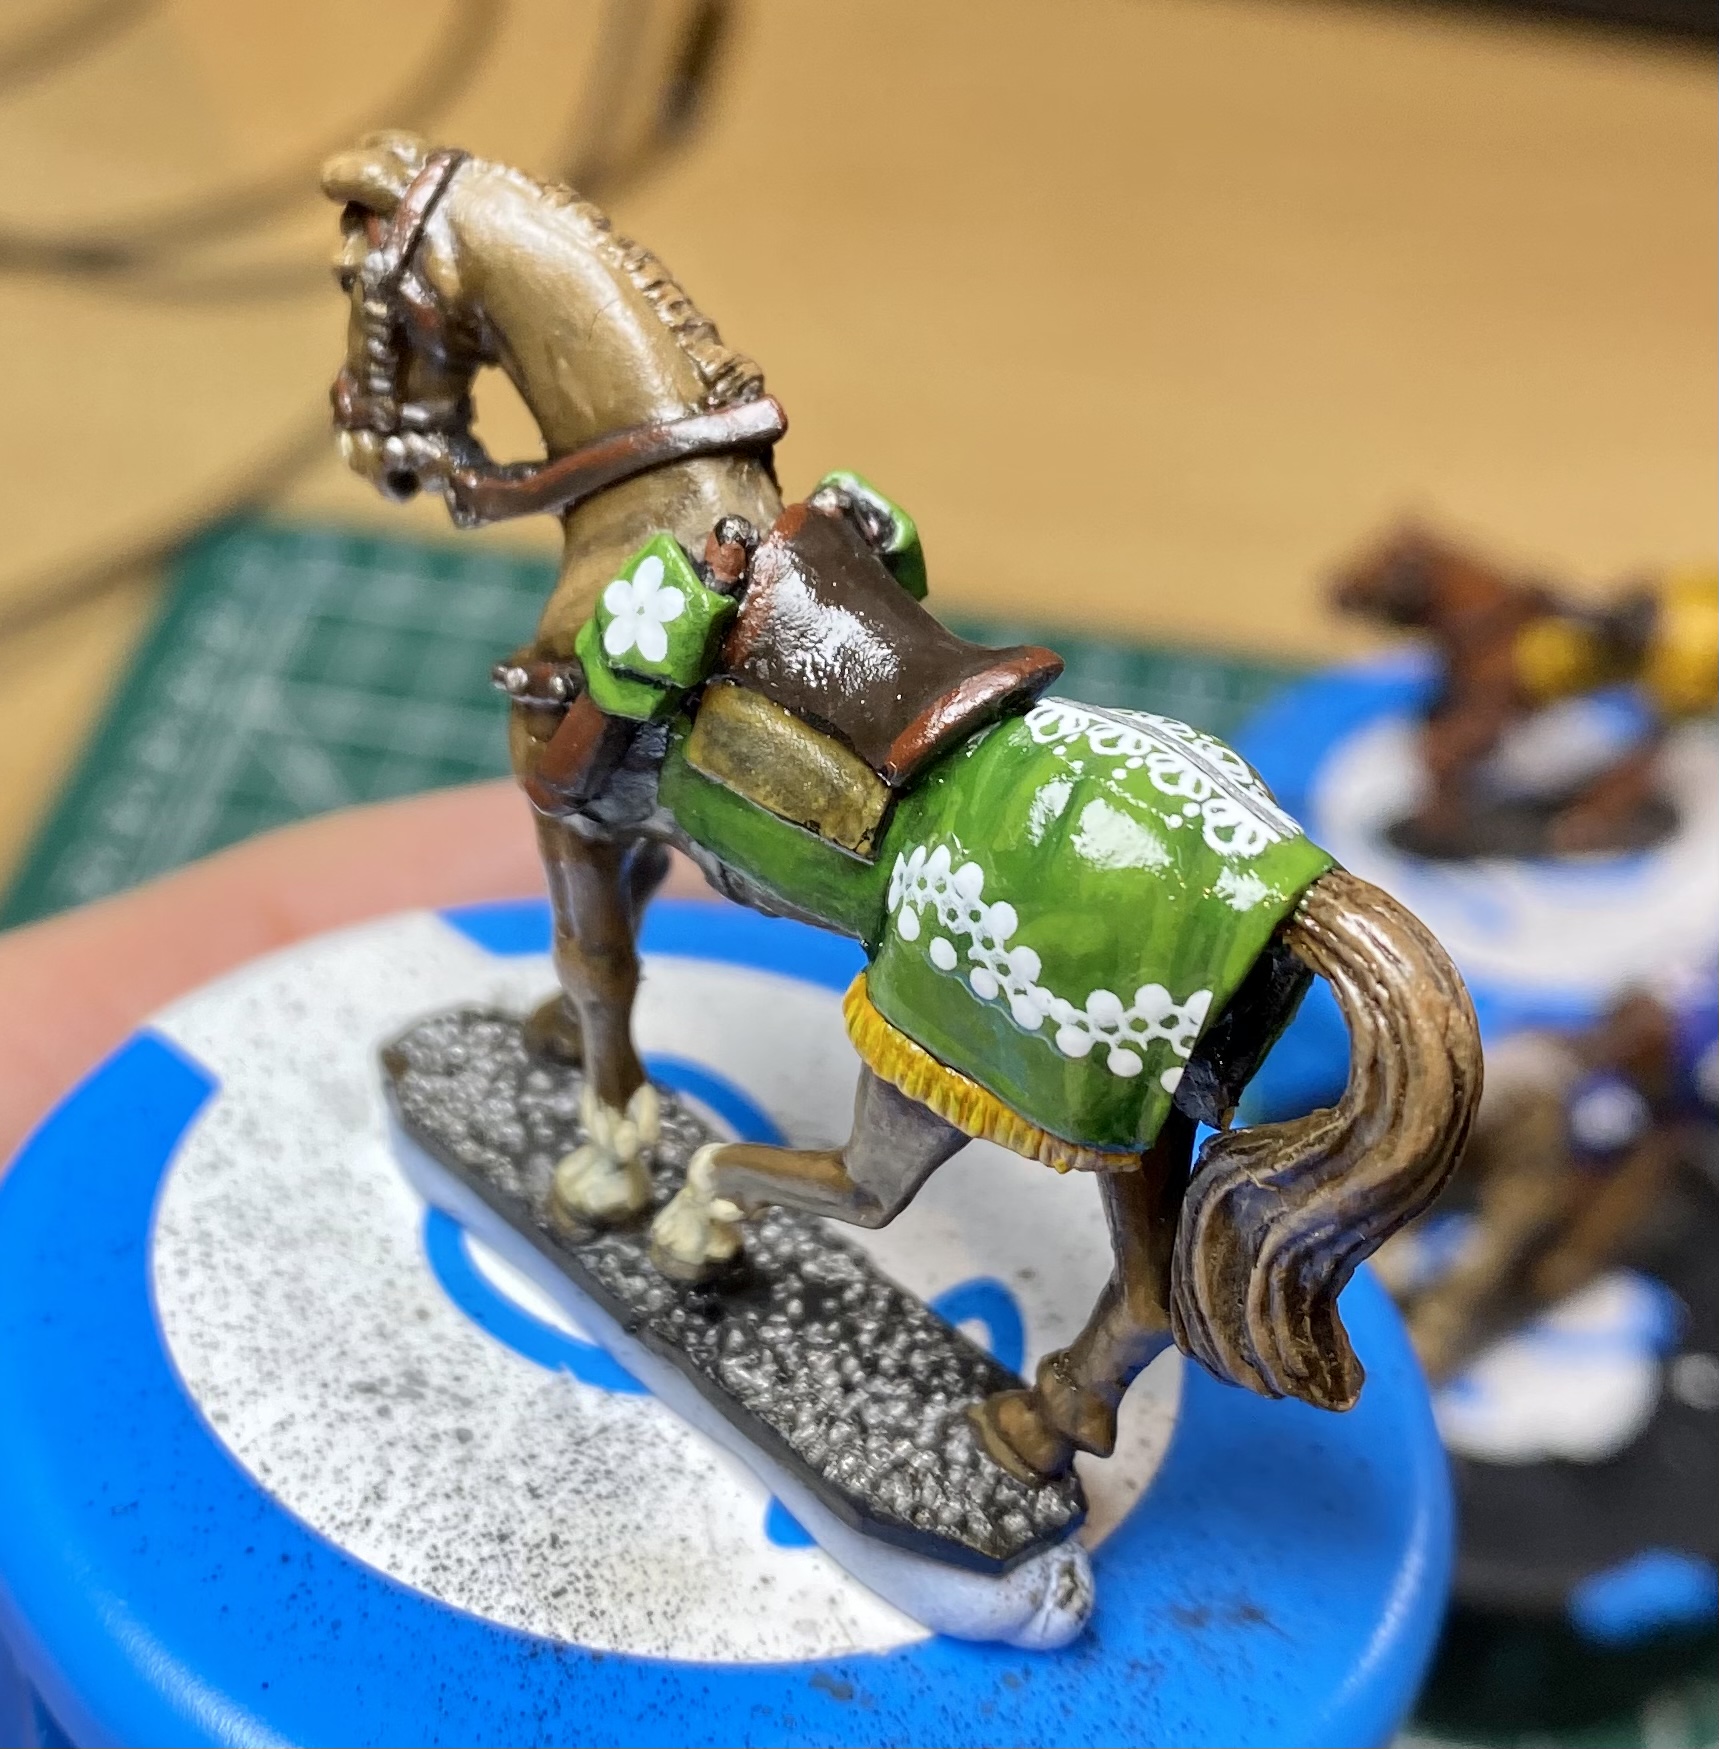
Polish cossack cavalry - part 2
This entry concludes my building and painting the first unit of Polish cossack cavalry for my 1620s Polish Lithuanian Commonwealth army.
As well as the horse trappings (see last entry) I also use the nail art stickers on some of the figure’s bow and quiver cases. These were also typically ornately decorated, so the added stickers helped to jazz them up a bit.

The downside with the the nail art stickers is that they are relatively thick glossy plastic. Too tough for Micro Sol etc. to break down. I applied them after gloss varnishing the figures to provide a flatter surface for the stickers to adhere to. I gloss varnished again to seal them, and then a matt varnish as a final finish to the figure. Some have worked better than others. Overall I like the effect, and will be trying it again. These may also work as a guide to help painting the design on to the figure, and I will be trying this next time. They’re relatively inexpensive so if you need to add some fancy designs, and don’t feel your free-hand paint skills are up to it, then I suggest you give them a try.
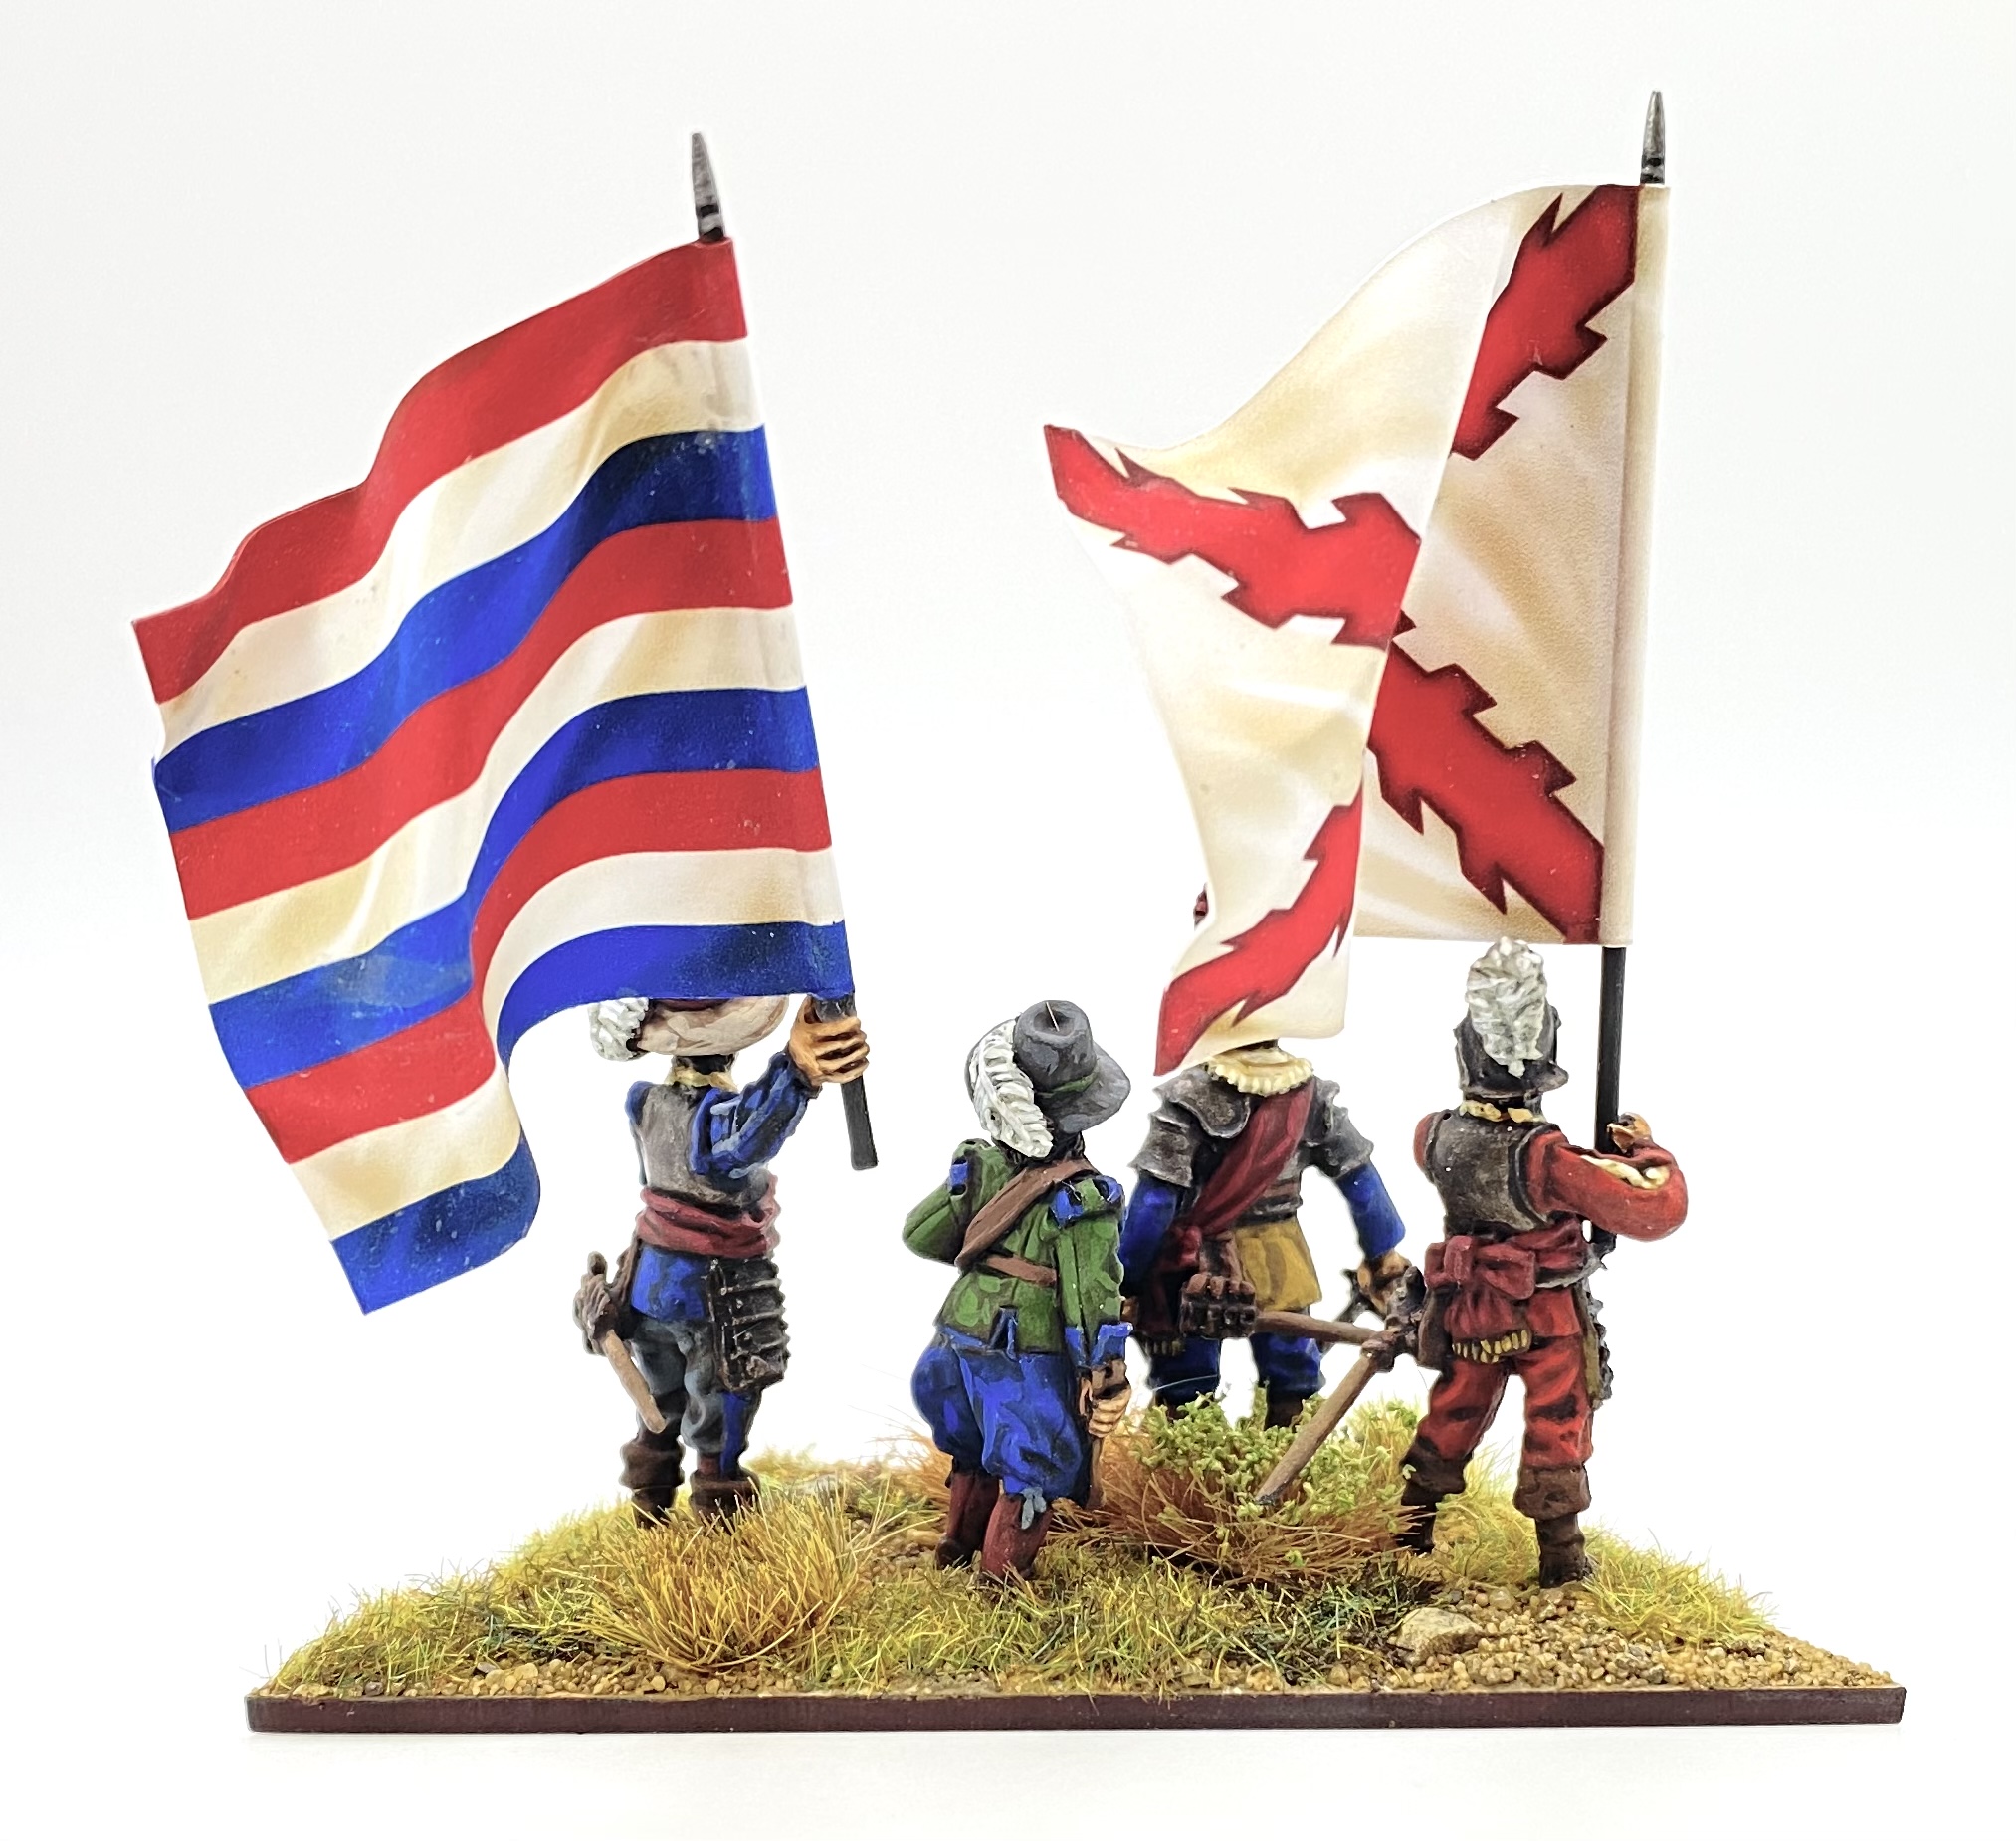
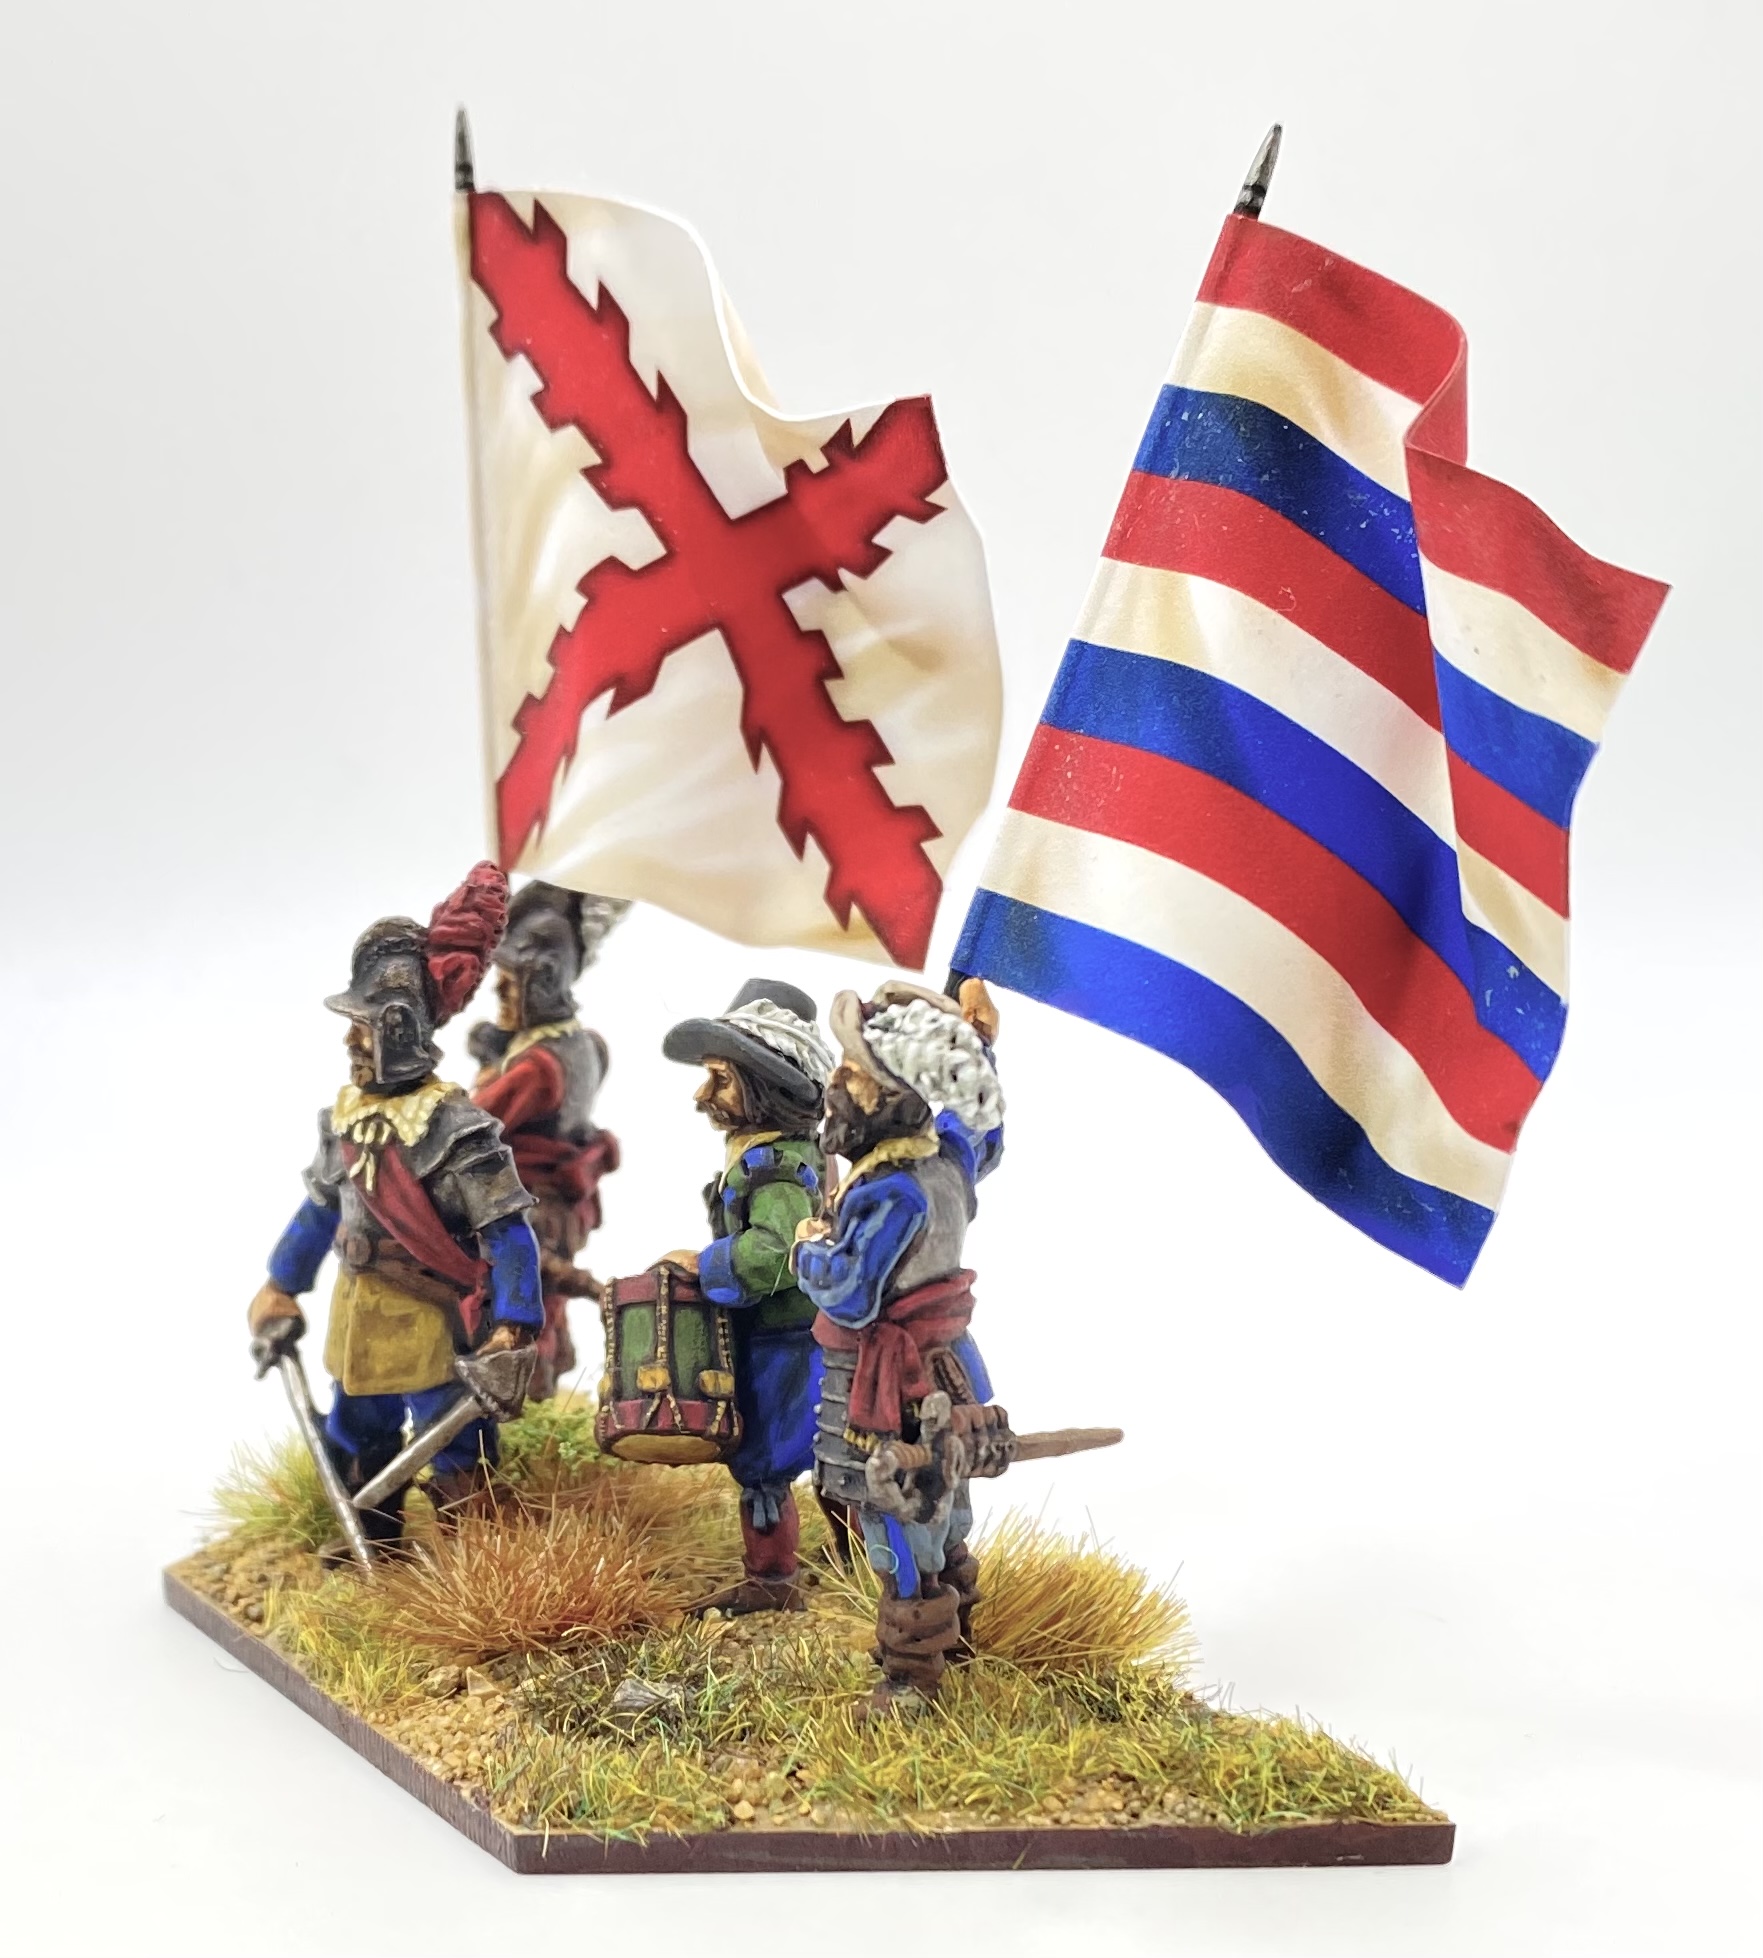
Here is the finished unit. The flag is from from the Battle Flag Polish cavalry sheet.
Next on the painting desk is a unit for the opposing army, Swedish cuirassiers.
Polish cossack cavalry - part 1
This entry covers a new light cavalry unit for my Polish-Lithuanian Commonwealth army of the 1620s; Polish cossack cavalry.
 Polish cossack cavalry in 28mm TAG, Foundry and Warlord
The stunning ‘Winged’ Hussars did not make up all of the army’s cavalry. They were supported by lighter equipped cavalry referred to as cossack cavalry, as well as by cavalry equipped in a Western style. In this post I will cover a little bit of historical background, the figures I used for the unit, and a technique for adding fancy patterns to the figures.
Note. To hopefully clear up the use of the word “cossack”. Here (with a small ‘c’) I am referring to the term used to describe the lighter class of cavalry, fighting in native Polish style, and not the ethnic Cossacks (with a capital ‘C’) who were a semi-autonomous people living in what is now the Ukraine.
Historical Background
The Polish cossack cavalry were recruited in the same manner as the Hussars; a commission was issued to a ‘rotmistrz’ (captain/colonel) to raise a ‘banner’ (company) of cossack cavalry and he in turn recruited Polish nobles to the unit. Each noble would bring one or more retainers that together with the nobles made up the banner of cavalry.
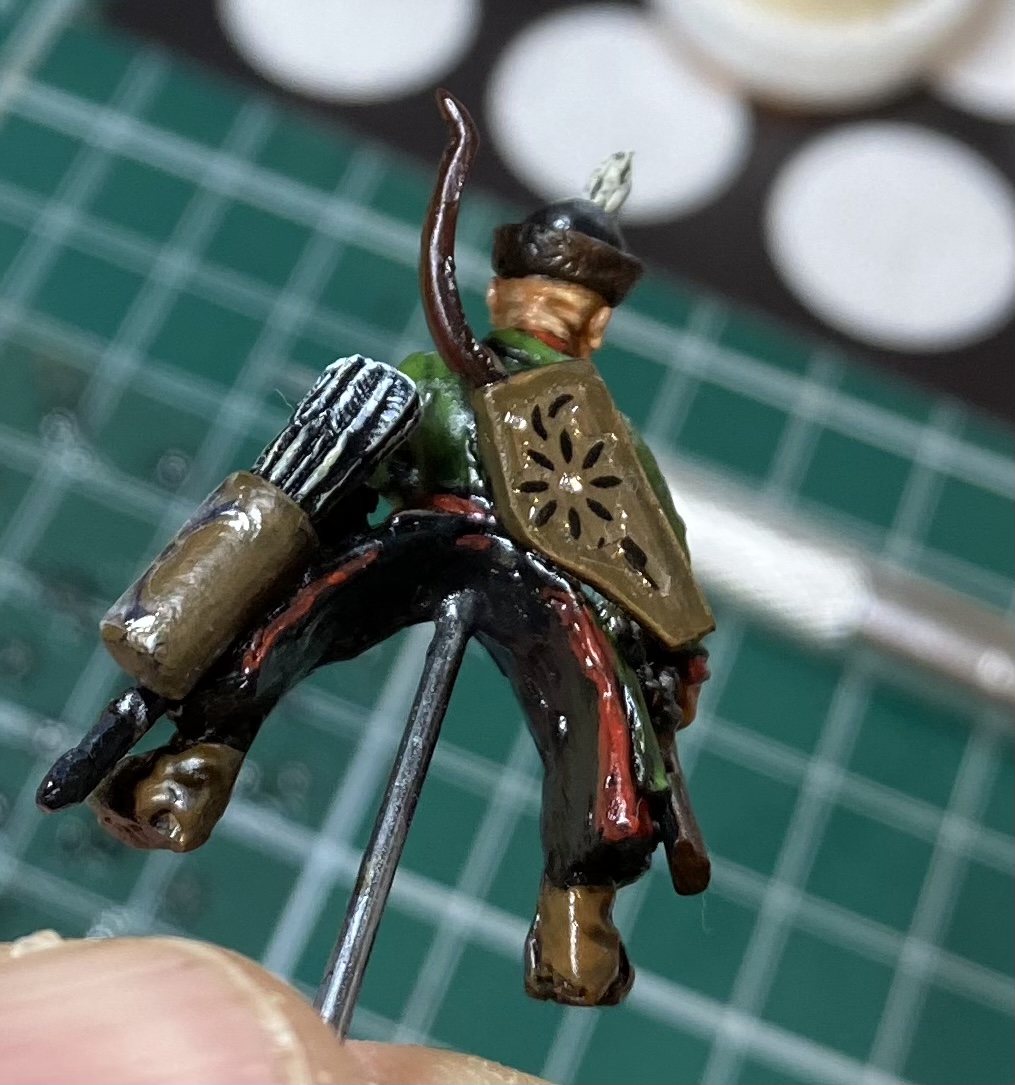
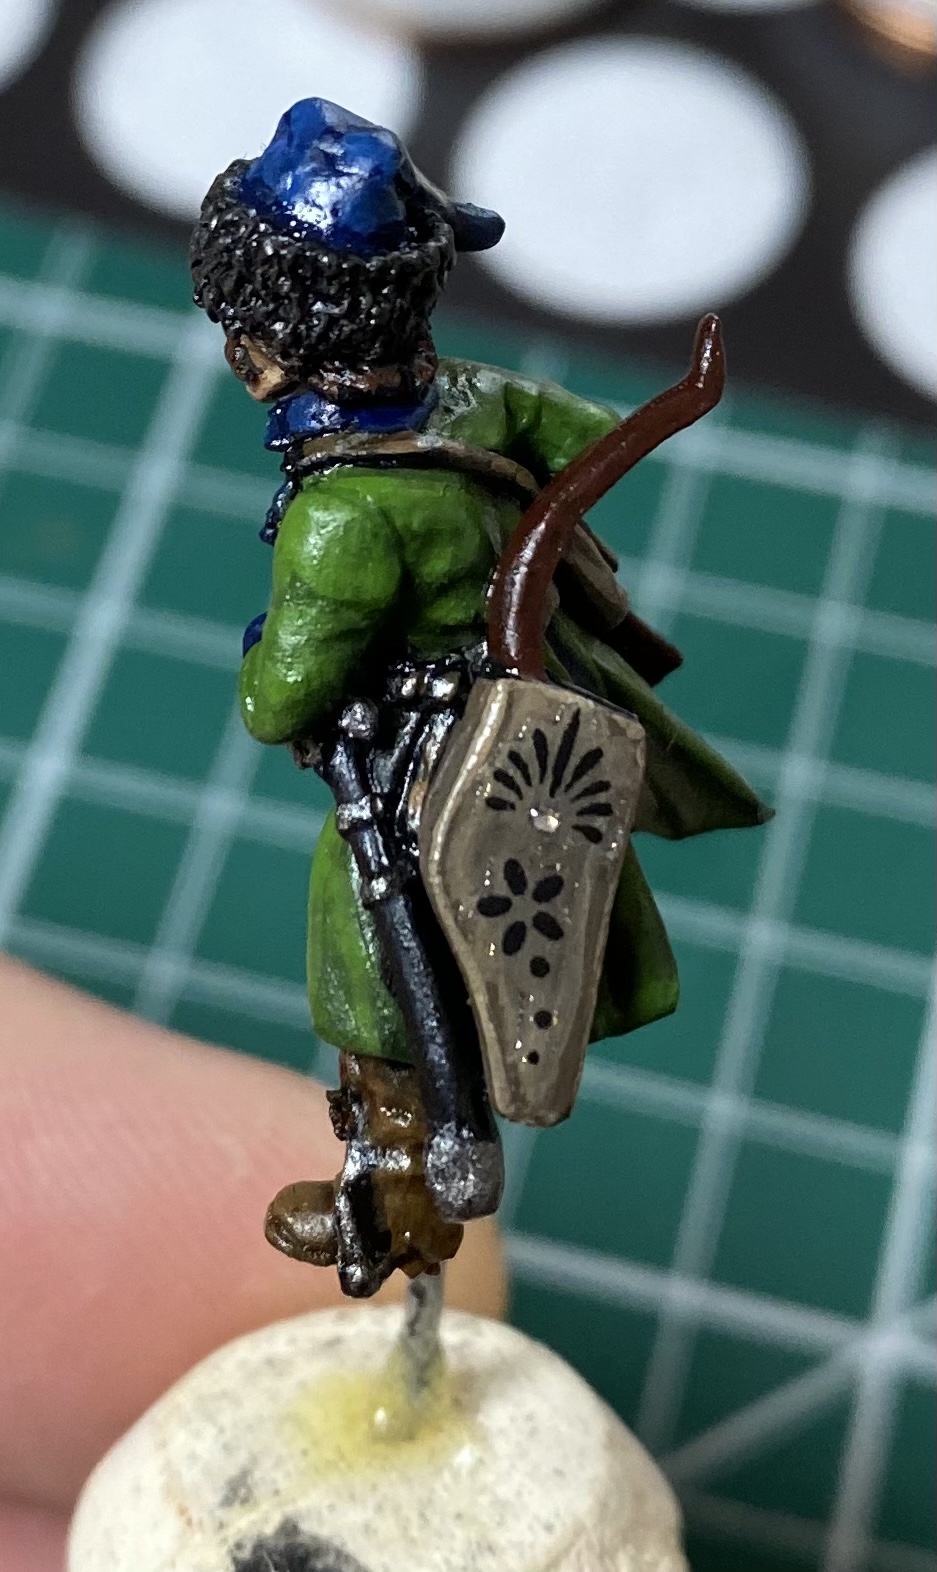
They acted as both medium cavalry on the battlefield, providing fire support to the heavier hussars, and as light cavalry during campaigns, performing the classic scouting role. Their primary armament in this period were firearms, typically a carbine. This allowed the cossack cavalry to provide mobile firepower on the battlefield, and was also useful in their light cavalry duties, fighting in the typical smaller actions and skirmishes of any campaign. As well as their carbines they also carried the ubiquitous sabre, a required item for all nobles and soldiers in this period. The horseman’s pick was also a popular weapon among nobles in this period as were bows. Bows may appear an unnecessary item for cavalry equipped with firearms, but many period illustrations show cavalry equipped with both firearms and bows. It seems that bows were as much a fashion item as a functional weapon, and something seen to emphasise the bearer’s martial nature.
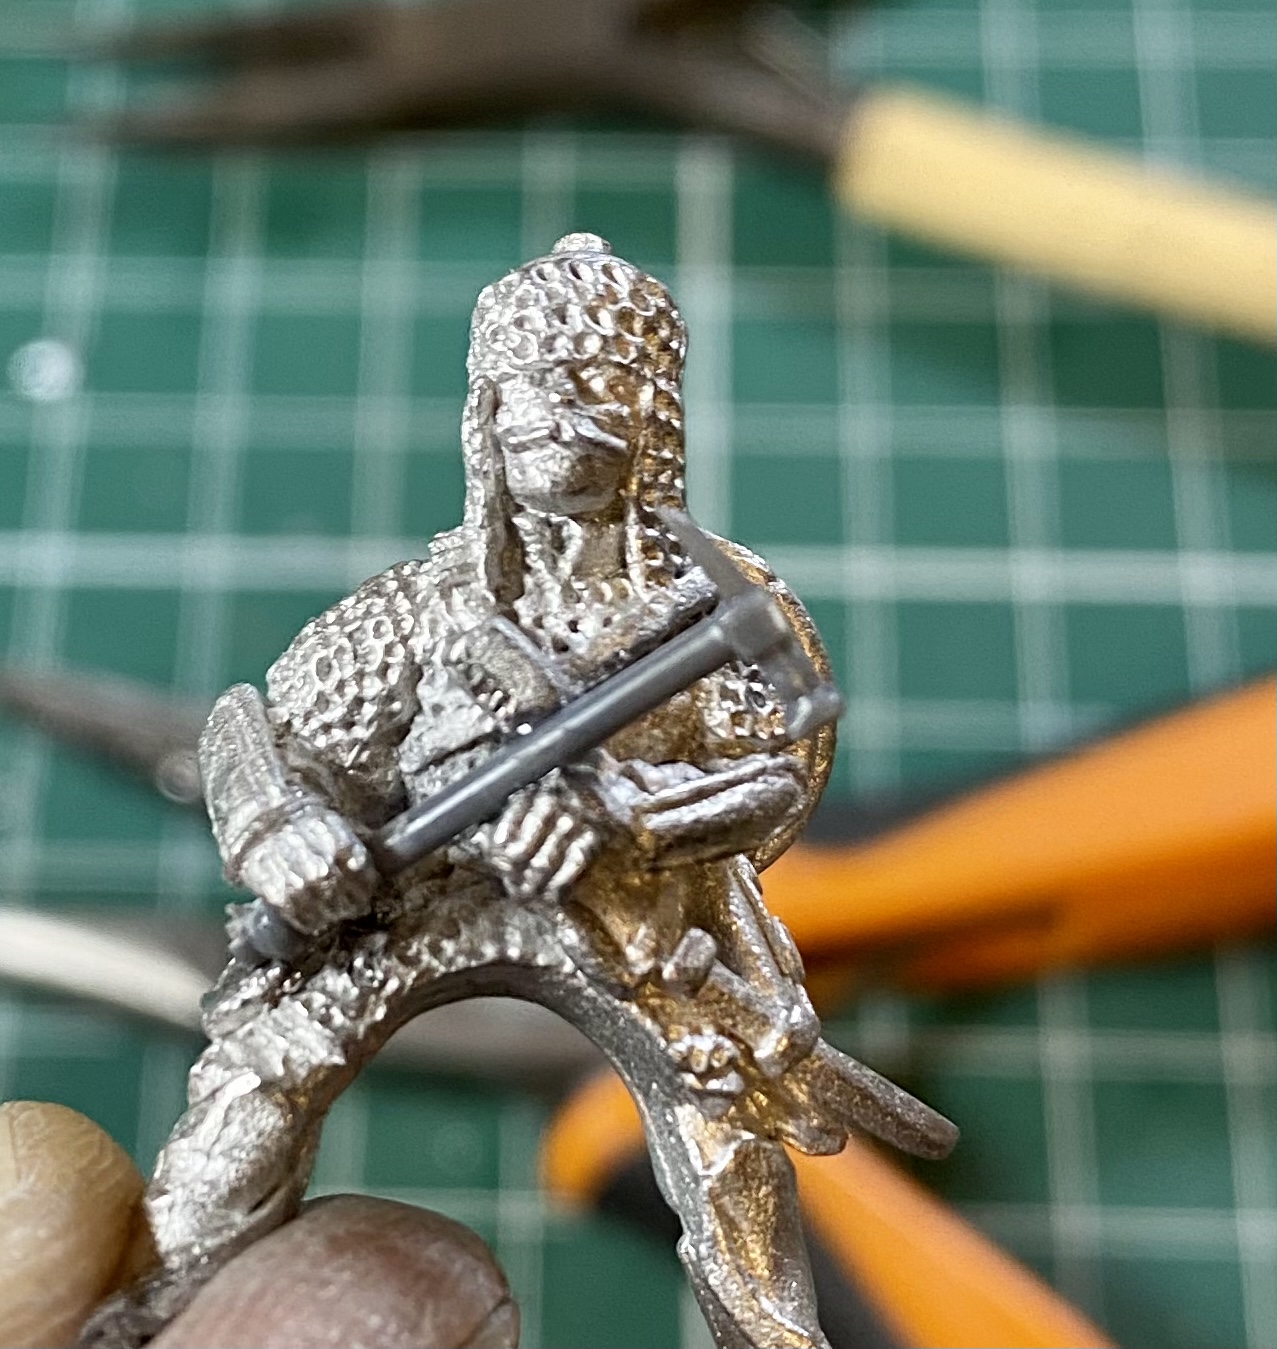
The cossack cavalry had been typically unarmoured, but in this period armour was beginning to be used by some individuals. It is difficult to say how widespread the practice was, but Polish commanders were starting to call for the cossack cavalry to be armoured, especially where they were expected to face Western style cavalry in hand to hand combat. Armour would normally be in the form of a short chainmail shirt, often with plate metal vambraces to protect the lower arms. Helmets would also be rare, and were used, typically of the ‘misiurka’ form, a plate metal skull cap with chainmail suspended from it that protected the back and side of the head, as well as the neck. Small round shields of the ‘kalkan’ type were also carried by some cossack cavalry to provide protection.
The Wargaming Unit
Most of my figures for this unit come from The Assault Group (TAG) who have a fairly extensive range of Polish troops for the period, including cossack cavalry. I have also used a couple of rider figures from the Foundry range. Finally I have a couple of riders from the Warlord Games Croat set. To include a few riders in armour I have used ‘Pancerni’ figures from the TAG and Foundry ranges. Pancerni as a separate class of cavalry within Polish armies comes slightly later in the 17th century, but the figures are just right to represent the richer/better equipped cossacks in my earlier army.
 A Foundry cossack, with some potential extra accessories from TAG
I have noticed while looking at period pictures of Polish nobles and cavalry that they are always very well armed. This might be a horseman’s pick as well as their sabre, a bow as well as a carbine, the addition of pistols, or any combination of these weapons. I therefore wanted to try and give the impression of the cossack cavalry being ‘tooled up’ so to speak! I found some suitable extra carbines, and bows in eastern-style cases, in the accessories part of the TAG online catalogue. TAG also make extra kalkan type shields that were another item that the best dressed cossack cavalry shouldn’t be without. These bows, carbines and shields were added to a few figures to give them the ‘well armed’ look that I was after.
 TAG Pancerni figure with Warlord plastic horseman’s pick added
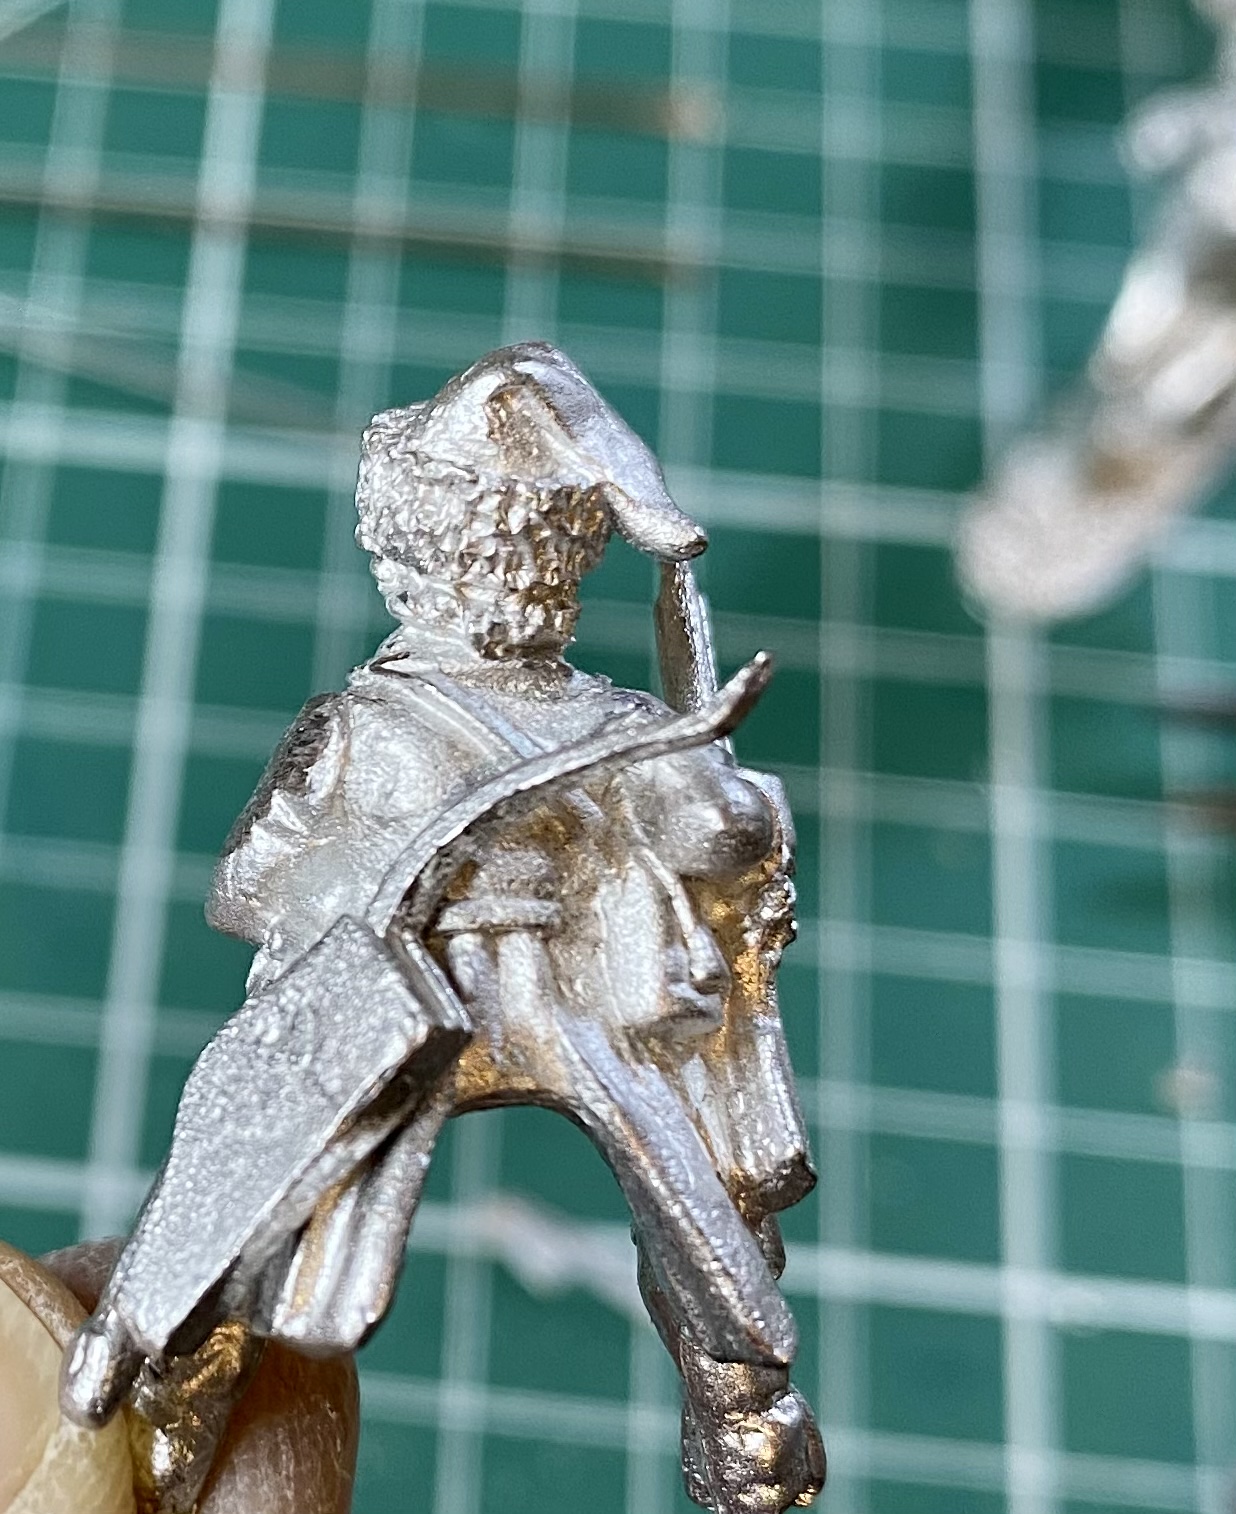 TAG cossack with TAG bow added
Adding Some Colour
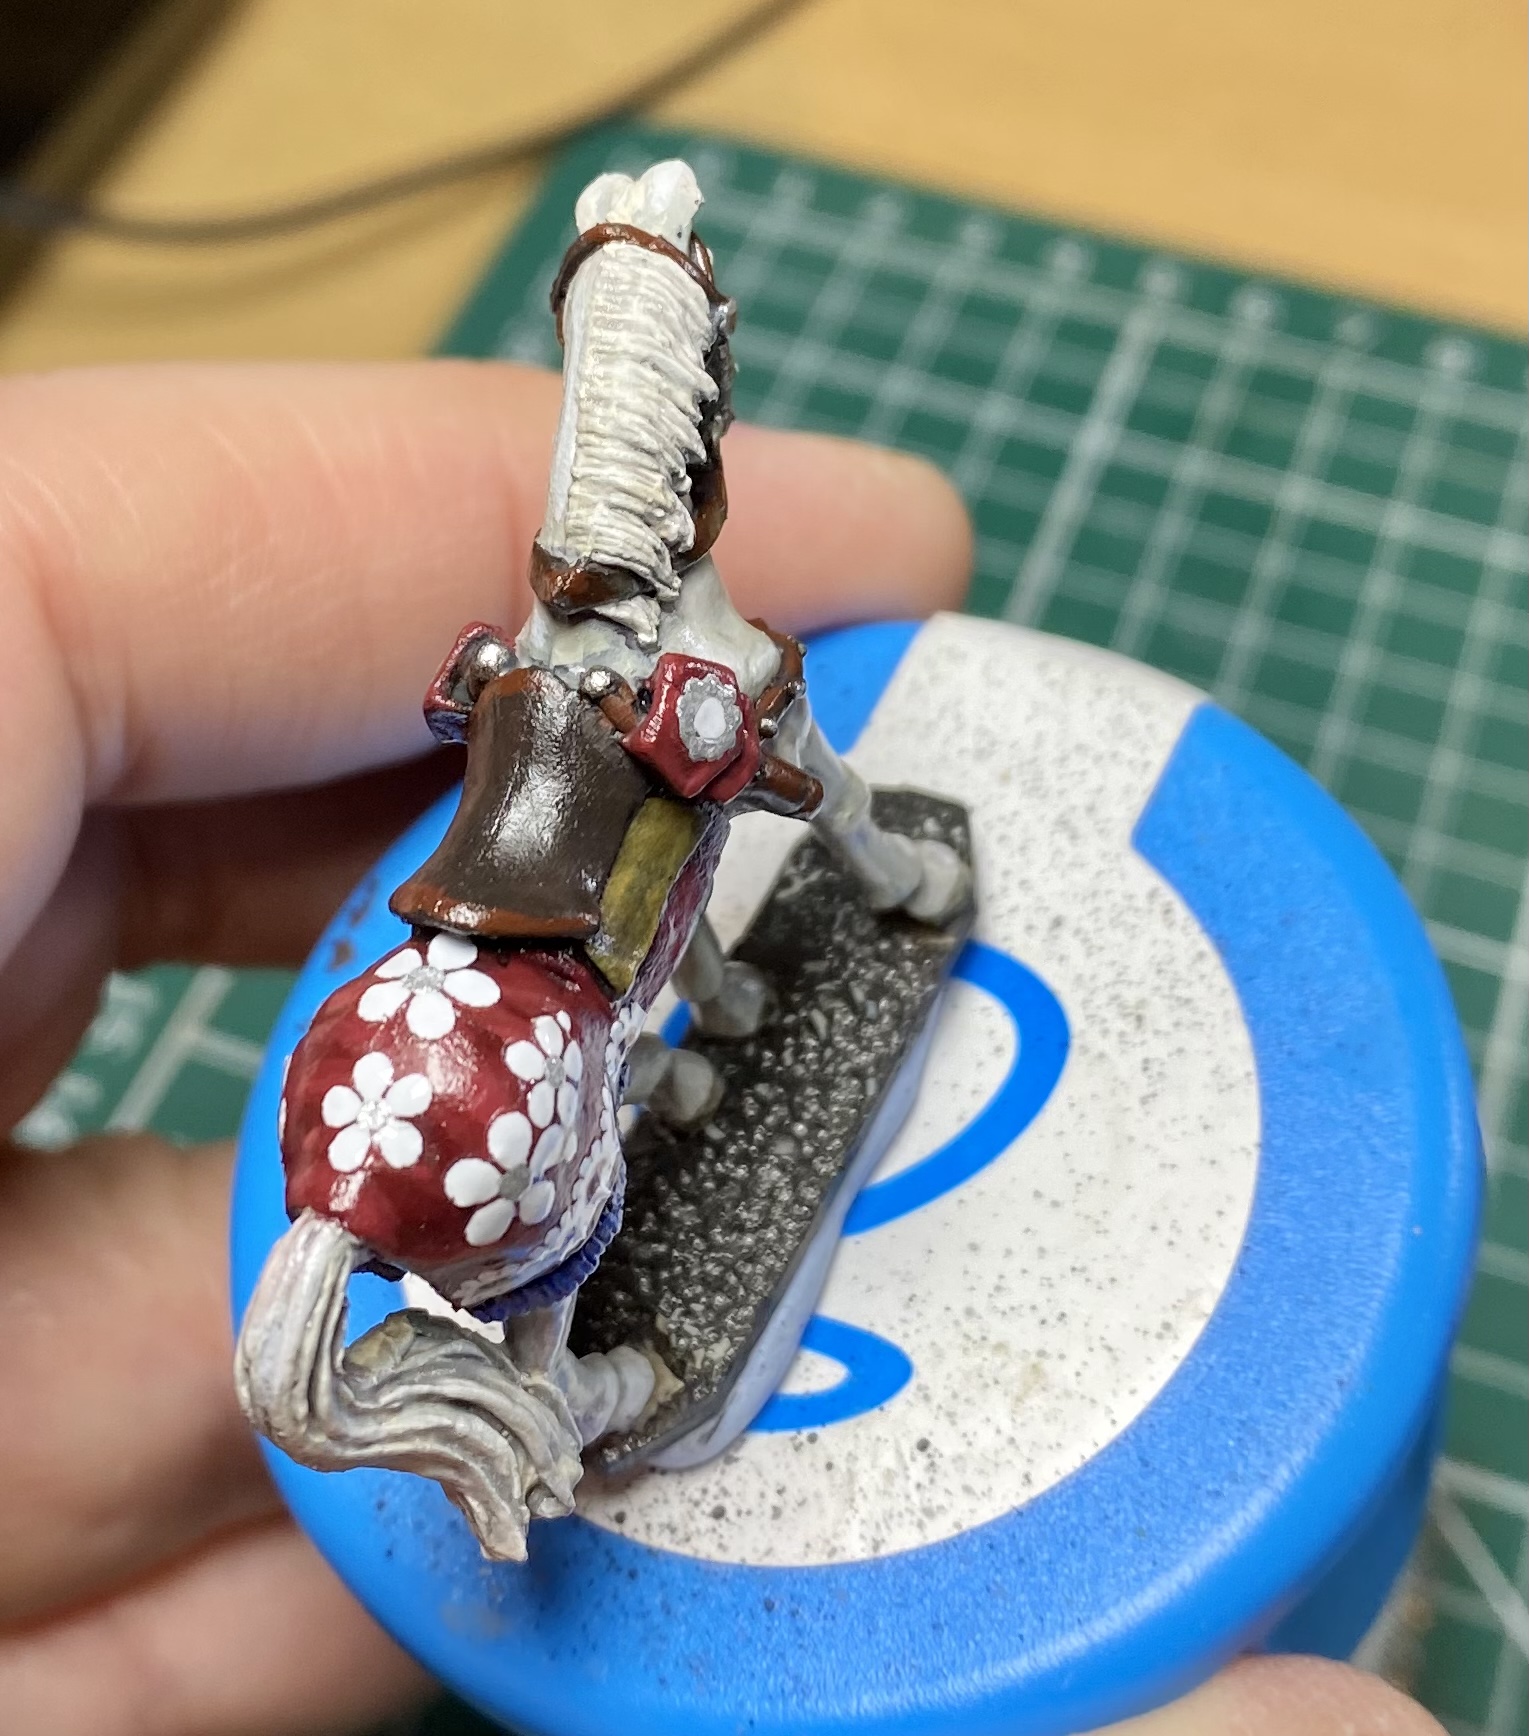
There were no uniforms issued to the cossack cavalry and so I was free to paint up the unit in a variety of colours. Red was a popular colour for Polish nobles, and often used for the finest and therefore most expensive clothes, so my most armoured and wealthiest nobles have red clothing. For the remainder I used shades of blue and green that were also popular, but perhaps cheaper.
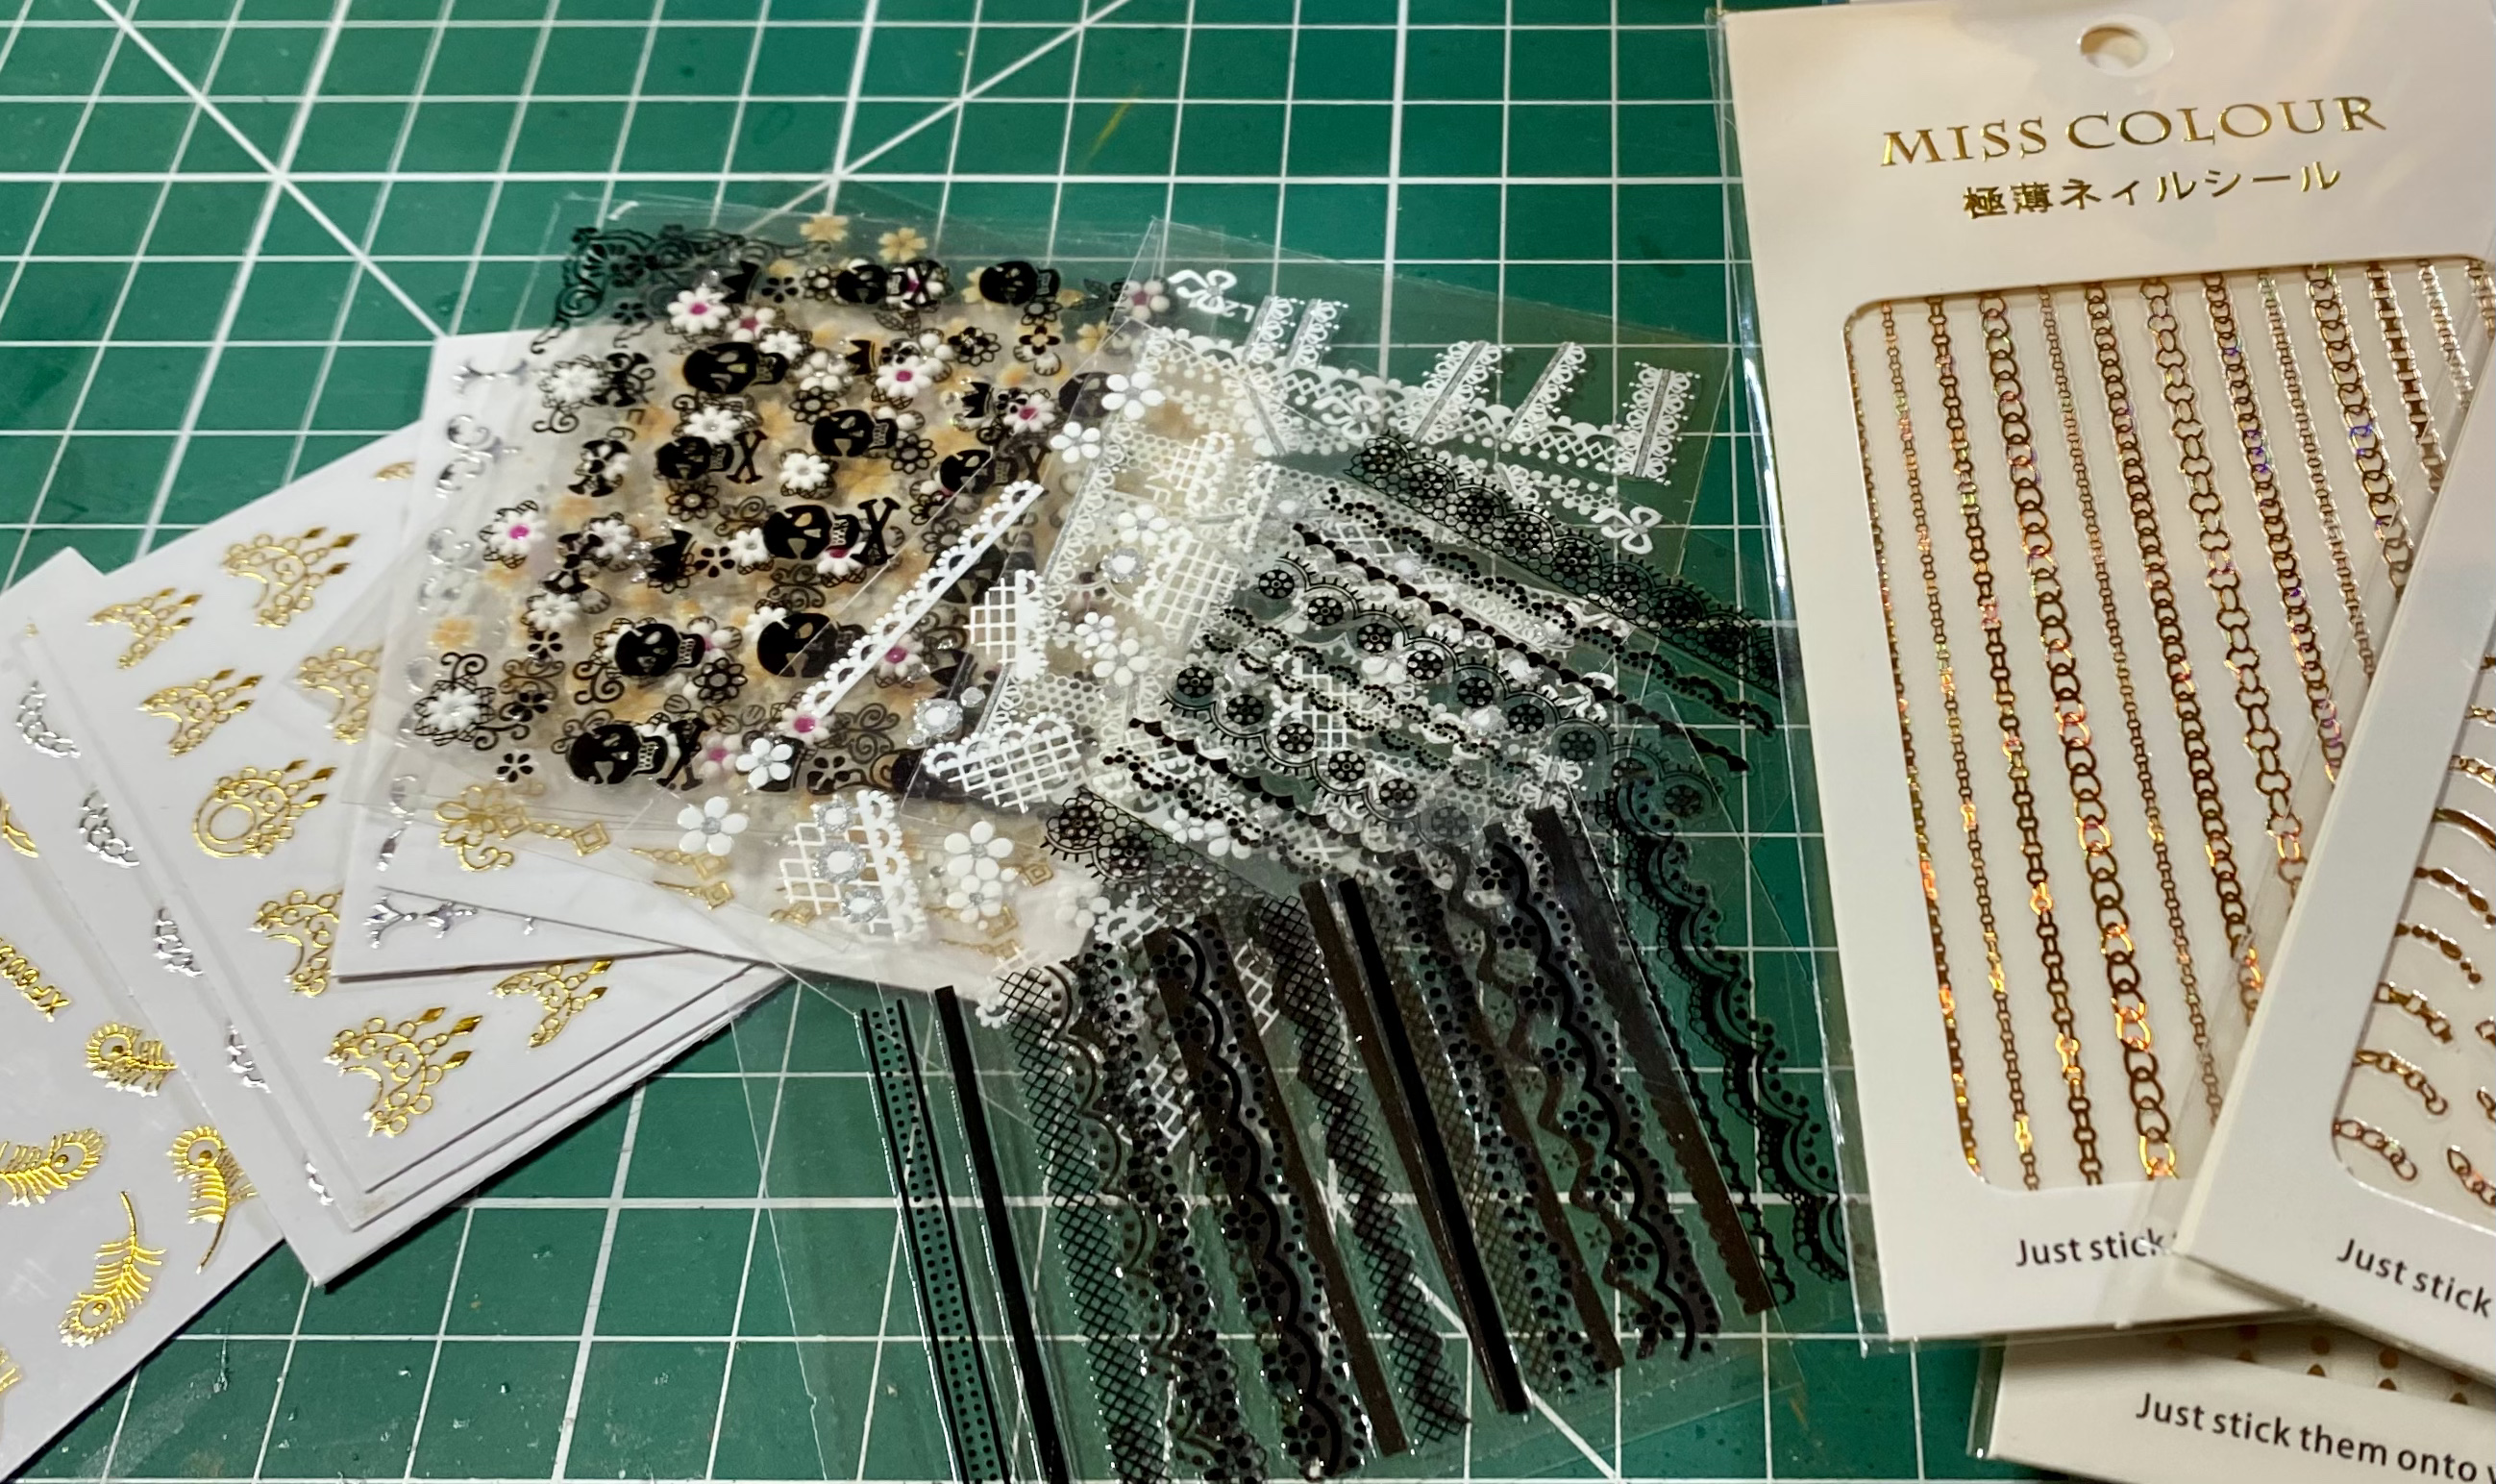 Nail Art stickers from Amazon
 As well as the riders clothing, there were often ornate decorative horse coverings used by the Polish nobles. I used fairly bright colours but I also needed some way to add patterns to them to represent the decoration seen in illustrations. I remembered seeing someone using nail transfers to jazz up their Polish cavalry (and they did a much better job than me!). I searched on Amazon for nail stickers and transfers and came up with many results. There is a bewildering array of designs available, many probably not very useful for wargames figures. I found you have to buy a selection and be prepared to sideline some of the designs, or perhaps pass them on to the people in your life that love nail art! The ones I bought are plastic stickers that need to be carefully peeled off the backing and then applied. Tweezers are a massive help for this.
Here are some of the horse trappings with added nail art. (Note that the pictures were taken before the final matt varnish so everything is still shiny from the gloss varnish stage.)

Next time, some more stickers, and more on the final unit.
From The Ground Up - Part 4
THIS CONTINUES THE BASING WALKTHROUGH FROM THE 3 PREVIOUS ENTRIES
Step 7.
I leave the base for an hour or so for the PVA to start holding the green stuff. I then prune any tufts or static grass that are hanging over the base edges with small scissors. This helps prevent problems with getting bases to sit tidily next to one another.
The final job is to tidy the base edges. These have often become messy with the application of filler, PVA and sand. I like a nice dark brown finish for the base edge and a fast way I have found to do this is Posca paint pens (available in some Hobbycraft stores in the UK or try Amazon).
 A messy base edge and the easy answer!
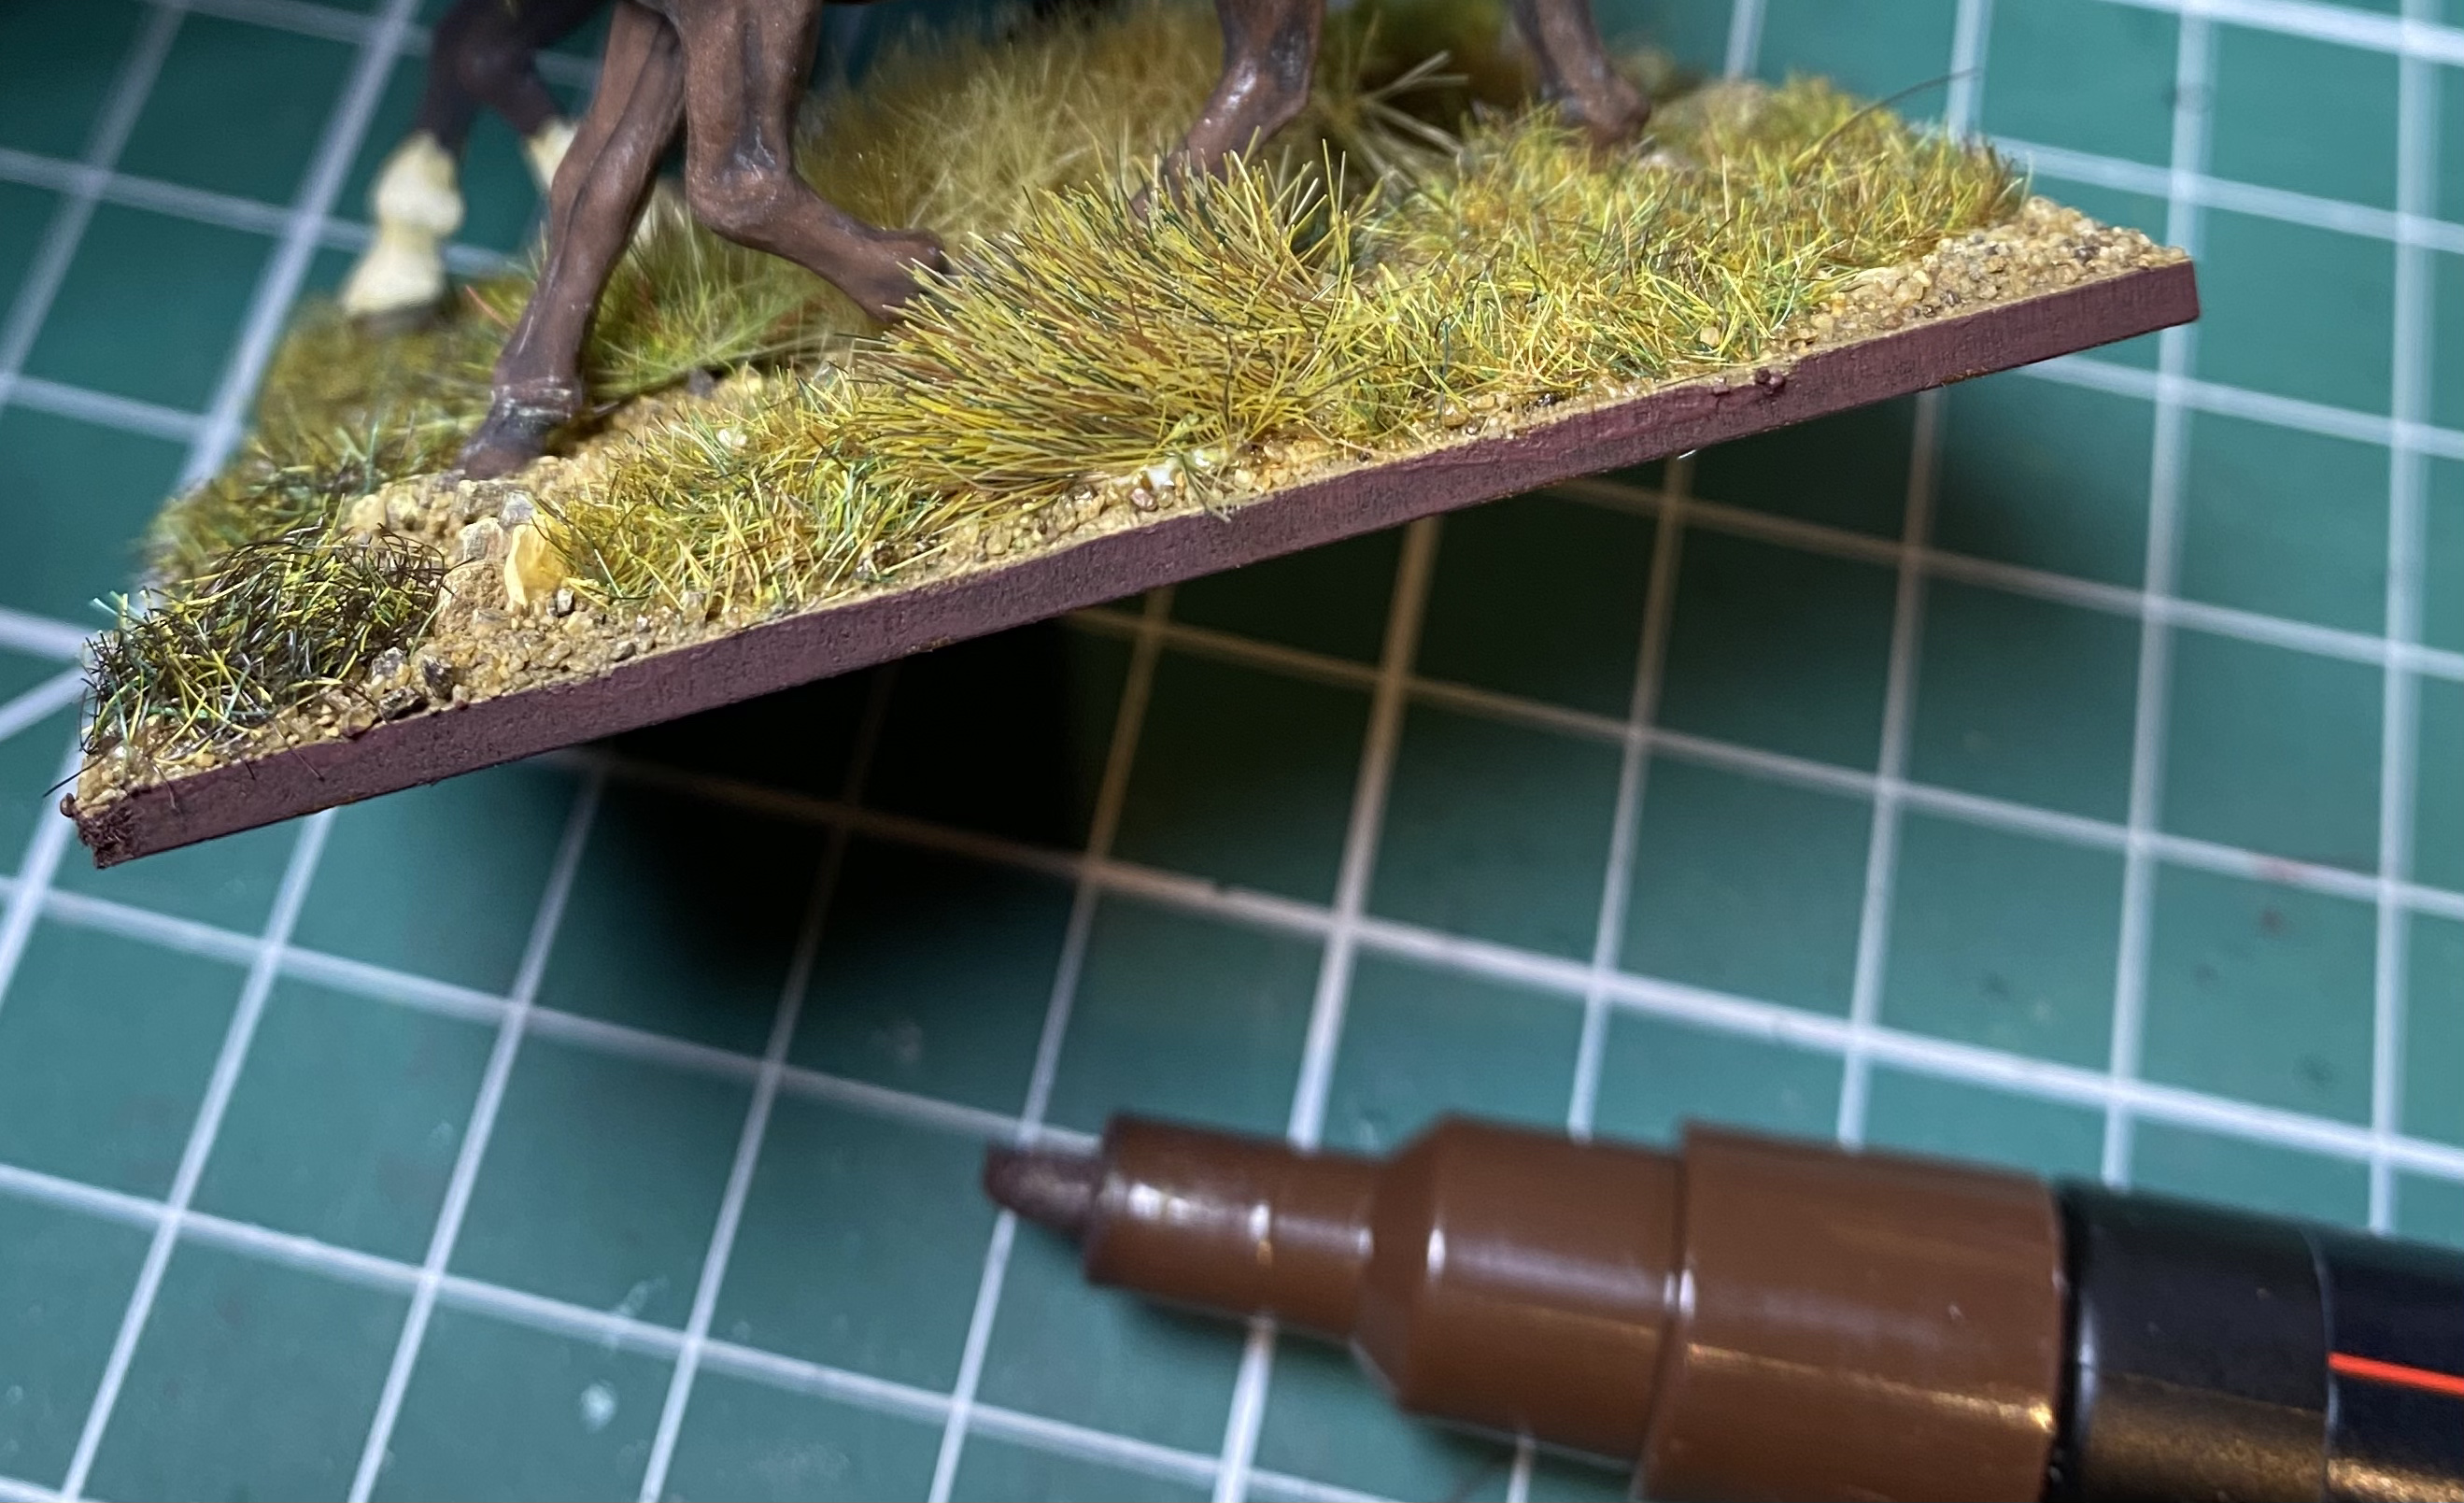 Painted base edge.
The based unit is now ready to take its place in the growing miniature army. I use this approach for 15mm (perhaps using smaller tufts) as well as 28mm. It is not the quickest method, but I like the end result, and I have honed down the steps over the years to make it is as efficient as possible. (The paint in the PVA was a major step forward!)
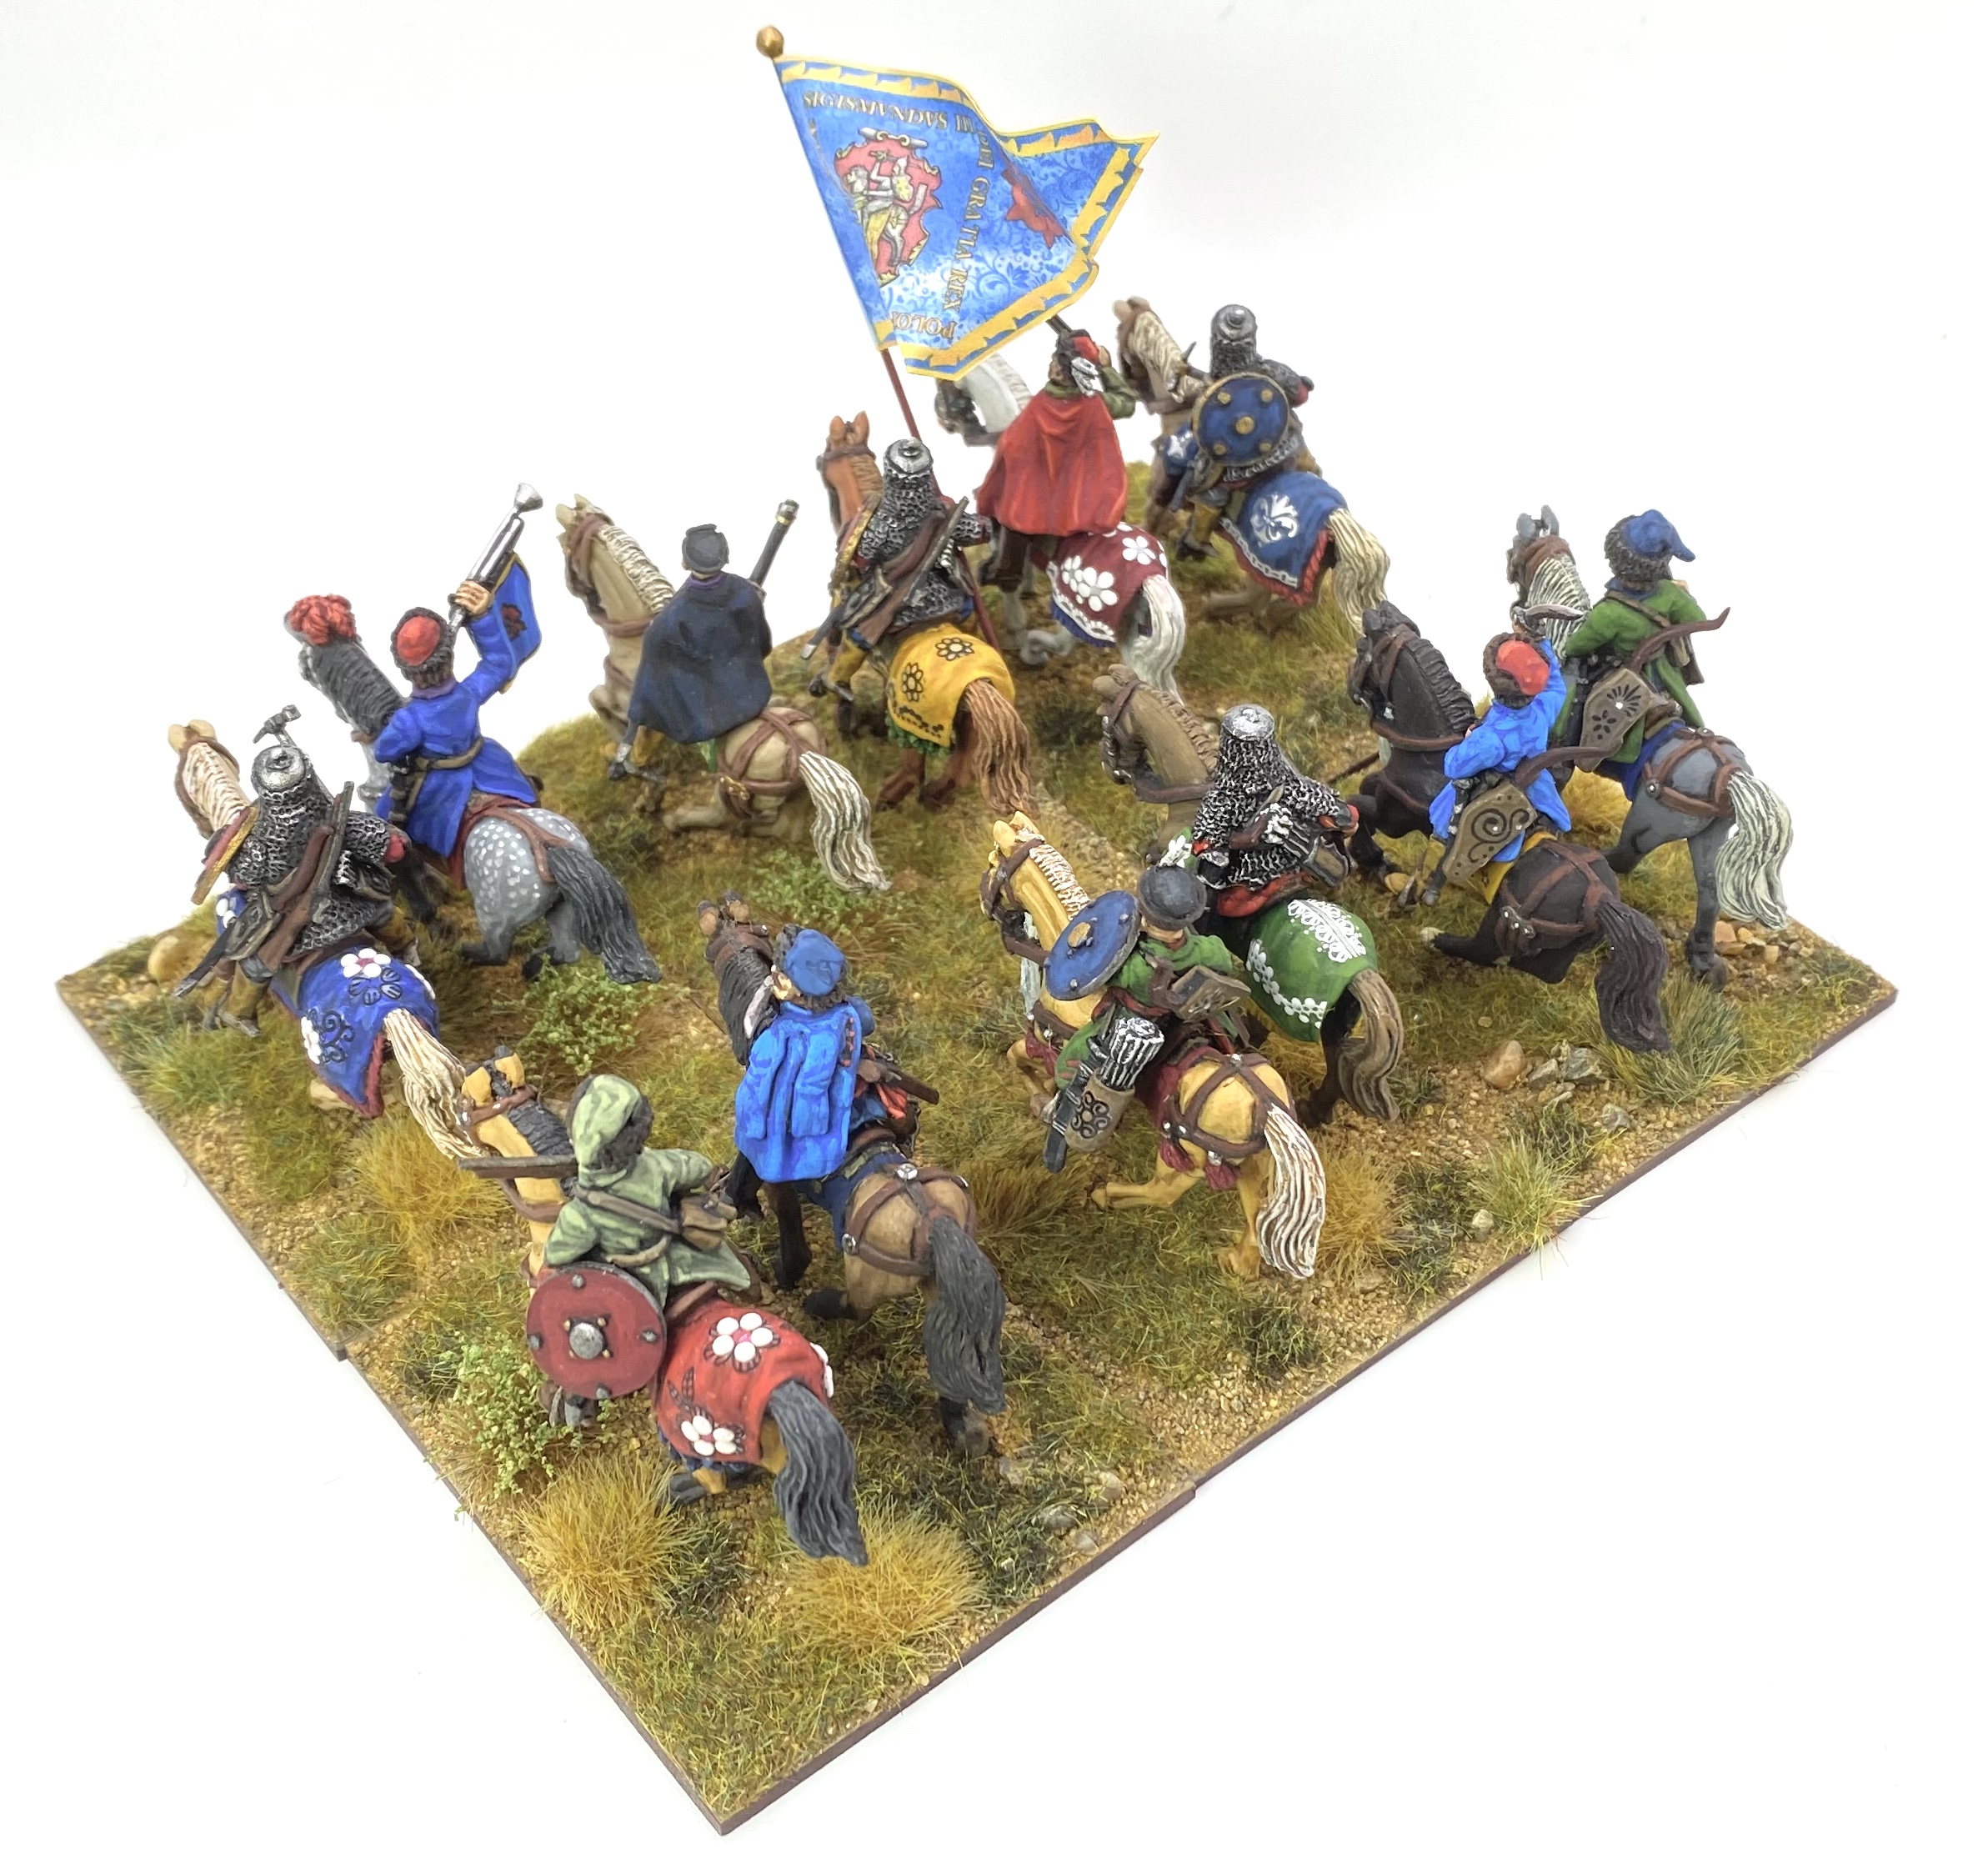
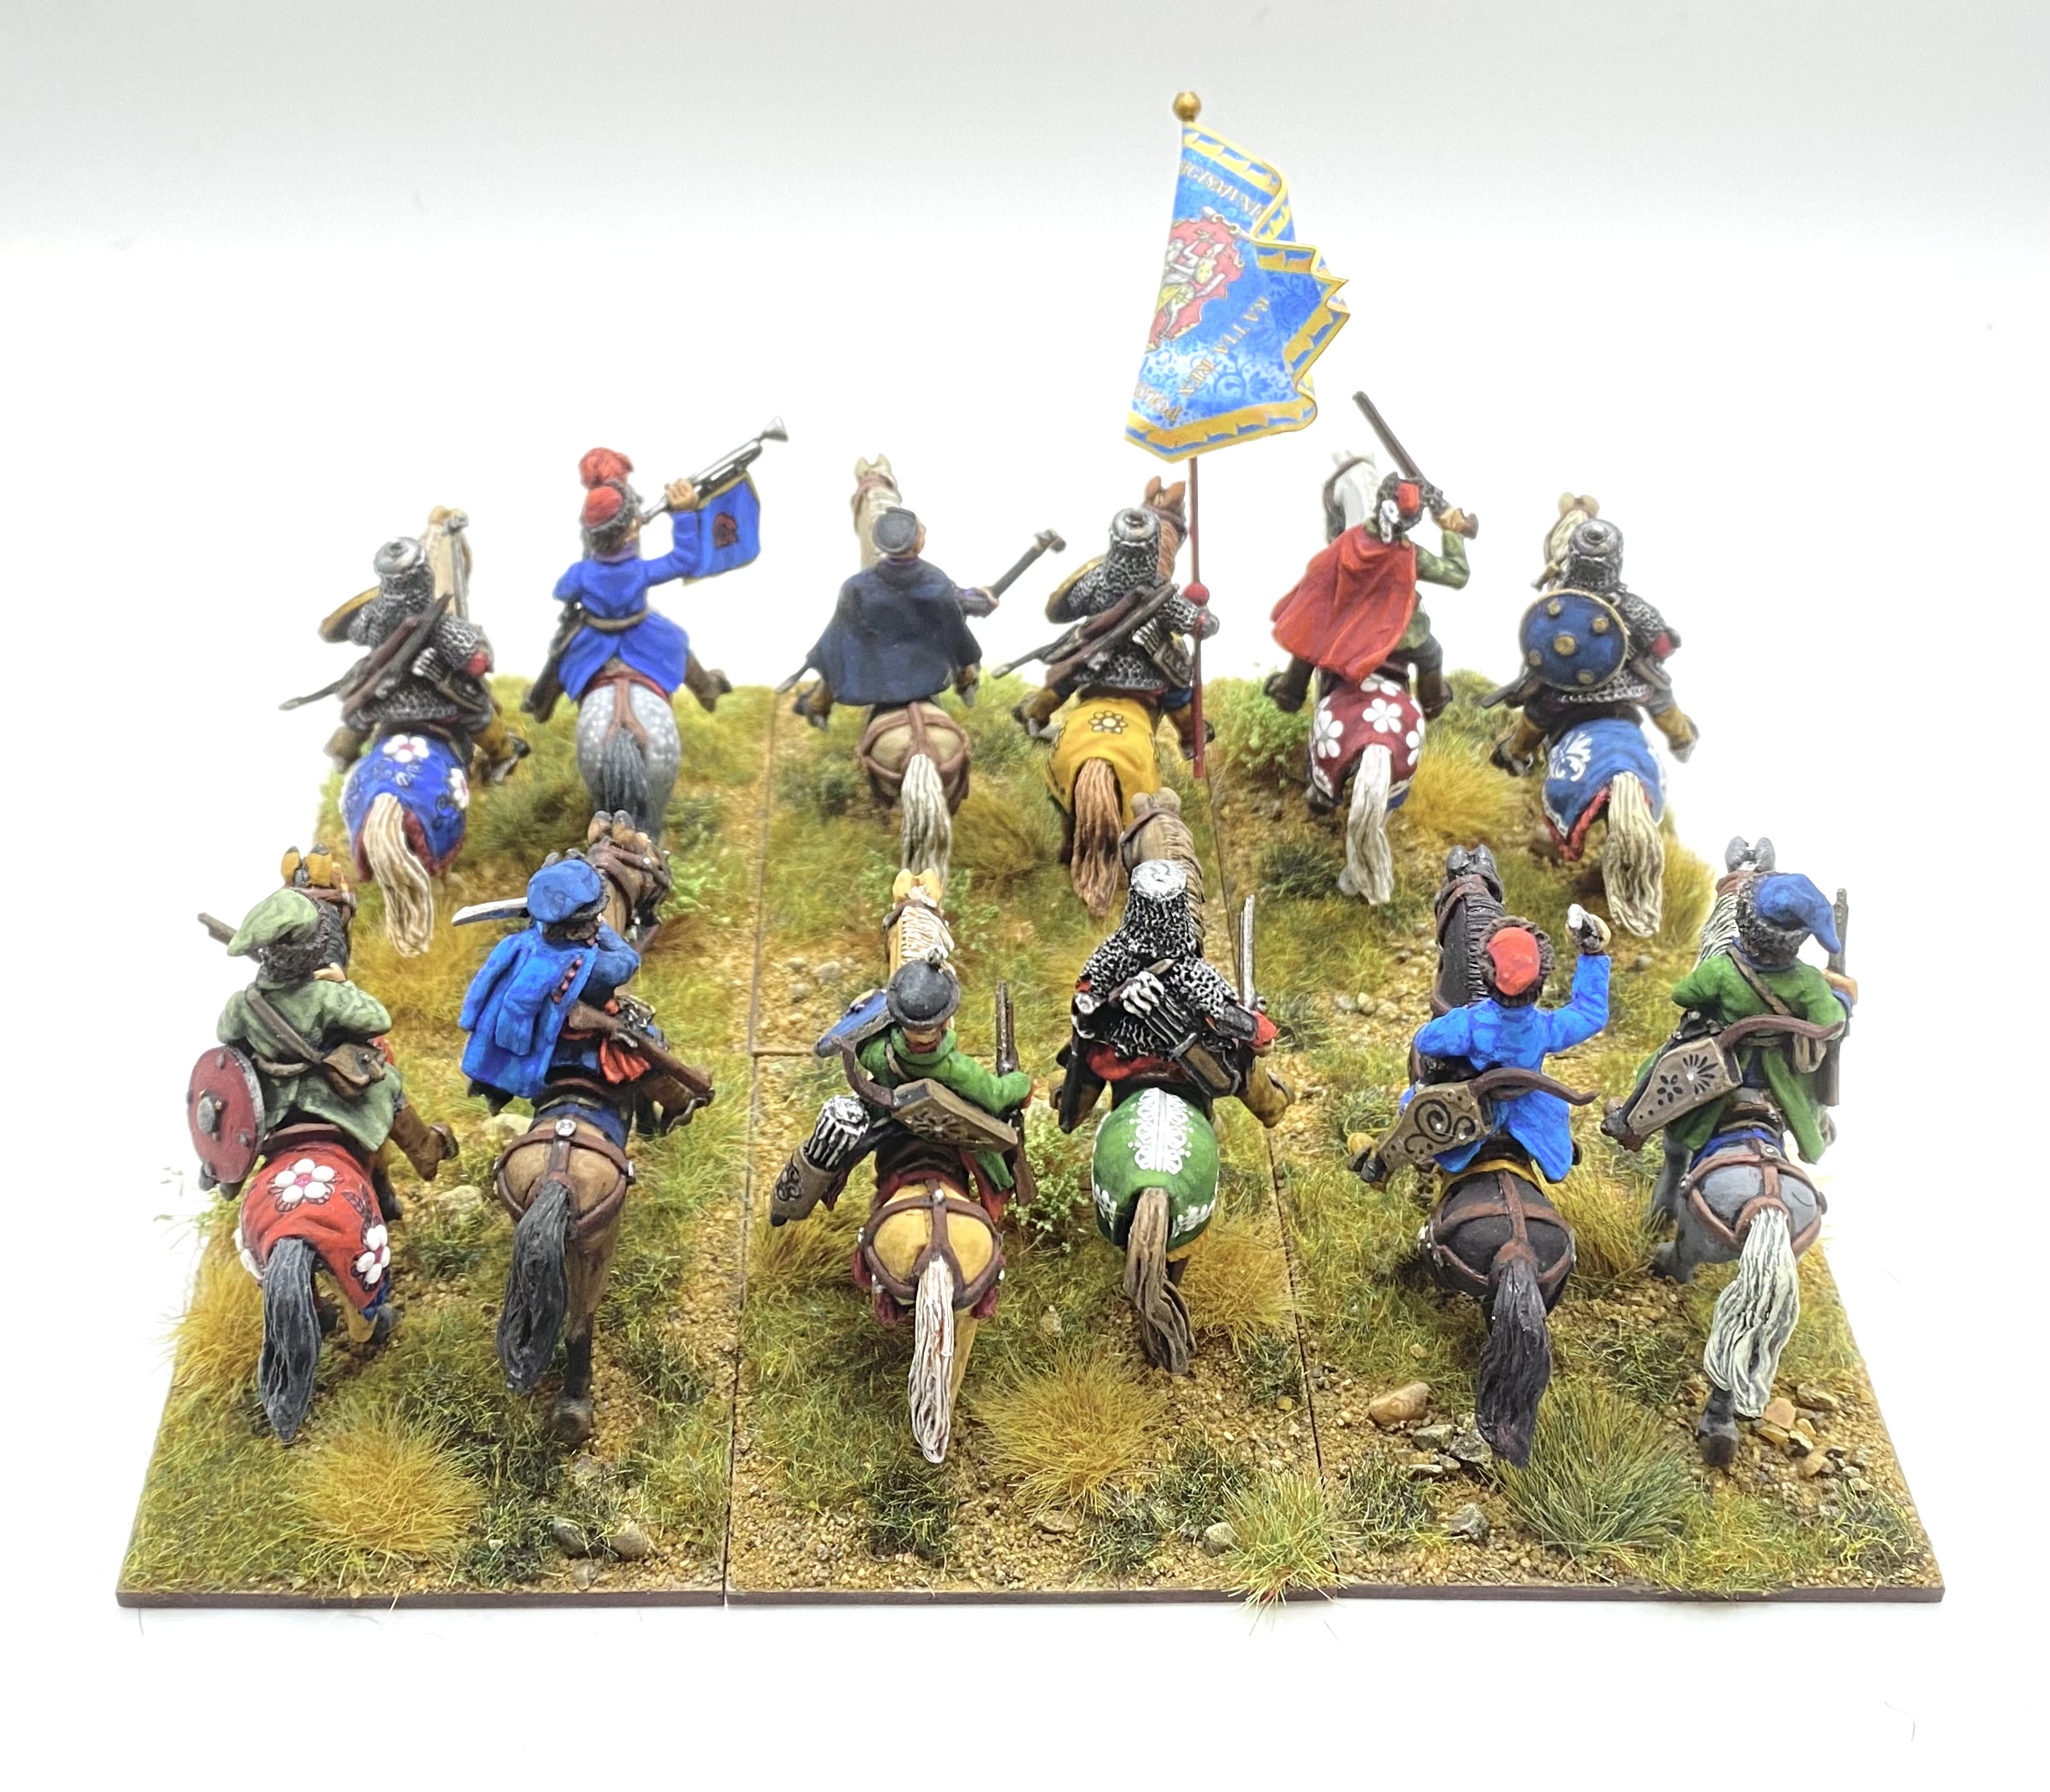
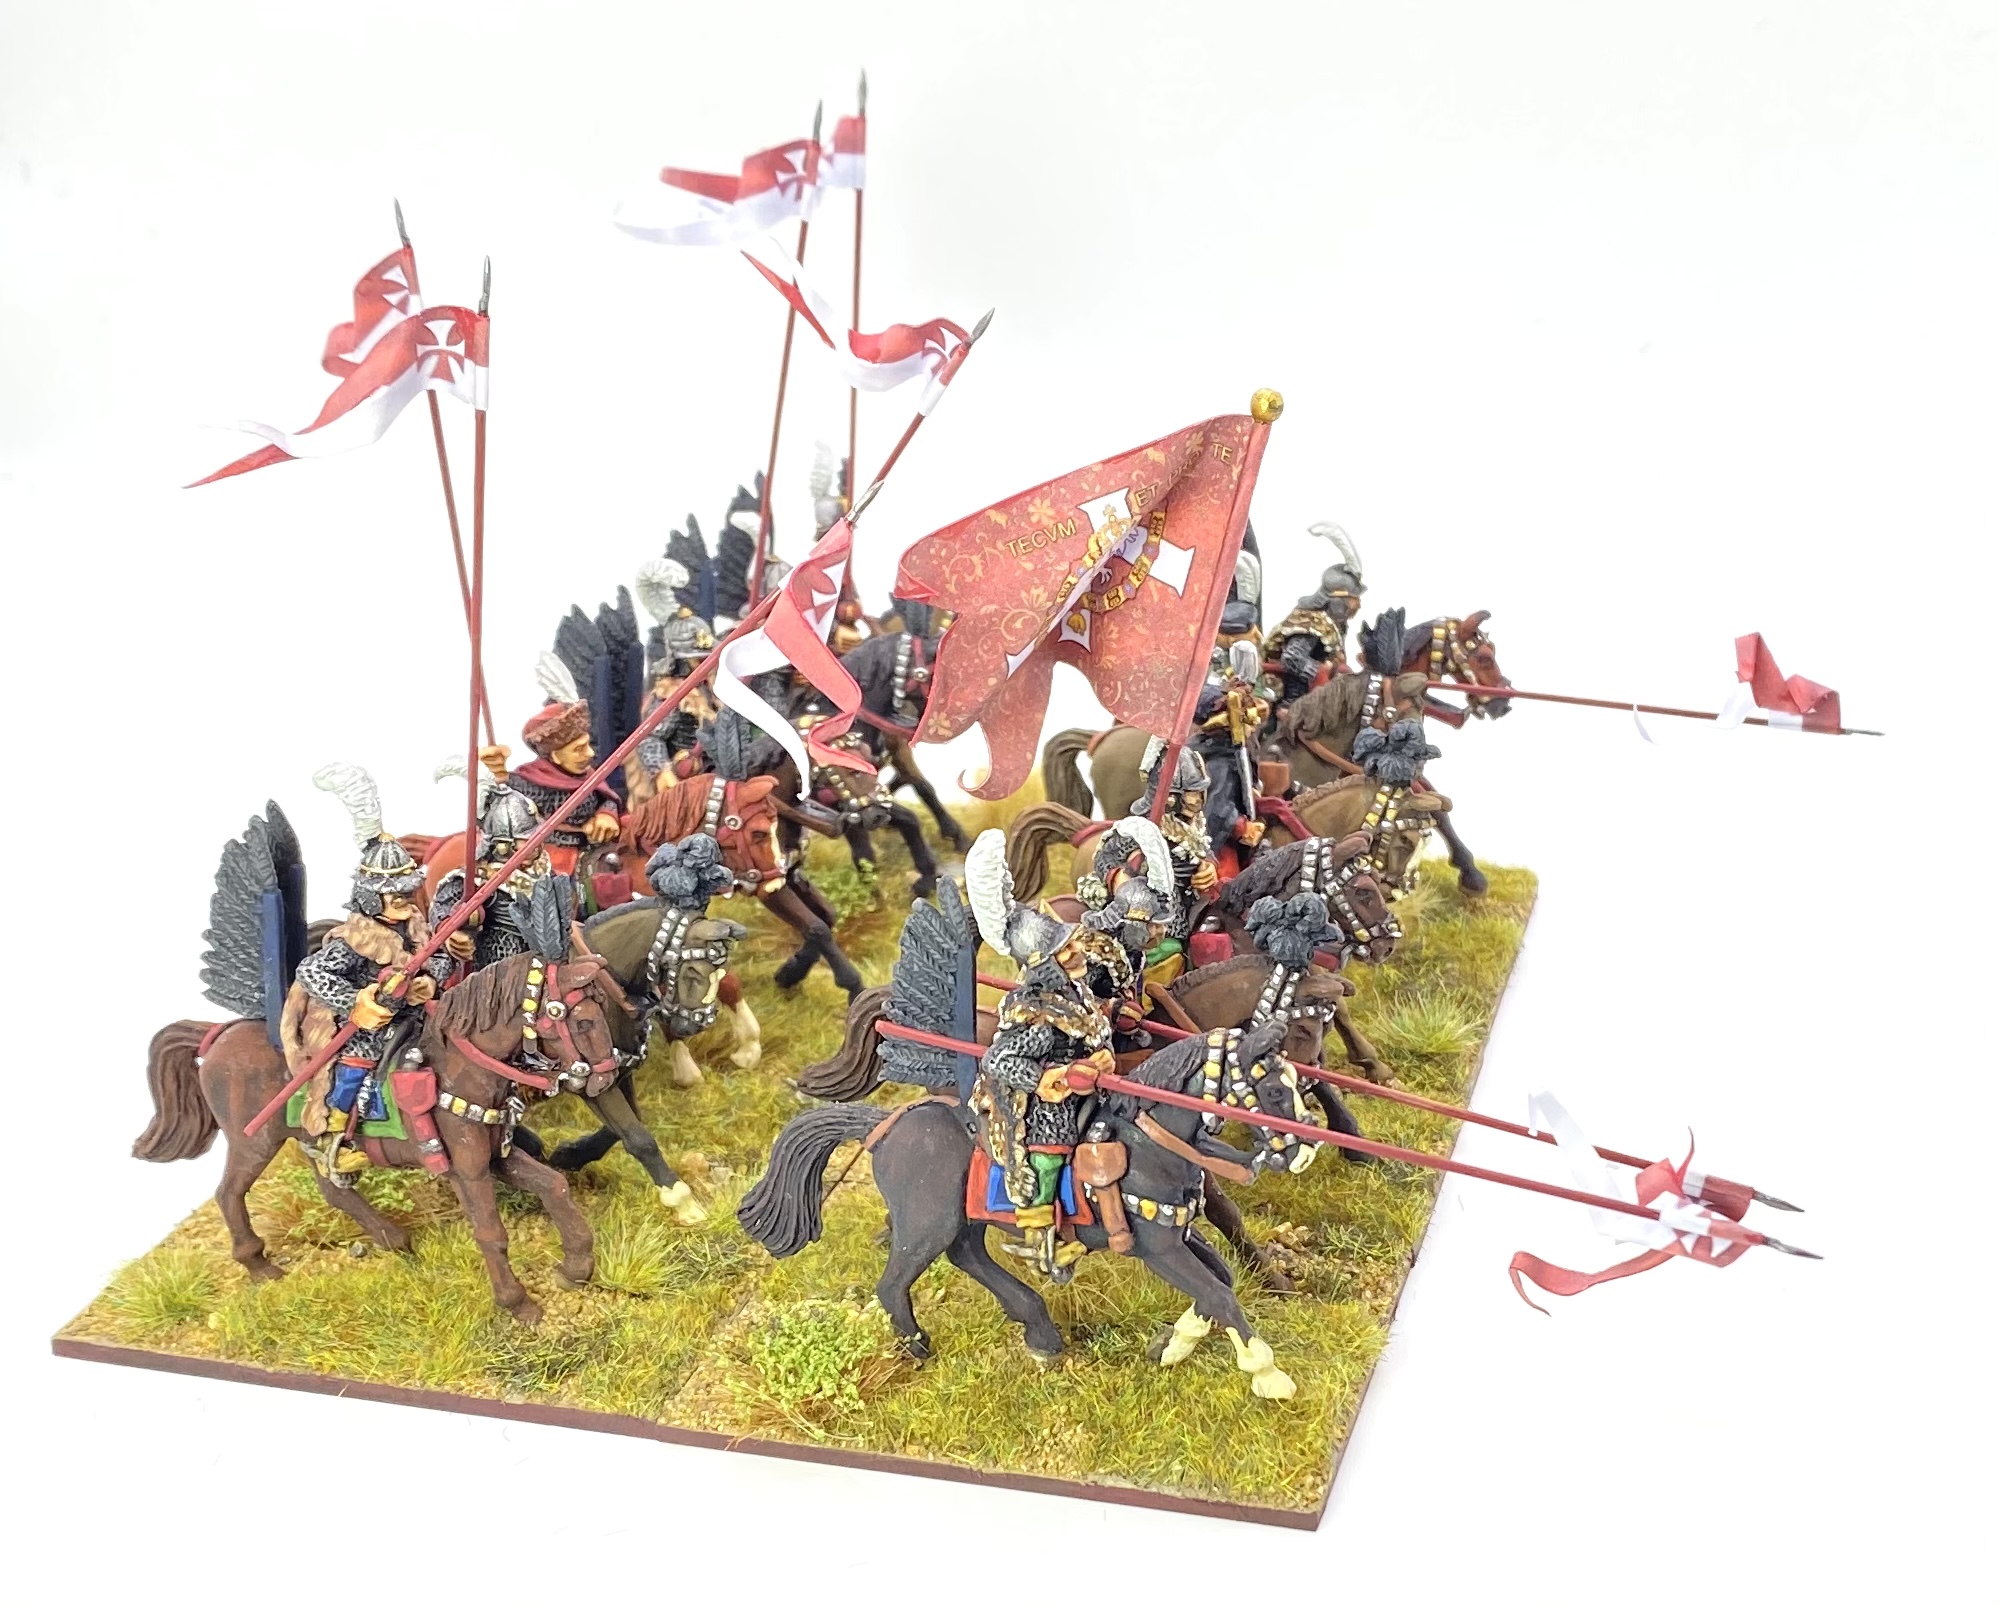
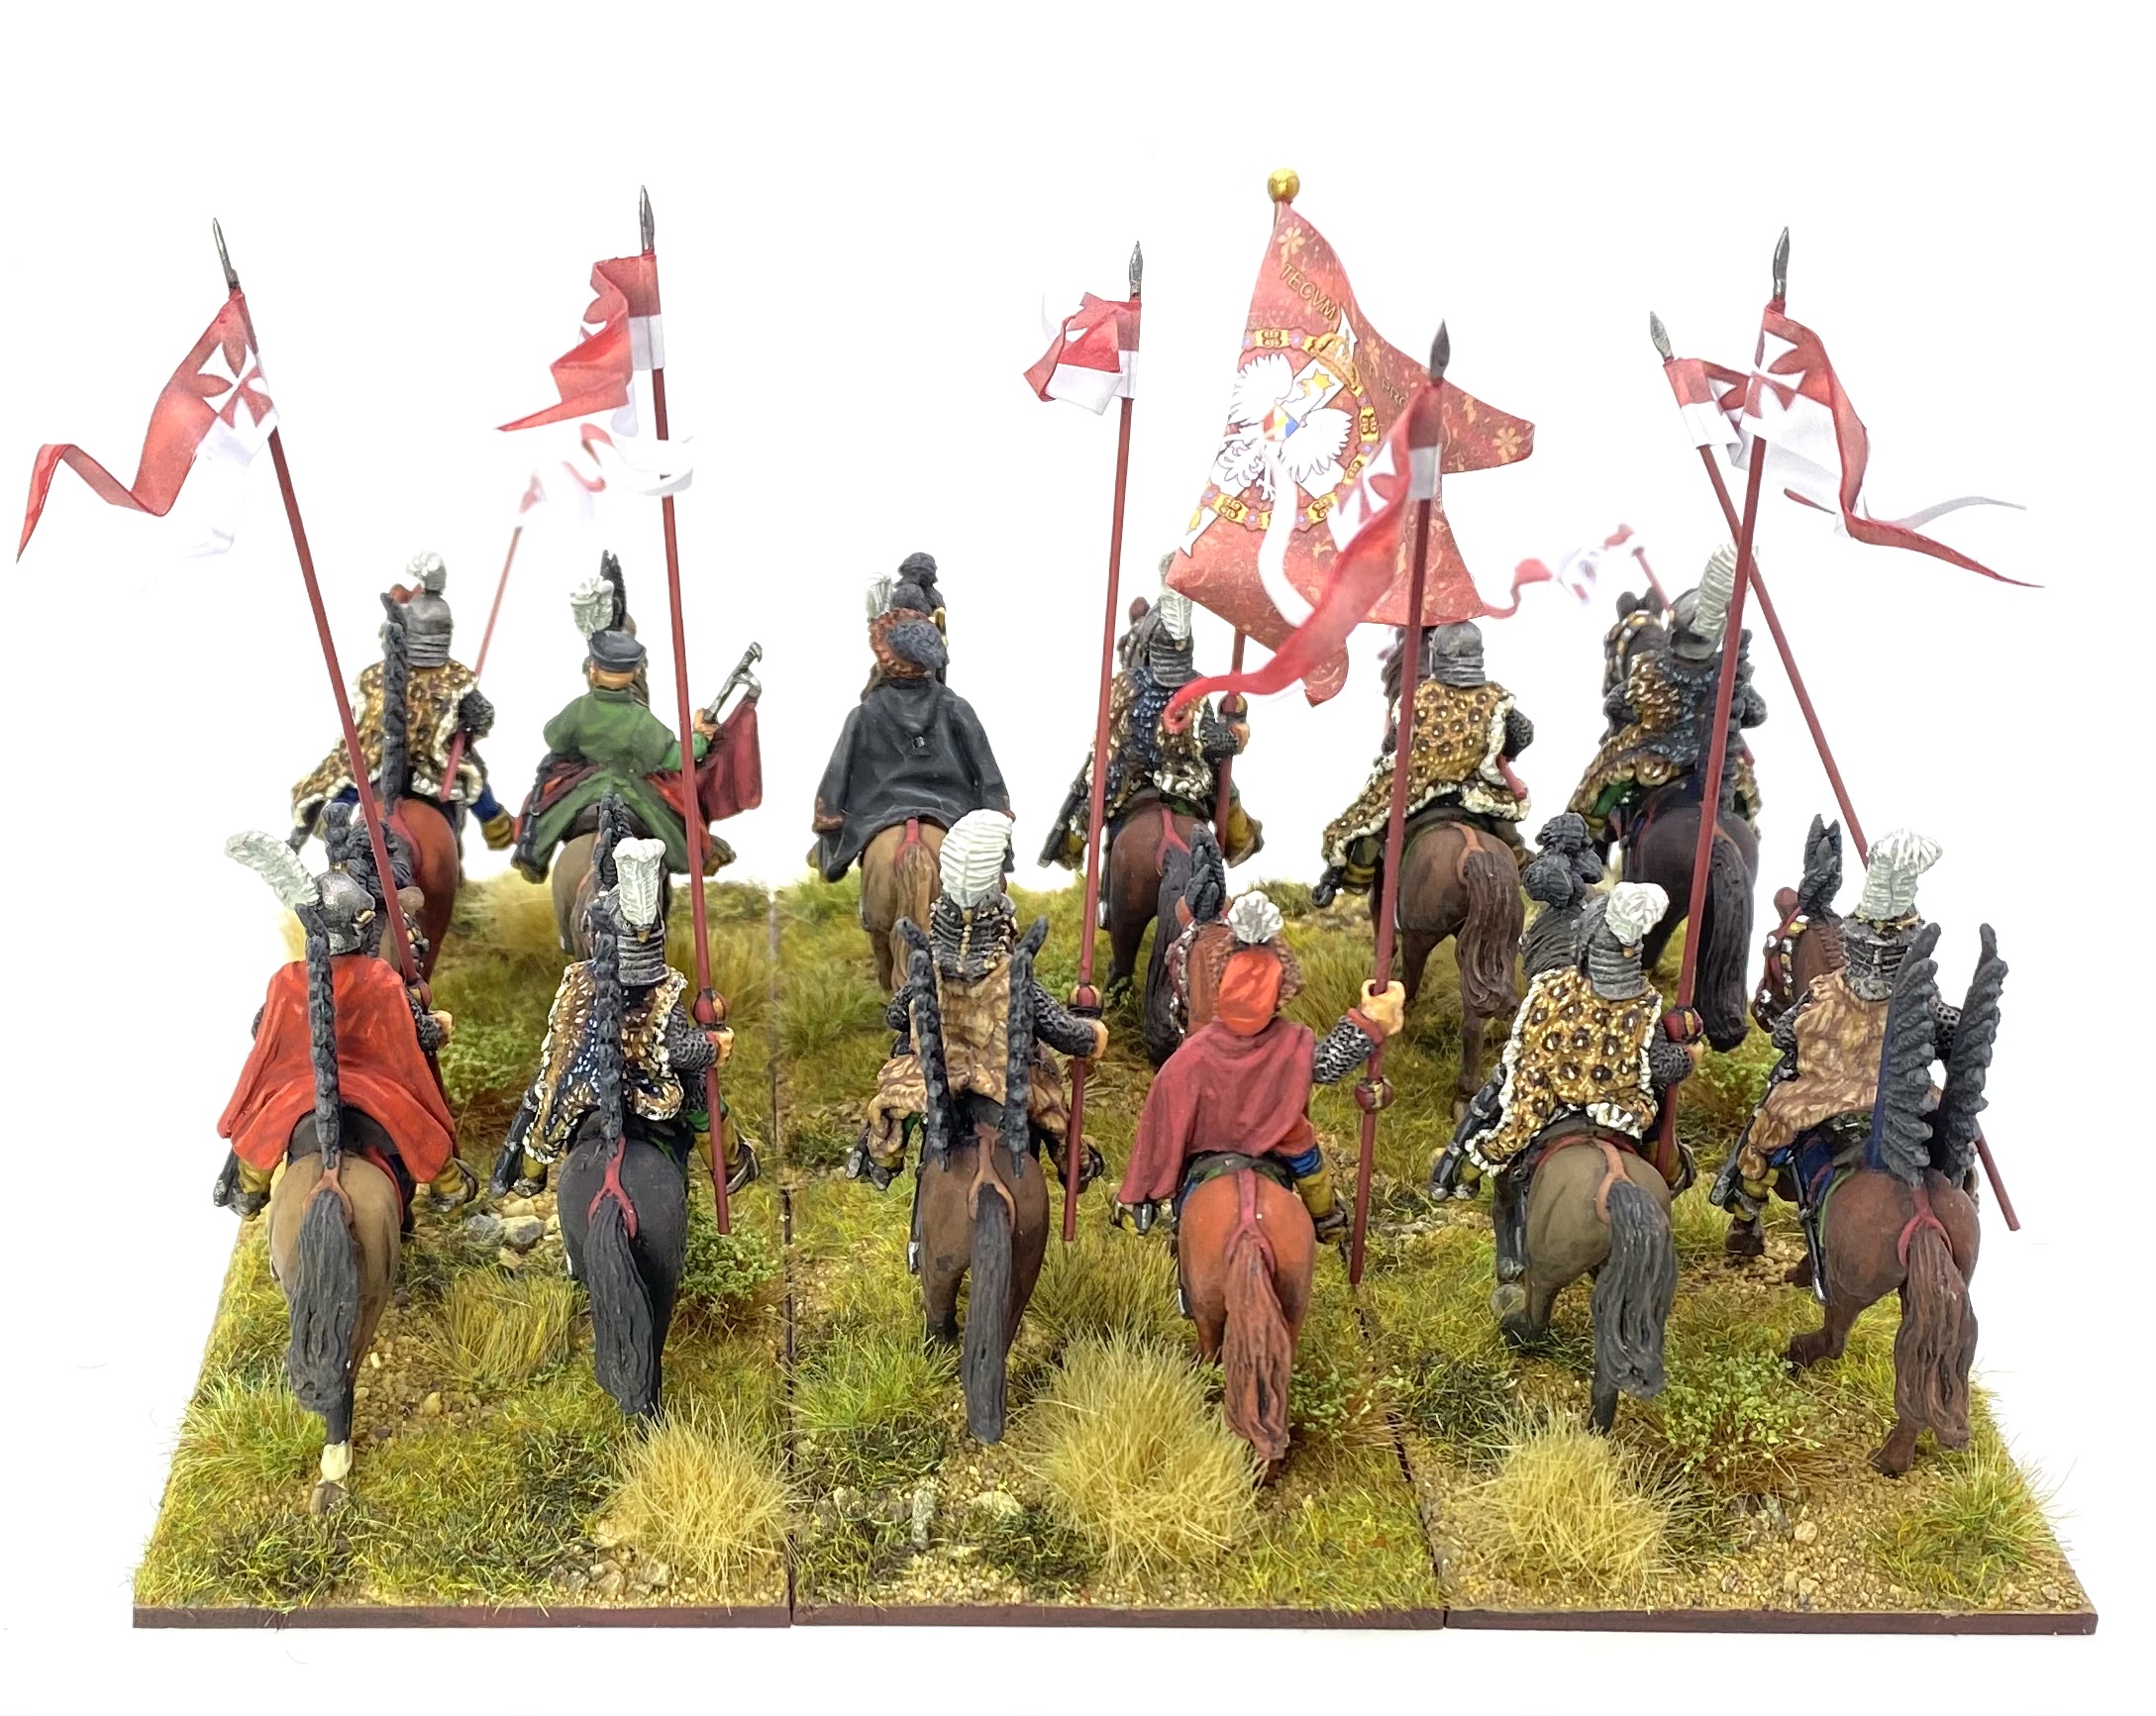
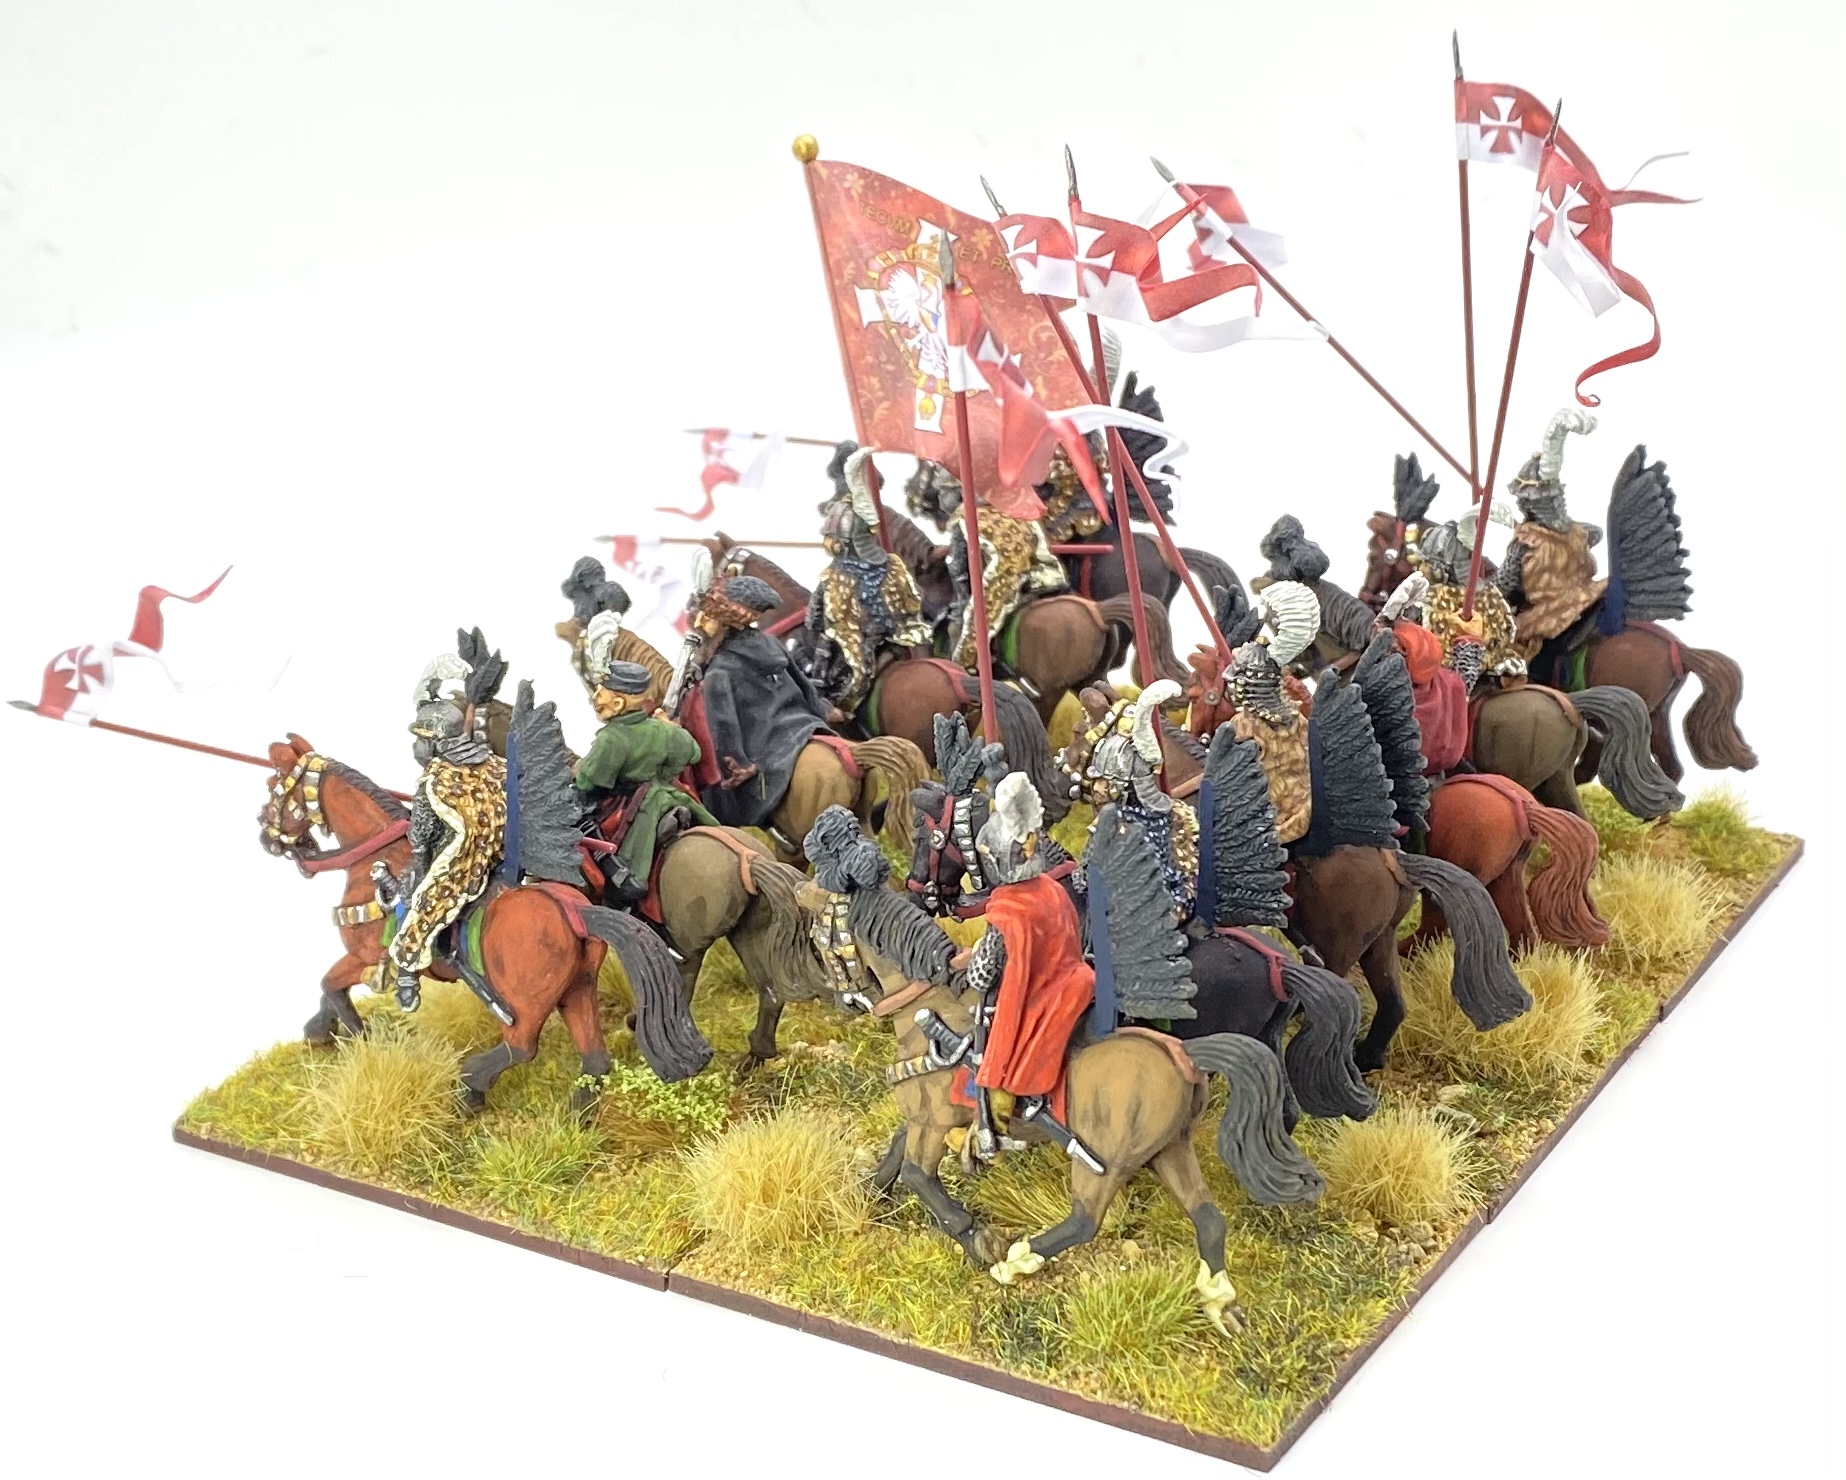
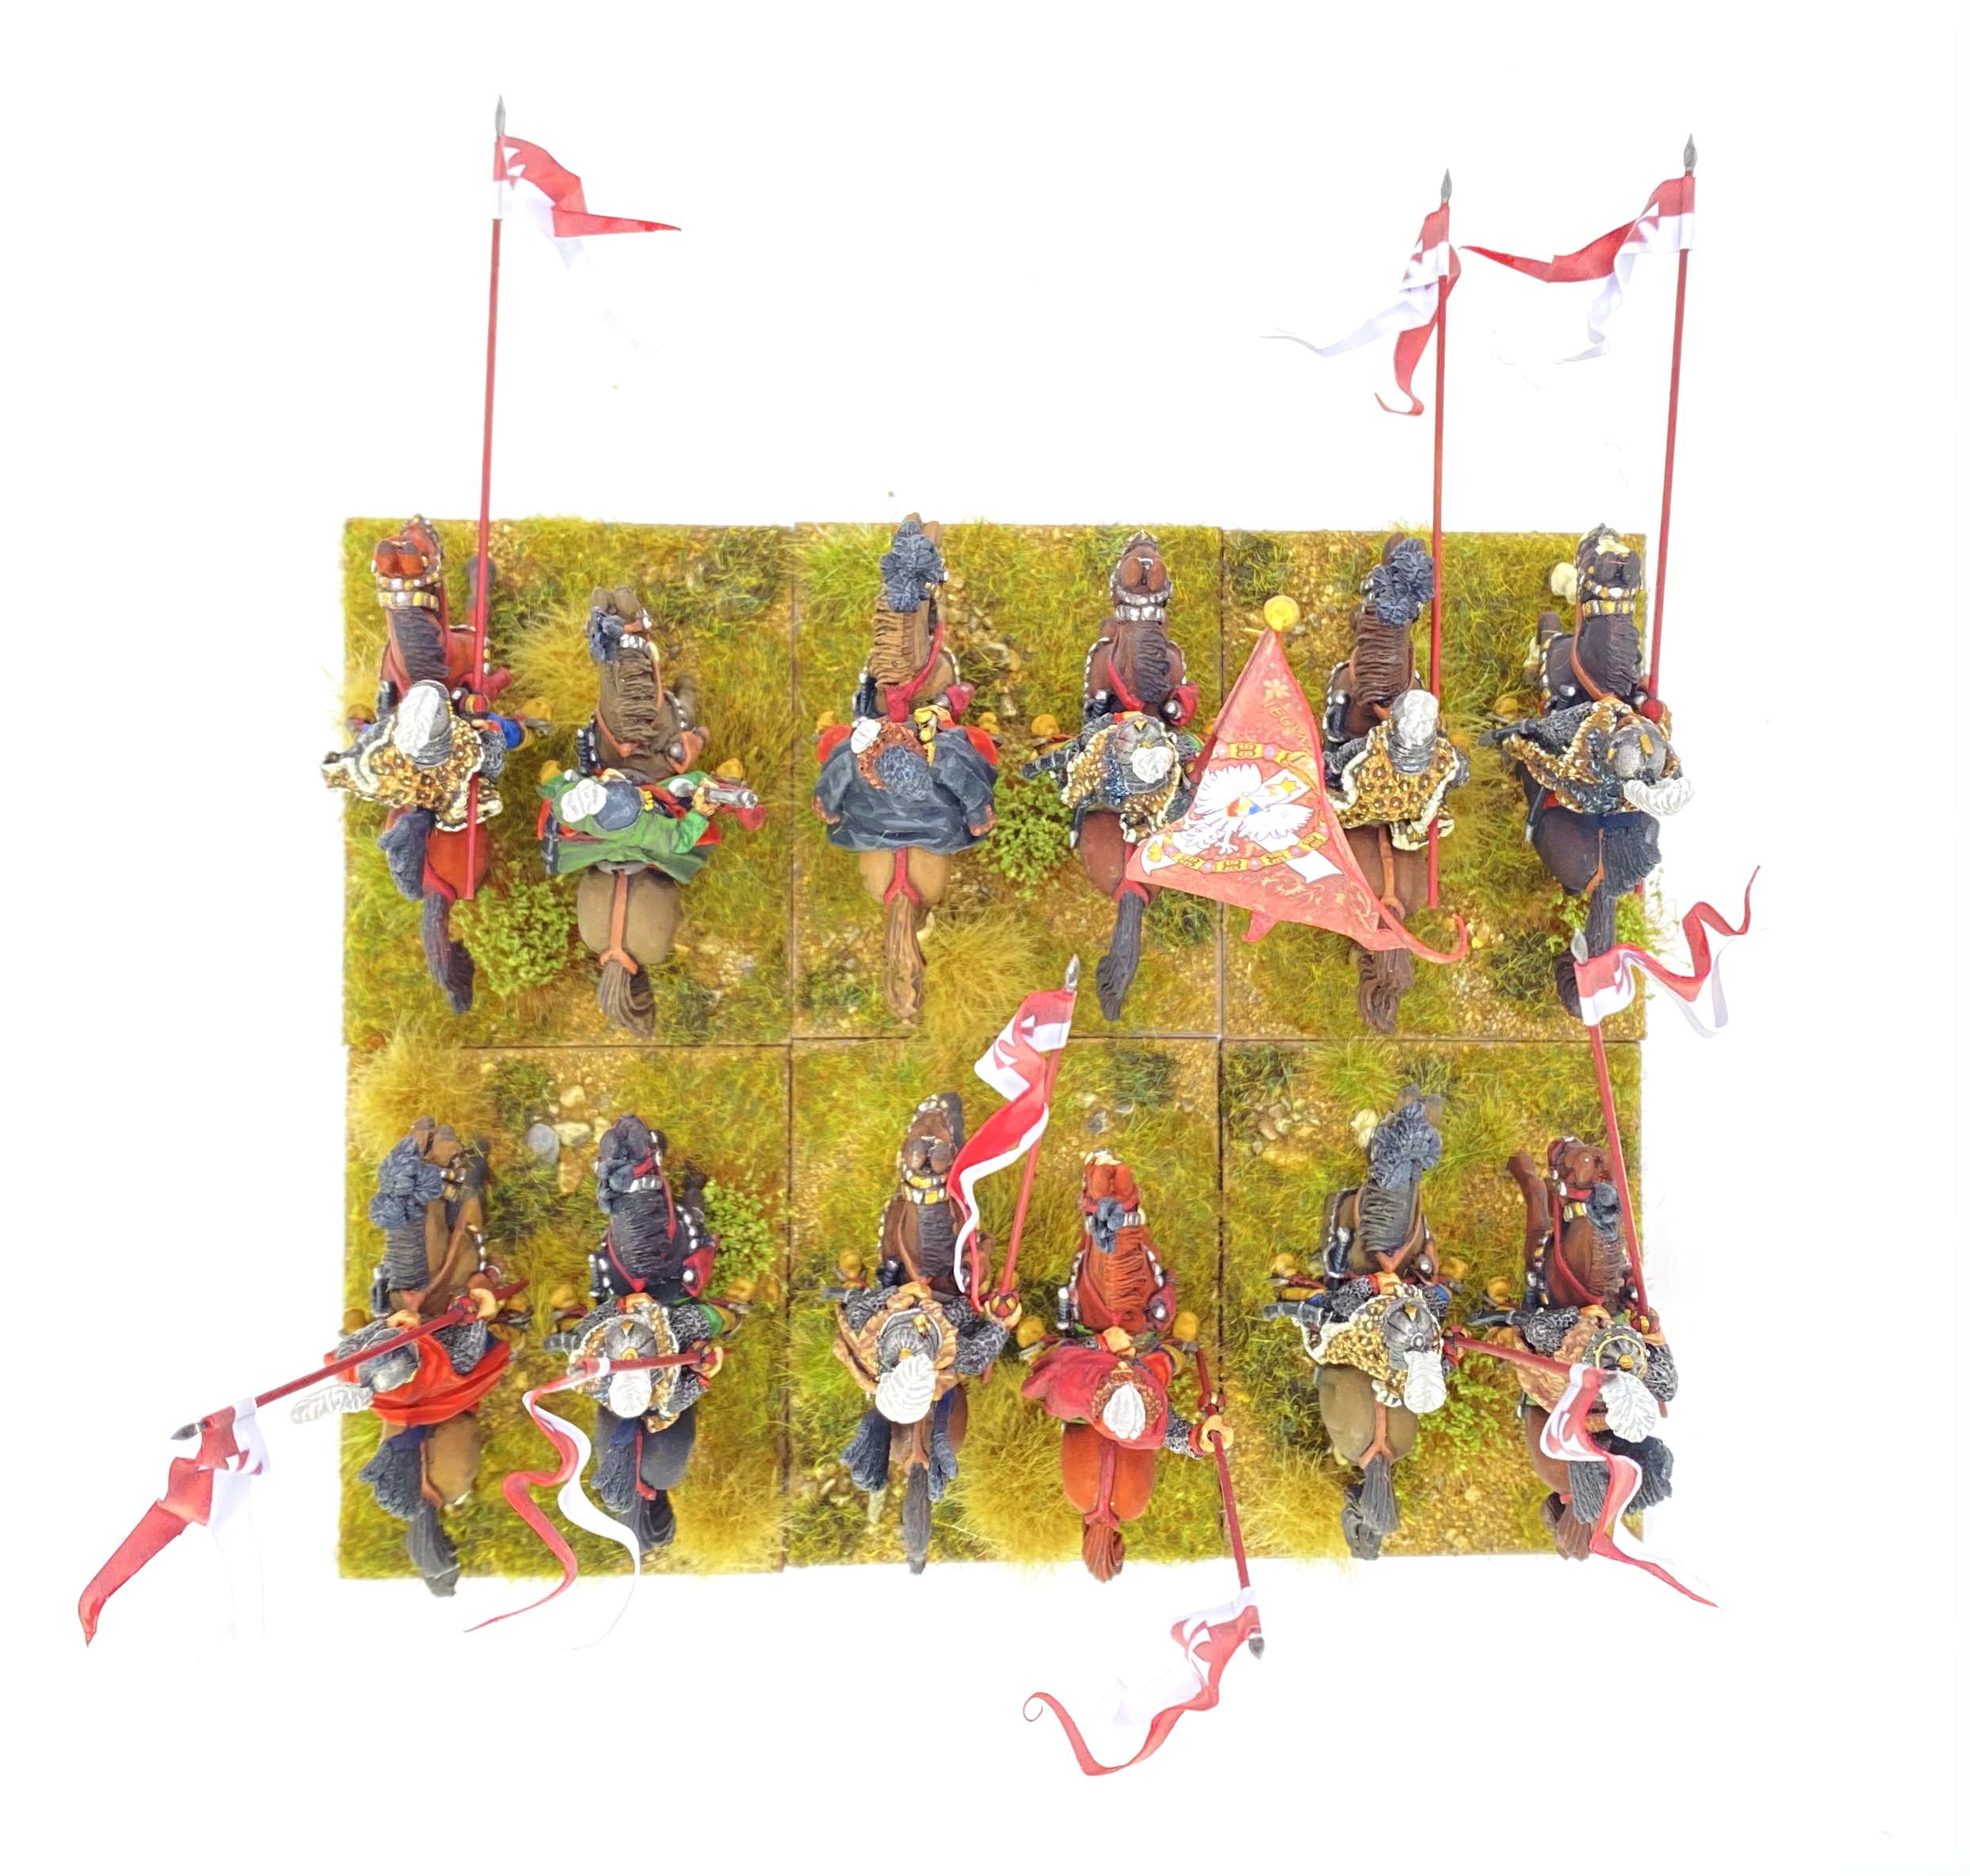
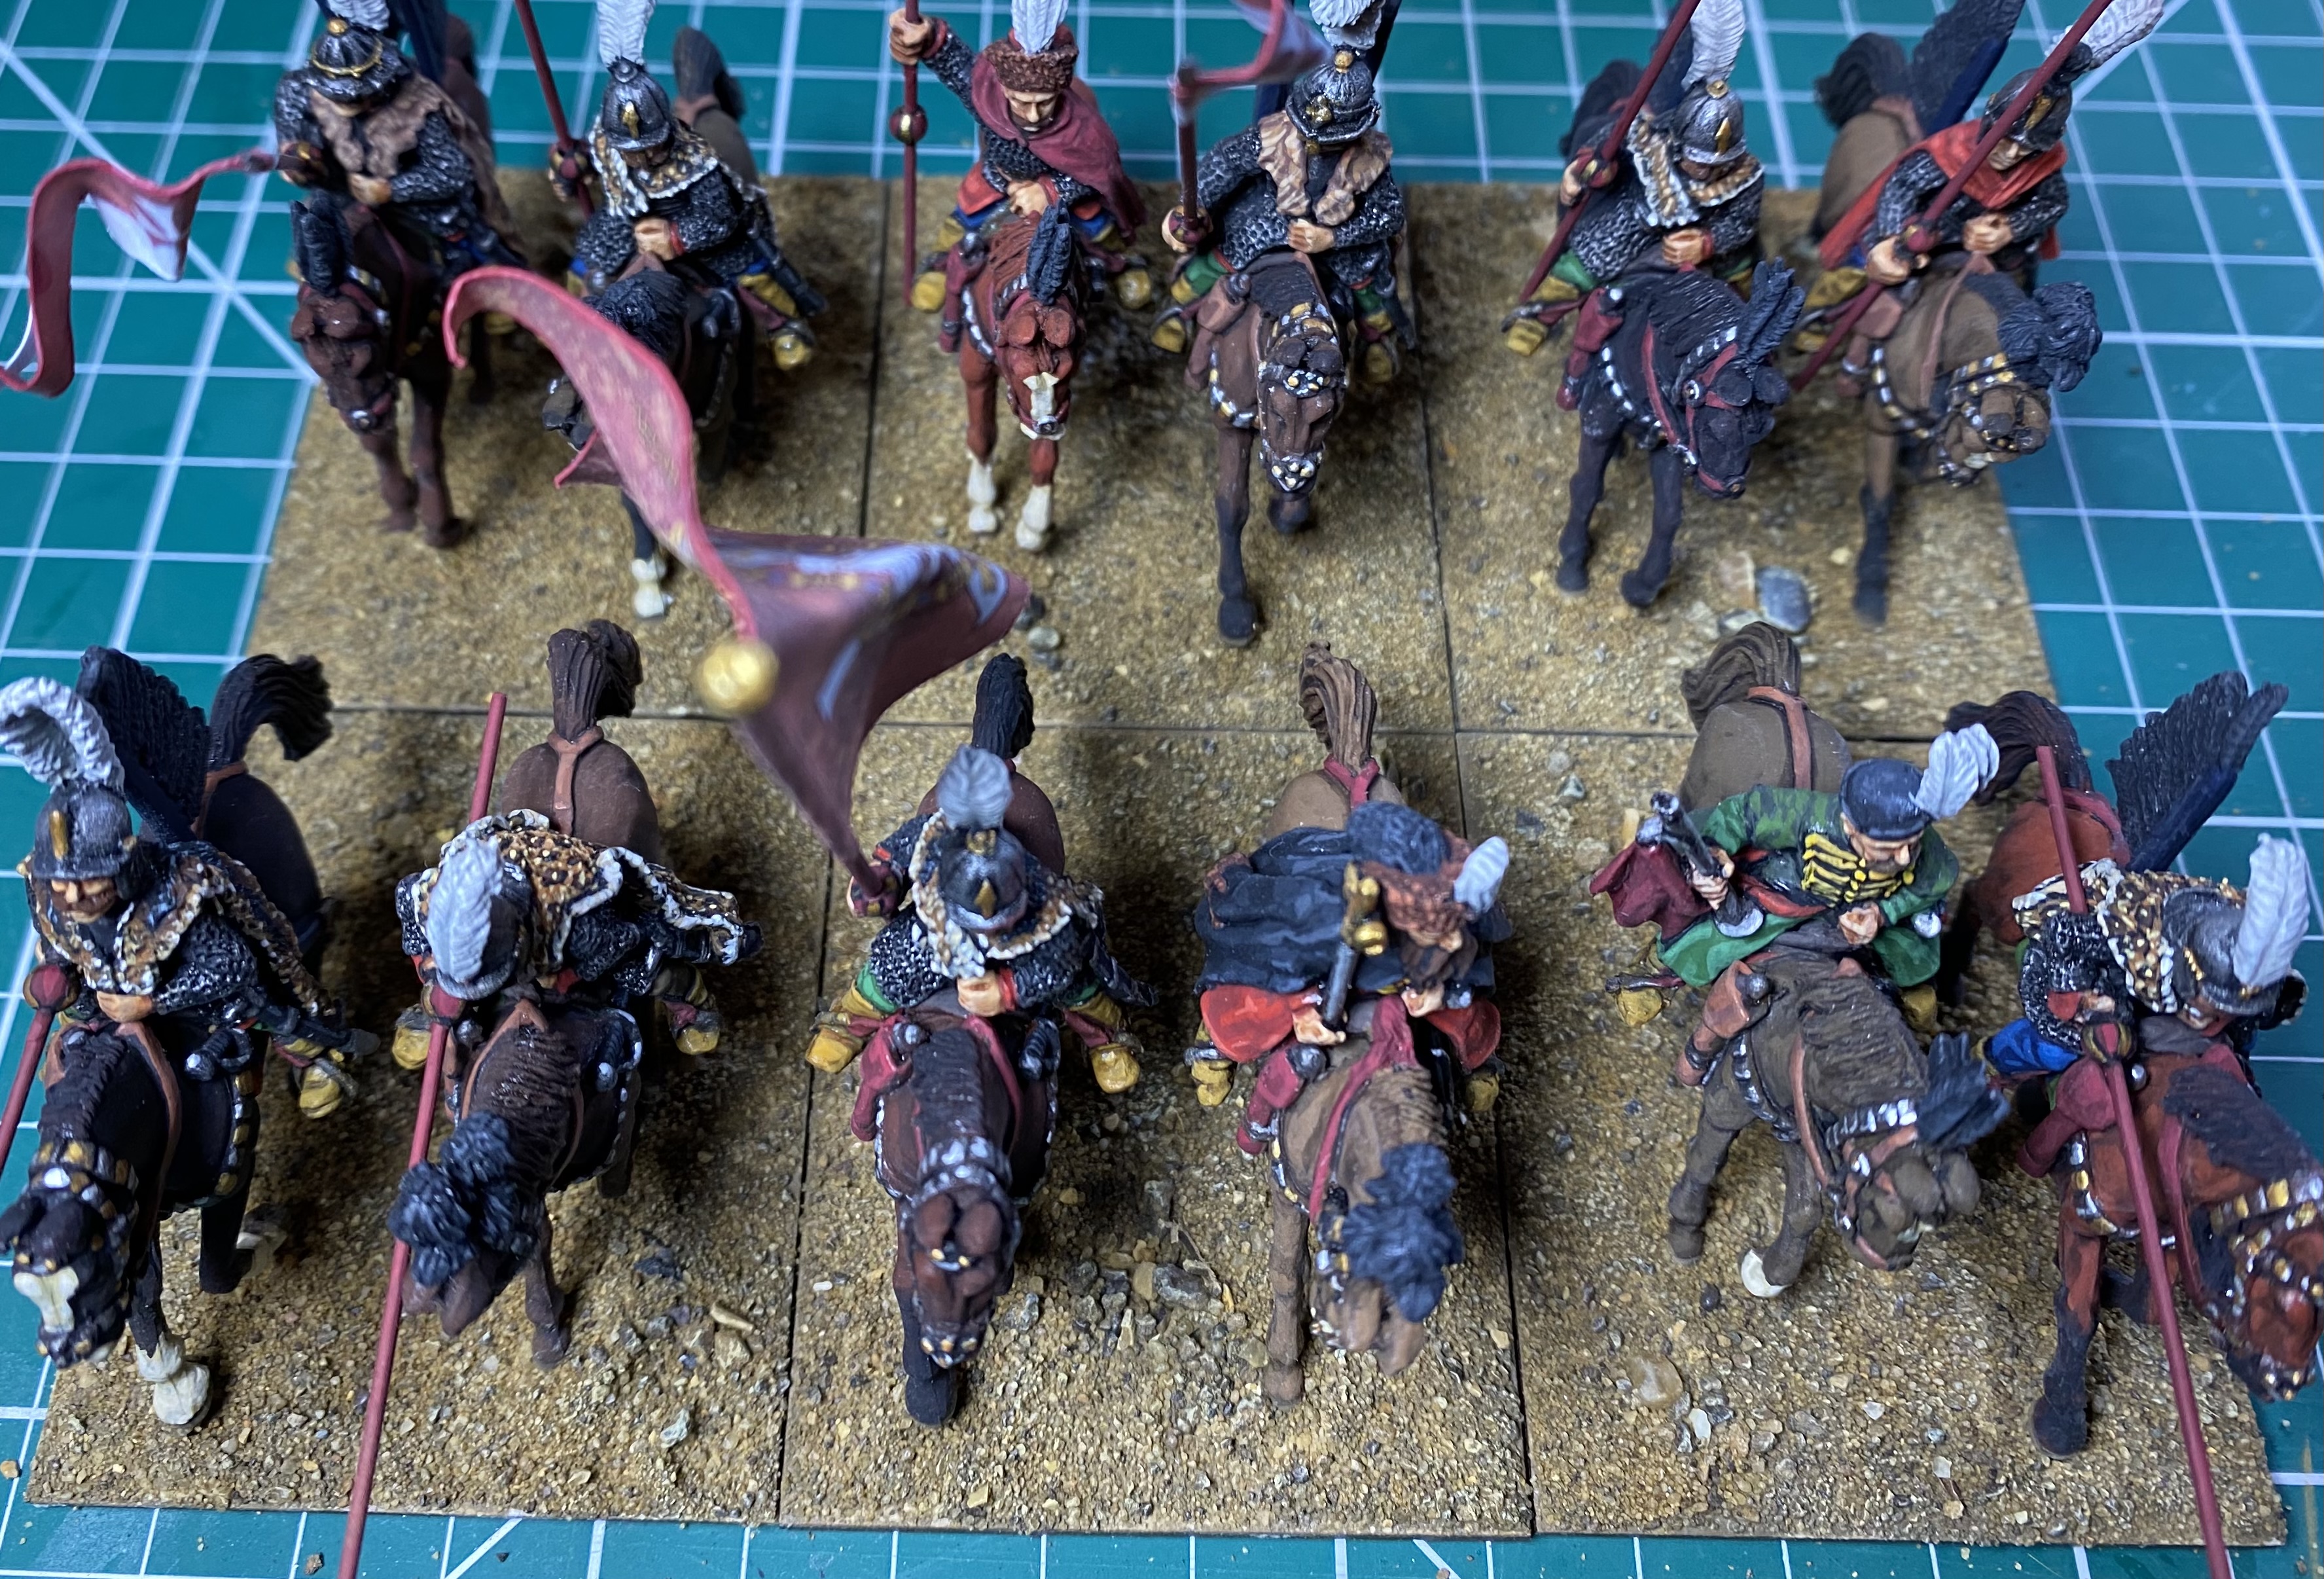
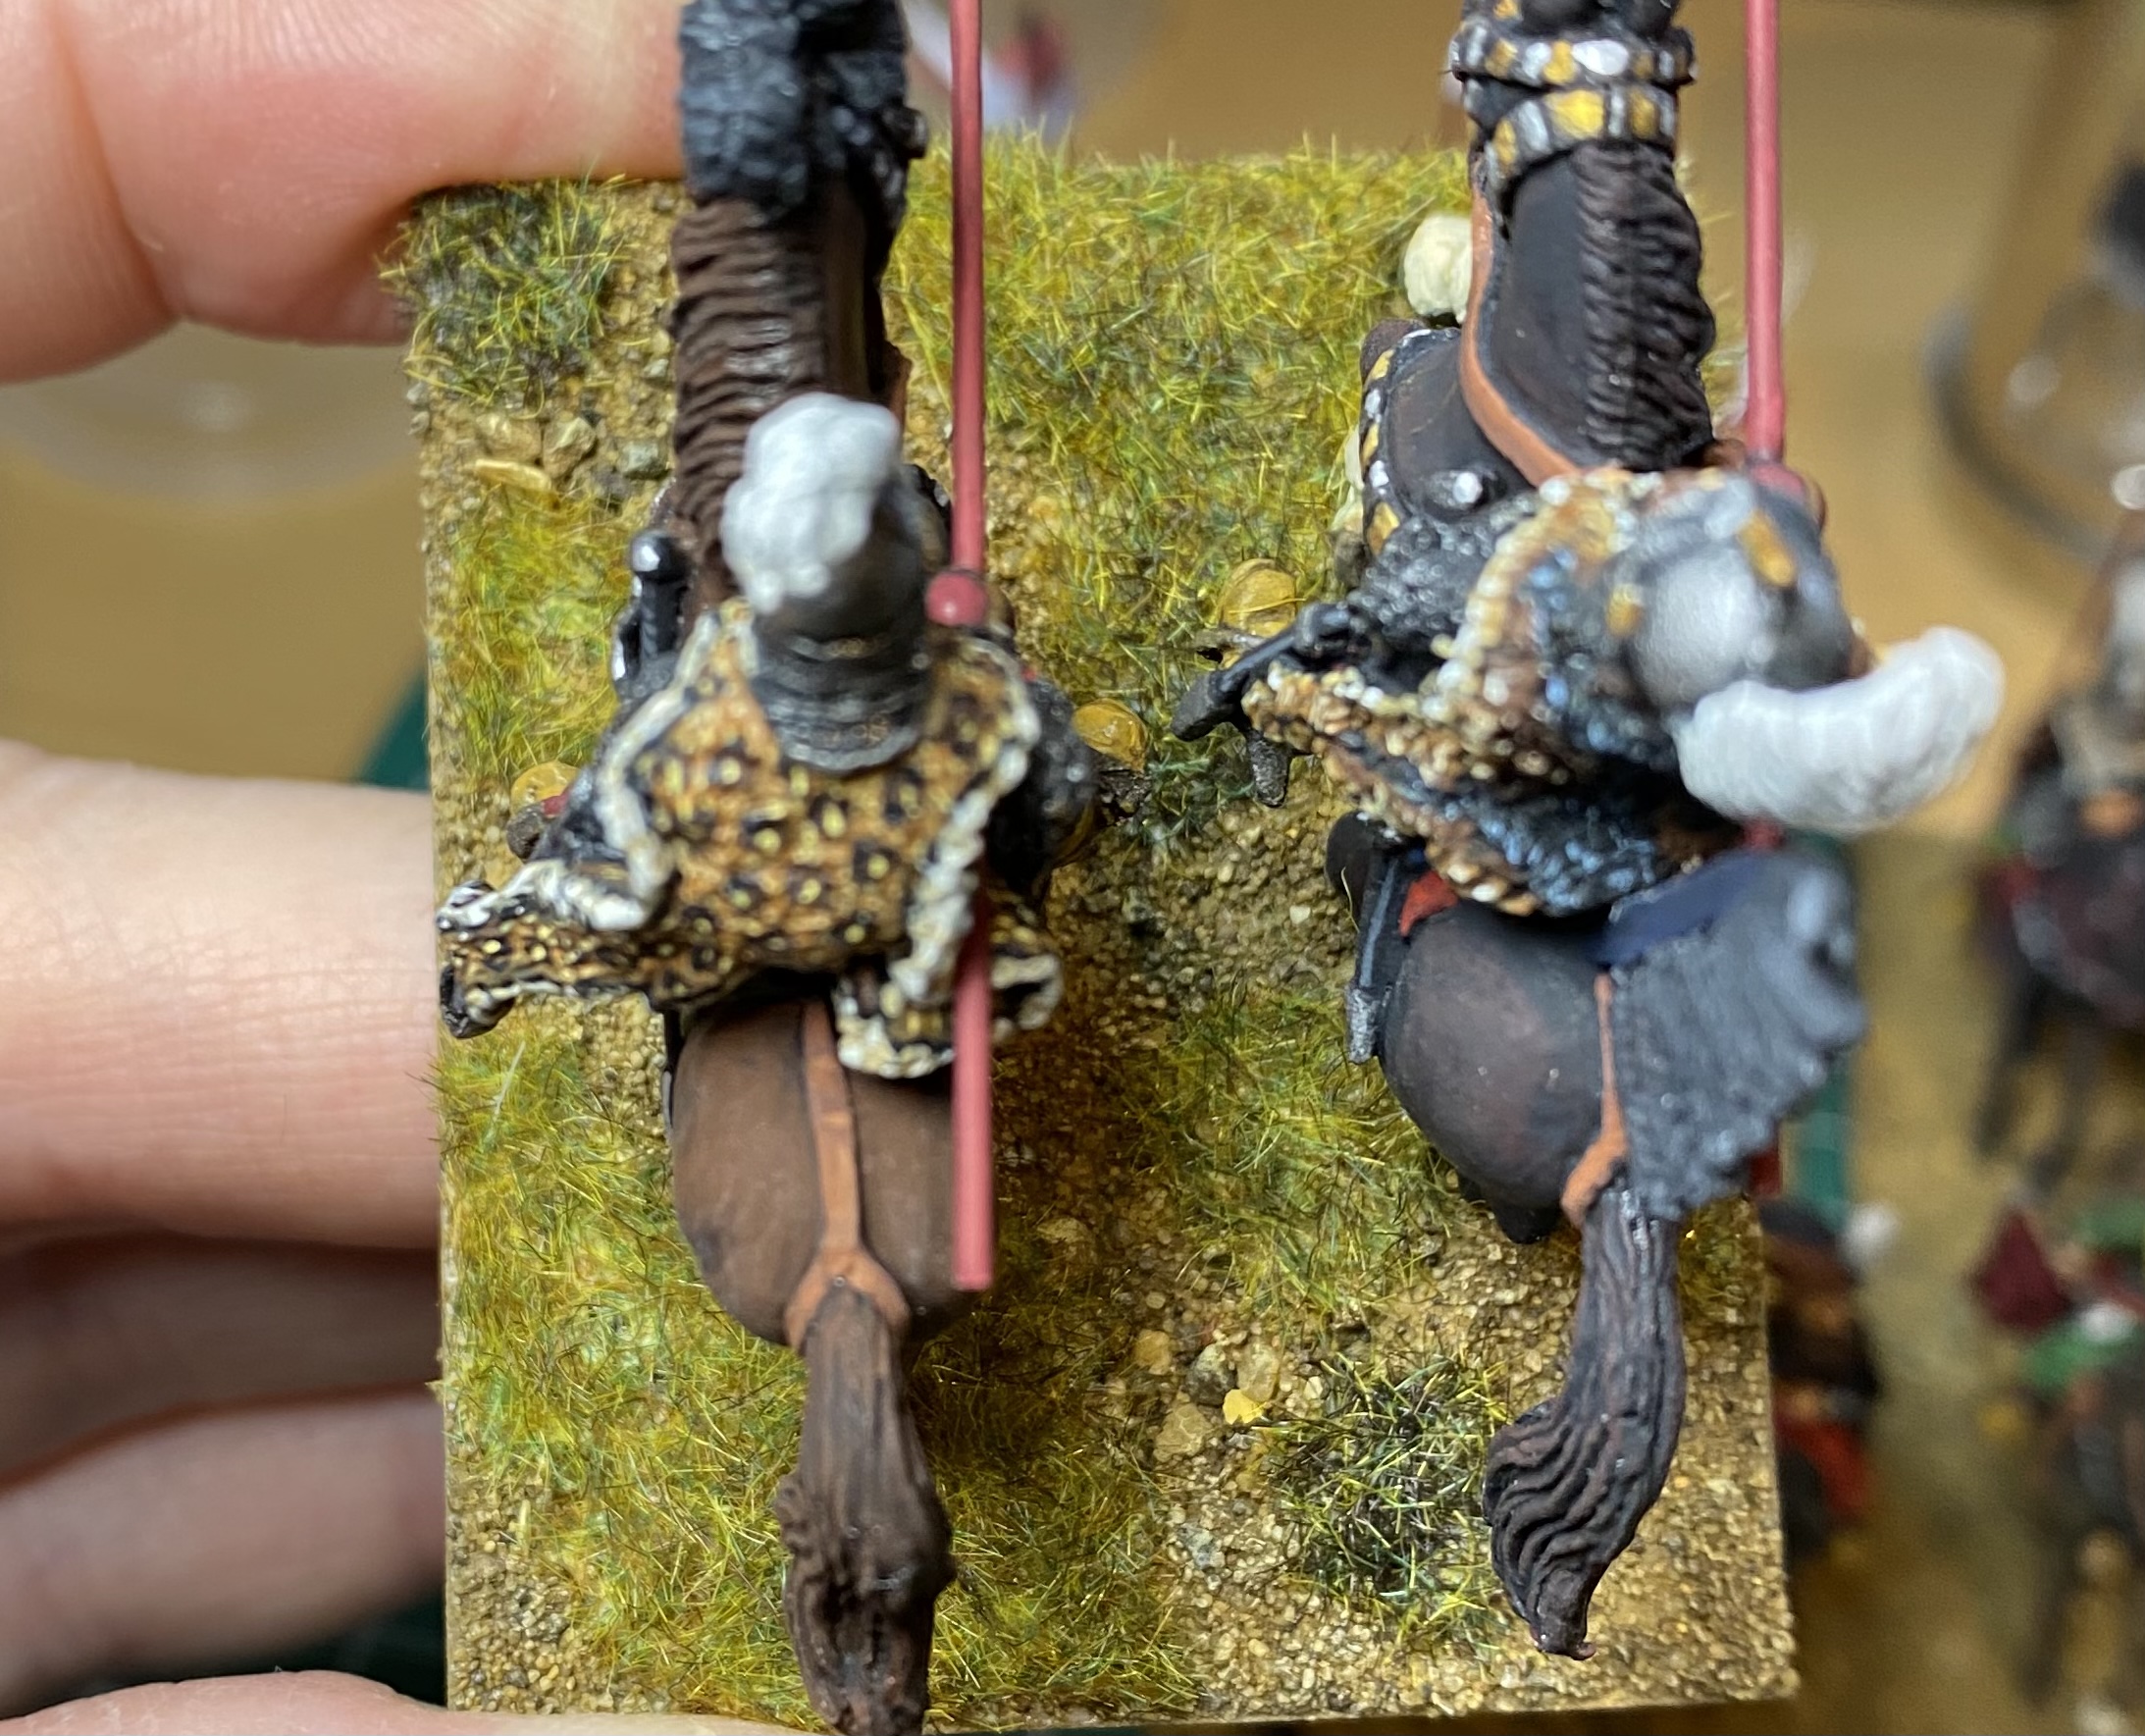
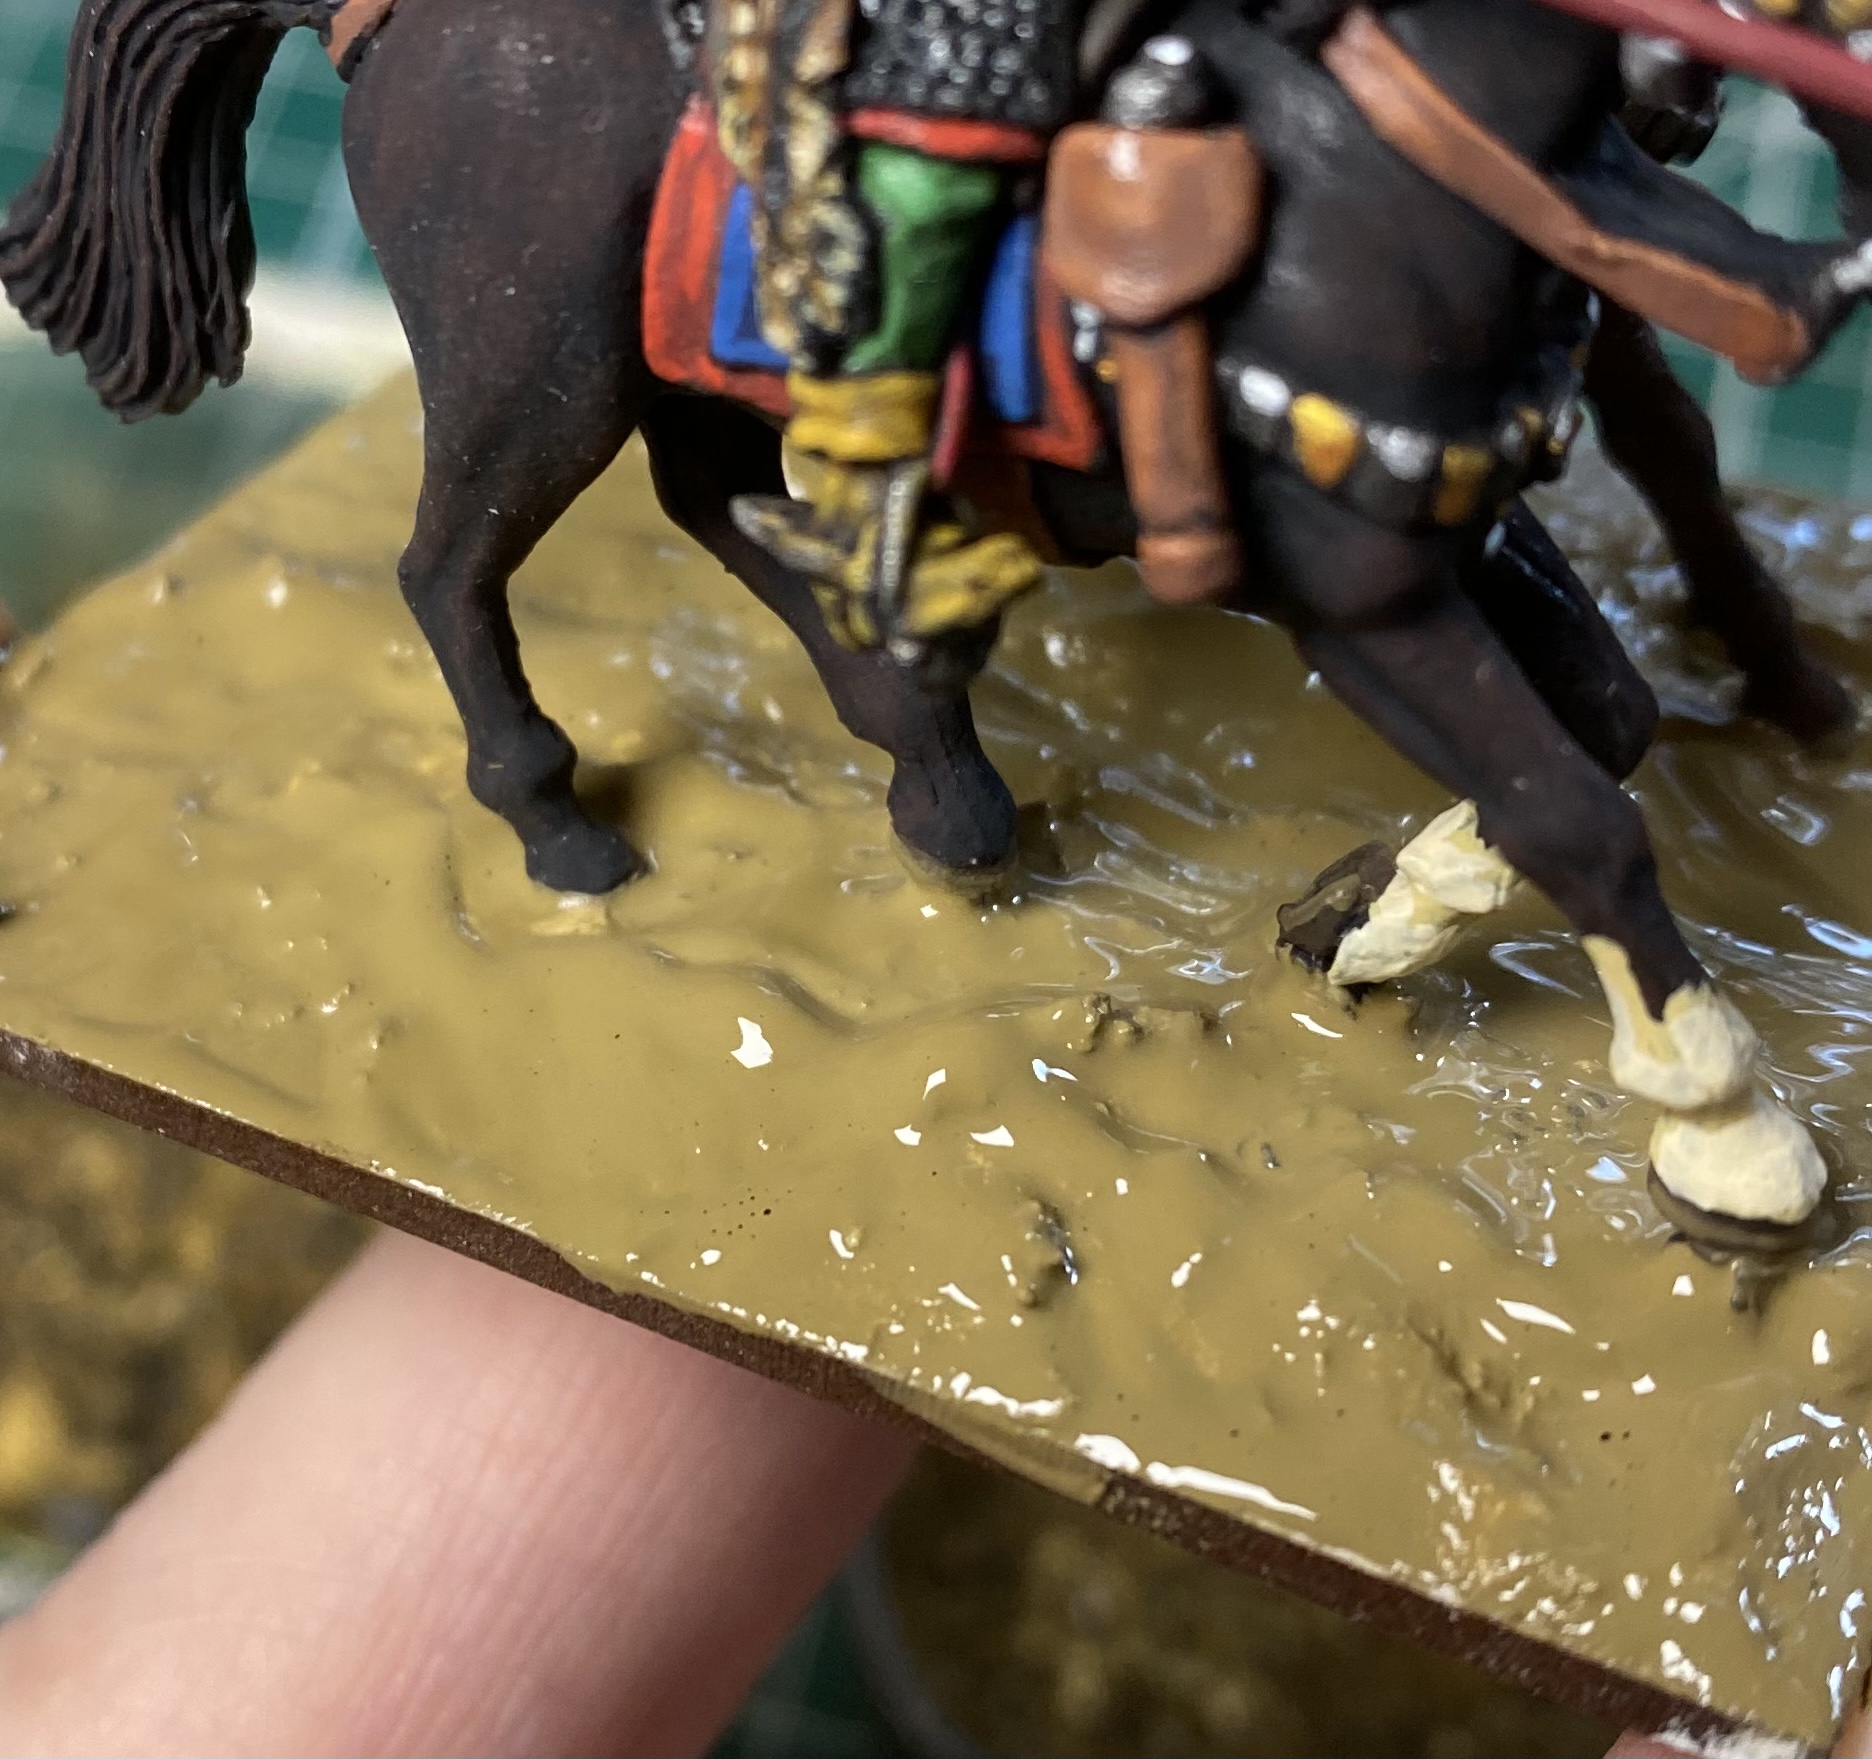
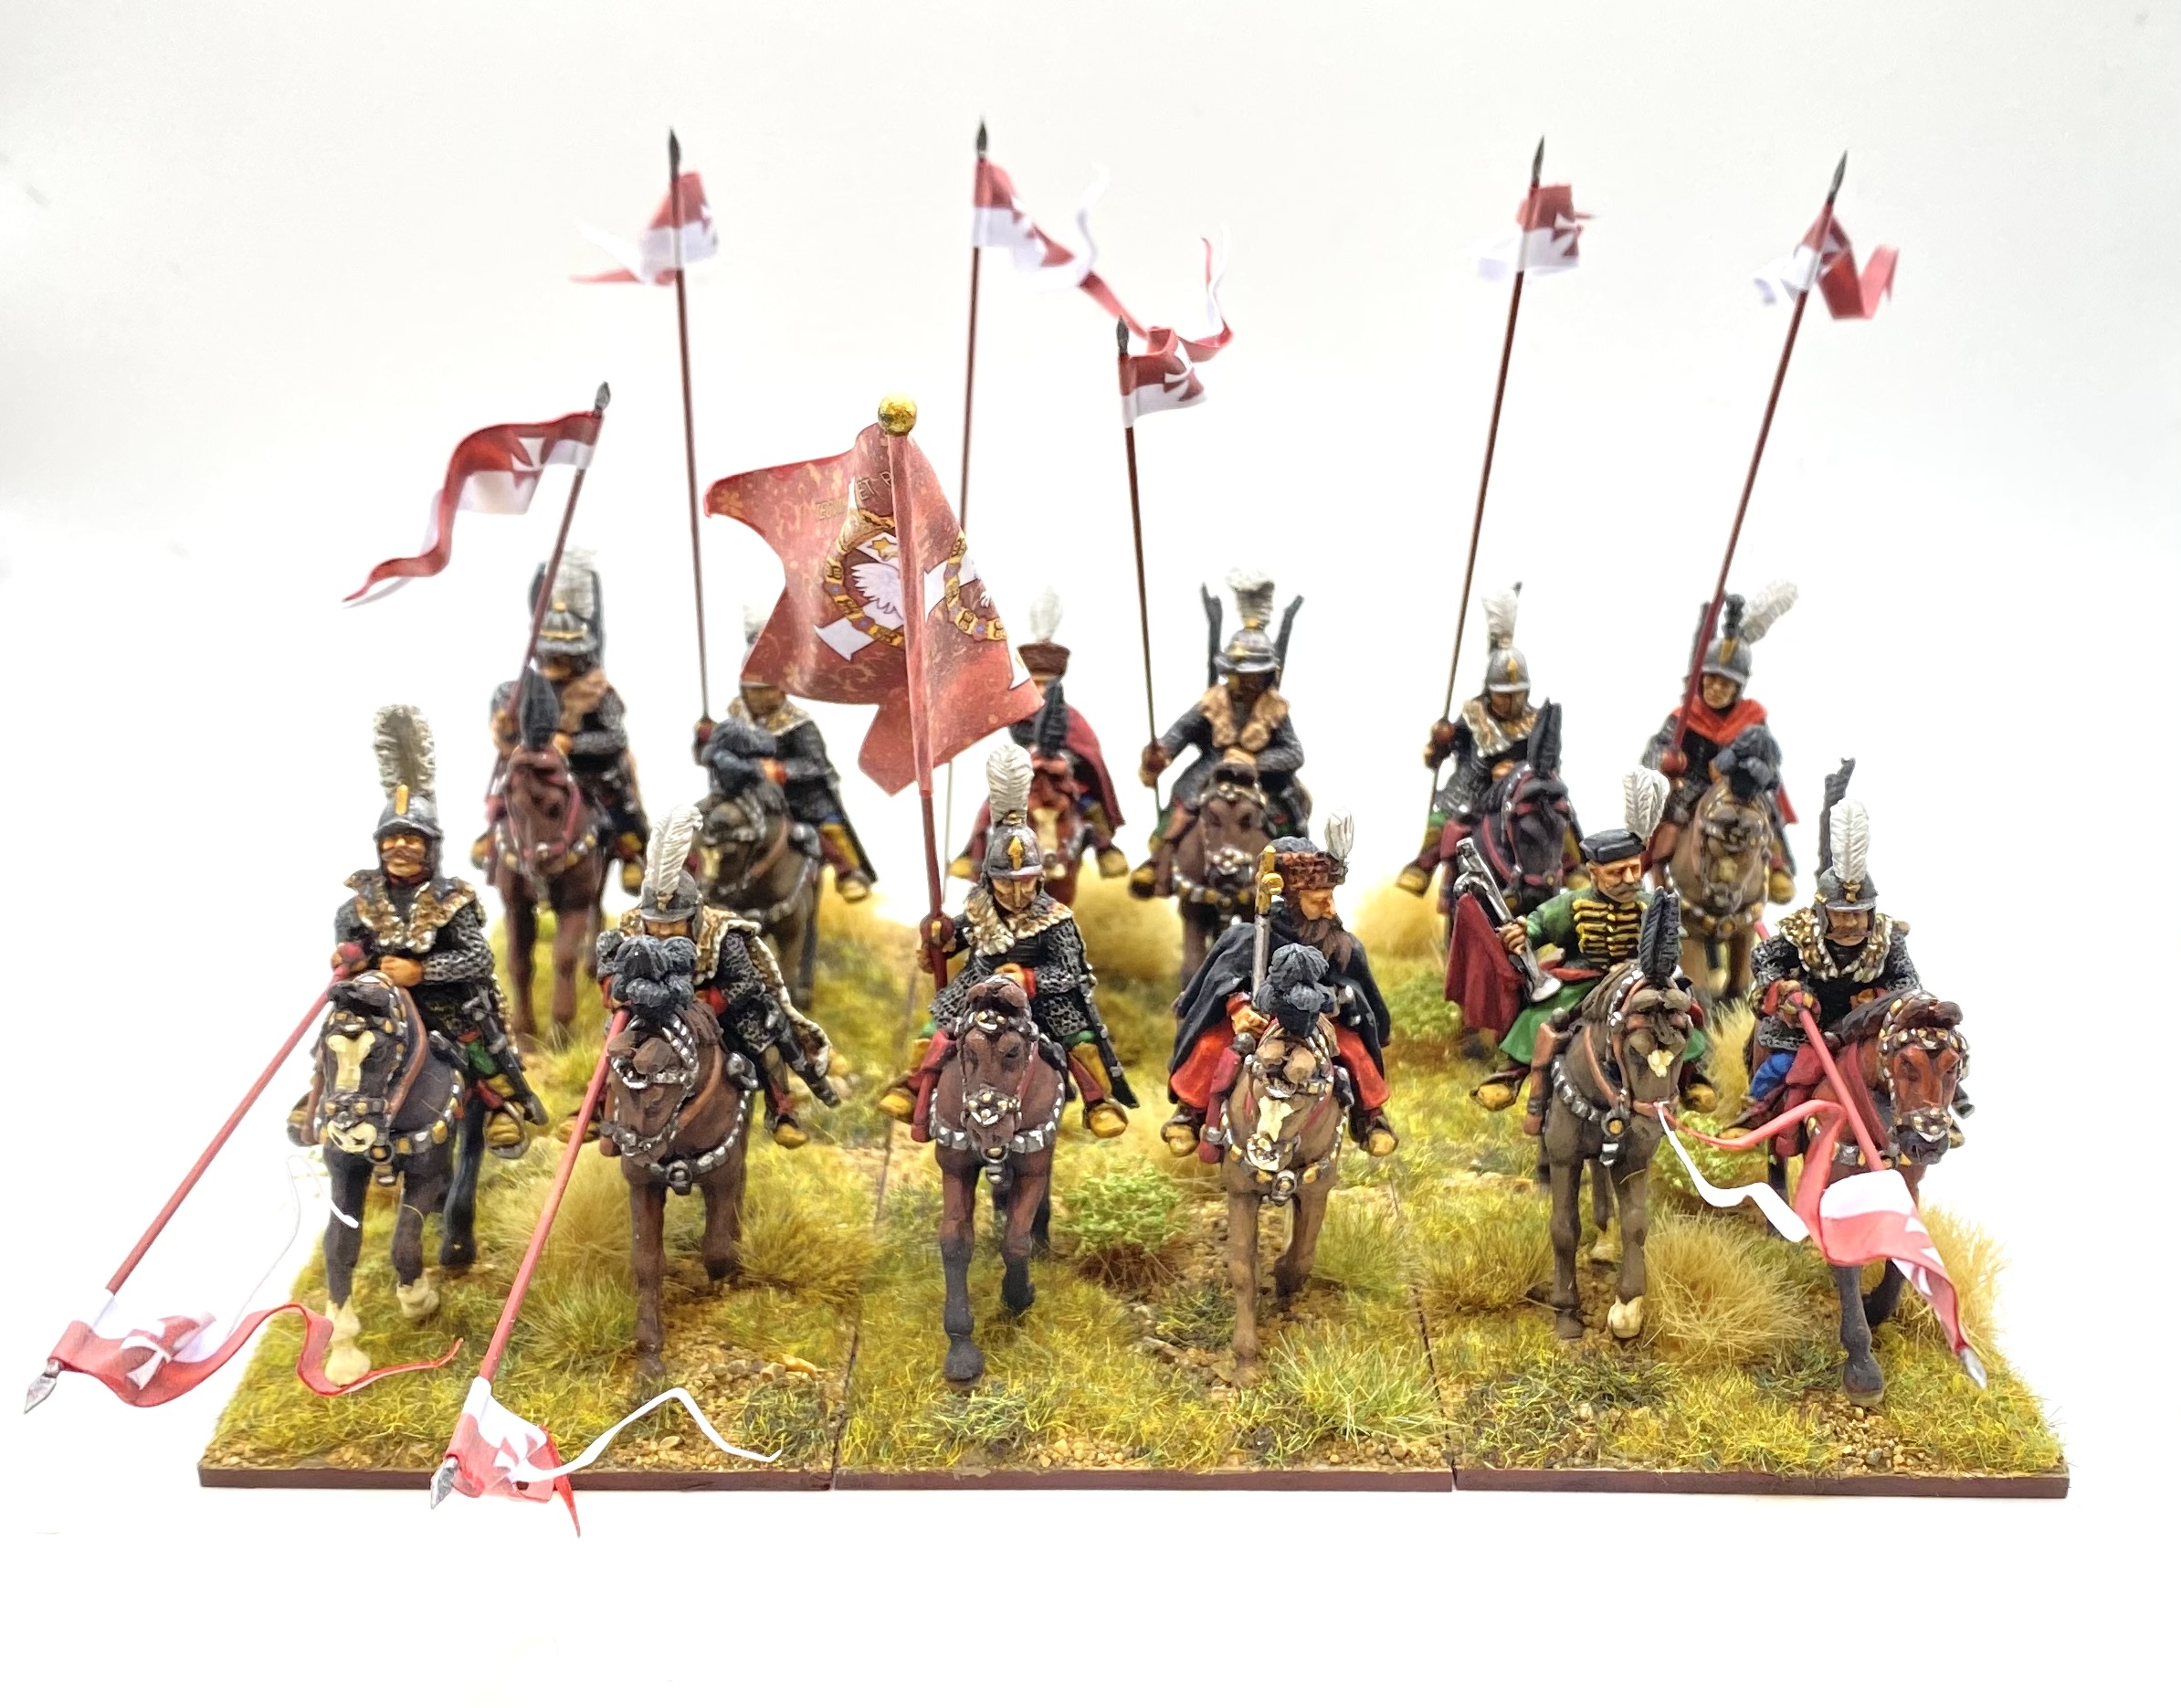
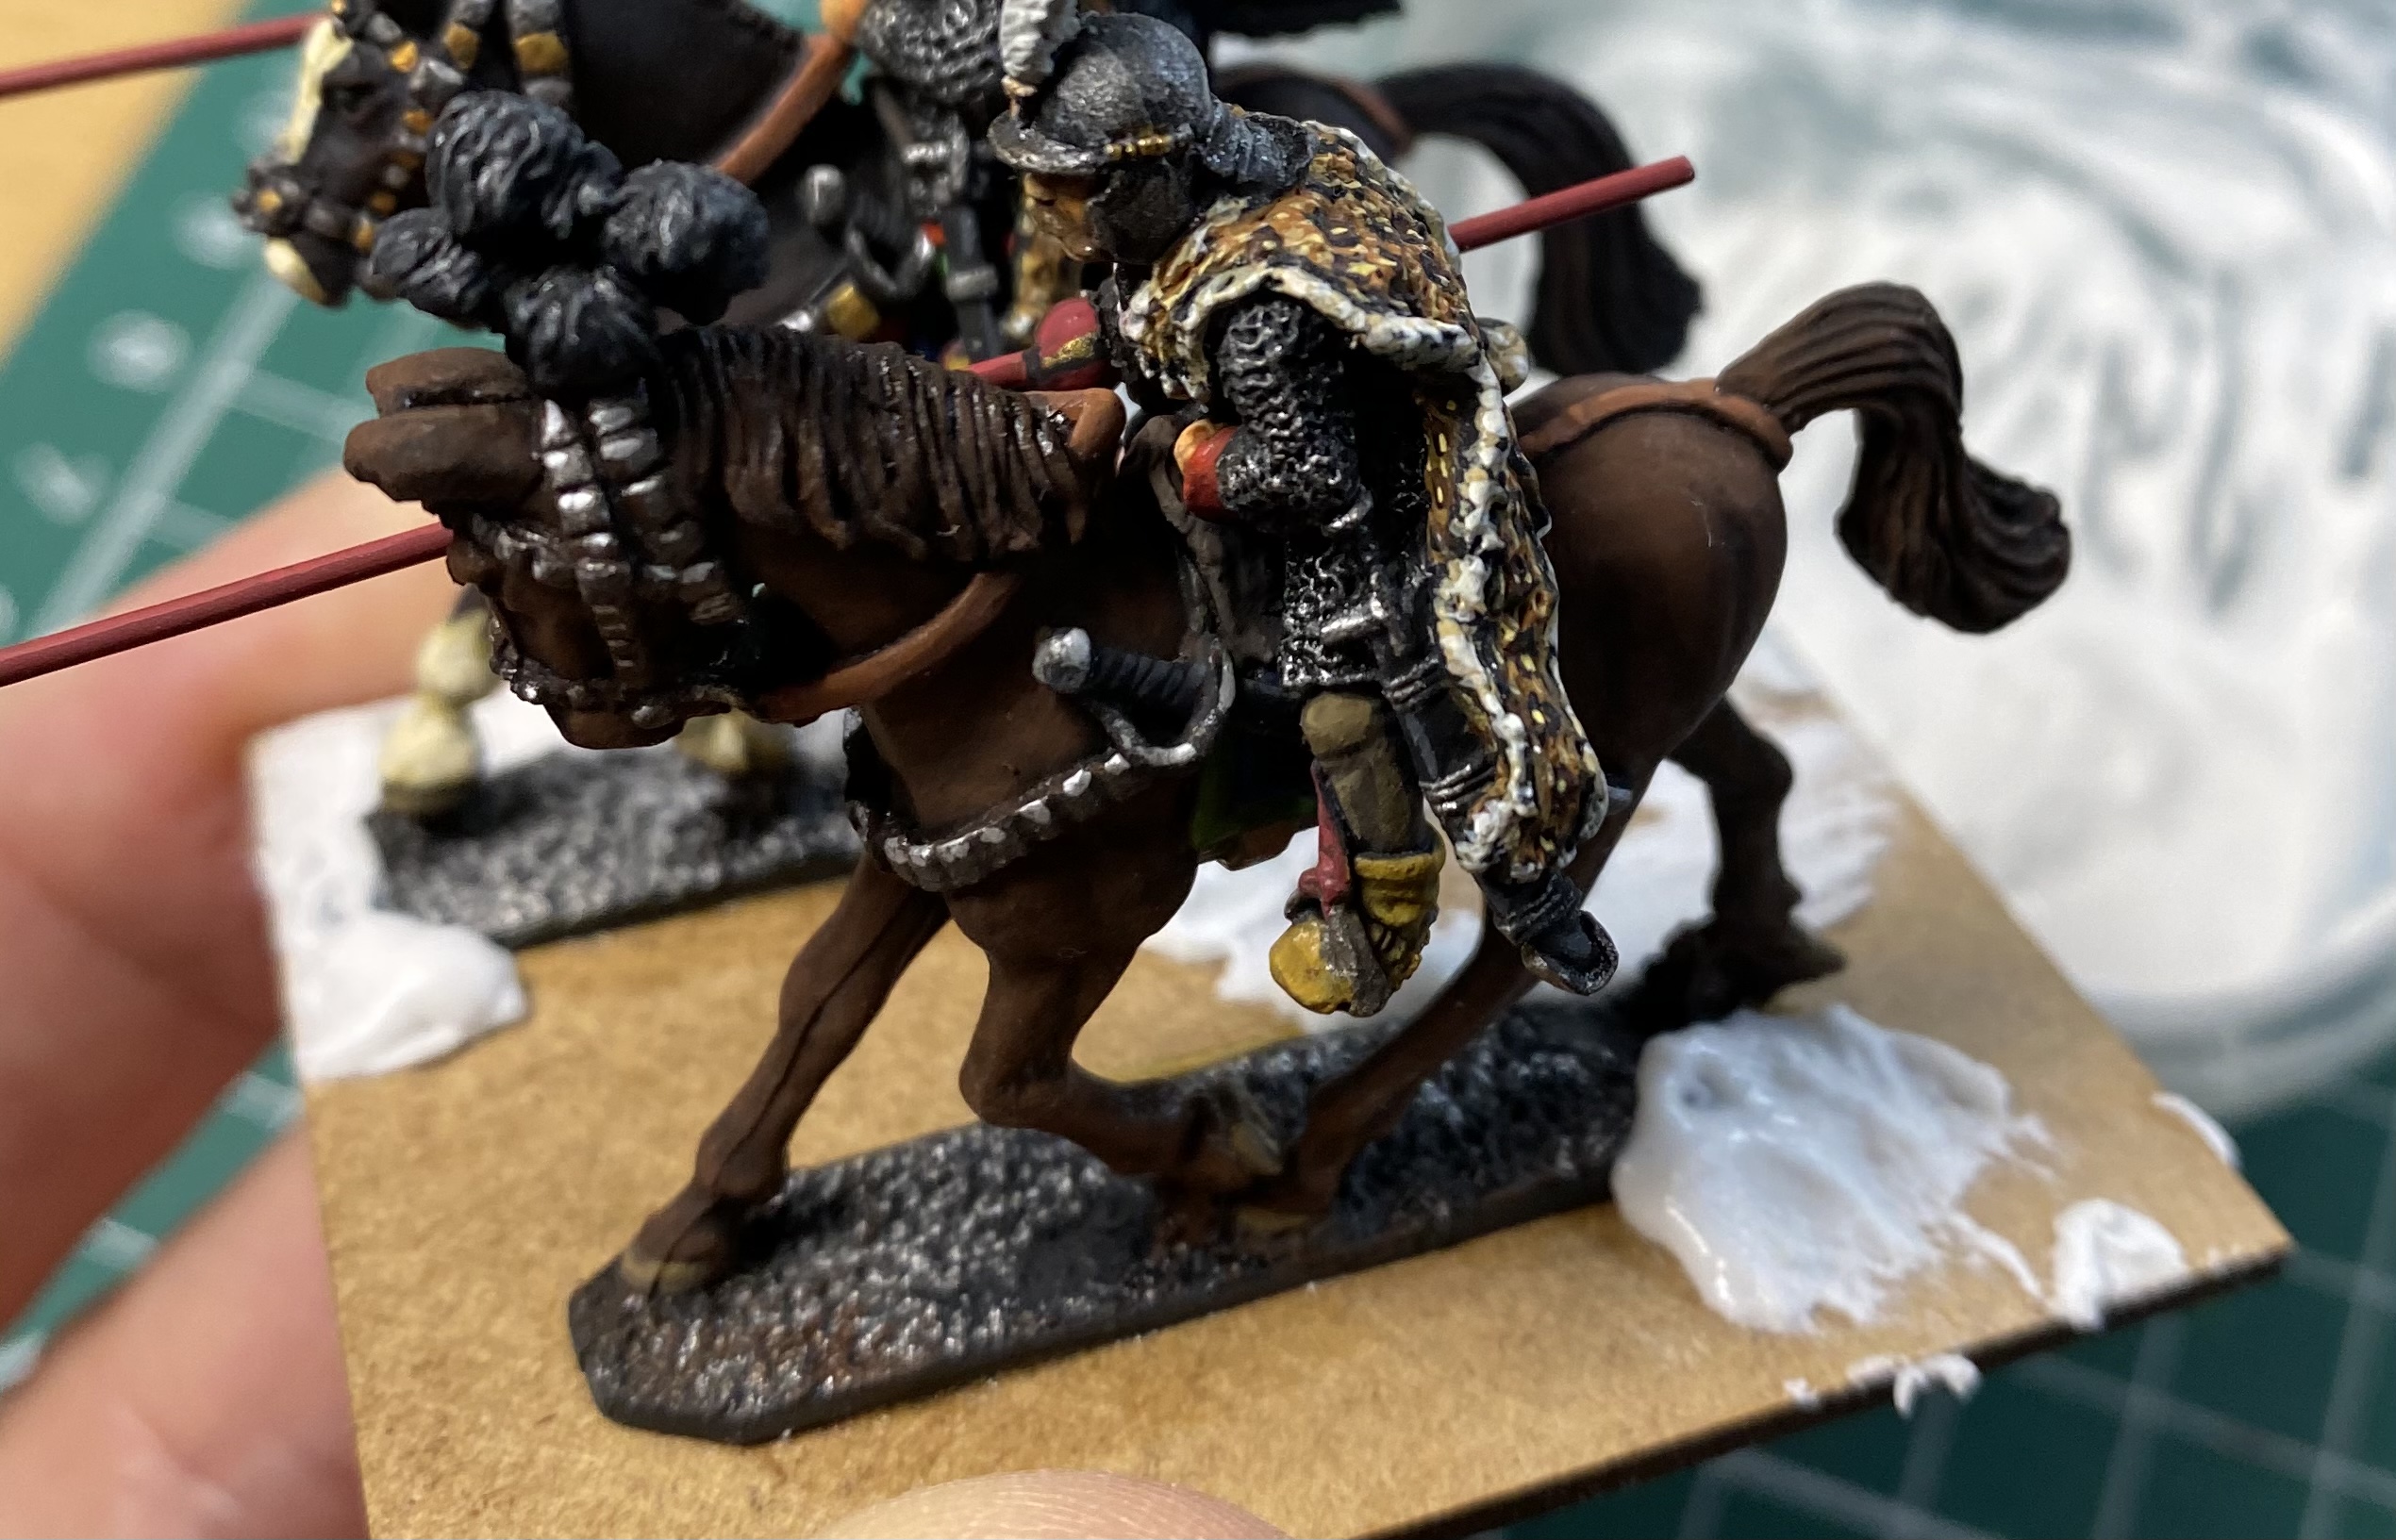
I had no idea this was going to take 4 project entries to complete! Sorry about that ;-). To make up for this, here are some pictures of the latest figures for my Polish army, all based up. First is the unit of Polish ‘Winged’ Hussars. These are 28mm with riders from The Assault Group (TAG) and Wargames Foundry. The horses are all TAG. Flag and lance pennons from Battle Flag.
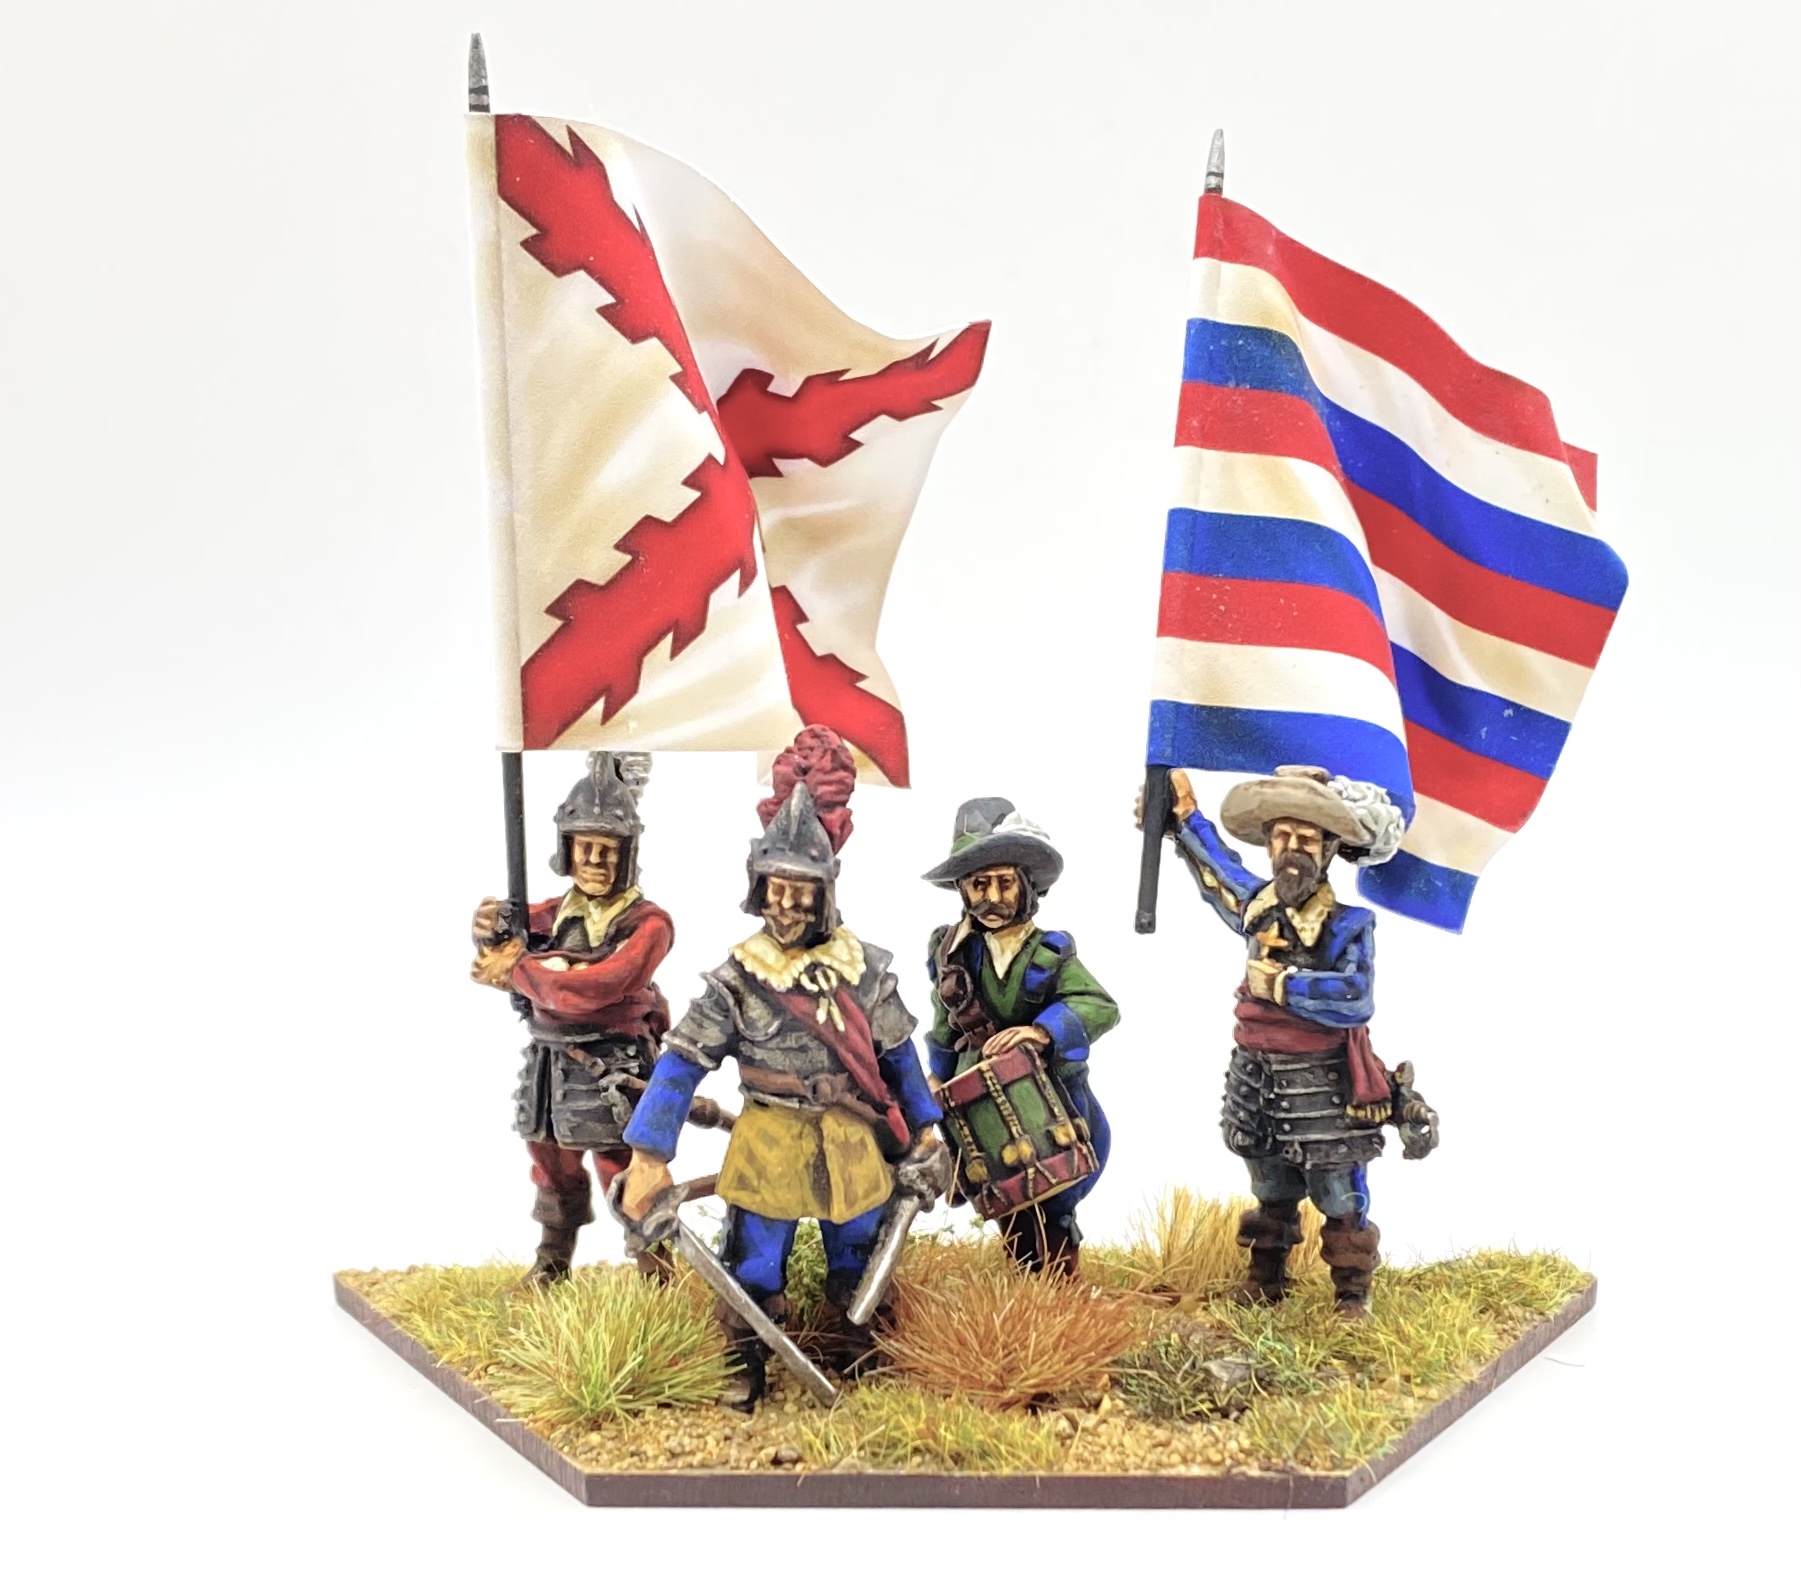 Here is another commend base for my ‘Foreign Infantry’. These are from 1898 Miniatures’ Tercio range, except the drummer who is from Horcata Miniatures. Flags are from Flags of War.
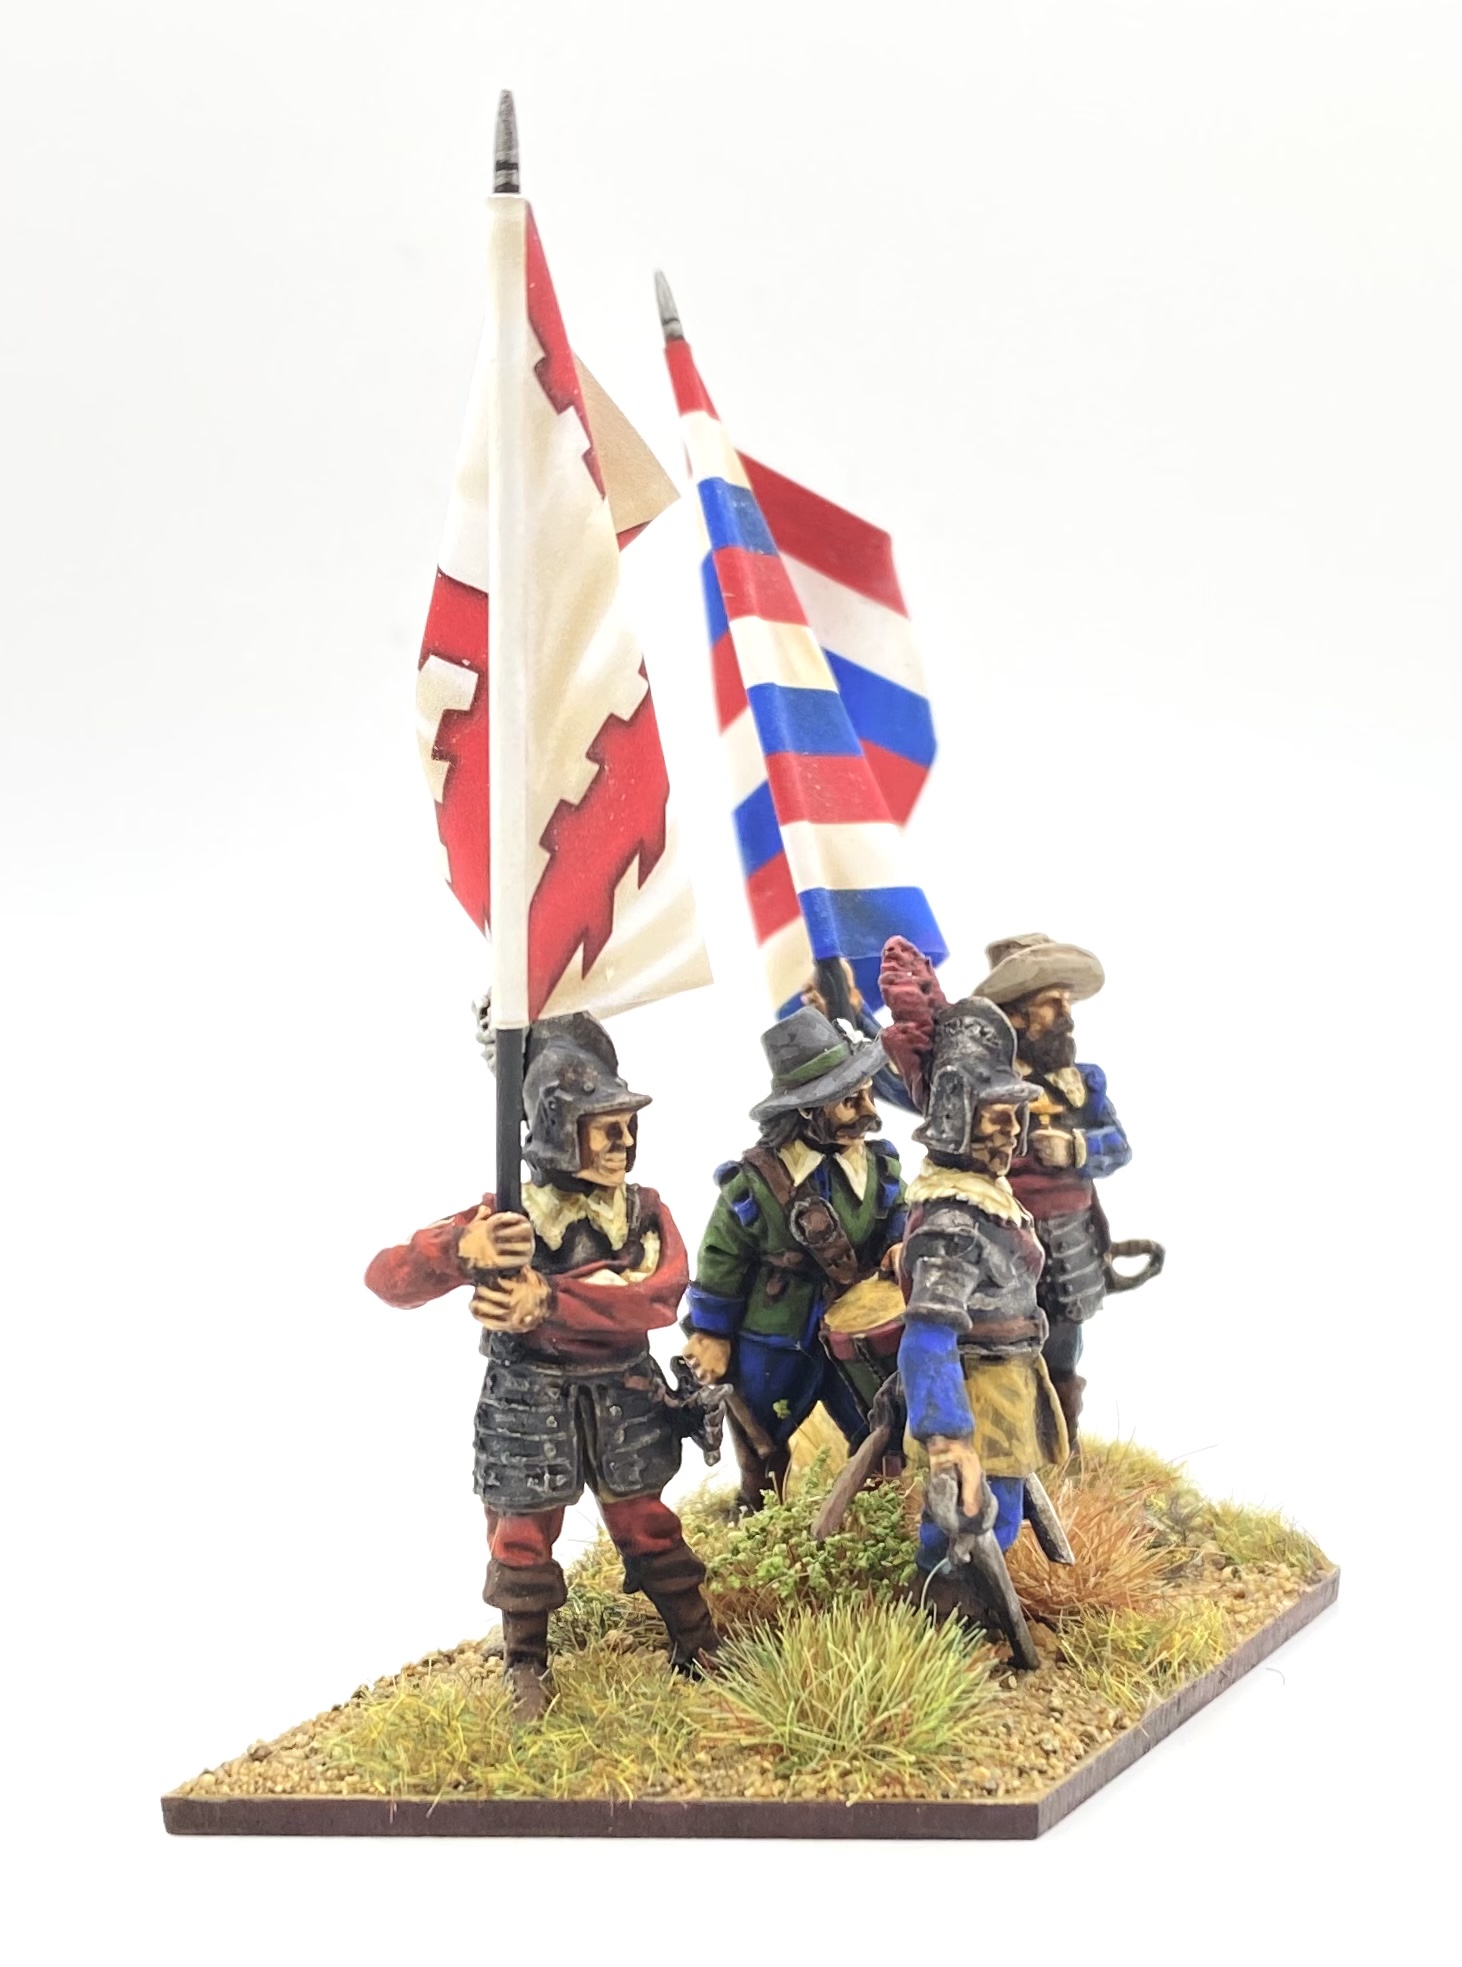
Phew! Until next time.
Andy.
From The Ground Up - Part 3
THIS CONTINUES THE BASING WALKTHROUGH FROM THE TWO PREVIOUS PROJECT ENTRIES.
 Whole unit with dry brushed, sand covered bases.
 Step 6.
The final step is my favourite of the basing process, and is when the base comes ‘alive’ with the adding of static grass and tufts. I like to see this as the gardening phase! I use two different colour tones of static grass as a base. One mid-tone, with dull mid-greens, and some lighter browns, and the second a dark-tone with dark greens and dark brown, both using 2mm static grass. I buy small bags of static grass, from all sorts of suppliers, and mix them up myself for the mid colour. I find mixes described as ‘Autumn’ work quite well as they have more muted colours. My mid-tone grass evolves slowly over time as new lumps of static grass are mixed in to the mid-tone container. The dark-tone is more straightforward as I use straight Army Painter Steppe Grass which has a nice variety of colours straight out of the box.
My overall approach for the grass and tufts is variety. Before the use of pasture improvers, such as nitrogen post WW2, natural grass land was incredibly diverse. In the UK it is actually very difficult to find examples of what original, native grassland would have looked like. The mono-culture, bright green fields we are used to seeing nowadays are not representative of what a battlefield would have looked like 100+ years ago. I am therefore aiming for a variety of natural colours and textures in the greenery on the base, but without taking too much from the figures themselves.
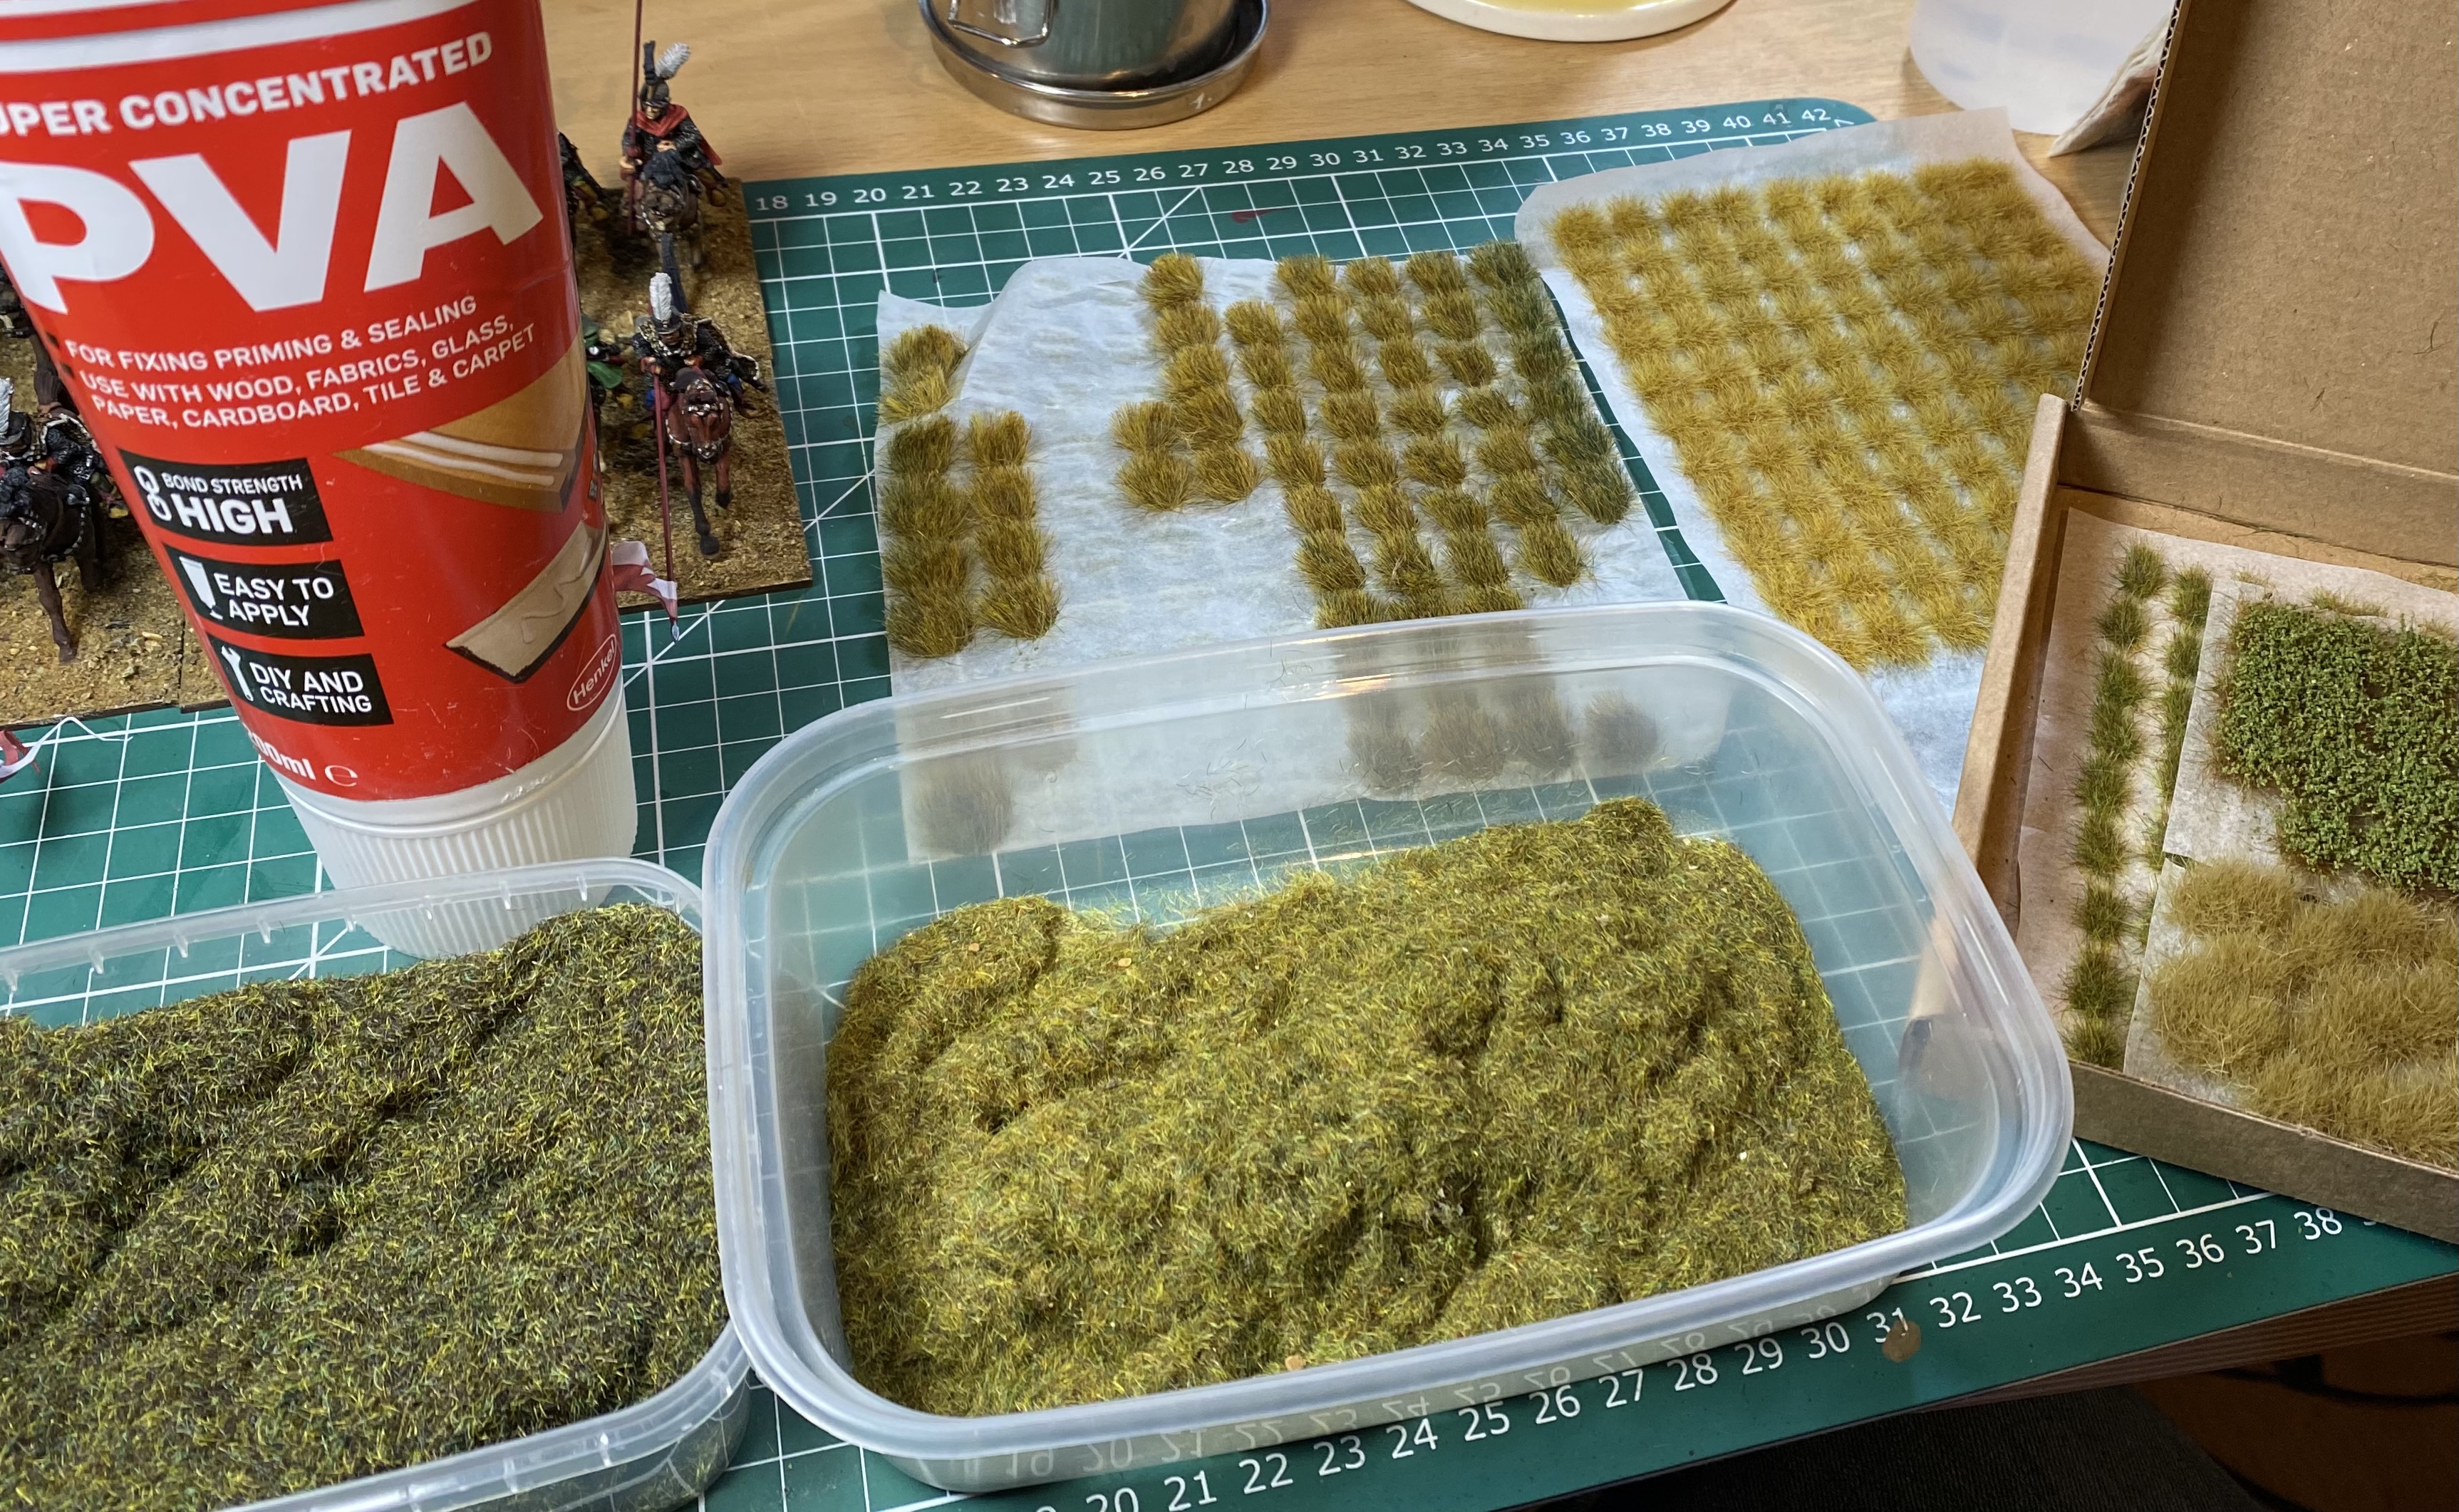 The variety of green stuff for basing - static grass and tufts.
I also tend to vary the tufts I use. I keep finding new suppliers with interesting colours etc. I use 4mm, 6mm and 10mm tufts. Currently I’m using tufts from:
- Warpainter (available on Amazon)
- World War Scenincs (WWS)
- Green Stuff World
- Tajima
To apply the green stuff I use slightly watered down PVA, added to the sandy base with an old brush.
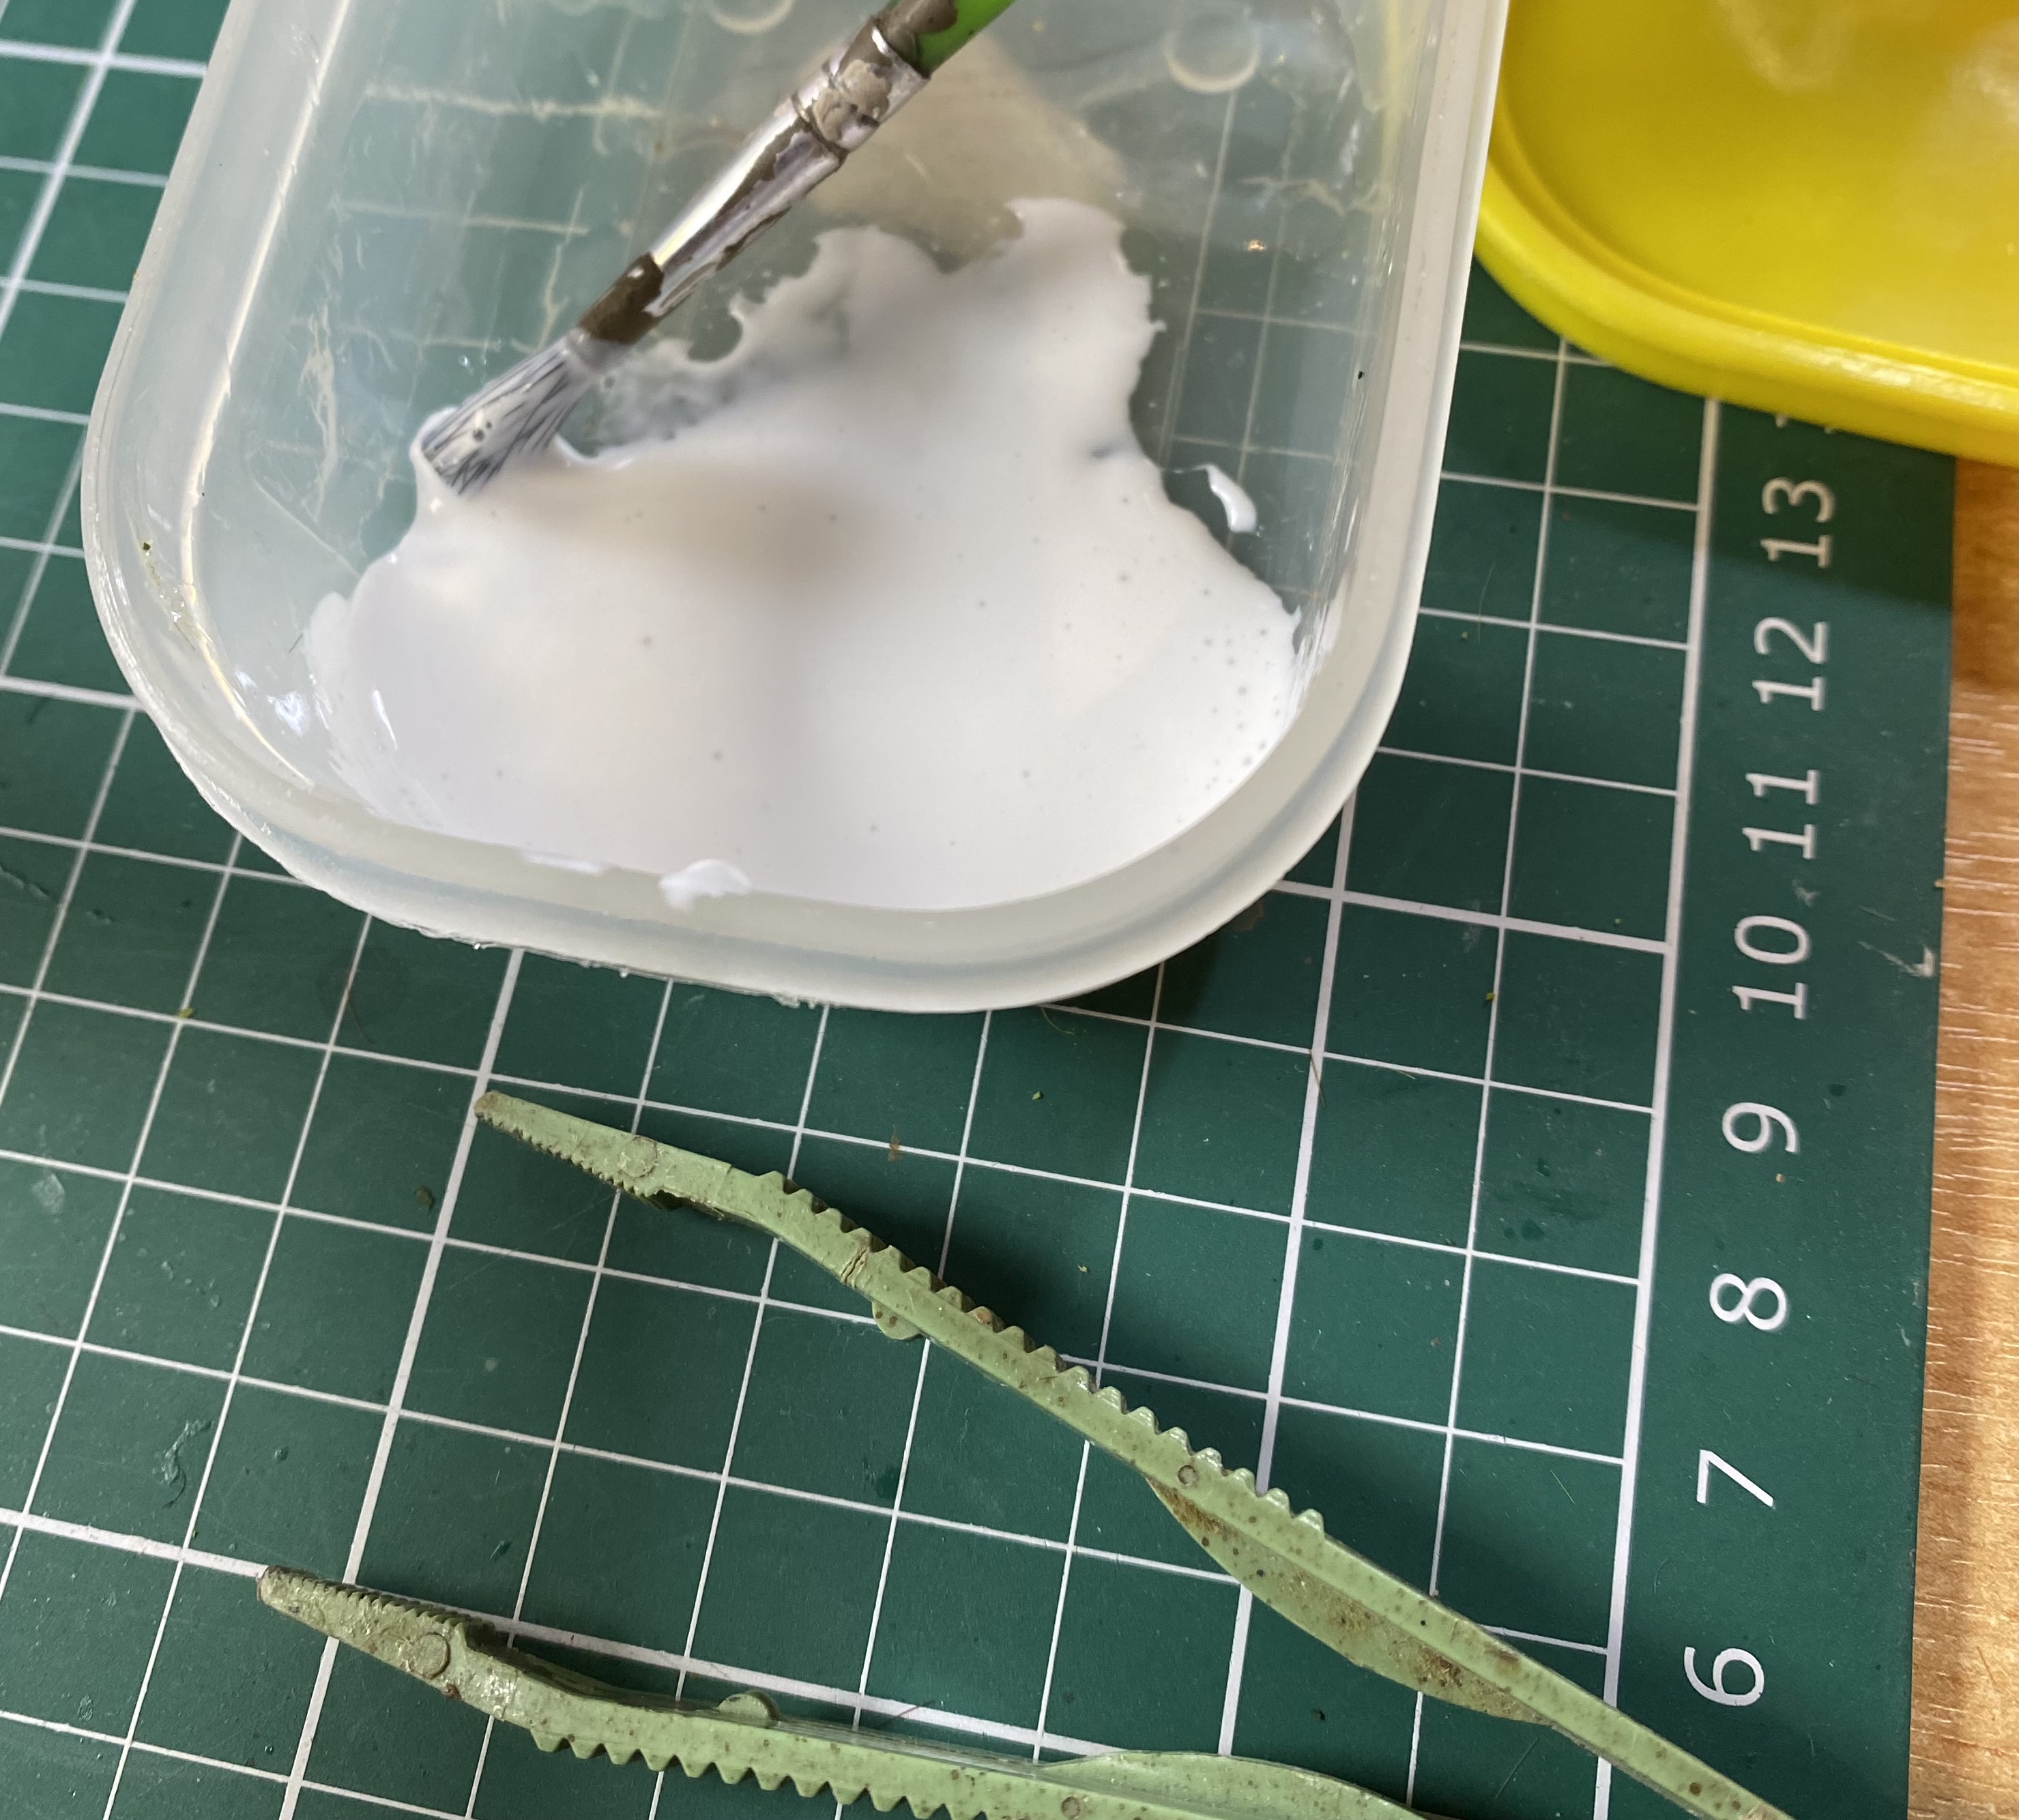 PVA and handy large plastic tweezers for applying static grass and tufts.
First I add the mid tone static grass which will be the largest volume of green cover. I have a careful look at the base first, looking for any areas where the sand mixture doesn’t look so good, or perhaps the figure base is more obvious. I make sure these areas are covered in static grass to cover up any imperfections. I apply random patches of the thinned PVA and then add the mid tone static grass. I add the static grass on thickly and press it in to the PVA with tweezers. I make sure I leave around four nice flat areas to accommodate tufts later. After pressing on the static grass I invert the base and tap firmly with the tweezers on the bottom of the base until the excess is off. This also helps the grass stand-up a bit. (Probably not as much as an electrical static grass applicator would, but I find the tapping method easier.)
 Random patches of PVA for the mid-tone static grass.
With the mid tone static grass applied I then repeat the process to add a few, smaller patches of the darker tone of static grass next to mid-tone.
 Mid-tone and darker-tone static grasses added.
There should now be a few spots left without static grass and to some of these I add tufts. I will use a variety of three or four types of tuft for a single unit, with one or maybe two of each type per base. Although the tufts come with sticky bases, I add some PVA to the sandy area before pressing on the tufts with tweezers.
I leave some patches of the highlighted sand showing, including the areas of the larger bits of sand, as this adds to the variety and interest on the base. \
BASING CONTINUES WITH STEP 7 IN THE NEXT PROJECT ENTRY
 Base with static grass and tufts added.
From The Ground Up Part 2
THIS CONTUES AT STEP 3 FROM THE PREVIOUS PROJECT ENTRY
 Base with PVA and paint mixture thickly applied.
Step 4.
On top of this PVA and paint mixture, while it is still wet, I apply sand. I bought a 5Kg (roughly 10lbs) bag of builders’ sharp sand 30+ years ago and I suspect I will never need to buy any more! I sieve the sand (using the kitchen sieve – don’t tell the chief!) to separate it in to a fine sand and bigger bits (see picture below).
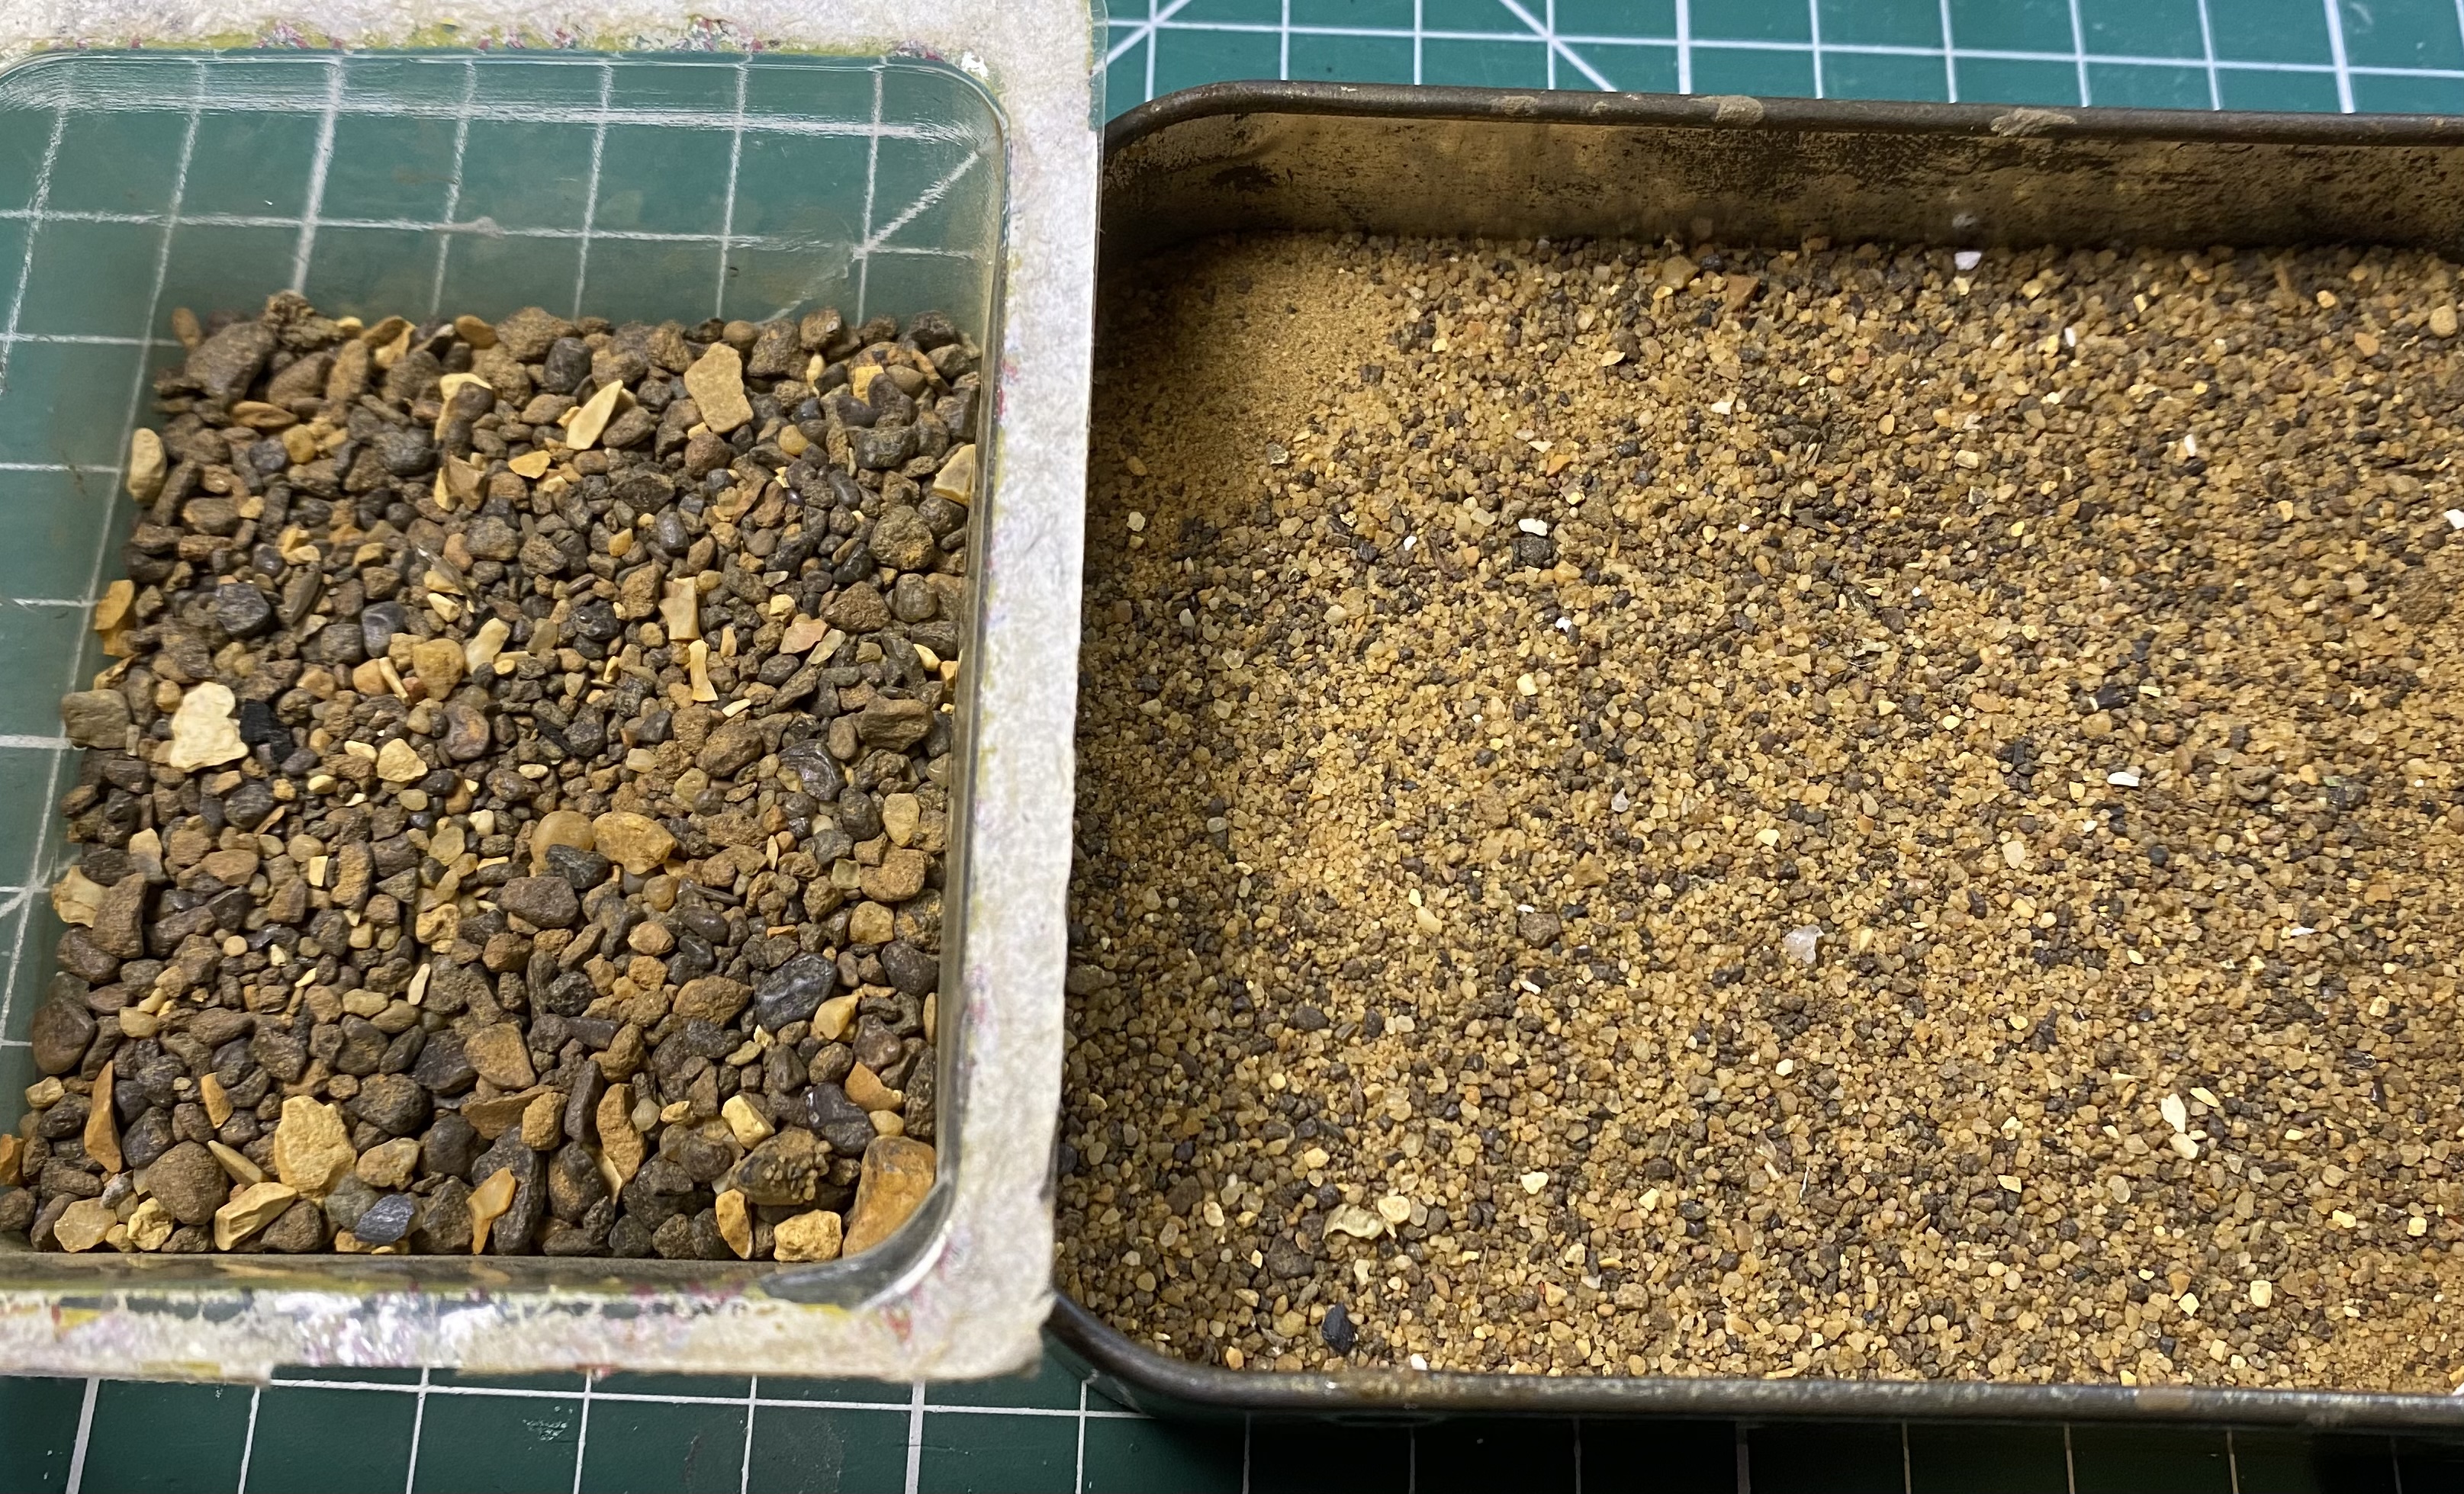 The sieved sharp sand; big bits and fine sand.
On top of the wet PVA + paint mixture I apply one or two small (one pinch) sprinkles of the larger bits of sand. This gives a bit of variety to the overall texture of the base.
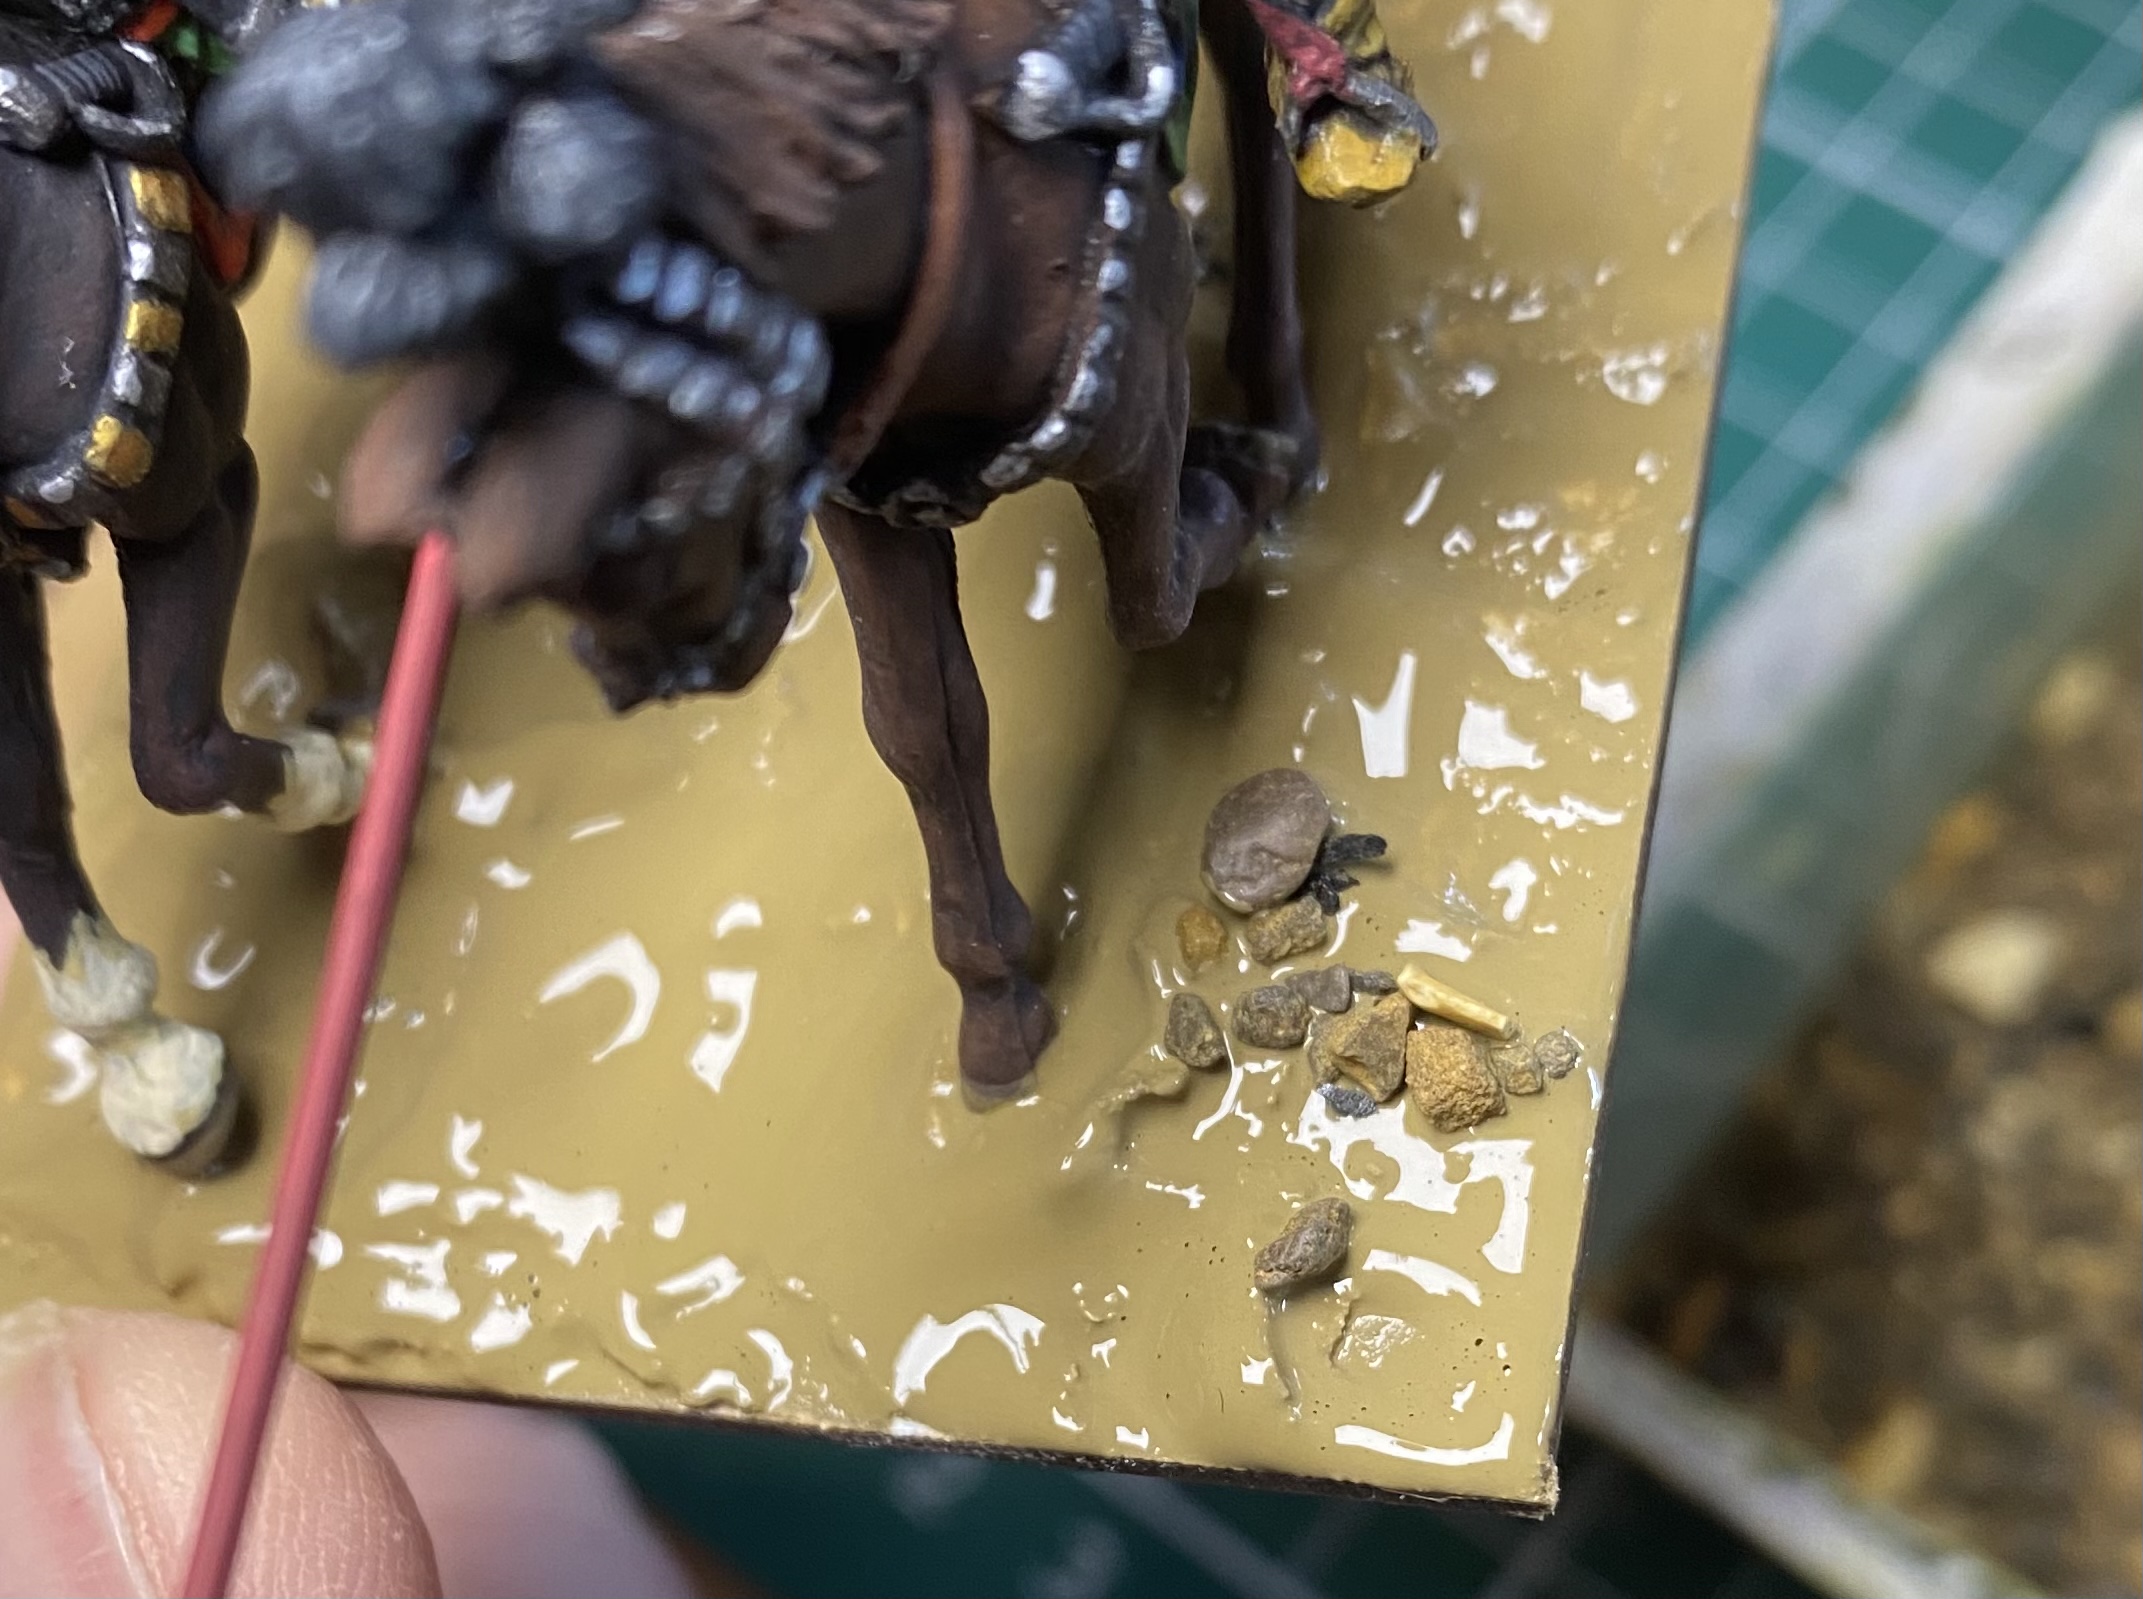 A small sprinkle of the bigger bits from the sharp sand - just need one or two of these per base.
With one or two patches of the larger bits added, I then cover the rest of the base in the finer sand. I tend to sprinkle this on by hand, fairly thickly, and then turn the base over and gently tap off any excess sand, which is reclaimed for further basing.
 Whole base covered with the finer sand.
Step 5.
The figures’ cast on bases should now be disguised / hidden, and the whole base should have a nice rough, realistic texture. The sand provides a subtle variety in colour that works as an accent to the earth / mud coloured paint underneath. The base now needs a good amount of time to dry and I typically leave them overnight to make sure everything is really dry and firm.
Although I like the earth + sand colour, it needs a highlight to add contrast, and also to tie all of the colours together. I have found a single, light dry brush with Vallejo 917 Beige works well.
 Old brushes and kitchen towel to wipe off excess before dry brushing.
Dry brushing sand is very tough work for a brush and they do not last long in this job. As the sand has provided a colour change from the base earth colour I think a single highlight is fine at this stage.
CONTINUED WITH STEP 6 IN NEXT PROJECT ENTRY
 Dry brushed base
From The Ground Up
In this blog entry I describe my basing approach and also share some of the latest units of the painting table.
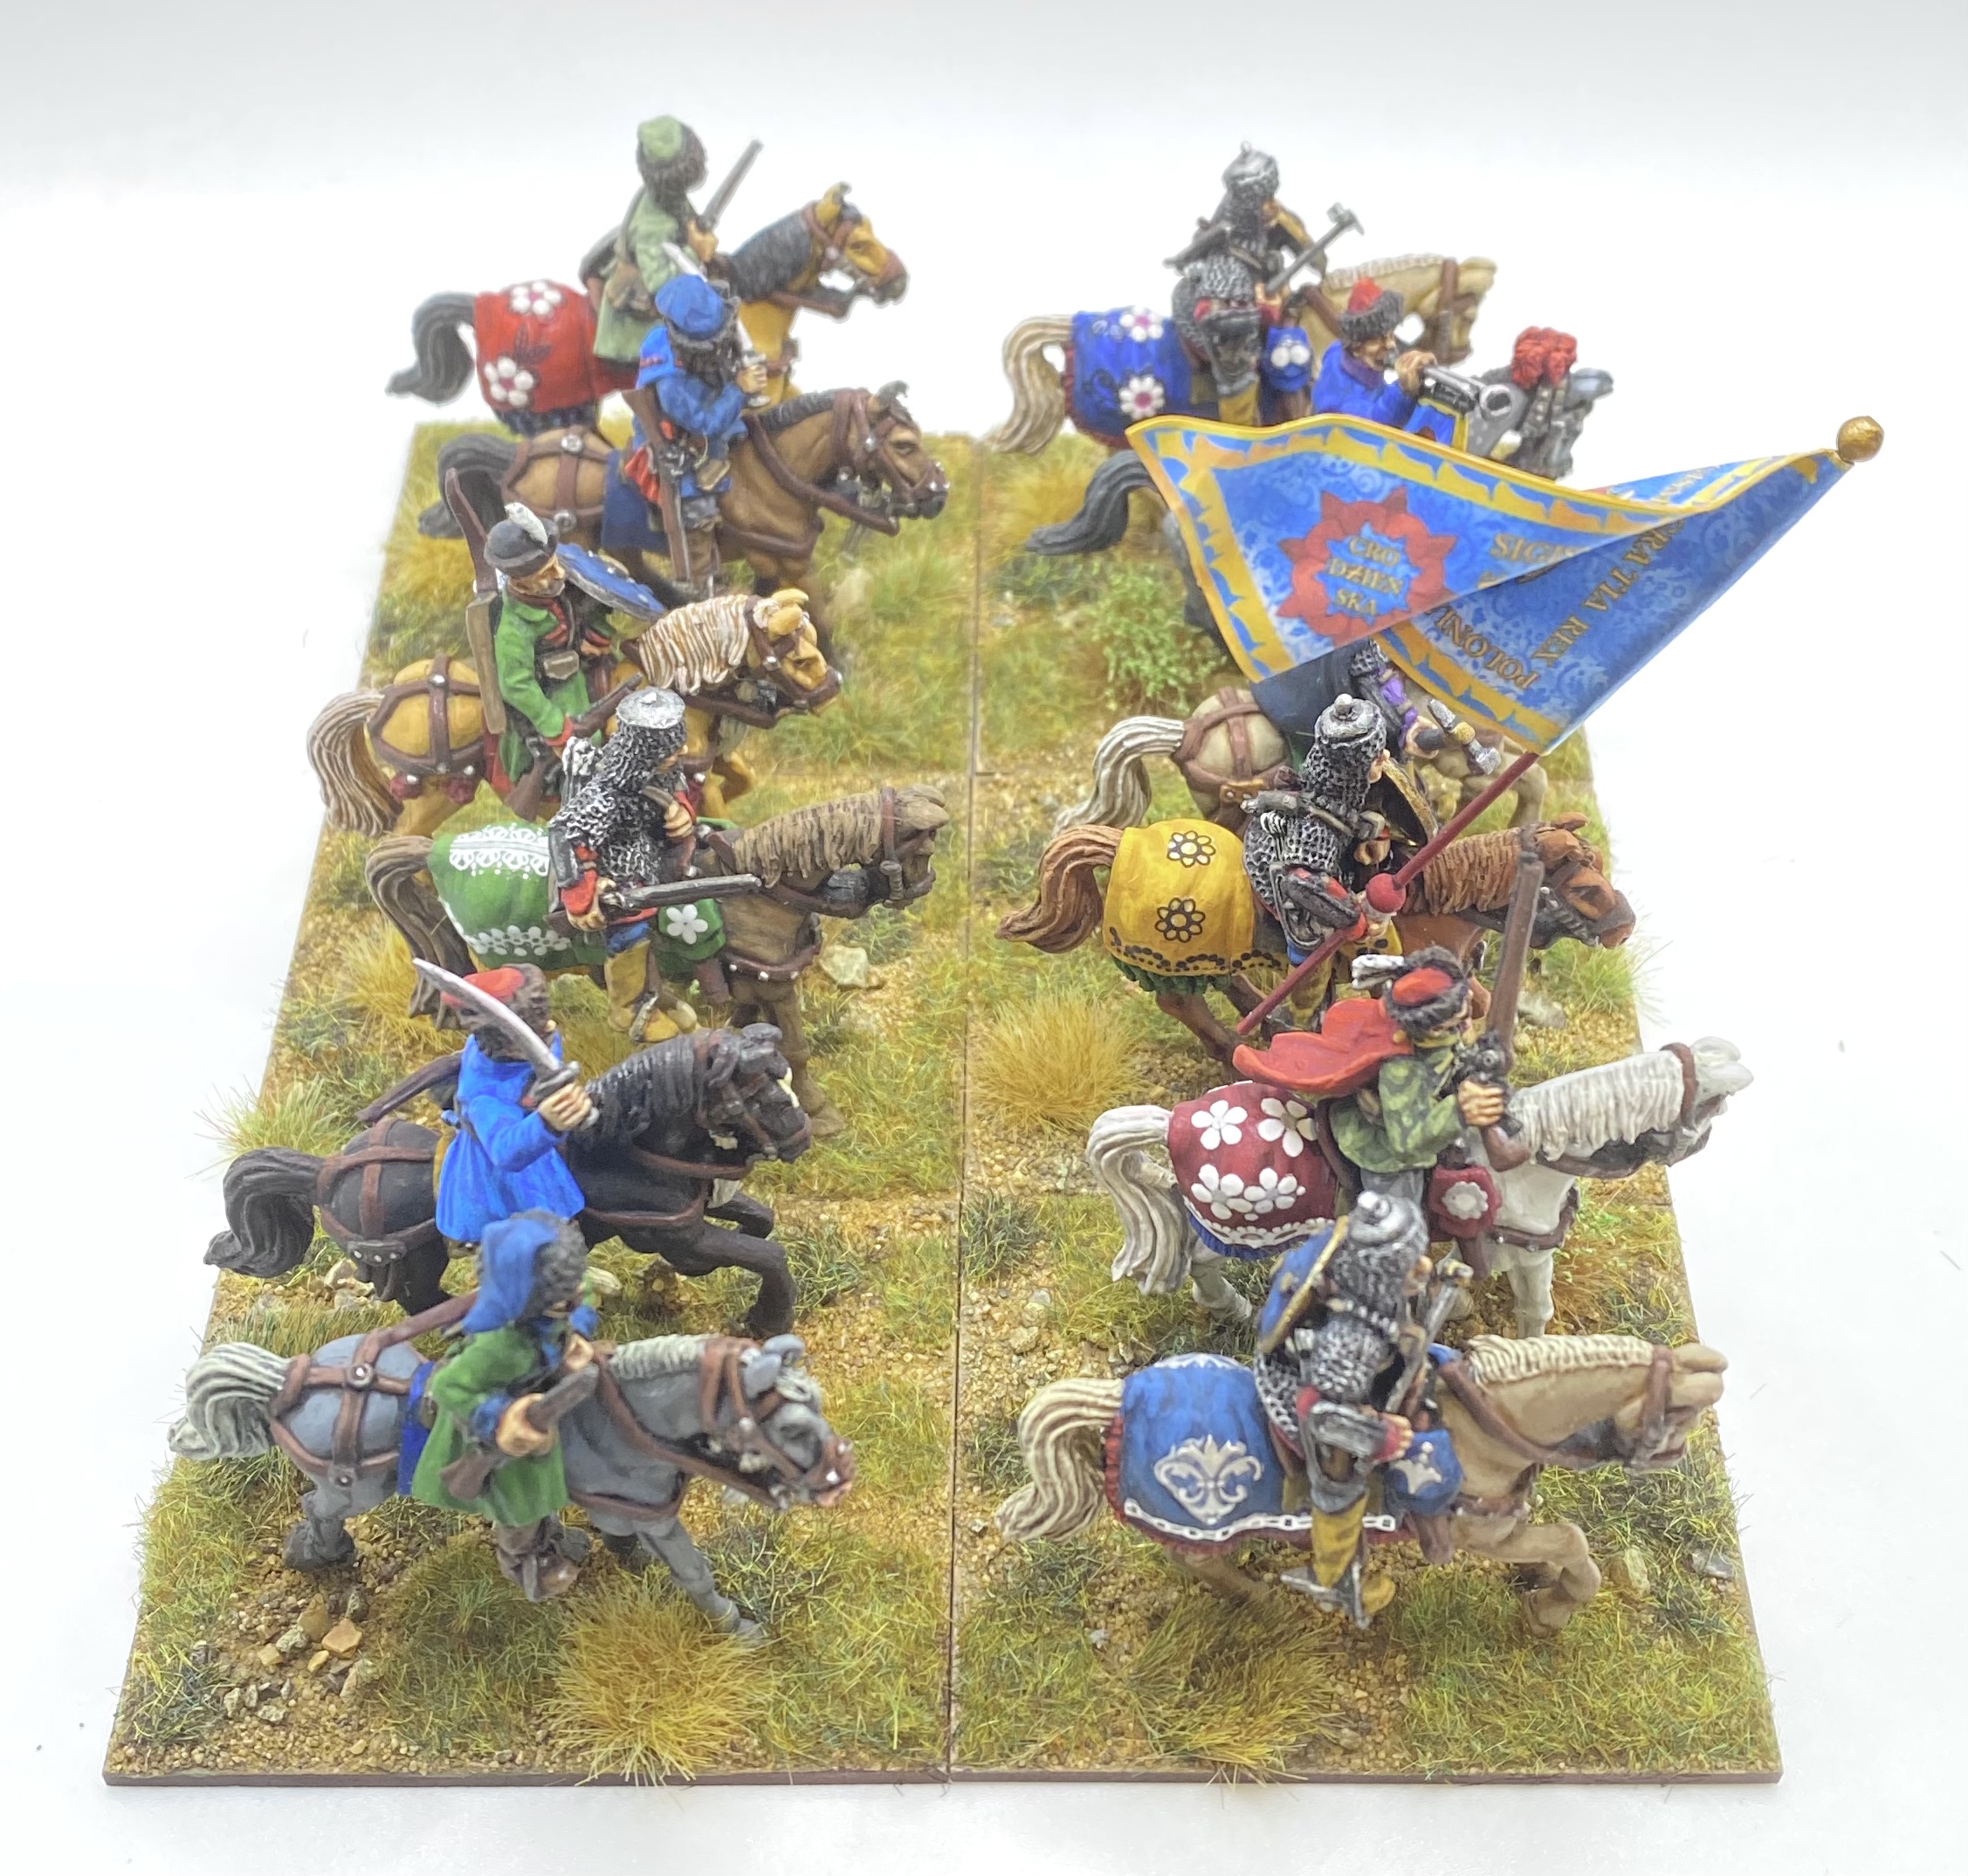
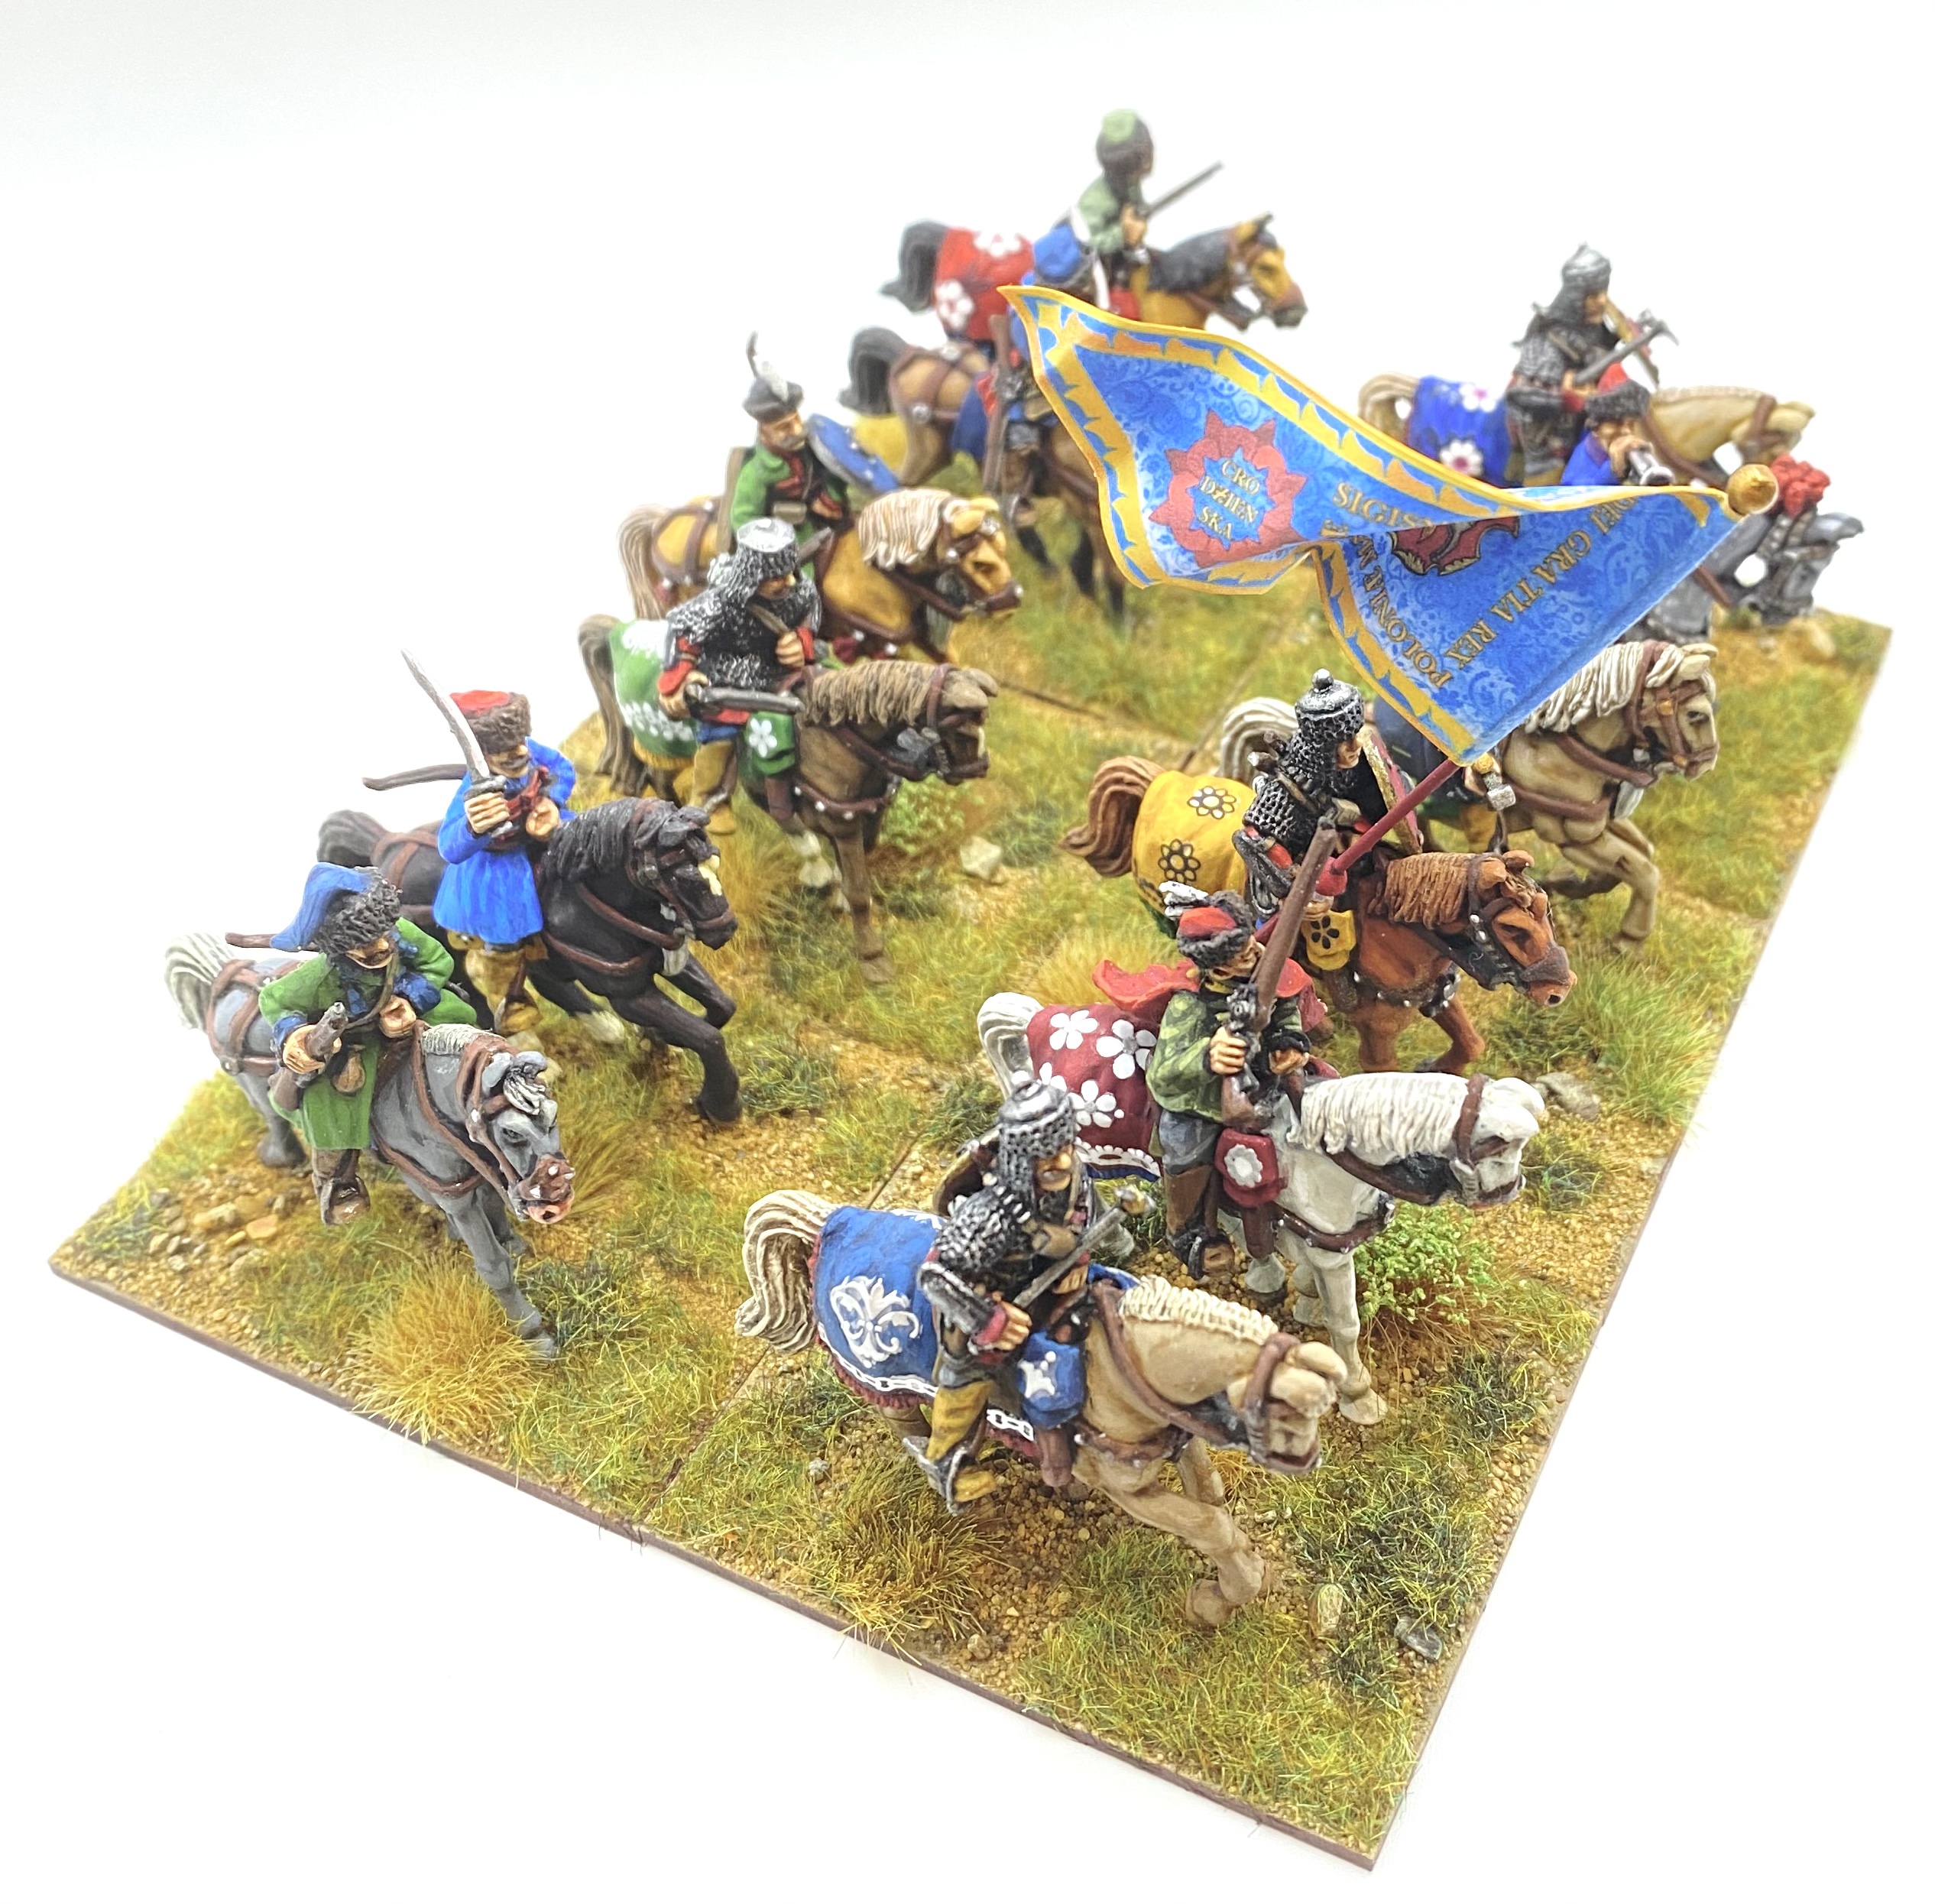
 The latest banner of Hussars gallop from the paining table - TAG and Foundry 28mm
I thought some people might be interested to see my basing method. Even if you have a well practiced basing approach already, hopefully there will be some tidbit of interesting / useful information in the seven steps described below.
Step 1.
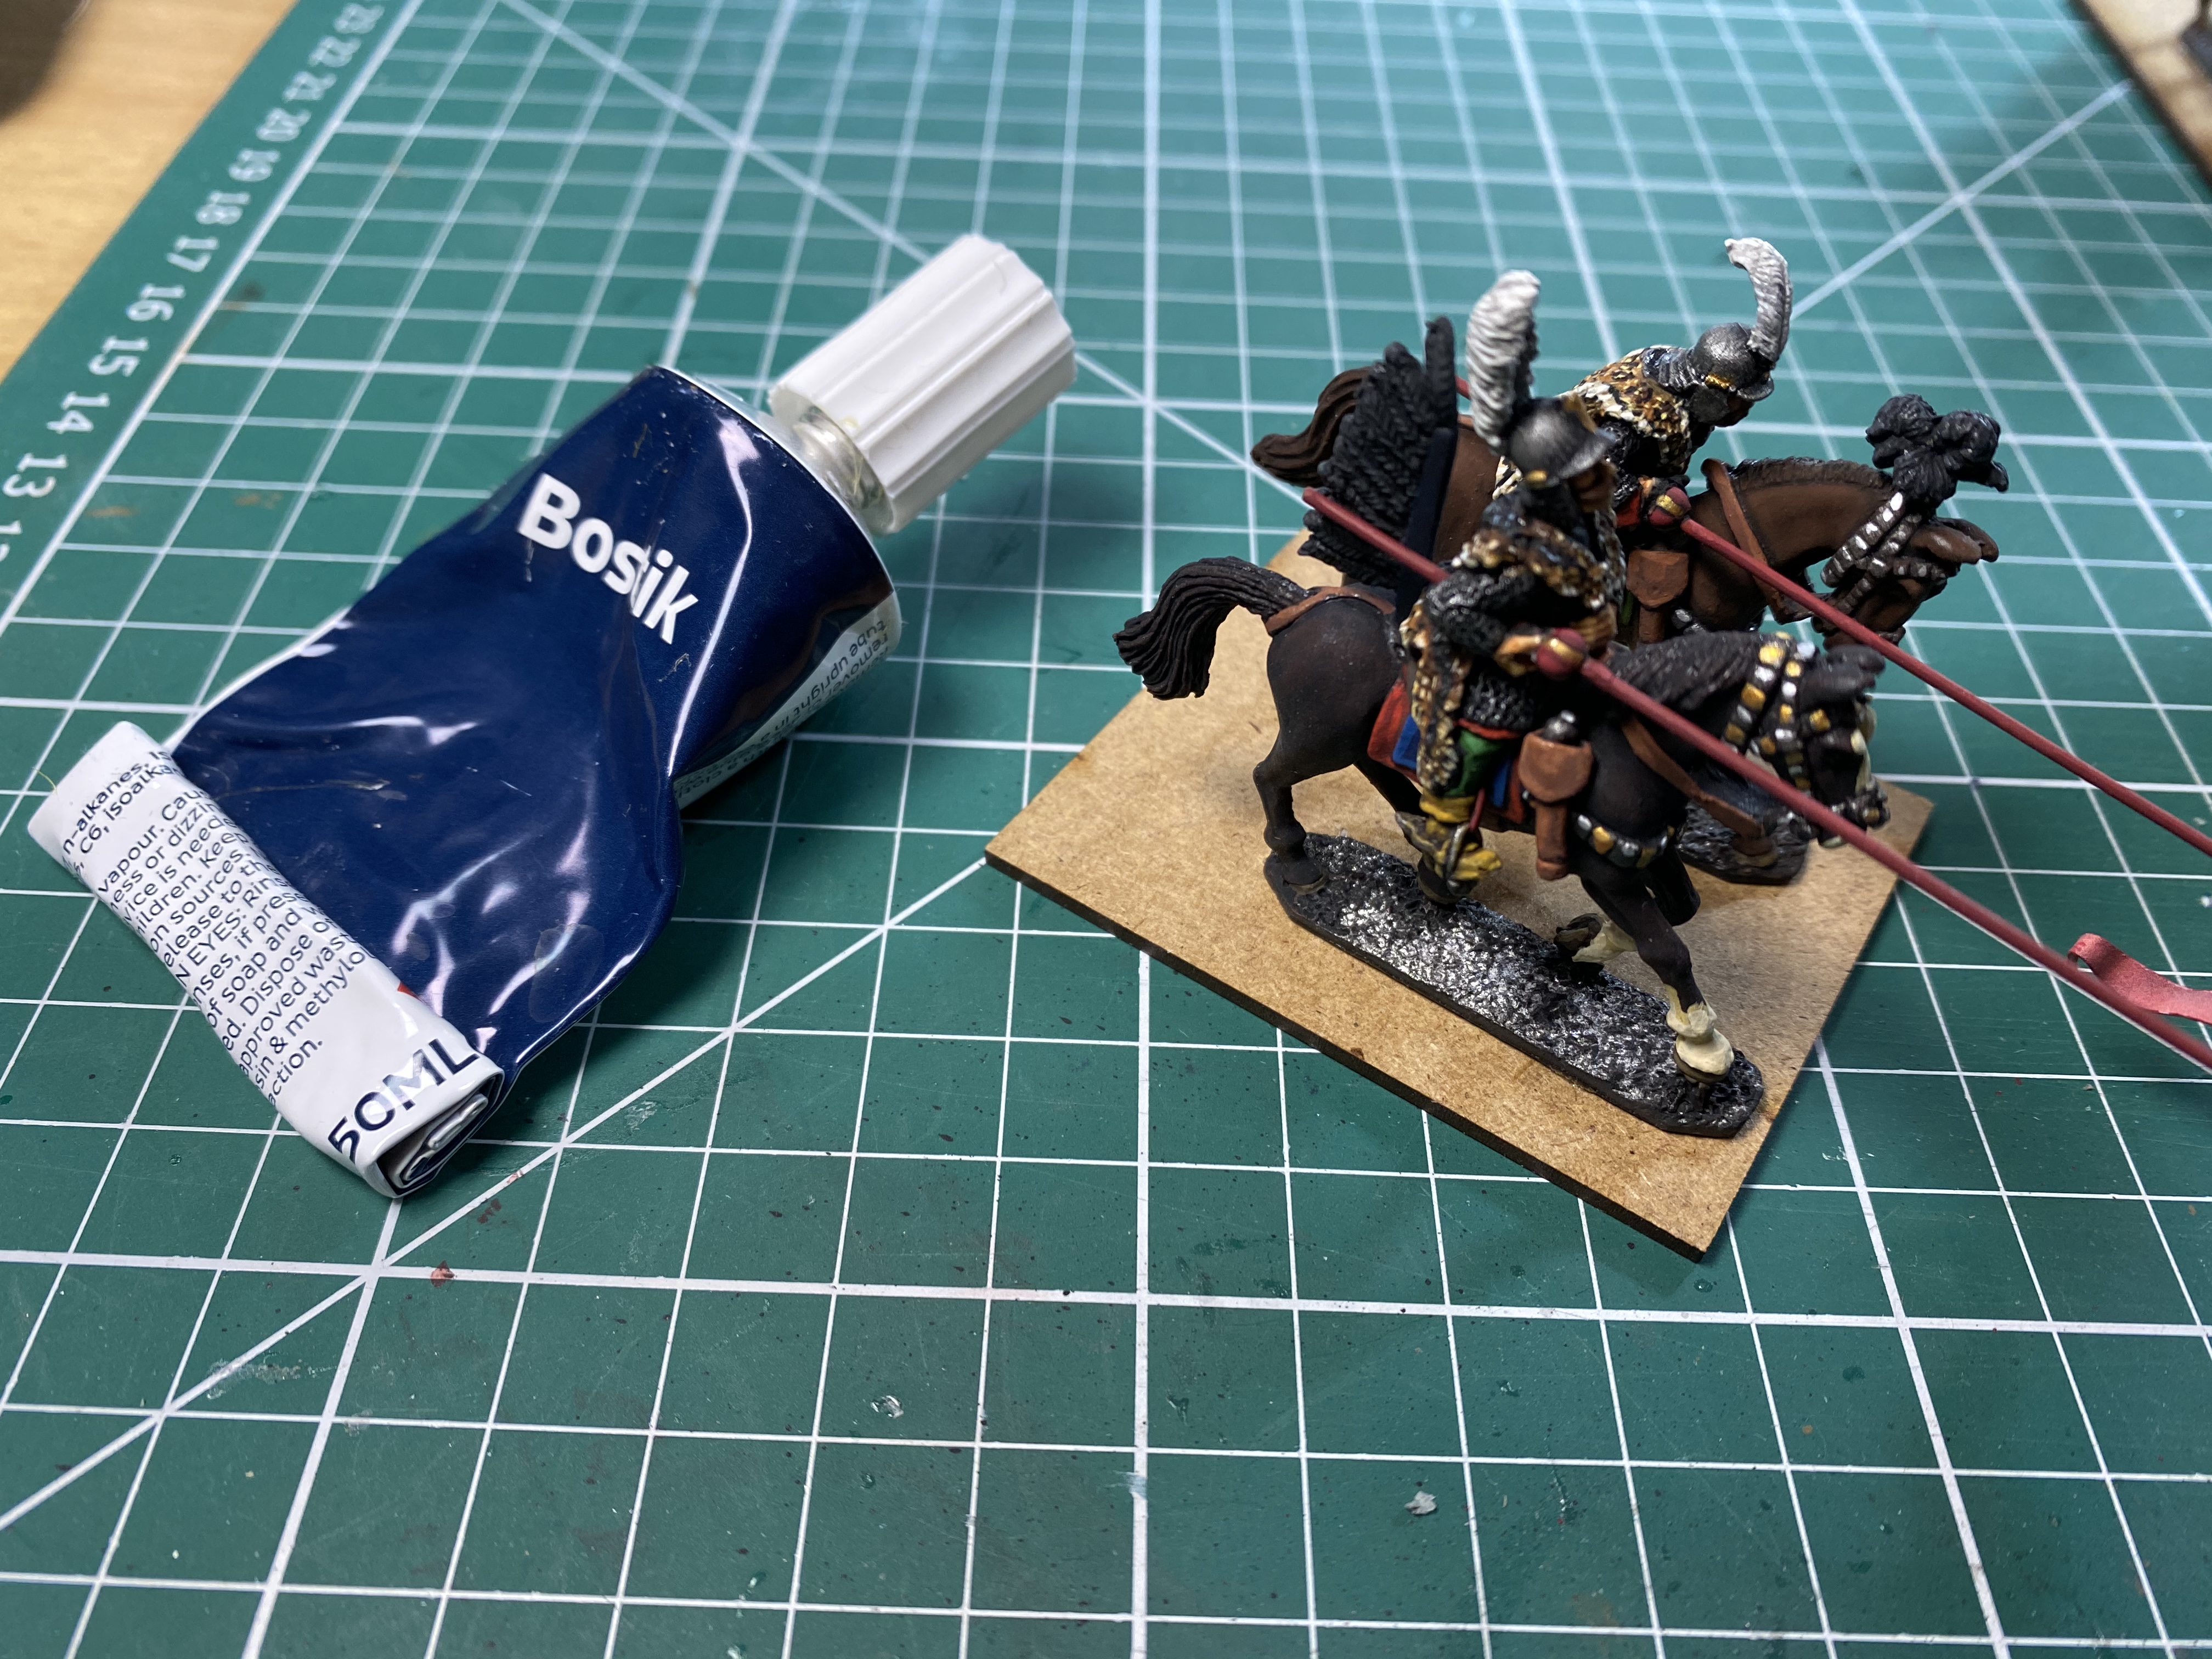
I paint figures separately and, once they are painted and varnished, add them to the final base. Normally this is 2mm MDF from Warbases. I typically use Bostick adhesive, or something similar, as it is relatively cheap and readily available.
 My cavalry are normally on 60mm deep by 50mm wide bases for two figures.
 Step 2.
Once the figures are on the base, and the glue is dry, the next step is to try and disguise the metal or plastic base the figure is cast with. For this I use filler / spackle. I add a few drops pop water to make the stuff easier to apply, but don’t add too much as the filler will lose its ‘shape’ and will not hide the metal/plastic base. I have found a couple of tools that make this easier. One is from a collection of artist’s plastic palette knives, readily available on Amazon/eBay. I also have the GW basing tool to help me get in to smaller gaps around the figures’ feet (but you can easily use an old brush if you want to). These tools have a bit of flex and are great for applying thick or textured stuff like filler.
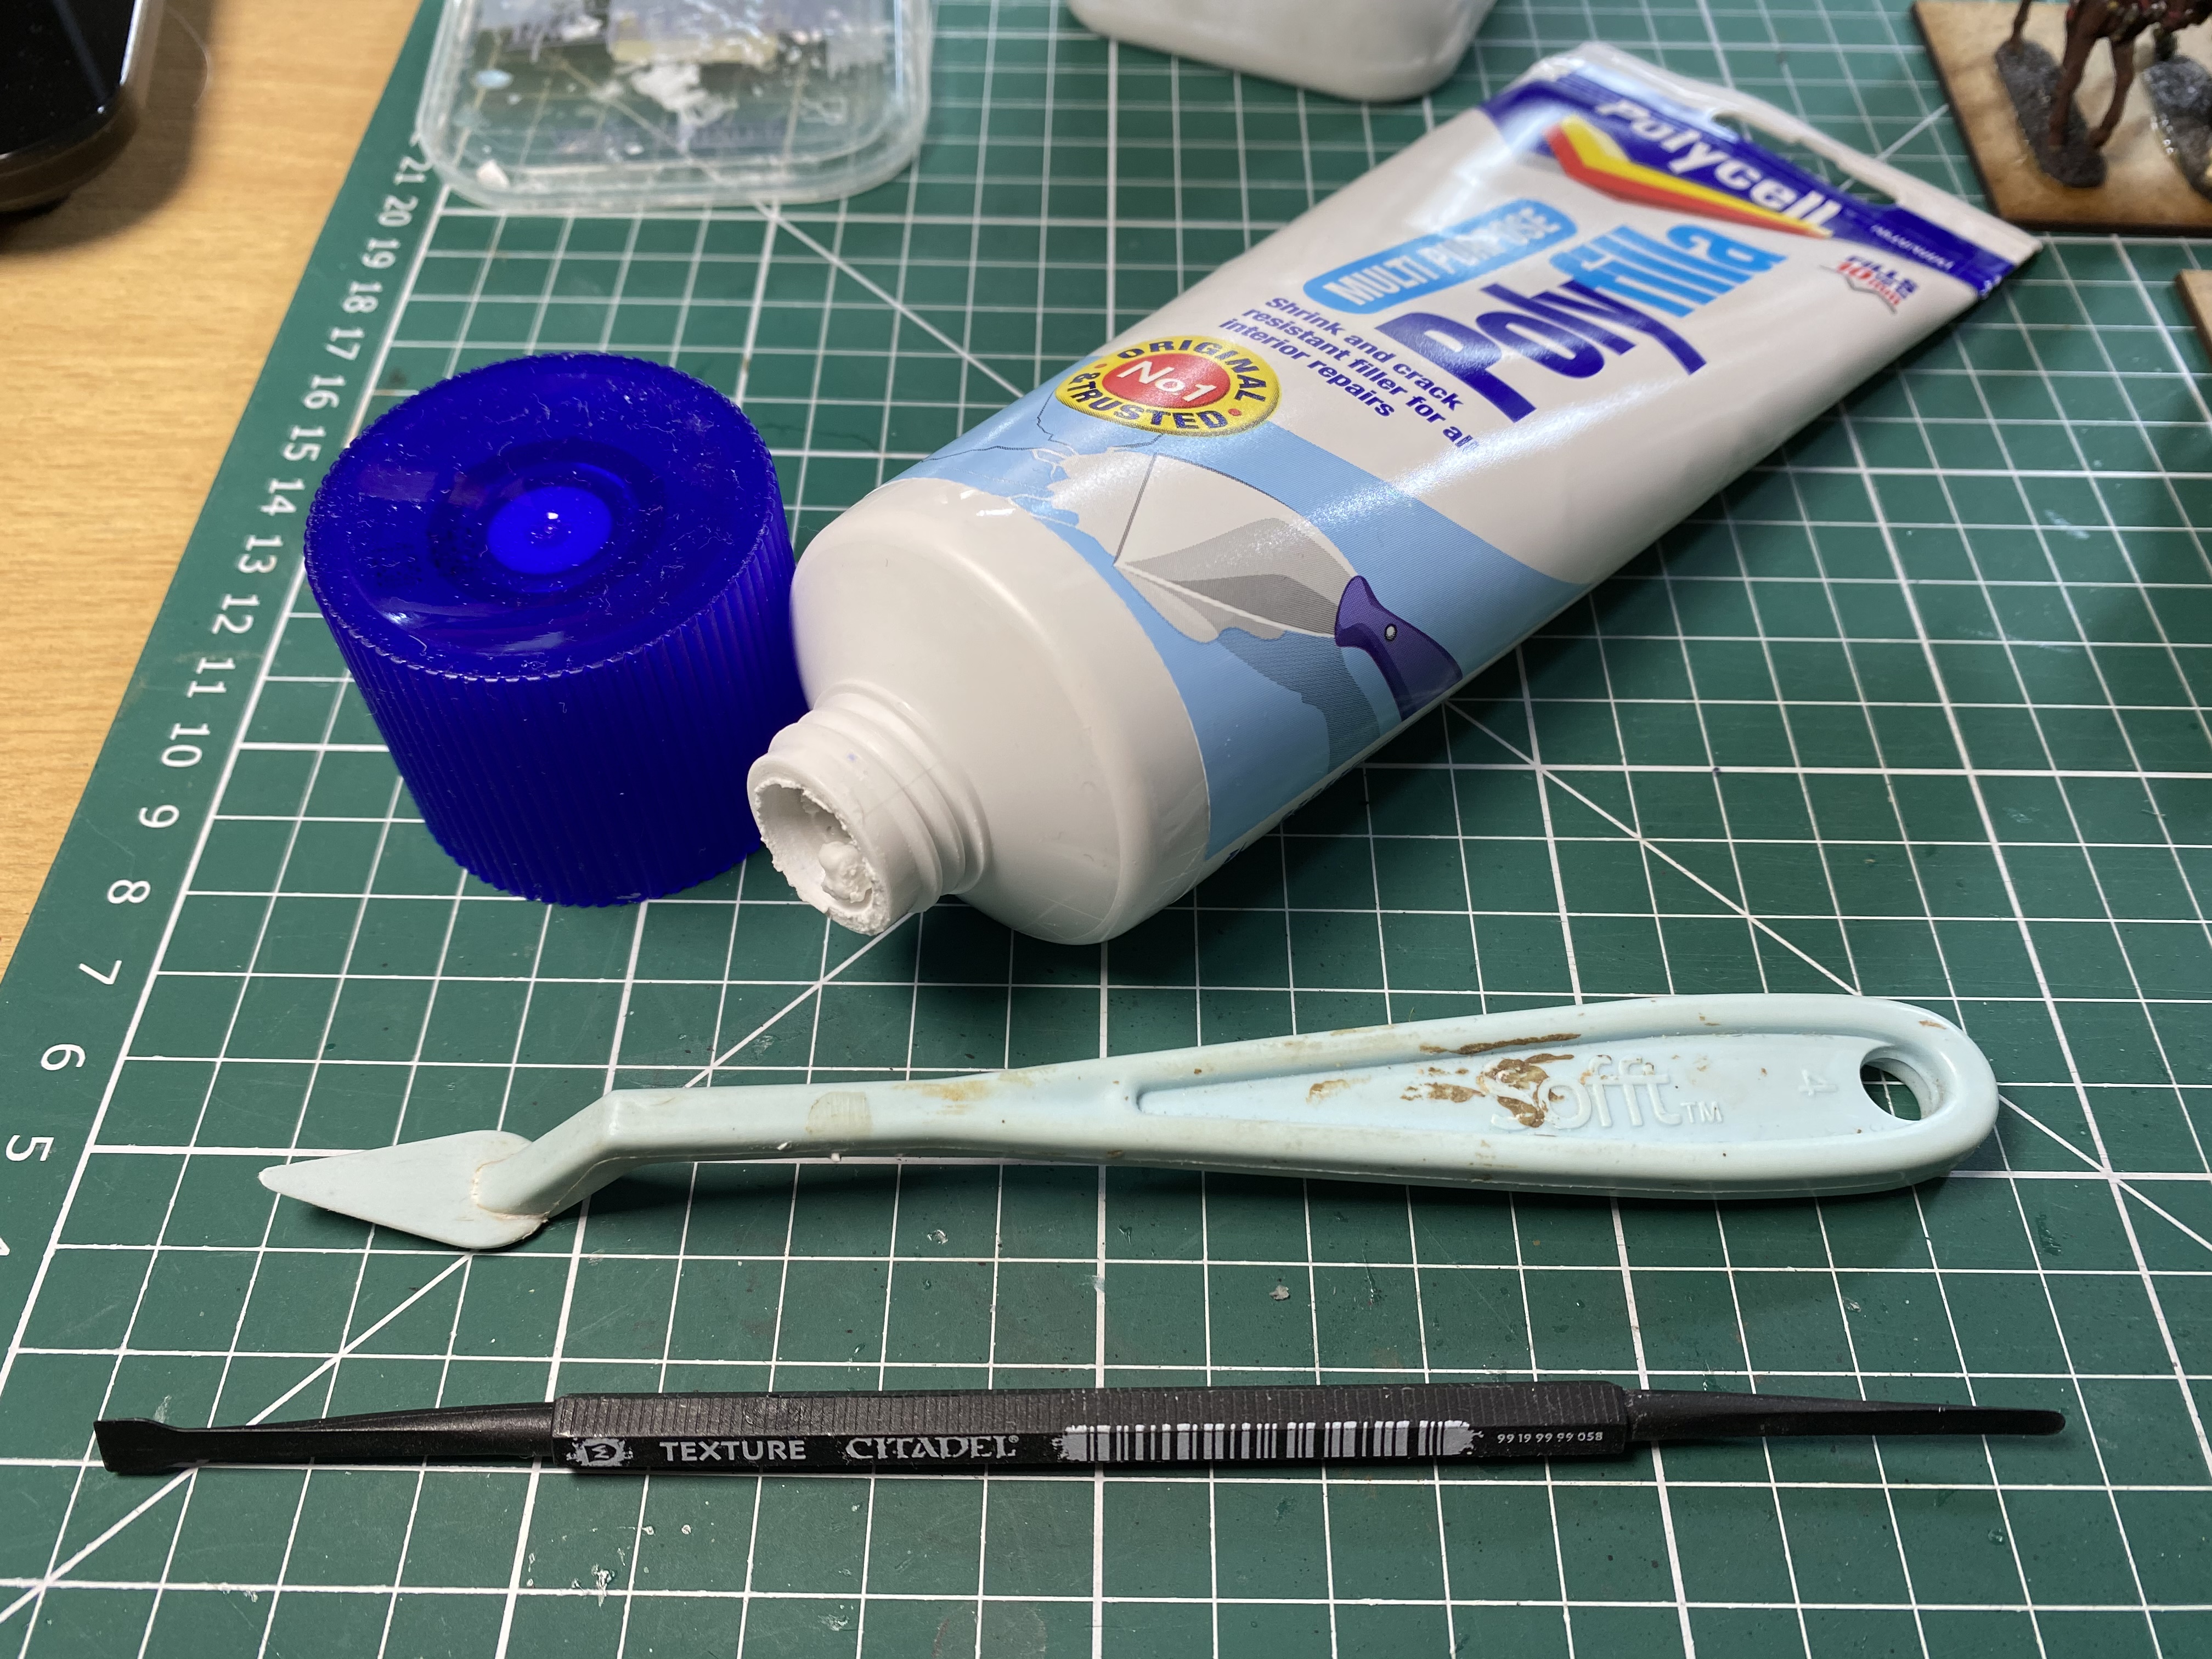 I like these handy tubes of filler as they allow you to use just a small amount of material.
This is a rough and ready stage. The key thing is to go around the metal / plastic based that the figure is on. No need to cover the whole base as that will be done in a later stage. The more bumps and splodges the better as this helps add an uneven surface to the overall base.
 You can see here how I plaster on the filler.
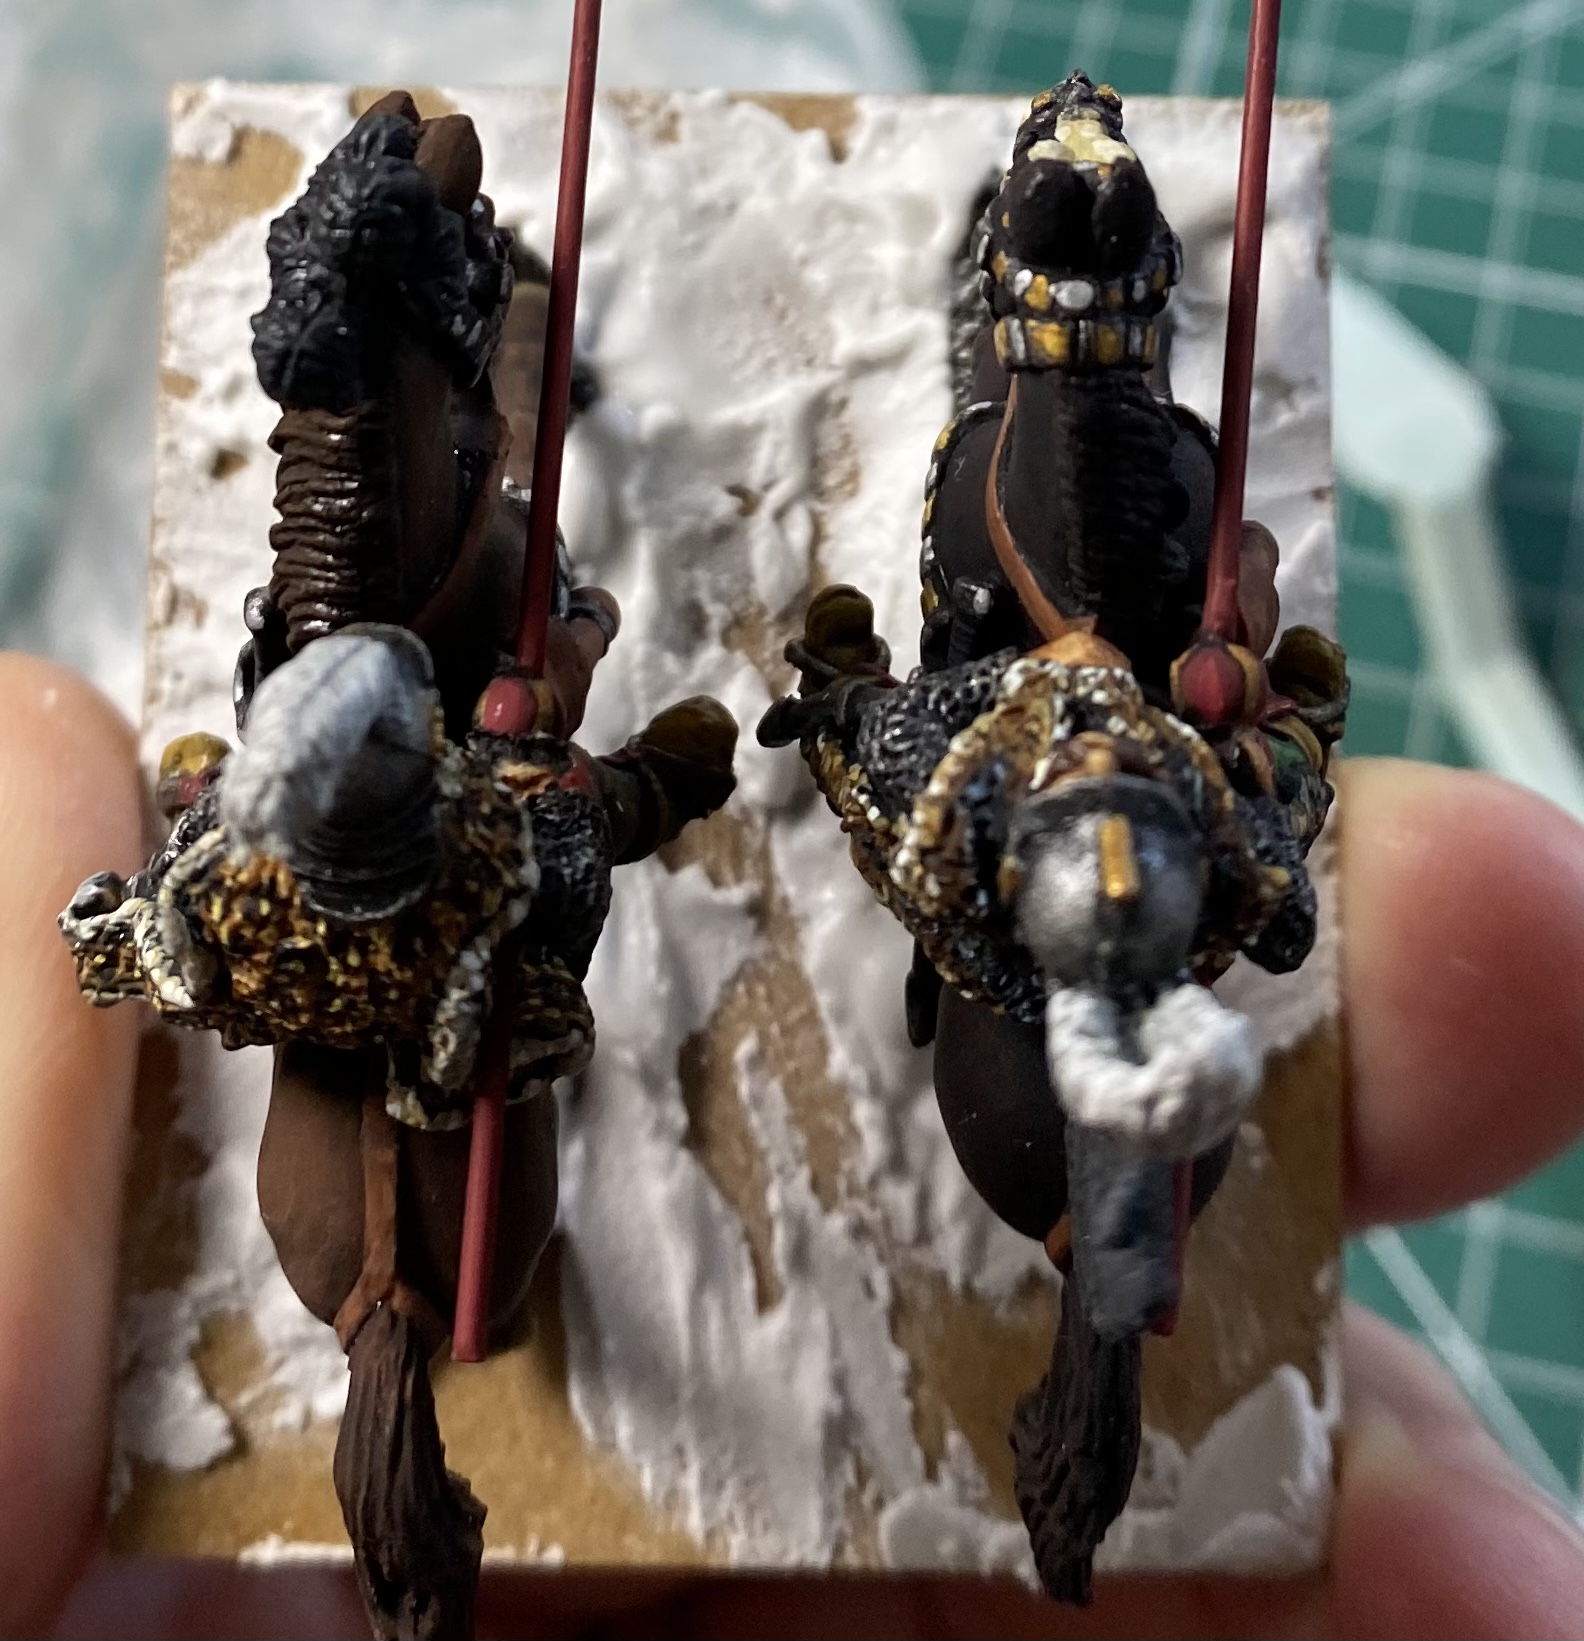 A fairly rough end result is fine.
(If you accidentally get some filler on the figure then a brush with water on can be used to wash it off.) When the bases have had the filler applied then it is best to give them some time to dry before the next step. An hour or so should do (it doesn’t need to be fully cured, just mostly dry).
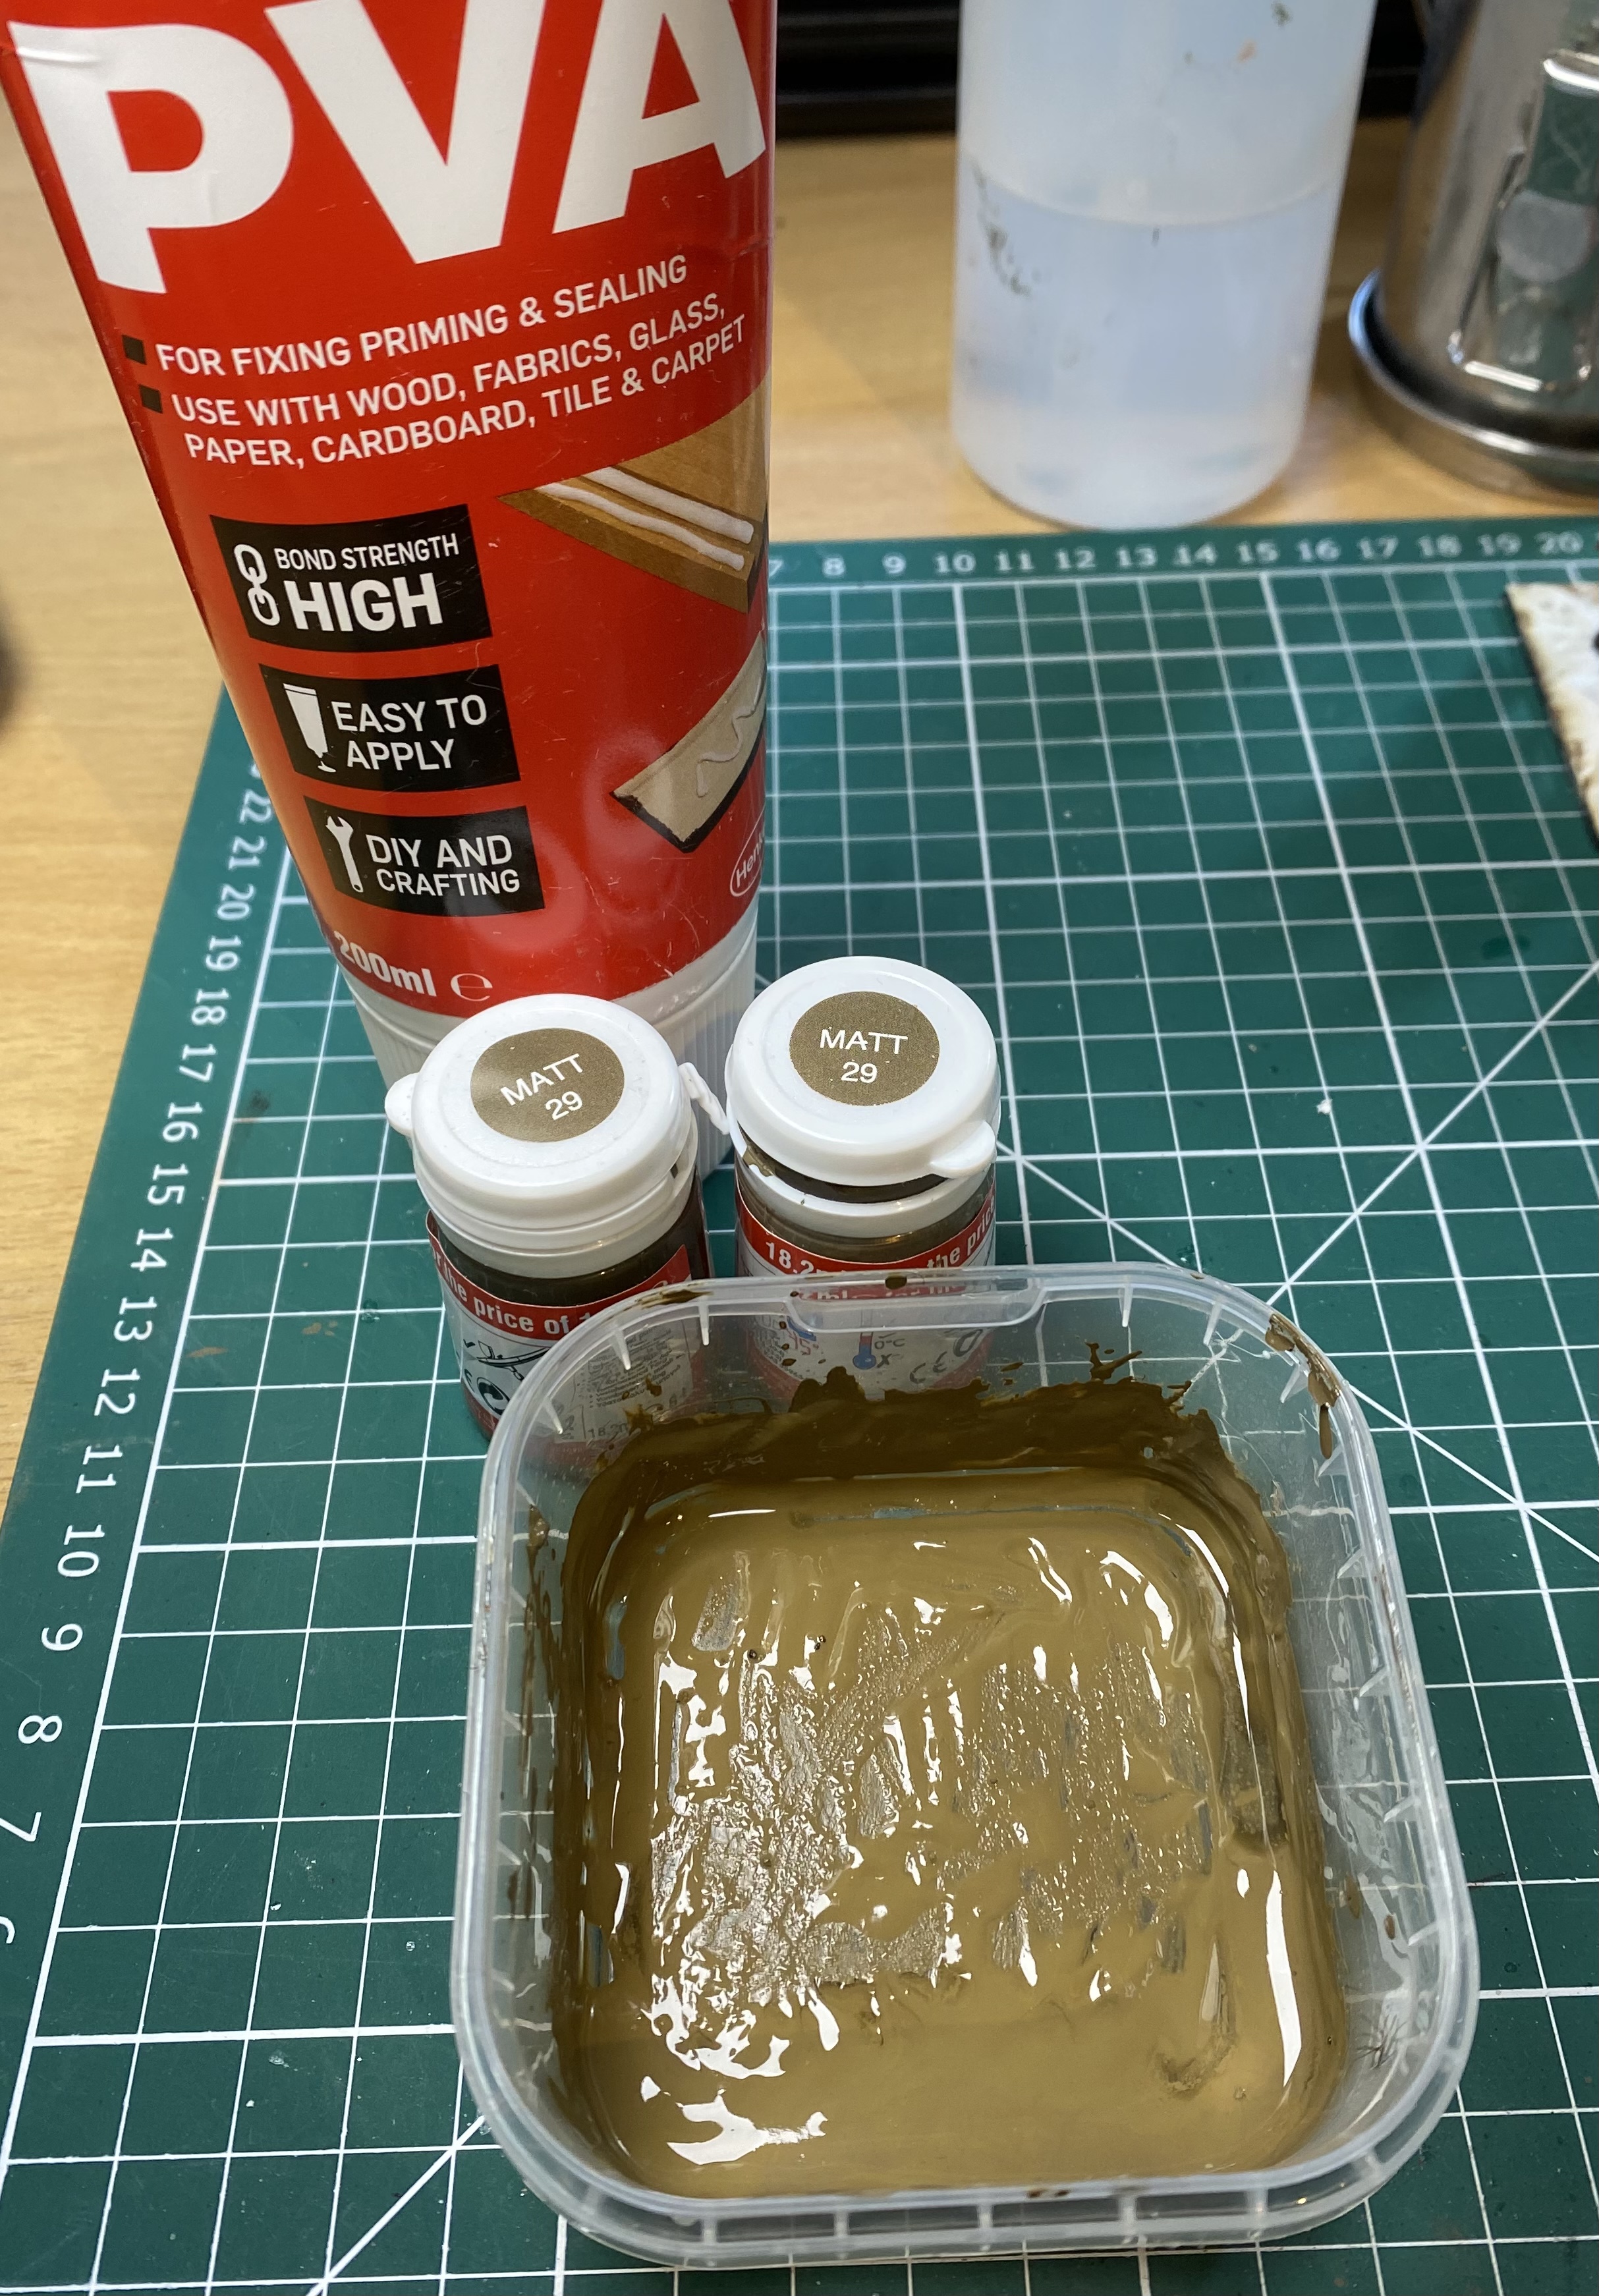 PVA and paint mixed with a small amount of water.
Step 3.
With the filler on, the next step is add more texture, this time over the whole base, with sand. To fix the sand I use a mixture of PVA, acrylic paint and water. You need to add enough paint so that the PVA ‘whiteness’ has taken on almost the complete colour of the paint. Then add a small amount of water, enough to make the PVA+paint easy enough to apply thickly with a brush, but not too much to over dilute the PVA so it will not hold the sand. My preference for paint colour is Humbrol Matt 29, Dark Earth. Nothing else is quite the same, but it is just a personal preference so you can use what you like. (I have found the Dark Earth works well with the sand I use in the next step.) The PVA and paint mixture is then painted over the whole base quite thickly. I tend to use old brushes for this job. I use a small brush first to go around the figures’ feet, and then a bigger brush to fill in the rest.
ACTIVITY CONTINUES IN THE NEXT PROJECT ENTRY


