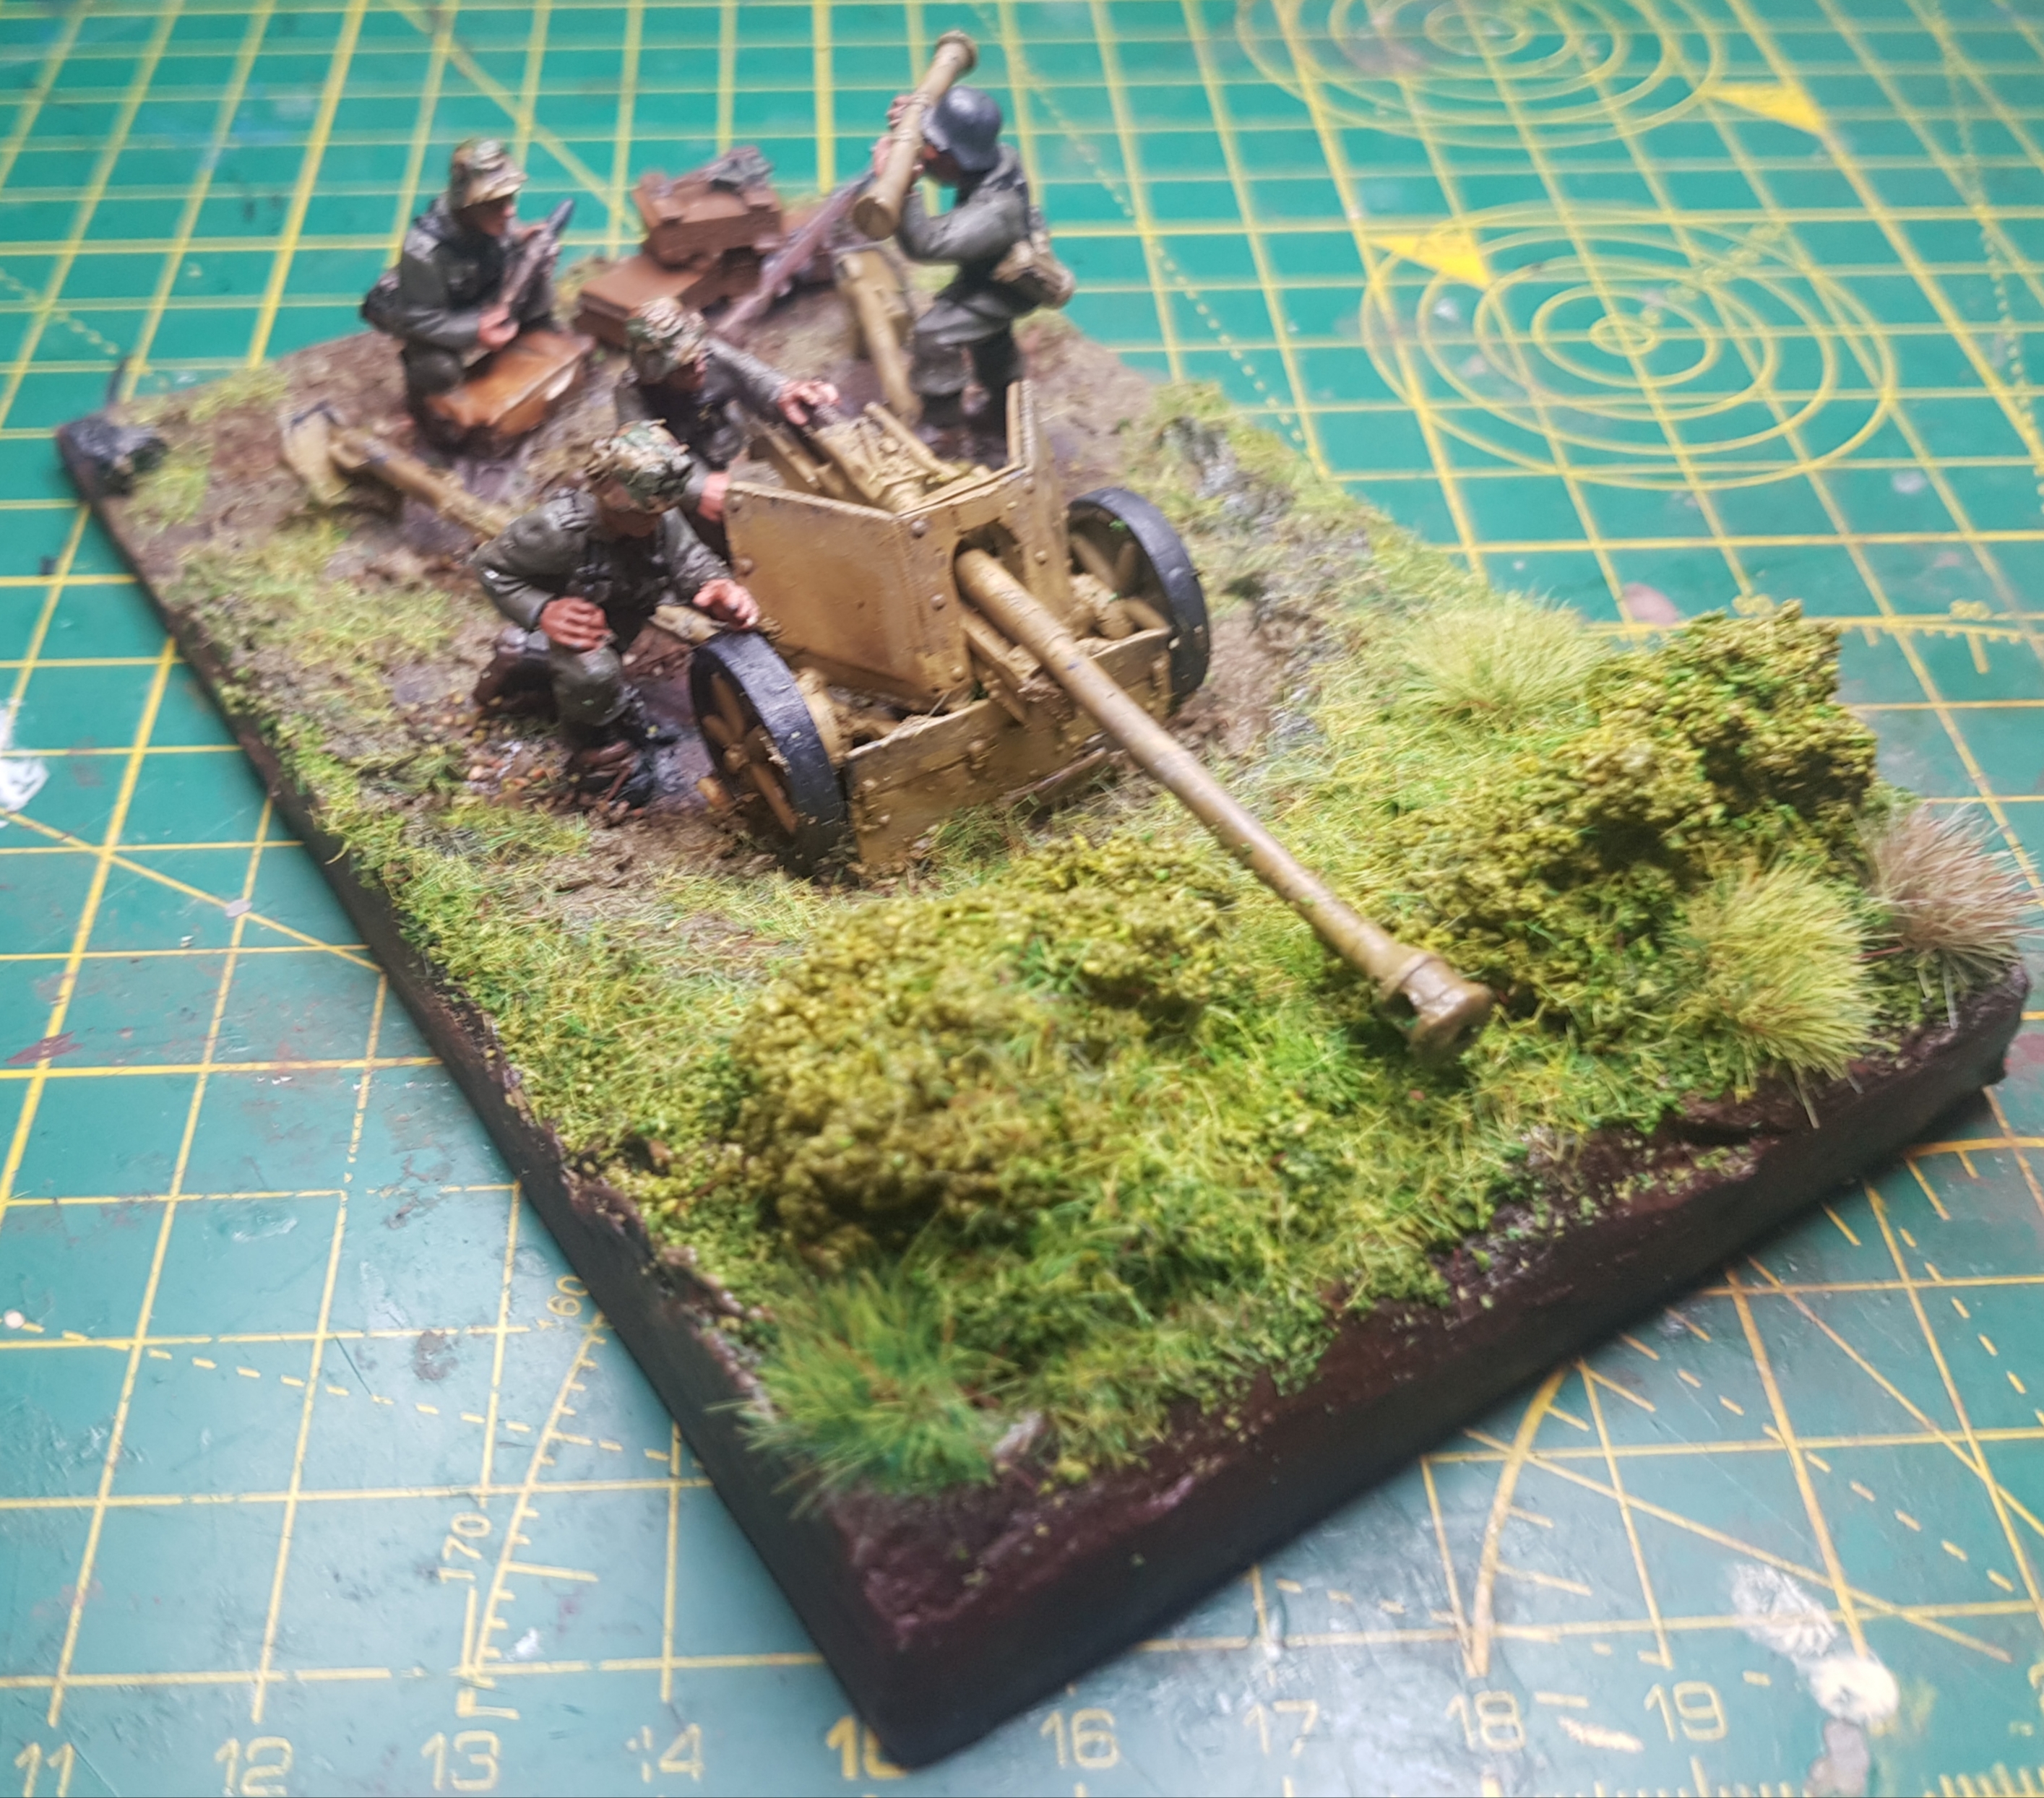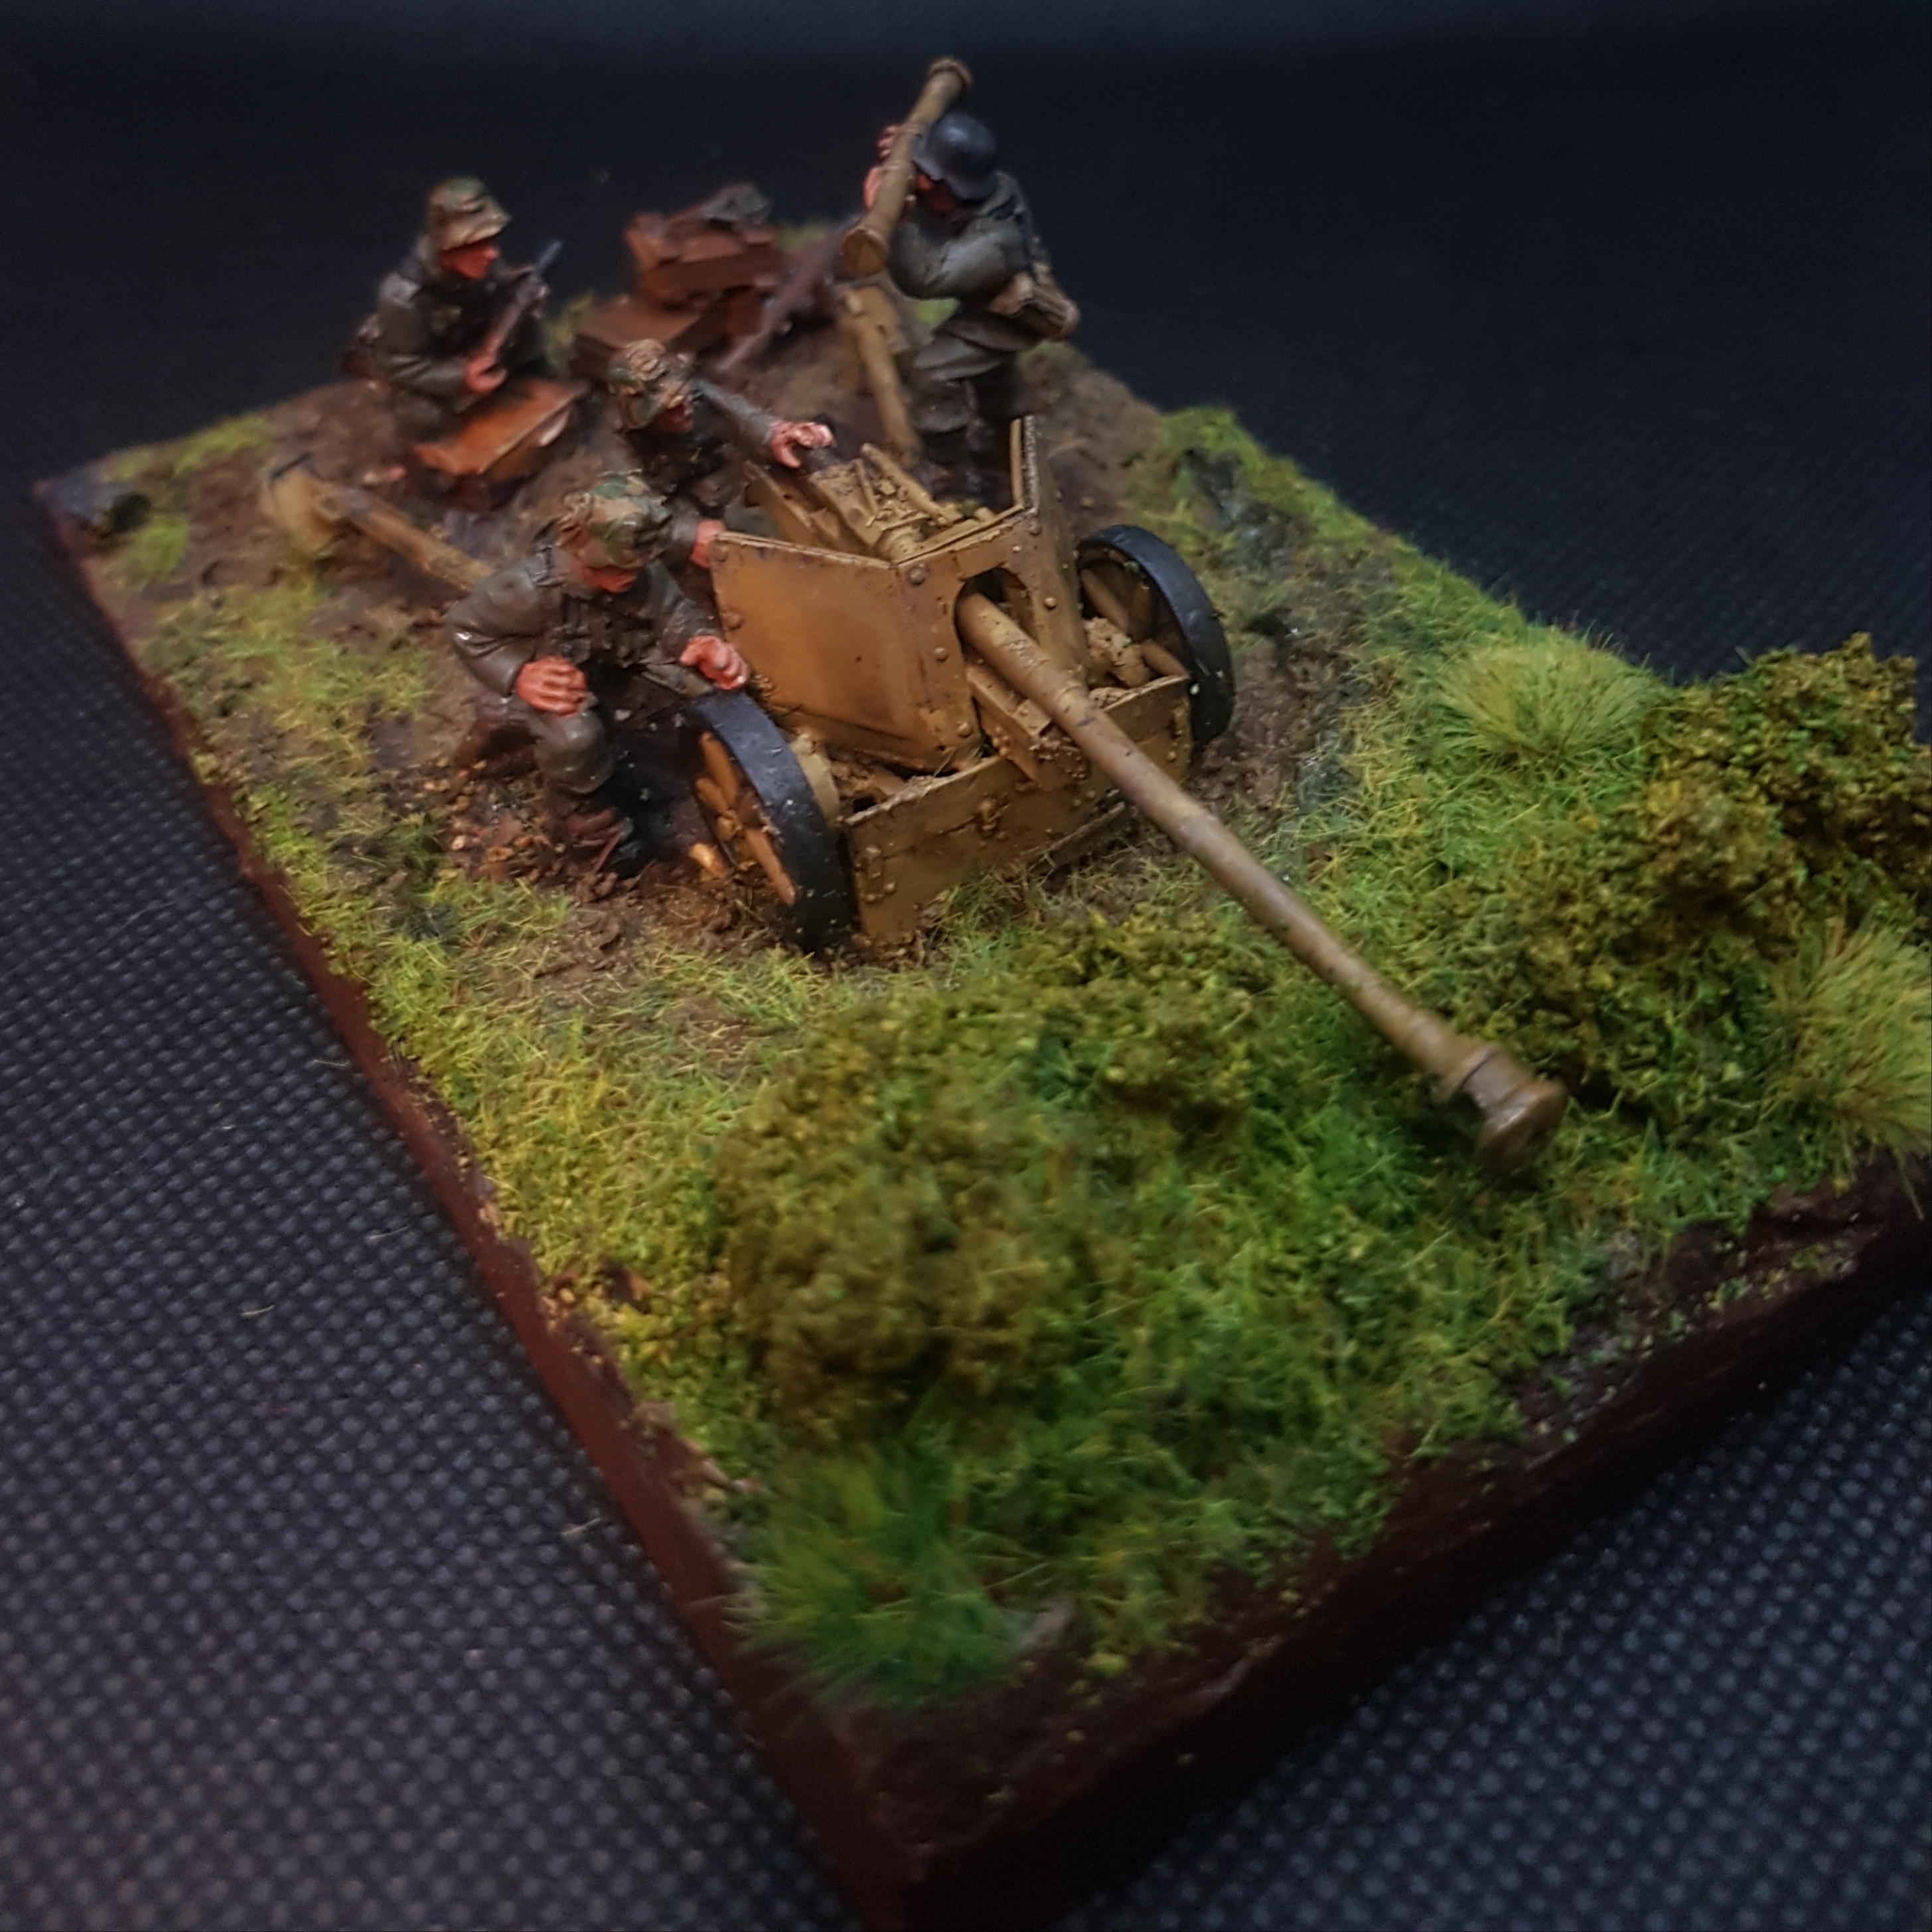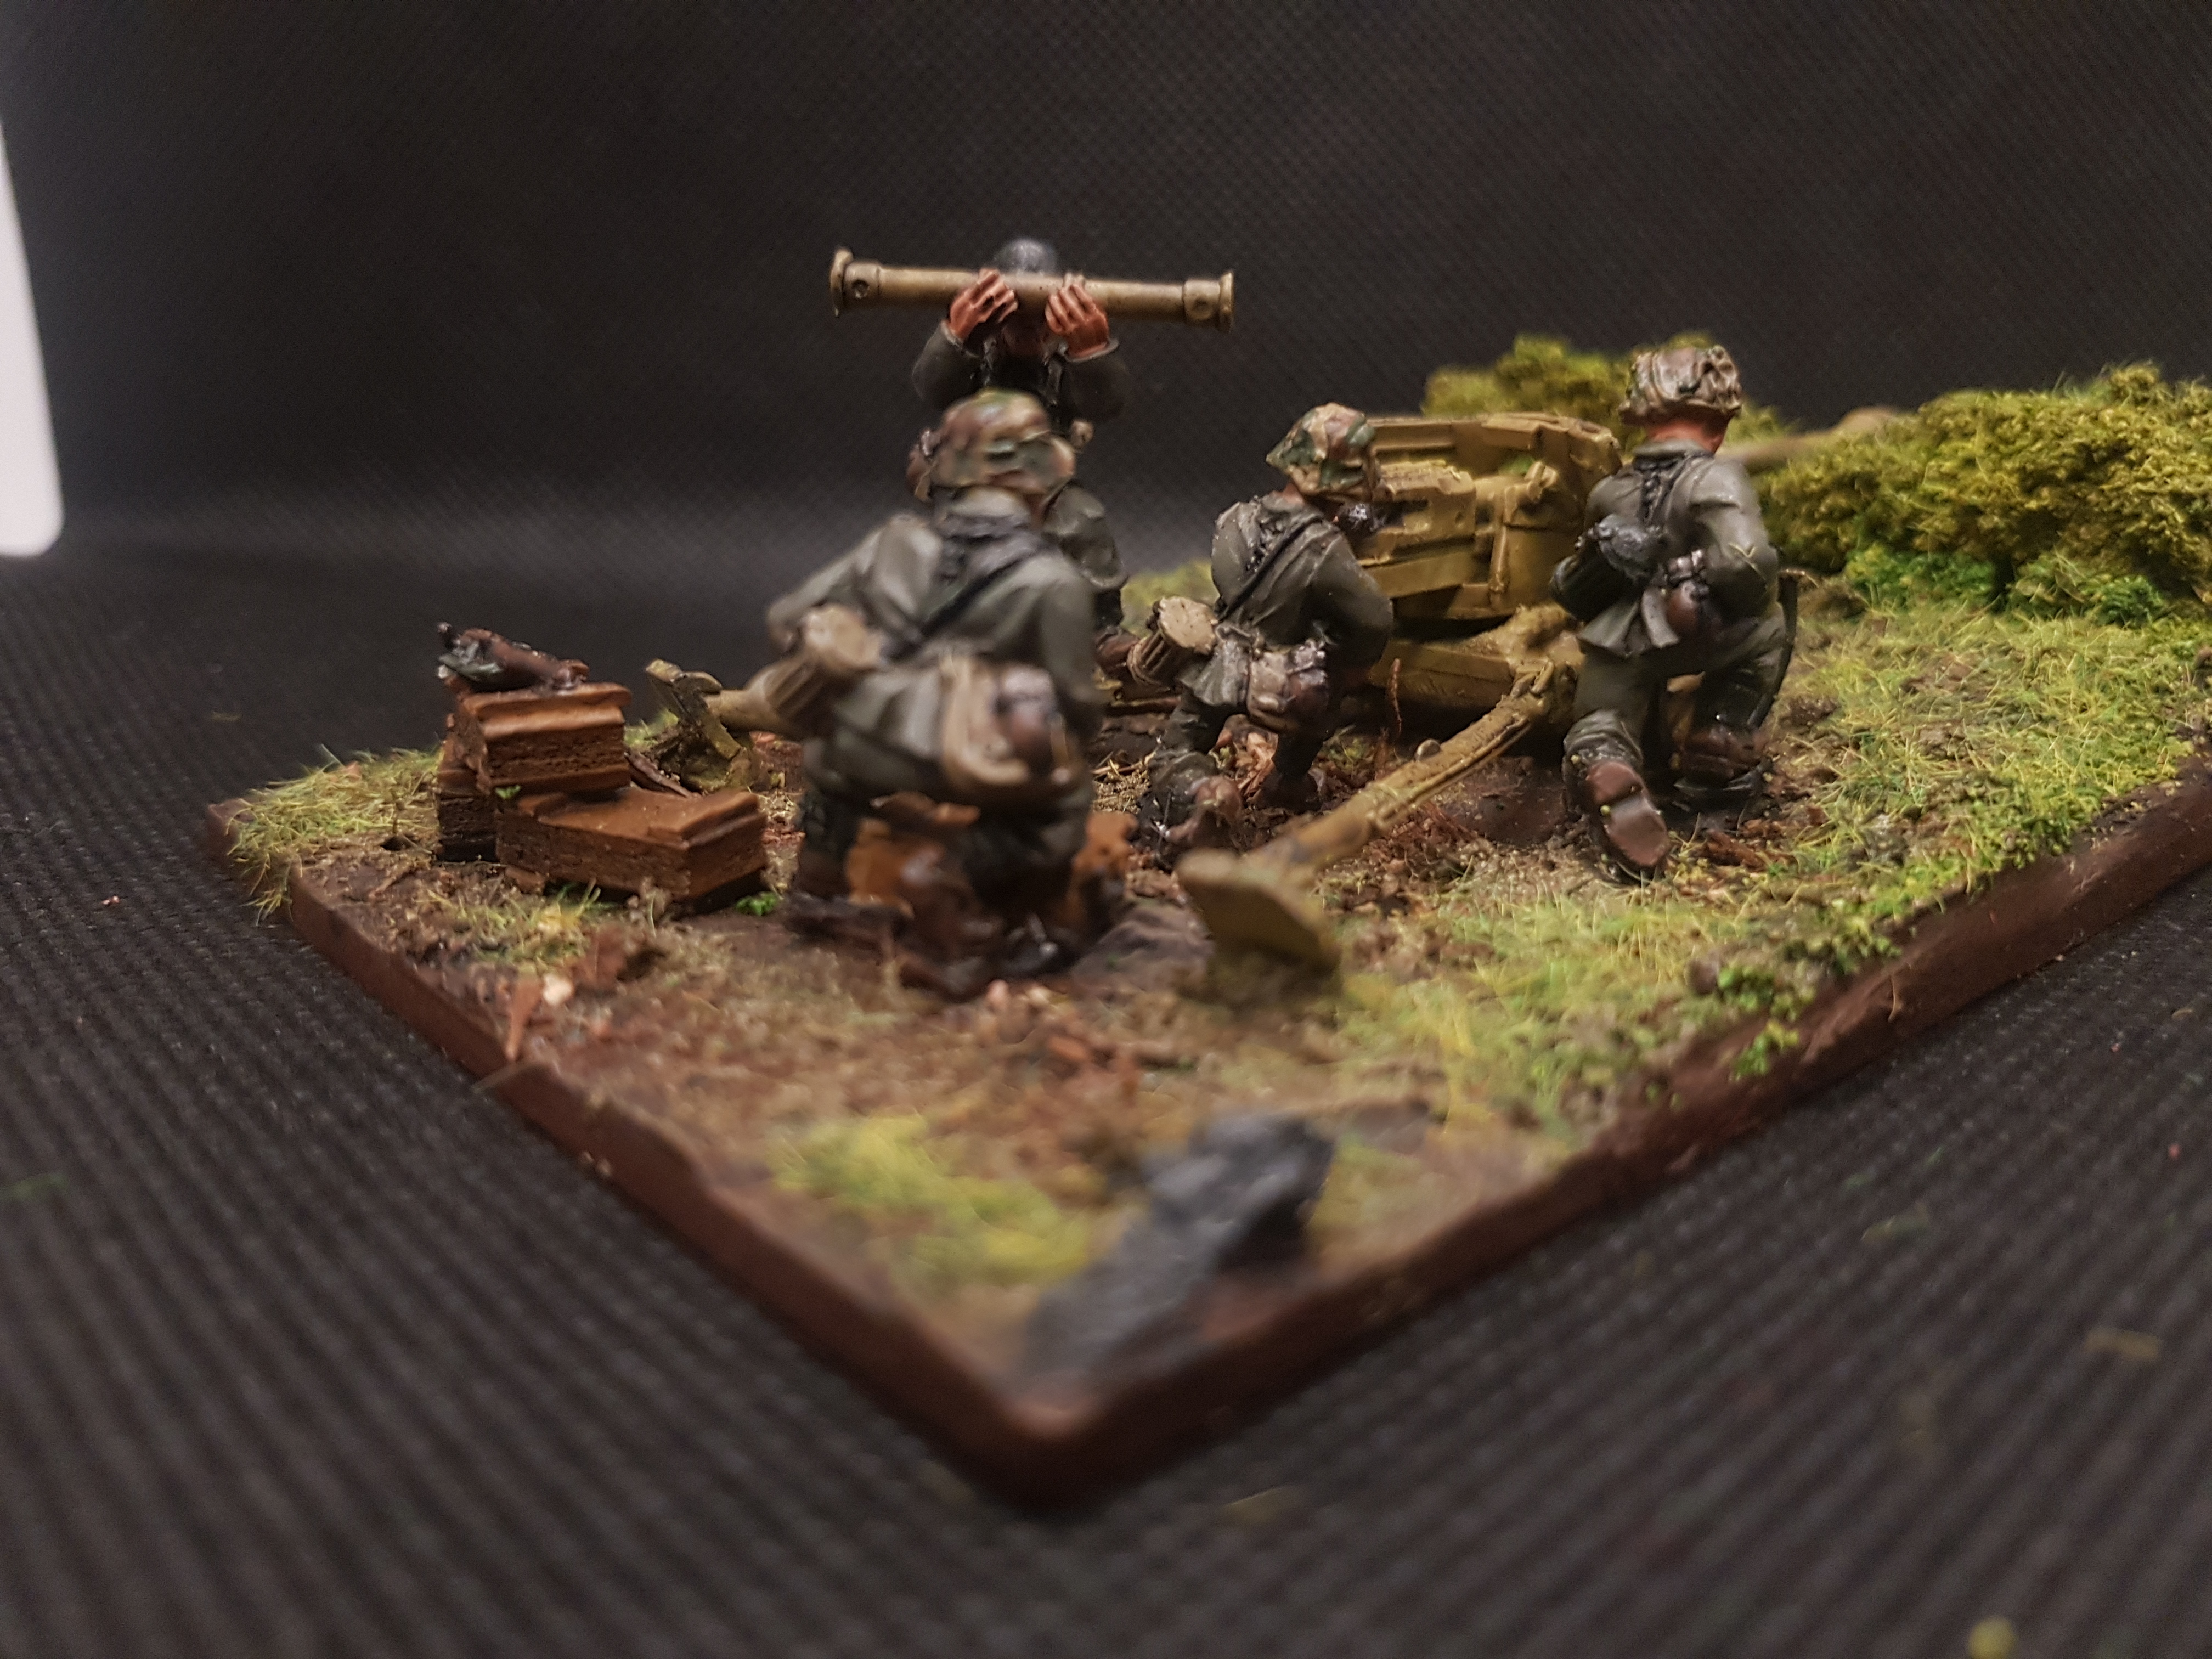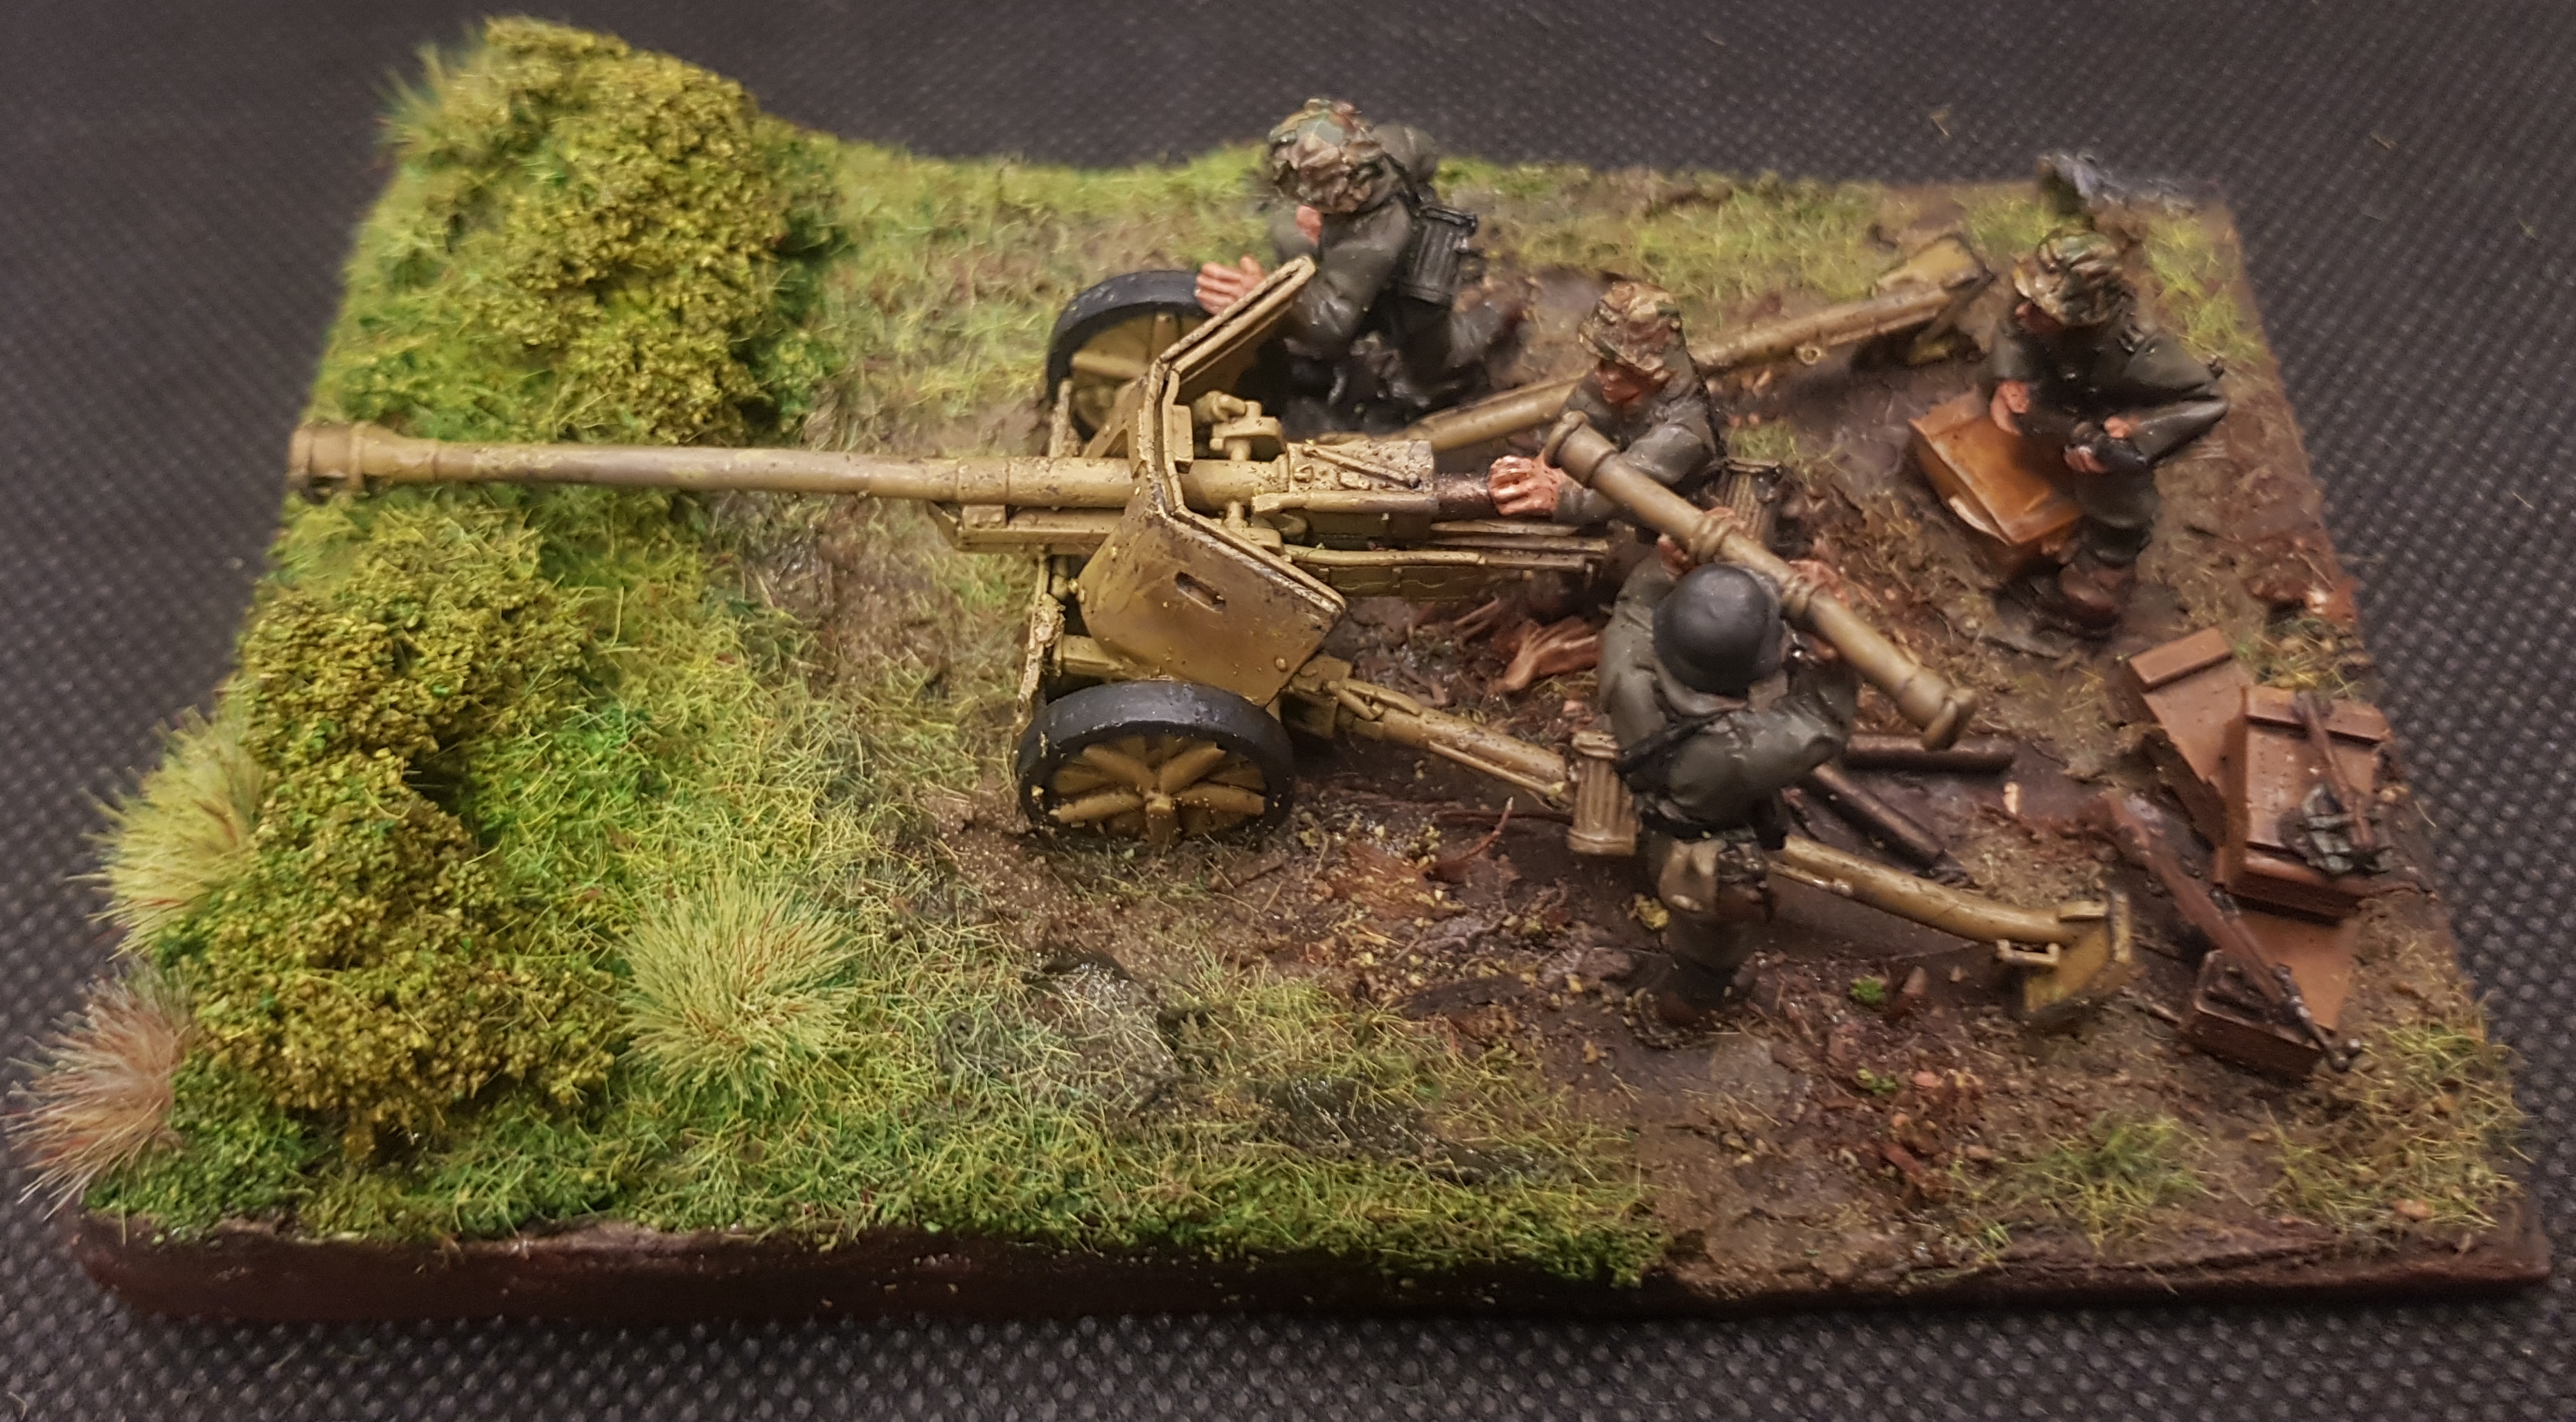
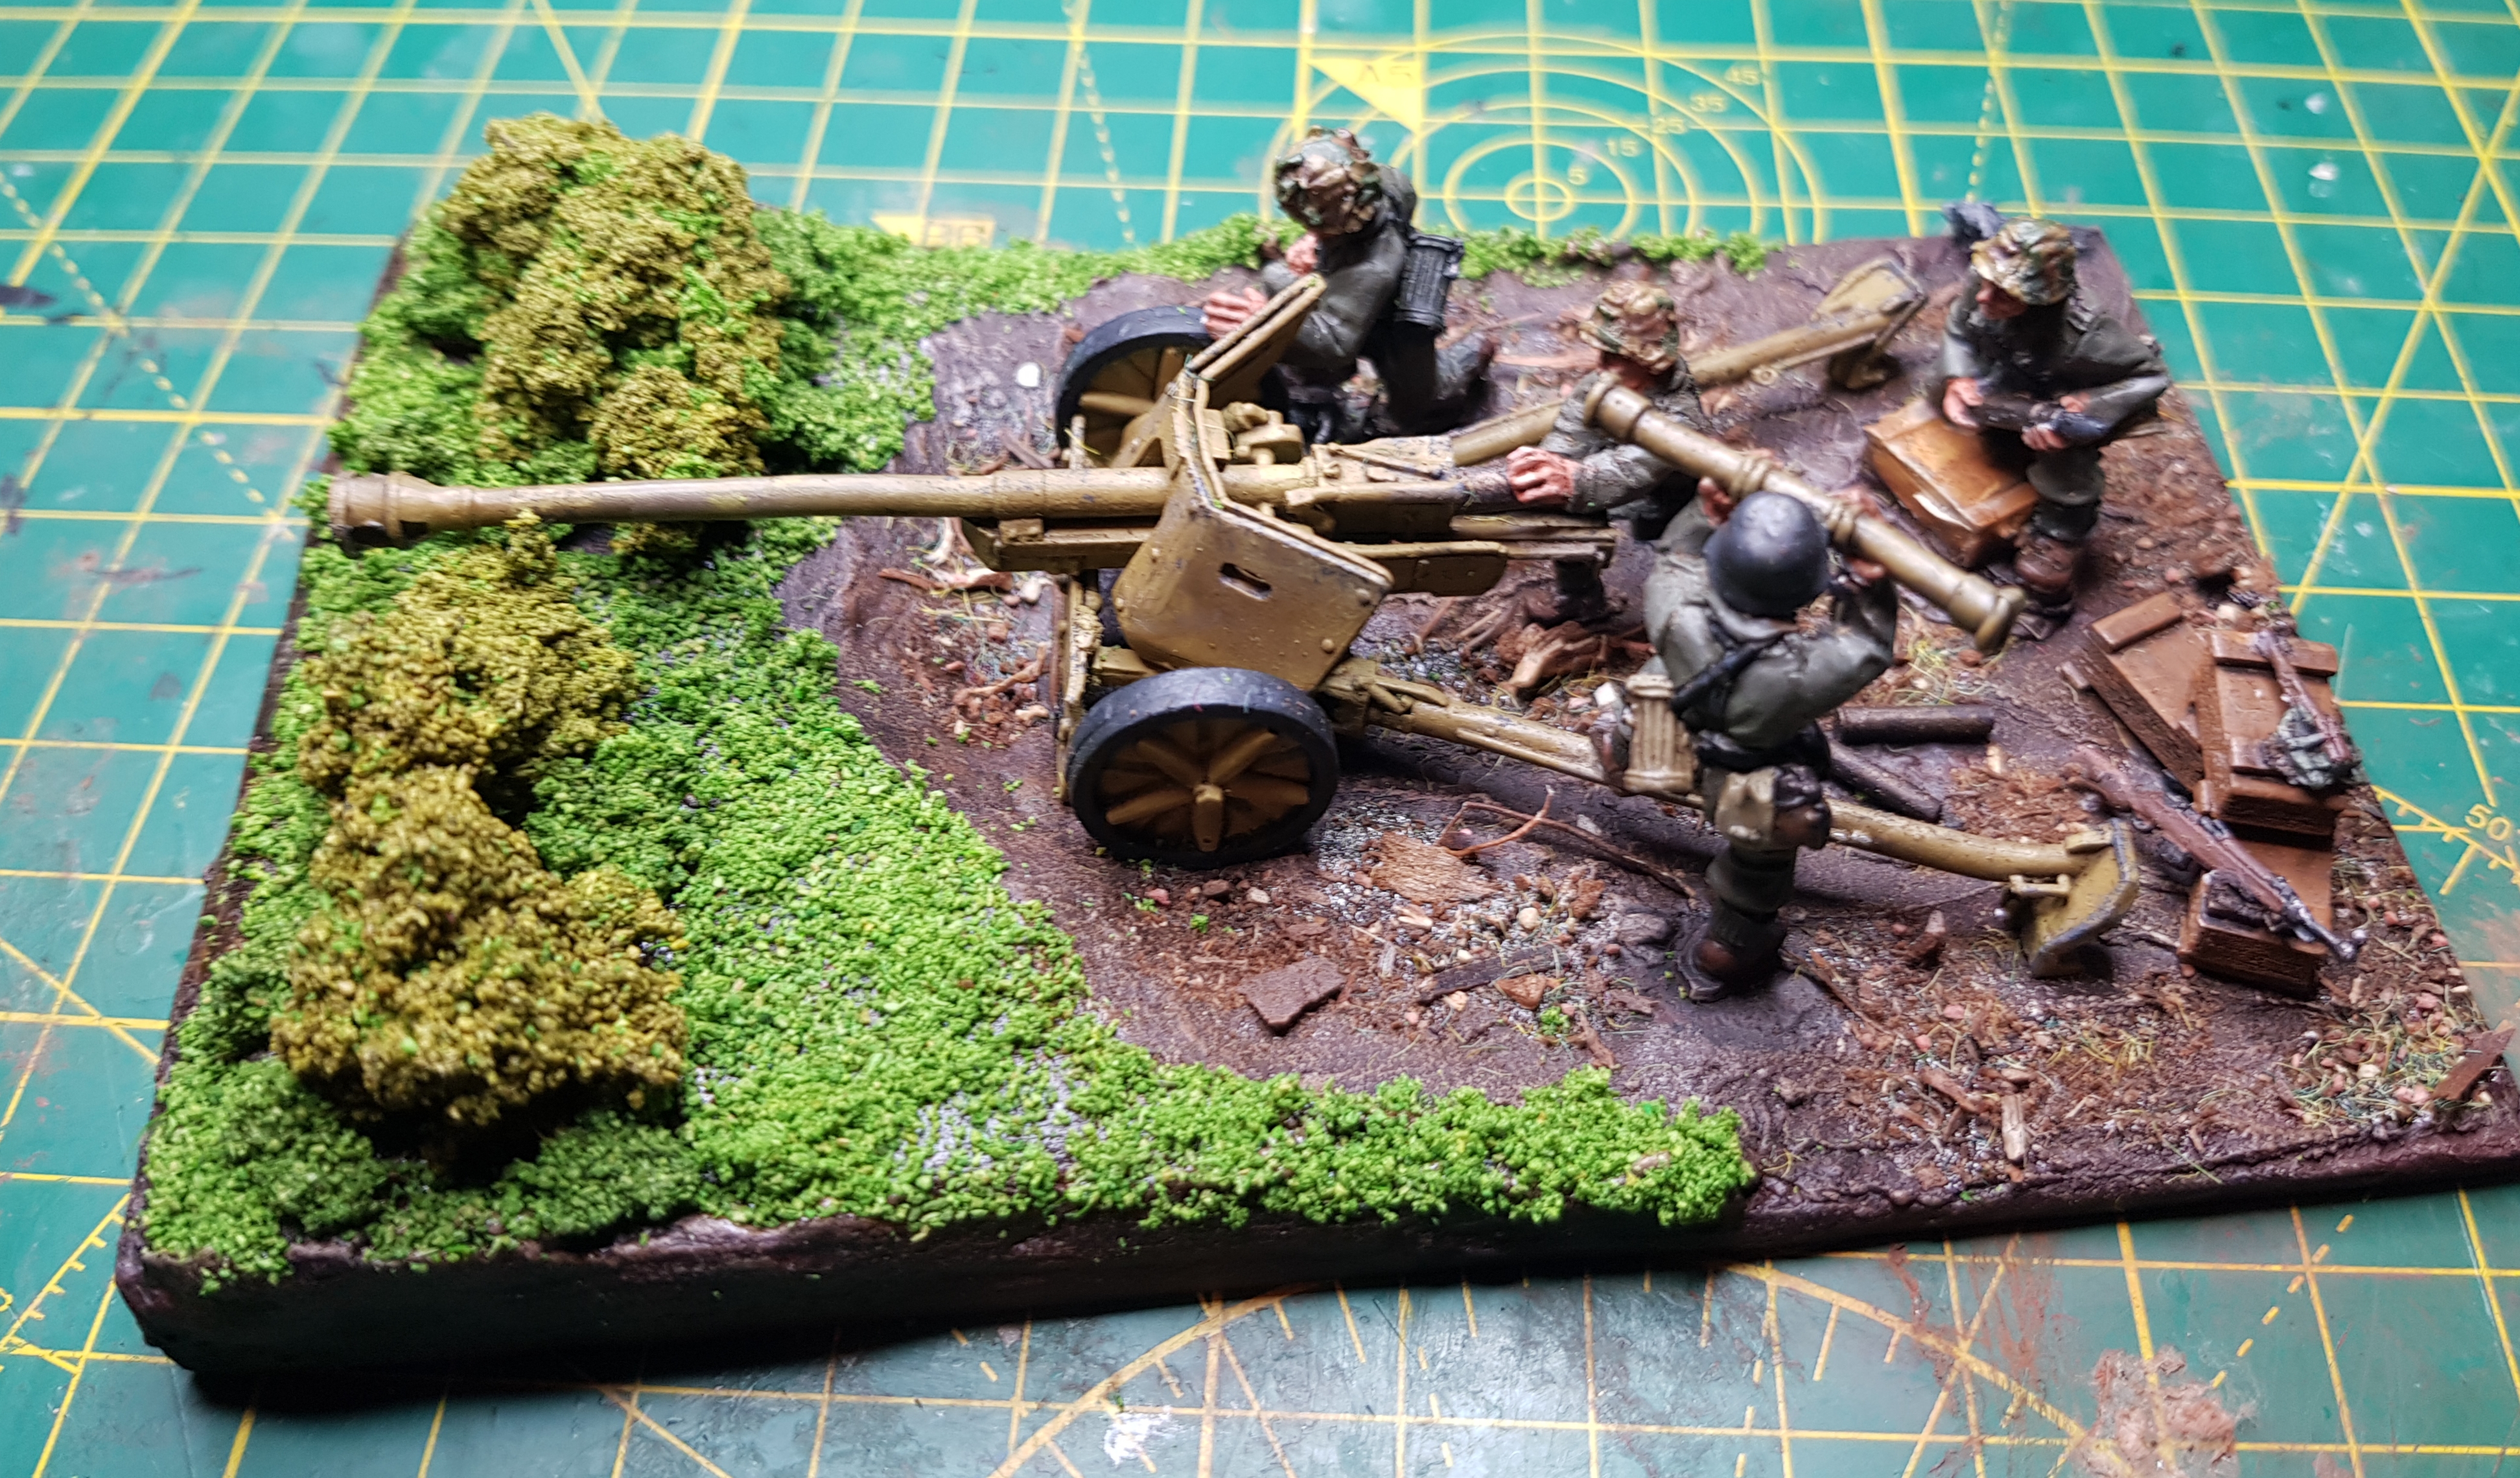
Pak 40 with scenic base (maybe)


Recommendations: 183
About the Project
Time to paint up my Warlord Pak 40. The model doesn't quite fit on the large round base so I decided this would be a good opportunity to try my hand at a scenic base.
Related Game: Bolt Action
Related Company: Warlord Games
Related Genre: Historical
This Project is Completed
Plan and build
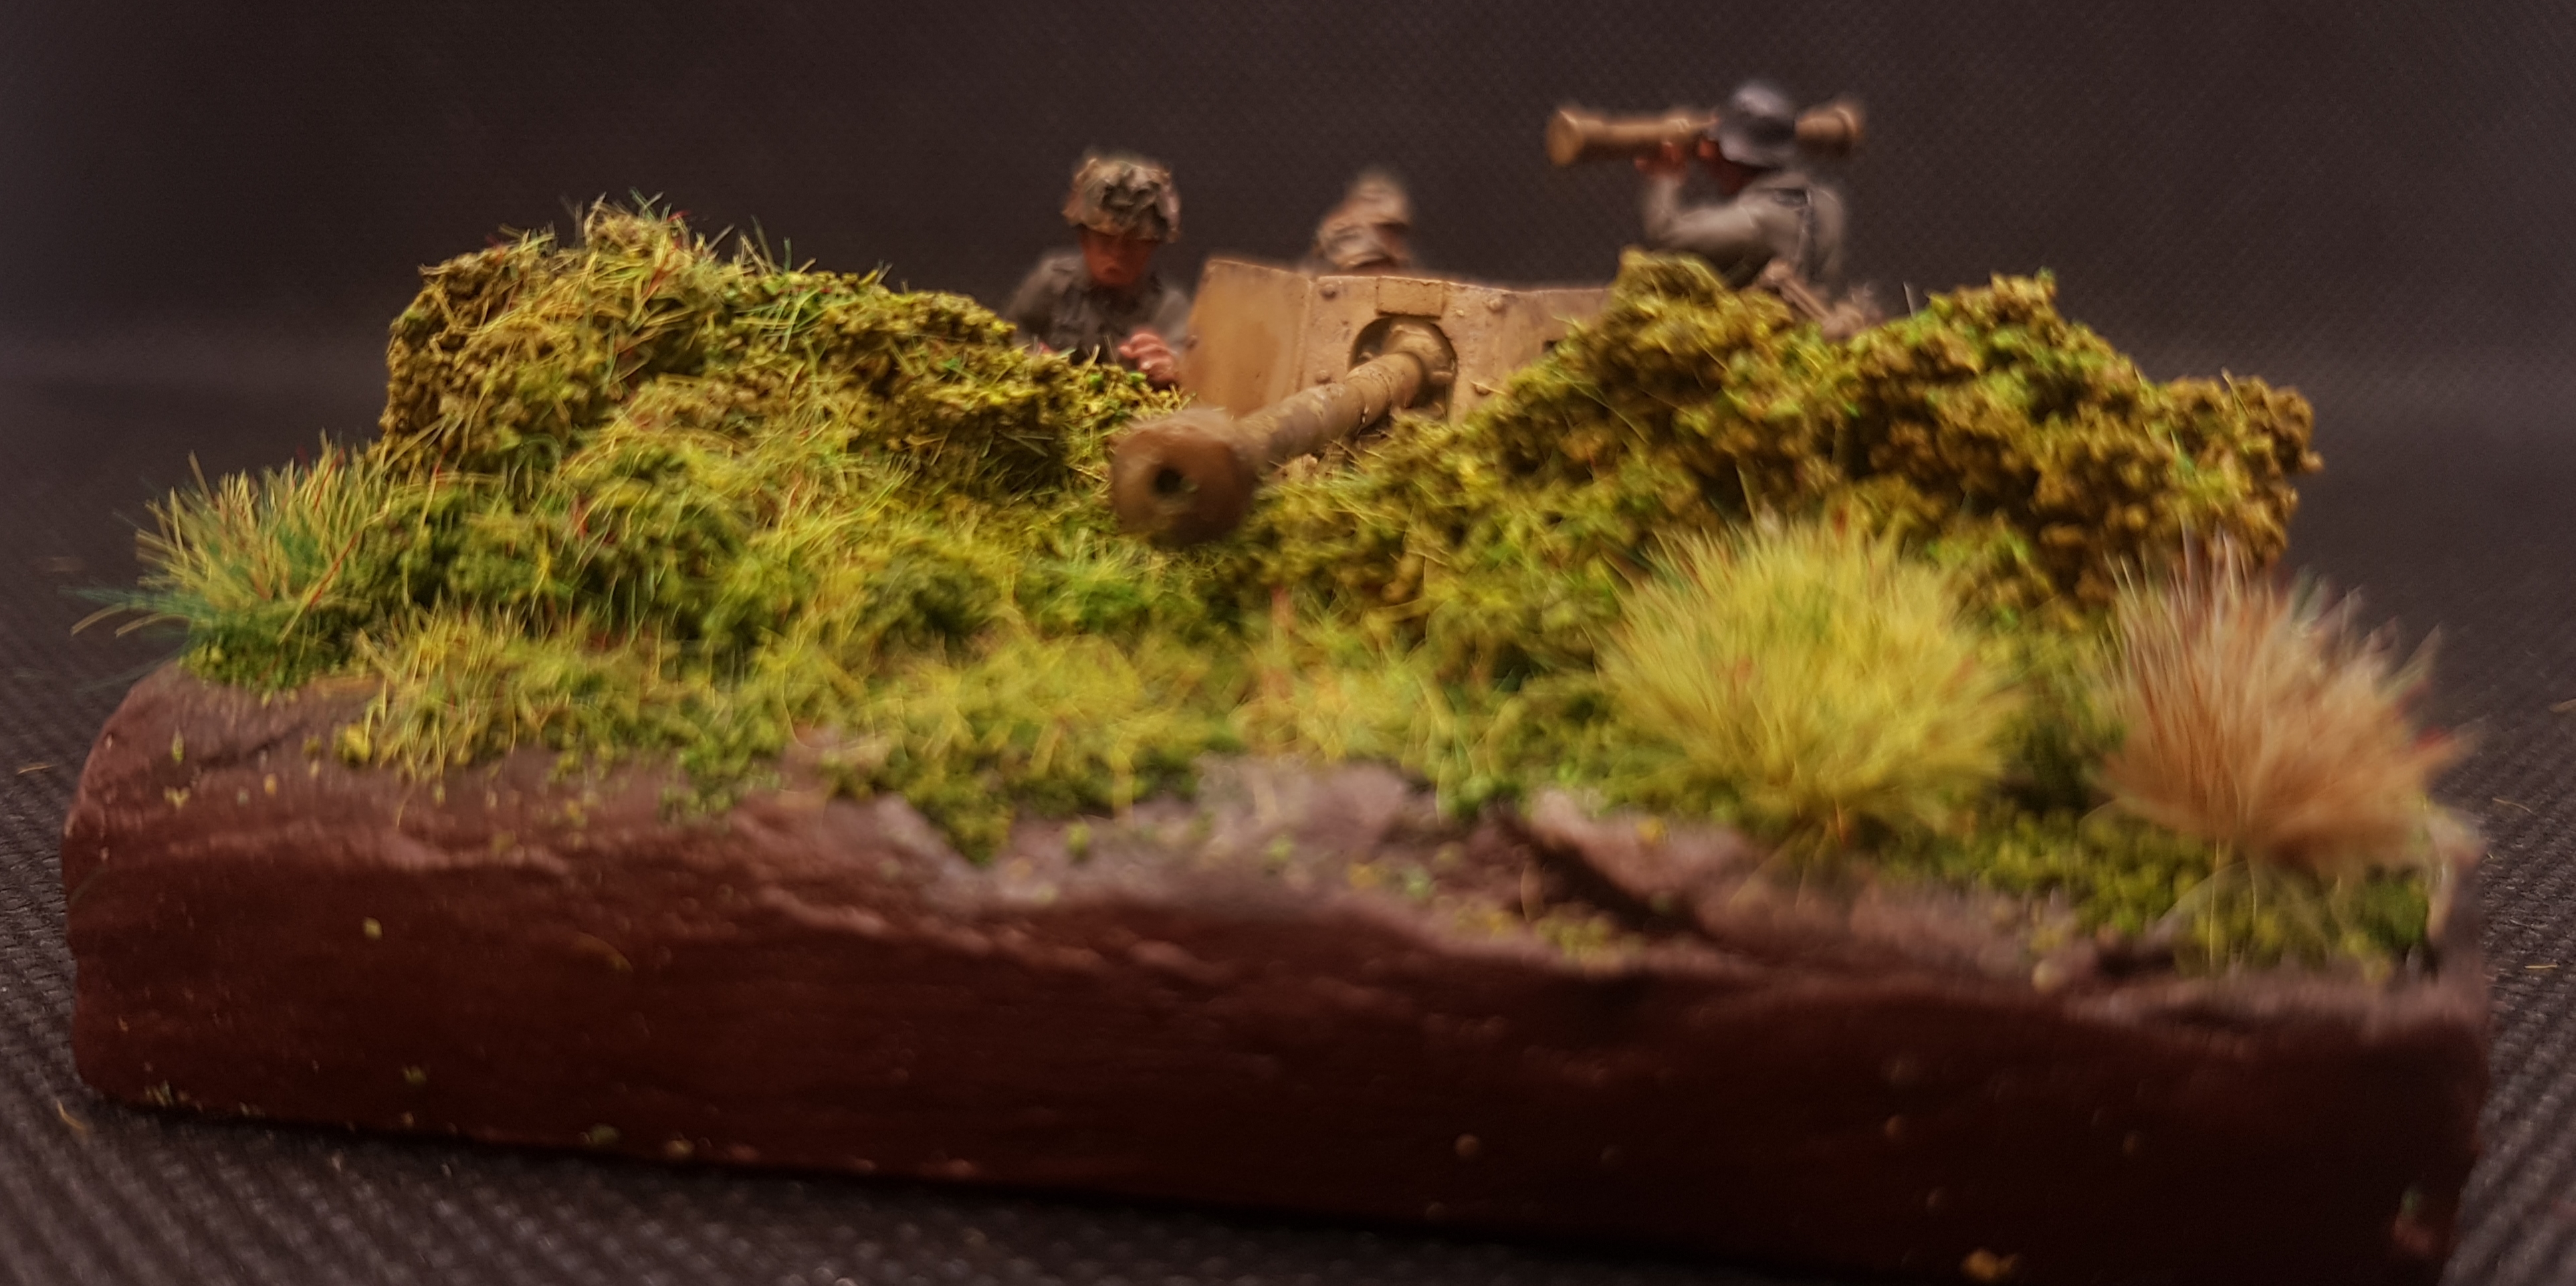
After looking at plenty of dioramas and historical photos of anti-tank guns, the look I decided to go for was the gun hastily dug in behind a hedge line.
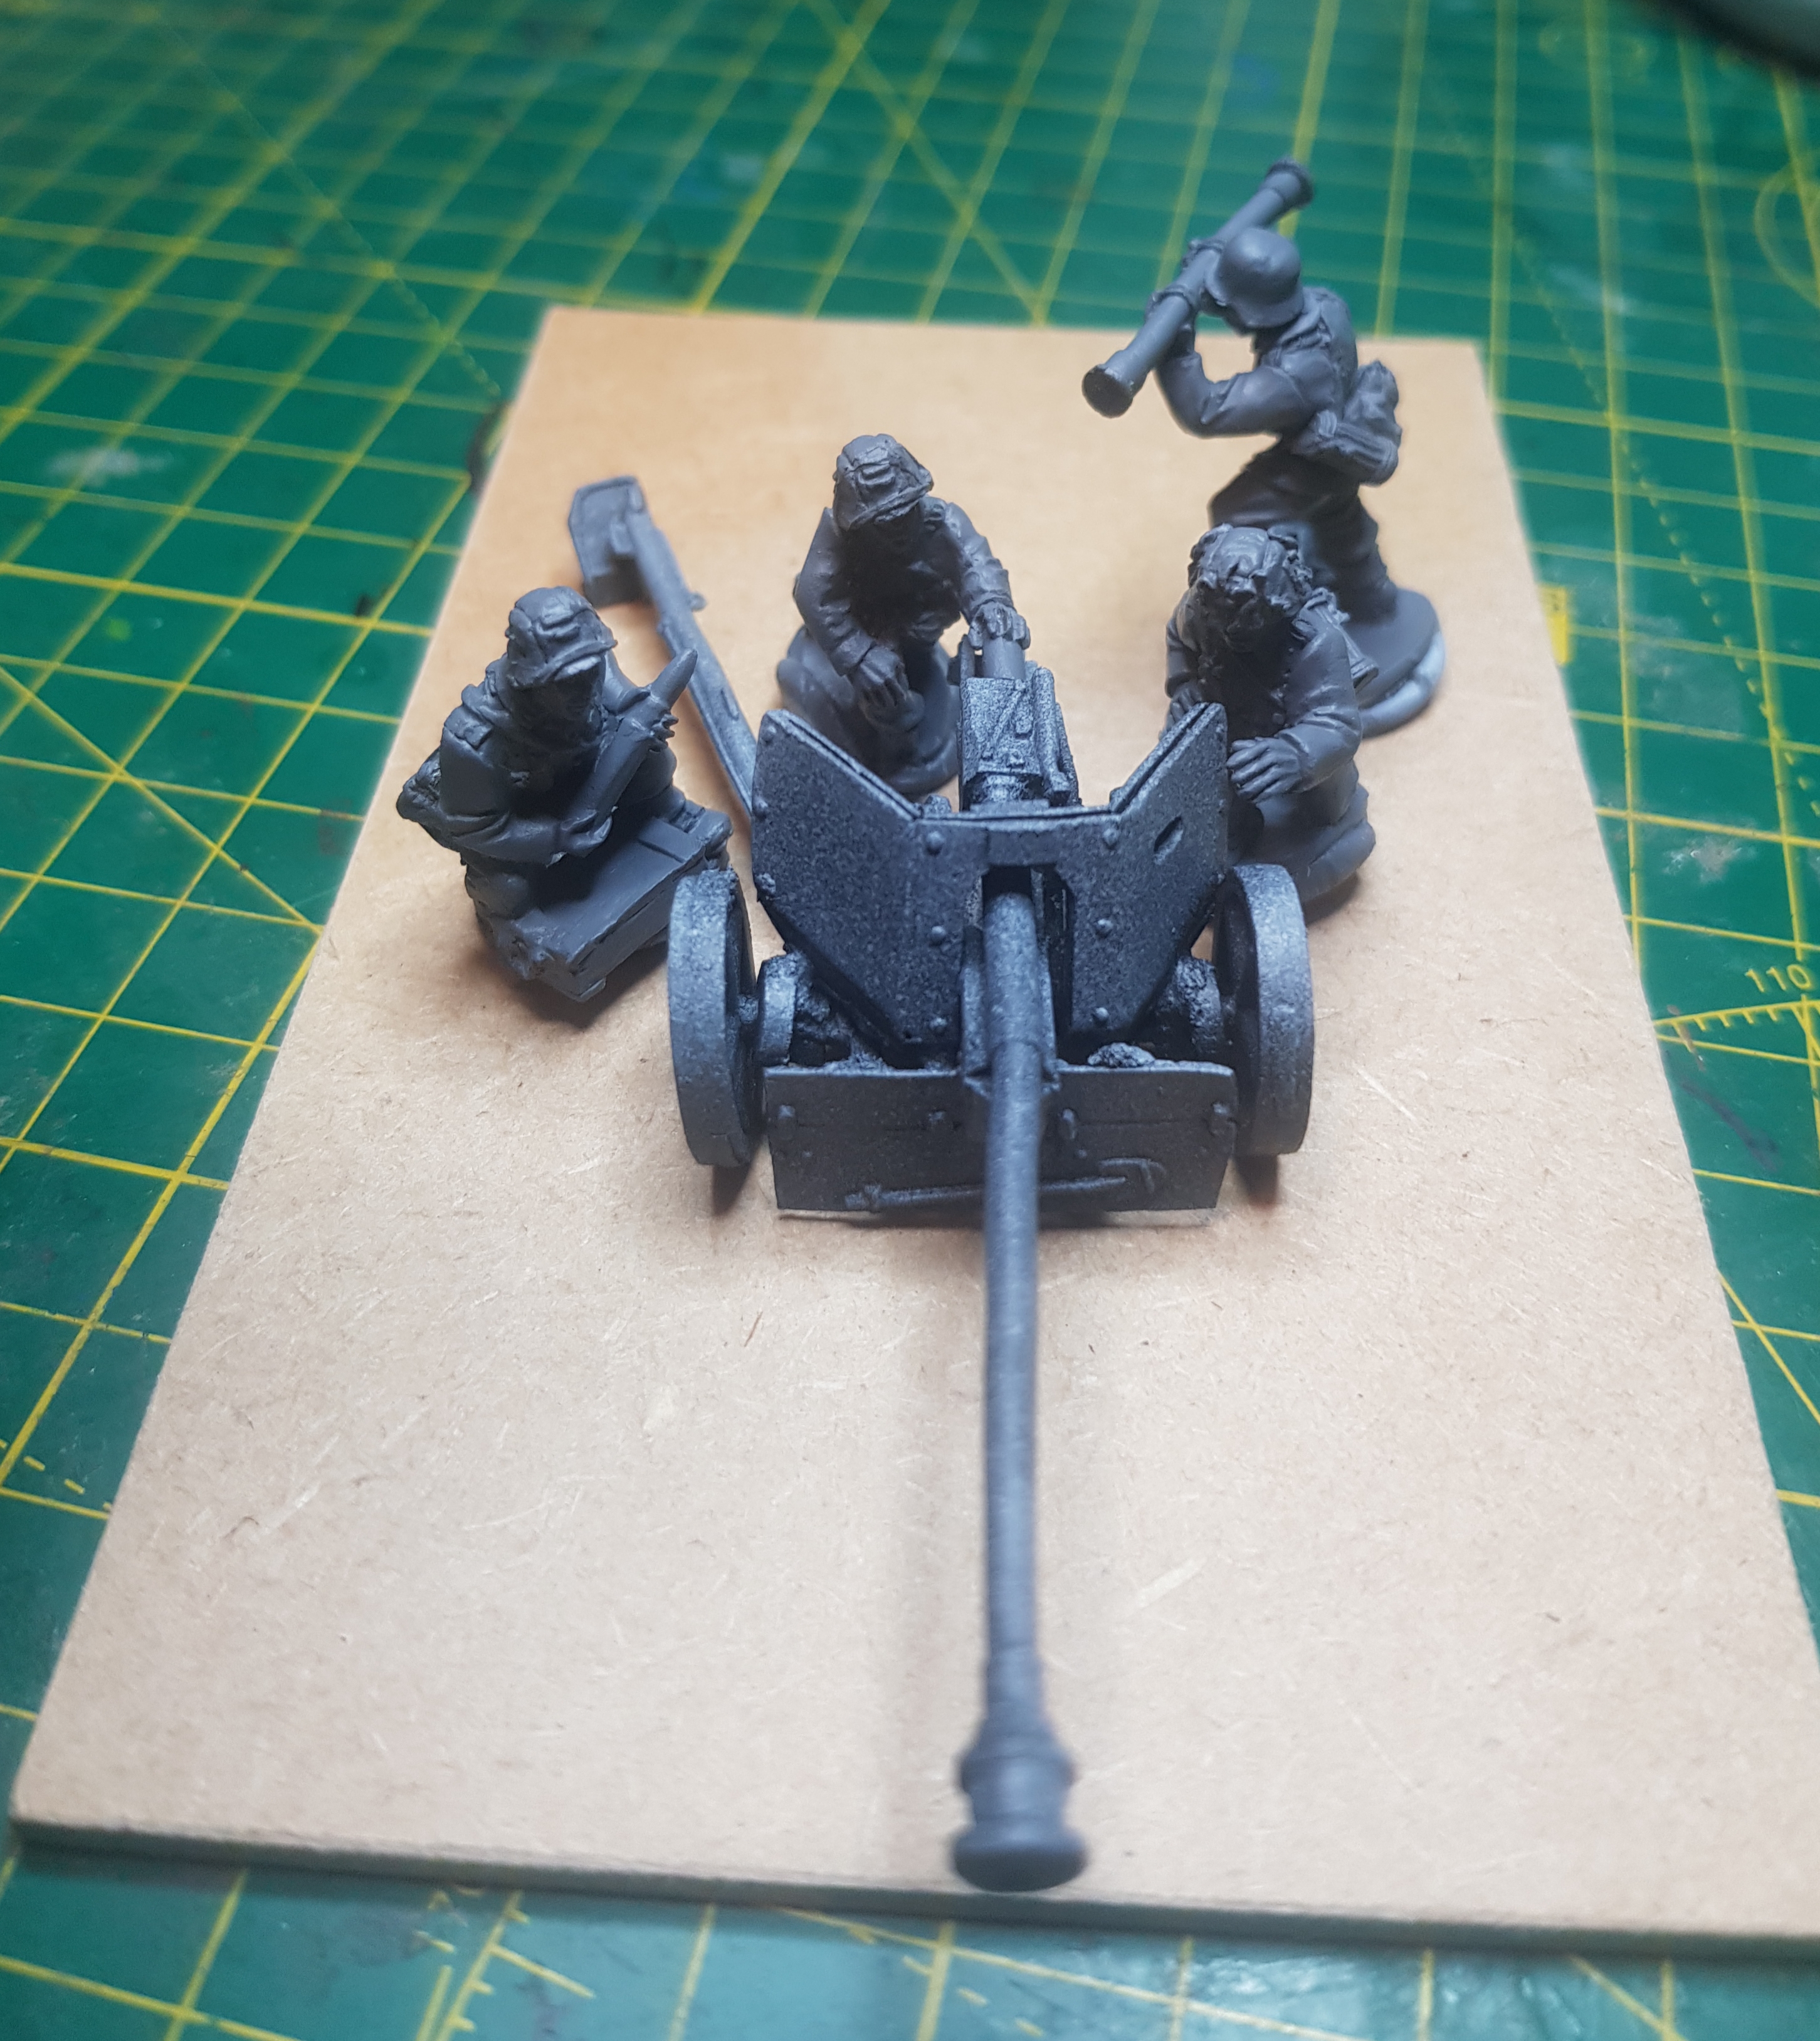
I got it built up with a helping of bicarb on the superglue as the contact points were very small. Next up I cut out a base from scrap MDF and gave it a coat of watered down PVA and primed and zenithed the minis with the airbrush.
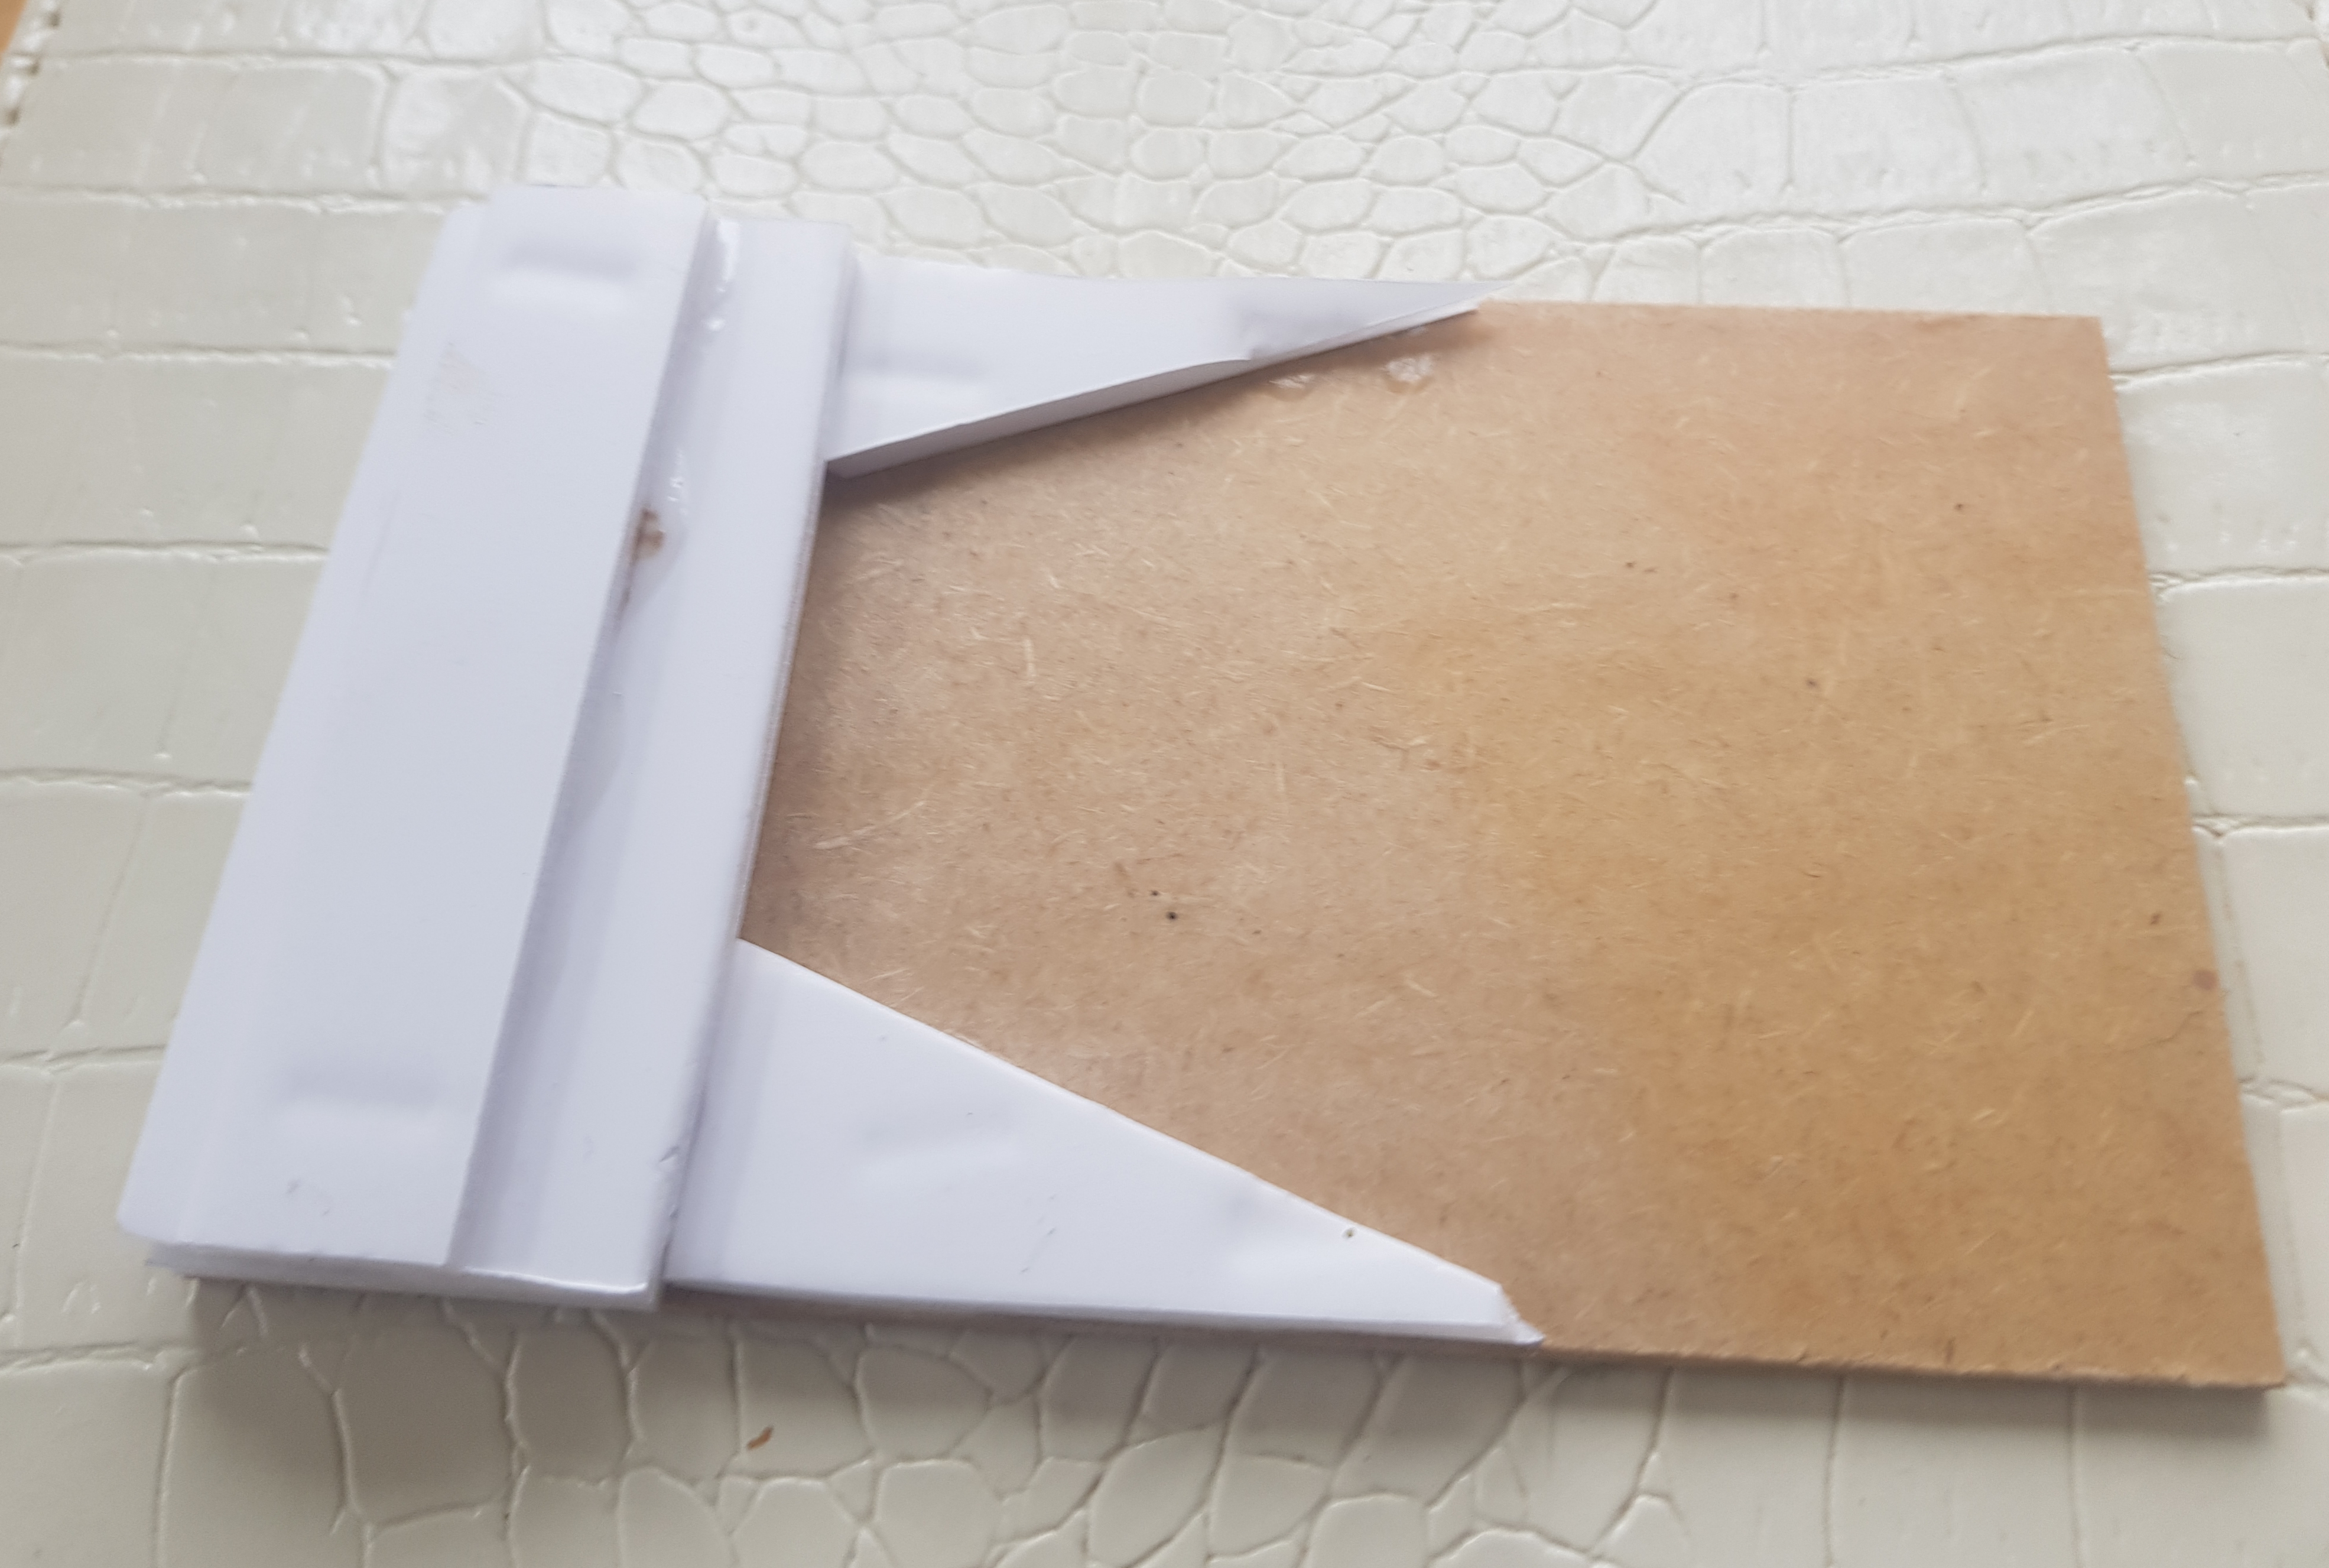
Build up the base.
To give a bit of structure to my ‘dug-out’, I first glued down some pieces of 5mm foam board in roughly the shape I was looking for.
Next up I covered the whole thing in PolyFilla, shaped it how I wanted then smoothed it down with wet fingers. Leave aside to dry overnight.

Need moar Ammo!!
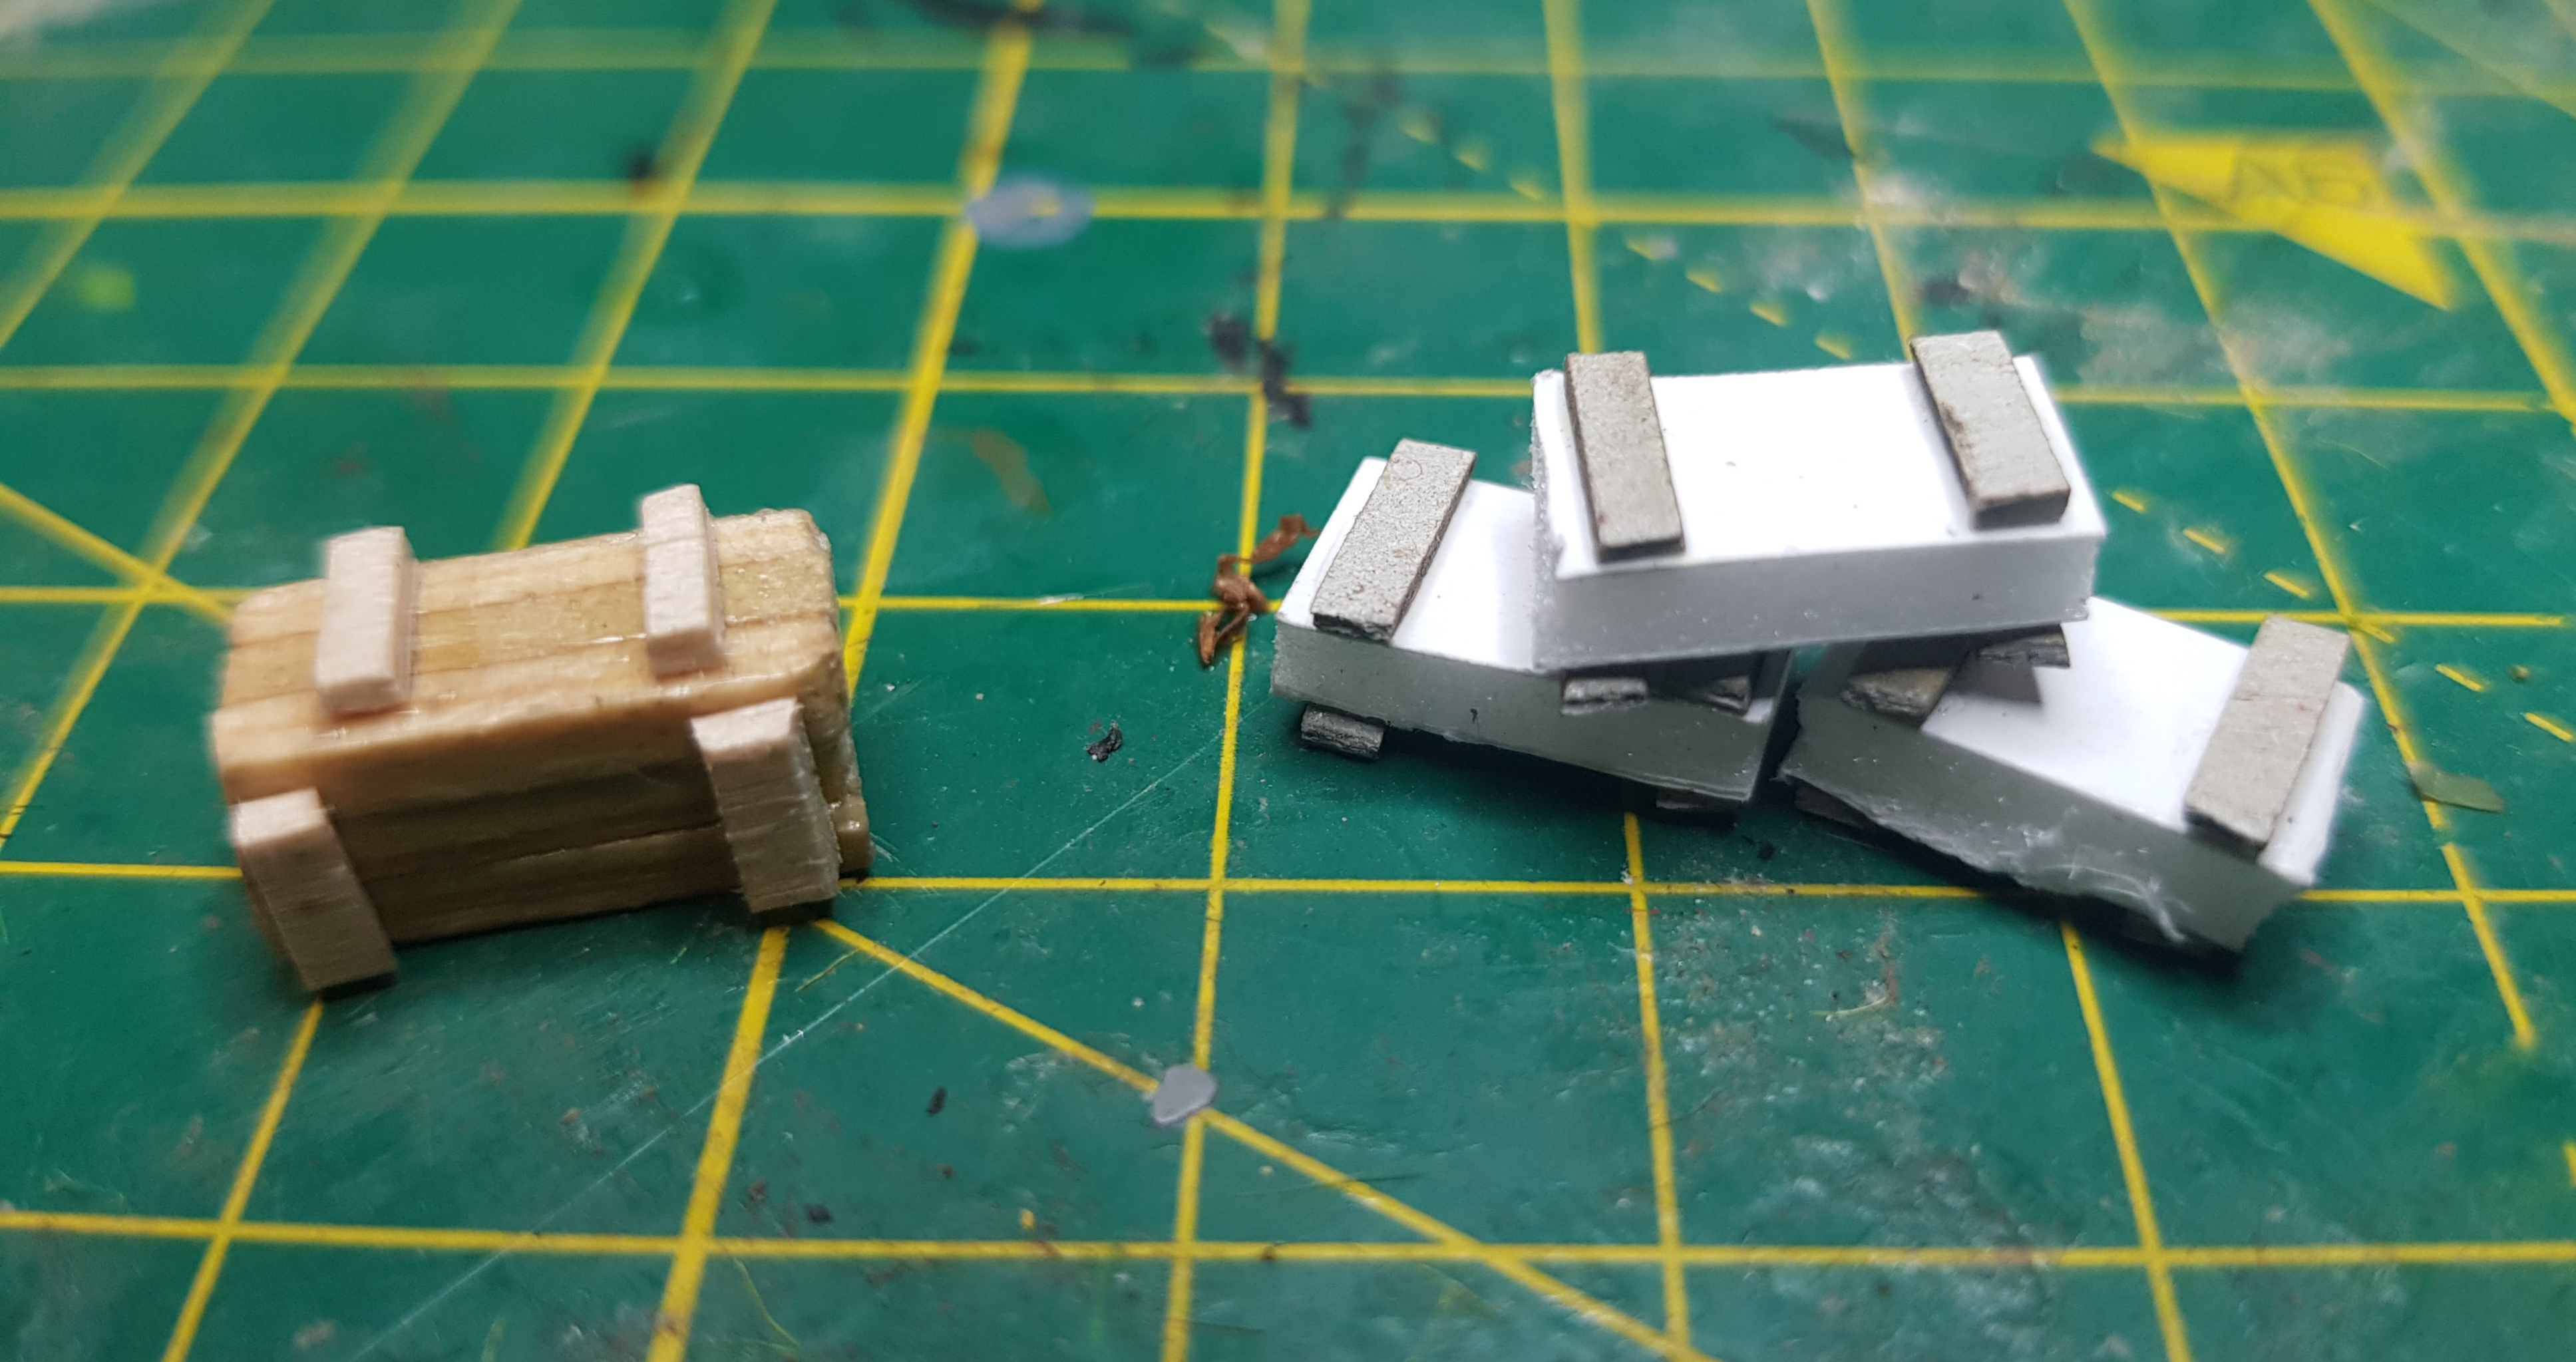
To add some details to the base I wanted to make some ammo crates.
My first attempt I cut pieces of 3mm square wood strips from the hobby shop and glued them in a 3×3 box. For supports I cut pieces of coffee stirrer and glued them on. After finishing, I thought the proportions looked out – it should be shallower. Also it was a very fiddly process.
So for the 2nd attempt I just used 5mm foam board cut into rectangles and for the supports used strips of card left over from the details panel of an mdf kit. Think the 2nd attempt looks better and much much easier to make. I’ll try to score the edges to simulate wood grain and see how they are when painted.
Painting
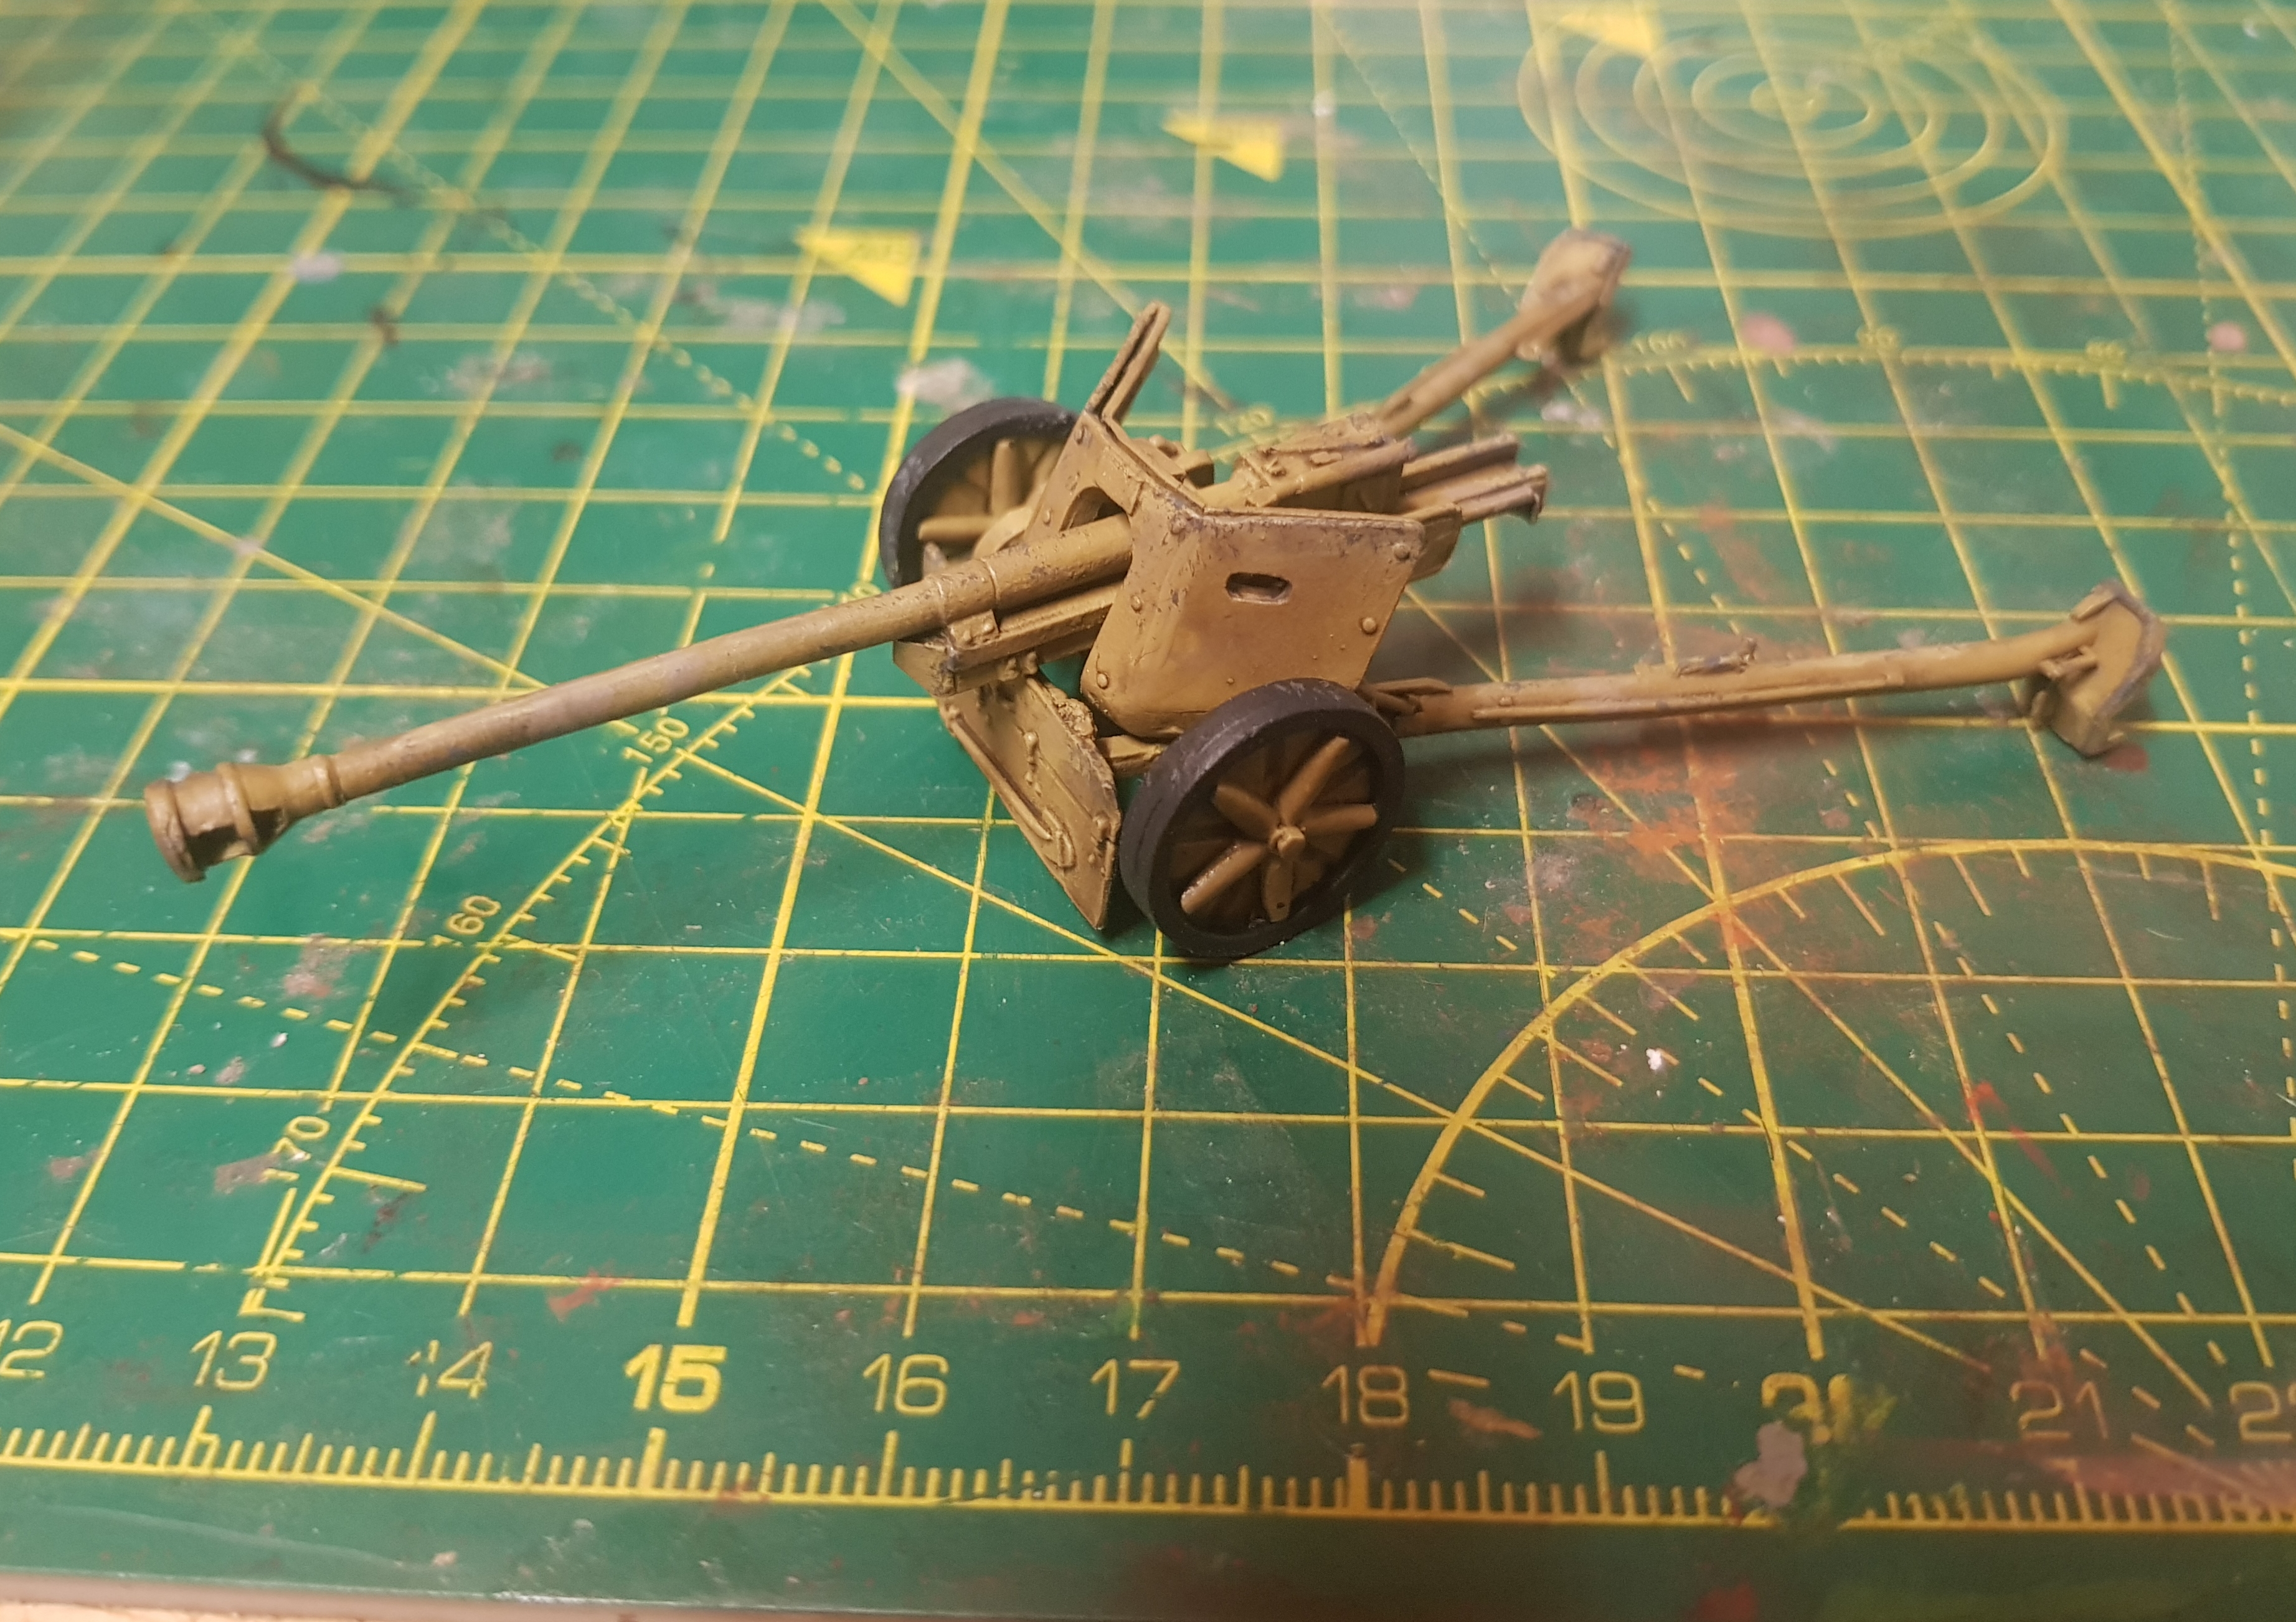
On to the painting. The gun got a simple treatment of Dunkelgelb through the airbrush, a strong tone wash and basic highlighting. Added some chipping with a sponge and a few streaks of Vallejo rainmarks.
The crew I did a similar way to my MG42 teams.
 Base coat on the crew
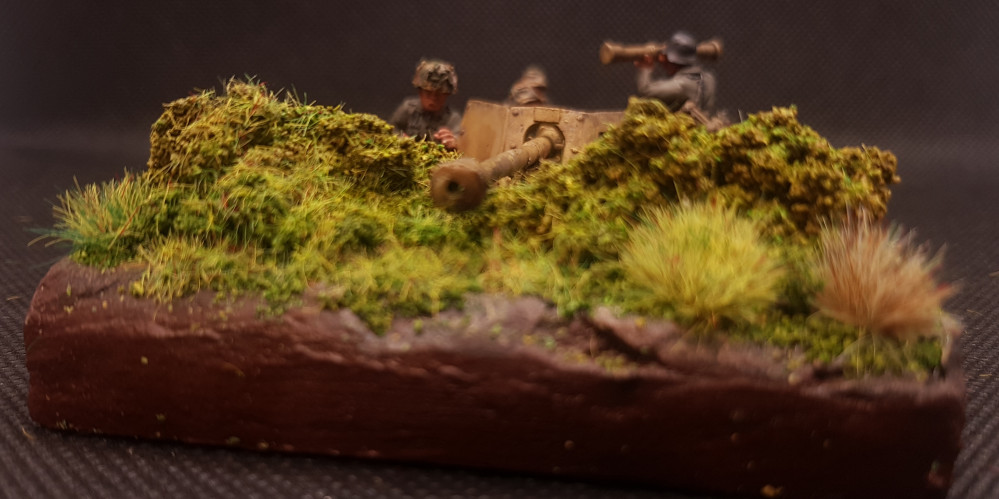
 See how everything fits on the base
Strike a Pose
Time to pose the base. I decided to glue everything down before starting flocking so I could use that to help blend everything together. It still required a few extra rocks and some modelling clay to get everything more or less natural.
I added the ammo crates I made previously plus the spent shell casings that came with the kit. Final details will be from a German Grenadier sprue but I’ll paint them up on the sprue first.
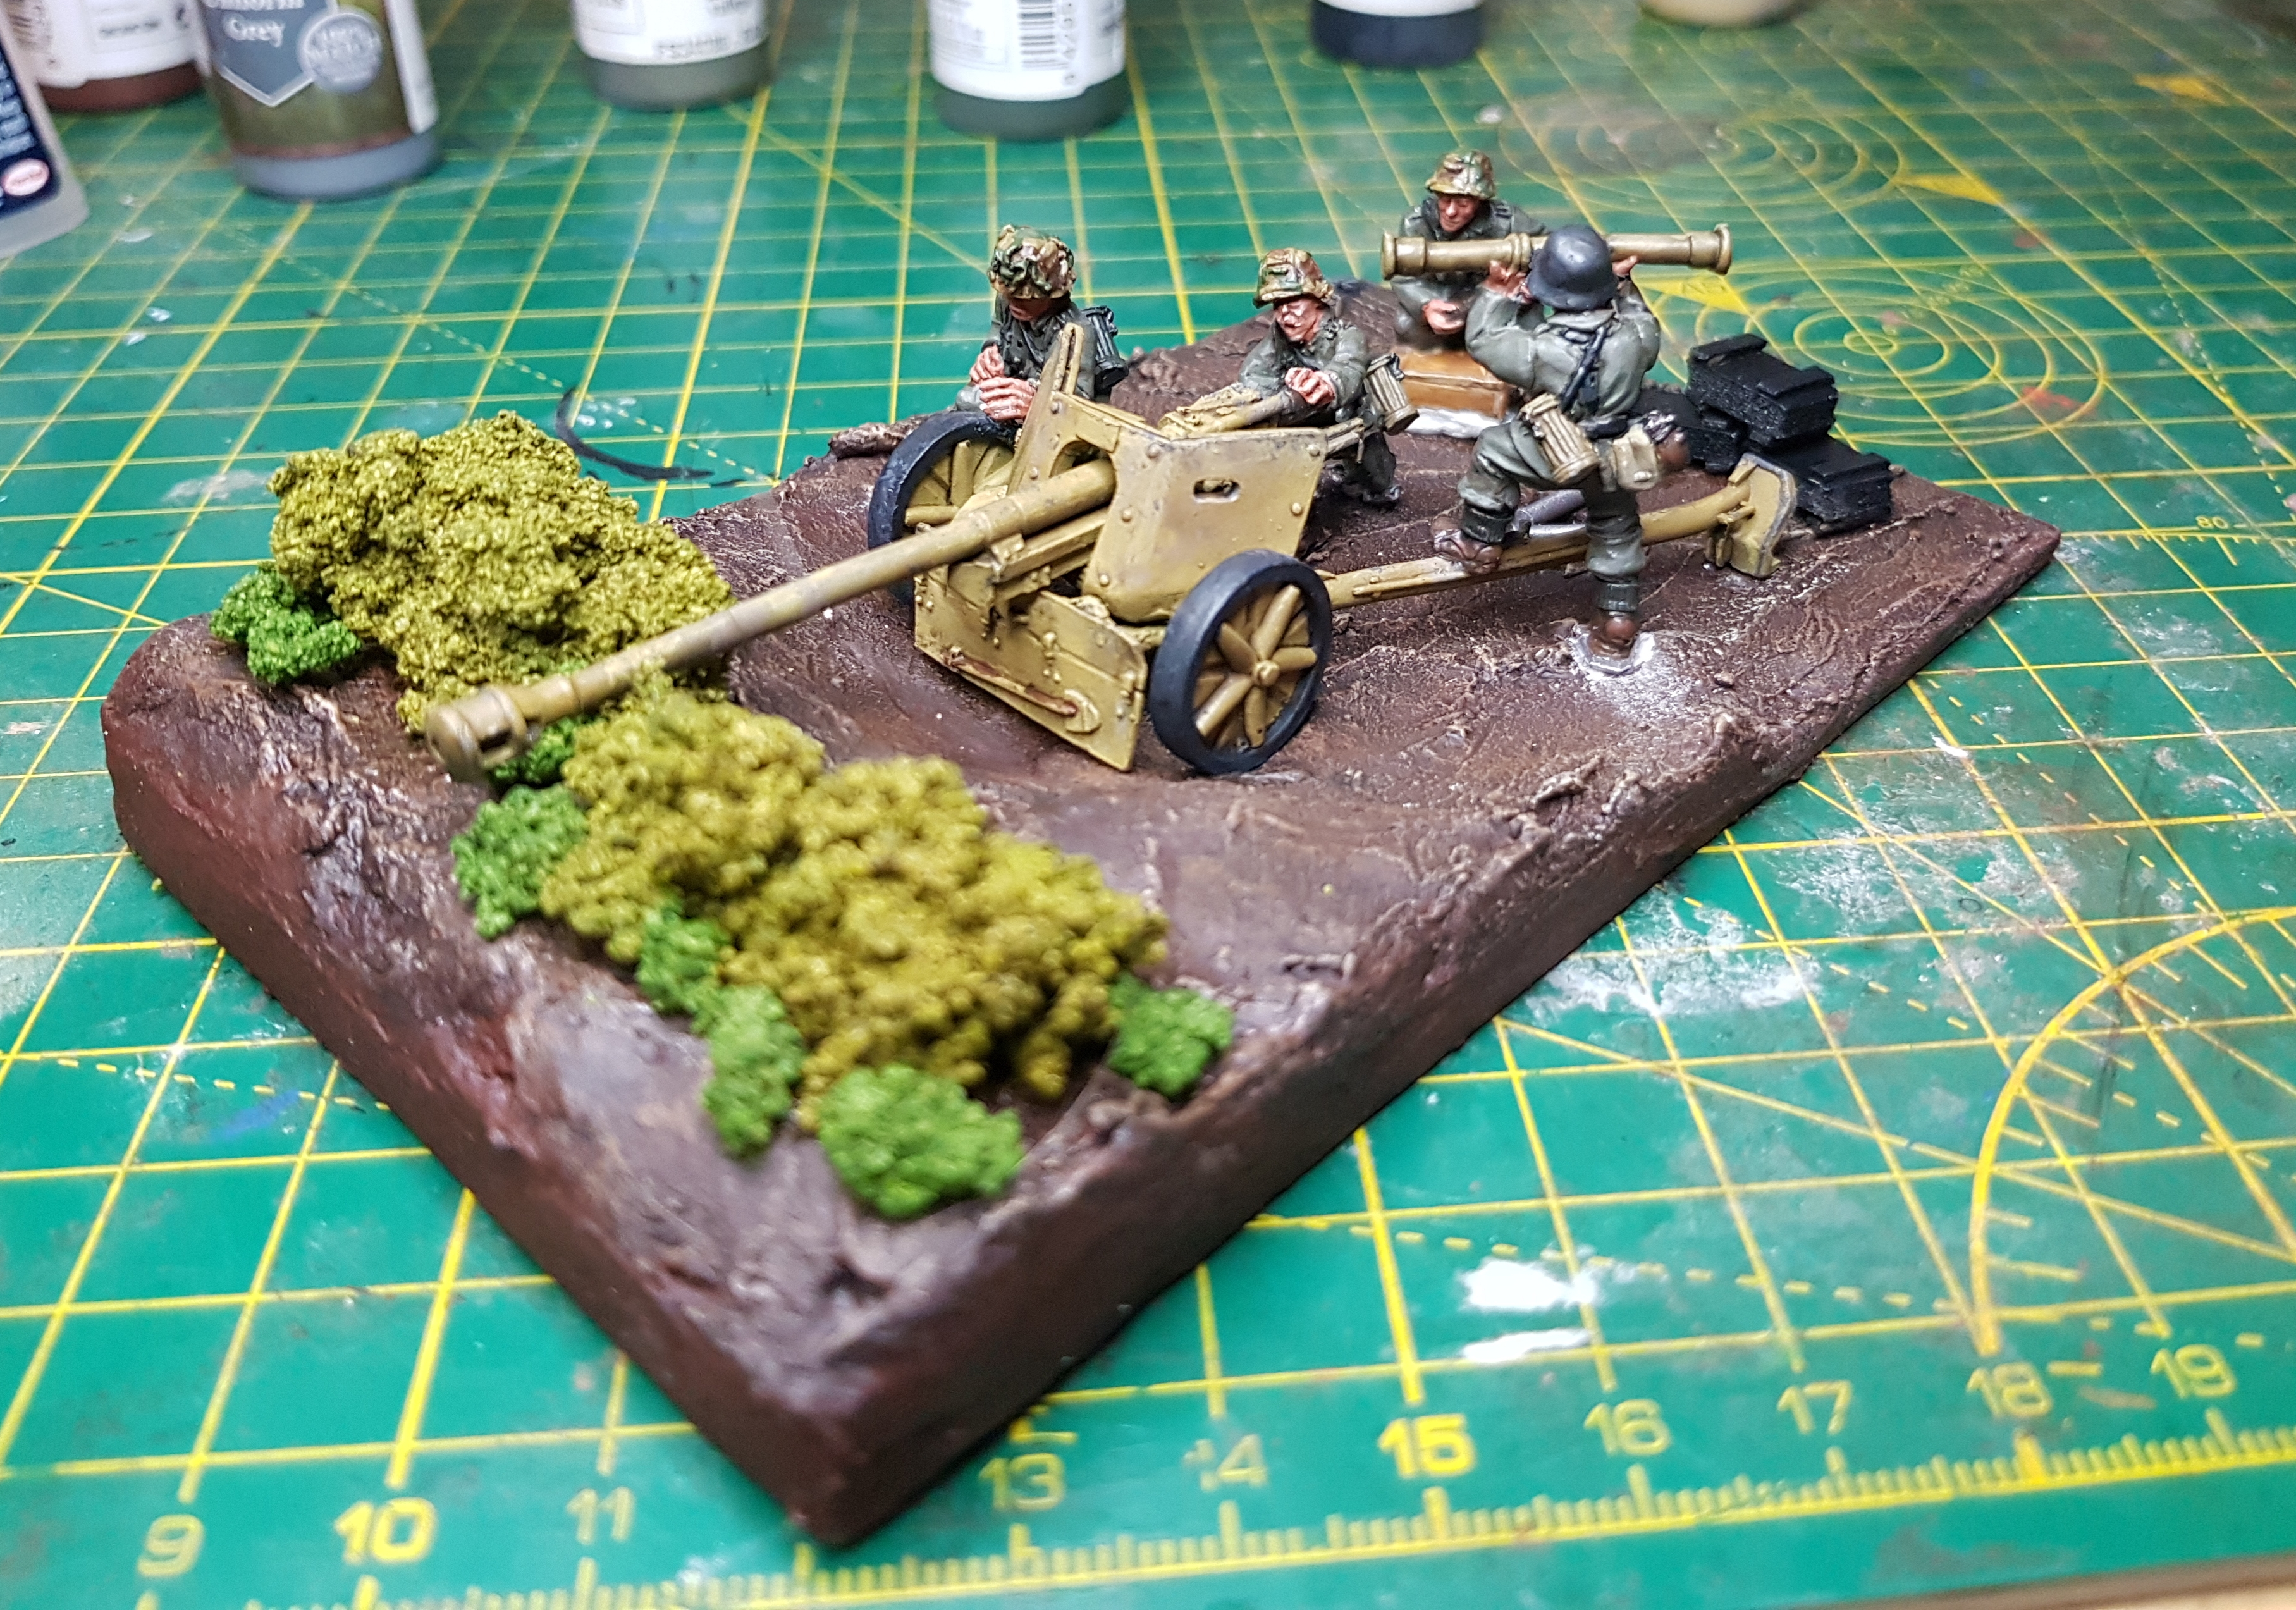
Flock Away Aff
Time to get flocking. I started on the high areas with the Geek Gaming foam flock. I started with a medium green and then tried the blending technique Luke shows off on the Geek Gaming YouTube channel.
I’m still not 100% sold on this flock but I think I just need to work with it some more. The colour runs a lot when layers of PVA are added and I’ve had trouble getting it to adhere properly
 Base flock
 Blending
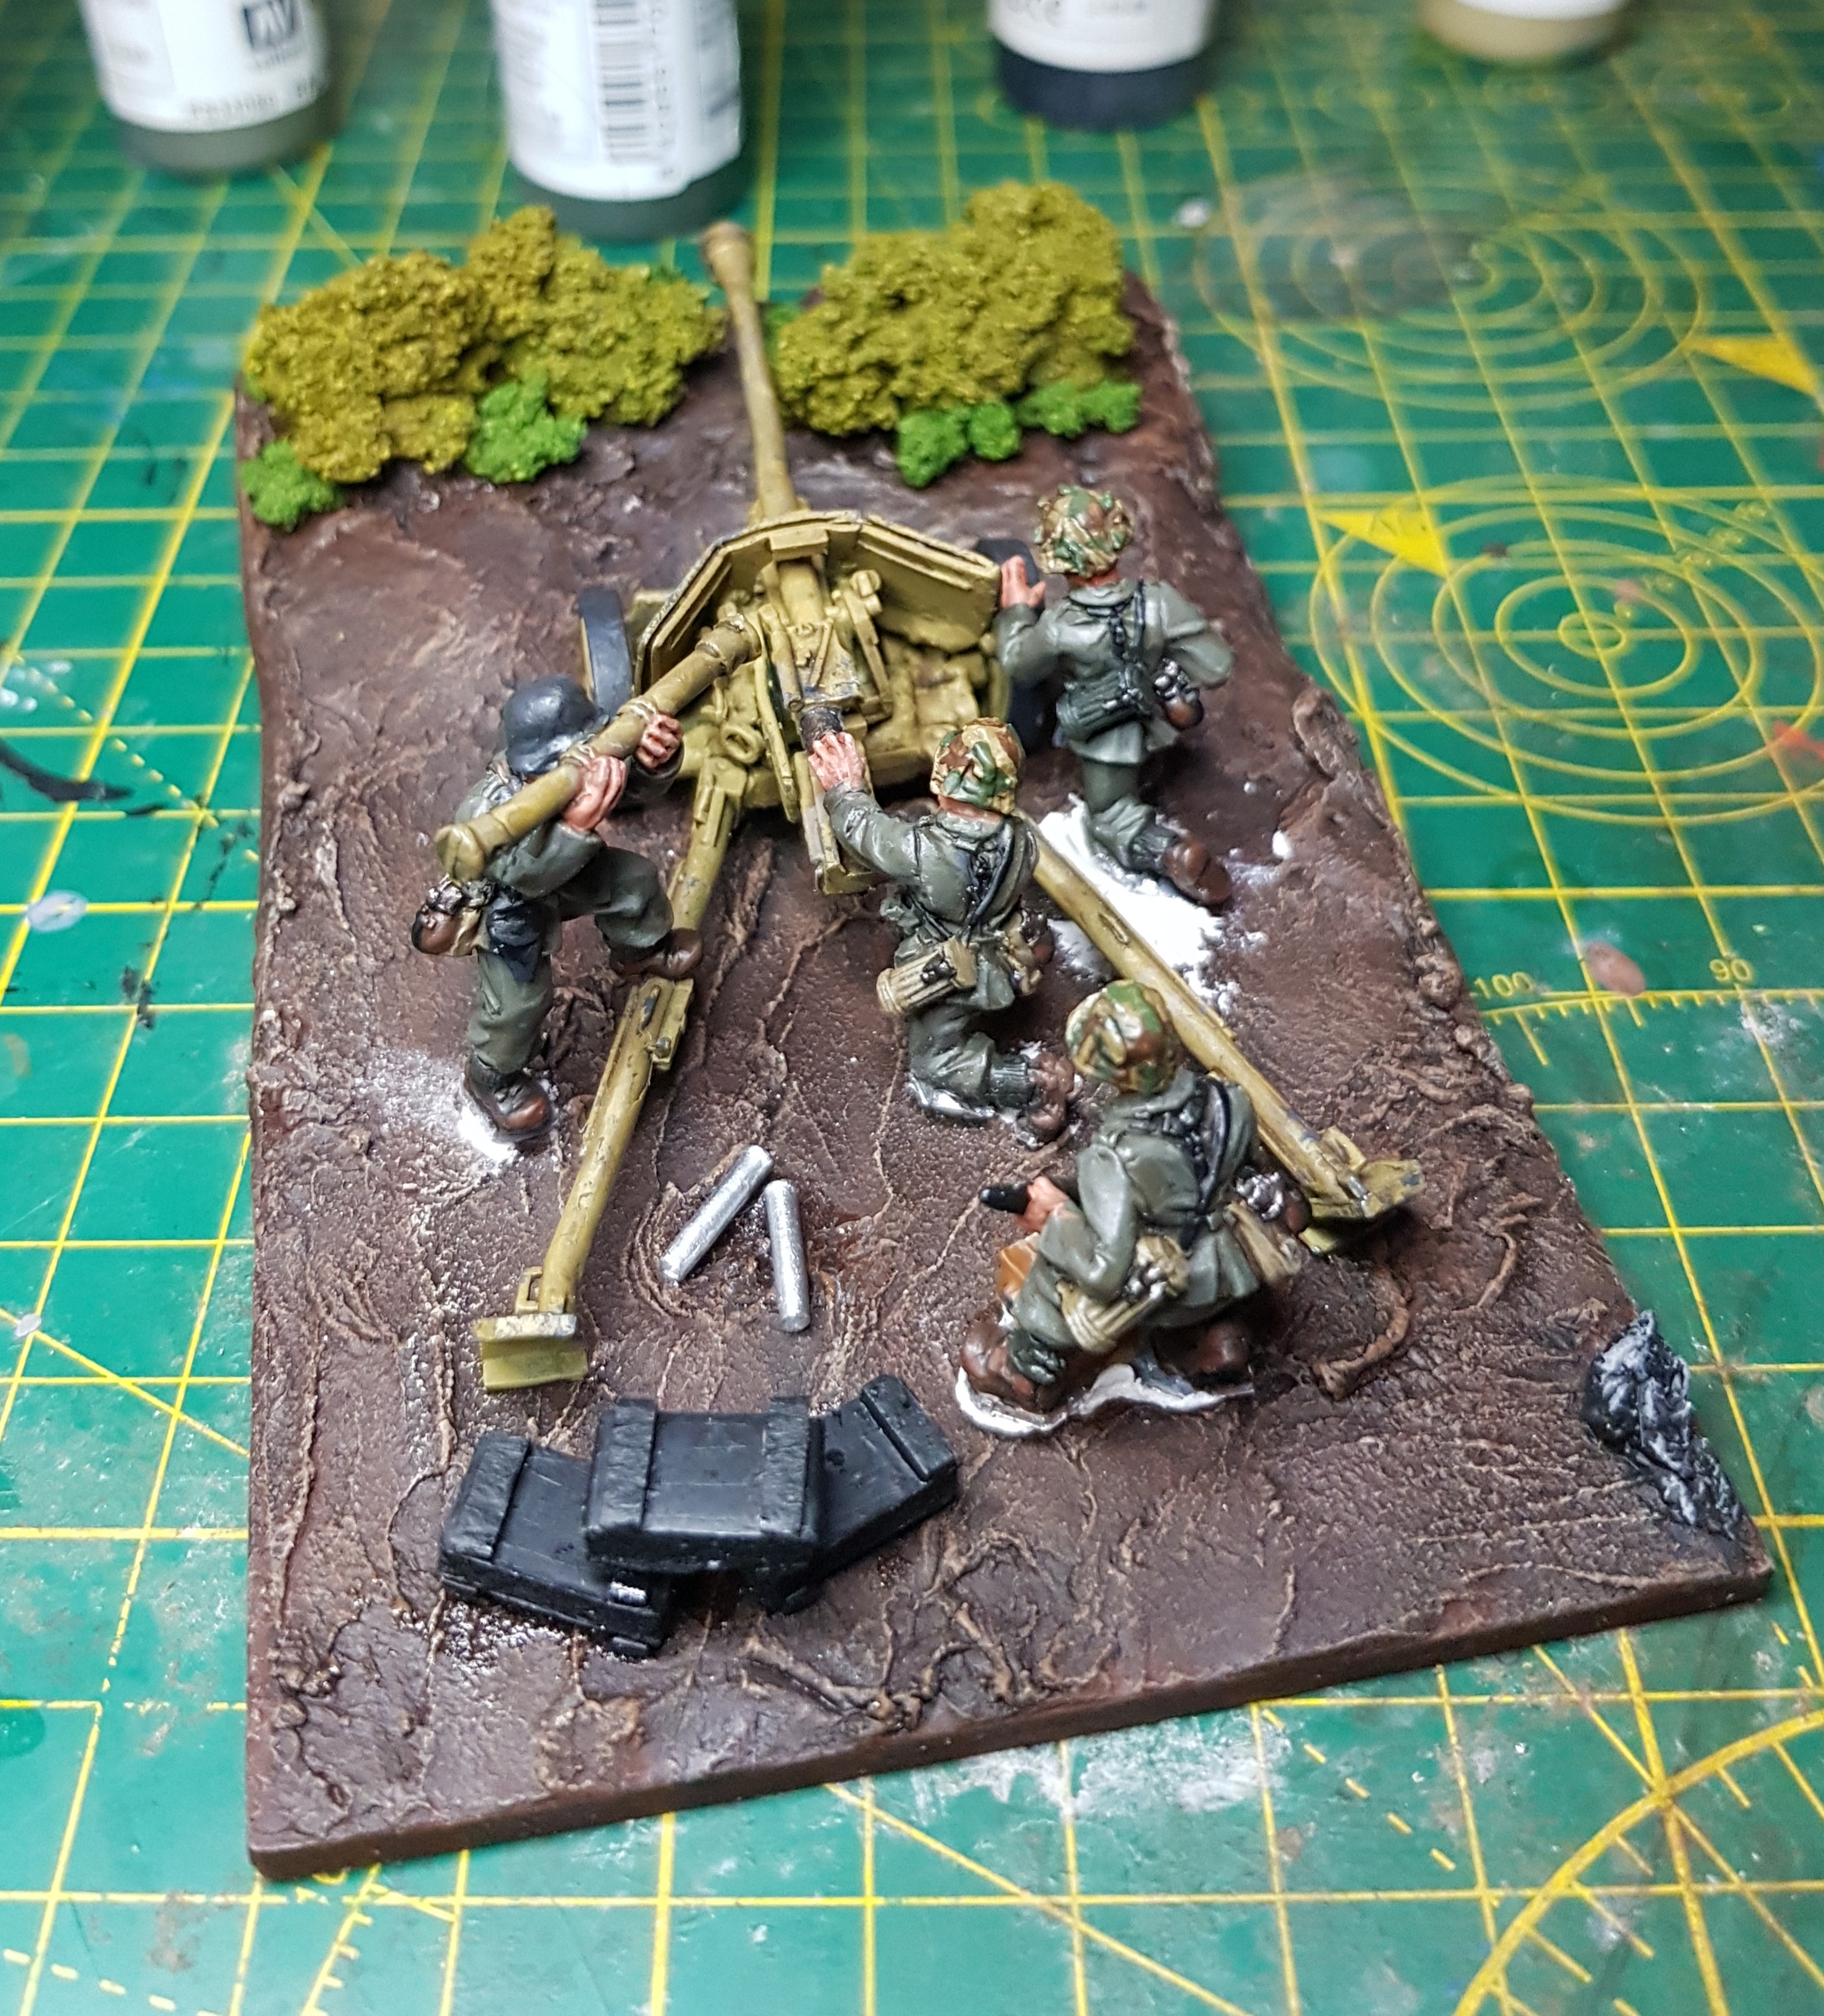
Next up I put some Javis Field scatter across the muddy sections then blended the 2 areas with some Vallejo Thick European mud effect and Crushed Grass. More mud effect around the wheels, boxes and other contact points and some random patches.
Finally a few tufts and some dark and light green static grass applied thickly over the green areas and very thinly across the rest