Manda’s (Amachan) Republican Roman Warband


Recommendations: 653
About the Project
This is my warband to represent the Republican Roman army during the Pyrrhic war for use in SAGA Age of Hannibal.
Related Game: SAGA
Related Company: Aventine Miniatures
Related Genre: Historical
Related Contest: Spring Clean Hobby Challenge 2026
This Project is Active
Step 5, Horses, Tribune
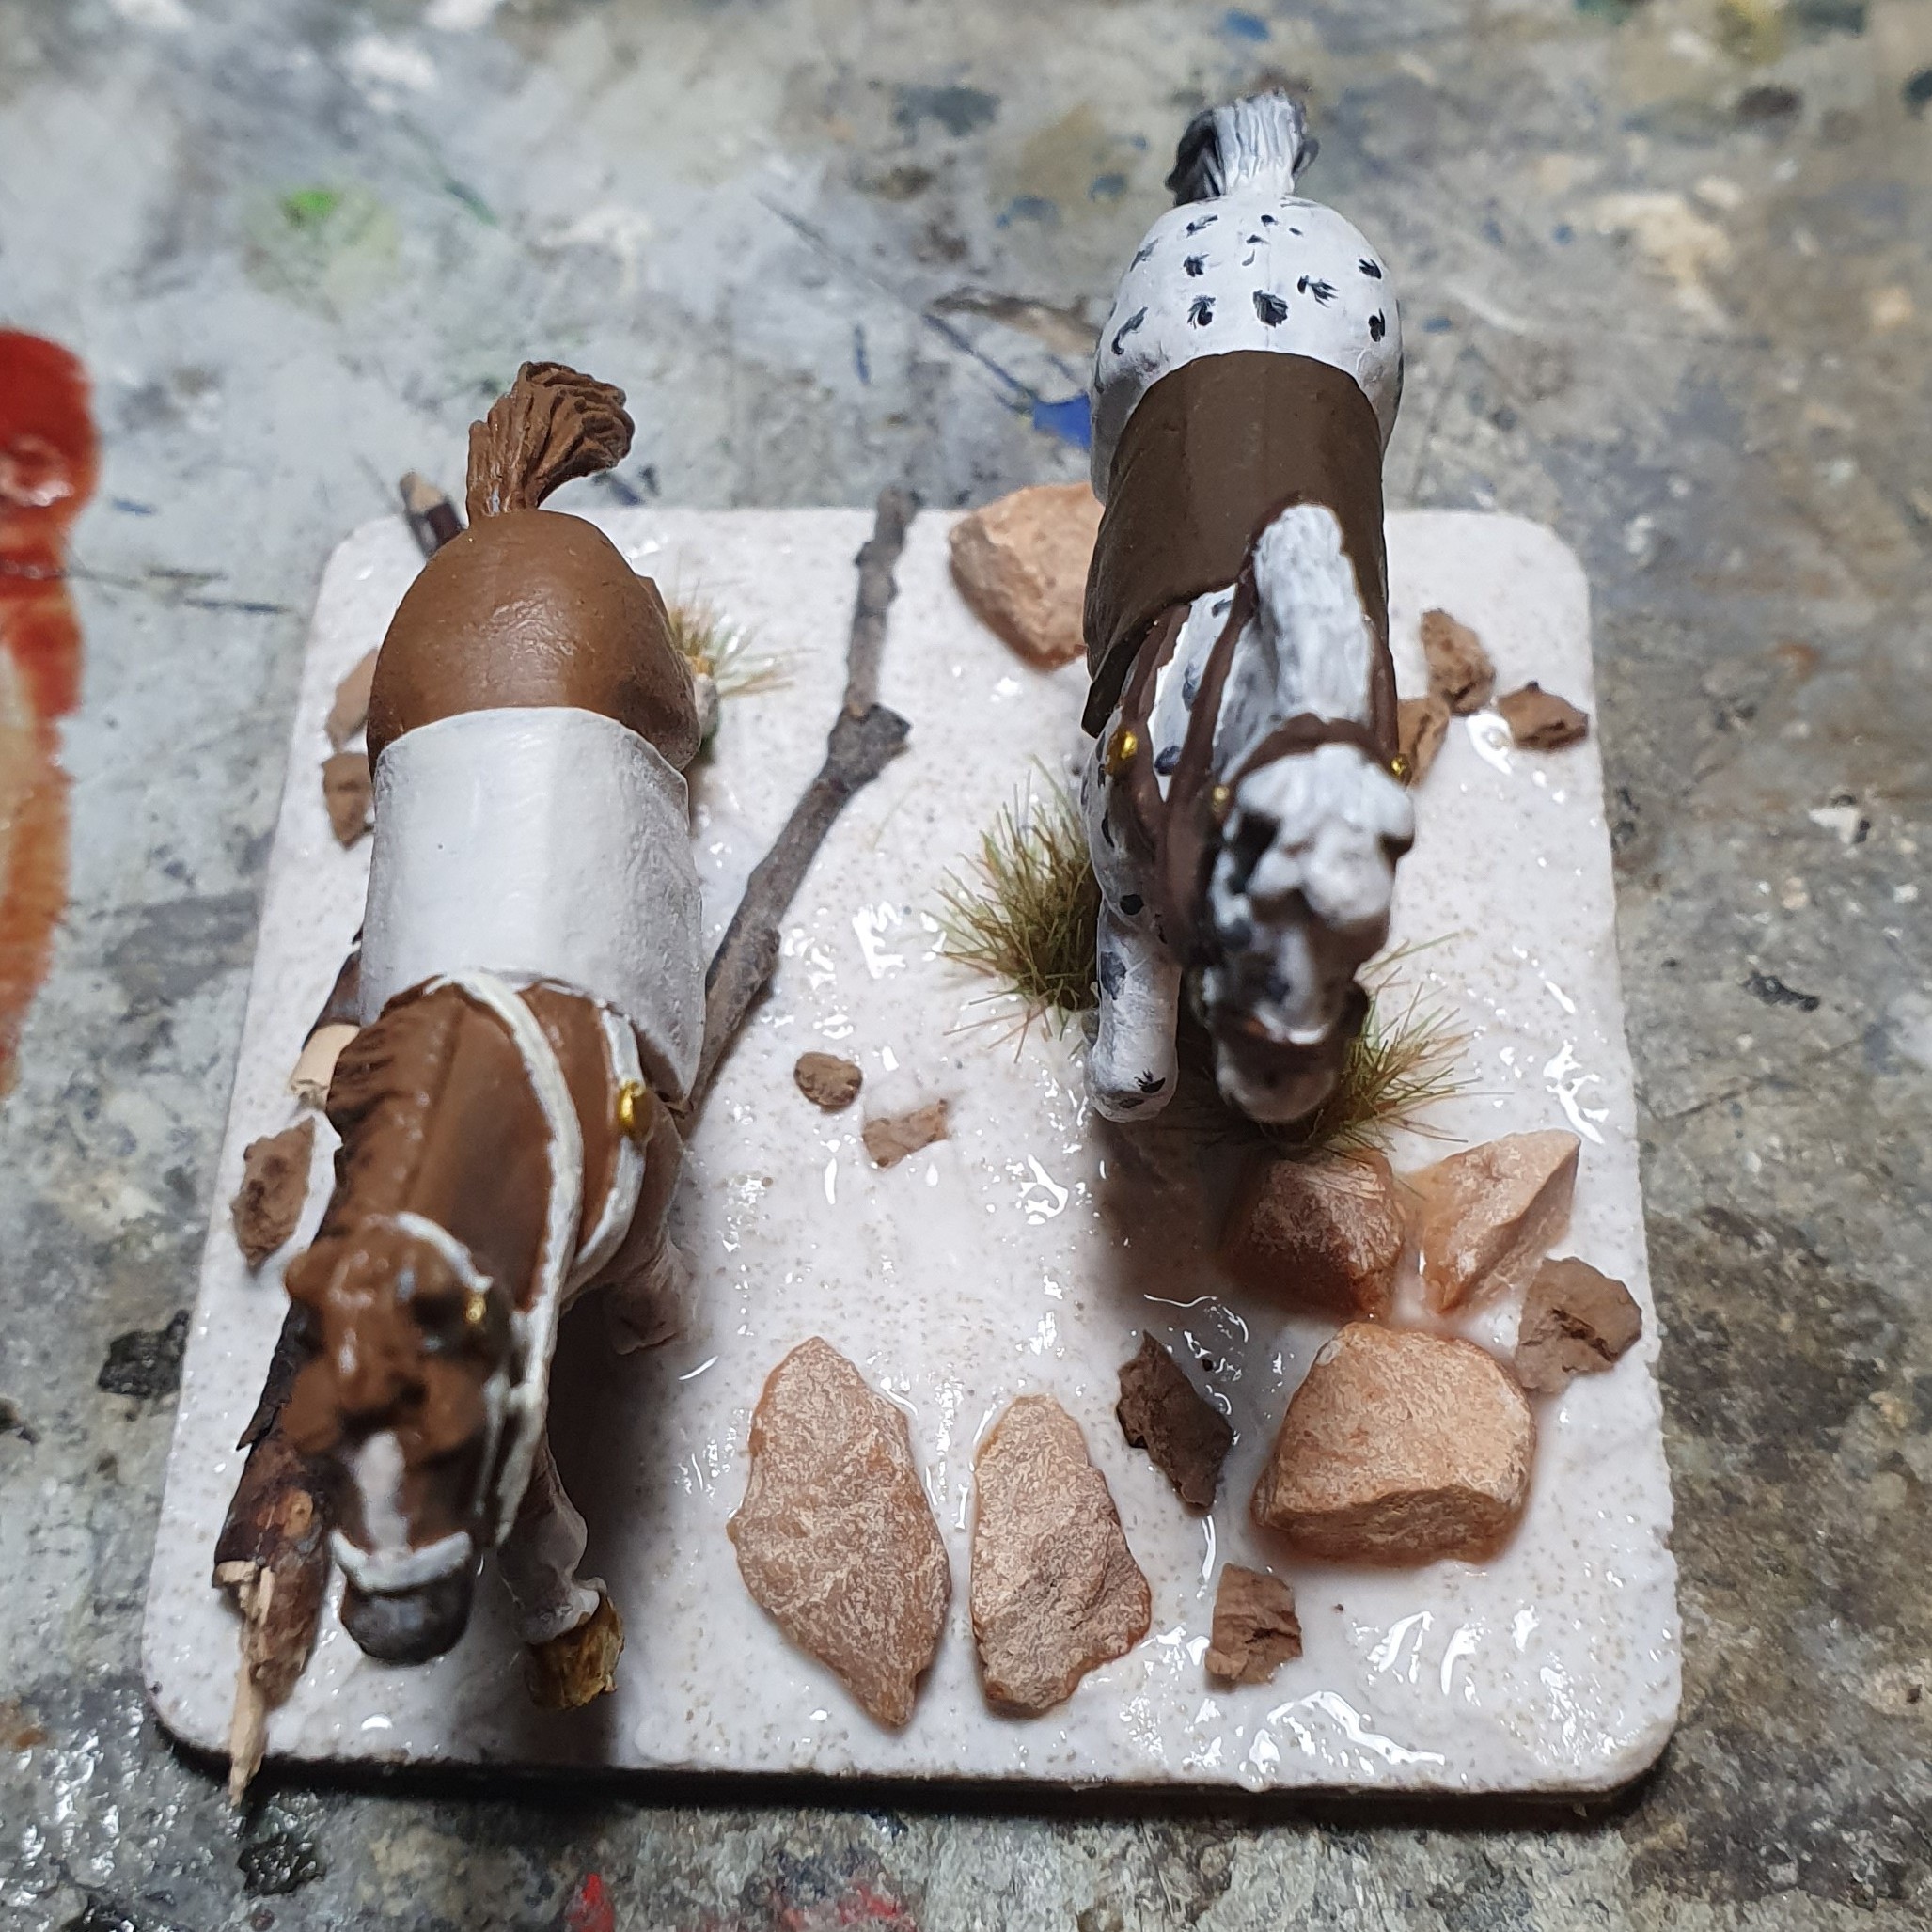
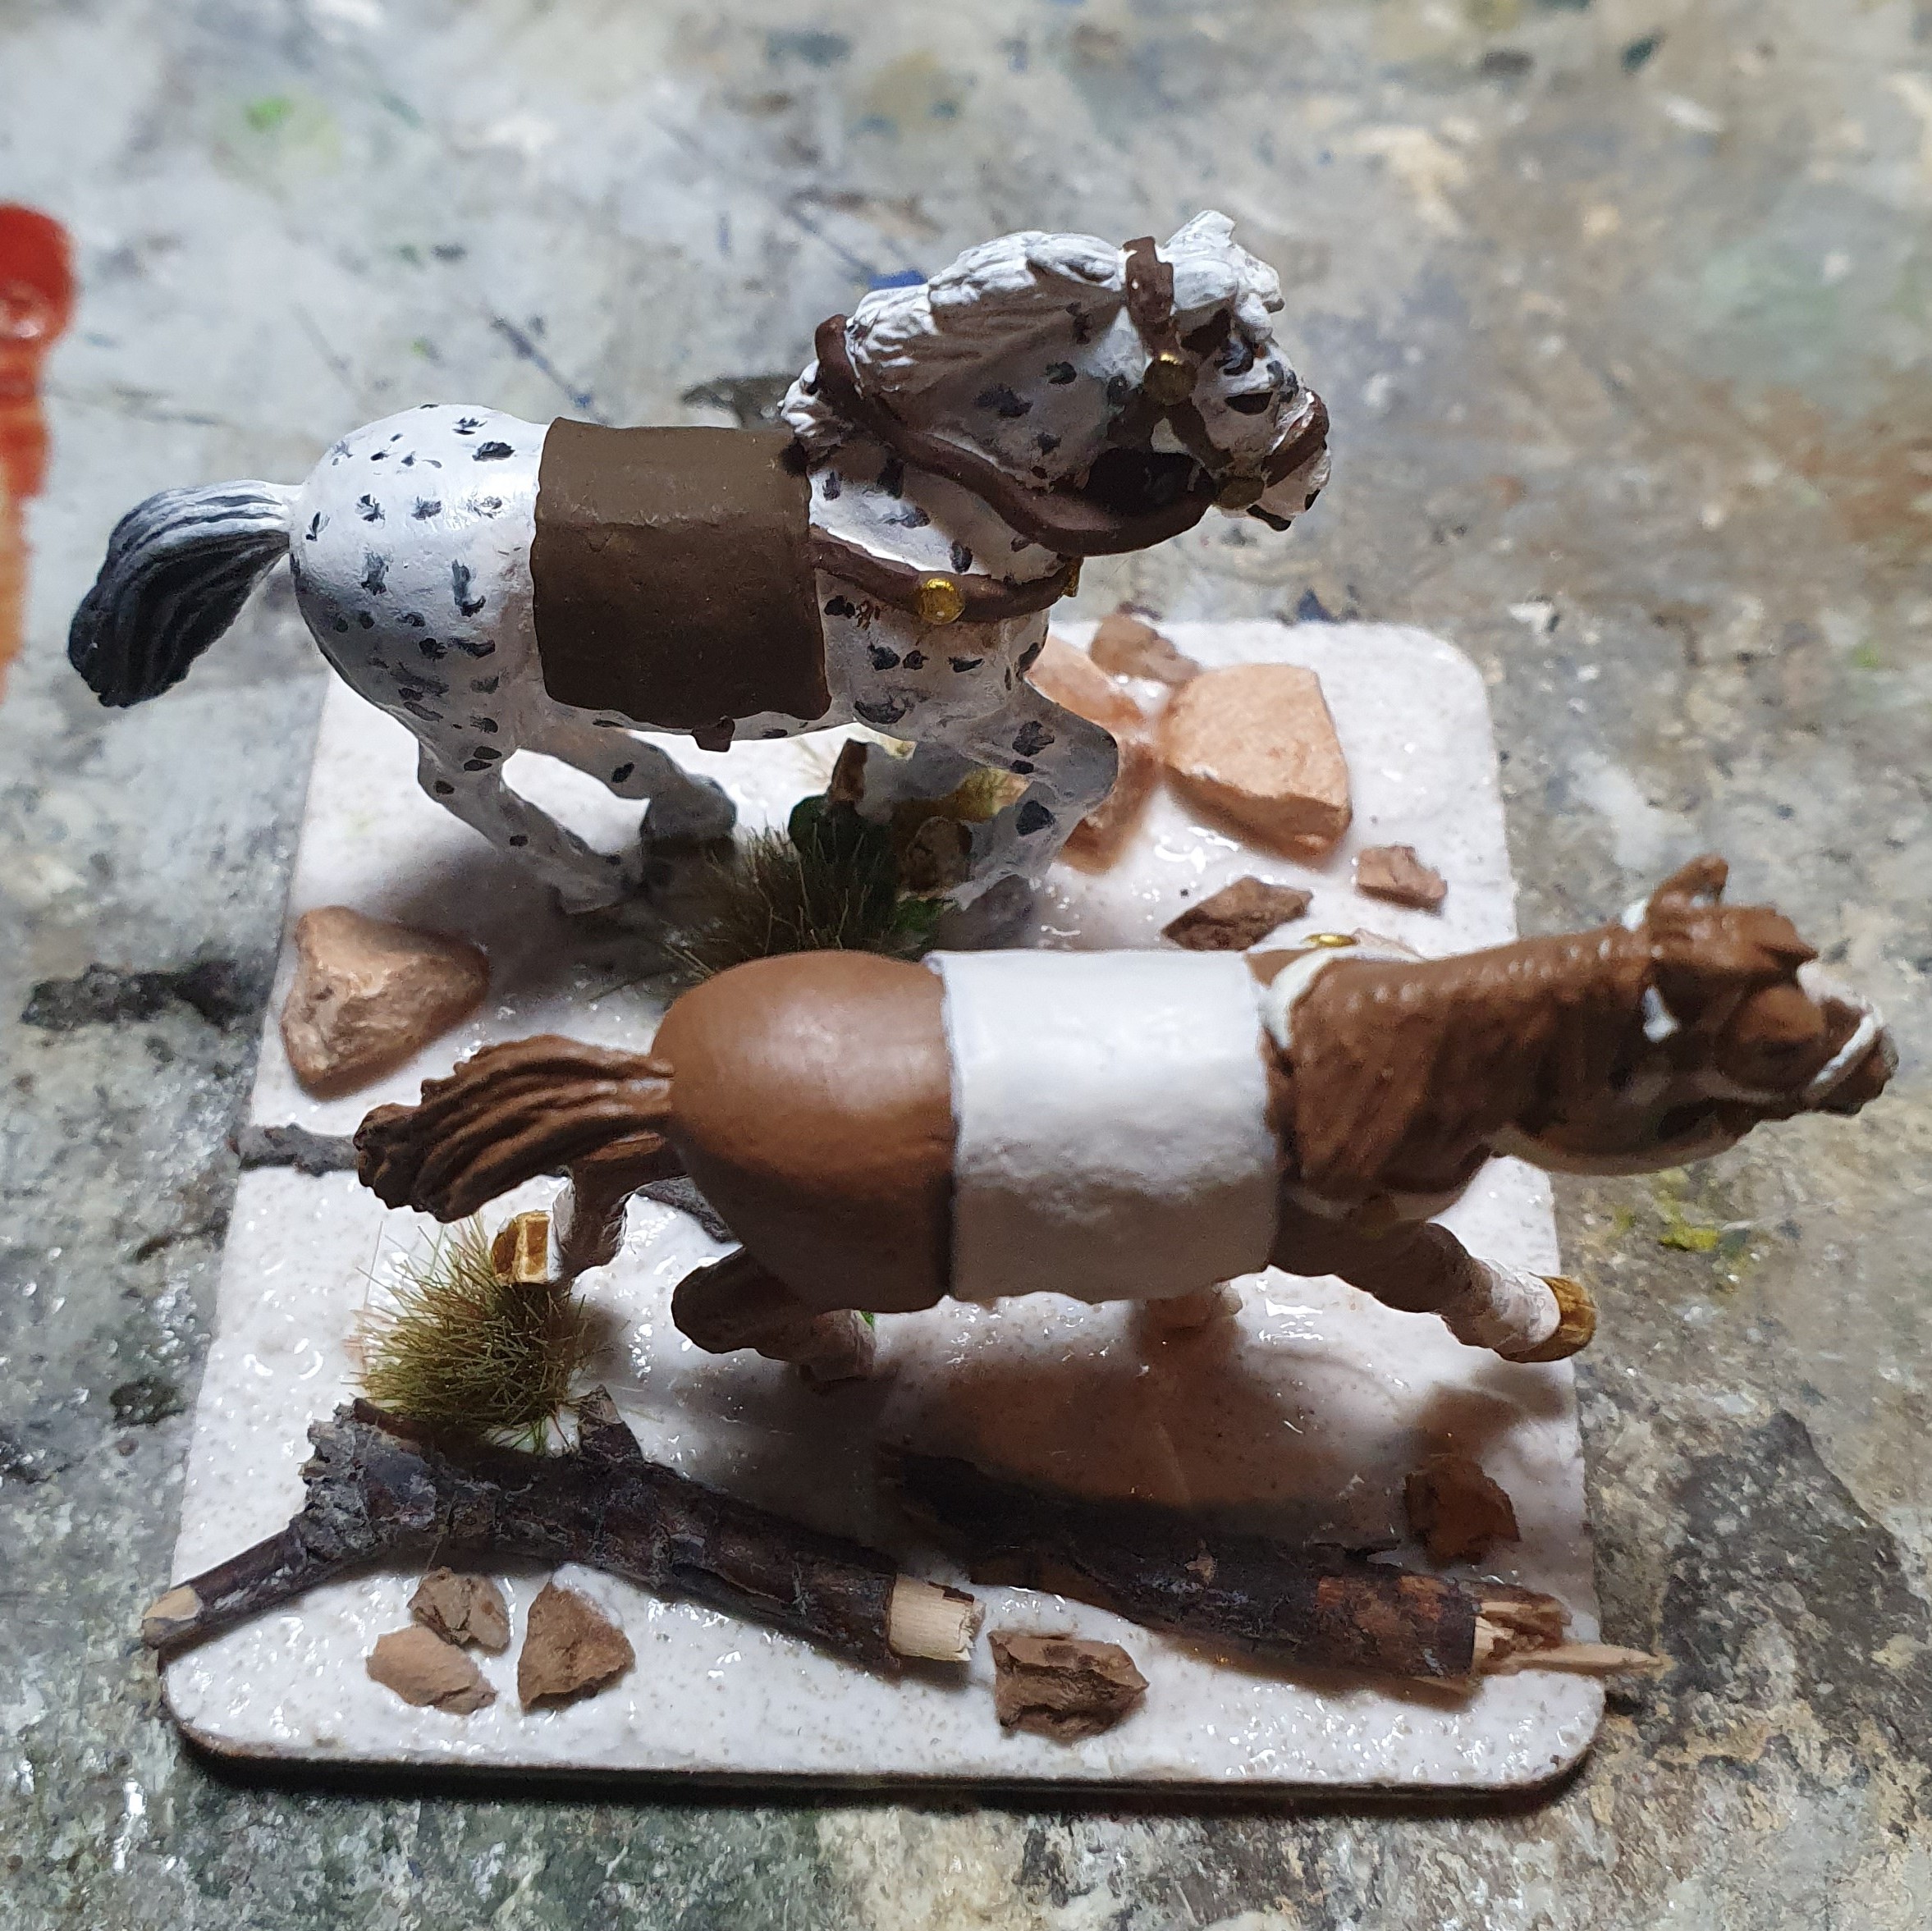
I added a base to the horses for the Tribune and his banner bearer for my Republican Roman warband for SAGA: Age of Hannibal.
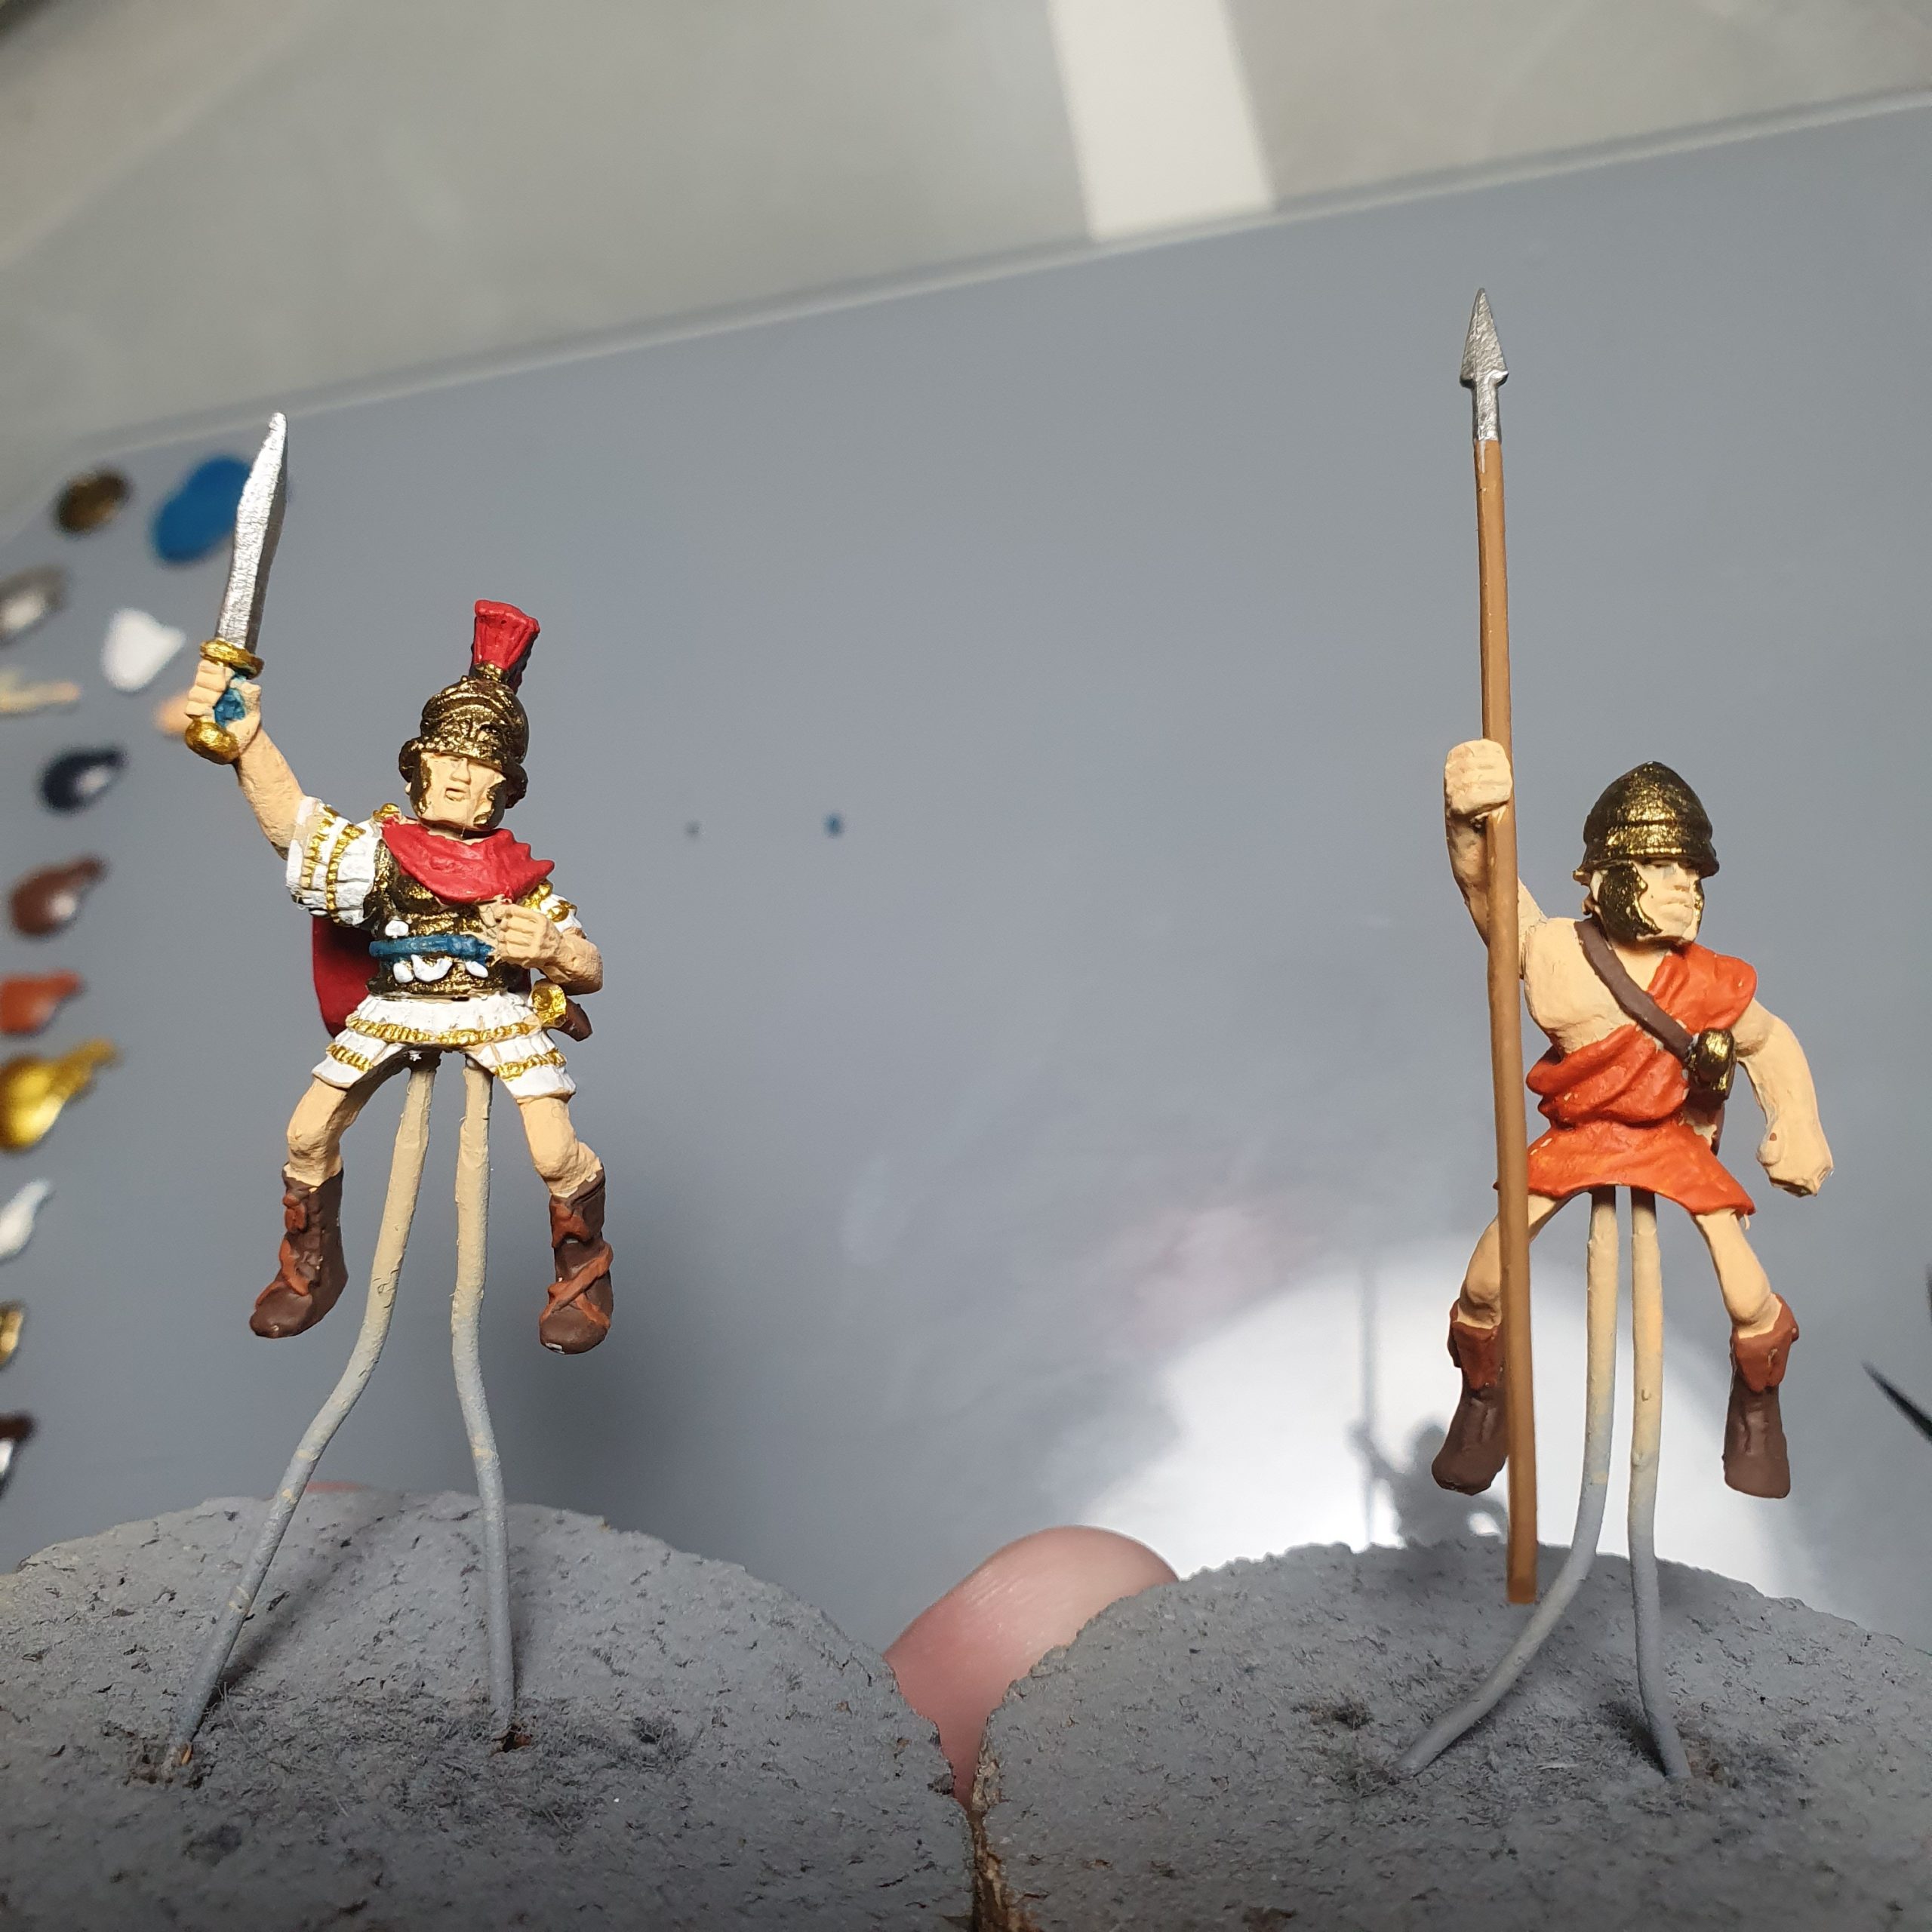
Step 4, Tribune & Banner Bearer, Tribune
I got the acrylic basecoats done on the Tribune and his banner bearer for my Republican Roman warband for SAGA: Age of Hannibal.
Step 4, Horses, Tribune
Just horsing about getting the tack on the horses for the Tribune and his banner bearer for my Republican Roman warband for SAGA: Age of Hannibal done.

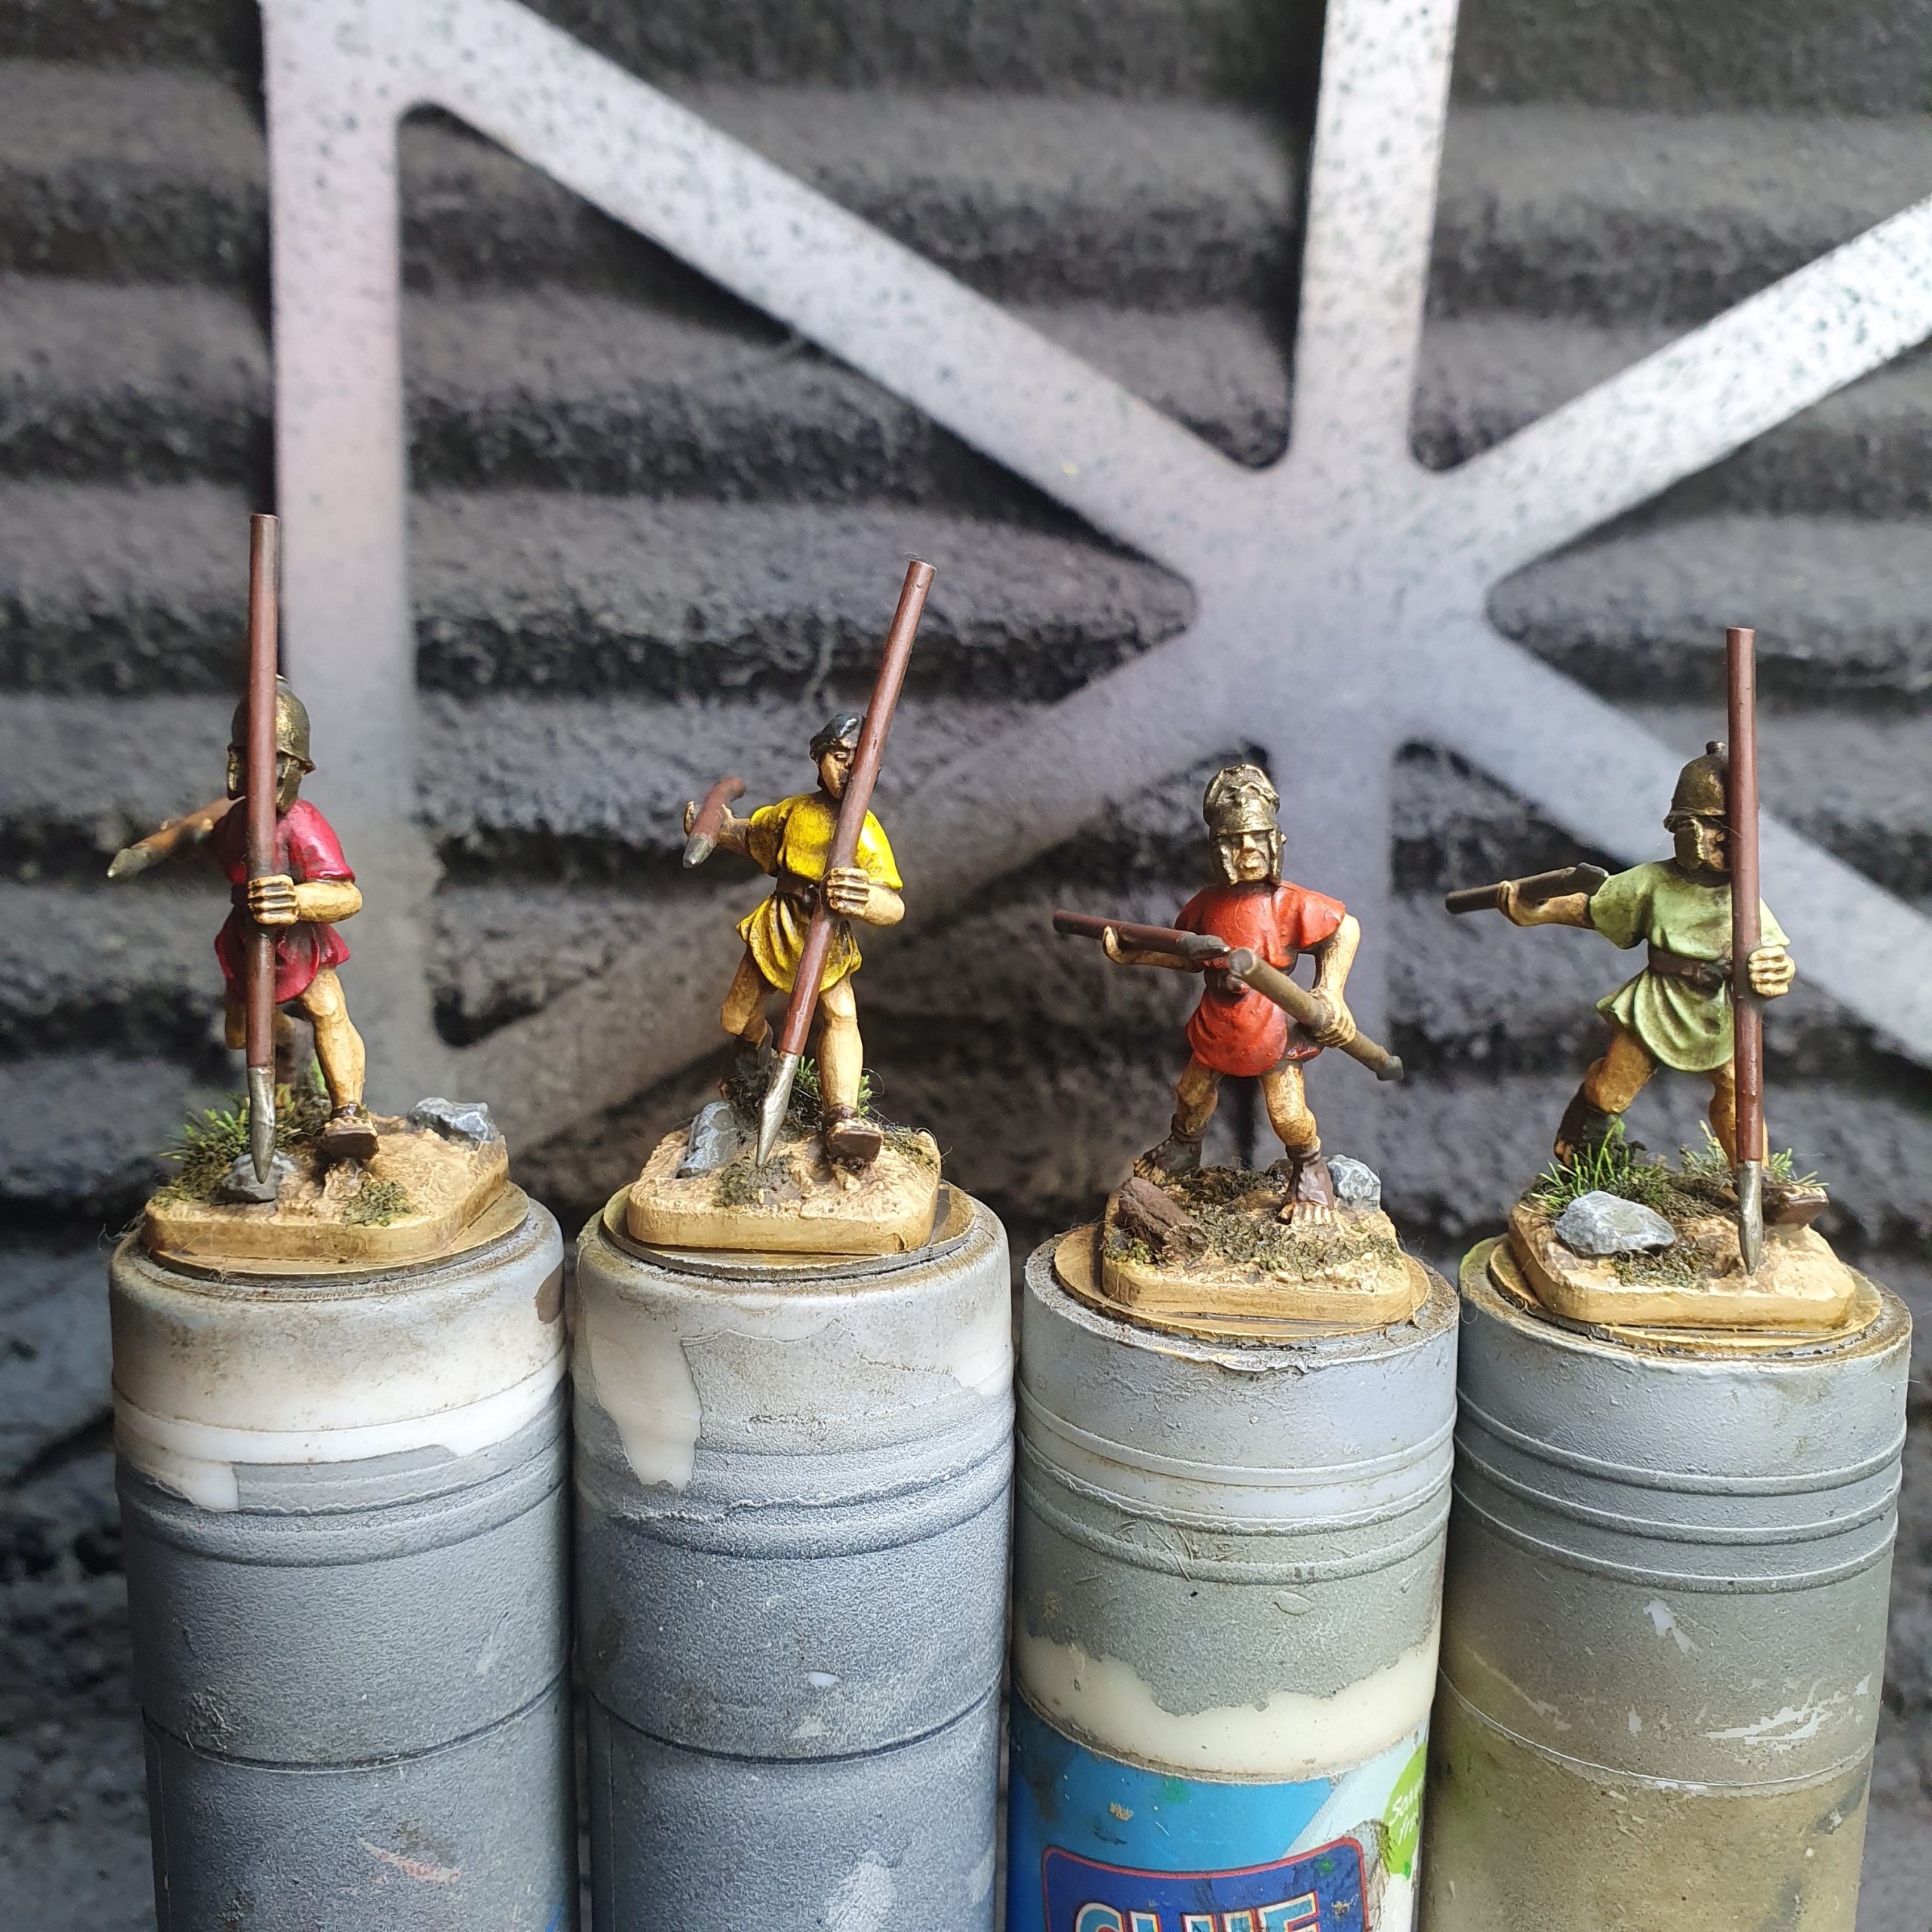
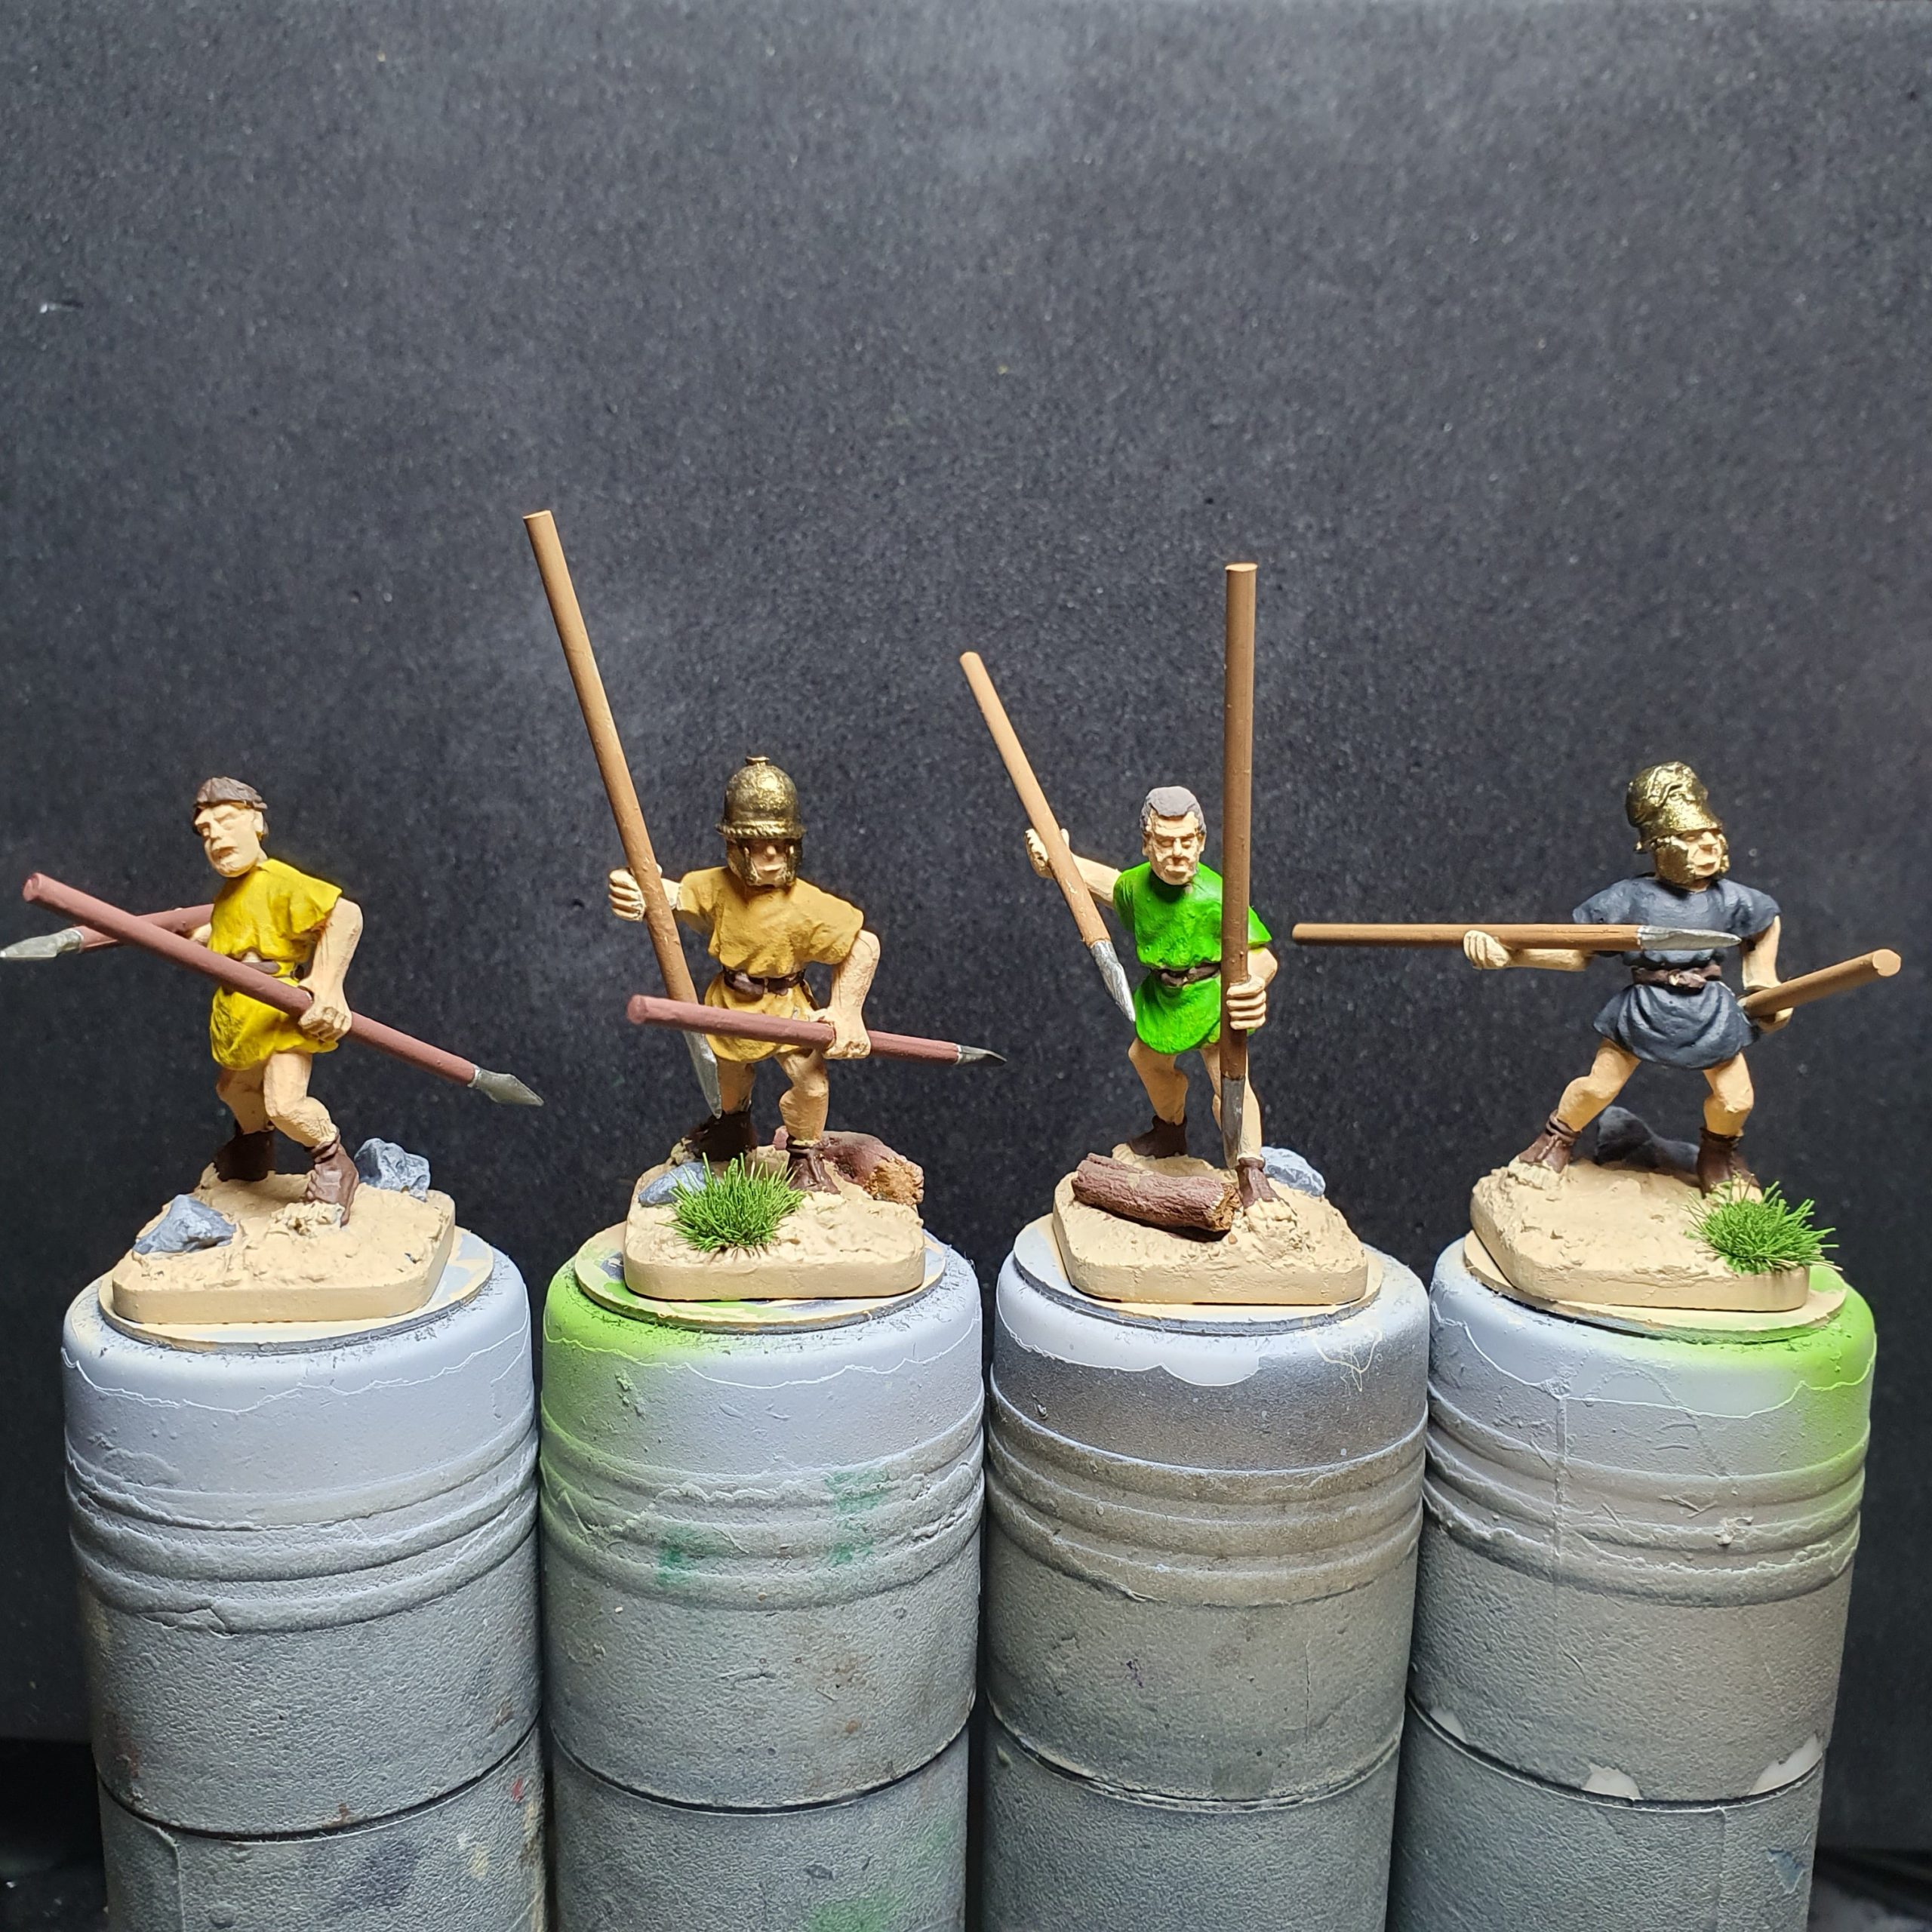
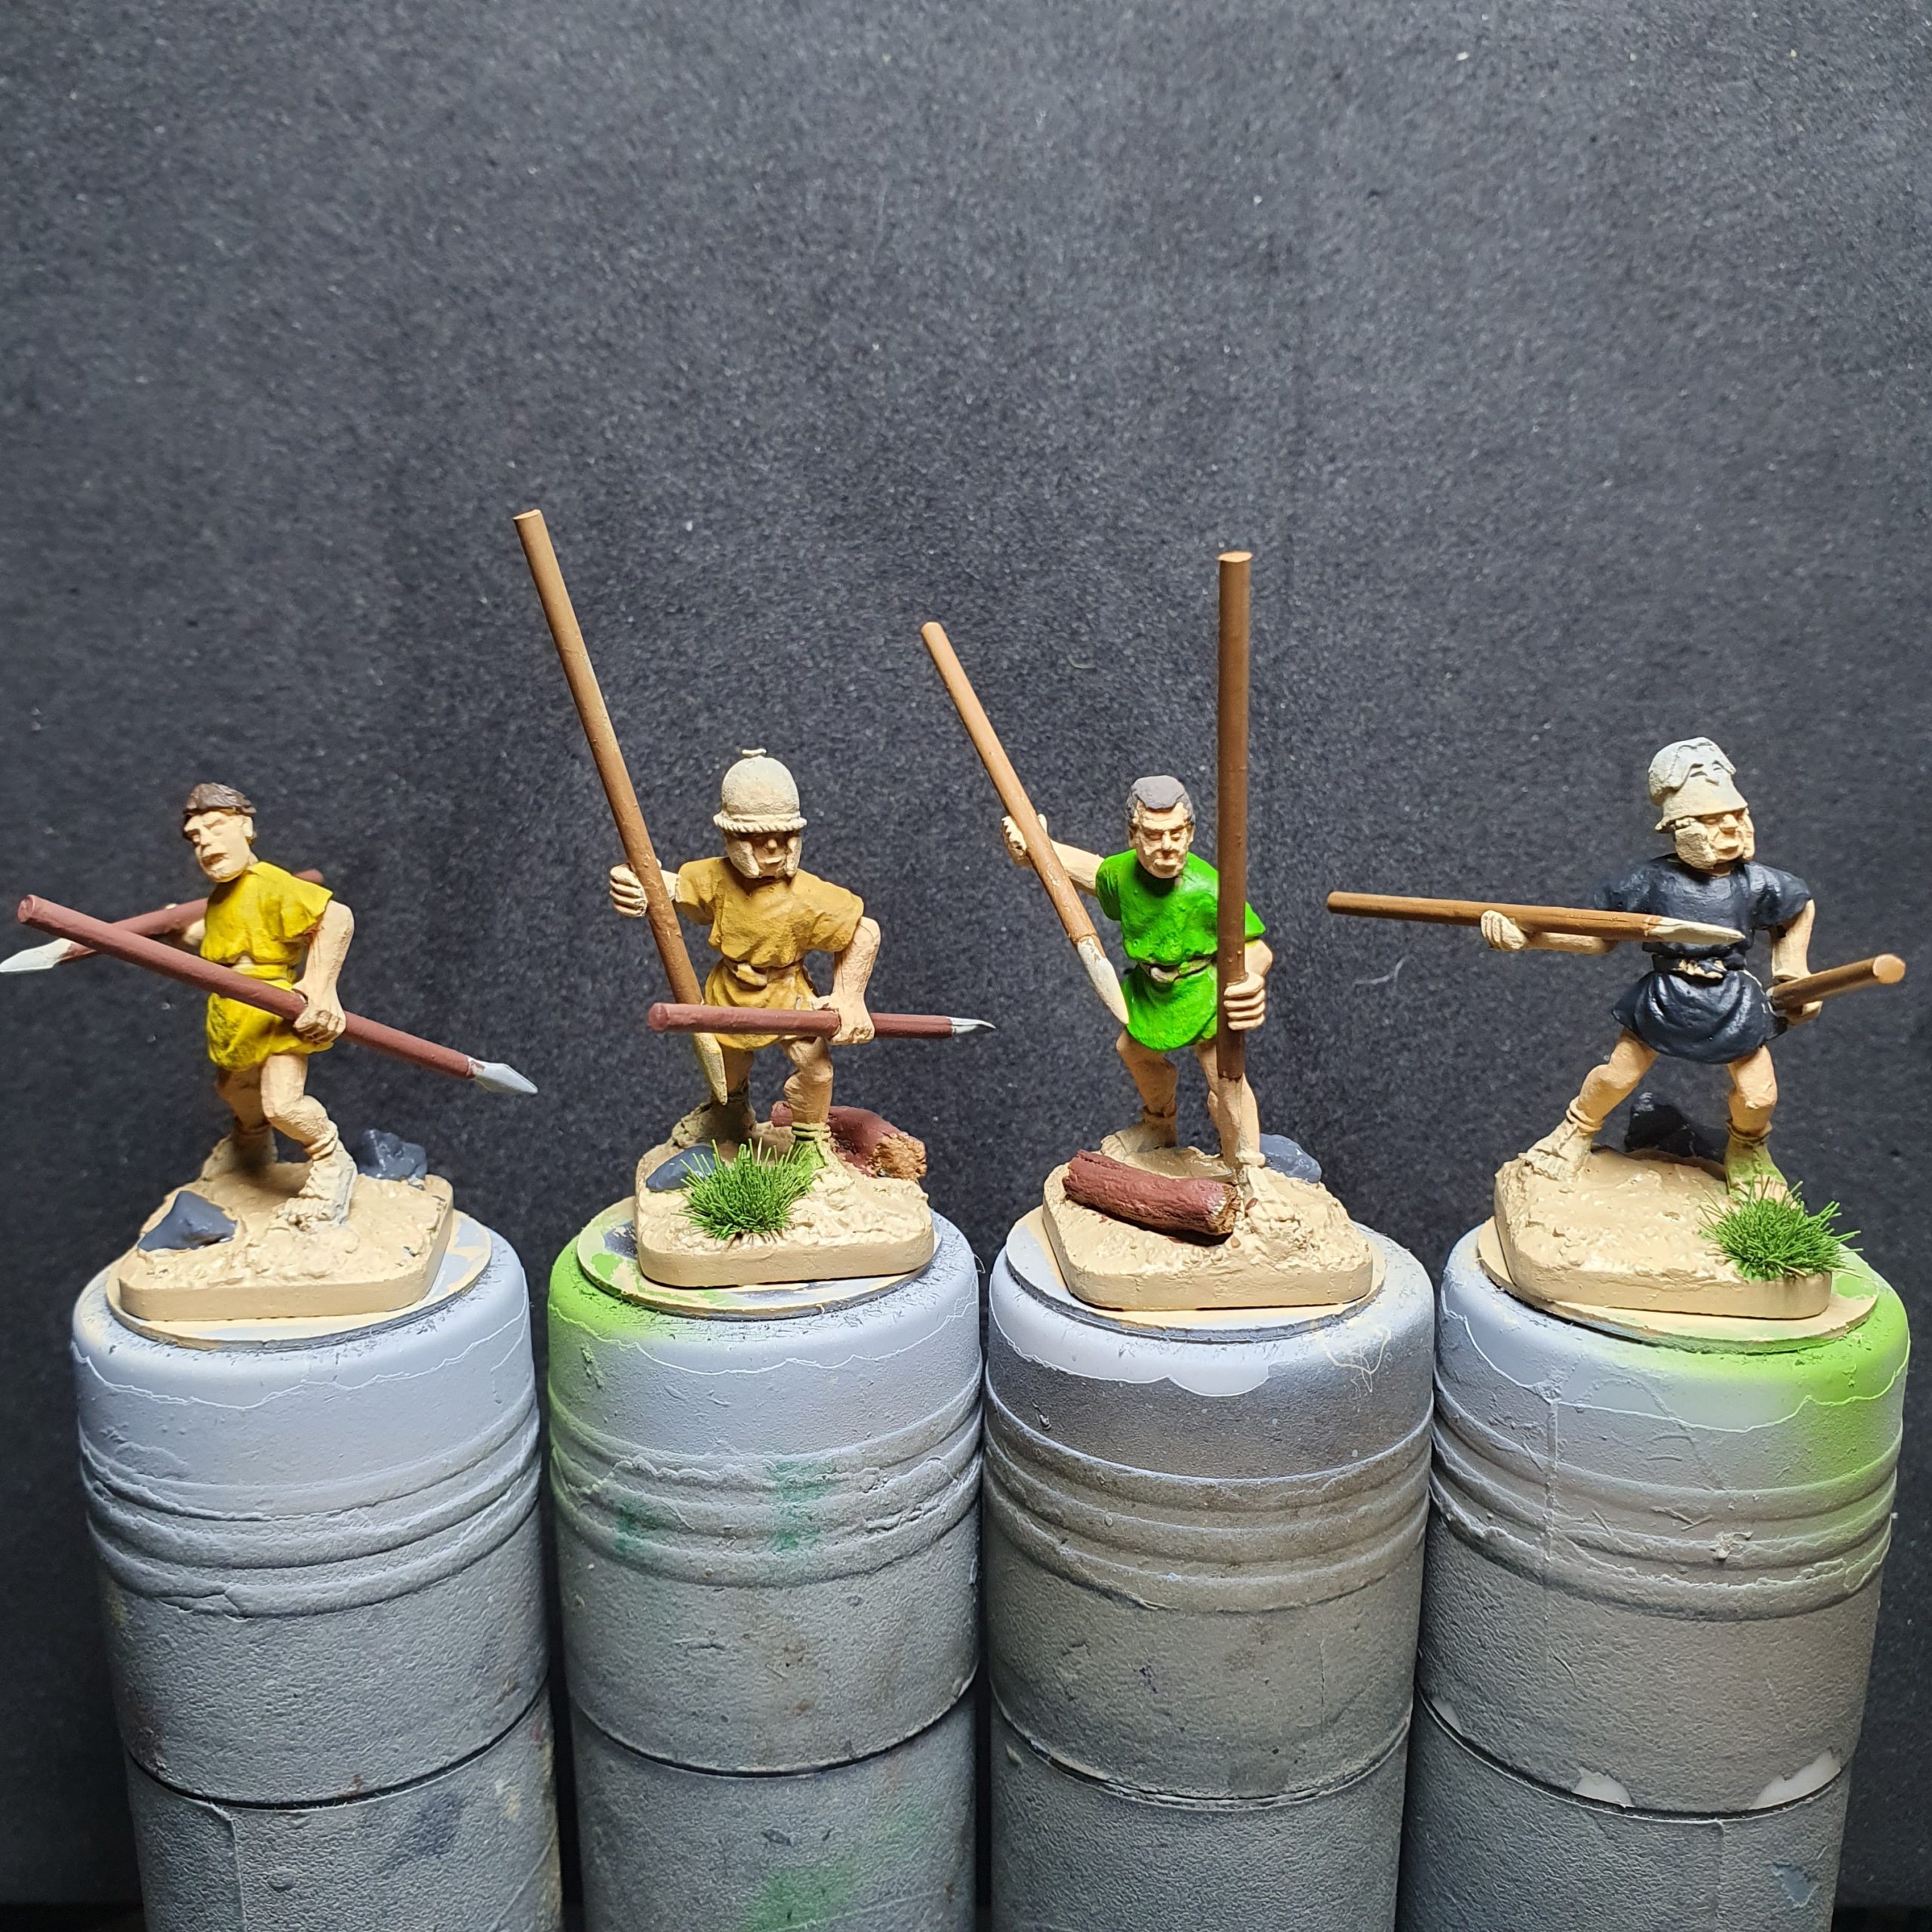
Step 4, Batch 2, Leves
I got all the acrylic base-coats done on the second batch of Leves for my Republican Roman warband for SAGA: Age of Hannibal.
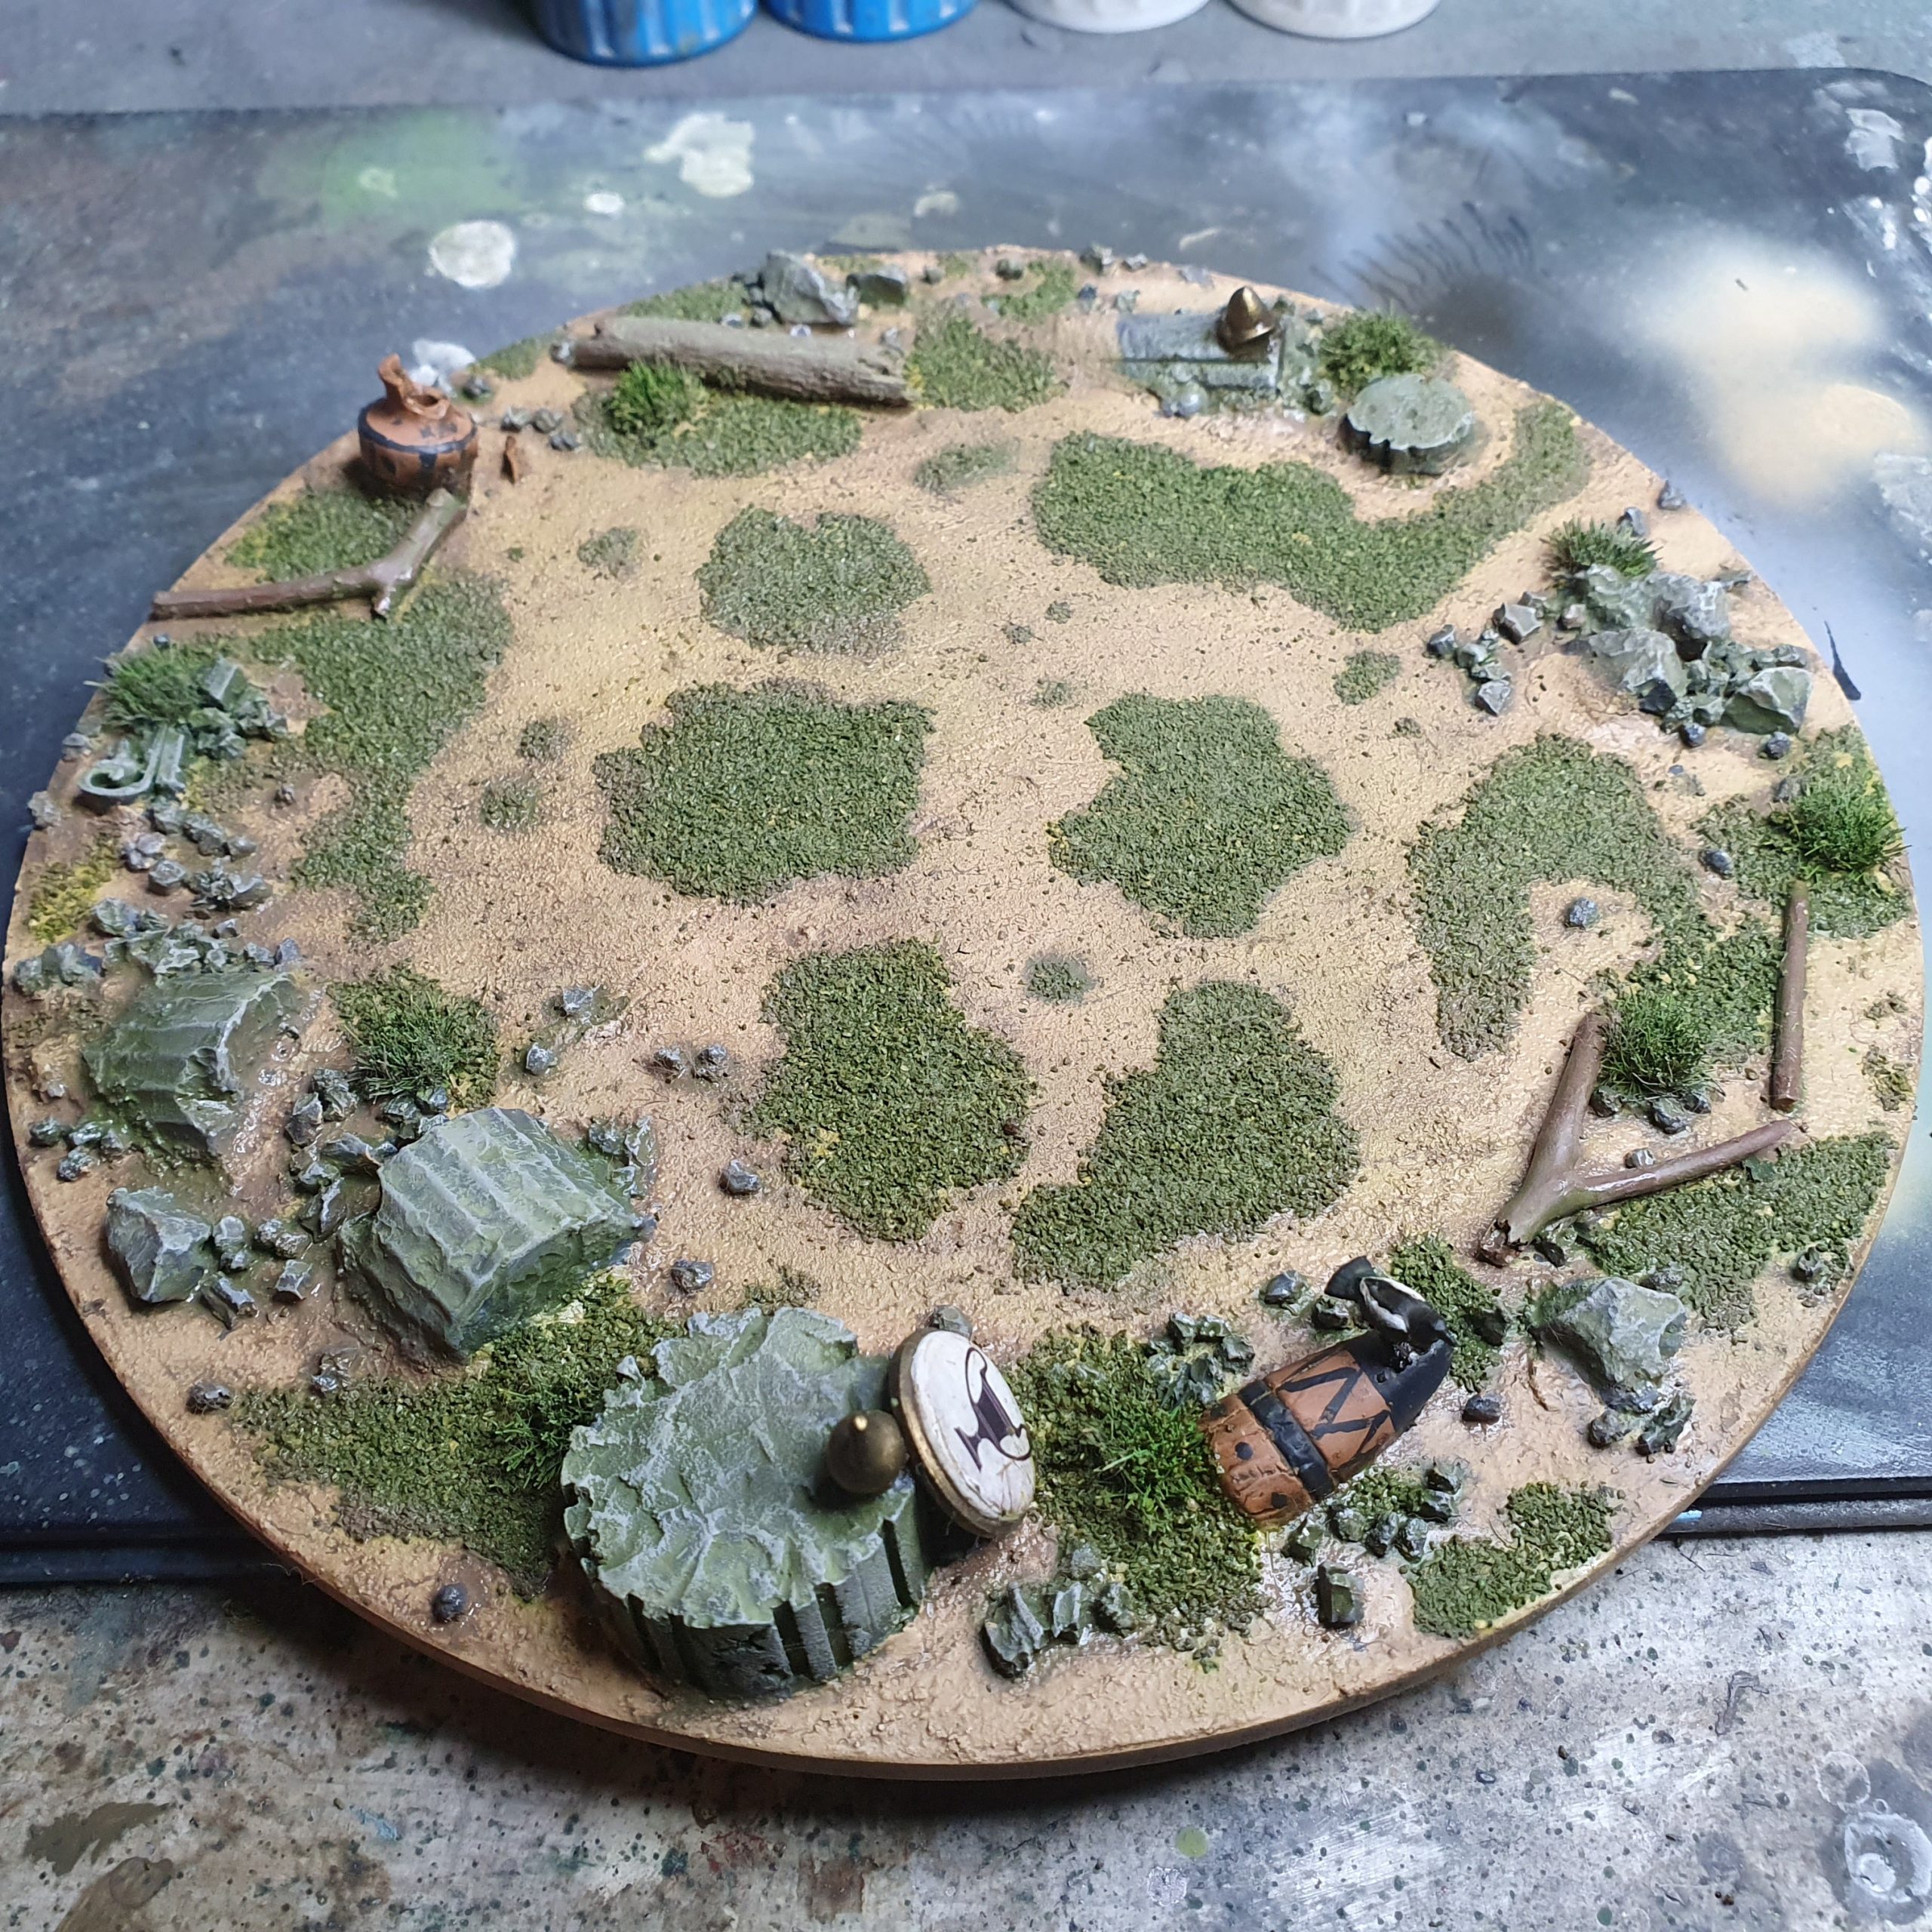
Step 8, Batch 1, Leves & 160mm Photography Base
I applied the second stage of shading on the first batch of Leves for my Republican Roman warband for SAGA: Age of Hannibal.
I added some weathering to my 160mm Mediterranean photography base.
Step 4, Batch 2, Leves
I made a start on the second batch of Leves for my Republican Roman warband for SAGA: Age of Hannibal.
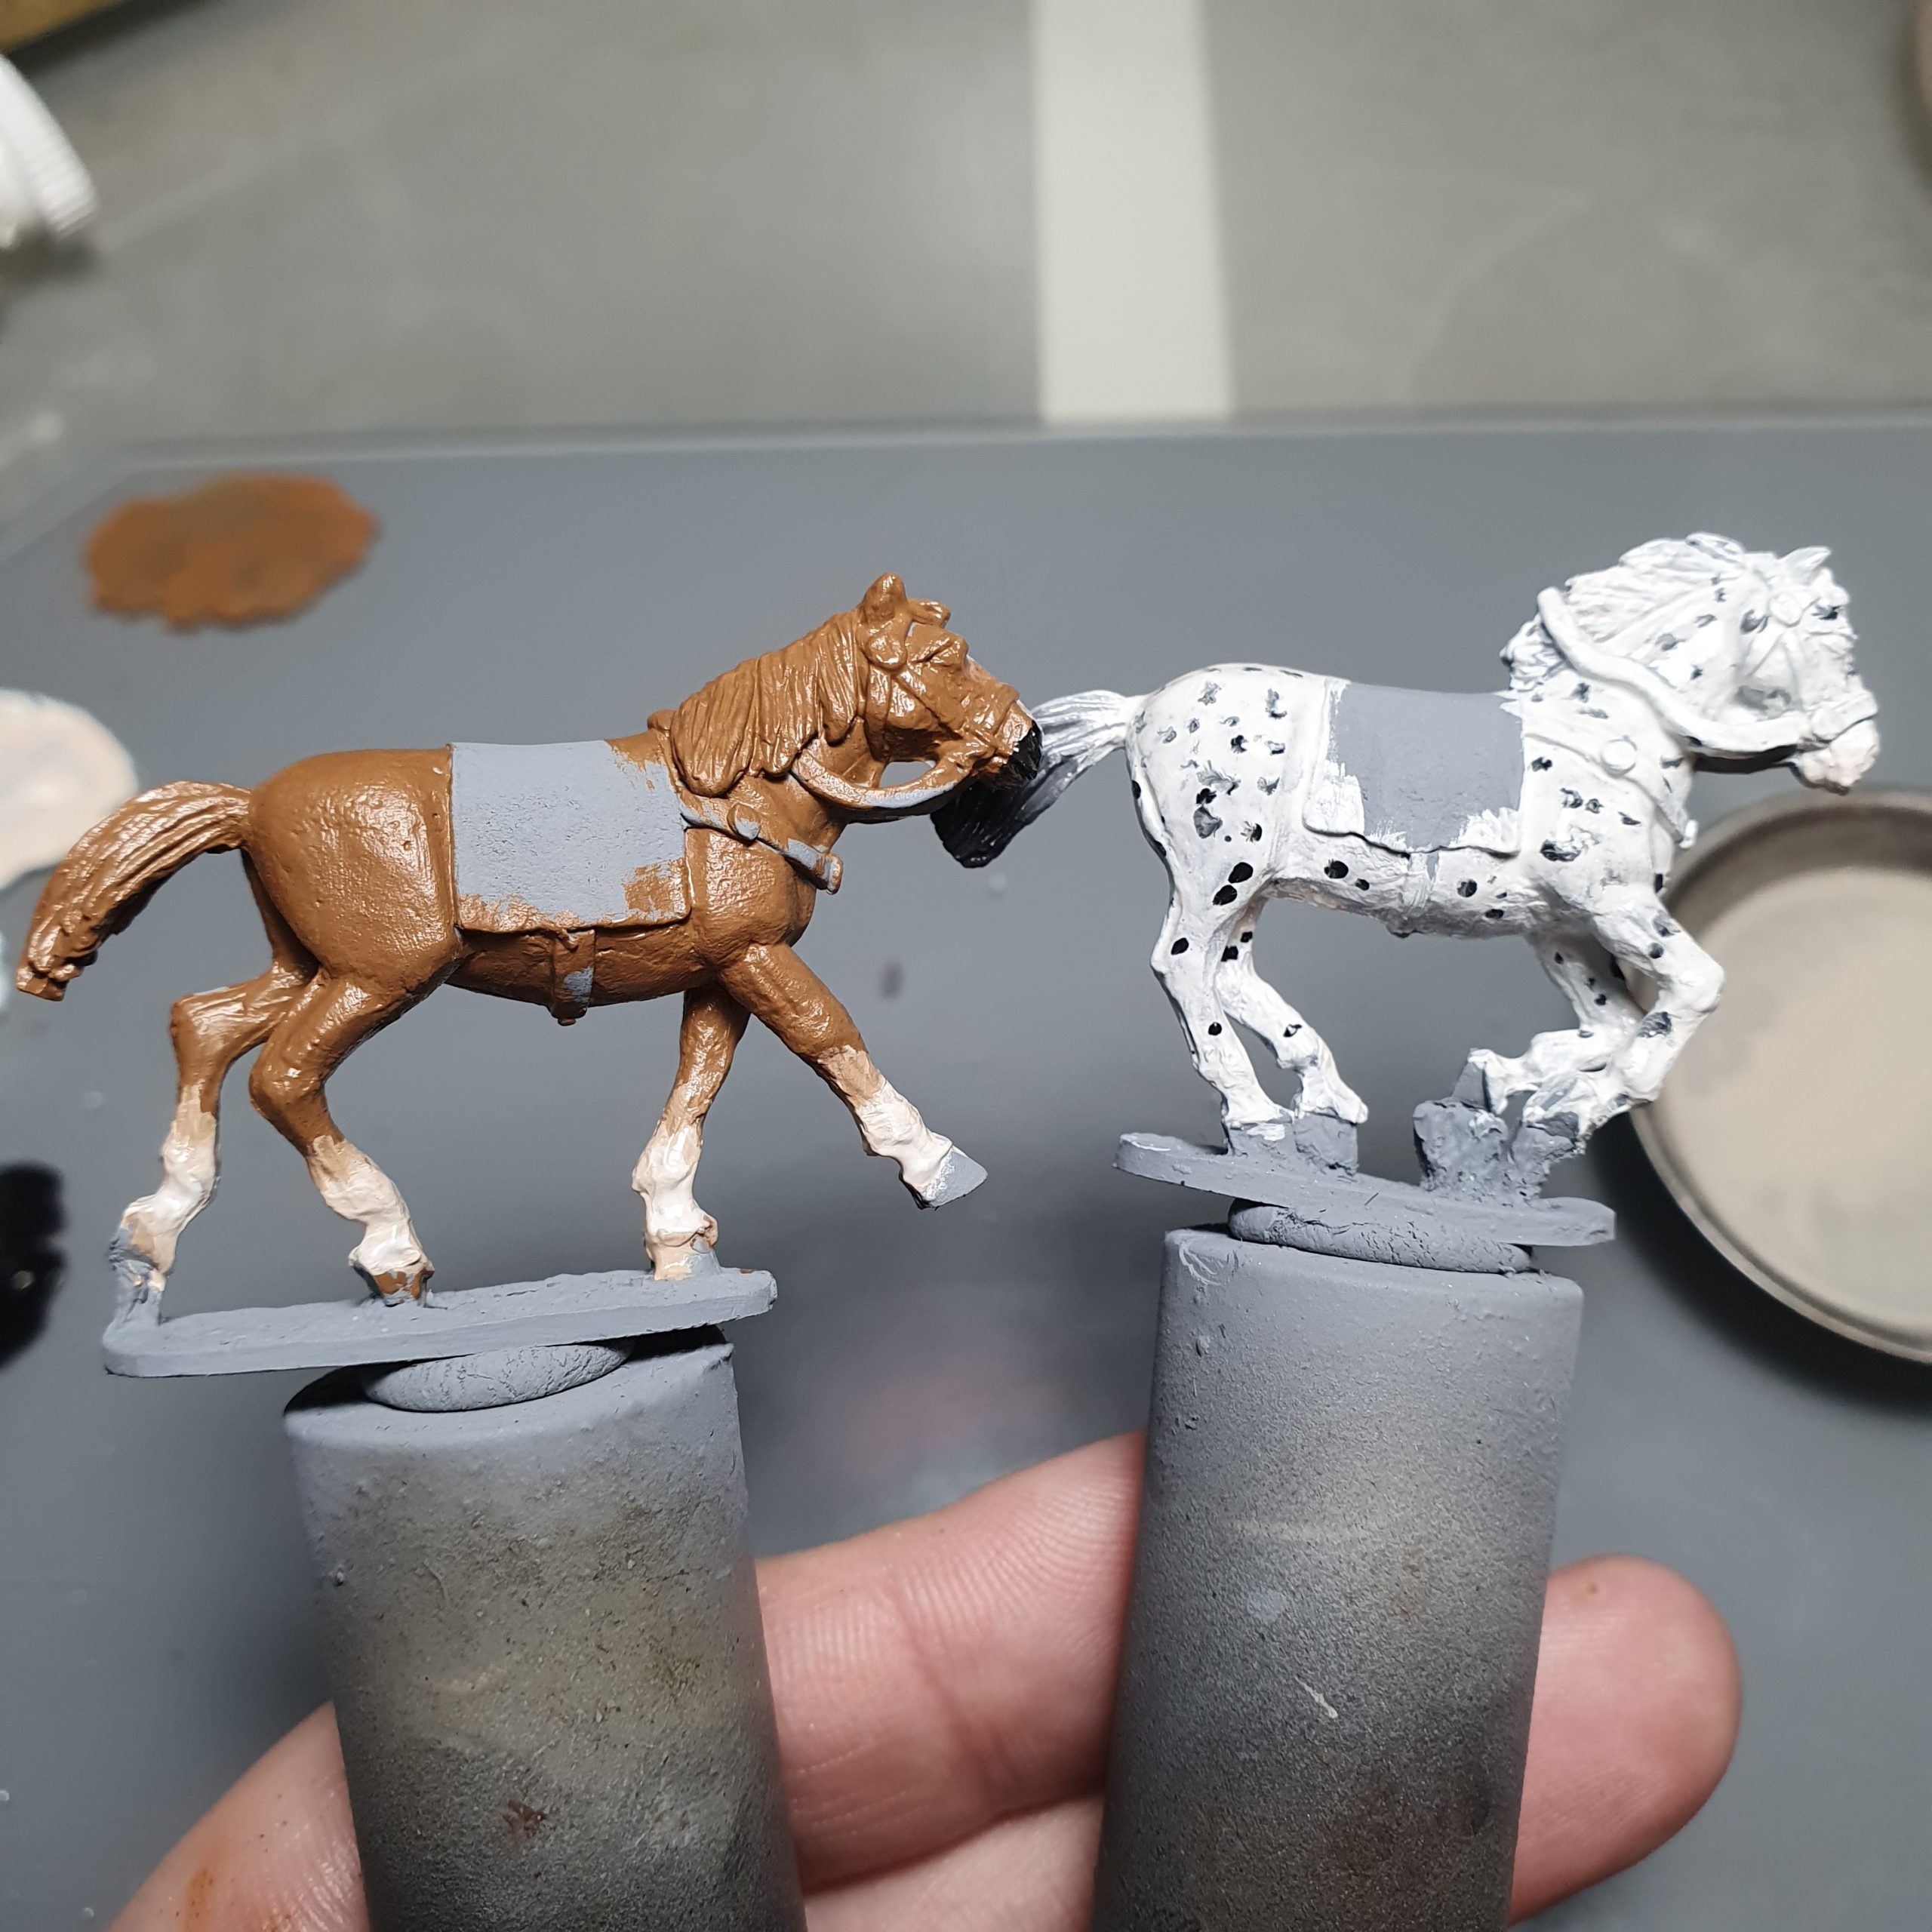
Step 3, Horses, Tribune
I made a start on the horses for the Tribune and his banner bearer for my Republican Roman warband for SAGA: Age of Hannibal. And yes, I spotted the right horse…
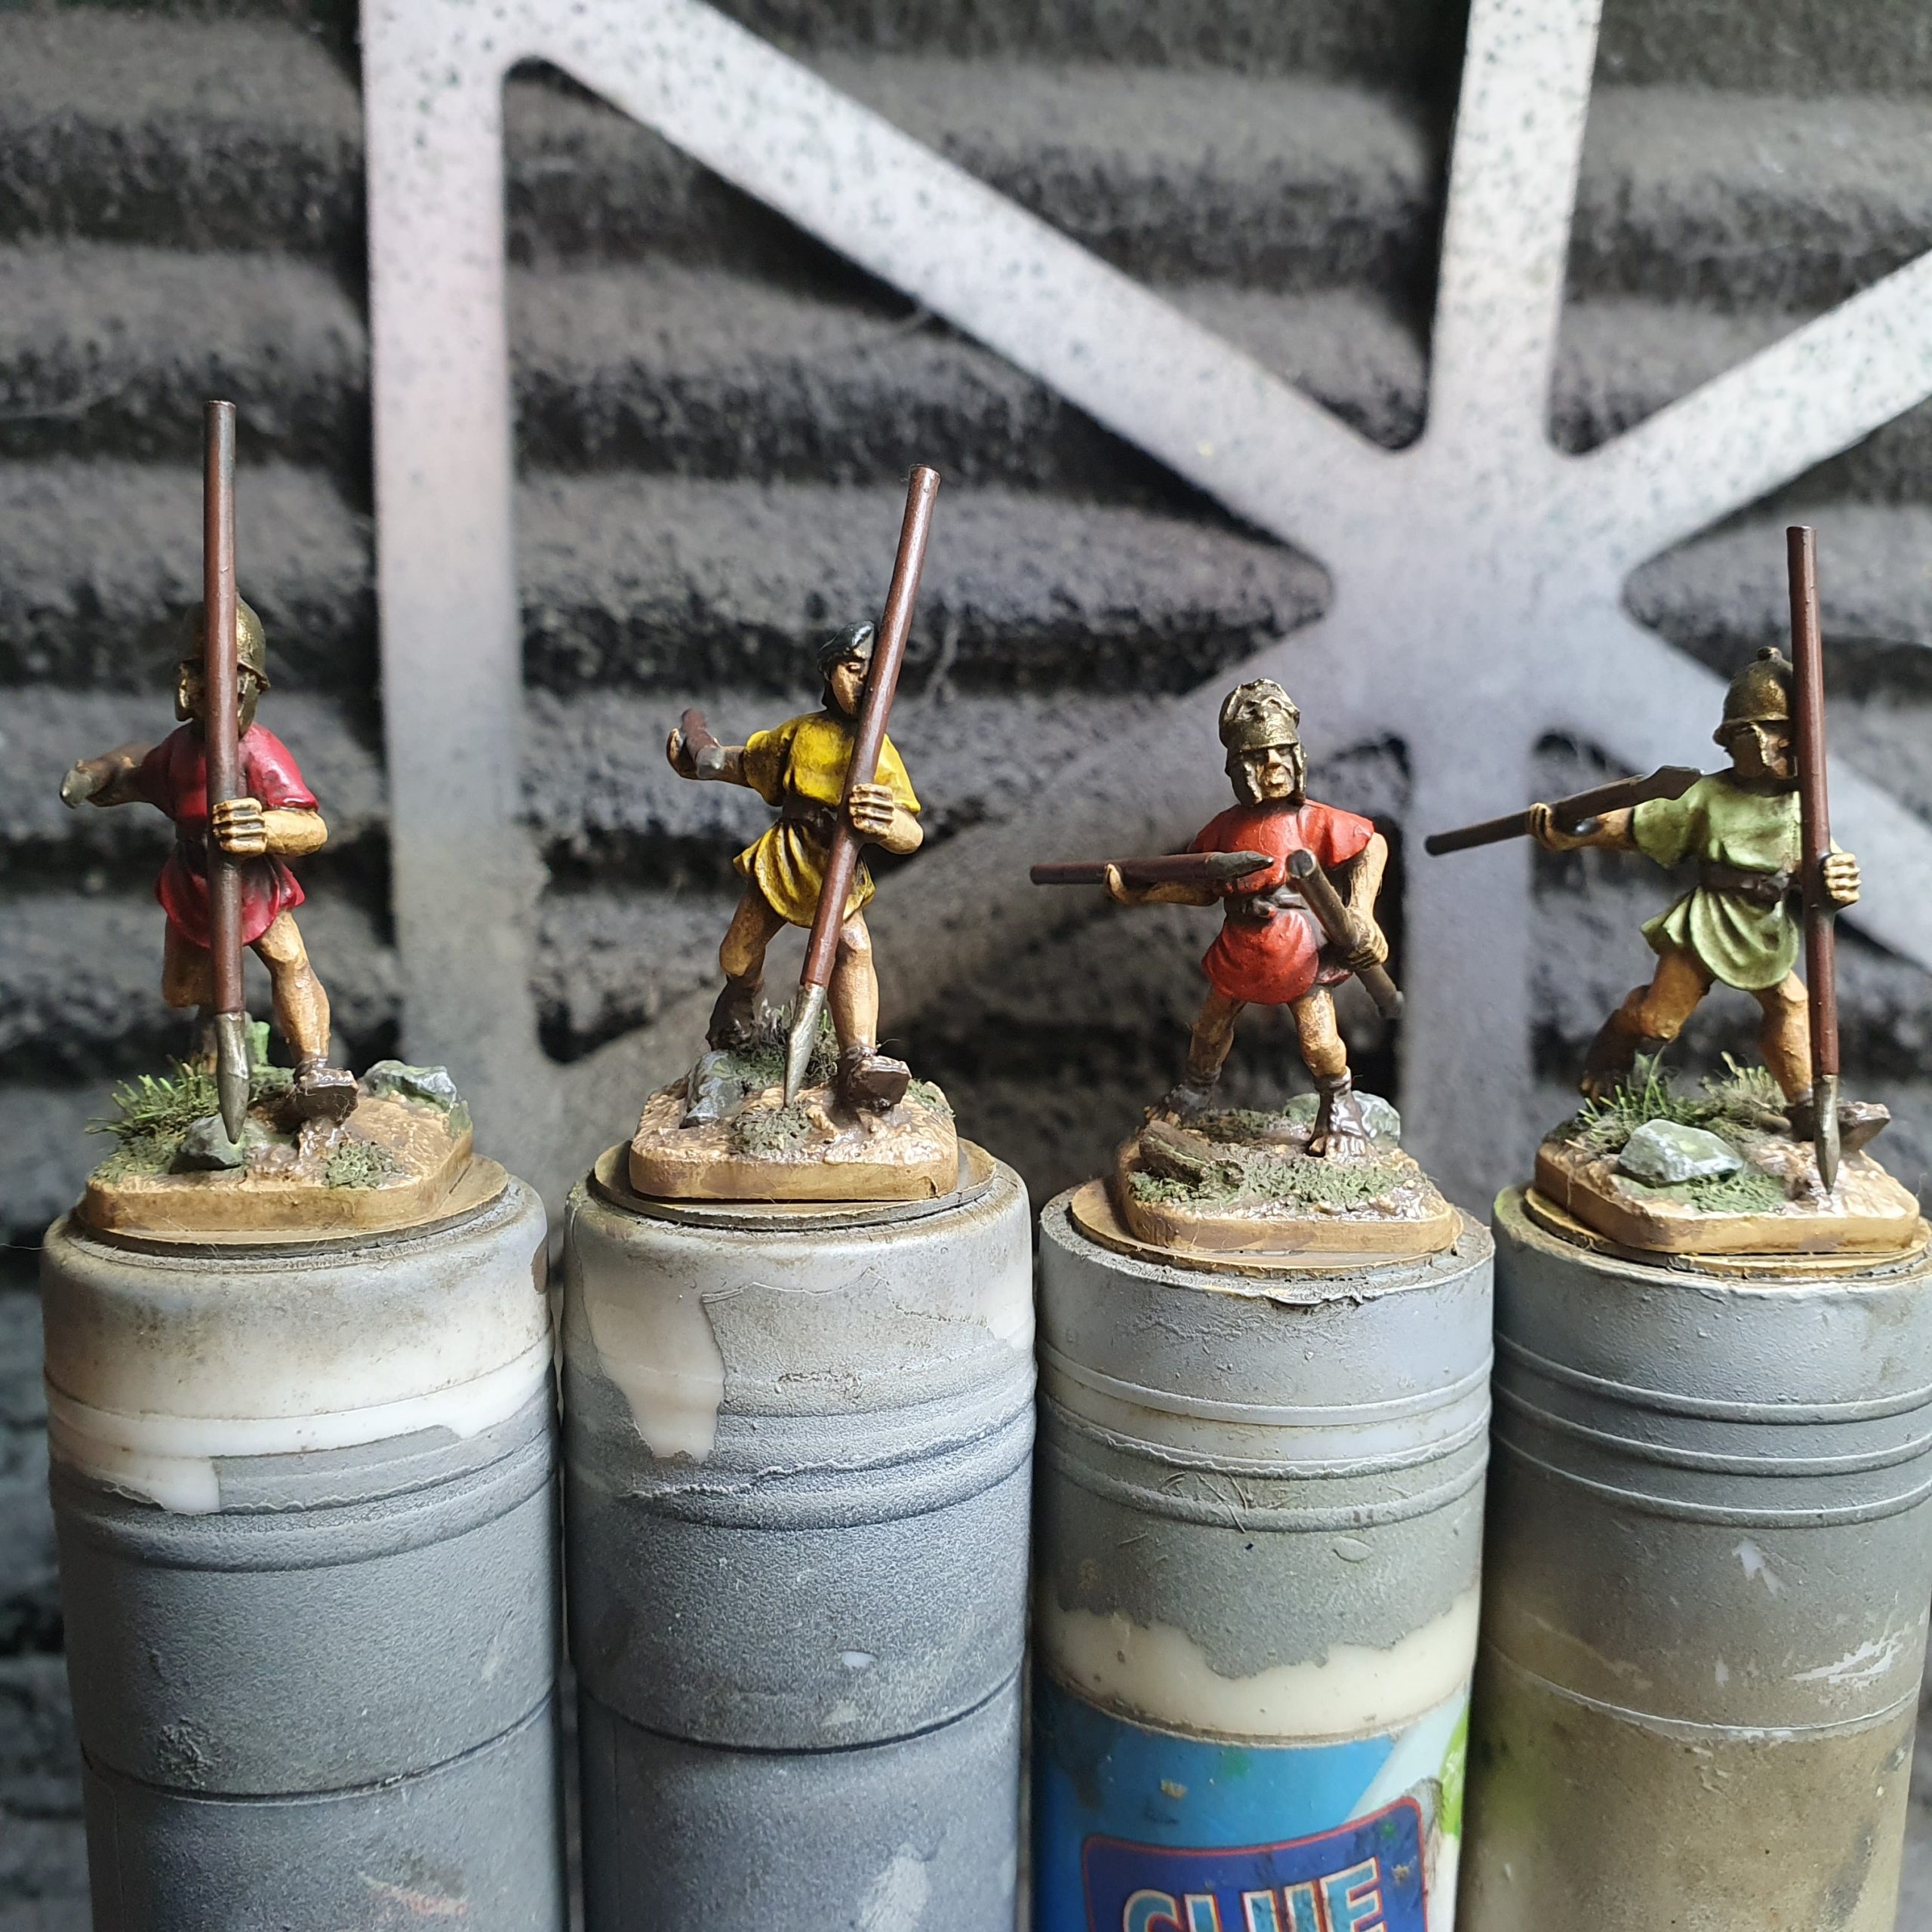
Step 7, Batch 1, Leves
I got the first shading pass done on the first batch of Leves for my Republican Roman warband for SAGA: Age of Hannibal.