


Collins Does a Weekend Challenge


Recommendations: 512
About the Project
I have challenged myself to build a diorama that stretches my skills into the world of water effects
Related Game: Star Wars: Legion
Related Company: Atomic Mass Games
Related Genre: Science Fiction
This Project is Completed
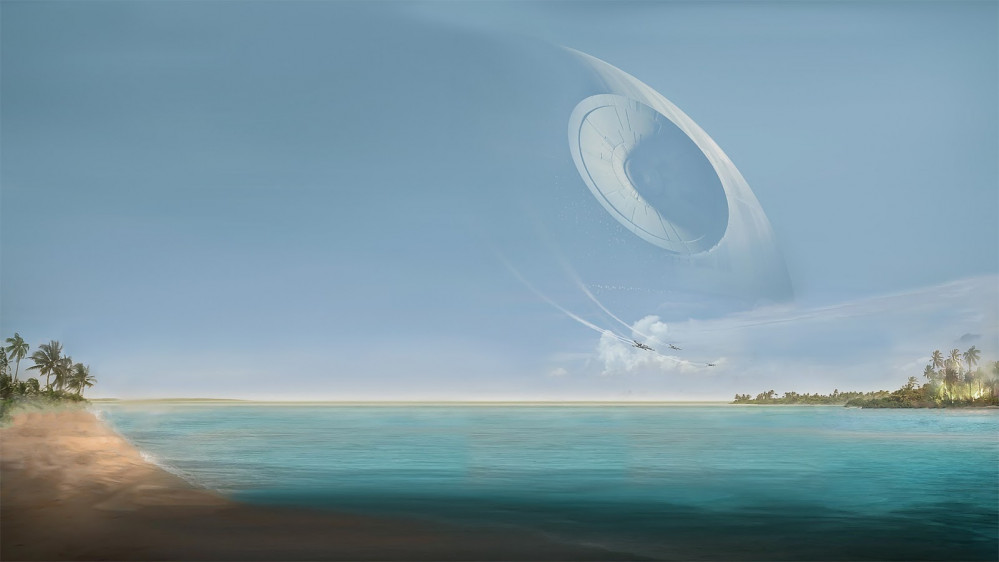
Giving it some sand
Firstly, DON’T USE SAND!
Secondly, prepare for mess, lots of mess.
 Use Tile Grout in the right colour, I used Ivory
 PVA the base, then sieve the grout onto the PVA. Brush off the grout that lands on the wood in an unrealistic manner
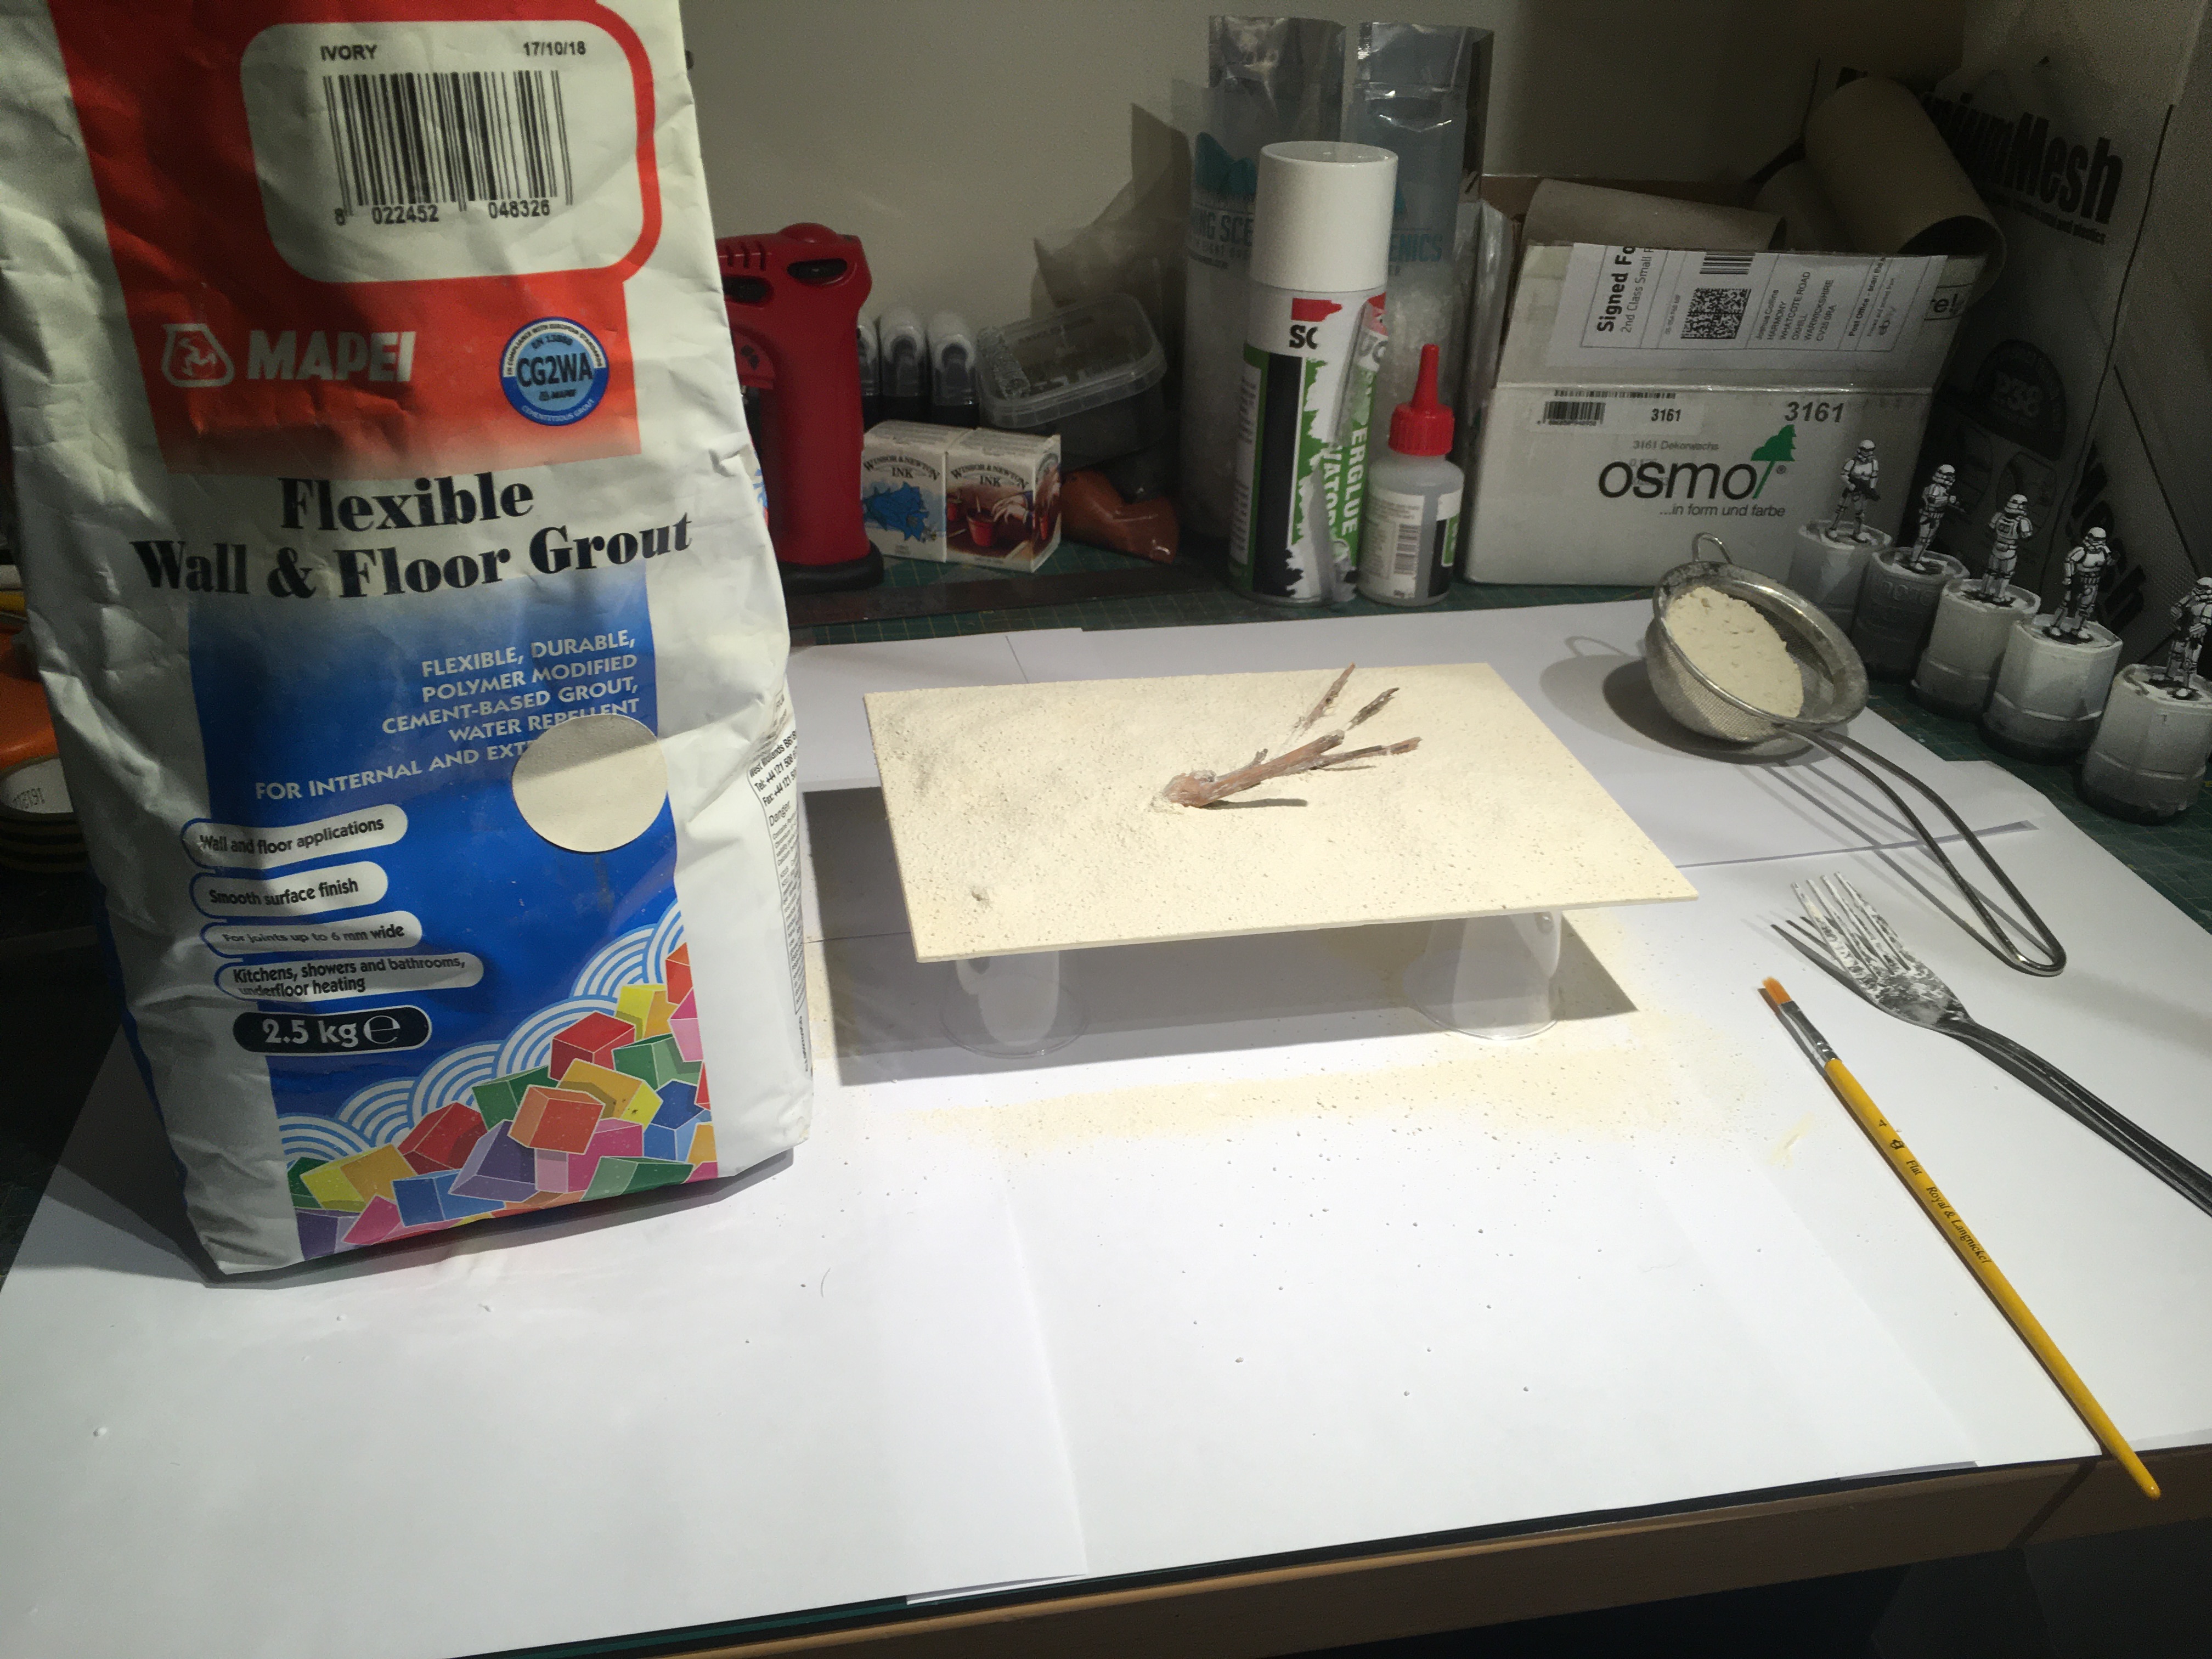
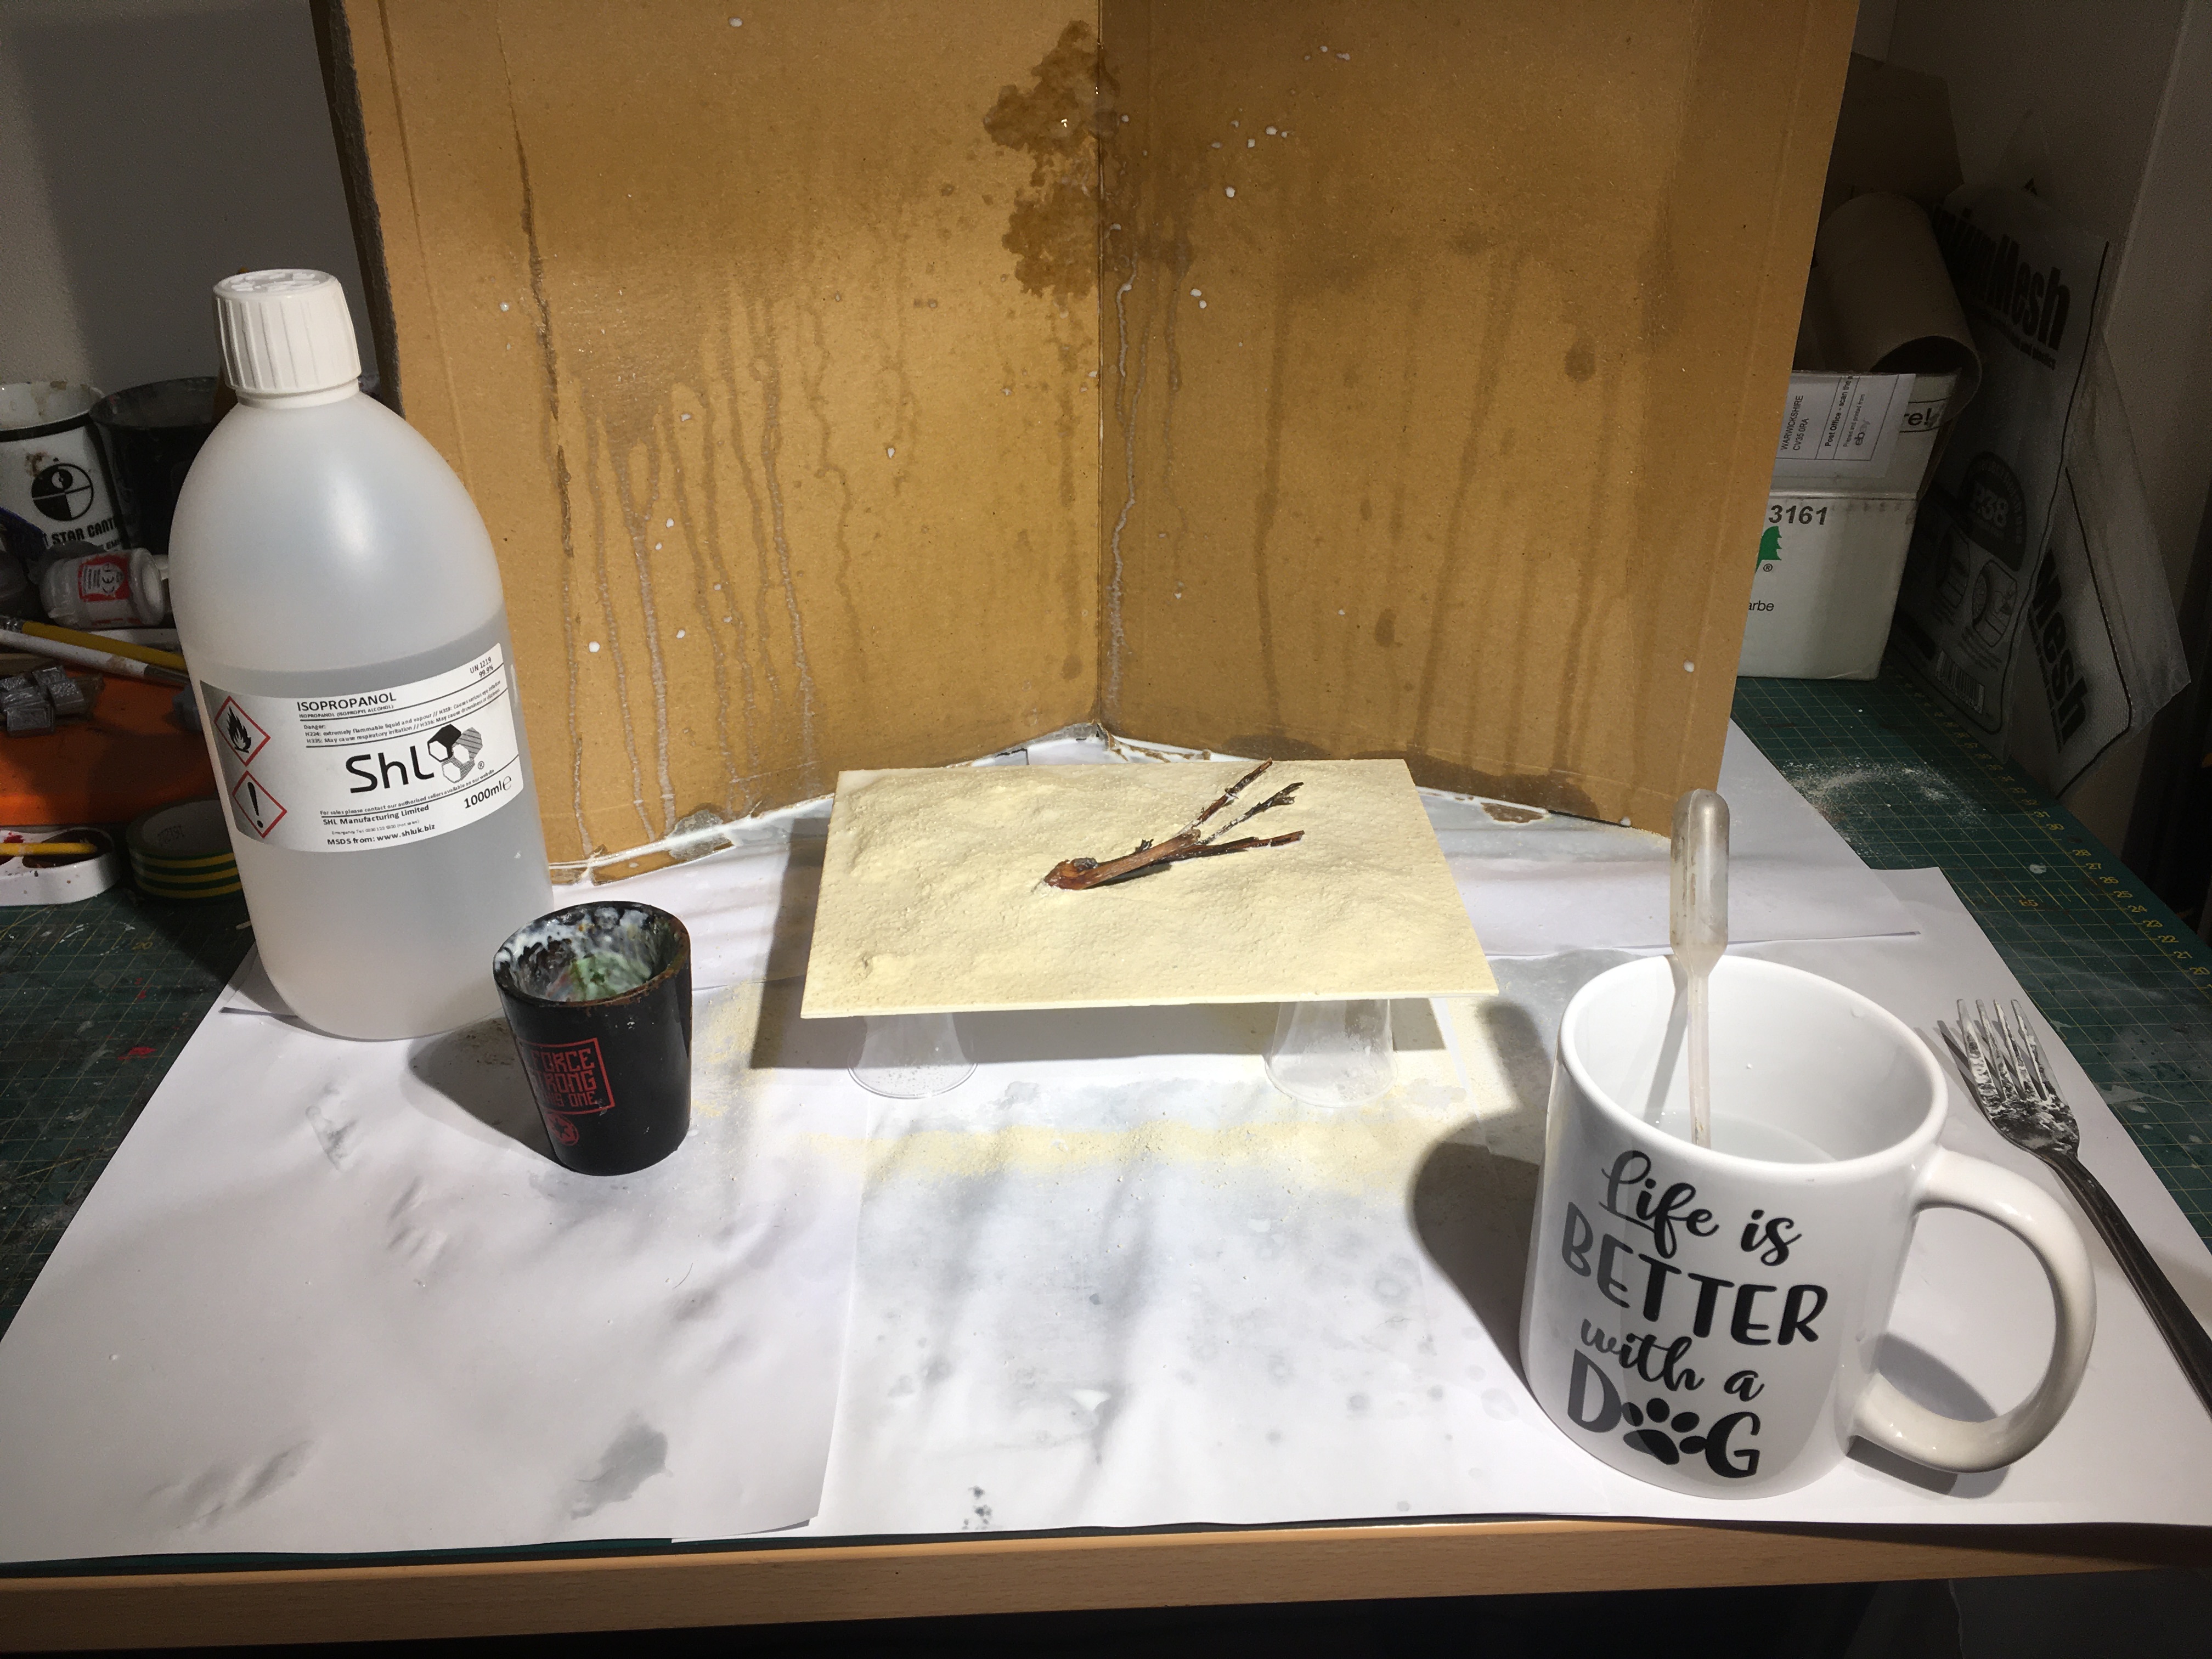 Spray with 99% ISO to act as flow aid then spray with watered down PVA (I used ModPodge)
WARNING!
when you mix ISO and ModPodge in the spray bottle you get a lovely gloop, thankfully it didn’t land on the diorama so crisis was averted. you have been warned though.
also, don’t smoke when ISO is being sprayed about, it is flammable after all.
The test water result
 I broke the resin out of the shot glass I used to hold it
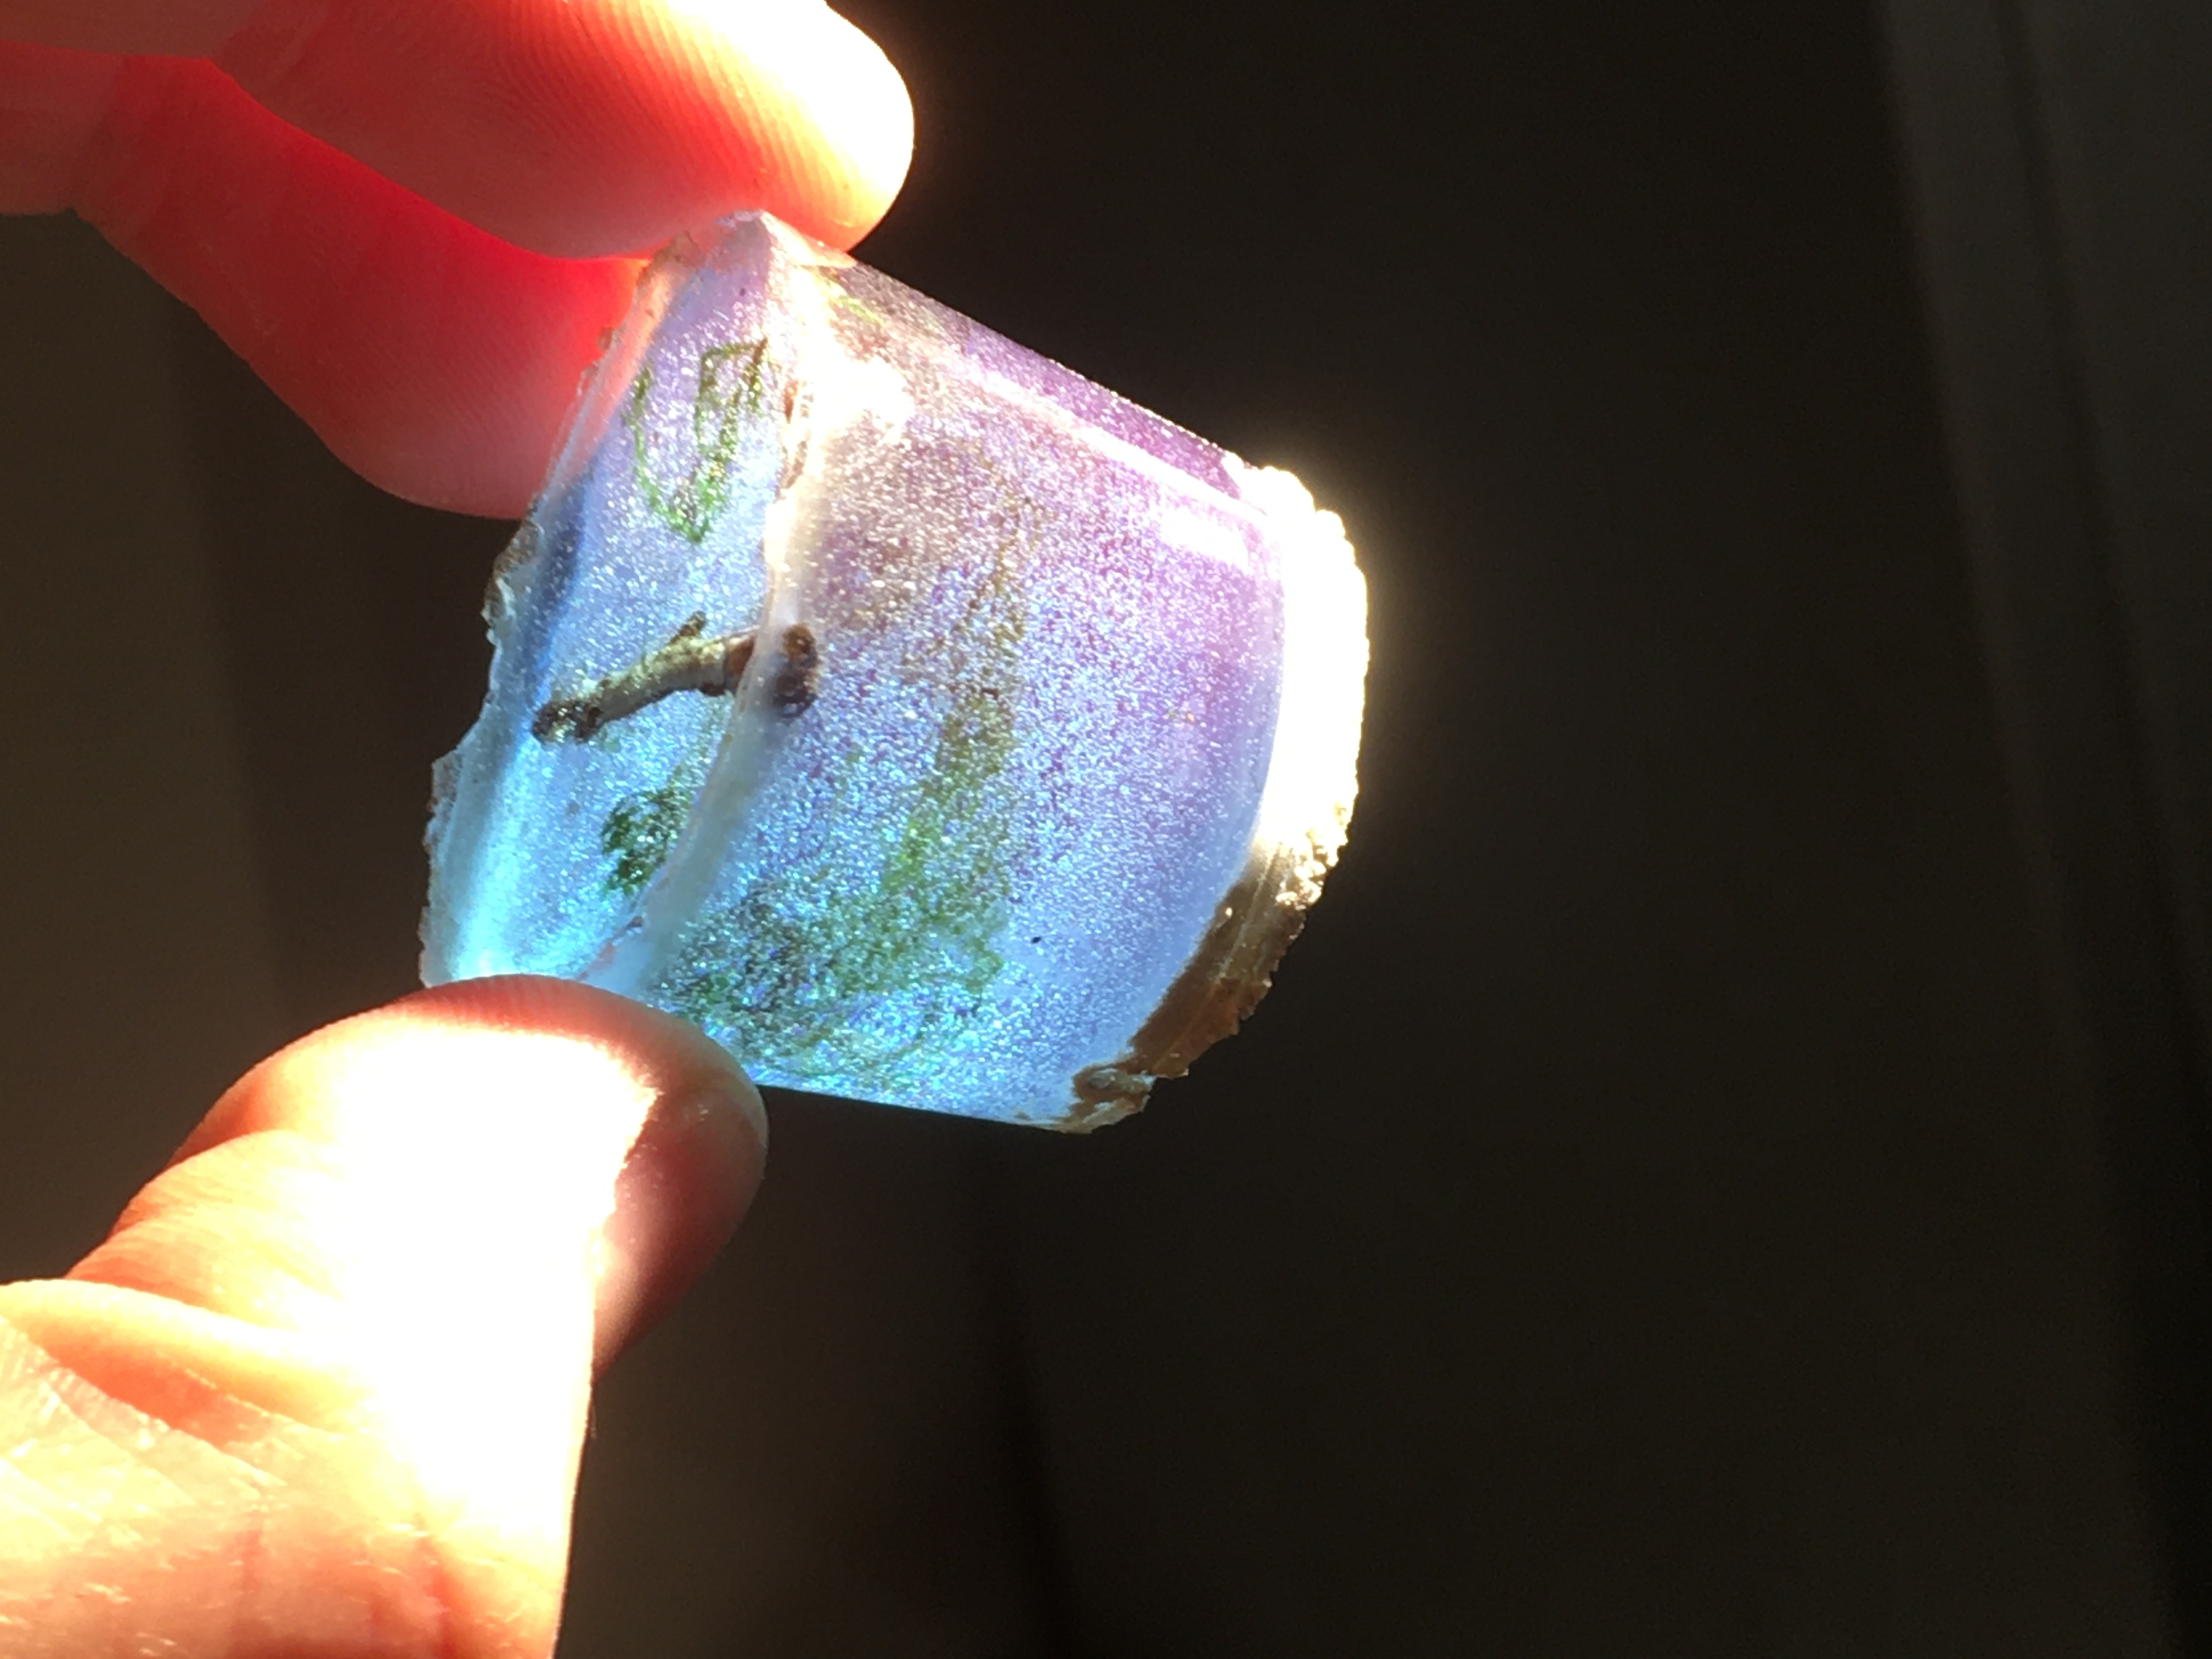 certainly not crystal clear!
Ok so the first play with resin wasn’t a roaring success but lets face it, the first time never is, and usually has an element of disappointment and shame in it.
I reached out online to ask for advice.
I can do a deep (25mm) pour with this resin but I need to keep it warm and viscose to allow the bubbles to float to the top and then use the burner on them.
I am currently running a second test with different tints in it to see how well I can put layers into it and see whether that will affect it.
the good news is the stick and the garden moss appear to look pretty good so I know that plan will work, at least in the short term, the moss could still rot. to combat this it has been on the radiator all day to try and dry it out, it won’t kill it or any bacteria on it but I will limit the moisture that gets encased in the resin. we will see. I thought about using poly fibre (cushion filling) but I really like the little leaves/spines that moss has and I cannot think of a way to replicate it yet.
The shallow pour test
Decided to do a shallow pour so I could get to all the bubbles with the burner more easily.
I added two ink colours to it this time to show where the layers join to see if it has a noticeable join line in the resin
 seen from 'normal' viewing height
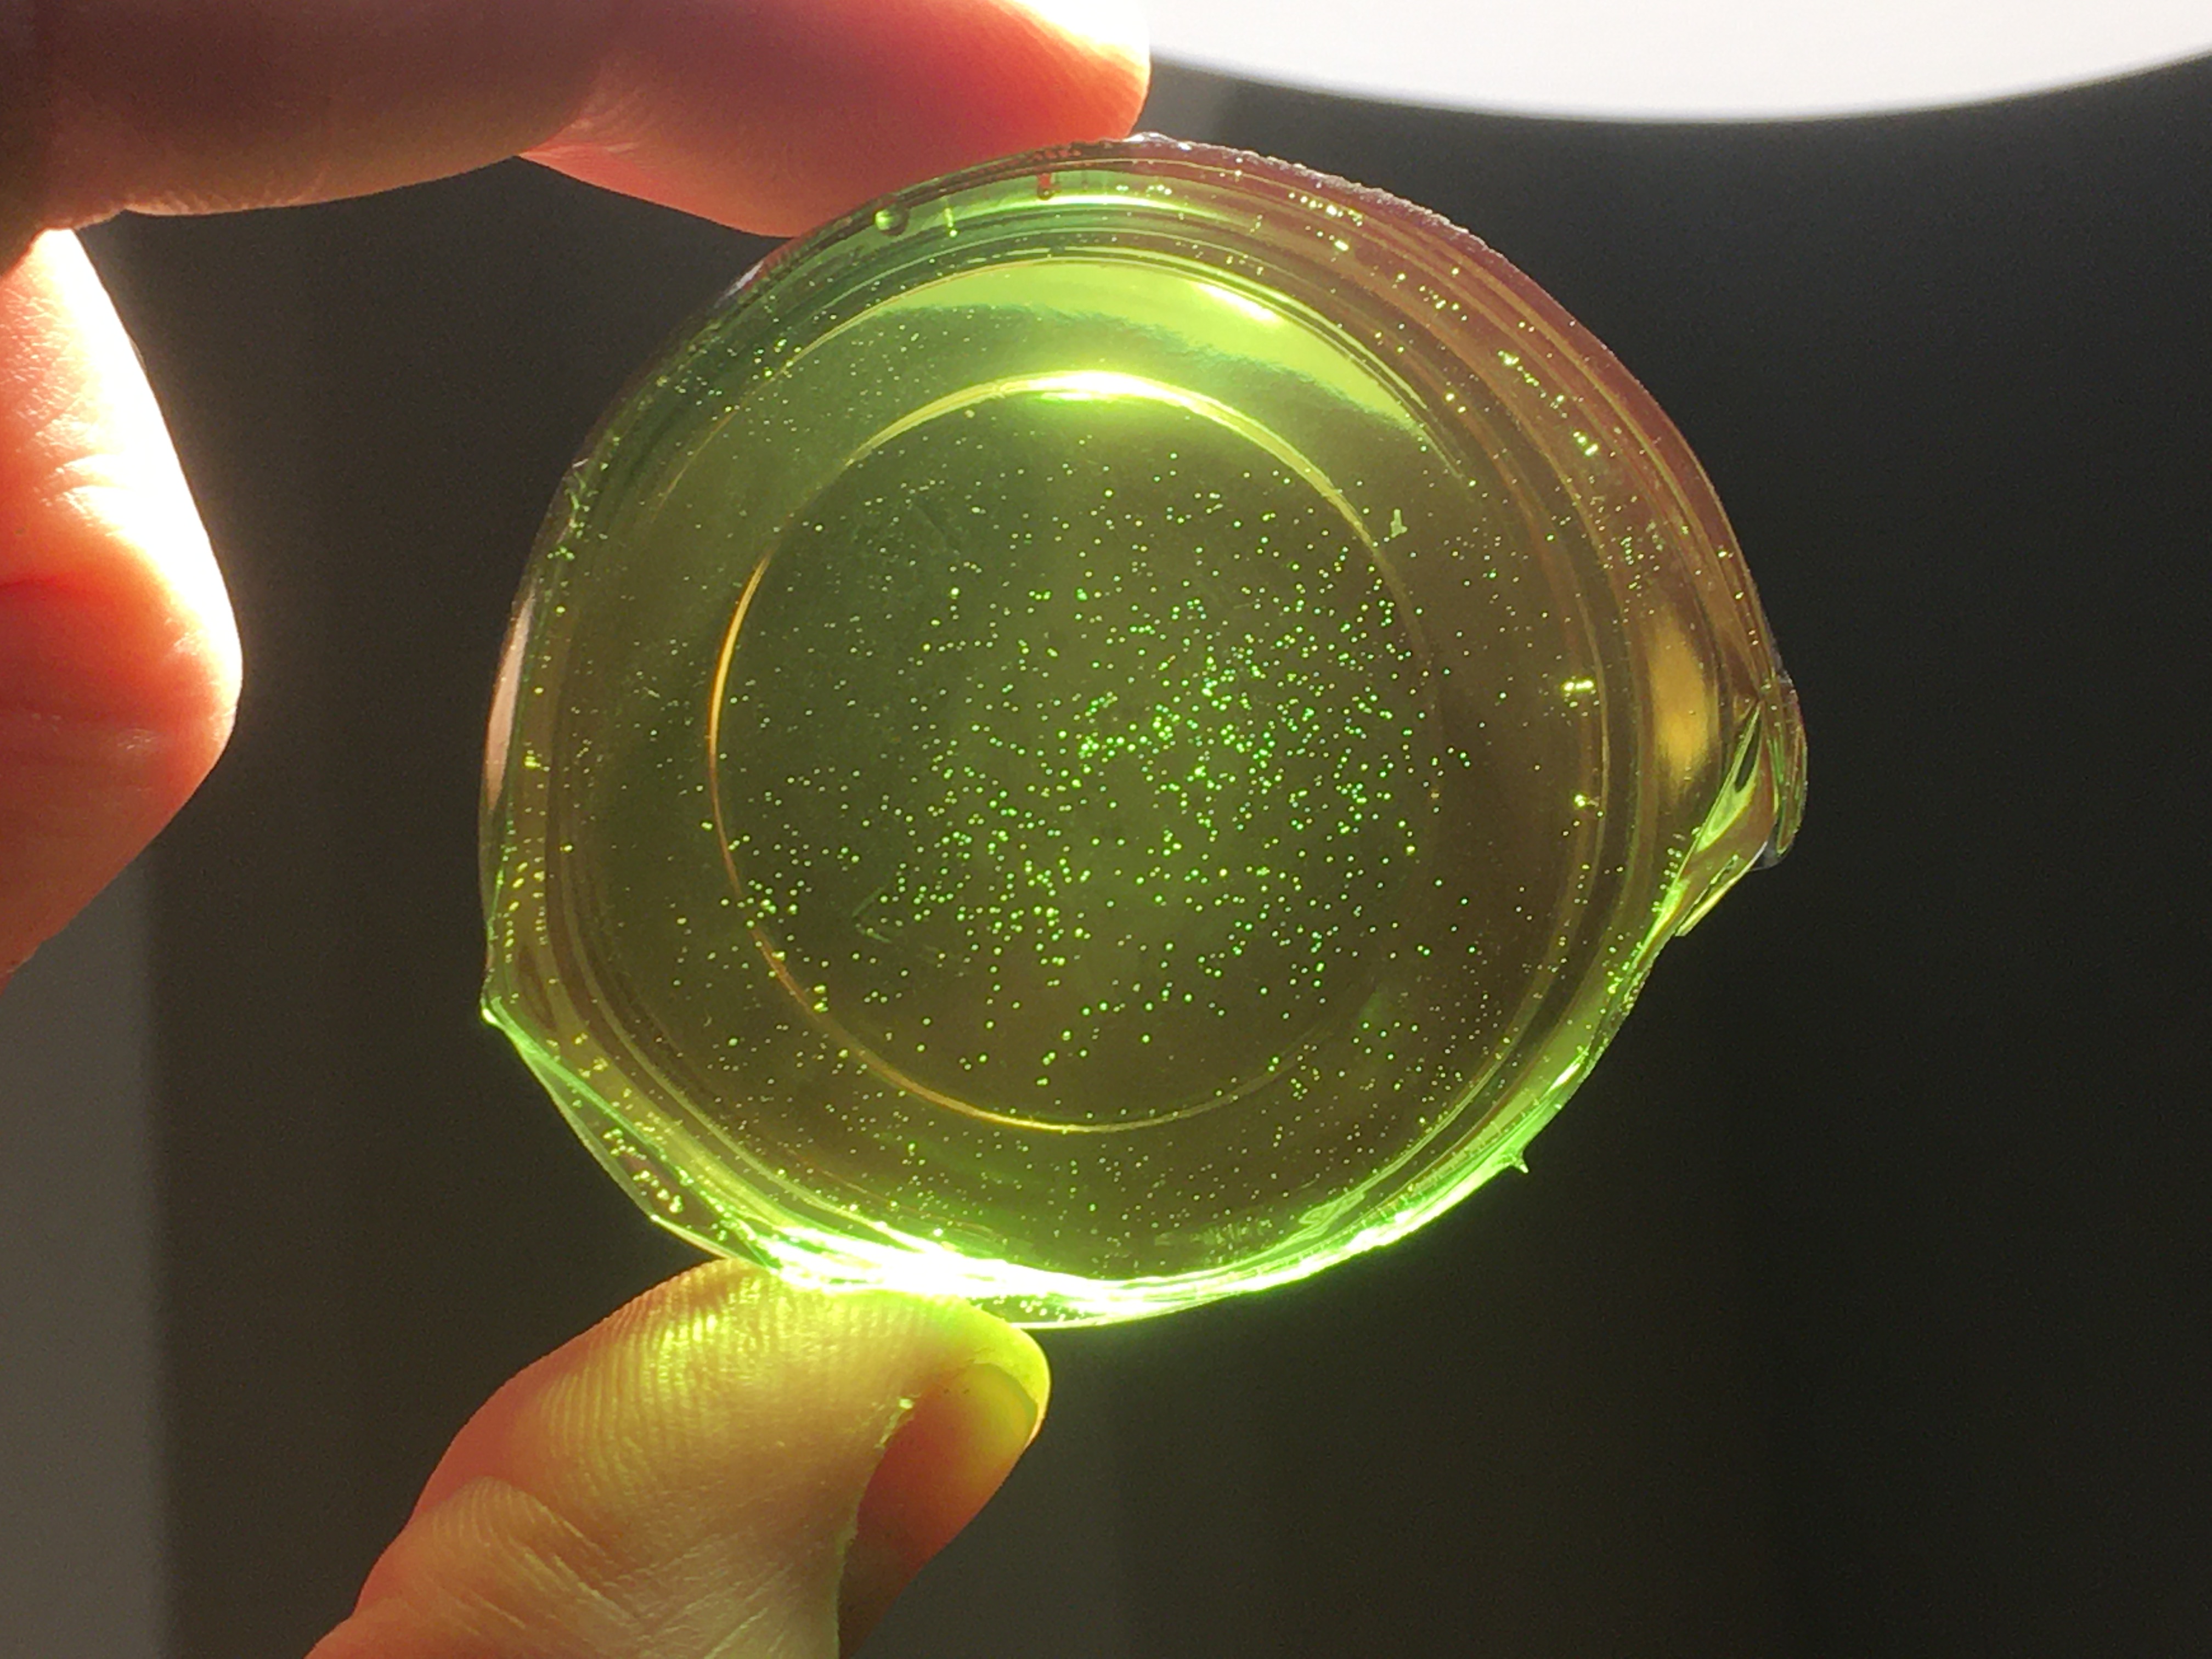 illuminated to highlight defects
 the layers, note brown simply is not viewable from above, green is very vibrant
Overall I am happier with my second attempt. I think it will be safer for me to do the pours in a few very thin layers.
I only need to build up to knee height on a stormtrooper and that is about 1cm… I haven’t got any Luke Skywalkers in this bunch!
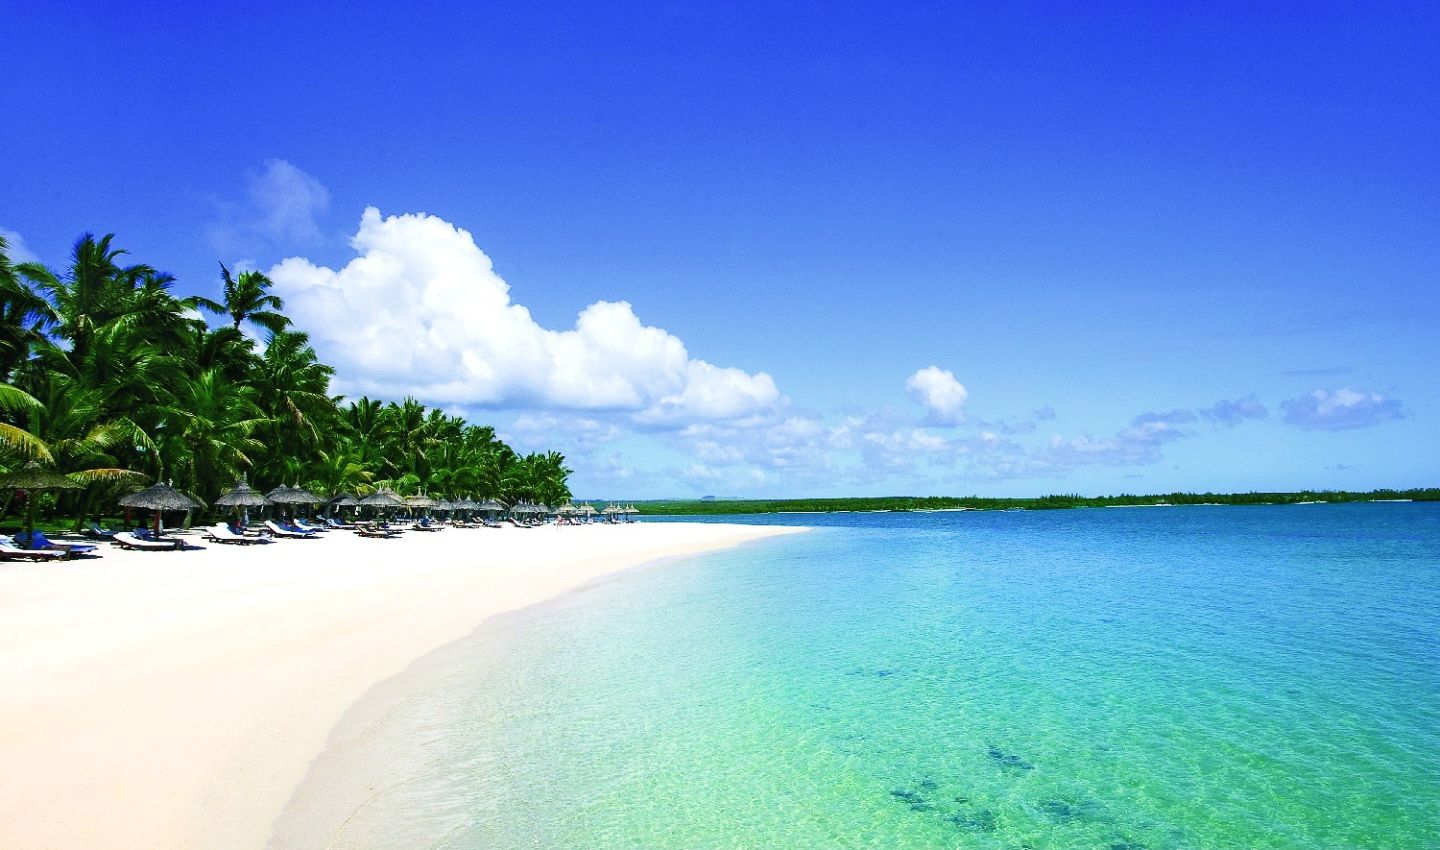
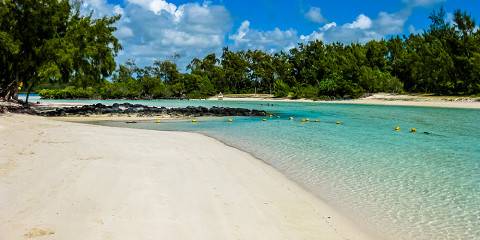
The question now is do I put one layer of slightly tinted blue and then a few layers of clear, after all ‘water’s not blue’ is the new catchphrase over on the LukesAPS Facebook group. and they’re right, its reflective of its environment, but Scarif is basically the atolls of Mauritius and they have a lot of blue sky there. Just look at my research images.
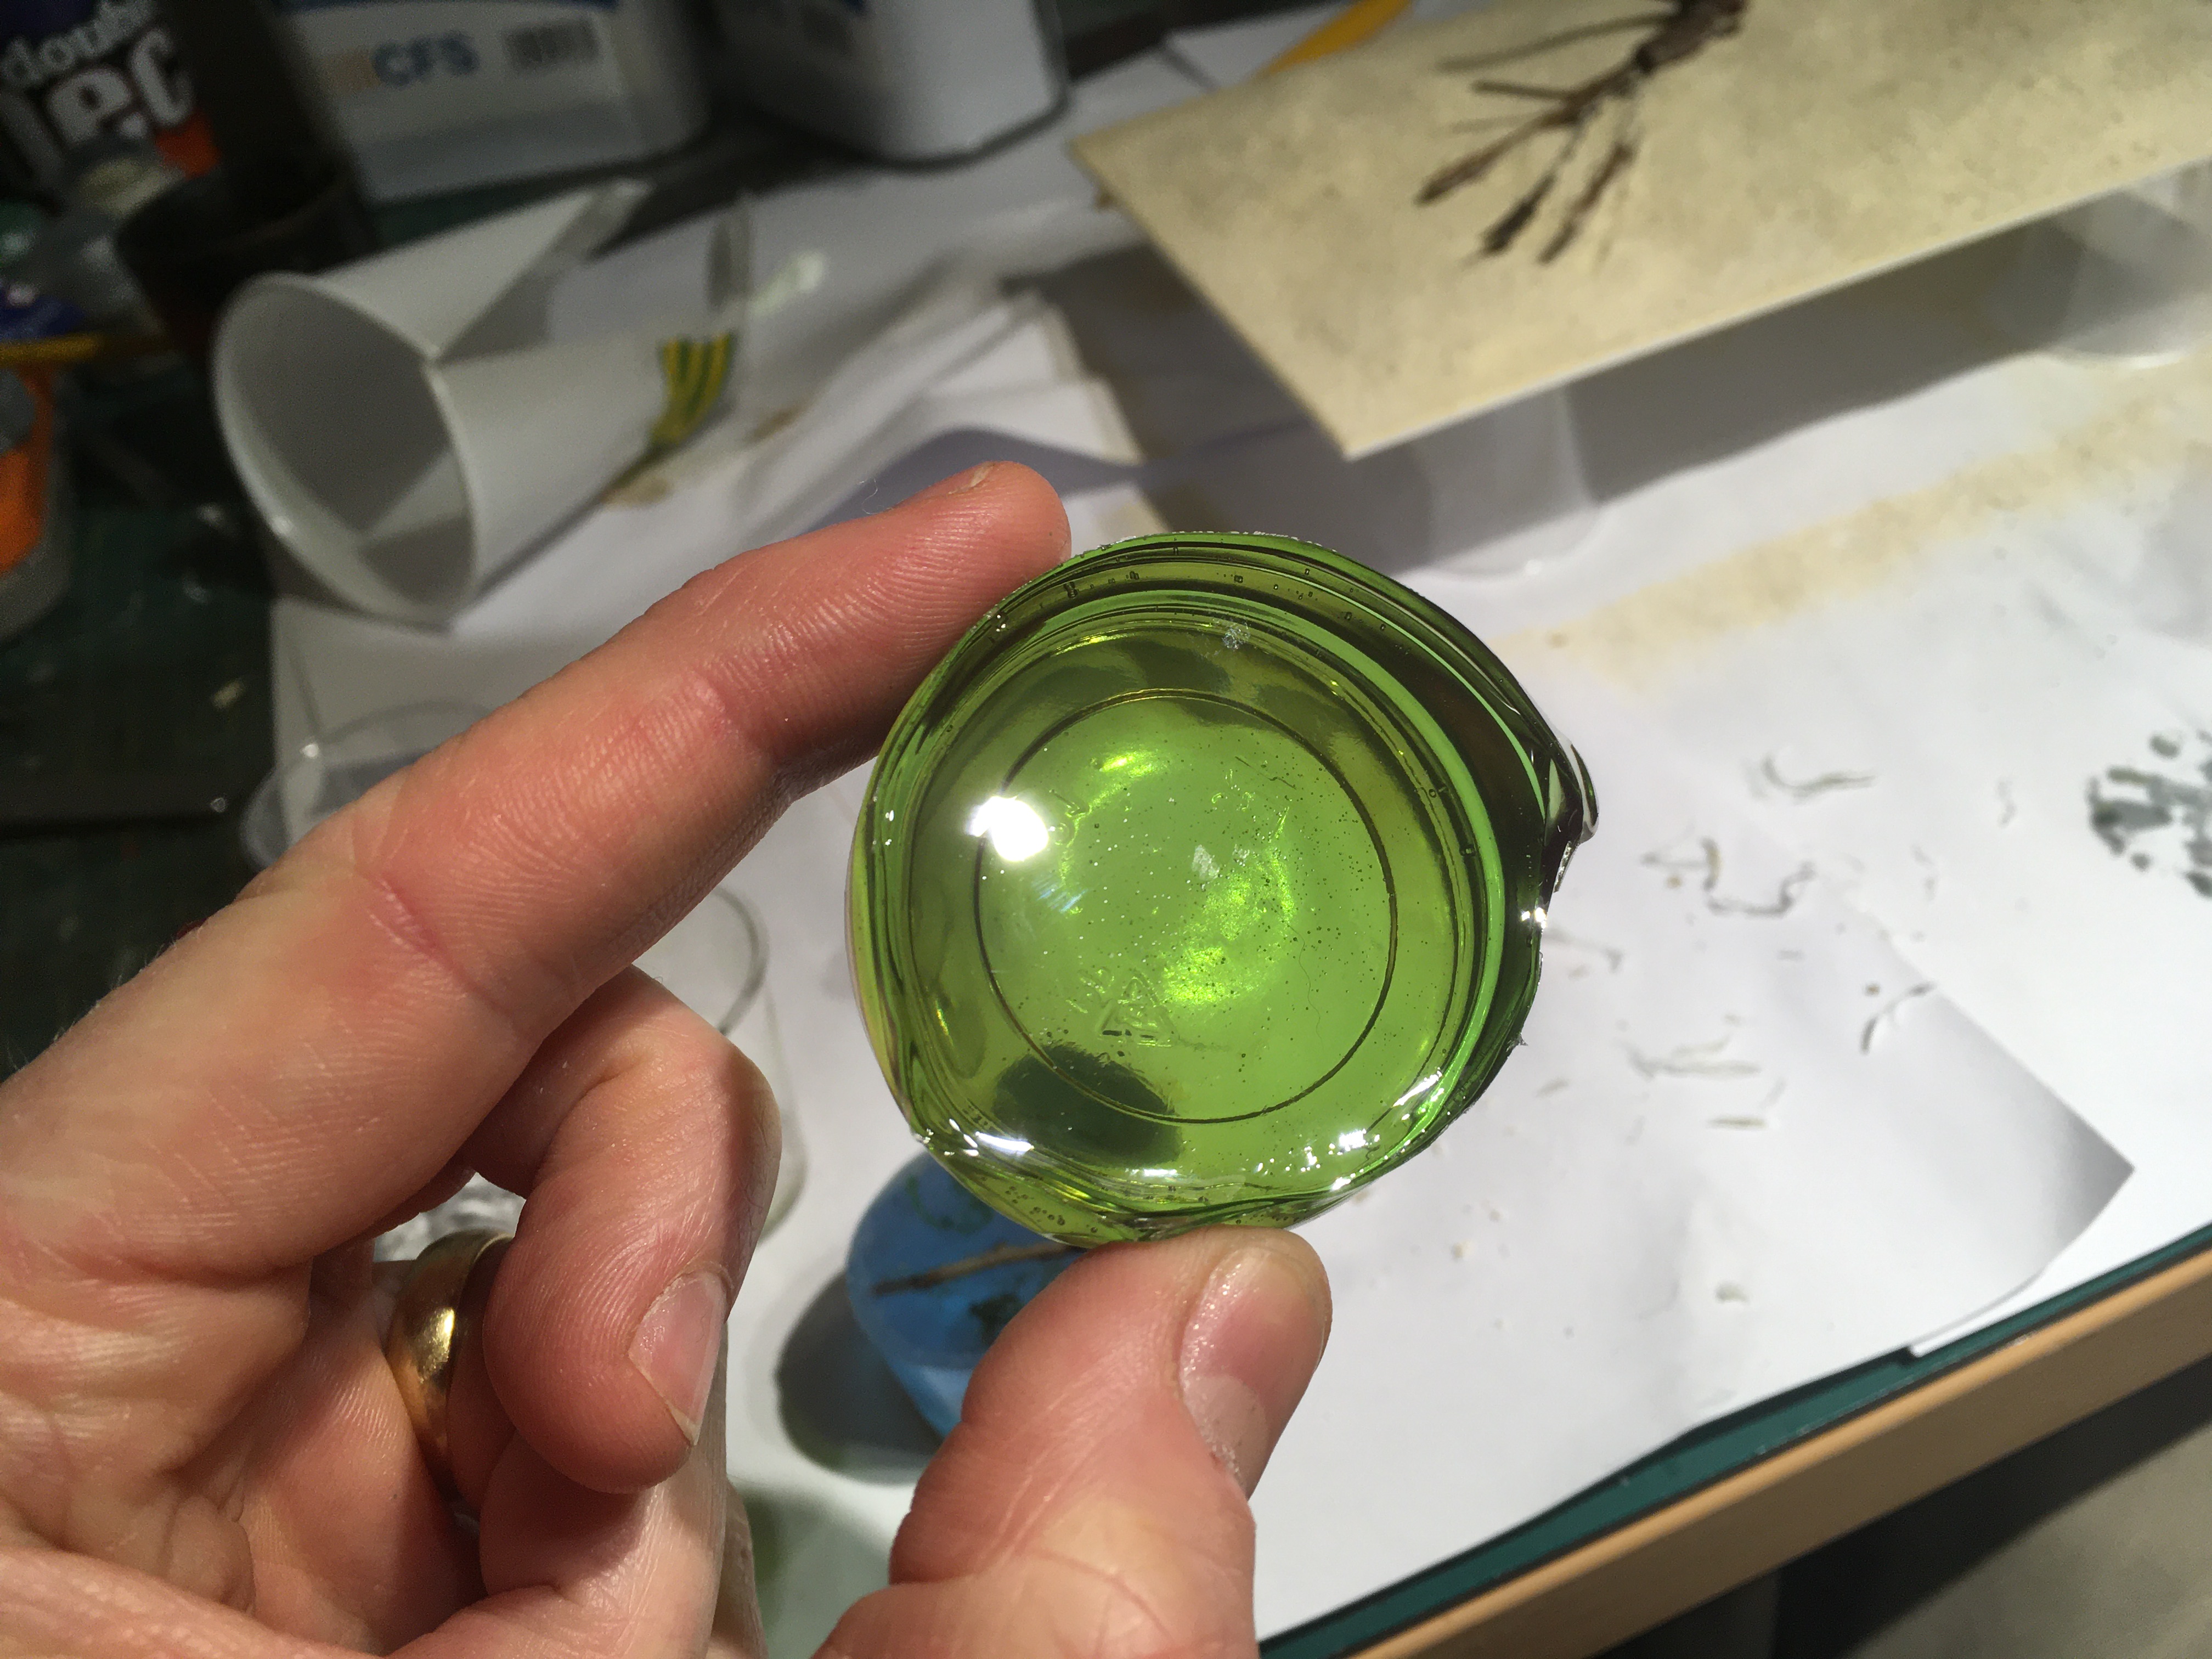
The shallow pour multi colour layer test
 tabletop height
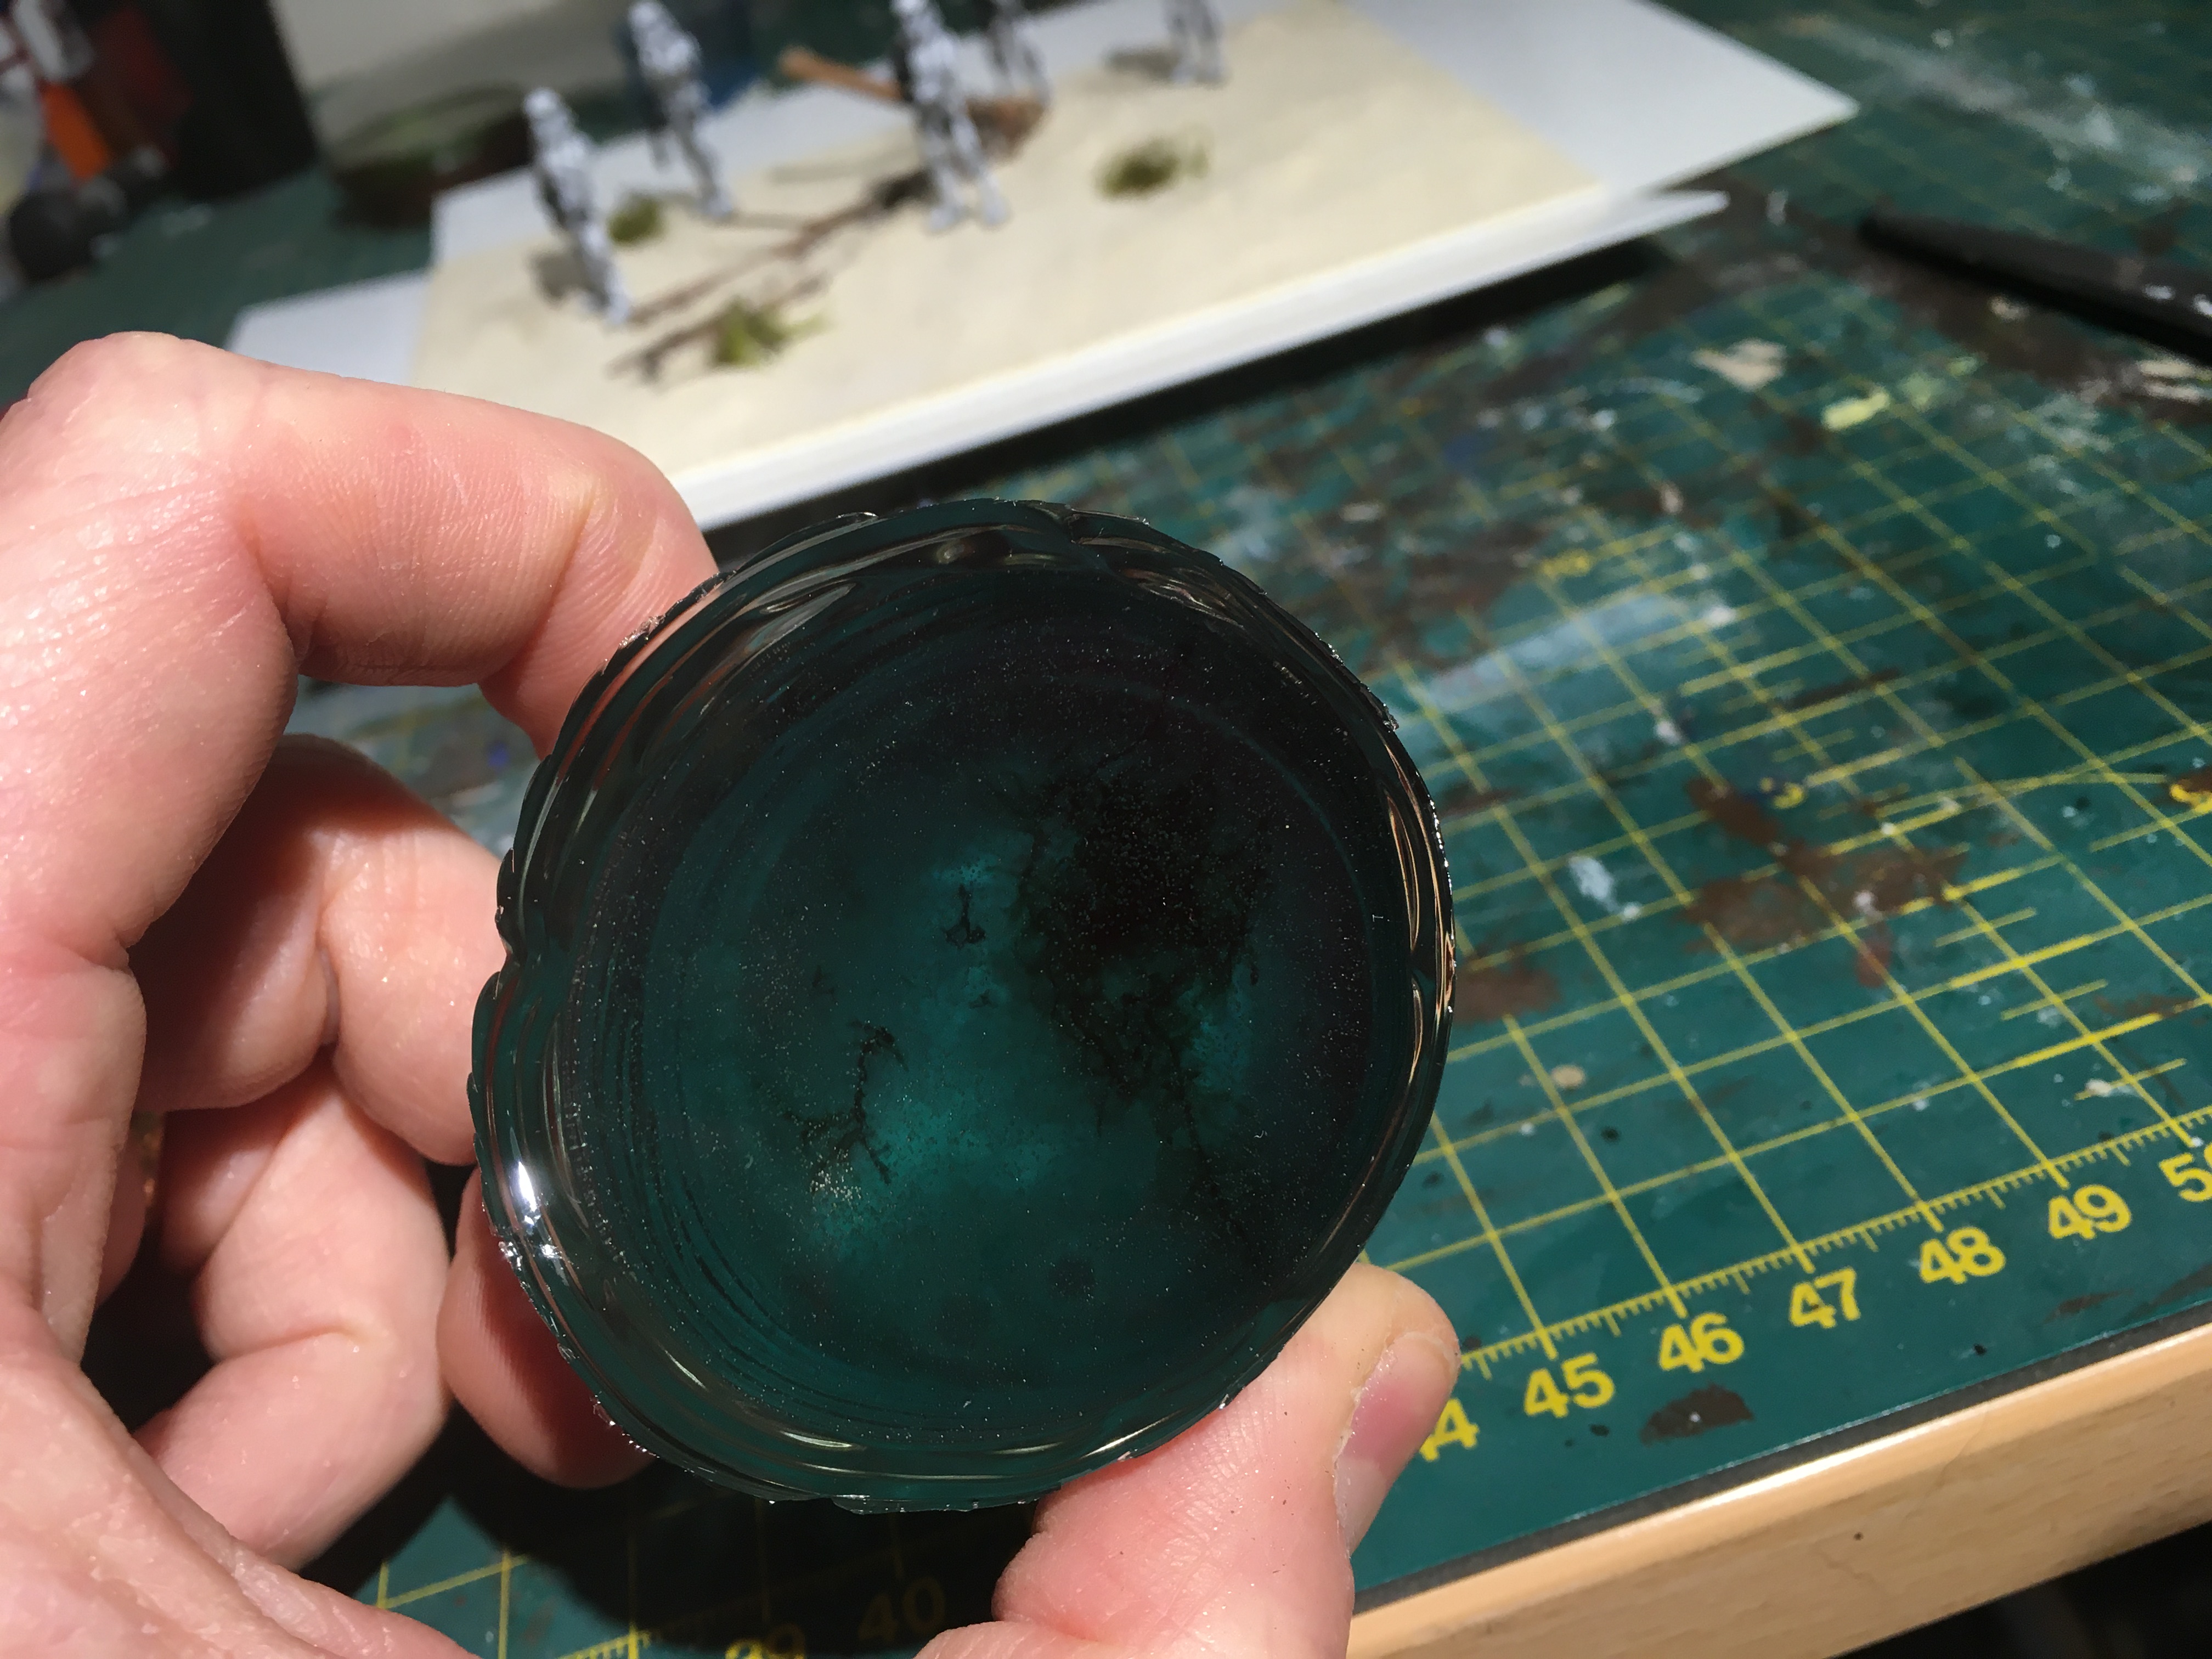 looking straight down without intense illumination
 side on with direct illumination to see layers
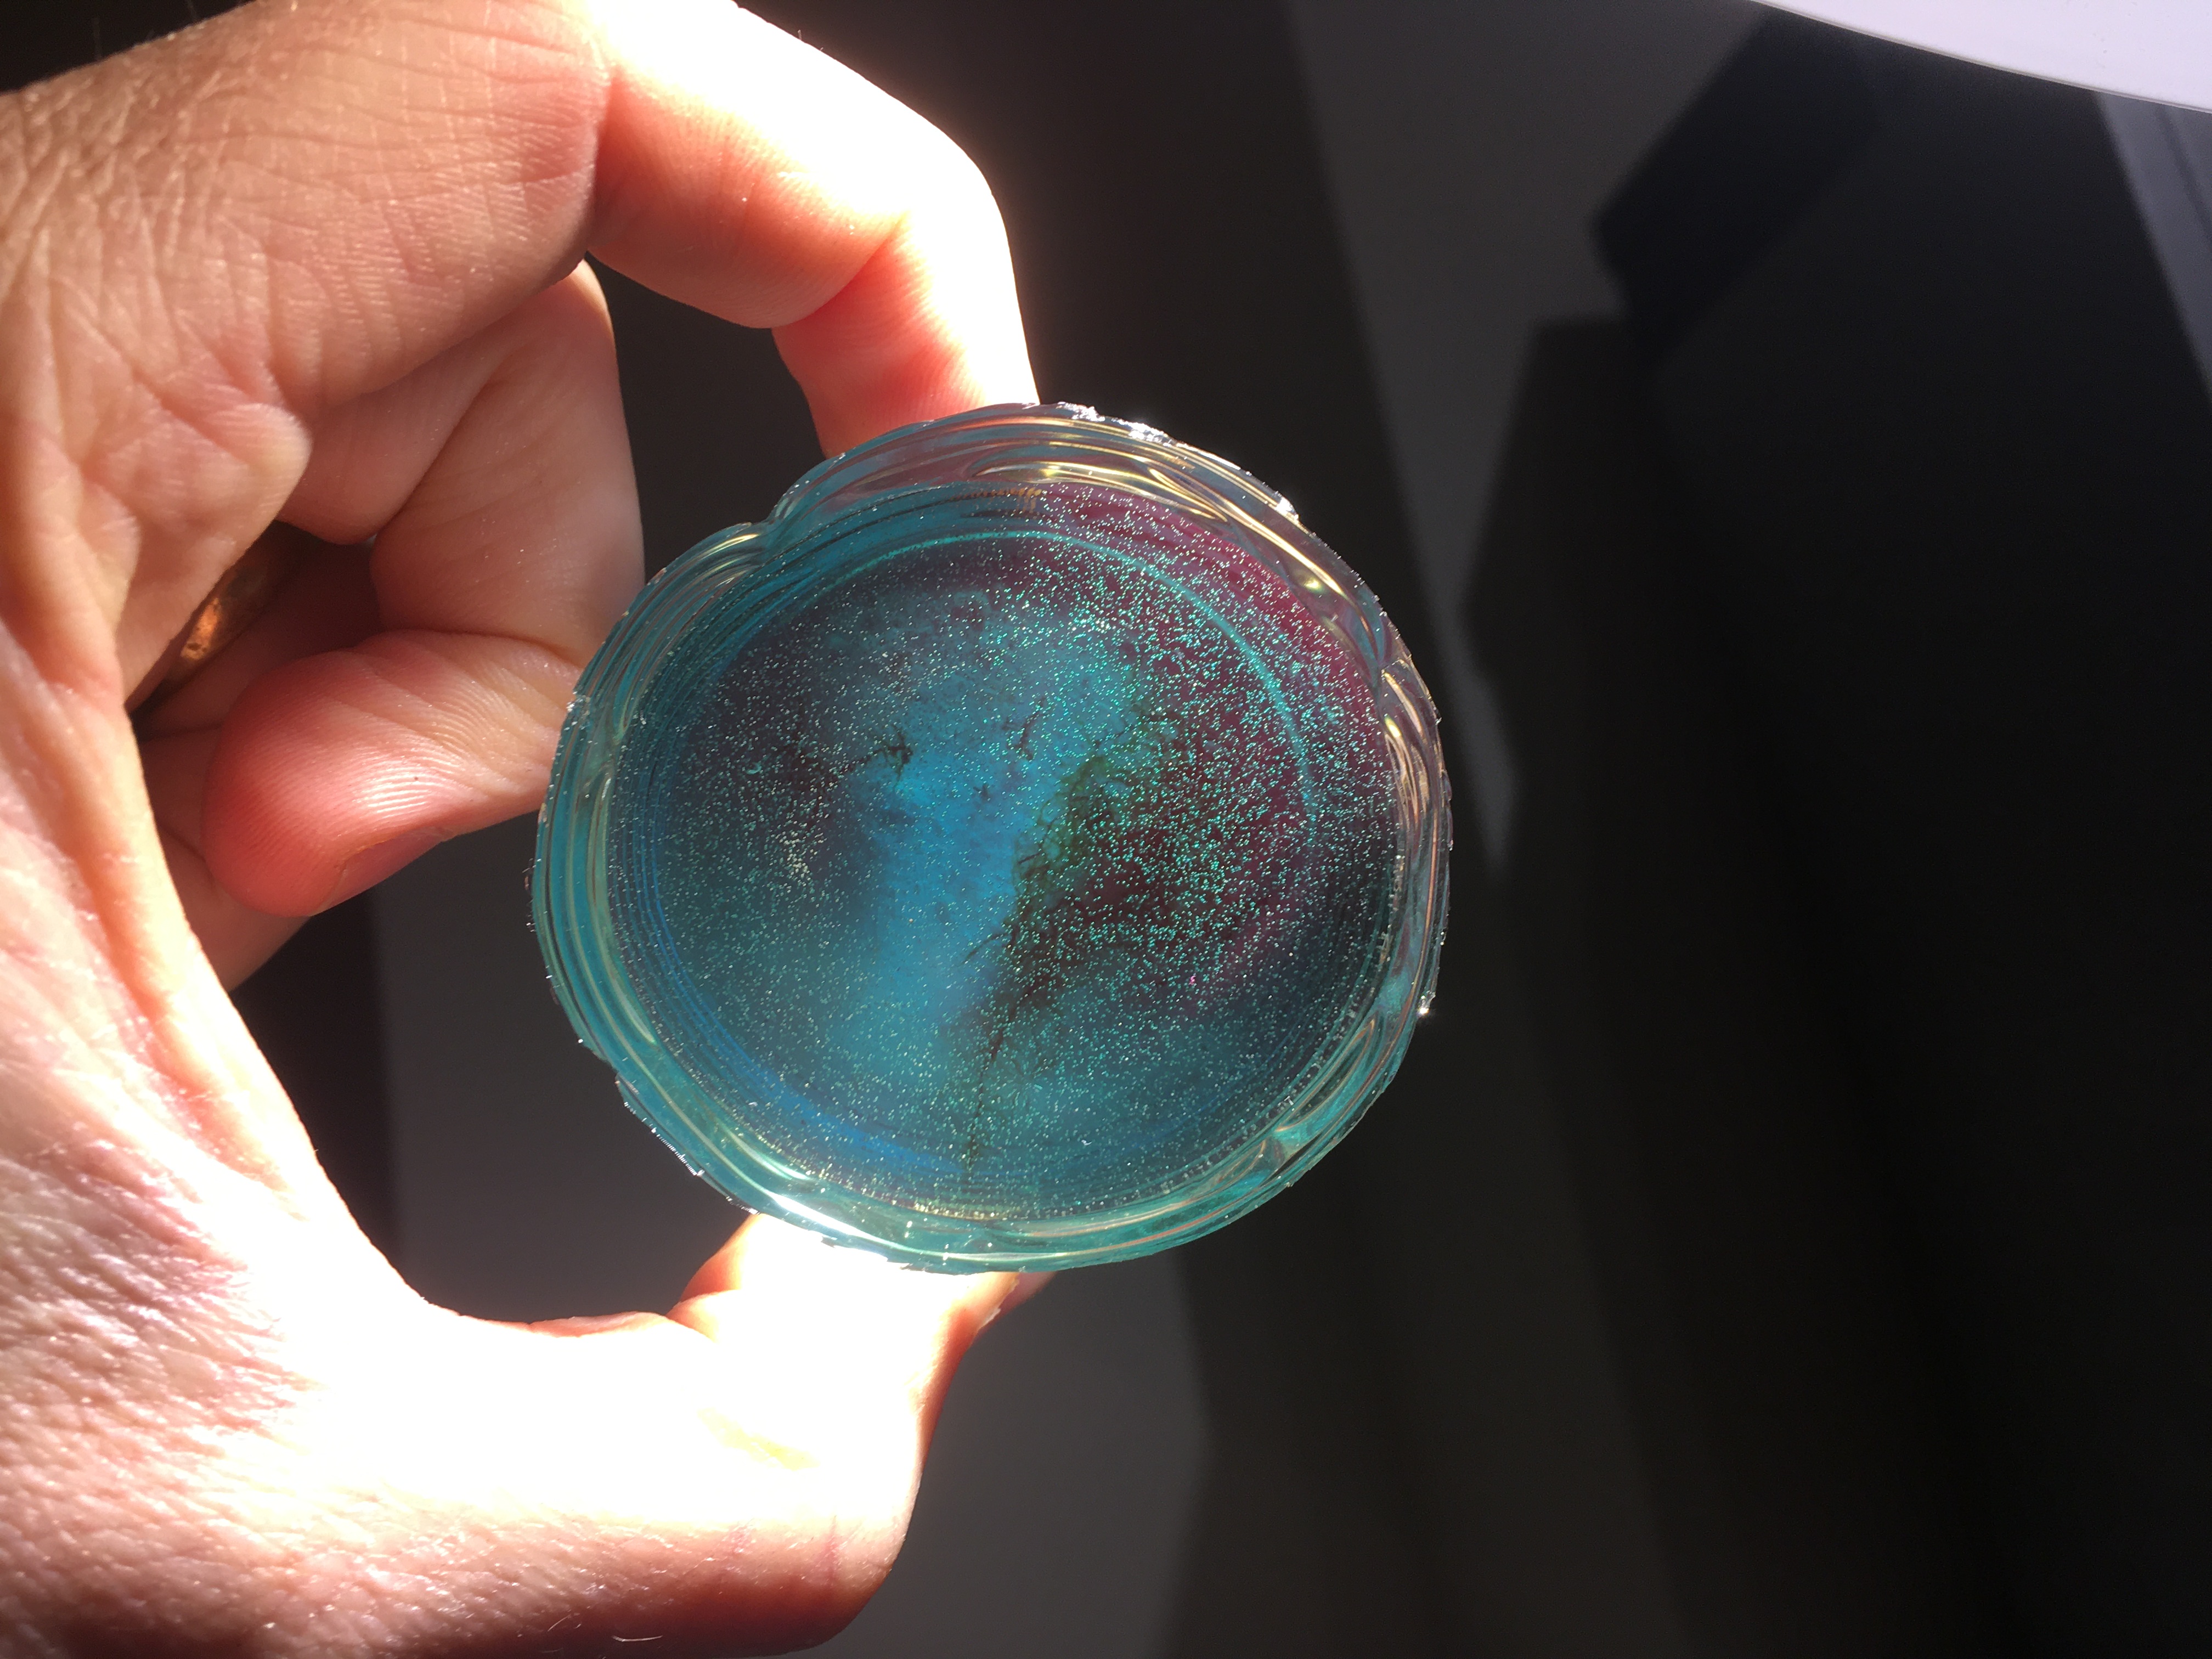 top down with side on illumination
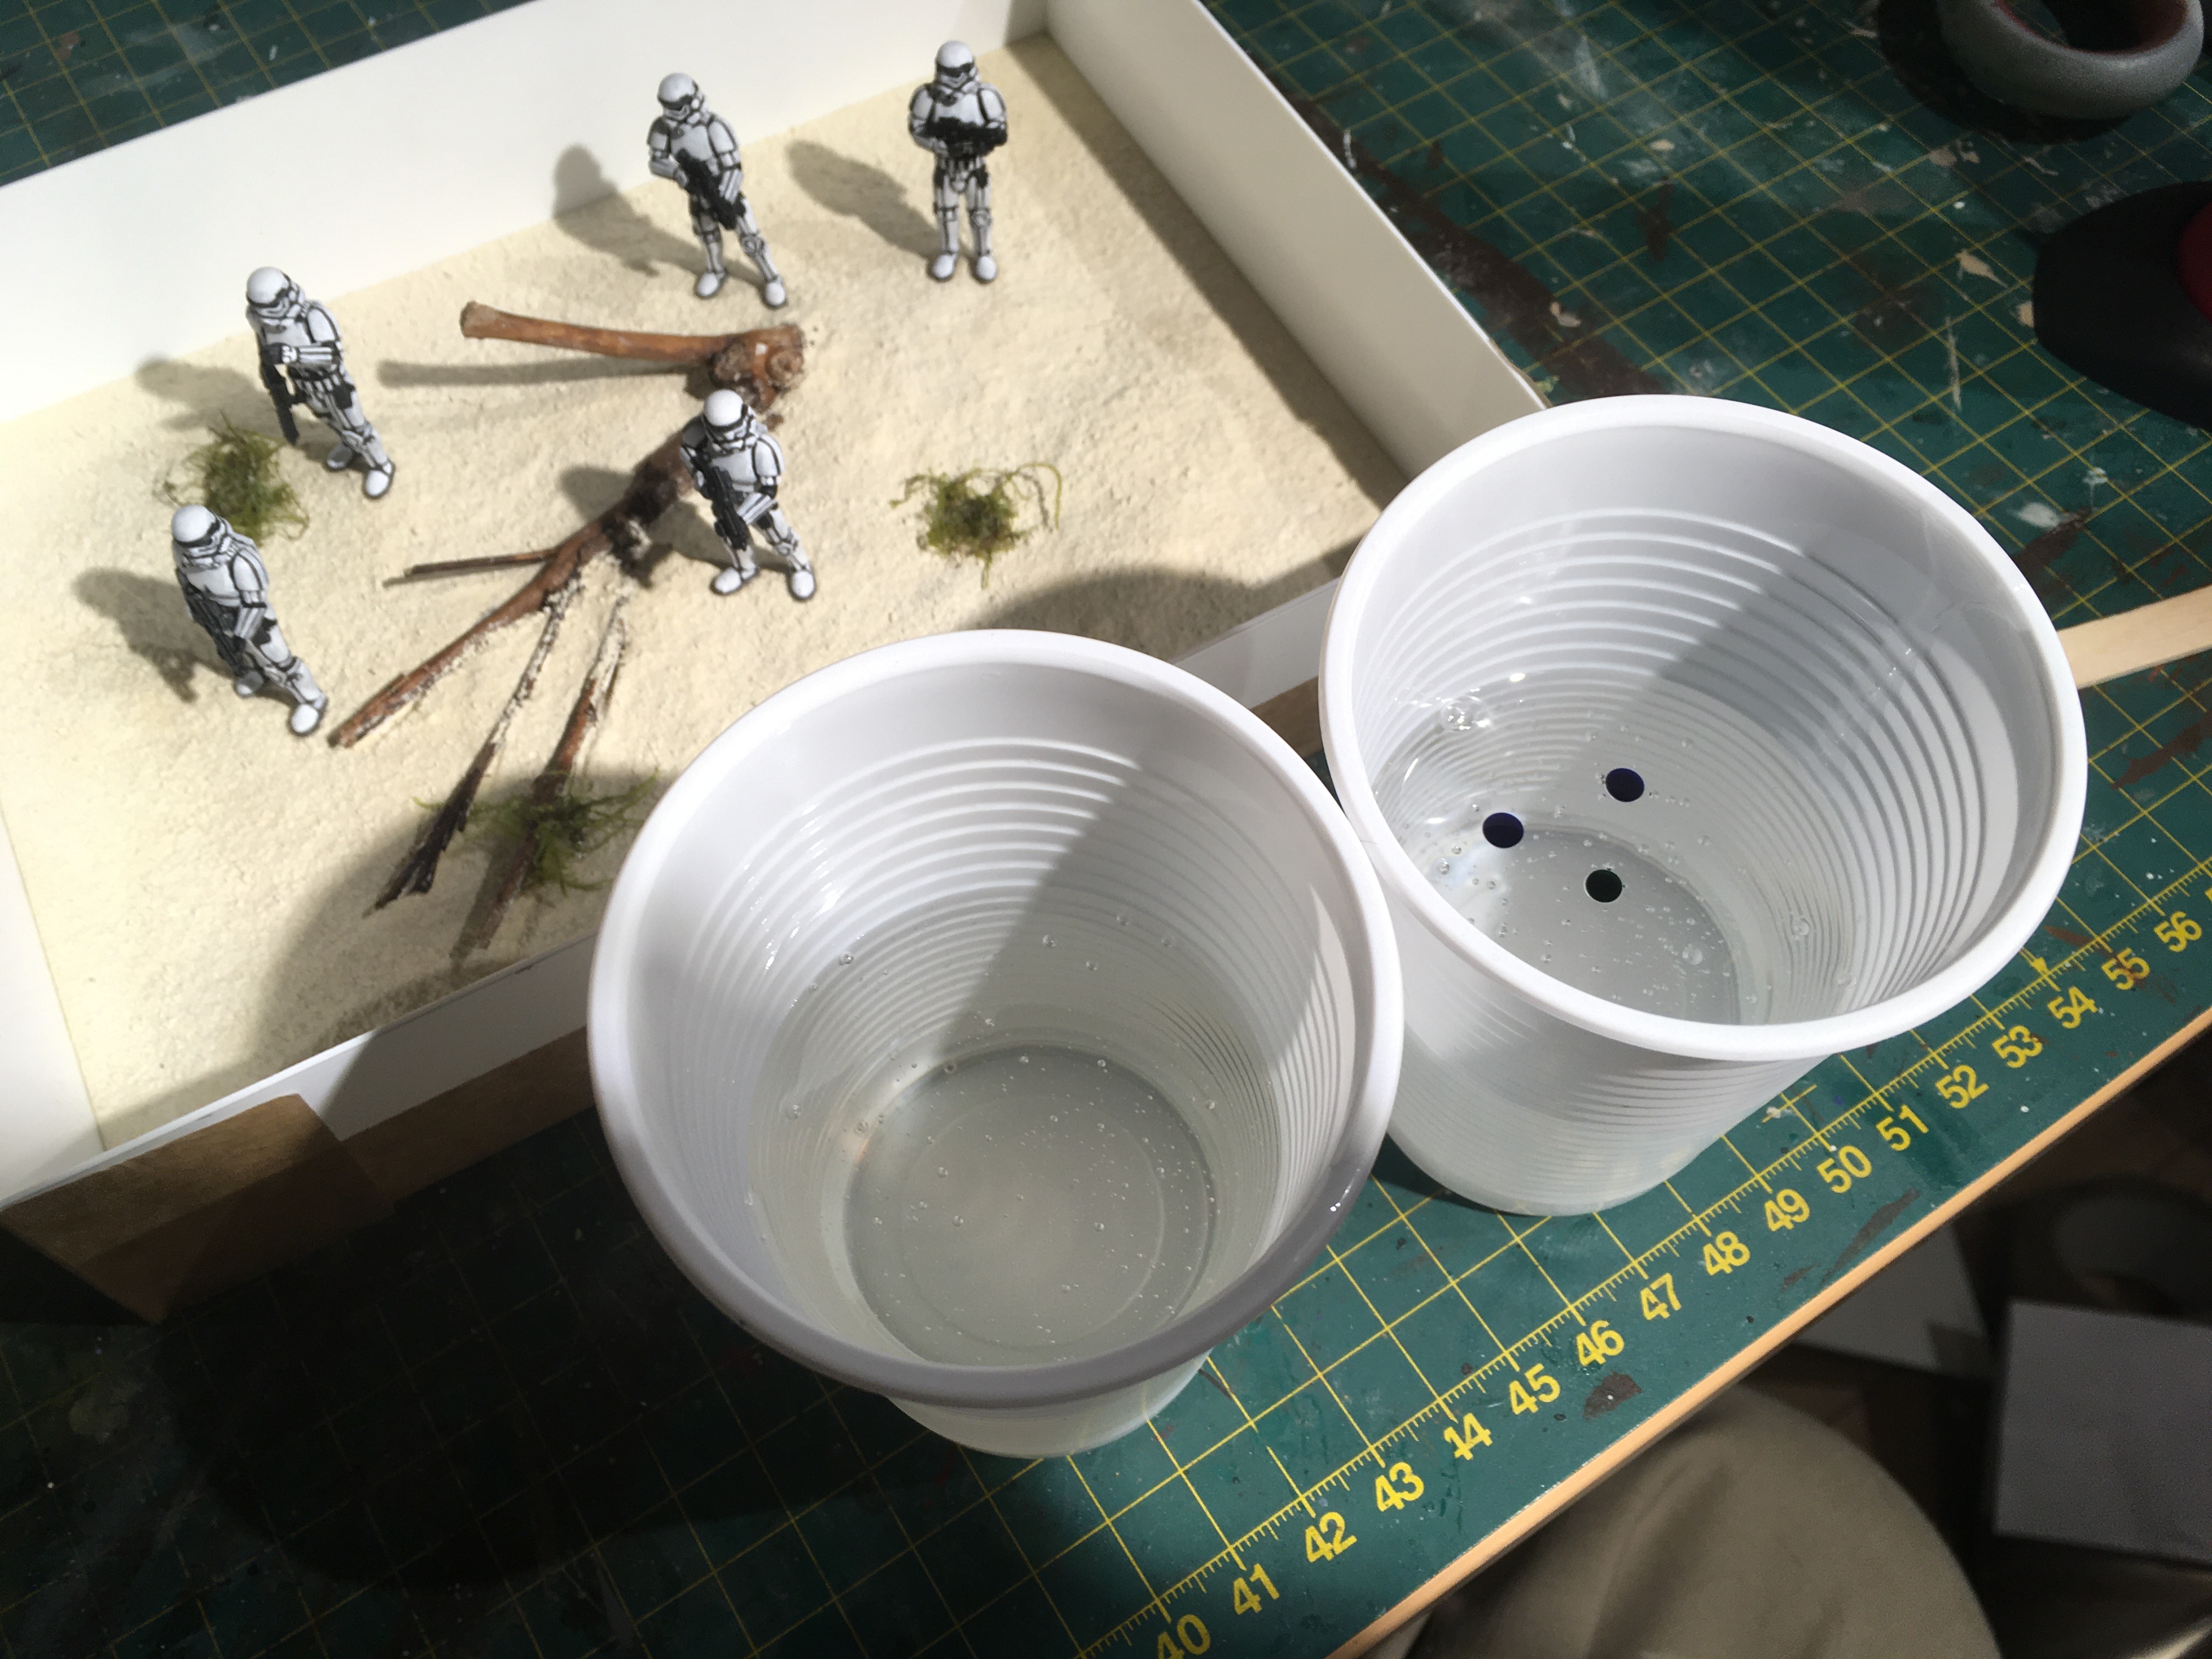
I’ve done three layers in a cup test now.
First layer (lowest) was a blue ink layer with 2 drops of ink
Second layer (middle) was a aqua layer, with a 2:1 ratio of blue to green as the green is very very vibrant.
Third layer is clear with no ink.
Each layer was attacked with the burner but I must admit to spending much more time on the top layer. I found vibrating the cup (gentle shake and tapping) helped the bubbles get to the top where they were then easy prey for the burner.
I think I will do one layer of green/blue and the others all clear. and that’s based off looking at photos of Mauritius. I know it changes with the weather and that the water in the image I like is grey blue but I want to give the theme of warm sunny climes.

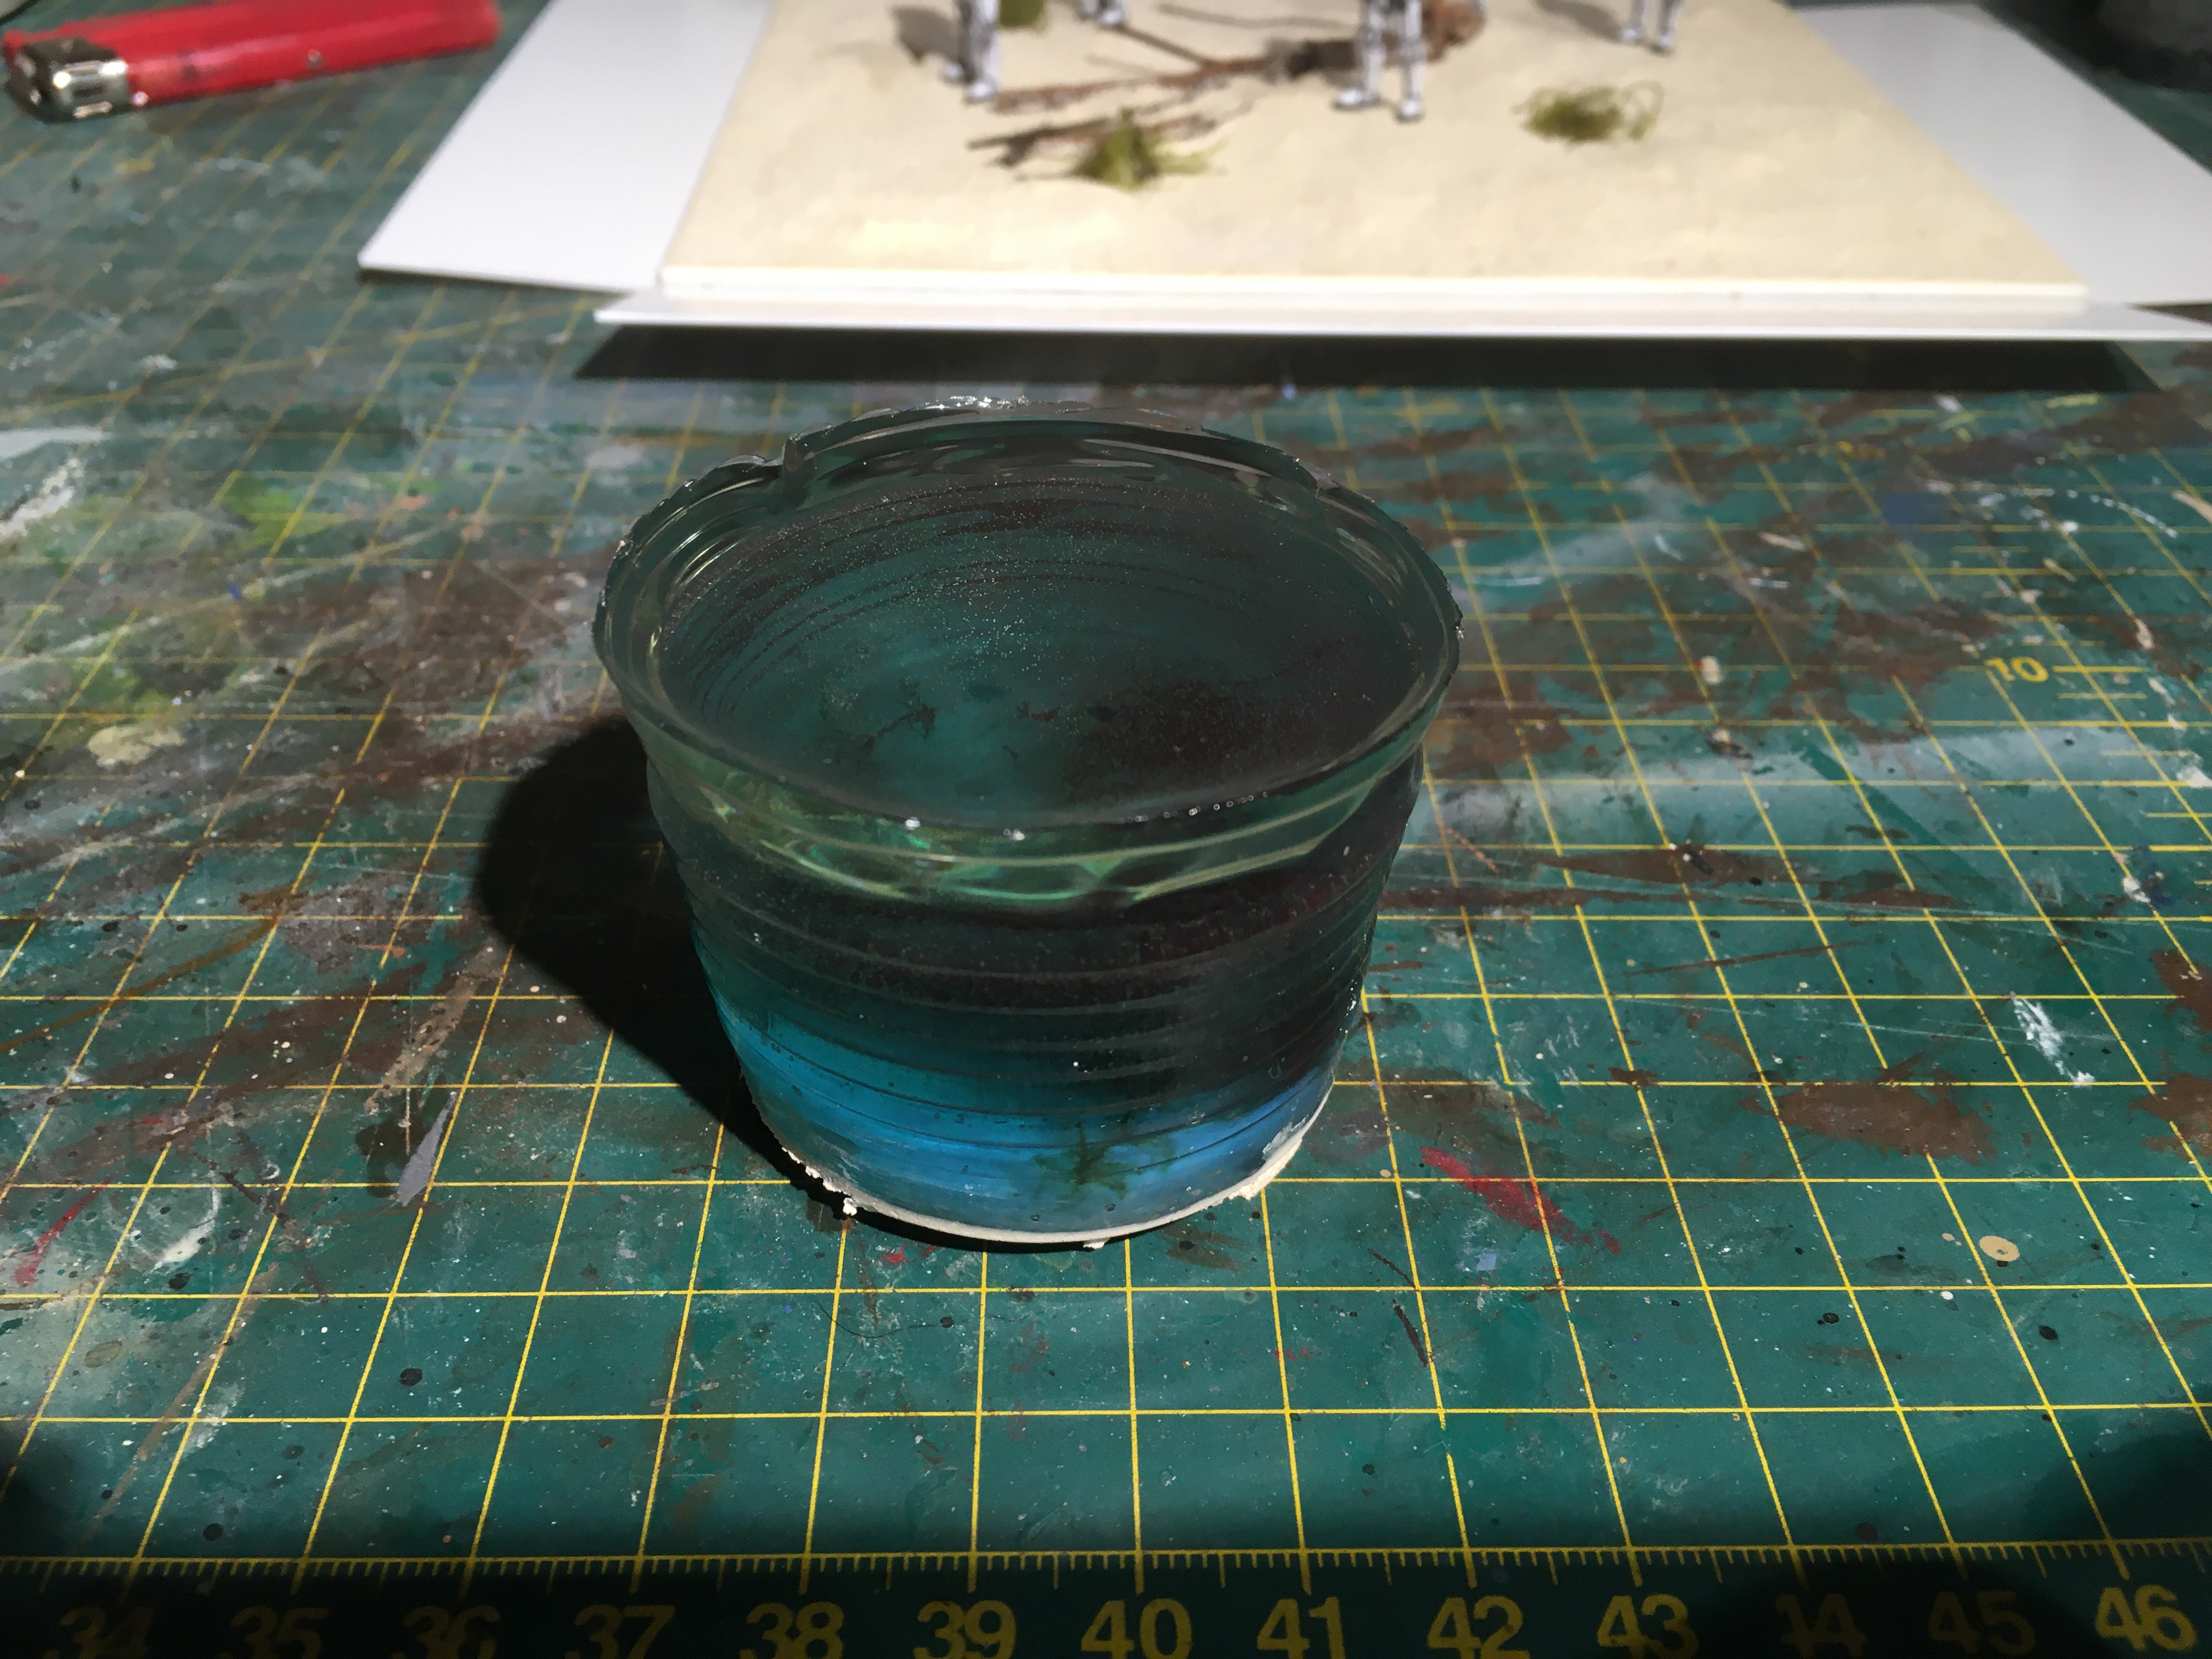
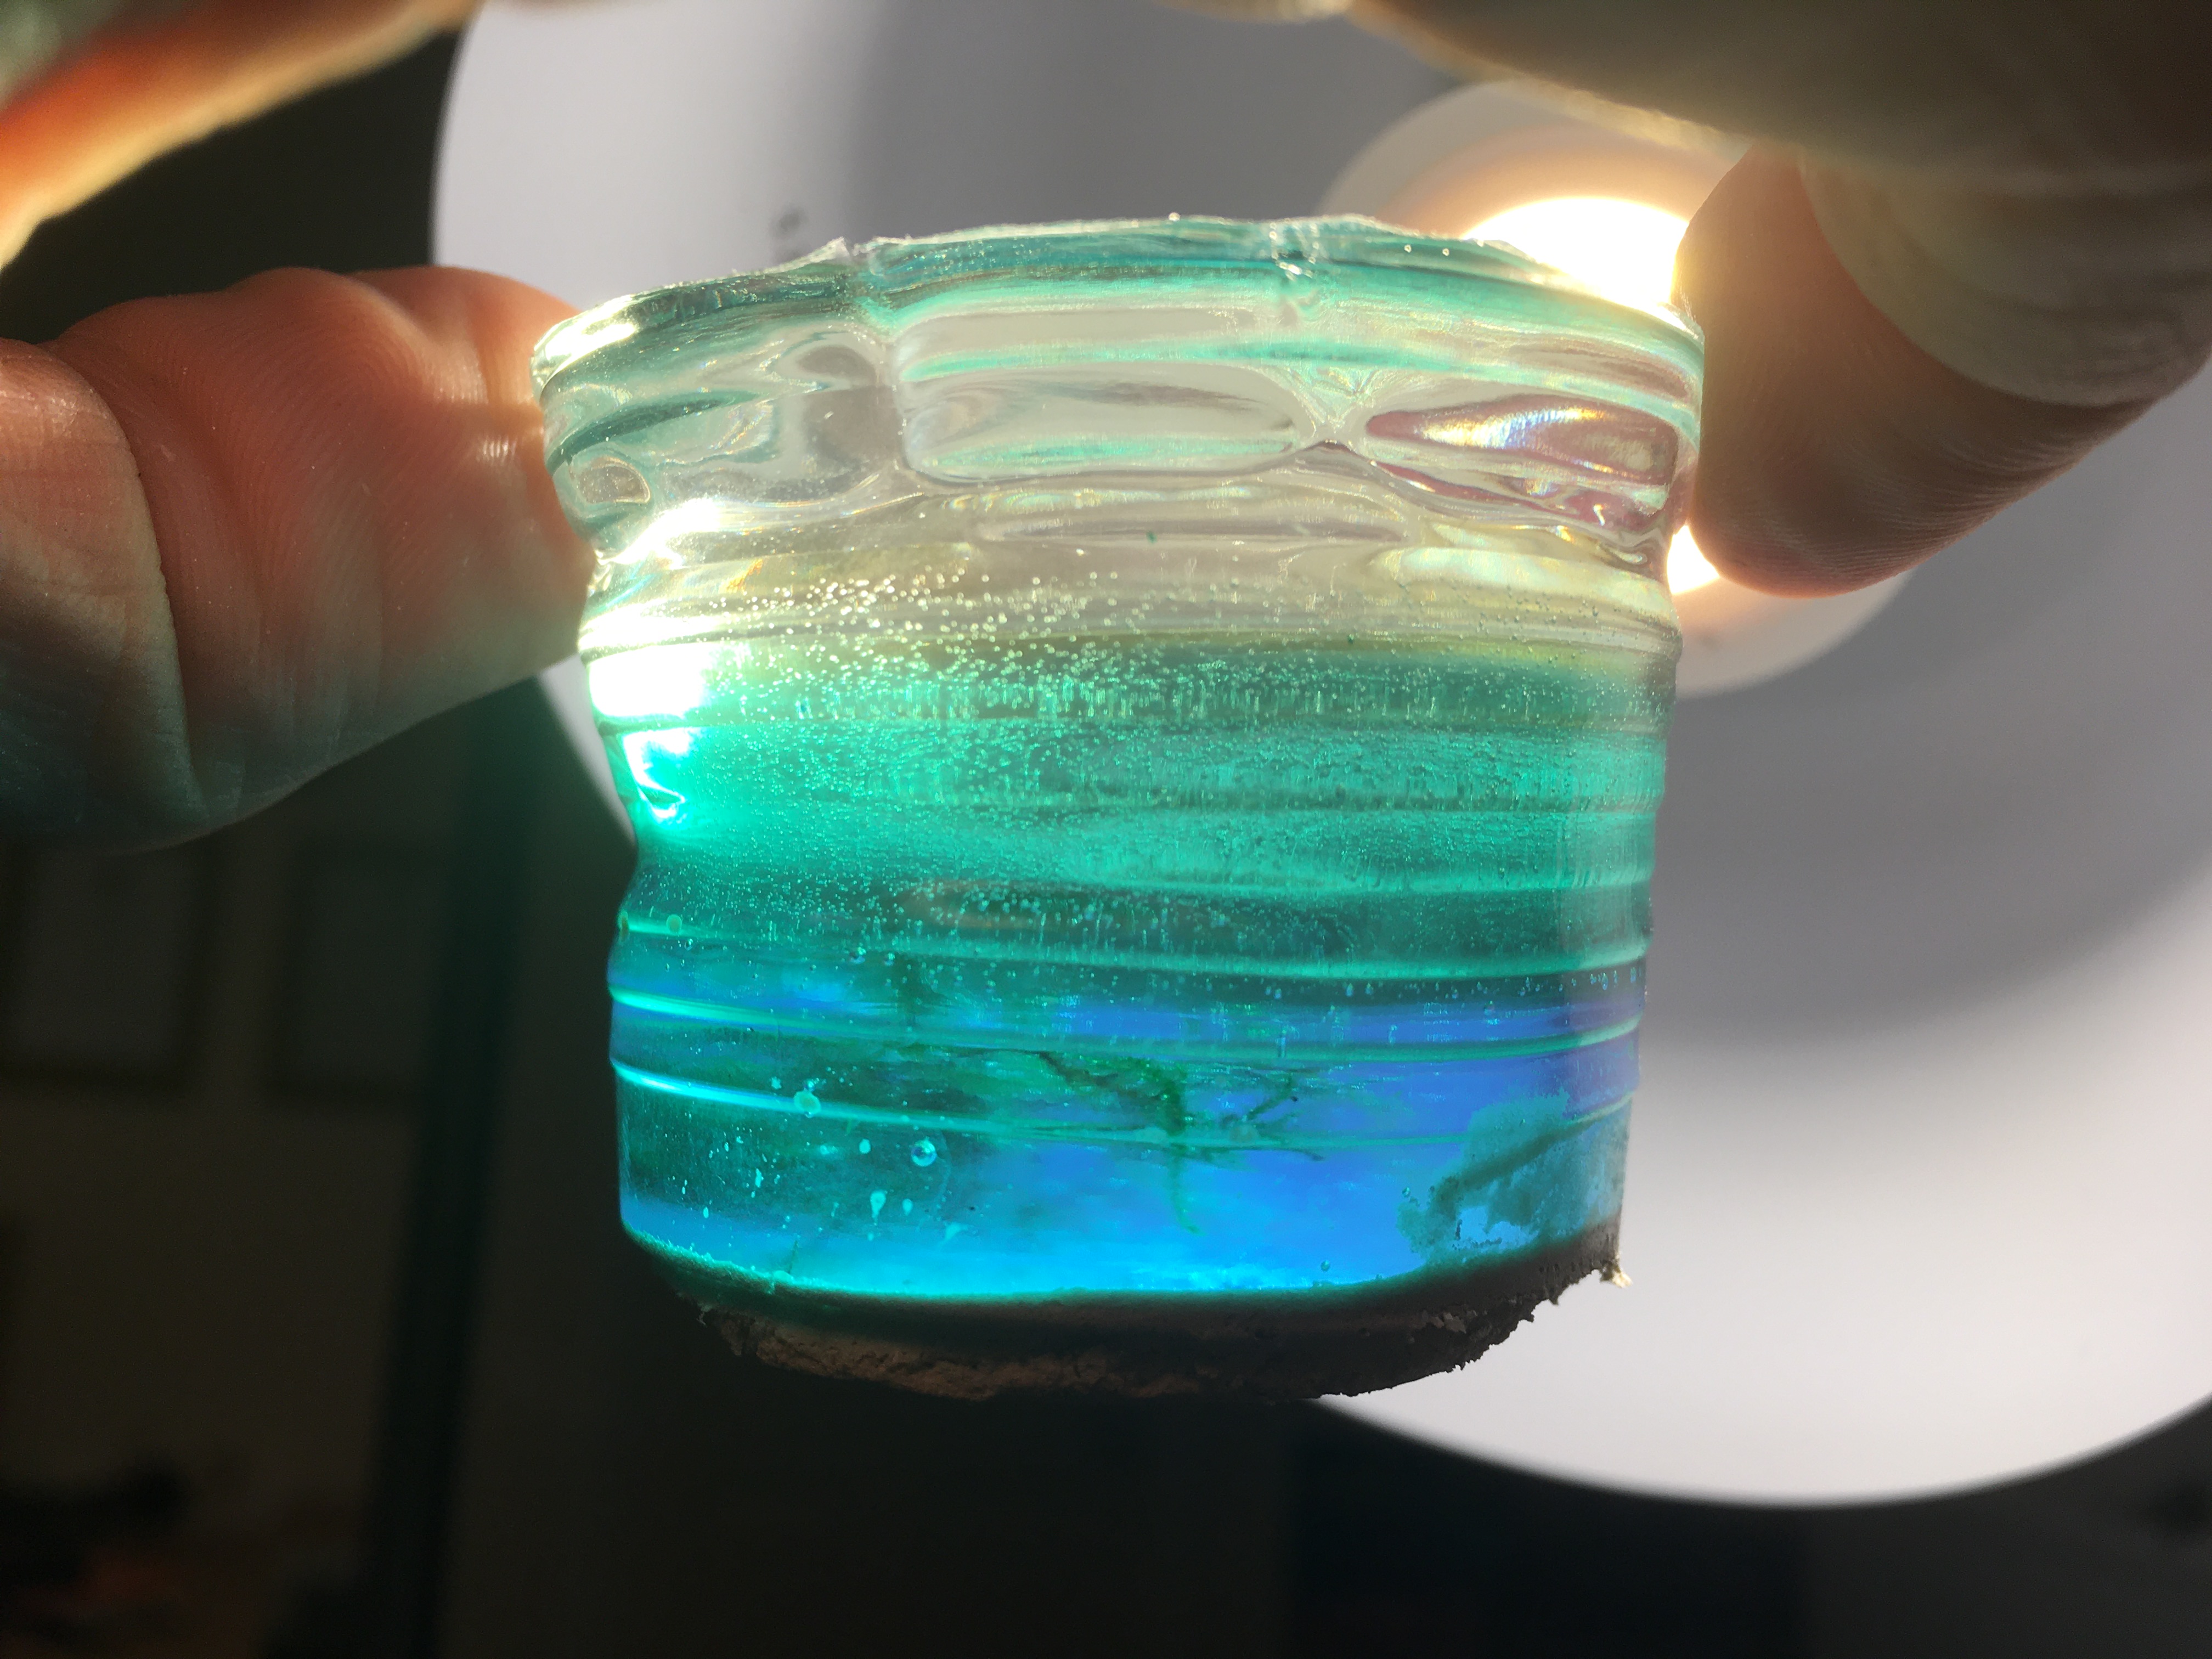 easier to see the layers here
Bringing it all together
 mark and cut the boarders out of plasticard
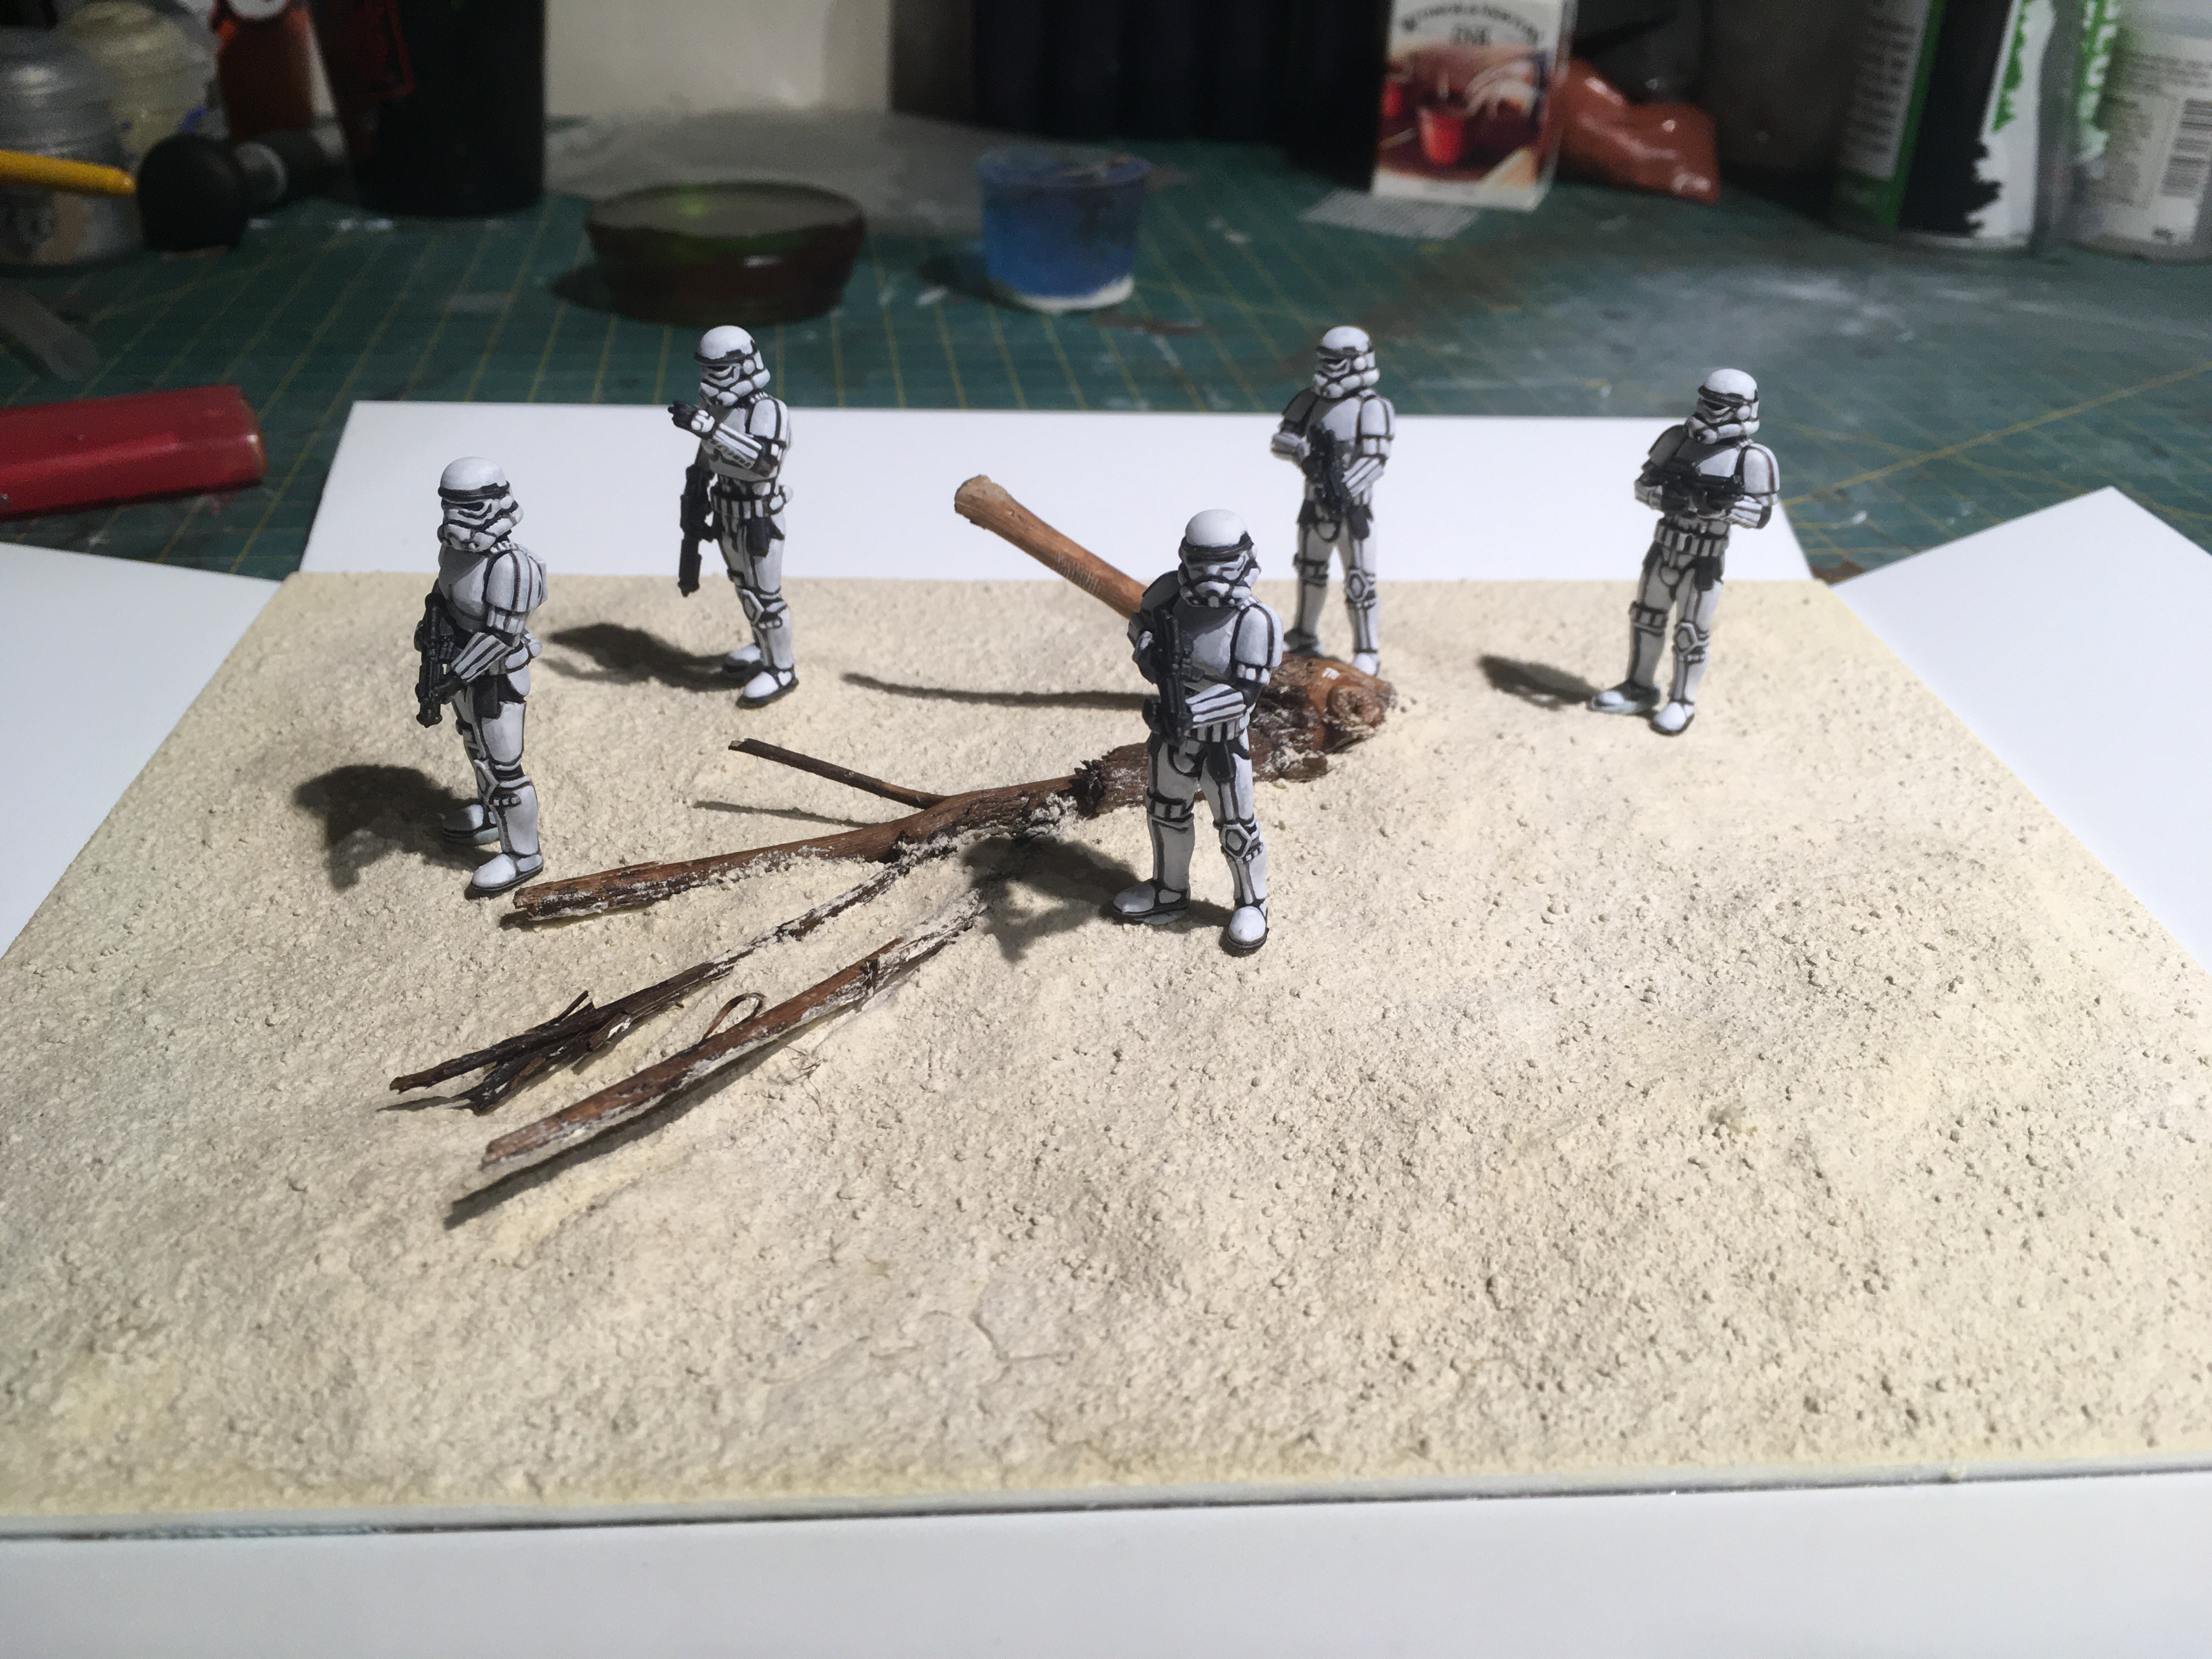 tape them with super strong tape to the bottoms. Stormtroopers introduced first with blu-tac then superglued when happy with placement
  add dried moss to act as seaweed. I really like this step! hope it doesn't rot!
Seal the temp box
 a TINY bead of superglue to help seal the corner
 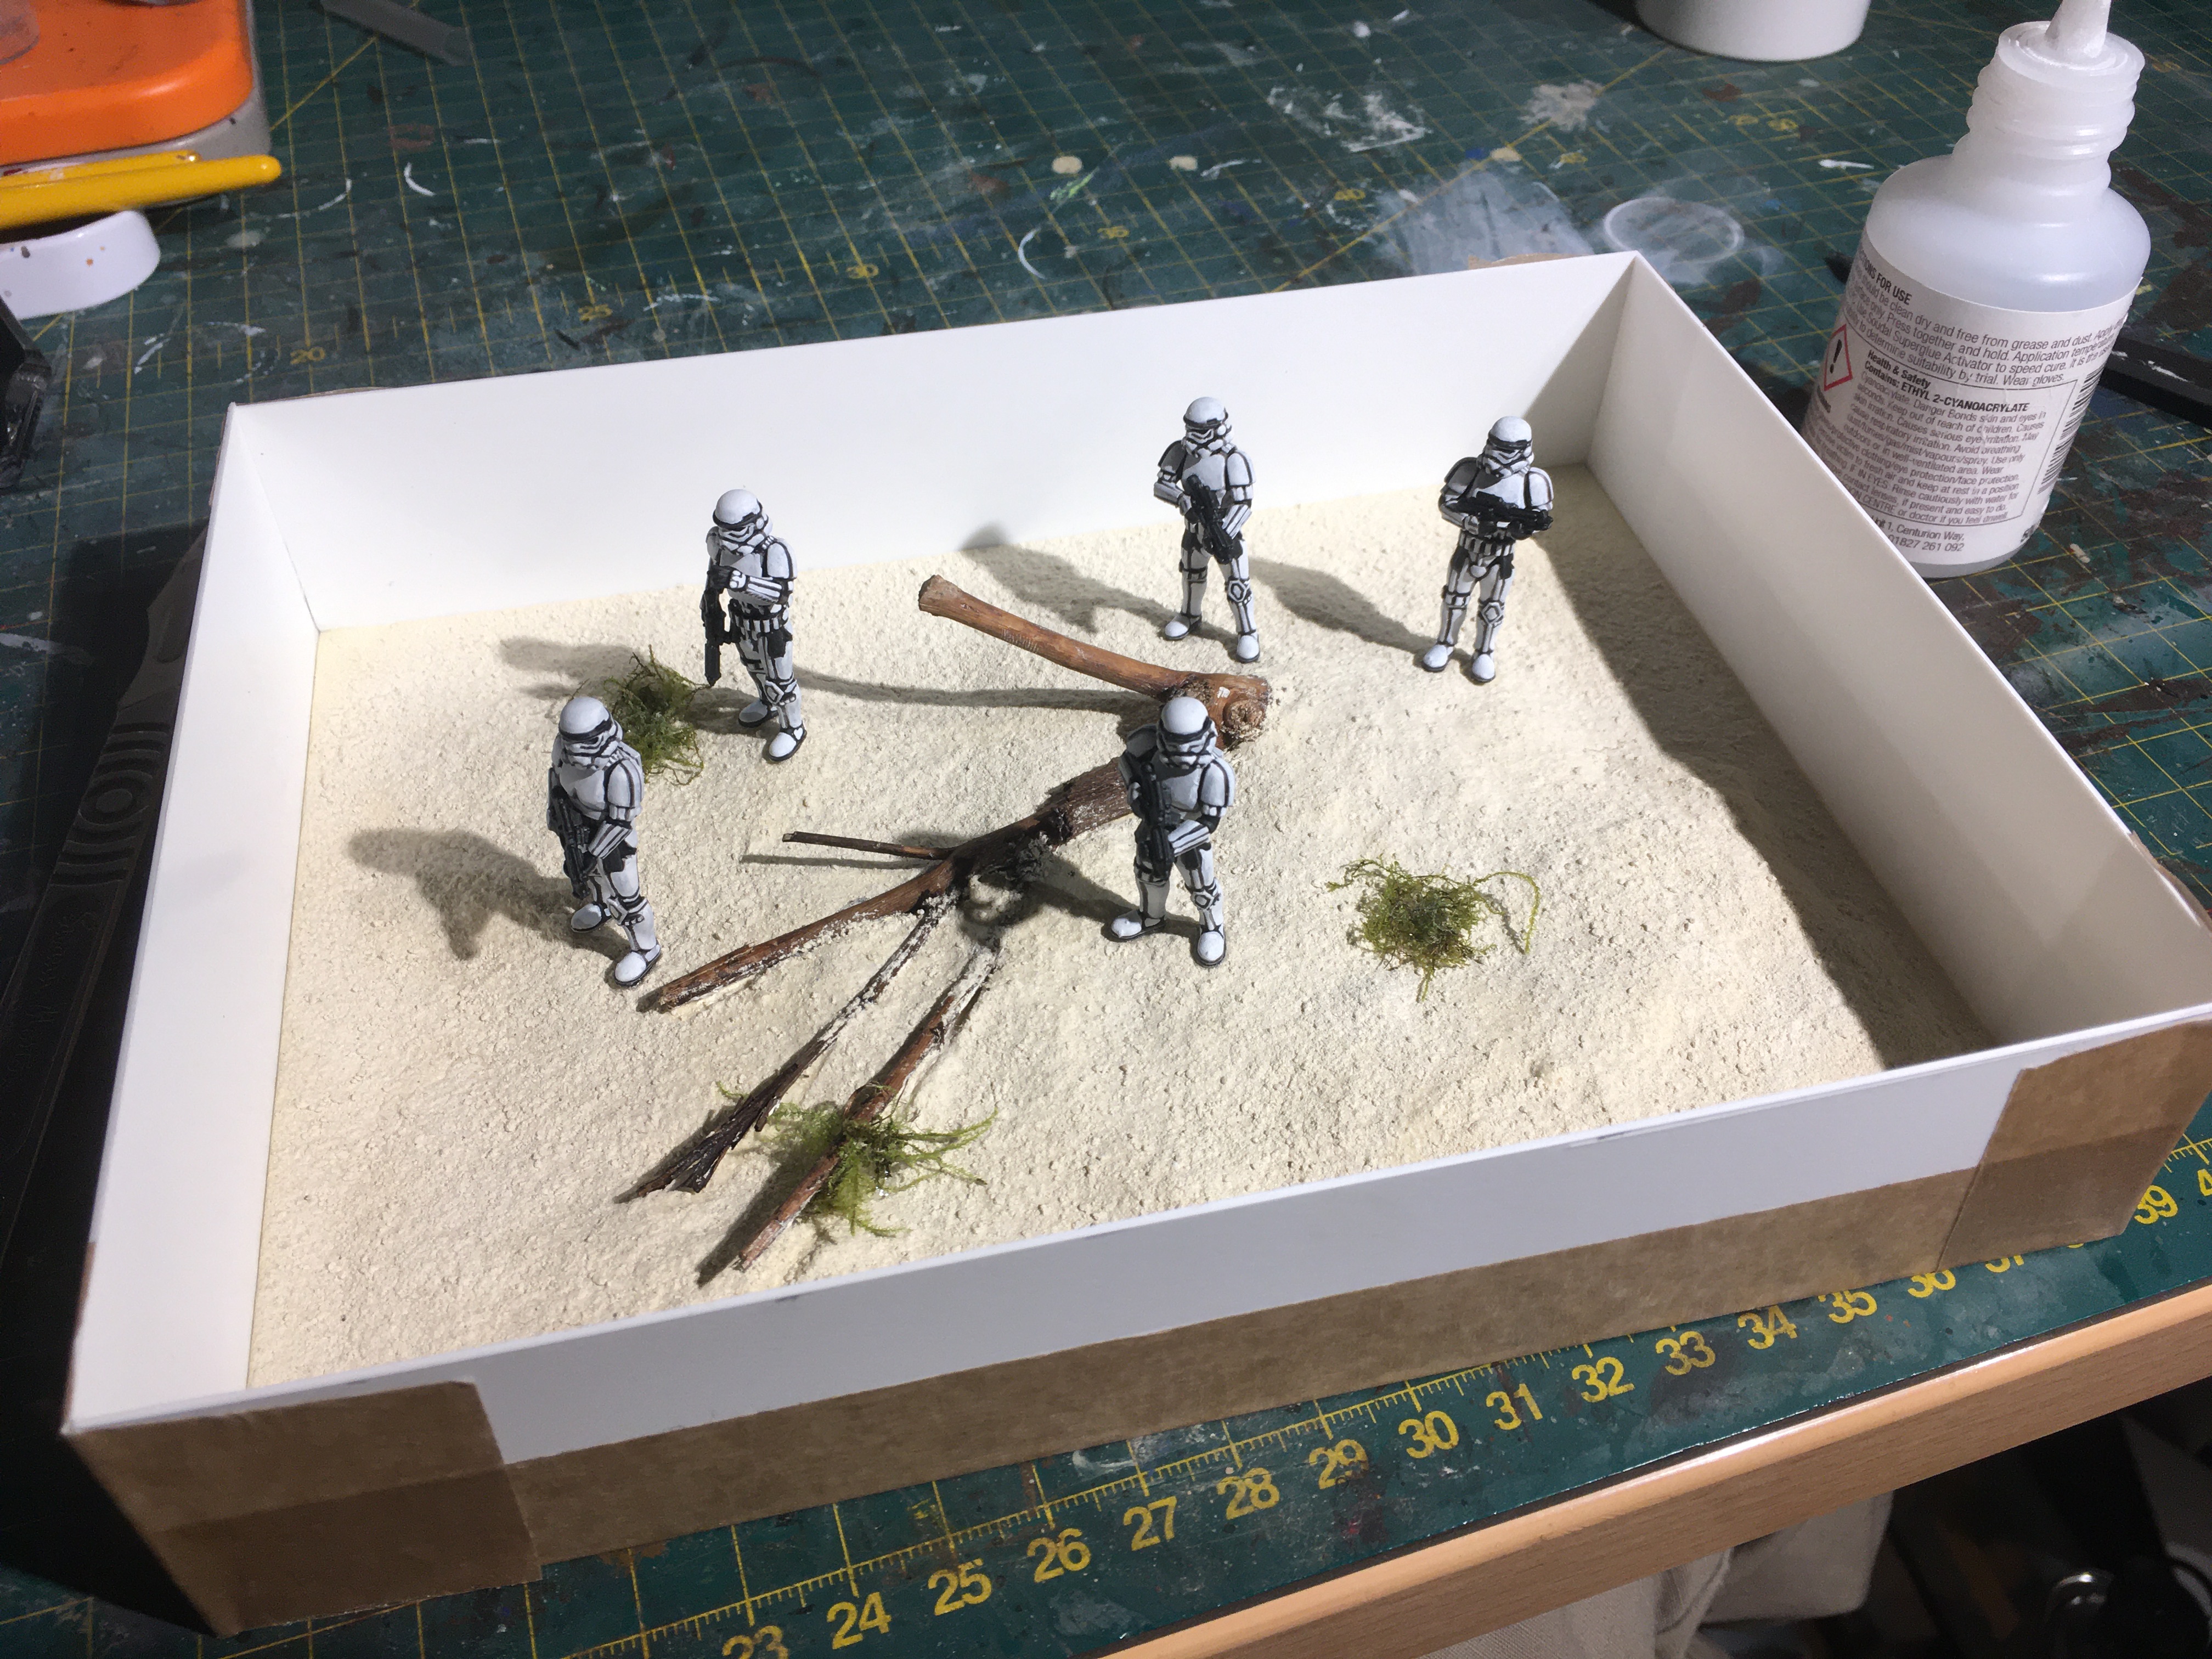 Box finished, with framing paper
Now to grow a pair and be willing to see all the hard work go to ruin!
First layer curing
 2 blue drops and 1 green drop in approx 180ml of resin
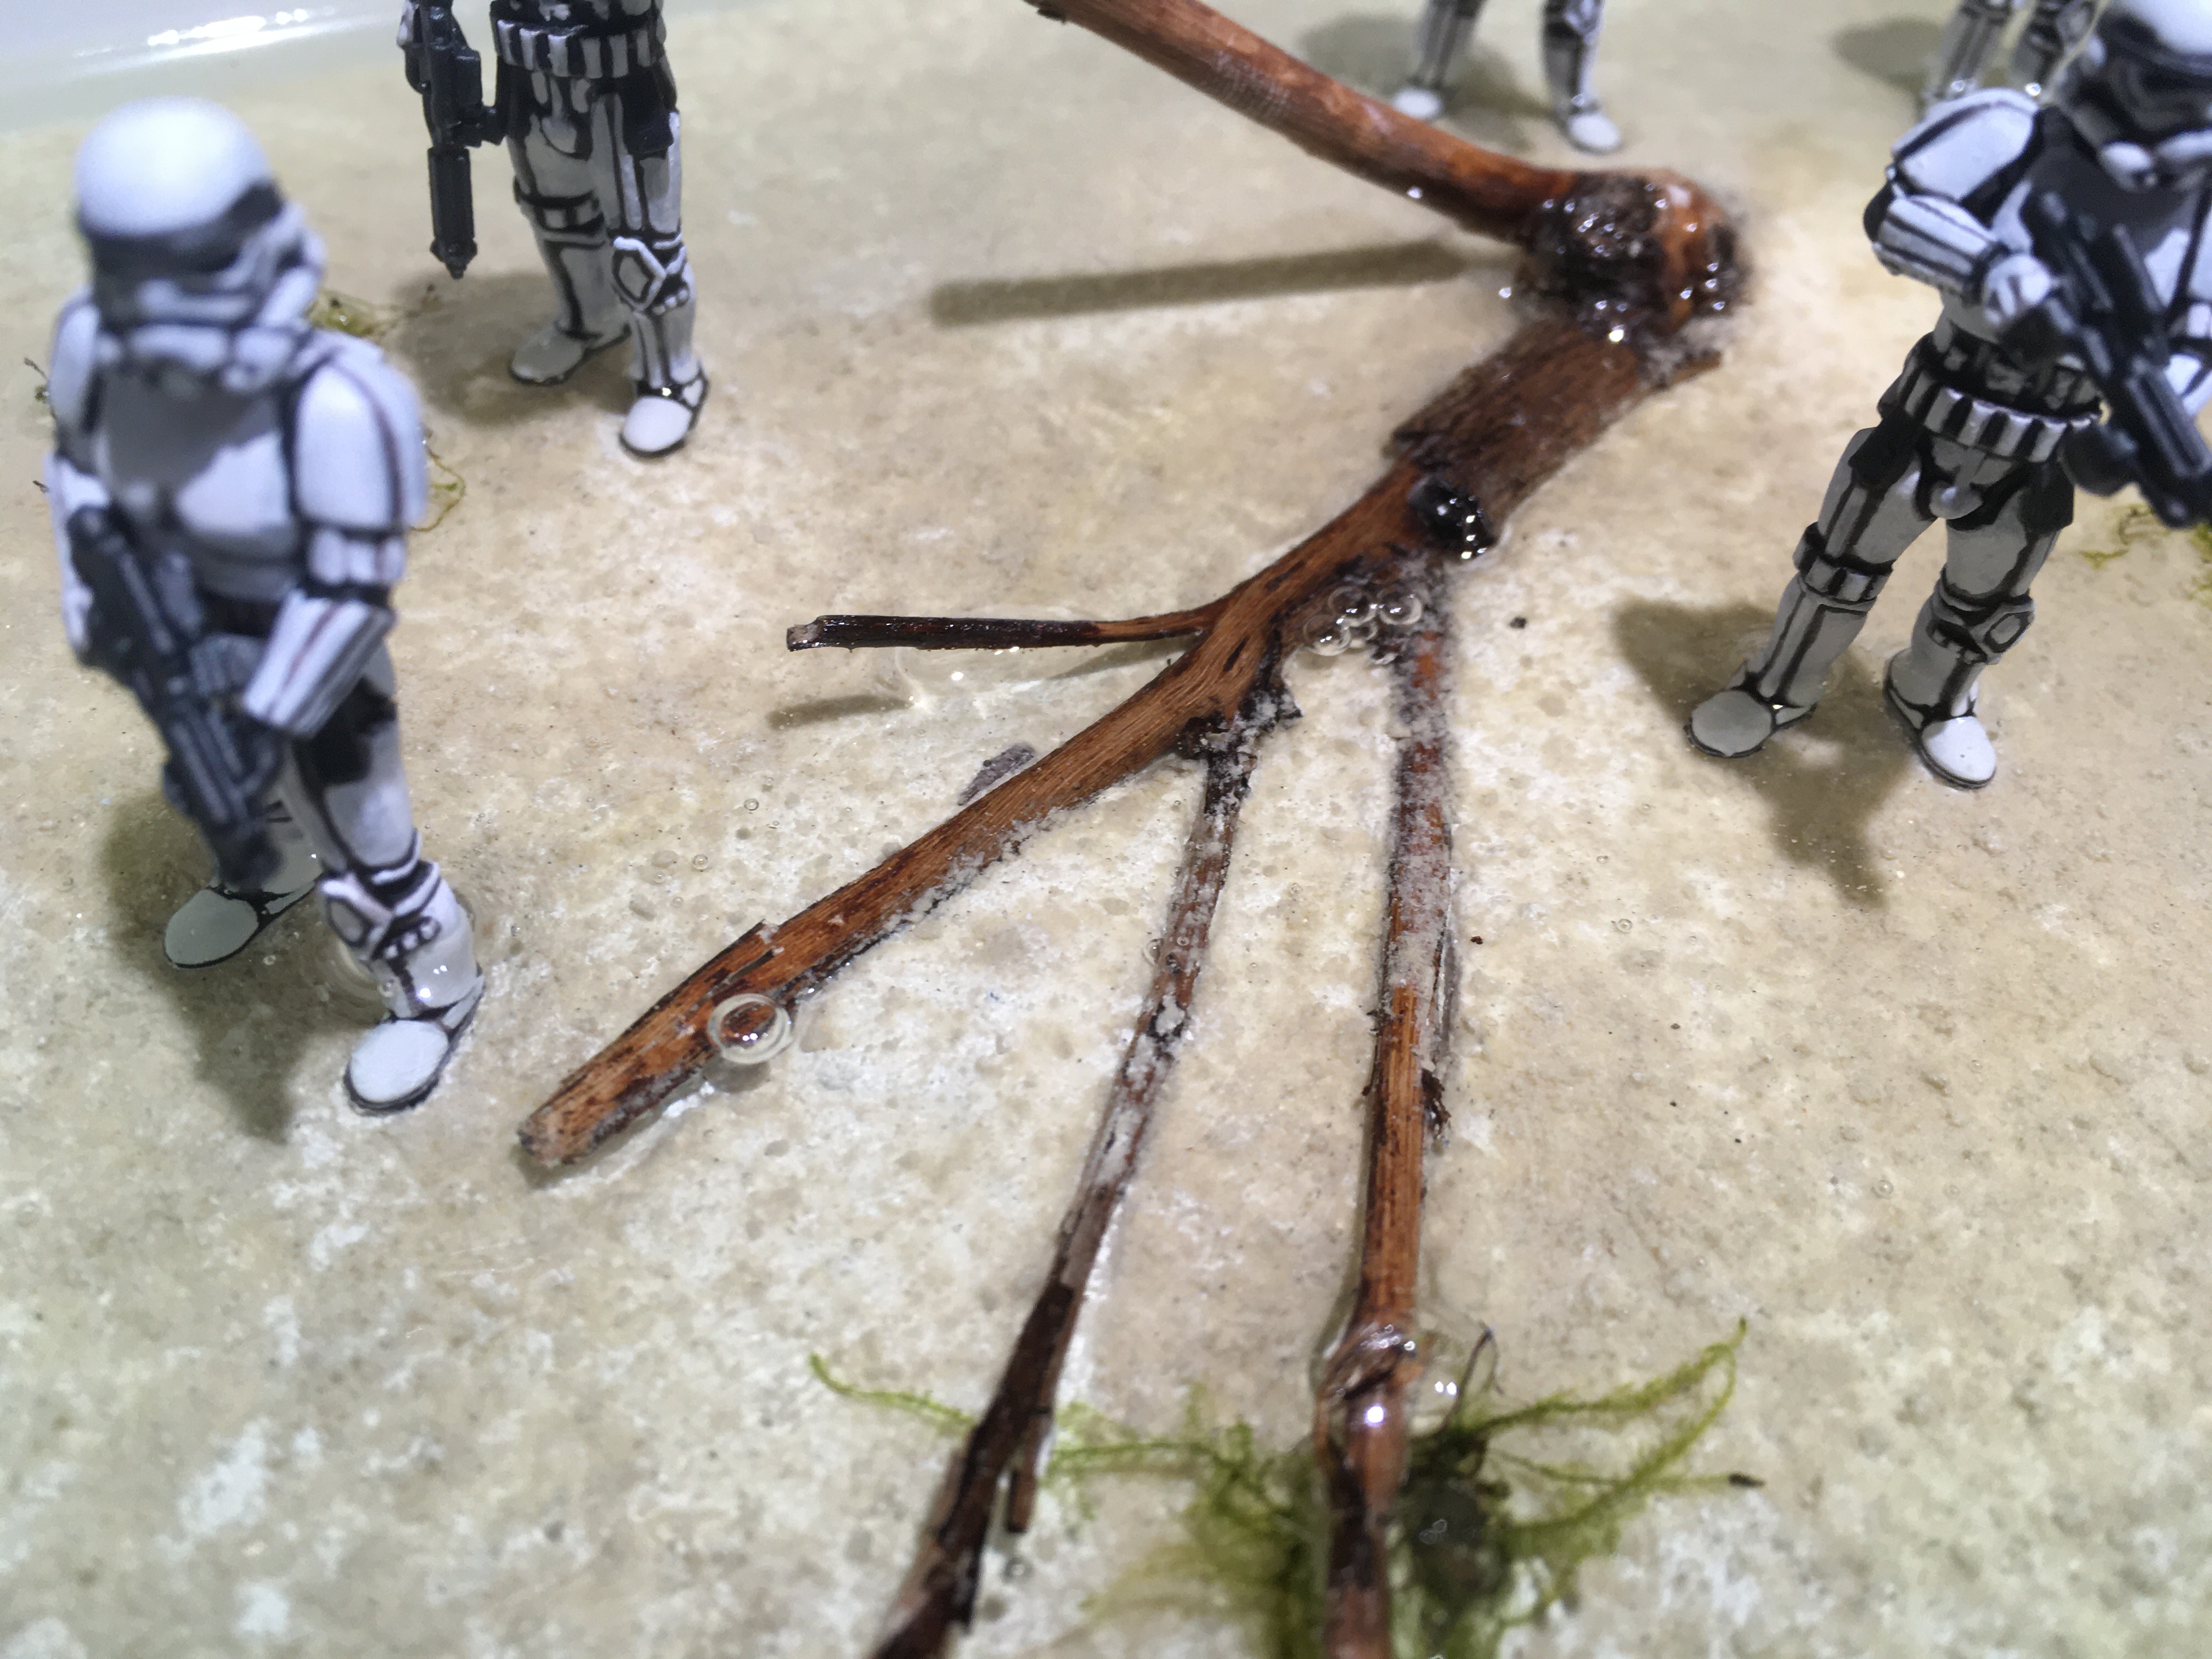 Reoccurring bubbles. clearly got a void under the tree stump
 After an hour of burning off little bubbles I am now leaving this layer to fully cure
Trying to expedite drying time to meet deadlines

My test pieces were a lot faster to cure to a point that I was happy to put another layer on. This first pour is taking it’s sweet time.
To encourage the heat cured resin along its merry path I have put an oil heater under the desk and put a cardboard box over the model. This will increase the air temp around the model a lot more quickly than simply leaving it near a radiator. I will need to check it often to make sure no bubbles take hold!


![Play WW2 Commando Operations With Butcher & Bolt [Updated]](https://images.beastsofwar.com/2026/03/relaunch-600-338.jpg)


