


![NO Weekender Or Cult Of Games XLBS This Weekend [Updated]](https://images.beastsofwar.com/2026/03/No_Weekender_and_XLBS_this_Weekend-225-127.jpg)


Very Slow League of Infamy Project


Recommendations: 1175
About the Project
I will be slowly working my way through painting the League of Infamy Kickstarter. As well as using the League of Infamy miniatures to play League of Infamy I intend to rebase the minis to Vanguard and Kings of War size (where required) before painting. This will also give me some more miniatures to add to Frostgrave.
Related Game: League Of Infamy
Related Company: Mantic Games
Related Genre: Fantasy
This Project is Active
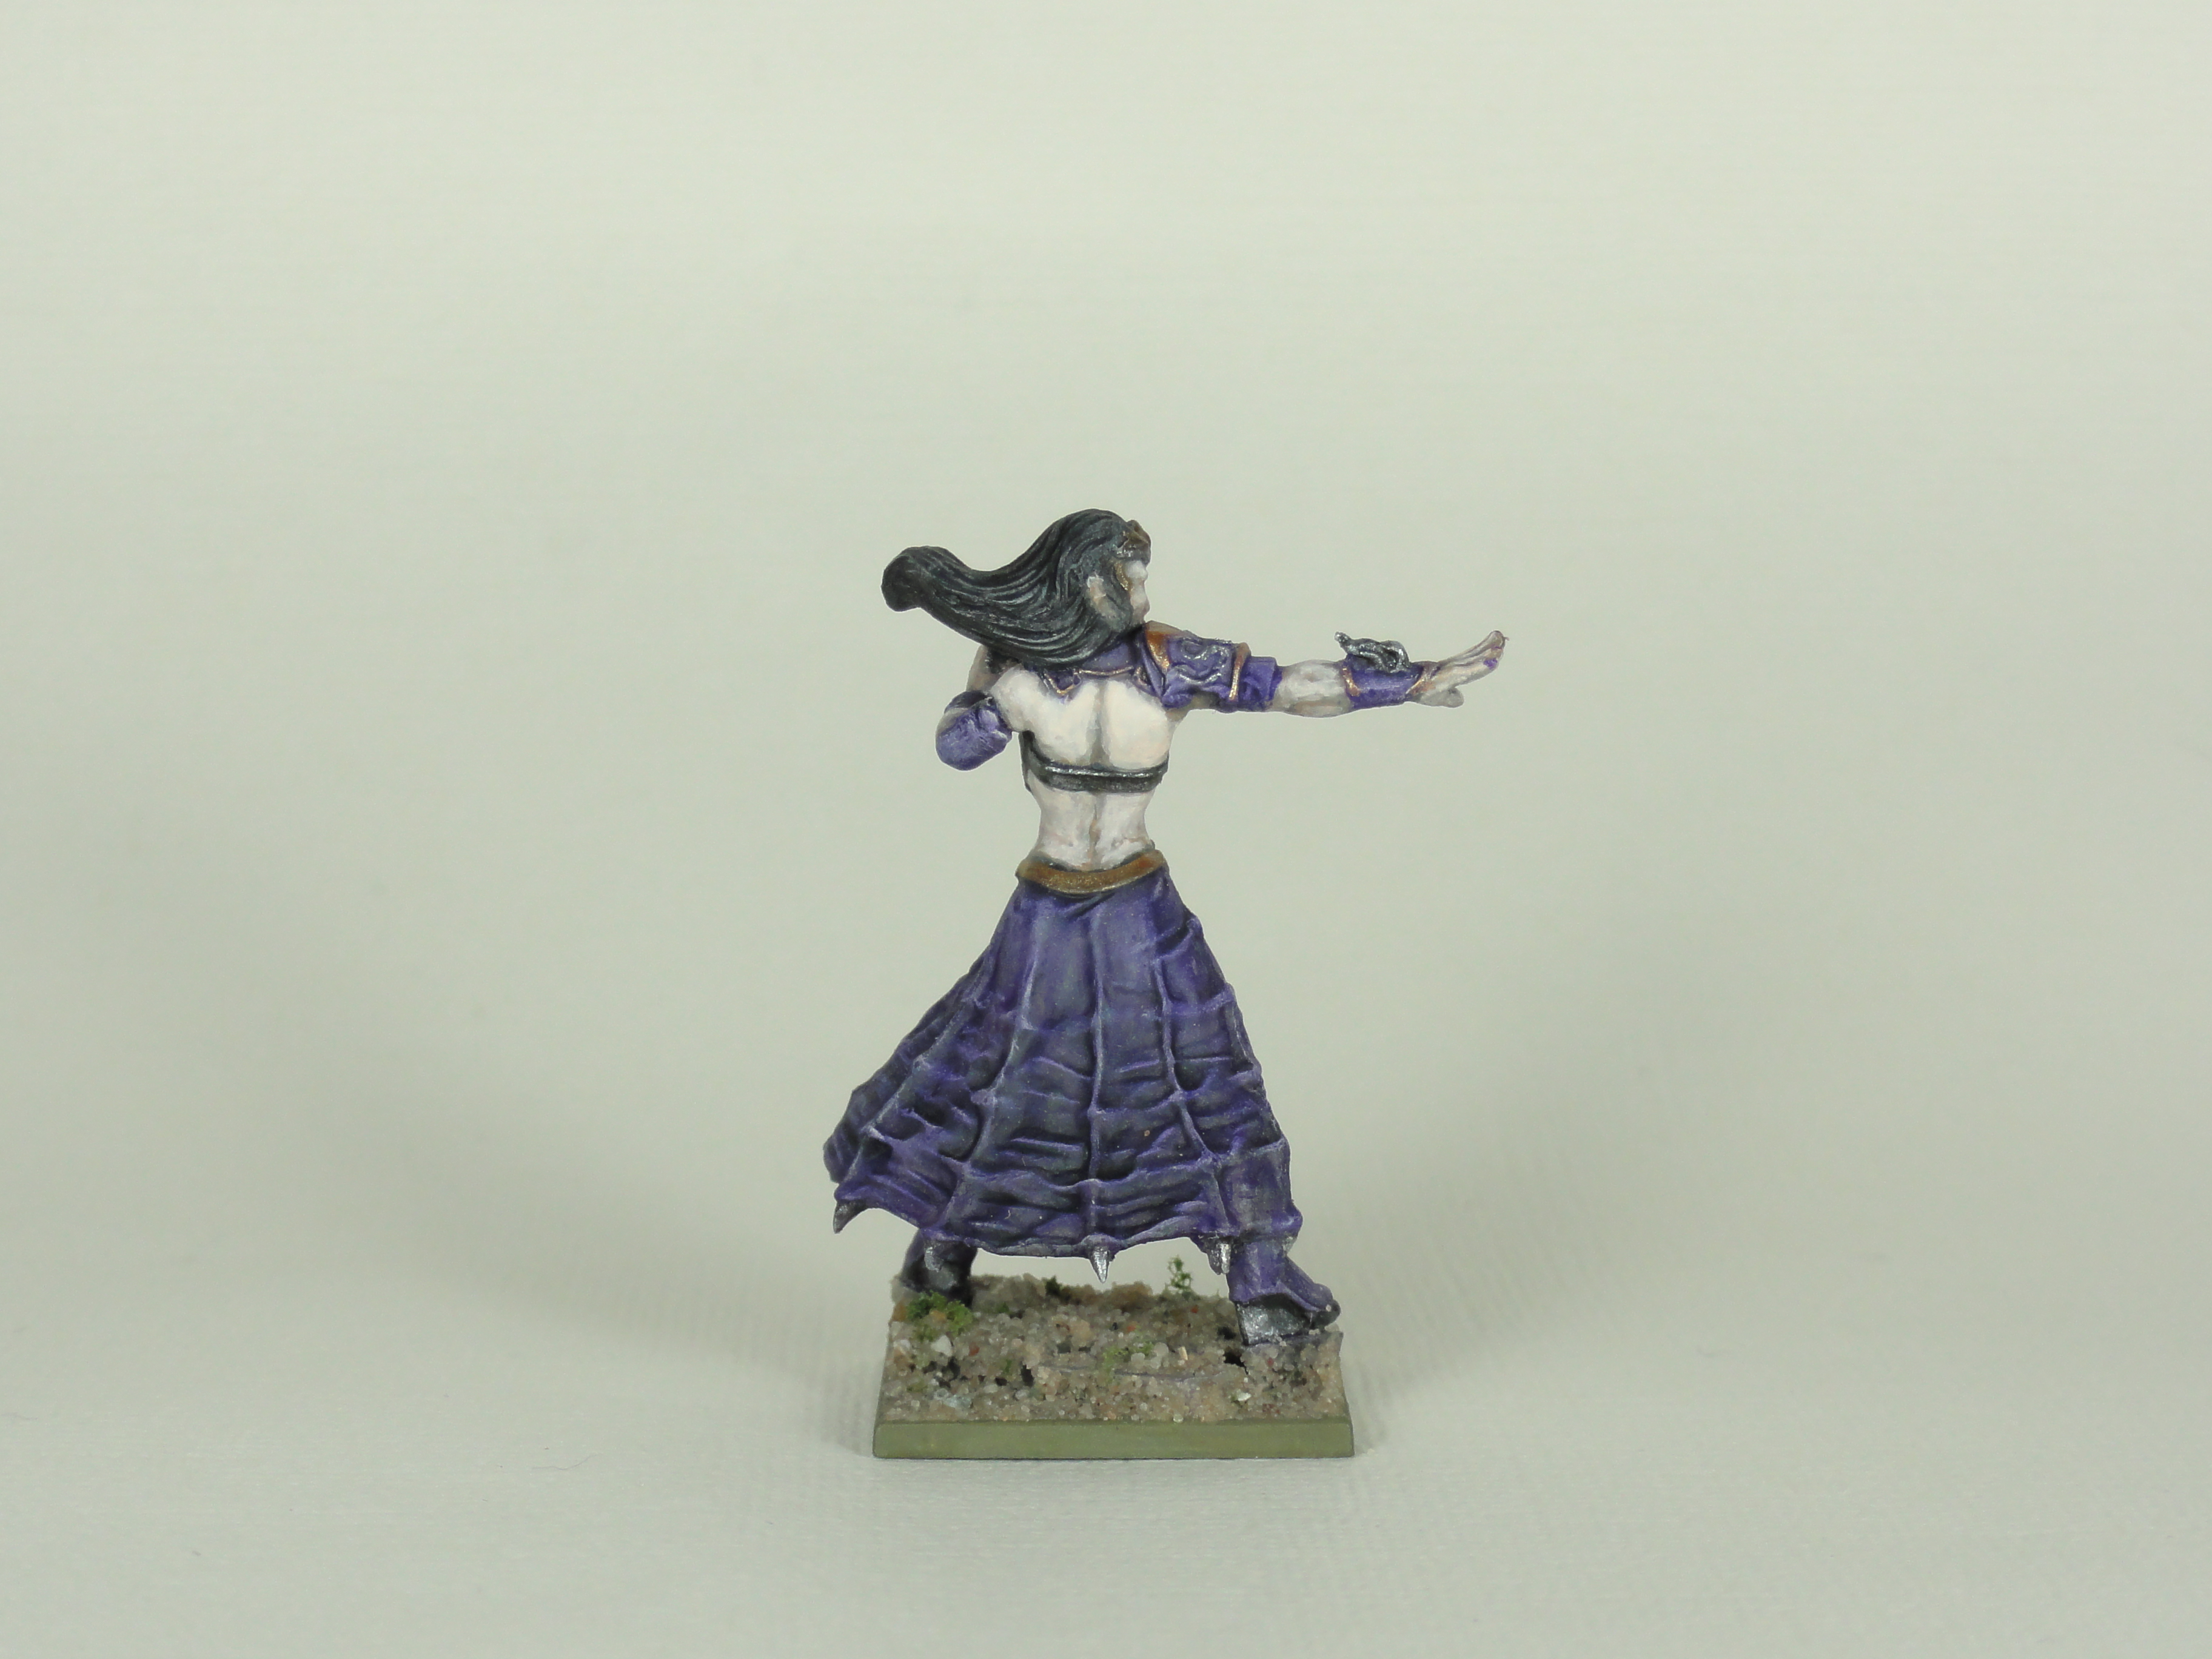
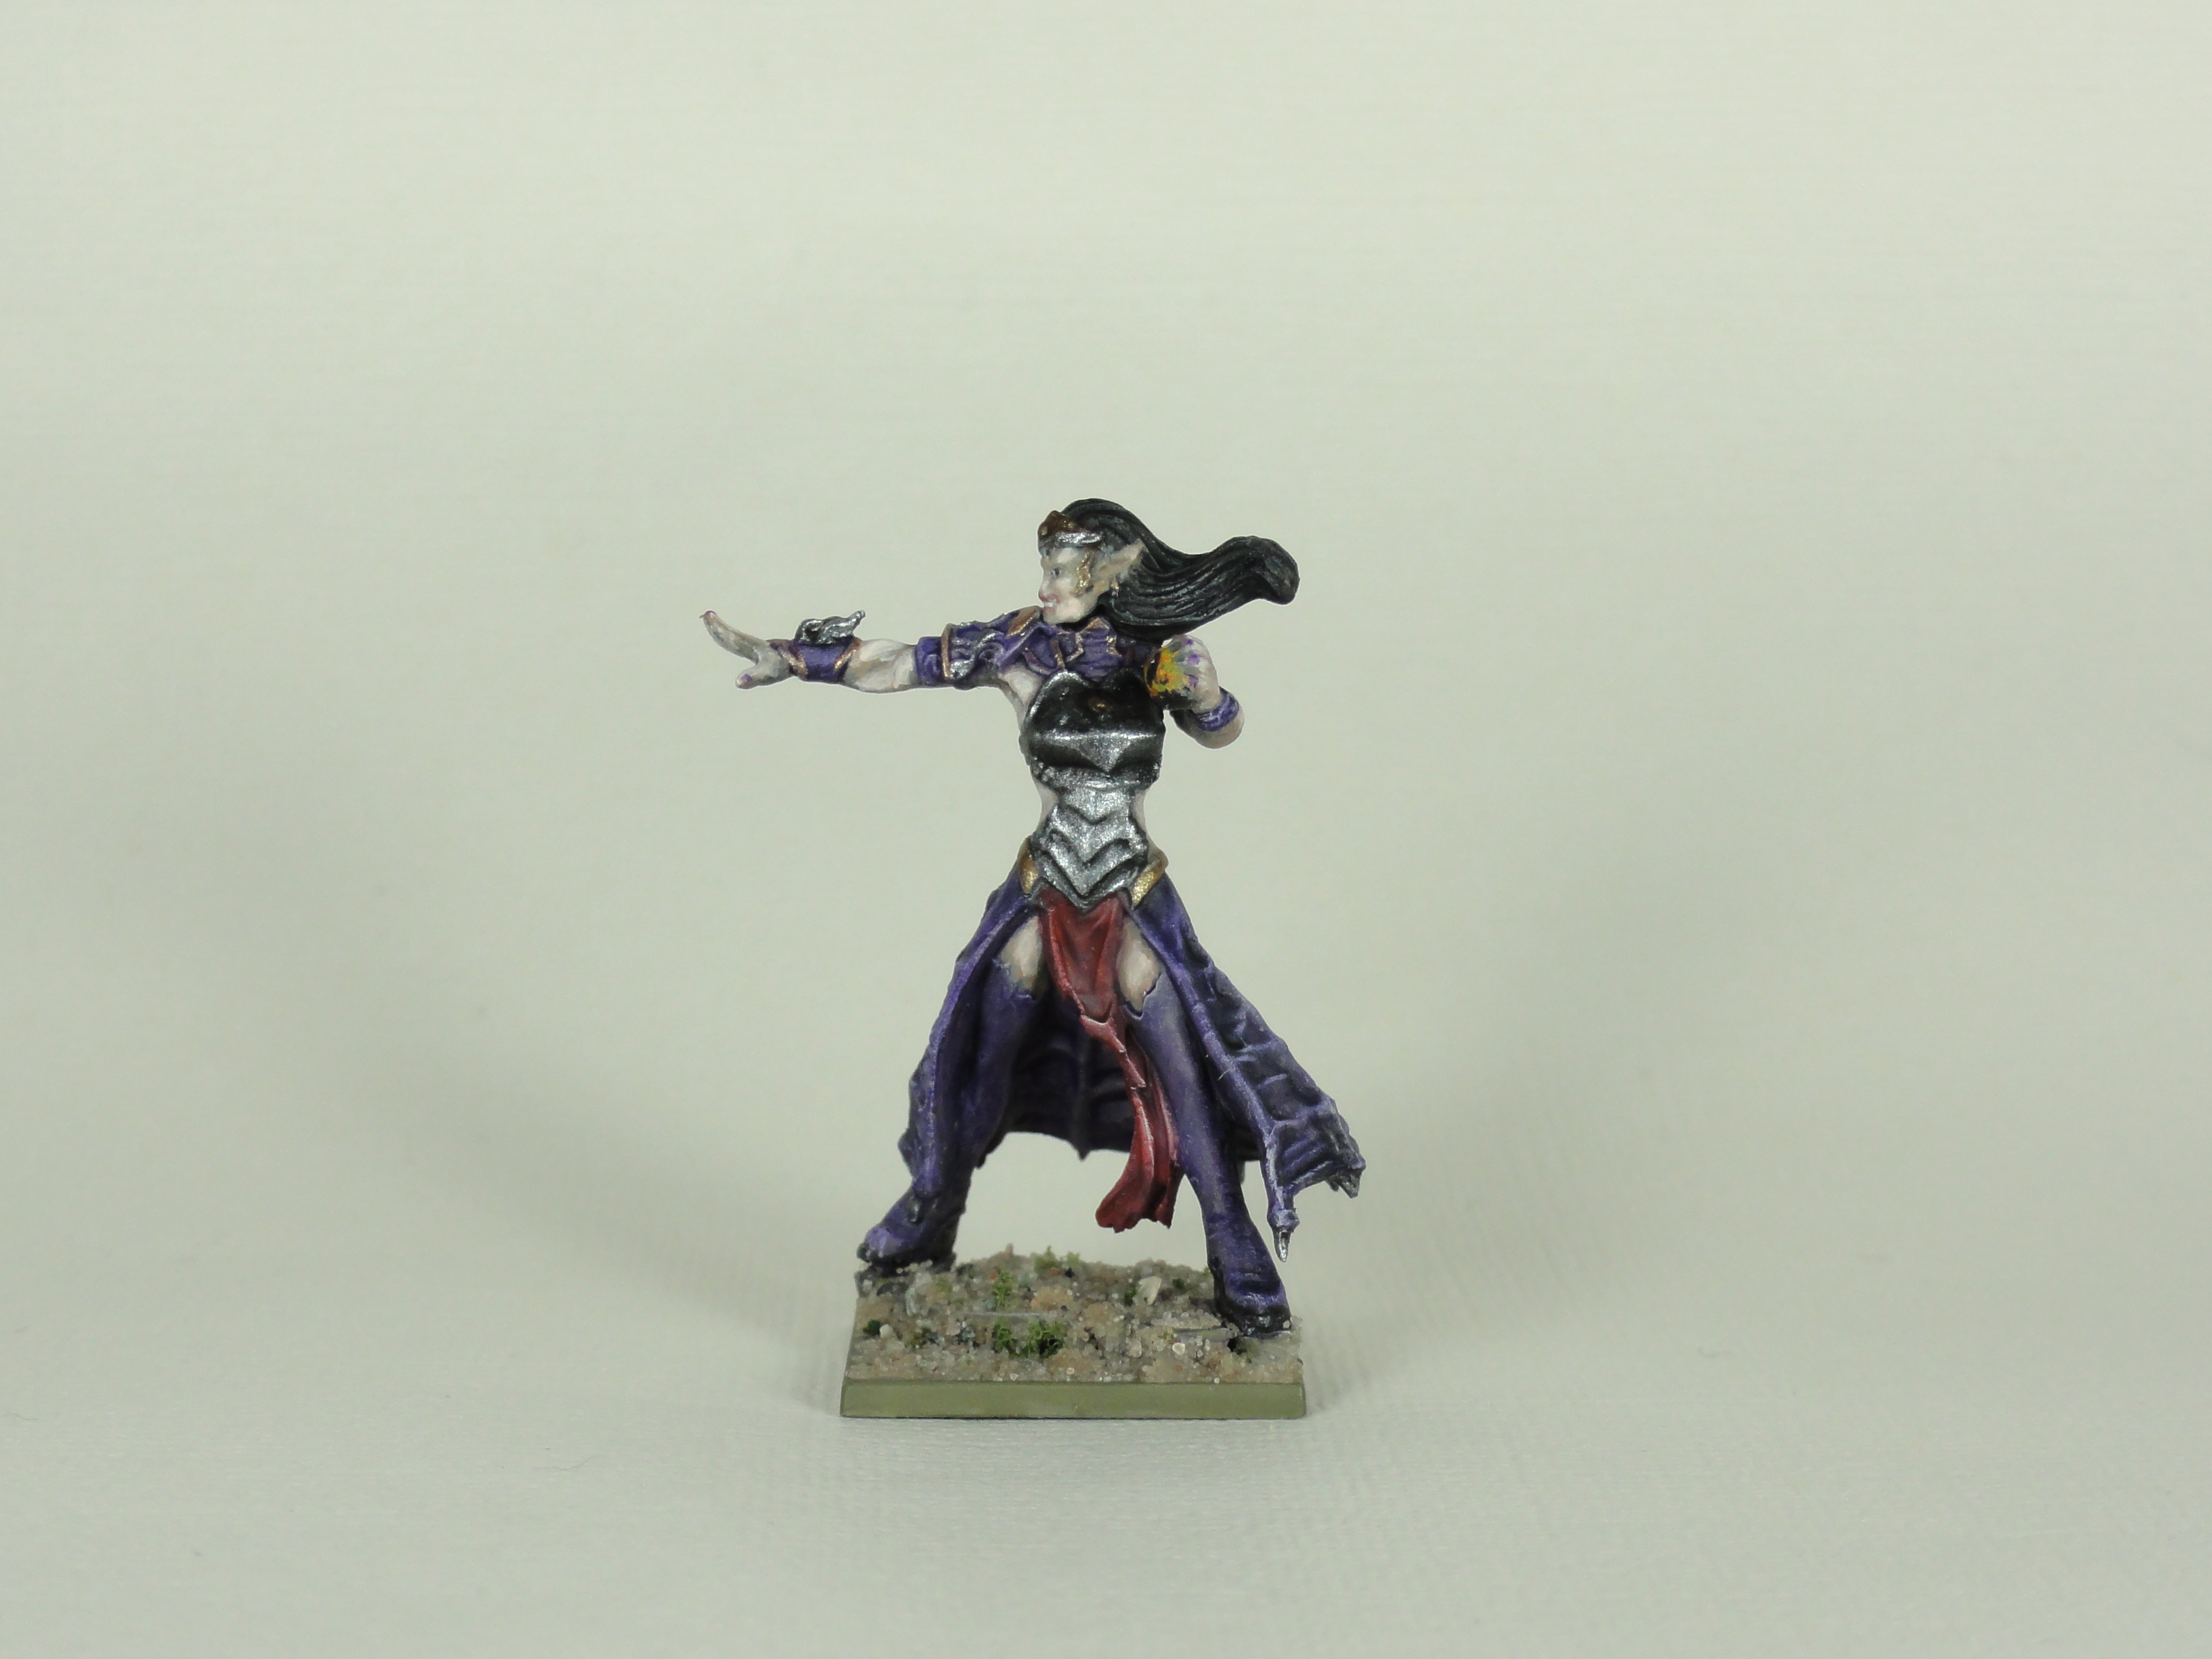
La'theal Bleakheart
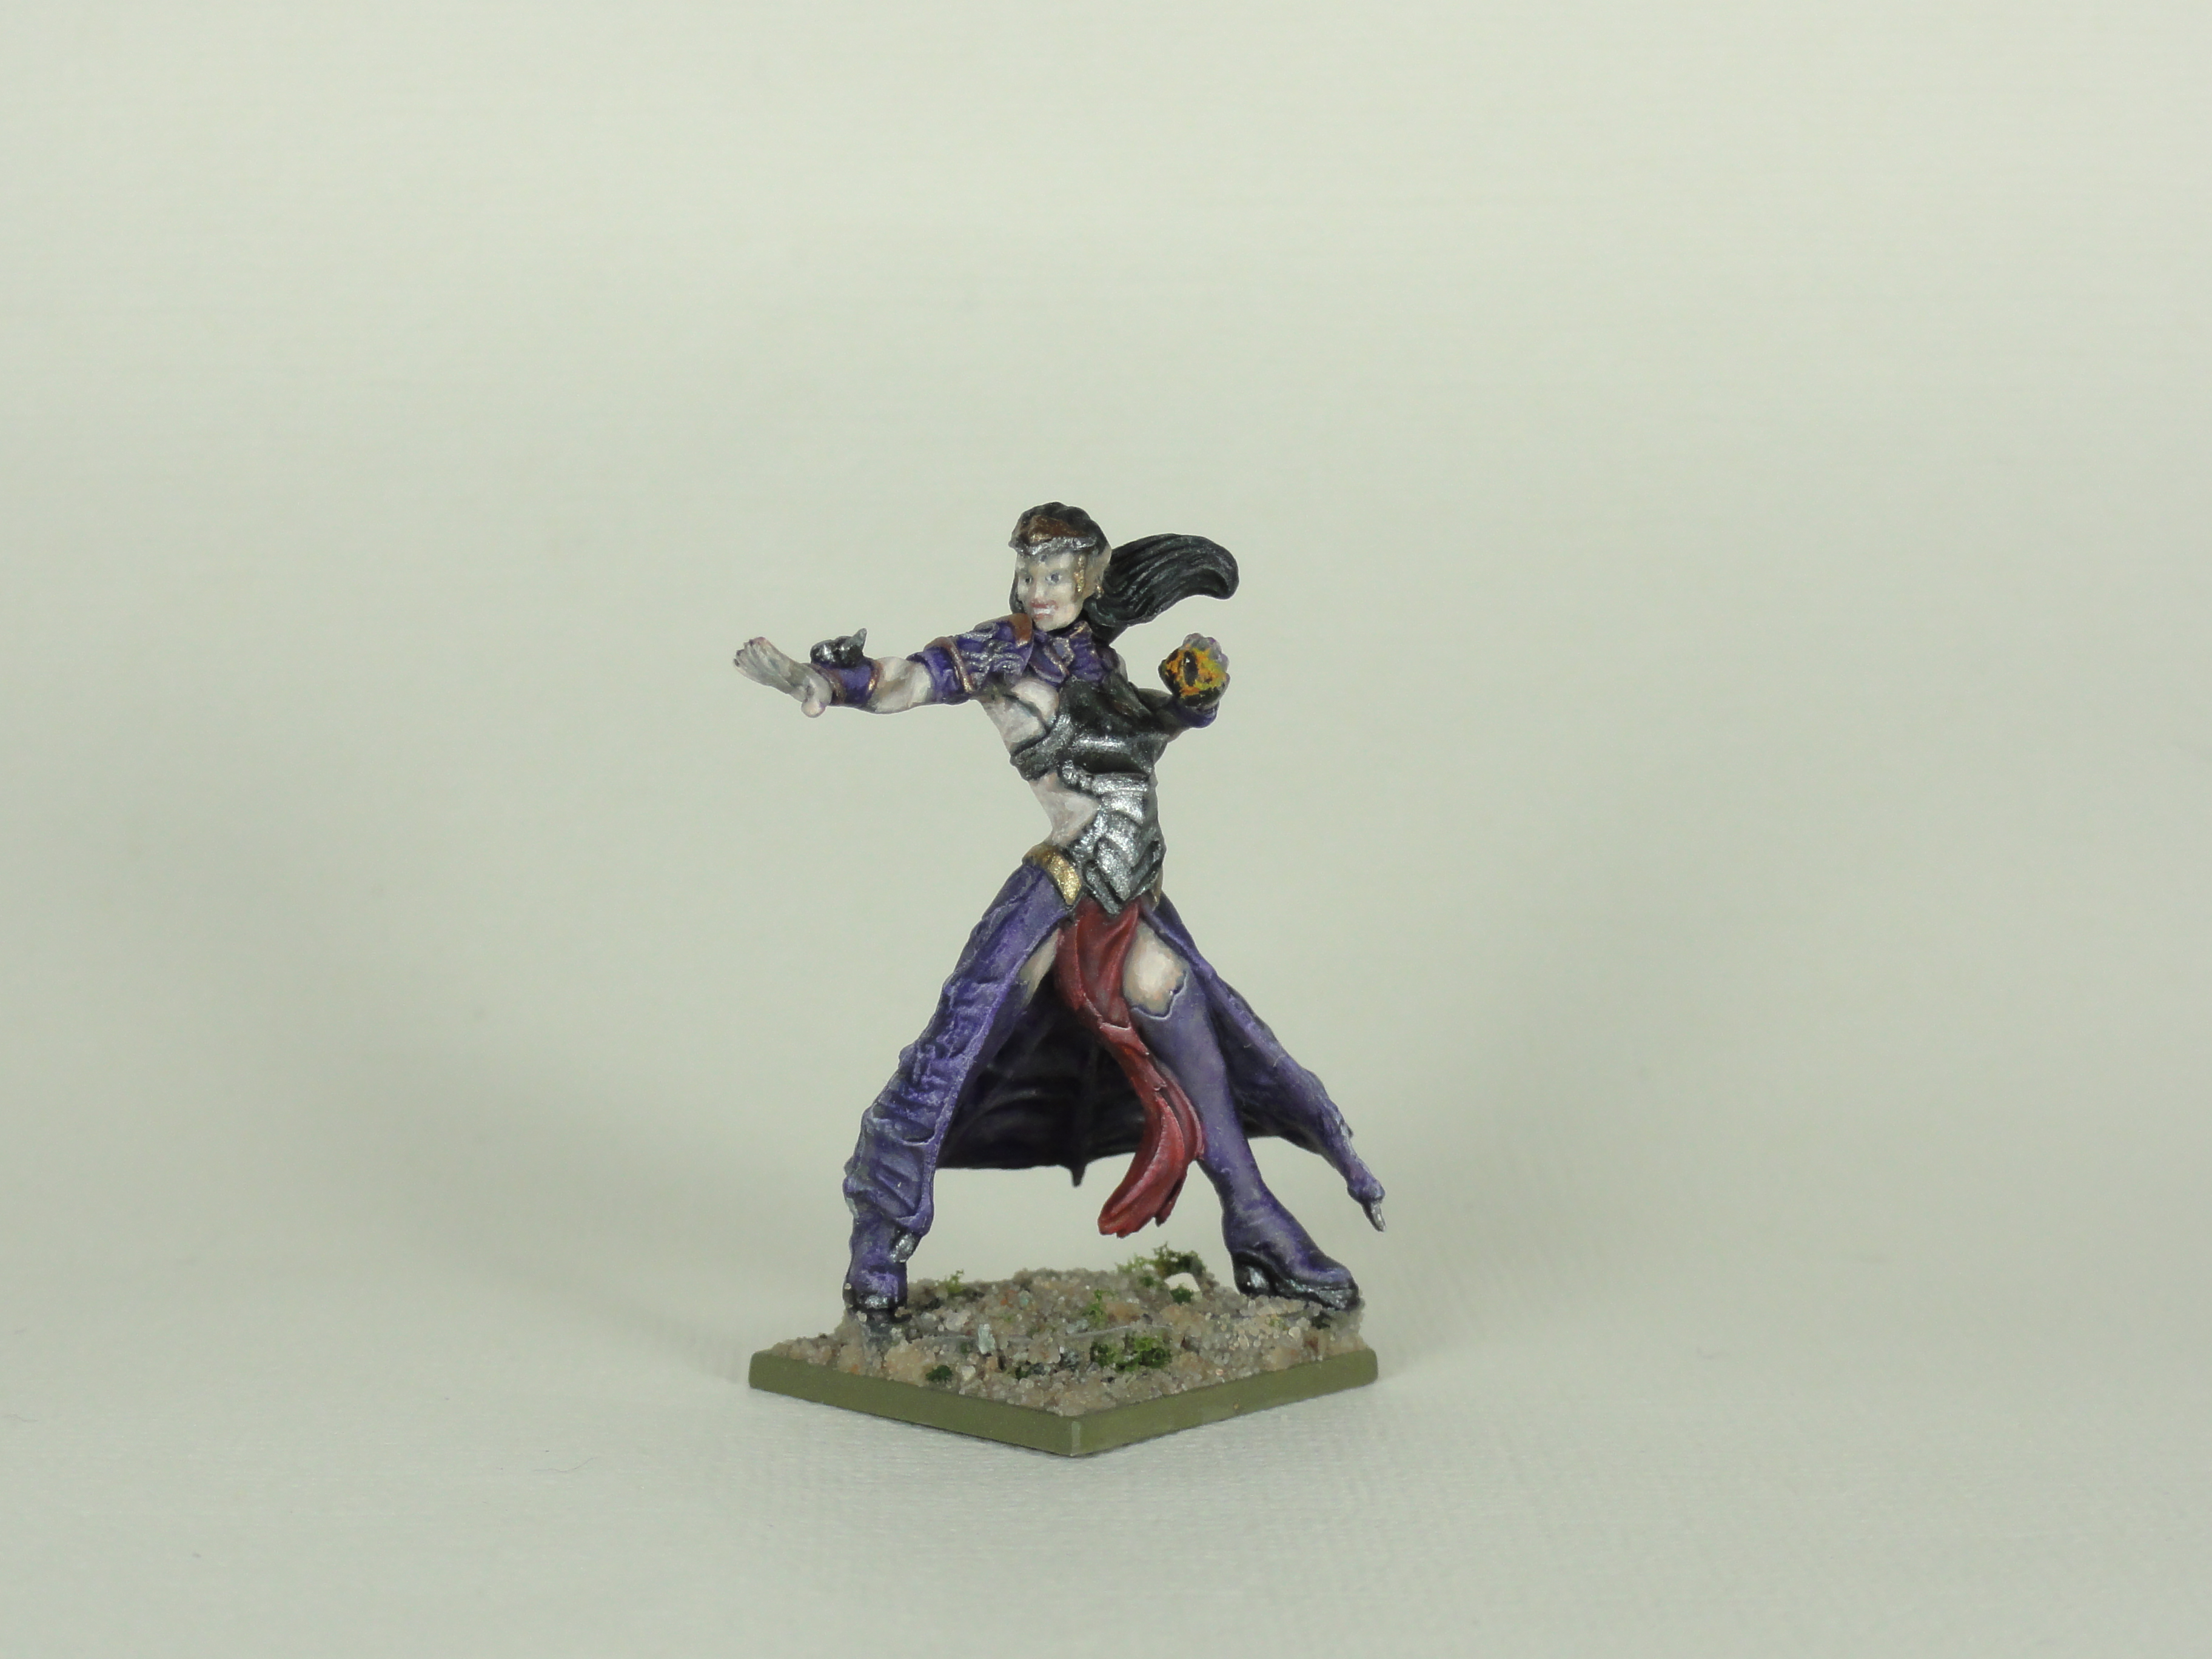
After a Paynes Grey Wash and a dry brush of Pale Sand over the zenithaled IDF Israeli Sand Grey Vallejo Surface Primer the following were used:
- Hybrid Purple Ink (Old Citadel Ink) on the boots, dress, bracers, shoulder guard, elbow guard, collar and nails
- Plasma Red Ink (Old Citadel Ink) on the bit hanging down from the dress
- Shadow Black Ink (Old Citadel Ink) on the hair
This was followed by a dry brush of Pale Sand (Vallejo Model Color) and more Shadow Black ink on the hair.
Skin:
- Tan Earth (Vallejo Model Air) base coat
- Barbarian Flesh (Army Painter) mixed with Light Flesh (Vallejo Model Color) layer
- Light Flesh highlight
Held Eye:
- Black slit pupil with a dot of Ivory (Vallejo Model Color)
- Stippled Demonic Yellow (Army Painter), Hot Orange (Vallejo Game Color) and Black
Everything was given a gloss varnish, basing applied and sealed, then a matt varnish before the metallics were applied in the same fashion as the Drakon Hunter.


Master Hunter

Mainly the same technique as the Drakon Hunter with the following exceptions:
- The Plasma Red cape was only drybrushed before the Plasma Red Ink not after.
- The hair was done with Lava Orange Ink (Old Citadel Ink).
- The trousers/leggings are Green Grey with a Green Grey/Pale Sand highlight.
- The bow and the gap between the 2 arrows was washed with Strong Tone before drybrushing with Pale Sand.
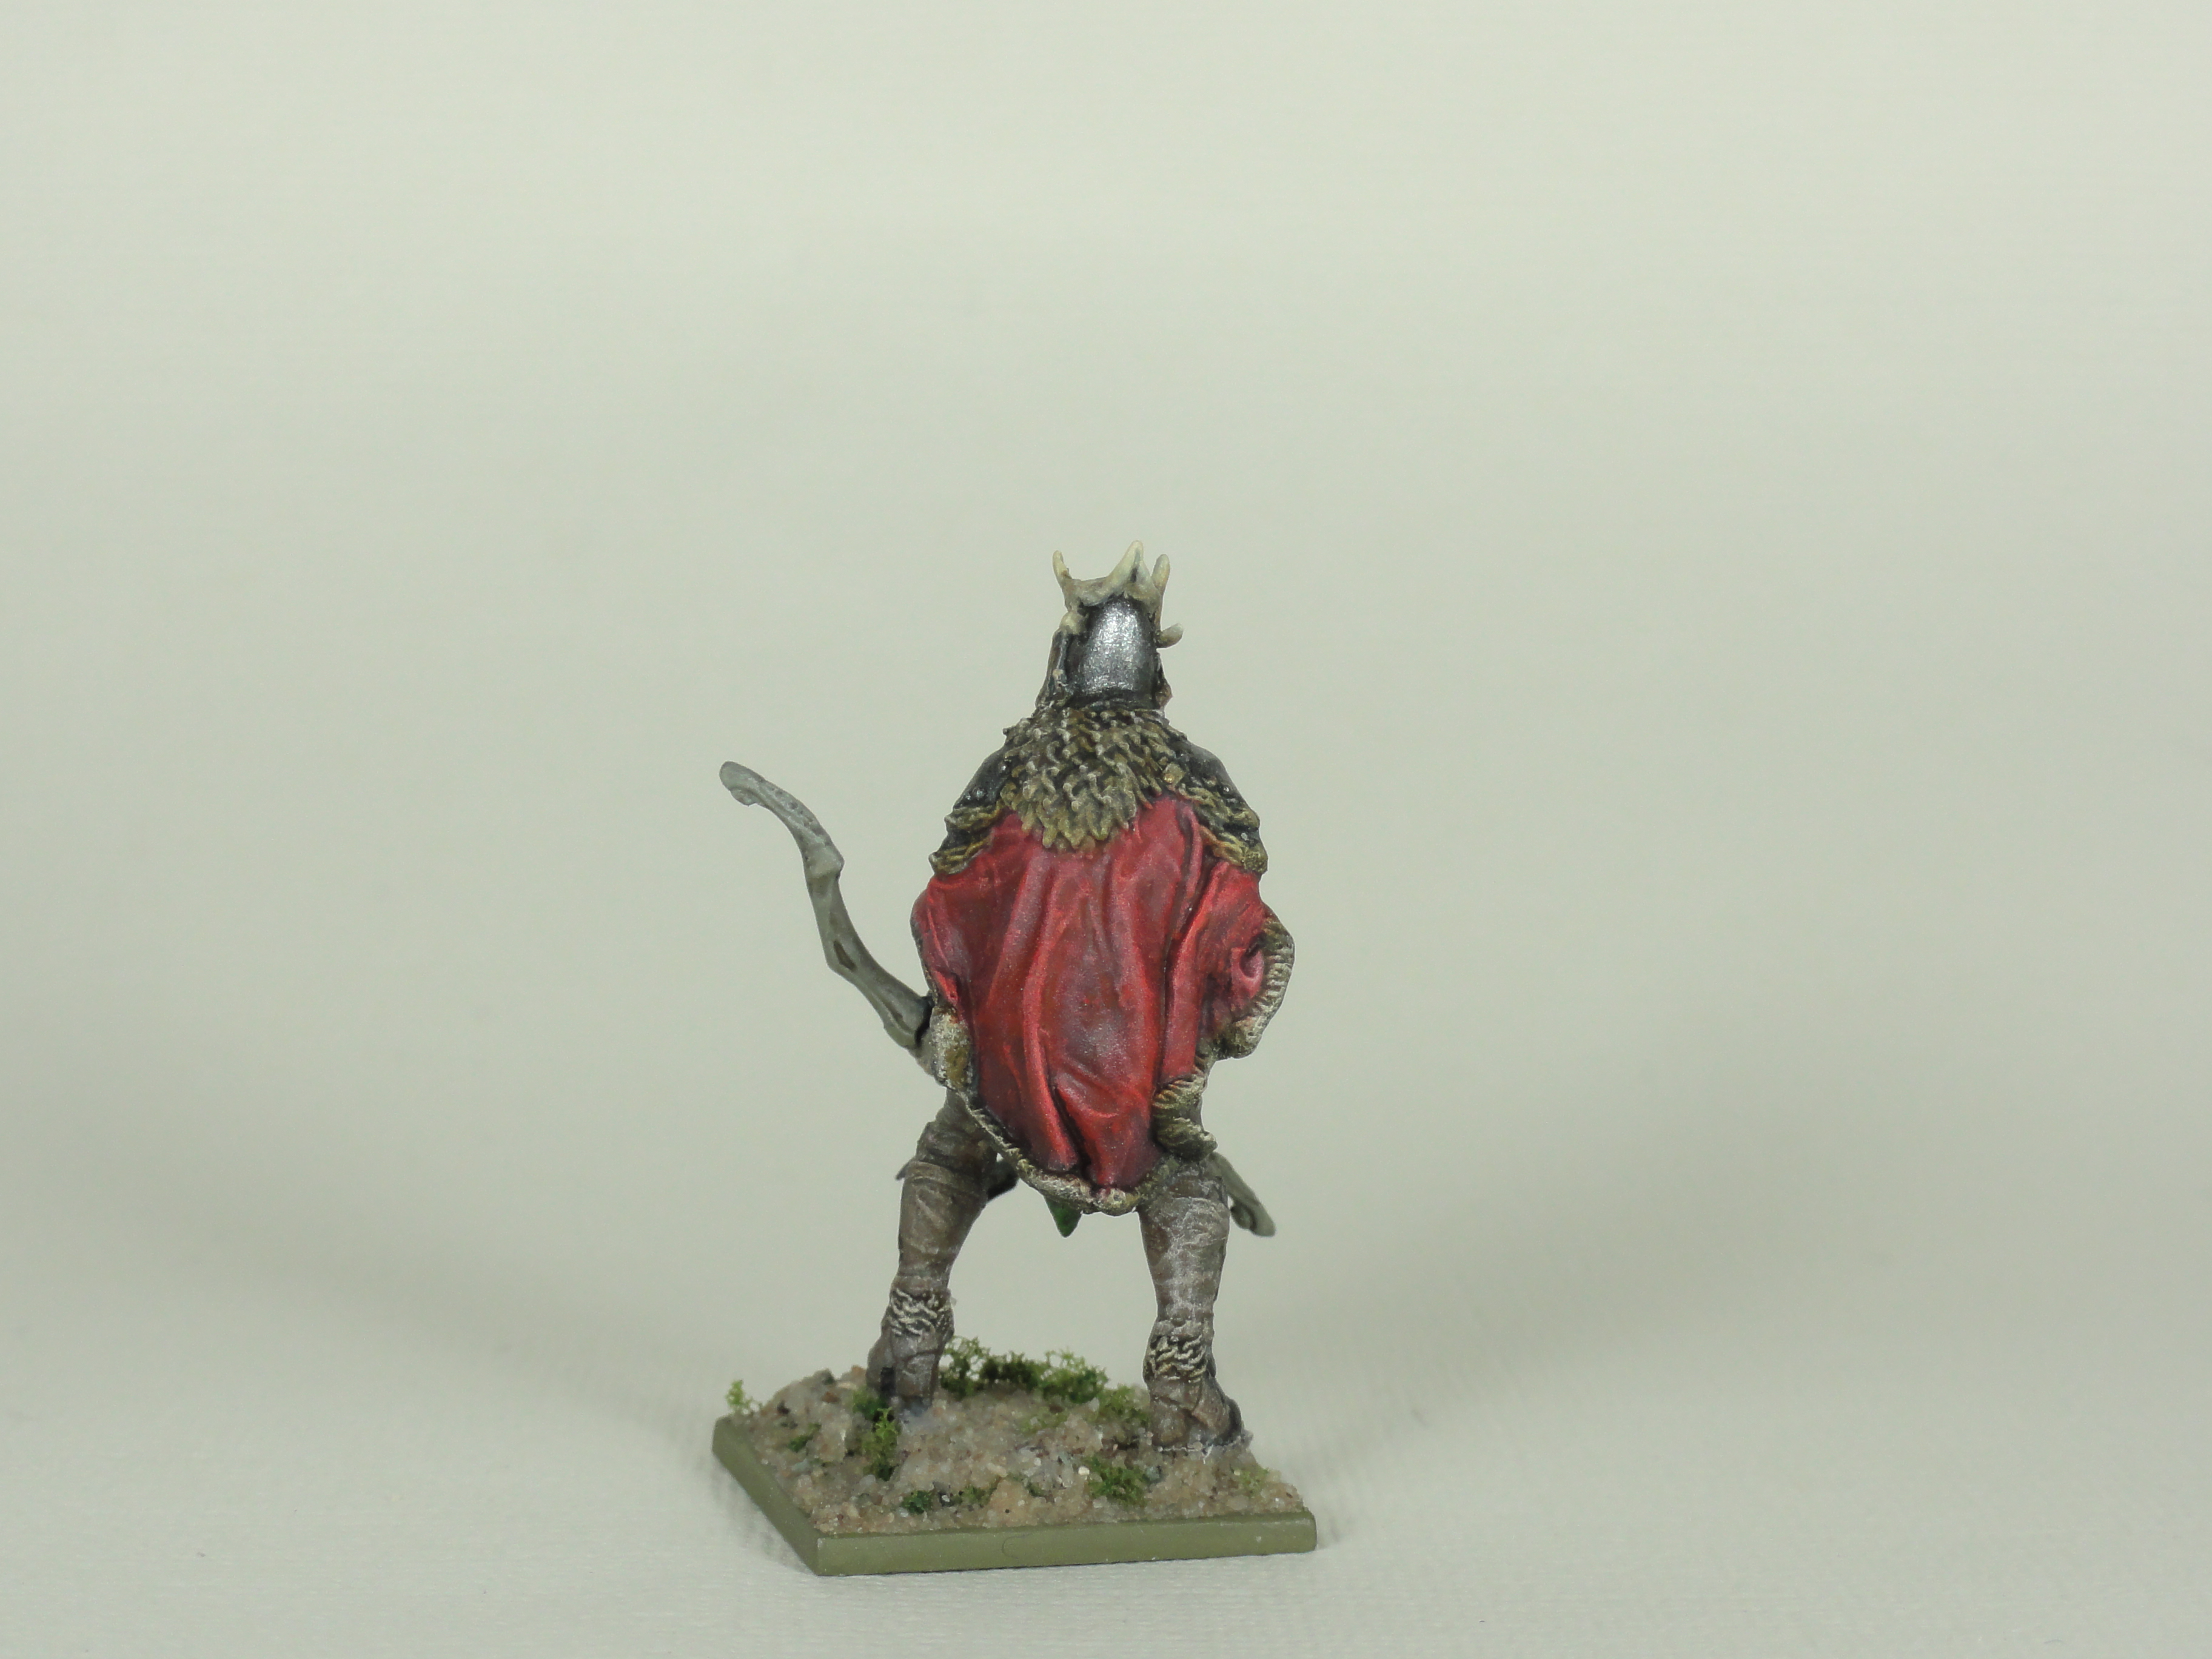
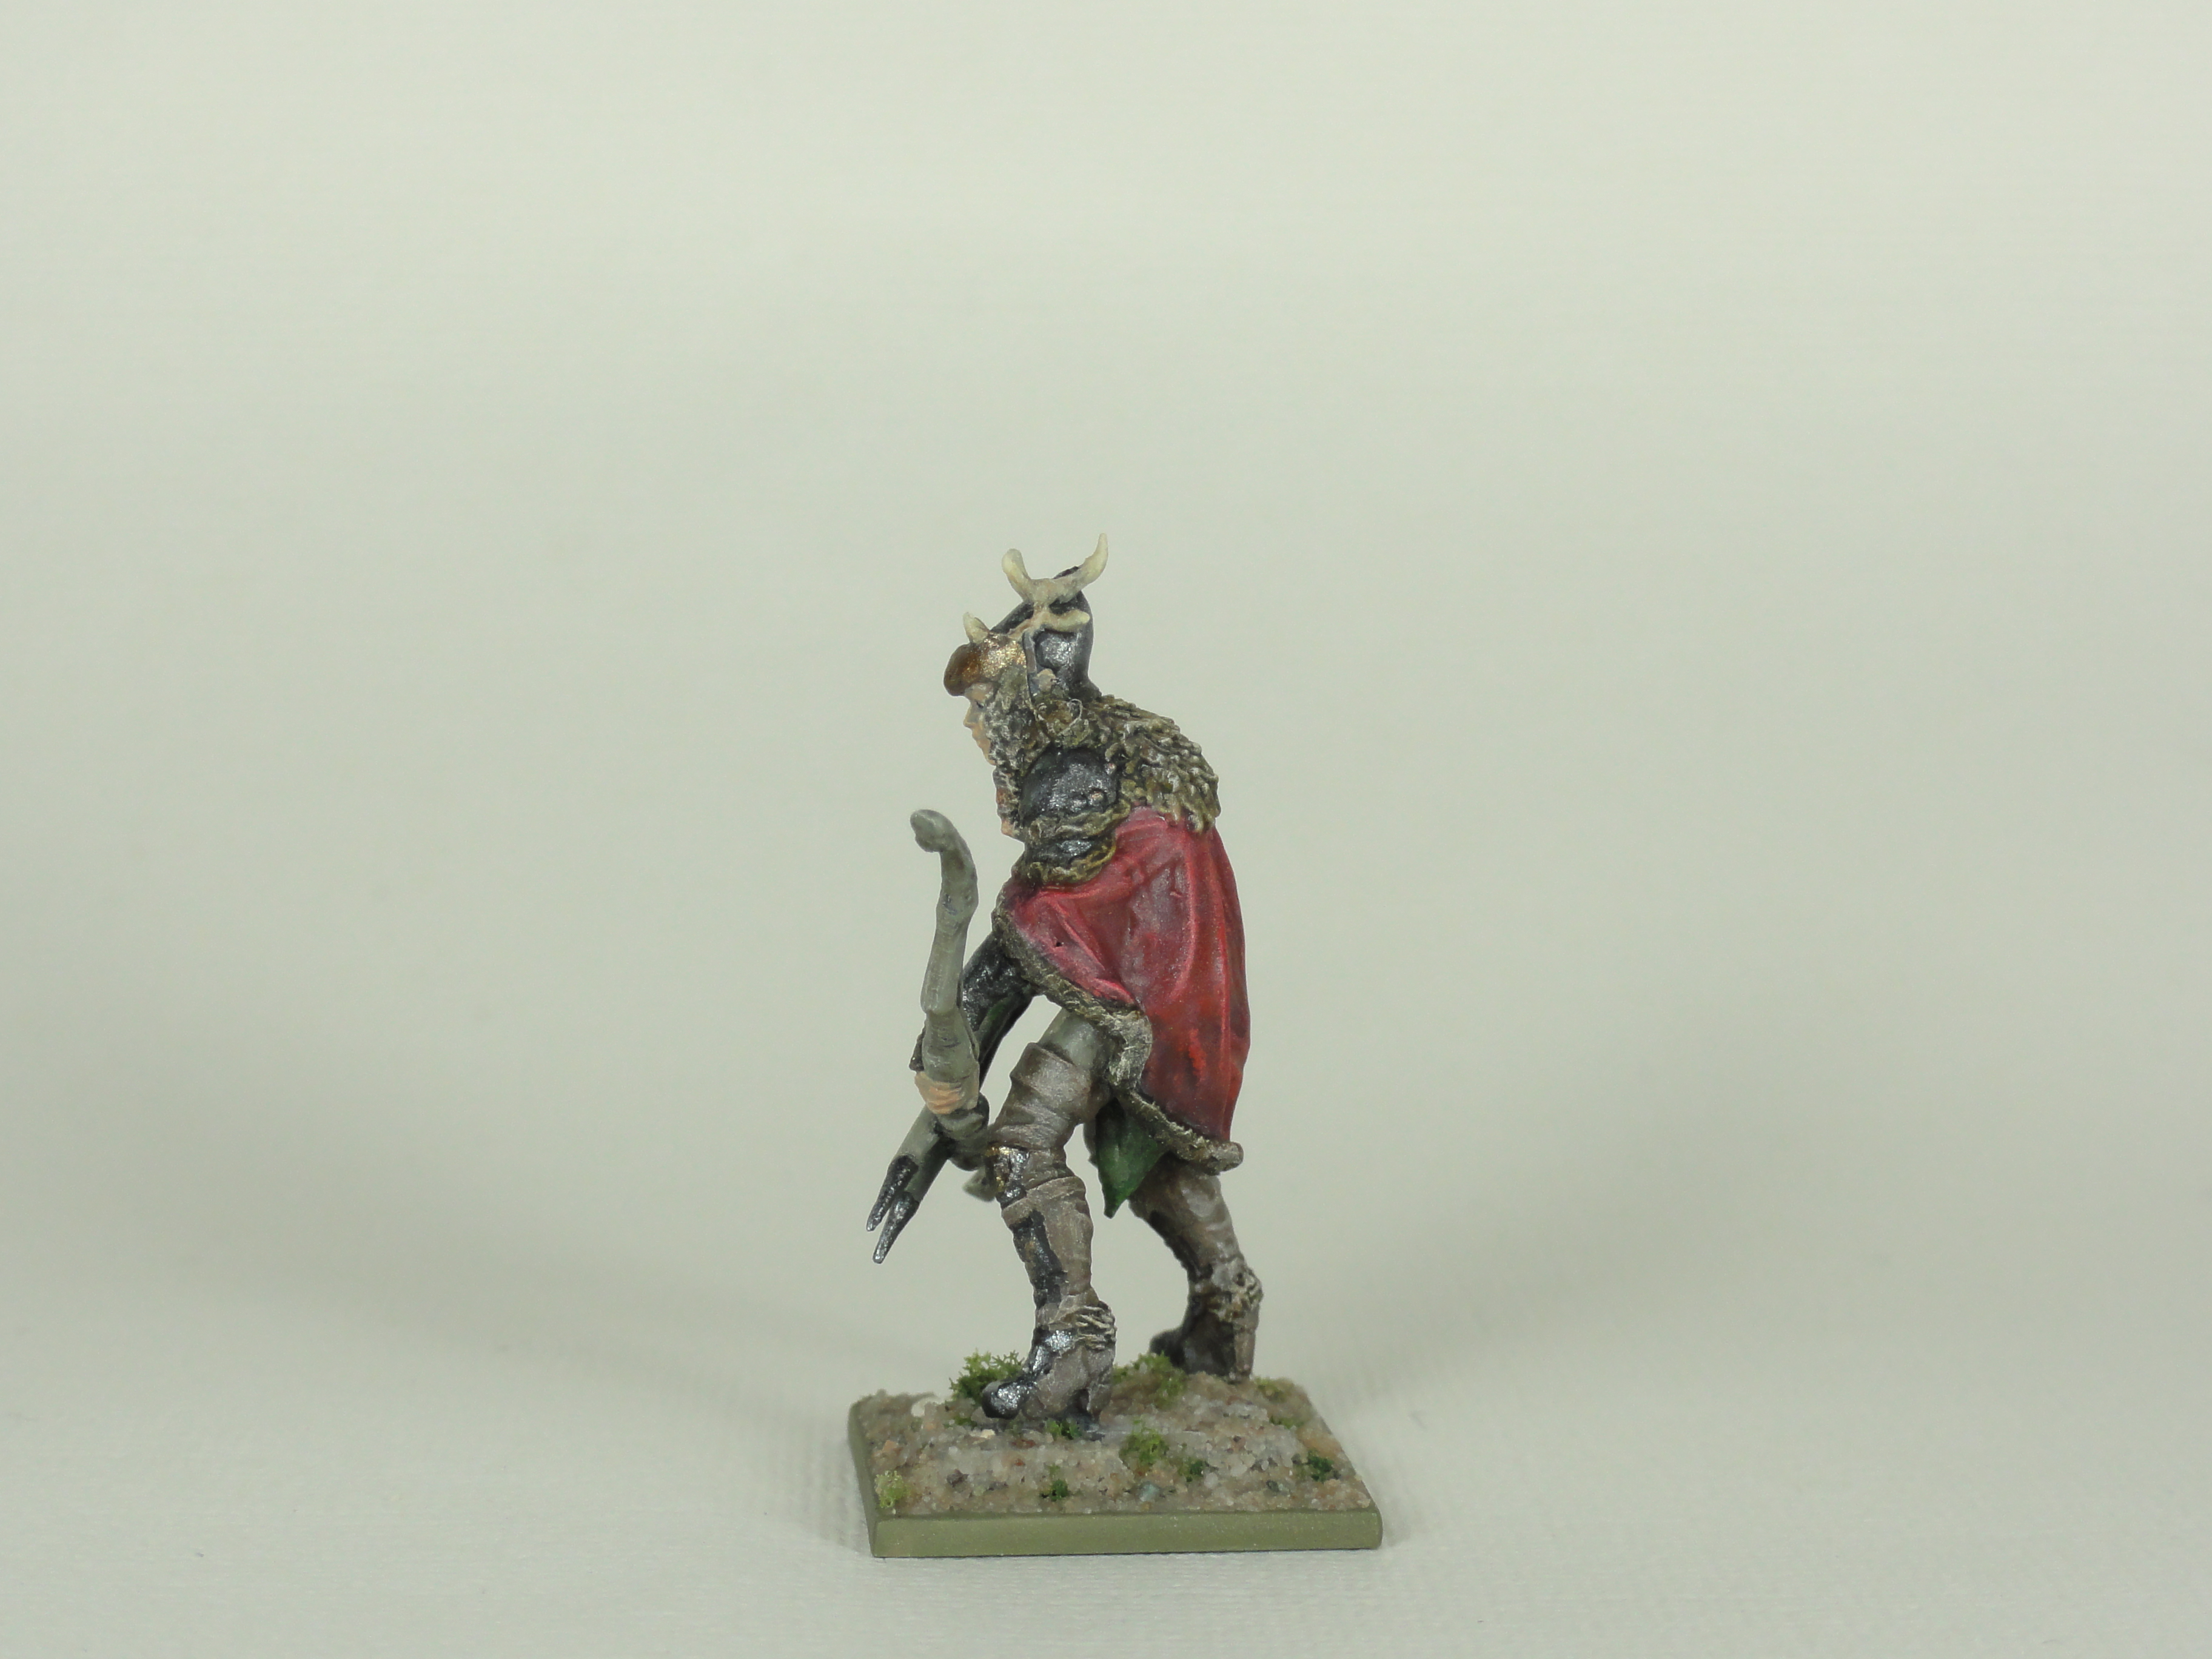
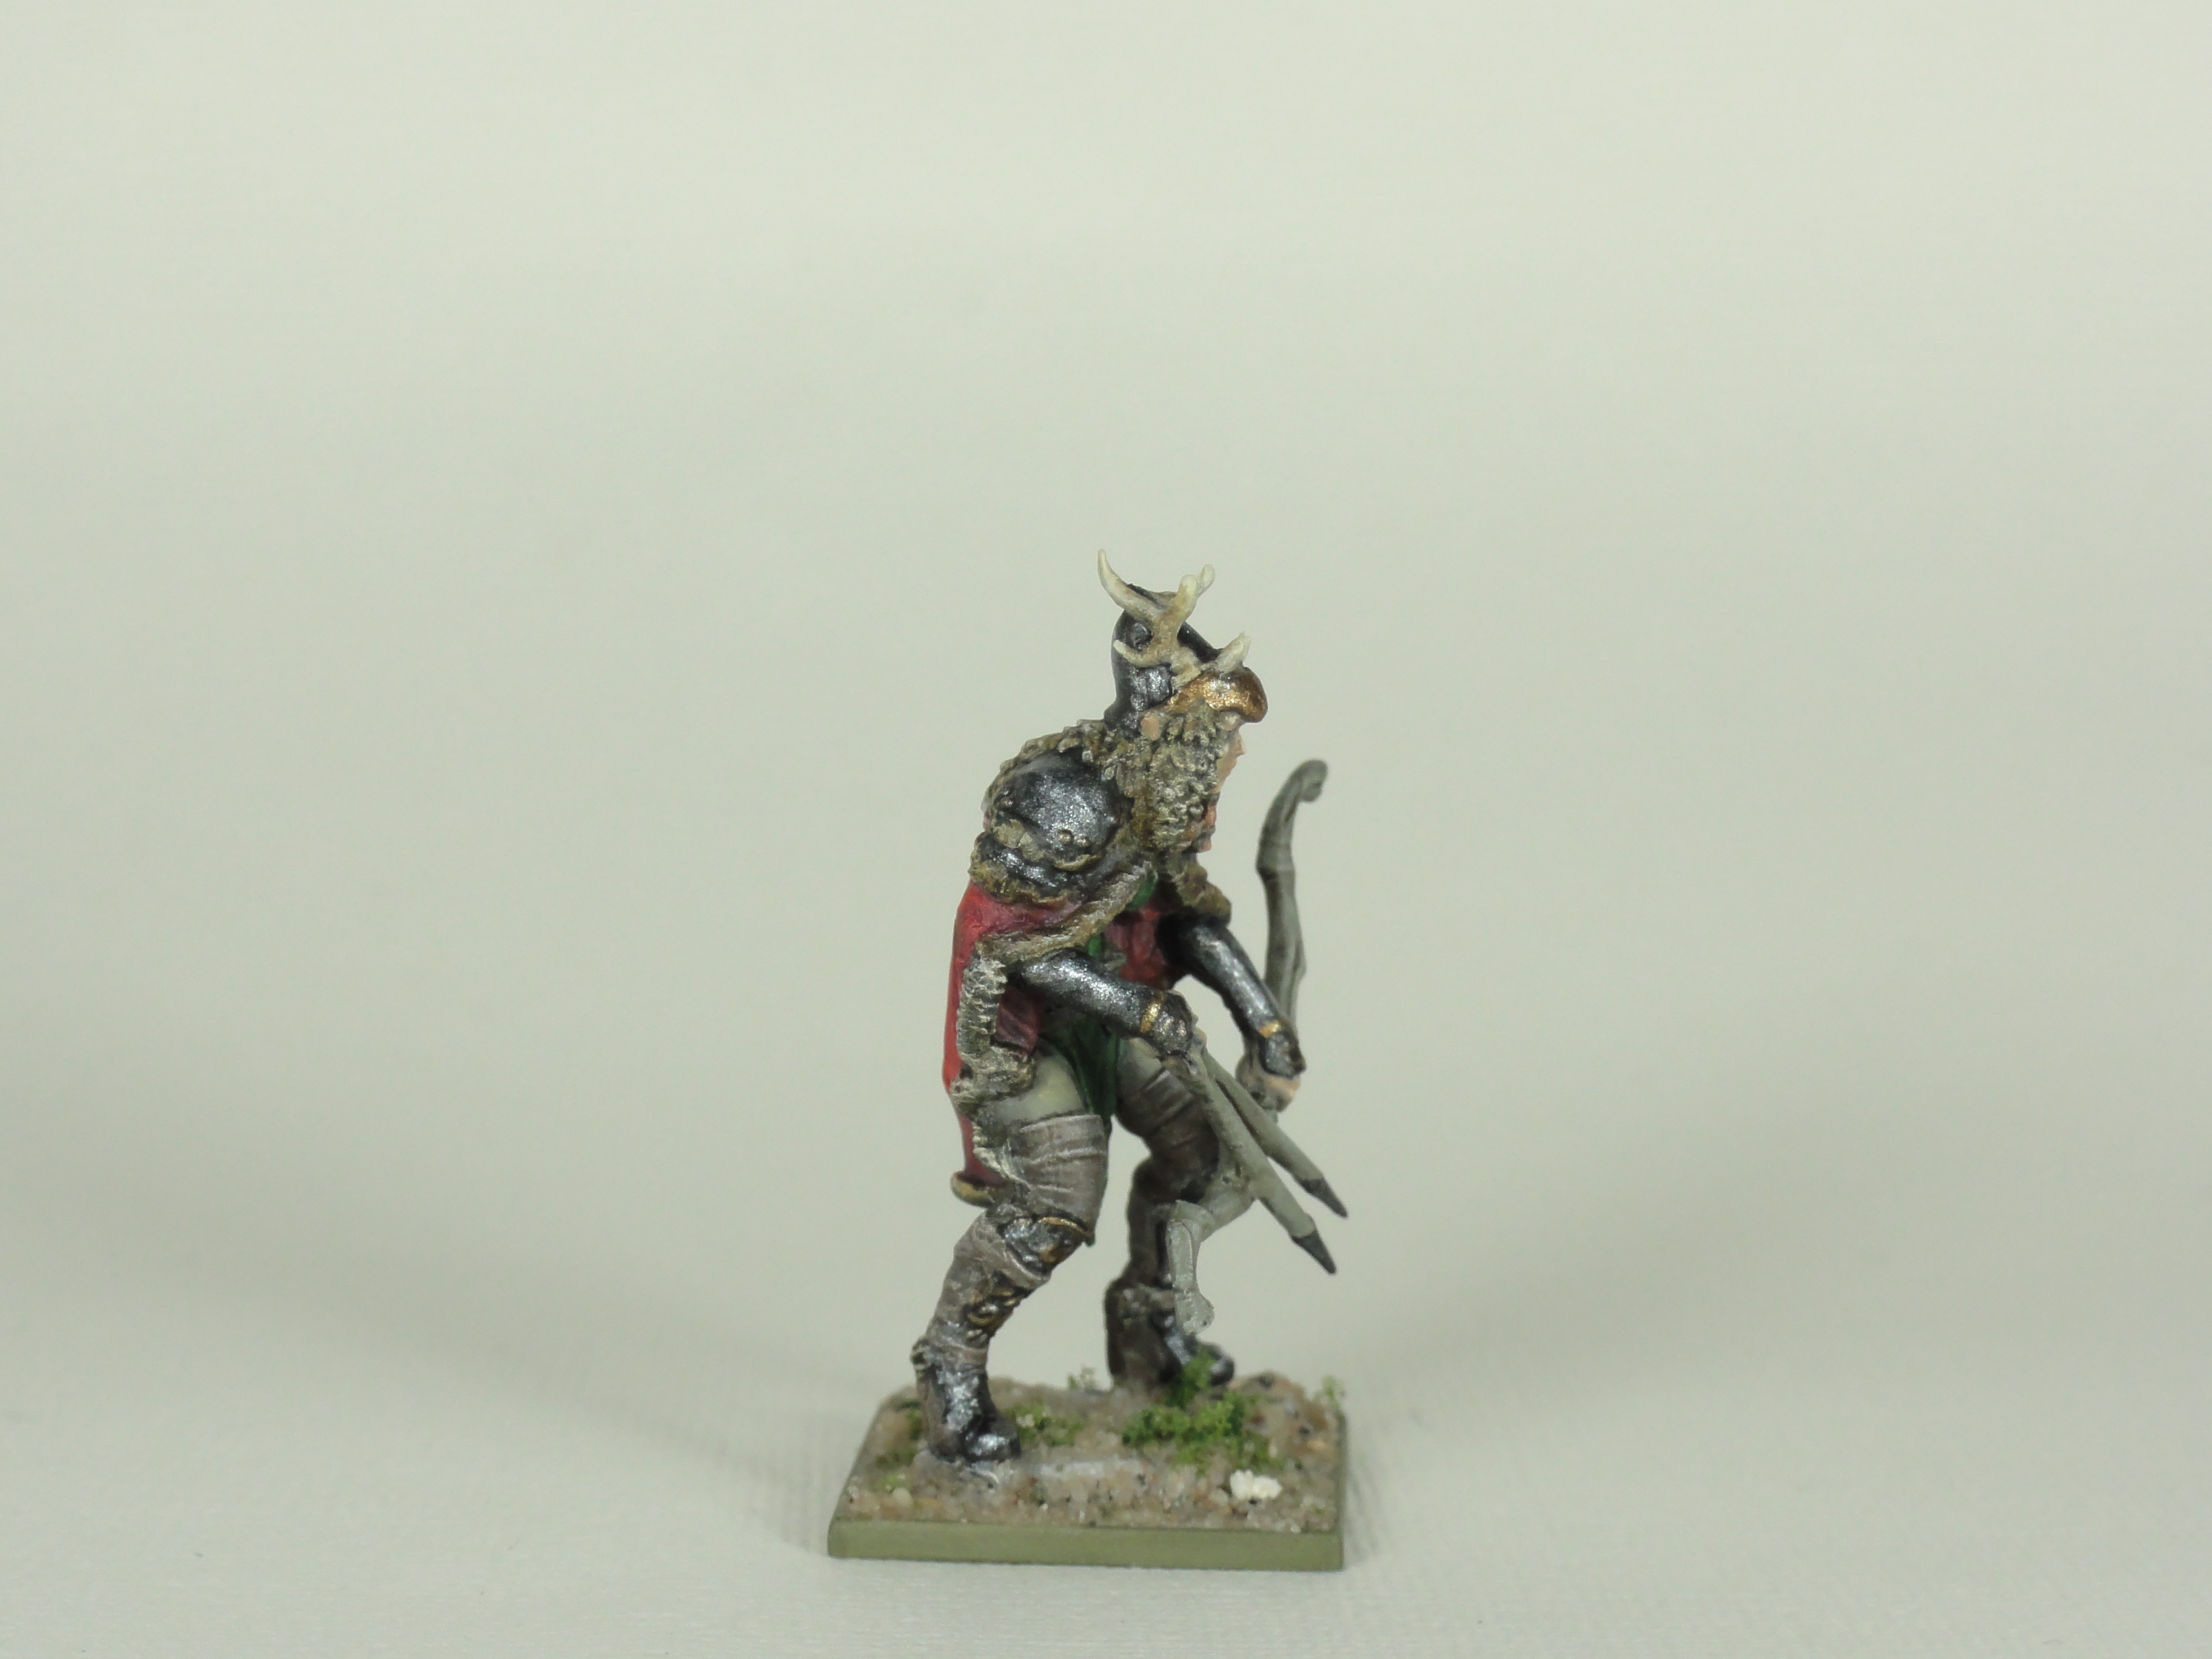
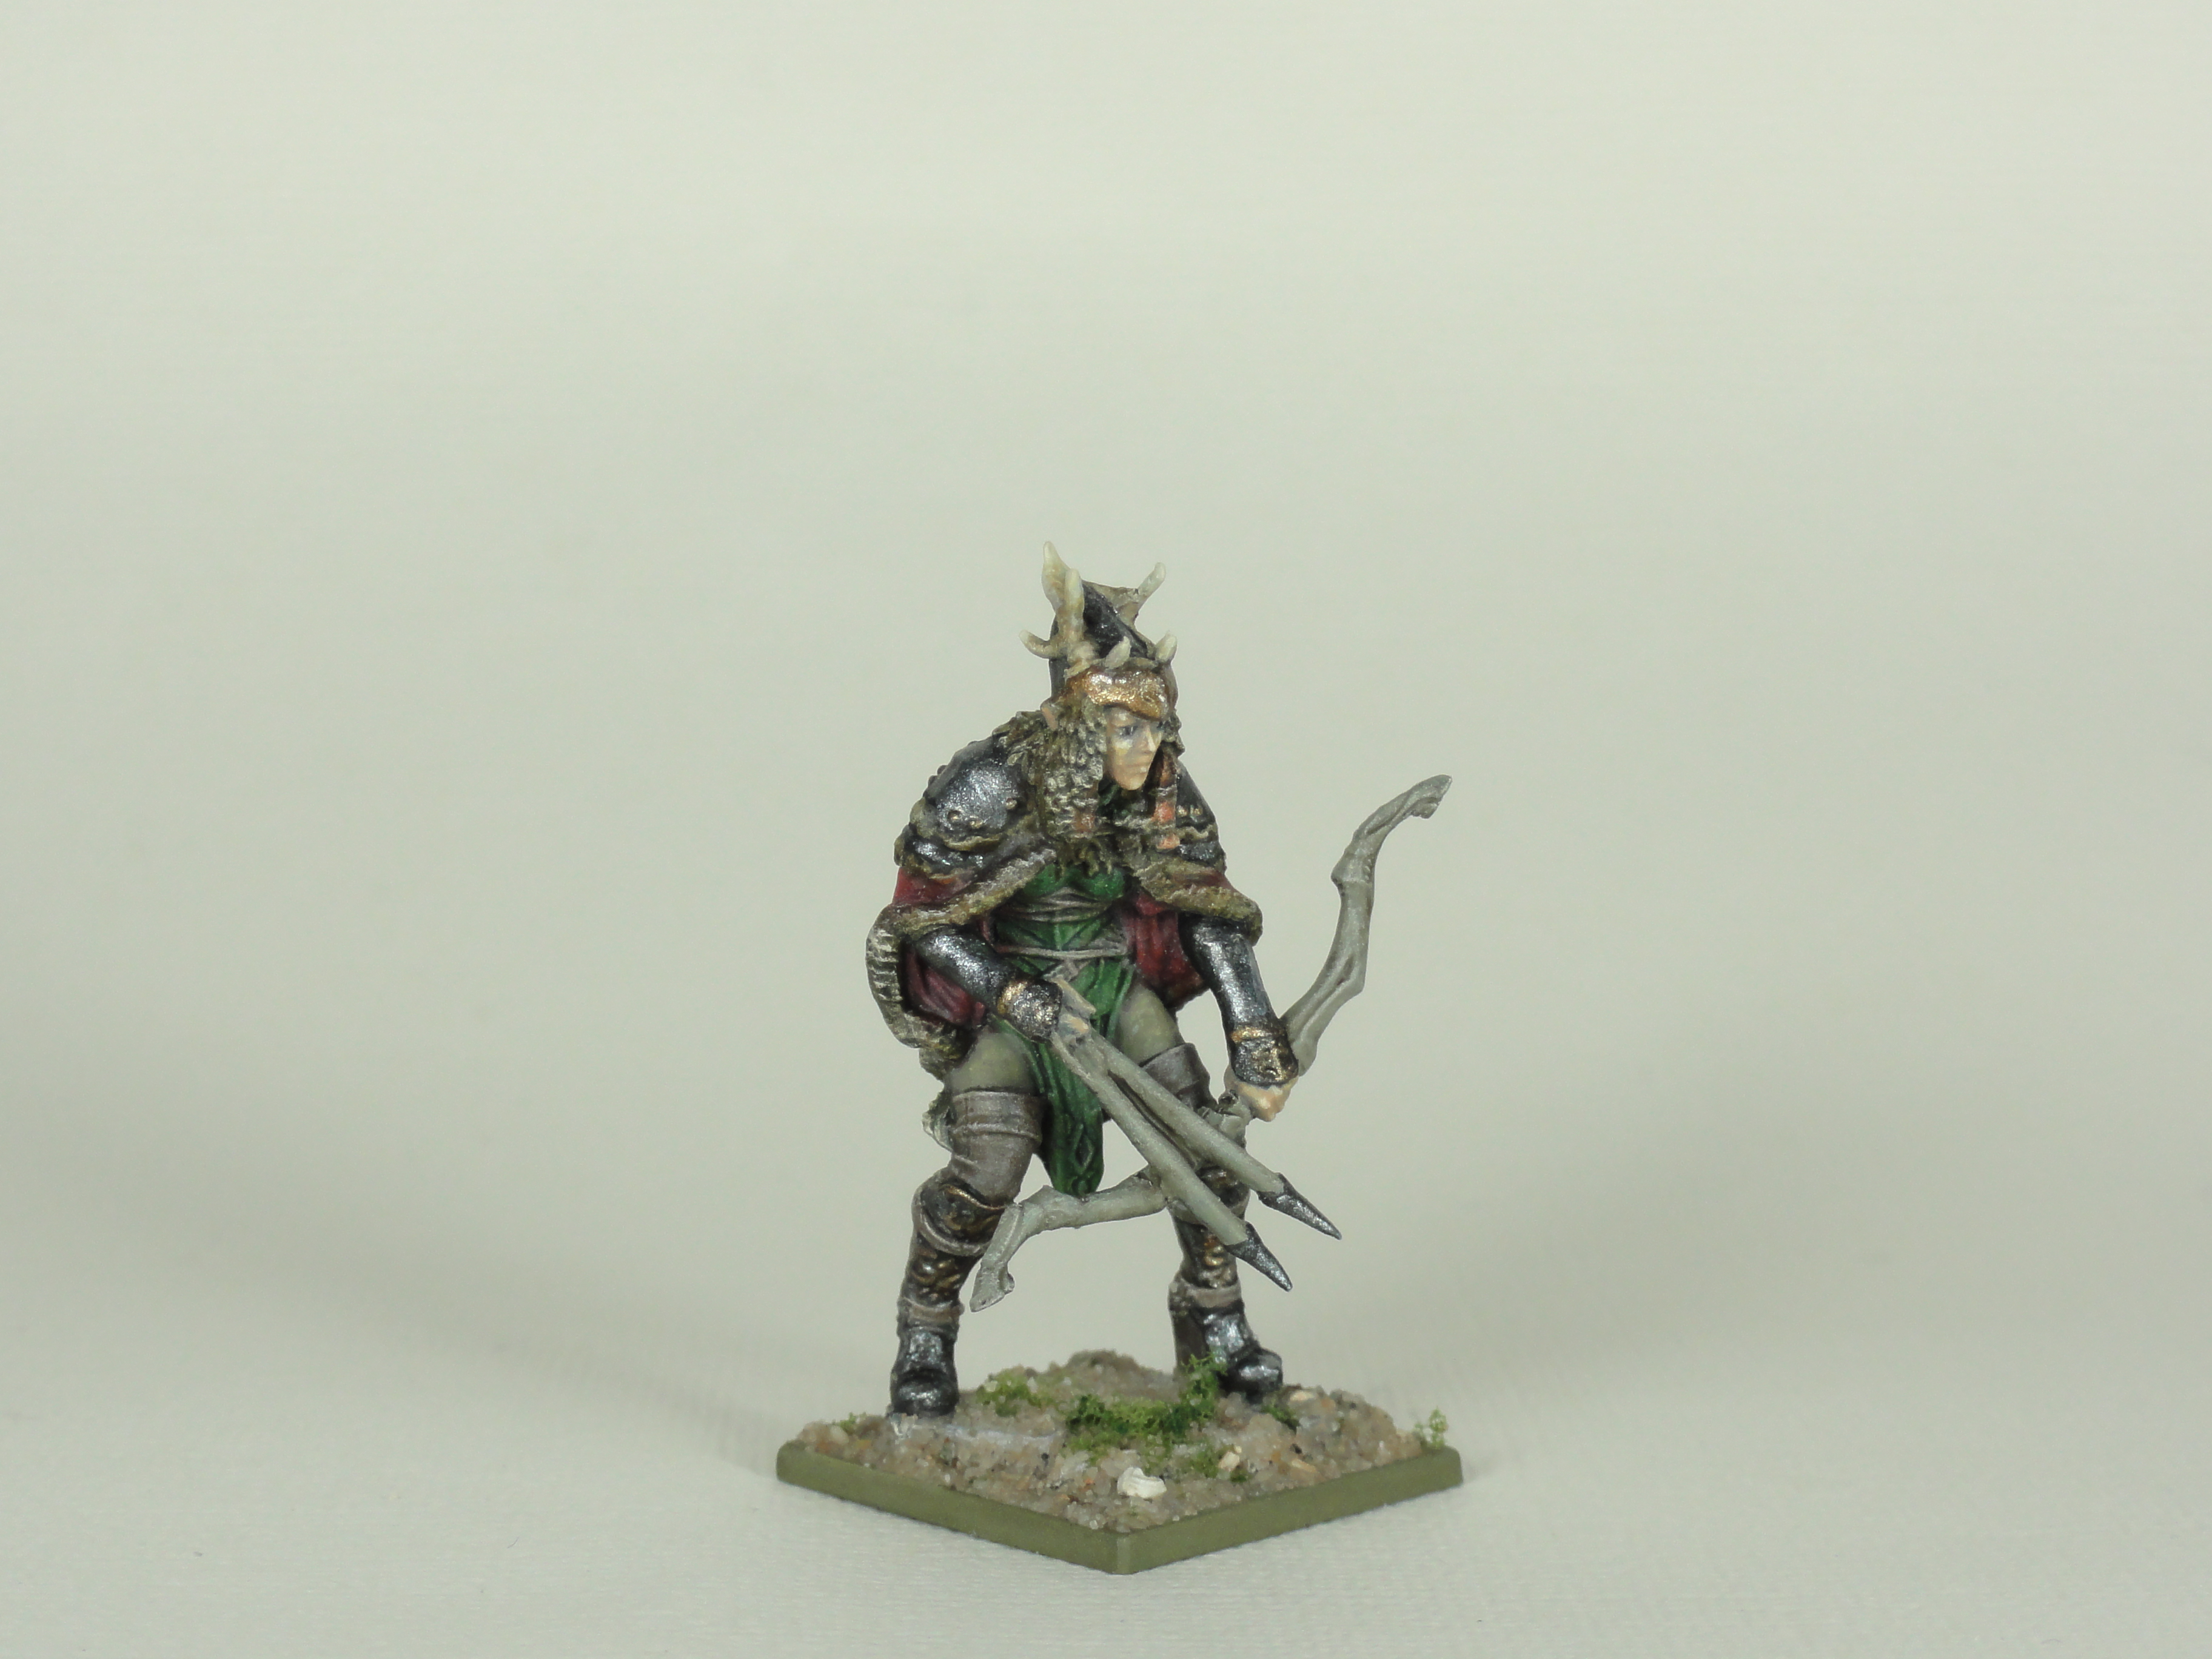
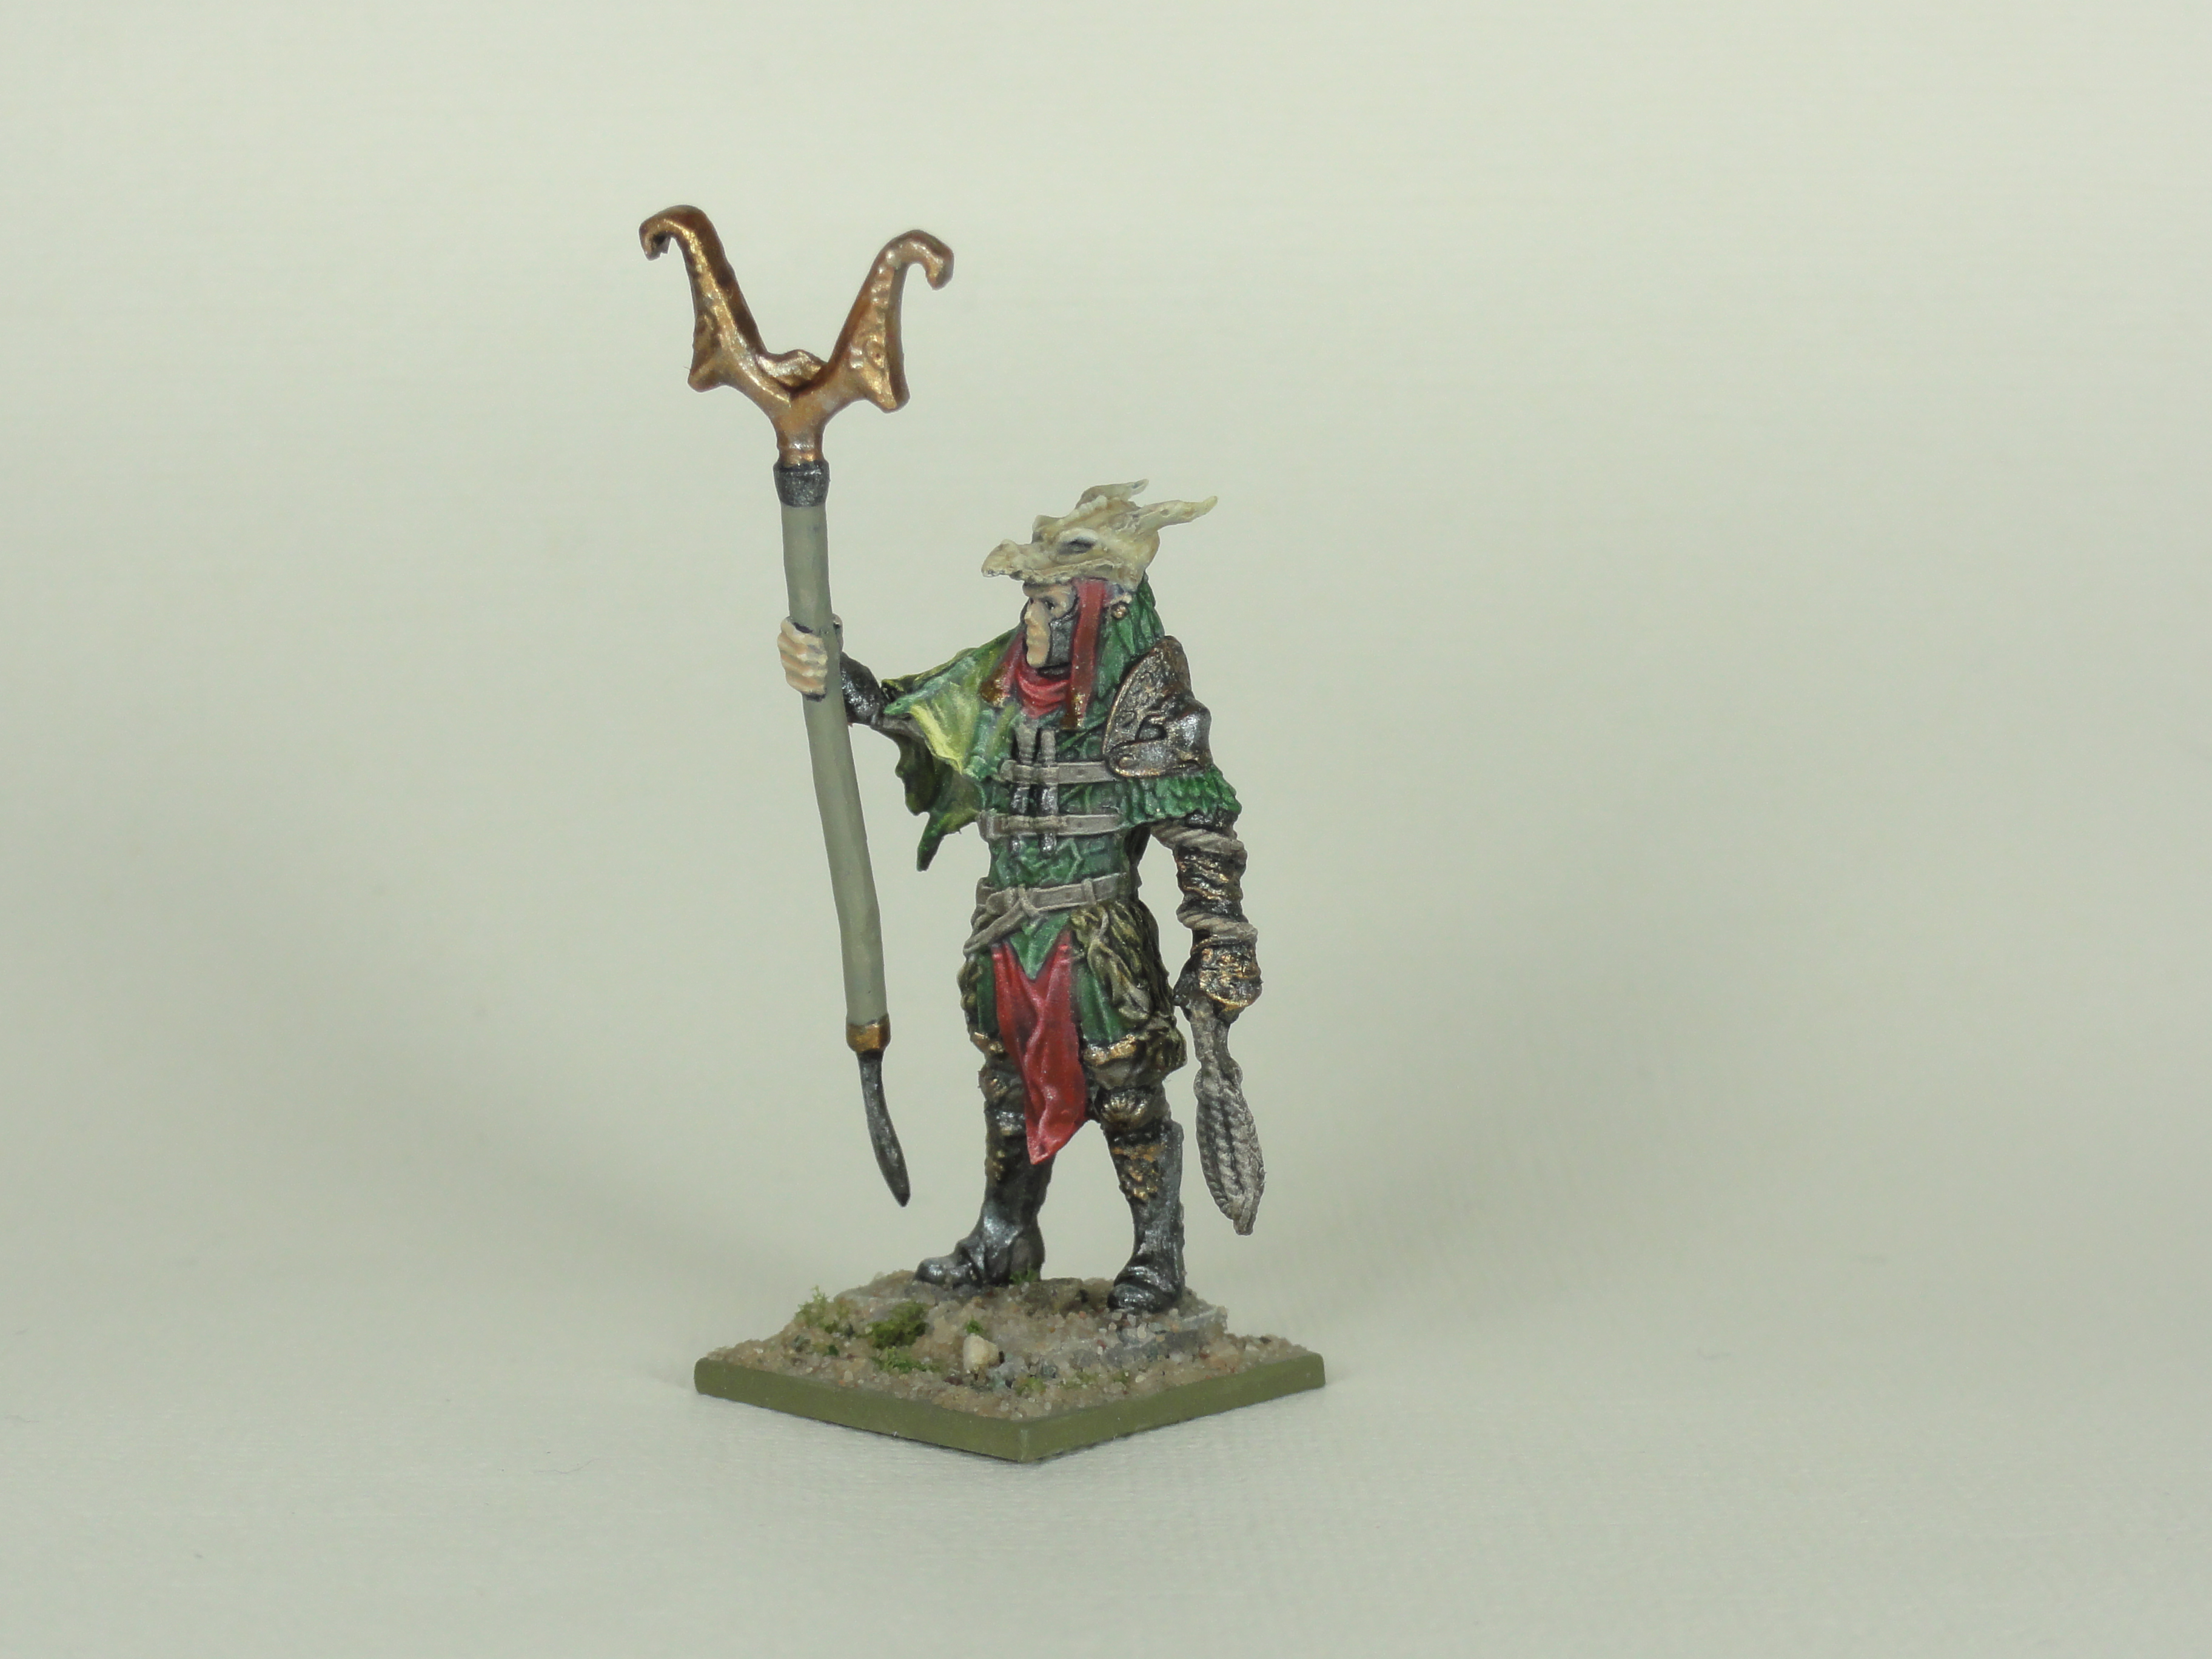
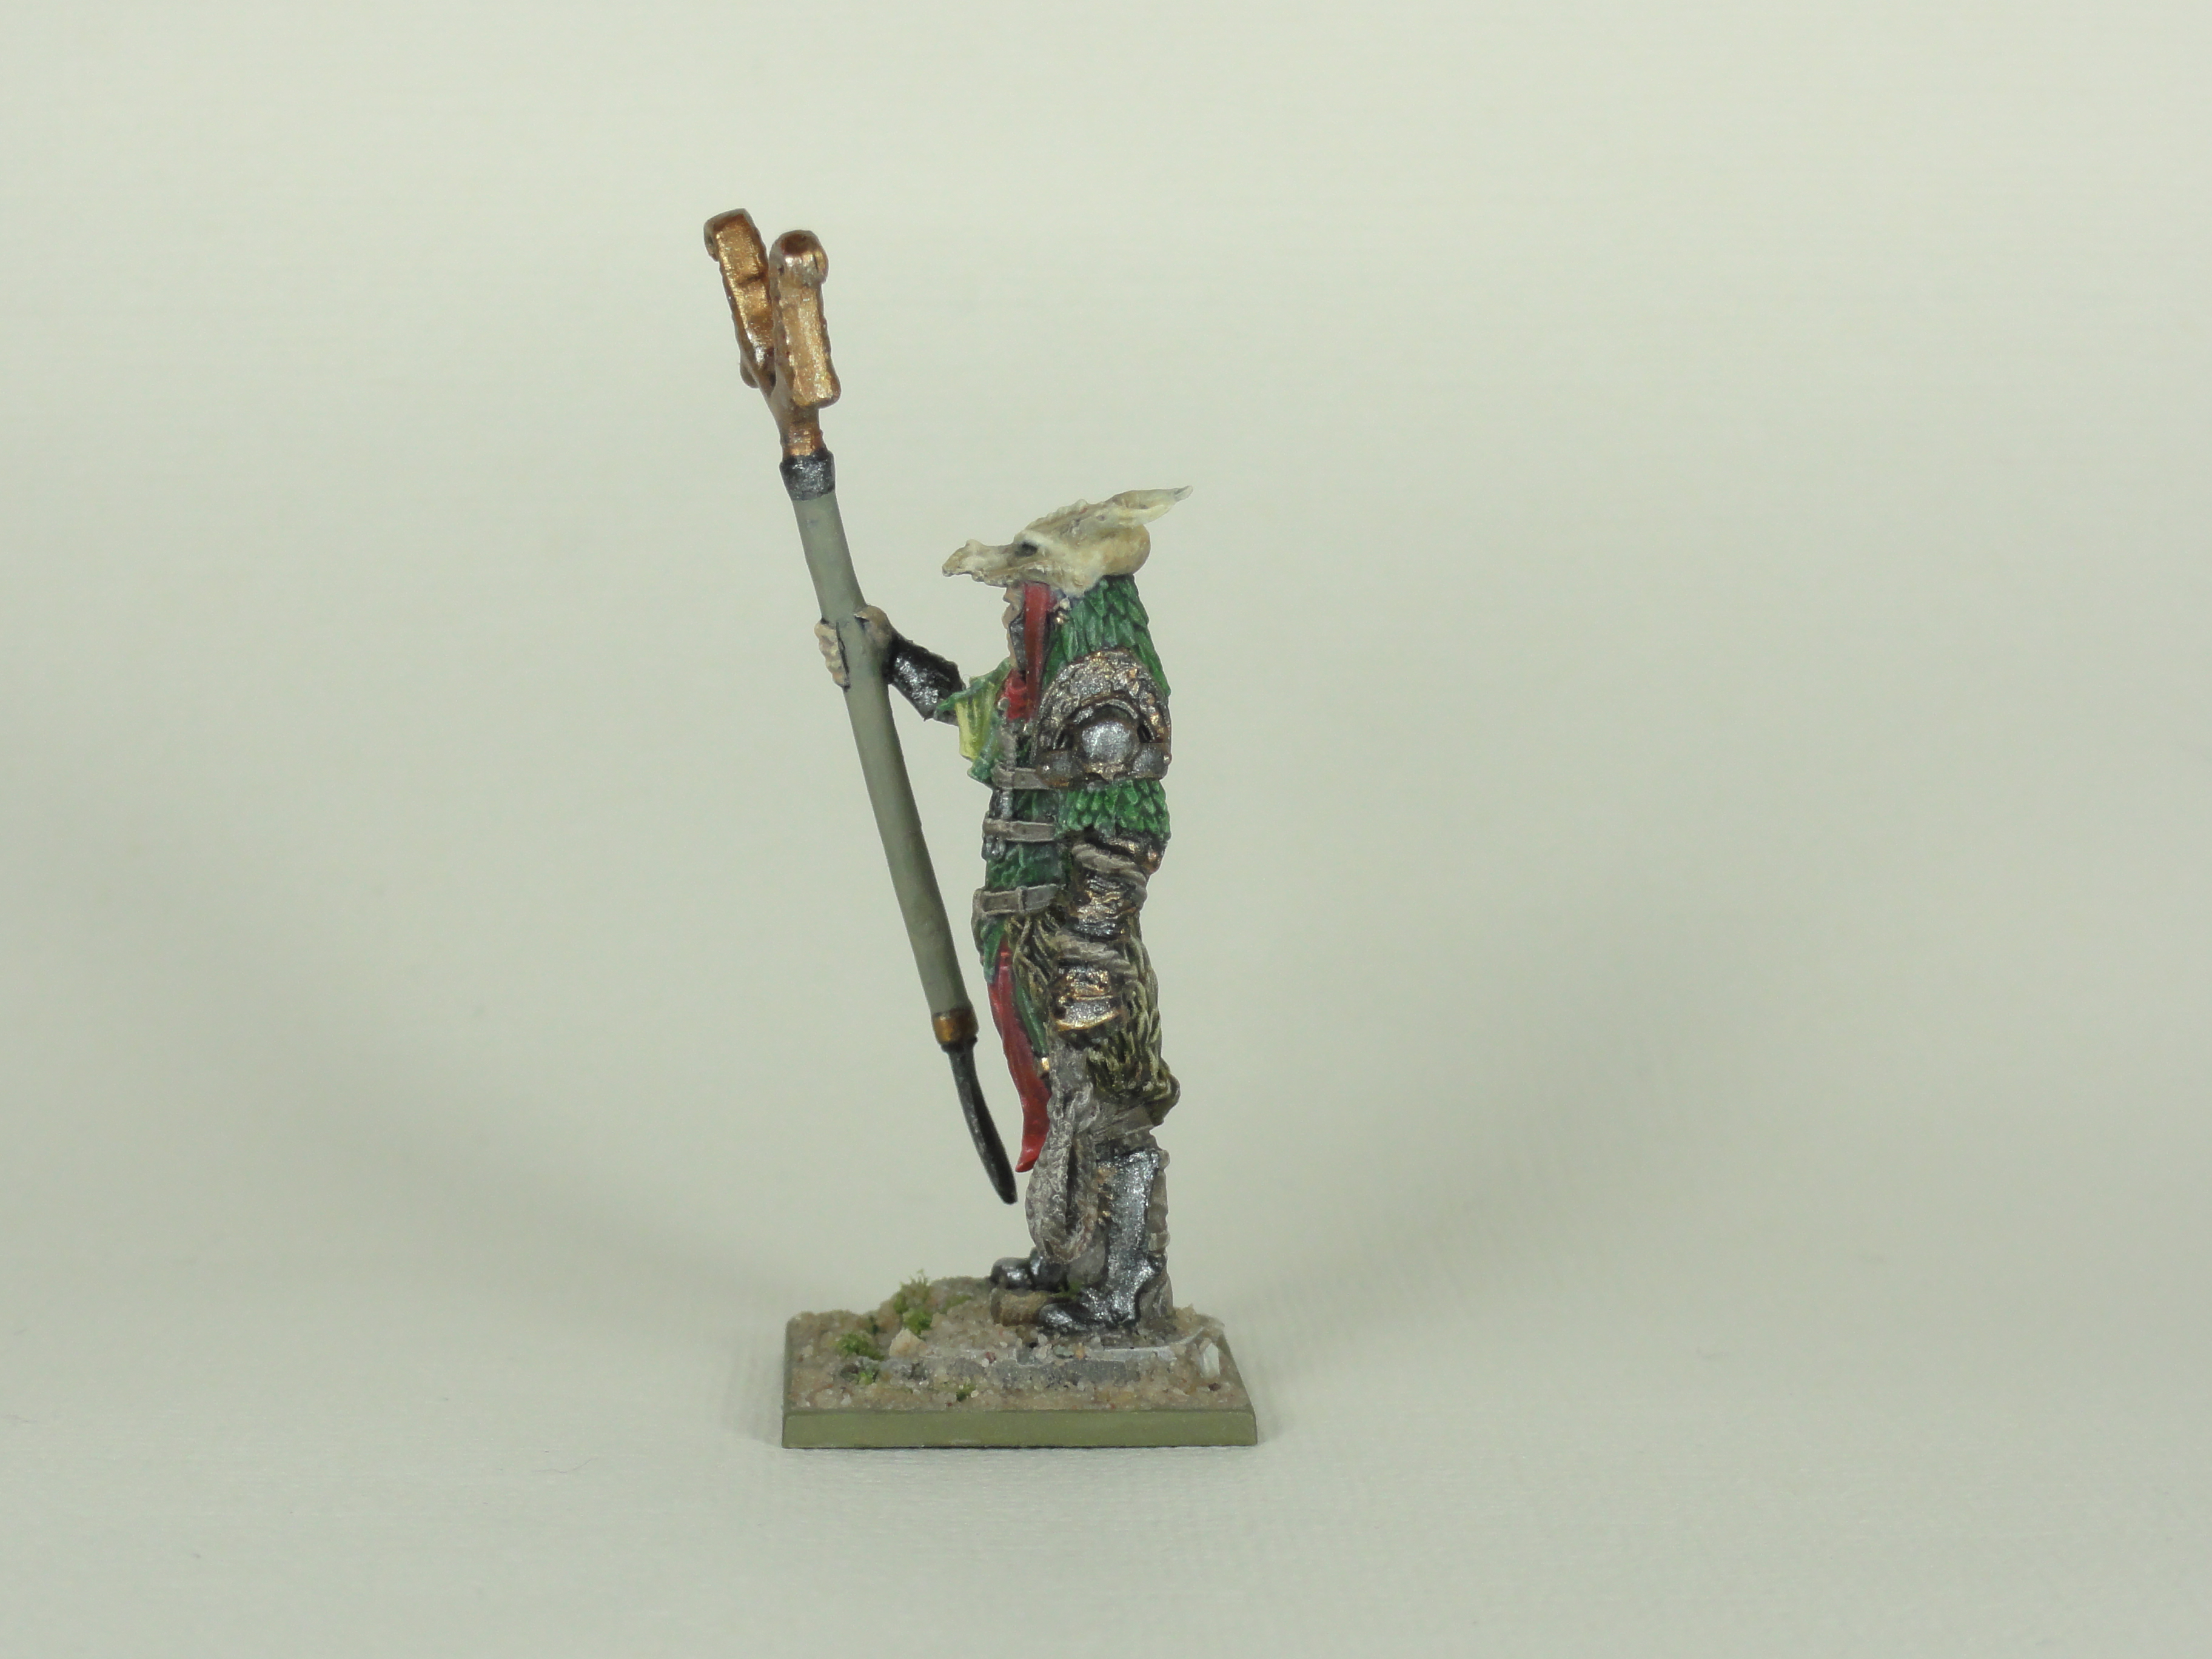
Drakon Hunter
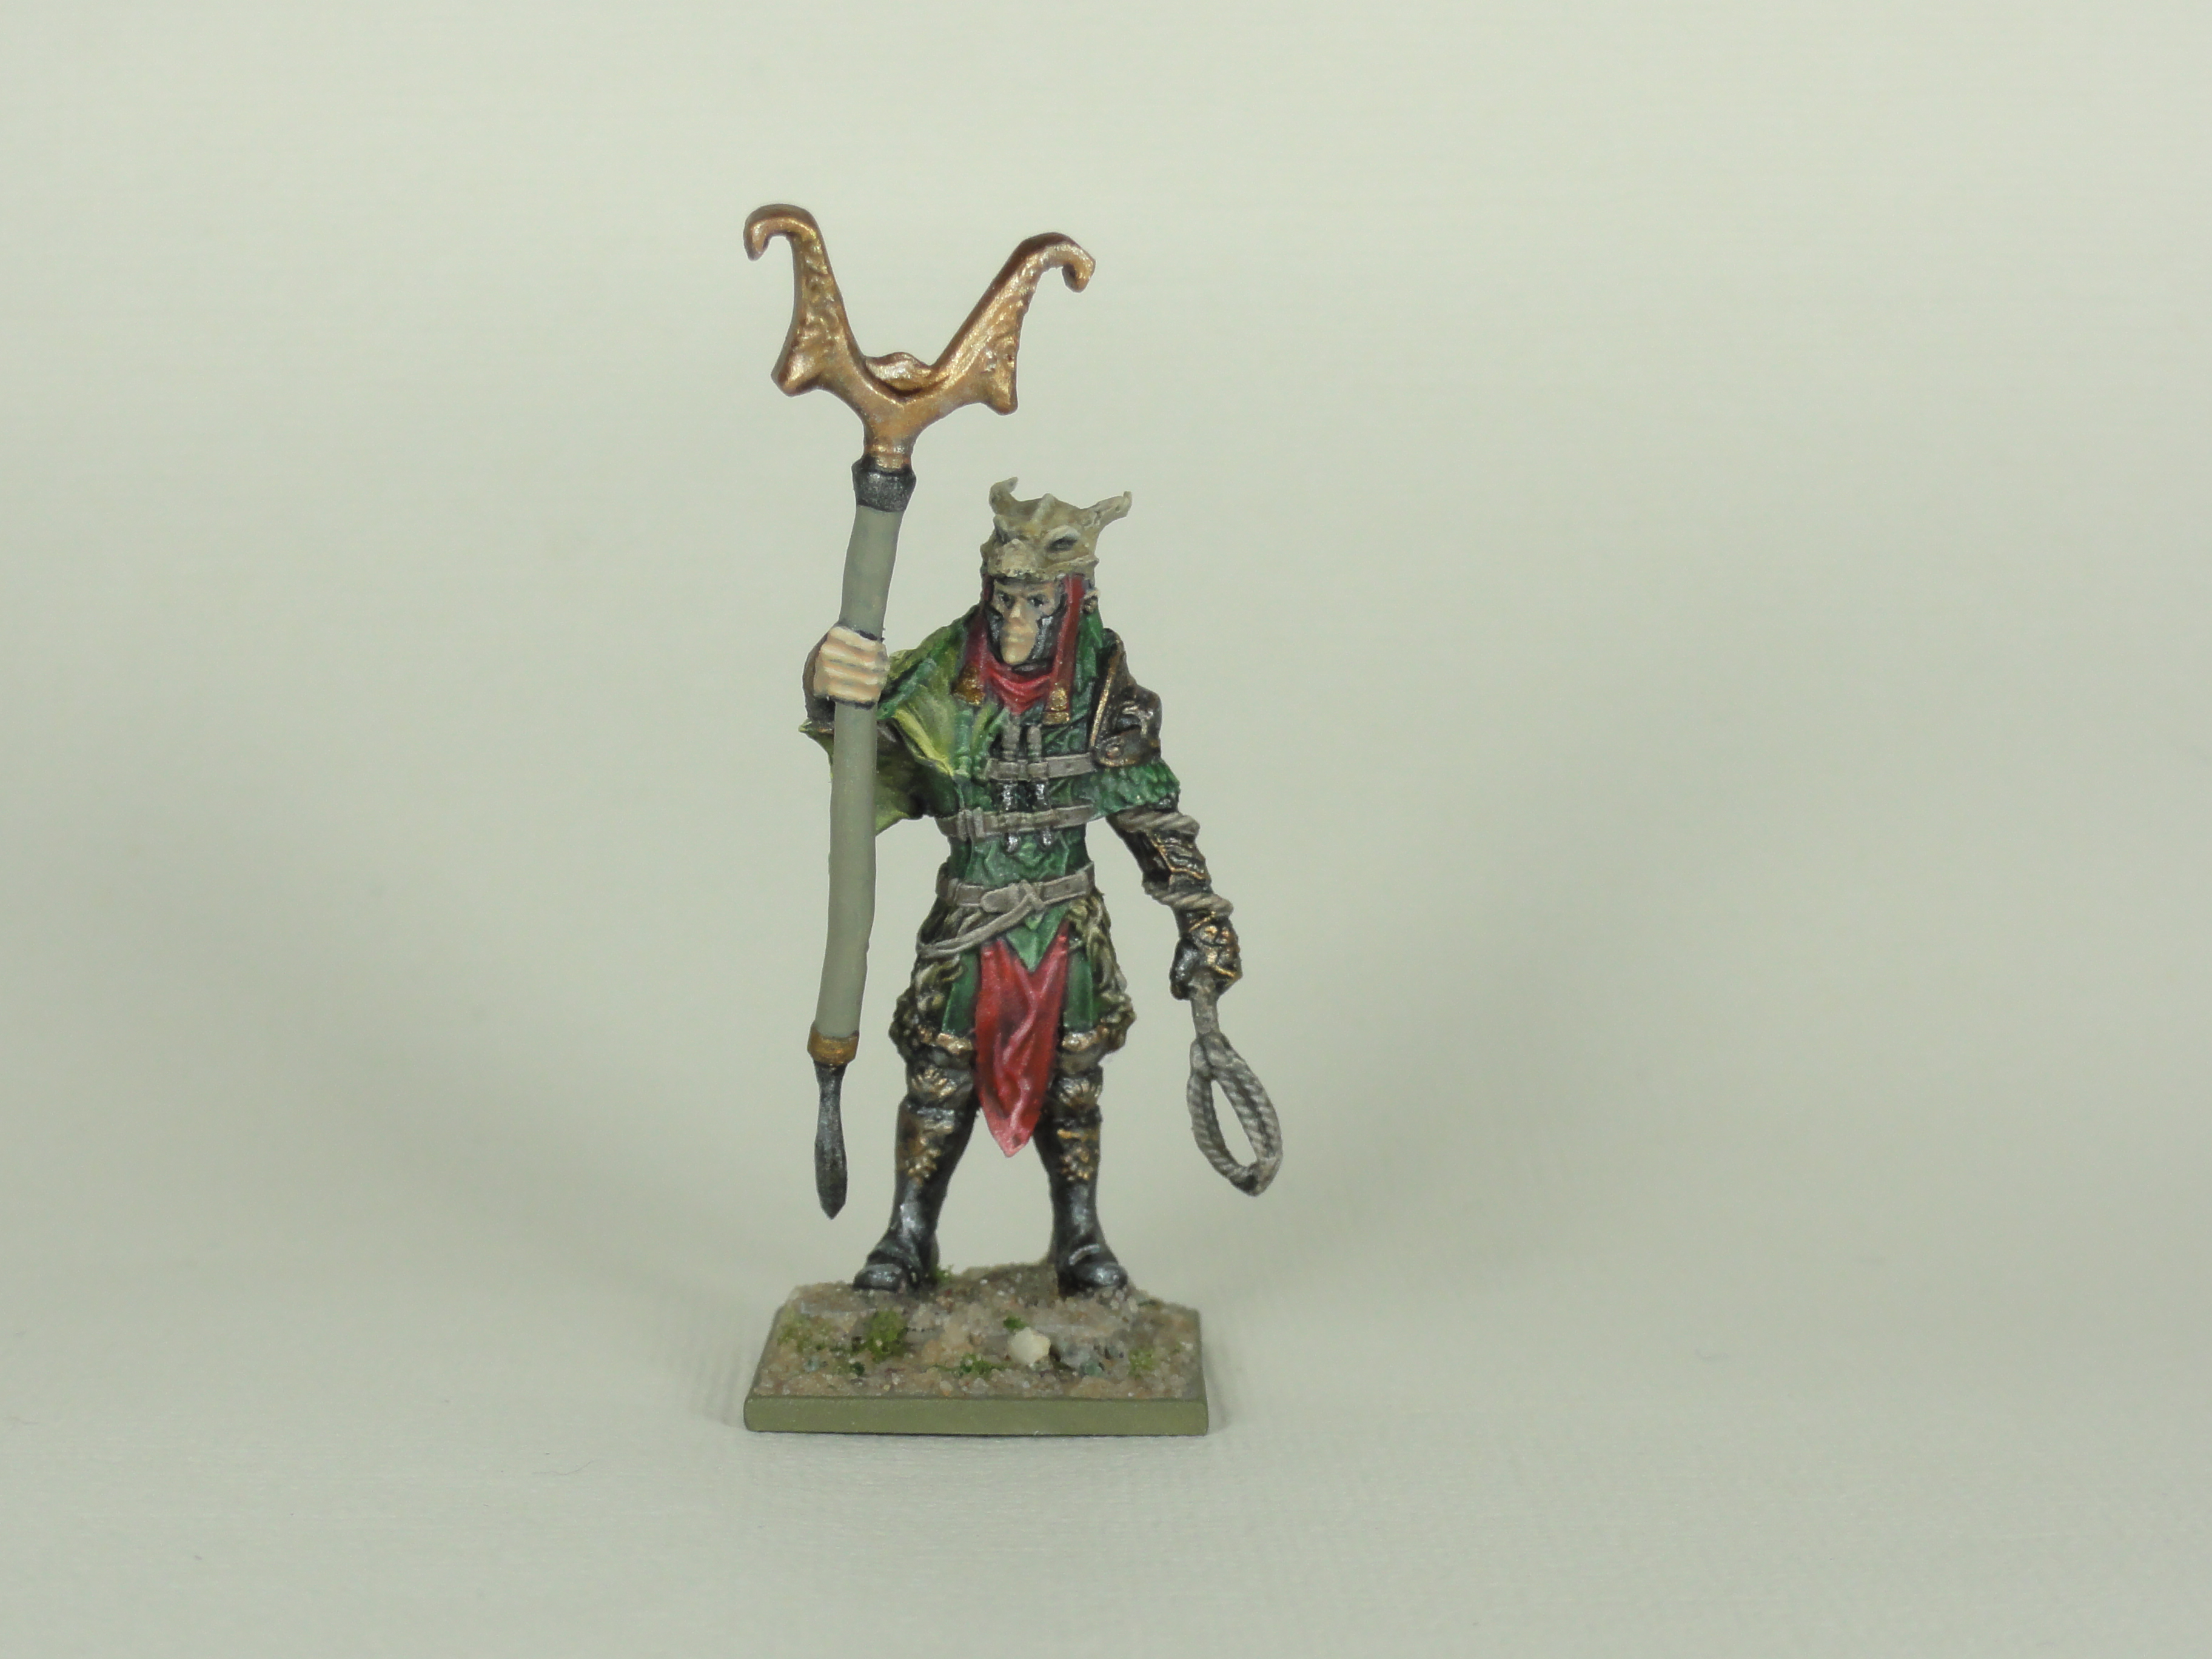
After a Paynes Grey Wash and a dry brush of Pale Sand over the zenithaled IDF Israeli Sand Grey Vallejo Surface Primer the following were used:
- Black Green Ink (Vallejo Game Ink) on the tunic, scales and wing bones.
- Firestorm Yellow Ink (Old Citadel Ink) on the wing (would have been better with a purple wash underneath rather the Paynes Grey on this part).
- Plasma Red Ink (Old Citadel Ink) on the hat tassels, neckerchief and front cloth thing.
- Sepia Ink (Vallejo Game Ink) on the fur.
- Chocolate Brown (Vallejo Model Color) mixed with Vallejo Glaze Medium for the leather, rope, trousers, boots, sword and dagger handles.
Everything was given another drybrush of Pale Sand
- Green Grey (Vallejo Model Color) with Pale Sand highlights for the weapon shaft.
Flesh:
- Base of Dark Fleshtone (Vallejo Game Color) mixed with Elf Skintone (Vallejo Game Color)
- Elf Skintone highlight
- Elf Skintone mixed with Ivory (Vallejo Model Color) higher highlight
- Ivory final highlight
Bone:
- Bone White (Vallejo Game Color)
- Army Painter Soft Tone apart from the tips
- Army Painter Strong Tone shadows and base of the horns
- Repeat Soft and Strong Tone Steps
- Glazes of Bone White from the tips and highlights
- Ivory on very tops of highlight
- Glaze of Orange Rust (Vallejo Model Air)
Everything was given a gloss varnish, basing applied and sealed, then a matt varnish for everything before the metallics were applied:
- Black base coat for anything steel
- Brown base coat for anything solidly gold/bronze
- (not the filigree)
- Gunmetal Grey (Vallejo Model Color) mixed with a touch of Panzer Dark Grey (Vallejo Model Air) for steel parts
- Bright Bronze (Vallejo Game Color) mixed with a touch of Red Leather (Vallejo Model Color) on the filigree and weapon
- Gold (Warpaints Army Painter) mixed with a touch of Red Leather (Vallejo Model Color) highlighting the filigree and weapon
- Silver (Vallejo Game Color) mixed with a touch of White highlighting the Gunmetal Grey armour
- Wash of Strong Tone (Army Painter)
- Repeat Gold and Silver highlights adding a touch of the Silver/White mix to the gold/bronze in places


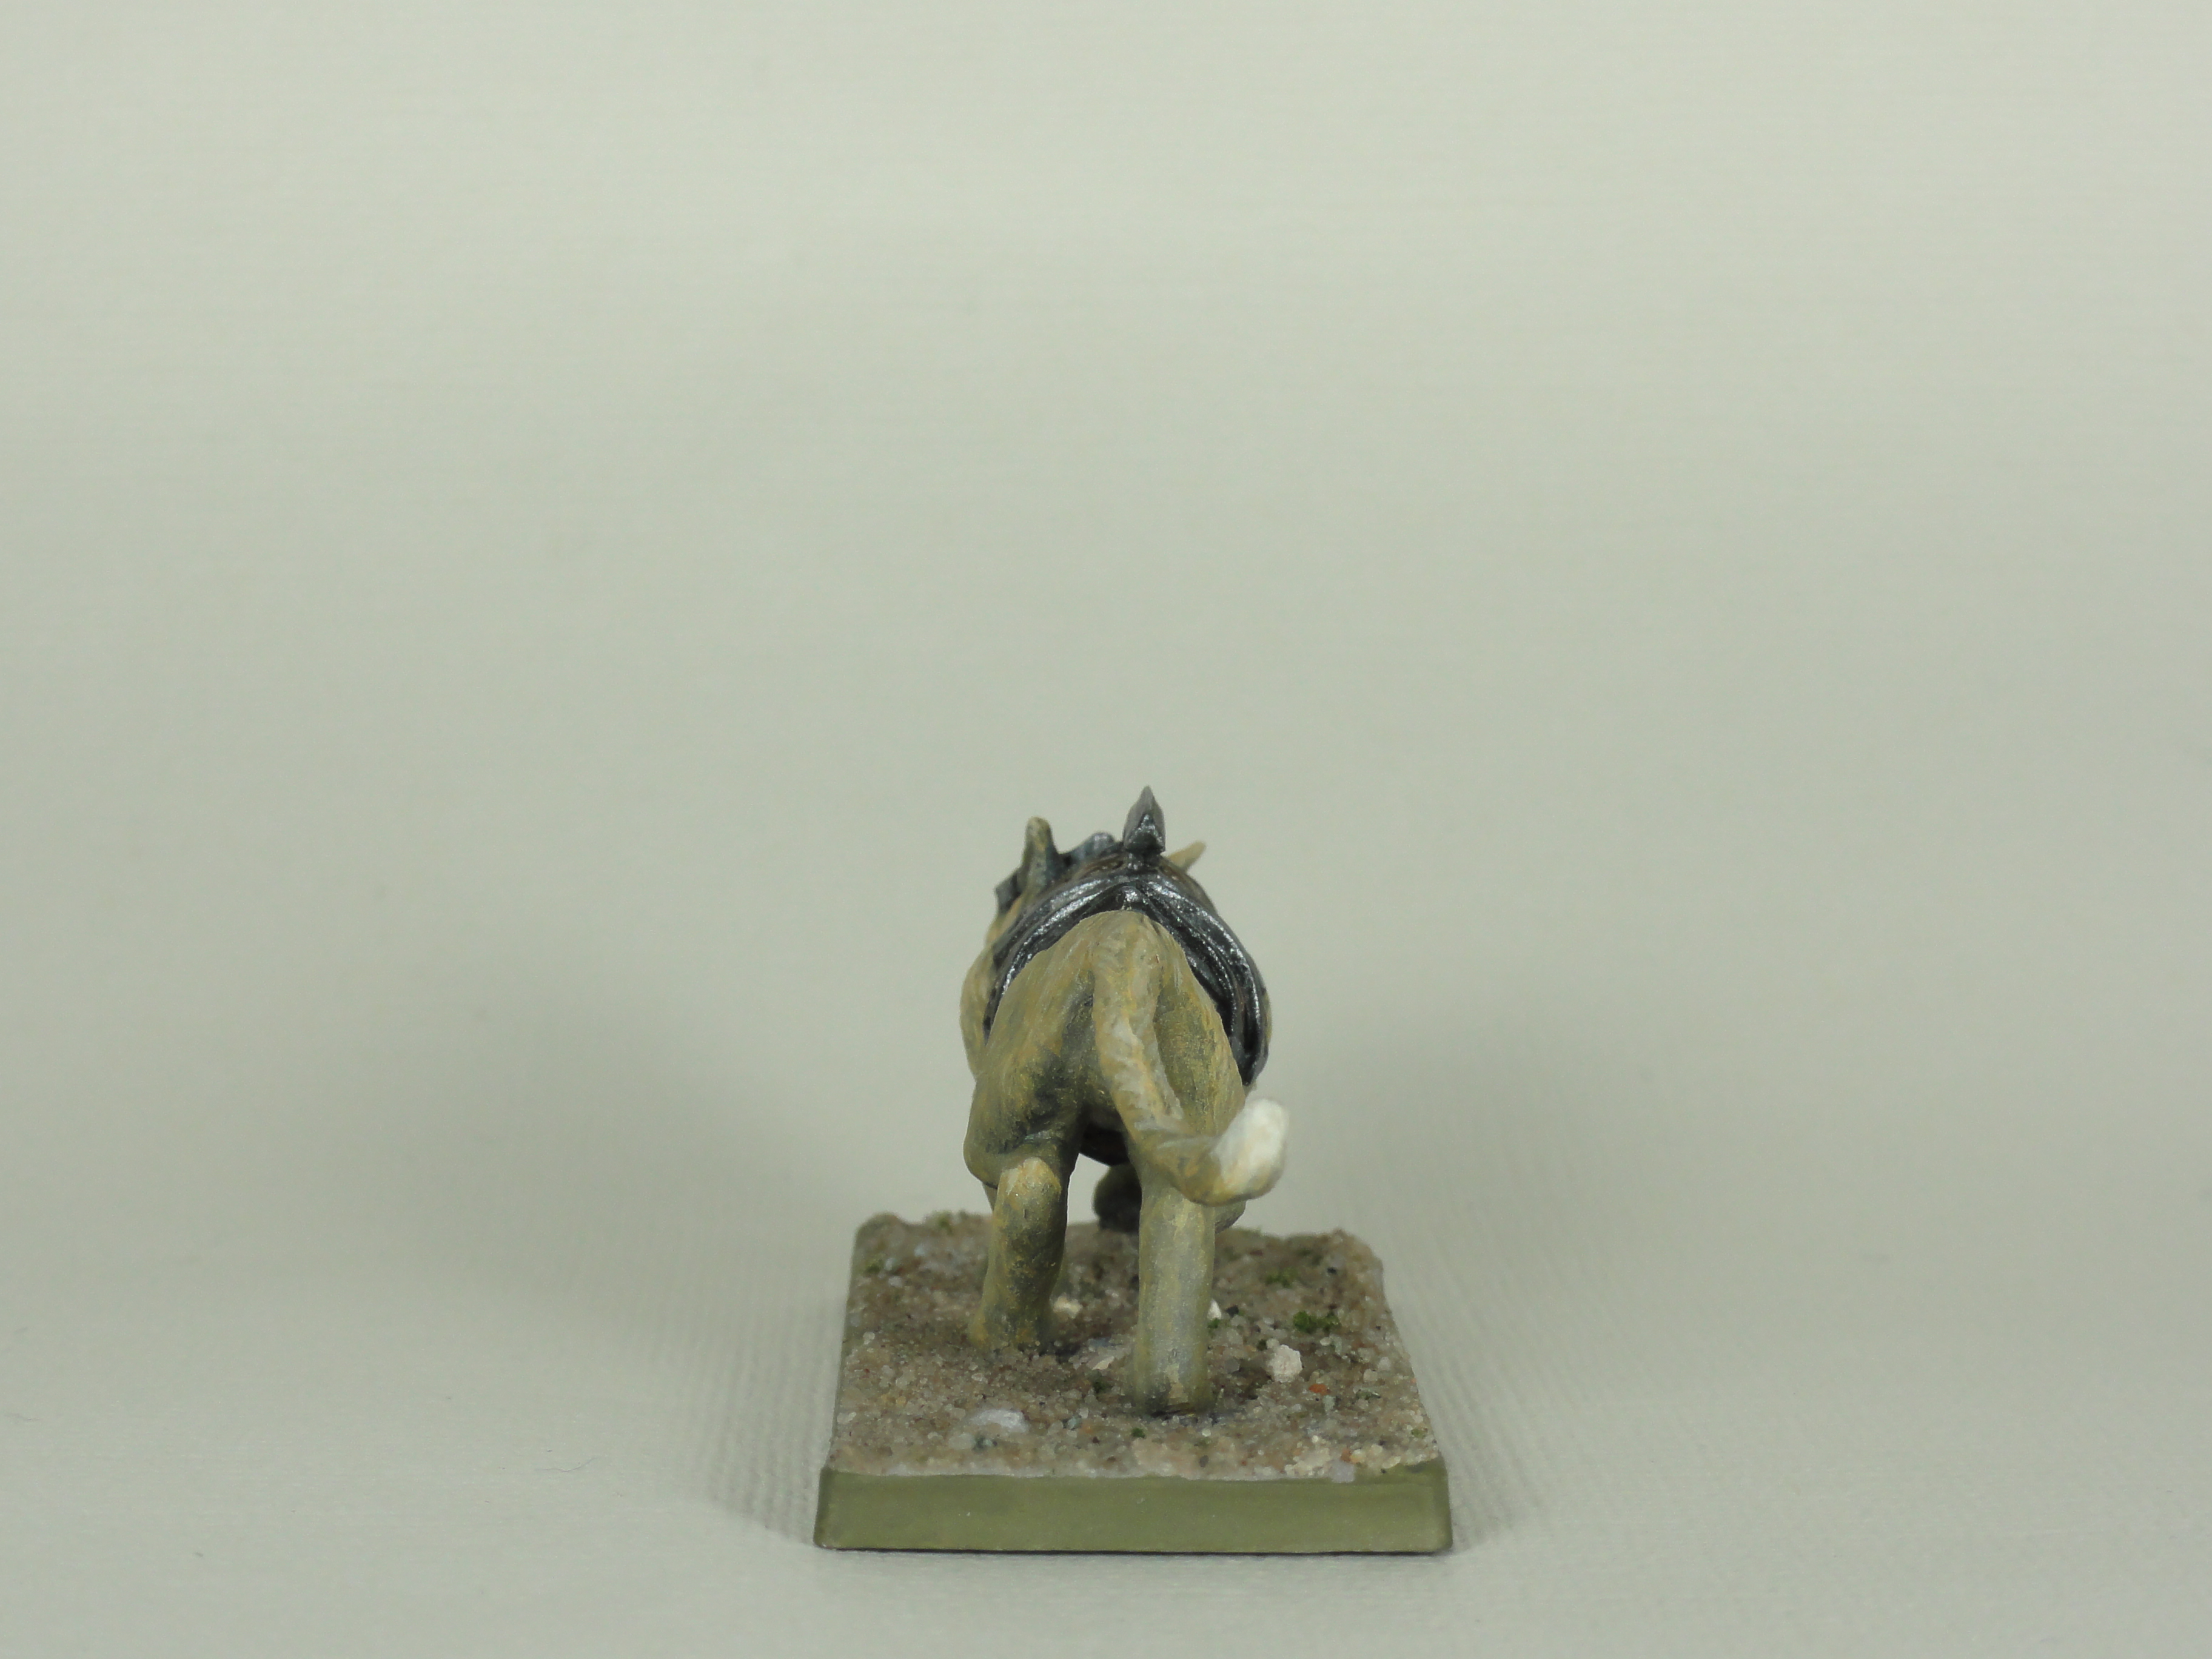
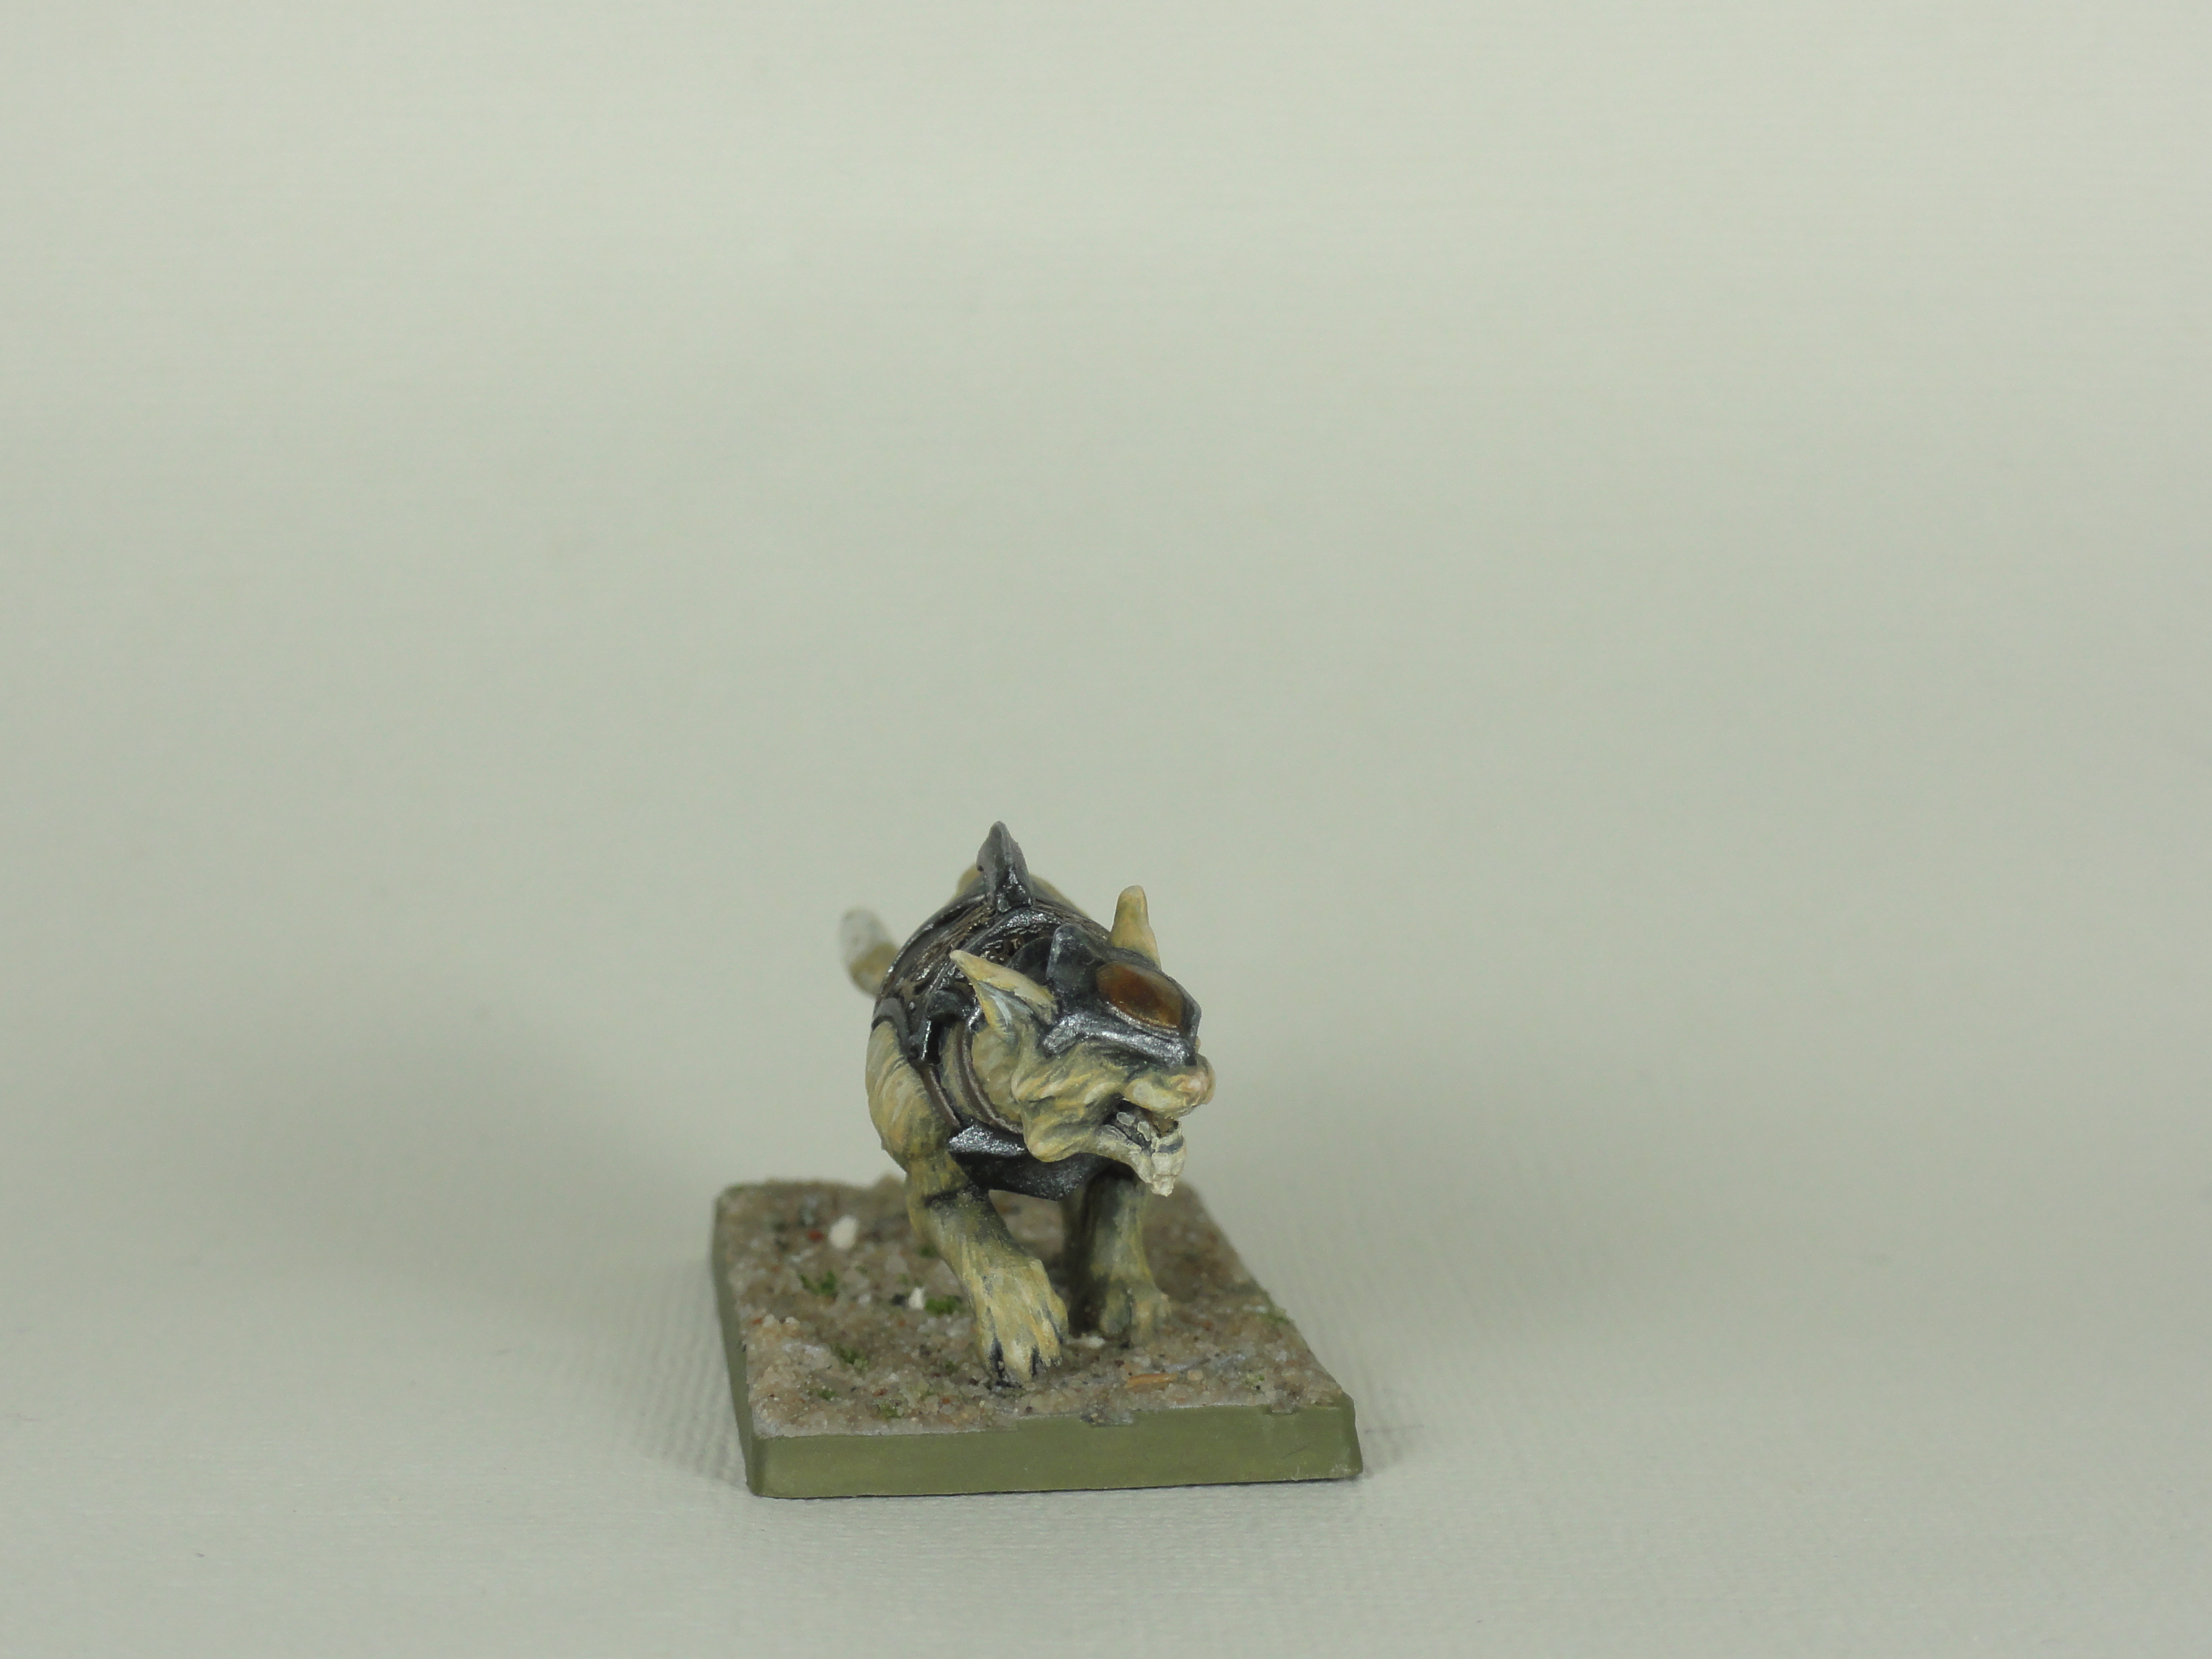
Sabre-Toothed Lyrynx (Pale Sand spots and invisible sabre teeth)
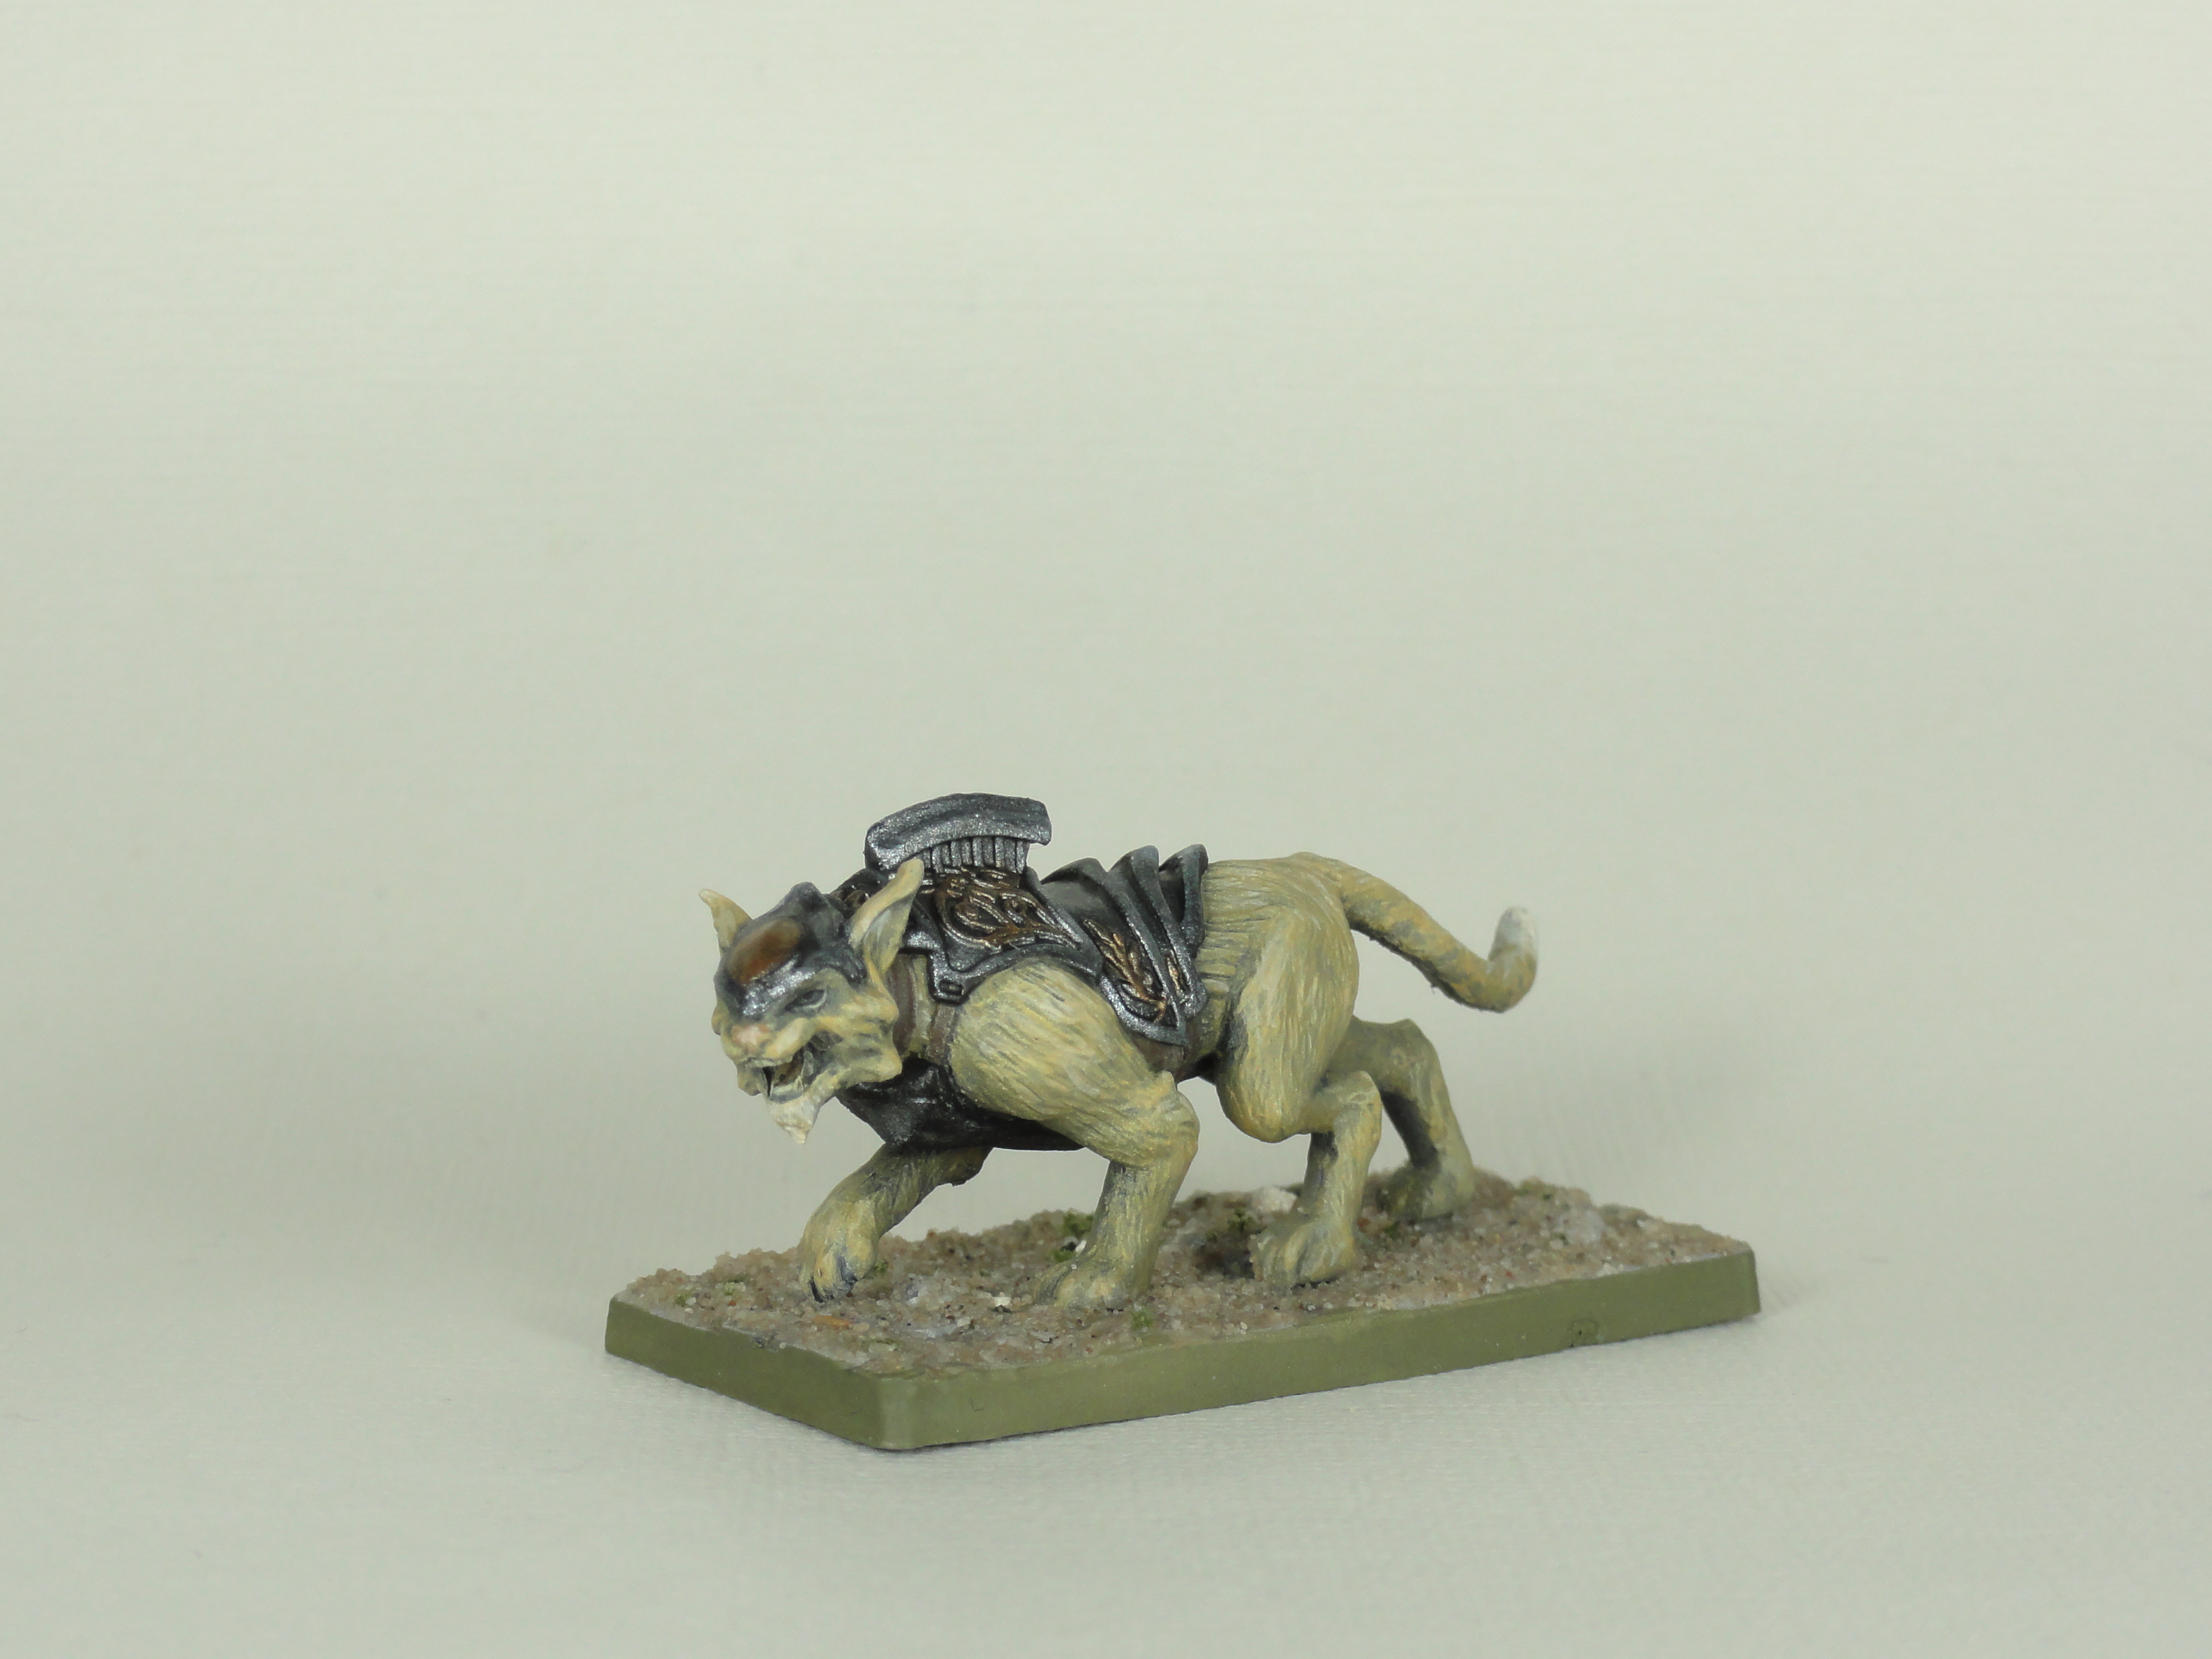
After a Paynes Grey Wash and a dry brush of Pale Sand the following were used:
Fur
- Filthy Brown (Vallejo Game Color) mixed with Vallejo Glaze Medium
- Filthy Brown base layer highlight
- Filthy Brown mixed with Pale Sand (Vallejo Model Color) 2nd layer highlight
- Pale Sand with a small amount of flow improver for the final highllight
- Tail tip, chin and inner ear Ivory (Vallejo Model Color) highlights
Nose and Tongue
- Tan Earth (Vallejo Model Air)
- Pale Sand highlight
Teeth
- Ivory then an Orange Rust (Vallejo Model Air) glaze
Leather Straps
- Chocolate Brown (Vallejo Model Color)
- Drybrush Pale Sand
Everything was given a gloss varnish, basing applied and sealed, then a matt varnish for everything before the metallics were applied.
Metallics:
- Black
- Gunmetal Grey (Vallejo Model Color) mixed with a touch of Panzer Dark Grey (Vallejo Model Air)
- Bright Bronze (Vallejo Game Color) mixed with a touch of Red Leather (Vallejo Model Color) on the filigree and head piece centre
- Gold (Warpaints Army Painter) mixed with a touch of Red Leather (Vallejo Model Color) highlighting the filigree and head piece centre
- Silver (Vallejo Game Color) mixed with a touch of White highlighting the Gunmetal Grey armour
- Wash of Strong Tone (Army Painter)
- Repeat Gold and Silver highlights adding a touch of the Silver/White mix to the filigree and head piece centre in places


Weeks 27 to 30 Core Box Finished

The last 9 figures from the core box are finished (Could do more, but they’ve got paint on them and are varnished ready to play).
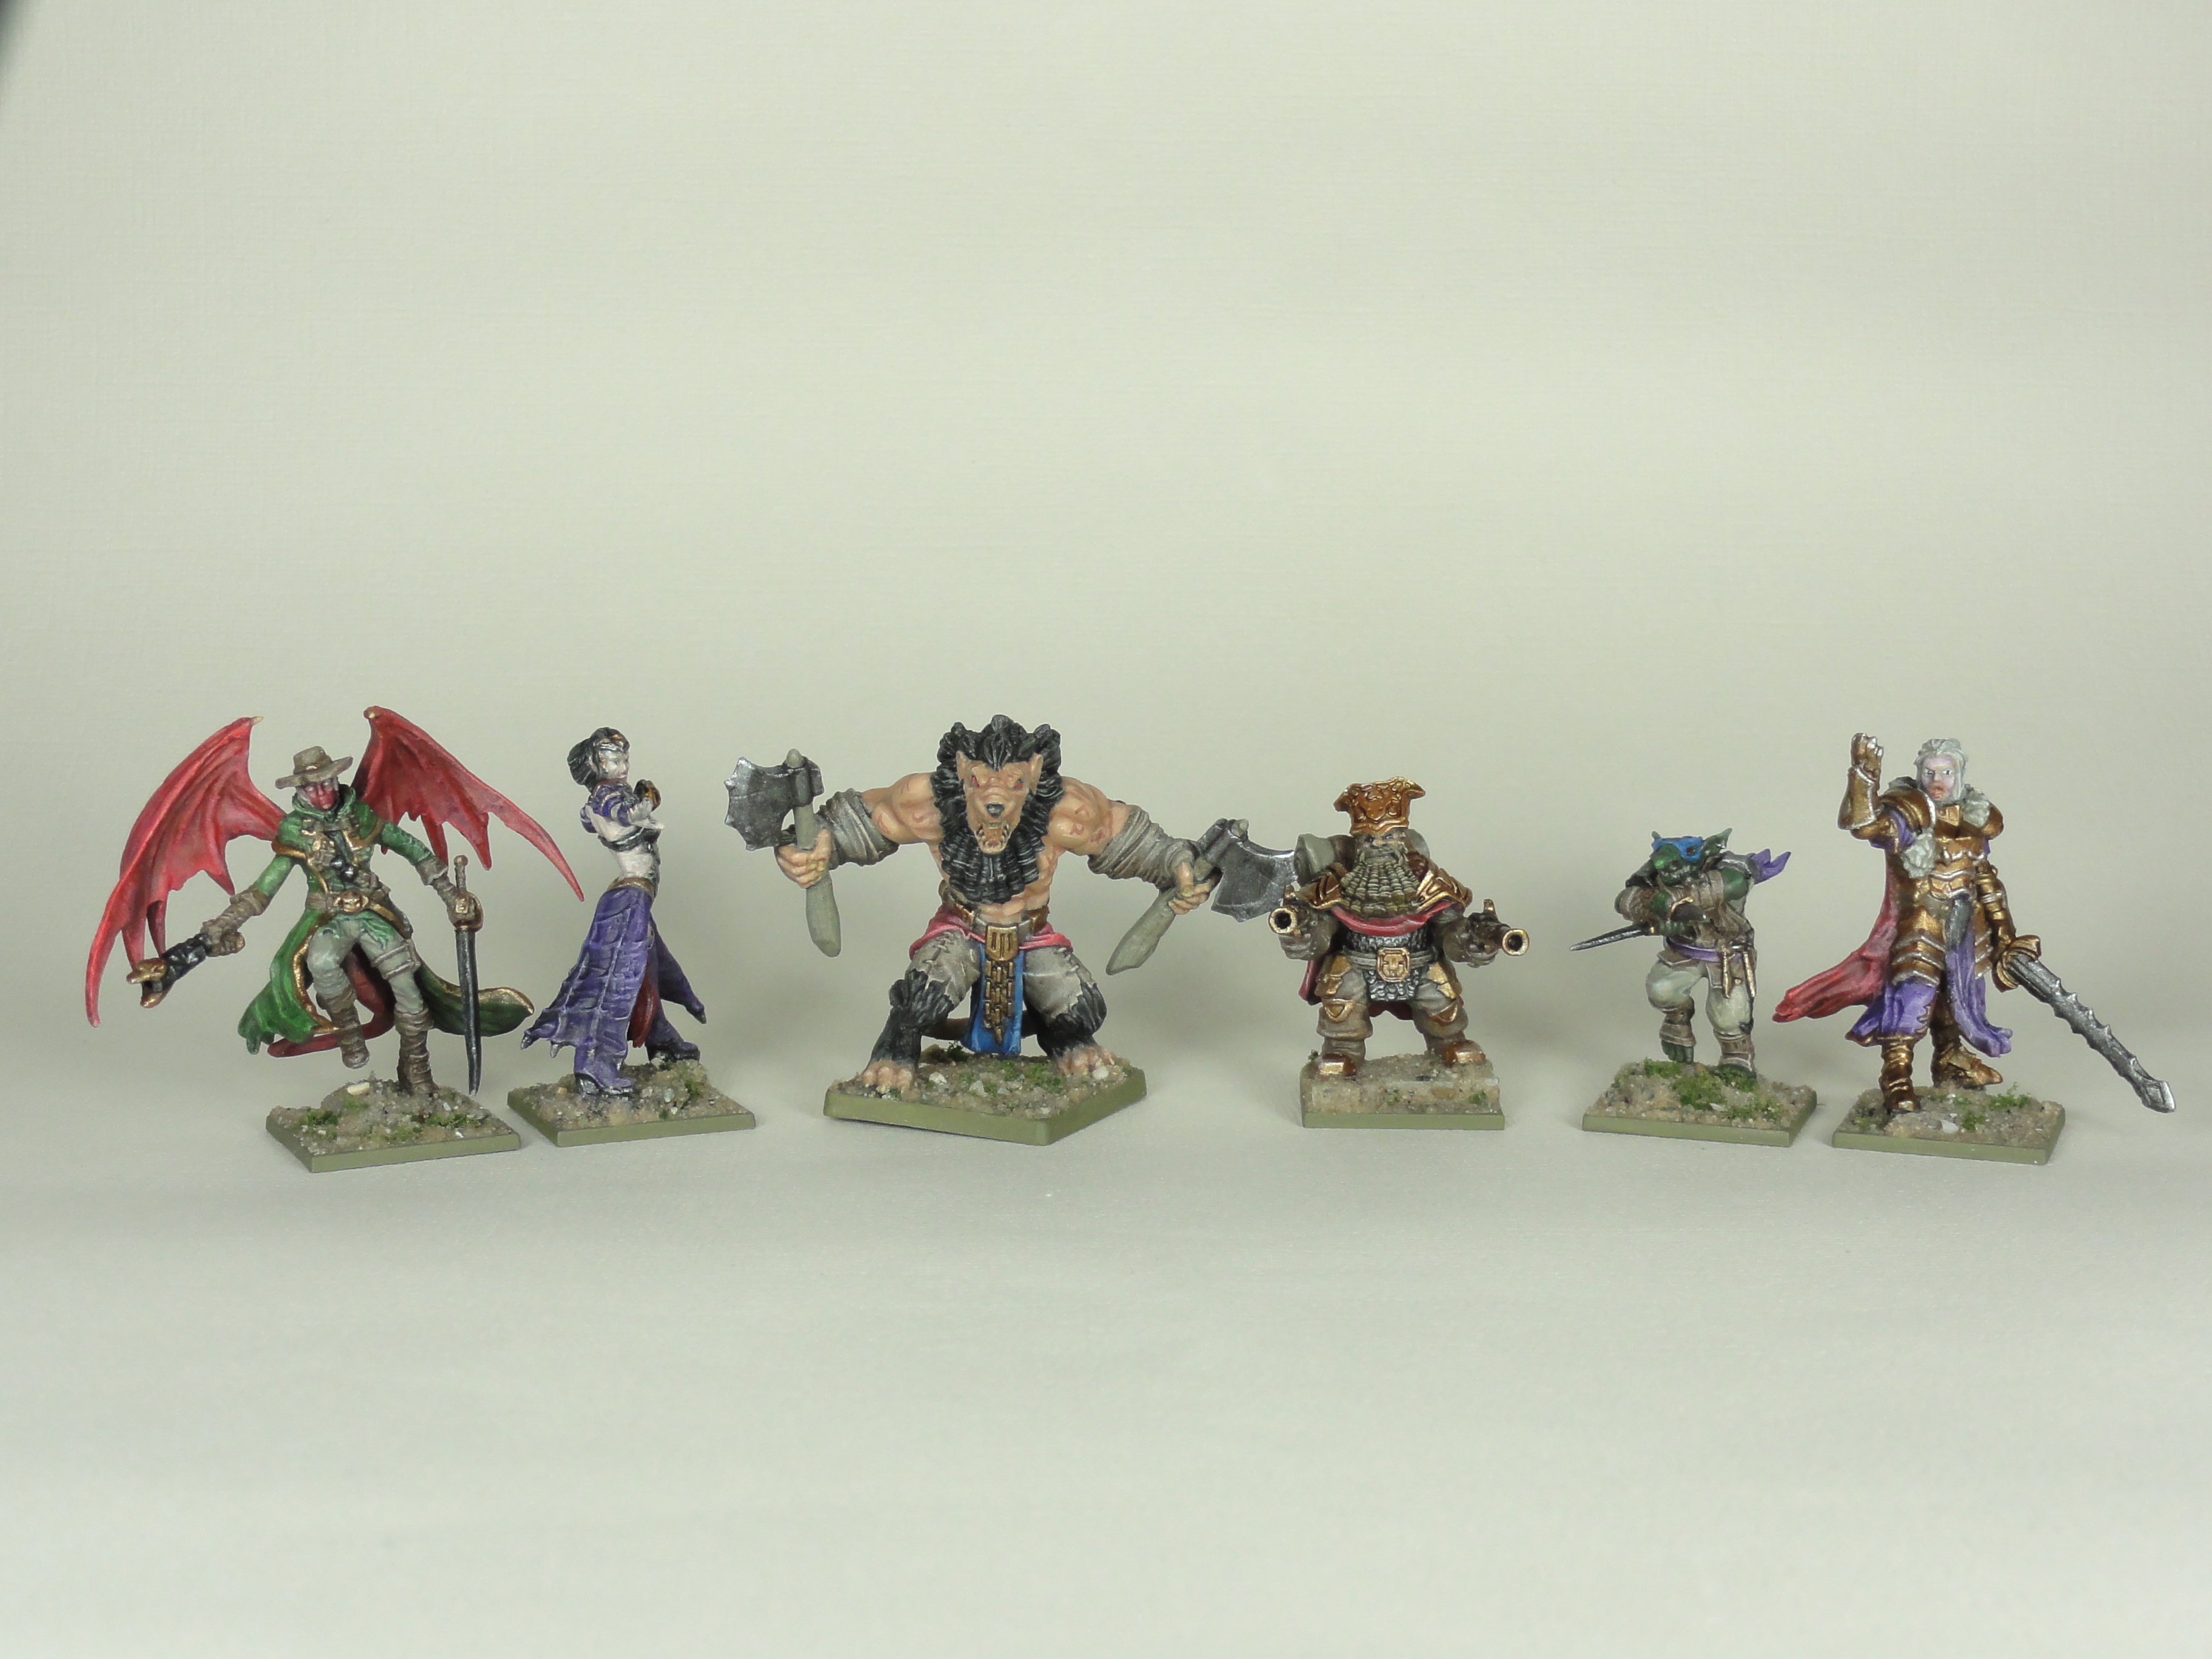
Over the next few days I’ll post the individual pictures from the finished 9 with the usual list of paints. There are still the expansions to do, but I will come back to them once I’ve done some other projects. I’ll also add a Forest Shambler and an Elf Mage into the project before starting the expansions to give me an Elf Vanguard force.
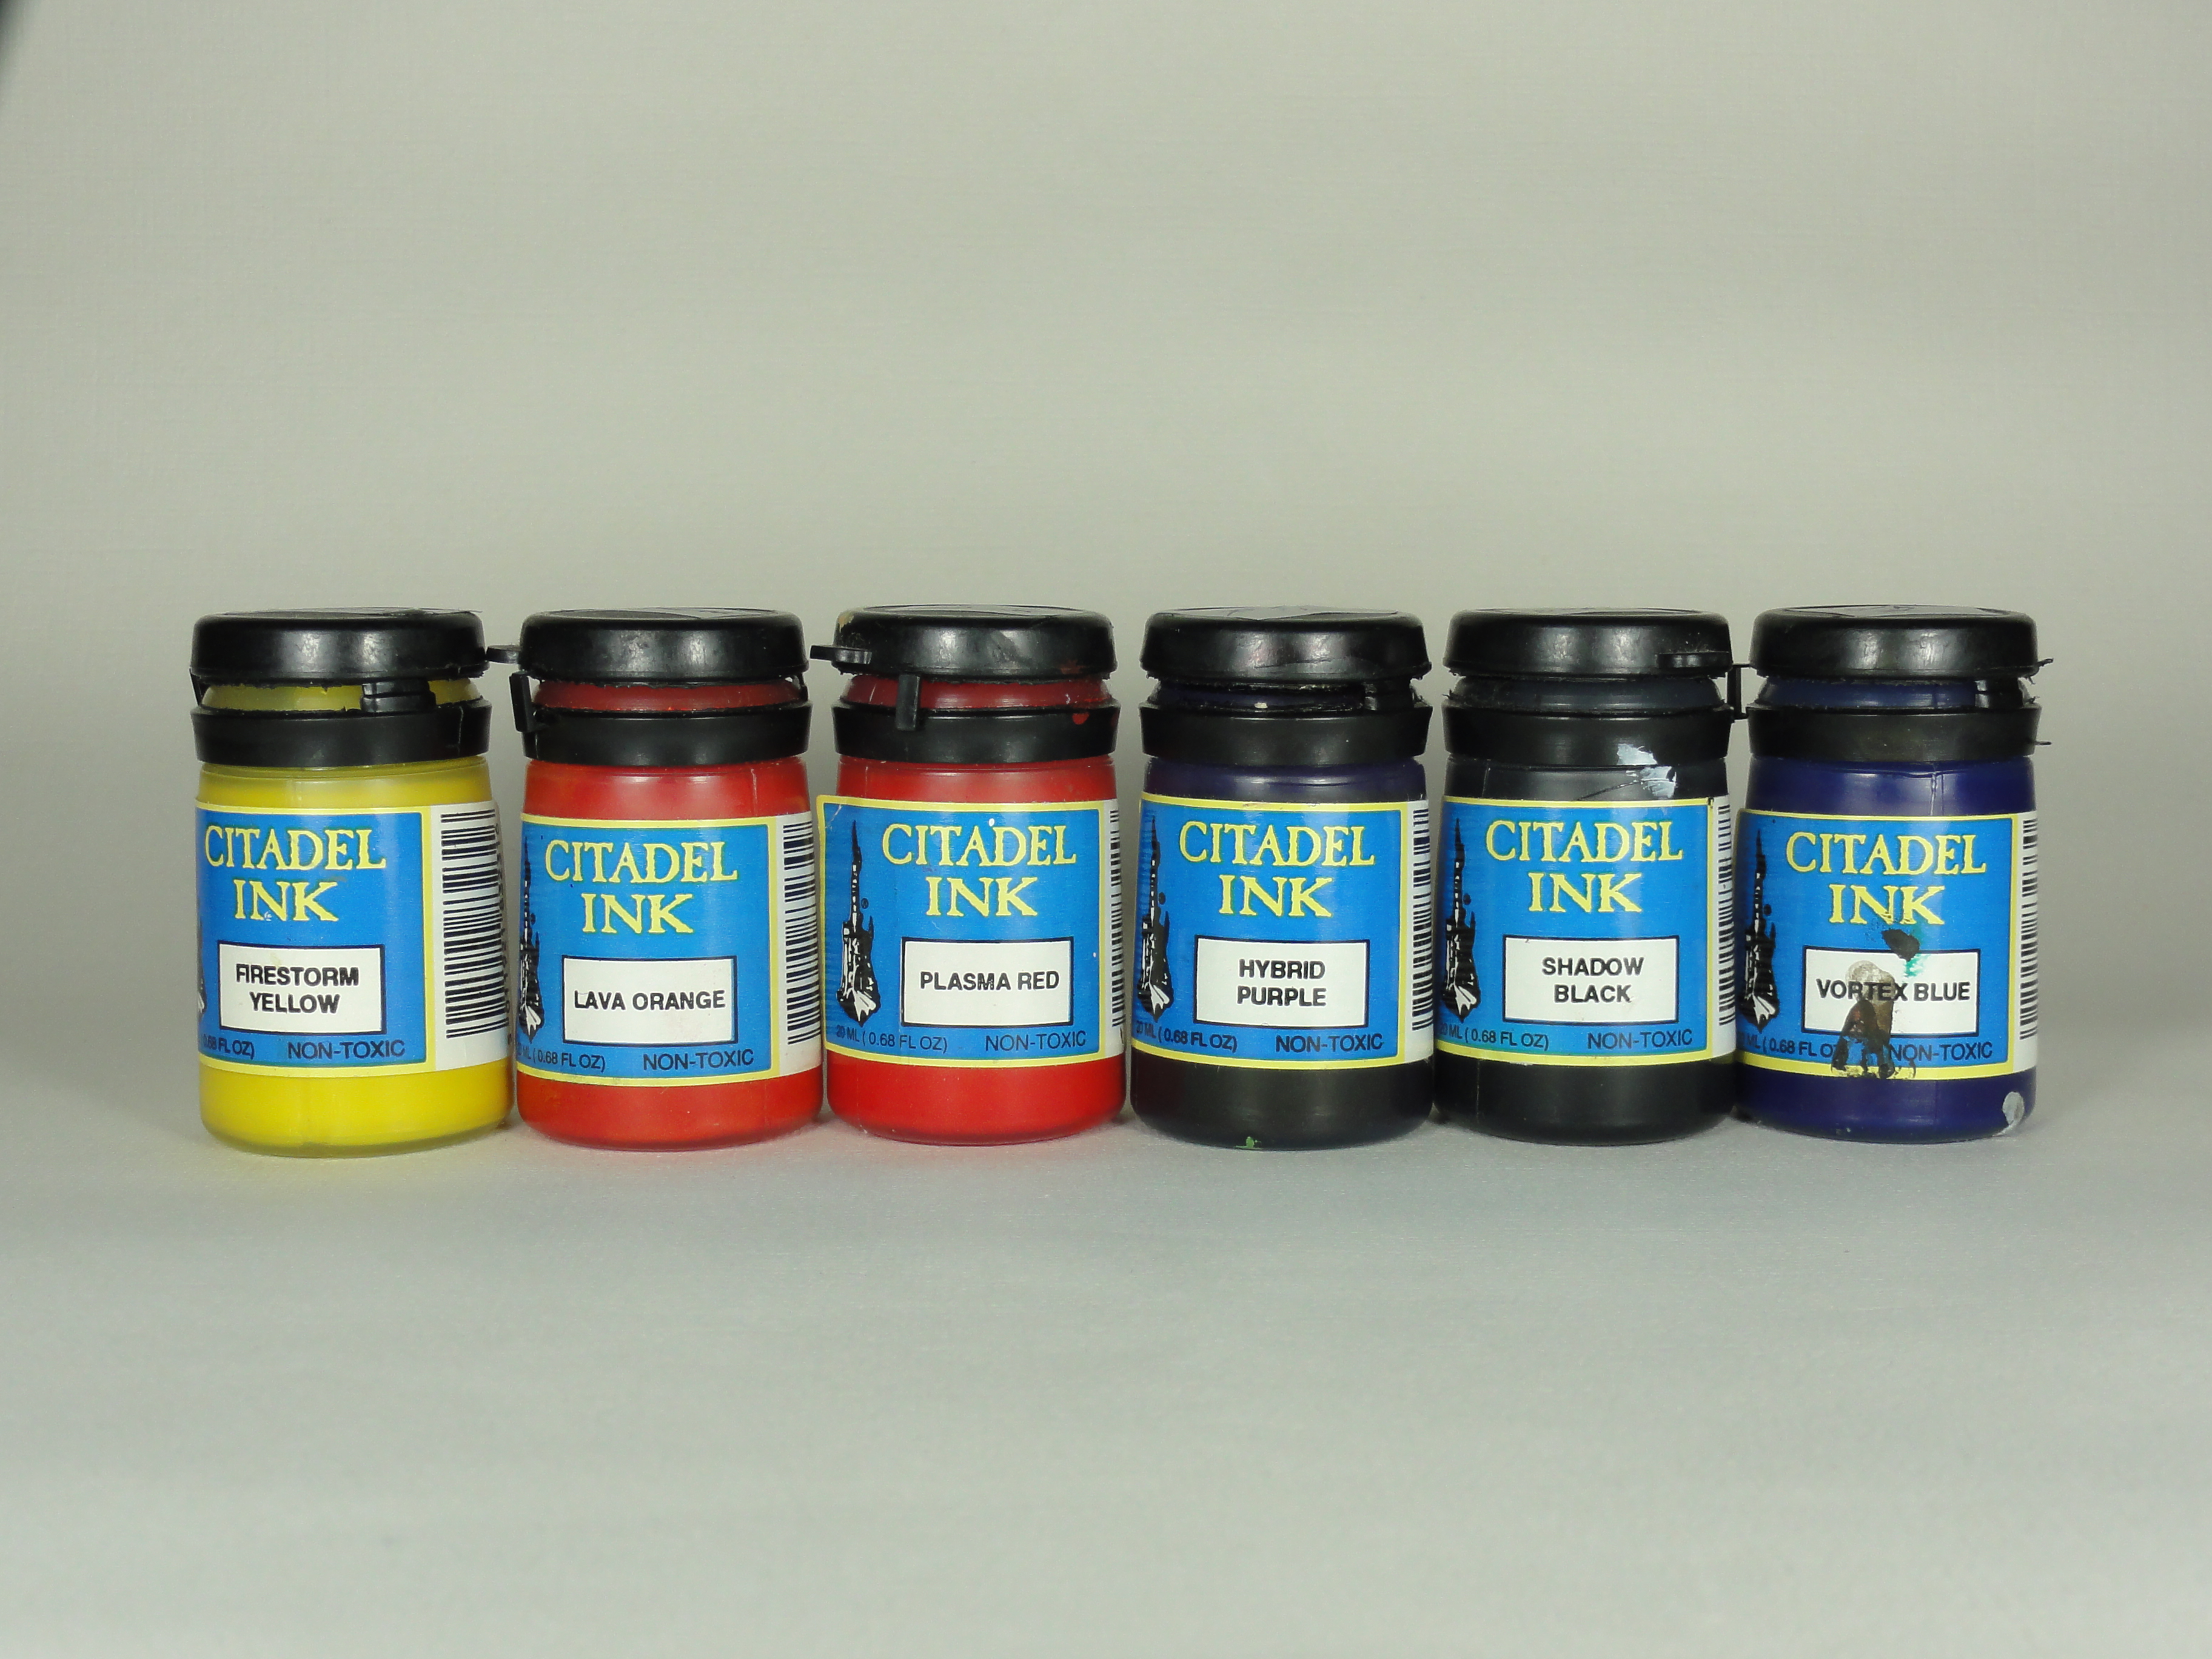
Tried to use some of my old Citadel Inks on these, partially to use what I’ve got. The orange ink does smell funny though.
Week 26 WIP Remaining Core Box
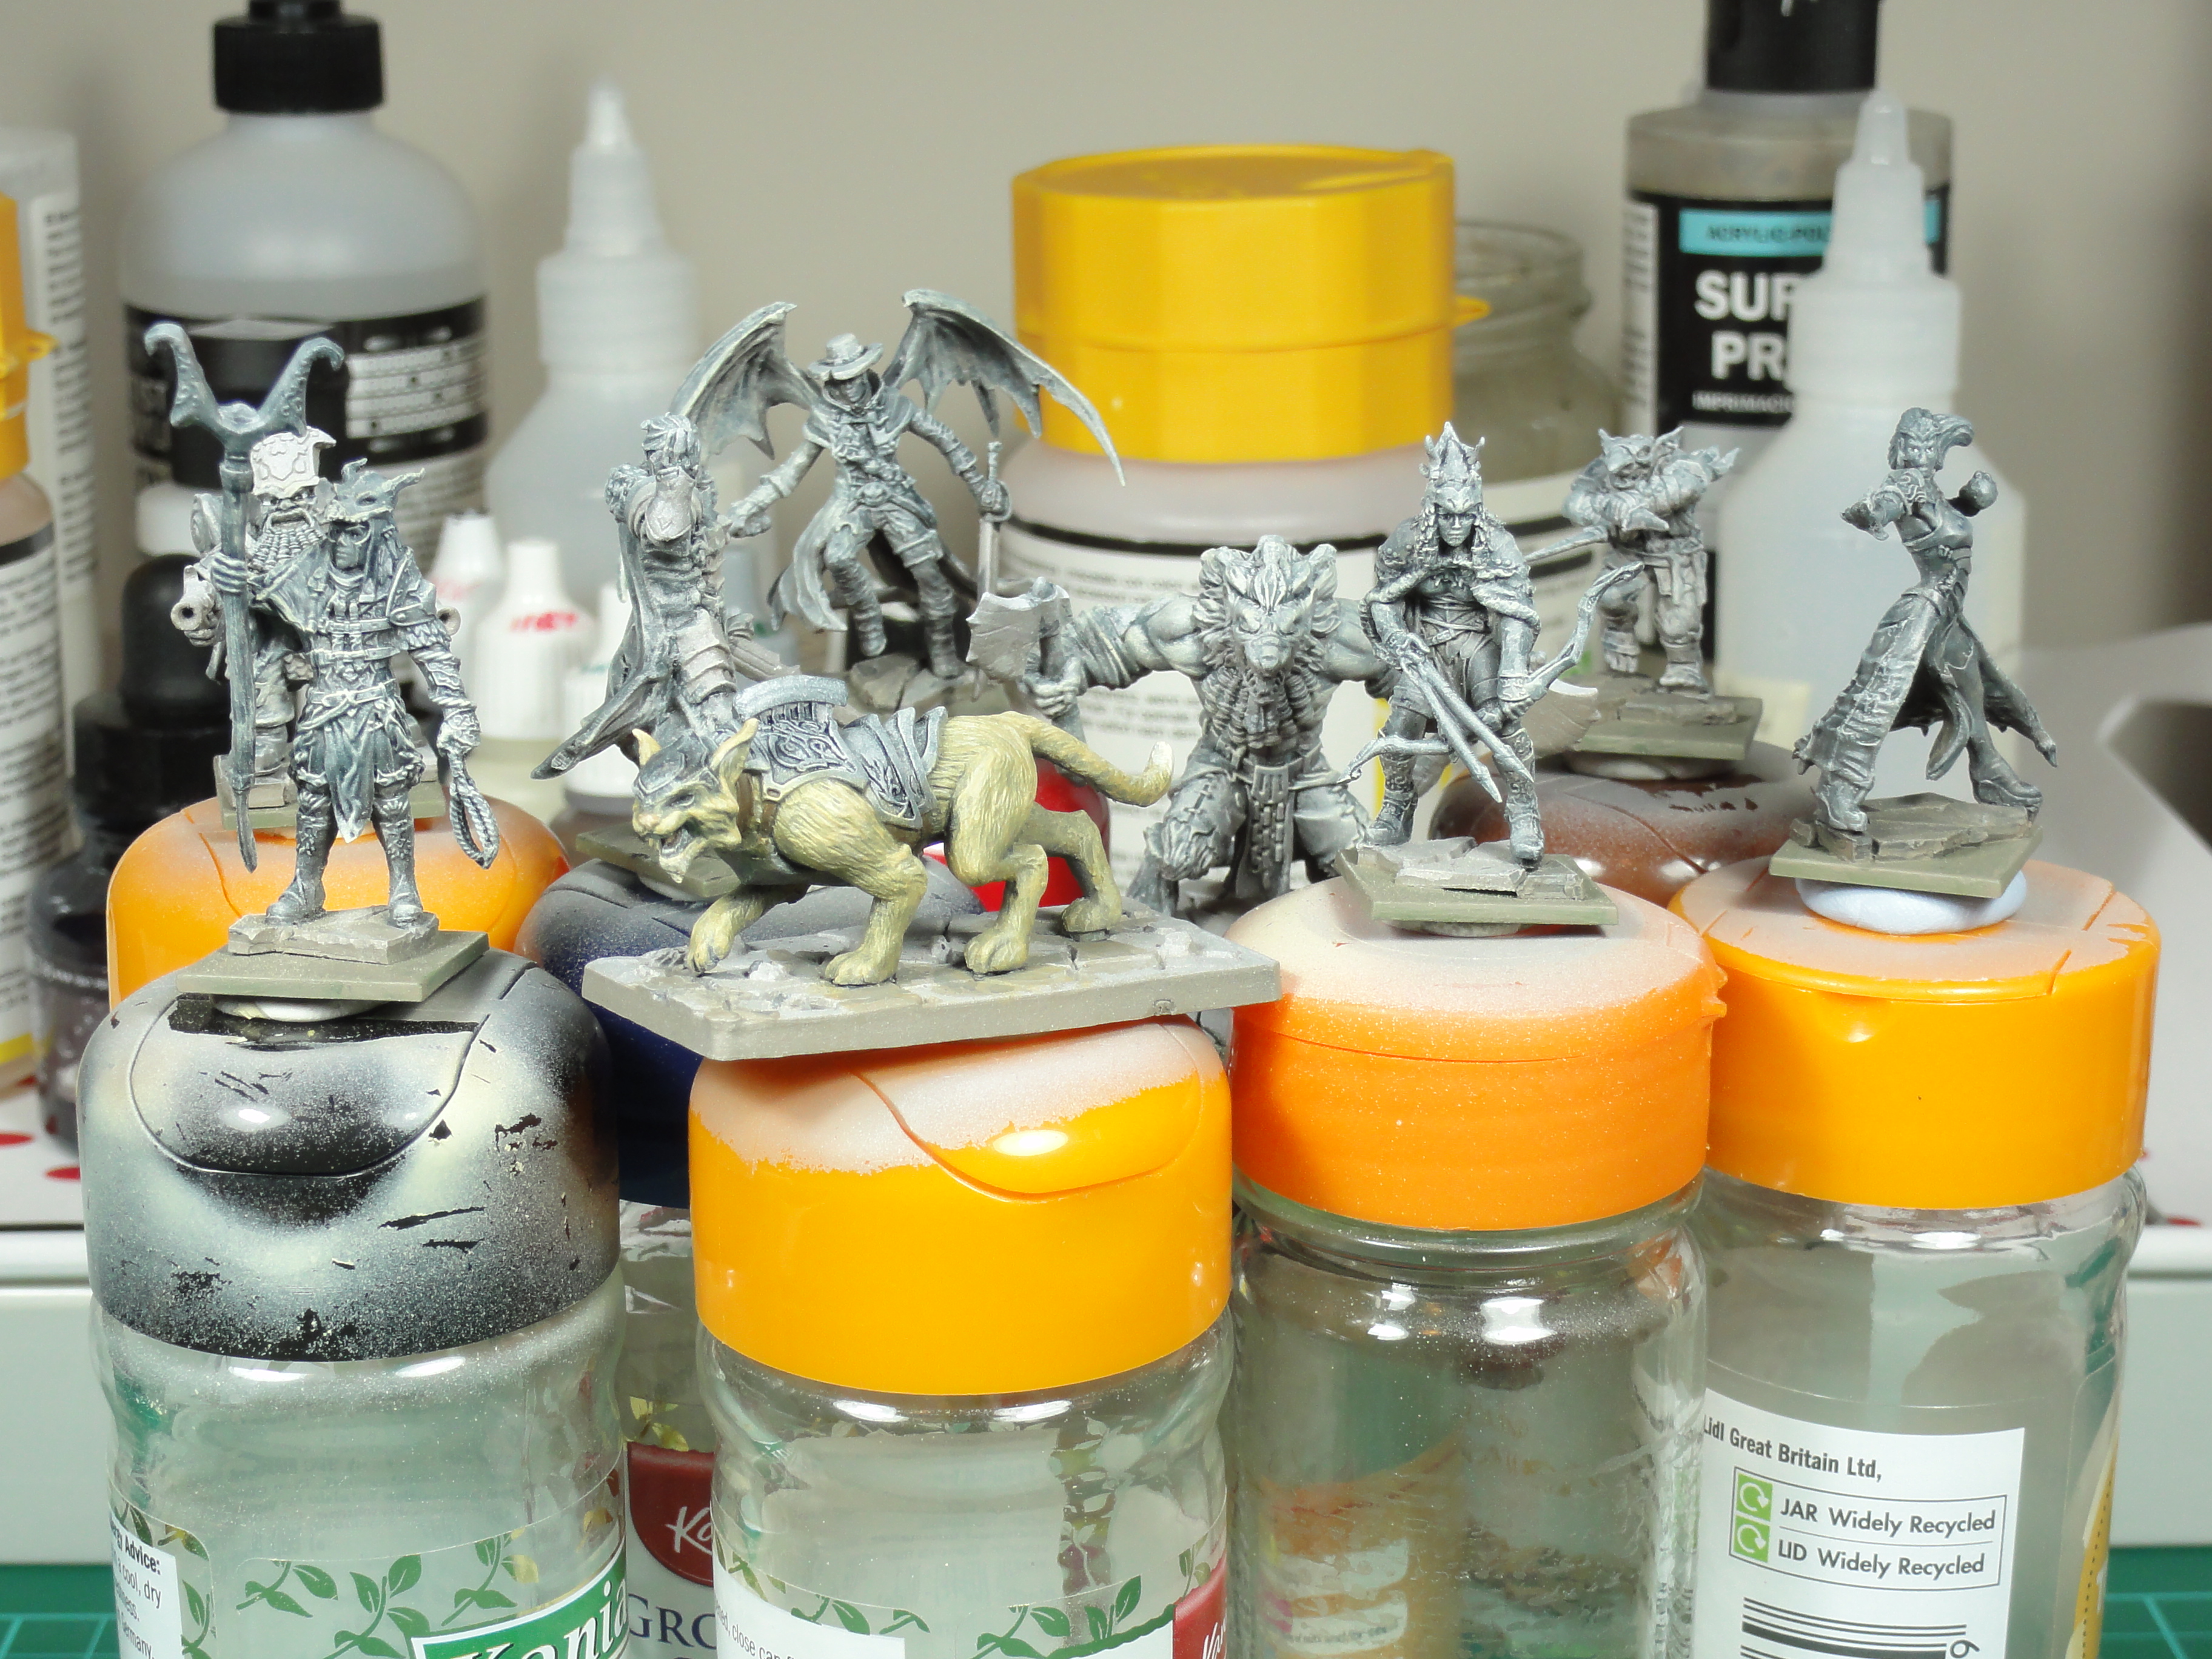
The remaining figures from the core box have been given a Paynes Grey Wash and drybrush with Pale Sand, avoiding the larger areas of armour. Started work on the big cat, but I don’t think I’ll do spotting on it.
Weeks 24-25 Drakon Handlers
The Drakon Handlers had been primed in week 7 with IDF Israeli Sand Grey Vallejo Surface Primer then Titanium White Liquitex Acrylic Ink was sprayed from above.
The skin followed the same method as the Elf Spearmen (weeks 21-23).
The weapon shaft and the hair used the same techniques as the arrows/bows and hair from the Elf Archers (weeks 19-20).
Horns were done using the same method as the Drakons.

Everything that was to be green, brown or fur was given a 1:3 Paynes Grey wash (1 drop of Daler Rowney FW Paynes Grey Ink to 3 drops of Wash Medium. COGs https://www.beastsofwar.com/featured/gerry-can-how-to-make-diy-professional-washes/ ). Followed by a drybrush of Pale Sand (Vallejo Model Color).
Black Green Ink (Vallejo Game Ink) was applied as a top layer for the tunic and the side pieces of the head piece.
Sepia Ink (Vallejo Game Ink) was applied to the fur followed be a selective drybrush of Pale Sand.
Chocolate Brown (Vallejo Model Color) mixed with Vallejo Glaze Medium was applied to the straps, belts, back of the boots and trousers. The trousers had the lightest of the glazes by spreading the glaze thinly. The Brown areas were then drybrushed with Pale Sand.
Any parts that were to be silver were blocked out in black, while the more copper parts were blocked out with Chocolate Brown.
Everything was gloss then matt varnished before the metallics were applied. Basing material was added and sealed between the gloss and matt varnish steps.
The silver parts were:
- A base coat of Gunmetal Grey (Vallejo Model Color) mixed with a touch of Panzer Dark Grey (Vallejo Game Air)
- Washed with Black Shade (FOW Vallejo)
- Given a broad Silver (Vallejo Game Color) mixed with a touch of White highlight
- Gold (Warpaints Army Painter) with a touch of Red Leather (Vallejo Model Color) was applied to raised parts of the armour.
The sort of copper parts were:
- Base coated Hammered Copper (Vallejo Game Color) with a touch of Dark Fleshtone (Vallejo Game Color)
- Bright Bronze (Vallejo Game Color) was added to the base coat mix to use as a highlight.
- Gold (Warpaints Army Painter) was added to the Bronze mix for a further highlight
- A heavy wash of Black Shade was applied
- Gold mixed with a small amount of Red Leather was used as a thick edge highlight
I’m fairly happy with how these turned out and will use similar techniques when I get around to the Northern Alliance miniatures I have for Vanguard, but will replace the green ink with blue ink as they have a blue theme.
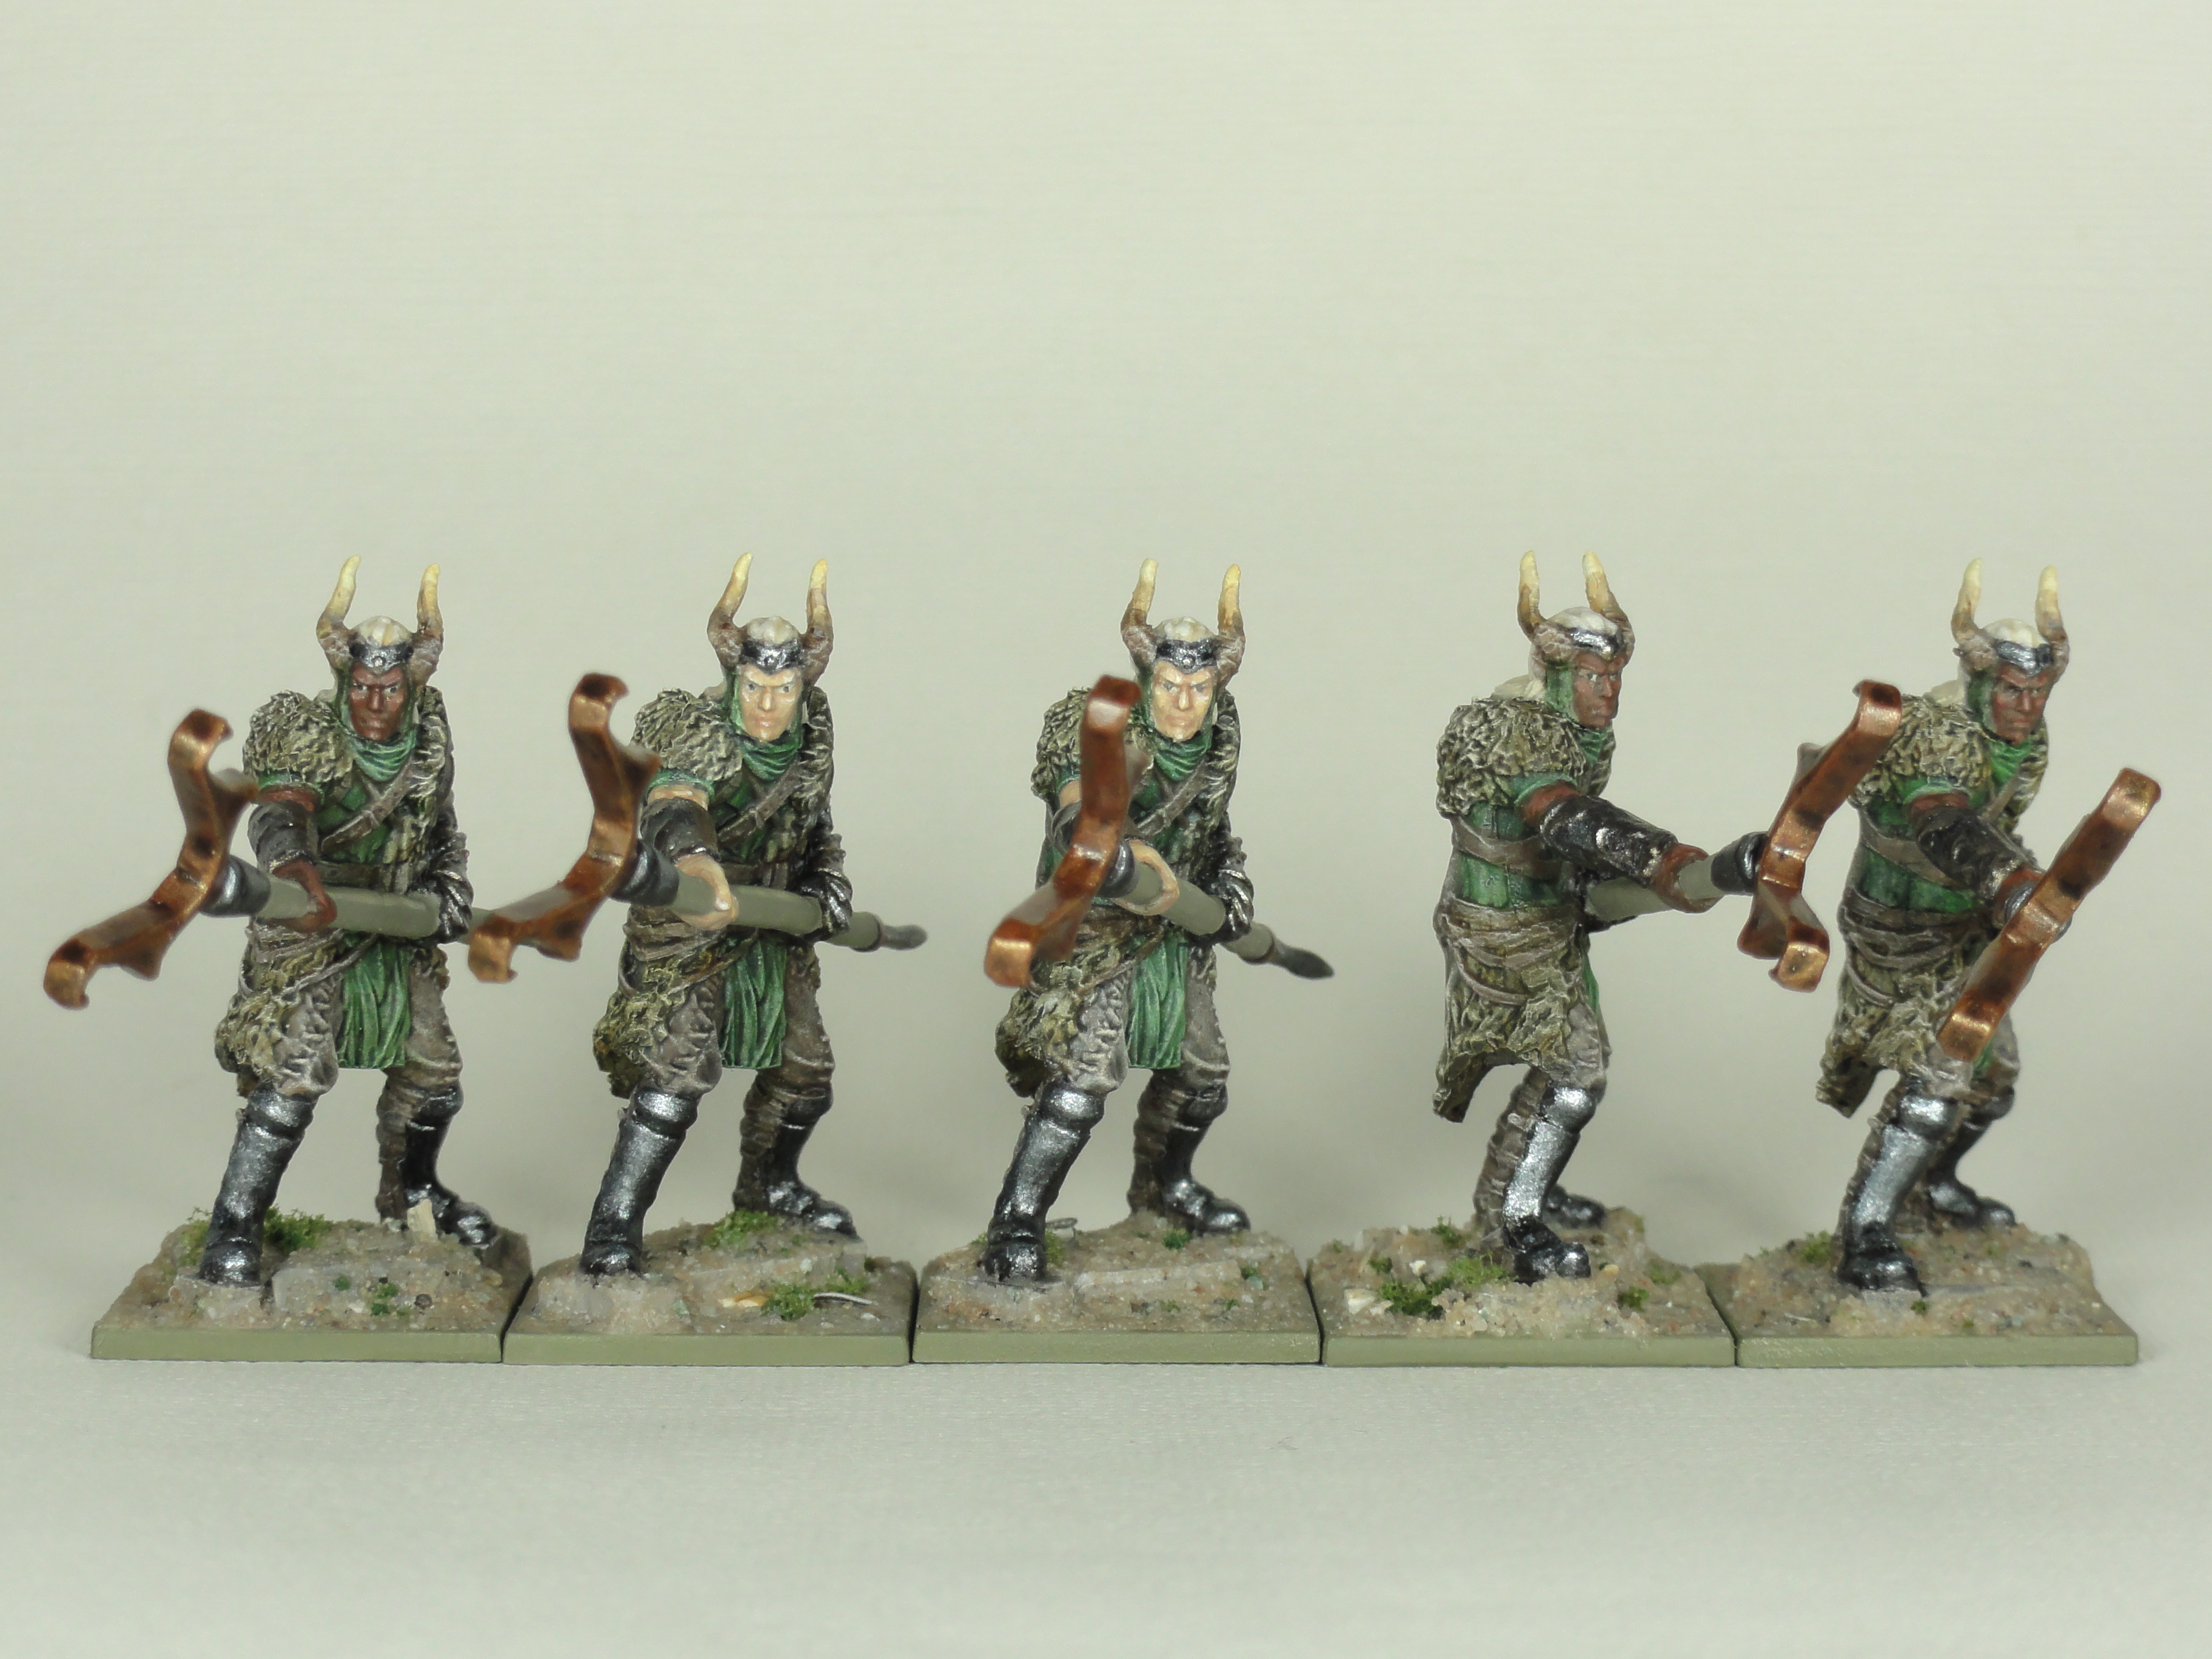
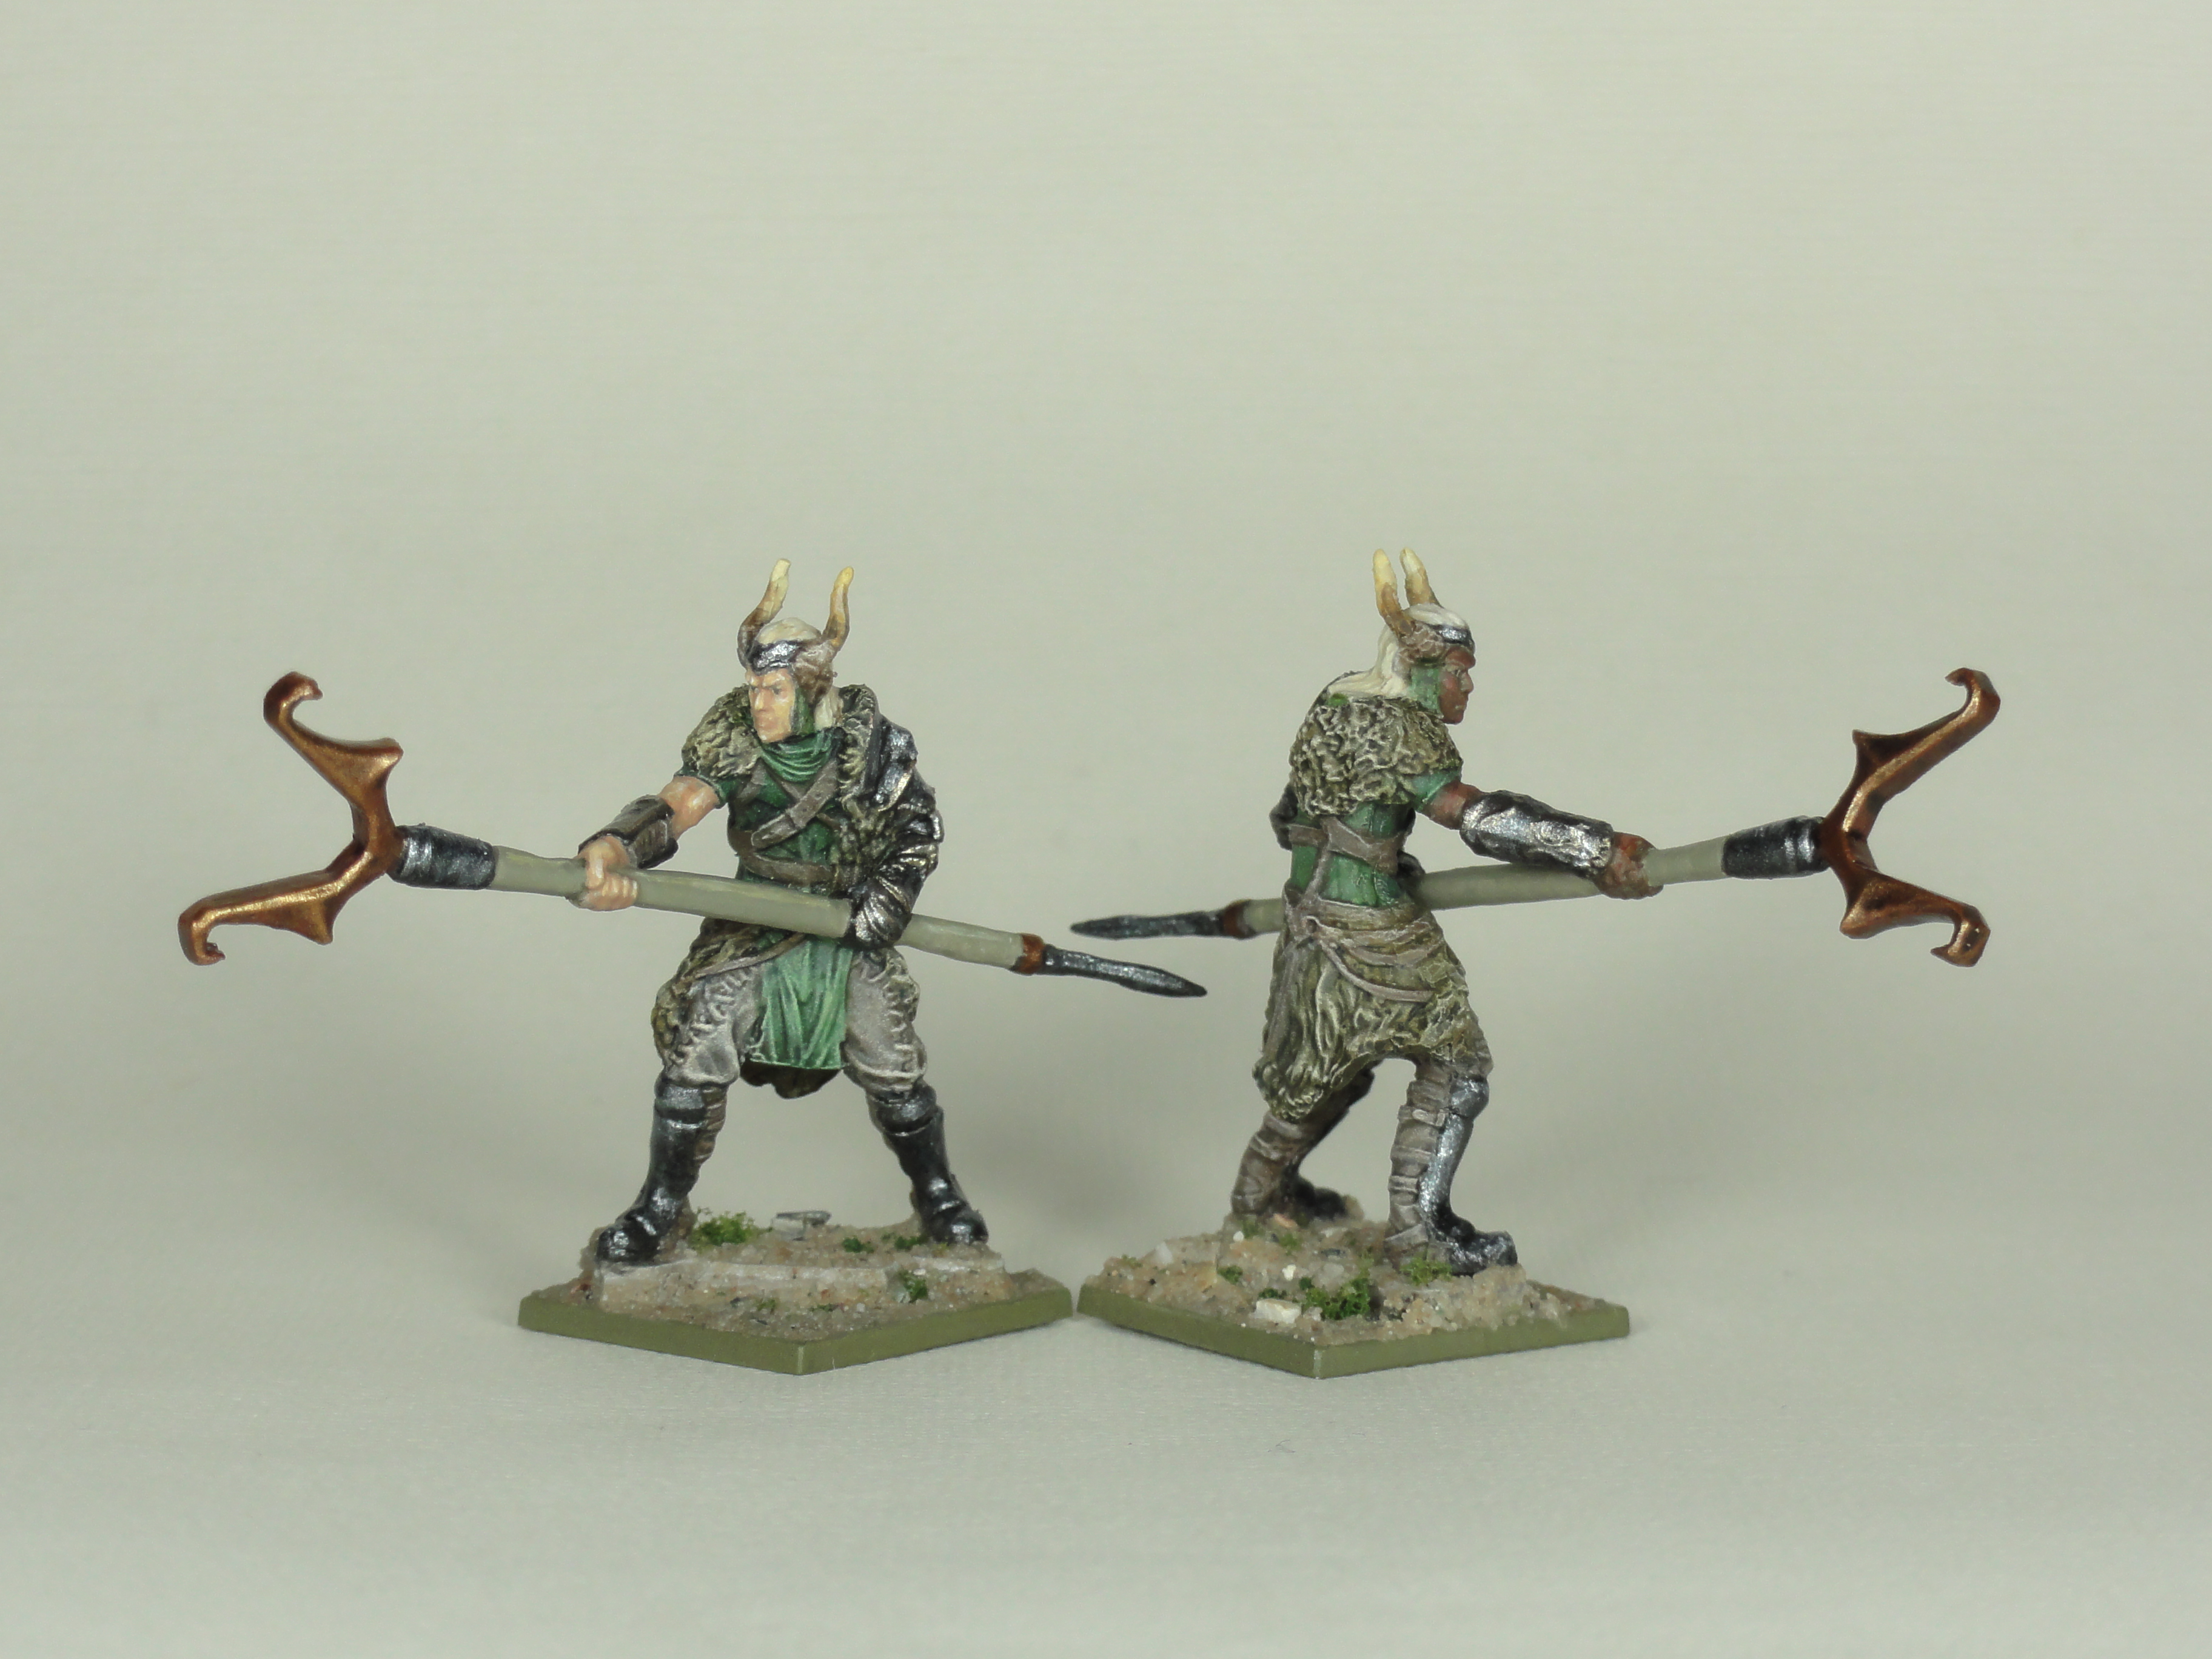
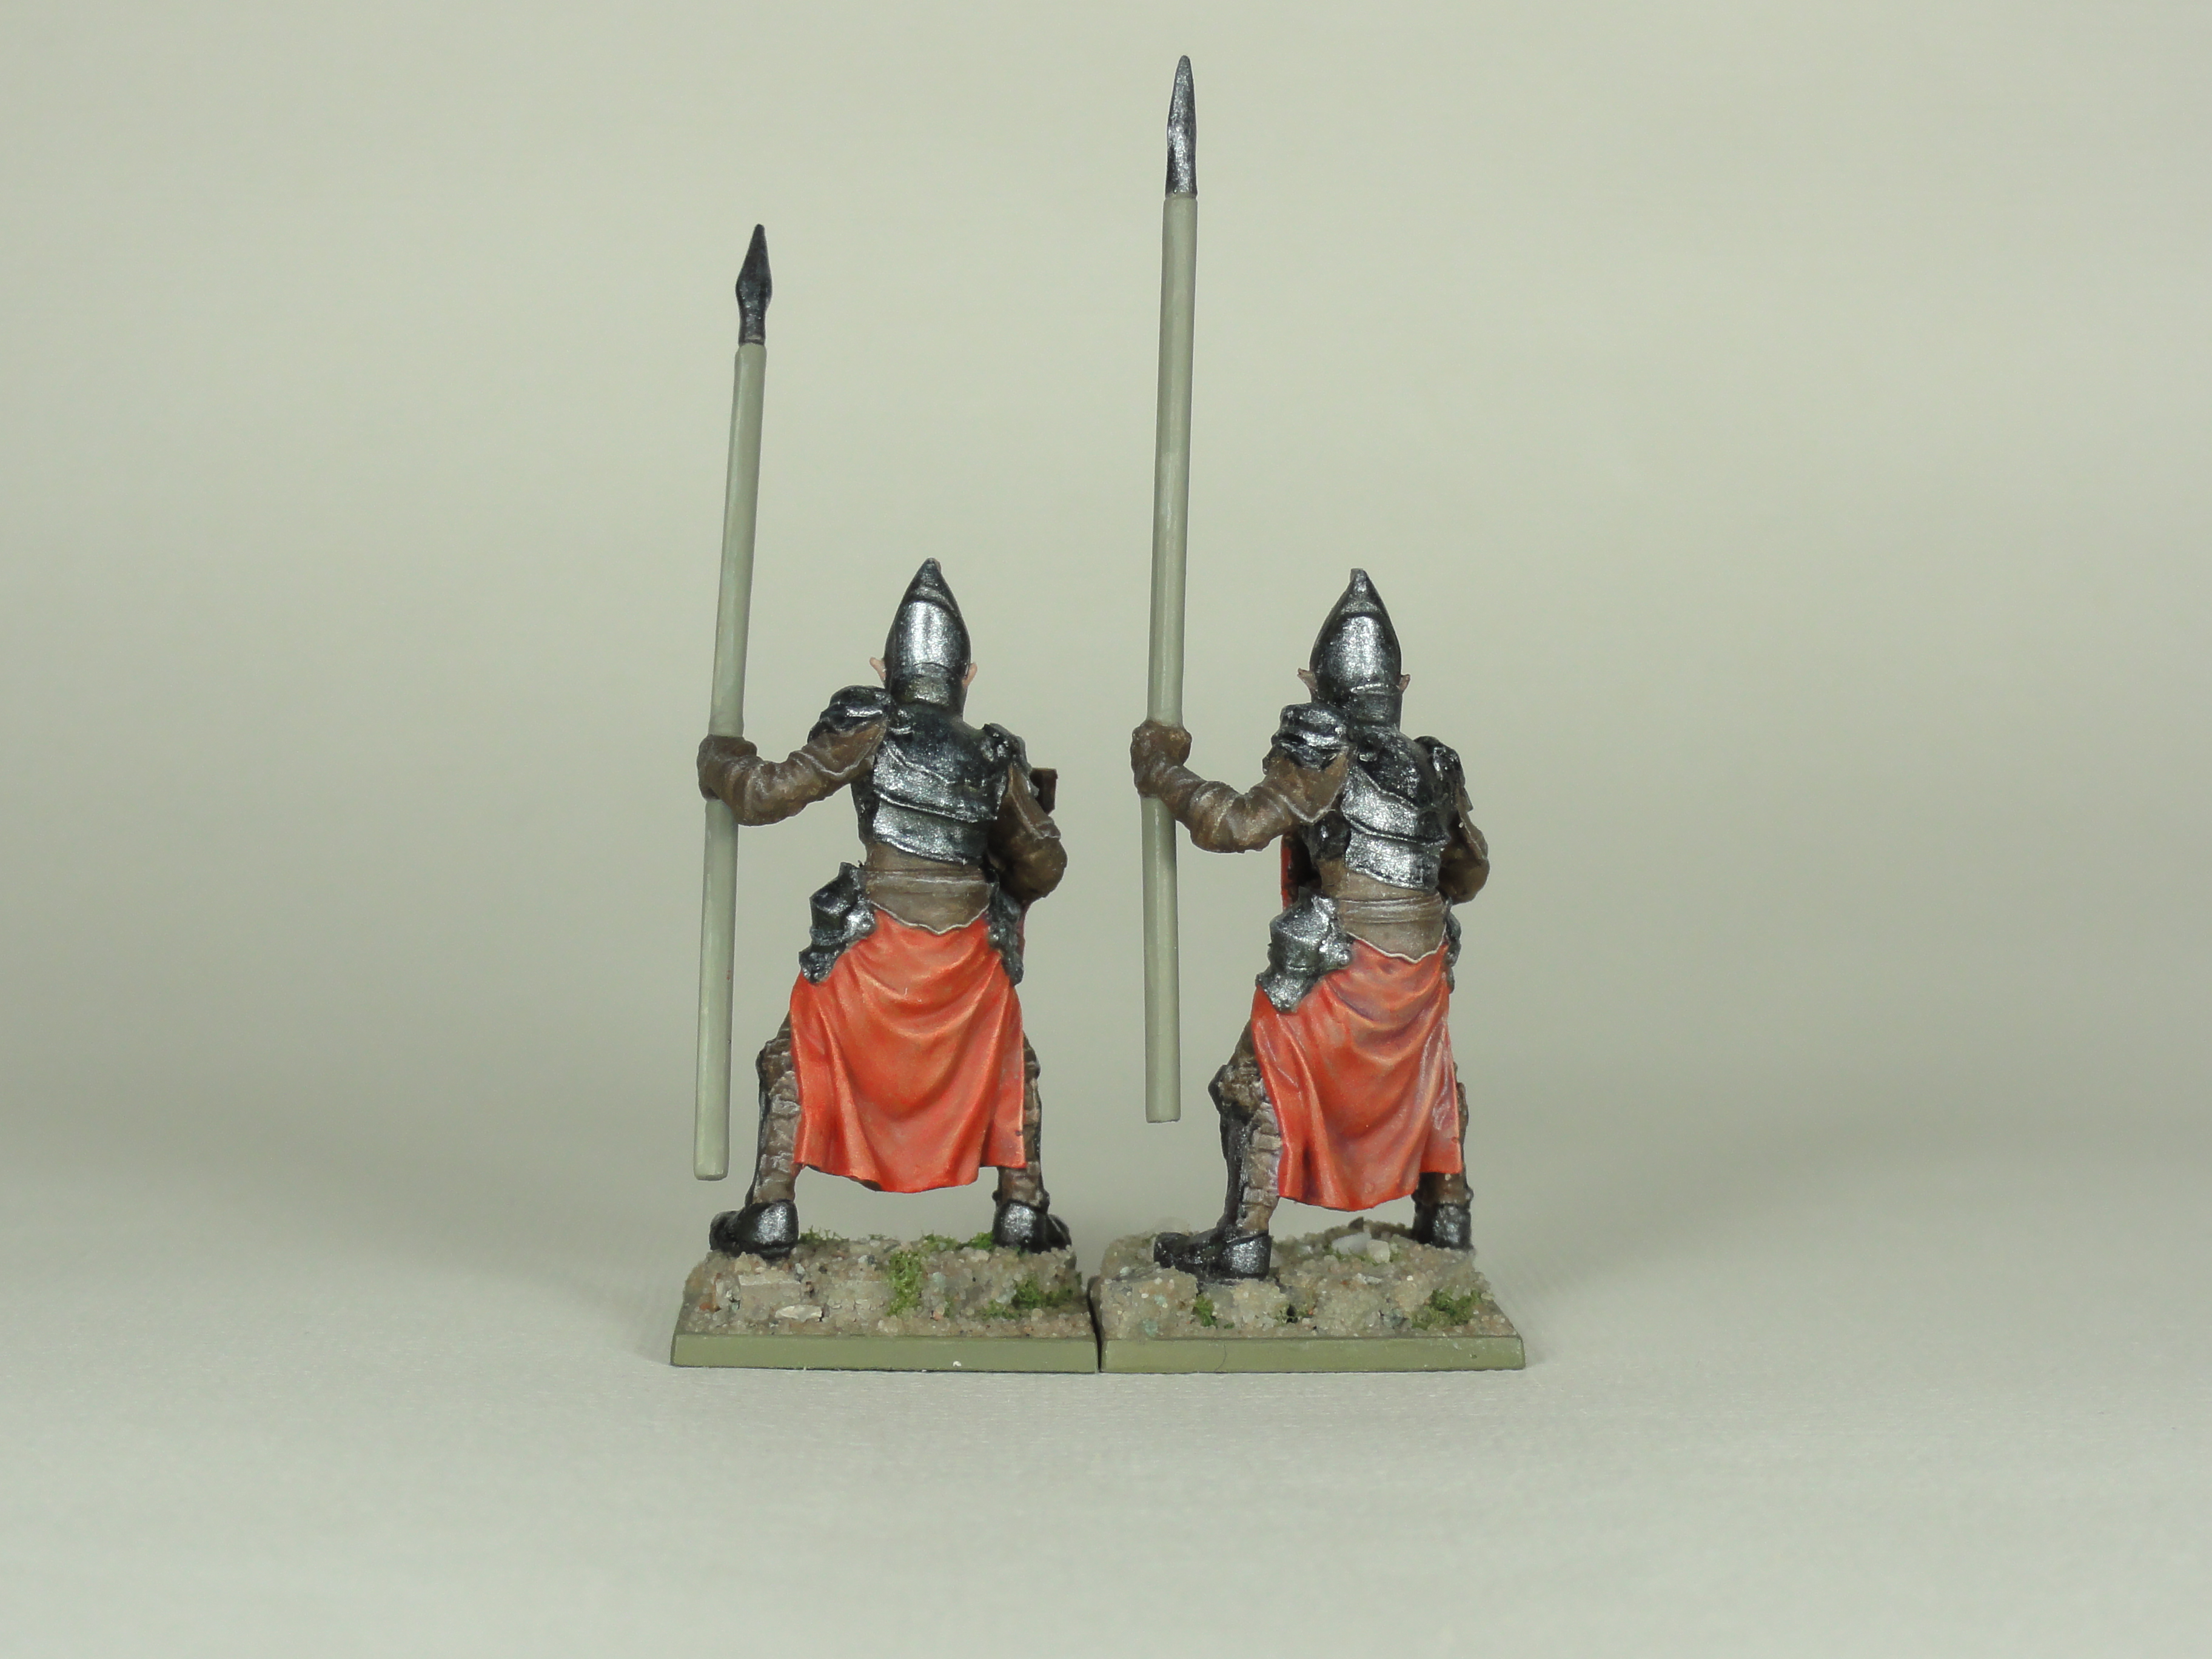
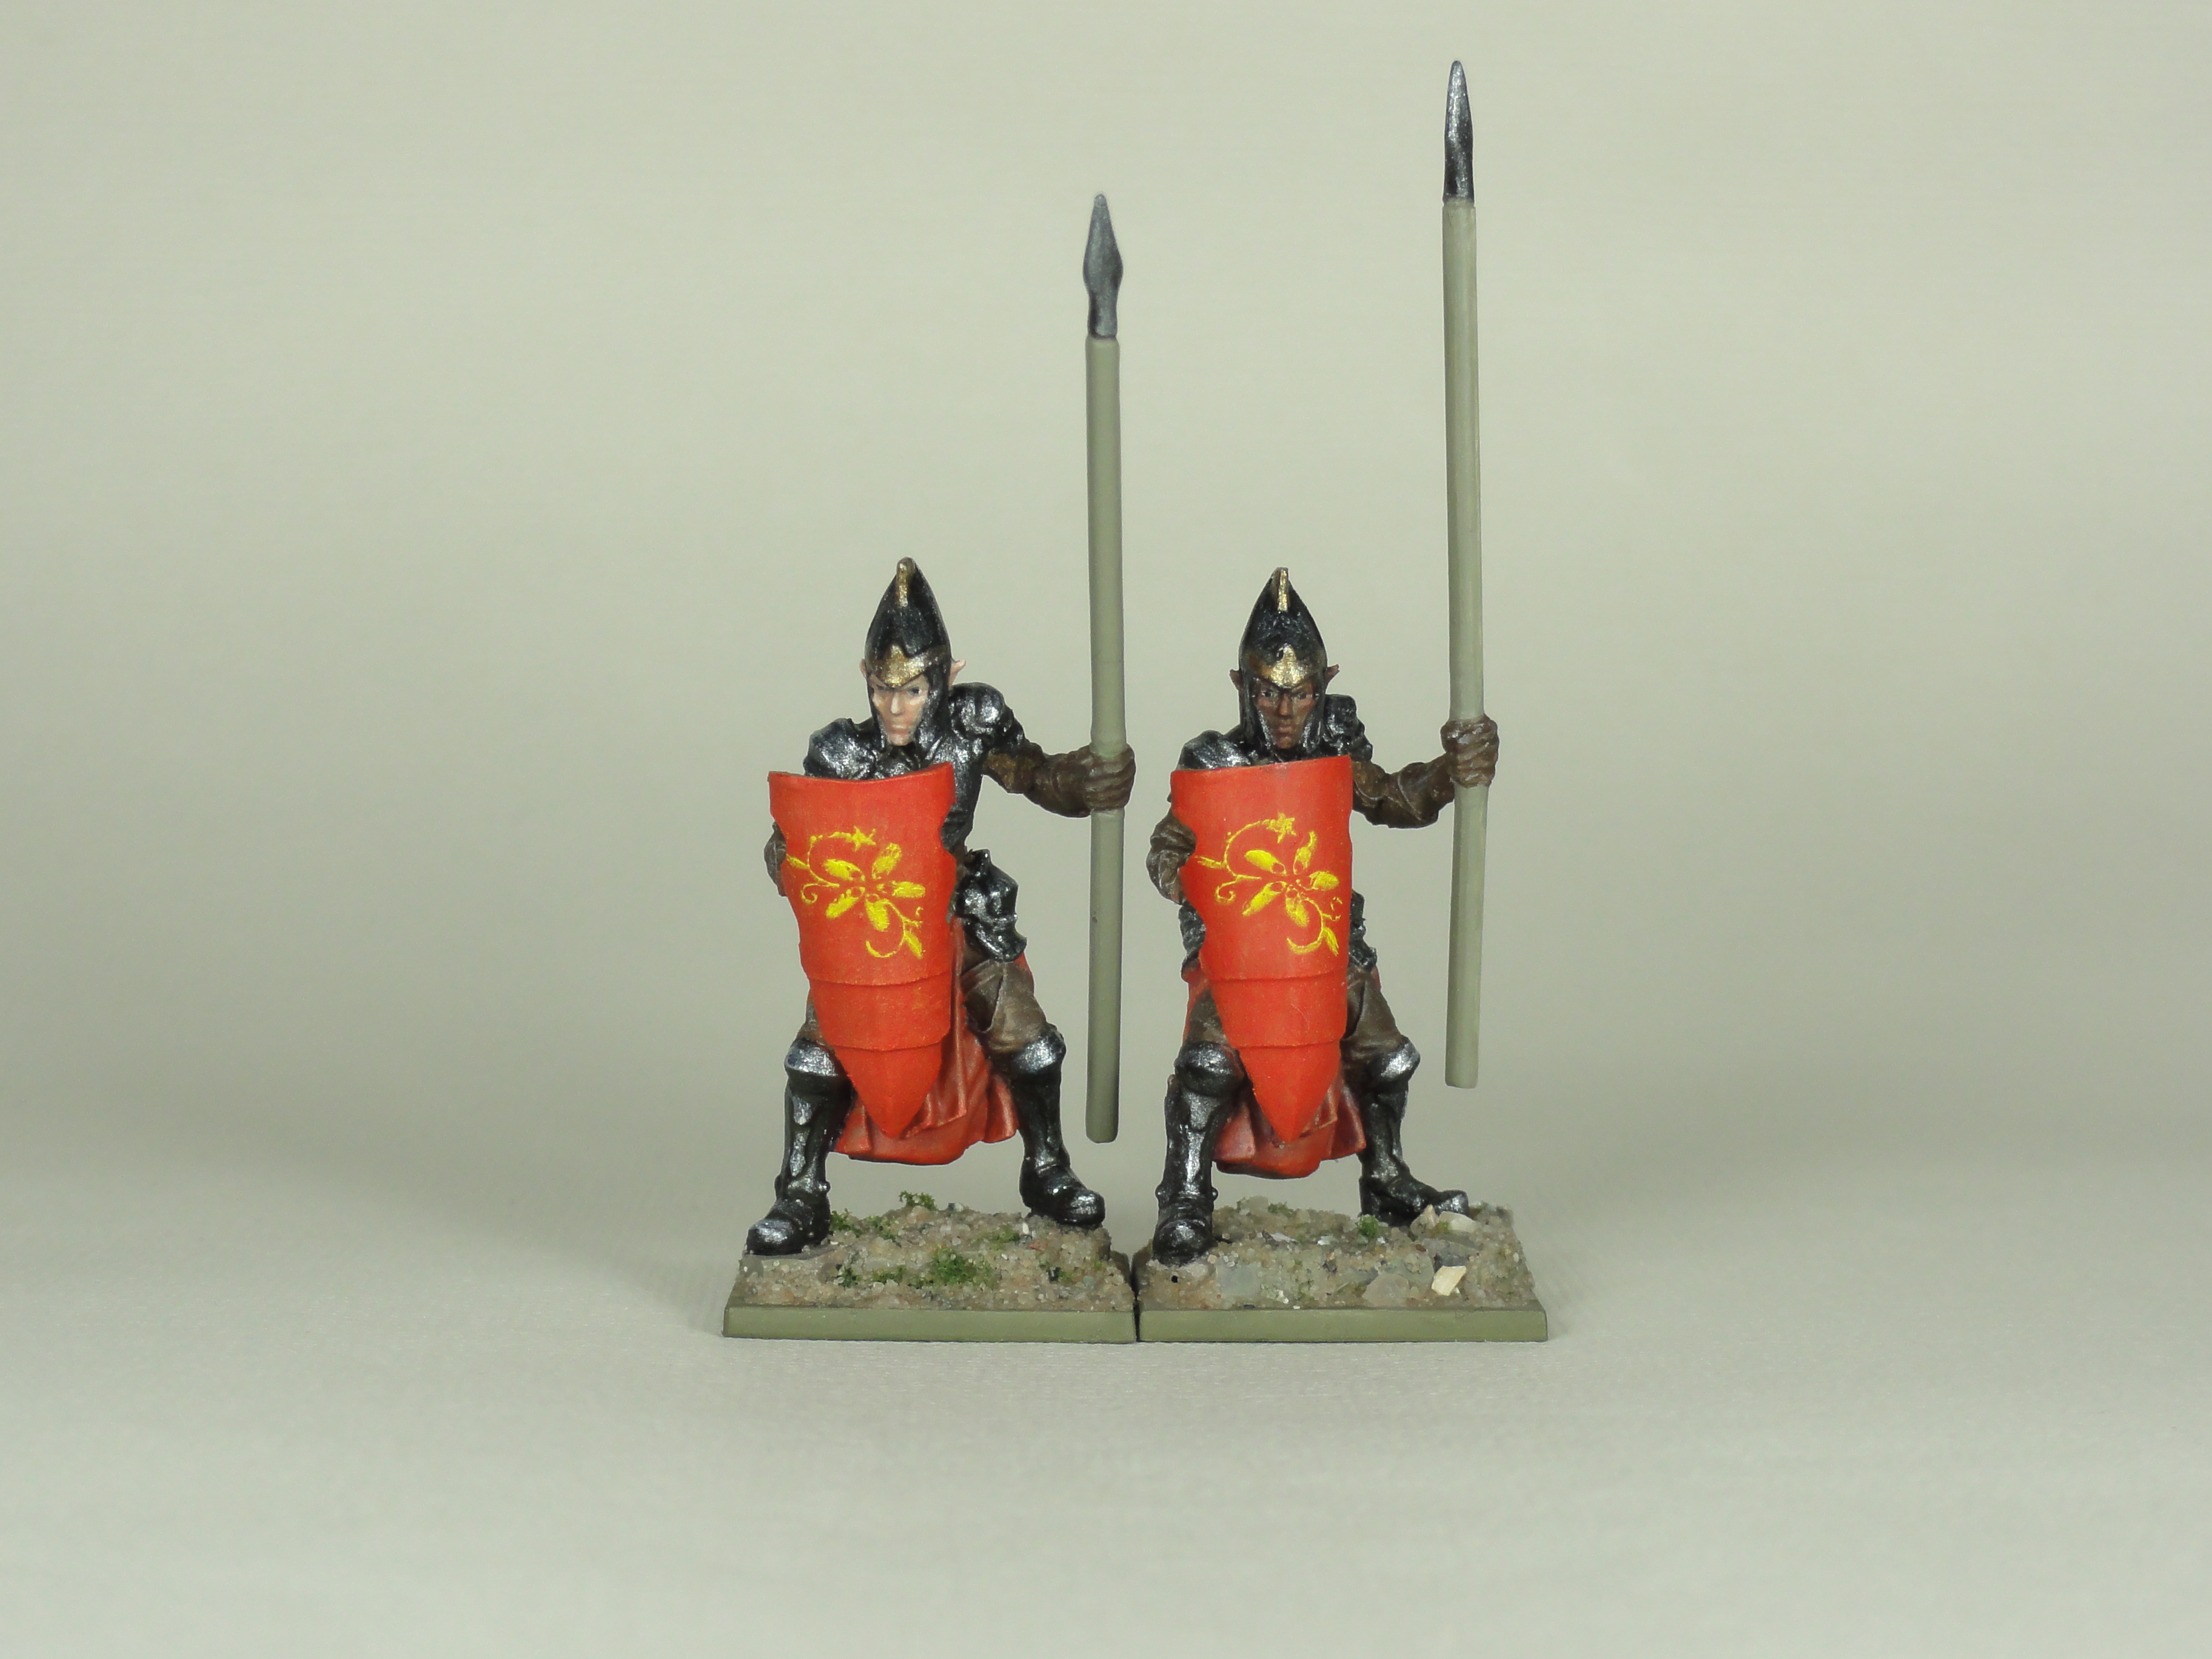
Weeks 21-23: Elf Spearmen
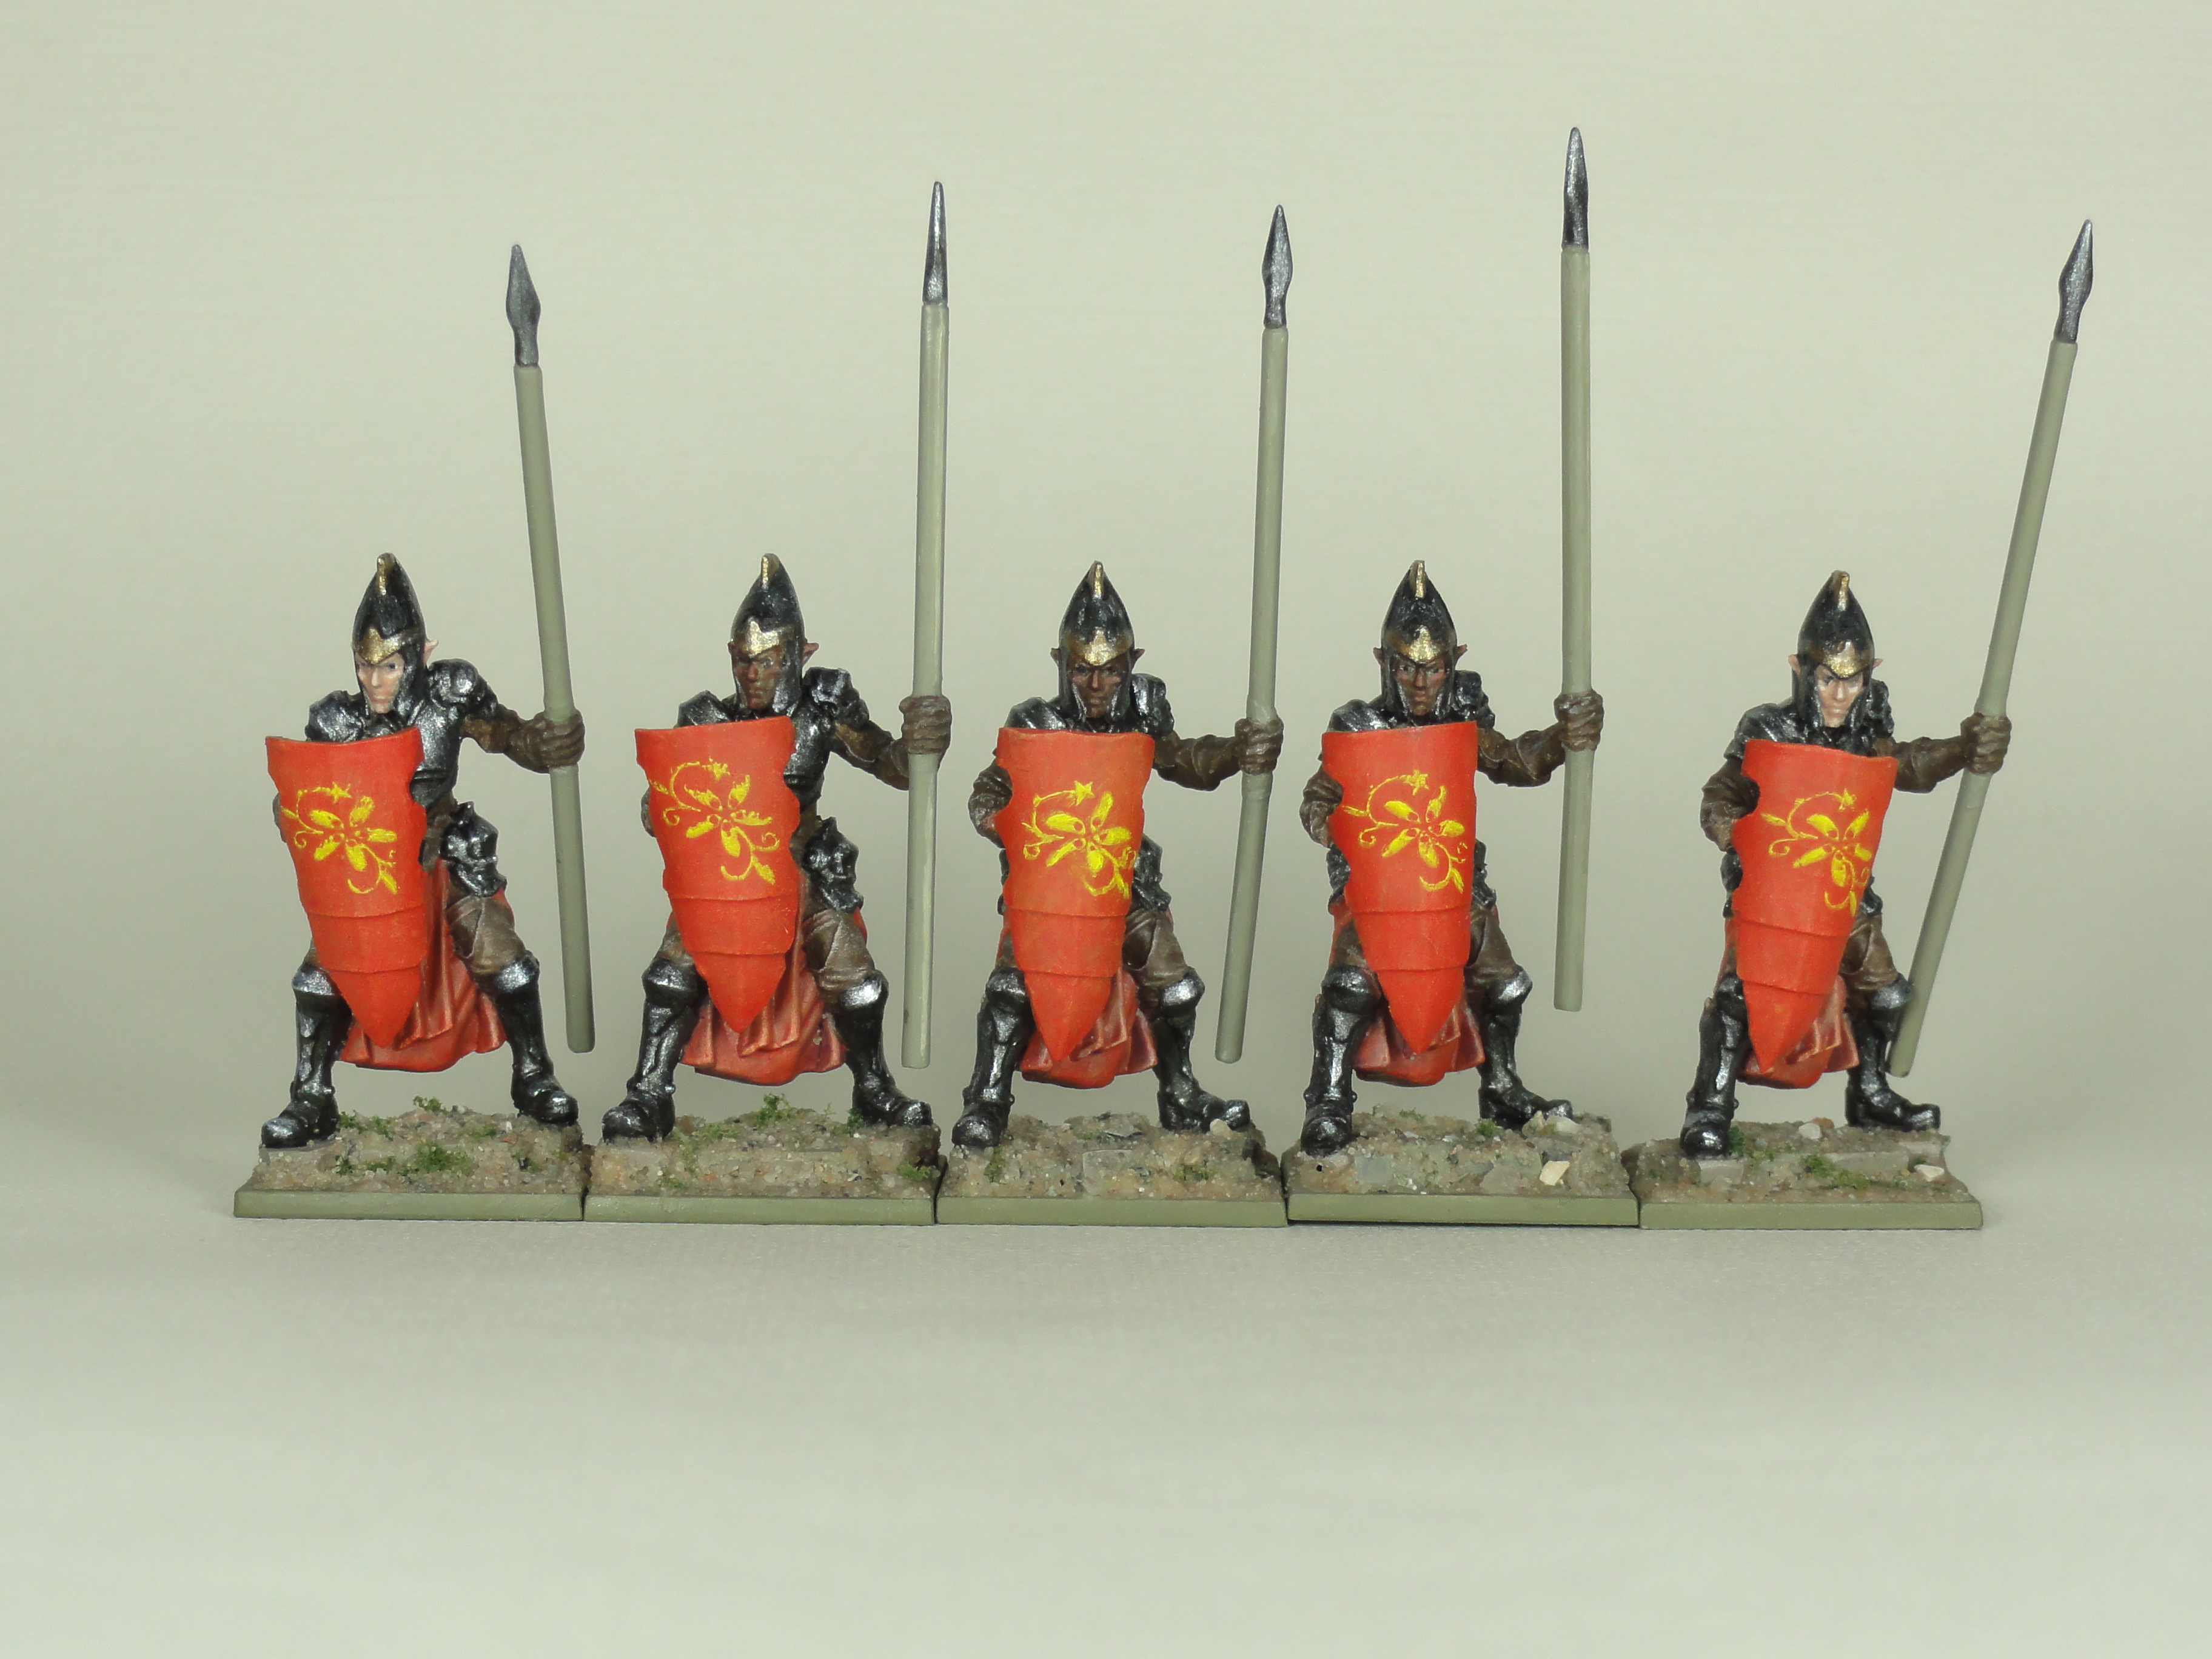
The spearmen were painted in much the same ways as the archers from the previous entry, with a few tweaks.
Similar to the archers all the non-metallics were done first (except the shield emblem) then varnished with gloss then matt varnish.

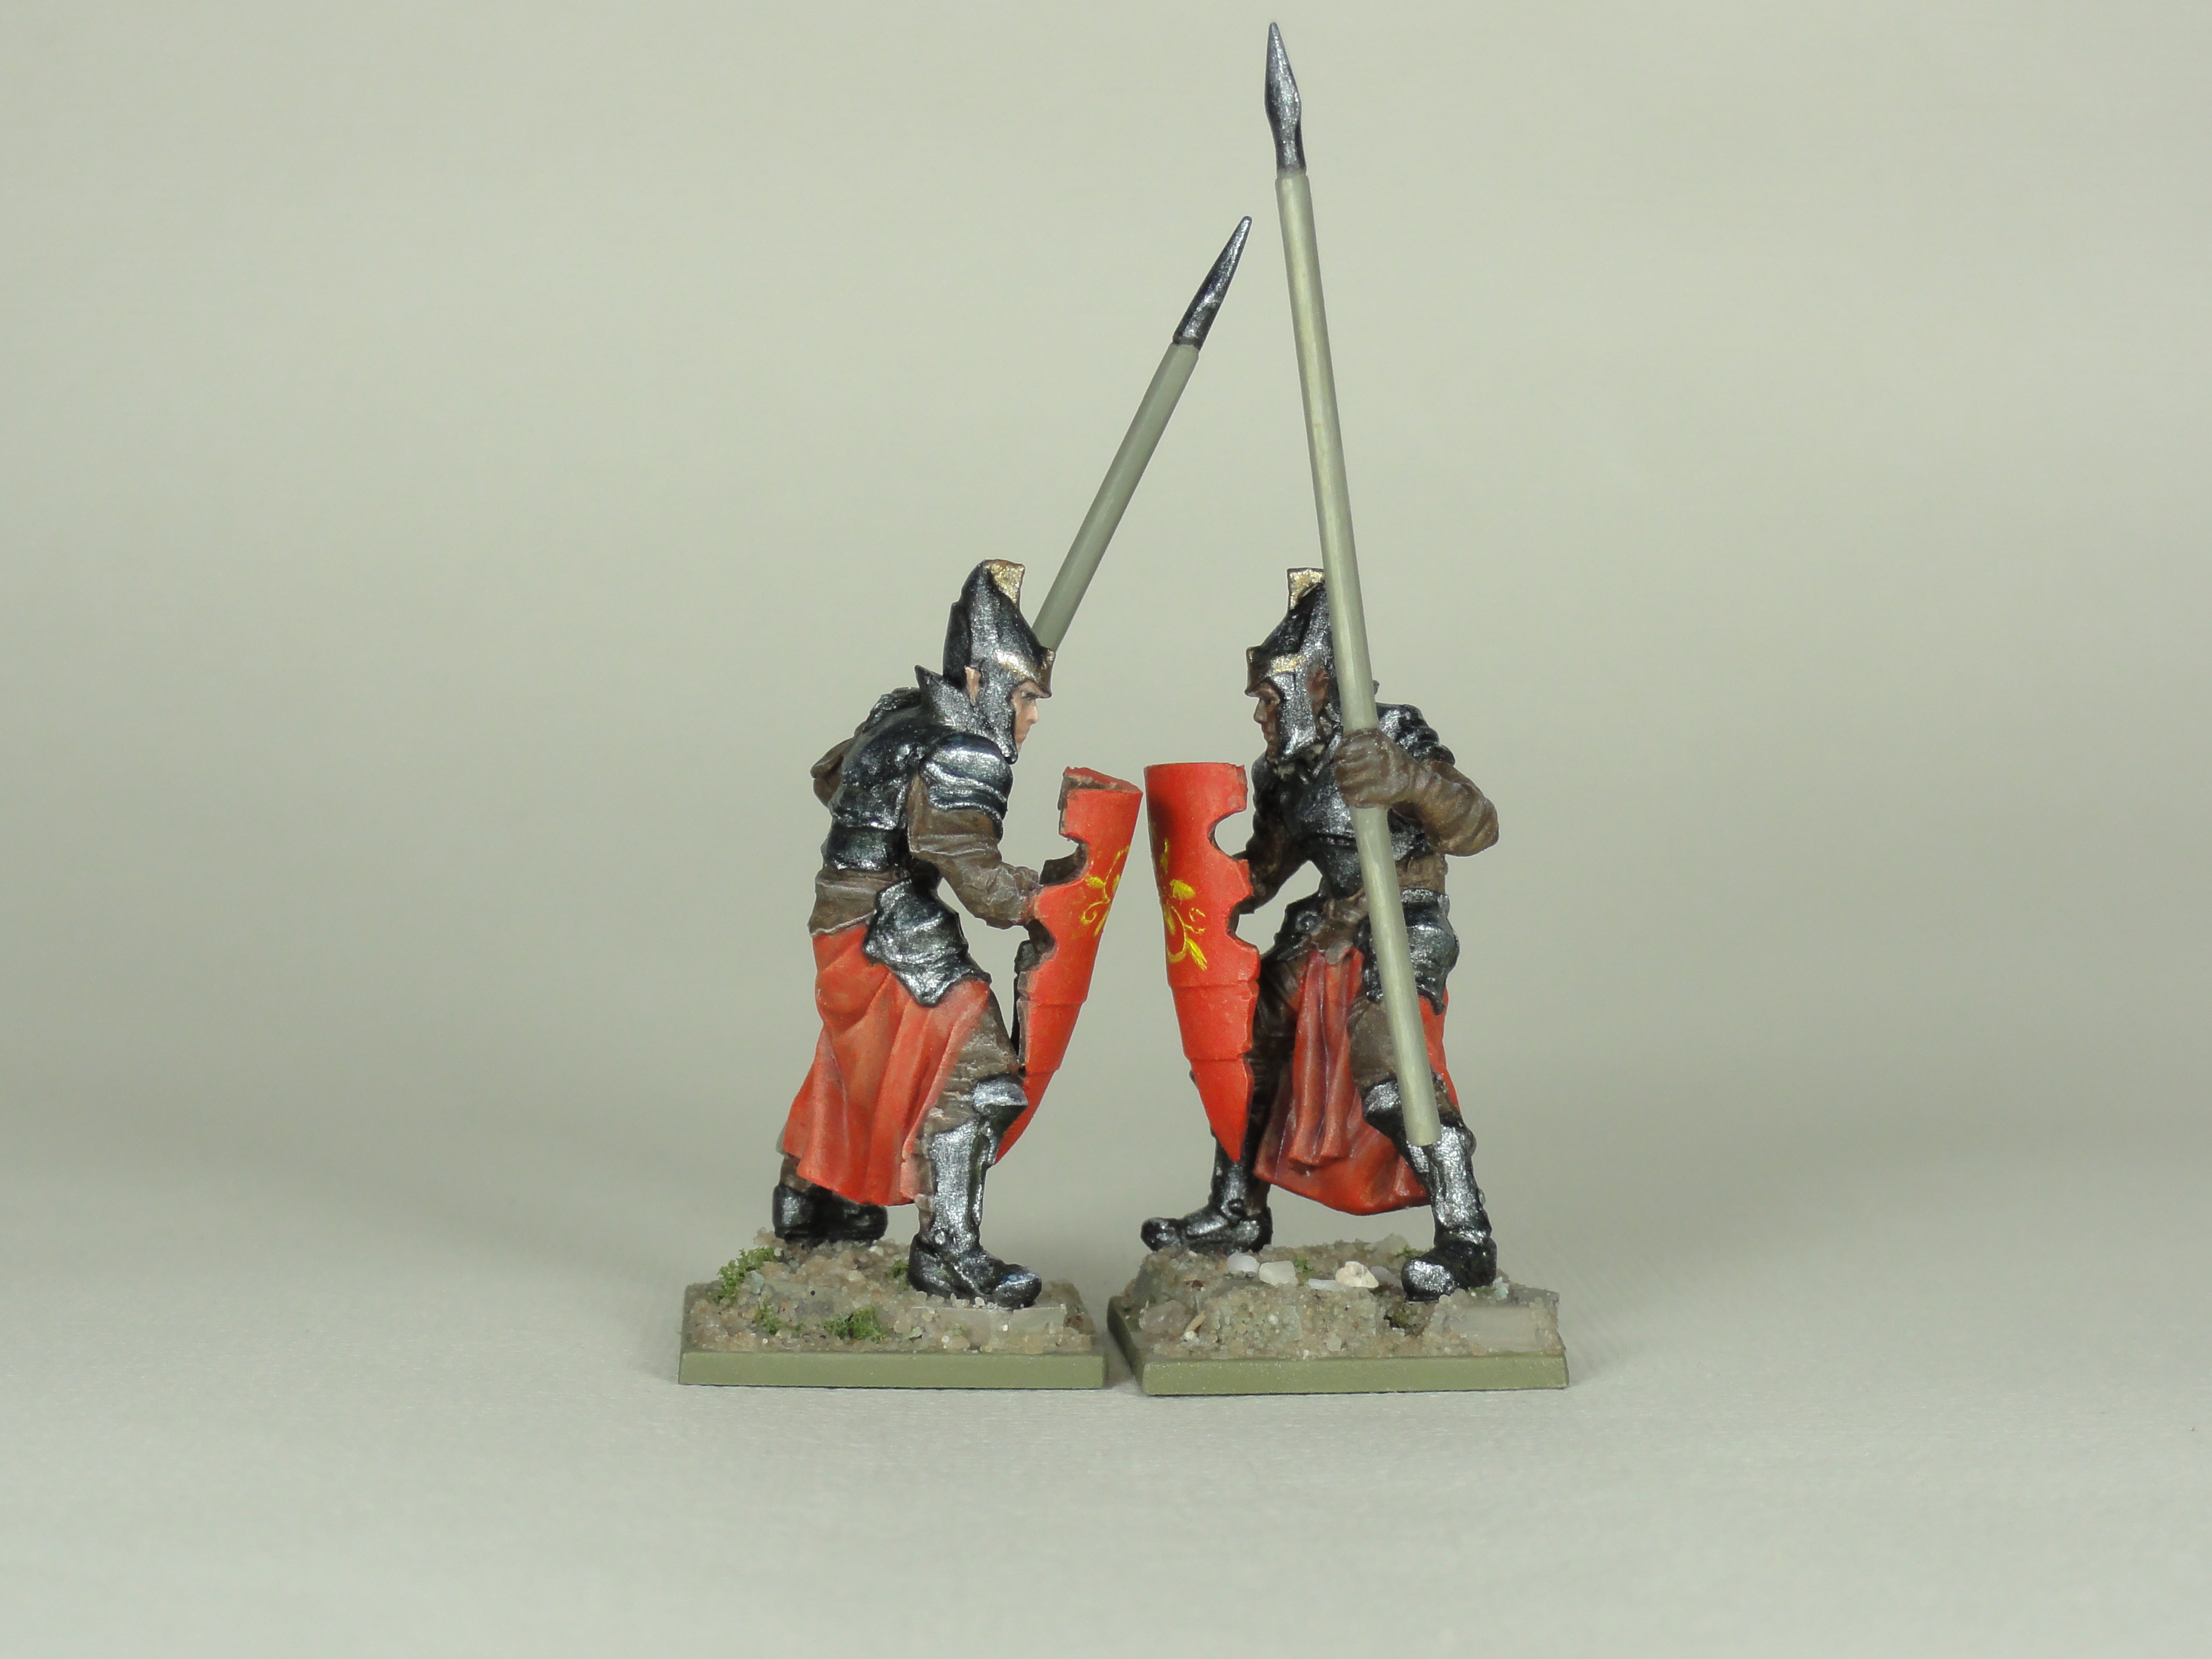
Even though I had already primed the spears, I was unhappy with them and swapped them out with plastic Fire Forge games ones that I had for a Dwarf conversion project (a further insult to the Dwarves).
The reds were painted in the same way as the archer’s cloaks. The spear staffs were painted the same as the bows and for the browns I missed out the archers brown glaze step.
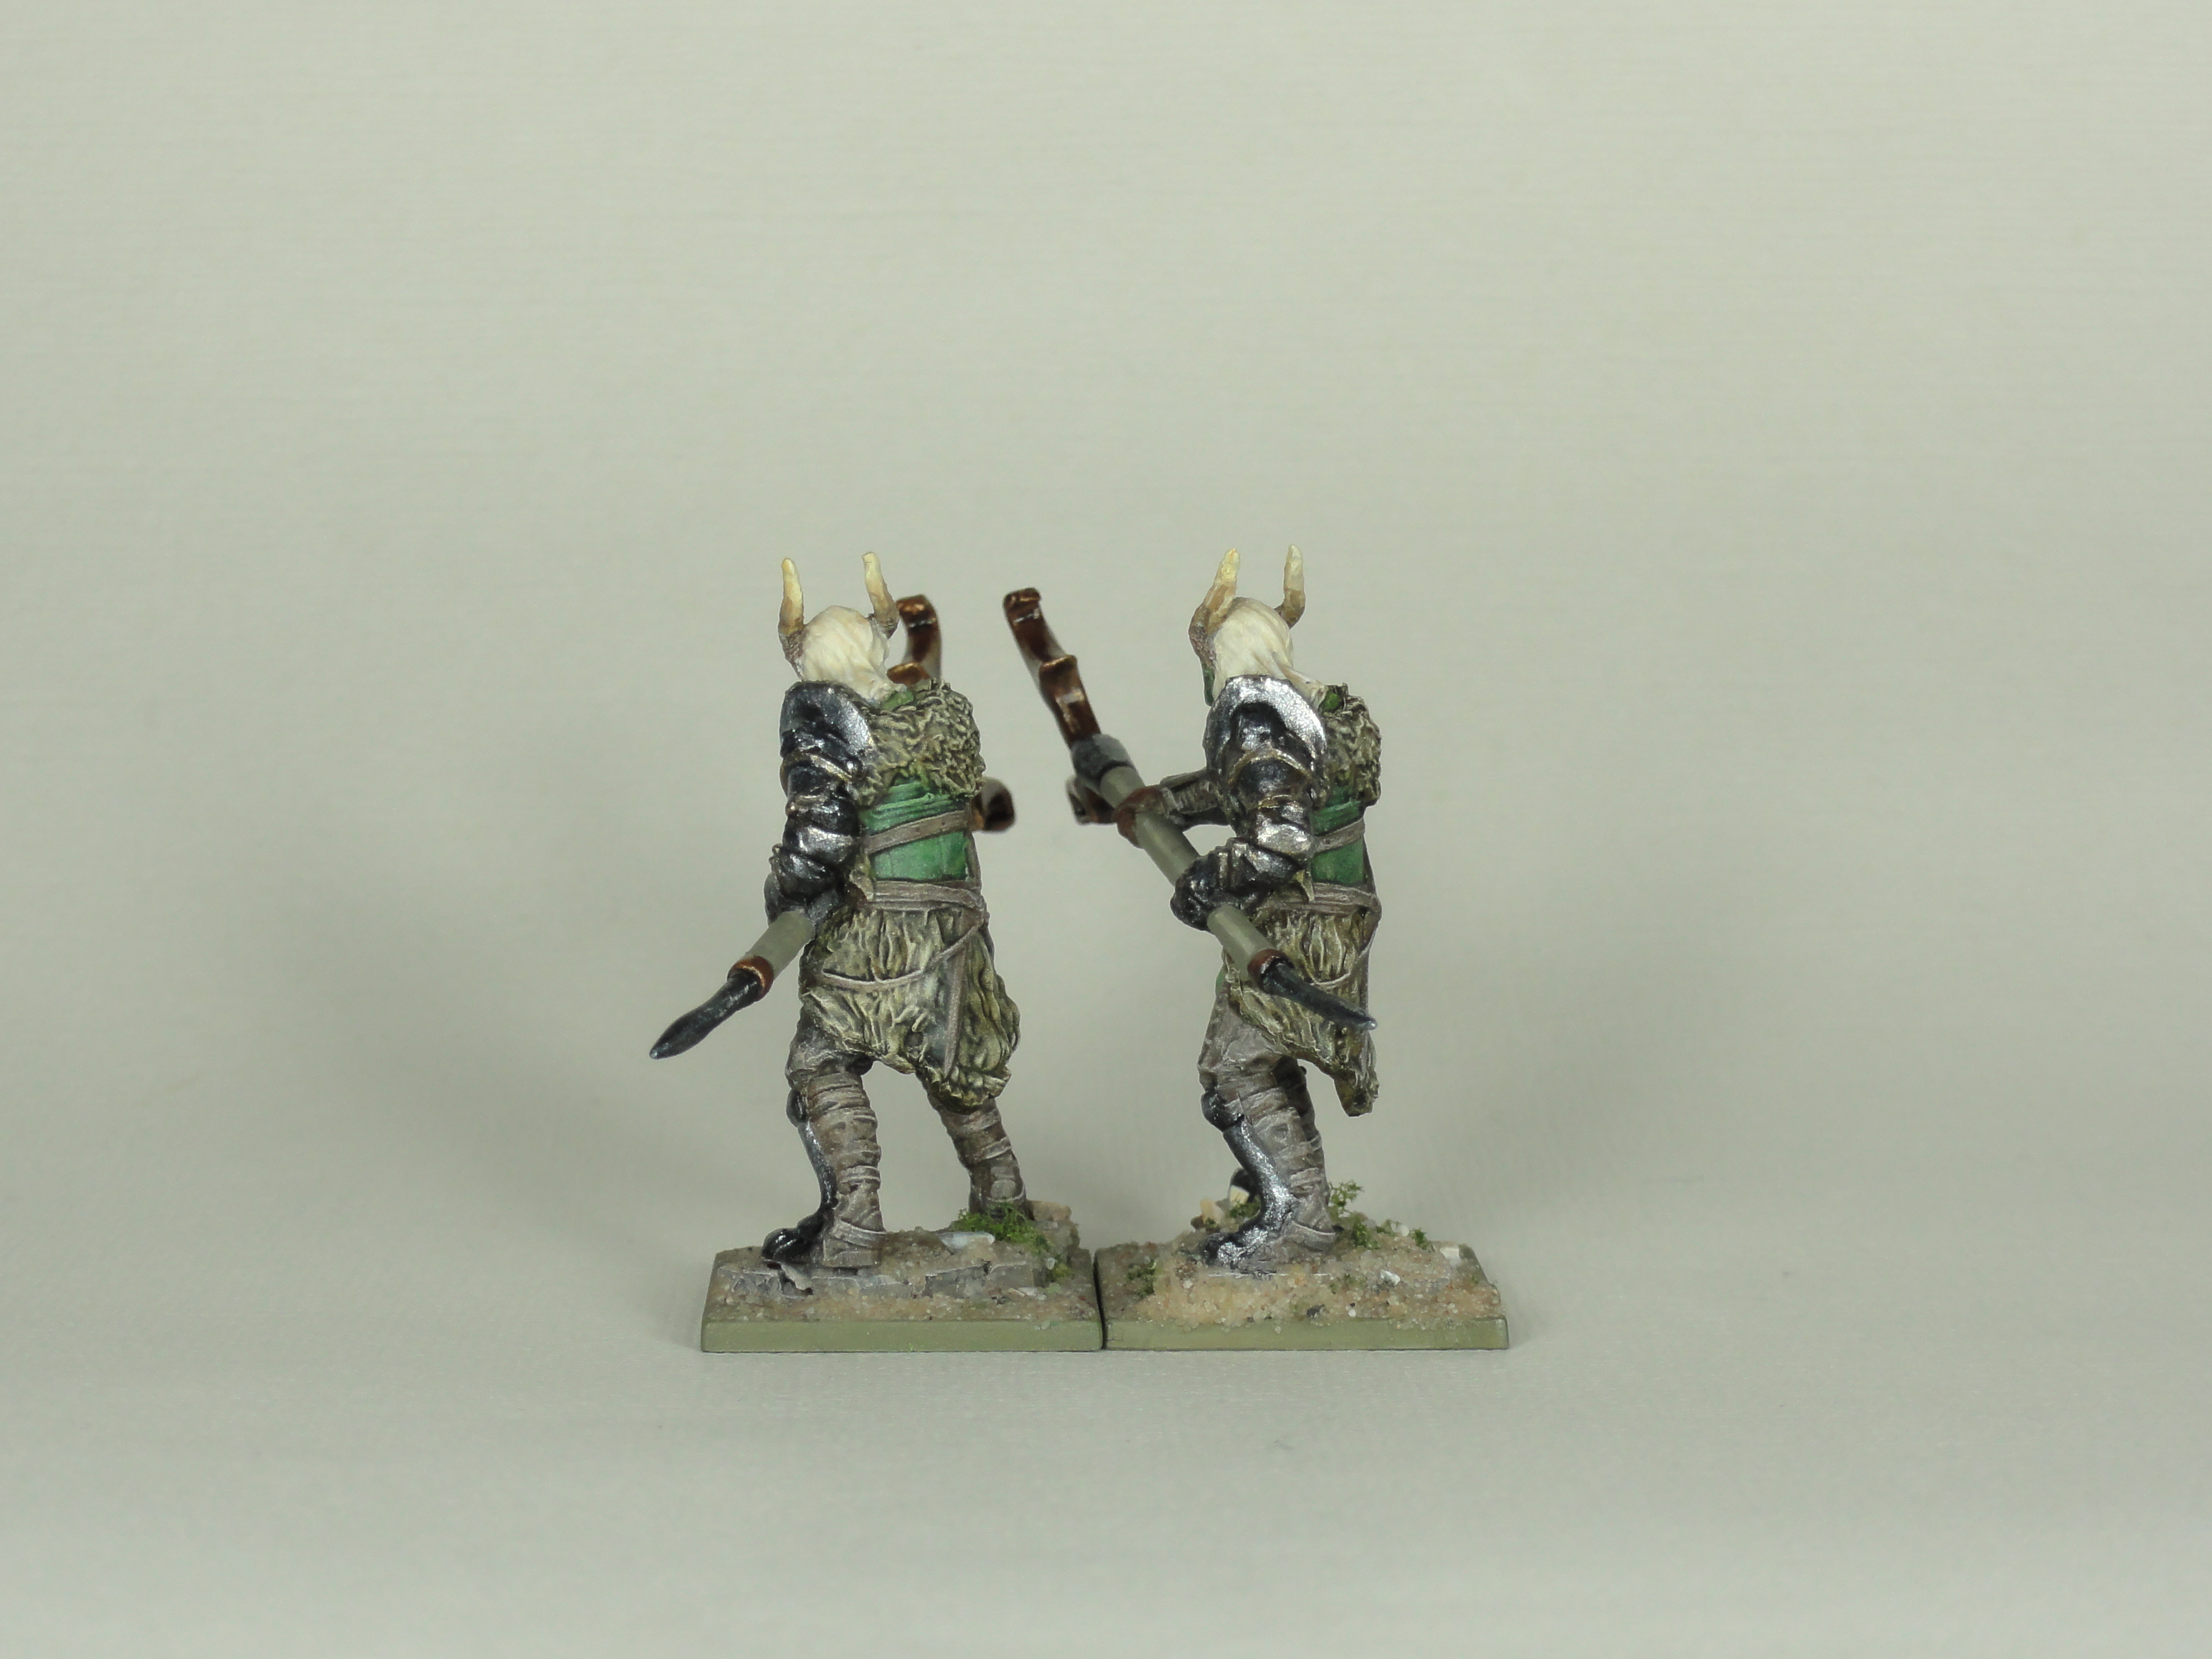
There was a slight change with the way I did the faces compared to the archers. Mainly I went dark to light rather than mid, shadow then highlight and changed out the Dark Green Ink for German Cam. Dark Green. I did the eyes first before the skin.
So either:
- German Cam. Dark Green (Vallejo Model Color) mixed with Dark Flesh Tone (Vallejo Game Color)
- 1st highlight: Dark Flesh Tone
- 2nd highlight: Dark Flesh Tone mixed with Tan Earth (Vallejo Model Air)
or:
- Dark Flesh Tone mixed with Elf Skin Tone (Vallejo Game Color)
- 1st highlight: Elf Skin Tone
- 2nd highlight: Elf Skin Tone mixed with Ivory (Vallejo Model Color)
- 3rd highlight: Ivory
The emblem on the shields was done using Cadmium Yellow oil paint with Gerry’s nail art technique https://www.beastsofwar.com/featured/gerry-can-show-nail-art-cheat-freehanding/
I haven’t quite got the pressure right for the nail art, but it will do. The emblems are still to dry and after that I’ll varnish them.
The metallics were:
- Black
- Gunmetal (Vallejo Model Color) with a spot of Panzer Dark Grey (Vallejo Model Air)
- Gold (Army Painter Warpaints) with a spot of Red Leather (Vallejo Model Color) on the helmet brow and crest
- Black wash (Vallejo Flames of War) in the recesses
- A mix of Sepia and Blue ink (Vallejo Game Ink) in the shadows
- Silver (Vallejo Game Color) with a spot of White to highlight the armour including the gold


![StarCraft Tabletop Miniatures Game Pre-Orders Live Now [Updated]](https://images.beastsofwar.com/2026/03/starcraft-tmg-news-cover-600-338.jpg)


