


Necrothrall does Marvel Crisis Protocol


Recommendations: 1593
About the Project
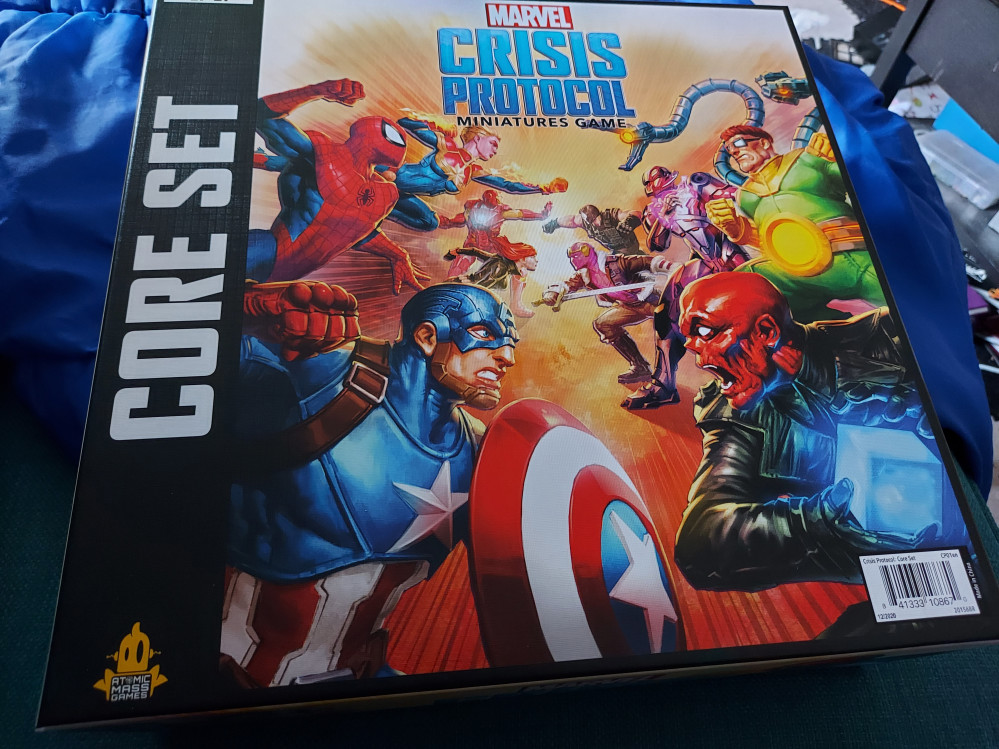
In this project I'll be taking my fledgling steps into Marvel Crisis Protocol. I'll be trying out some techniques and paints I've never used before. Wish me luck.
Related Game: Marvel Crisis Protocol Miniatures Game
Related Genre: Science Fiction
This Project is Active
Crossbones part 1
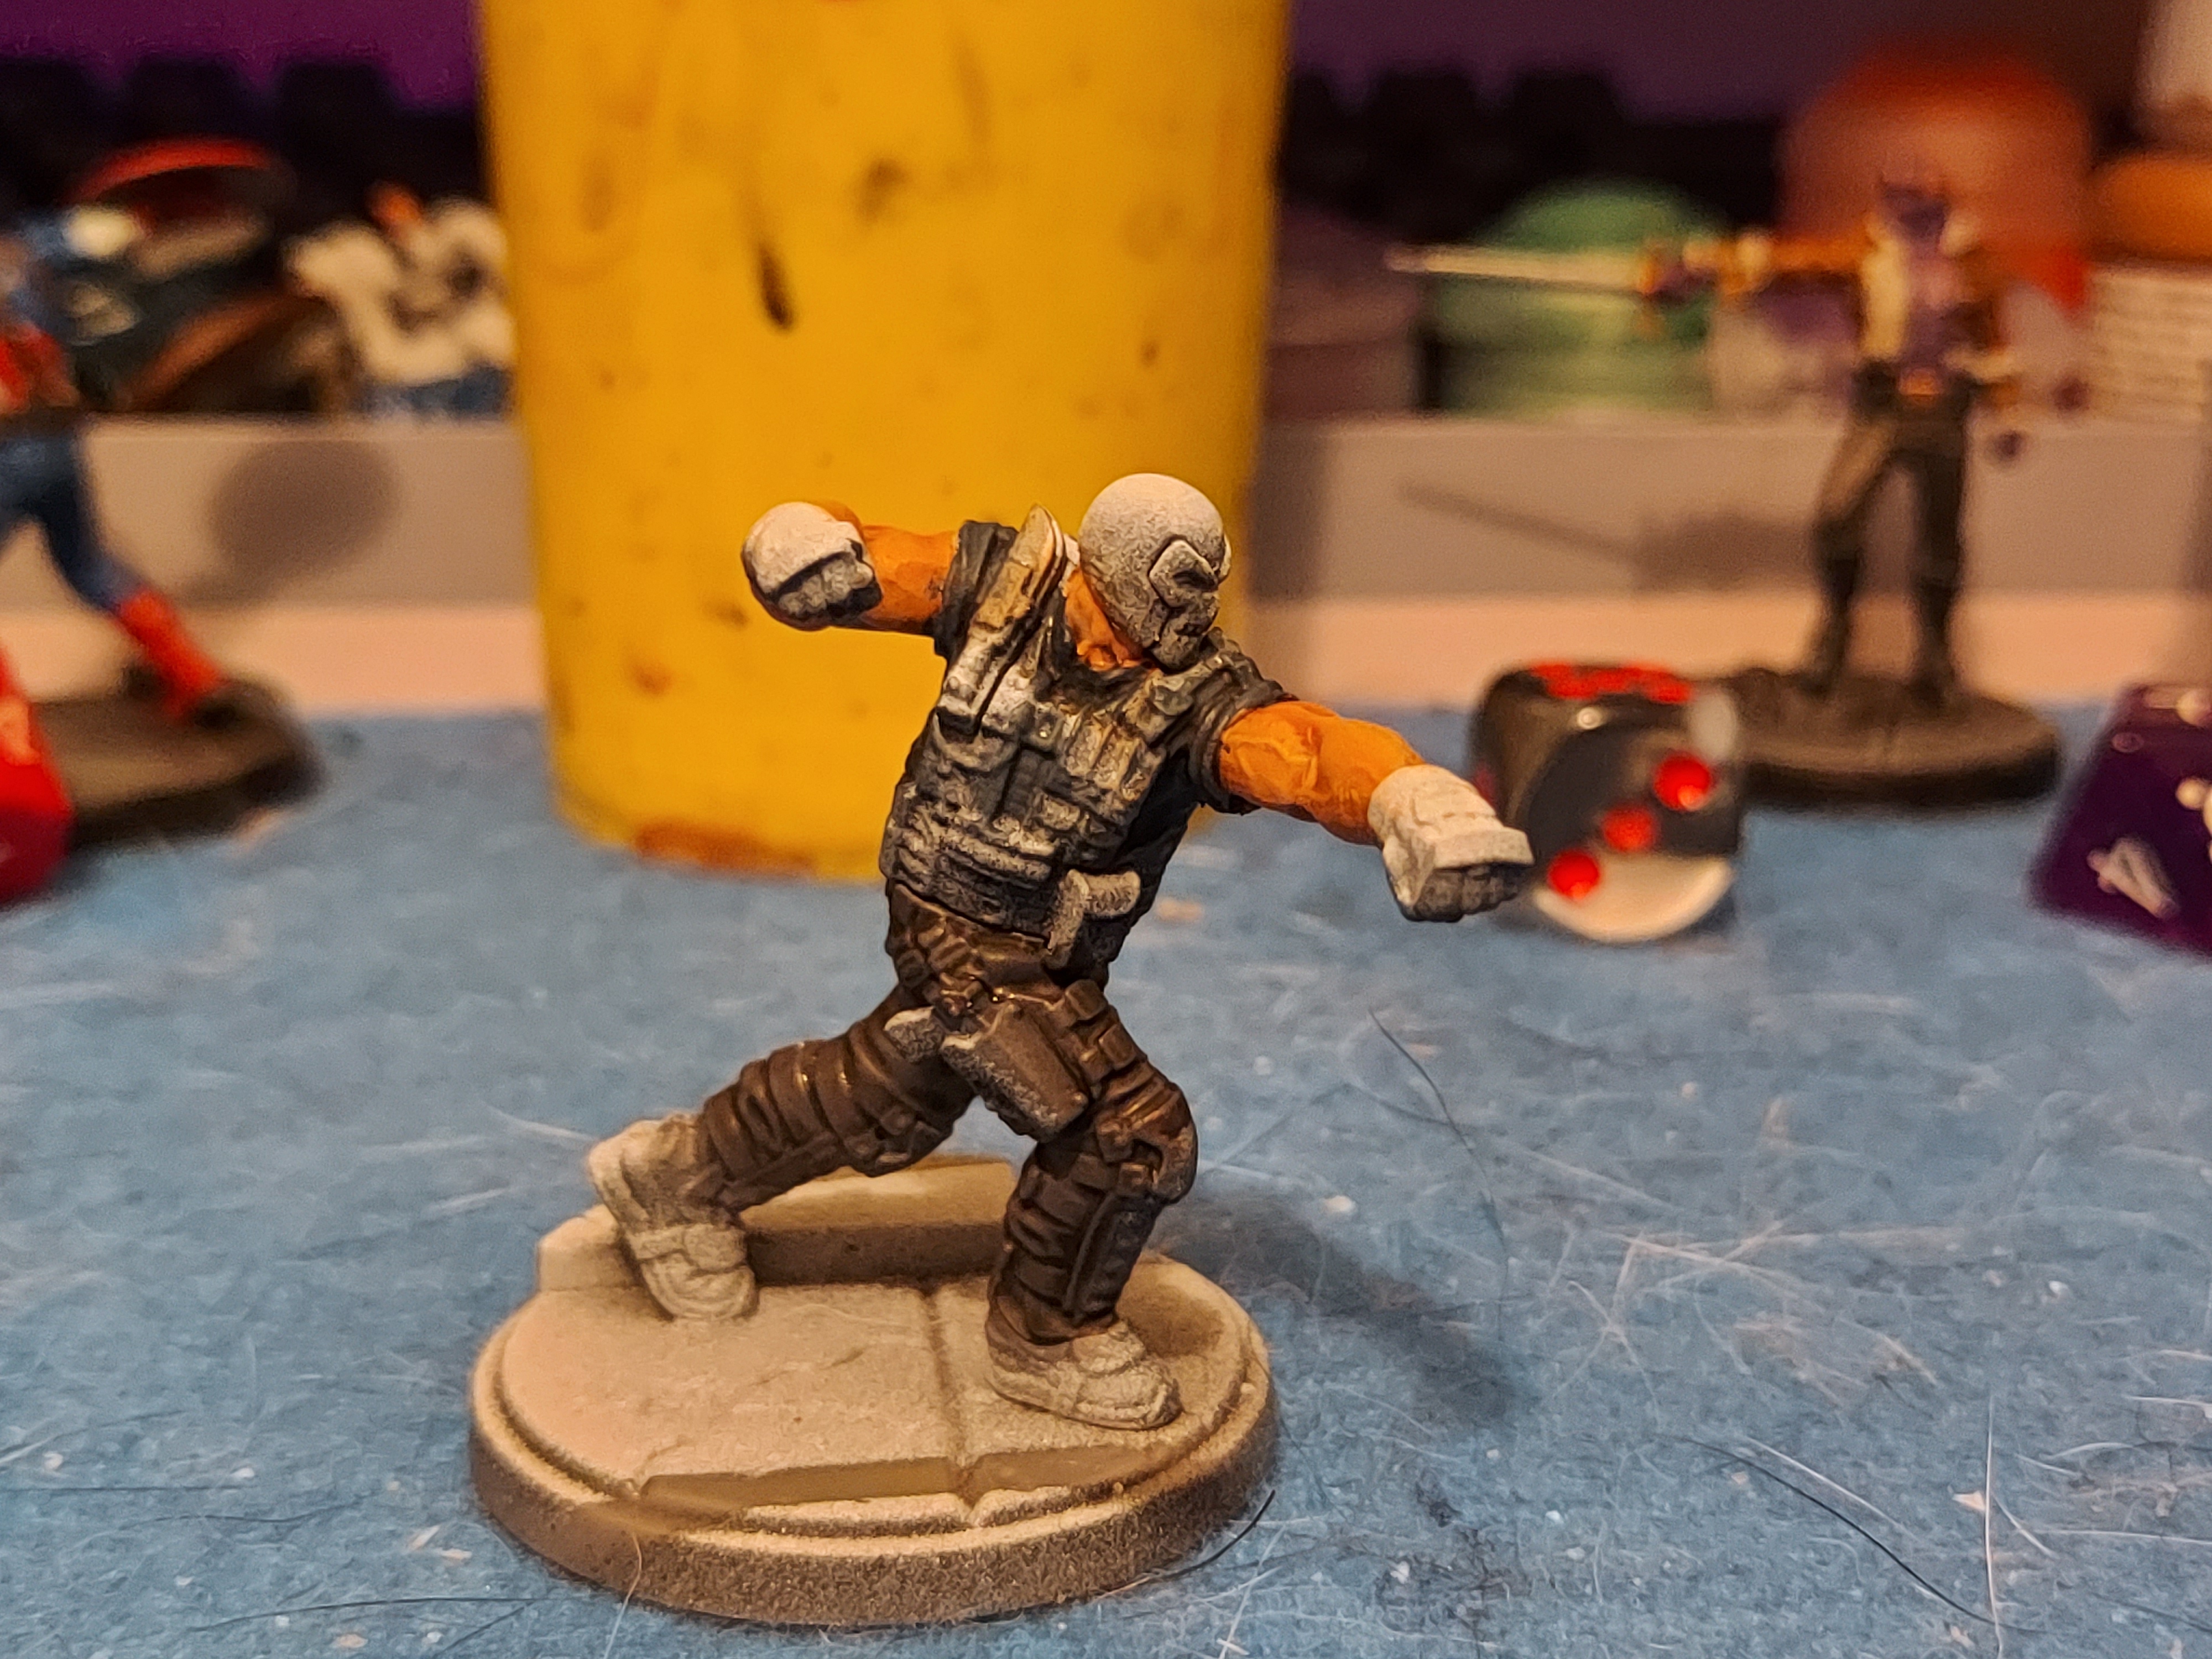
I started painting Crossbones by painting his skin in much the same way I’ve been doing it all along.
Once I’d finished that I started painting his shirt and trousers. I used dark reaper for the shirt and mechanicus standard grey for the trousers. I washed both with two coats of nuln oil and drybrushed them with the original base colour. I wanted them to be dark.
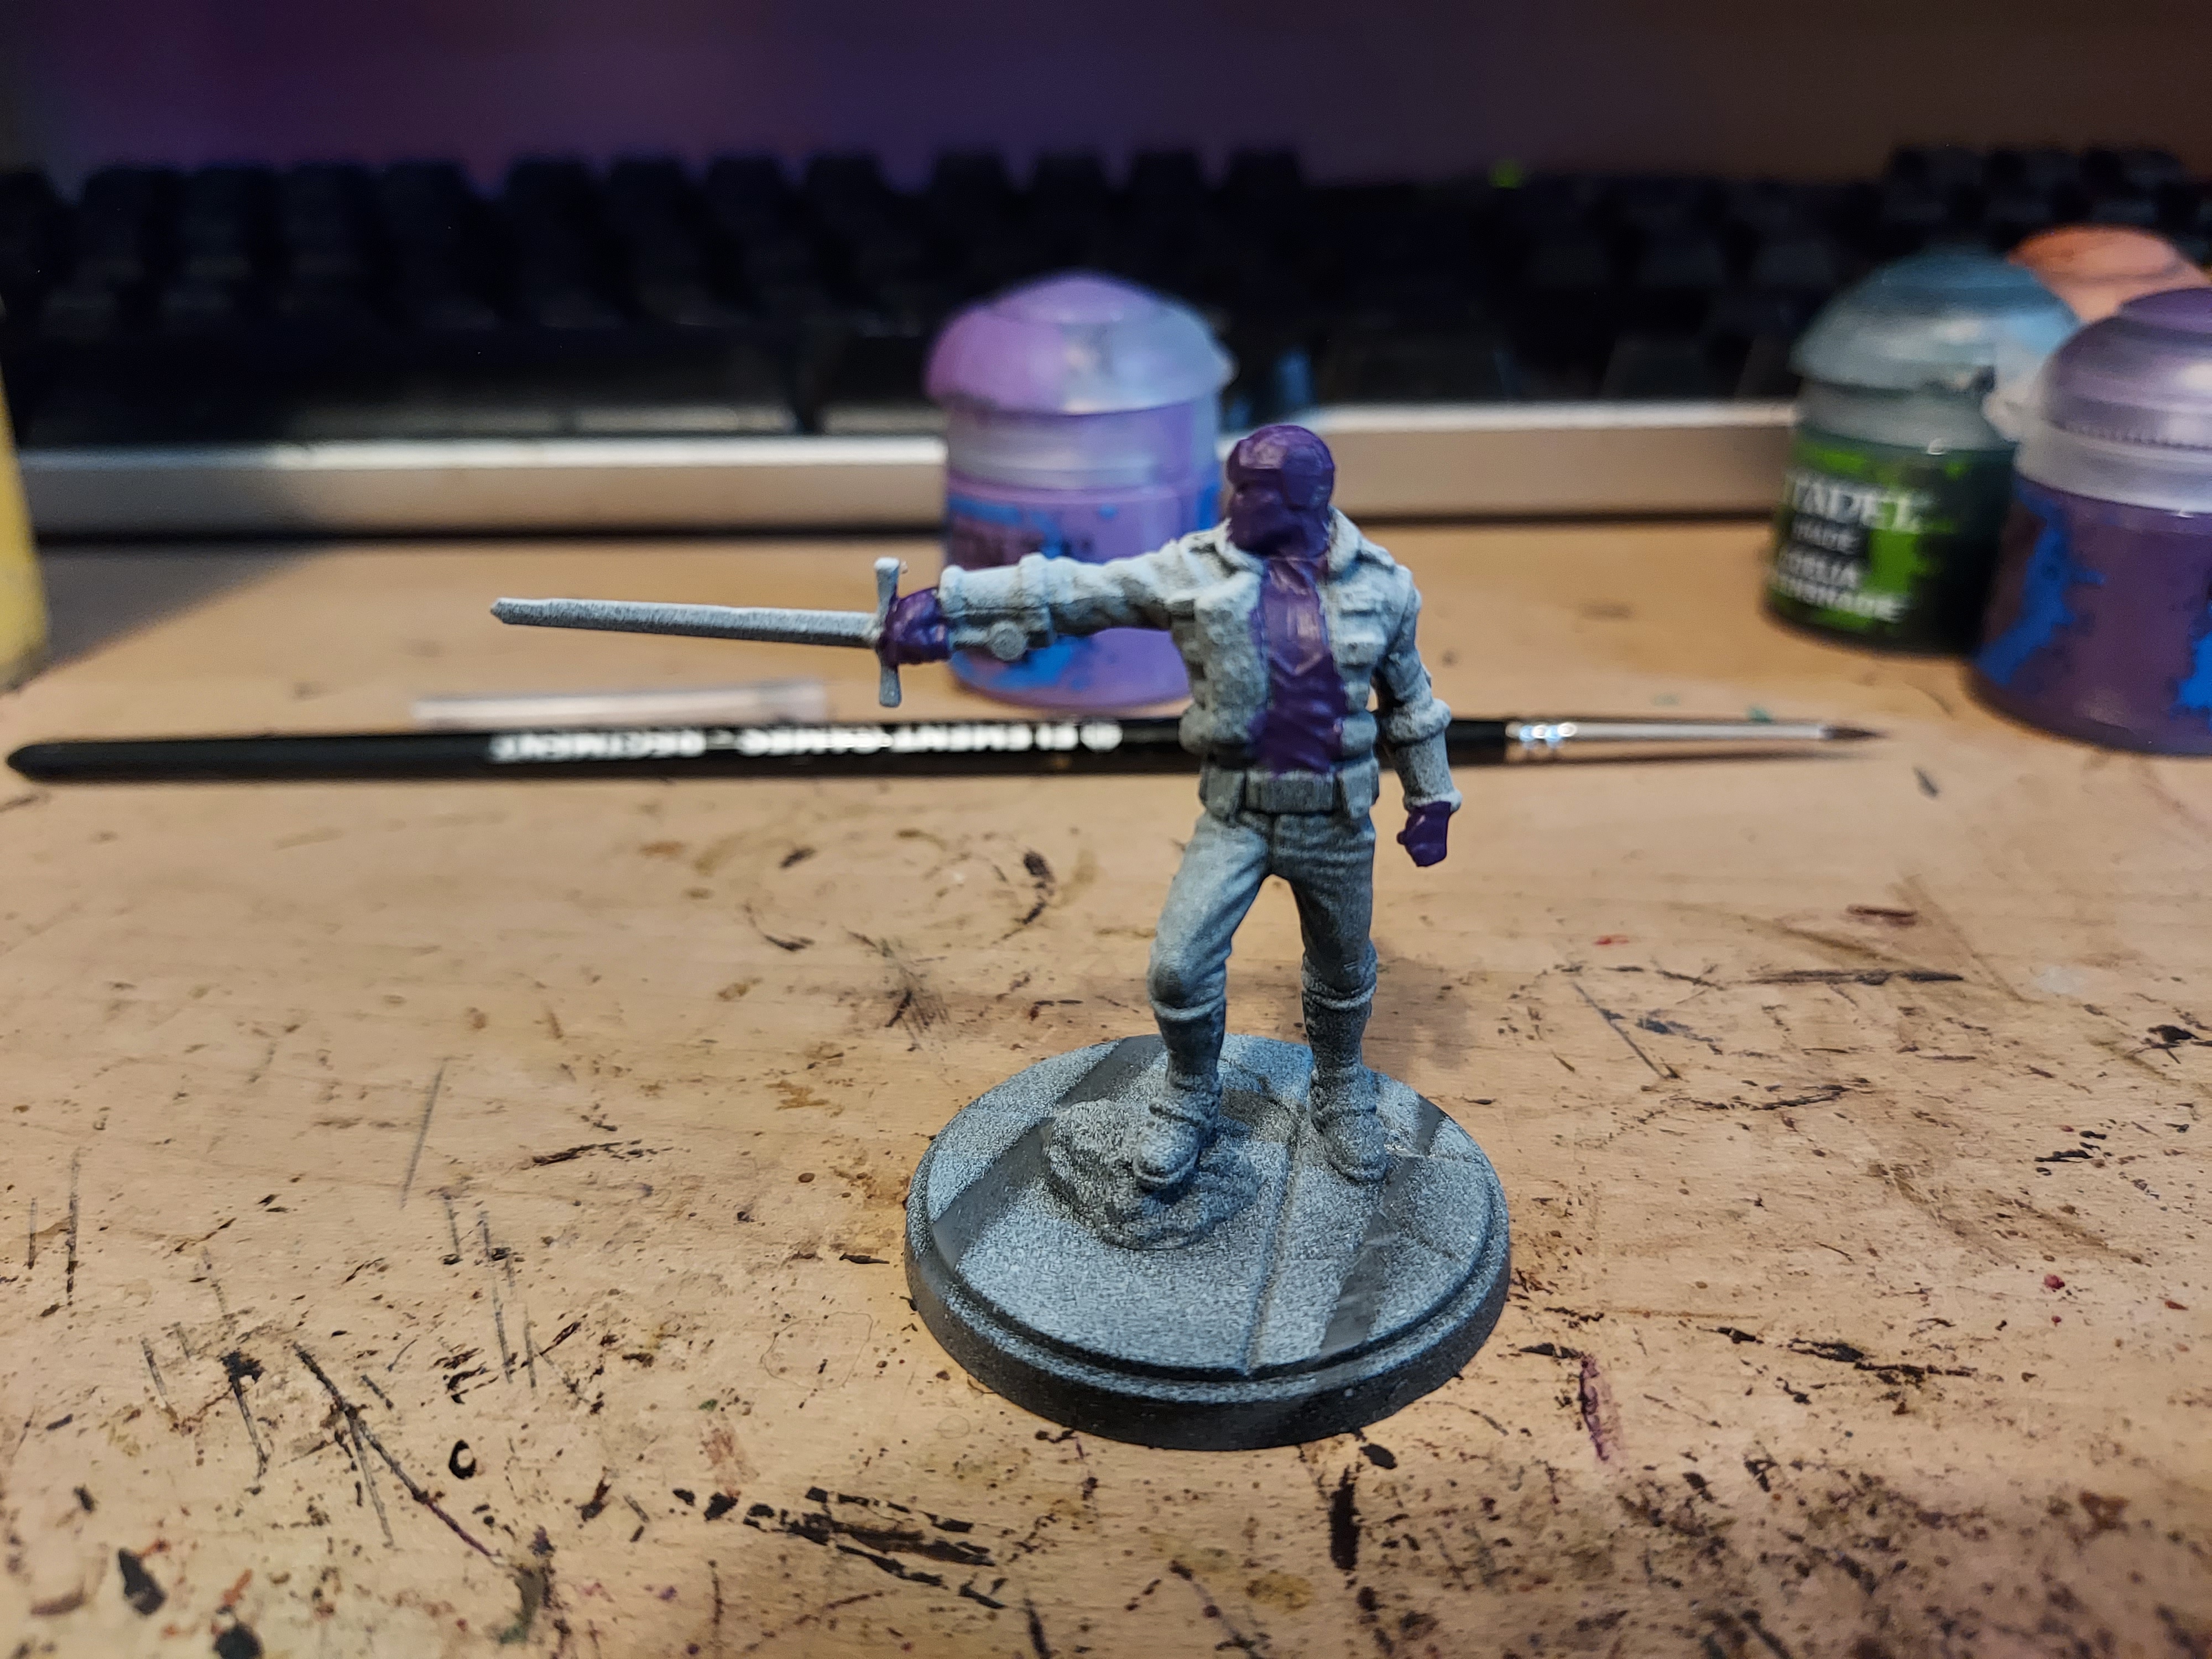
Baron Zemo part 3
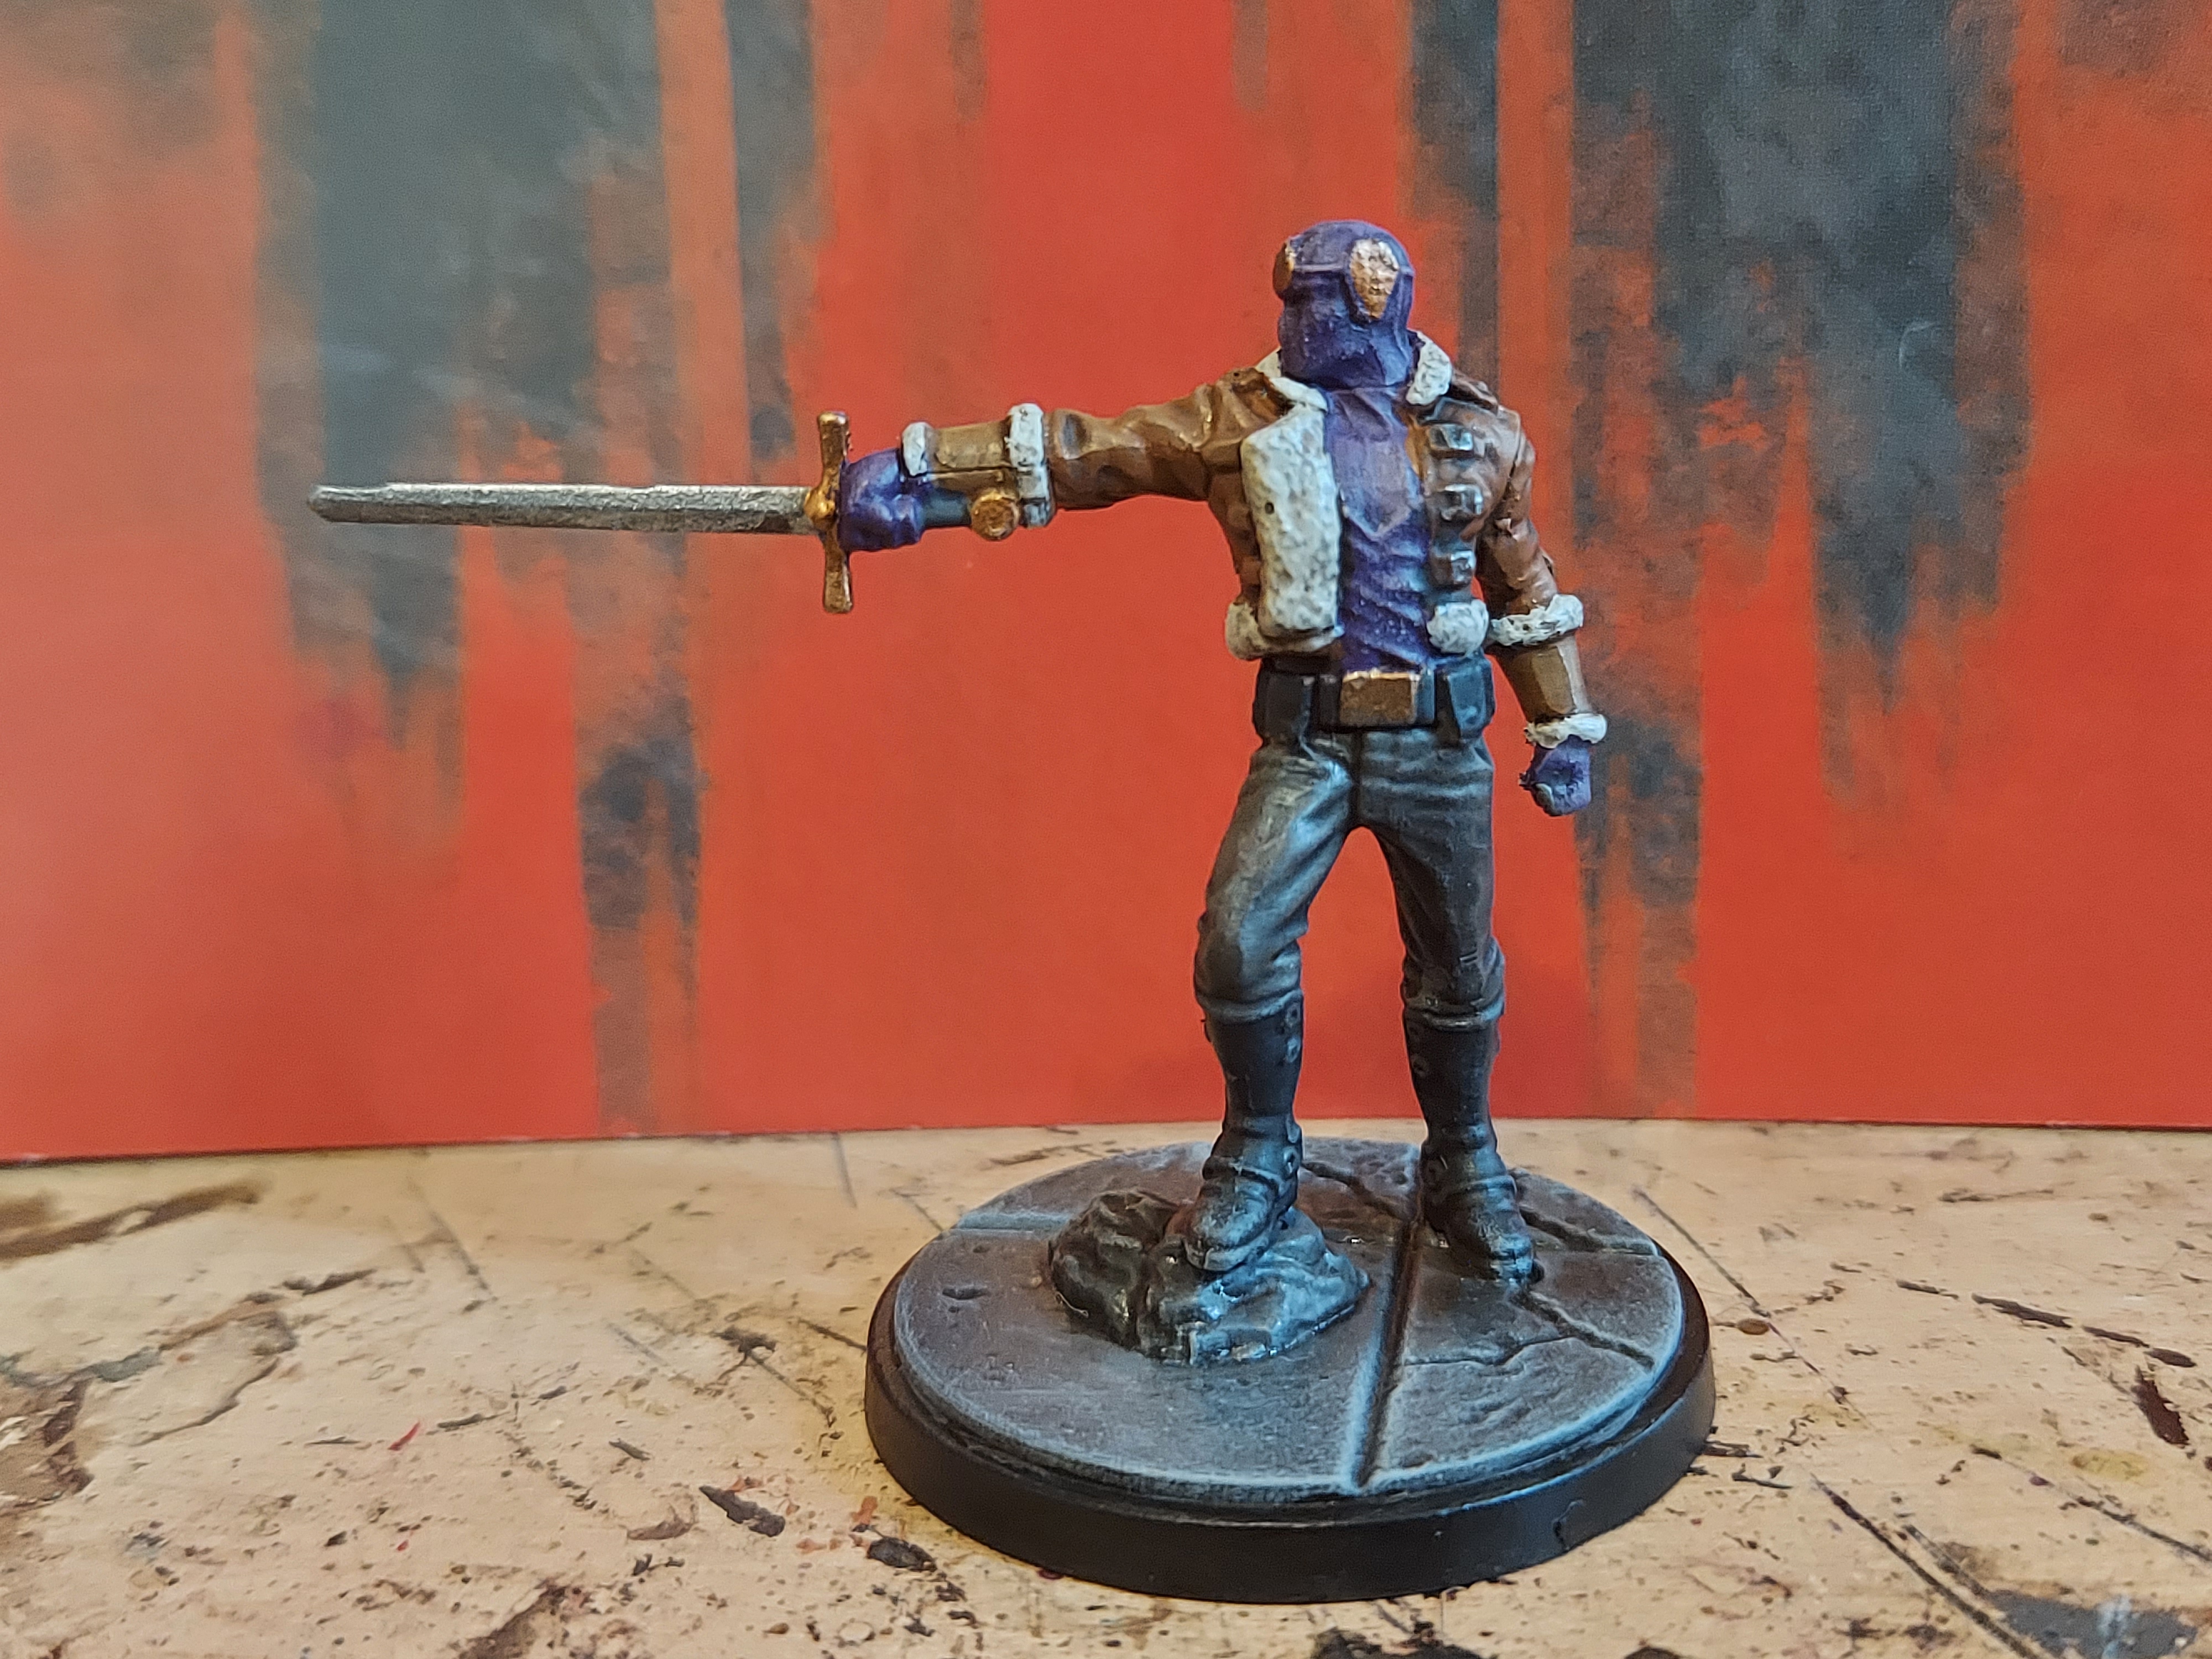
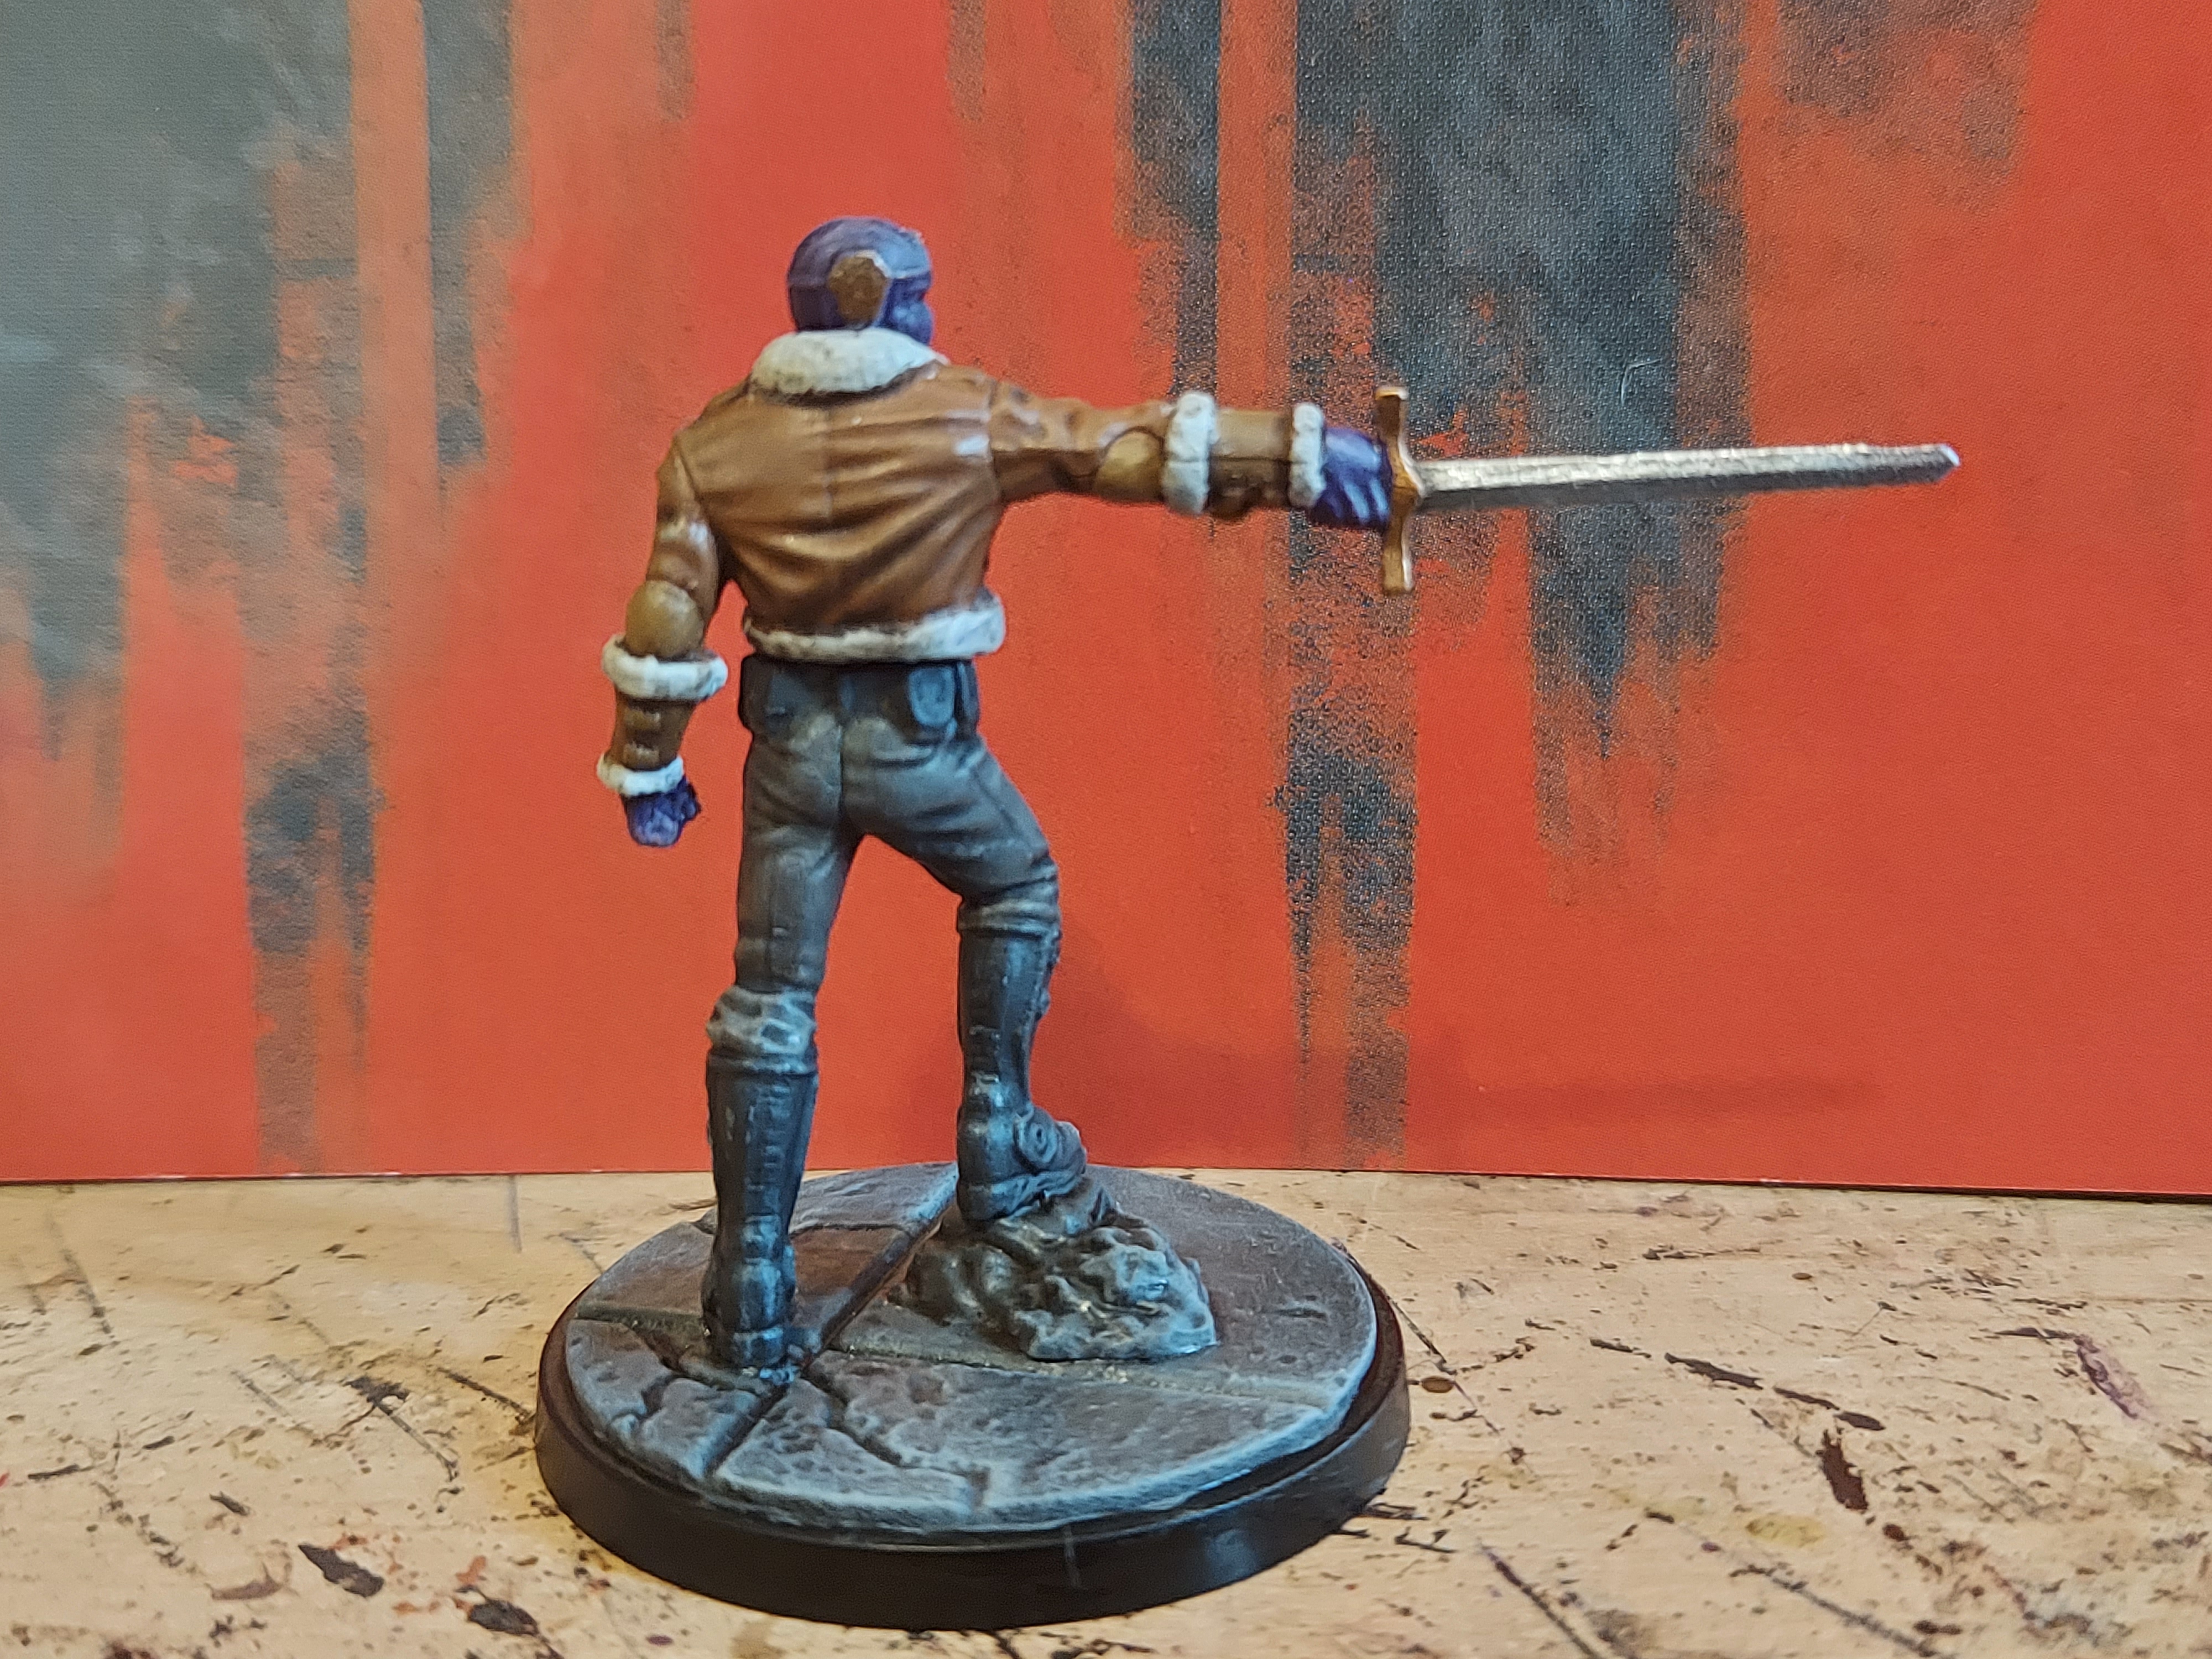
This is the final fine details step. I mixed together some of the brass I used with a wee bit of chainmail and did a edge highlight to all the top edges of the brass parts.
I highlighted the trousers by drybrushing them lightly with stormvermin fur and an even lighter coat of ivory. The boots were done in the exact same way, except I started with German grey, followed by stormvermin fur before a final very light drybrush of ivory.
From here out it was just painting the base.
Baron Zemo part 2
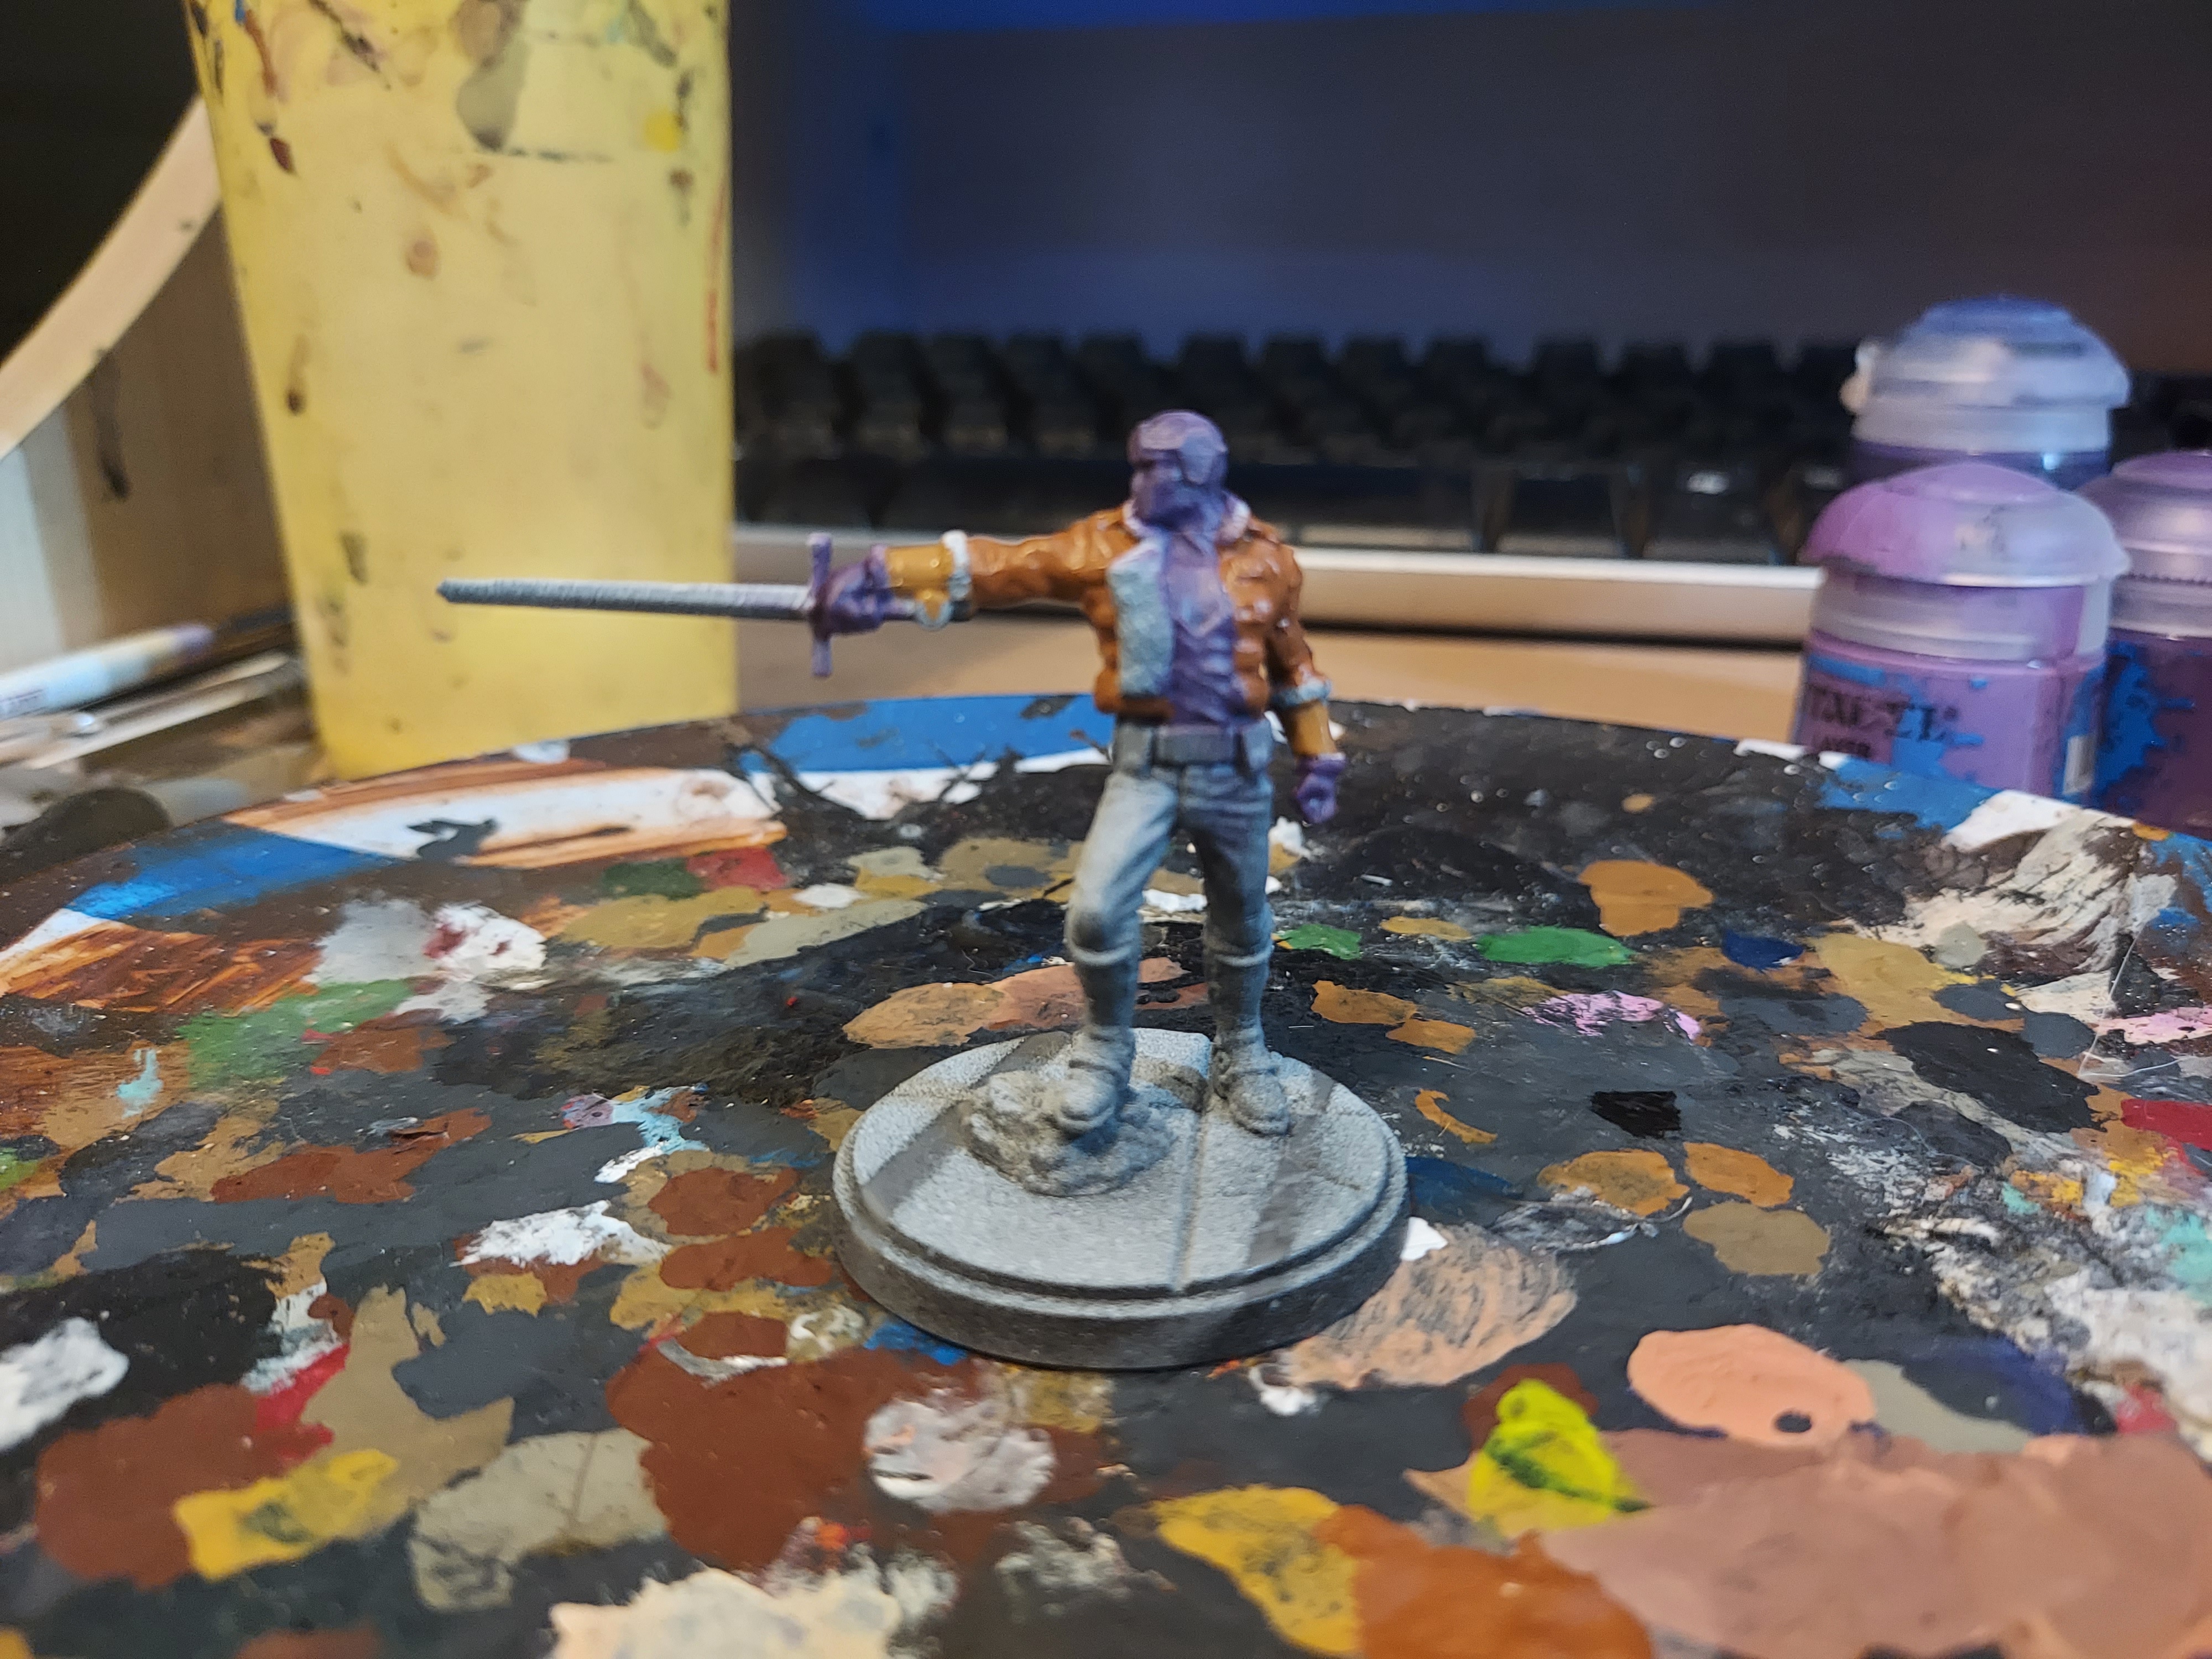
This time I won’t accidentally hit the post button prematurely.
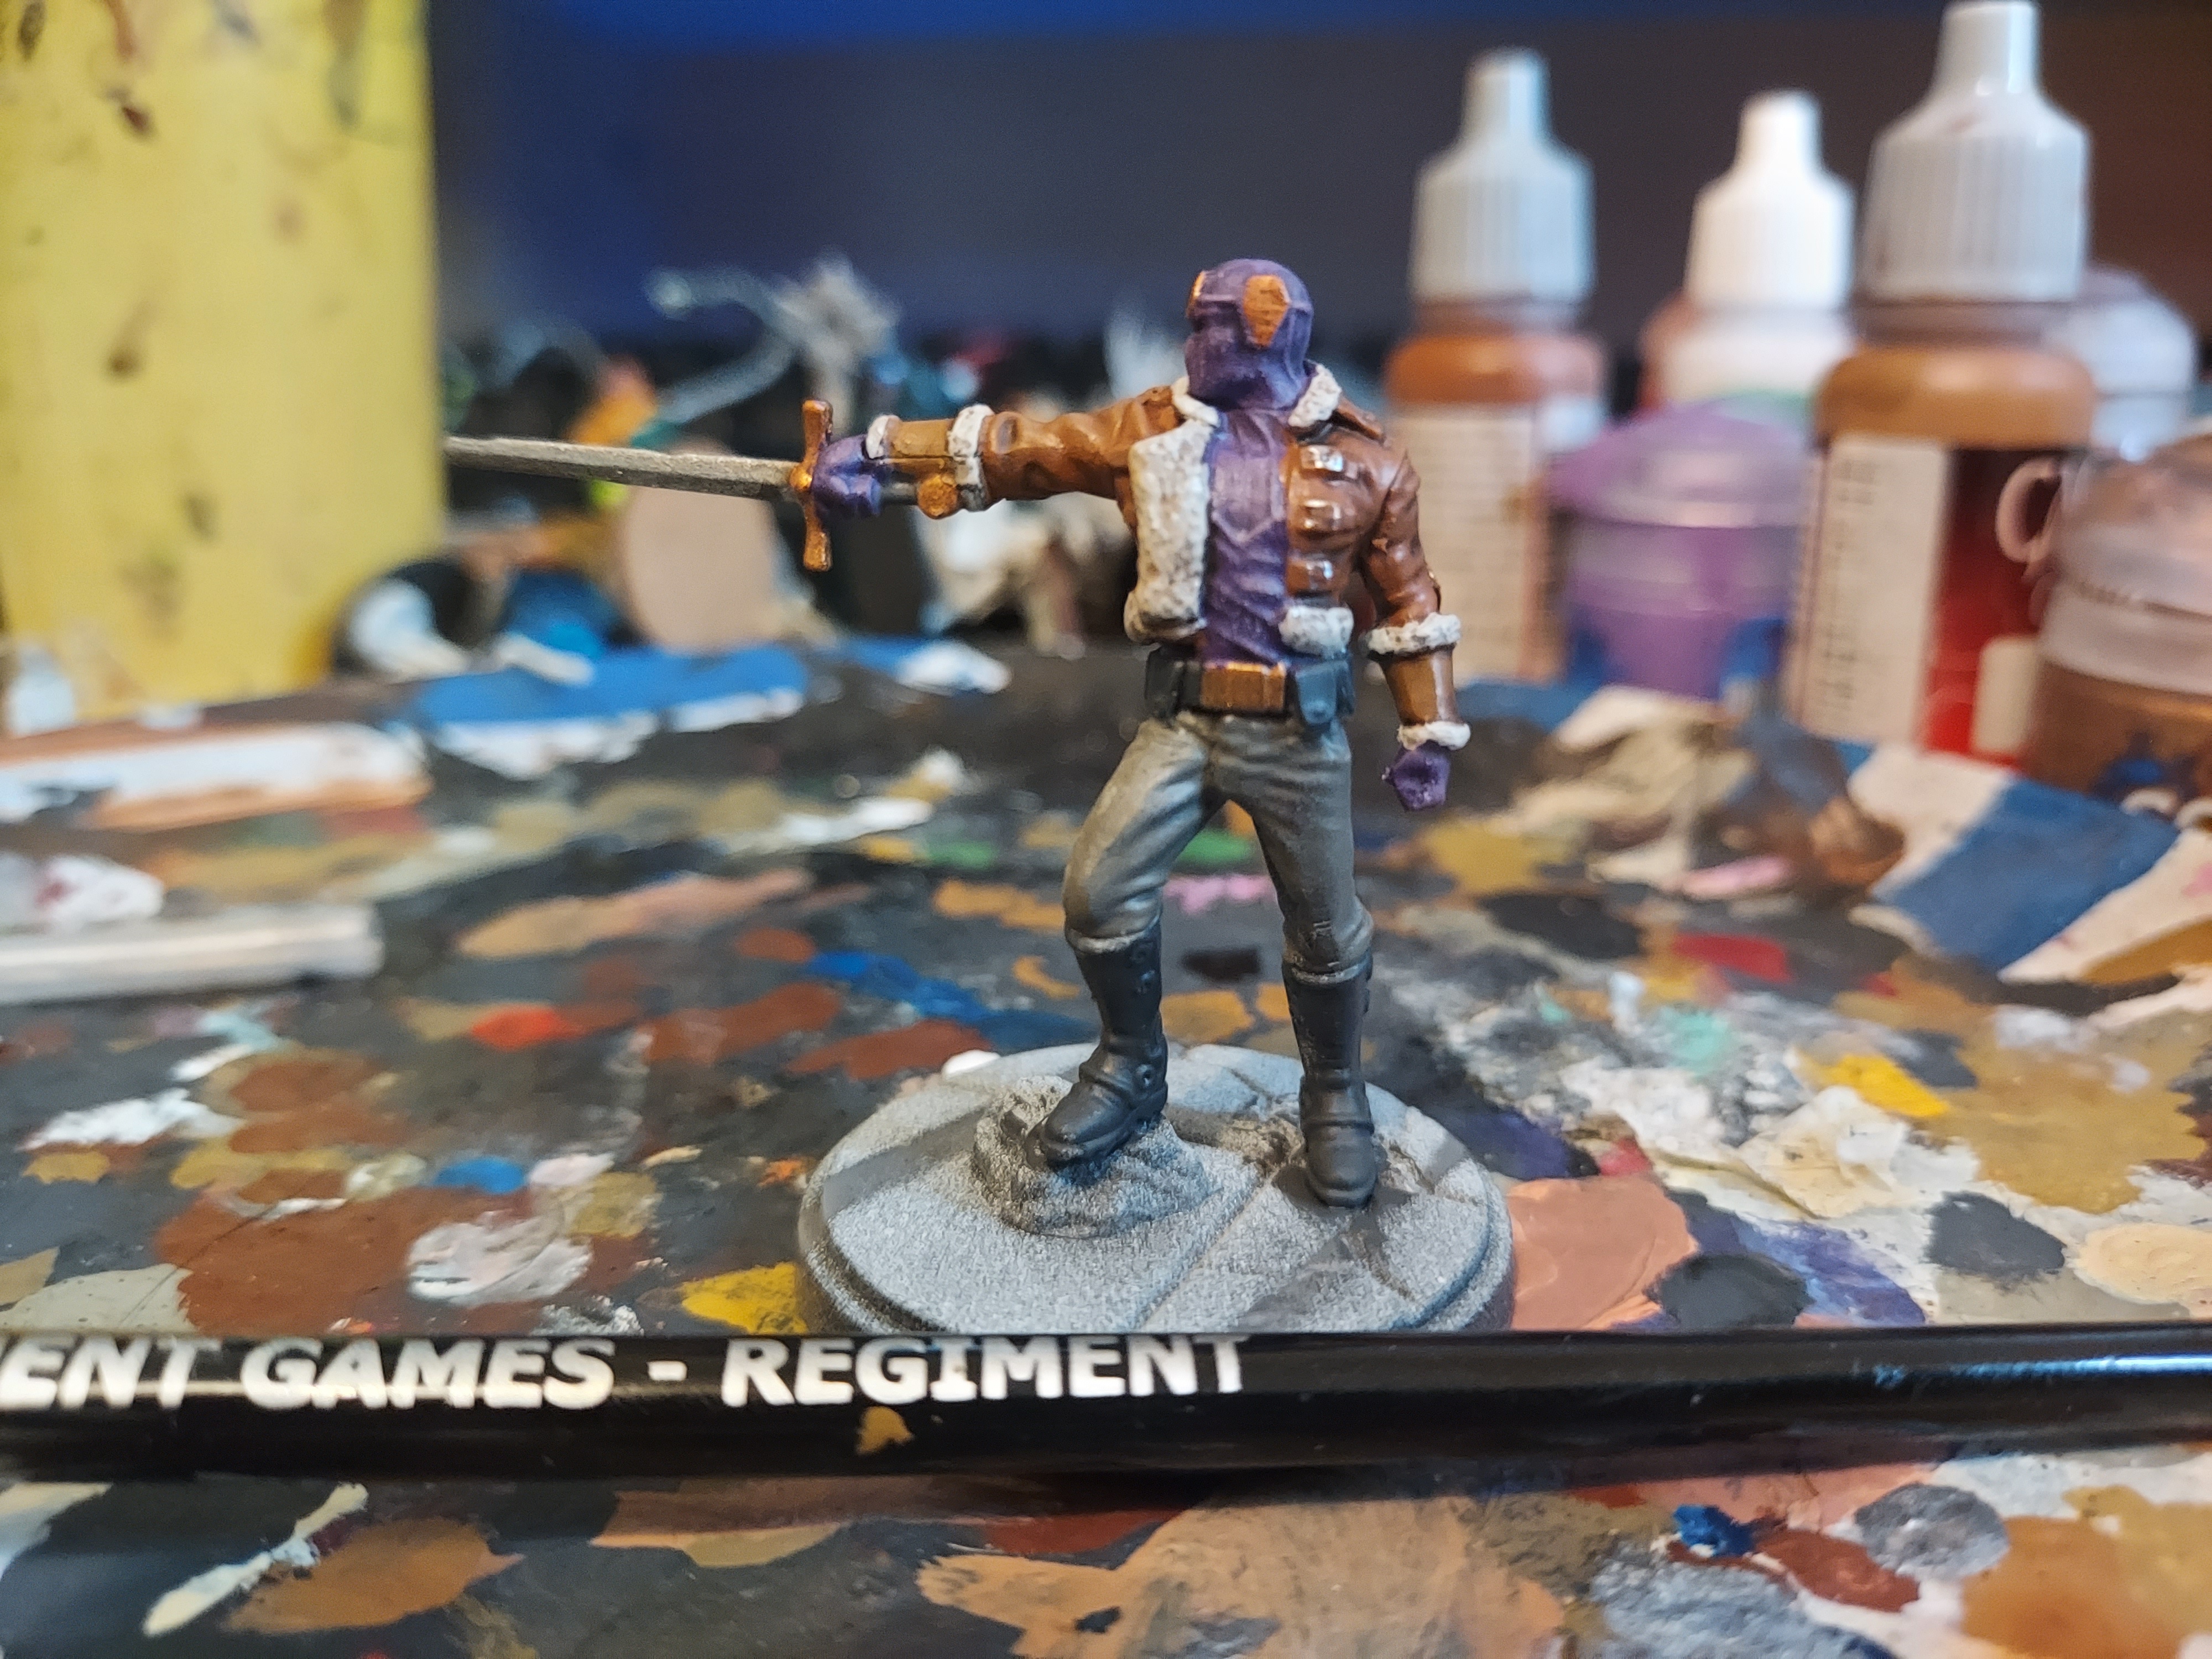
I blocked in the jacket and cuffs. Then I washed and highlighted them.
I painted the sword blade with chainmail from vallejo. I gave it a wash of nuln oil, then did and edge highlight with chainmail again.
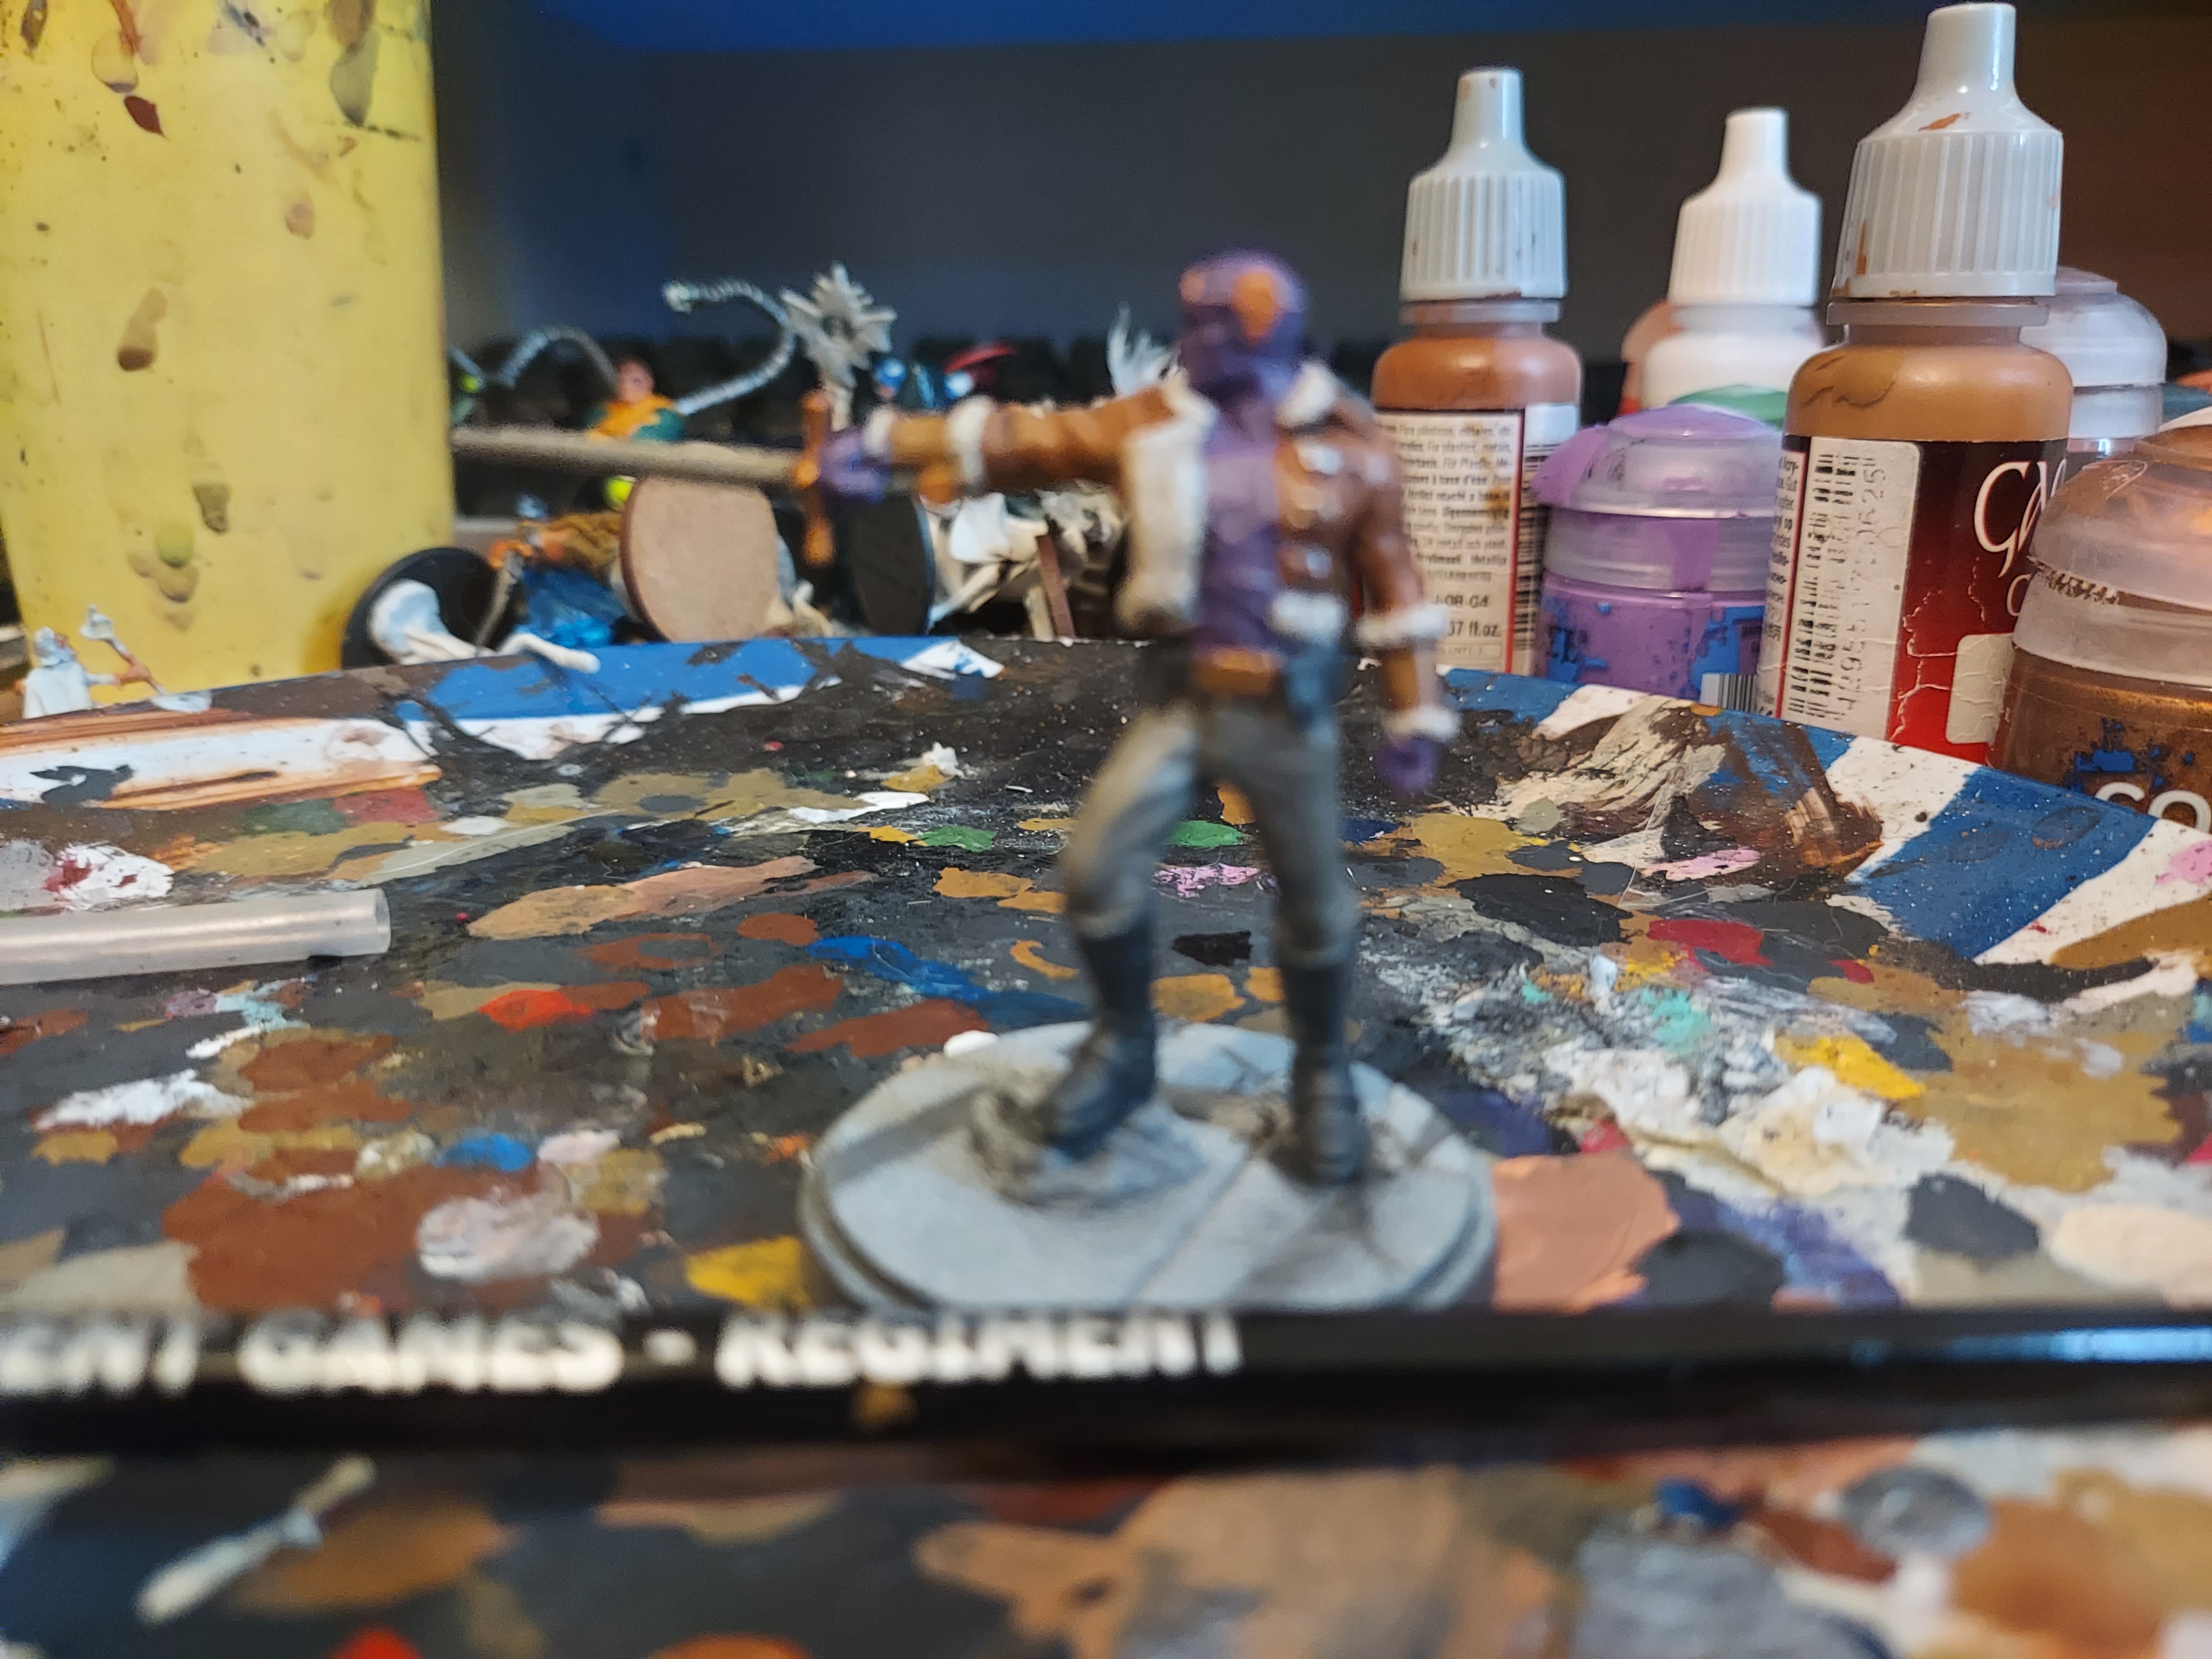 Nice Gerry inspired blurry shot
I blocked in the furry parts of his jacket and cuffs with a light grey, washed them with a very light coat of agrax. Then I carefully highlighted the fur with the same light grey.
For the trousers I opted for stormvermin fur, and for the boots I went for German Grey from vallejo. I’ll go on to give these two coats of nuln oil.
I also painted the metallic bits on his head and the sword guard and pommel with a brass. These got a light wash of agrax.
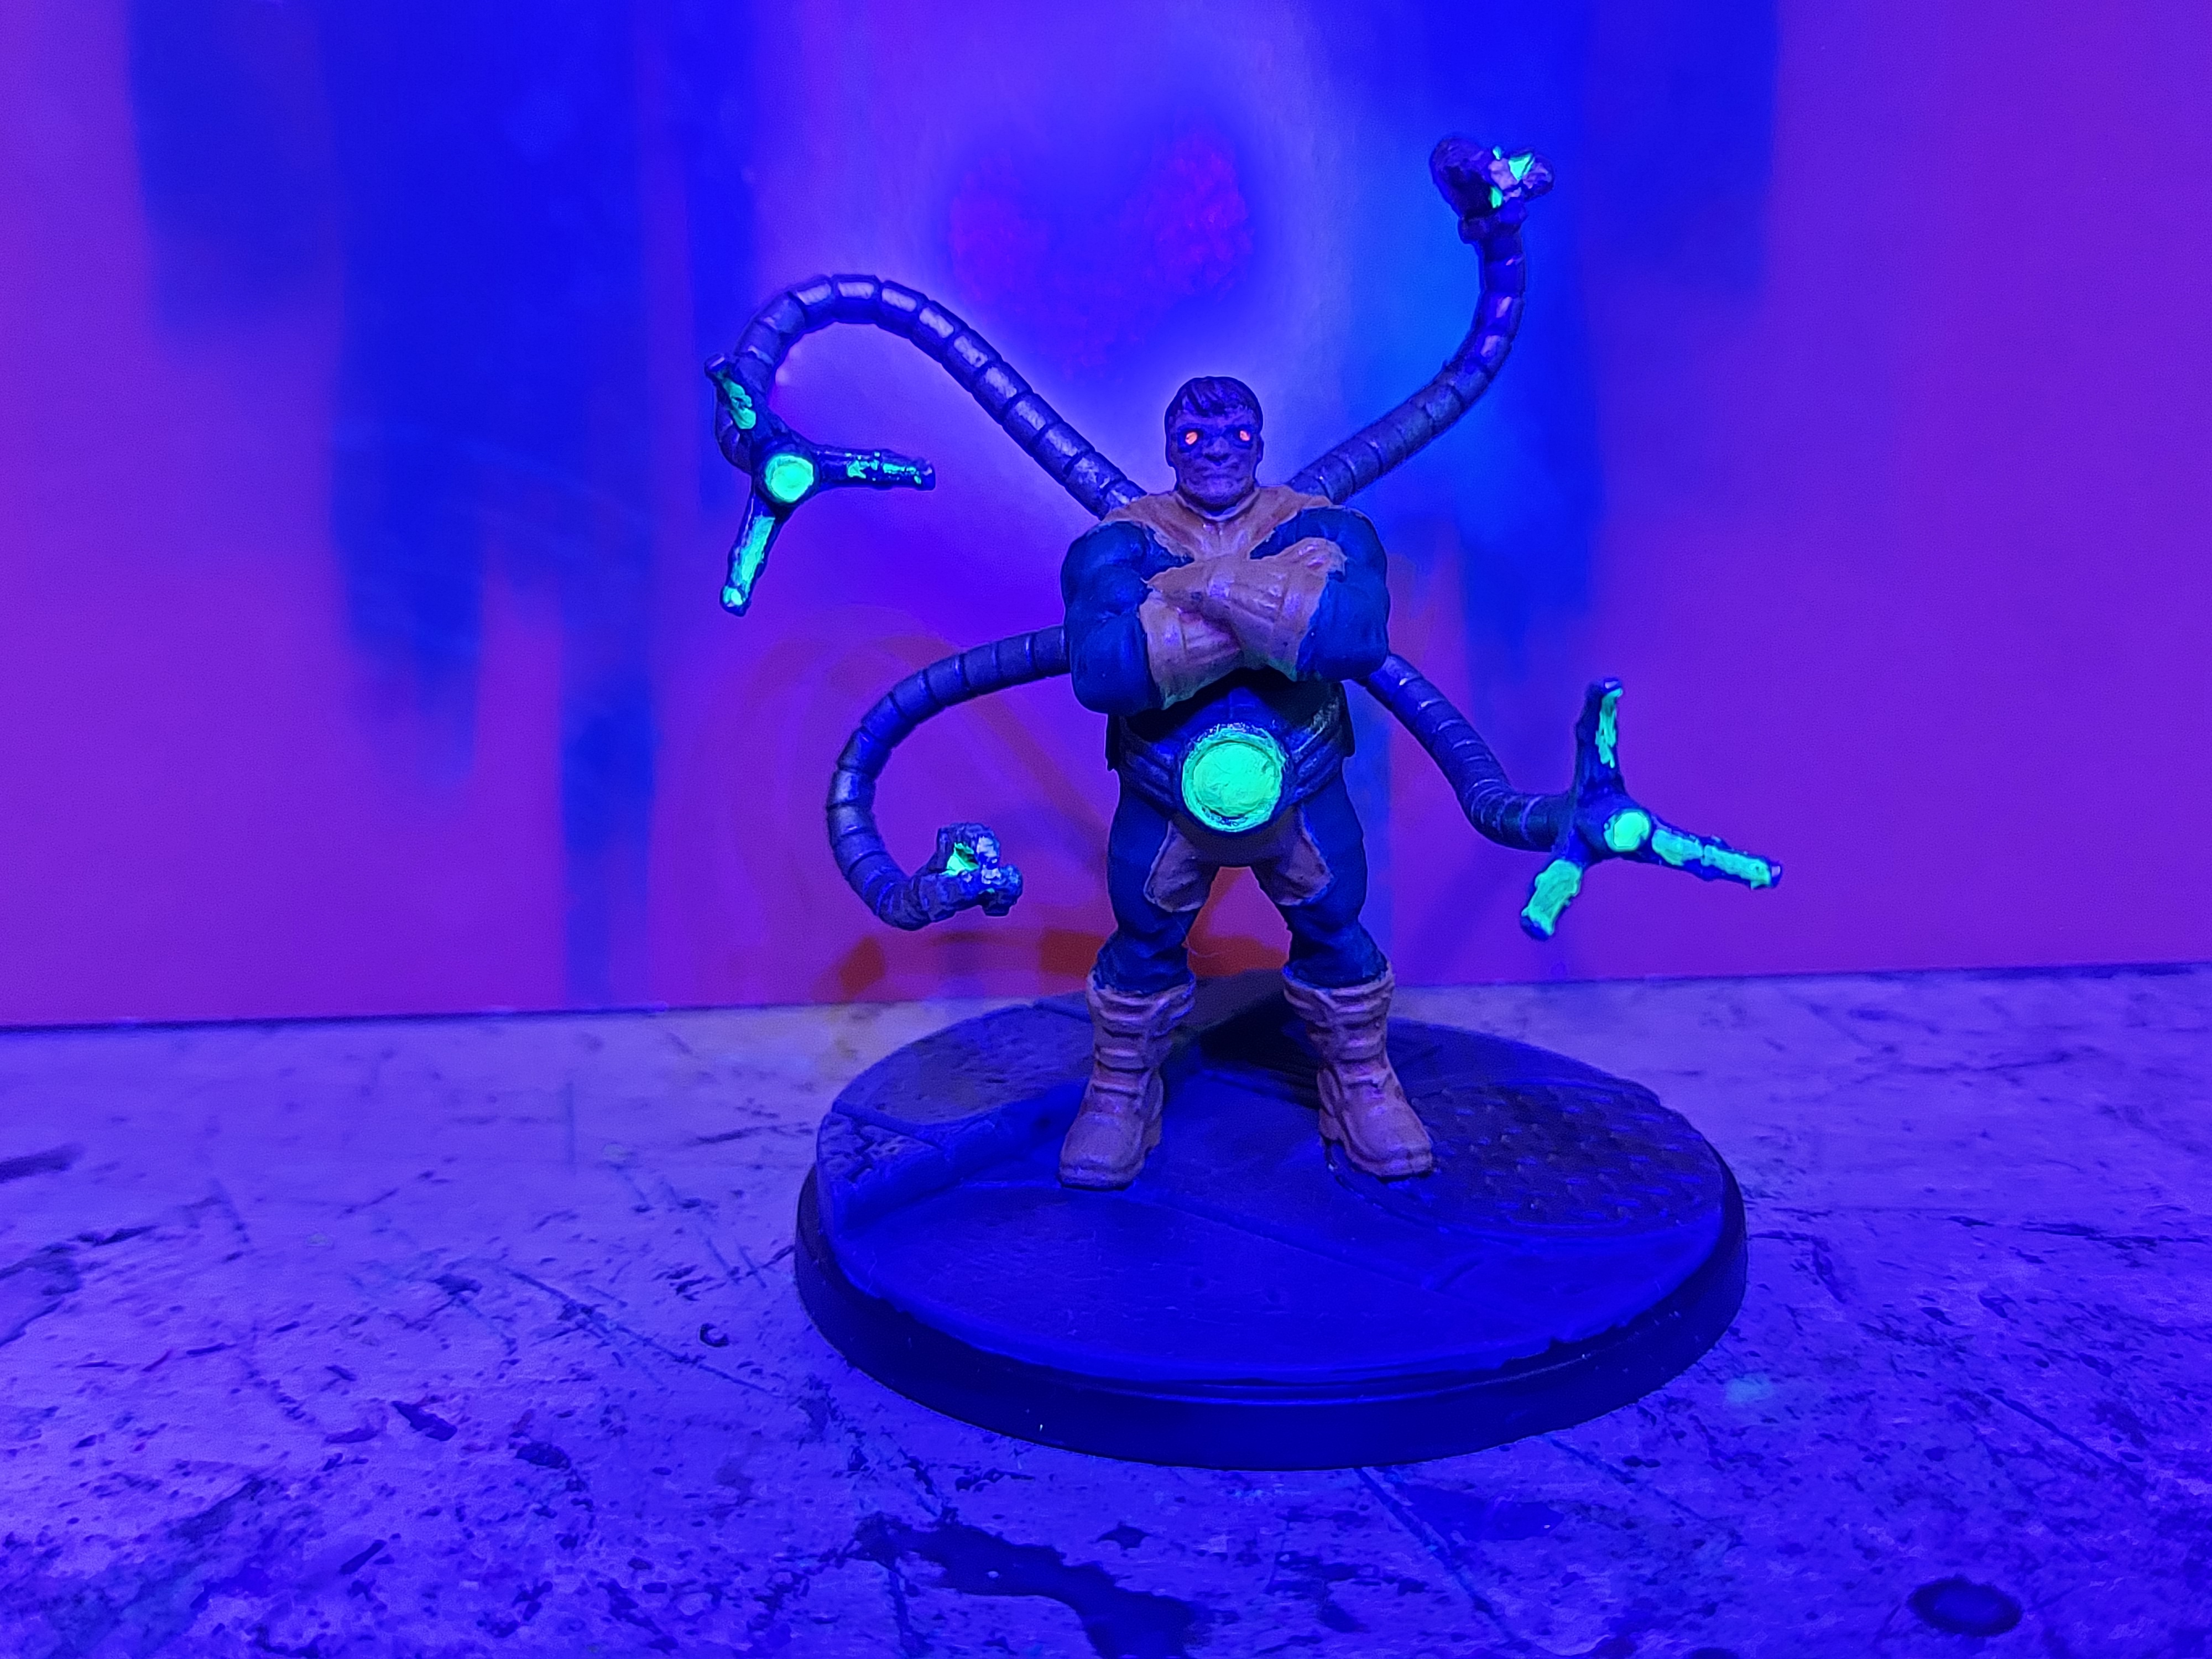
Dr Octopus part 2
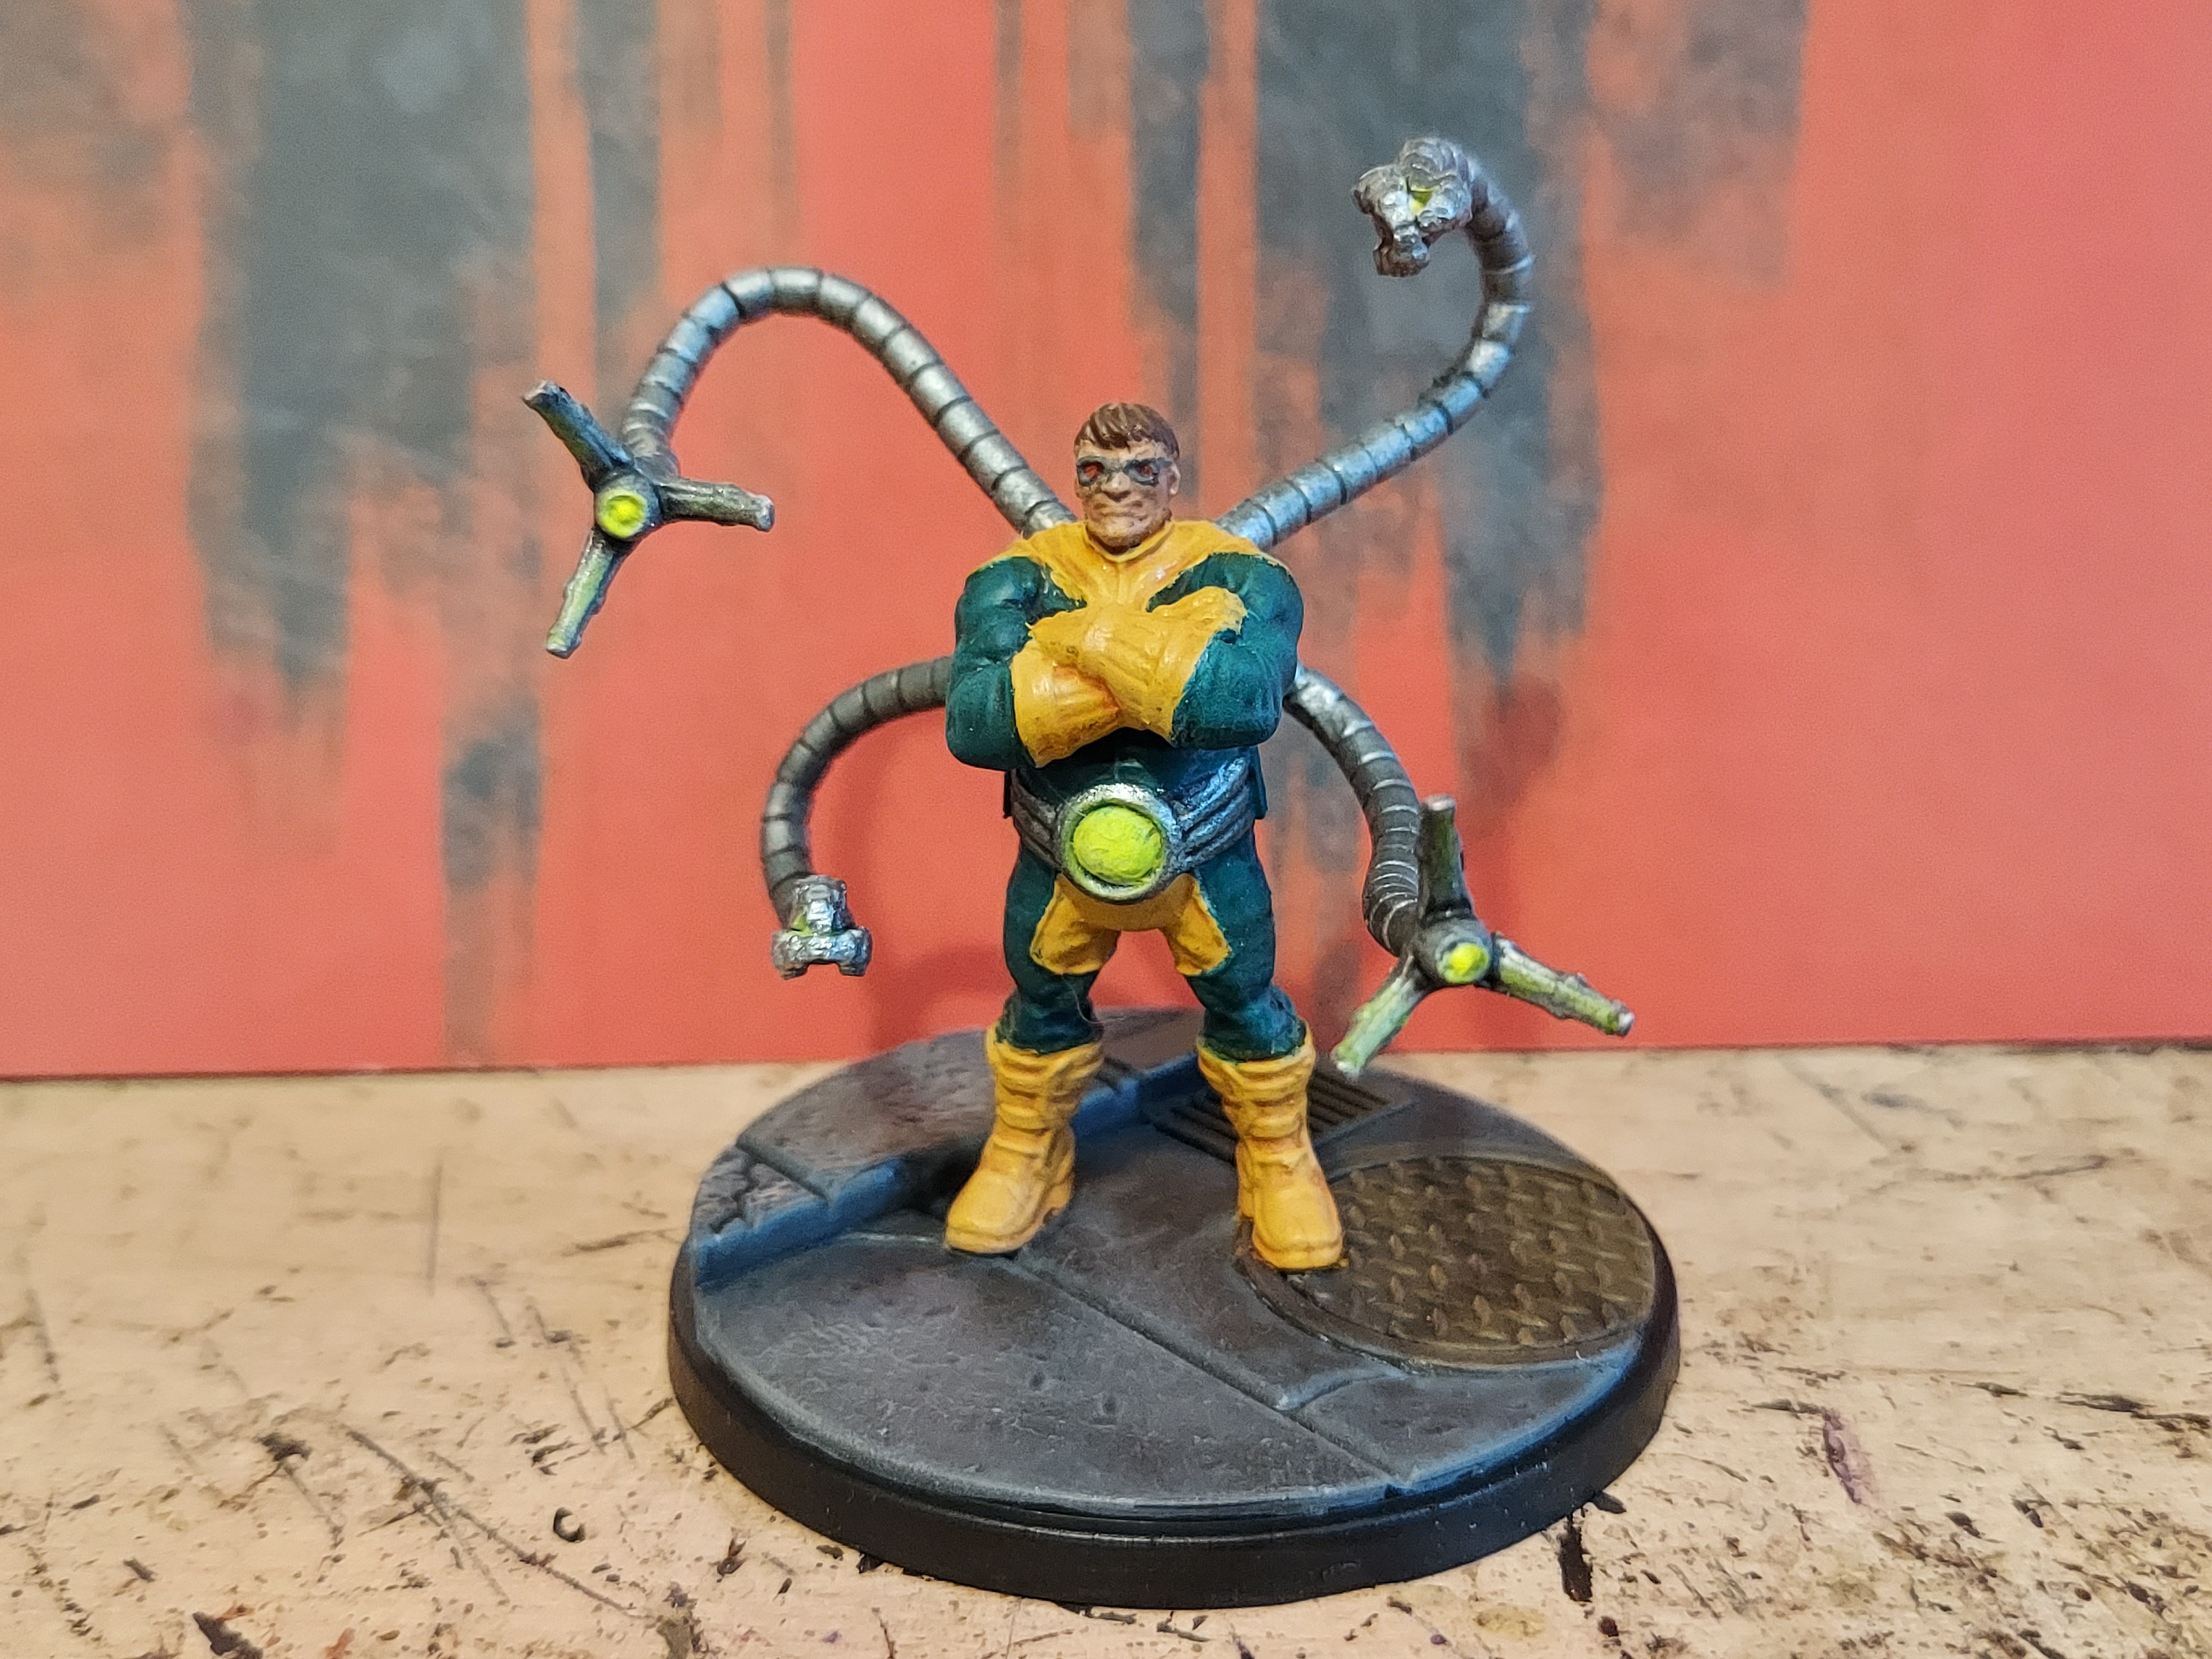
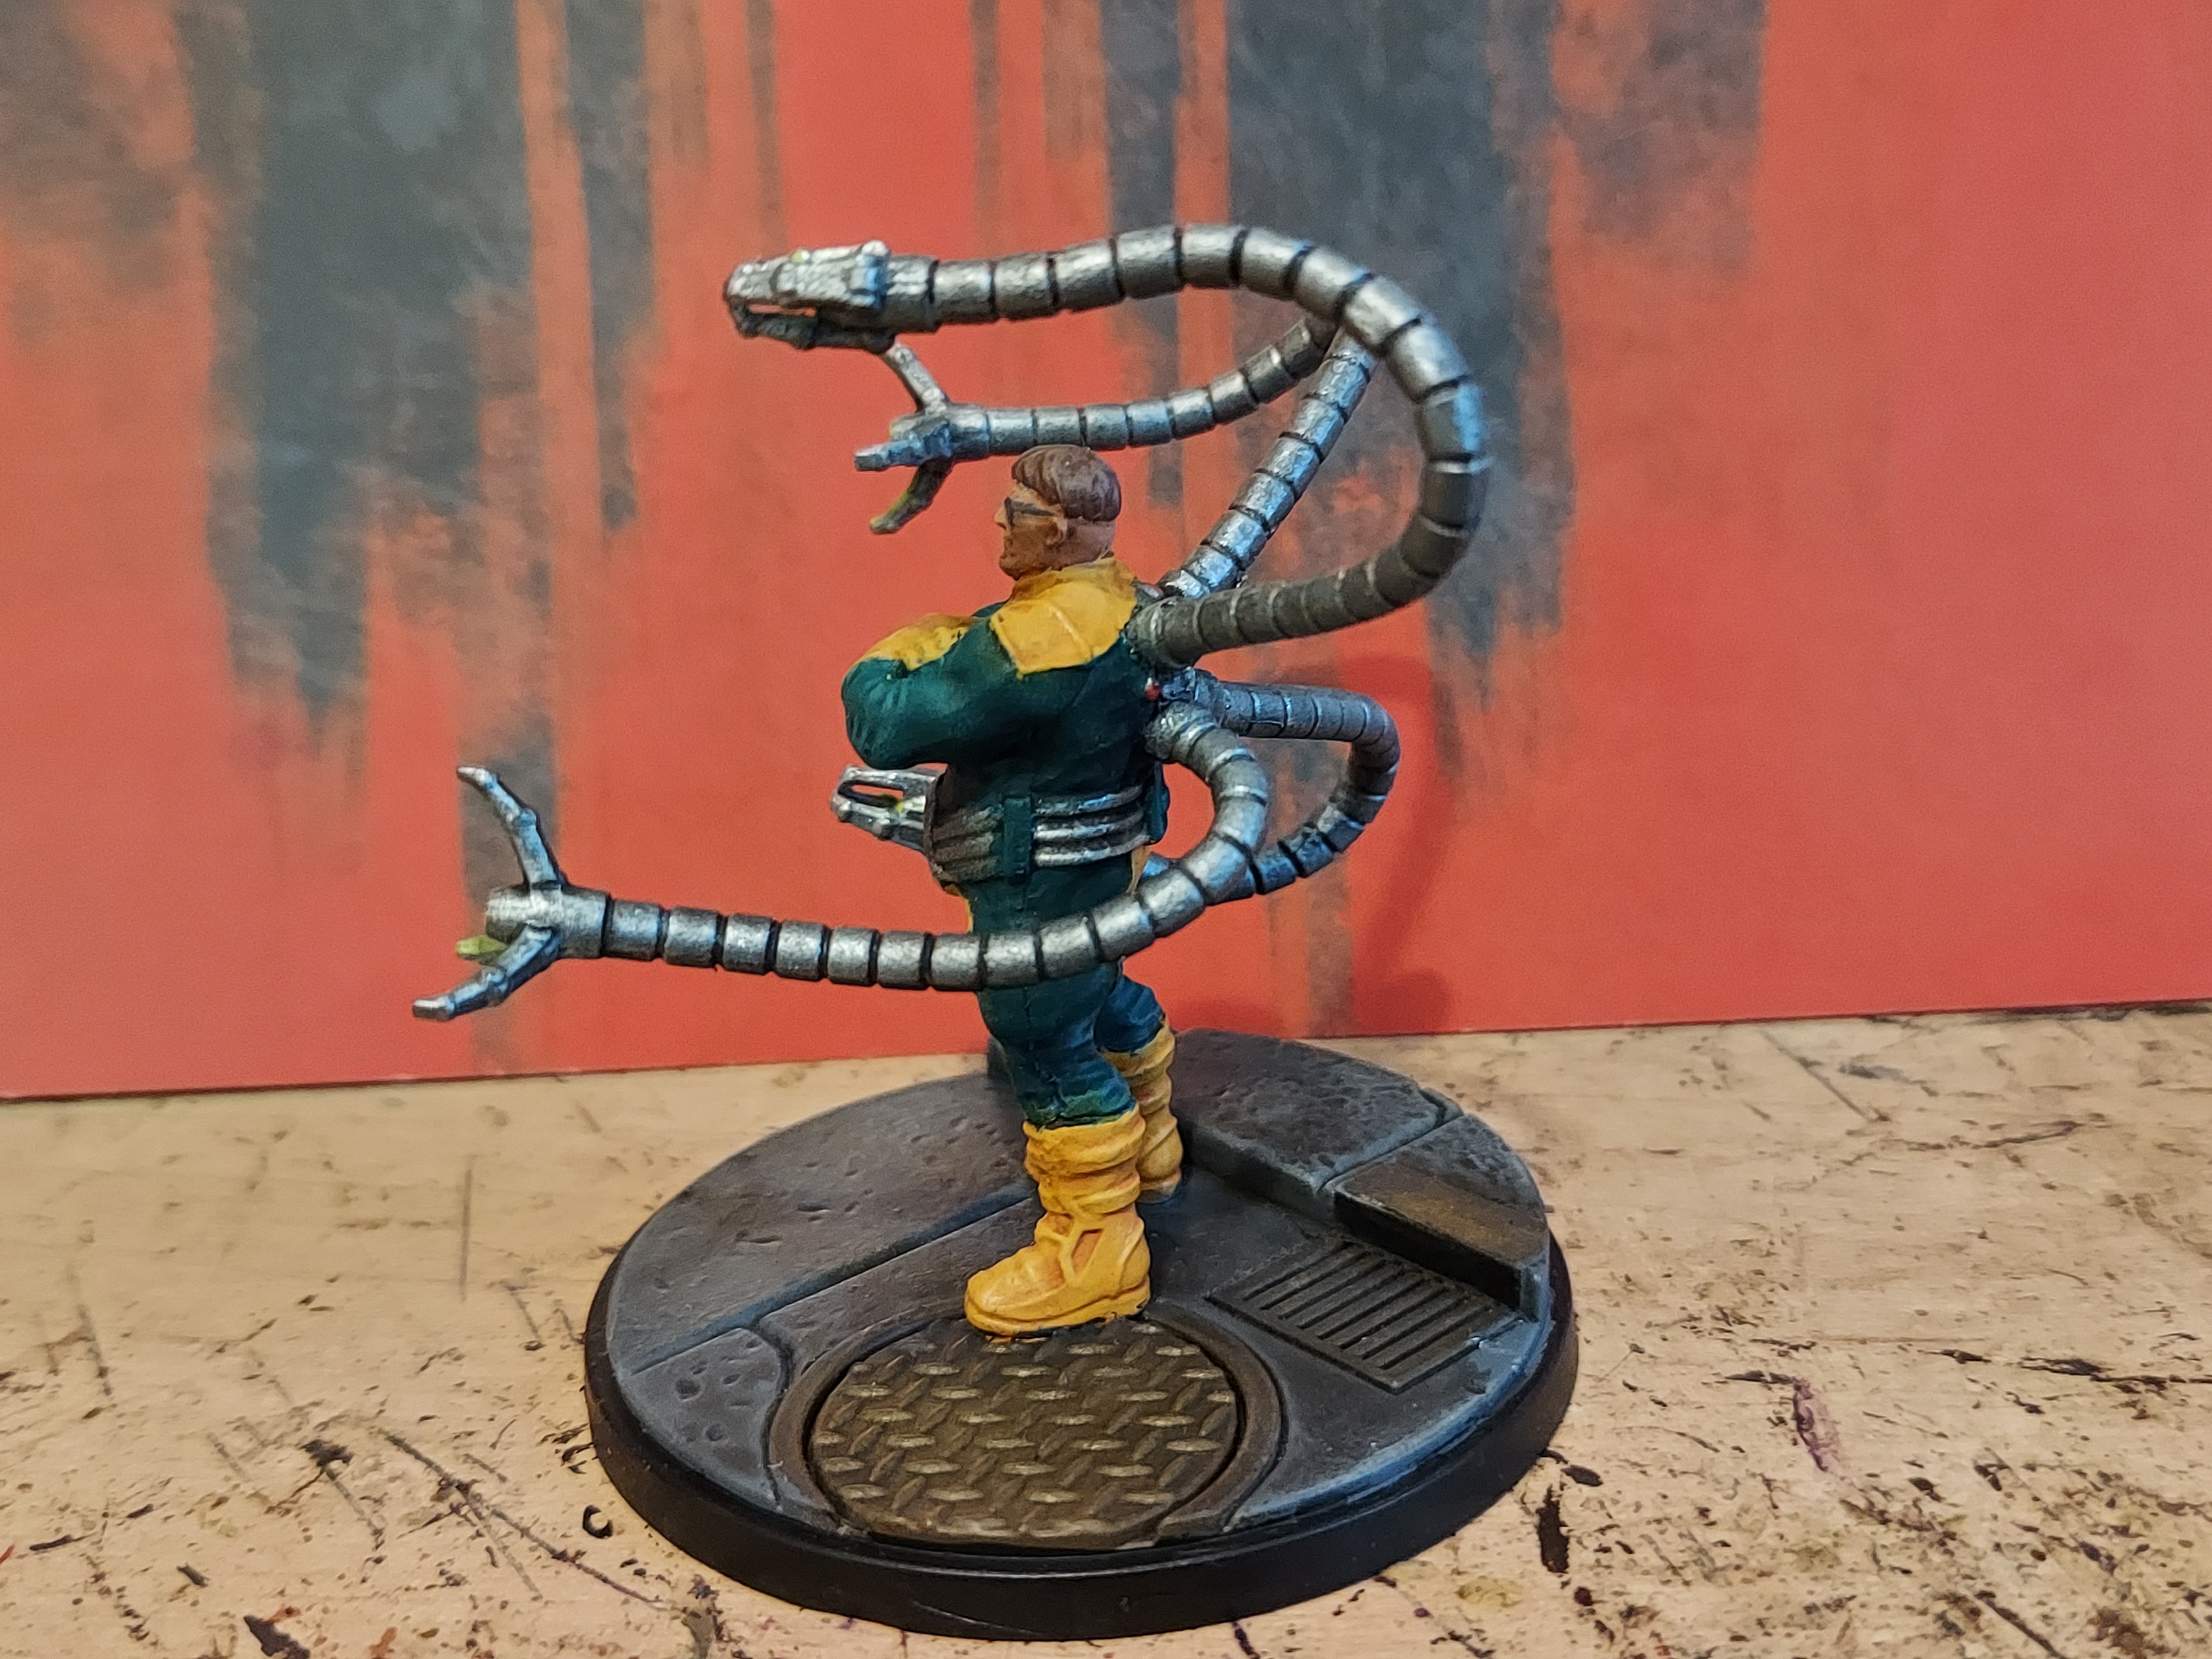
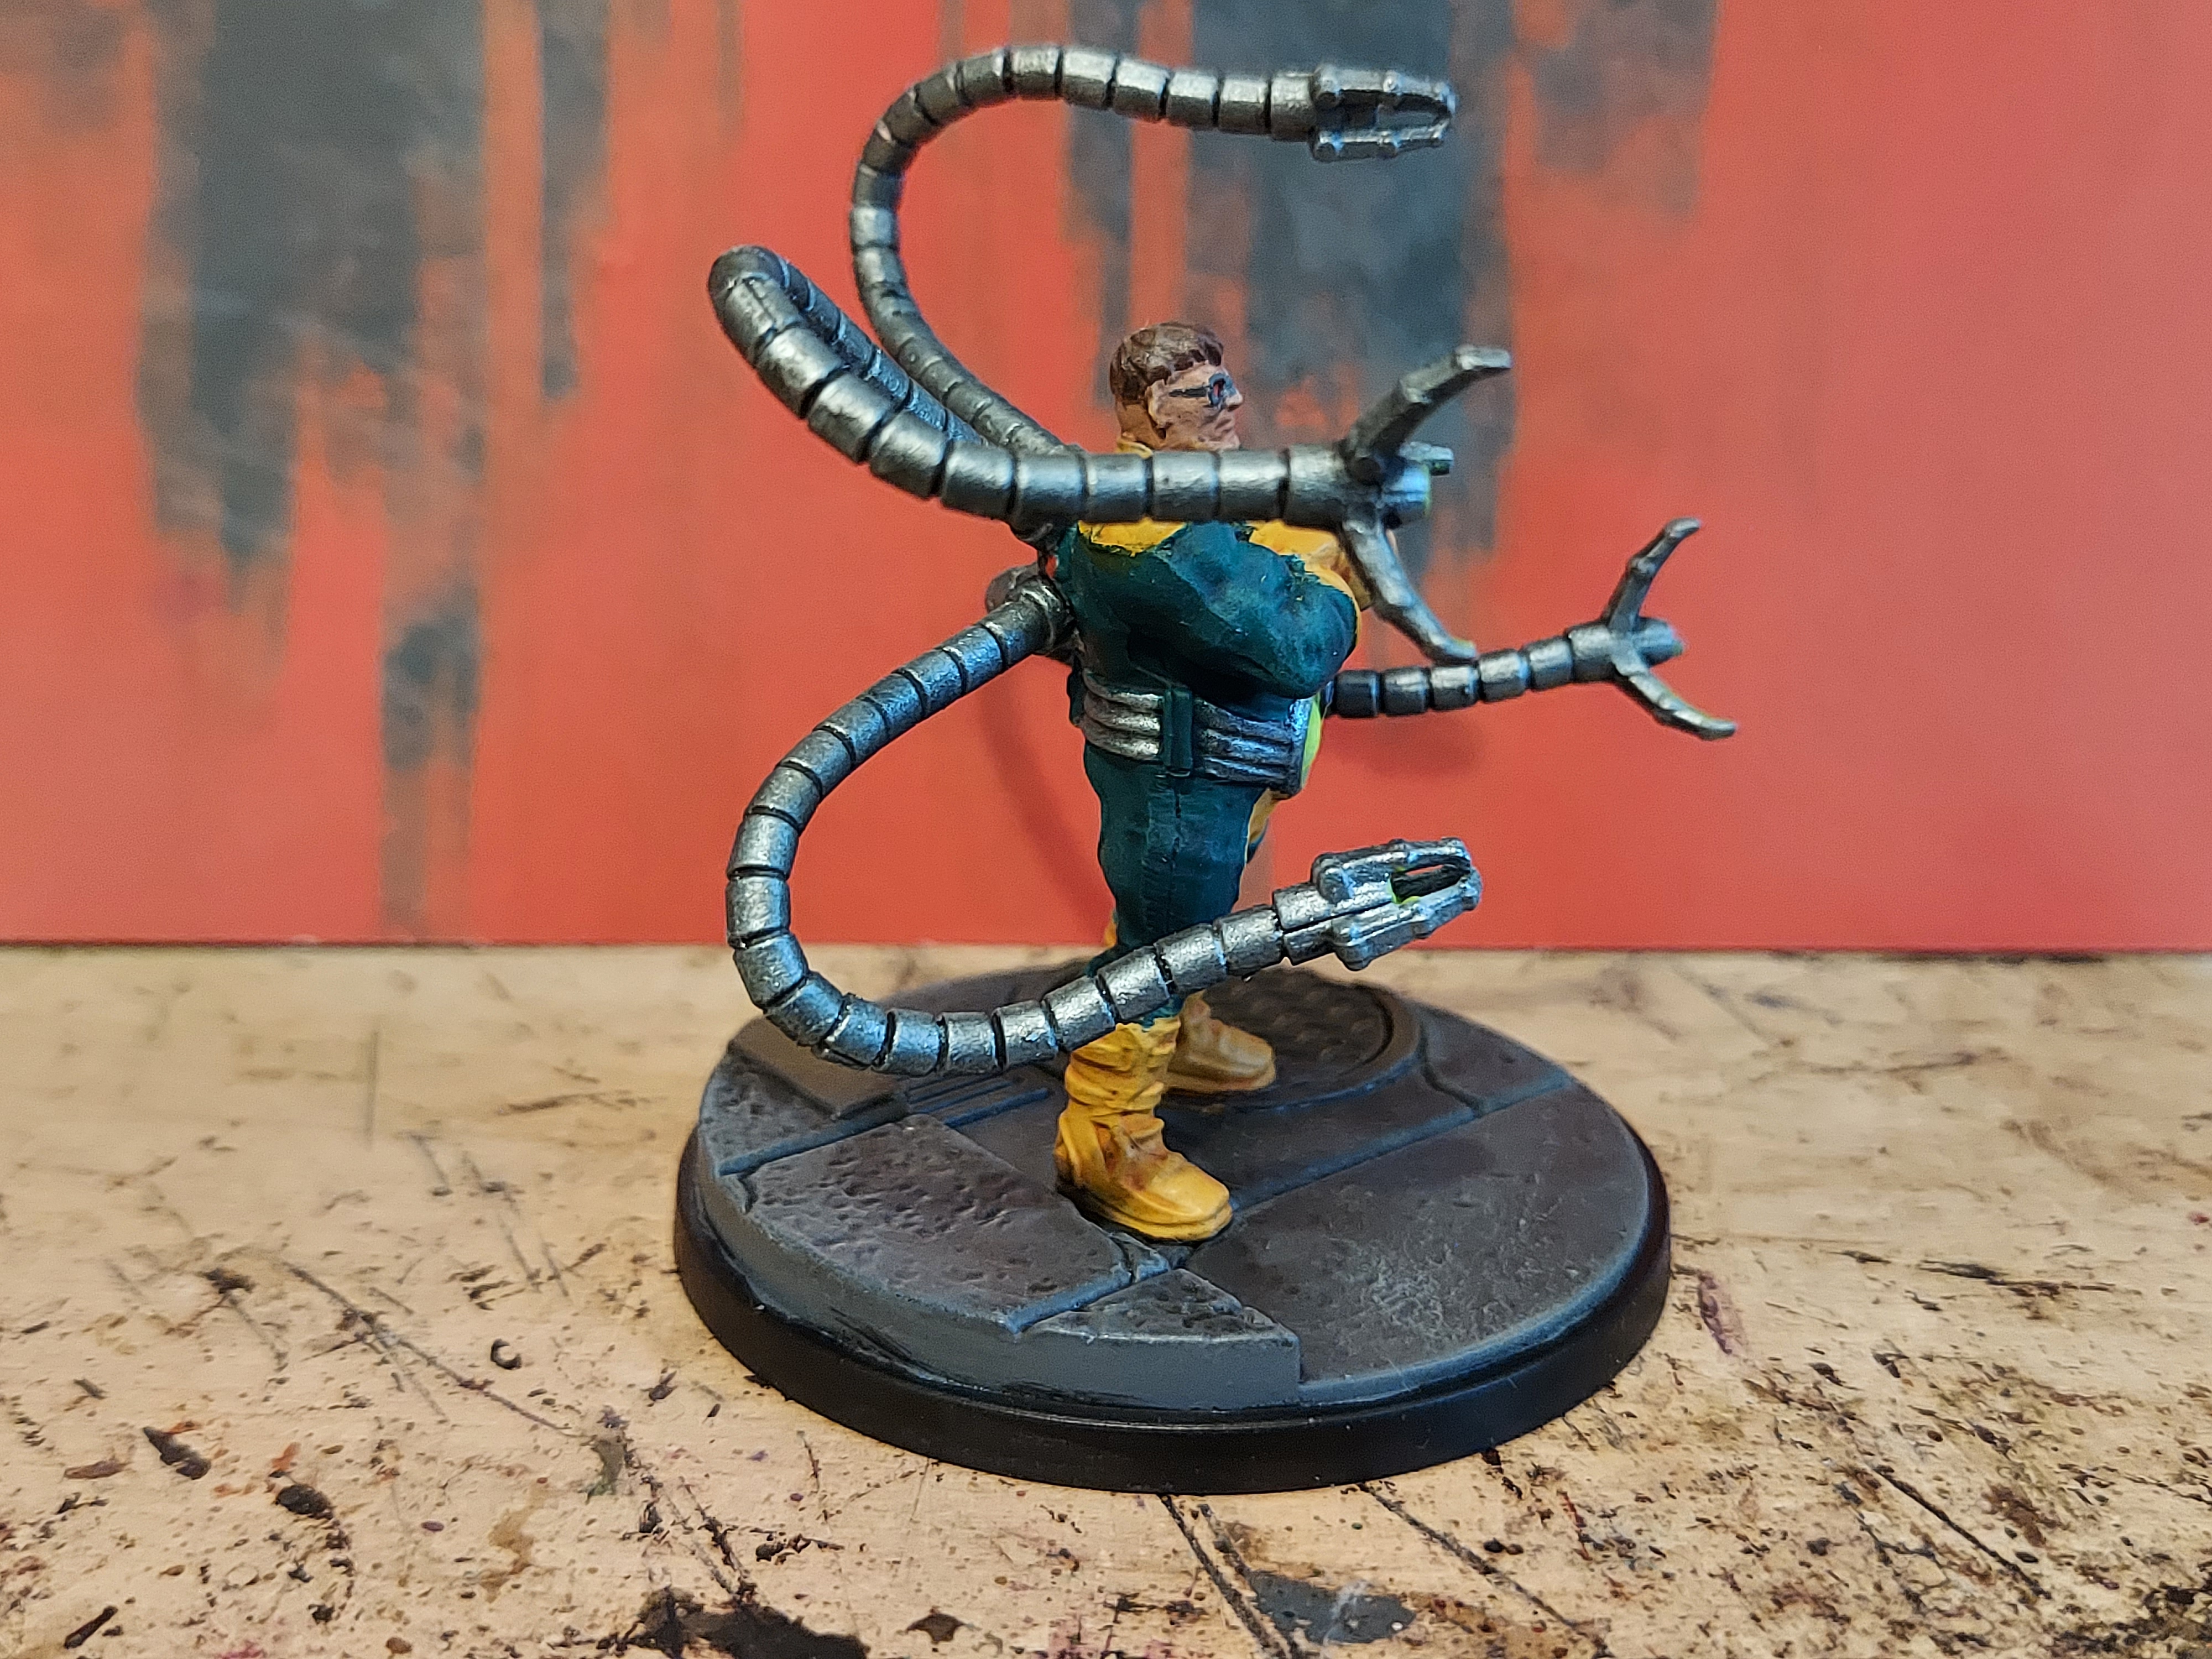
Next stage was the yellow. I blocked in my yellow, washed it with casendora yellow then lightly drybushed in some highlights. After that I tackled the arms and belt. These were based in chainmail from vallejo, which was washed with null oil. I thought about highlighting the metal further but I thought it looked good as is.
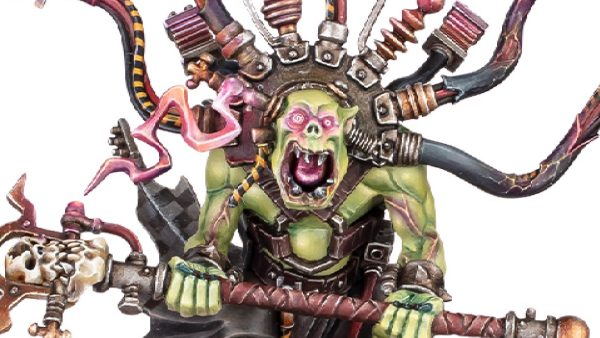
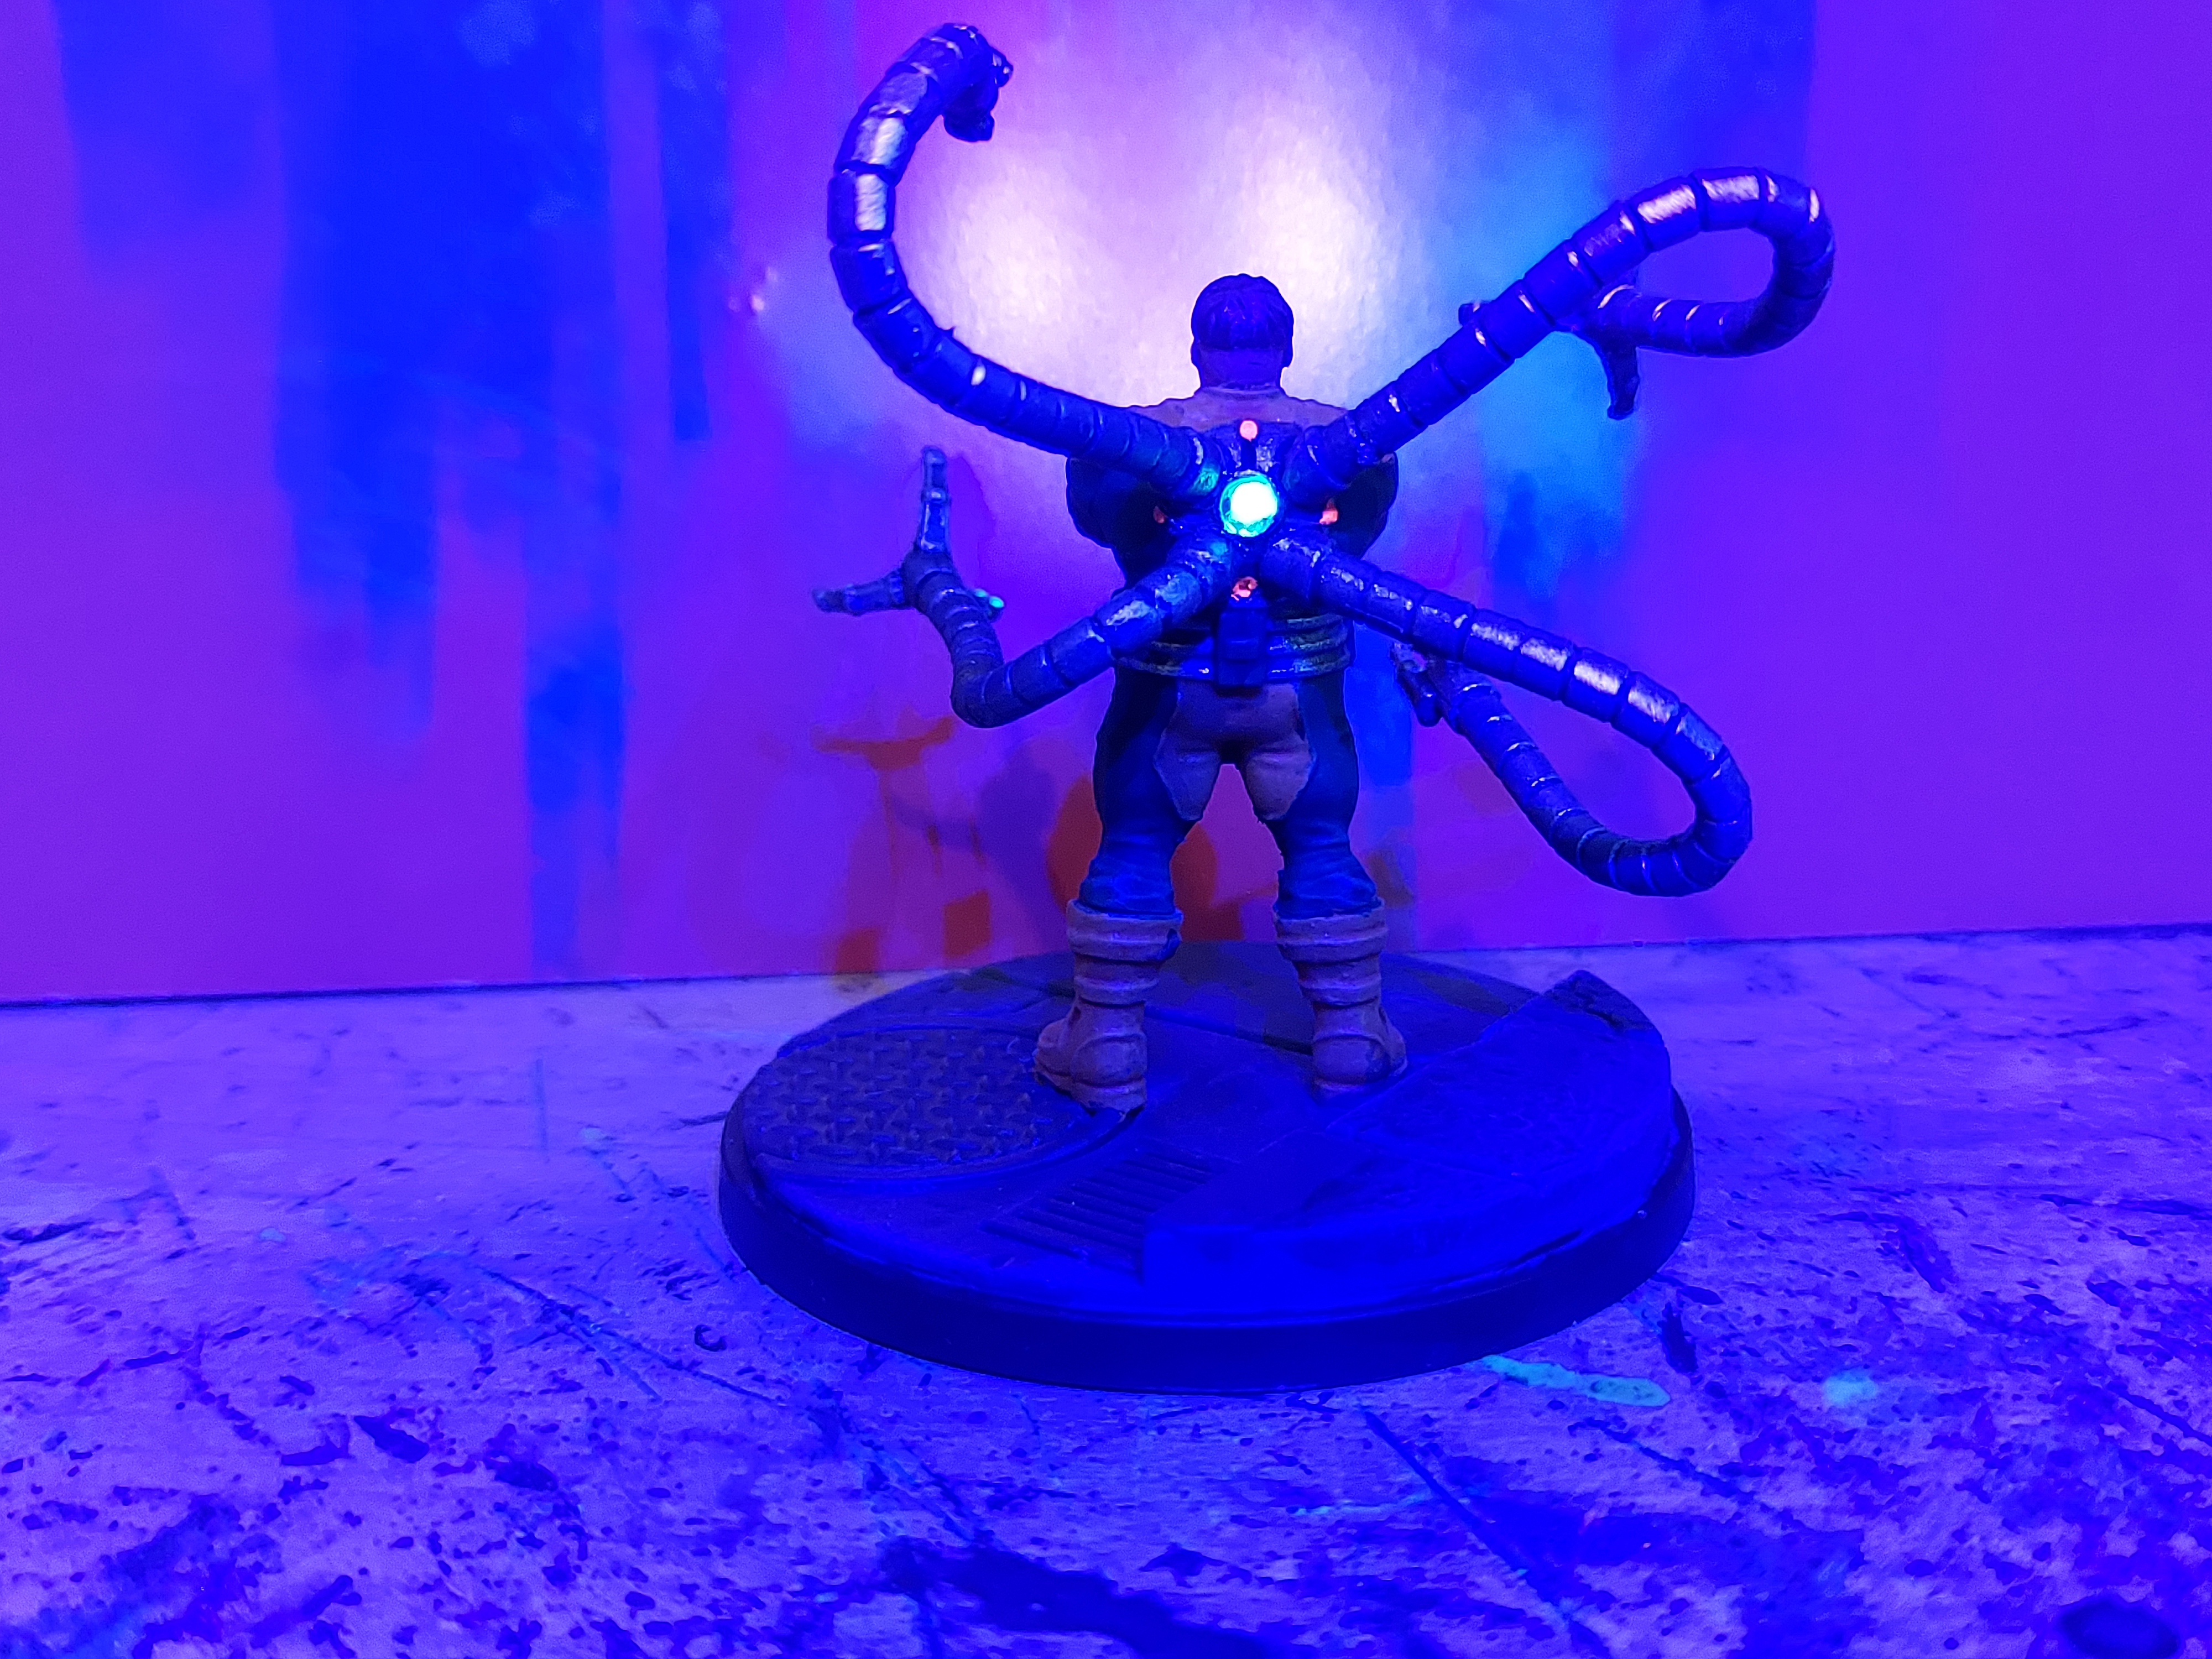
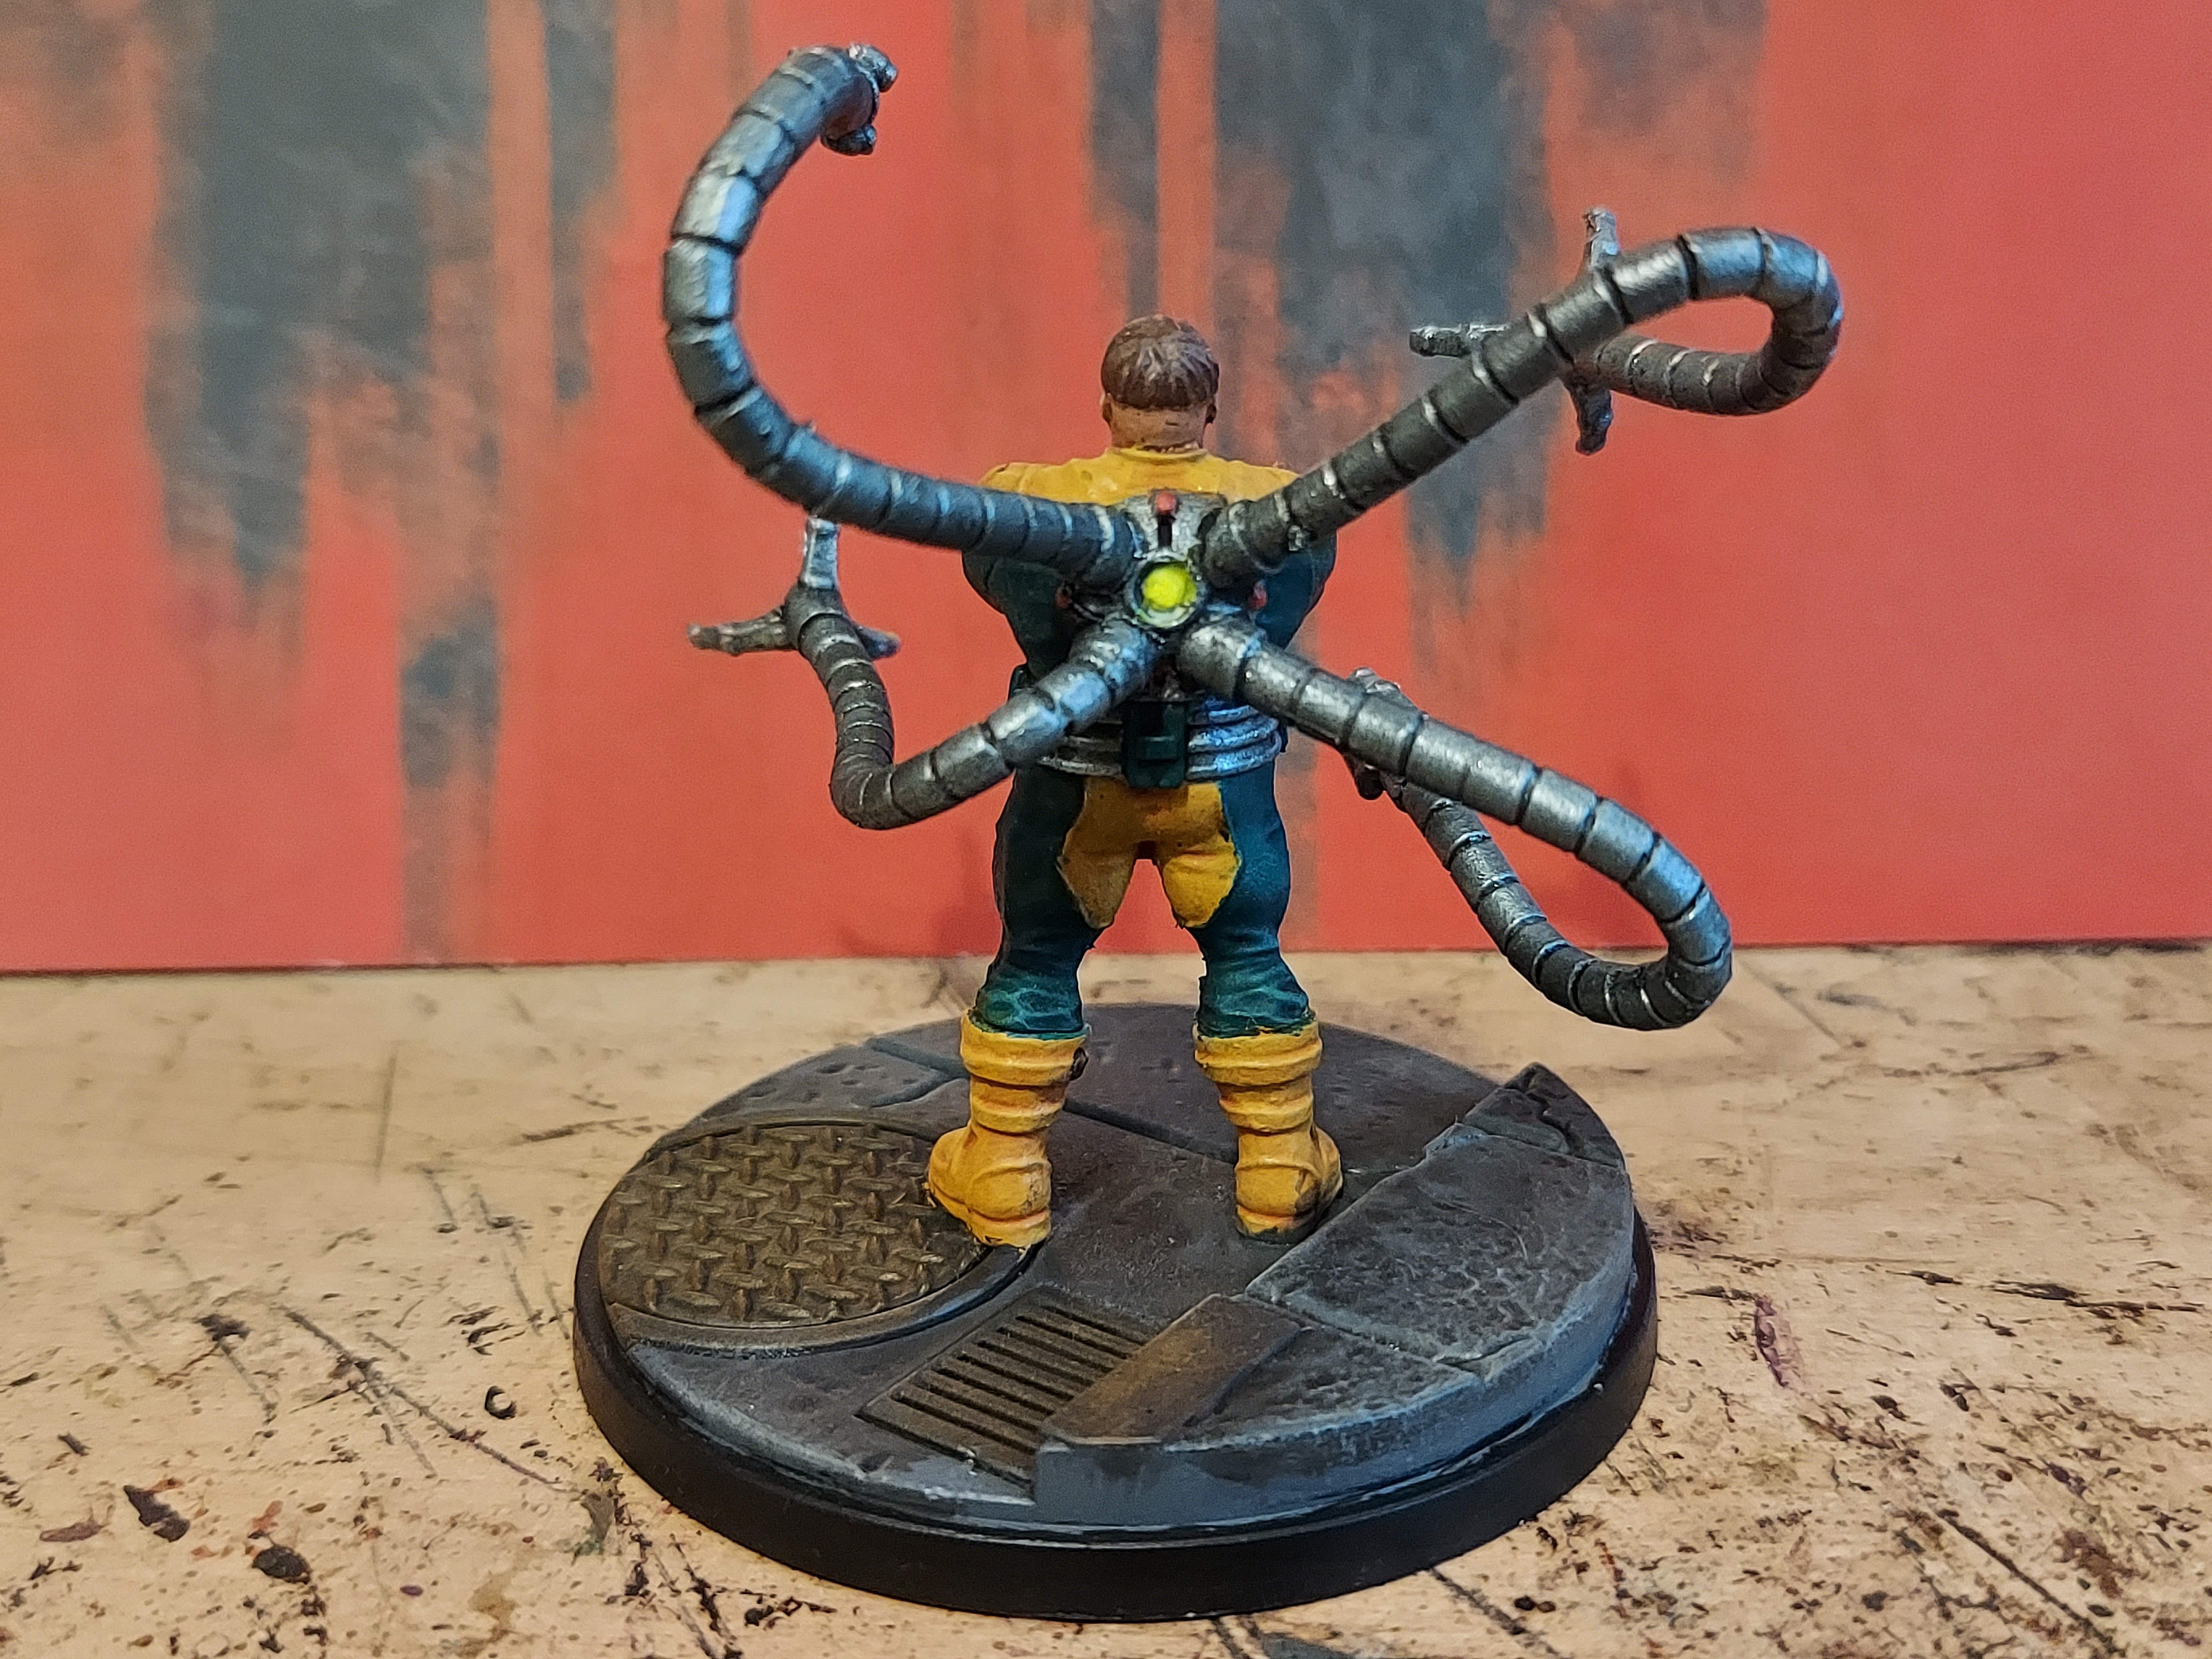
Now the fun bit, more fluorescent paint. I got these from greenstuff world and I’m loving them. I used a yellow fluor on the tentacle lasers and the energy doofer on his belly. There were a few raised round bits between his tentacles that I stuck a bit of red fluor on.
After that I did the base the same as the others.
Dr Octopus part 1
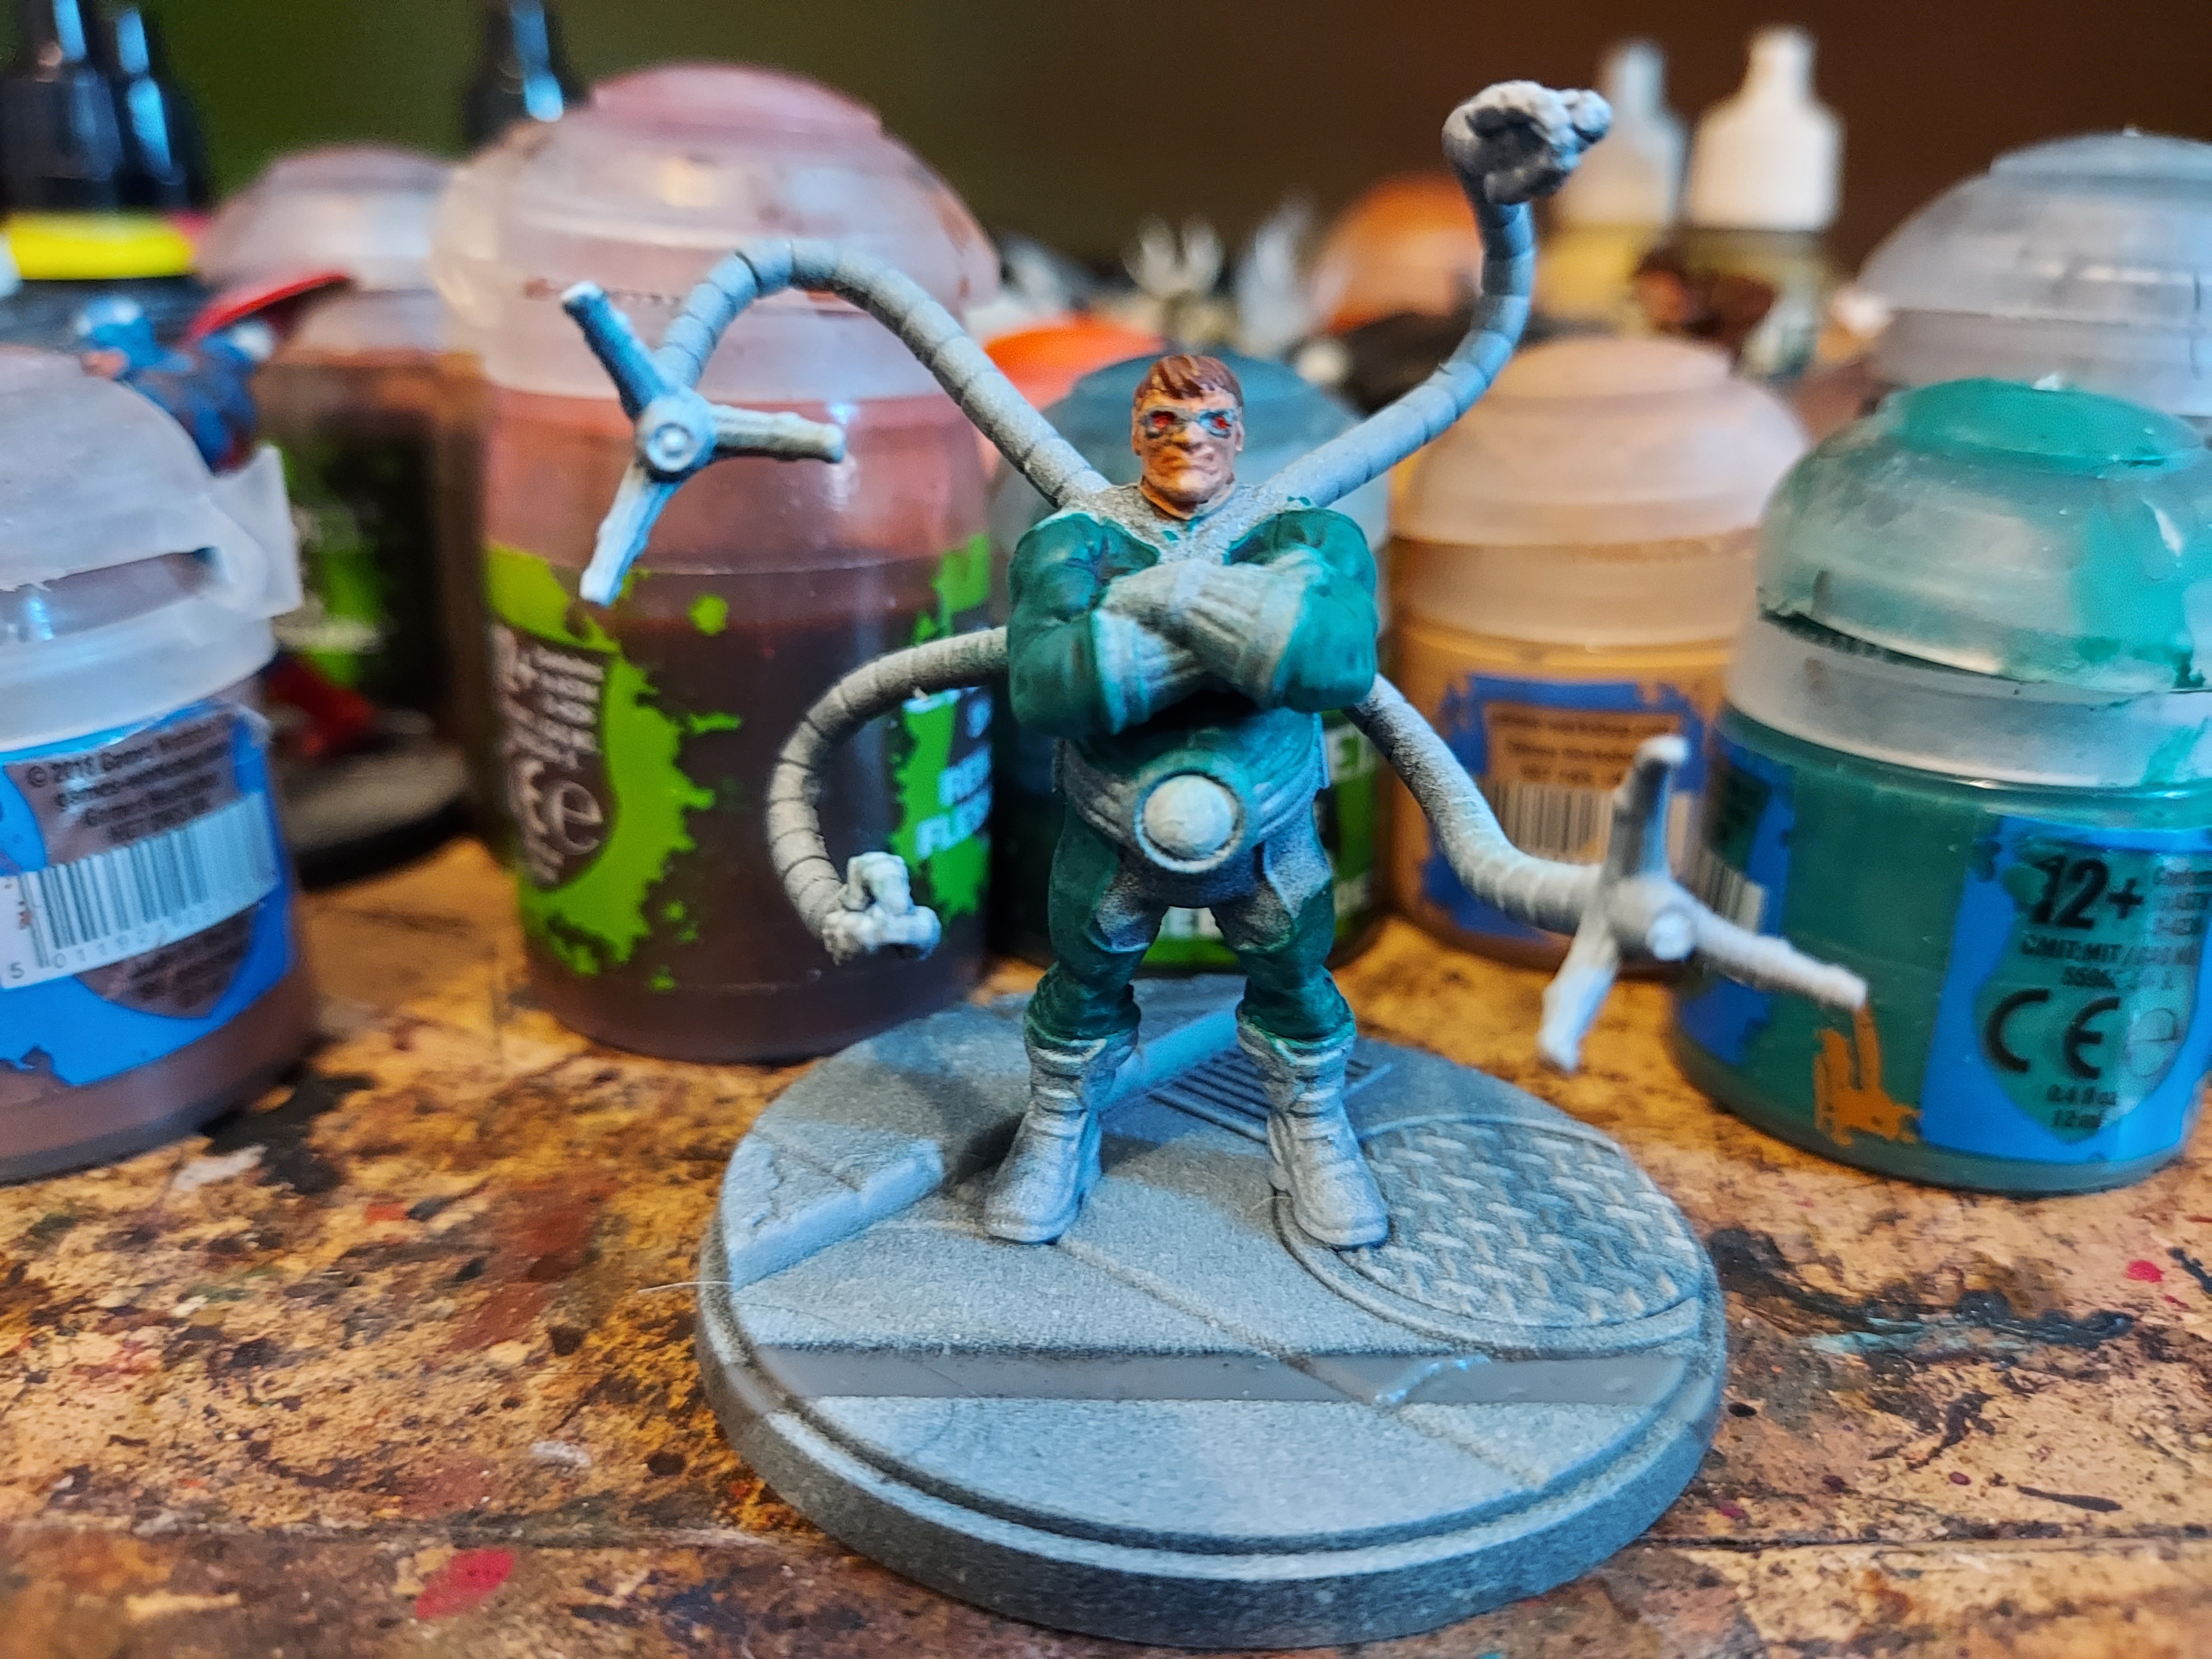
I started with the face and hair. After that I went to block in the green, which I then washed with green. Then drybrushed up a few successive highlights. I also painted all the energy sources on him white, with the exception of the one on his belly. For this I used a very light grey and used whit for the middle. I painted his glasses with a dark grey. For the lenses I used flesh tearers red contrast and put a tiny dot of red fluorescent paint in them.
I then forgot to take any more work in progress pictures of him.