


Necrothrall does Marvel Crisis Protocol


Recommendations: 1593
About the Project
In this project I'll be taking my fledgling steps into Marvel Crisis Protocol. I'll be trying out some techniques and paints I've never used before. Wish me luck.
Related Game: Marvel Crisis Protocol Miniatures Game
Related Genre: Science Fiction
This Project is Active
Terrain part 14
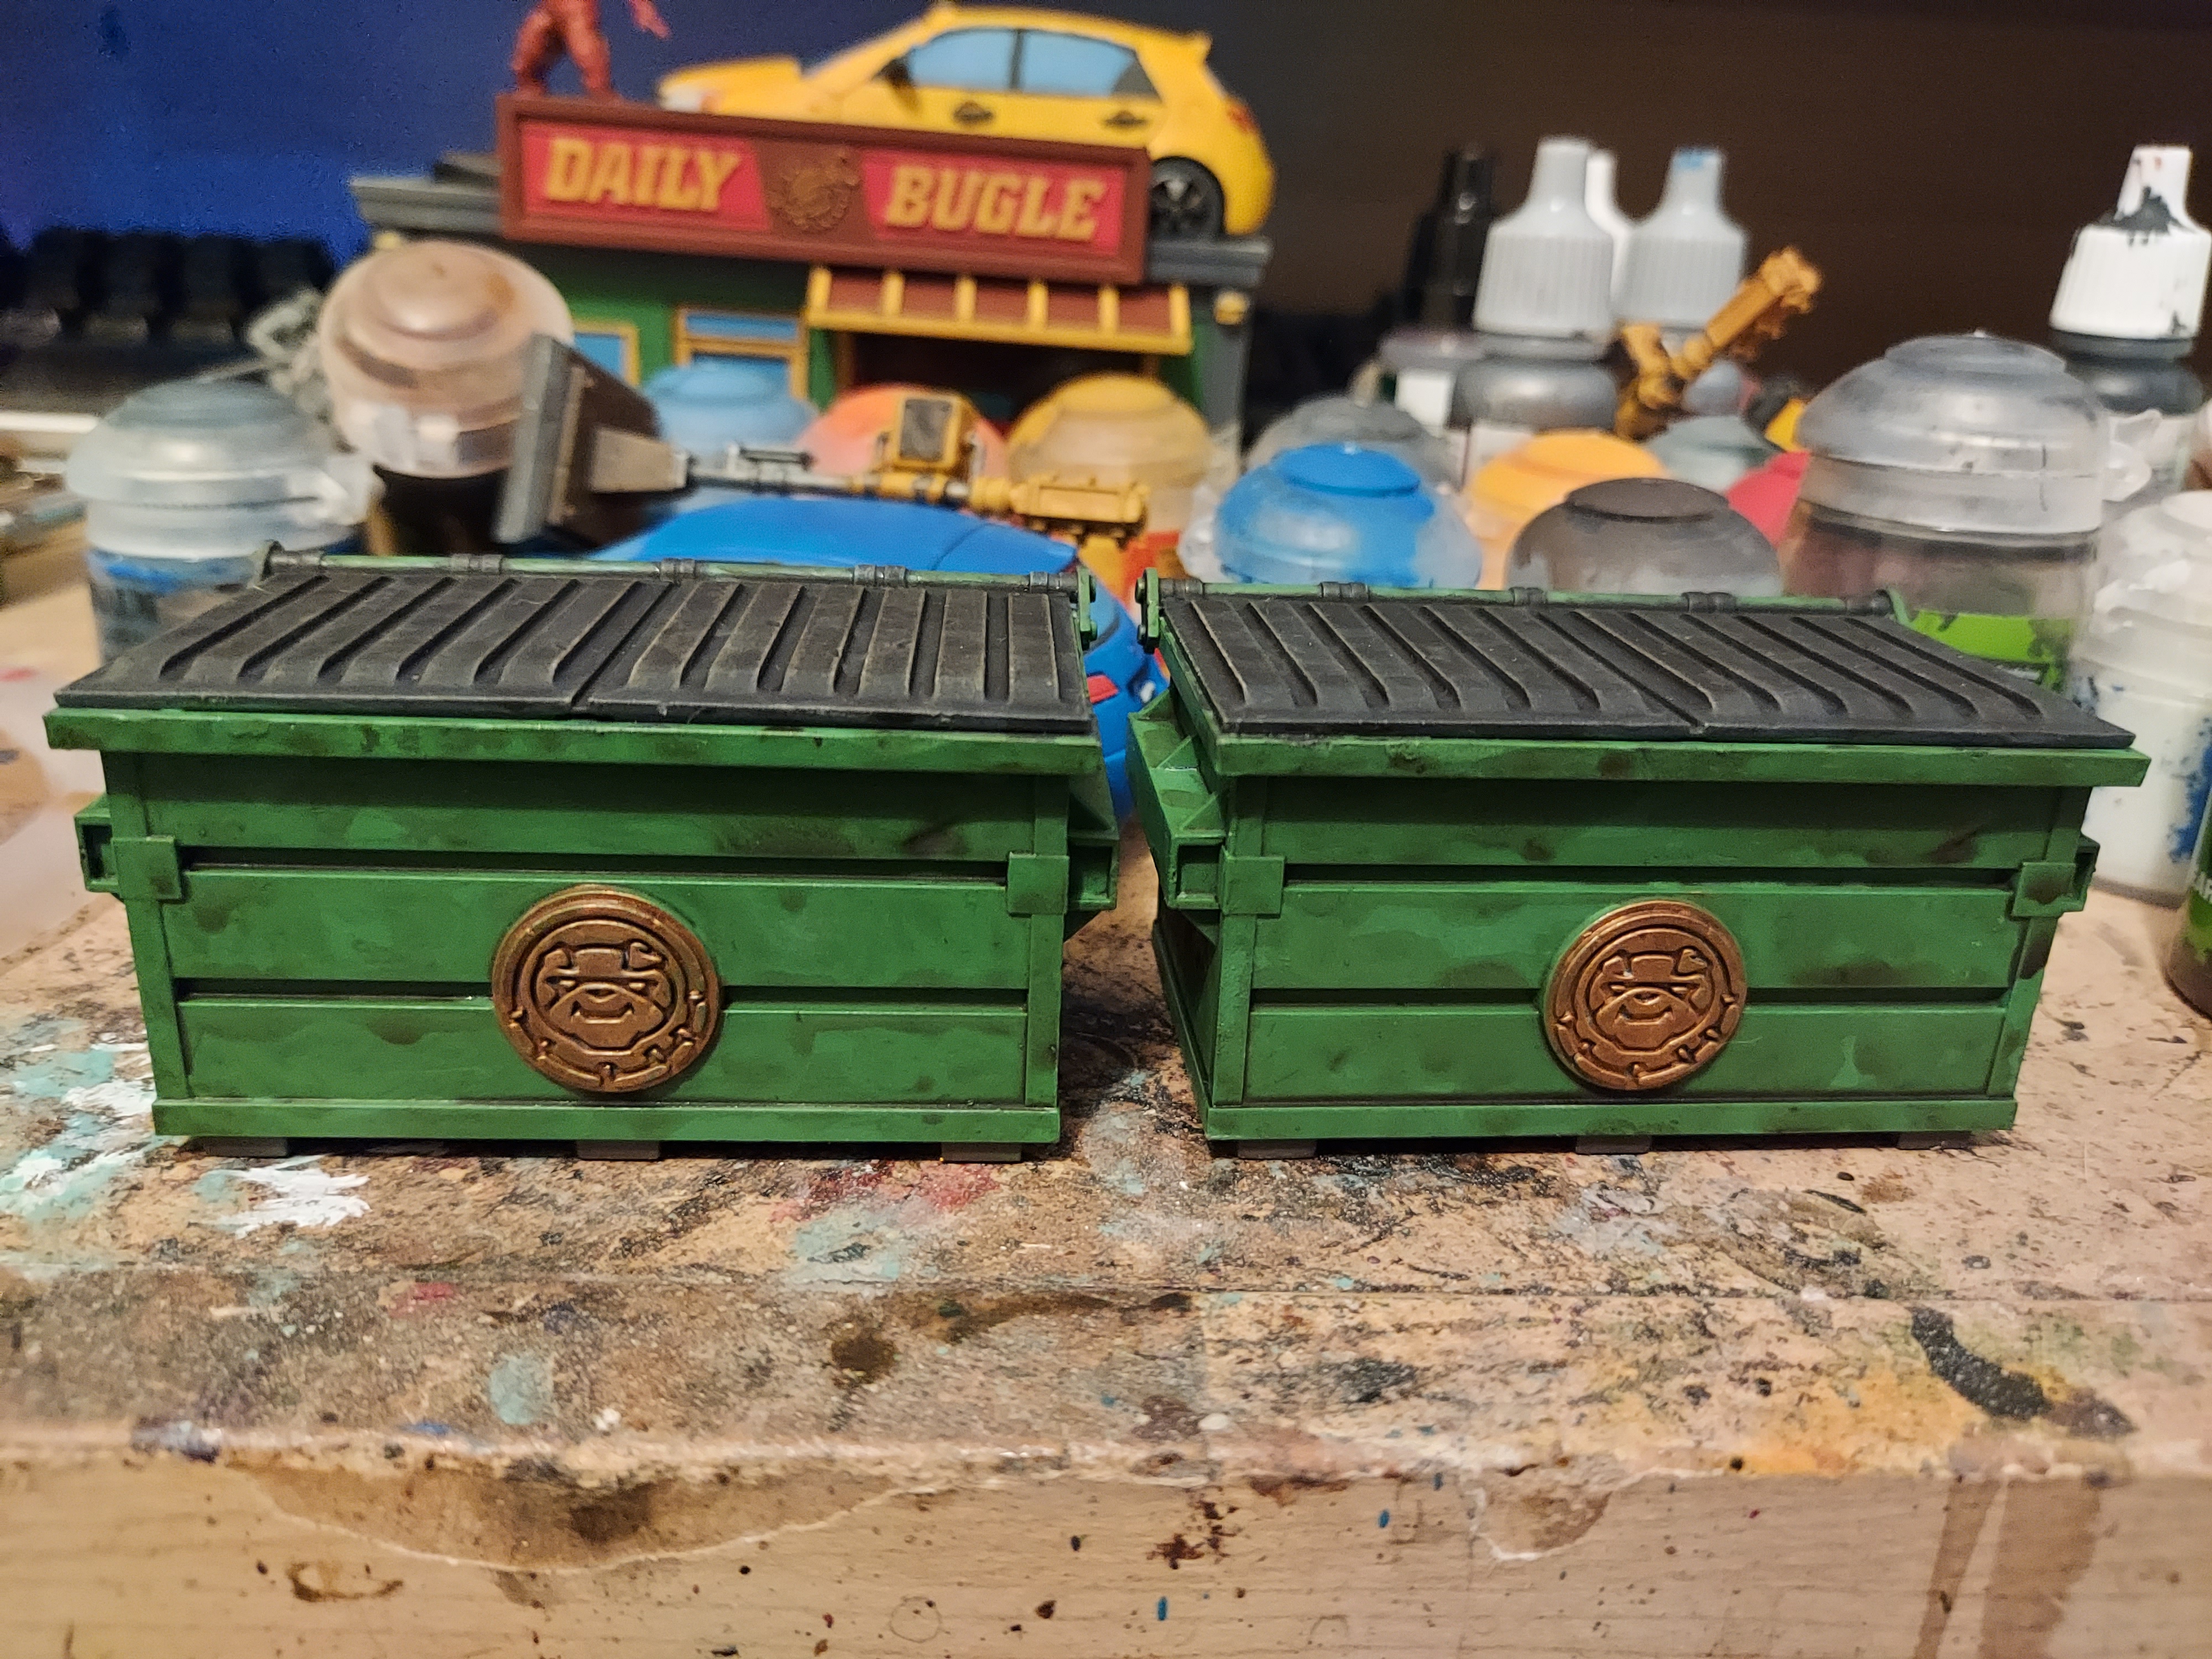
So here it is, the final pieces of terrain from the starter set. I started by painting them green. Next I did the lid in German Grey, which I drybrushed with some lighter grey before giving it couple of heavy washes of Nuln oil. Next I did the bottom in dryad bark. Then it was on to the badge which was done in brass scorpion. The final step was to give the whole thing a wash of agrax earthshade to dirty it up.
So what’s next? Well next is some Brotherhood of Mutants… and Venom. They’re on their way as we speak so watch this space.
Terrain part 13

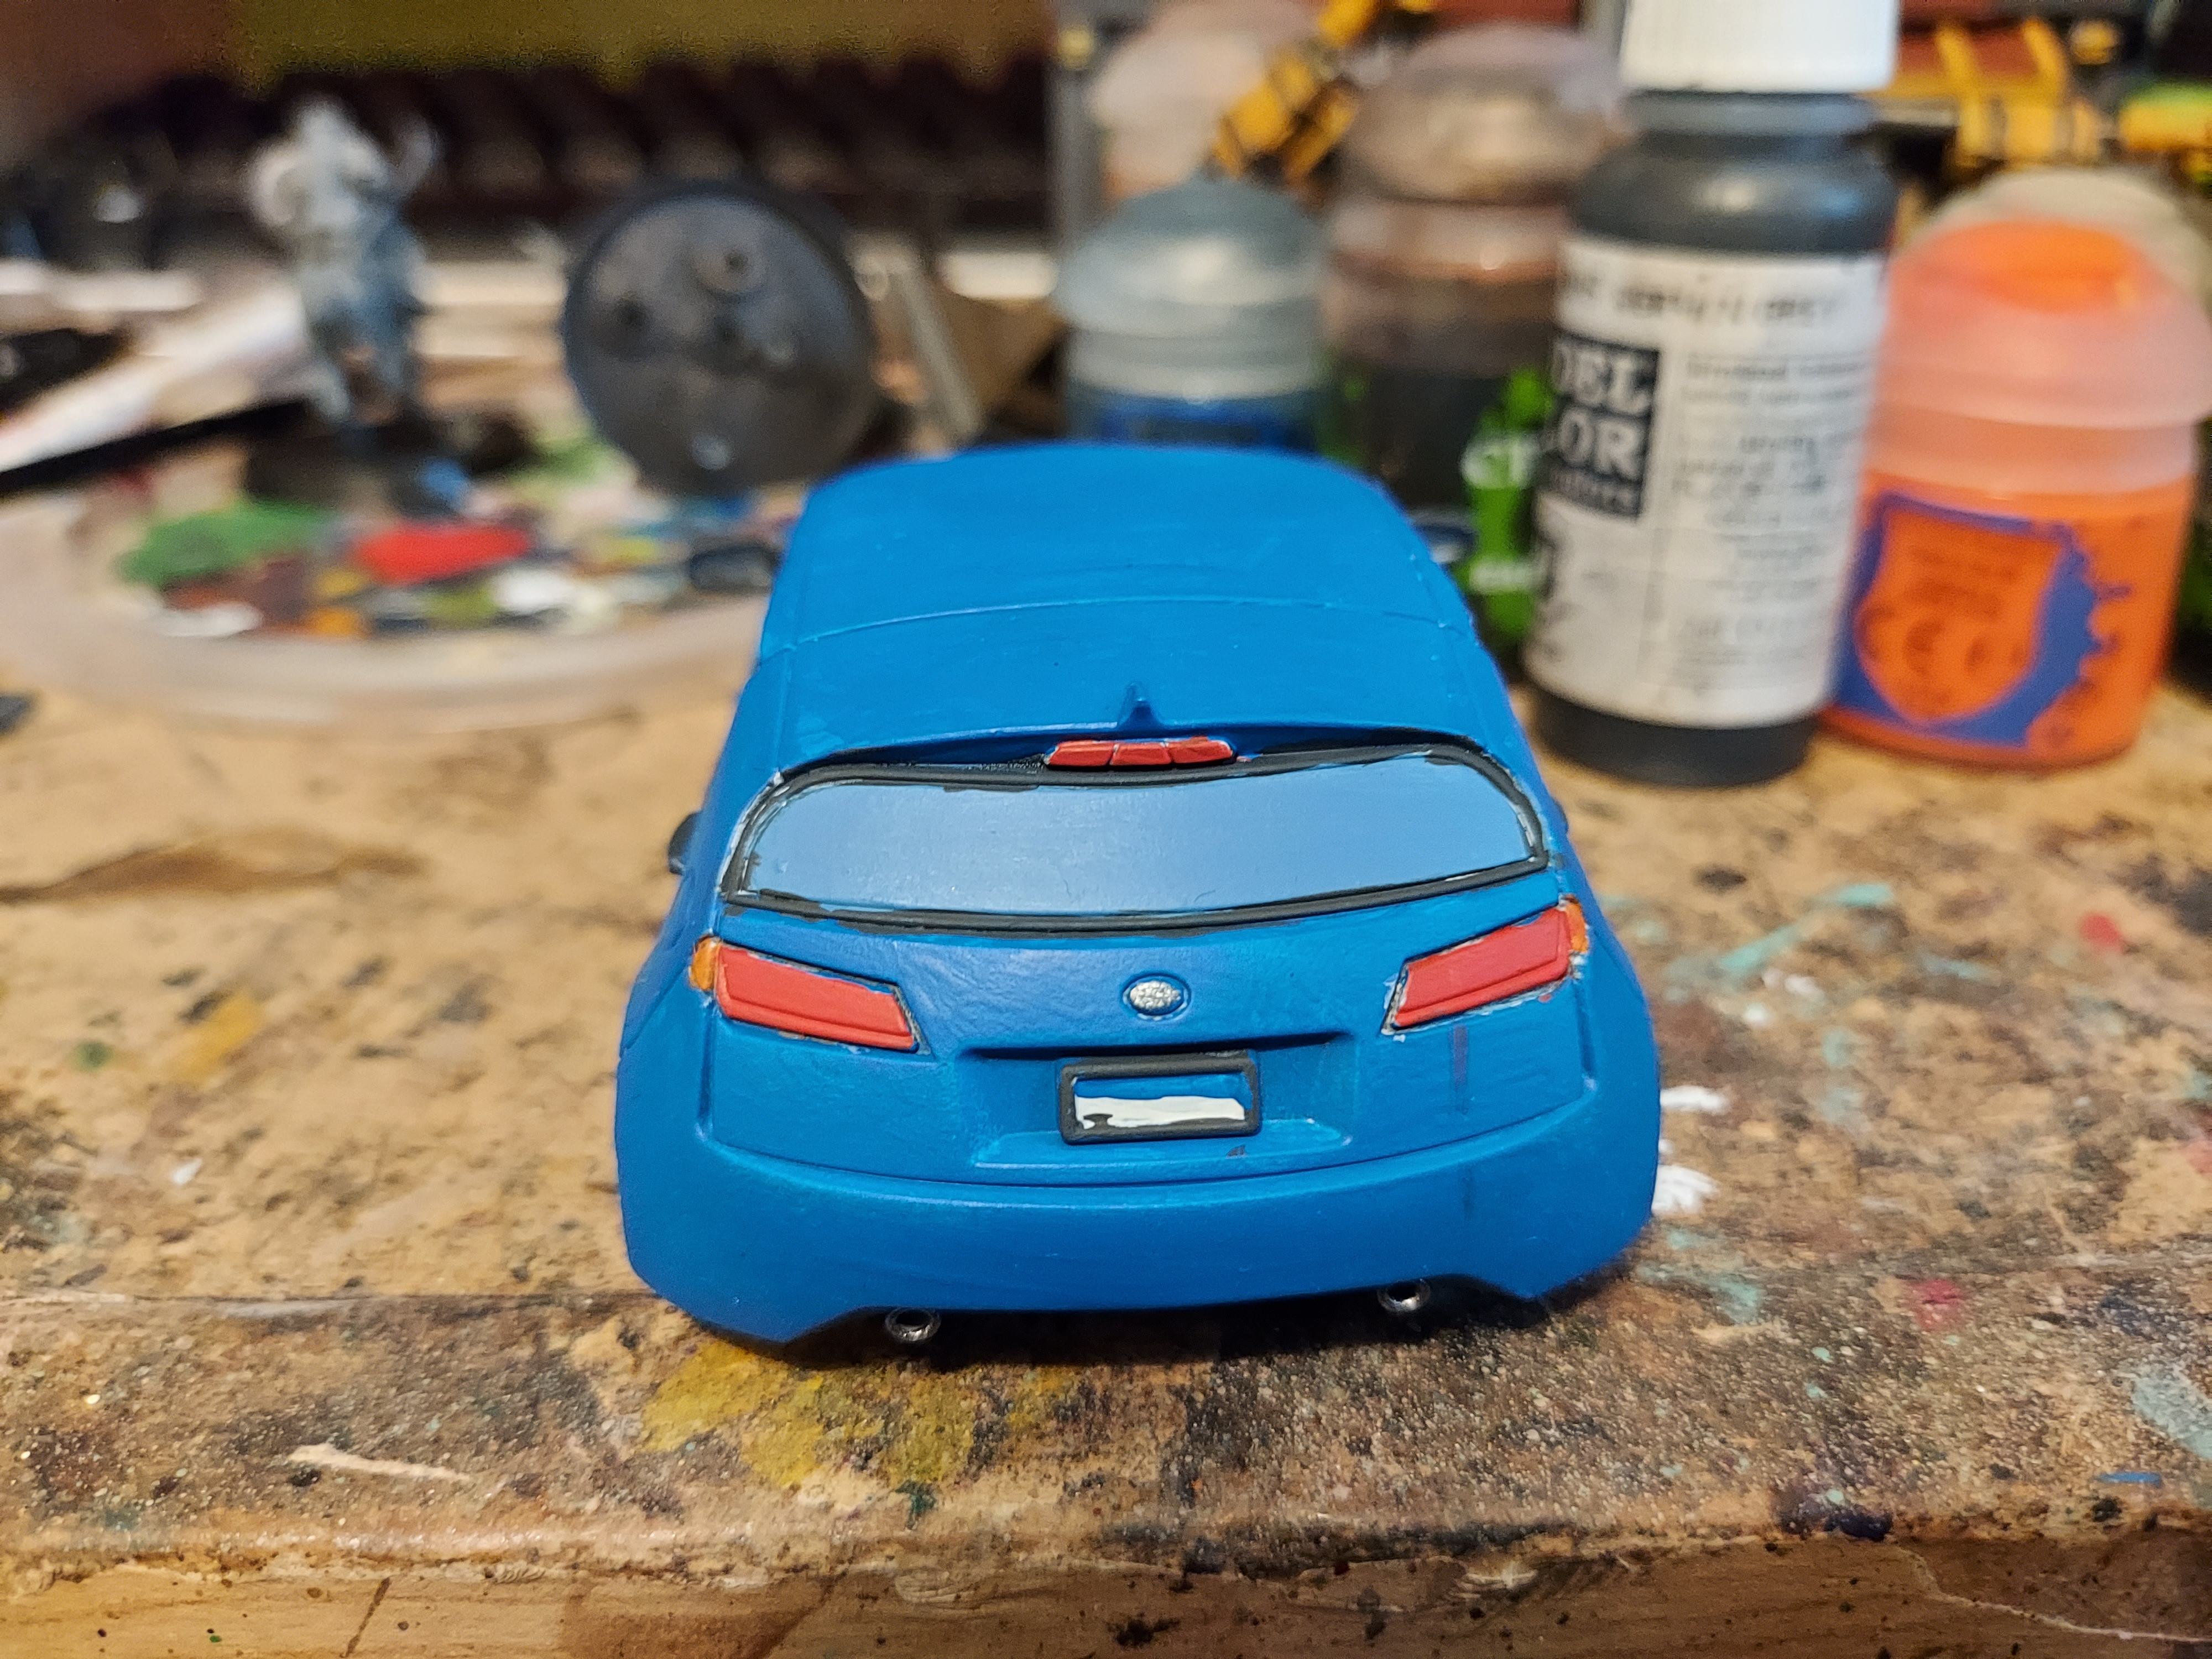
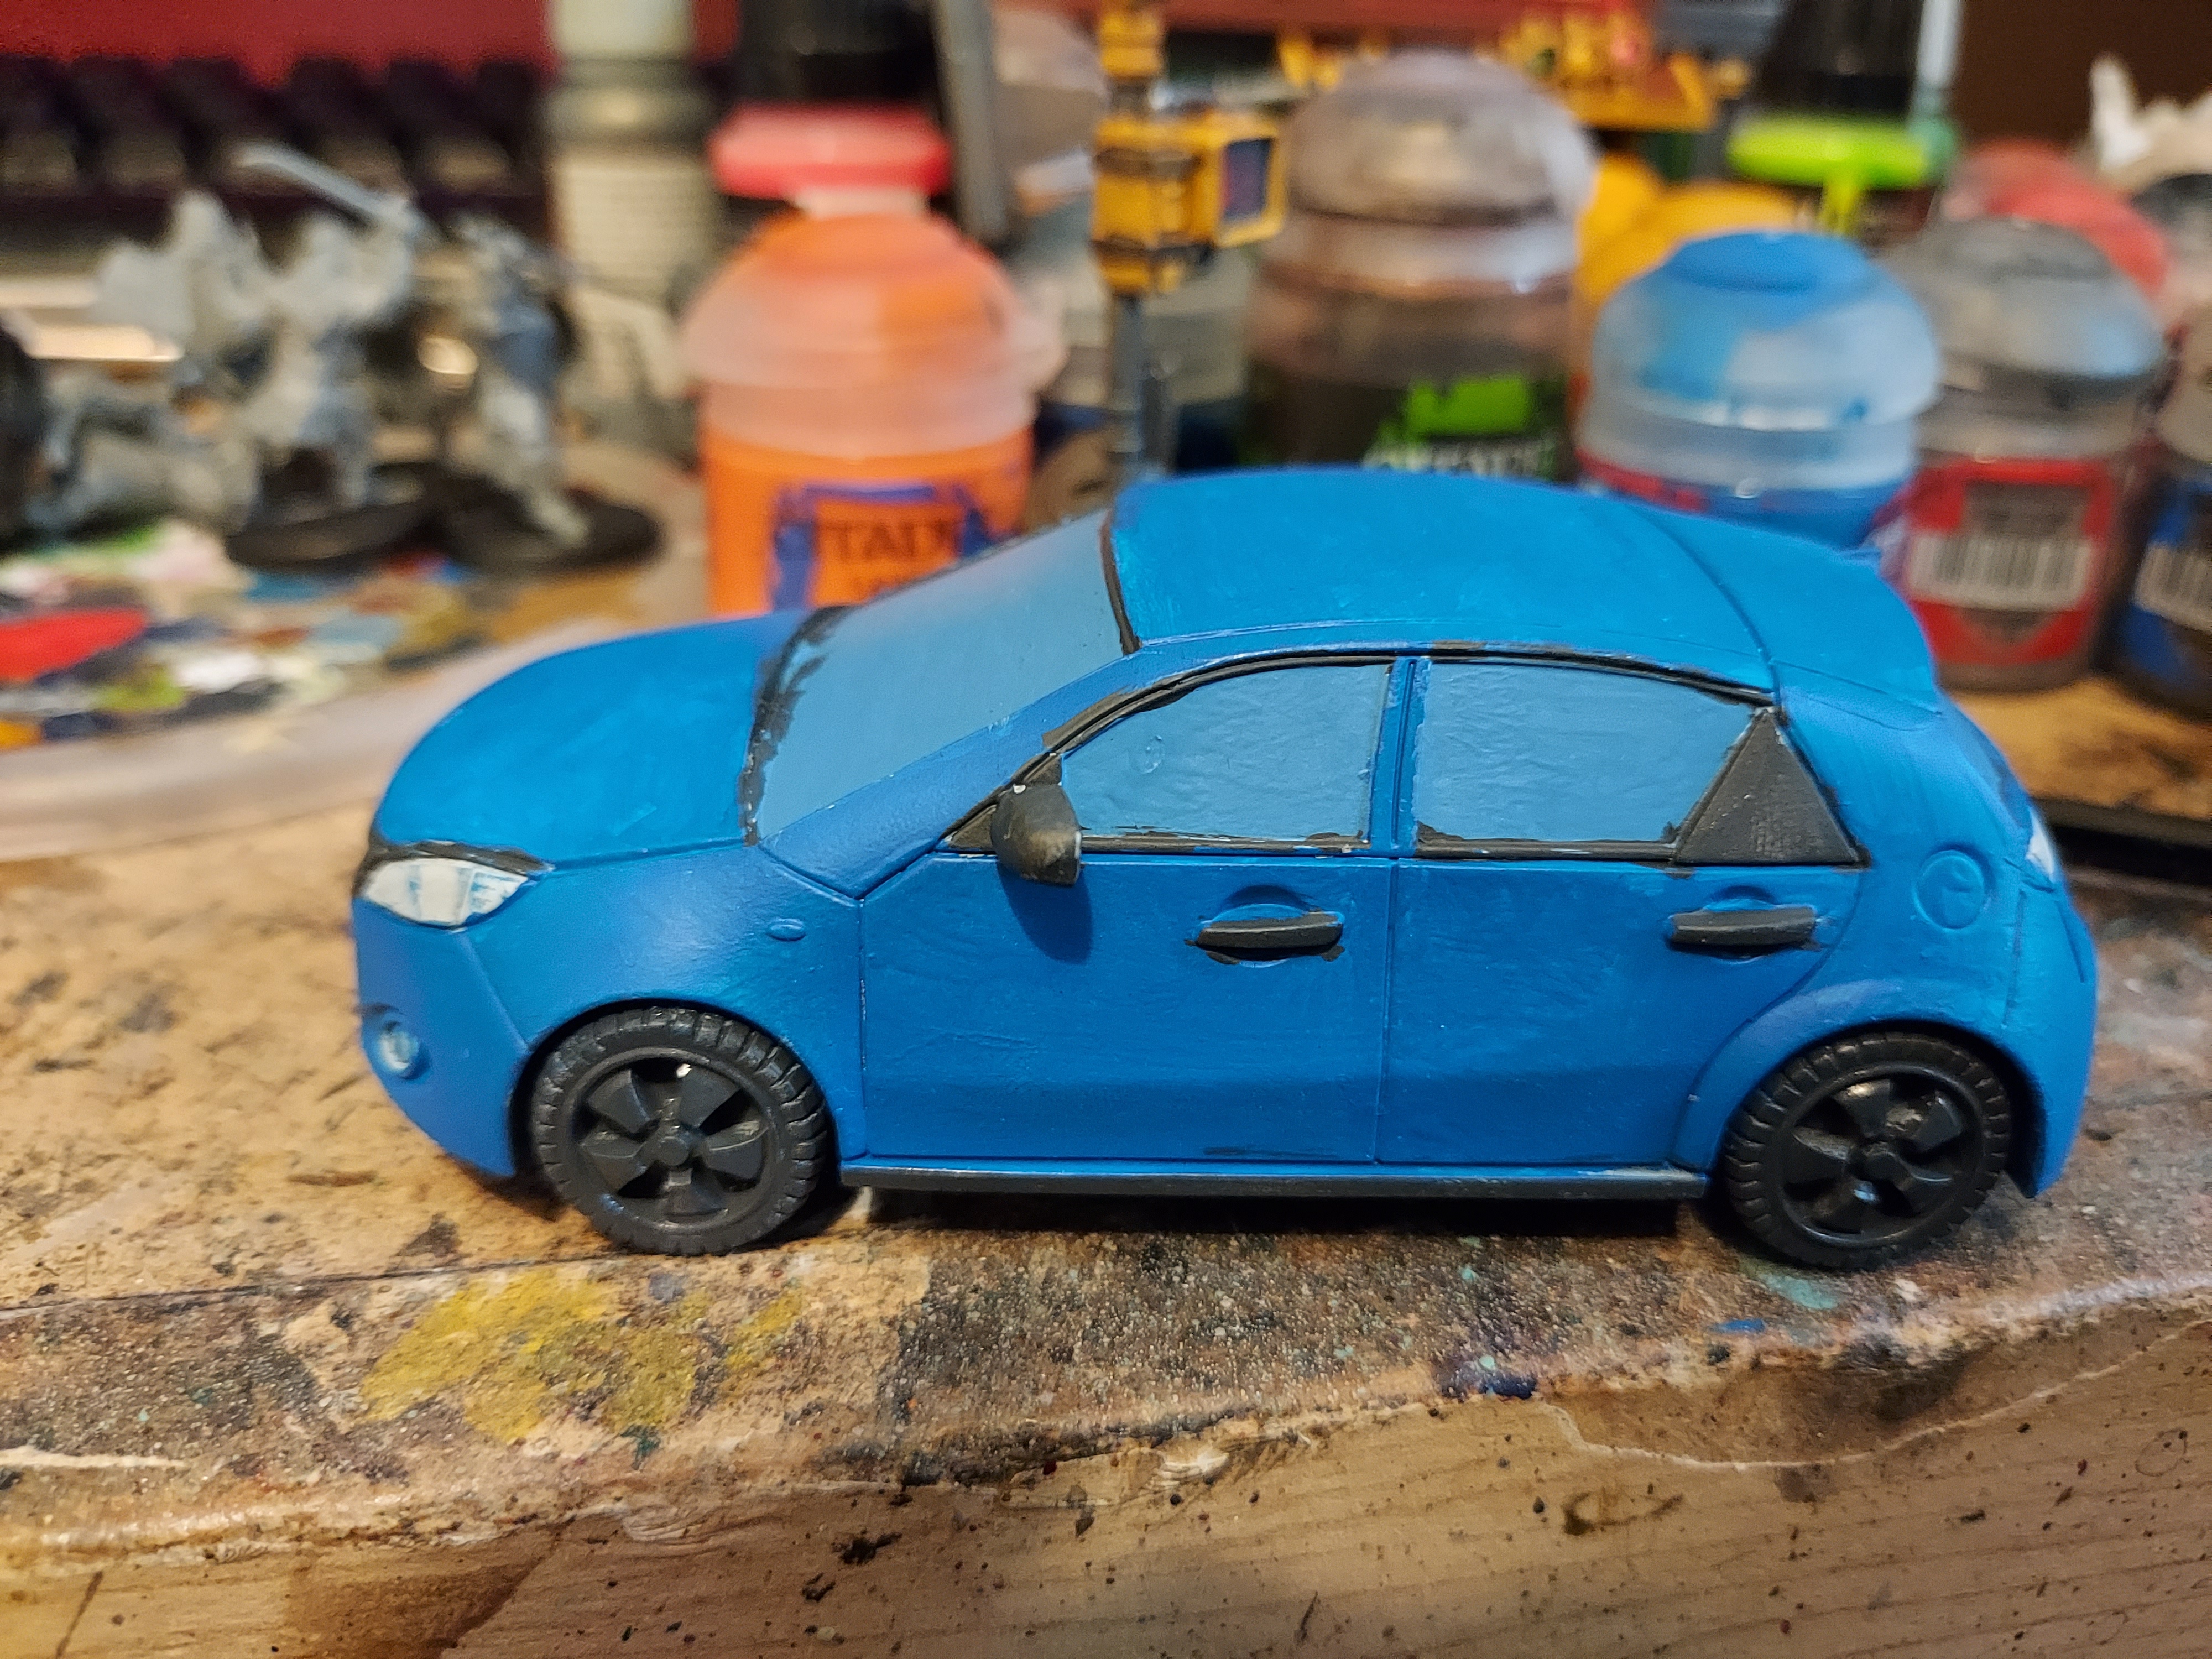
Next I painted the brake and indicator lights.
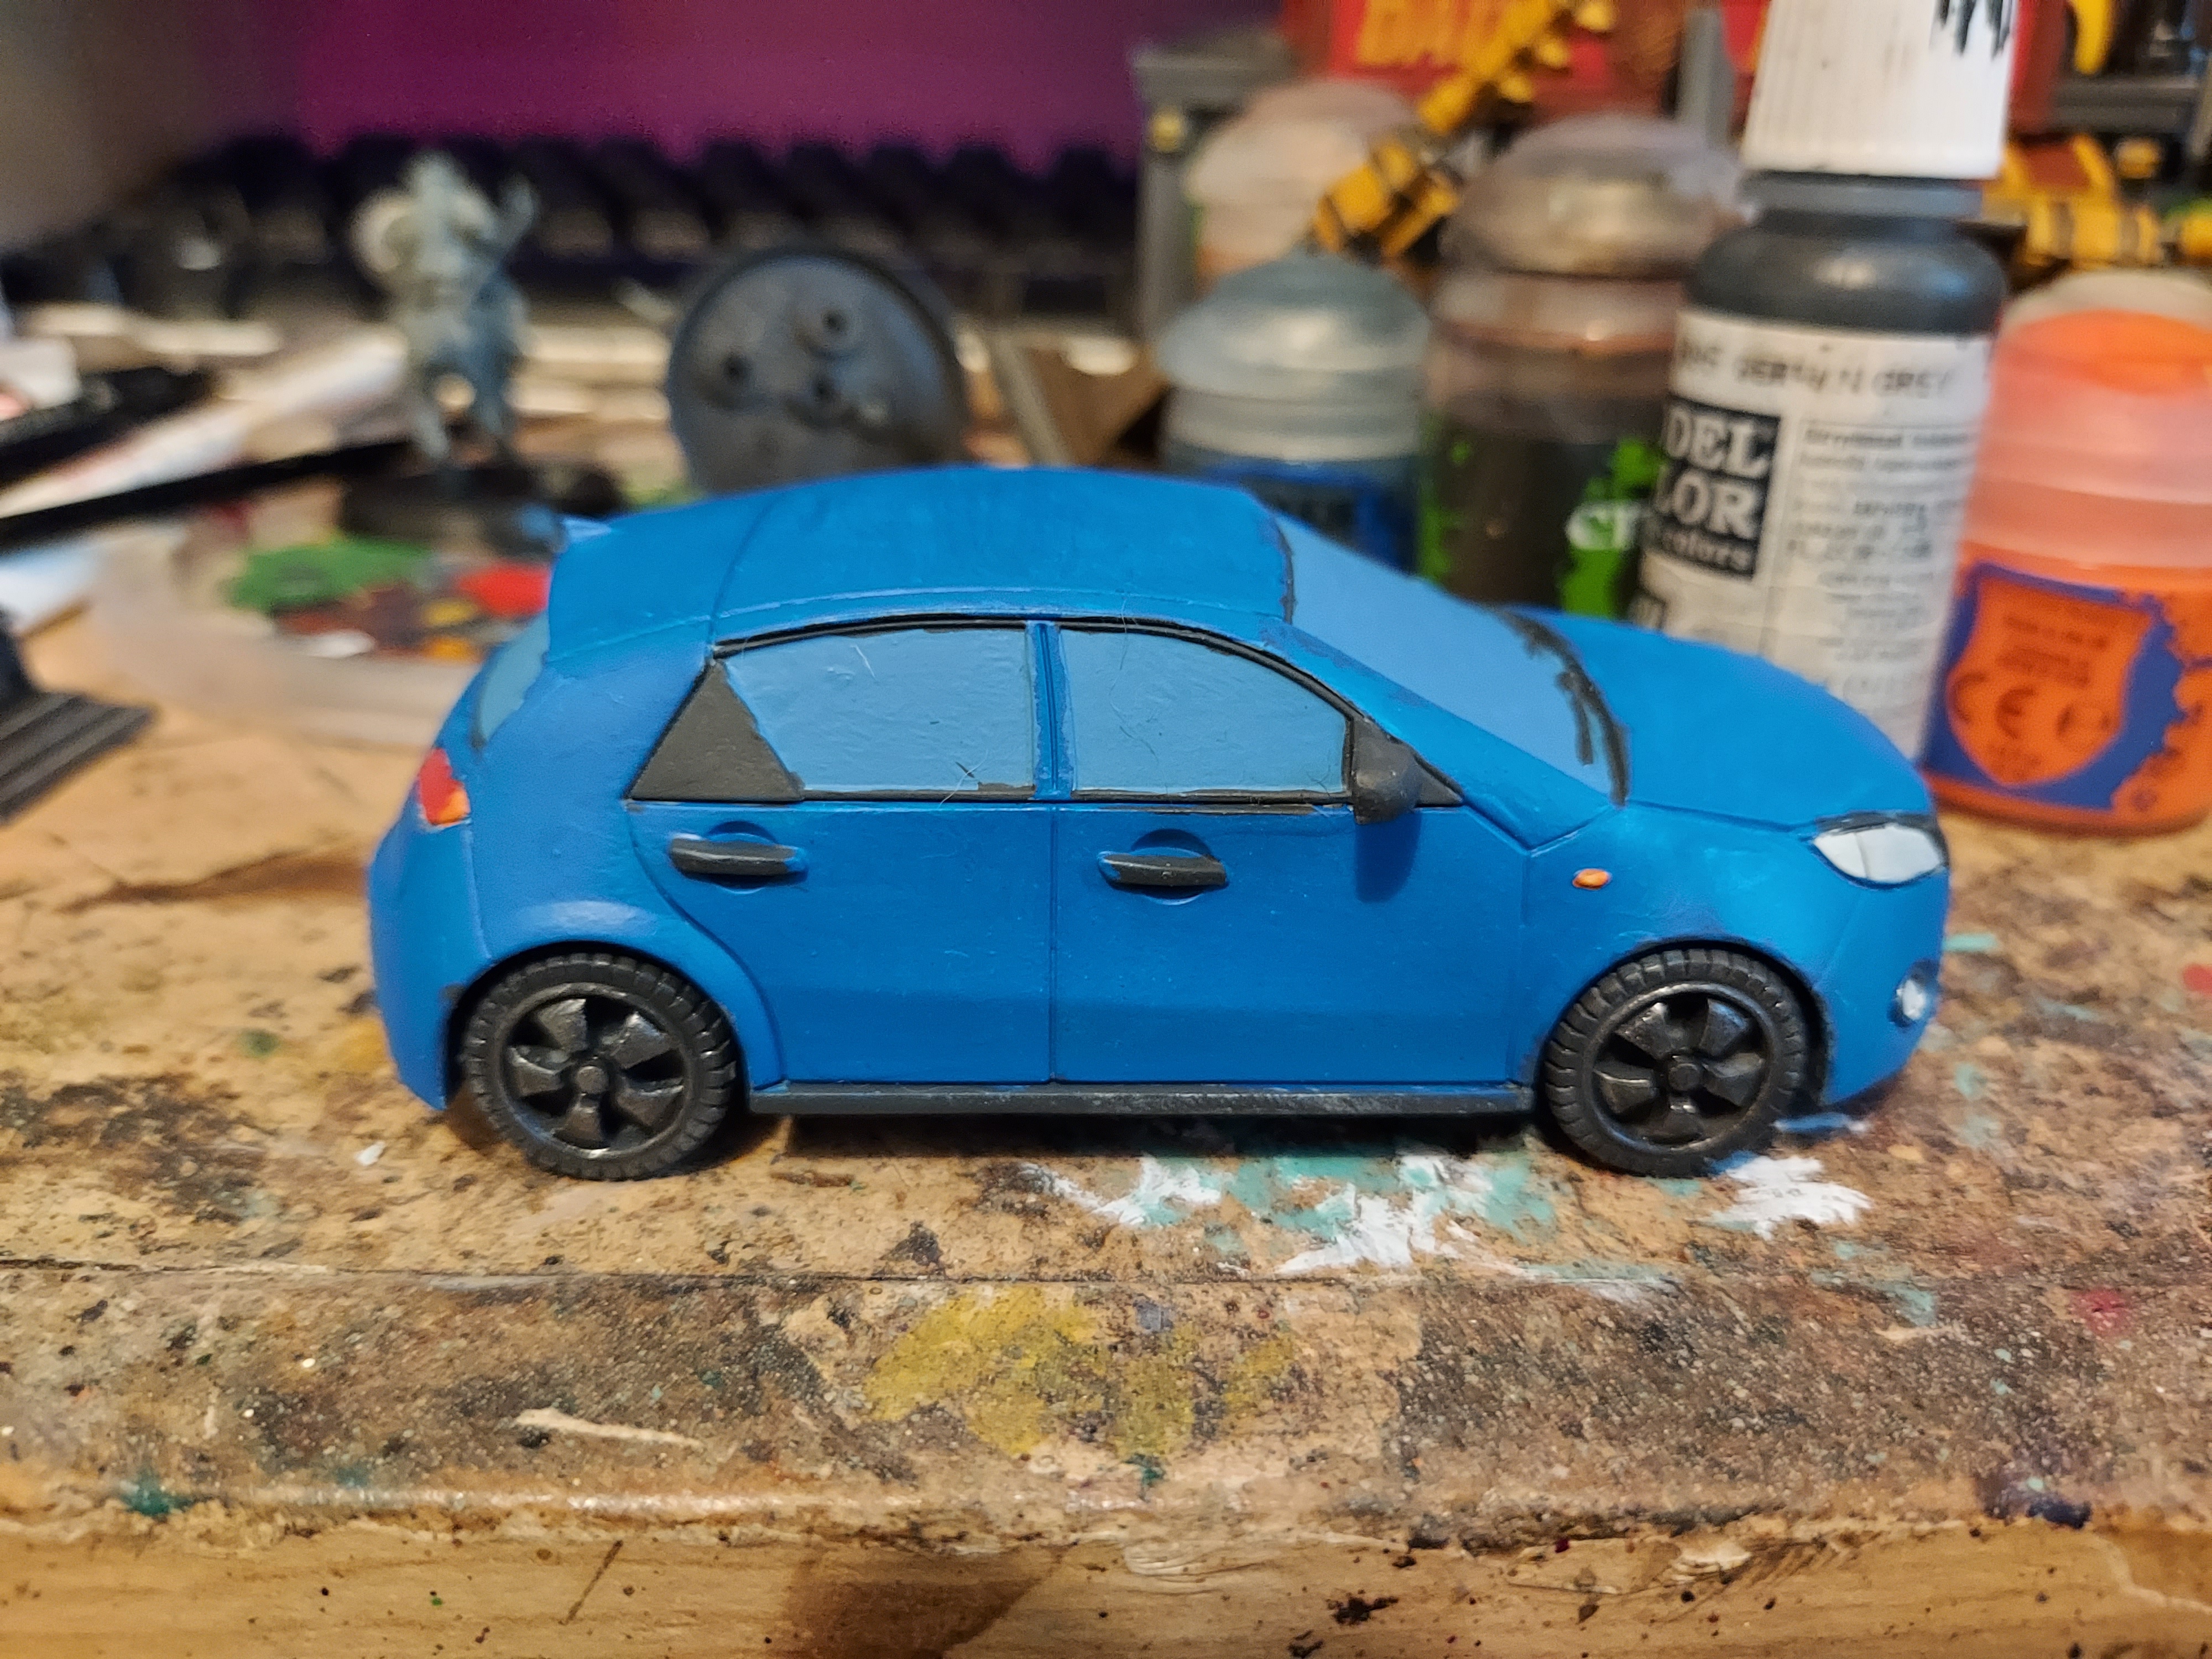
Then it was on to the radiator grill and alloys. I did these with gunmetal washed with Nuln oil.
Terrain part 12
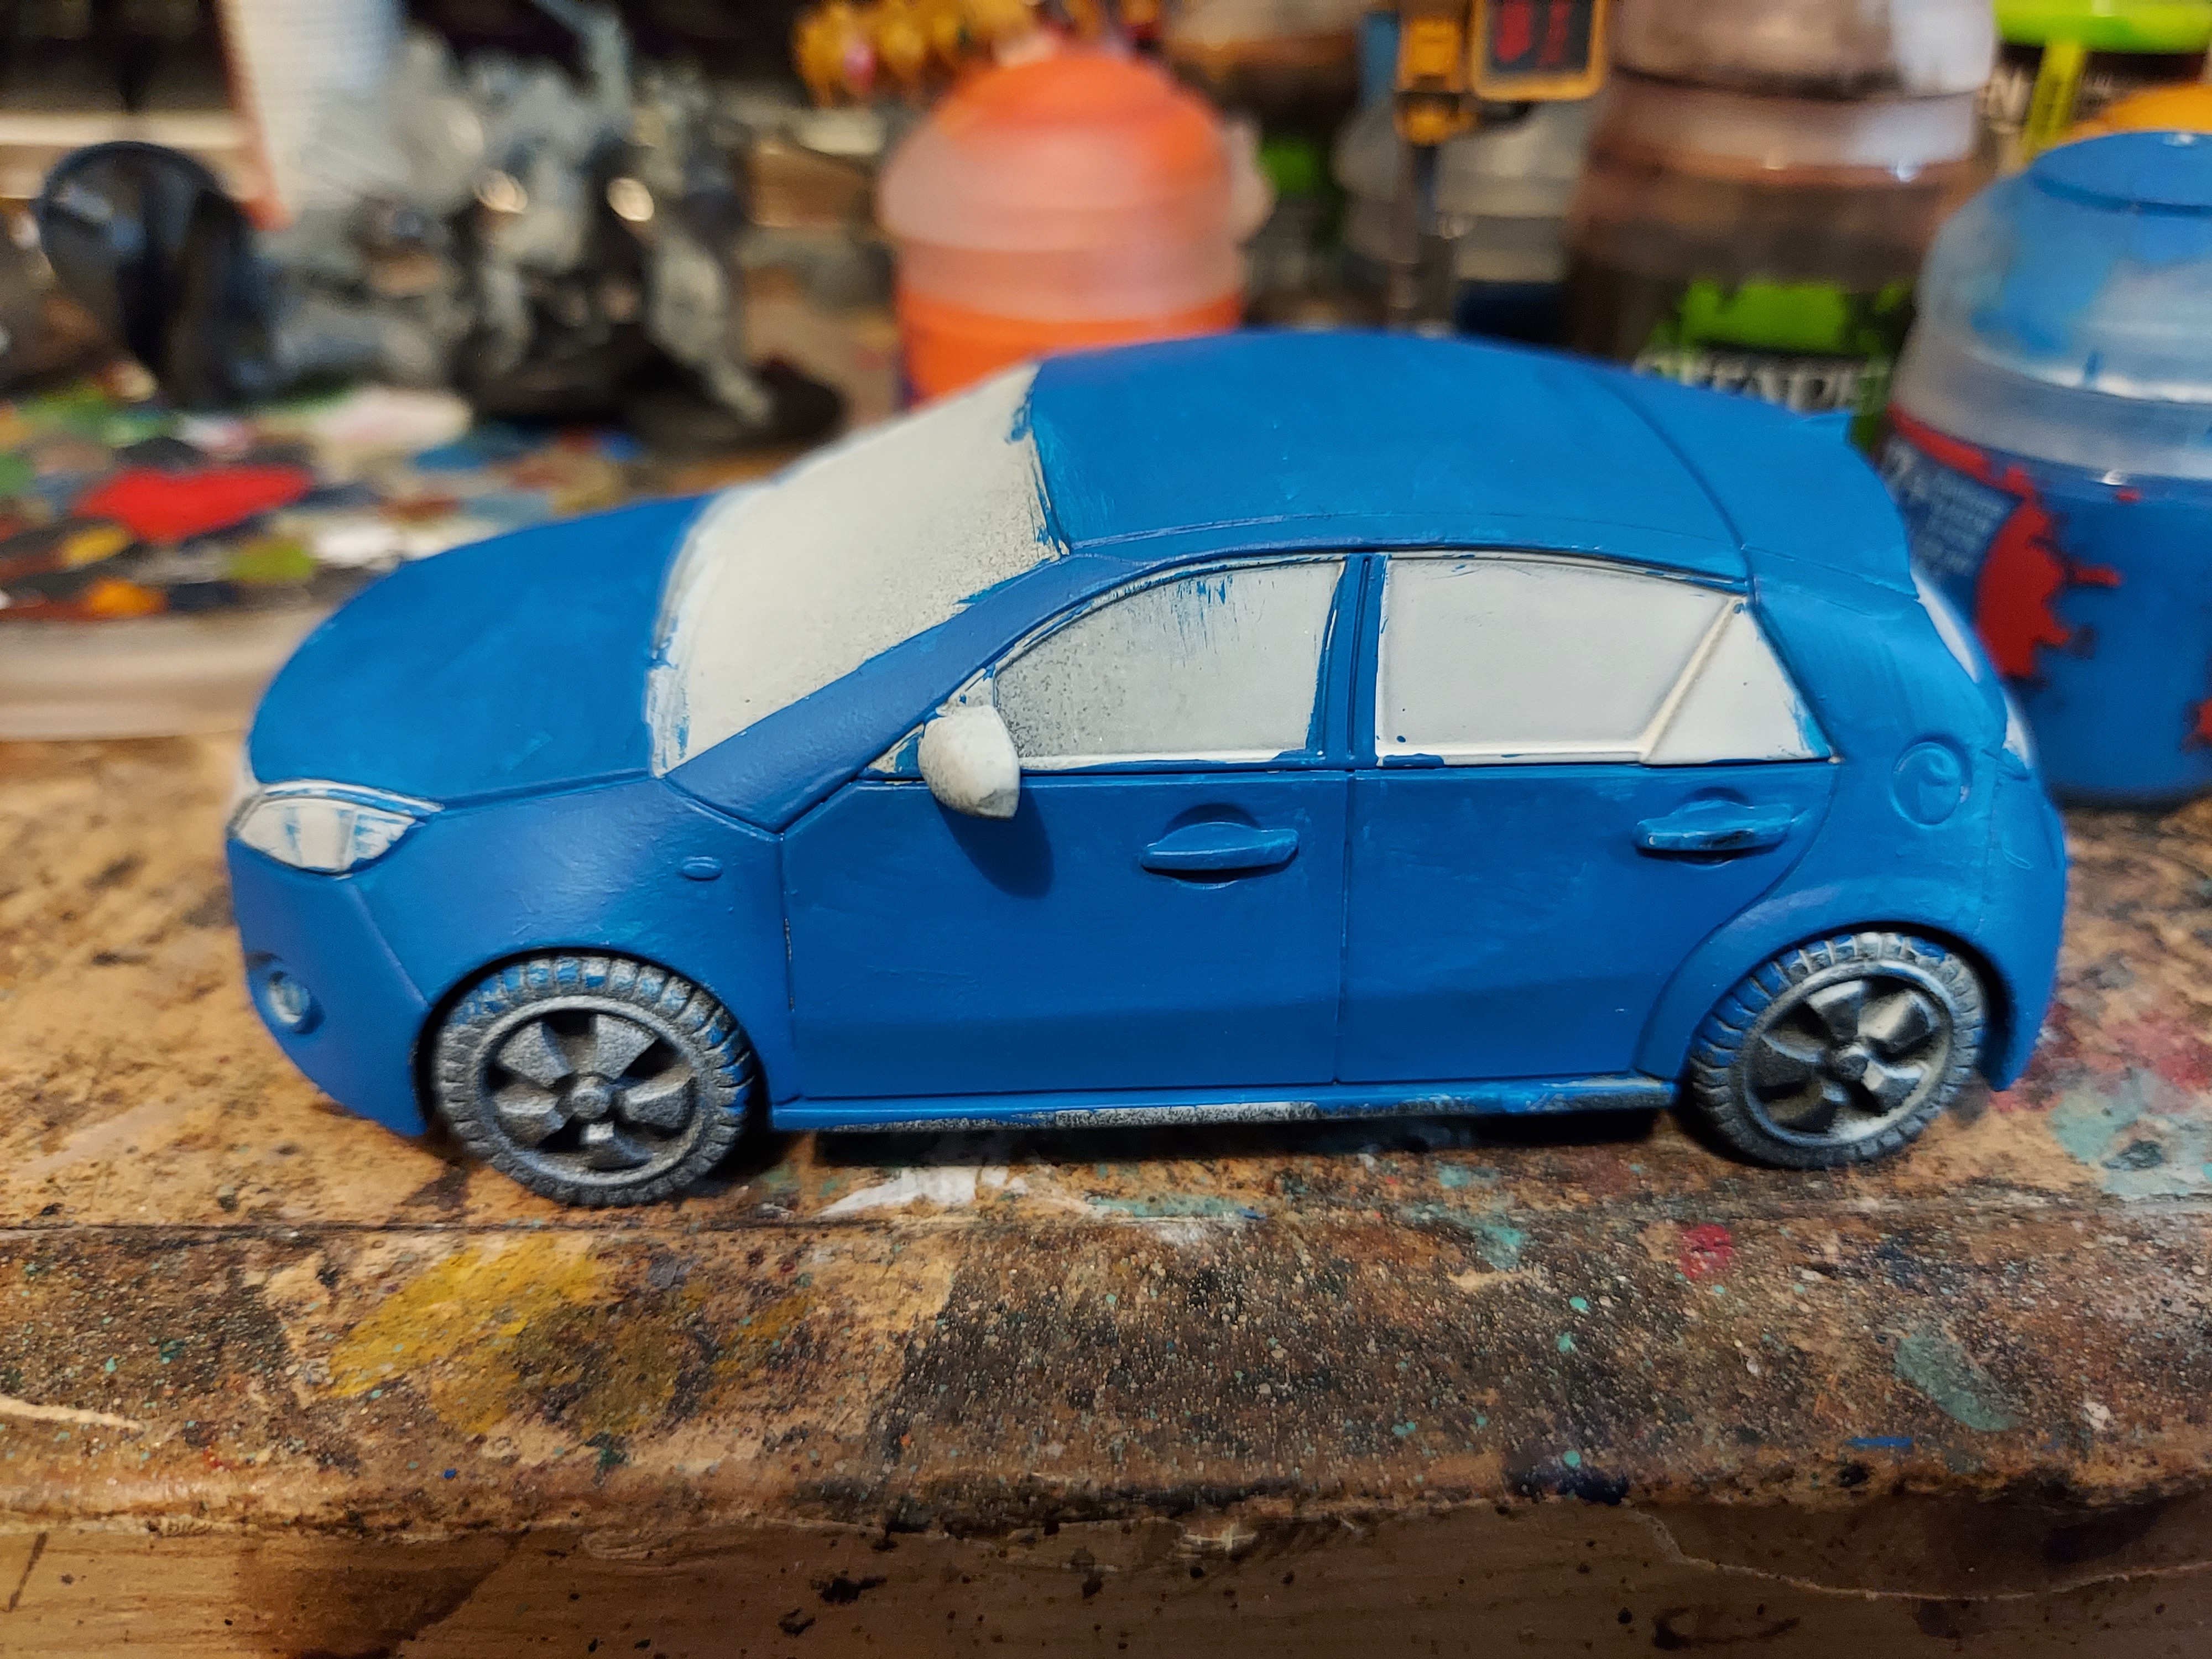
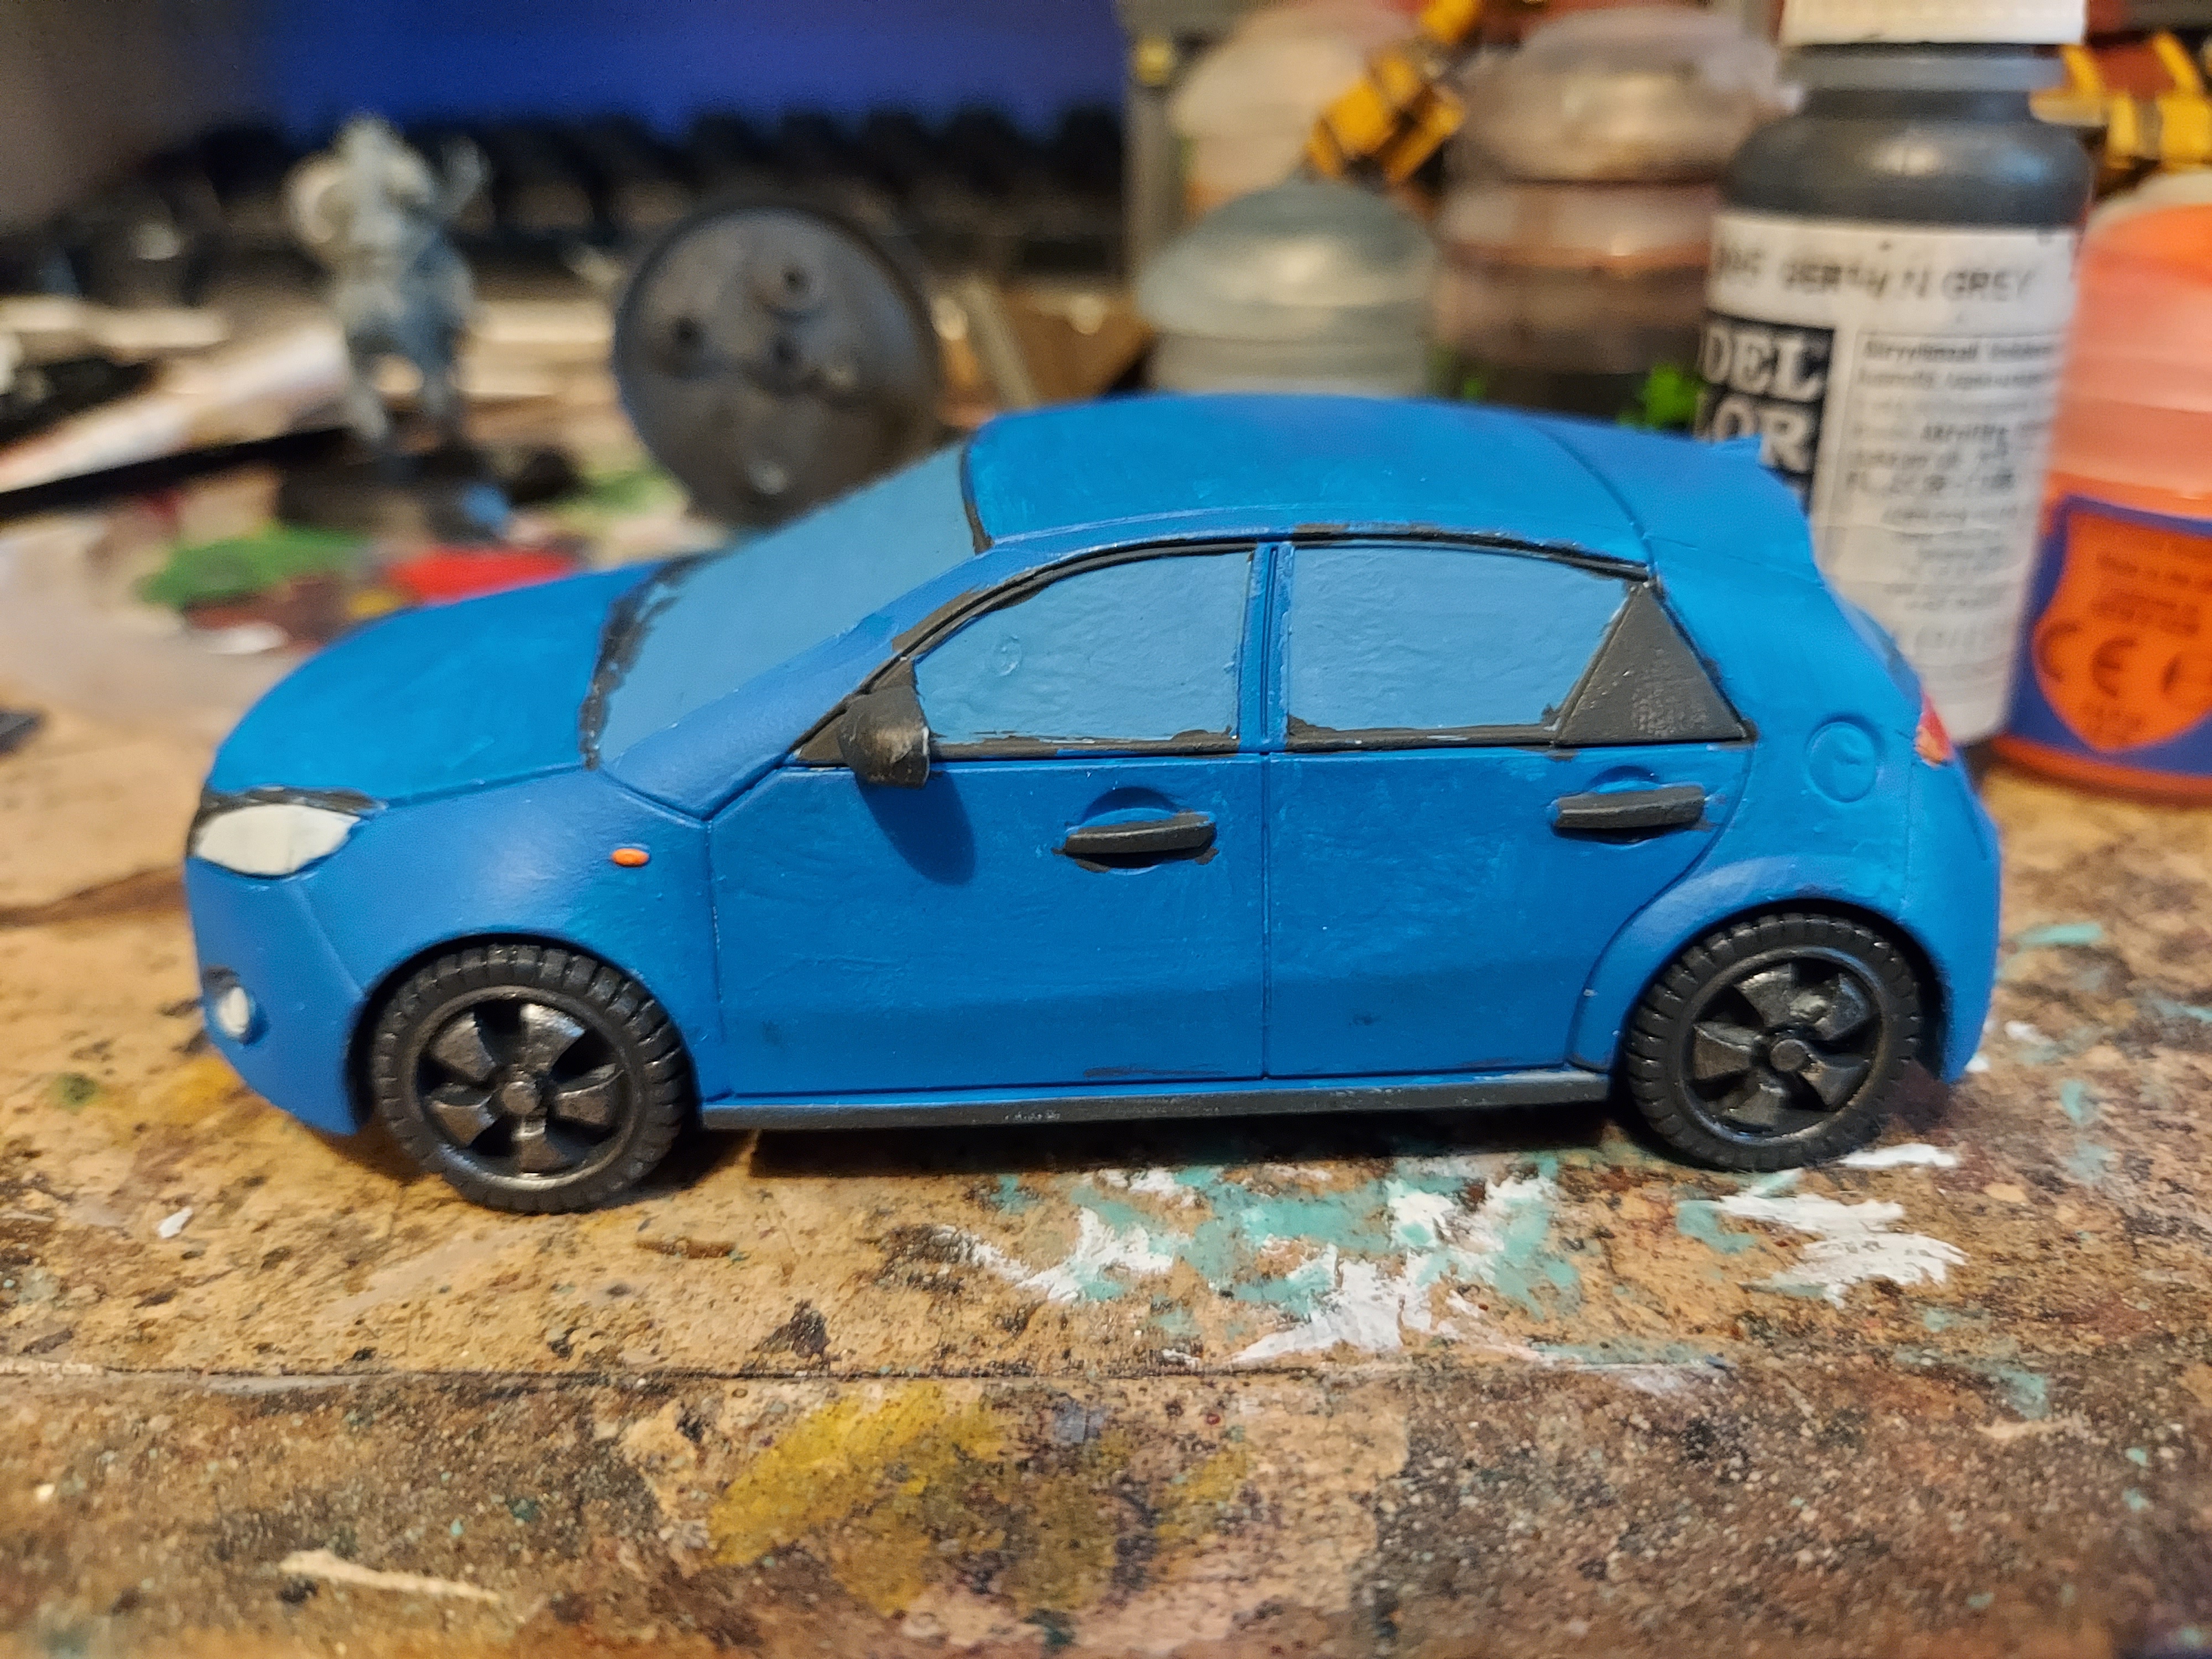
I started the other car by painting it blue. I then used the blue/grey I’ve been using for glass to paint the windows. I then did all the trims, door handles and tyres with German Grey. I then painted all the lights with Ulthuan grey.
Taking out the trash

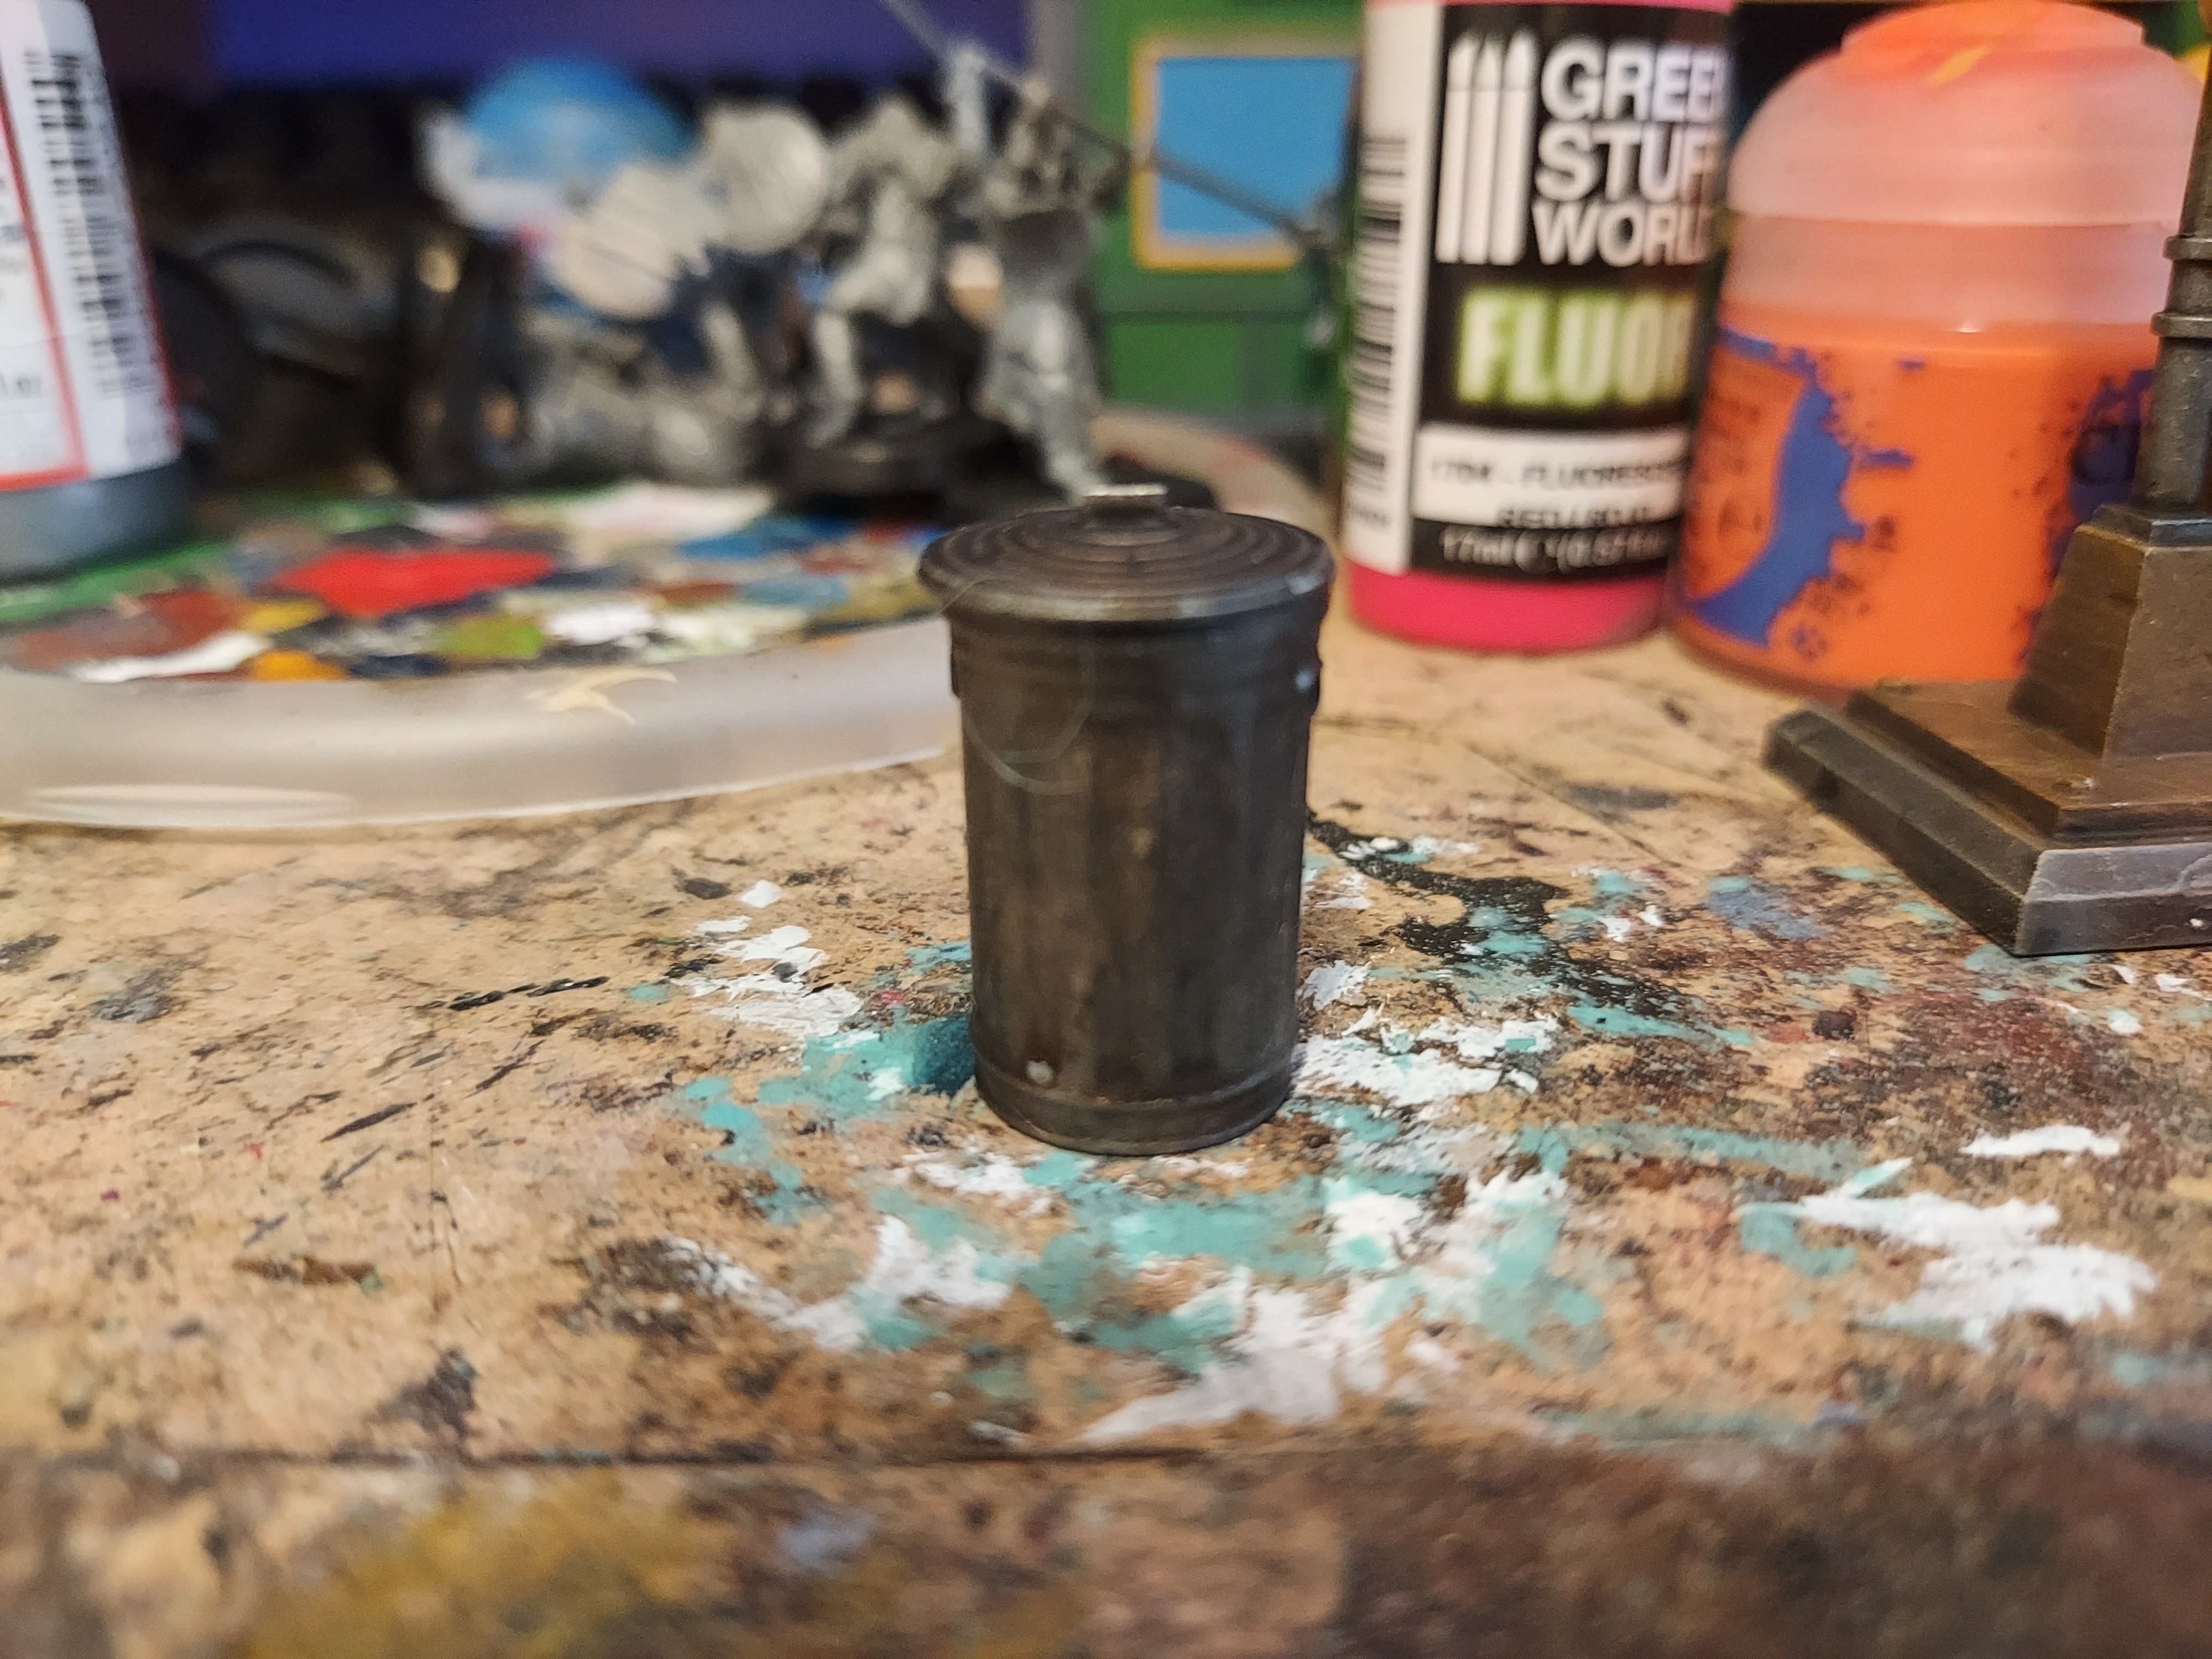
Not really much to say about this. It’s painted gun metal with a couple of washes to dirty it up
Terrain part 11

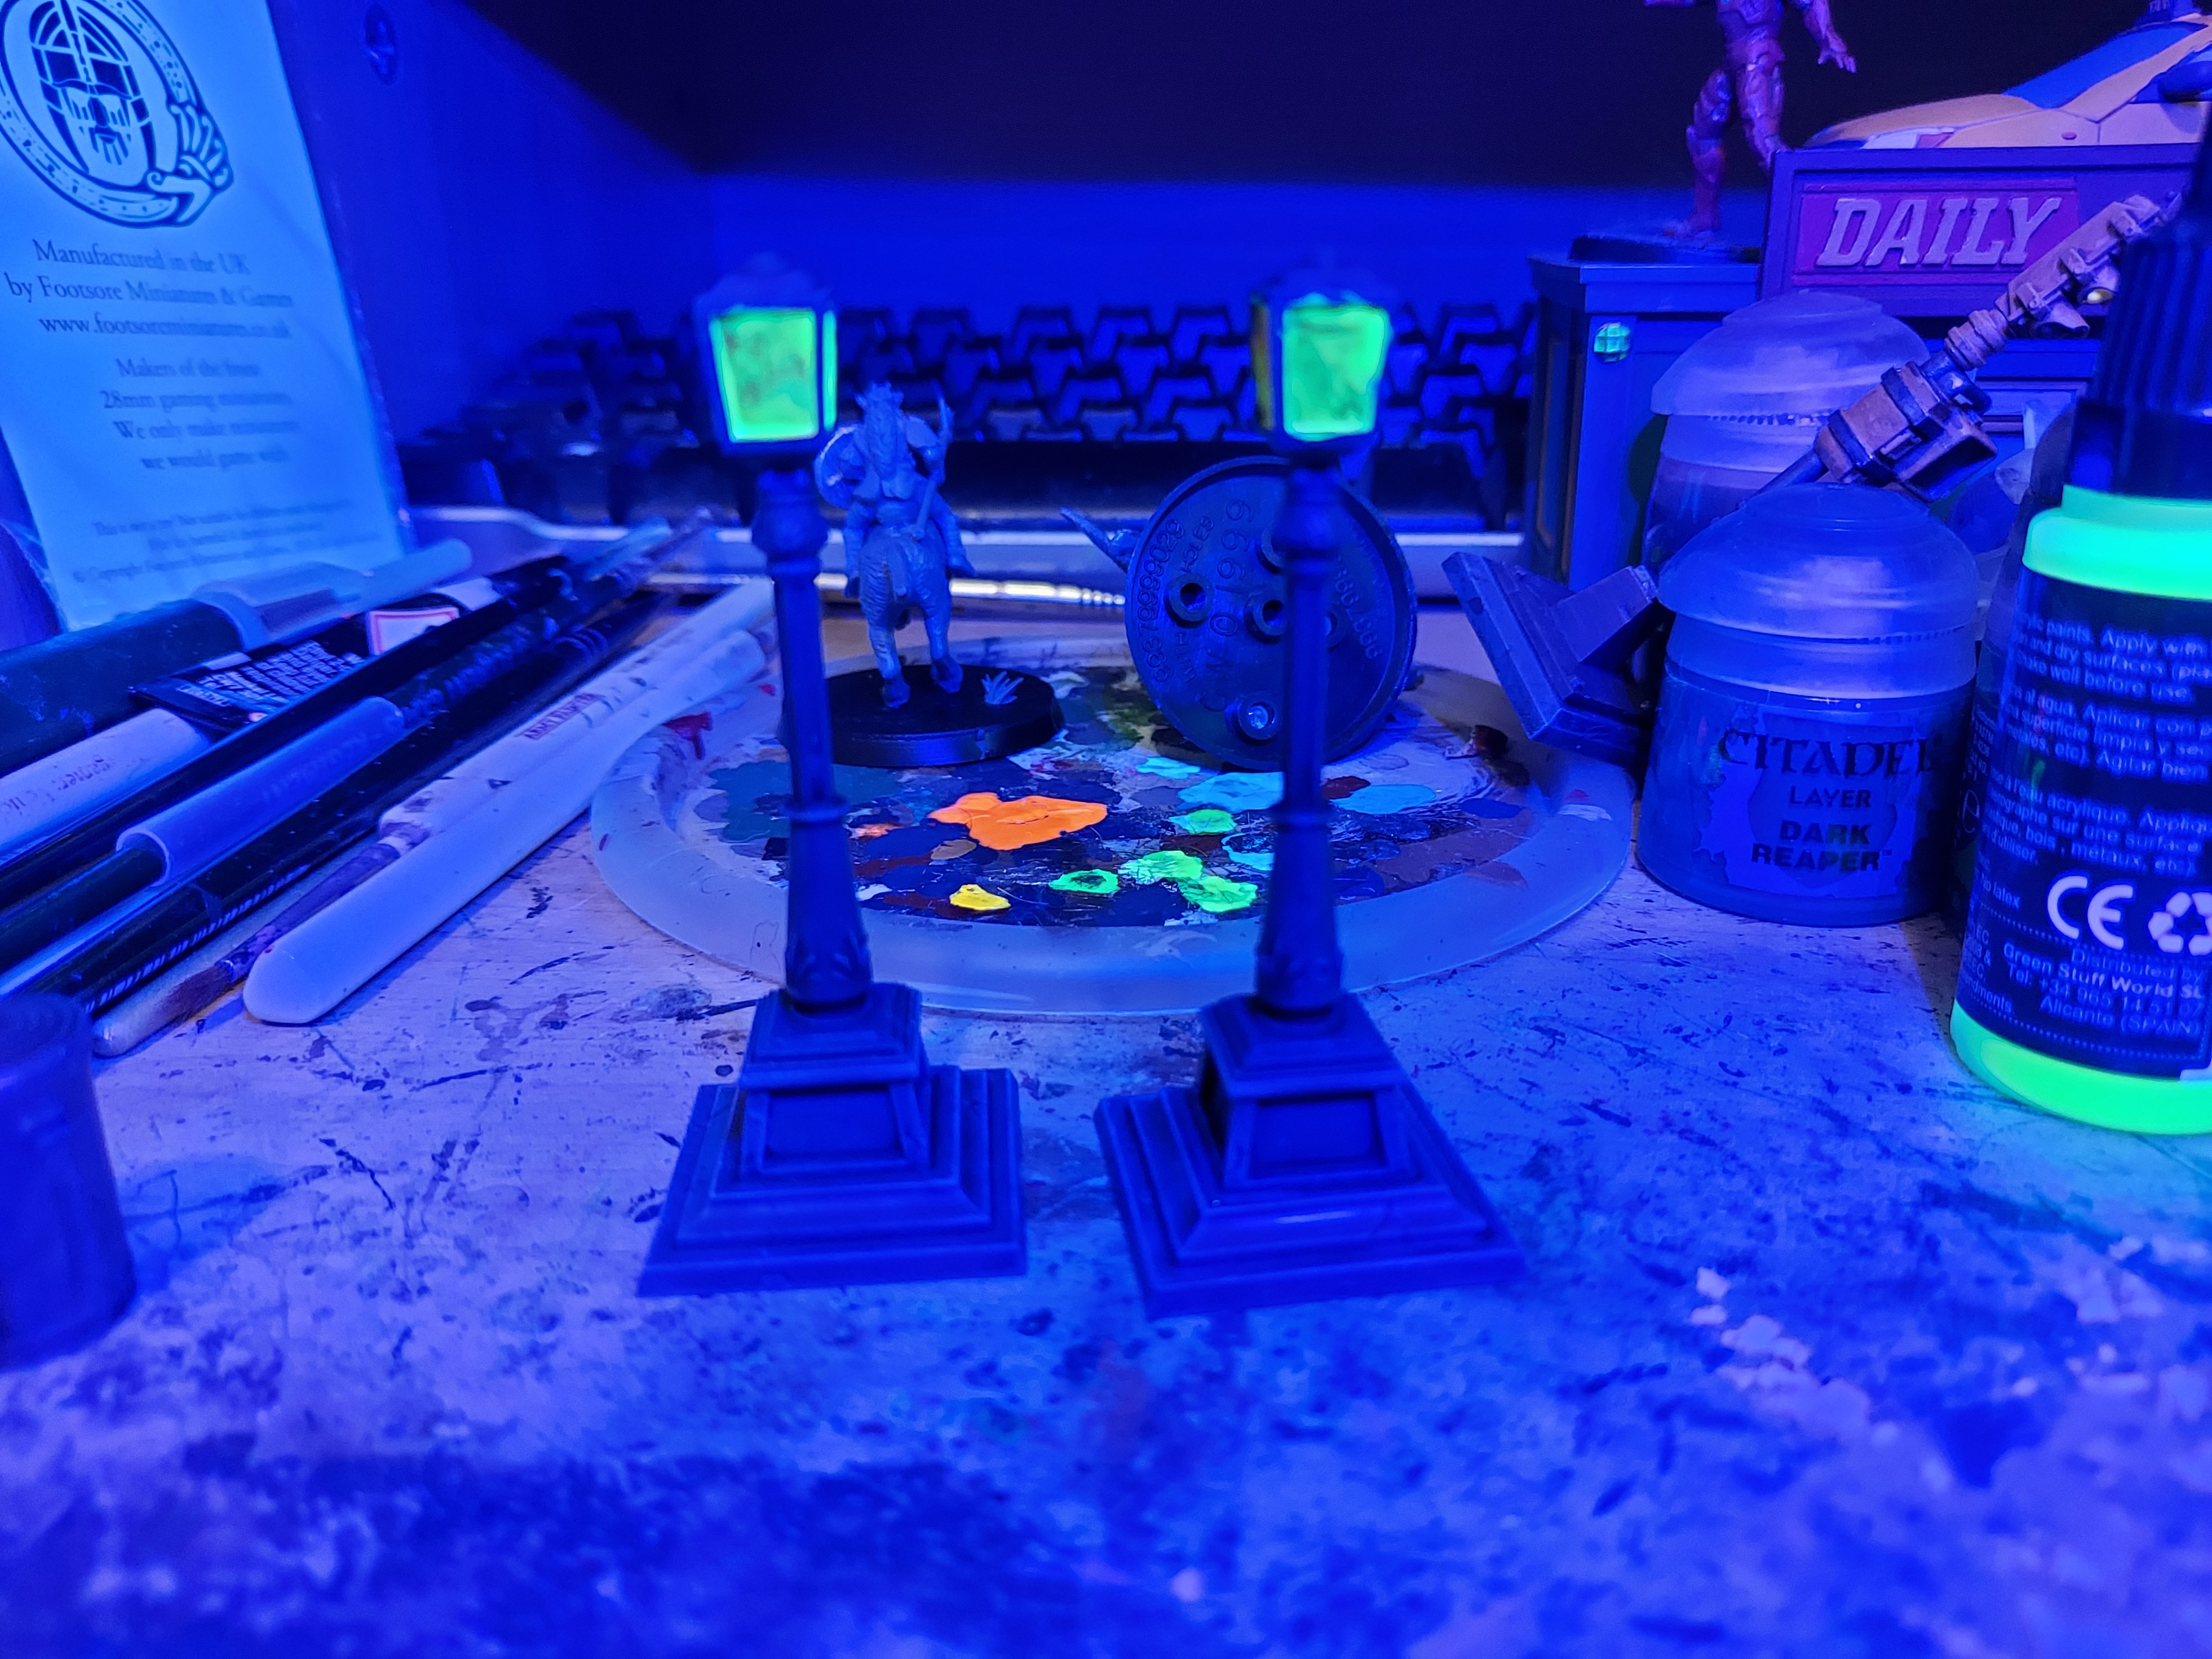
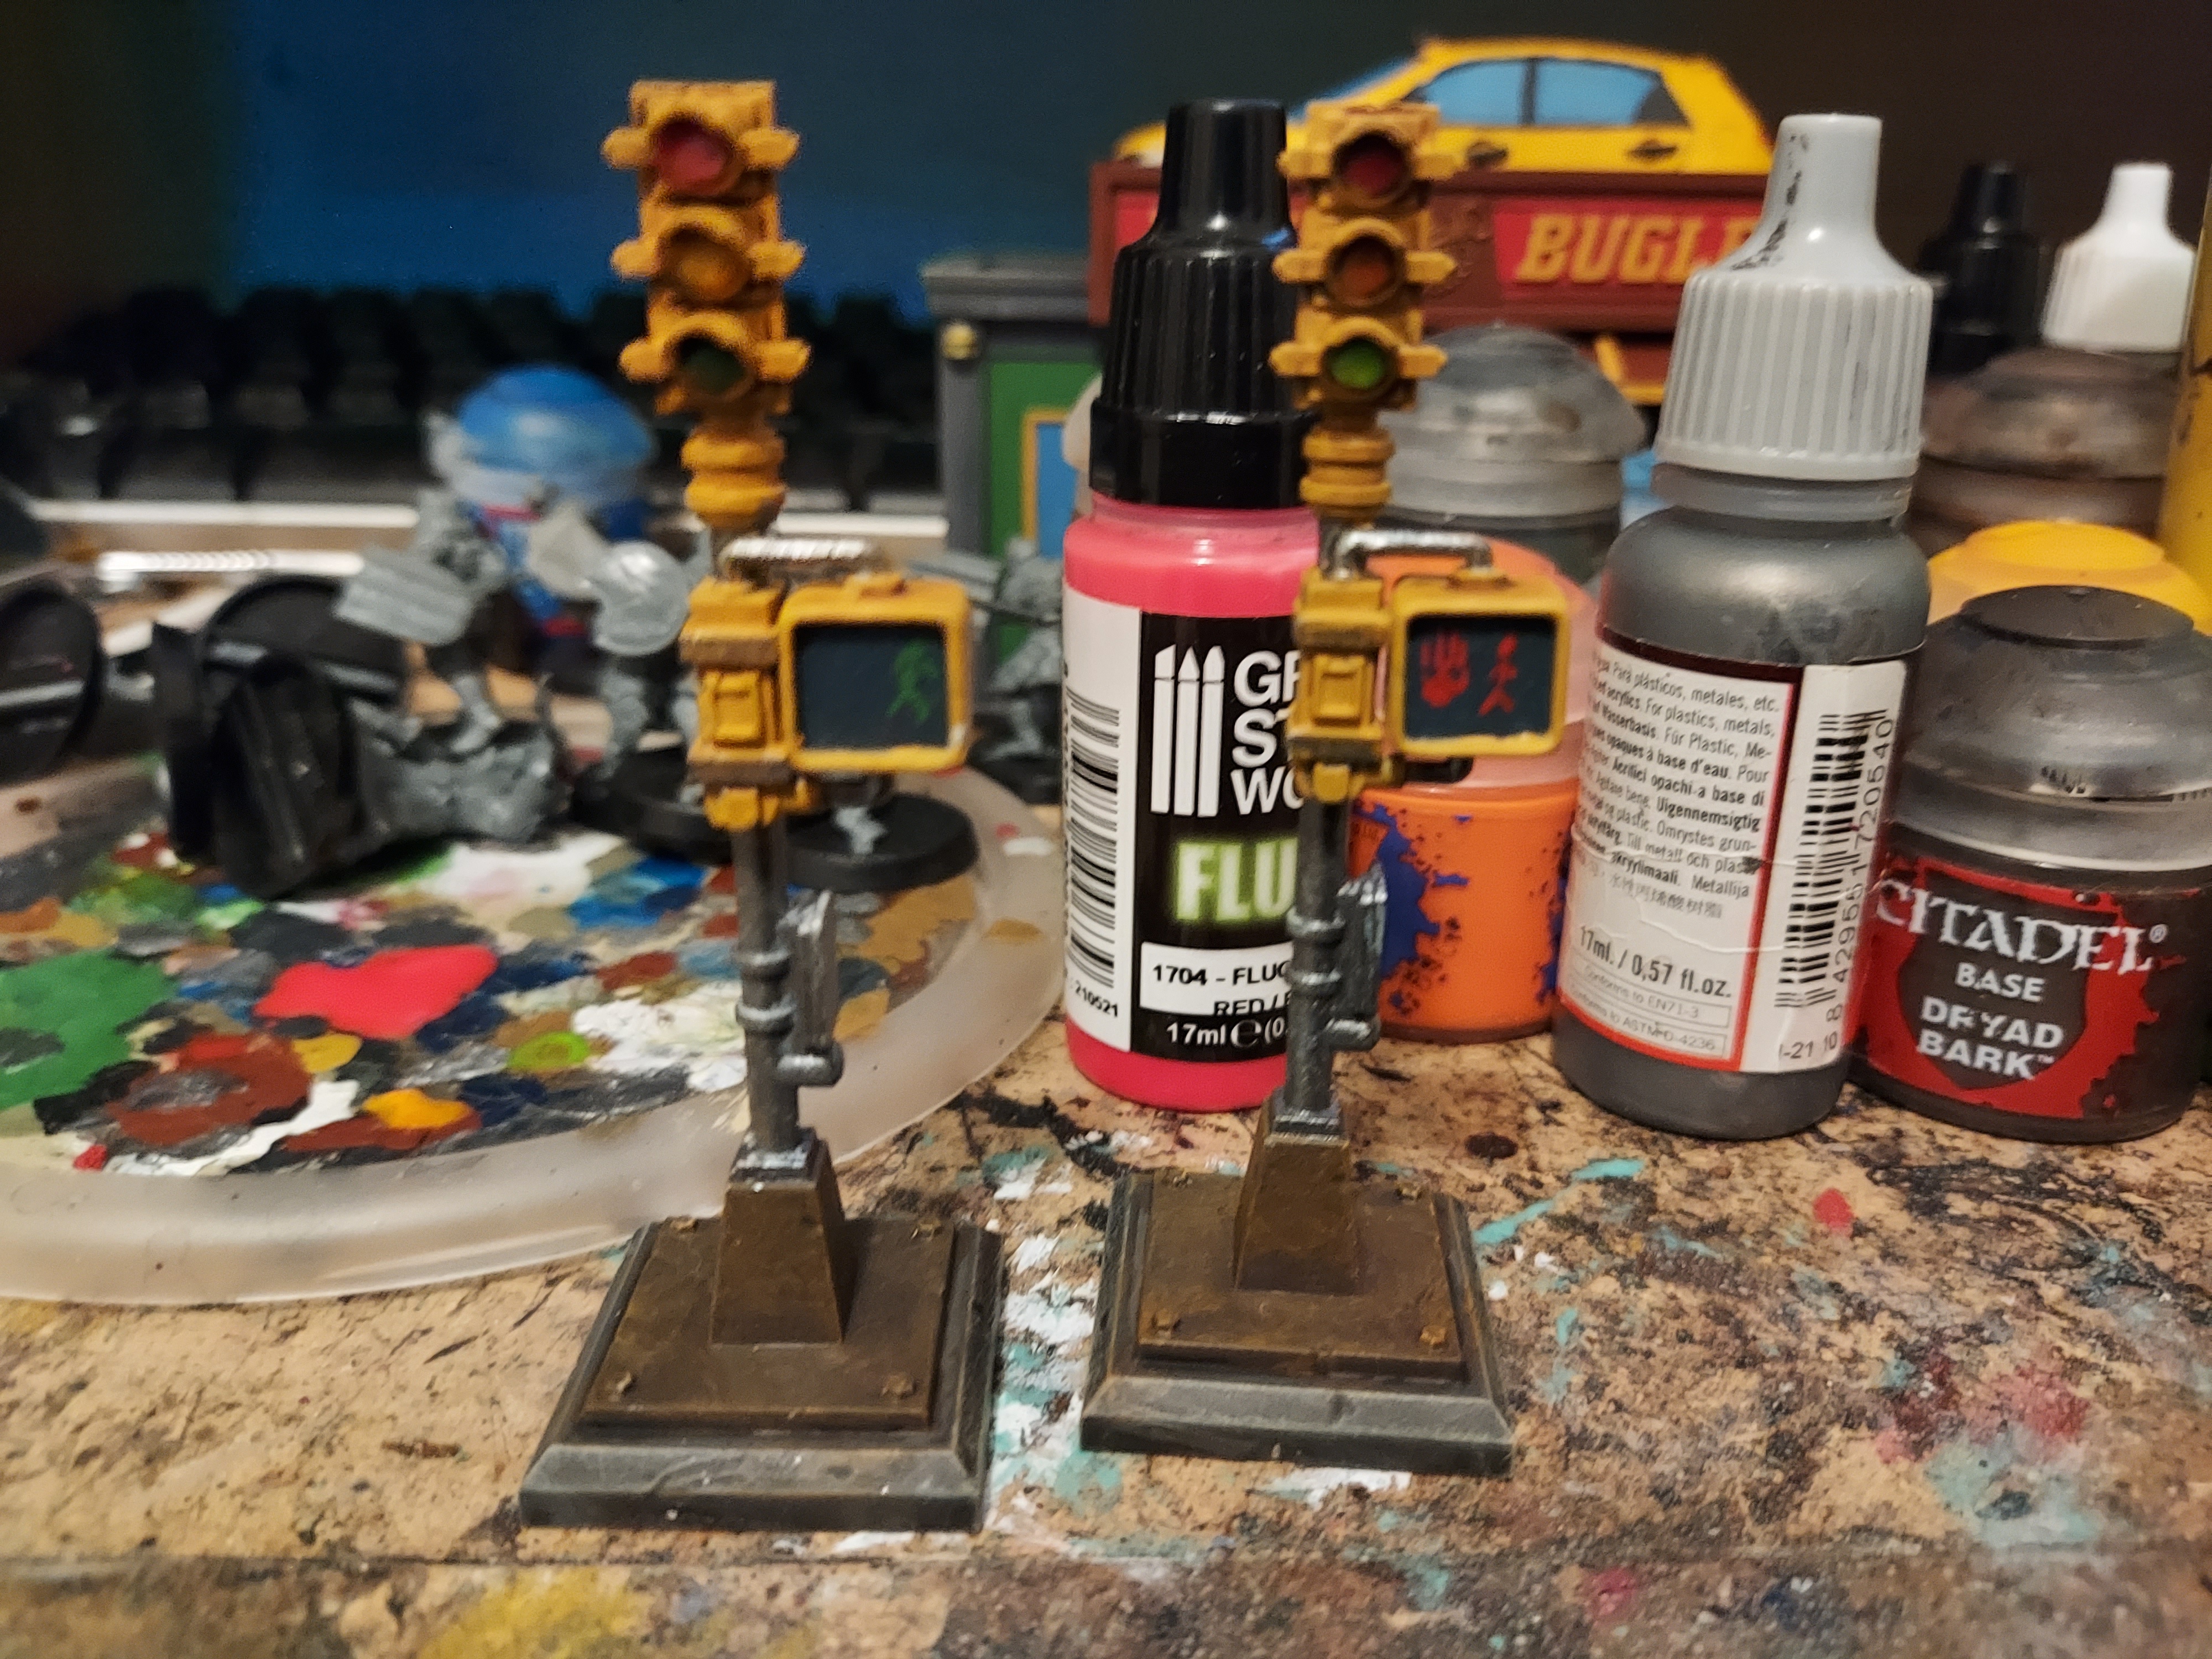
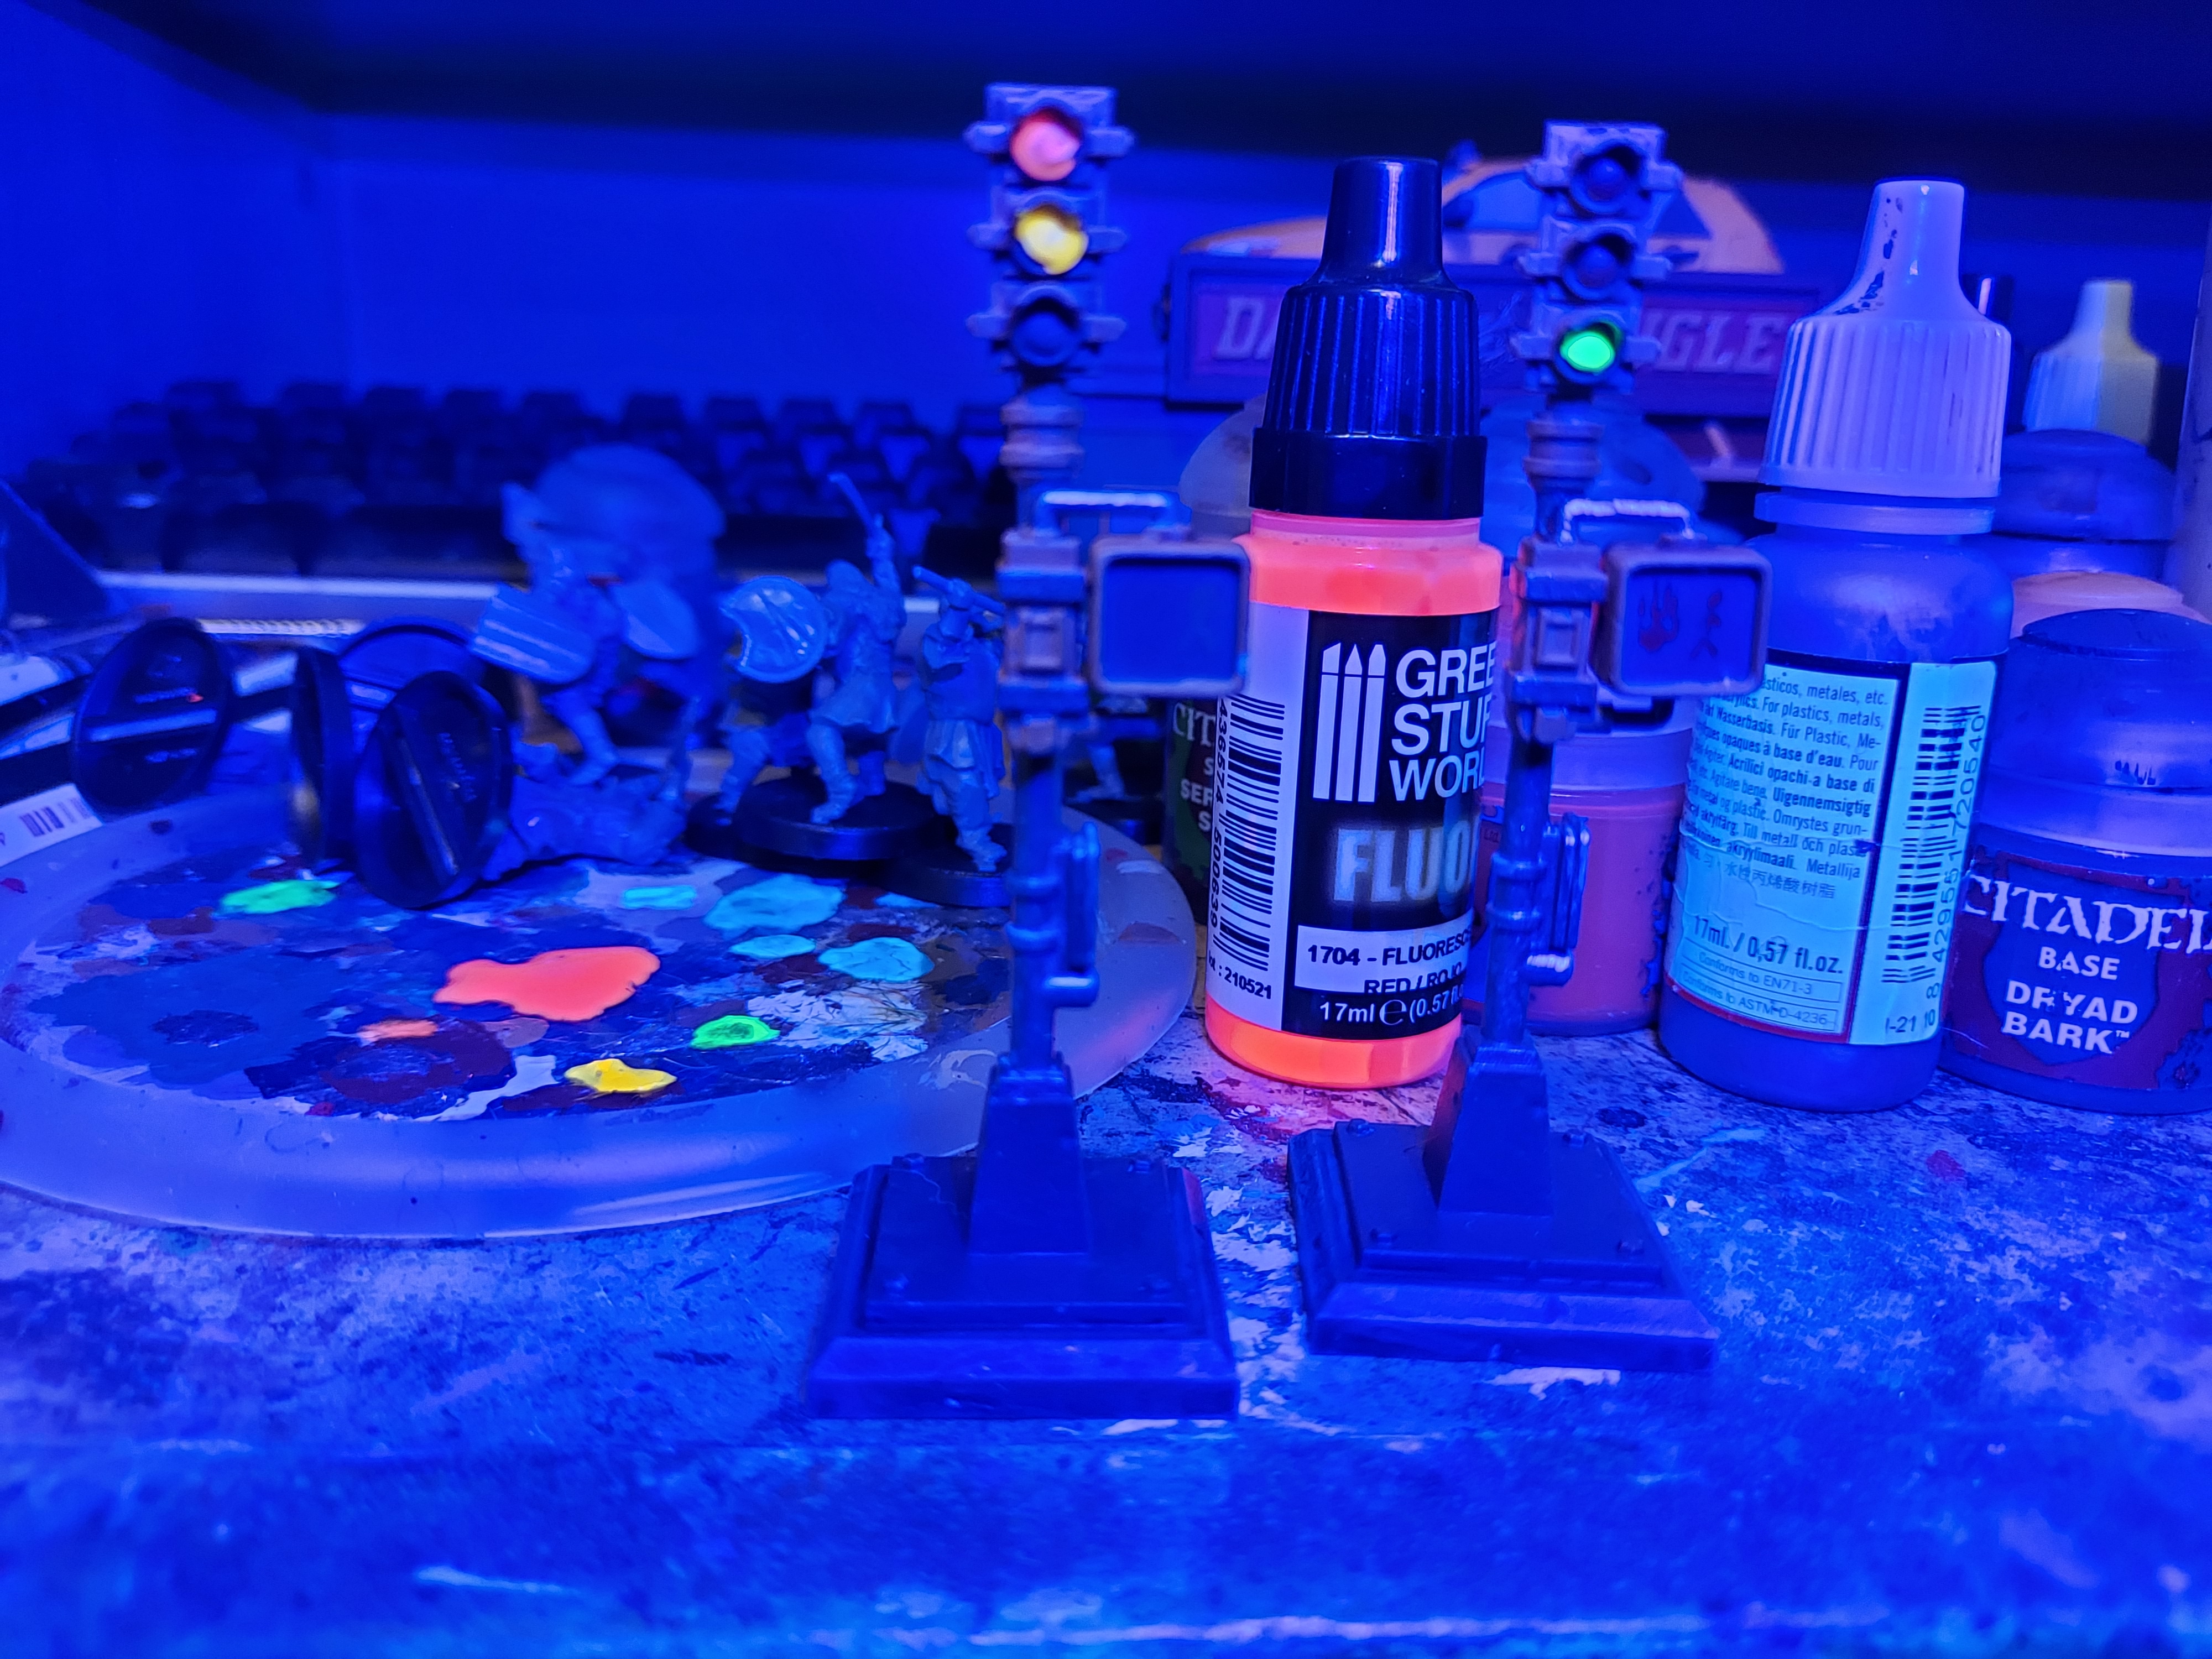
I put down a coat of light grey on the glass of the lamps. Once dry I gave it a couple of coats of yellow, which I followed up with a fluorescent yellow.
With that I’m calling them done.
Terrain part 10
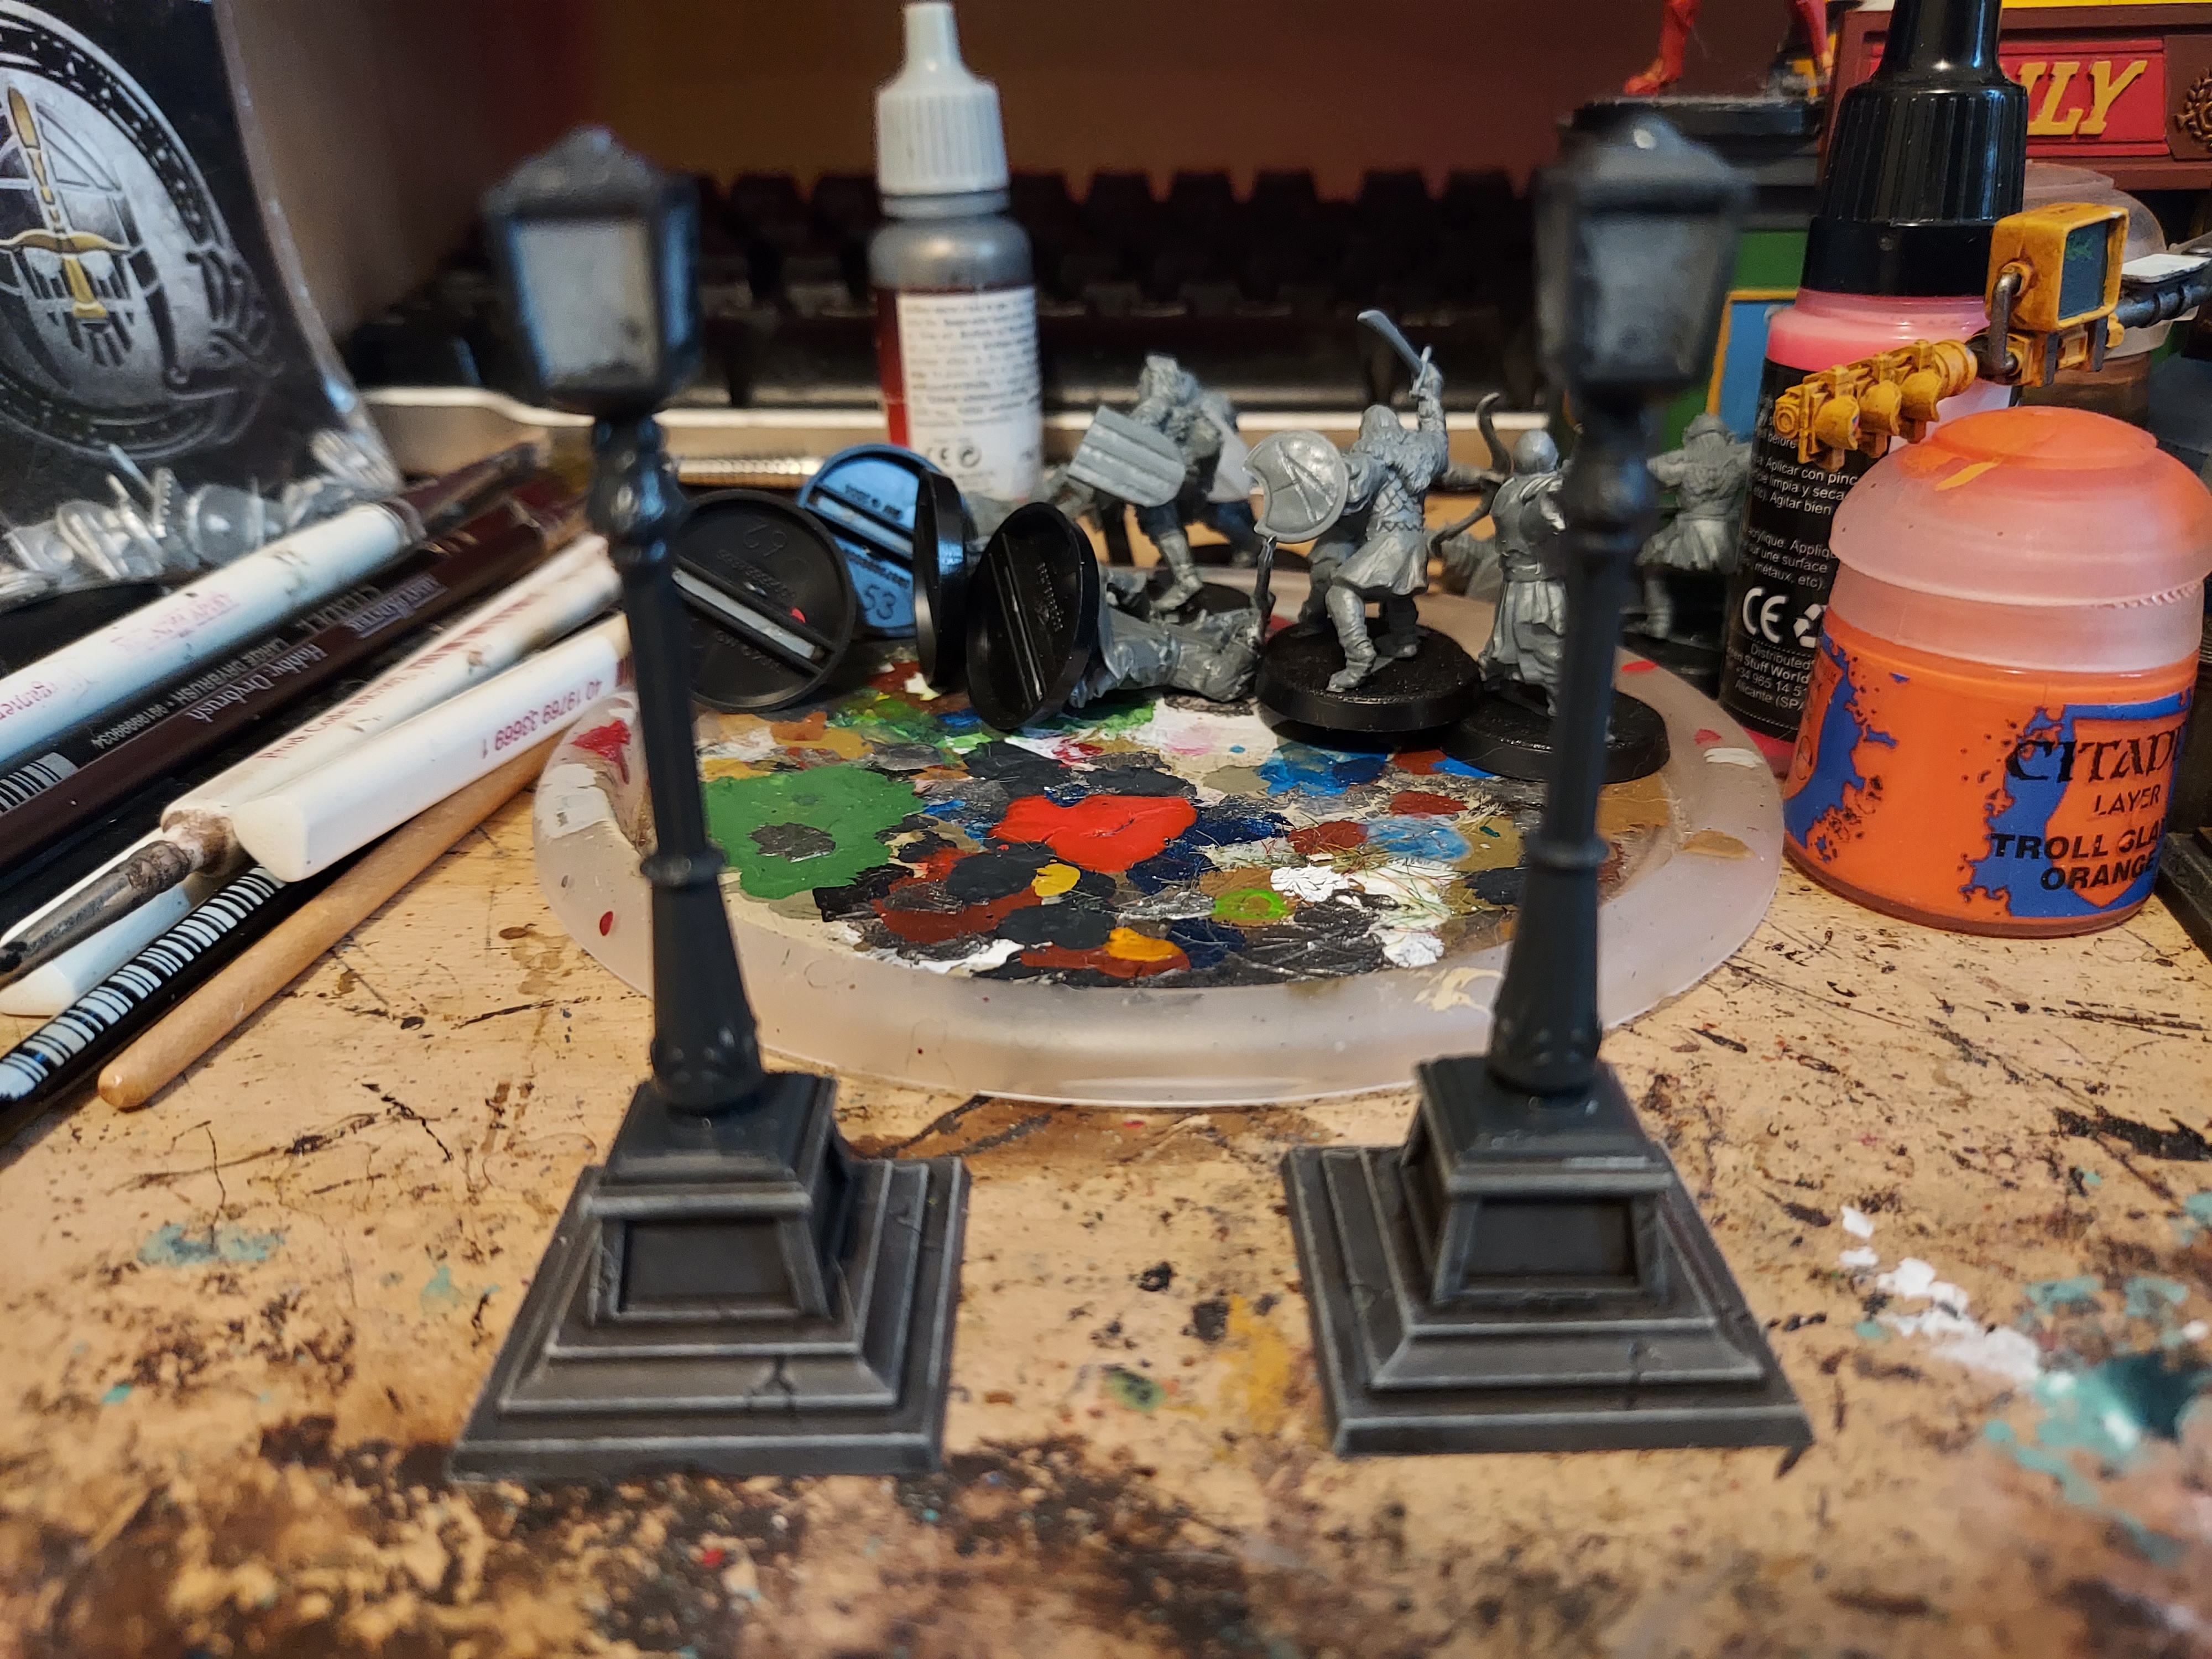
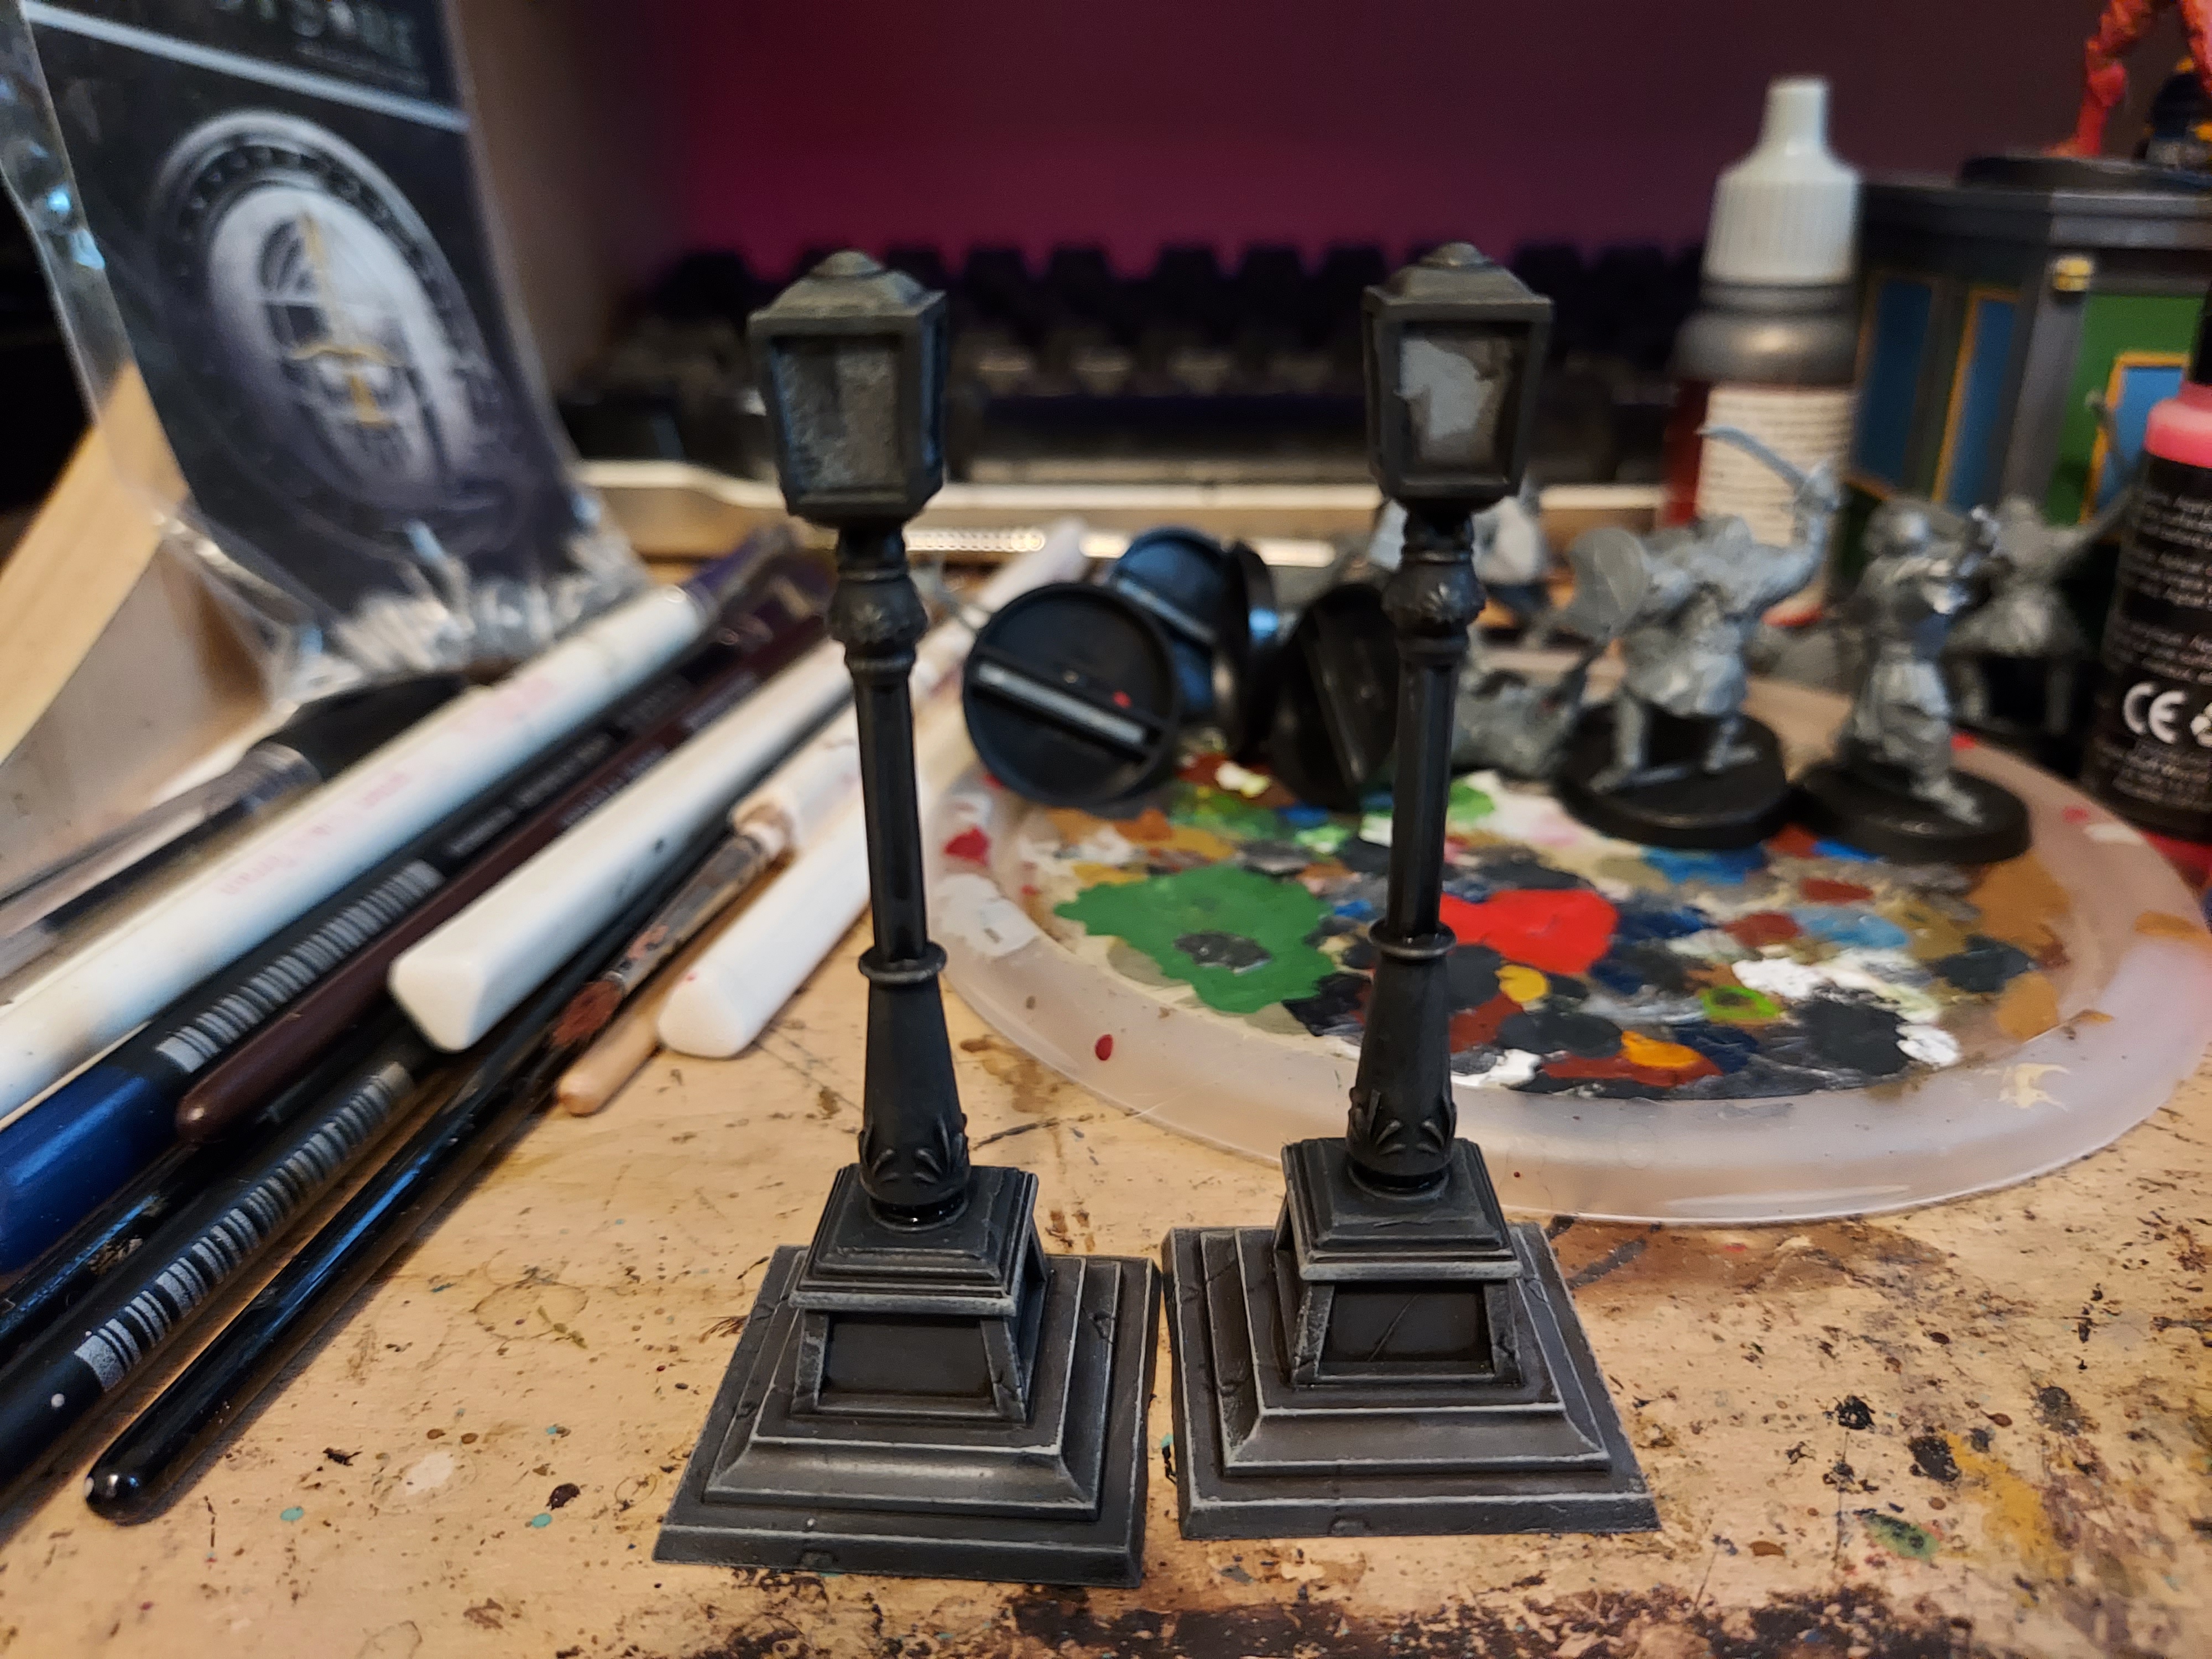
I started the lamp posts by painting the concrete in the same manner that I’ve been doing since the start. I then painted all the metal work with German Grey from Vallejo, which got a couple of light dry brushes of lighter greys to pick out the details. Then I hit all the metal work with Nuln Oil.
Terrain part 9
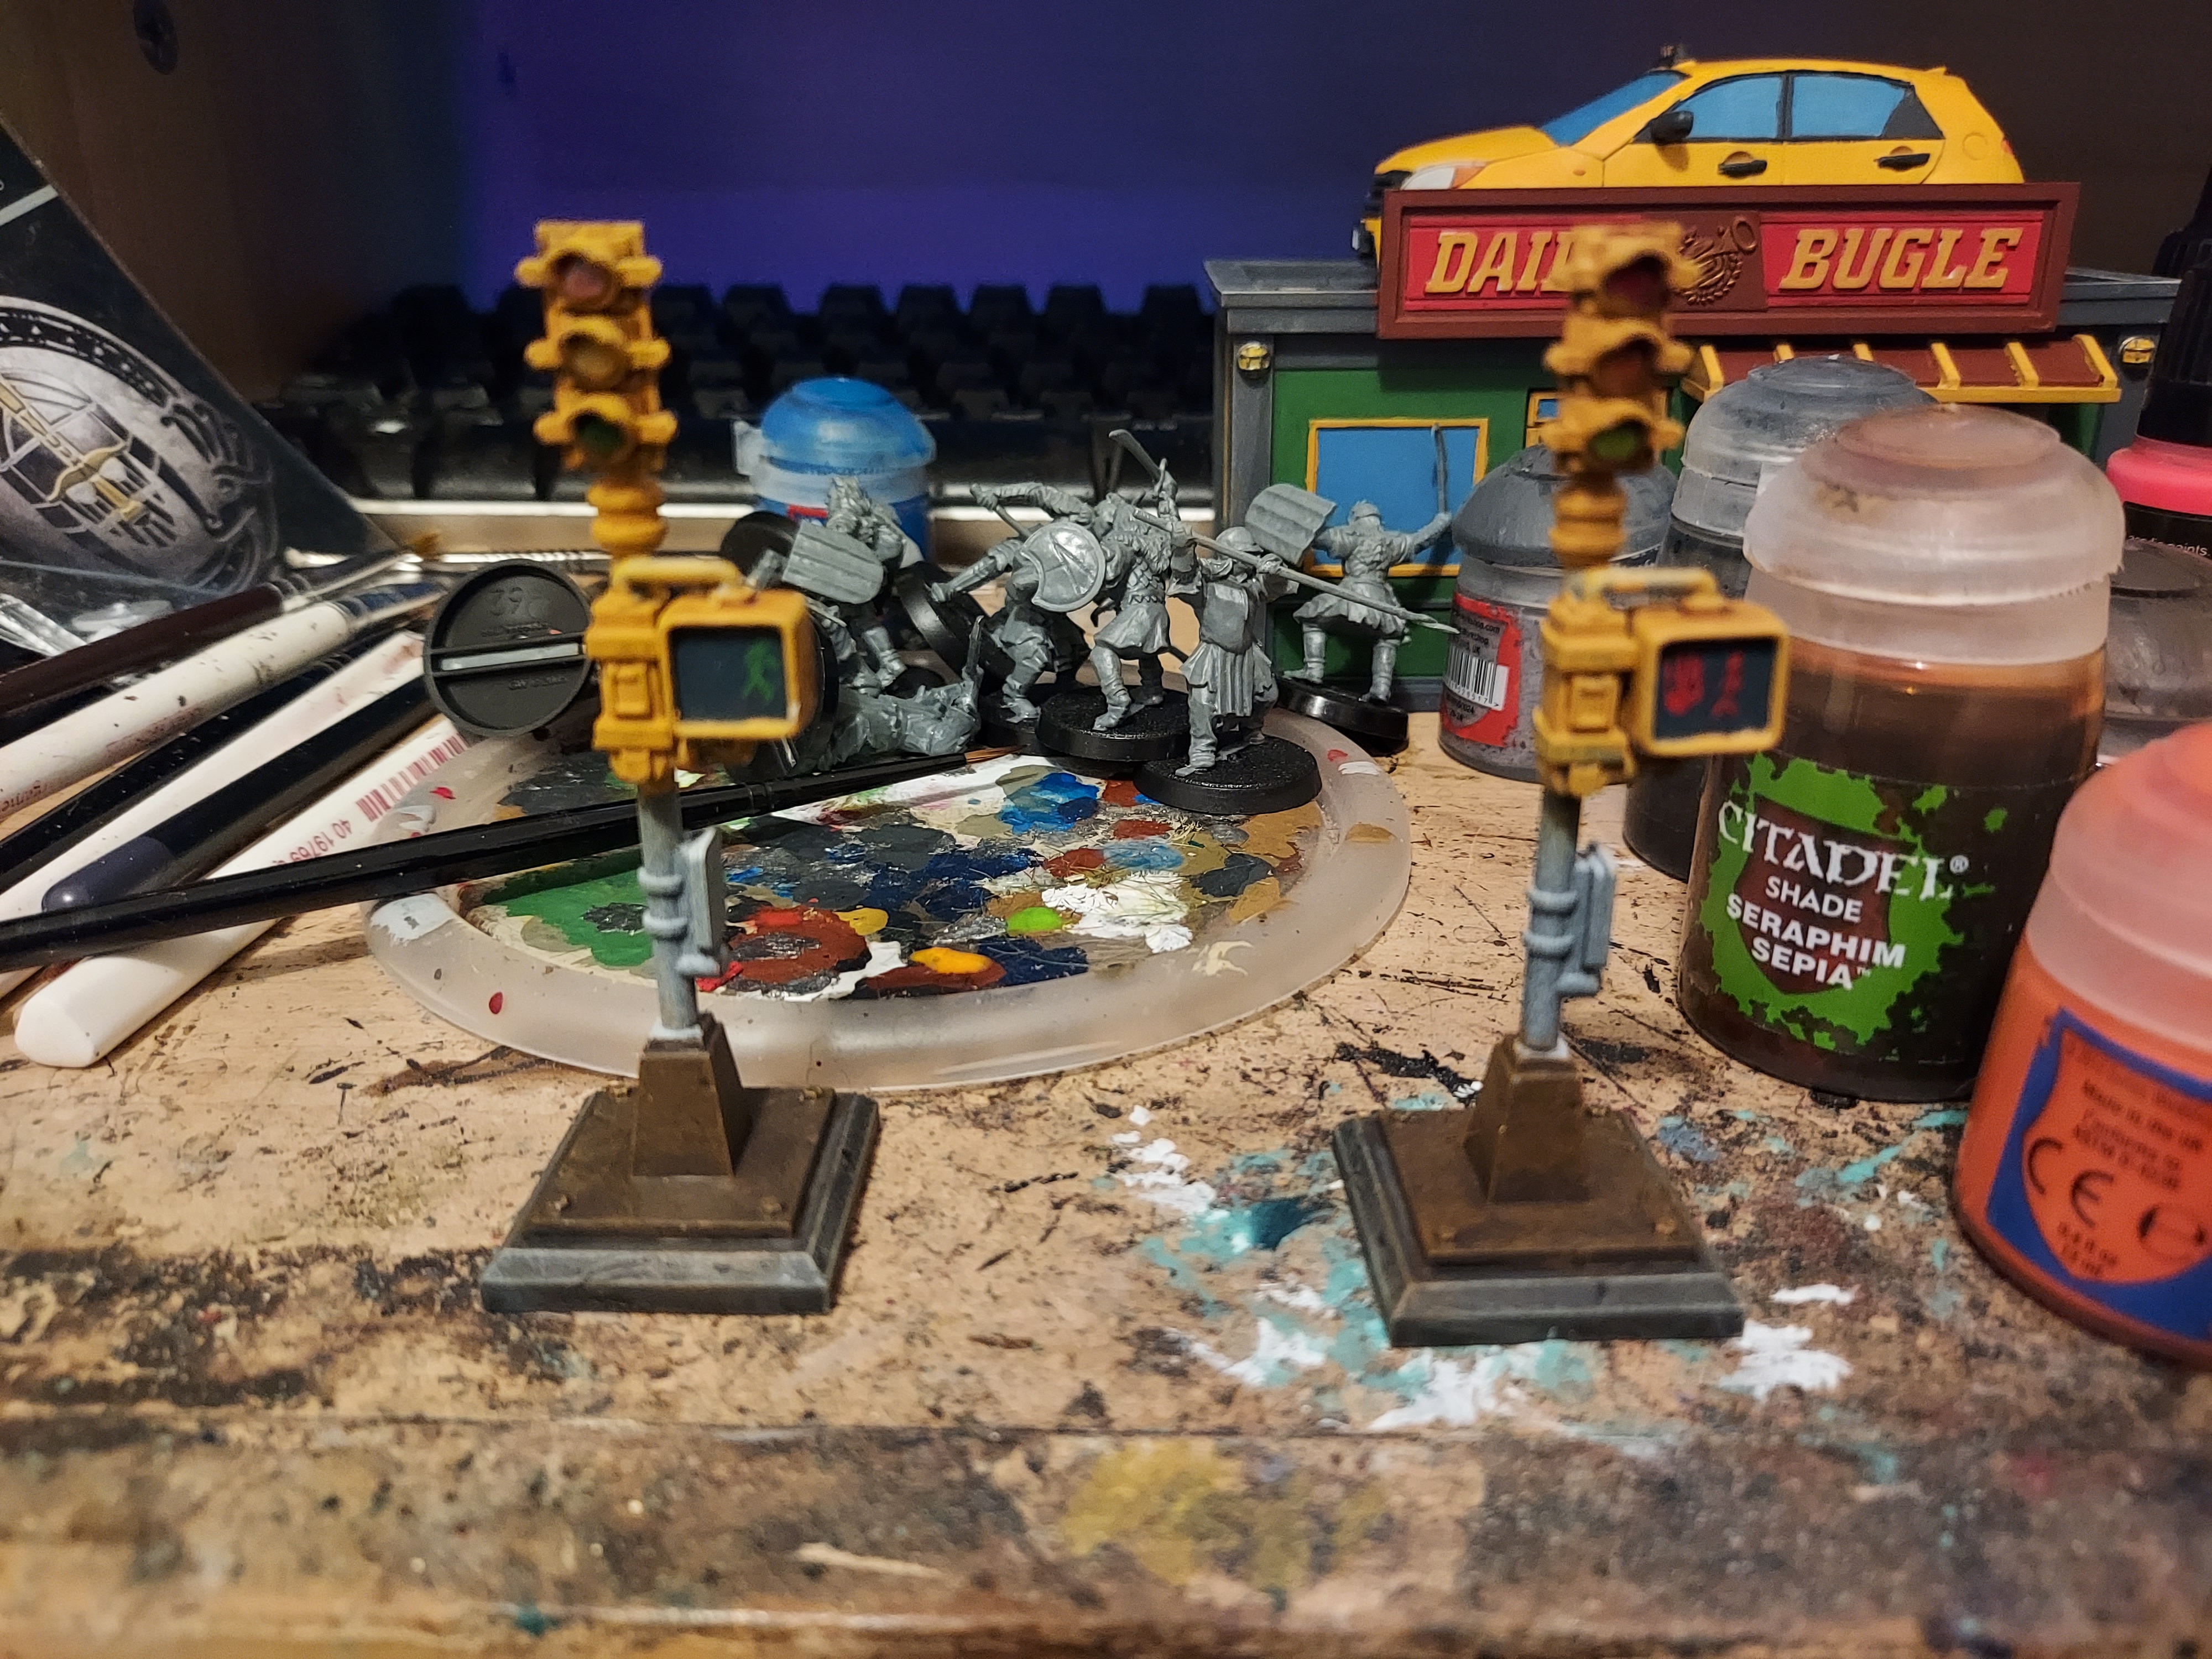
Next I painted the lights with a really light grey. On one set I painted the red and Amber lights normally and painted the green light with fluorescent green. On the other set I did the reverse. One the pedestrian screen of the glowy green one I painted in a red don’t walk sign and did the reverse on the other.
Finally I painted the poles.
Terrain part 8
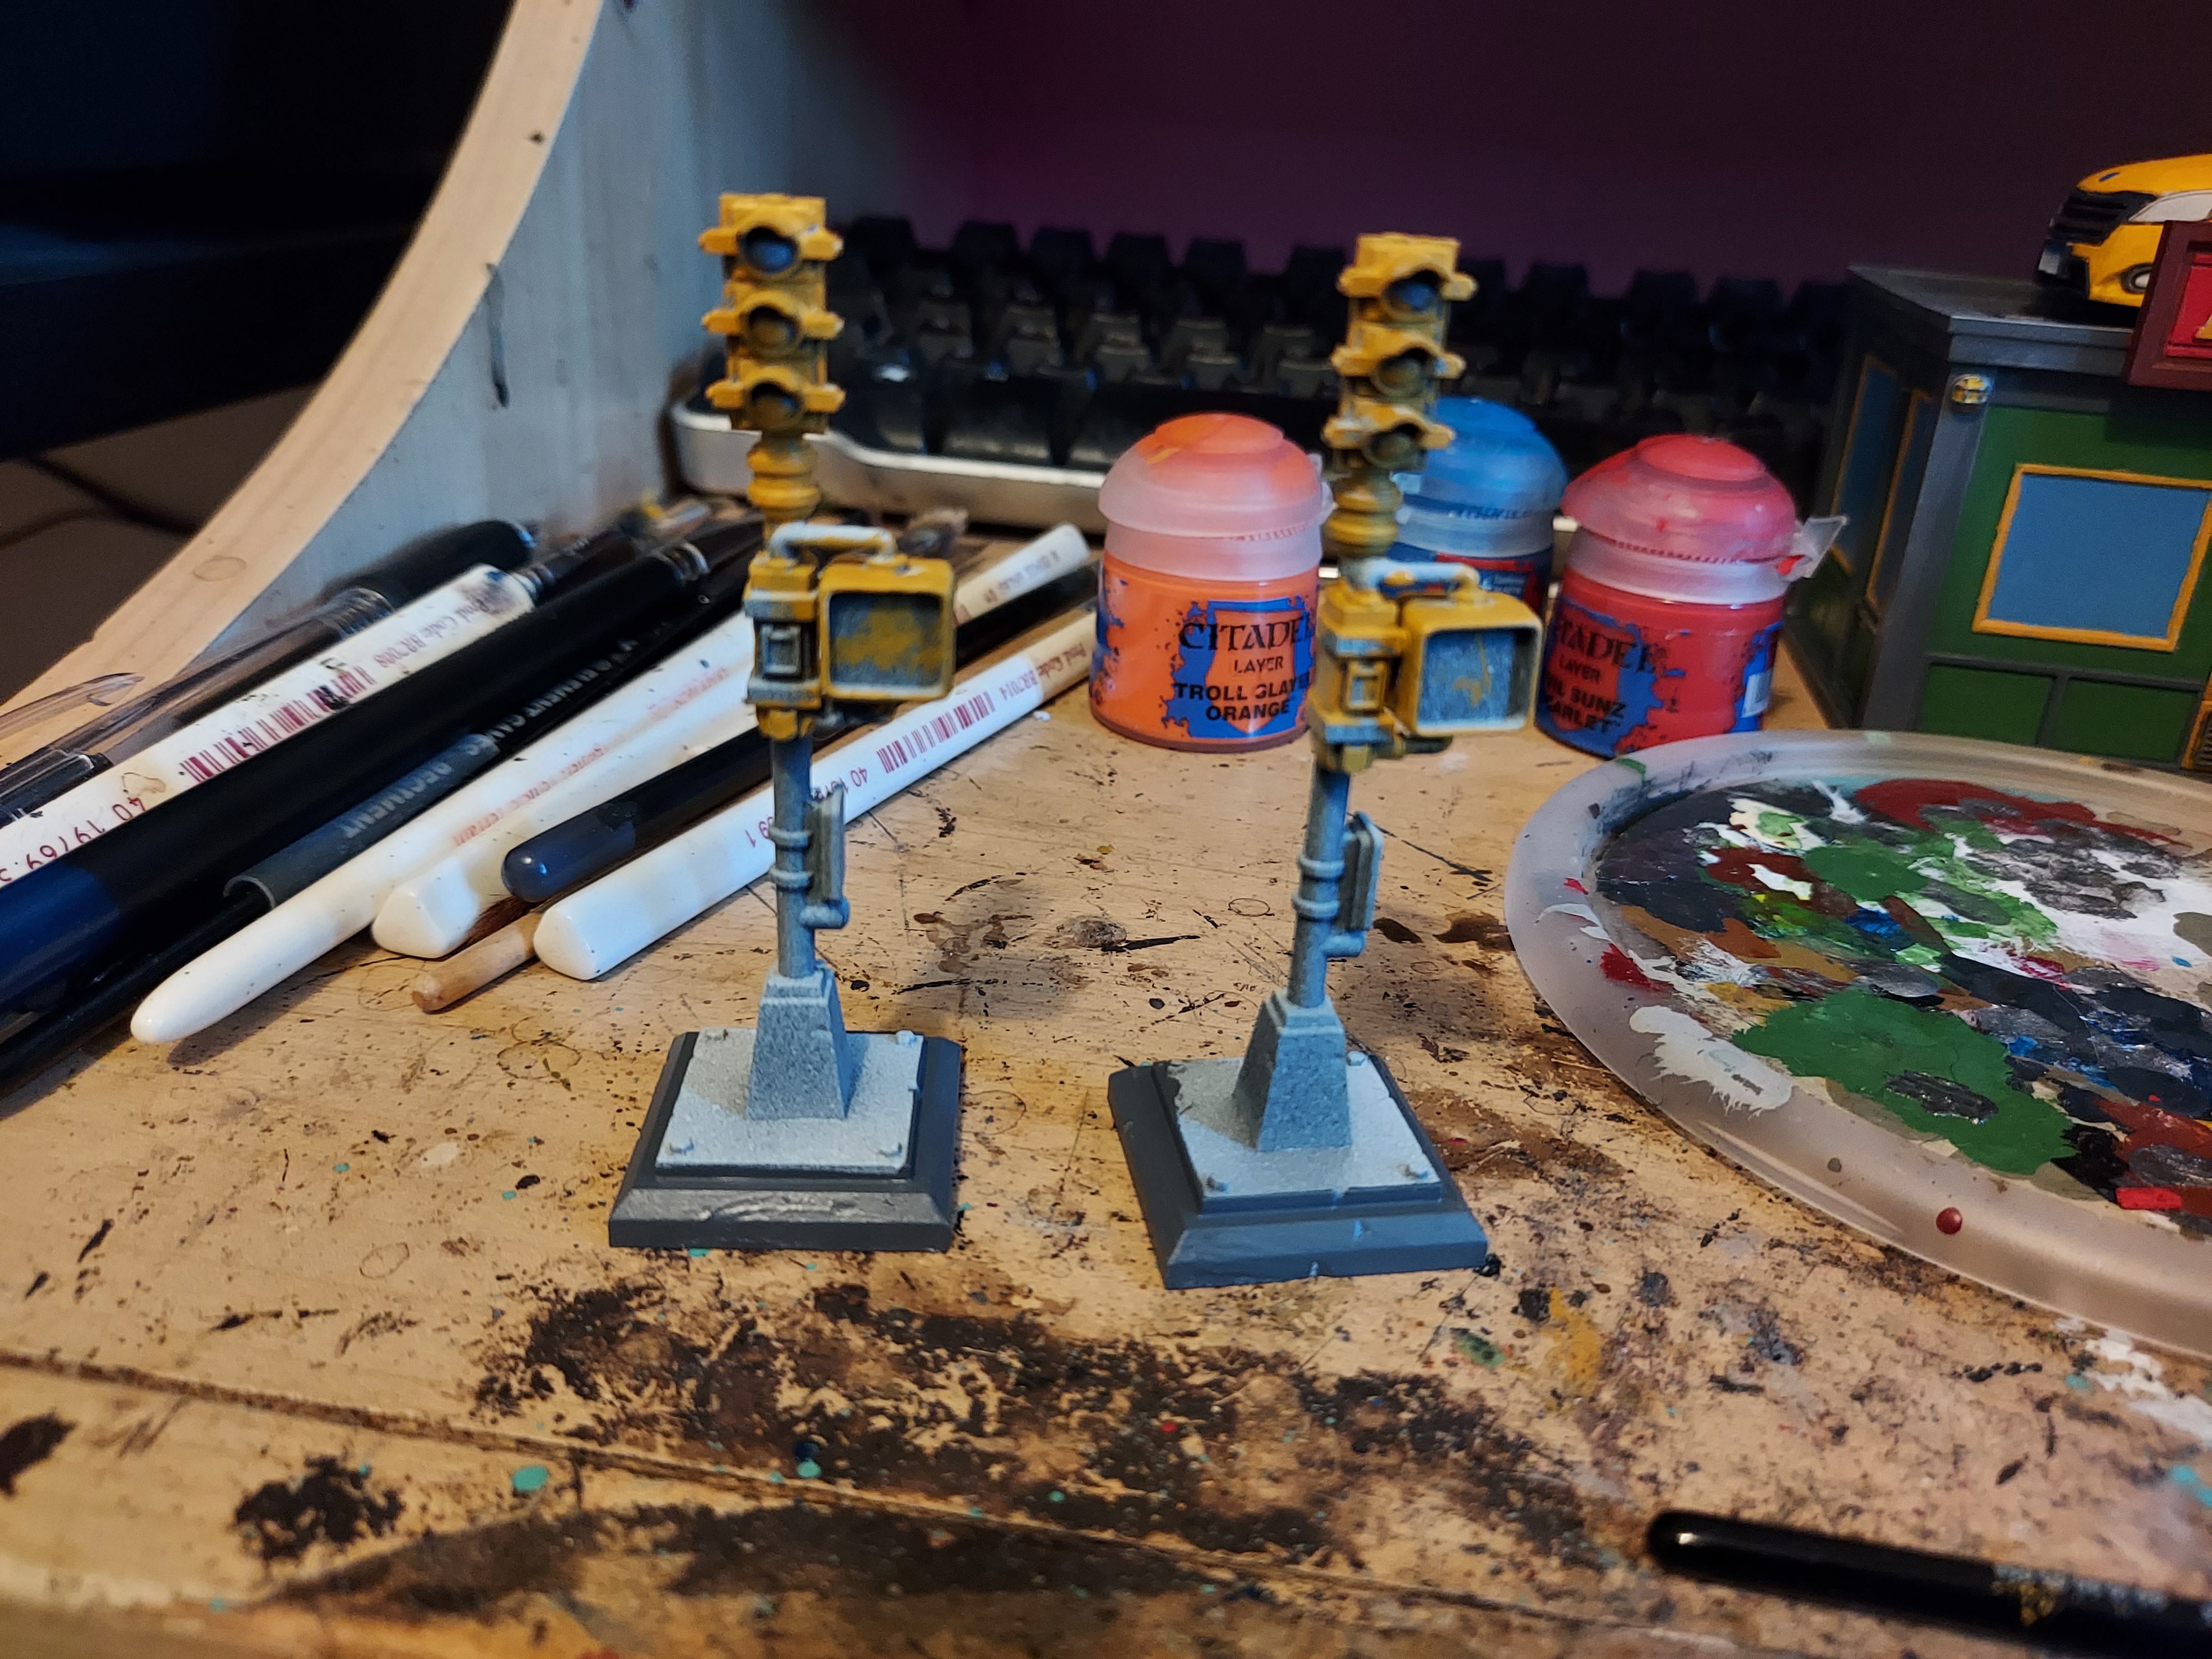
I decided that I’d do the traffic lights next. For these I decided to do a bit of research so I googled New York traffic lights… and they’re yellow. Excuse me a second I need to pop outside real quick.
*Screams!*
Okay, I’m back. So I started painting them yellow. While waiting for that to dry I started the concrete. Basically I jumped back and forward between the concrete and yellow.
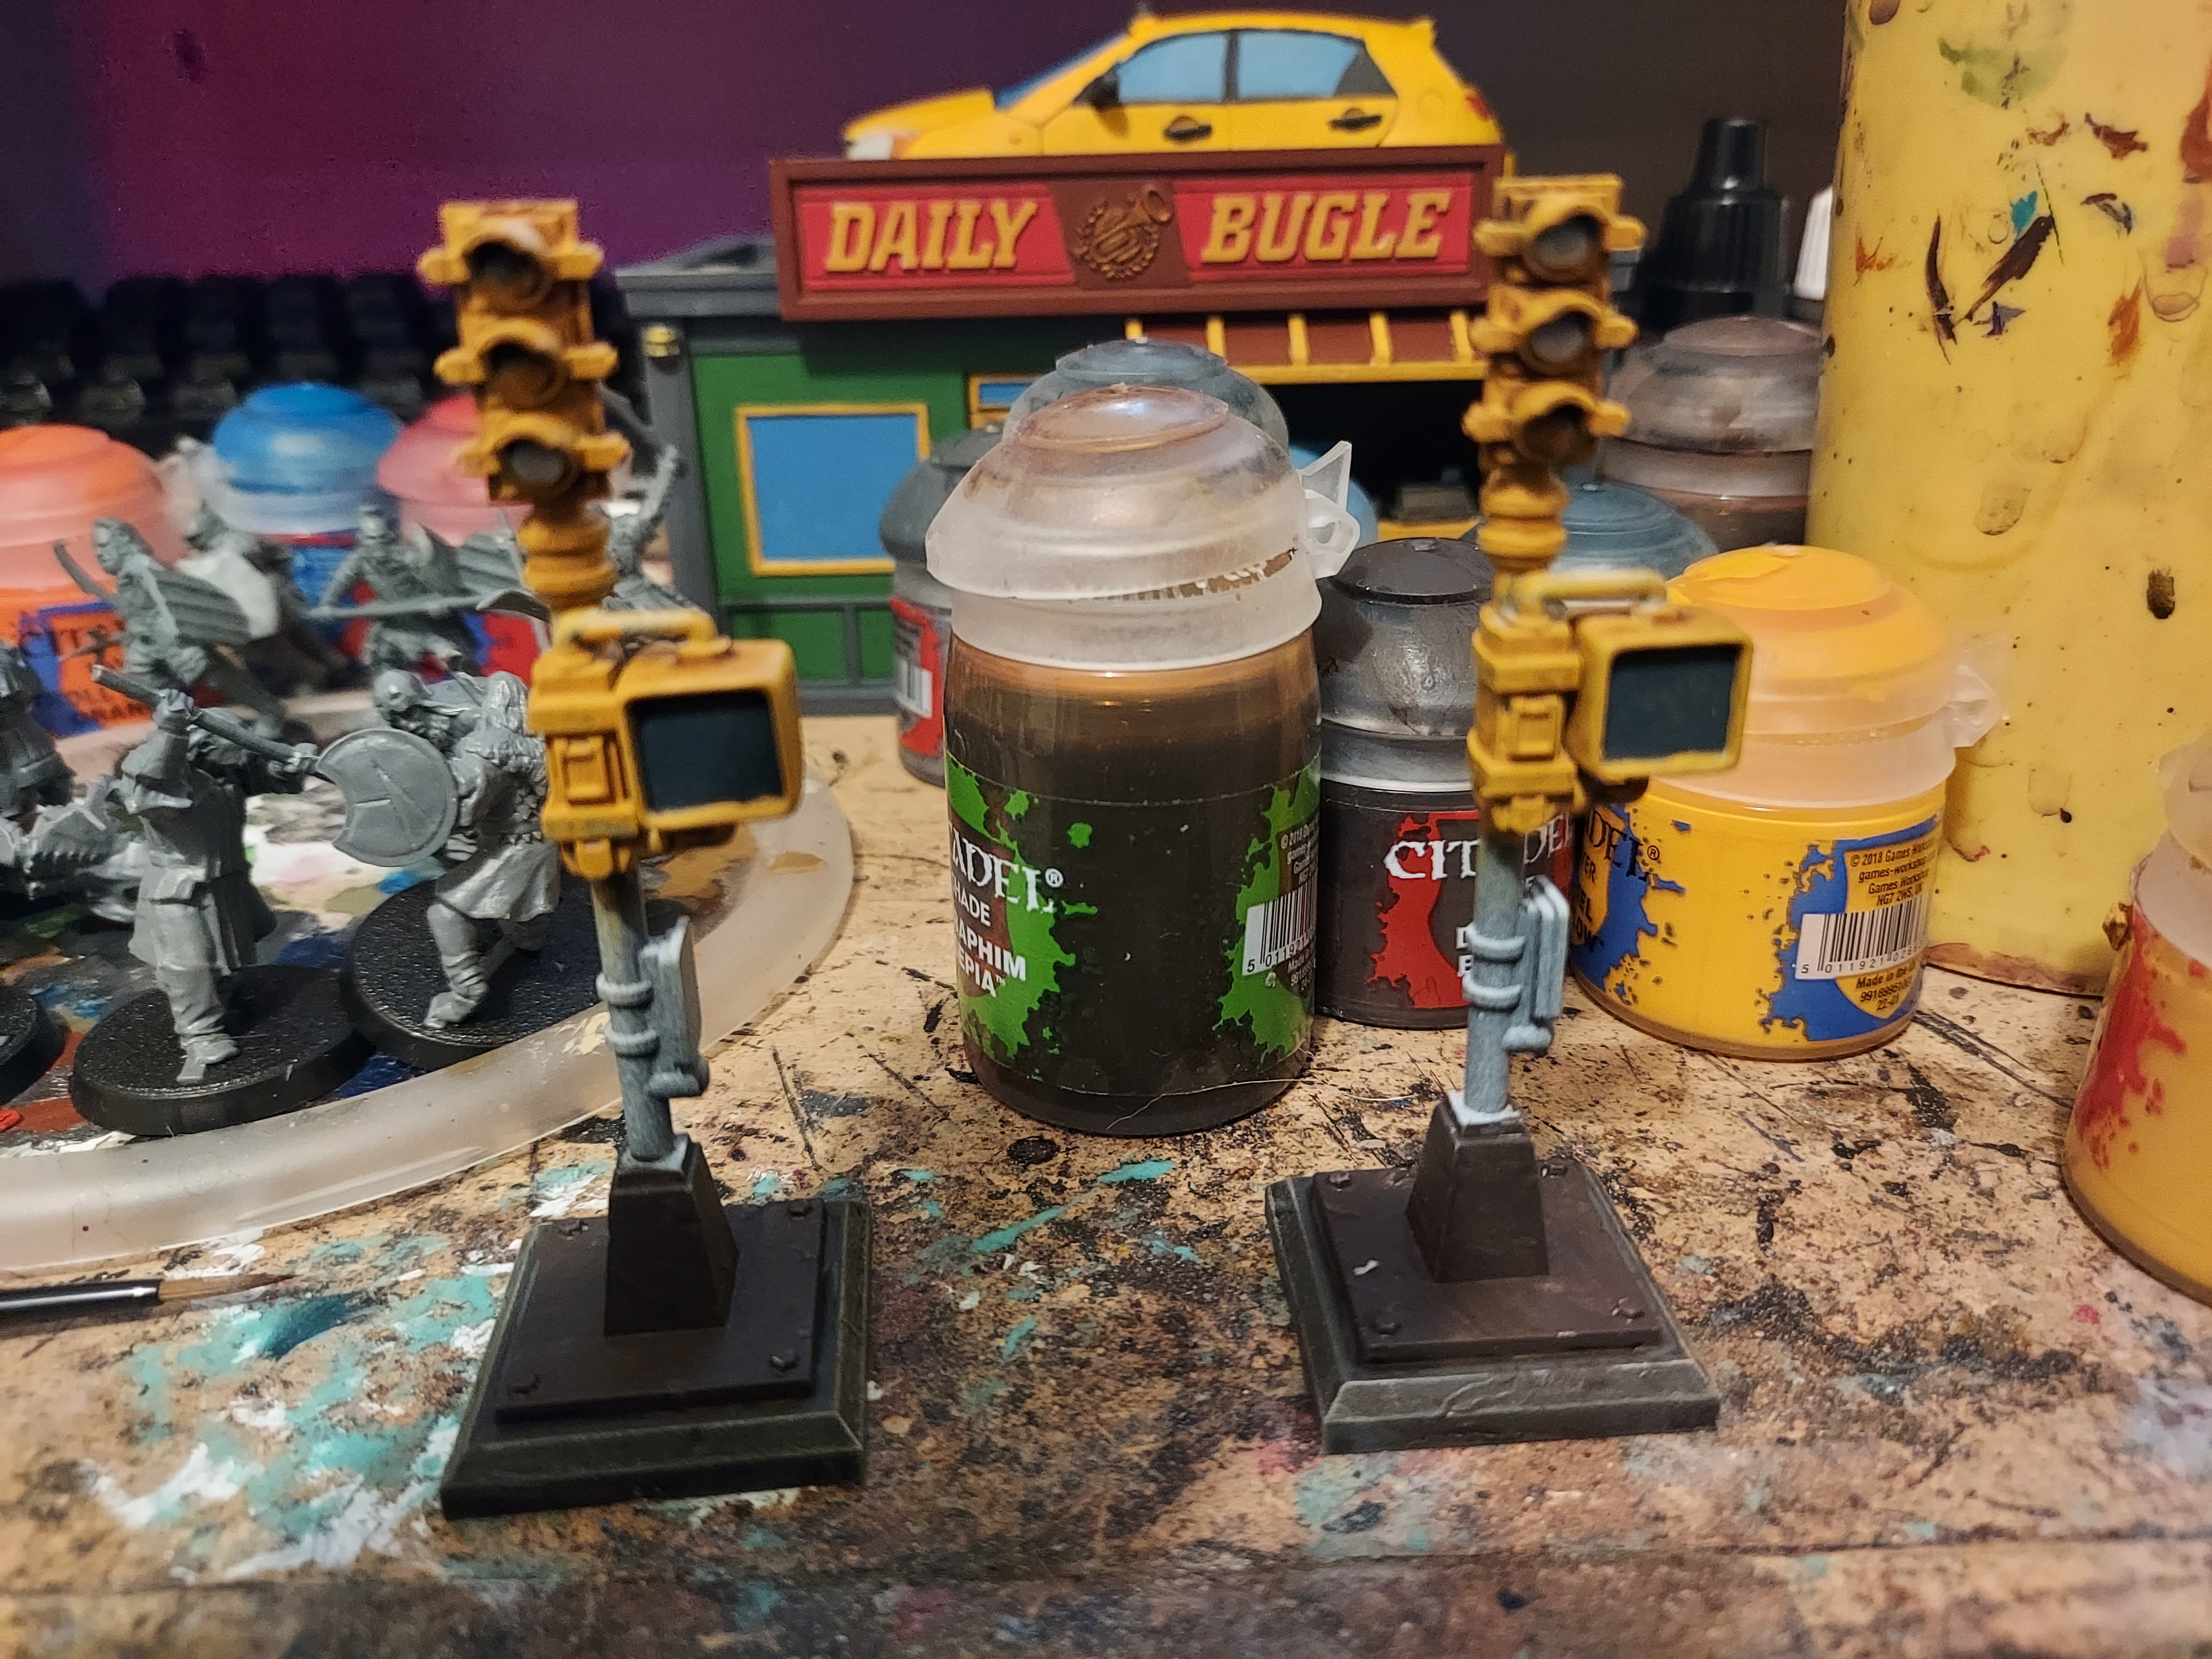
Once I’d done those I based the pedestrian screen in dark reaper and any parts I wanted to be rusty in dryad bark.


