


Annihilation Looms


Recommendations: 424
About the Project
+Transcript - Bridge Officer report+ “We have reluctantly made planet fall following Director Krennic’s instruction. This backwater rock is locally referred to as ‘Gamu’, though I can find no imperial records listing the planet by that name.” “Speculation regarding the rebel cell alleged to be operating from this area, have been exacerbated by Scout Unit Delta failing to make their last scheduled report.” “Director Krennic is, at this very moment, leading the entirety of our shipboard forces to the location of Delta’s last relay. Primary survey, following the scouts passage has revealed this area to be the site of an abandoned processing facility. Though what was being processed here is left to speculation.” “I must state for the record, that I consider Director Krennic’s actions to be reckless in the extreme. He has broken protocol and left this vessel without the requisite … don’t interrupt my report ensign! .. what do you mean? .. what sounded like a Wookiee?…” +Transmission Terminated+
Related Game: Star Wars: Legion
Related Genre: Science Fiction
This Project is Completed
Round 3 - Orders
Imperials – I had recovered all available Intel from my own relays and now had my units in defensible firing positions. With the casualties I had already inflicted on the rebels, I didn’t feel that they were in any state to mount an attack on my position.
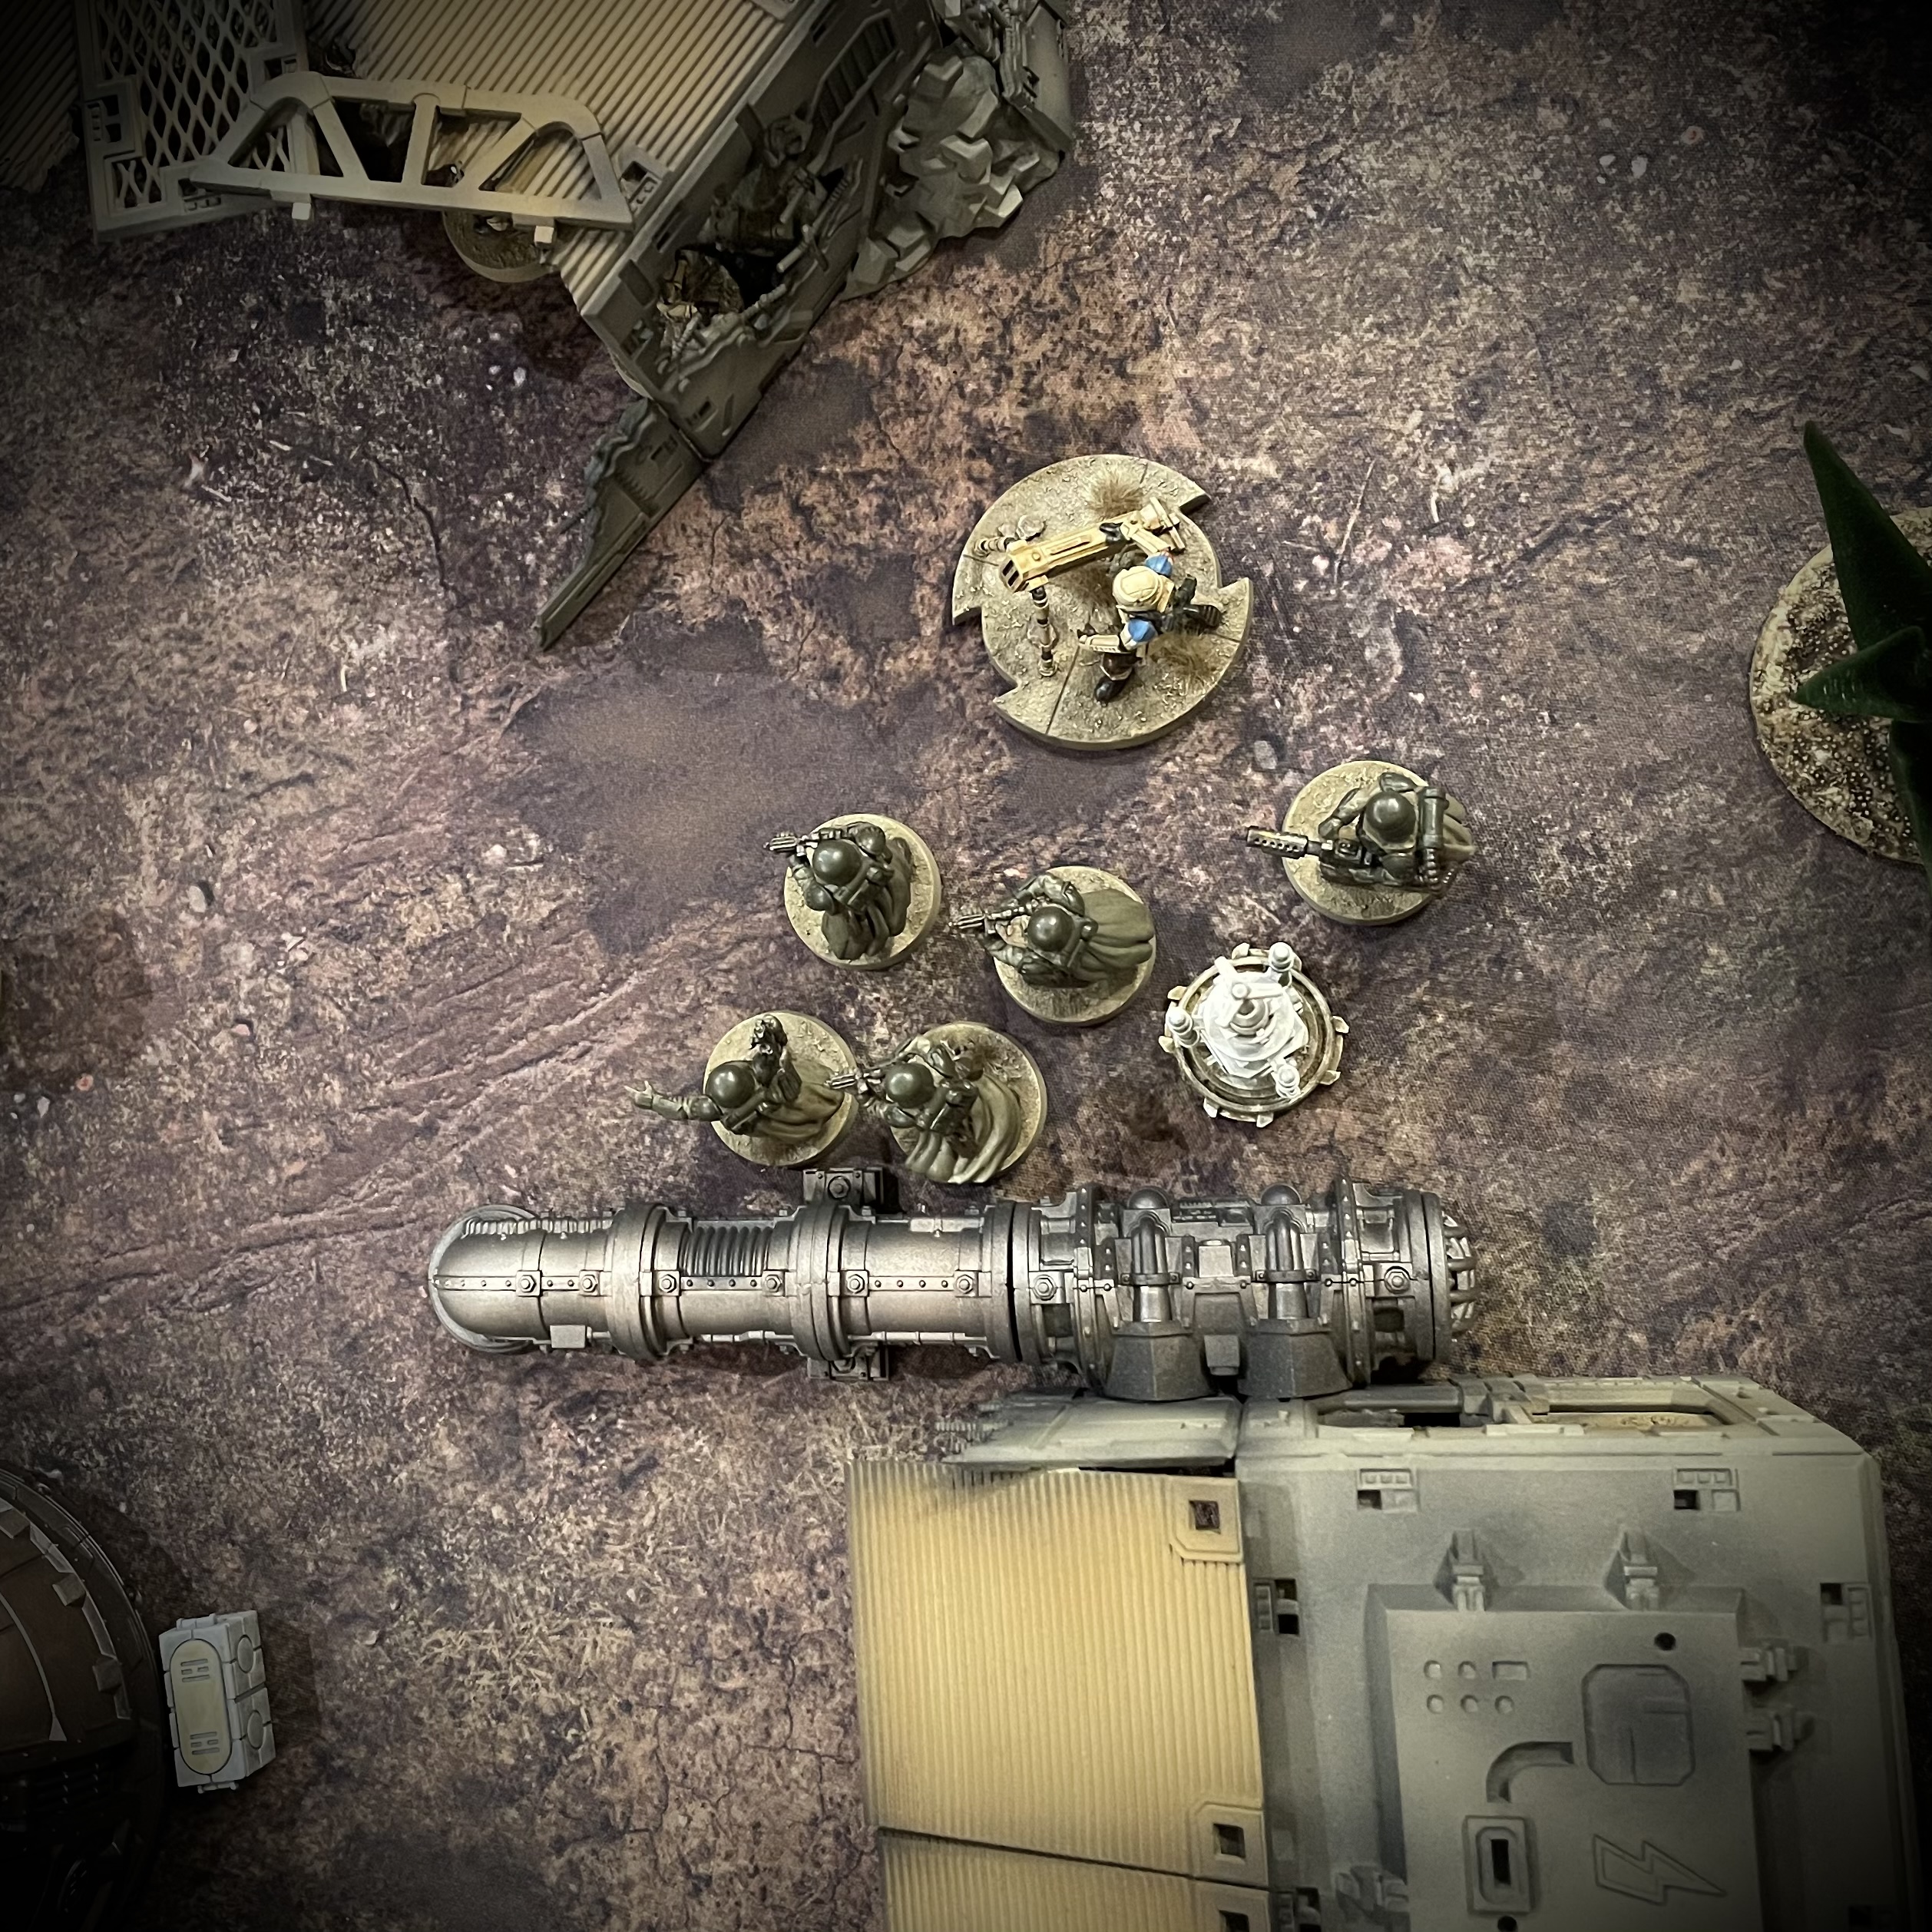
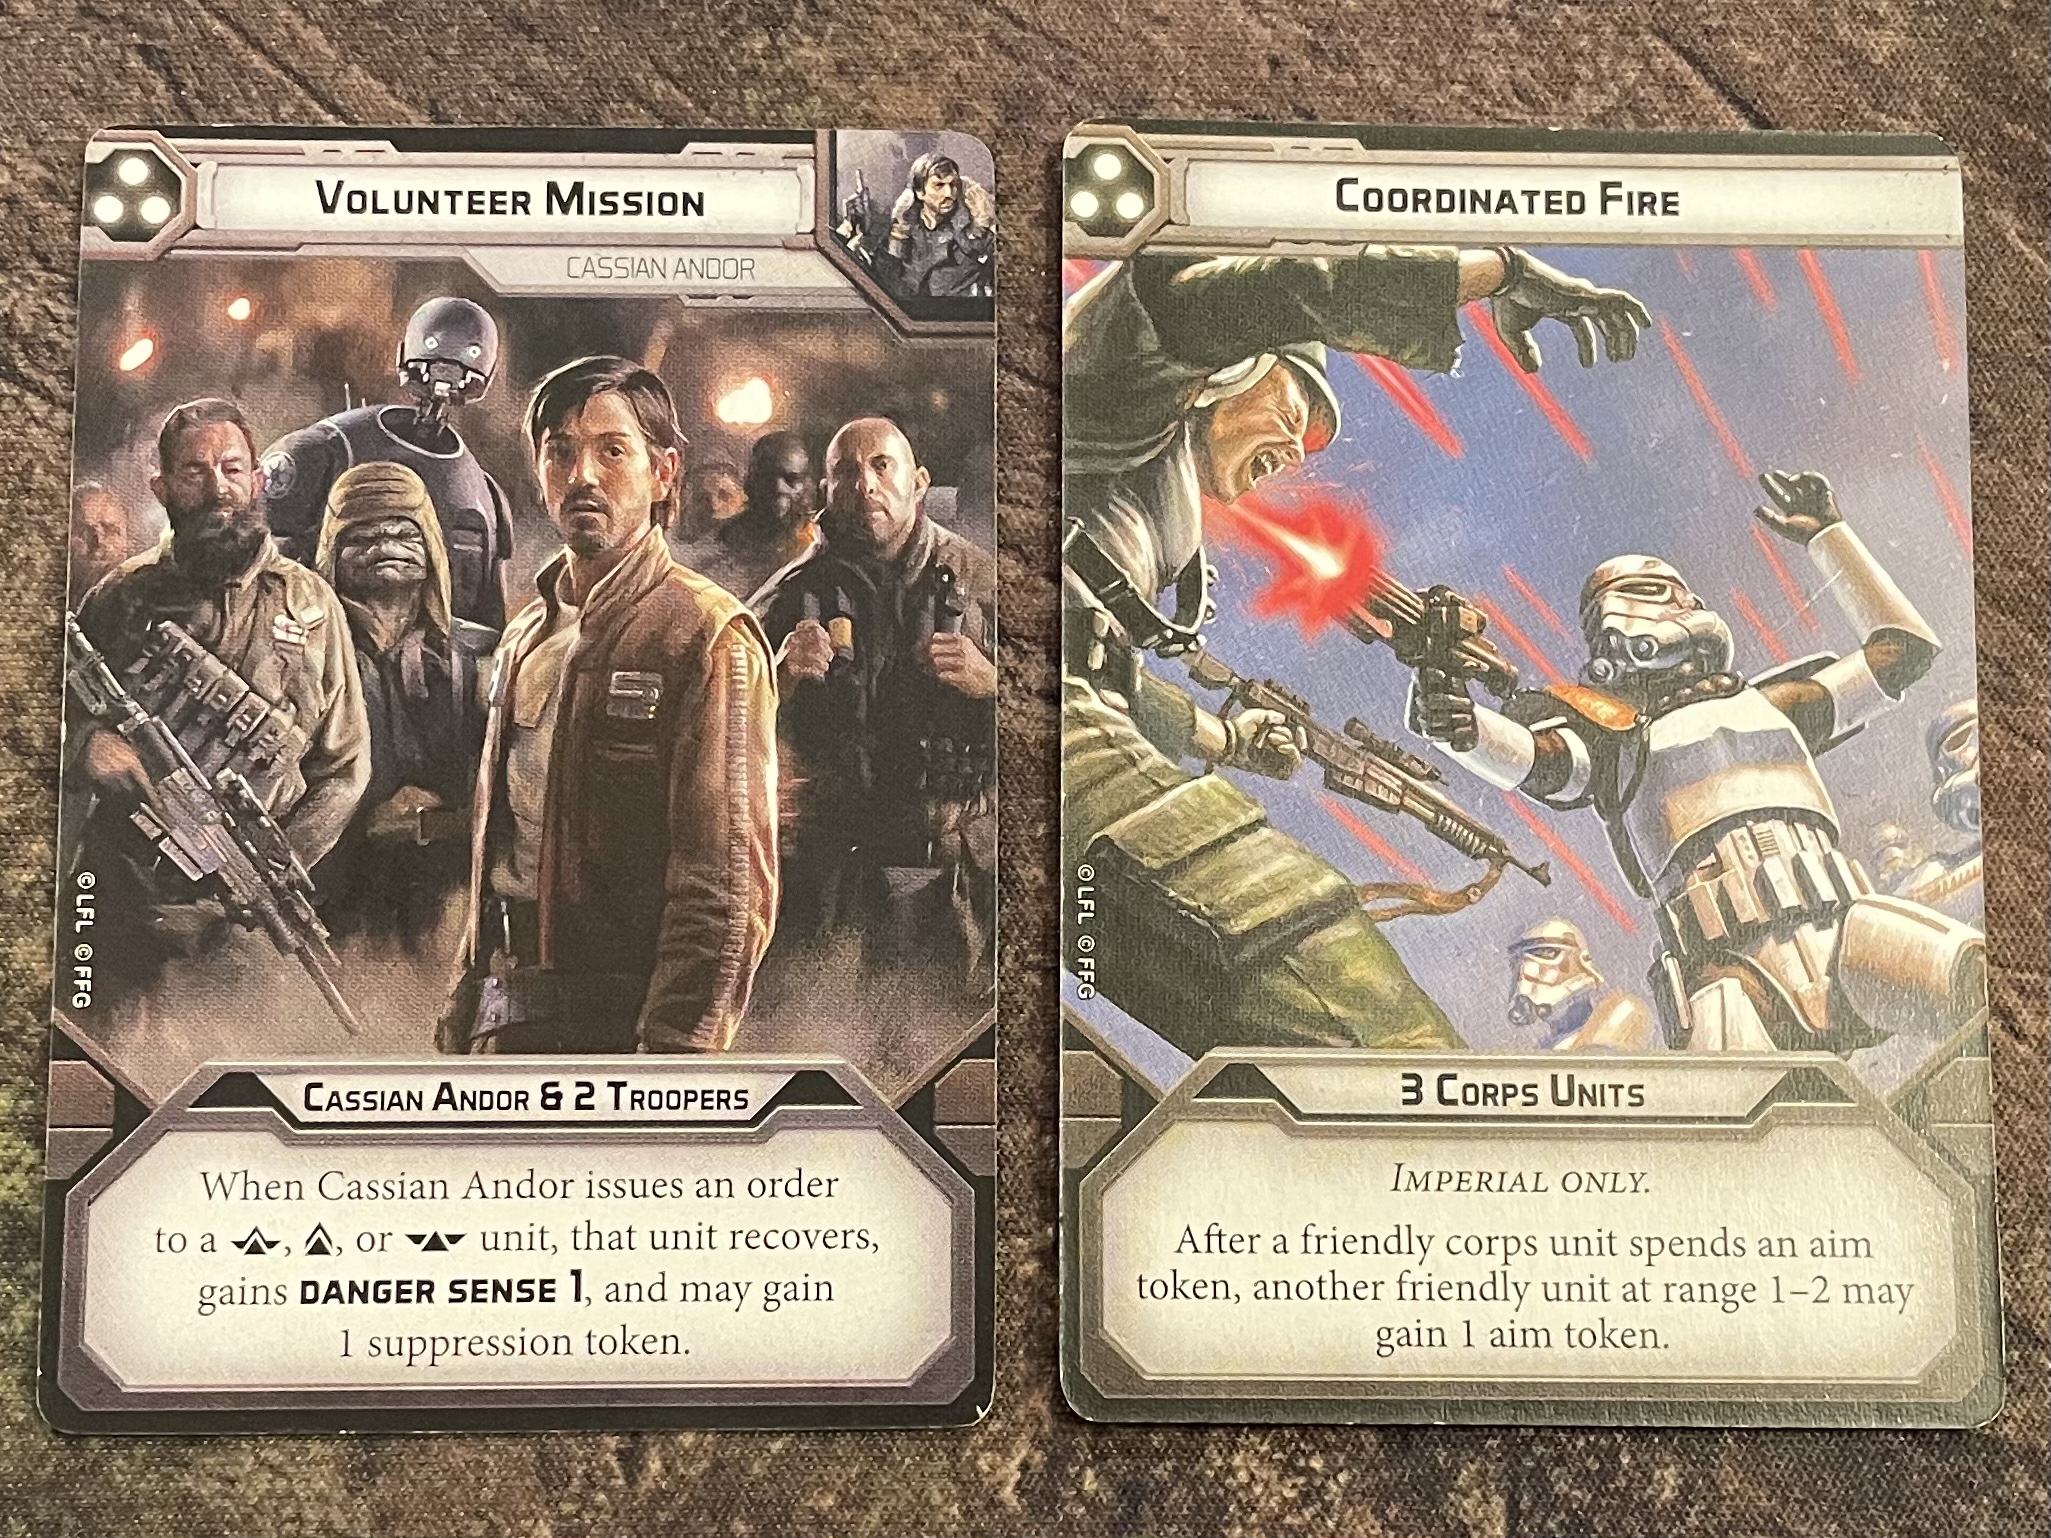
I could dig in for a comfortable draw but taking the central objective from the rebels wasn’t out of the question. Time was on my side so I opted to spend this turn dealing suppression and casualties where I could, without risking my own troops. ‘Coordinated Fire’ was the perfect order for this situation. Giving me plenty of order tokens and the ability to generate extra aim tokens would give me the greatest chance of causing damage.
Rebels – The imperial armies high activation was taking its tole and my more elite army was struggling to deal with the numbers it was facing. At this point victory was looking unachievable but I could still play for a draw.
I played Cassian’s three pip card – ‘Volunteer Mission’ in an attempt to rally my elite units and offer them greater protection from the firestorm that was sure to be coming. This would also allow me to save my lower pip cards for the final turns, where I may need the initiative.
Round 3 - Combat
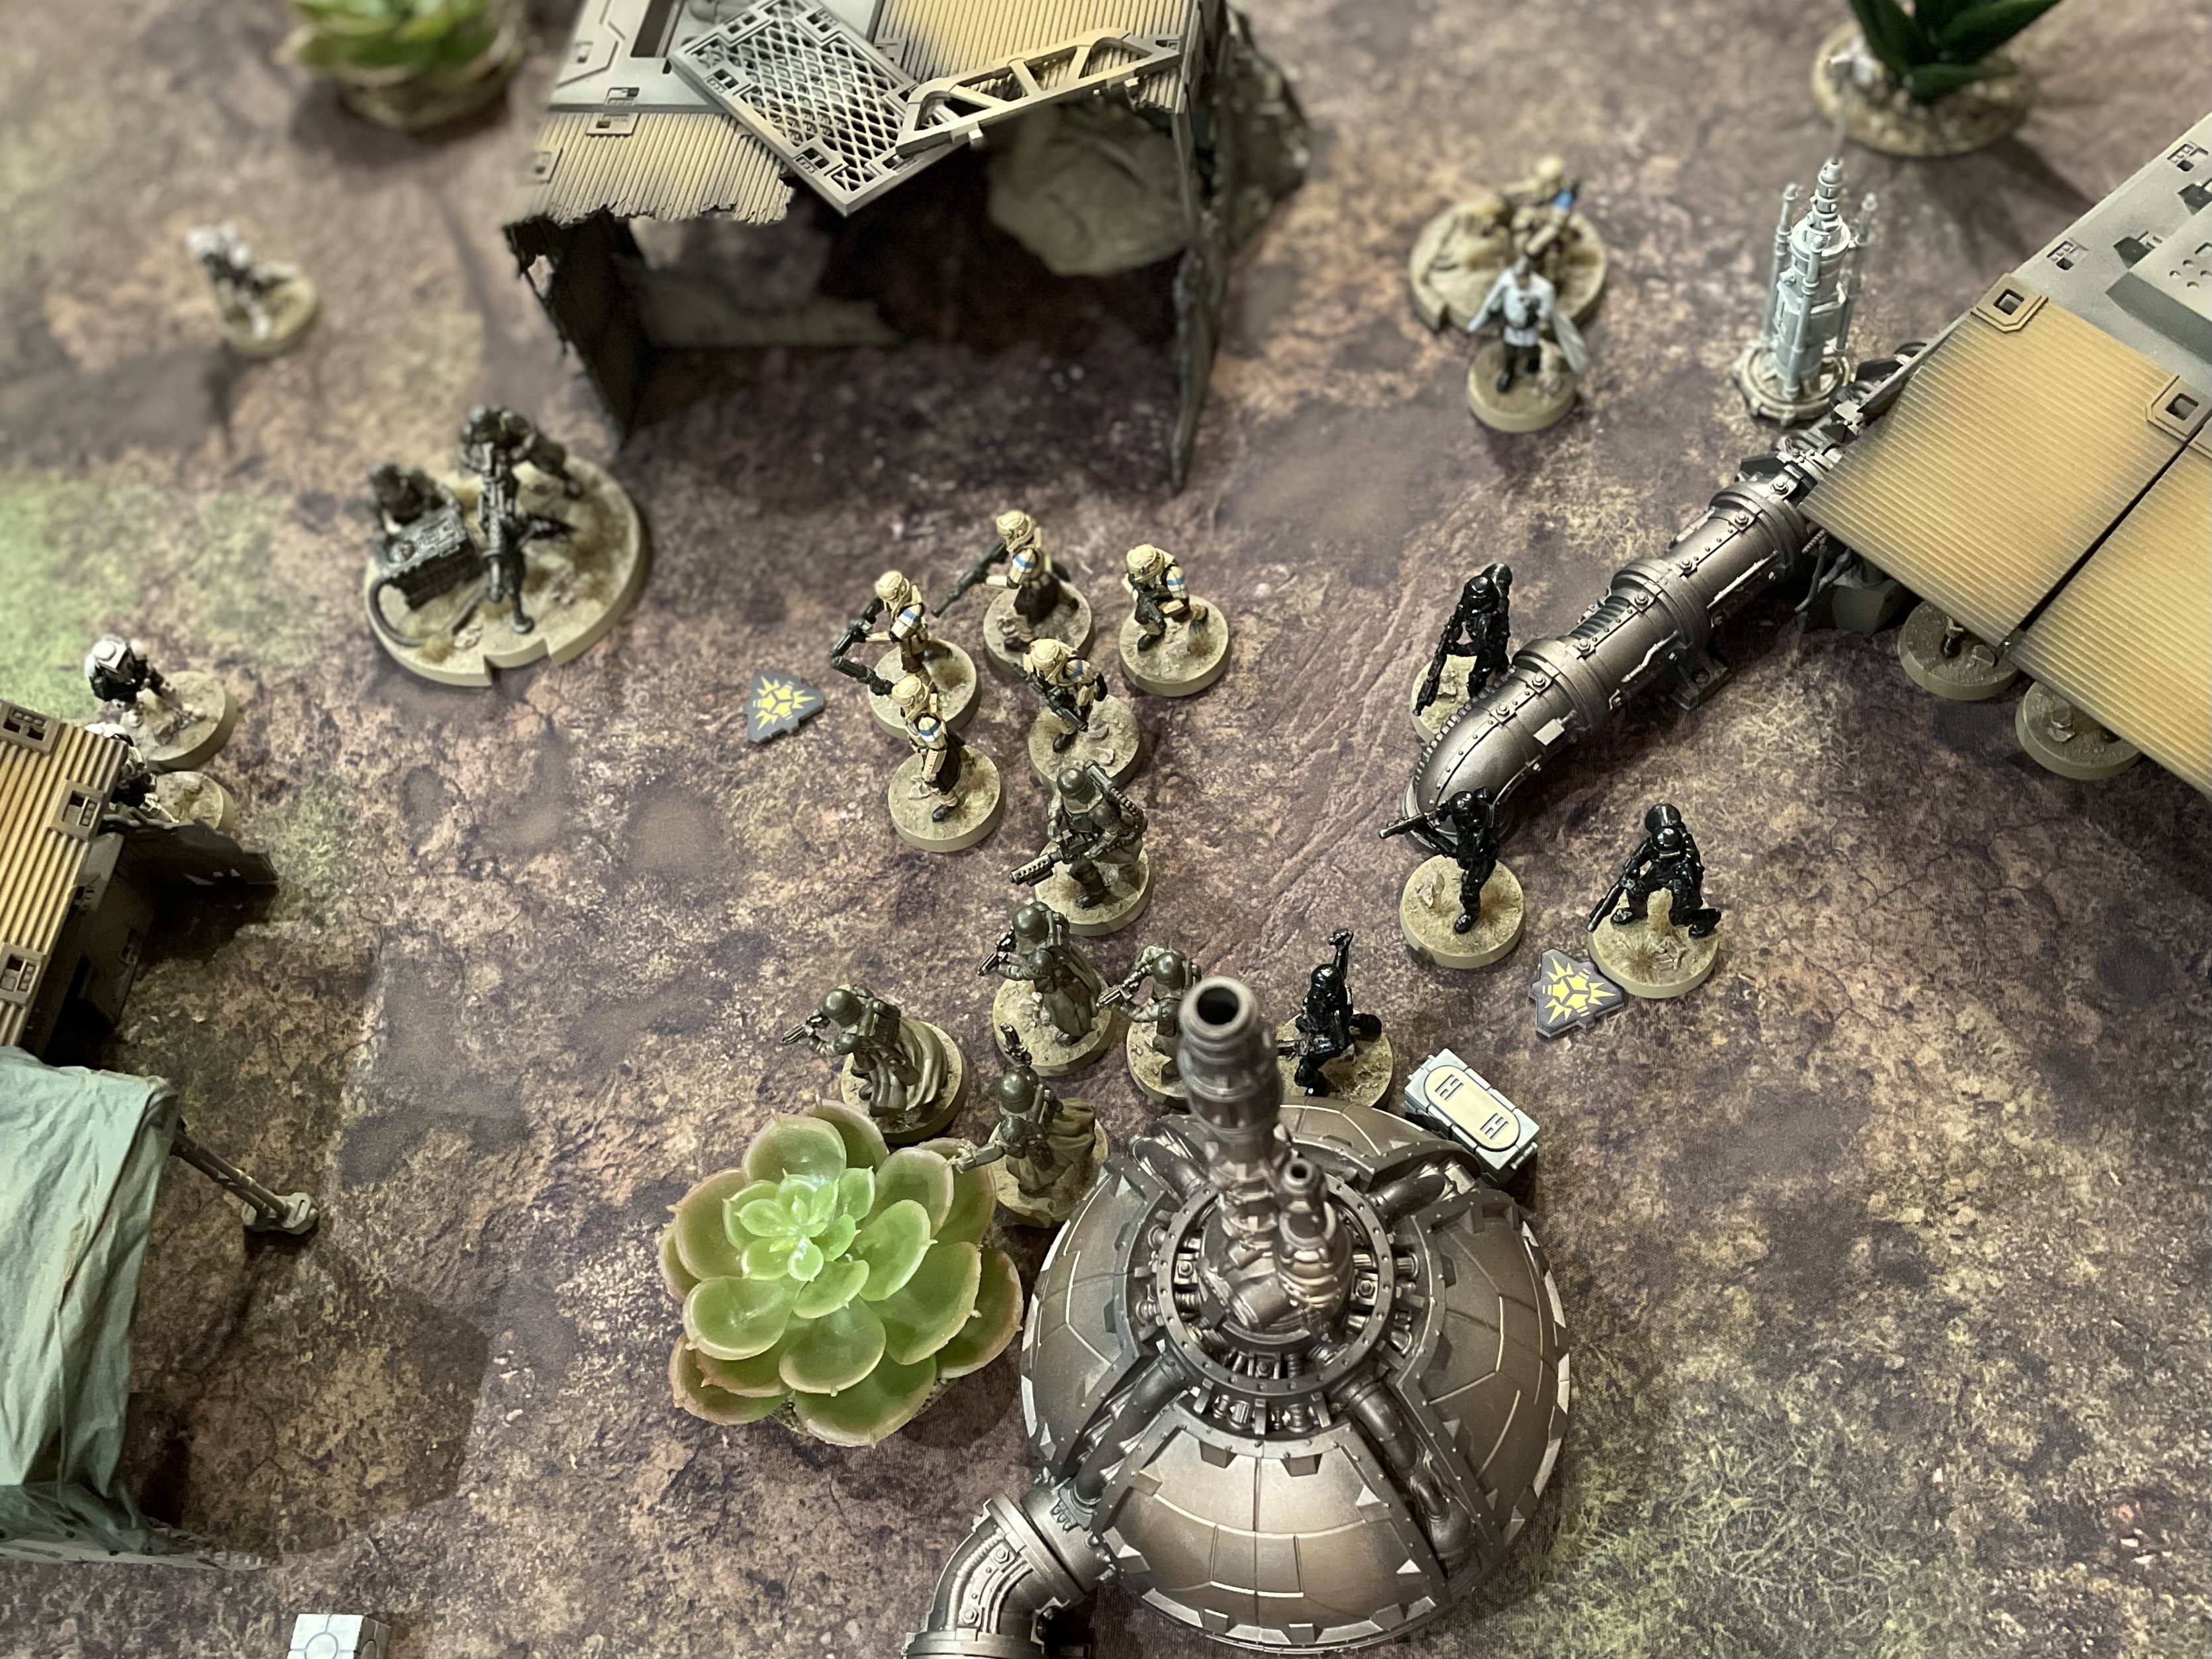
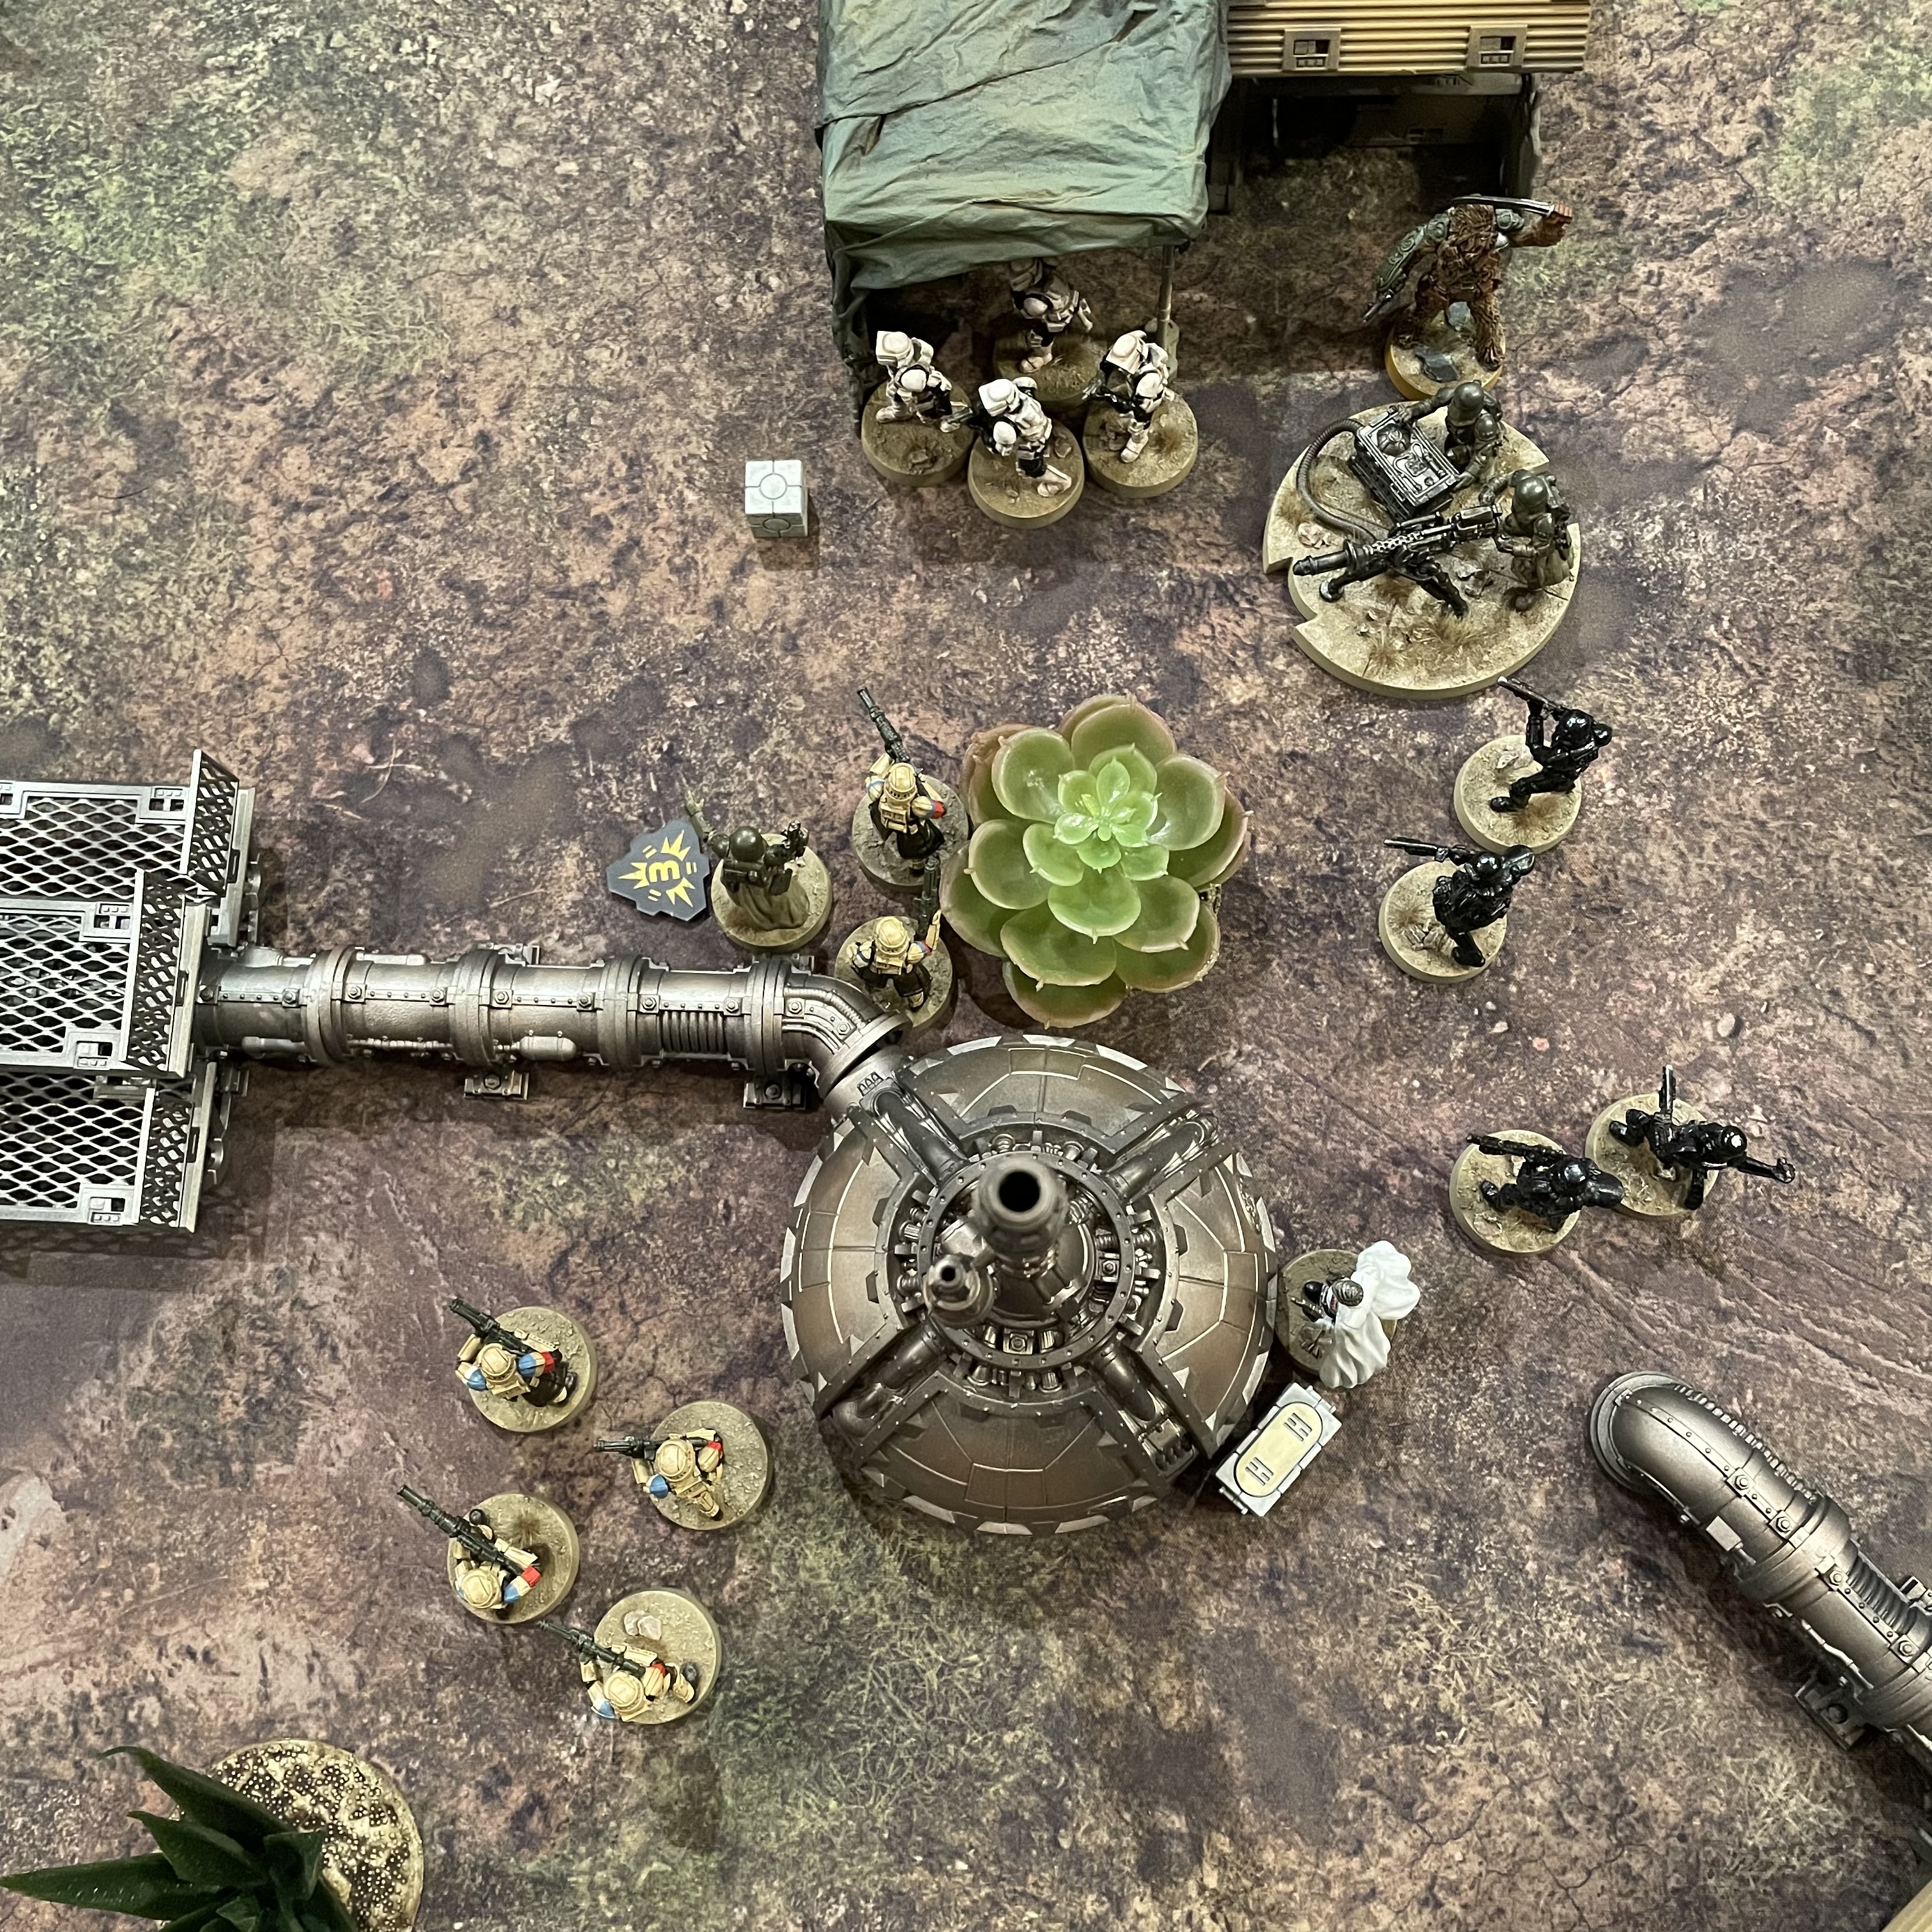
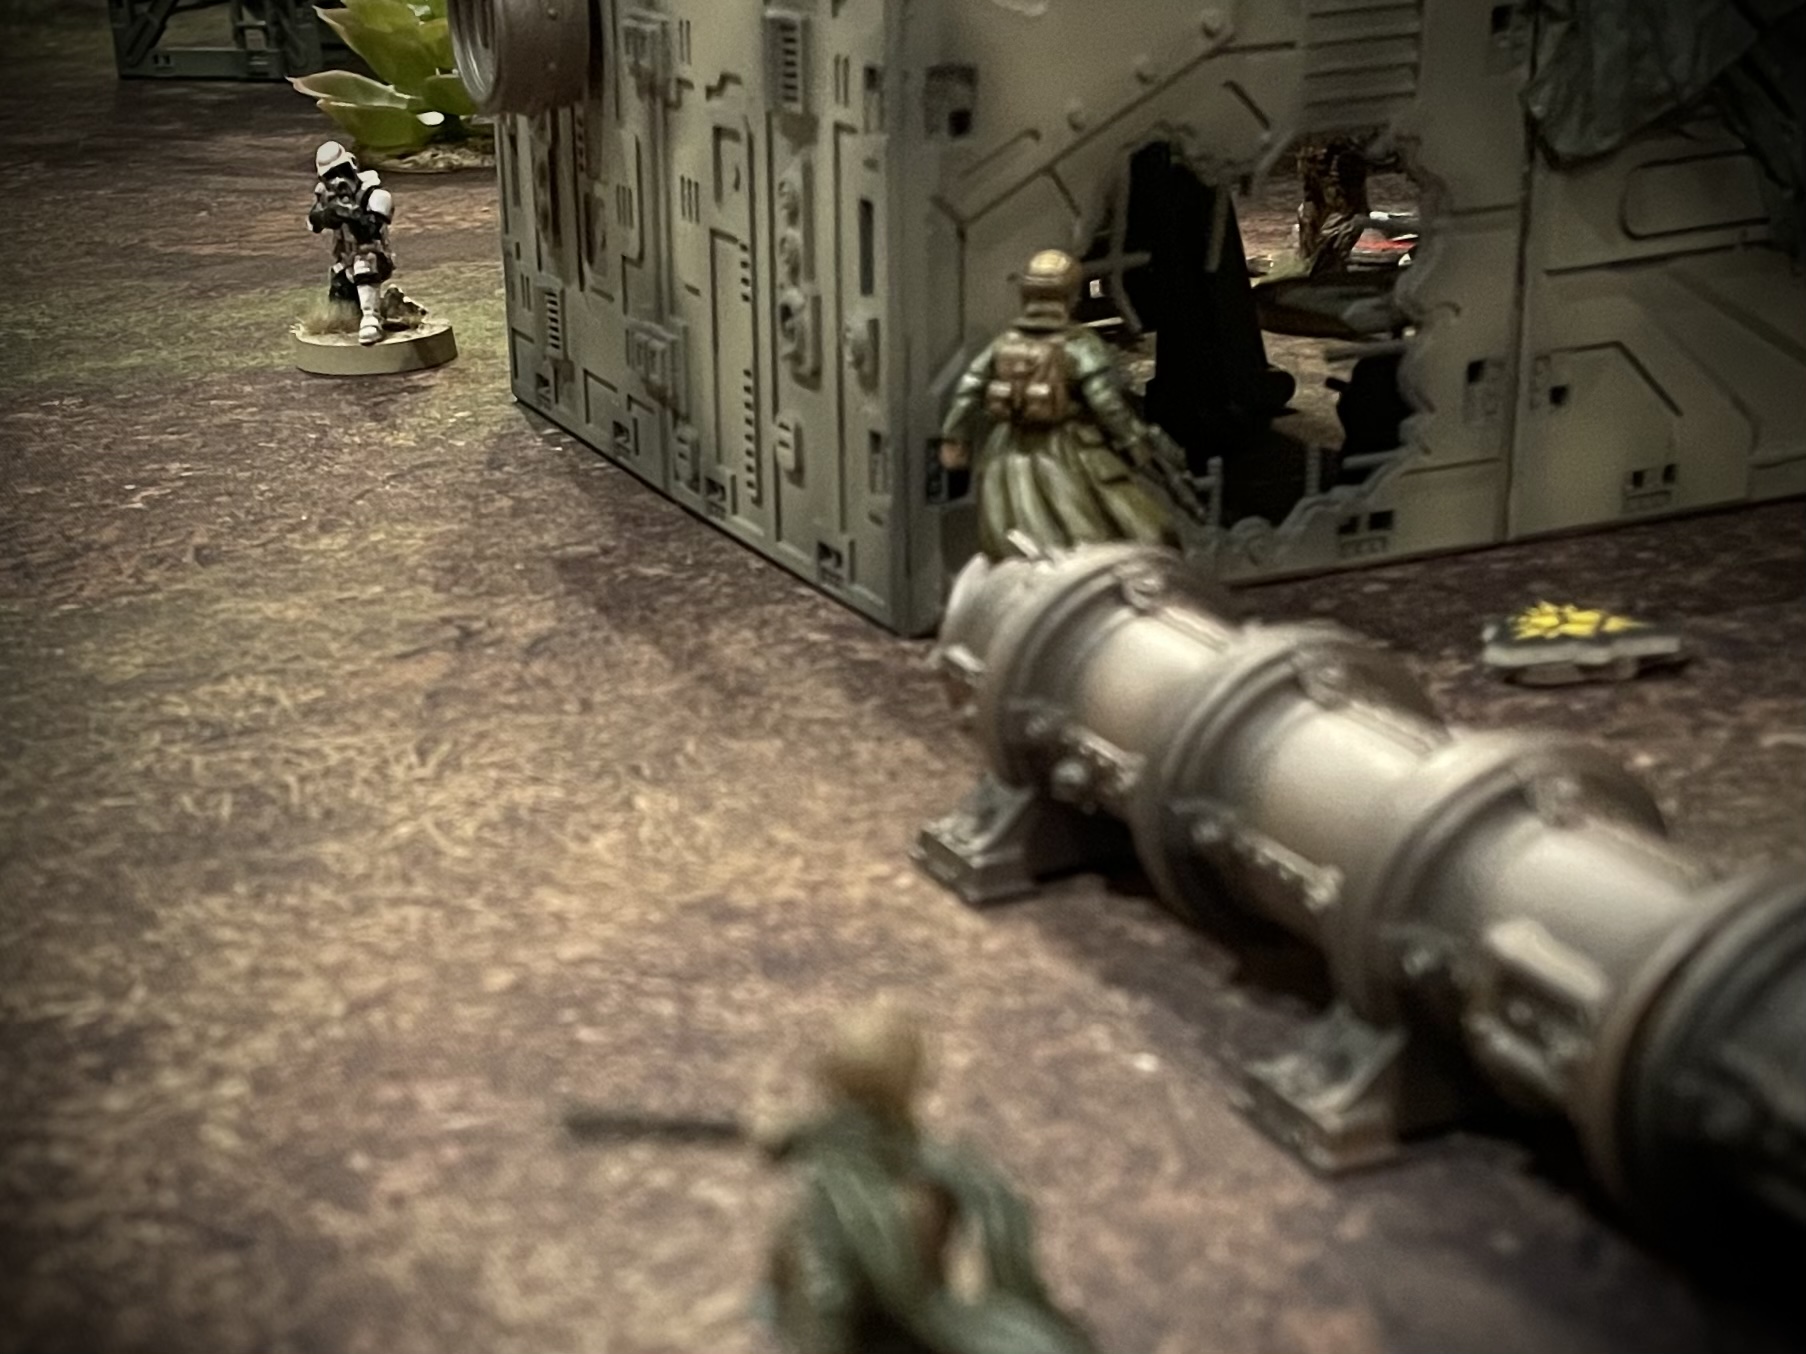
Now that battle had been joined, the Pathfinders and Shoretroopers to the South dug in and poured as much fire on the opposition as they could muster. With both units in cover, the Shoretroopers suffered a singles casualty while two more Pathfinder’s went down.
The Fleet Troopers opened fire on the remaining bike before it had a chance to activate, causing five hits which it failed miserably to save.
 Blanco
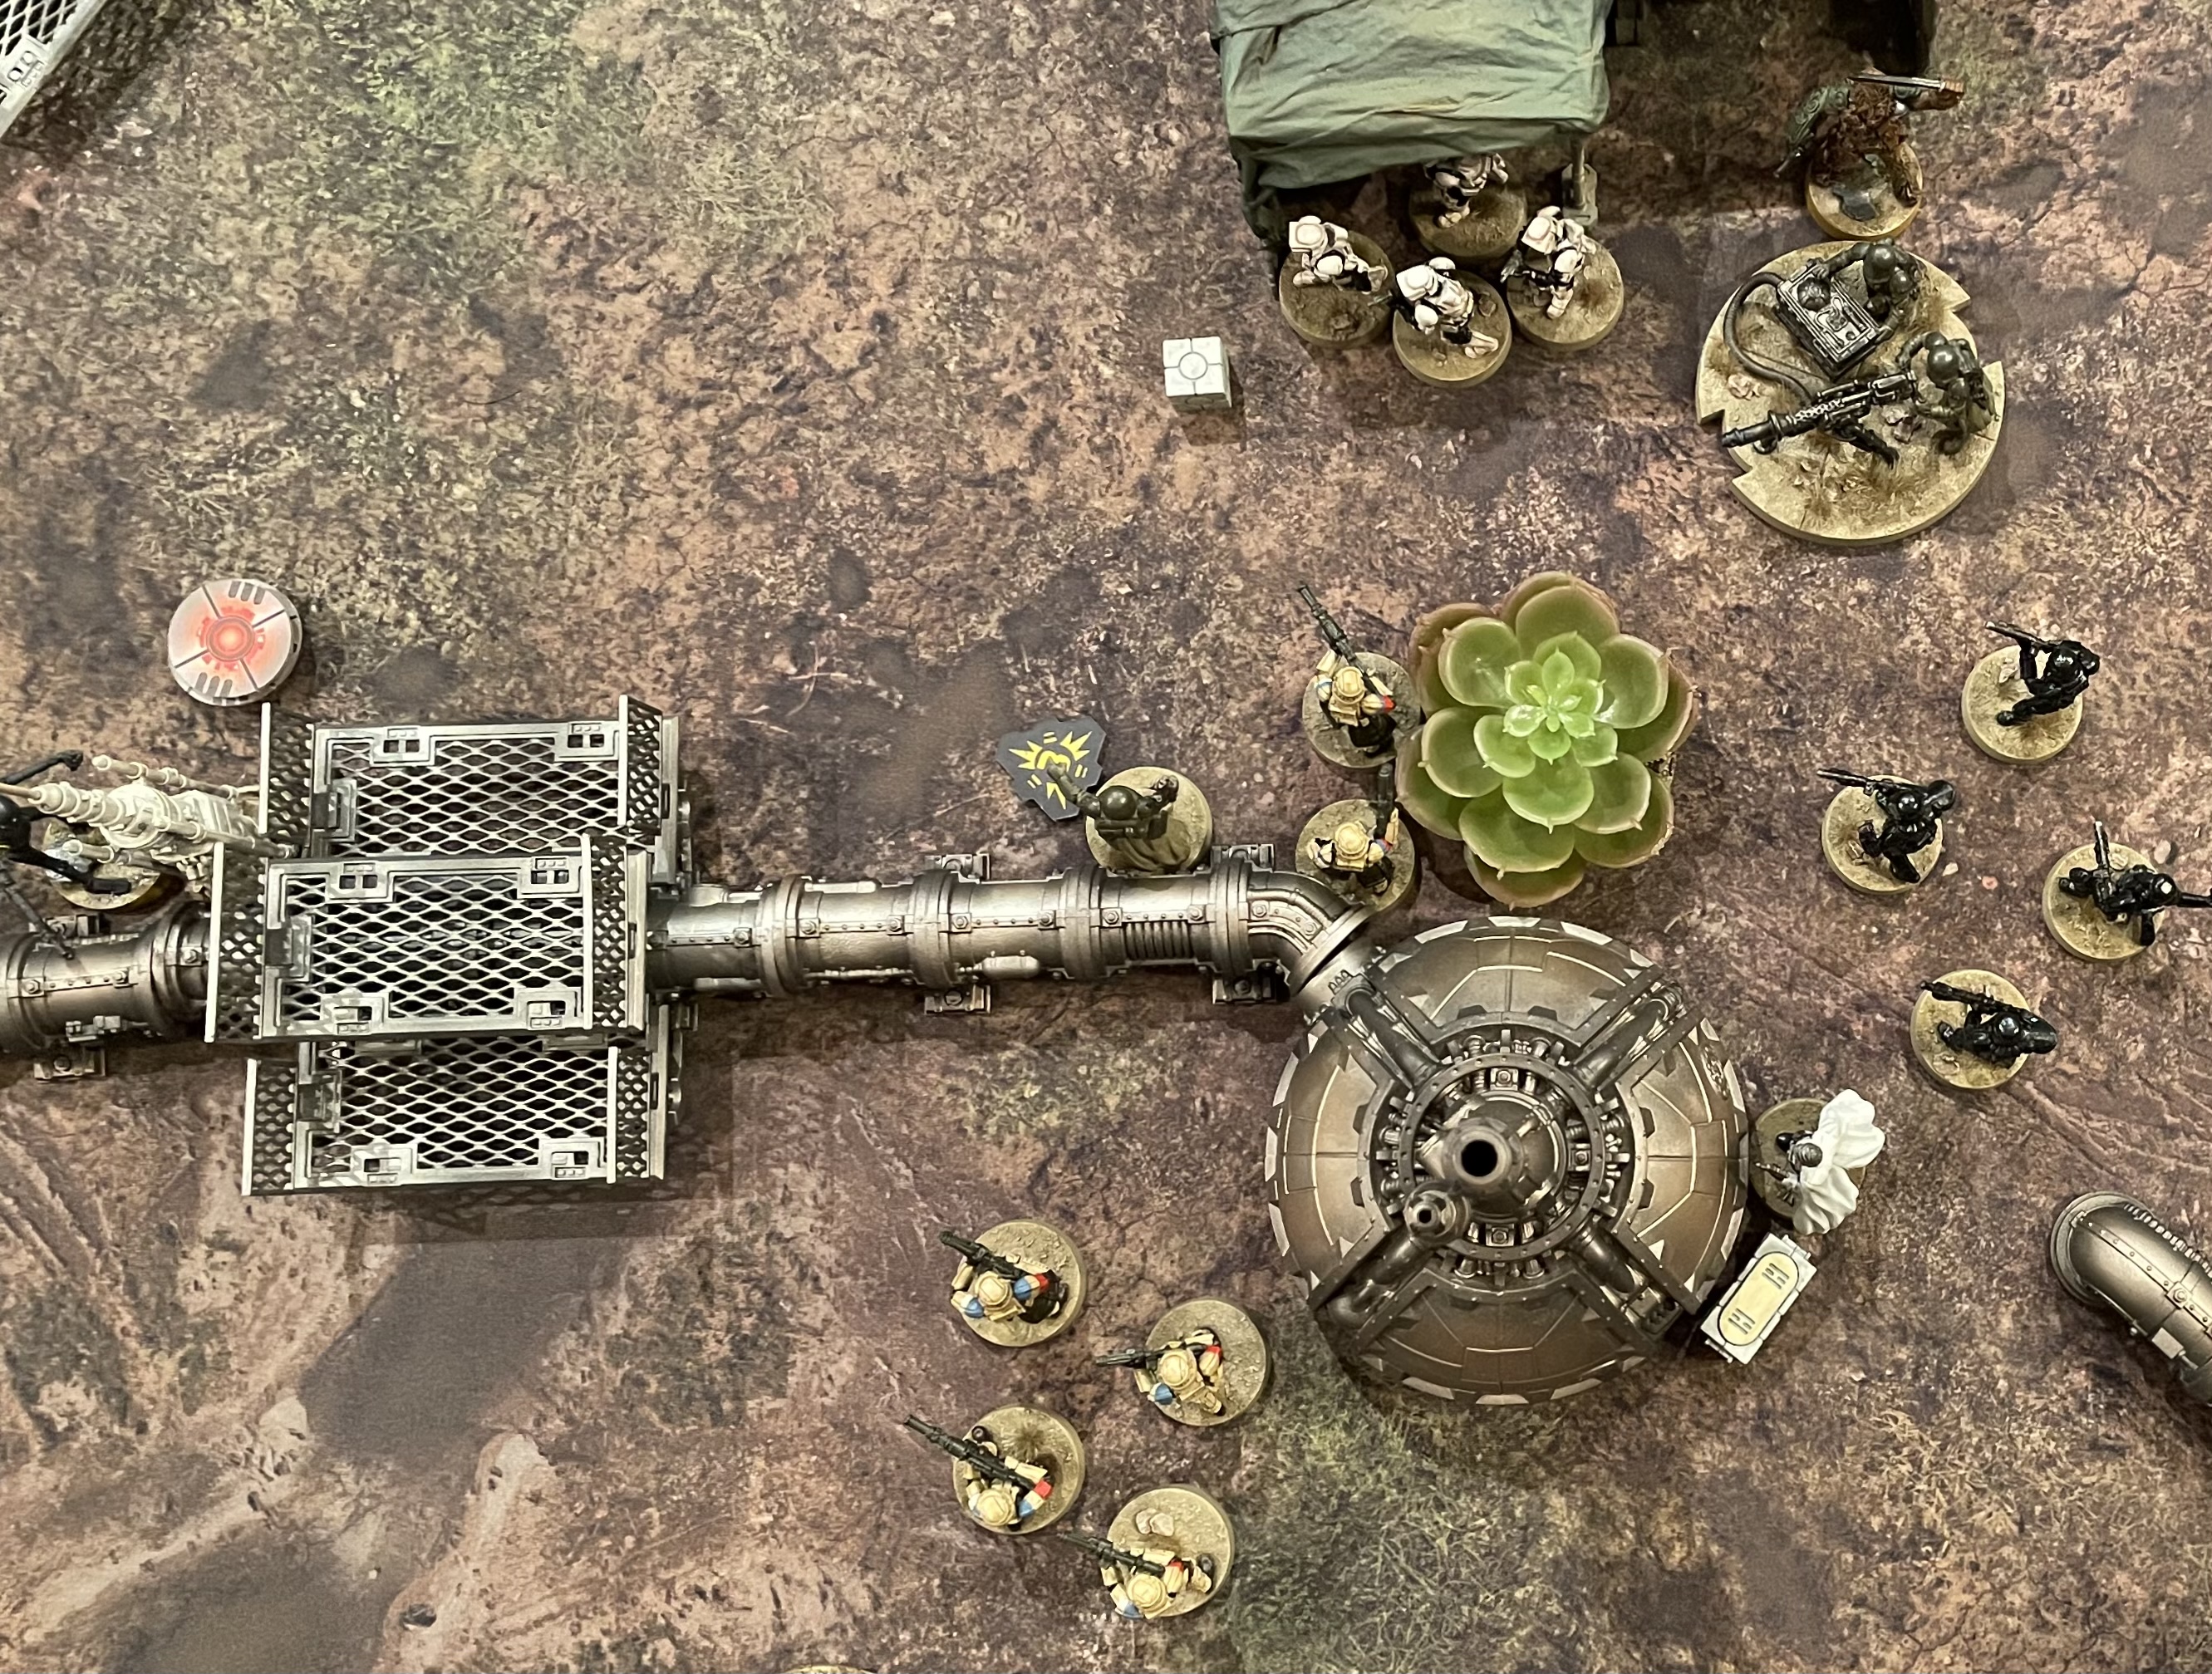
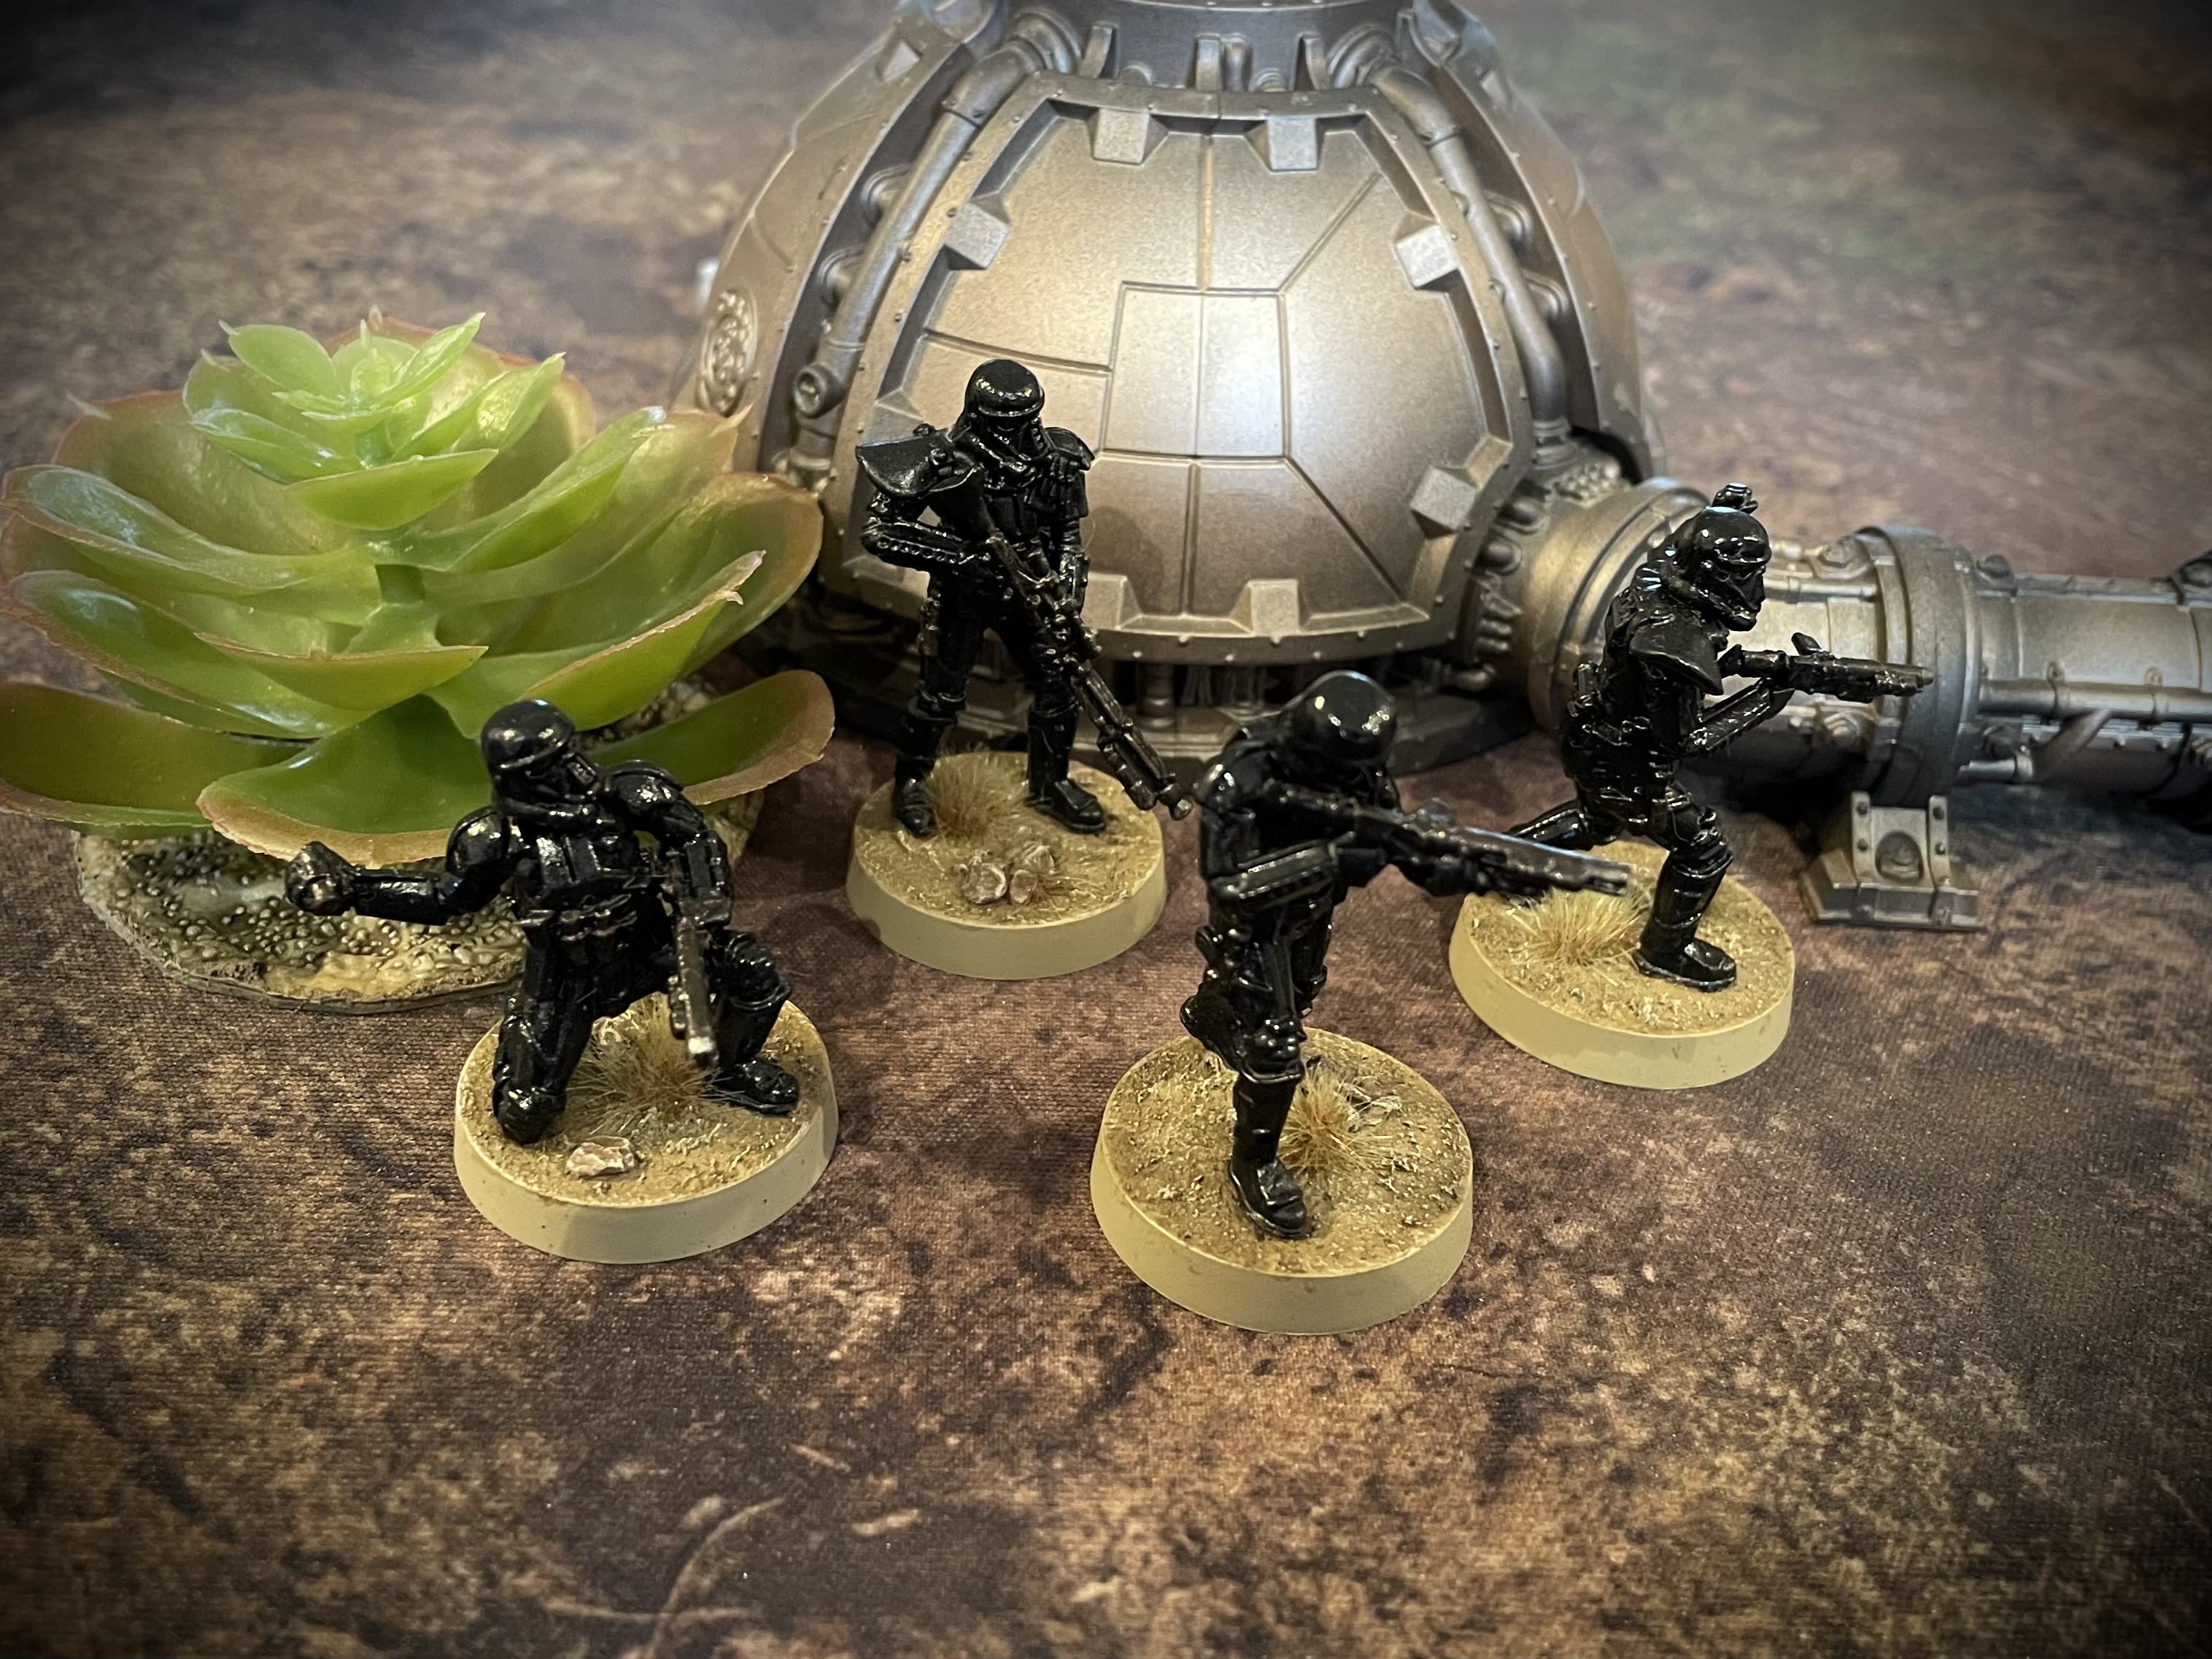
With the ‘covering fire’ of the Southern Shoretrooper unit and remaining Mortar, the Northern Shoretrooper unit and Dethtroopers were able to break cover and still benefit from aim tokens. This brought them closer to the objective while still contributing enough firepower to finish off the Fleet Troopers and fell another Wookiee Warrior.
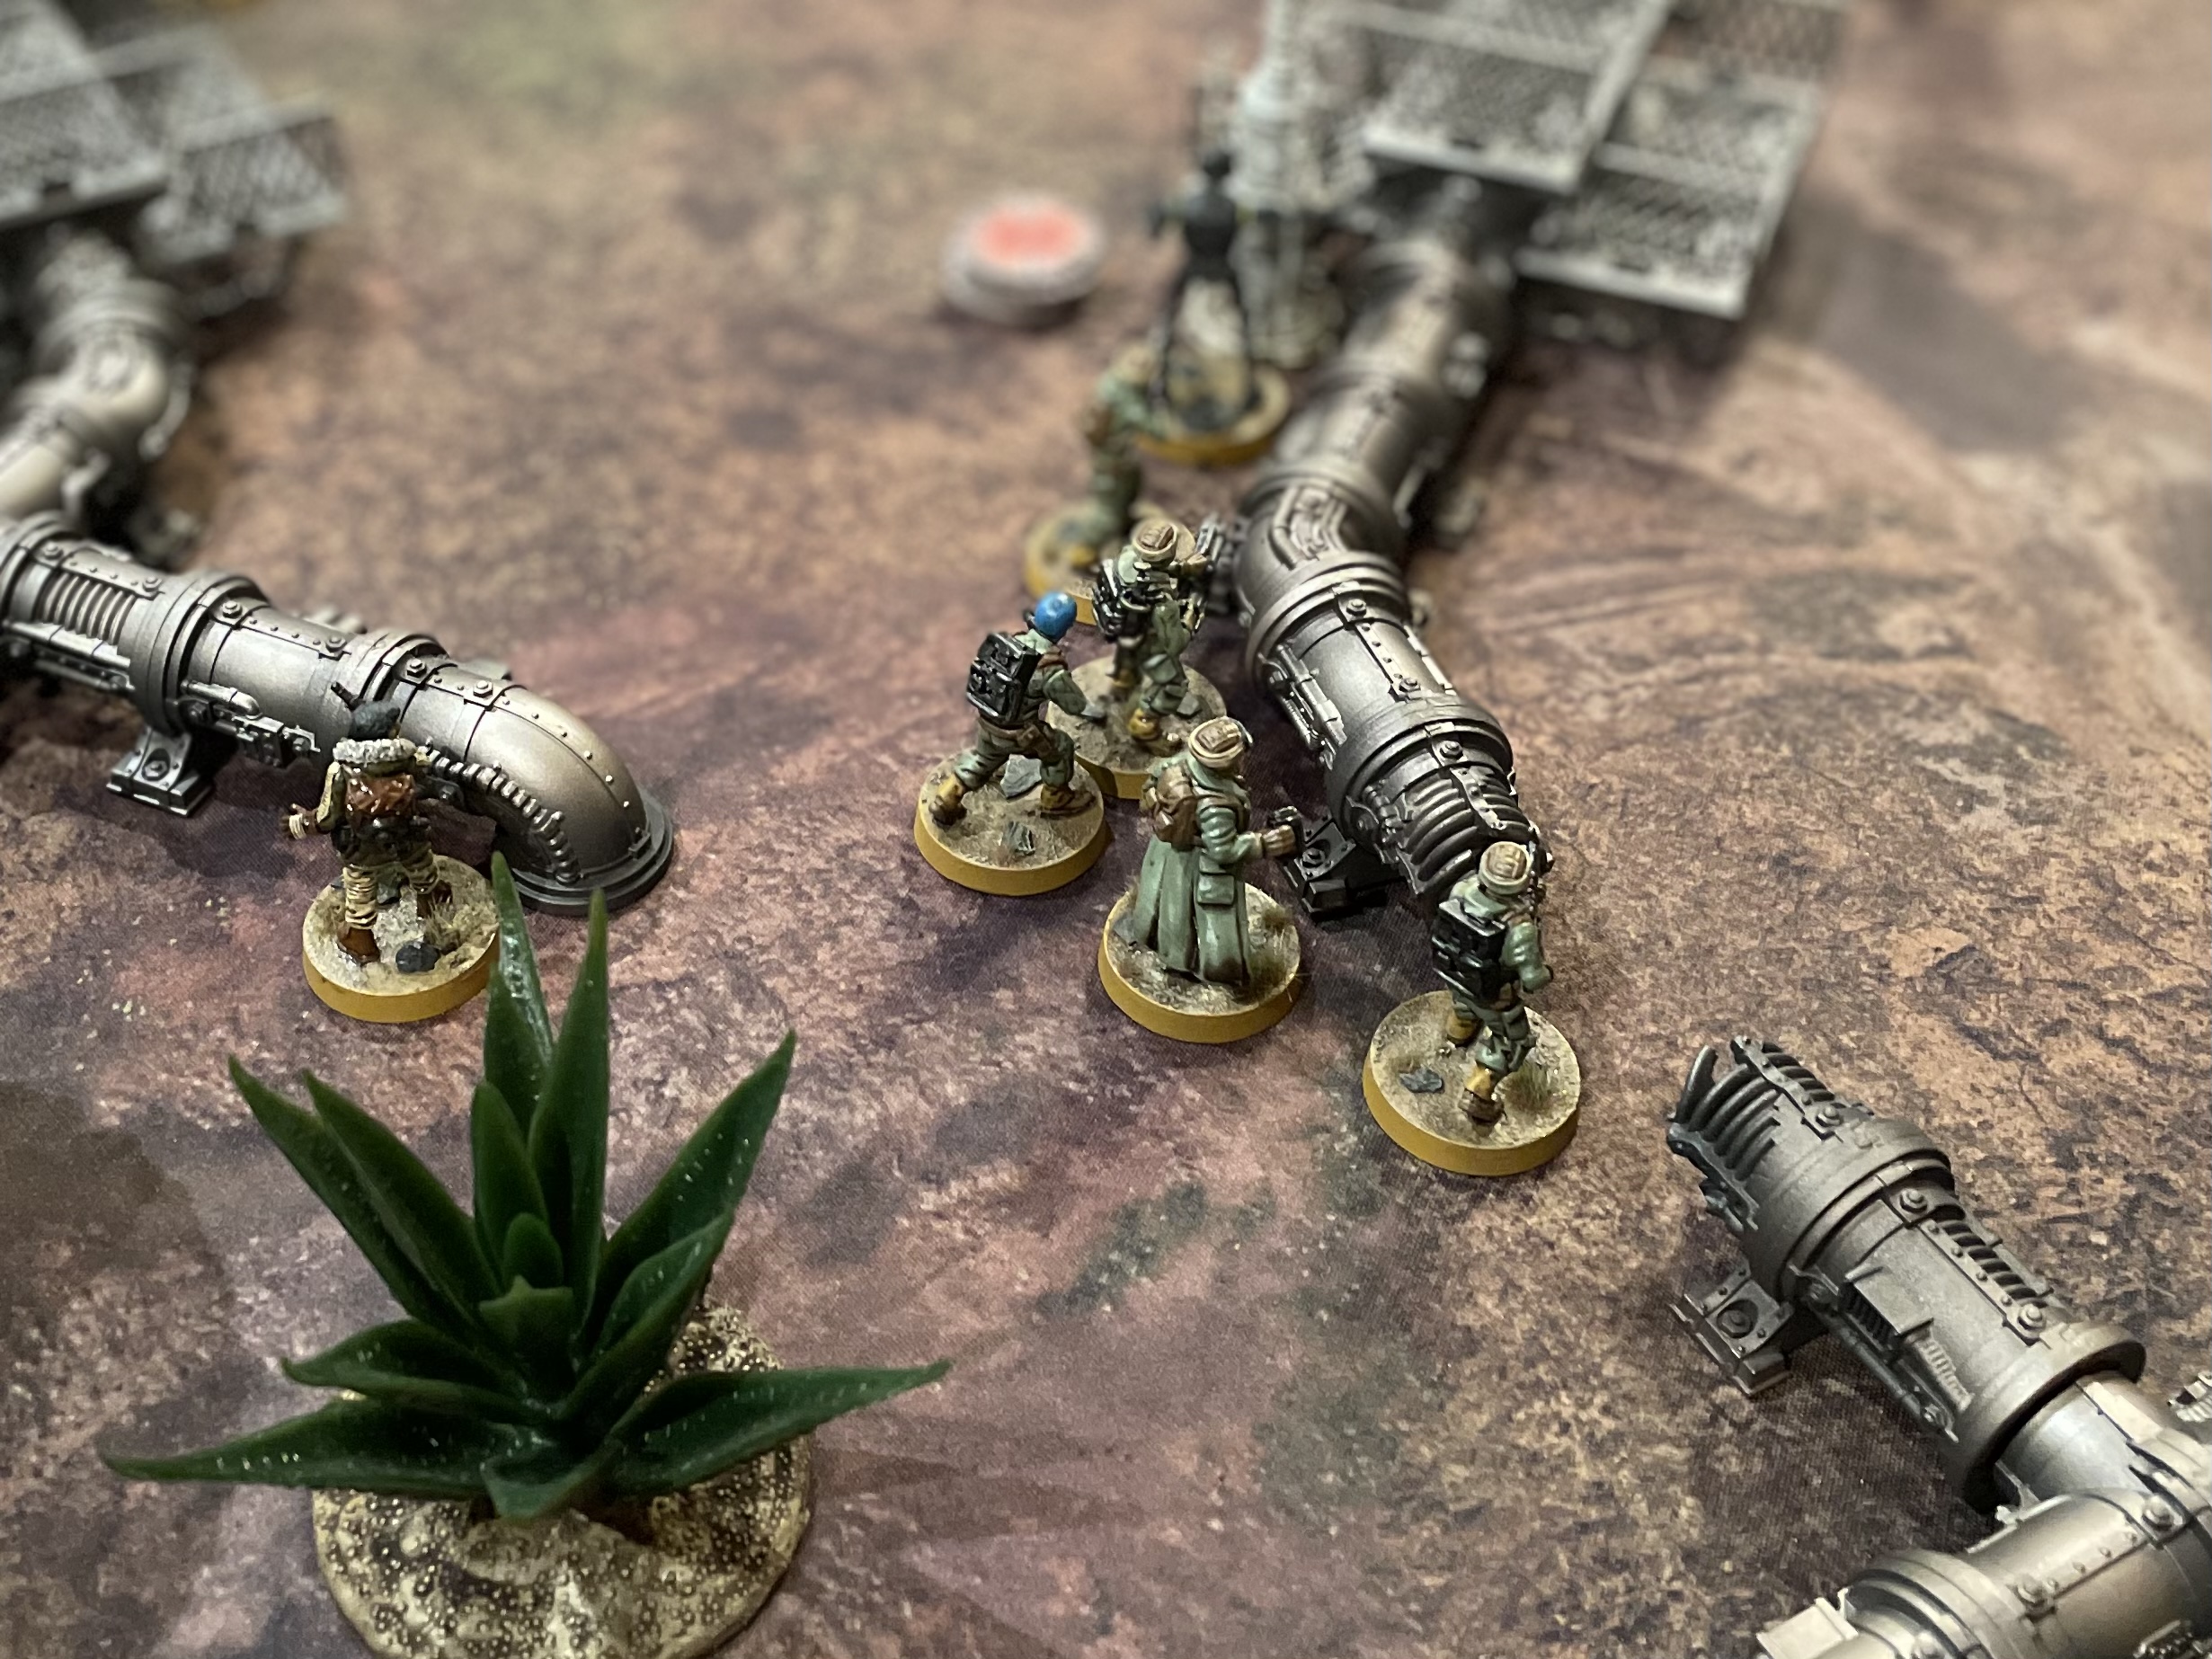
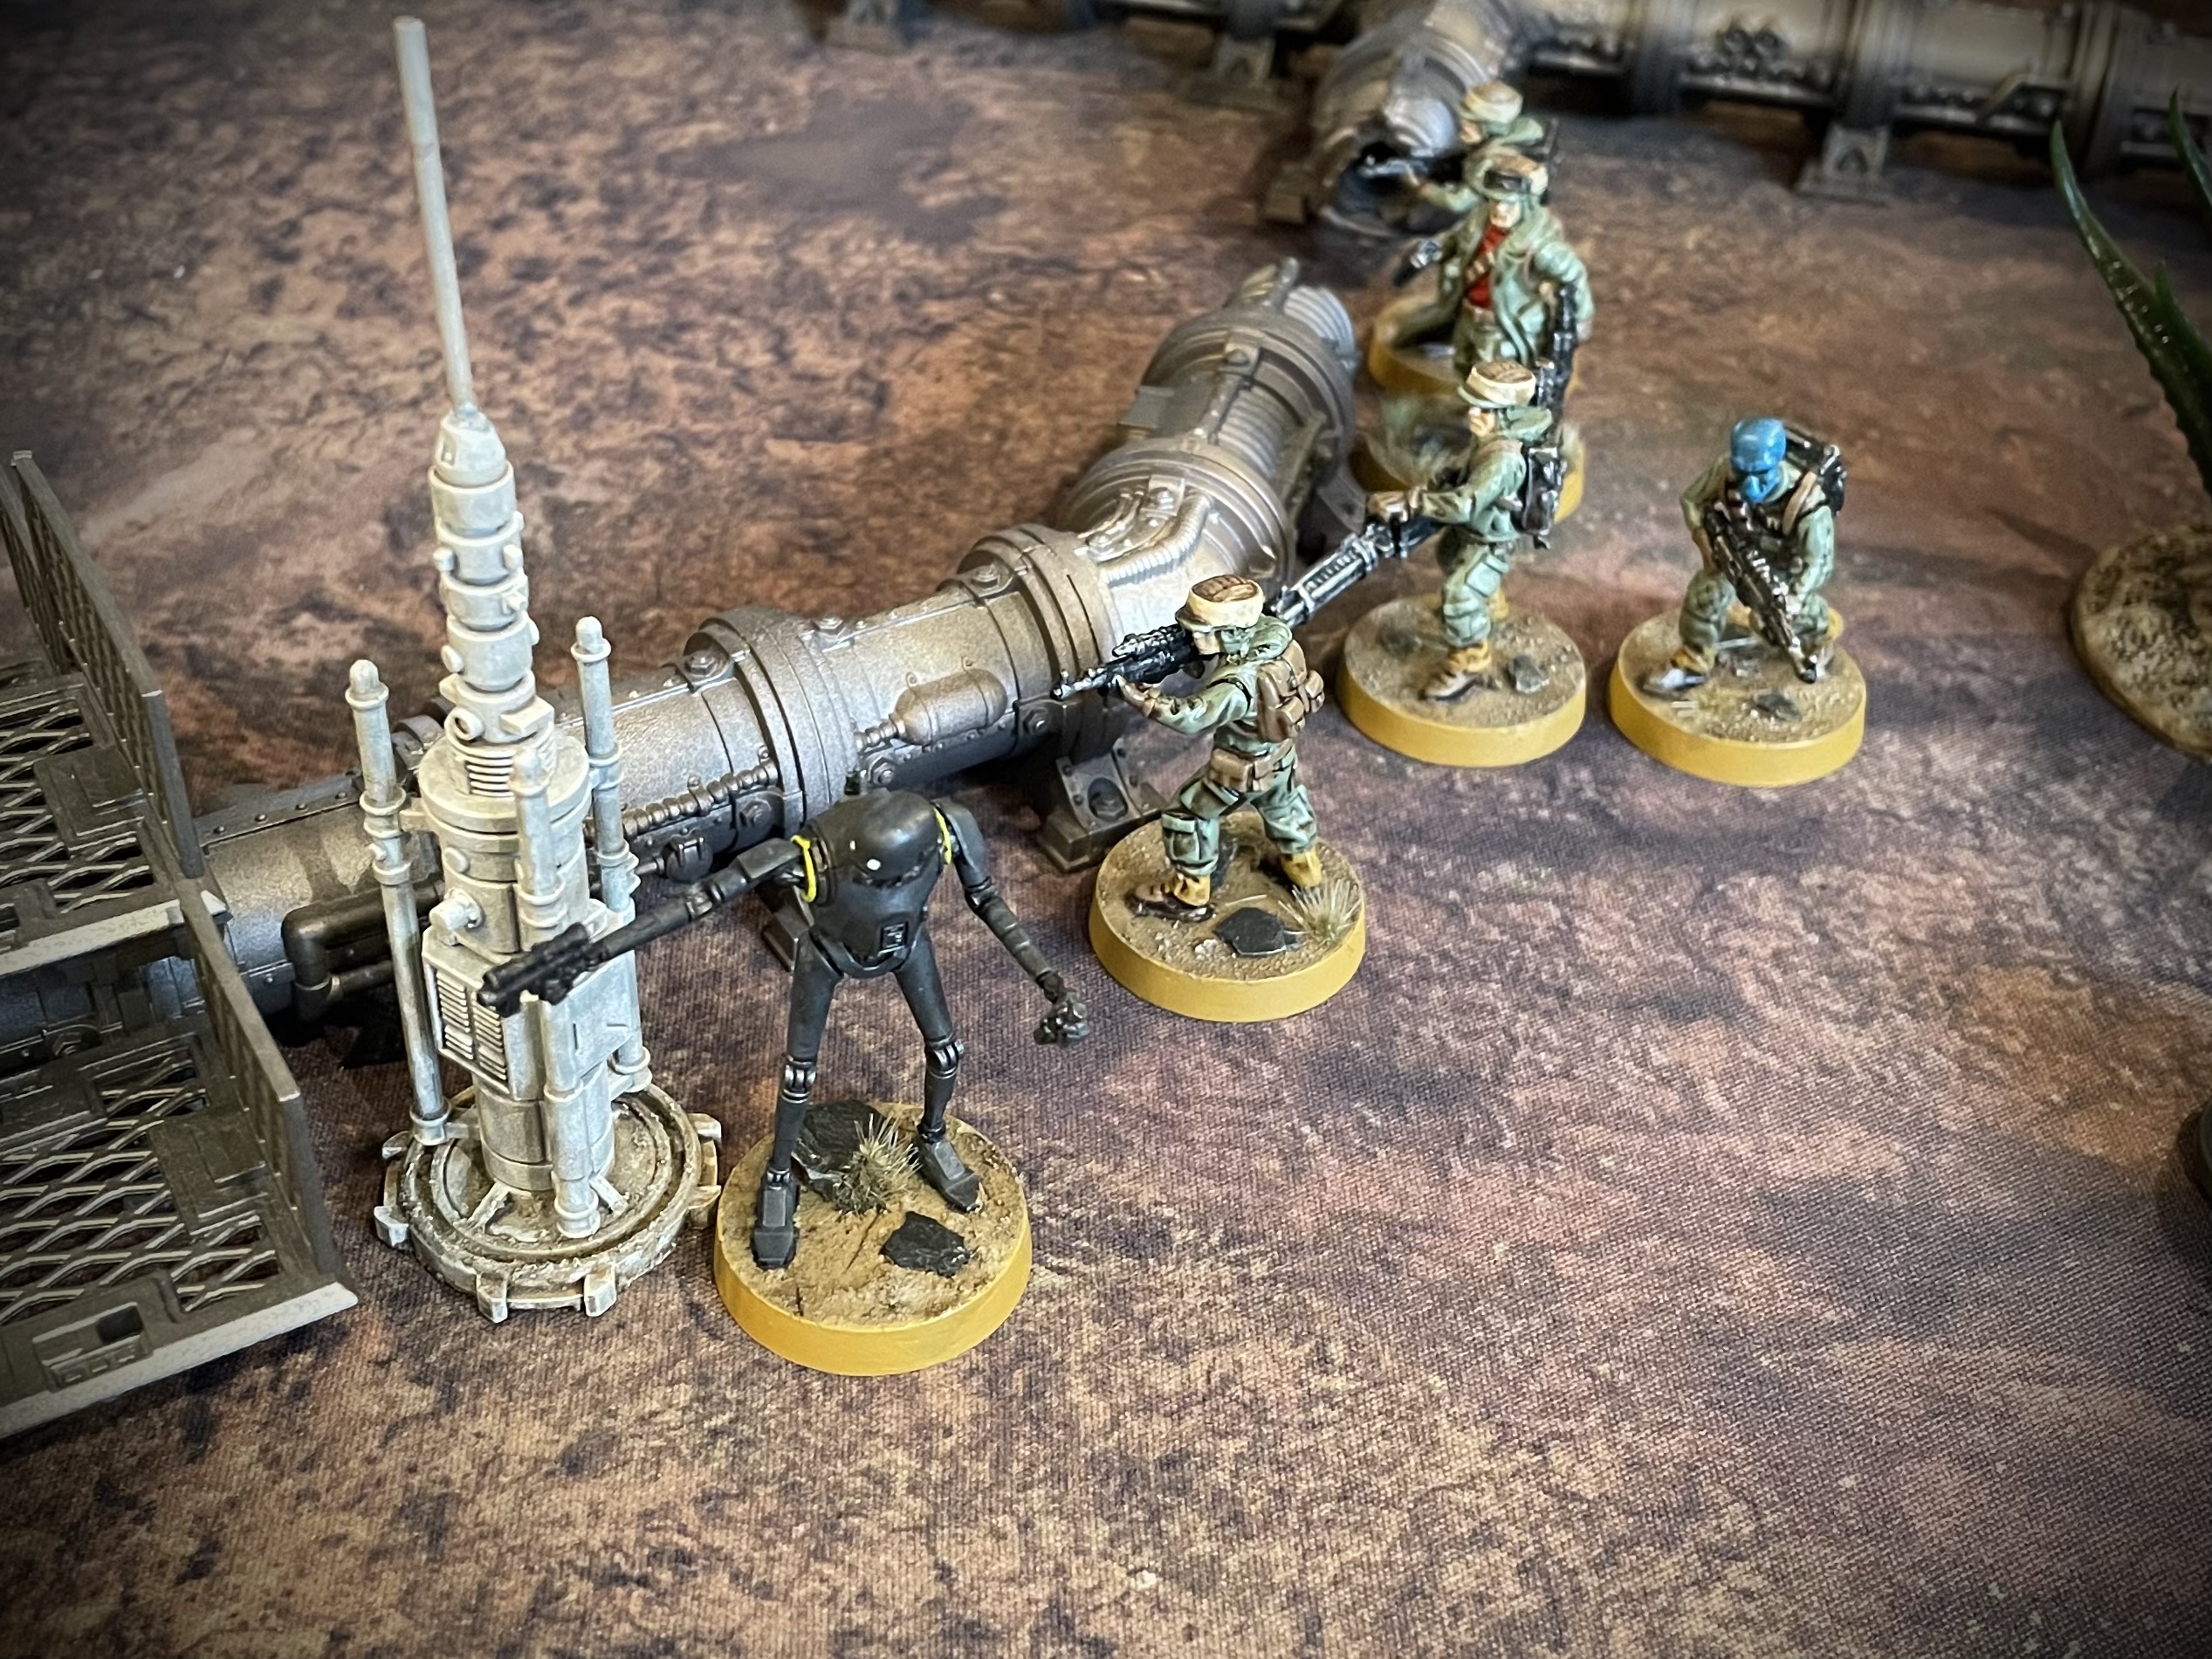
Though the Rebels had taken heavy casualties, the Trooper unit previously occupied with uploading Intel, was now able to pull forward in support of Cassian and K2, bolstering the central objective.
Round 4 - Orders
Imperials – With three turns to go I still had two 1 pip cards in my hand. In a bid to keep the Rebels on the back foot I attempted to win initiative by playing ‘Covert Observation’. This card has had an update from its original format and now causes suppression on any unit on the opposing side who receives an order.
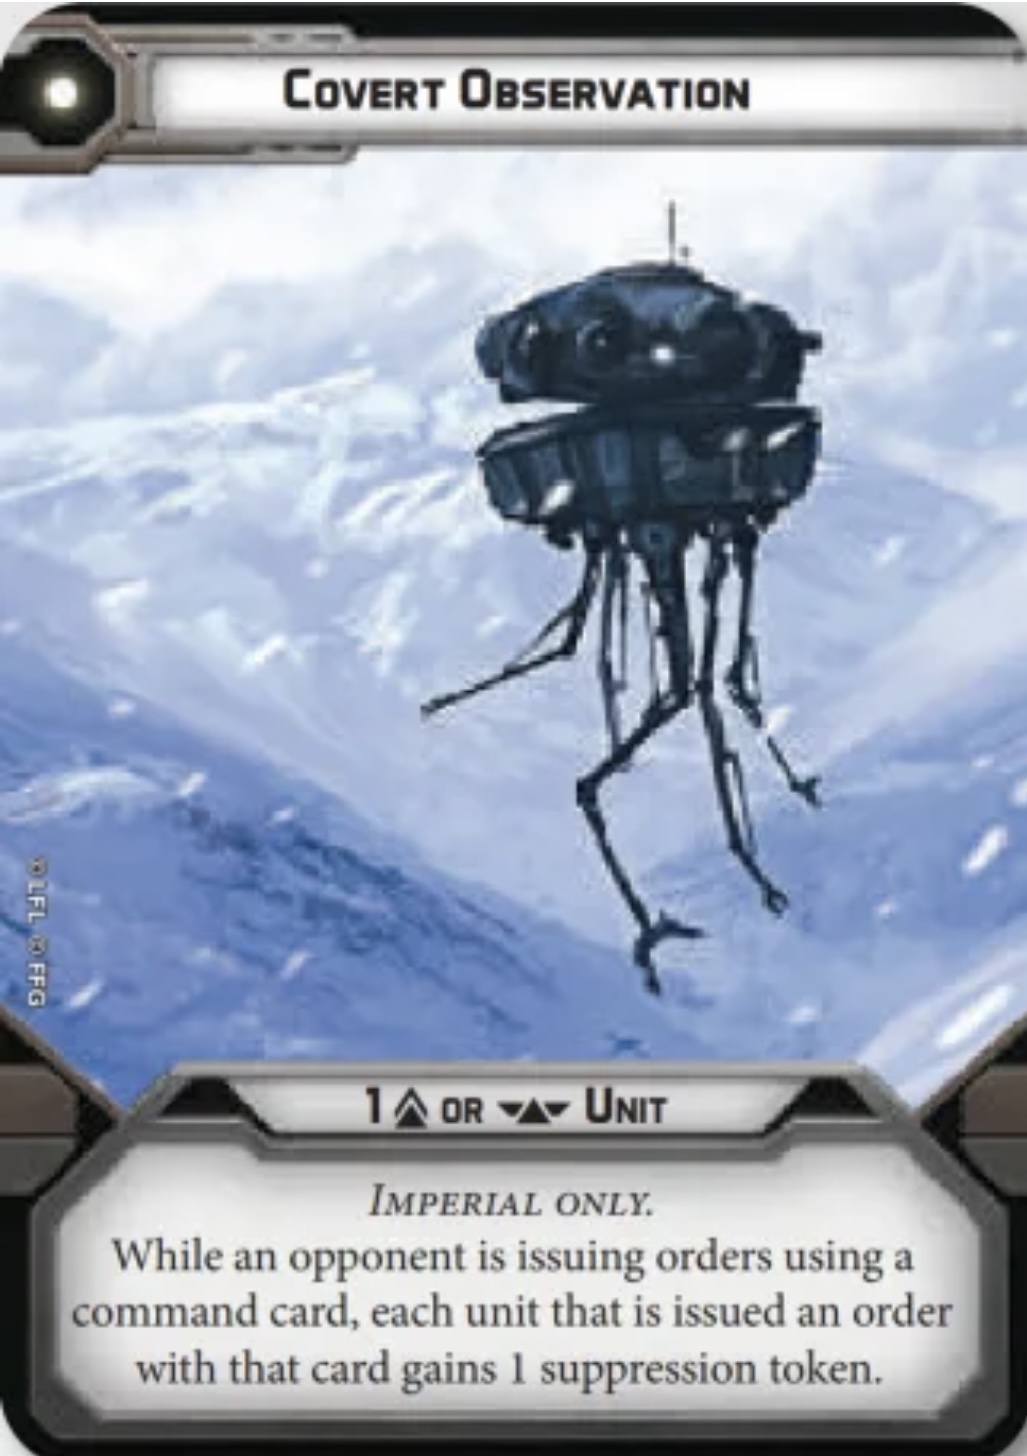
A small advantage but robbing my opponent of actions and increasing my chances of sowing panic in the enemy ranks could prove vital at this stage of the game.

Rebels – The imperials we’re beginning to rush my position and with most of my basic troops eliminated, my three plucky heroes were likely to come under fire this turn. By playing ‘Trust goes both ways’ I would be able to generate additional aim or dodge tokens by gaining Teamwork for Jyn and one other unit. The obvious choice was K-2SO, who was the last line of defence for my forward objective.
Unfortunately the Imperials ‘Covert Observation’ would mean K2 and Jyn each beginning the round with a Suppression token.
Round 4 - Combat
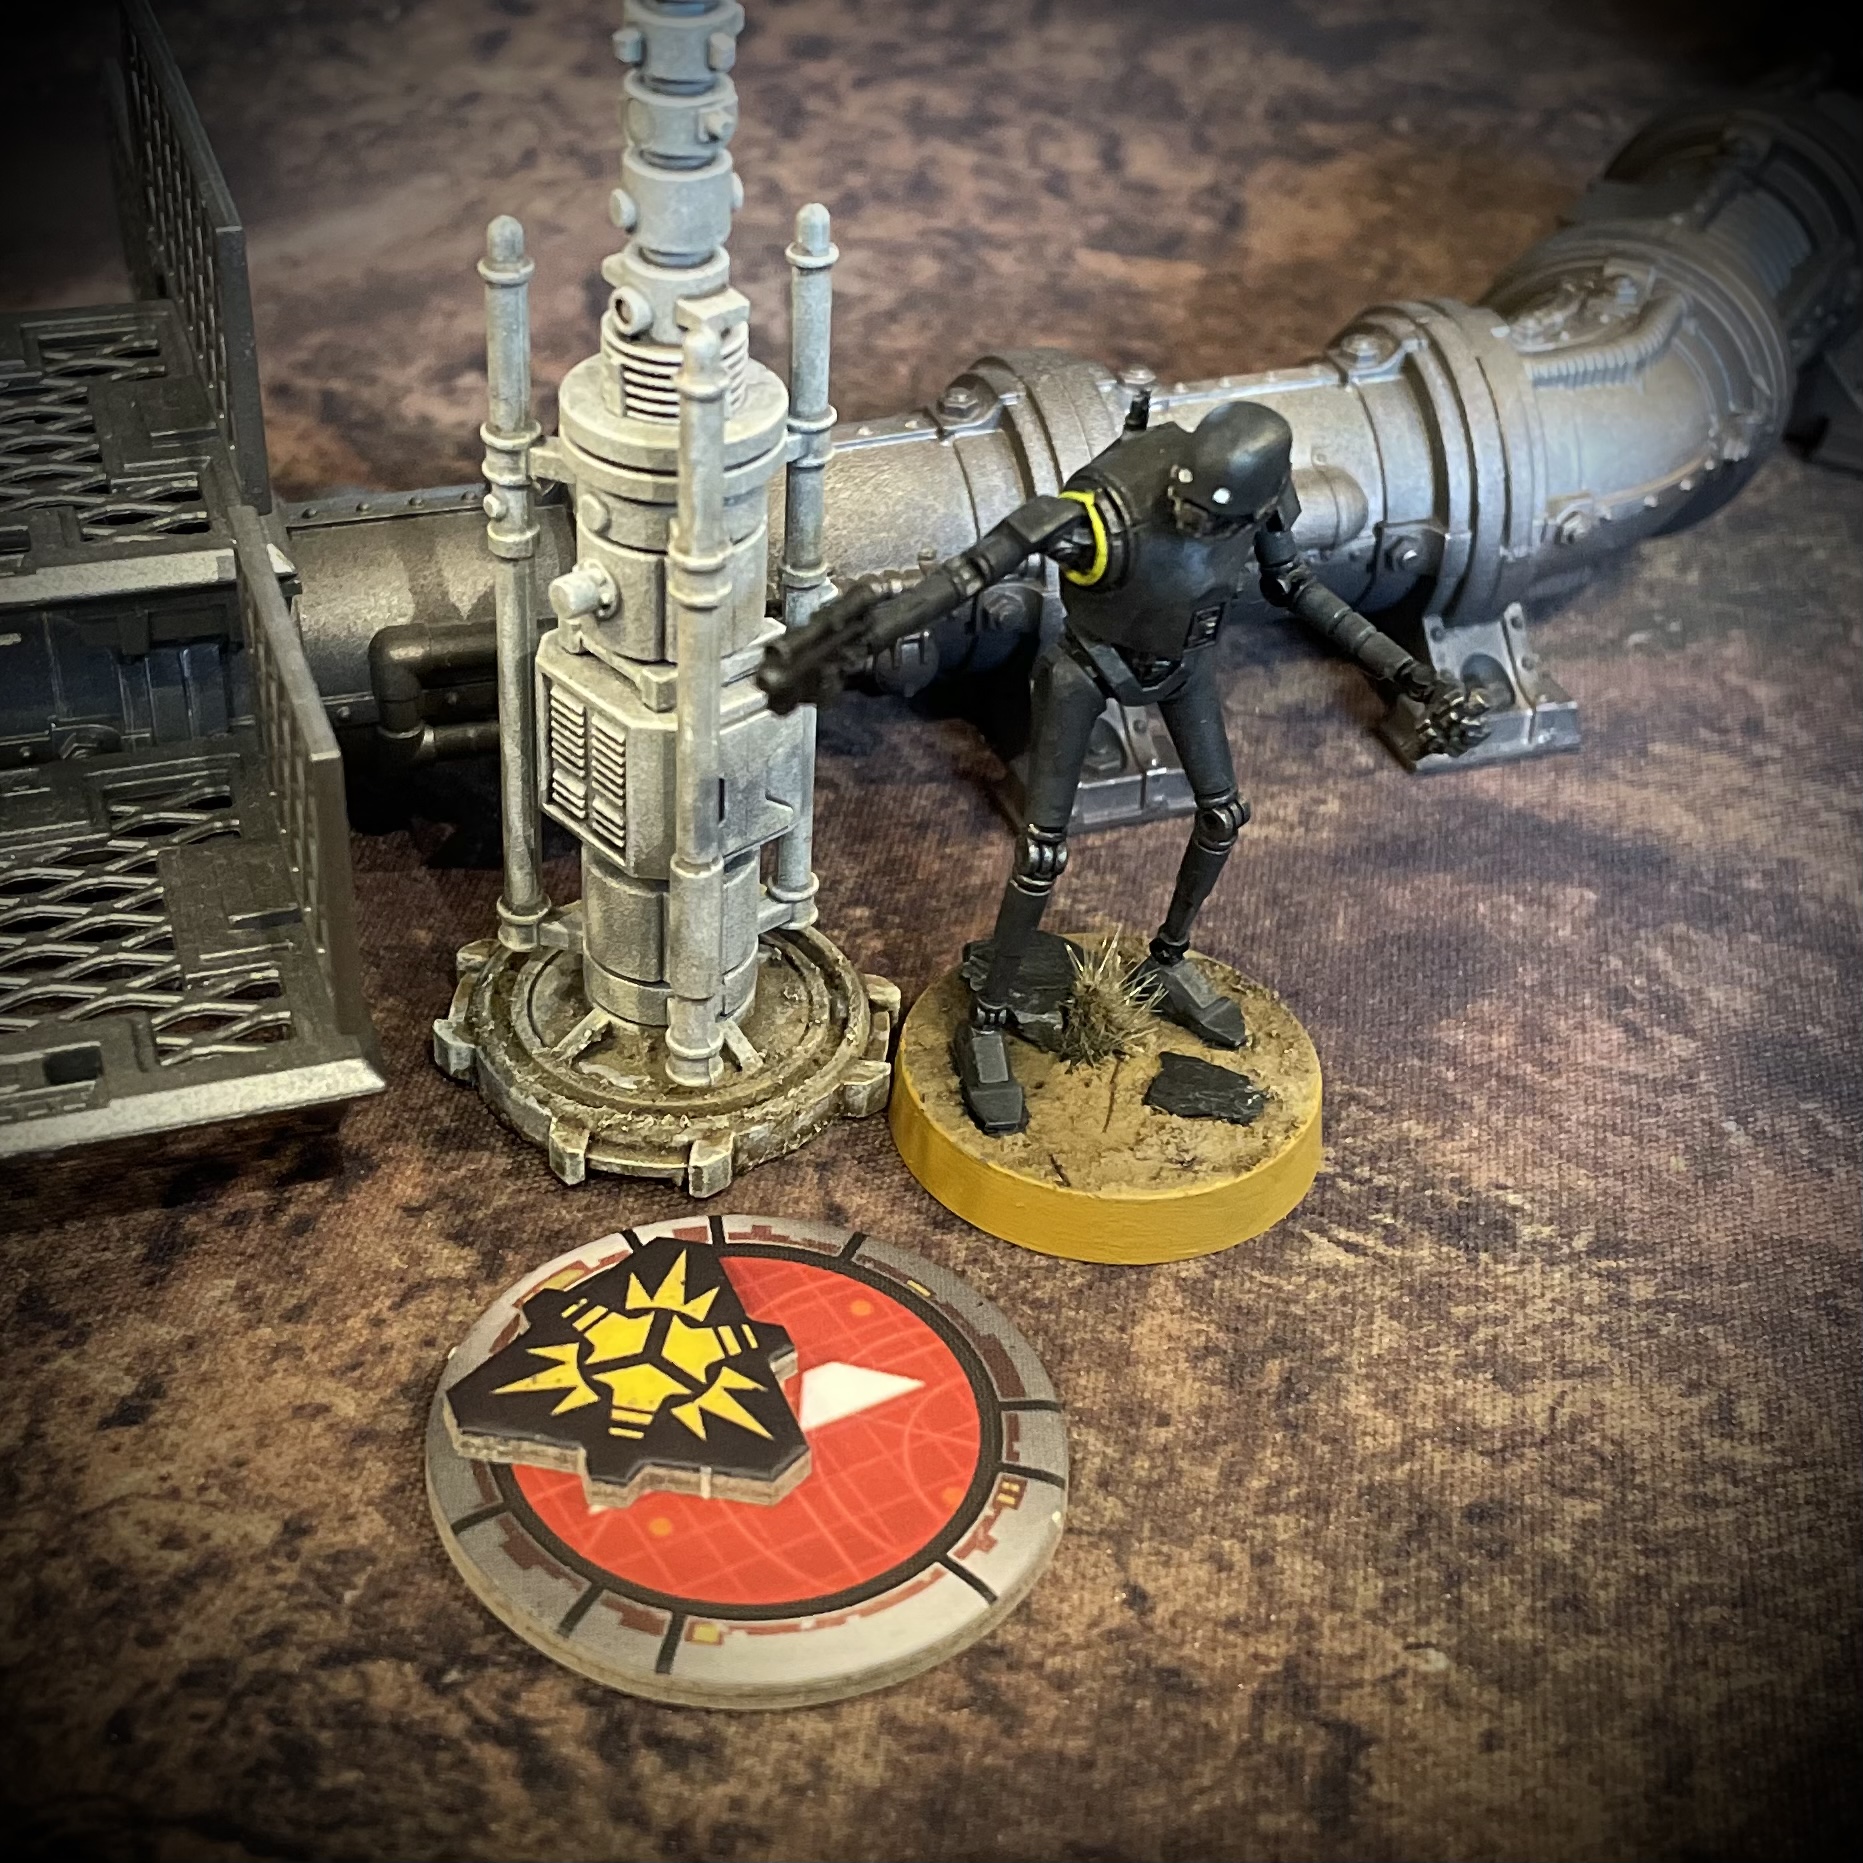
Once again the Imperials had stolen the initiative and wasted no time moving the E-Web into a position from which it would cover the objective with a standby action.
Seeing an opportunity to counter this move, the surviving leader of the Wookiee Warriors, made a bold move through an opening in the side of the work shack to charge the E-Web from outside of its fire arc!
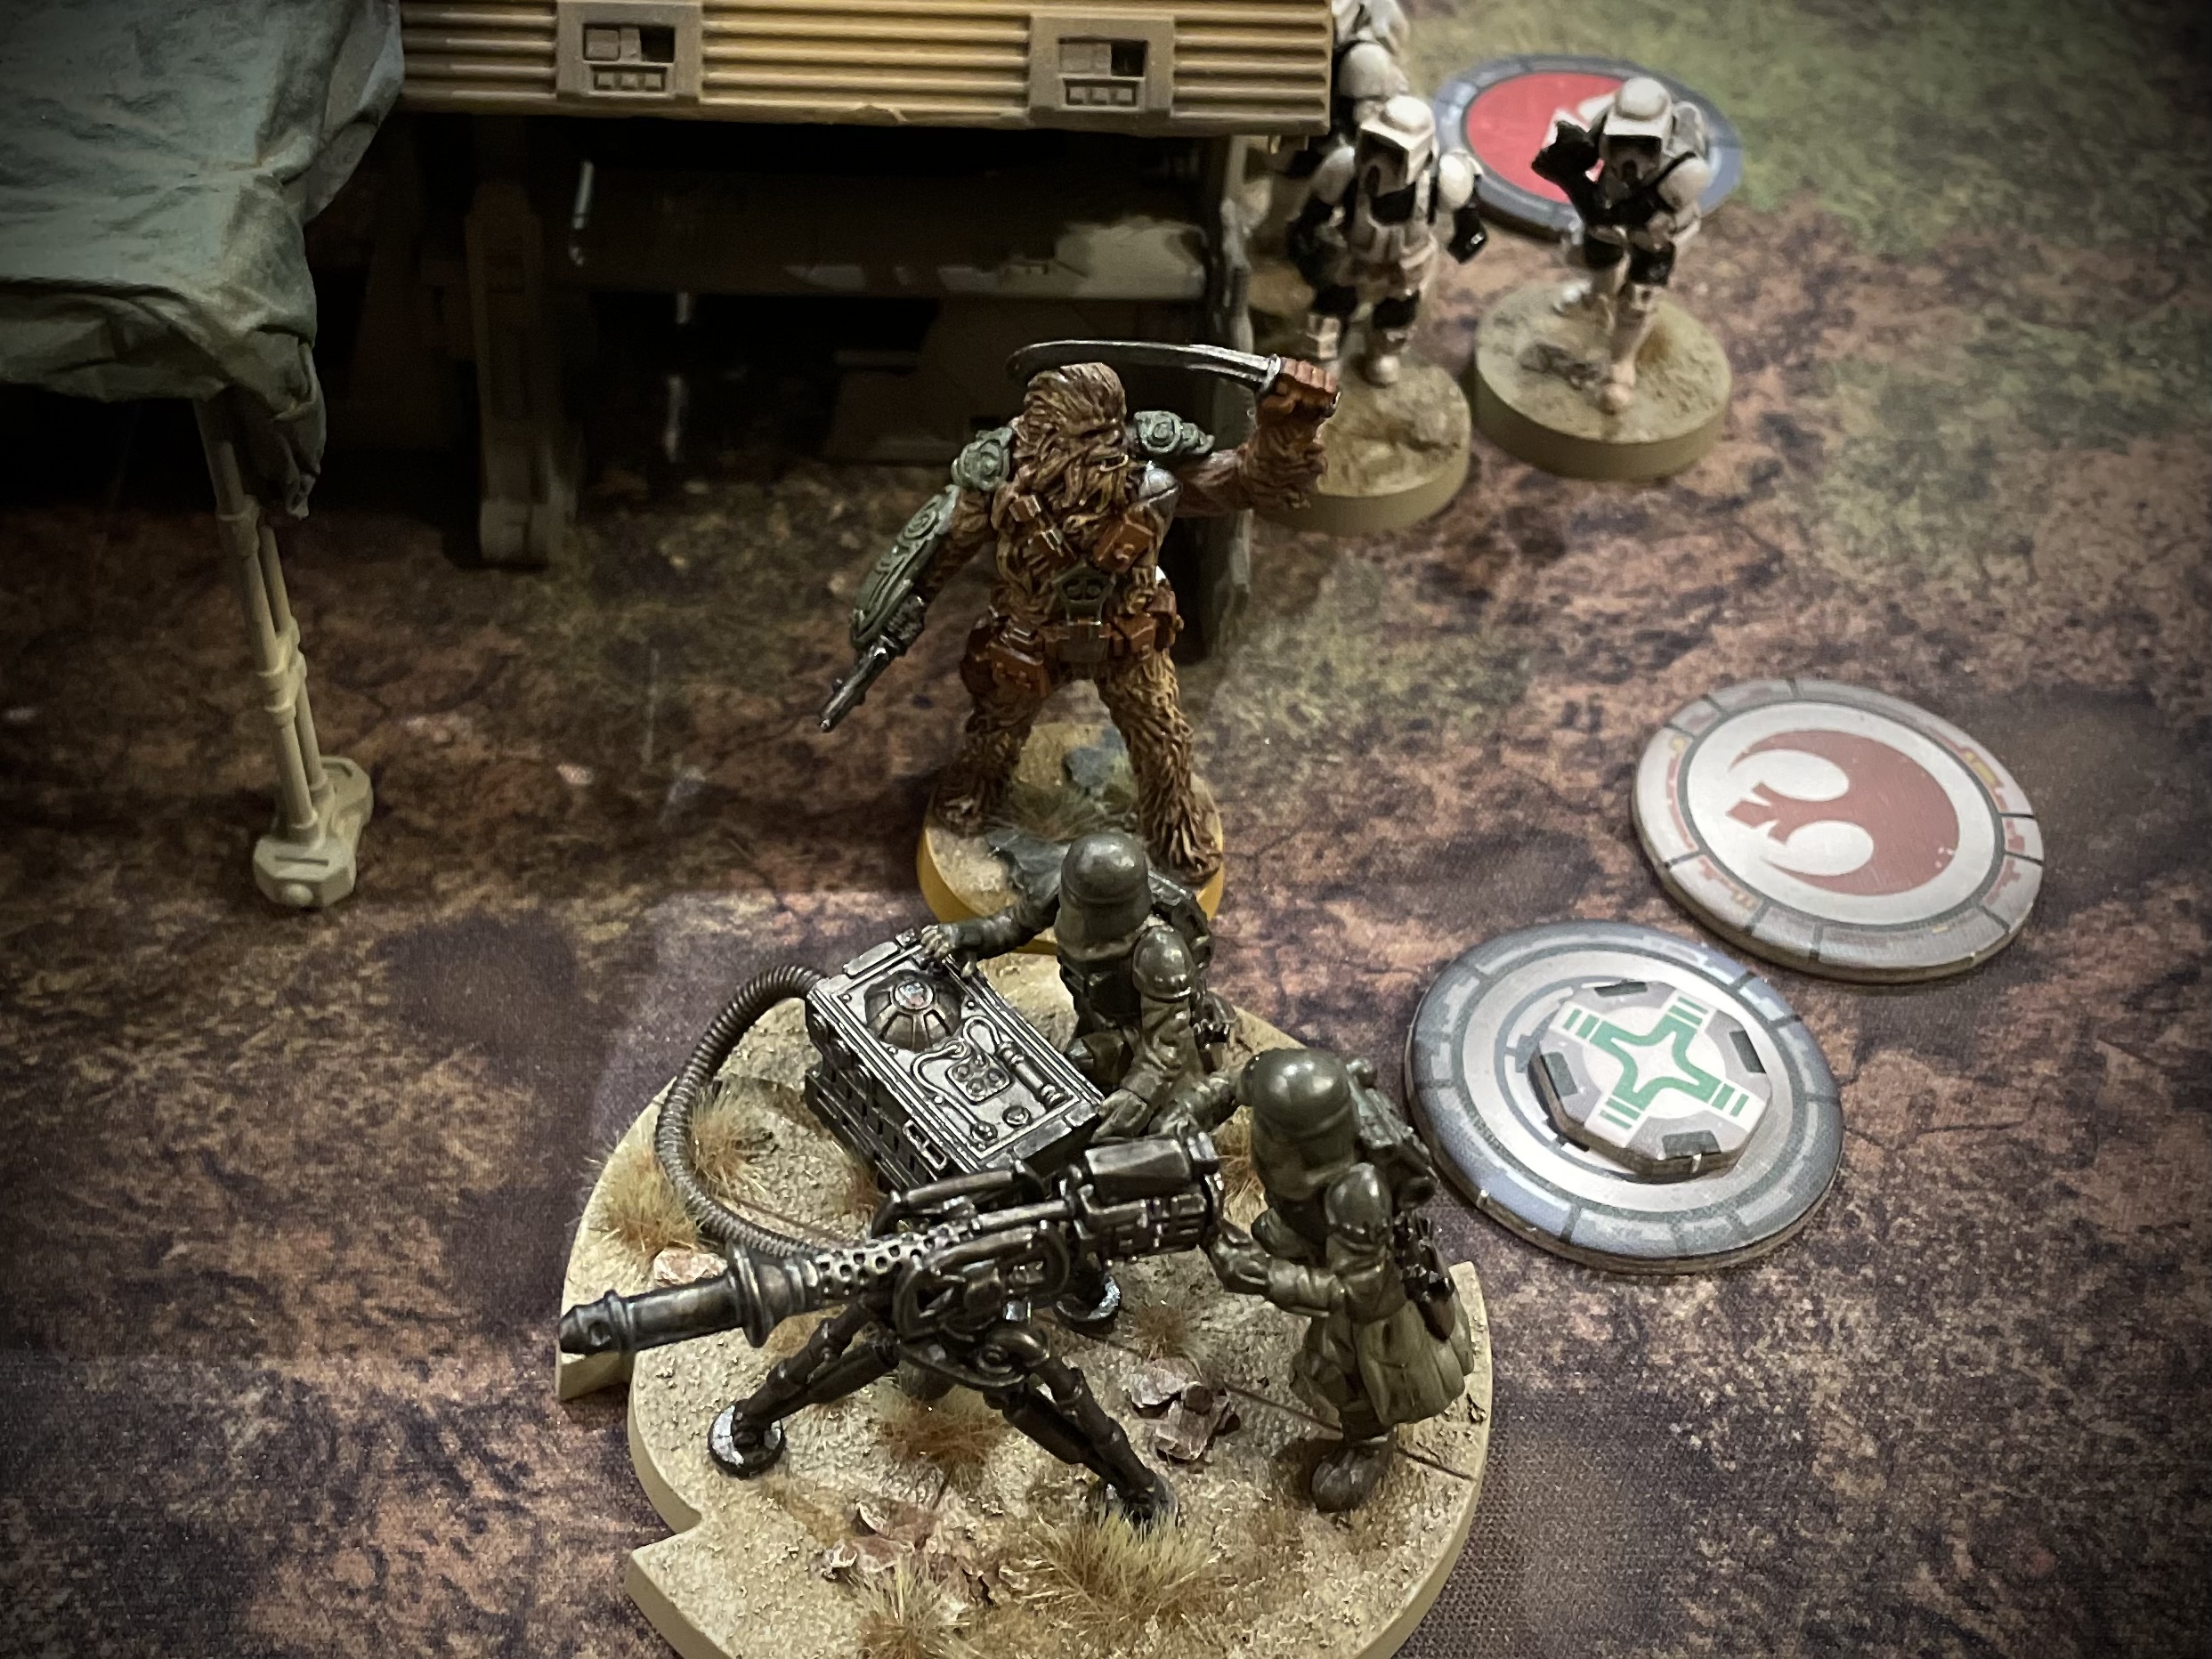
Though the weapons team suffered only a single wound in the ambush, they would now be occupied fending off an enraged man carpet! But the Imperials had plenty of units still in the fight and opened up a Mortar Volley on Jyn Erso, scoring a perfect shot!

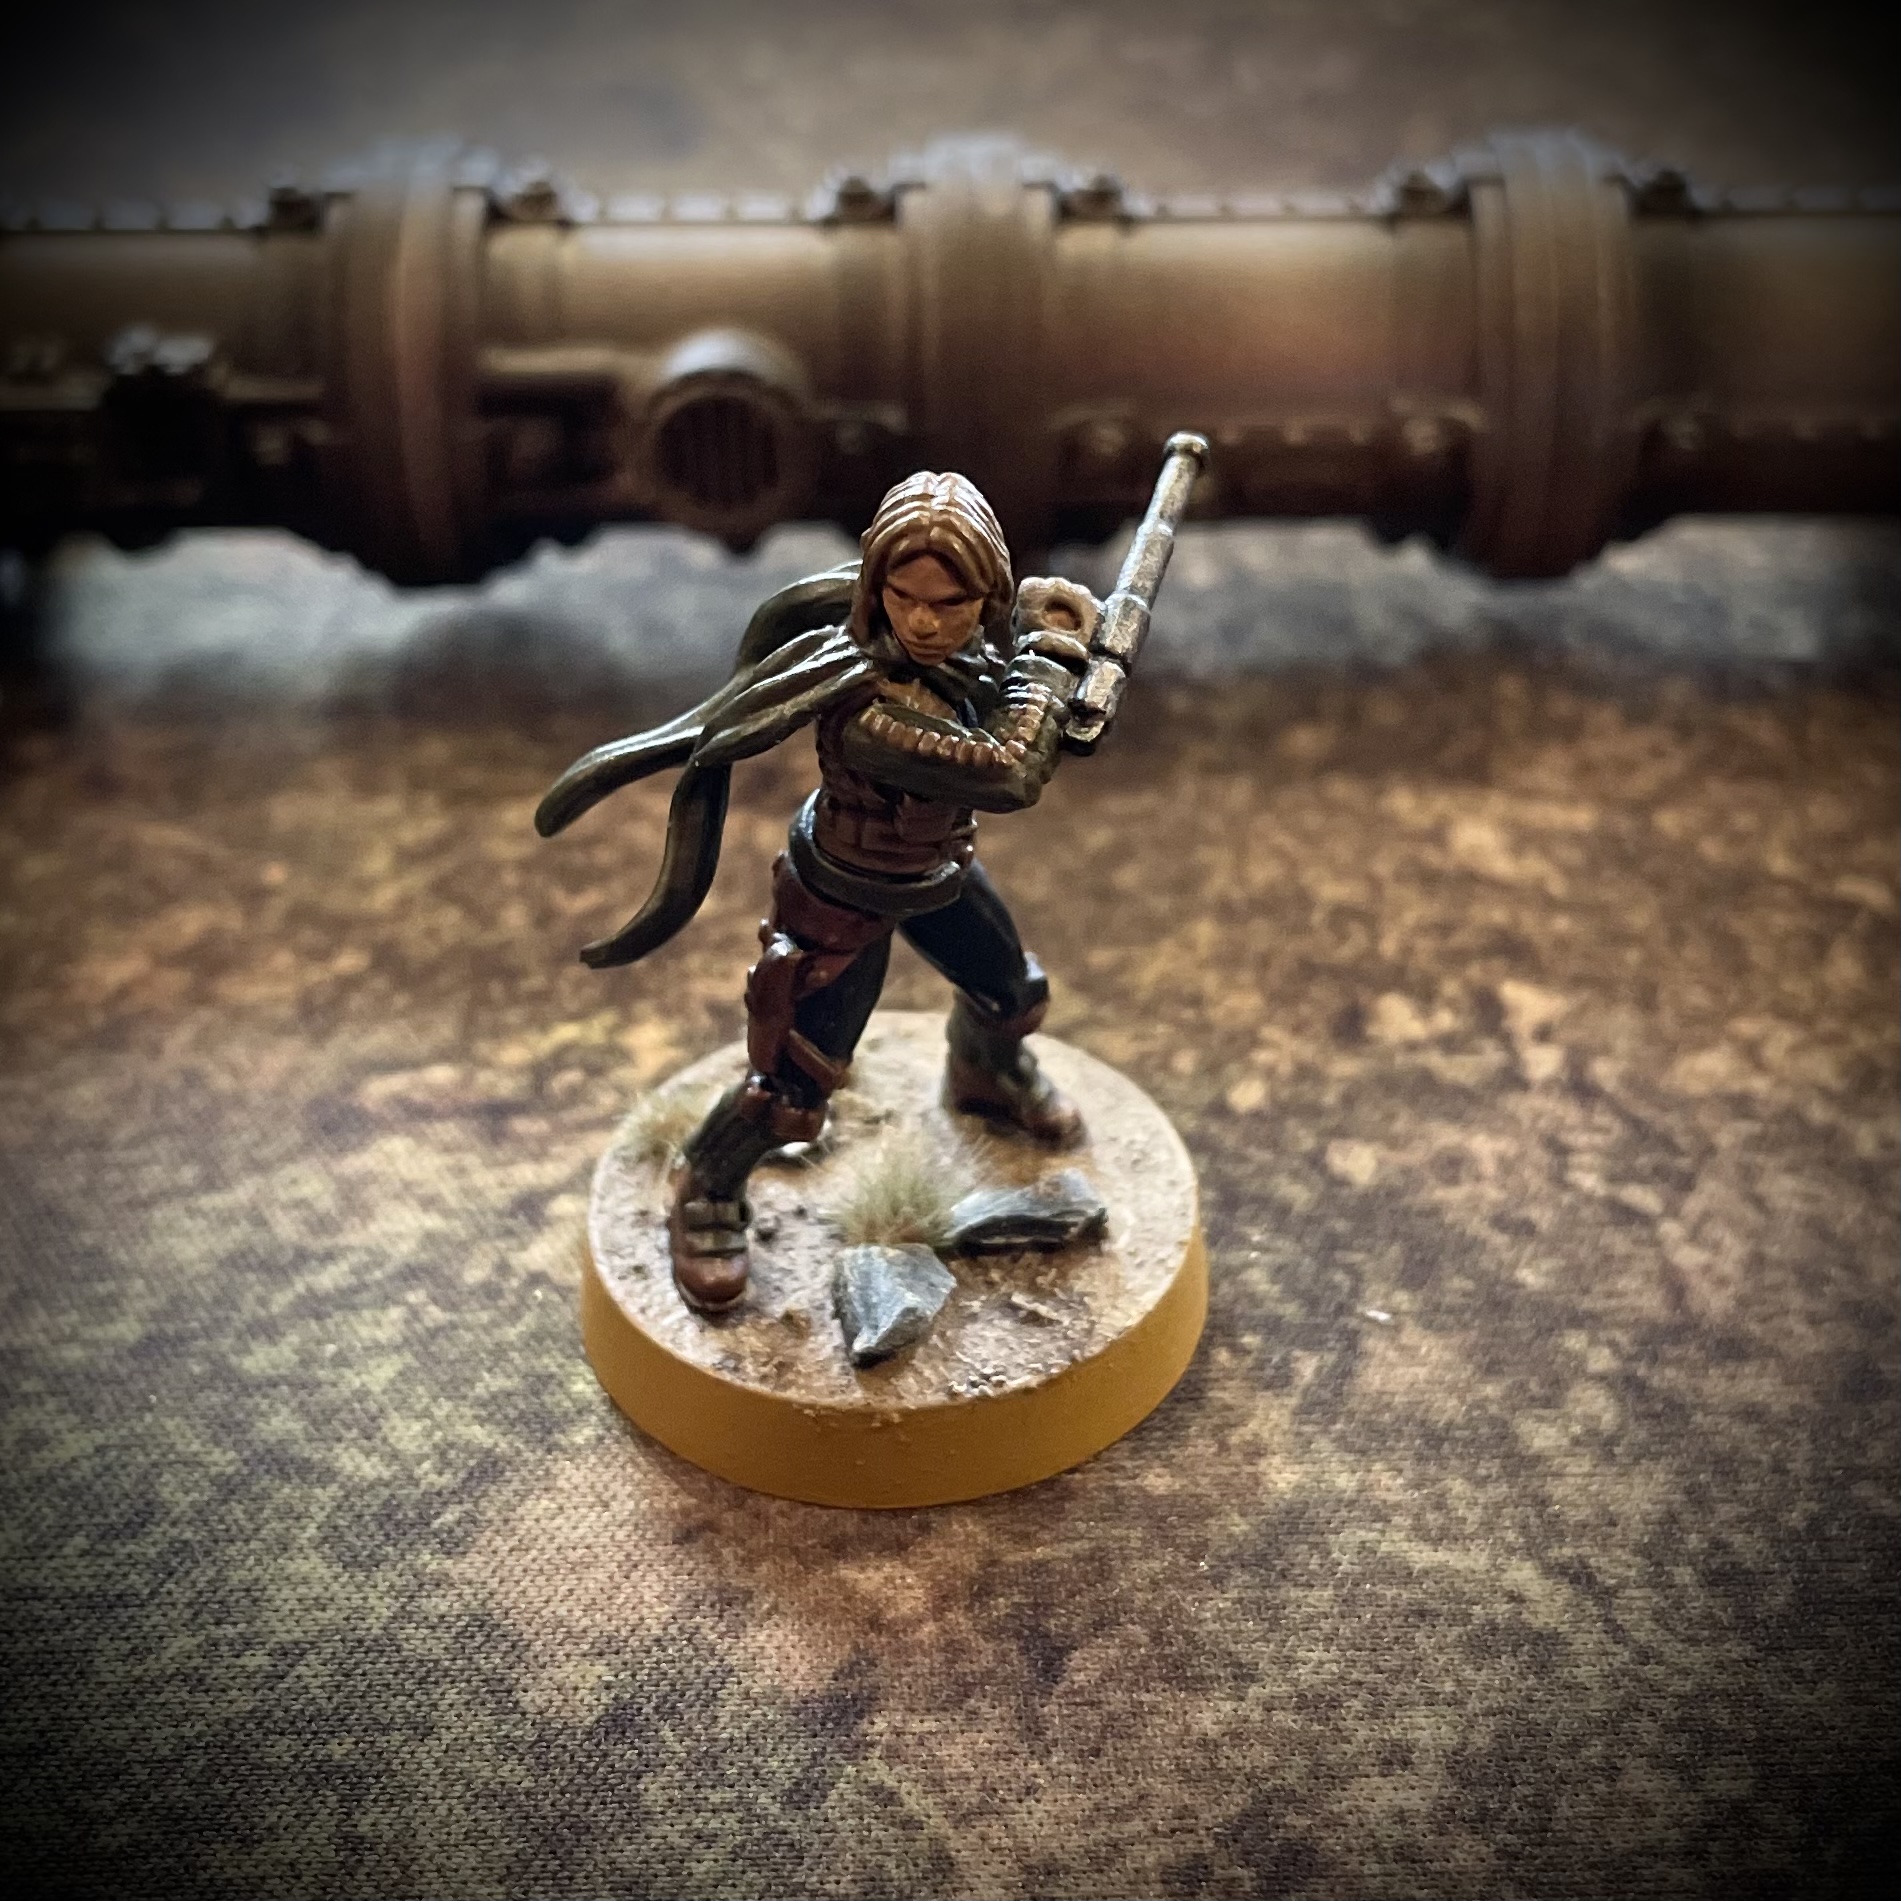
Taking no chances, Jyn opted to Duck and Cover, gaining a 2nd suppression, allowing her to roll five dice in defence of the attack, due to her Danger Senses. She escaped with only a single wound, however due to the Suppressive nature of the mortar attack, was now left with four suppression tokens.
Sensing an opportunity, Krennic ordered any available troops to target the heroin as they continued their advance on the objective, ramping her suppression up to a staggering seven!

Jyn had resisted activating as long as was reasonable but eventually had to attempt to rally. She needed to clear just two of the suppression markers to avoid panic and with seven dice to roll, had a good chance of achieving this…
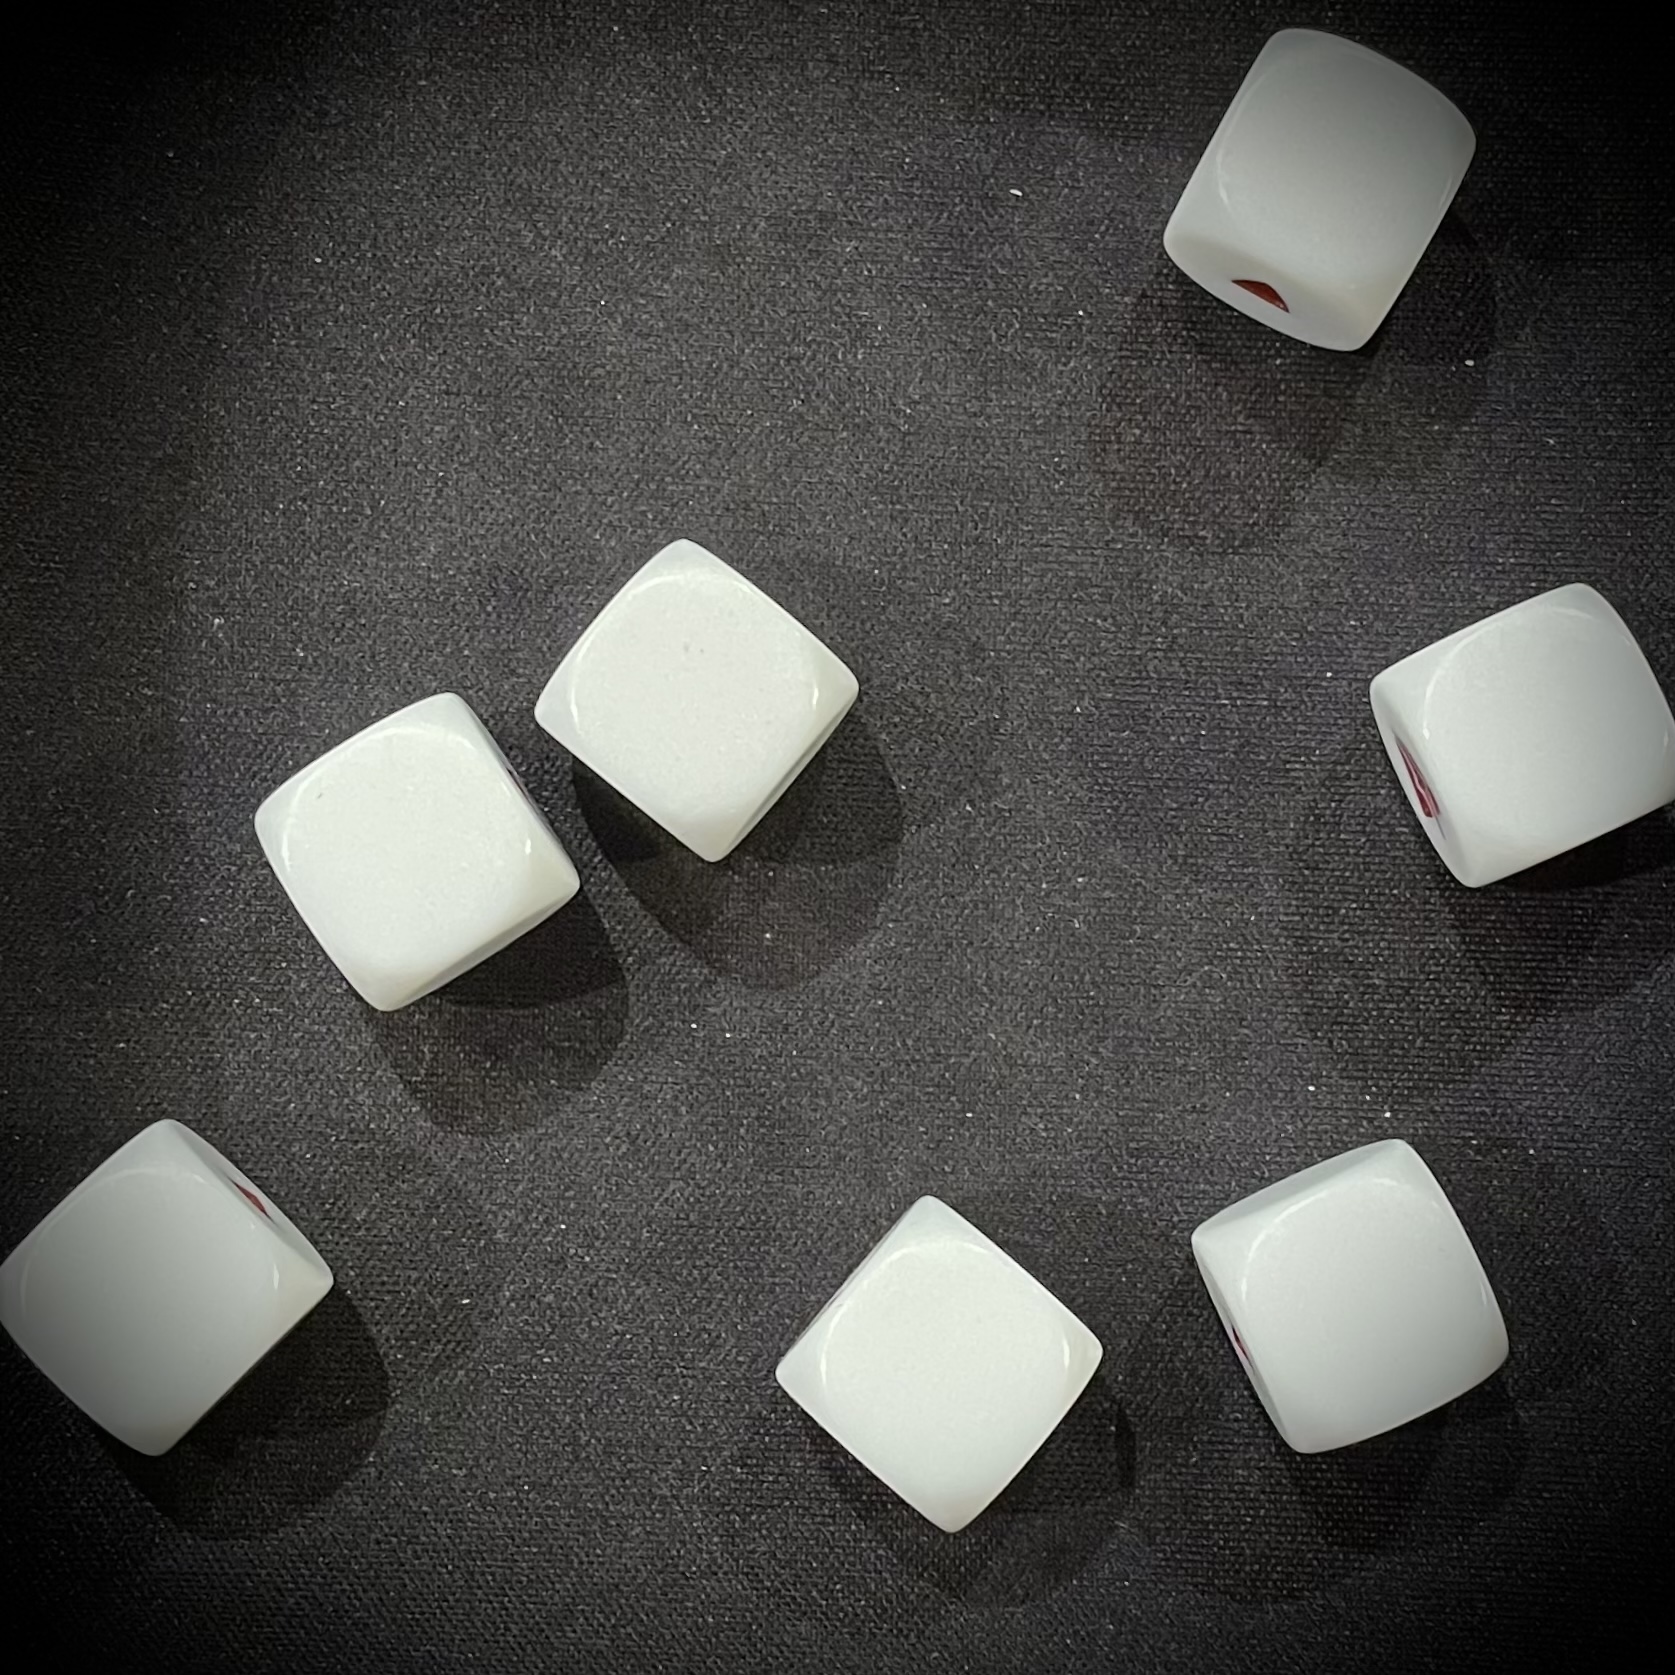
Fate had different plans however and Jyn was forced to flee in a state of panic! Fortunately for the rebels, her move took her just shy of the table edge.
Round 5 - Orders
Imperials – I had just two more turns to reach the Comms Relay and download at least one Intel token for a win. I had no choice but to throw every available man at the objective and to hell with the losses!
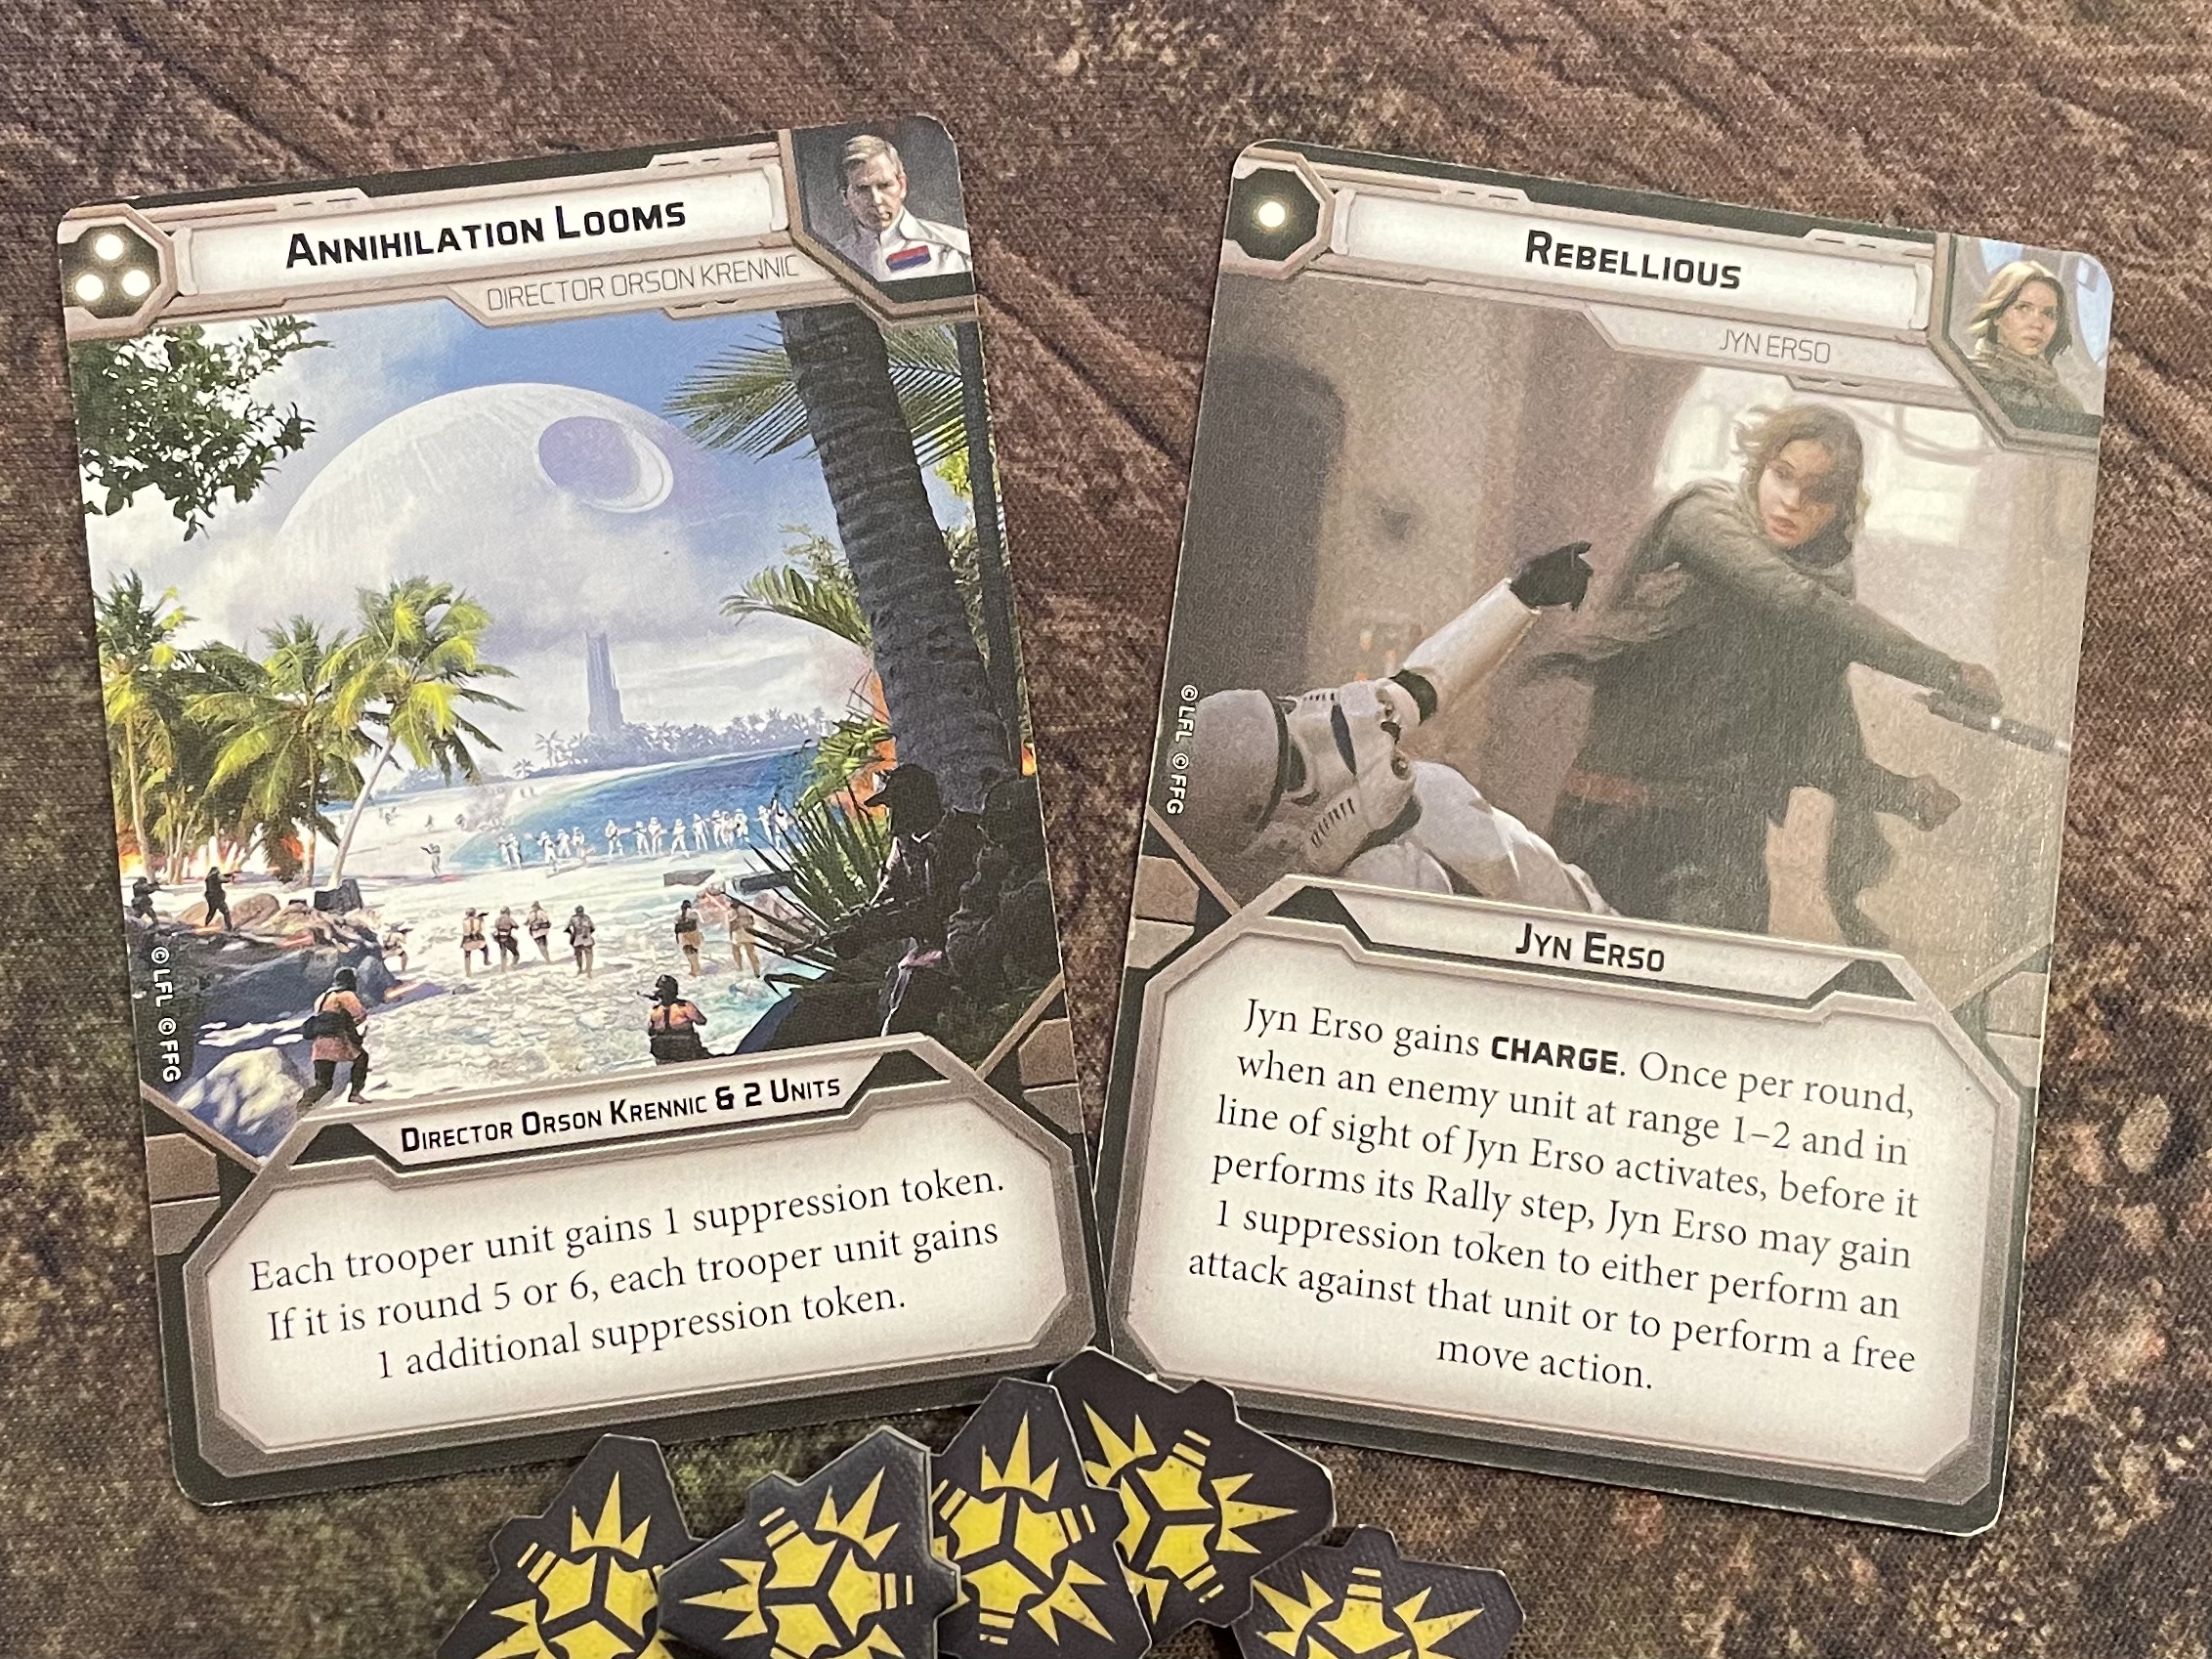
Krennic still had one last trick up his sleeve and I had been holding on for turn 5 for maximum impact. ‘Annihilation Looms’ is a double edged sword as it causes suppression on every troop unit, not just the enemy!… yet with Jyn already panicked, it might just tip the balance in my favour.
Rebels – It looked like this was the make or break turn for Jyn Erso. She would either rally and rejoin the fight or else flee the battlefield in a state of panic!
I knew Krennic was still holding a one pip which would trump my own, I just hoped he would be saving it for the last turn.
Round 5 - Combat
The Rebels had retaken the initiative and all eyes were on Jyn to see if her nerve would hold. Though one suppression had cleared automatically at the end of the previous turn, Krennic’s devious orders had placed two further suppression counters in the orders phase, for a total of eight!
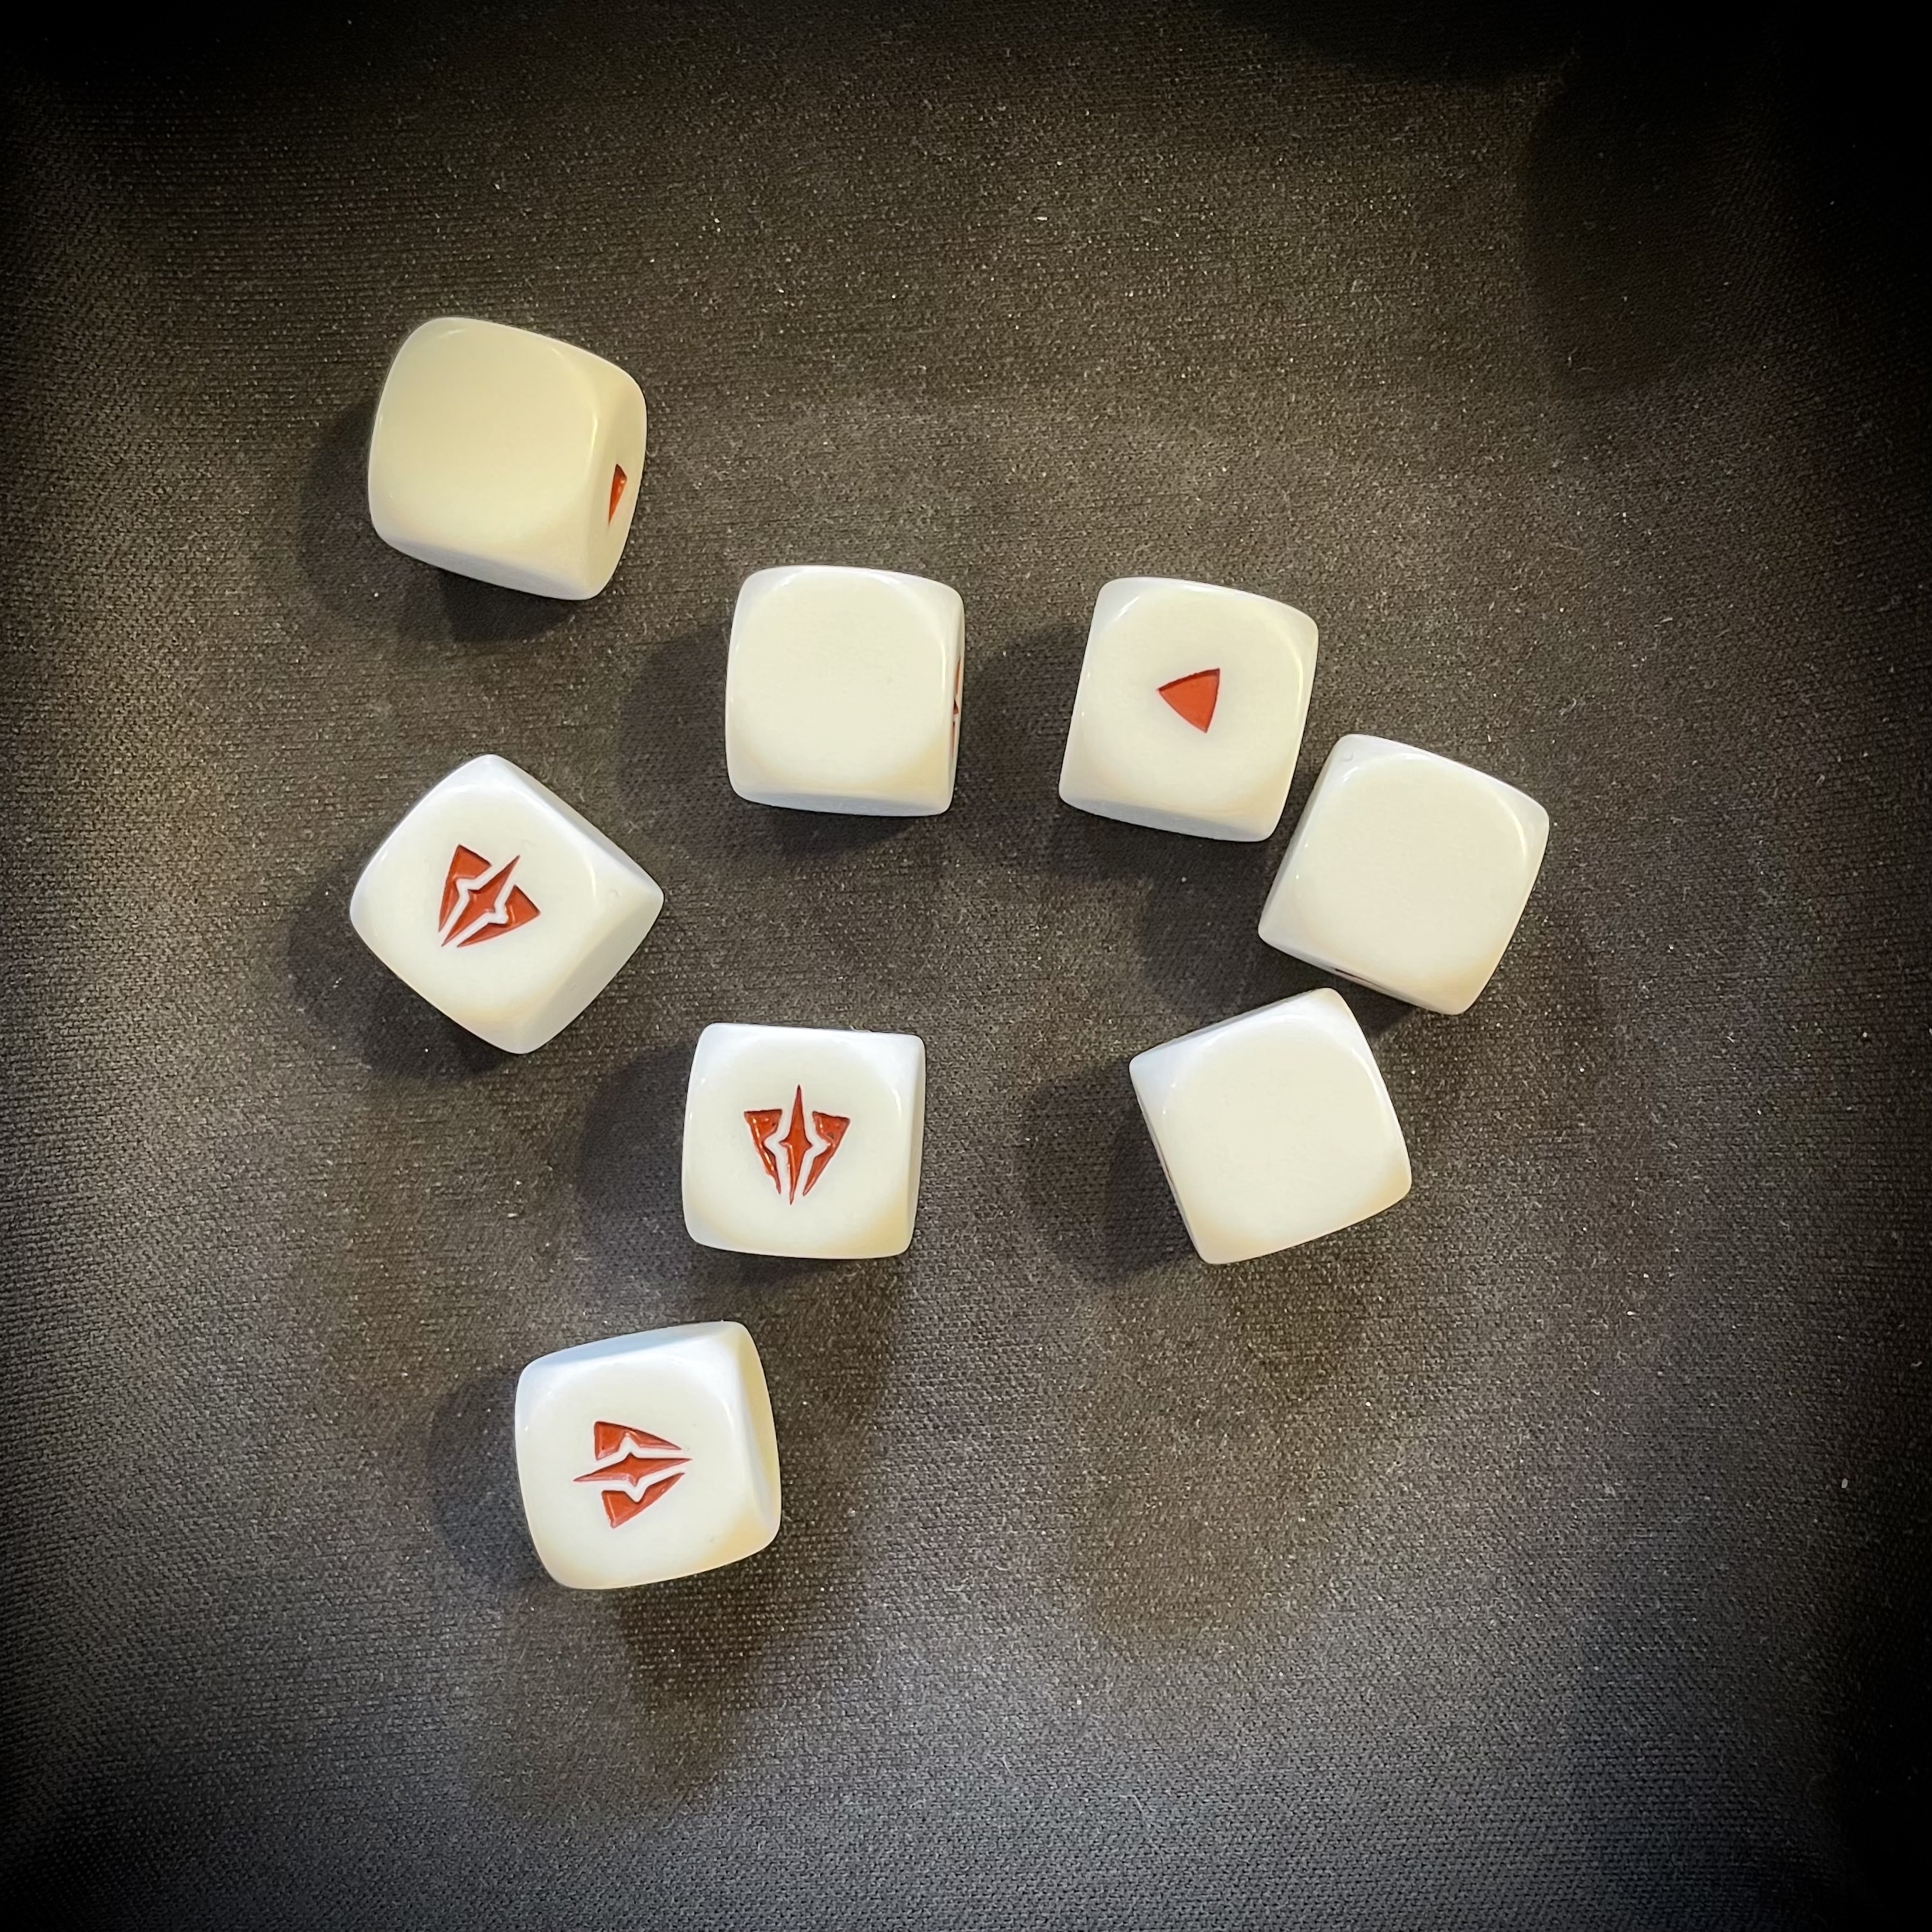
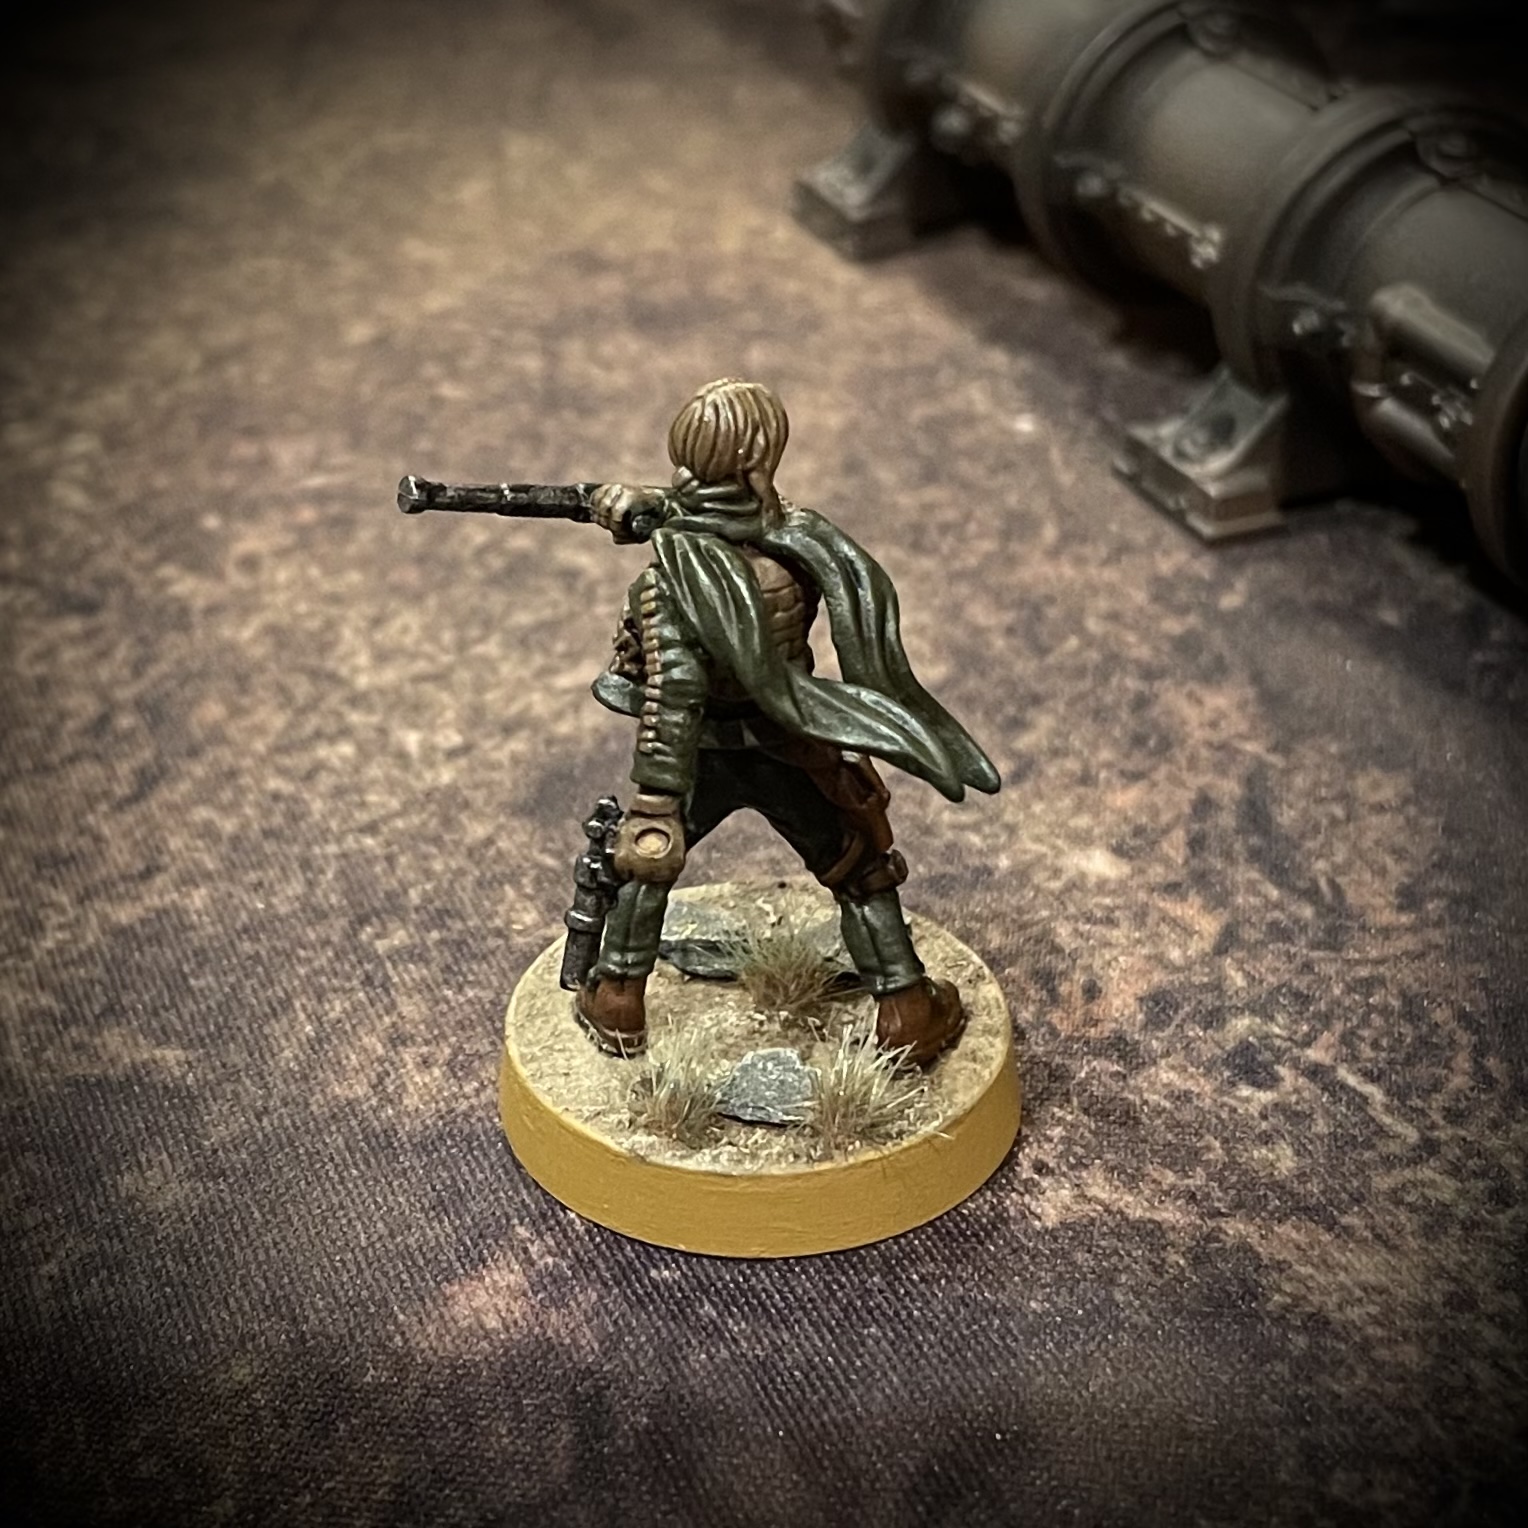
… But this time the dice would be on Jyn’s side. She cleared four and was back in the game, all be it with a single activation. Jyn’s panic last turn had placed her conveniently behind cover and though this made a charge out of the question, it didn’t stop her taking down two of the remaining Shoretroopers with her A-180 Pistol.
In retaliation the imperial scout sniper, who had been working his way around the edge of the battlefield, targeted Jyn wounding her for a second time.
But this was going to be a punishing turn for the imperials who were compelled to break cover by their merciless leader. The remaining Hoth troopers were wiped out by the few remaining rebels. Cassian Sniped two of the scouts, making short work of their cover thanks to his marksman ability.

The Wookiee leader continued to slug it out with the crew of the E-Web but their superior armour kept them in the fight with a single wound remaining. The southern Shoretrooper unit and Deathtroopers fared better, making it into the cover of the central pipe system.
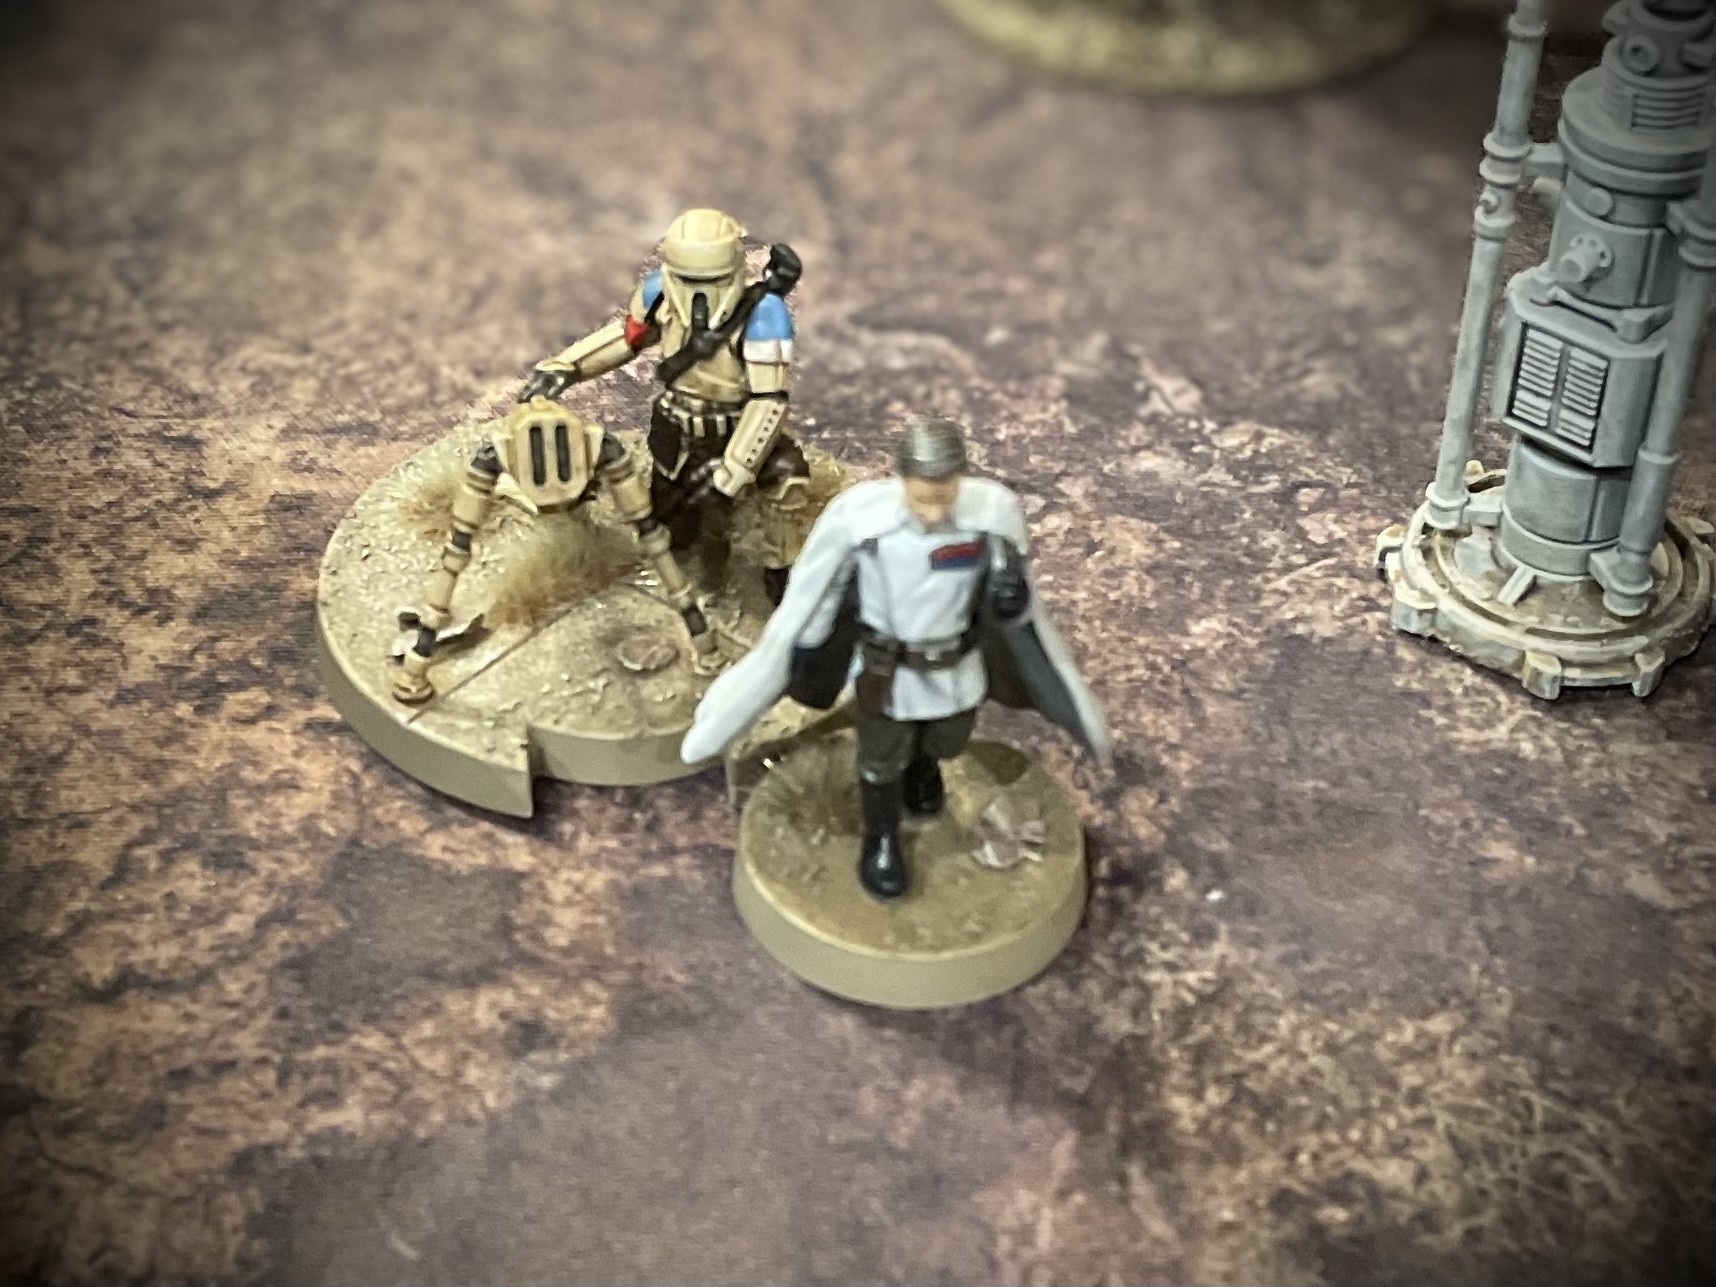
Krennic, impatient for victory broke cover to drive his men forward and it was then that the Rebels played their ace Card. K-2S0, who had remained silent for much of the battle now opened fire on the Imperial leader, taking him out of the fight!
Round 6 - Orders
Imperials – With their leader mortally wounded the imperial forces were left with no recourse but to revert to ‘Standing Orders’. The only available pip was placed on the Deathtroopers in the hope that they could still wrestle the objective from the enemy.
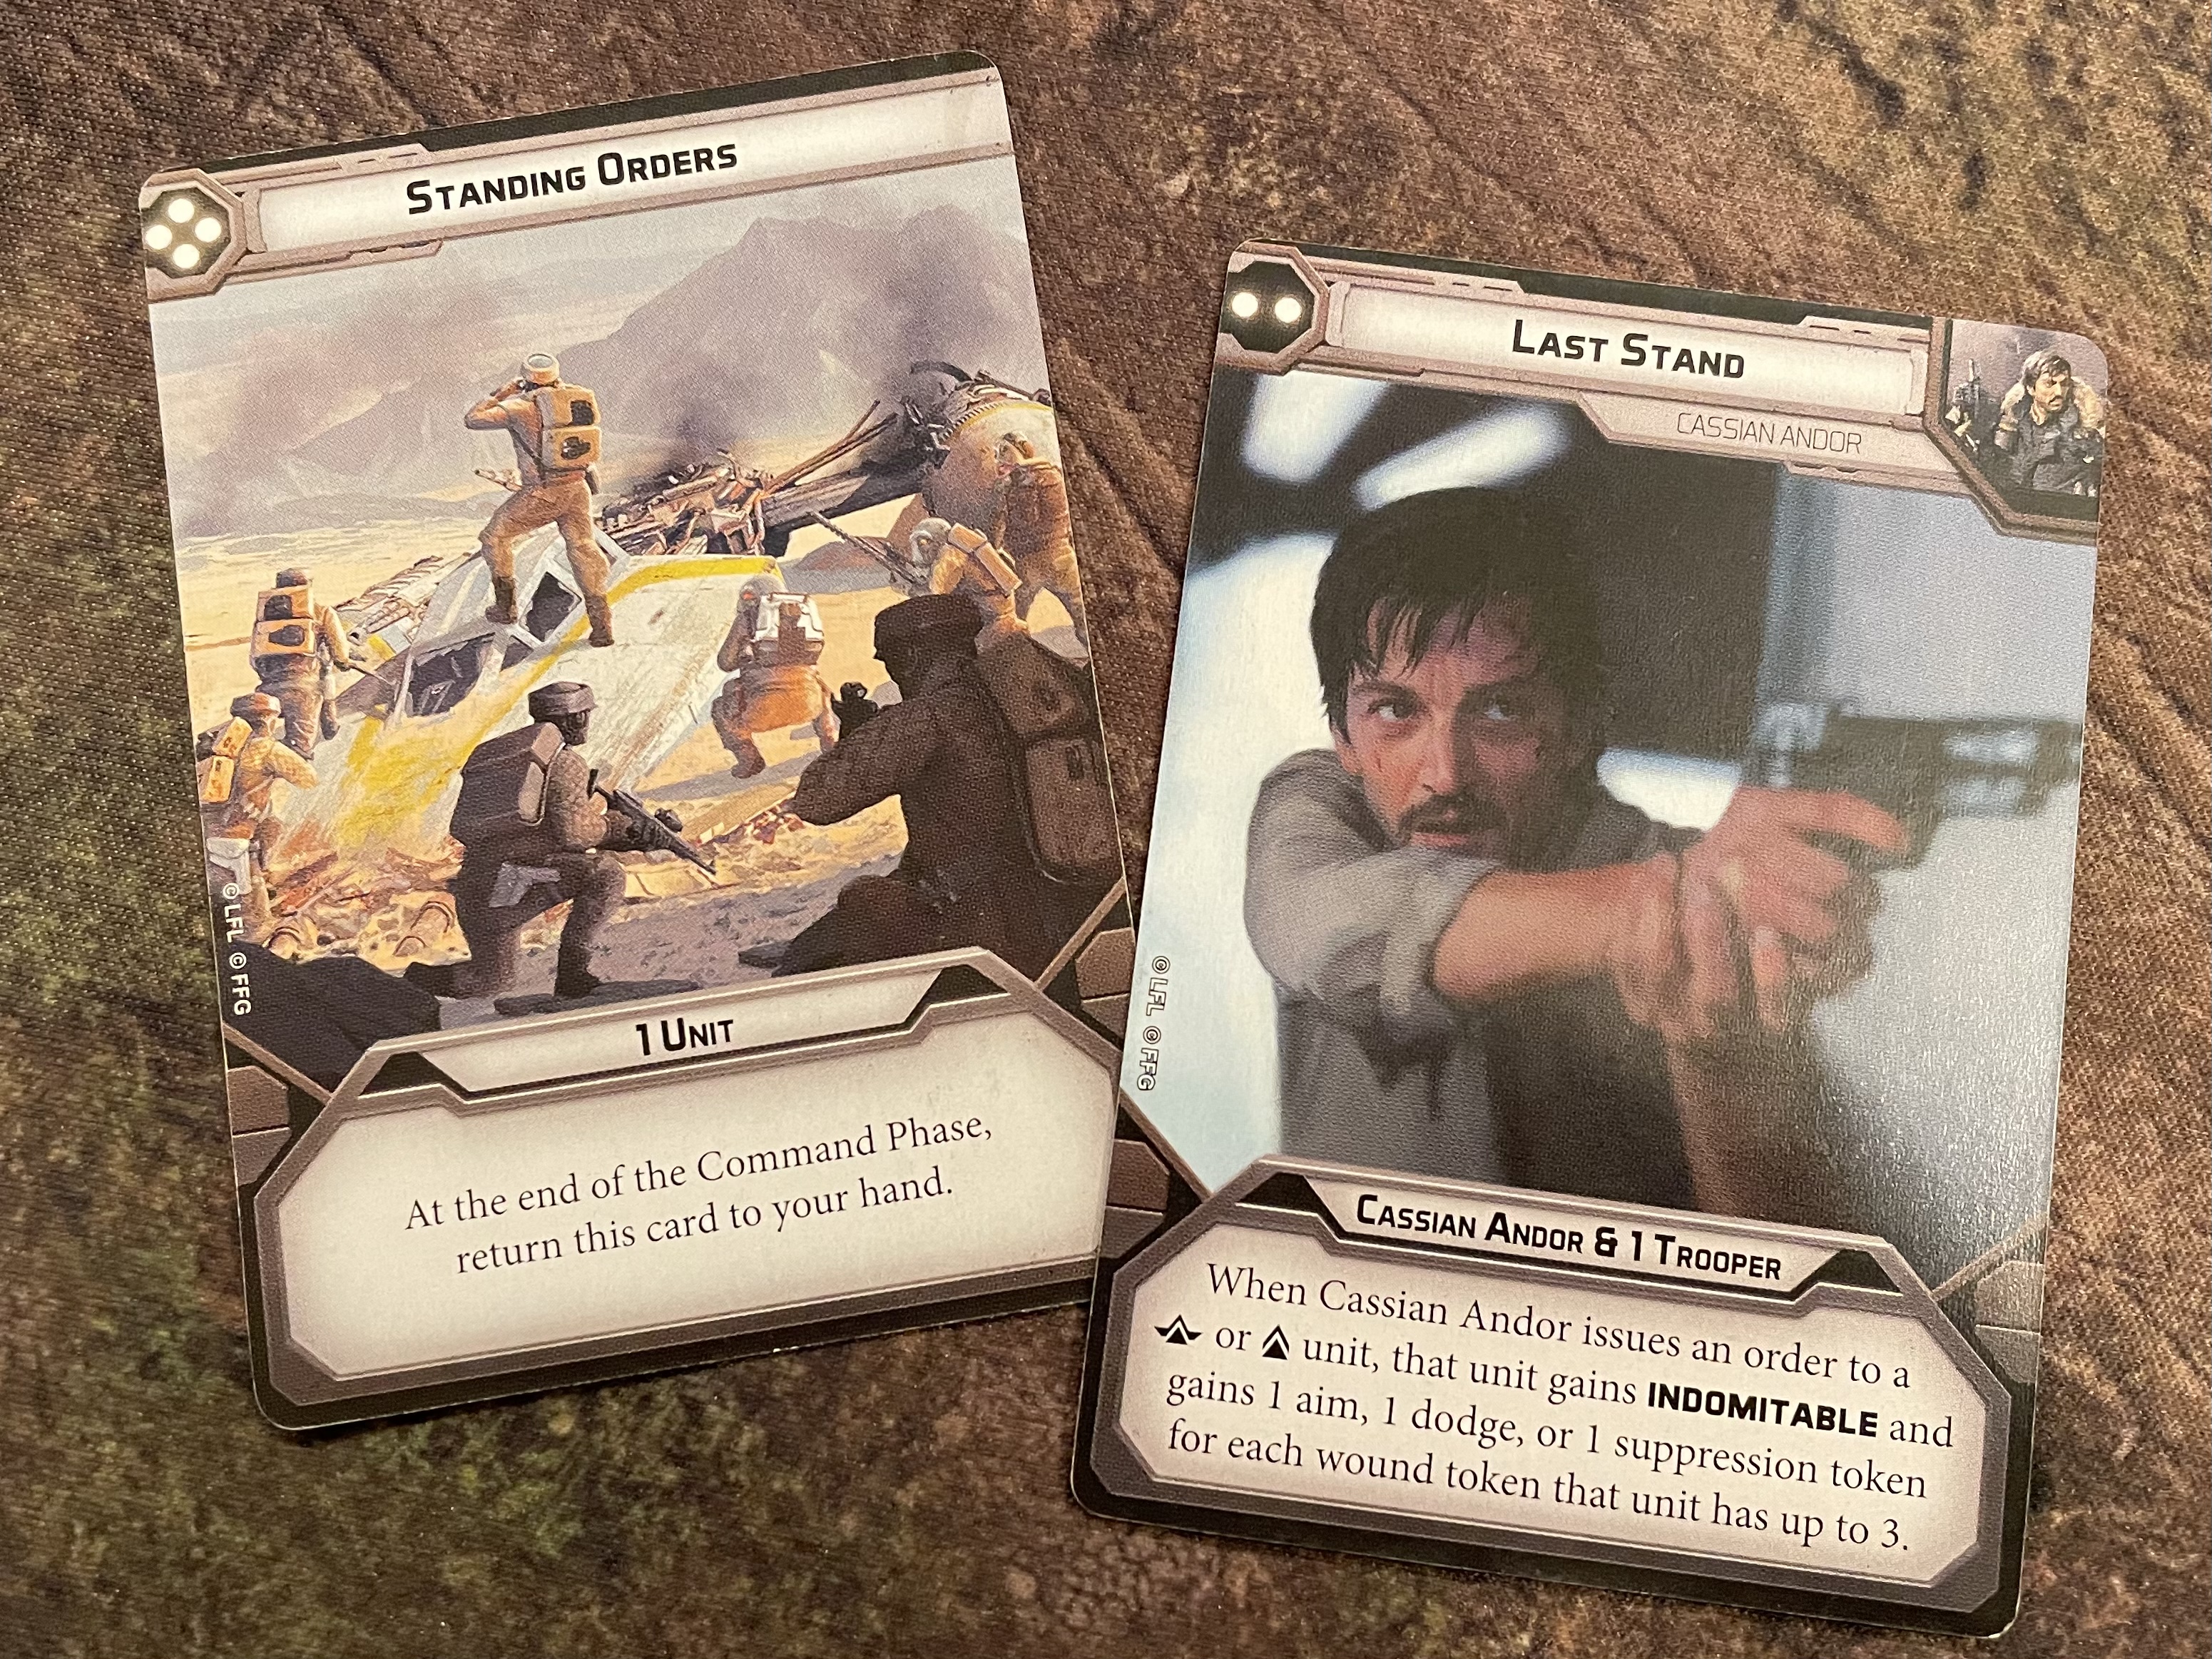
Rebels – Krennic was down but the Imperial troops had made it to the objective. This turn would come down to bodies and activations! What more appropriate order to issue than ‘Last Stand’!
Round 6 - Combat
Cassian was first to activate and waisted no time eliminating the two remaining scouts who were now closing on the objective.

The Imperials just needed to lock down the relay while keeping a path open for the Deathtroopers to extract the remaining Intel. The Shoretroopers had to engage the malfunctioning K2 unit before it could cause further damage.
With just a single wound remaining, the Wookiee leader finally dispatched the E-Web crew, though there was no time for him to join the fight for the objective.

The Imperials were running out of time and running out of activations. Ignoring the battle around them, the Deathtroopers stepped to the objective and extracted the vital piece of Intel that would shift the battle in their favour…

… yet at the final moment victory was wrenched away from them. The stalwart K-2SO simply withdrew from the Shoretroopers, leaving an opening into which the plucky Rebel leader could step to the relay and re-secure the Intel.
The battle had ended in a hard fought draw!


