


![Perfect Call Of Duty-Style Miniatures? Wargames Atlantic’s Operators Review [7 Days Early Access]](https://images.beastsofwar.com/2026/02/unboxing-wargames-atlantic-operators-coverimage-225-127.jpg)


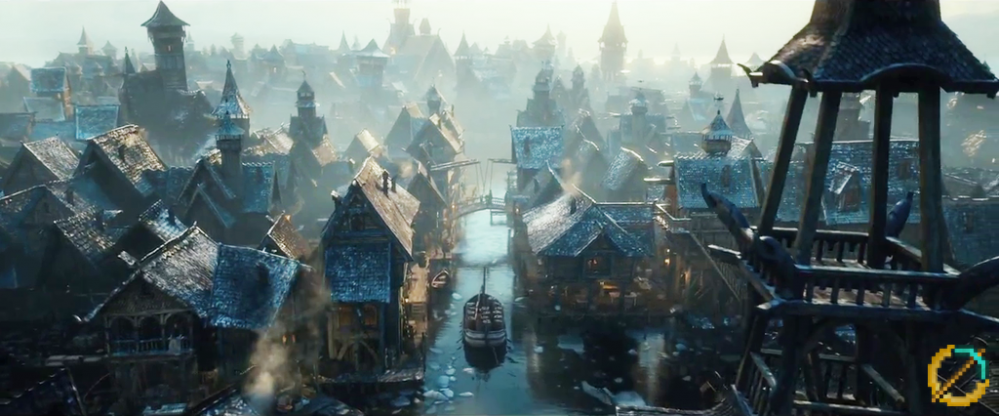
Lake Town in need of Spring Cleaning!


Recommendations: 850
About the Project
Resurrecting an old project in which I started building a full tables-worth of Lake Town for Middle-Earth Strategy Battle Game. This project will make use of official GW kits, MDF kits and complete scratch-builds to bring Lake Town to life. Along the way, I hope to share some good Tutorials of how to make these pieces, and my Skills in painting.
Related Game: Middle-Earth Strategy Battle Game
Related Company: Games Workshop
Related Genre: Fantasy
Related Contest: Spring Clean Hobby Challenge 2023
This Project is Active
Slappin’ Paint
And here’s where we’re going with it. Snakebite Leather fir all basic wood work. Cygor Brown or Wyldwood for the main beams.
Roof basecoated in Incubi Darkness.
The whole thing is then given a light drybrush of Wraithbone so I can add some depth and tone over the top.
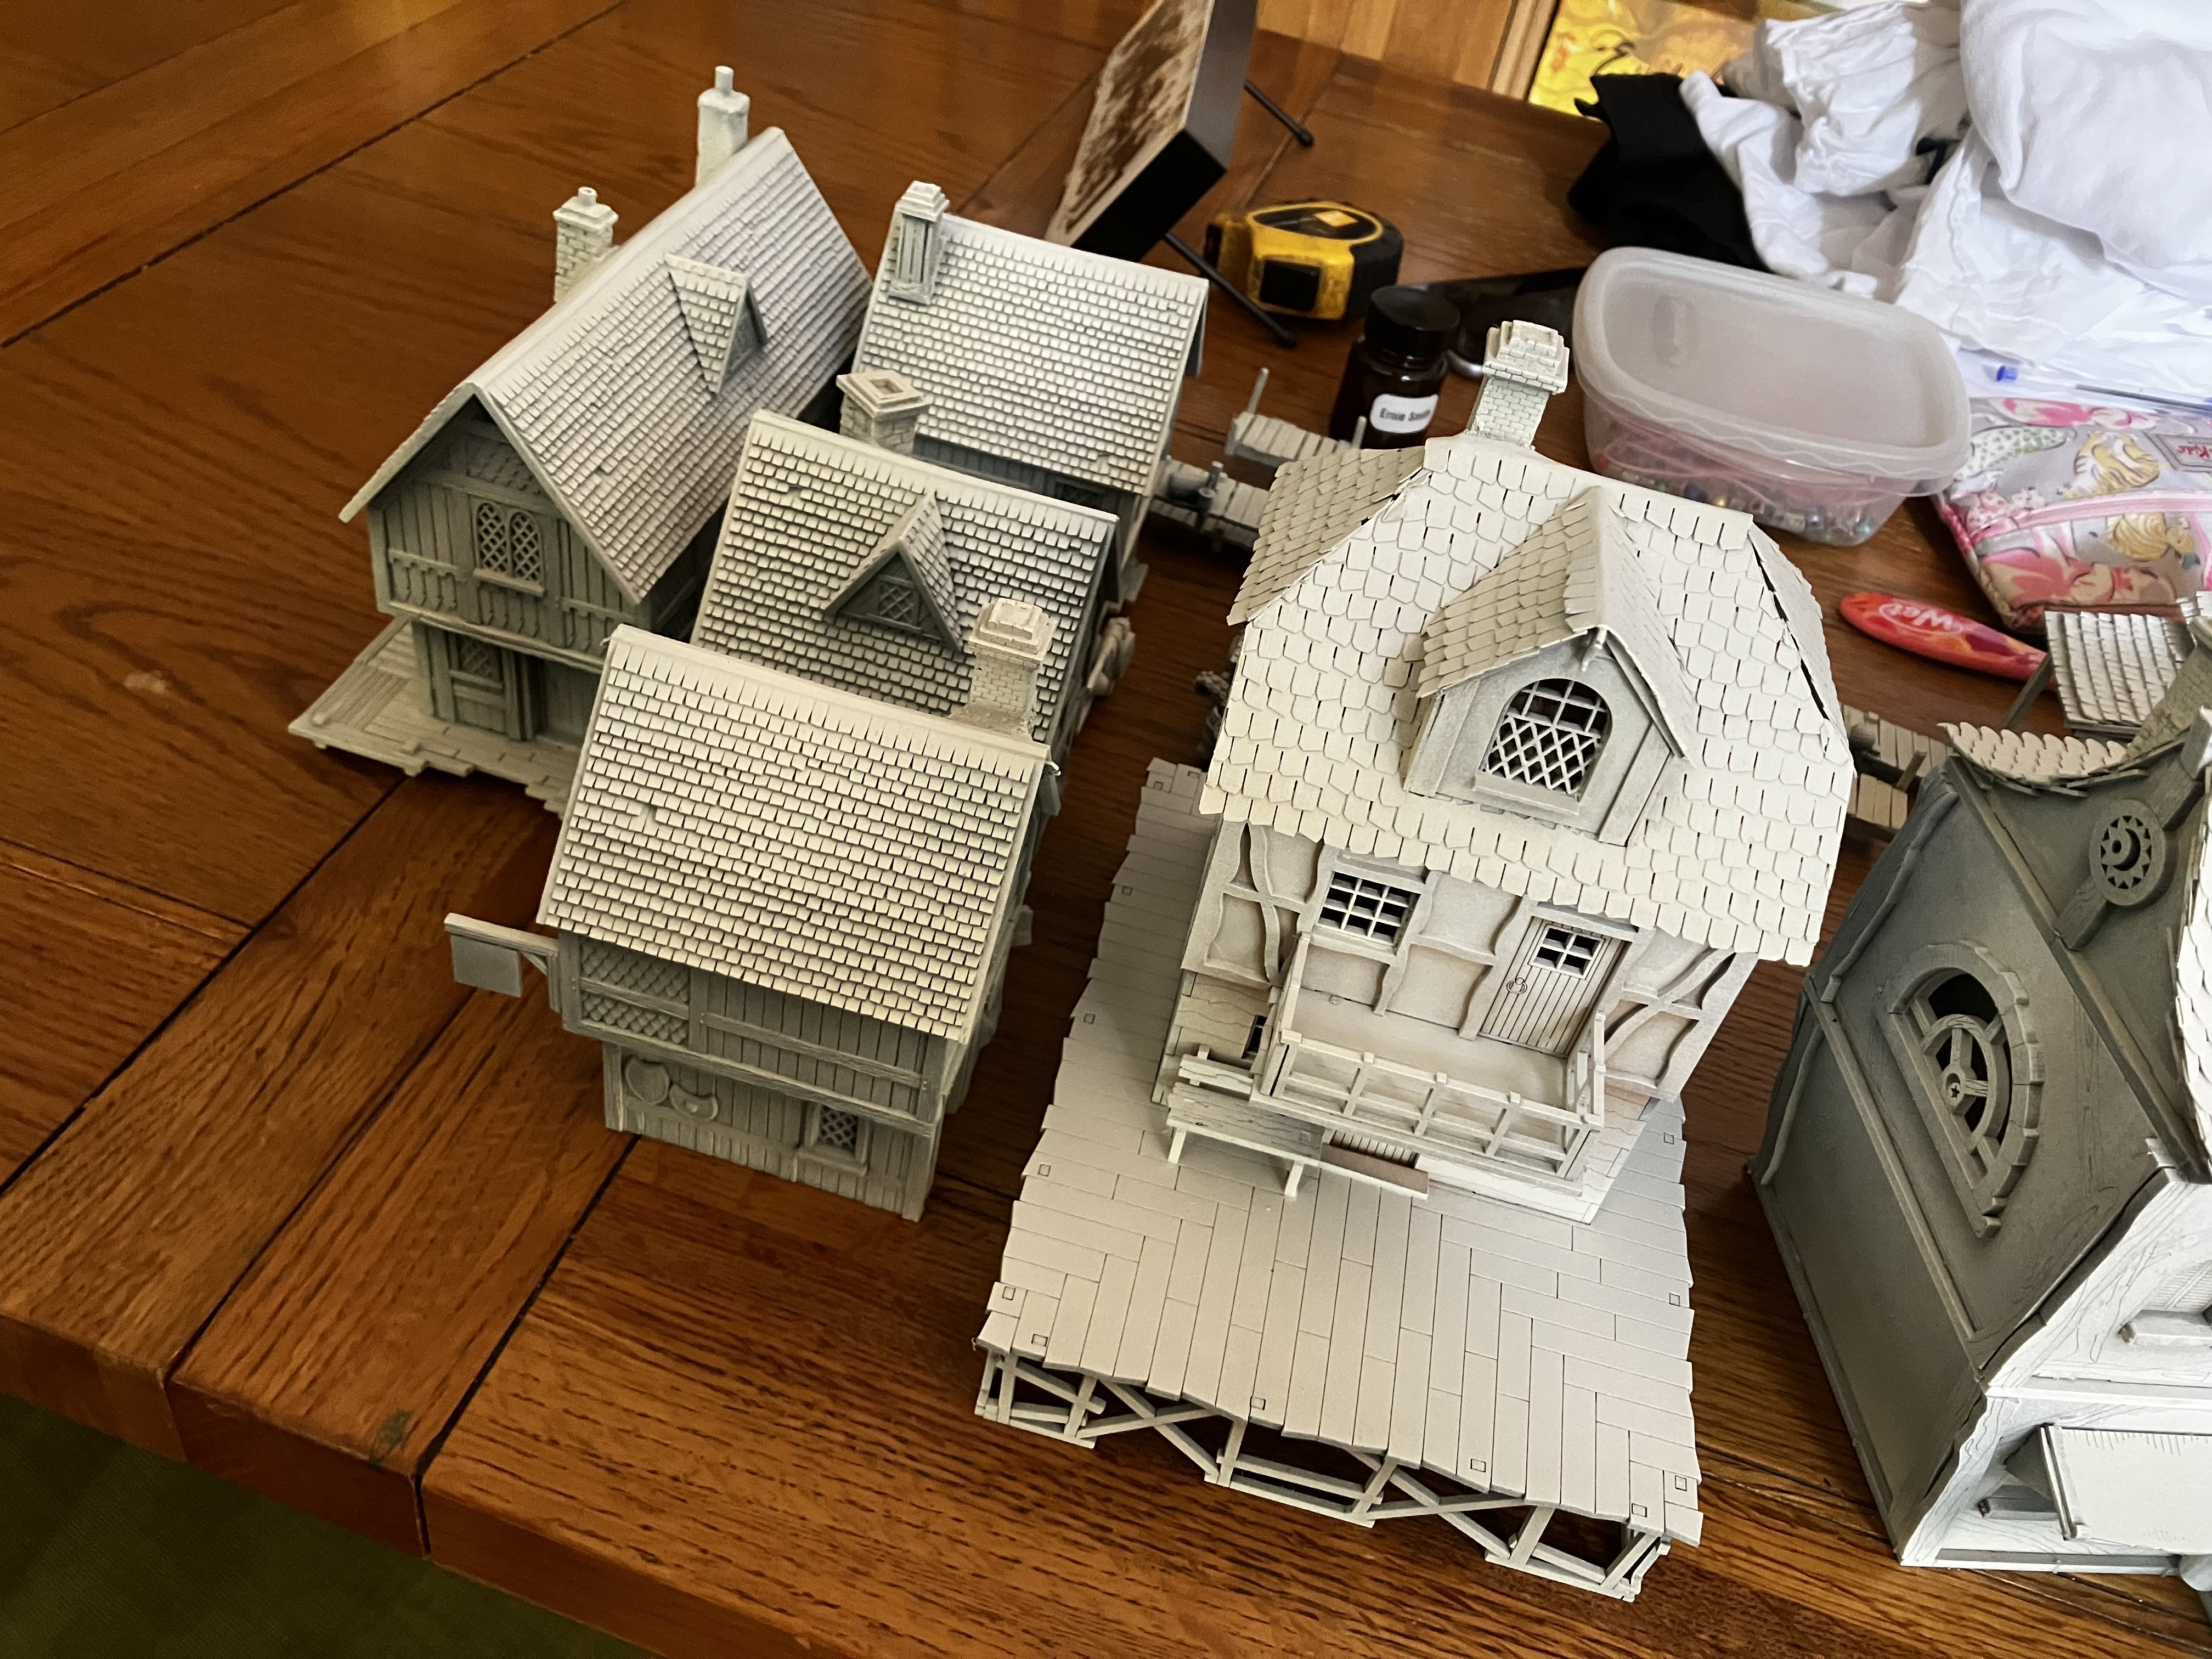
Primed backlog
A nice collection of completed buildings ready to start painting. Over the next few posts I’ll start adding colour and let’s see how they go!
Prime time
Lovely weather today, so have zenith primed the buildings and walkways that are complete.
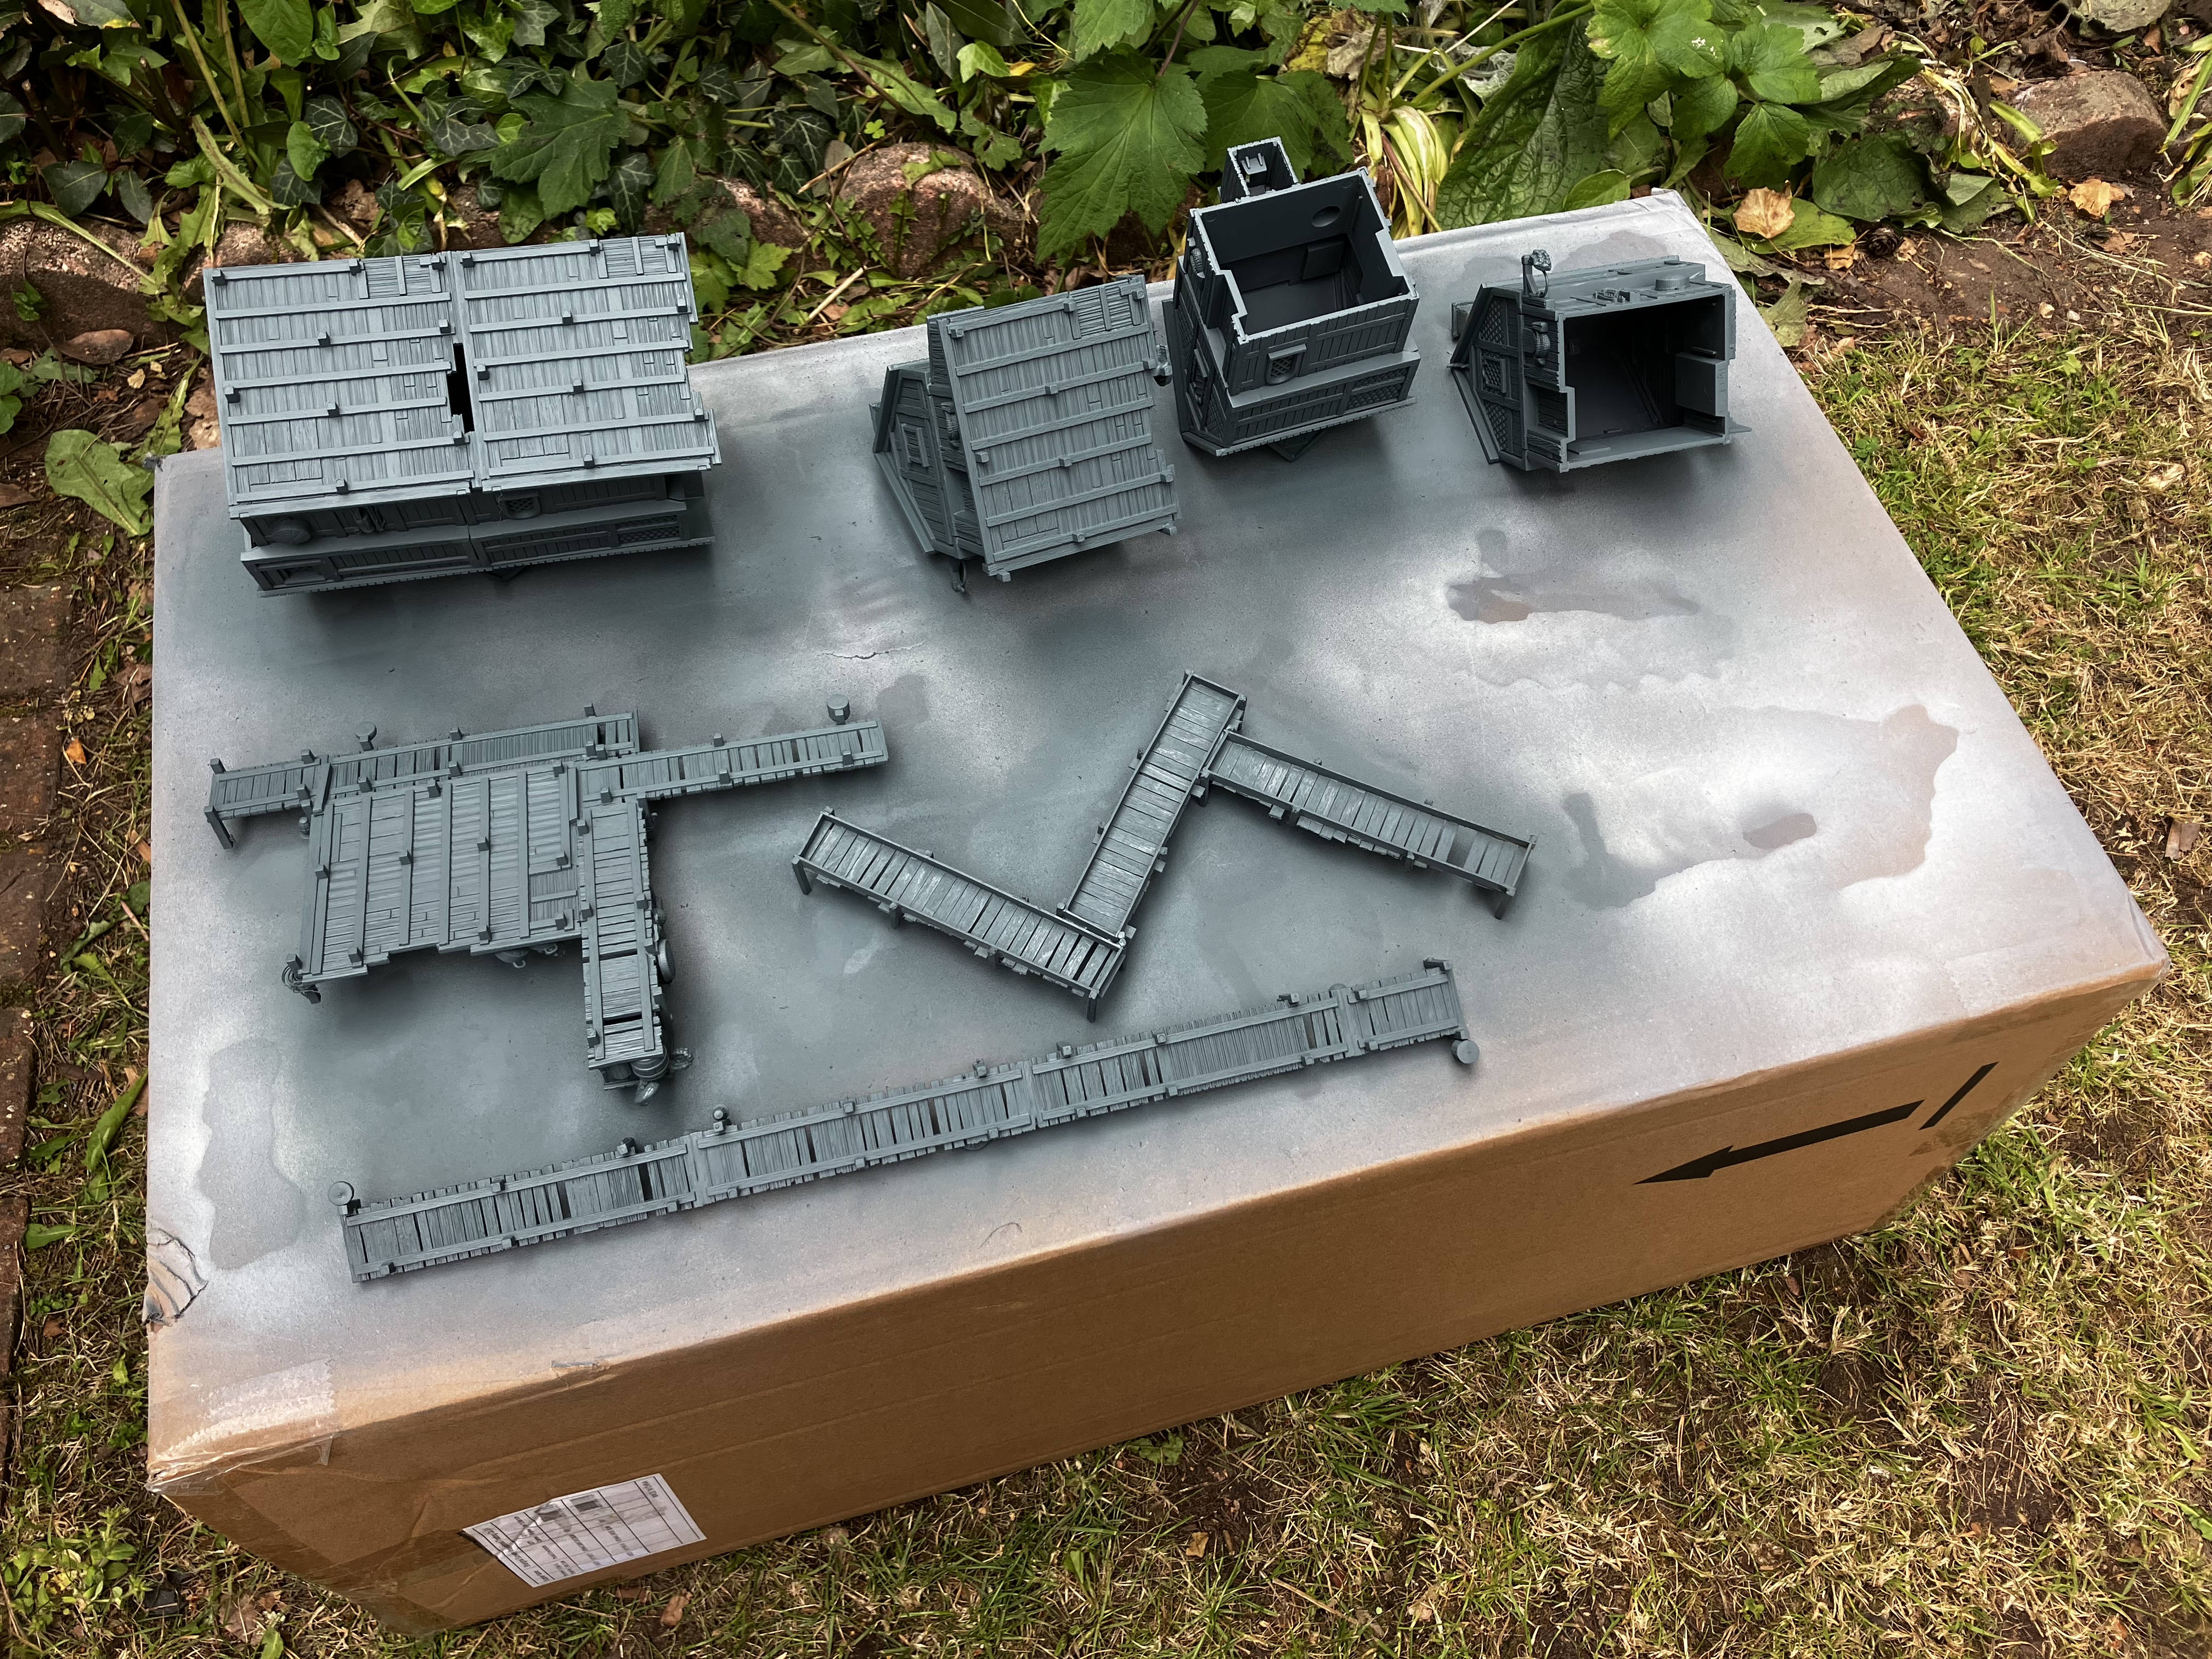 Spray the undersides and sides grey
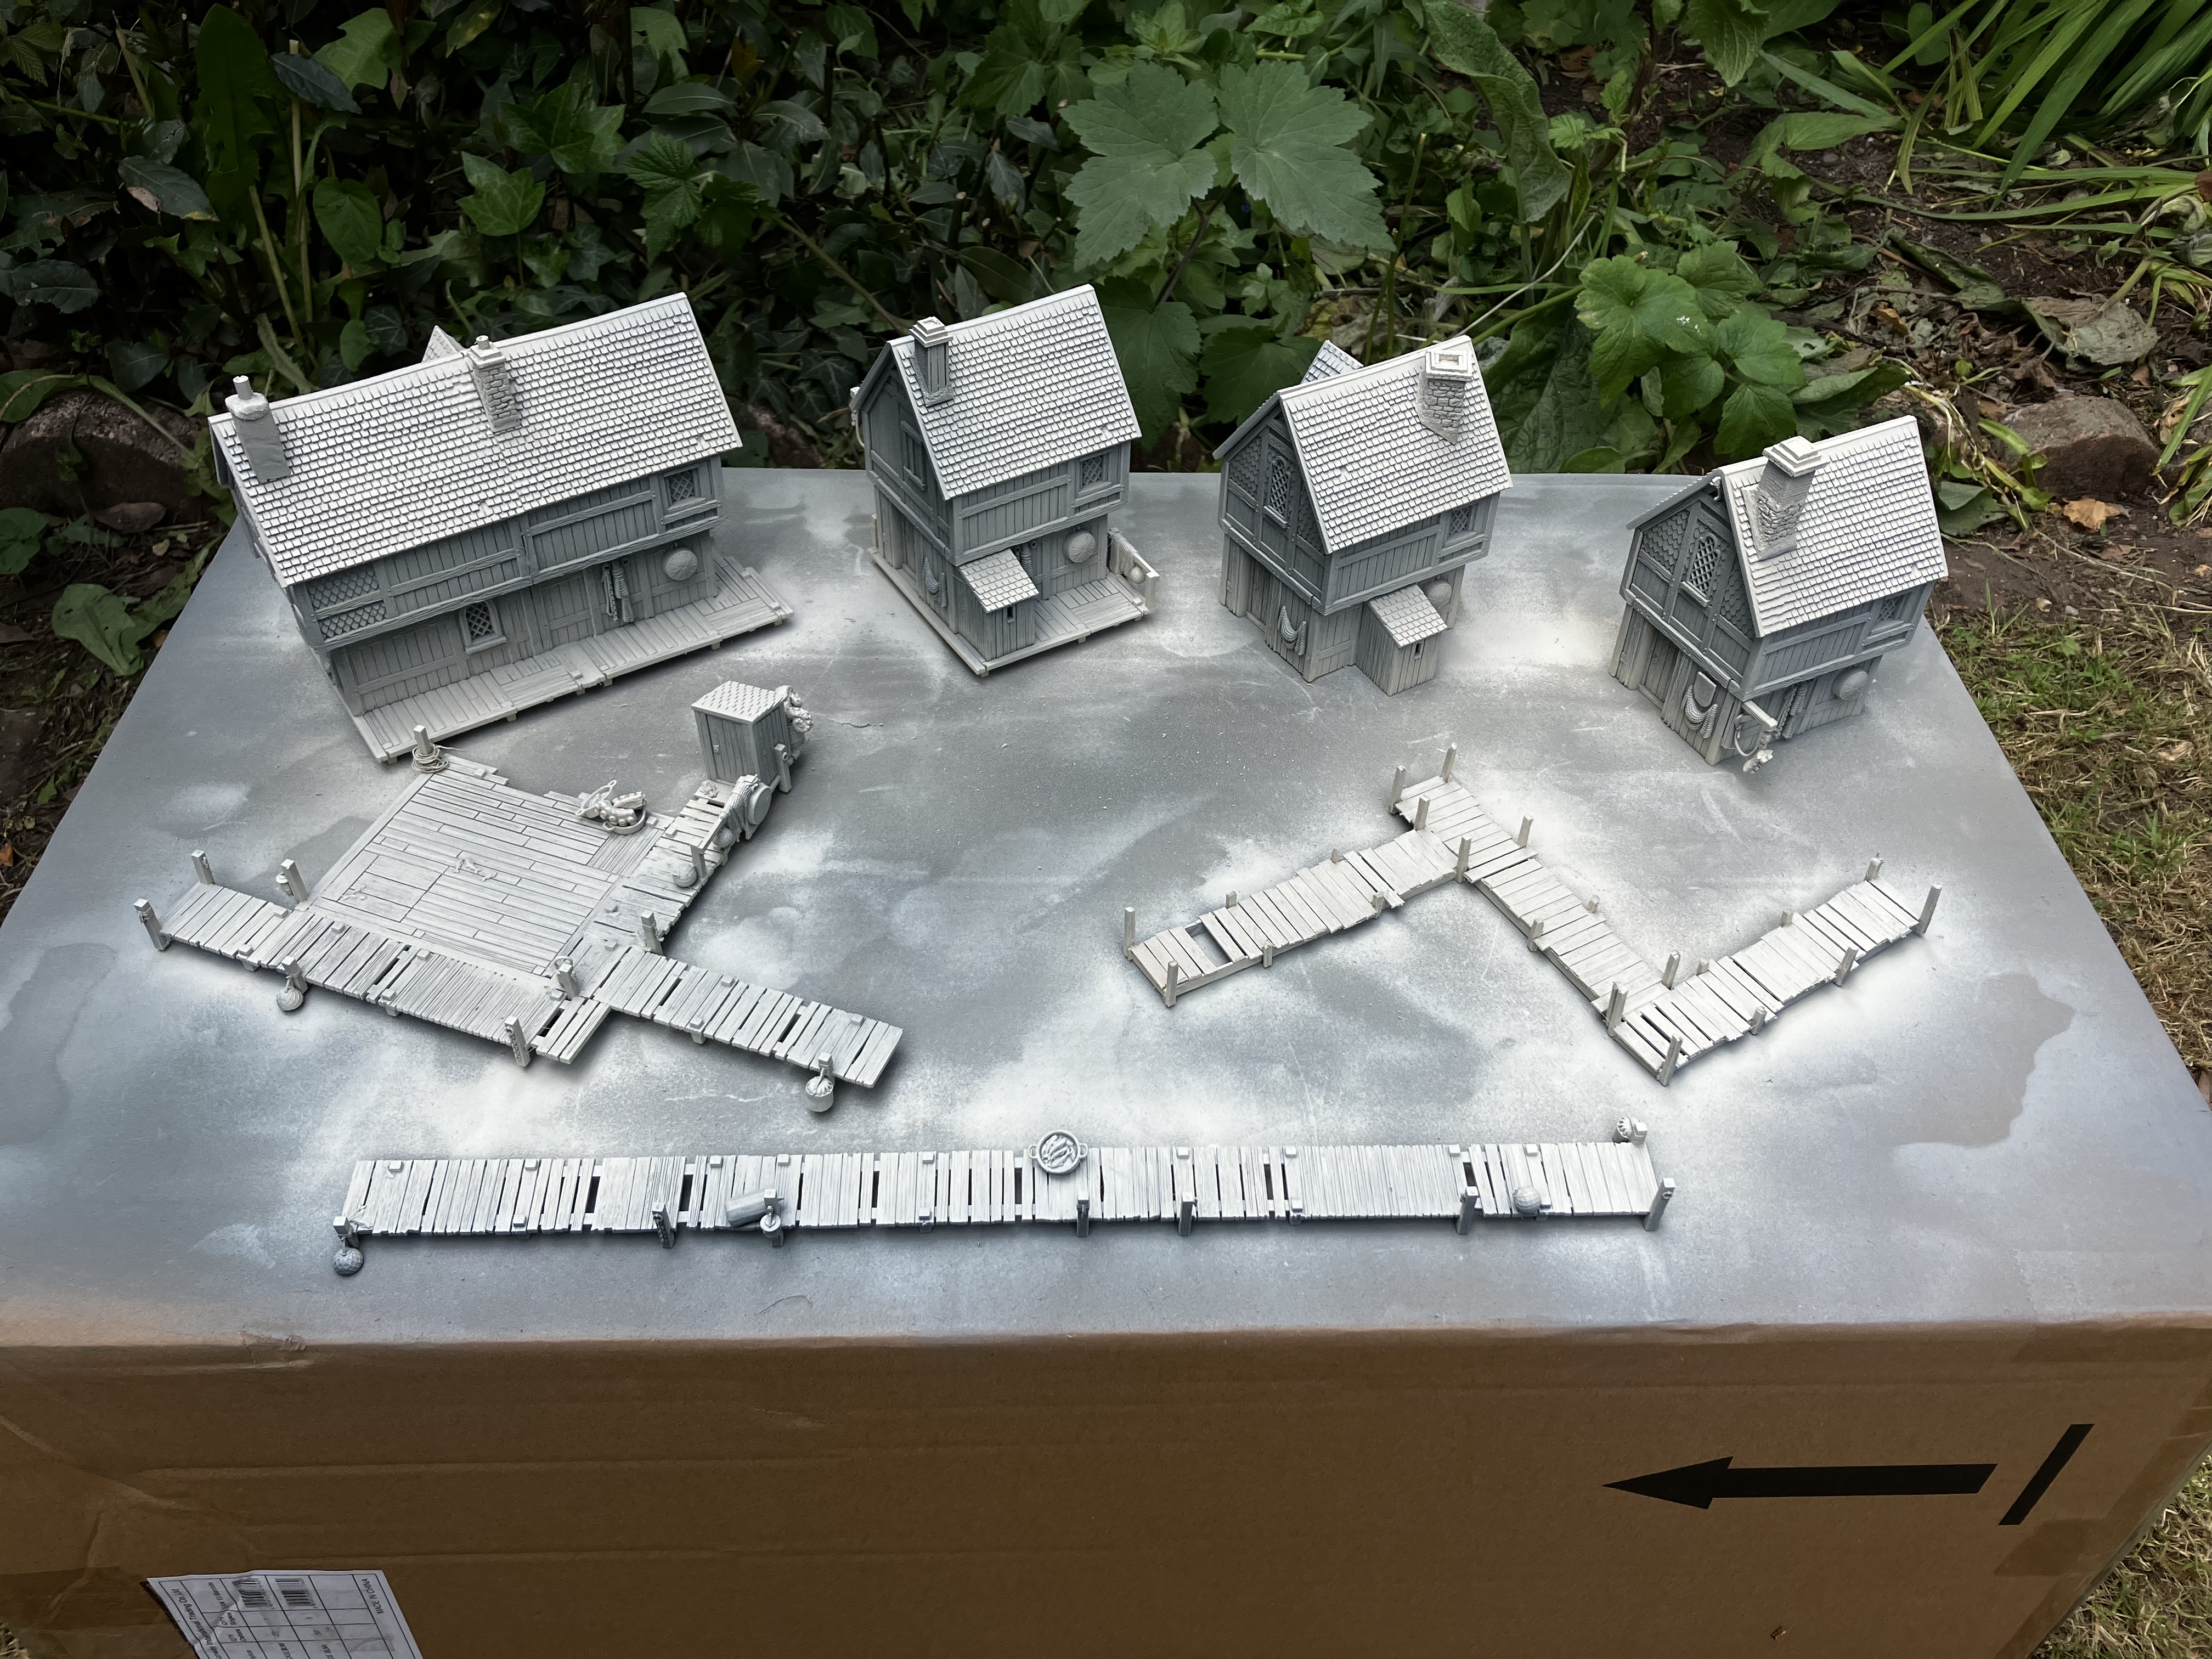 Spray wraithbone over the top
More buildings
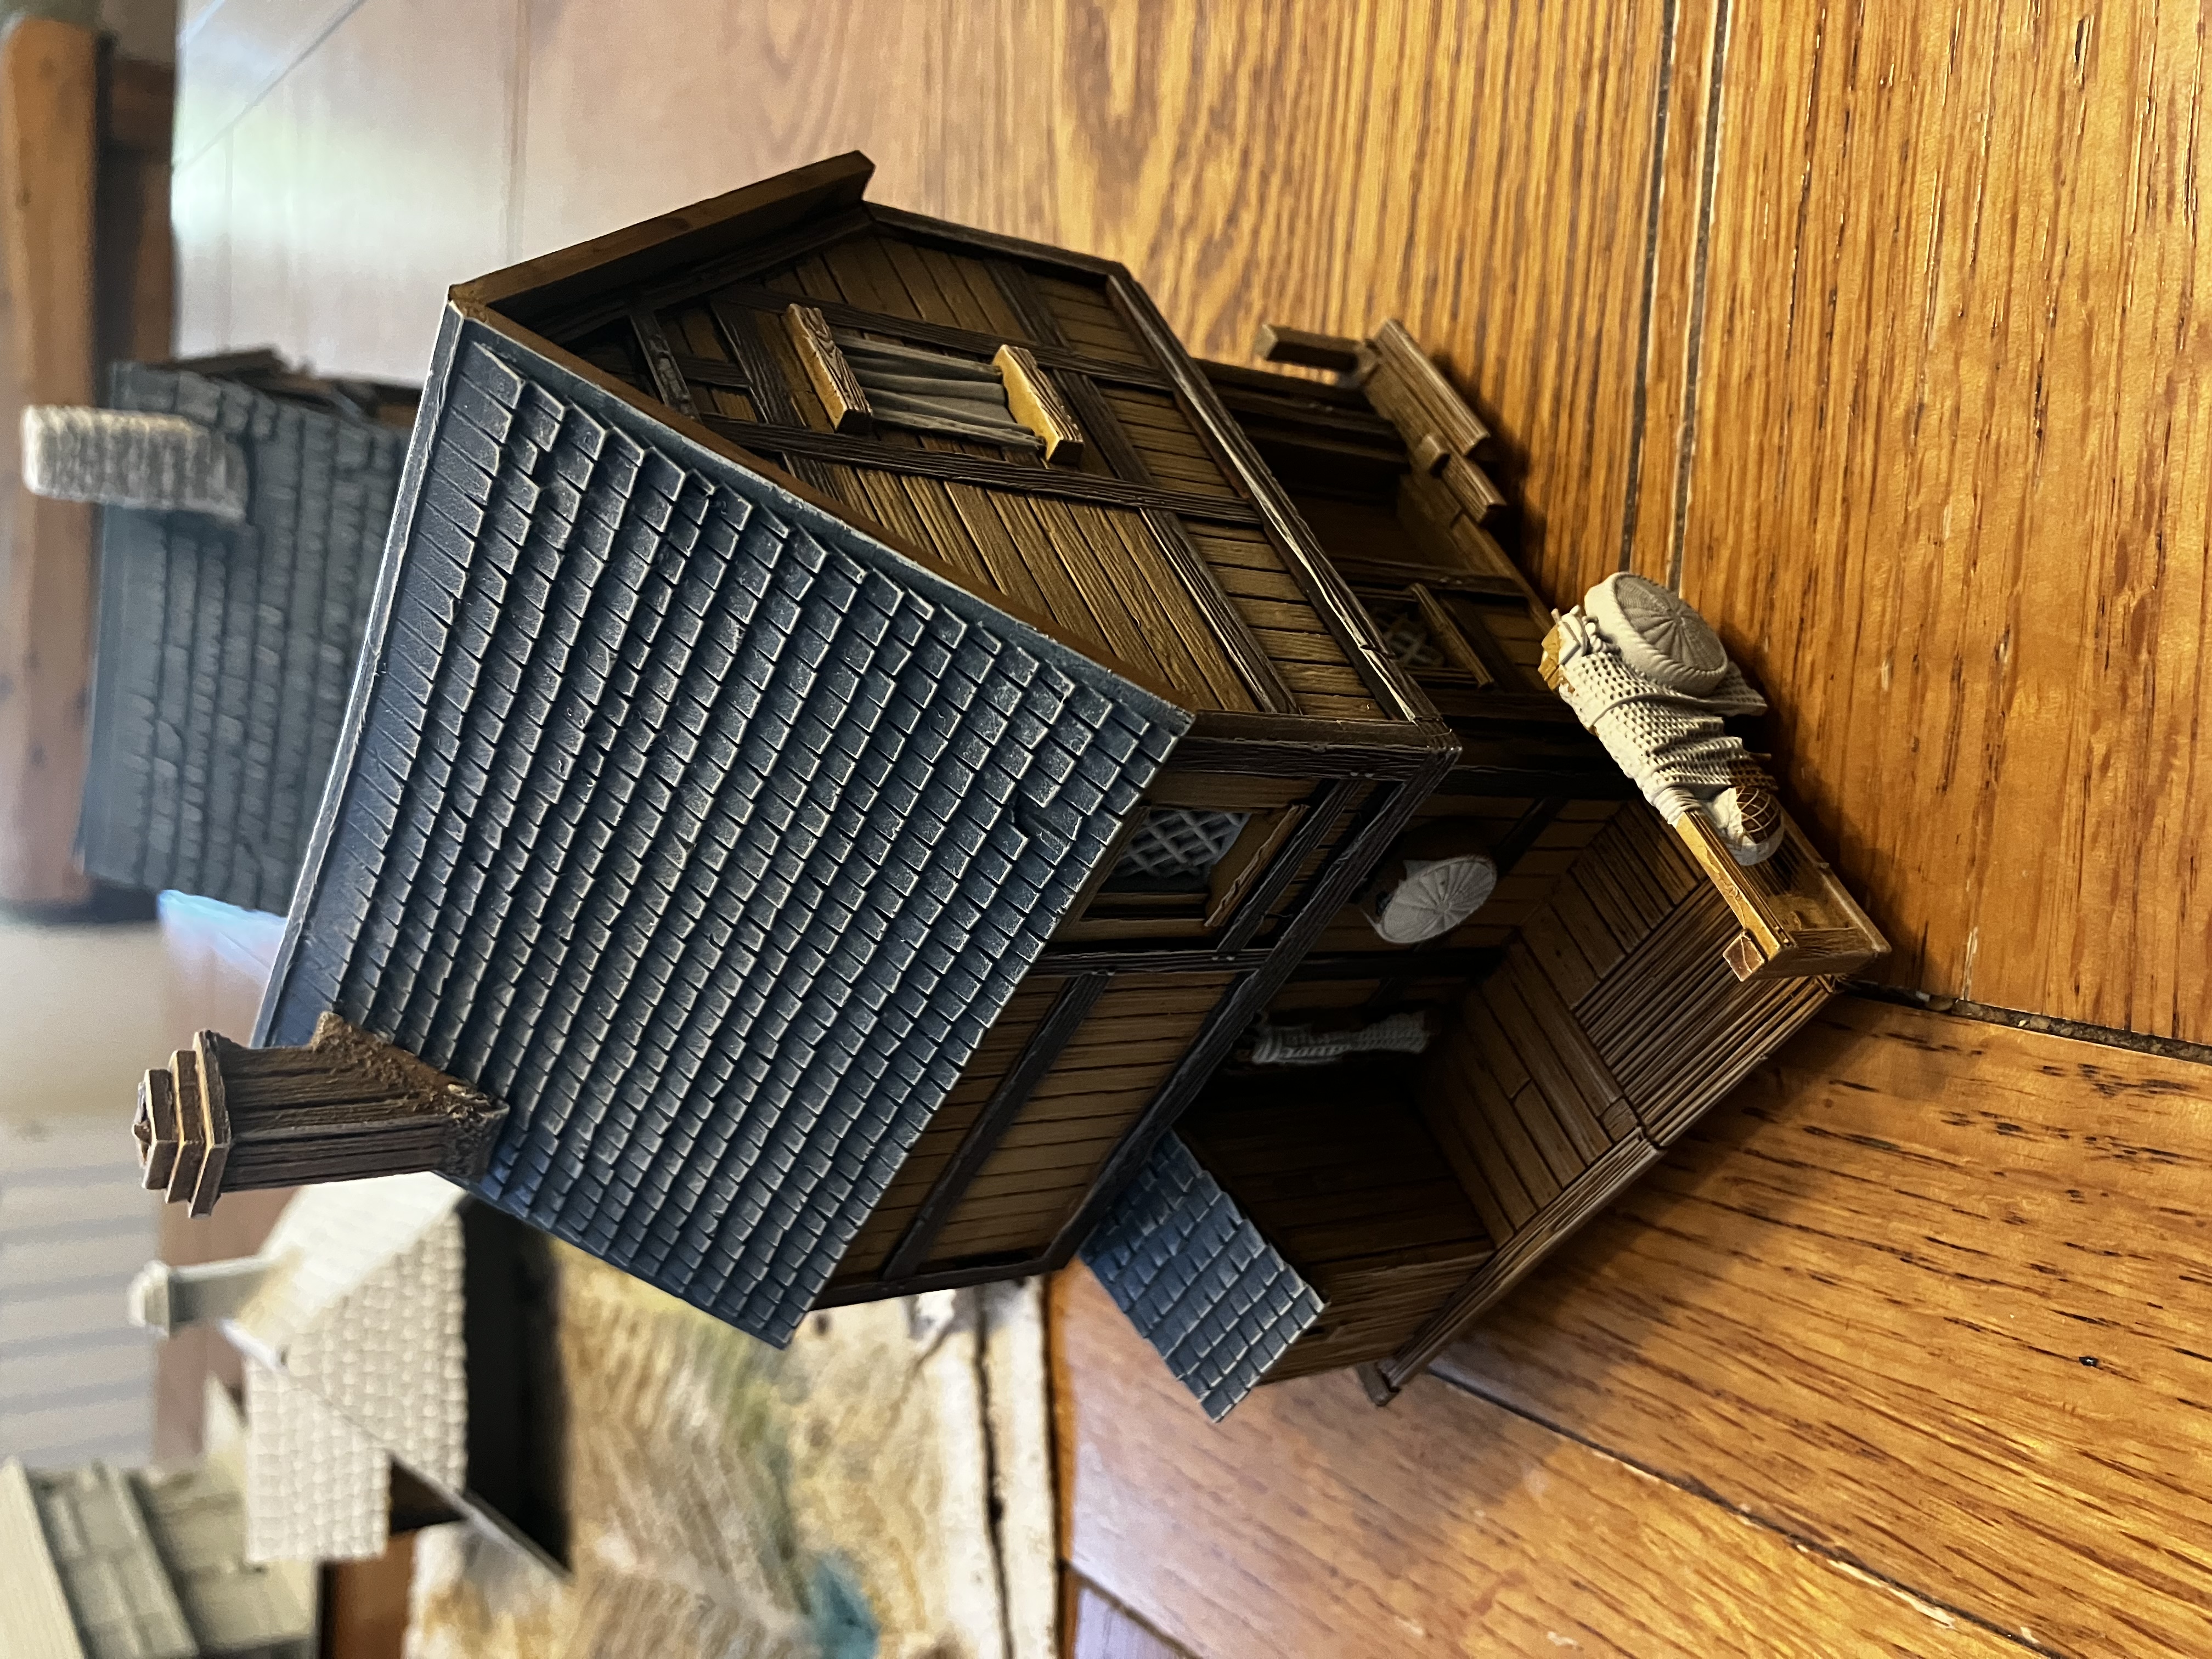
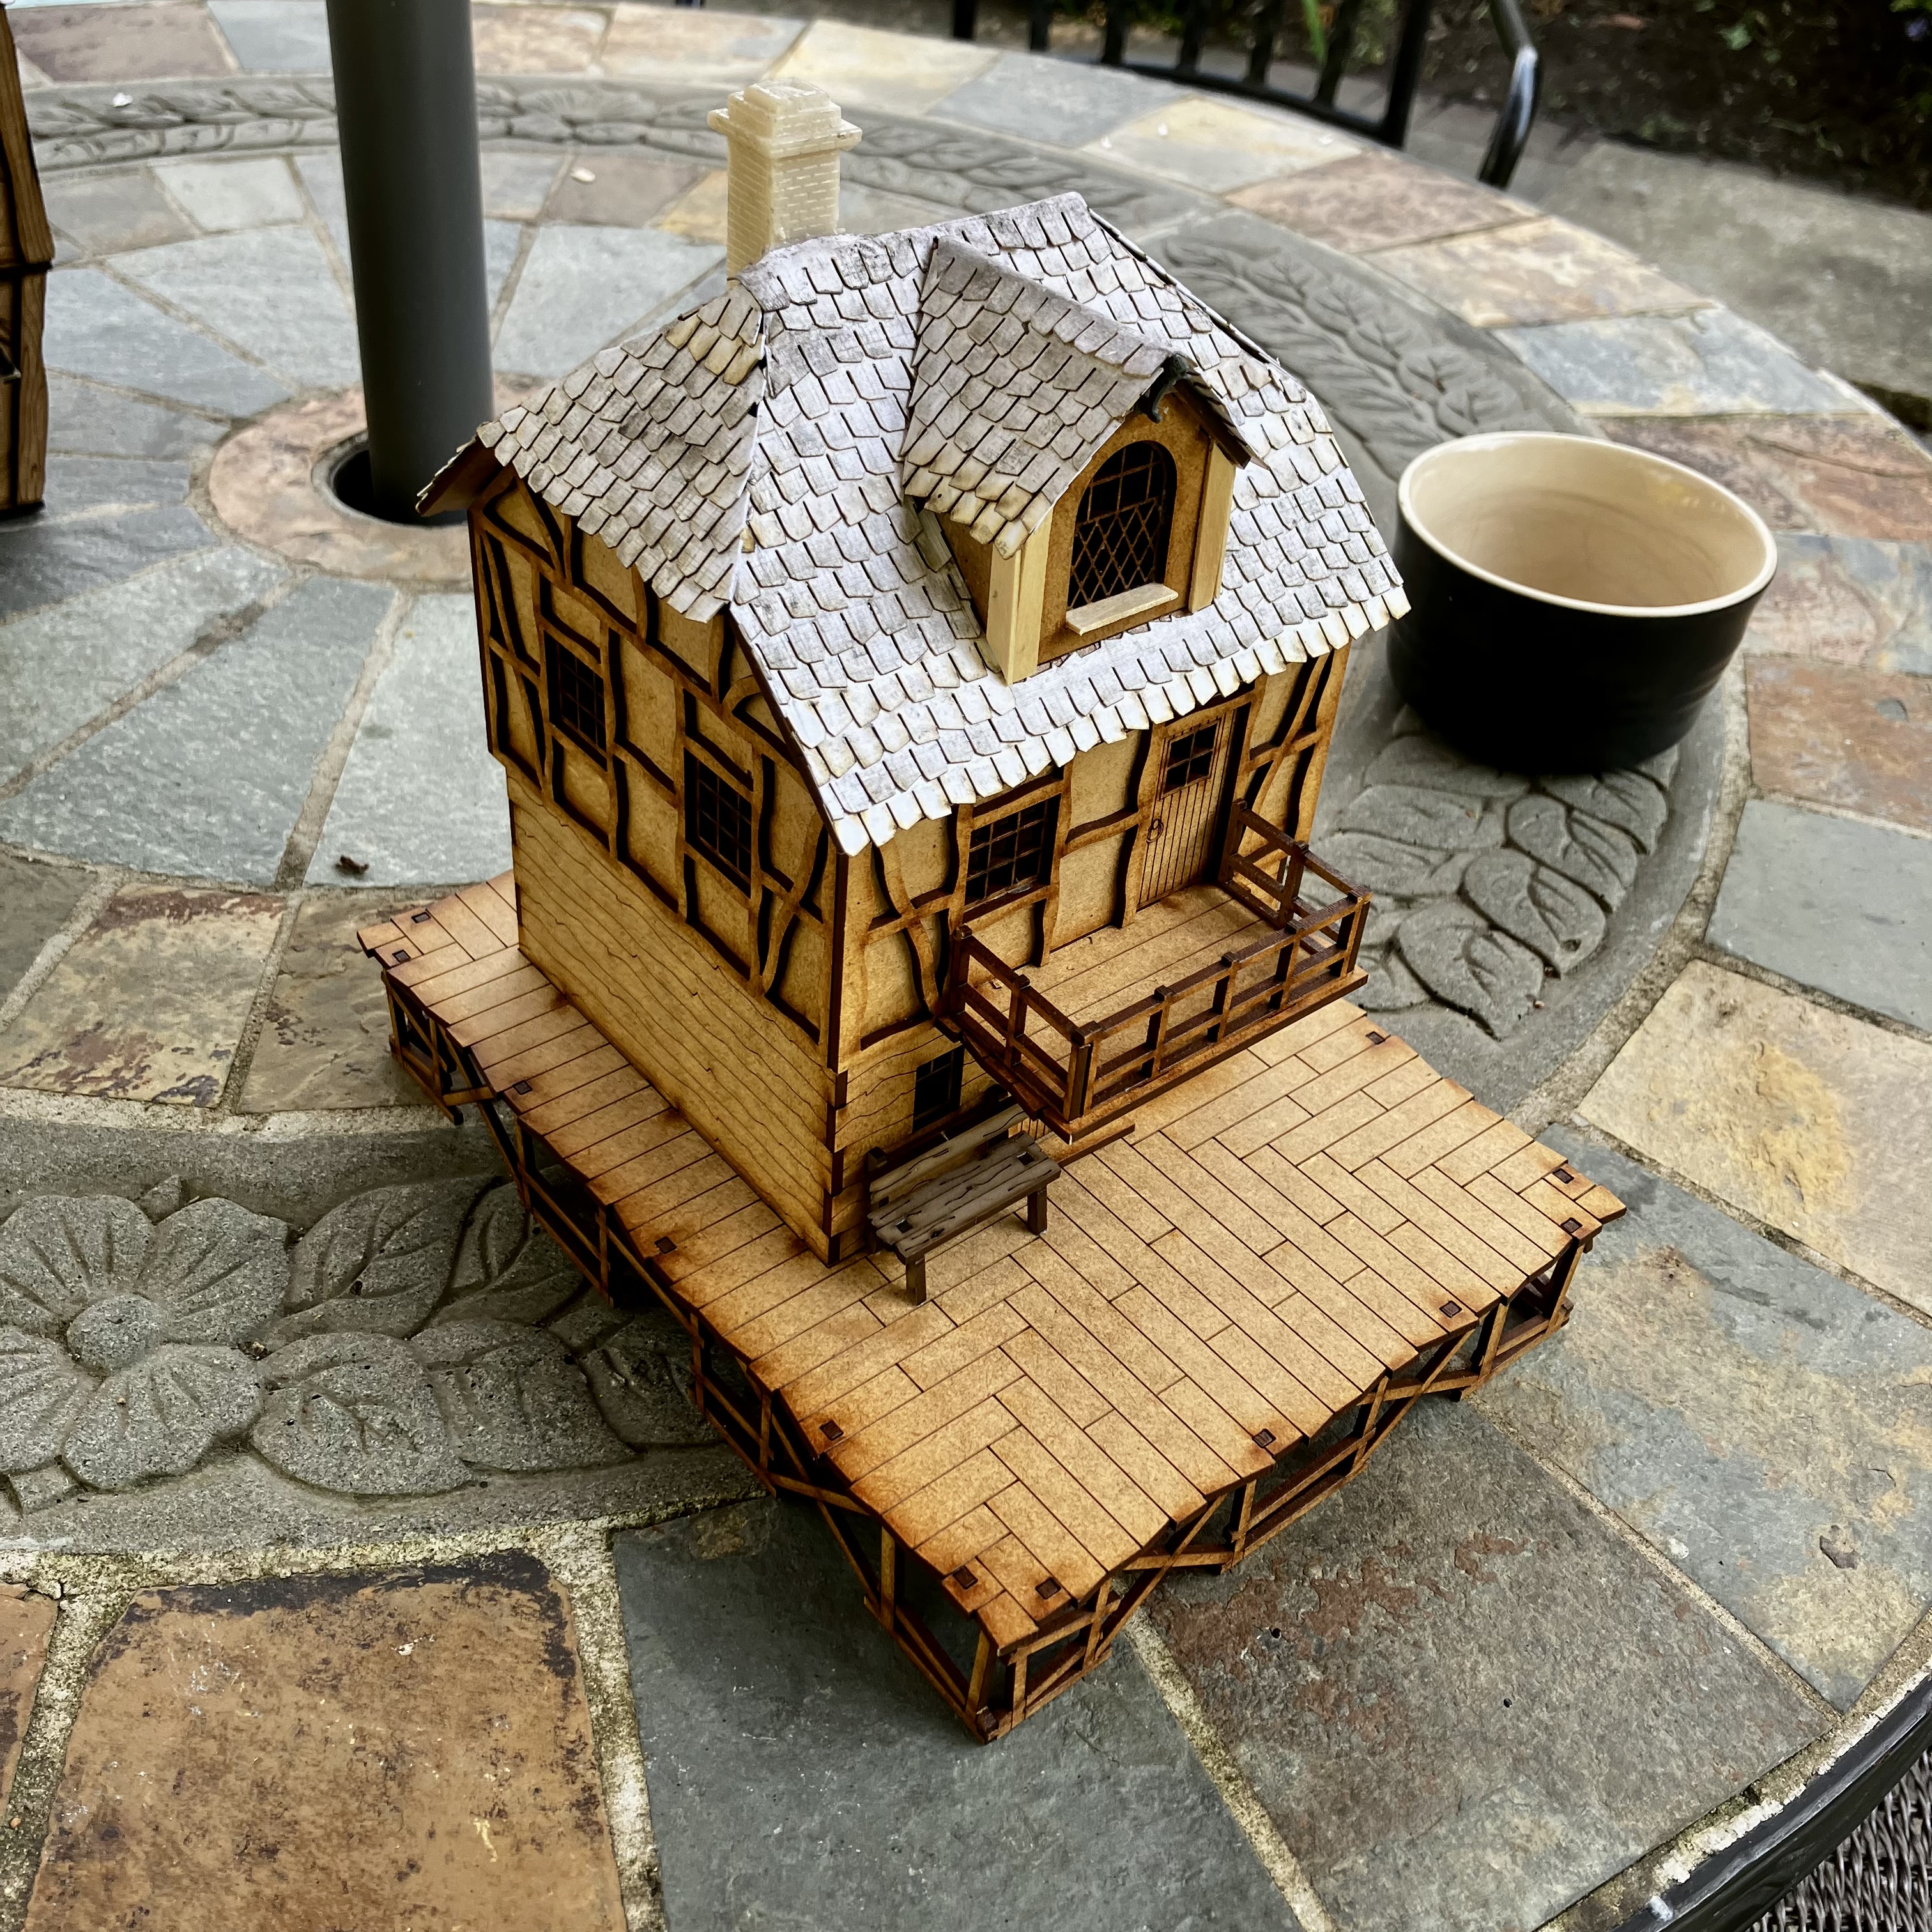
Here’s a completed Lochbaile building, ready for paint.
similar to the others, I’ve tiled it properly and added a small chimney, plus a few other little details. Am keeping the roof separate as the inside a make handy storage for little row boats and street scatter.
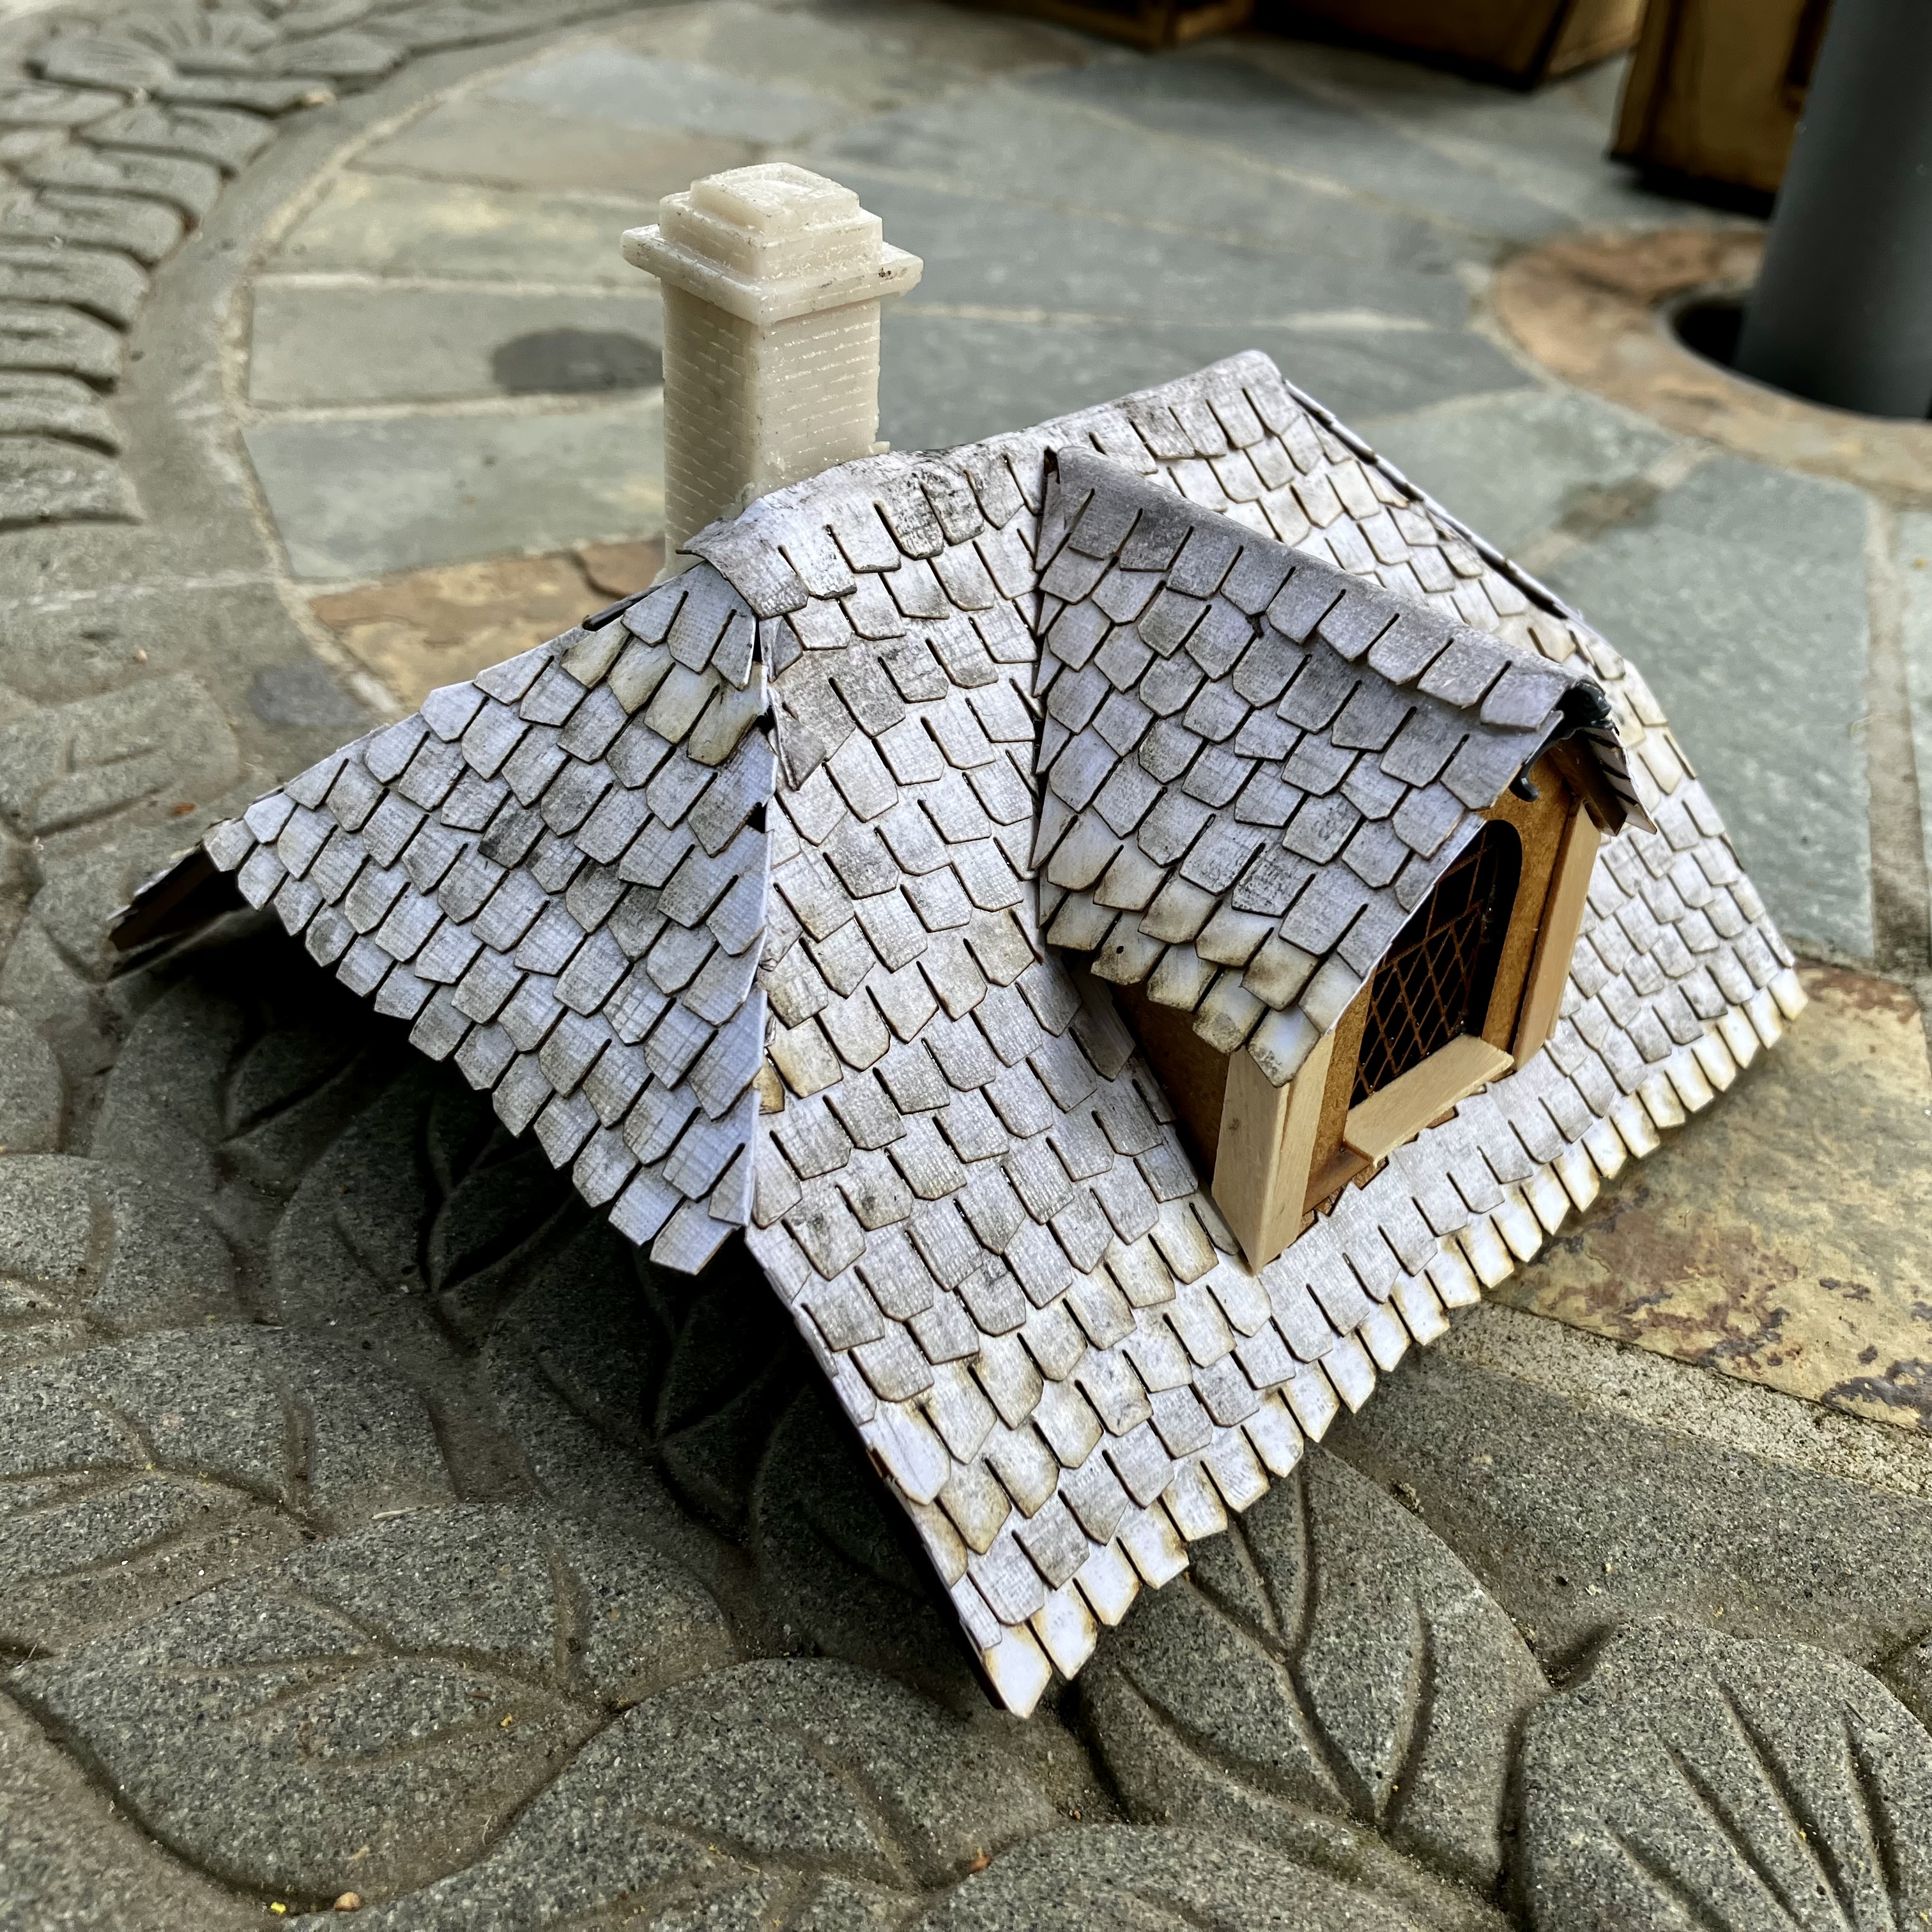
Completing the roof
With more tiles now in hand, I’ve been able to get the roof finished. I’m really pleased with the over-all look. Bit disappointed with myself that I’ve misplaced the beams I’d punched out for some of the walls, but a few coffee stirrers cover up the mdf edges.
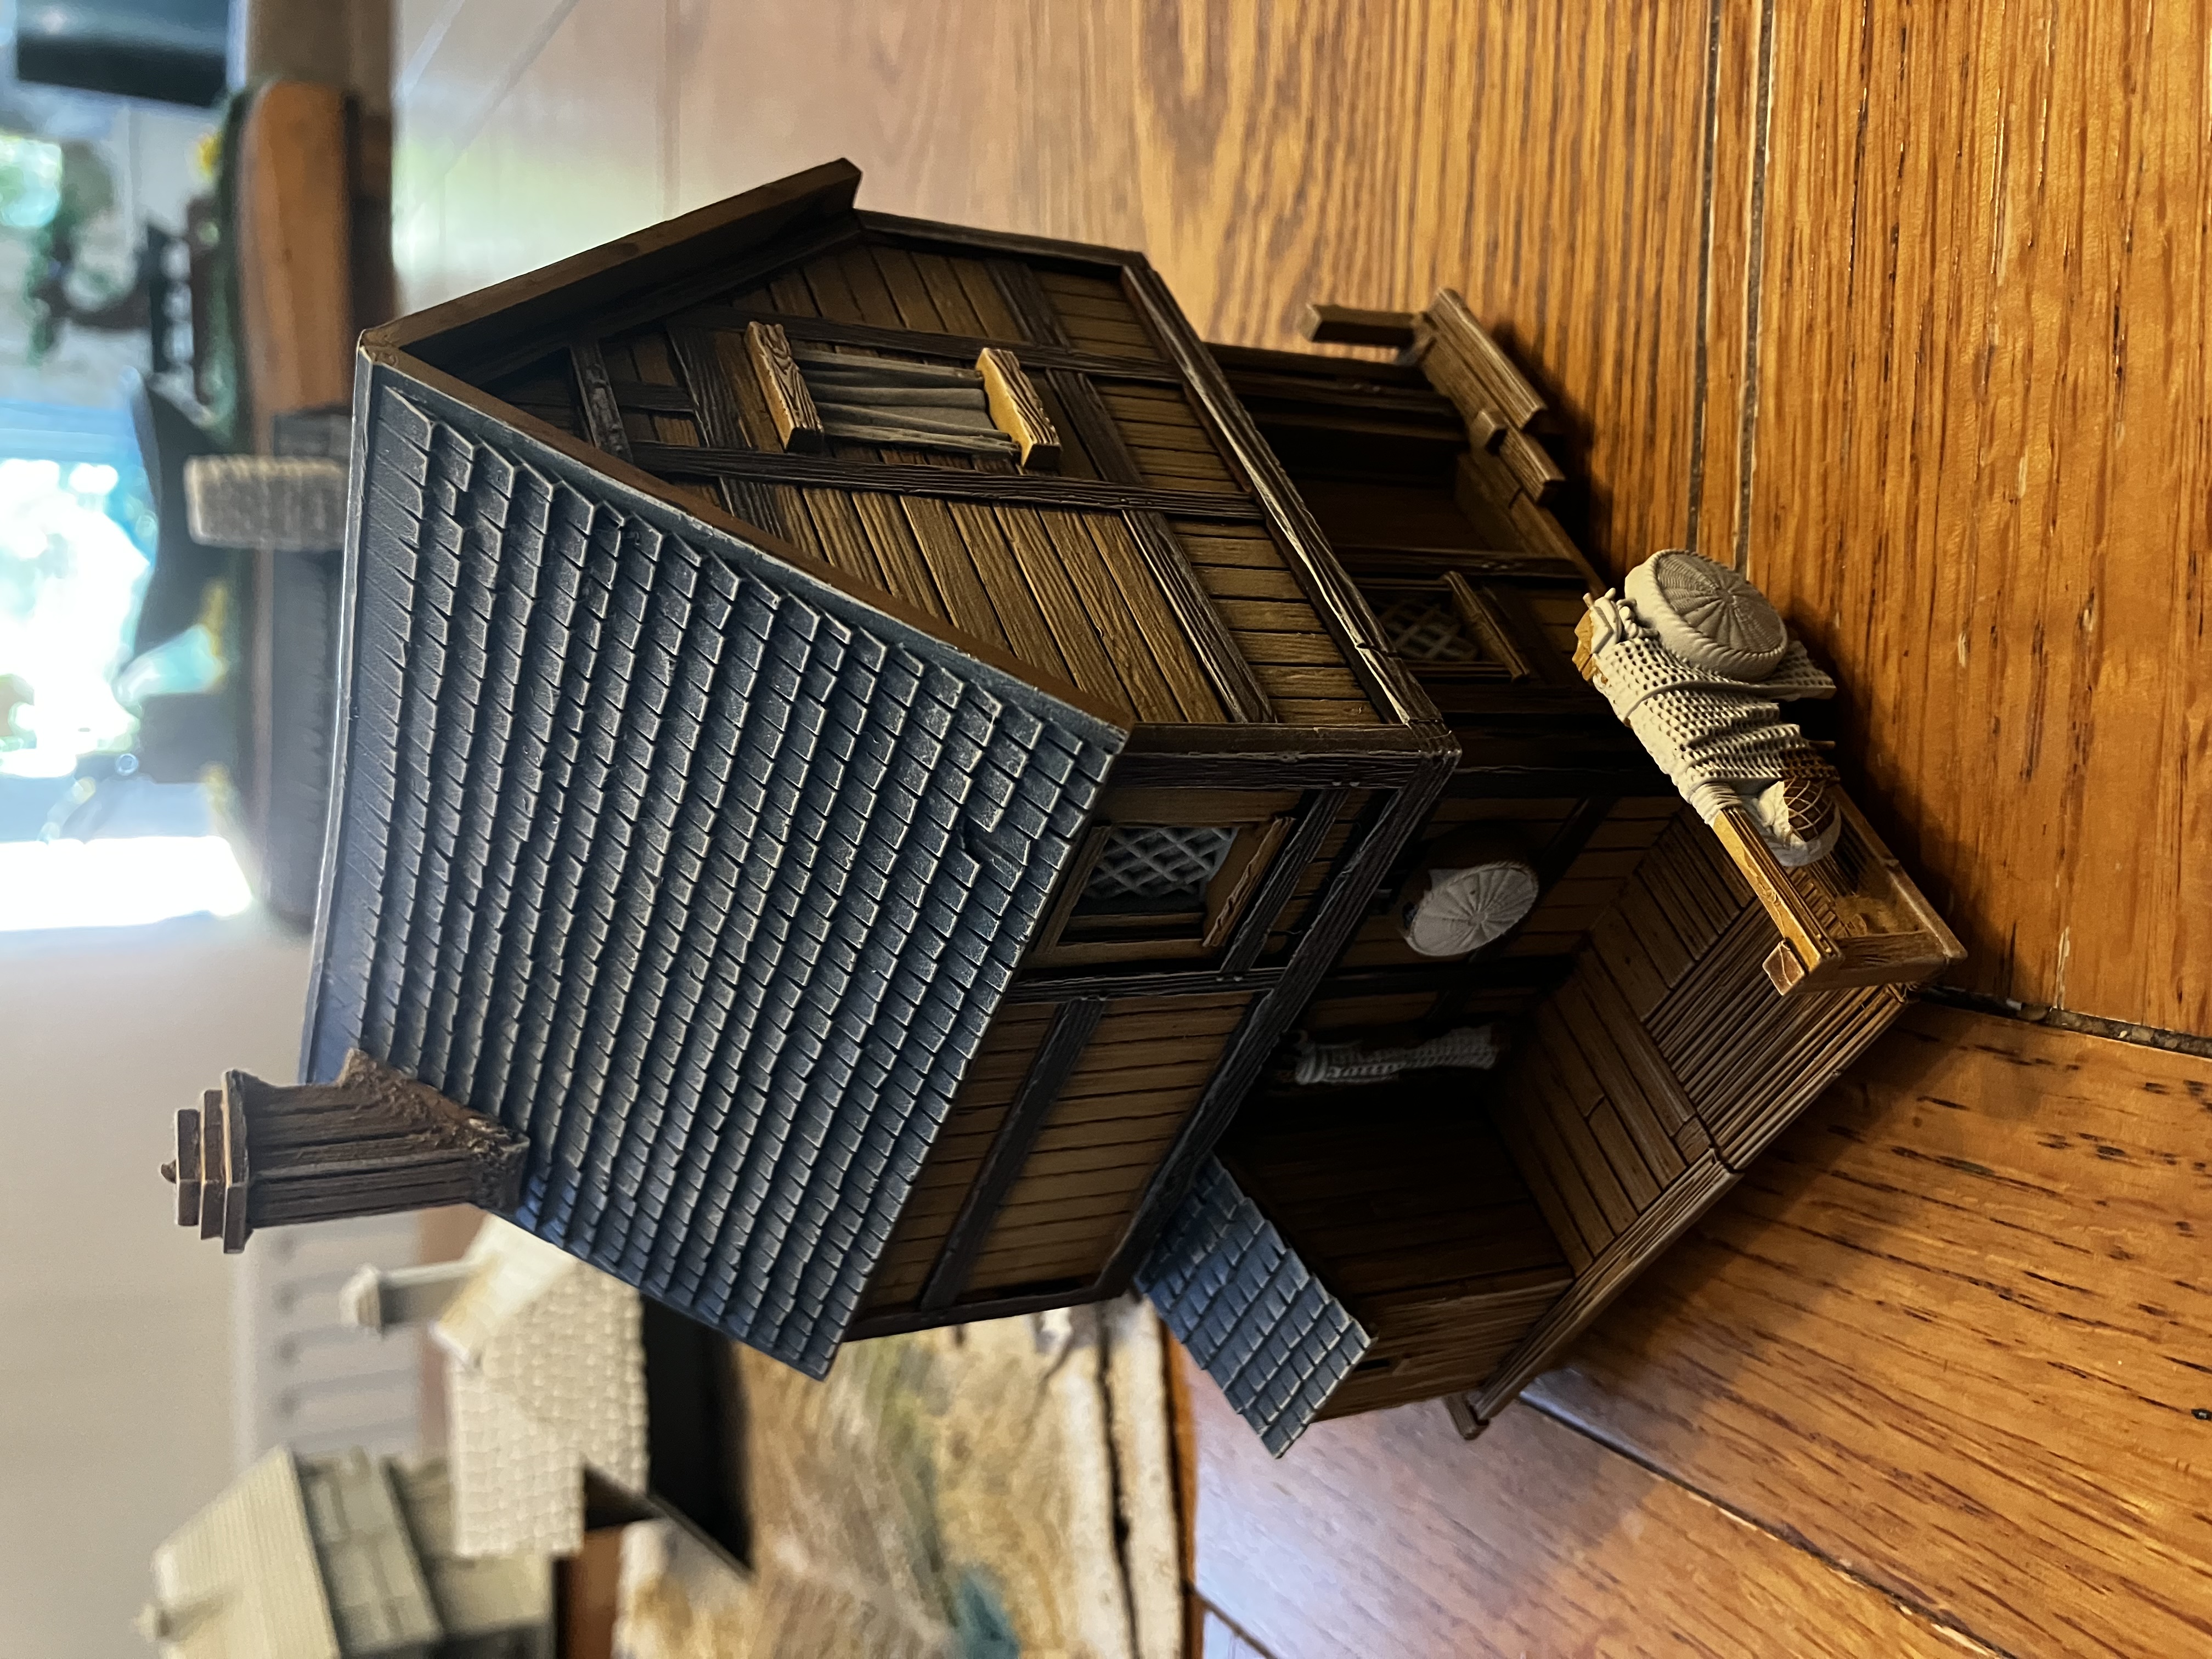
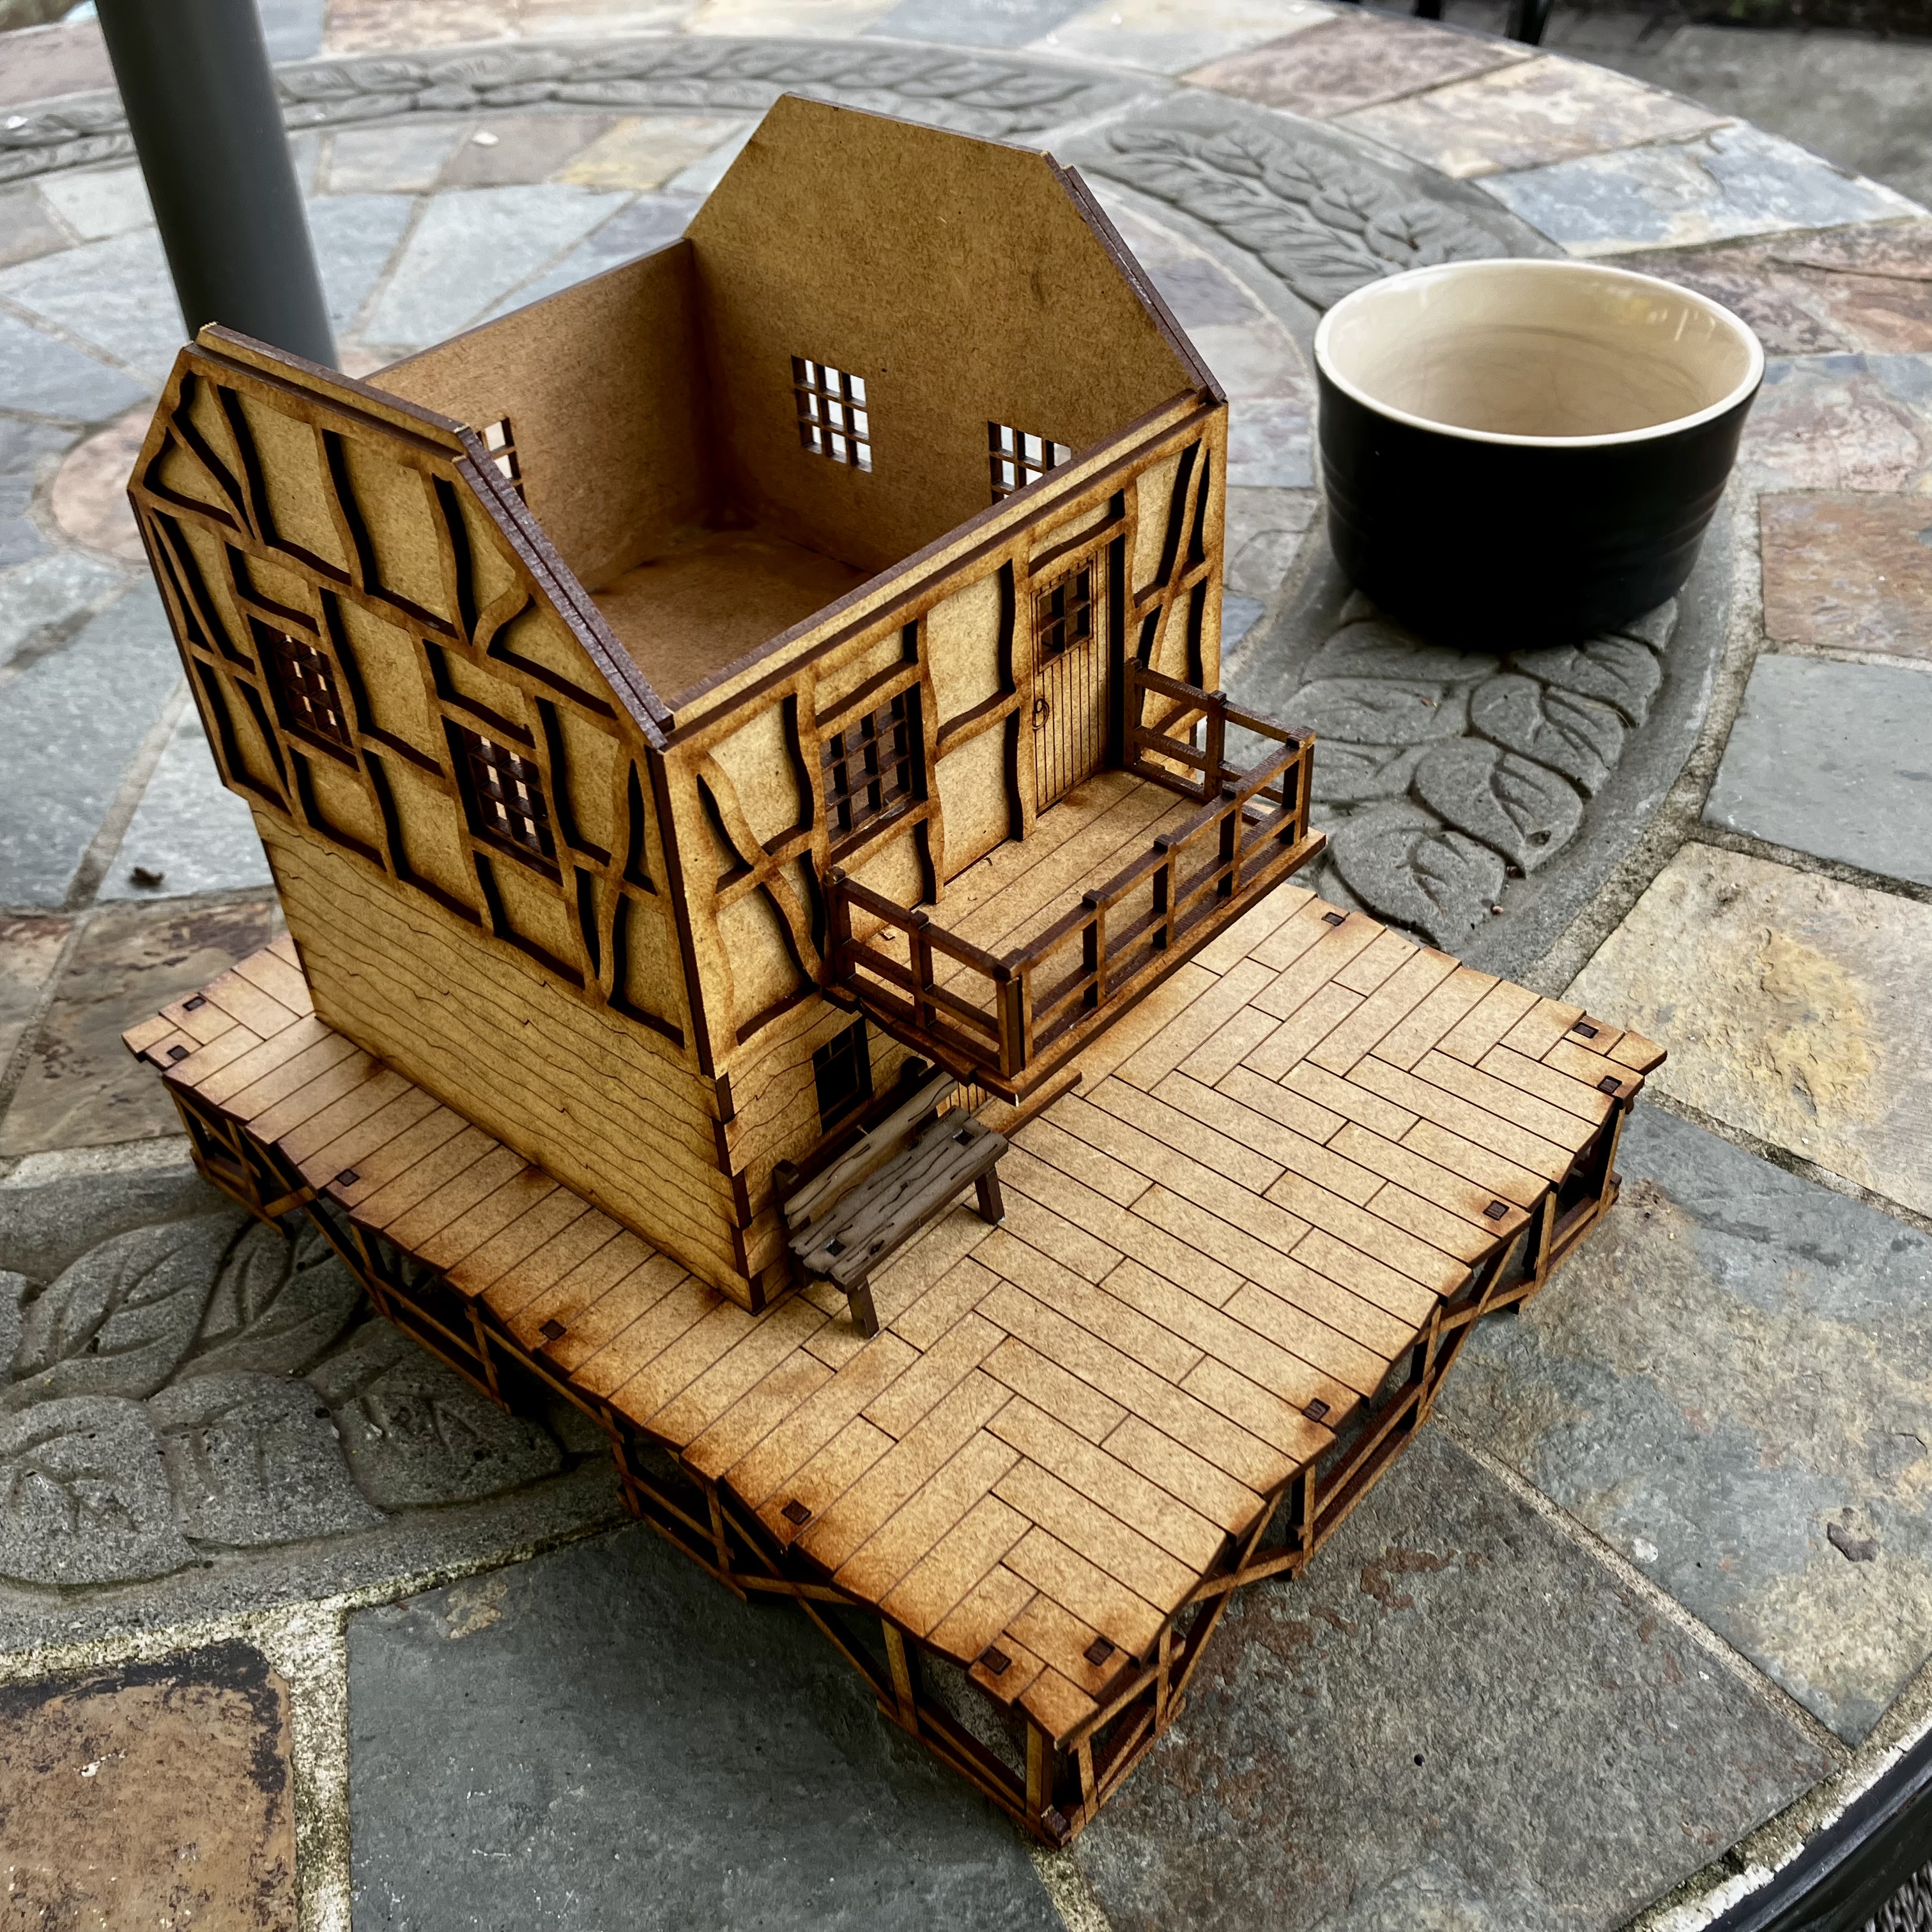
 The completed building
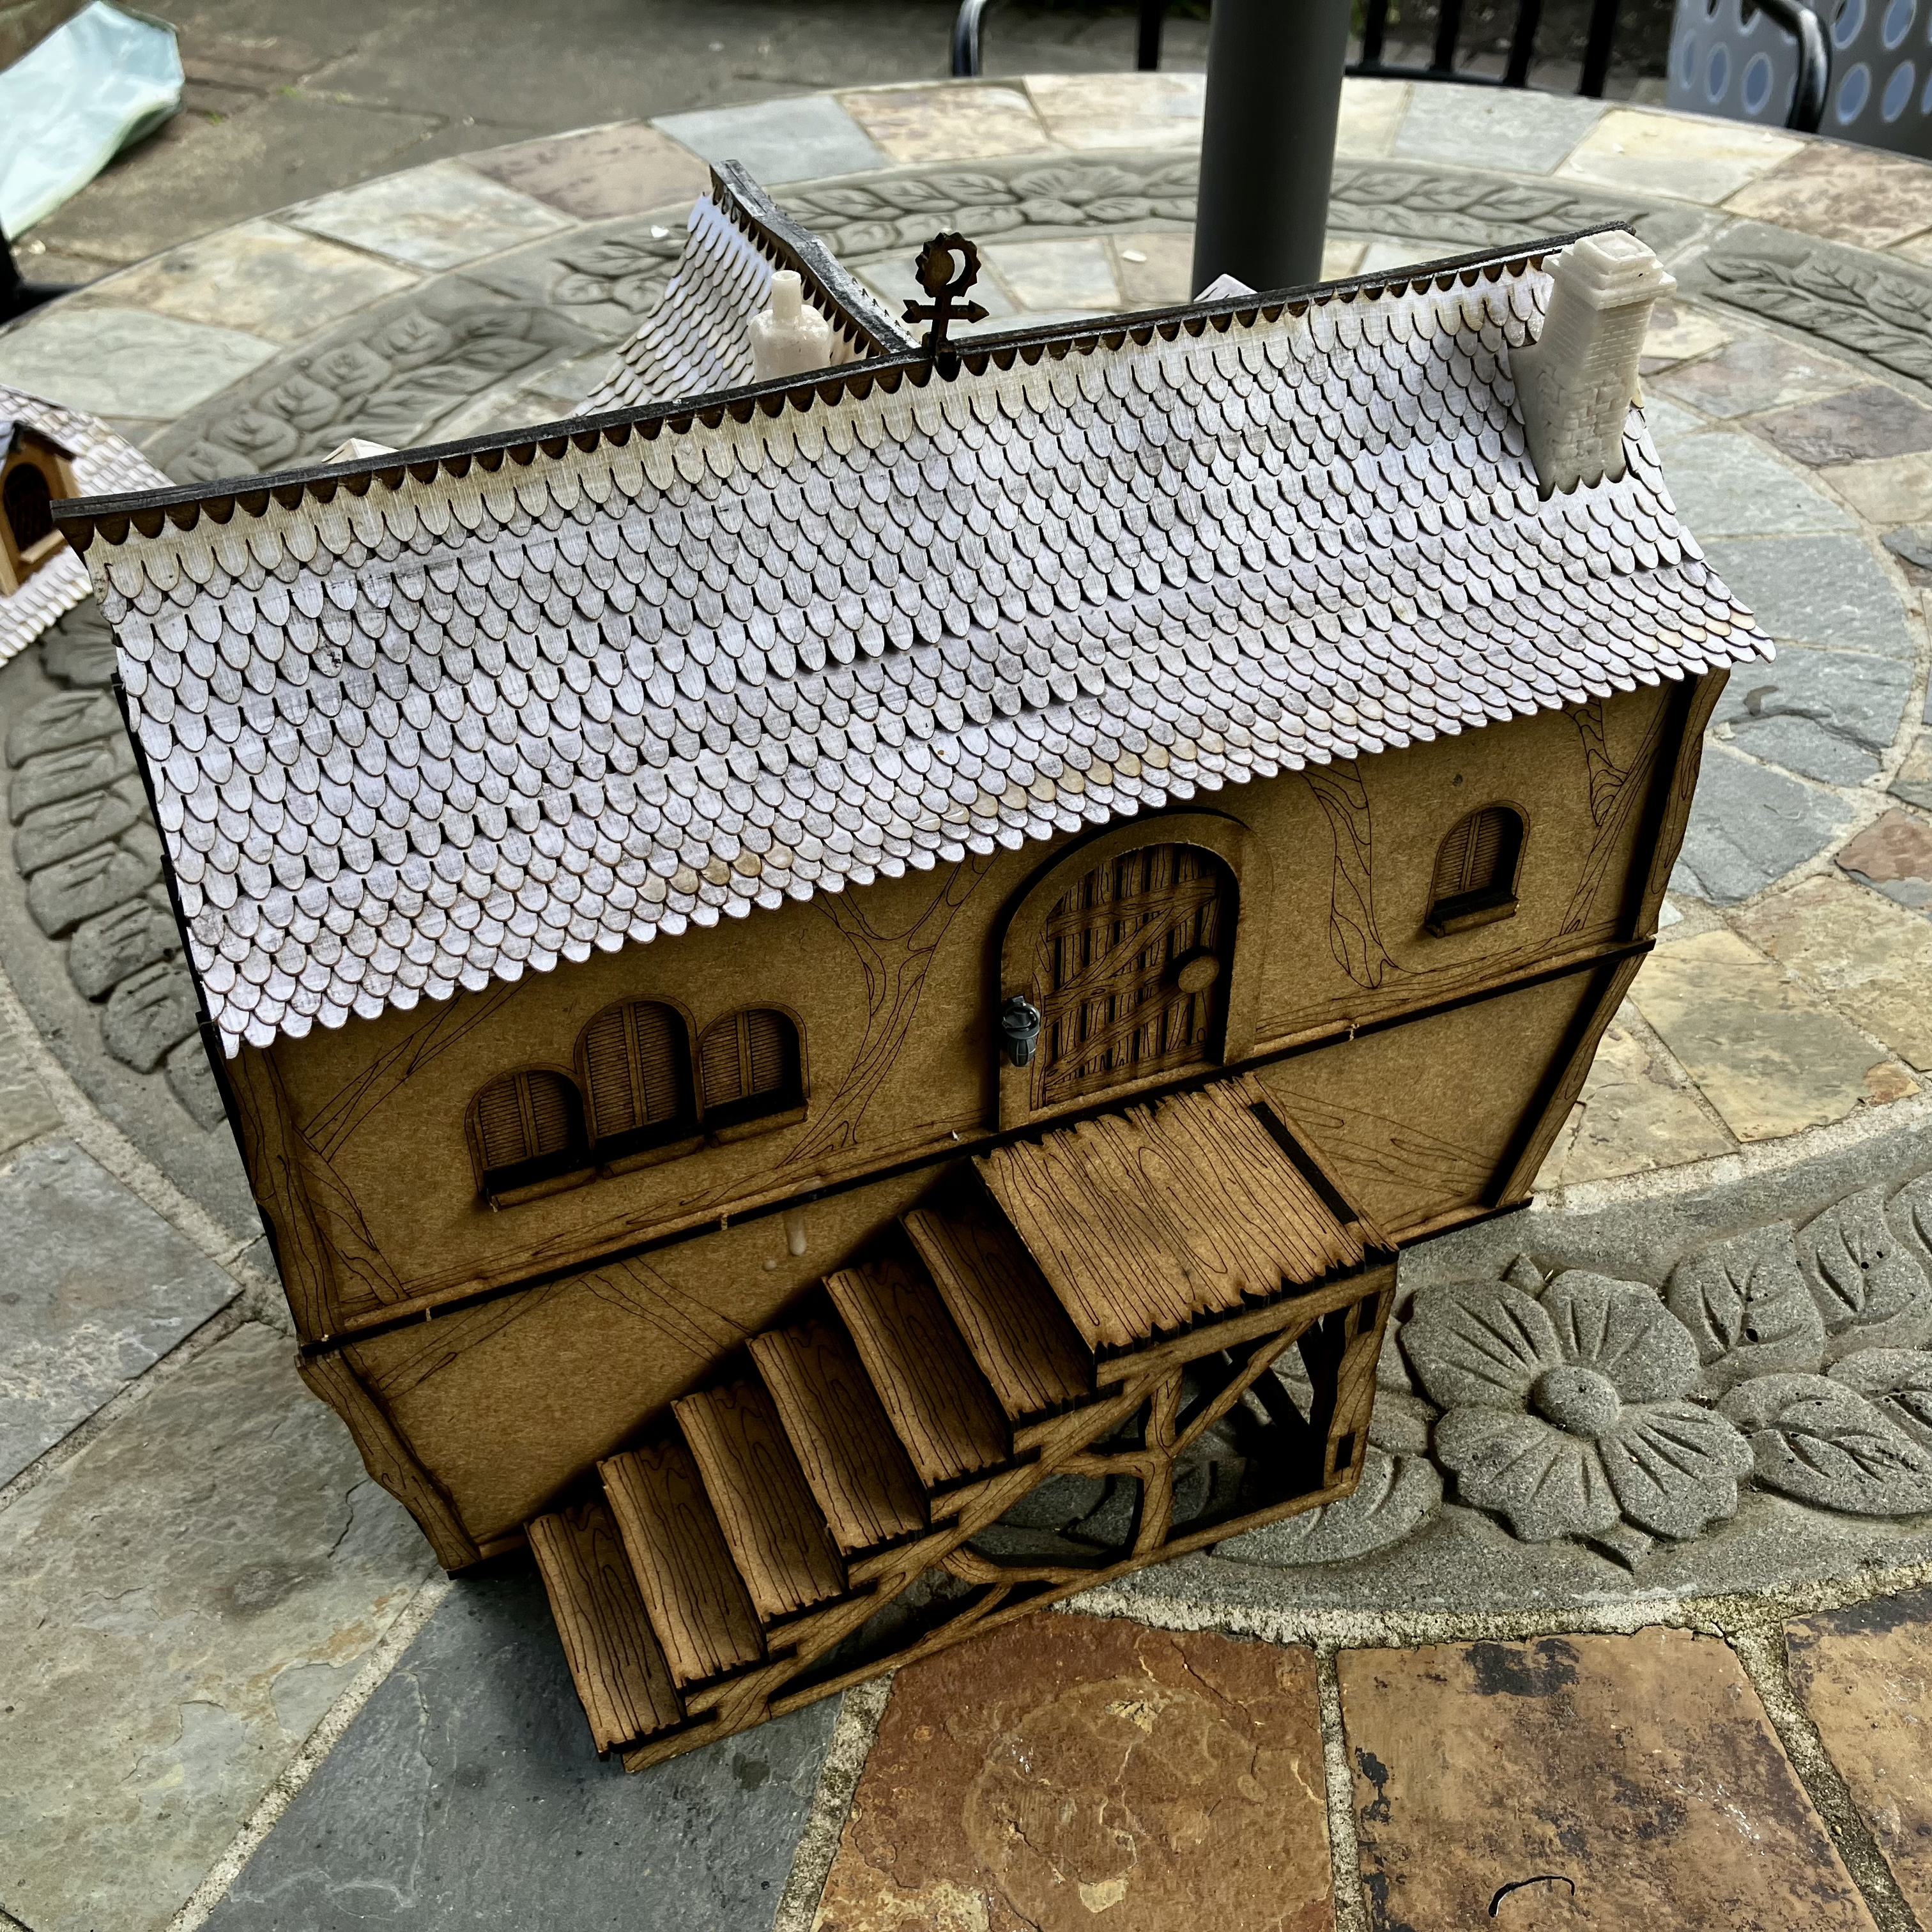 Rear view showing the steps. Ideal for a sneaky getaway with the gold…
Detailing the dormers
So when we left this, I’d got as far as tiling the roof, but had run out of tiles, so was waiting for some more to be delivered. Well, they’ve arrived ed so yay!
You might remember that the formers are just clear plastic protective corners, that I’d trimmed to fit the roof. Here’s how I’ve turned them into detailed roof sections.
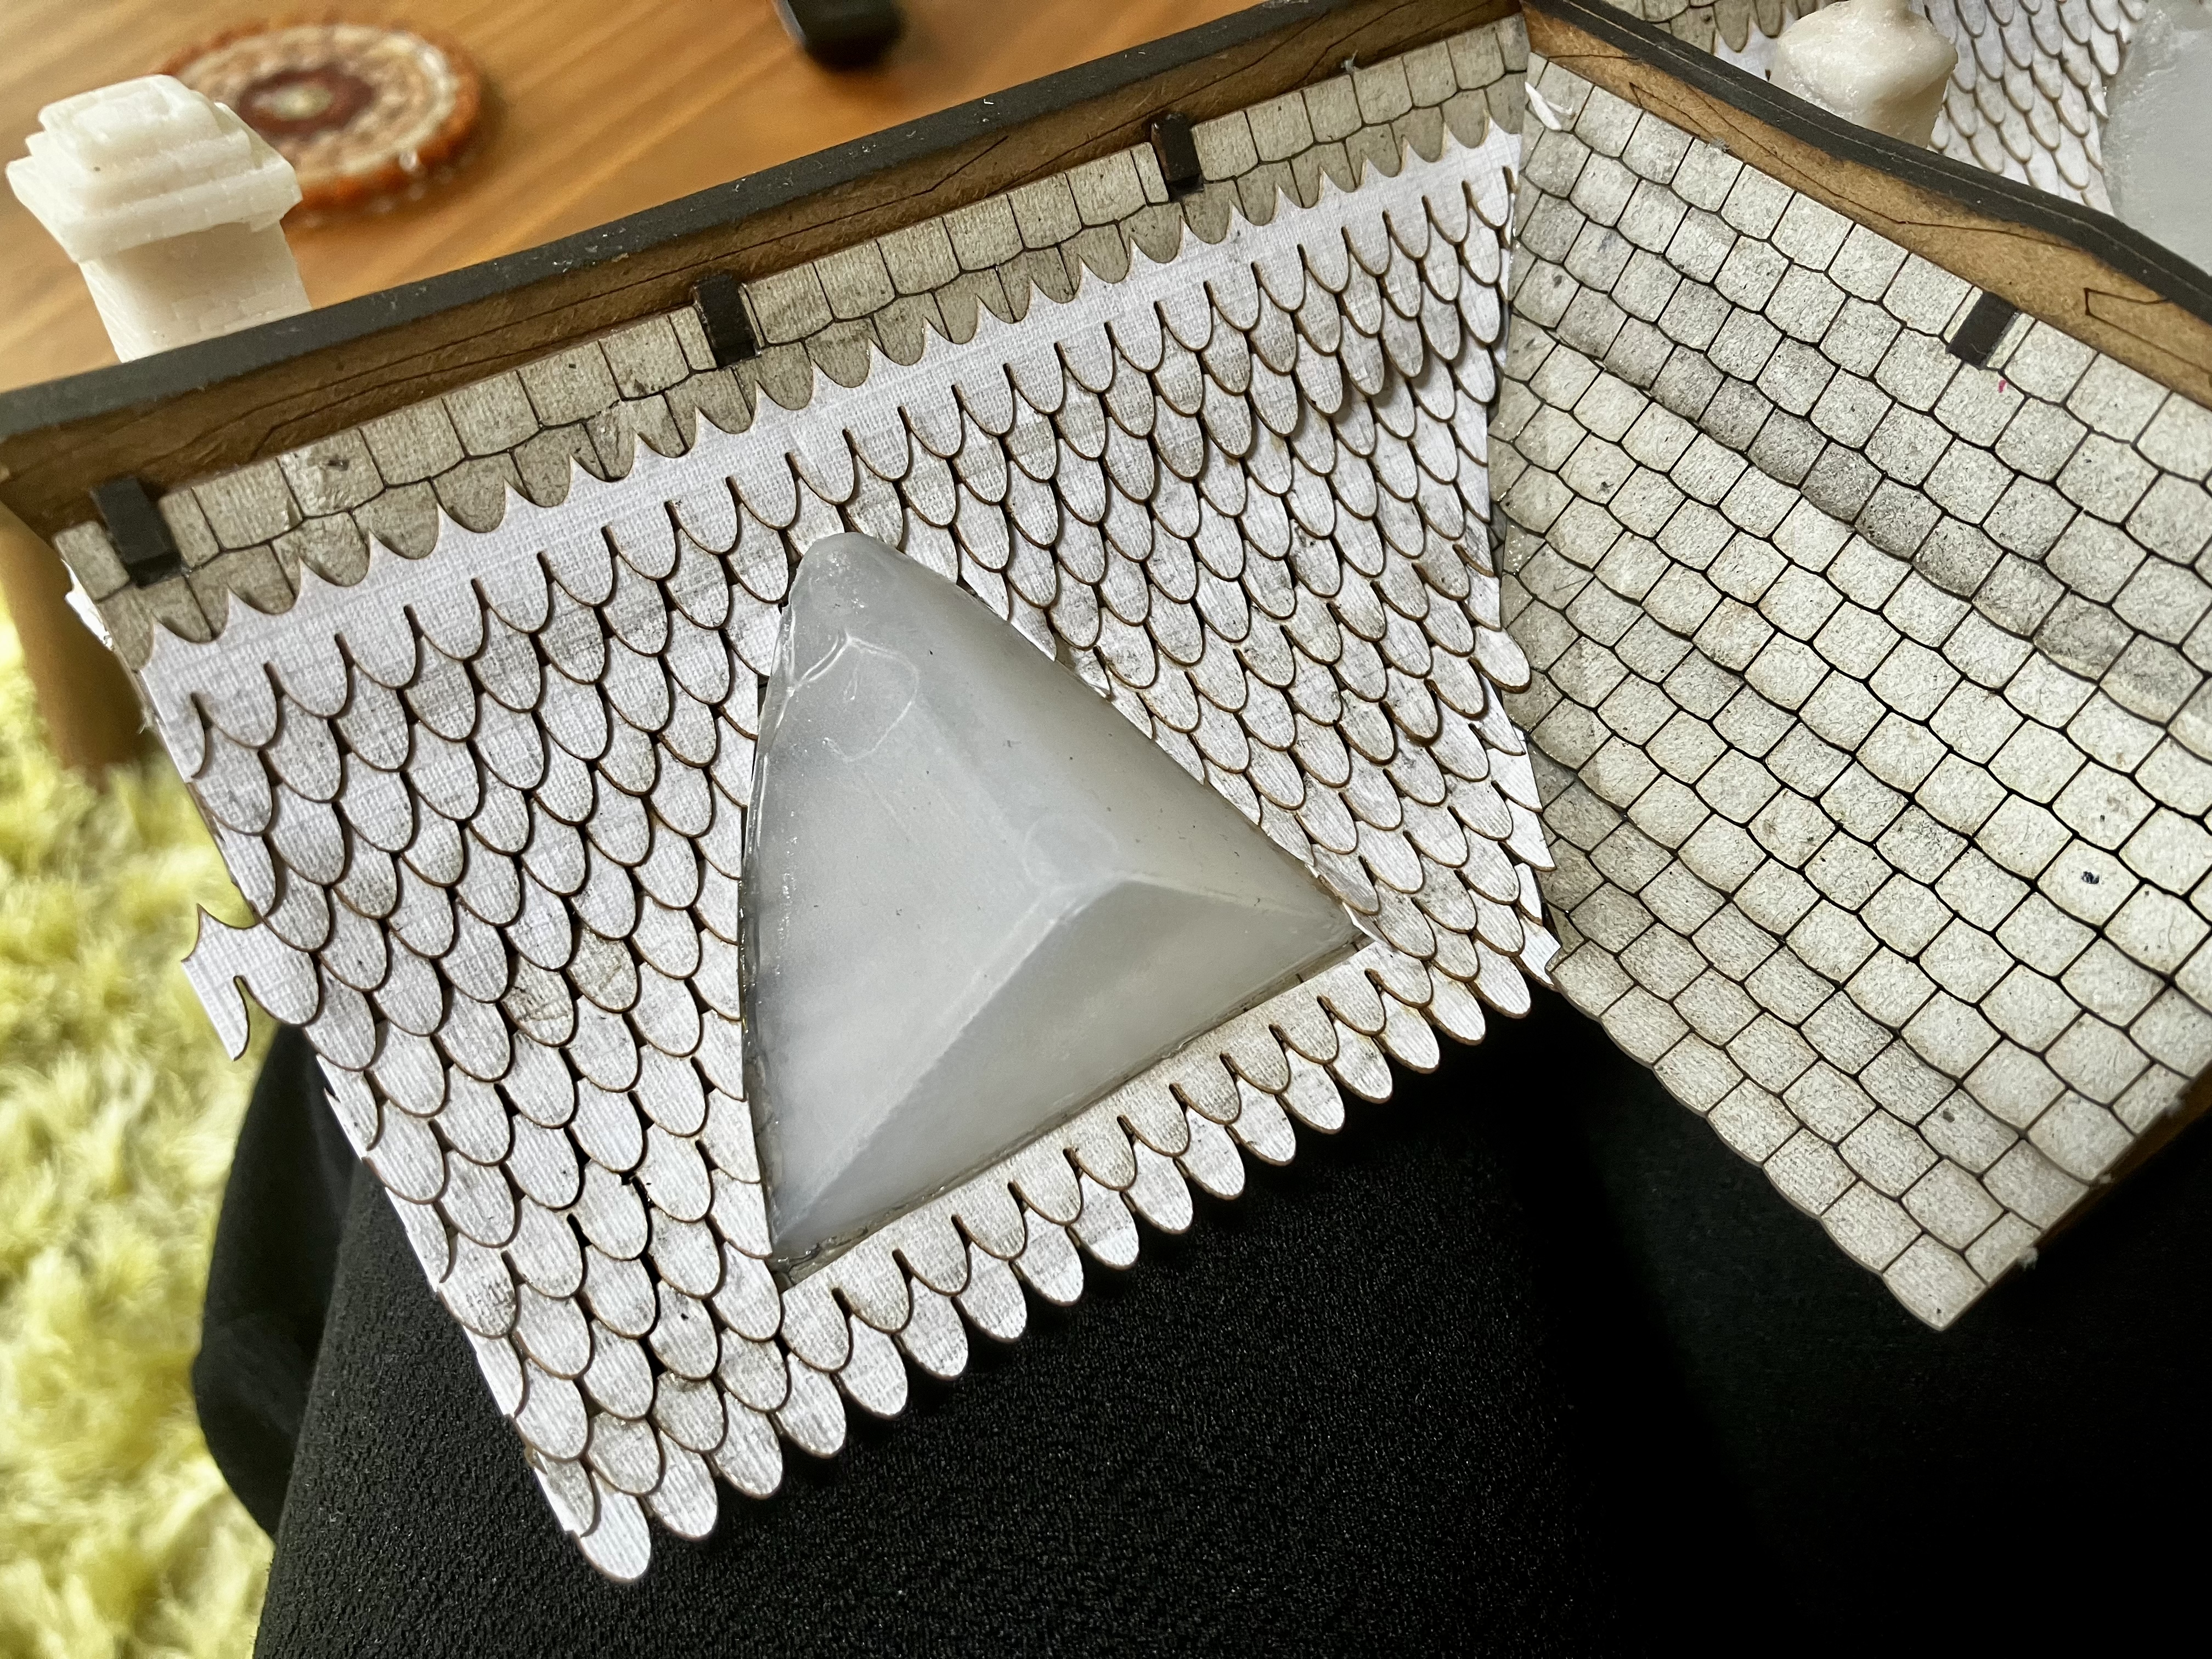 A basic plastic triangle
 I got hold of some 3D printed resin windows online. They were quite sticky on arrival but then I remembered reading that resin prints like ultraviolet light, so I popped them on the windowsill for a day and they seem fine.
Taking a window, I glued it to the front, underneath some beams I made from trimmed matchsticks.
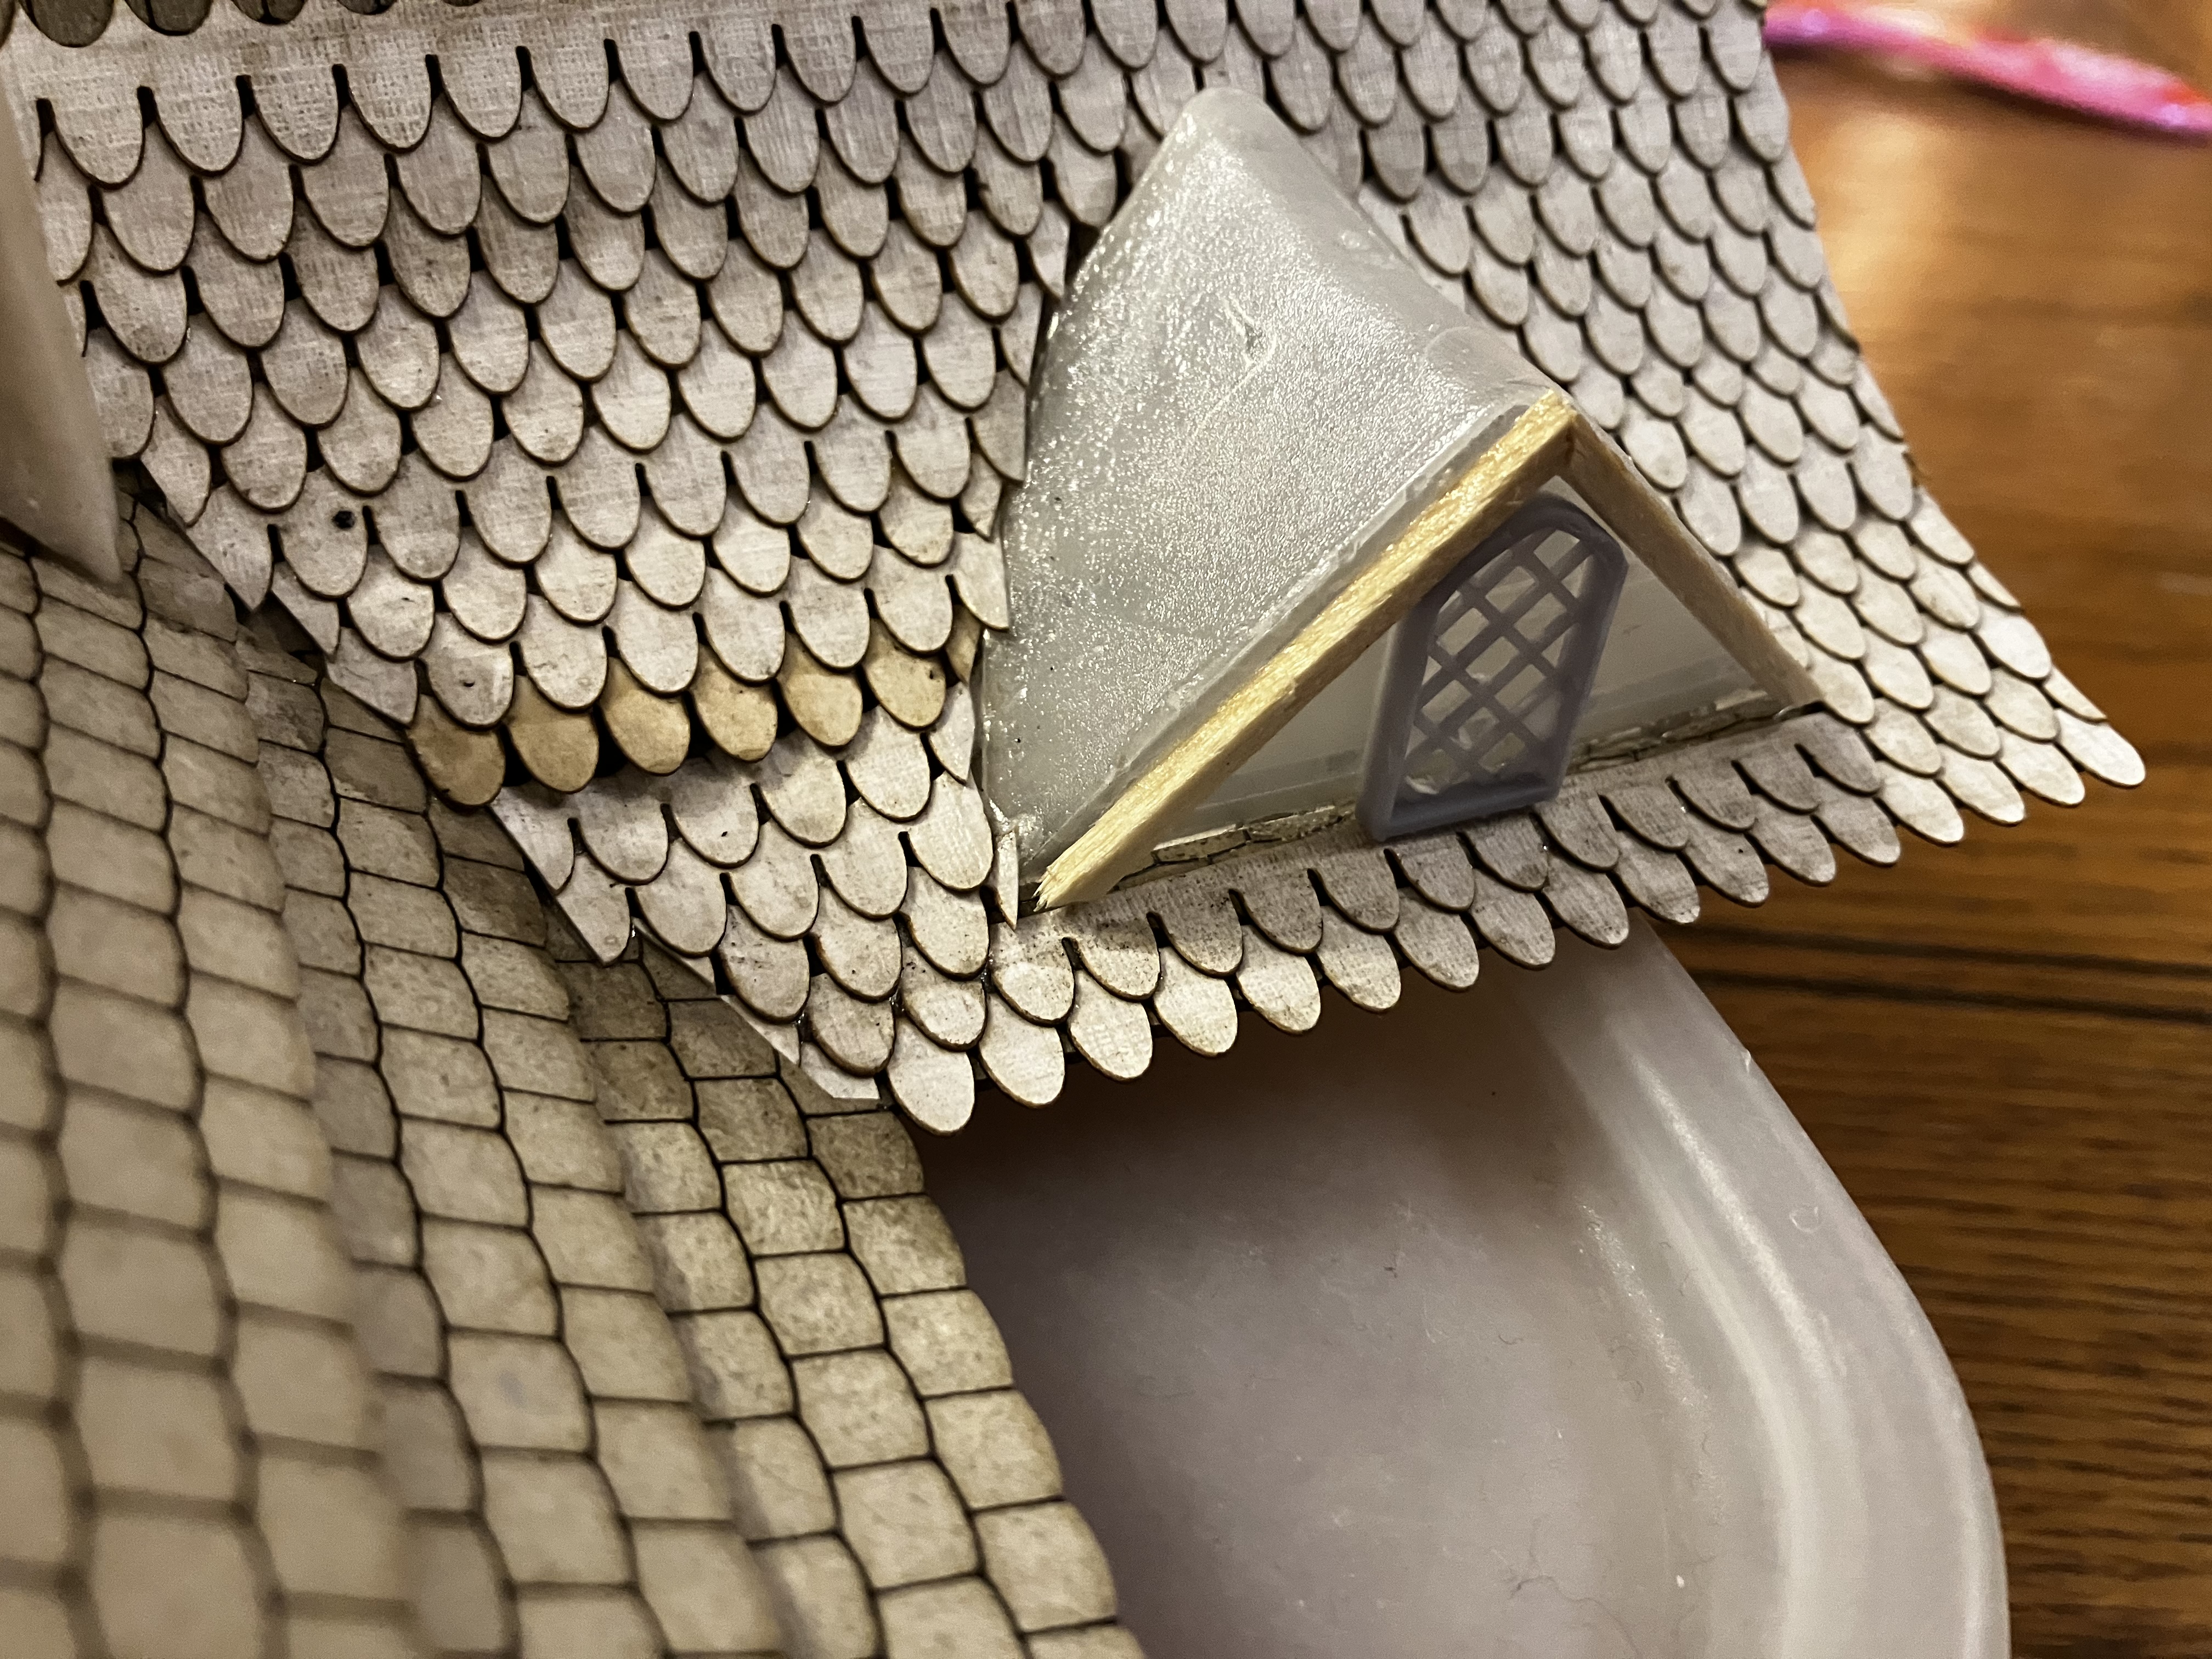 Matchstick beams and resin window
With that done, I then tiled over the roof using the same tiles as previously.
I cut some coffee stirrers into little angled pieces and glued them in place too as wooden cladding.
A little fiddly – but wow! What a great finished look!
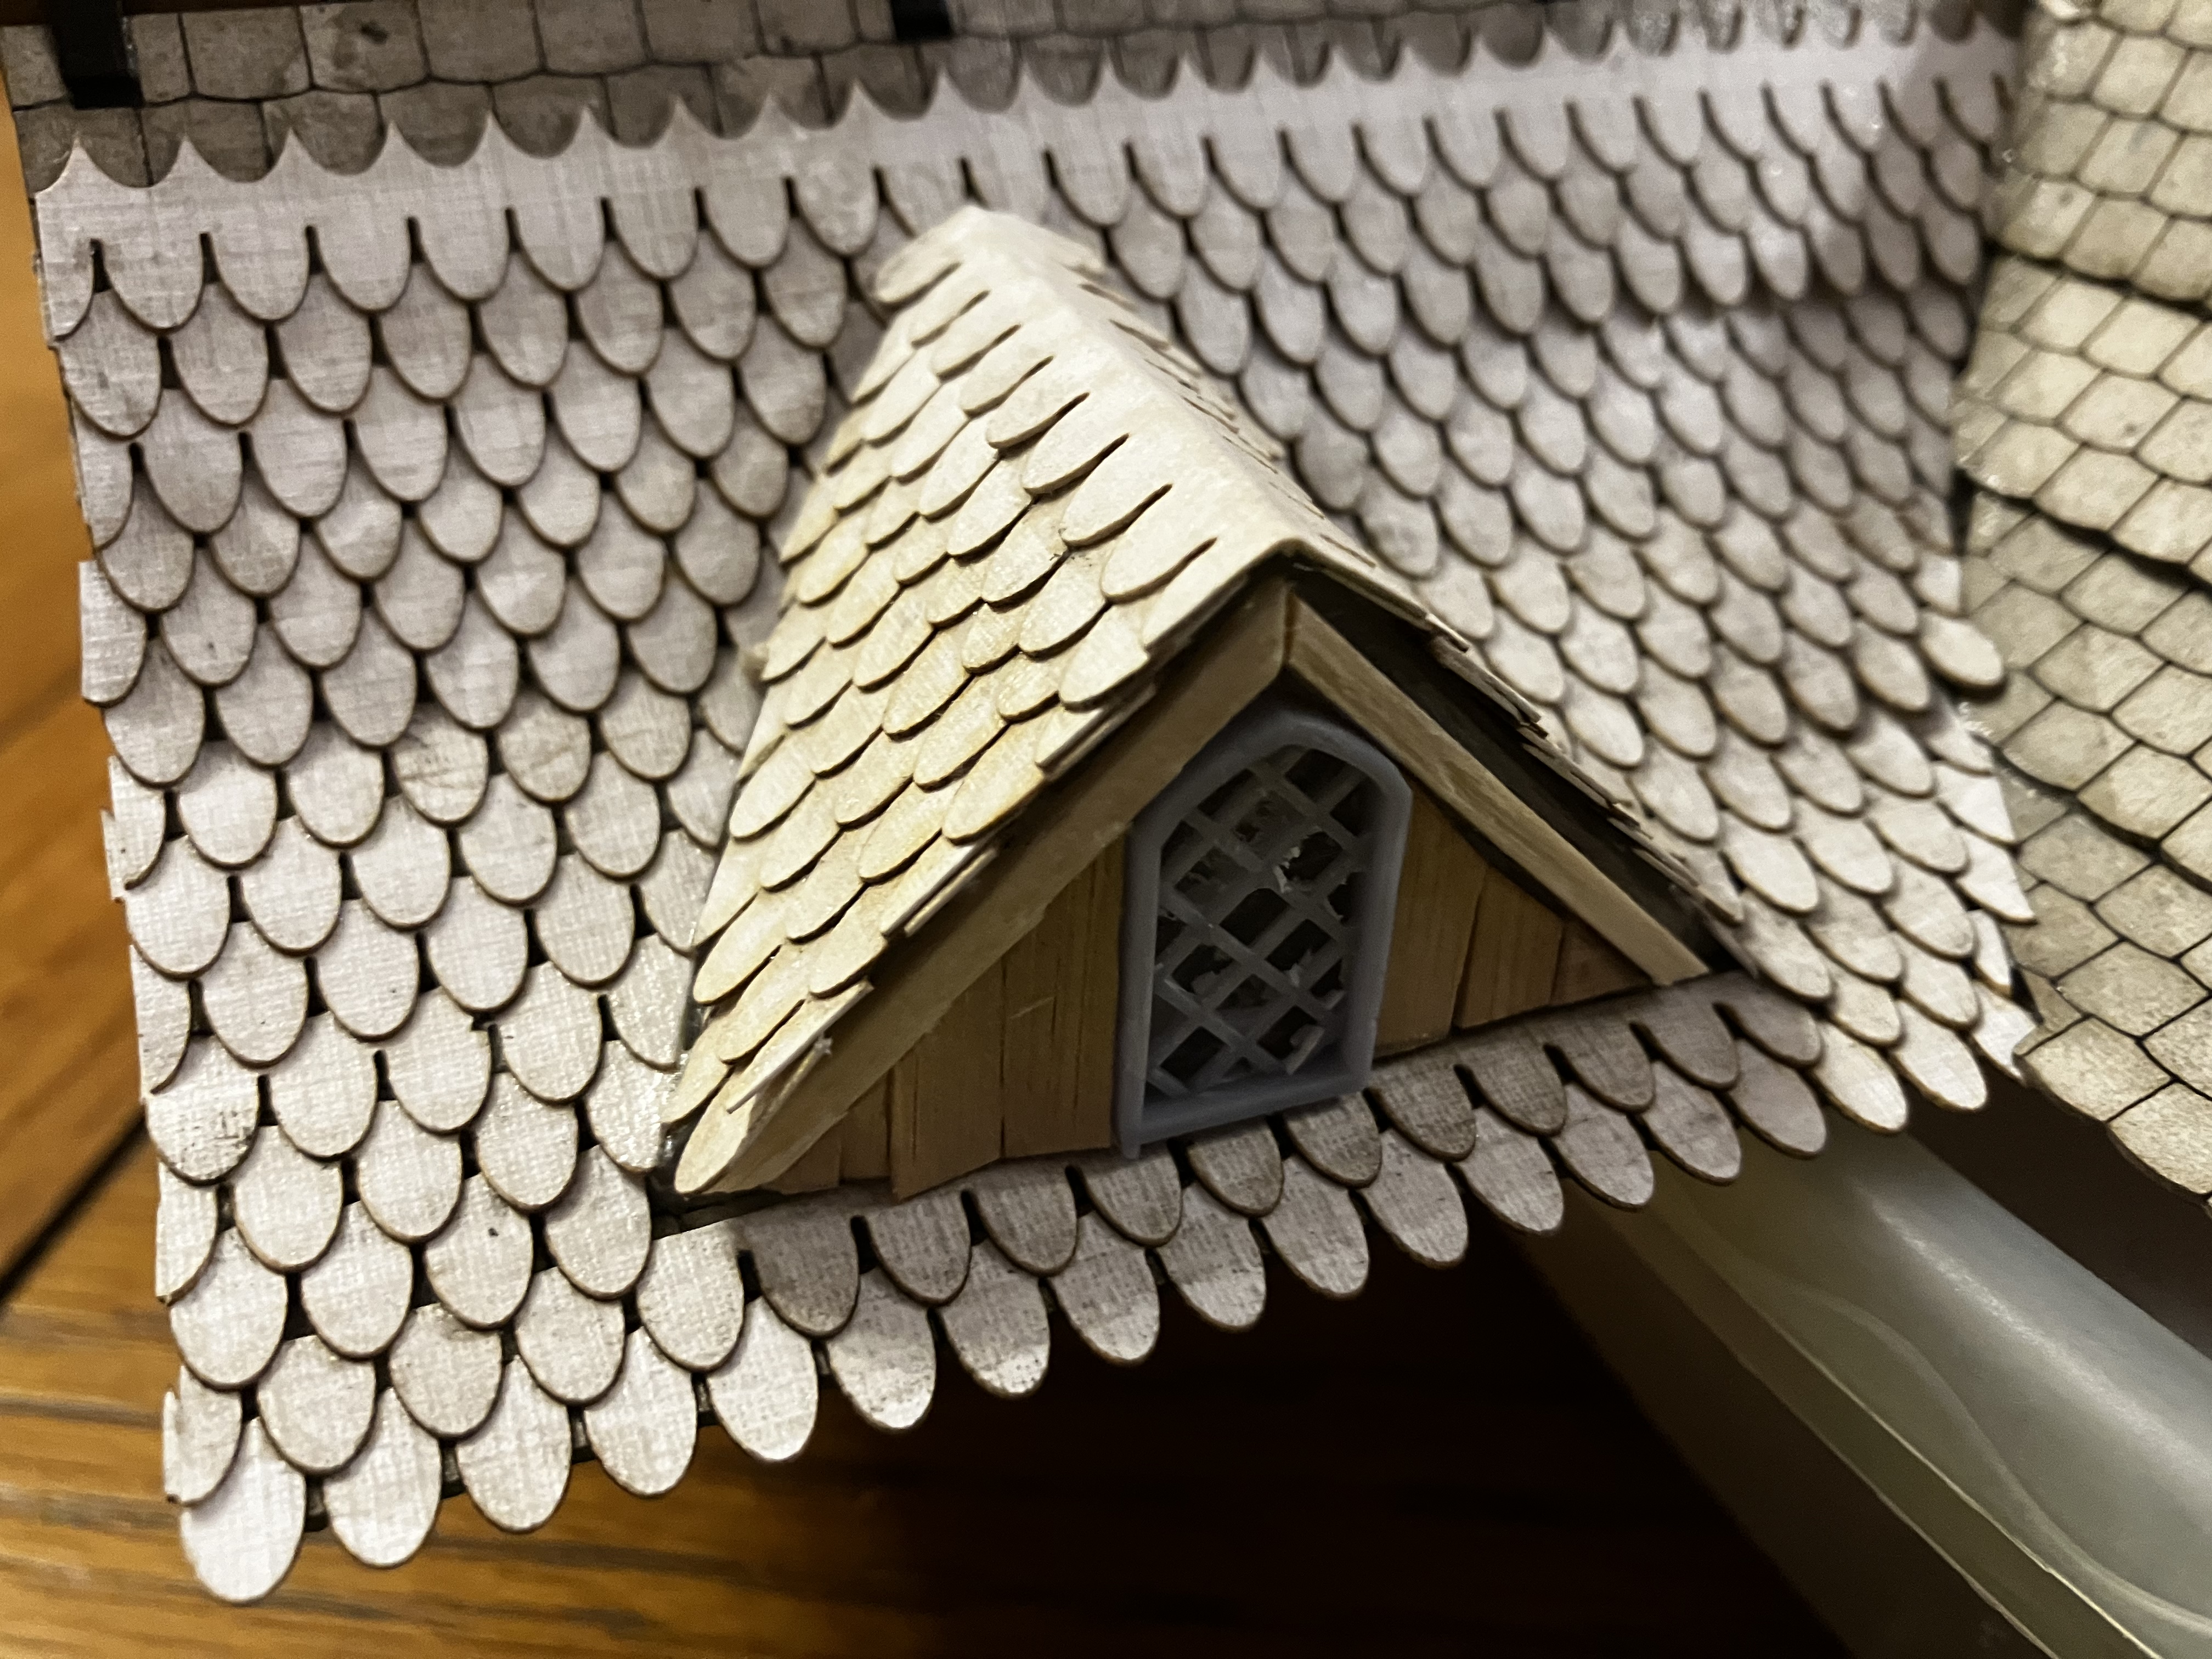 A finished dormer
I’m going to add a little leading where the former meets the main roof, and perhaps a matchstick windowsill, but this is great progress and really has given me confidence that these plastic corners can work on the other buildings too.
More MDF
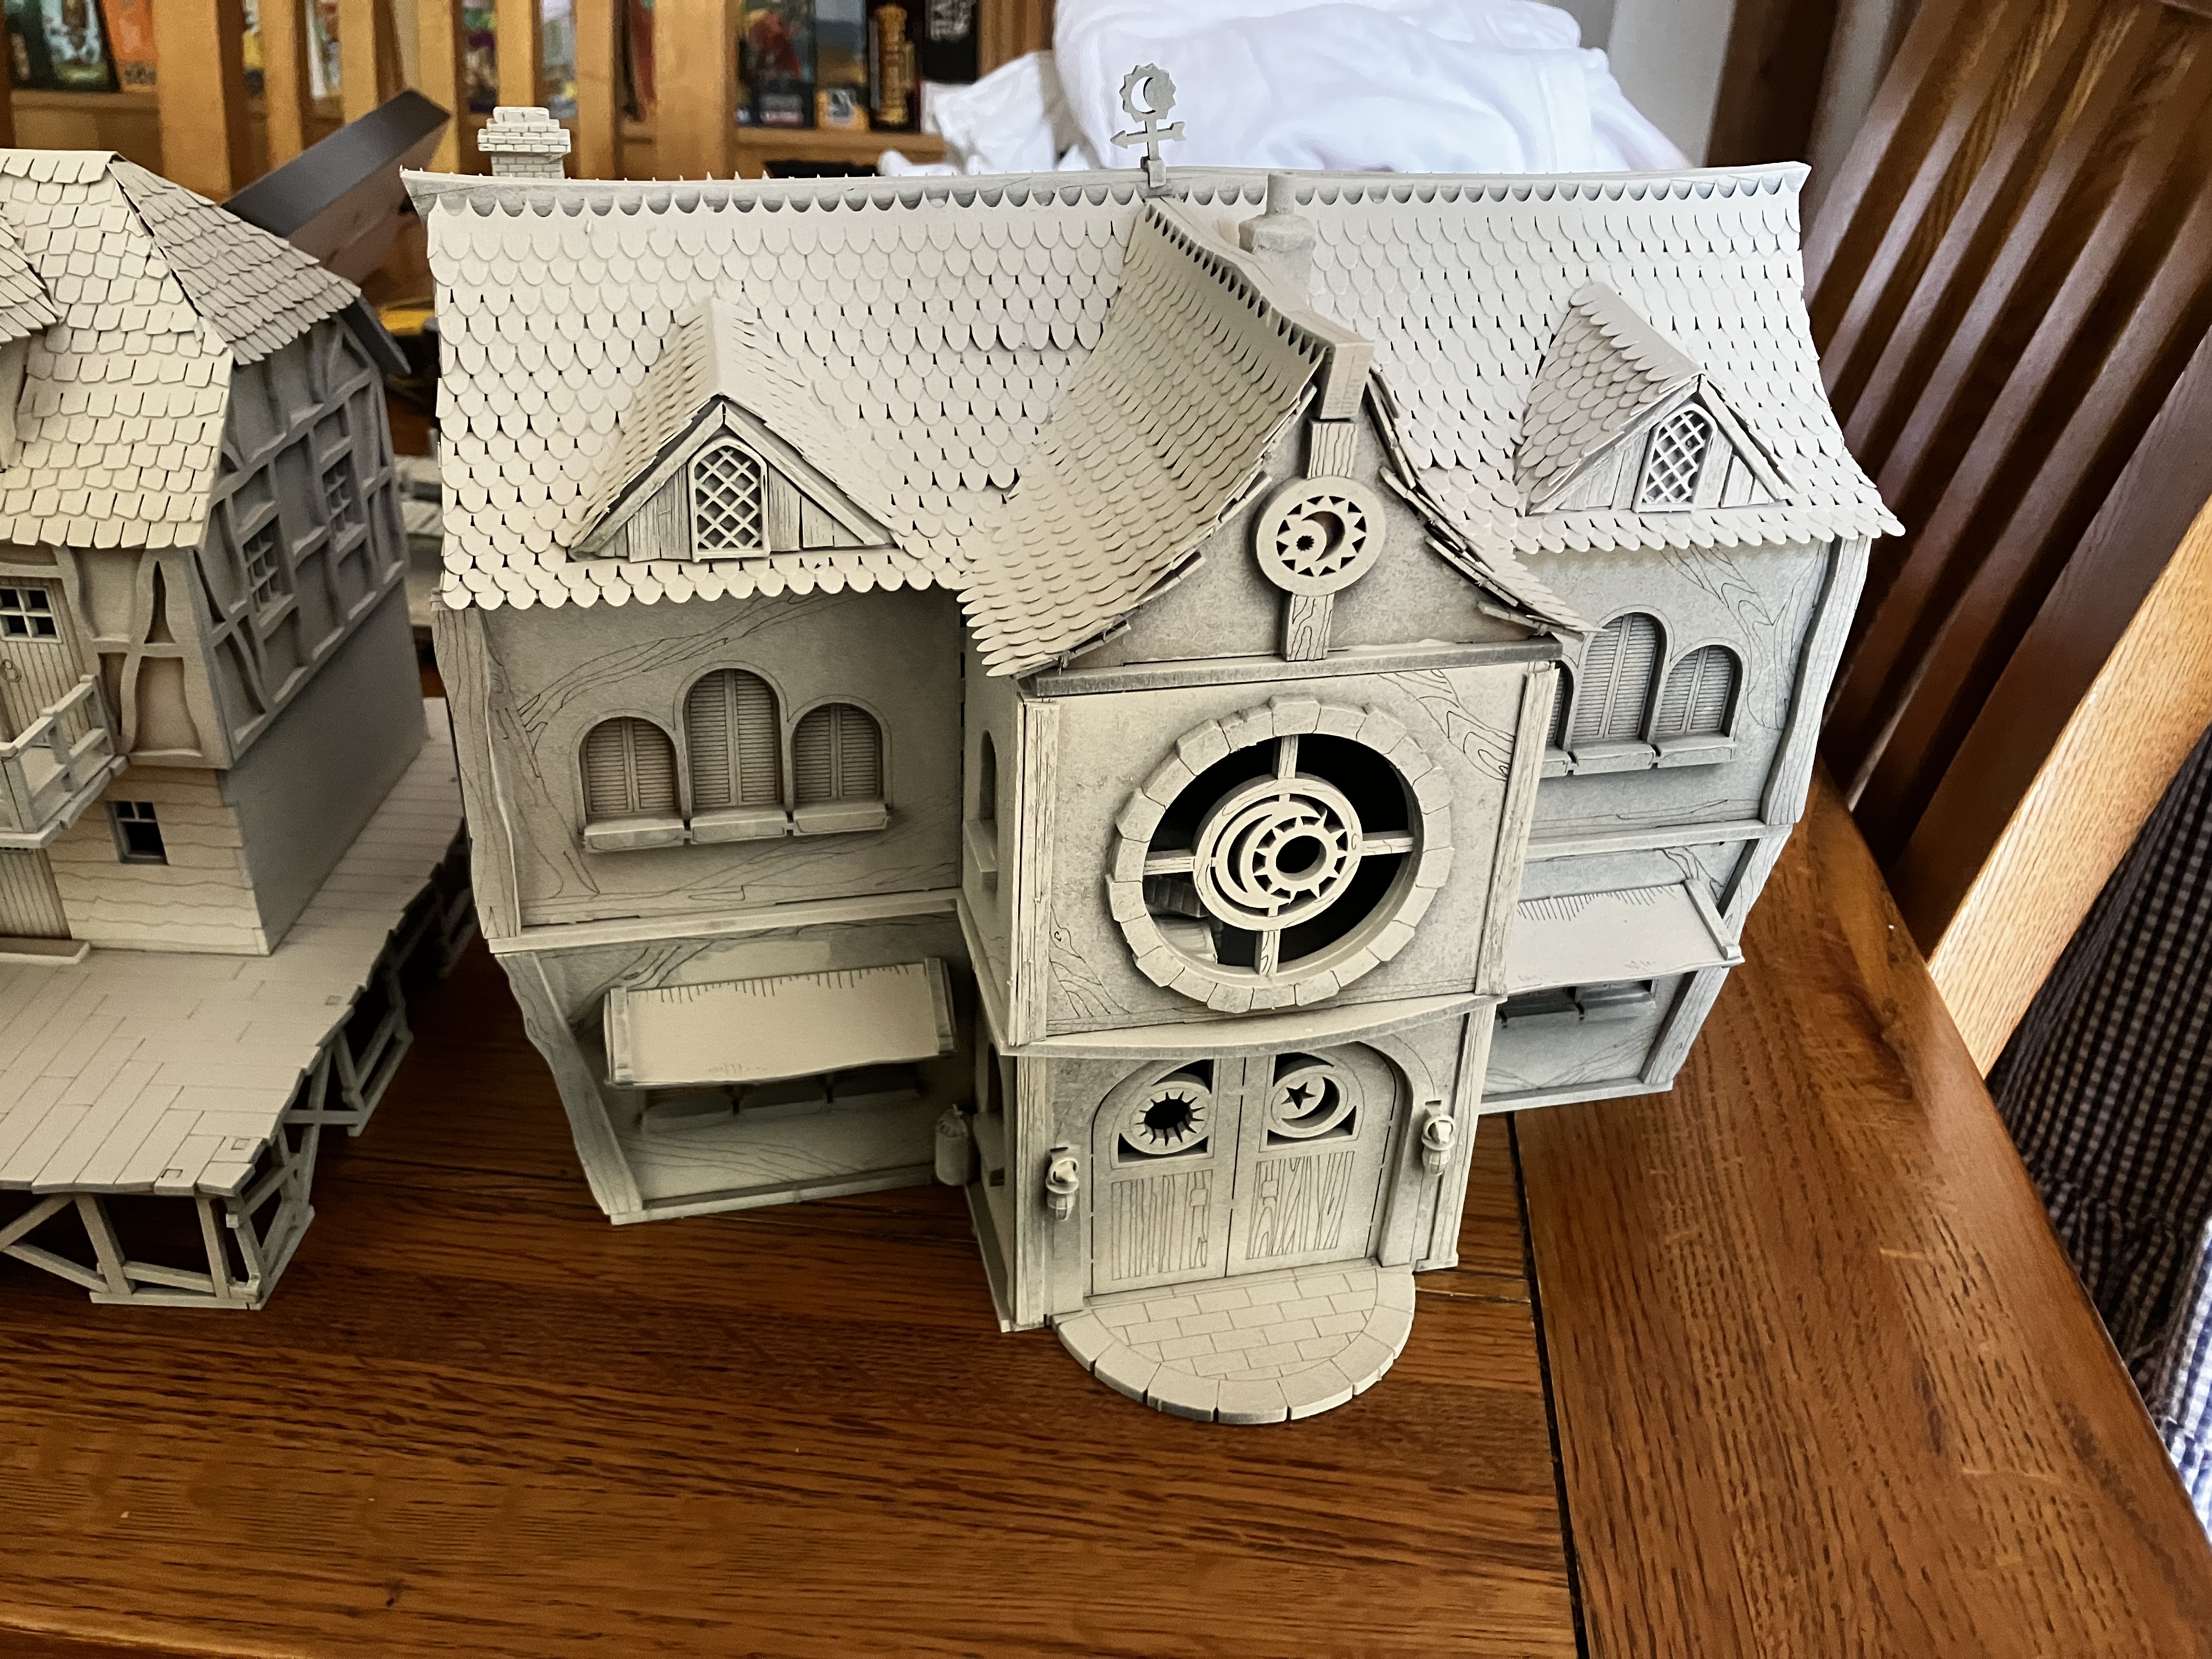
Some other buildings I picked up last year are these rather swish Town houses from the Lochbhaile range by Warbases.
They’re really well priced and are seemingly designed with Lake Town specifically in mind.
In future posts, I’ll share more pictures of finished builds of these and how I’ve been adding additional details to bring them into my Lake Town table.
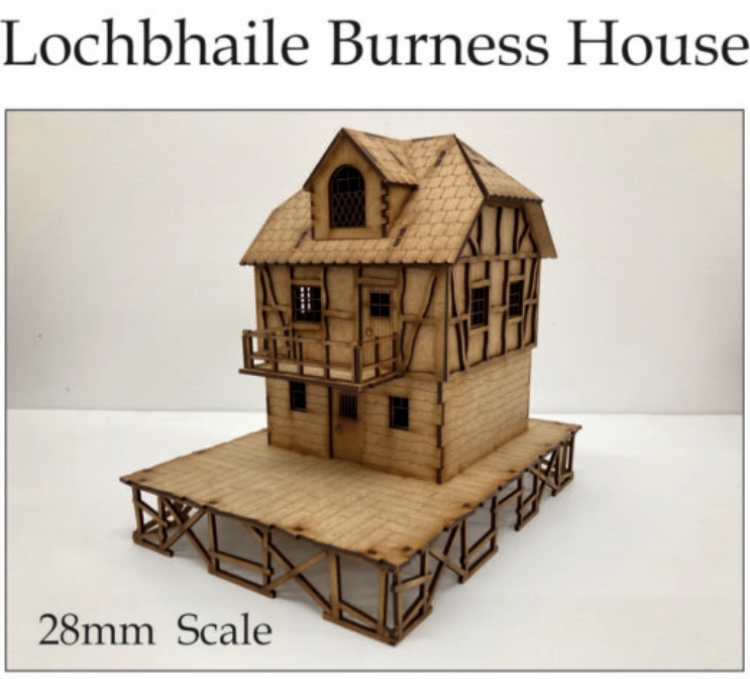 Burmese House
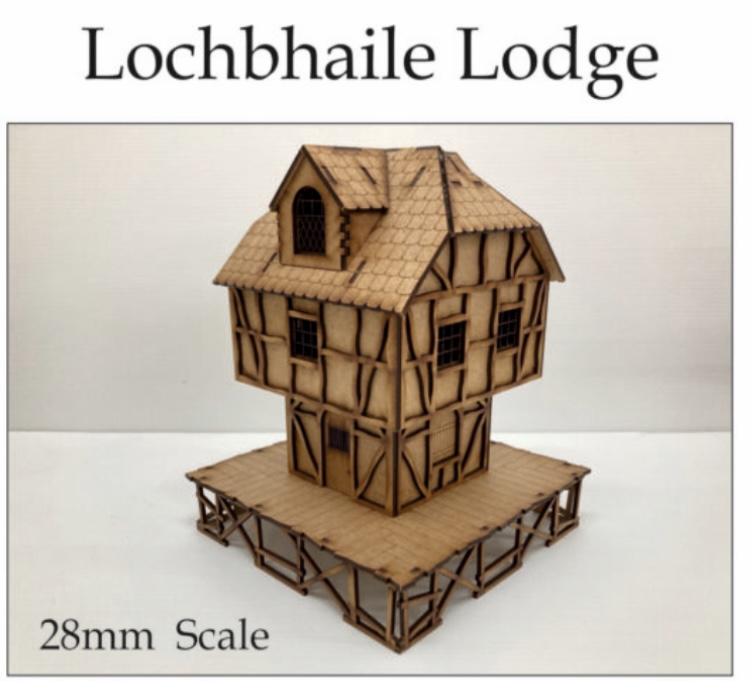 Lochbhaile Lodge
Through the roof
As you can see from the previous post, the roof of the Townhouse has some basic detail for the roof tiles, but I want to get a little more depth and dimension on them.
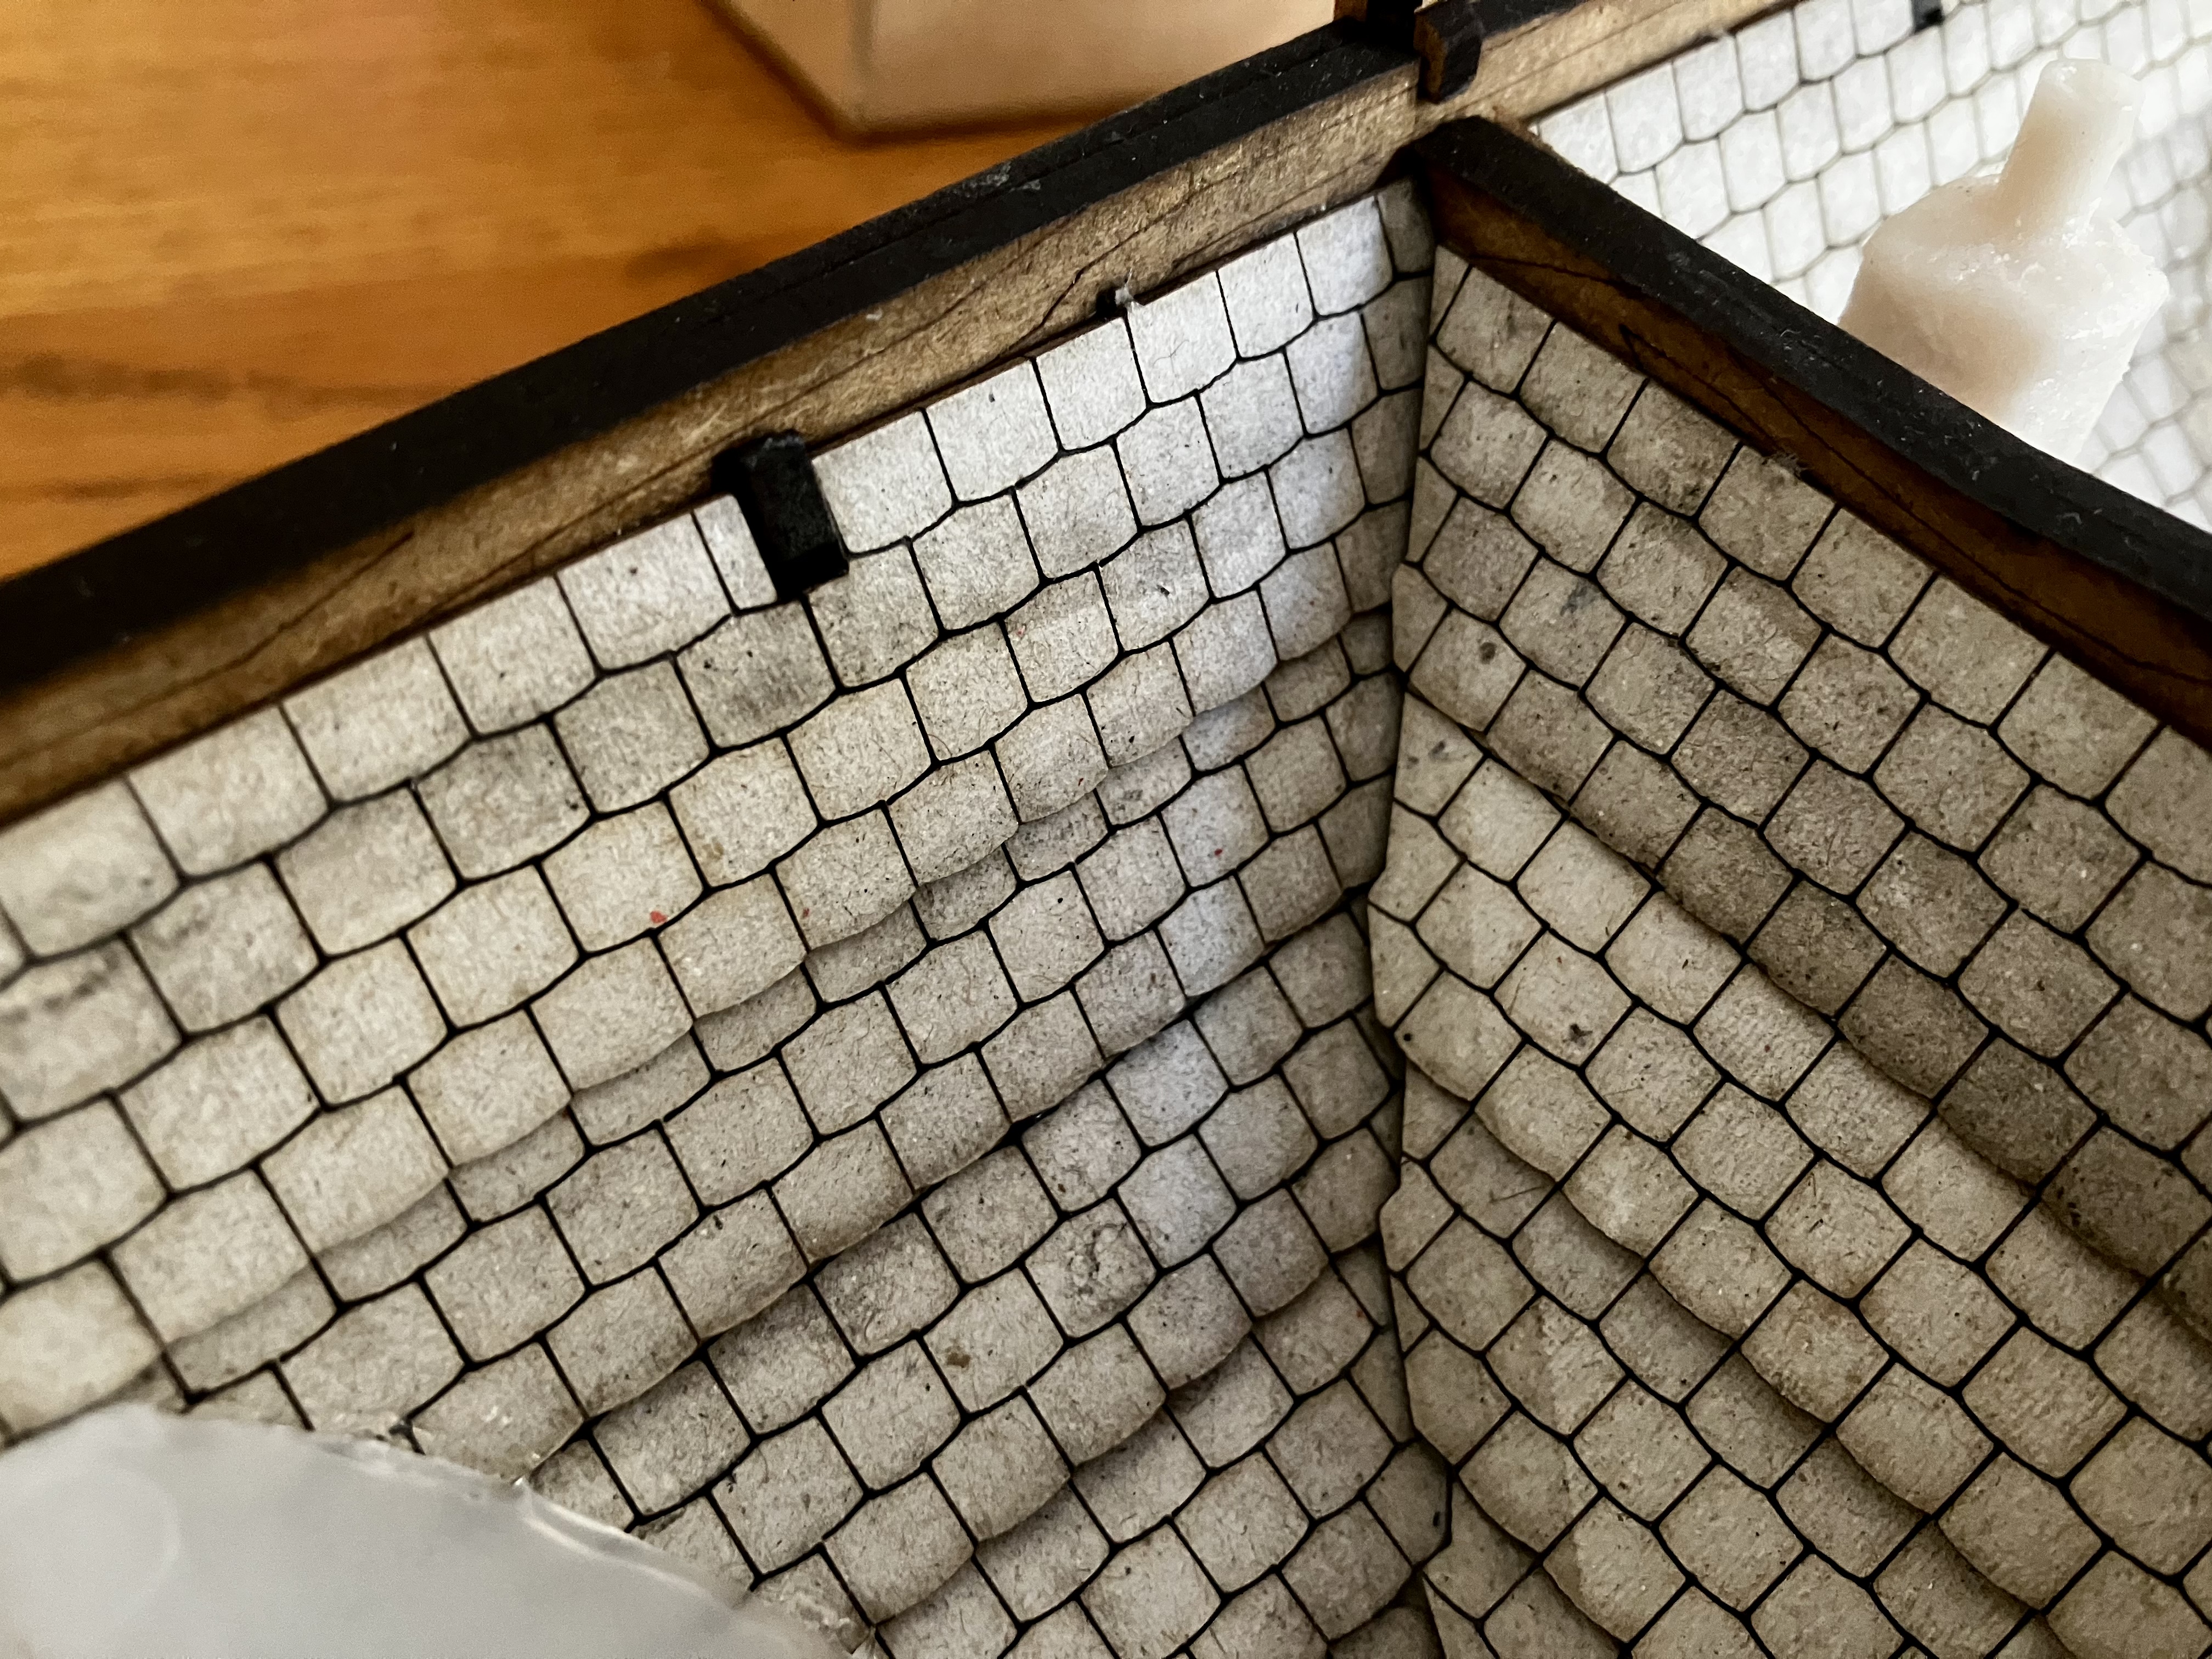 These would paint up okay, but do look flat.
Using some tiles I ordered from Warbases, I started adding some better depth. These tiles are feet because they’re quite small, and also look posh. In The Hobbit movies, some of the buildings do have roof tiles close to this shape.
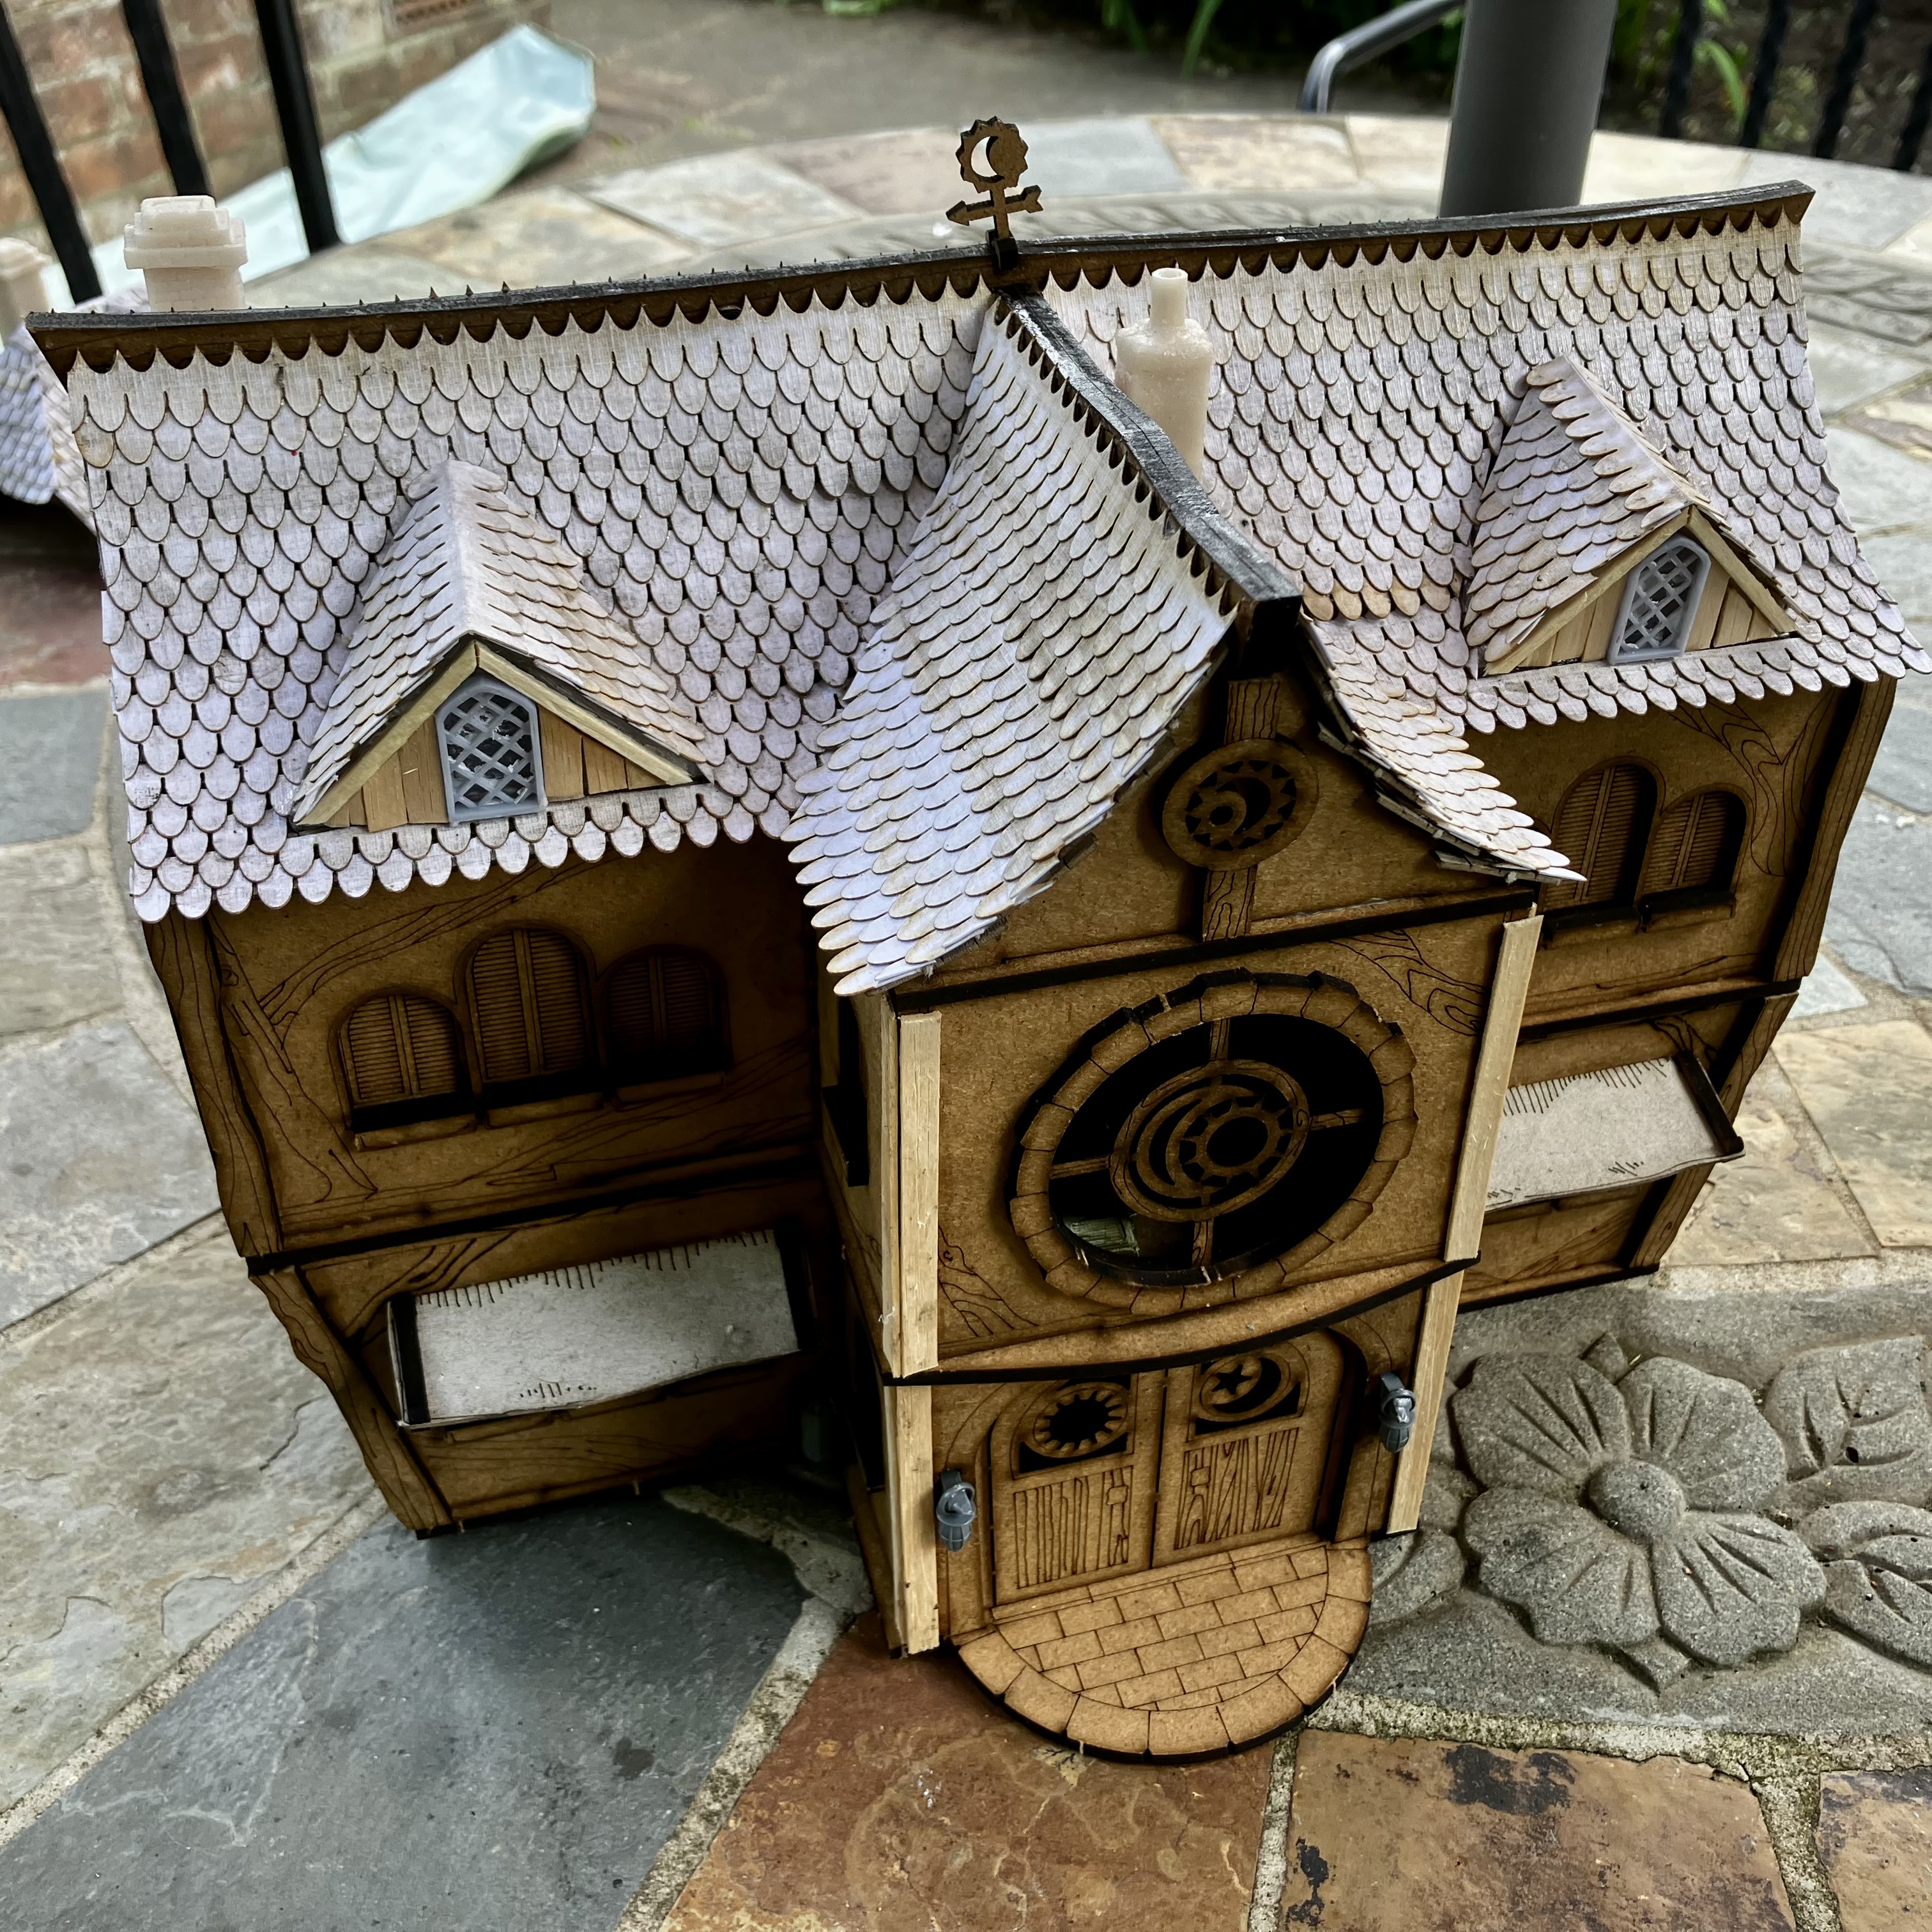
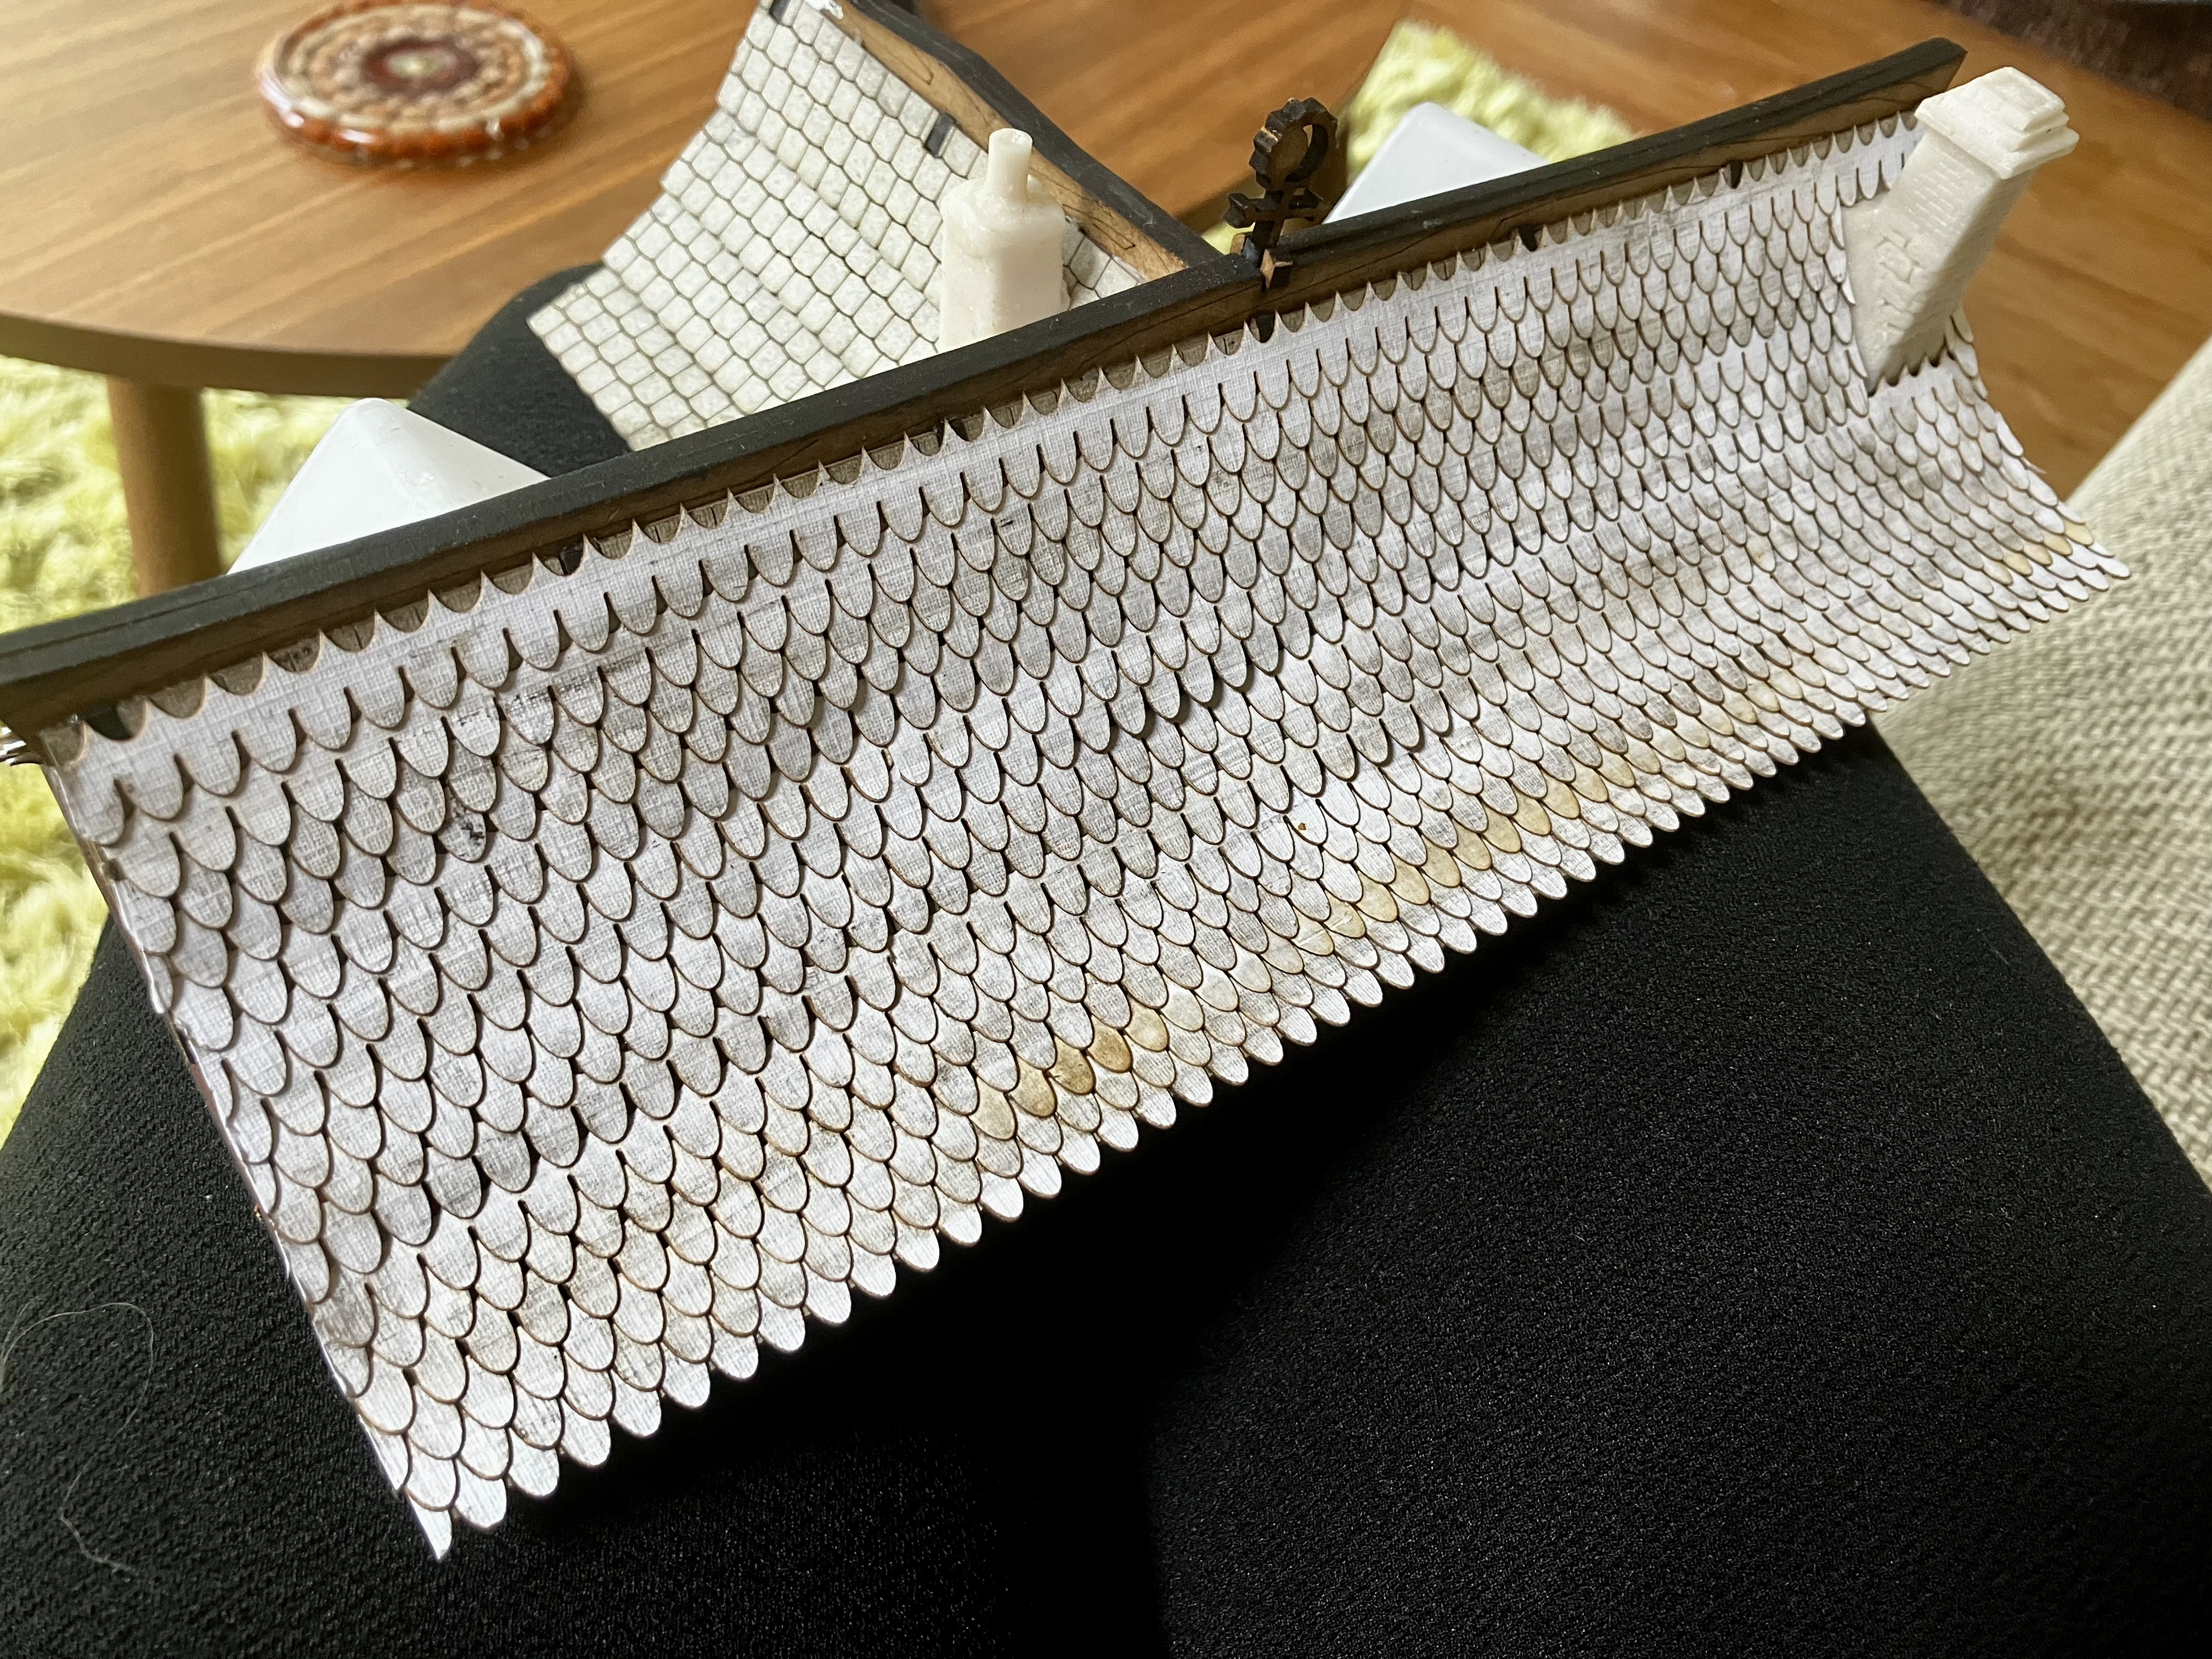 That’s the whole back roof
I definitely made this job harder for myself by deciding to add two additional dormers to a roof that already has two sets of inner corners!
It will look awesome when finished though. Just need to order another pack from Warbases!

To glue these on, I’m just using PVA woodglue, and my tiny scissors to trim as I go. Once a whole section is complete, I then apply a thinned coat of PVA and water to set all the tiles and really make sure they’re going nowhere!


![Zenit Miniatures’ Samurai Warlords Now Live On Kickstarter [Updated]](https://images.beastsofwar.com/2026/02/samurai-warlords-launch-main-600-338.jpg)


