


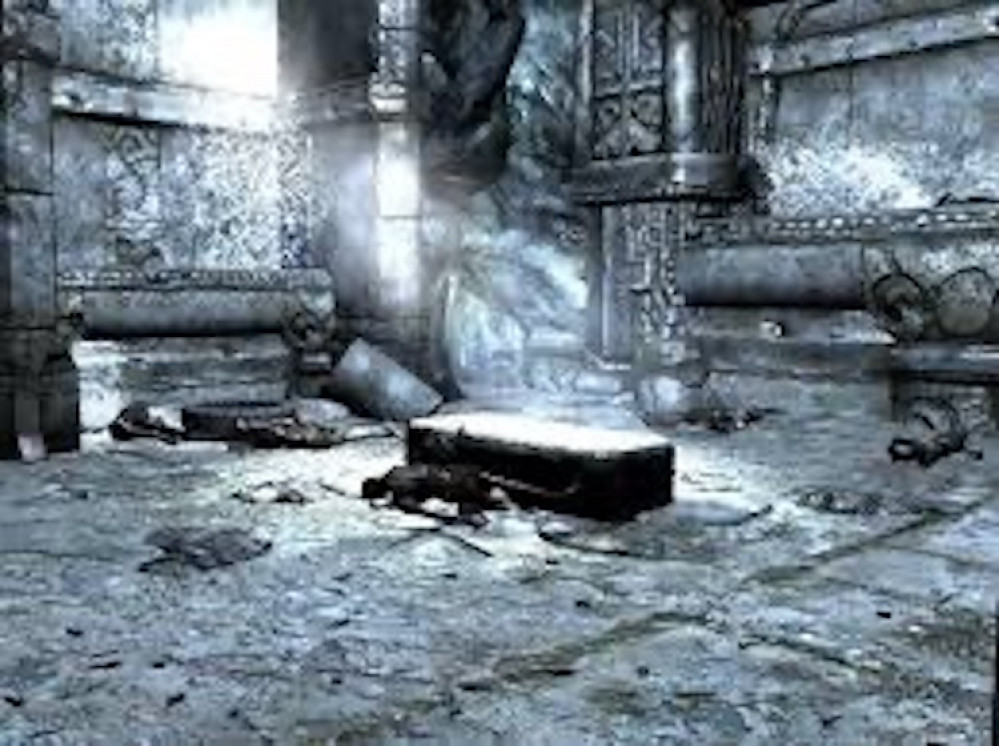
Building Balin’s Tomb With 144Artist


Recommendations: 121
About the Project
A friend I have known since my misspent youth arrived at my 59th birthday celebration with a big box. Inside was 75% of Balin's Tomb that he had been 3D printing for months. While he still has one row to finish printing he wanted to get the bulk of it to me to celebrate the closing years of my fifth decade on the planet. For the last few years I have set firm limits on my miniature and terrain purchases as I have acquired a lot of stuff over the years and am determined to build/paint what I already own. My friends have no such limits and Mike thought of my love of Tolkien and his Dwarves when he found the files for this piece. As Moria is one of the original "Dungeons" of fantasy literature, assembling and painting this piece sees the perfect entry for this year's Dungeonalia Competition
Related Game: Middle-Earth Strategy Battle Game
Related Genre: Fantasy
Related Contest: Dungeonalia 2023
This Project is Active
Beginning A Test Piece
I don’t own a 3D printer and only have limited experience working with models made on them and most of those were made on resin printers. I generally dislike the layer lines that is a hallmark of FDM printers but my friend has done an excellent job of minimizing them as well as keeping them horizontal which shows less on these pieces. I’ve heard that a good primer coat will reduce them a bit as well but will have to wait and see on that.
I cleared off the strings and bumps that had been left behind and then scrubbed the surface just in case there was something to interfere with superglue or primer. When I build terrain out of porous materials I will use Aileen’s Tacky Glue for just about all of it. Since the glue would have problems attaching to the plastic, I used thin superglue initially, spreading it out with a toothpick. I then sprinkled the larger stones on the glue, followed by smaller stones, before finally using fine sand to create the look of rubble as Moria had been abandoned by the dwarves for centuries.
If the weather is dry enough when I get home I will spray prime every surface black before using a cool grey from above. While not exactly a zenith it does help make it look more dramatic and easier to paint.
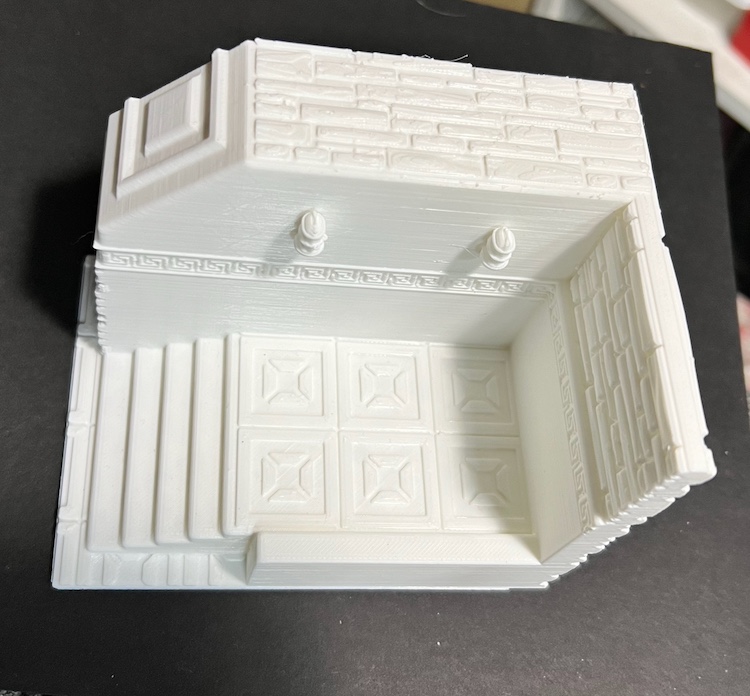 Lovely print but it looks brand new and too spotless.
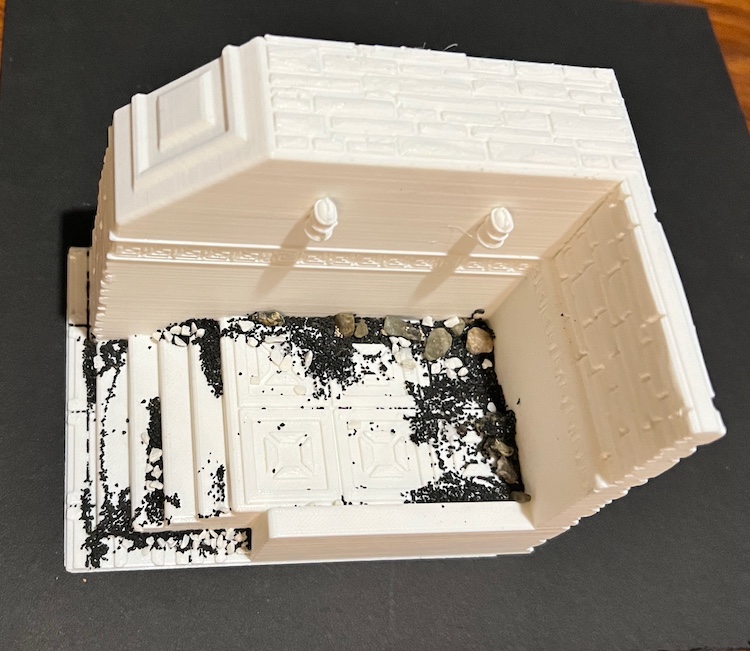 Makes for a nice texture while not interfering with placement of minis.
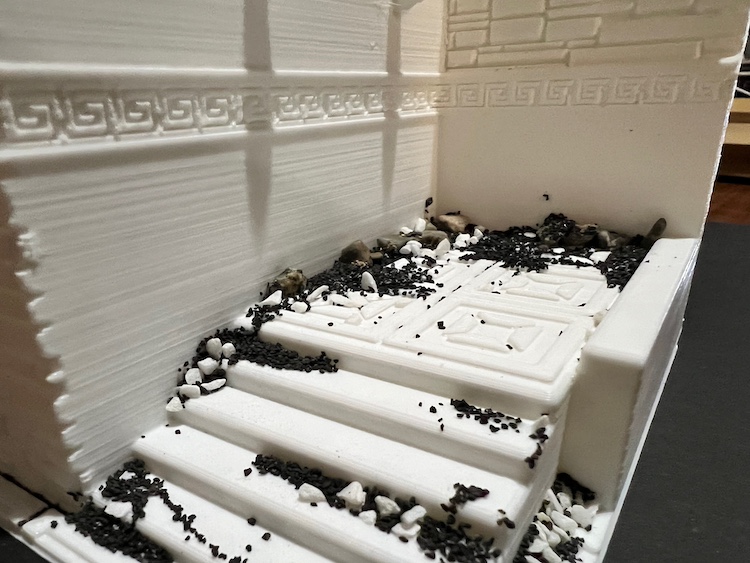 Now that looks like floor of Moria. Might need a few skulls sprinkled about...
Entering the Long Dark That is Moria...
The STLs came from LV427-Designs, https://lv427-designs.com/products/large-ancient-dwarven-dig?_pos=1&_sid=3b0bf4ae1&_ss=r. The final layout of this piece is going to be about two feet by two feet with cover and areas of different heights as well as flavorful texture all over these pieces. Mike printed and numbered each piece according to the schematic provided by LV 427 which is very helpful because it isn’t exactly obvious how they all go together when it is all piled up like this.
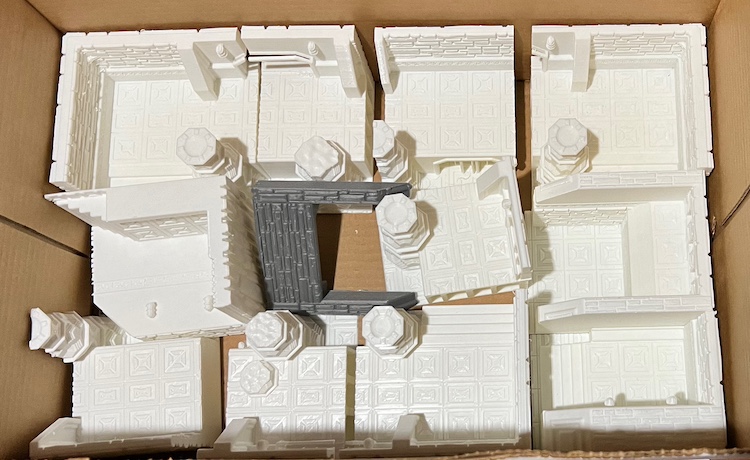 This is the box full of parts for the tomb.
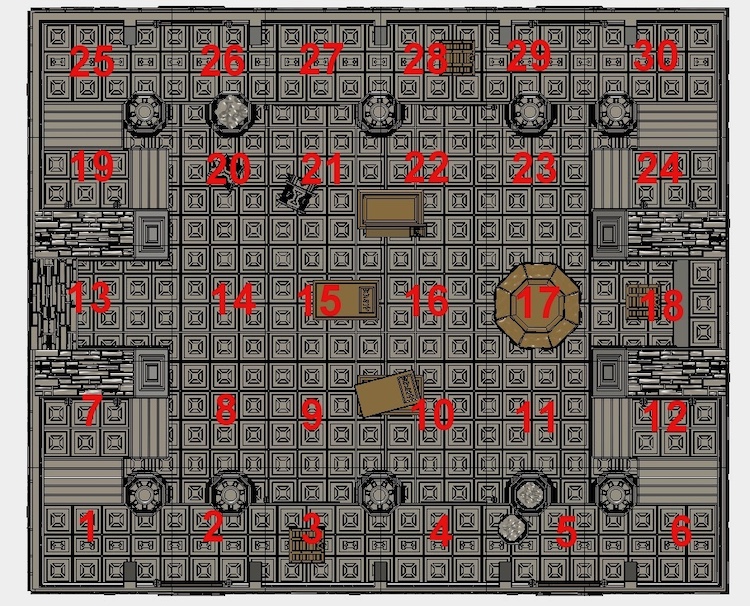 This is the layout for the parts. Thank goodness Mike has labeled everything. Only one more row to print which he says I should receive by mid-February.
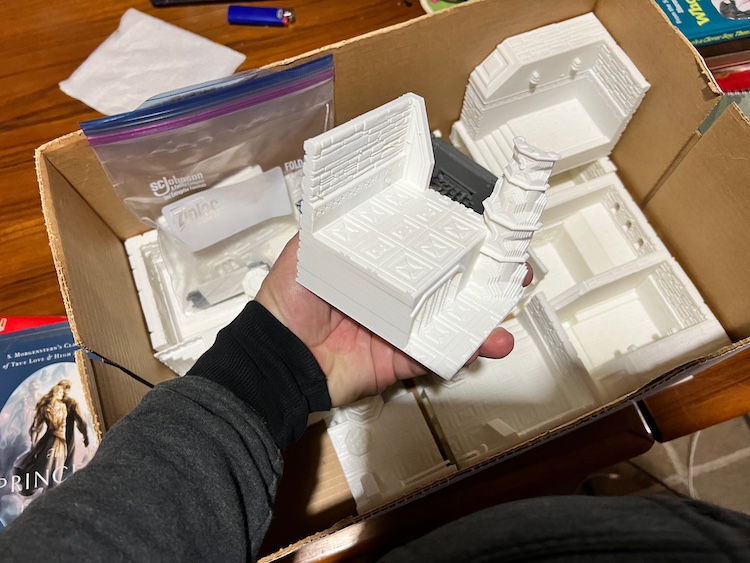 Each piece is about one handful. Still not sure what I will glue together or how much of a framework I need to build
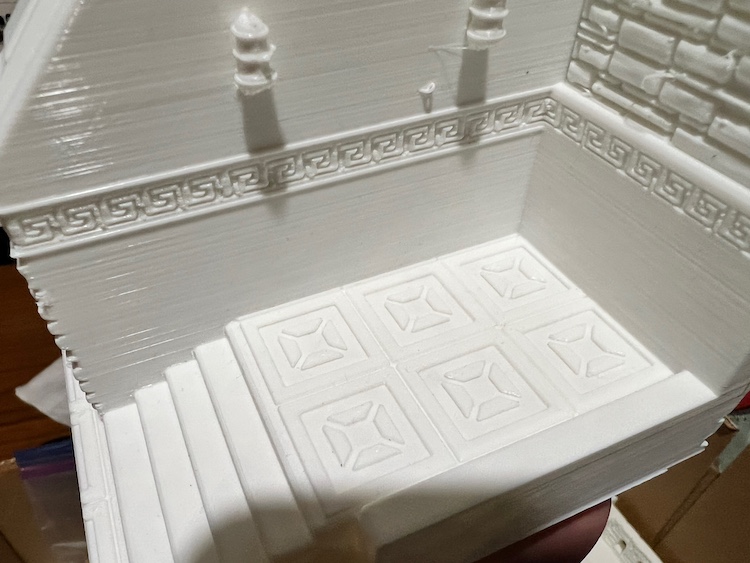 Minimal layer lines so should paint up very nicely.
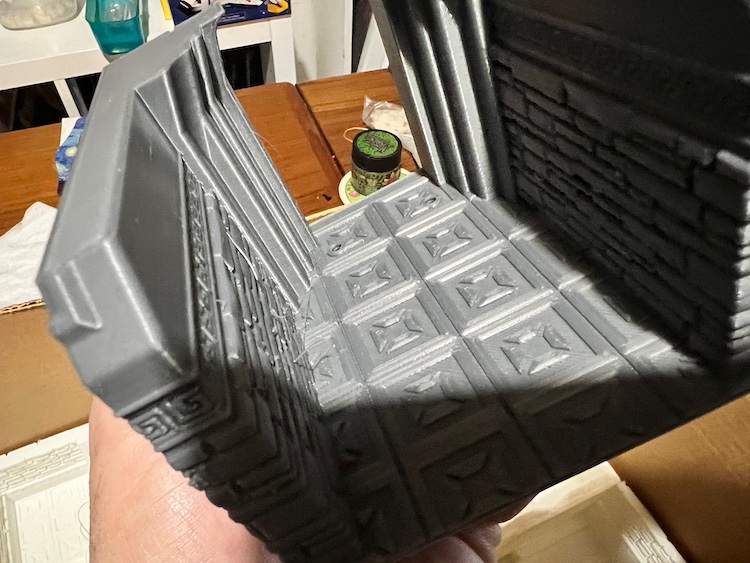 This will be the entry way once the doors are in and the top is attached.


