
![Pure Sci-Fi Nostalgia! War Rocket Review | Hydra Miniatures [7 Days Early Access]](https://images.beastsofwar.com/2026/02/unboxing-hydra-miniatures-war-rocket-coverimage-225-127.jpg)


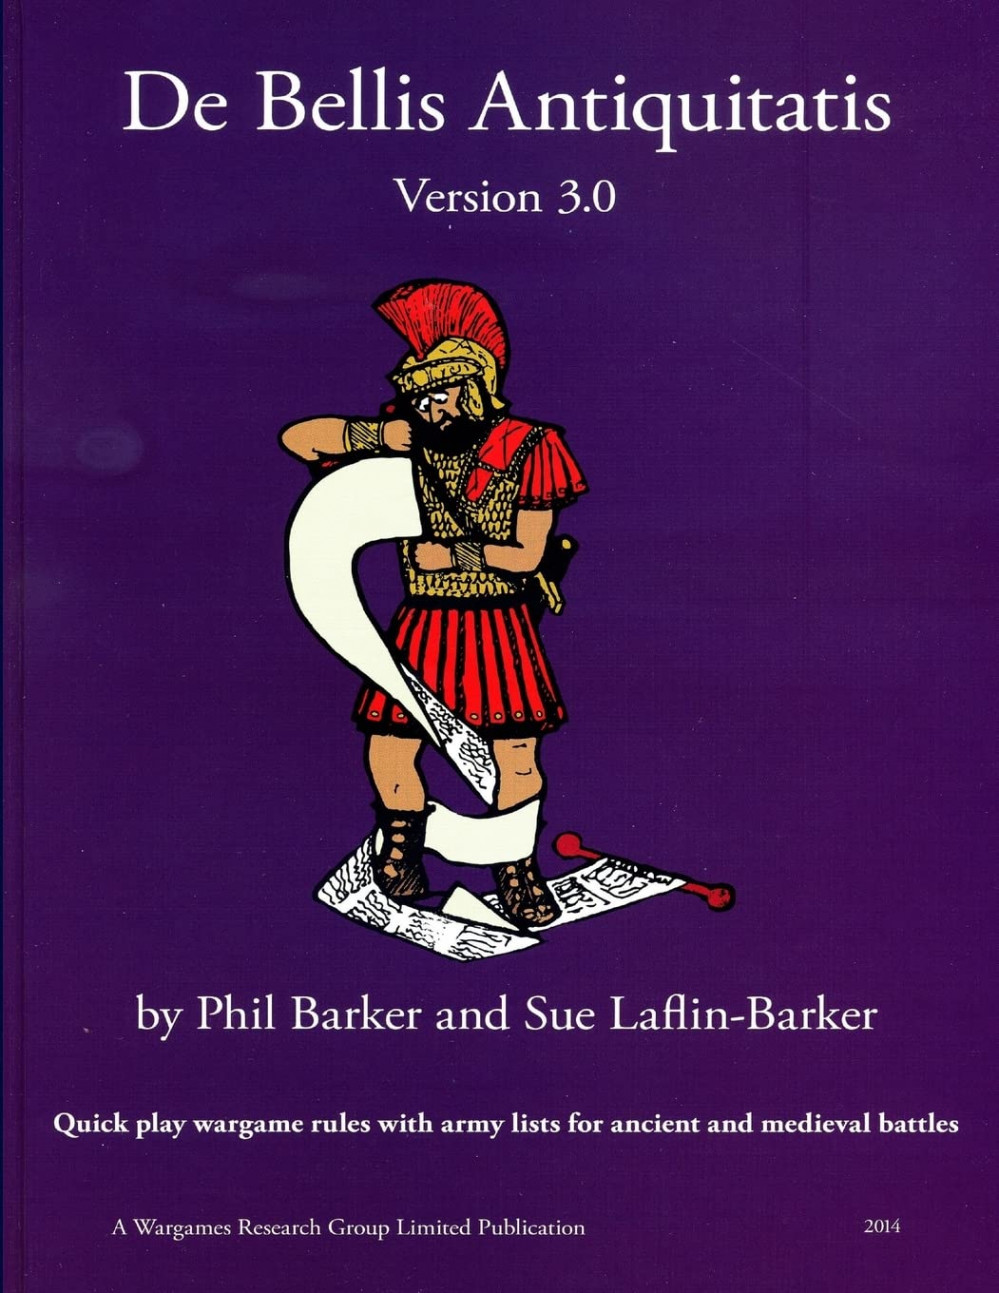
I can’t stop thinking about ancient Rome – De Bellis Antiquitatis edition


Recommendations: 304
About the Project
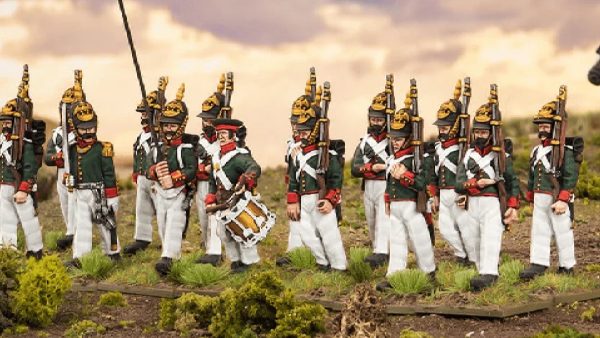
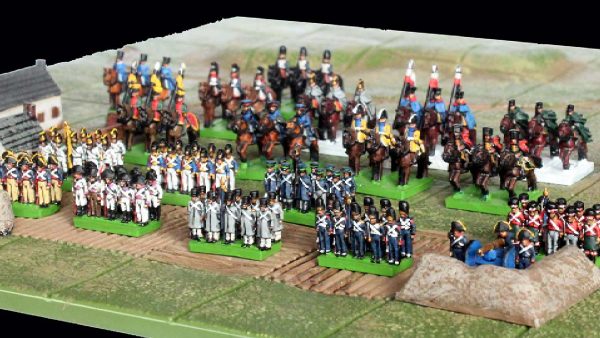
De Bellis Antiquitatis (DBA) was my second ever historical wargame I've played so I've always had a soft spot for it. Years back I bought some 15mm Romans to build a Caesar vs Gaul set. I found these miniatures in storage and I want to get these completed along with acquiring a Gallic force to use since I have moved away from my group that played DBA. Come along for this hobby journey into 15mm ancients.
Related Genre: Historical
Related Contest: TerrainFest 2024
This Project is Active
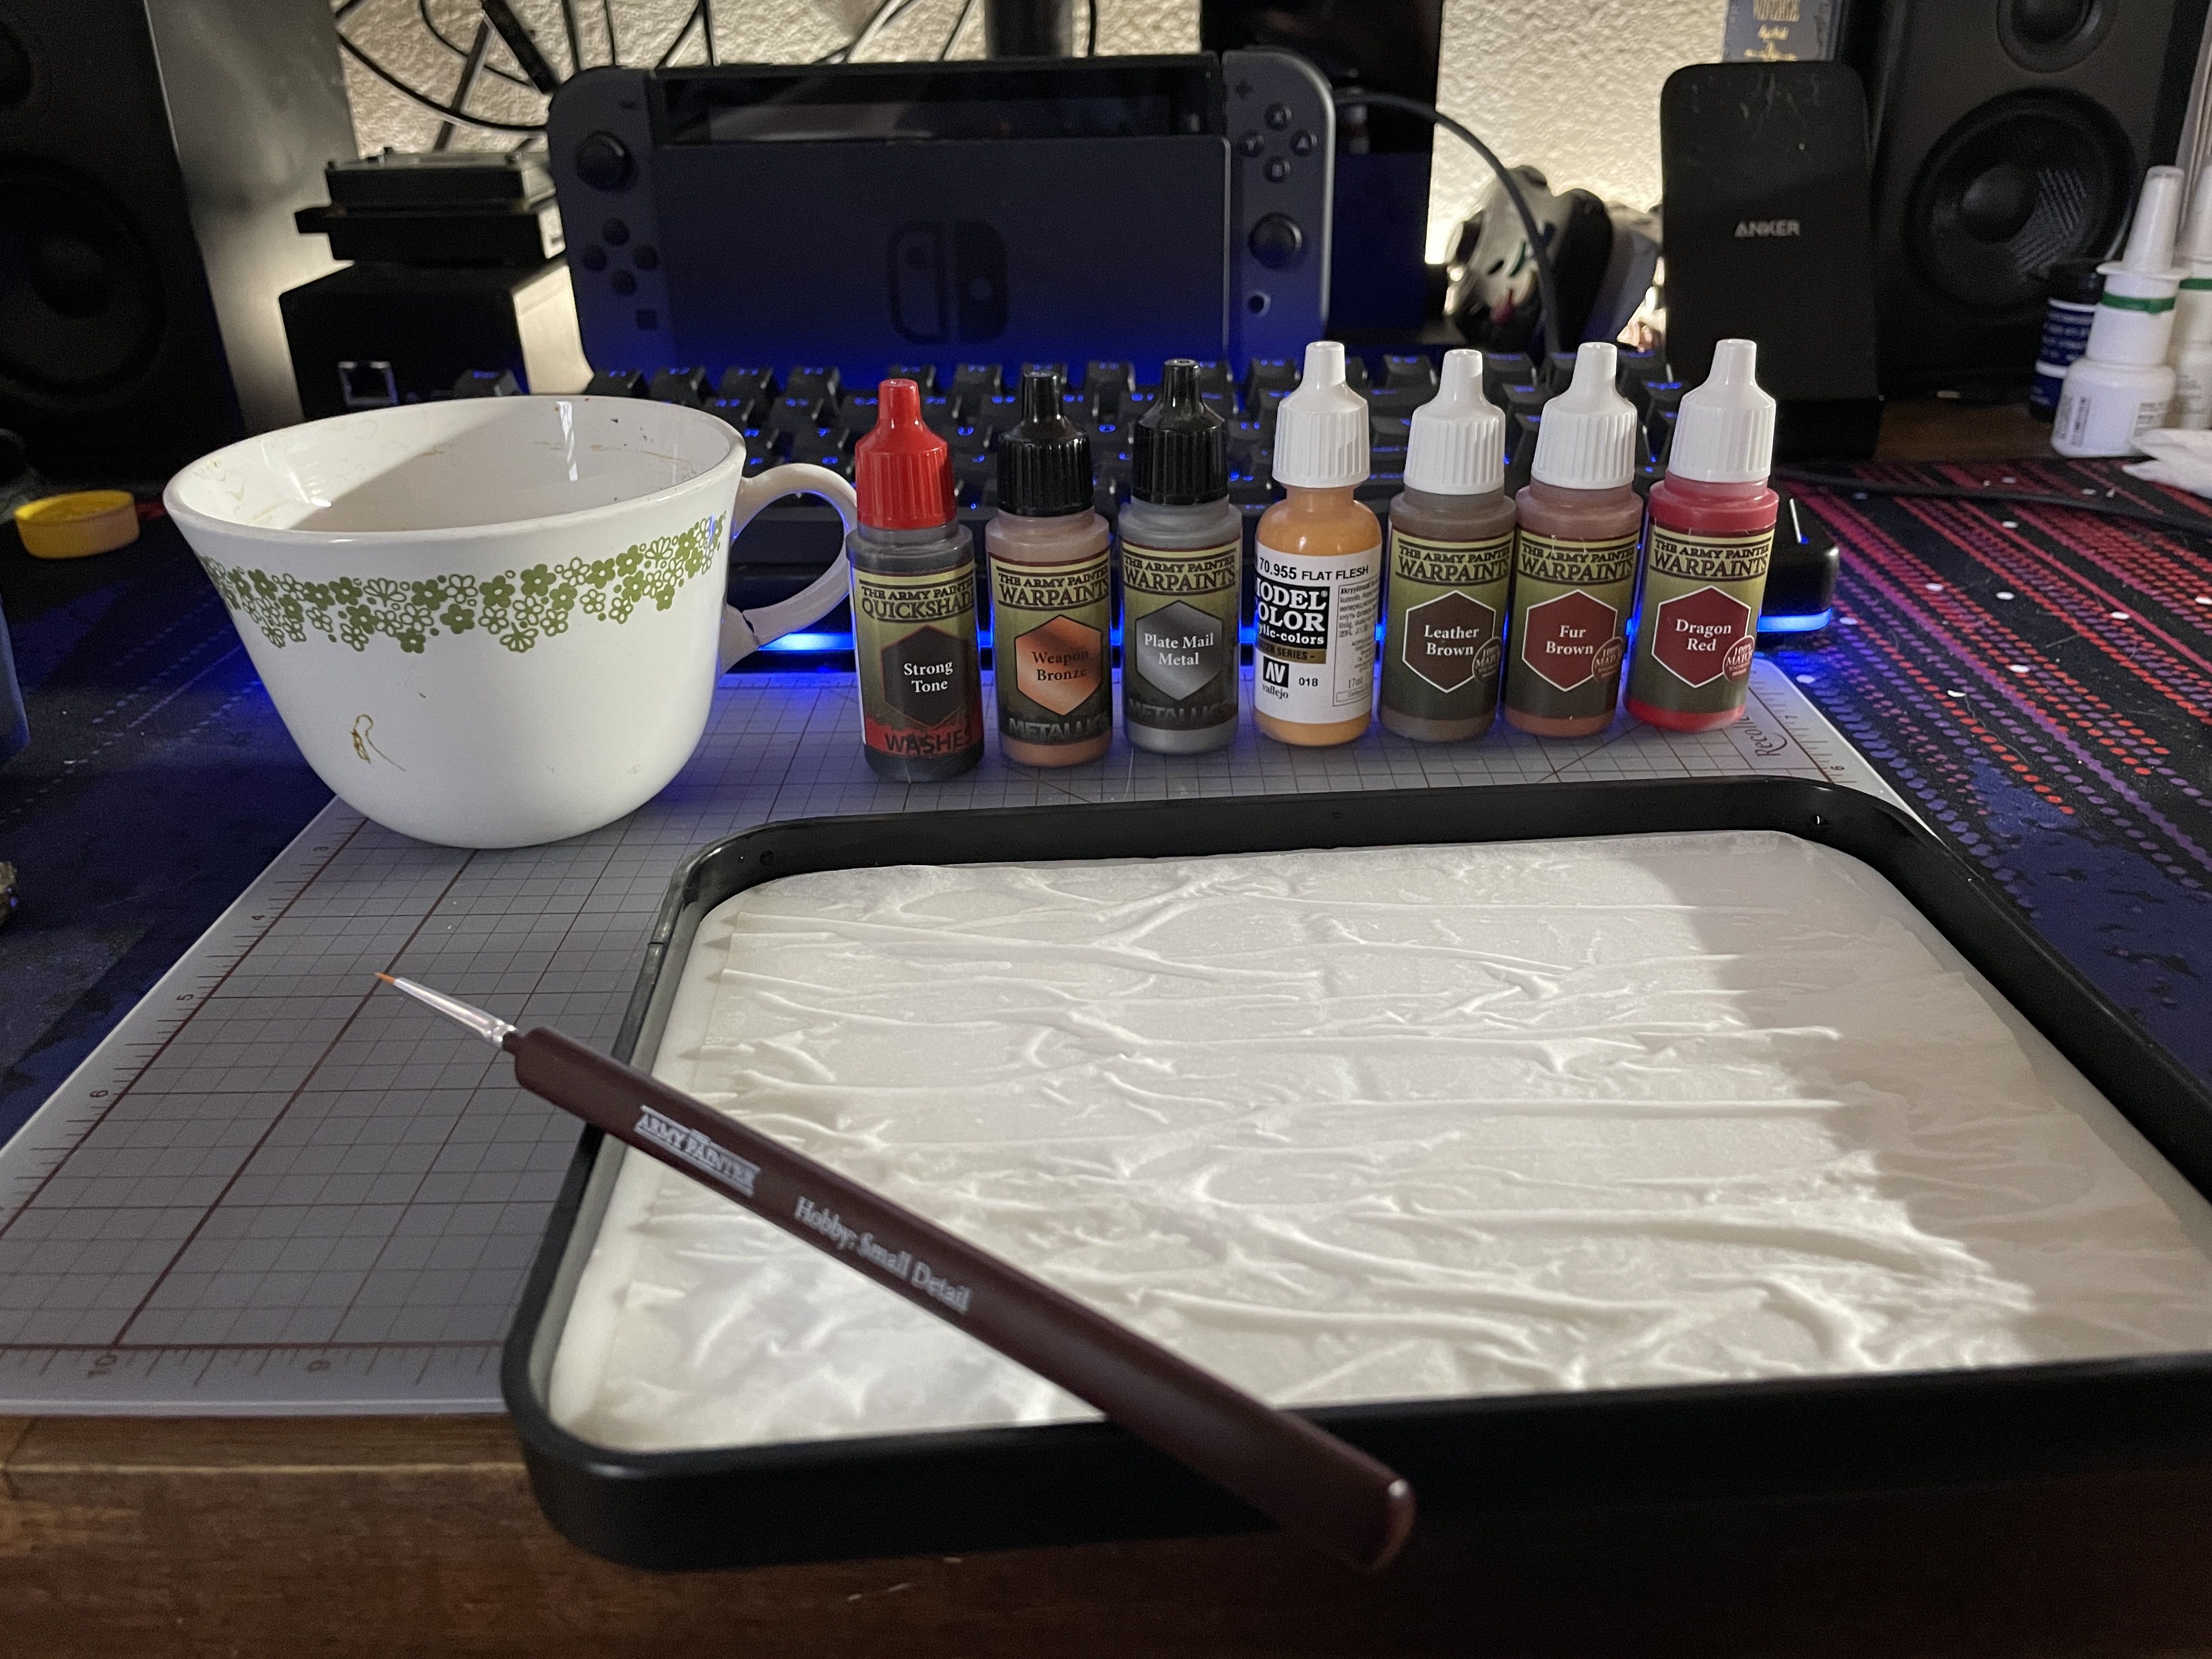
It's about the small details
Only had a small amount of time for hobby tonight but plenty of time for the small details, let’s get stuck in.

Going to work on the wood items the color isn’t much of a shift but will cover up some of the slips of the brush with the bronze and leather. I’m using Oak Wood here but if I were to do this again I’d go with a lighter shade like I used on my Airborne. At this small scale I think the darker colors just seem to fade into each other. The result was still good in proper light and that is what I was going for.

I need to find a good blonde color for this archer with his helmet removed I think been using so much brown lately I need a change.
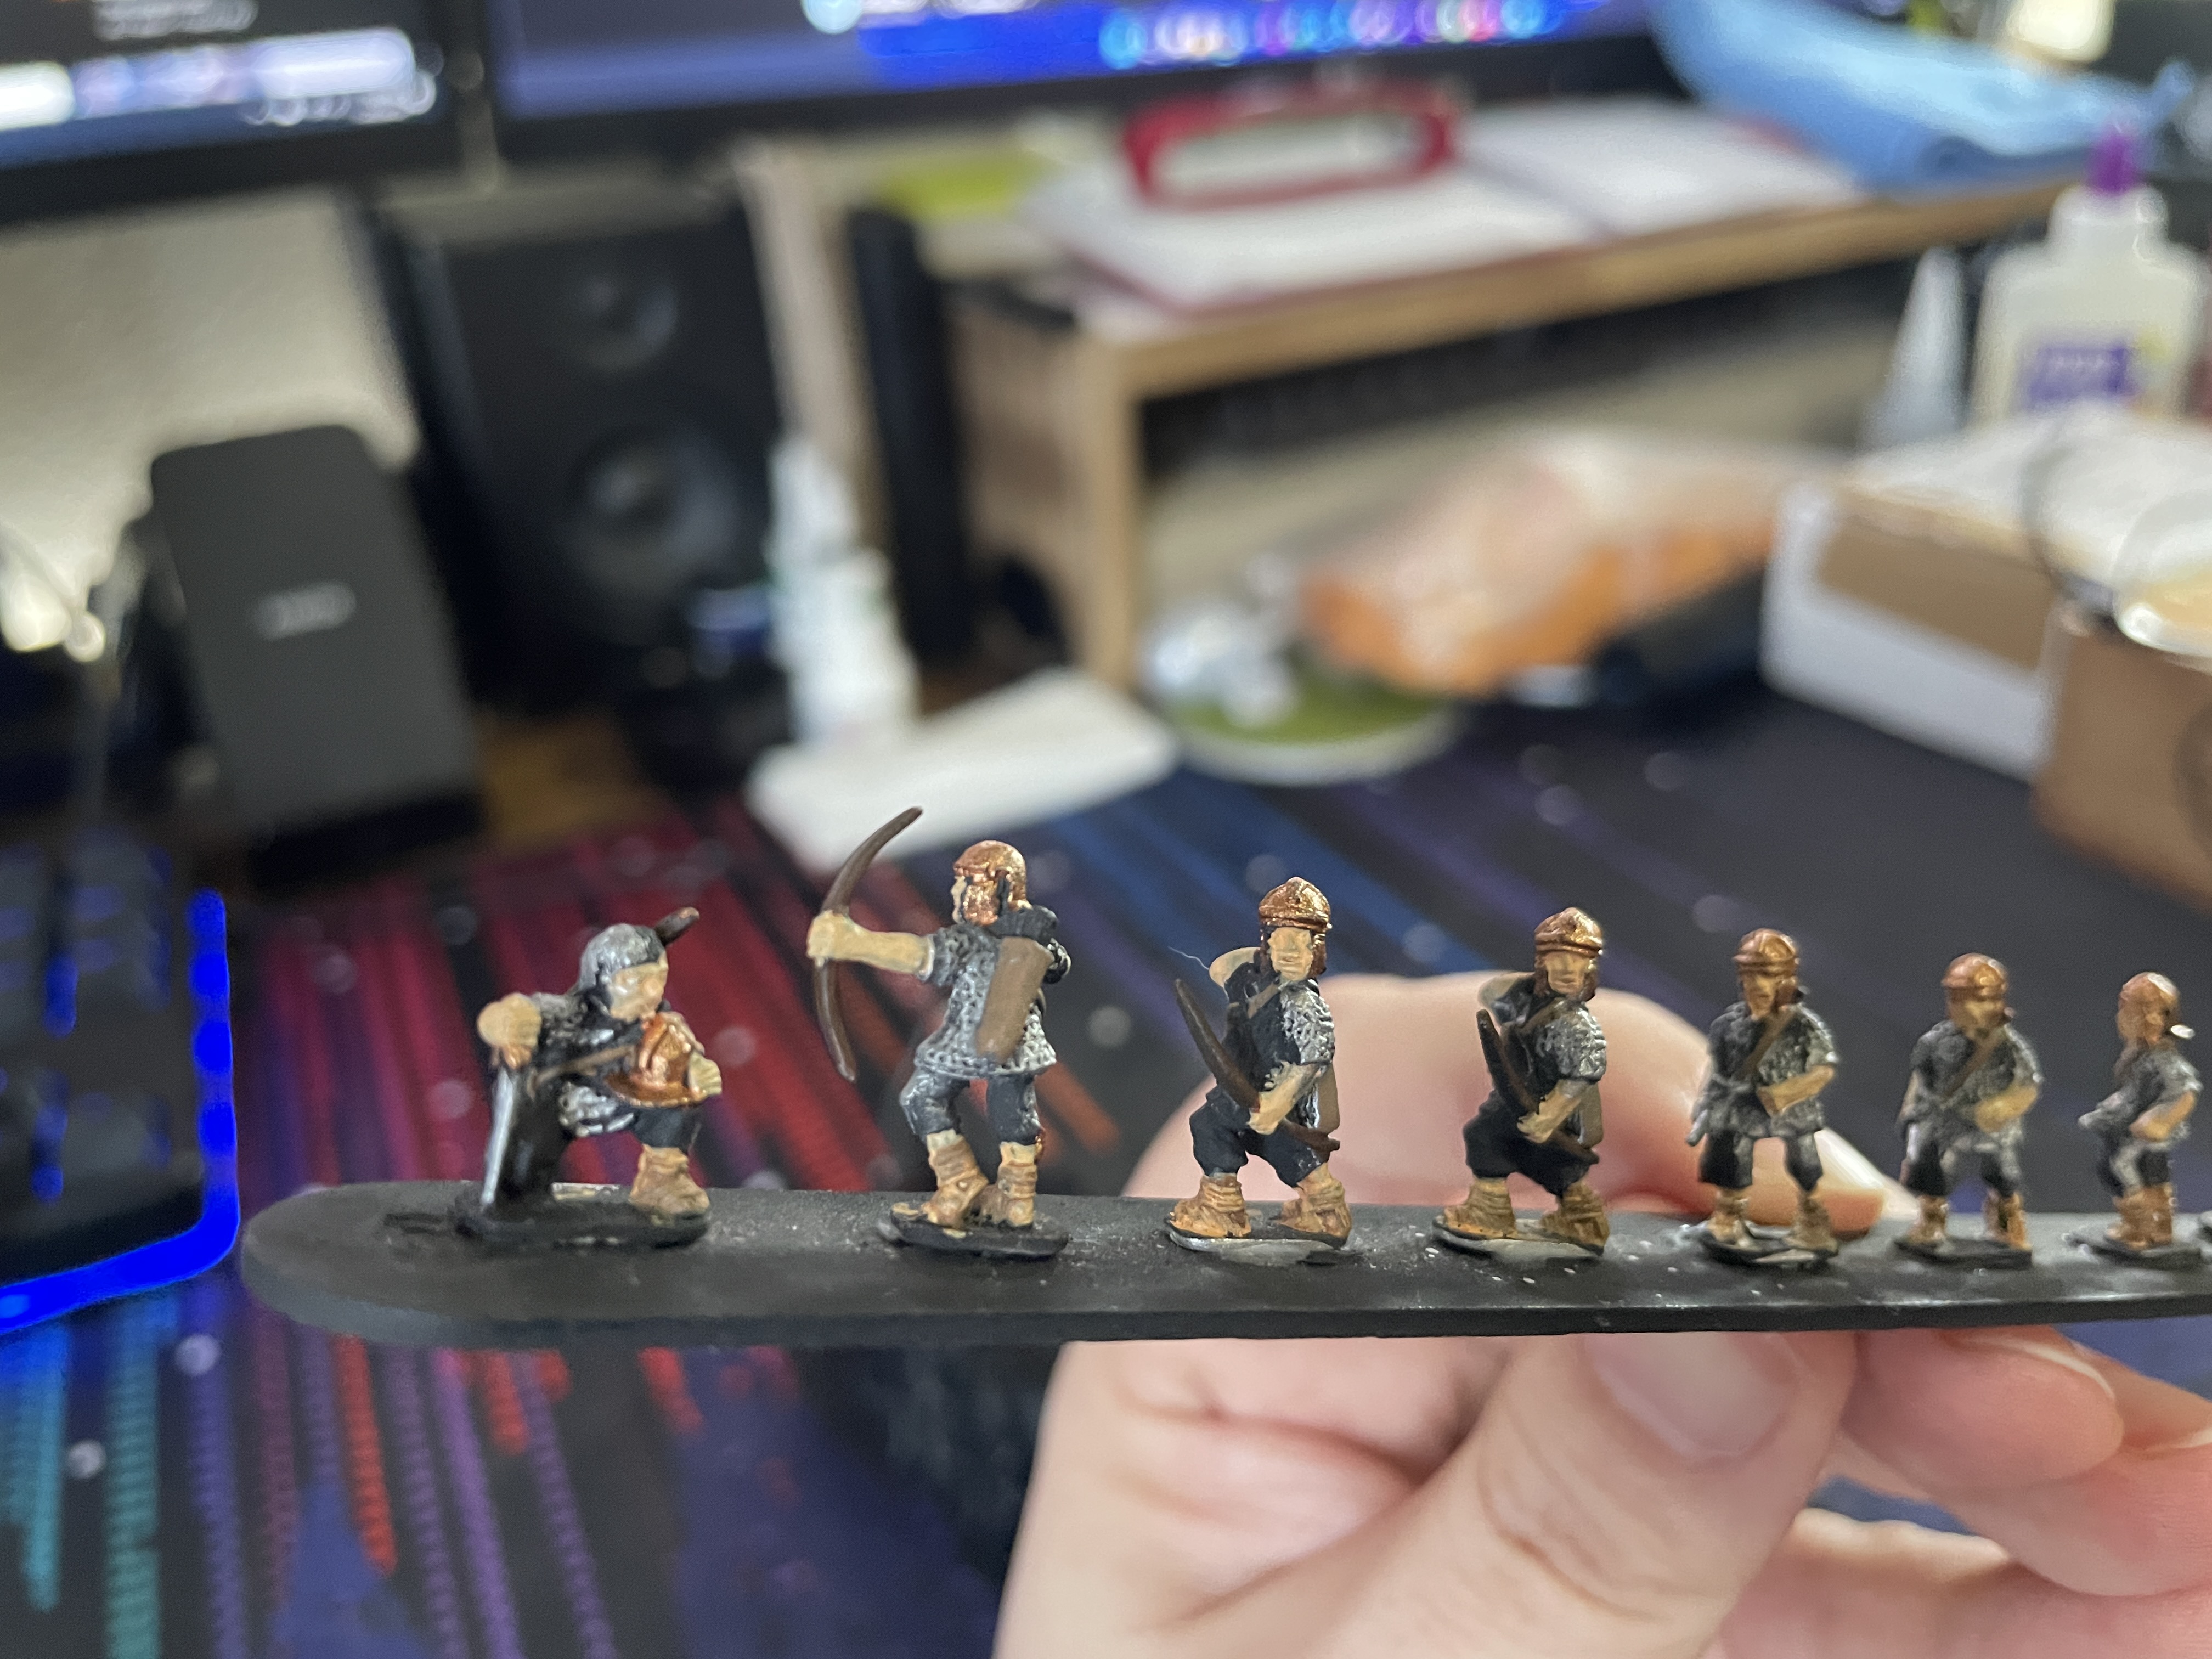
Finishing off the night I use some Necromancer Cloak to paint the manes of the horses. This isn’t a large shift from the black but gives a bit of a highlight to the area and covered up some over brushing when I did the chainmail. The final result didn’t look that different so I didn’t take a photo.

Next session we are going to do the tunics and trousers. The red will finally make these feel like Romans. I need to do some research on the trousers to see if I can find something other than brown to use. After that then we just need to touch up the flesh areas and I think we are ready to base these up! In my order to Xyston I got some new shields that are more oval like the republican Romans used rather than the imperial ones I got initially. I’ll find a use for those in another project sometime. With that I’ll draw this post to a close, thanks for following and I will see you all next post!
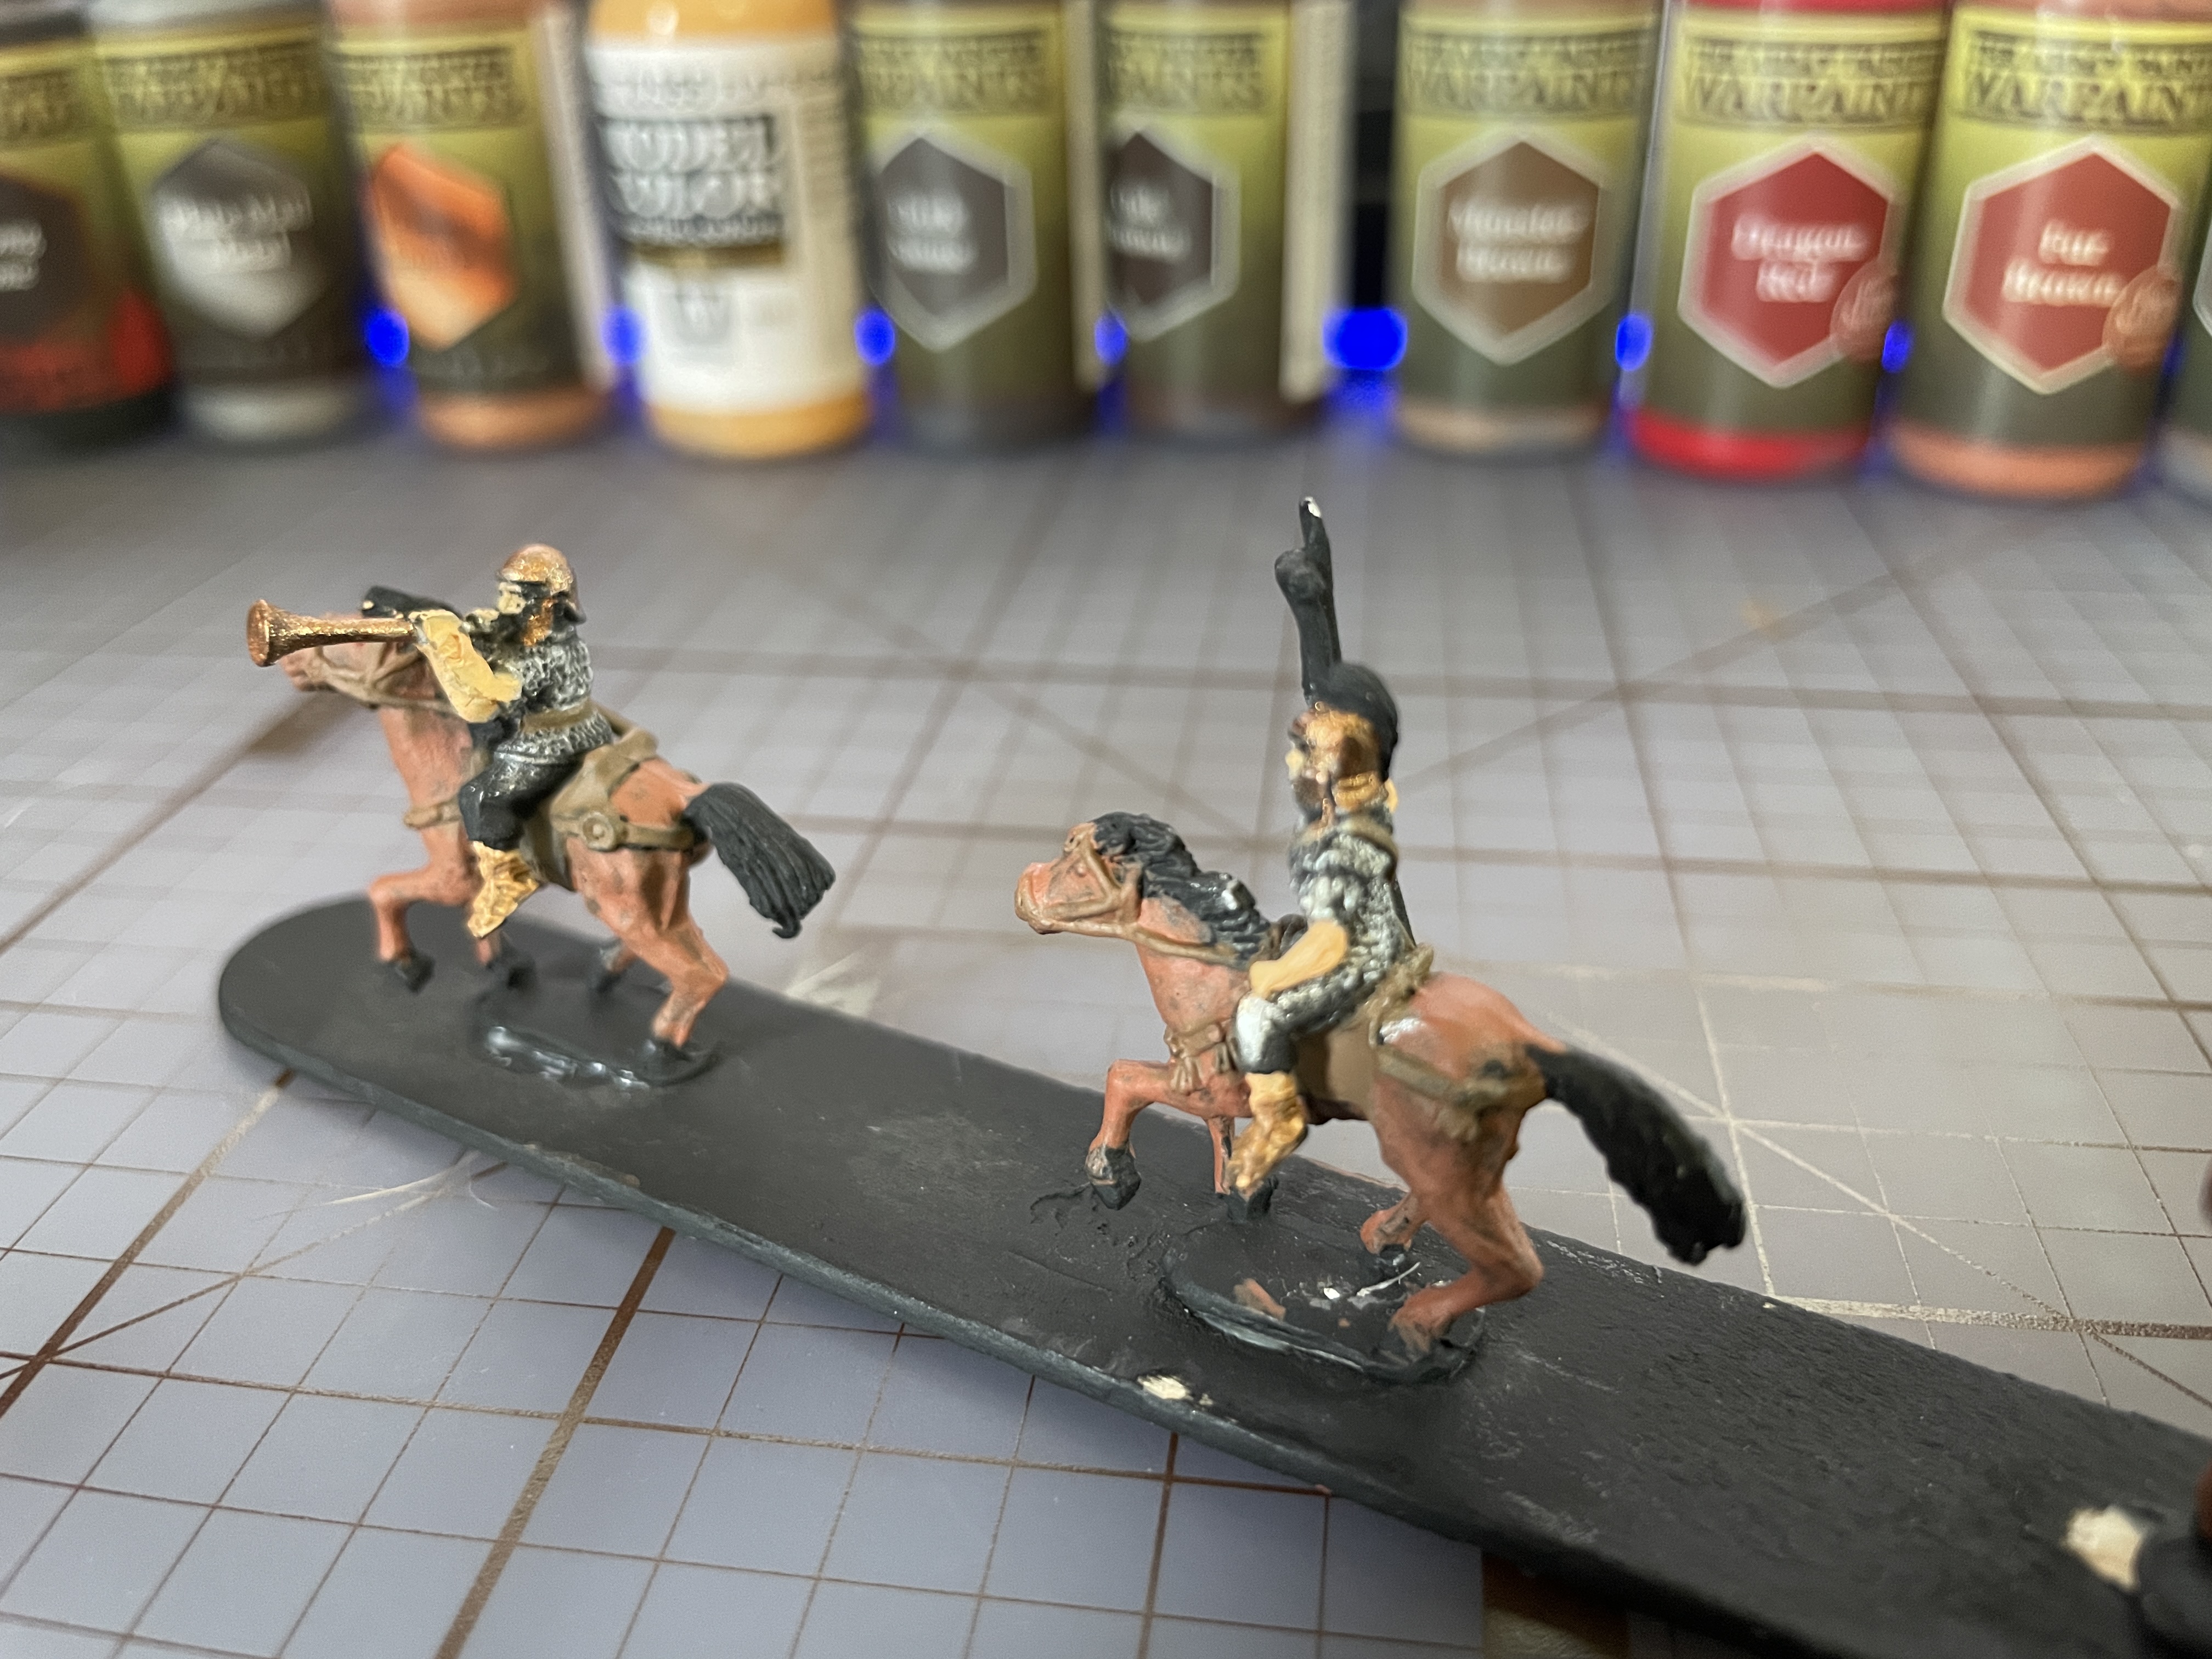
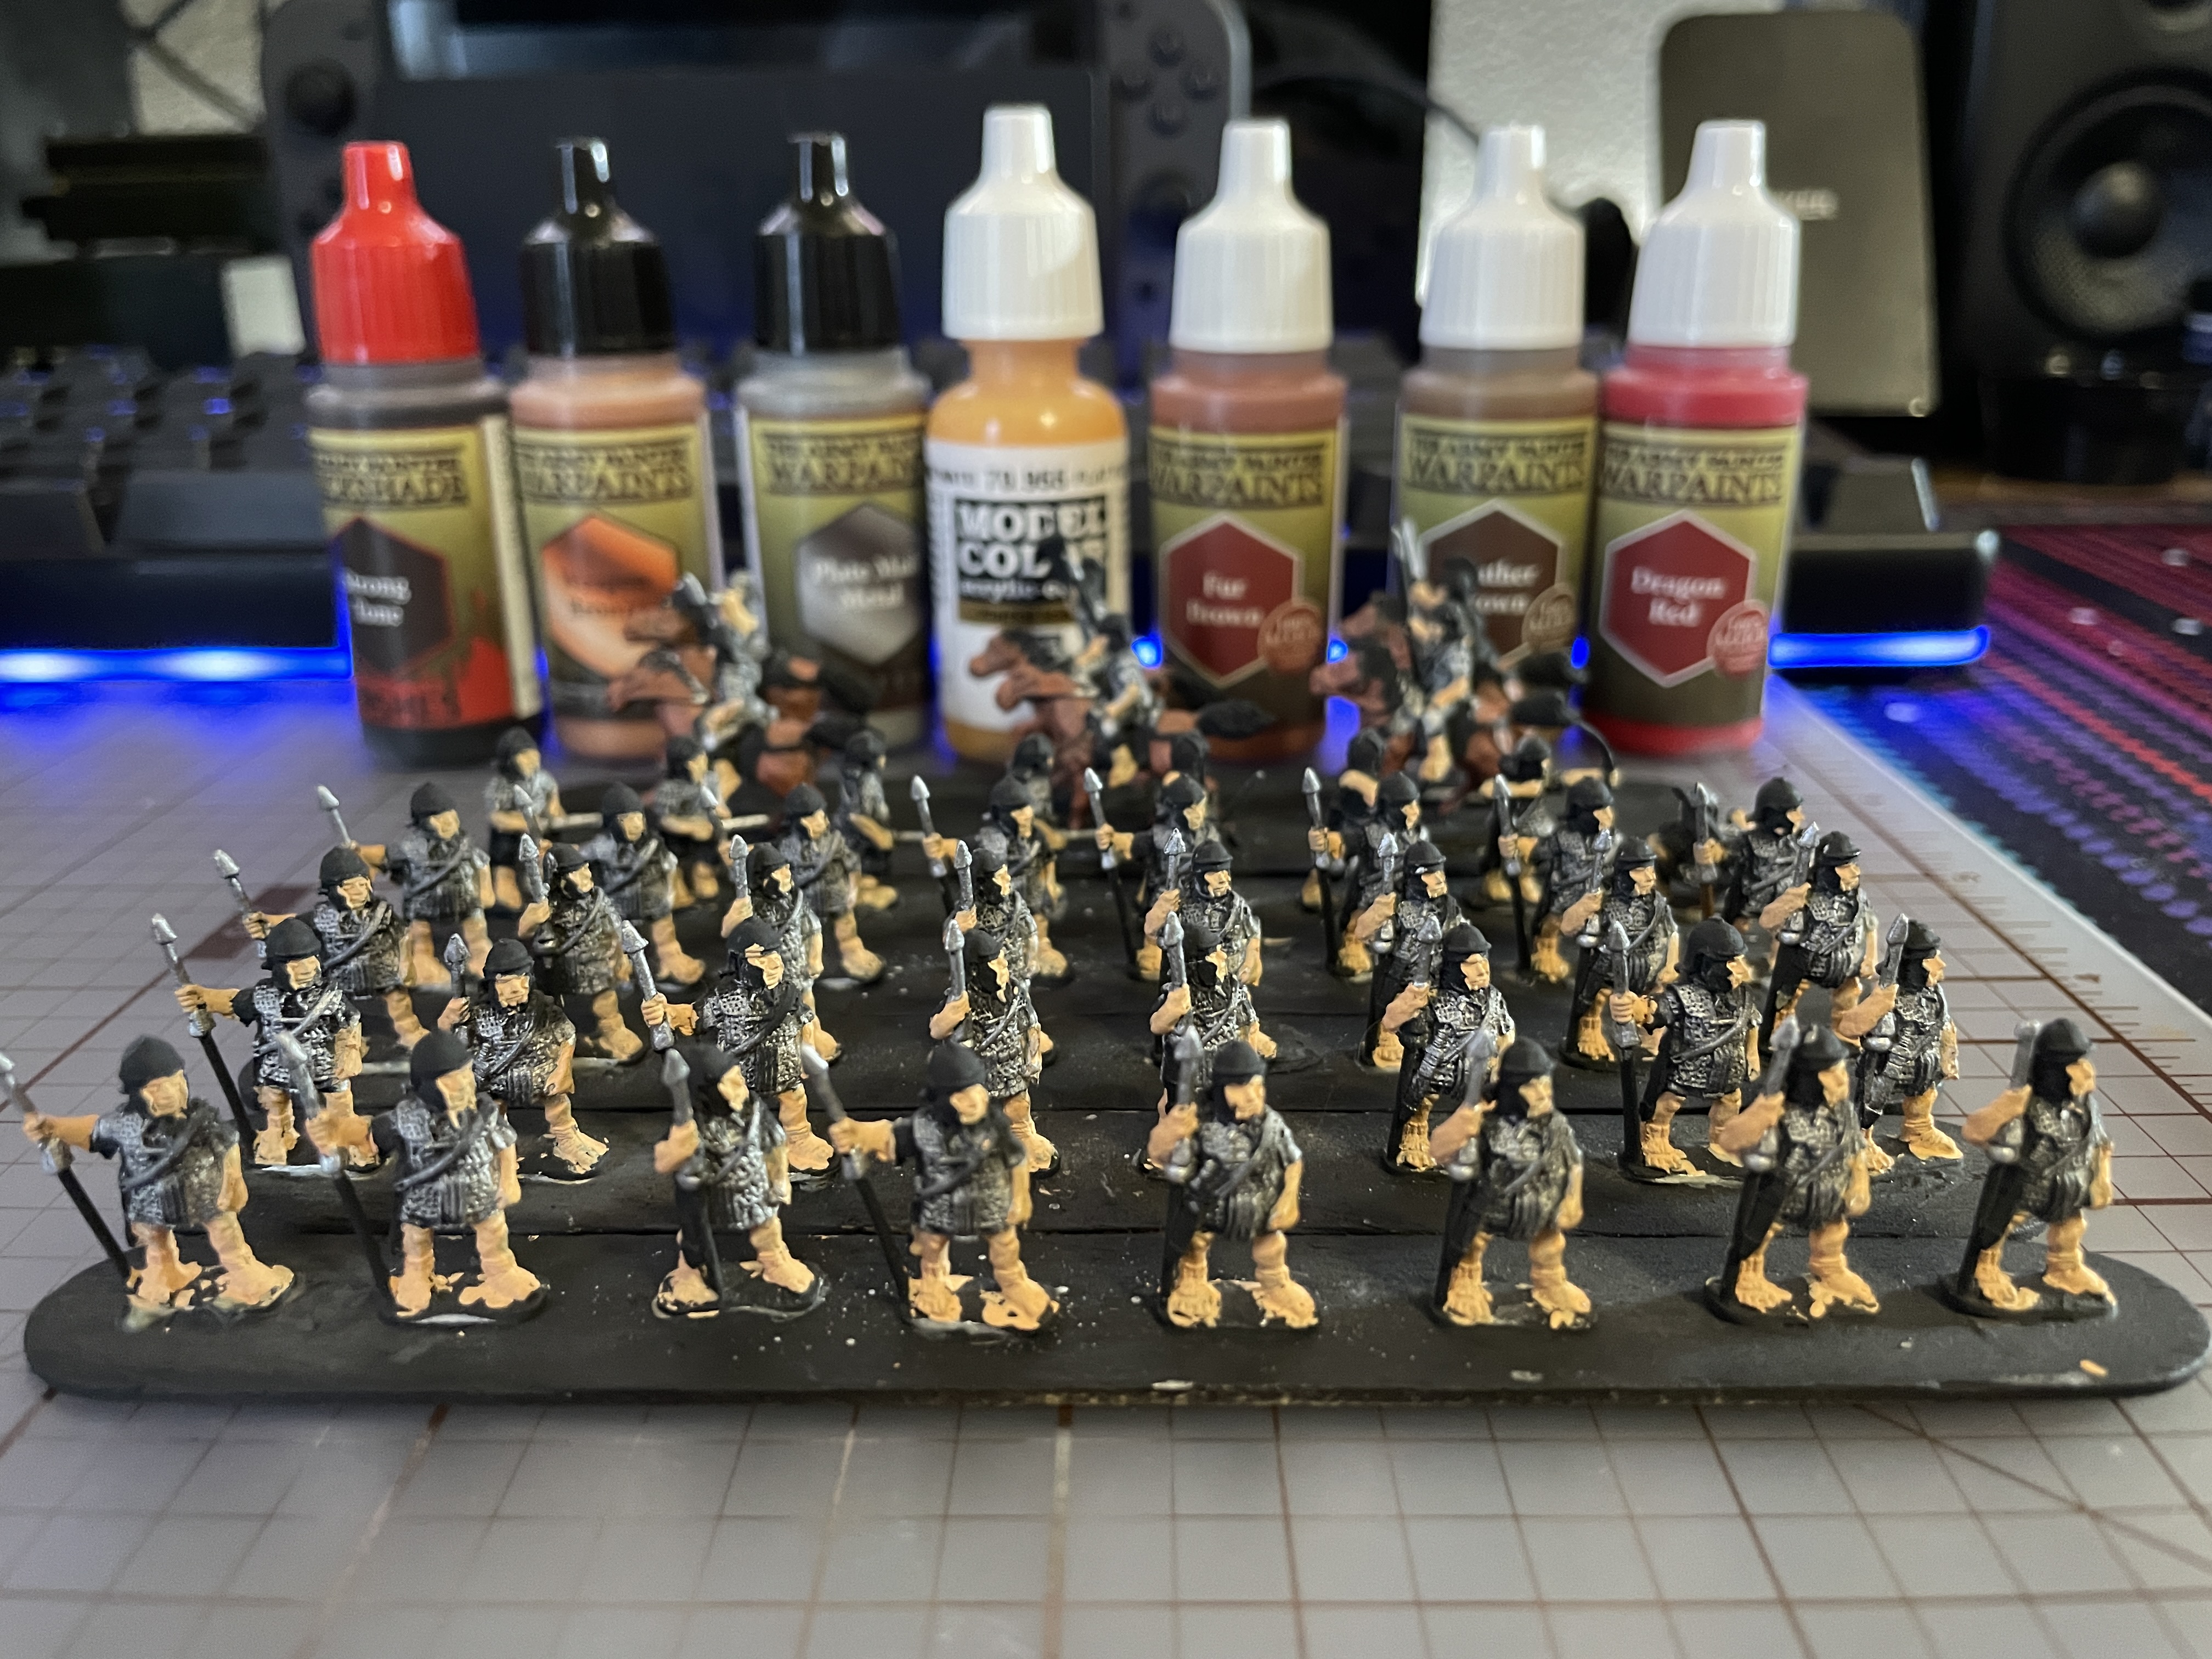
More detail work done
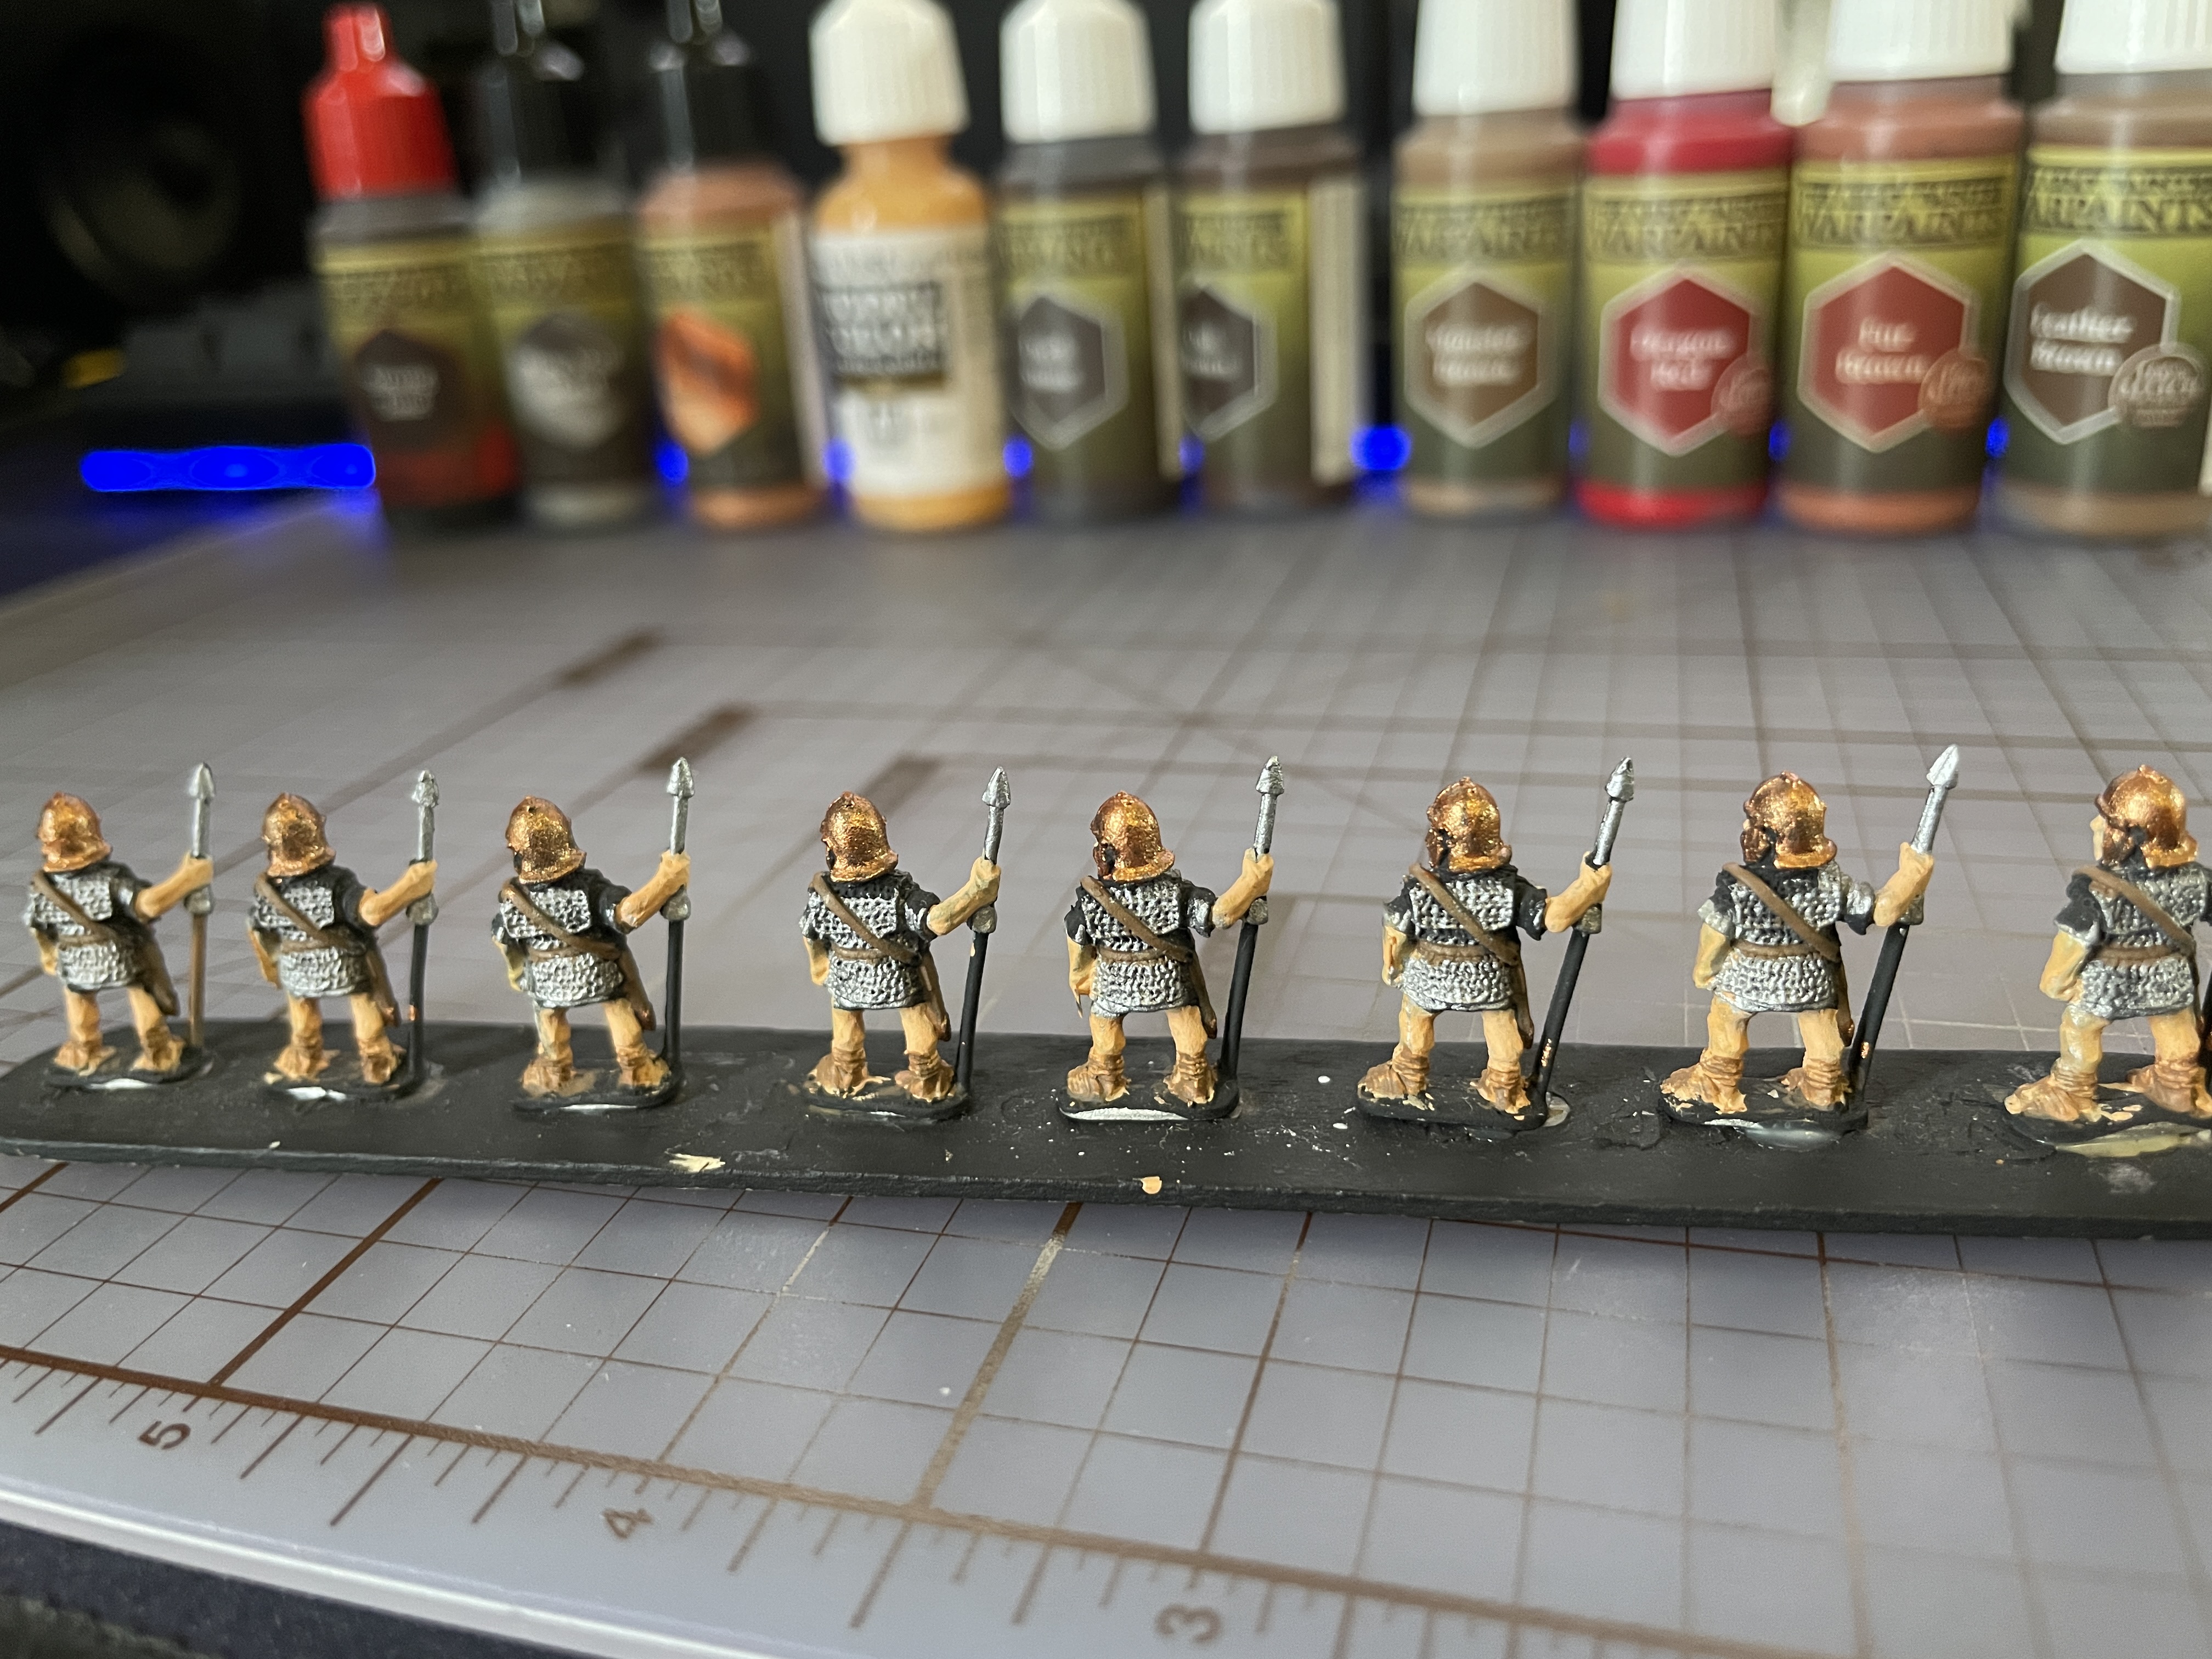
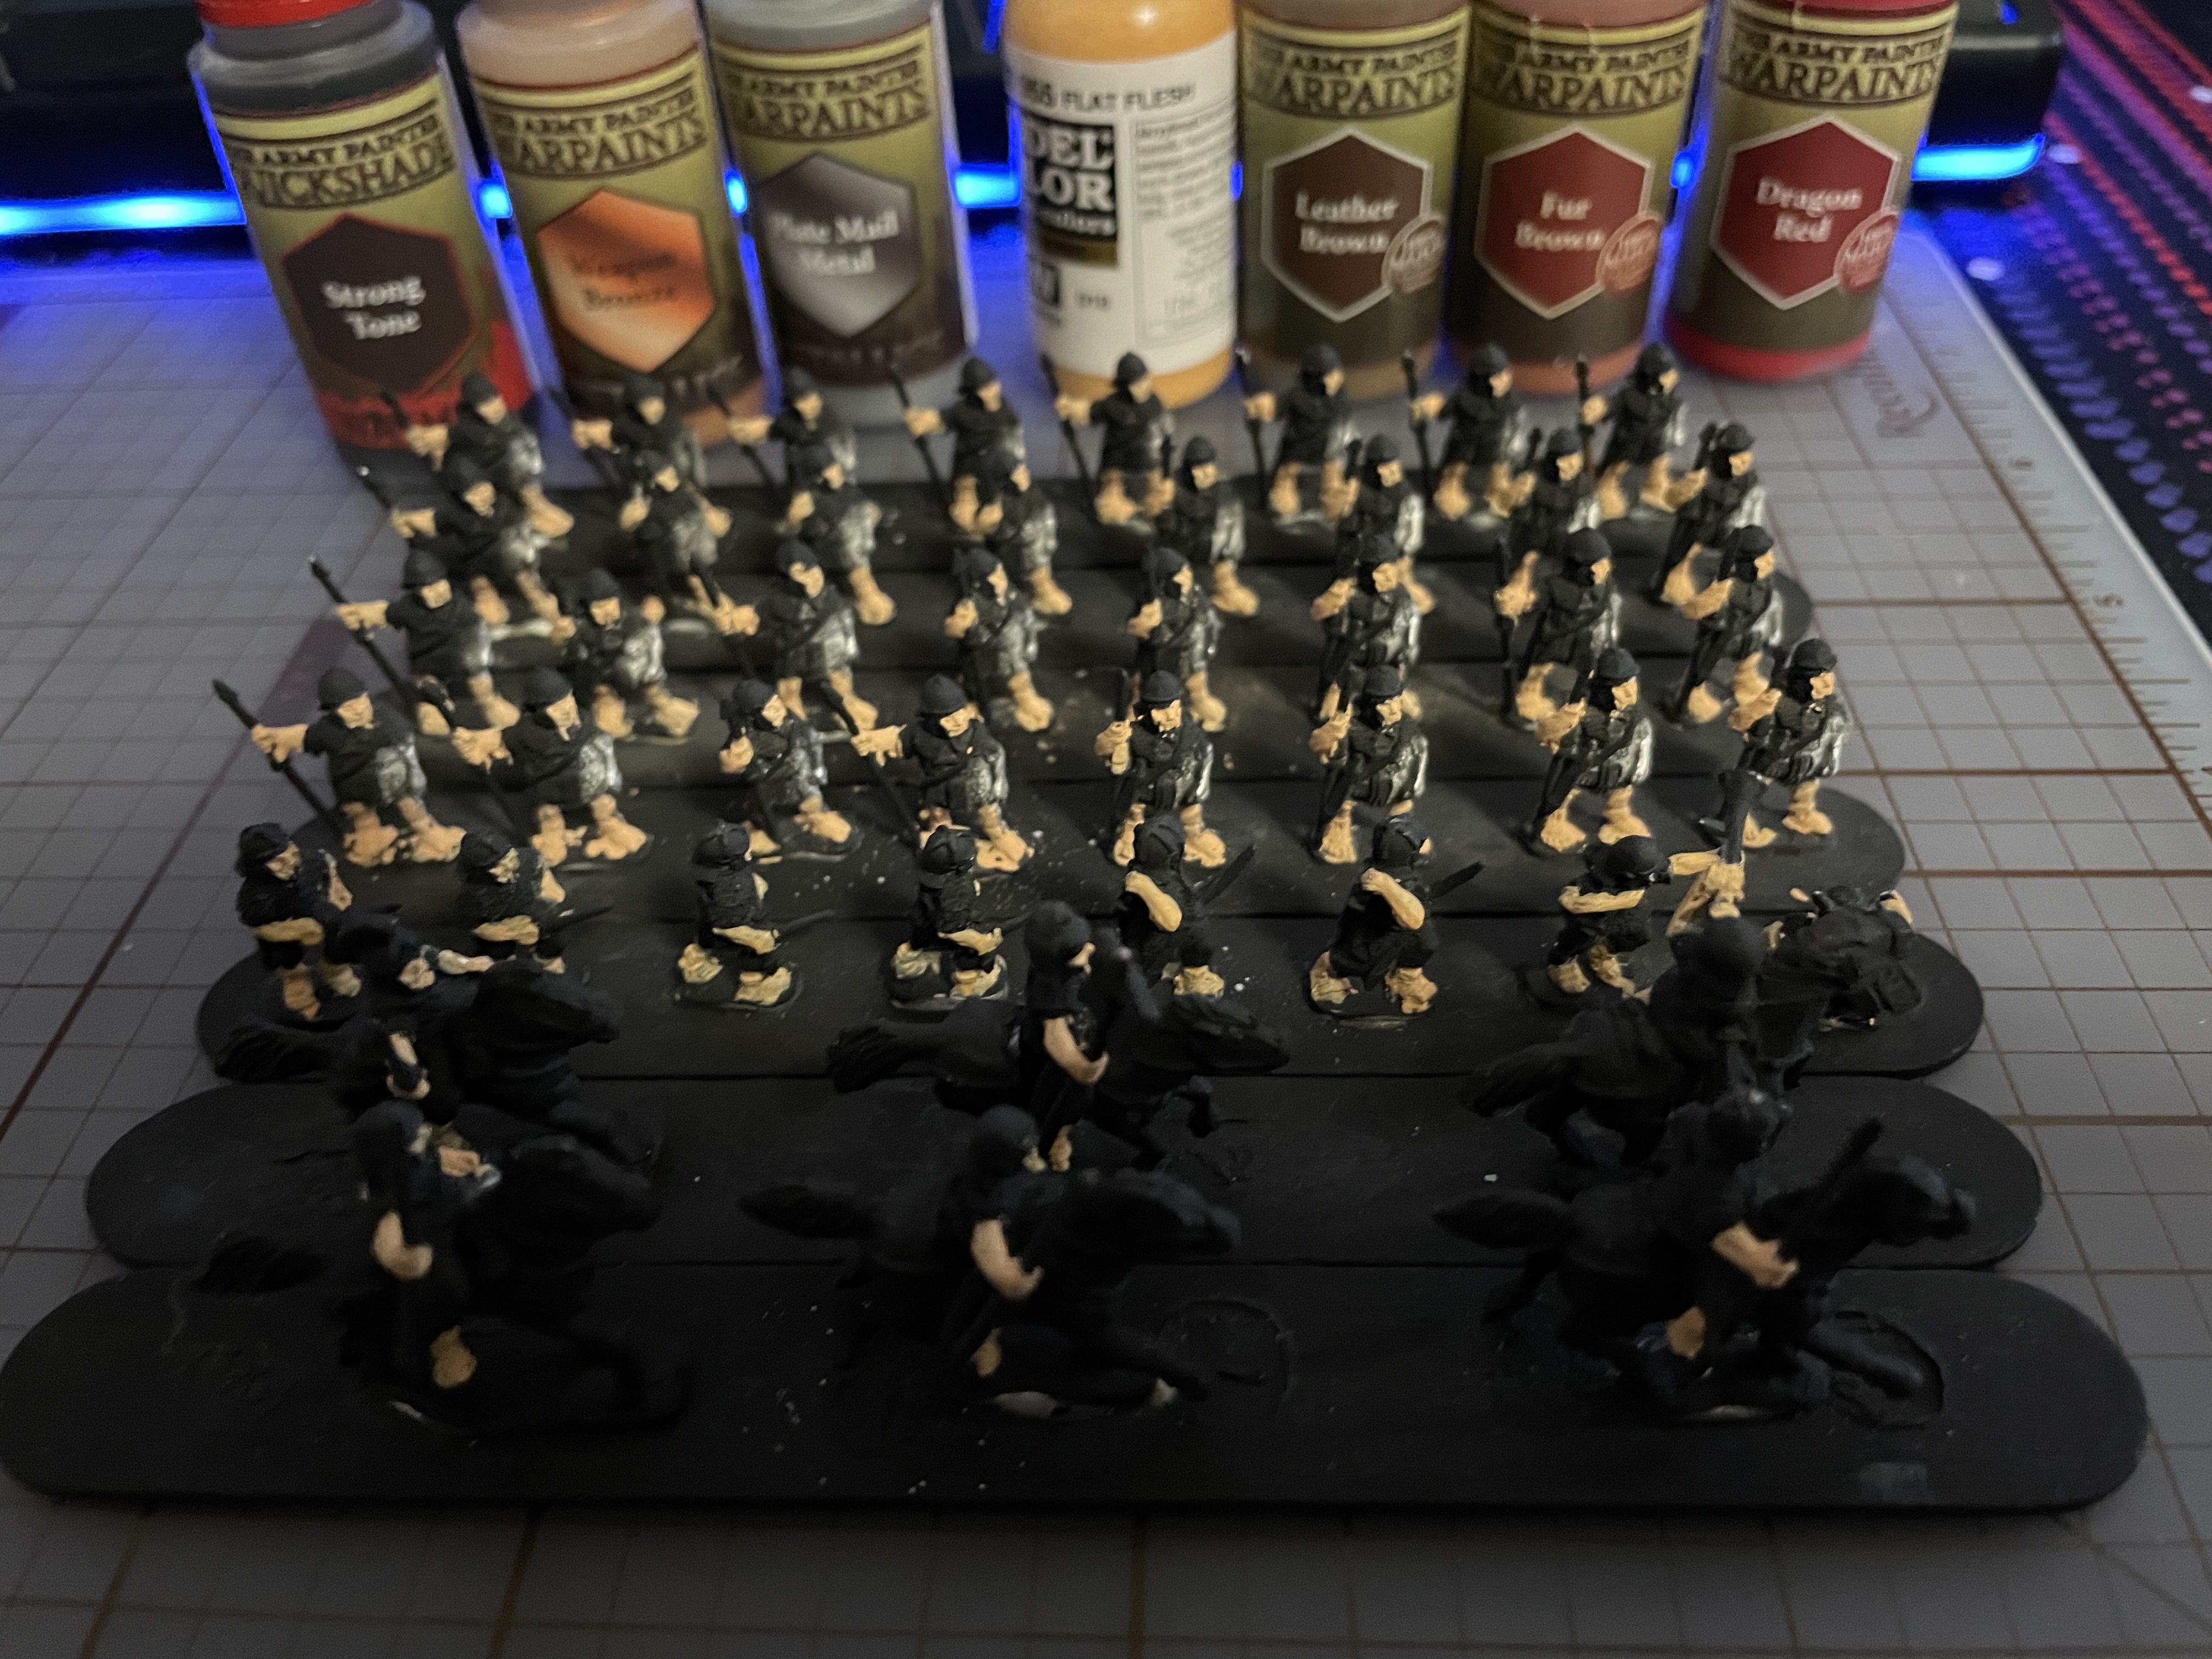
We got our goal done yesterday but with today’s hobby time I wanted to get some further work done on the small detail items like the leather, swords, and bronze helmets. I brought out a few more shades of brown to break things up and I’m glad I did once the color got down on the models. Here is the current range.
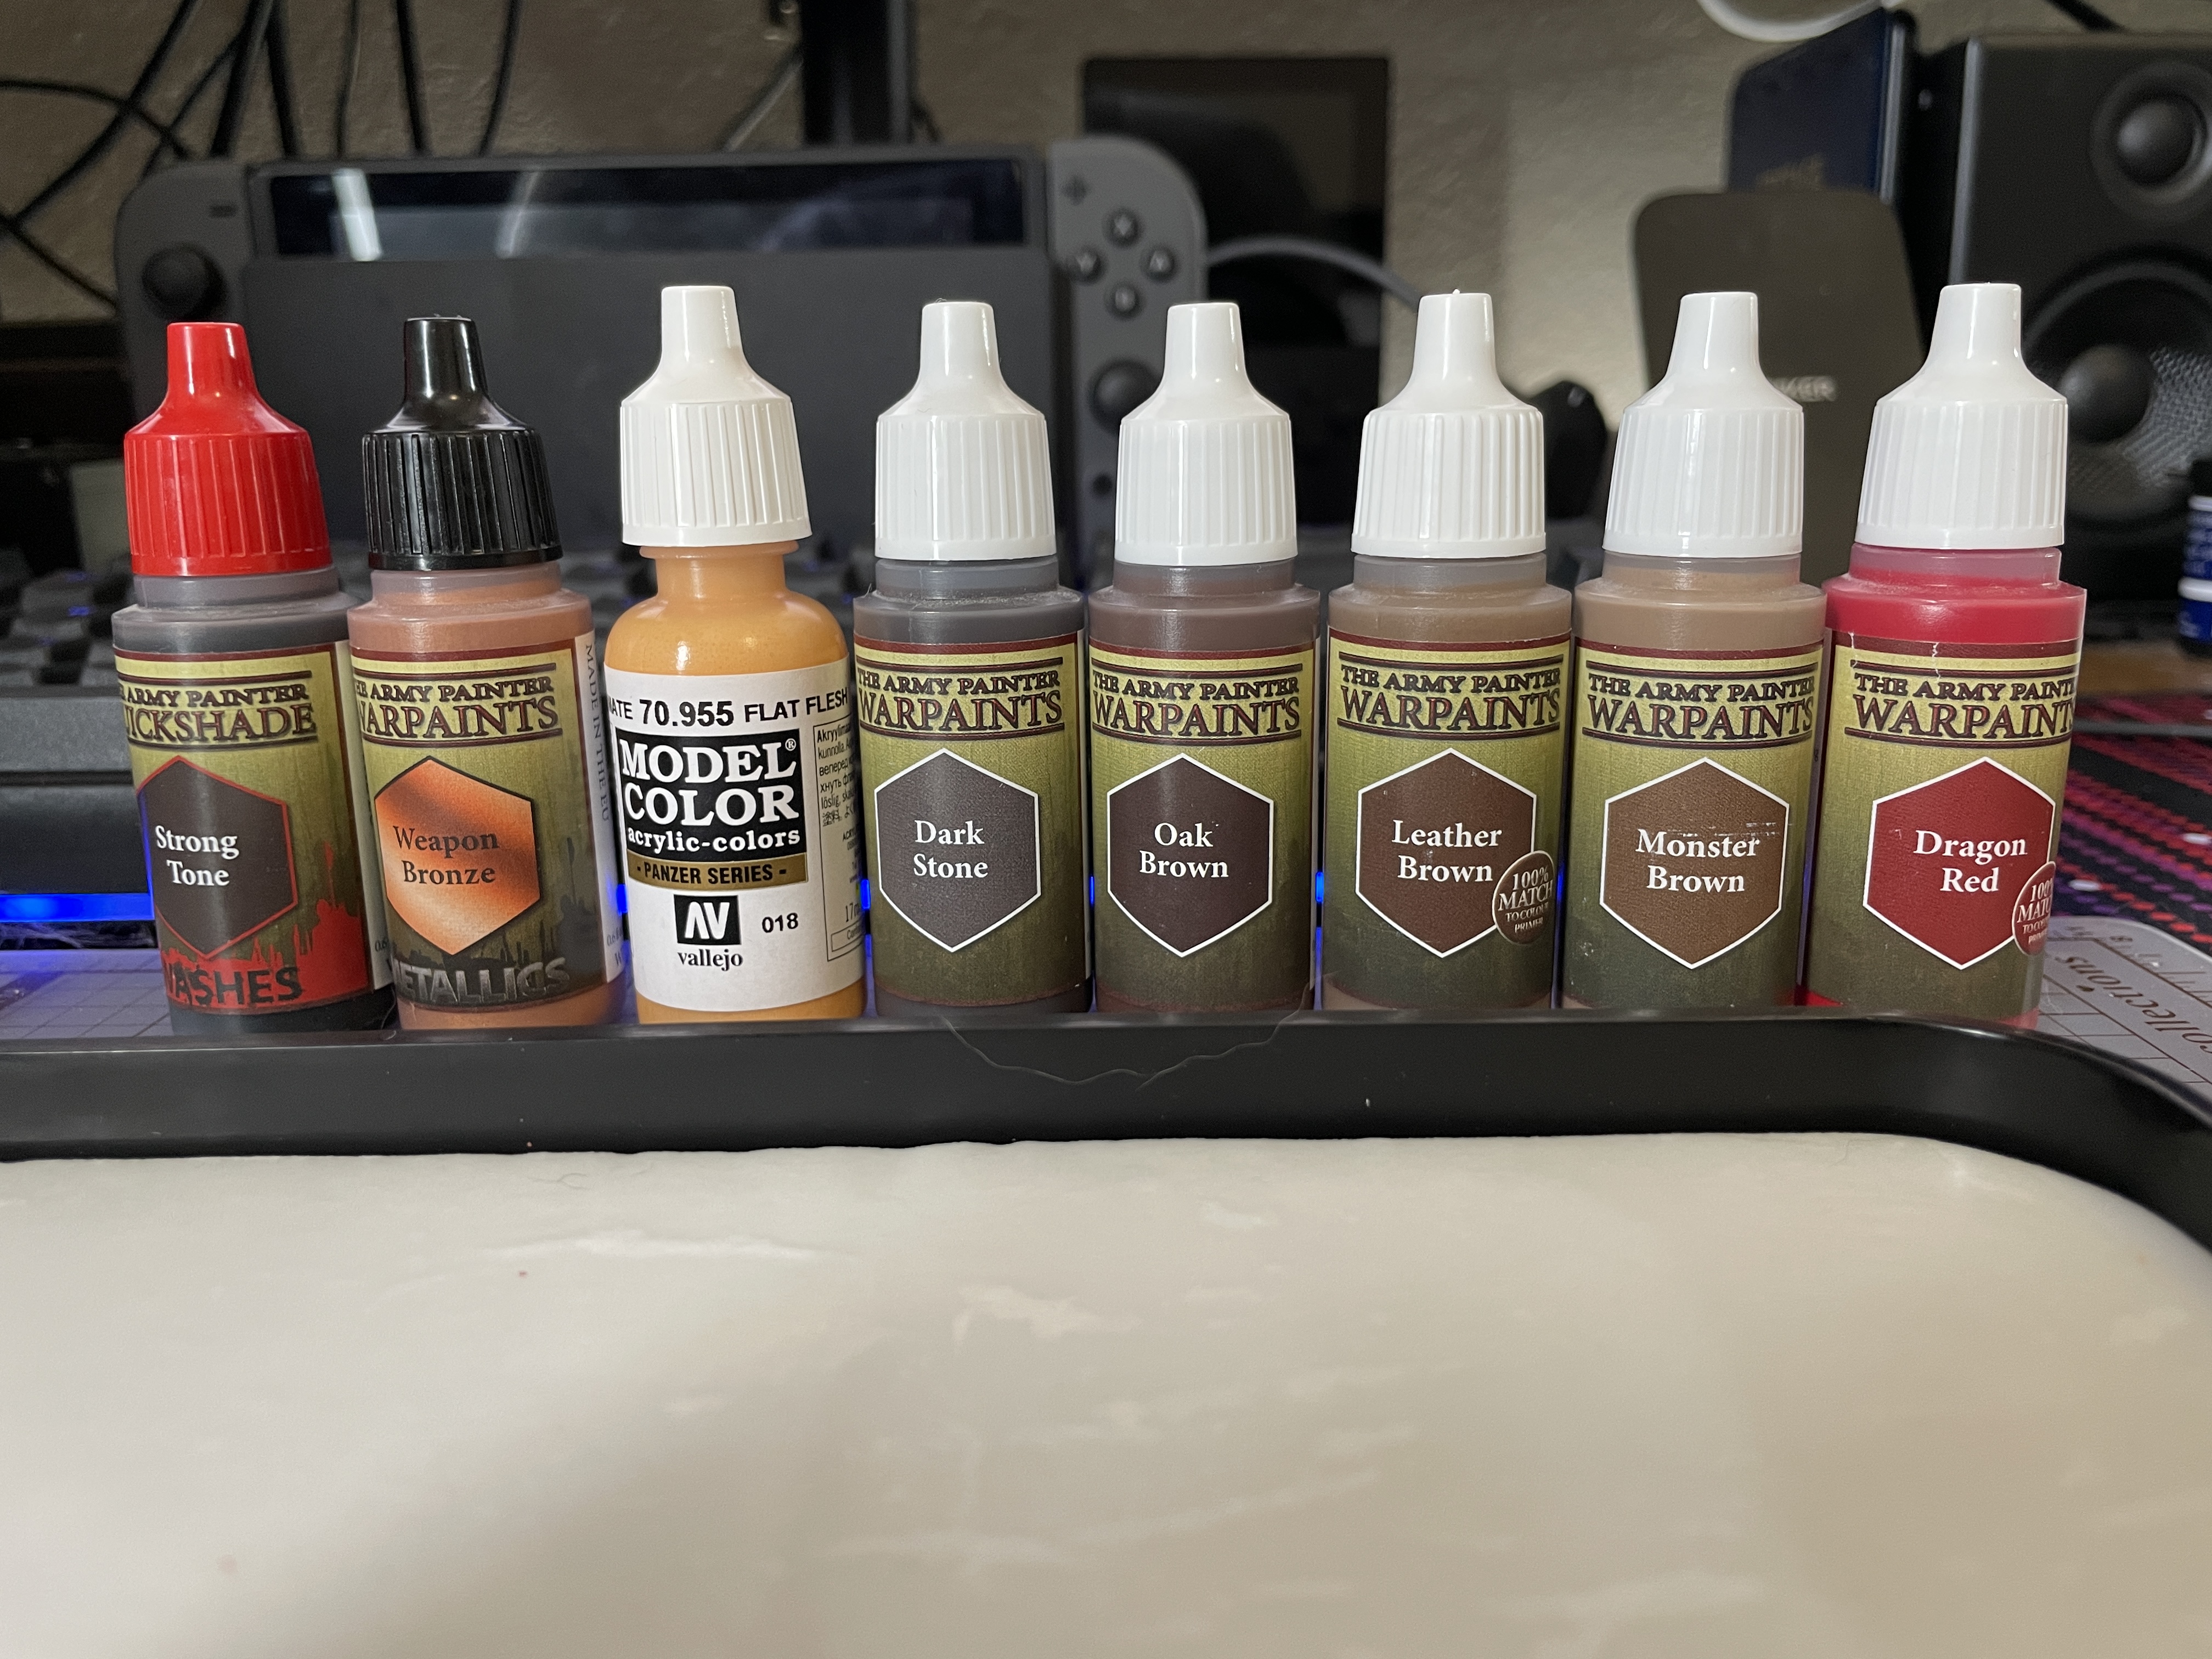
Starting with the leather work I use Leather Brown and my fine detail brush to gently scrape some over the leather reigns of the horses. While the color doesn’t stand out much I’m quite pleased with the result and the shading tone should also help
Now to tackle a part I had been dreading, the sandals. At this point the brown was still a bit thin but that is what I wanted as I planned to use it more of a wash. Since the details are so fine on the feet I wasn’t going to be able to use the same technique on the sandals as I did on the horse reigns. While it still doesn’t look quite right again the Strong Tone and finishing the bases will clean up the areas where the Flat Flesh was over painted.
With the Leather Brown still out I do the scabbards, belts, and strappings. This fine detail work really helped make the figures look less messy and closer to being table ready.
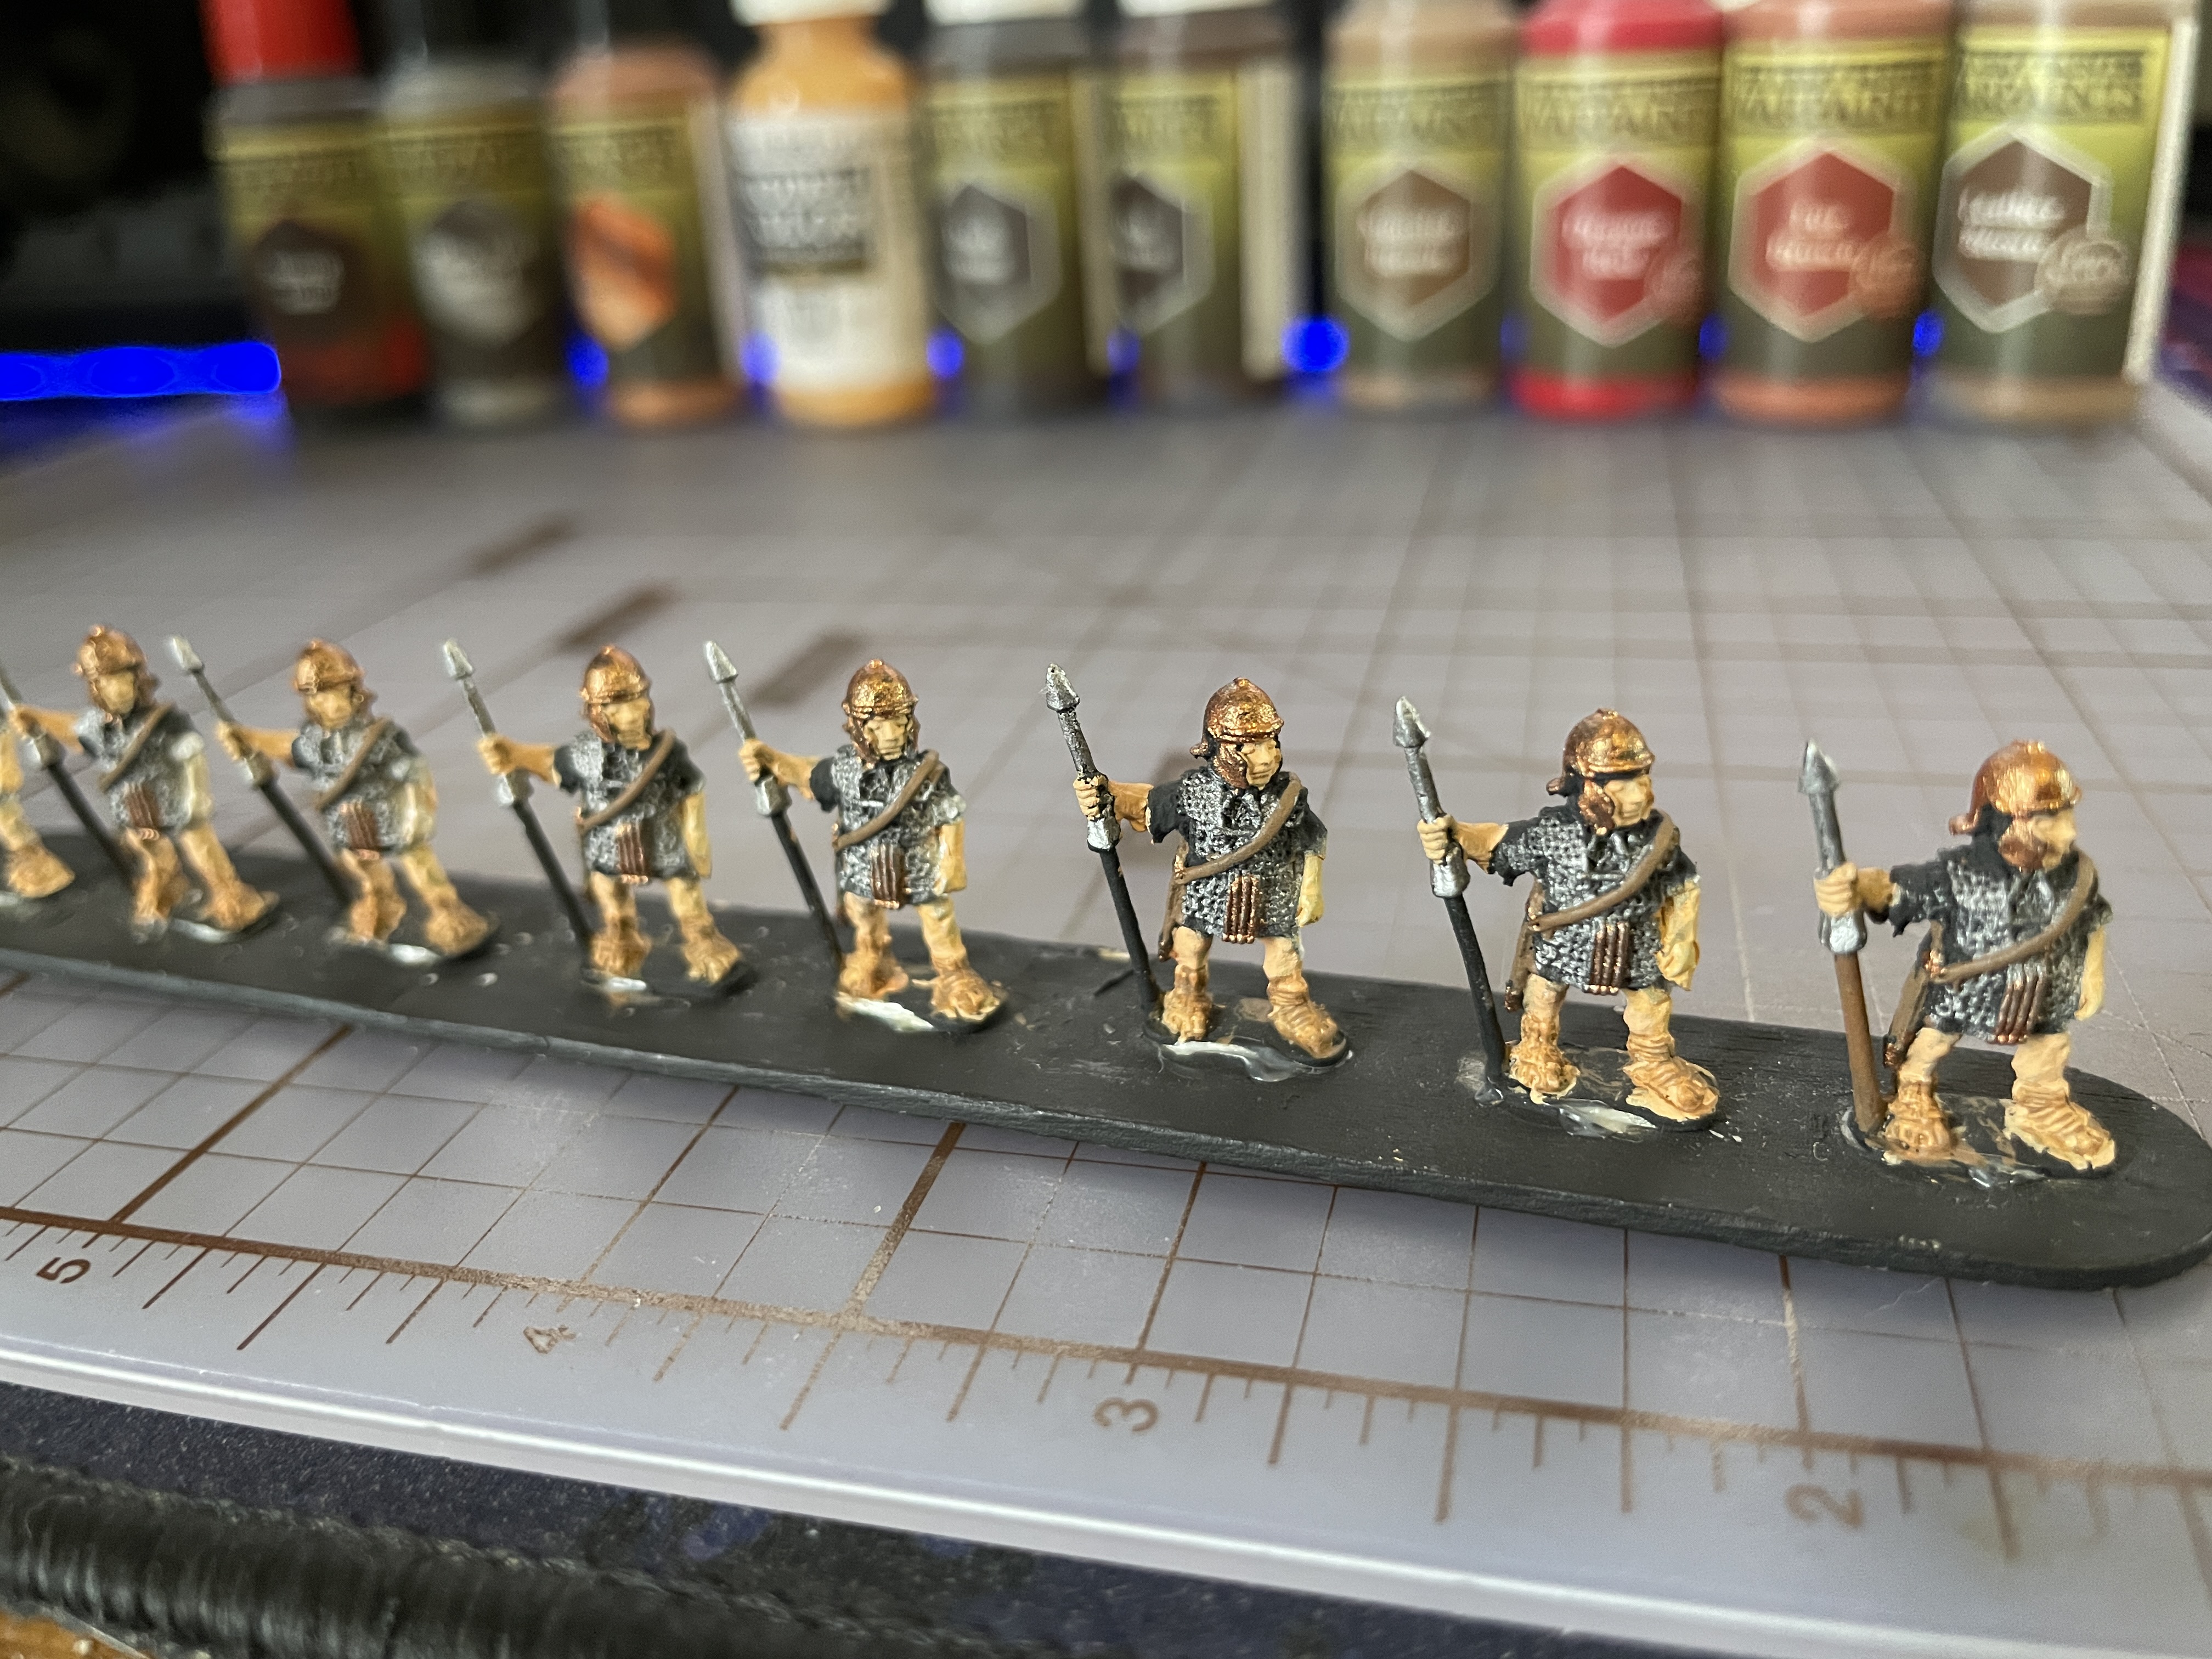
After the leather I was still in the painting mood so broke out the Weapon Bronze to work on the helmets and other bronze bits. When I thought of the helmets I initially thought they were going to be iron but after looking at pictures it seems that was more of an imperial Roman thing. Bronzed up the helmets, parts of the swords, scabbards and the small front of the chainmail. This went well but took I think longer than the rest of the leather work. Finishing the last stick of figures was definitely a challenge but I’m quite pleased with the results.
I’m very happy with the progress and next items are the wood items, tunics, arrow fletching, horse manes, hooves, and then touch ups. I’m looking forward to getting those items done and moving onto basing. While not painting I’ve been doing research on terrain I will need to make for DBA. I’ll share what I’ve found in a future post focused on terrain.
I also have Gauls on the way with a few more Roman options. They are bonus to the initial project goal and since we still have months of time for the challenge I want to see how far I can get to have the two sides done, a board, and terrain done. Then perhaps a battle report, until next post everyone happy hobby time!
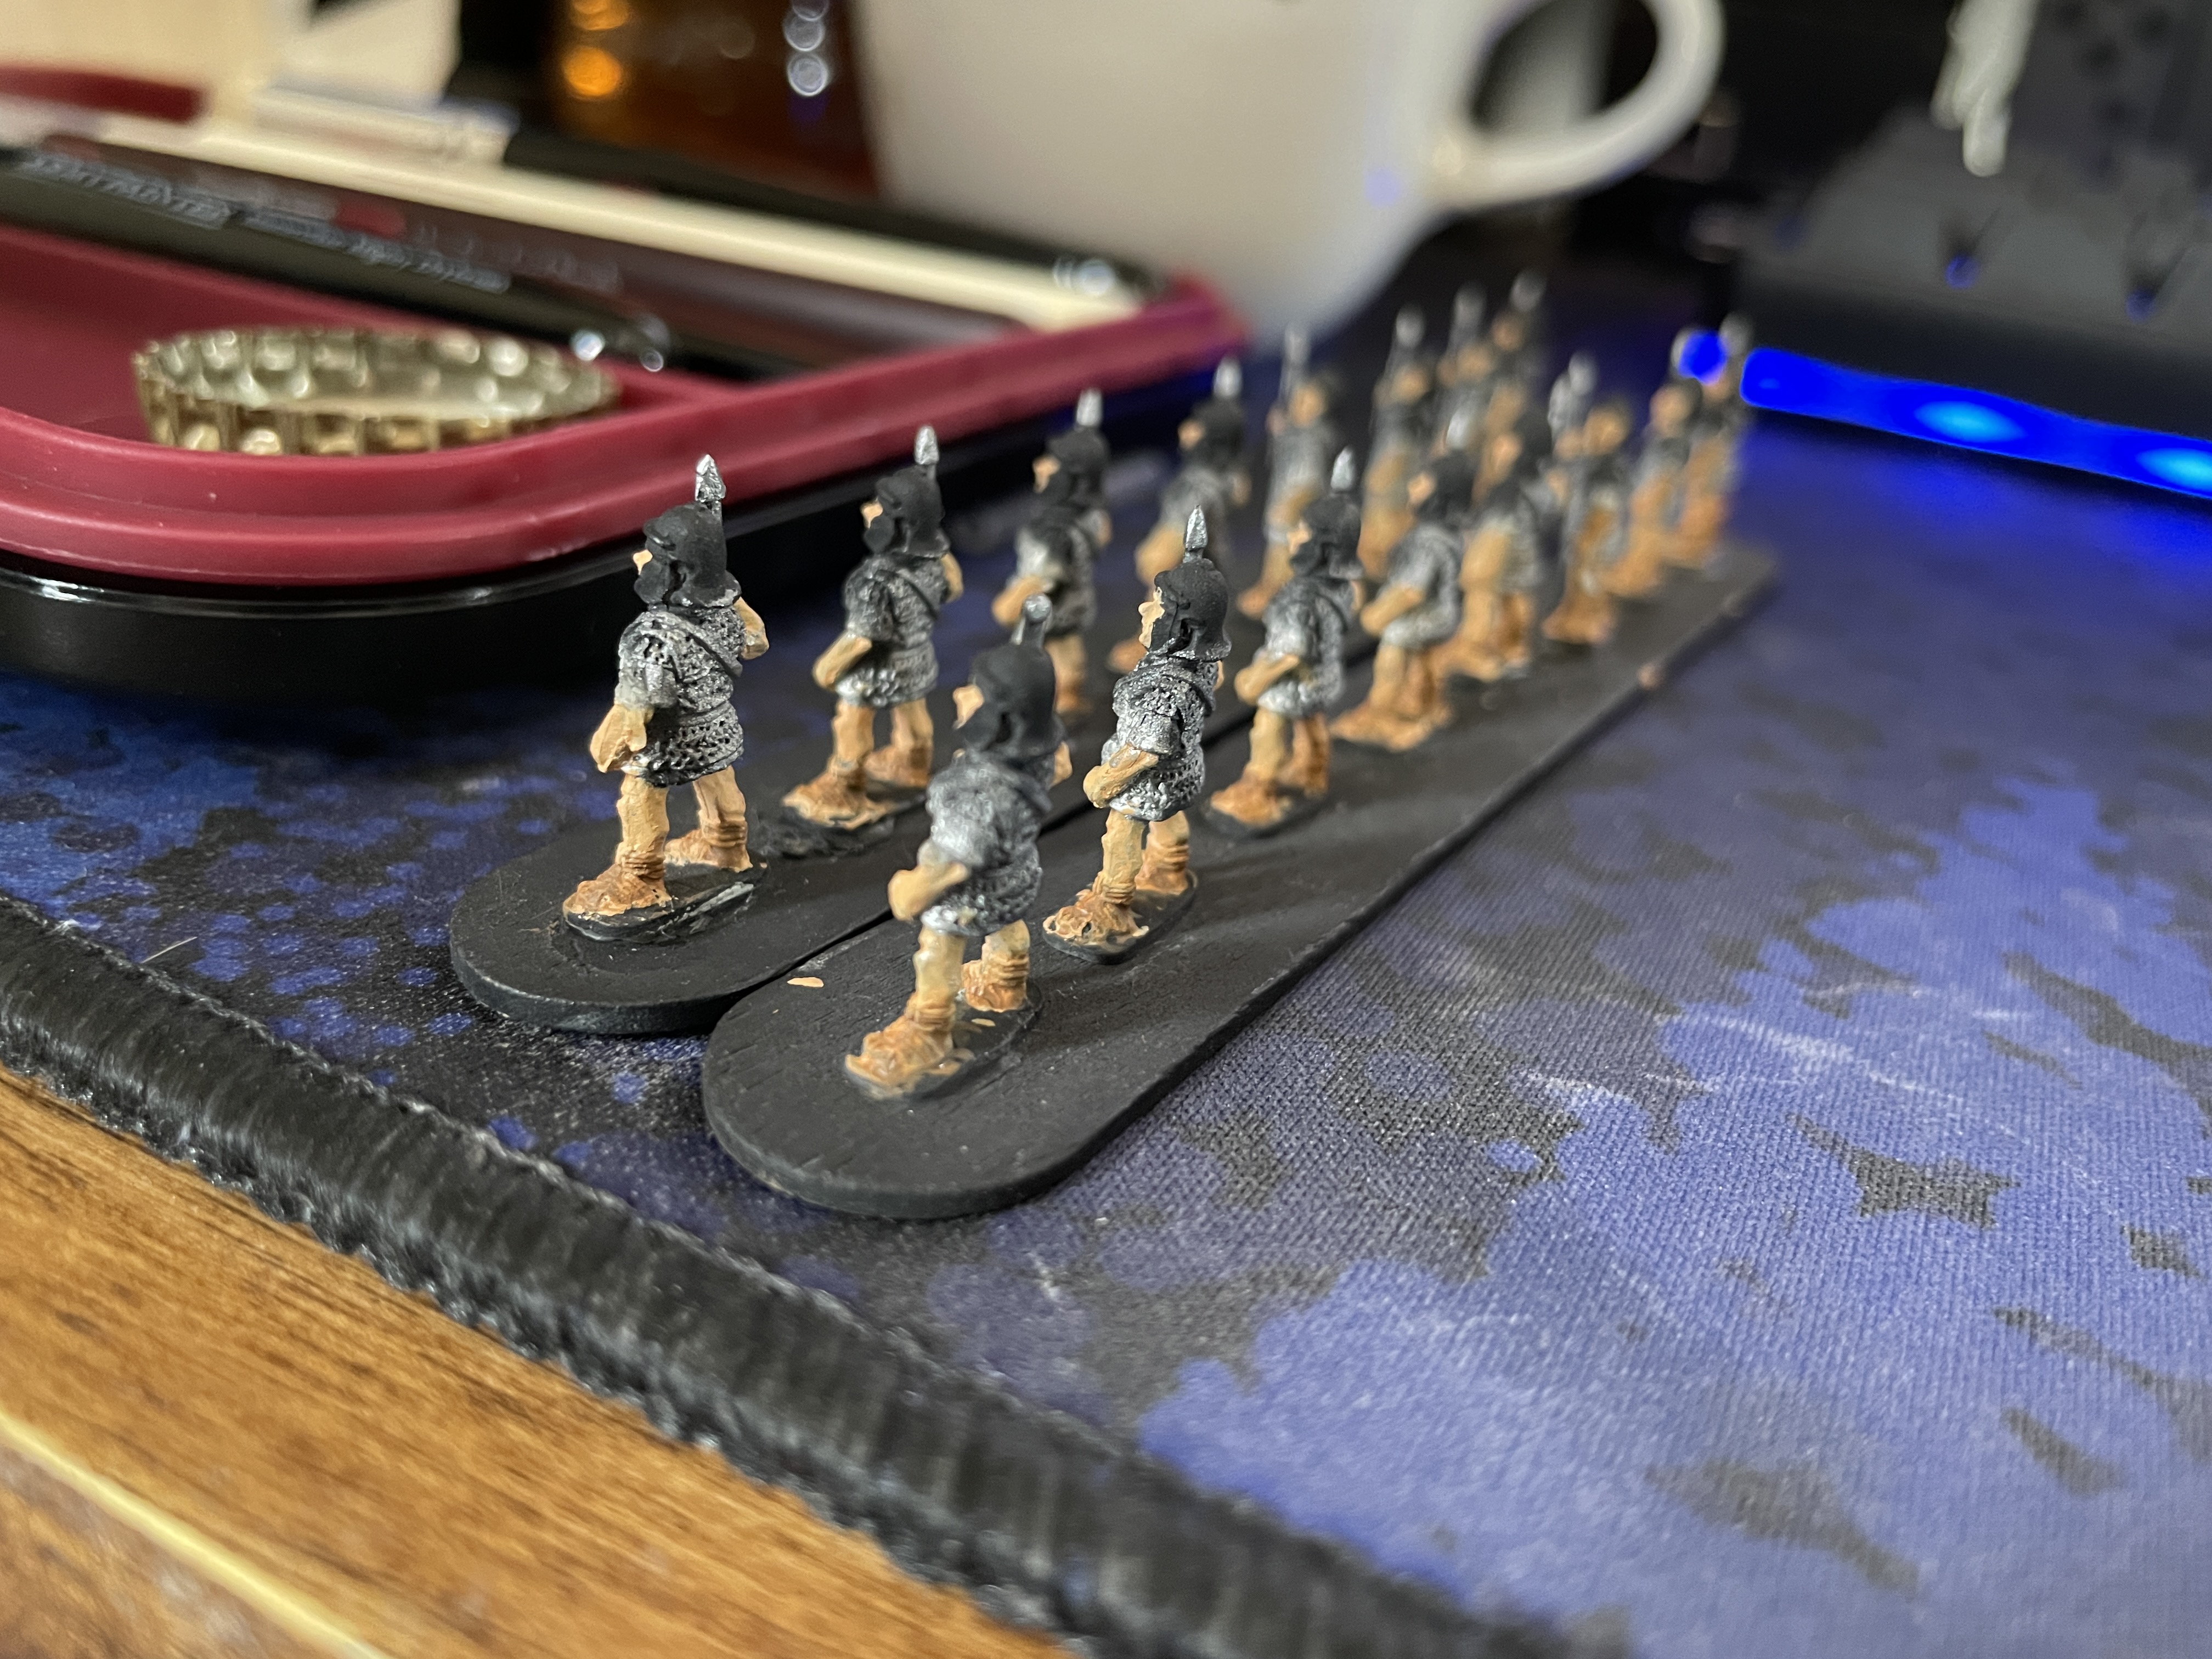
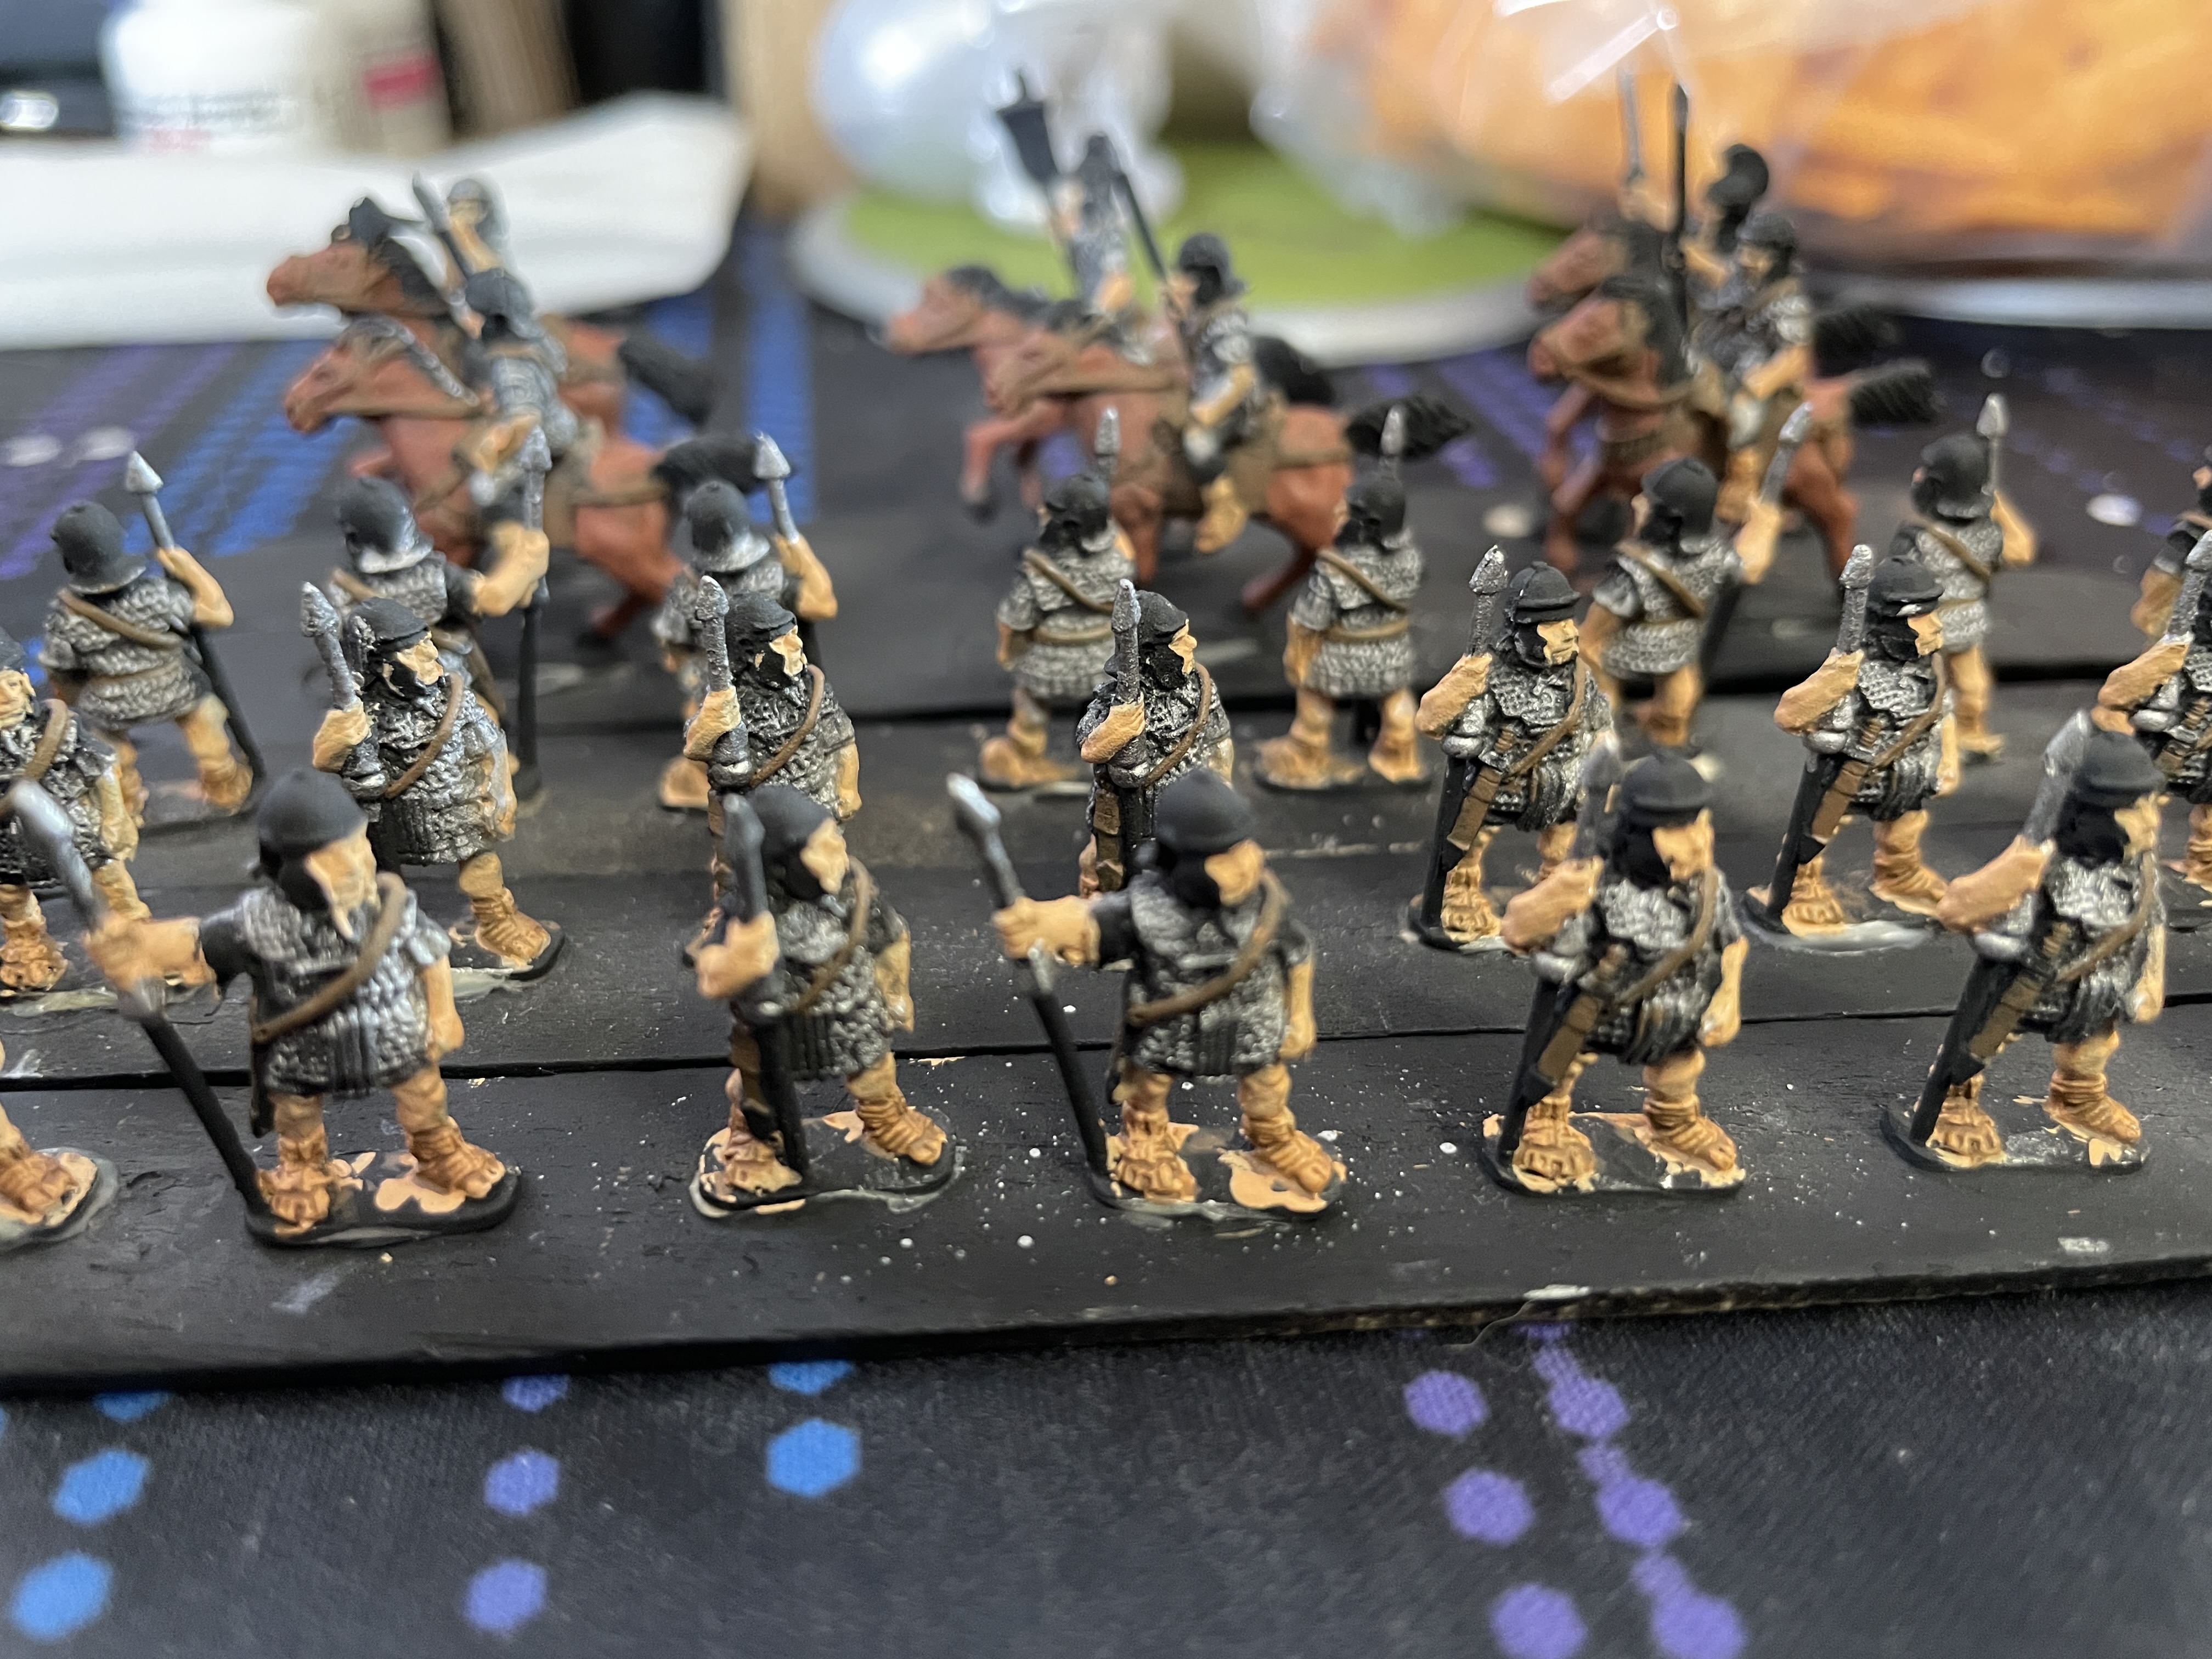
Getting some base colors down and starting detail work
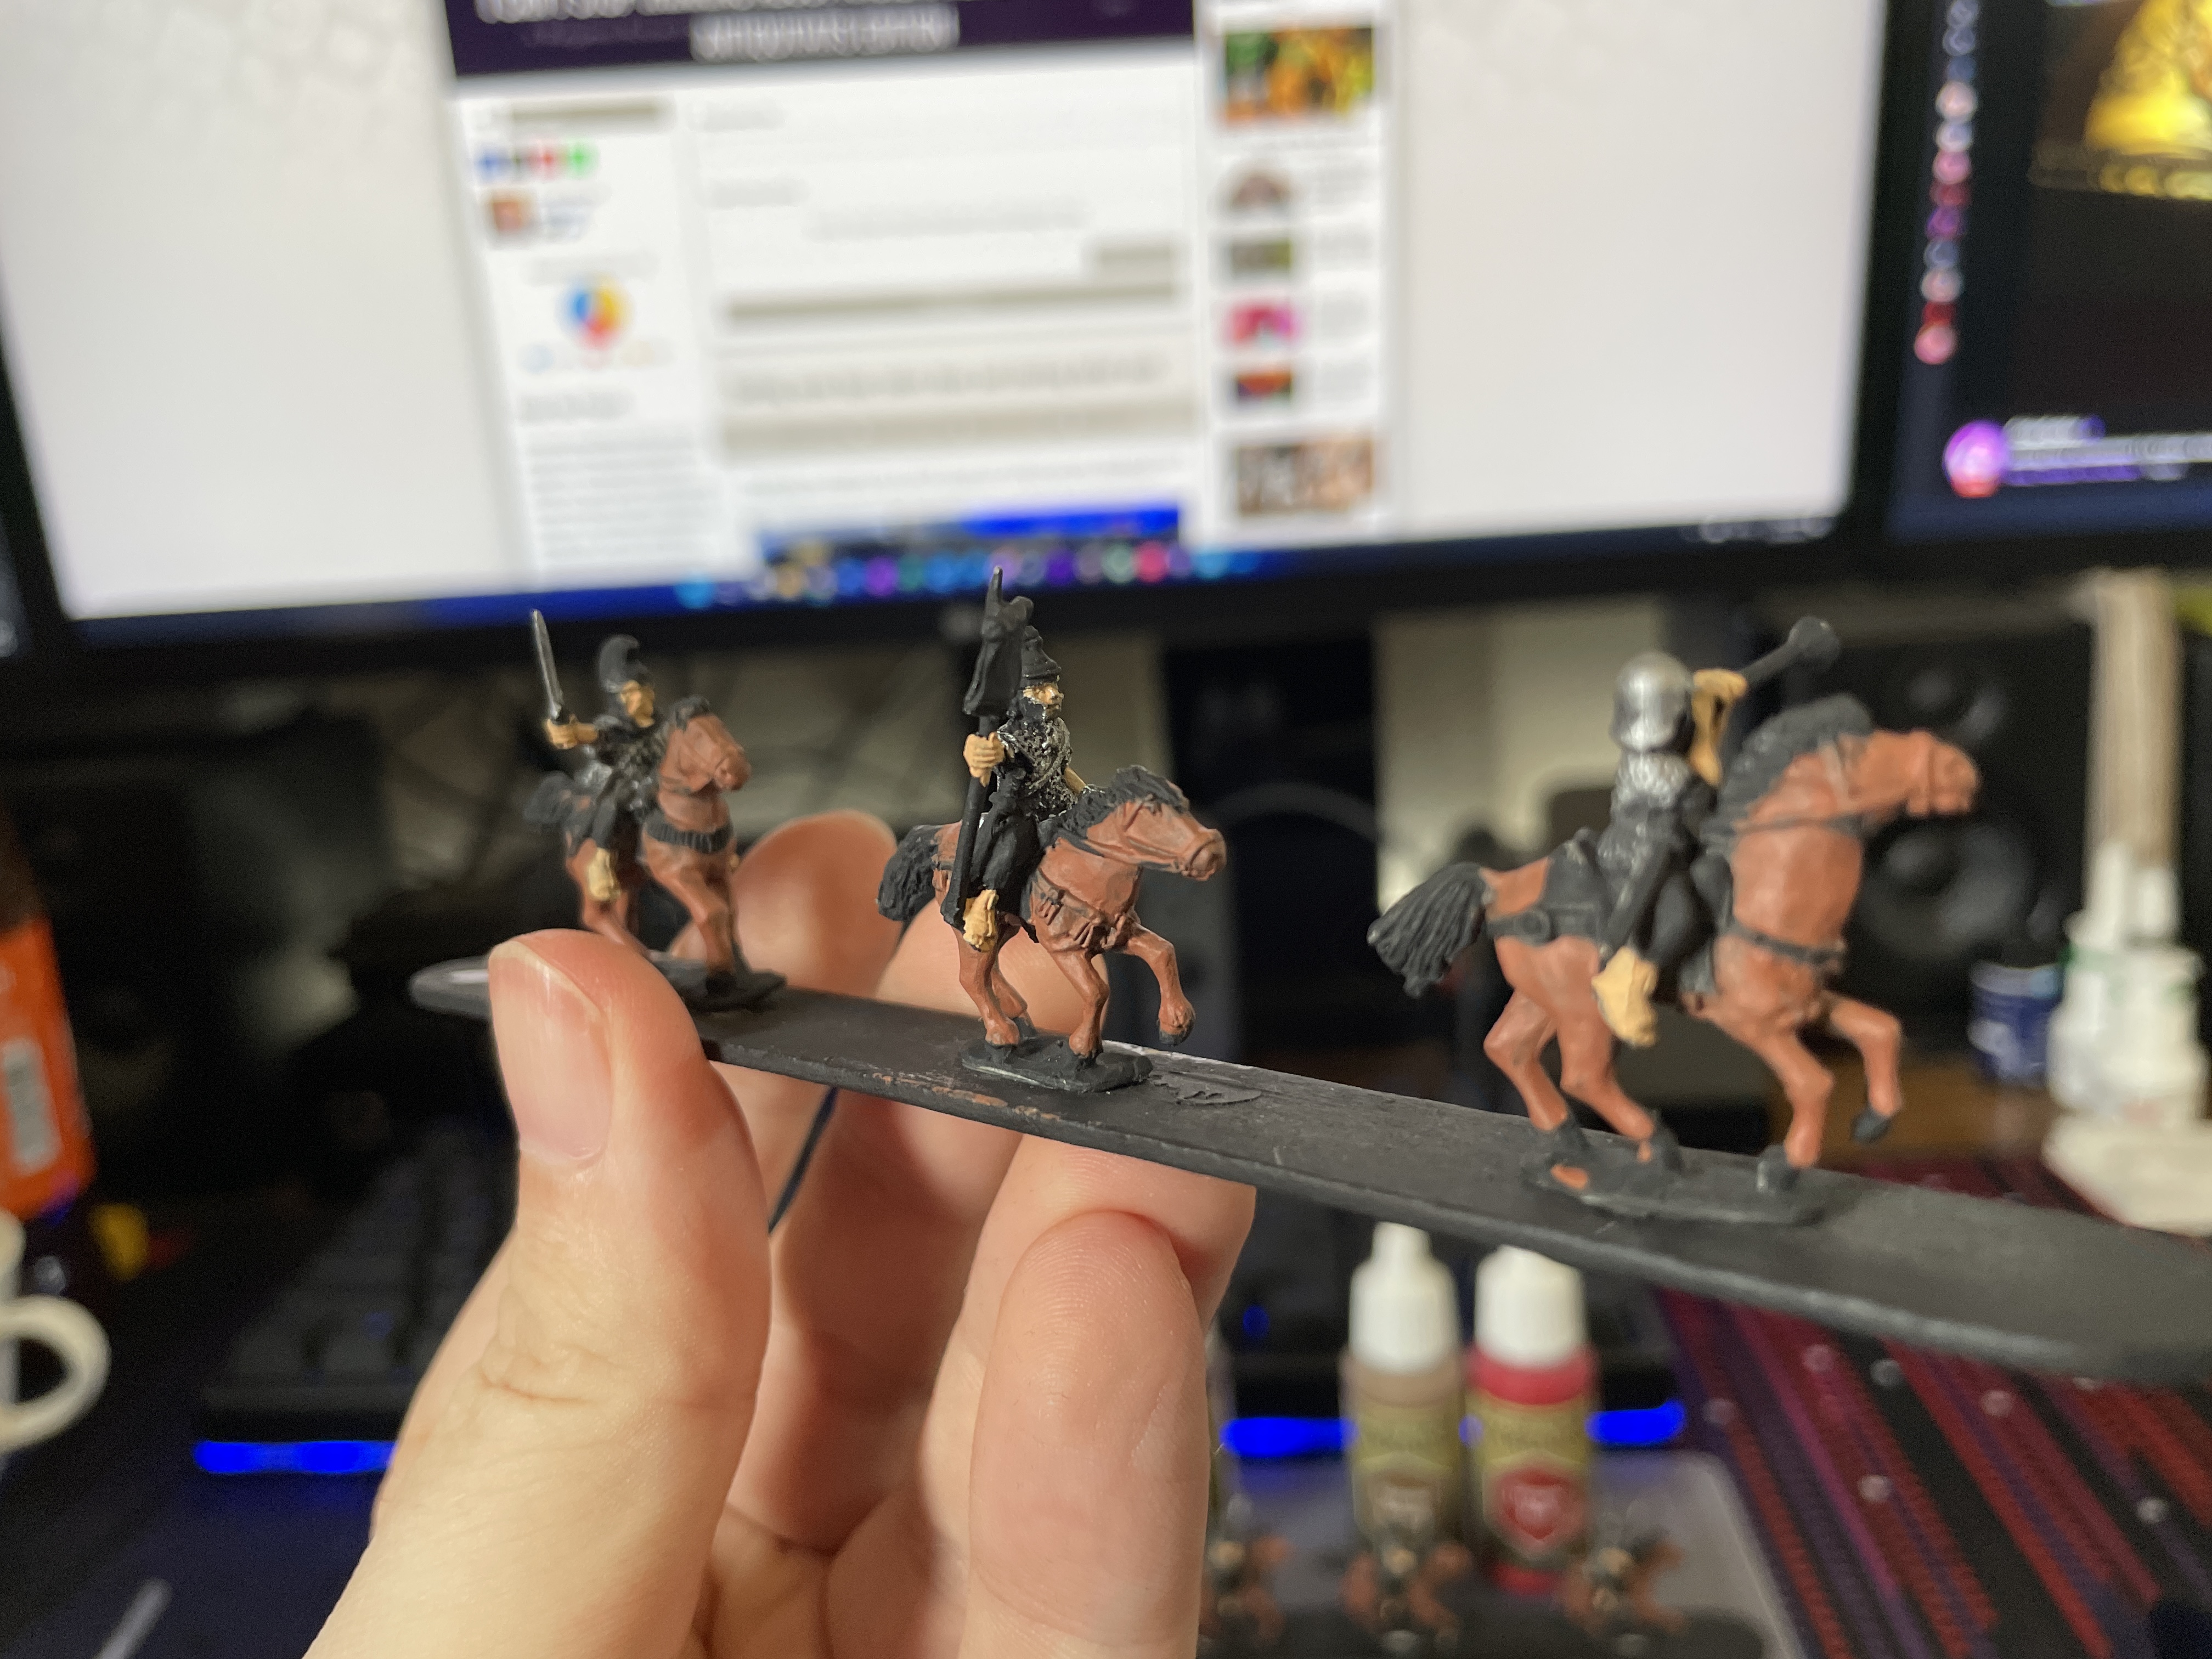
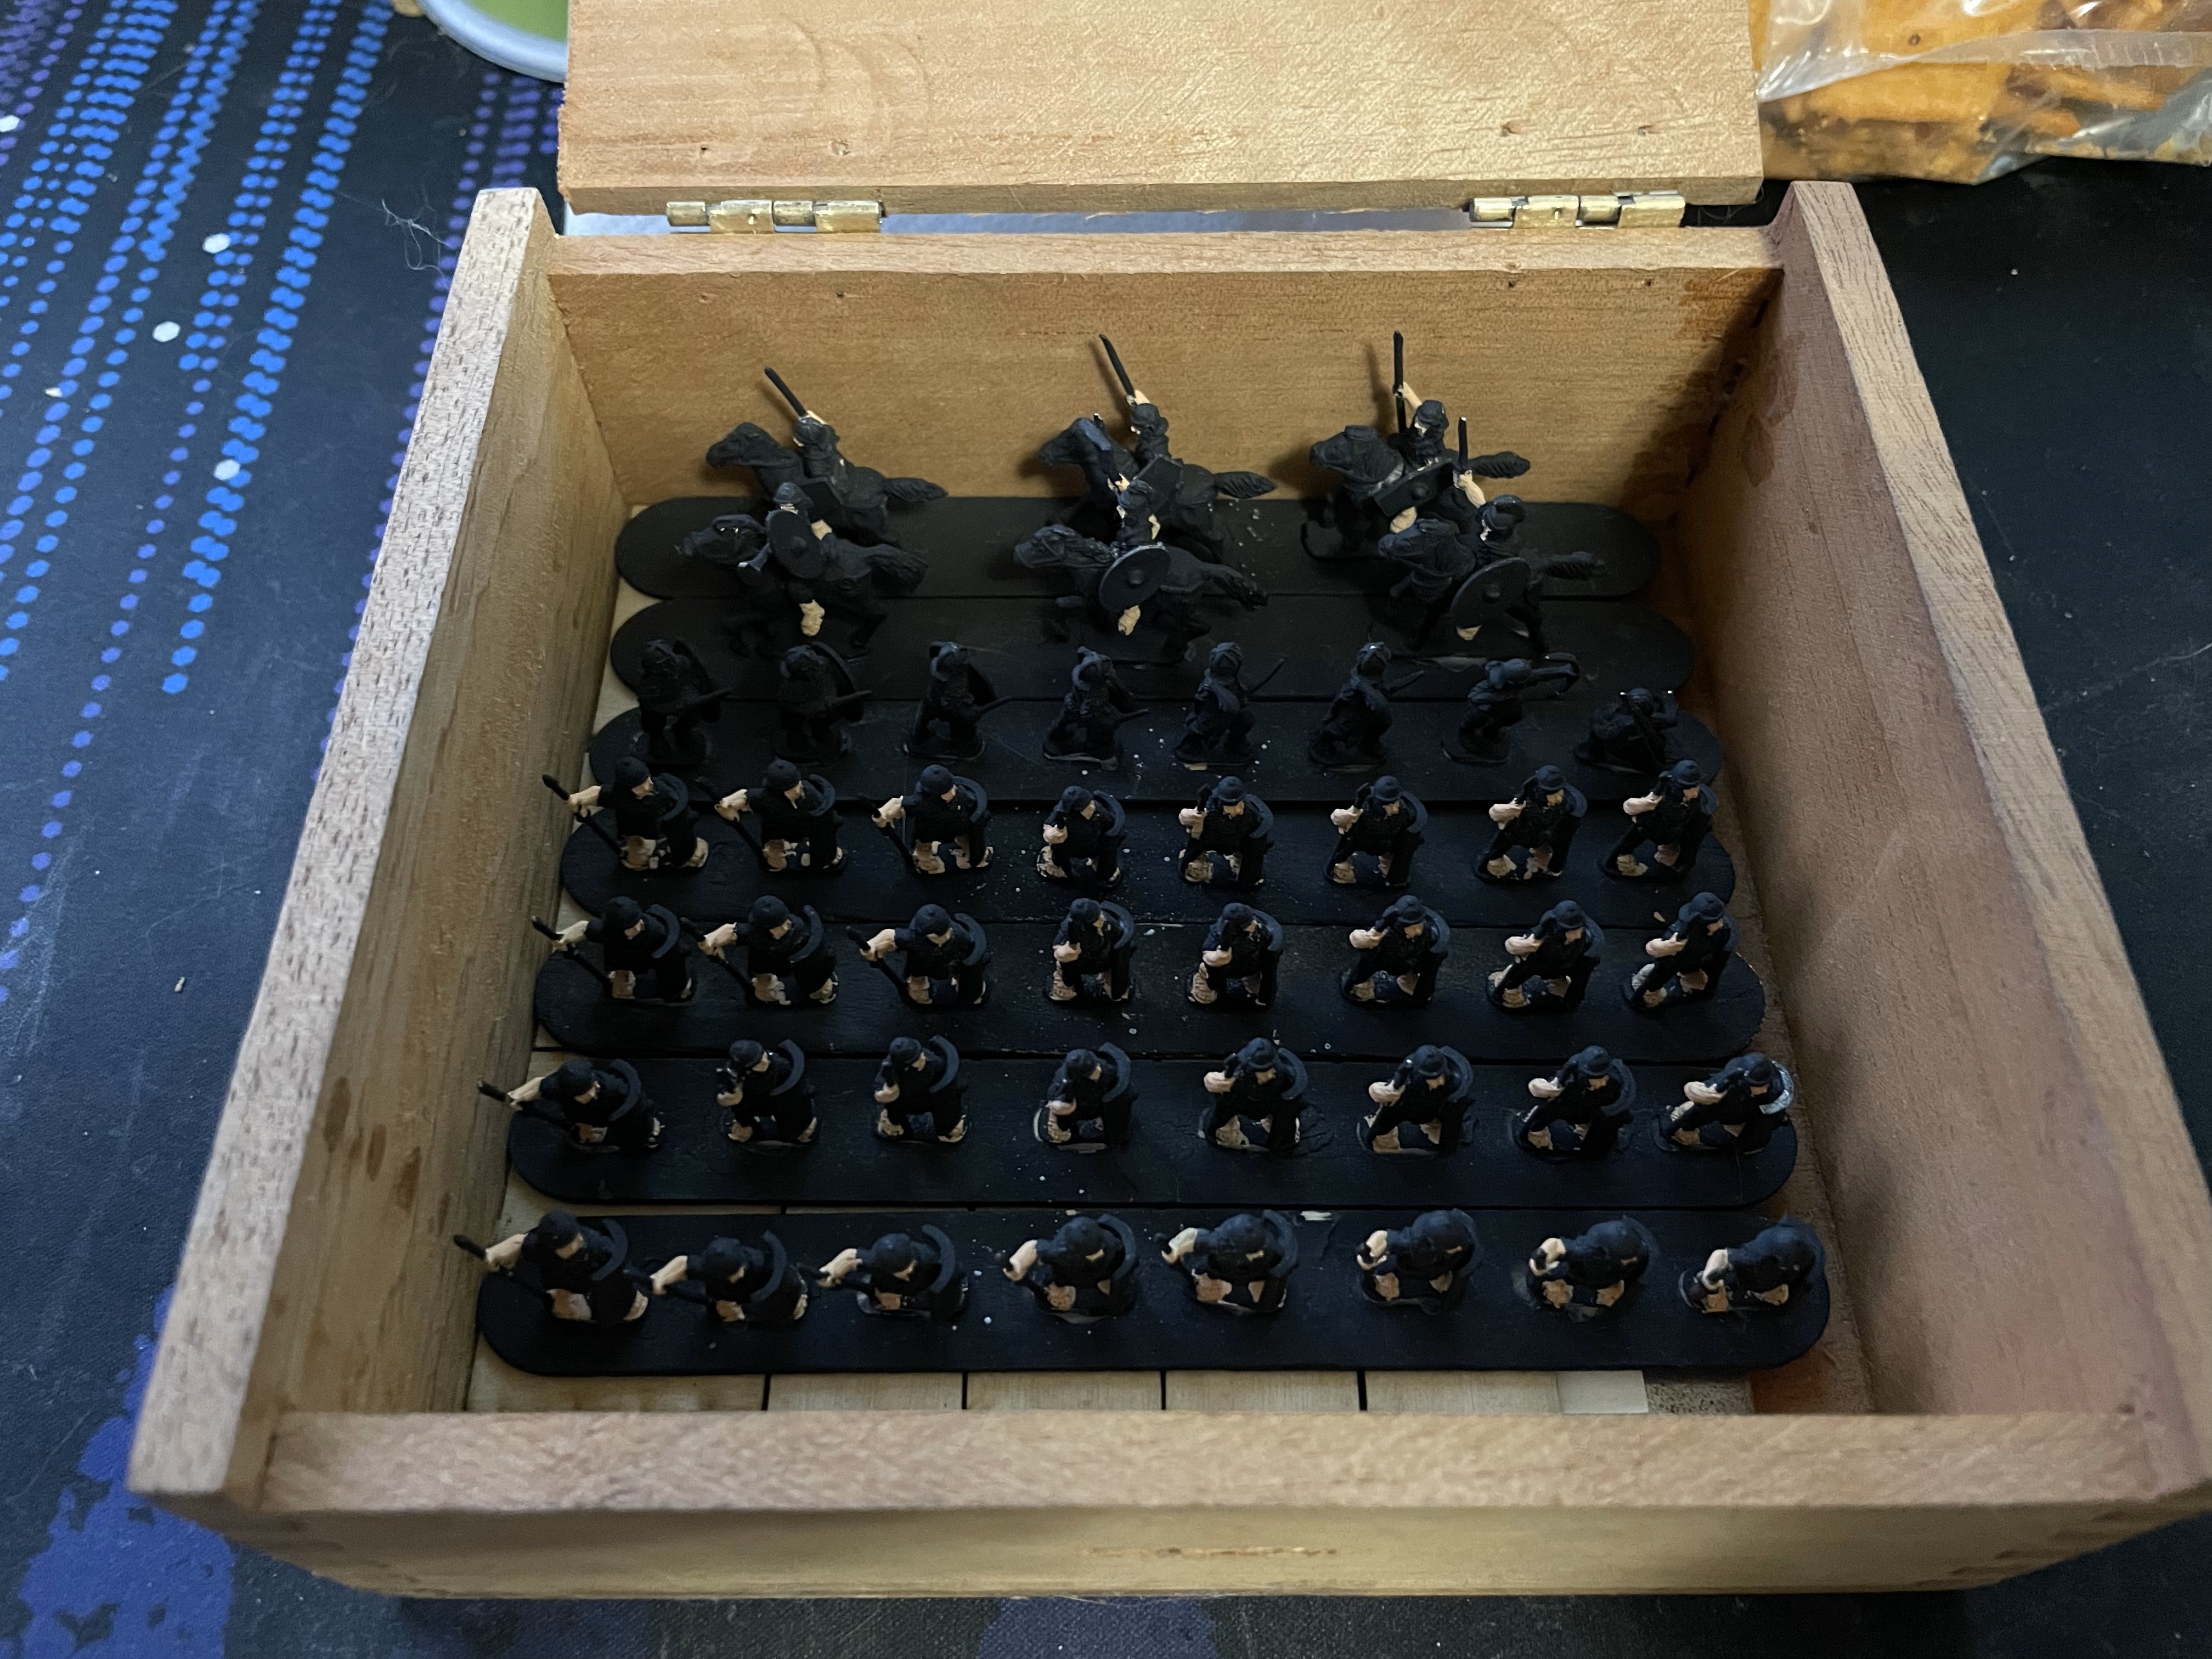
The goal for the weekend was to get the horses and chainmail painted. Managed to knock it all out today so tomorrow will be more detail work. Let’s look closer at the process.
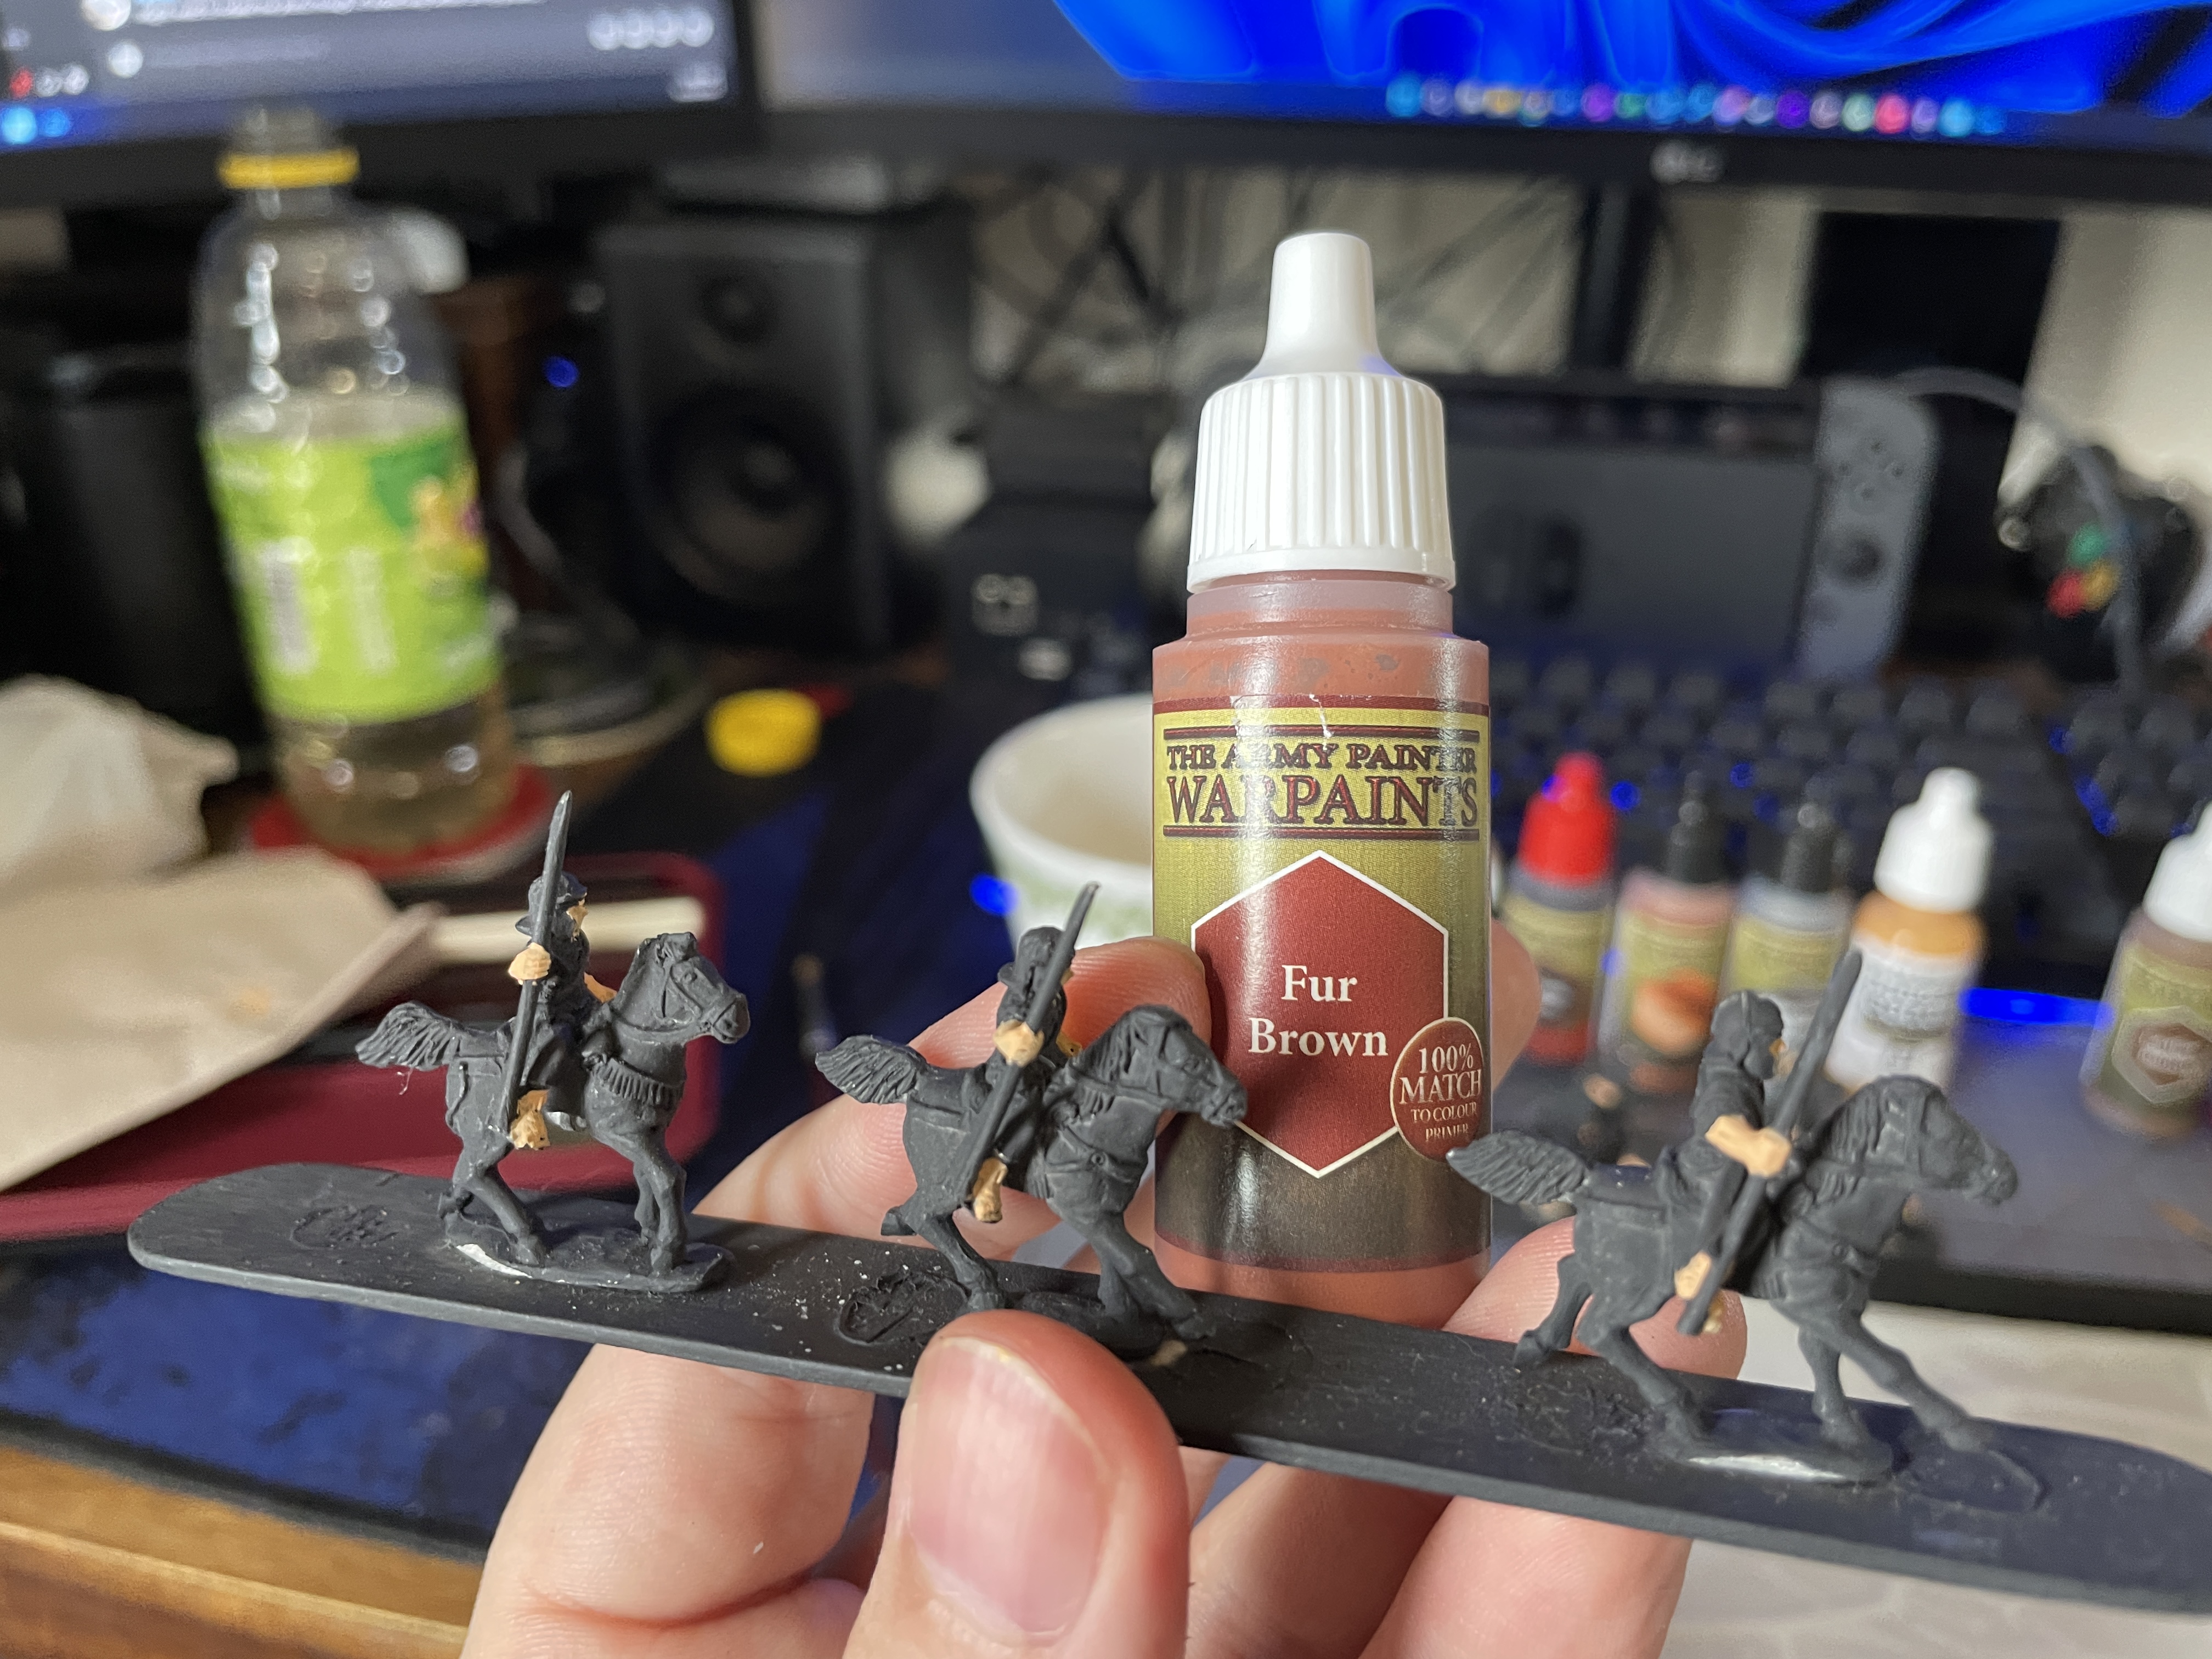
I’m going to start with the horses and use some Fur Brown on these. While I mixed my old paints pretty well with the mini vortex the Fur Brown was badly separated from a few years of storage. Some vigorous shaking of the paint dislodged the pigment. It still took about four coats to get even coverage but I blame the age of the paint rather than the paint itself. Once done I was pretty happy with the results though.
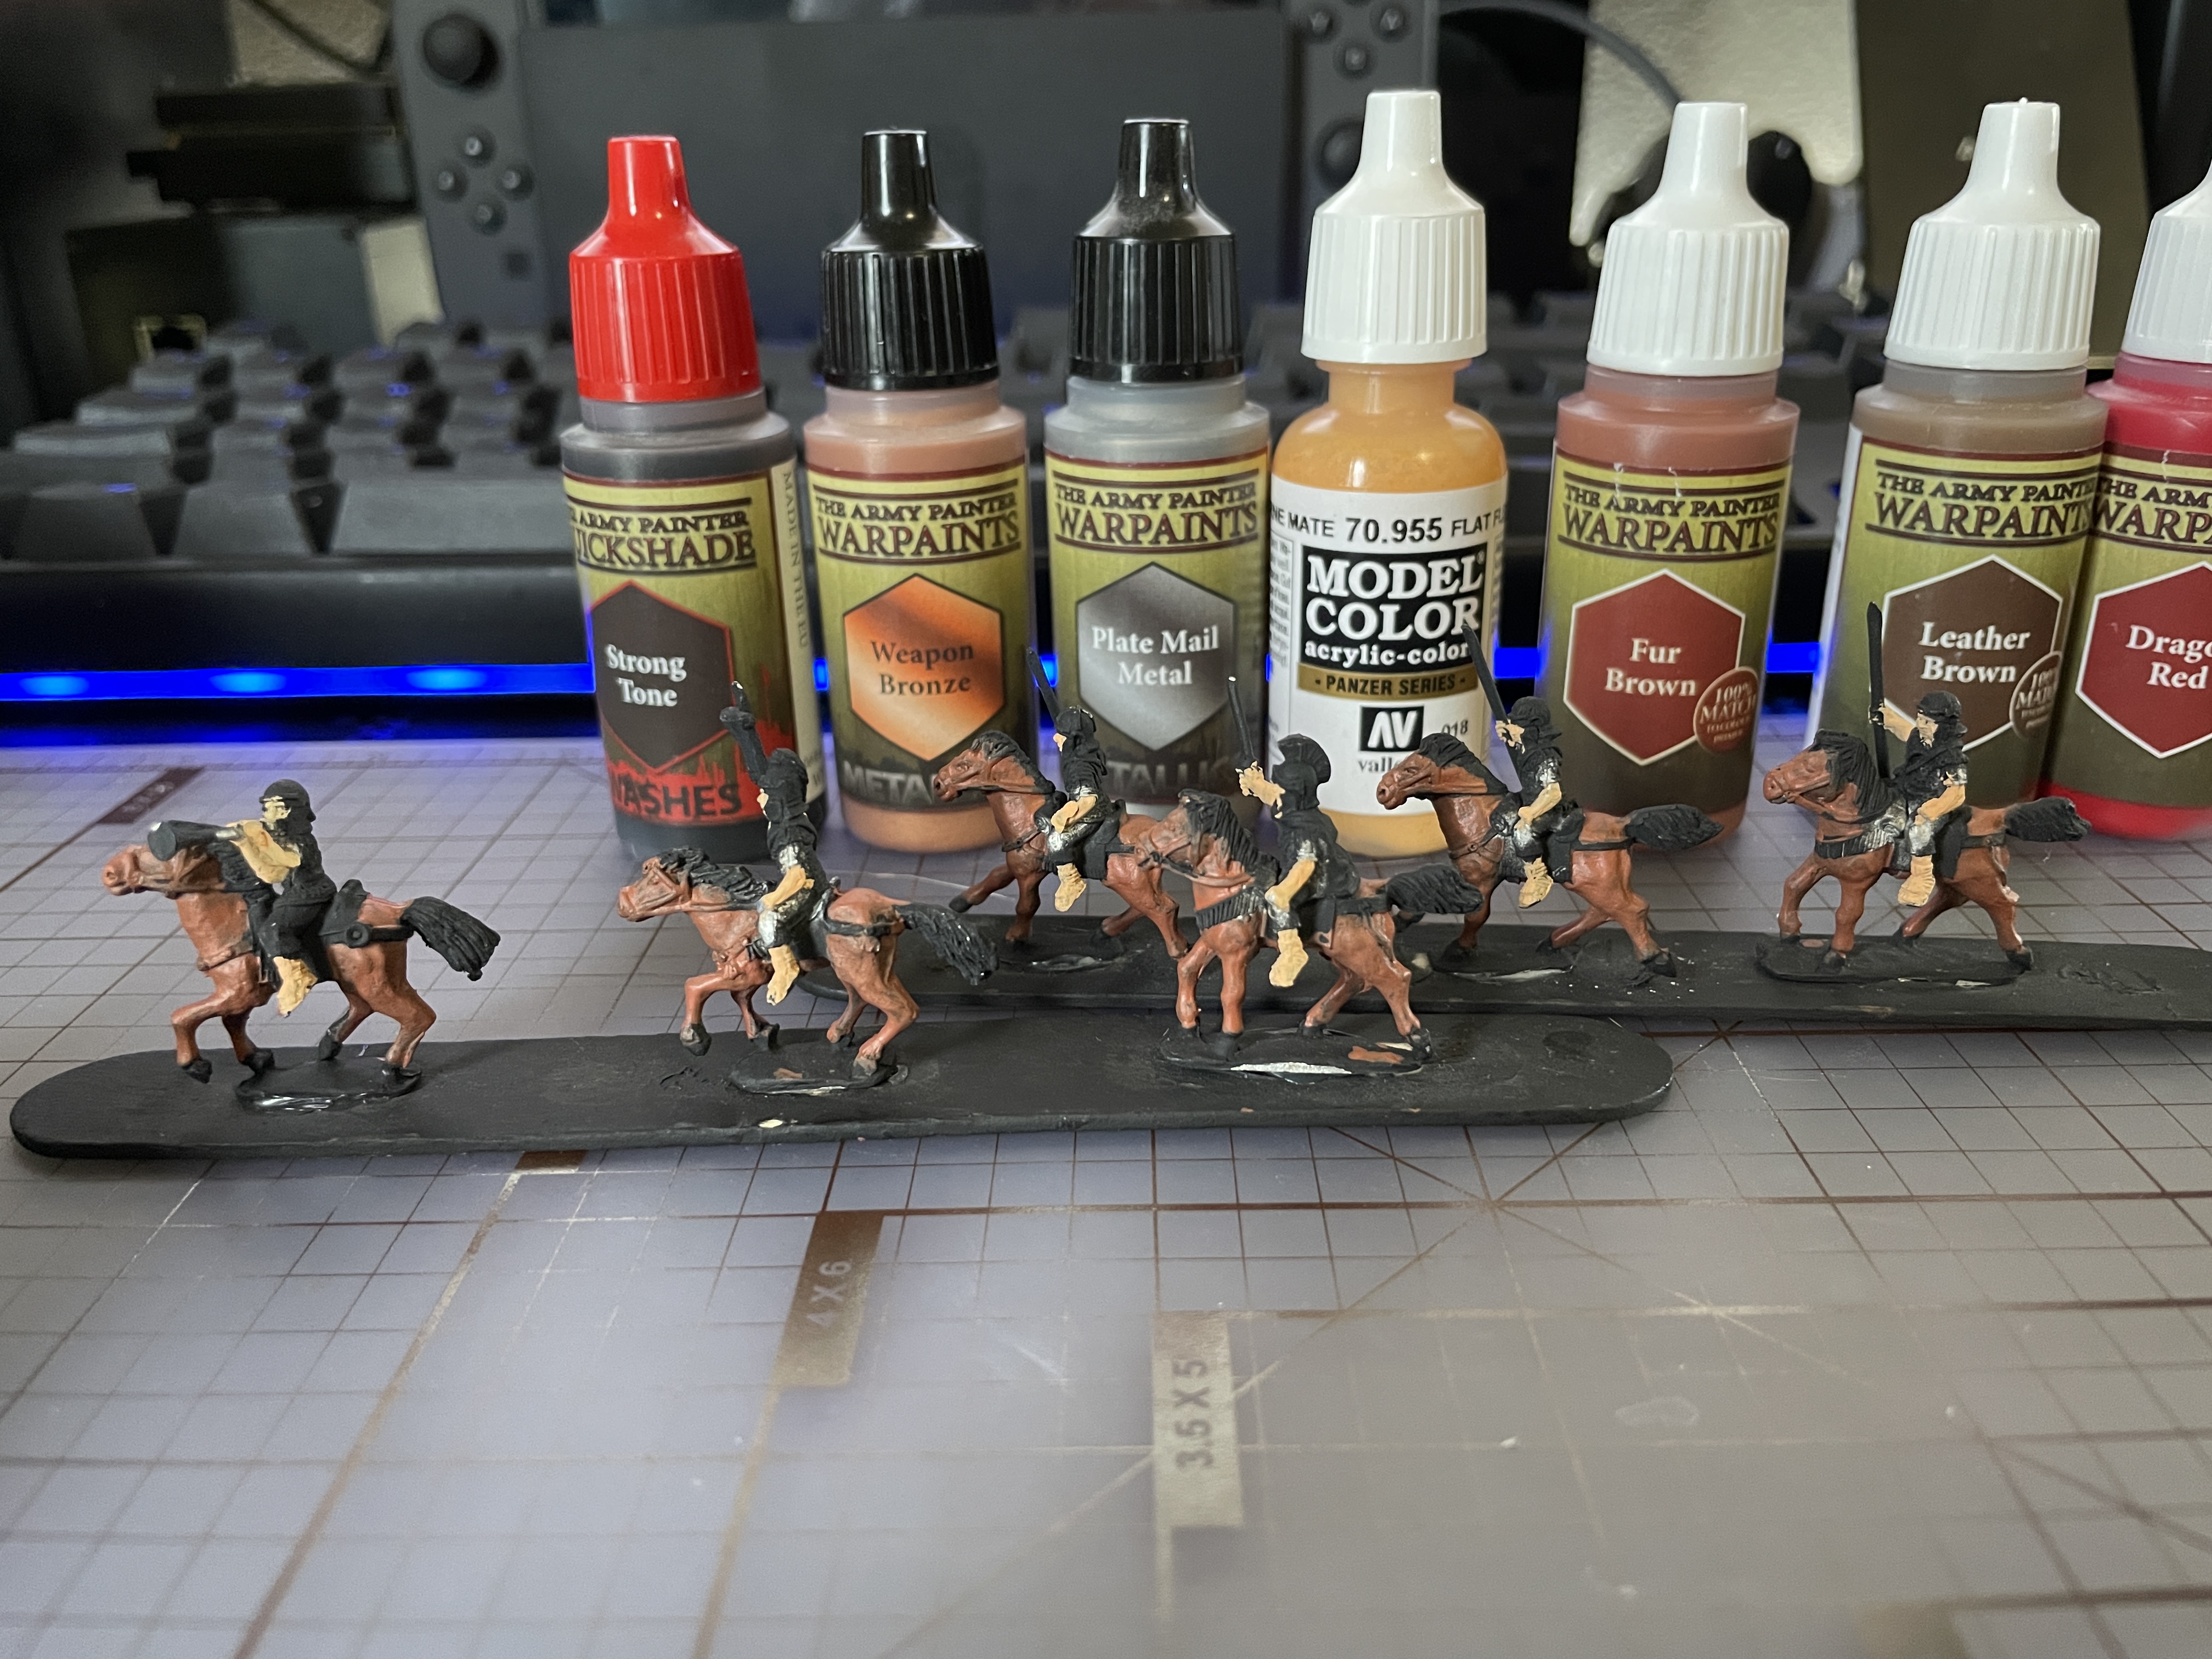
Time to move onto drybrushing the chainmail. I use Plate Mail Metal this time. This step was harder than I anticipated and I did catch some of the flesh areas so it will need touchups. Drybrushing chainmail at 15mm is much harder than I expected so next time I’m going to start with this step since it is the sloppiest and then work my way outward from there. However after some painstaking work I was pleased with the coverage. I have to remind myself I’m going for looking good enough on the table and I still have the shading tone to use at the end.
Lastly since I had the metallic out and still on the brush I wanted to finish up some detail work on the Pilums and Swords. This is a chance to cover up some of the overpaint of the skin areas. This is where things started looking less like blobs of color to me and more like a finished piece. I still have the tunics, leathers, and woods to do but I will get started on those tomorrow. I will say for getting back into painting and doing 15mm which isn’t always easy I’m quite pleased with my progress.
This time I’m not pushing to finish for a set game night like I was for Flames of War back in the day. While I do miss that incentive I’m happy to set my own pace on this one. Until next post see you all then, have a great hobby weekend!
Cleaning up old work
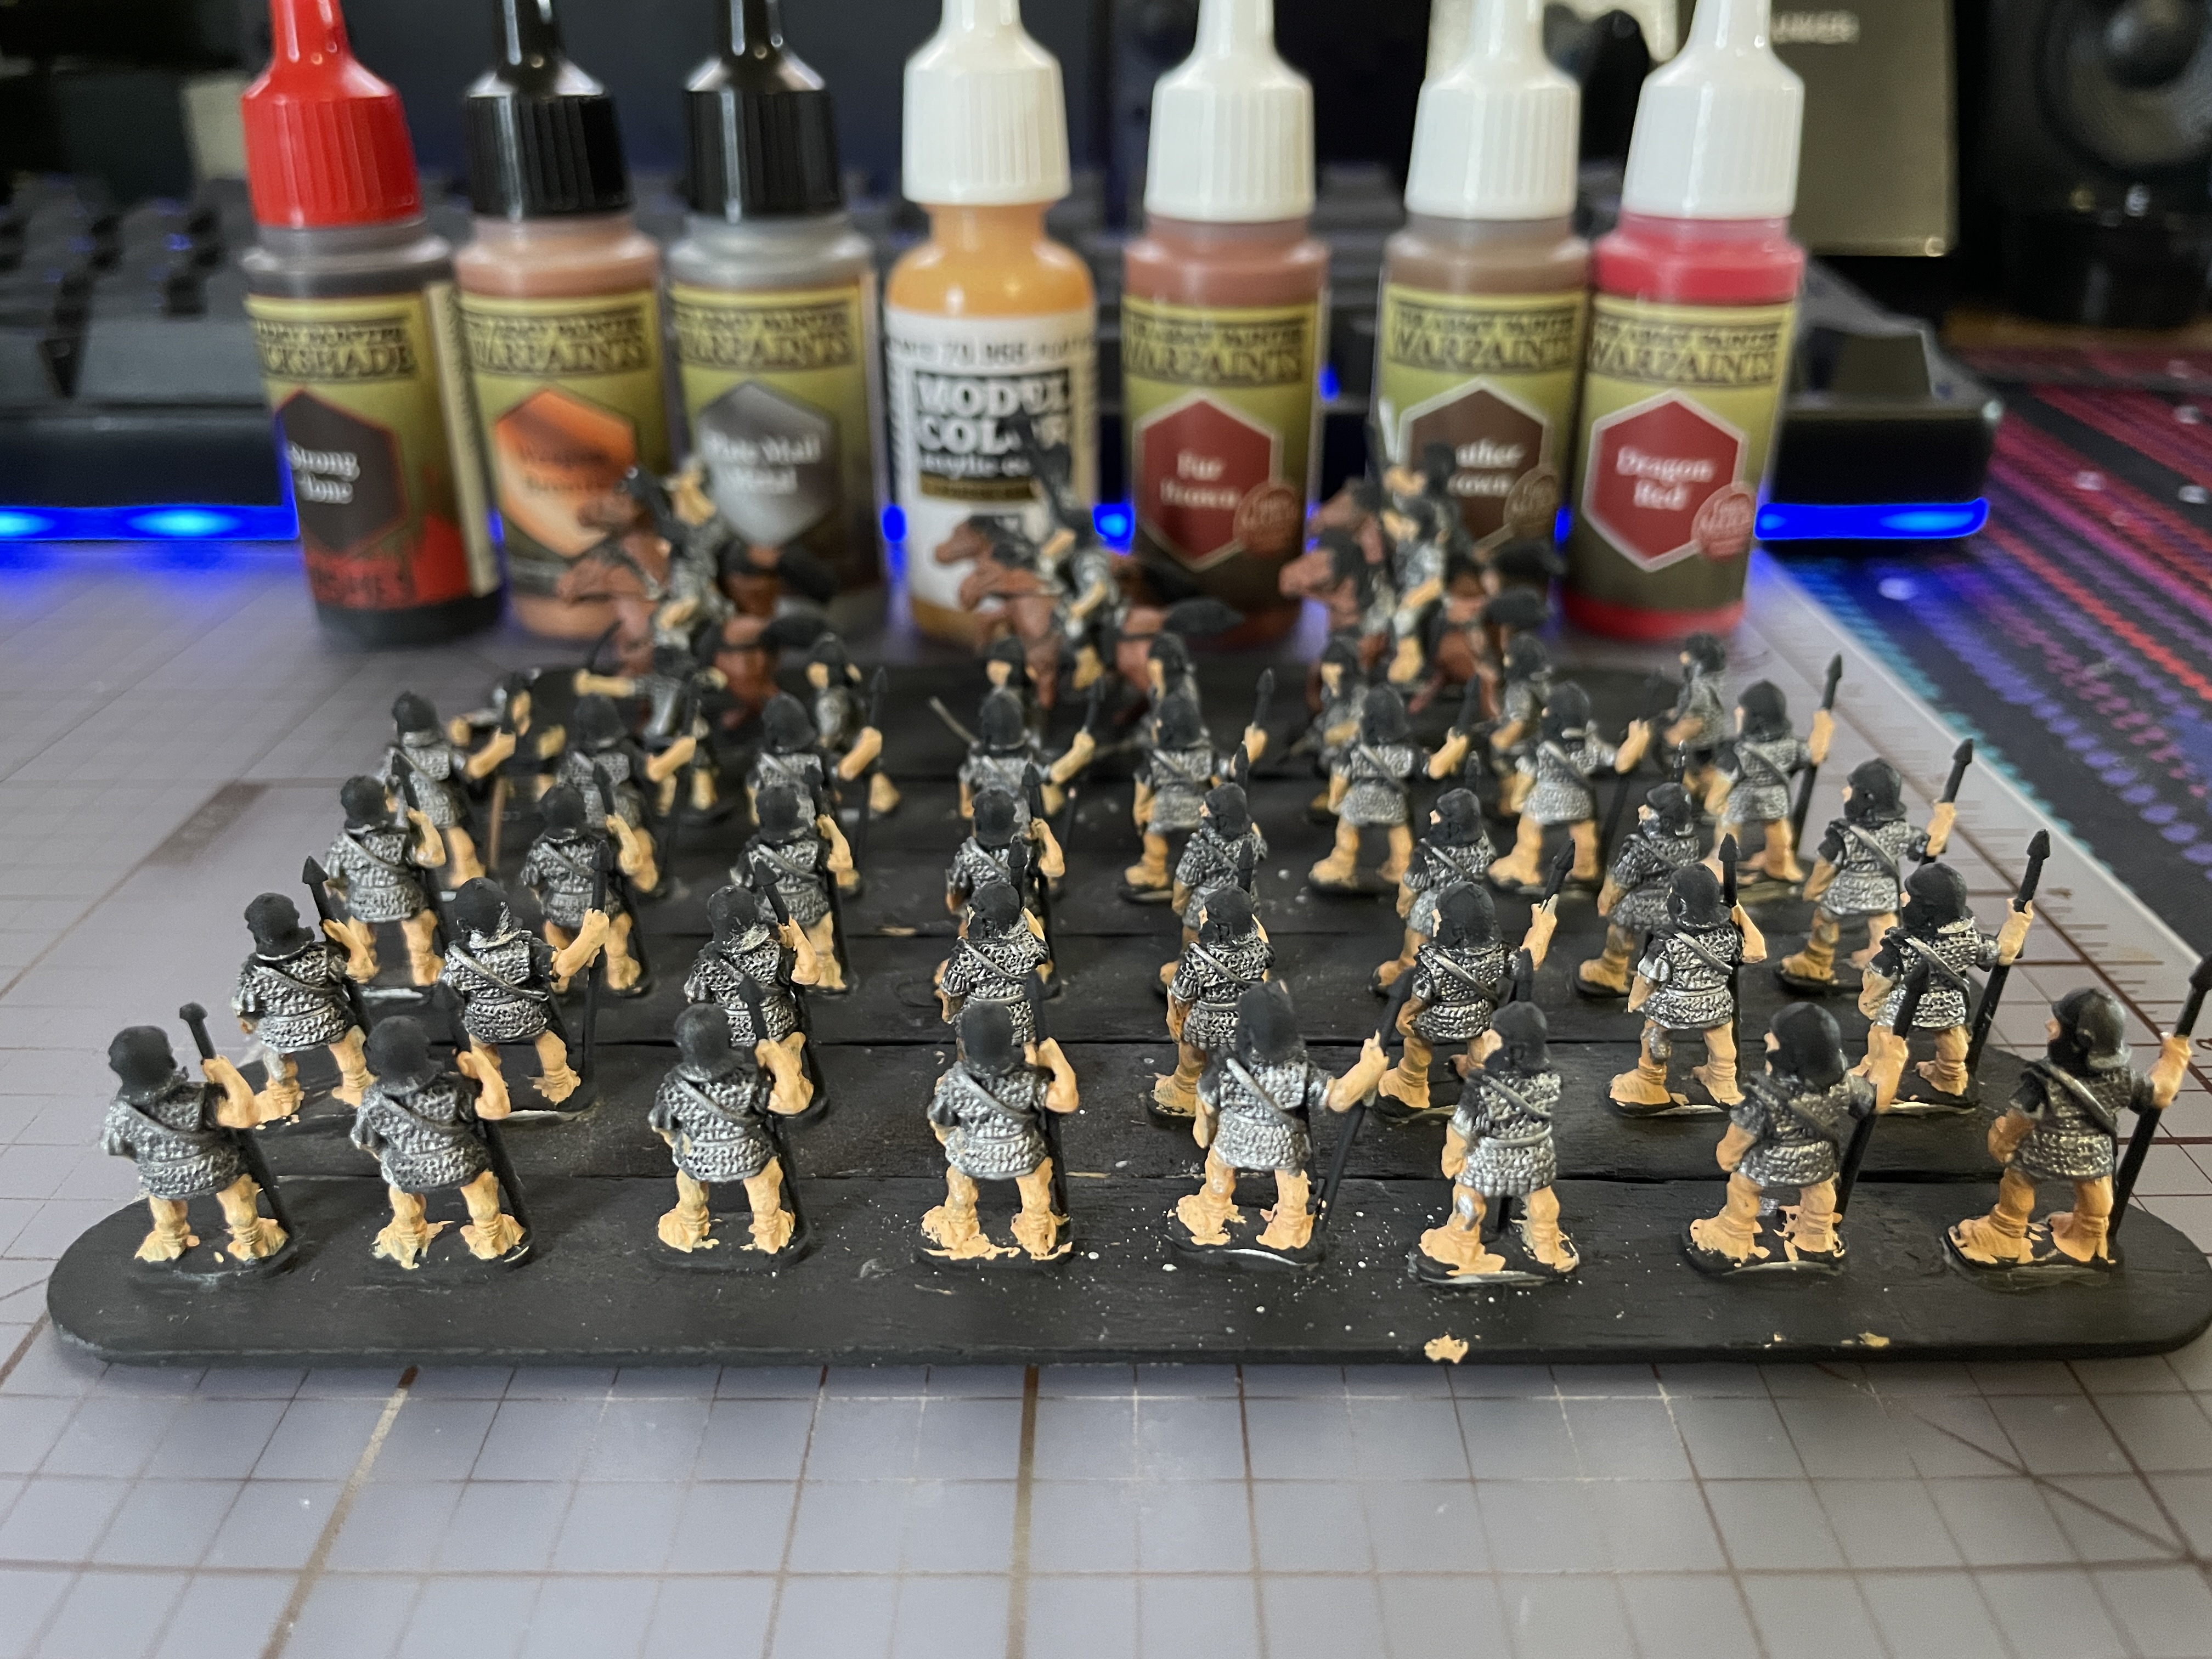
I started hobby work on the Romans tonight. I started with getting supplies ready and picking out the paints I’m going to use. I decided I wasn’t going to strip the old paint since it was just some flesh color put down. I don’t have any speed paints so working with what I have. I did pick up some new tools in anticipation for this. I got a mini vortex mixer for about $30 and it was money well spent getting my old paints remixed!
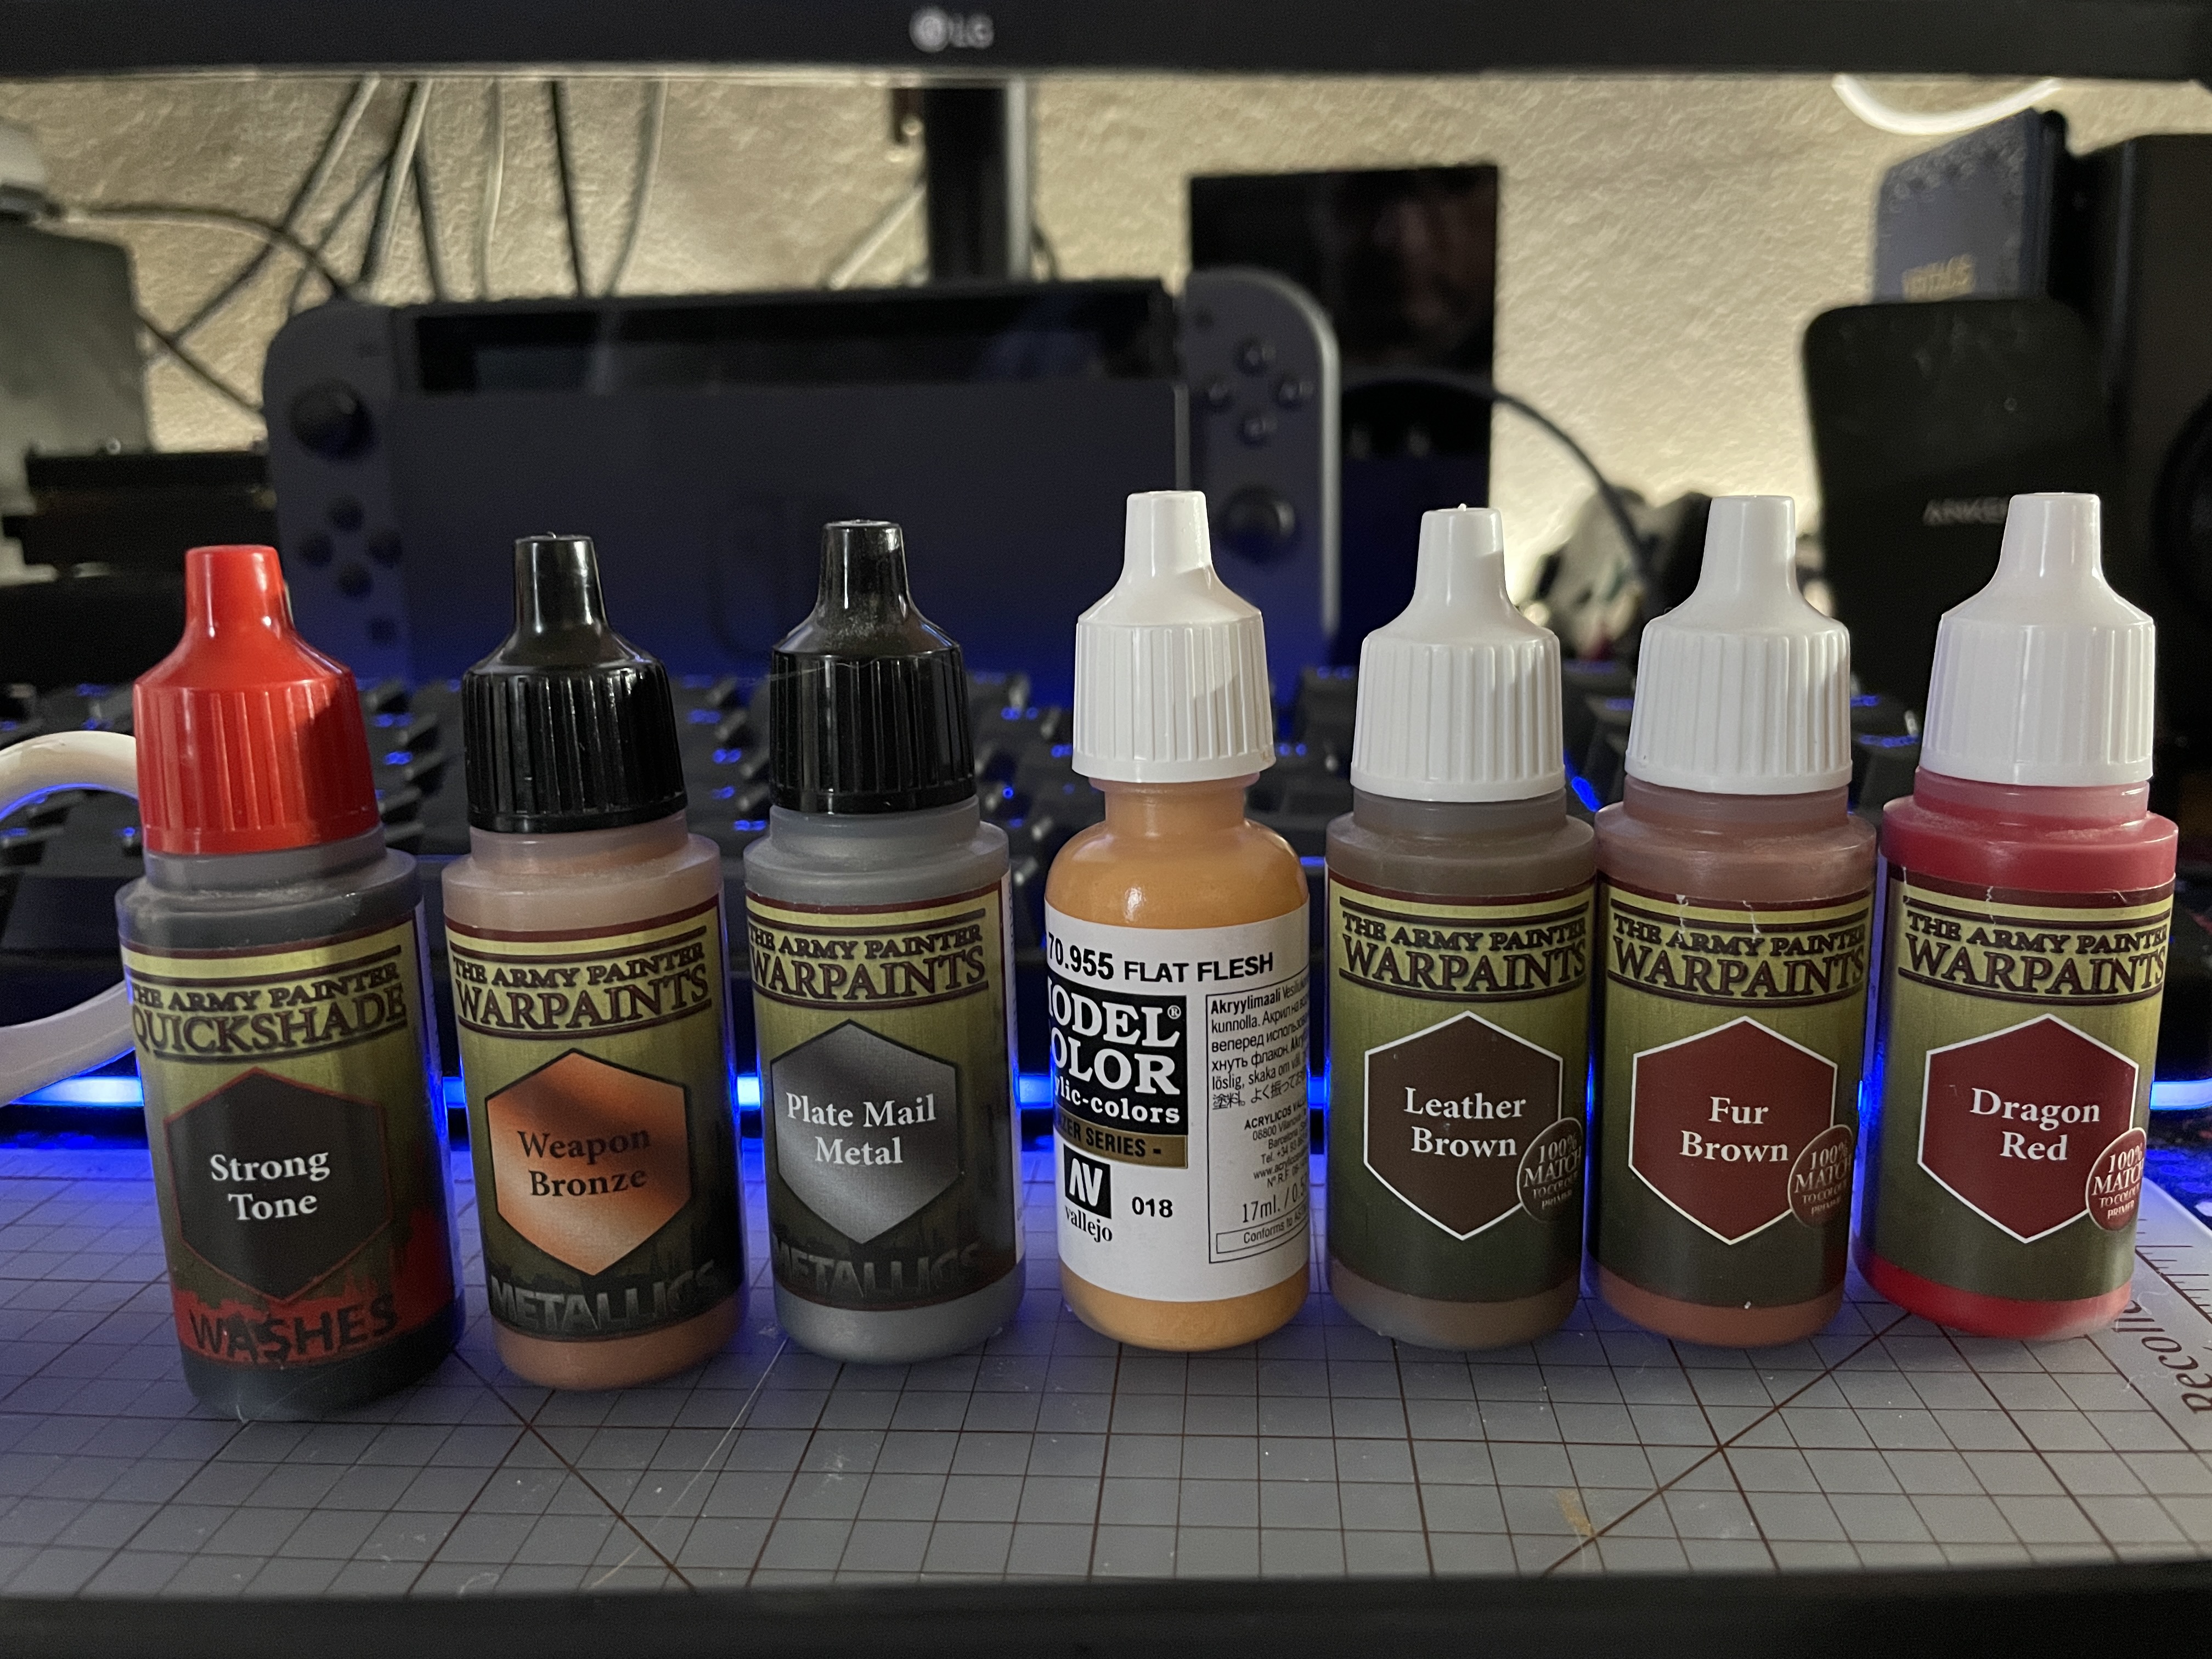
I mixed up all of the bottles I was using and a few others that had separated badly and they looked like new. Highly recommend. The paints I use are from Army Painter and Vallejo. Since I’m painting Romans the colors are pretty basic so Dragon Red for tunics, Plate Mail Metal for chainmail, Flat Flesh for the skin, Leather Brown for the leathers and maybe the wood on the pilums, and Fur Brown for the horses. I have some Weapon Bronze for the gold areas but I might go up lighter if I don’t like the shade. Lastly going to use some Strong Tone for shading. I’m painting from inside out so that is why the skin is sloppy at the moment those areas will get painted over with the other colors.
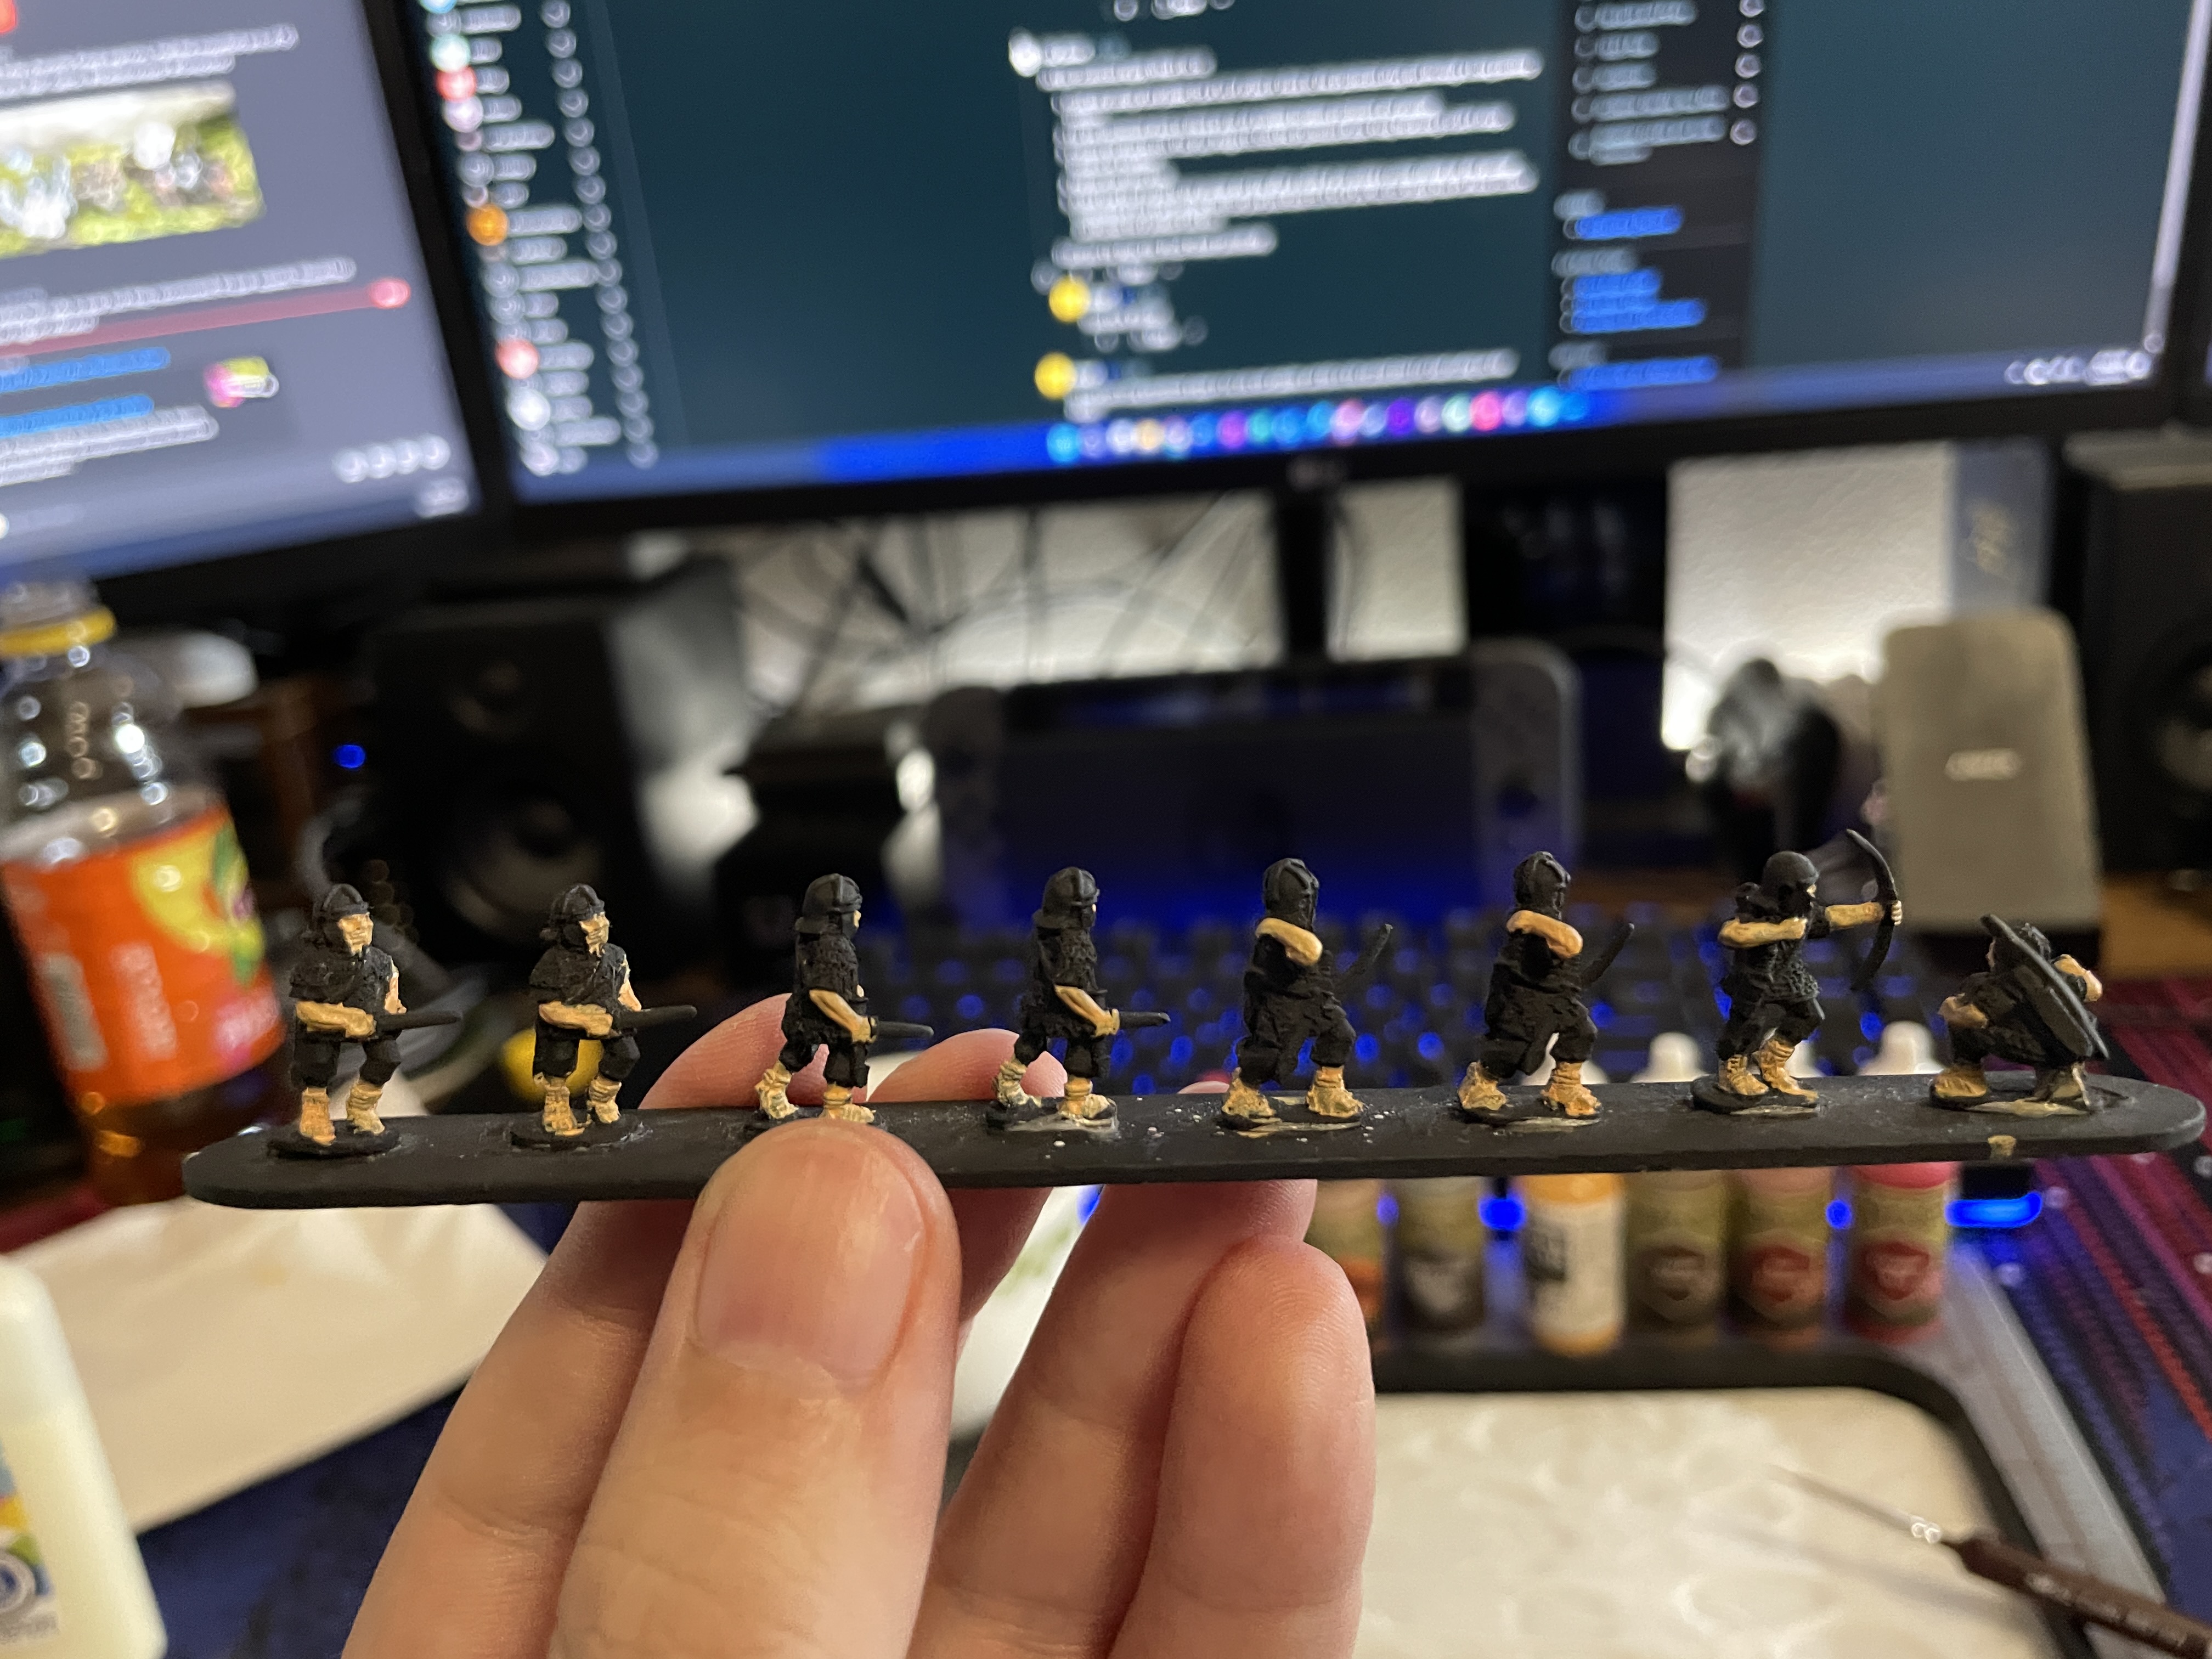

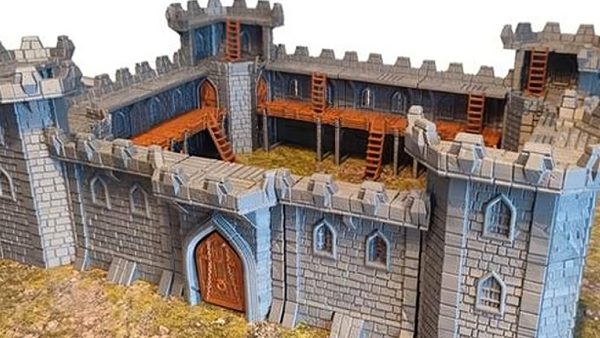
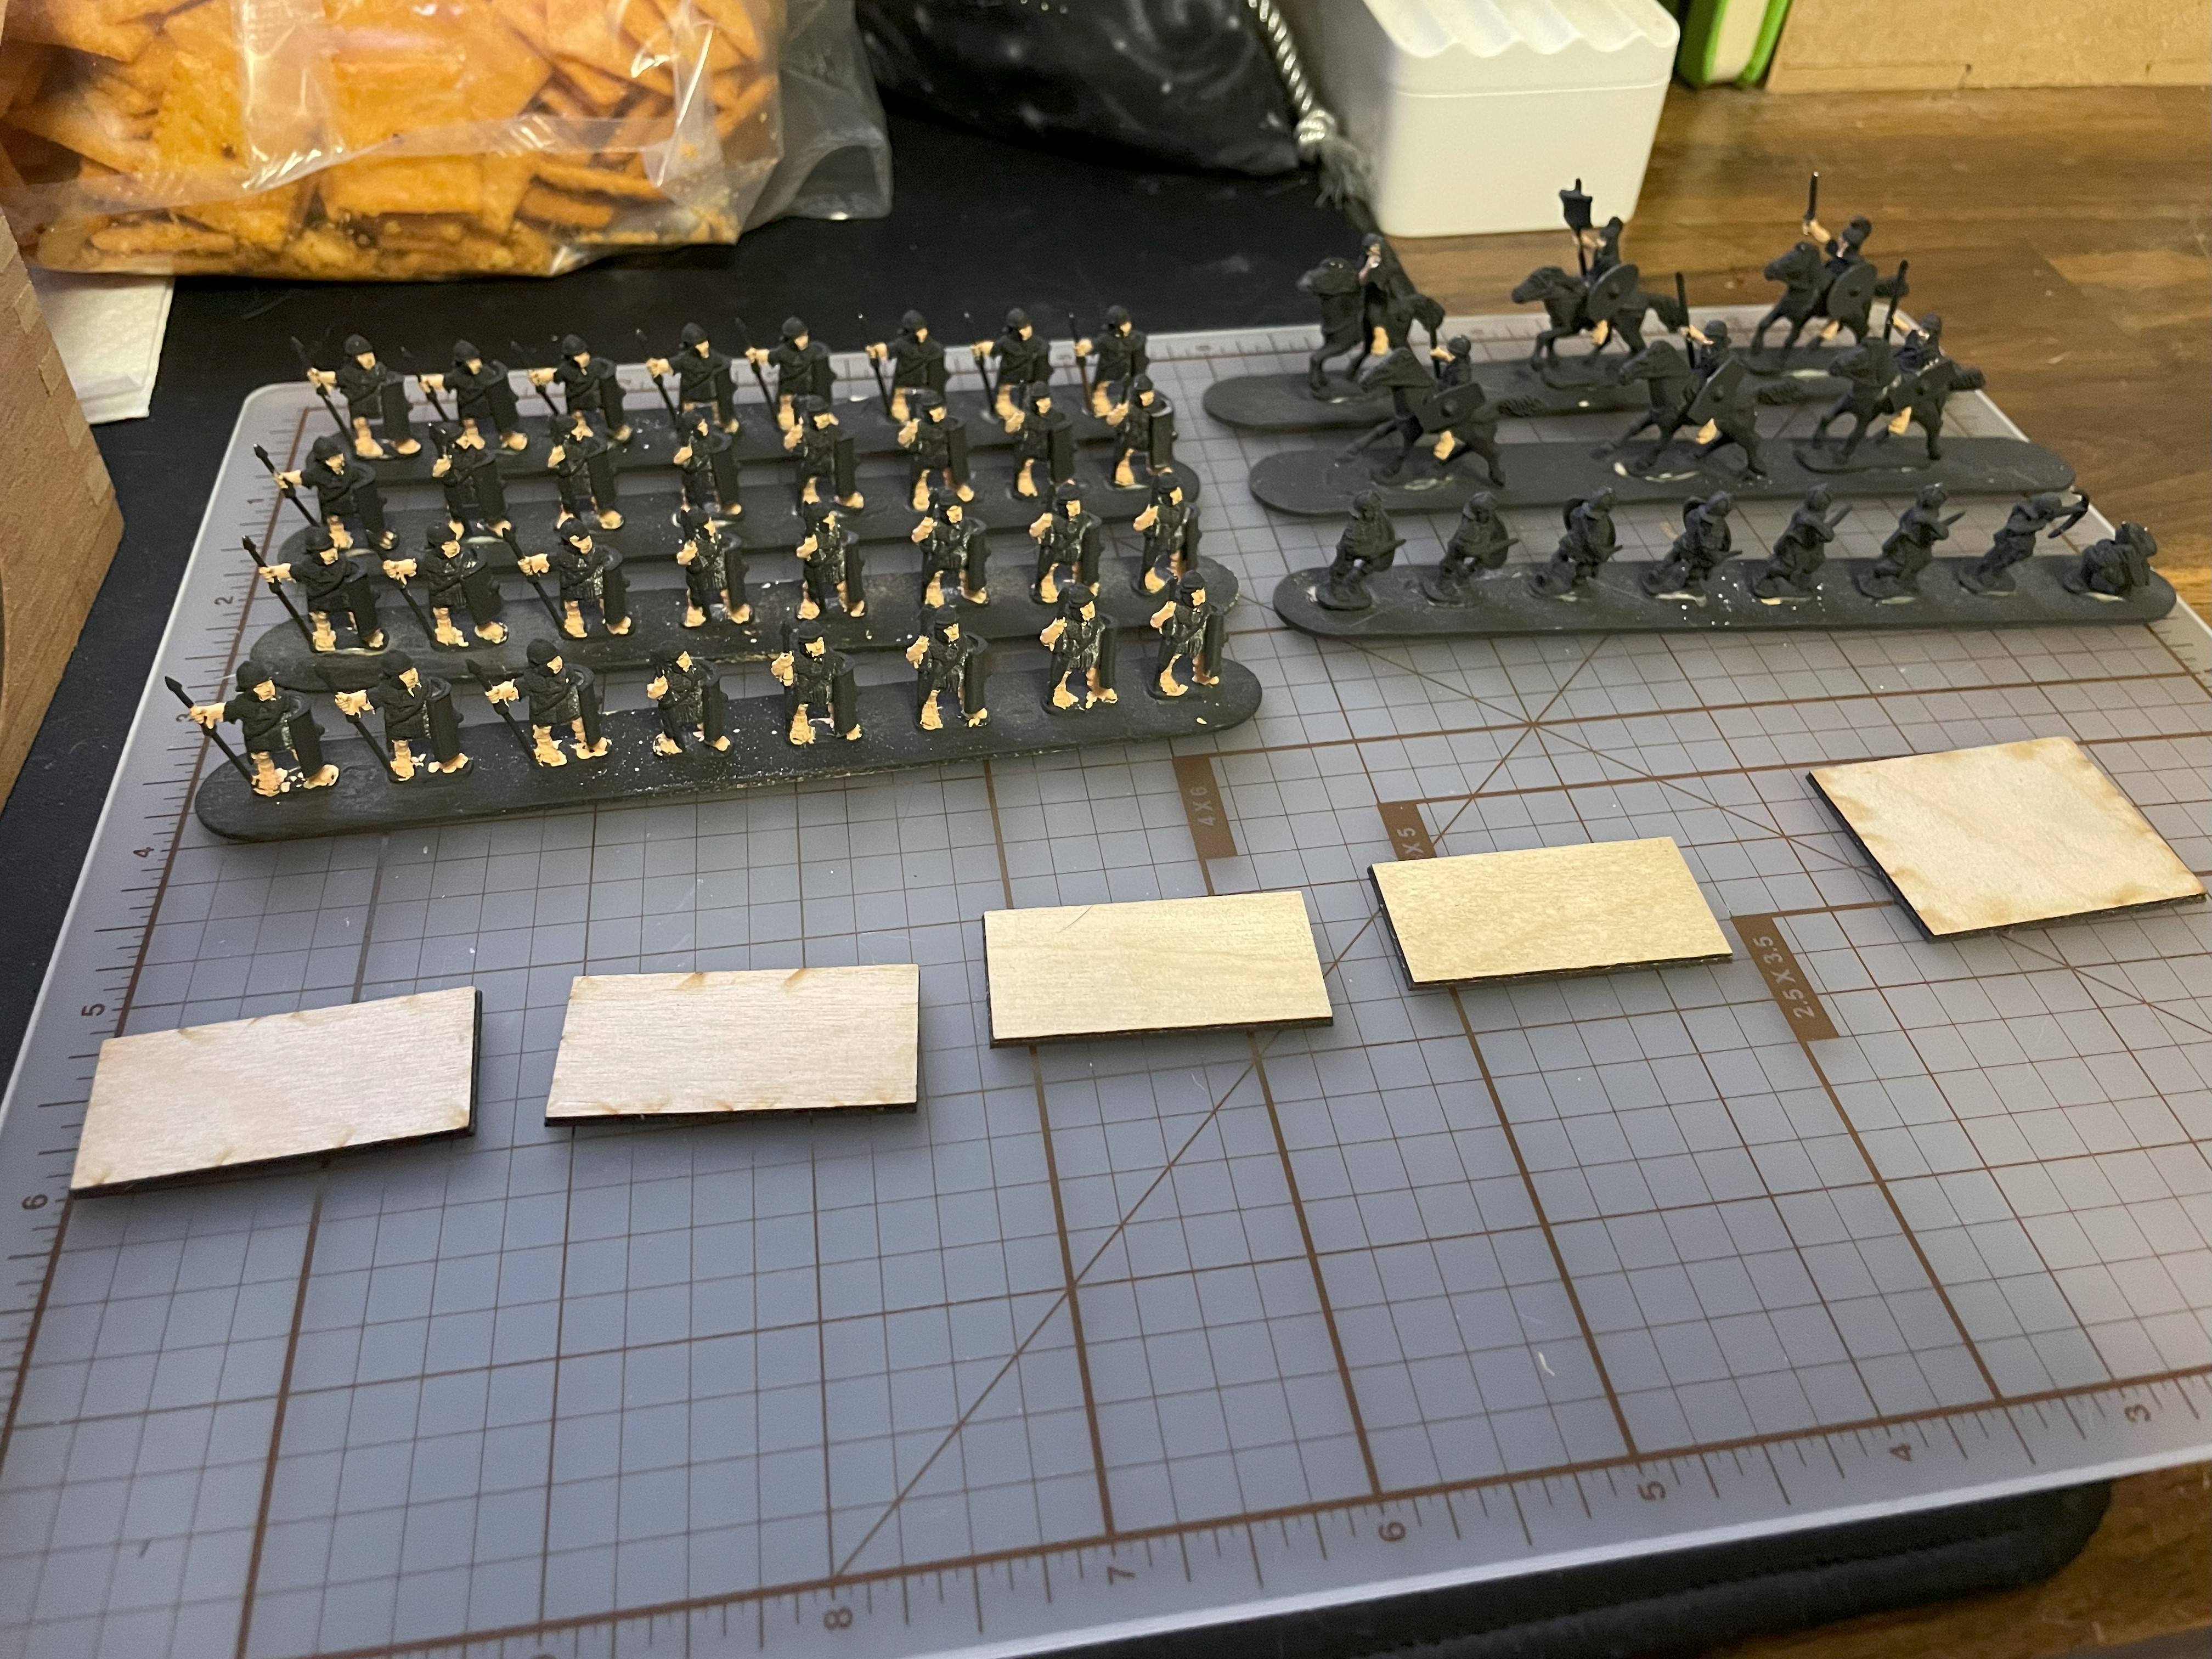
The archers and the auxilary didn’t have the flesh painted so I started there and realize quickly that past me made a mistake putting the shields on first. I was used to Flames of War at that point so everything was put together back then. Since they were getting in the way I ripped them off. Didn’t need much help as the old super glue was really brittle. Everyone then had to shed their shields. I will touch up the skin on the rest tomorrow as it is getting late tonight. Lastly I was looking at some models for a camp and found Baueda Wargames and they had a Roman marching camp that is perfectly scaled for the base size you need for a camp in DBA.

For DBA if you aren’t defending a city or other structure you are required to have a camp that is four base widths total so in this case 3 base widths on the front for 120mm and 40mm on the side. Their models are modular so you can make a bigger fort or camp to defend. I put in an order for the Roman camp and their Hellenistic one for the Gauls as that seemed like the best look. I was looking for plain palisades but nothing was in stock for what I needed and the Hellenistic is close enough. Next payday the order for the Gauls and some more Litko bases are going to be placed.
I was nervous diving back into painting but I told myself along the way that it doesn’t have to be perfect it just has to look good on the table. Practice made the shaky hands less and layers made blotchy paint look better. If you are on the fence about your painting just start you will get better and you can always repaint or touch it up later when you get more comfortable. Yes you can paint too. Until next post everyone!
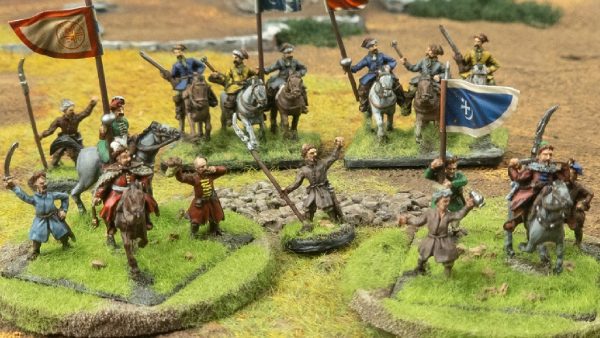
A legion of Romans
De Bellis Antiquitatis is the second historical based game I ever got into with the first being Flames of War. At the time our game group was looking for another but limited miniature game that we could do some ancients era. I don’t remember who found DBA but I latched onto it. We knew we wanted to stay at 15mm scale at the time so I went searching for some Romans. I had looked at sites like Peter Pig and Old Glory but went for Xyston Miniatures as I liked the look of them.
Looking at their site now they have a much more expanded range. Since I have moved away from that group I’ll be picking up some Gauls for an opposing force. What I like about DBA is with 12 elements or bases the game is contained and focused. Bases range from 1 to 4 miniatures typically. You can play at two scales 10-15mm or 28-32mm. The game uses the base frontage to determine where things are. For 15mm my typical base is 40x20mm Easy to build up a force and play. Reading the rules are a bit dry but not the end of the world.
I started these back in 2008 got some flesh color on them and then got busy. They are still on the painting sticks and the bases from Litko. For a spring cleaning project I’m going to get these finished up while I wait for the Gauls to arrive. I also have some more Roman options coming in to fill out the options for the Romans if I want to incorporate some artillery or more cavalry. I have my eye on some other Roman projects I’ve started around the Ides of March but these are going to be my first priority. Will these projects cross the Rubicon? Follow to find out!


![Zenit Miniatures’ Samurai Warlords Now Live On Kickstarter [Updated]](https://images.beastsofwar.com/2026/02/samurai-warlords-launch-main-600-338.jpg)