

![Atomic Tank – The Robot Wars Review | Fast-Paced 10mm Sci-Fi Wargame [7 Days Early Access]](https://images.beastsofwar.com/2026/01/unboxing-hydra-miniatures-atomic-tank-the-robot-wars-coverimage-225-127.jpg)

![246 Dwarves in One Box?! | Wargames Atlantic Dwarven Host Unboxing & Review [7 Days Early Access]](https://images.beastsofwar.com/2026/01/unboxing-wargames-atlantic-epic-fantasy-battles-dwarven-host-coverimage-225-127.jpeg)


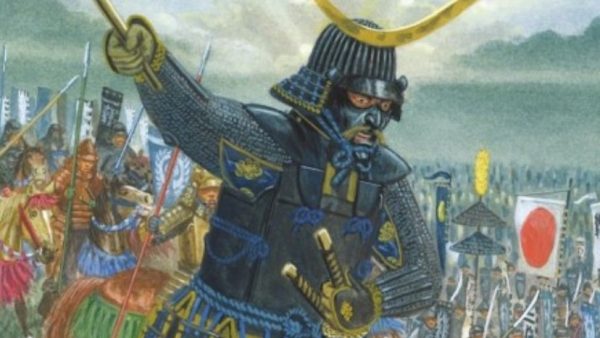
Old World or is it Kings of War- preparing for a classic good vs evil mash up


Recommendations: 404
About the Project
This started as a spring clean challenge 2024 to finish some long standing pile of shame miniatures and it’s still going I didn’t get as many done as I’d have liked so thought I’d continue to log the project. My uncle and I have fair sized kings of war armies to many to field on a standard 6 by 4 table so the dream is to hire out a place for a good vs evil mega battle at some stage. Going to continue to log painting progress and maybe show off some existing units in the collection. This may take a while!
Related Game: Kings of War
Related Genre: Fantasy
Related Contest: Spring Clean Hobby Challenge 2025
This Project is Active
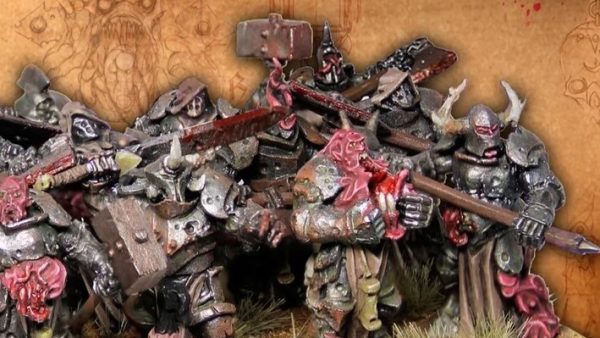
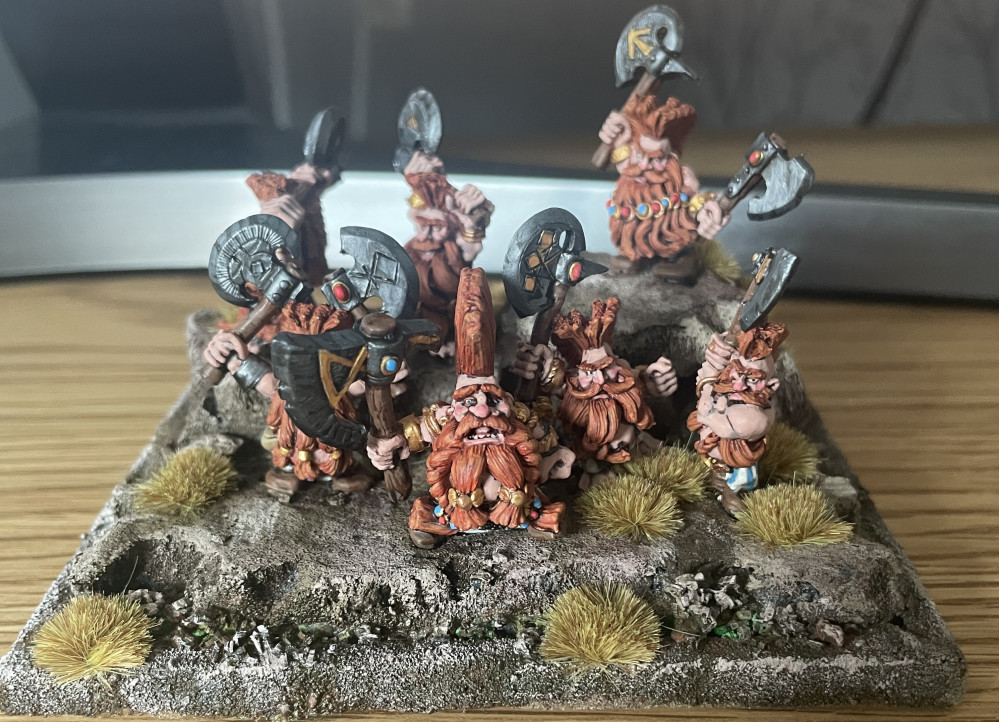
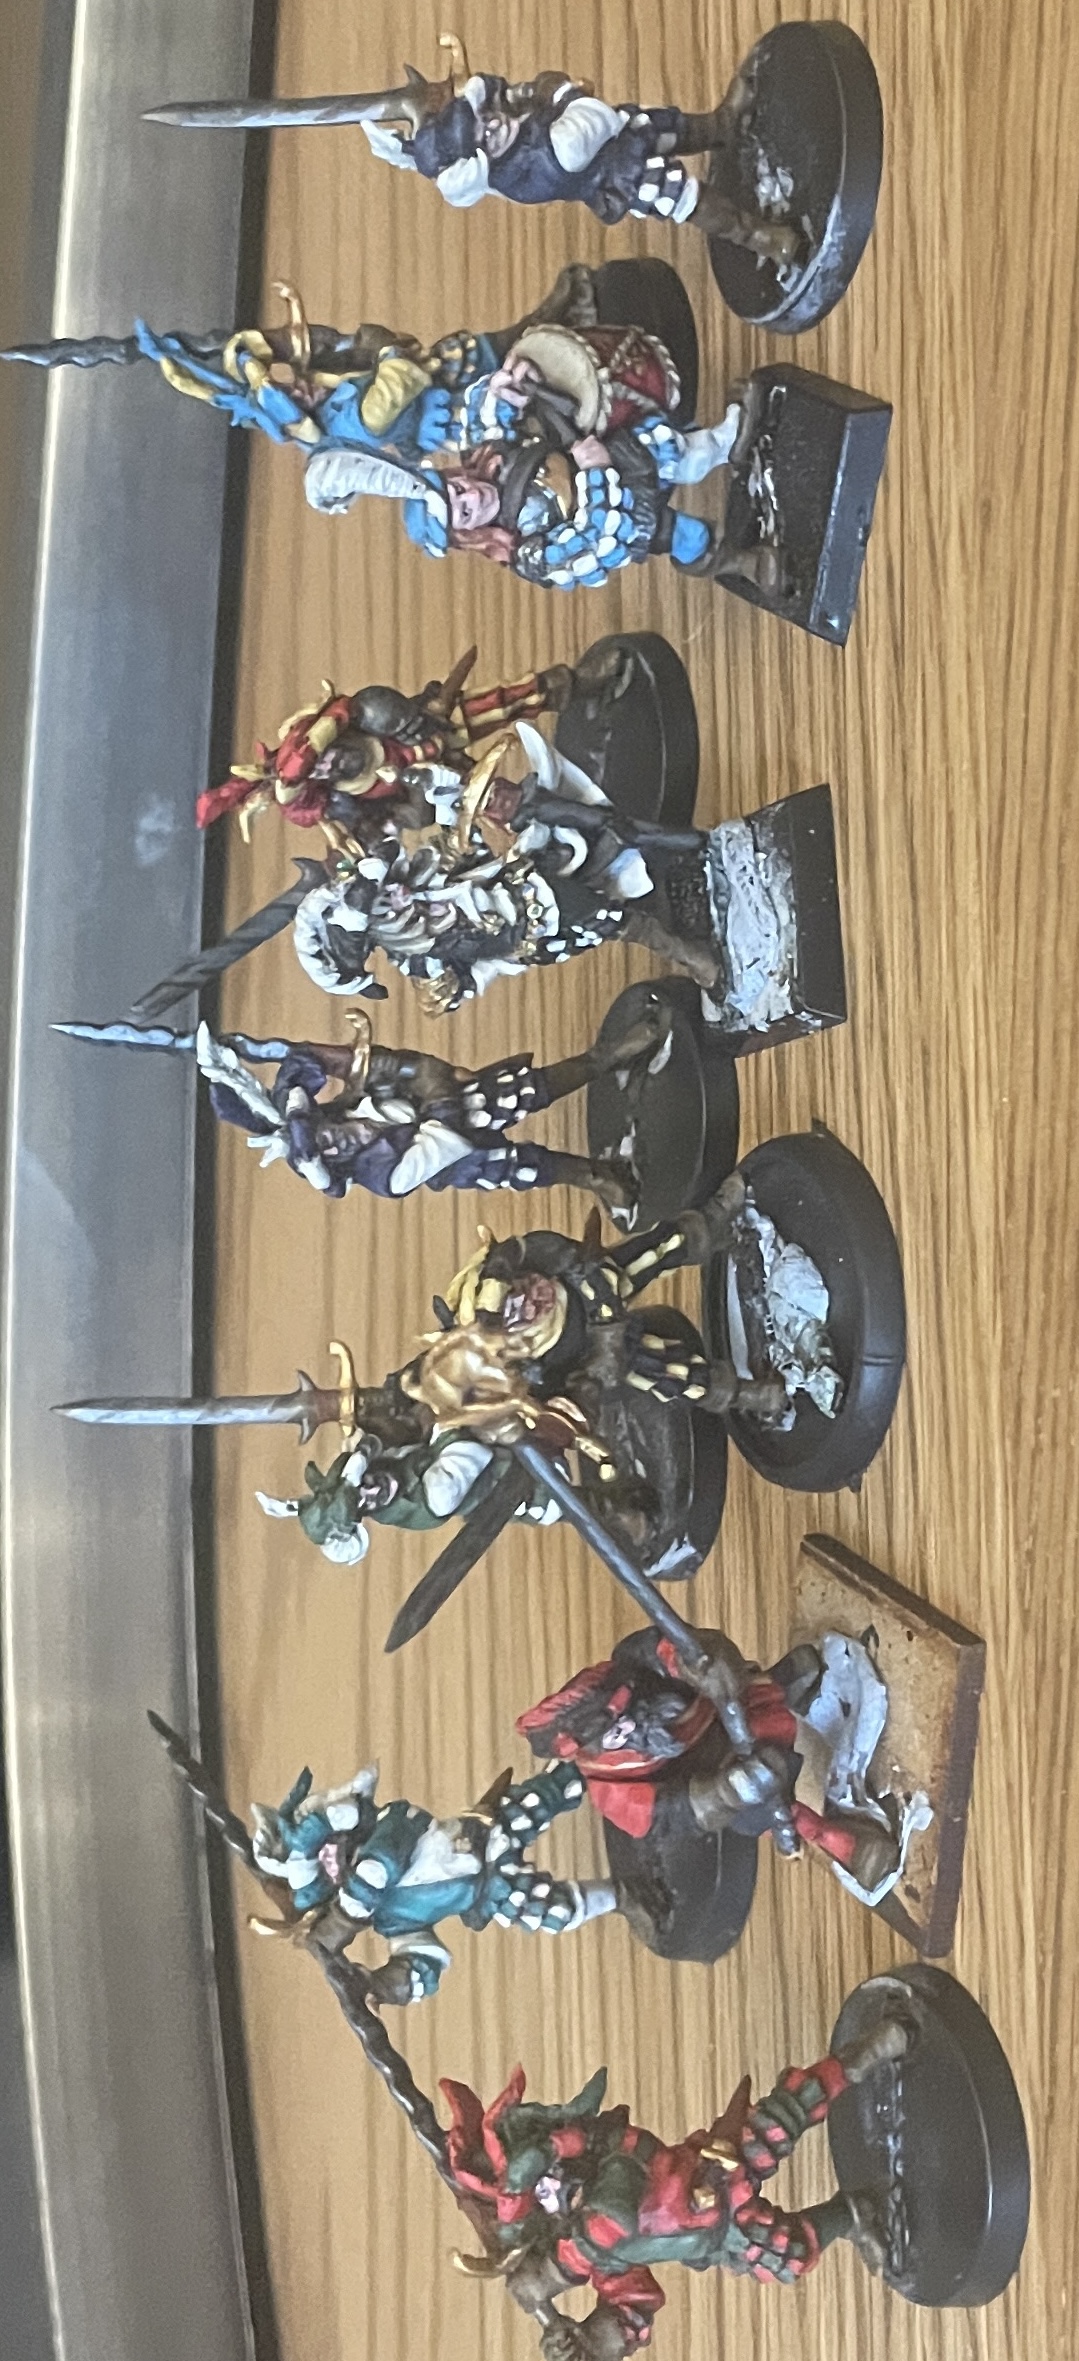
Another Unit Finished
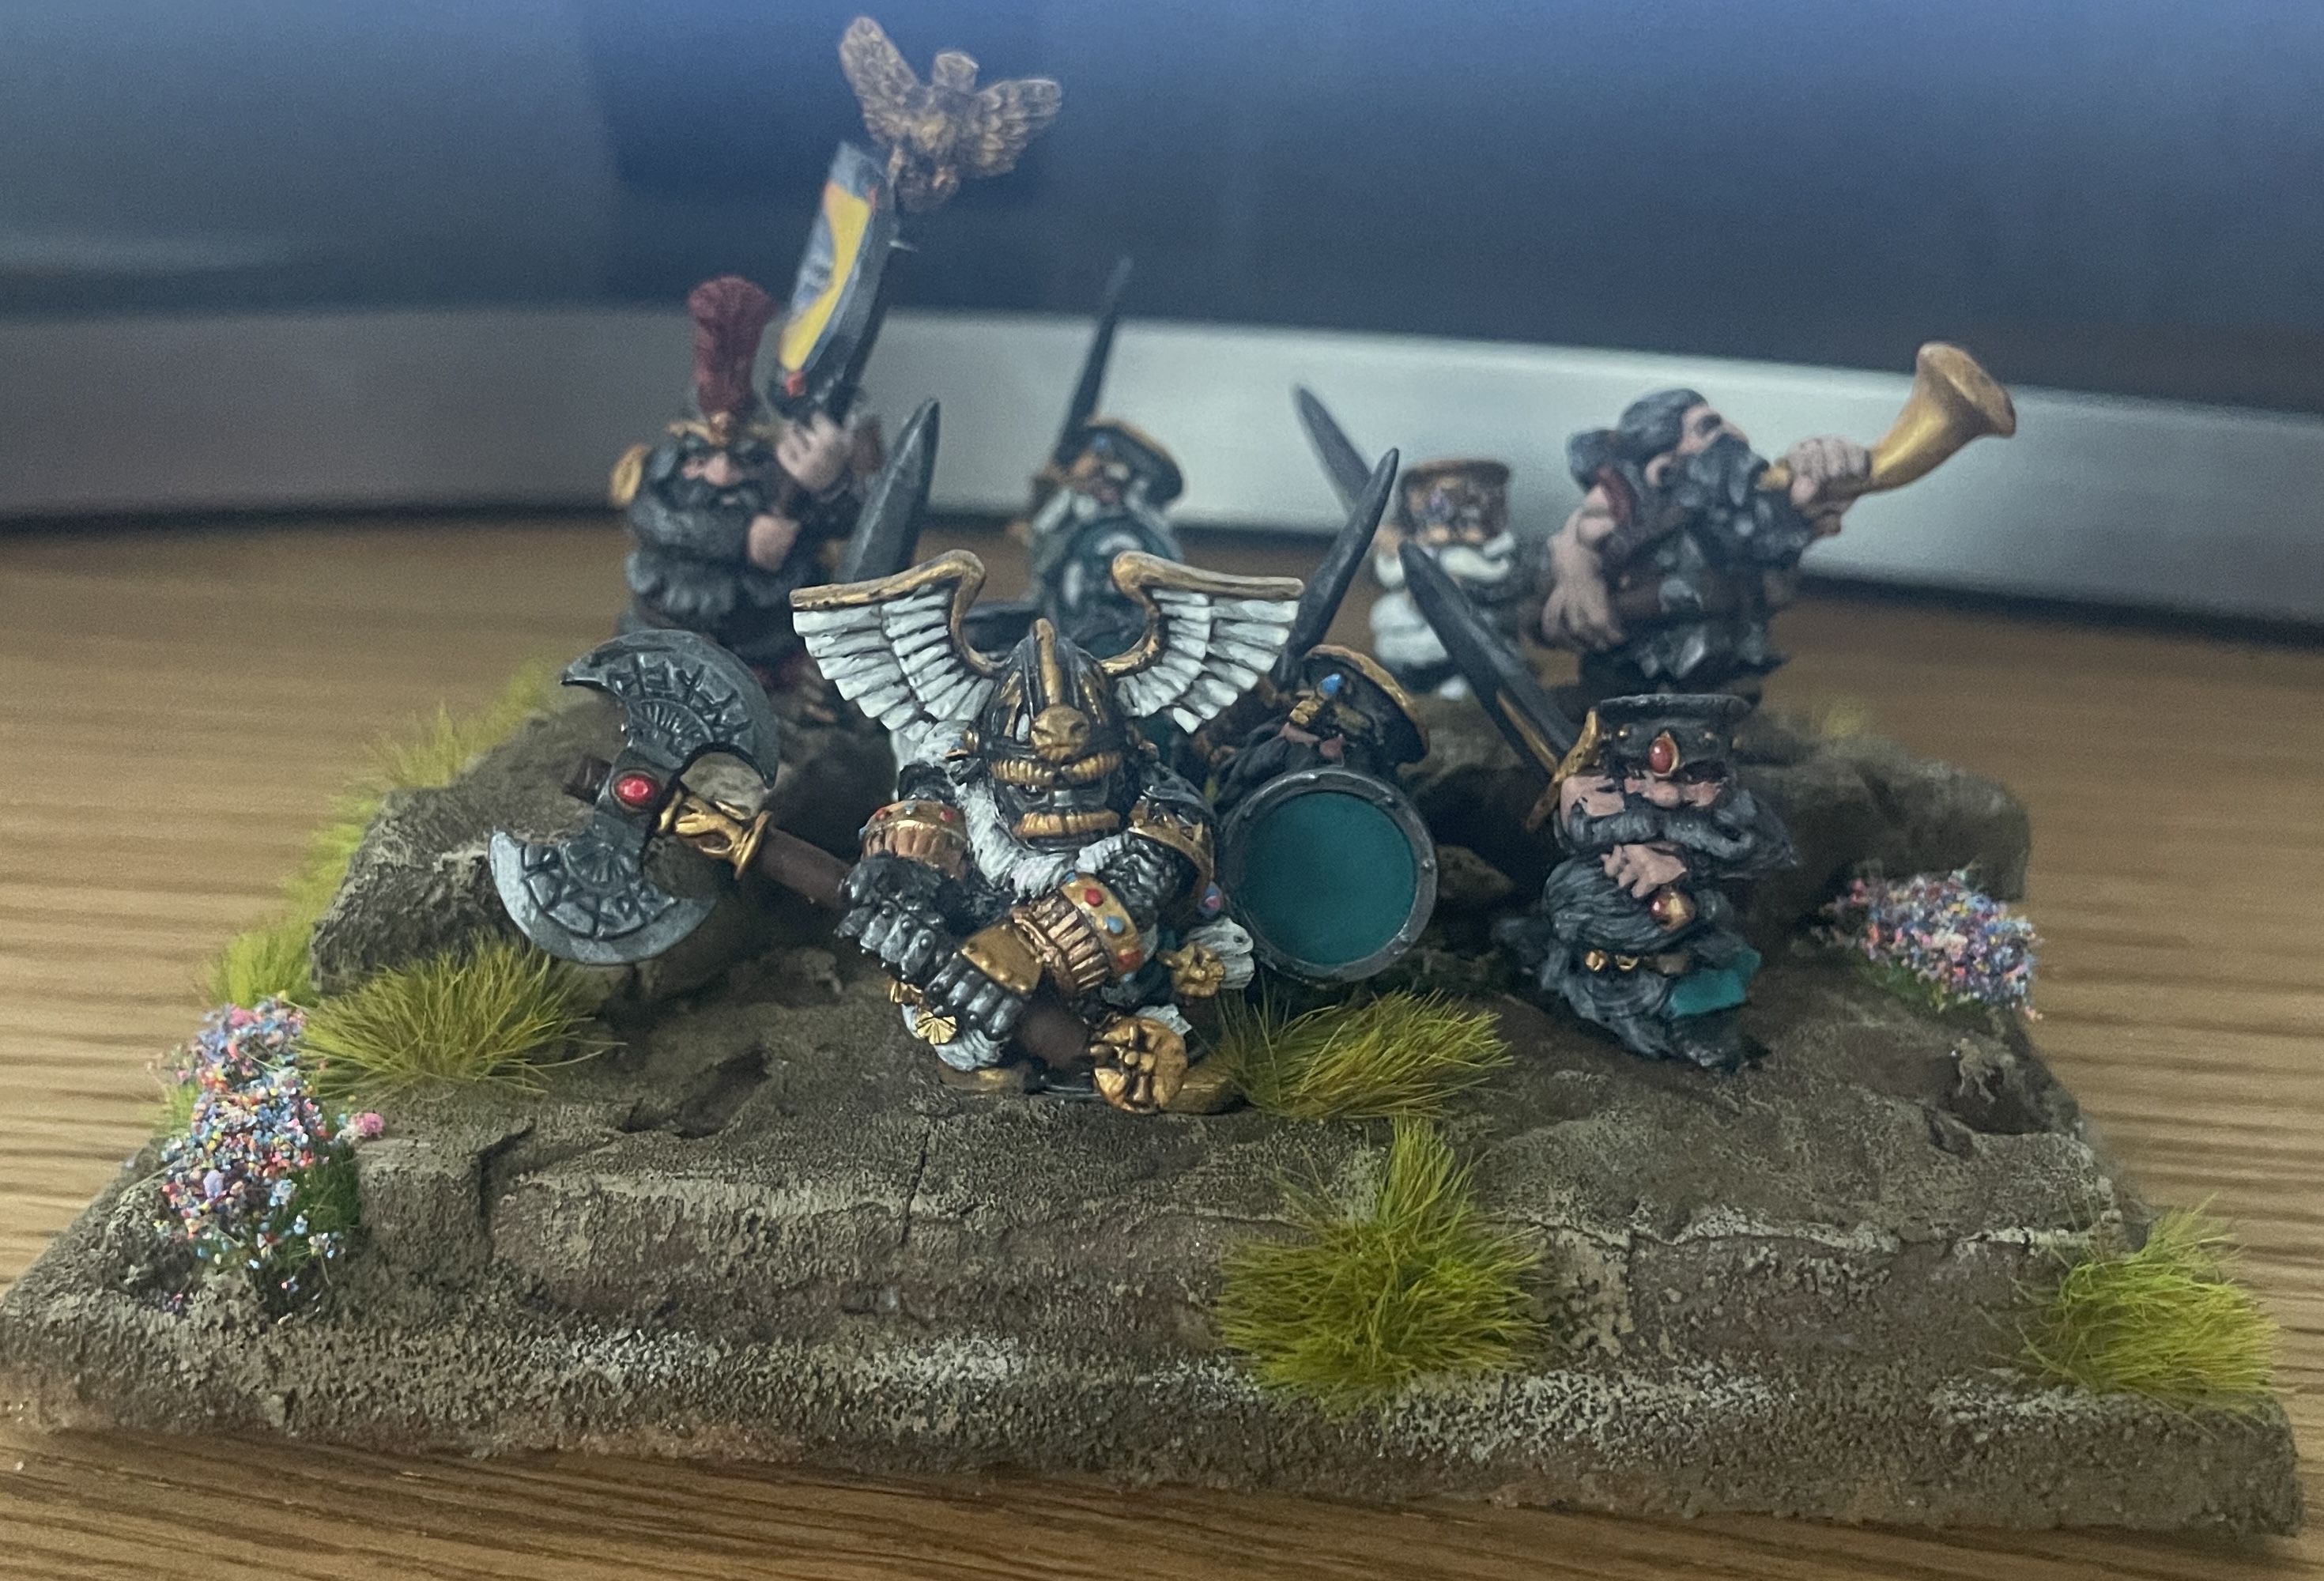
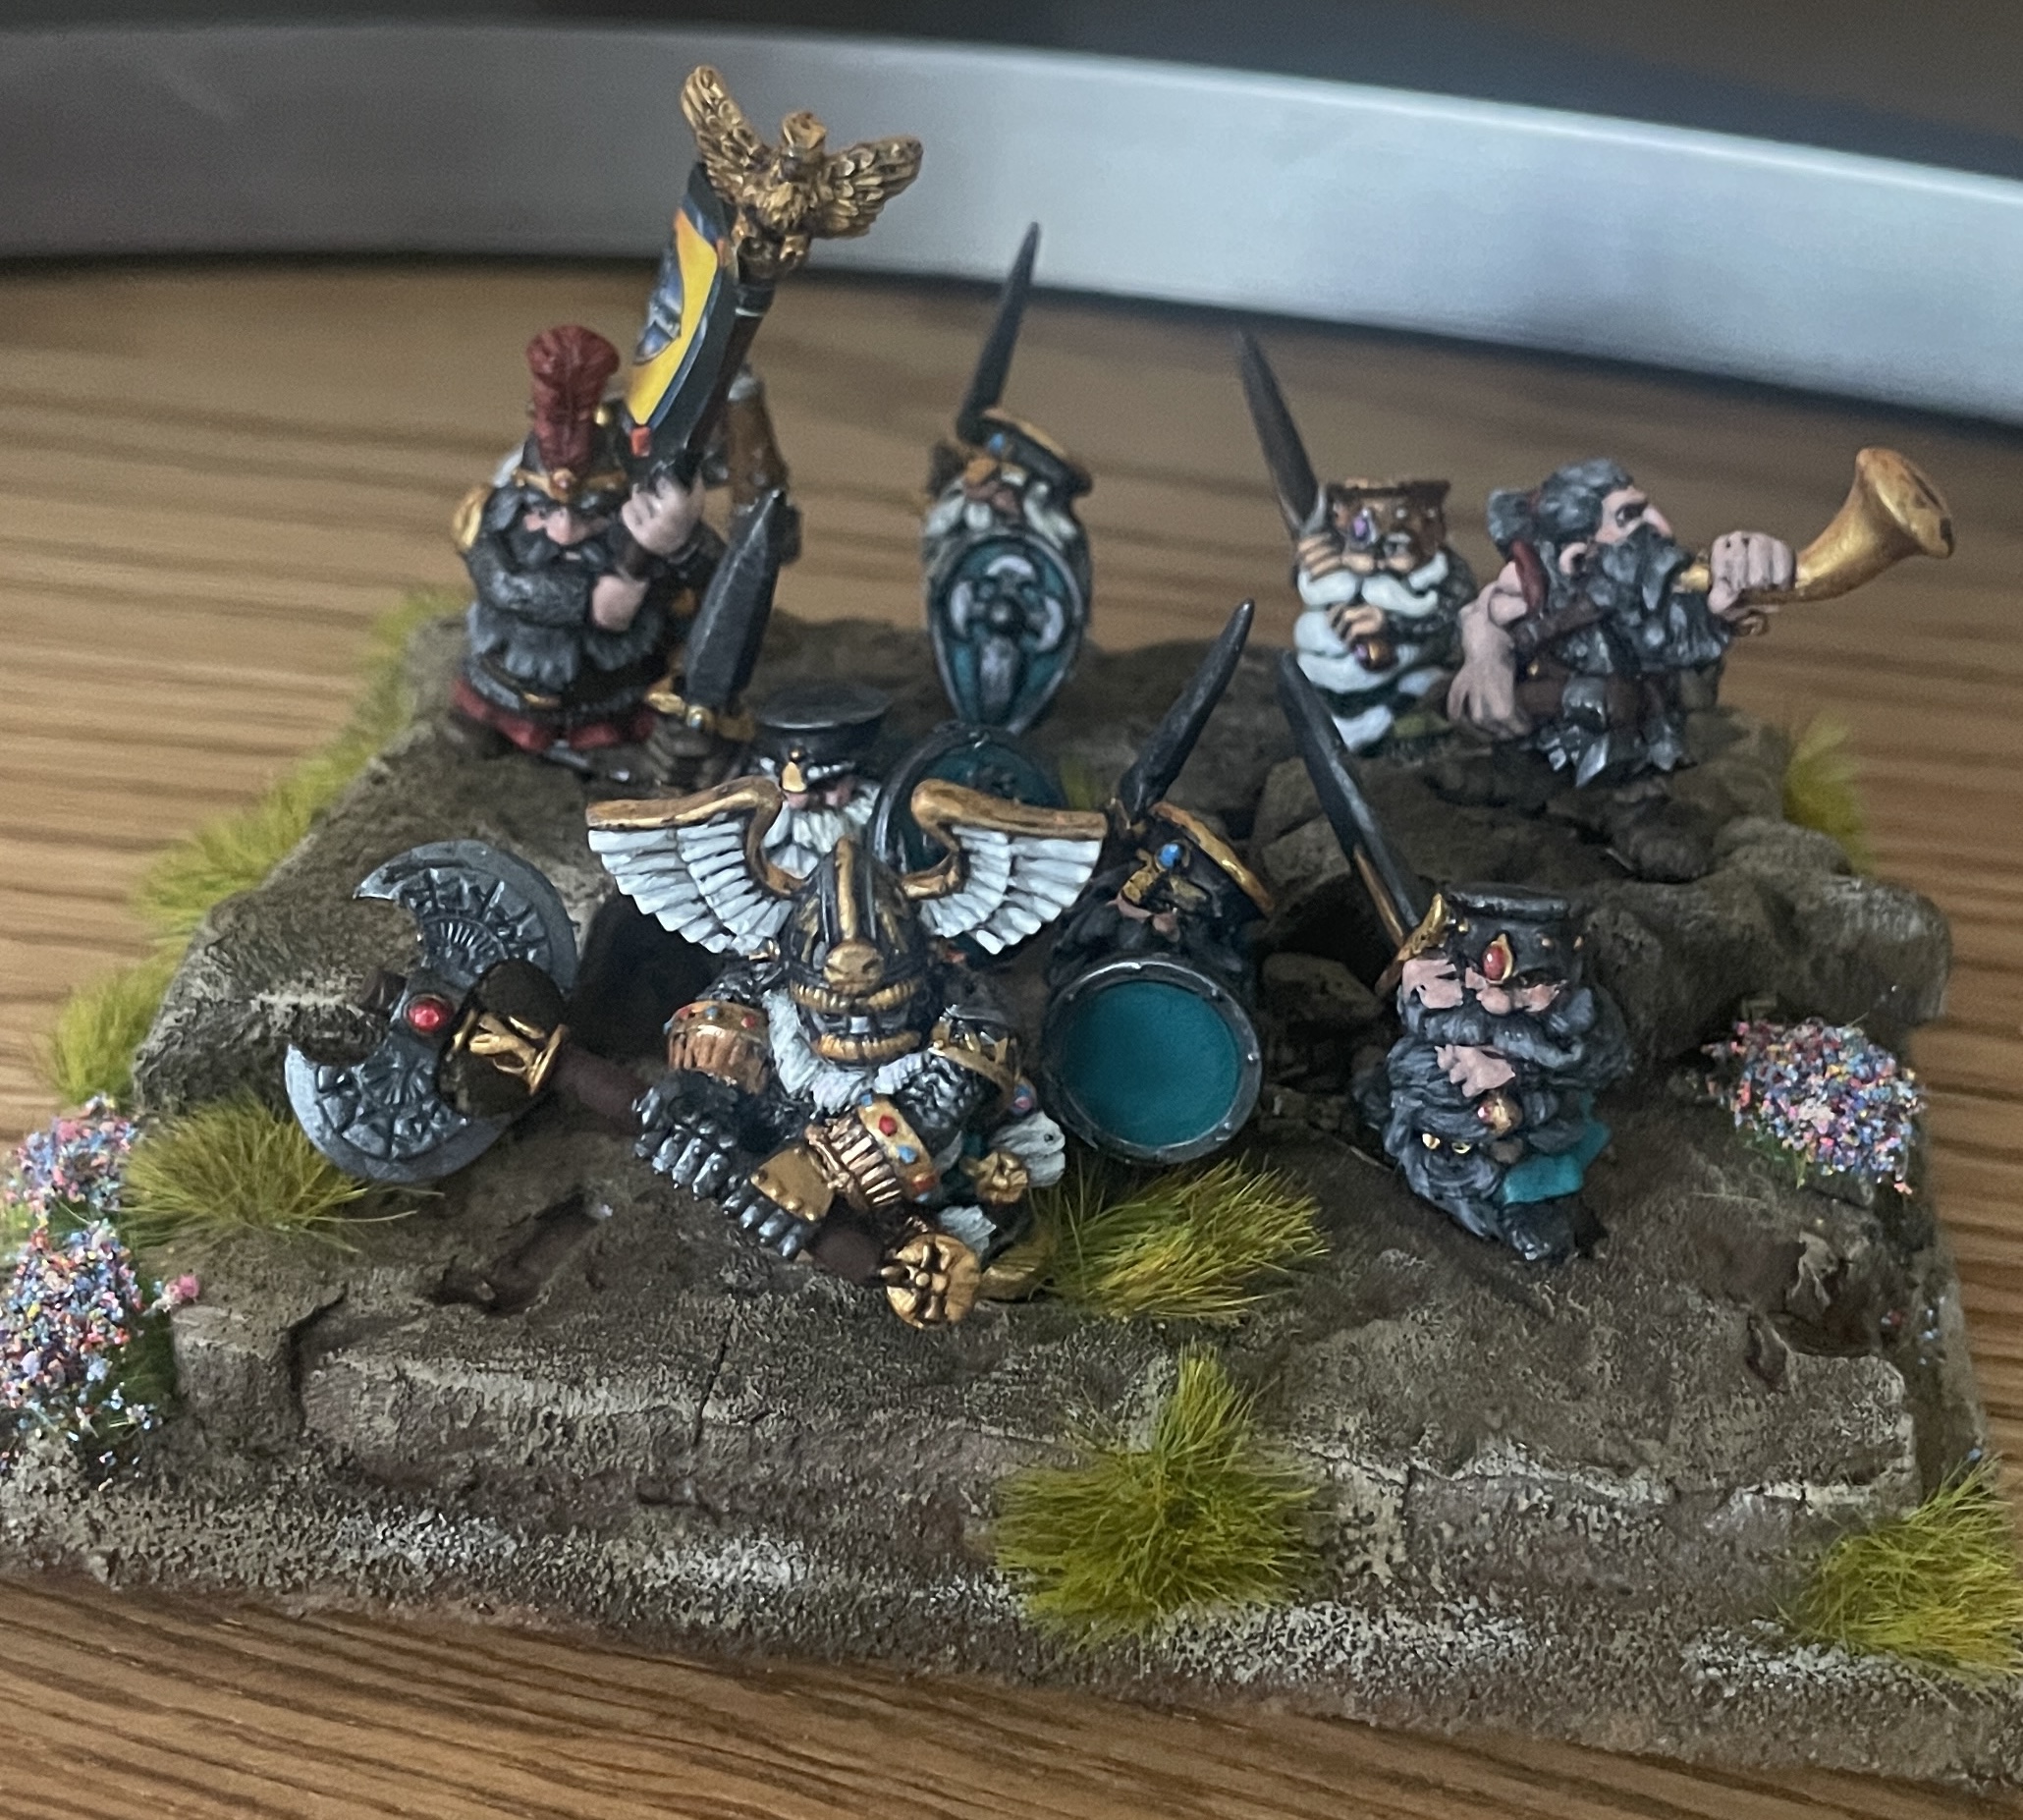
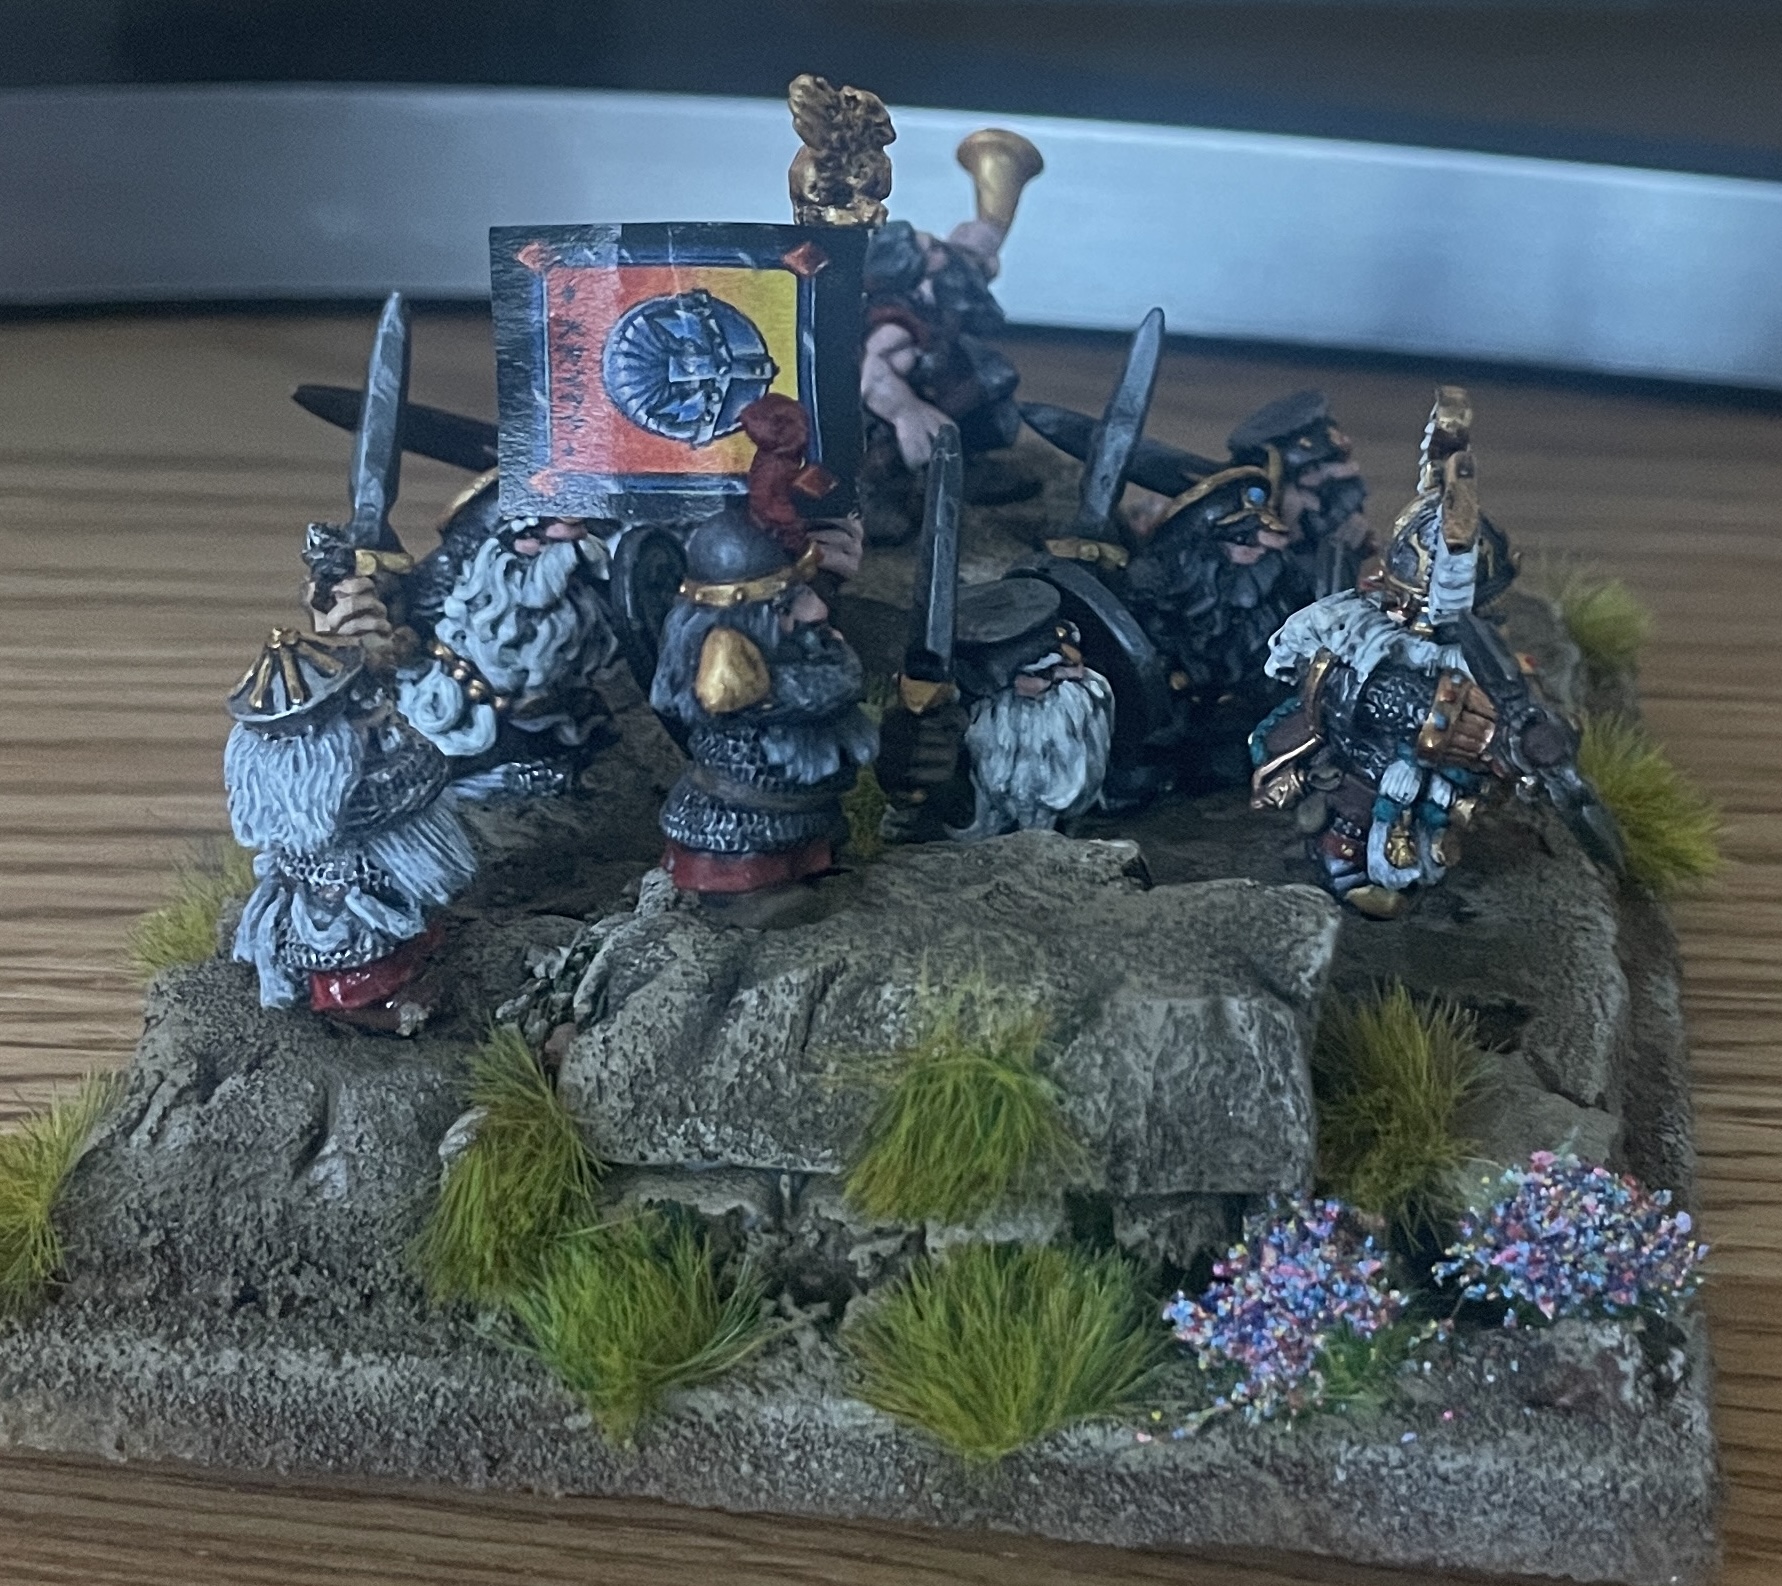
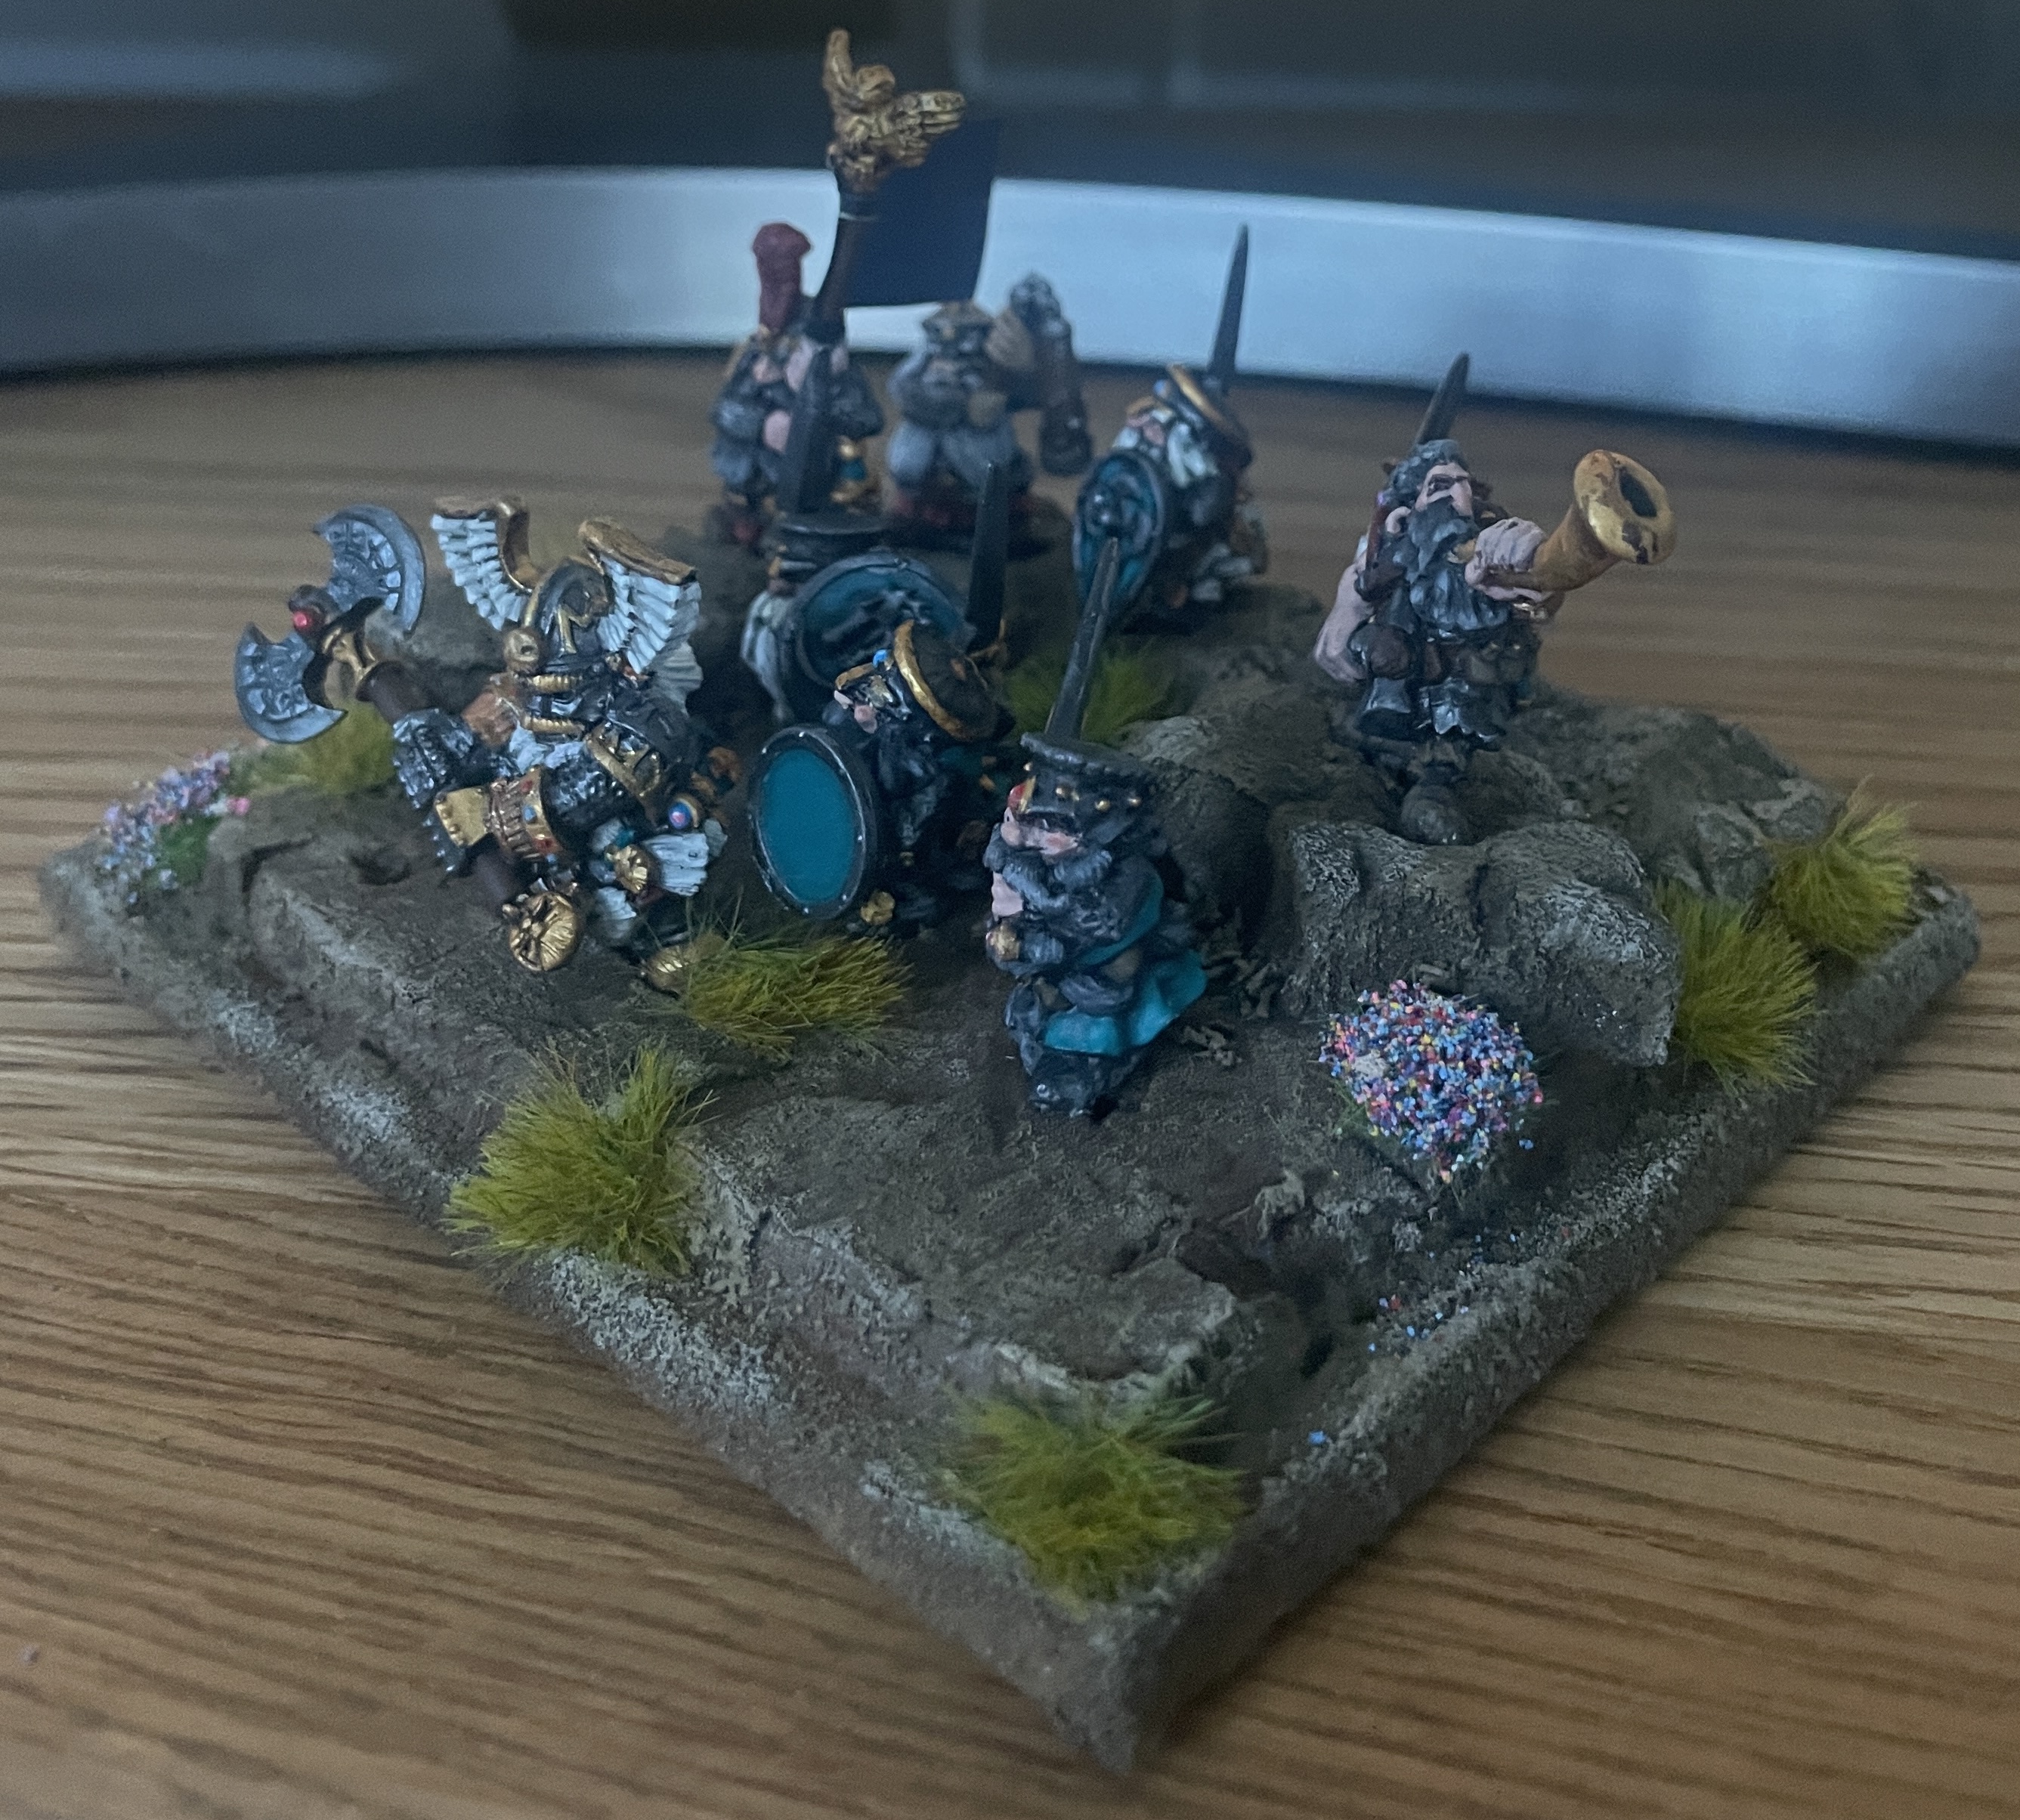
Quite happy with how this turned out. A slight criticism is there is a few figures short but wanted to keep the long beard type look. Love the models though and happy with the result for 3 nights work
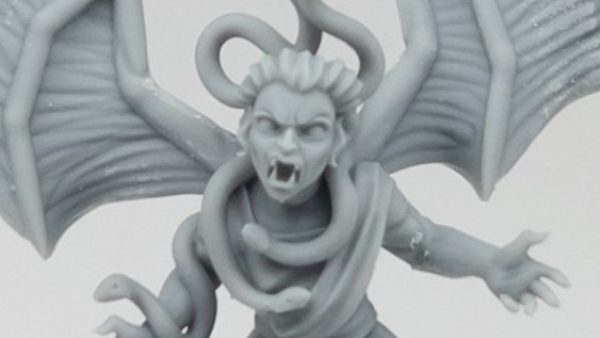
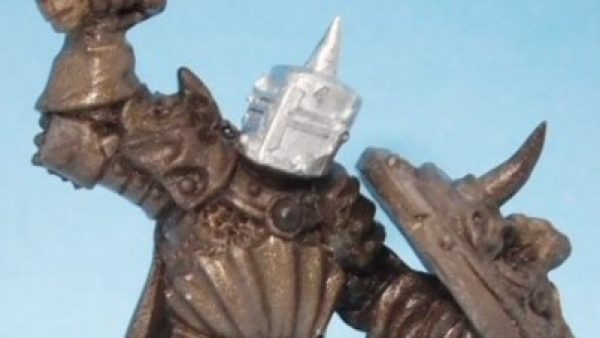
Next on the painting Table
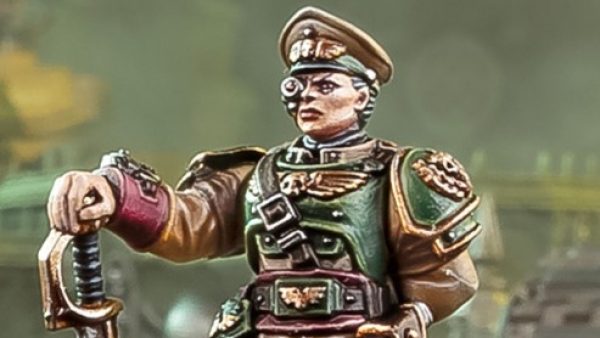
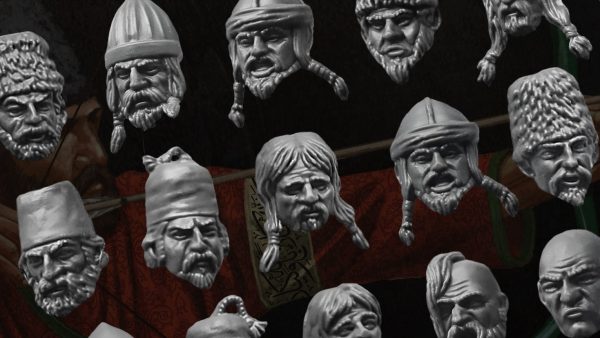
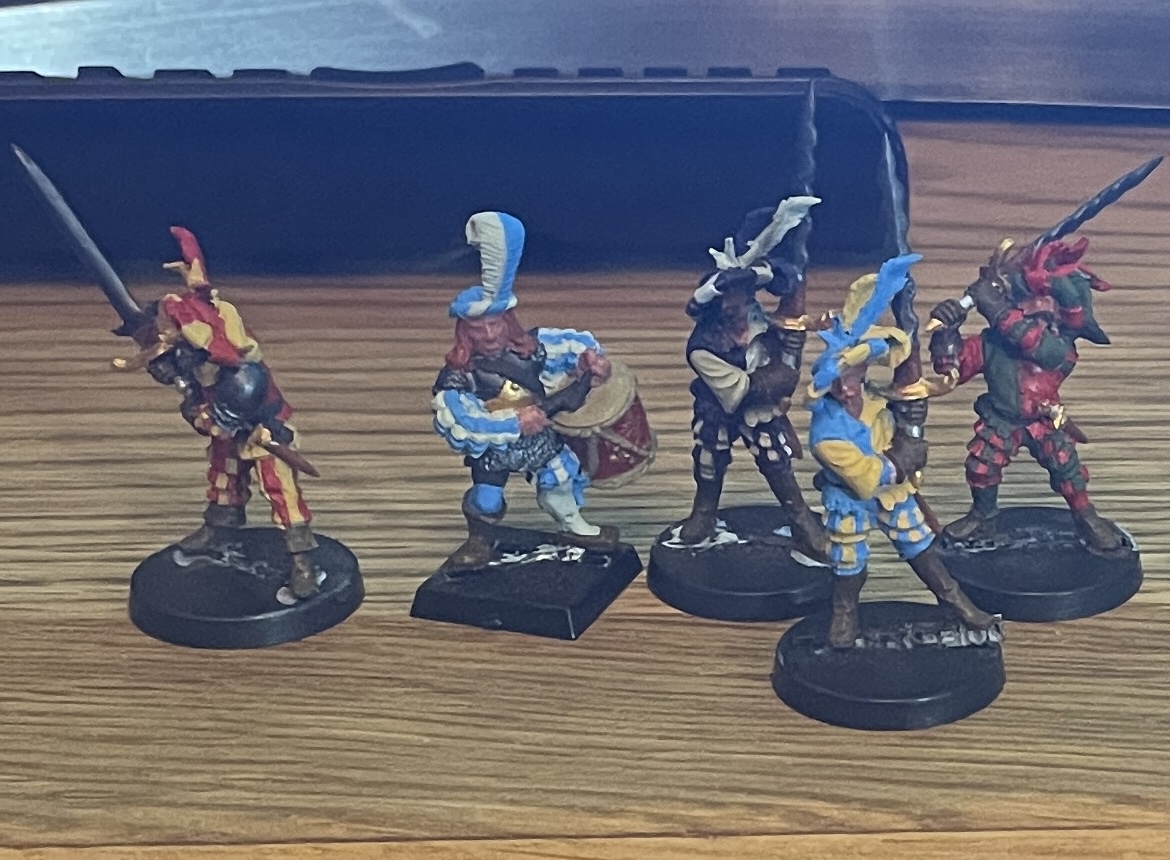
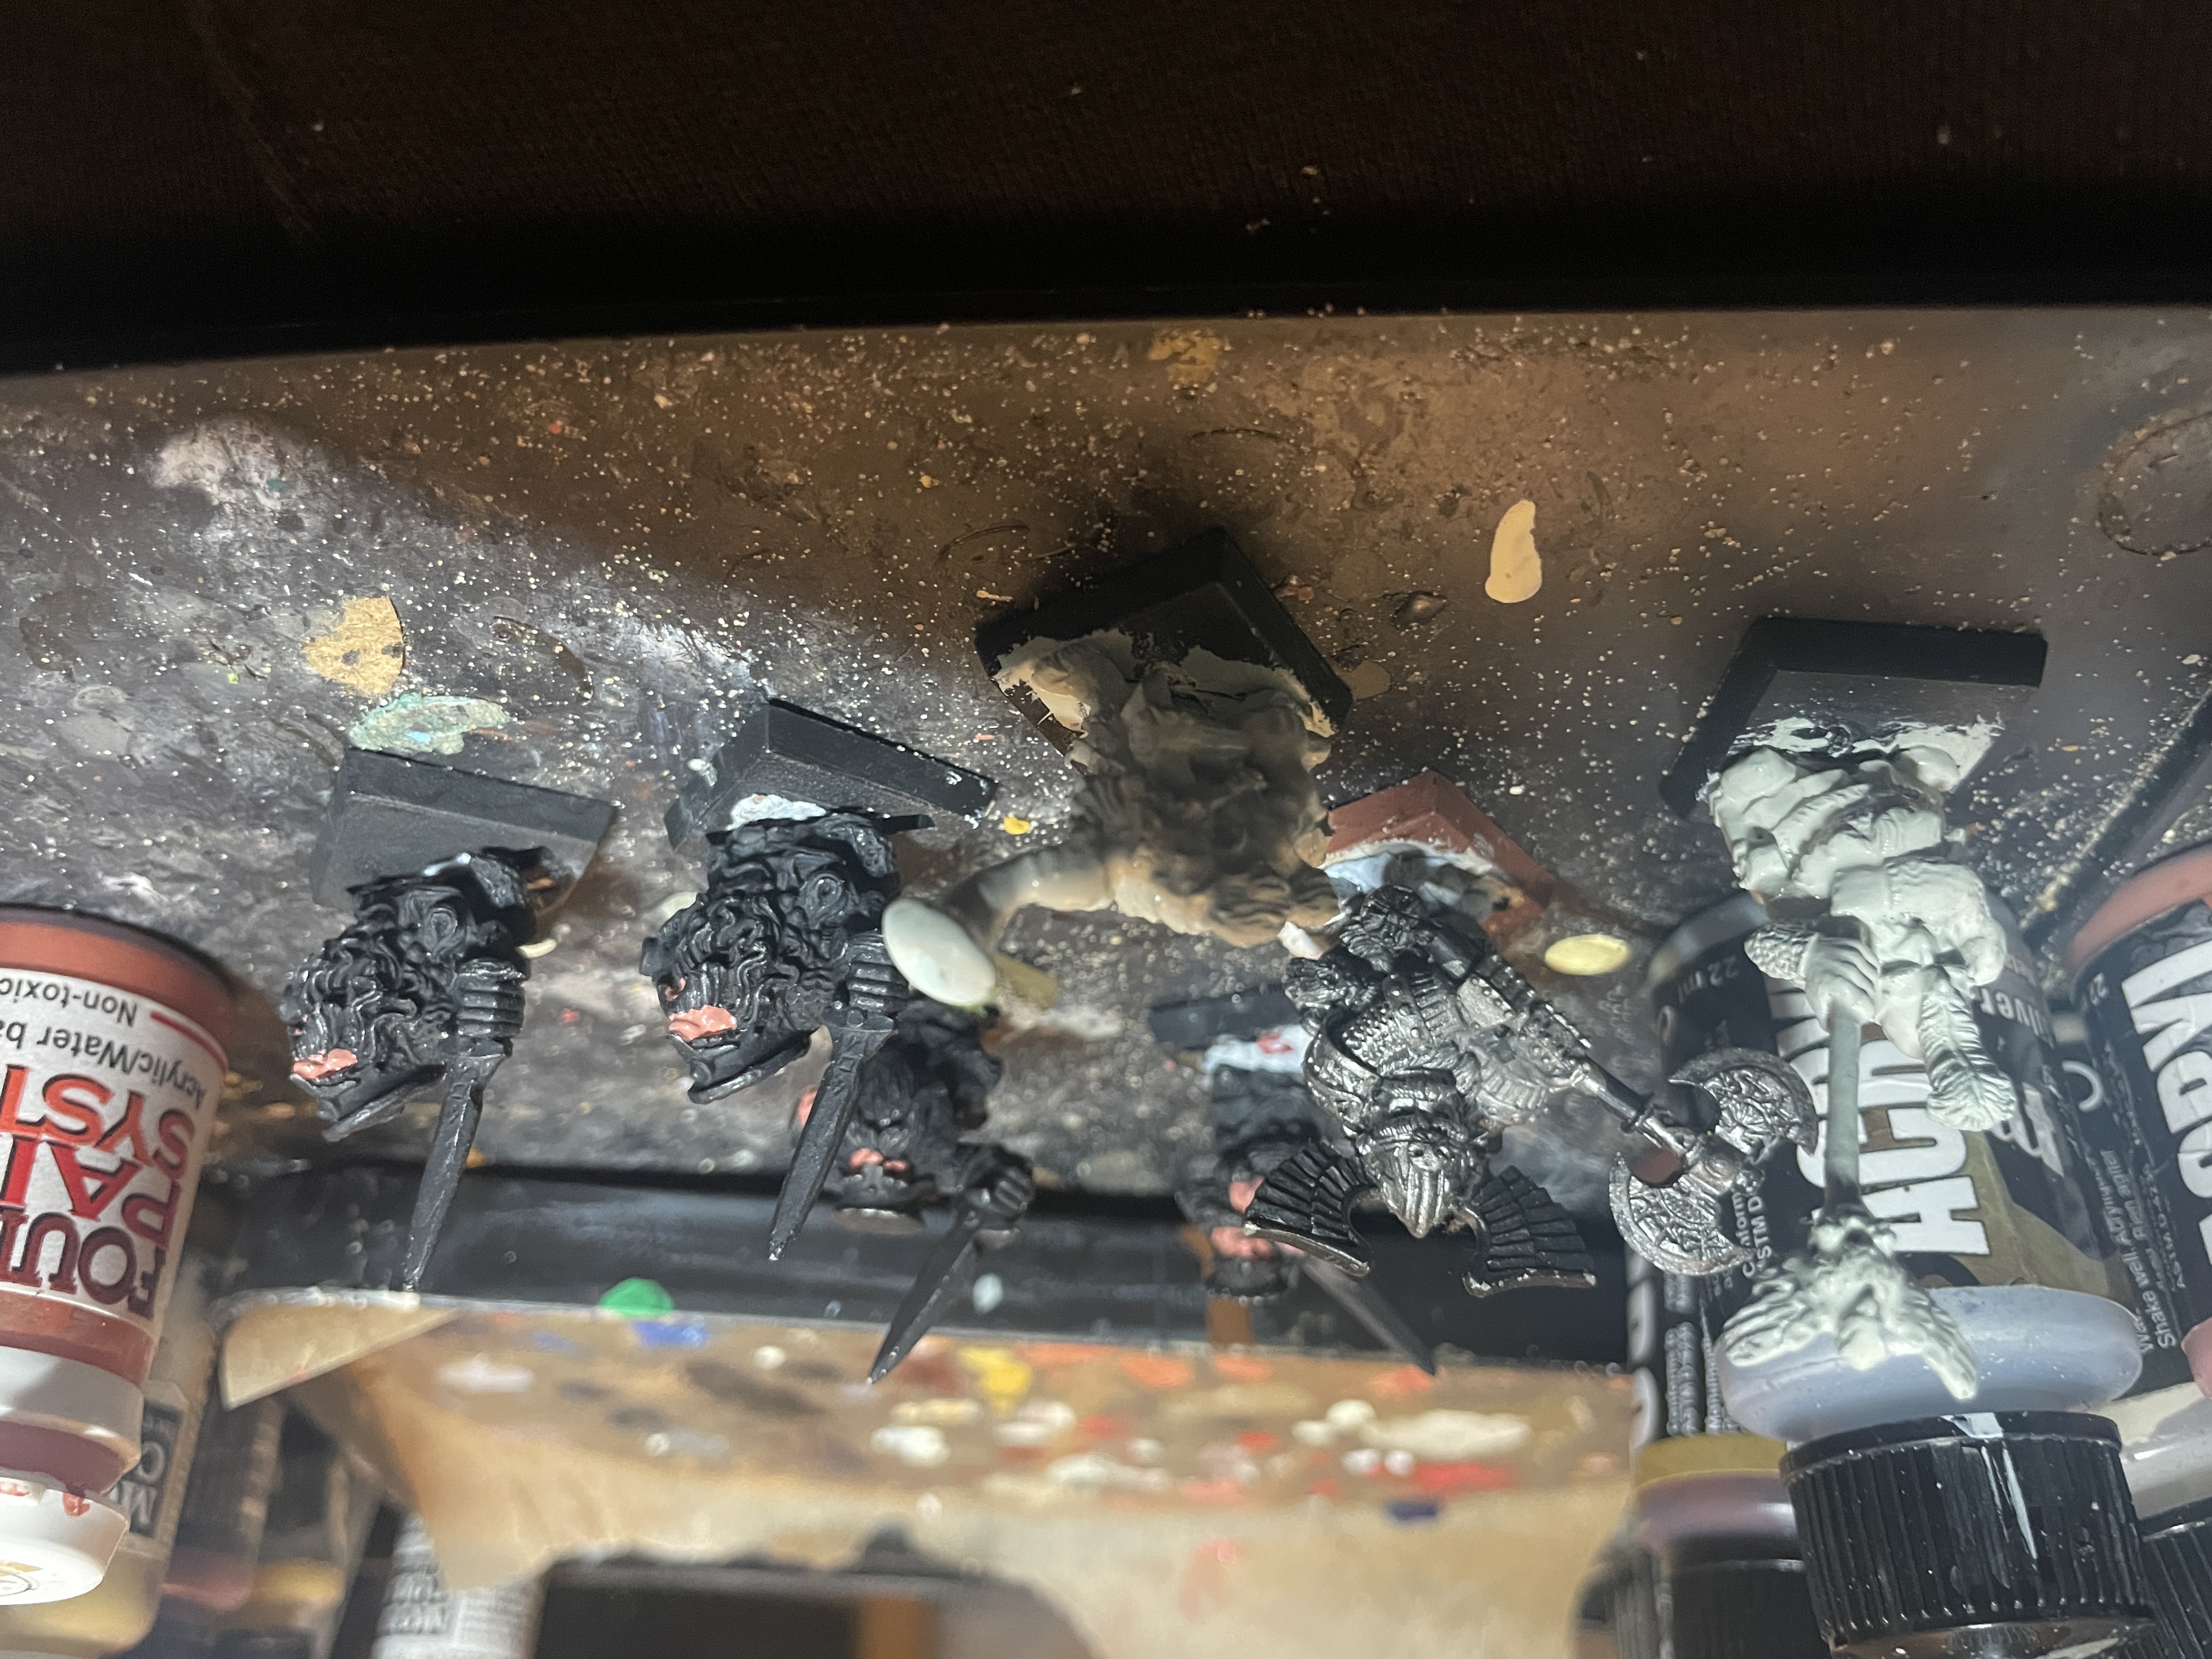 It’s been a while been doing some painting for some other people. More classic sculpts here mostly GW. The horn blower is a heartbreaker miniature
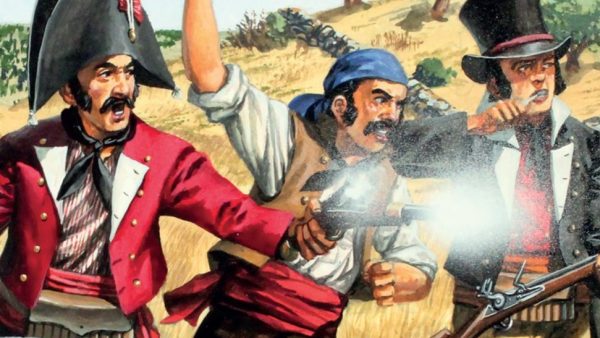
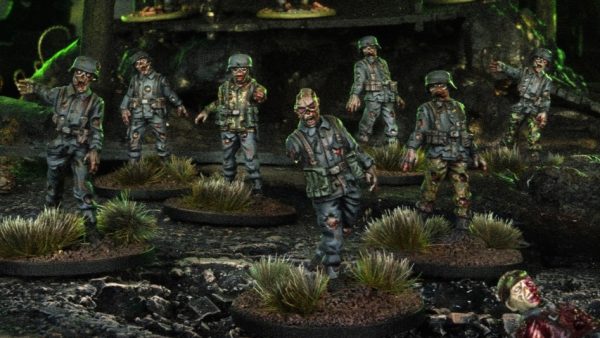
For the Emperor - the finished regiment

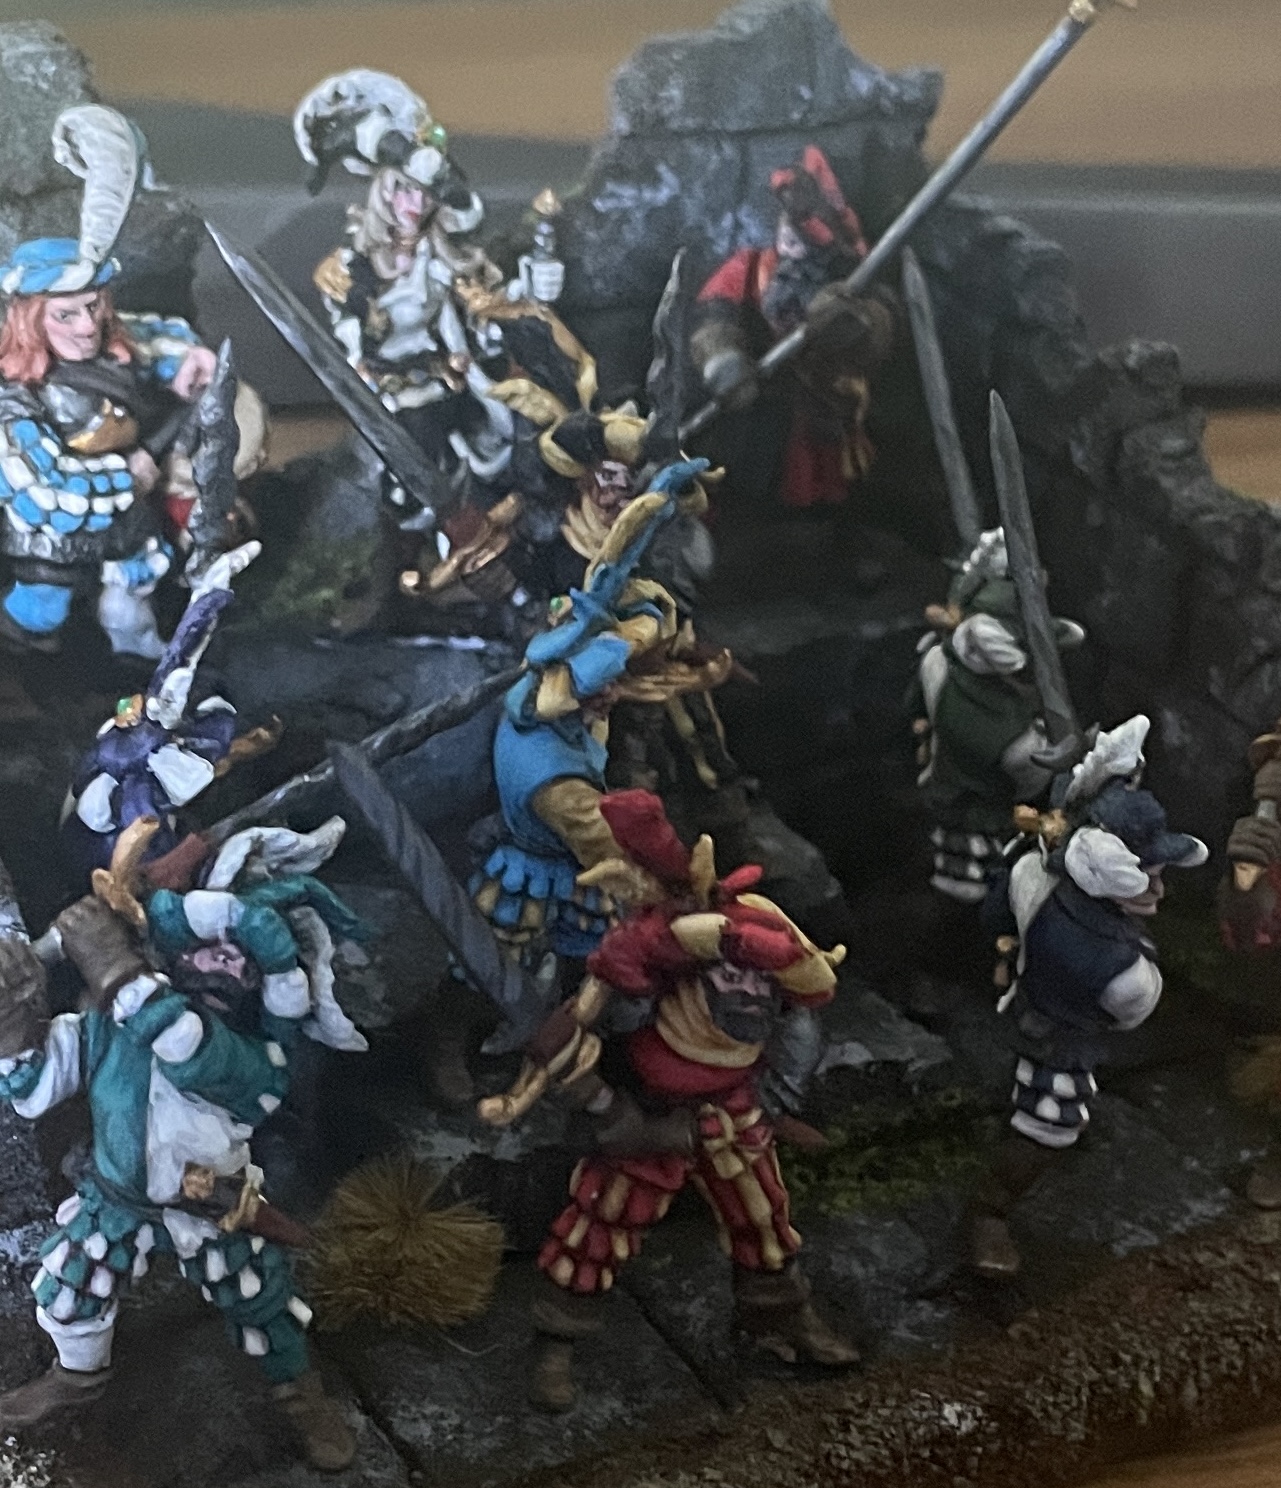
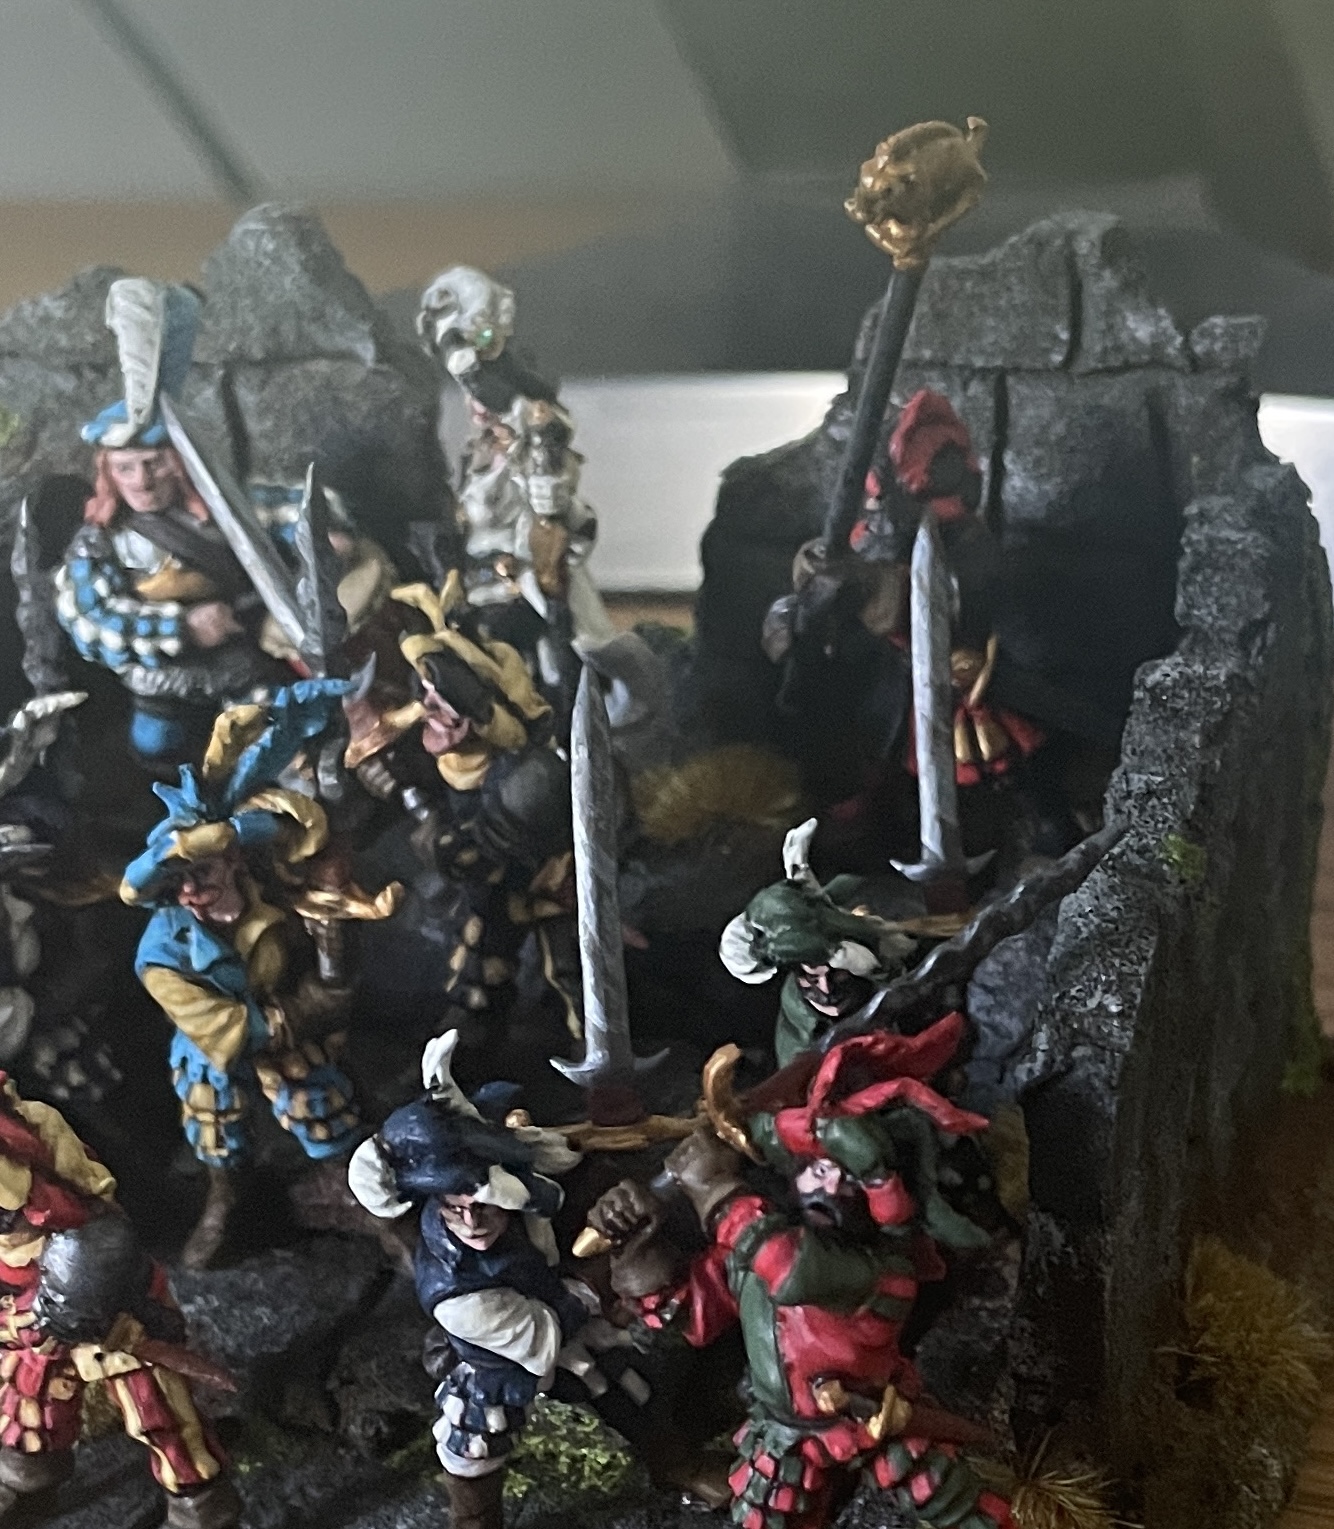
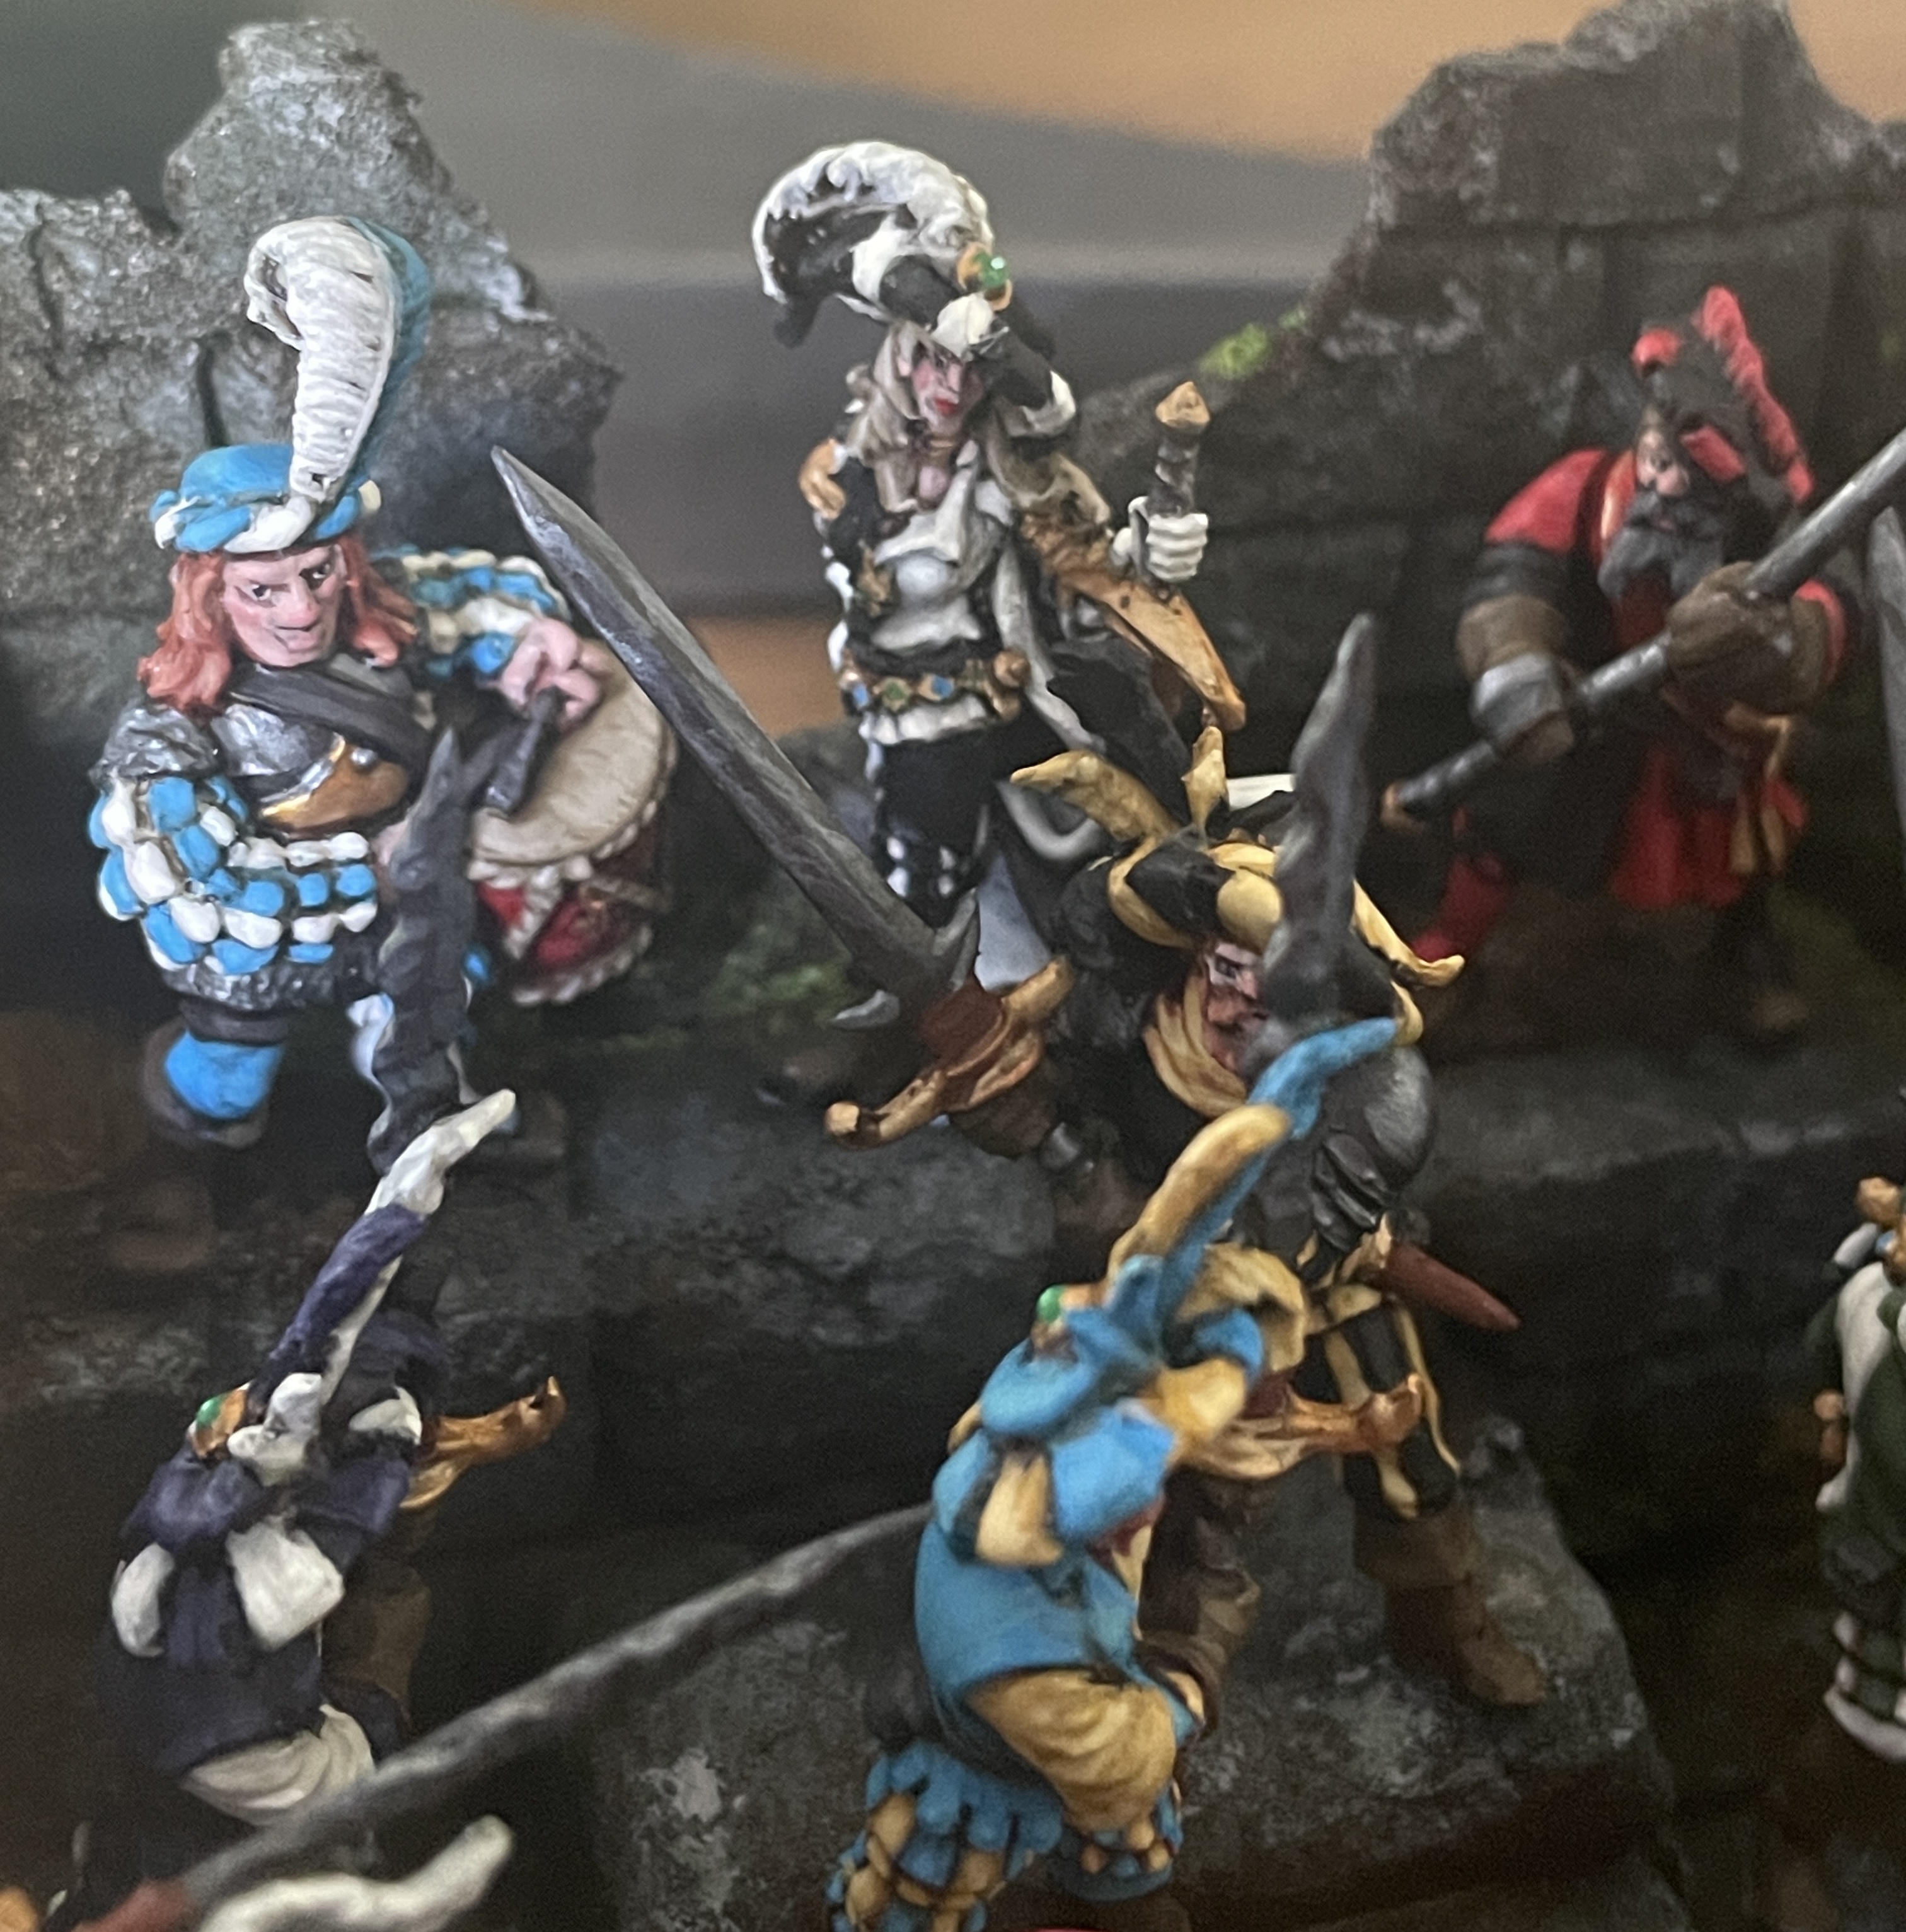

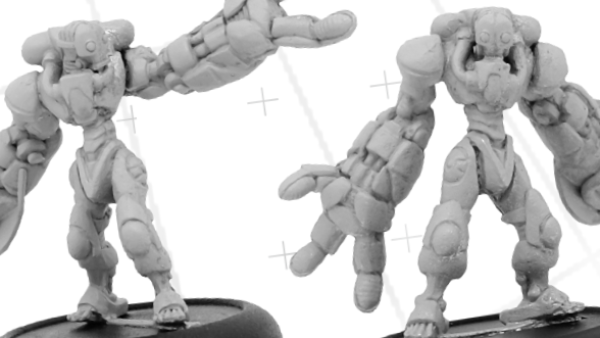
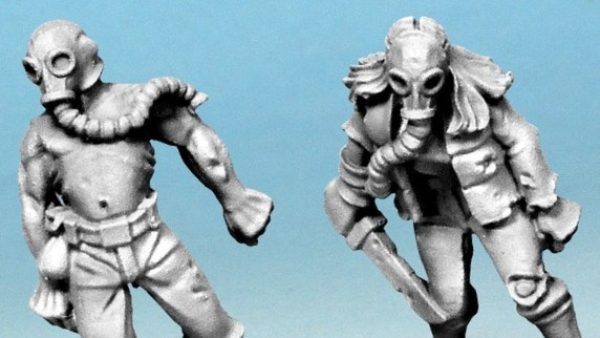
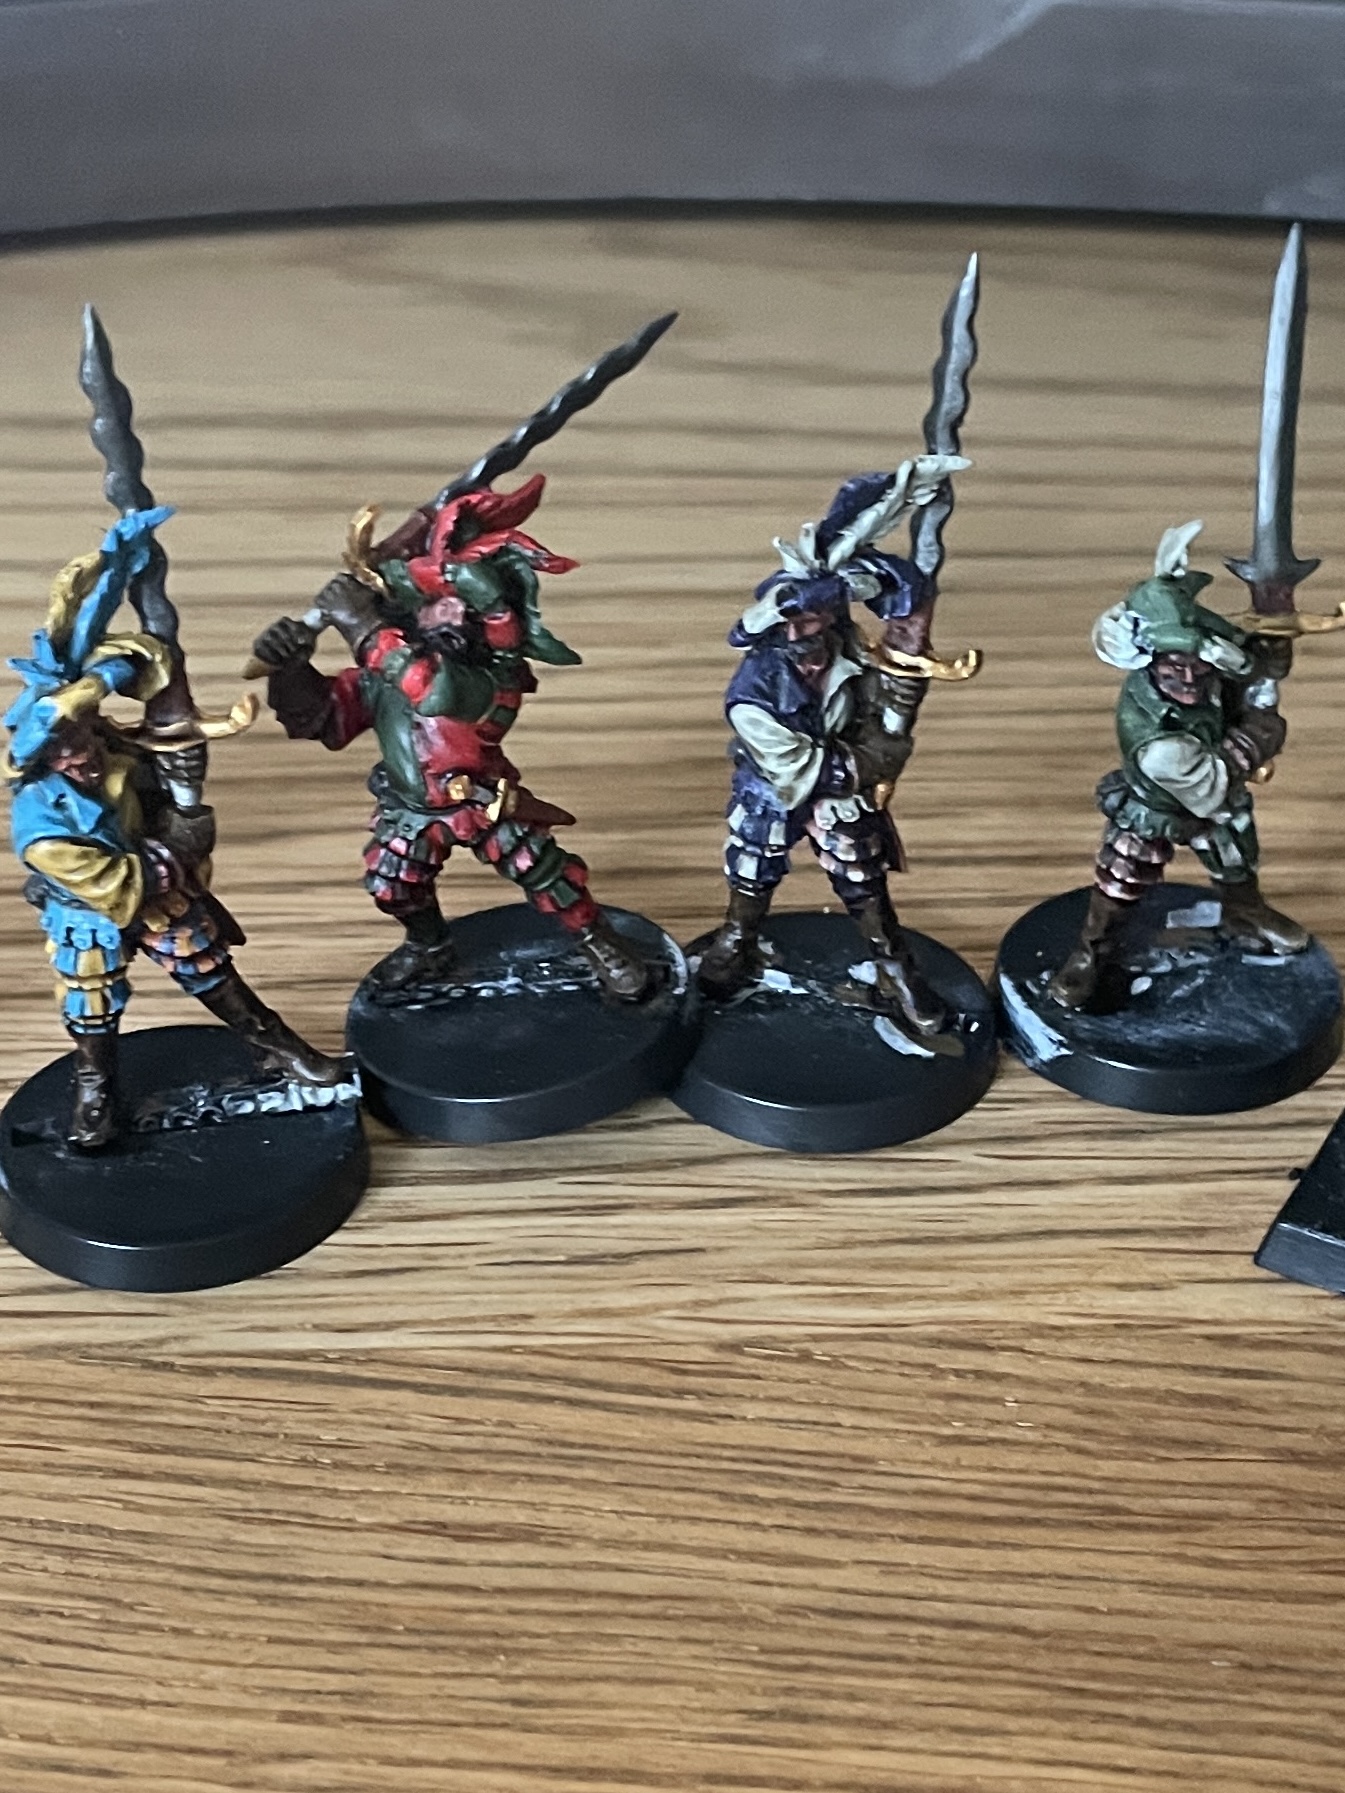
The minis were glued in place with super glue and this regiment is done. It was a real unit unit to do. I think it shows a side to KOW it allows creativity and can reduce costs and painting time. A regiment should have 20 models this has been done with 11 but do not think Iv lost the look of a massed unit.
Again great minis from black scorpion highly recommend
Prep for basing
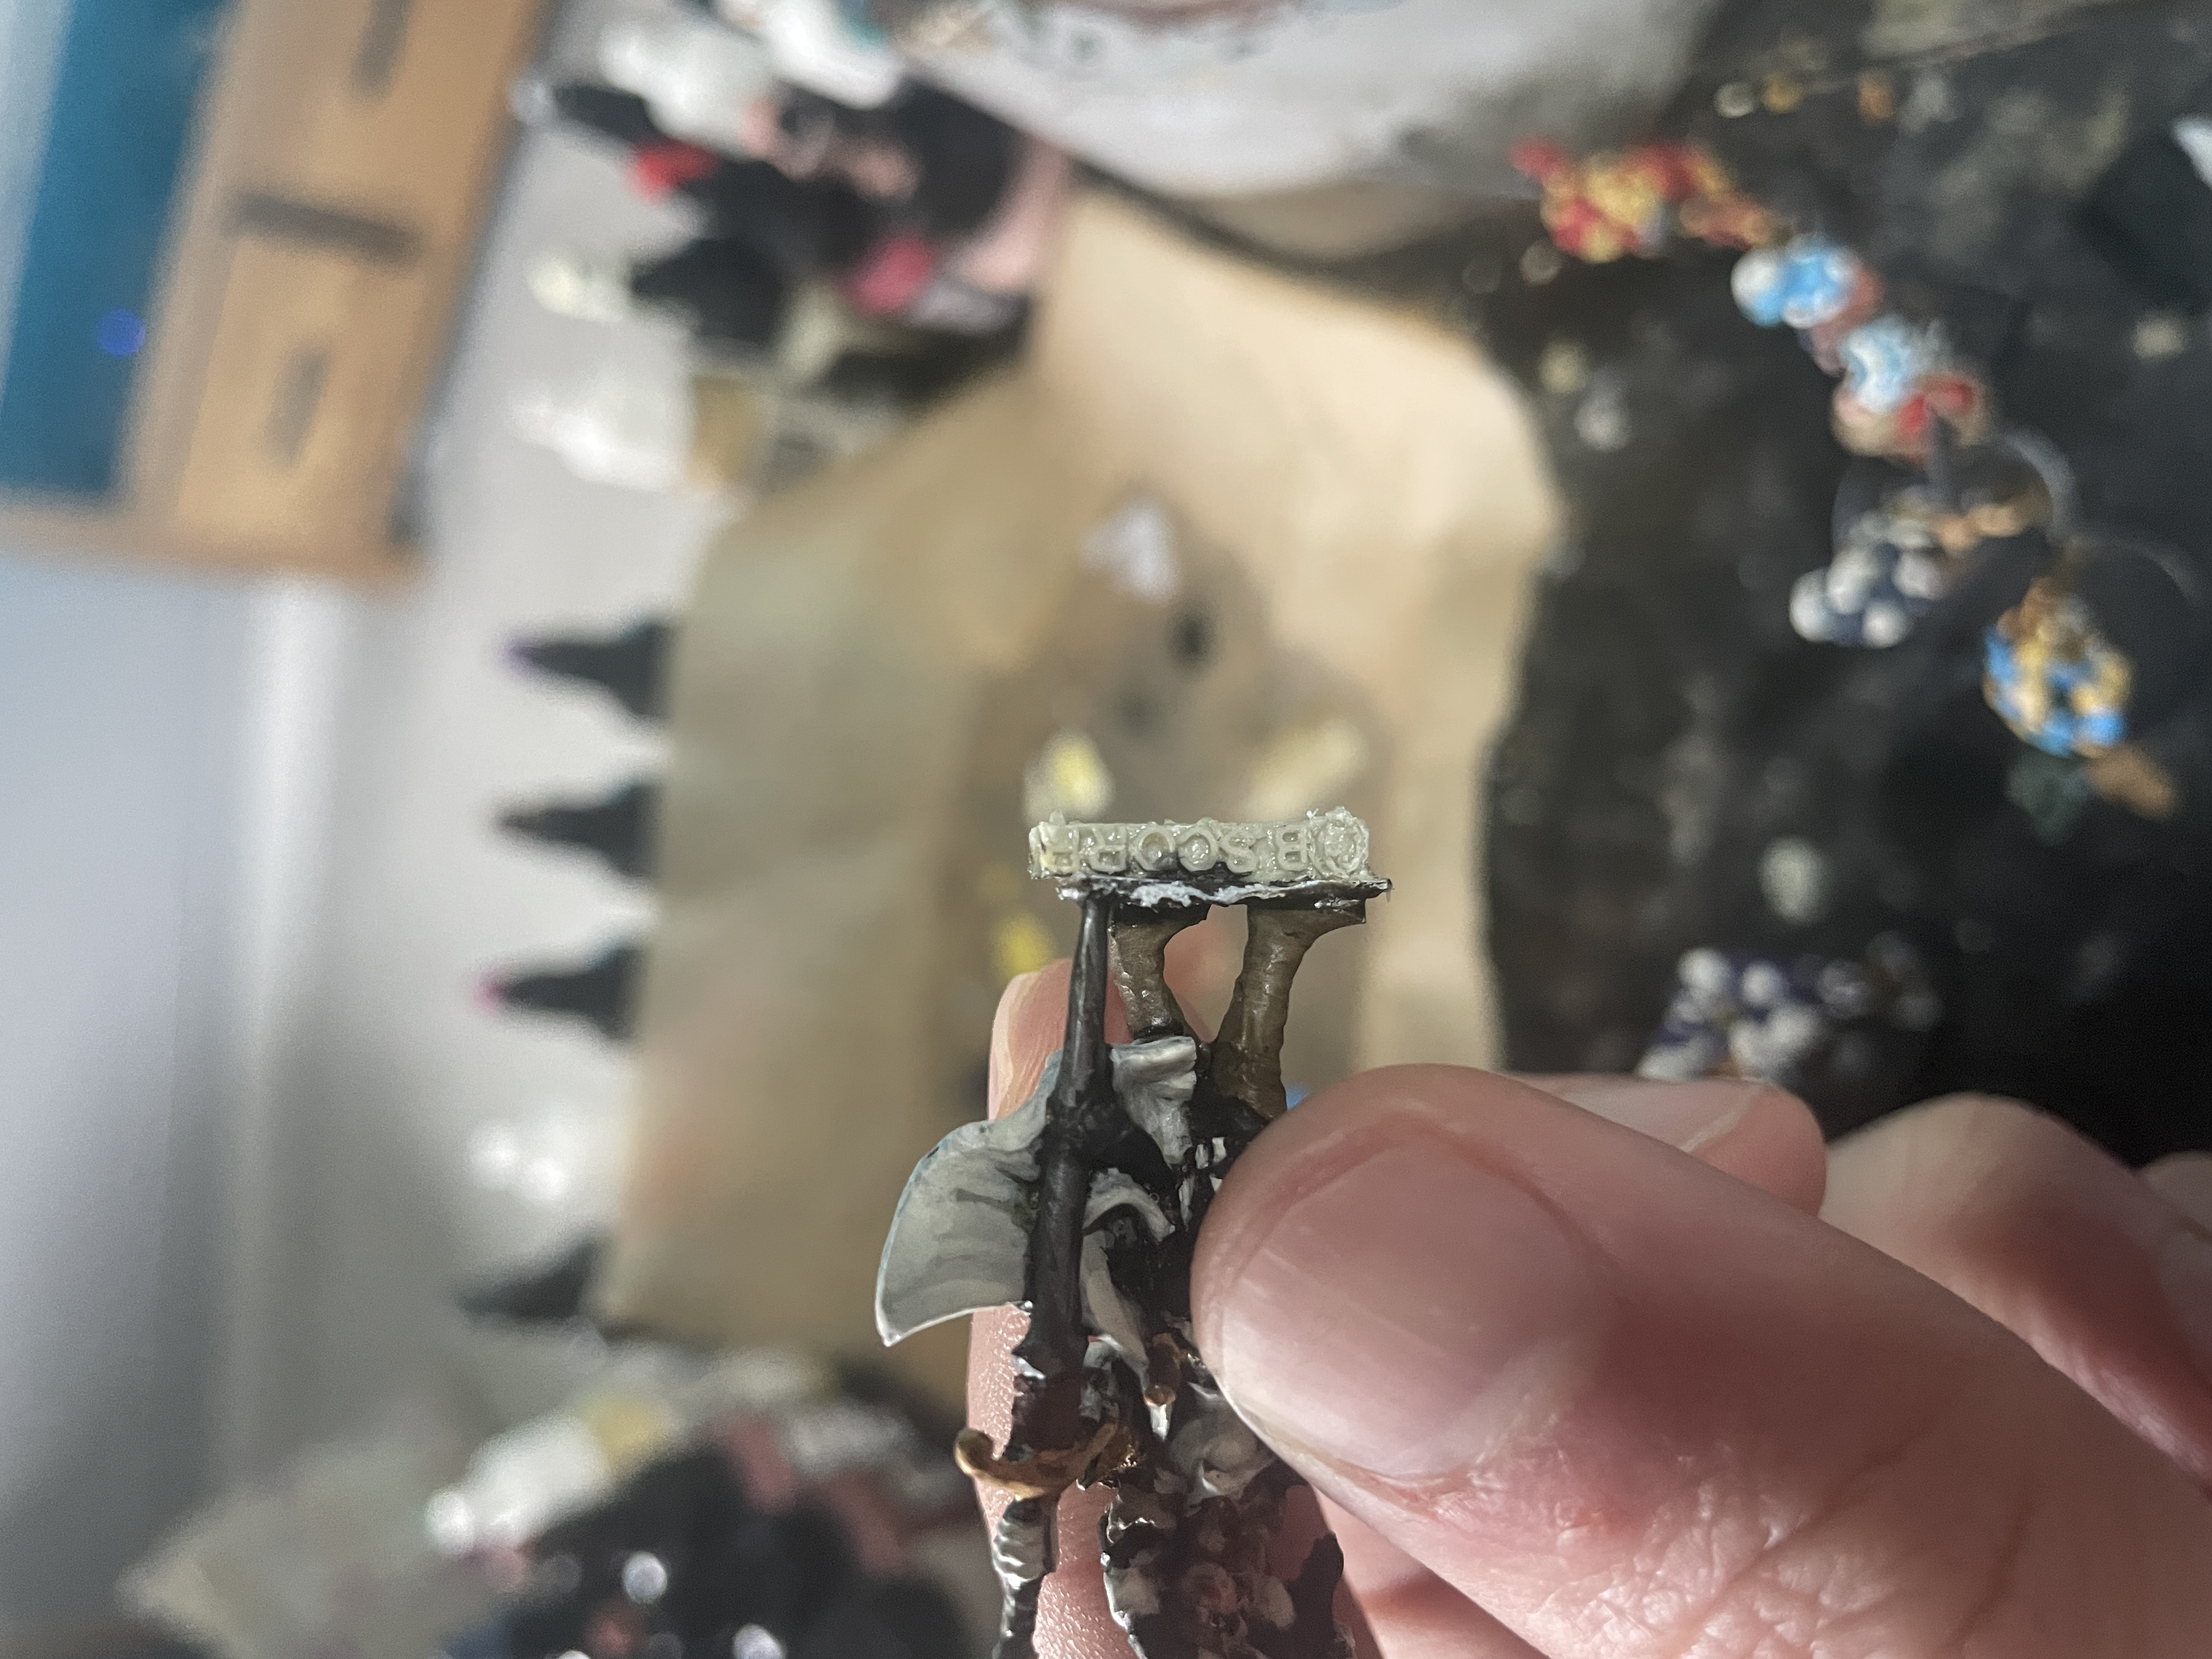
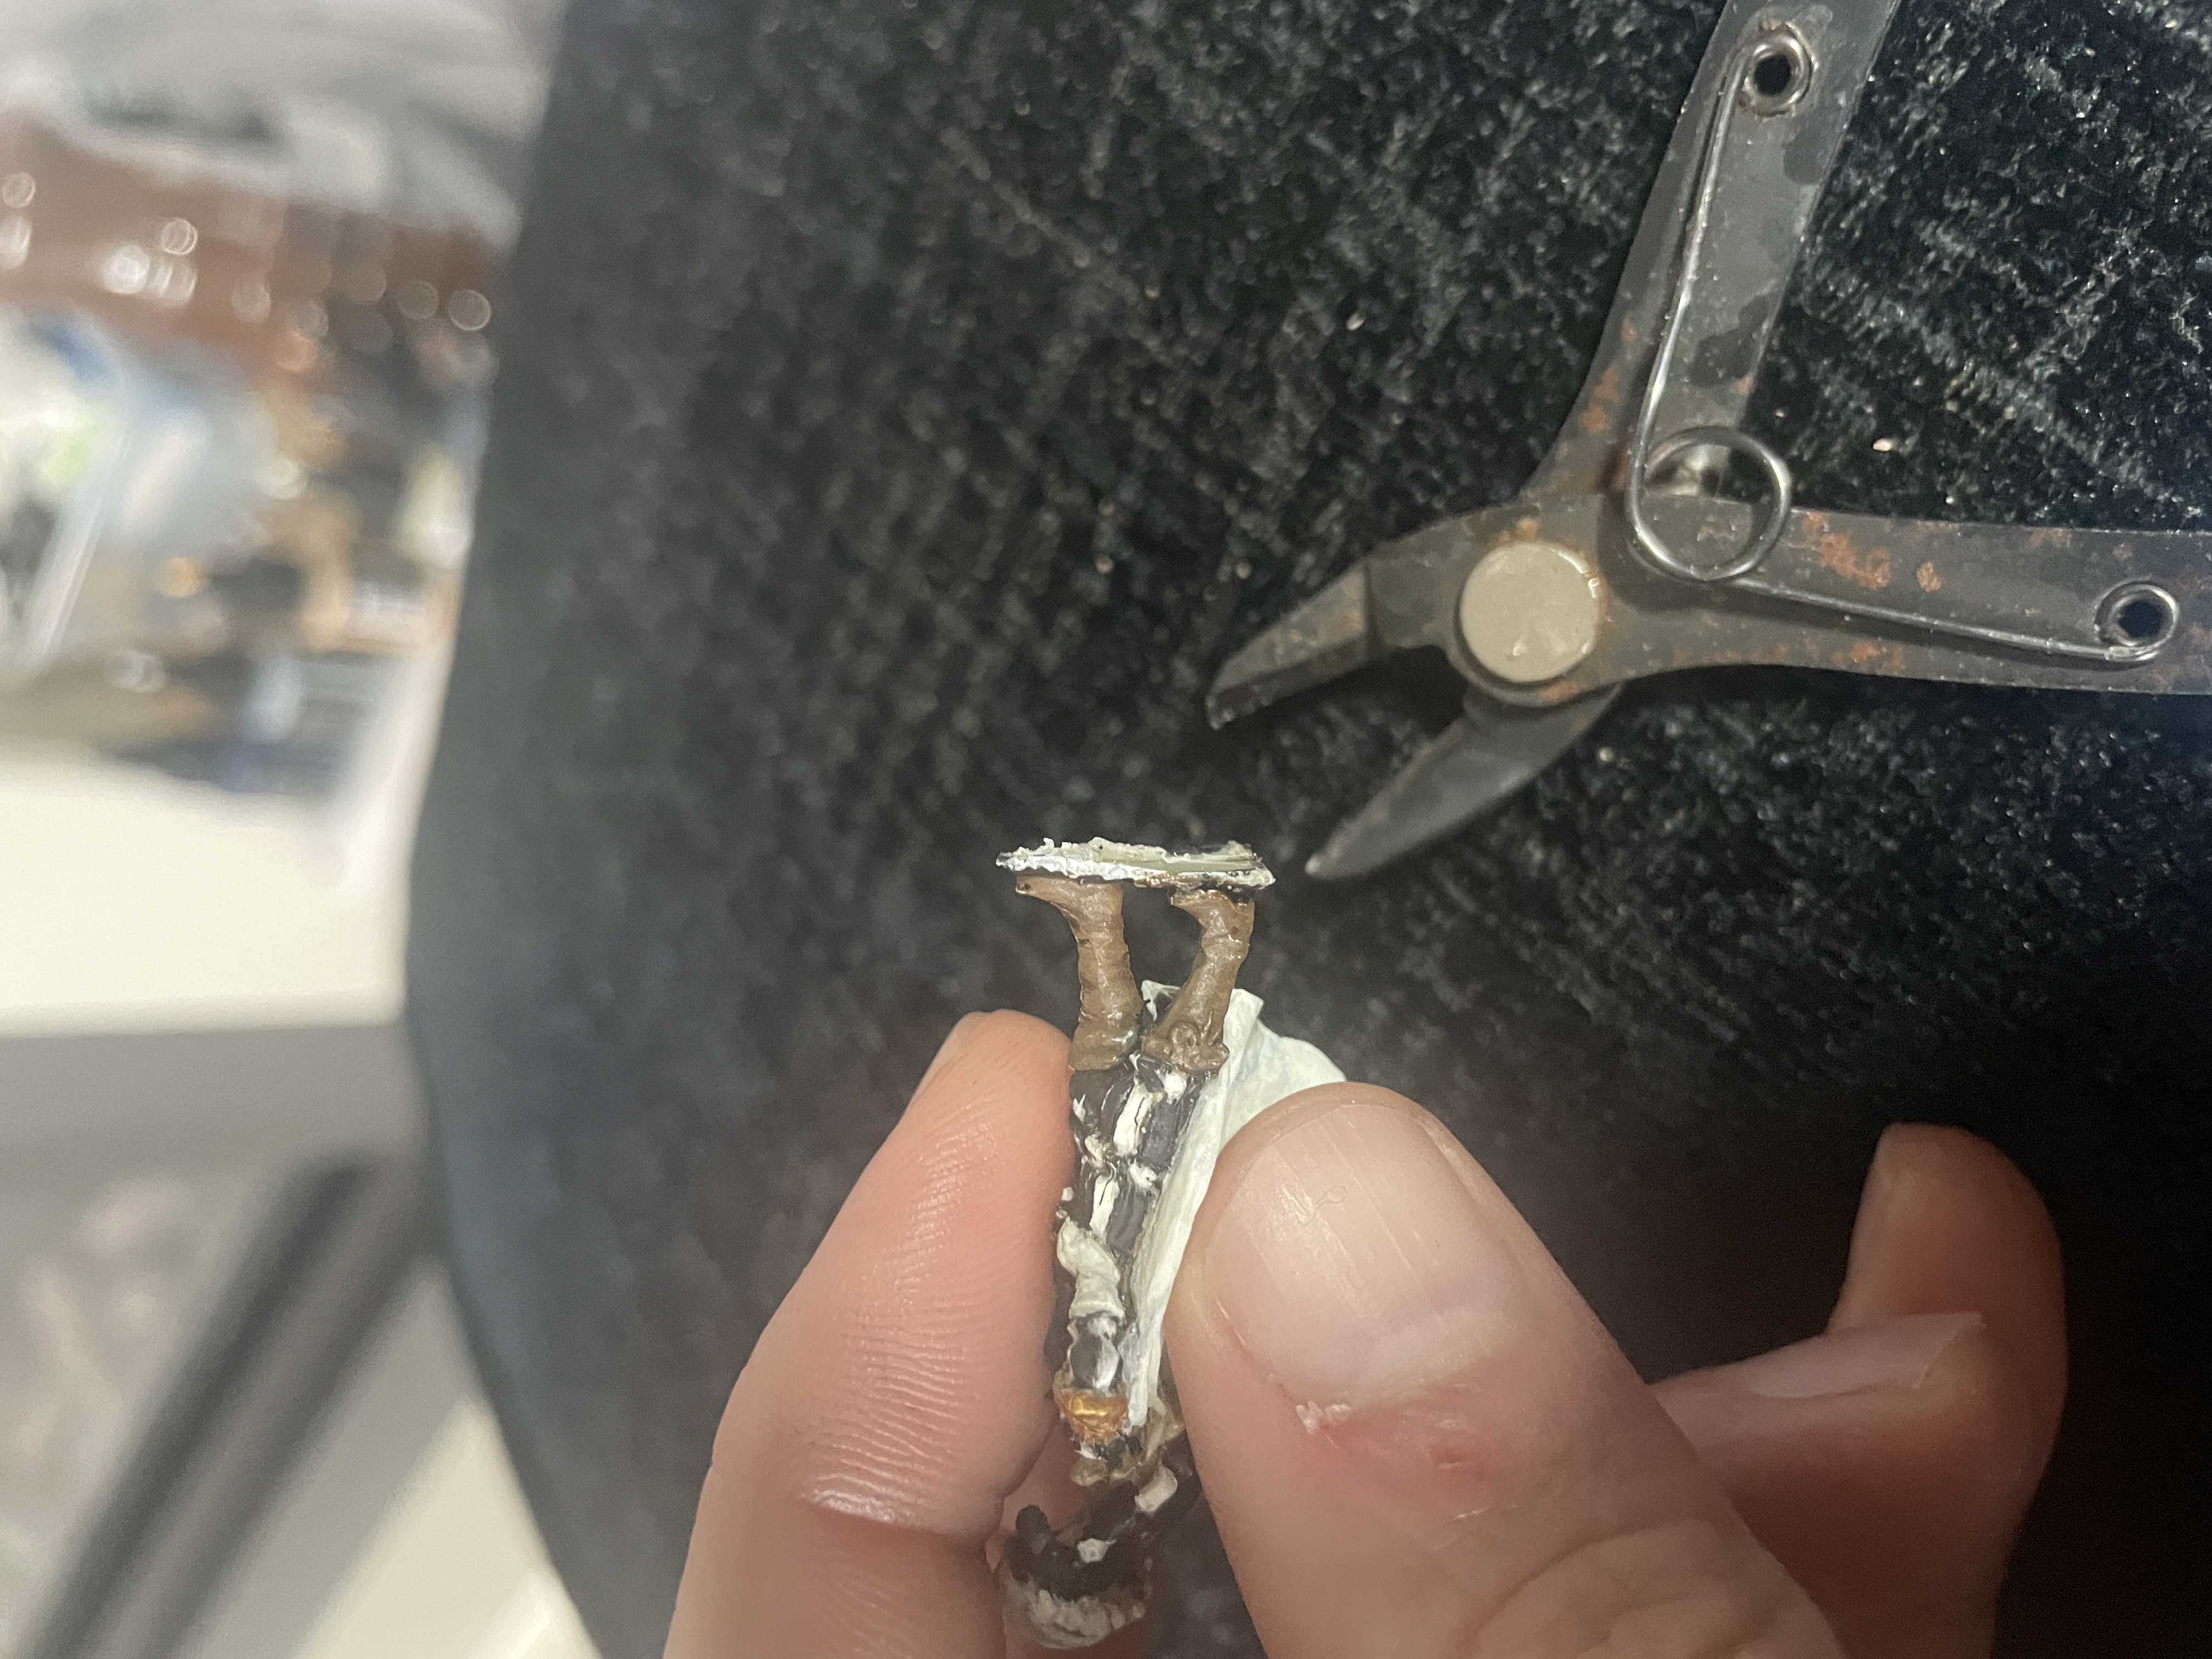
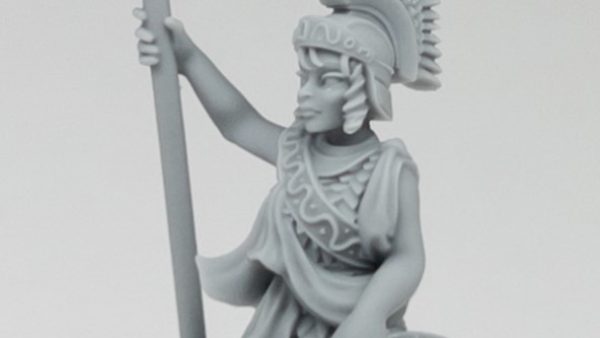
The minis required some tags to be removed before glueing this was done with hobby snips and then filing down to flatten the contact points. One tip Iv found as these are resin is to snip the middle of the tag first before removing. If you just snip them without doing this it can put pressure on the model and lead to breakages.
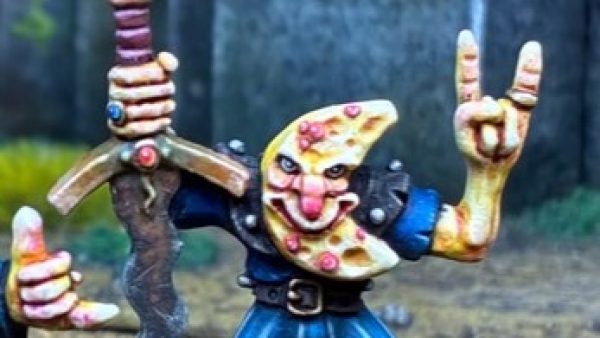
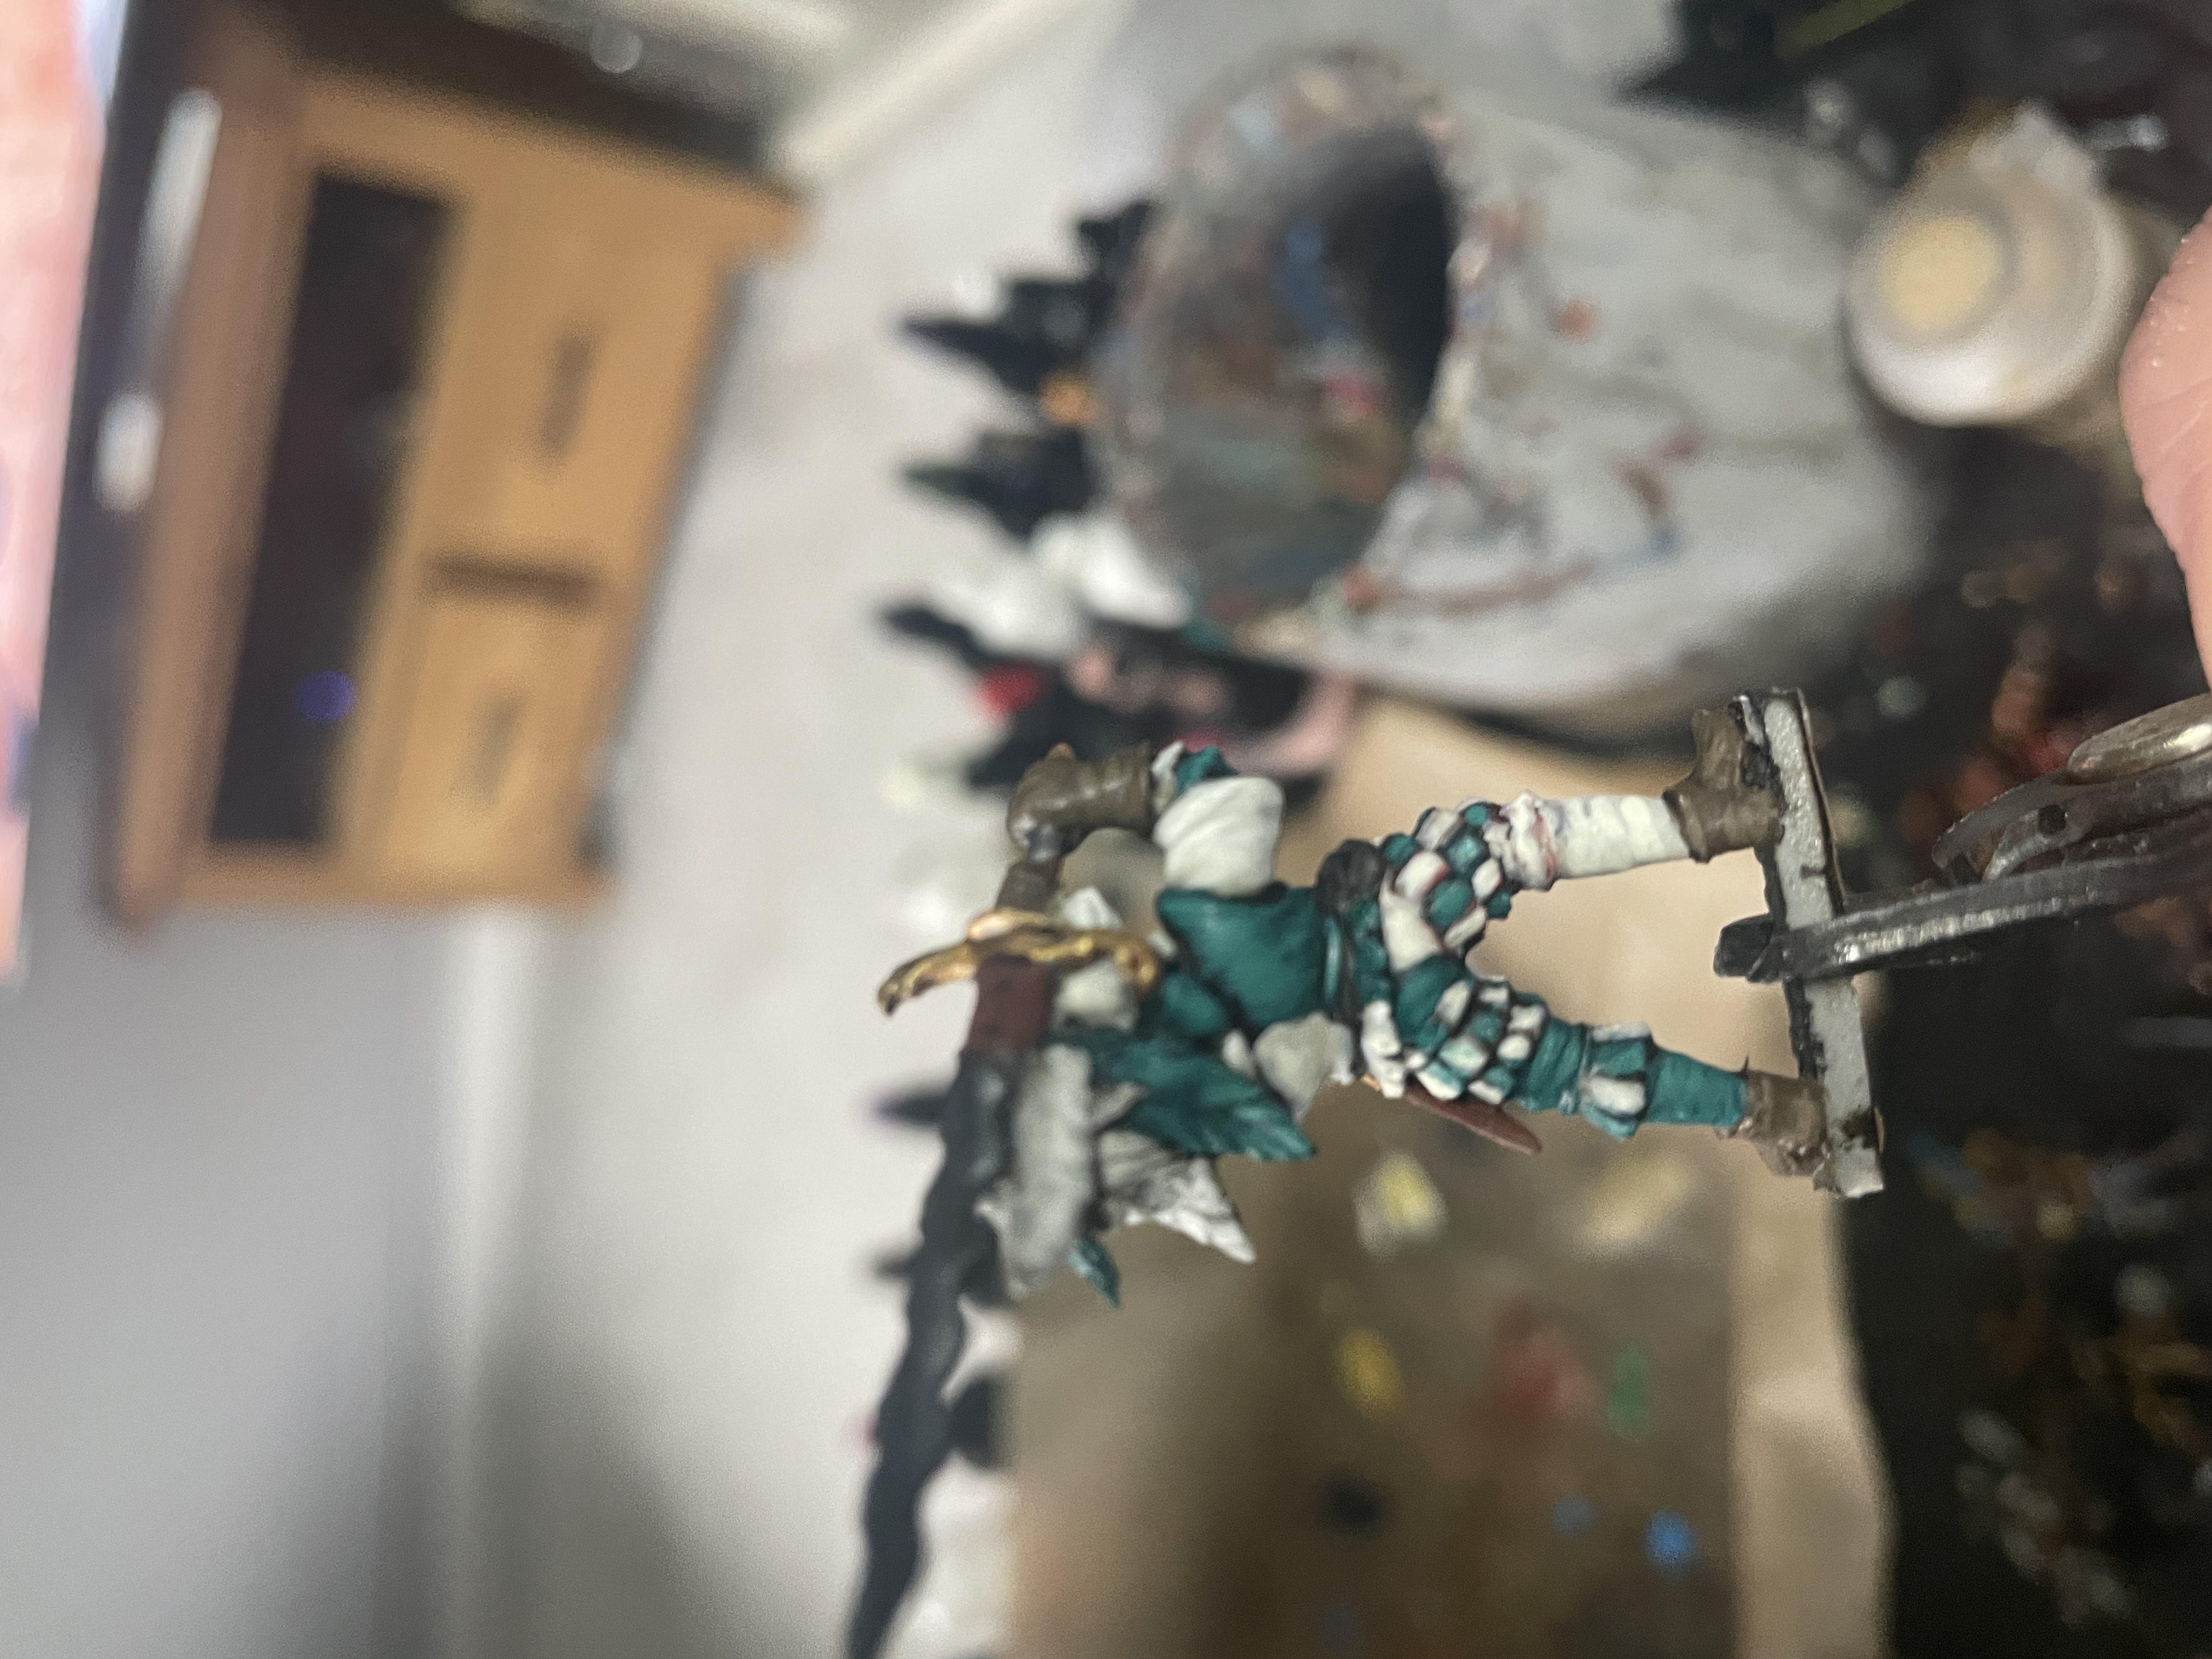
The miniatures
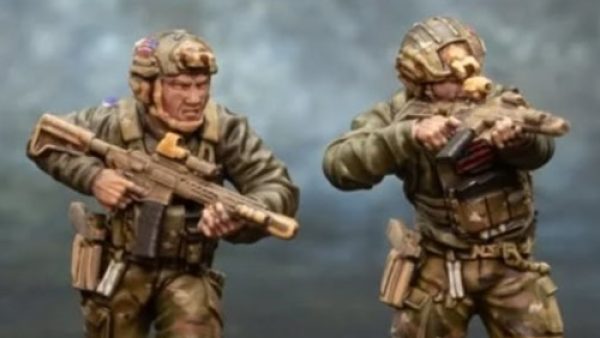
Iv done some posts on other projects about my method so will keep this short. Simple base coat with monument hobbies paints ( the best Iv used). Then an all over wash with army painter strong tone. Then highlights added by using the base coat and lightening up the colour by adding pale yellow to the original colour. These are great minis such fun painting the dandy colours.
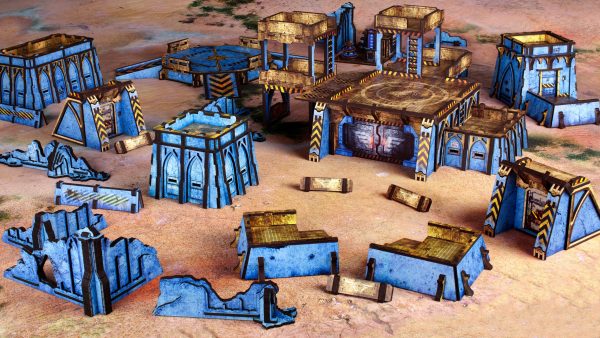
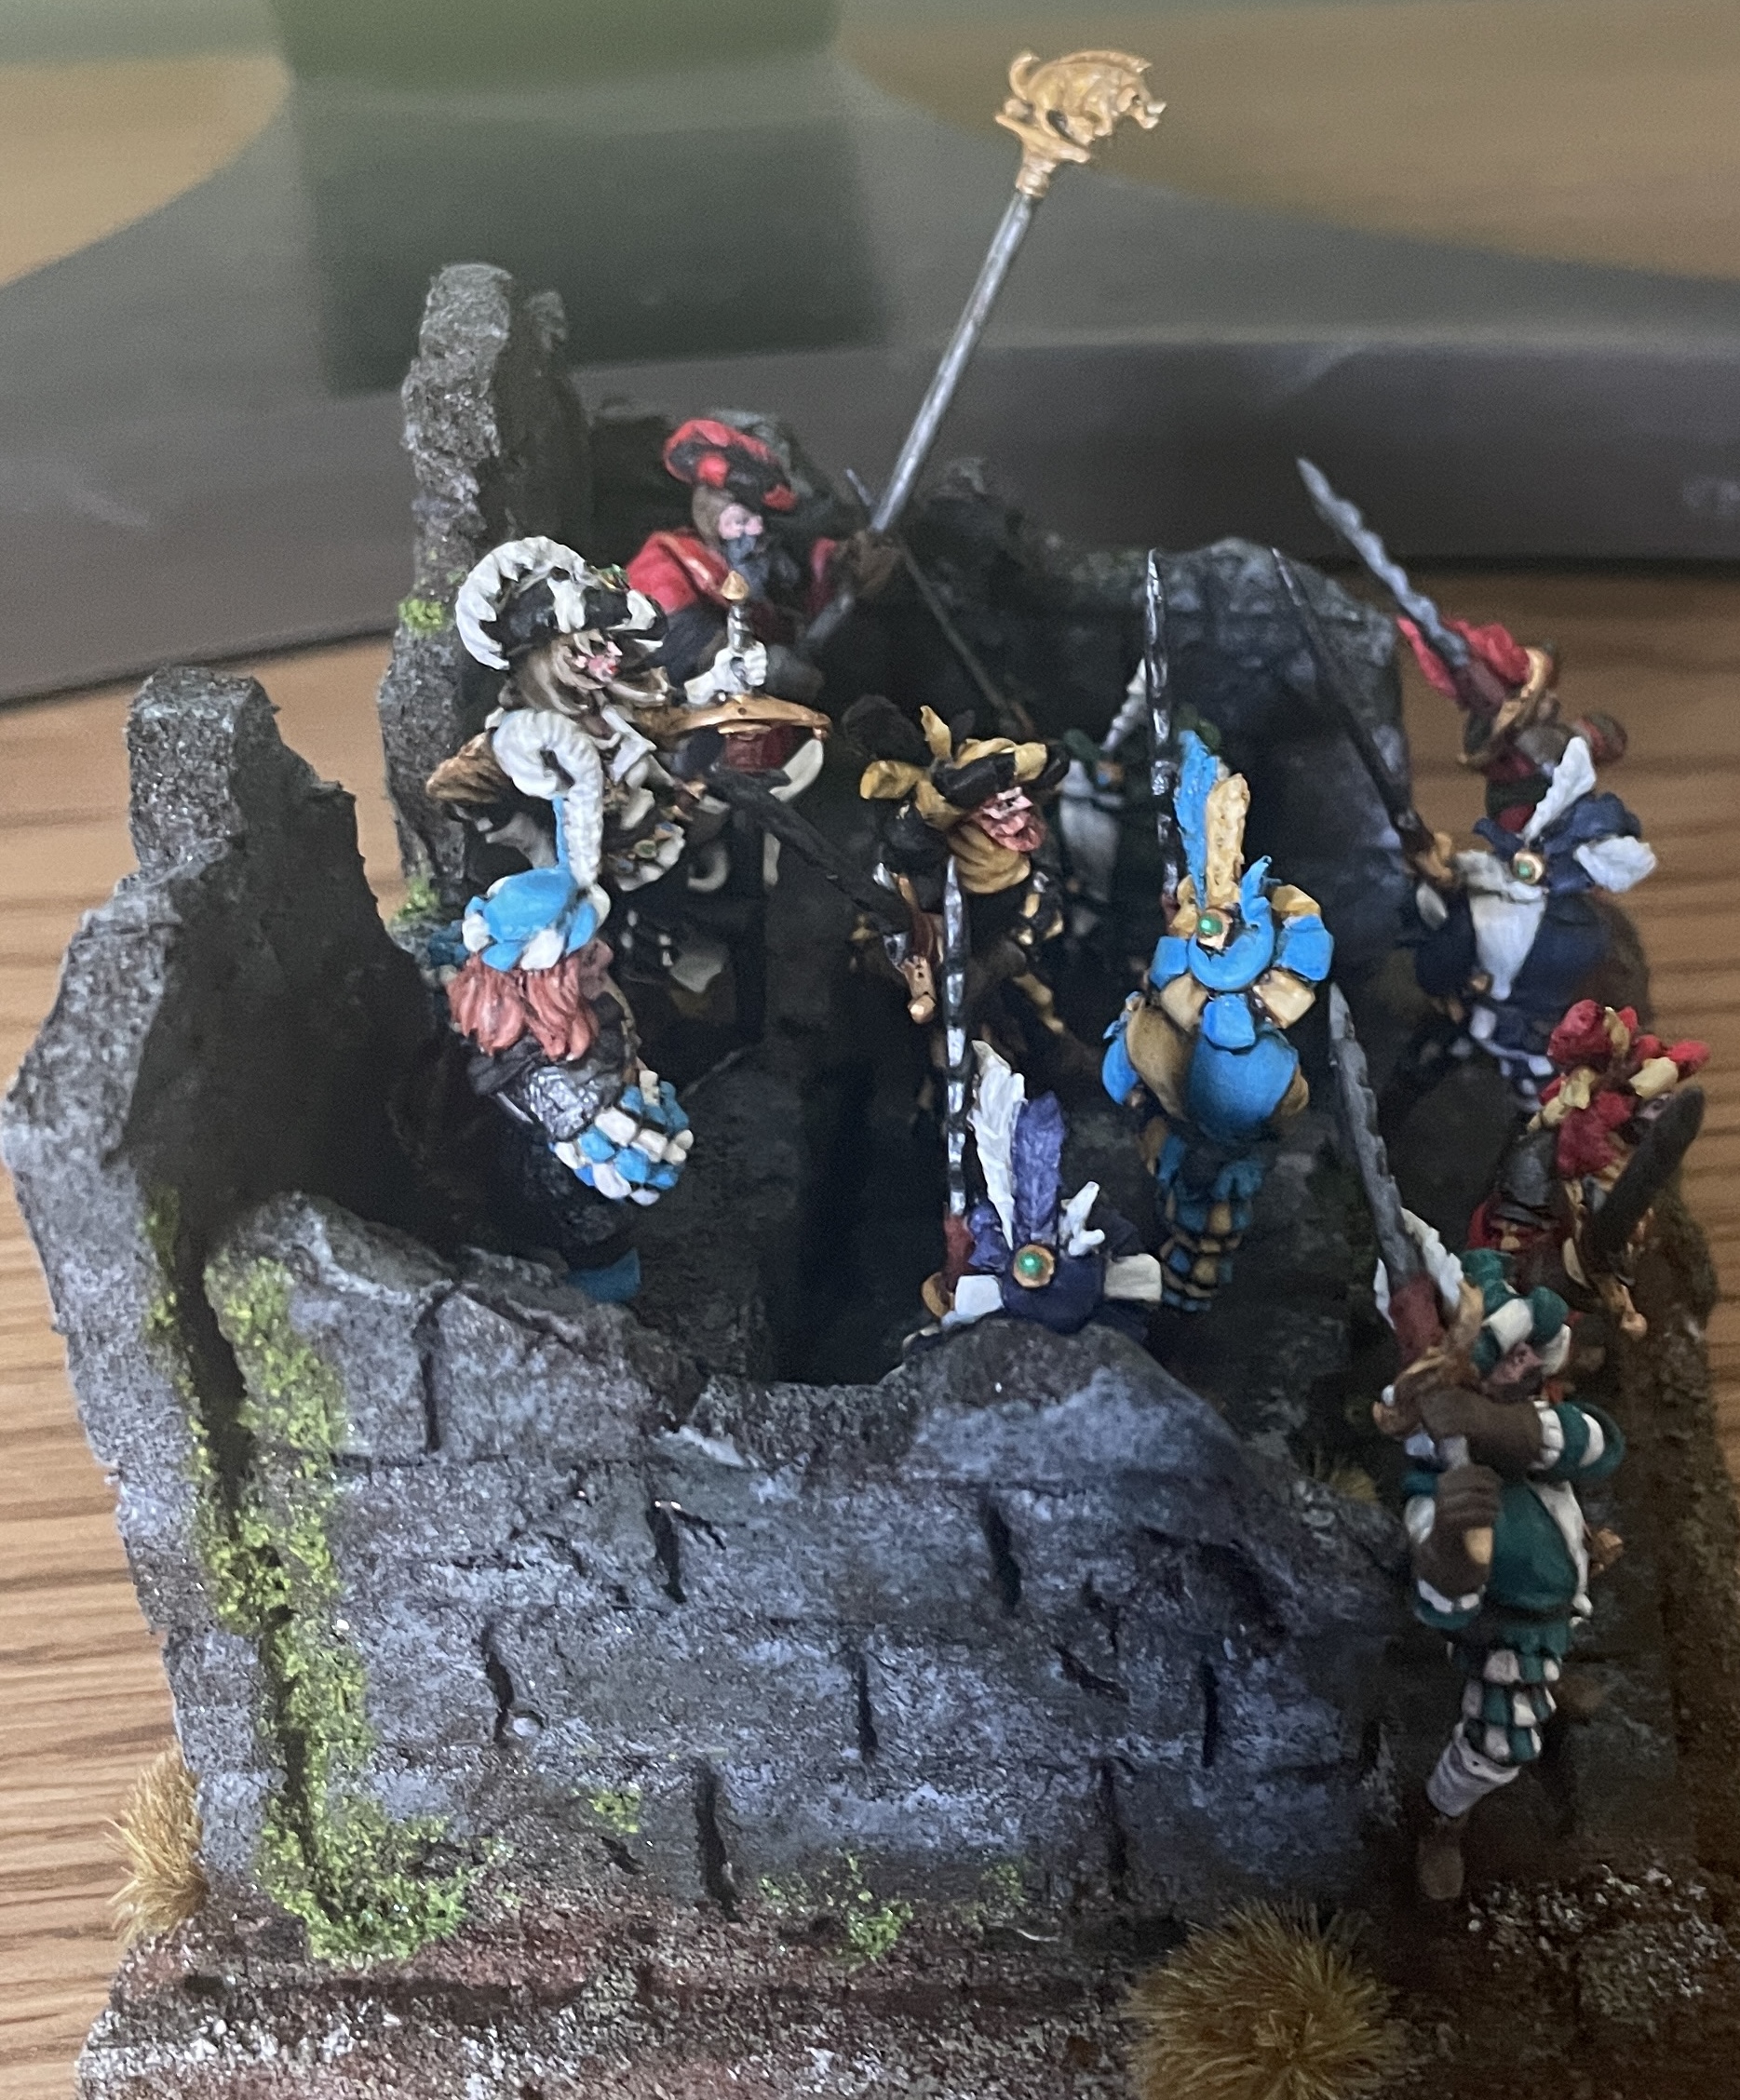
The final touches the base
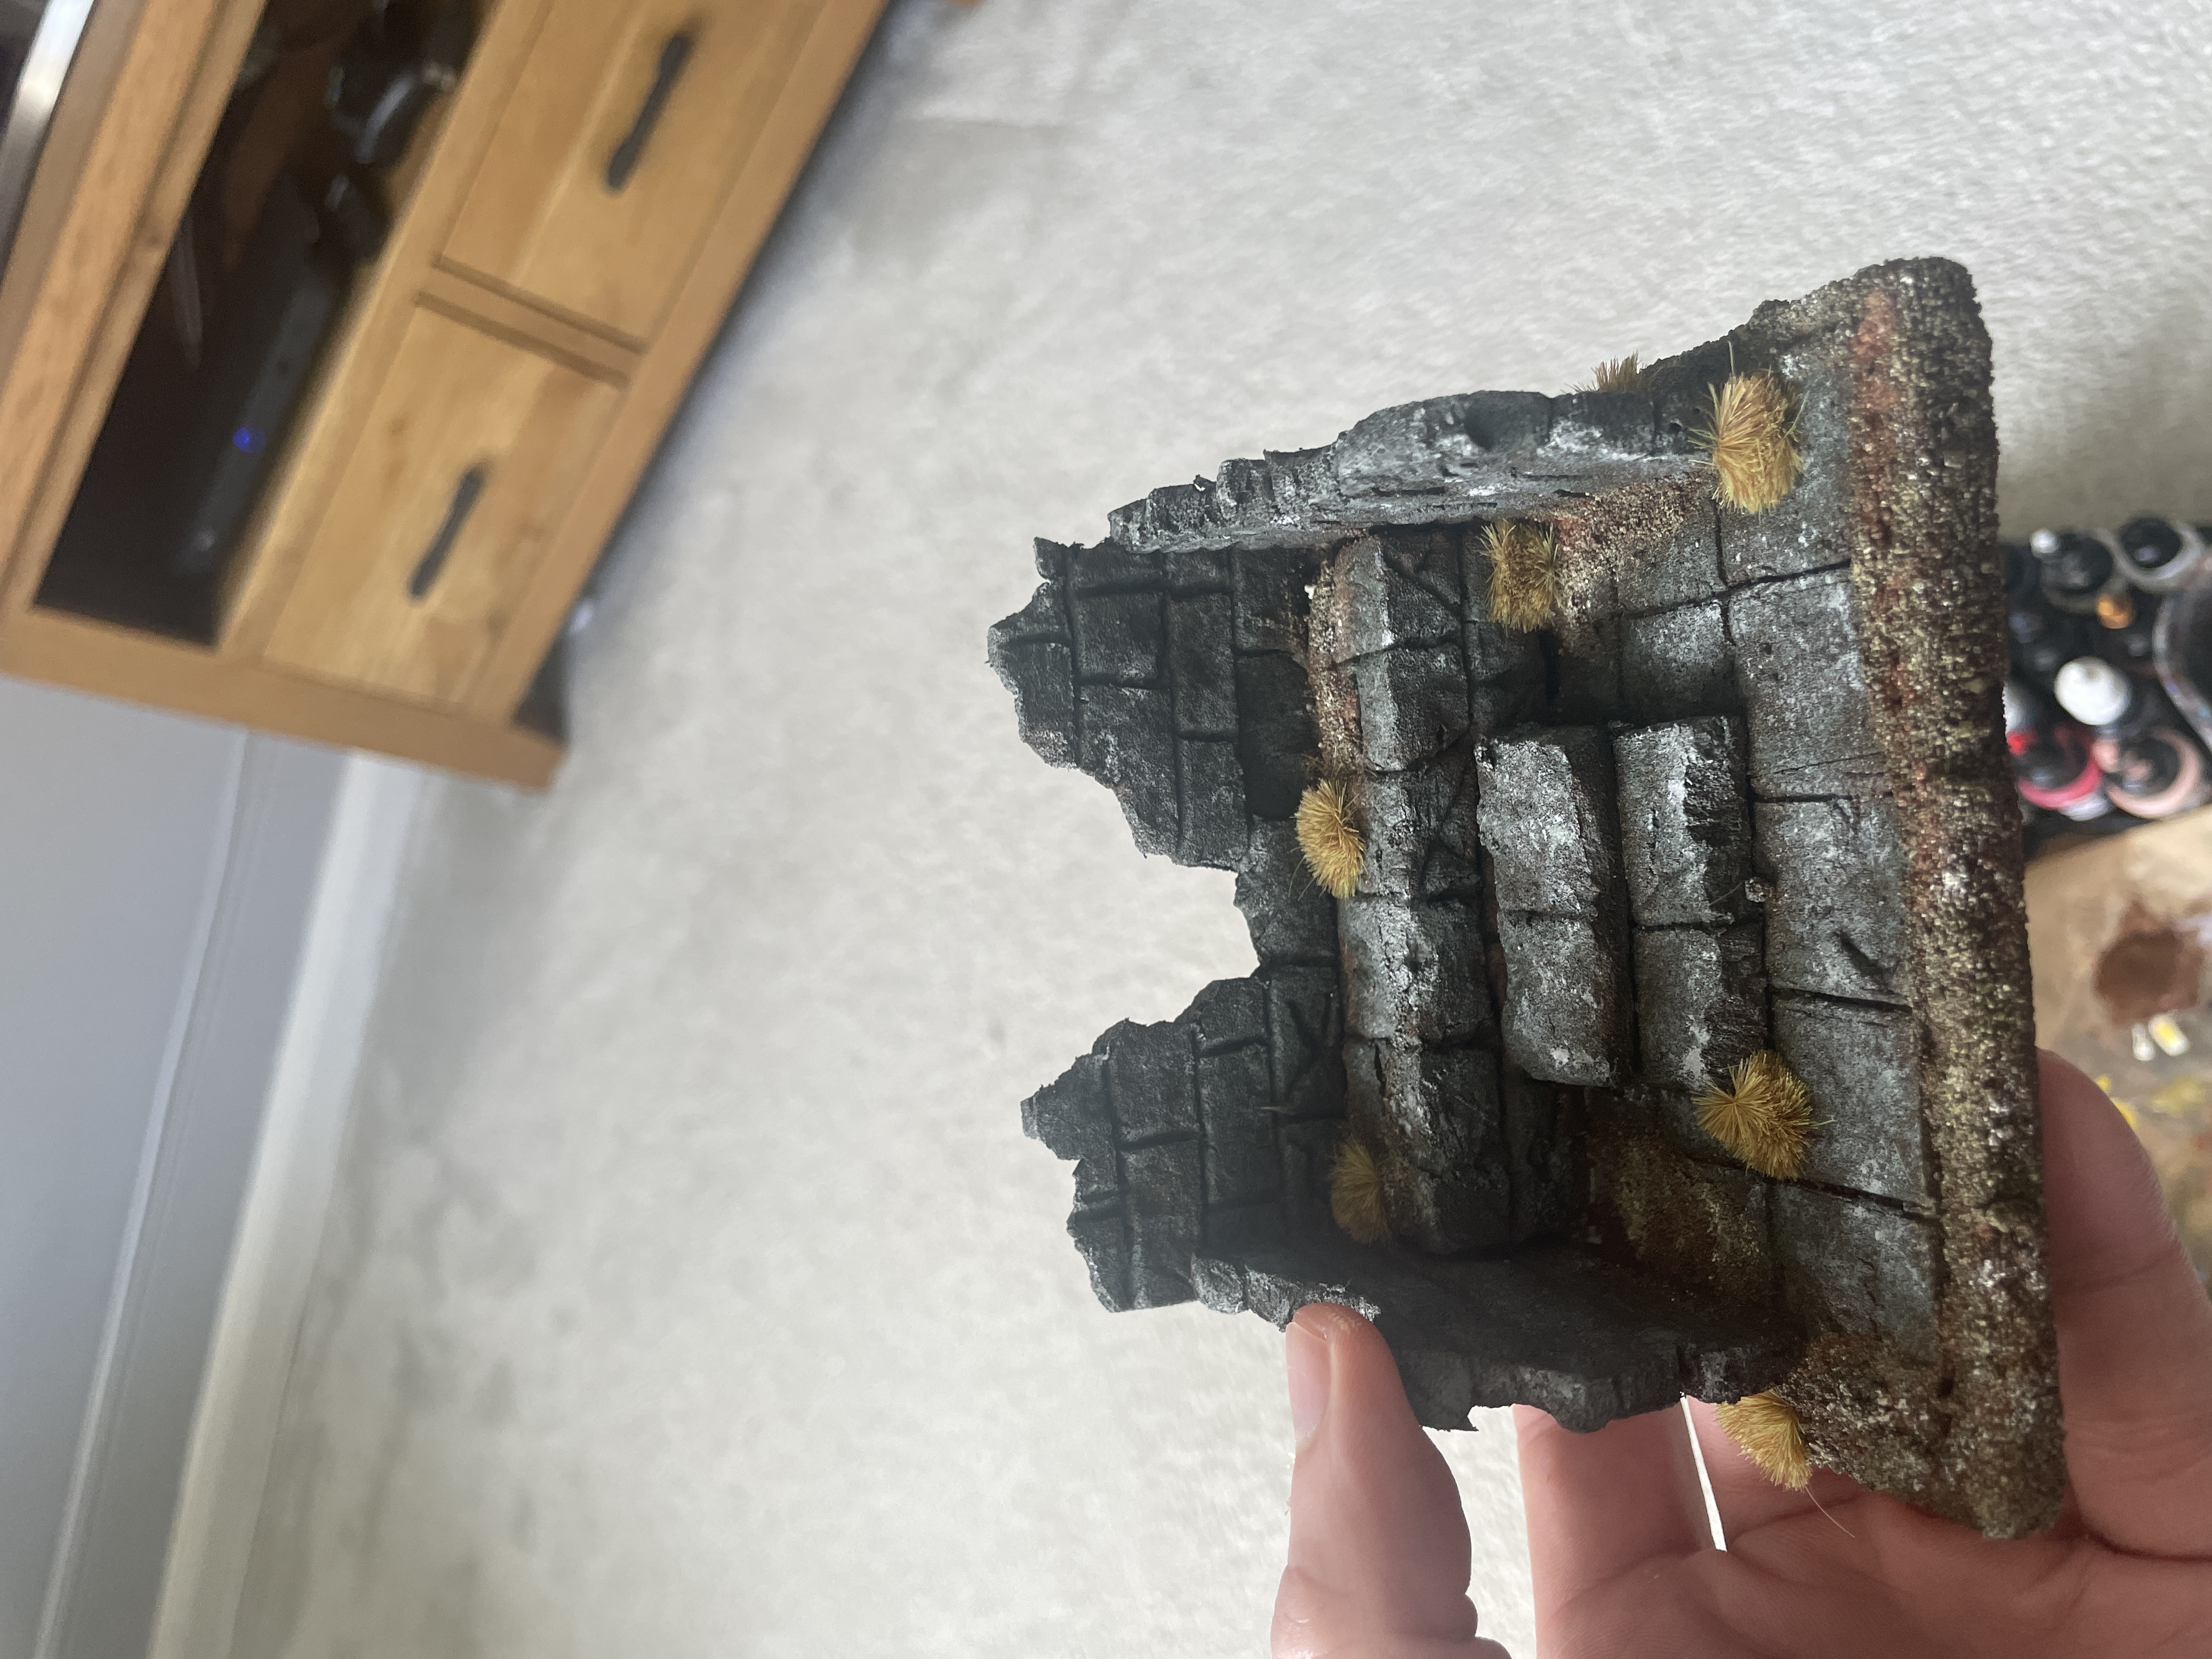
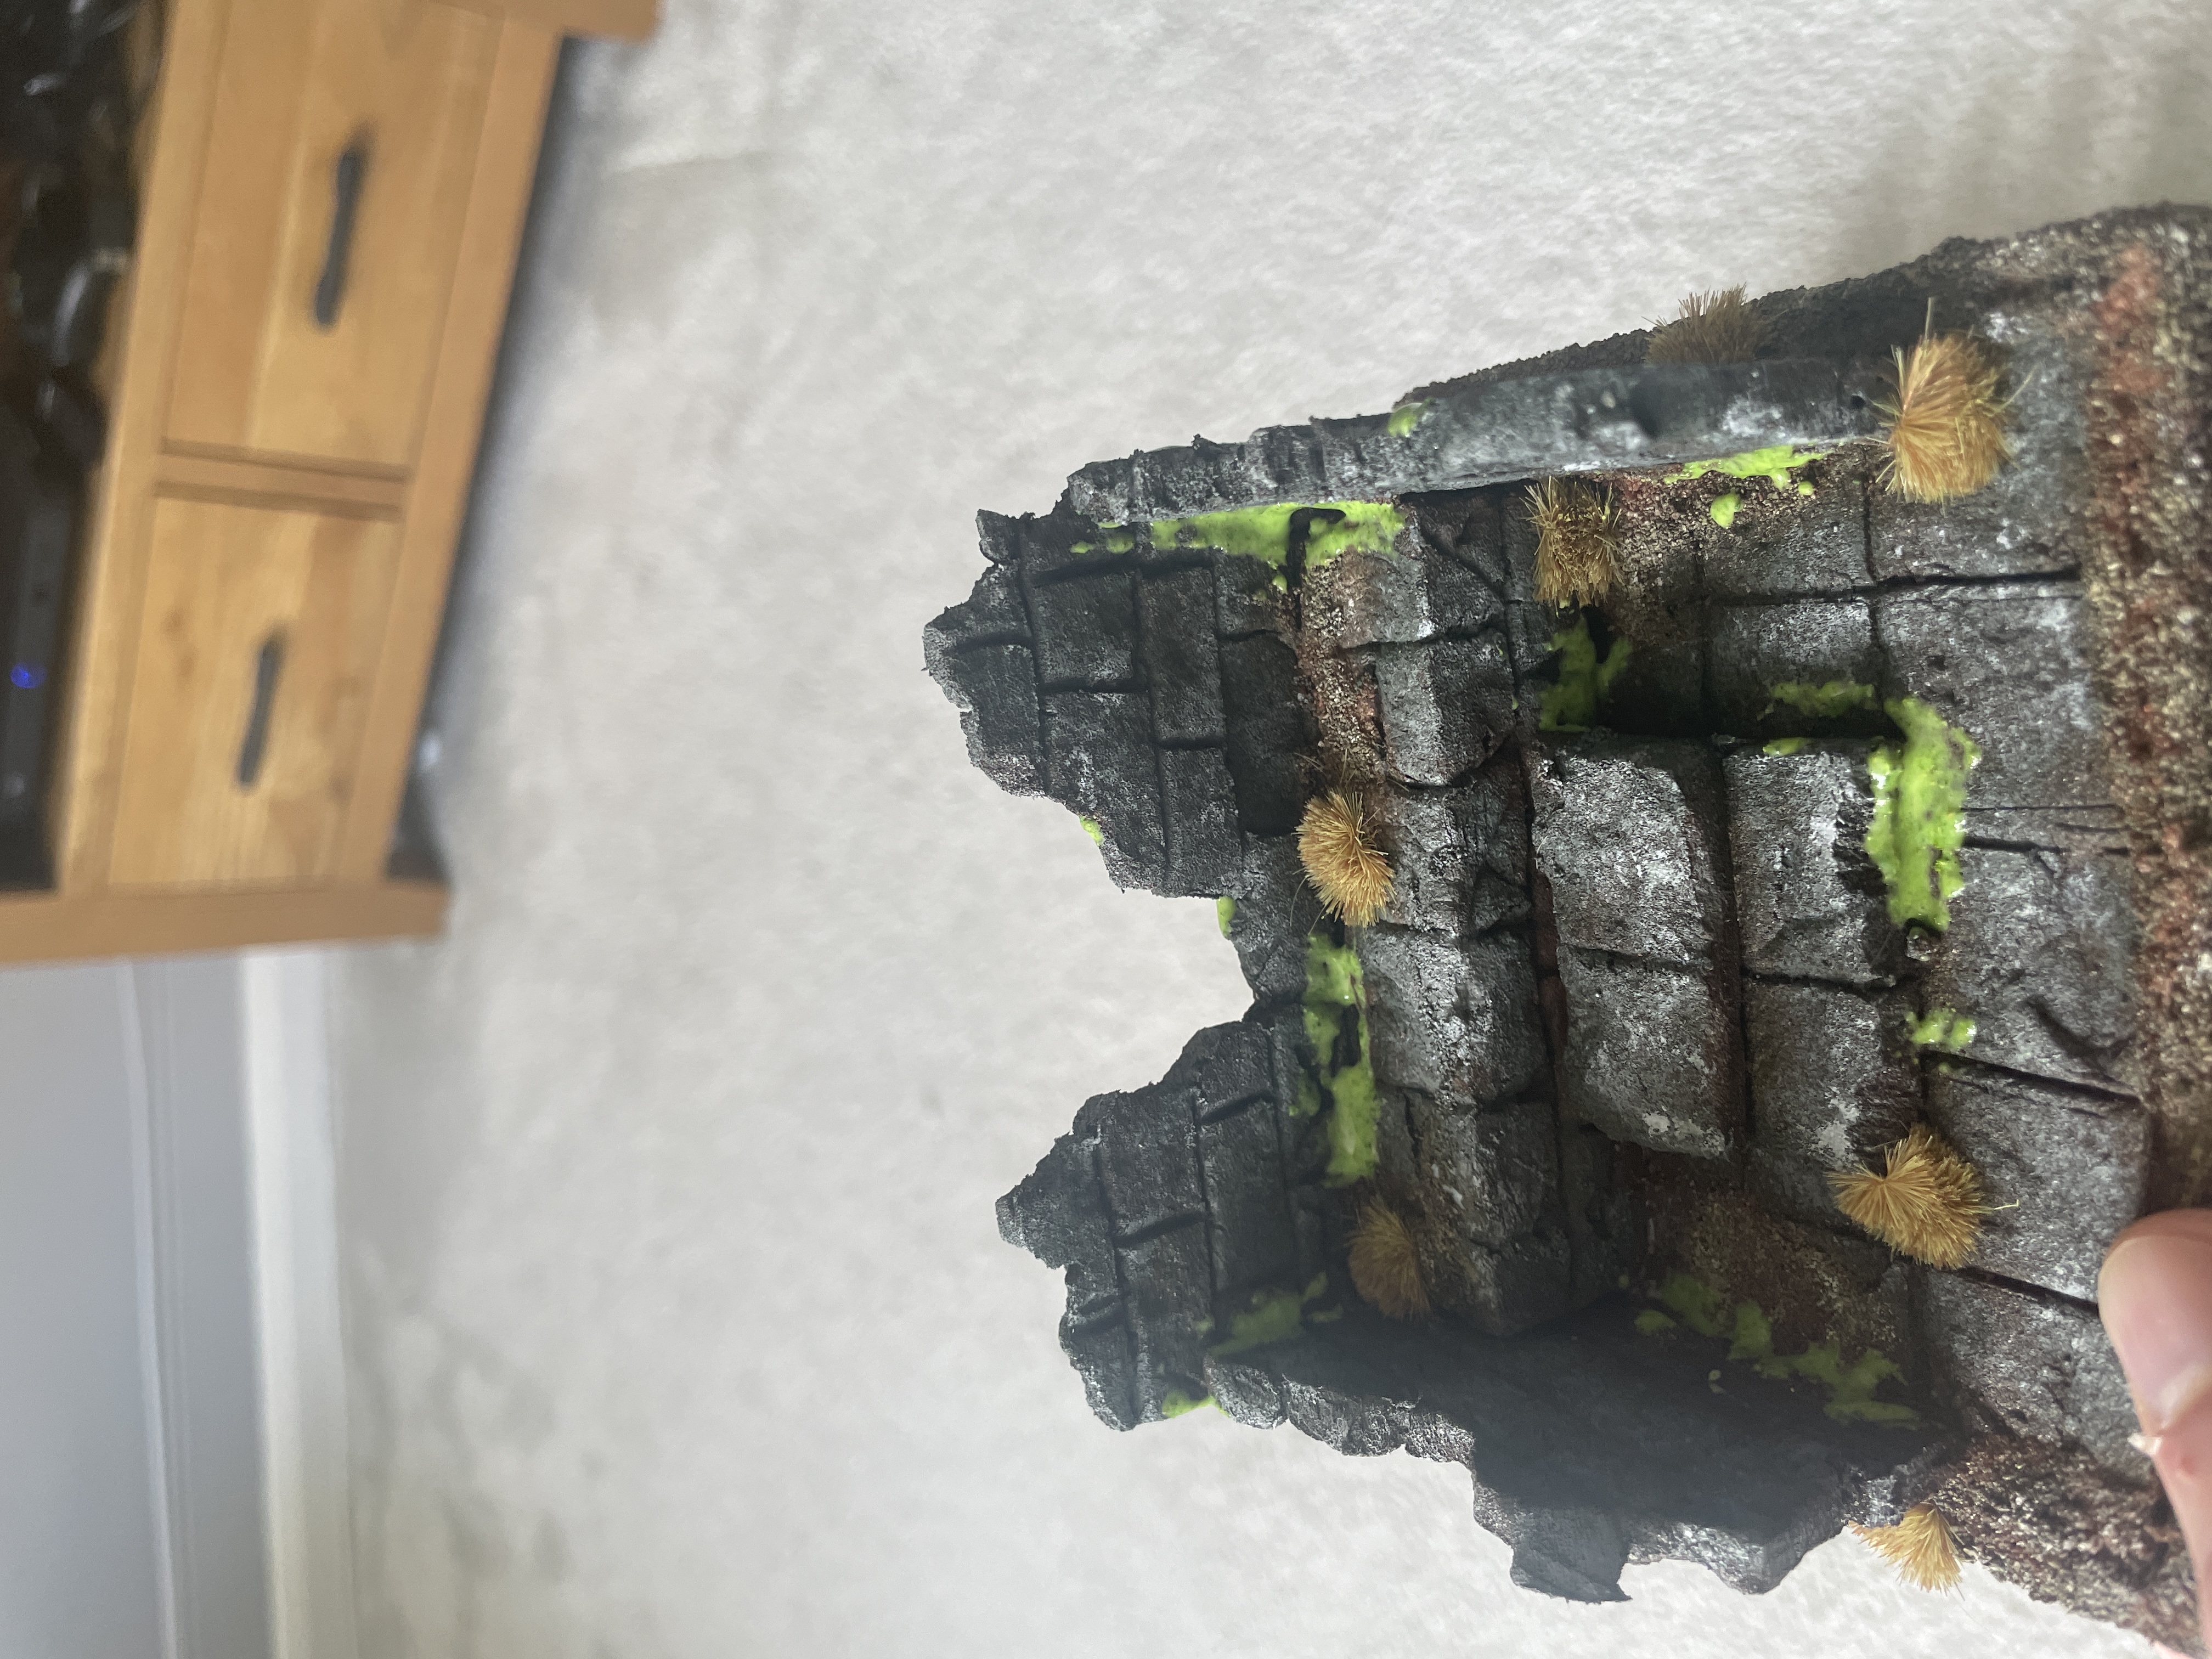
- I added some tufts around the base and walls.
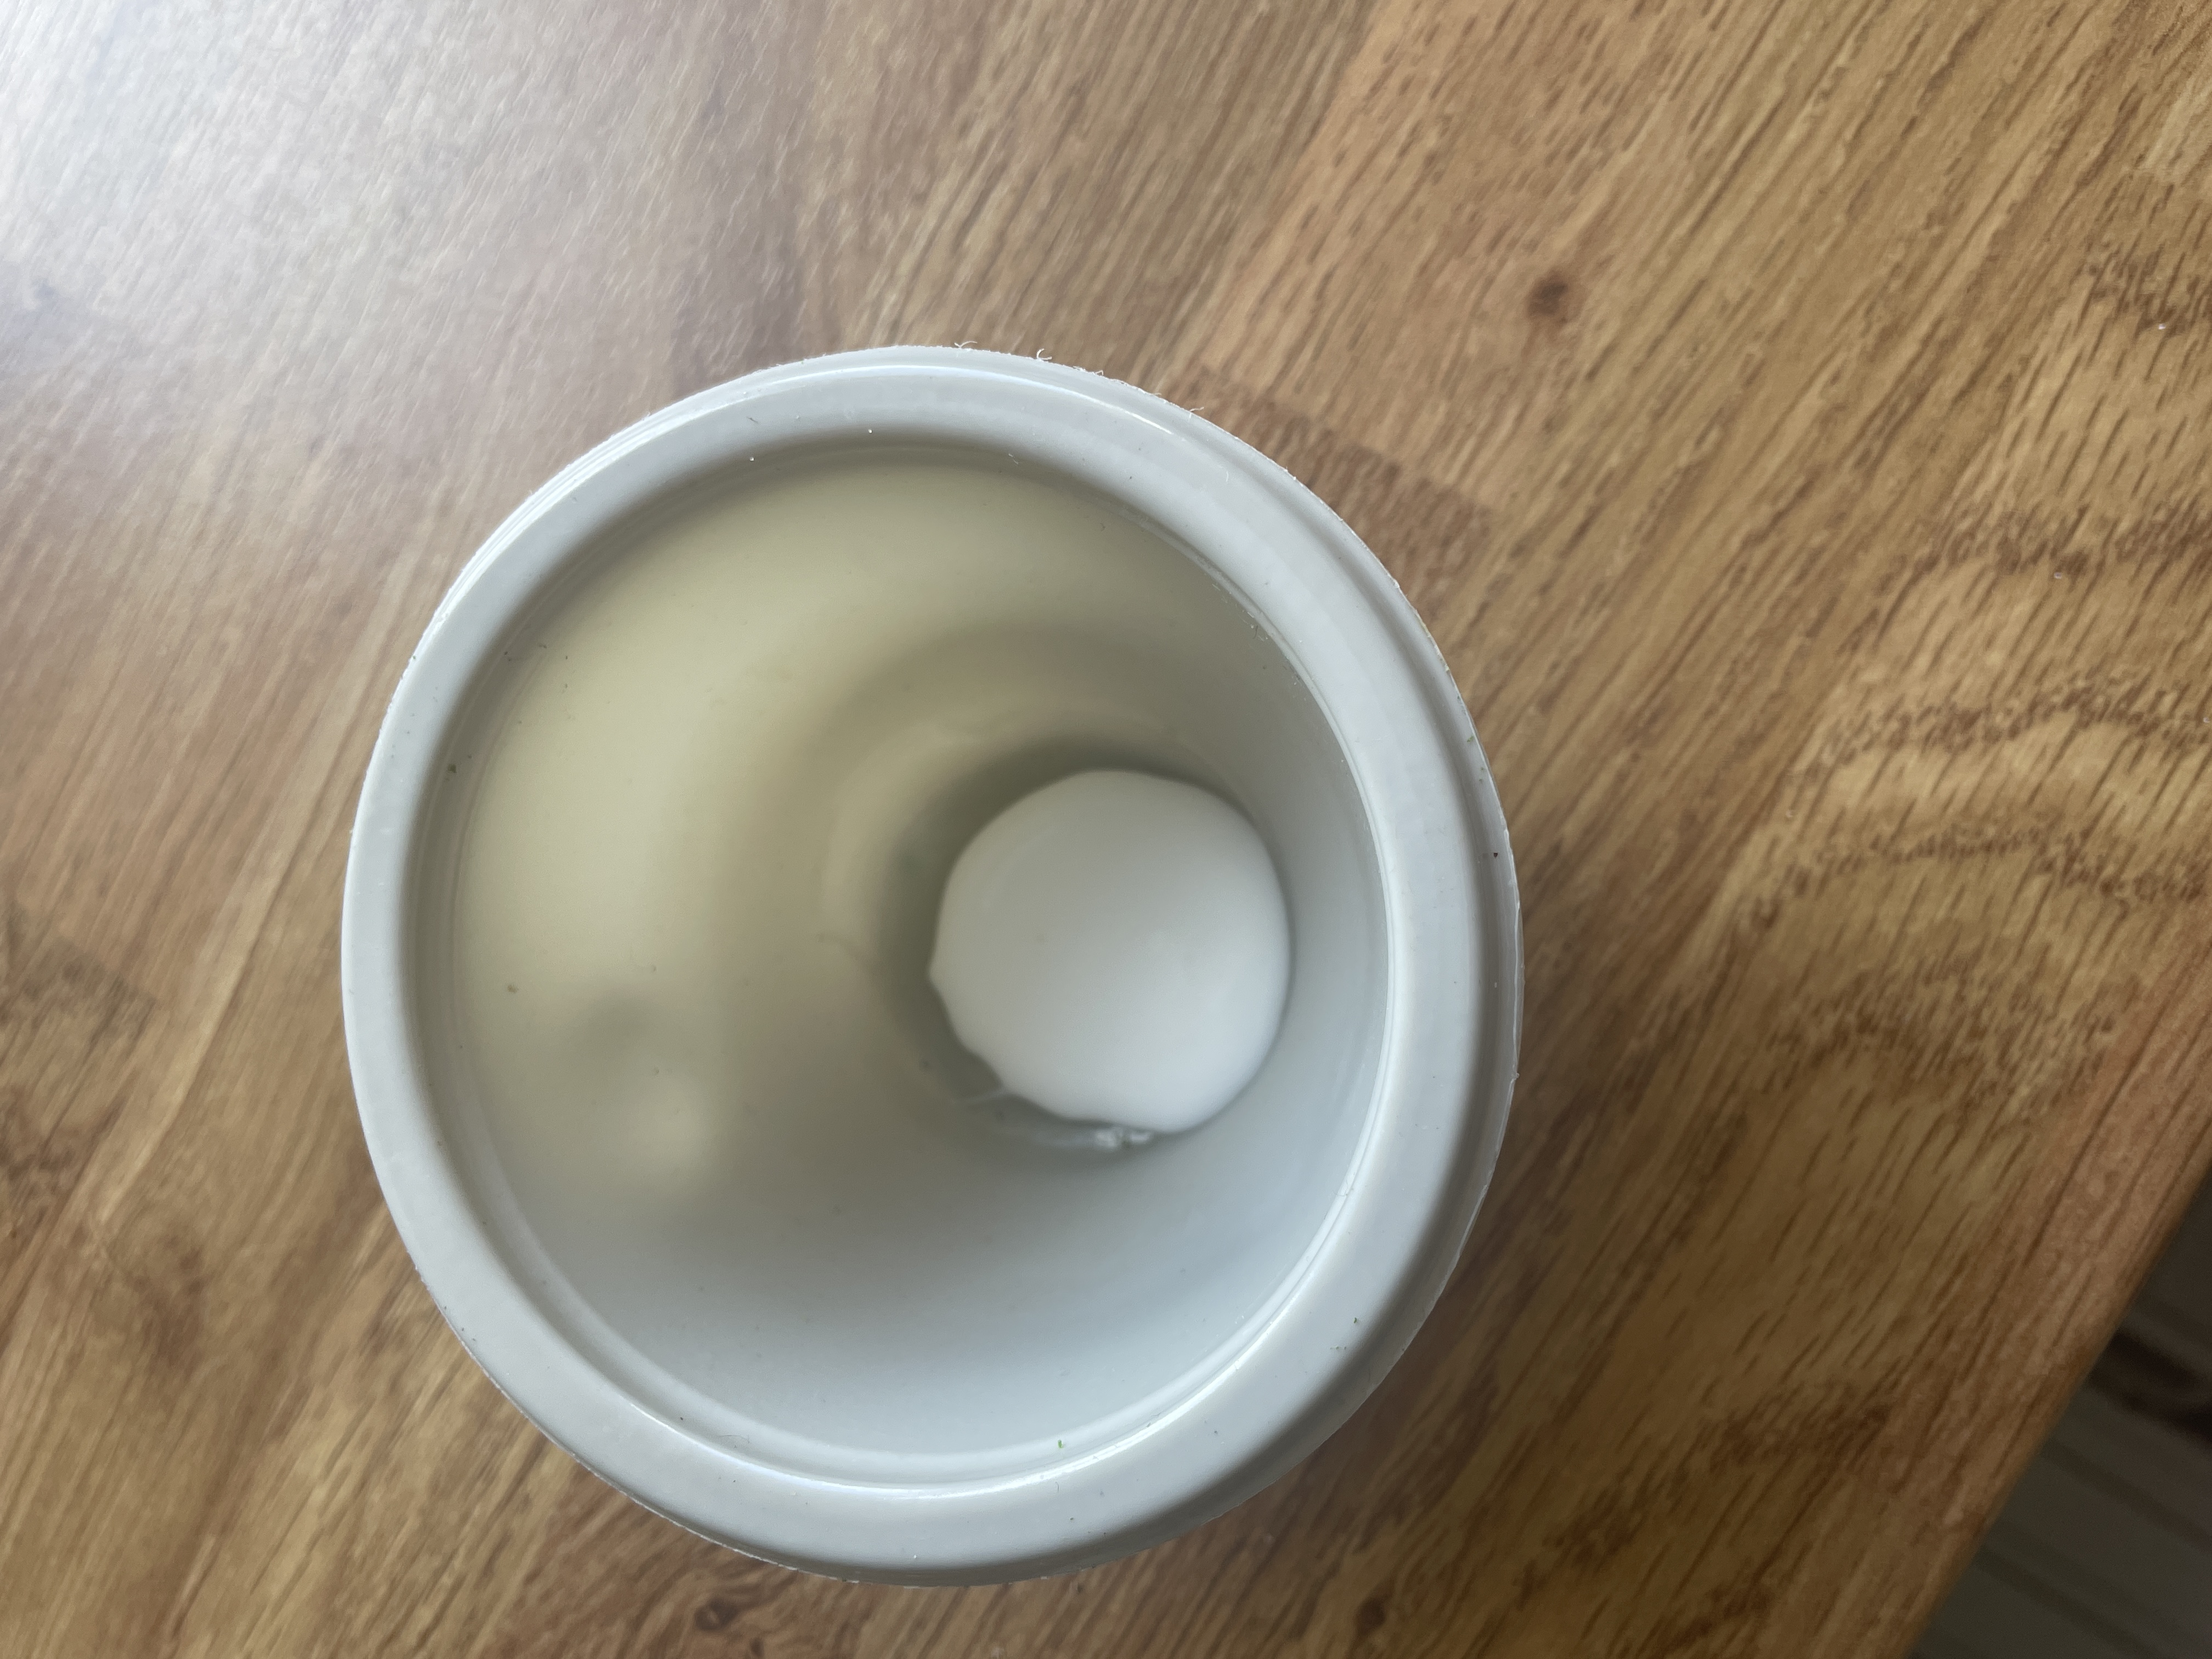
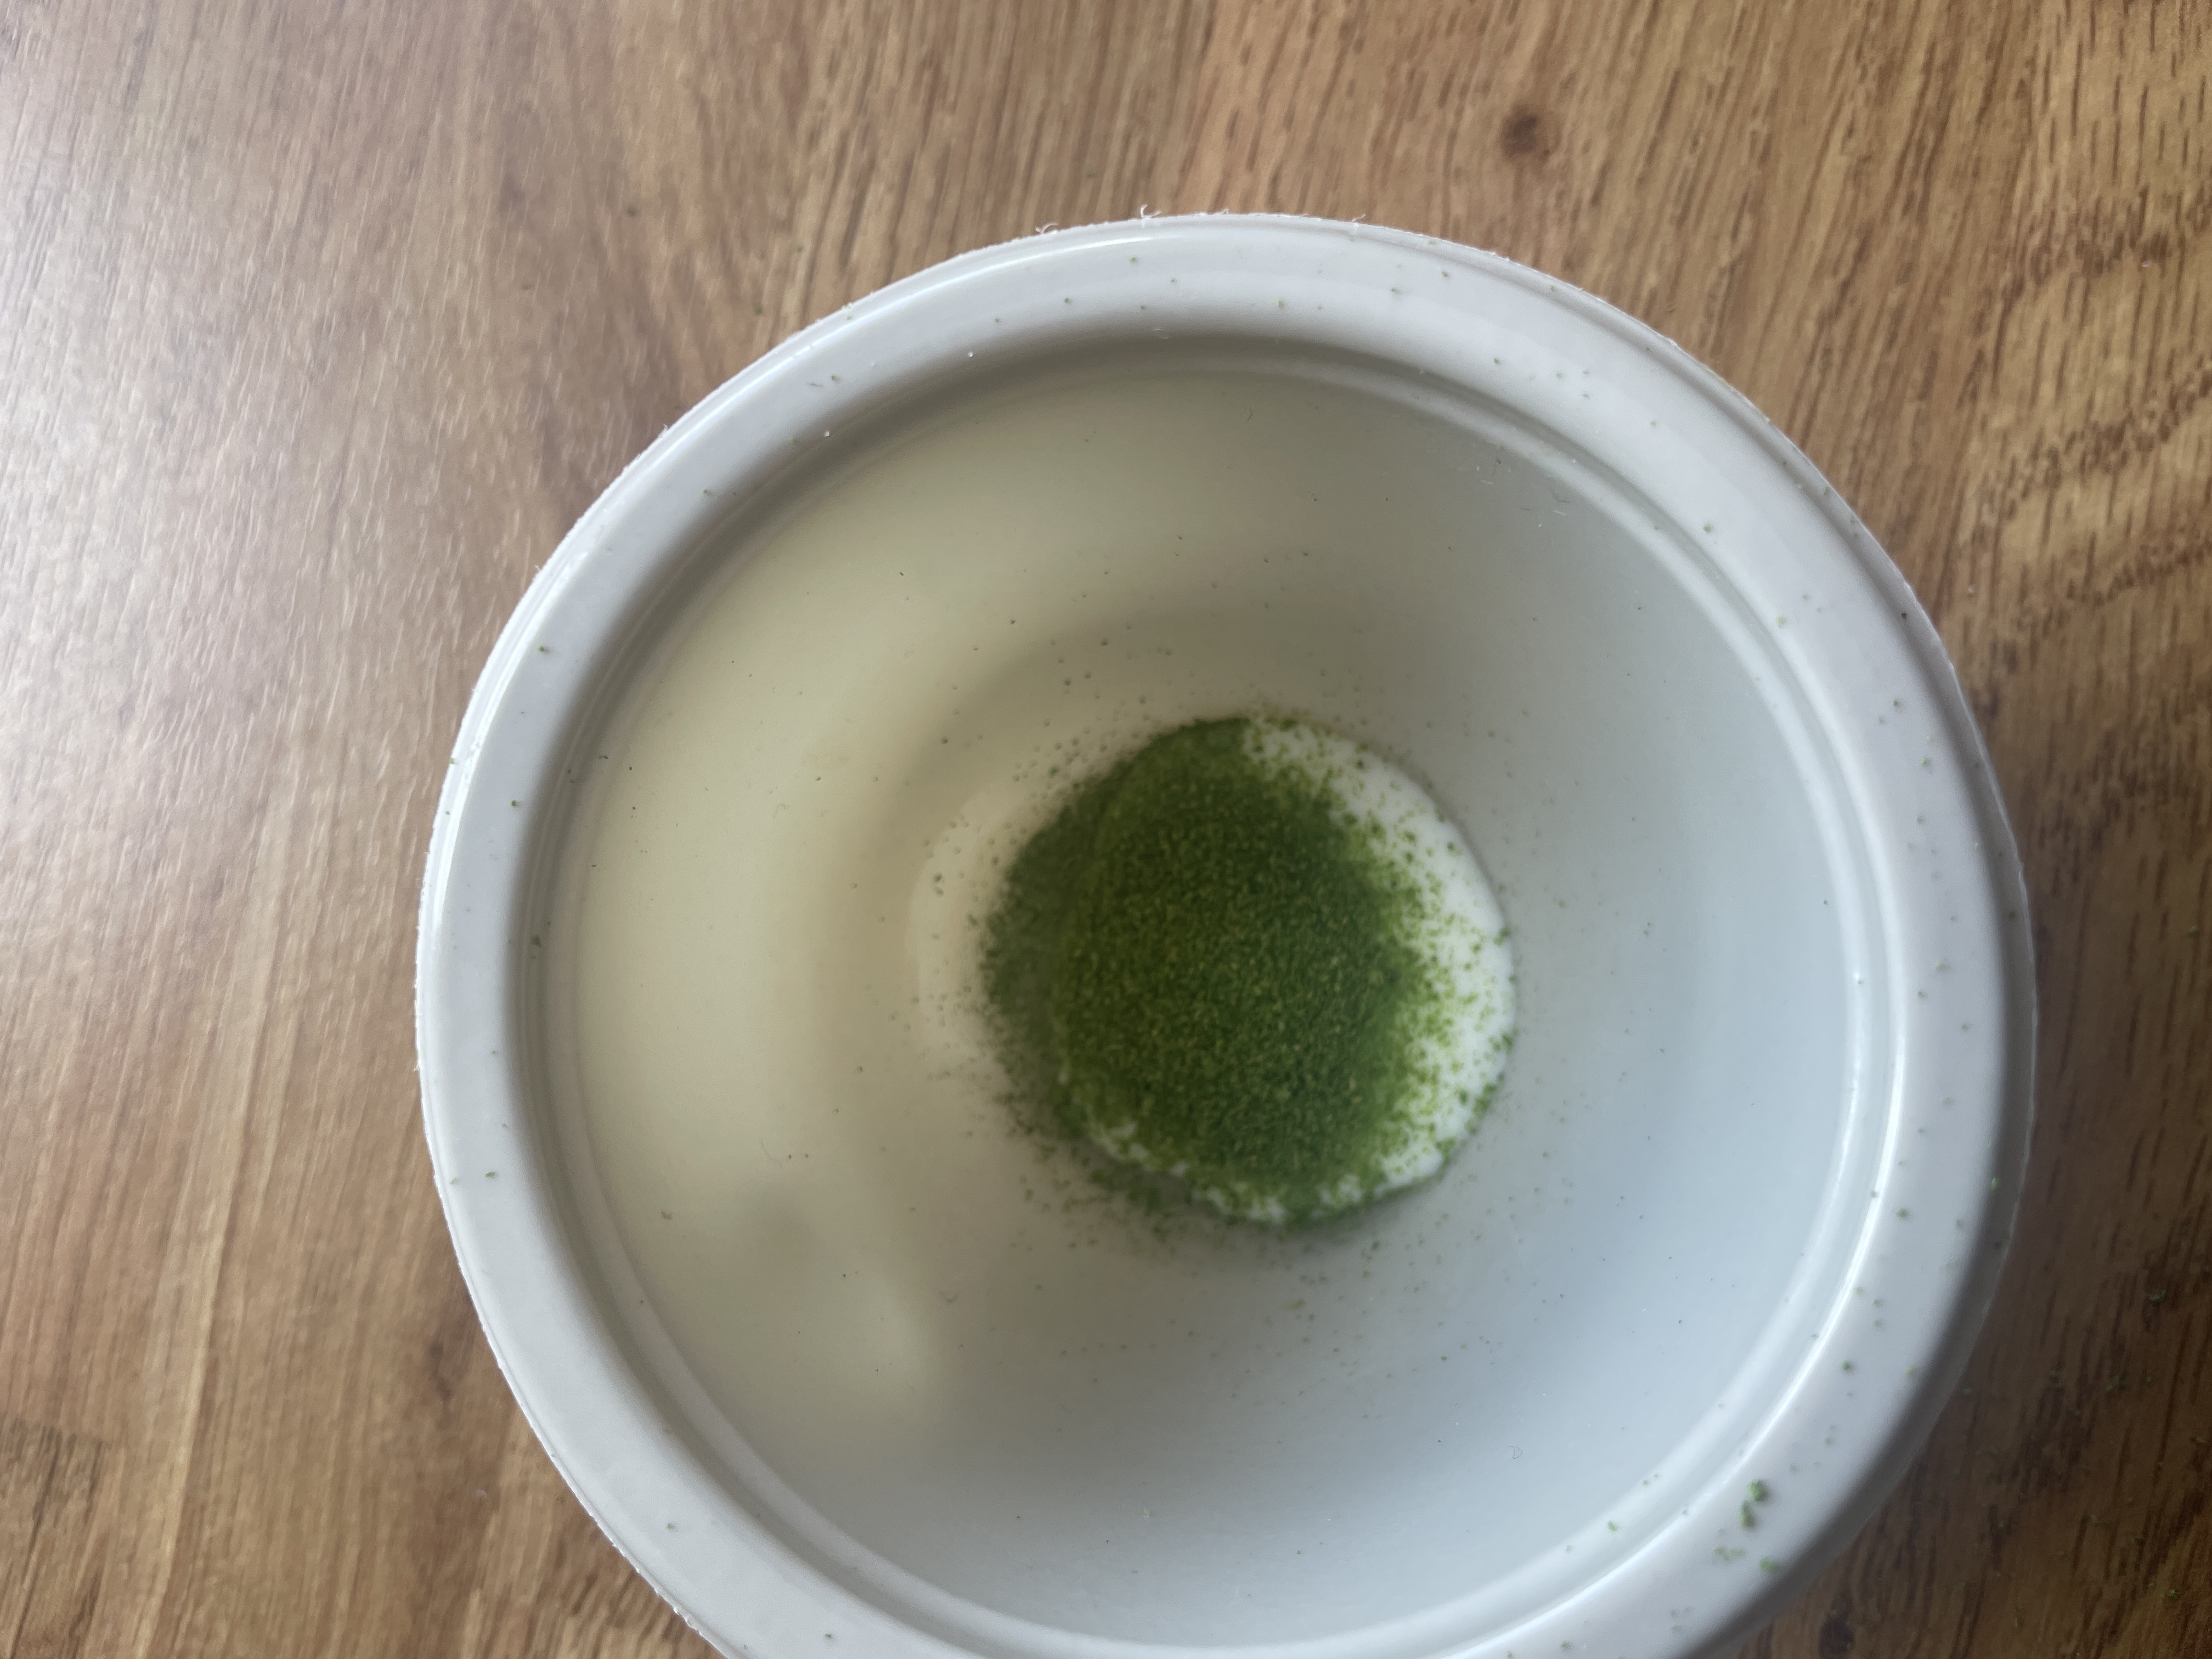
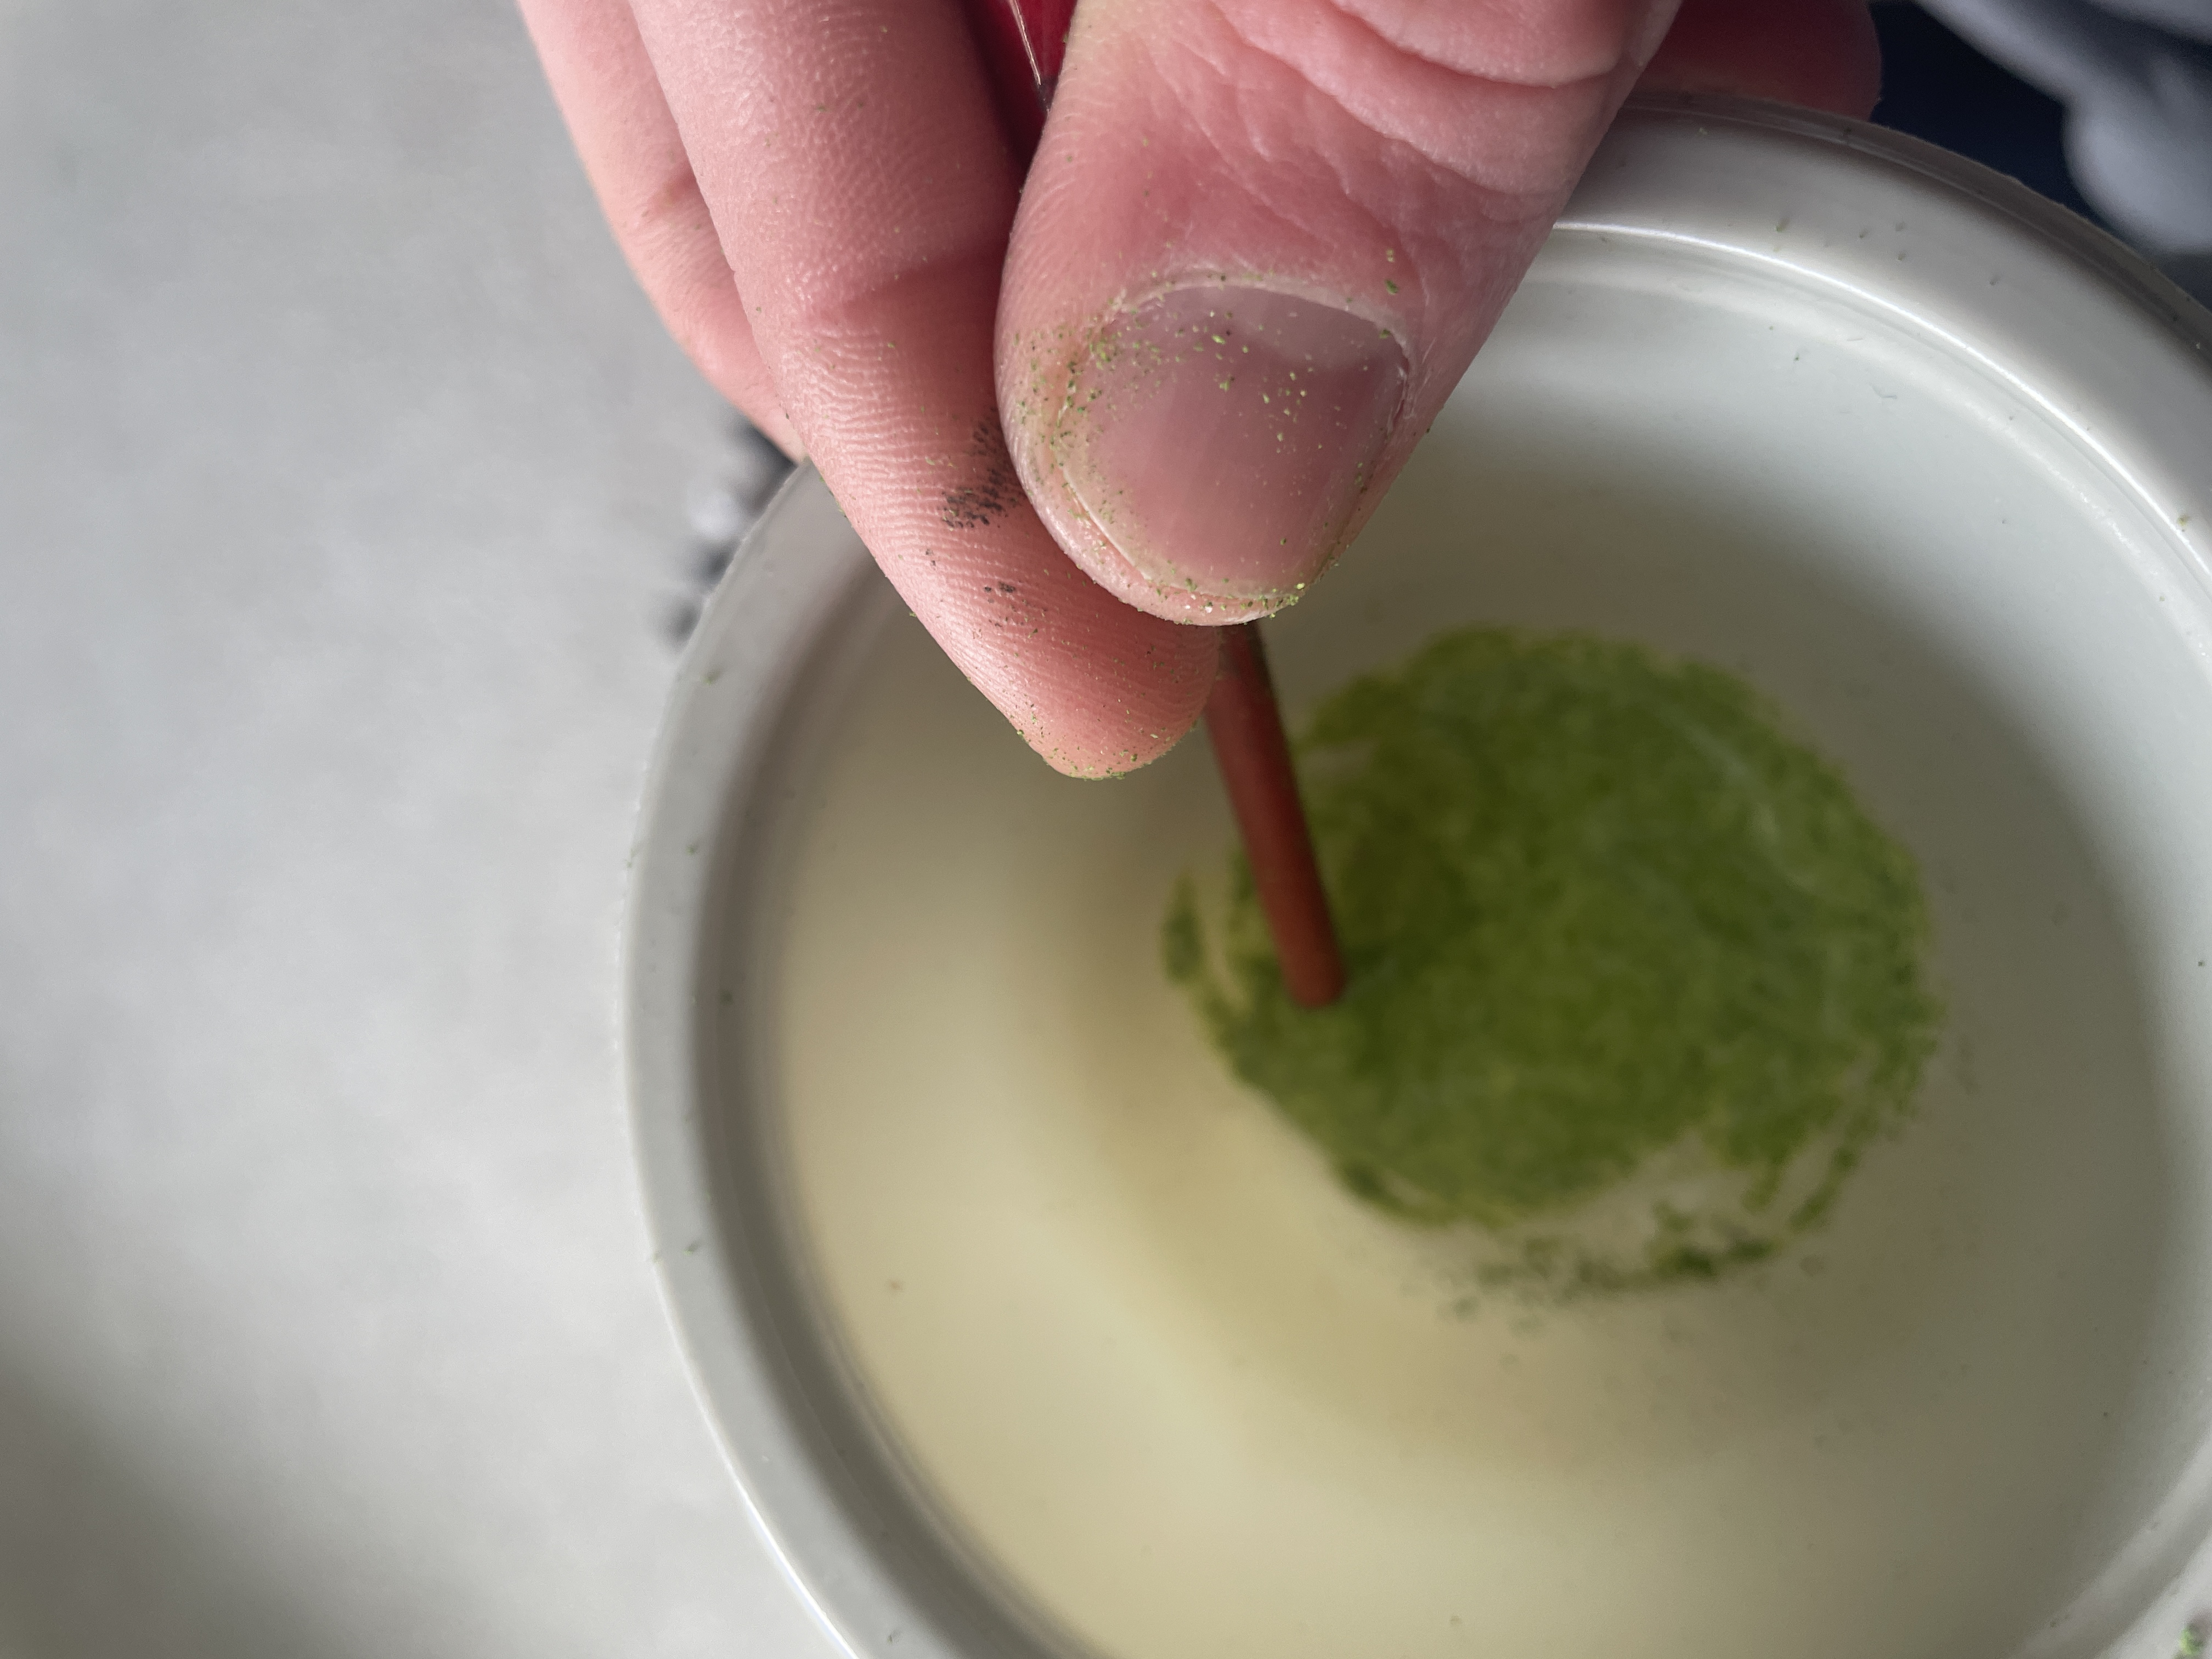
- I wanted to make some moss so added some PVA glue to a pot. Poured in some green sawdust flock and mixed. This is then applied with an old brush to the base. It looks very luminous when wet but darkens and looks good once dry. (See final images of this unit)
- that’s the base ☑
The base continued
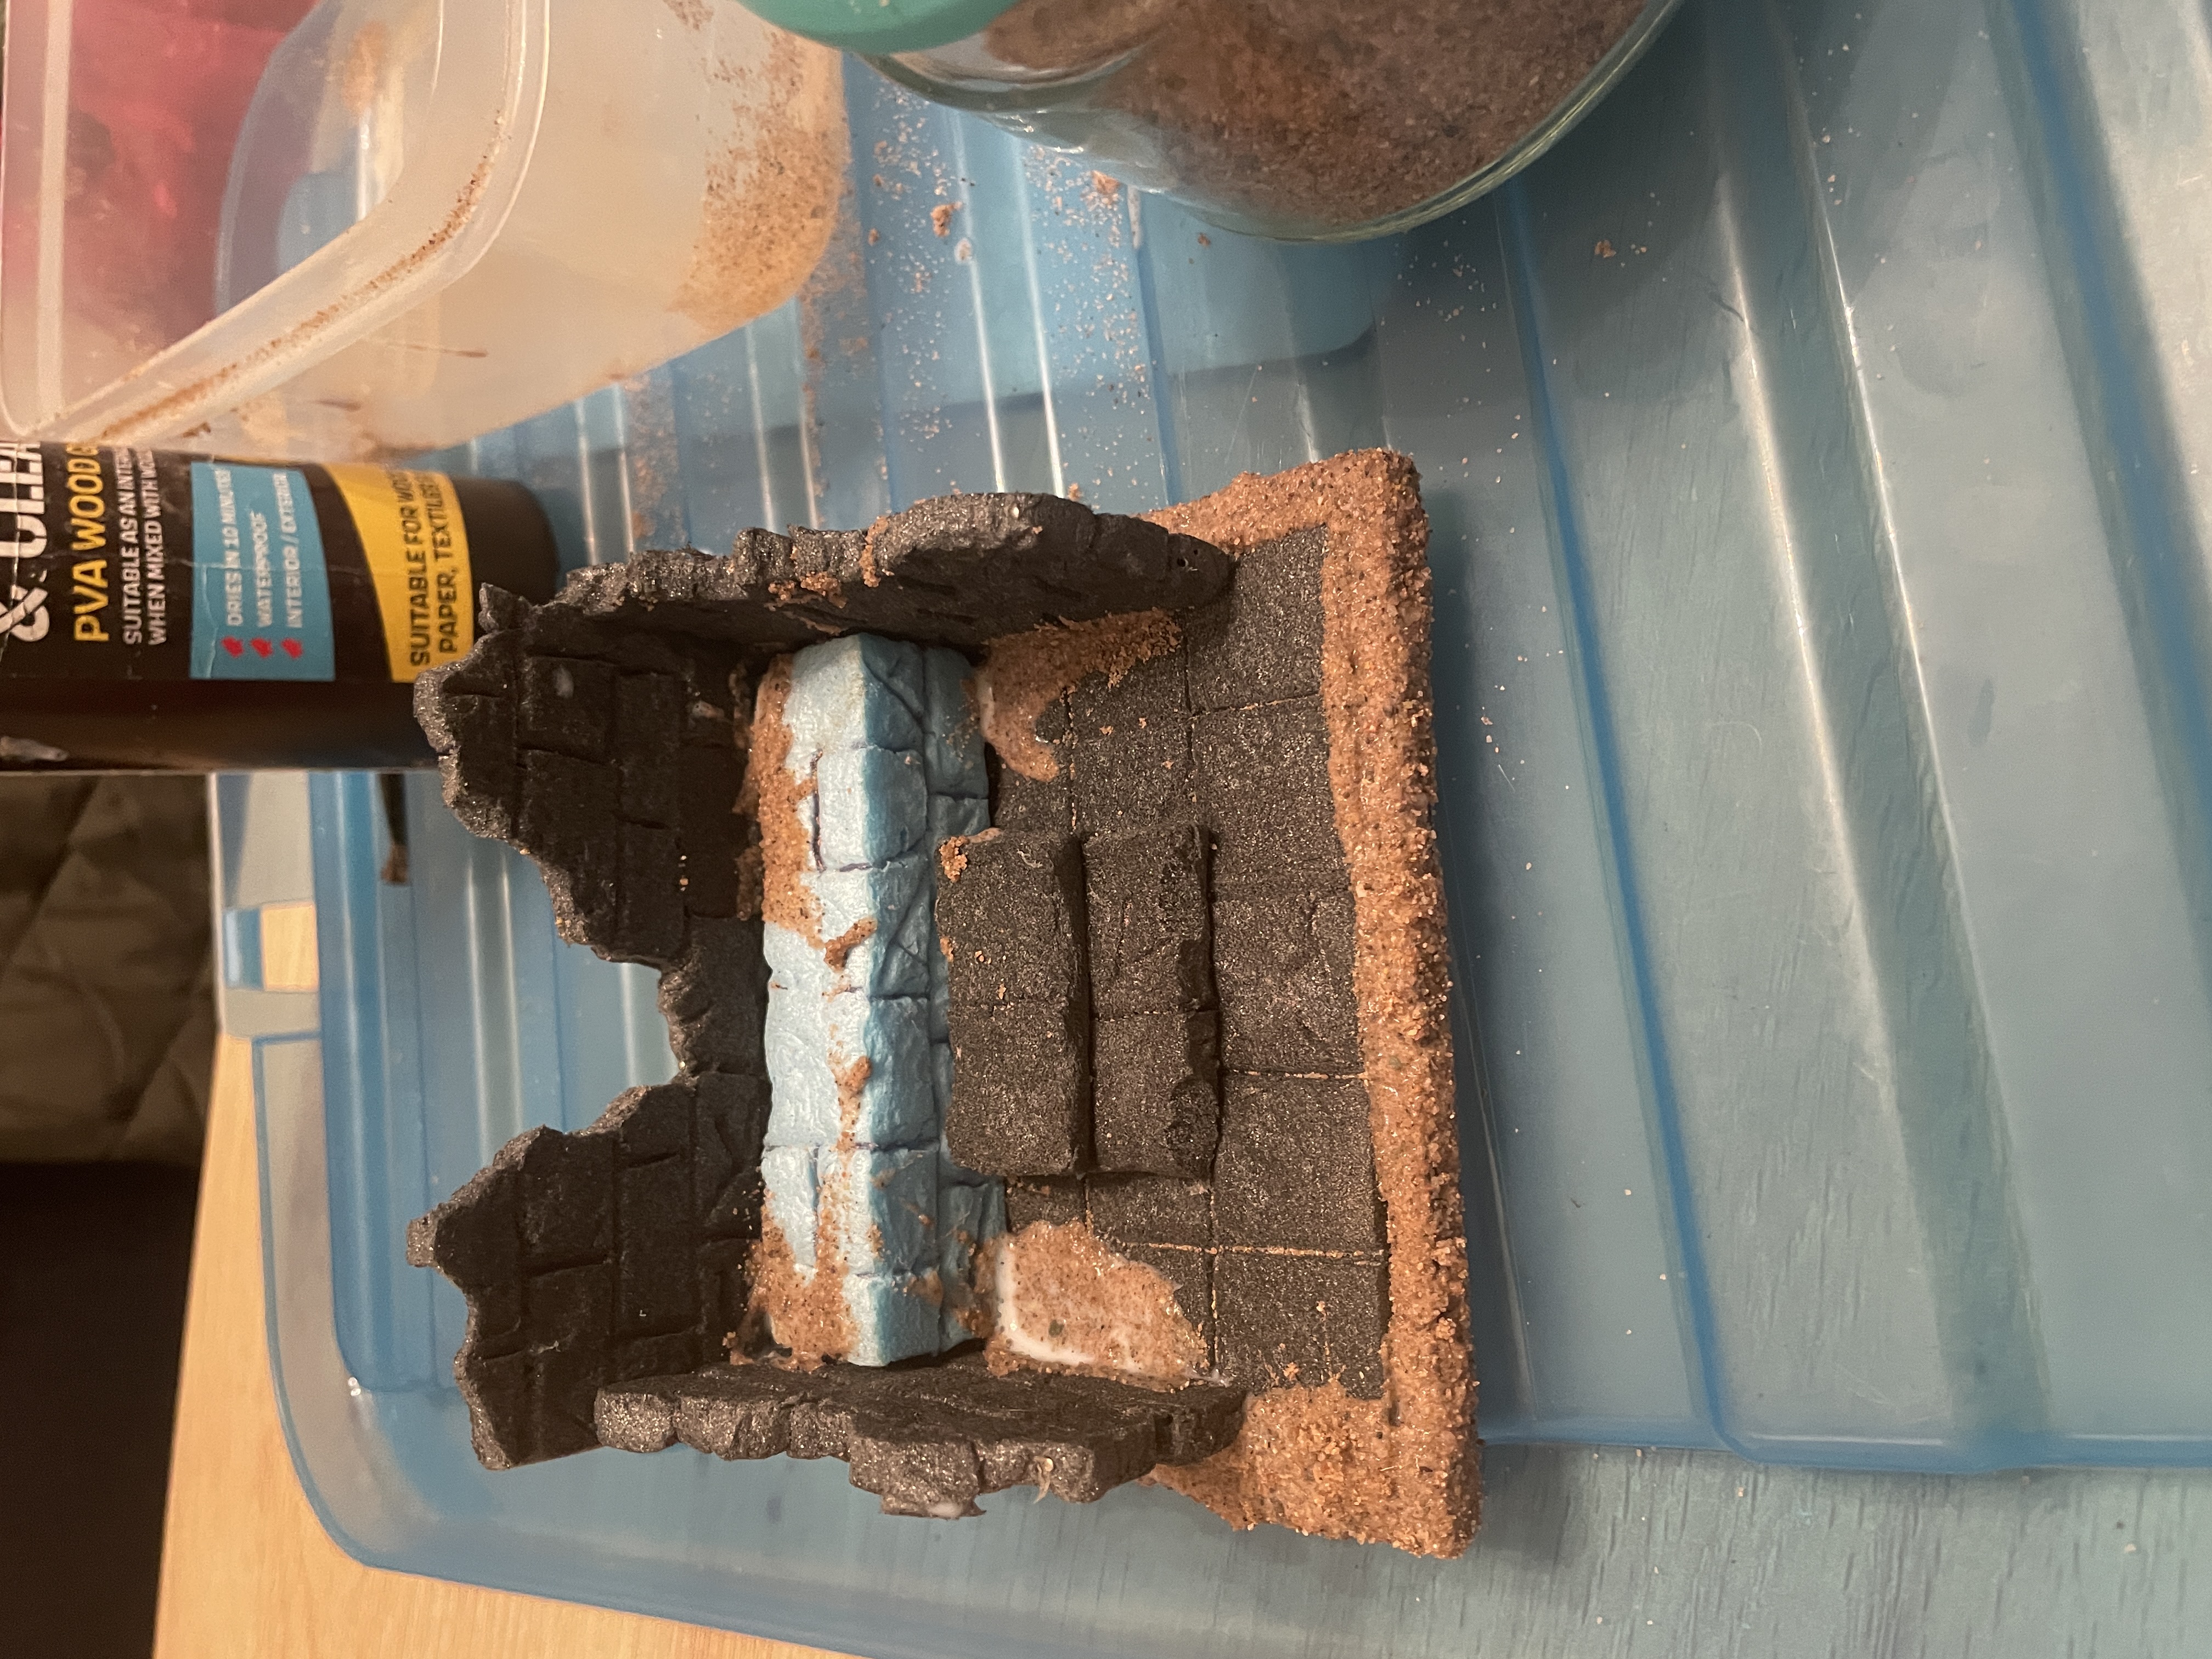
- I then added sand to the mdf trim and in some spots around the ruin. This was done through painting on PVA glue and chucking sand at it.
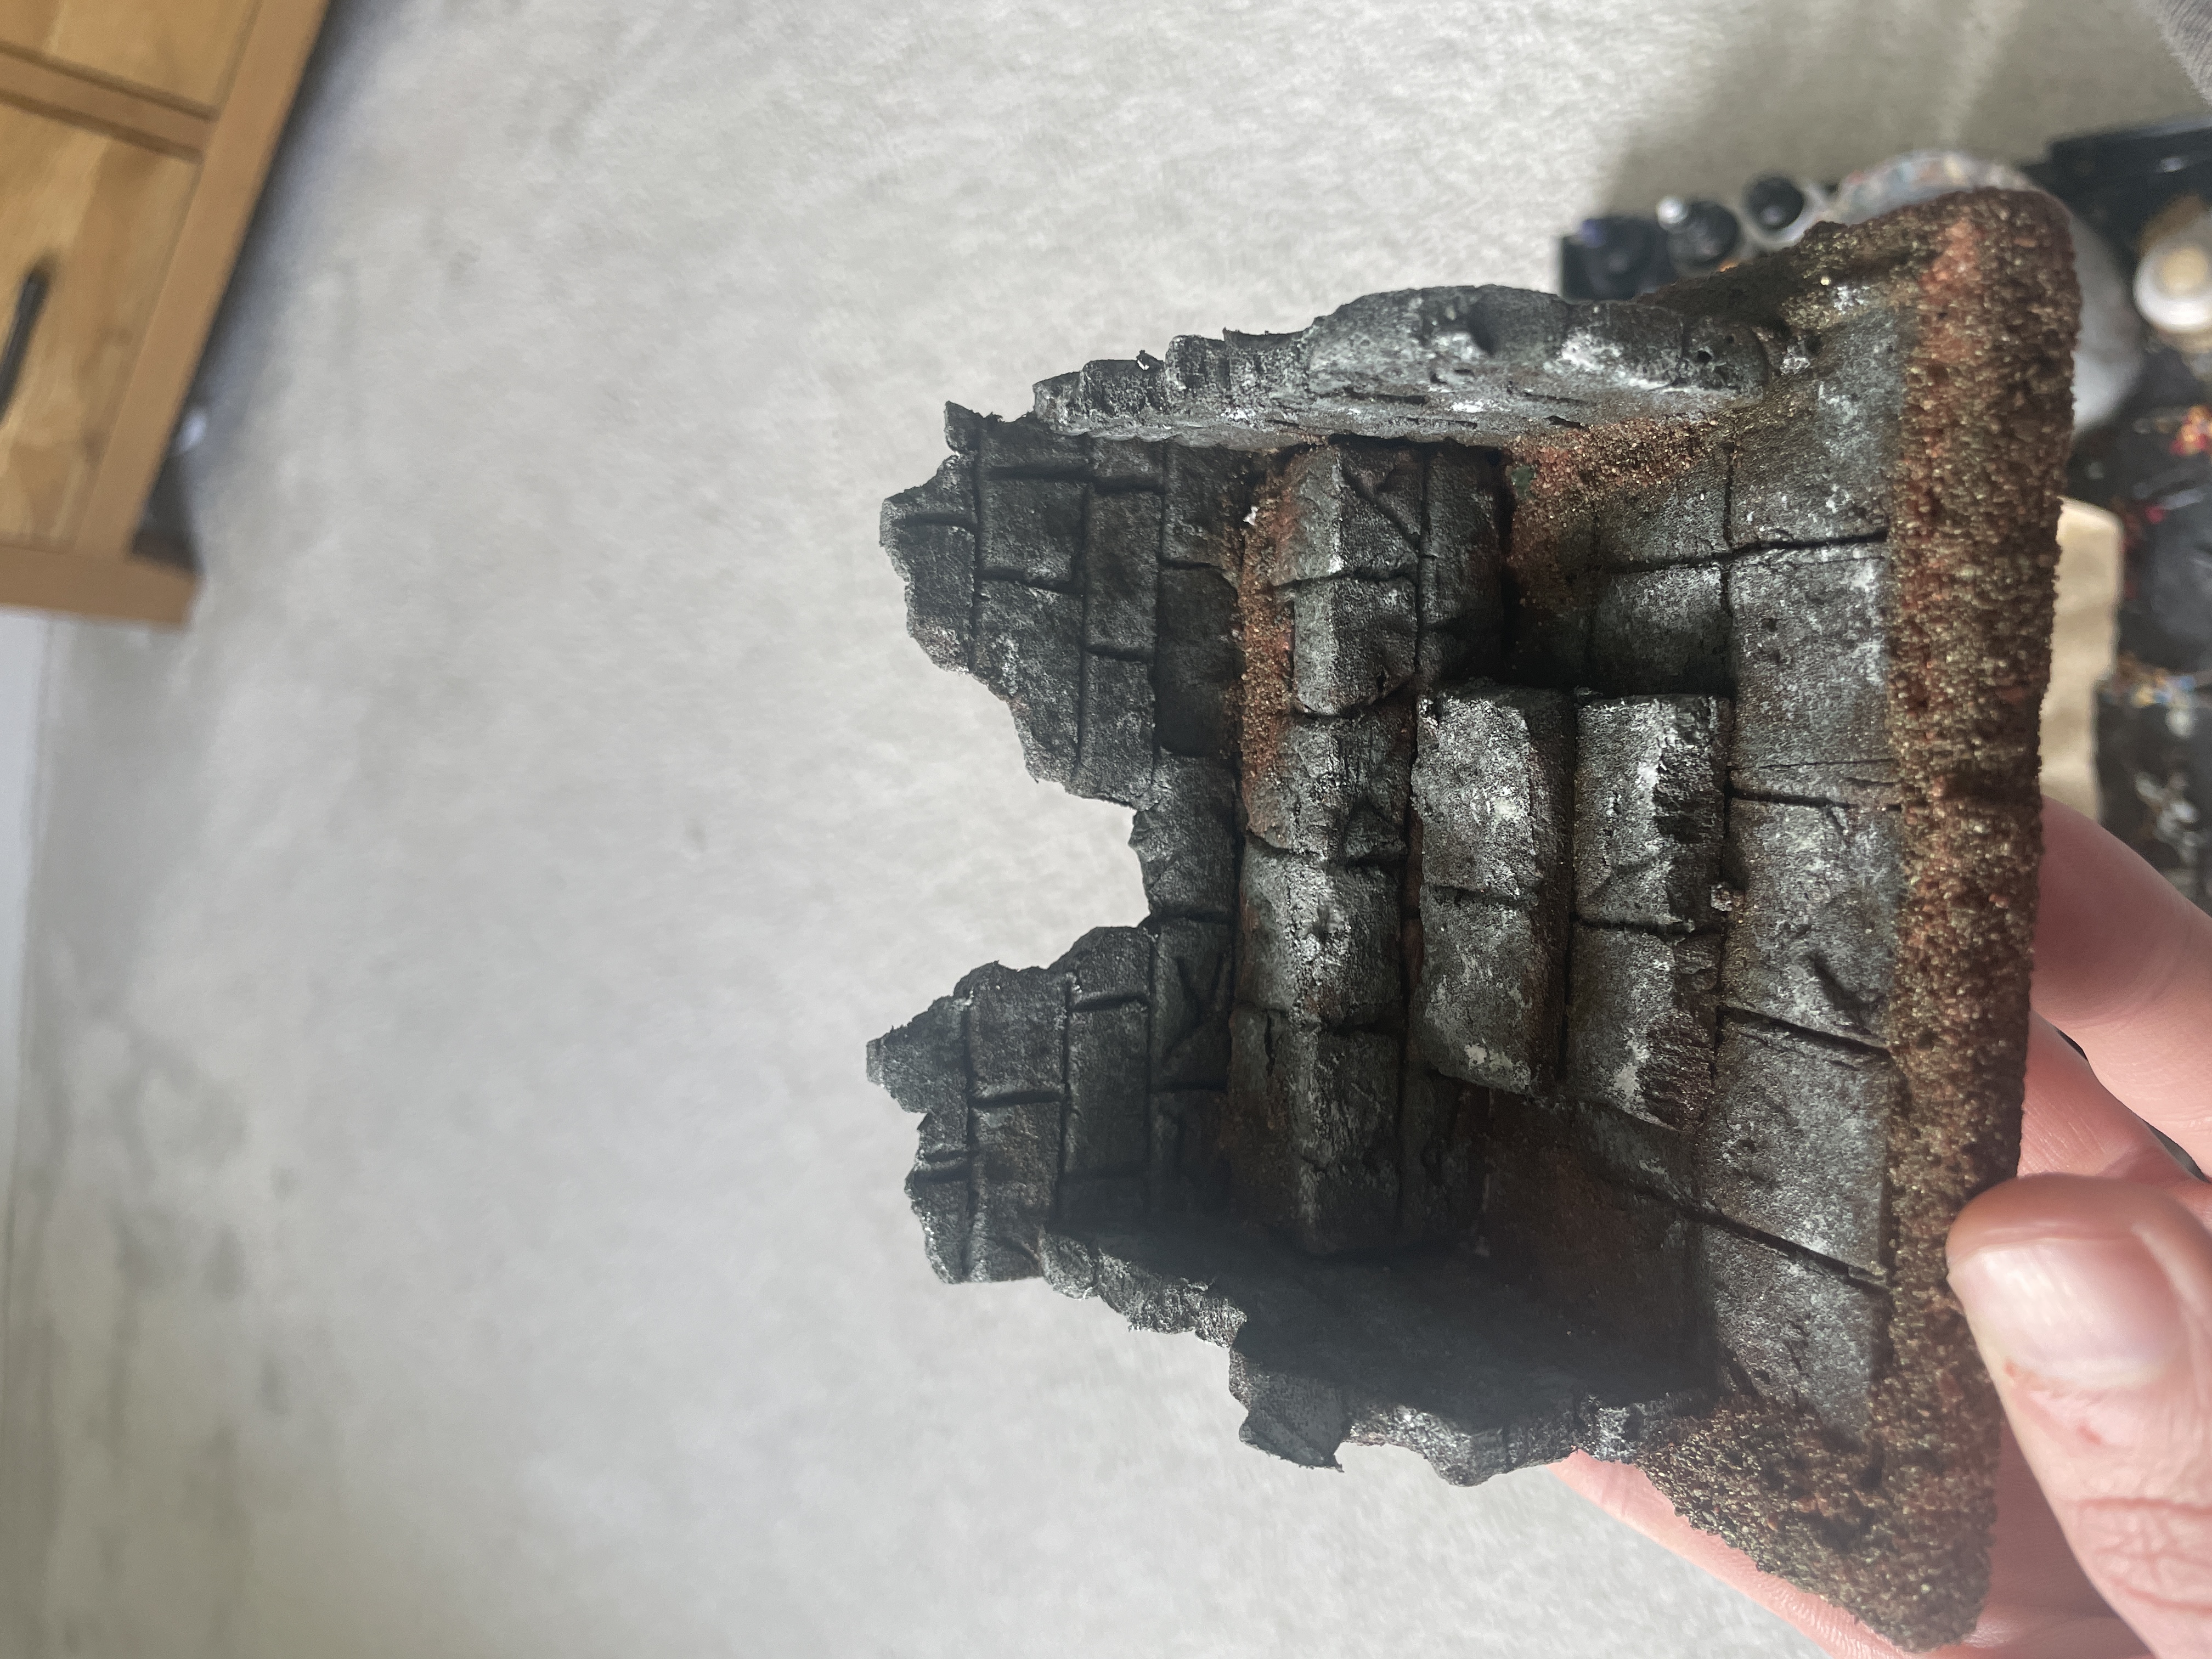
- once dry a gave the whole thing a brush on prime with a cheap brown paint. You could spray paint but this can melt the foam so if doing this a layer of mod podge before spraying can stop this.
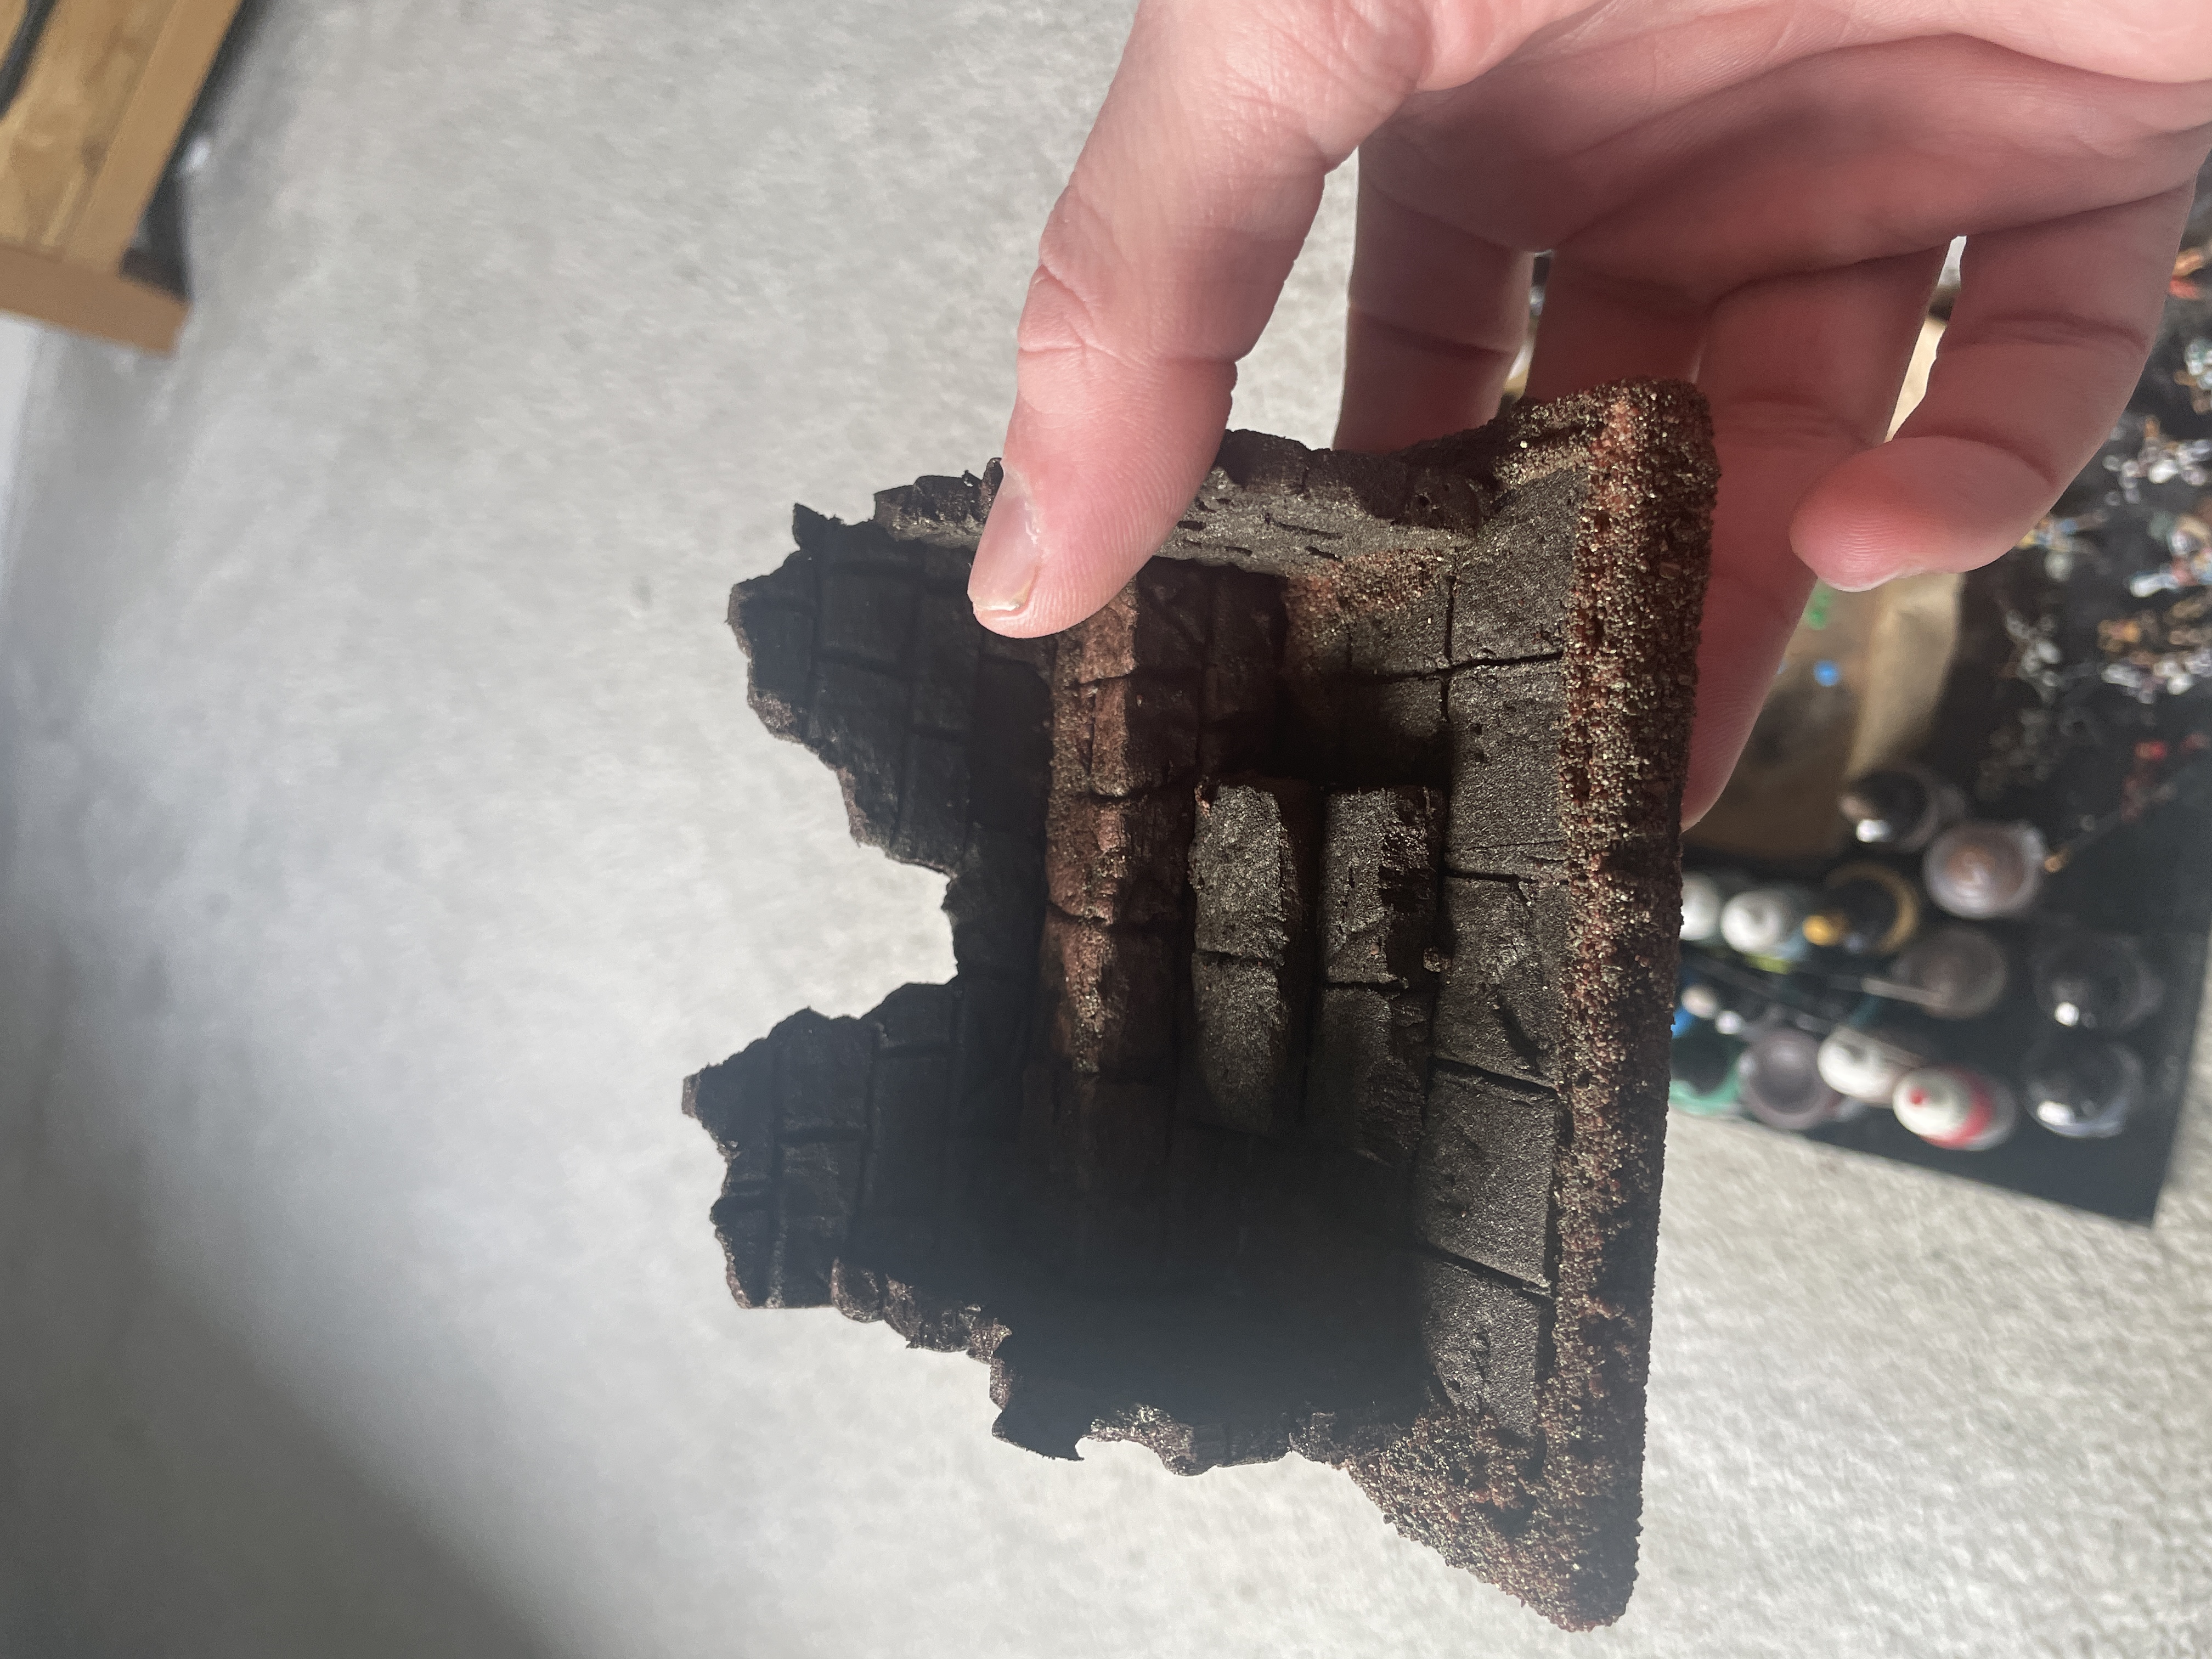
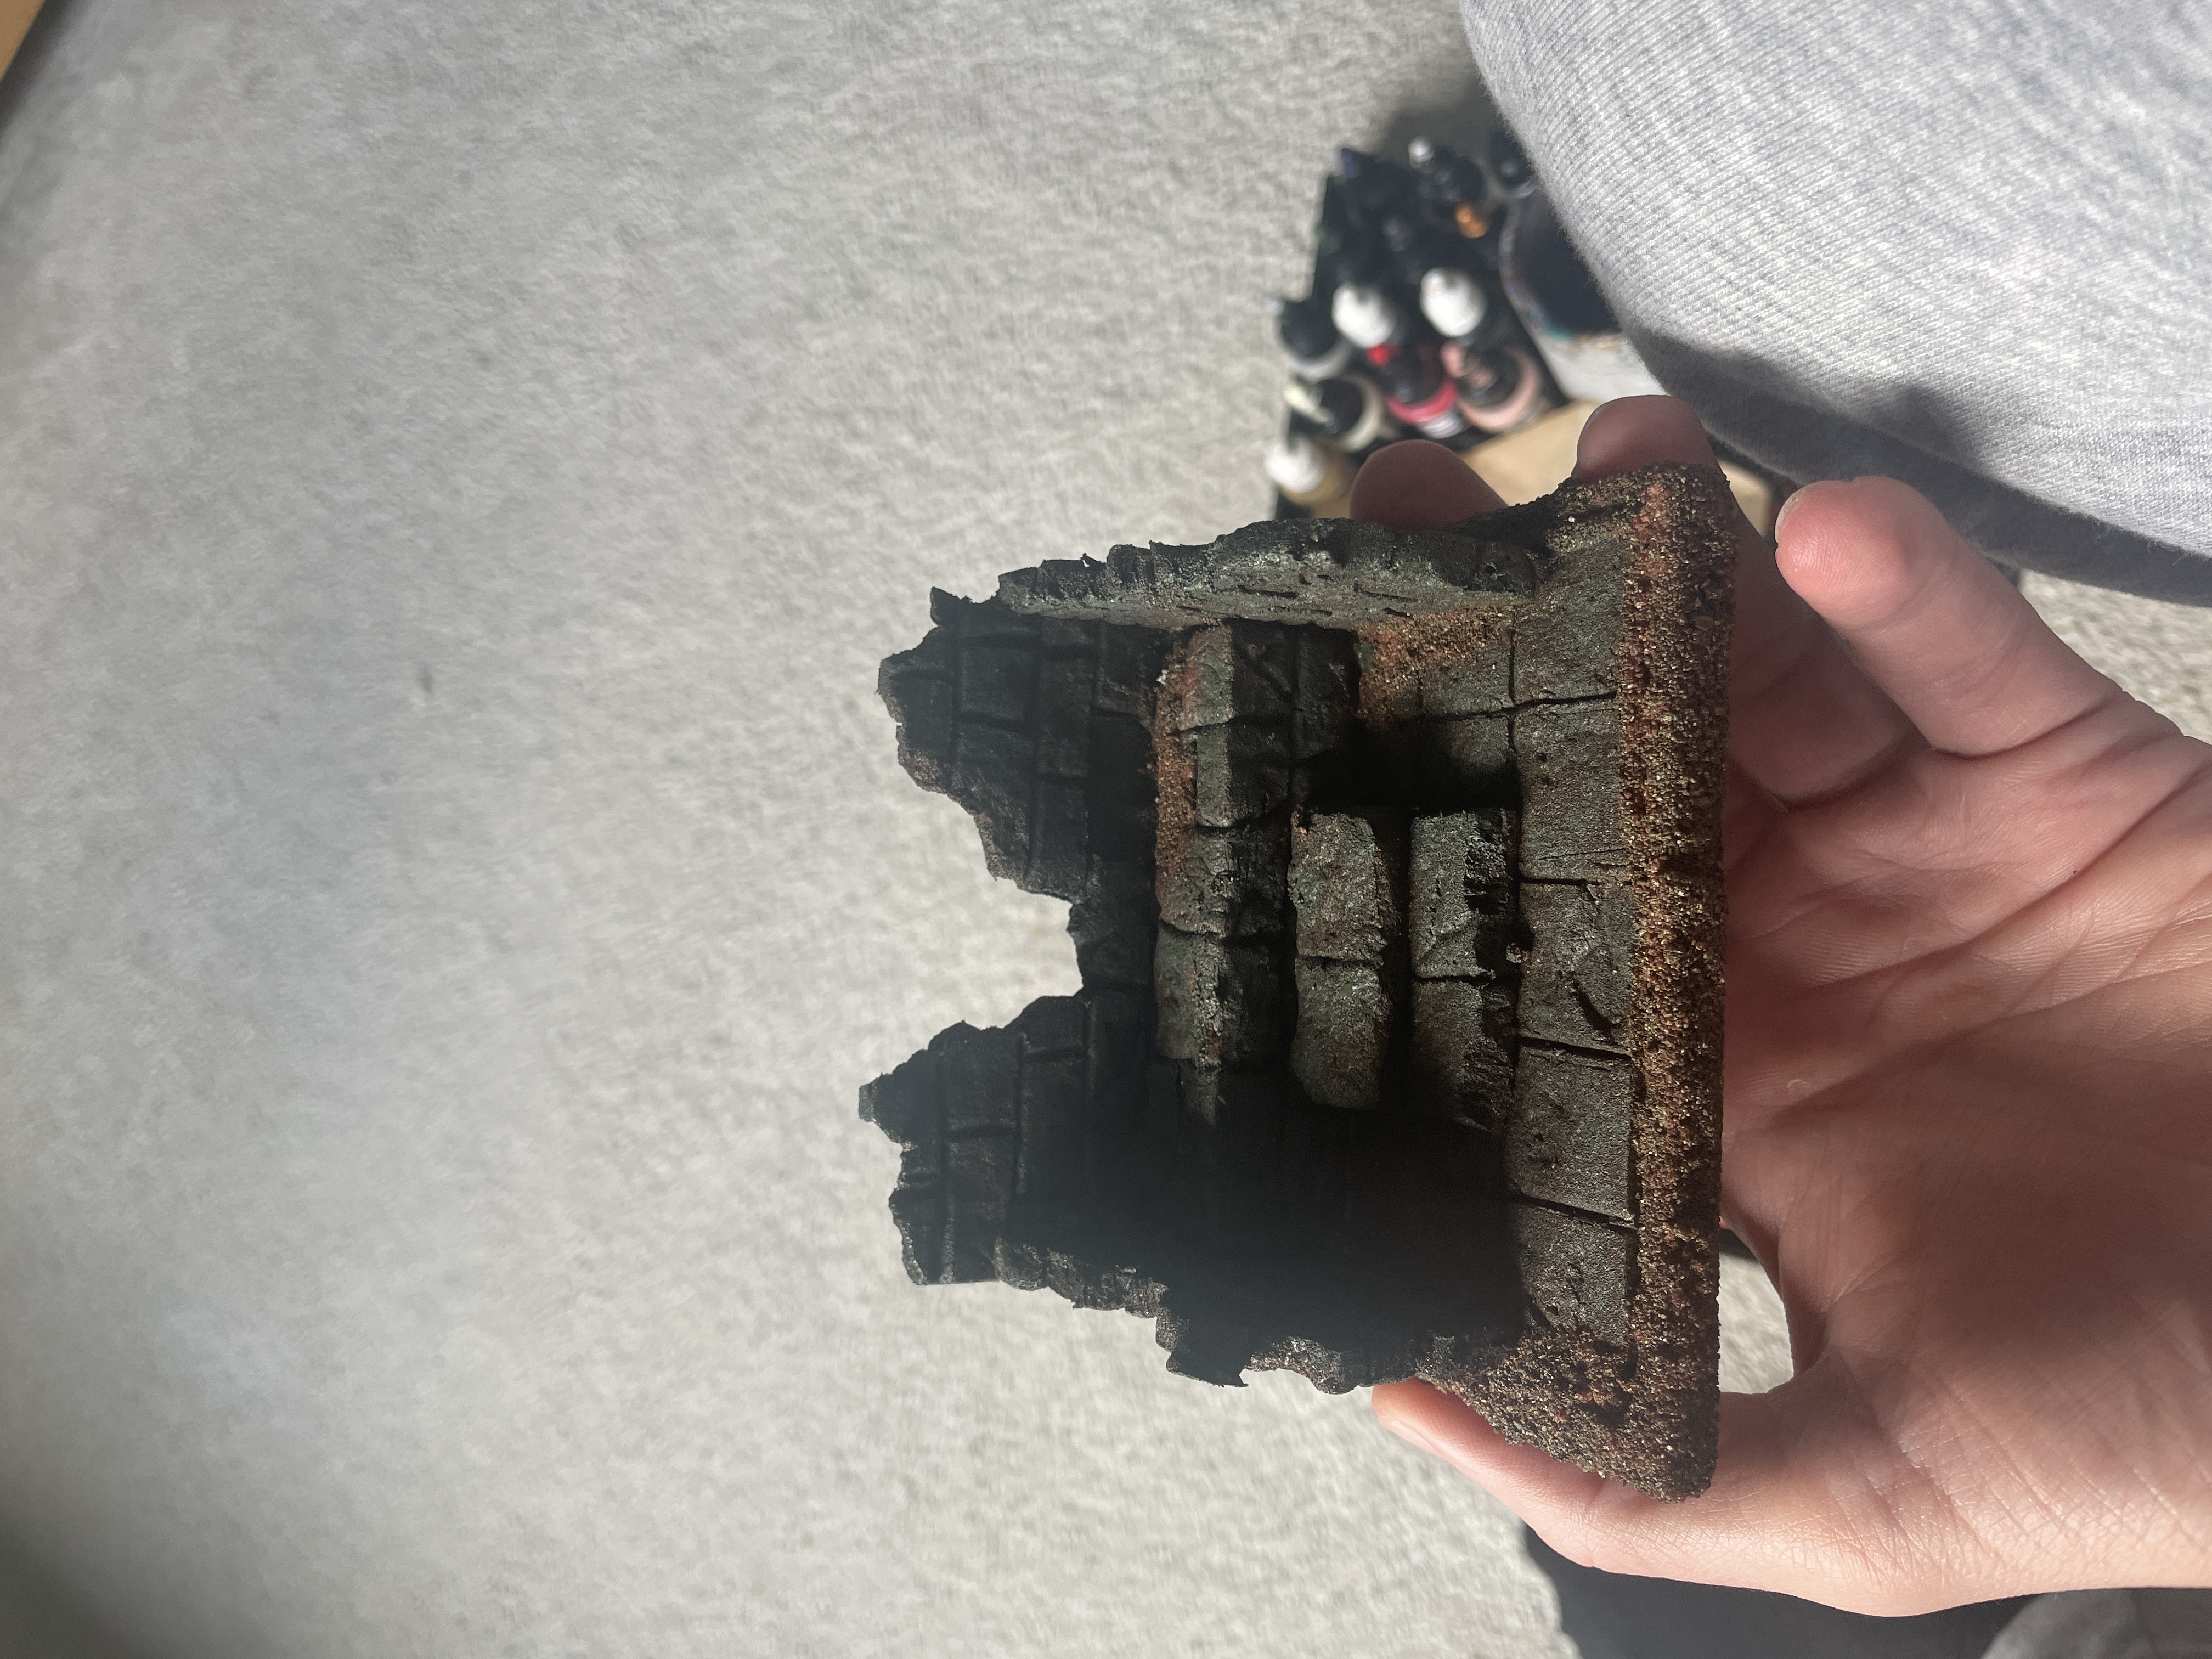
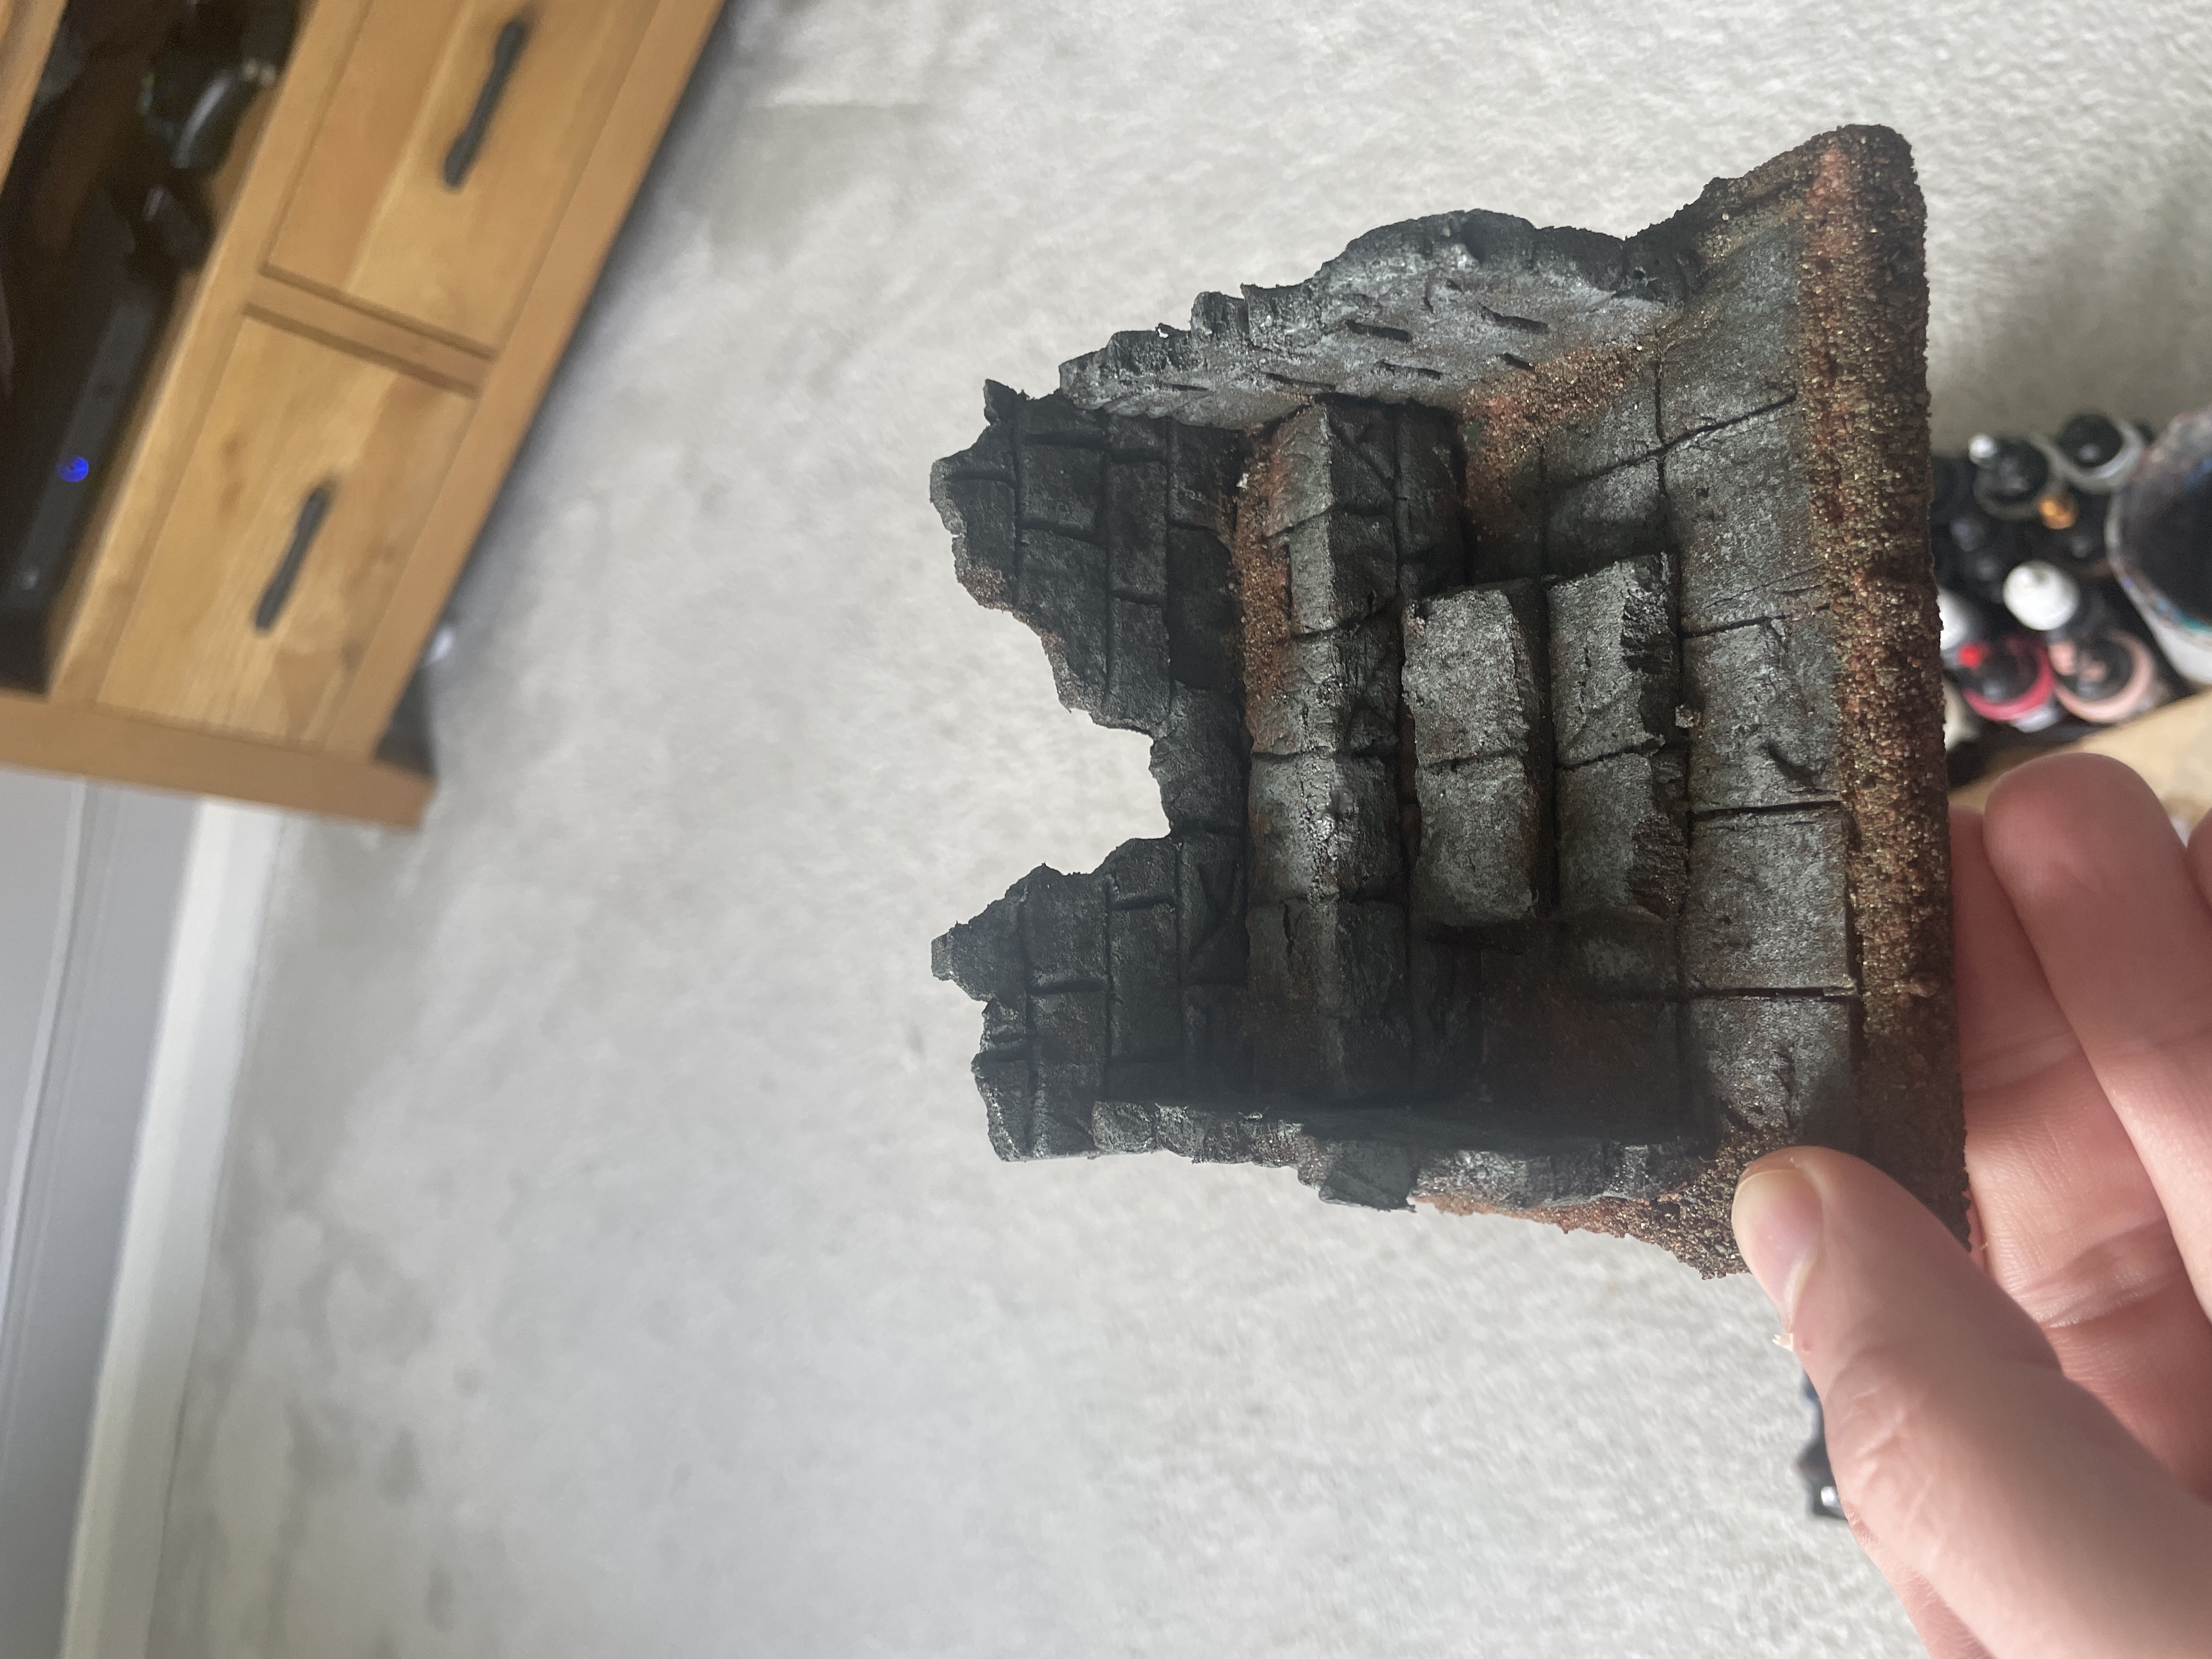
- i the stippled a green colour over the brown followed by a dark grey then finally a light grey.
- i then dry brushed the sand which had been left brown with a bleached bone colour. This gave contrast to the stone.
The base continued
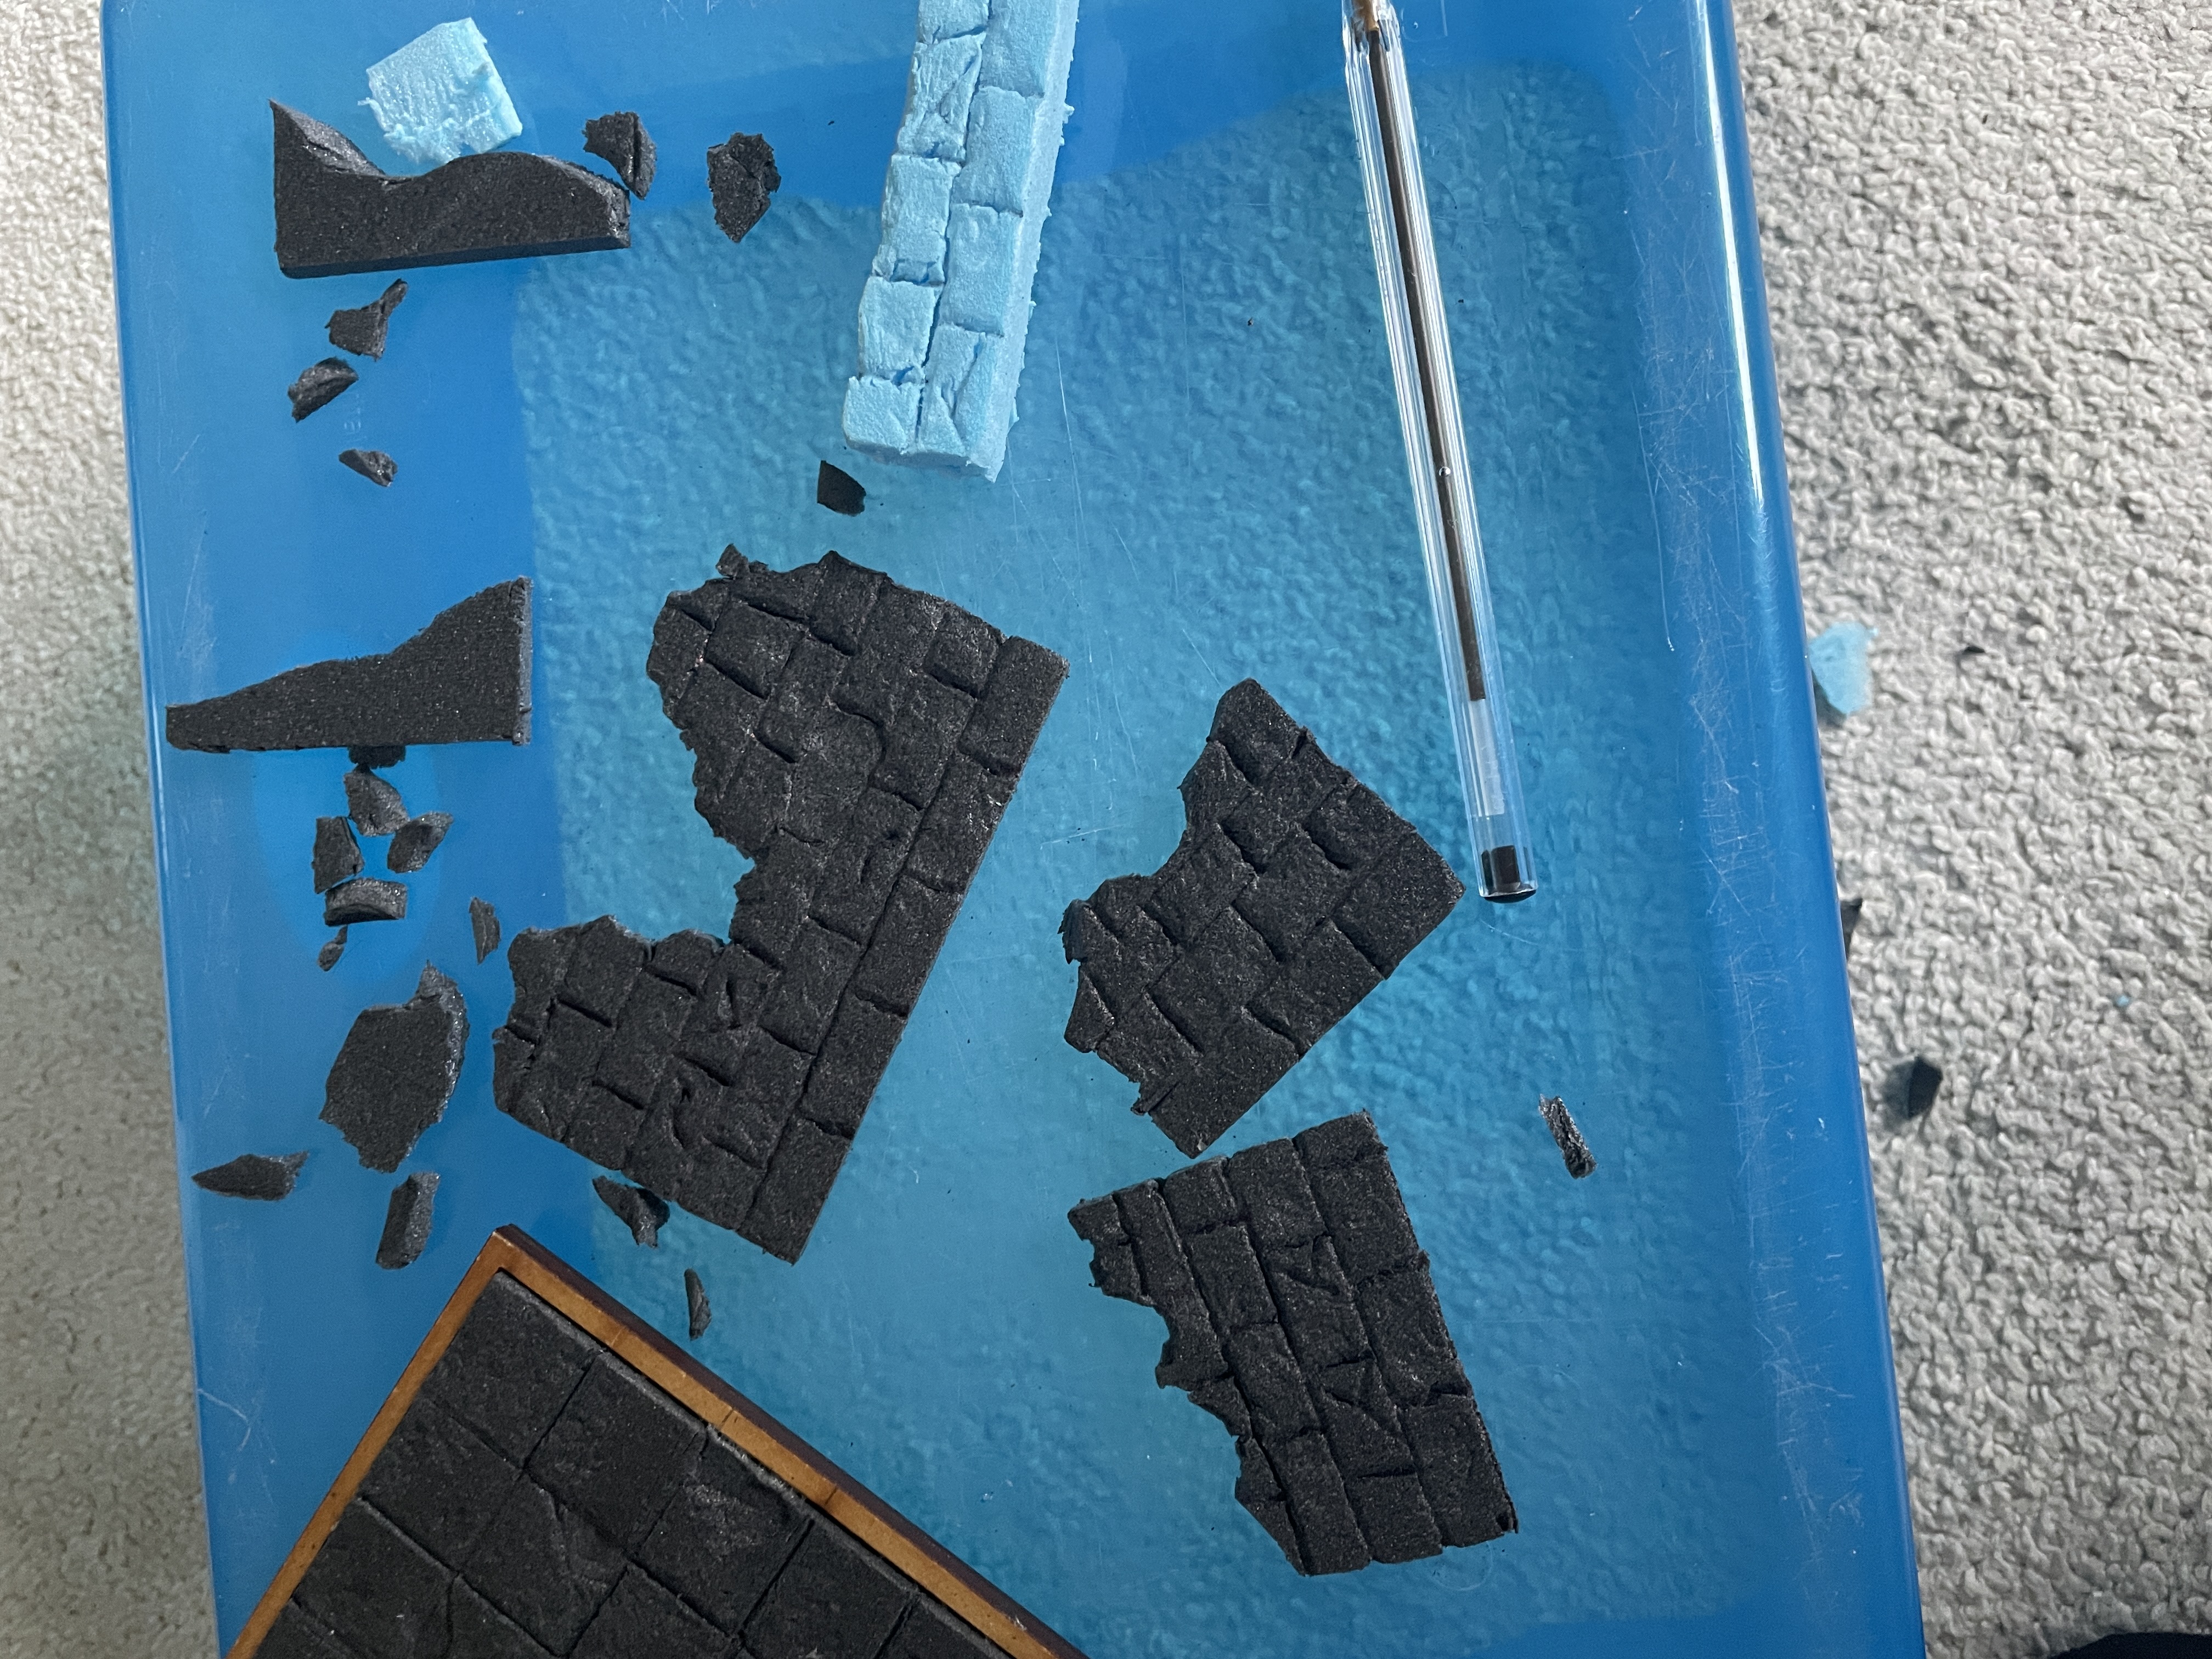
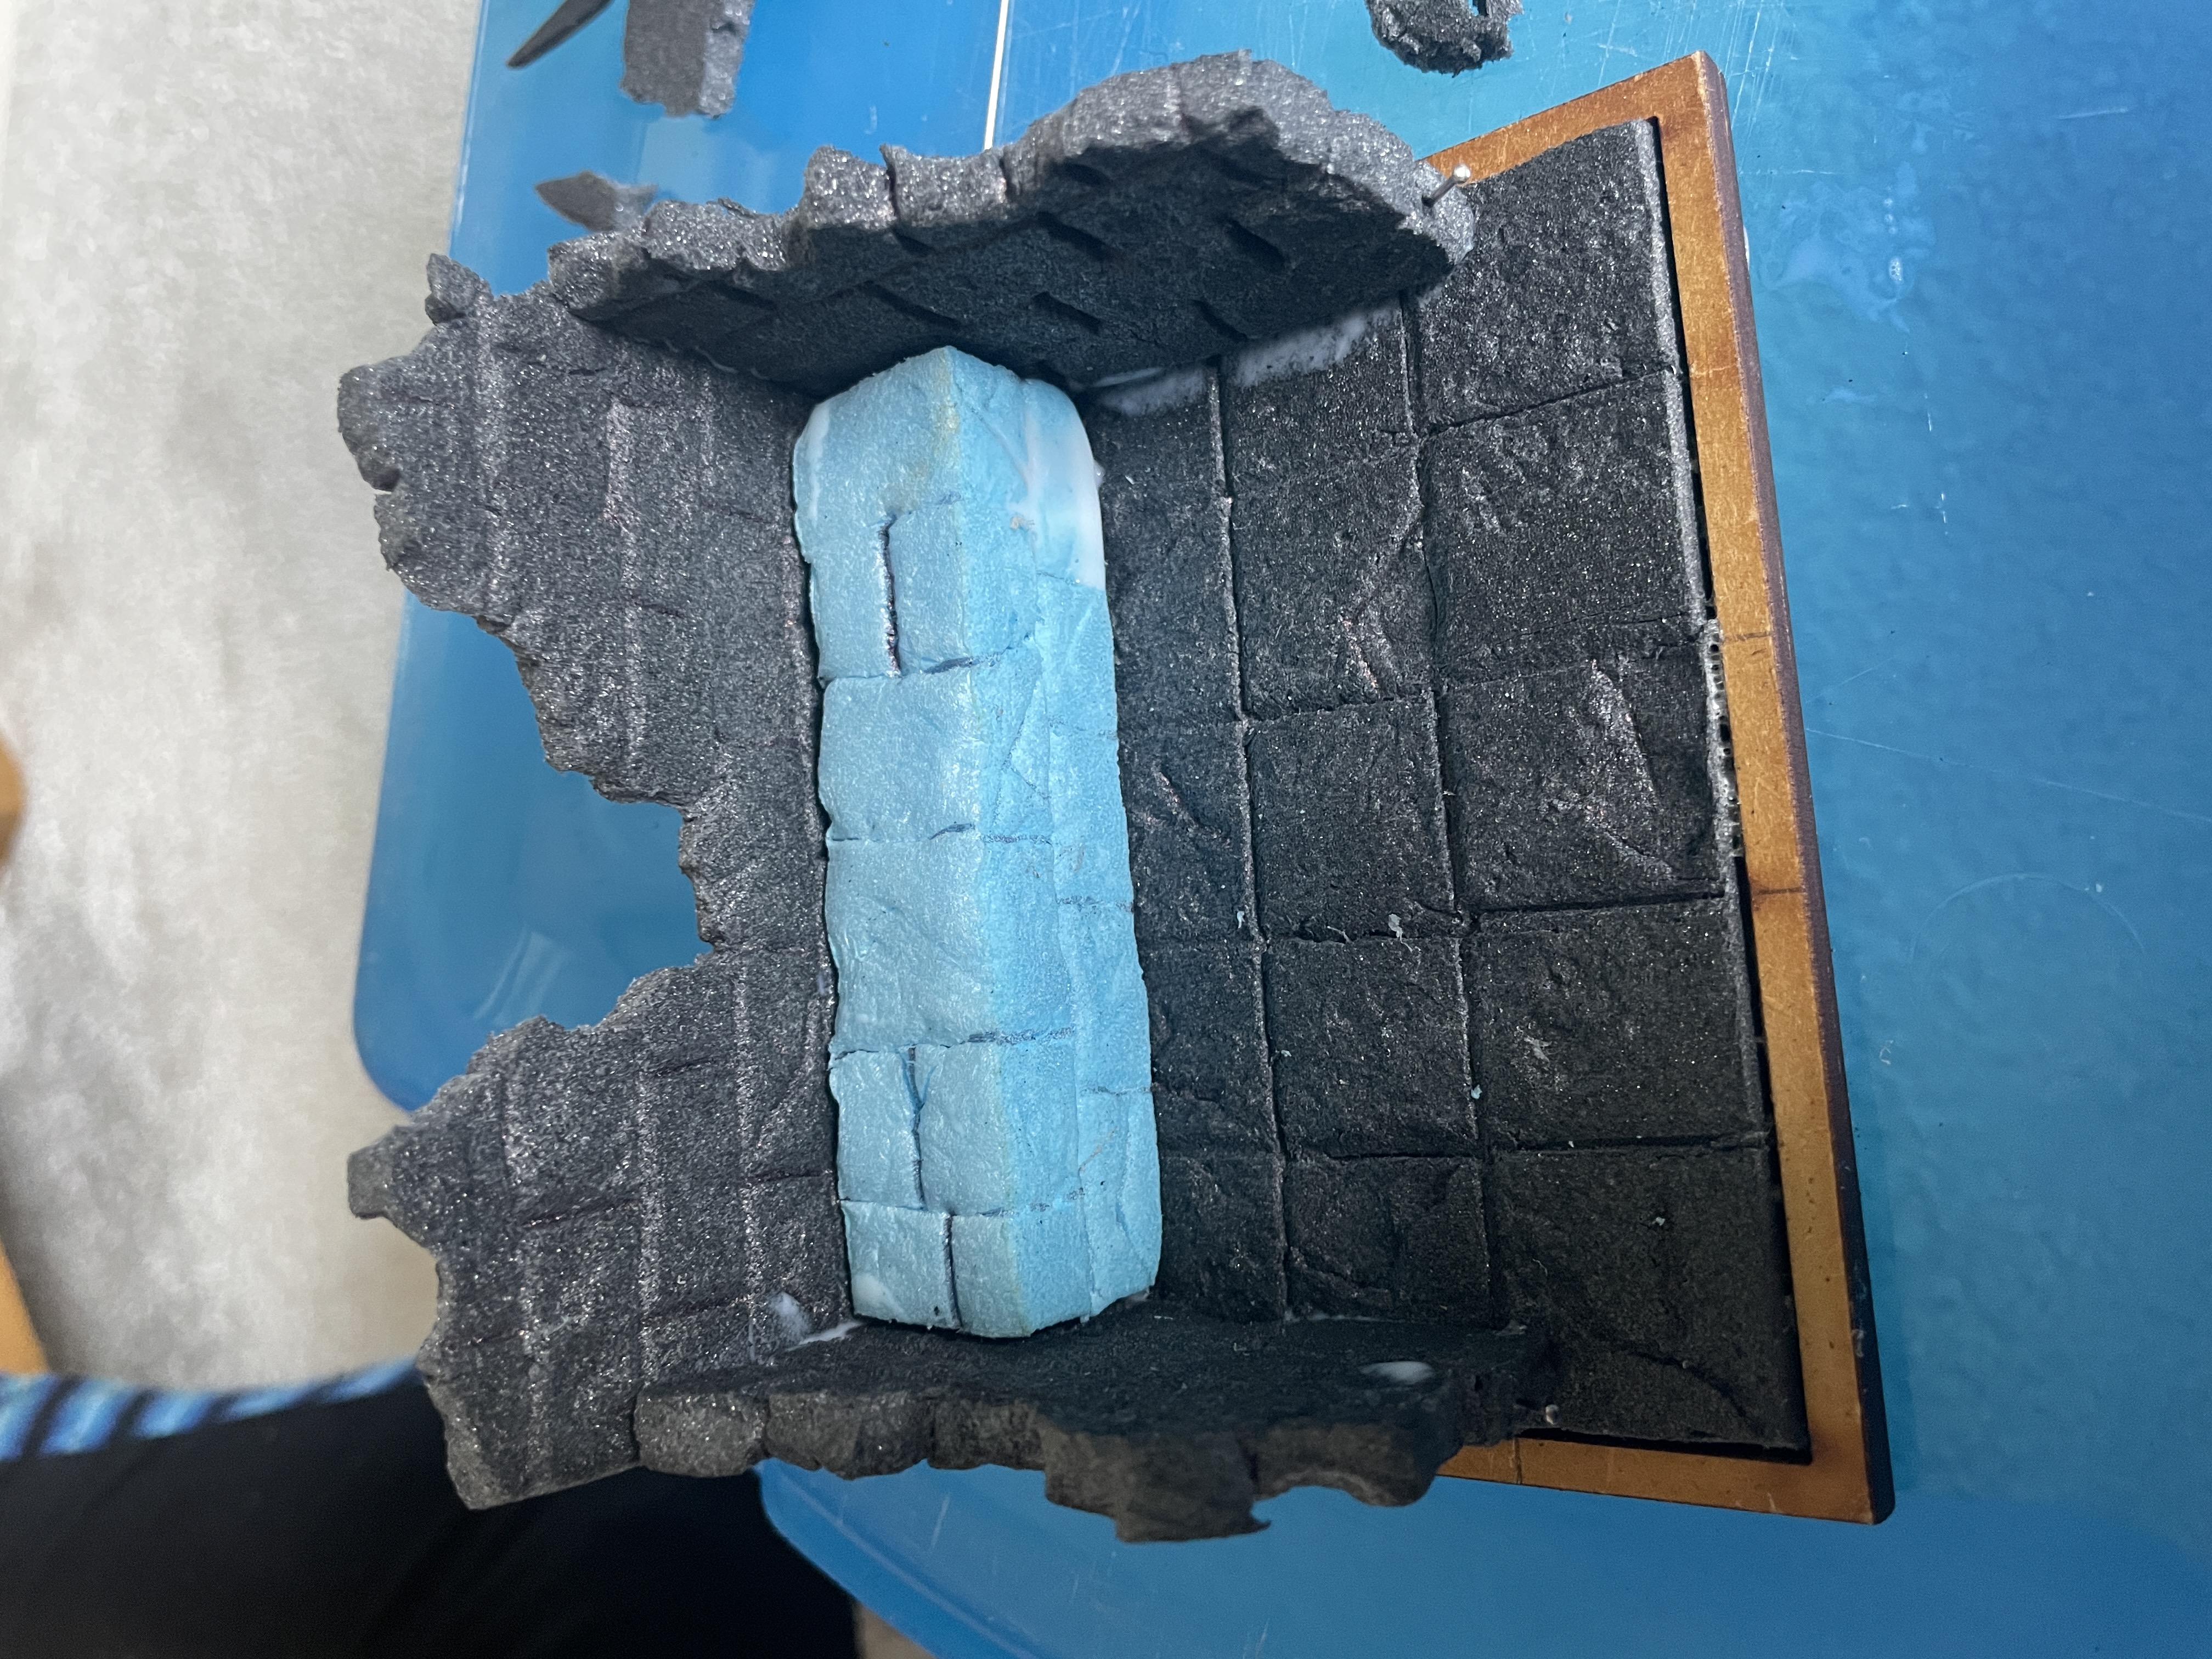
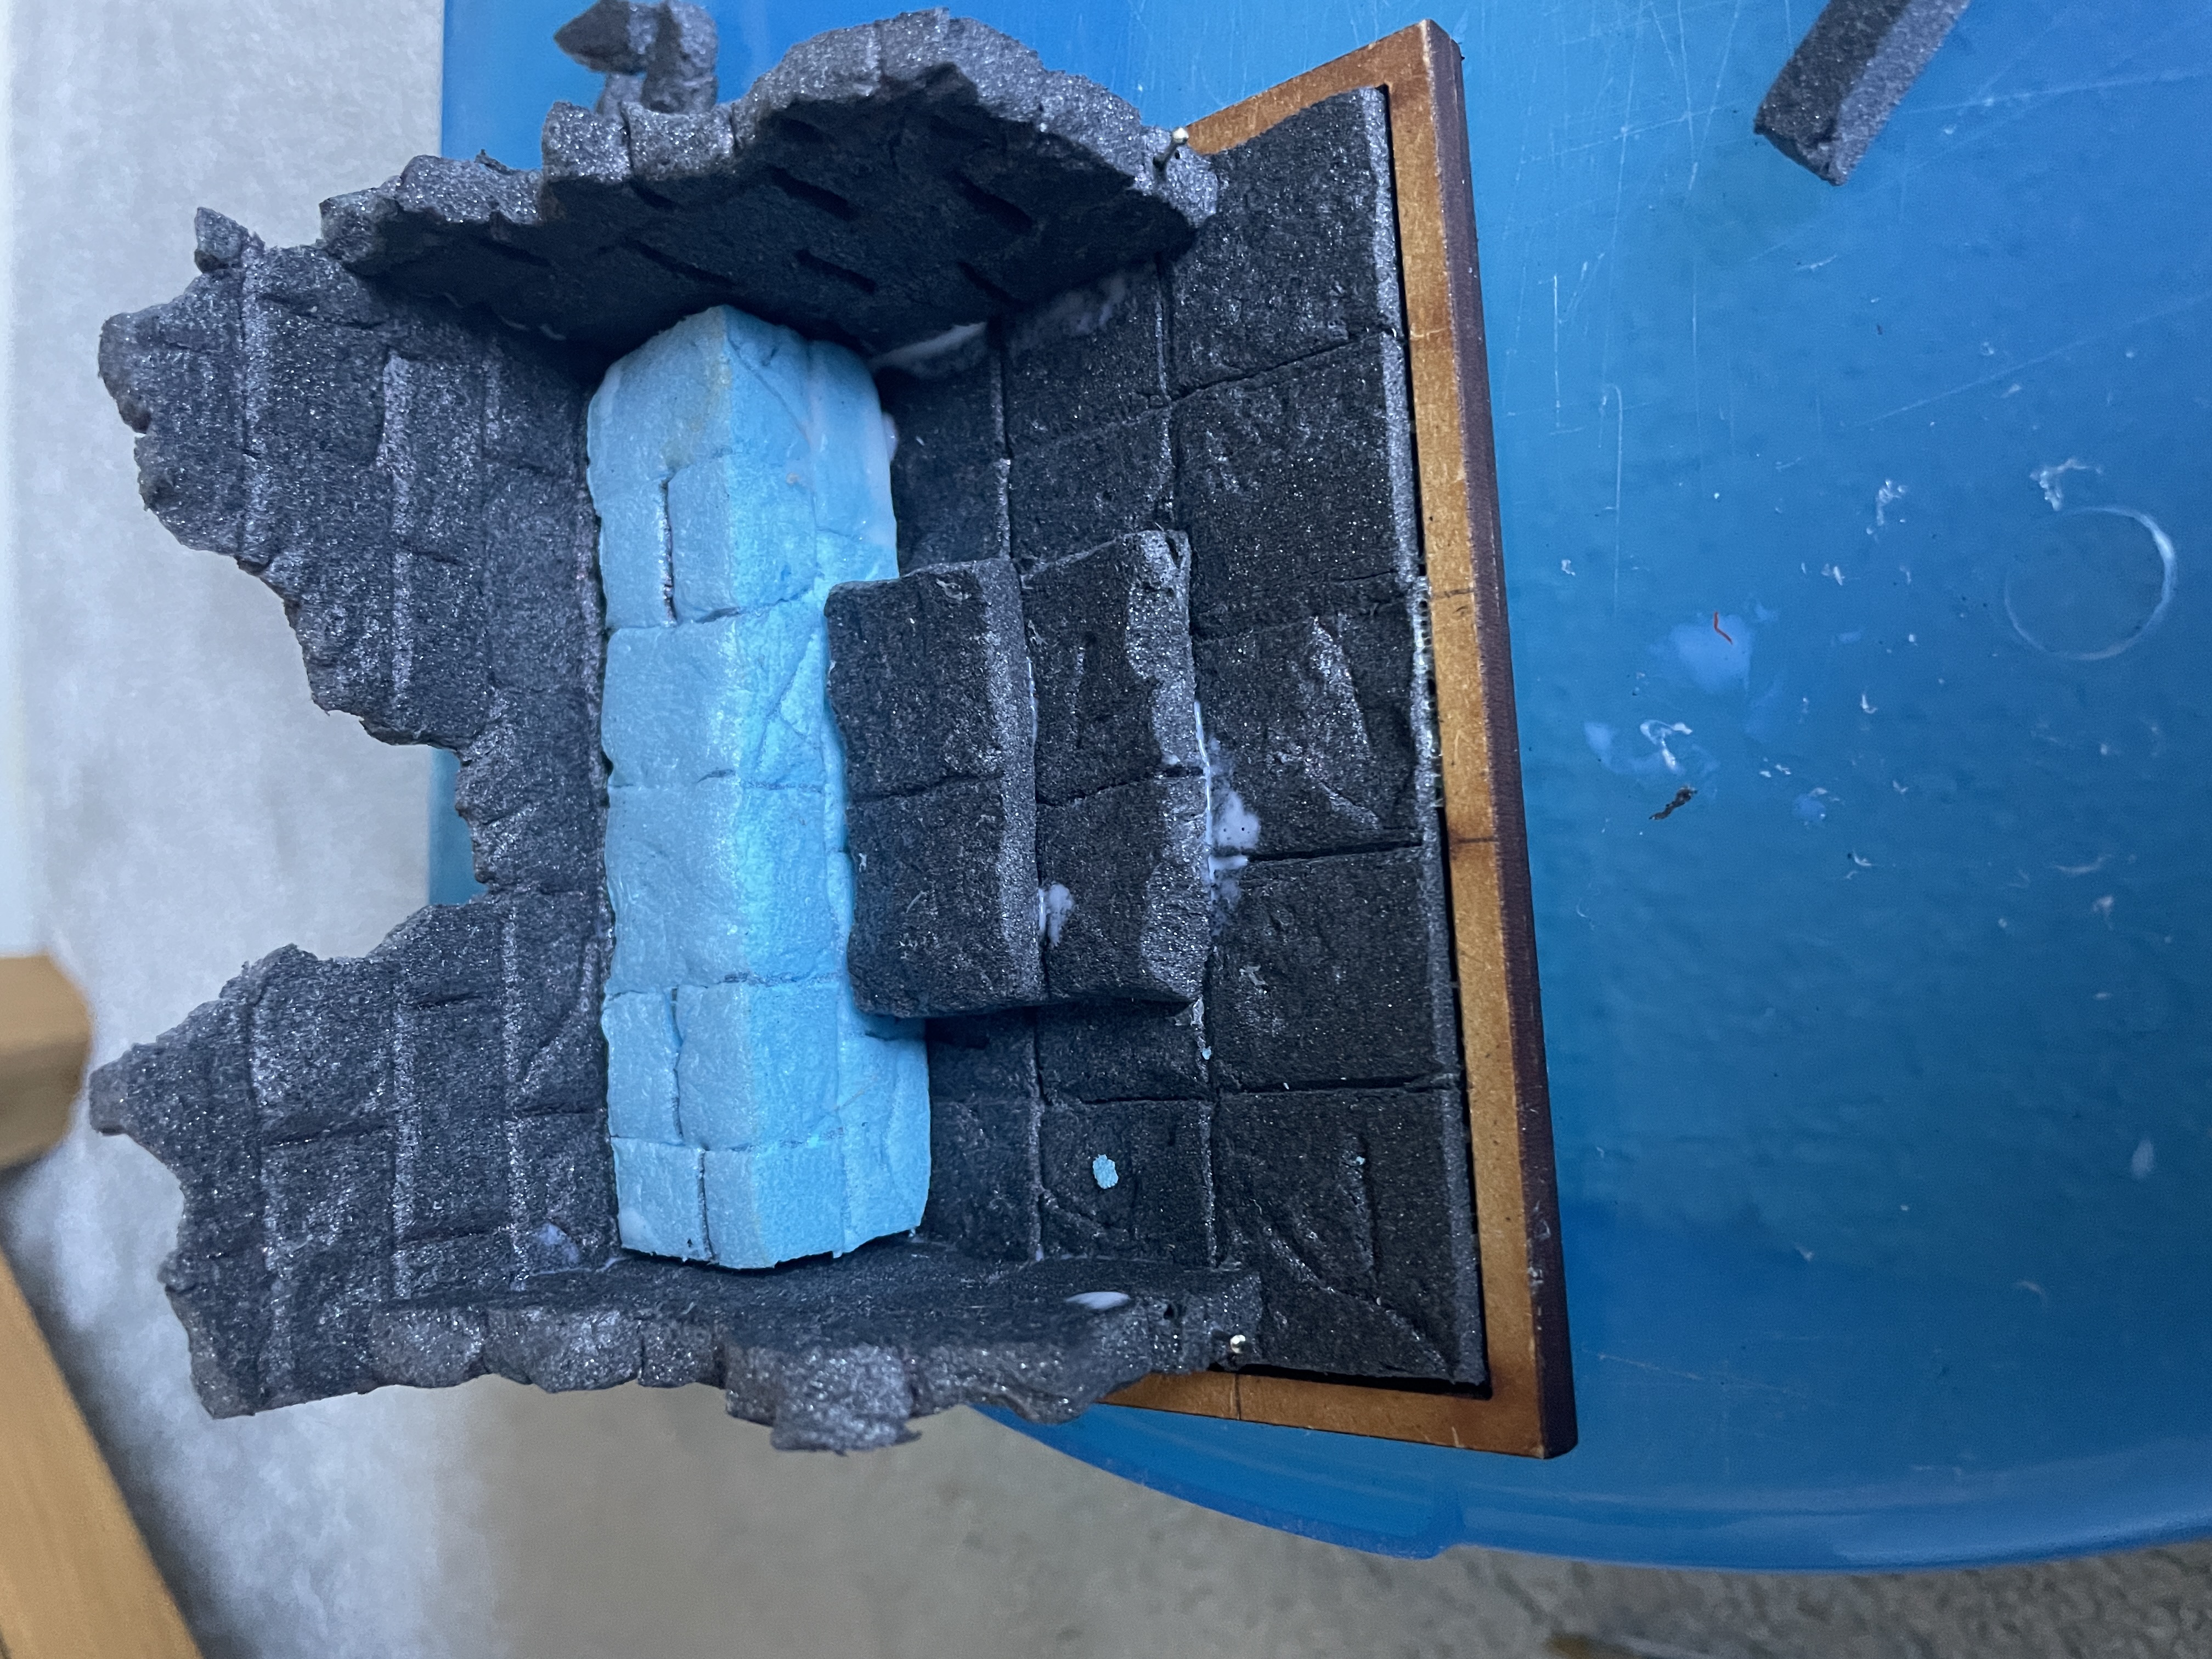
- The walls and plinth were textured and brick patterned as in the previous steps.
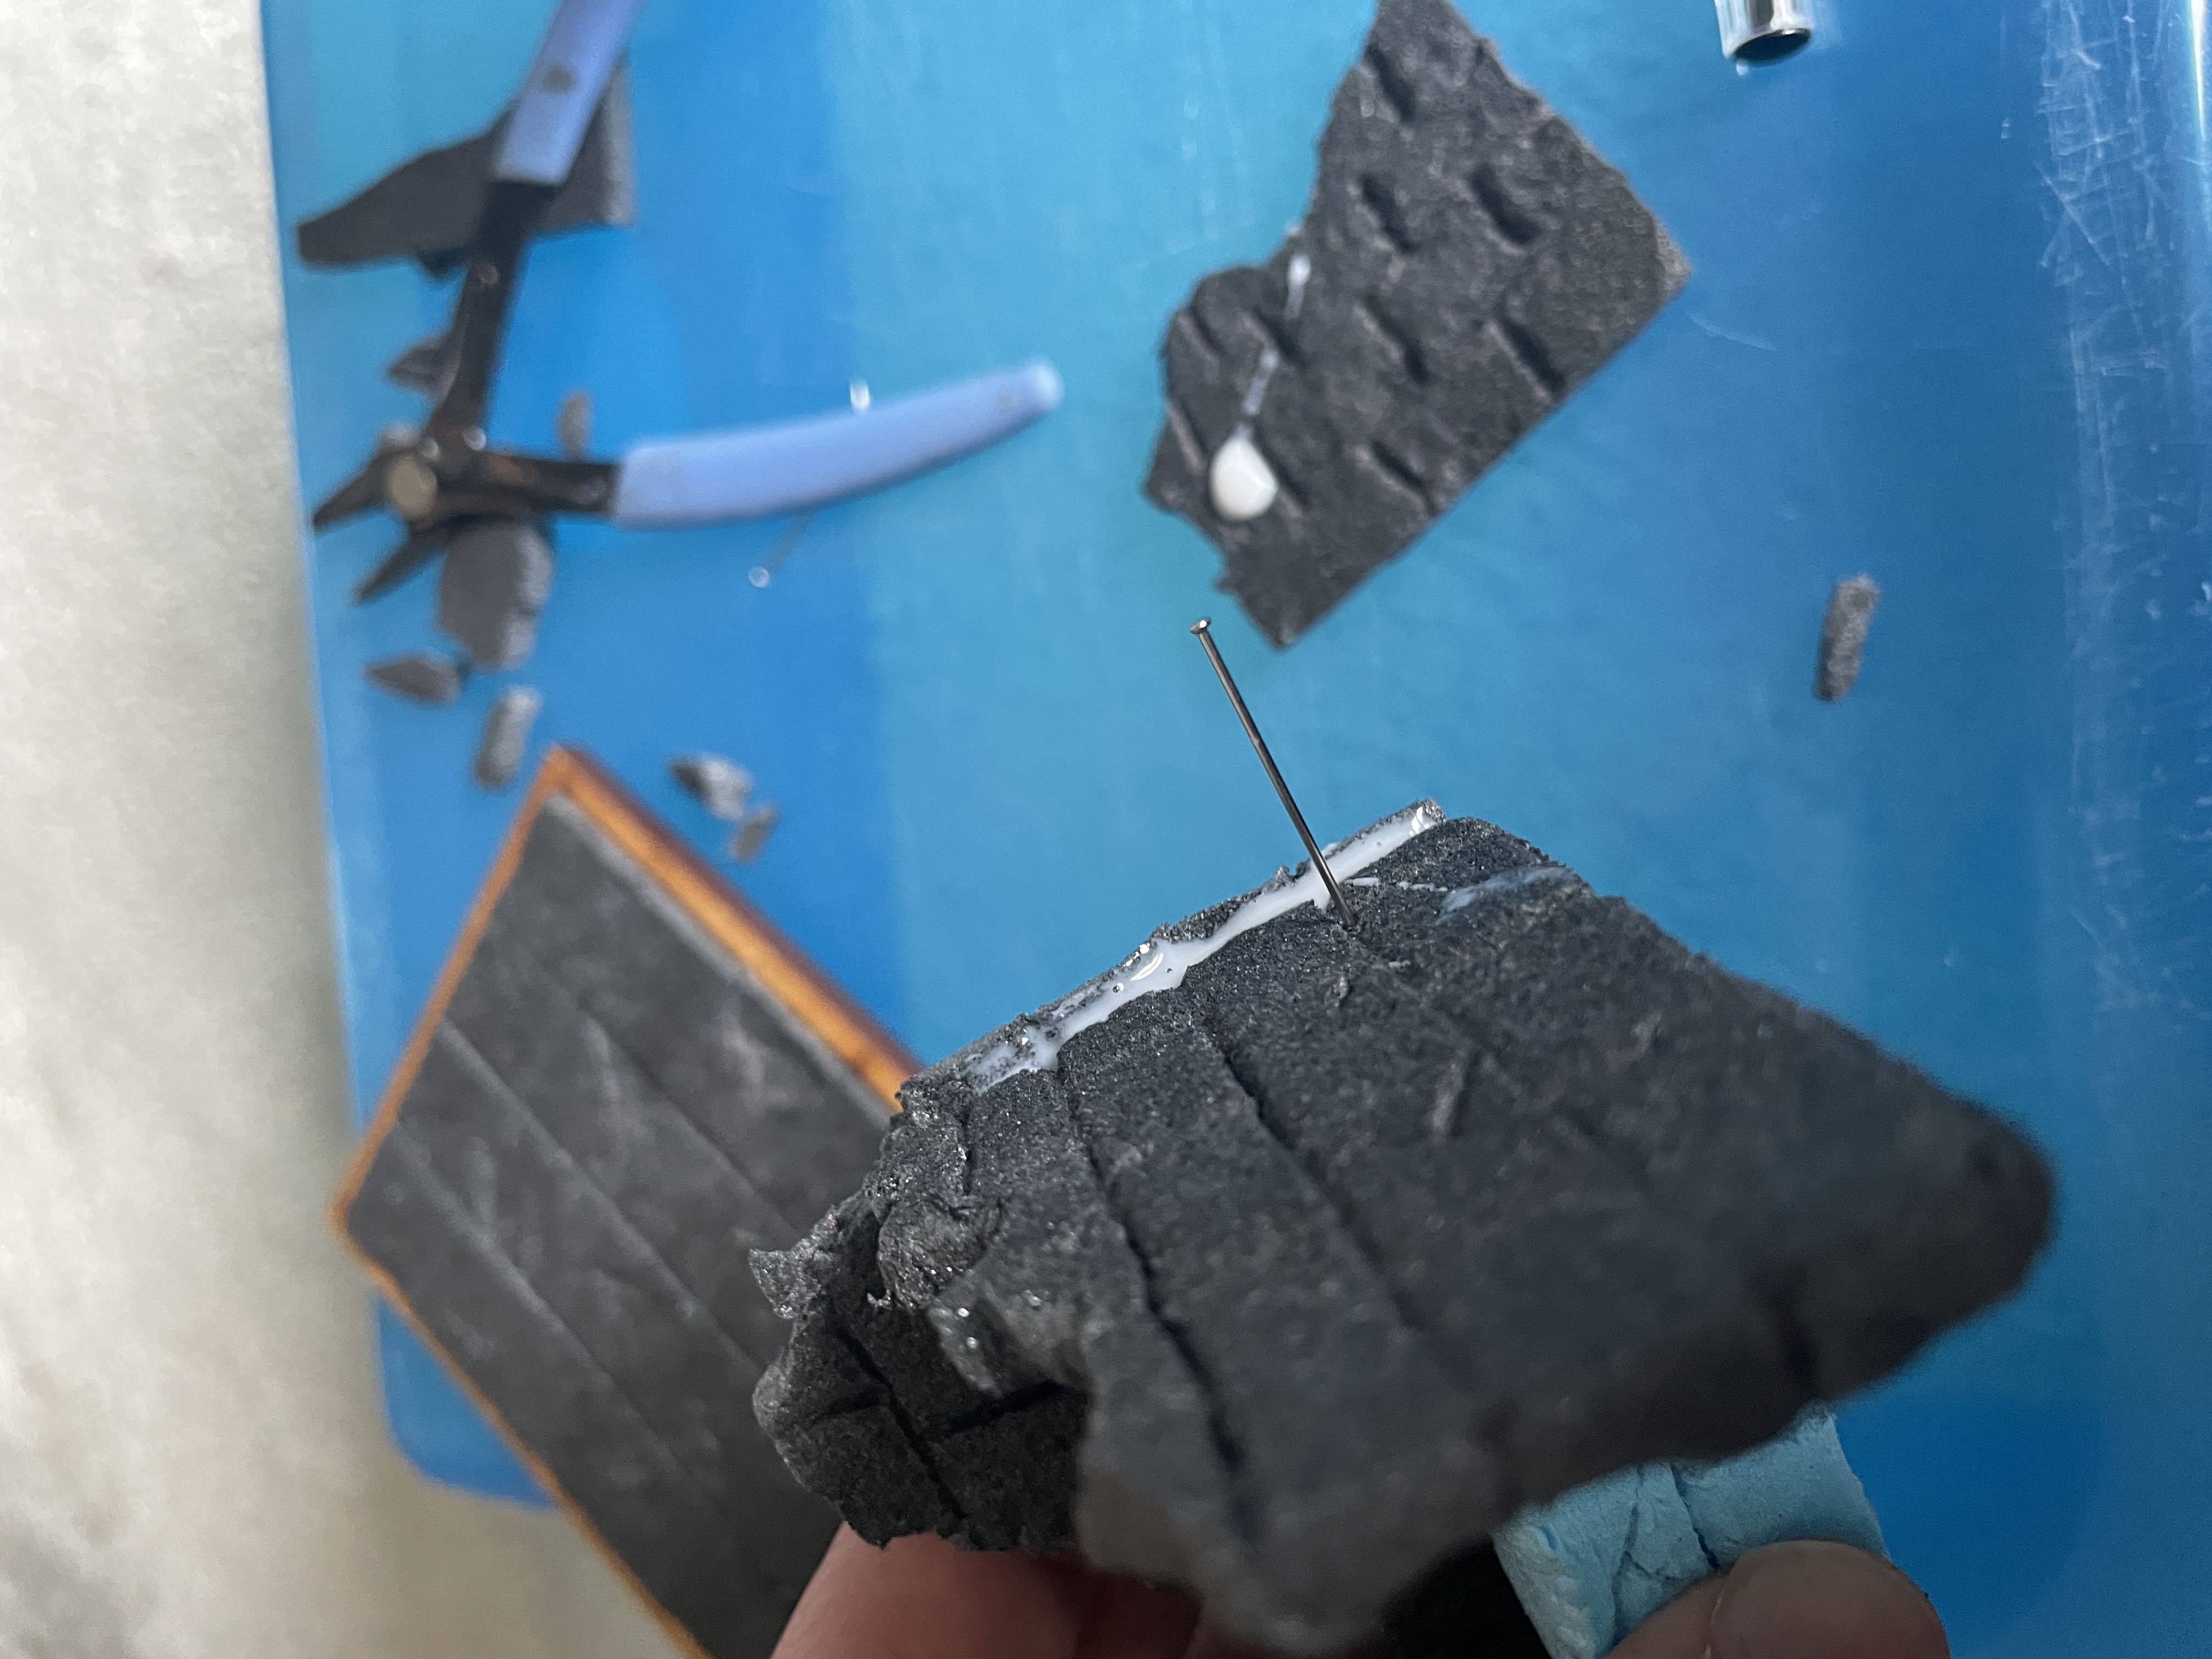
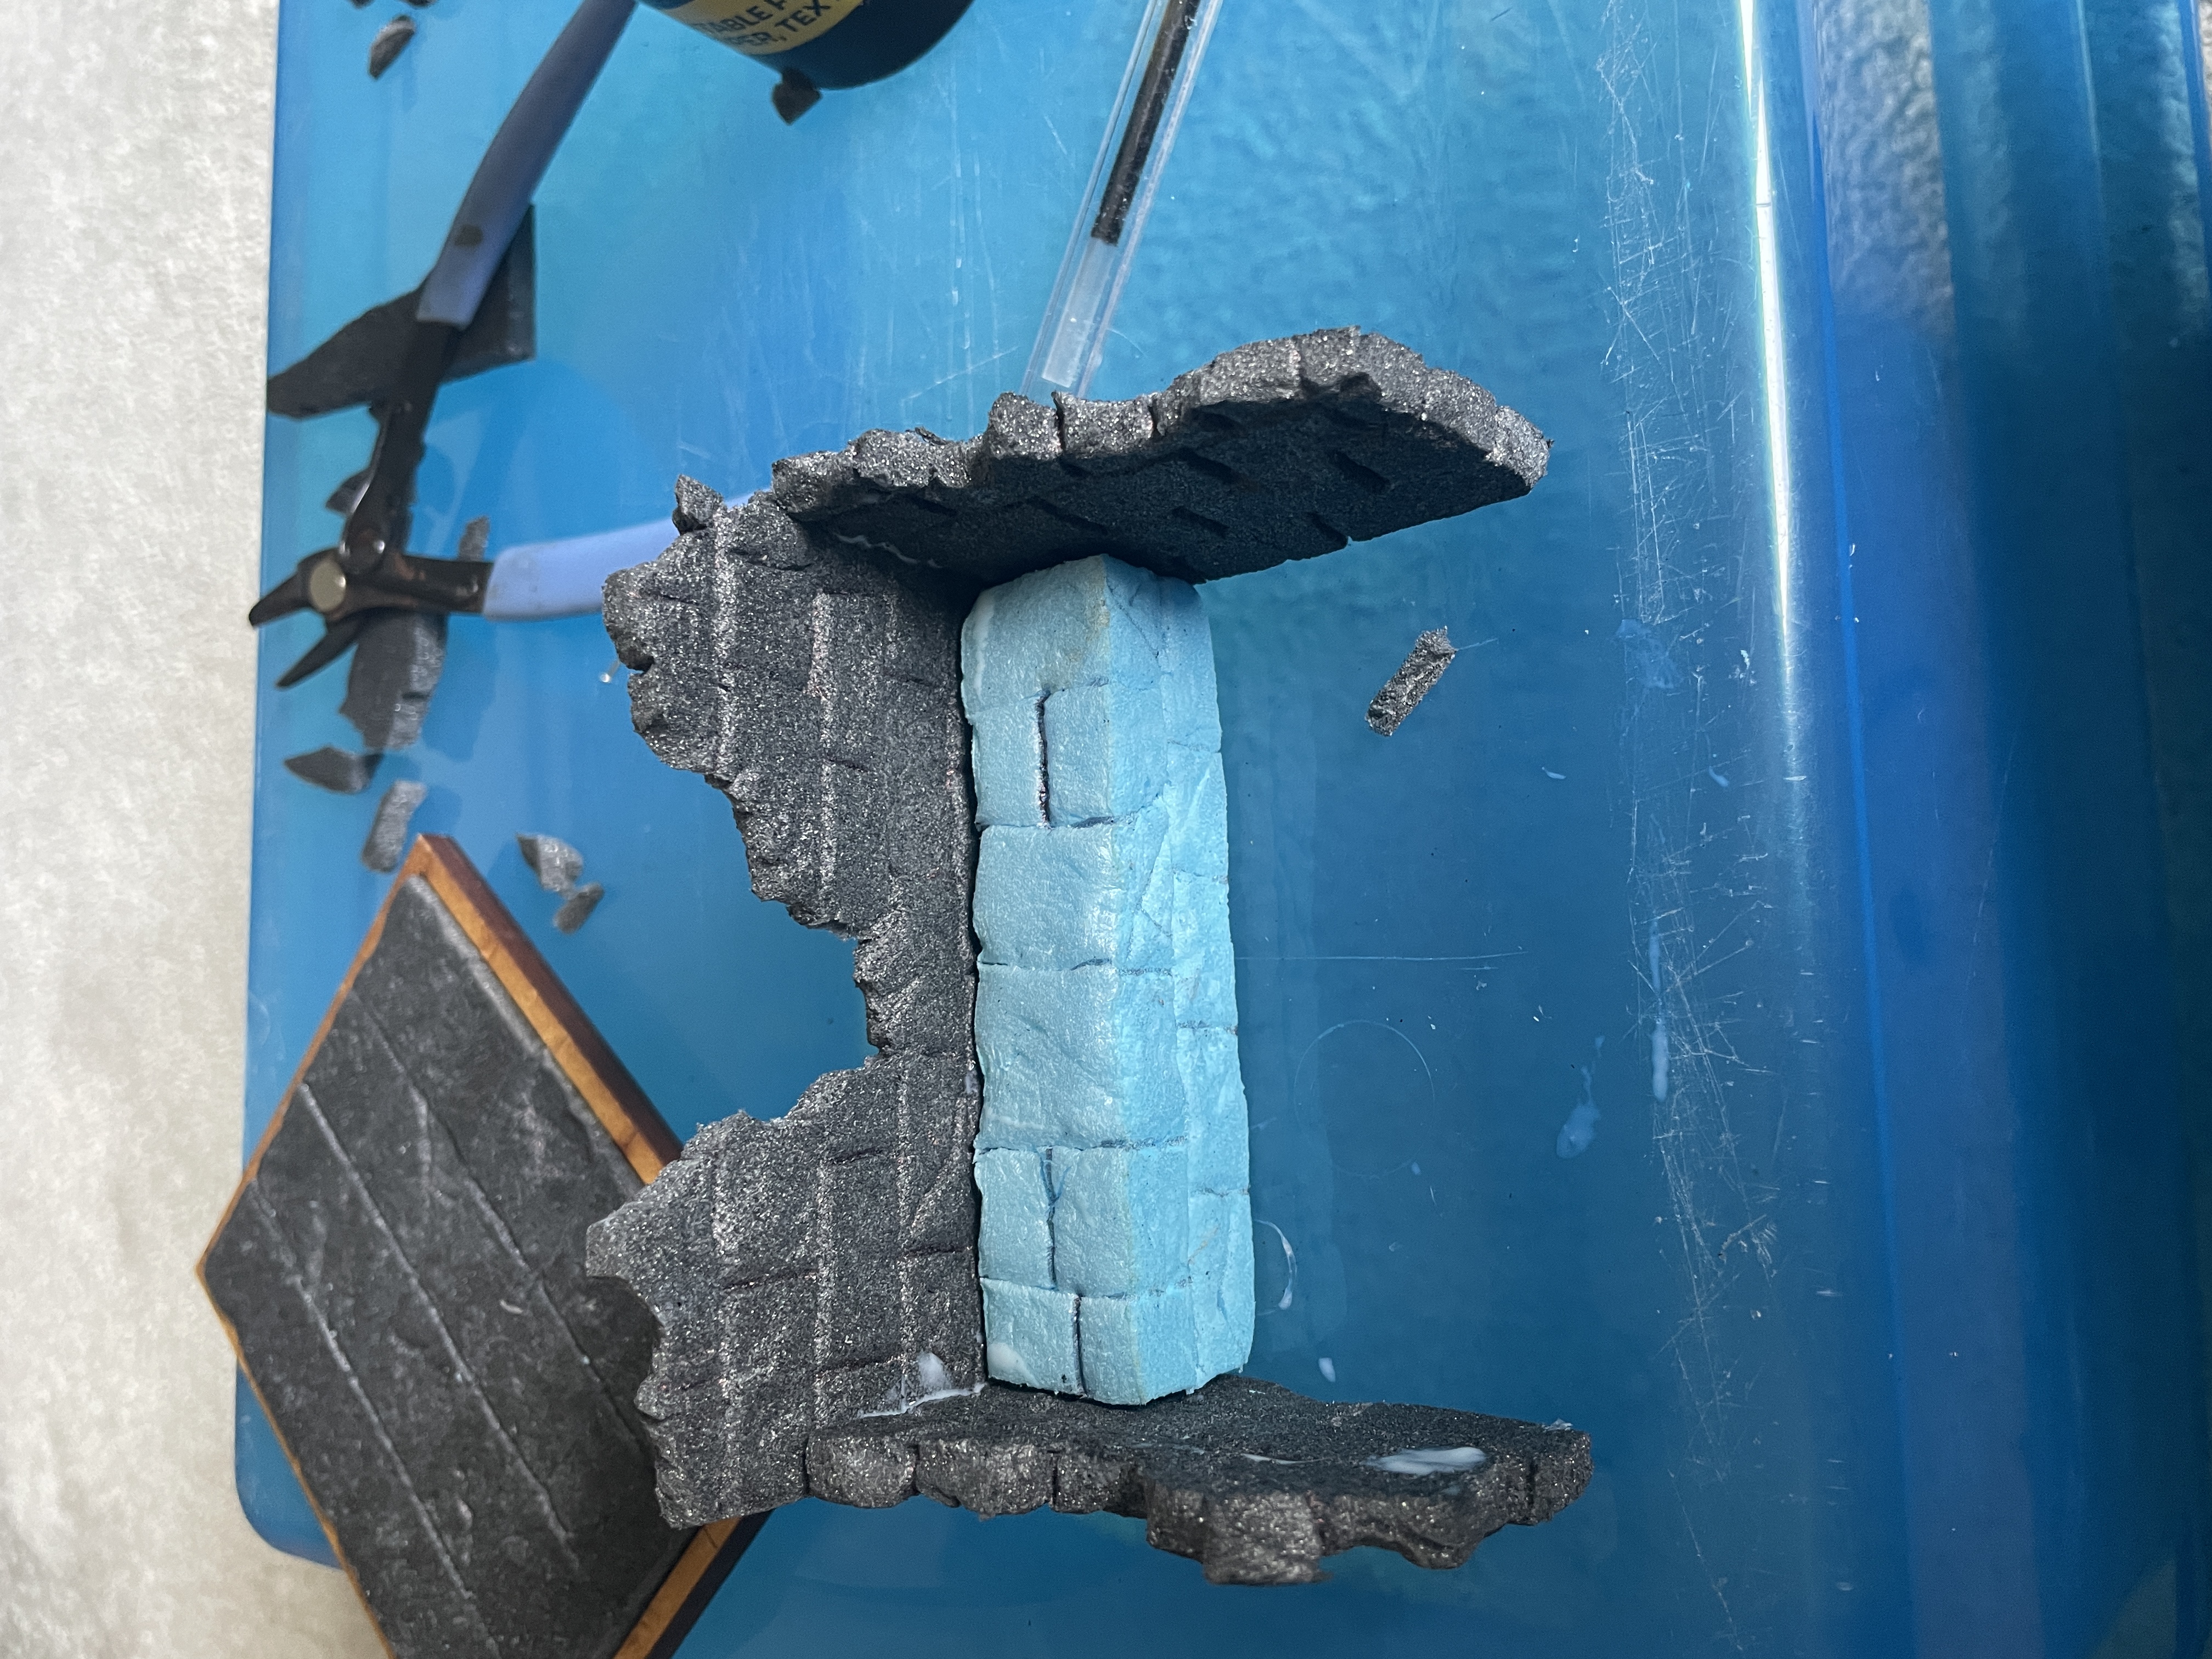
- the structure was then glued together with PVA. Pins were used to hold it in place. These can be removed when dry or pushed in to give strength to the structure.
- Once dry it was glued to the movement tray and pinned in place.
- i then cut and textured some steps to the plinth and glued these in place.